Kit Karson
-
Posts
1,540 -
Joined
-
Last visited
Content Type
Profiles
Forums
Events
Gallery
Everything posted by Kit Karson
-
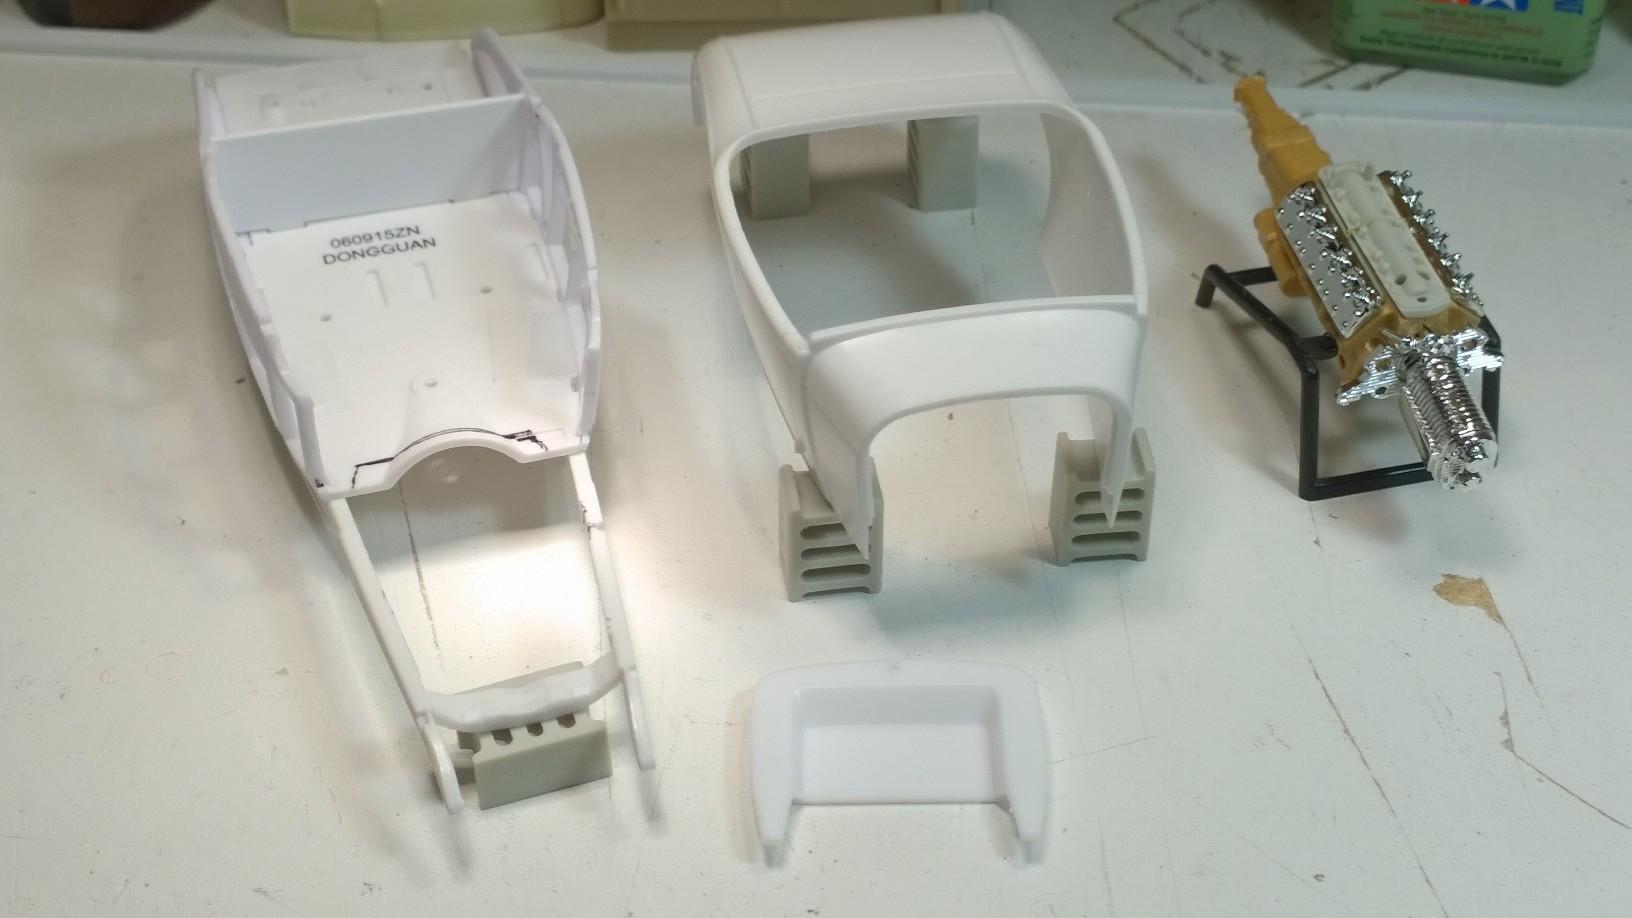
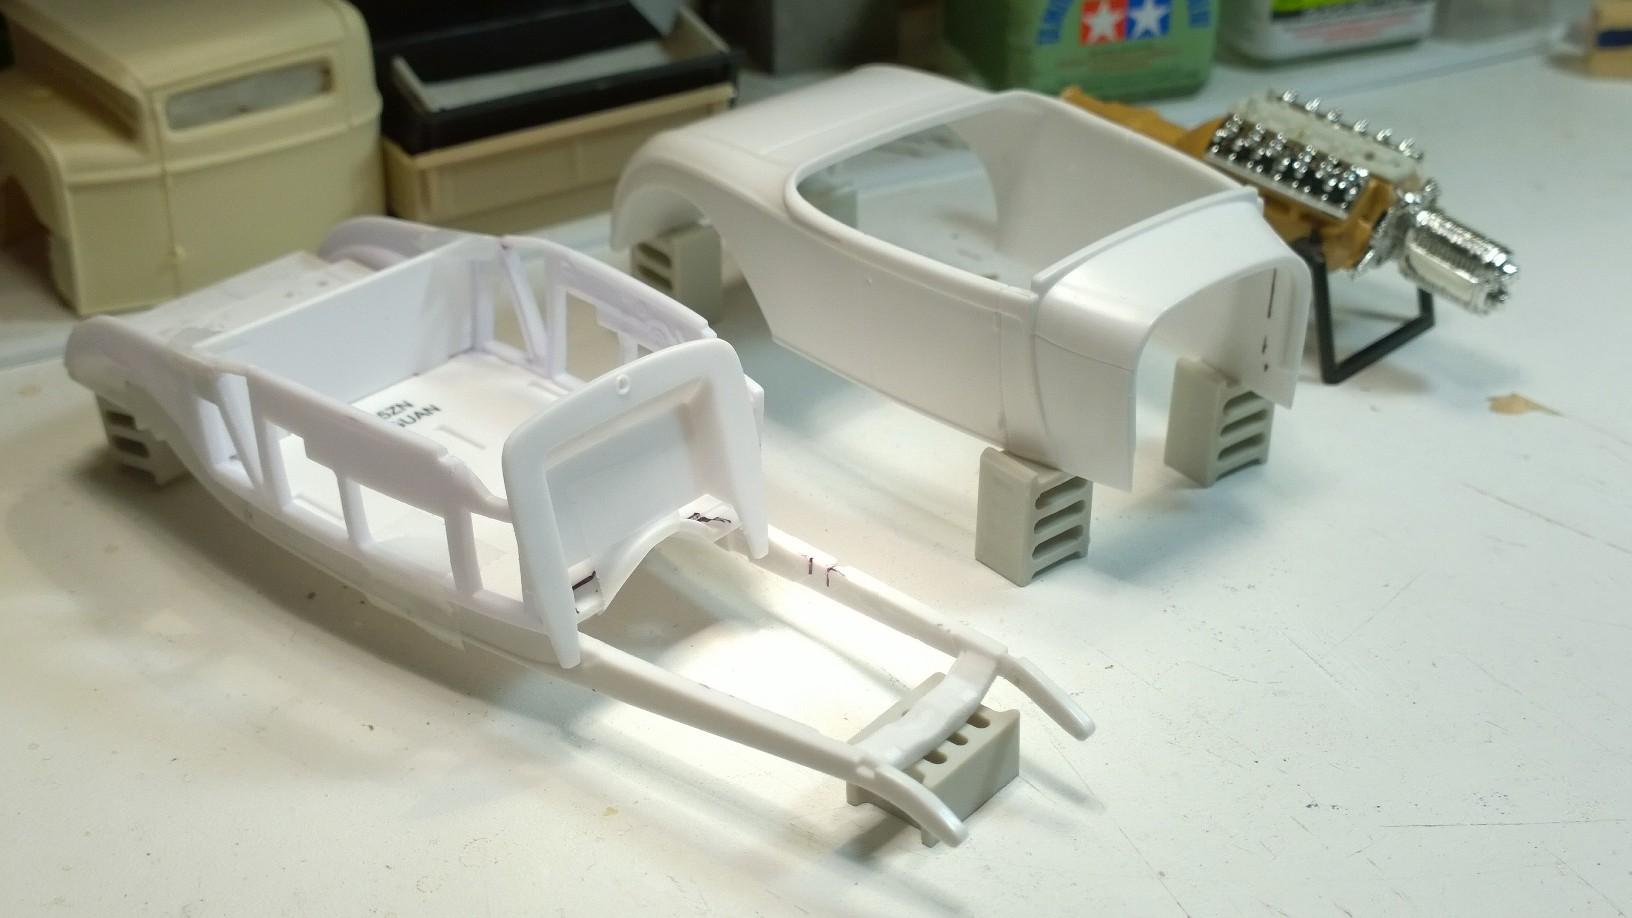
 Decided on the recessed firewall... going with the Revell '32 Ford firewall! Now just have to grab the Sawzall and cut it in... -KK
-
They are in the mail, Brother!
-
1990 Mustang LX - SVT Cobra DOHC Powered! UPDATE! 1/22/23
Kit Karson replied to Dennis Lacy's topic in WIP: Model Cars
I really enjoy watching over your shoulder, Brother! -
You guys are awesome!
-
My continually updated thread with fresh HOT ROD mock ups.
Kit Karson replied to chris chabre's topic in WIP: Model Cars
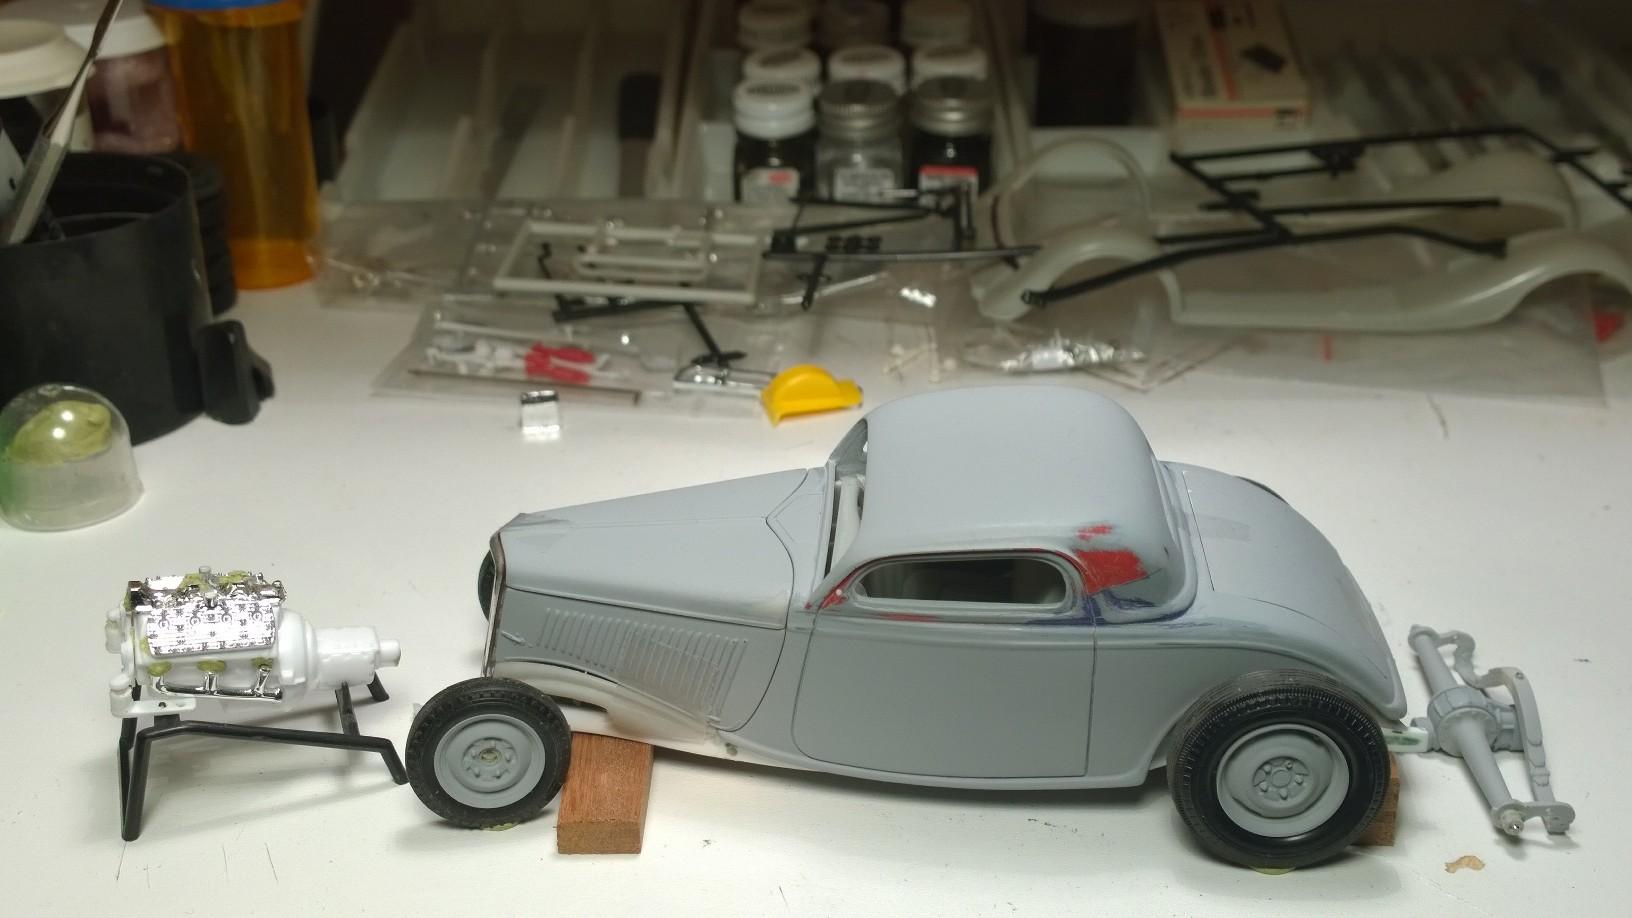
'33 Ford 3hree Window Coupe WIP
-
What a HACK! I can say that because you make it look so straight forward... in another word "EASY"! I have honestly tried to emulate your precise method, but somewhere along the way it begs me and tugs at my soul... "Make it complicated!" I know KISS, ya know, Keep It Simple Stupid or is it Keep It Stupid Simple?!' -KK
-
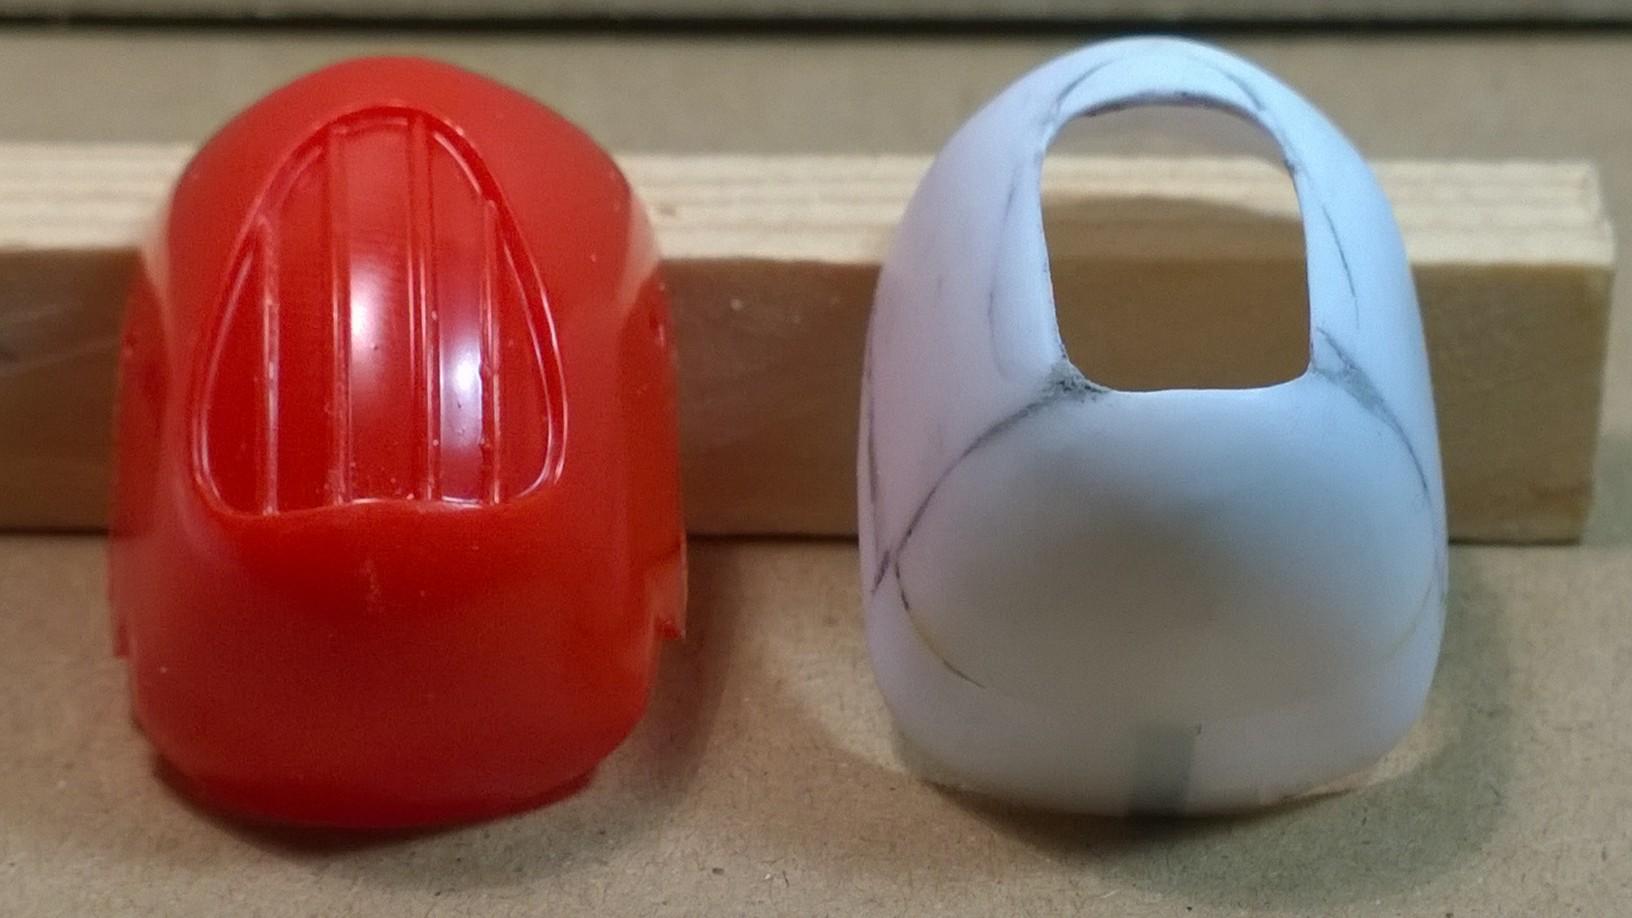
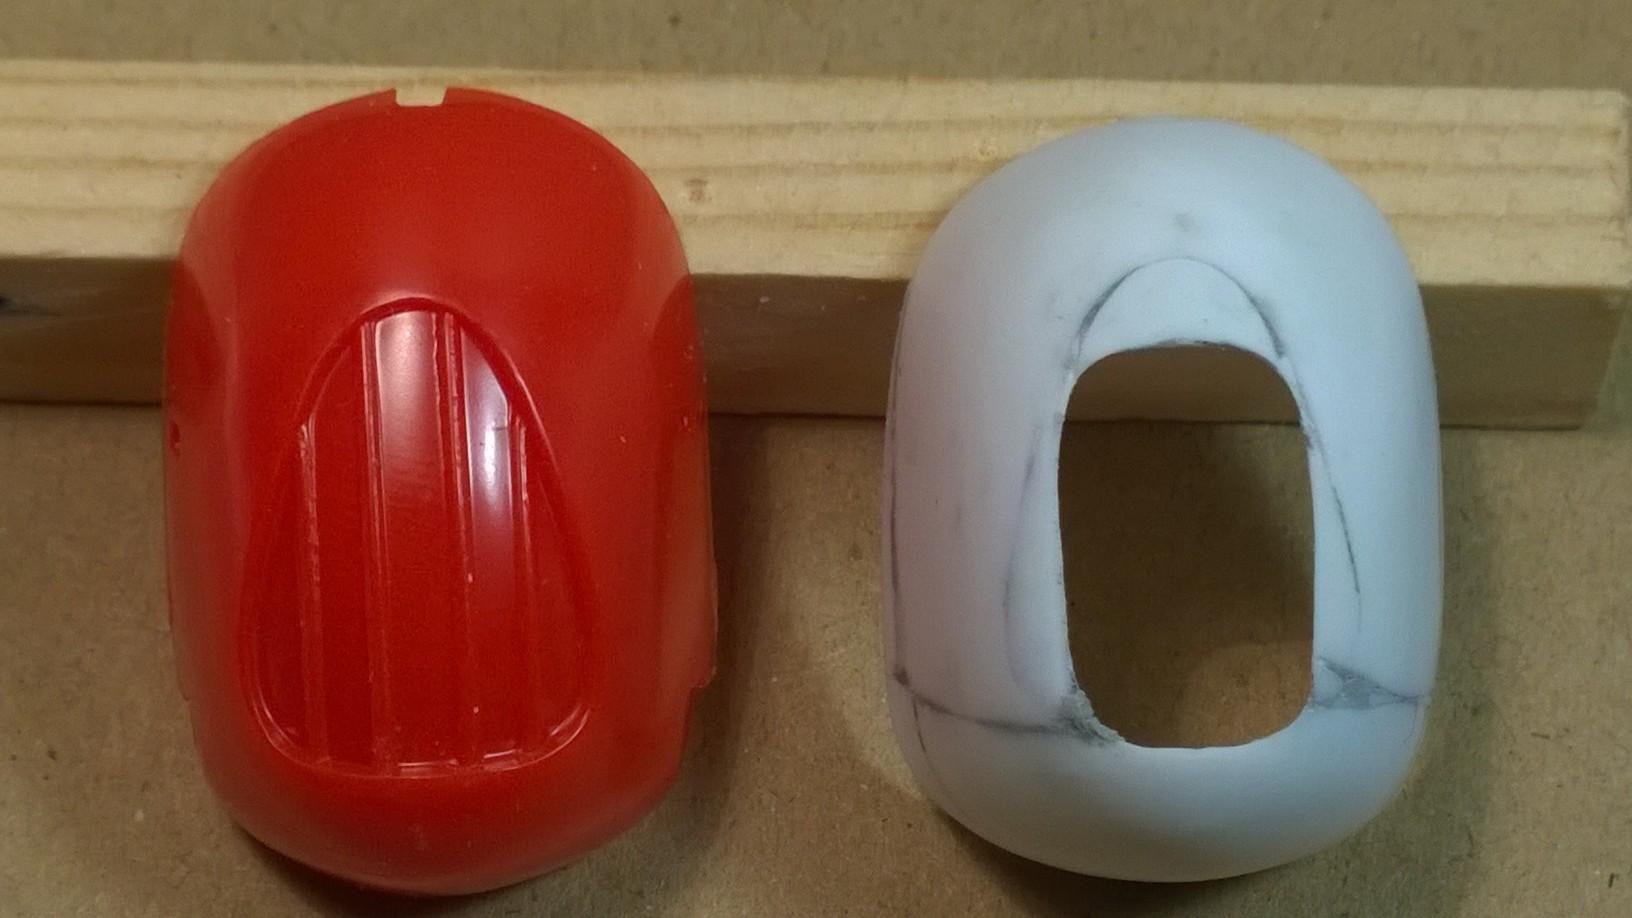
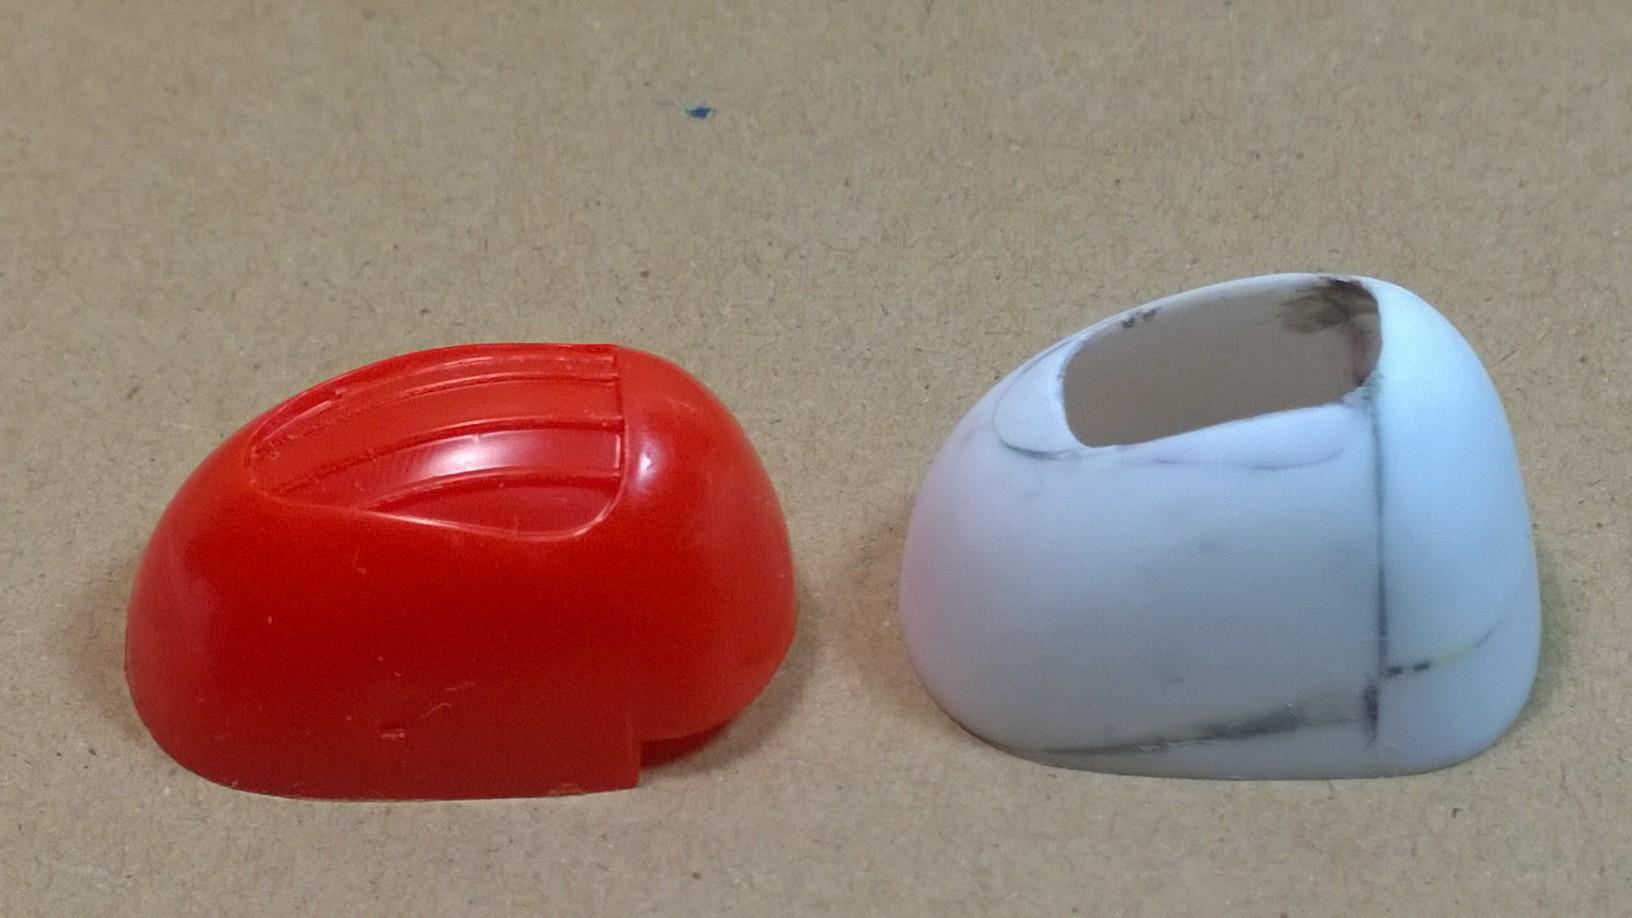
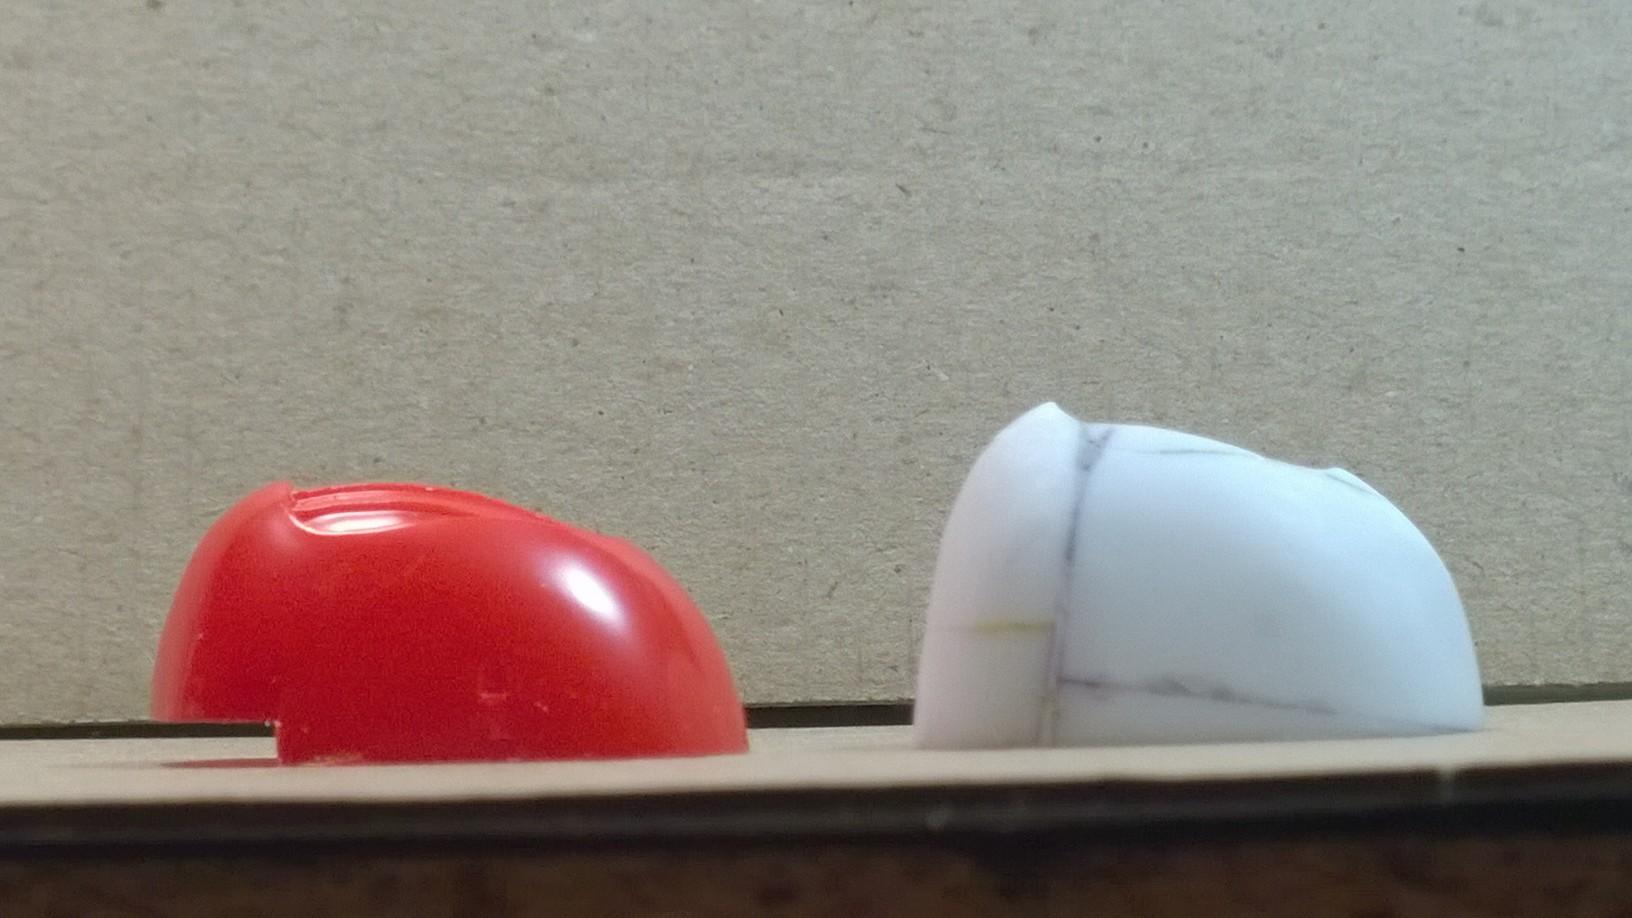
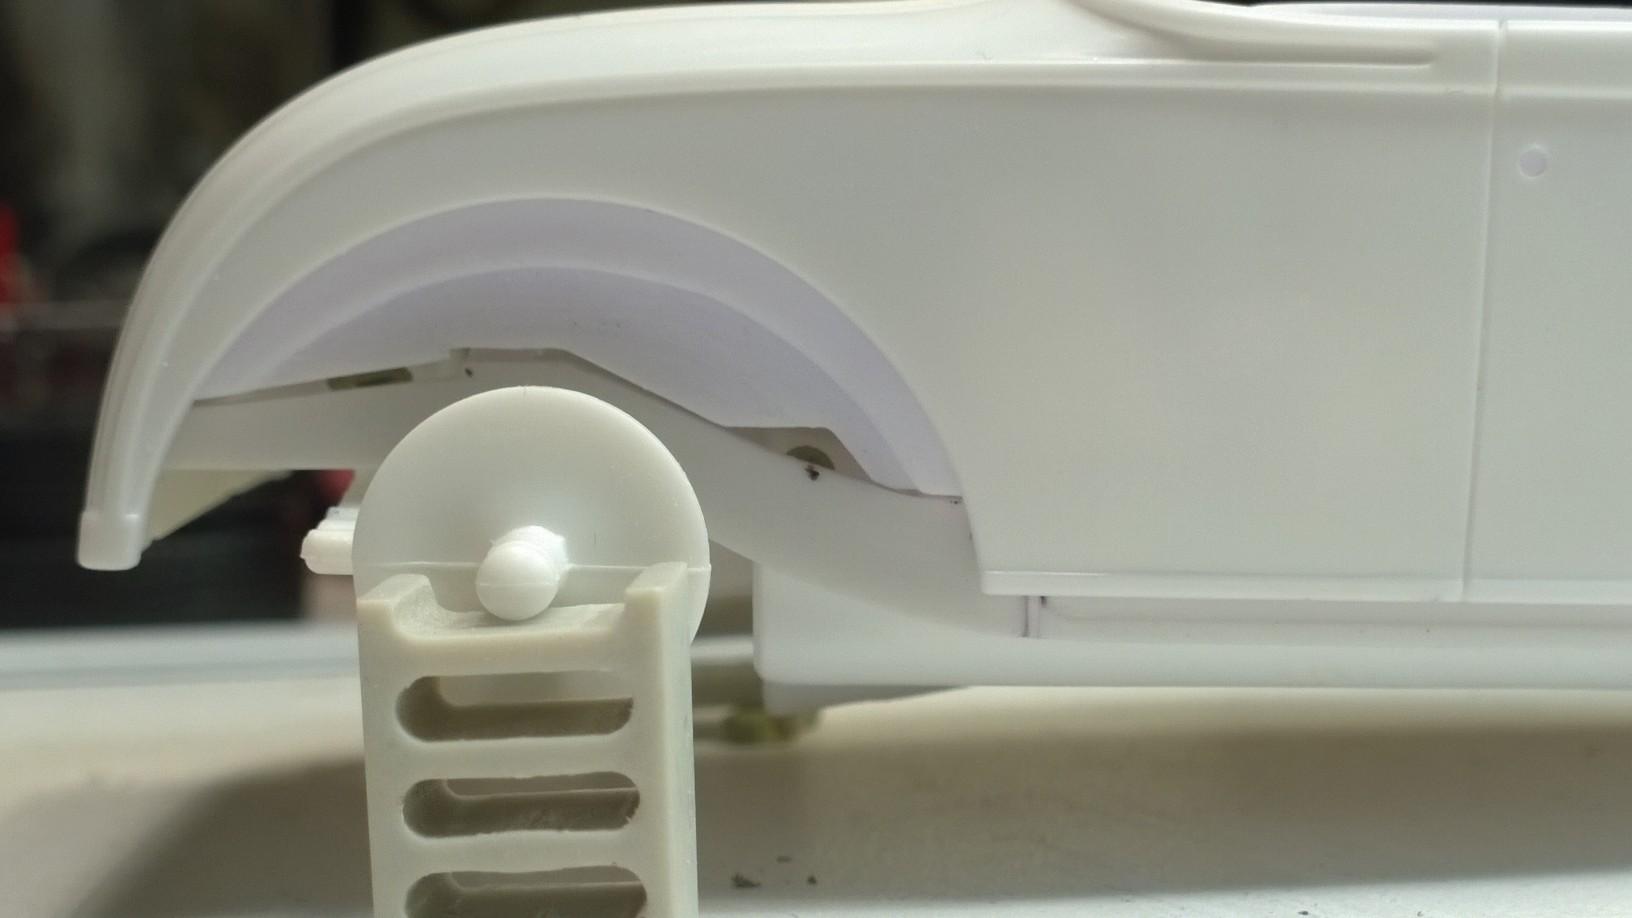
Had a minute to shoot a stock Revell Track Nose from the '29 Roadster PU: Before & After Not the best pictures overall, but upon close scrutiny you can see the changes that have accumulated over the last seven years of progress: And there will be more slicing in its future! Wait and see... -KK
-
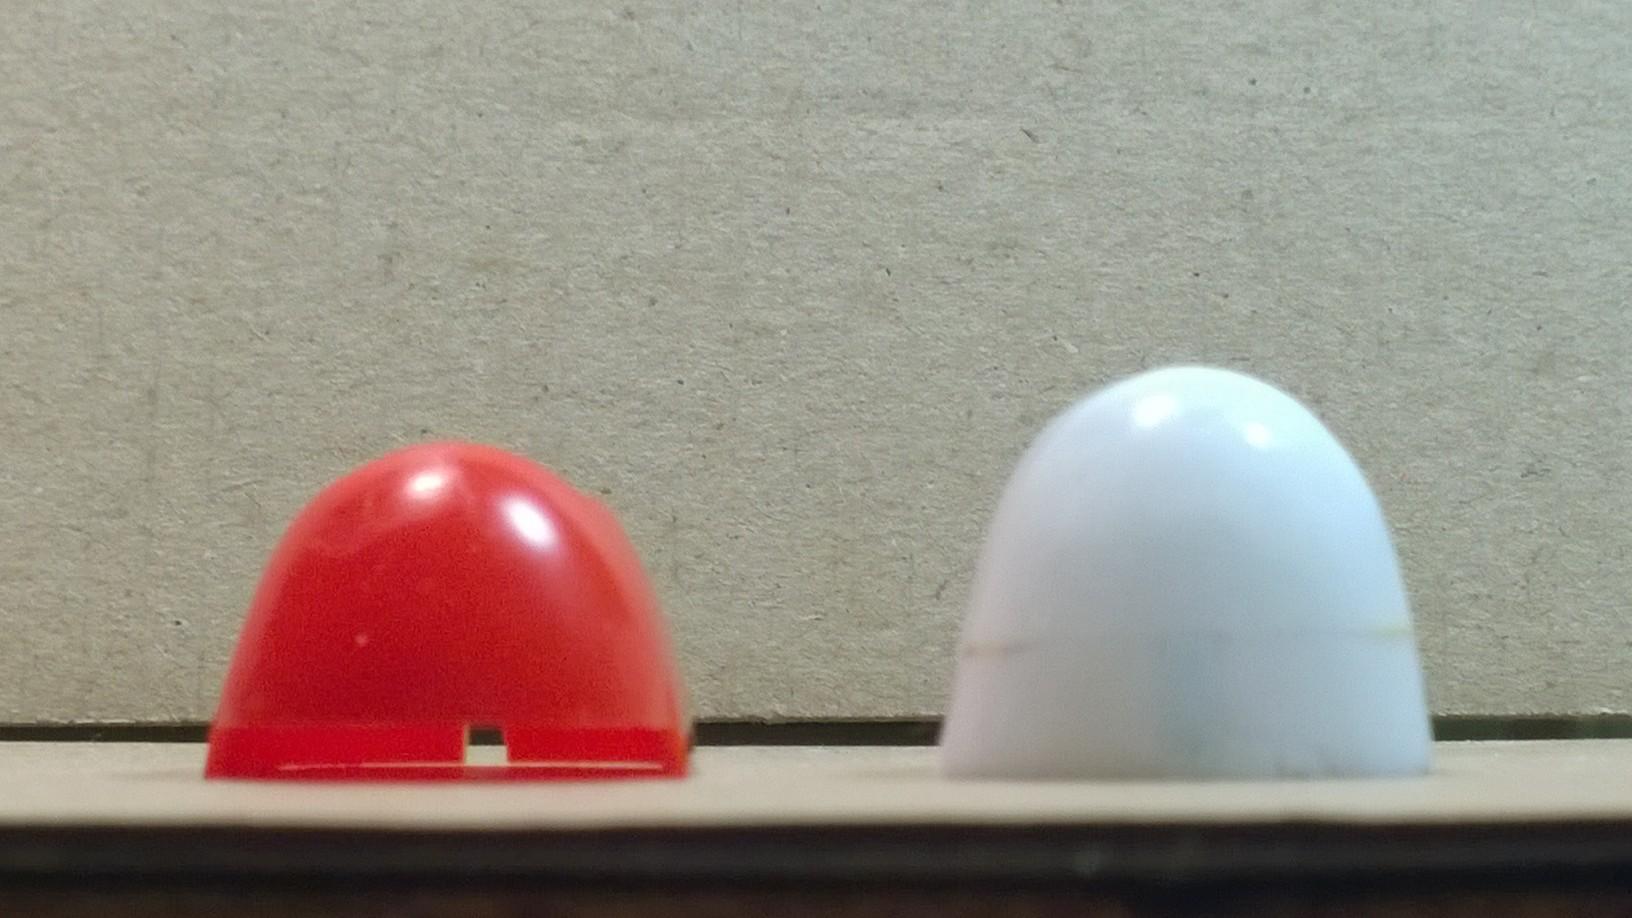
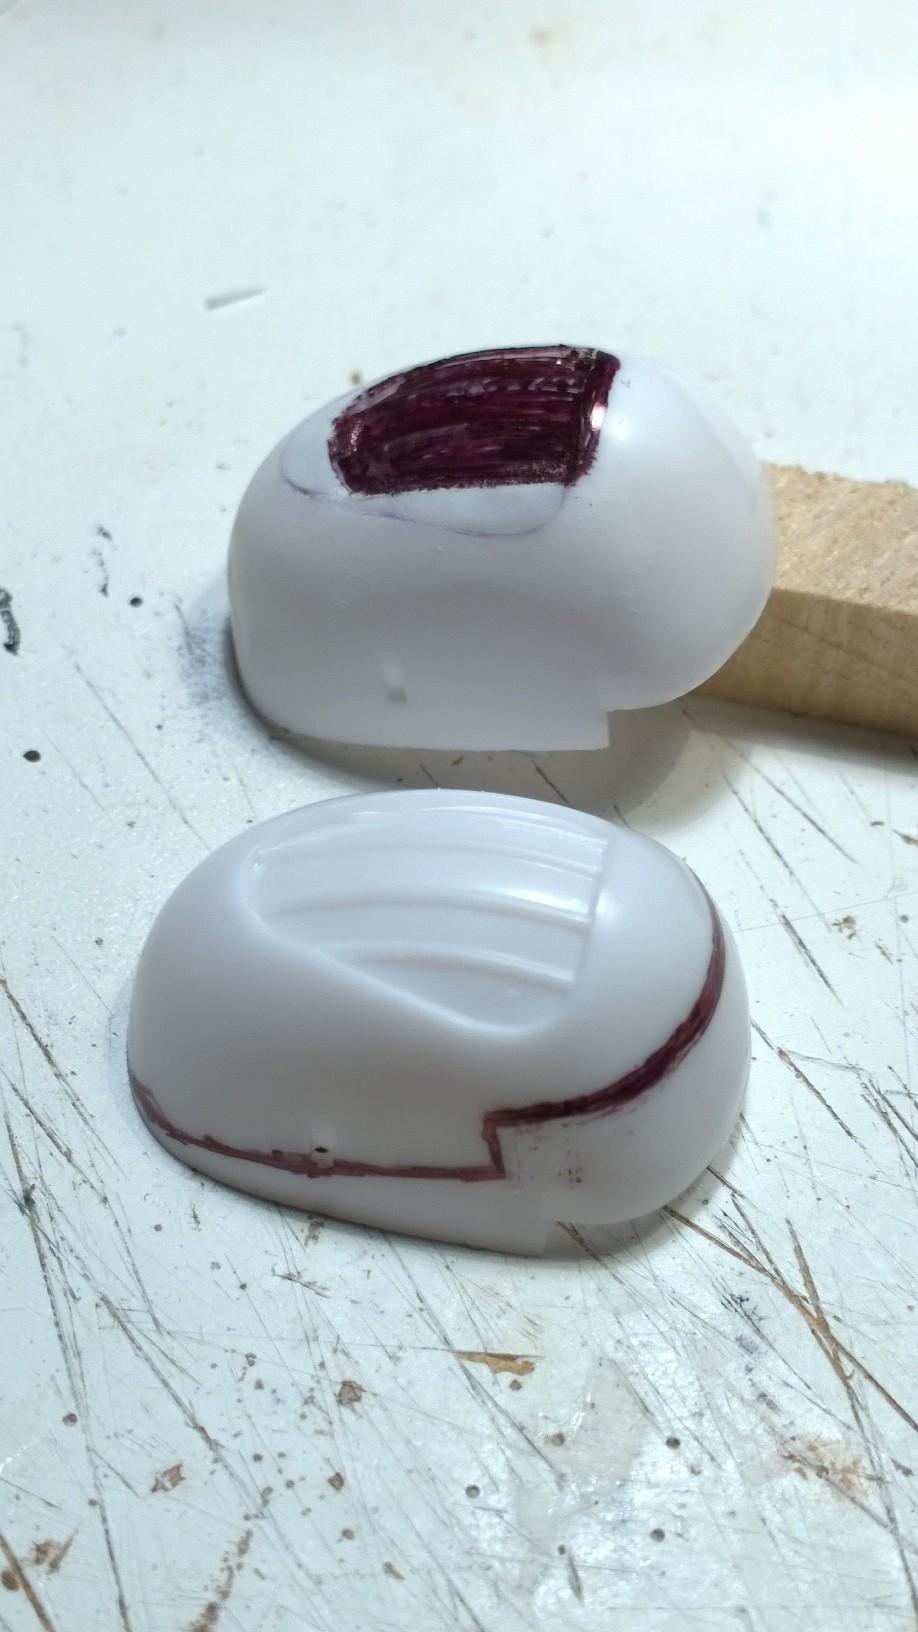
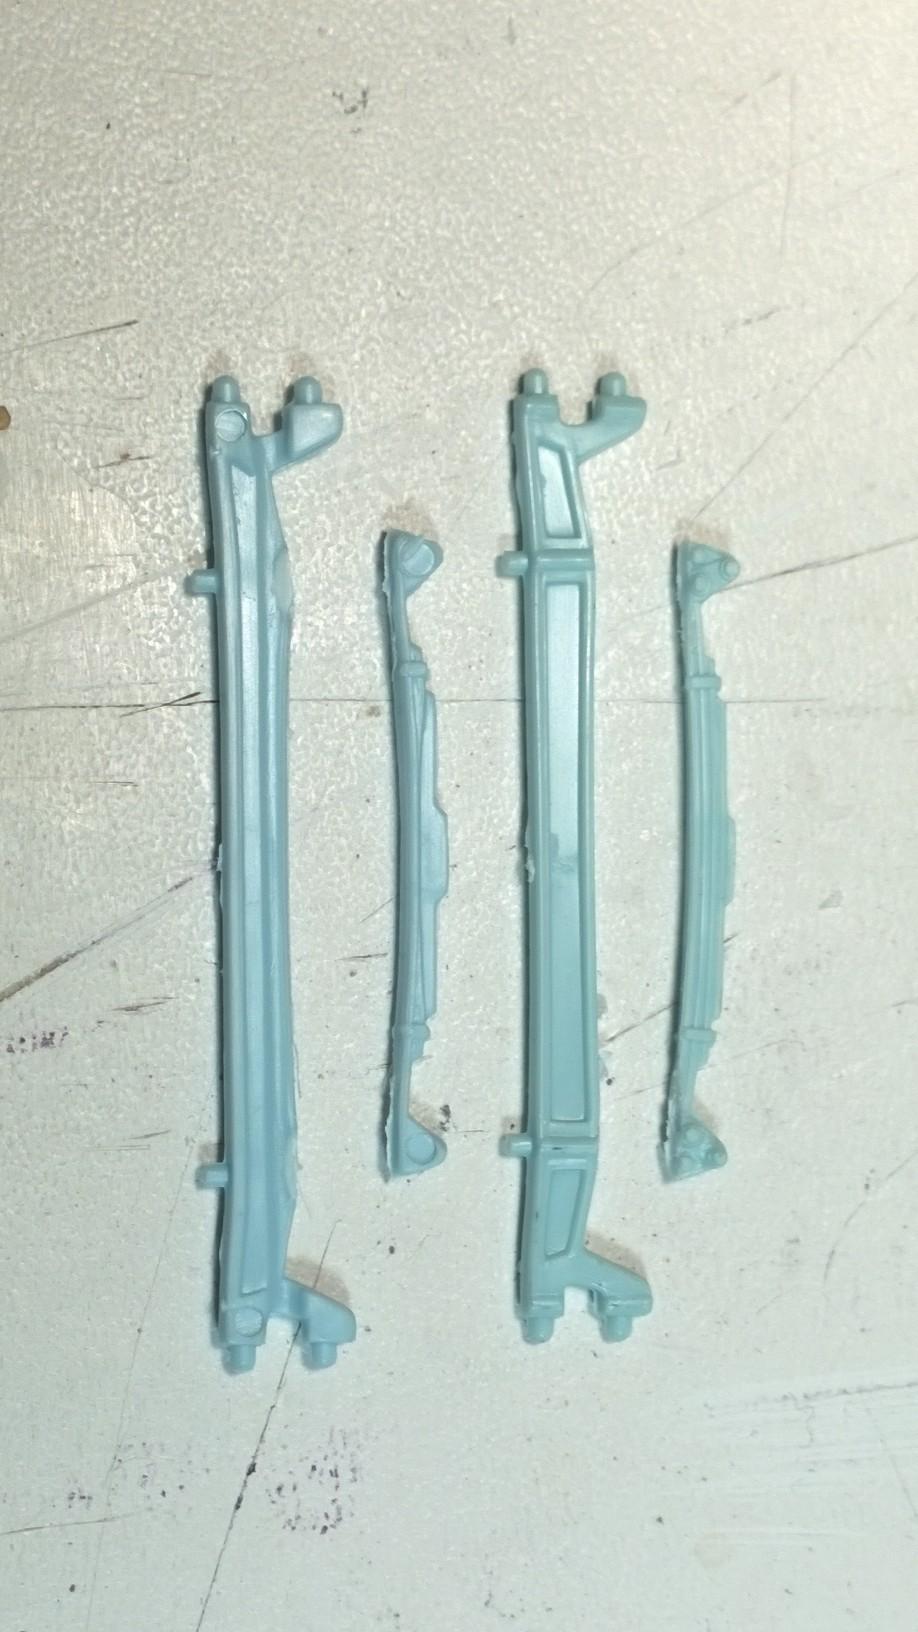
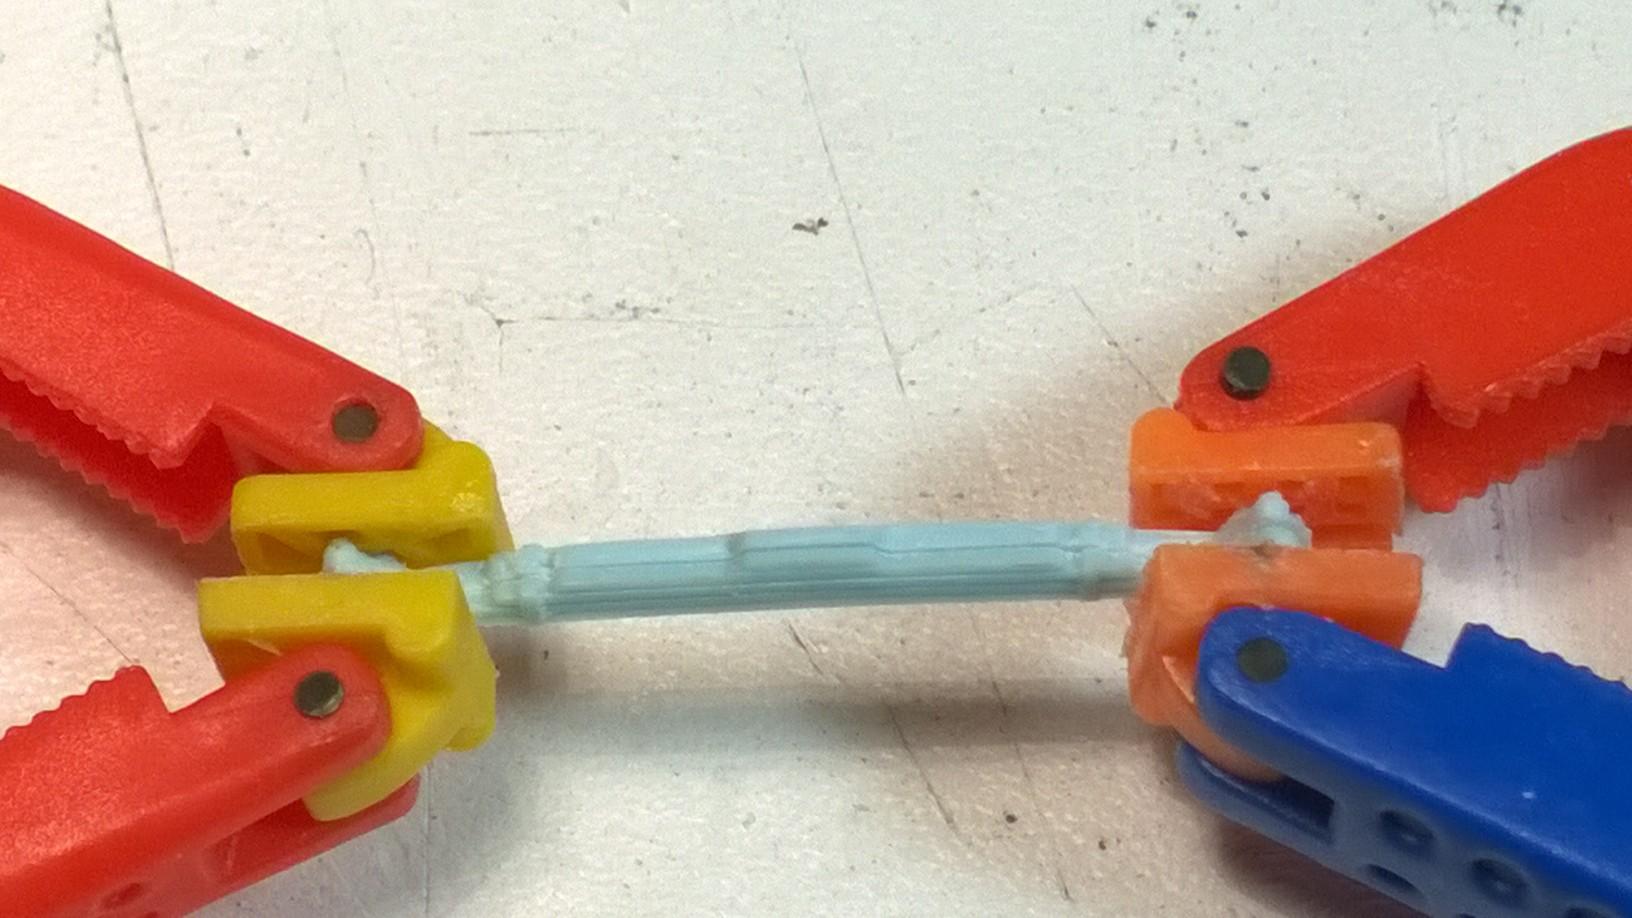
The same tires that are in the Monogram '41 Lincoln (4) are also in the Monogram SCOOL BUS (front 2): I just found a pair of Monogram '41 Lincoln Rims & Hub Caps that I'll send you... just PM me your address. I also have a couple of Revell '32 5ive Window rear steel wheel inserts that you can mate with the '41 rims. Now, all you need are a couple of tires! Any help out there? -KK
-
Chris, I totally understand... I've been thinning out my collection! It's easy to sell off the sealed kits, of many I couldn't tell you from whence they came or when! Now I have several open kits... quite a few that are mostly undisturbed inside and several that, most certainly, have been scavenged for the "KOOL" stuff! I might buy a specific kit for something that escapes me, but not before asking friends and followers if they might have such a part. This is where having a deep and disparate storehouse of model boat/bike/car/pickup/trailer/truck parts creates an opportunity to barter/help/trade with a fellow modeler somewhere close by or halfway around the world. We've all seen guys online hawking parts and pieces; complete engines and/or chassis, etc. I'll pull a part on request, pack and post it sometimes the very same day. No questions asked and no accountable expectations disappointed. Fortunately, life is good for more than just me, Brother! For now, I am just the caretaker for a narrowly defined model collection that has followed me back and forth across this great country of ours for too many years!! Building and sharing "how-to" dos and don'ts is a responsibility that has been handed down to me and accepting that baton from such nameless luminaries hopefully will help sustain the hobby in one way or another. The inter-web has torn down what once was thought to be obscure and currently finds that it's almost universal. Our hobby, whether 1:1 or in scale, covers every genre imaginable and yet allows every individual to create, design and construct their dream and/or version/vision. We all have 'em and do our best to build them. Have I ever reached a roadblock, sure! There's a couple that have found their way back into the box and placed back on the shelf!?. -KK
-
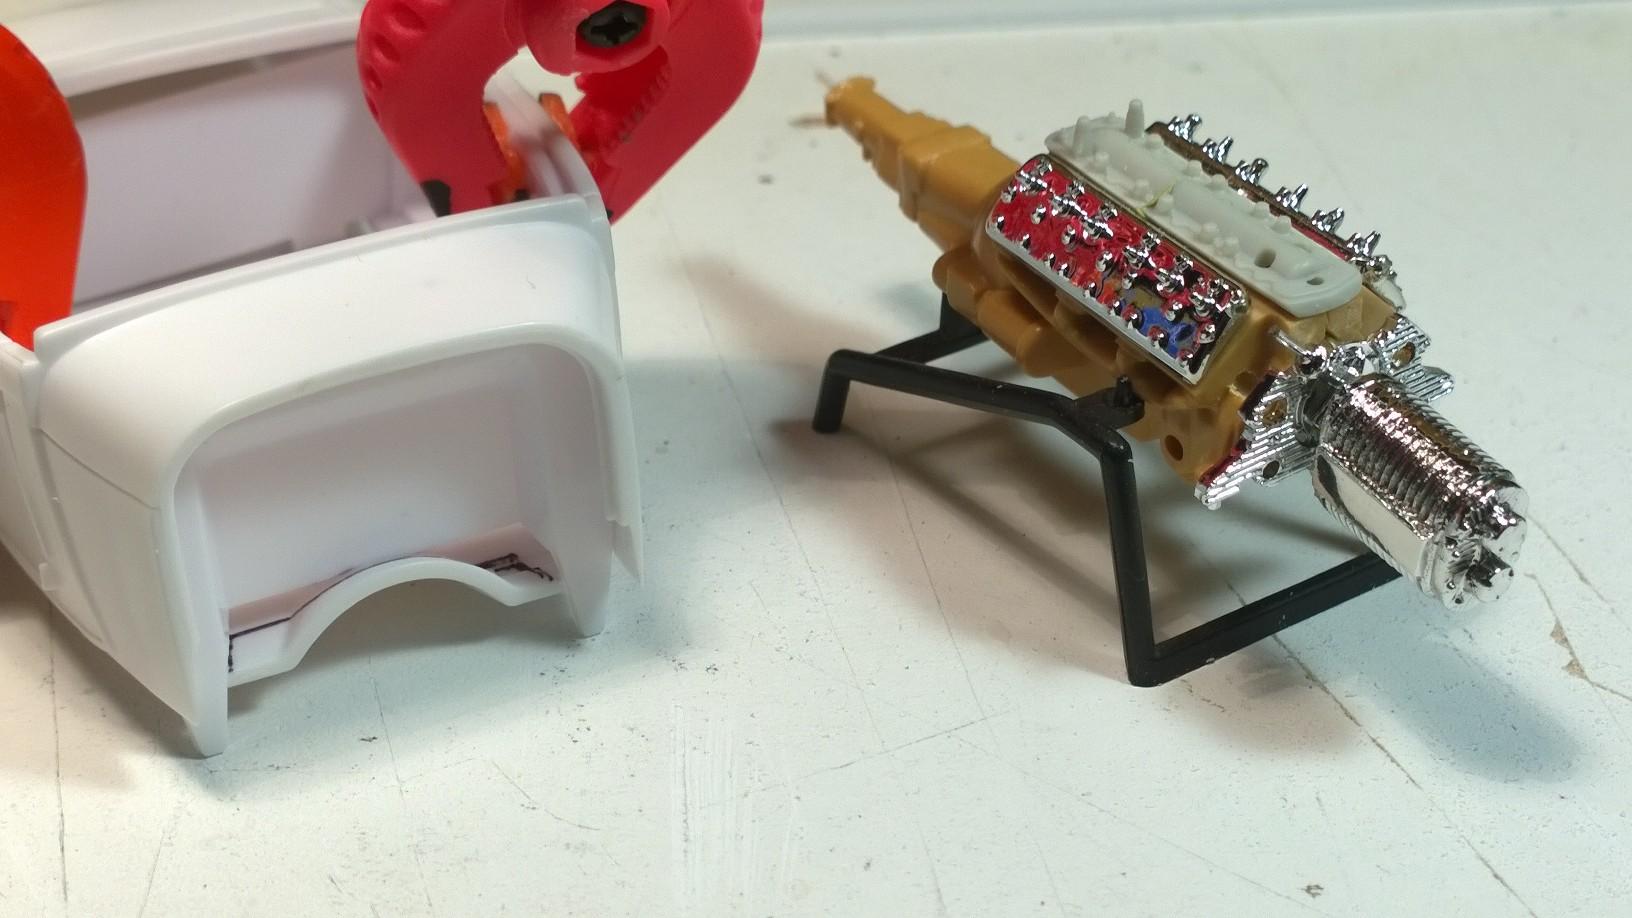
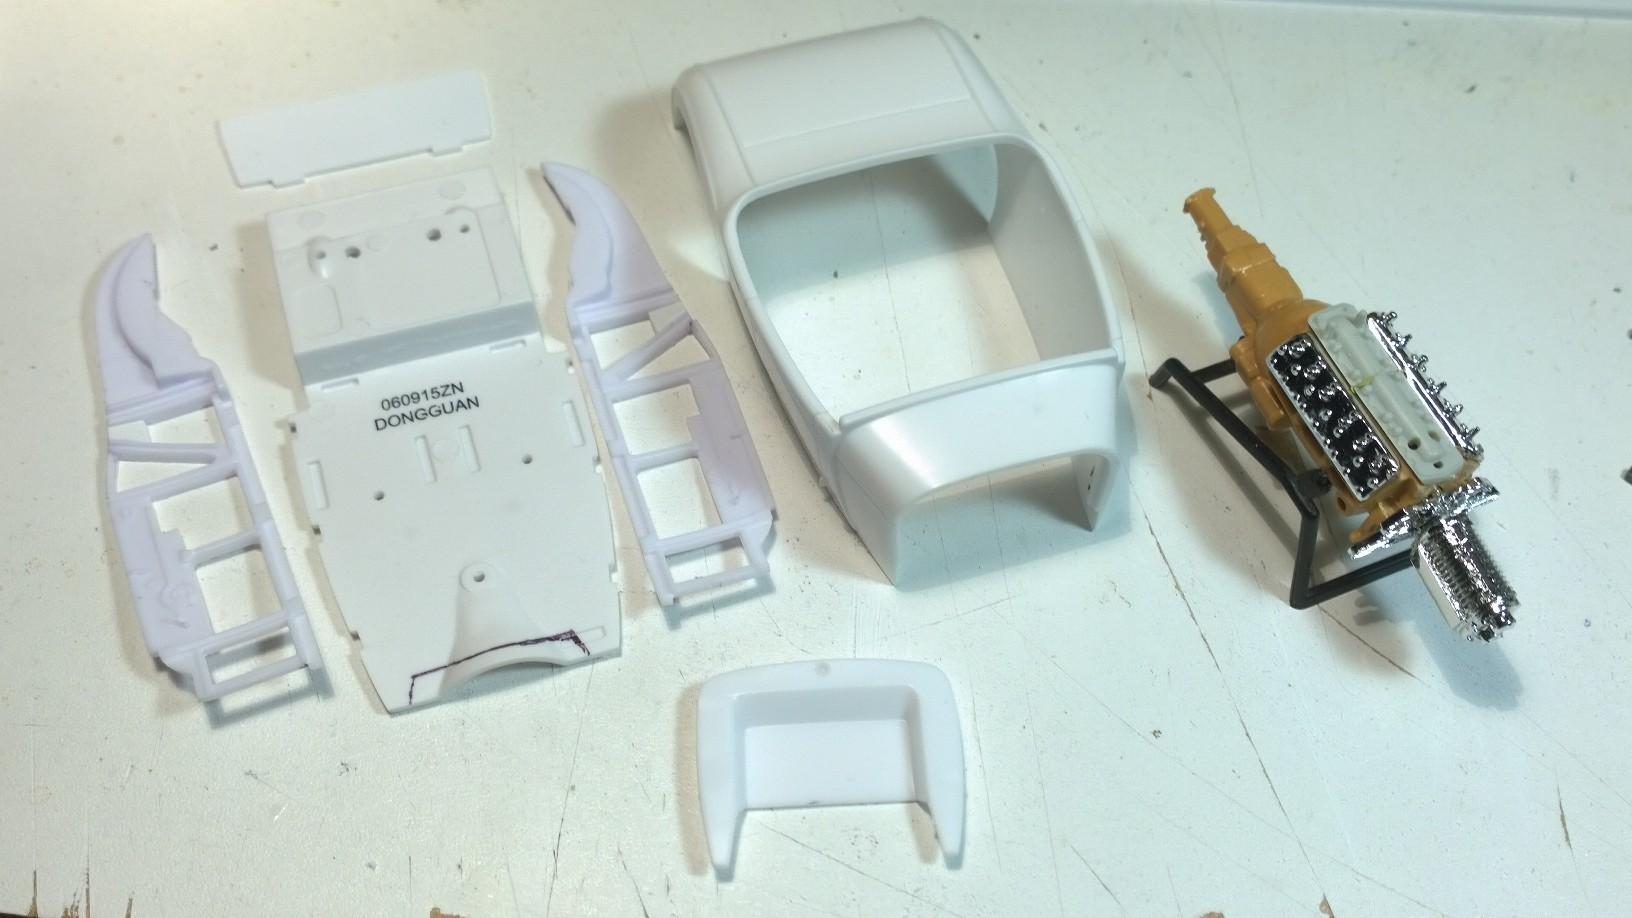
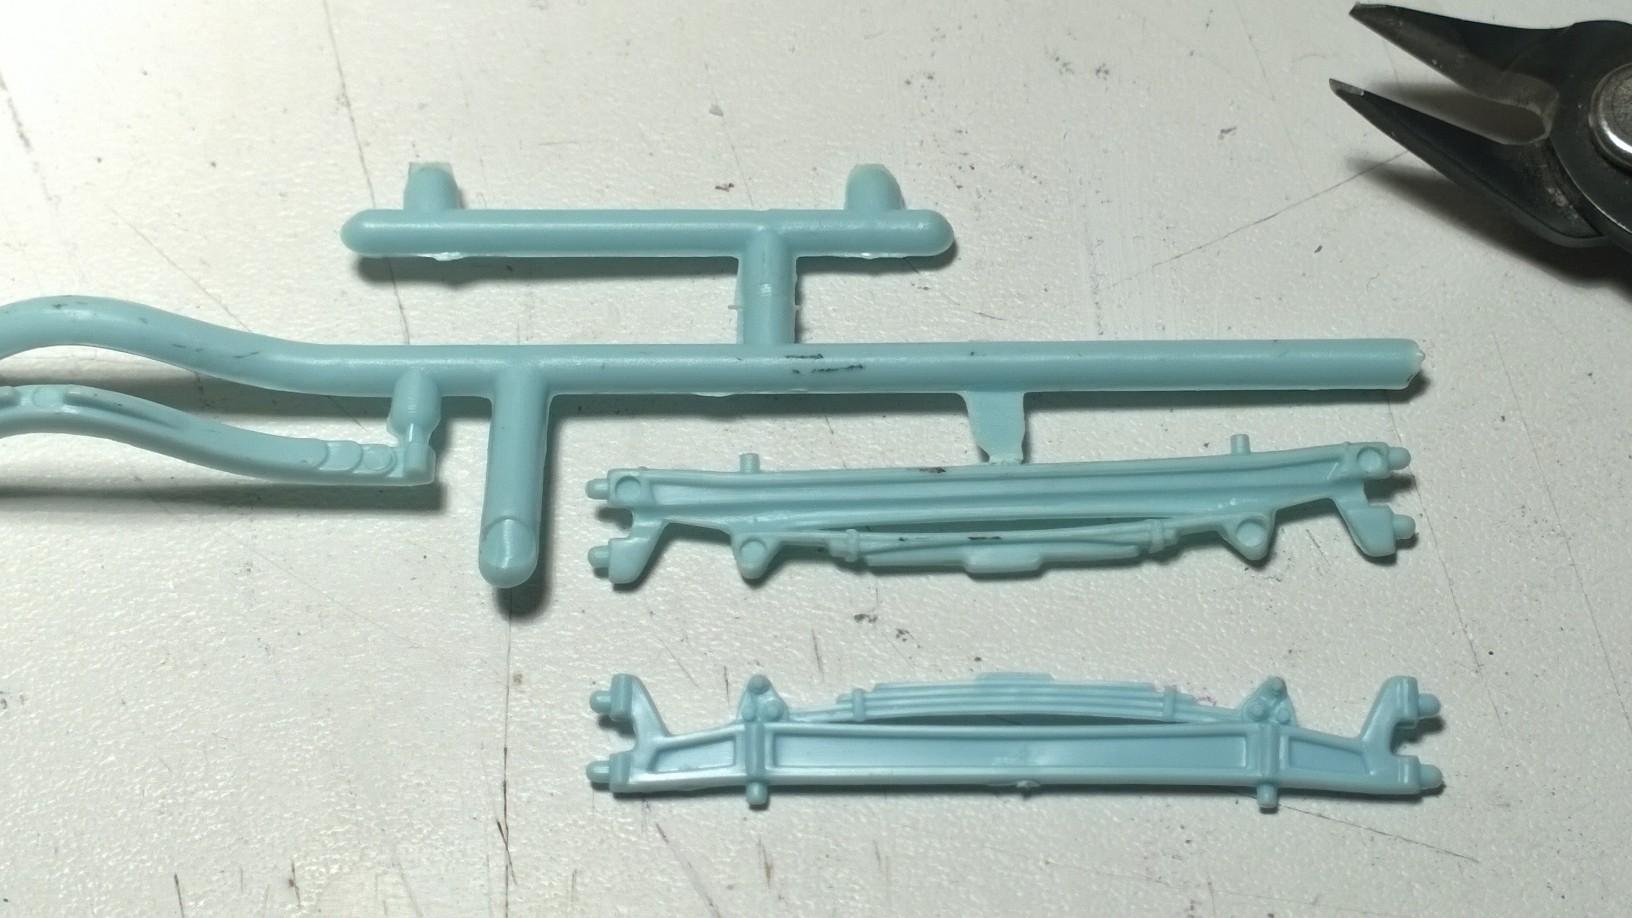
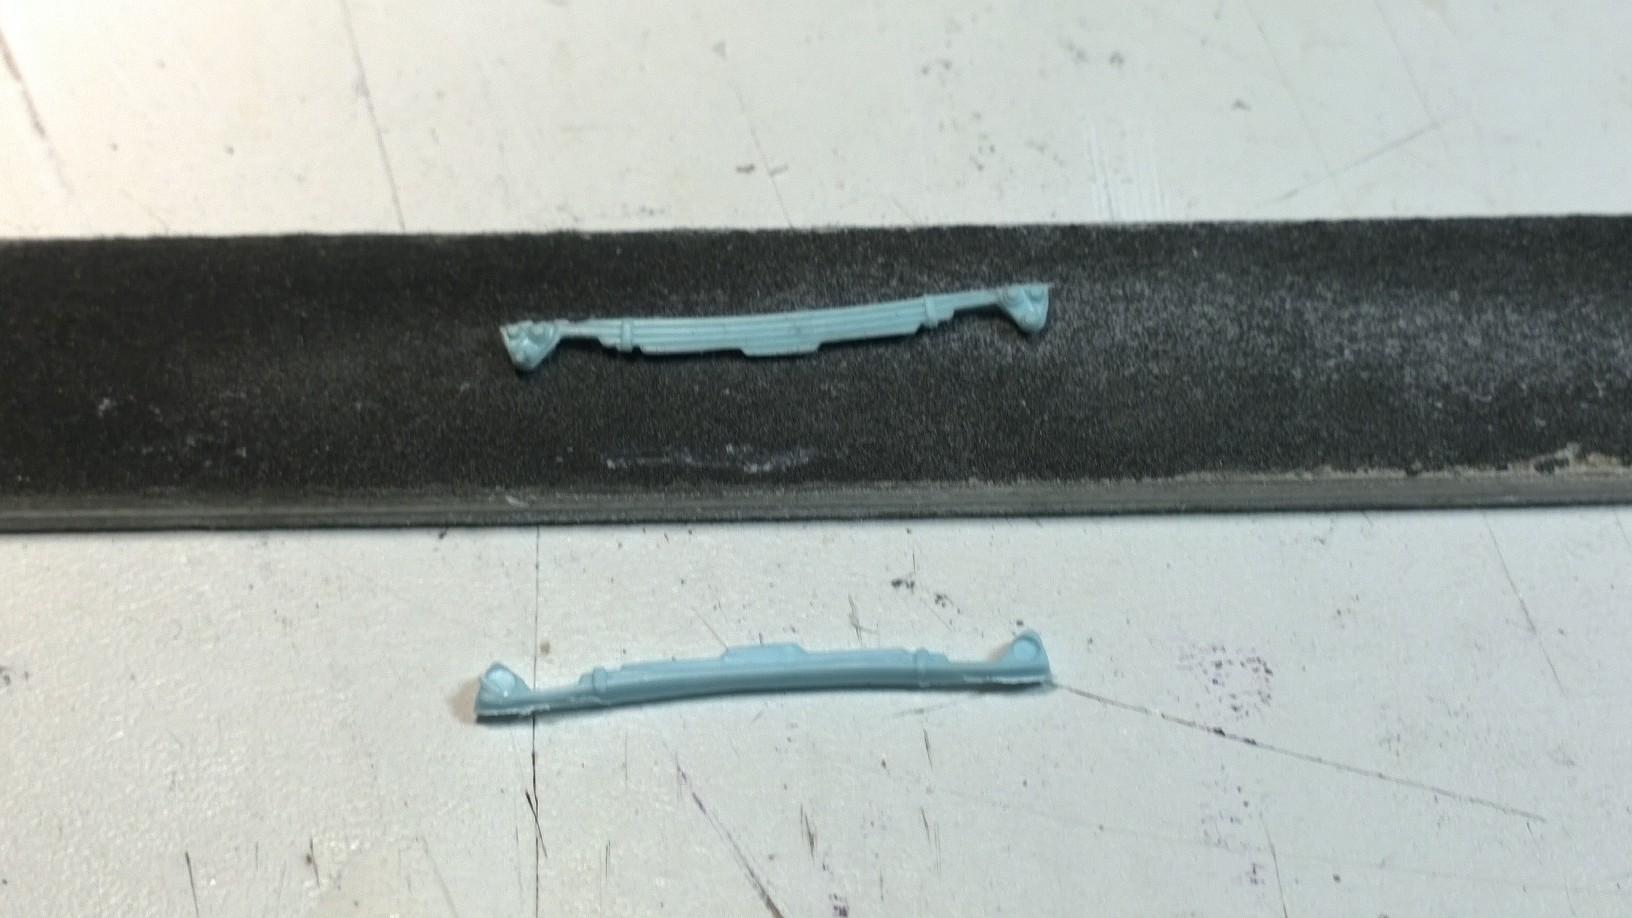
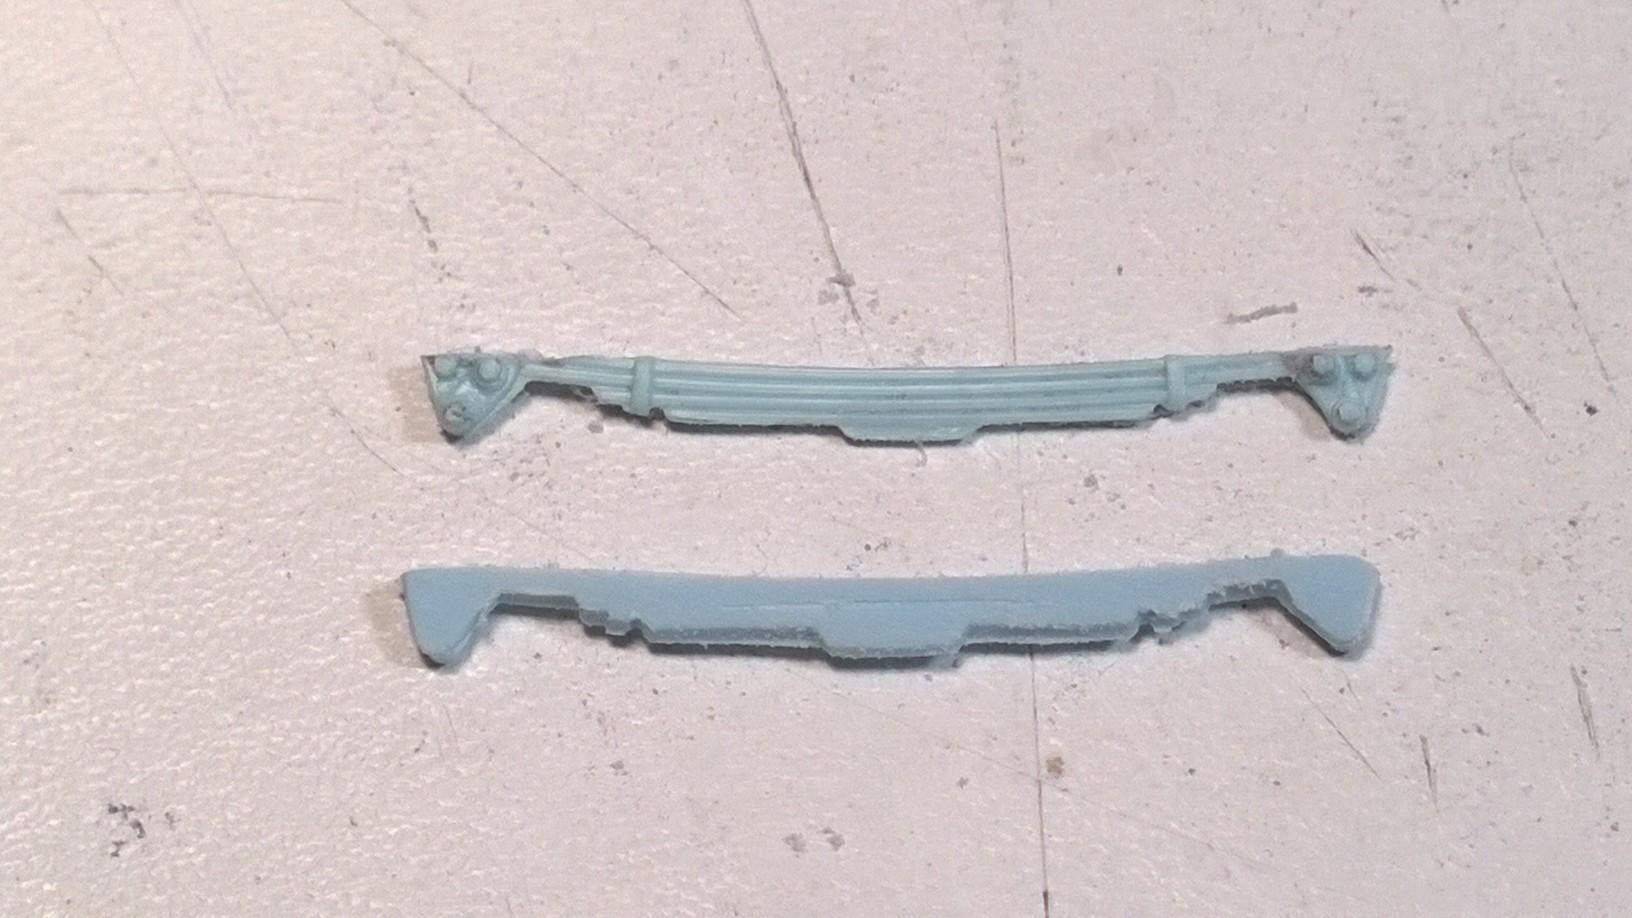
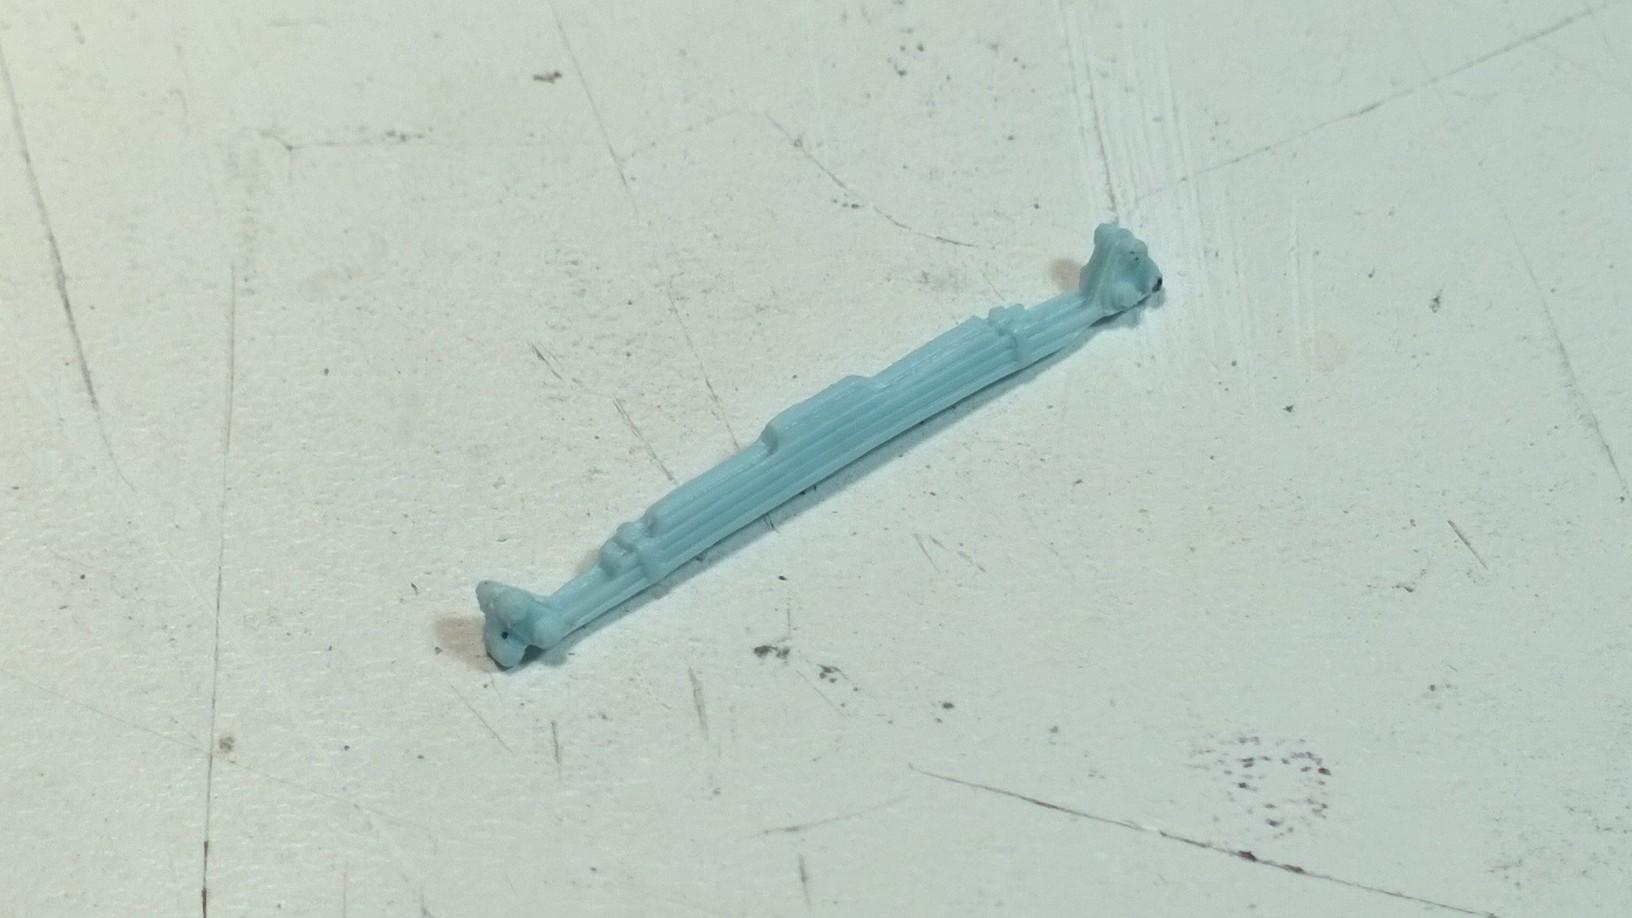
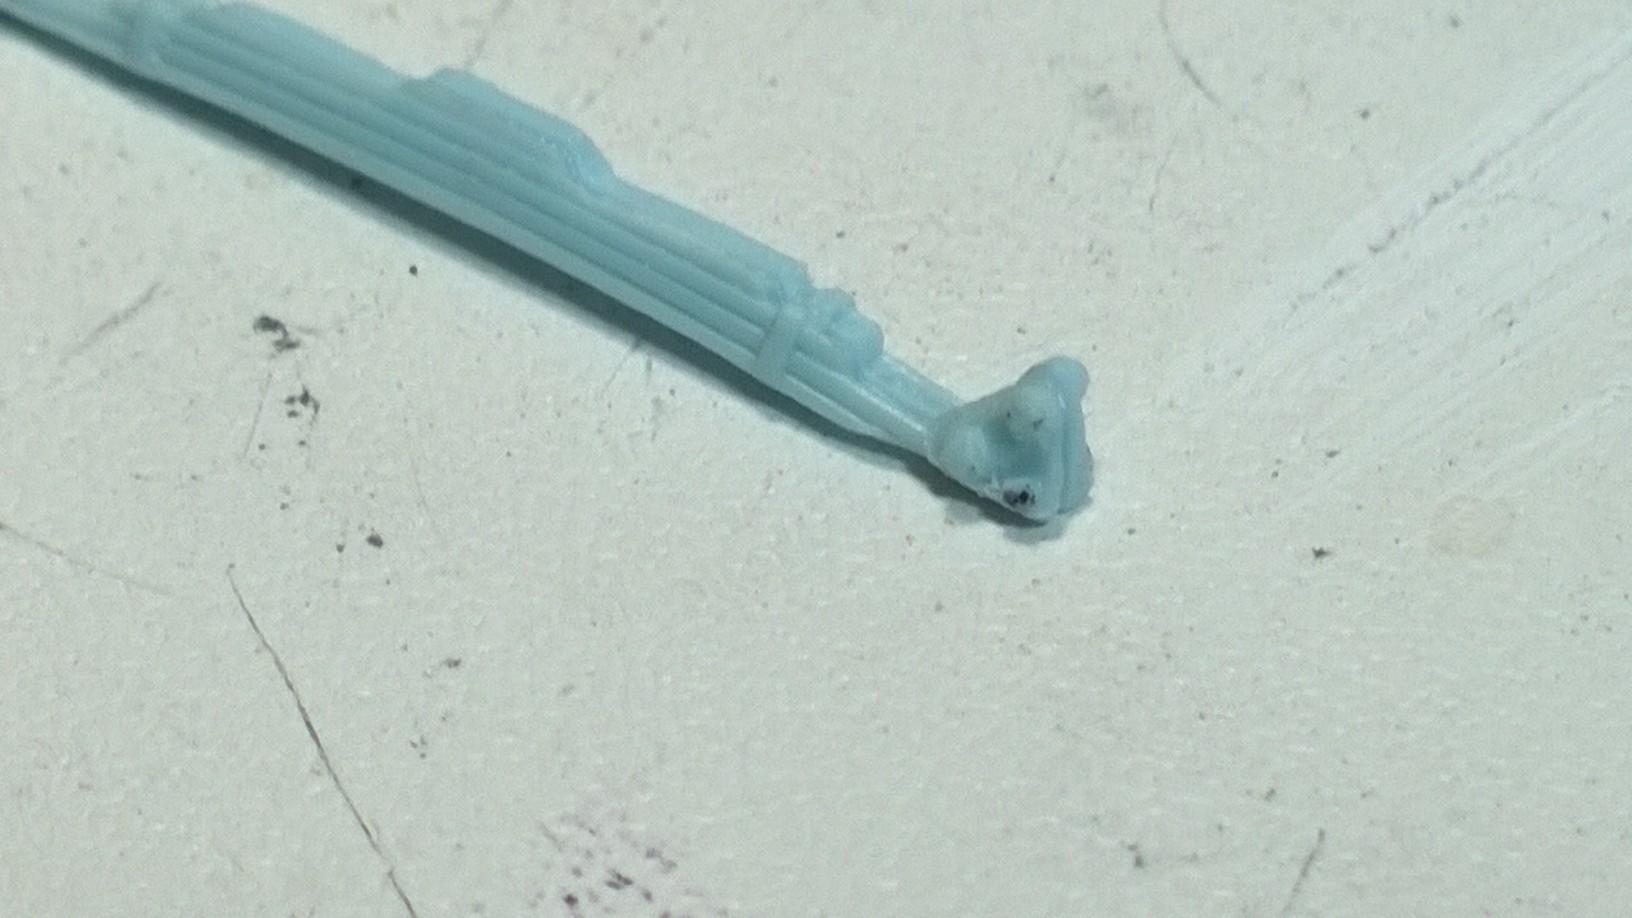
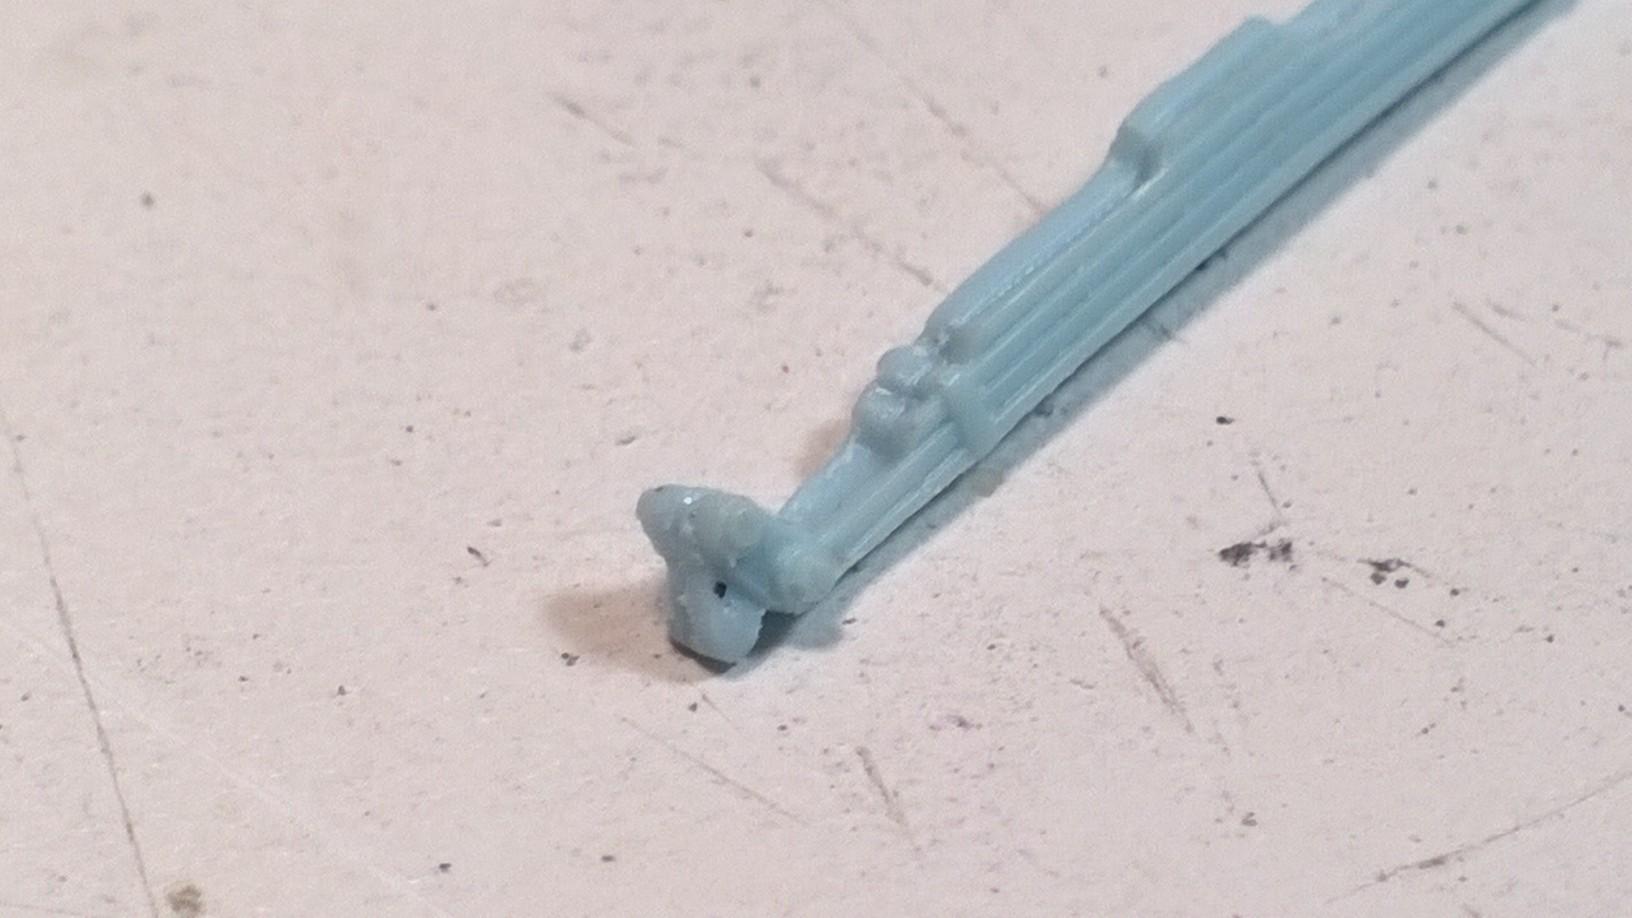
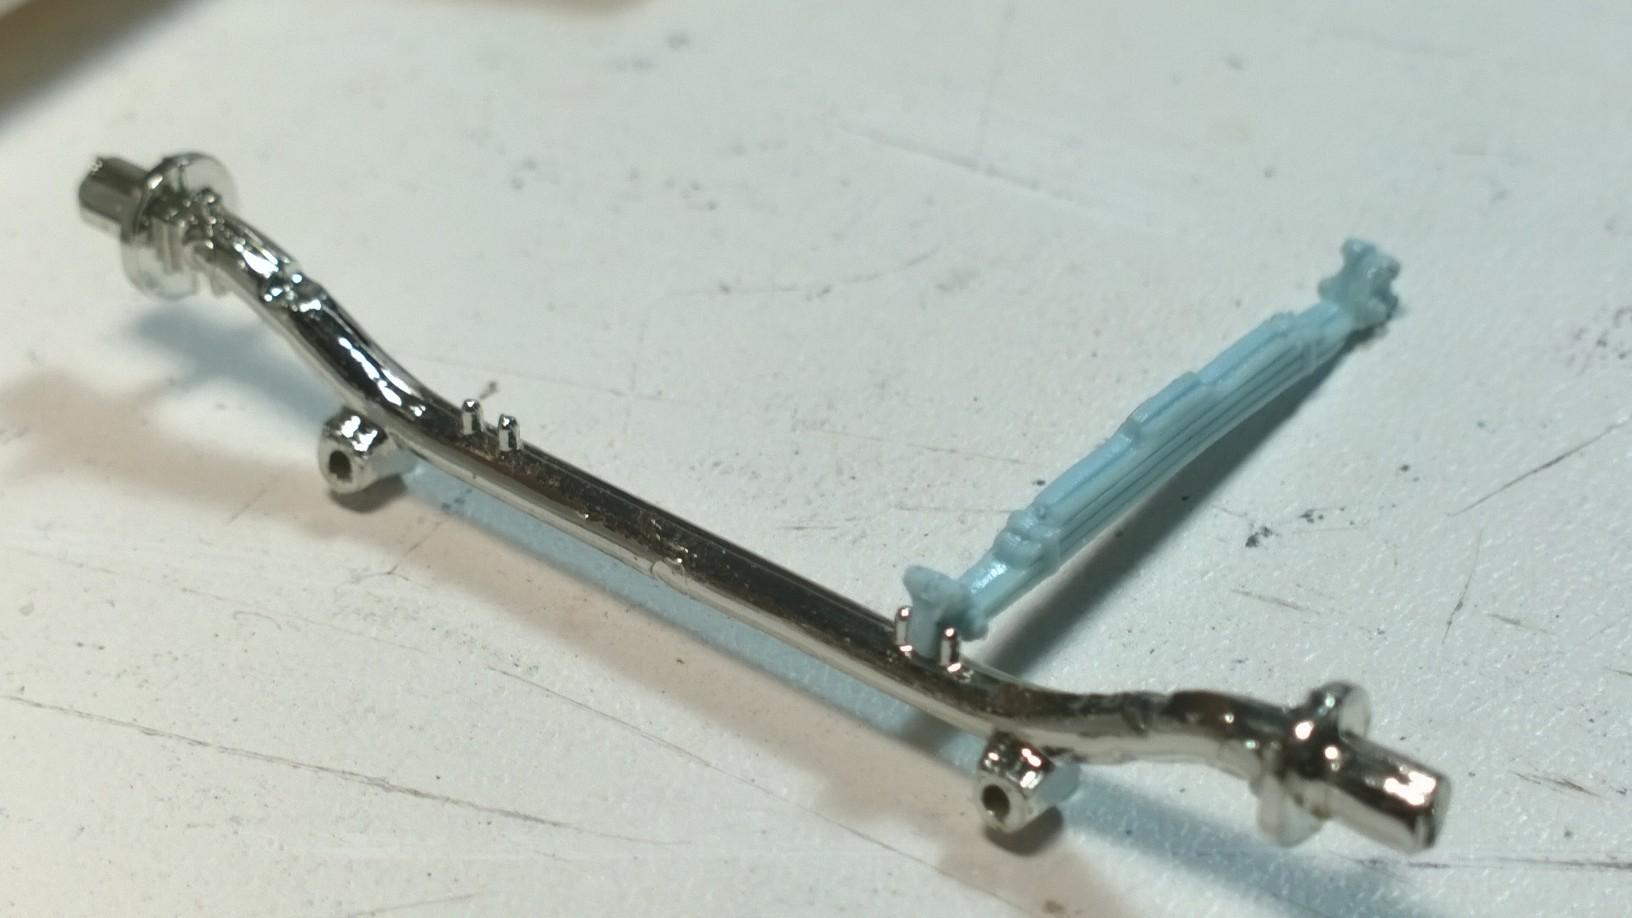
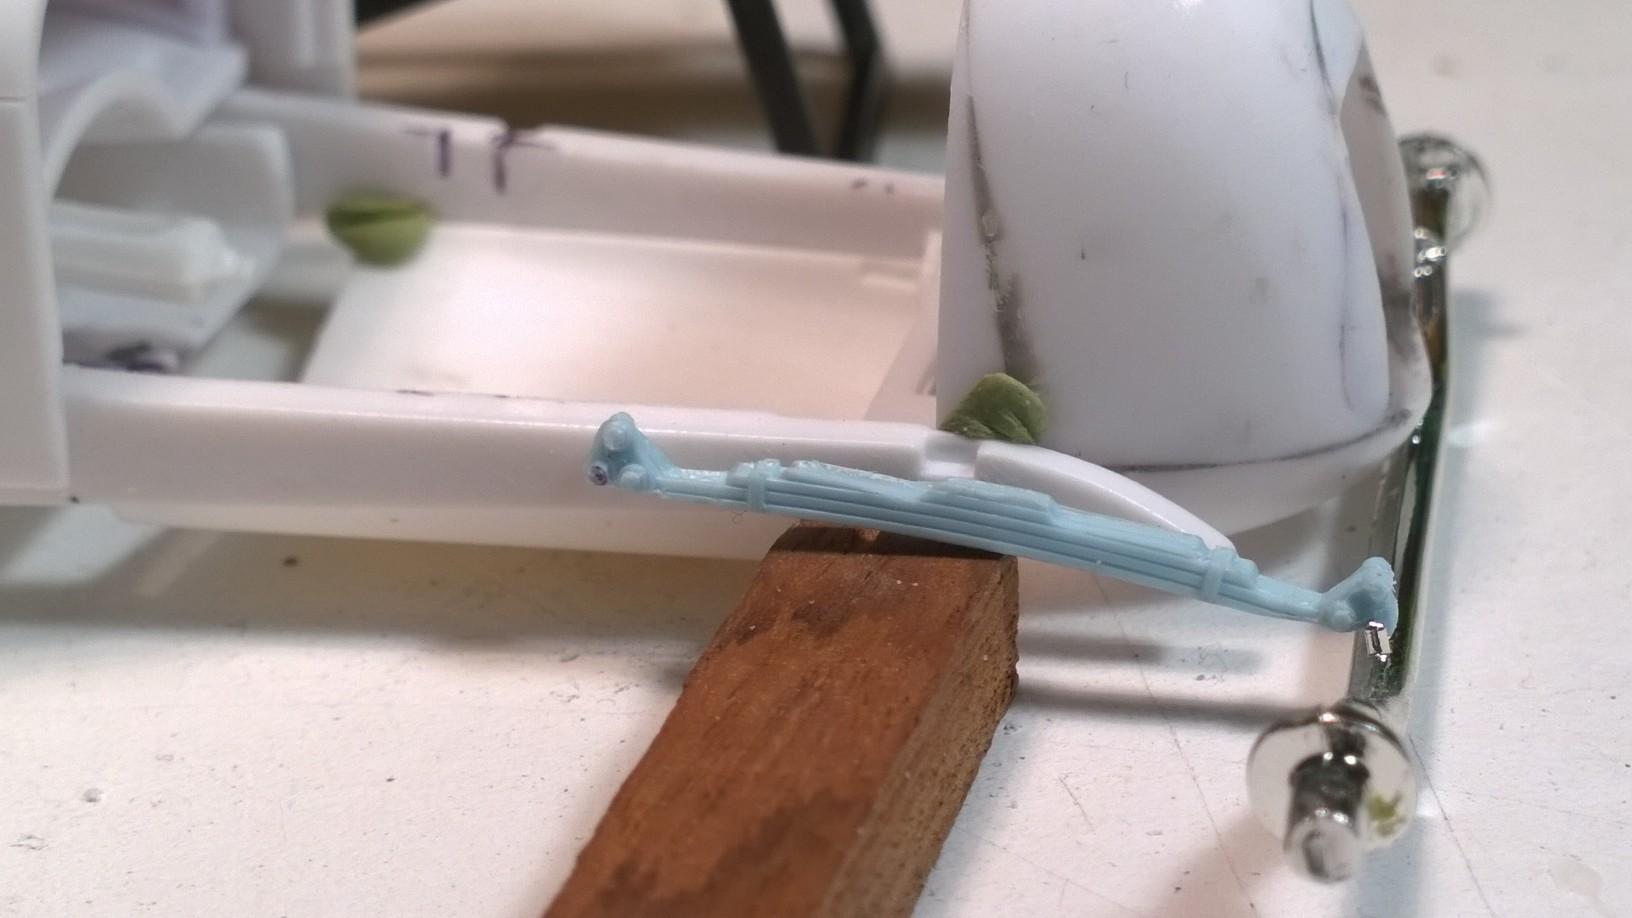
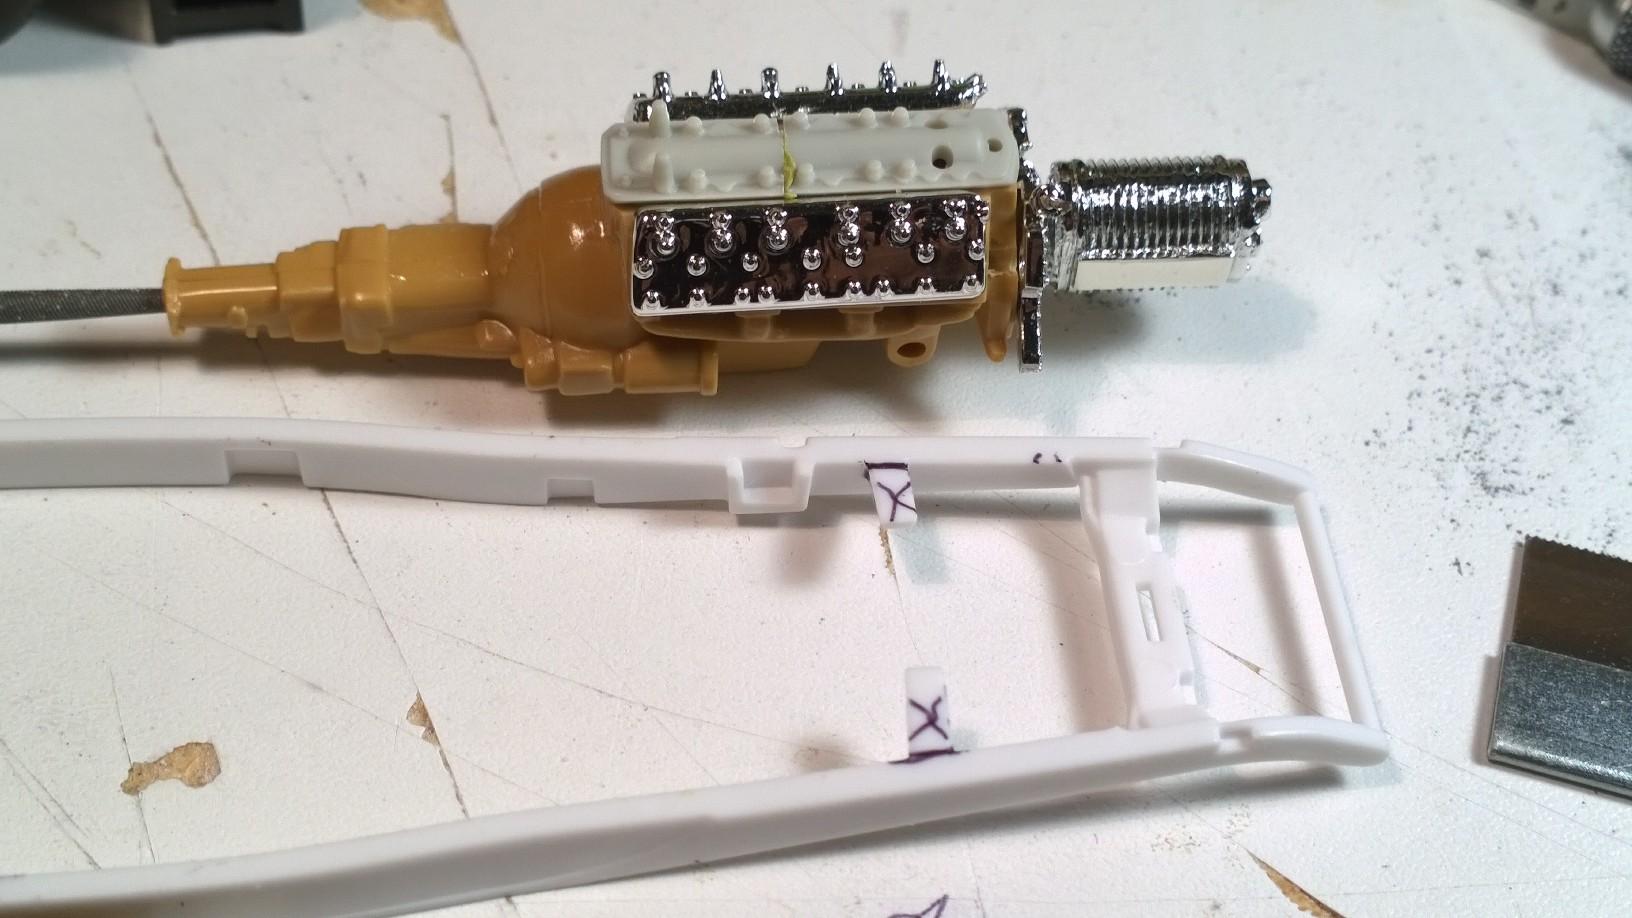
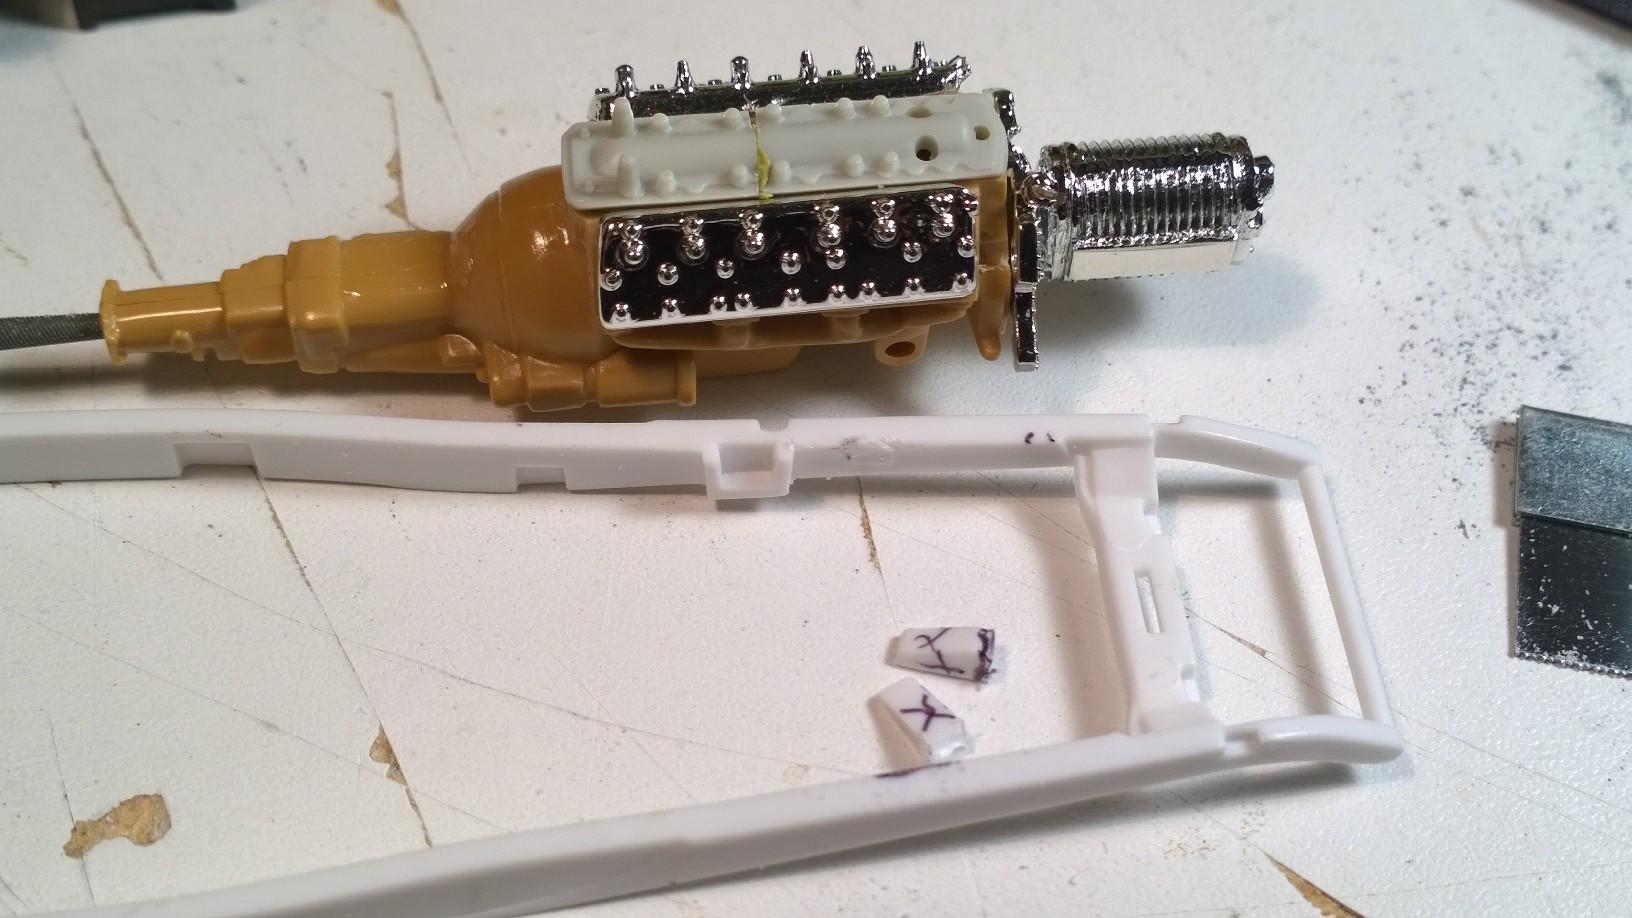
In an offline conversation continually running between @Dennis Lacy& @Rocking Rodney Rataka @Rockin' Rodney Rat(inside joke) and me, RRR how did he put it... something like get "rid of the deuce frame horns!" Could pinch the rails and keep the frame inside the hood sides and forward into the nose. Bob the frame horns right at the front edge of the crossmember with the front spring parallel to the axle. Couple of ways to do that: spring behind a dropped axle sprung between split wishbones or hairpins. Or quarter elliptical springs. Yeah! That's the ticket!! Let's see where these two AMT 1927 Ford Front Axles take us... What we have here is an almost flat and somewhat short overall length/width top mounted front leaf spring. Nice detail from the front, but look closely at the loss of detail and material to accommodate the steel axle and lower/rear edge of the front crossmember. Separate the springs from the stock axles... Smooth the backside... creating almost mirror images of one and other... Set them together with some bonding fluid... File to desired shape... Starting with the rough-cut bottom edge looking like this... Interesting... can't quite place the origin of the slightly dropped tube axle. Imagine the spring cut right in half mounted in the frame in place of the deuce frame horn with the axle tucked up under the nose about 4 scale inches forward of the stock front crossmember. Placing the front tire about here: Gotta get the engine set between the rails before working on the full belly pan. Did I mention the V-12 block will be bolted to the front side of the firewall? Film at 11 -KK
-
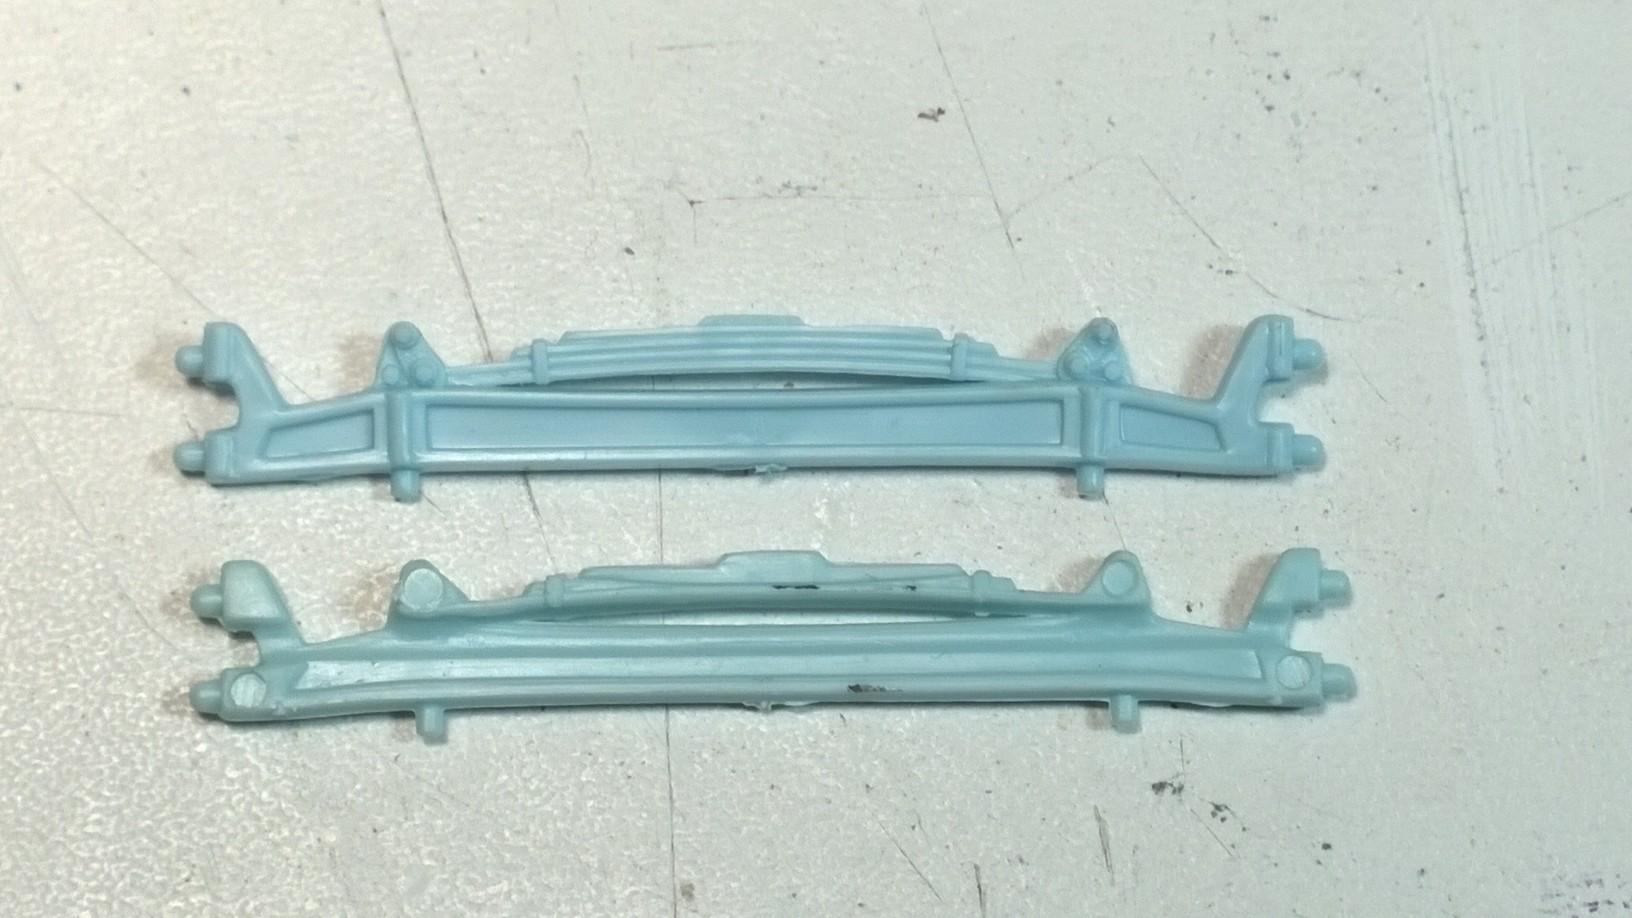
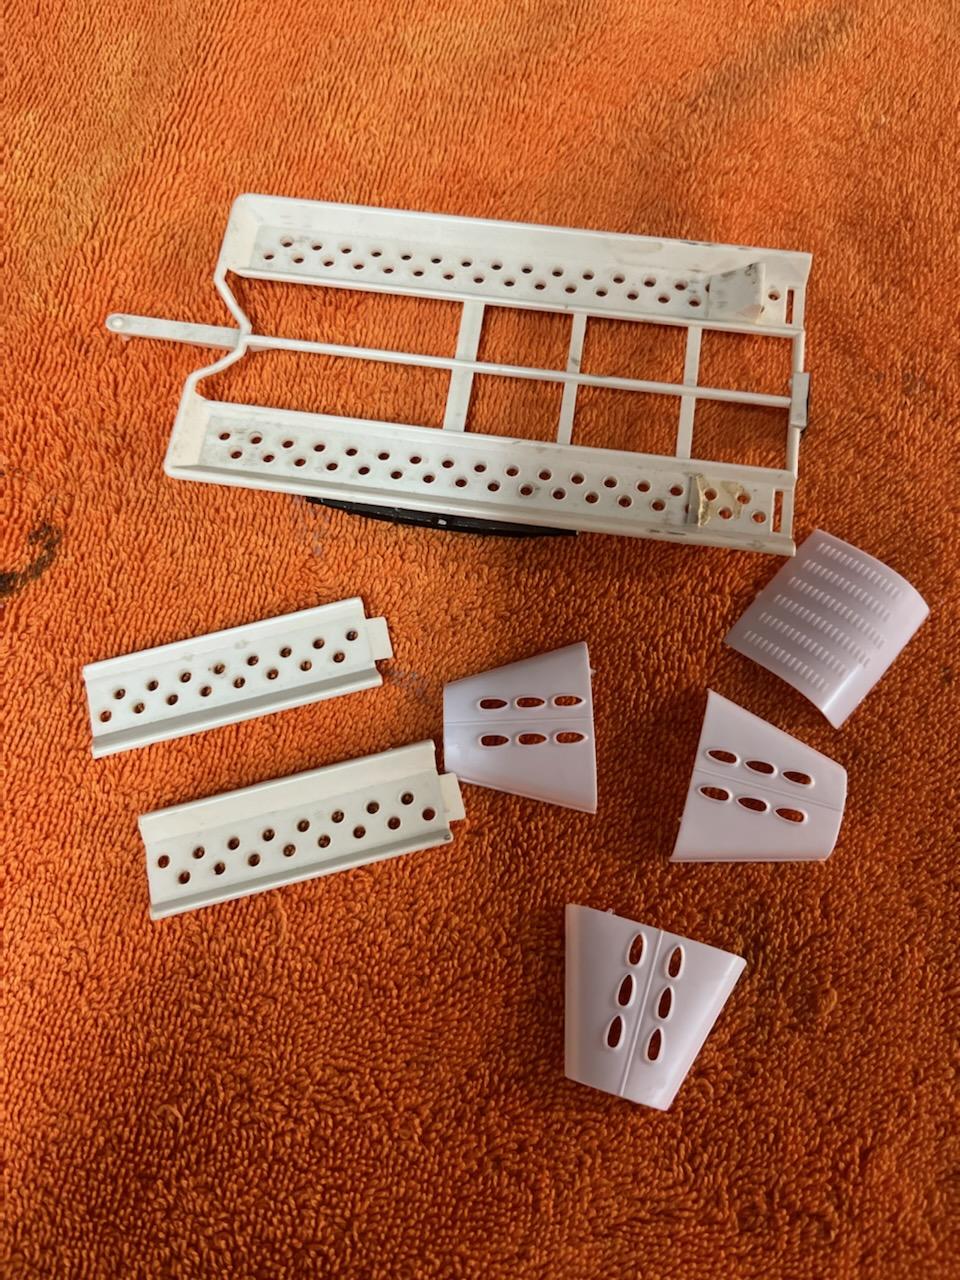
Tall rear tire with steel wheel Here's a tutorial on how to take the wheel from the Monogram 1941 Lincoln kit (discontinued but readily available on eBay) and insert the center section from the Revell steel wheel (available in several kits, the '40 Ford, '48 Ford, '32 five window and others) all brought to us complements of @Rocking Rodney Rat Follow along... https://public.fotki.com/jferren/tall-rear-tire-with/
-
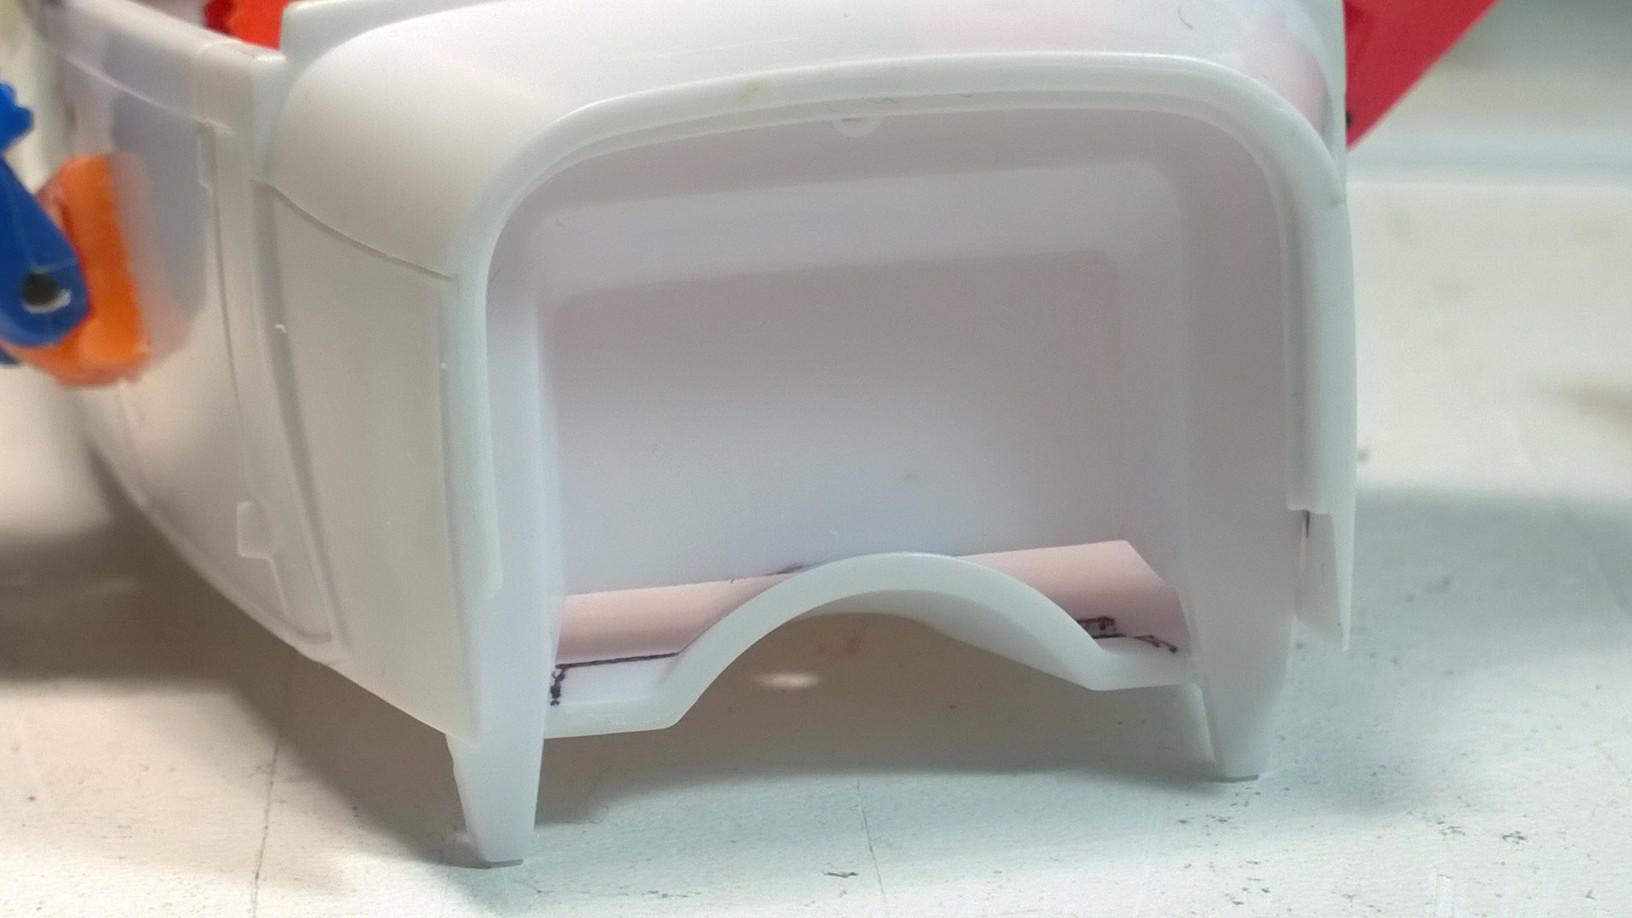
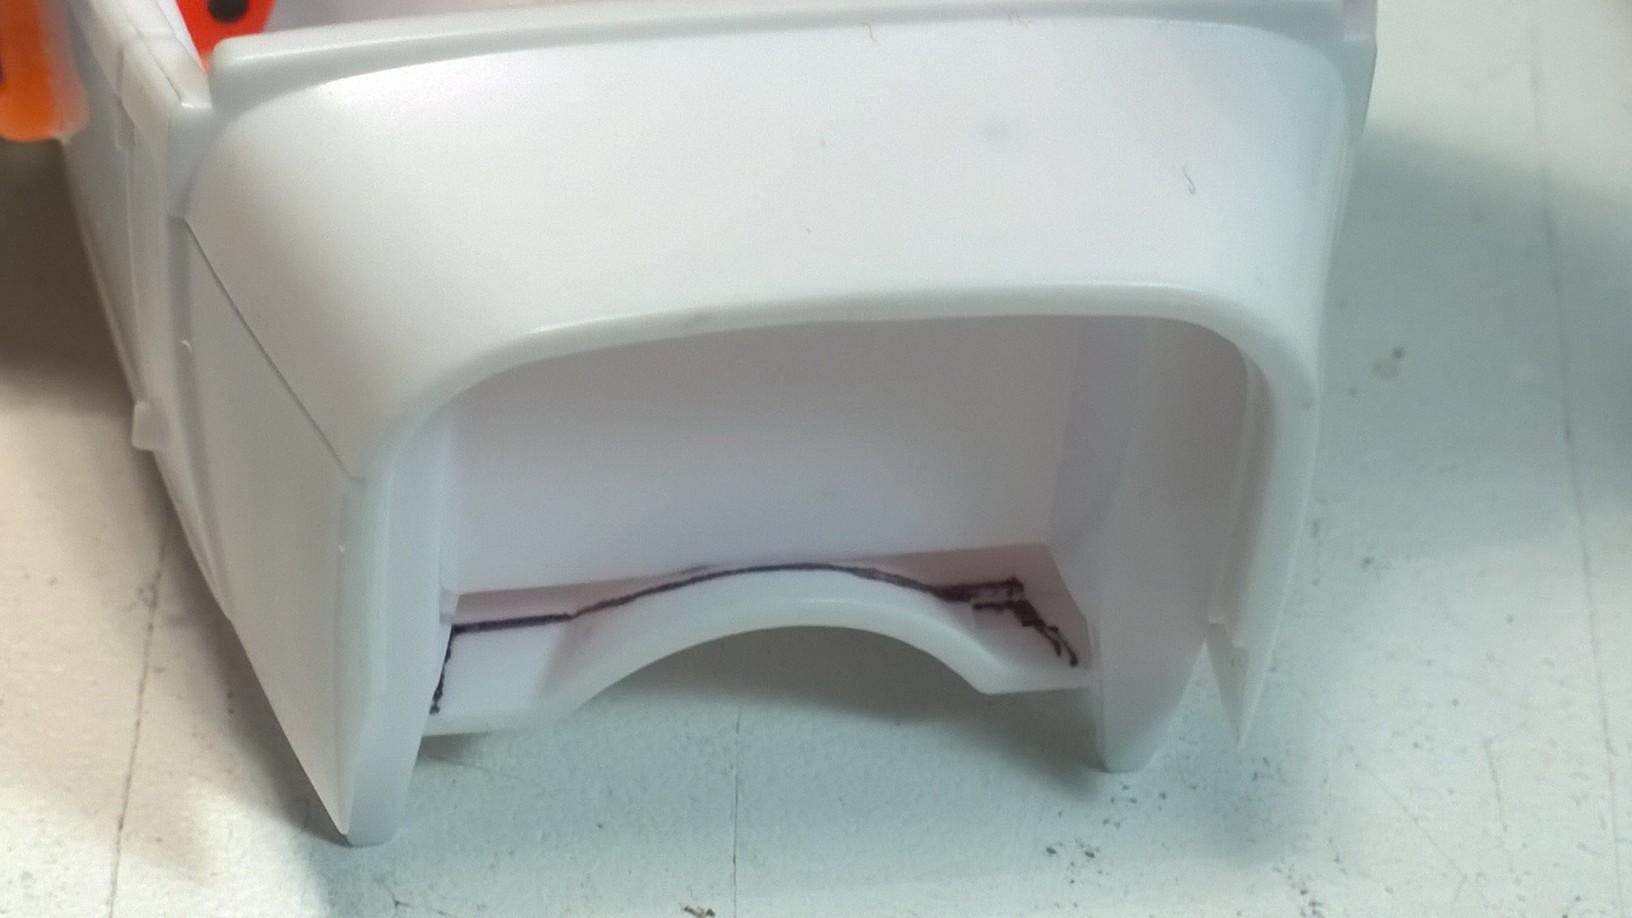
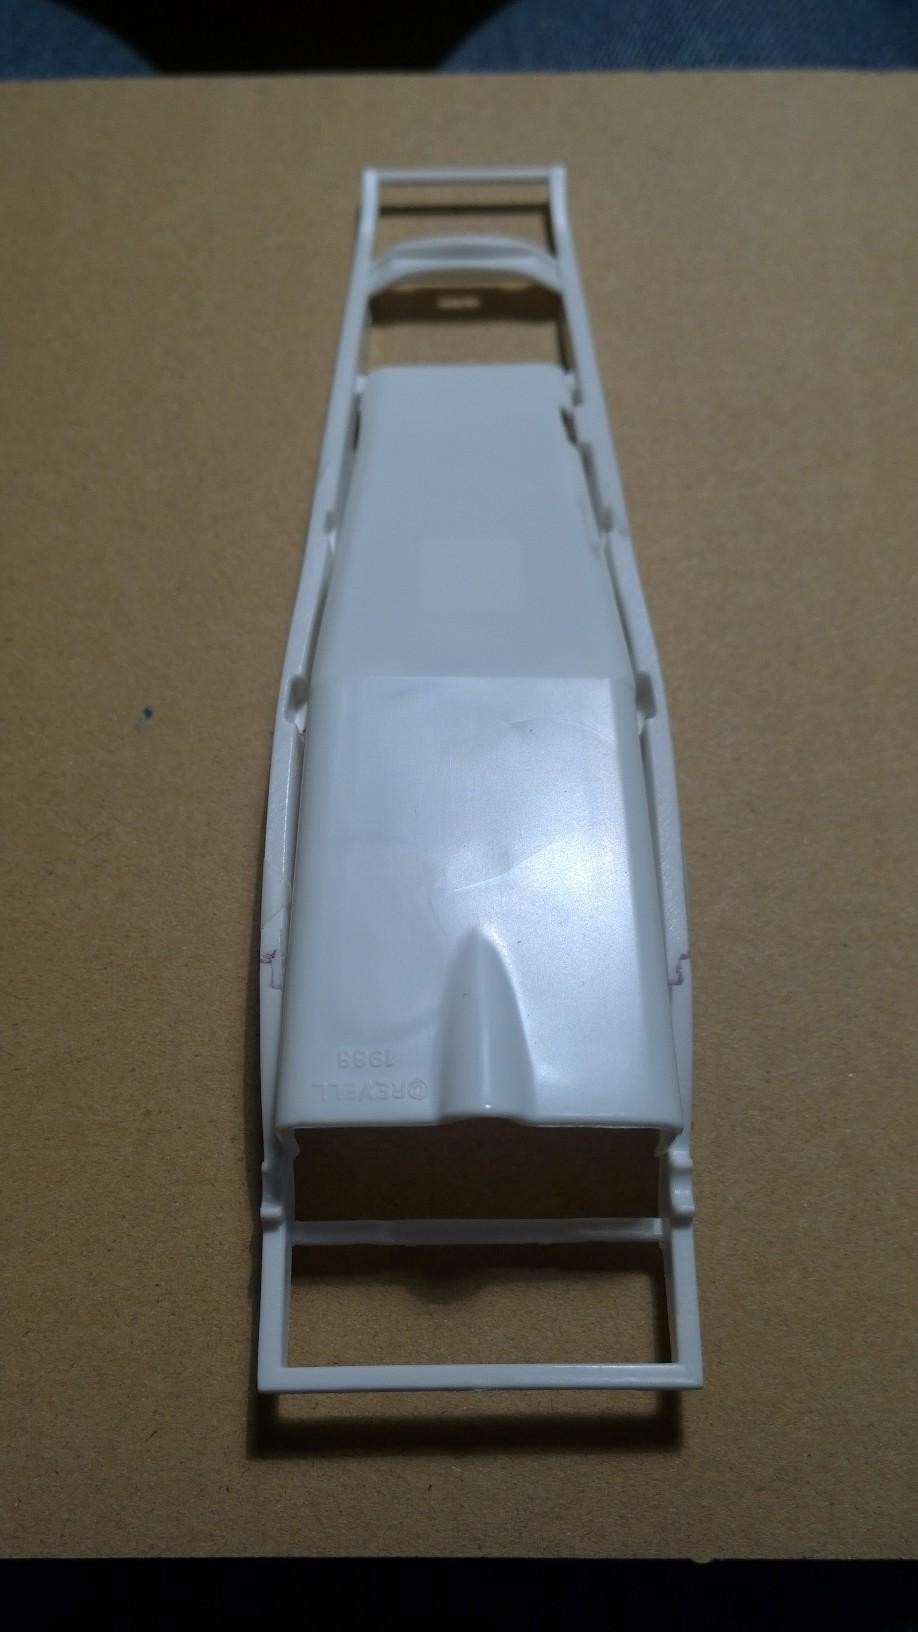
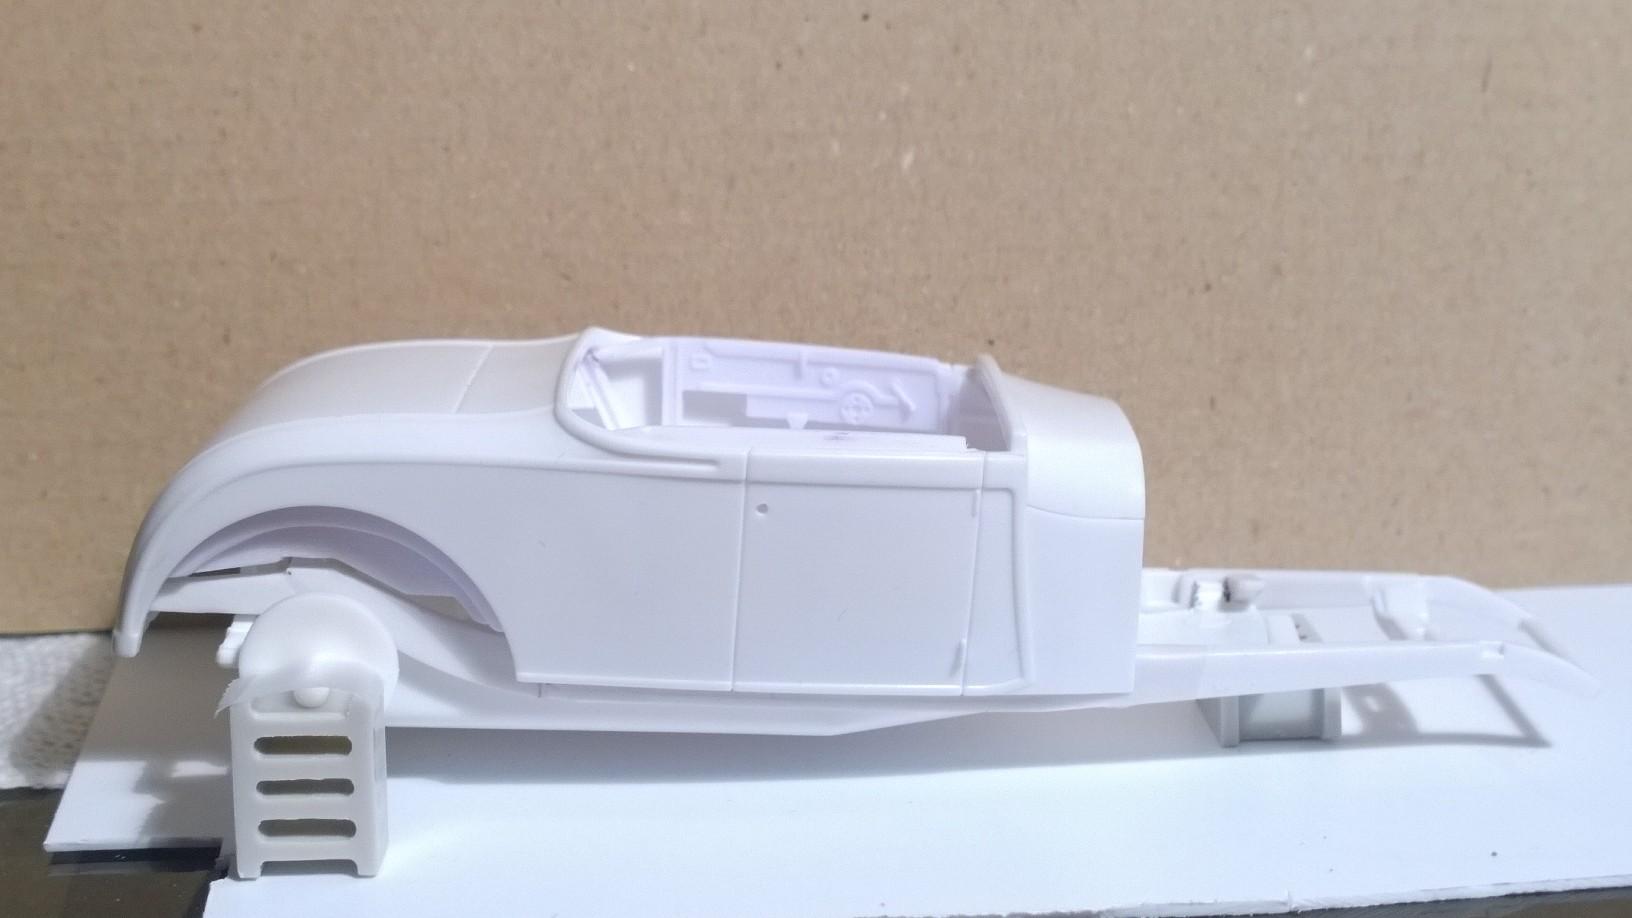
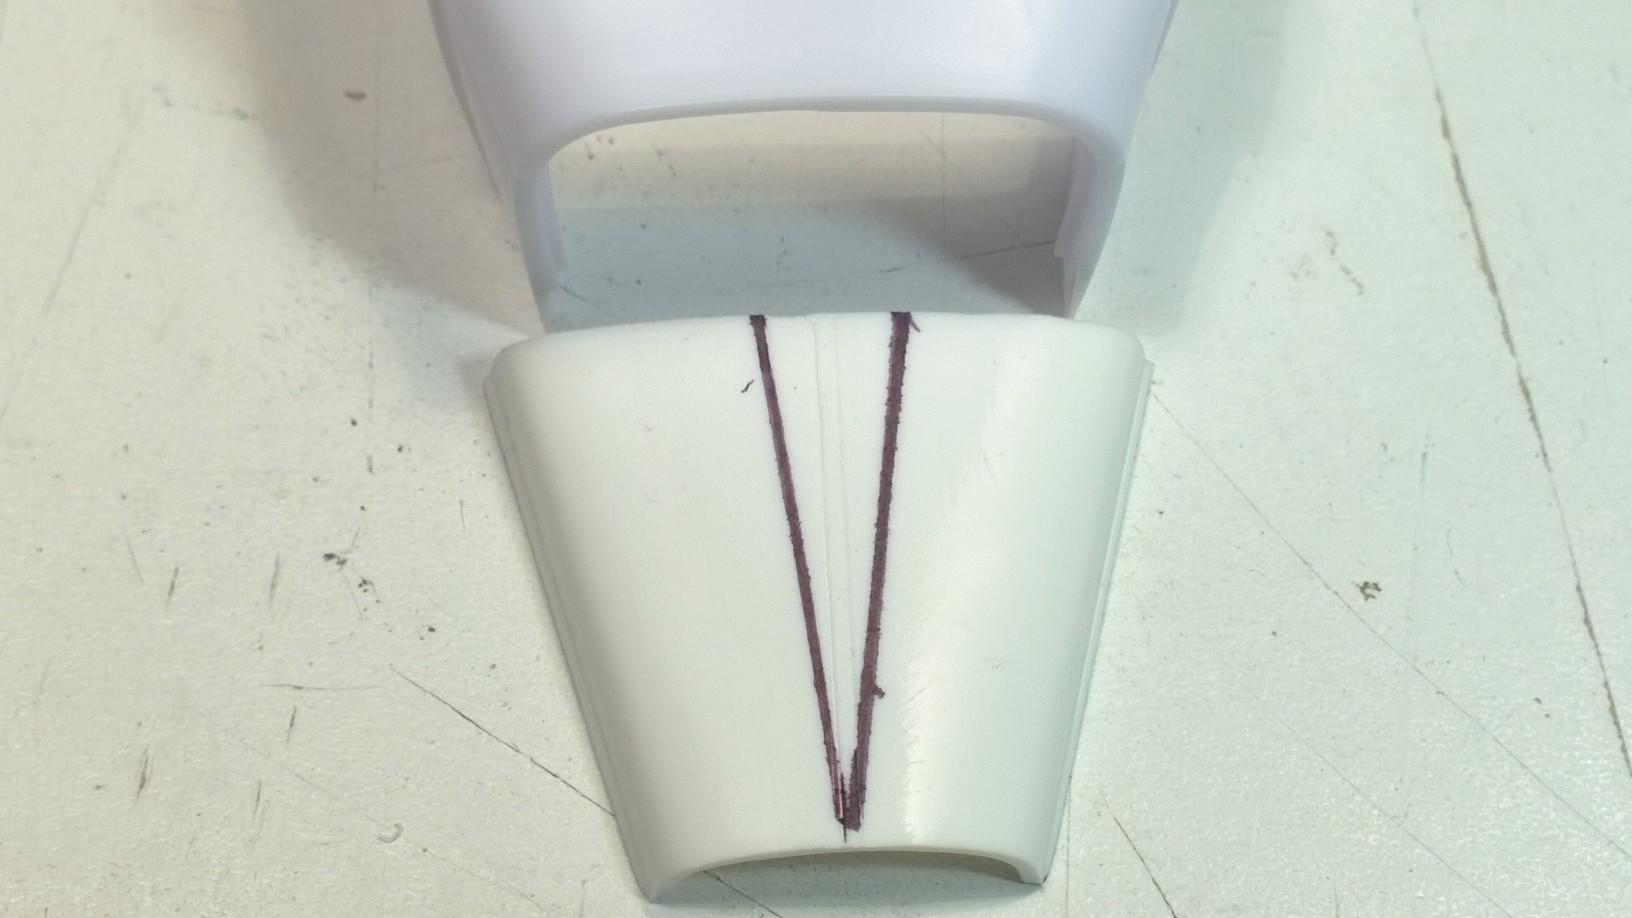
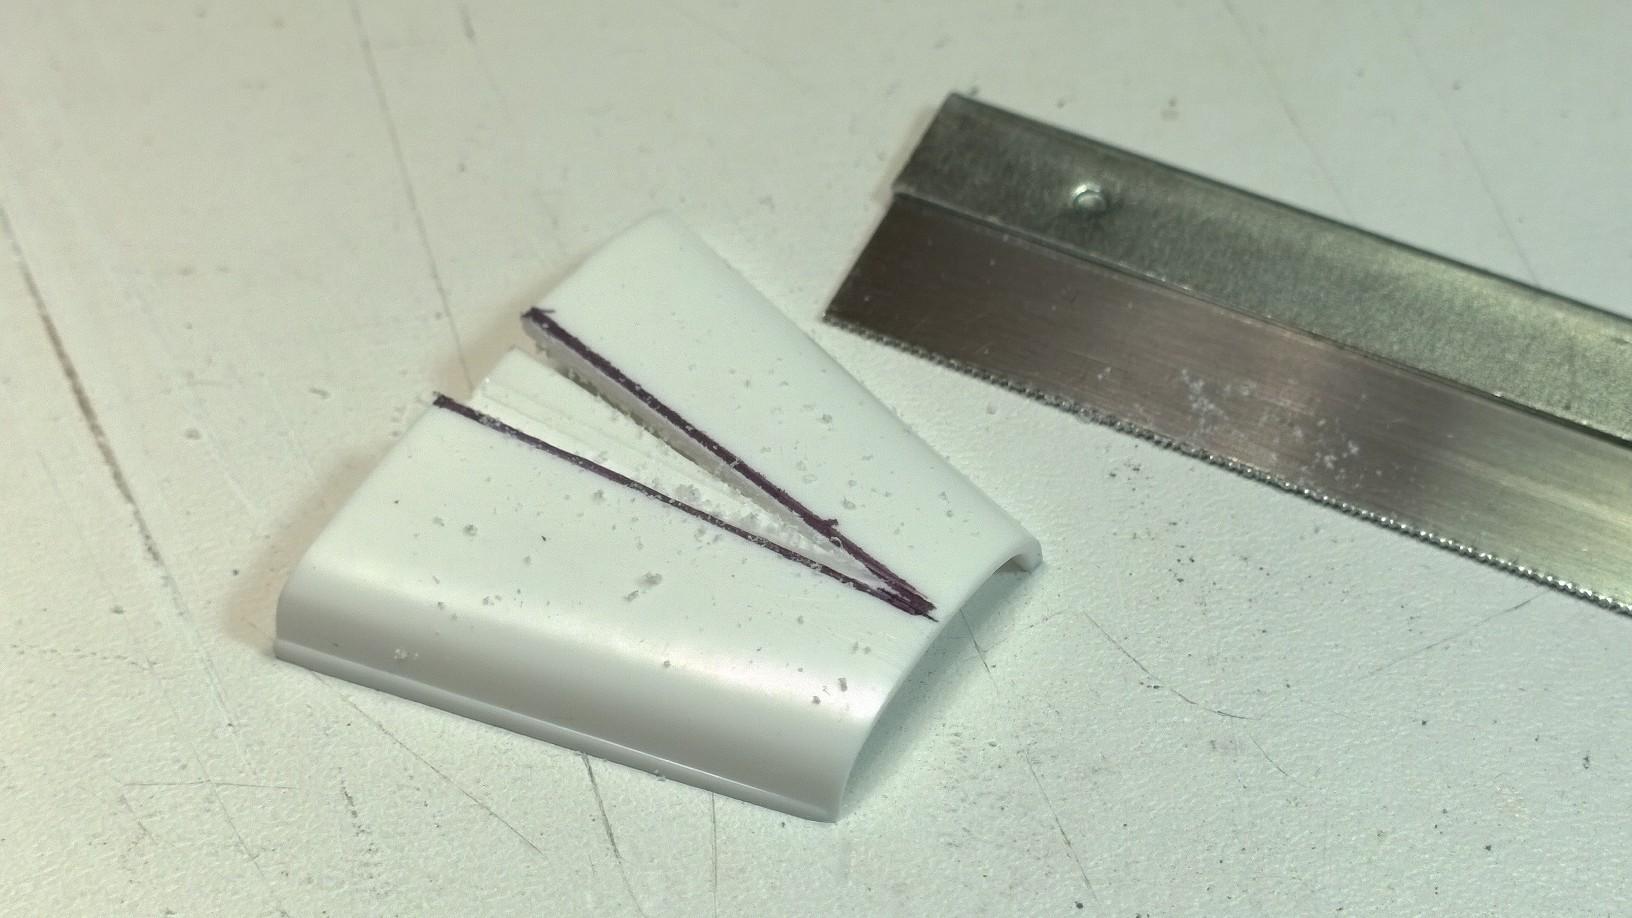
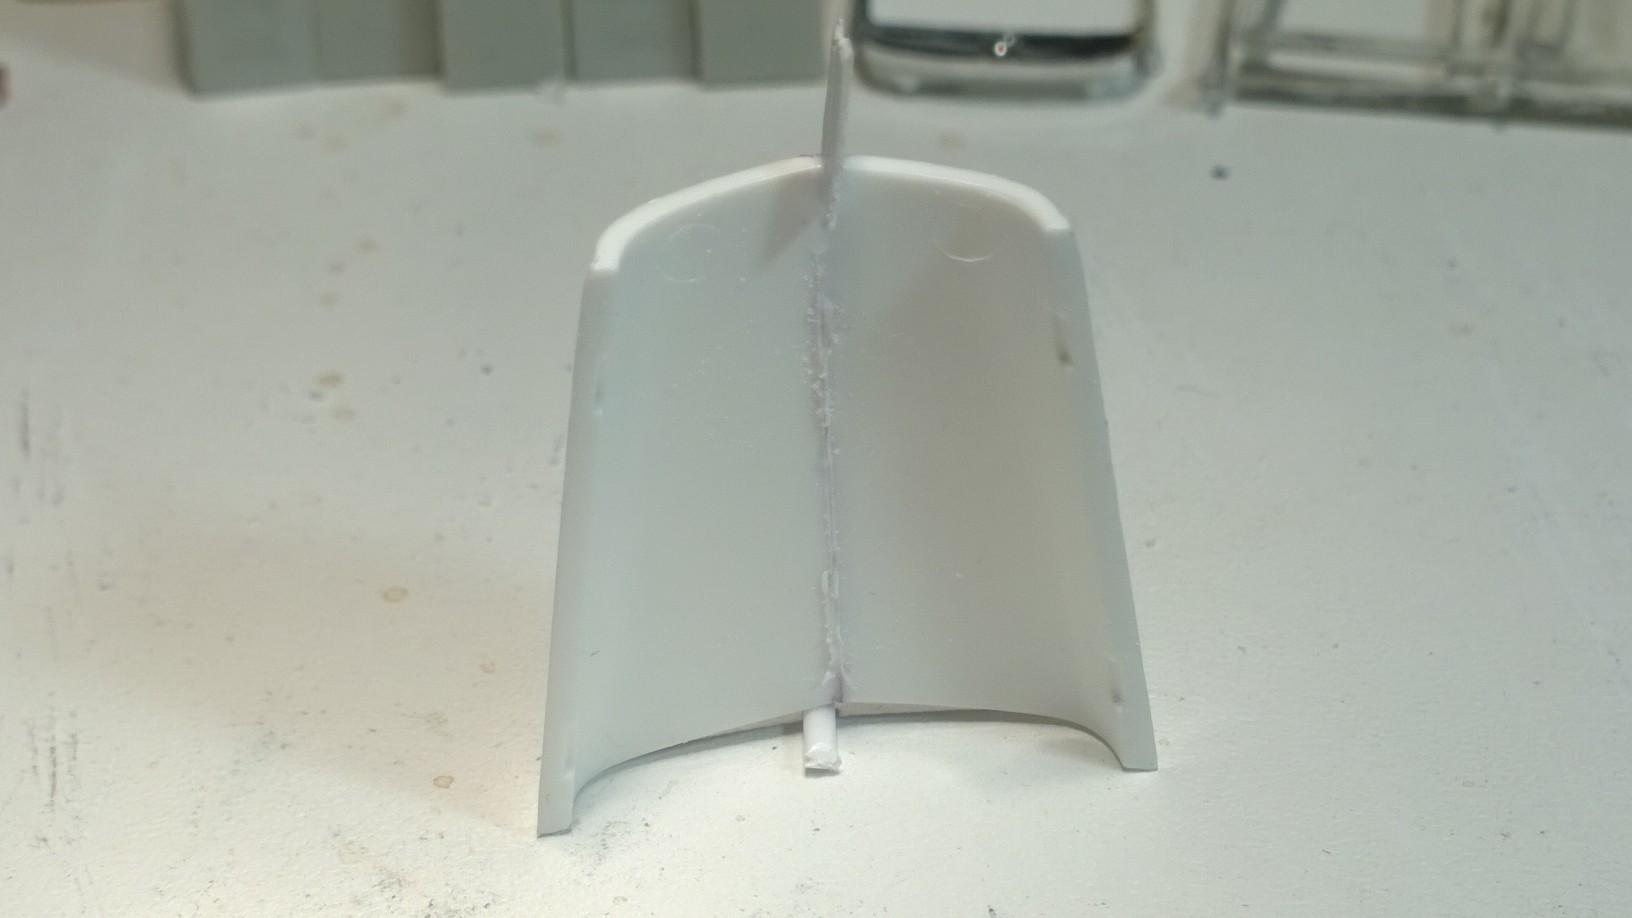
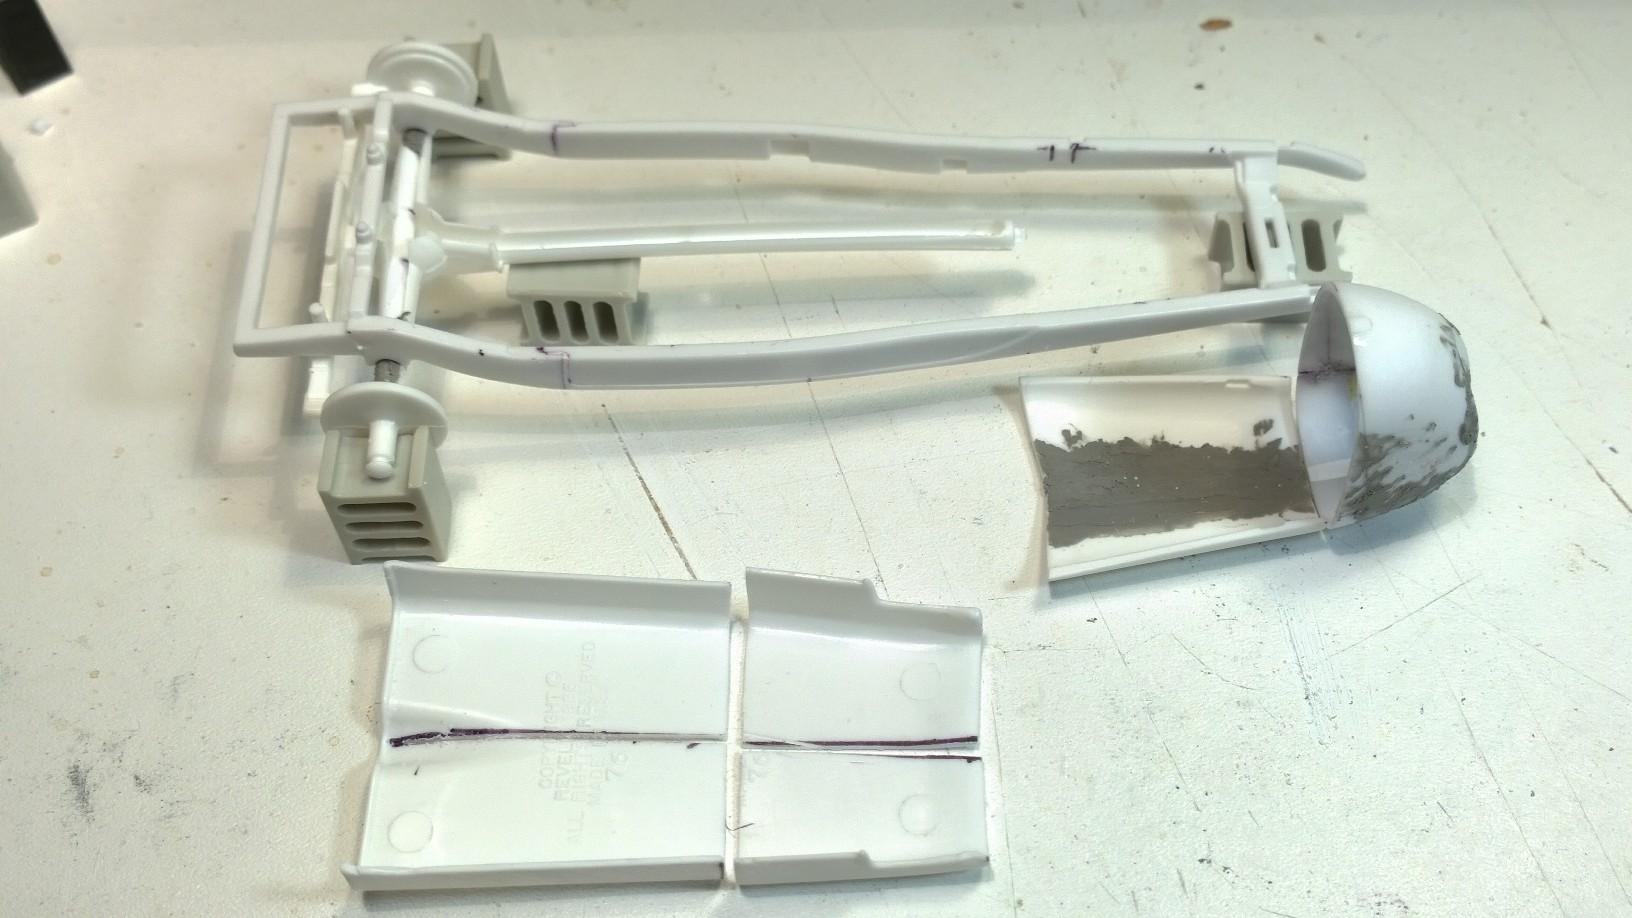
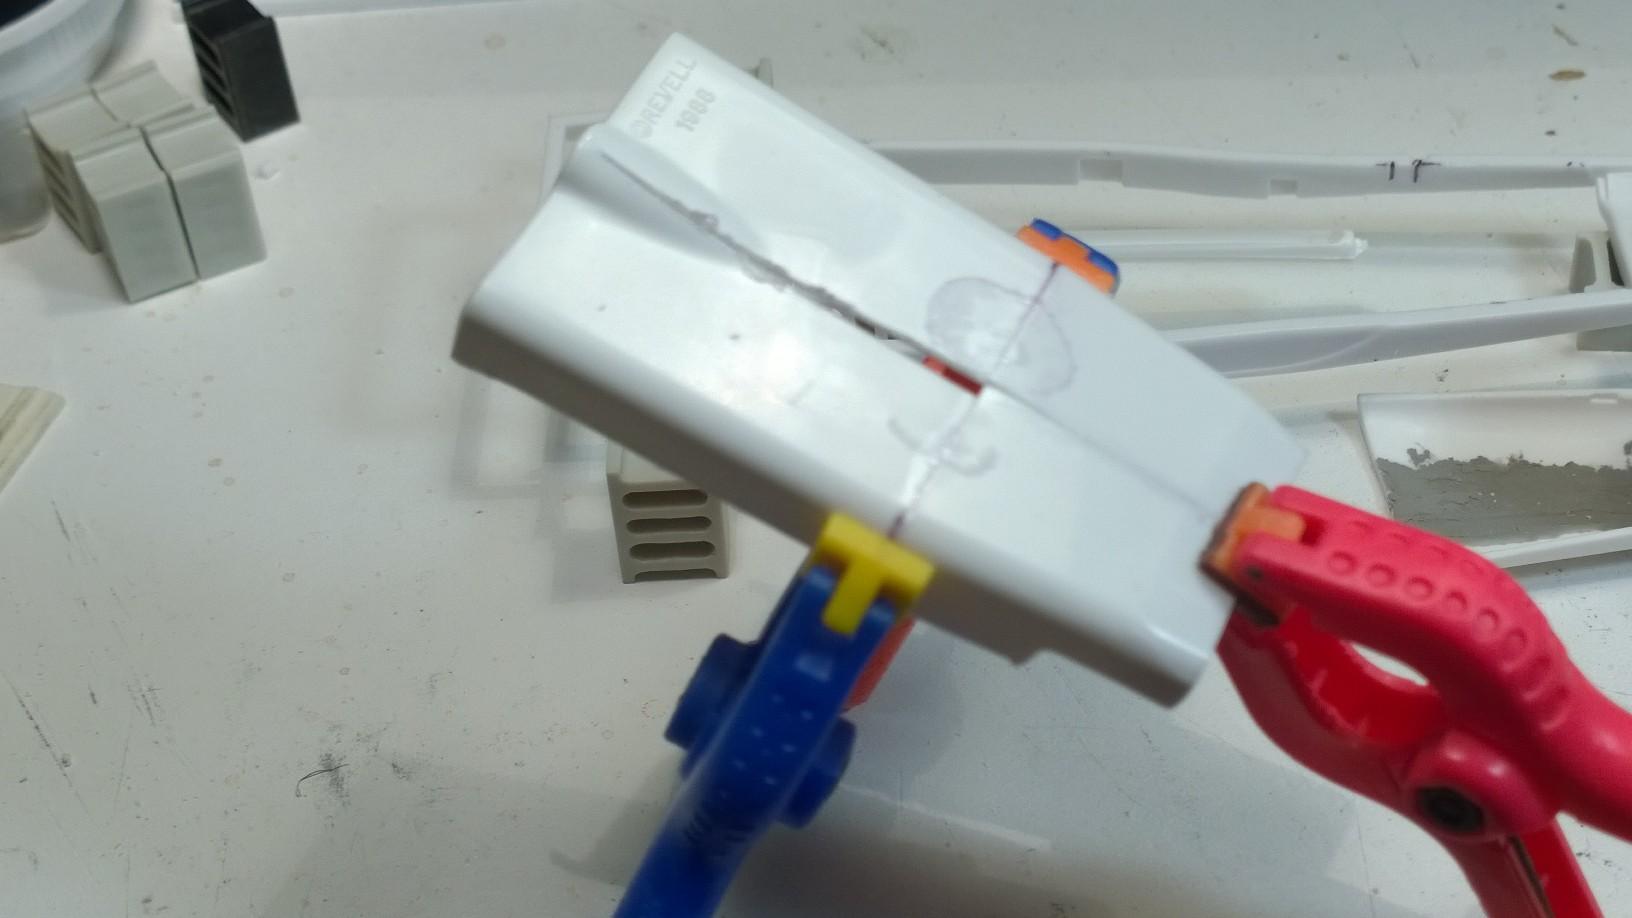
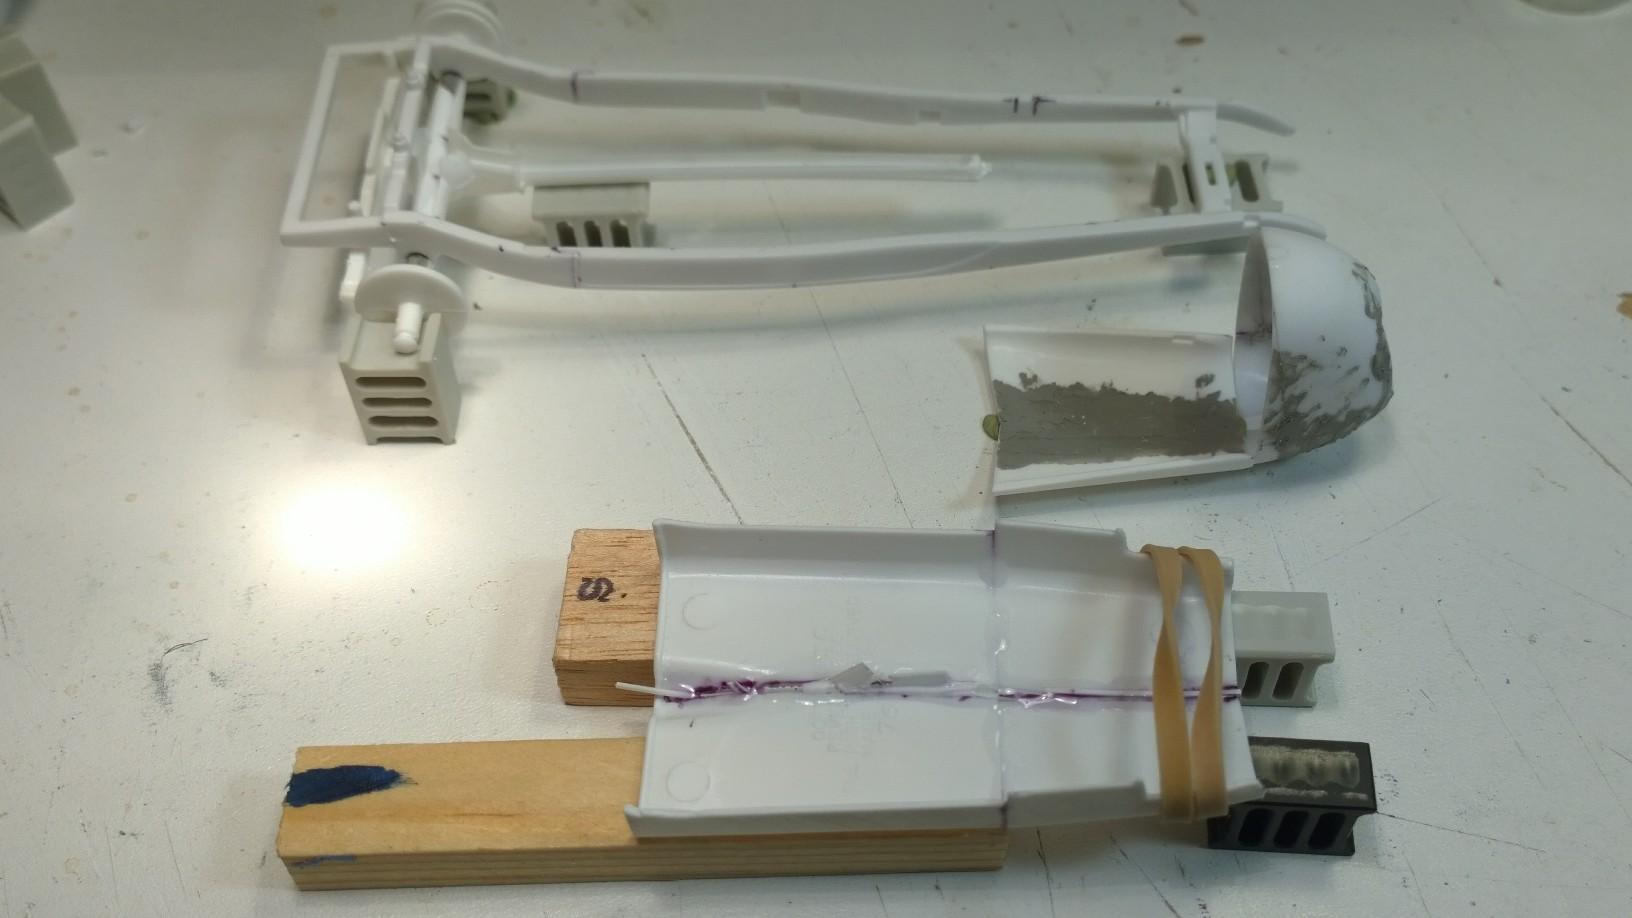
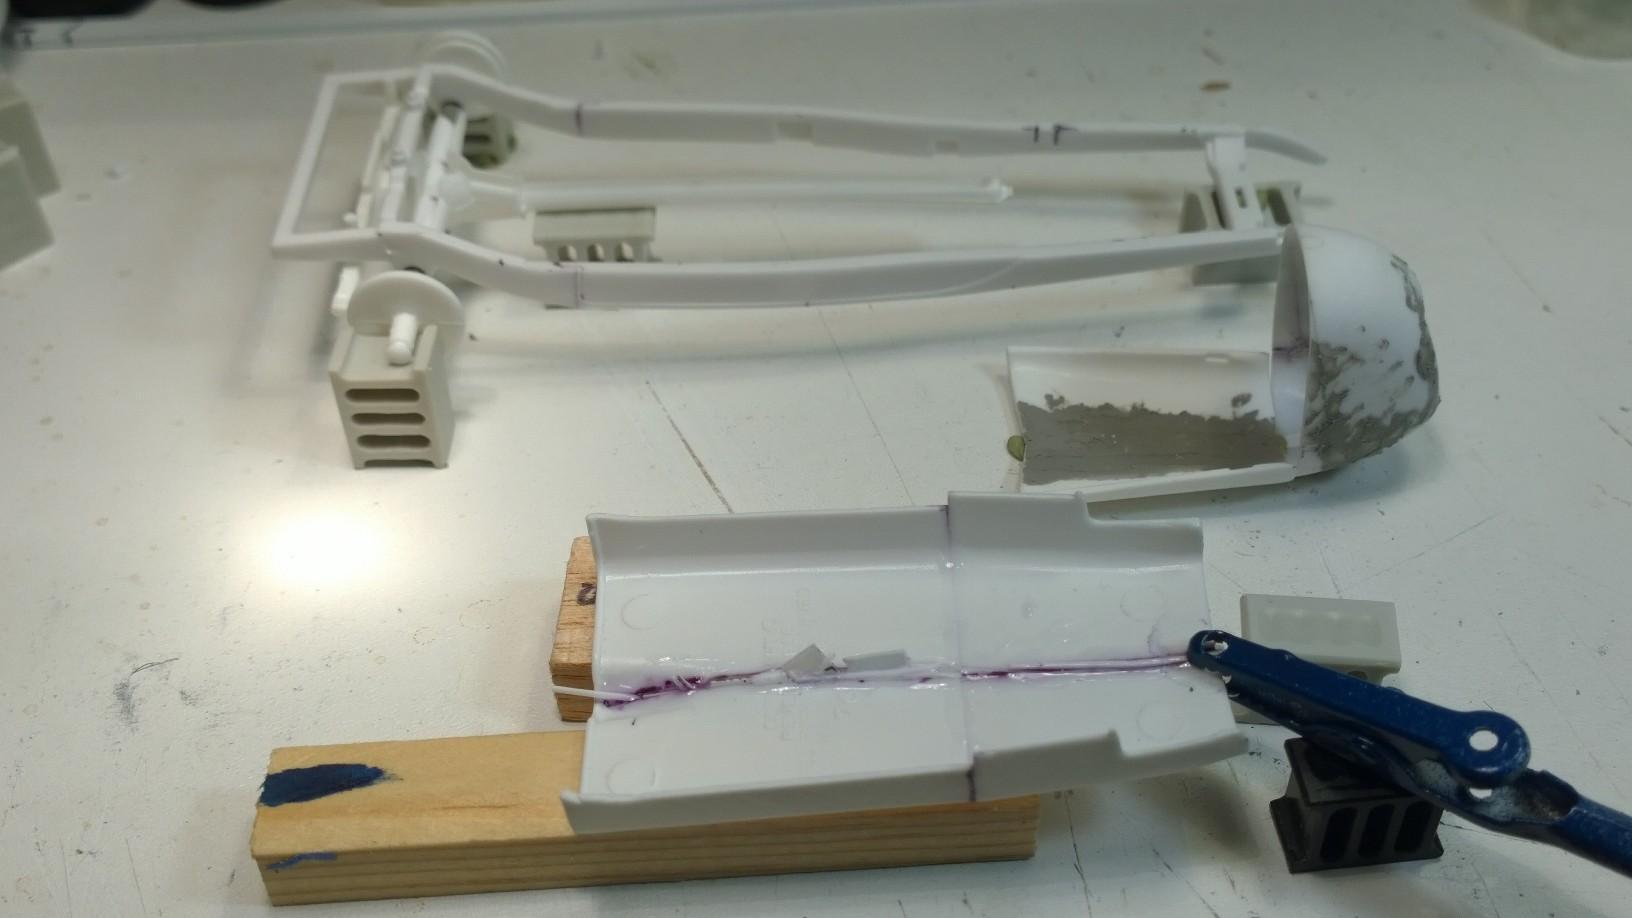
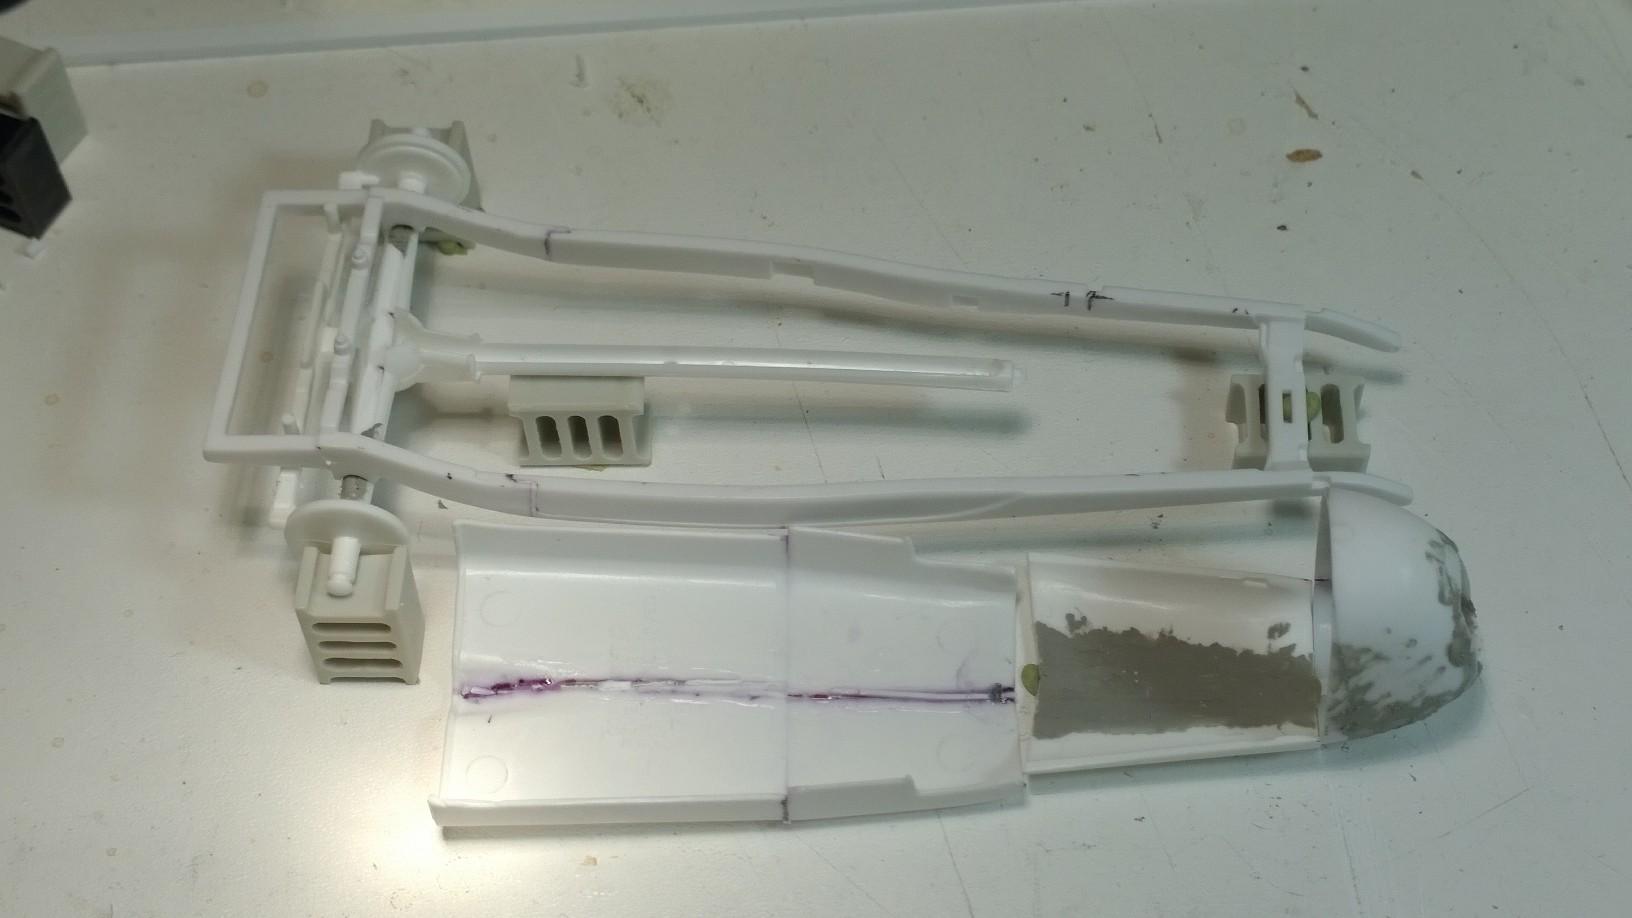
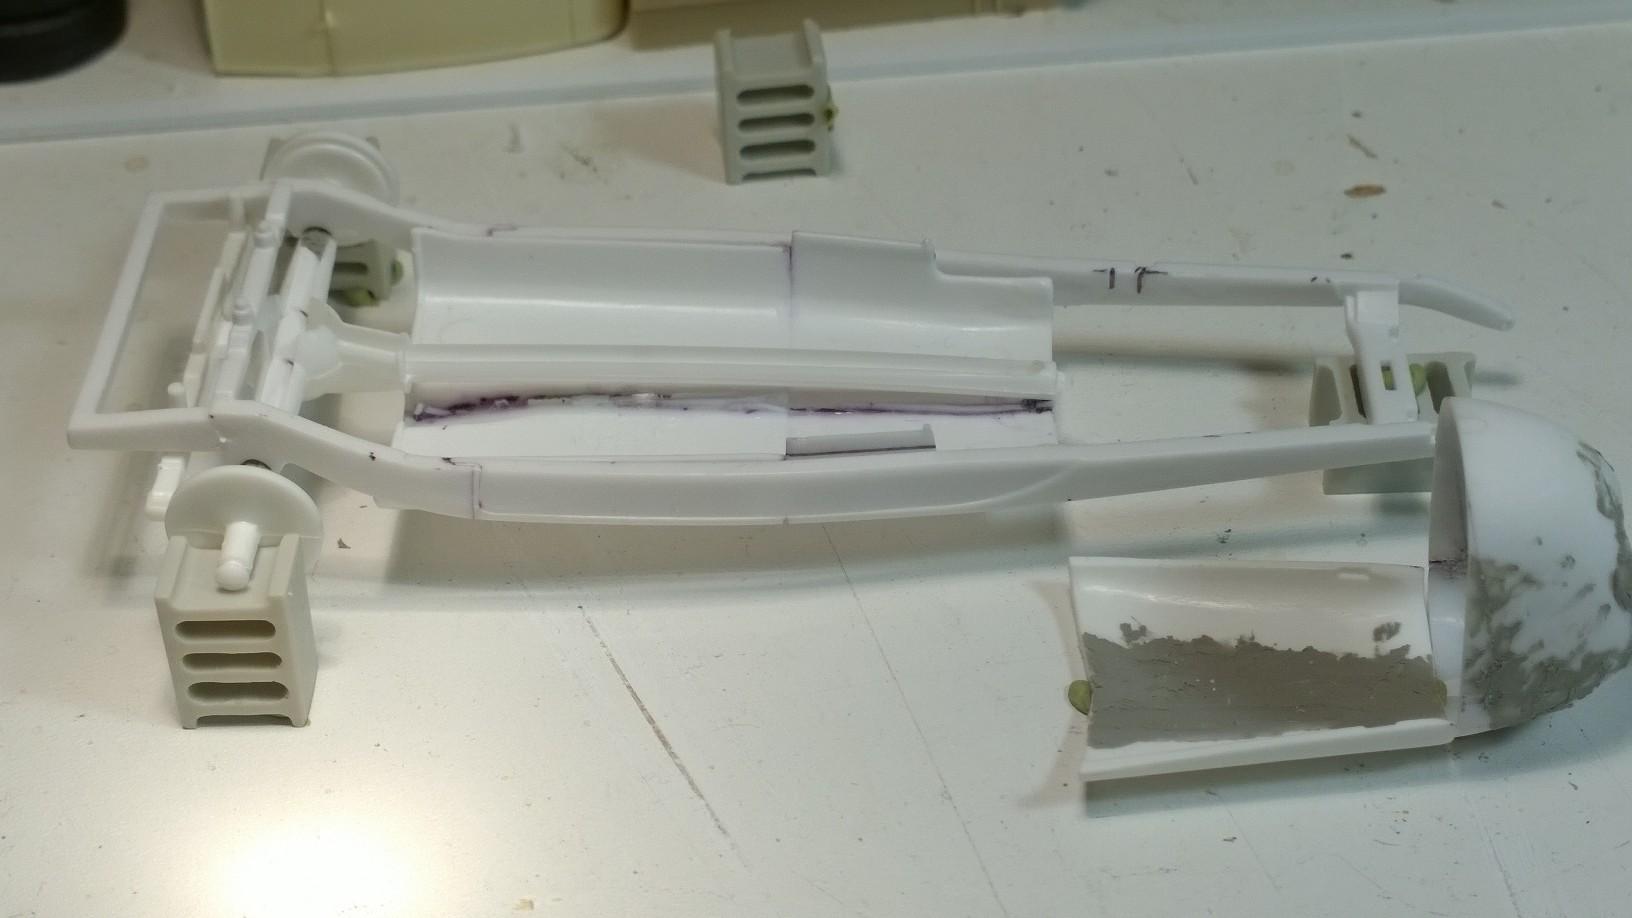
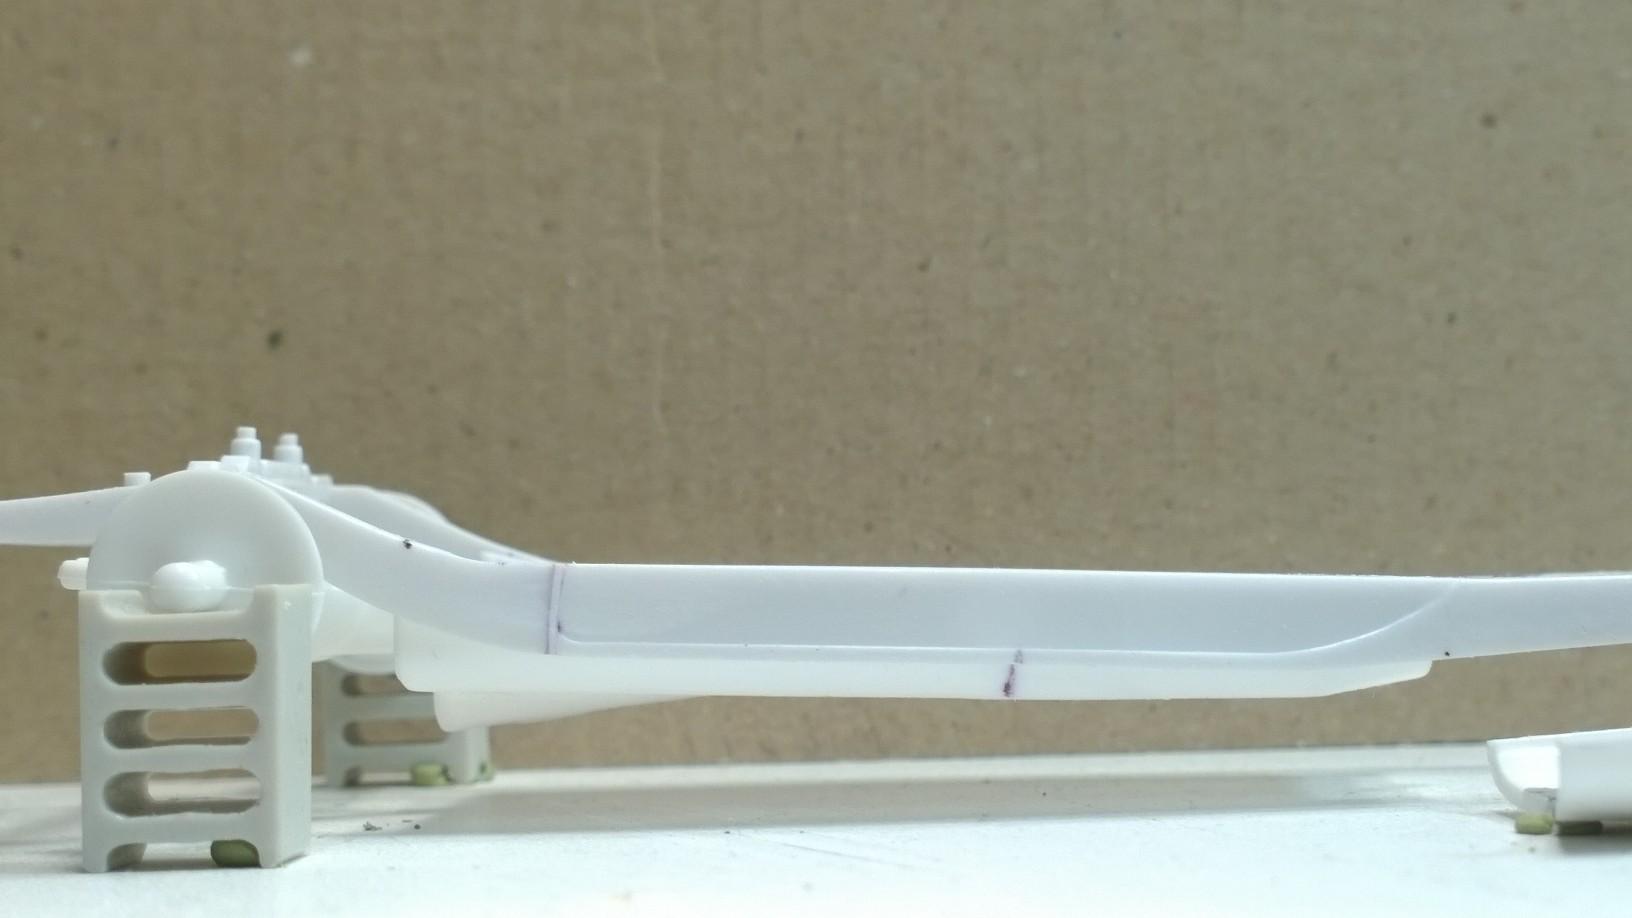
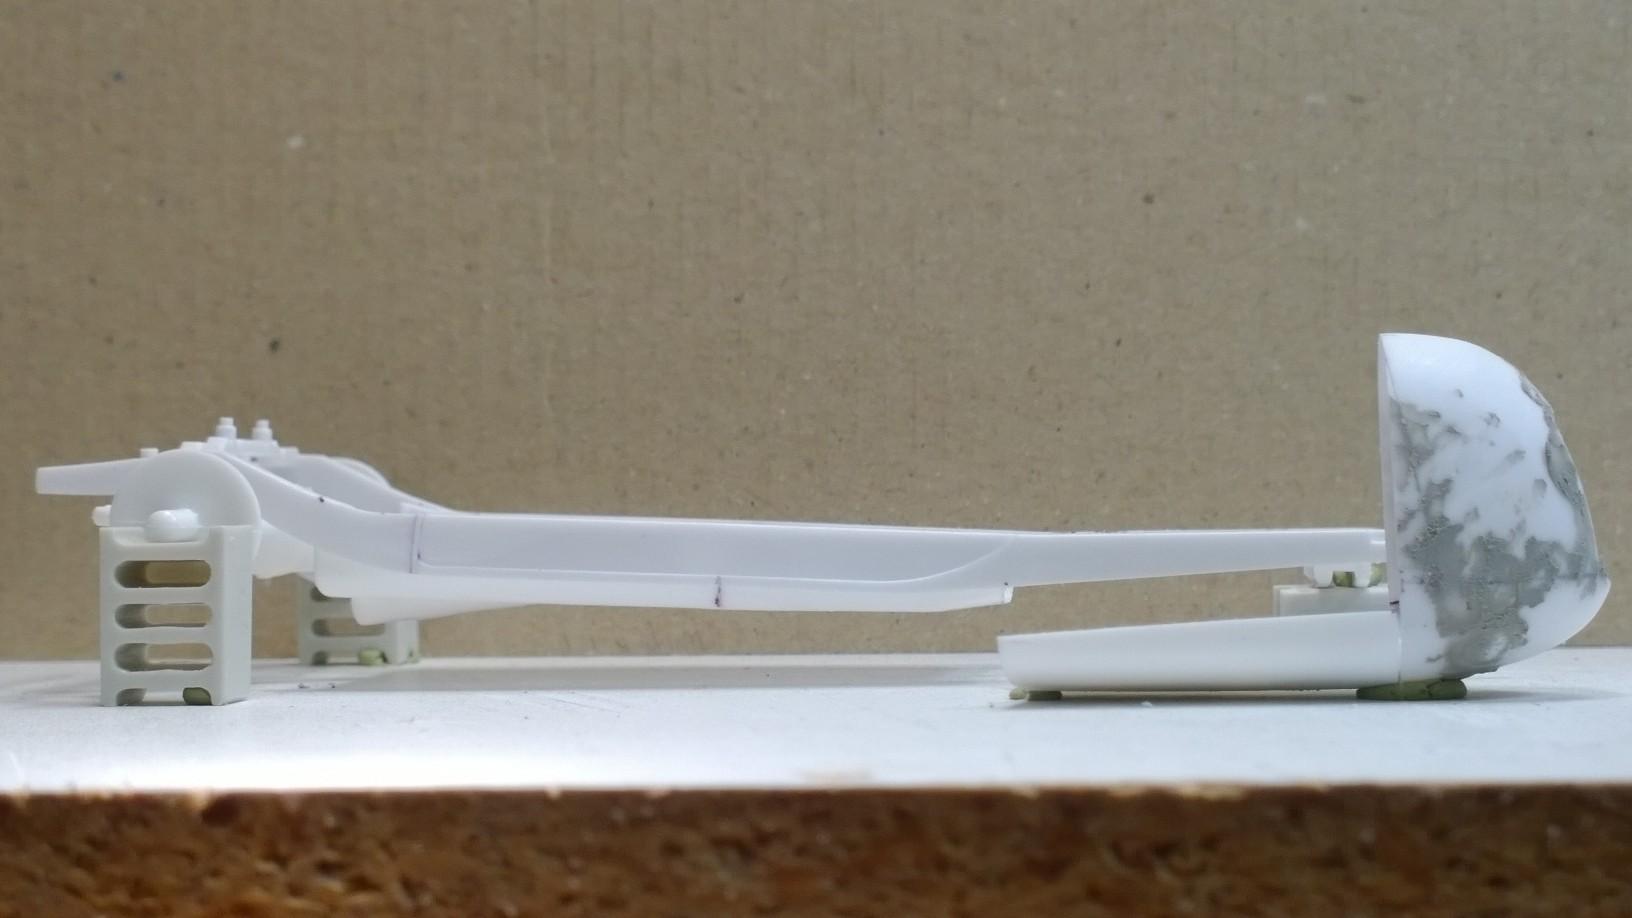
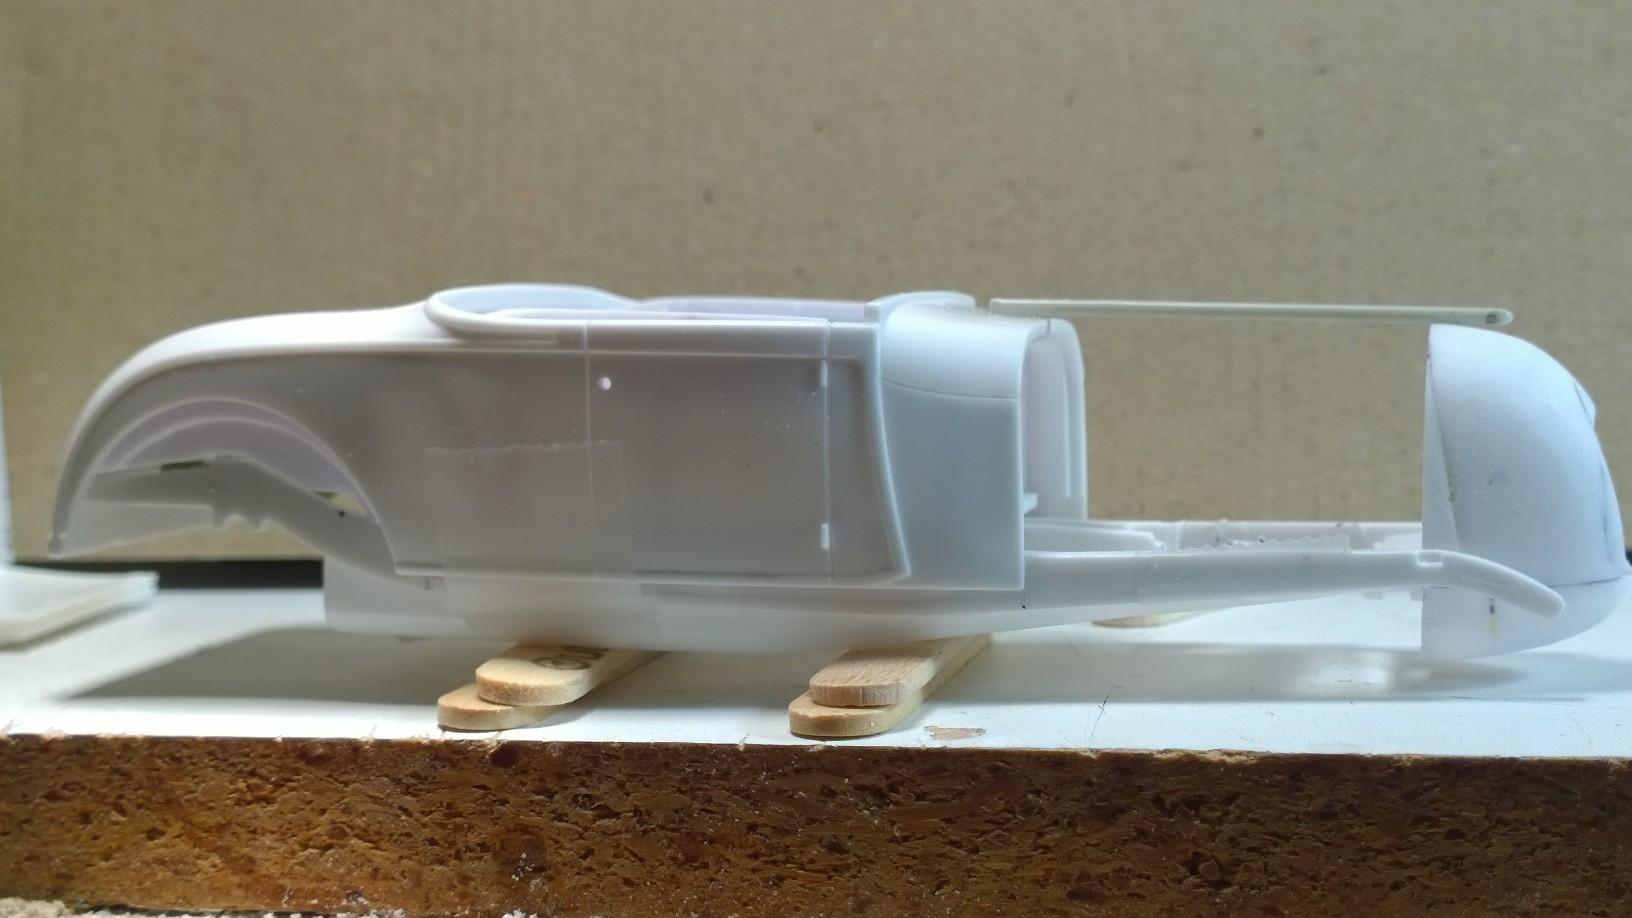
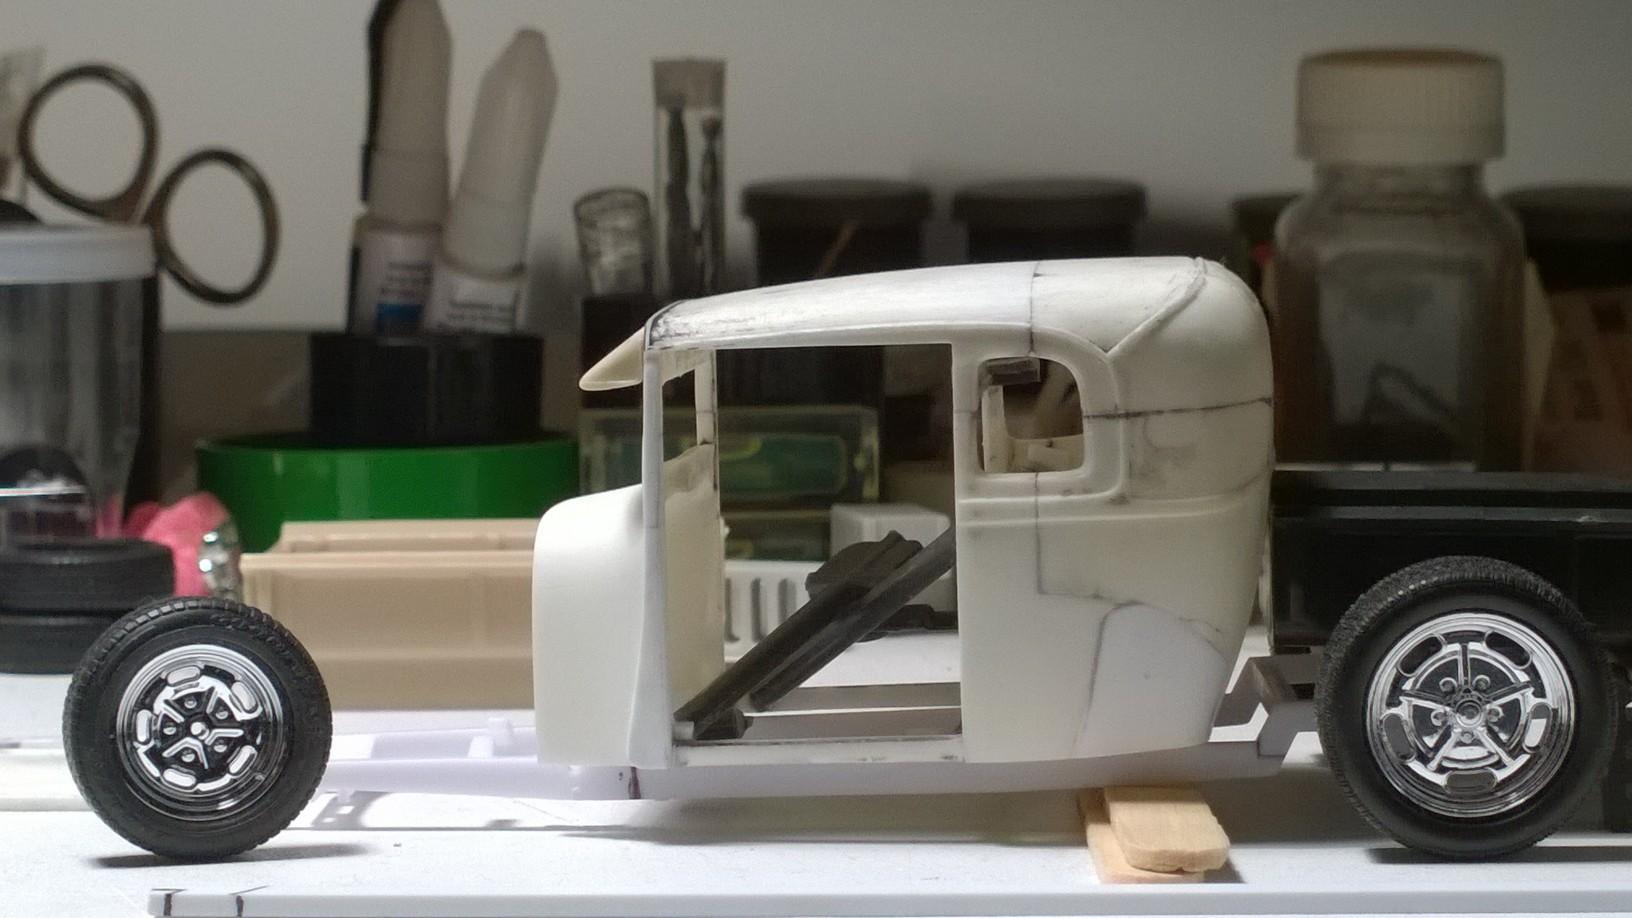
'29 Track Nose Belly Pan Progress Starting with the Revell Orange Crate Belly Pan fitting rather nicely between the previously narrowed Revell '29 Roadster Deuce Chassis that will become the foundation for the full belly pan that will wrap around the deuce rails. Where previously it was placed between the rails... Starting behind the highly modified Revell '29 Roadster/PU Track Nose the Revell '32 Ford Hood had a leading edge that pretty much matched the bottom of the nose... but, needed to be narrowed to the width of the Revell '29 Roadster Firewall opening: Quick V-Cut Pull the back edges together and stiffen the backbone with a strip of stock and a piece of bench trash to fill the crack in the front... A little dry time... Check the angle of the lower forward belly pan against the underside of the deuce frame: Better... aaa a little wiggle room: Now the middle inner belly pan has to come together with the rear inner belly pan: The second ROC belly pan will donate its middle section to the puzzle: Now to size up the joints... the rear inner pan needs to be widened at the front where it will join with the soon to be v-cut middle inner section: RRR will remind you that there are two sides to every line. Leave the line or take the line are calls that need to be decided before the cut is made. When you leave the line there is material left that can be shaved to fit... take the line and fill in later! I'll save you the gory details of bringing the final inner belly pan together... Fast forward... One last look at the ragged interior of the inner belly pan: Looking like it'll fit... Cleaned up and fit back between the rails... Tucked in under the deuce frame... Moving forward... Mock it all up for a quick look: From back forward... On to the mid-section... Then looking at the nose and forward belly pan. Add in a couple of wheels... and the '29 Track Nose is really starting to take shape! -KK
-
You are too kind, Brother... right now trying to keep up with this and the '28 XPU together are extremely exciting for me, as well! -KK
-
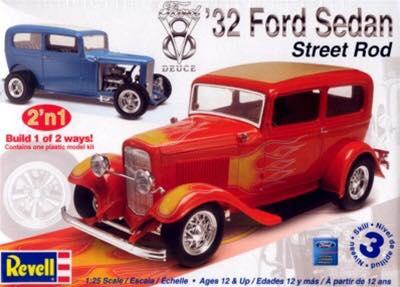
Interestingly enough I was looking at the Revell '31 Ford Sedan and using the same basic plan: Then I saw the Revell '32 Ford Sedan sitting on the shelf: So many models... so little time! -KK
-
Boys are spot on! Tail Sitter or Tail Dragger either way it needs a little more weight on the tongue. Gotta move the shackles and spring mounts aft just a skosh. Thanks for the follow up on my question! Now back to our regularly scheduled program...
-
Been waiting to jump in here with a comment... the most enjoyable part of every build for me and many others is satisfying my imagination with the right parts and pieces. I've imagined several possibilities of rescaling the '58 Impala down to, in essences, Corvette sizing to create a coupe or roadster. You have surpassed any idea that I had in creating the '58 Impala inspired Show Rod! Absolutely
-
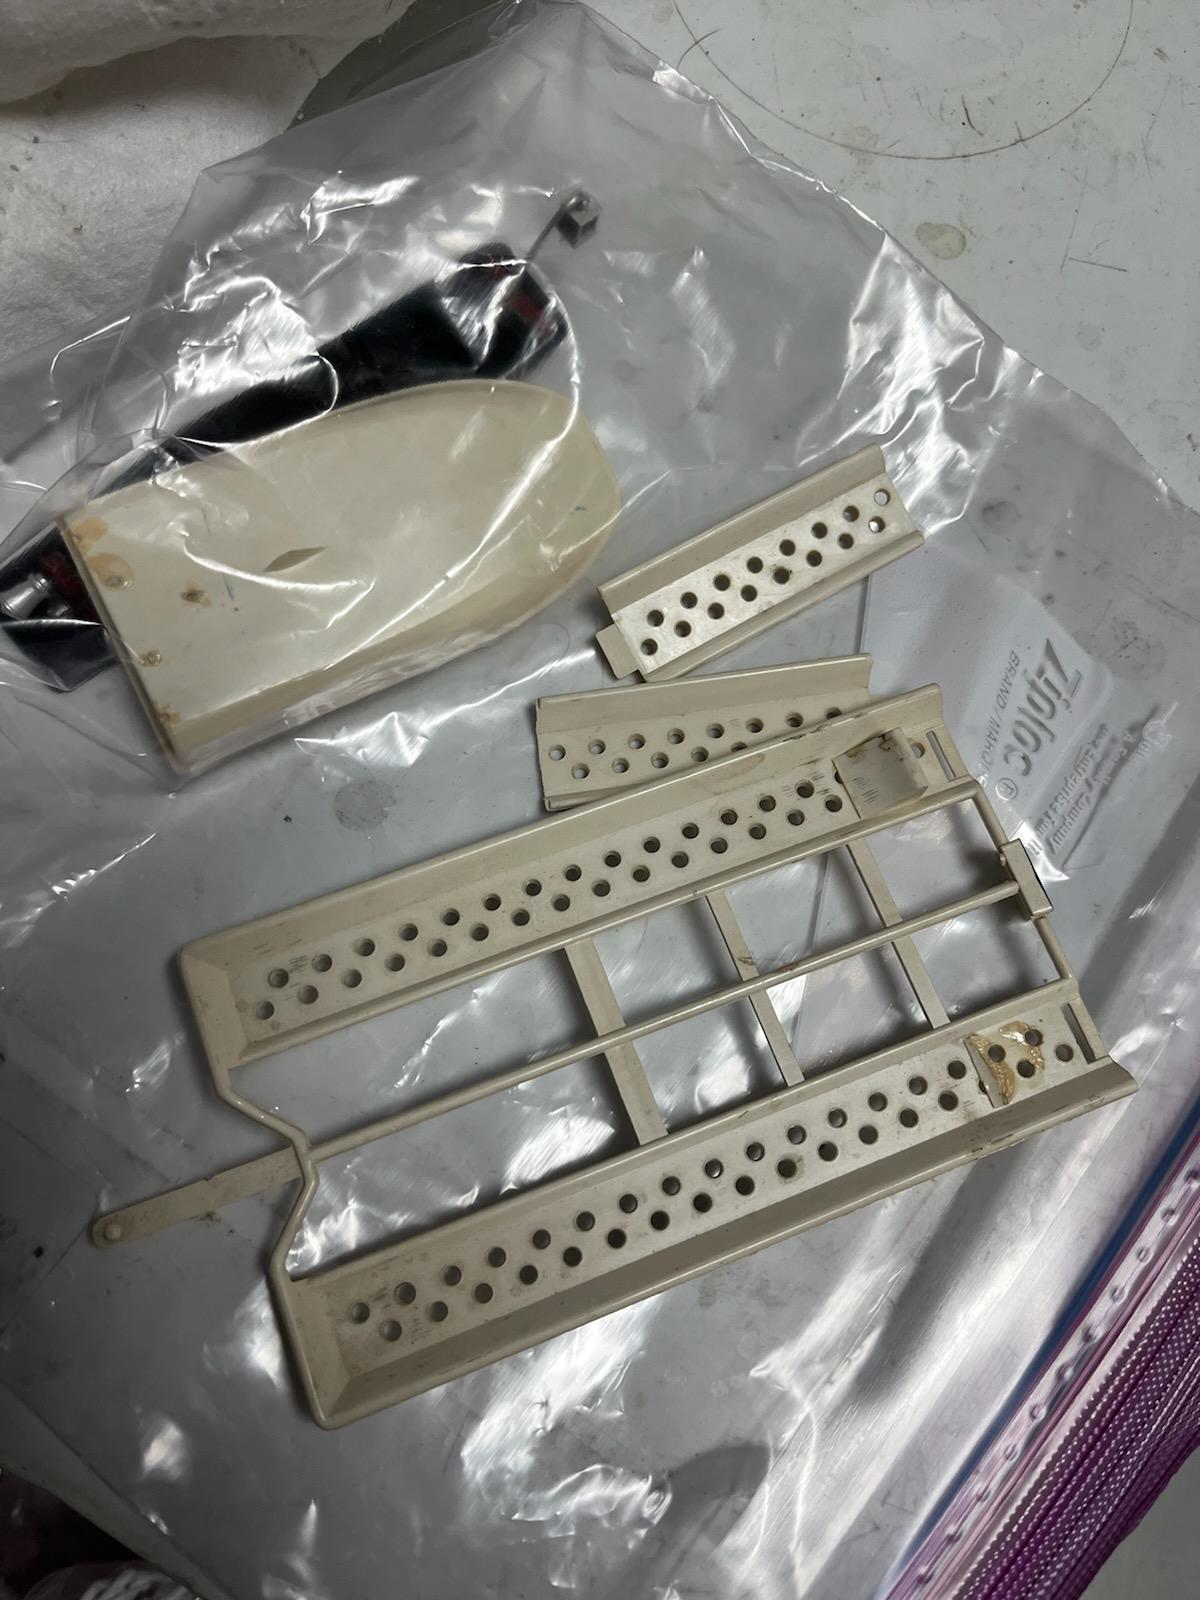
Here's an opportune moment, do you recall the era &/ kit that the trailer was issued?
-
Trevor, You are too kind, Brother! I would be first in line to see what you have in your stable... several here are hacks just like me; gluing our fingers together and slicing deep enough to draw blood from anyone of nine or ten fingers! Most are old enough to be able to recall many former hot rod builds of 'or. And now with the inter-web pictures and background information is right under our fingertips!
-
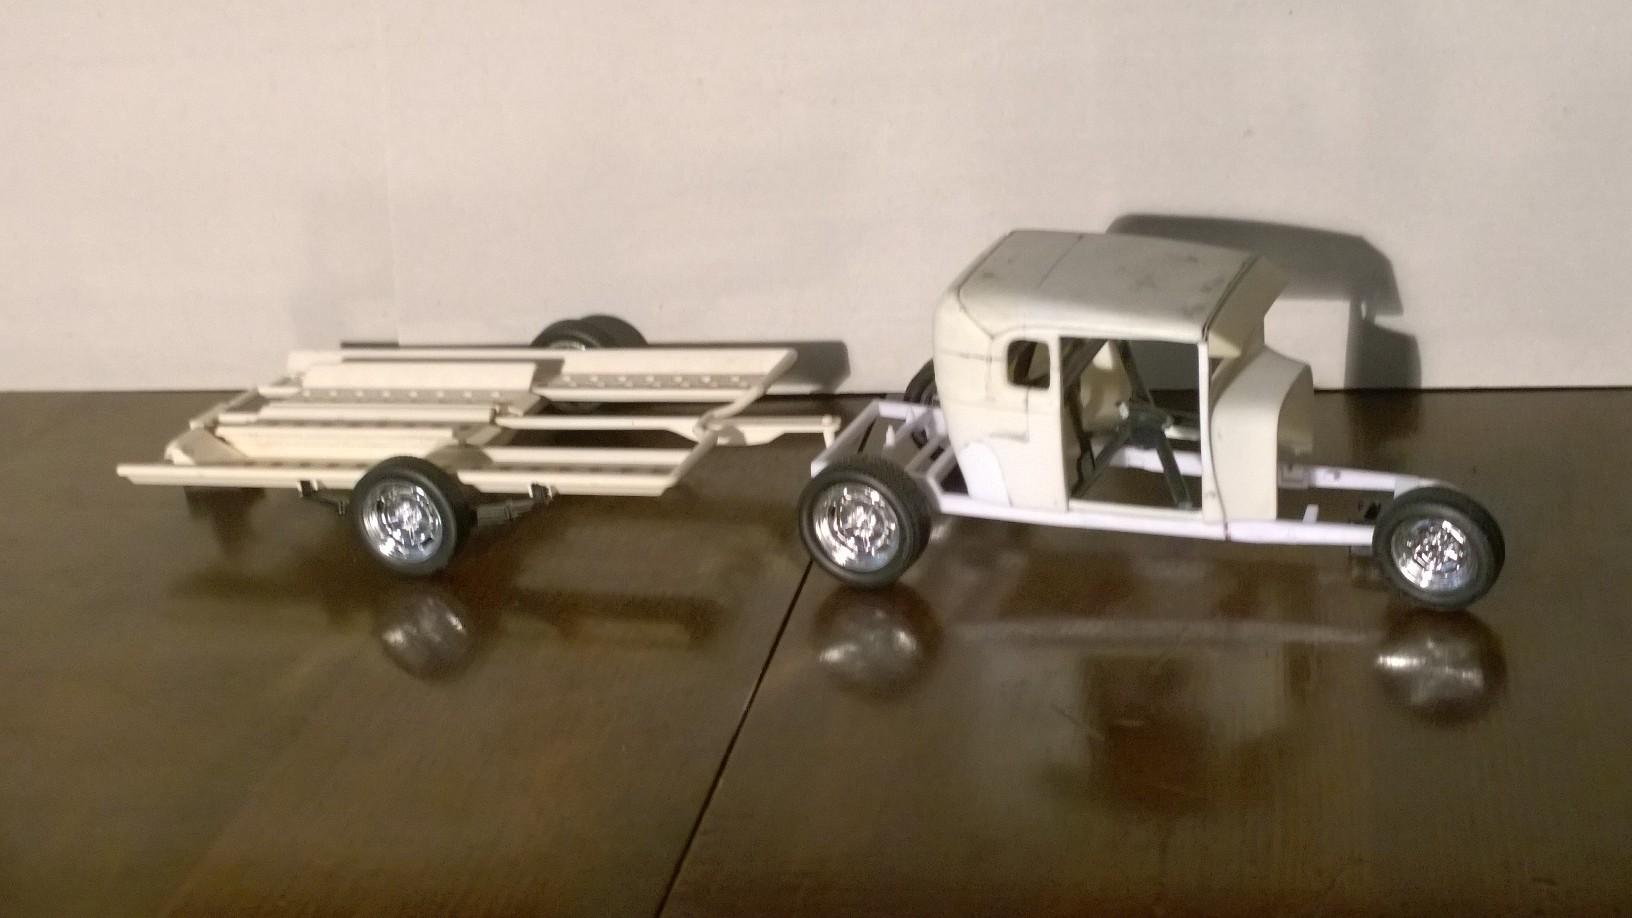
'28 XPU & Vintage Trailer
-
Wait 'til they're toned down a bit...
-
'28 XPU & Trailer
-
Early spreader bar forward... pure HOT ROD! We have to have a way of displaying Hot Rods from past very soon! -KK
-
Quick aside... several of you know that I'm building a '29 Track Nose Roadster: I have to thank RRR for sending a vintage single axle trailer to go under the roadster behind the '28 XPU all with open wheels! -KK
-
@bill-e-boyWOW! This is coming along swimmingly, Brother! -KK
-
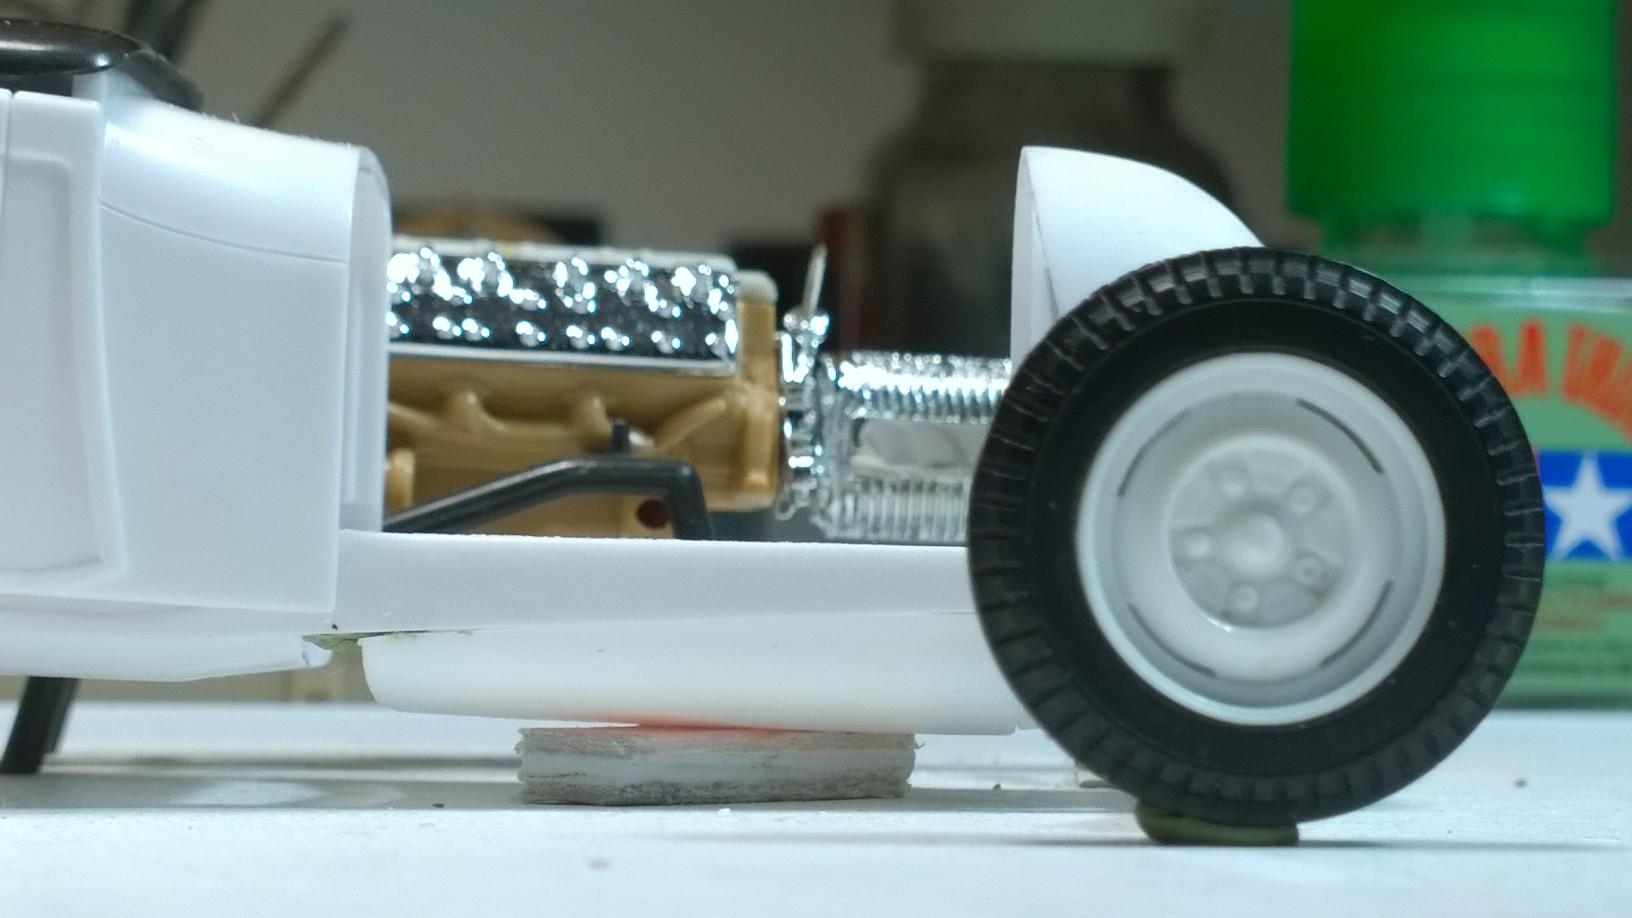
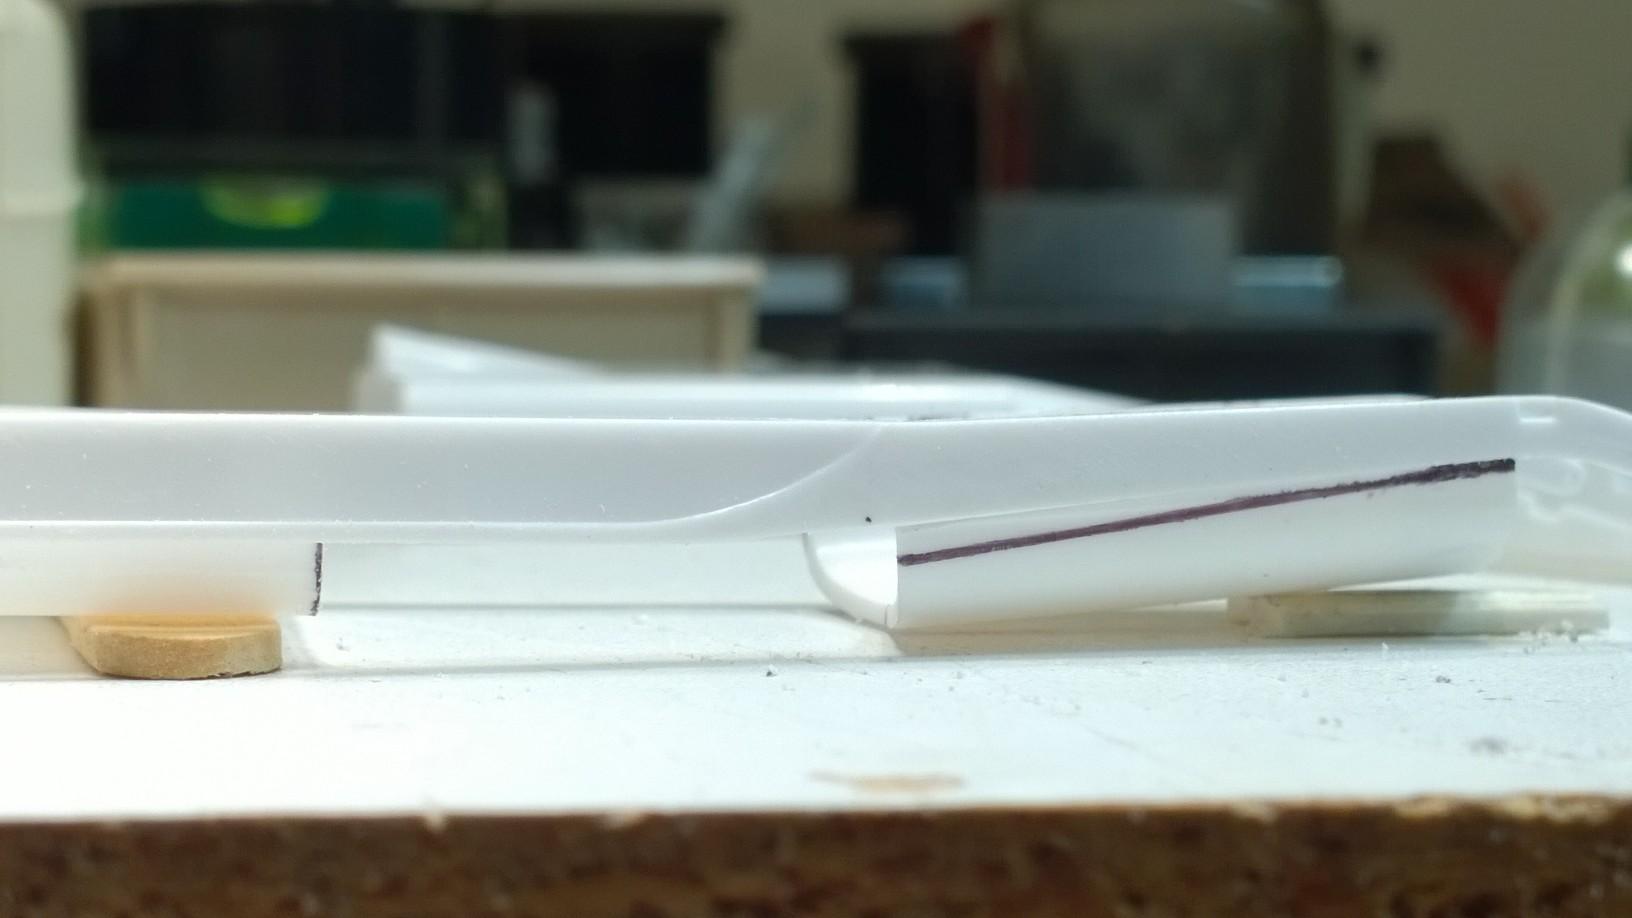
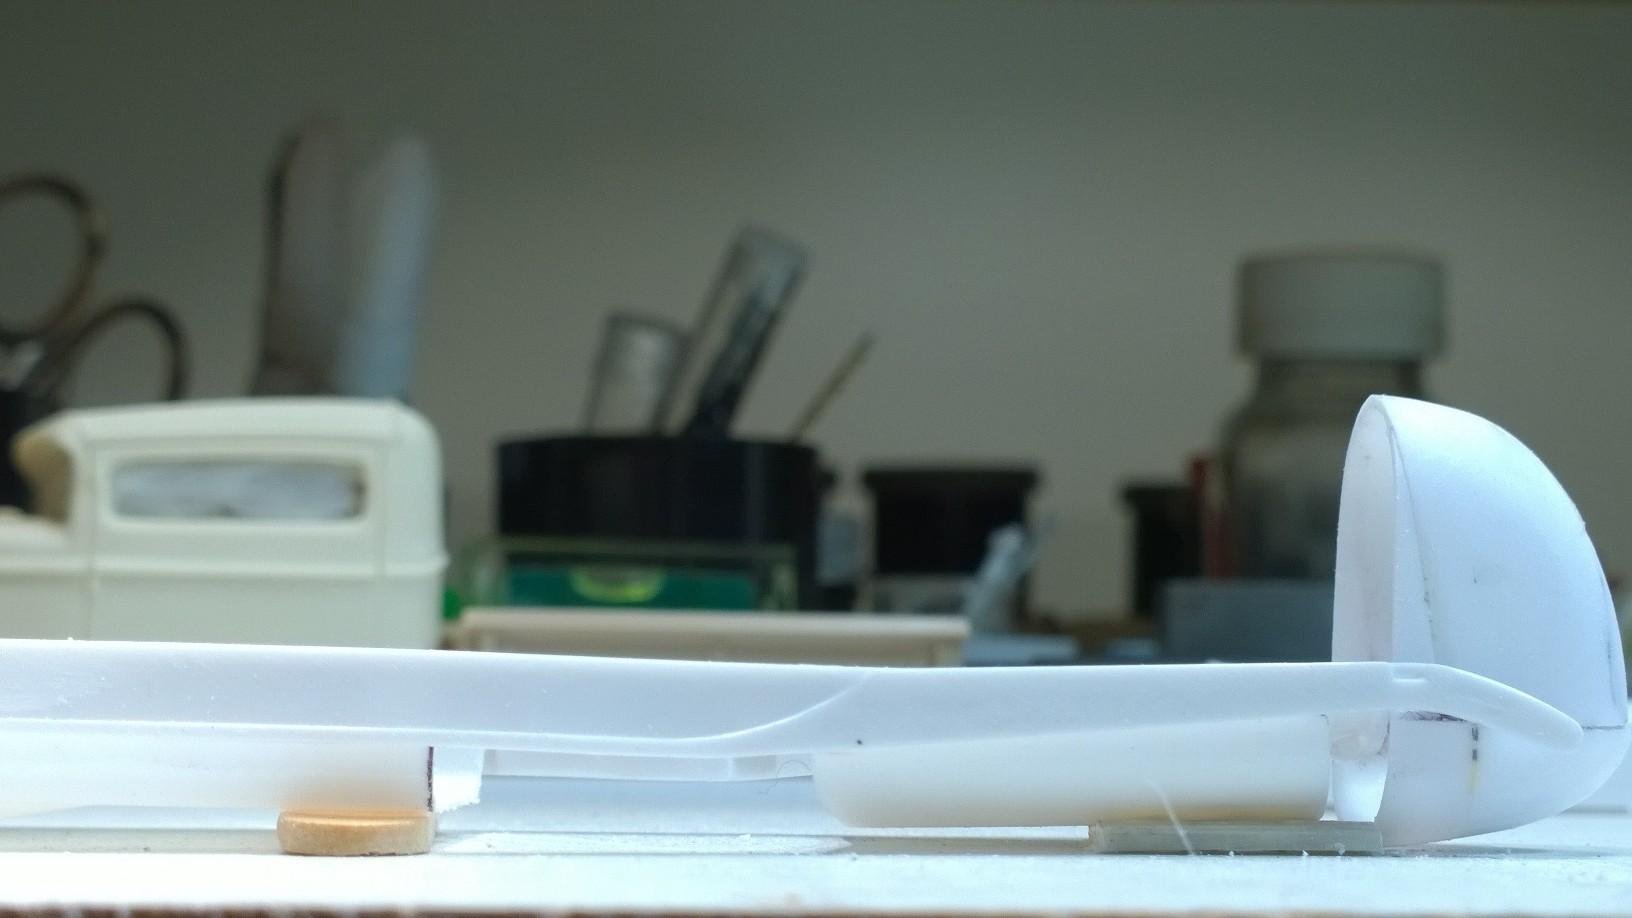
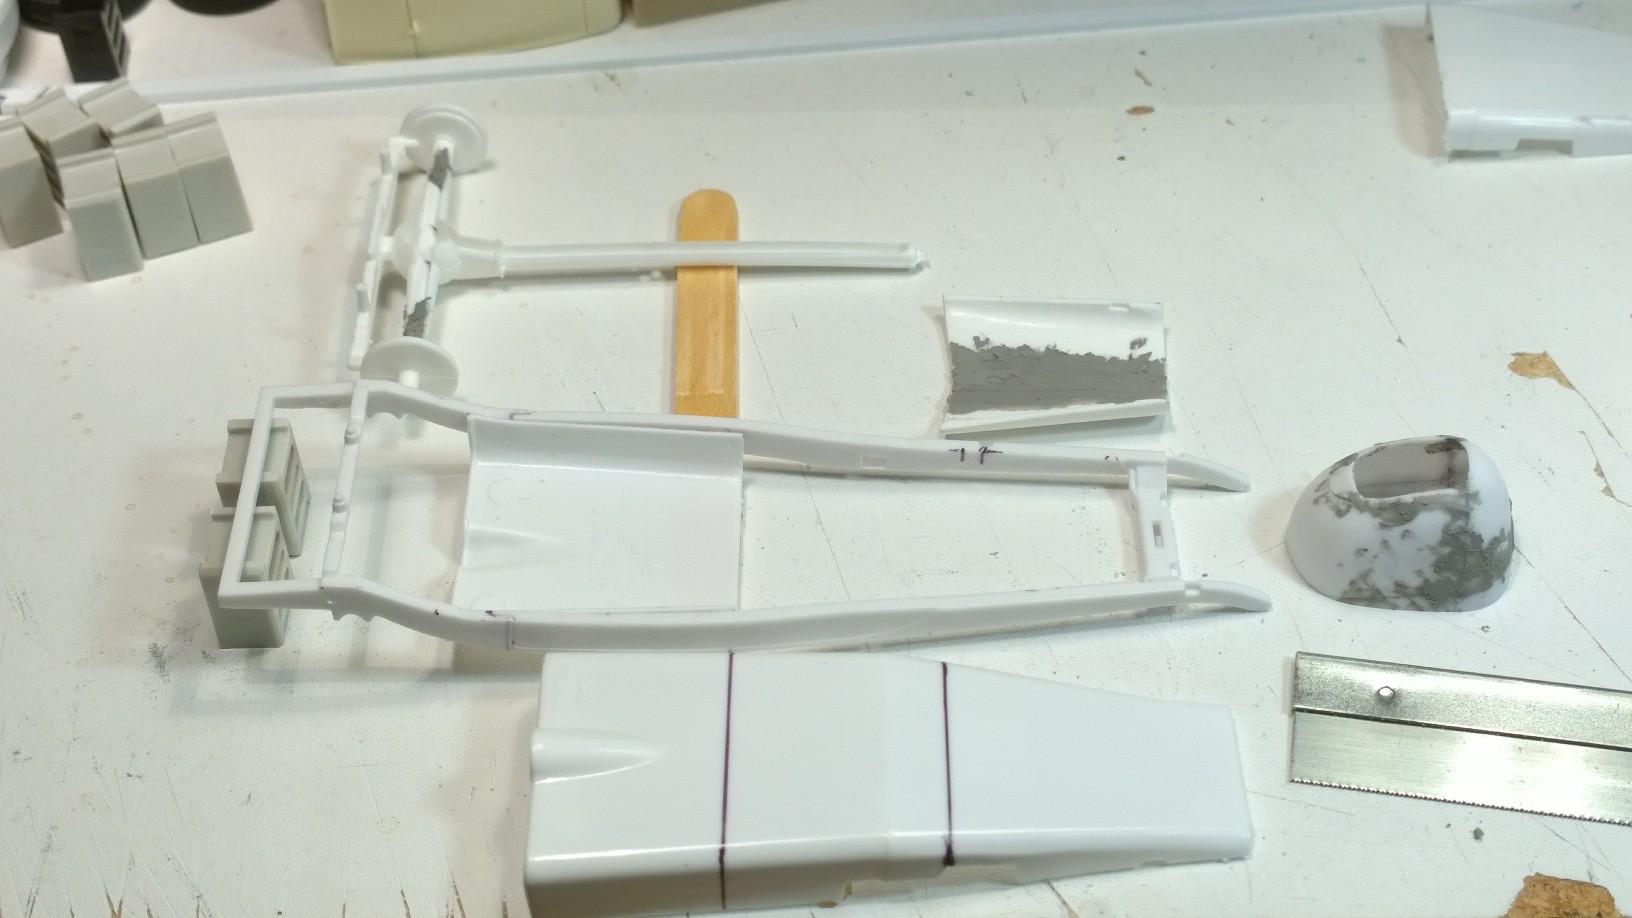
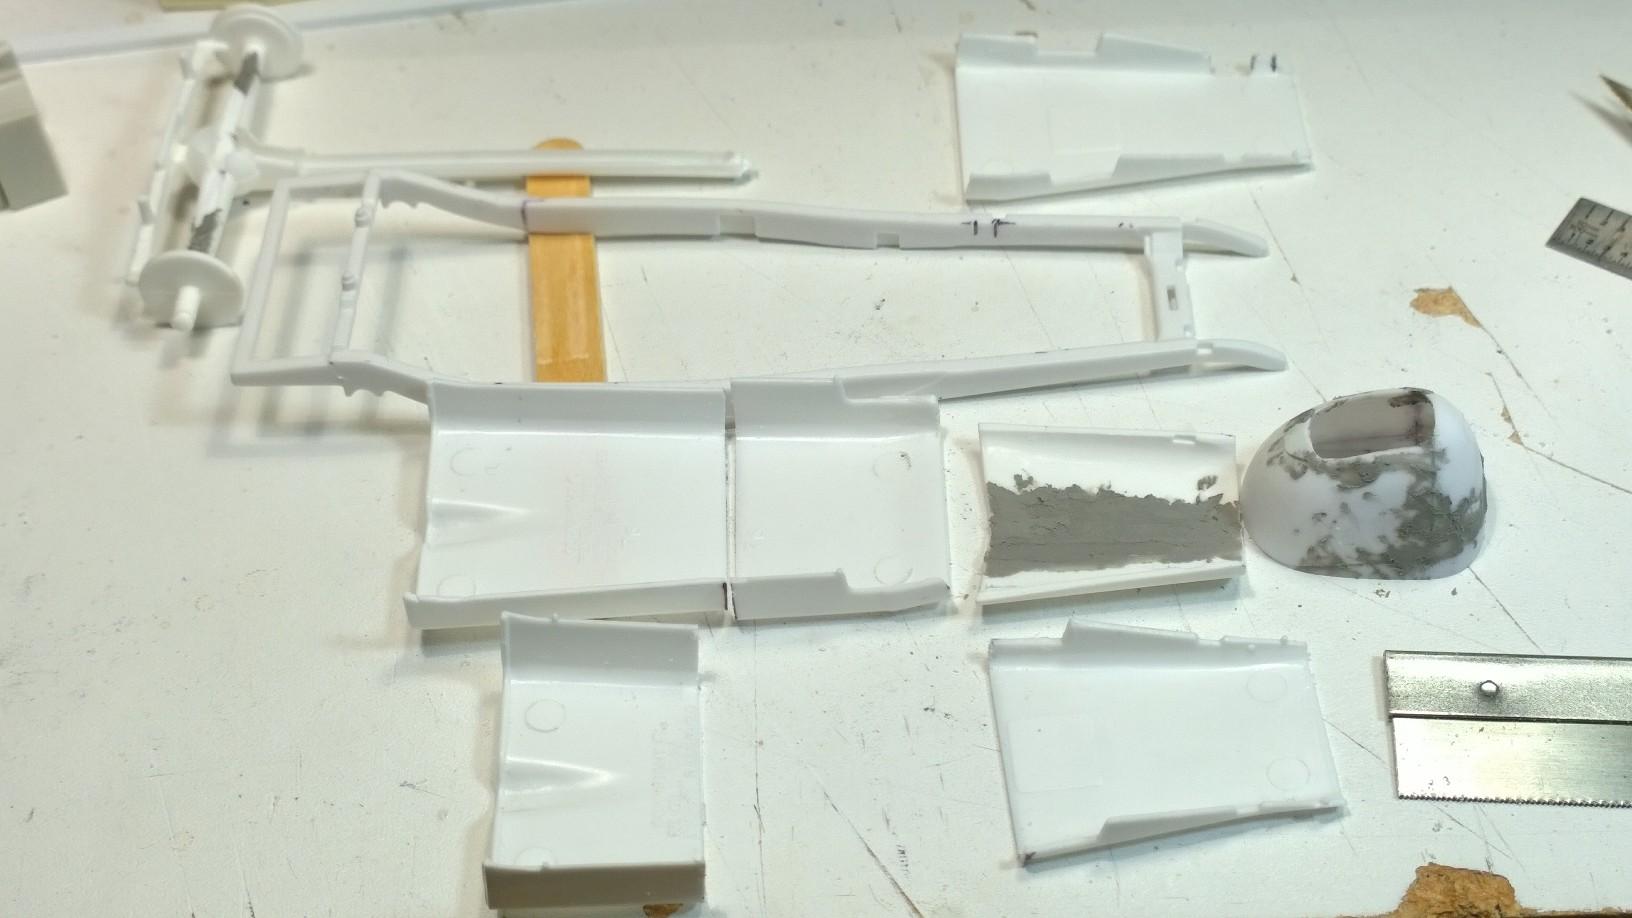
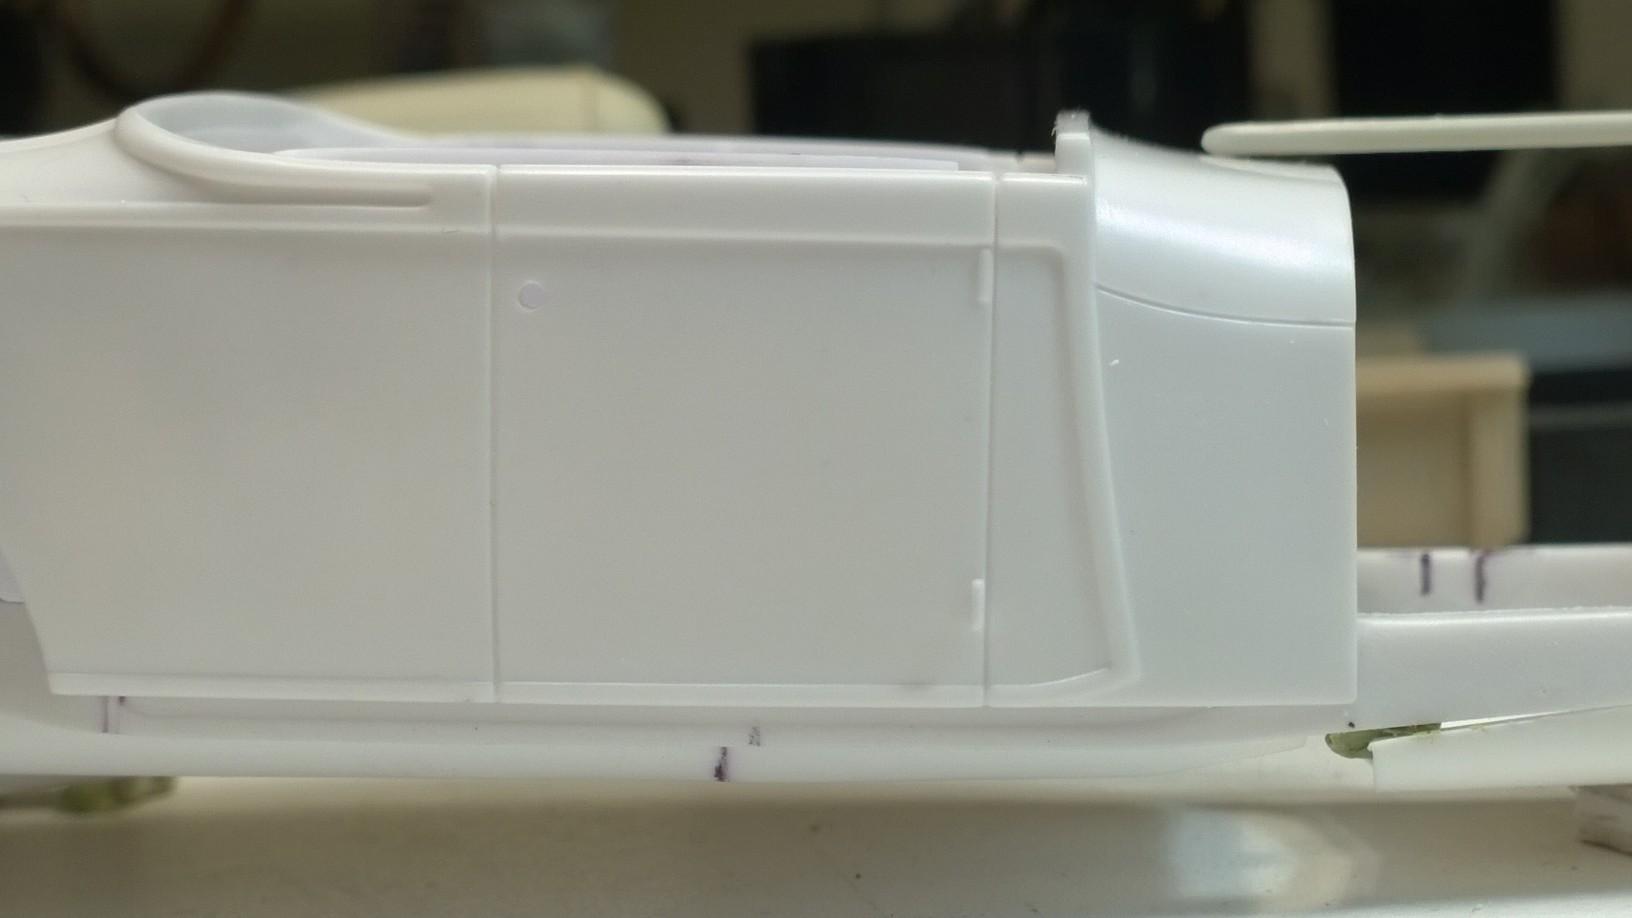
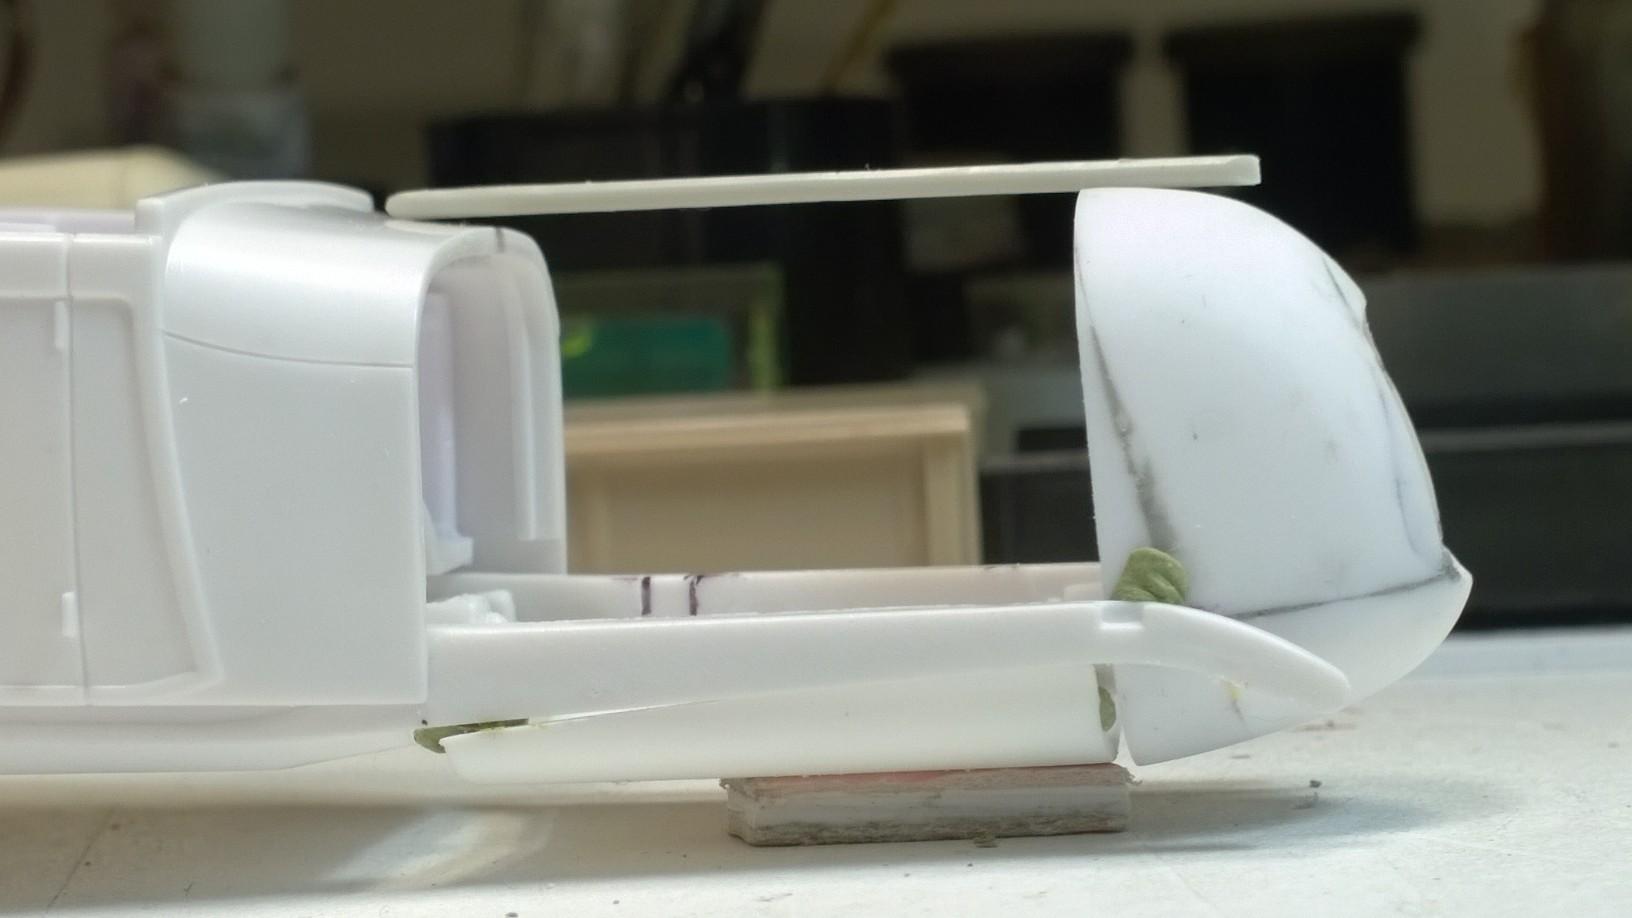
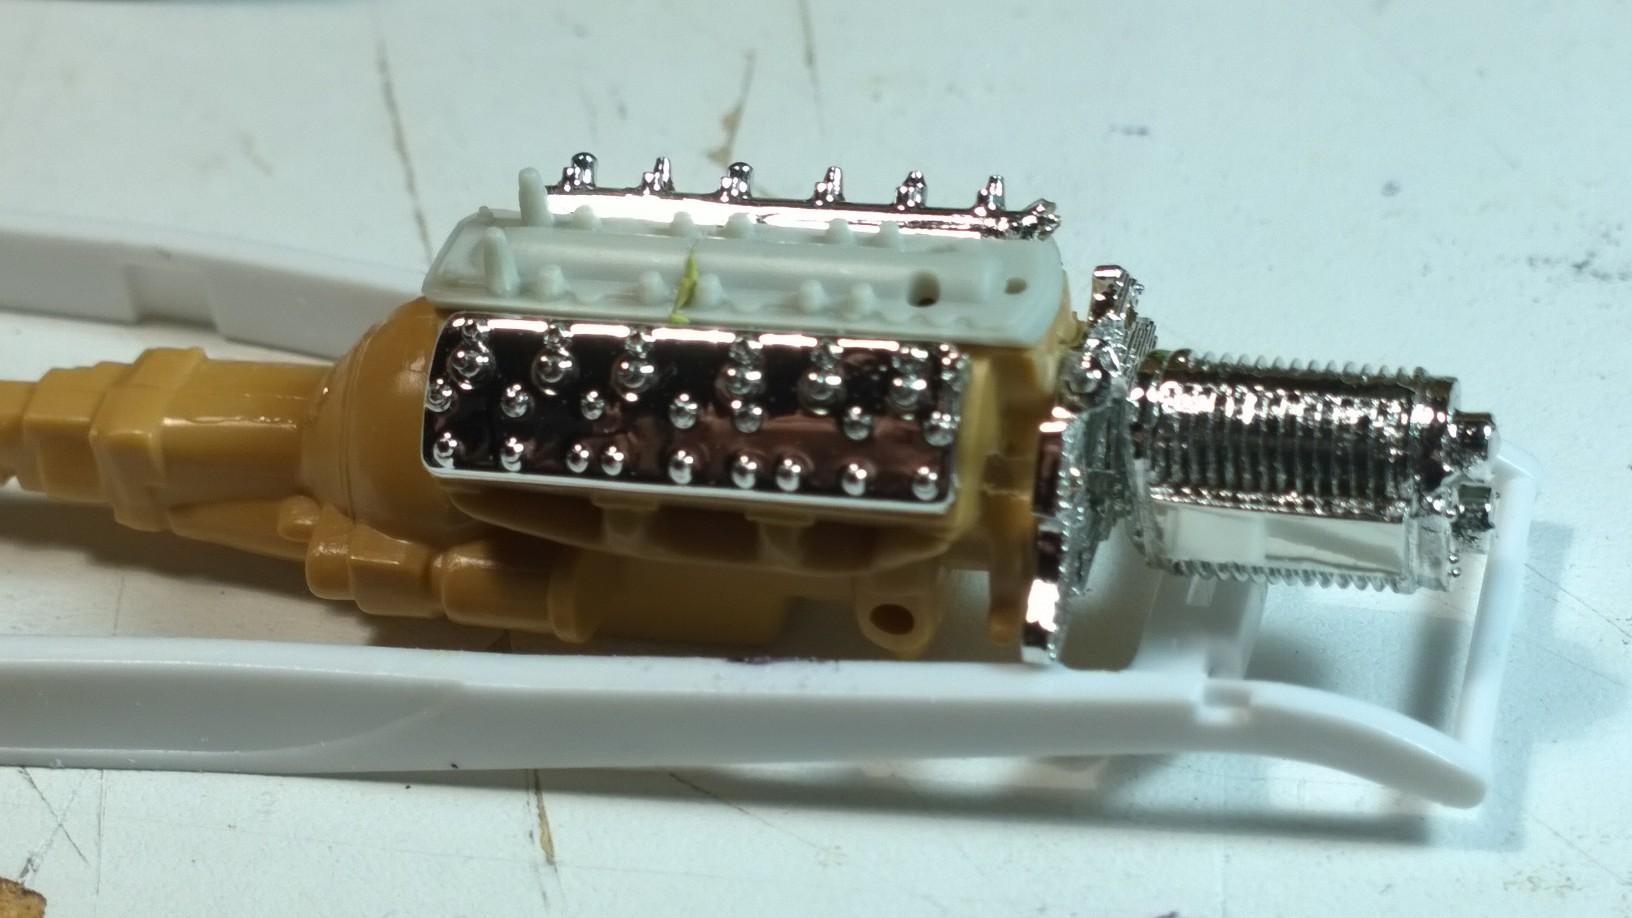
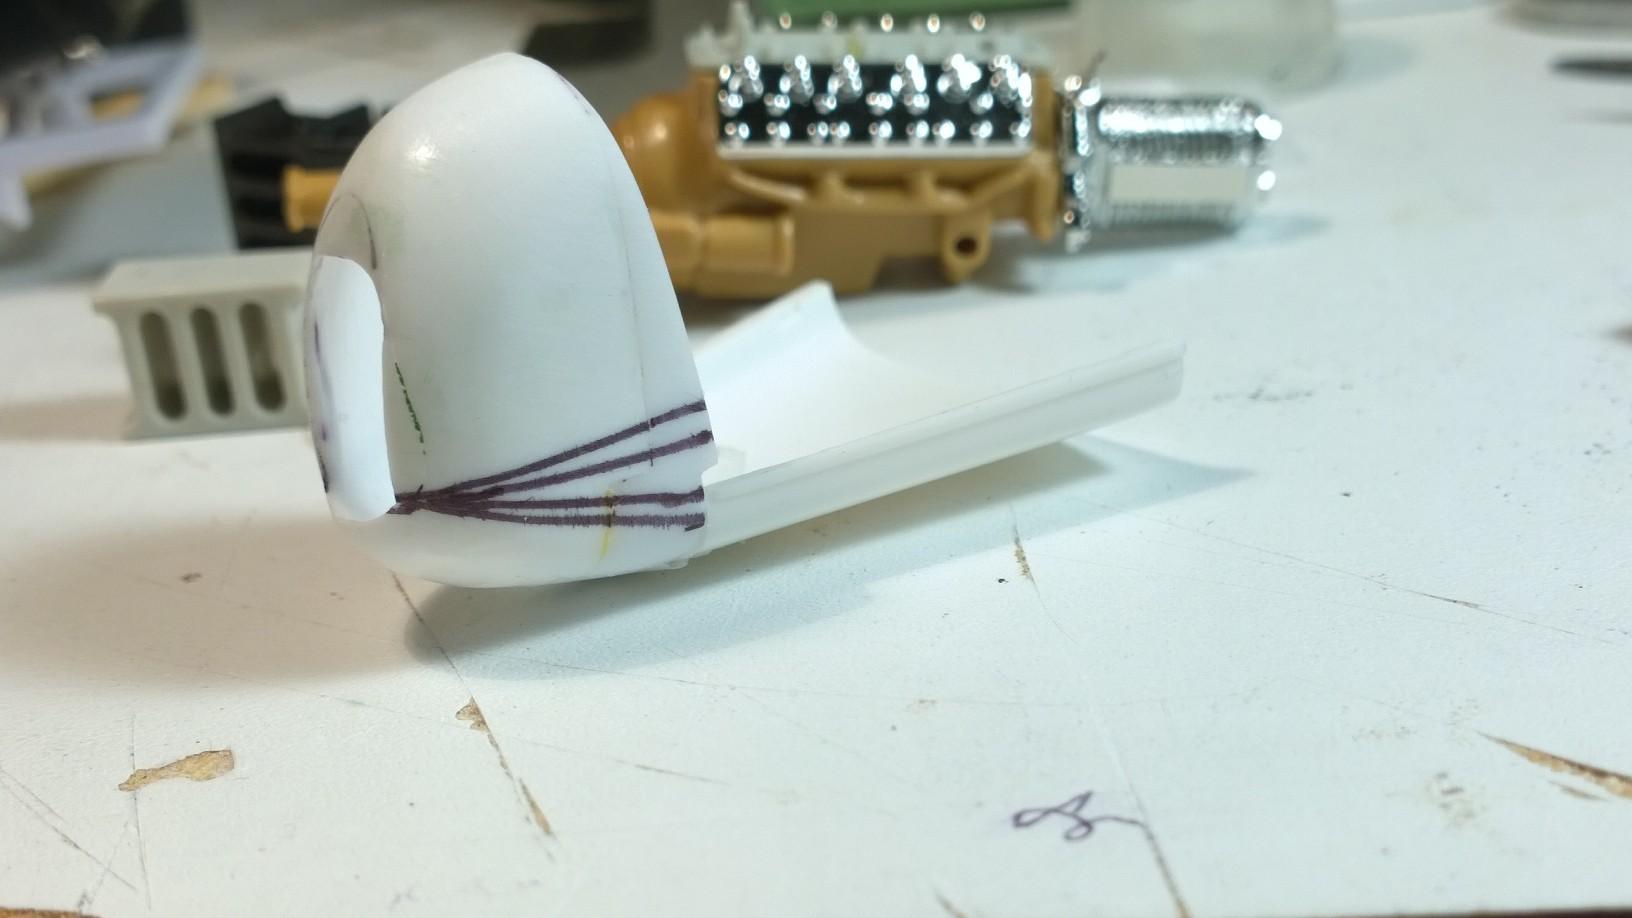
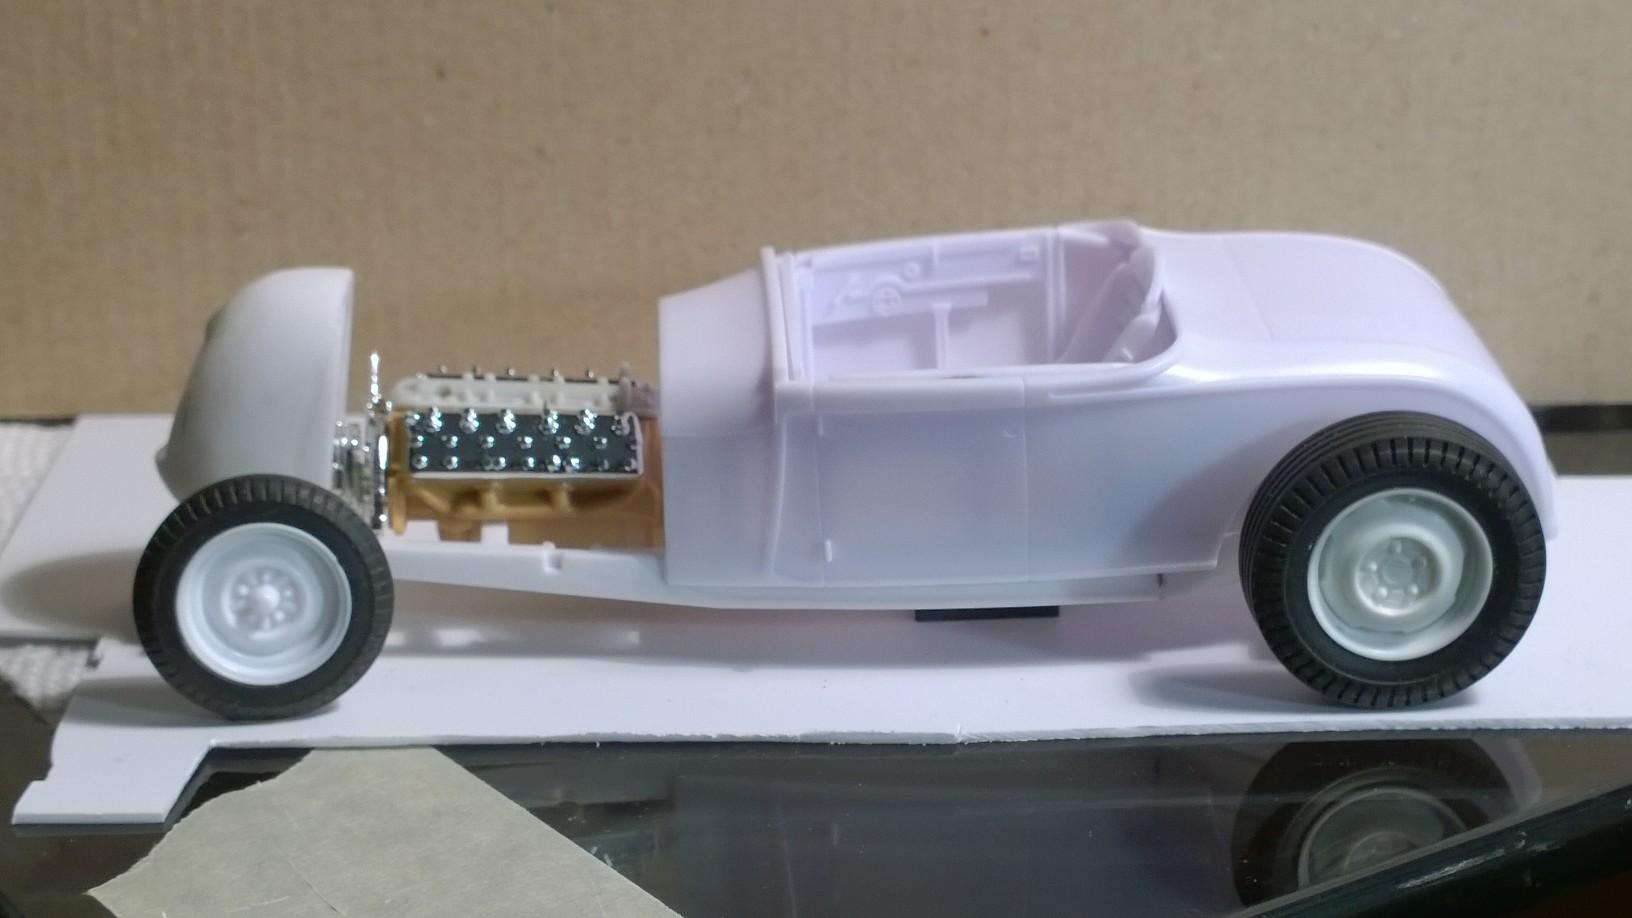
OK, it's down to brass tacks... gotta set the V-12 between the rails: The Front Cover Assembly from the AMT 1941 Ford Woody Street Rod is now providing the front motor mounts resting atop the deuce frame. Due to the current overall height of the track nose, originally from the Revell '29 Ford Roadster/ PU kit, the nose needed to be further modified. Following a couple of different setups, each with a number of scale inches requiring excess material to be removed. A wedge cut will again bring the face of the nose back a few more degrees, that being a good thing! And, by slicing from the back edge of the nose to a single point on either side at the lower forward edge of the grille opening, the second cut would remove enough material to shorten the overall height without affecting the height of the grille opening. Here I intend to leave the line and remove the smaller v-cut area. The wider angle would have taken out too much height, following the old adage: measure twice and cut once! Big difference in attitude and profile! I have to share this, RRR came through with a vintage trailer and I'll keep the rest of the parts on the down low for now! Thanks, Brother! Oh! And ADL for chipping in and shipping a brand-new Rat Roaster TKO500 Transmissions all the way from the left coast for the '29 Track Nose build! Thanks, Bro! I'll leave you with this: the '28 XPU pulling the '29 Track Nose on the old-style single axle trailer all with open wheels?!. -KK