Kit Karson
-
Posts
1,540 -
Joined
-
Last visited
Content Type
Profiles
Forums
Events
Gallery
Everything posted by Kit Karson
-
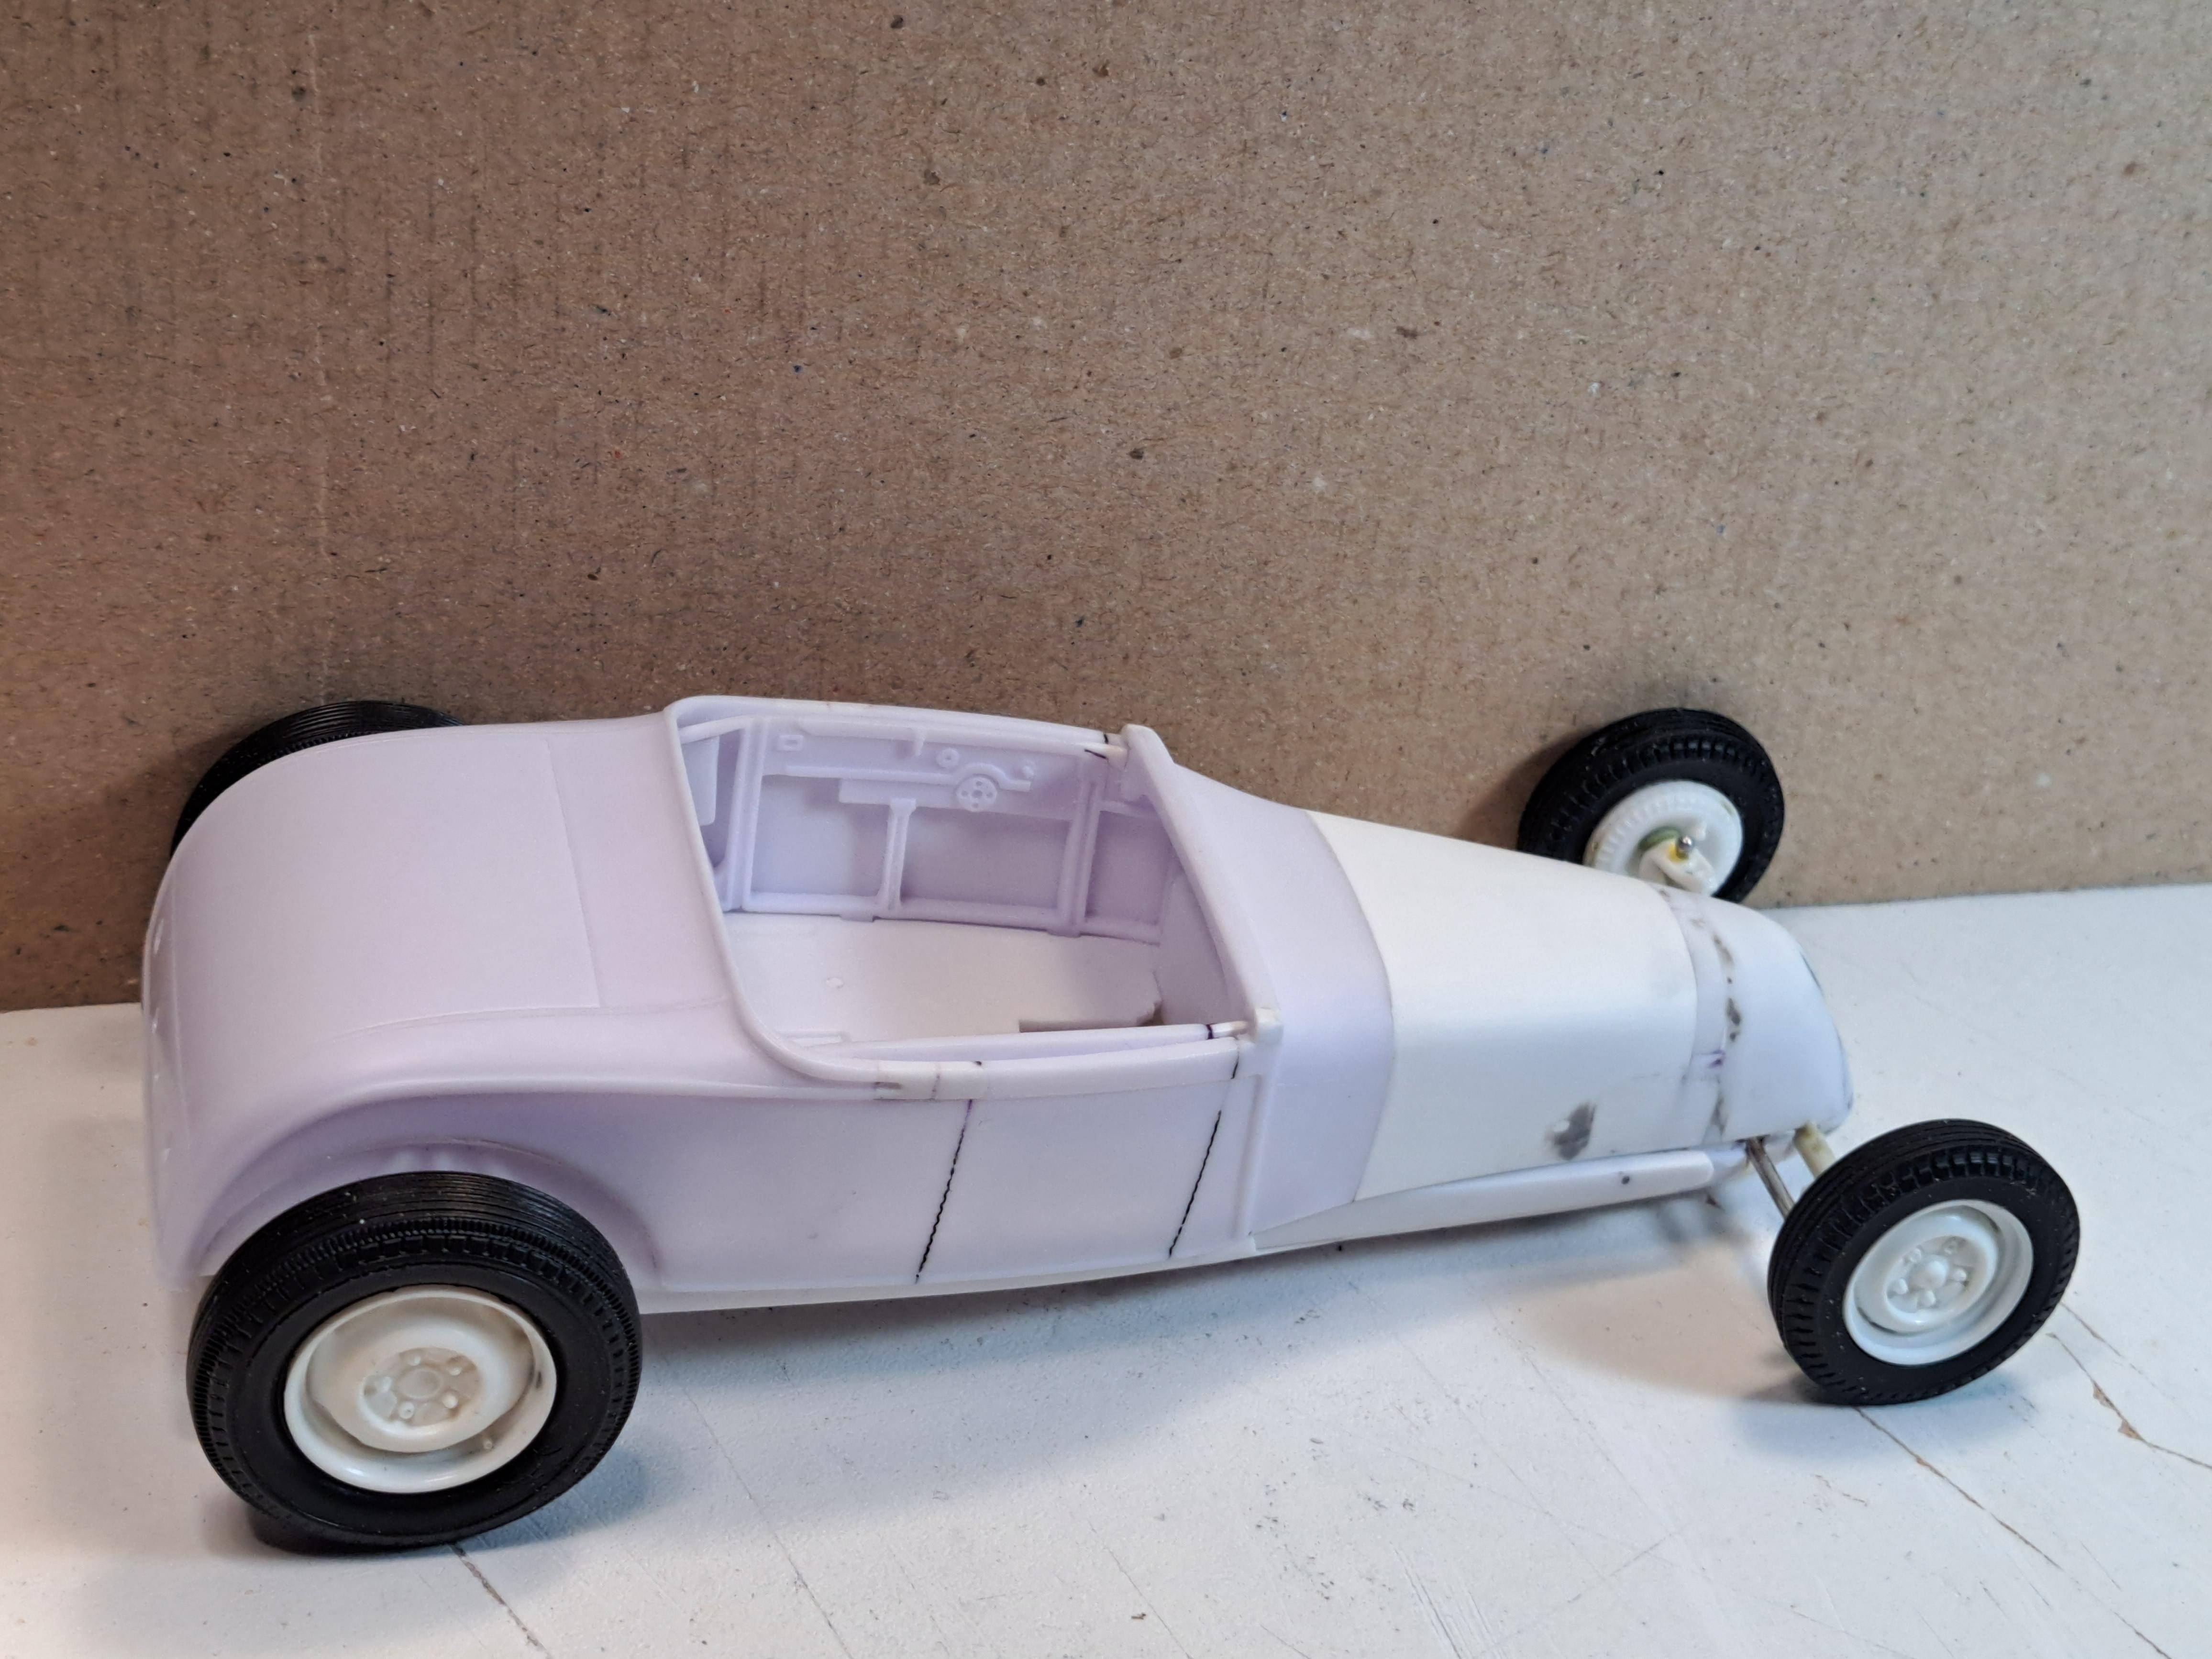
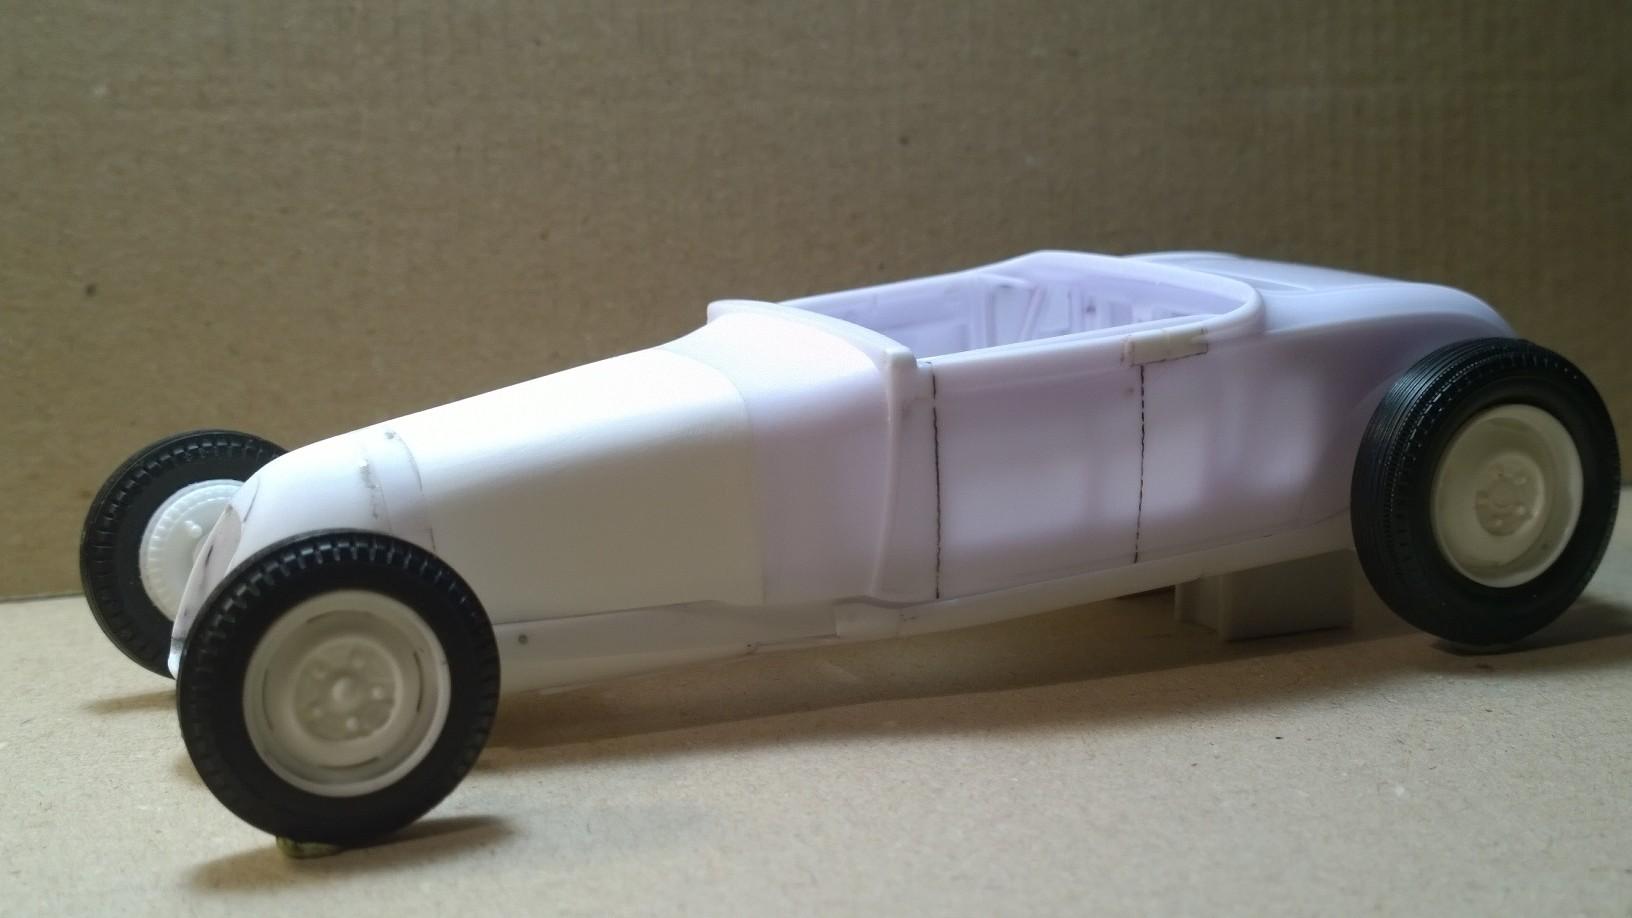
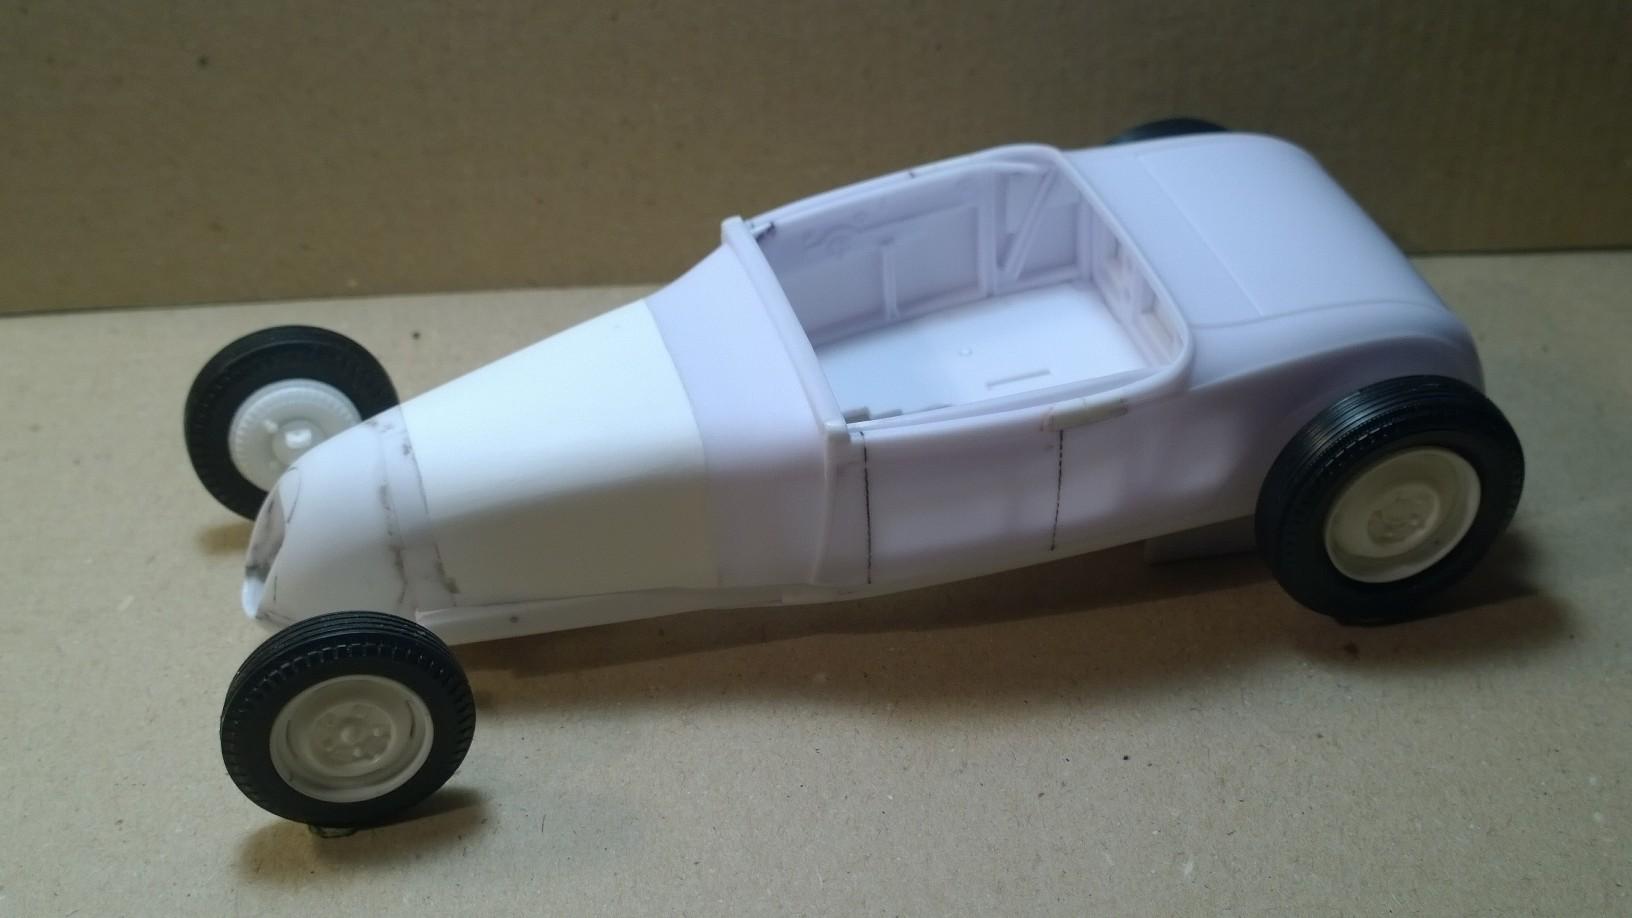
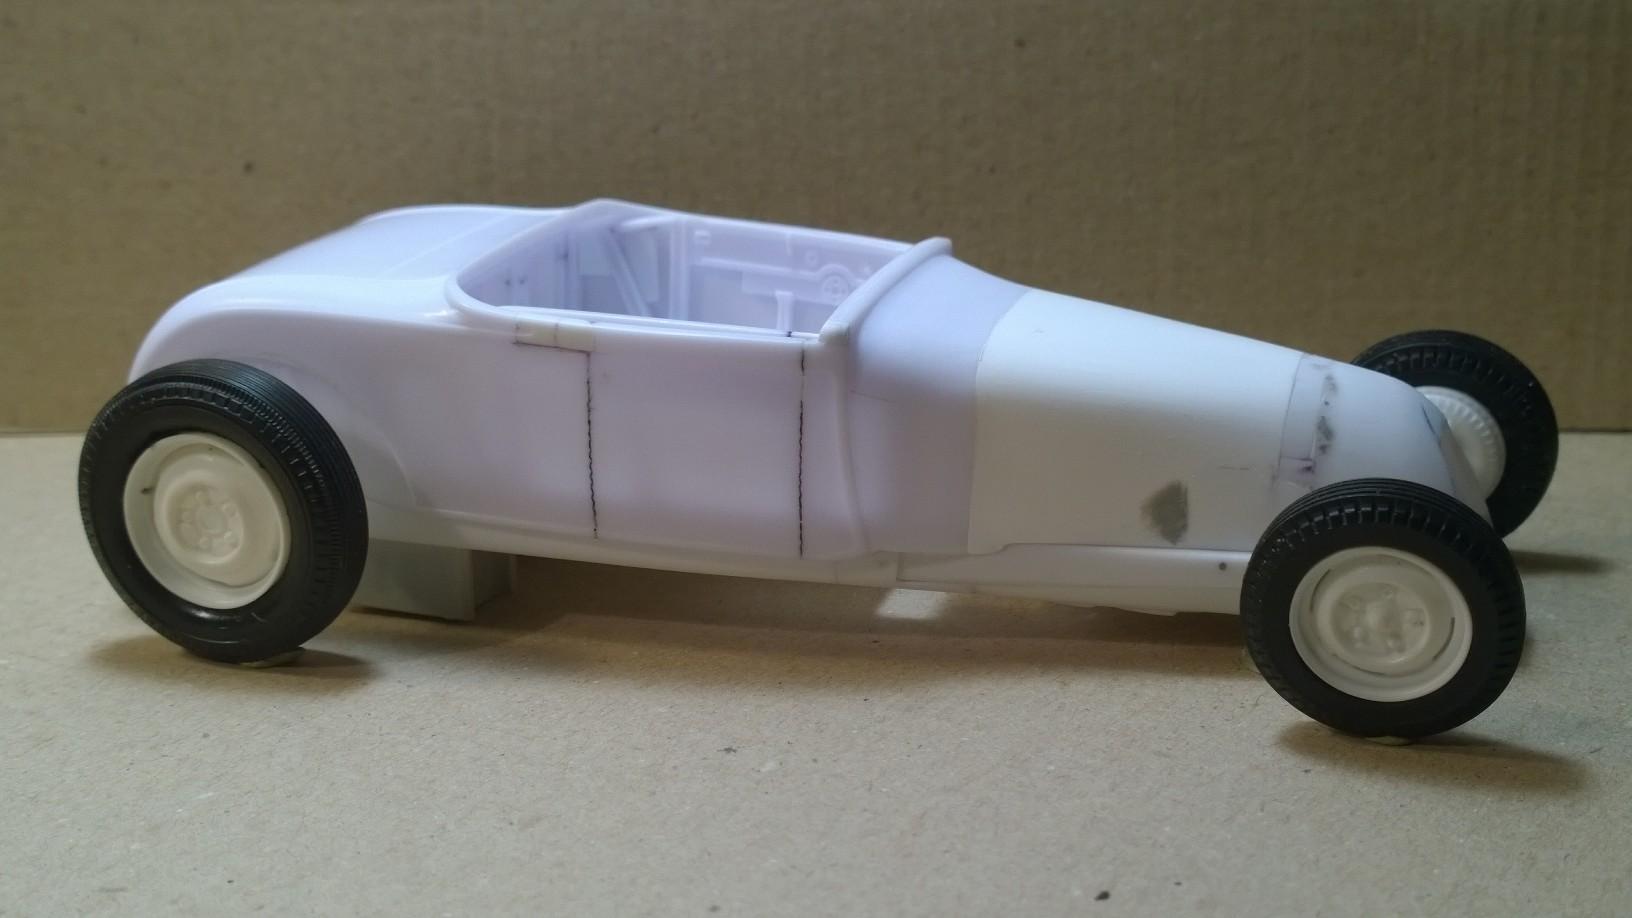
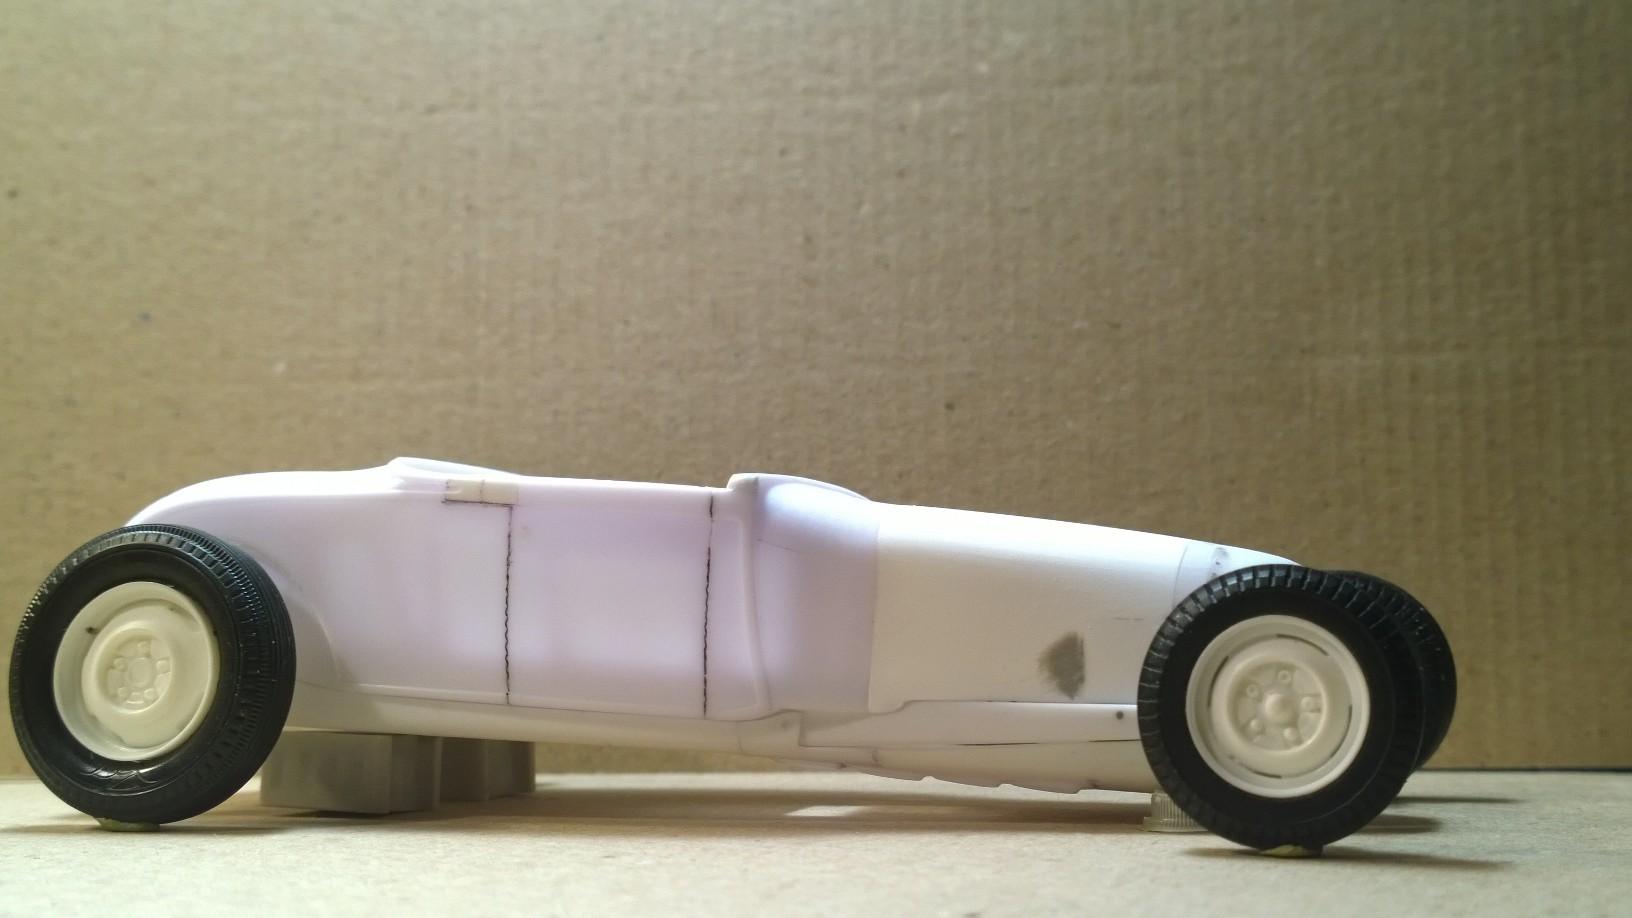
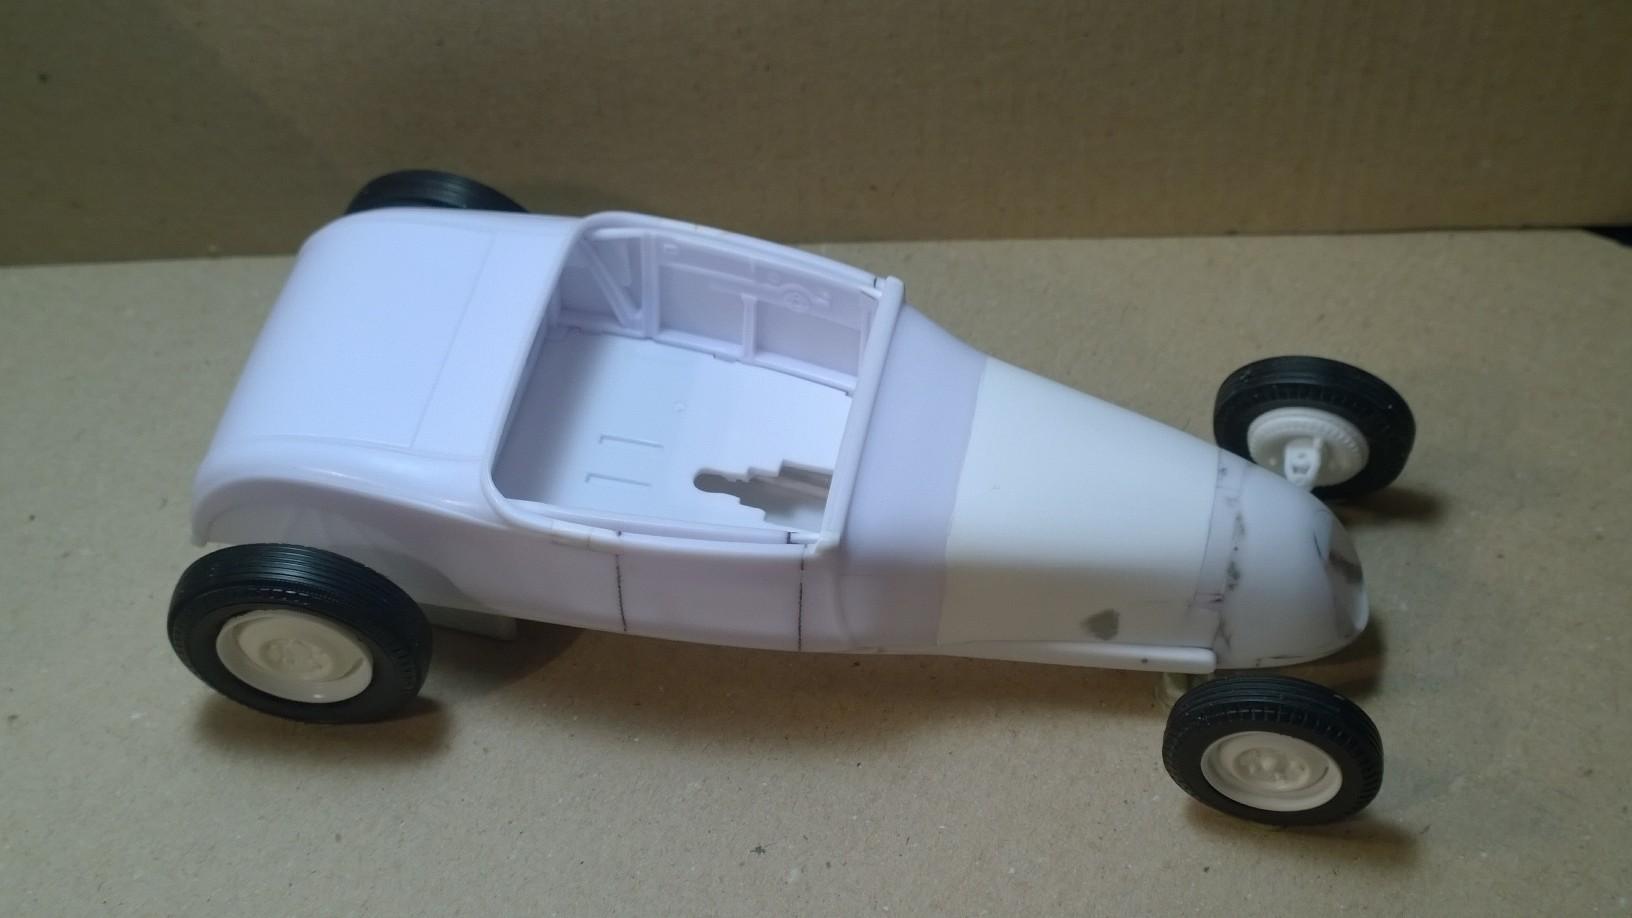
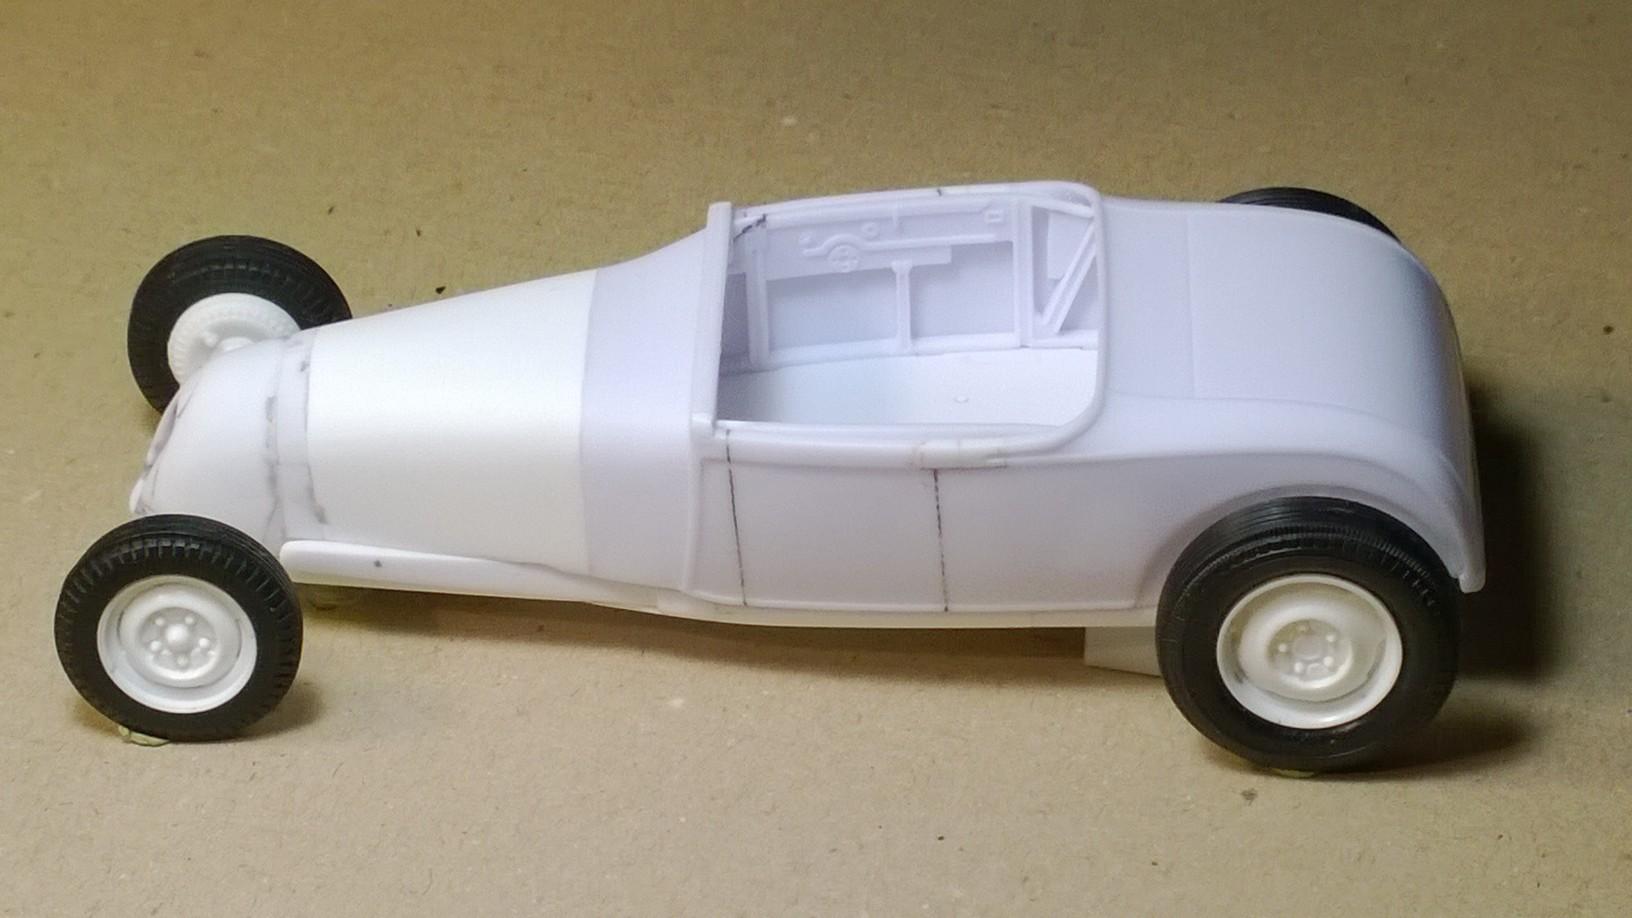
 '29 Track Nose Roadster Mockup 7-7-22
-
I'll leave you with this for today...
-
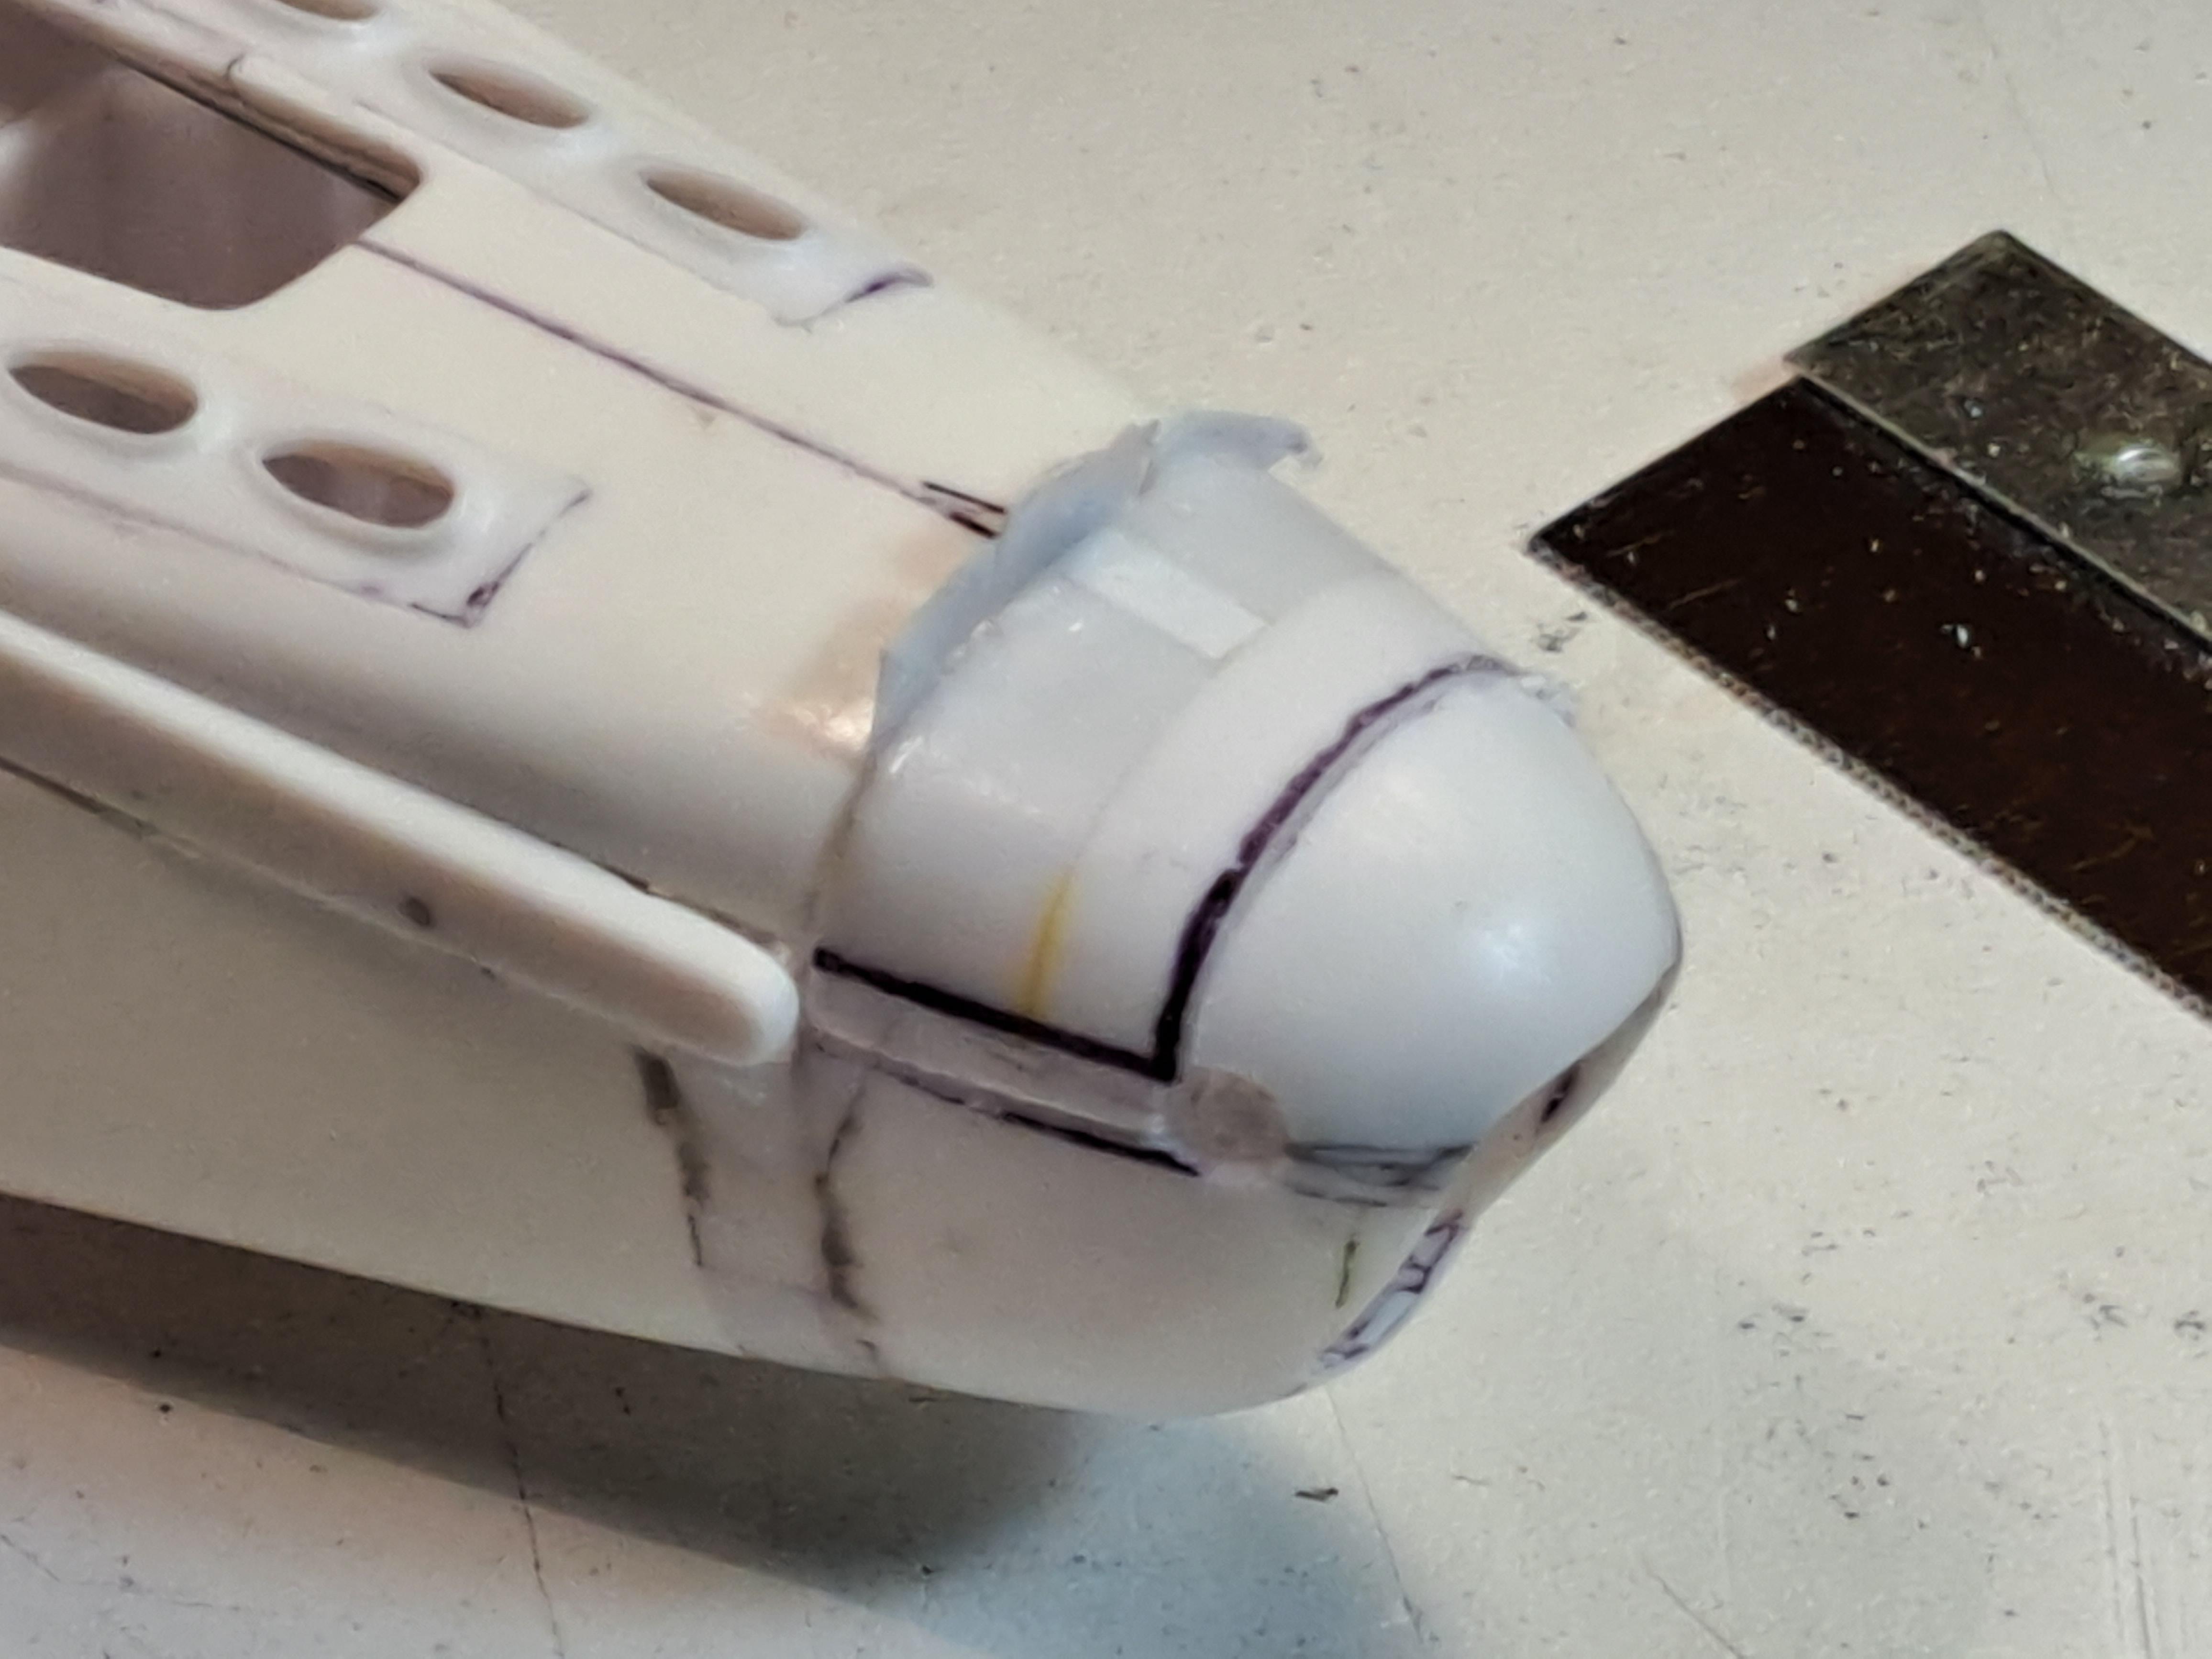
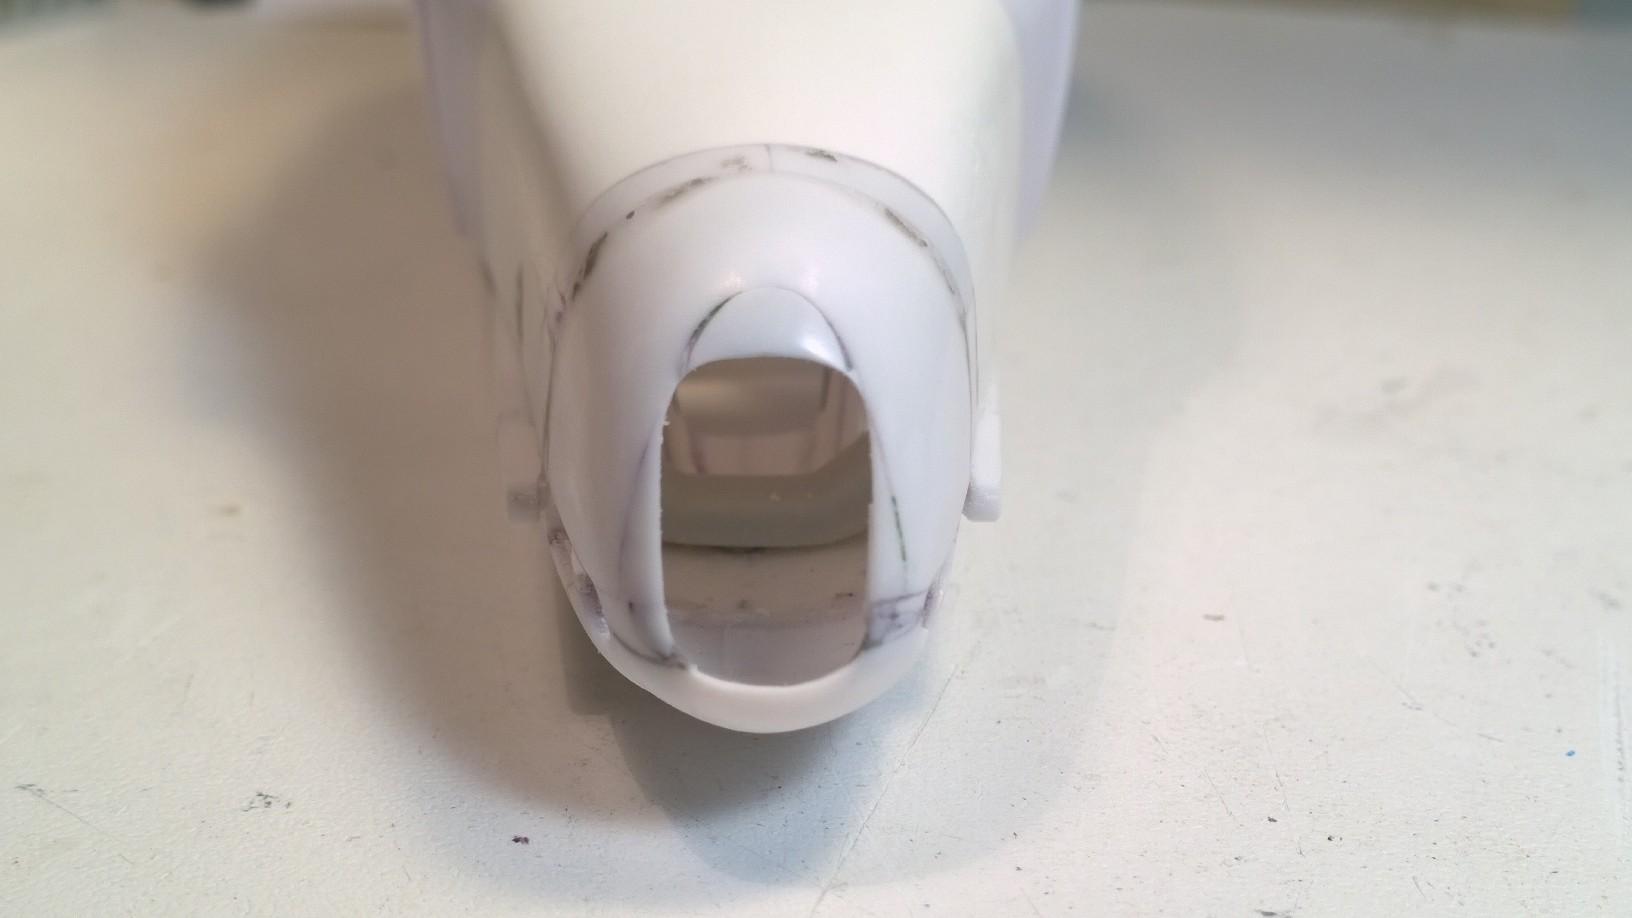
'29 Track Nose Roadster Progress 7-4-22
-
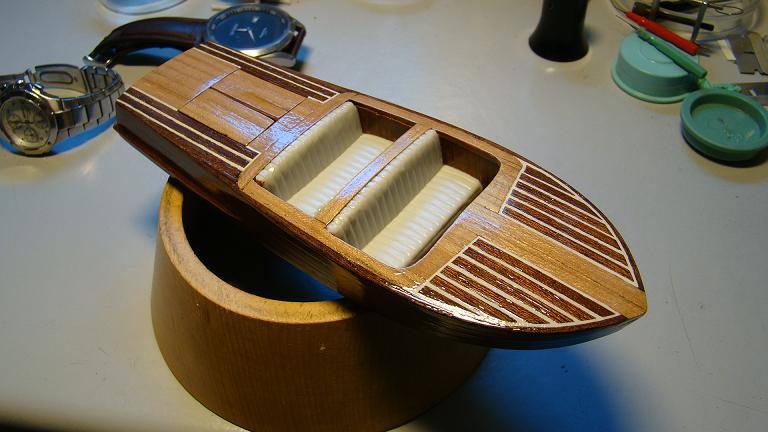
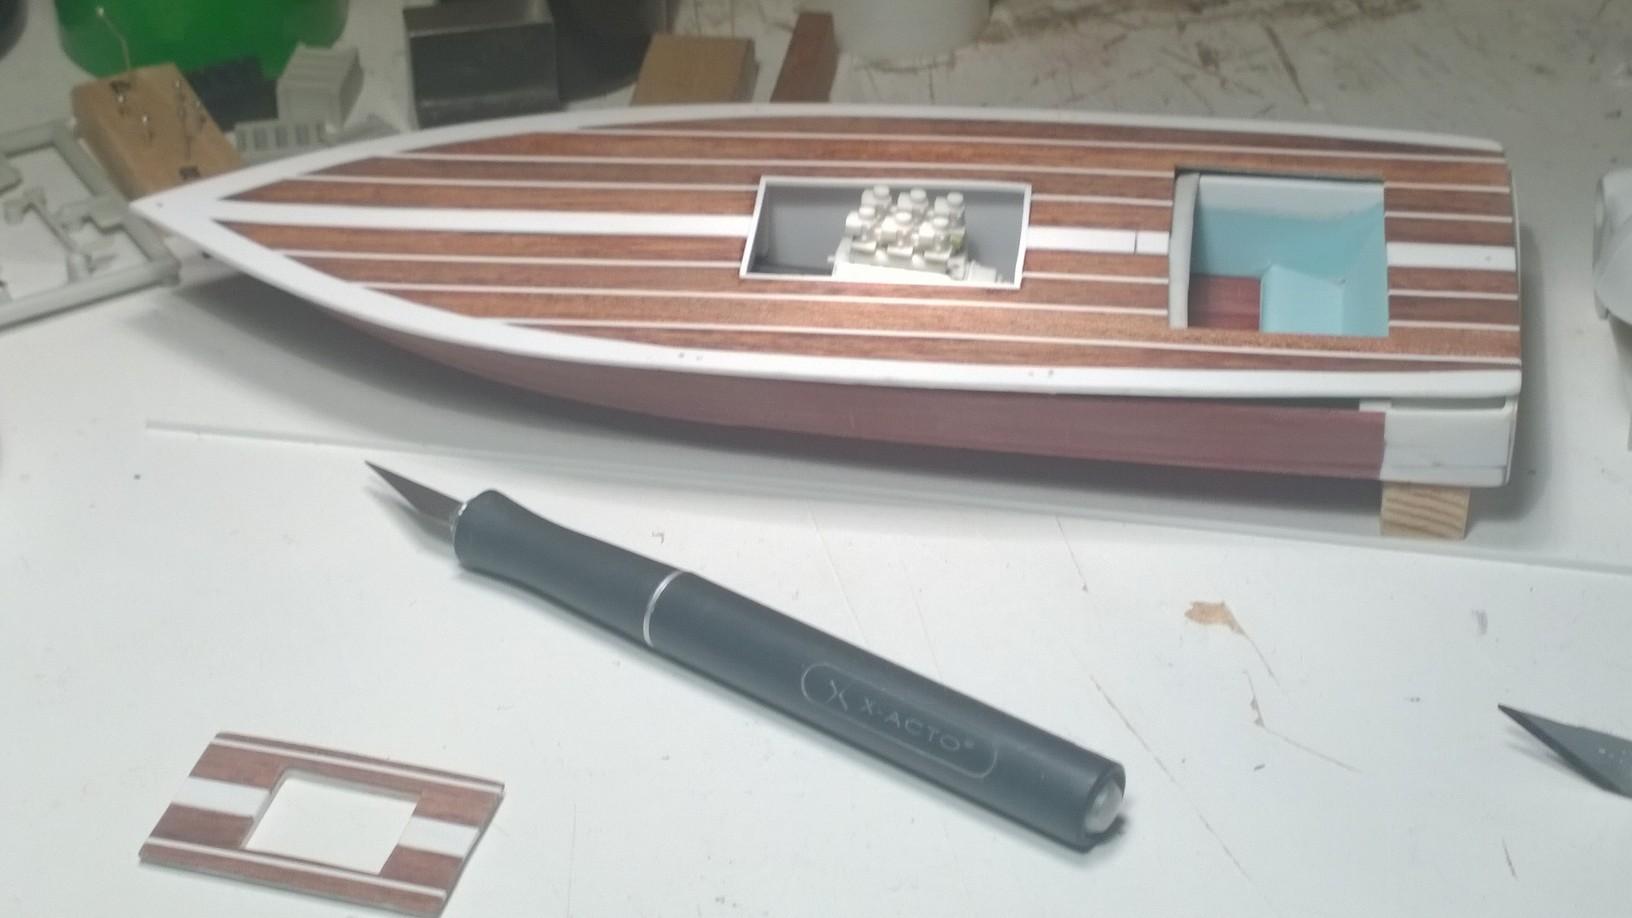
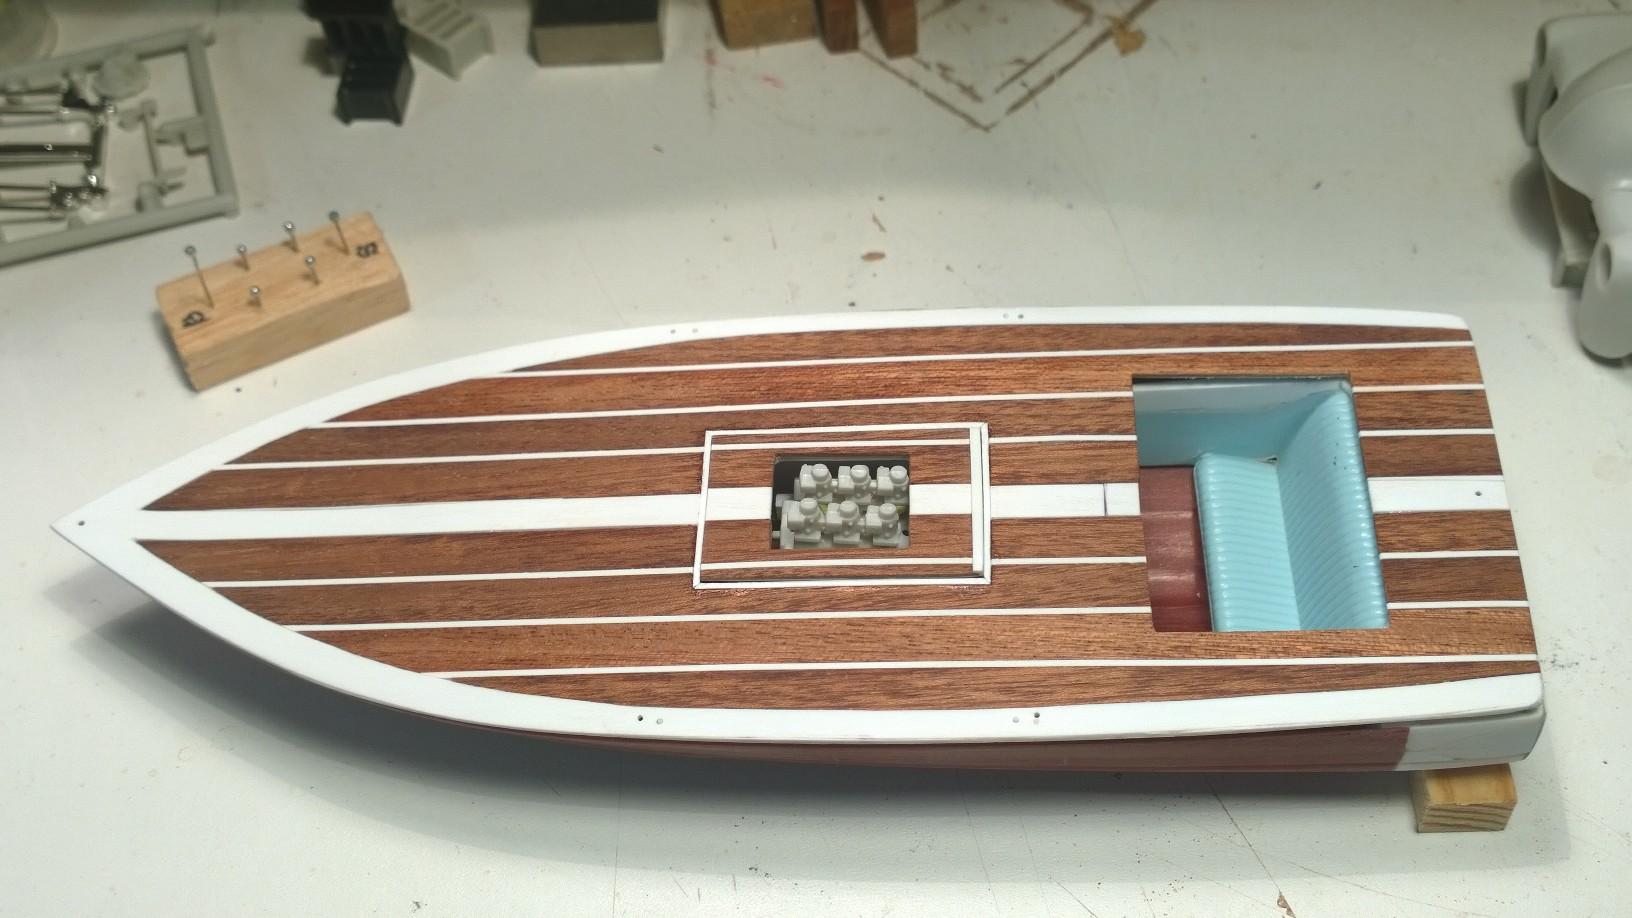
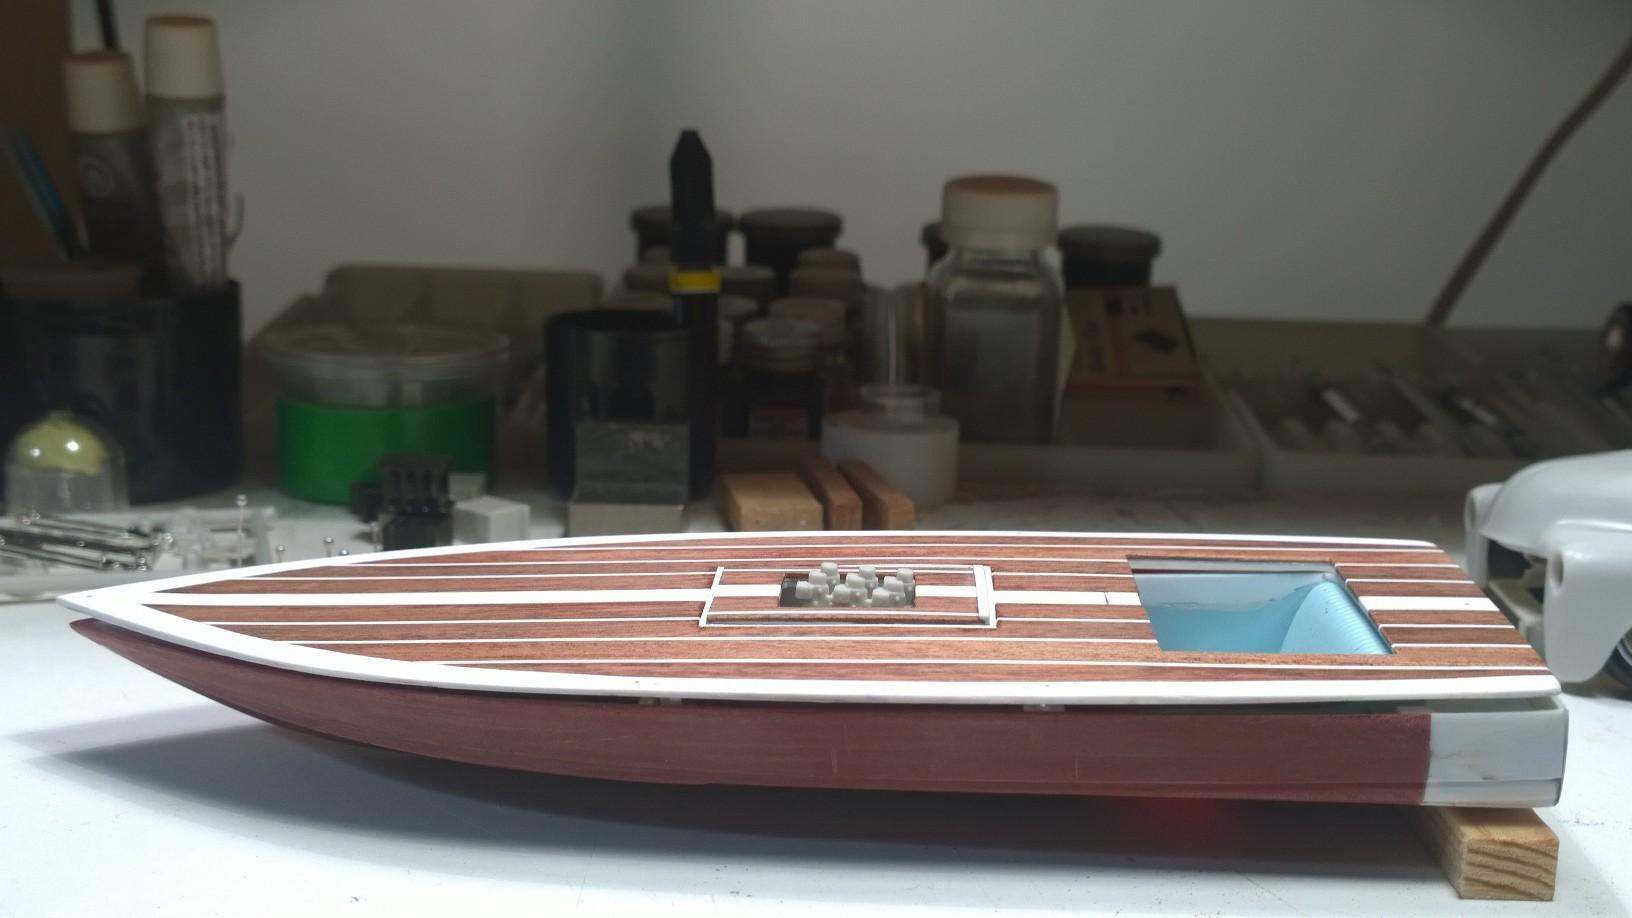
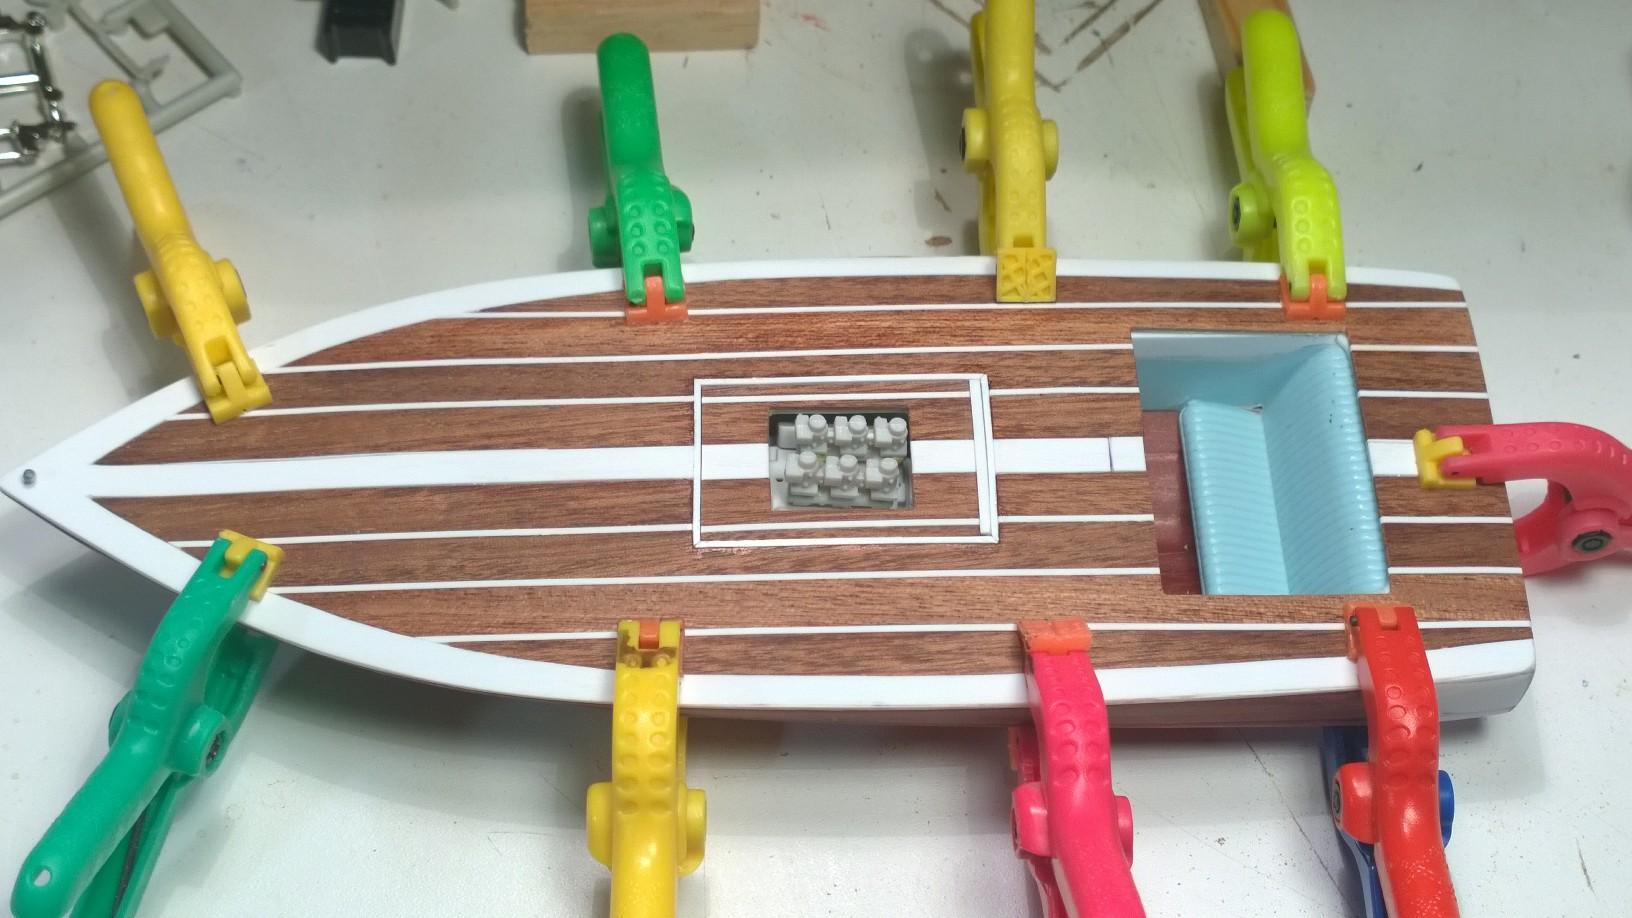
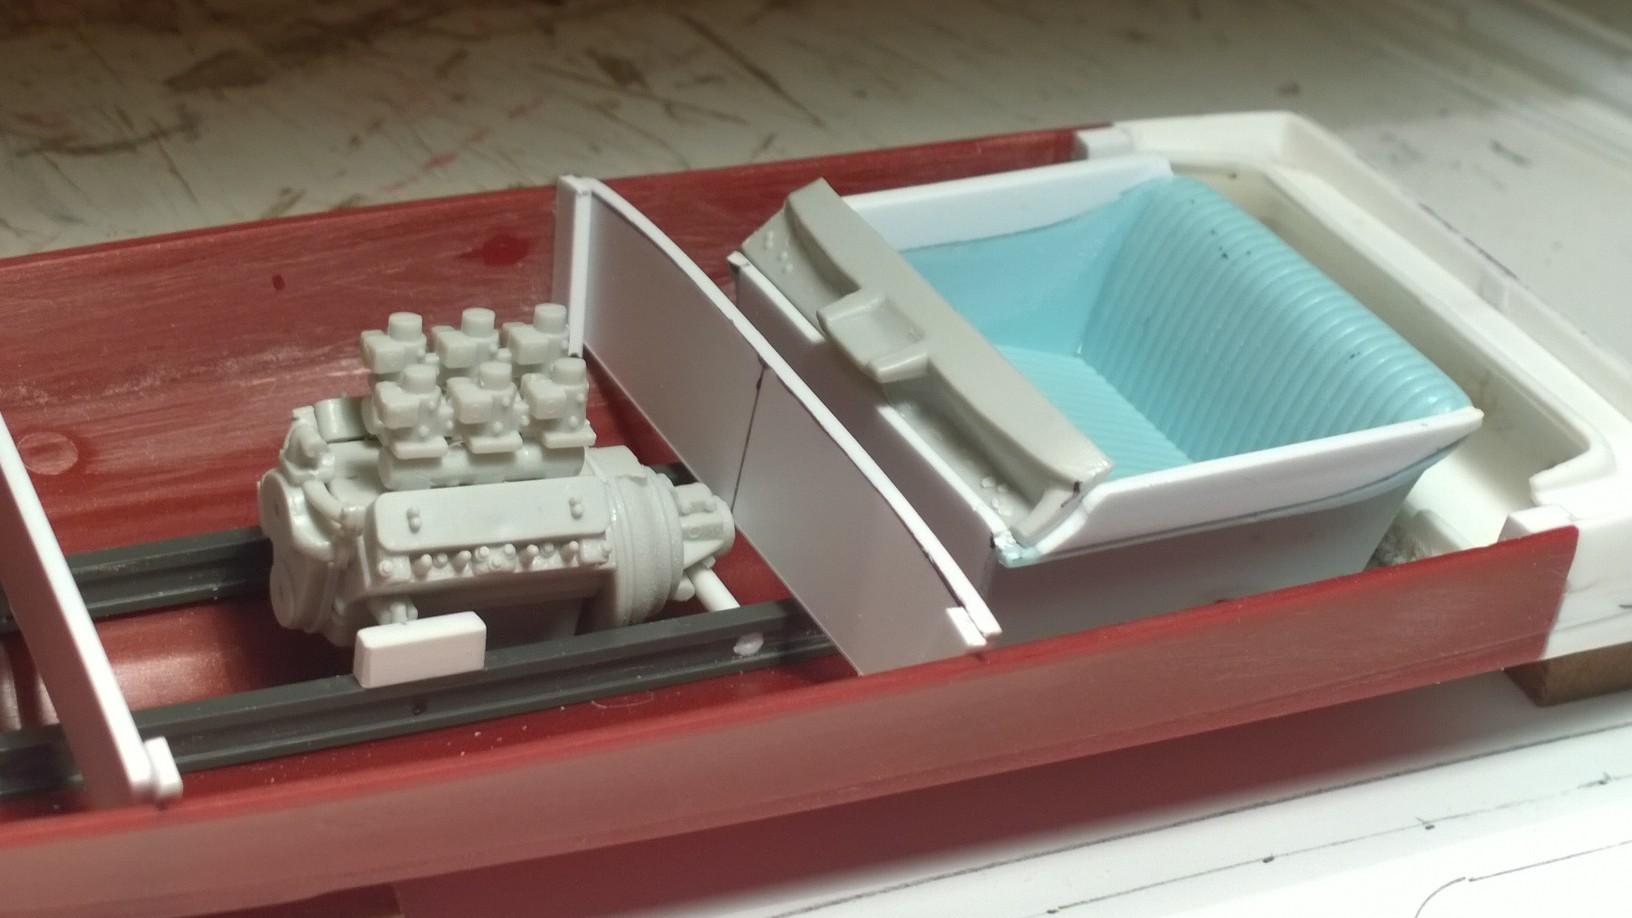
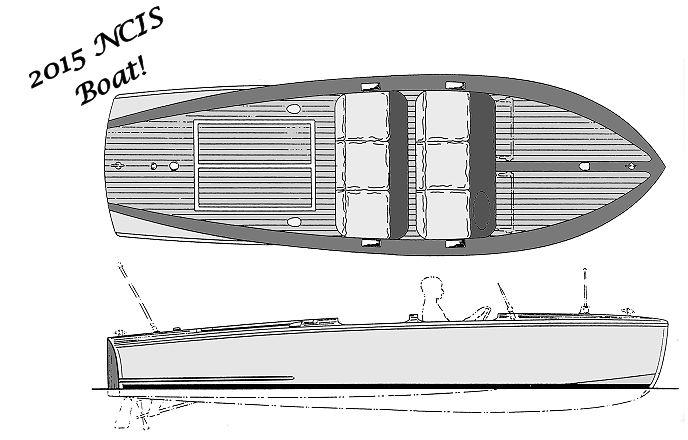
AMT 1-25th Speed Boat with Plank Deck
-
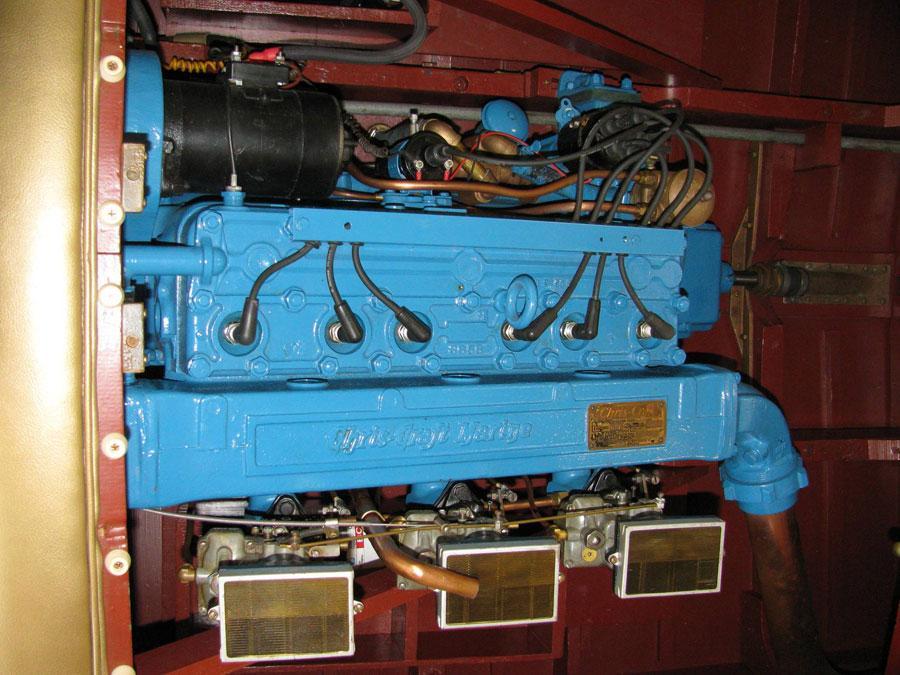
Woodpecker Speed Boat 19' Wooden Deck Speed Boat Studebaker Powered -KK ps My inspiration:
-
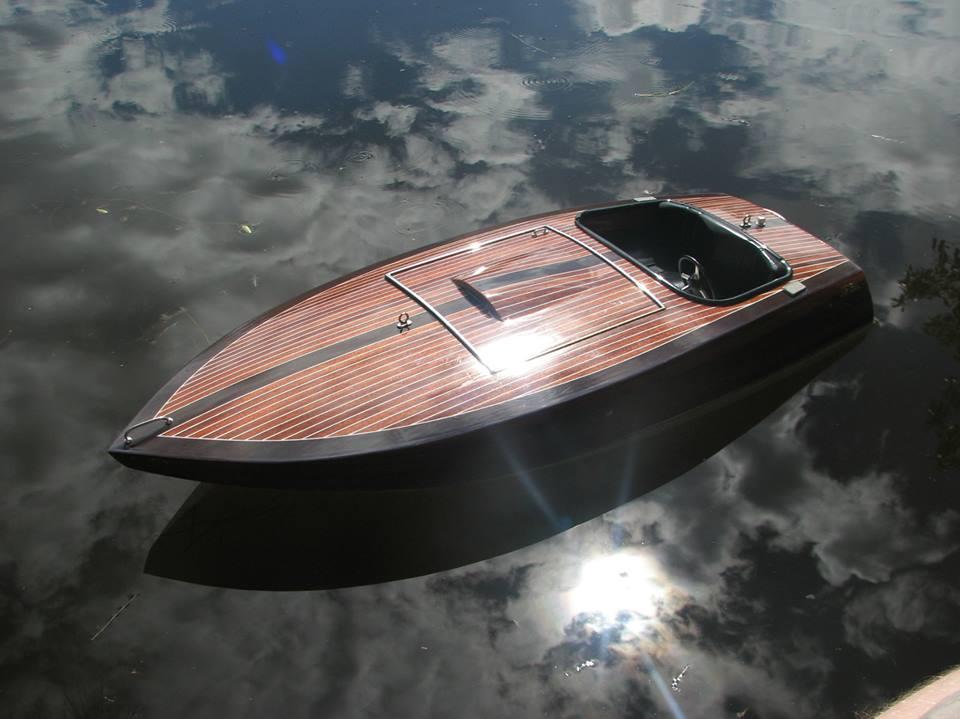
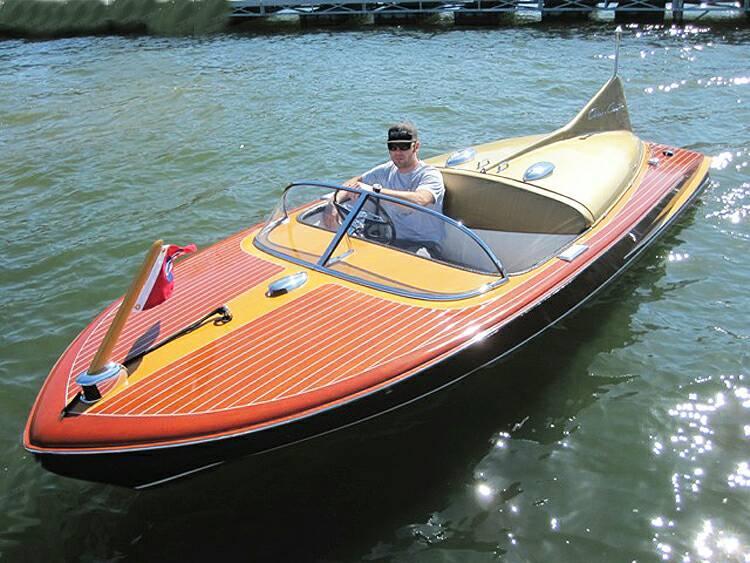
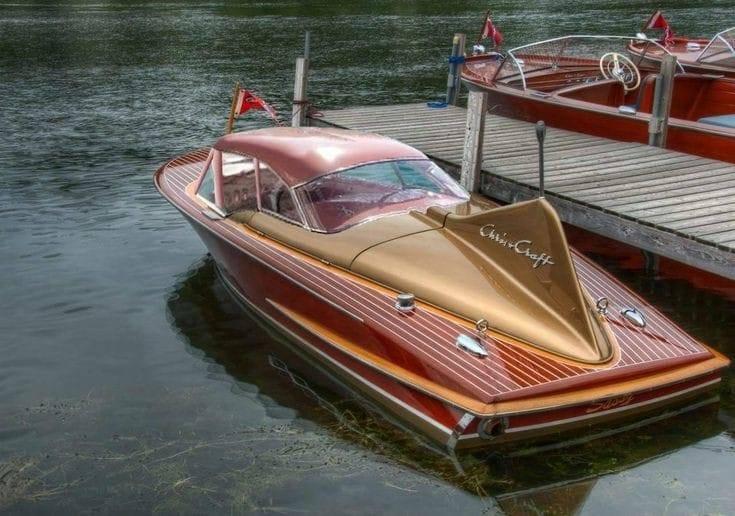
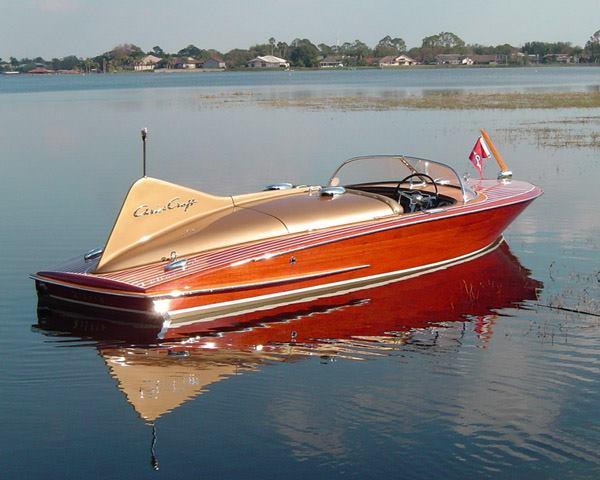
1955 18' Chris Craft Cobra (Photo Shopped)
-
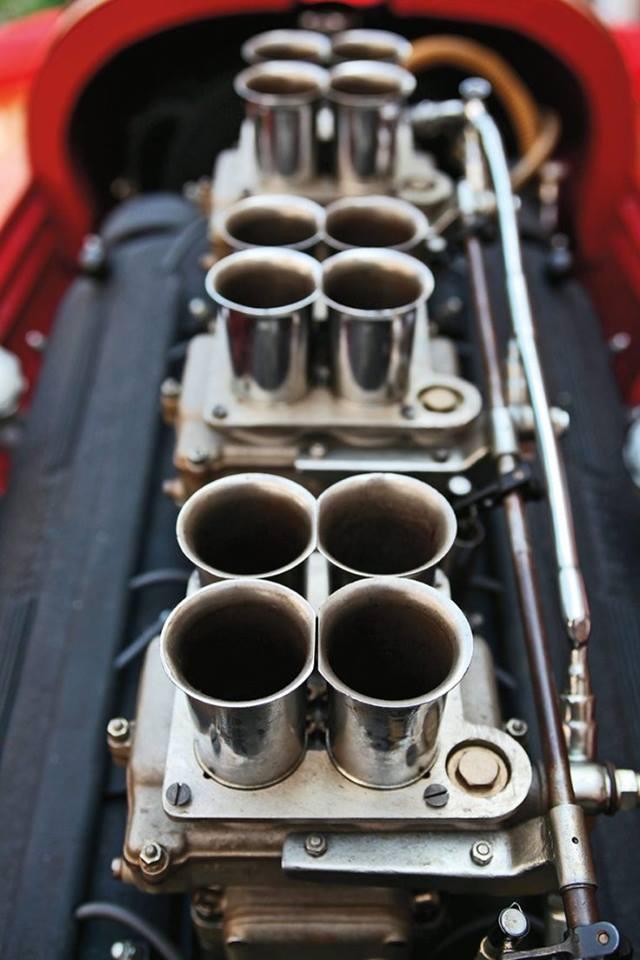
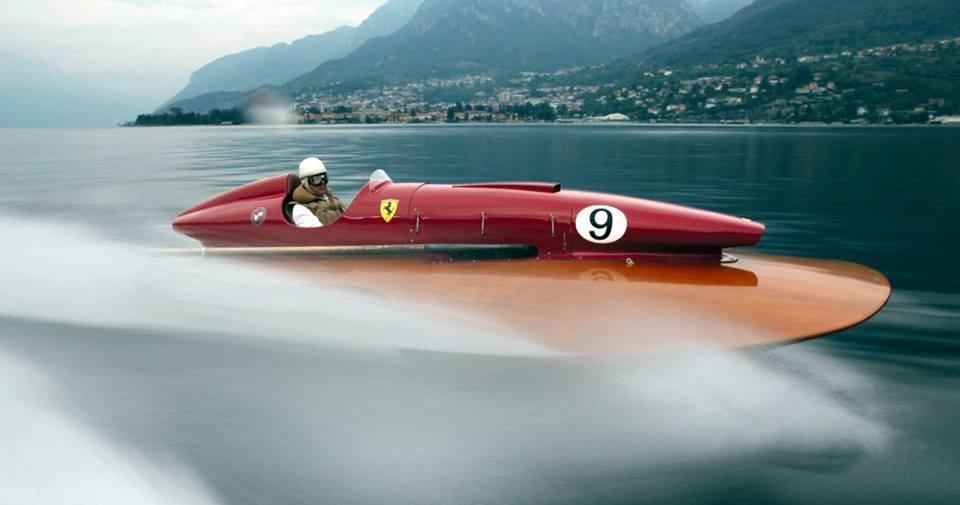
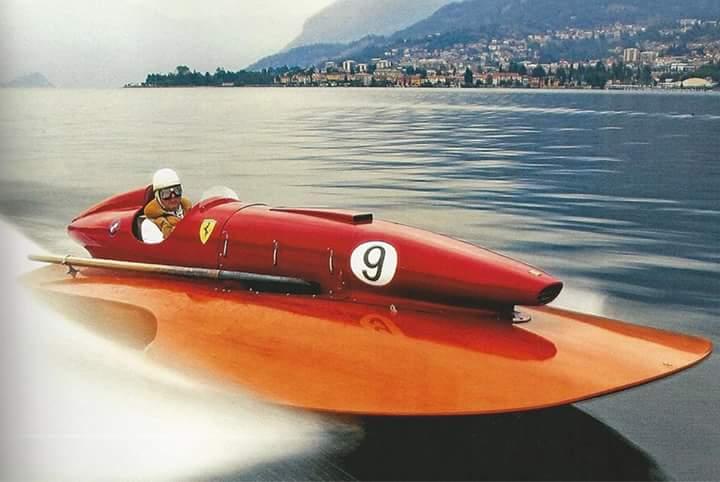
1953 Timossi-Ferrari 'Arno XI' Racing Hydroplane
-
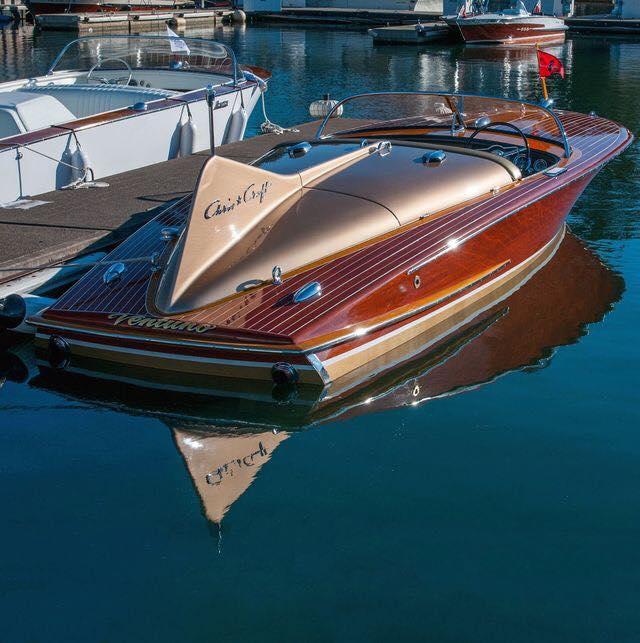
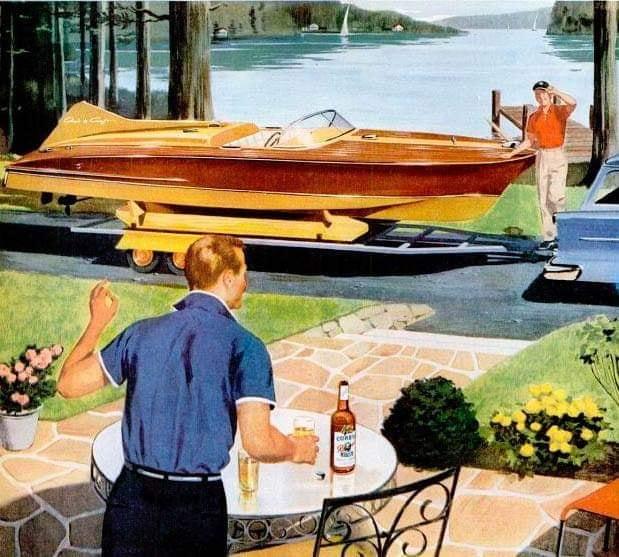
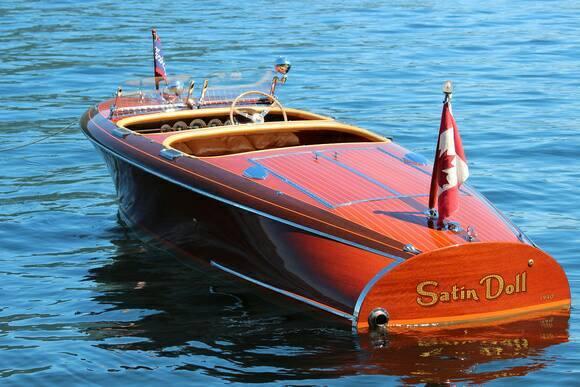
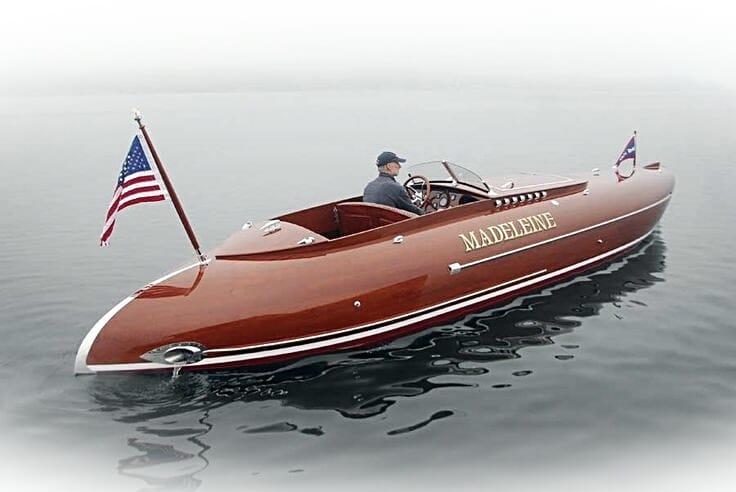
The Thirties Timber Boats were the Cadillacs on the Water! 1932 19' Chris Craft 1939 19' Chris Craft Then came the Forties... 1940 16' Chris Craft 1940 23' Chris Craft 1940 Chris Craft Satin Doll
-
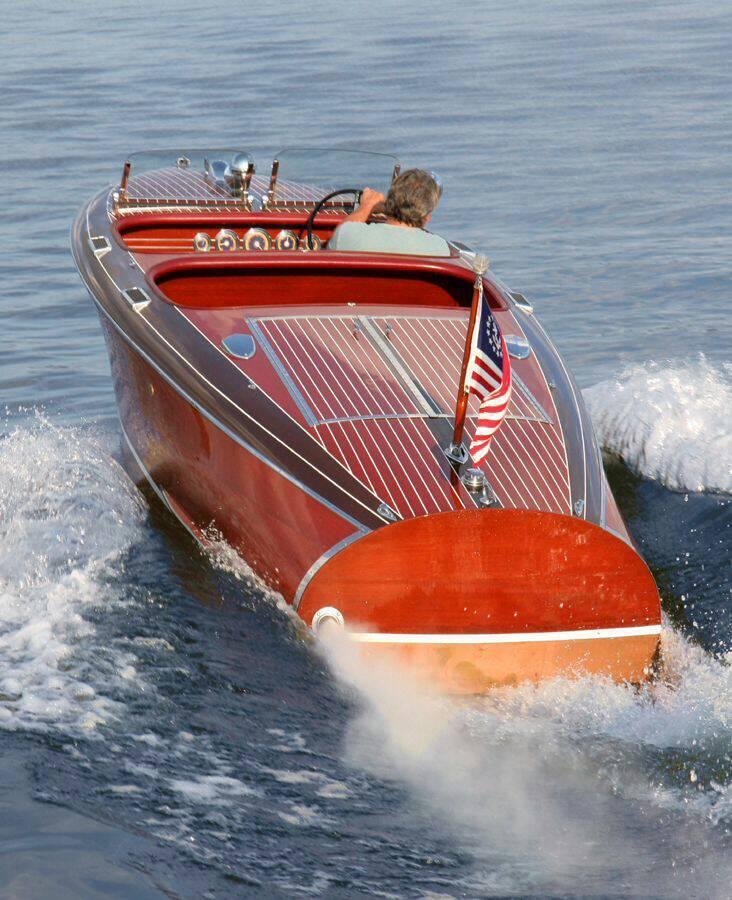
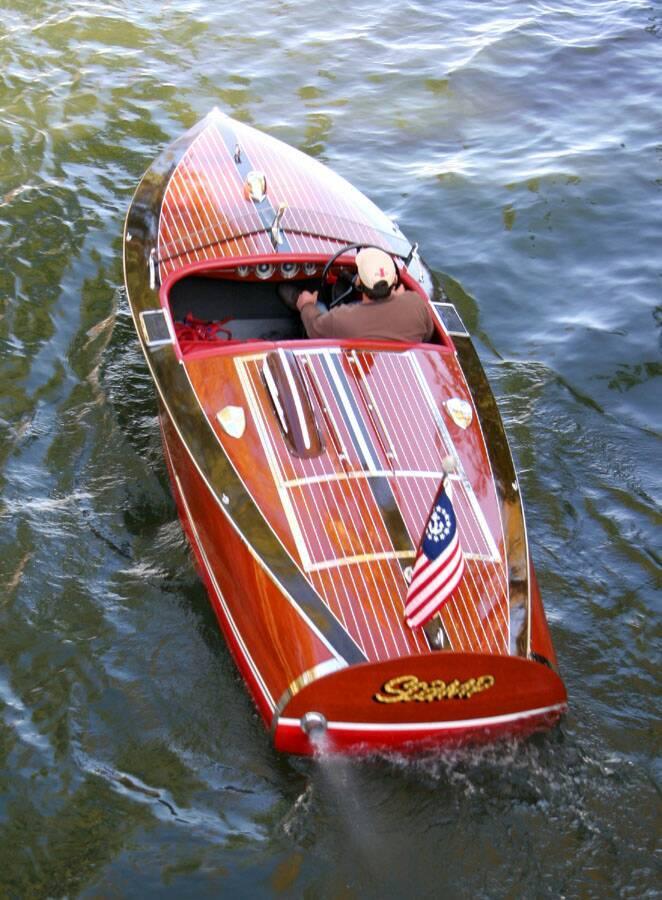
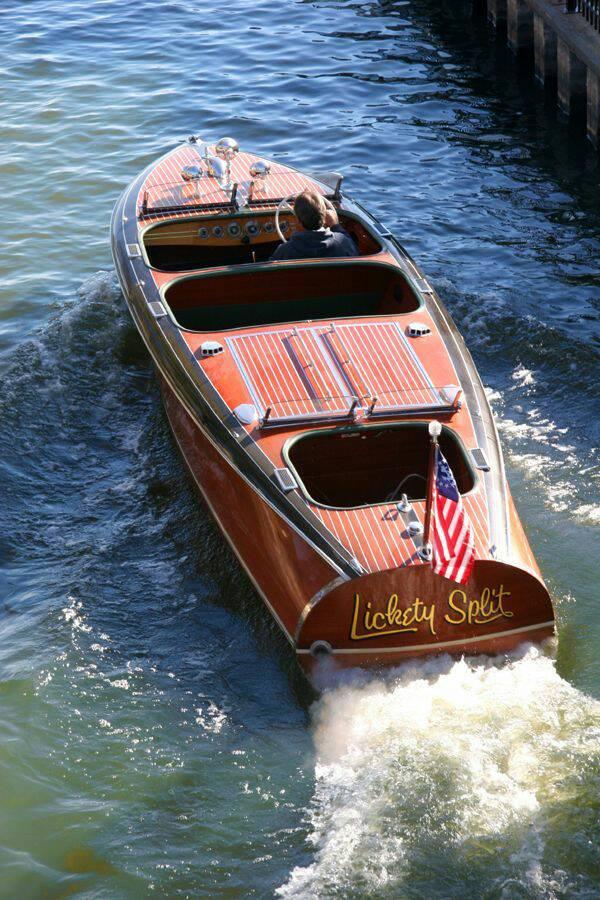
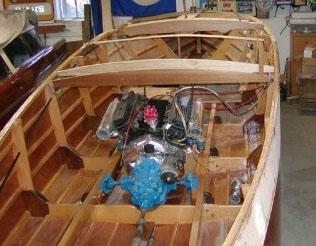
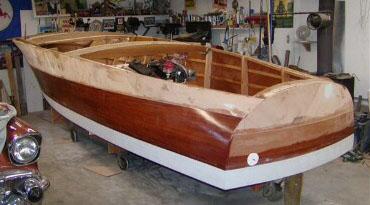
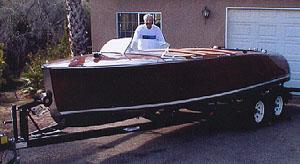
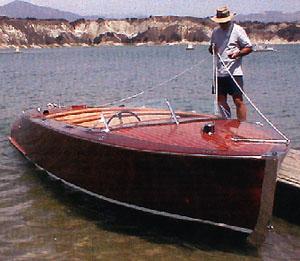
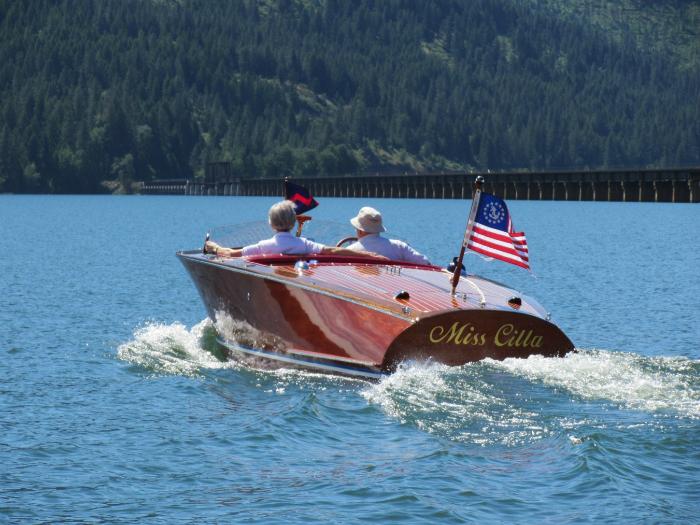
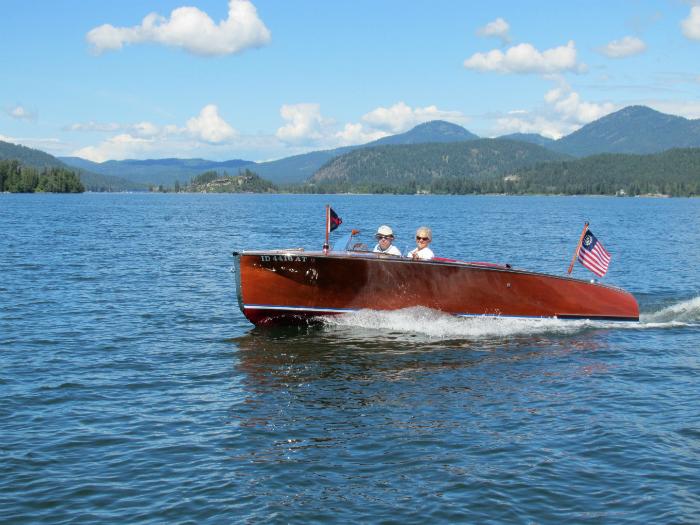
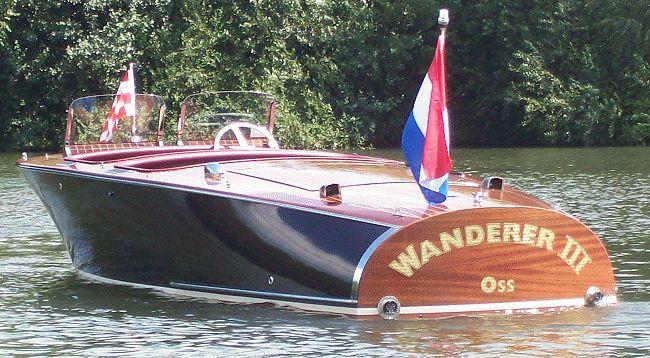
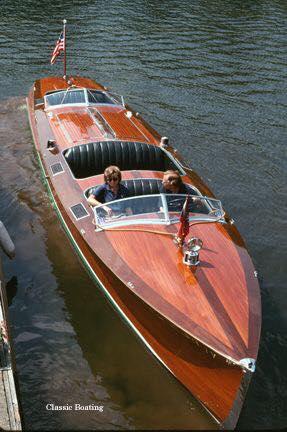
Wood-n-Boats or Wooden Boats or boats with wood in them... inspiration to wet your wave runner appetite. Here's where to launch a picture or two of your dream boat! 19-foot mahogany speed boat Built by James Hurley 1913 Loris 1926 GOLD CUP STYLED GENTLEMAN'S RACER 1931 Gar Wood
-
truck, boat, and trailer
Kit Karson replied to Paul Payne's topic in WIP: Model Trucks: Pickups, Vans, SUVs, Light Commercial
Hold on! Kan you imagine?!.
-
@Rocking Rodney RatI know from our conversations on your HJ build that you understand the uniqueness and challenge this kit kan be... I got this far on mine shortly after the first go round: Keep us up to date on your progress, Brother! -KK
-
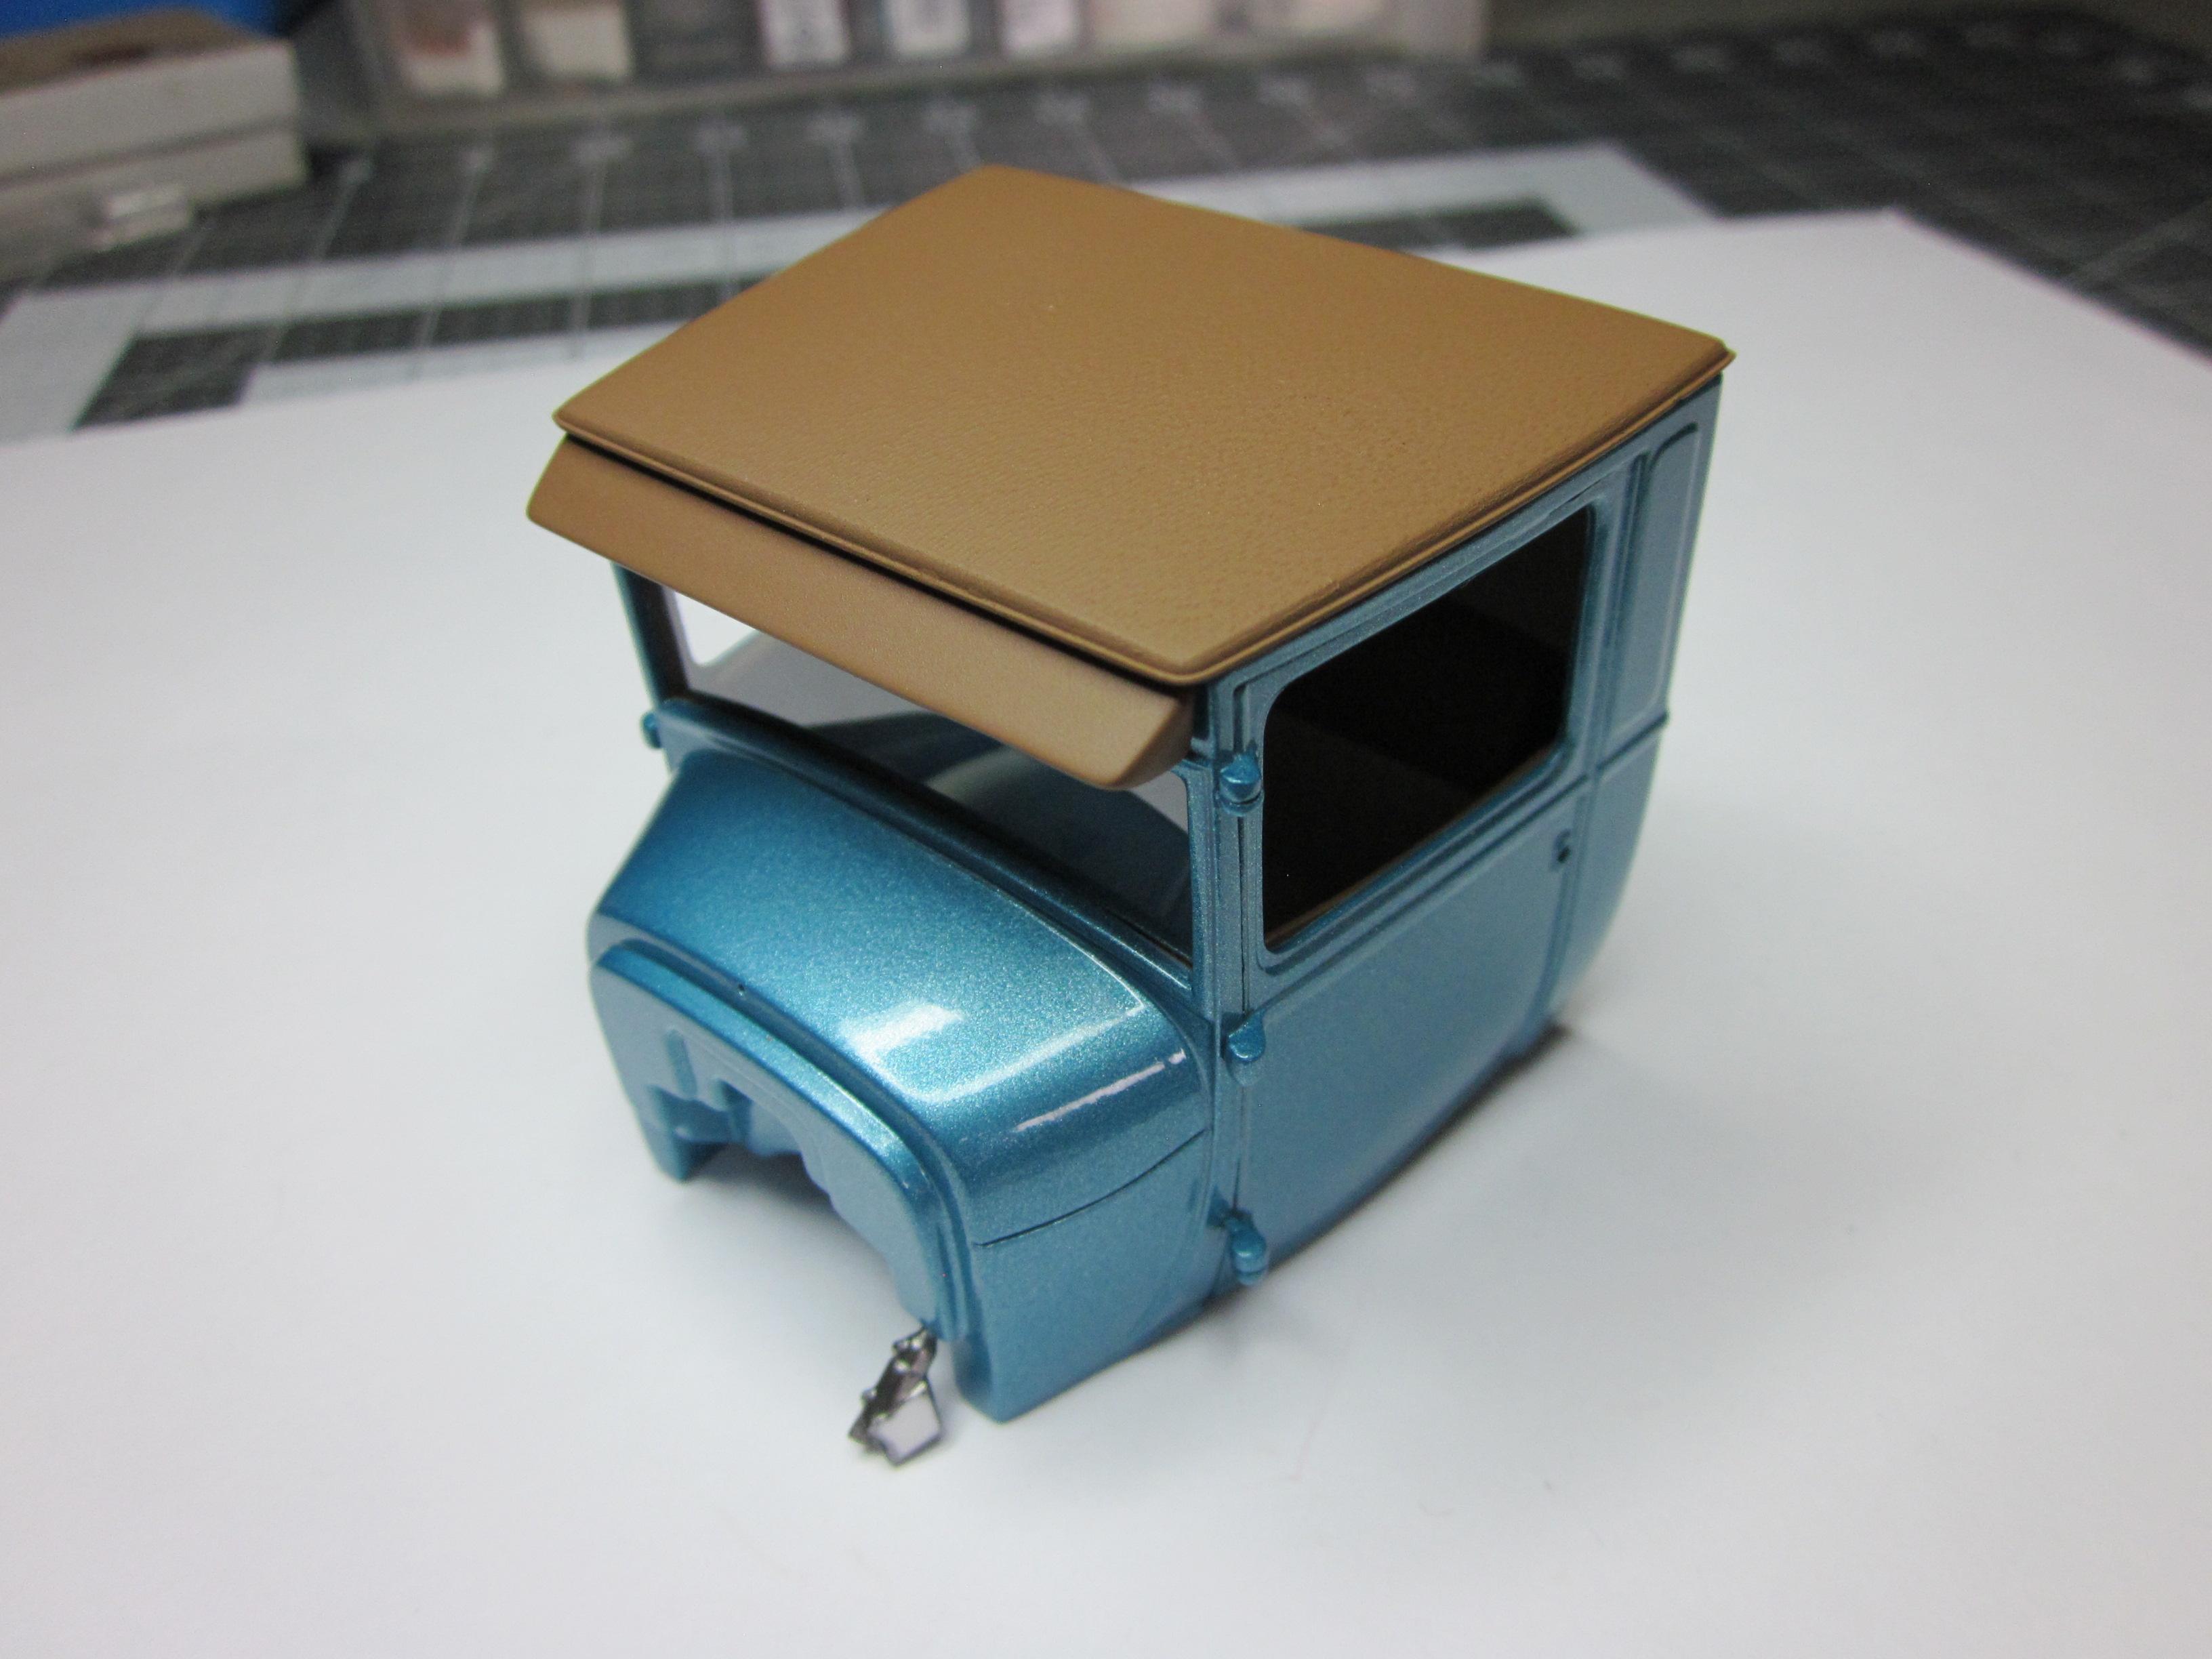
@Speedpro sent me a couple of pictures: Most will never see this detail again after the top is secured! -KK ps Paul has a big surprise under the hood!
-
truck, boat, and trailer
Kit Karson replied to Paul Payne's topic in WIP: Model Trucks: Pickups, Vans, SUVs, Light Commercial
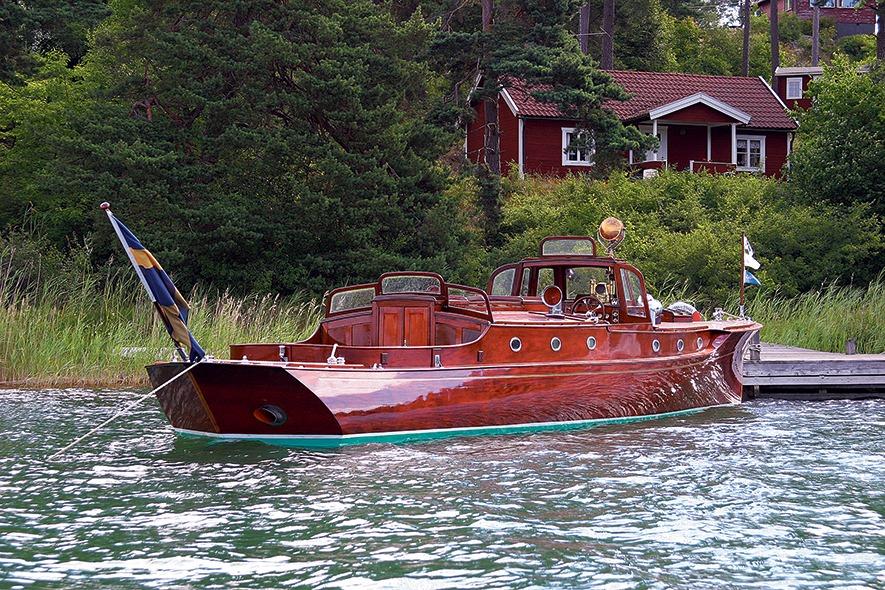
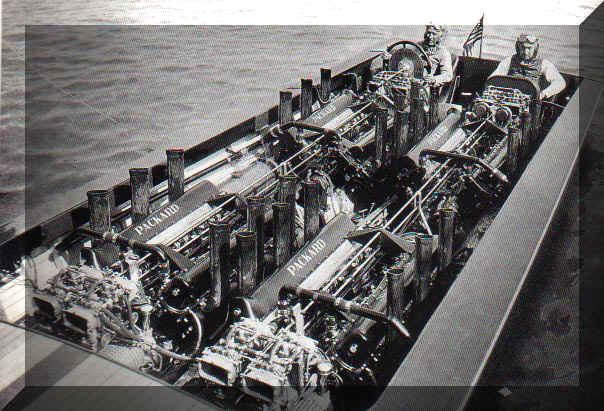
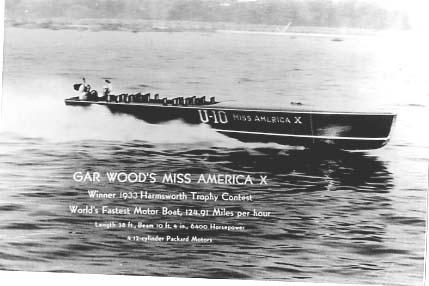
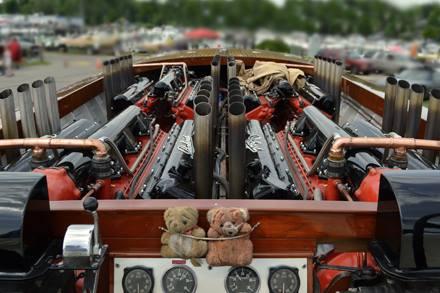
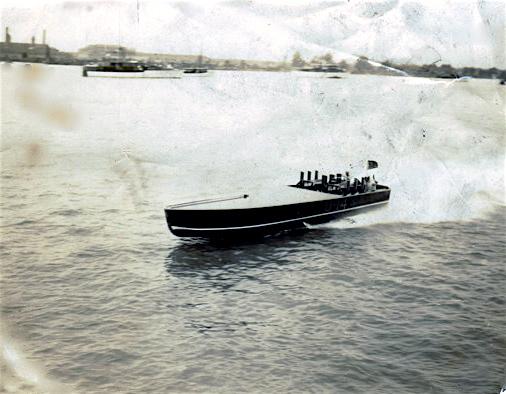
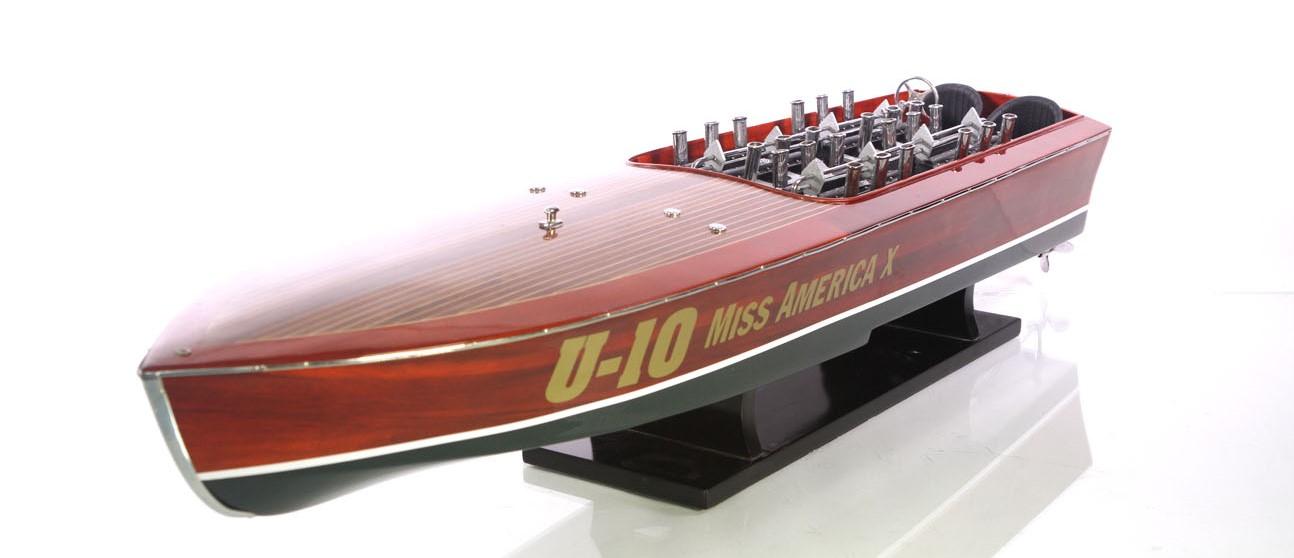
Outstanding craftsmanship all around! I absolutely have a deep respect for the level of knowledge regarding wooden boats. This subject might require having another thread dedicated to Wooden Boats! I found this one last December at the NSRA meet in Tampa: Gar Wood’s Miss America X
-
Yes, Sir!
-
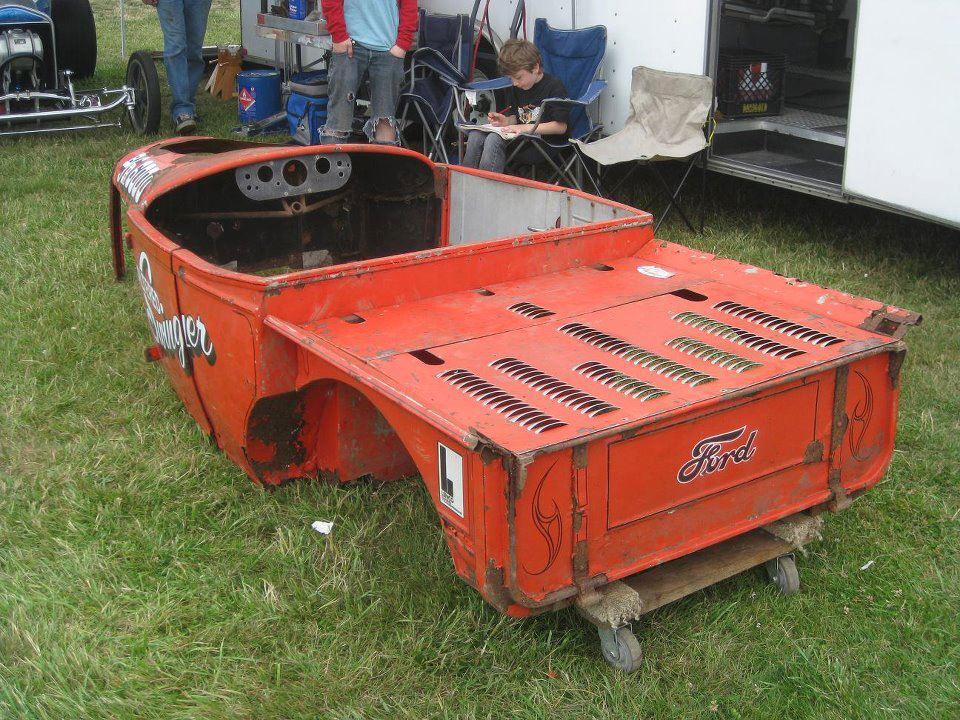
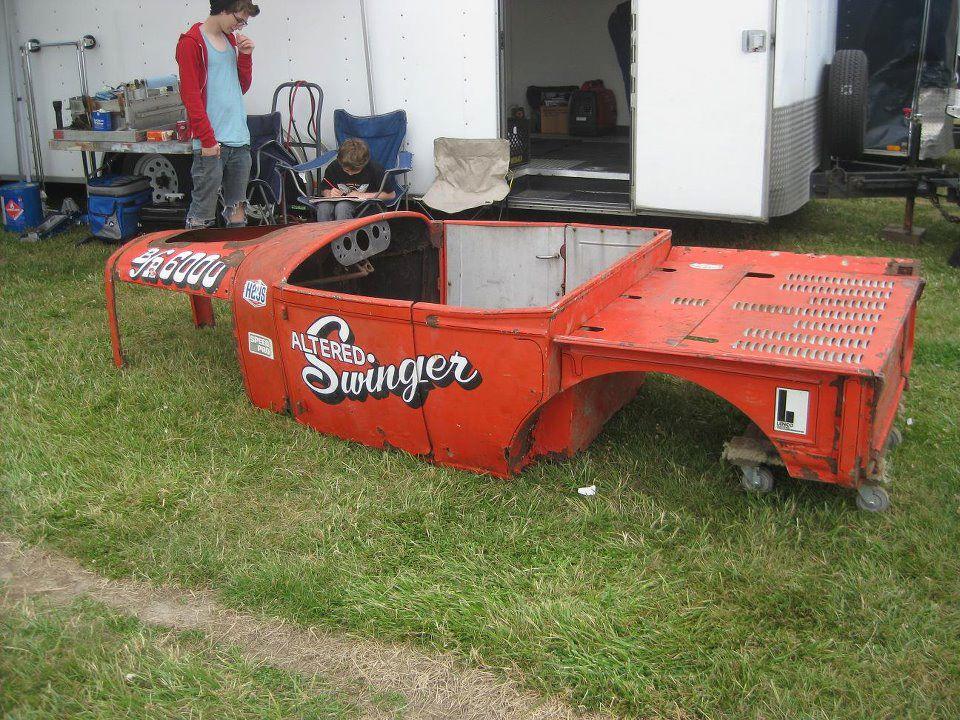
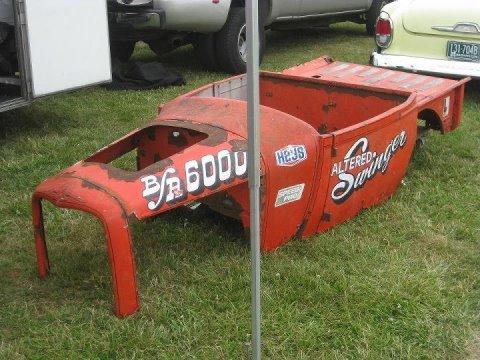
Altered Swinger B/R 6000 This body shell (Altered Swinger) had just recently traded hands, originally ran by Eugene, Oregon racer Stan Wilson in the late 60's into the early 70's... ...current owner Josh Higgins. Having grown up in the Willamette Valley as a highschooler, drag racing in Woodburn was a regular activity back in the 60's! This has haunted me for some time wondering how kool this could be as a diorama, or should it be up on wheels? -KK http://www.jalopyjournal.com/forum/showthread.php?p=7914974
-
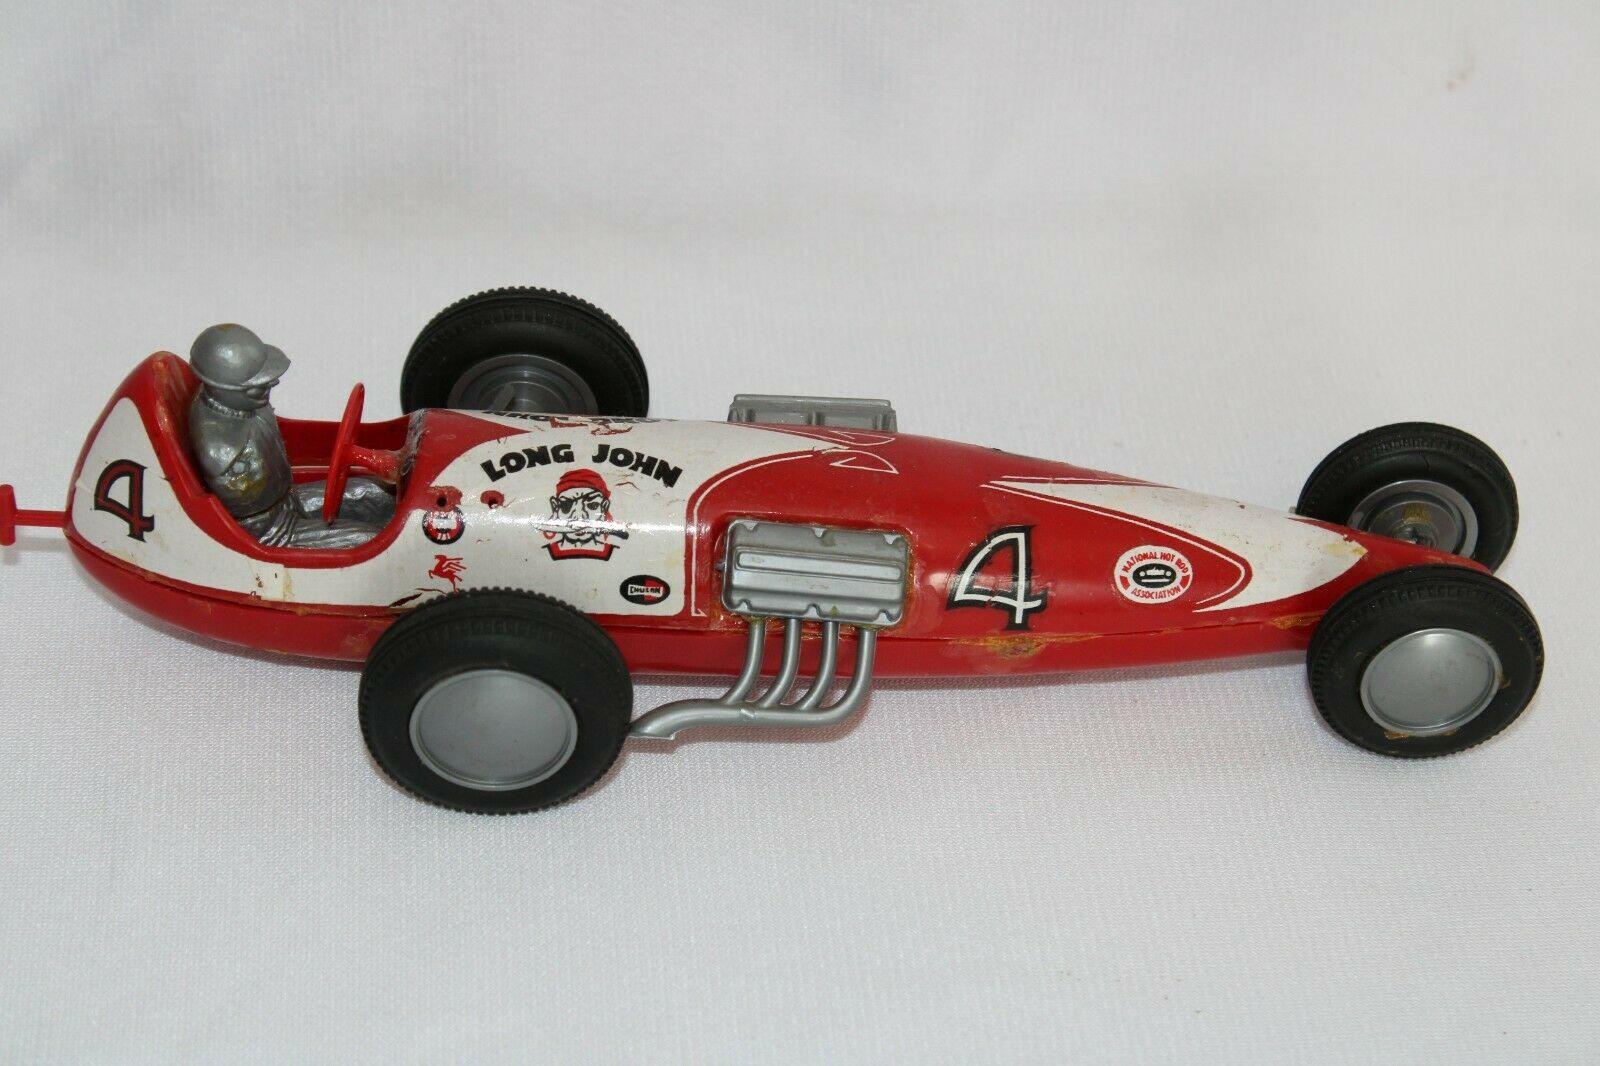
Actually they came from the VINTAGE MONOGRAM MODEL LONG JOHN
-
The '29 Track Nose Roadster K&R Slice-n-Dice Special has been an inspiration for my partner in crime to build his own "A" Liner! We are known for our K&R Kustom+Rods builds that we collaborate on together... well the only part of this accomplishment that I played, was my work on the K&R Slice-n-Dice Special that inspired@Rocking Rodney Ratto build his '29 Roadster Lakester and listening to him build it over the phone a few weeks ago! I'm stunned by the realistic appearance of this "A" Liner! Now, let's get back to the progress on the K&R Slice-n-Dice Special: NO PROGRESS to report! -KK
-
Thanks, again RRR! I'm honored that the '29 Track Nose Roadster K&R Slice-n-Dice Special was the inspiration for your "A" Liner! It shines in comparison to my WIP! I'm humbled by your prolific ability to masterfully take a conceptual thought and days later produce an amazing rendition of what you designed over the phone with me less than a month ago! KUDOS!! -KK
-
Who doesn't love a mock-up? Let's see yours!
Kit Karson replied to Belairconvertable's topic in WIP: Model Cars
Thank you, Brother! Your "A" Liner is spot on! You have every accent line highlighted!! Once you put a shine on it... well we'll need sunglasses to shade the mirror flat surfaces. Buff a little tread off of those stickers throw a class indication that the S.C.T.A. approve & let's hit the salt, RRR!! -KK -
OUTSTANDING CRAFTSMANSHIP
-
I know... all you need is more research material! -KK Oh! Why not!?.
-
At the pace this thread has maintained interest across such a broad base of contributors, but an even larger mass of followers. From a modeler's idea (@Dennis Lacy) to impacting real life gatherings of "Auto Enthusiast". Decades ago @Rocking Rodney Rat& I hosted model car shows at the NW GoodGuy's gatherings. During a GoodGuy's event in Salem, OR a fellow rodder approached me at the model display and told me incorporated aspects of the ZR-6 in his '49 Chevy Fleetline. Model builders have always been admired by the big car guys because they used to be model car builders themselves! There are several of us on both sides of the hobby. I build models that I can't afford to build in real life! Thanks, @tim boydfor all that you have graced us with over the years!! Chuck Hoffman '28
-
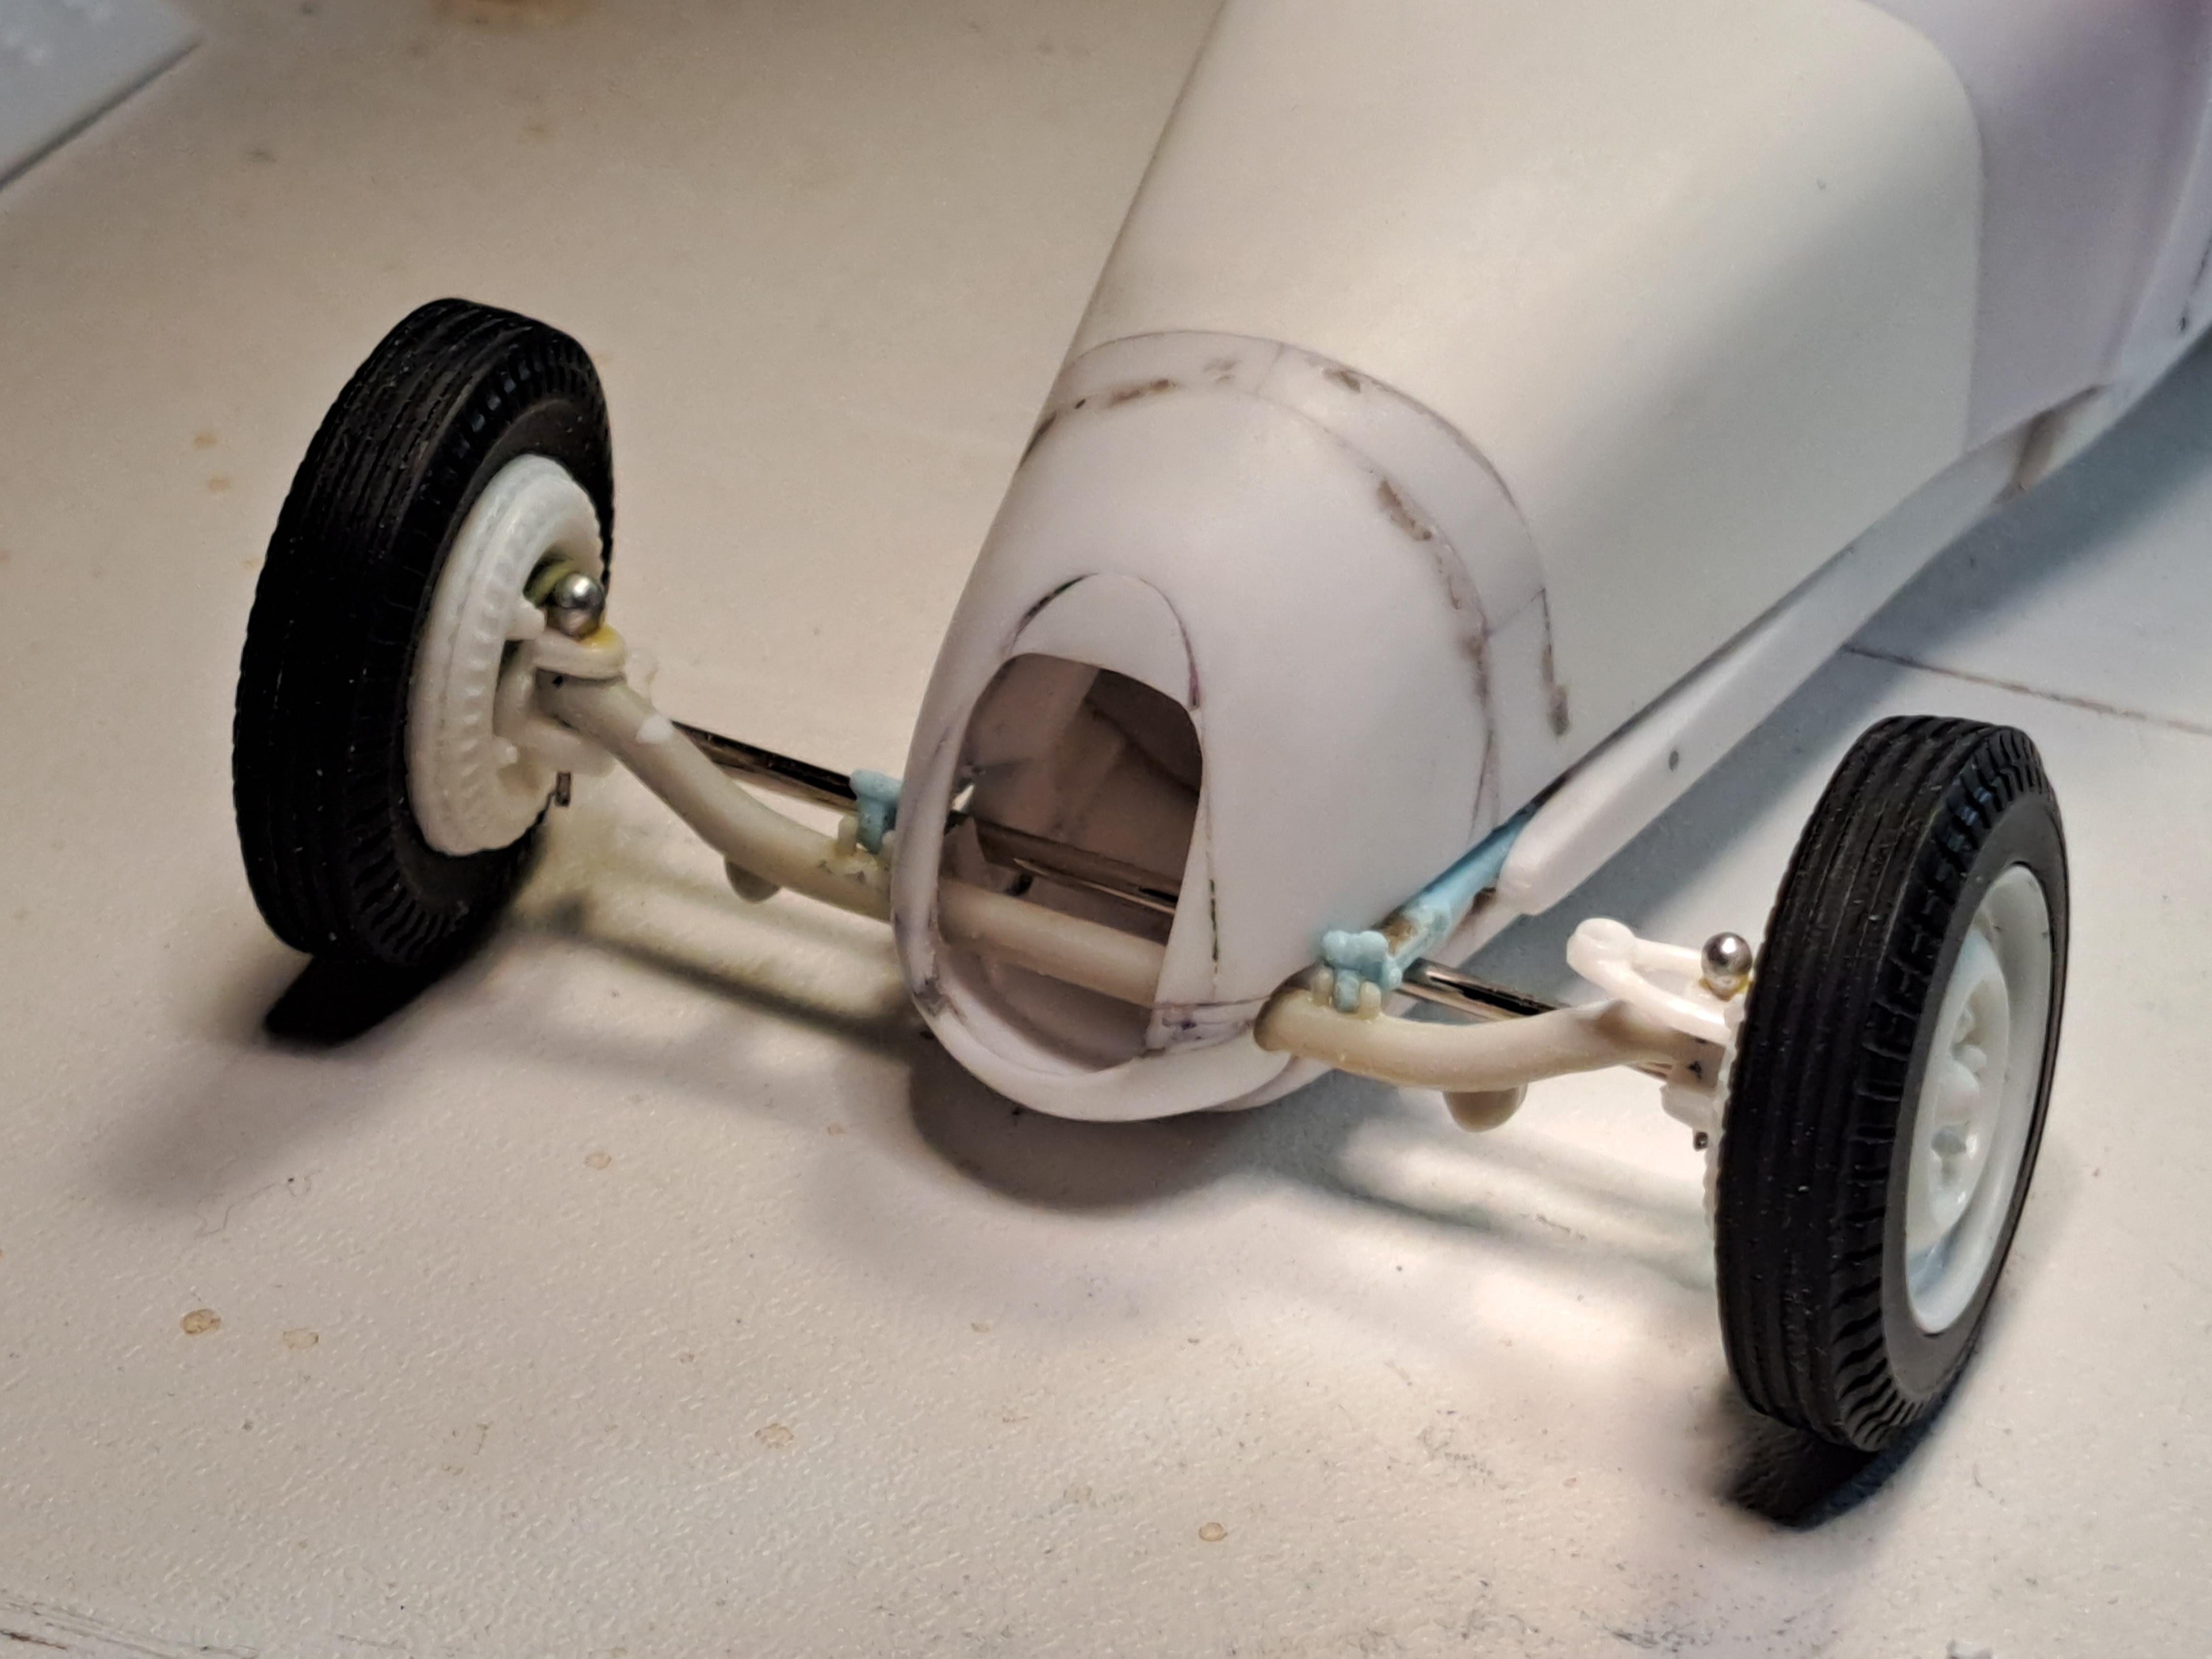
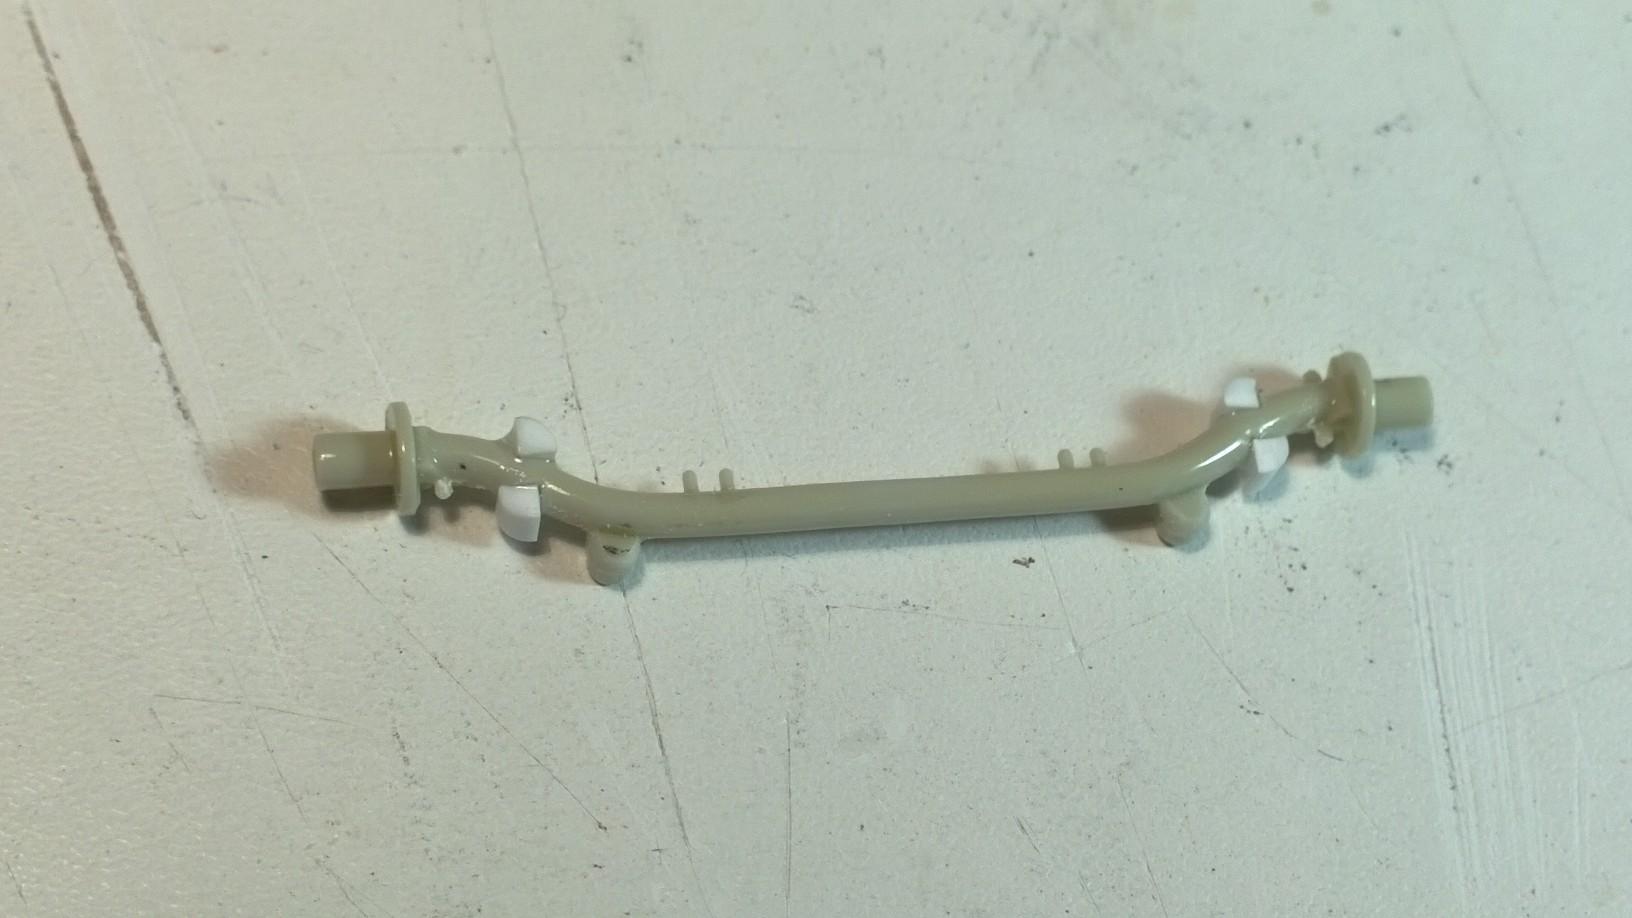
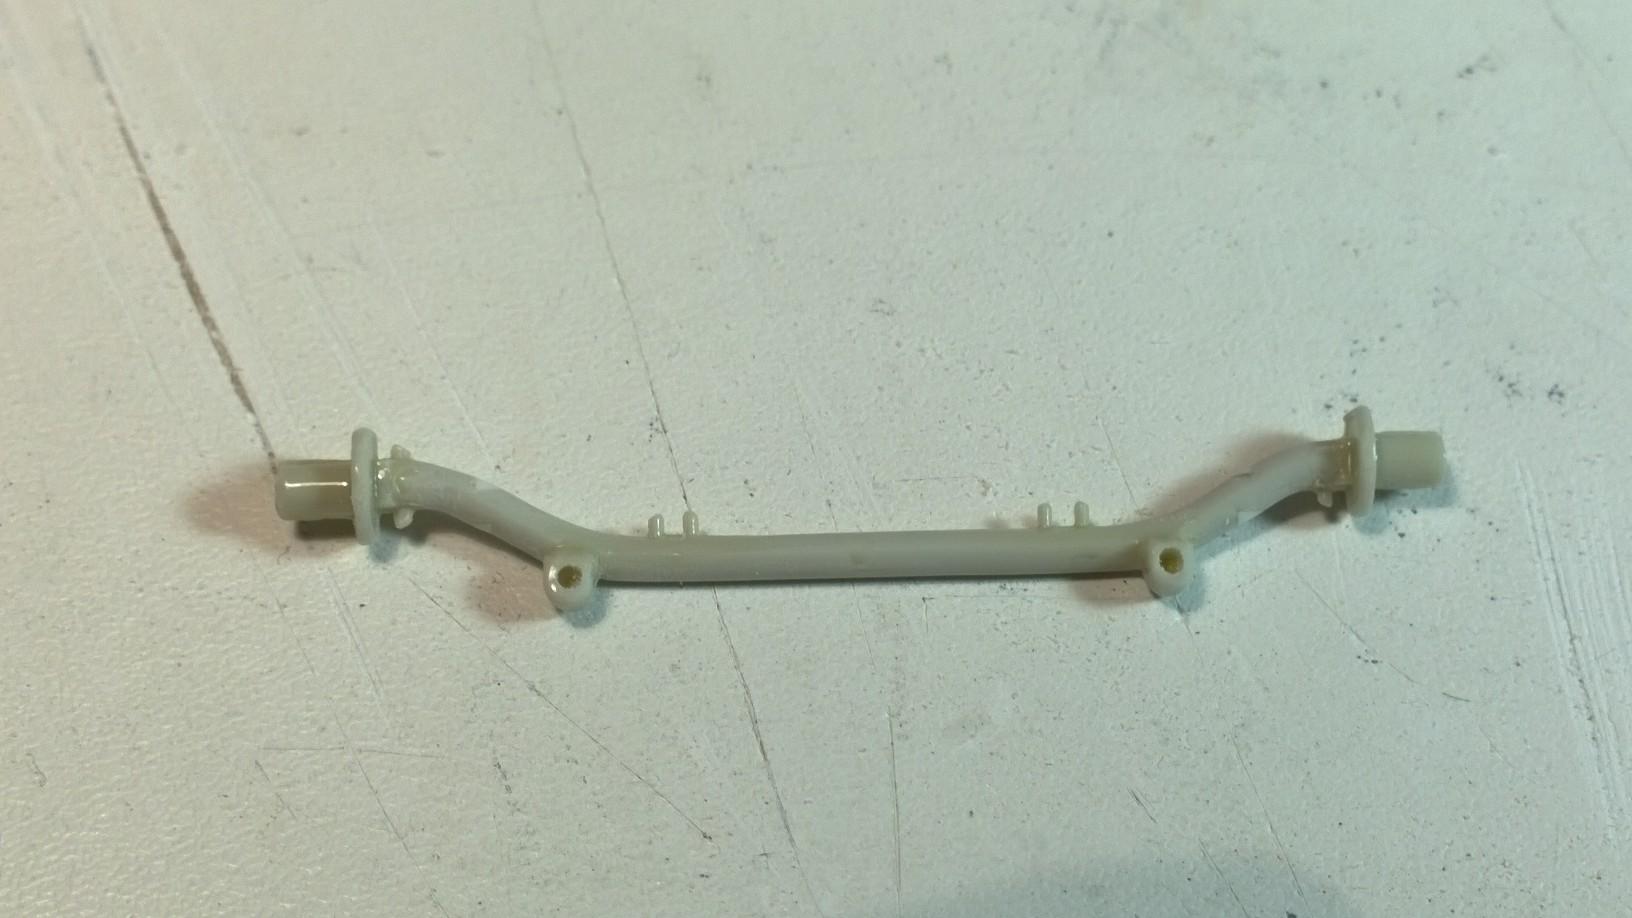
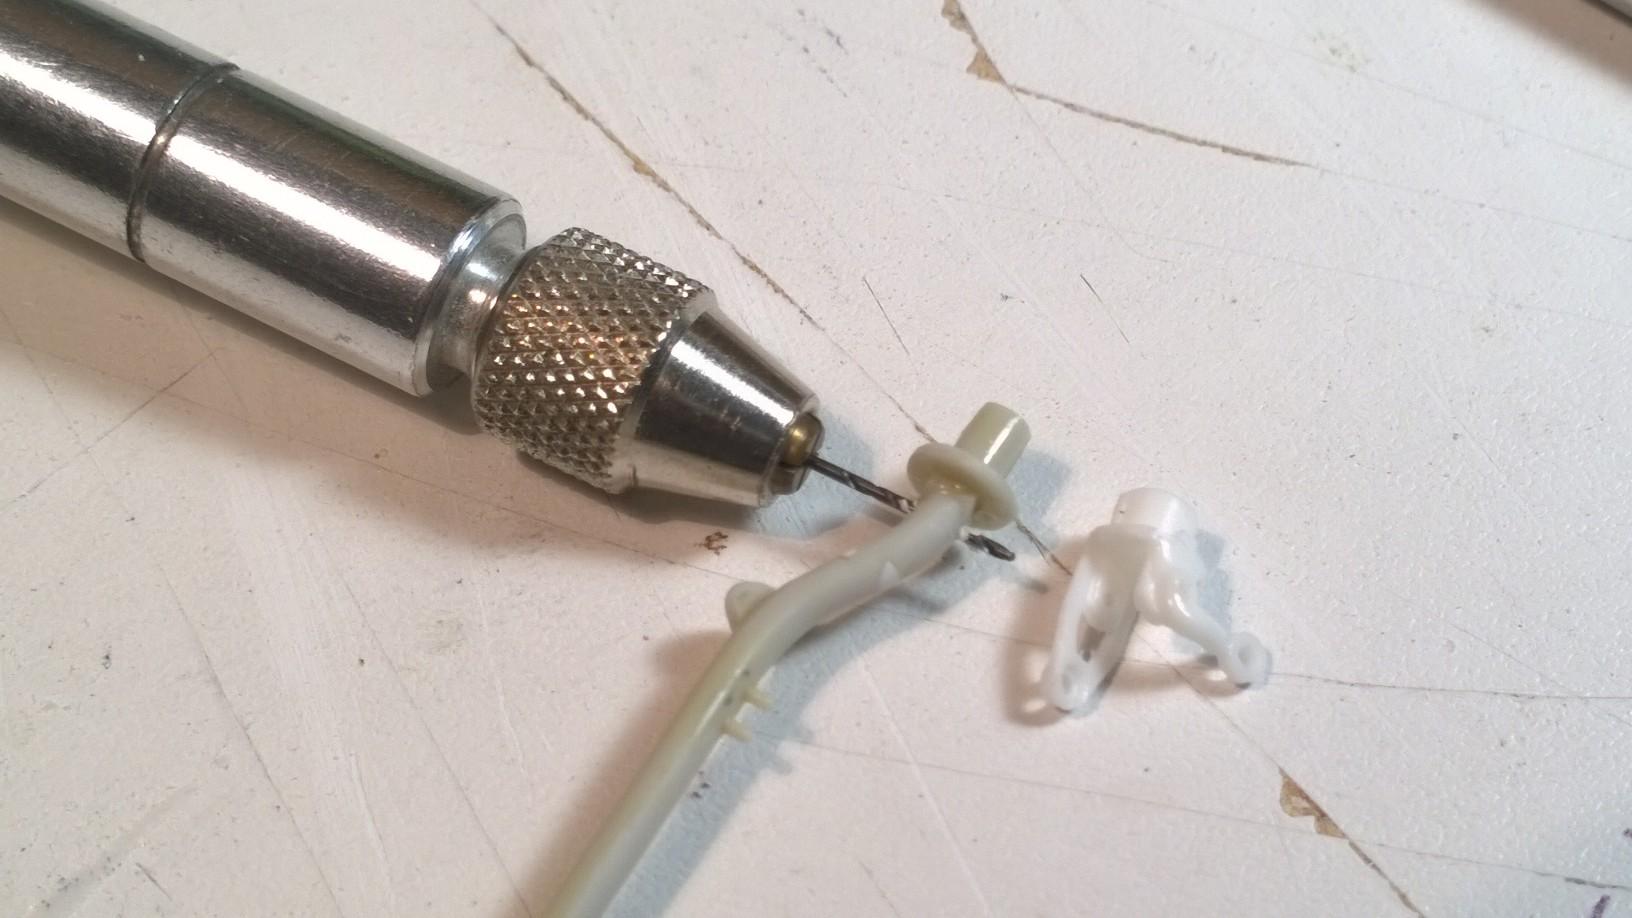
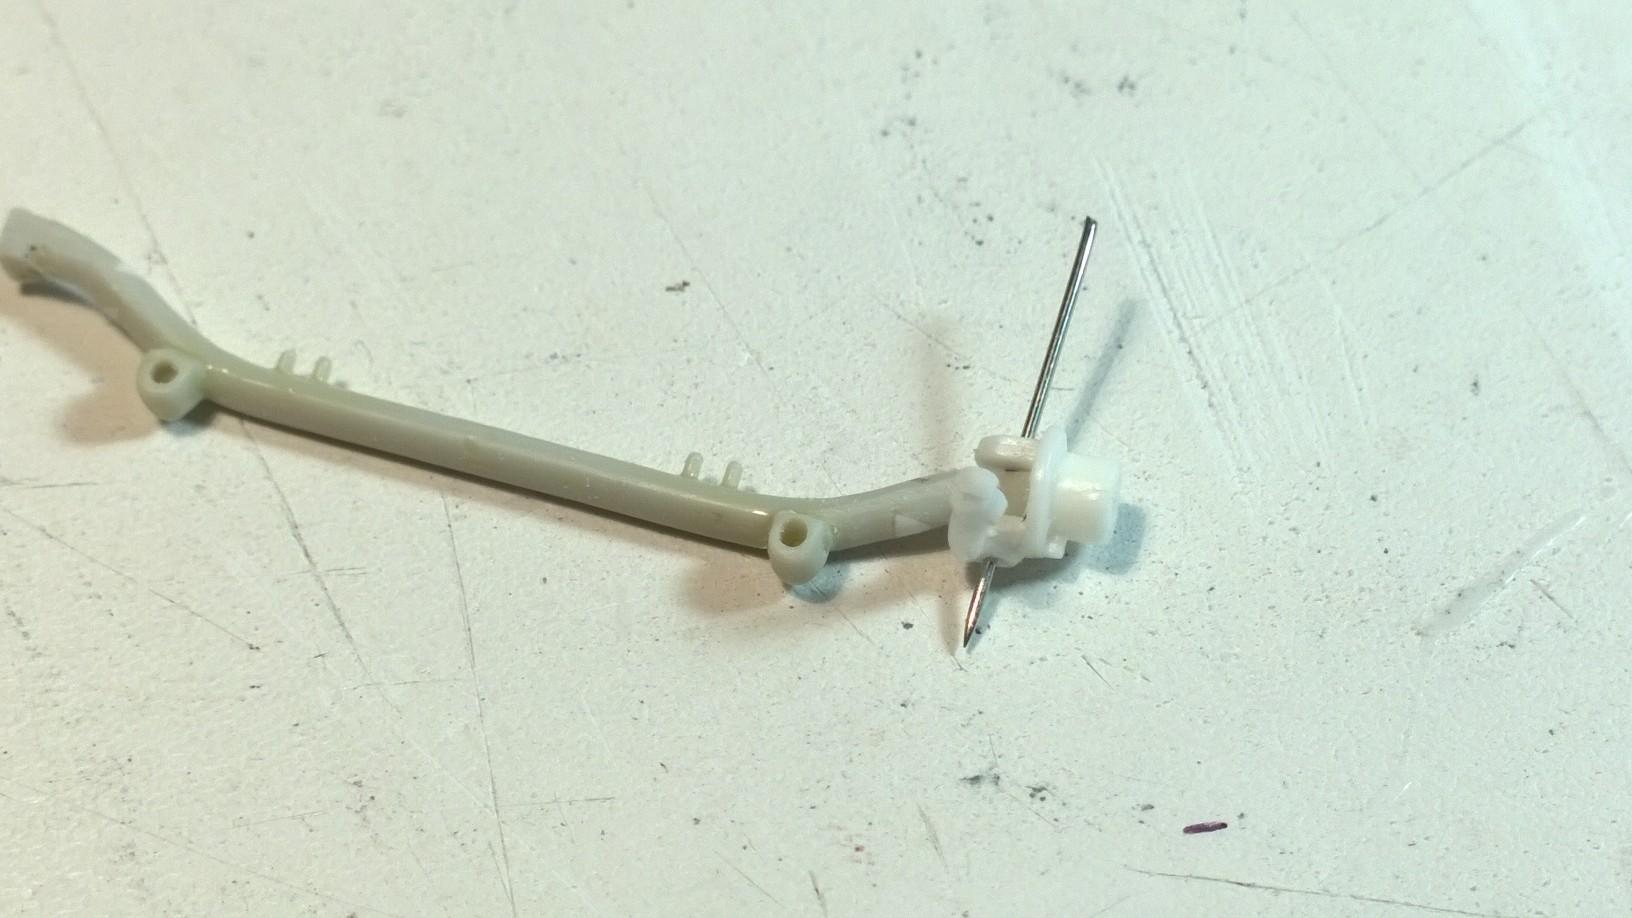
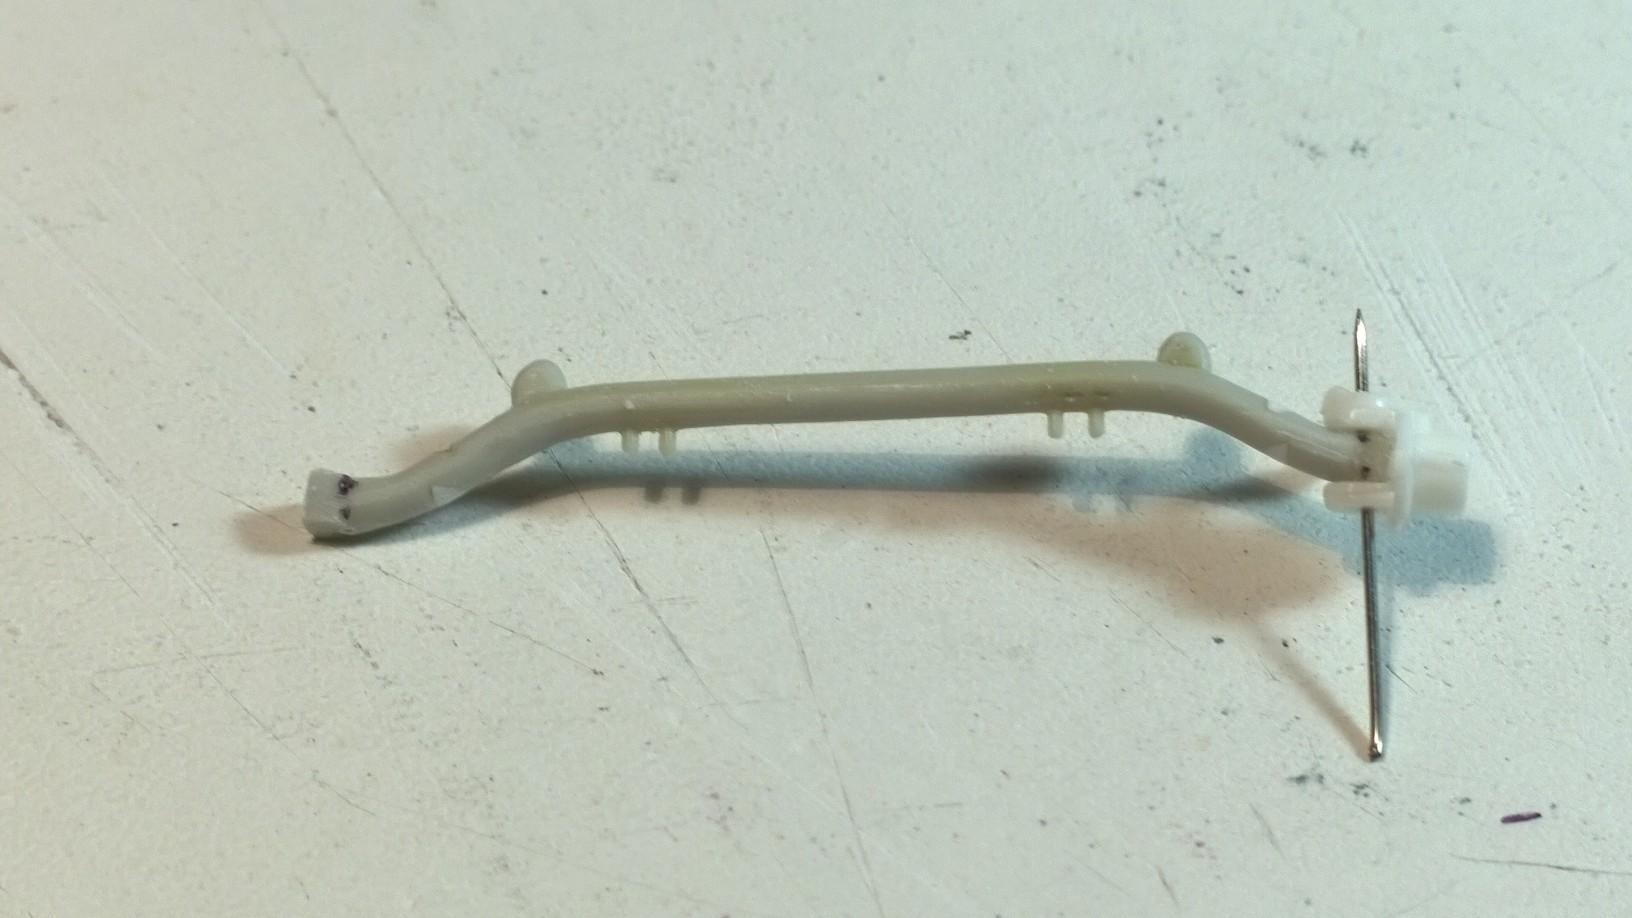
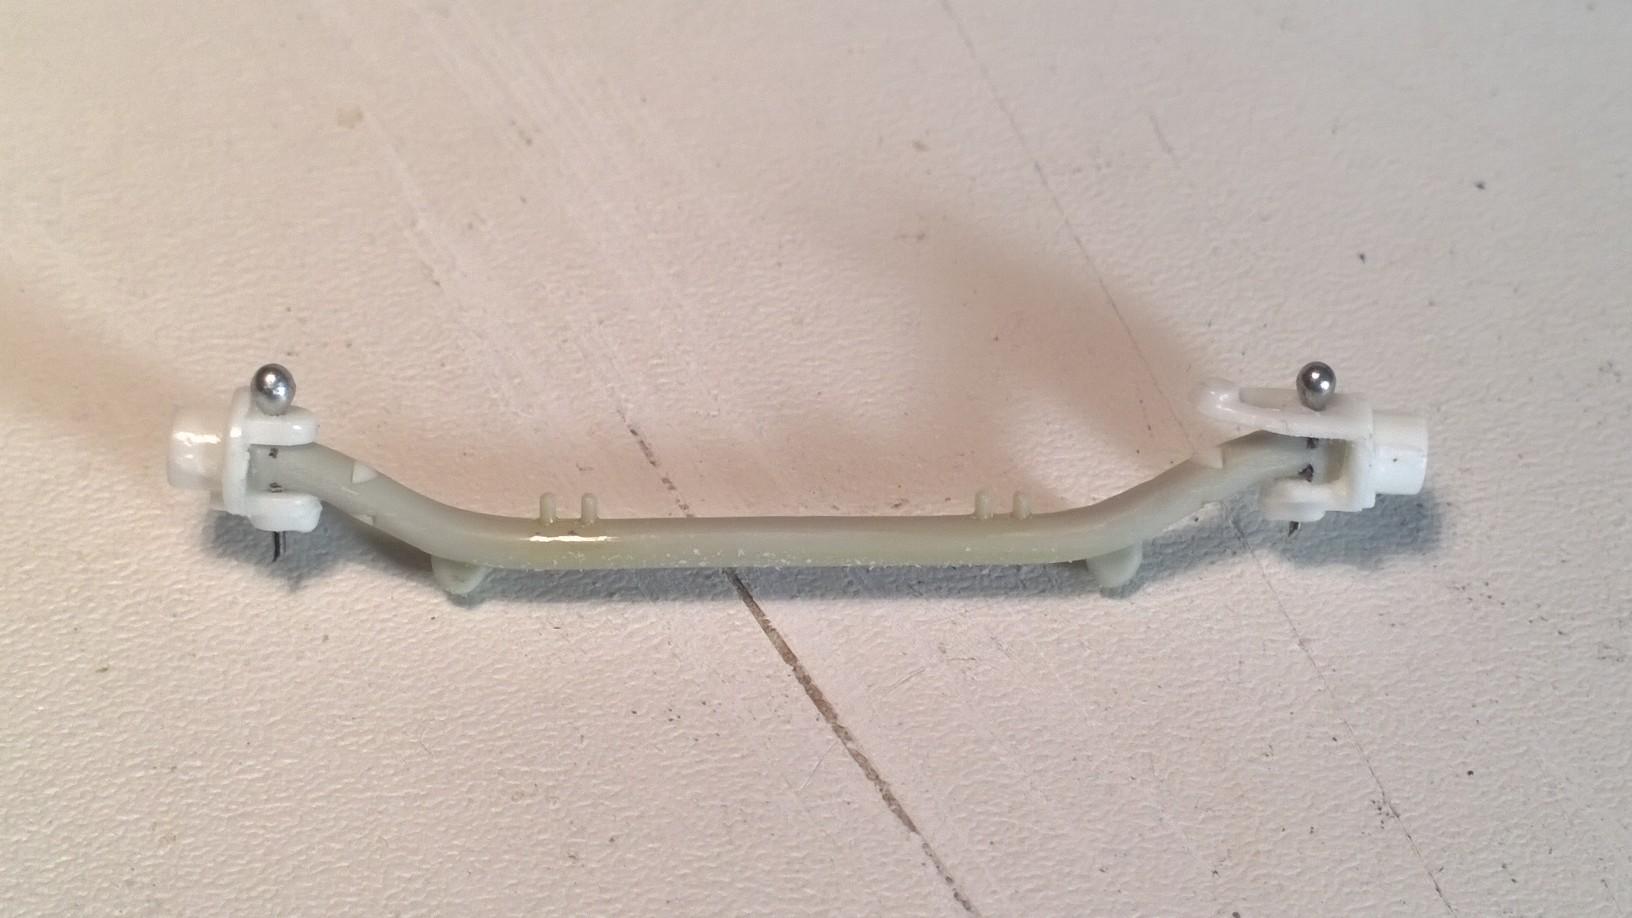
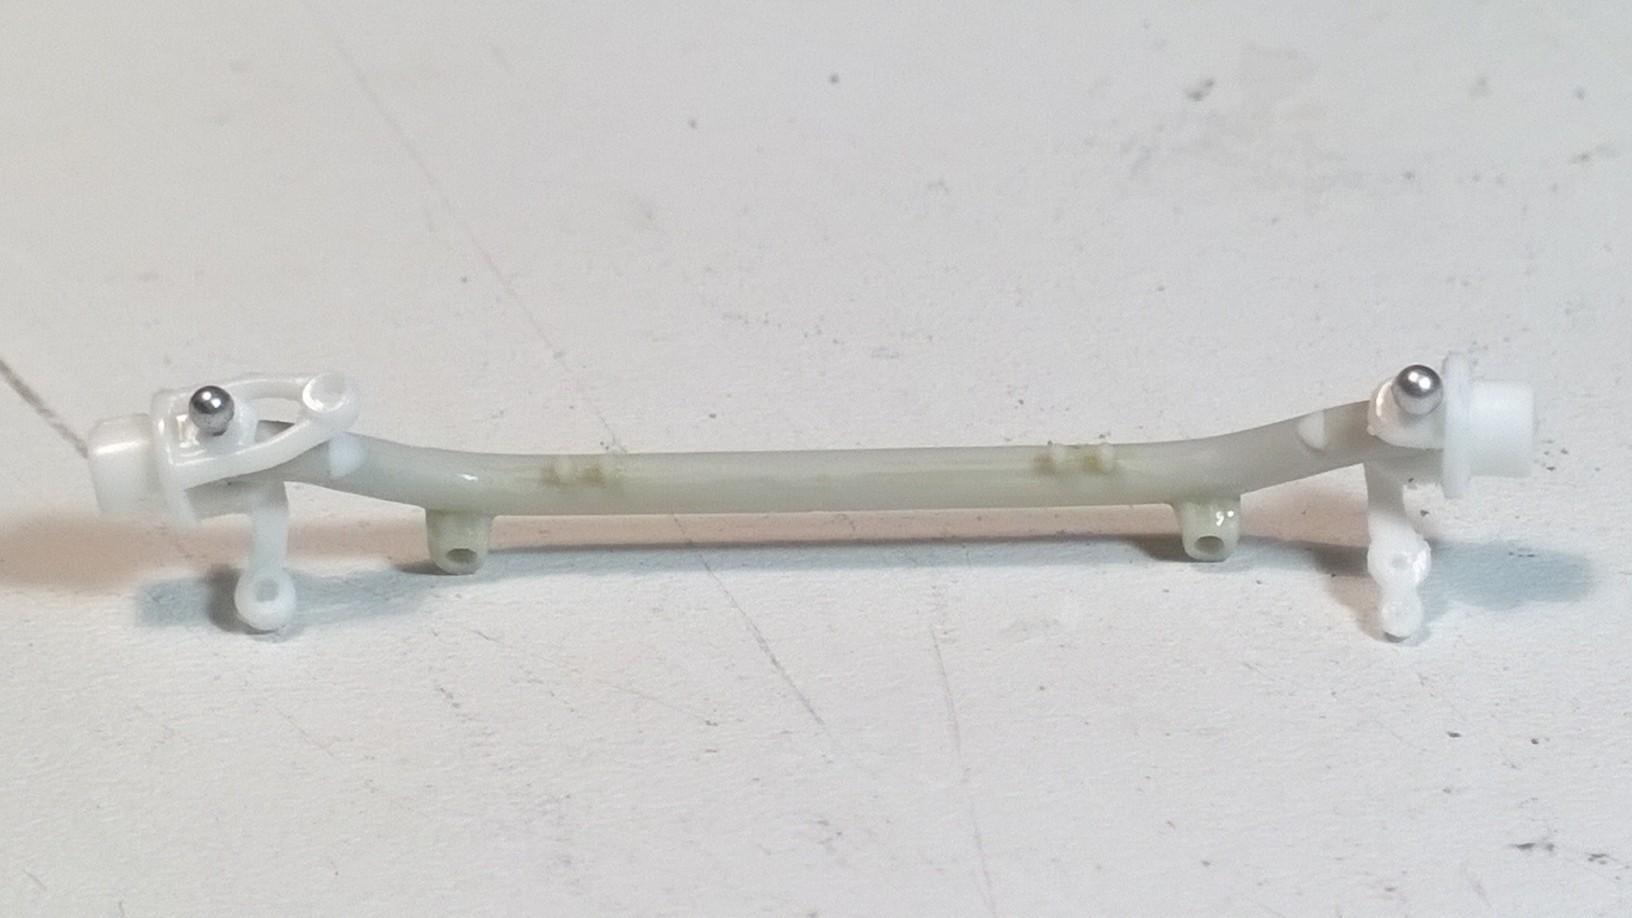
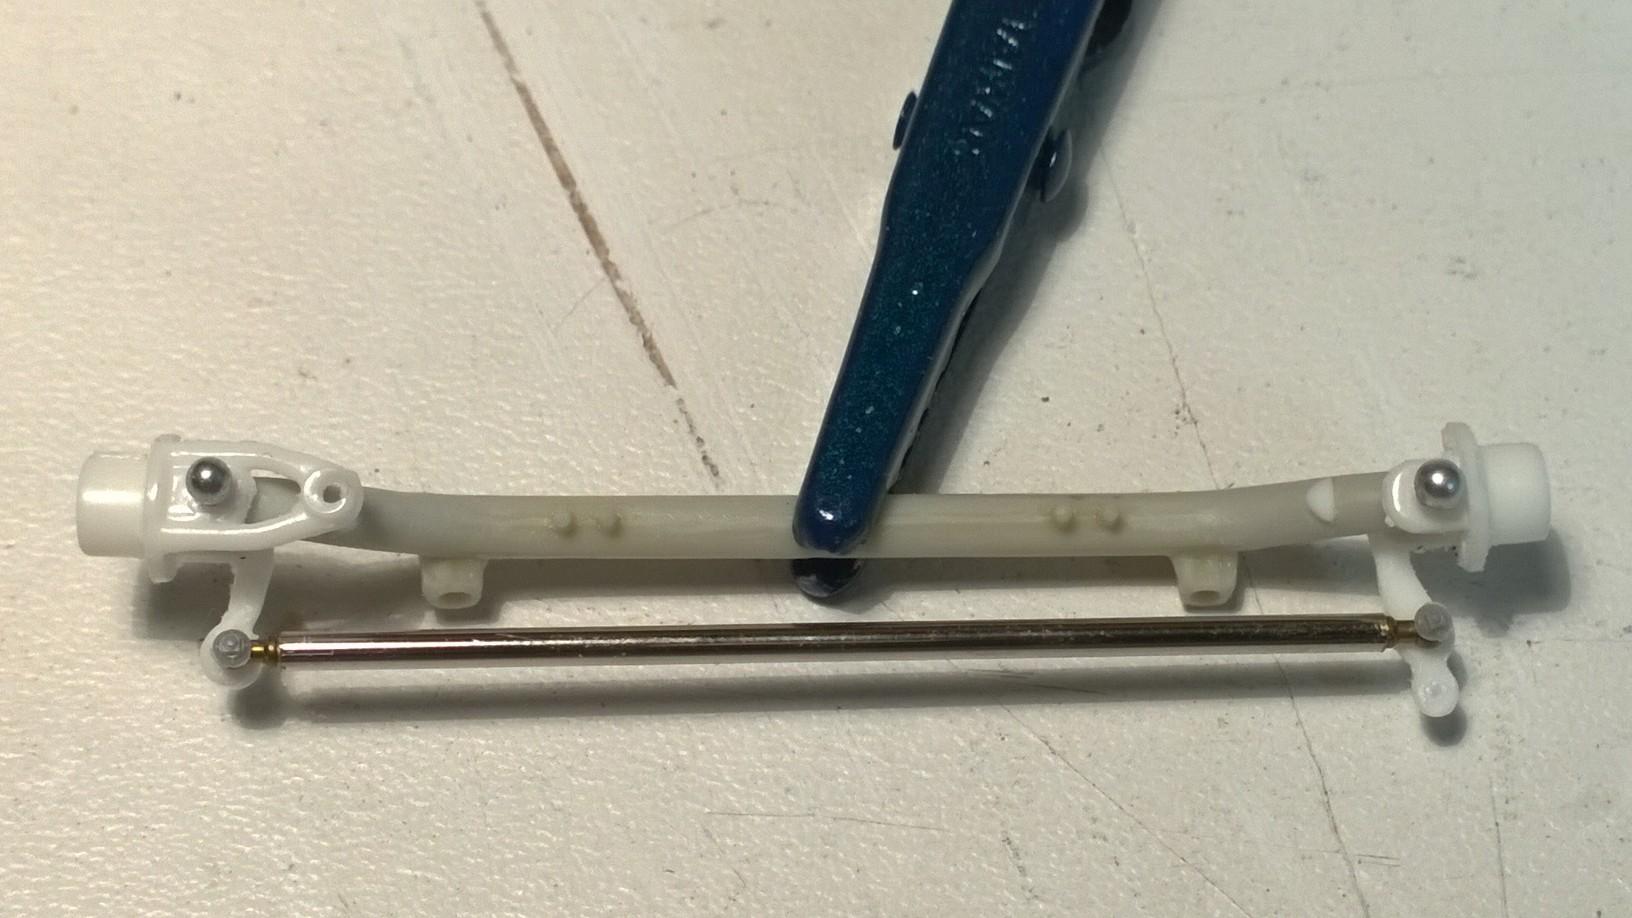
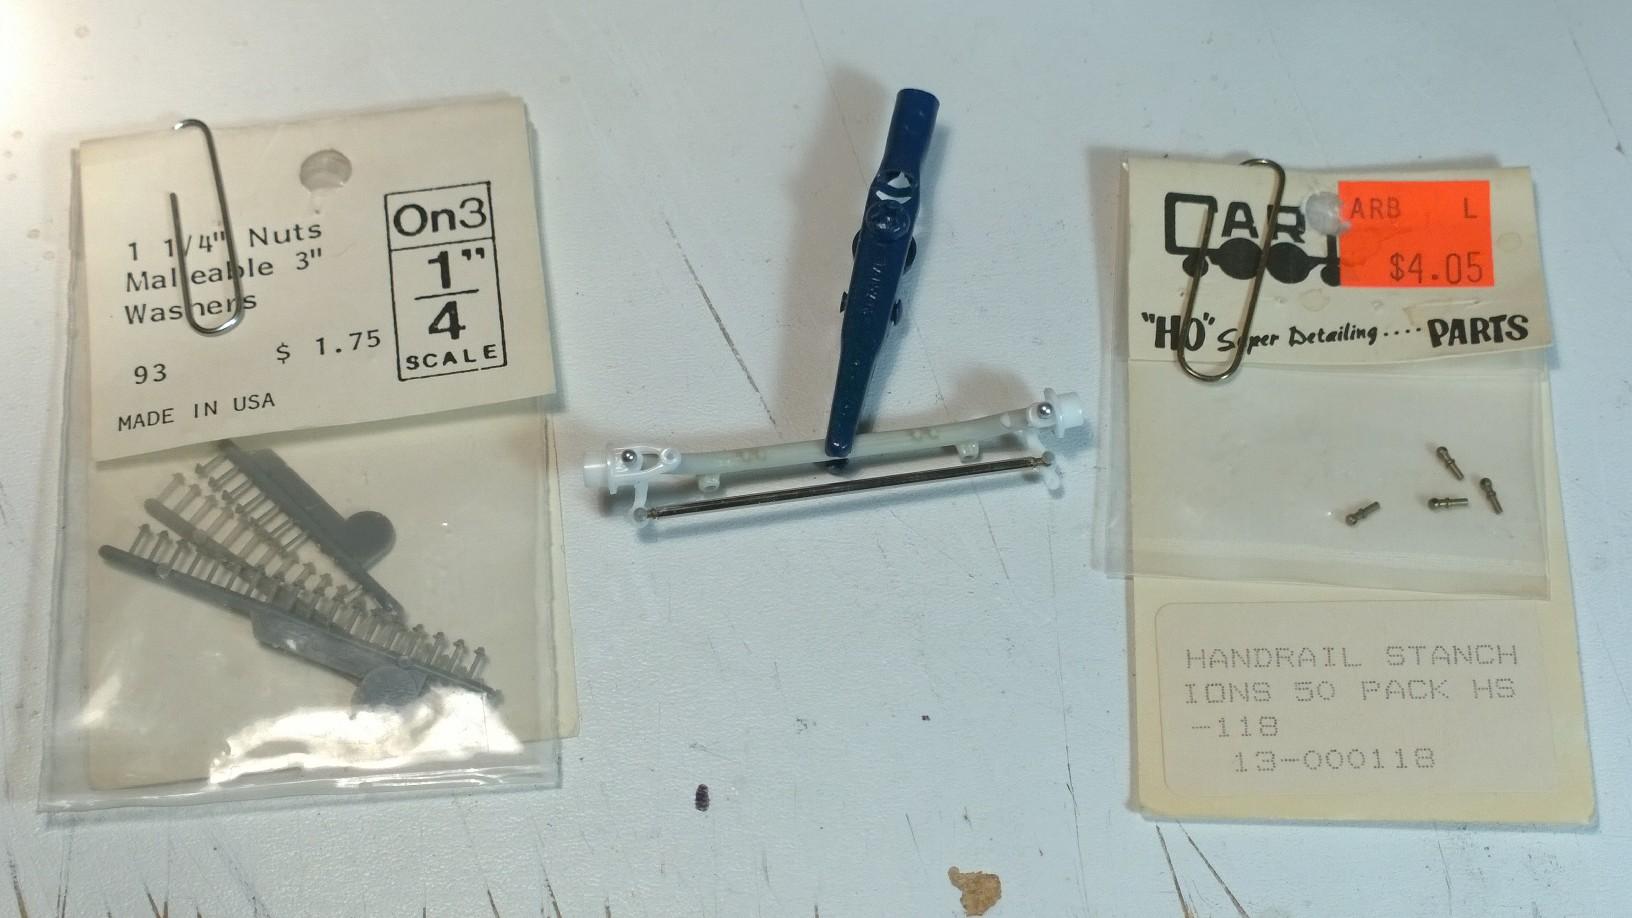
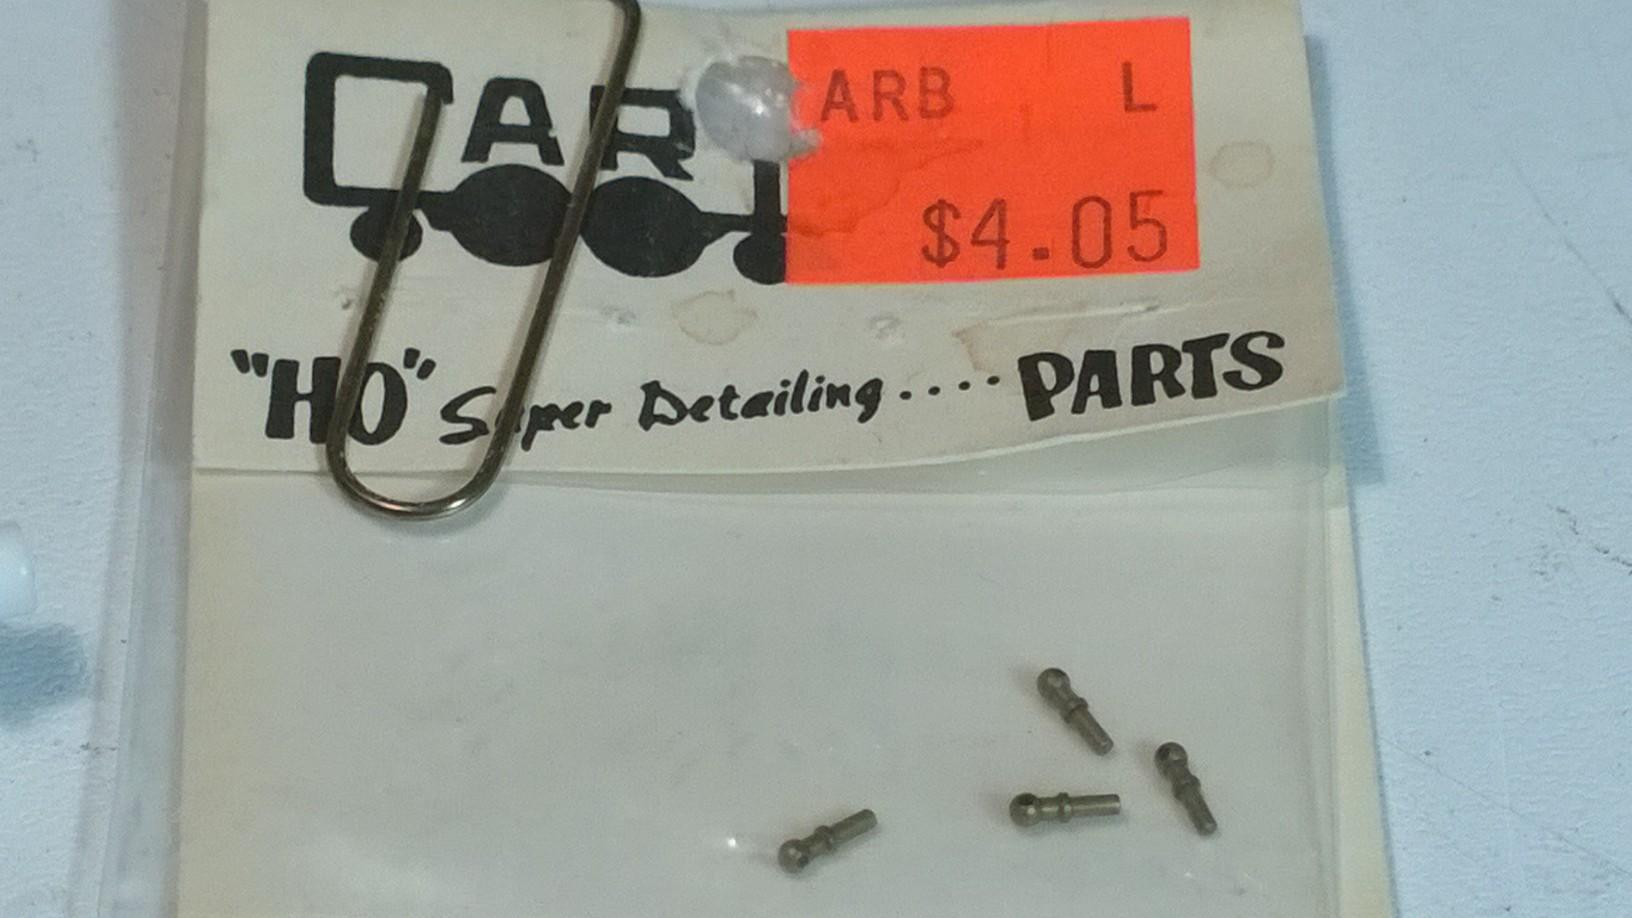
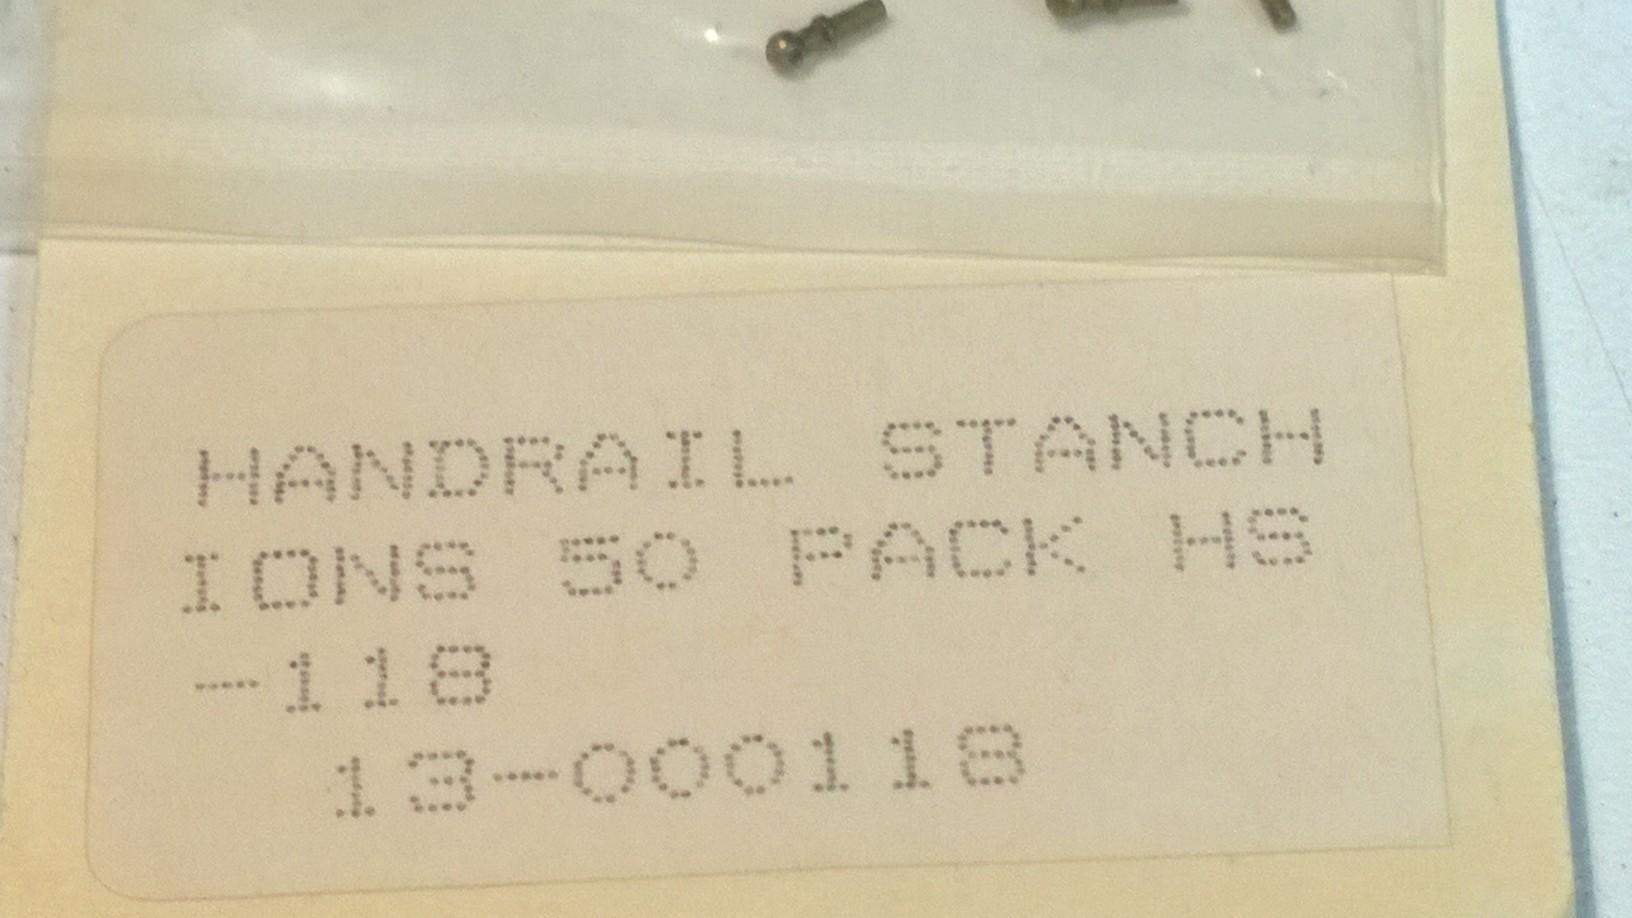
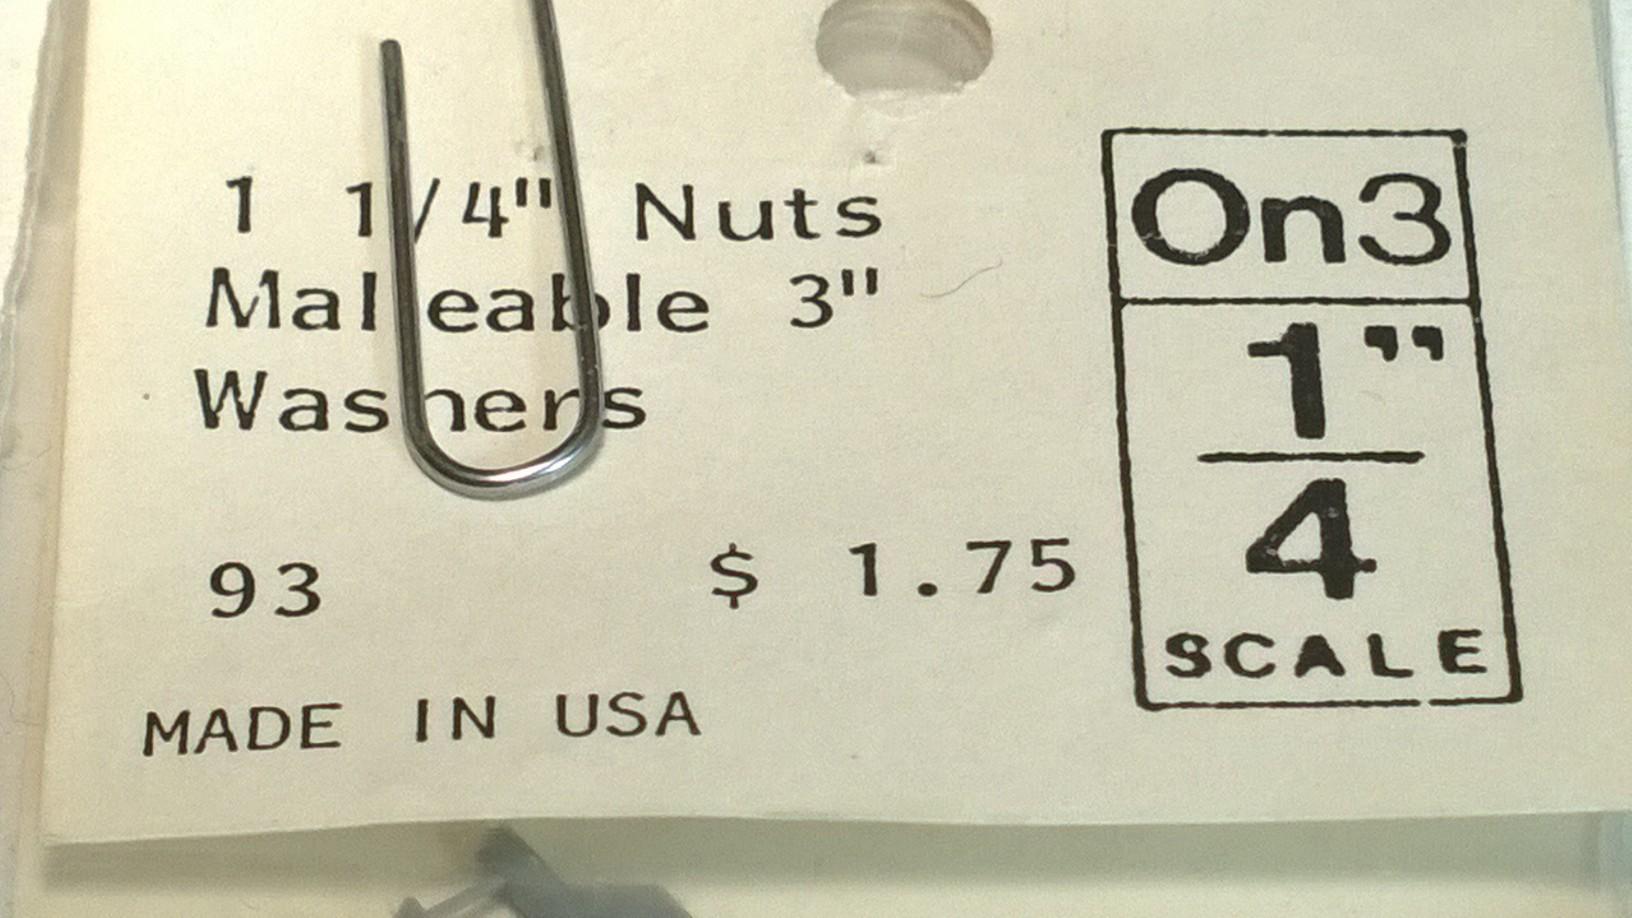
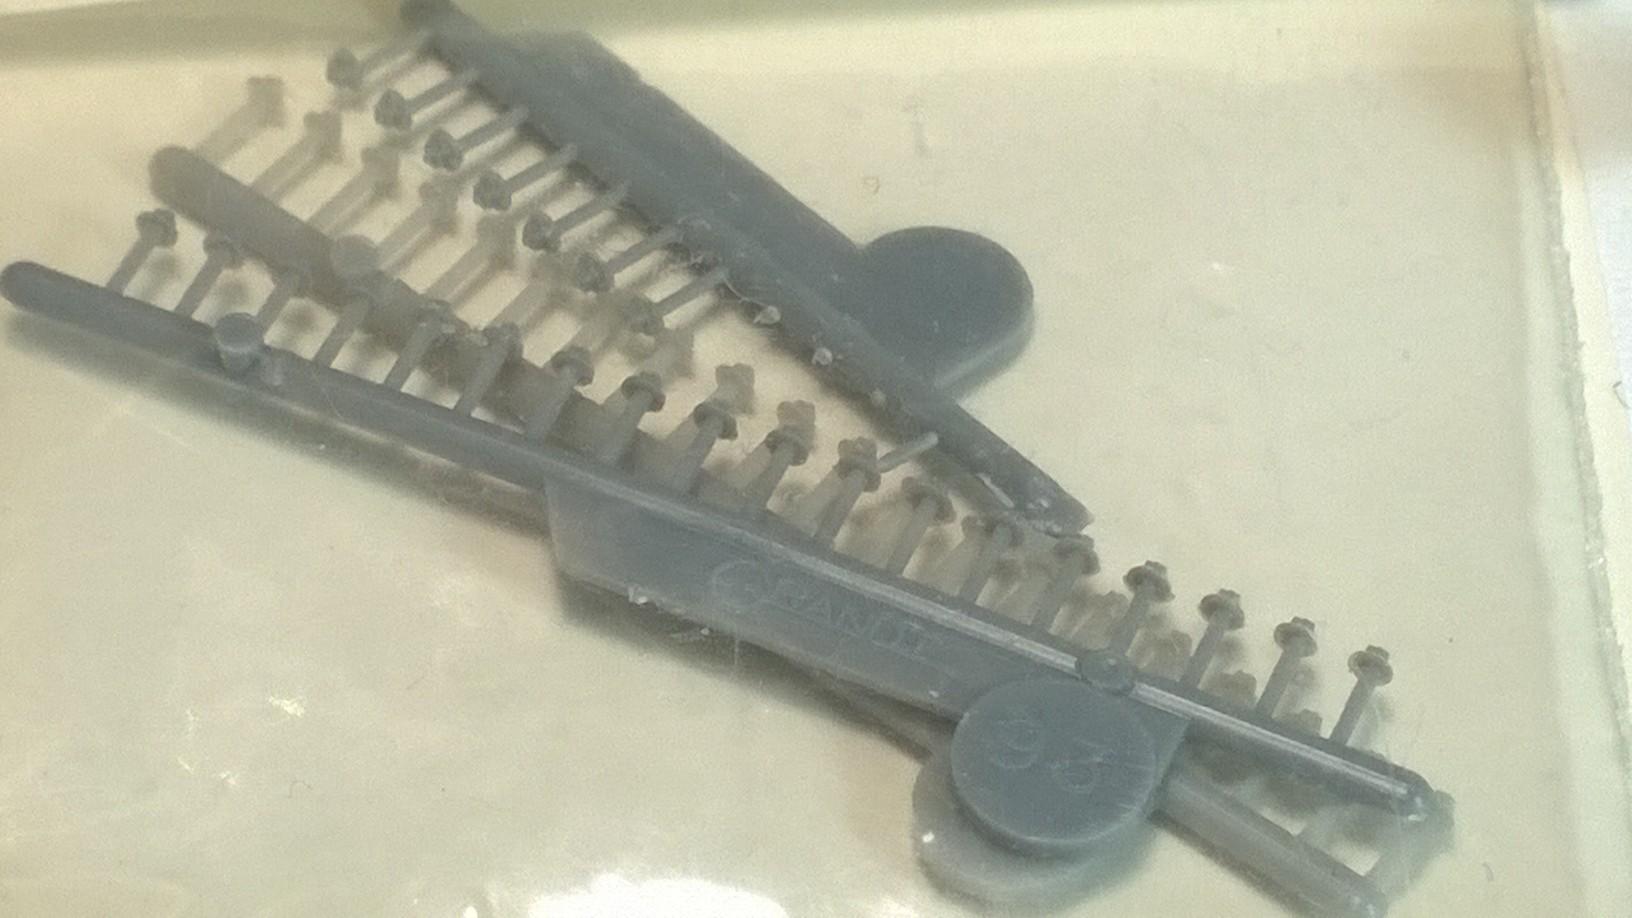
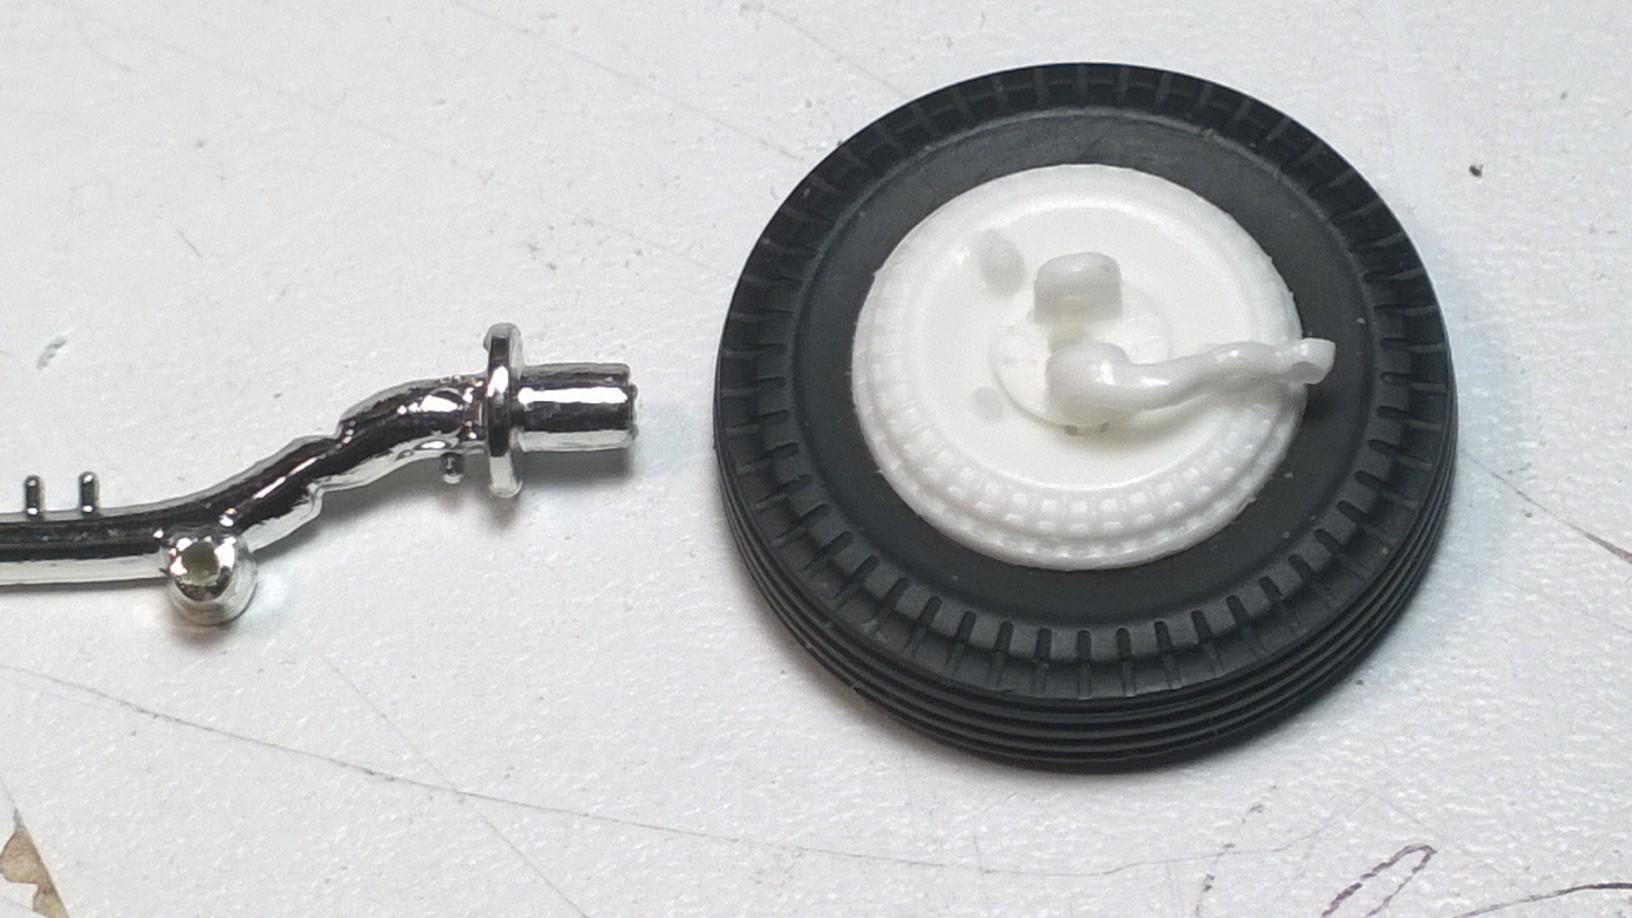
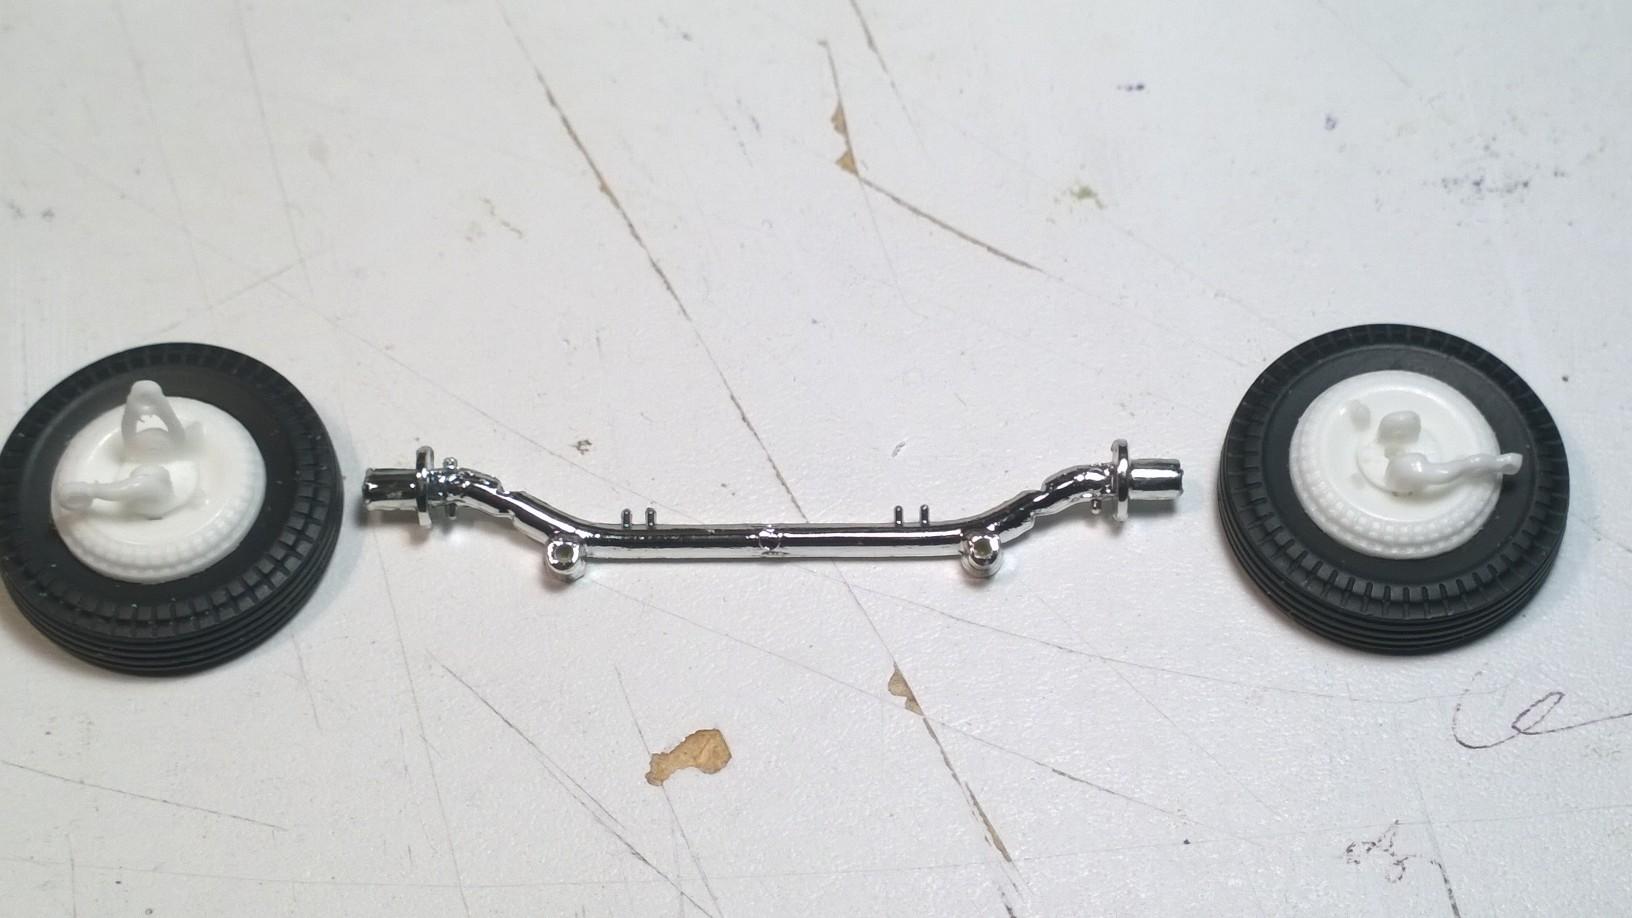
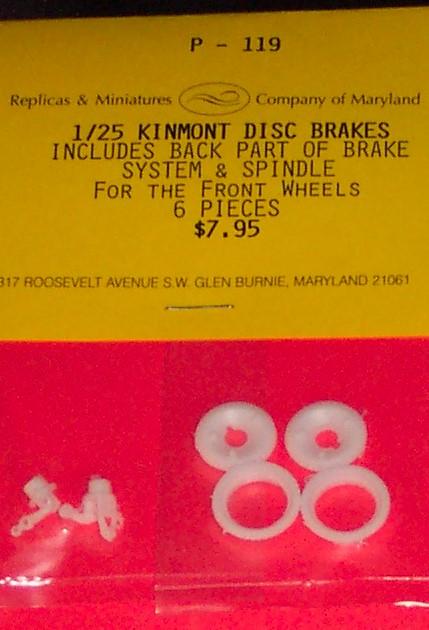
'29 TNR Front Axle & R&MCoMD Kinmont Spindles
-
My continually updated thread with fresh HOT ROD mock ups.
Kit Karson replied to chris chabre's topic in WIP: Model Cars
How about the K&R Slice & Dice '29 Track Nose Roadster Thanks for following the entire build here on MCM Forum! -KK
-
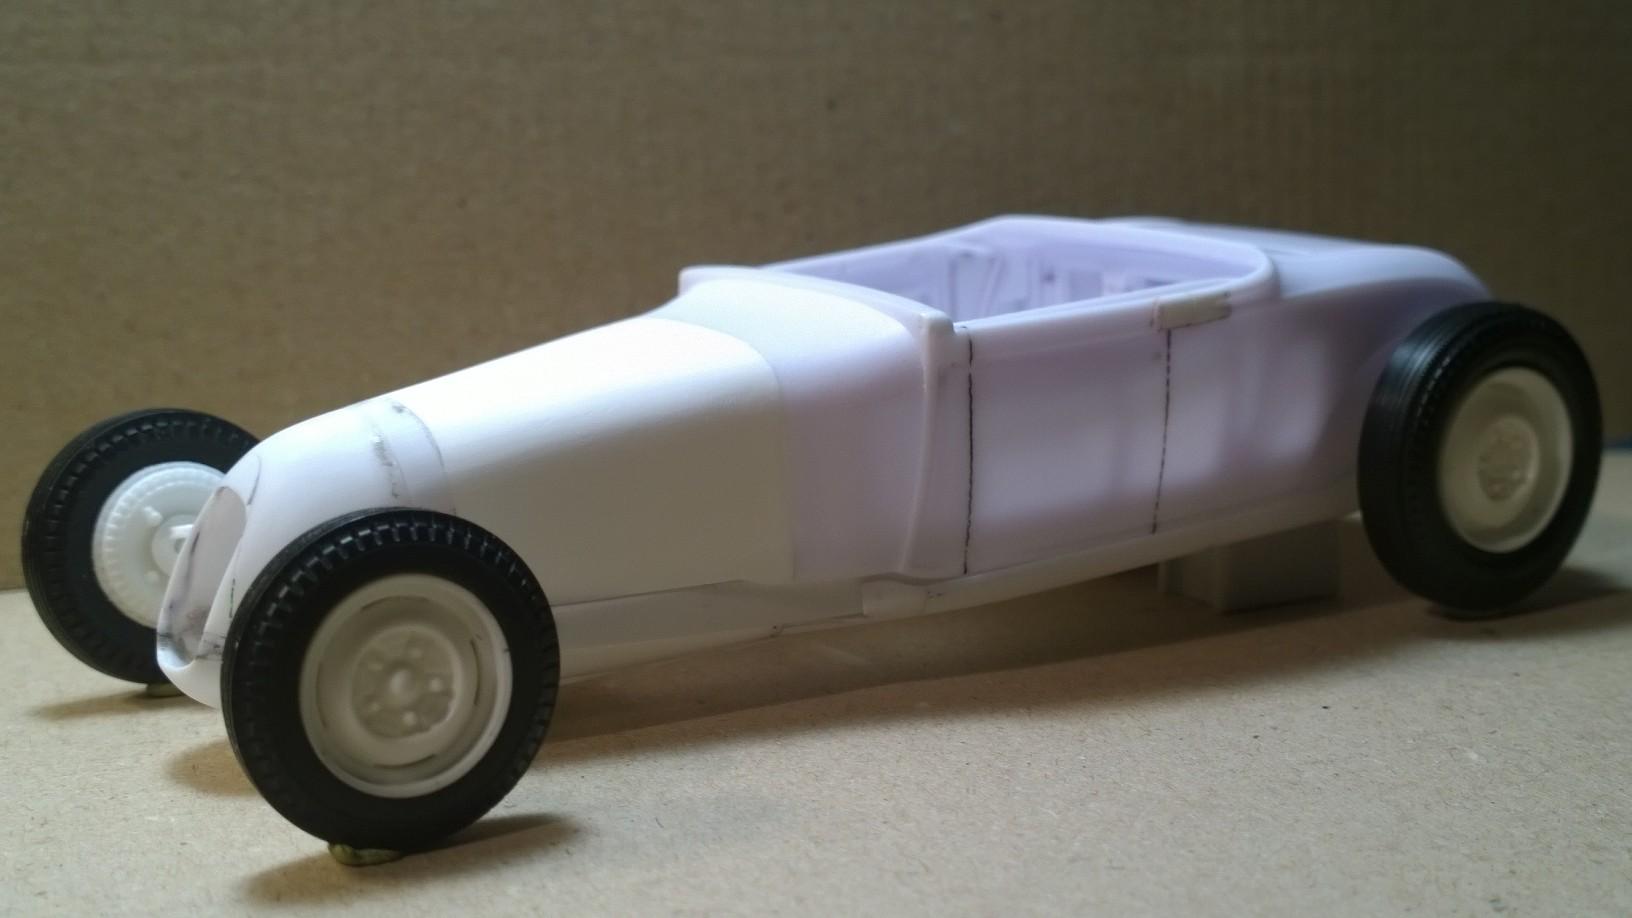
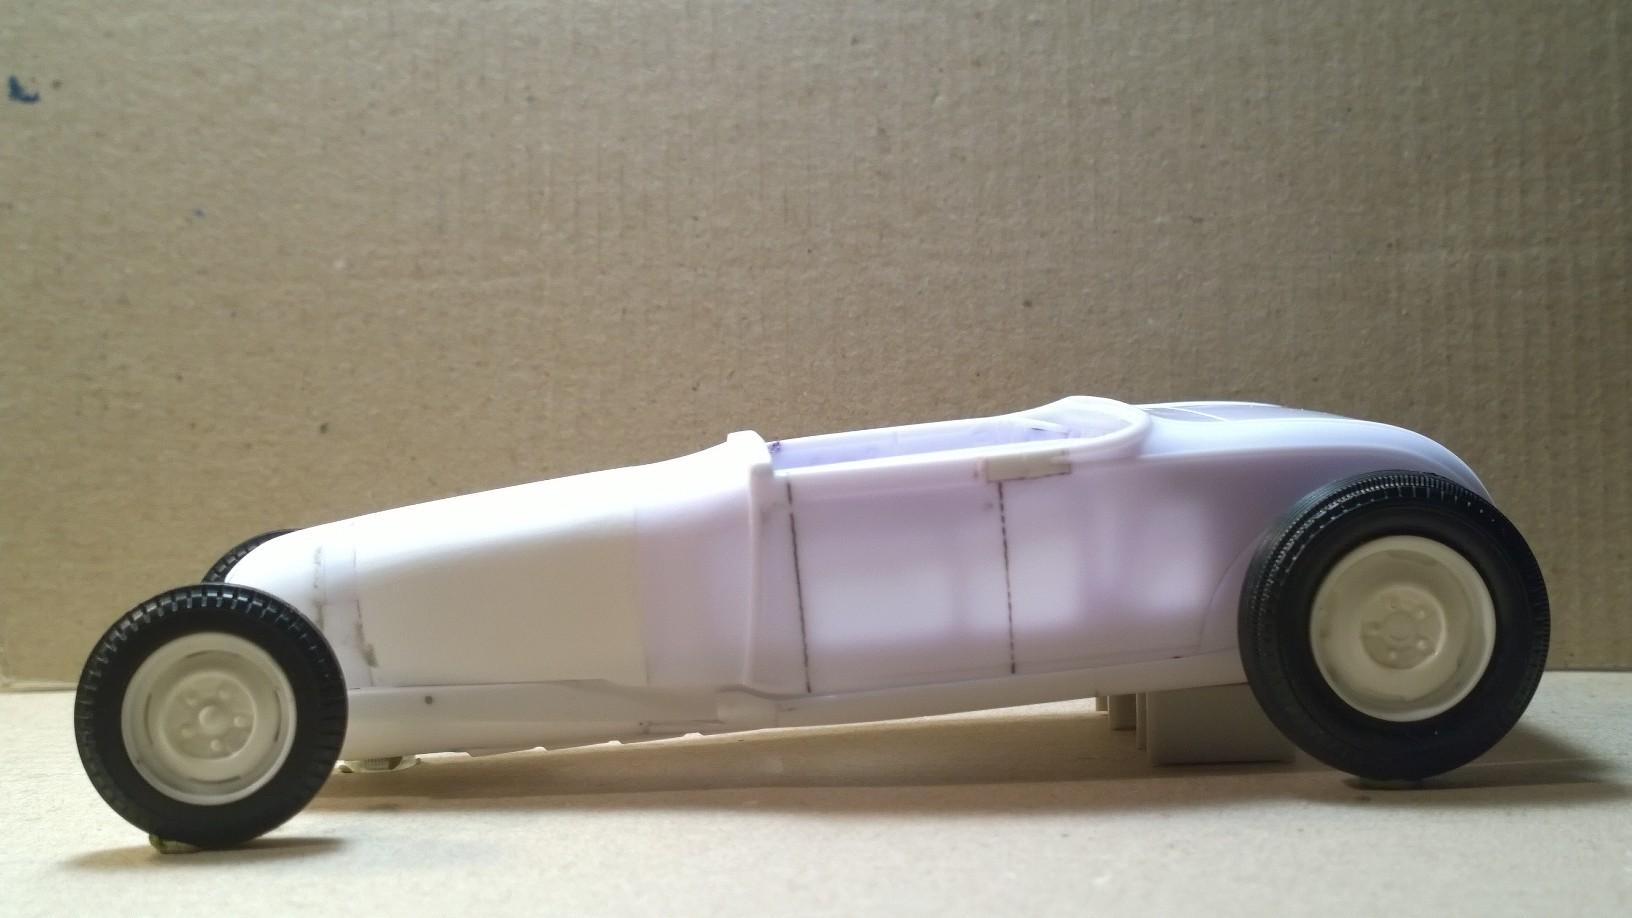
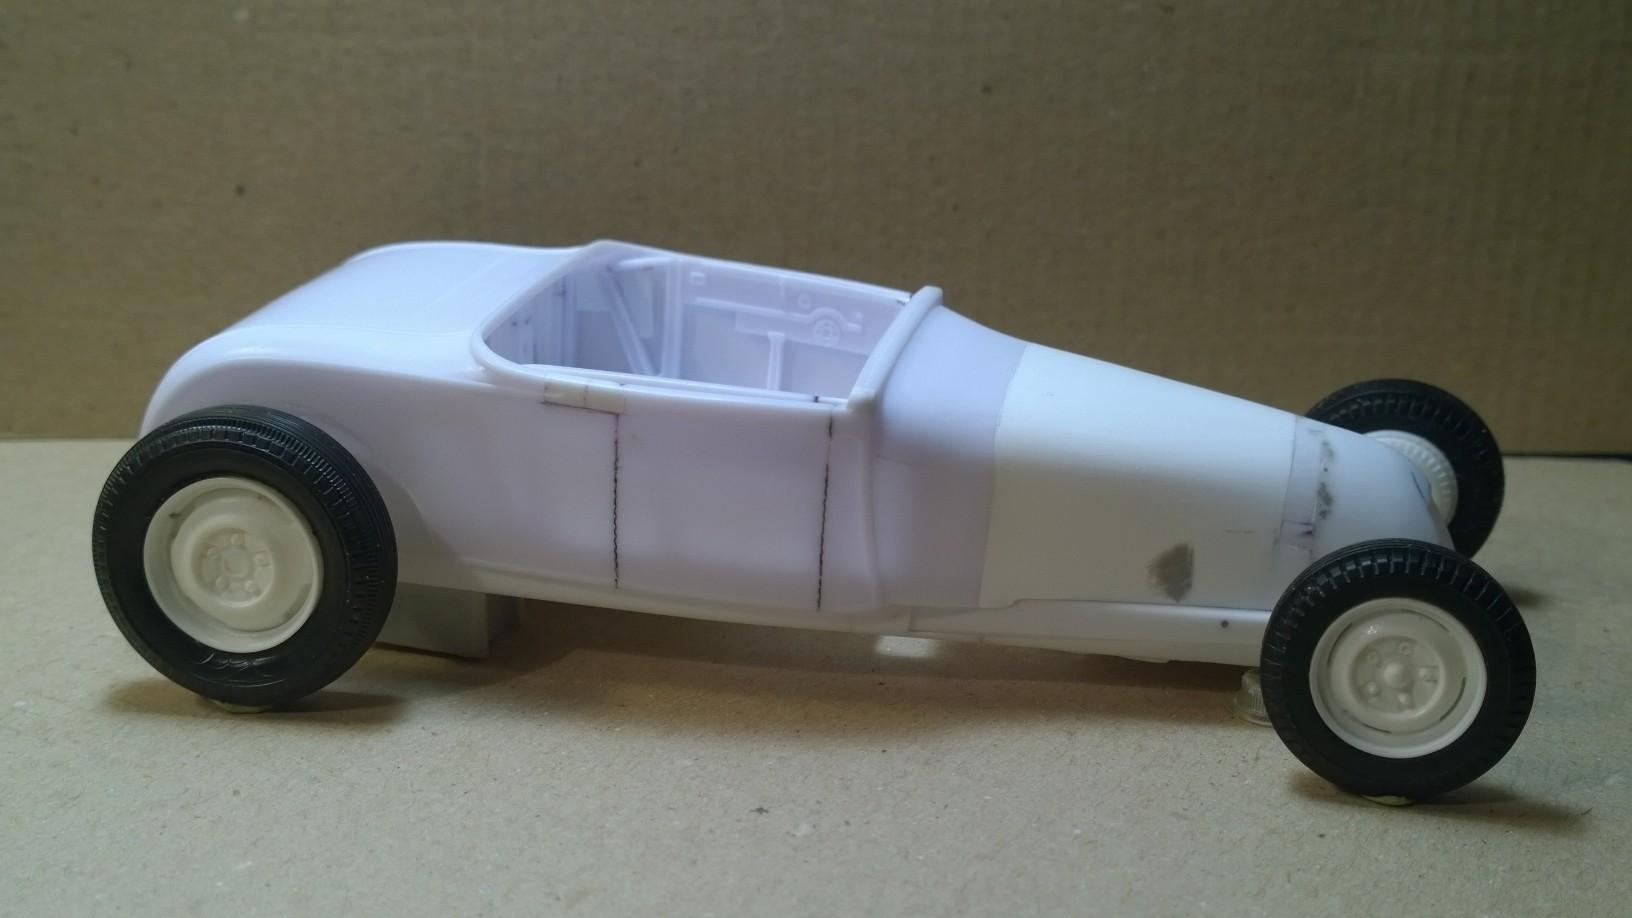
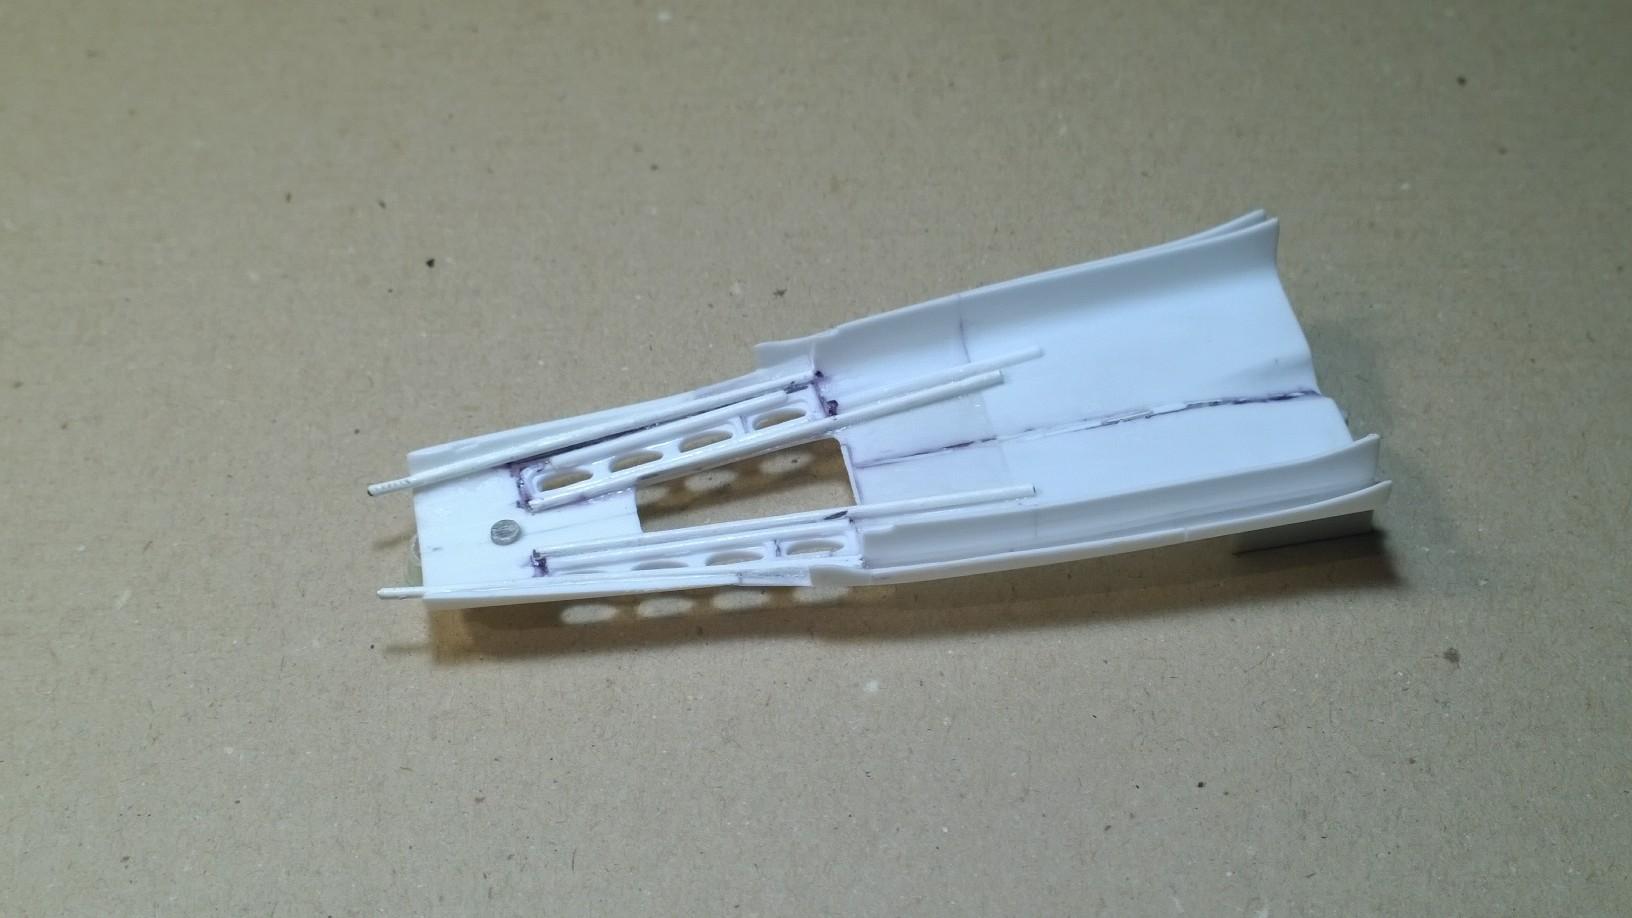
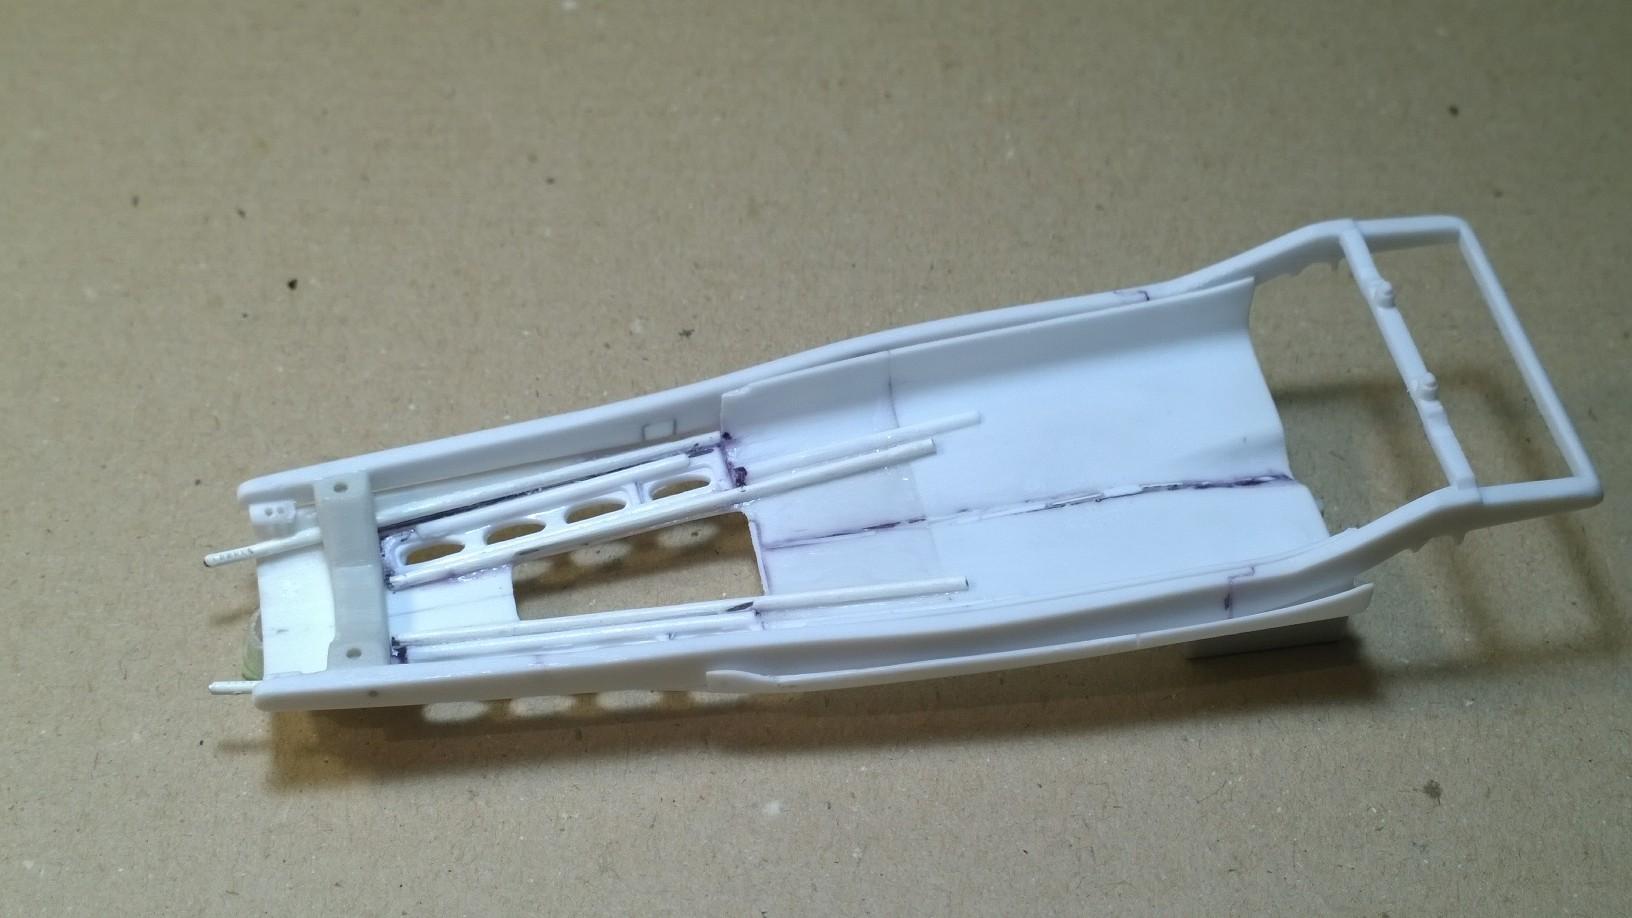
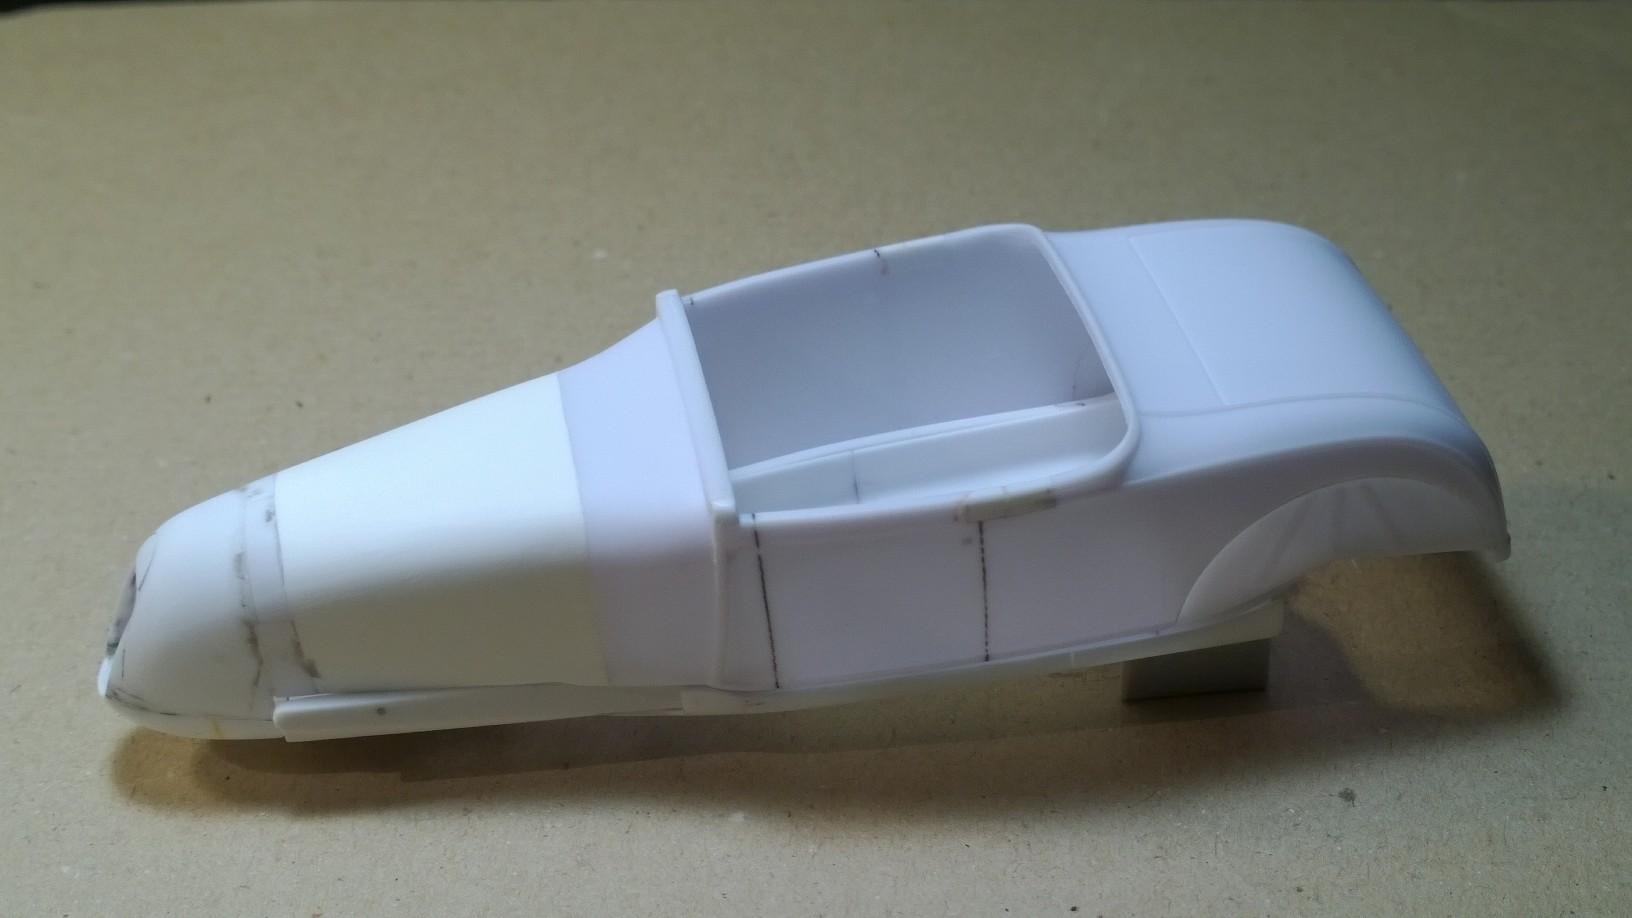
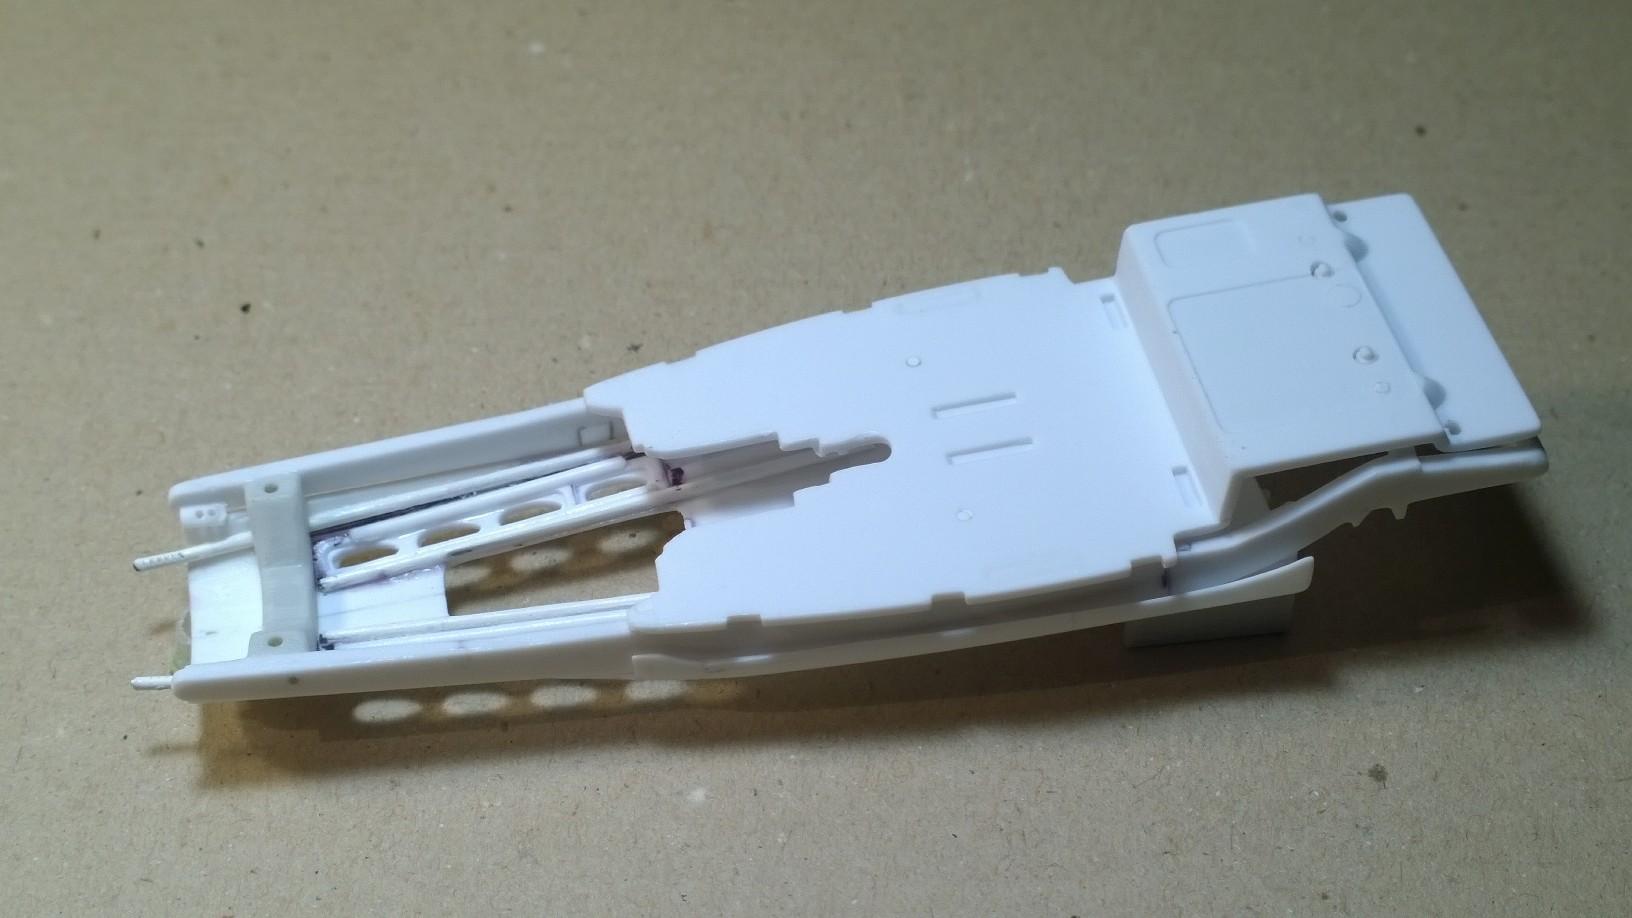
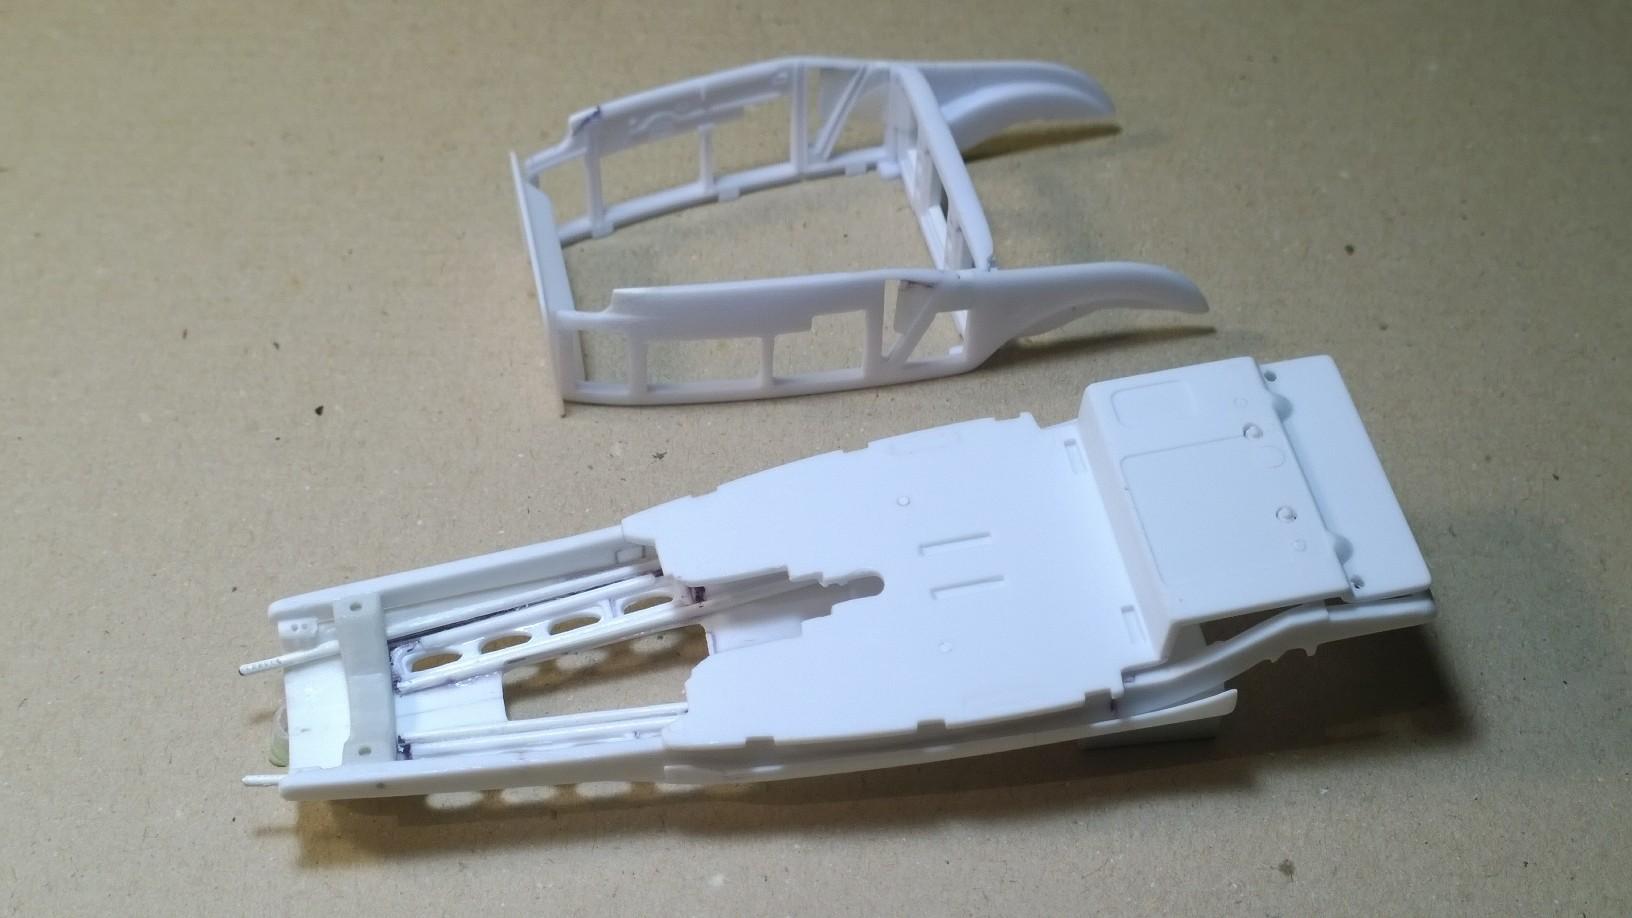
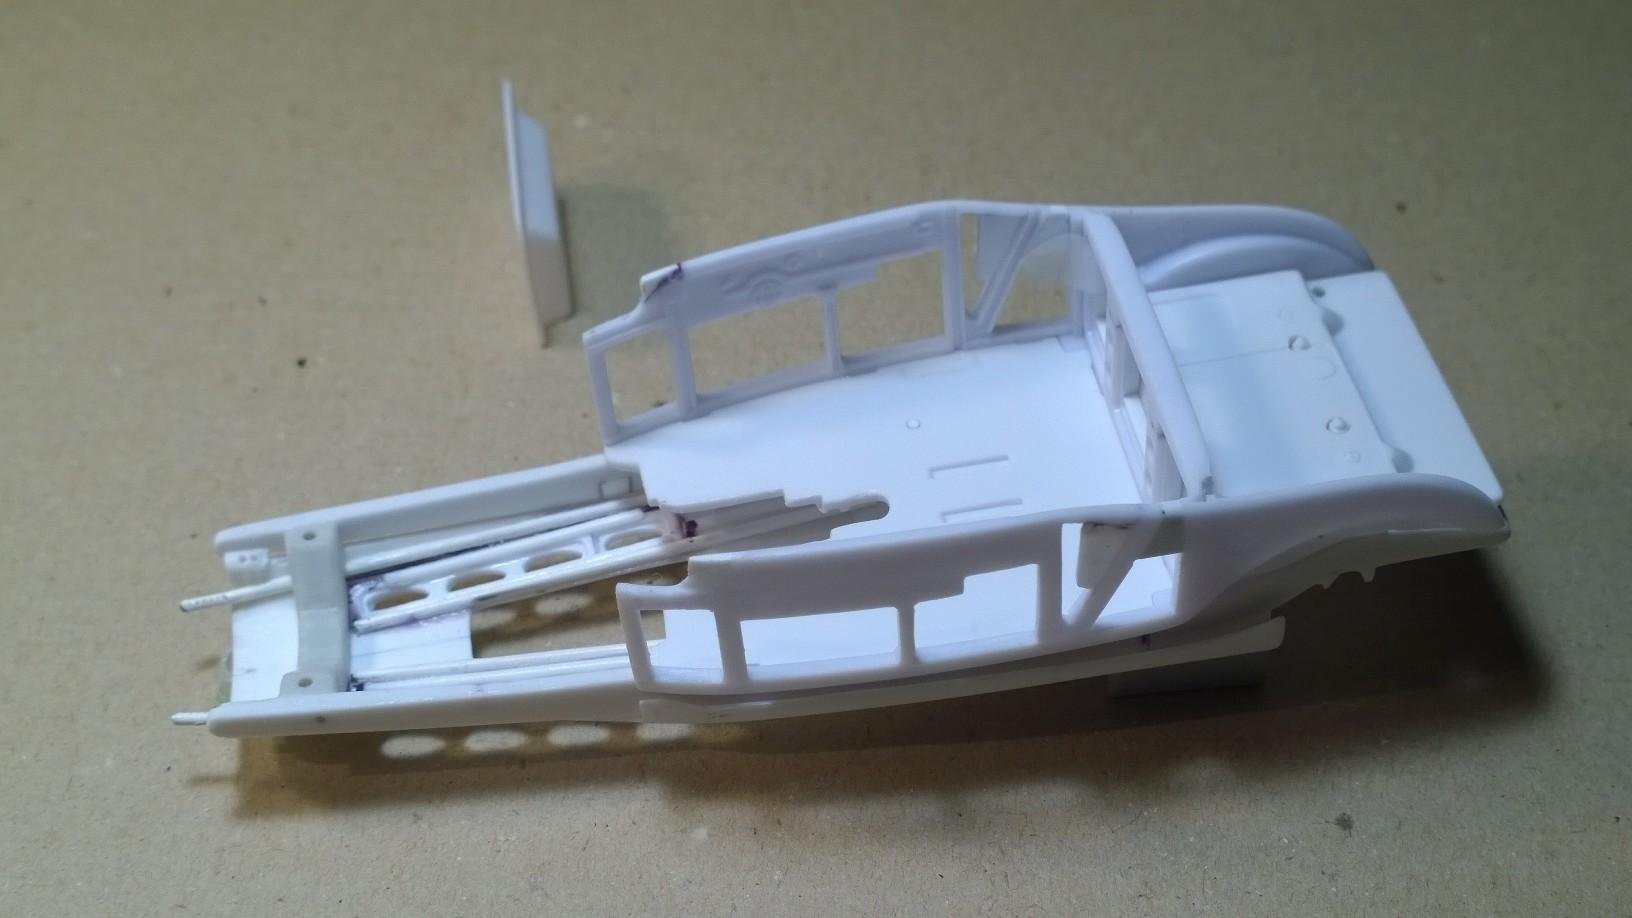
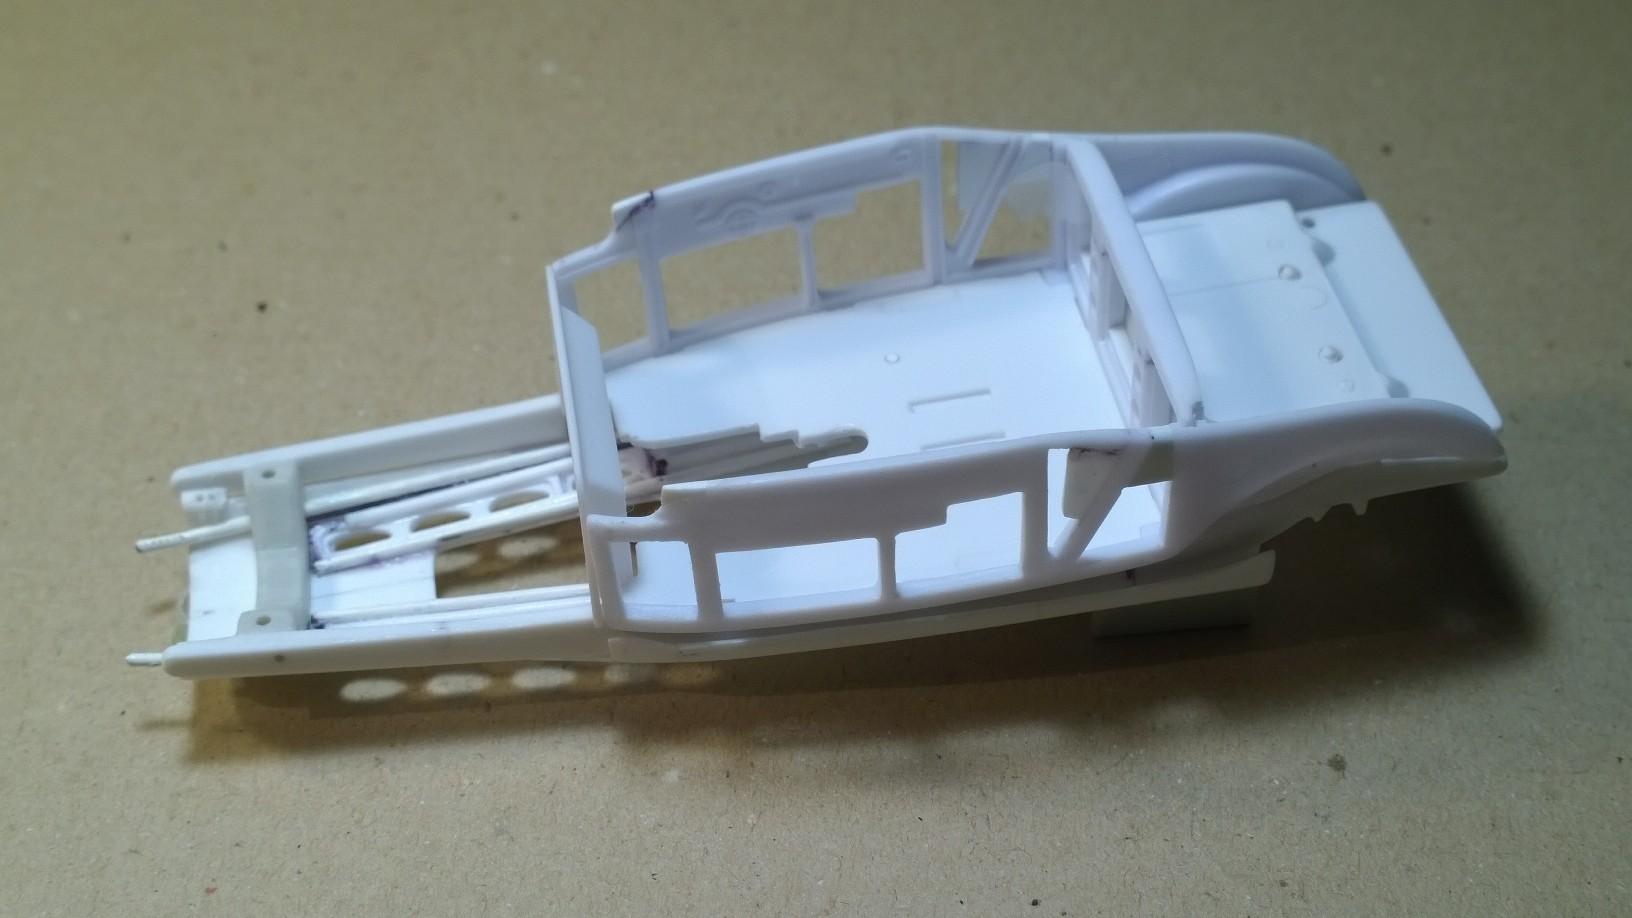
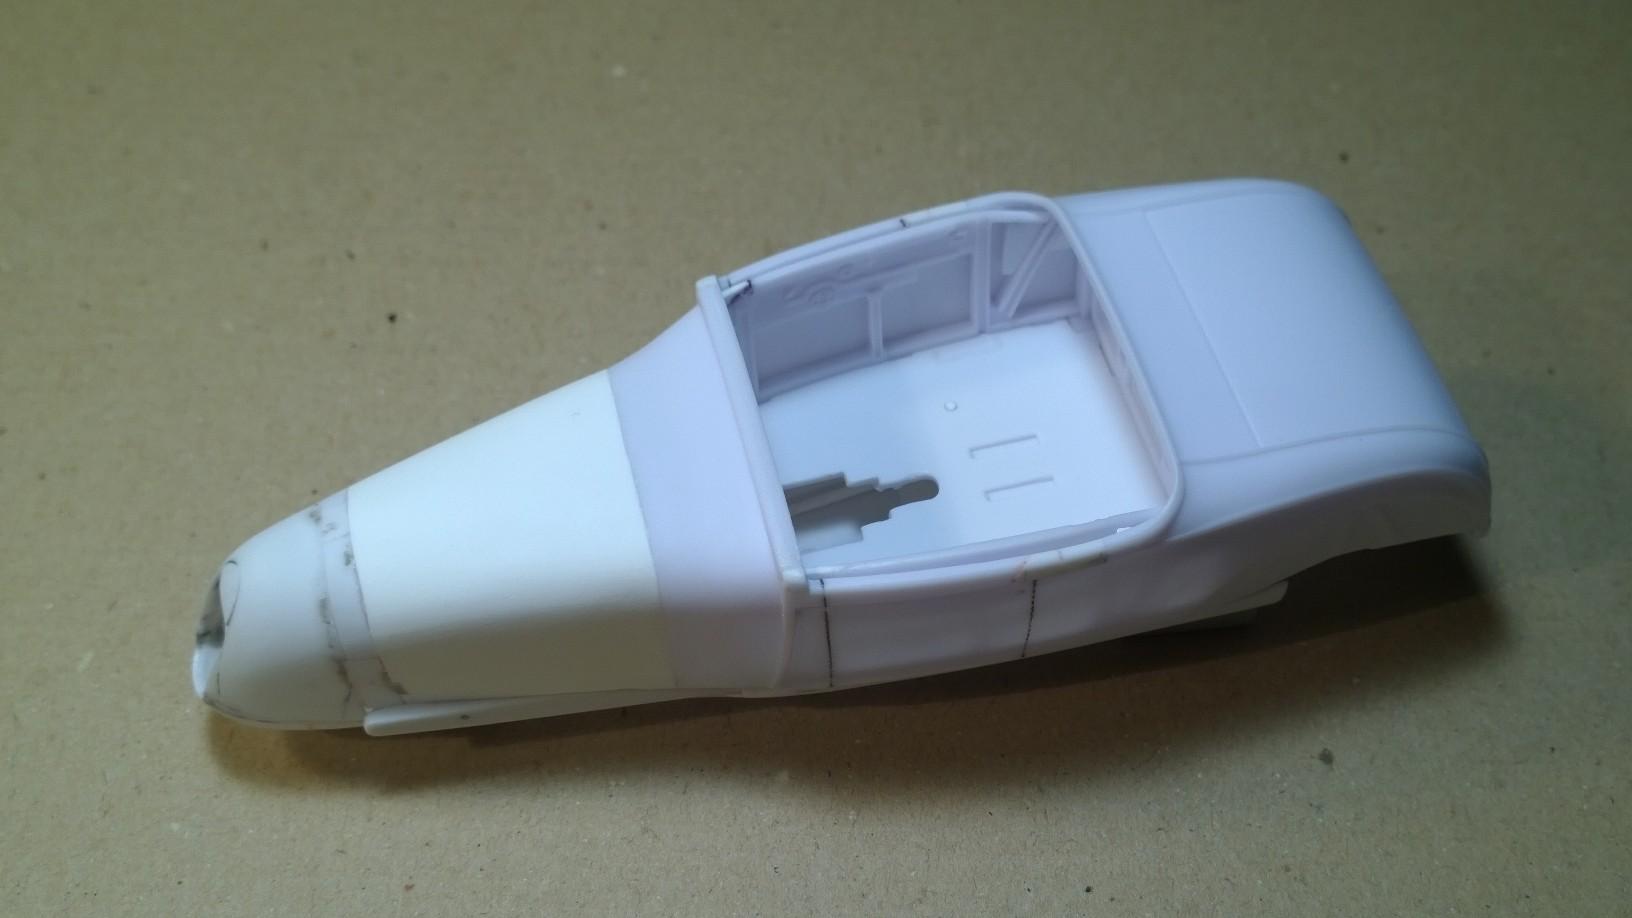
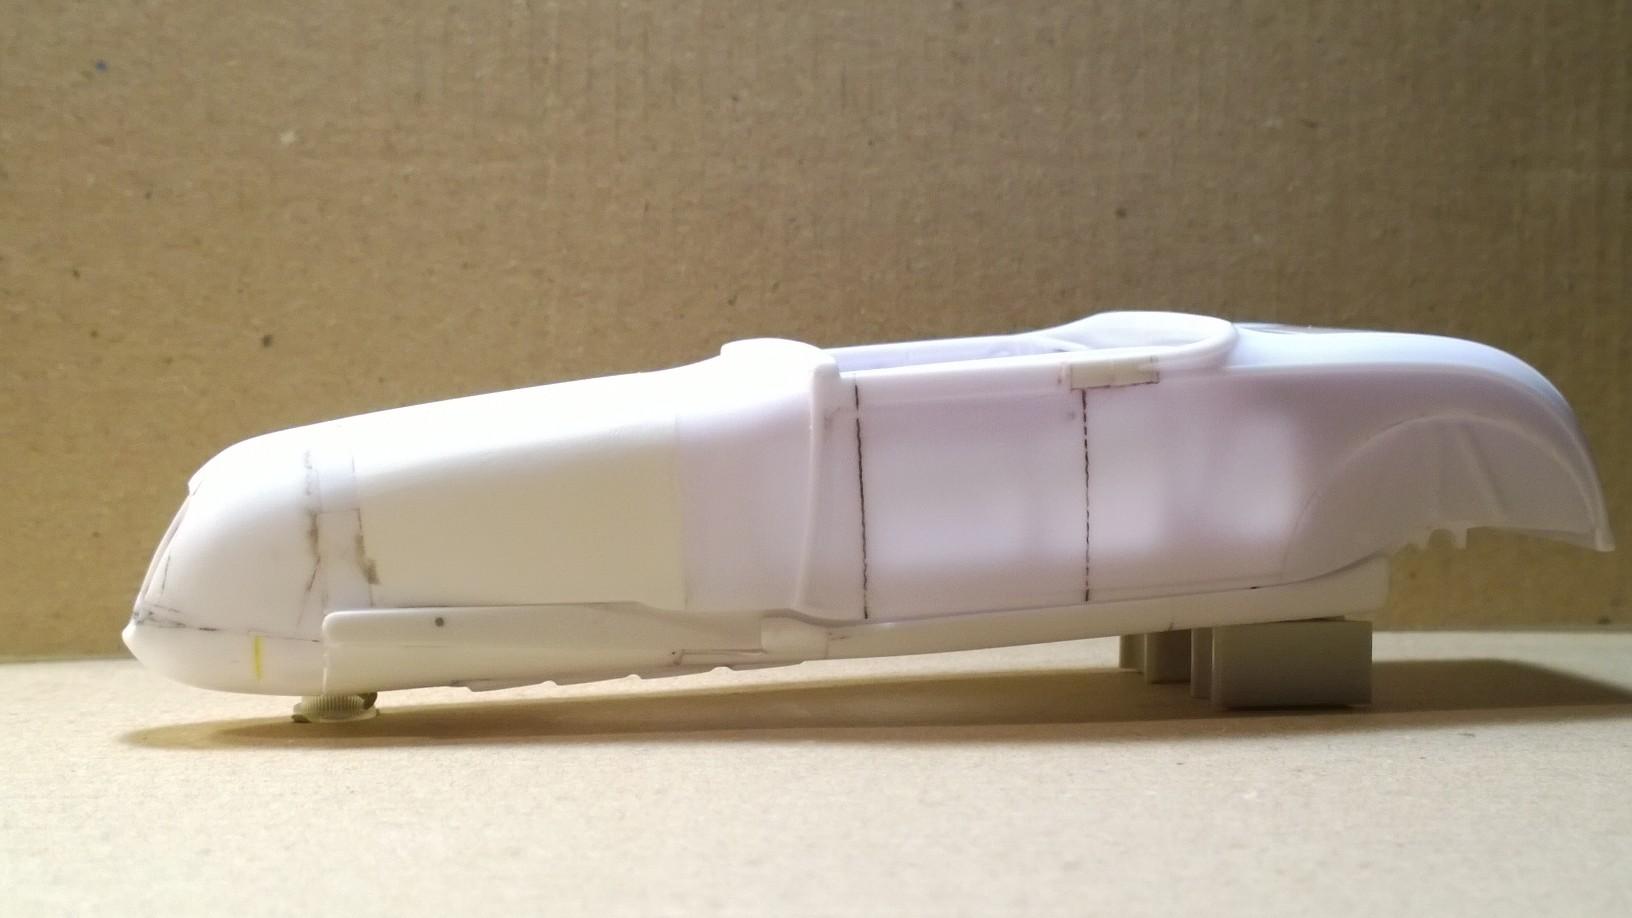
'29 Track Nose Roadster Step-by-Step Mockup '29 Track Nose Roadster Step-by-Step Mockup Belly Pan '29 Track Nose Roadster Step-by-Step Mockup Belly Pan & Frame '29 Track Nose Roadster Step-by-Step Mockup Belly Pan, Frame & Floor '29 Track Nose Roadster Step-by-Step Mockup Belly Pan, Frame, Floor & Interior Body Frame (Behind) '29 Track Nose Roadster Step-by-Step Mockup Belly Pan, Frame, Floor, Interior Body Frame & Firewall (Behind) '29 Track Nose Roadster Step-by-Step Mockup Belly Pan, Frame, Floor, Interior Body Frame & Firewall '29 Track Nose Roadster Step-by-Step Mockup Belly Pan, Frame & Body '29 Track Nose Roadster Step-by-Step Mockup Belly Pan, Frame, Floor, Interior Body Frame, Firewall & Body '29 Track Nose Roadster Step-by-Step Mockup Belly Pan Profile '29 Track Nose Roadster Step-by-Step Mockup LS '29 Track Nose Roadster Step-by-Step Mockup RS Really appreciate each and every visitor to this thread... your comments are an affirmation of the direction and effort involved in bringing the '29 Track Nose Roadster "The K&R Splice & Dice Special" this far! -KK