Modlbldr
-
Posts
6,885 -
Joined
-
Last visited
Content Type
Profiles
Forums
Events
Gallery
Everything posted by Modlbldr
-

72 Chevy Suburban
Modlbldr replied to Modlbldr's topic in WIP: Model Trucks: Pickups, Vans, SUVs, Light Commercial
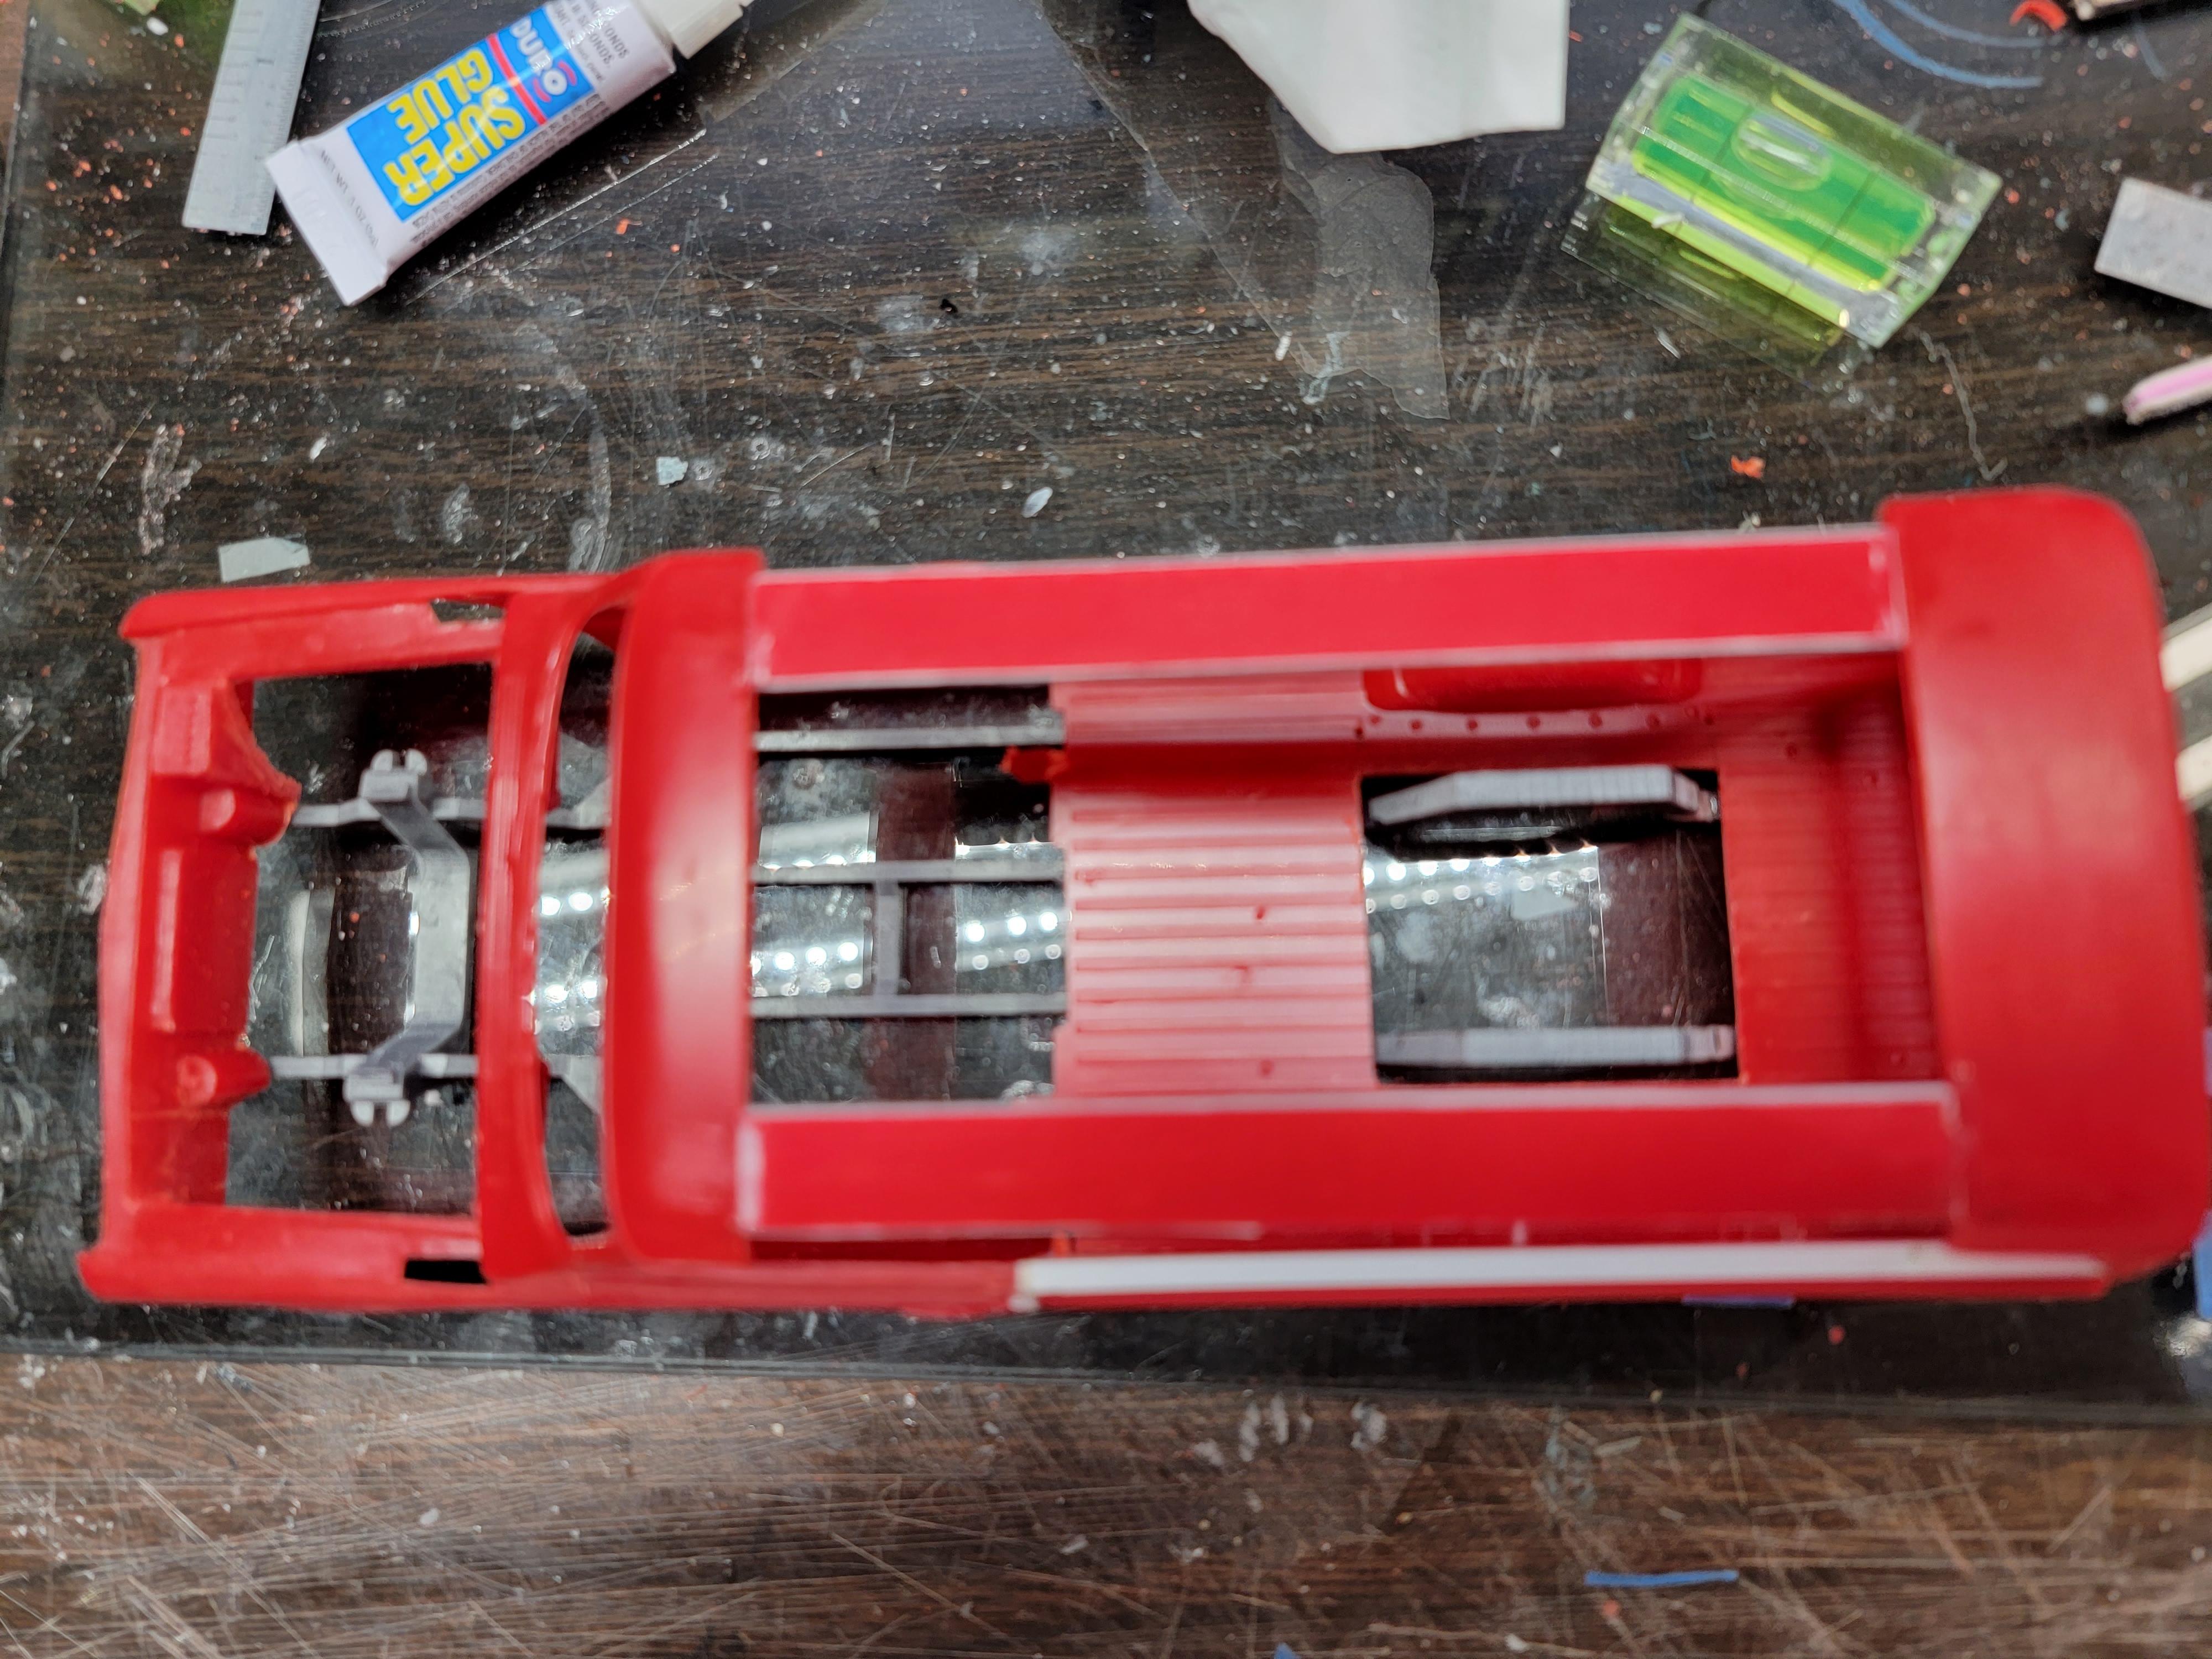
Thank you! Tonight's progress. Starting from the front. I removed the inner wheel wells to allow for tire clearance and to allow the 3d frame to sit where it needs to. I added two strips of plastic for roof panels instead of one large piece since I am building this with a simuated sliding soft top. I then added a piece of half round for the rolled side of the roof. This will be sanded to shape later. I removed a part of the bed floor for clearance of the c notch on the frame. The 3d printed frame needed some work as it was warped and the part behind the c notch did not extend far enough to allow the frame to sit flat. This pic shows how much I need ed to press the frame to get it into shape. This will not work. After modifications the frame sits as it should. Well, that's it for tonight. Next will be to widen the rear tubs and start some sanding. Later-
-
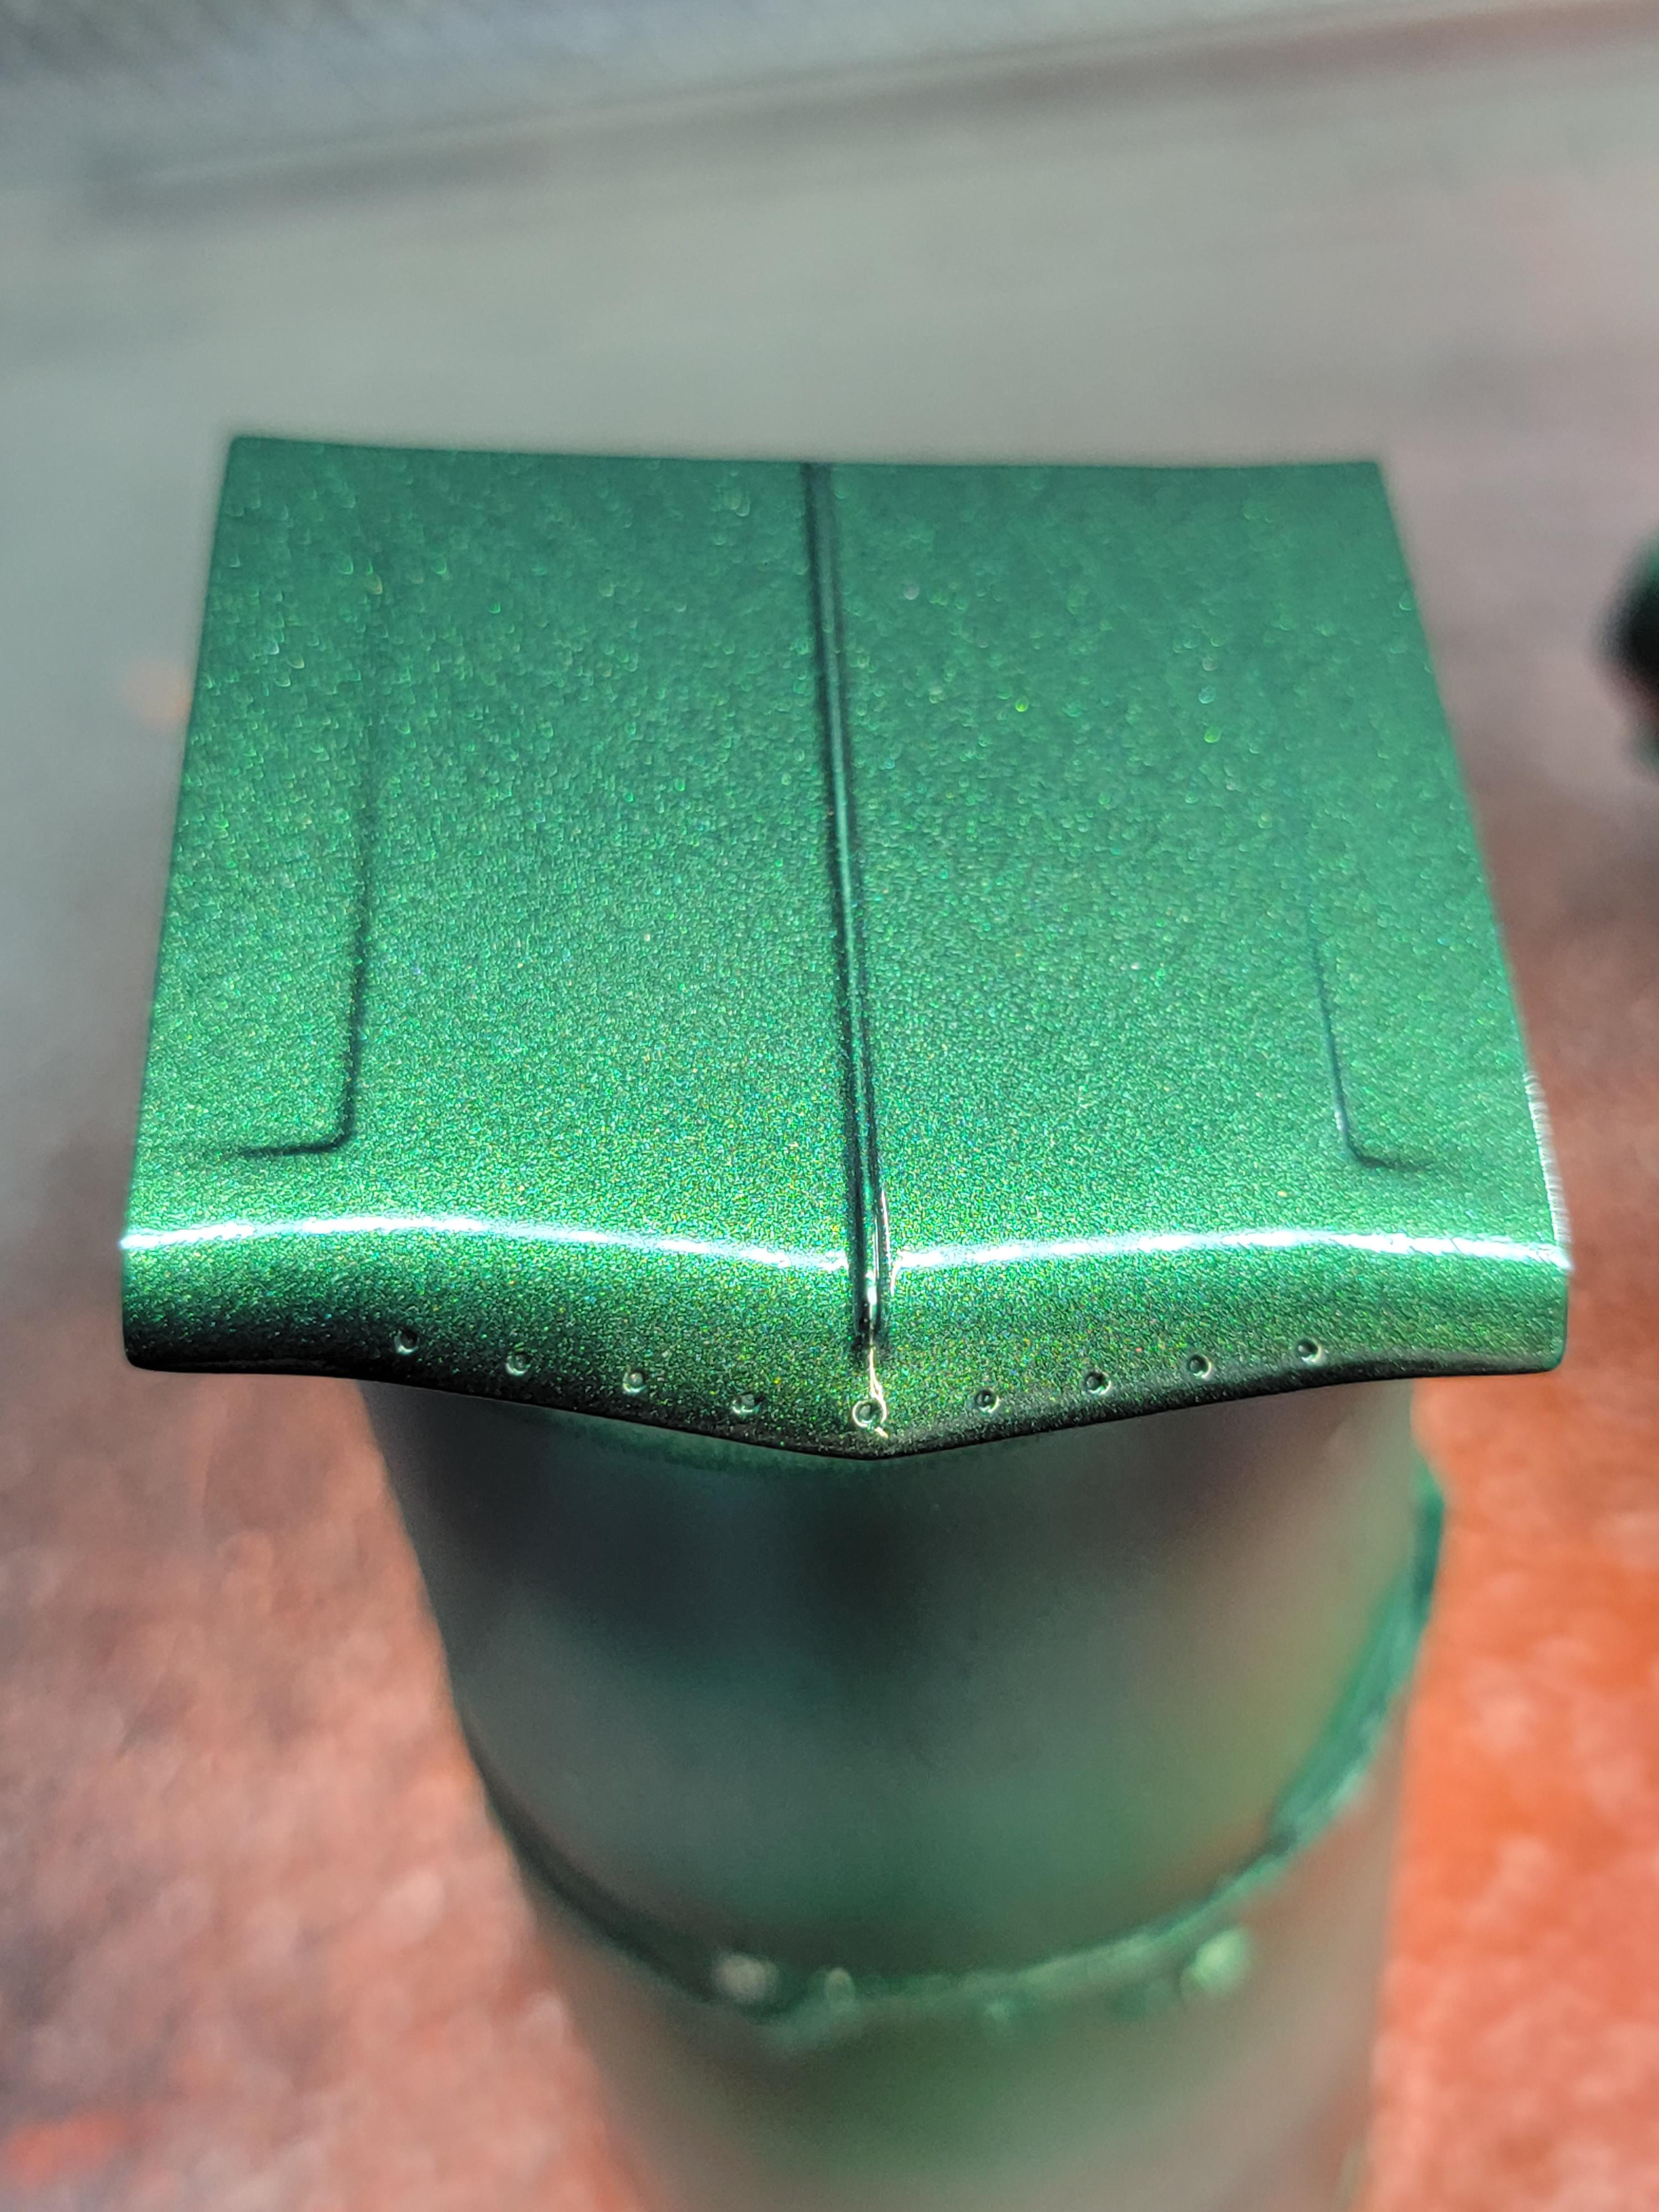
Thanks, but no. There is a small bit of sanding that needs done. I sprayed the final clear on Thanksgiving and have let it sit to harden. This past Thursday I taped the hood off to spray the underside and the tape still left faint lines in the clearcoat. Could have sworn it was dry by now. I got a used dehydrator yesterday. After I clean it up I am going to put it in the dehydrator for a good day before I wetsand. Later-
-
72 Chevy Suburban
Modlbldr replied to Modlbldr's topic in WIP: Model Trucks: Pickups, Vans, SUVs, Light Commercial
Yeah, they had one door on the driver's side and two on the passenger side. Not sure if this was all of them or just some. Later- -
72 Chevy Suburban
Modlbldr replied to Modlbldr's topic in WIP: Model Trucks: Pickups, Vans, SUVs, Light Commercial
Thanks. The frame I got from a guy on FB named Brandon White. It comes in two pieces so it is adjustable. Comes with the rear axle, front a arms, rear 4 link and bags. For the bend I am thinking about soaking it in warm water and then bending it from side to side over the edge of a table, similar to using an english wheel. Nothing fancy, just need to work it a bit. Later- -
72 Chevy Suburban
Modlbldr replied to Modlbldr's topic in WIP: Model Trucks: Pickups, Vans, SUVs, Light Commercial
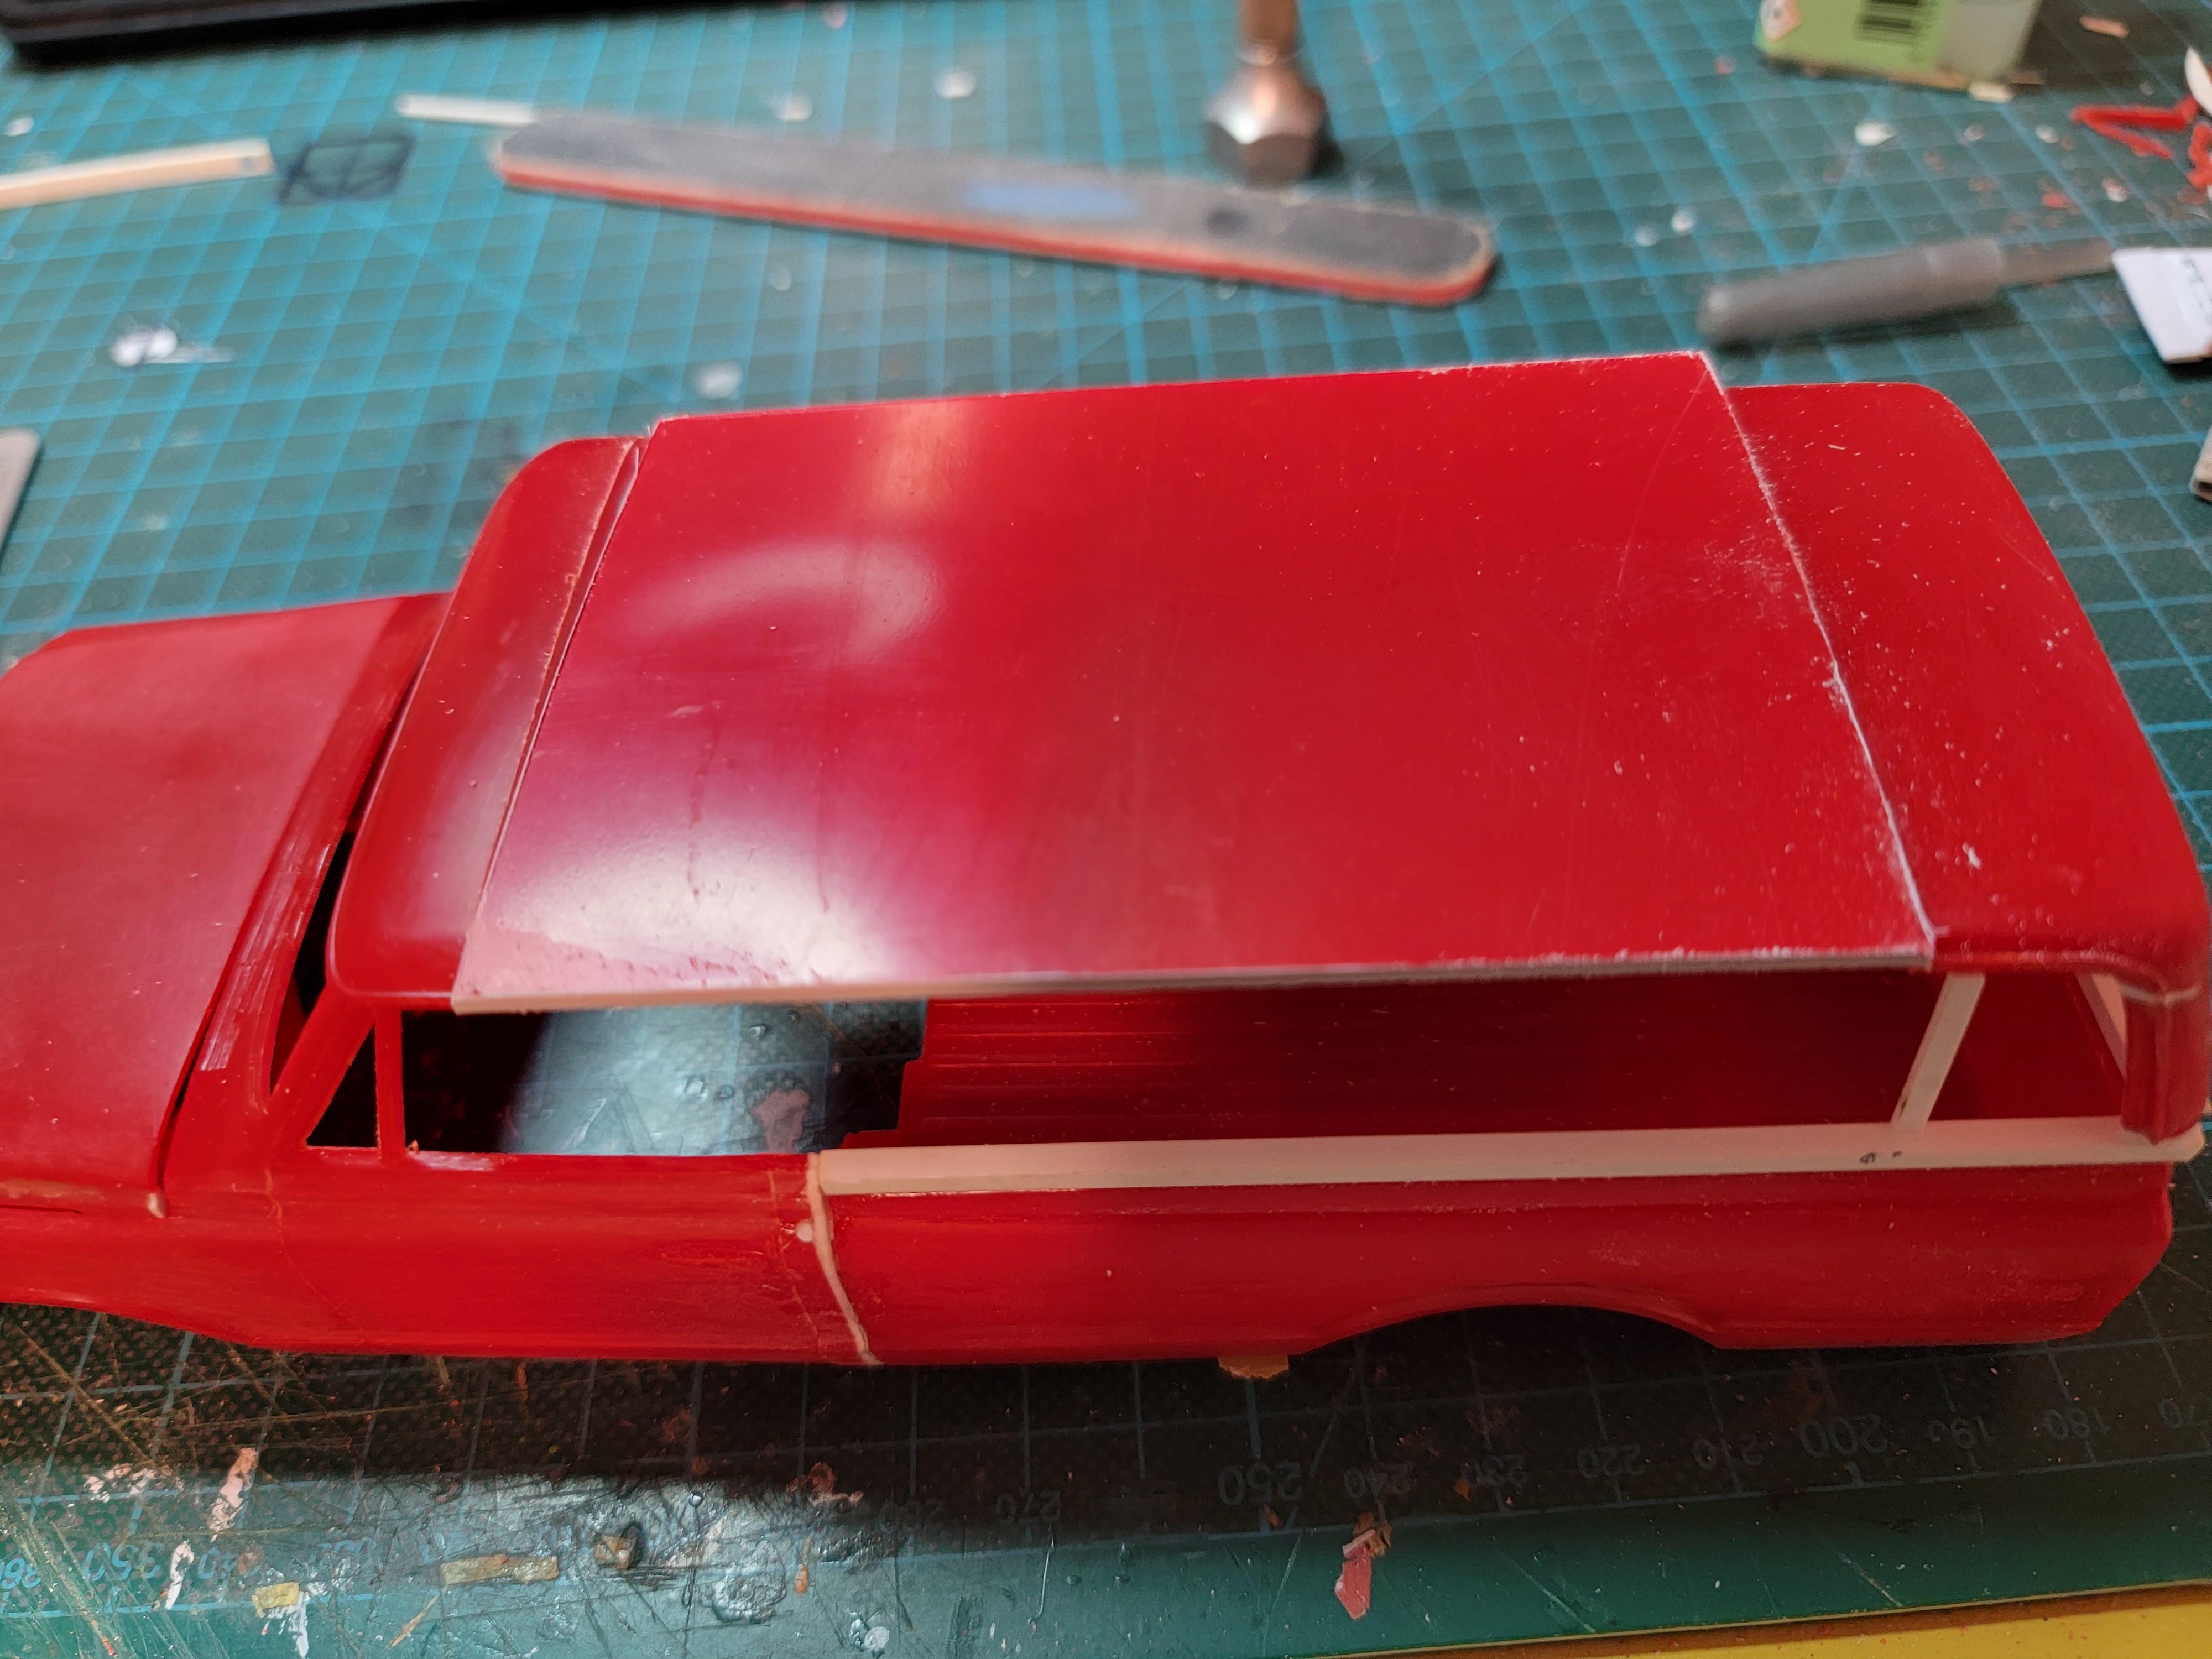
I did a bit more on this one last night for about a half hour. I think I've settled on this 3d printed frame. I set the wheelbase on it as it is adjustable and glued the two pieces together. I added some styrene bits for a bit of strength where they join. I then measured the height of the window opening on the front door from the top of the door to the bottom of the window opening. 21/32. I then tacked two 21/32 strips of styrene at the rear of the body at what will be the side window opening to act as temporary rests for the rear roof while gluing it in place. This way I am certain that the rear roof is level and the window openings match front to rear. Last thing for the night was to cut a roof panel to fit the giant opening. This is just sitting in place for now as it needs to be bent into the curved shape of the roof. That was it for the night. Thanks for looking. Later-
-
Thank you! Much appreciated. Later-
-
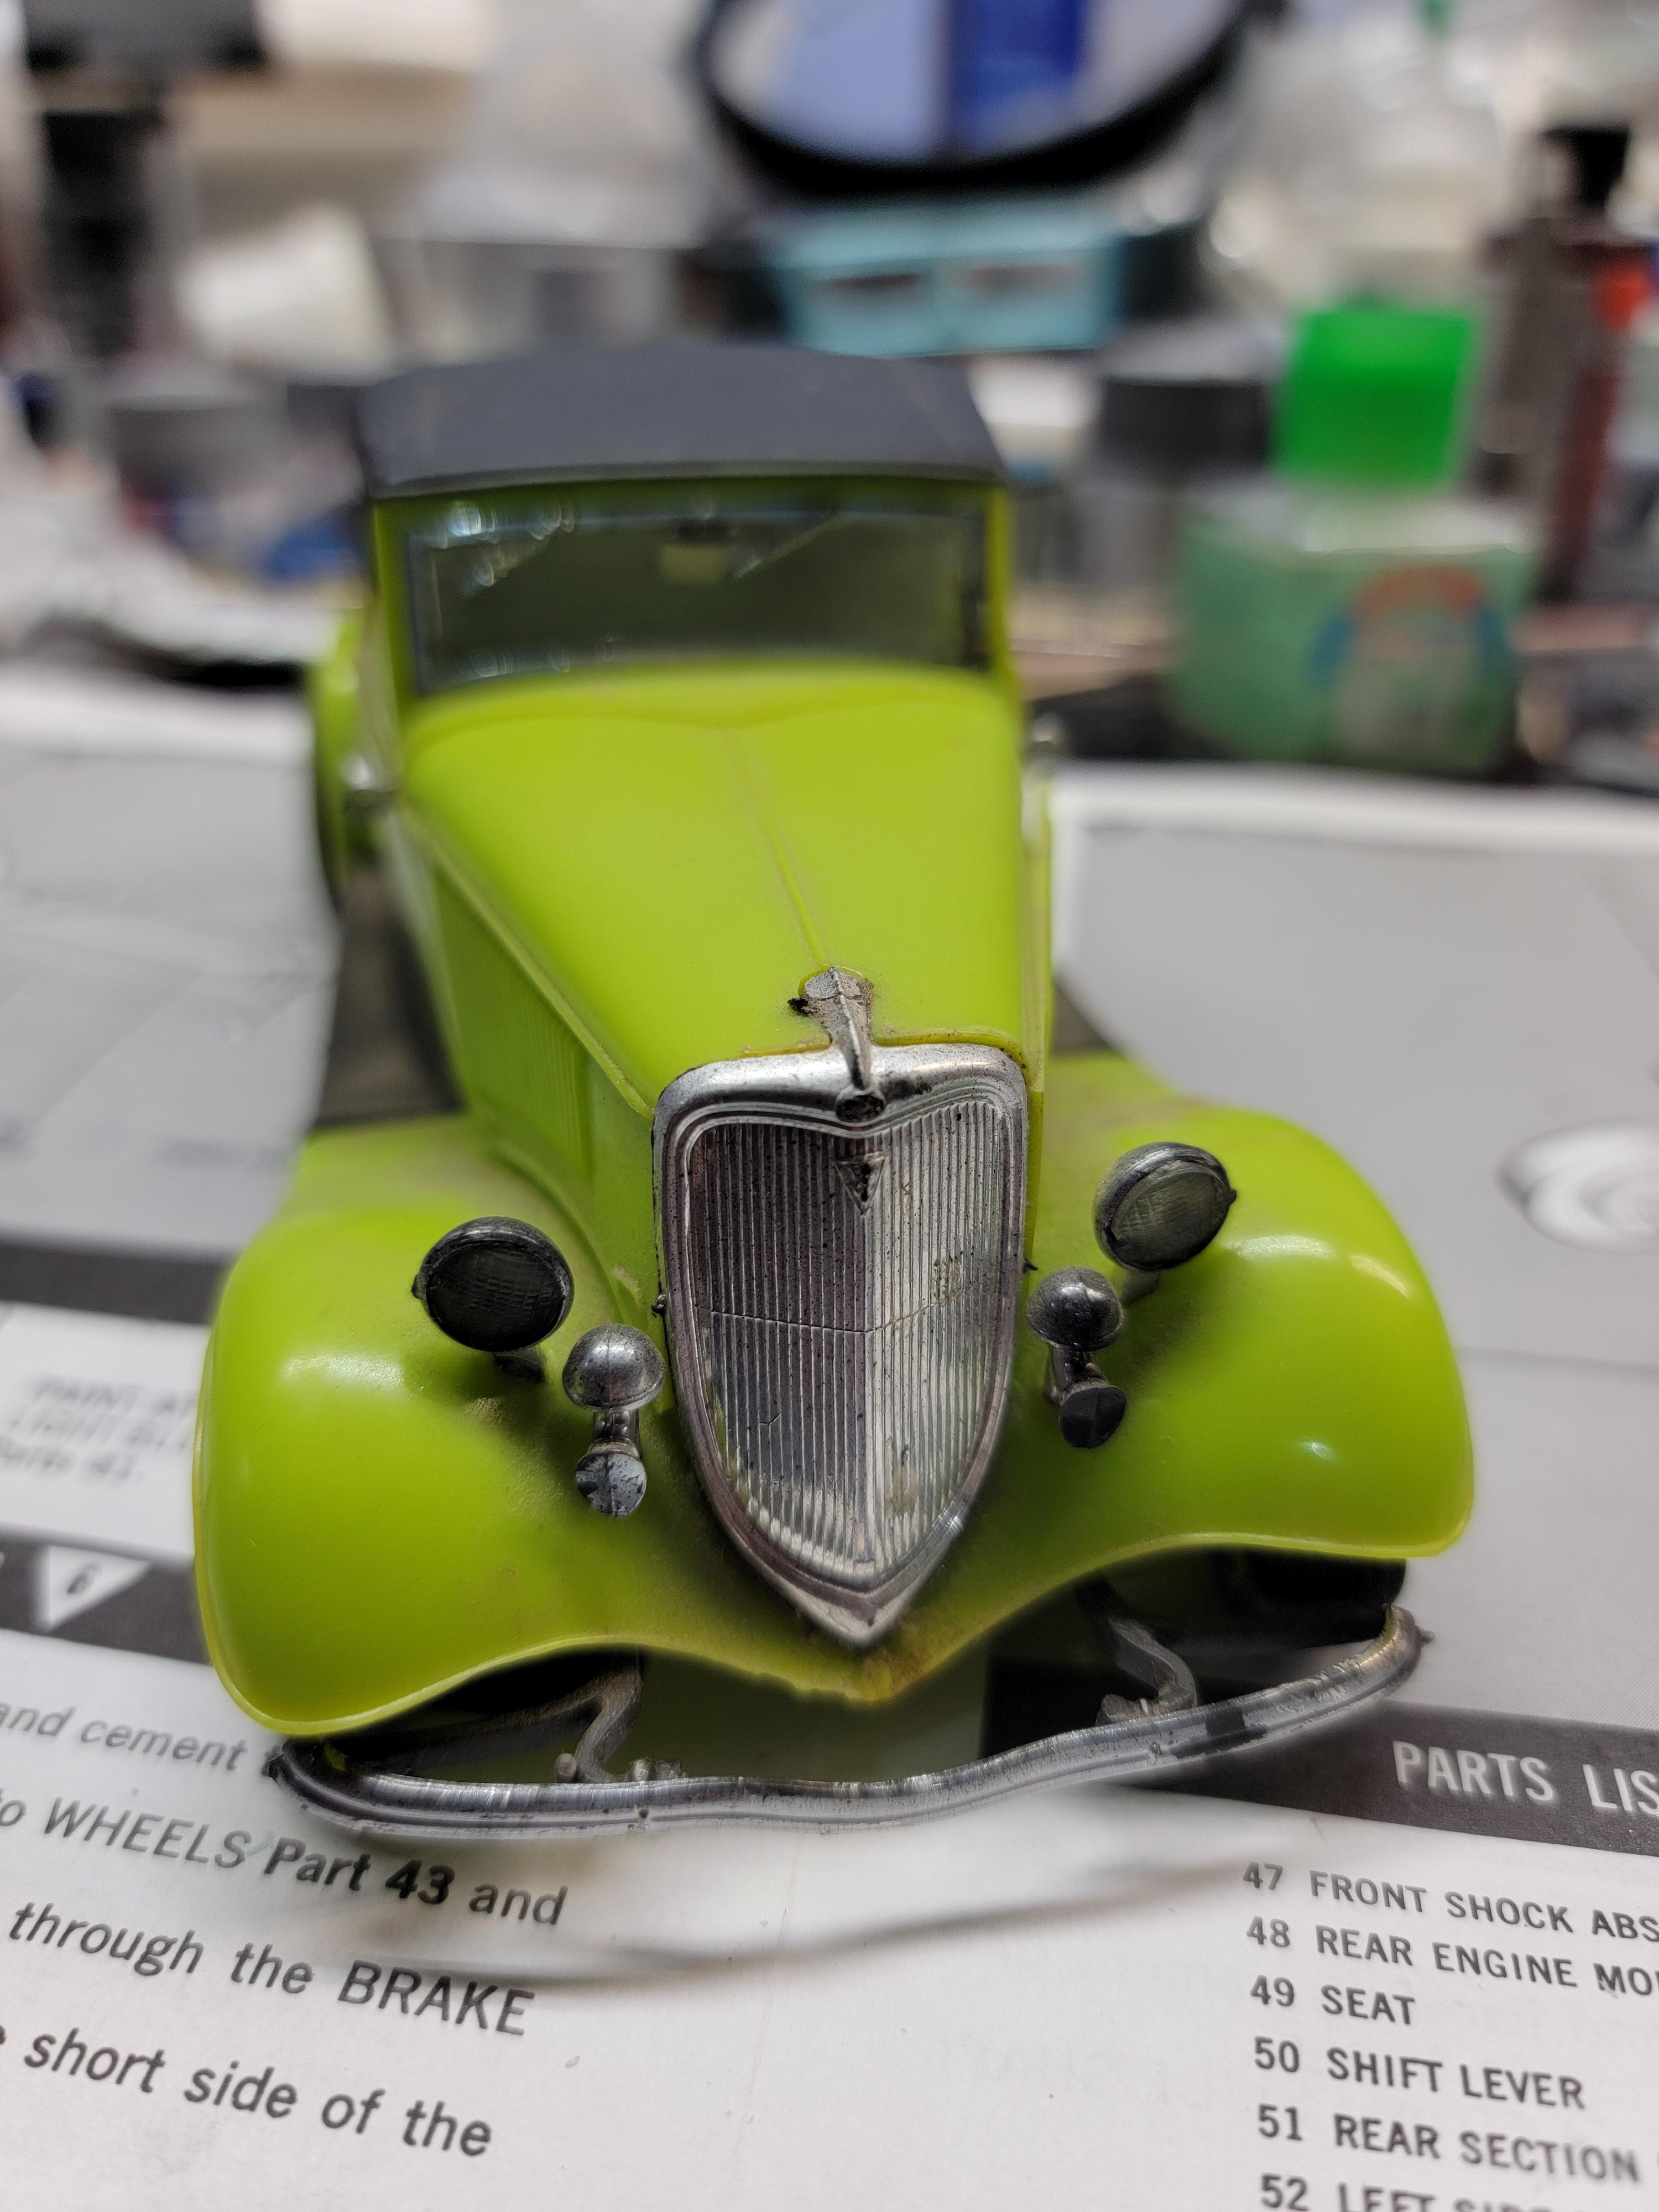
Been pecking away at some.of the finer things over the last couple of days. The grill emblem decal broke into 5 pieces on me. That was fun trying to piece it back together. I'm down to needing to do the wetsanding and polishing of the body before I can move on.
-
Had a good chuckle on this one. Later-
- 1 reply
-
- 1
-

-
72 Chevy Suburban
Modlbldr replied to Modlbldr's topic in WIP: Model Trucks: Pickups, Vans, SUVs, Light Commercial
Not a bad idea. I hadn't thought about that. Thanks! Later- -
72 Chevy Suburban
Modlbldr replied to Modlbldr's topic in WIP: Model Trucks: Pickups, Vans, SUVs, Light Commercial
I'm not set at the moment on that. The timeline on this is sometime in March. Depending on how long it takes to do the top I may stick with the promo chassis but I have a 3D printed lowered chassis that I'd like to use. Thanks. I'm hoping I don't lose steam. Lol. Later- -
72 Chevy Suburban
Modlbldr replied to Modlbldr's topic in WIP: Model Trucks: Pickups, Vans, SUVs, Light Commercial
Thanks for the reply. Yeah, it's not sitting exactly where it needs to be yet. That pic was taken right beforw heading to bed and I just have it tacked in place. Later- -
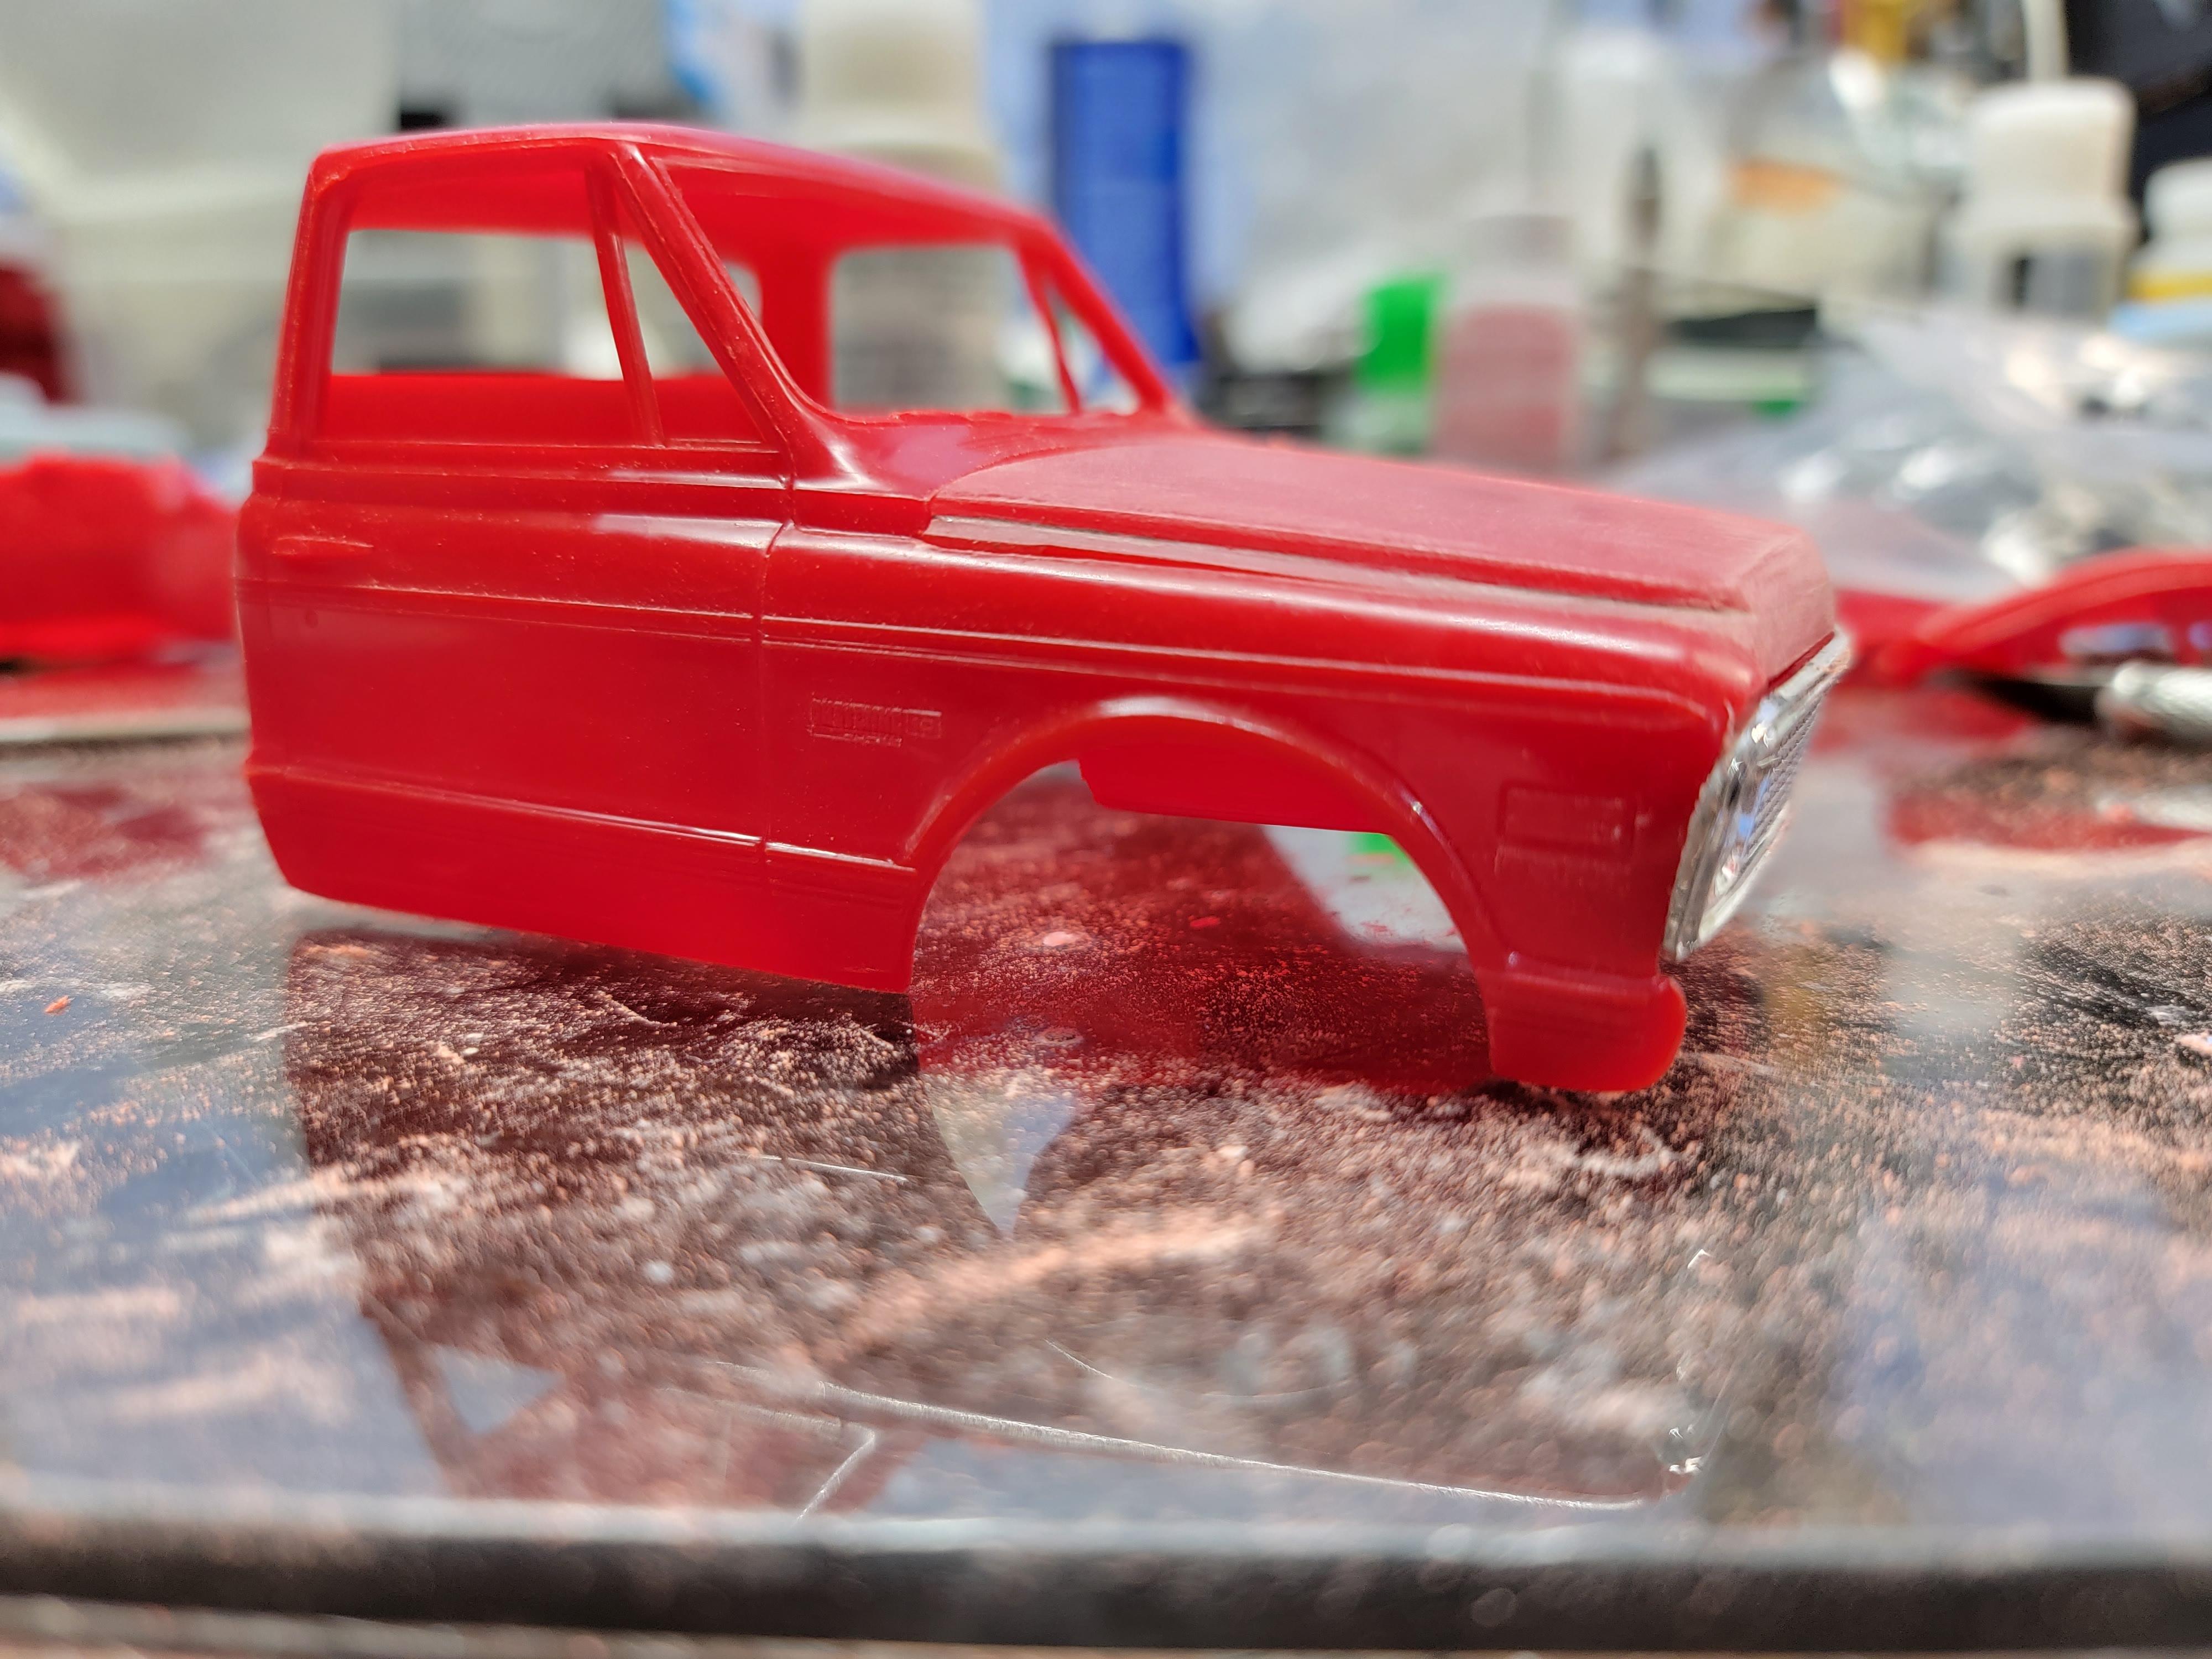
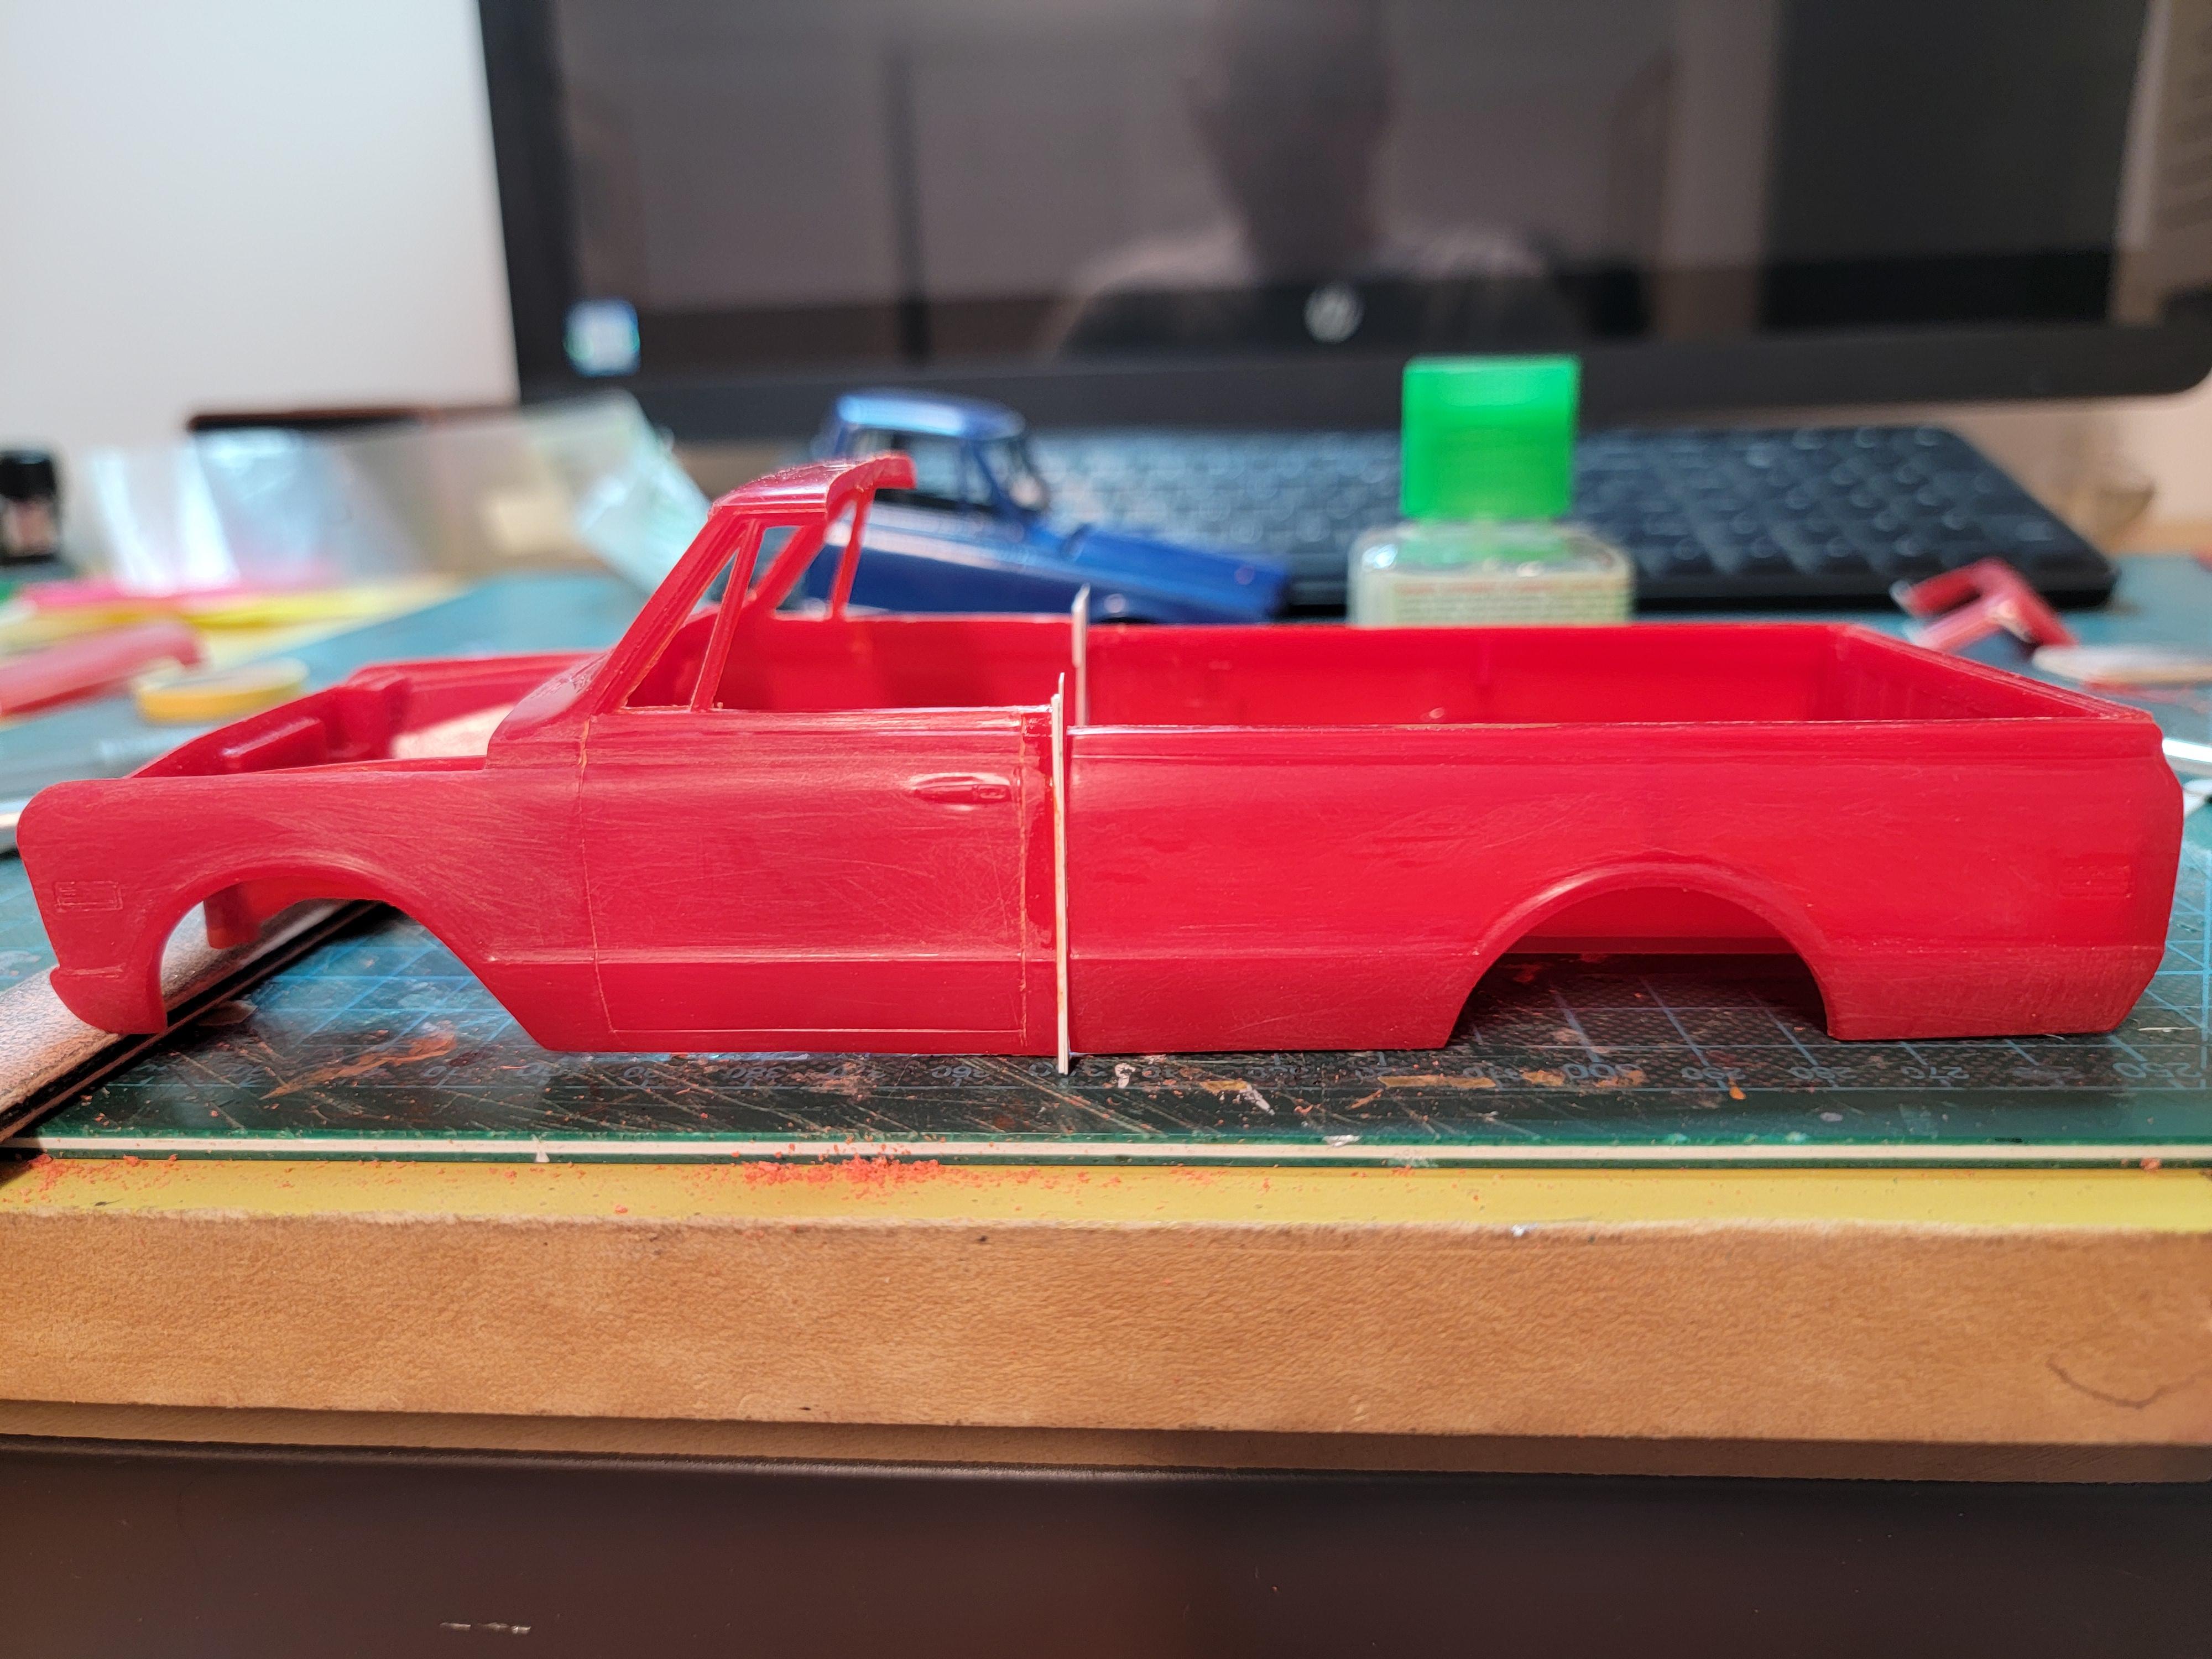
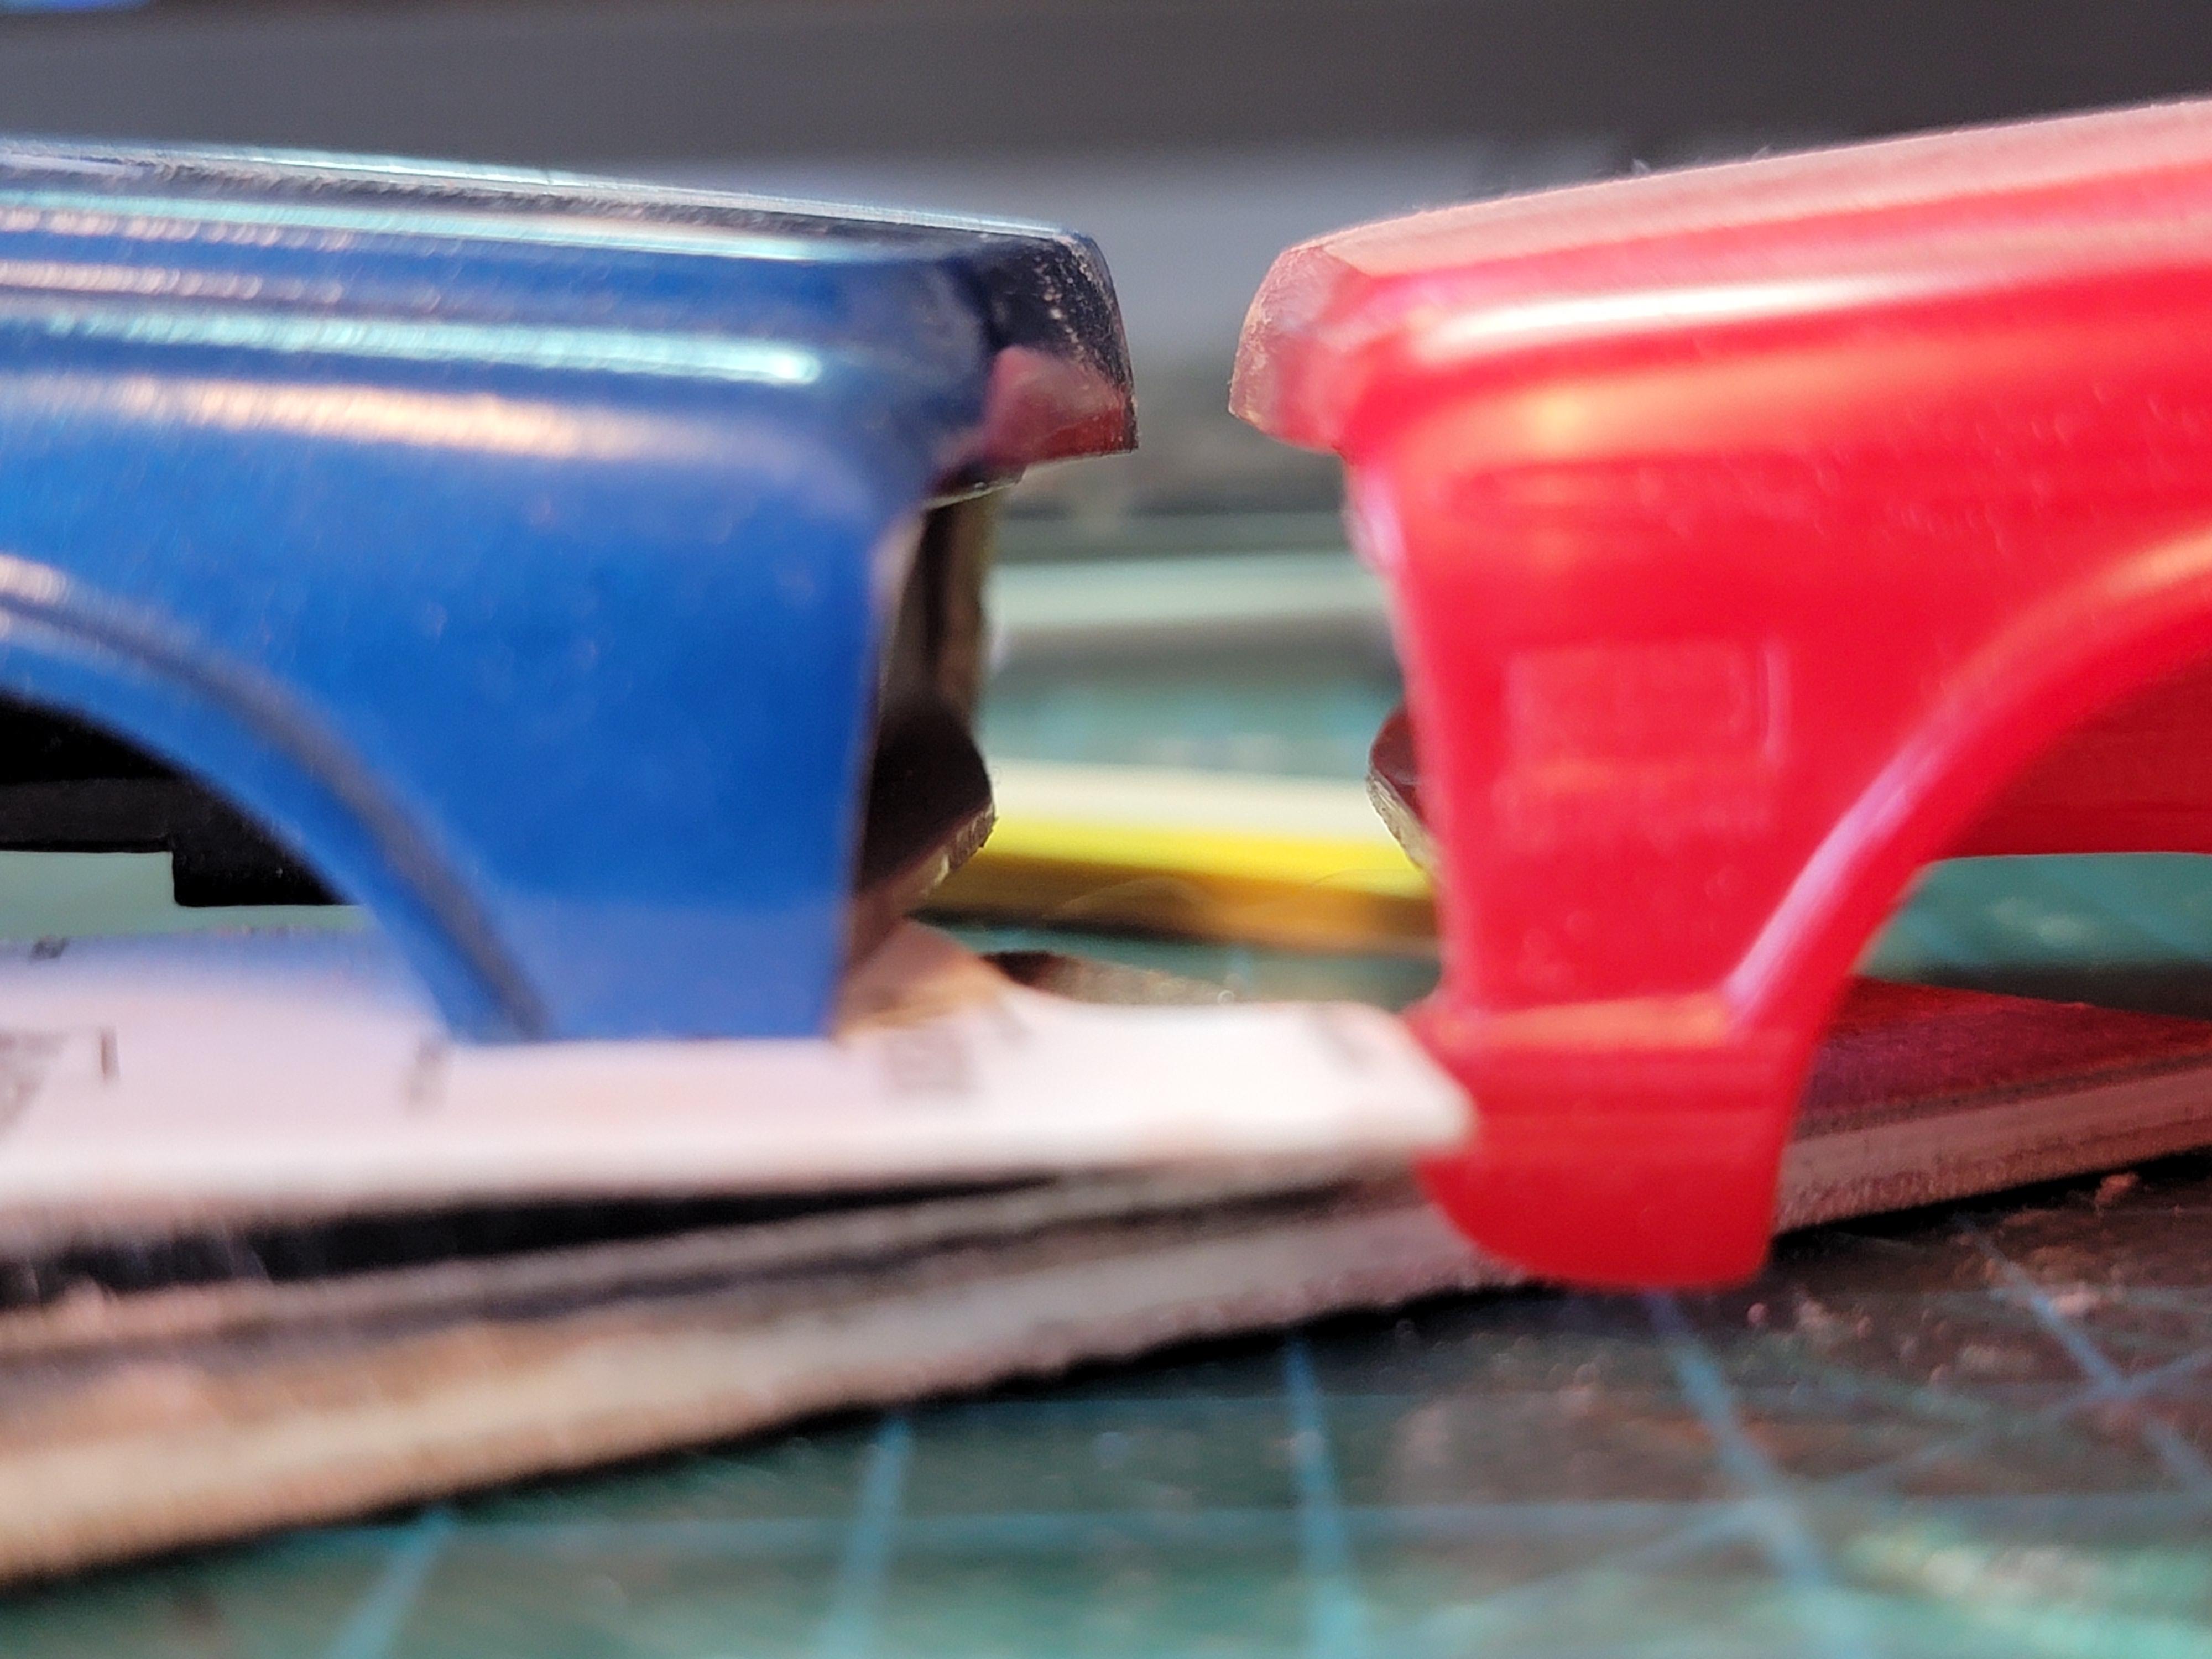
While waiting for things to dry on my 65 Chevelle I have another "common kit" build for our club. The chosen kit is the re-release of the 72 Chevy pickup. As my normal plan is I am always looking for something a bit different than what other guys in the club will do. I landed on building a Suburban from the kit. I began by removing all of the body side trim. Before I started the mods I had a plan to lower the front of the hood (pancake). I sliced the bottom off and sanded what I felt was a considerable amount and then reattached the bottom. I also sanded the front to lean the leading edge back a bit. After getting it all back together I can't tell much difference. It's noticable enough next to the stock hood but as a stand alone it isn't very noticable. I began by cutting off the rear of the cab to use as the rear of the Suburban top. As I looked at the picture of the 1:1 Suburban I saw that the slope of the rea pillars was more angled than the rear of the stock pickup cab. So, I made a relief slice in the pillar a d added a bit of styrene sheet to change the angle. This angle was just eyeballed. I calculated some measurements of the wheelbase of the Suburban and it appeared to be no different than the wheelbase of the longbed version (right about 5 inches in scale) so I only needed to add a bit of sheet plastic between the cab and bed due to length removed from removing the rear cab wall. I am not going for complete accuracy here anyway. I then glued the cab and bed together. Next I had to add a piece of styrene square stock to the top of the bed rails to make it the same height of the top of the pickup doors. This really bothered me because in the pictures of the Suburban it doesn't appear that it is that tall through that area (directly below the side windows above where the body makes its first bump out). Oh well. As I said, I'm not going for complete accuracy. I then tacked in place the rear cab piece I removed to see if the height was anywhere close to the same as the height of the front of the cab. Looks pretty good to me. That's where I stoped for the night. Later-
-
Finished and installed the engine today. Added an alternator bracket, spark plug wires and the visible parts of the fuel line for some added interest. I will be painting the headliner and the engine bay next, then polishing the body and adding the emblems. Later-
-
Thanks! I keep thinking that there isn't much left to do but then I wake up.... Later-
-
Interior is finished. On to the engine while the body cures. Later-
-
Getting progress made. Got the dash done. Wetsanded the clearcoat today and sprayed the final coat of clear. Now to head back down and assemble the interior. Later-
-
Let's See Some Glue Bombs!
Modlbldr replied to Snake45's topic in General Automotive Talk (Trucks and Cars)
Yes. Made it easy on me. Later- -
Let's See Some Glue Bombs!
Modlbldr replied to Snake45's topic in General Automotive Talk (Trucks and Cars)
Picked this up recently. Not sure when it will get done but had to have it. Later-
-
Got this yesterday in a trade. Complete/sealed inside. Later-
- 39,276 replies
-
- 5
-

-
- johan
- glue bombs
- (and 1 more)
-
Thanks! I bet that was an enjoyable ride. You have me wondering now if I missed a part of the grill on the fret. Lol. I'll have to look again. Later-
-
Spent some time last night on the engine and dash. One of my dash decals disintegrated on me. Moving along pretty good on this one. Today I am going to polish the PE sheet so I can start adding them to the mix. Later-
-
More progress today. Got the tires and wheels decaled, the interior floor embossed and the seats in. Then I had to mock the body up on the completed chassis to see how the paint looked against the tires and wheels. I'm liking the look. Later-
-
Chassis is mostly completed and the wheels and tires just need decals. Later-
-
36 Ford!! One of my favorites. Your box art build looks great! Later-
-
Thanks to everyone who has posted a reply. I appreciate it very much. Unfortunately the "reactions" button is still failing to work all of the time. Later-