Modlbldr
-
Posts
6,885 -
Joined
-
Last visited
Content Type
Profiles
Forums
Events
Gallery
Everything posted by Modlbldr
-
Here they are. Another semi-productive year. I see a definite color pallet. Got to change that up in '24. Later-

- 22 replies
-
- 11
-

-

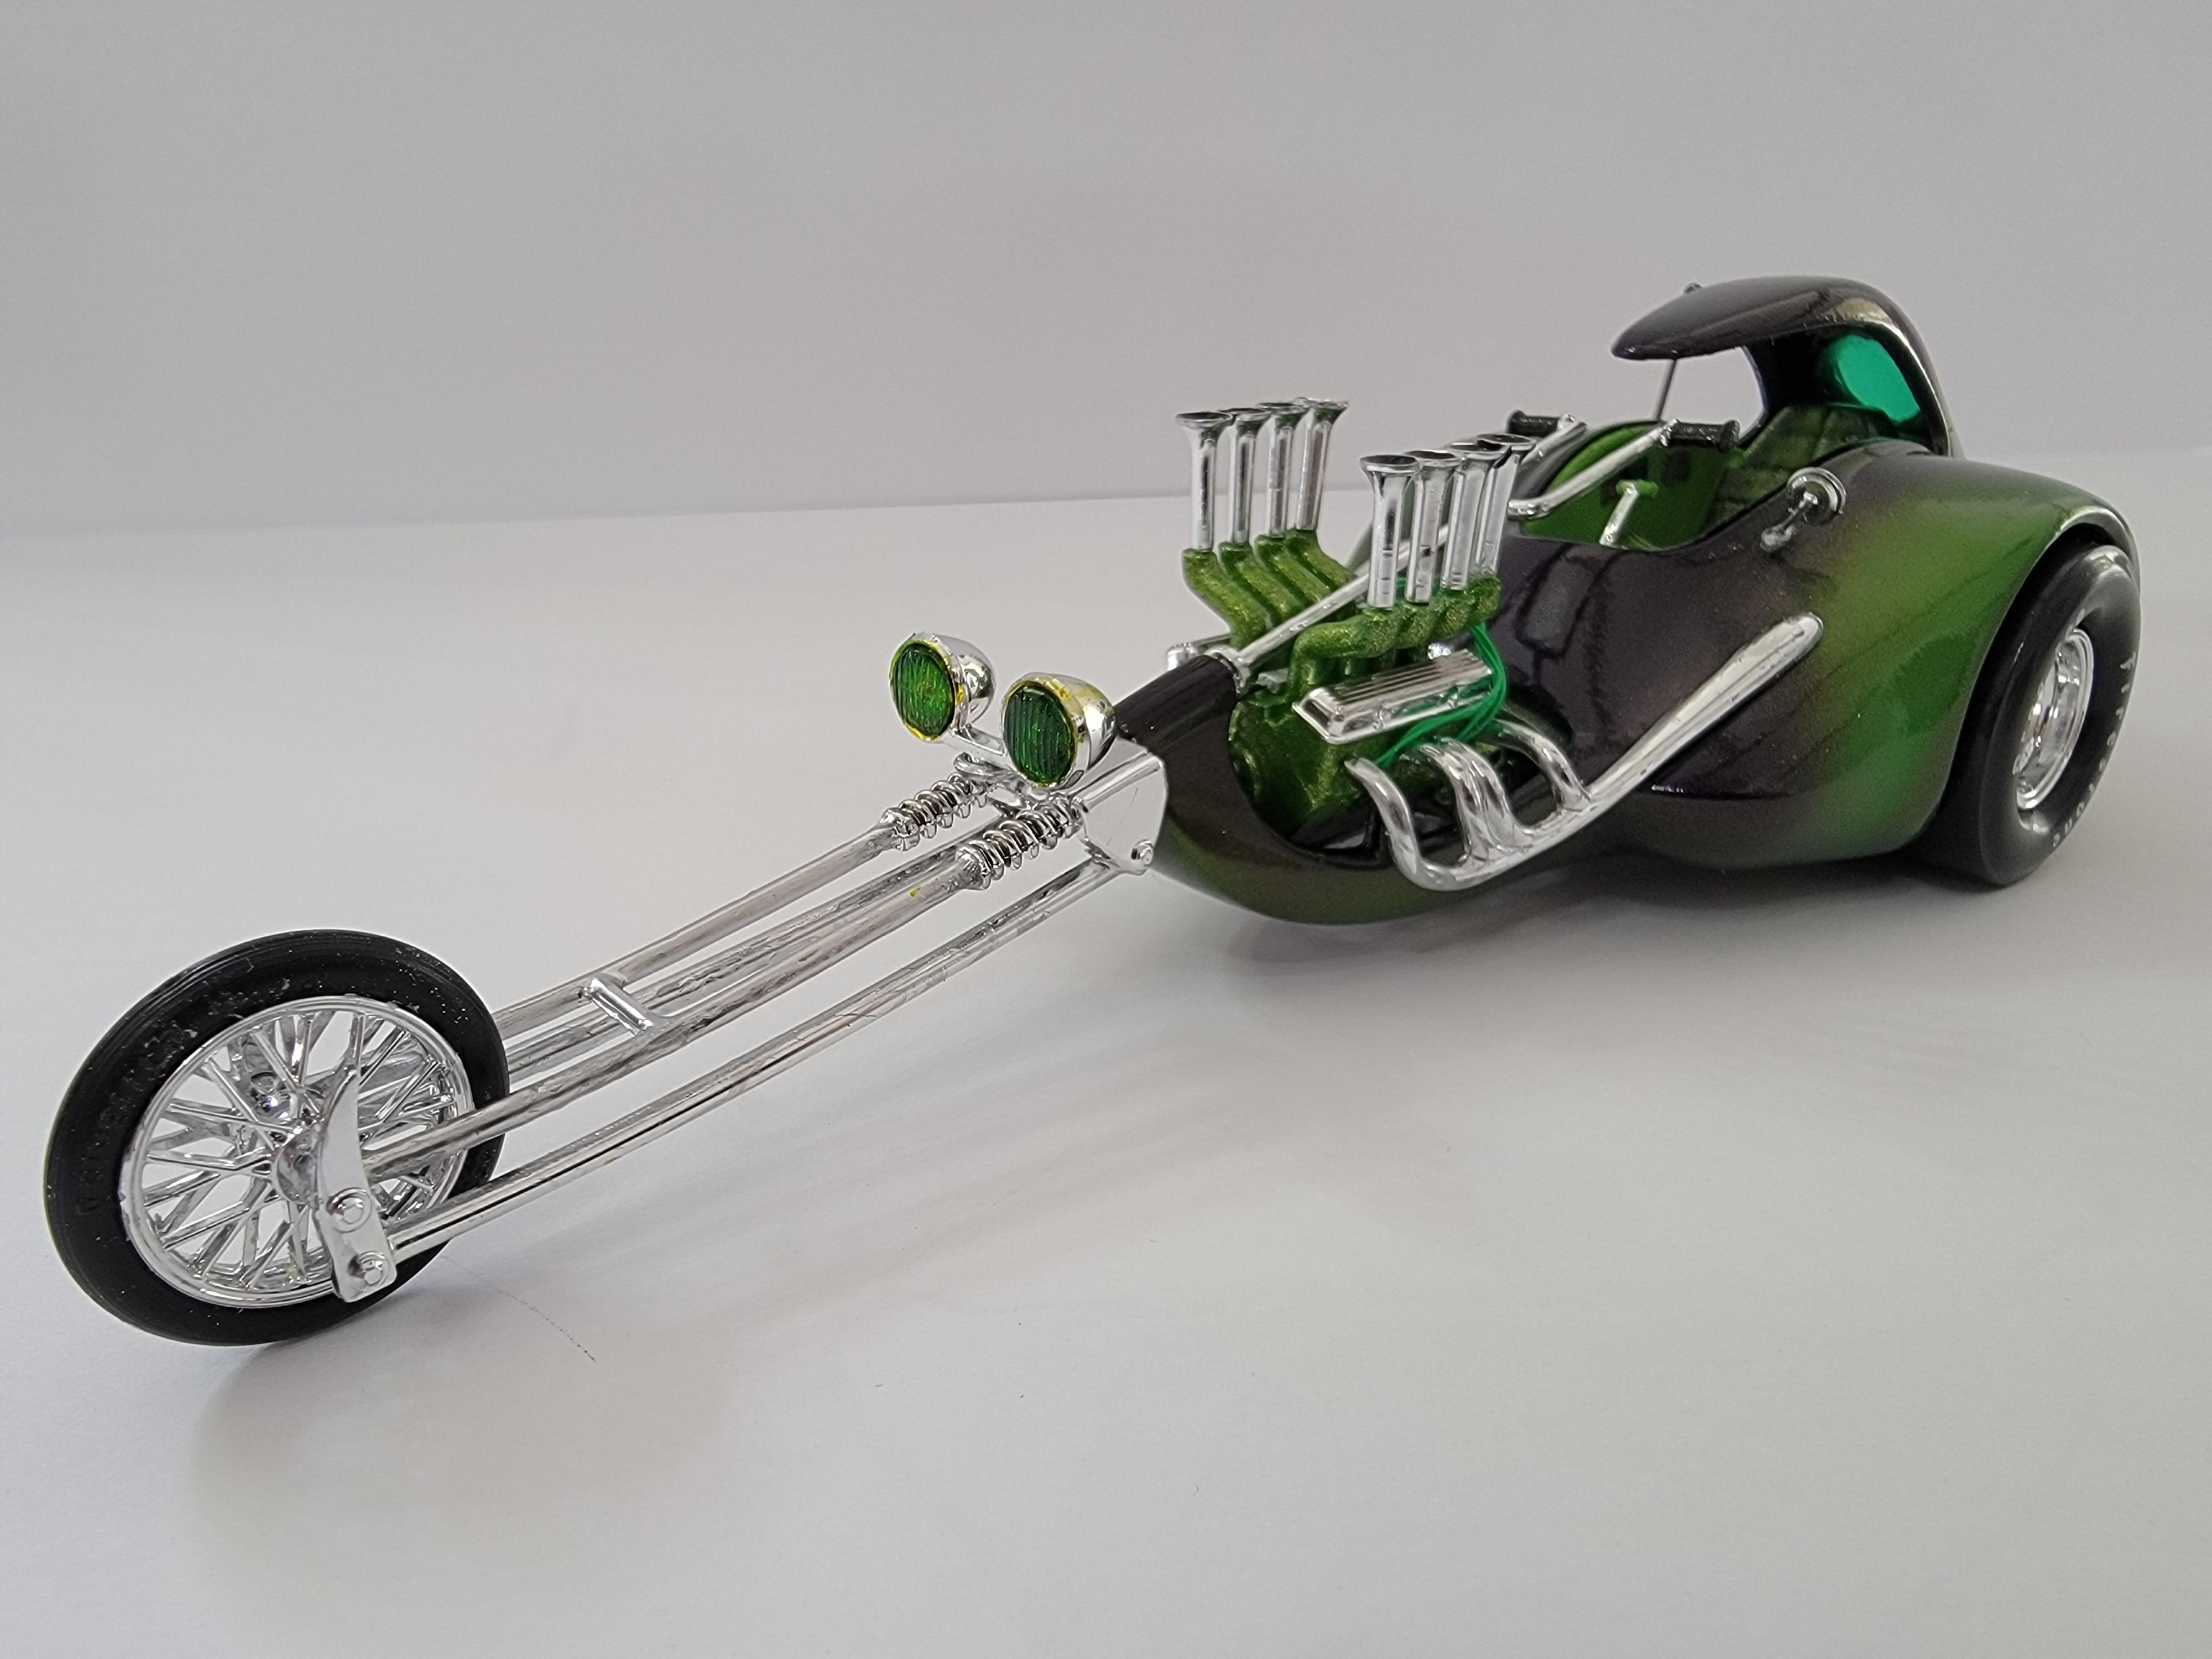
Who doesn't love a mock-up? Let's see yours!
Modlbldr replied to Belairconvertable's topic in WIP: Model Cars
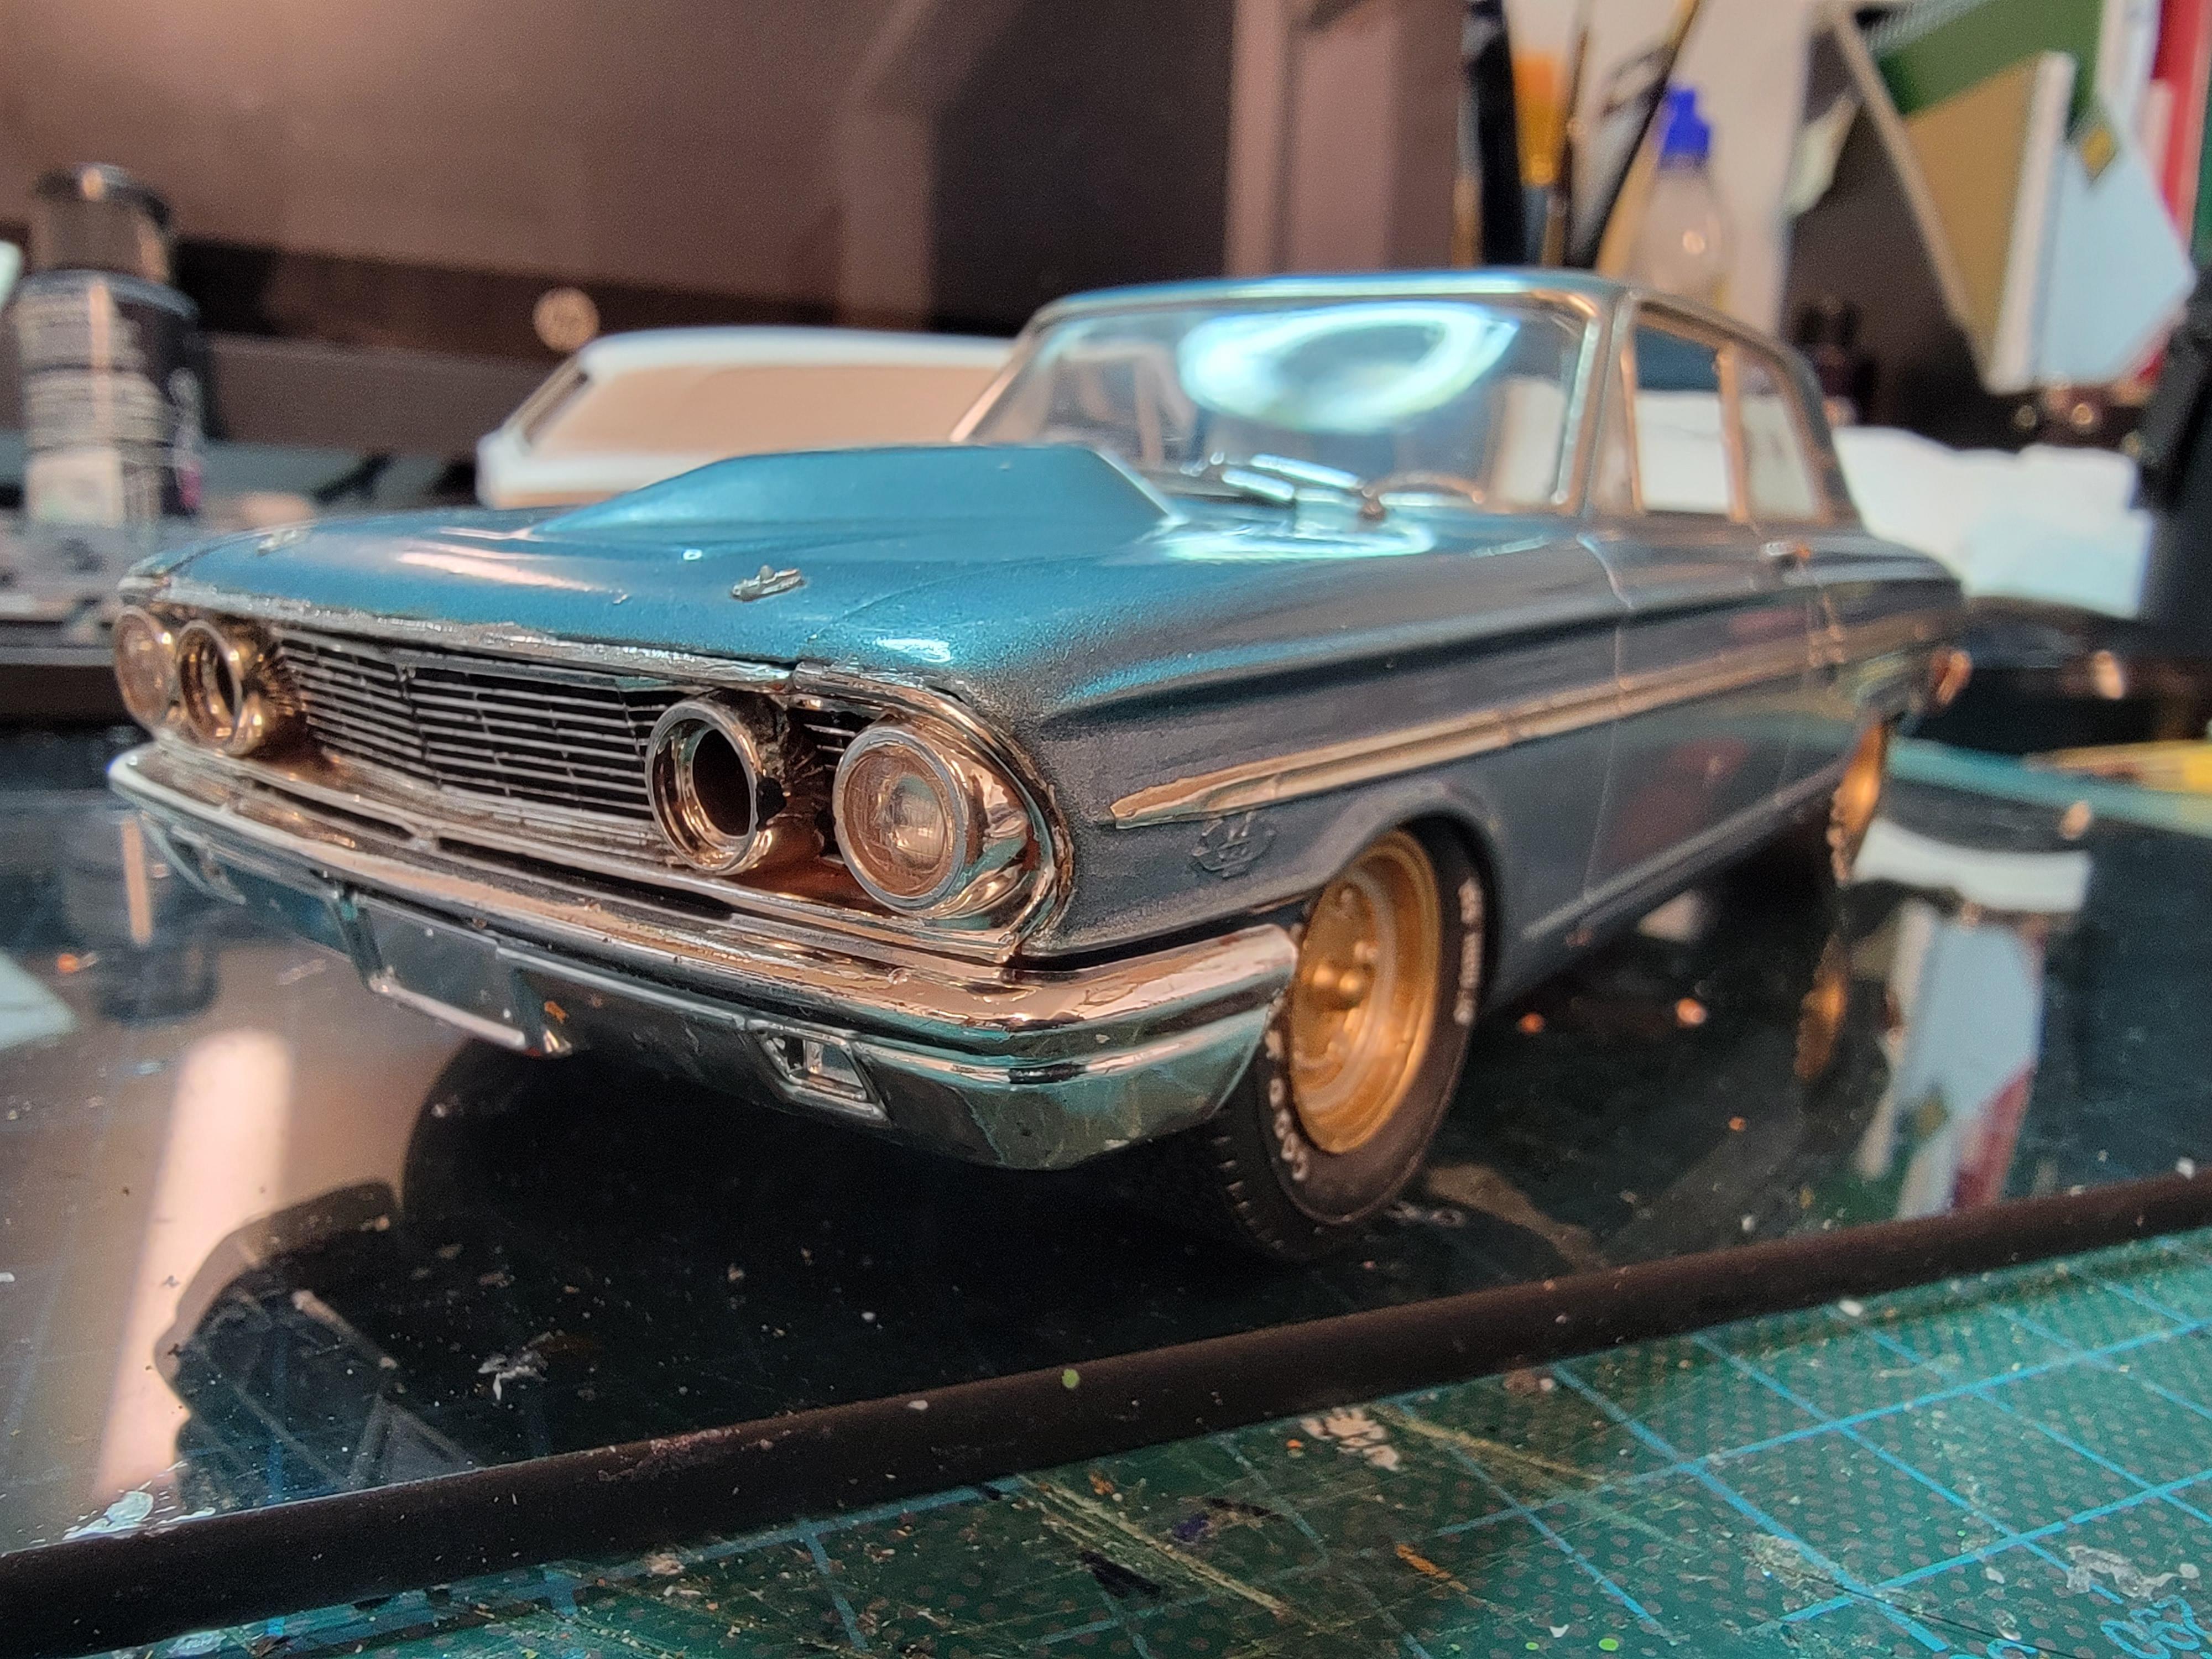
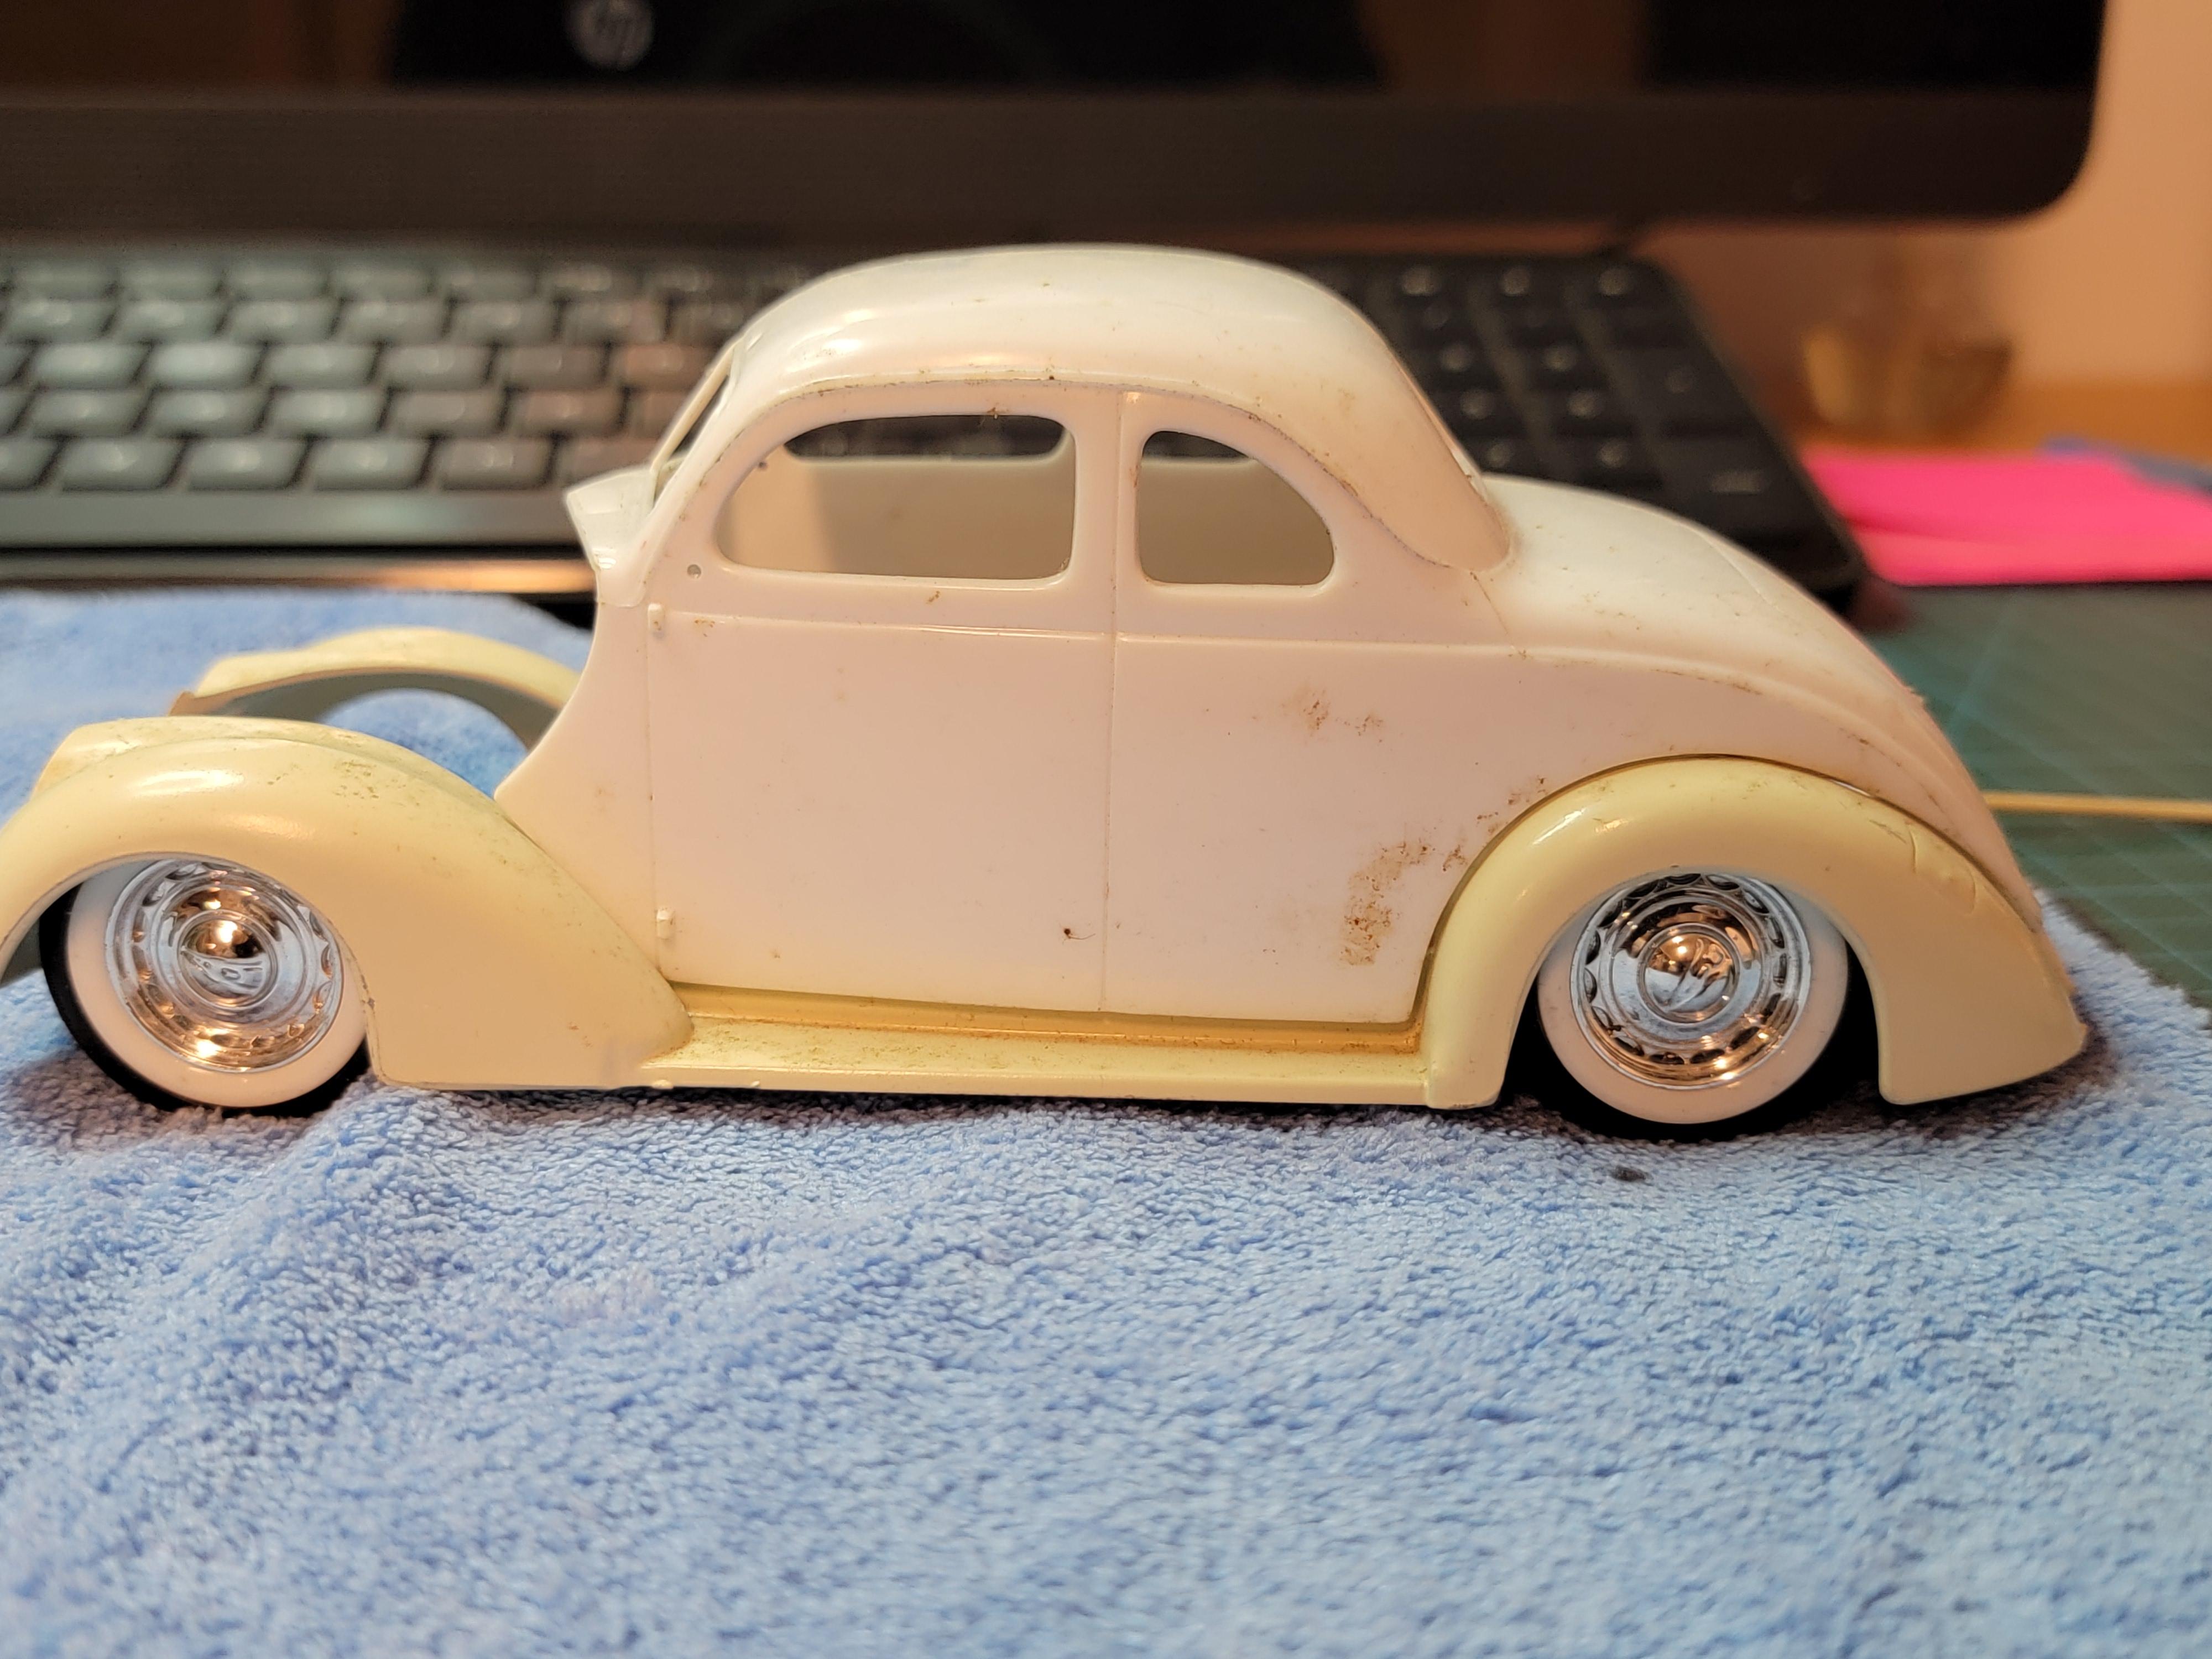
A bit of a different take on my last mock up. Think I'll build them both. This one and the Sedan. Got the front suspension already together on this one. Later-
-
Thank you all for the nice comments. And you too Sam....Lol? Later-
-
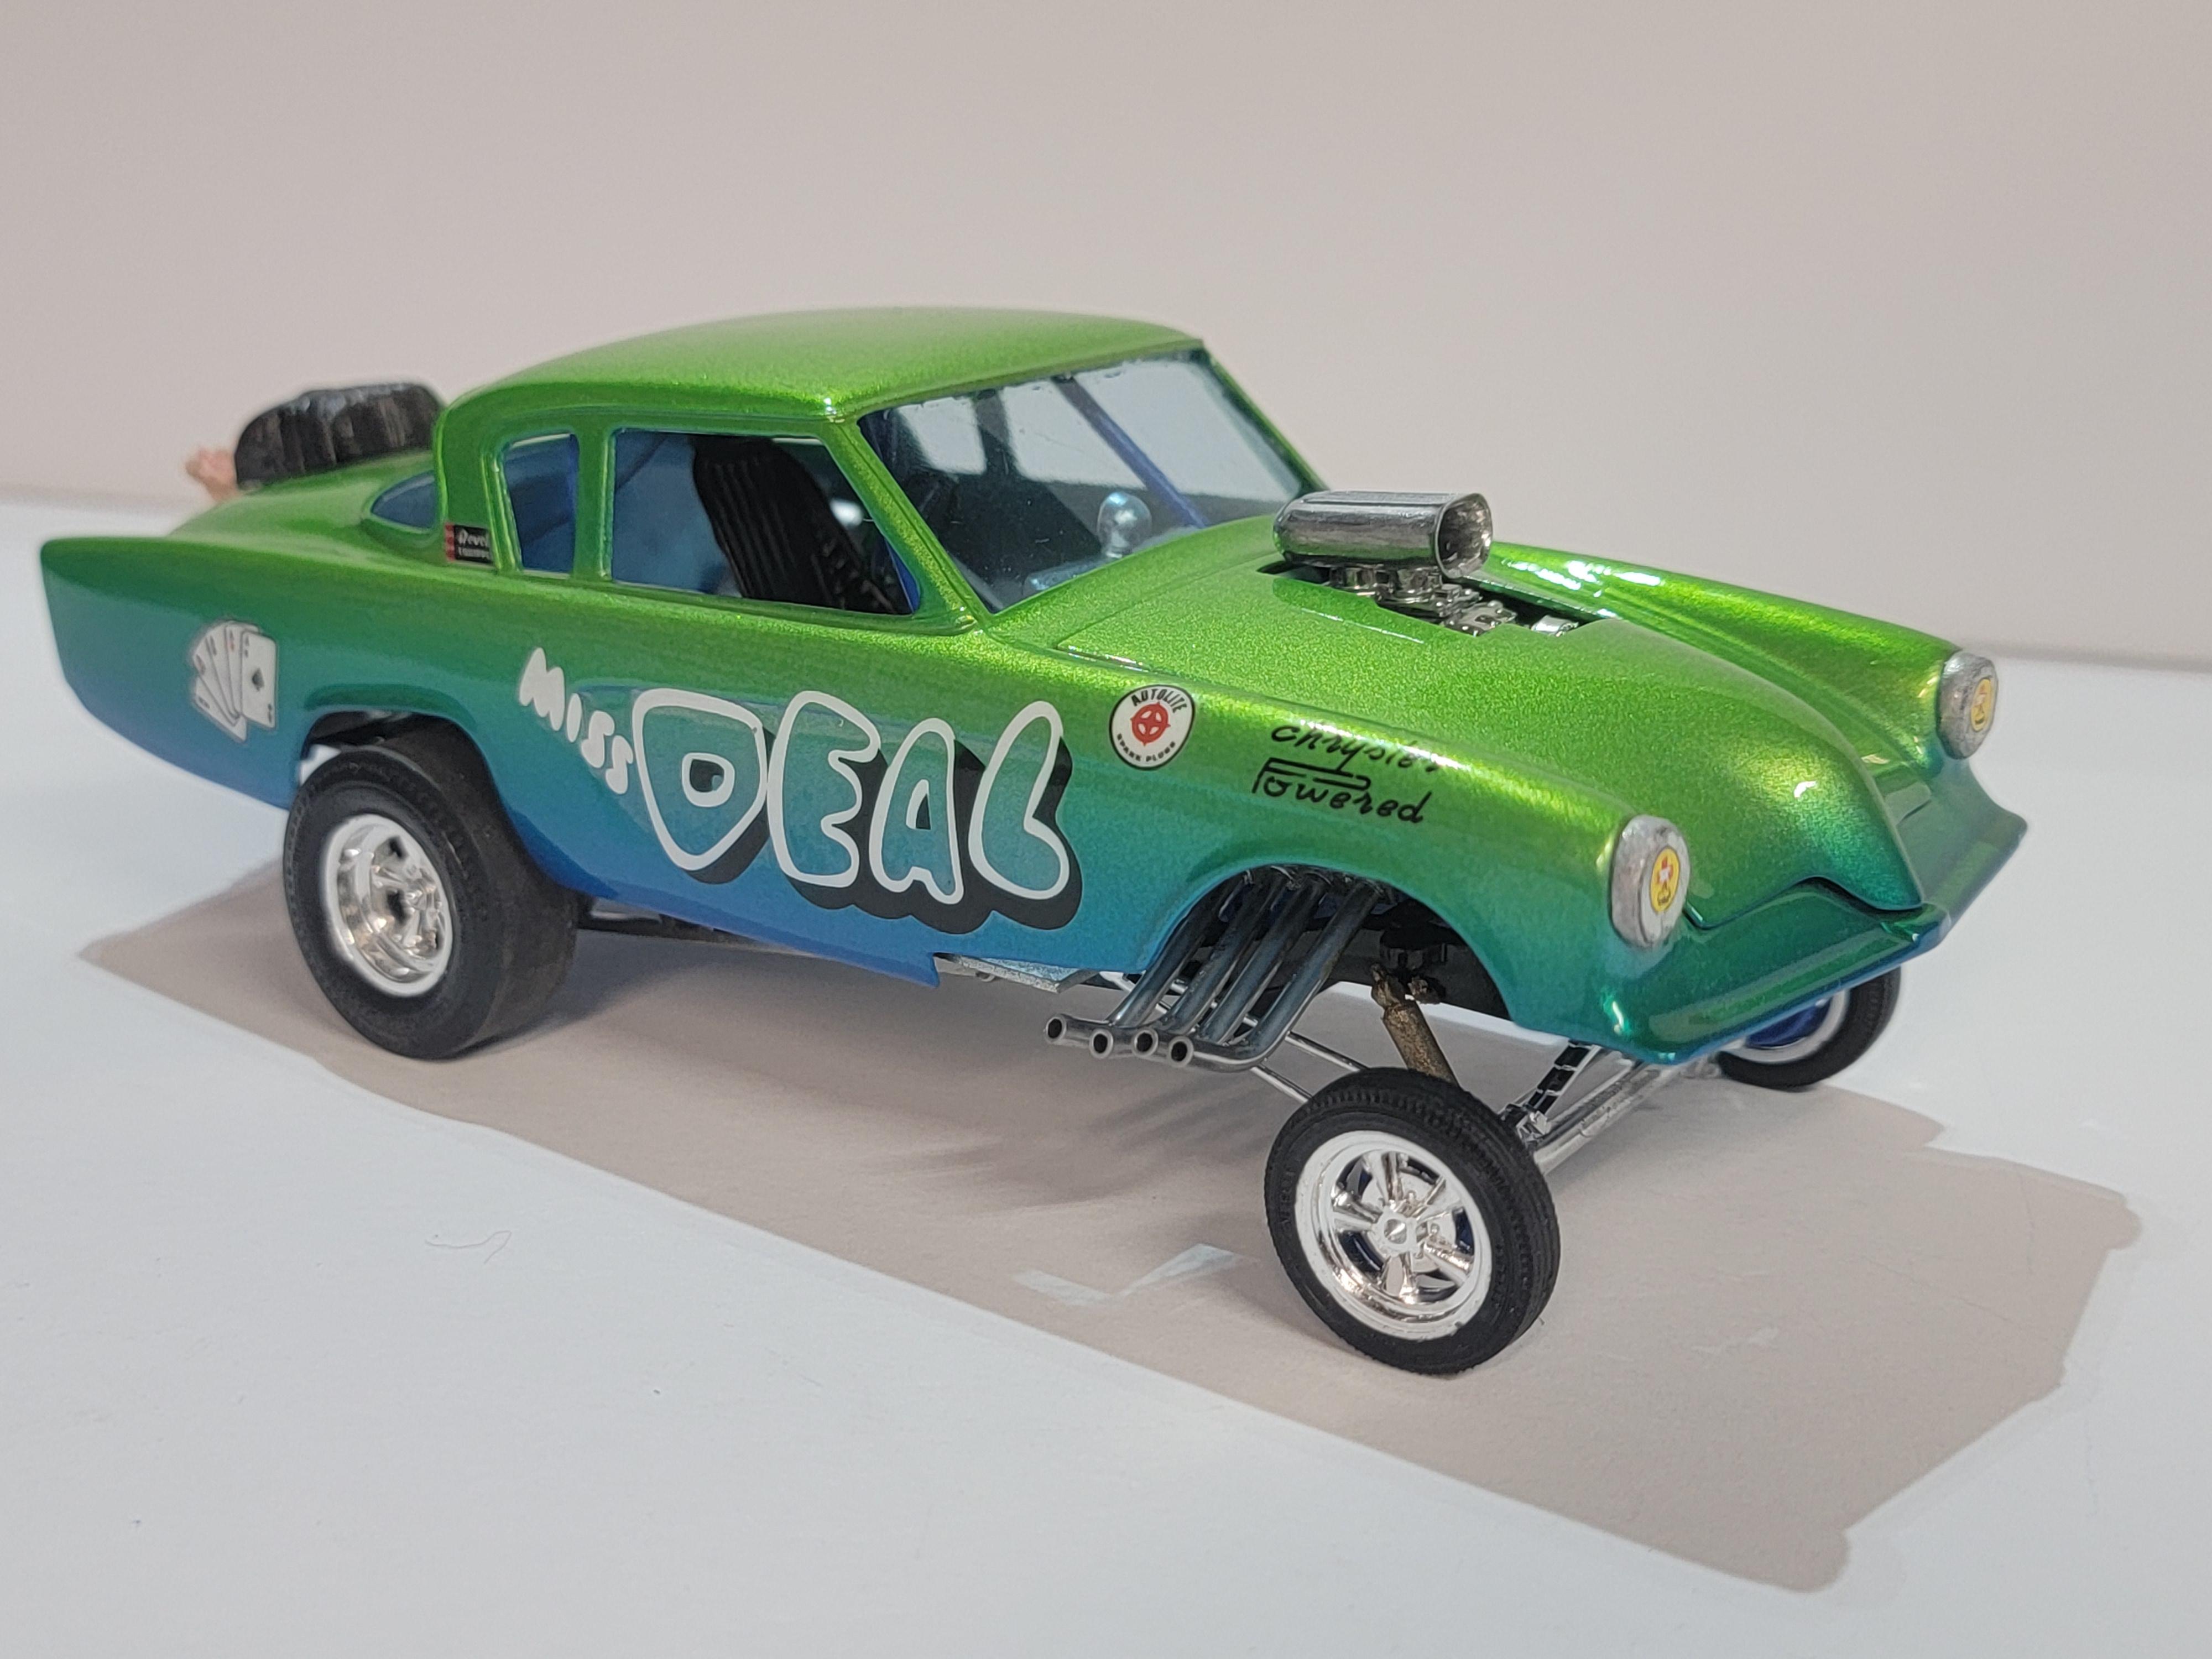
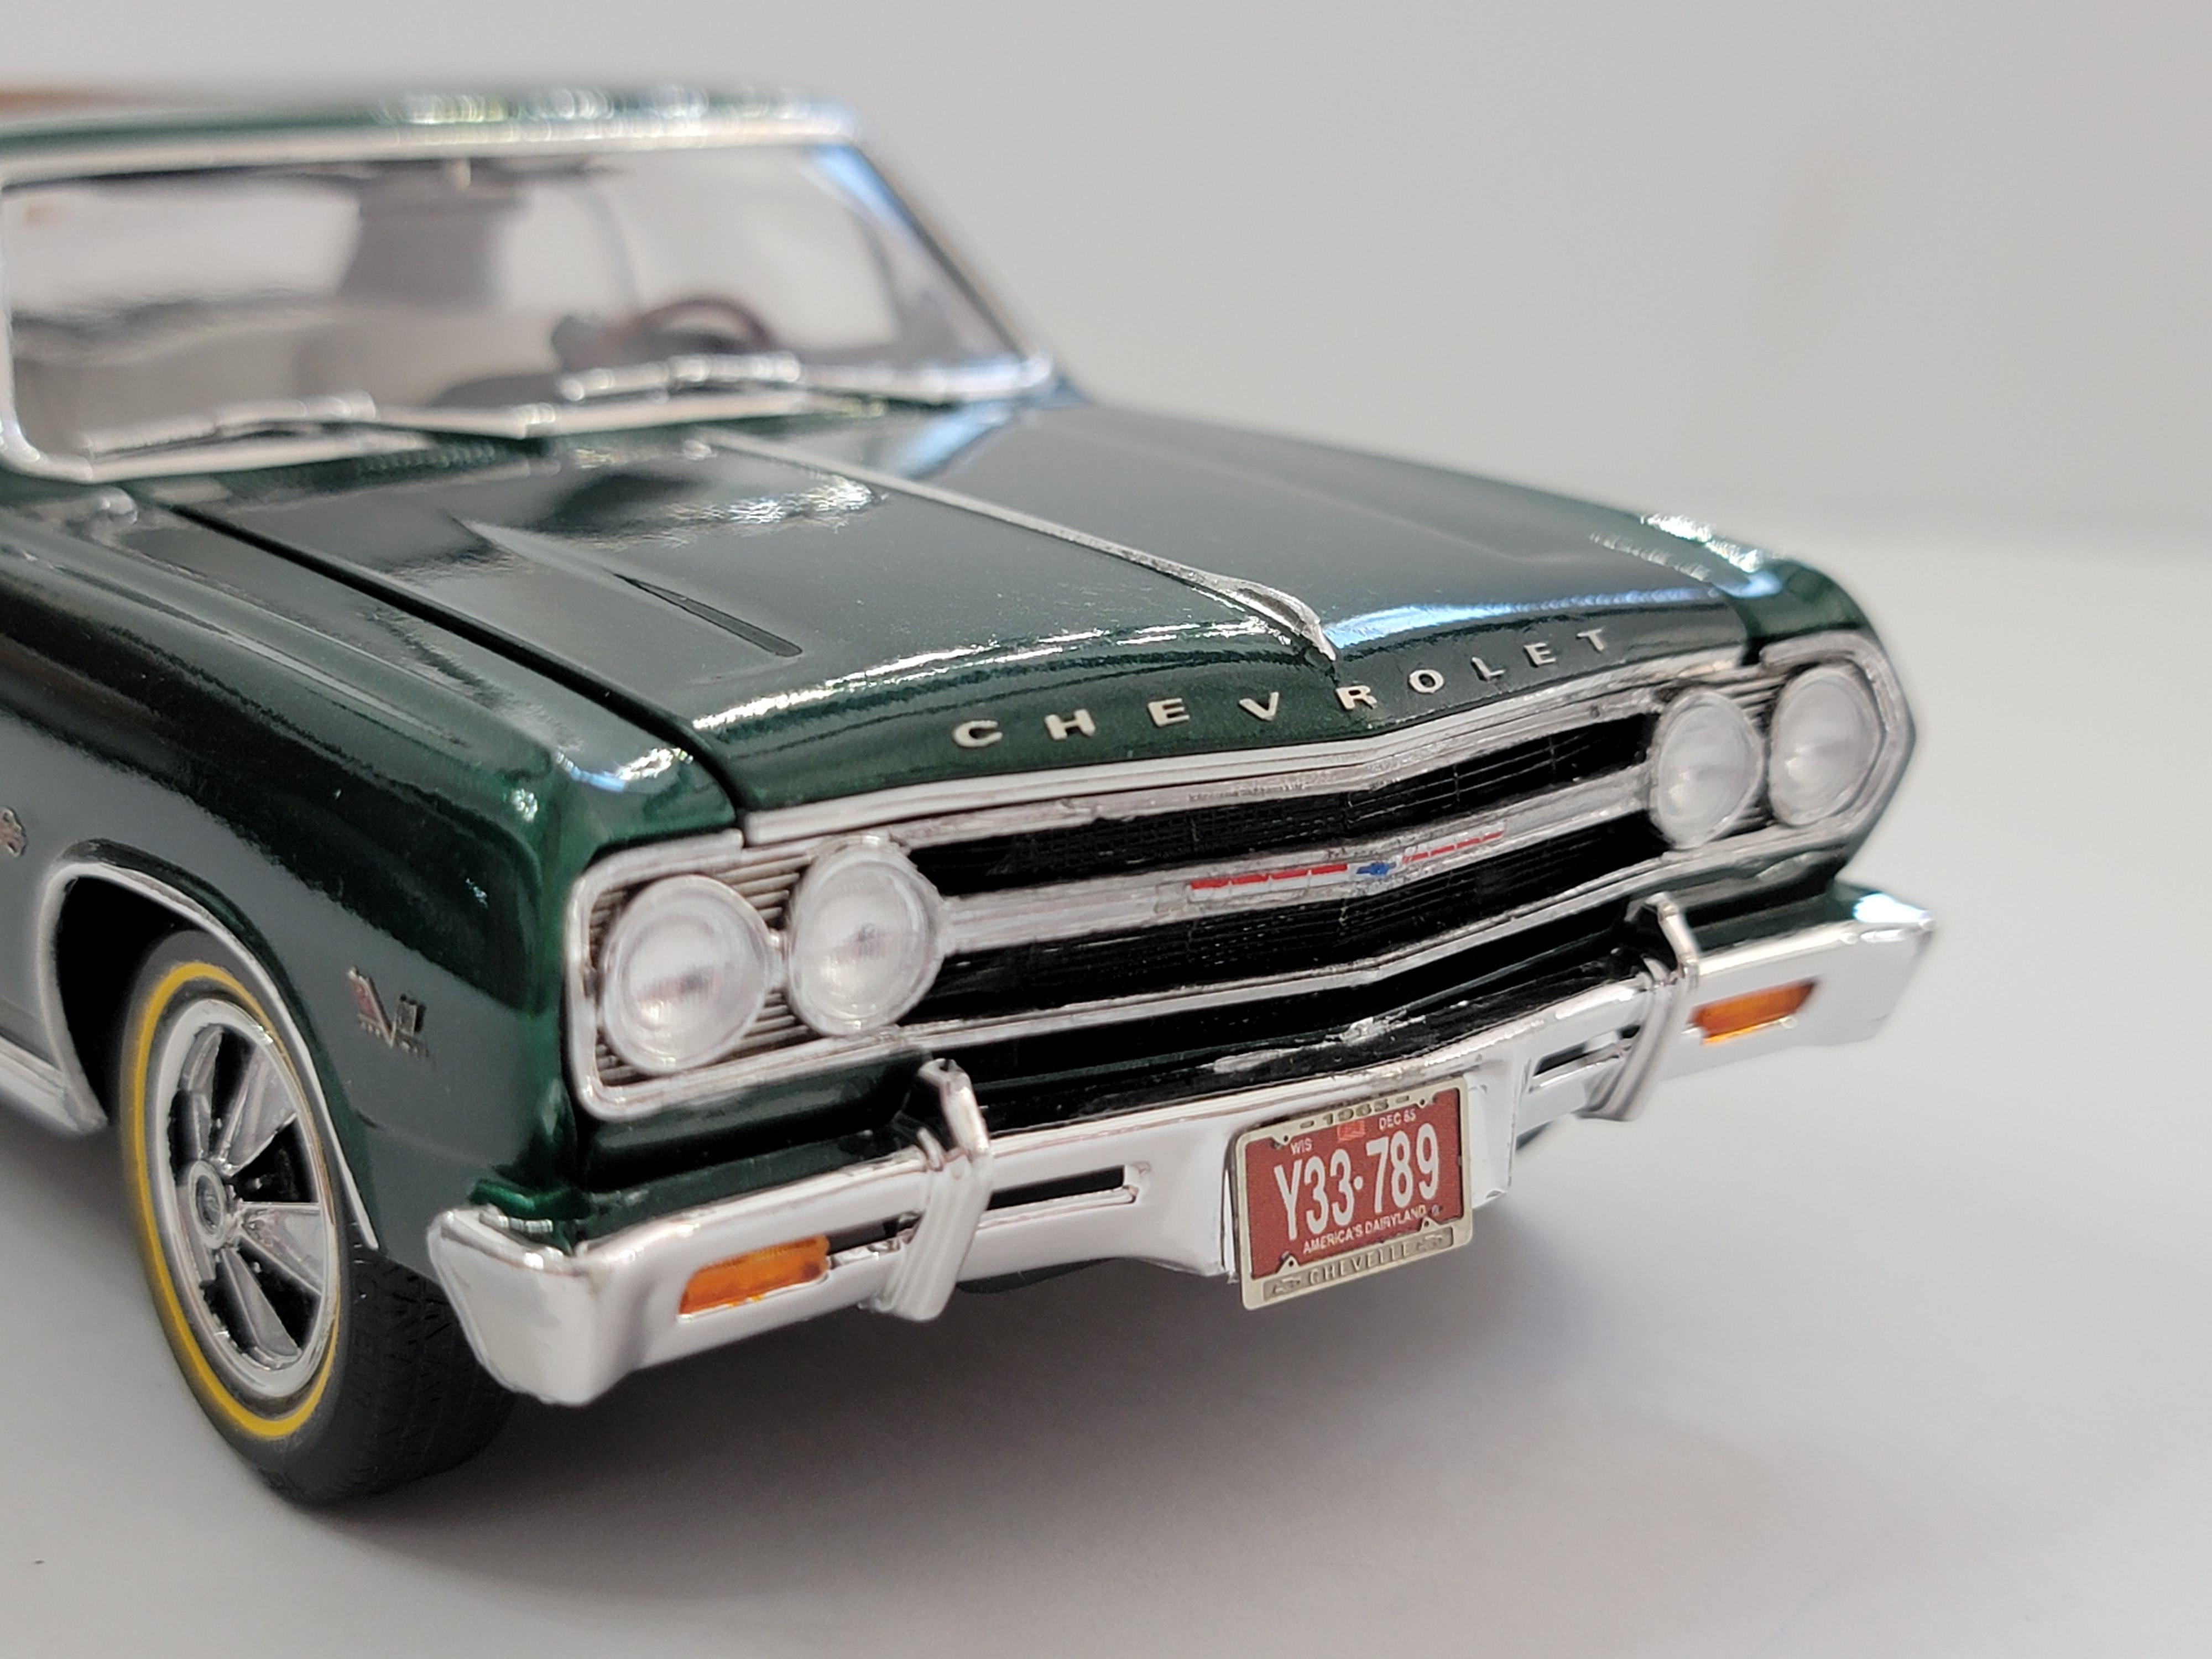
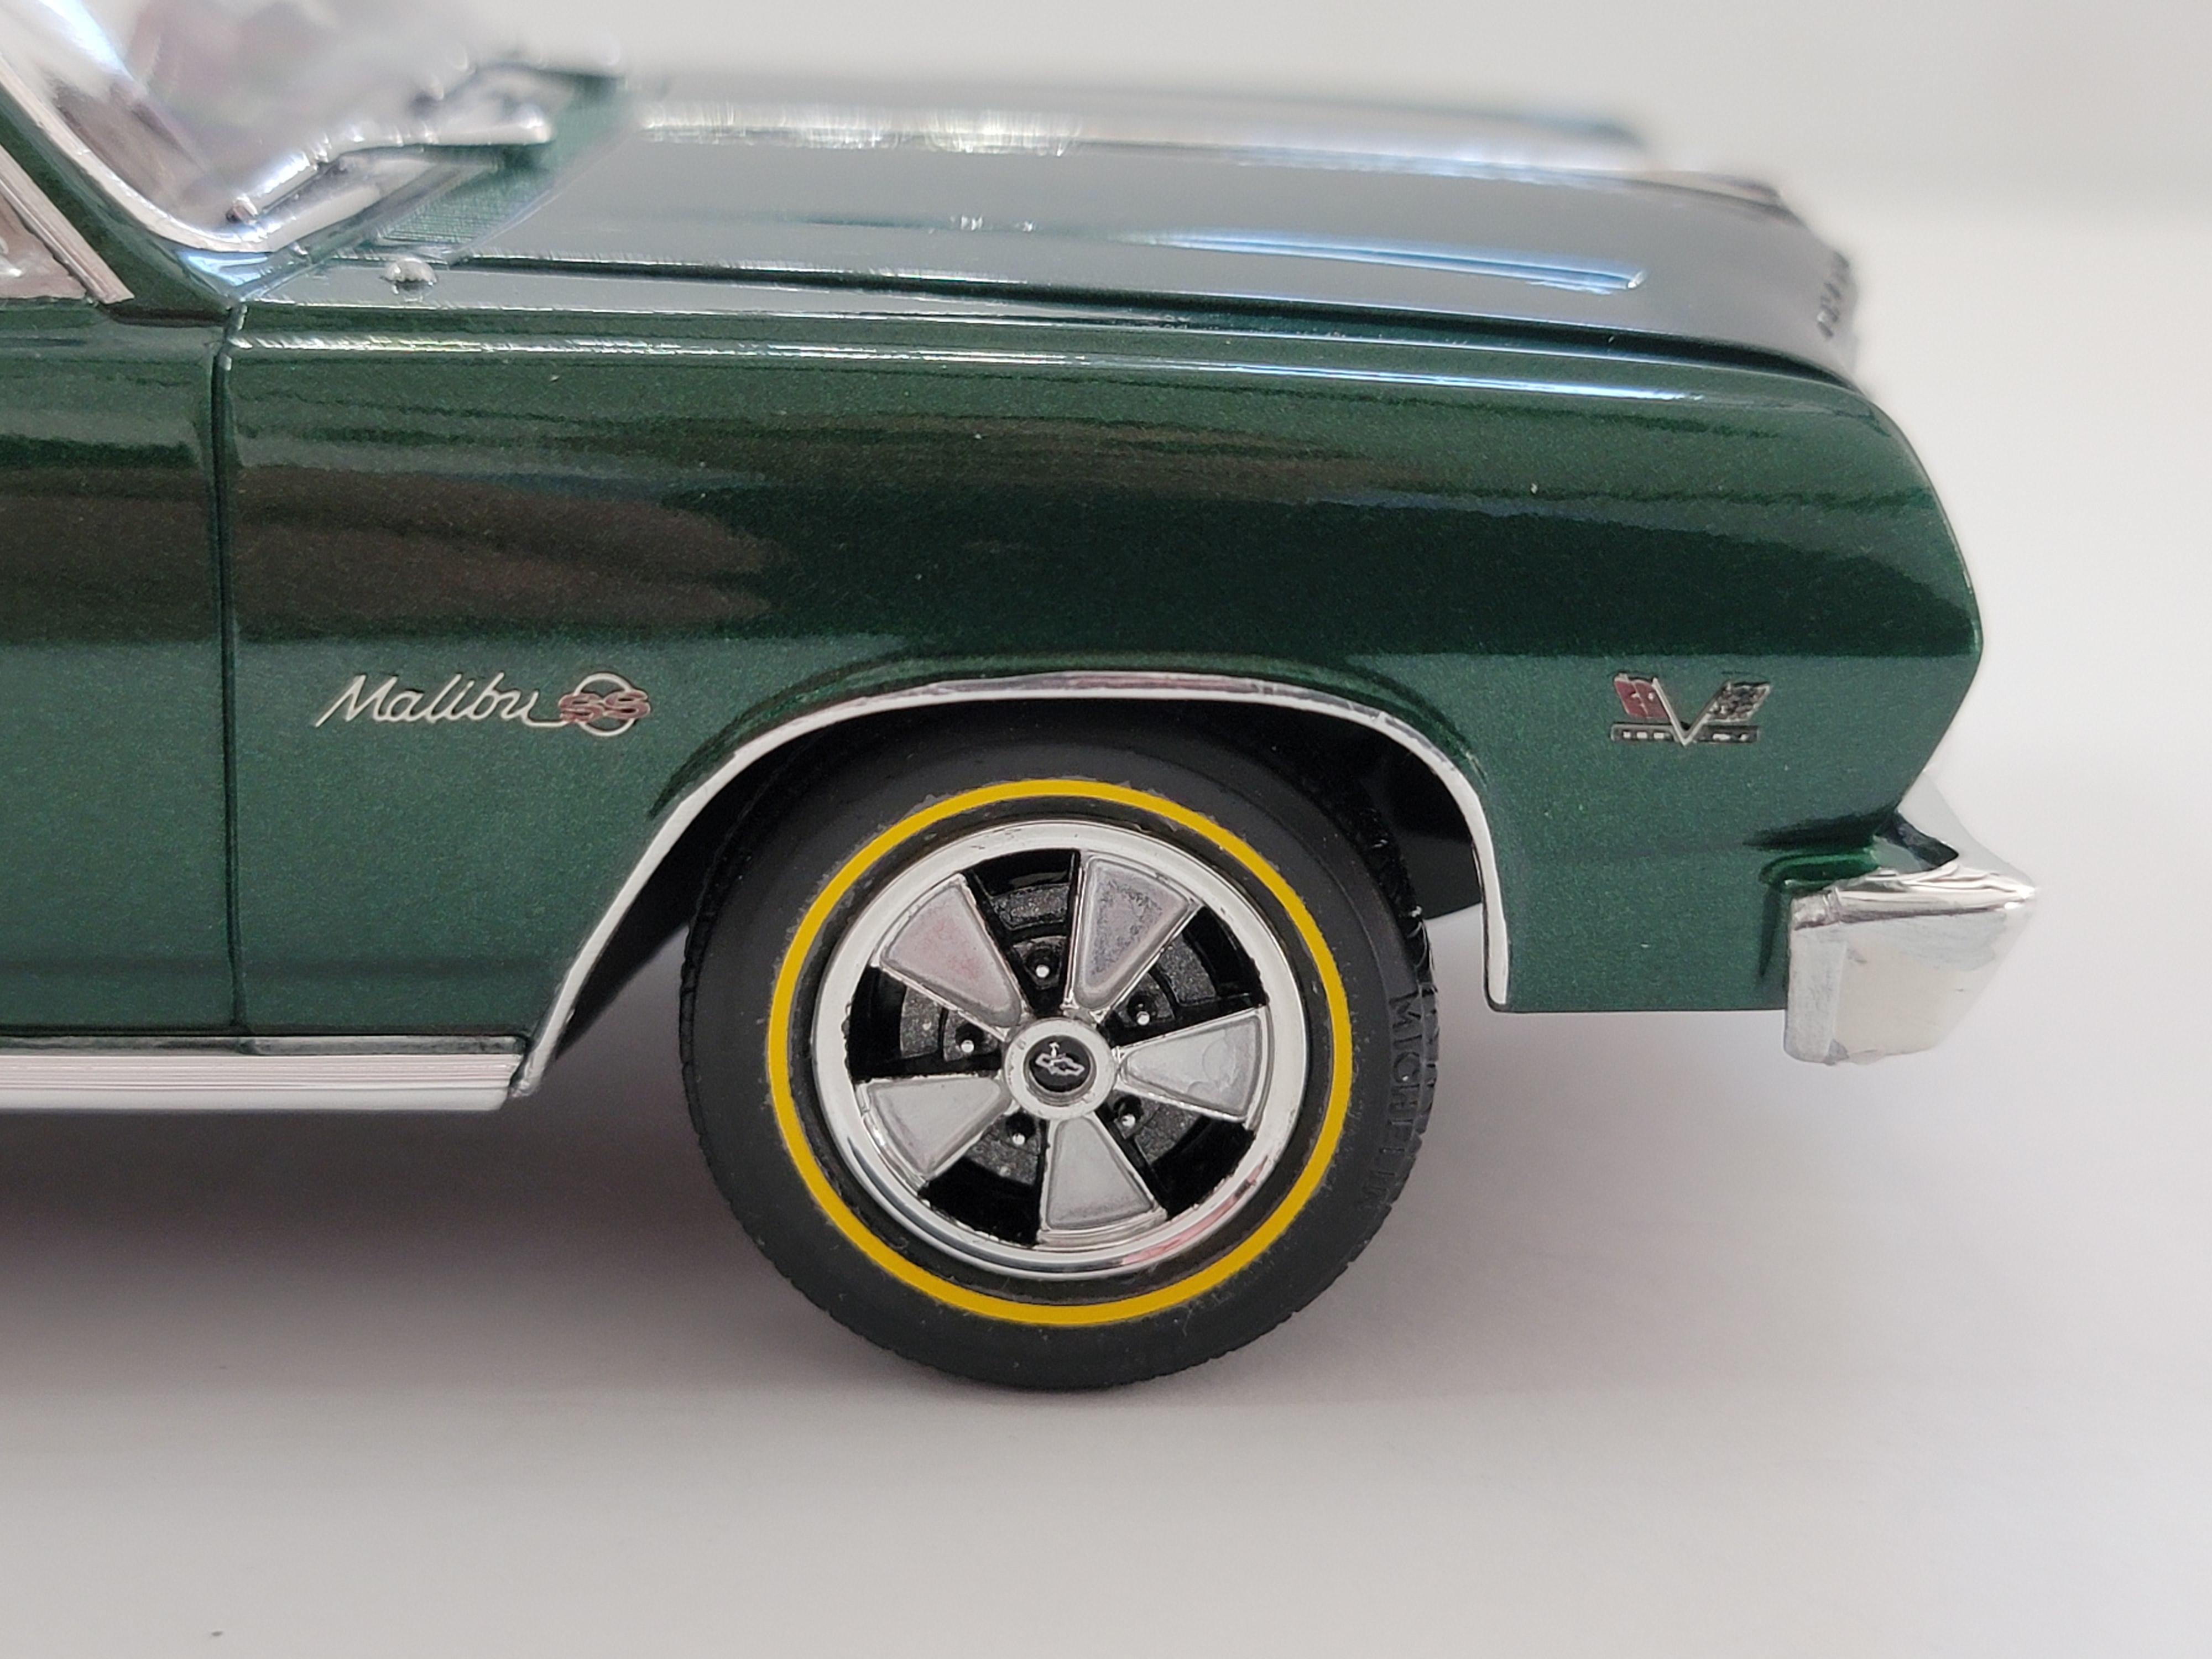
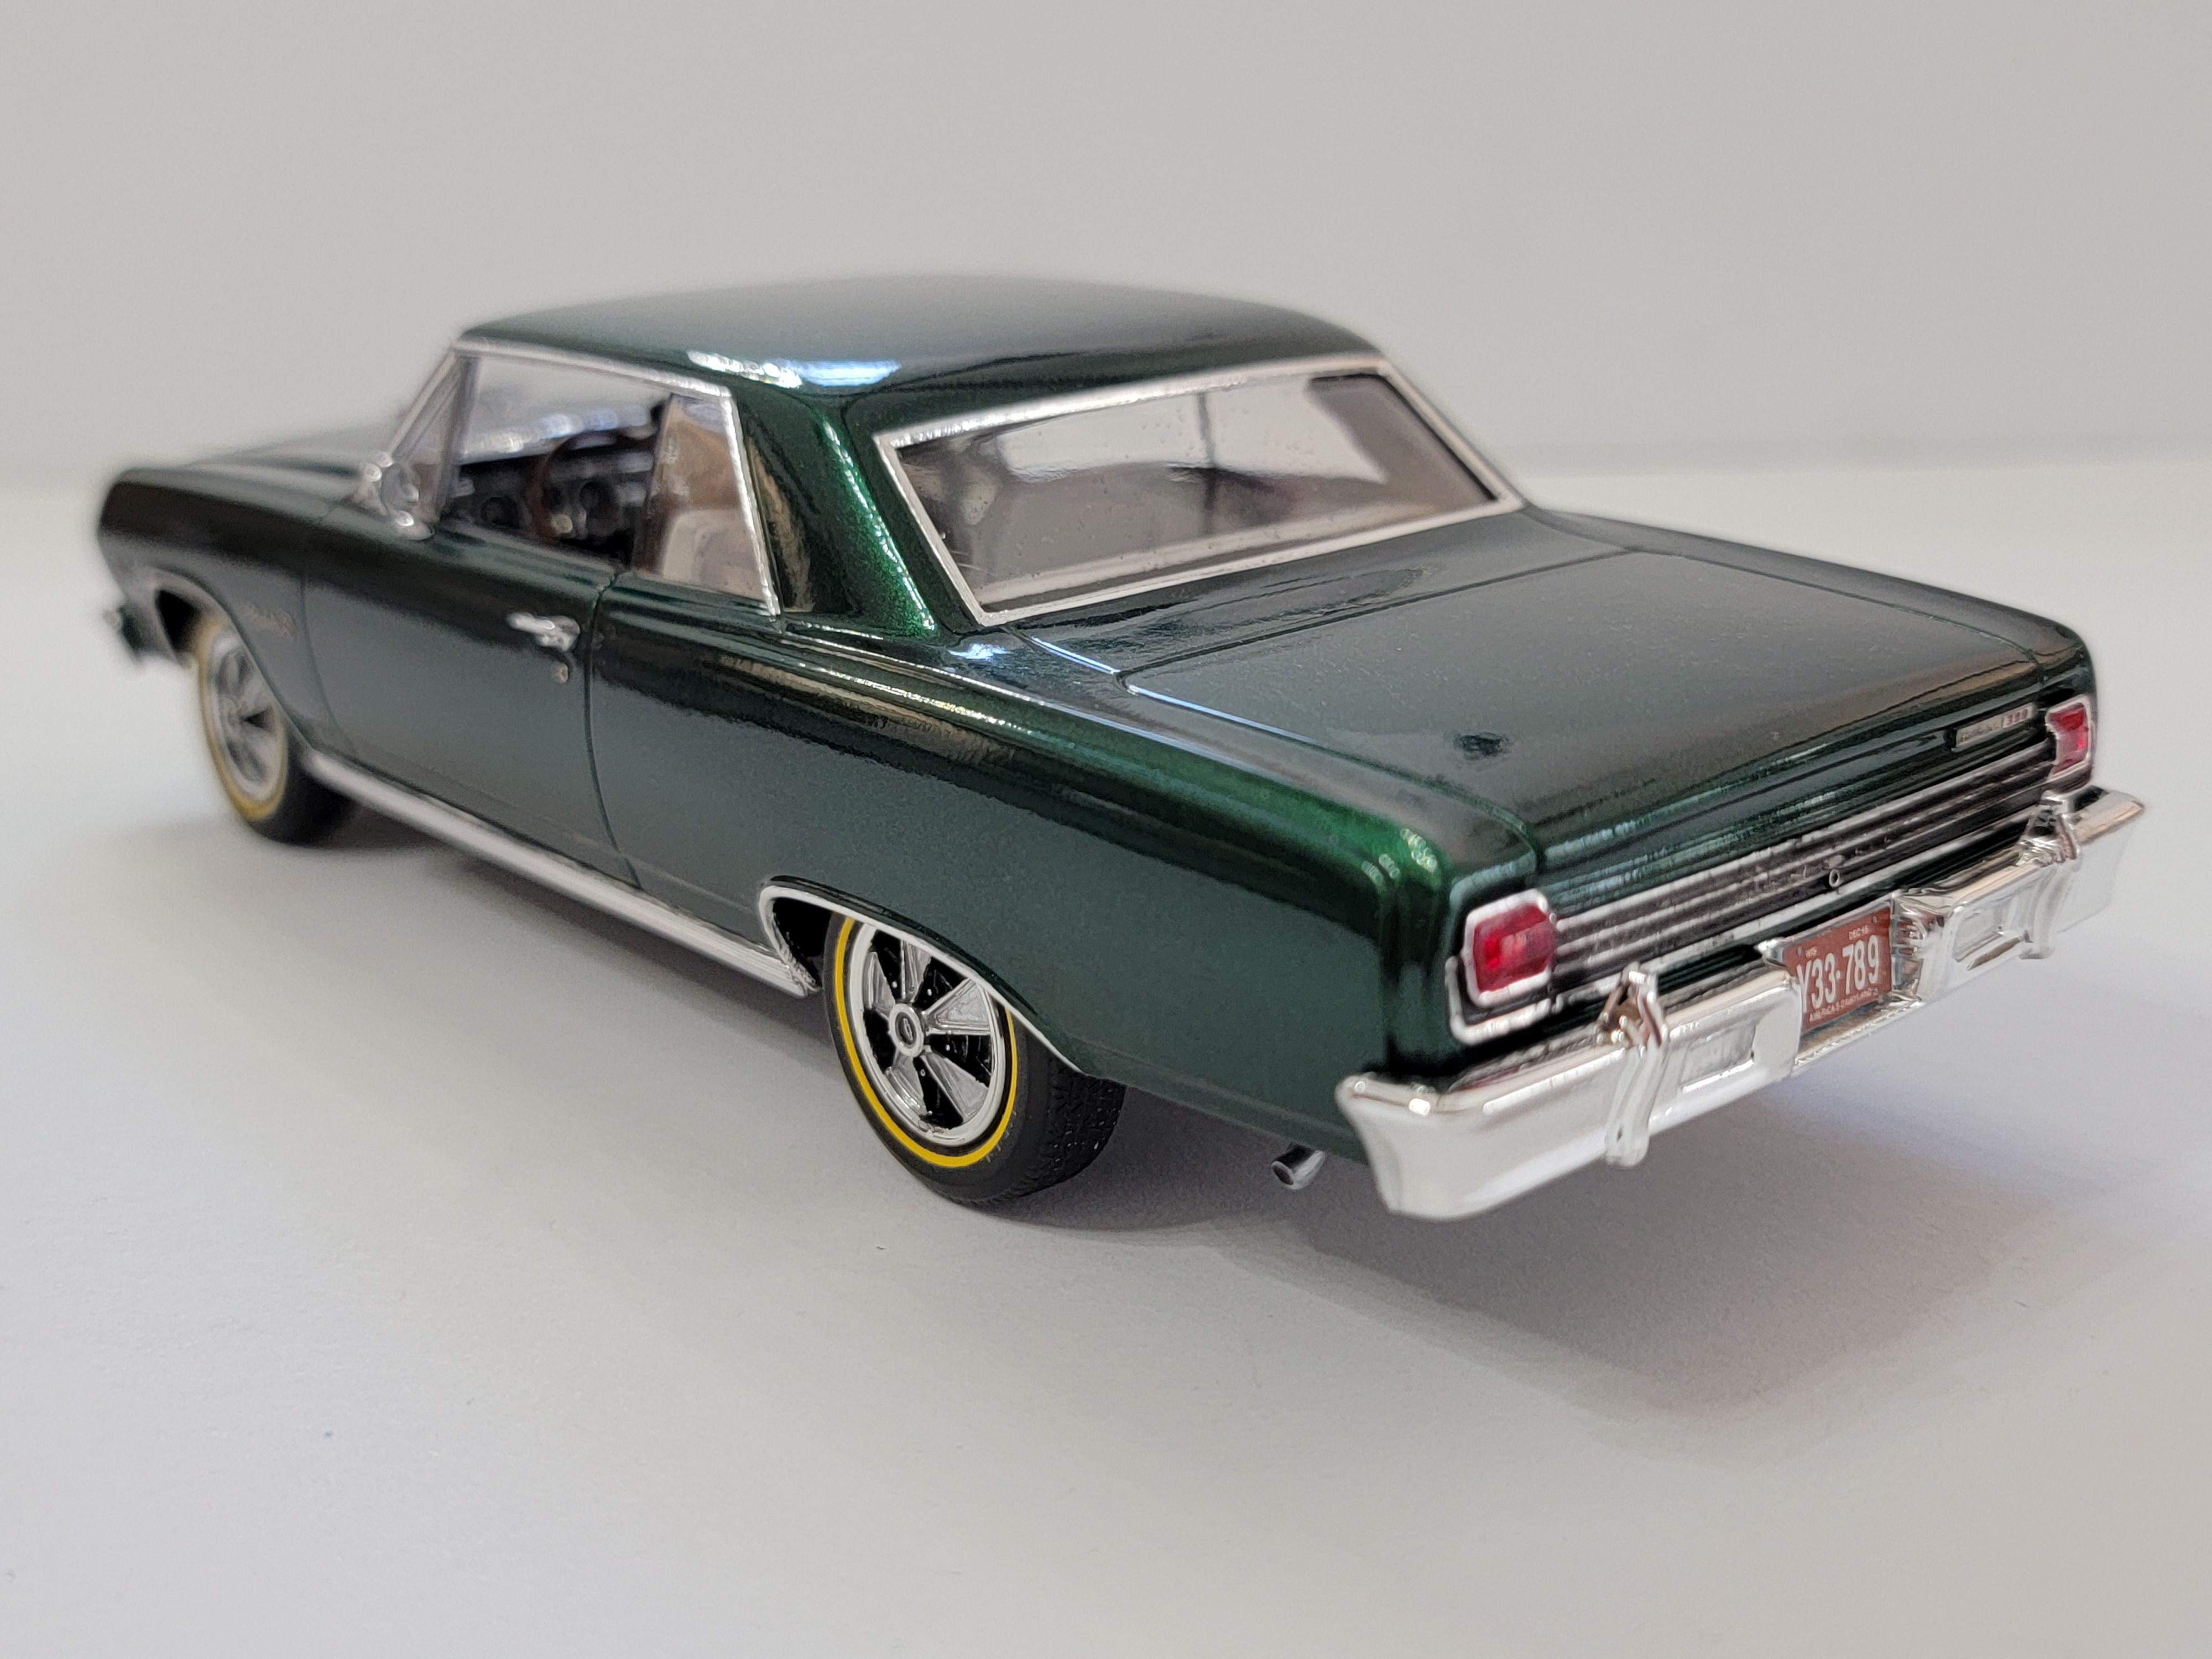
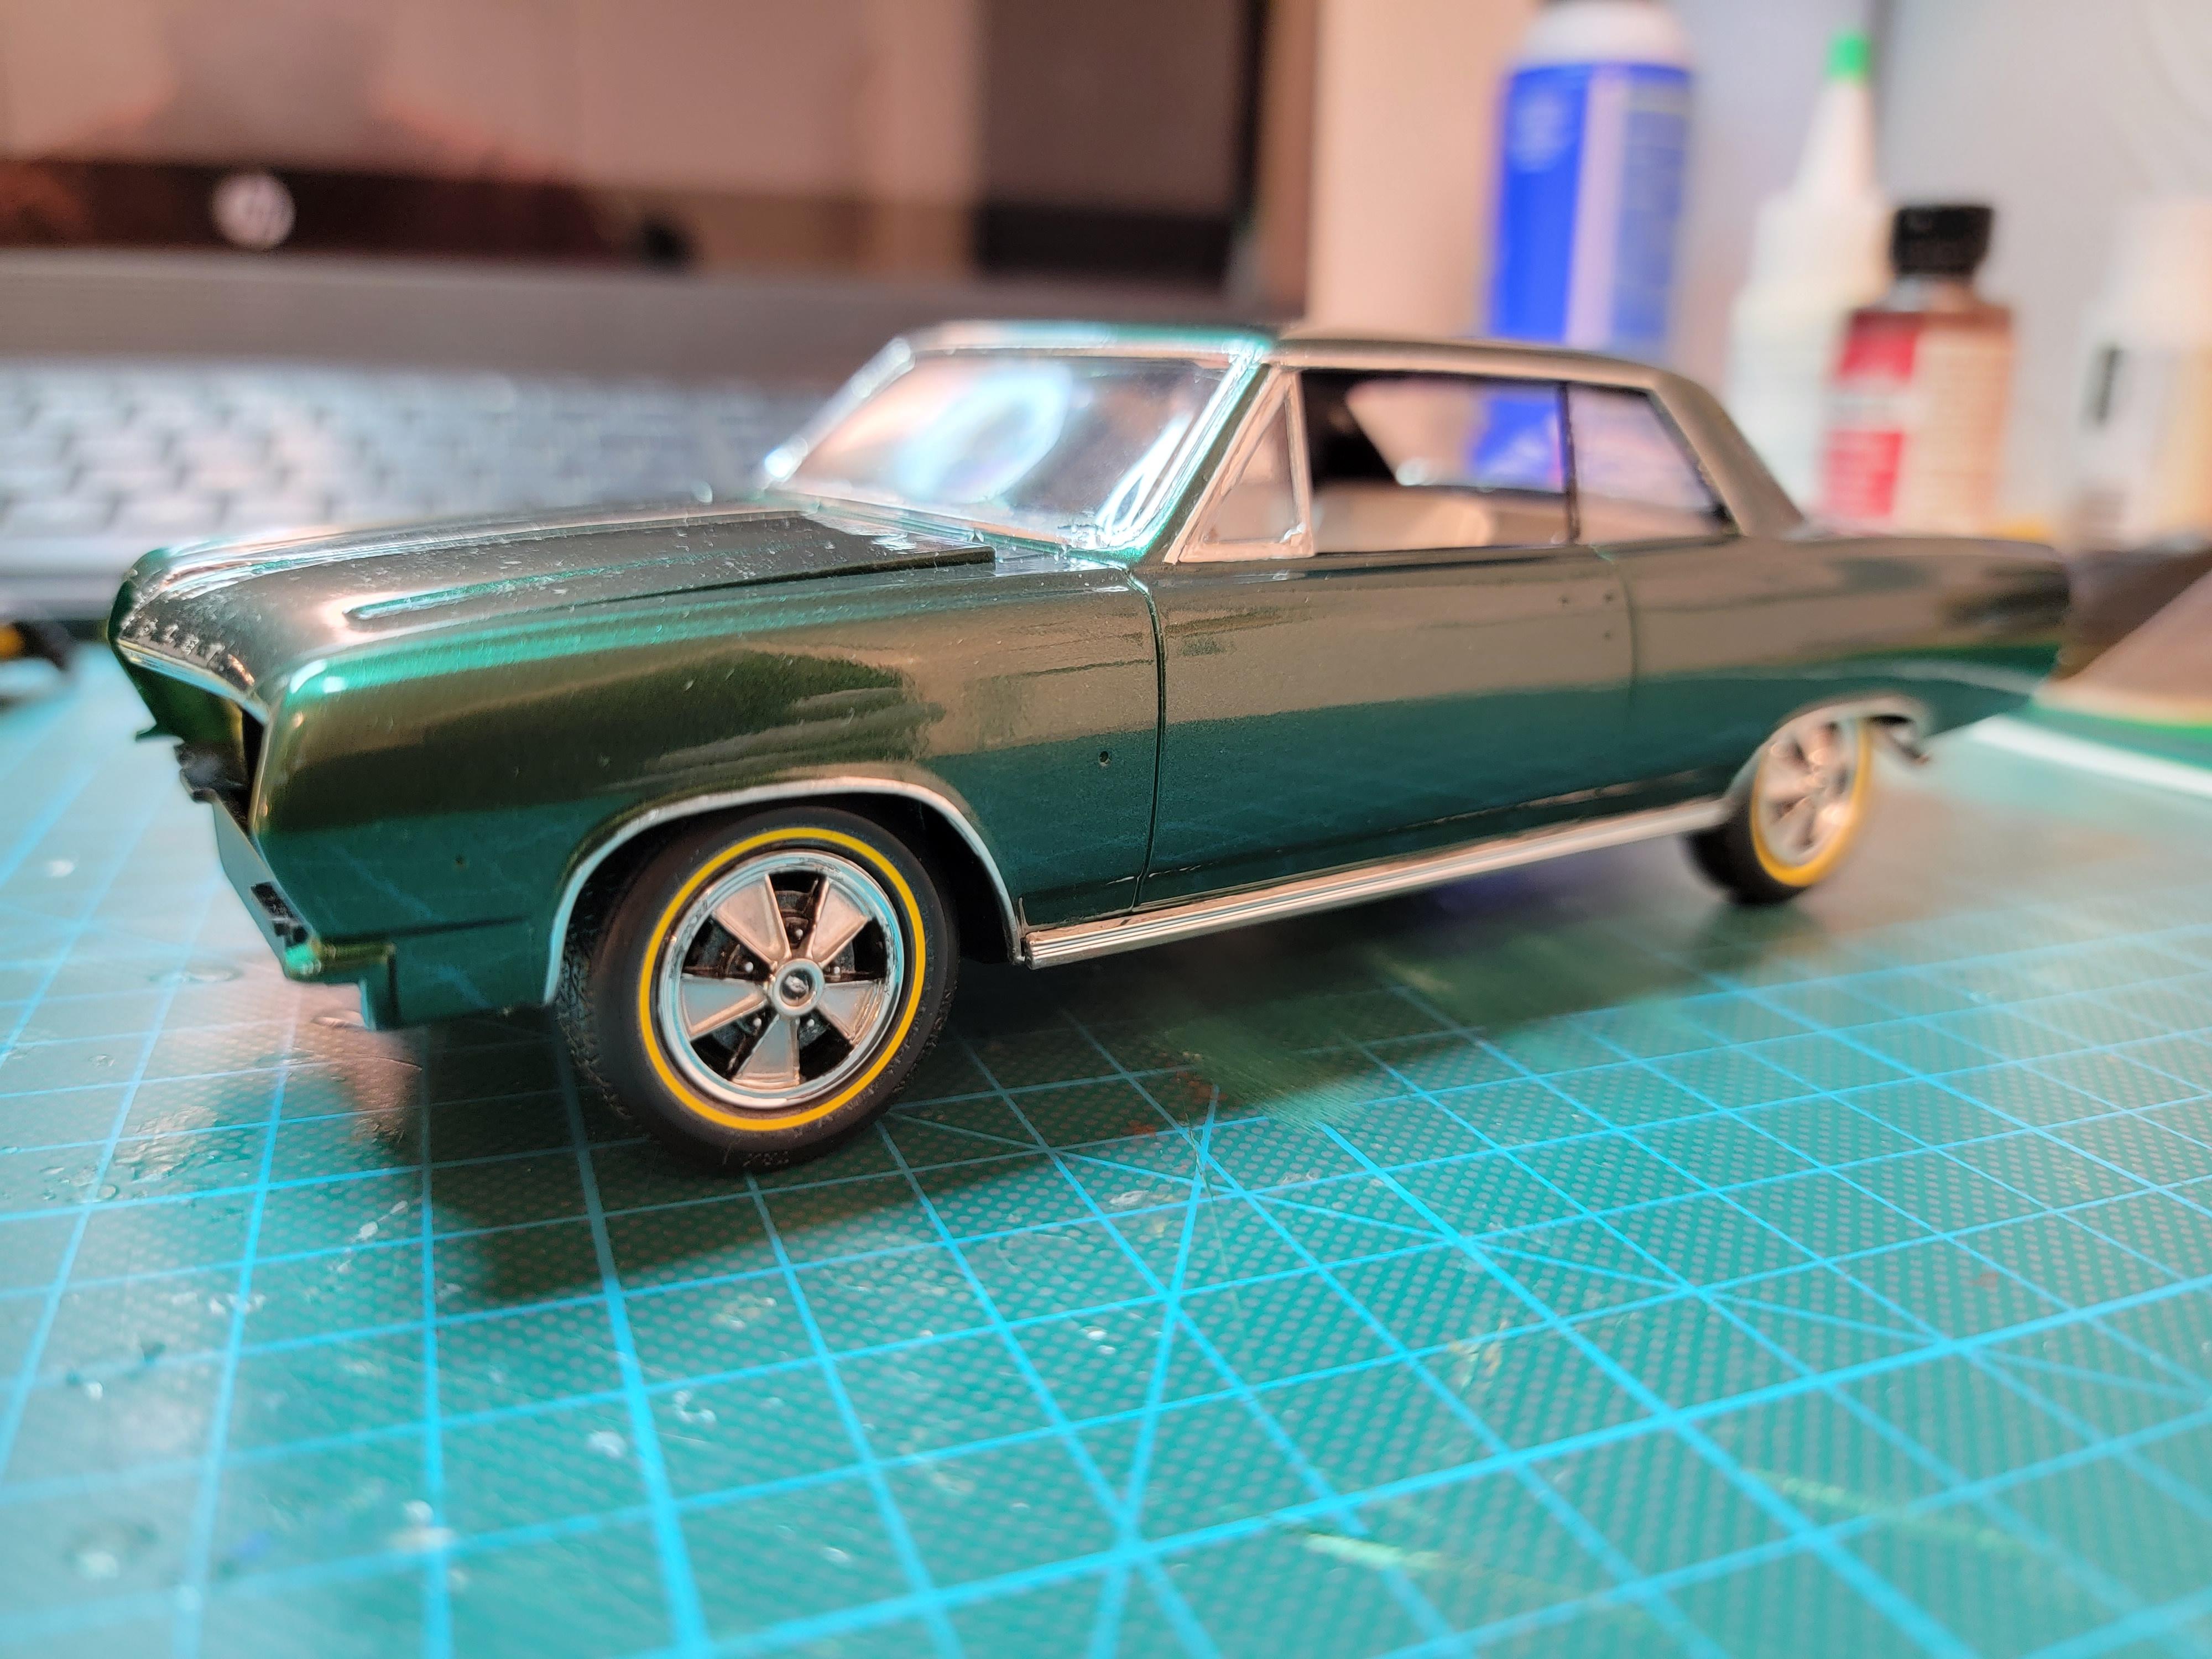
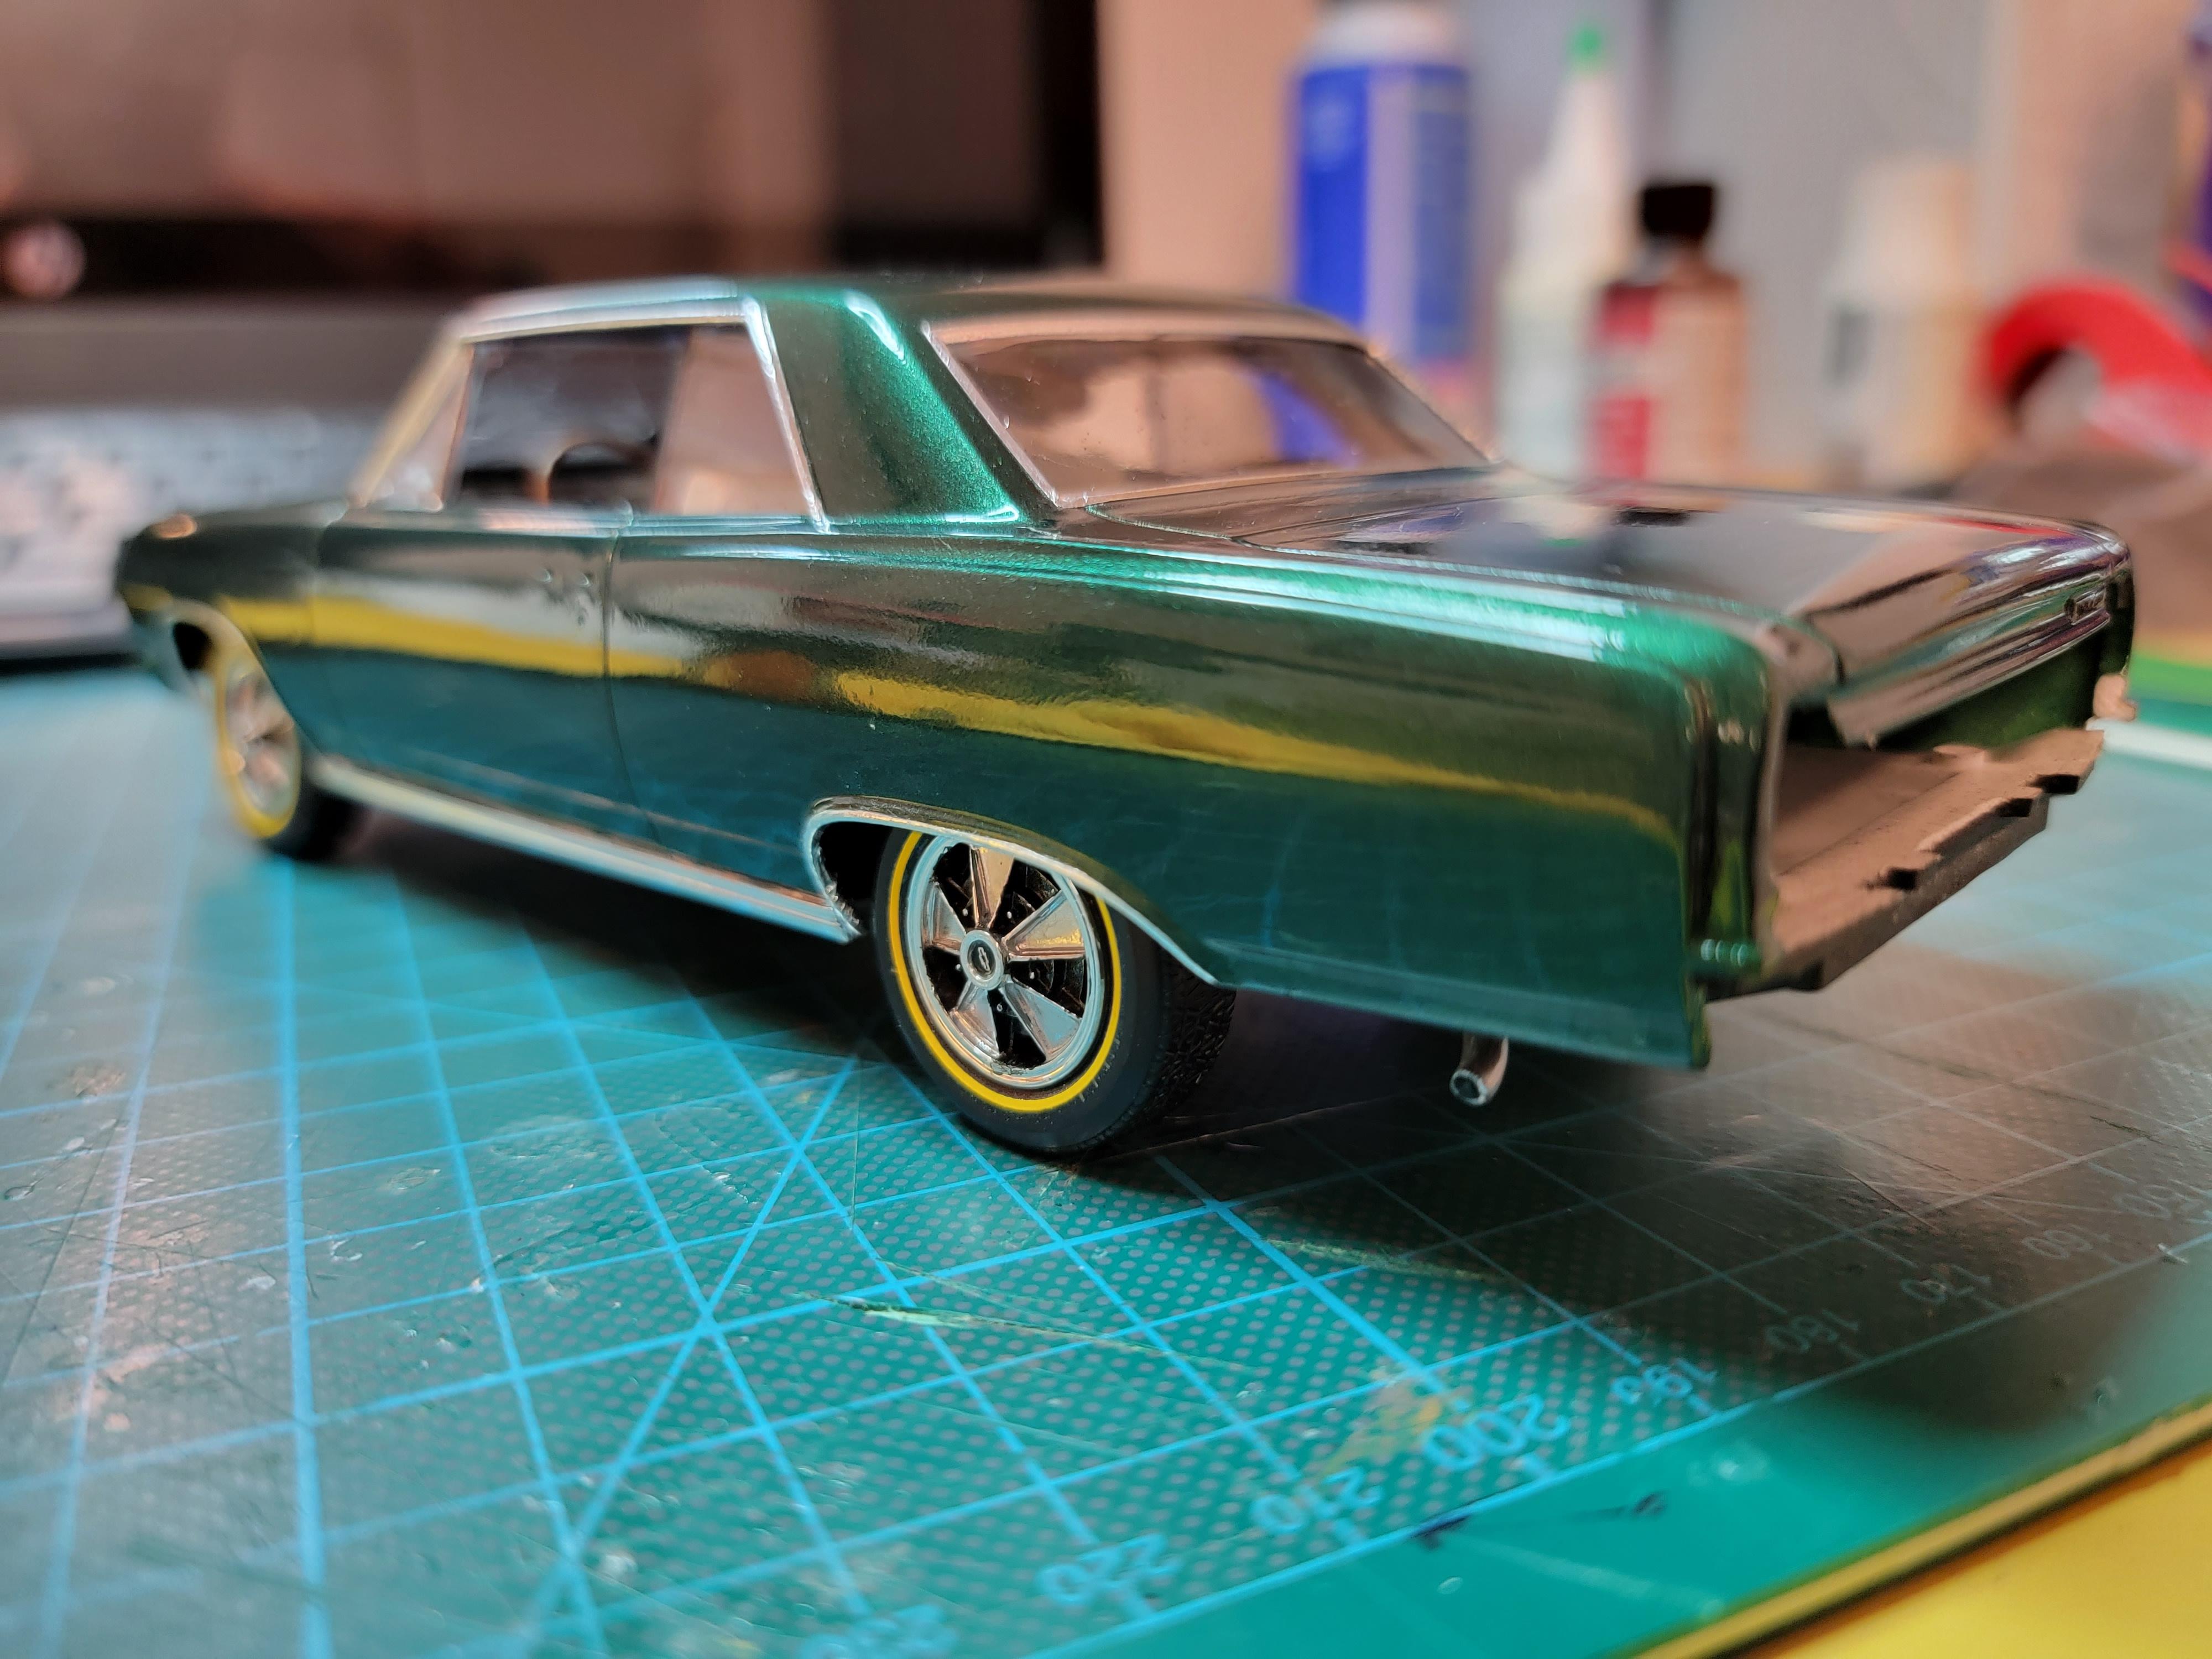
Just finished this one for a Face Book site buildoff. Added PE pieces. Everything else is pretty much Out of Box. Paint is a mix of two colors of nail polish. Clearcoat is also clear nail polish. Less than $3 in paint on this. The build took about a month. Later-
-
Got this one finished. Moved to "Under Glass". Later-
-
Sam is actually talking about the yellow lined tires. They are supposed to be gold lined but they are more yellow. It's what was provided on "The Last Detail" decal sheet. I used them because the vrey first "experimental" Z-16 had gold line tires. Later-
-
Sorry. They're staying. Later-
-
72 Chevy Suburban
Modlbldr replied to Modlbldr's topic in WIP: Model Trucks: Pickups, Vans, SUVs, Light Commercial
I am! I am! Lol. Later! -
Who doesn't love a mock-up? Let's see yours!
Modlbldr replied to Belairconvertable's topic in WIP: Model Cars
Mock up of a build I'm planning soon. Got the 65 Chevelle to finish, the 18th annual 24 hr build to do in a few weeks and then on to this. Not sure which body, the sedan or coupe. Later-
-
Got the glass and interior in and the hardest part- got the chassis on. Sits square on all 4 tires too! Later-
-
This also showed up in the mail today off of a FB site. Later-
- 39,192 replies
-
- 5
-
-
- johan
- glue bombs
- (and 1 more)
-
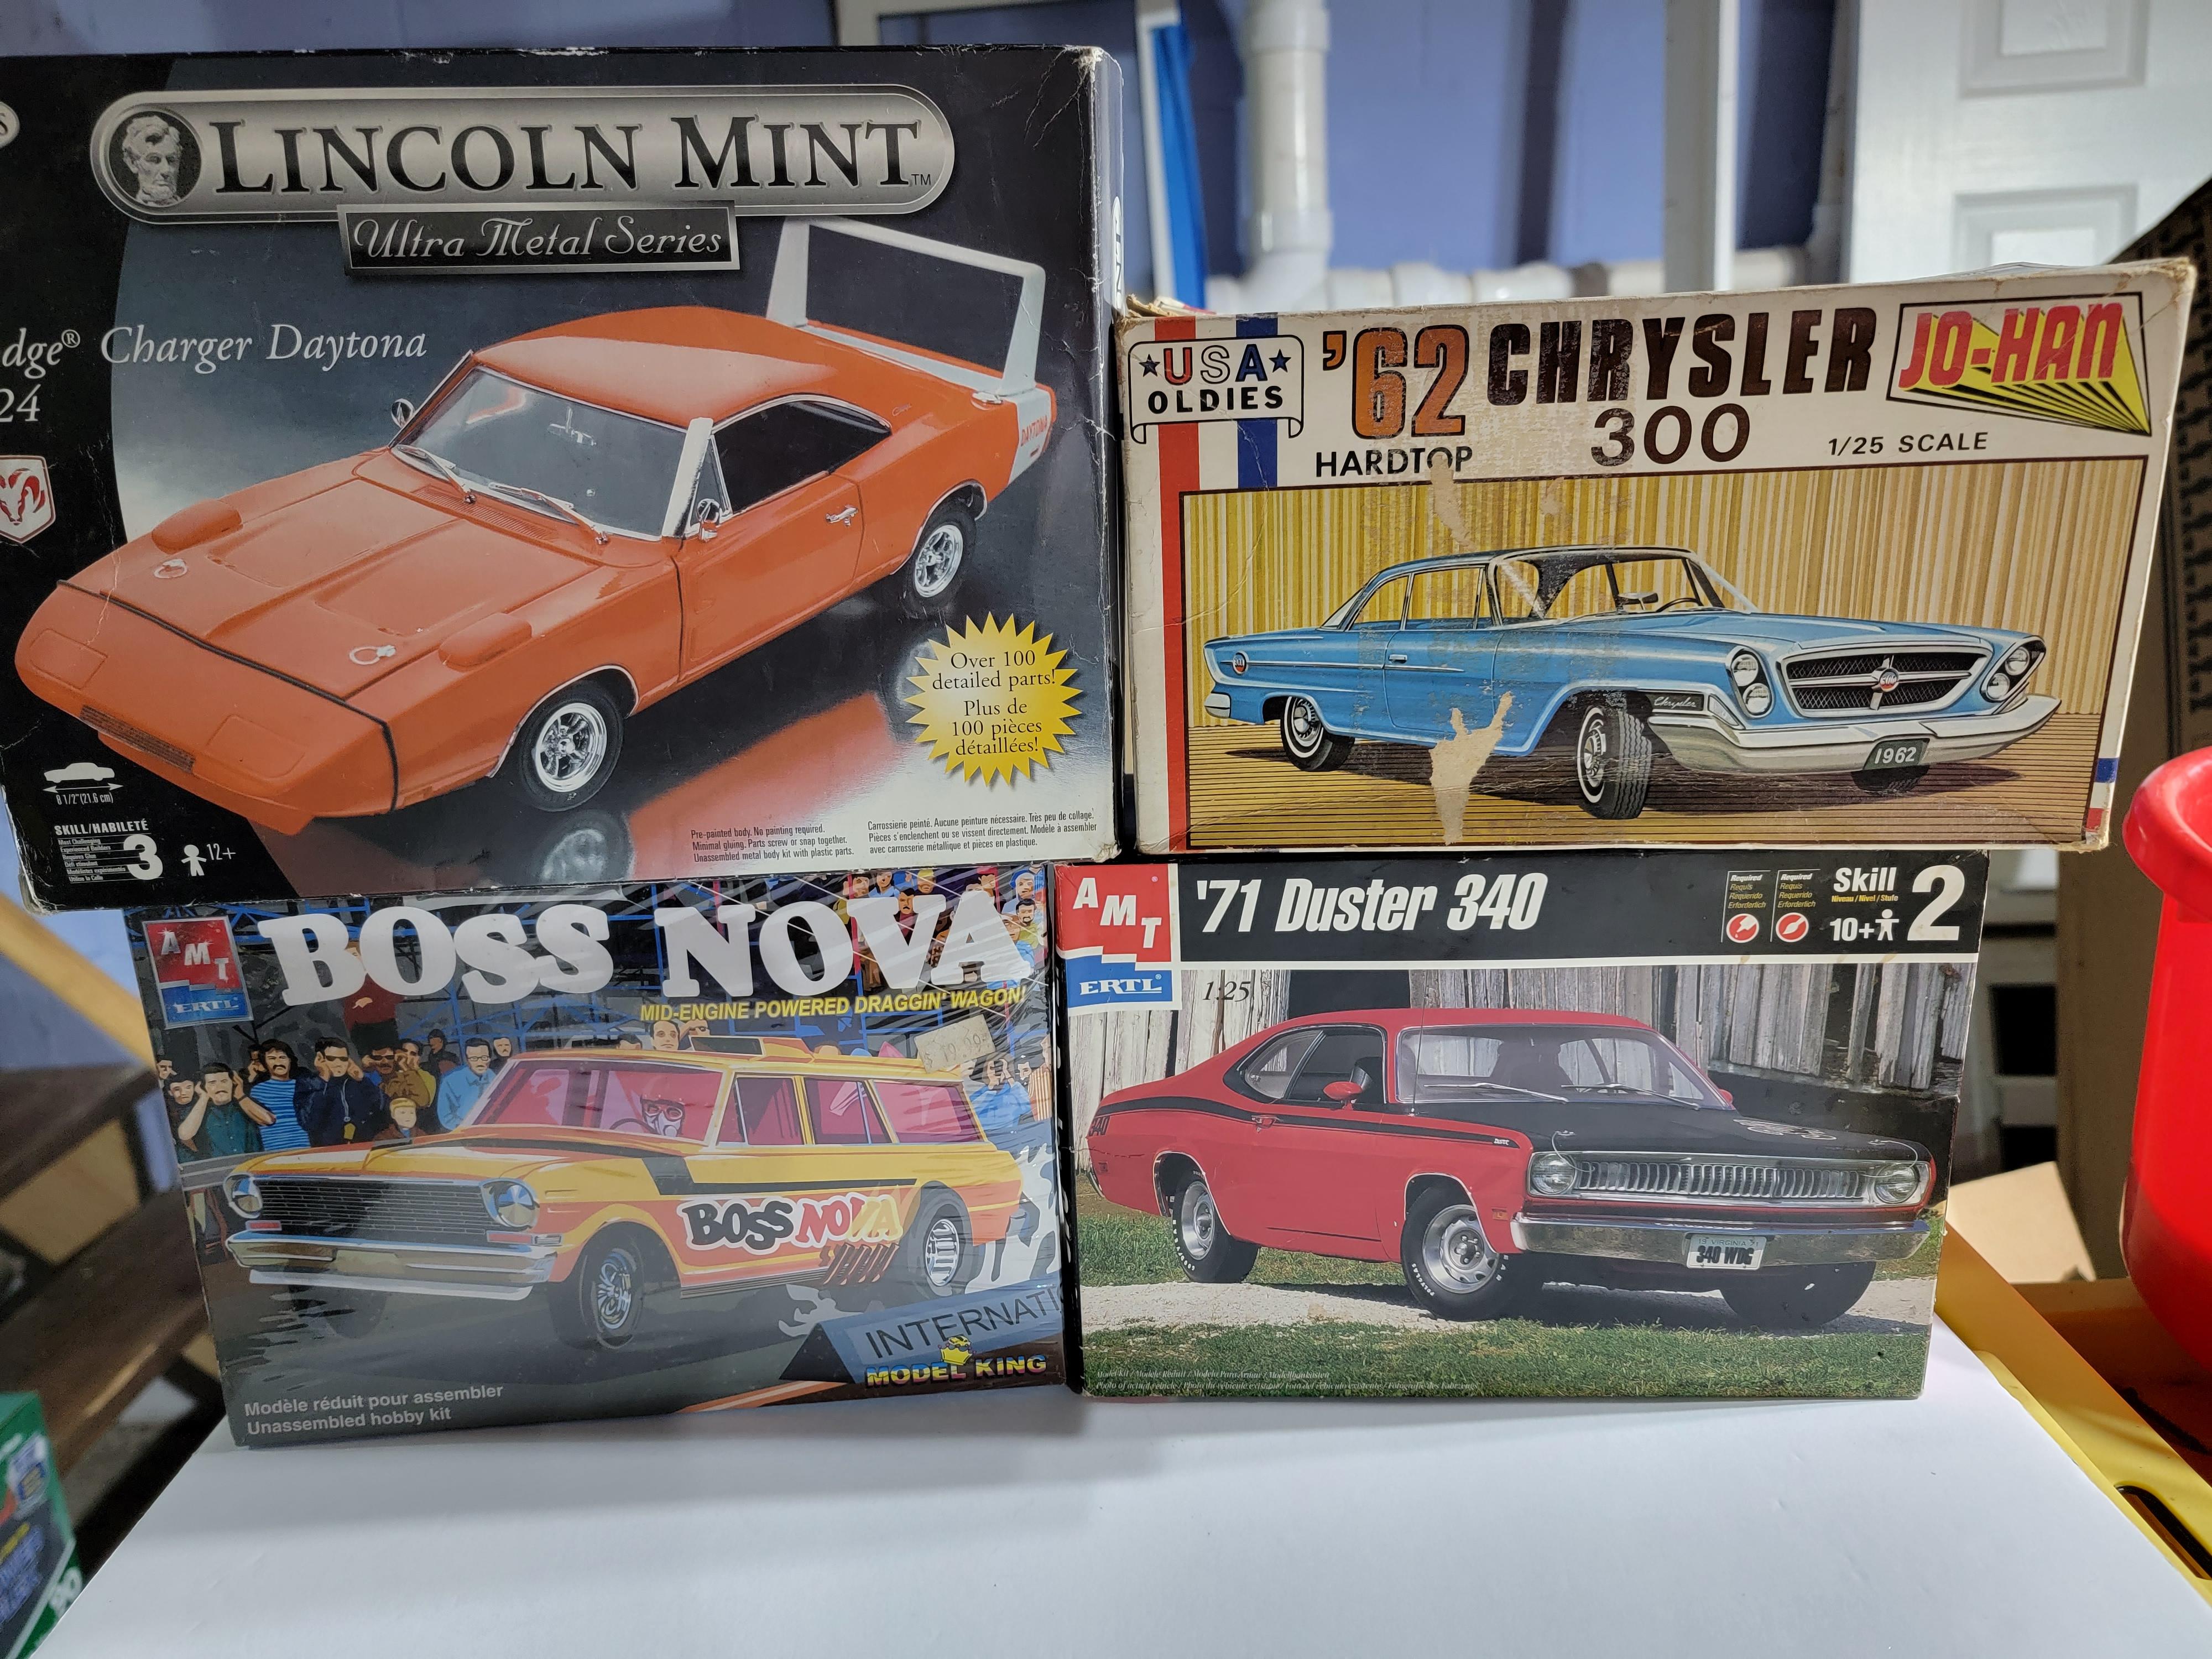
Got these today from a guy my buddy knows. All complete except for the Charger Daytona. It's just parts. I asked the guy what he wanted for them and he said that since the 62 Chrysler wasn't a high quality kit he was only asking $10 for it. I told him "No, it is worth more than that. I'll give you $30 for it." I felt bad only offering him that for it but I didn't have much on me and felt better not just taking it for $10. Got all of this for what I had in my wallet-$57. Later-
- 39,192 replies
-
- 1
-
-
- johan
- glue bombs
- (and 1 more)
-
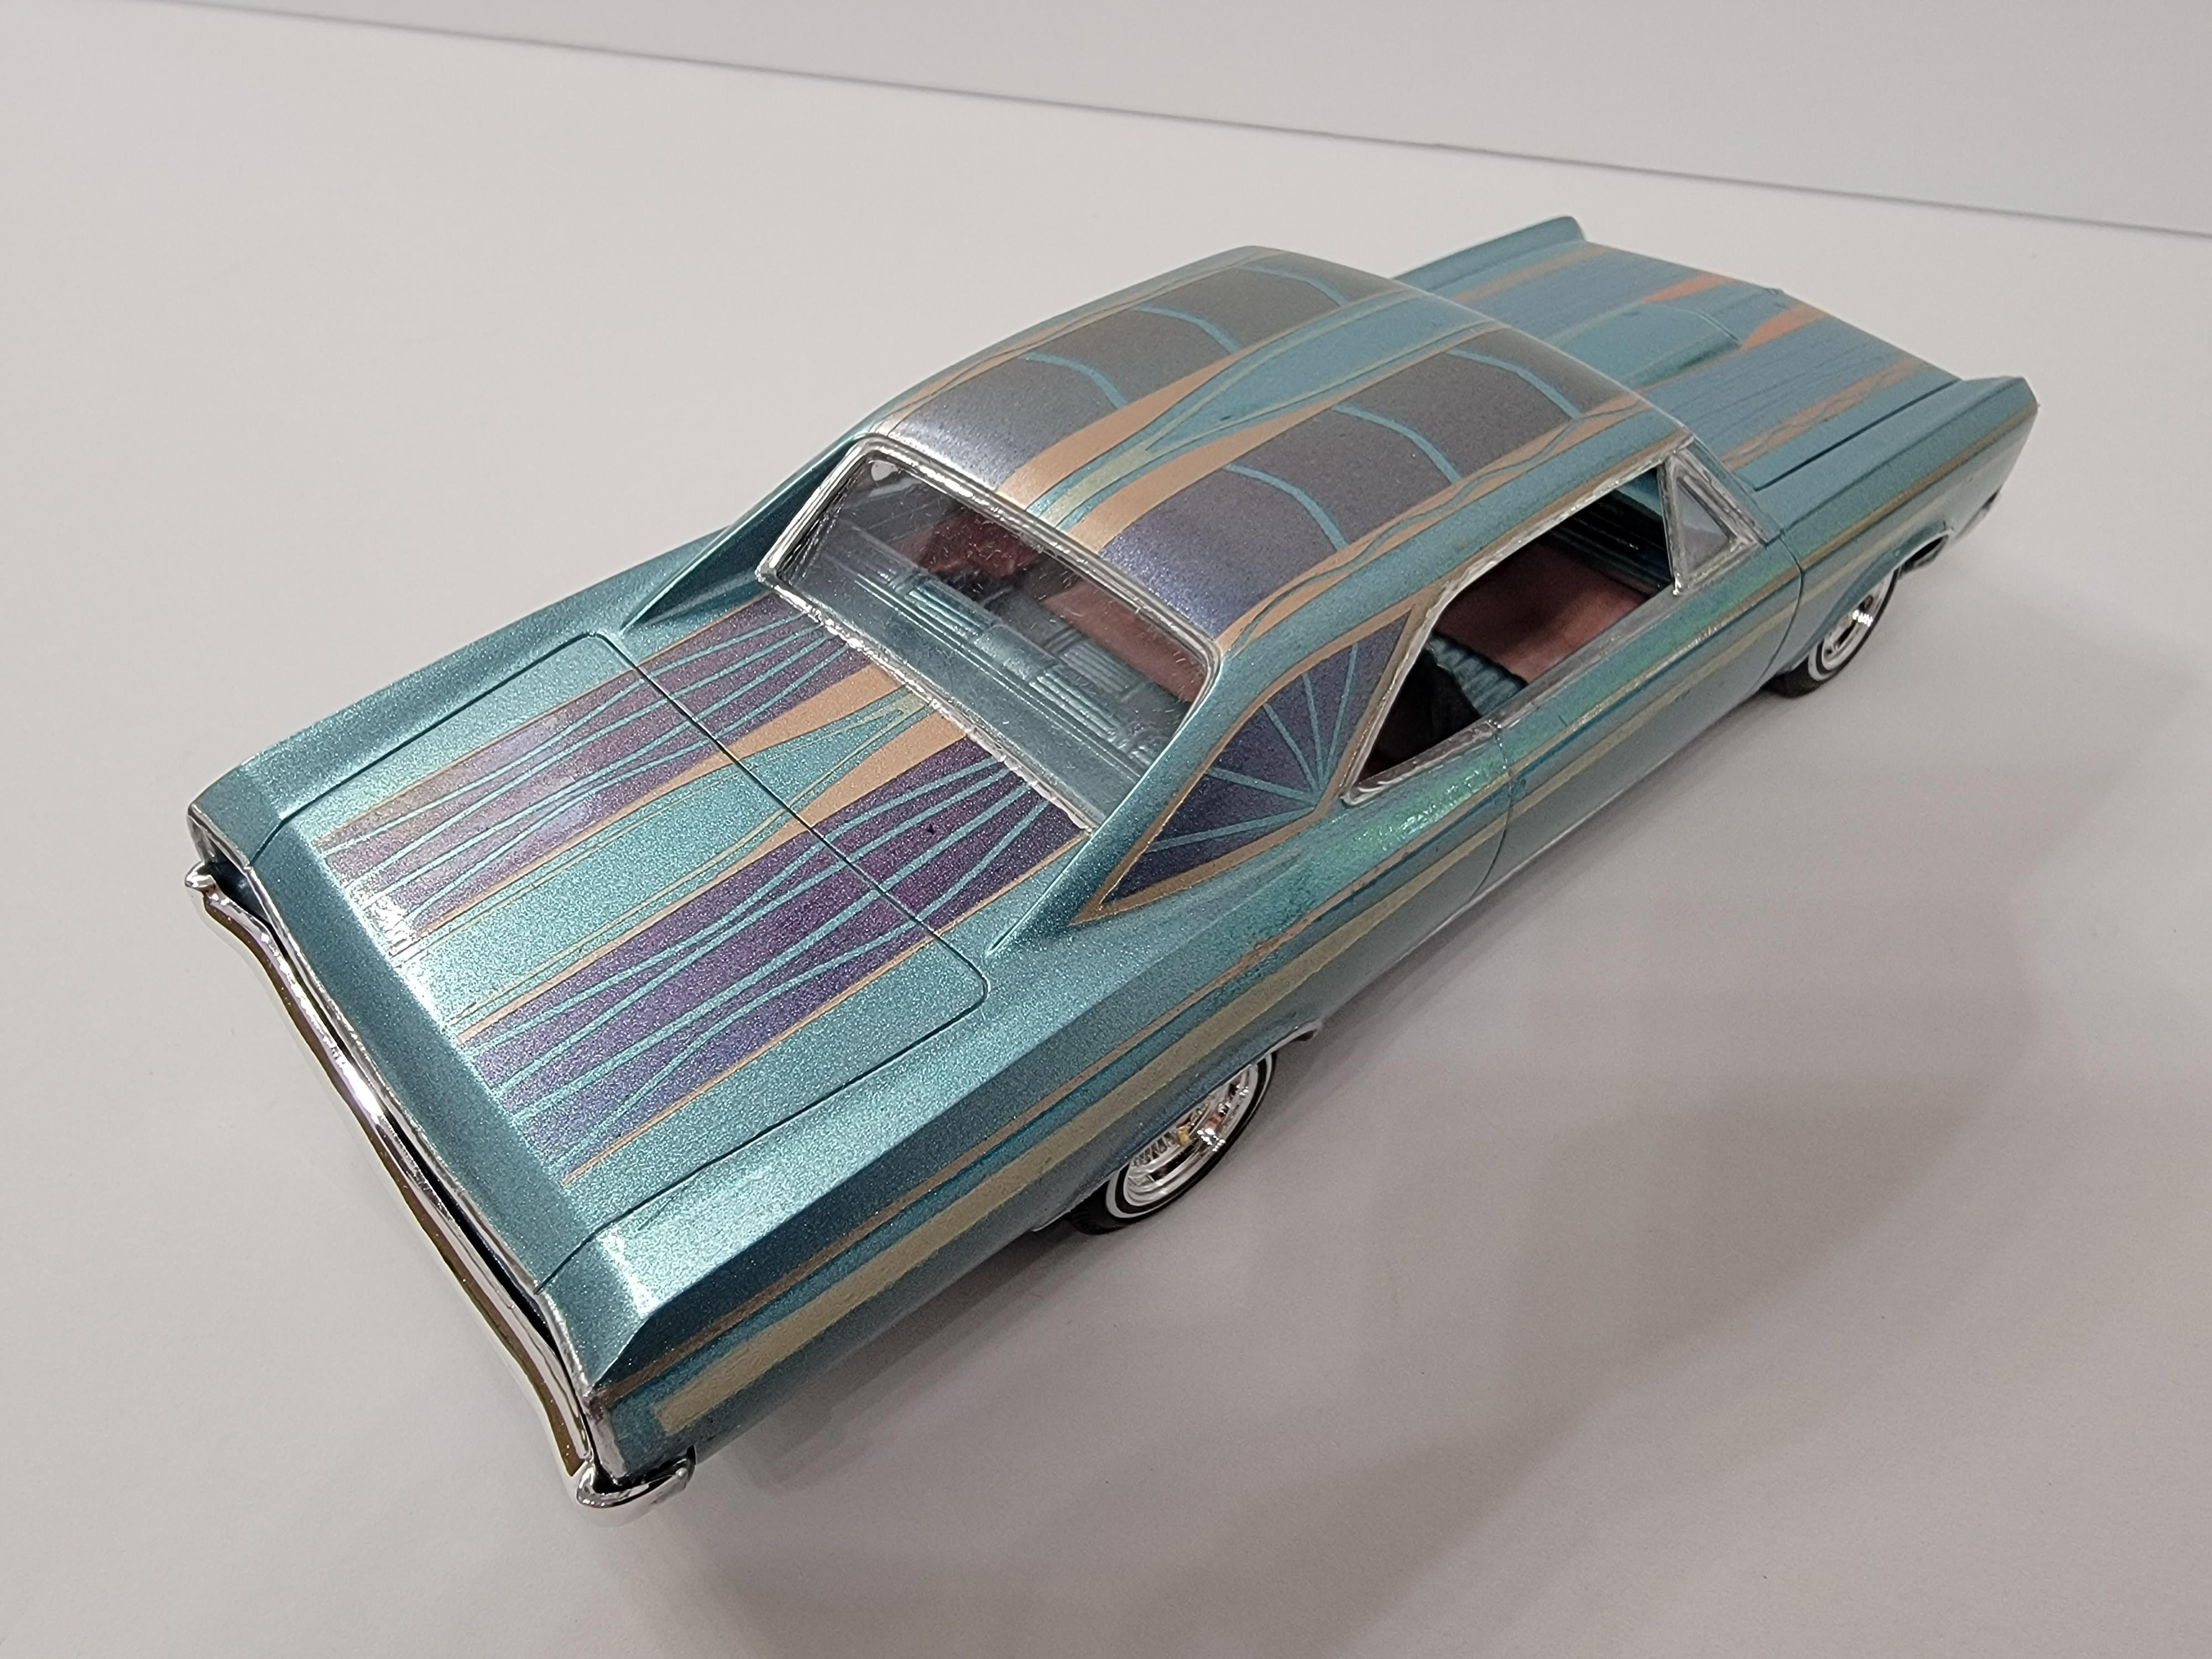
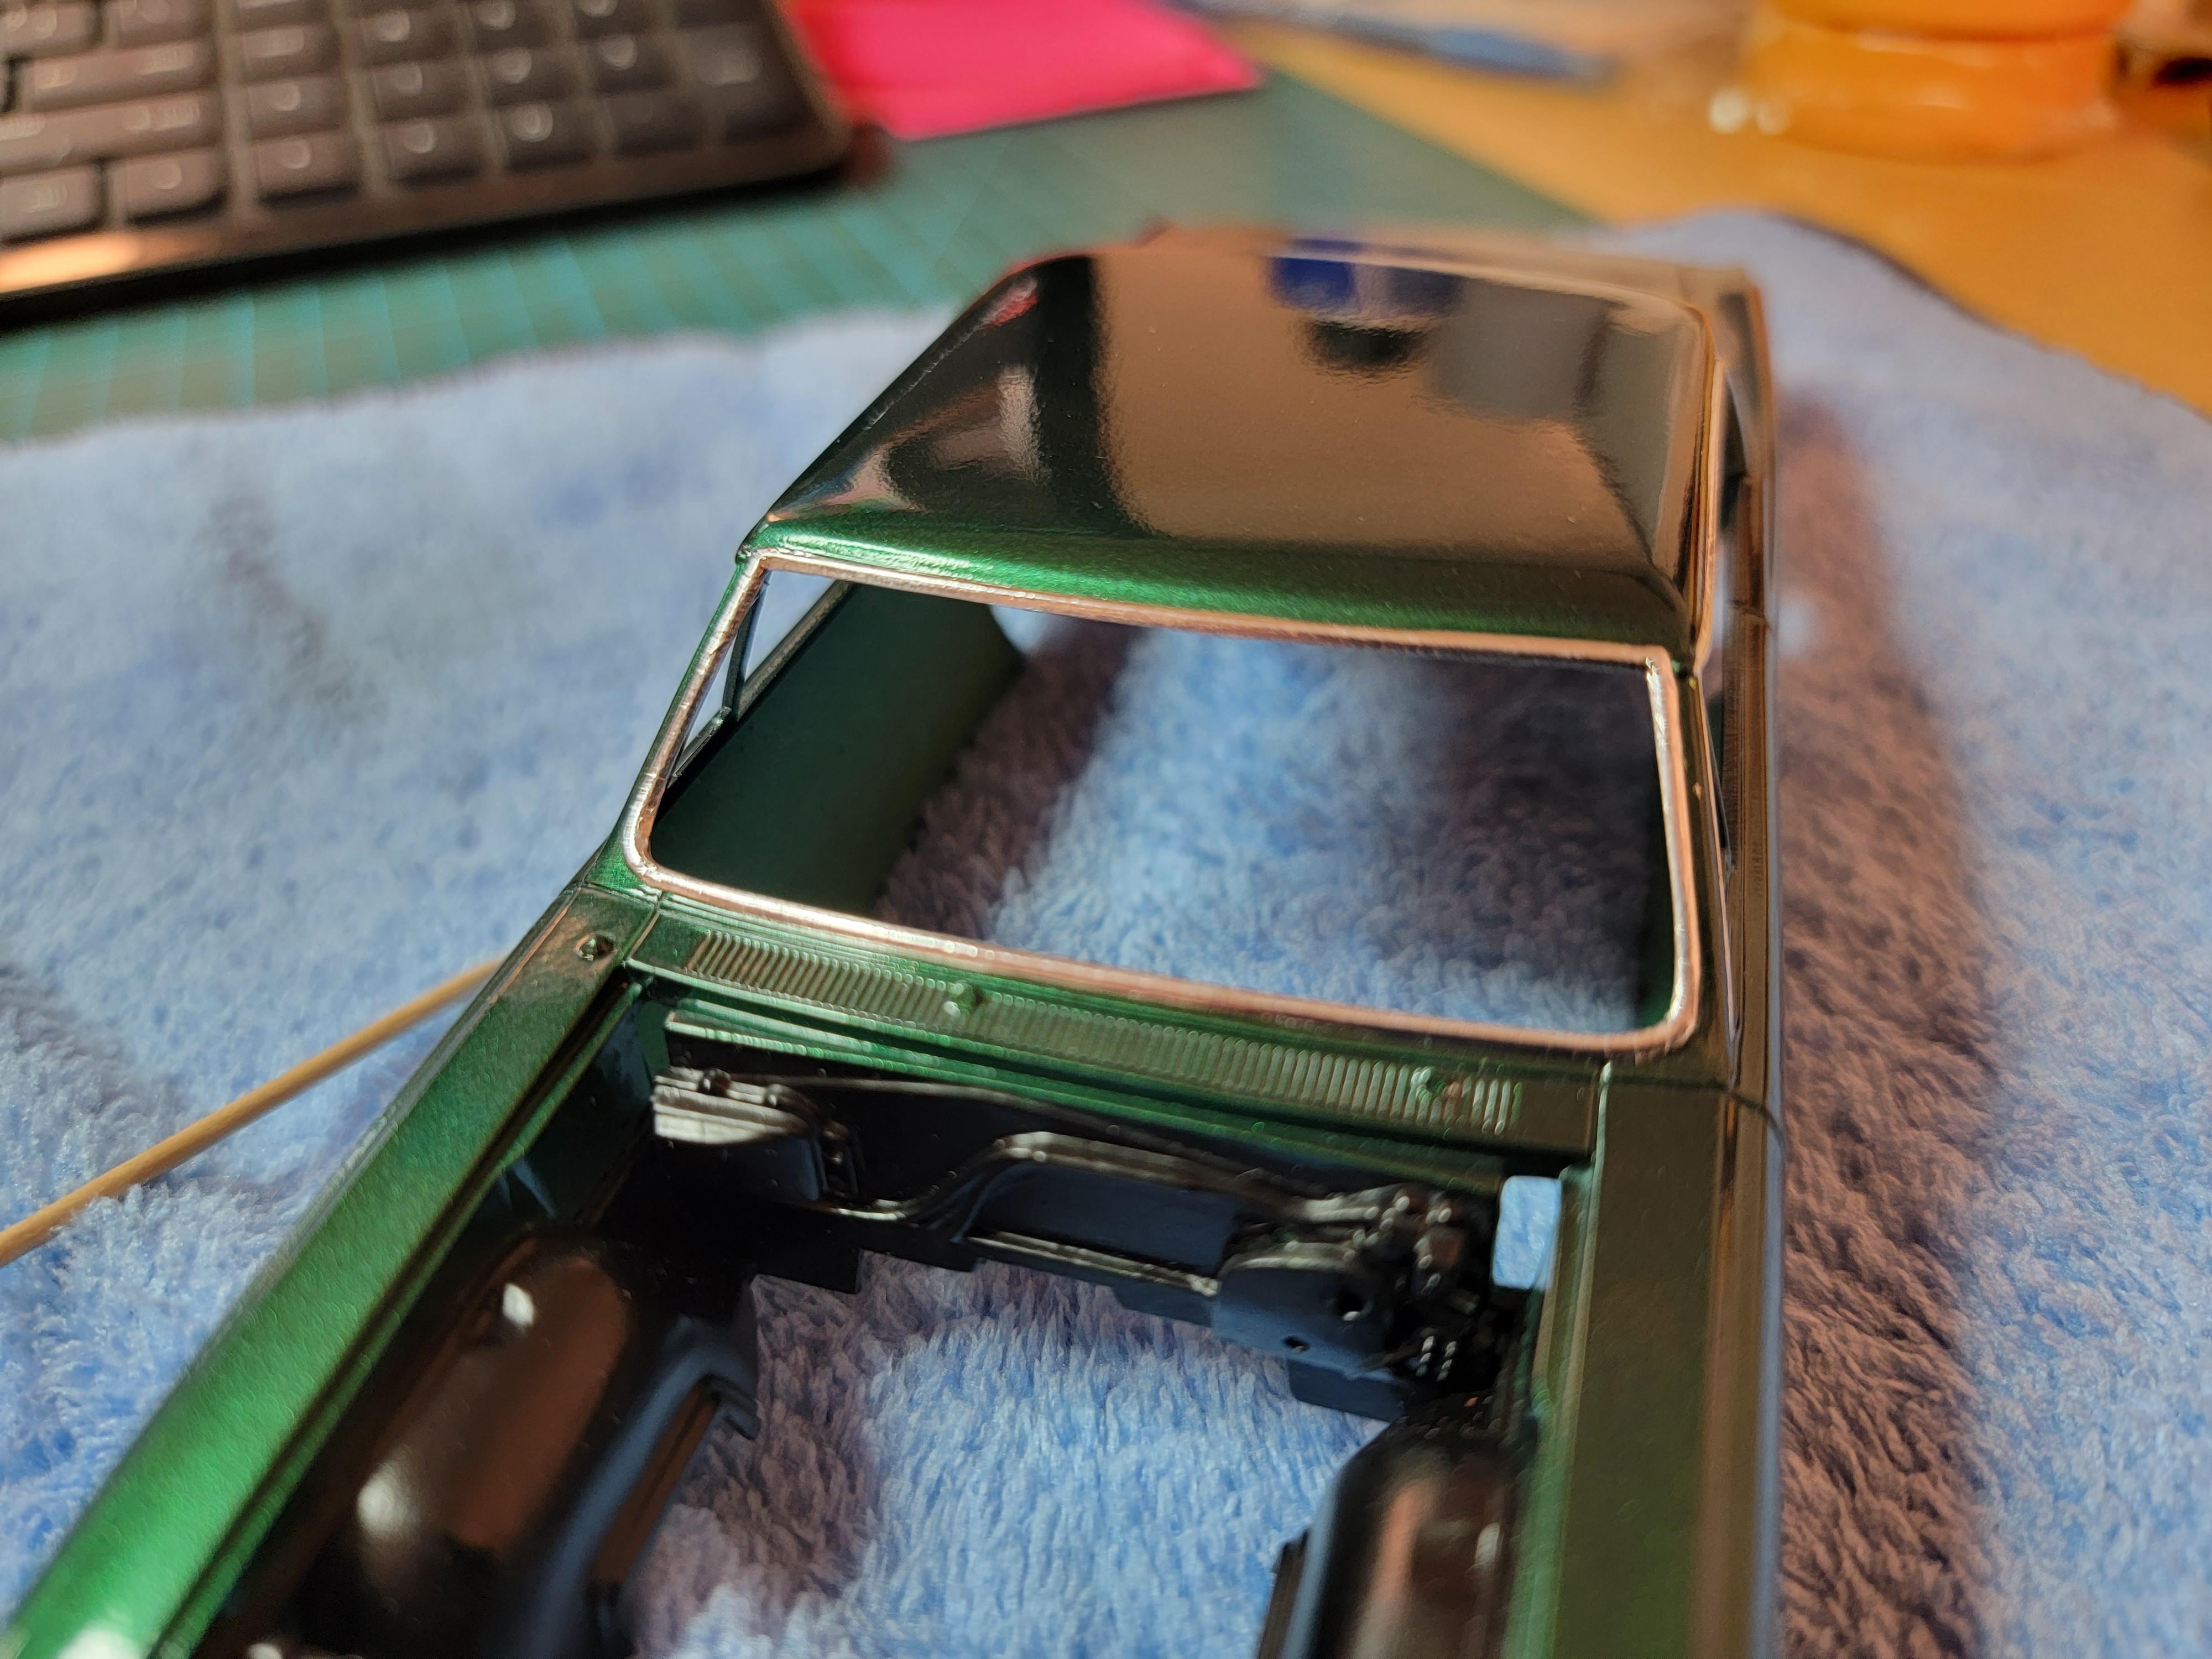
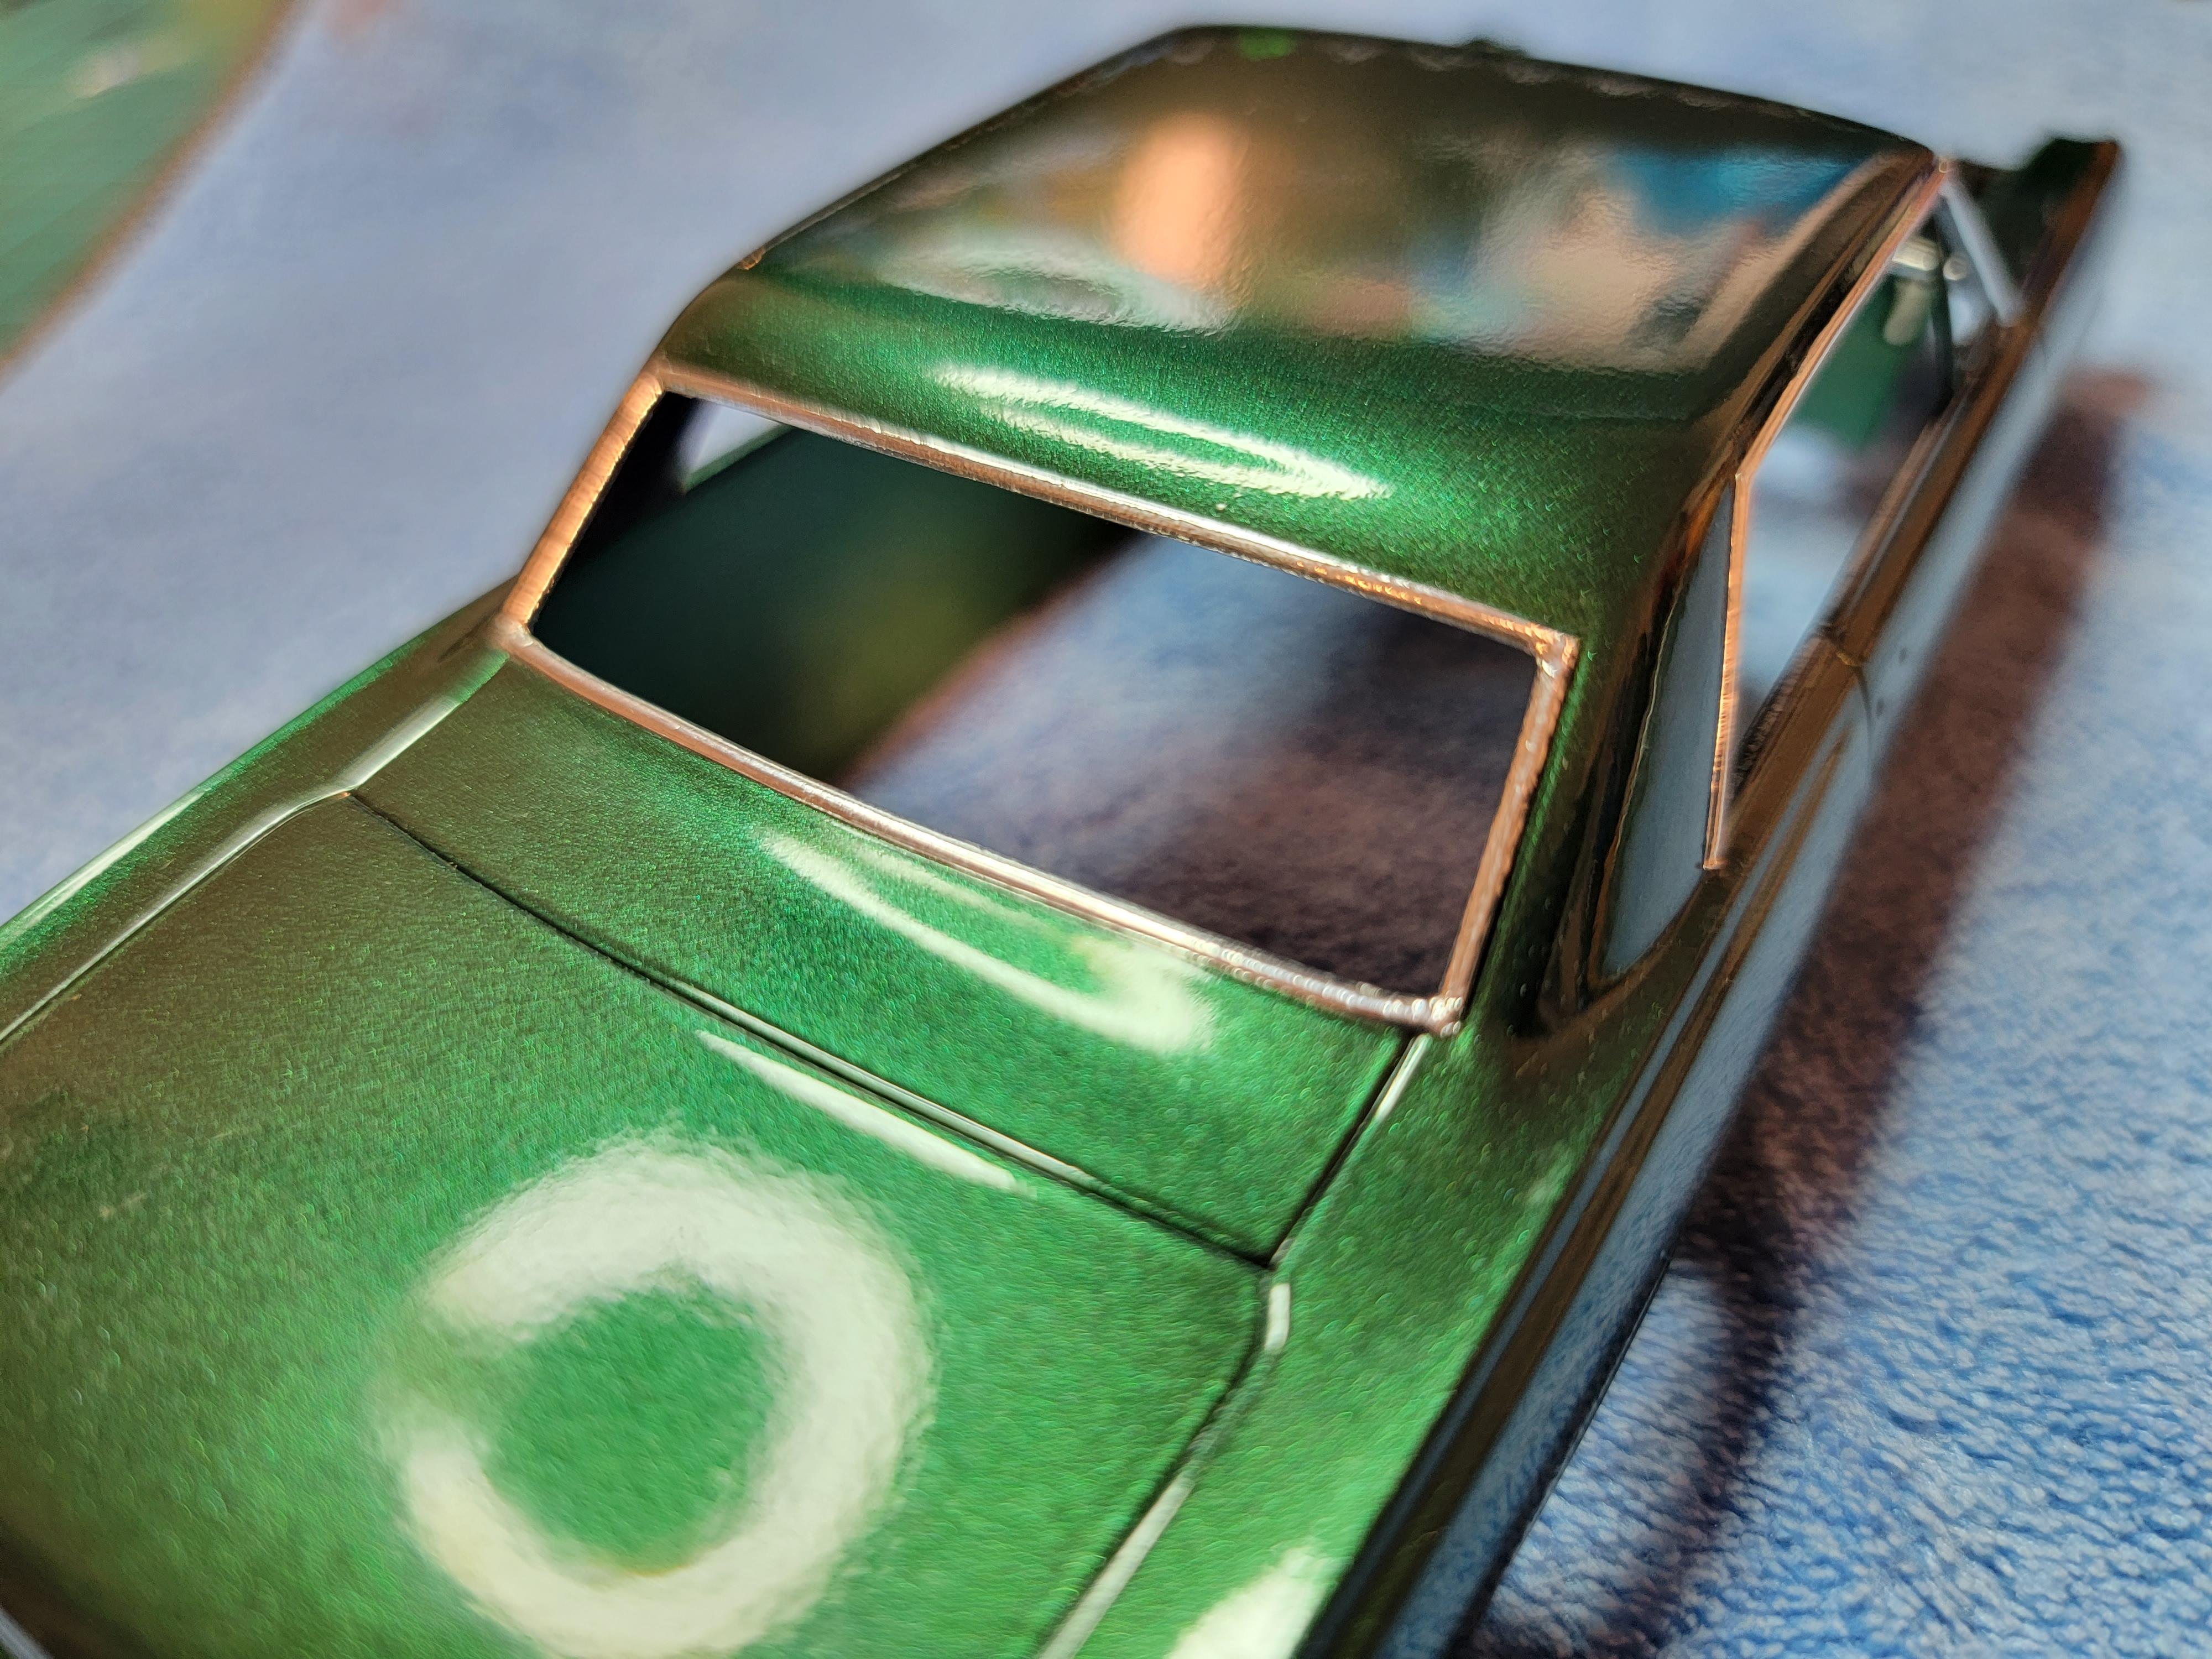
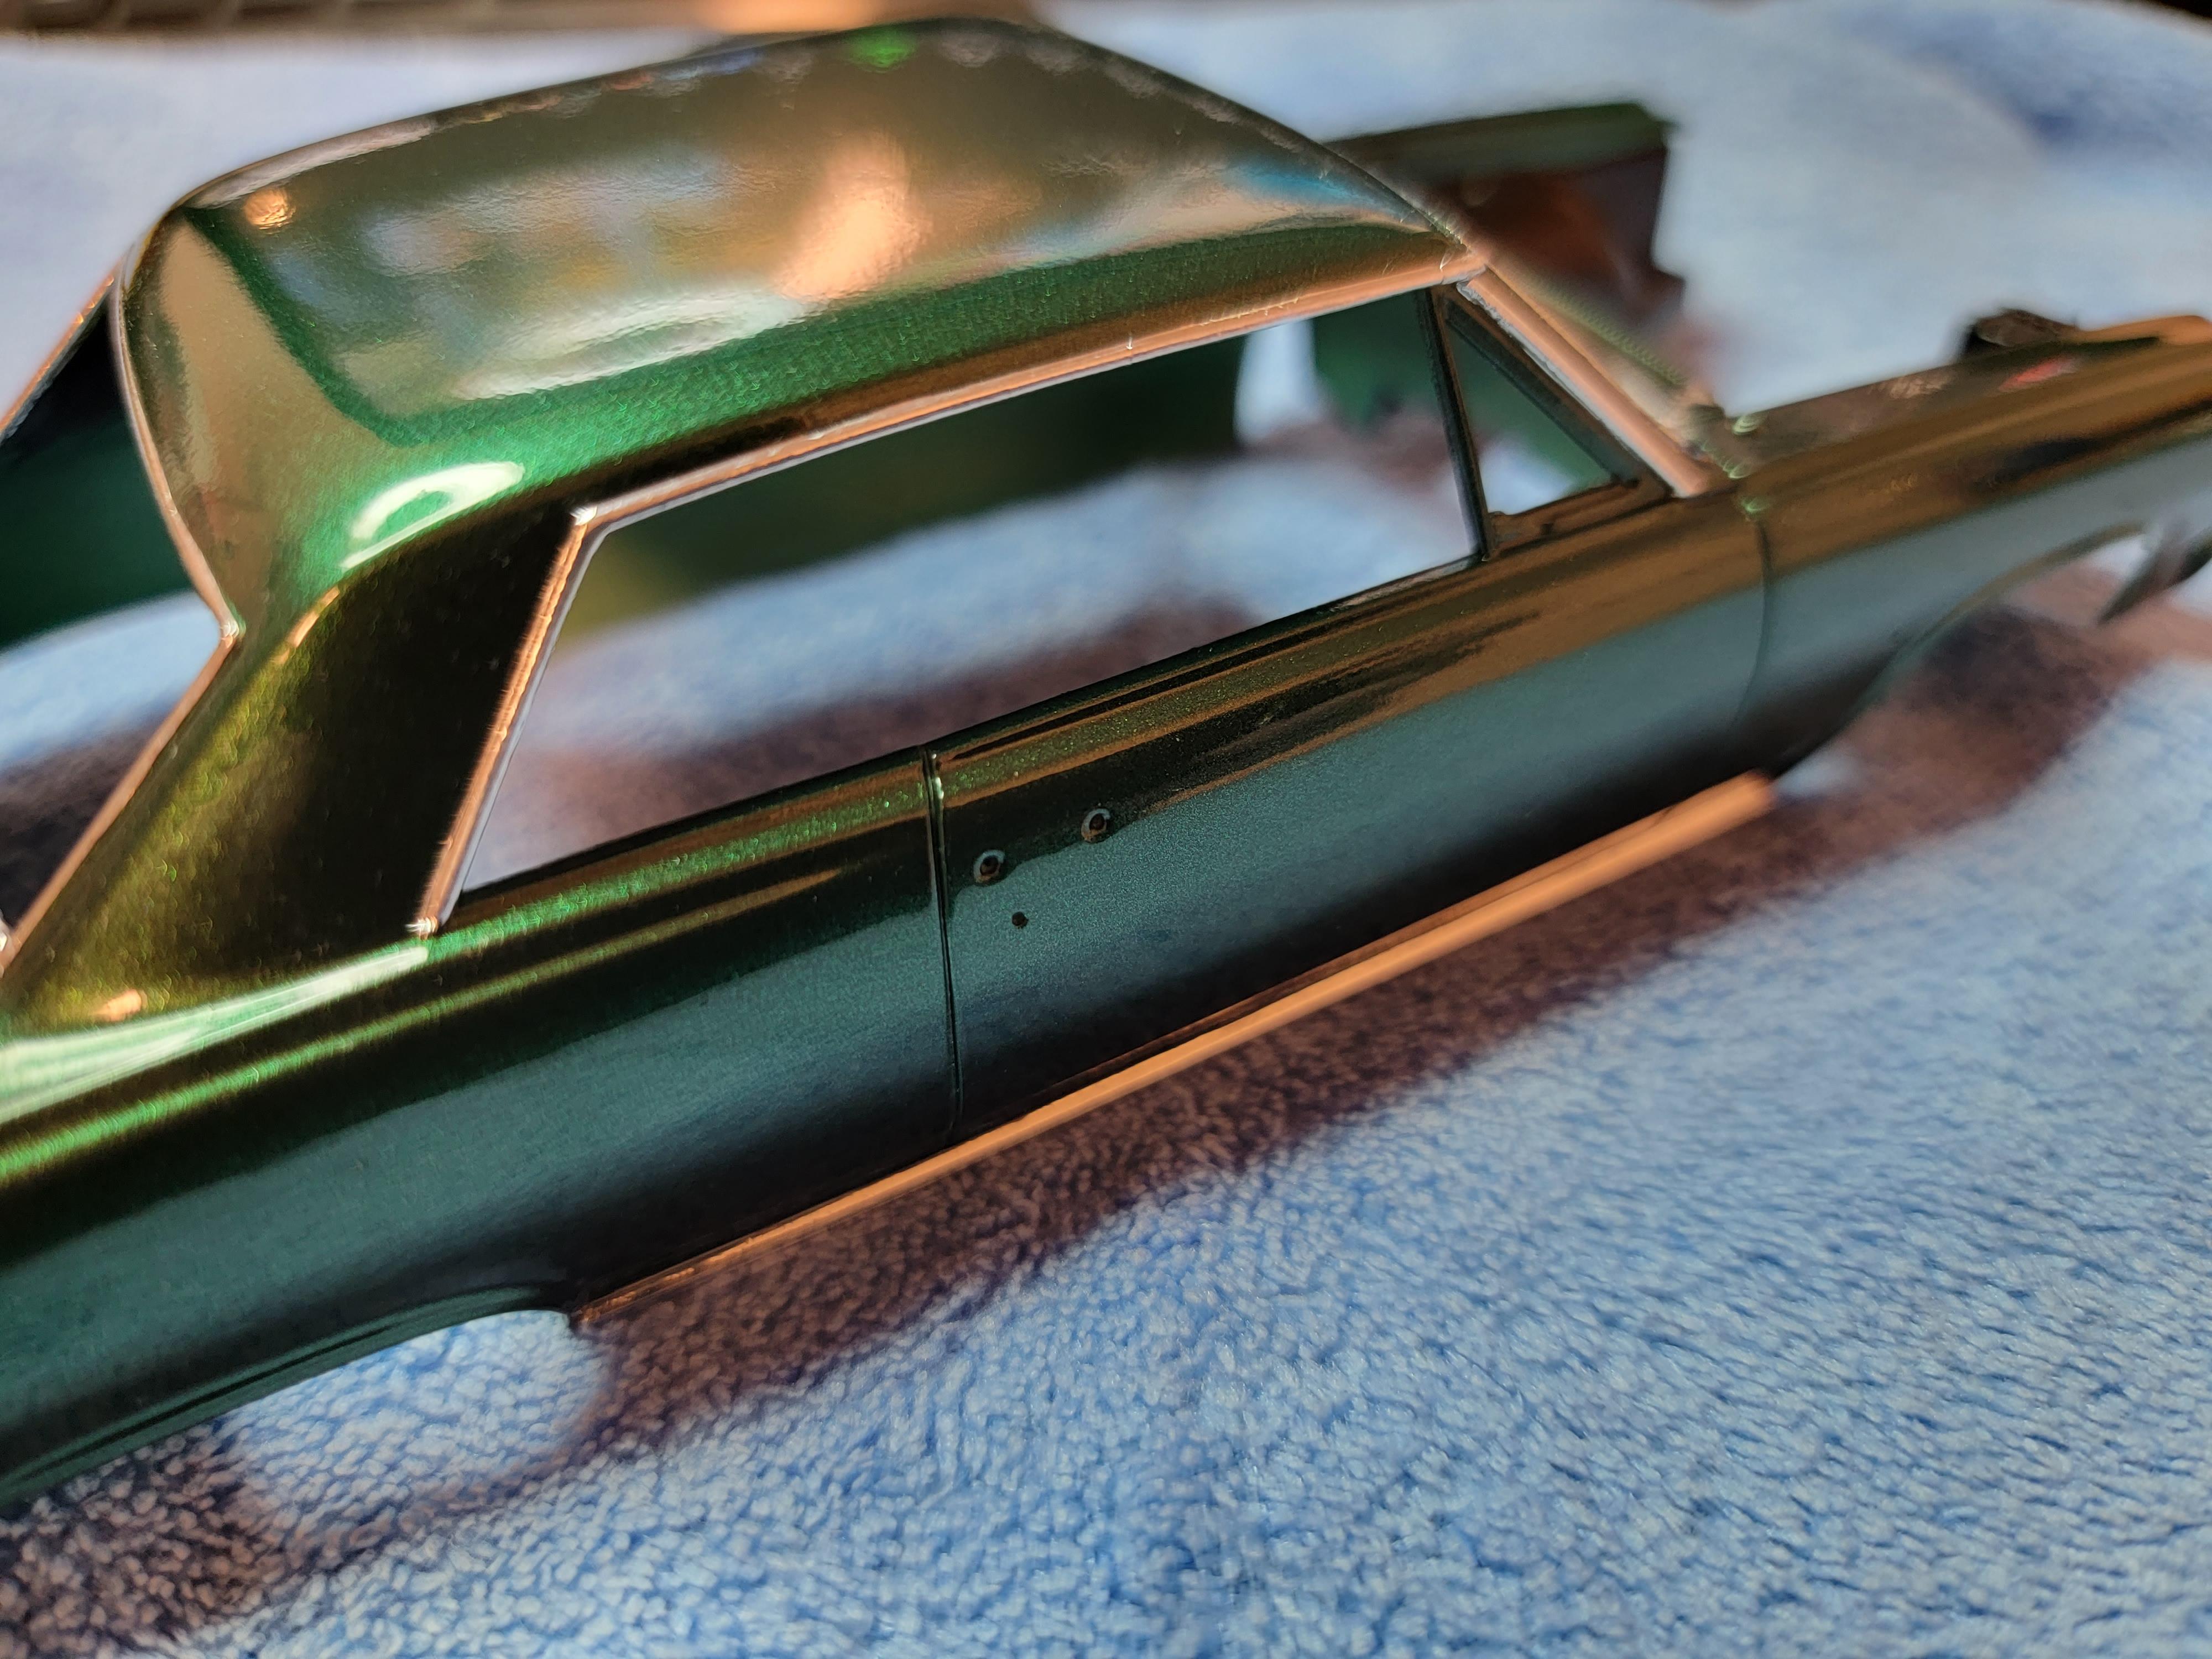
Back on this after a busy week. Got to get moving. Supposed to have this done by Dec 31. Worked on a bit of the BMF tonight. Wing windows and wheel well trim left to do. Later-
-
Beautiful work so far. You had me going on pulling that pinstripe. I zoomed in to check it out and thought "Man, that took some patience and skill." Then I scrolled down to the next picture....."You a funny guy!" Lol Great work either way. Looking forward to more. Later-
-
Yeah. They are nice. I customized this one a couple years ago. Wanted more of them. Later-
- 39,192 replies
-
- 3
-
-
- johan
- glue bombs
- (and 1 more)
-
72 Chevy Suburban
Modlbldr replied to Modlbldr's topic in WIP: Model Trucks: Pickups, Vans, SUVs, Light Commercial
That is good to know. That qill help me to make sure the sizes are right. I'm glad you posted that pic. What I have made with those strips I installed was supposed to be the center post of what looks like three bars- what is actually the window frame (opens with the door) and a center stationary post. My work above depicts the narrow stationary posts and now I need to go back and create the window frames. So, what I scratchbuilt above may not be too narrow after all. Later- -
Went to a small model show this morning. Ony about 10 people entered but we had 75 models entered. A few guys brought kits to sell. I walked away with these kits (All complete and sealed or sealed inside) for $68 and a second place for my 67 Impala lowrider. Nice day! Later-
- 39,192 replies
-
- 4
-
-
- johan
- glue bombs
- (and 1 more)
-
72 Chevy Suburban
Modlbldr replied to Modlbldr's topic in WIP: Model Trucks: Pickups, Vans, SUVs, Light Commercial
Thanks for the pictures. Those are cool. The window frames are not finished. These are just the posts between the actual window frames, although I may need to go a little bit wider. . Later- -
72 Chevy Suburban
Modlbldr replied to Modlbldr's topic in WIP: Model Trucks: Pickups, Vans, SUVs, Light Commercial
I haven't had any time at the bench this week. Last night I got a bit of time while packing things for a model show in Somerset, KY today. While looking at pics of a 72 Suburban and planning how to build the side windows I saw that they have a slim post between each window frame. I measured out the locations for these. Using thin strips of styrene doubled up to approximate the thickness I glued these in place. I cut small grooves in the half round at the top for these to slide into so that it would add a bit of strength. Then, on the passenger side, I trimmed the bottom of the half round to shape the opening for the windows a bit better. Next will be the driver's side and then adding the strips for the actual window fames. Not much progress but I'm moving forward. Later-
-
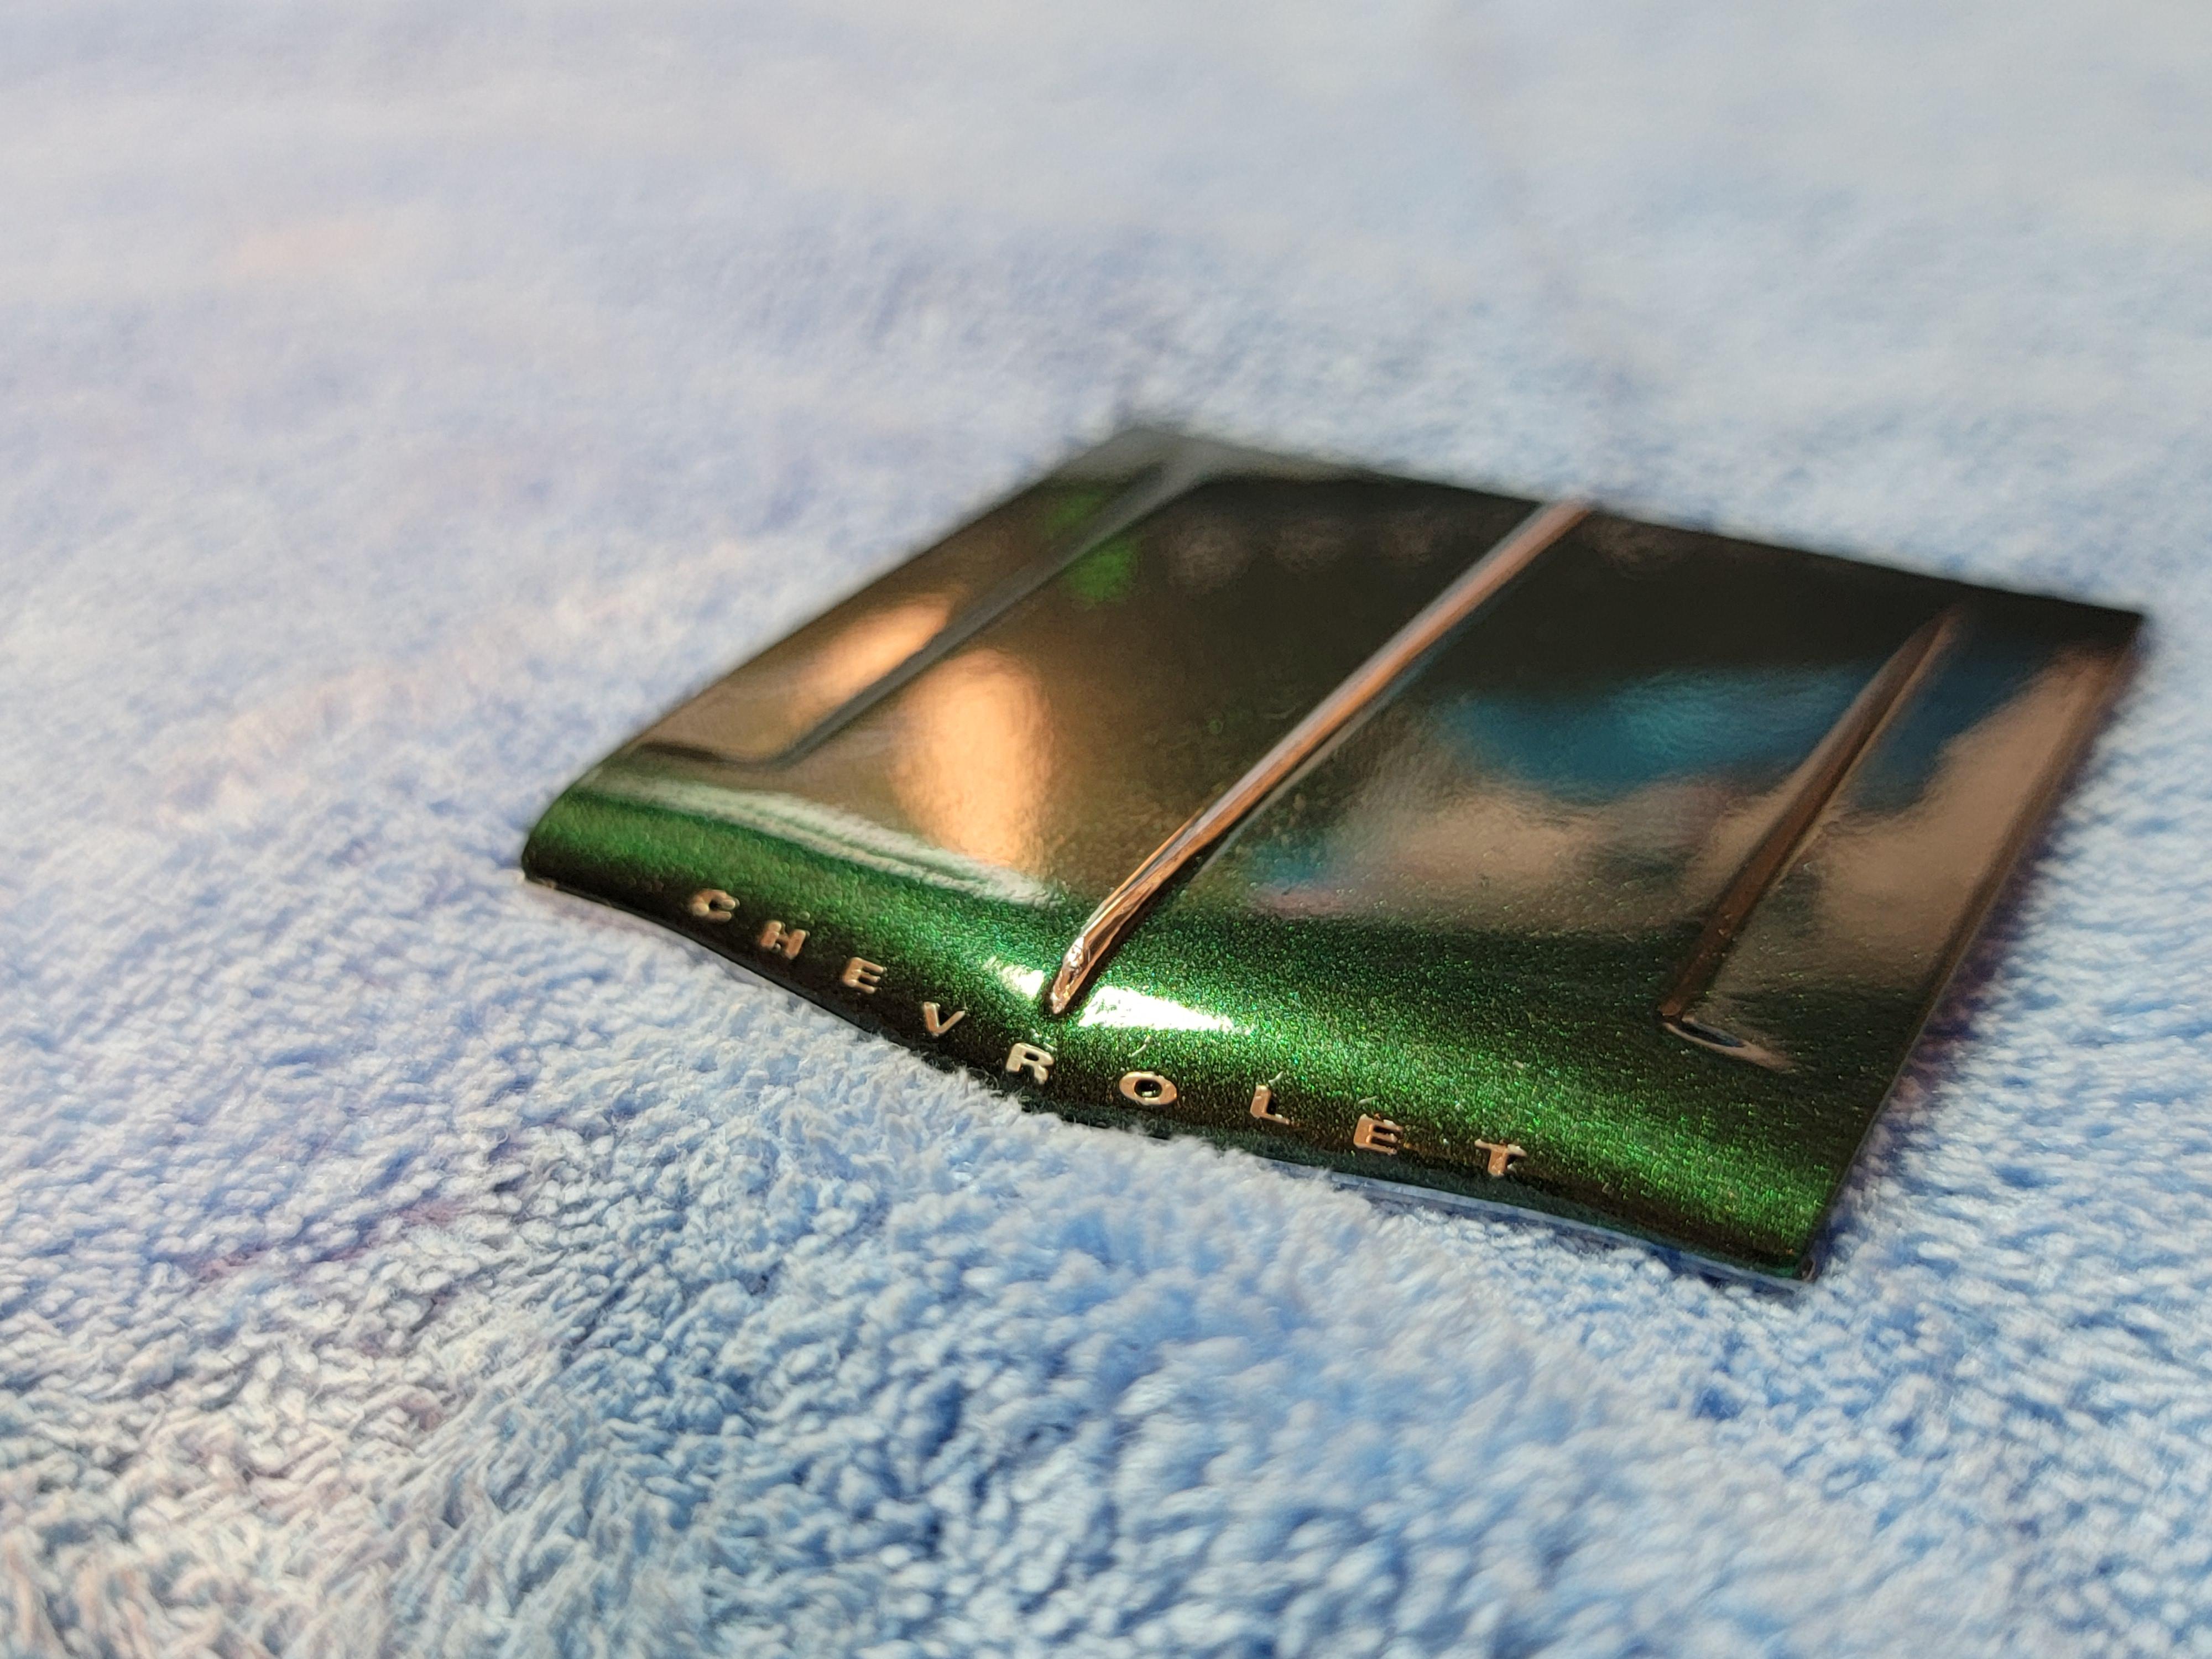
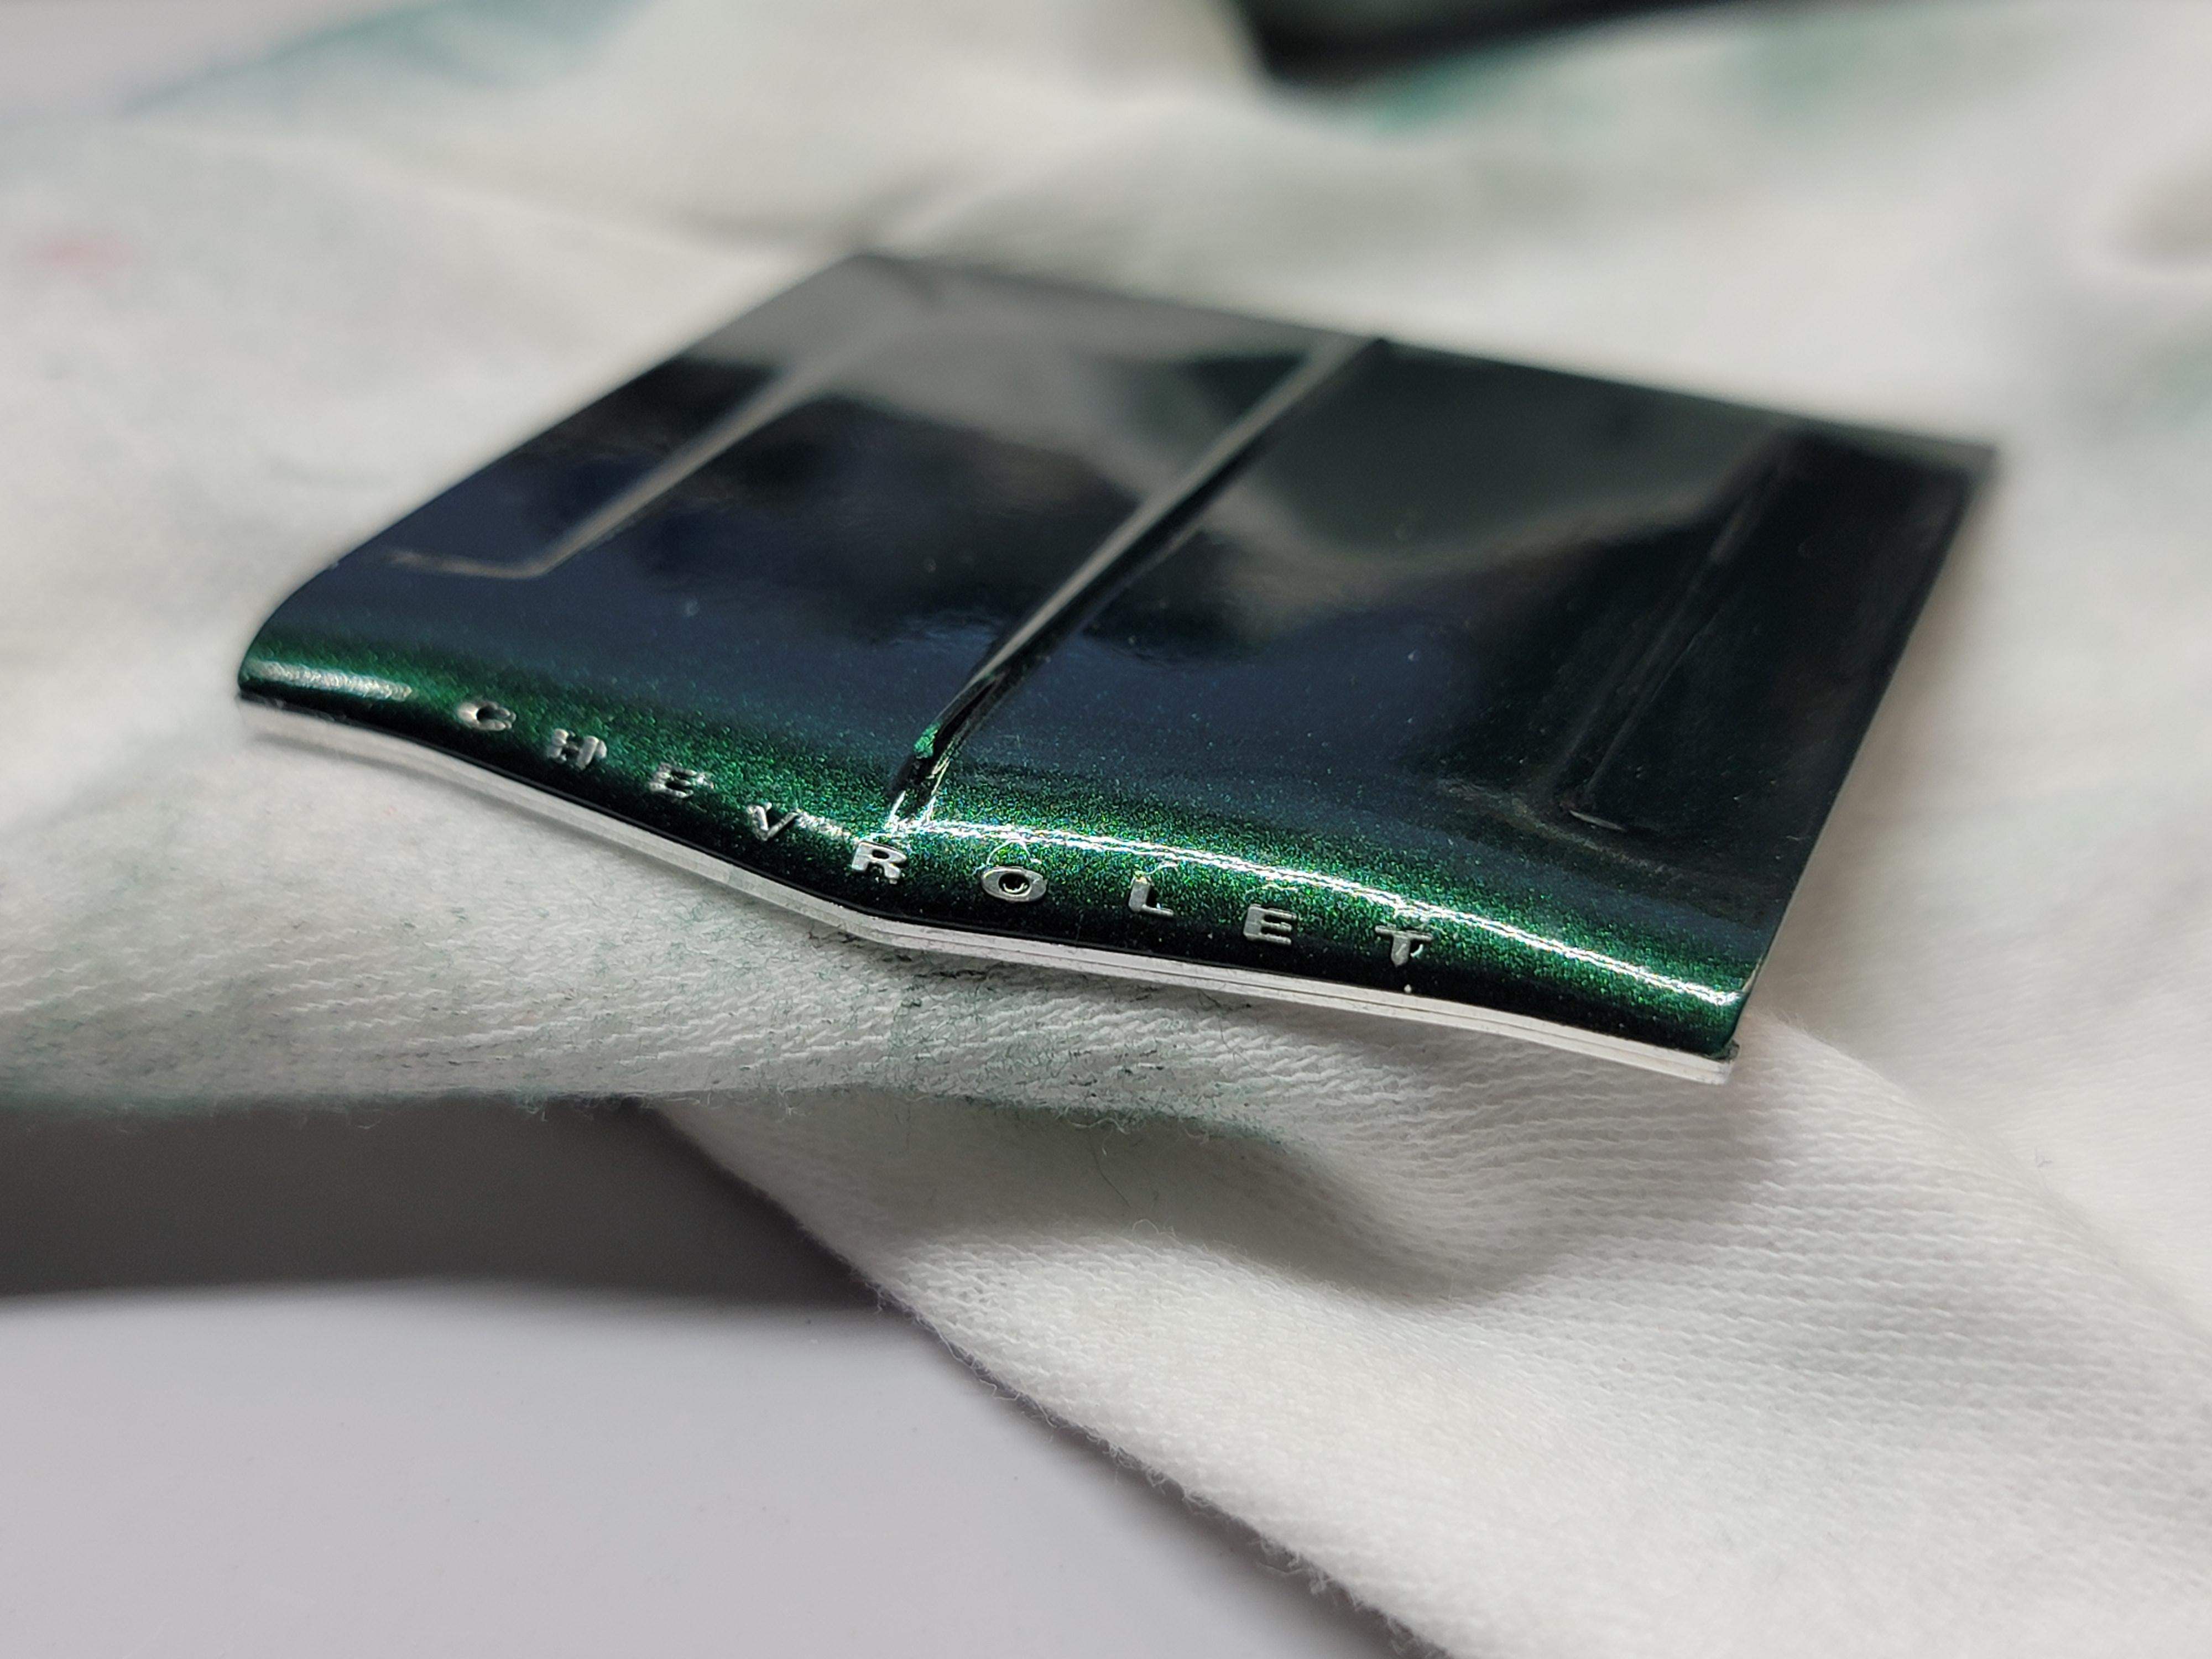
It has been a very busy week for me and last night was the first chance I've gotten all week to sit at the bench. I had wetsanded the hood a week ago to try and remove the faint lines left by the tape. Eventually I resprayed another light coat of clear and stuck the hood in the dehydrator for a couple days. Last night I polished it and then added the PE letters using Future floor polish as glue. (I see now that I need to reposition the L. It is sitting too high.) I also installed the chrome hood strip on the front. That's all I got done on this project for now. I boxed it up to take with me to a model show today in Somerset, KY. Later-
-
Heather, I, too, am sorry for the untimely loss of your Father. I only knew him from this forum but he was a great model builder and influence on many of us here. I moved to Kentucky a couple of years ago and was looking to visit and make contact with him shortly before he passed. I wanted to see his work up close and get some tips from him. I was really interested in the GTO wagon that he was working on since I was also working on a GTO at the time. Unfortunately my plans to come visit him and see his GTO were too late. He is very much missed on the forum and, again, I am sorry for your loss. May you and your family be comforted knowing that he was looked up to by all here. Tom
-
72 Chevy Suburban
Modlbldr replied to Modlbldr's topic in WIP: Model Trucks: Pickups, Vans, SUVs, Light Commercial
Yes I am. Thanks! Later- -
68-72 Suburban scratch build
Modlbldr replied to 64SS350's topic in WIP: Model Trucks: Pickups, Vans, SUVs, Light Commercial
Man, I like what you have done and glad to see you have gotten this far on it. The paint color is perfect for it. I am currently building a 72 Suburban on here but I went a different route by using the 72 Pickup. I'm hoping it will work. I had to use it as it is for a common kit build-off. After seeing that your starting point was the Blazer I am curious if the height of the sides of the lazer are taller than the sides of the pickup bed. I ask because I had to add a square styrene rod the length of the bed in order to match the height of the cab. I like your idea of using the Blazer roofs. I am using flat sheet for mine but I am also including a sliding canvas roof so I won't have to worry too much about curves. Later-
-
1933 Cadillac Fleetwood All Weather Phaeton
Modlbldr replied to ModelcarJR's topic in WIP: Model Cars
That is a thing of beauty! Your work throughout has been fantastic. I love seeing this one built. Later- -
I'm liking your ideas on this so far. Like you, that front 60's styling caught my attention. I have this and the hardtop version. I'll follow along and see where this goes. Later-