Alan Barton
-
Posts
2,113 -
Joined
-
Last visited
Content Type
Profiles
Forums
Events
Gallery
Everything posted by Alan Barton
-
That's a very clean box stock build - love the colour! Cheers Alan
-
Wow, that thing is dripping wet! The changes you made to the roof very much remind me of the 1937 Ford Club Coupe. The proportions are great, difficult to achieve when you cut a 40 Coupe! Cheers Alan
-
My, my, my, how sweet it is! Your efforts certainly paid dividends. I took the chicken's way out by totally customising the front of mine but I have a woodie planned so I will be revisiting this thread to get that one corrected. Thanks for sharing this with us! Cheers Alan
-
If Monogram's iconic Little Deuce kit was a coupe instead of a roadster, this would have been the box art! Beautiful build, Ken, it has given me some good ideas. Cheers Alan
-
An amazing build, Claude, but it's hard to look past that stunning paint job! Those Torinos have a strong family resemblance to our XA Falcon Hardtops from 1972 so if we get one of these in styrene eventually, I could see using this as a blueprint! Cheers Alan
-
Gee, I hope none of my stash is a 2008 issue! Thanks for the heads-up on the oily plastic. The whitewalls work for the mid to late 50's vibe, straight out of the movie "Hot Rod Girl"! Cheers Alan
-
Wow, I really didn't expect such a strong response to this little car! Thank you everyone for responding, it means a lot. As frustrating as the sub-par paintjob was to me, I guess the street brawler nature of the build helps carry the patina'd paint, if you will. As resin doesn't lend itself to paint stripping, it will just have to grow old gracefully, scars included! Cheers Alan
-
I think this model will be the benchmark for hot rod modellers world wide, for a long time to come. Congratulations on achieving such a superb result, Martin, it is, as everyone has said, truly amazing! Cheers Alan
-
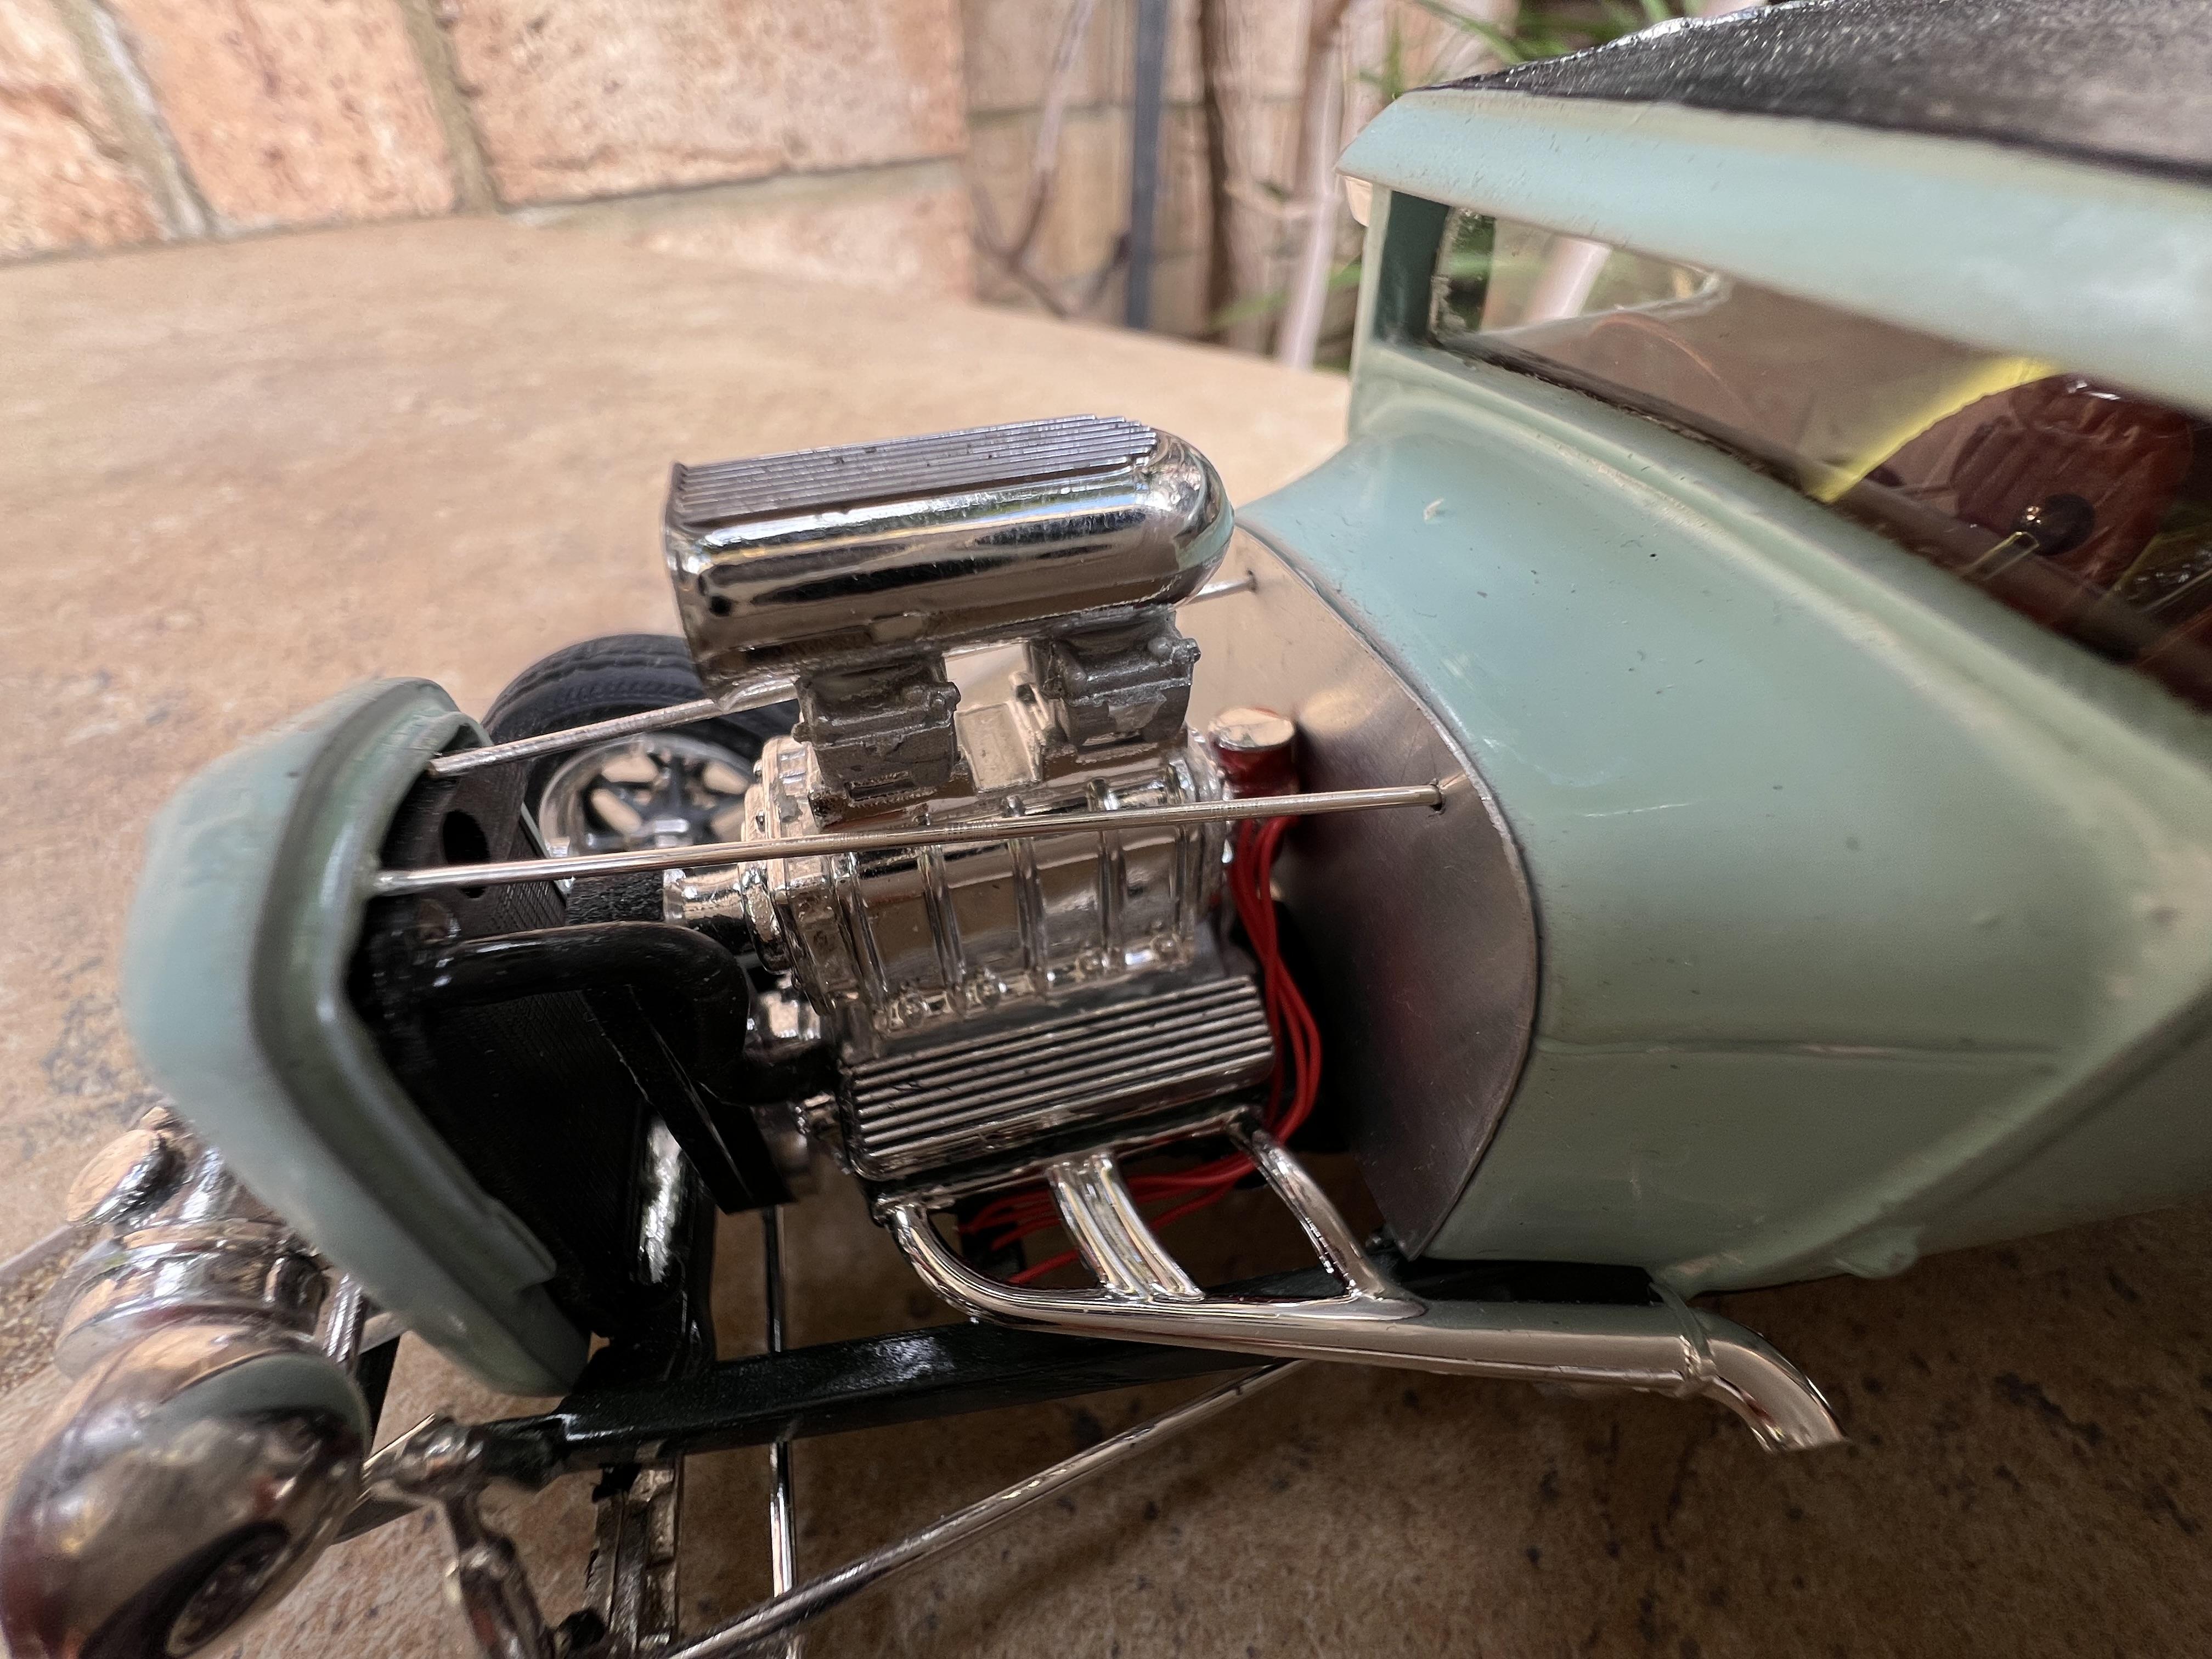
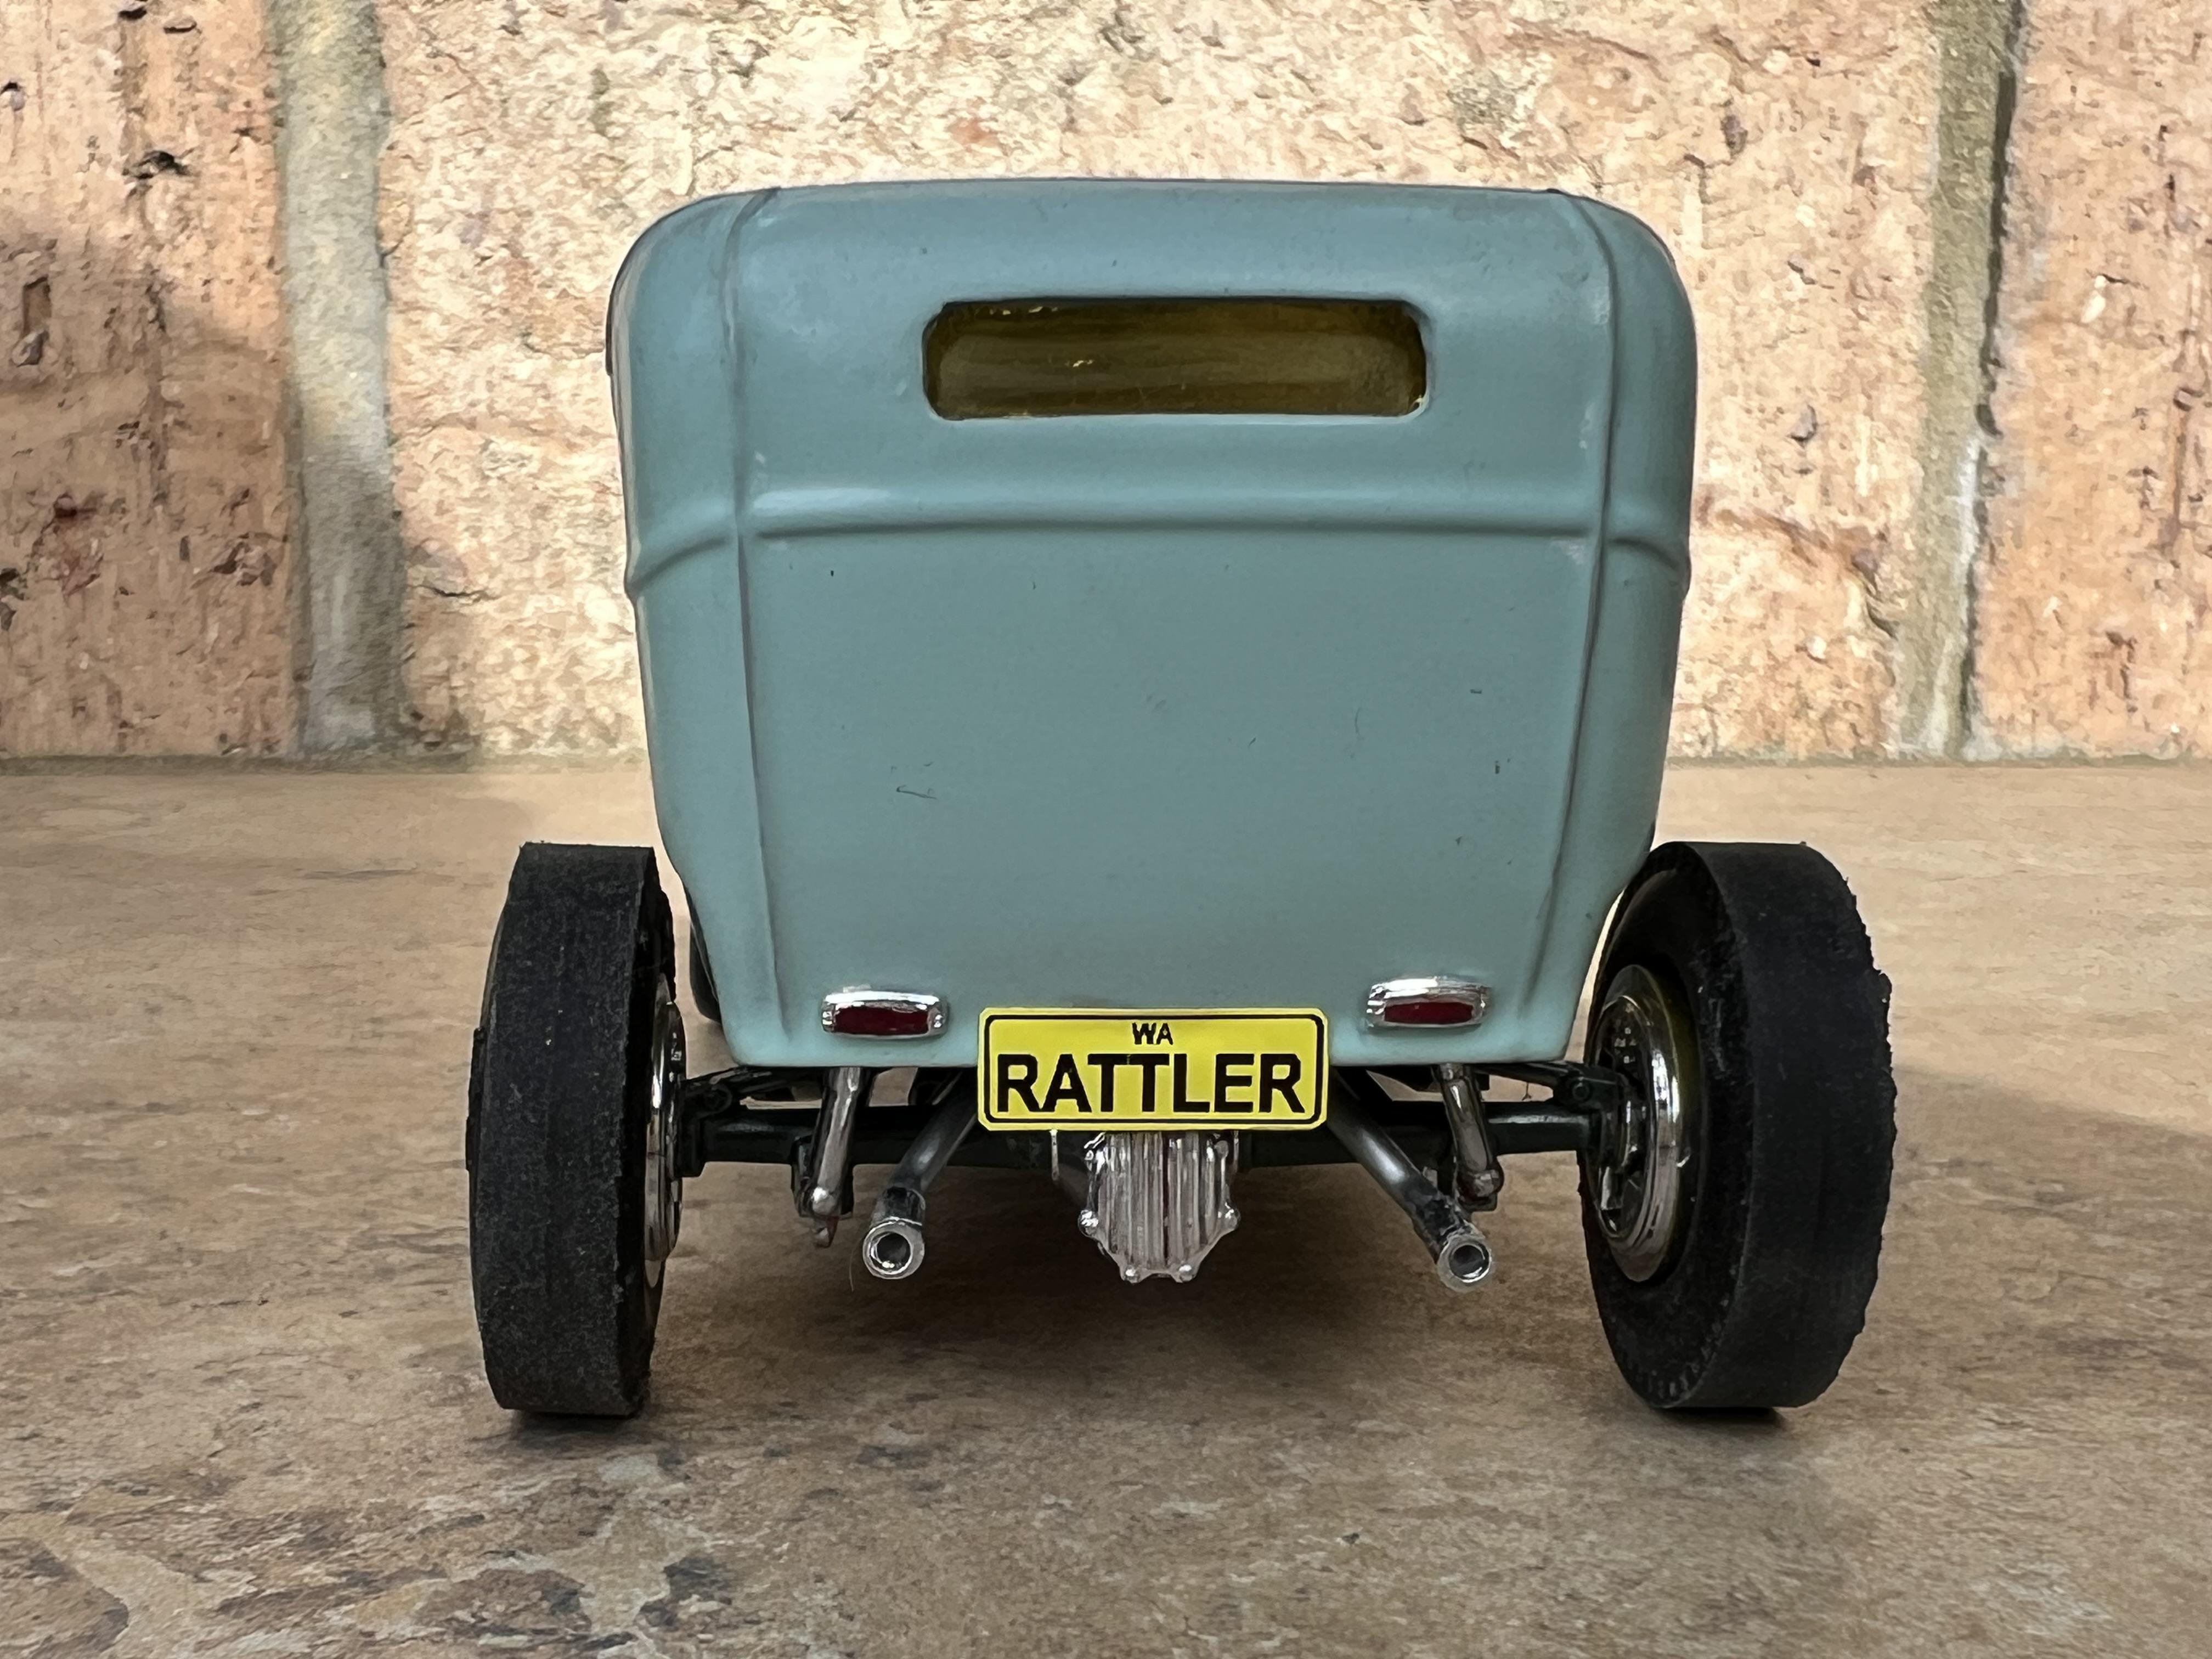
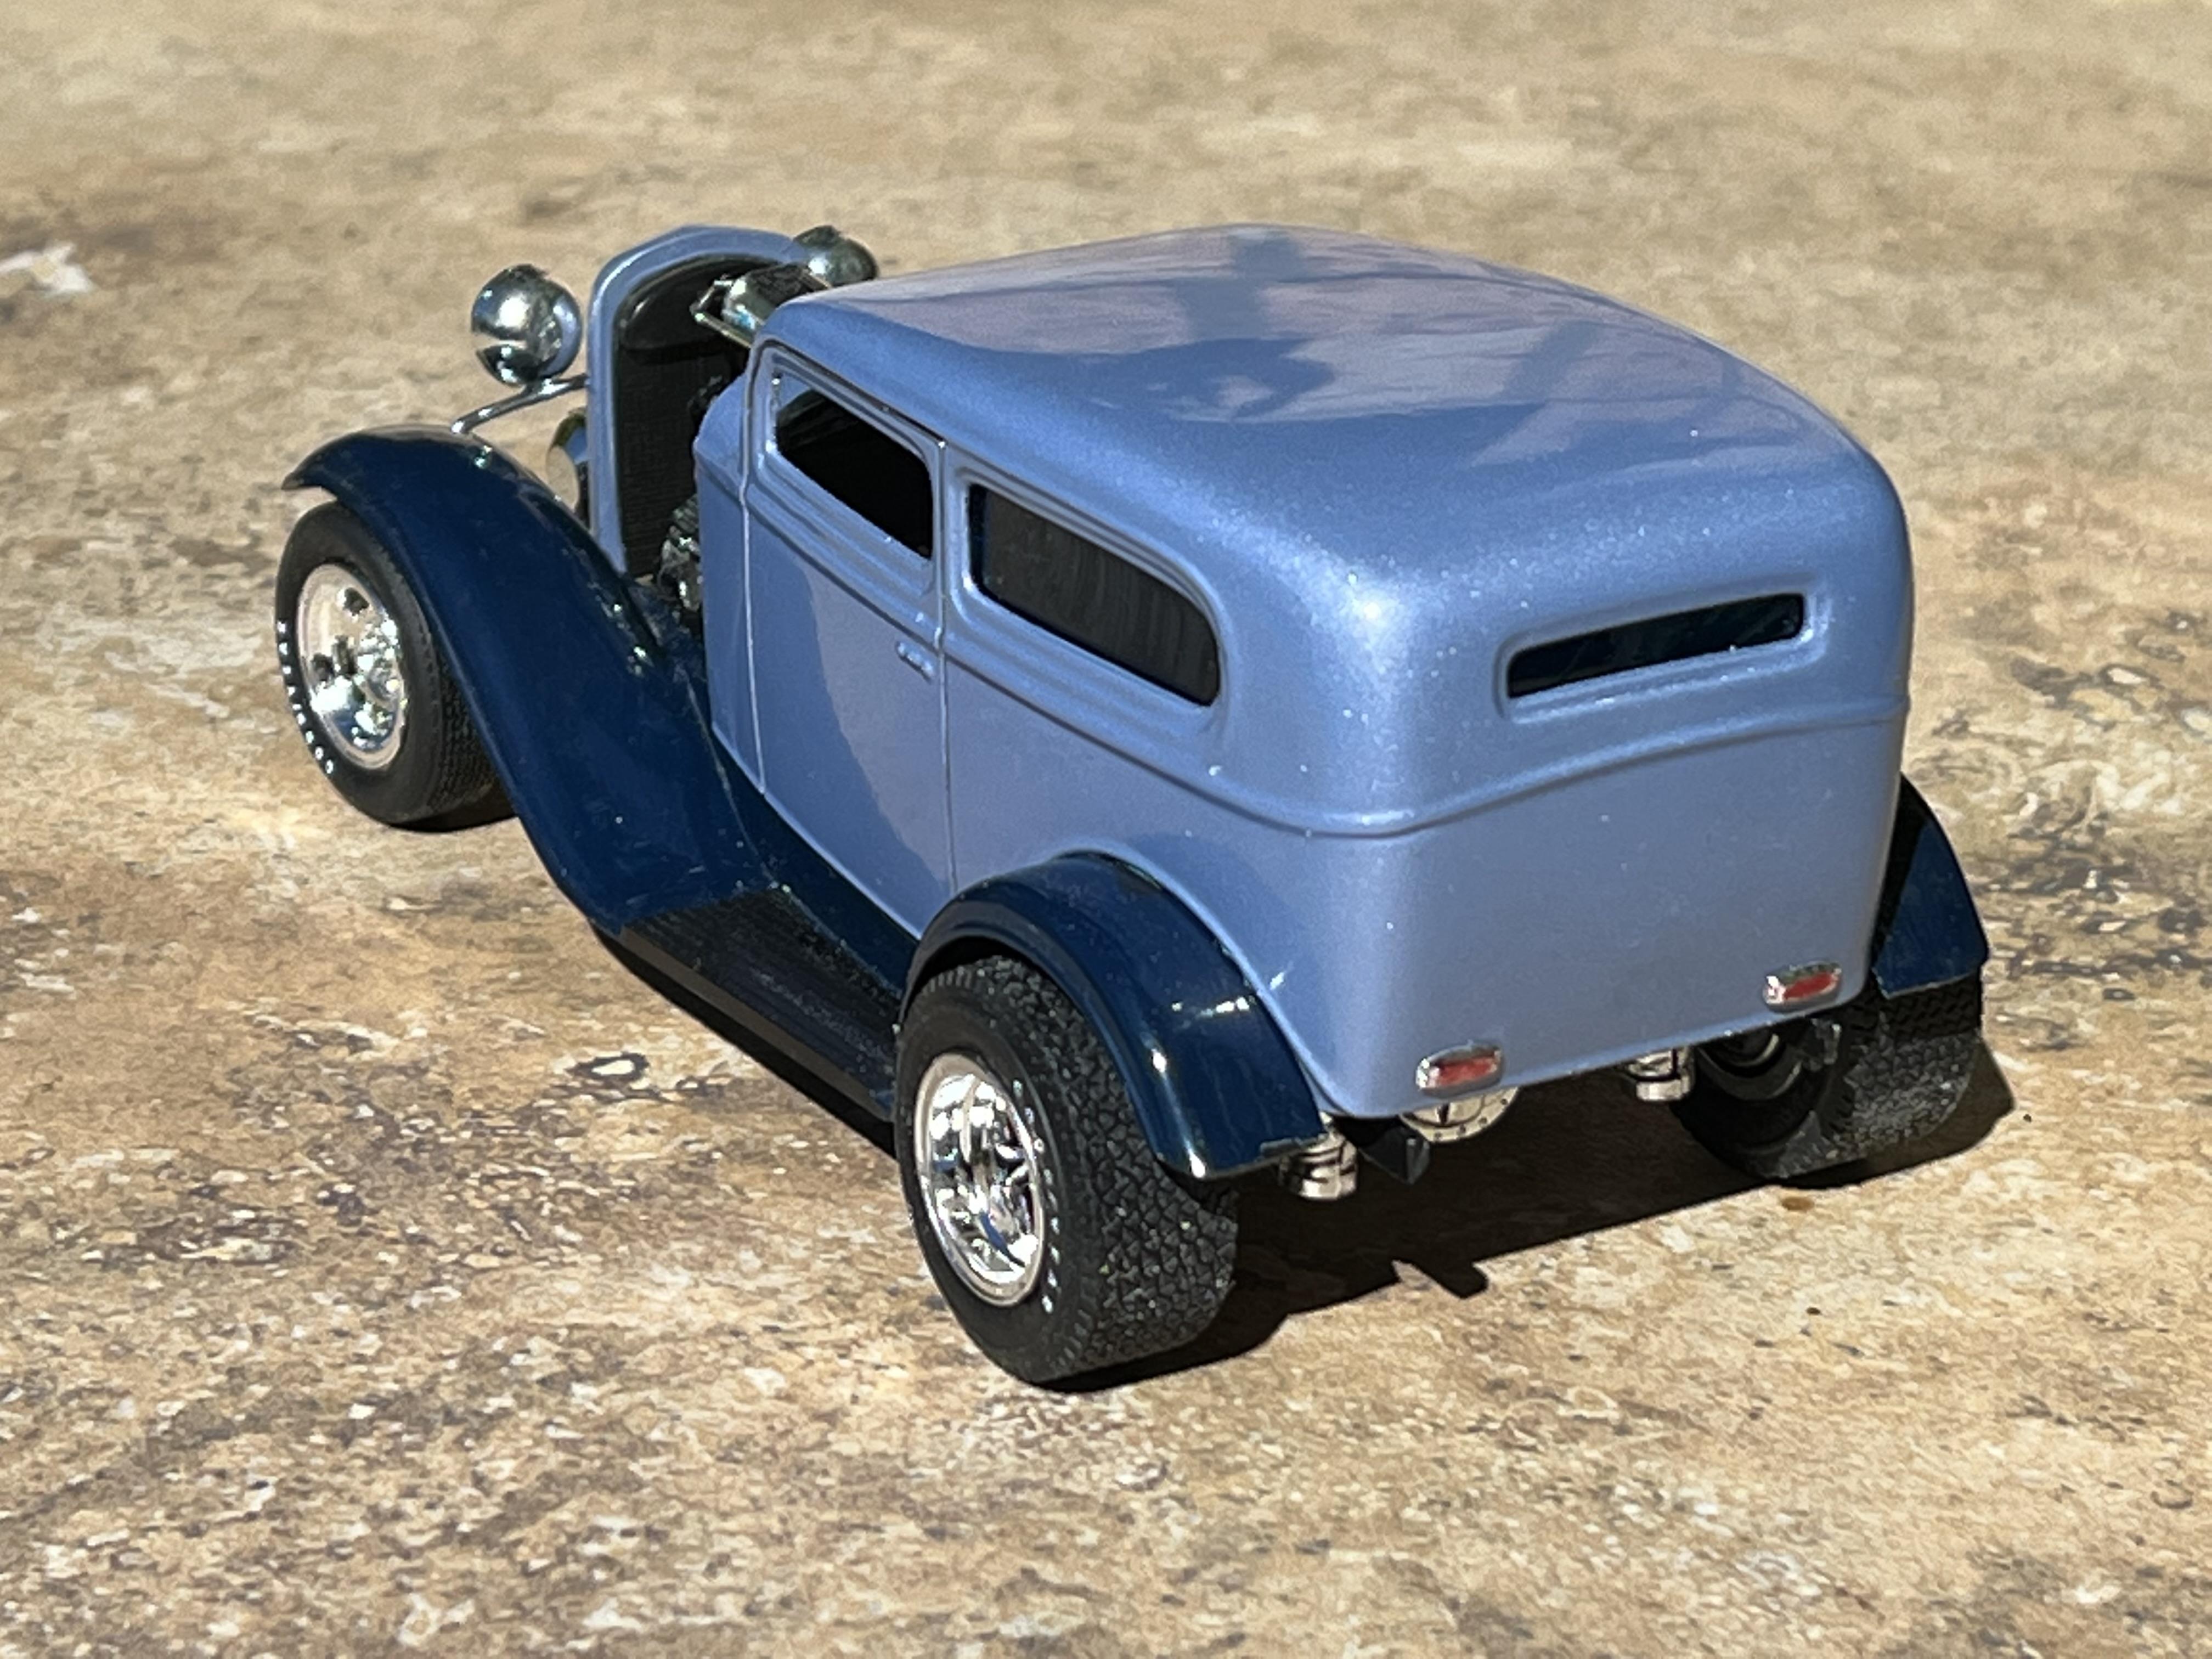
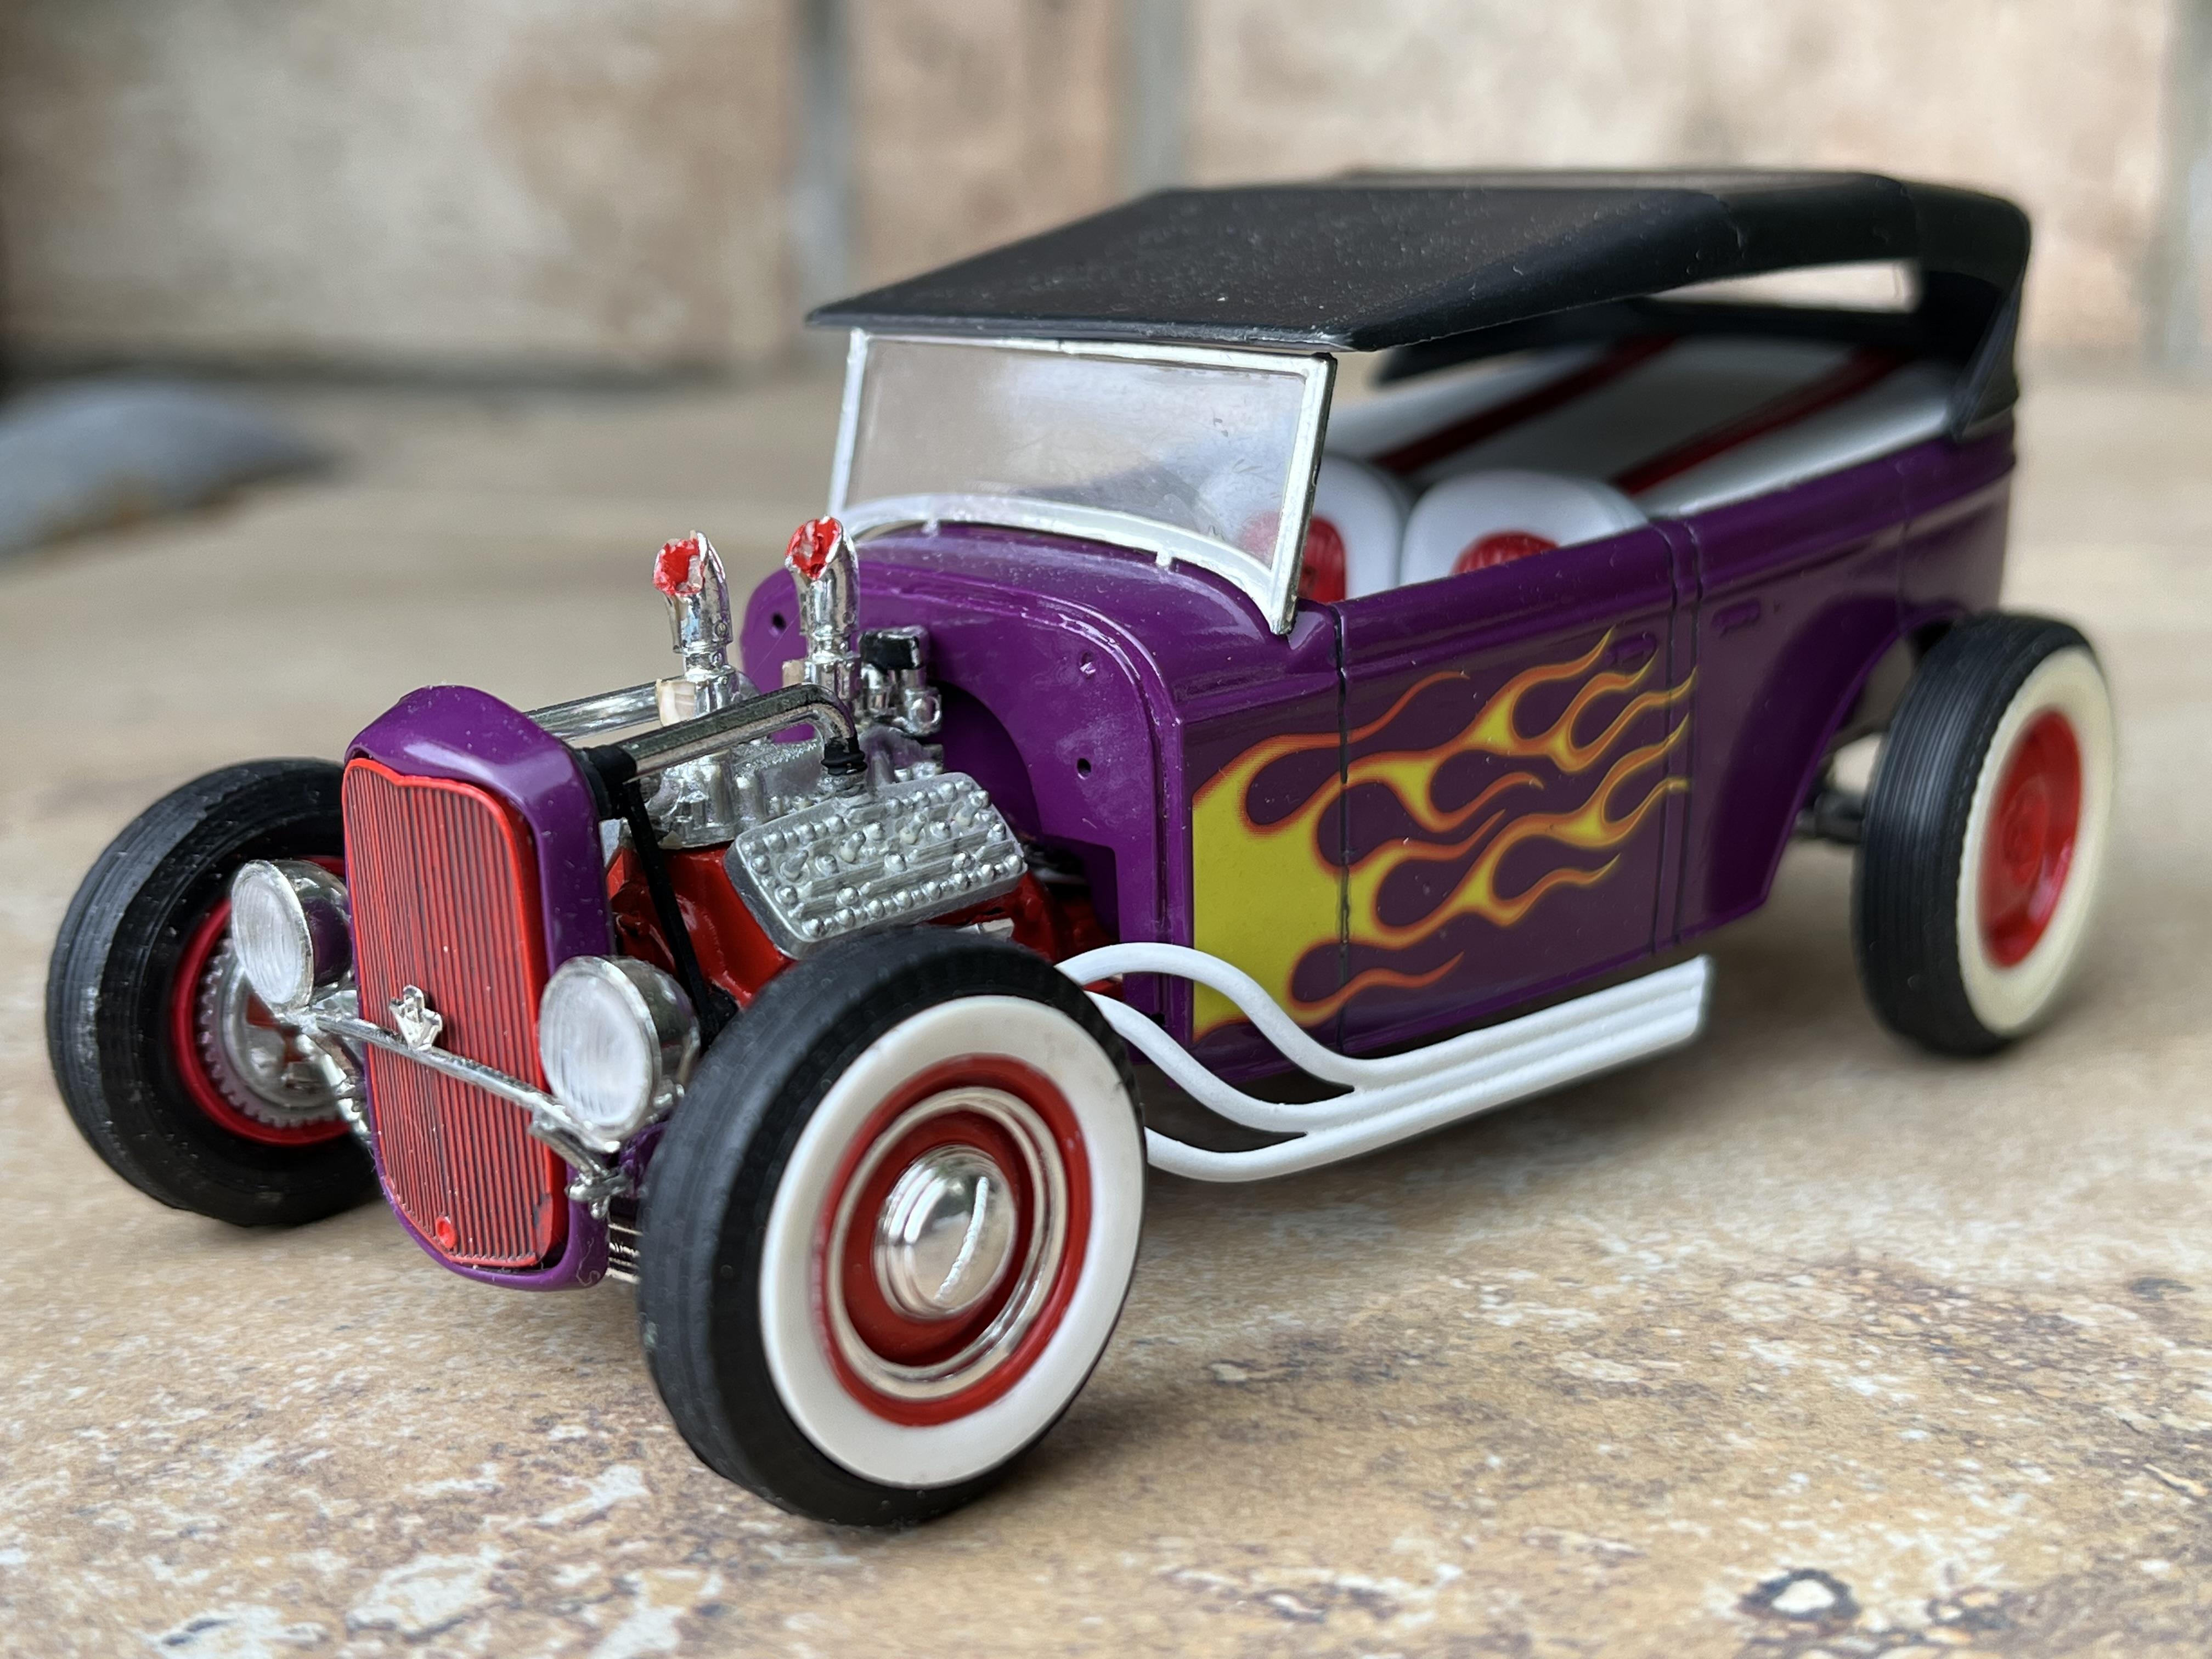
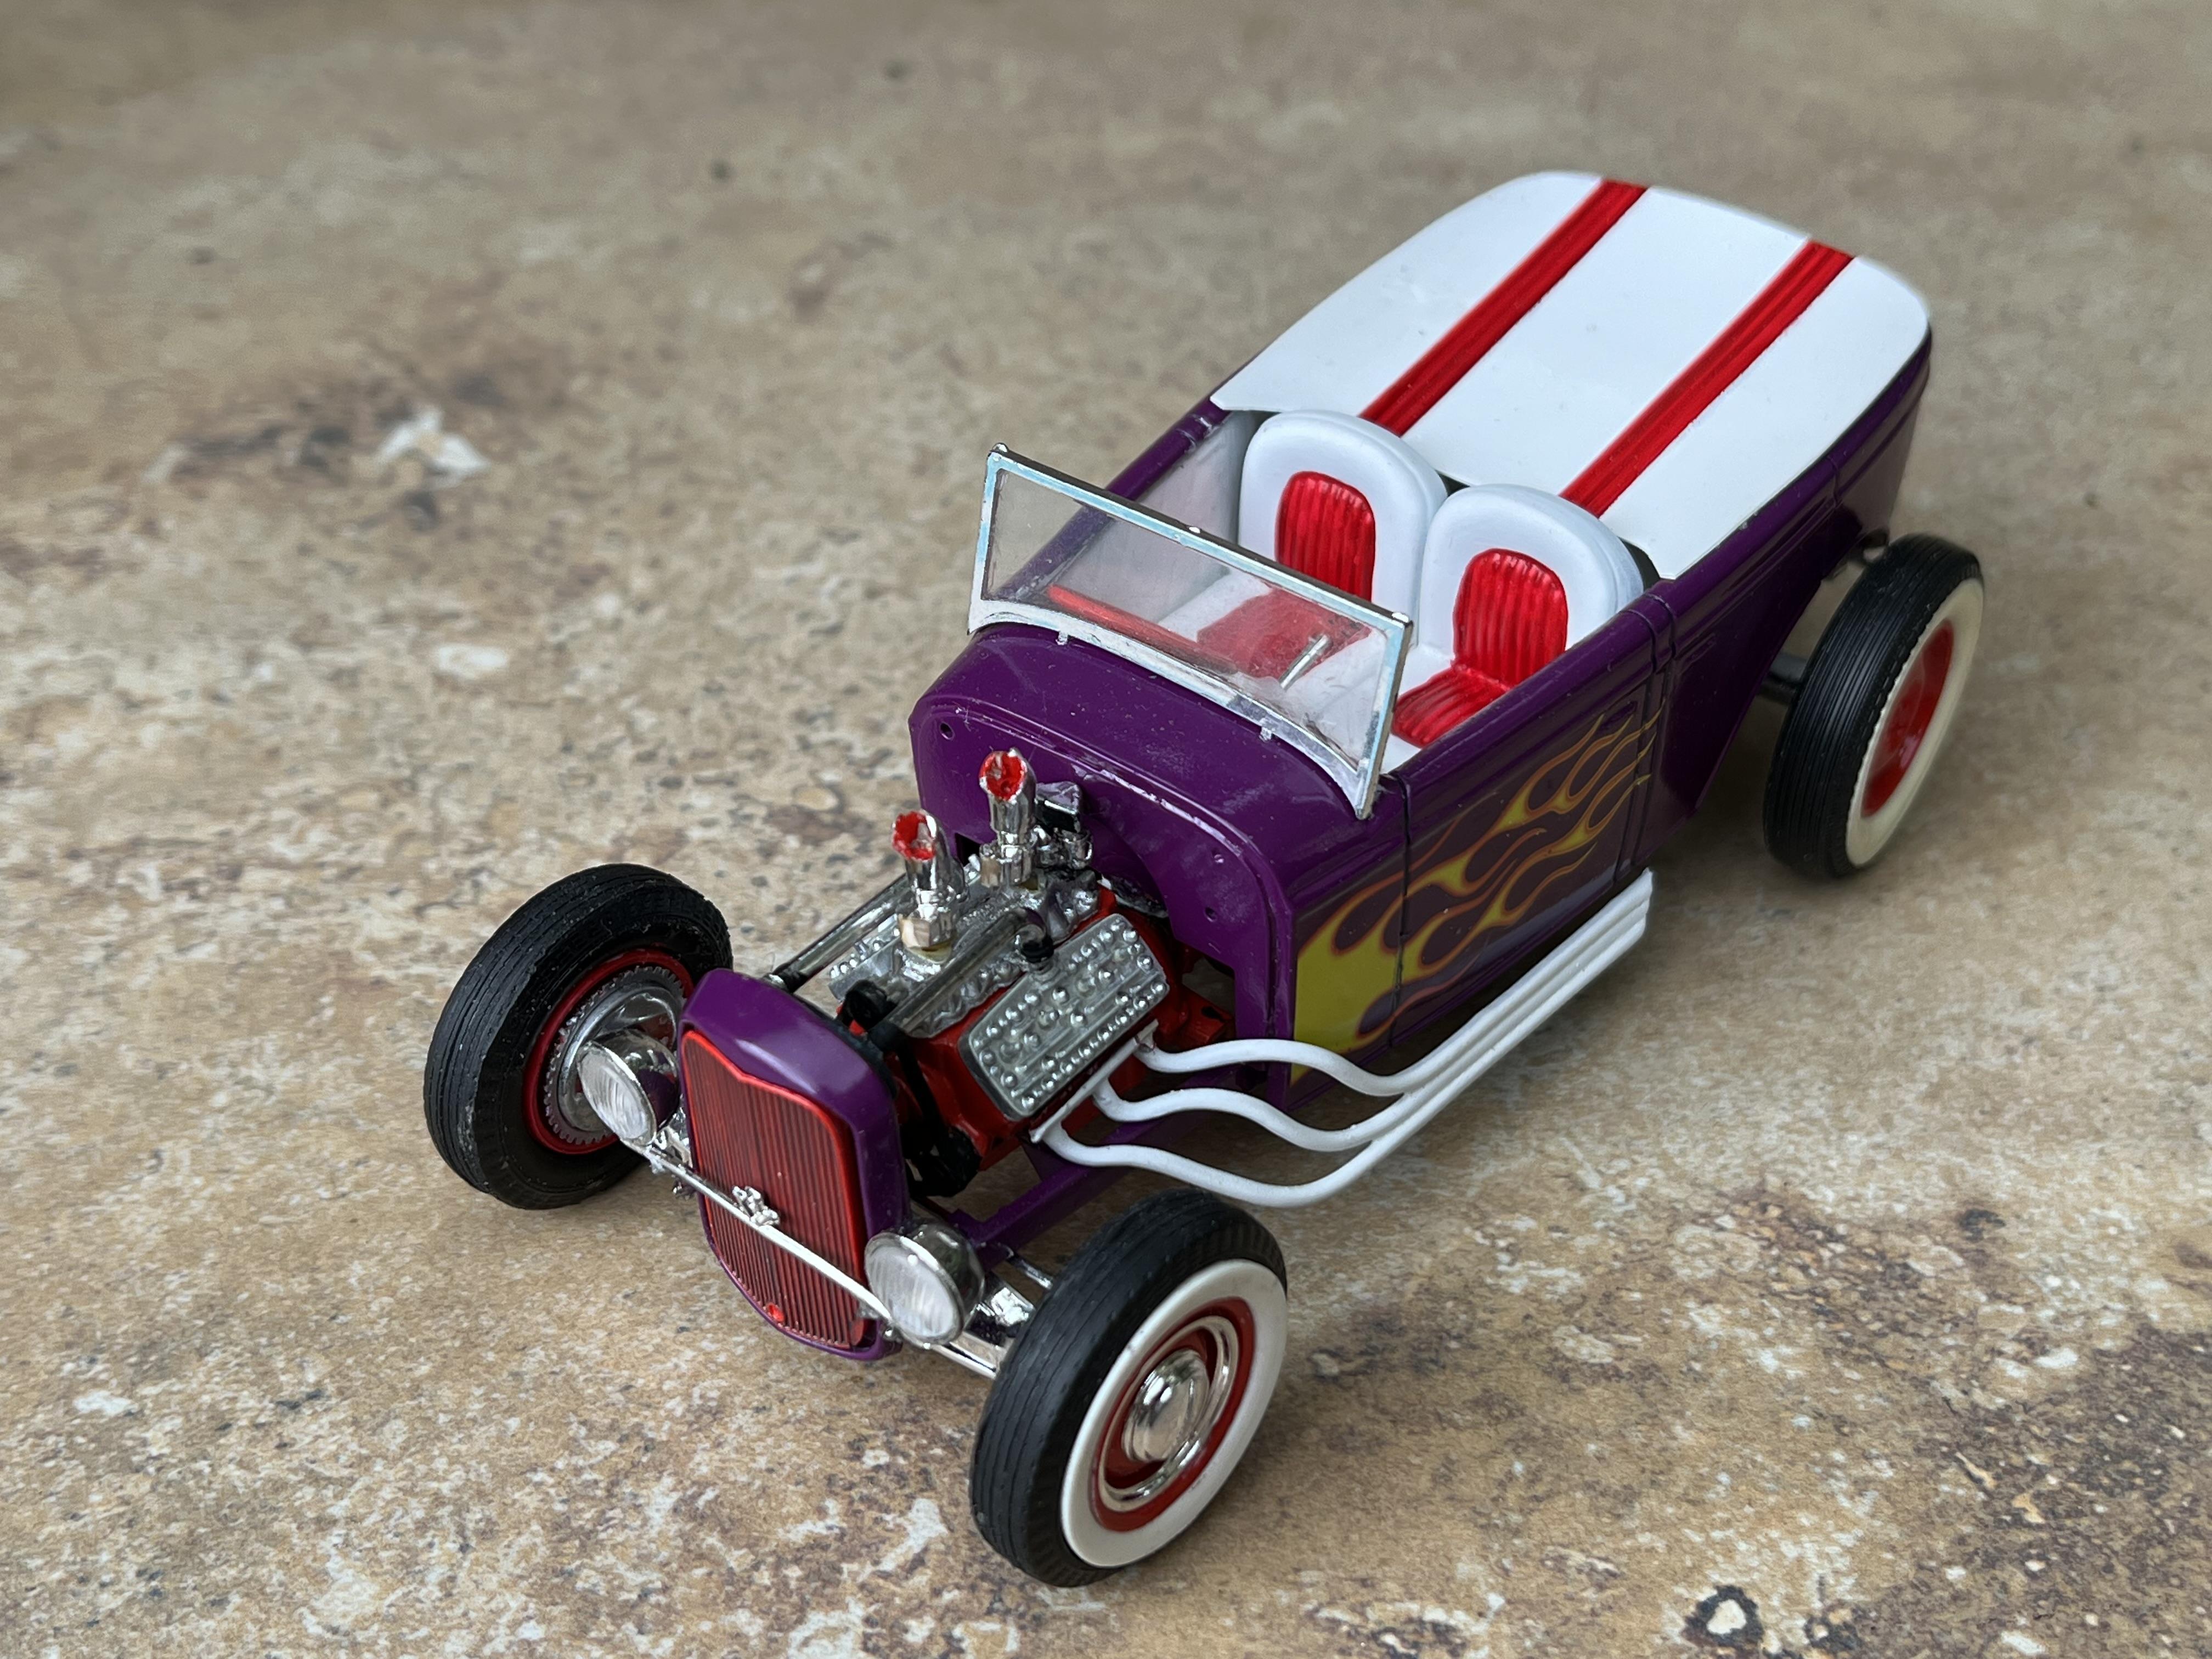
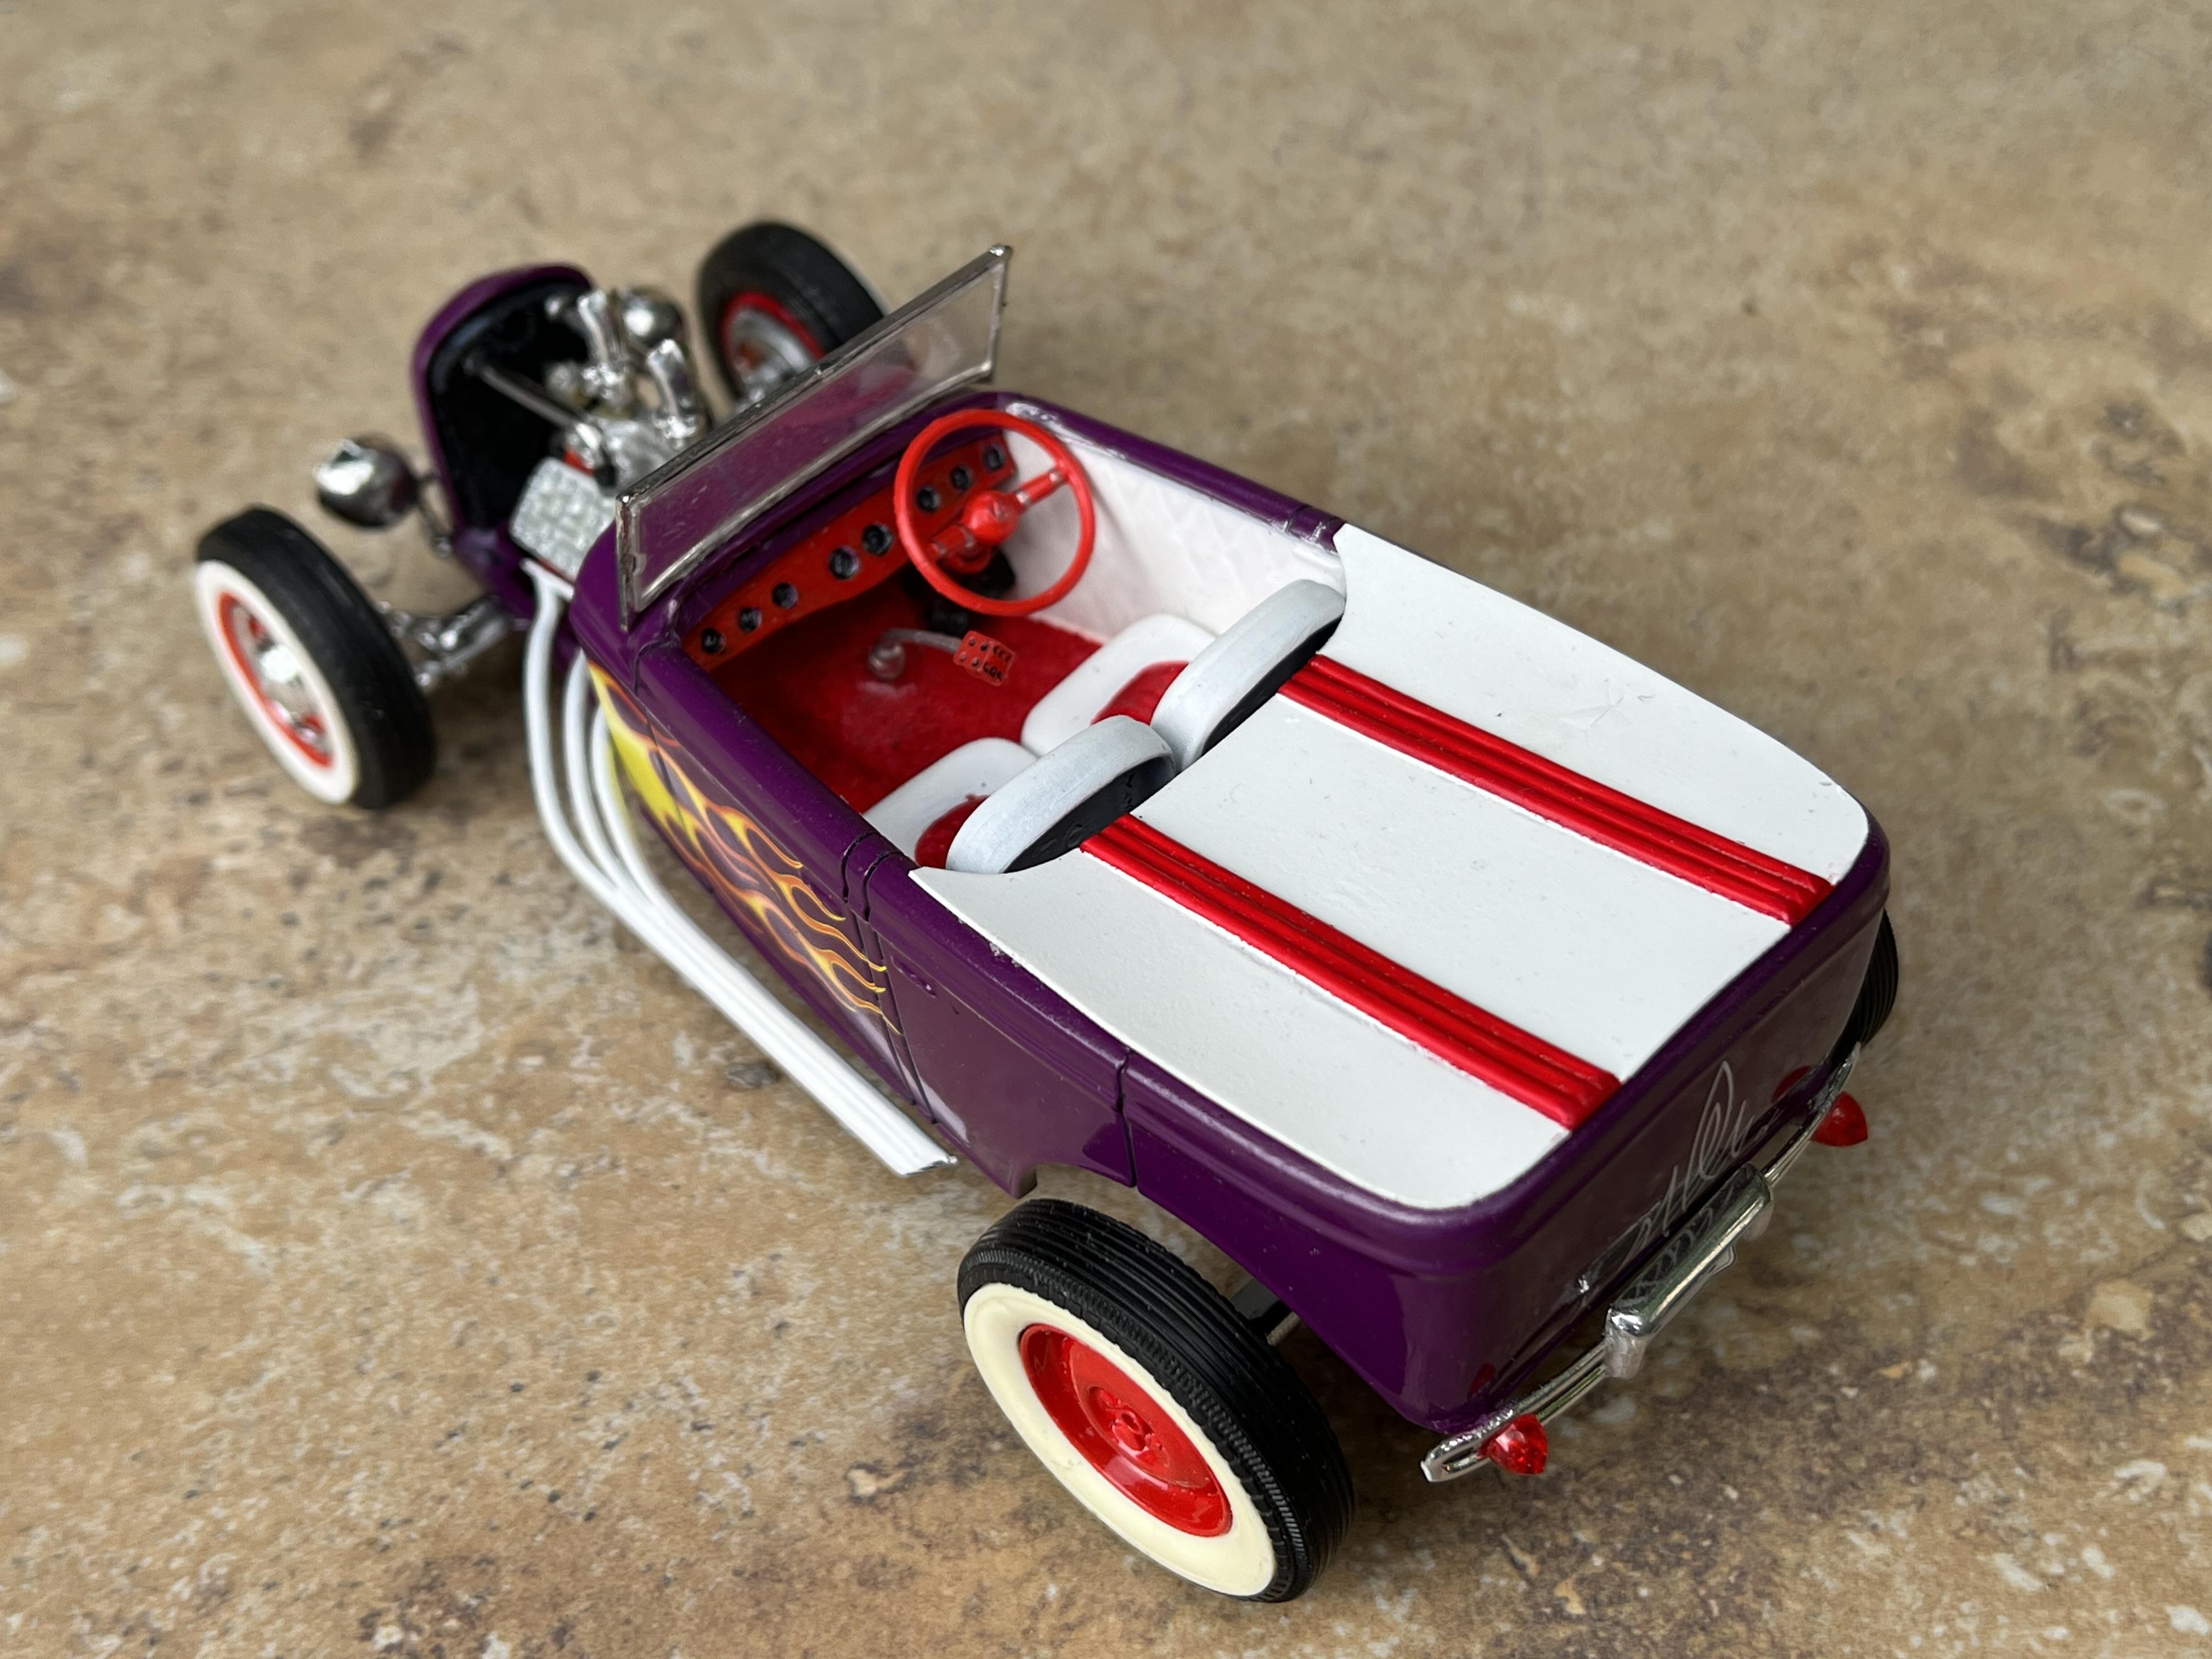
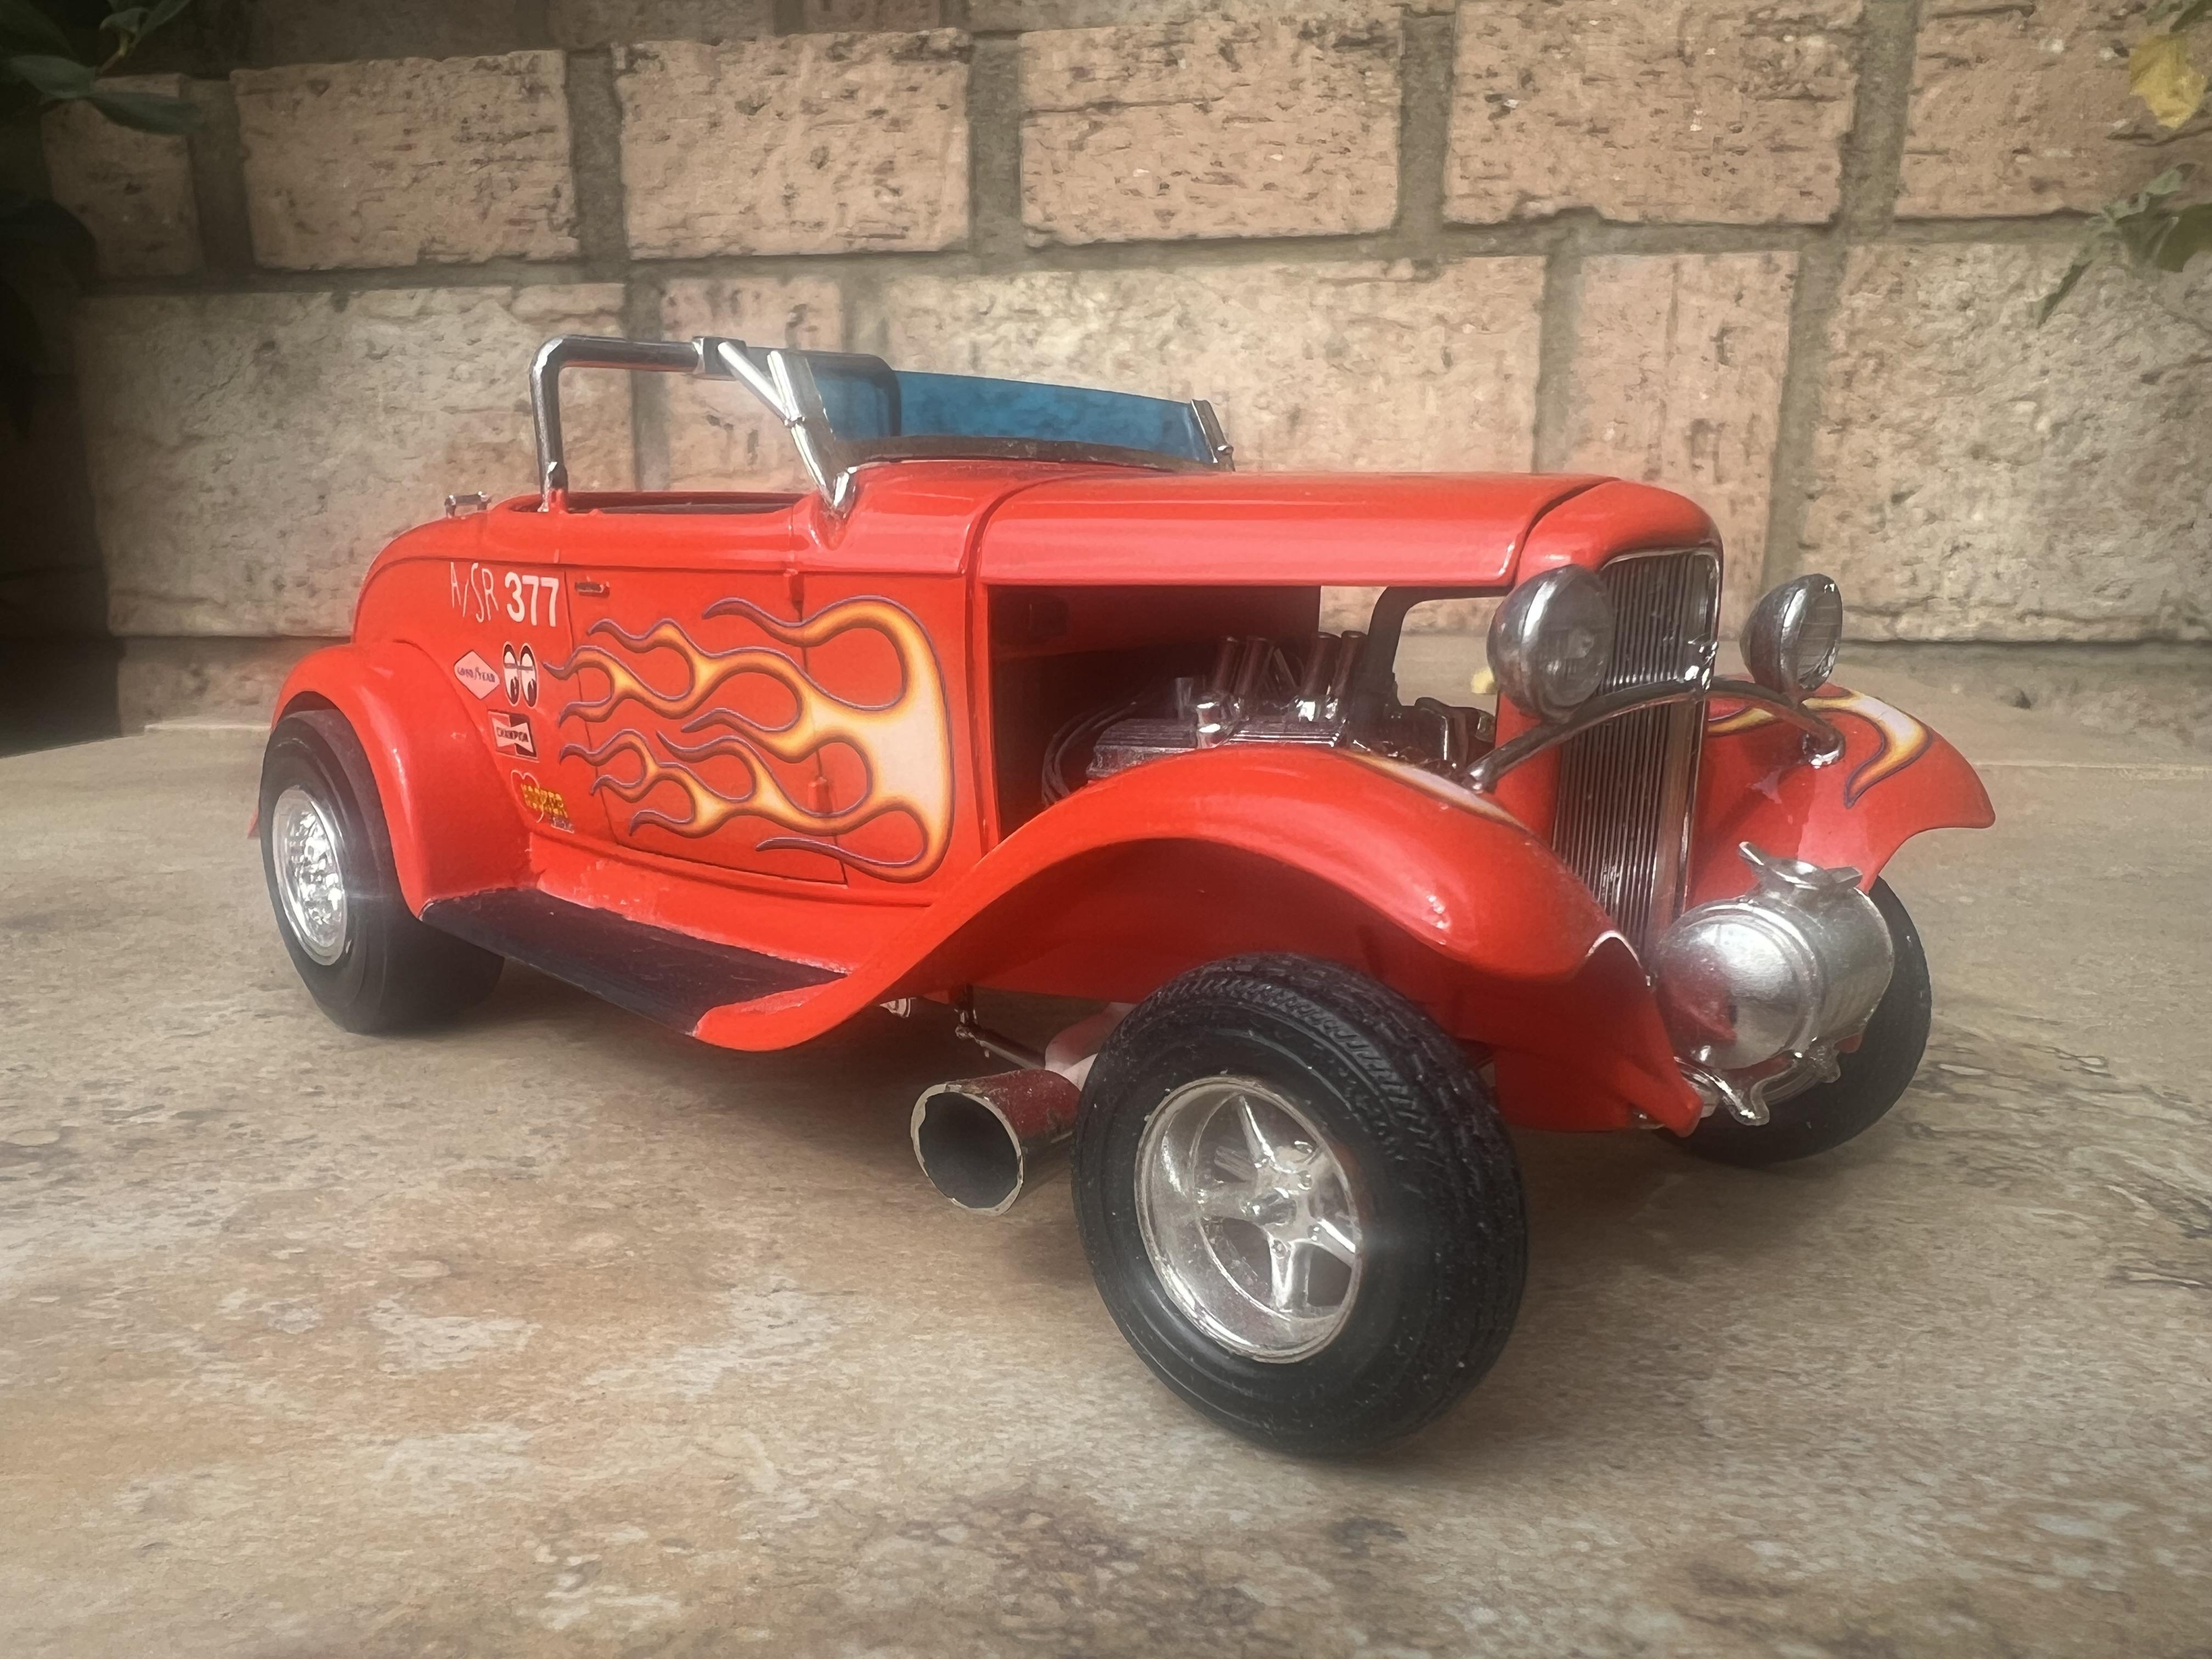
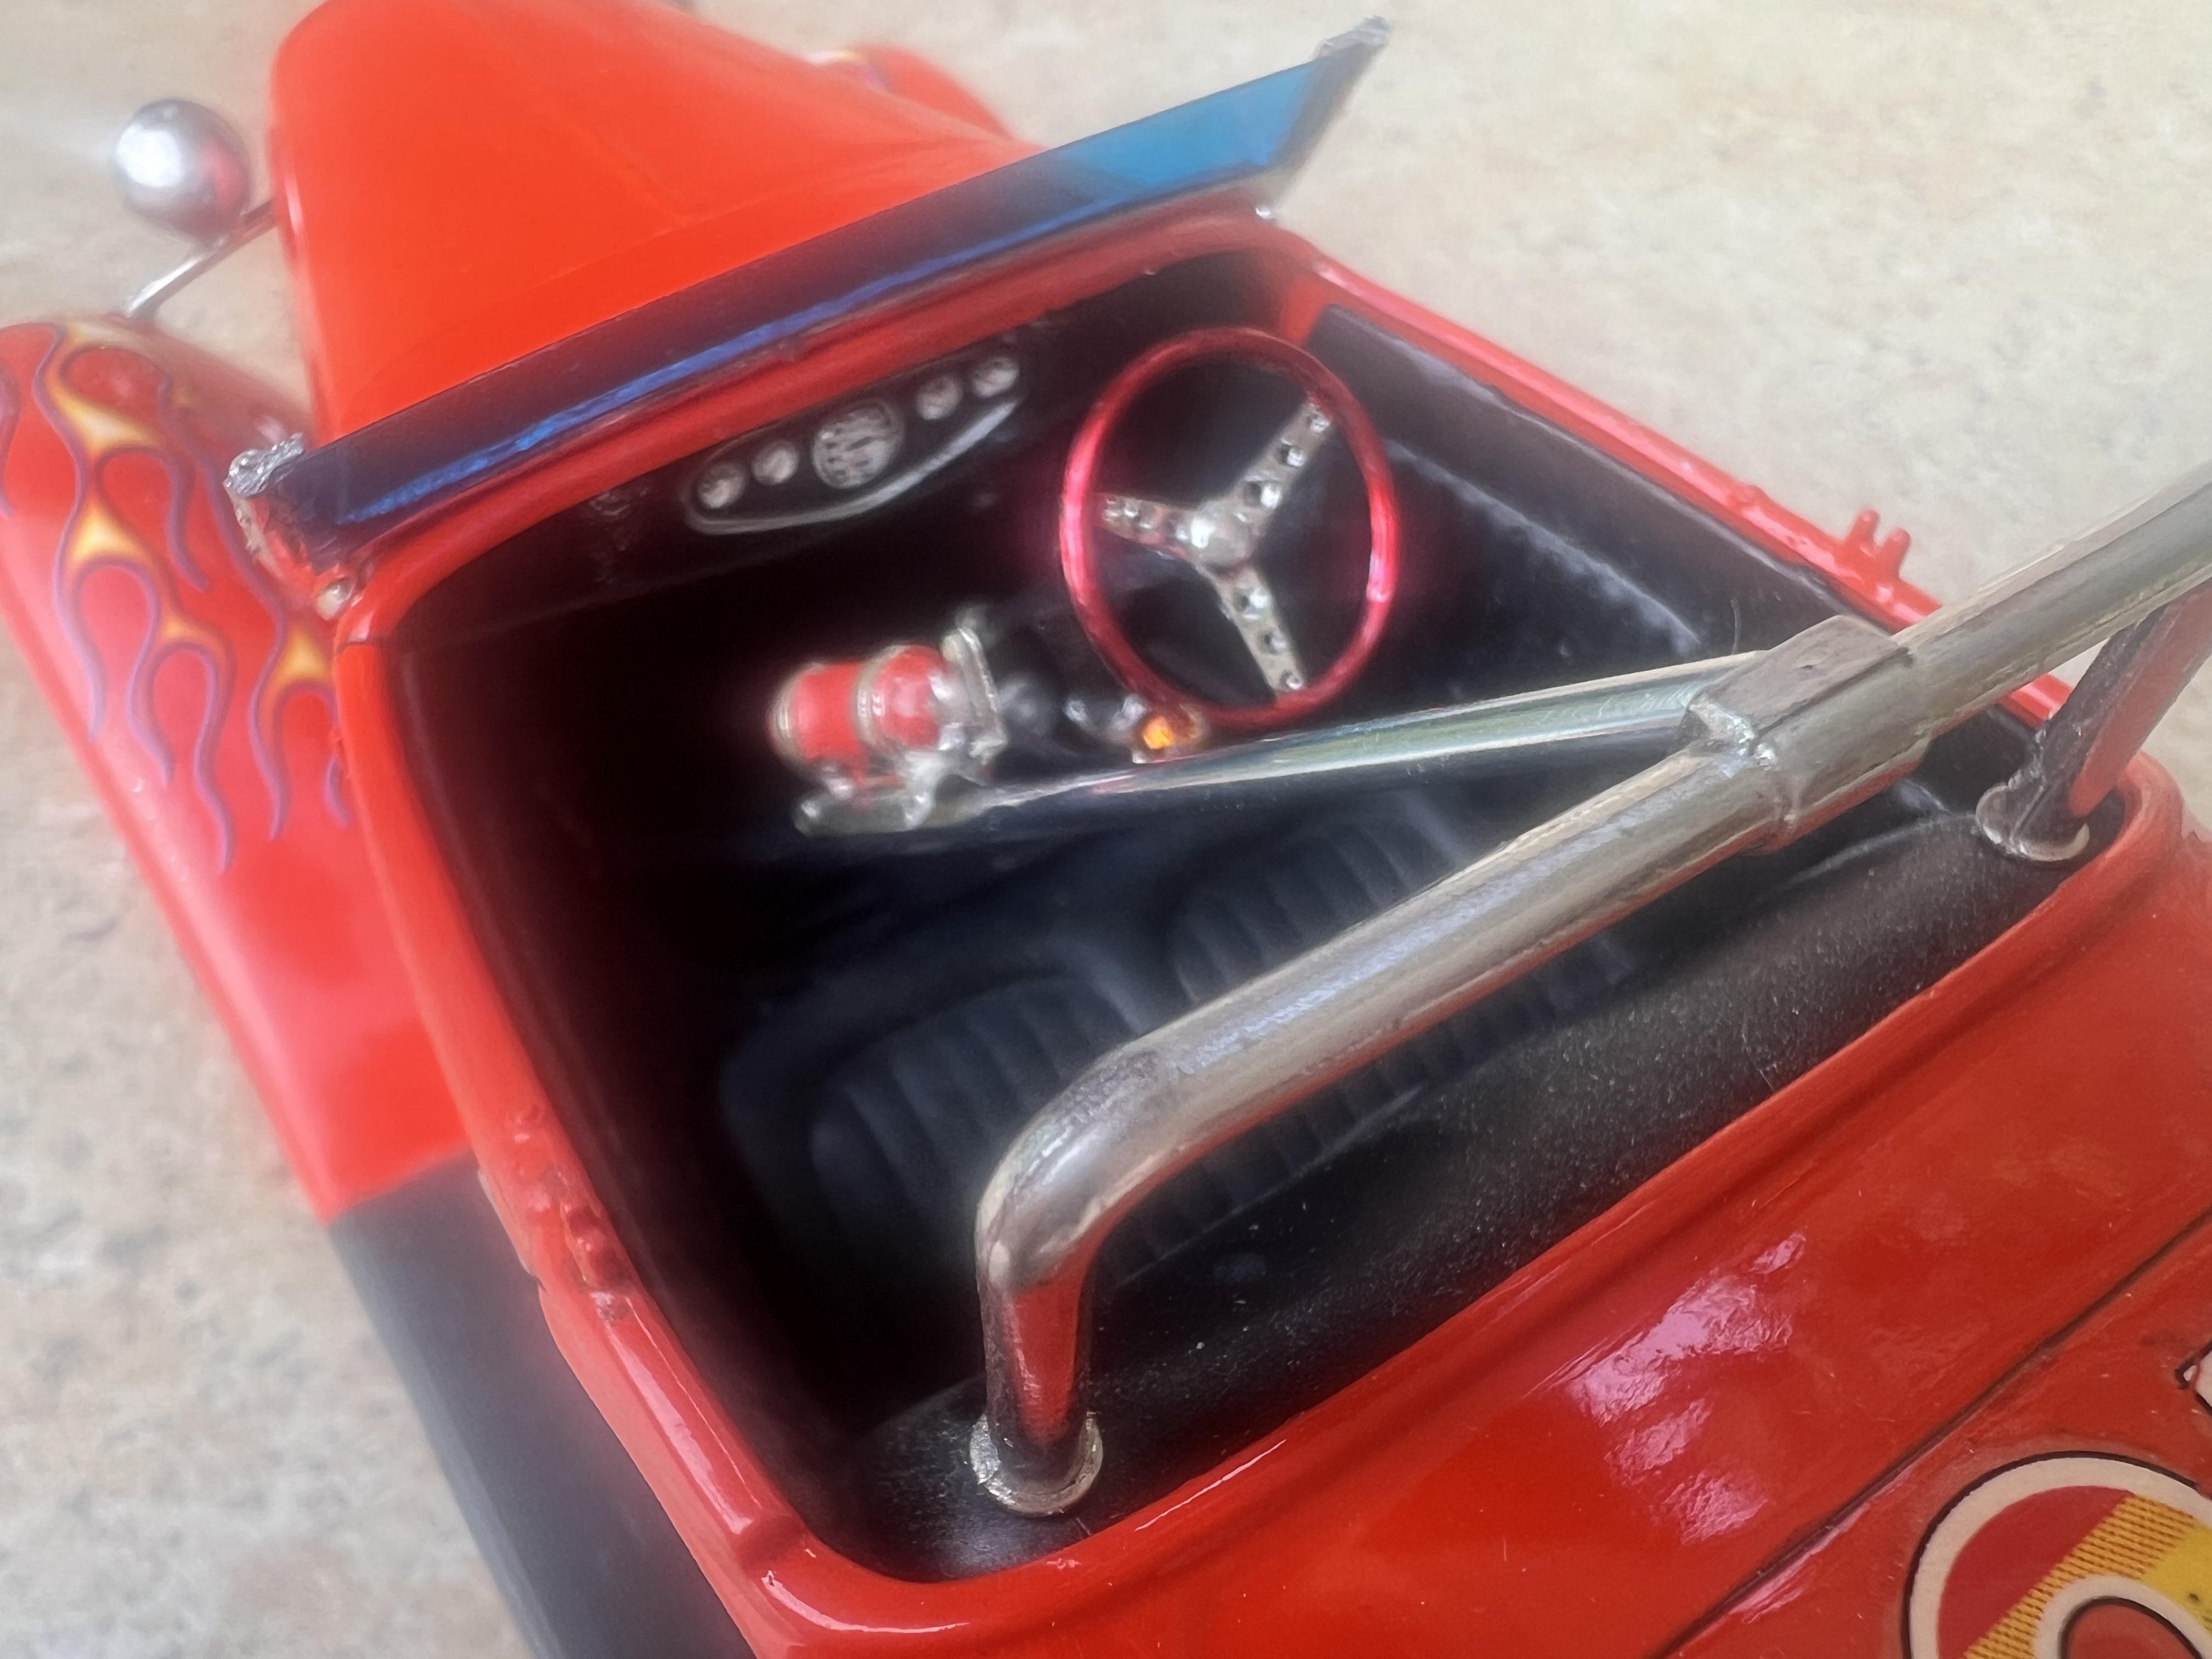
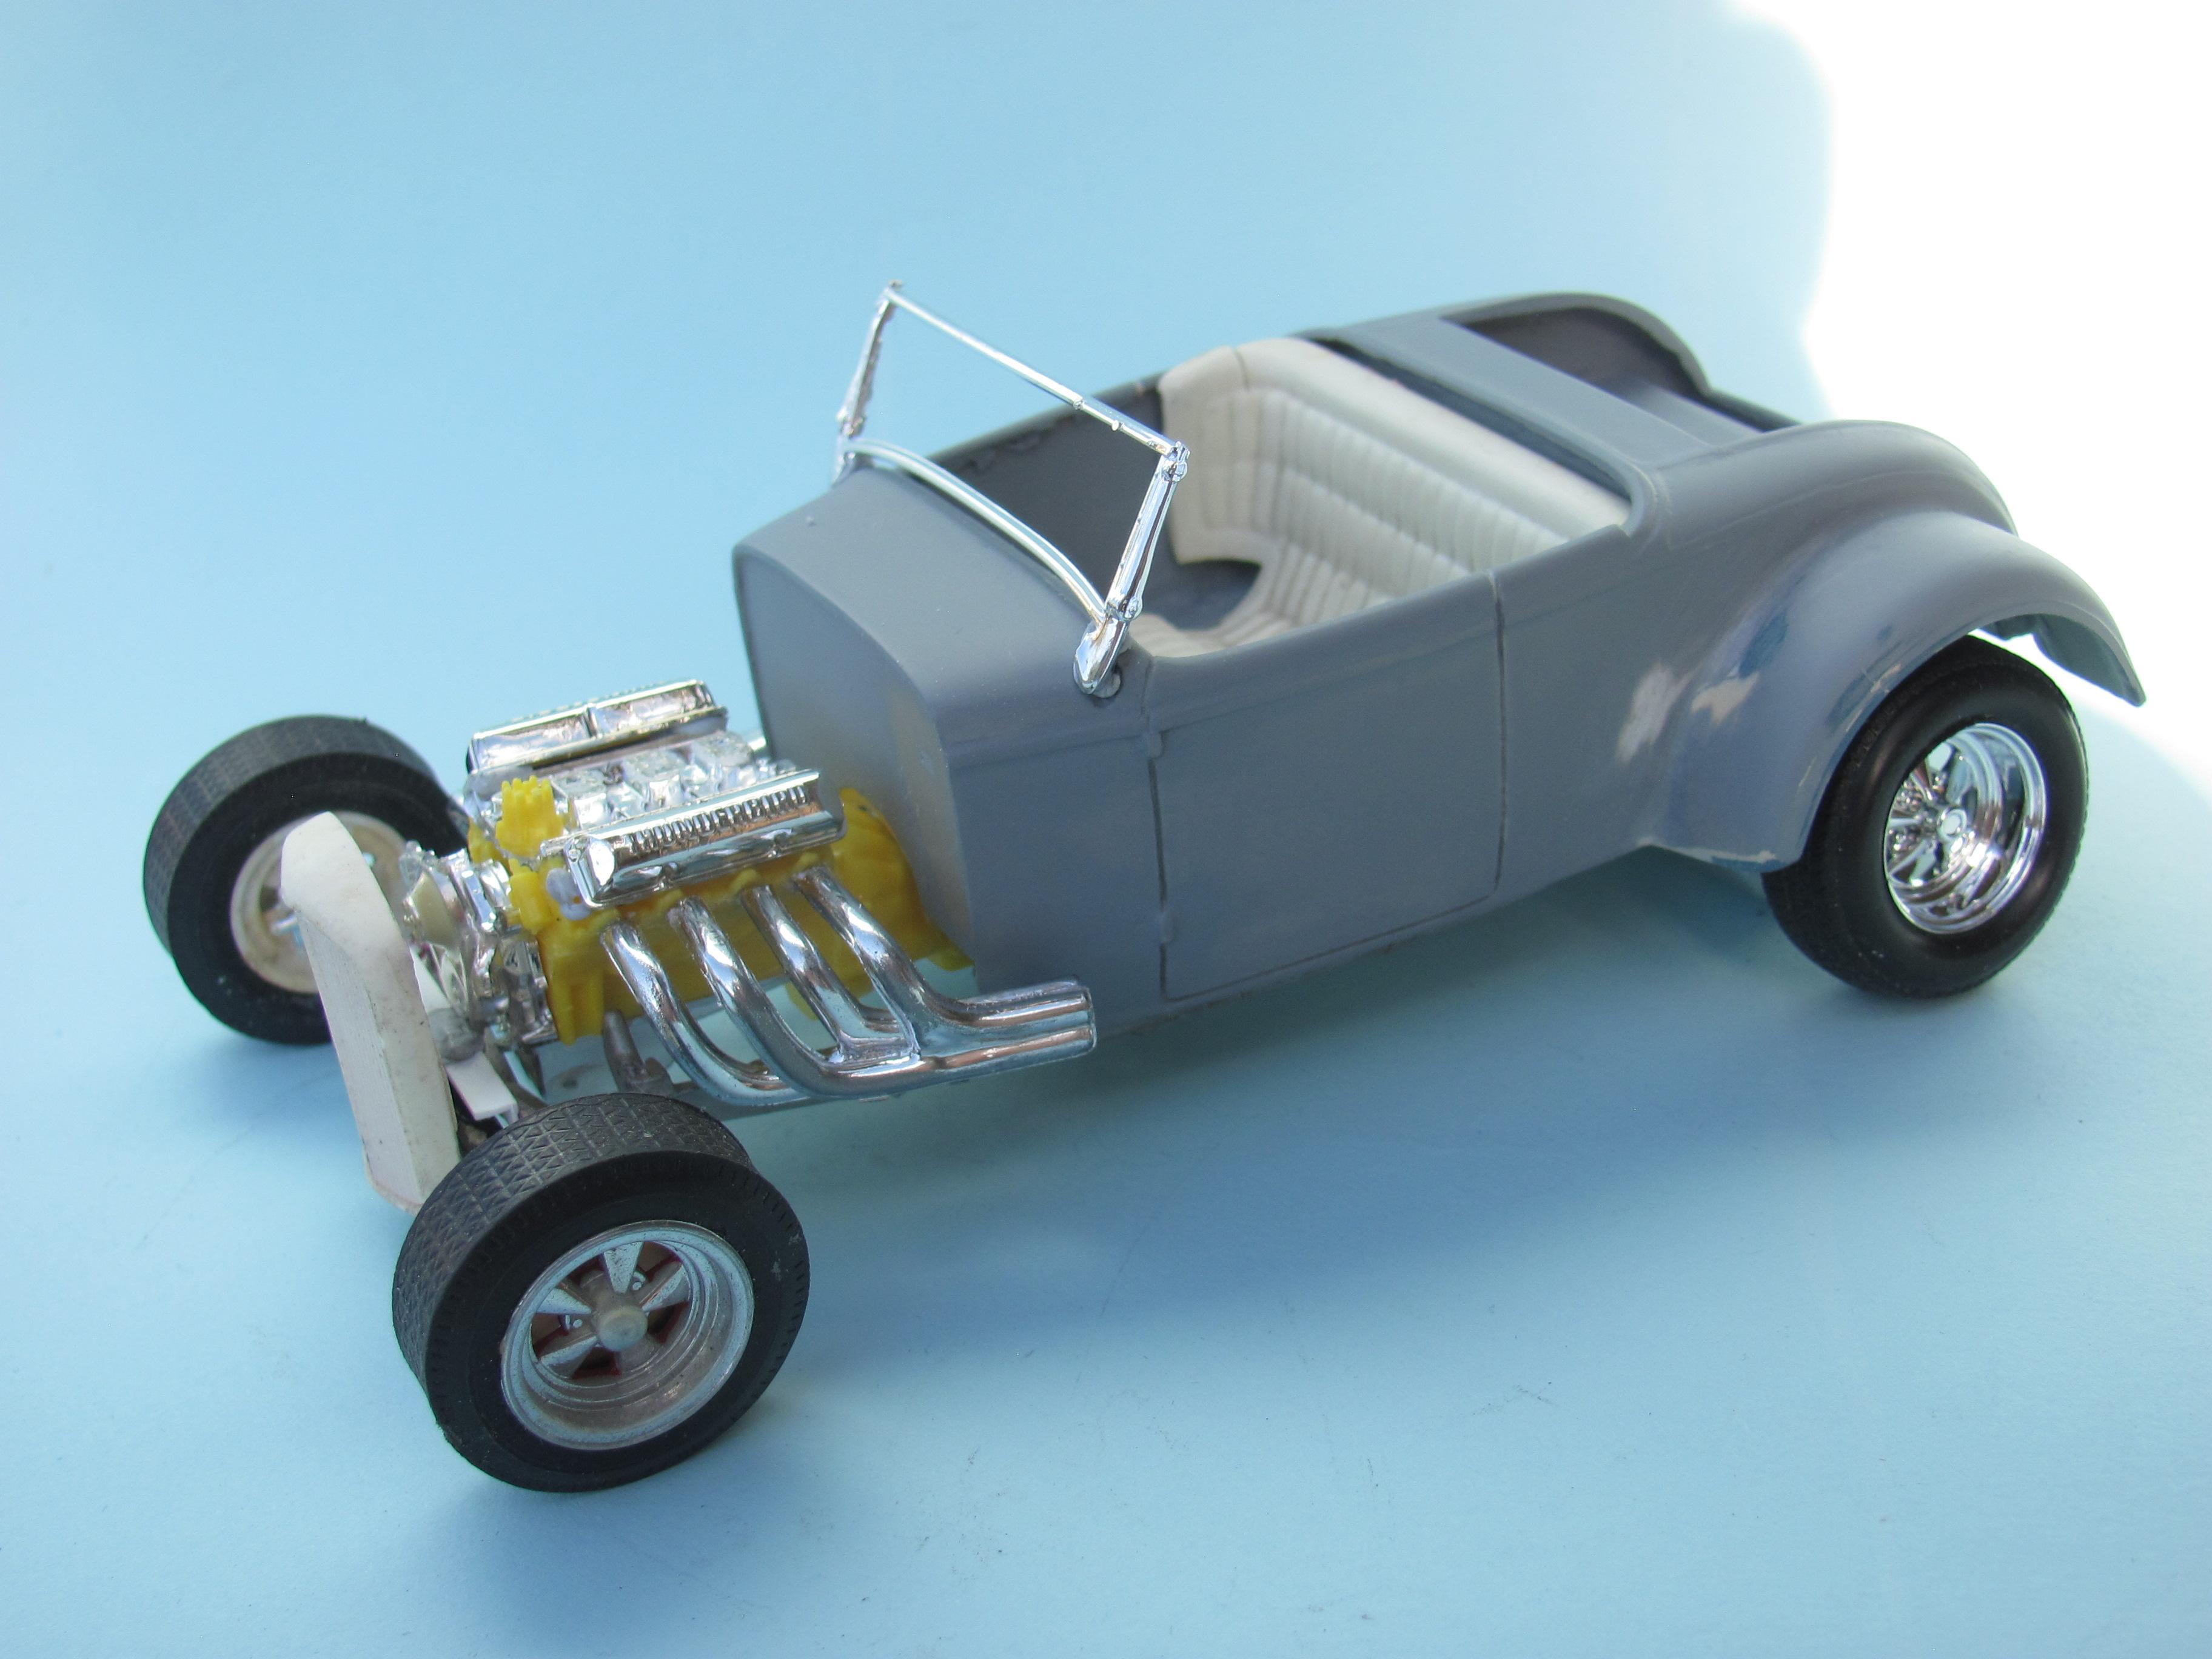
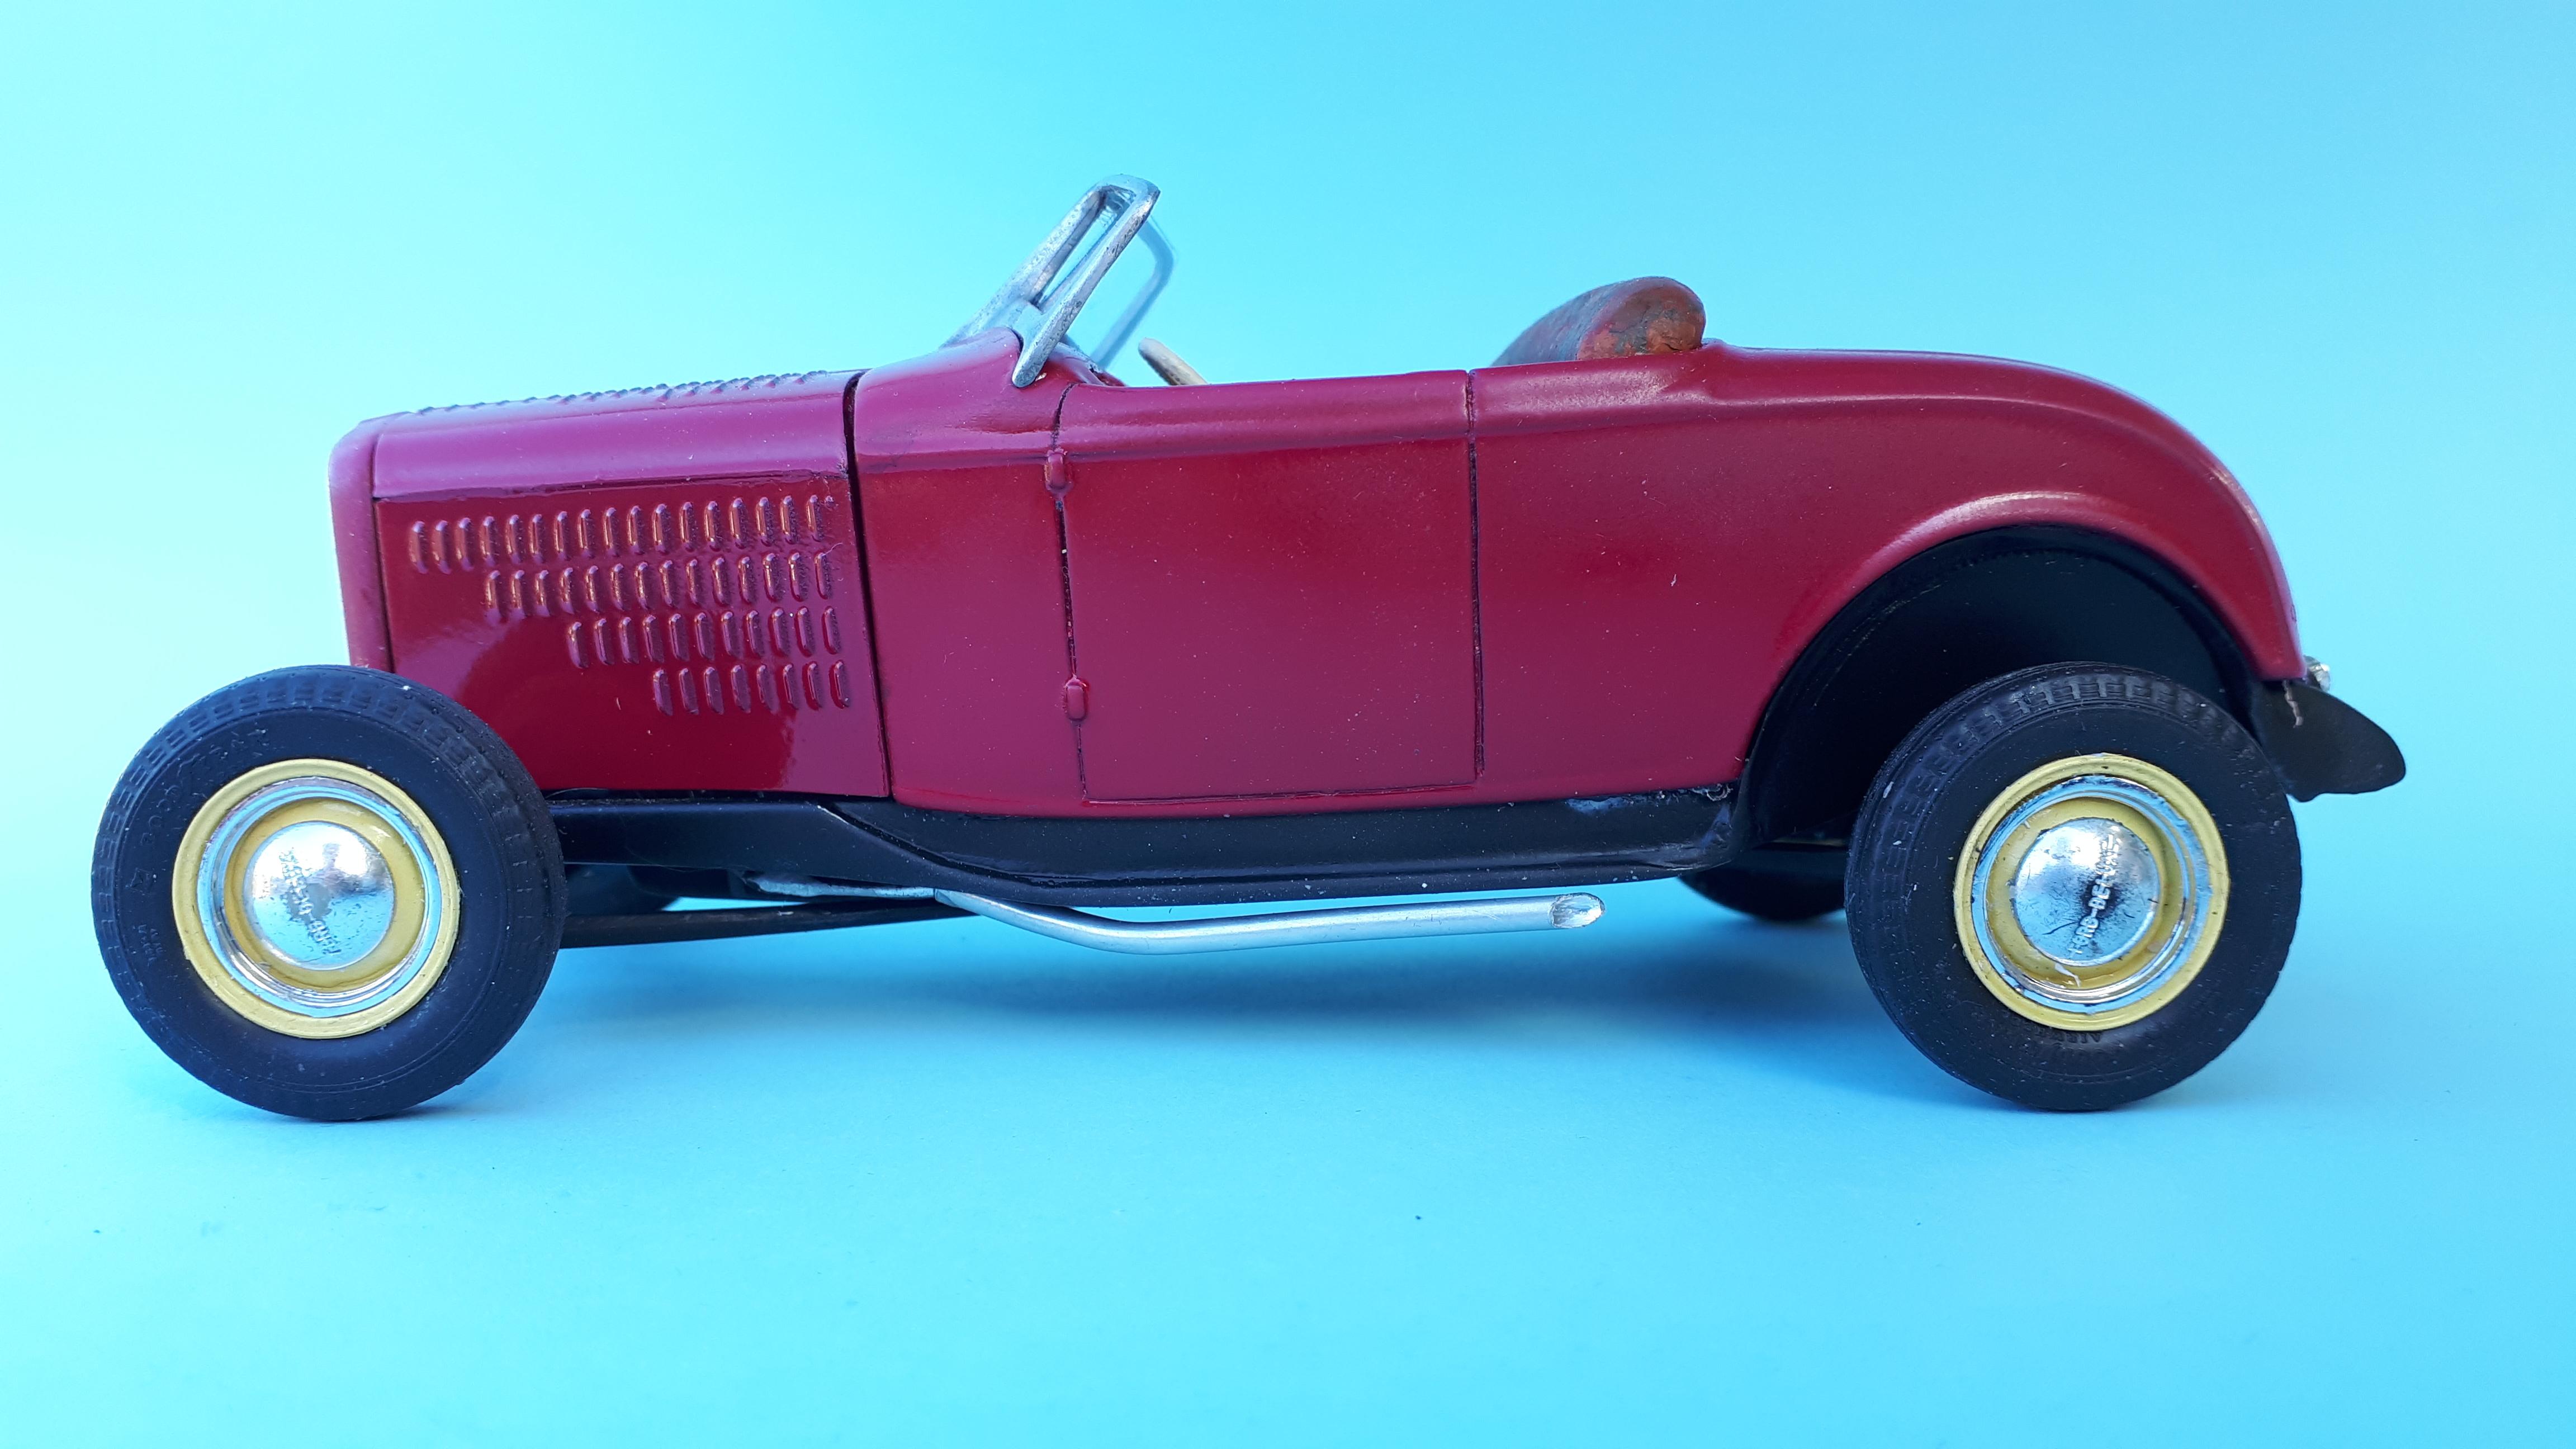
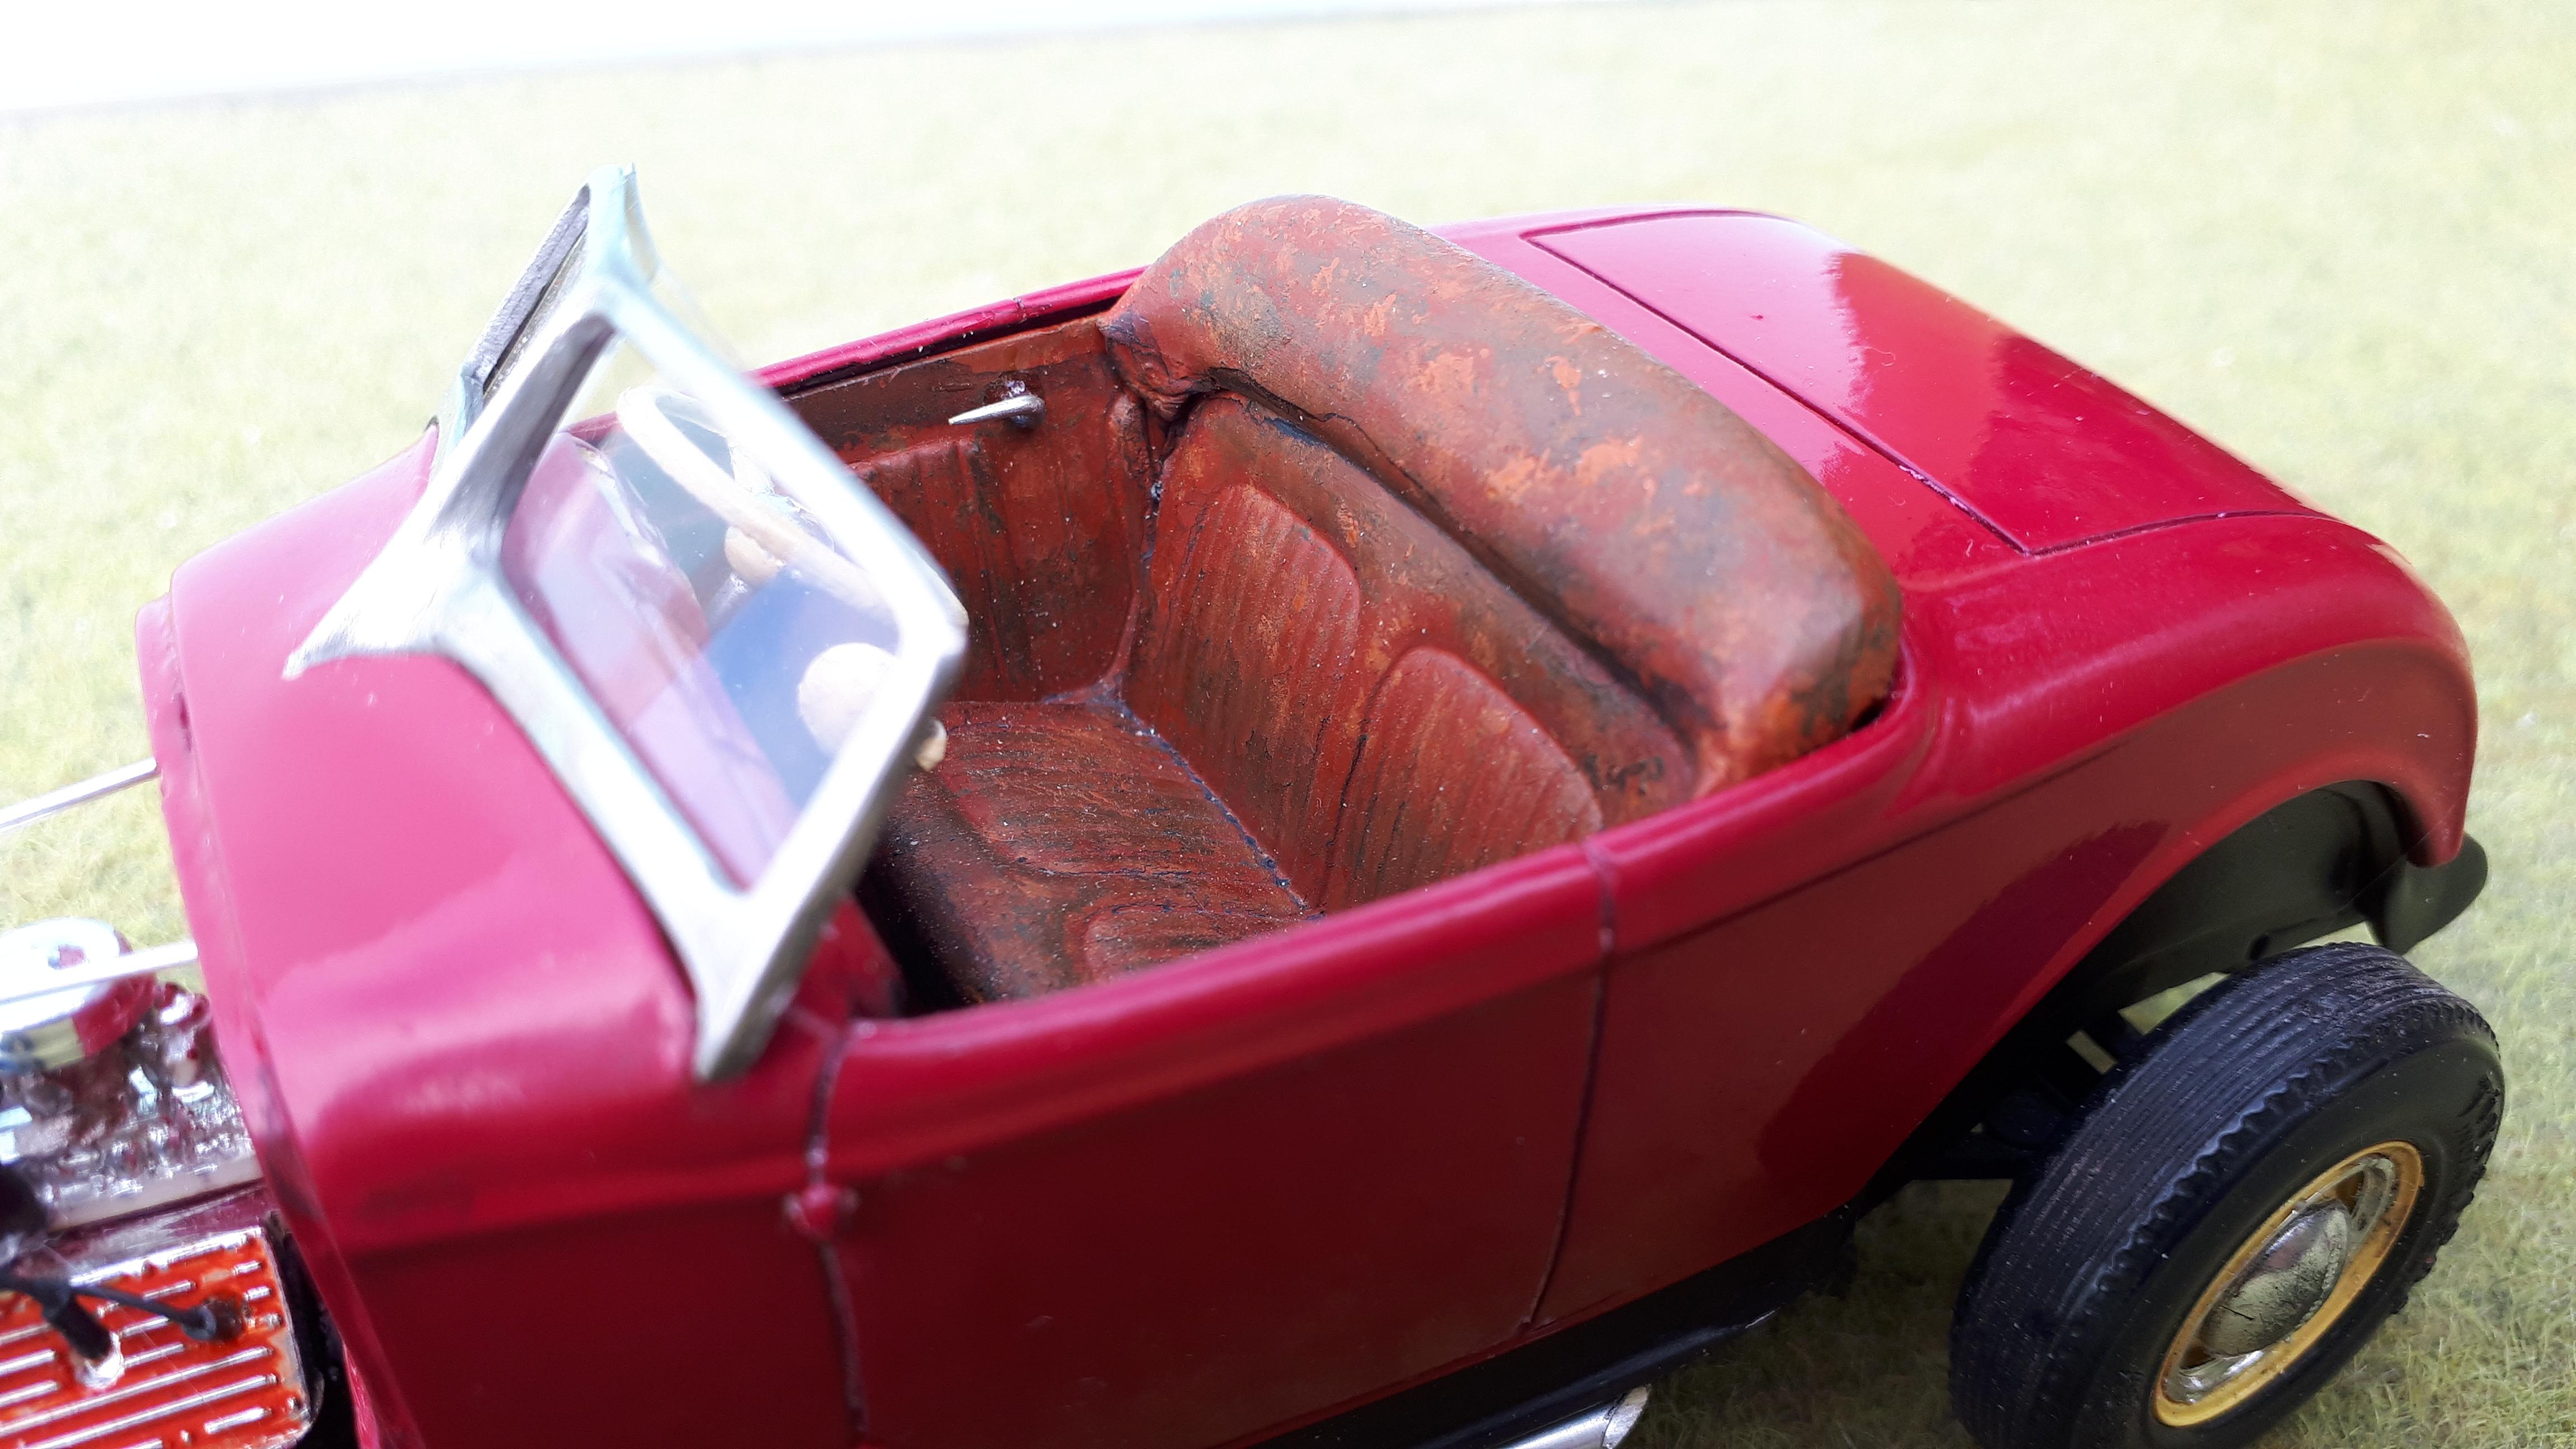
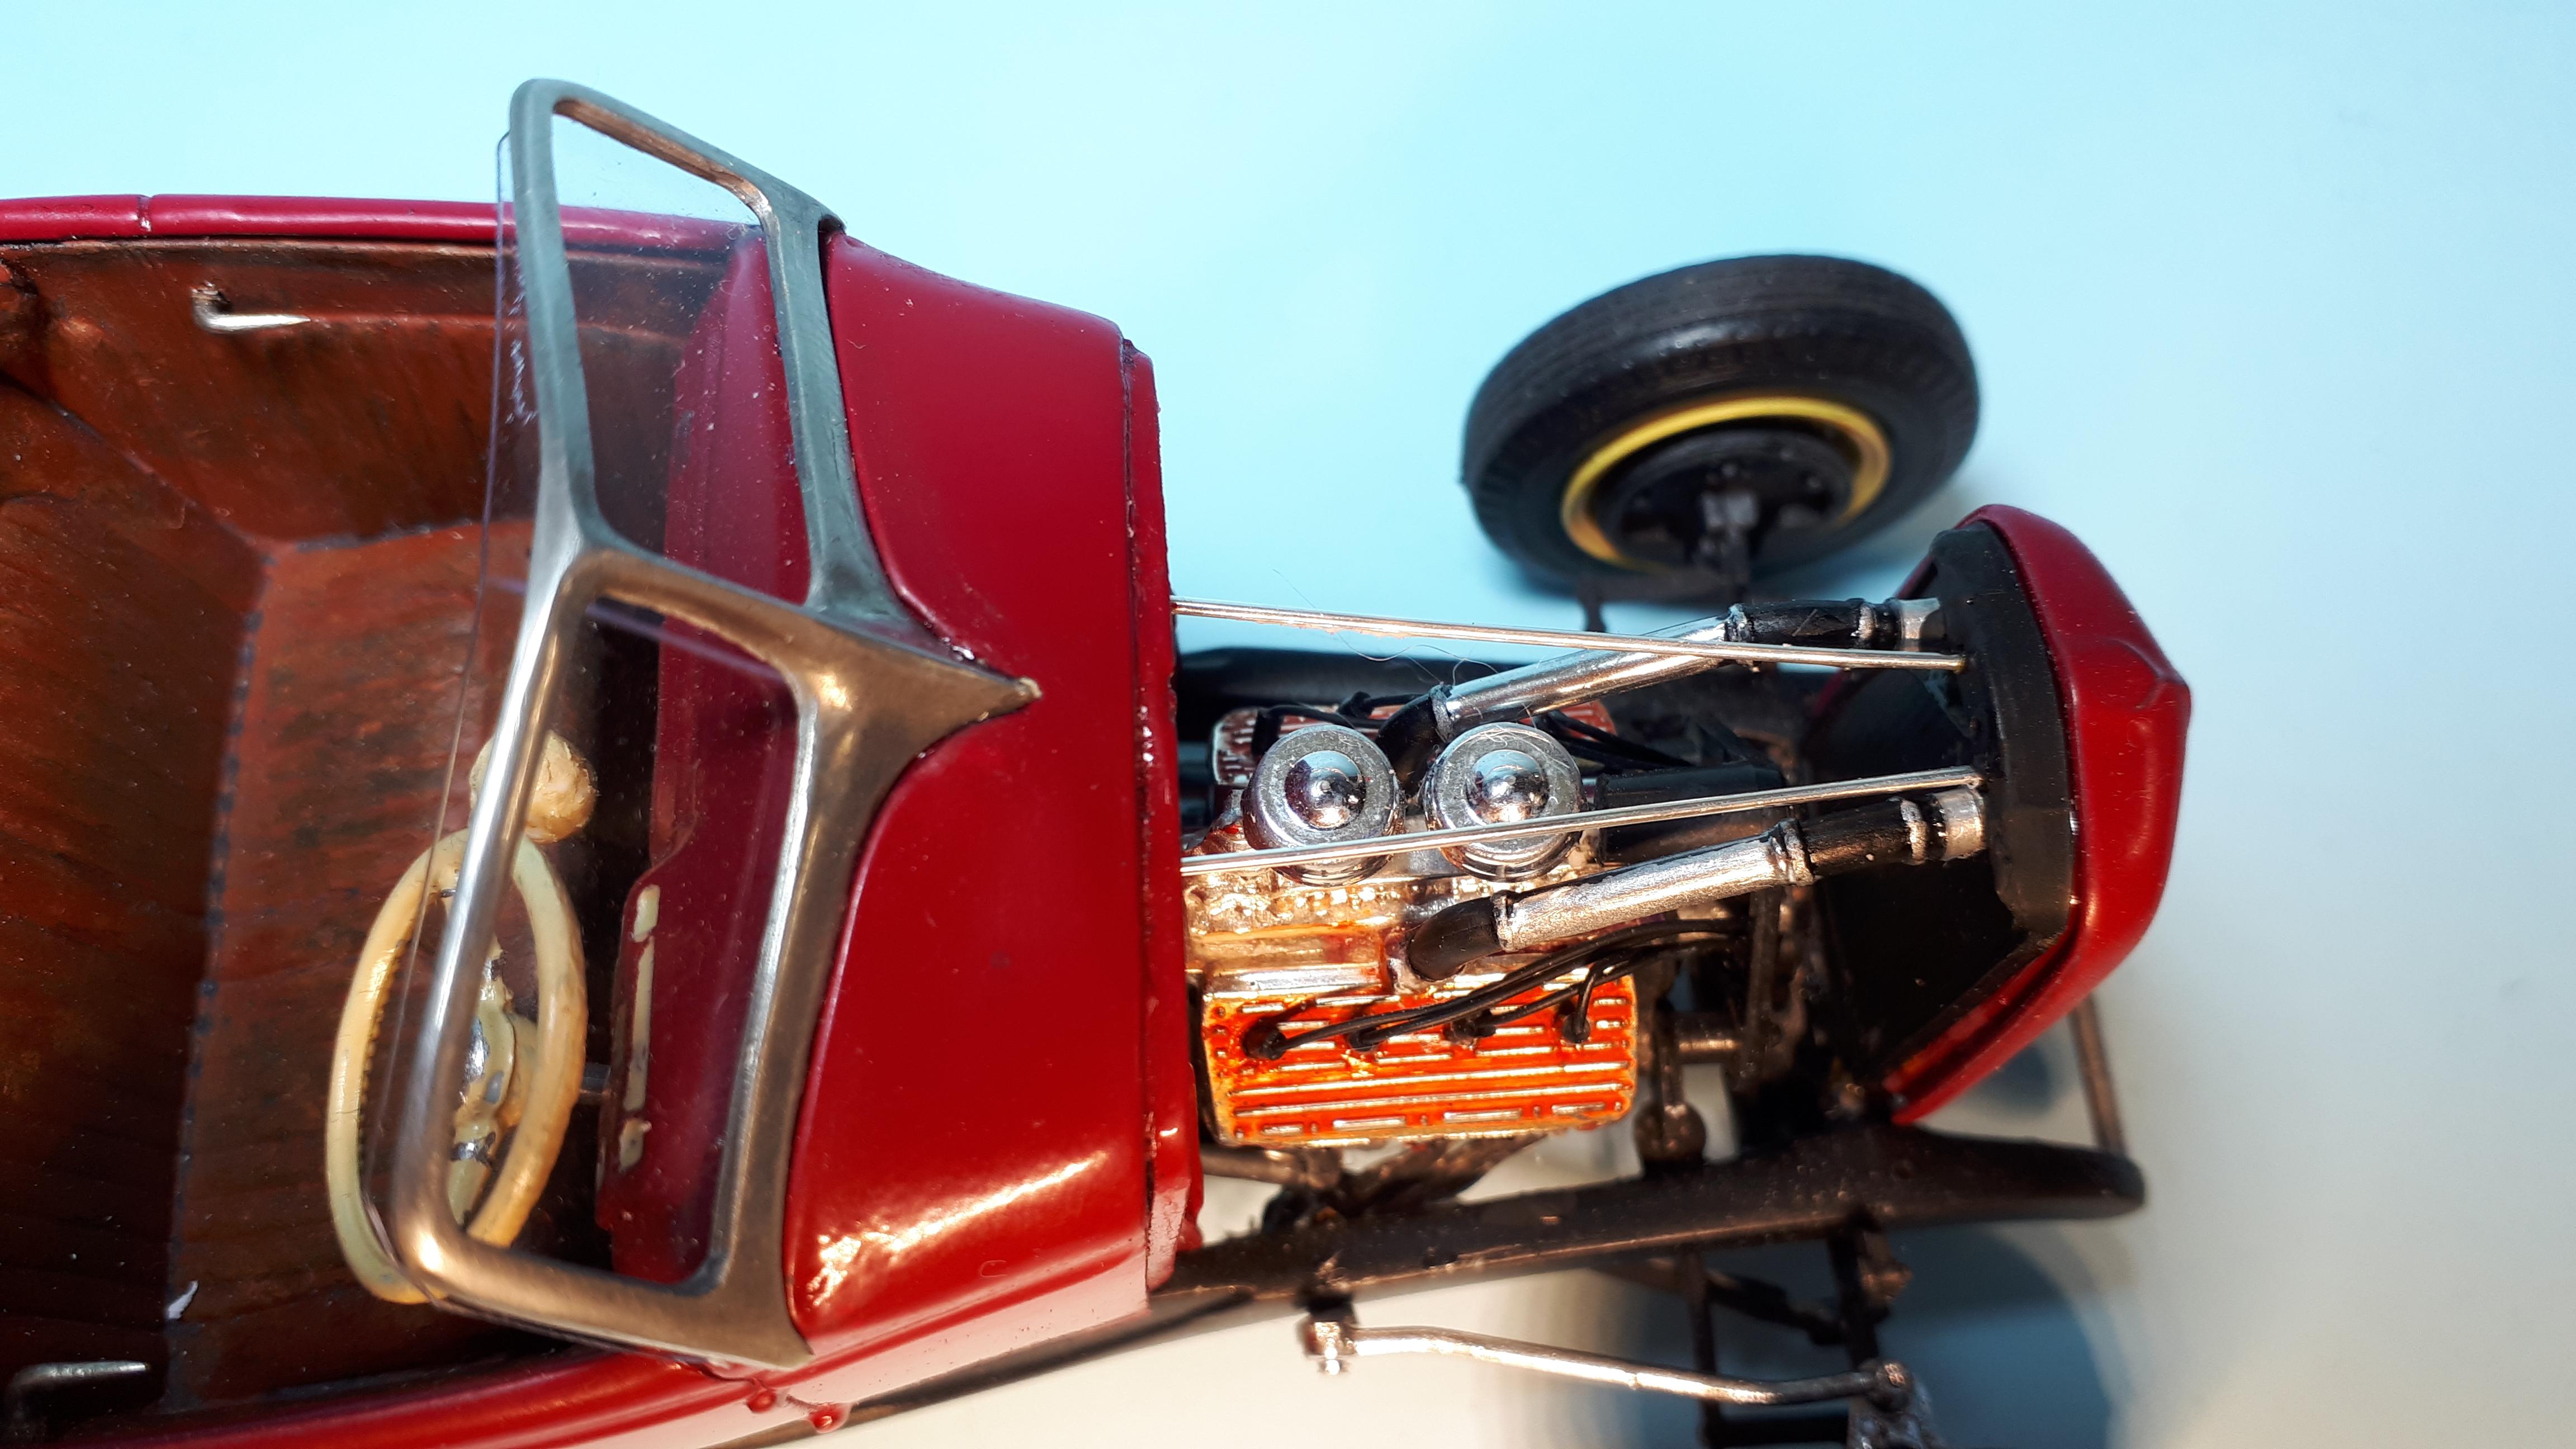
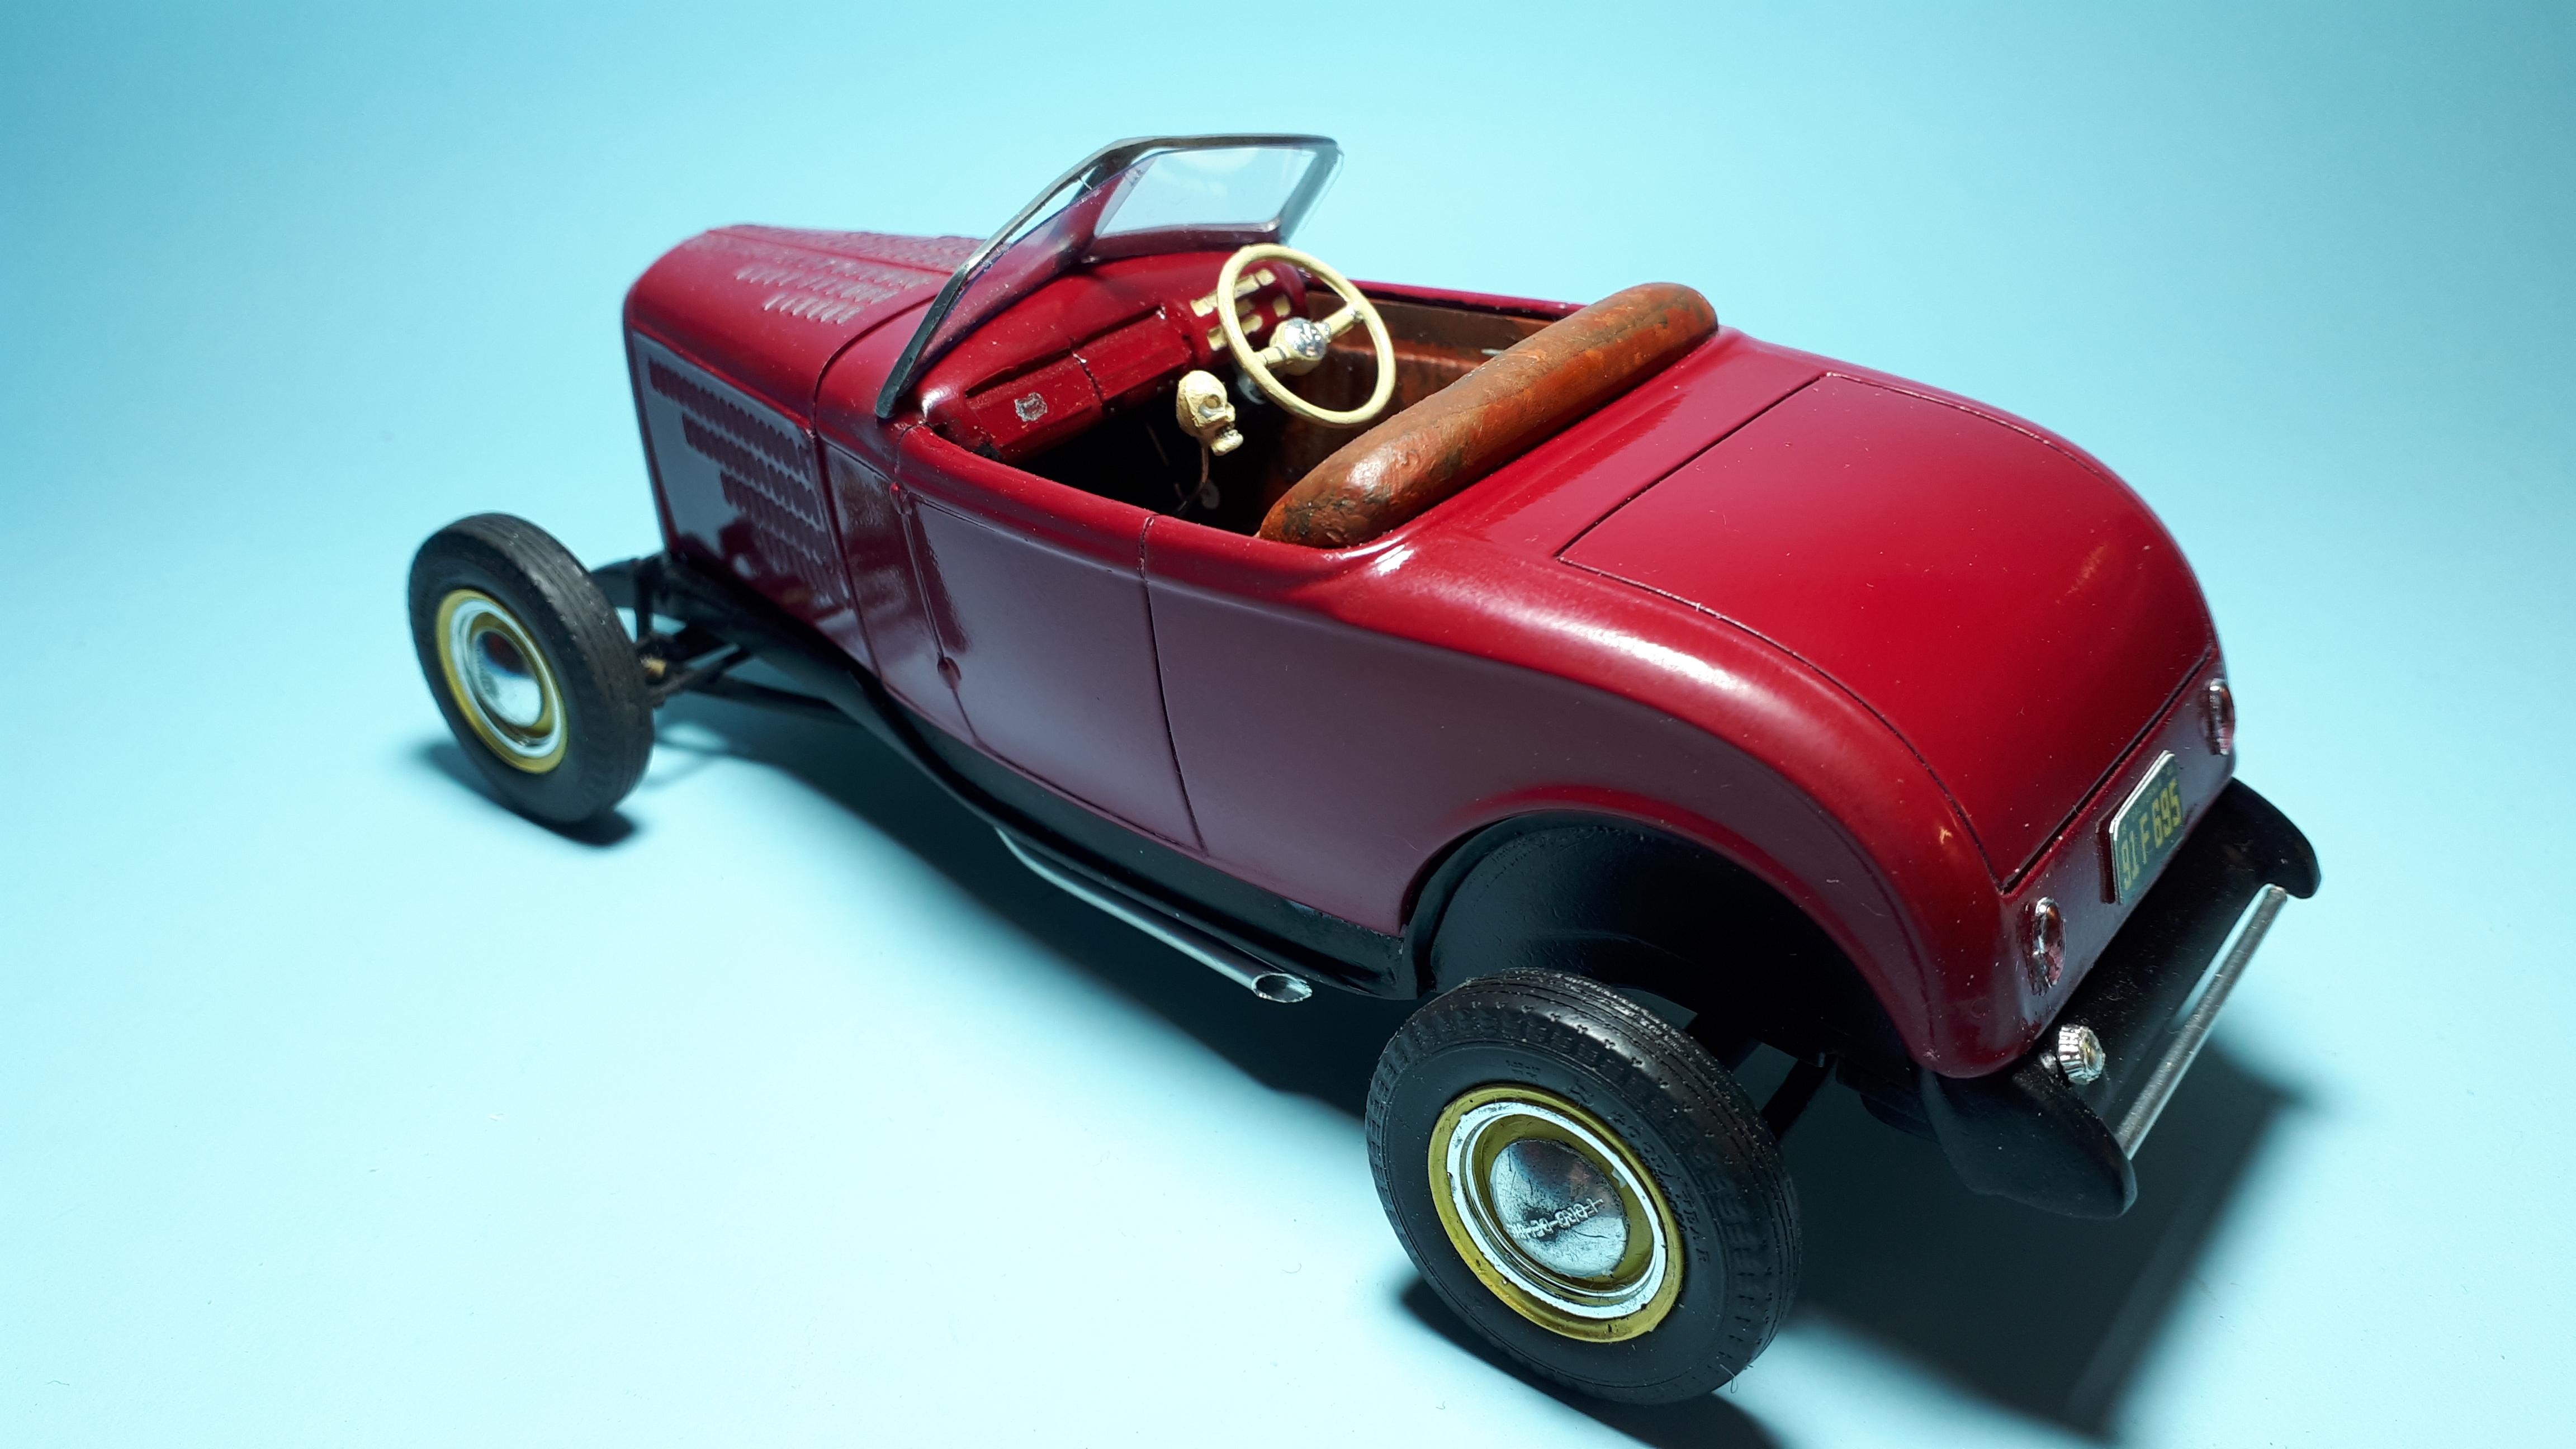
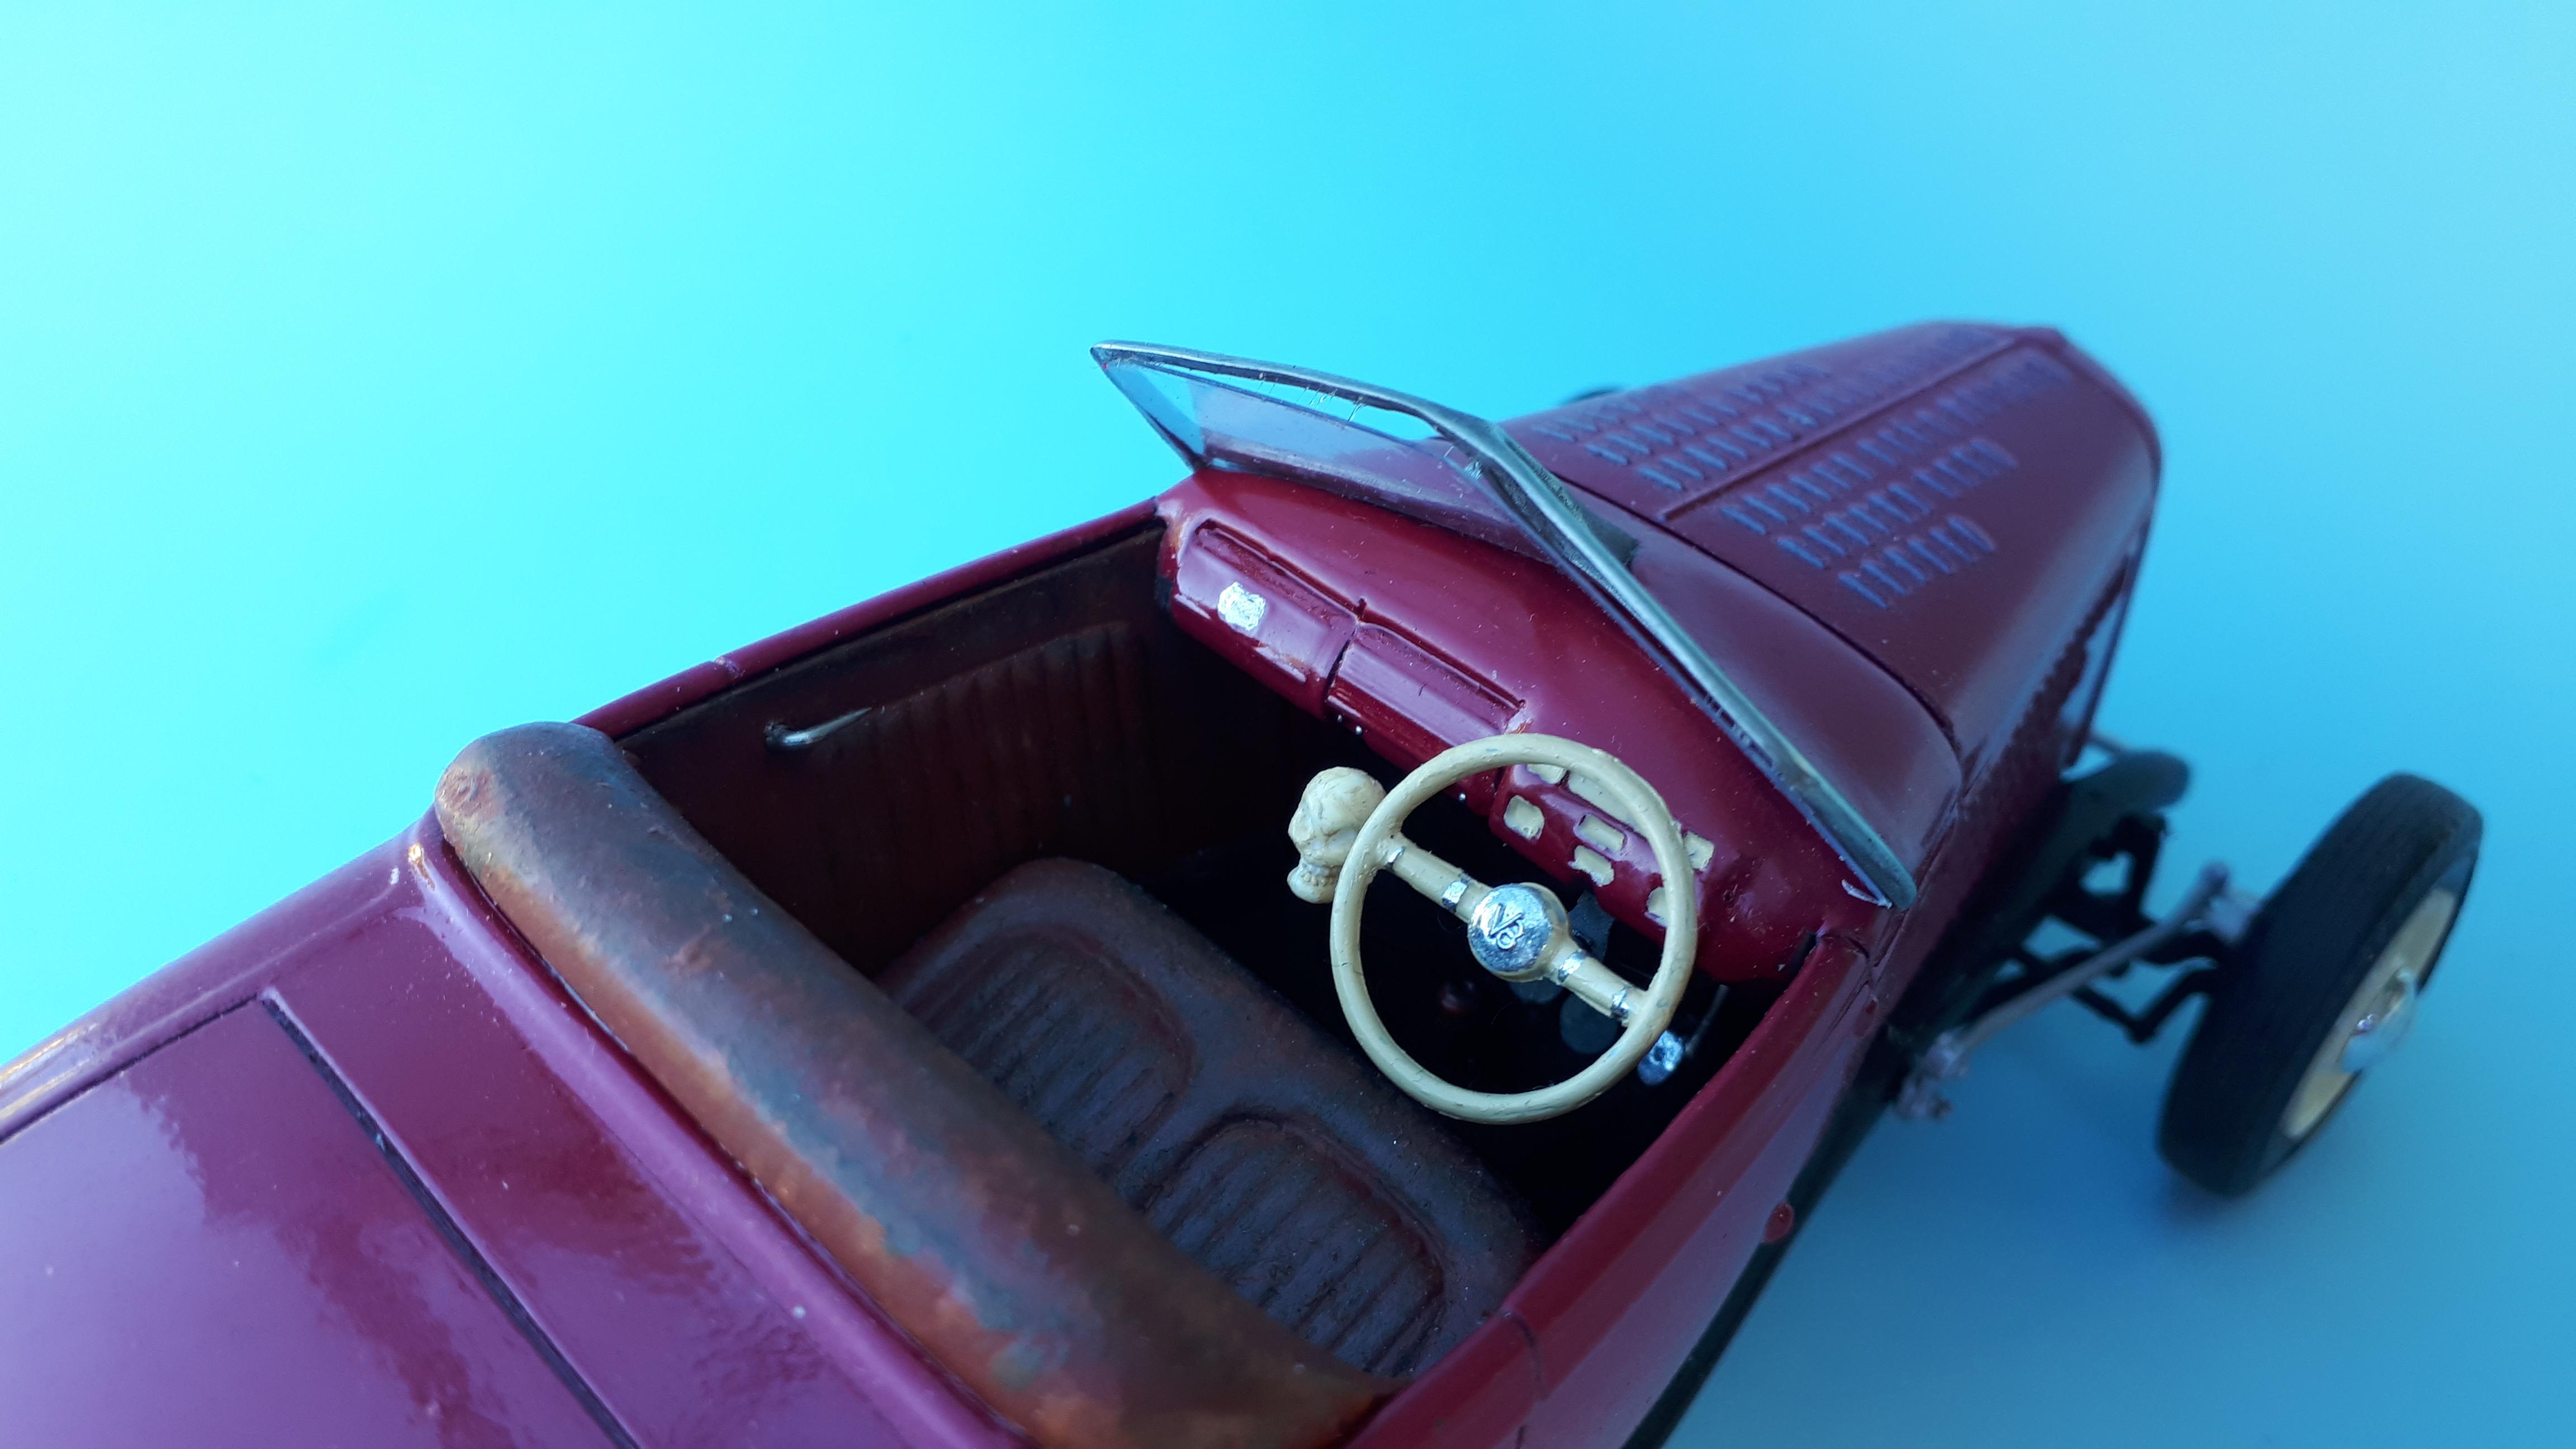
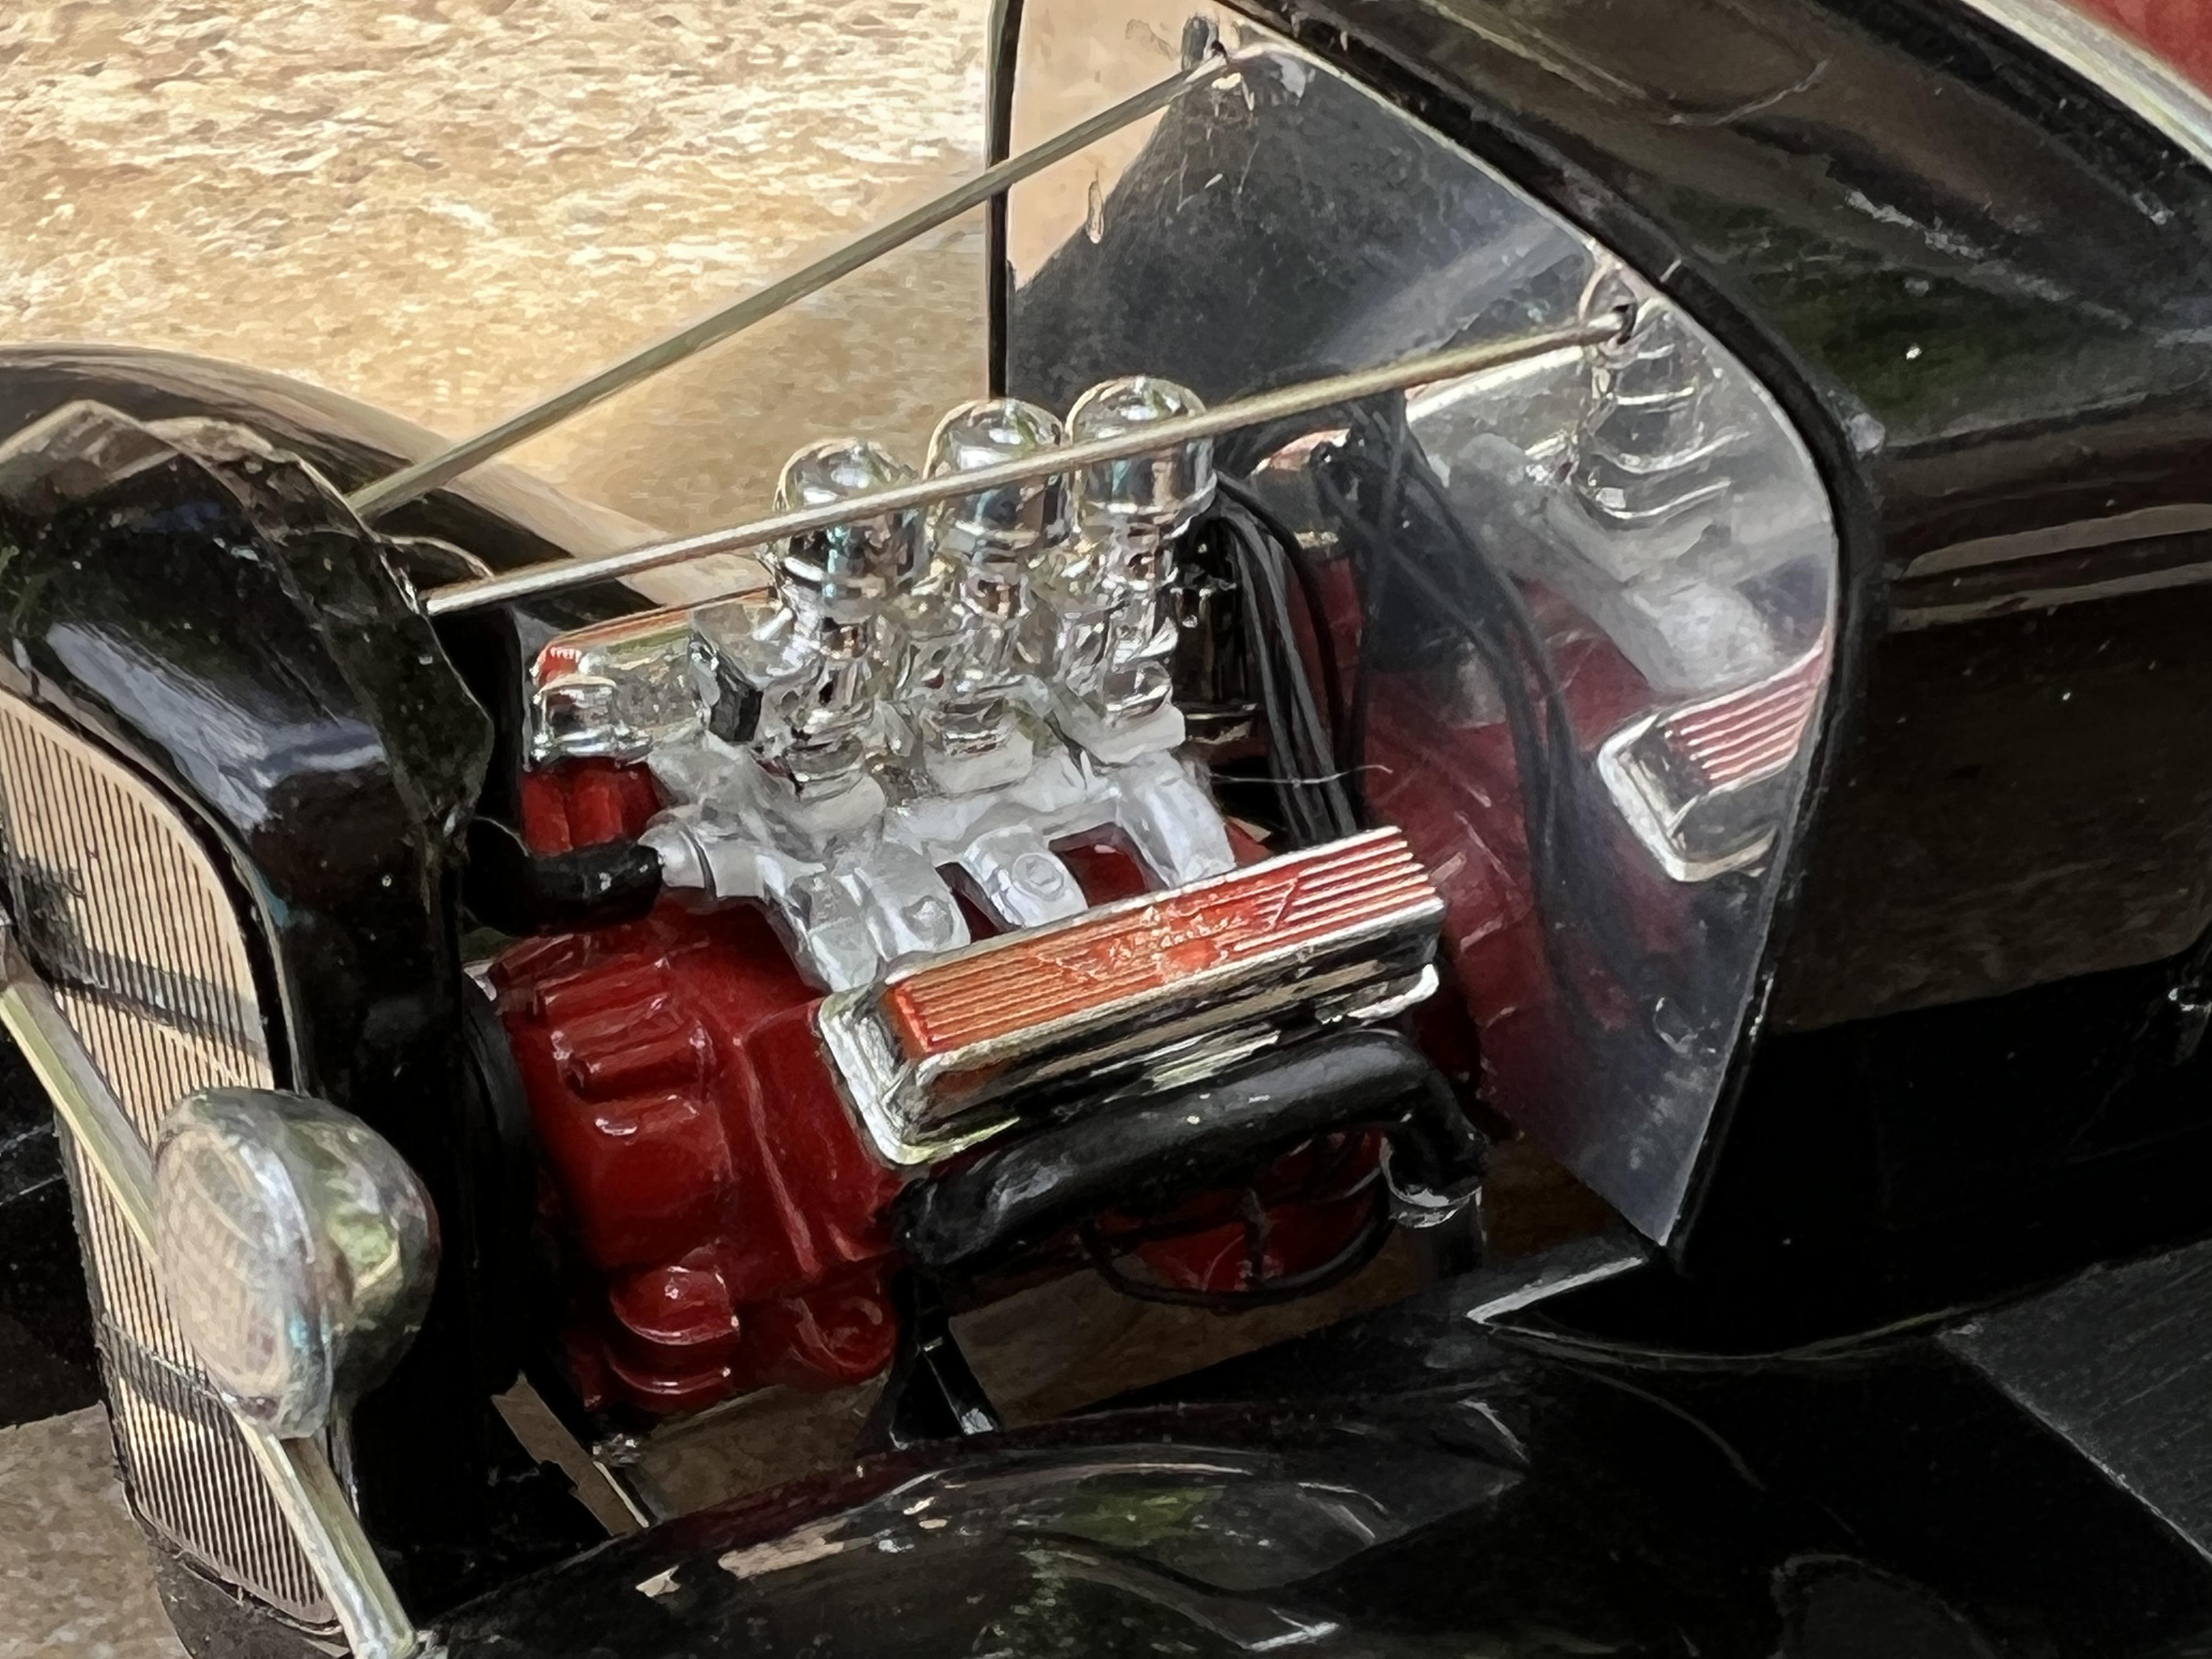
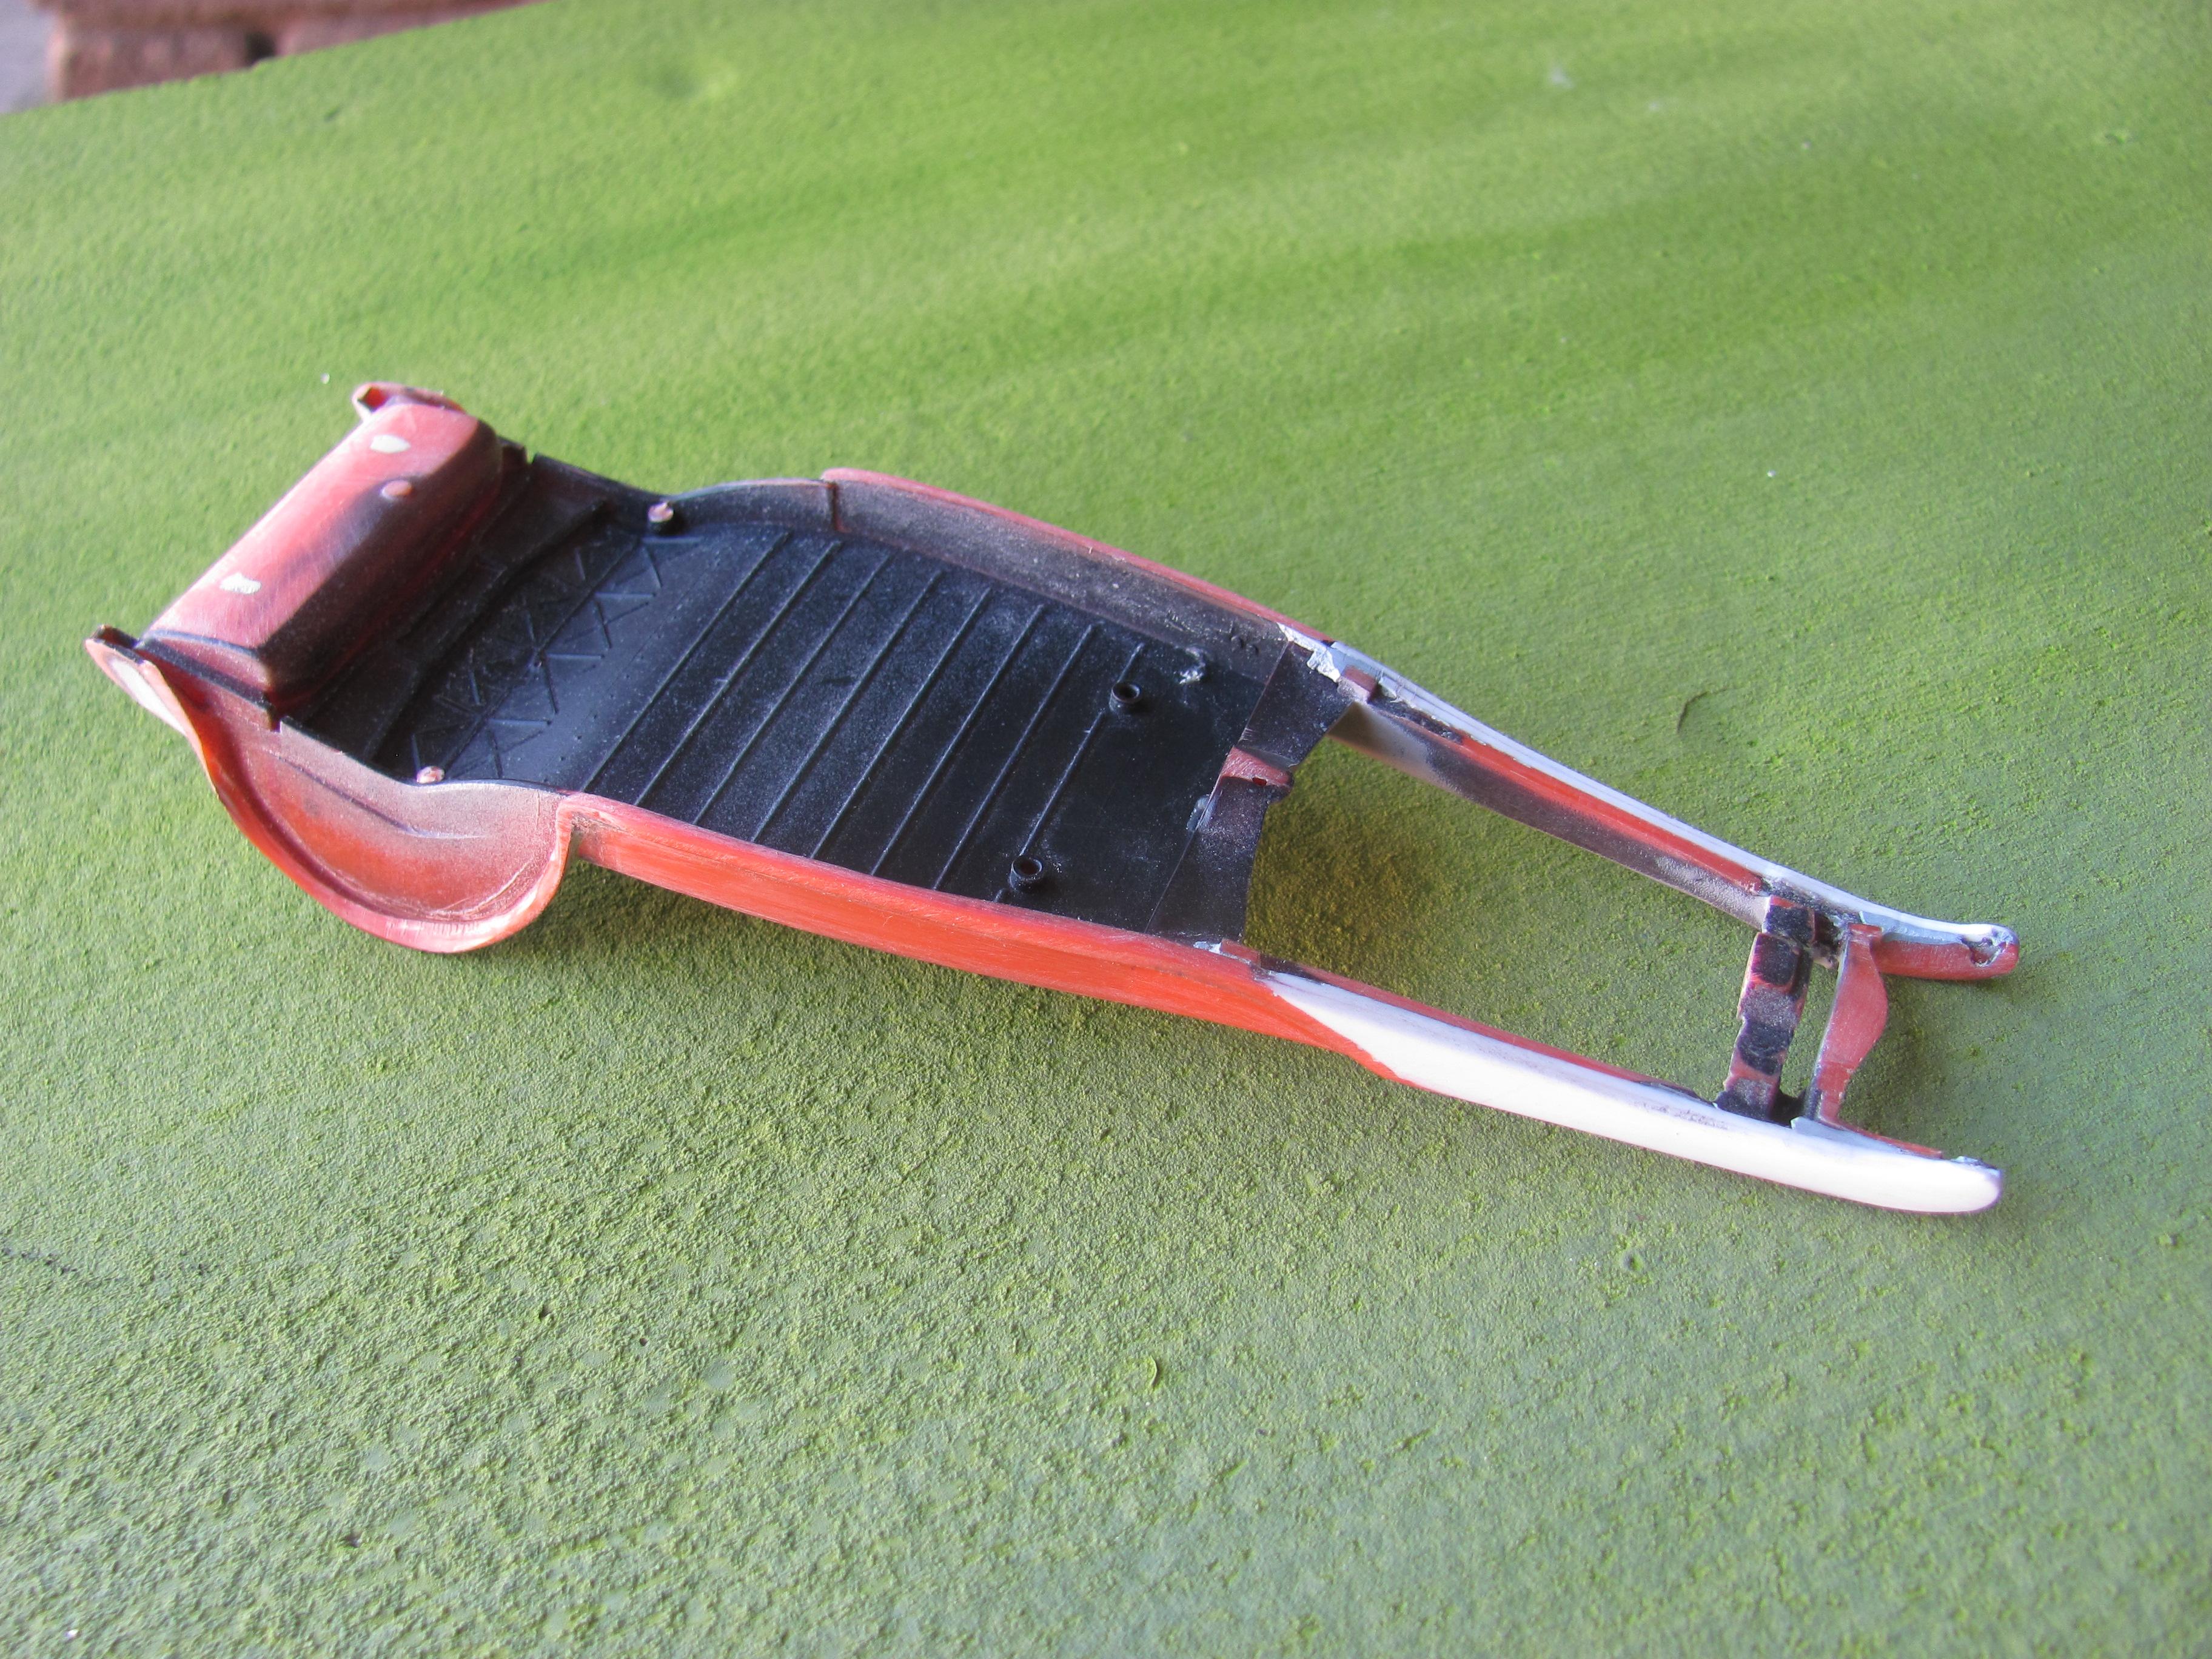
This build started with a Jimmy Flintstone resin body of a chopped 29 Model A Tudor, bought through stiffkitty on eBay many years ago. The thick body discouraged me from going full bore into detailing the interior and now that it is finished, you can hardly see anything in there anyway. The resin body has scratchbuilt firewall and wheel wells from aluminium printer's plate. The chassis is an almost stock Deuce hiboy frame from the Revell Model A coupe and roadster kits, using the blown small block Chevy that comes in the kit. I did add a fabricated X member using Evergreen rectangular section styrene.The rear wheels are from a first issue Double Dragster kit and I think the Firestone slicks came from a first issue 57 Chevy kit. The front wheels are also from a Double Dragster. The rear axle and spring are from a Red Baron kit. I chose a cheap auto shop spray can enamel ( Aussie Export brand) purely for the colour but it has taken years to dry and I can still leave fingerprints on ( not in) the surface way too easily. Tis not a great paint job and it has rubbed through in spots so I will call it patina and move on - but I won't be using that can of paint again! The style is traditional but in all likelihood it is a contemporary fairgrounds type cruiser. Most of this chassis was built from the parts remaining after building the channelled version of the Revell 1930 coupe. The rear axle and radius rods, rear shocks, wheels, tyres, Moon tank and seats came from the parts box, illustrating just how easy it is to get two cool models out of the one box if you have a decent stash of parts. I'm really glad I bought about ten of them! Cheers Alan

-
They are indeed, as is the engine itself if I remember correctly. Cheers Alan
-
Thought I might bump this old thread as I have finished a few MPC Switchers based models since I last posted. The green sedan delivery is a forty year old survivor from my early days! Cheers Alan
-
DDA Collectibles Ford Falcon XY
Alan Barton replied to Michael jones's topic in Car Kit News & Reviews
Beautiful job, Luke, you really have done it justice. And ShaunS, thanks for the comparison views, that does it illustrate the difference very well indeed. Funny how a line out here or there can have so much impact on style! Cheers Alan -
My Monogram Deuce obsession - a lifetime of hot rod models!
Alan Barton replied to Alan Barton's topic in Model Cars
Thanks everyone for the kind comments. Thank you Craig and Pete for adding your models to the post. The more the merrier! Cheers Alan -
DDA Collectibles Ford Falcon XY
Alan Barton replied to Michael jones's topic in Car Kit News & Reviews
Yes, Michael, I was aware of the diecast connection. I have wondered about the significance of that. When you see DDA diecast in a hobby shop, they look pretty good but they are all painted nice and shiny and you are seeing them inside a box generally. They also have a bit of a Jada D rods look about them as well which is probably quite acceptable to a diecast collector. I guess what I am hoping is that DDA will be more fussy about their diecast moulds so that, in turn, the plastic models are more accurate! Cheers Alan -
DDA Collectibles Ford Falcon XY
Alan Barton replied to Michael jones's topic in Car Kit News & Reviews
To my eye, the rake of the rear window is not quite right. When built and painted it can only possibly be an XW or XY Falcon and Aussies have waited half a century or more to get our homegrown cars manufactured but I just wish they would take that little bit longer to get them right. Dan, you are correct about it being an XR and having a different roofline to the XY but sadly the XY is still not quite right to my eye. I had a dear friend in Sydney who was somewhat of an oracle on toys and models of Australian manufactured cars. He had quite a lot to do with providing reference information for the first ever modern range of 1/43rd diecast Australian cars. Some of these didn't quite look right and the owner of the company confirmed that one of the biggest problems he had was that a Chinese designer or pattern maker had never seen any of these cars in real life and thus was unaware when a line or a detail was just a smidgen off, as with the XY shown above. I just wish the Aussie owners of the companies who HAVE seen real Holdens, Falcons and Valiant were just a bit fussier on getting the proportions spot on. Nonetheless, I have bought four of DDA's products so far and just hope that they will improve with time. Cheers Alan -
A clean build of a rare and nice kit. You have solved a mystery for me - I had that expanding luggage rack for years but never knew where it came from - now I know! Cheers Alan
-
Great news, my Issue 222 turned up right after I made this post and then my issue 223 turned up earlier this week. Back on track at last! Thanks to the crew that continues to put this great publication together. I hope everyone else around the world who have been waiting patiently as I have will see their copies soon. Cheers Alan
-
Now April and still nothing for me in Western Australia. Do the postal authorities just chuck this stuff in the bin? I mean, where would they have big enough facilities to store stuff for four months before they get around to sending it? Is it now a case of " You can pay for postage but we will deliver it if and when we feel like it?" And surely it is not just this magazine. It must be putting people out of business! Cheers Alan
-
A little hot rod, a little custom...... '41 Plymouth
Alan Barton replied to JollySipper's topic in Model Cars
What a nice subtle custom! The T-bird wires really give it a lift and like Ace said, the silver paint is a perfect fit for the body style. It's been really interesting to see all the 41 Plymouths on here lately! Cheers Alan -
Big Al 2 - Jim Lytles Allison powered 34 Ford Tudor
Alan Barton replied to Alan Barton's topic in WIP: Drag Racing Models
Thanks everyone. Have been a bit distracted lately but did get some colour on the chassis yesterday which revealed some flaws that I should have noticed so a bit of sanding and repainting before I have something to show. Stan, I am aware of th4 car but haven't looked at the photos in ages. I recently purchased a Drag City Castings chopped 32 window so you never know! Would be very cool to have on the shelf. Tamiya TS 51 Racing Blue. I suspect it is darker than the original car but there are so few colour photos of it, it is difficult to tell. The original body that Jim restored for the GArlits museum is also darker than the photos I have. Plus, I like the colour and I doubt whether anyone in Perth Western Australia ever saw the car to be able to tell me I am wrong!!! Cheers Alan -
Thanks very much, everyone. I hope to have my black version finished shortly. I am going to use the factory trim decals but prepared to scrap them if they don't look good enough! Cheers Alan
-
My Monogram Deuce obsession - a lifetime of hot rod models!
Alan Barton replied to Alan Barton's topic in Model Cars
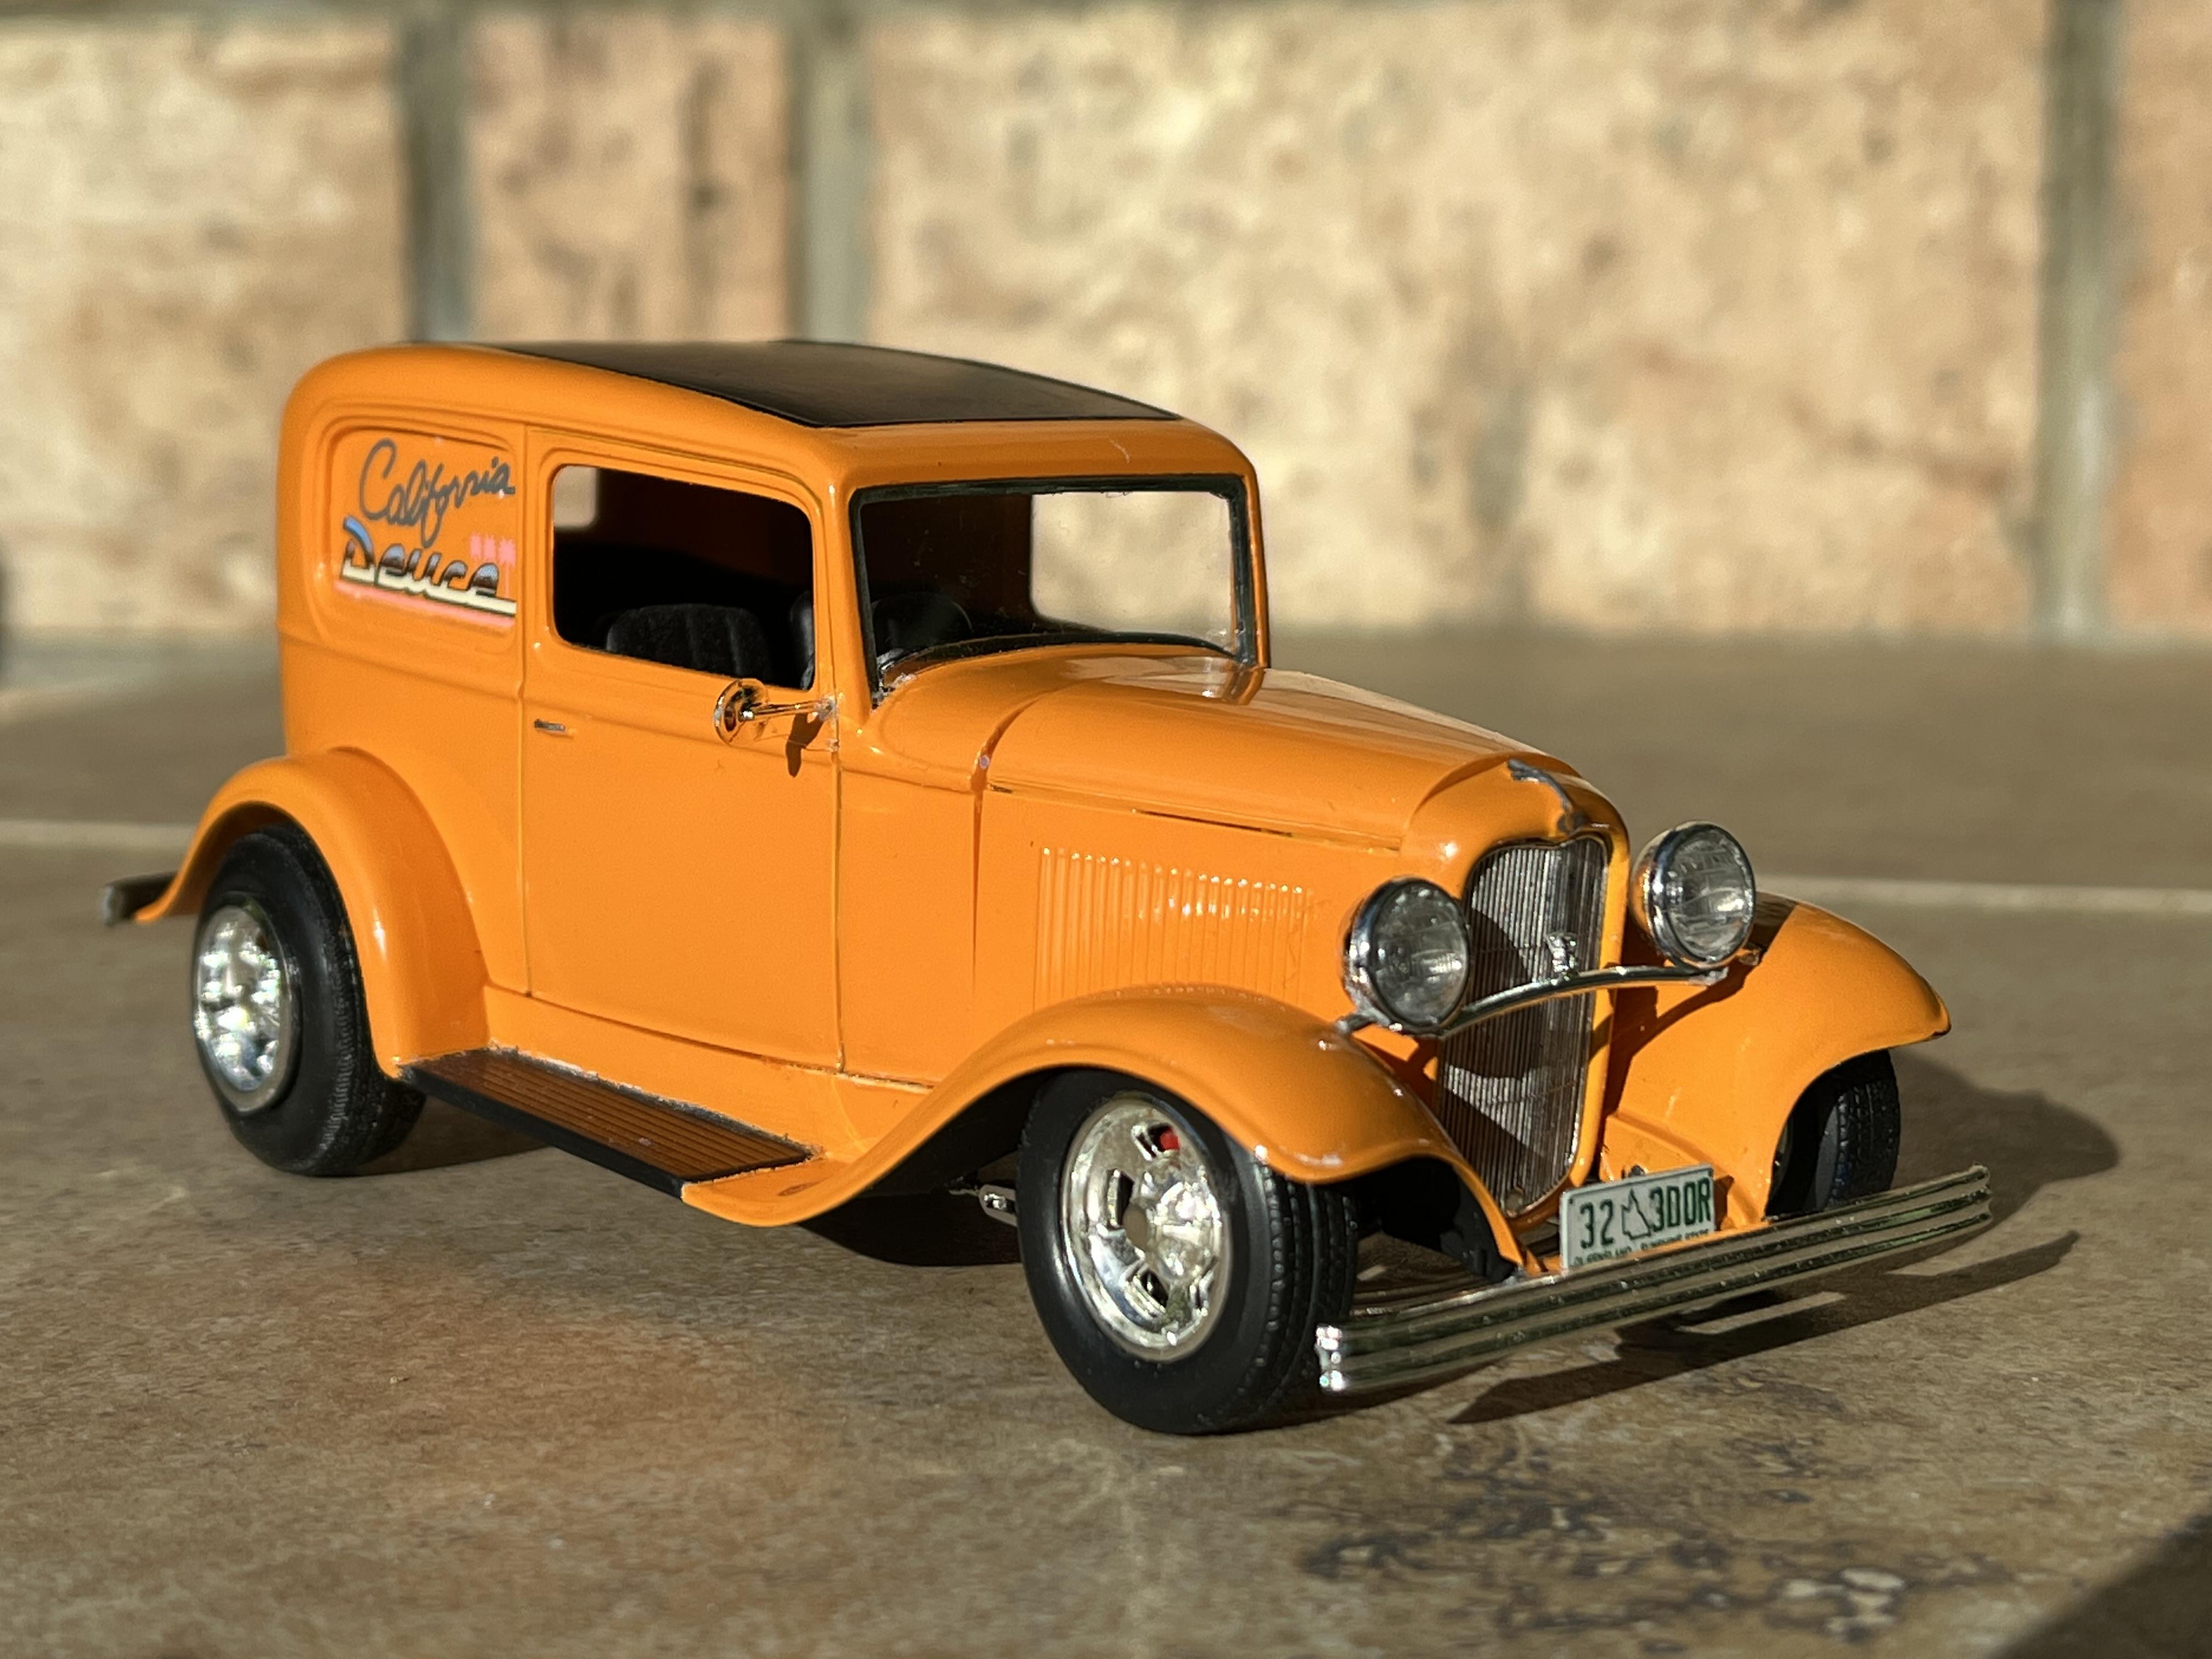
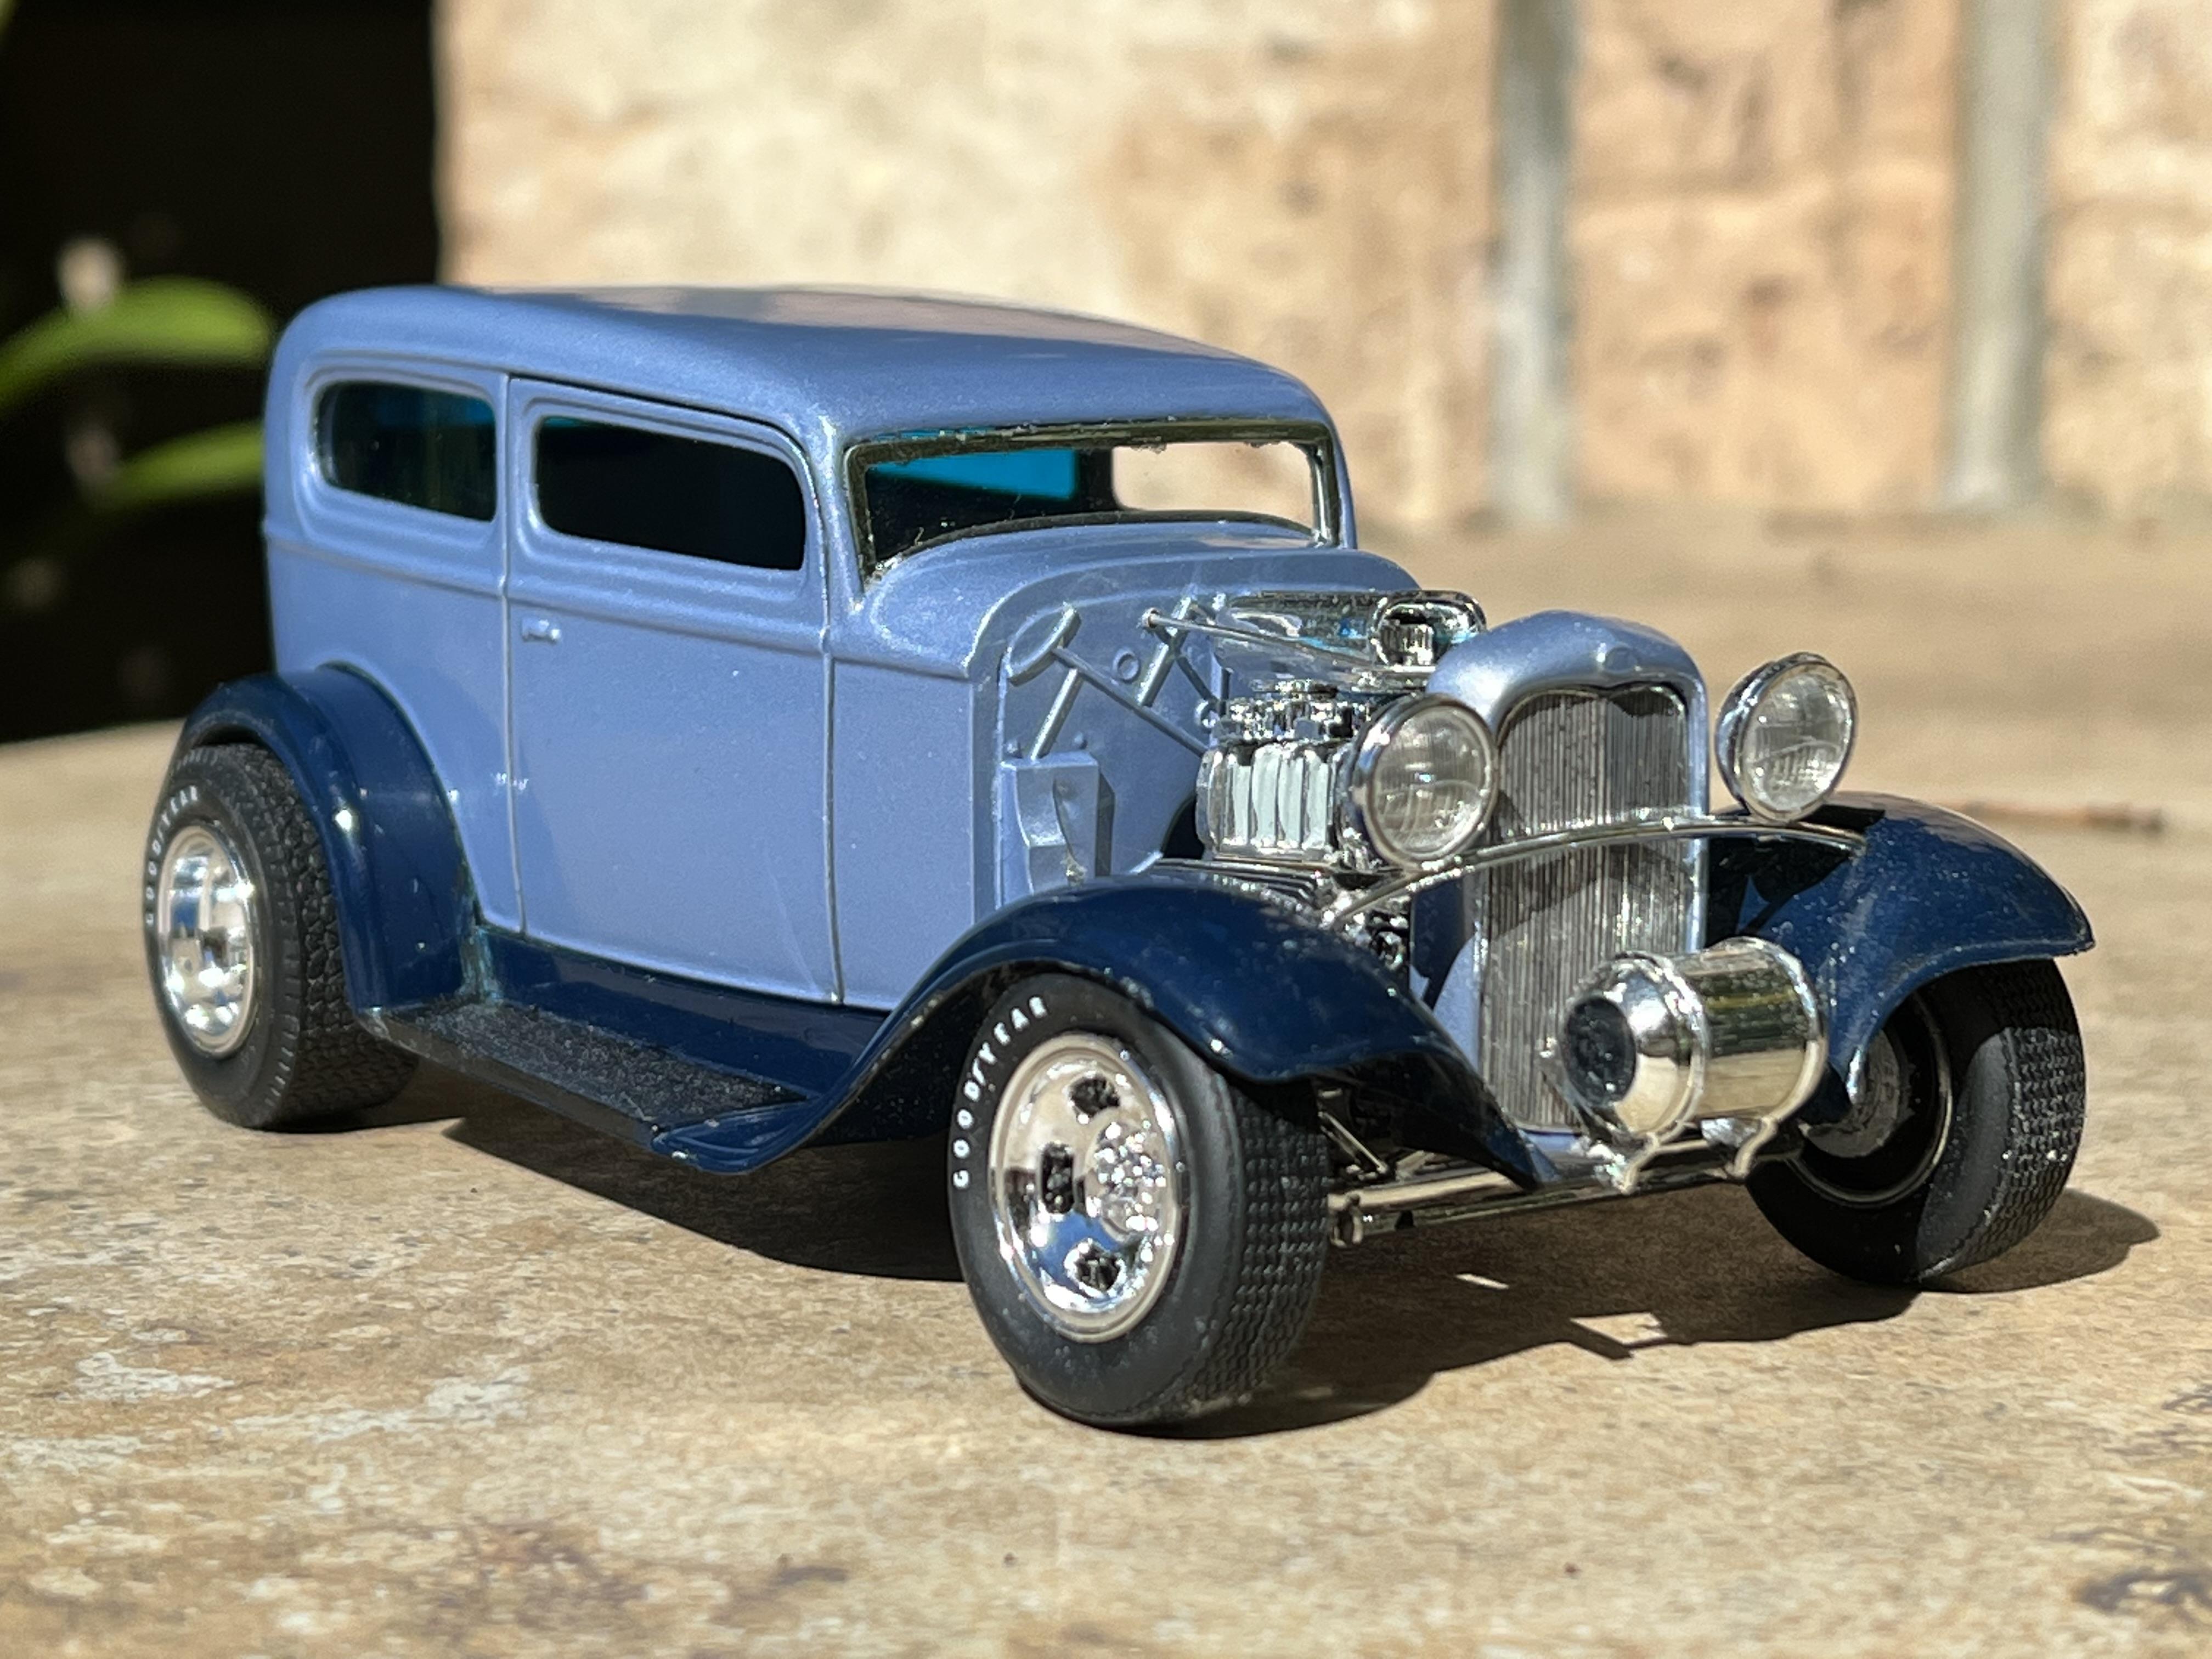
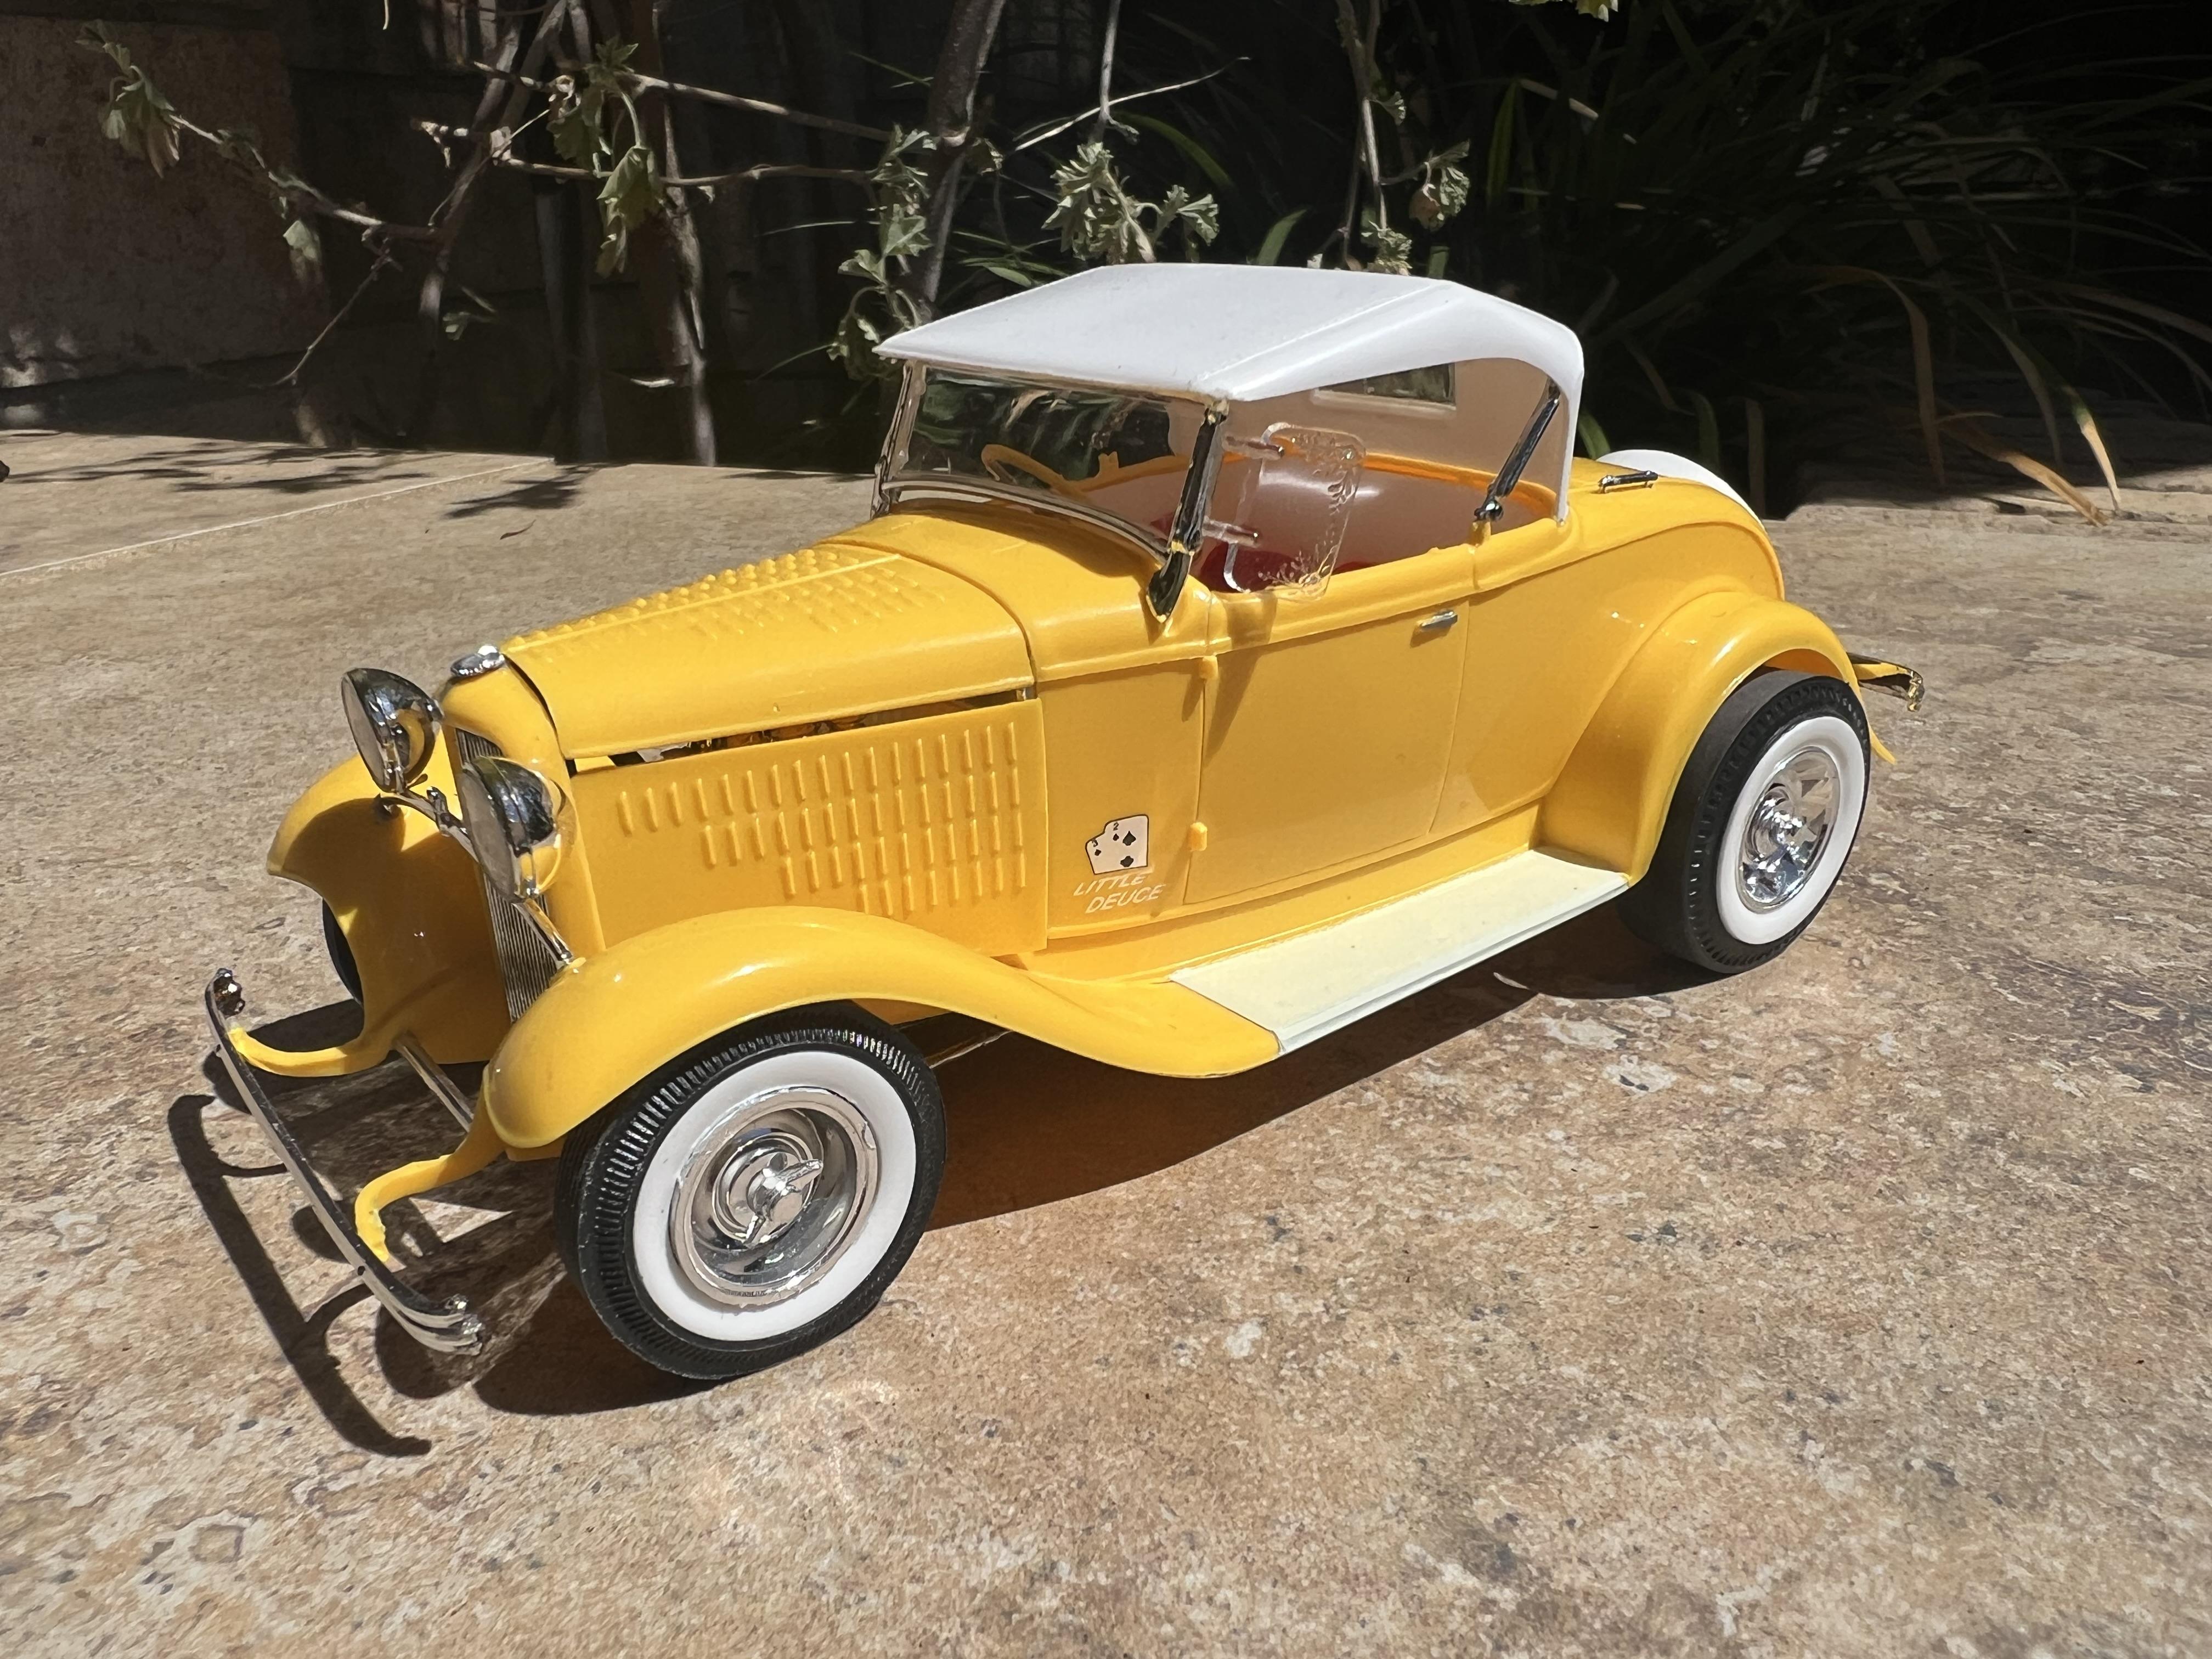
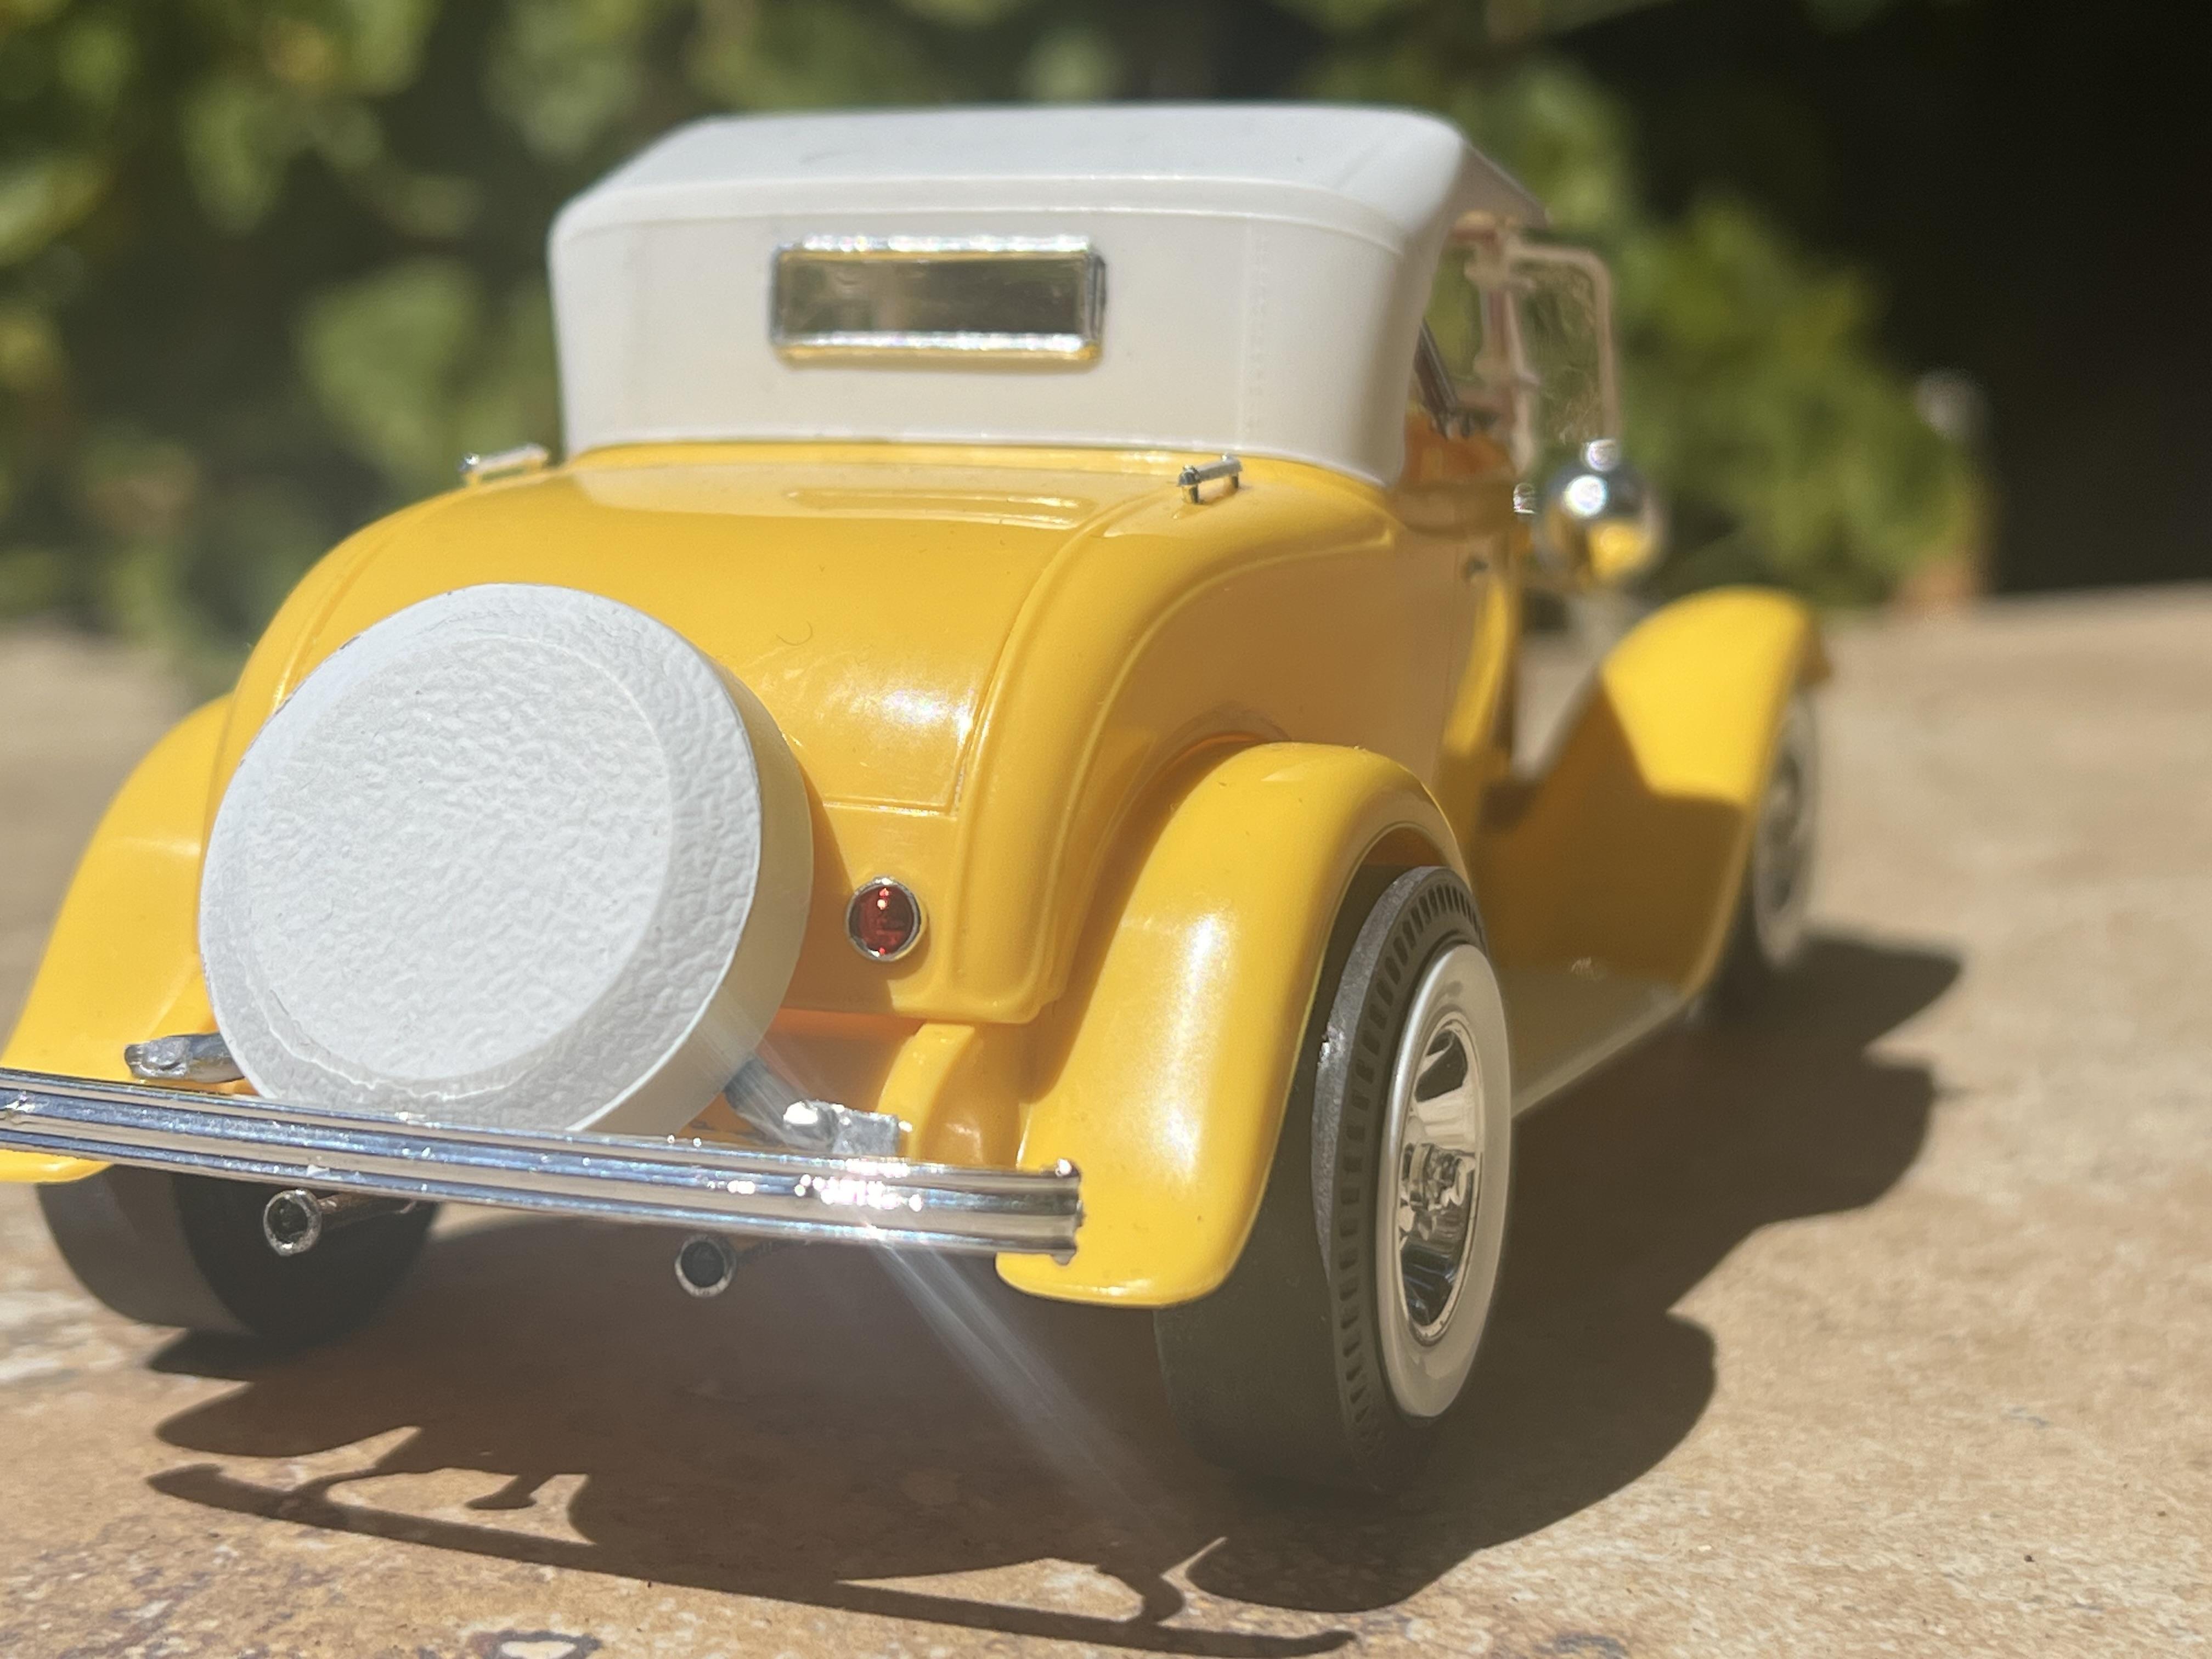
Thanks to all of you who enjoy these models. Here's the last three - apparently I didnt hit "Submit Reply "the other day - dohhh! These ones you may have seen already as they were all done this year. The original Son of Ford was given to me by a good friend and only needed a light restoration and polish. The orange Son Of Ford 2.0 uses a white kit but has genuine Son of Ford parts including pipes, rollbar, headlight bar, injection, fuel tank and firewall and hood. A Boothill Express straight axle gives the right attitude at the front. The Little Deuce 2.0 was built from a yellow 1985 issue with a white interior and the carbs and valve covers from a Monogram 30 Ford touring. It was completely inspired by Mr Metallic's similar build last year. LAstly, a long stalled project that needs to get finished this year I reckon! It's a channelled 32 roadster using the interior, floor and frame of a Lil Coffin and rear fenders from a Blue Beetle. Channelled roadsters were enormously popular in Australia during the sixties and early seventies so I'm aiming for an Aussie feel, including the FE motor from a Mysterion and heades from an AMT 32 Vicky. Cheers Alan
-
My Monogram Deuce obsession - a lifetime of hot rod models!
Alan Barton replied to Alan Barton's topic in Model Cars
In 2023 I built my third hiboy. After seeing Bernard Kron's hiboy with a big seat roll I knew I needed one for my collection. The top of the Monogram seat was built up with a filler piece from a Lindberg T bucket and then puttied and sanded to shape. The windscreen is a white metal Duvall that changed shape every time I touched it! I covered it in Vaseline and moulded it to the cowl with automotive body putty them gently pulled it out and sanded the cowl to shape. Wheels are Revell 37 Ford and the engine is a from a Monogram Pie Wagon. The headers are cut down from those icky things from Revell's 427 SOHC found in the Willys pickup, Henry J and Austin gasser. It has a 40 Ford dash, RHD of course, and the gear shift knob is a skull cut from the radiator of a Hot Wheels Rigor Motor toy - this is the one that looks like Grandpa Munster's Dragula. There's two on all the earlier issues, some white, some chrome, some gold and some black. Later issues do not have the skulls - time to hit the Bin of Death at your next toy fair!
-
My Monogram Deuce obsession - a lifetime of hot rod models!
Alan Barton replied to Alan Barton's topic in Model Cars
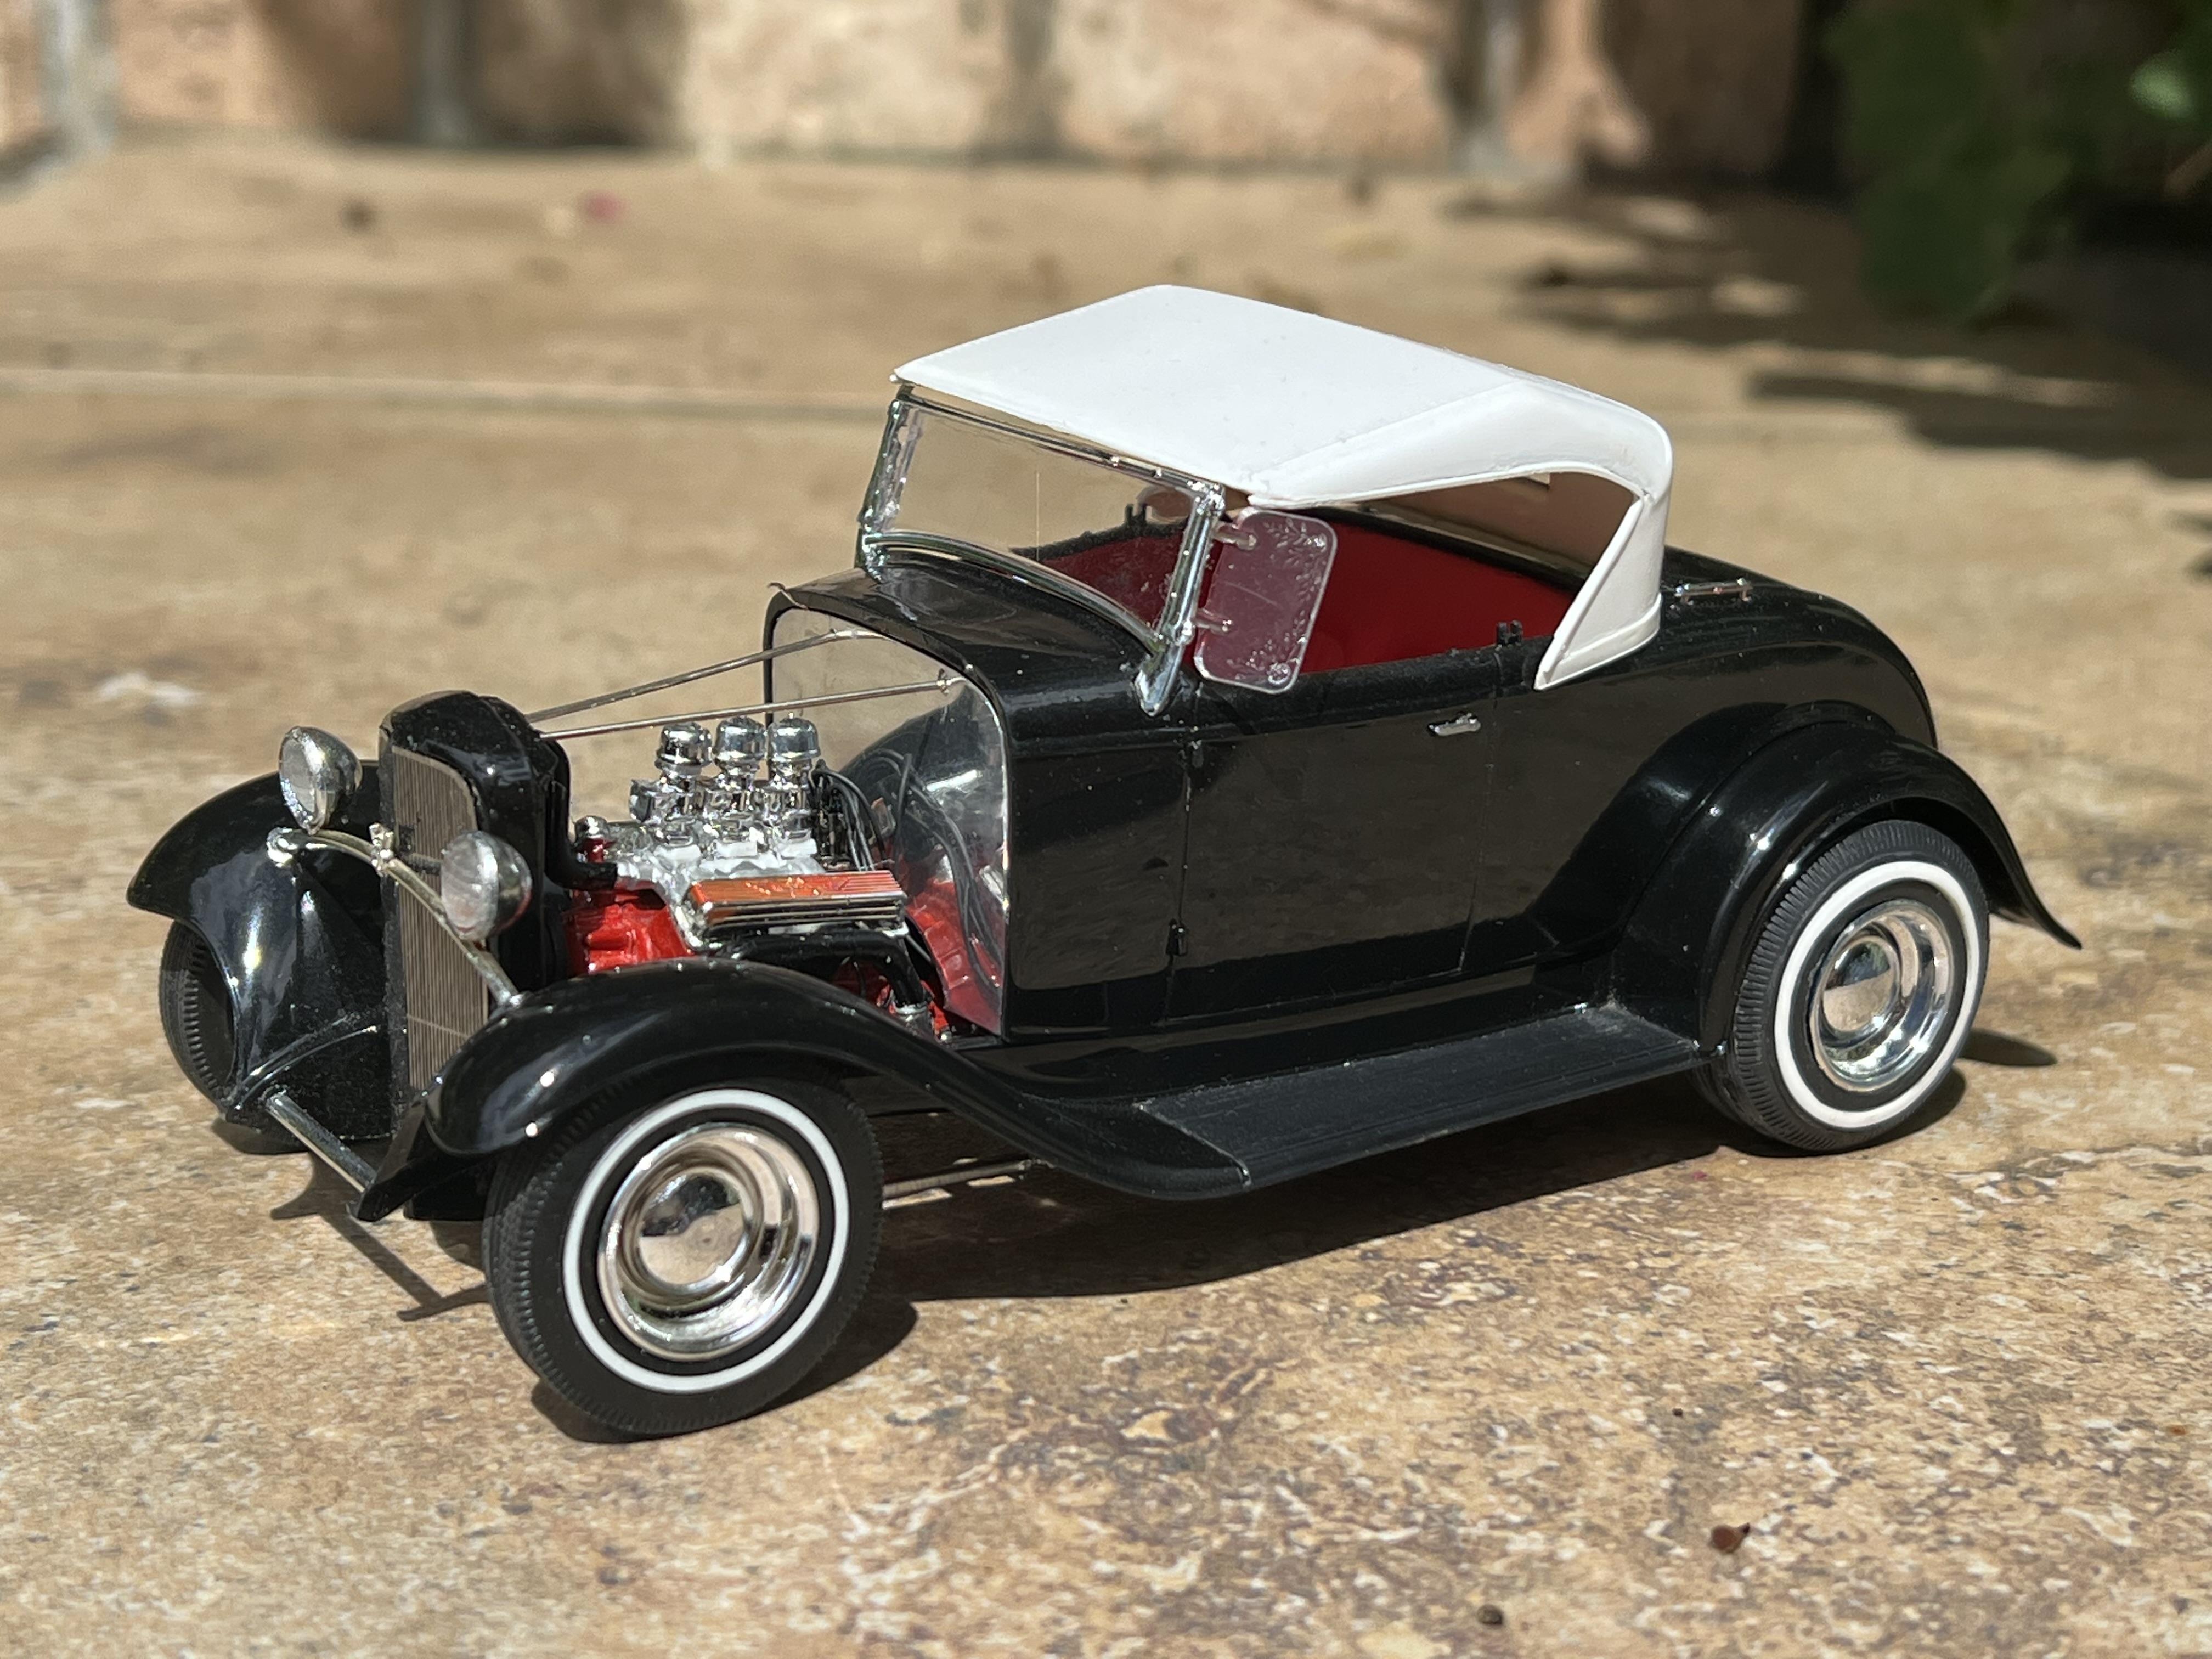
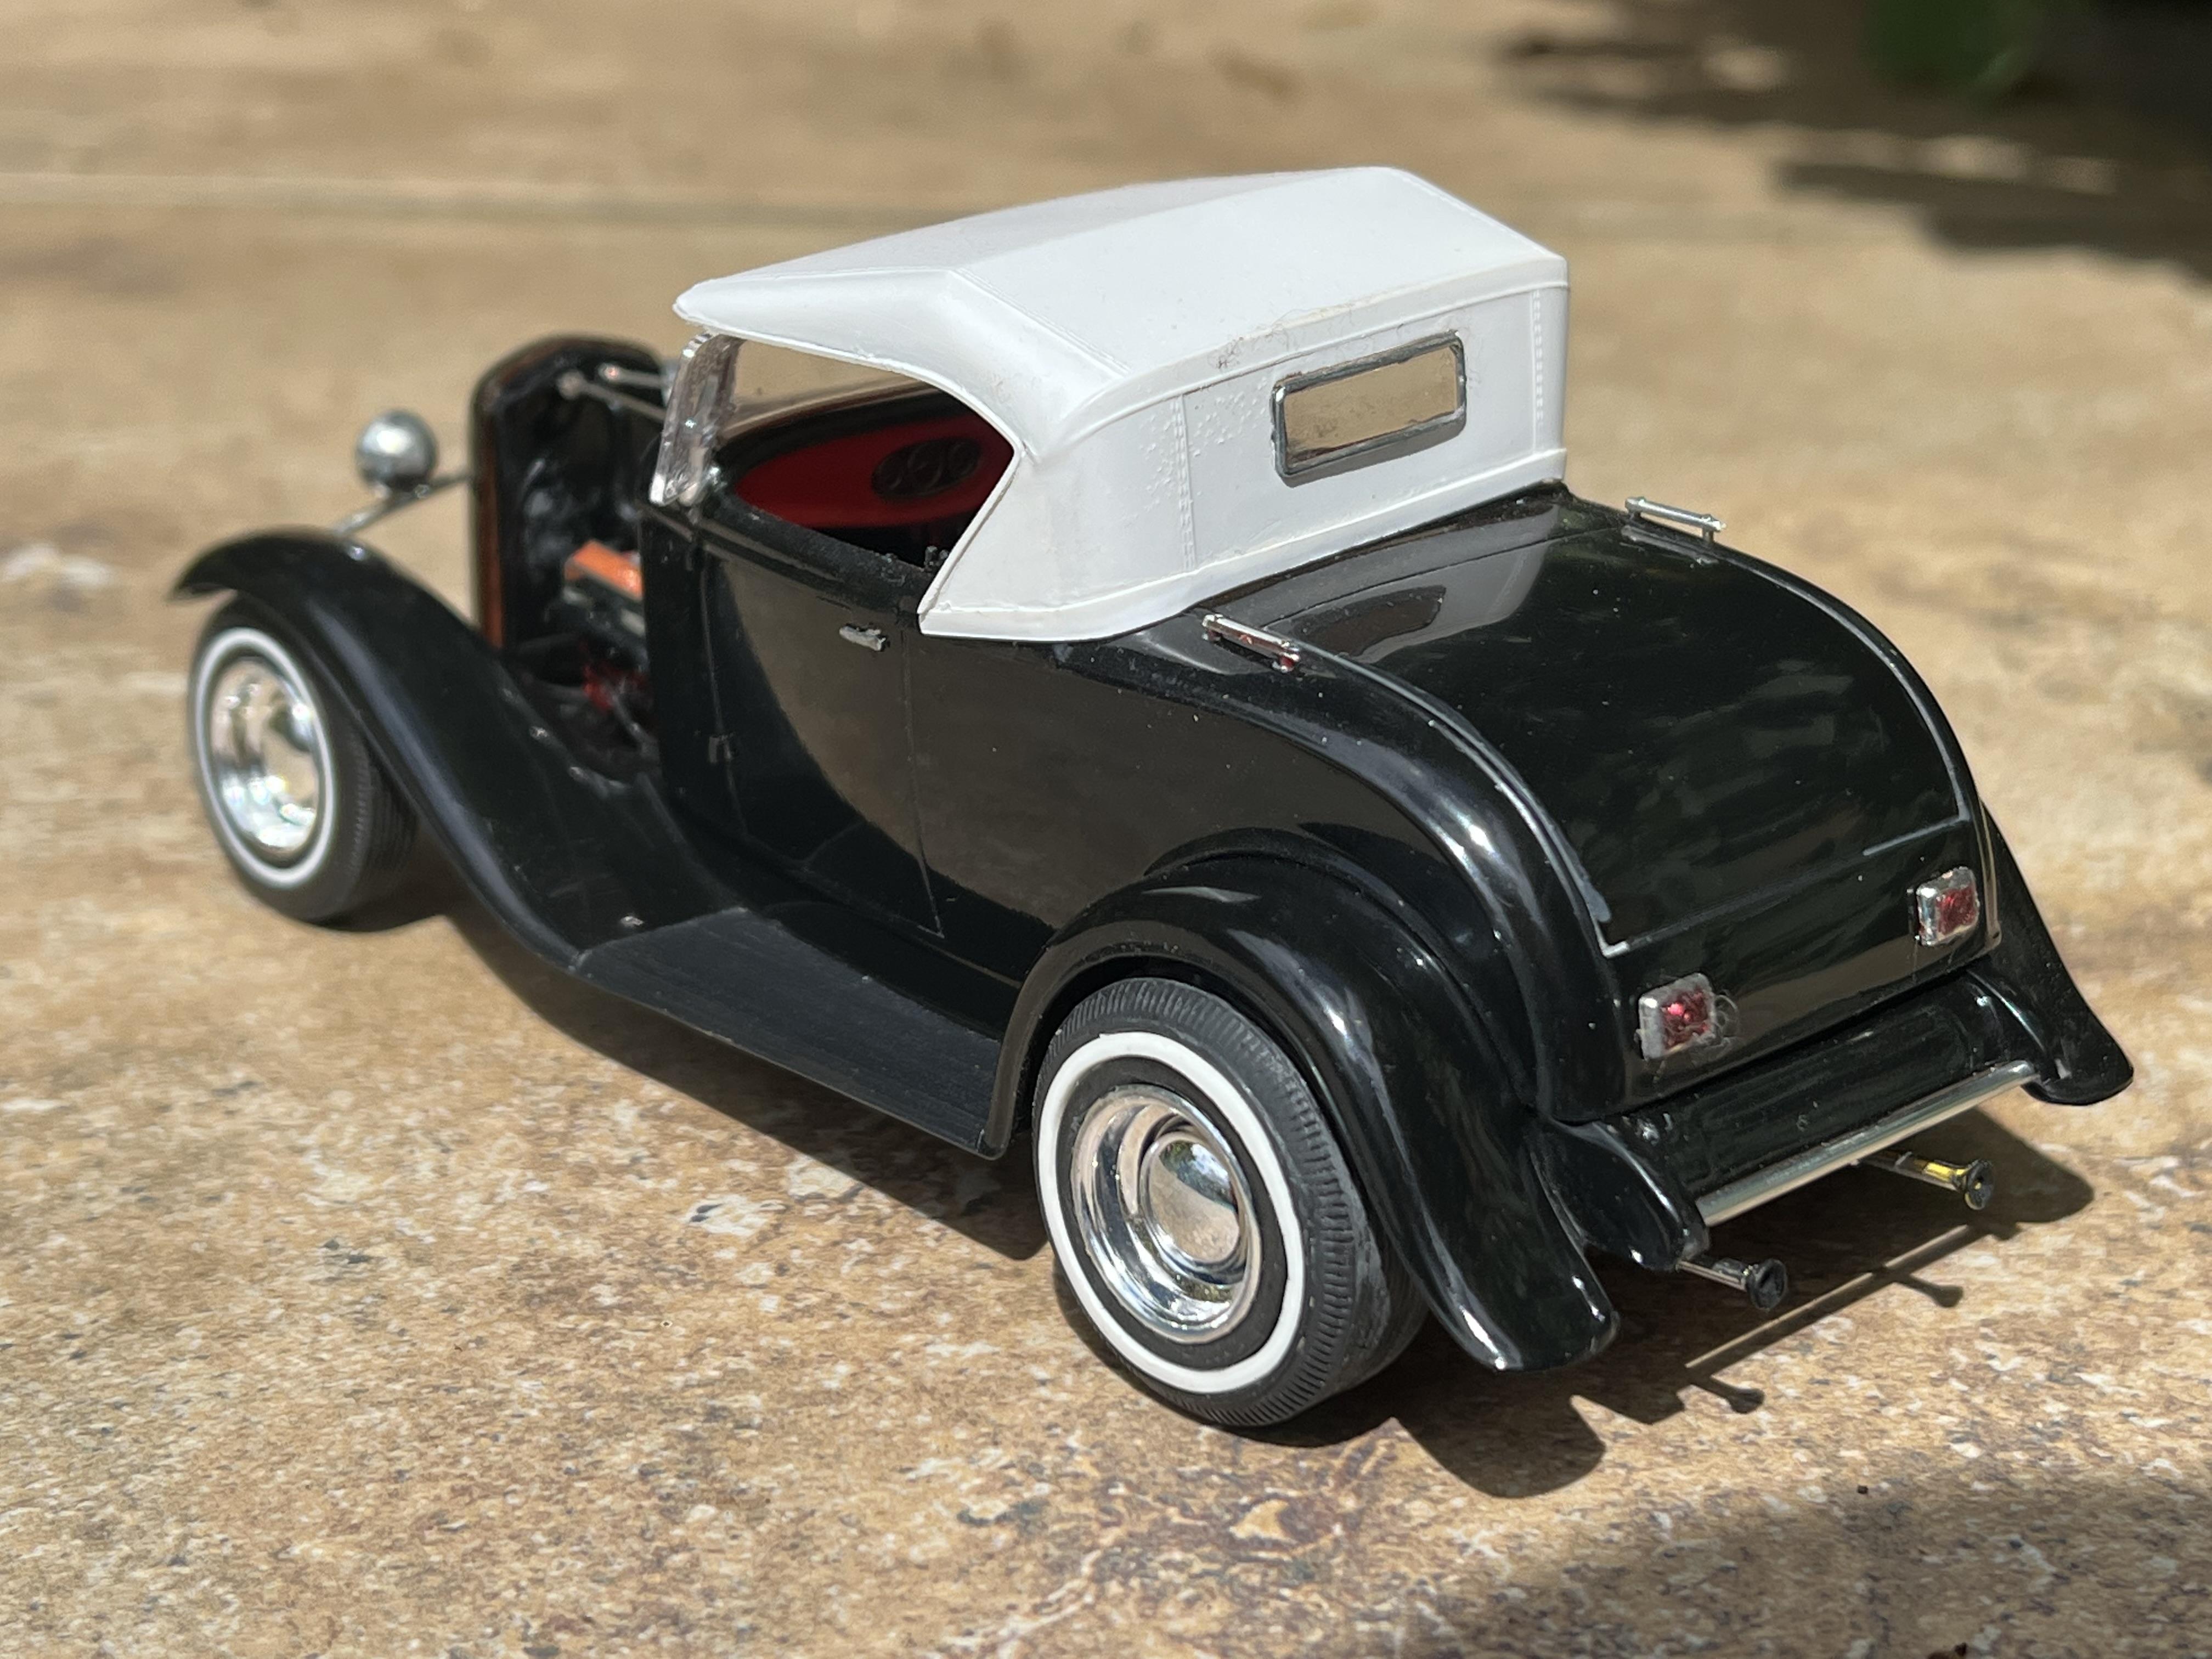
In early 2022 I decided to try once again to do justice to Fred Nilan's Dixiebelle. An AMT 57 Fairlane Y block was installed with the correct T-Bird rocker covers this time. Fred had the manifolds done in black ceramic so this time they are painted gloss black - the white was correct when I built the first two models. I modified the roof to match photos and used a white plastic body that had the correct headlight bar location. I fabricated a coil sprung rear end to match what Fred had built way back in 1970. This time, I think I am happy! As a side note, I was using an old drag racing newspaper called Rodsports to get some reference shots. You can barely see my model tucked near the back tyre in the photo. As I read the article, I noticed the publication date and it was exactly fifty years to the week of when I originally built my first Fred Nilan roadster. Spooky stuff!
-
My Monogram Deuce obsession - a lifetime of hot rod models!
Alan Barton replied to Alan Barton's topic in Model Cars
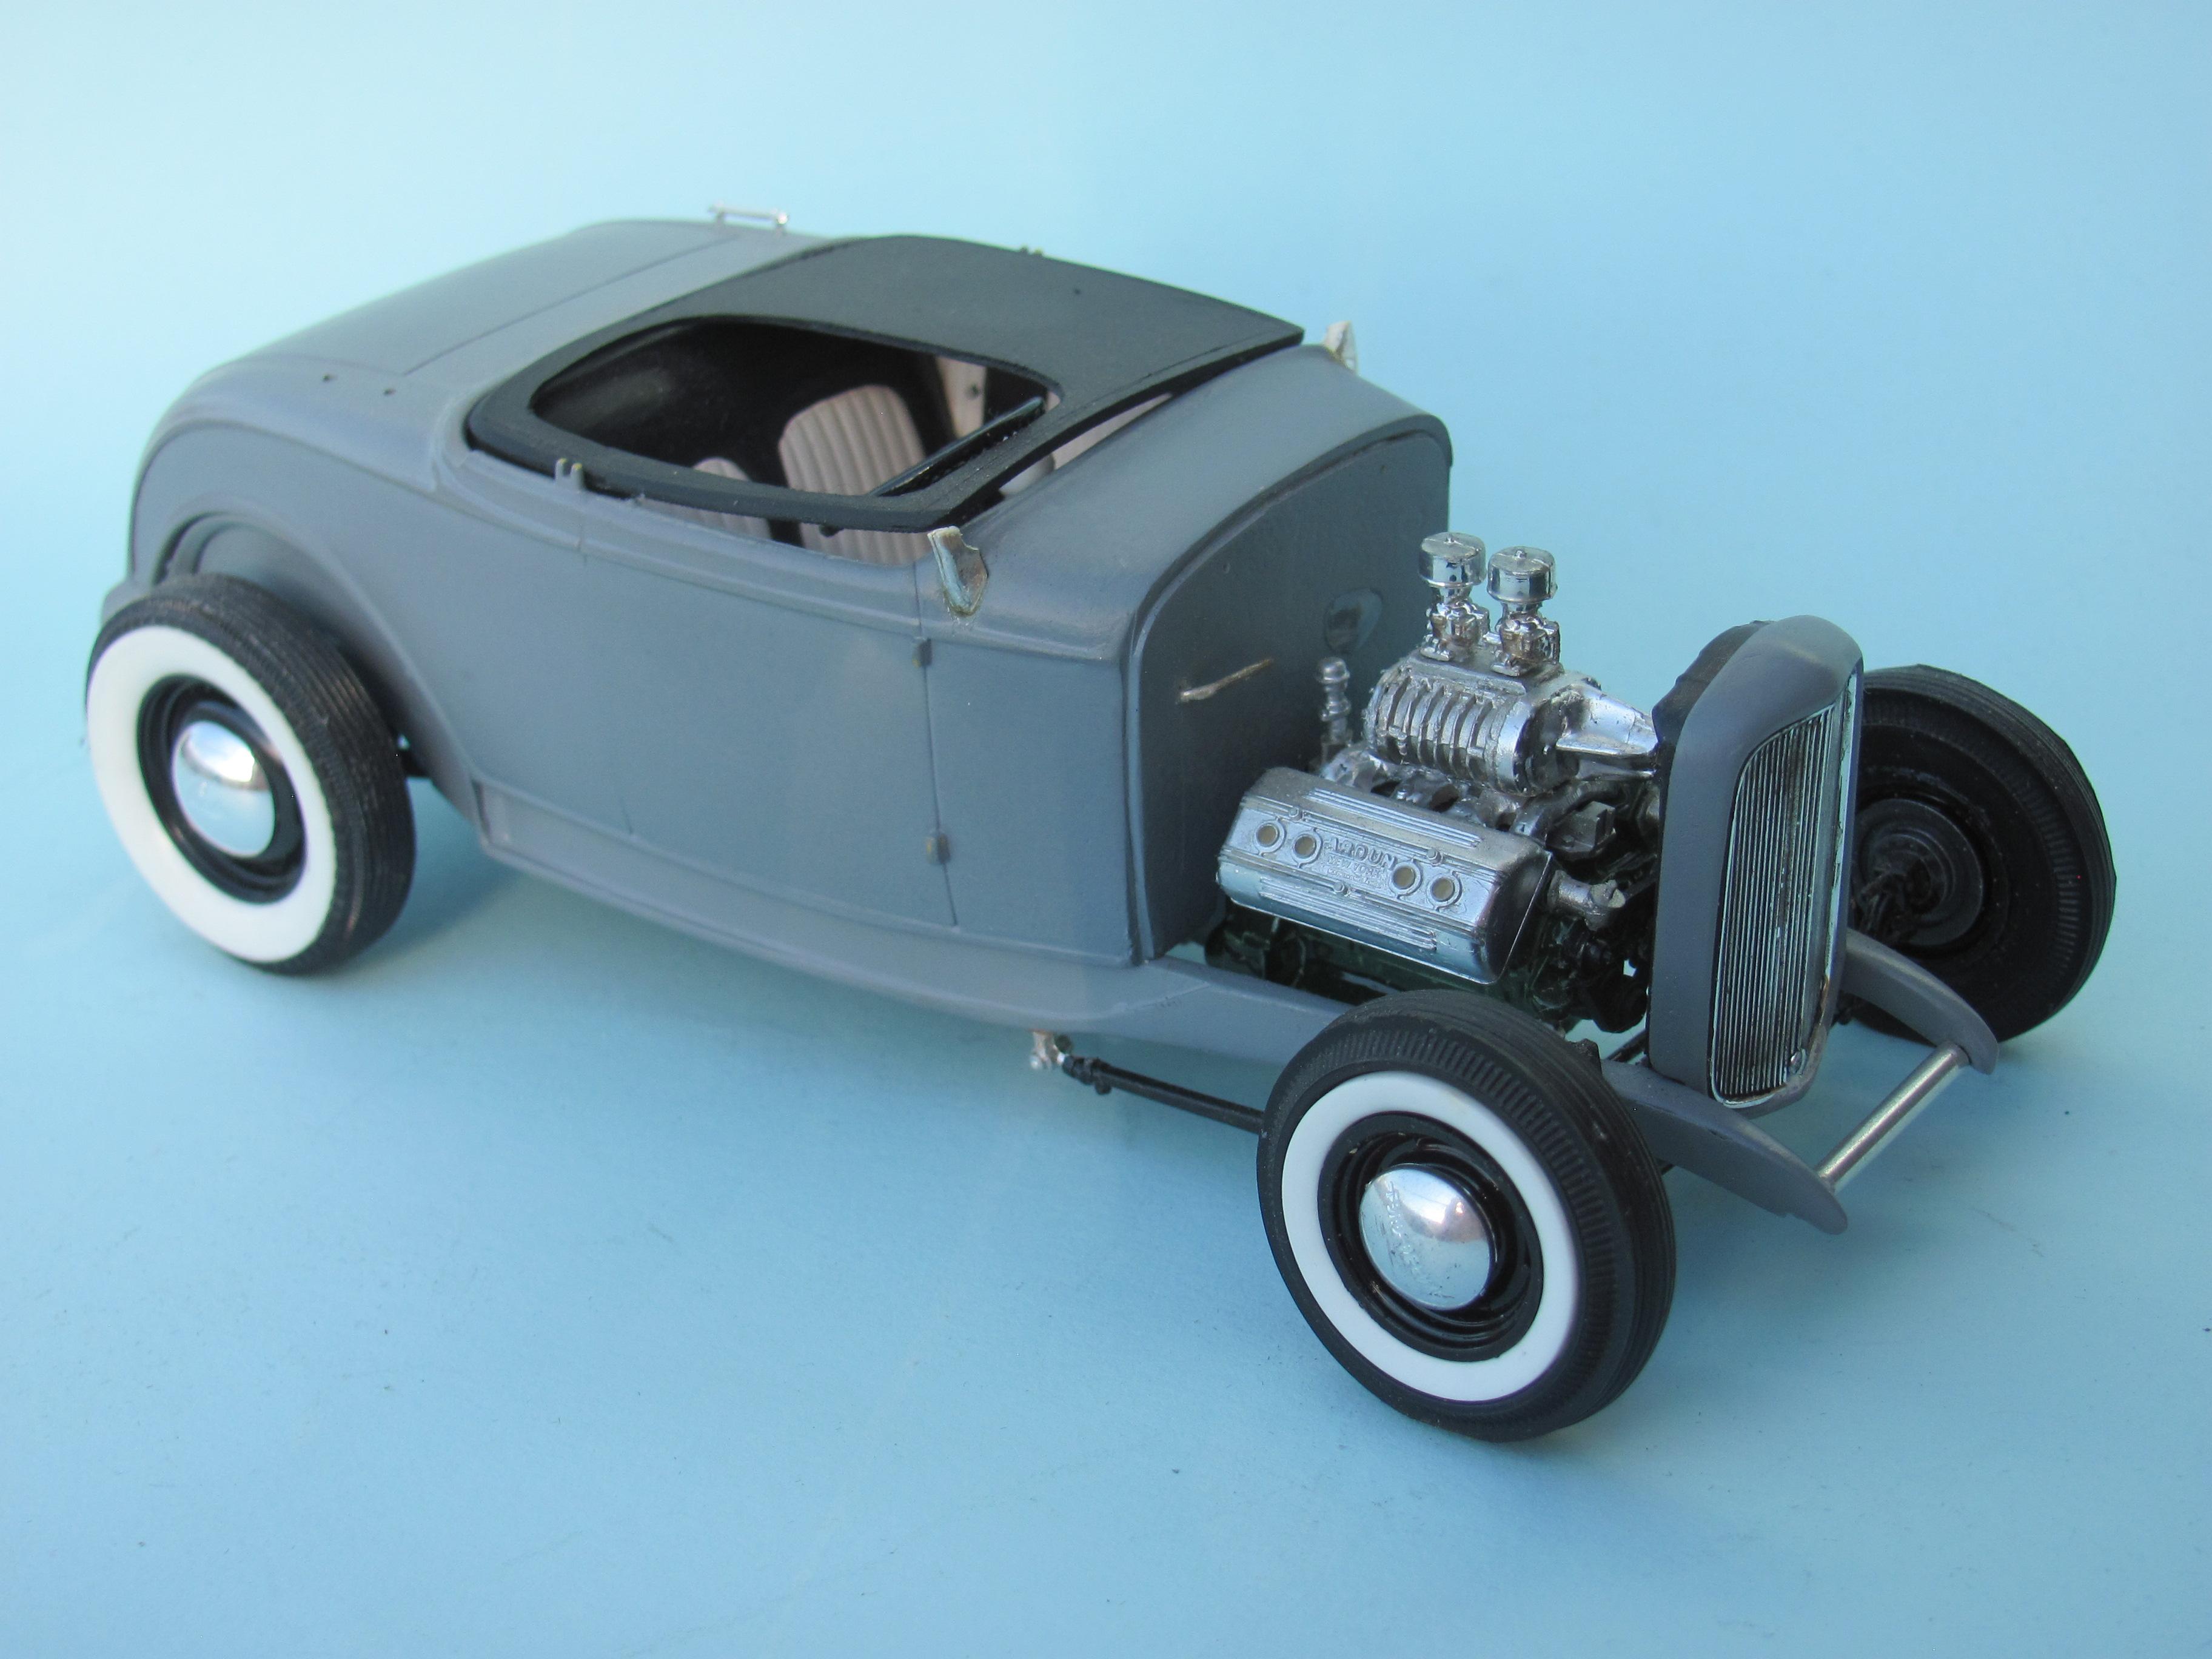
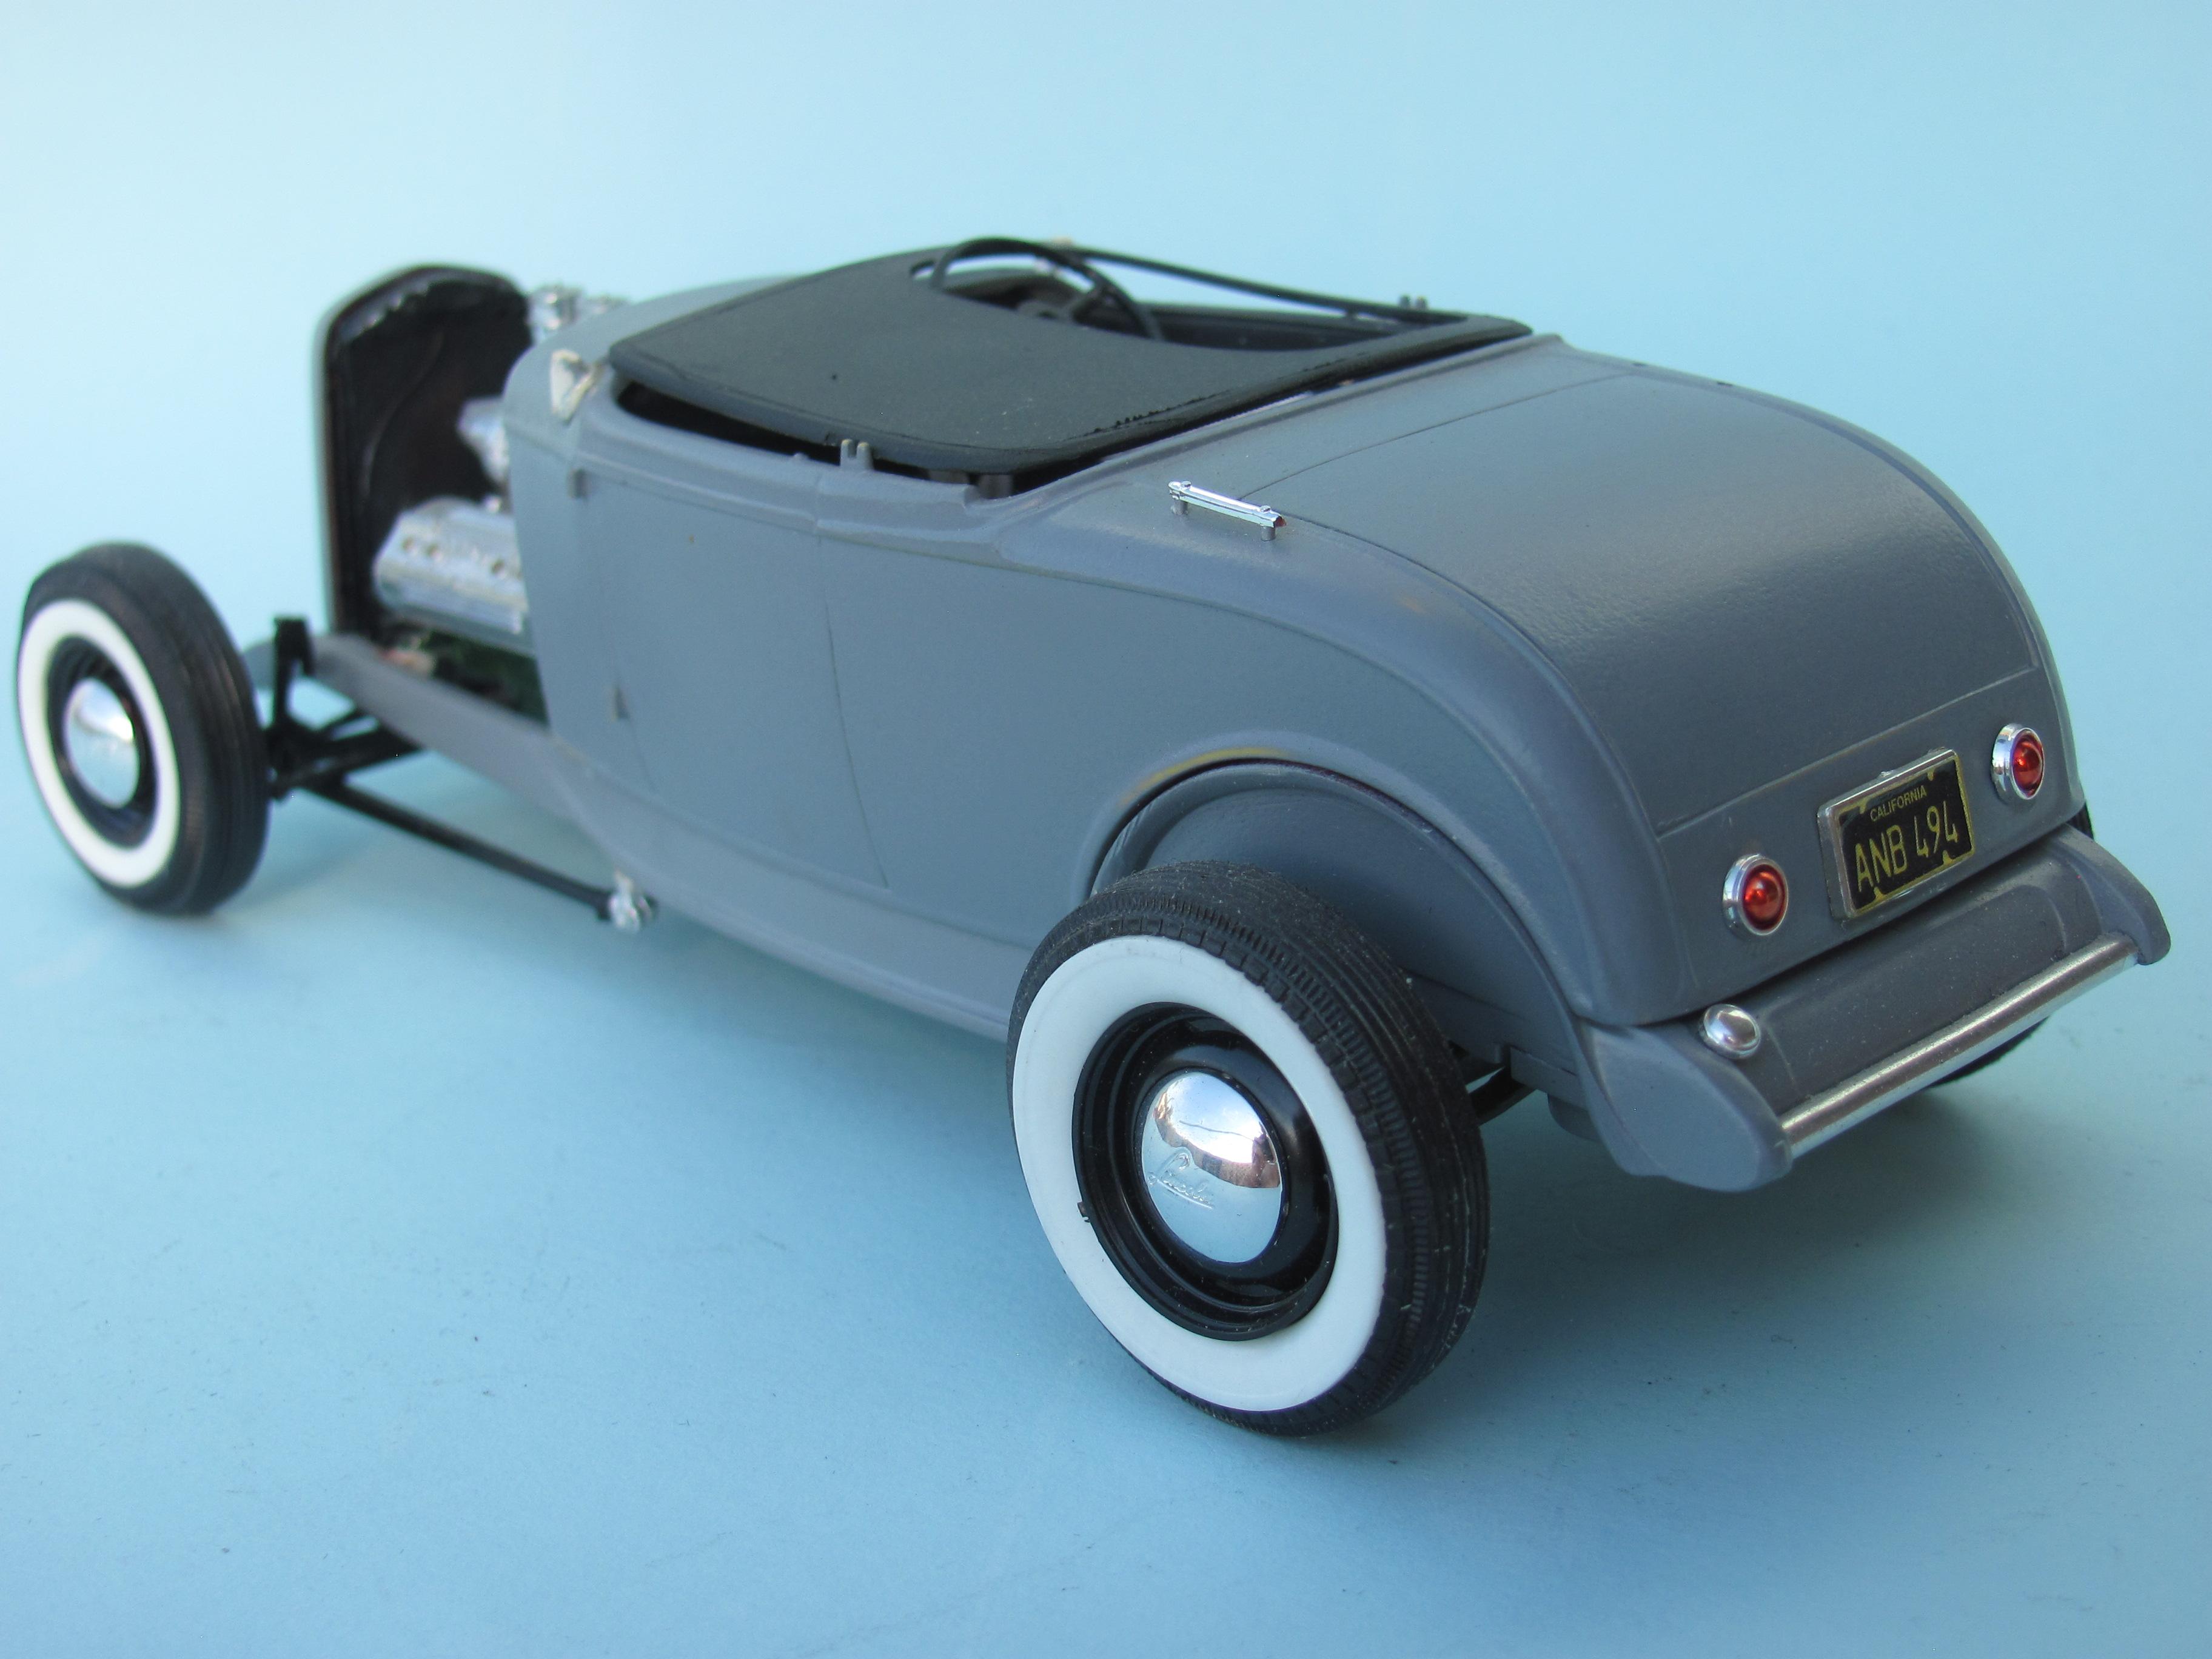
Next up, probably mid nineties, is my second attempt at a hiboy. The body was a yellow 85 issue that was a short shot so I had to reconstruct the bottom of the cowl on the driver's side.This time I added filler strips of flat styrene, front and rear, before cutting away the fenders from the frame and leaving a lip that would become the reveal of a Deuce chassis and also ensure a snug fit on the fender wells, The motor is a Monogram 40 pickup flathead with a resin Ardun setup that I must complete one day! I had a broken windscreen frame from the red Little Deuce so I cut the posts down to look like a dry lakes racer with the windscreen and posts removed. Front wheels and tyres are AMT 40 Ford while the rears are Monogram 41 Lincoln.