David G.
-
Posts
11,326 -
Joined
-
Last visited
Content Type
Profiles
Forums
Events
Gallery
Everything posted by David G.
-
I remember the Wonder Wagon! You've built a great looking rendition of the original. David G.
-
That looks like a good start on a fine build. David G.
-
That interior is looking great Jeff! David G.
-
Great work on the chassis Jim. It's cool the way you worked the exhaust pipes in. Also a good call following up on the front fender mods. It's the little things that add up to build the overall impression. David G.
-
Great color choice, a clean tight build! David G.
-

Chevy Ramp Truck
David G. replied to Falcon Ranchero's topic in Model Trucks: Pickups, Vans, SUVs, Light Commercial
The paint and decals are fantastic and the tools in the bed look great. Nicely done! David G. -
Sweet build! I love the color and scrollwork! David G.
-
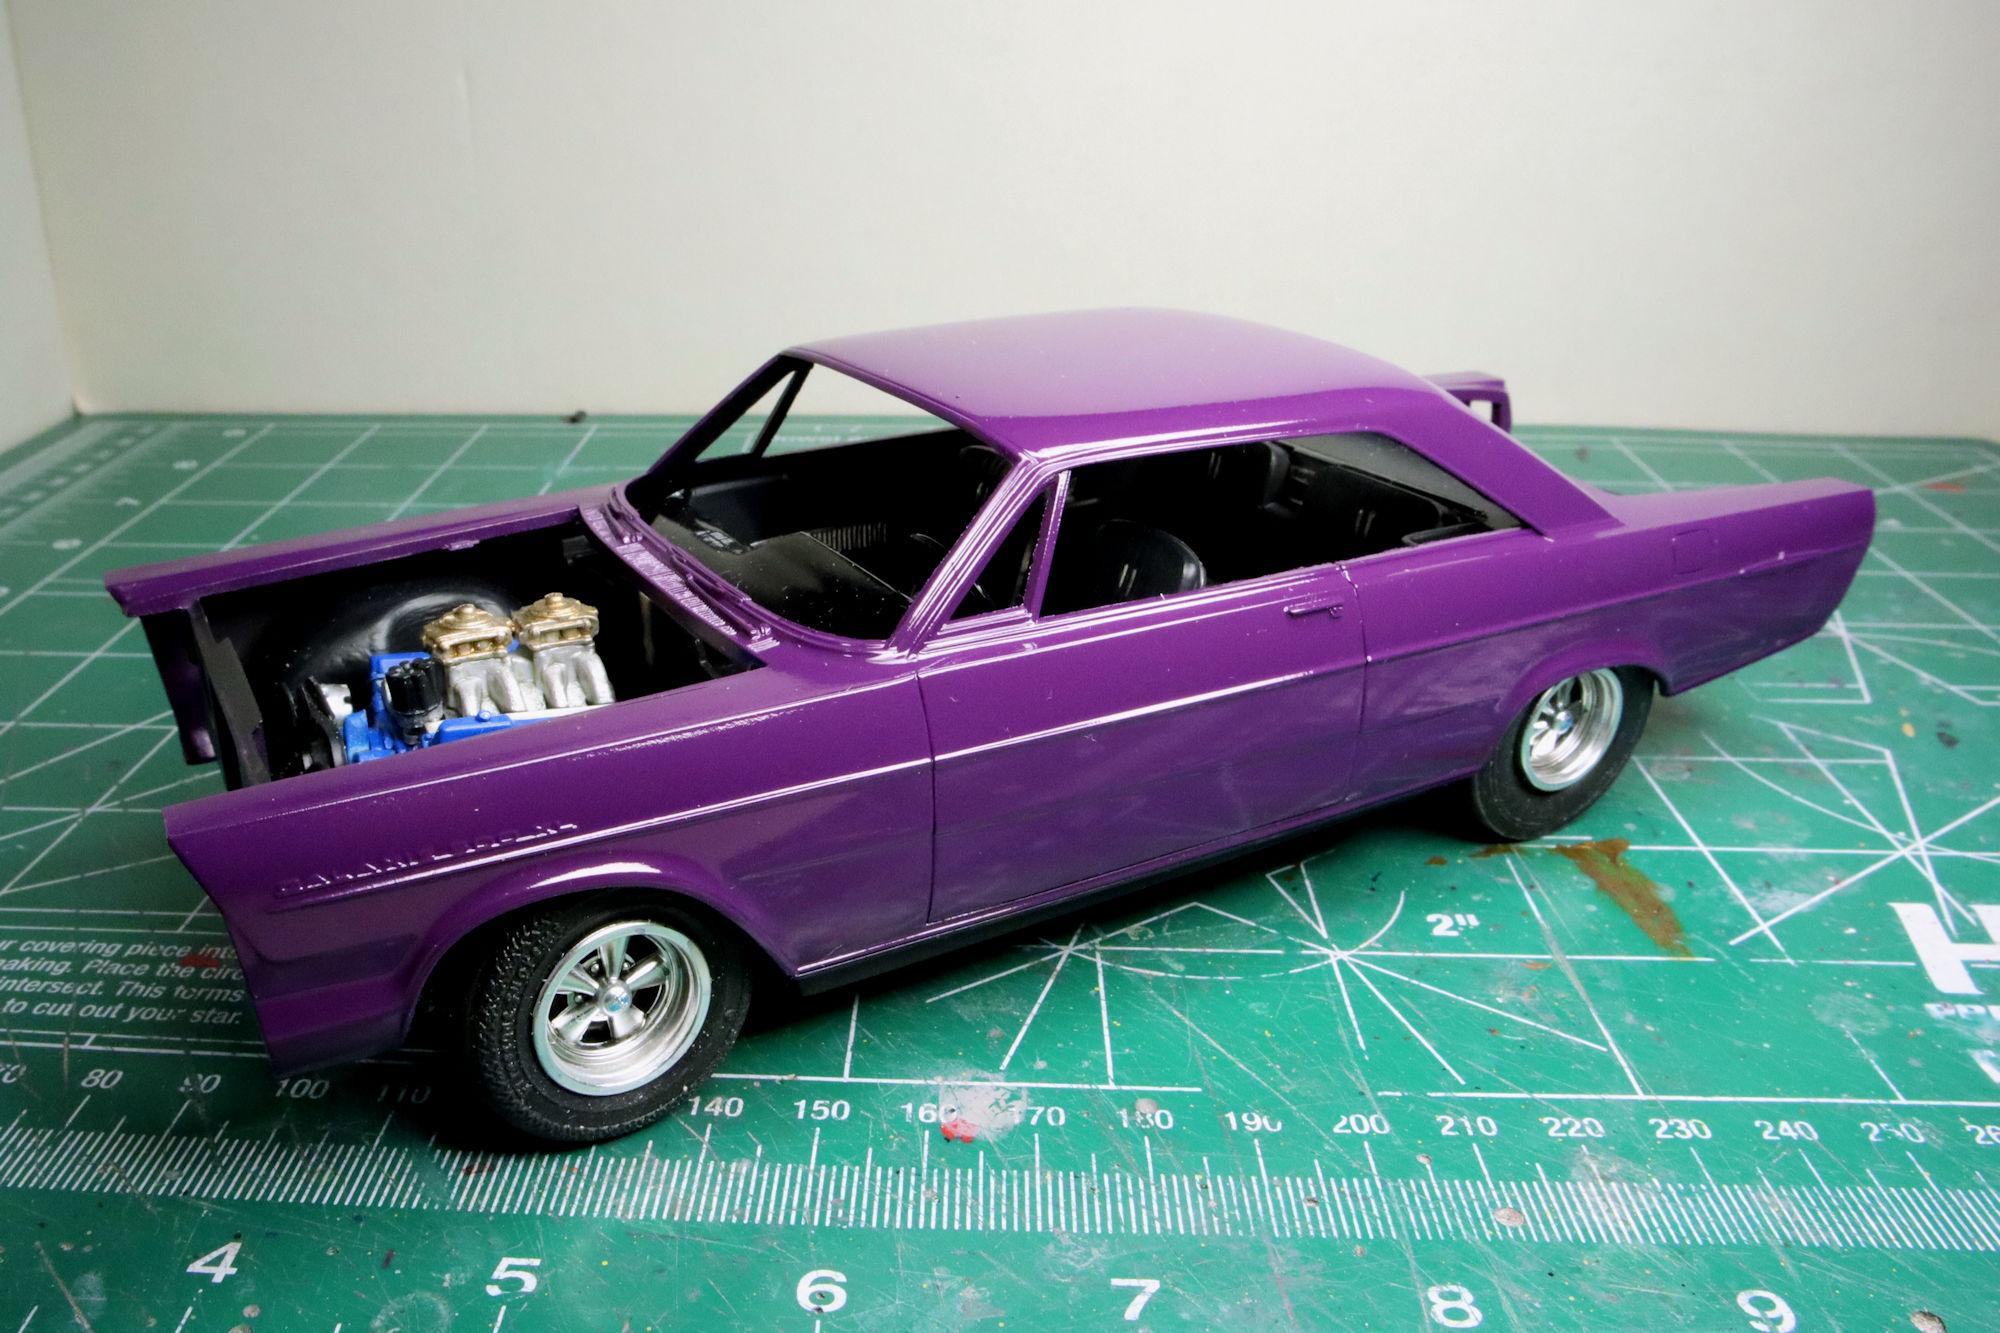
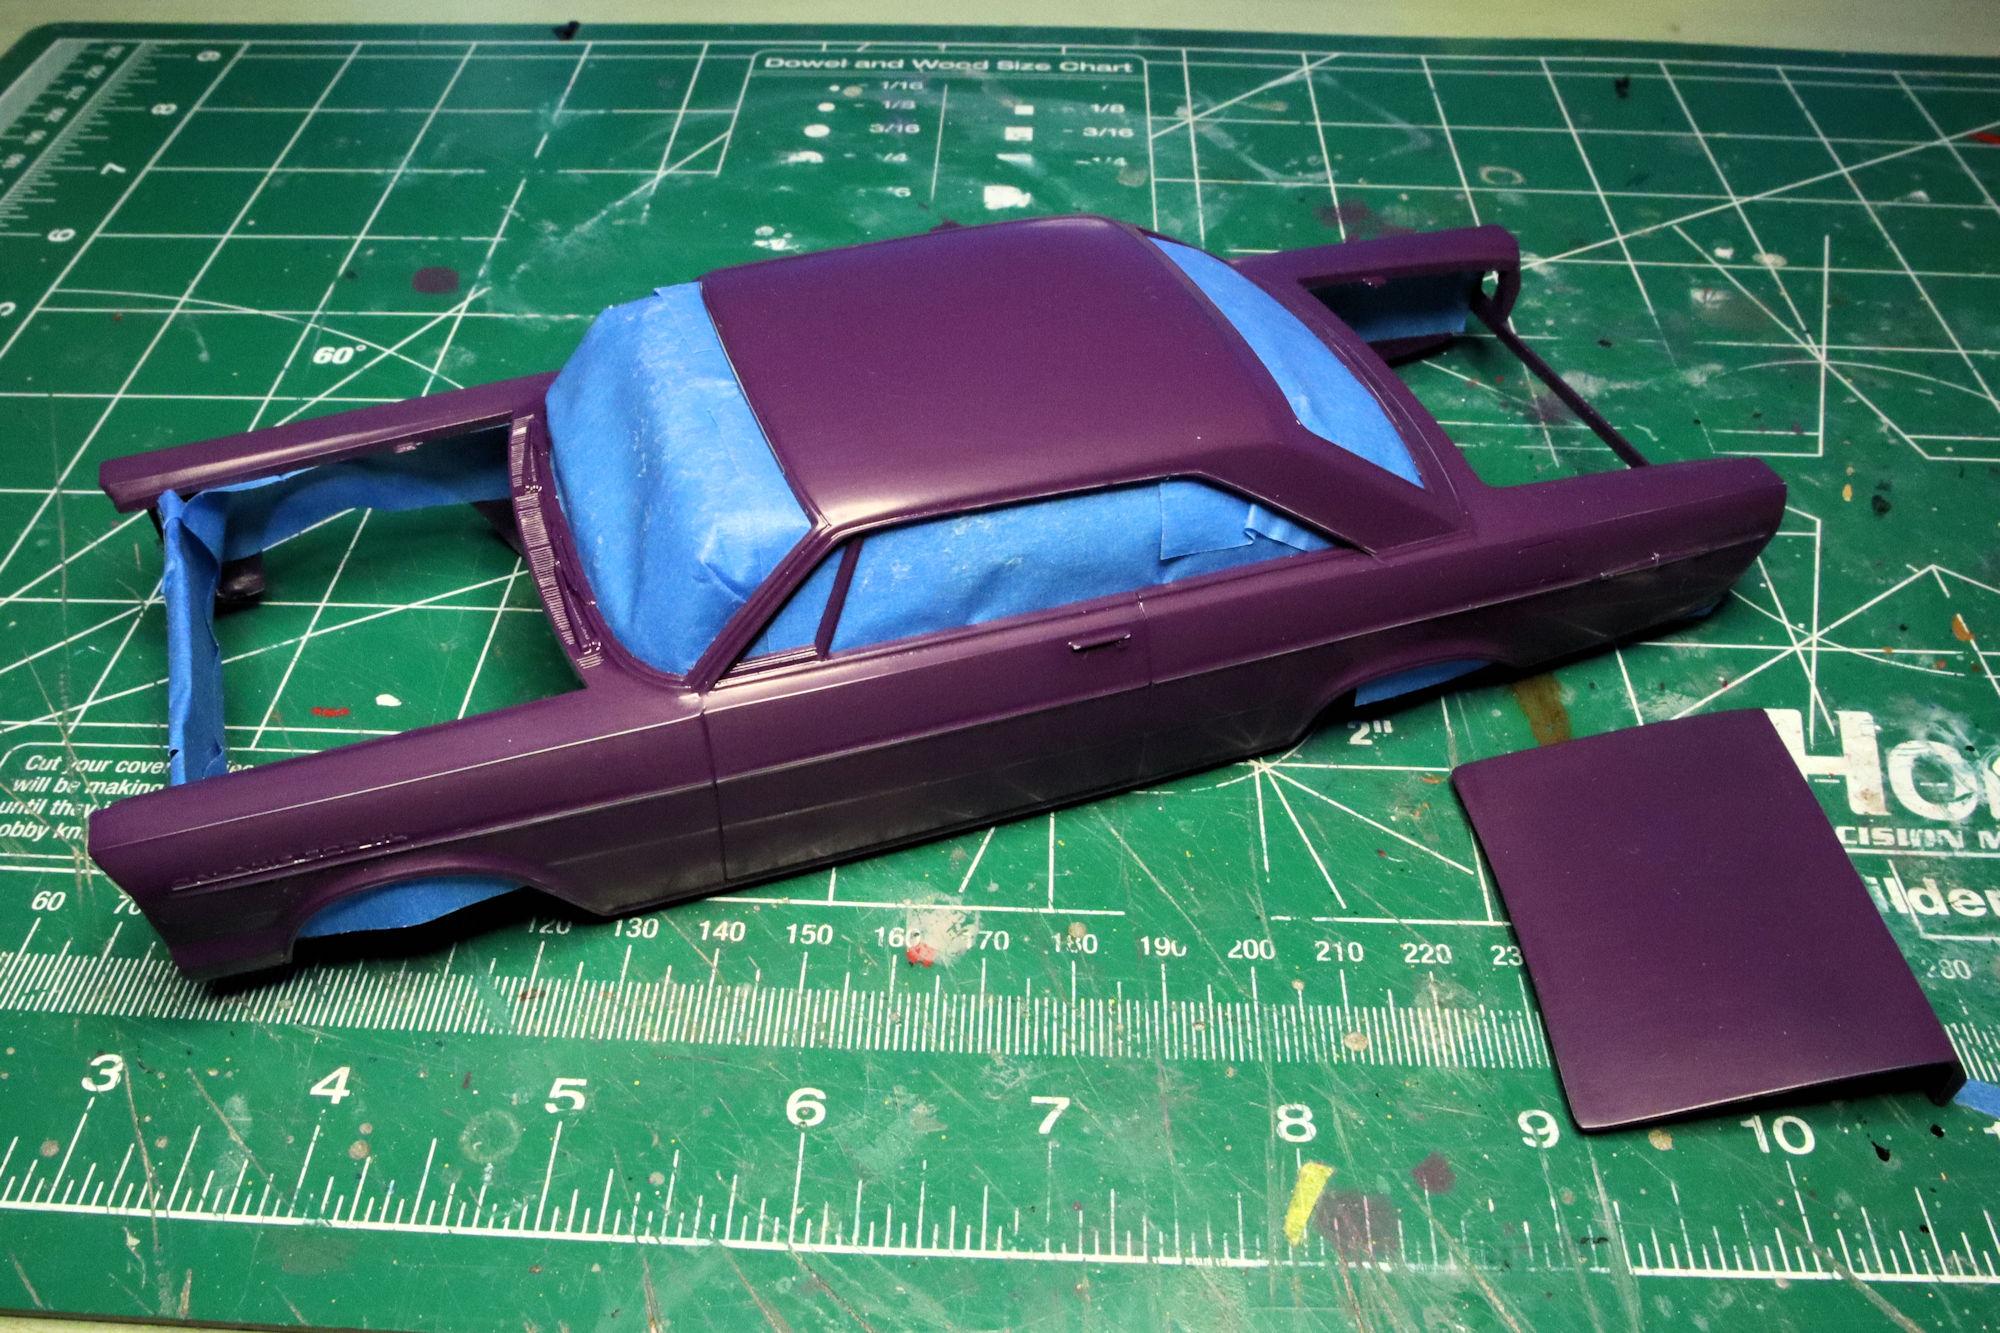
Hello Everybody! I'm still working to get the paint issues on the hood sorted. Meanwhile, the rest of the build continues! The color sanding has been done and the masking is applied, it's time for the (hopefully) final coat of paint! Everything looks good! After about an hour the paint is dry enough to remove the masking and still soft enough not to break and chip while doing so. With the masking removed, it's time to let this one cure for a few days while I get the paint issues on the hood worked out. As always, thanks for taking the time to look and please feel free to comment. David G.

-
Thank you Jim, I appreciate your thoughtful comment. I believe that I will find a way to make this work, it's just going to take a little more time and patience than I originally planned. And who knows, I may learn something! David G.
-
1:16 Gunze Sangyo 1937 Rolls-Royce Phantom III Sports Saloon
David G. replied to Anglia105E's topic in WIP: Model Cars
I'm glad to know that you seem to be getting a handle on fitting the body and chassis together. You mentioned the package shelf as one of the contributing factors in the matter. That makes me think that it's the "size distortion cascade" as I've come to think of it. I experienced a similar set of circumstances when I built the VW Love Bug earlier this year. In this case, probably due to mold wear, each of about a half dozen parts experienced a size increase of probably about a mm or less, which may not seem like much. When stacked however, those tiny variations add up to several mm of misalignment and poor fitting. The "size distortion cascade" effect. Hopefully, having the package shelf corrected will reveal the next point of interference... and the next.. and next. There are probably several that will need to be addressed. I hope you can find a quick and easy solution to the problem. David G.
-
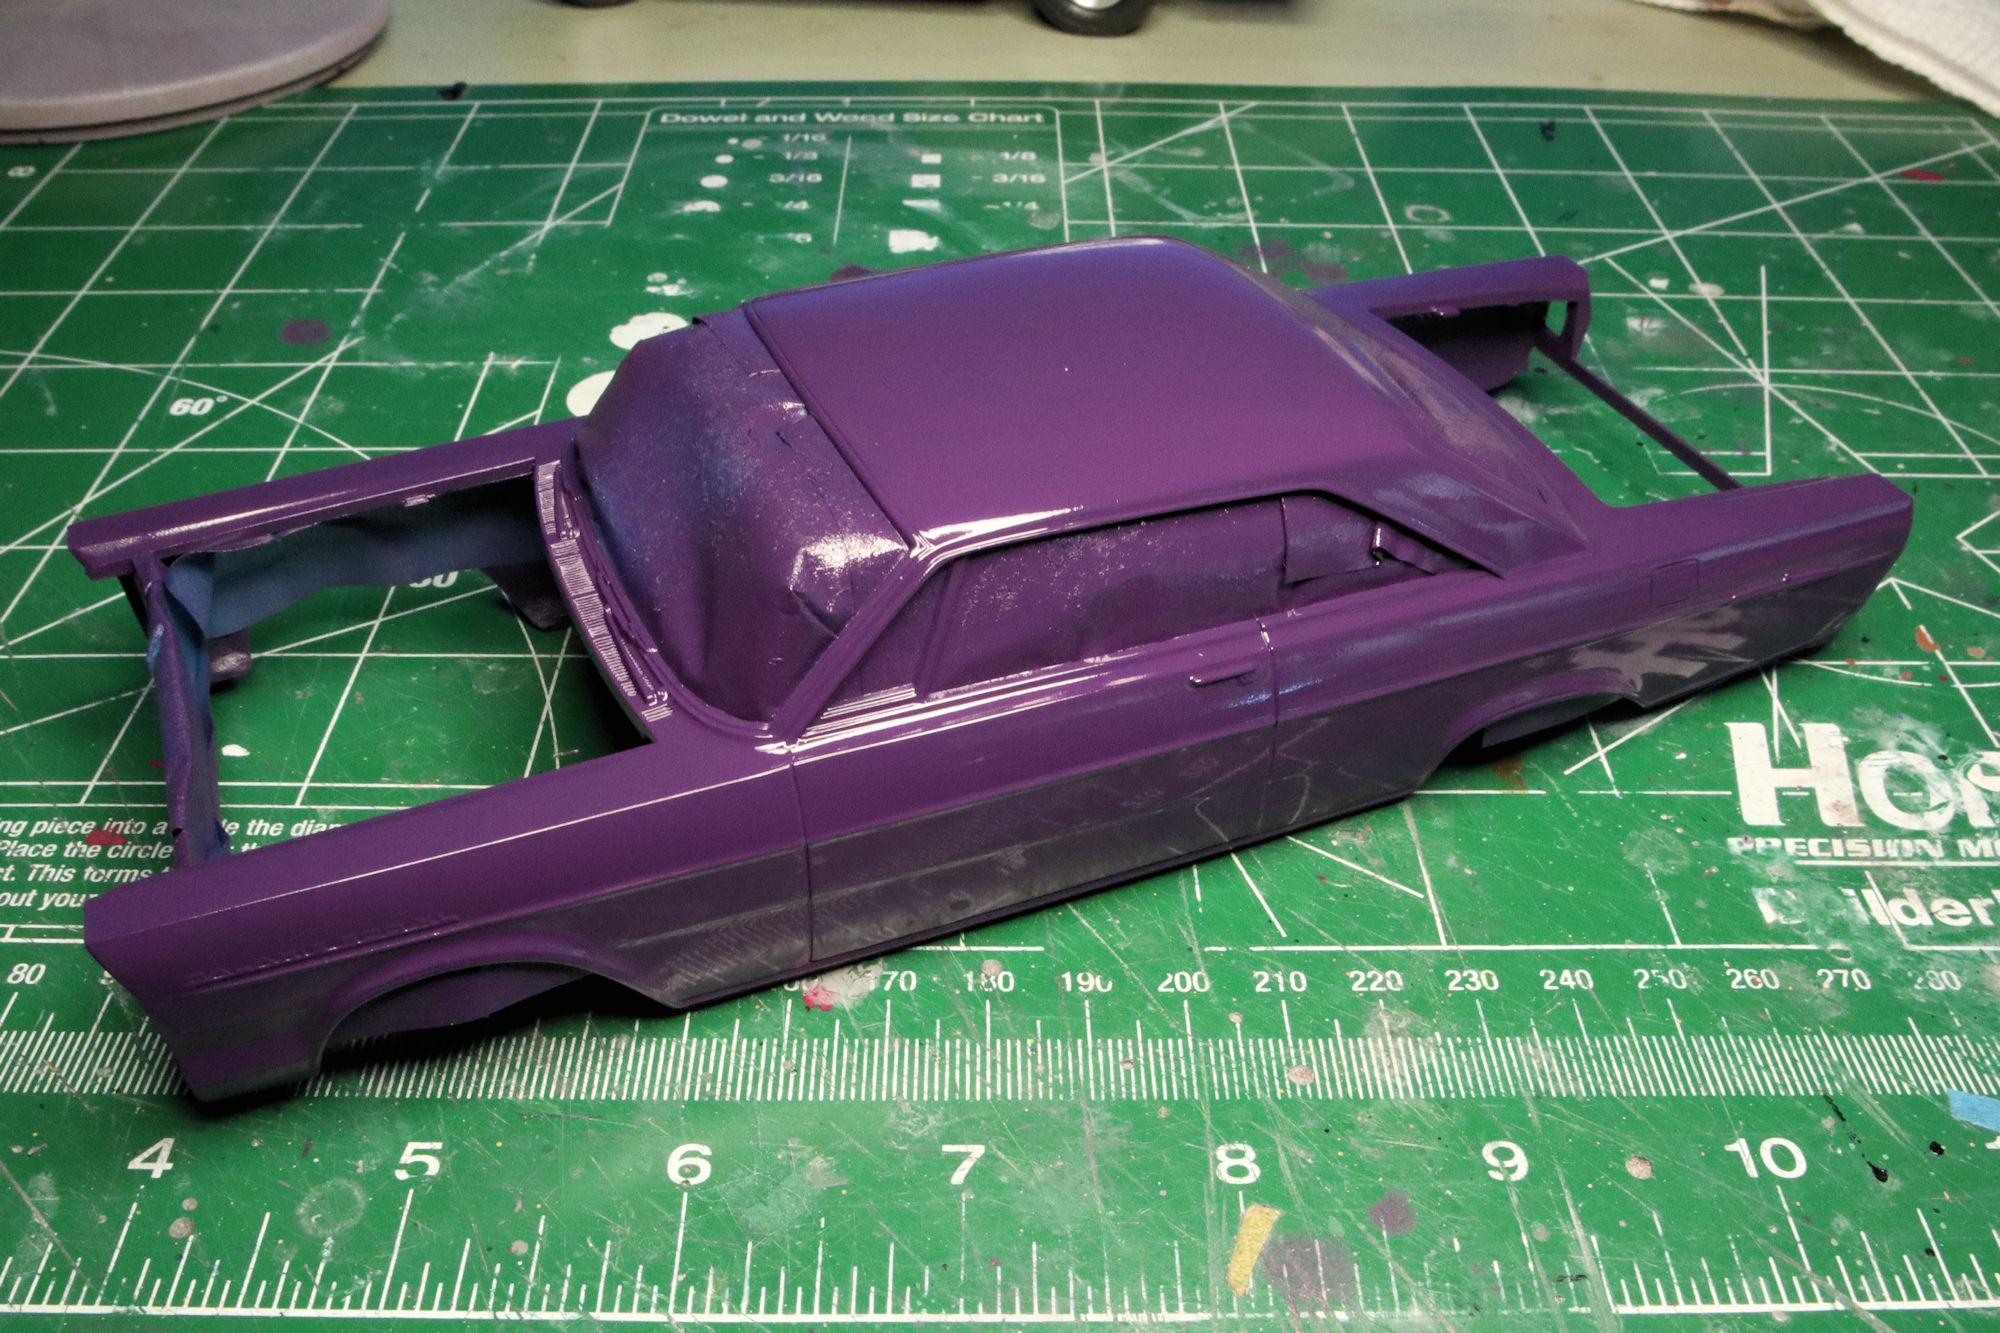
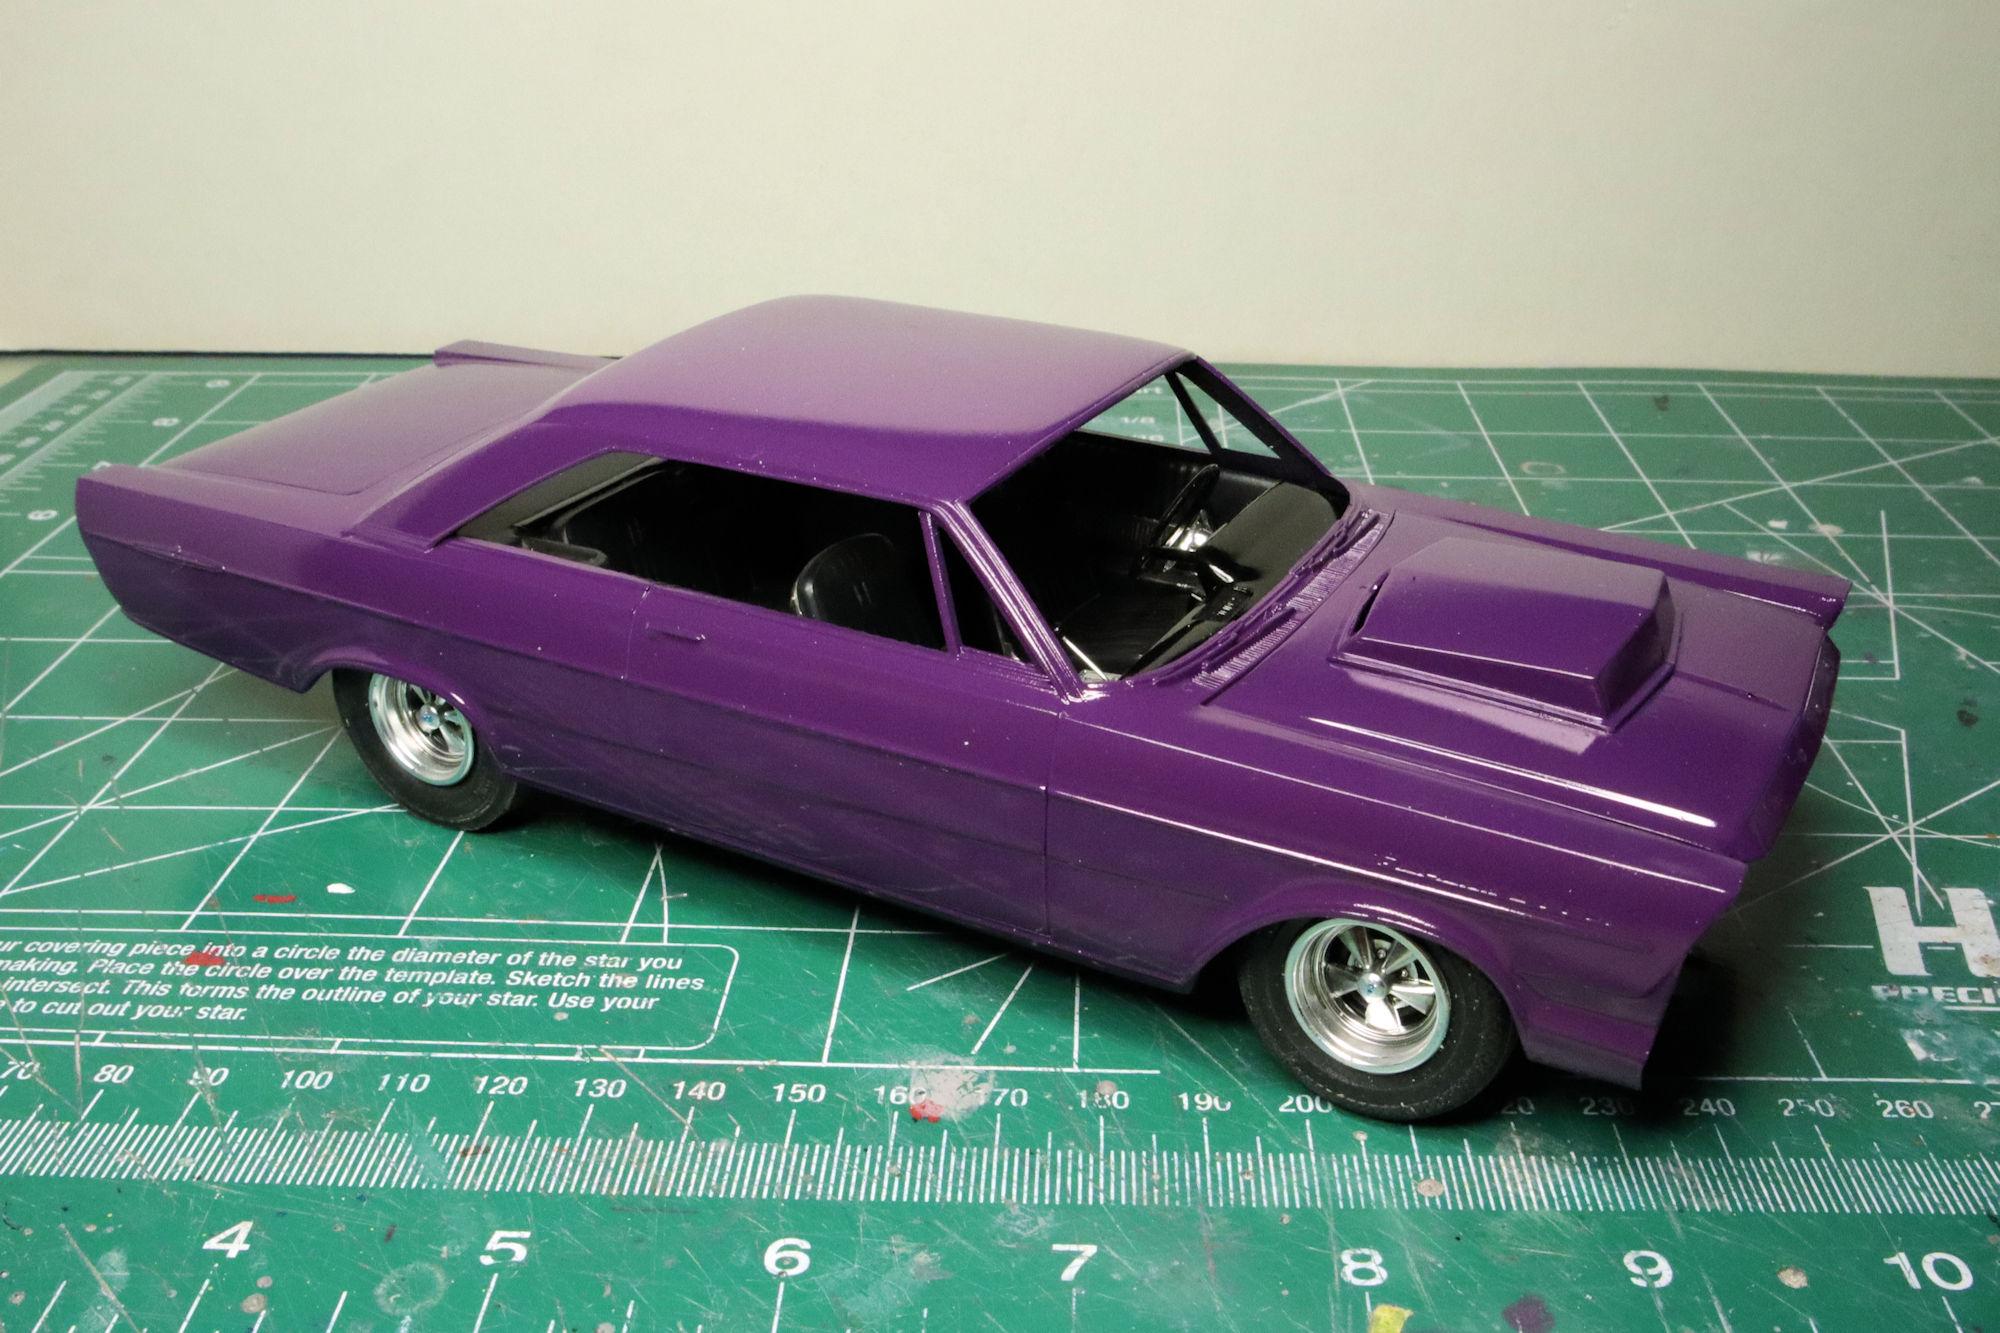
Hello Everybody! AMT's 1965 Ford Galaxie 500 XL, here's the next update! I've sanded out the flaws near the hood scoop and a few others I've found. Looking at the way these defects sanded out, I'm thinking that they are actually casting artifacts. After sanding them smooth and spraying a fresh coat of paint, the flaws remain. Even the ones on the front are still there. The paint is beginning to get too thick and I'm done mucking about with it. Into the Purple Pond it goes! As always, thanks for taking the time to look and please feel free to comment. David G.
-
Nice work on the motor mounts and valve covers! David G.
-
Holy Spaghetti Factory, Batman! Si, what have you done?! ? Oh my, that looks like a tremendous amount of work! My brain hurts at the thought of placing all those fibers. David G.
-
Keeping the "fuzzies" off the paint.
David G. replied to Hi-Po's topic in Tips, Tricks, and Tutorials
I'll certainly give this one a try. Thanks for the suggestion. David G. -
Monogram's 1955 Lincoln Futura Concept Car: WIP
David G. replied to David G.'s topic in WIP: Model Cars
Thank you most kindly Alan. David G. -
I'm very fortunate in that regard David. My wife's undergraduate degree is in Painting and Studio Arts and she's an artist by avocation. She sees the art in my model building hobby and supports me in it. She has her own hobbies and interests which support in turn. It all works out very well. I truly am blessed. Thank you very much Carl. Thank you also for your offer but I think I can find a way to make this one work. I'll certainly keep it in mind though. David G.
-
Thank you David. The Cragar S/S wheel would have been a much better spare if it didn't have the center cap and lugs cast into it. I'm not sure I would have used it but it would have been nice to have had that option. Since I've retired, I do try to keep busy. It's amazing how some of us tend to find jobs for ourselves. David G.
-
Who doesn't love a mock-up? Let's see yours!
David G. replied to Belairconvertable's topic in WIP: Model Cars
I love the intake stacks poking up through the hood! David G. -
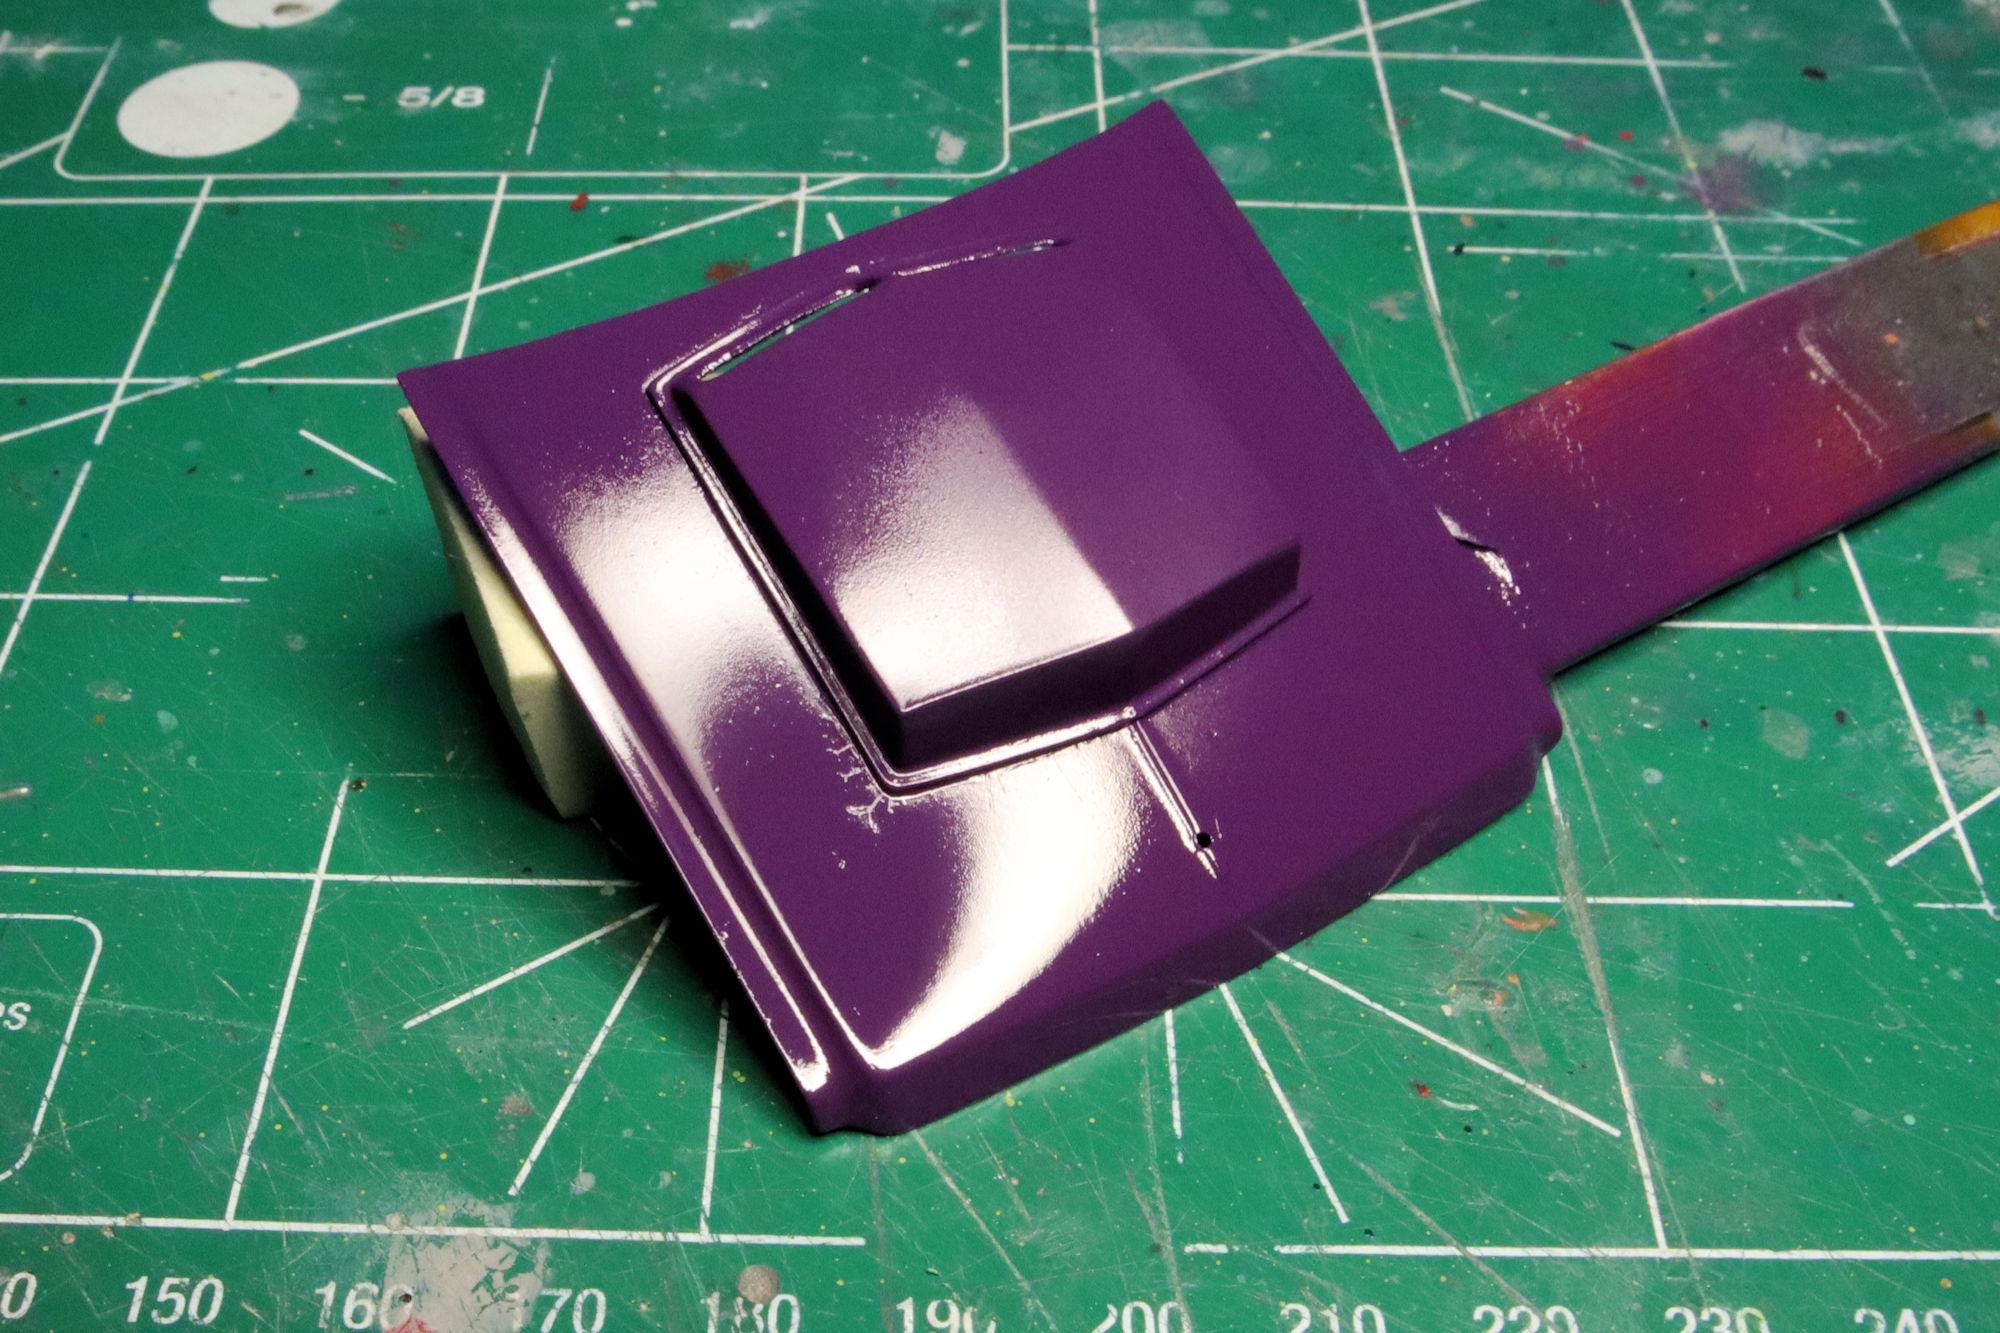
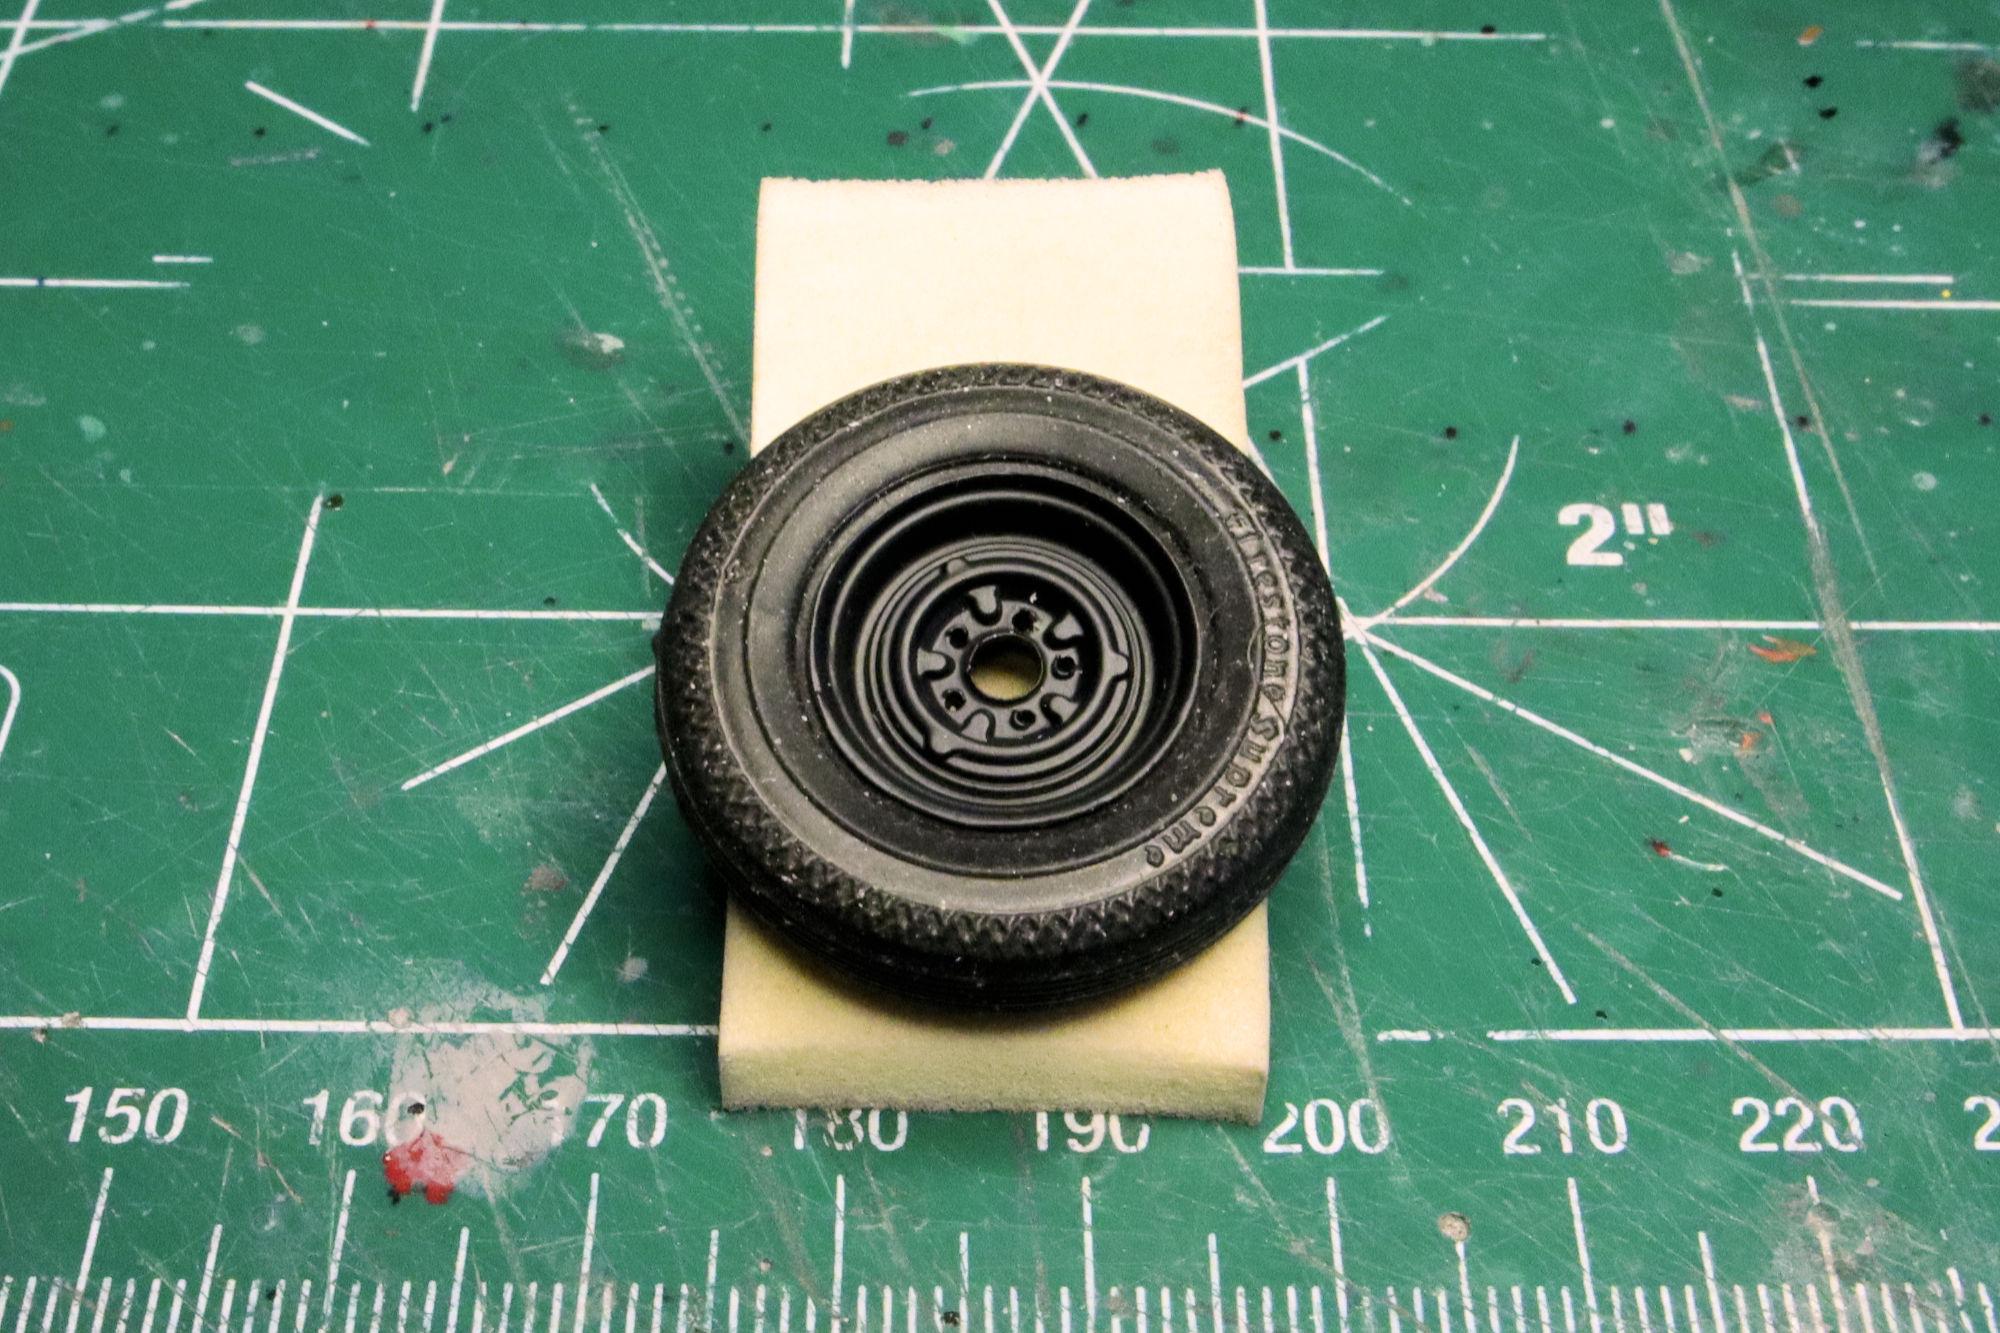
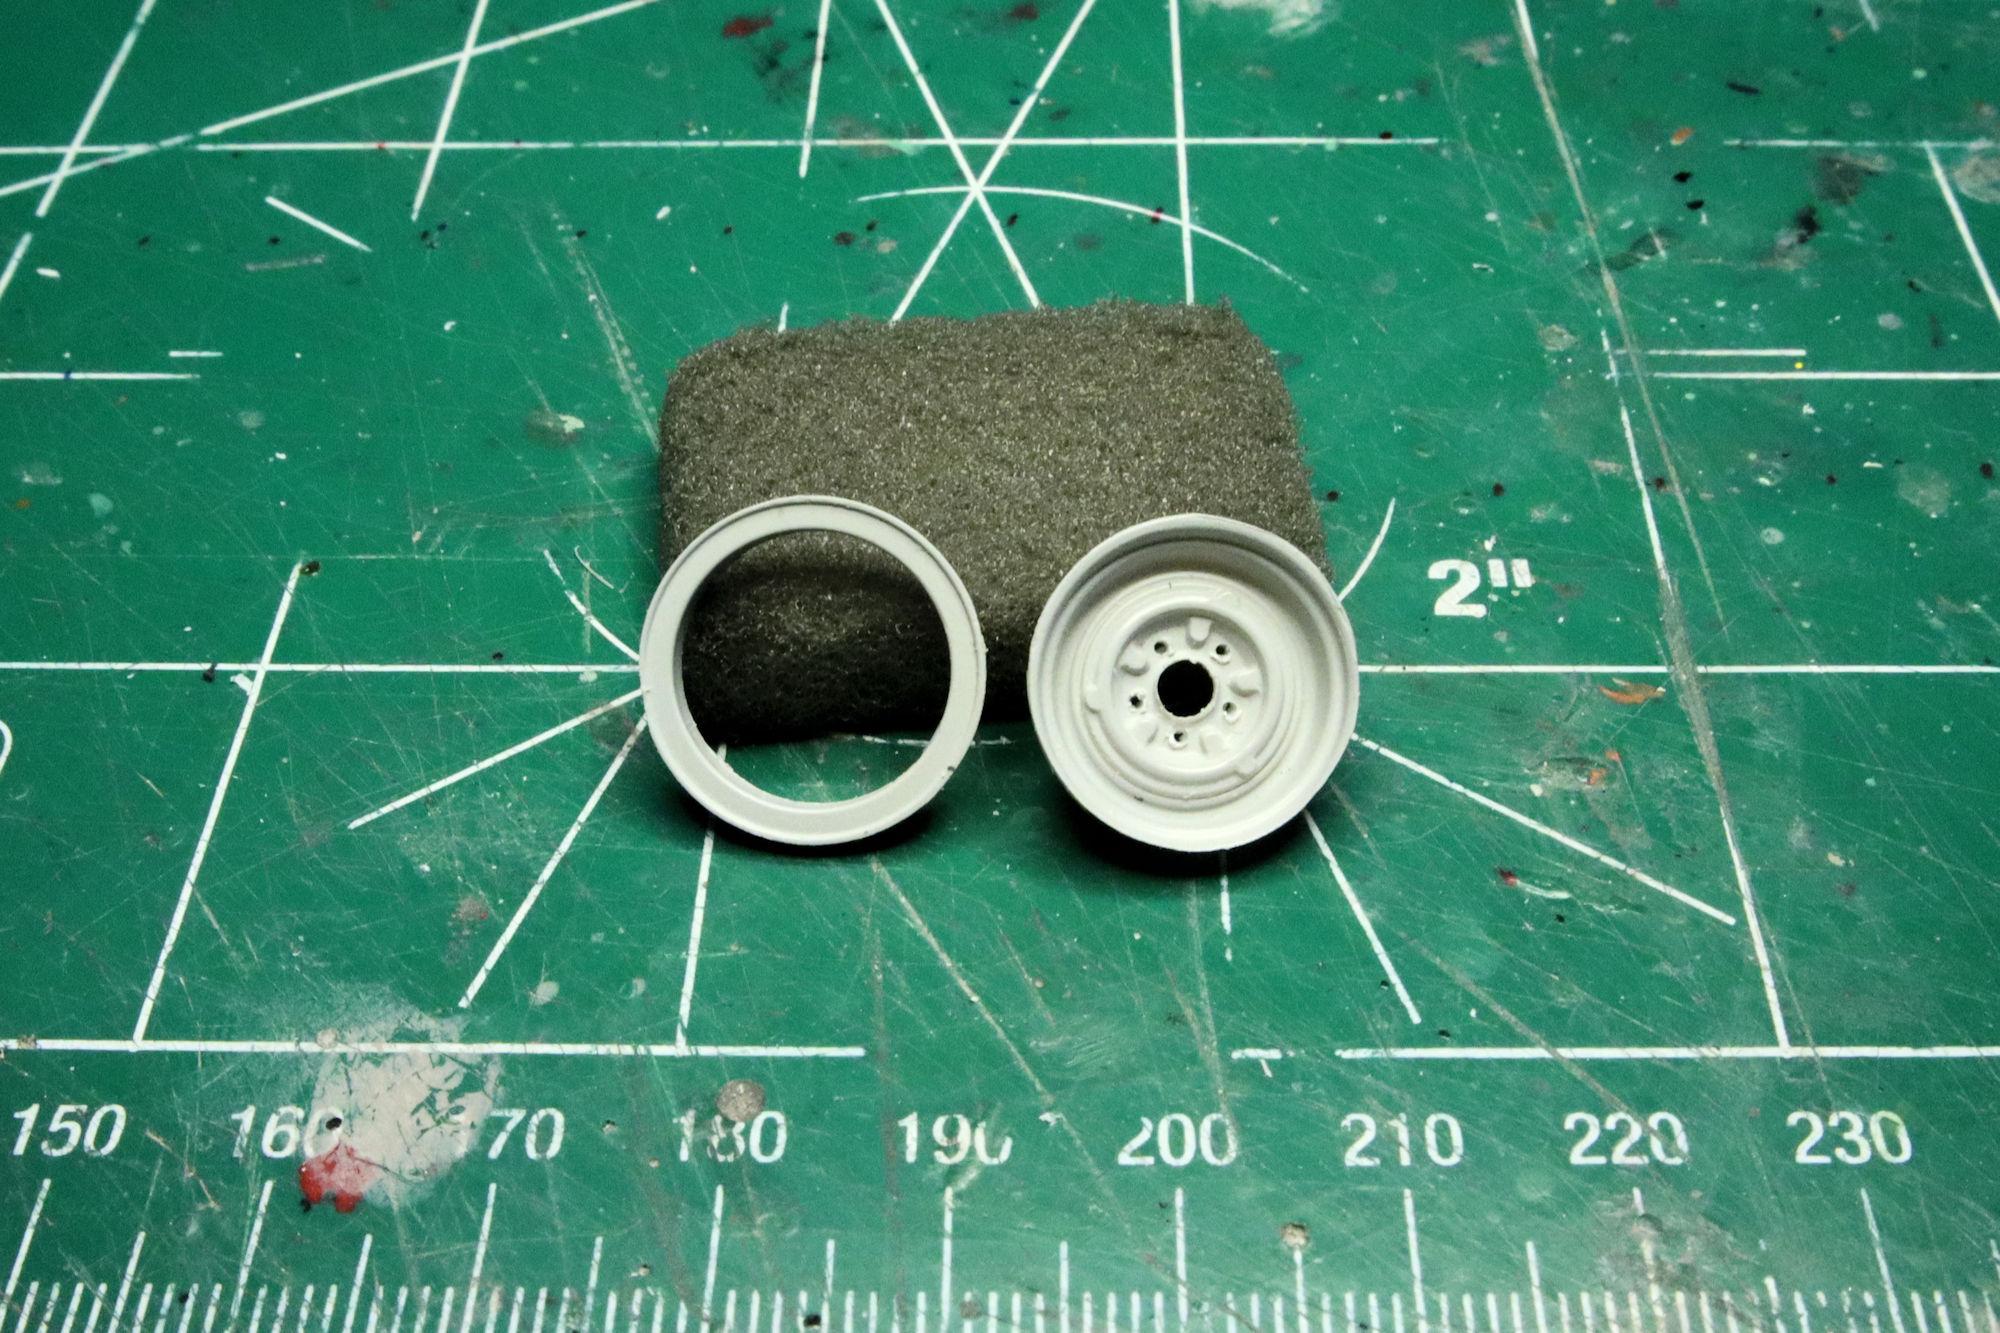
Hello Everybody! While I continue to work on the paint problems I'm having with the hood, here is a pleasant little diversion. Because the trunk on this kit opens, AMT thoughtfully provided a bumper jack and spare wheel to place in the trunk. This is the rim they provided for the spare. It's nice but not what I would expect for a spare wheel. So I found a suitable steel rim in the parts box and drilled out the center cap and holes for the wheel studs. After a coat of flat black I mounted the rim into the wheel. Now that's more like what I had in mind! As always, thanks for taking the time to look and please feel free to comment. David G.
-
Thank you Greg. That process works most of the time, if the chrome is in pretty good shape to start with. The rear bumper on this kit has some awkward casting seams so I ended up stripping the chrome on it. After I file the seams down I'll probably prime and polish it then hit it with some Rustoleum chrome spray. Right now the hood is on its third or fourth day in the Purple Pond. The Purple Penalty Box maybe? I checked on it after the first day and after a good scrubbing with some Dawn dish soap and a toothbrush there was still some paint stubbornly clinging to it so I decided to let it languish in the luxury of the Lavender Lake until it can get its purpose in life sorted. I'm hoping that the extra time in detention will help to change its attitude. "Now you just sit in there and think about what you want to be when you get out!" Seriously though, I'm hoping that allowing it to soak for a few days will let the solvents leach out or completely cure any residual chemical interactions going on. David G.
-
Sorry Jim, That happens sometimes when I'm reading and responding to multiple posts at once. Apologies! I'm looking forward to the glass installation. David G.
-
Hello Everybody! It's time for the latest update on the Ford Galaxie. After color sanding and a good wash and dry, the second coat looks pretty good. Even the panel lines I scribed for the fuel door came out well. Unfortunately, the strange paint flaws are "back in the hood" so to speak. I think this may be the result of me trying to remove the hood scoop so I could more easily clean up the previous flaws. I used some Tamiya cement as a solvent on the inside seam hoping to soften and release the bond. It didn't work. So after sanding out the first flaws, I cleaned it up and repainted. Only to have the flaws return with the second coat. As always, thanks for watching! David G.
-
Yes, the exorcism is complete! Thanks Carl, I'm glad you like it. David G.
-
Monogram's 1955 Lincoln Futura Concept Car: WIP
David G. replied to David G.'s topic in WIP: Model Cars
Thank you Carl. I should have them completed soon. David G. -
Nice work on the top Daniel! Great idea using those headlight bezels. David G.