David G.
-
Posts
11,326 -
Joined
-
Last visited
Content Type
Profiles
Forums
Events
Gallery
Everything posted by David G.
-
Your chassis work on this model is amazing Daniel. Too bad about the driver's arm. It's probably too late for safety nets... at least for him. David G.
-

Monogram's 1955 Lincoln Futura Concept Car: WIP
David G. replied to David G.'s topic in WIP: Model Cars
Thank you Jim, I'm glad you like it. Everyone was thinner in 1955! Thank you David. And yes, pleased I am. David G. -
Monogram's 1955 Lincoln Futura Concept Car: WIP
David G. replied to David G.'s topic in WIP: Model Cars
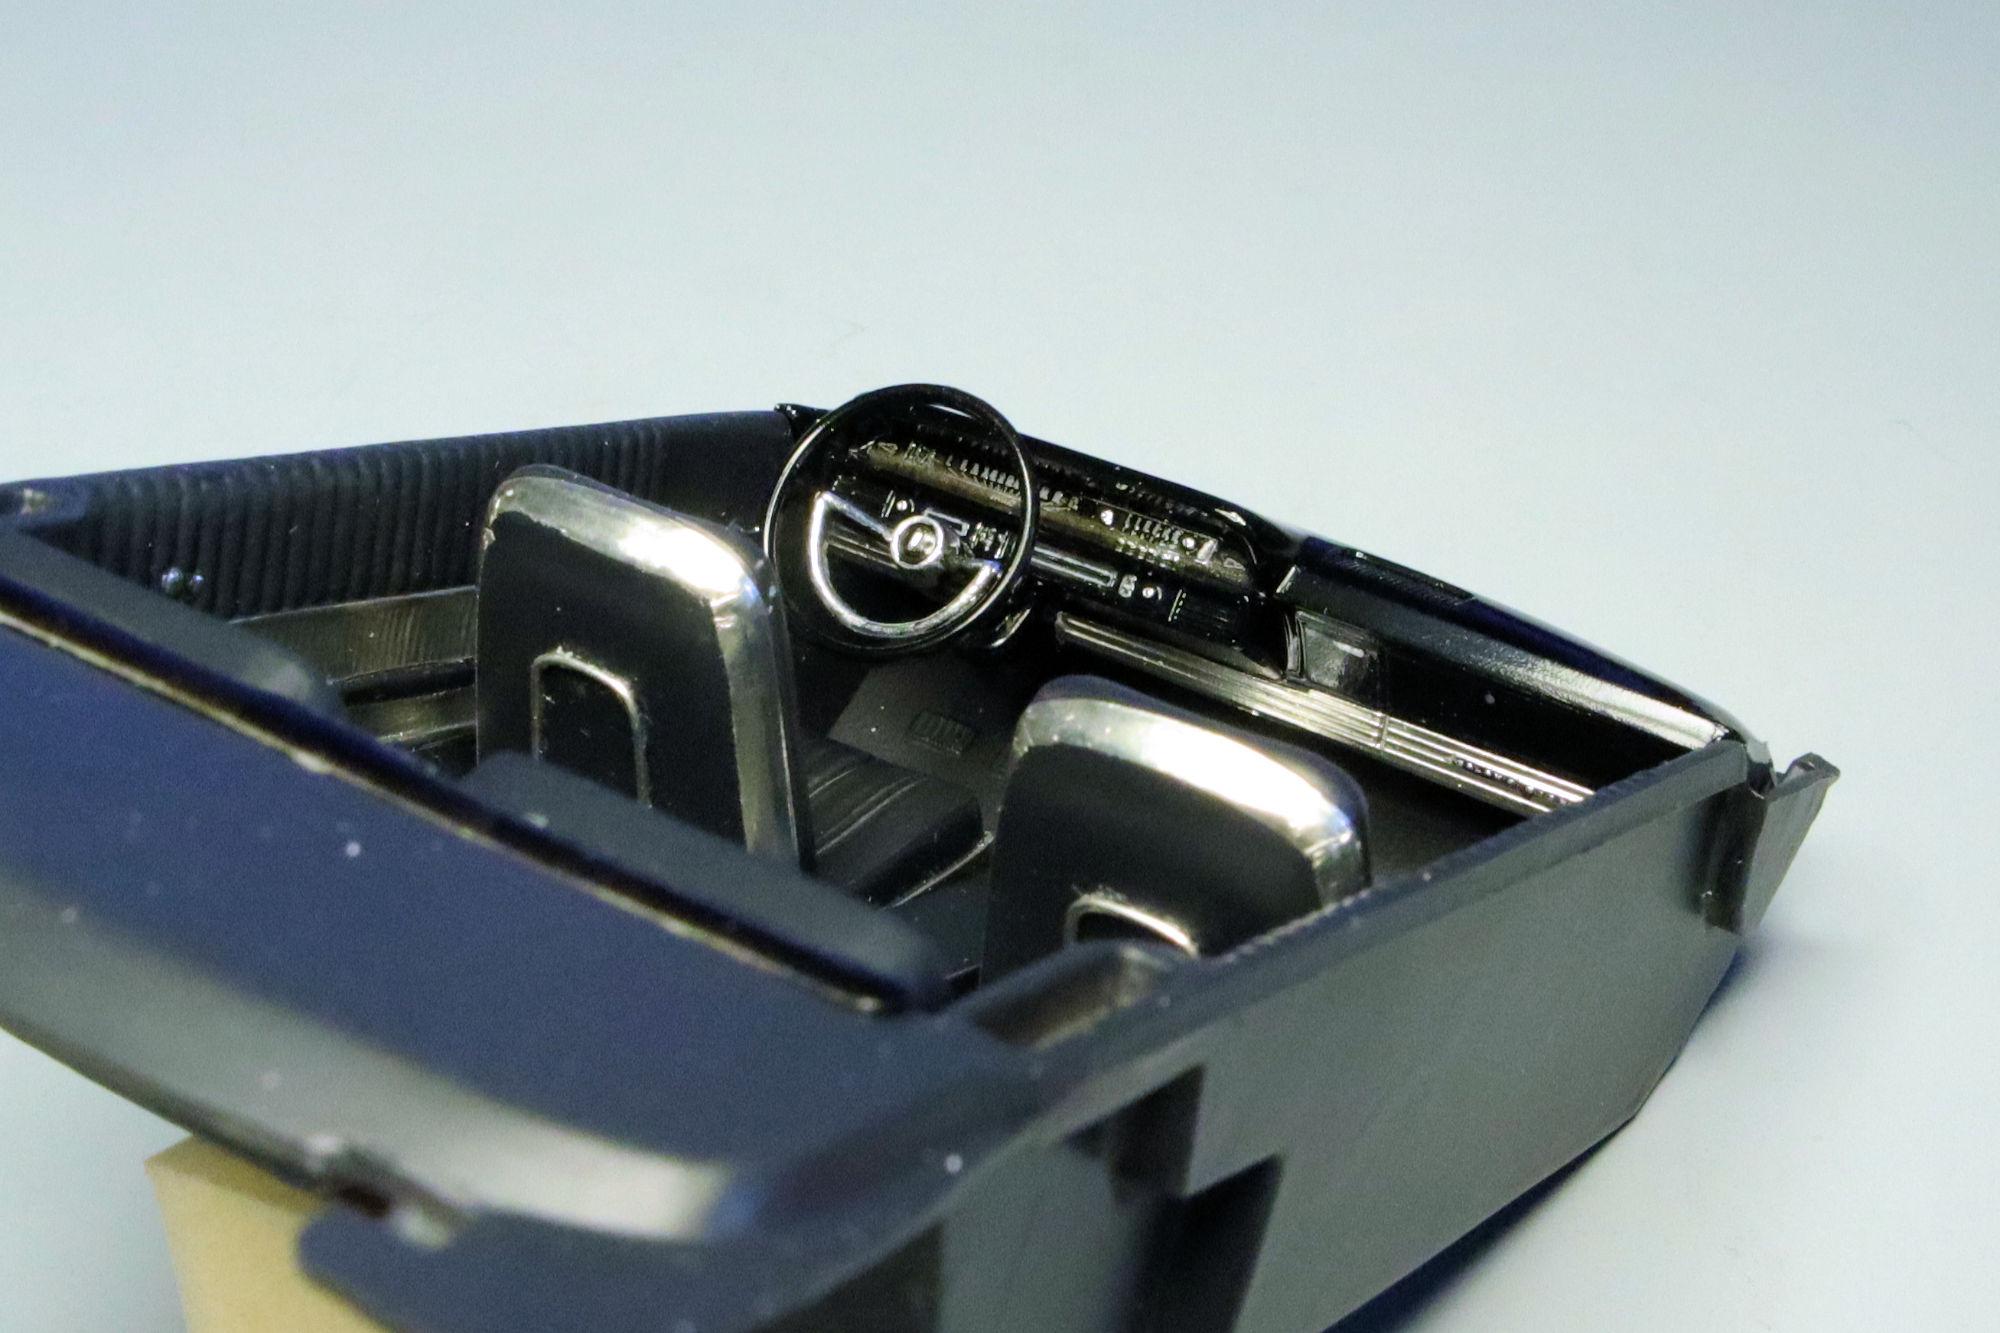
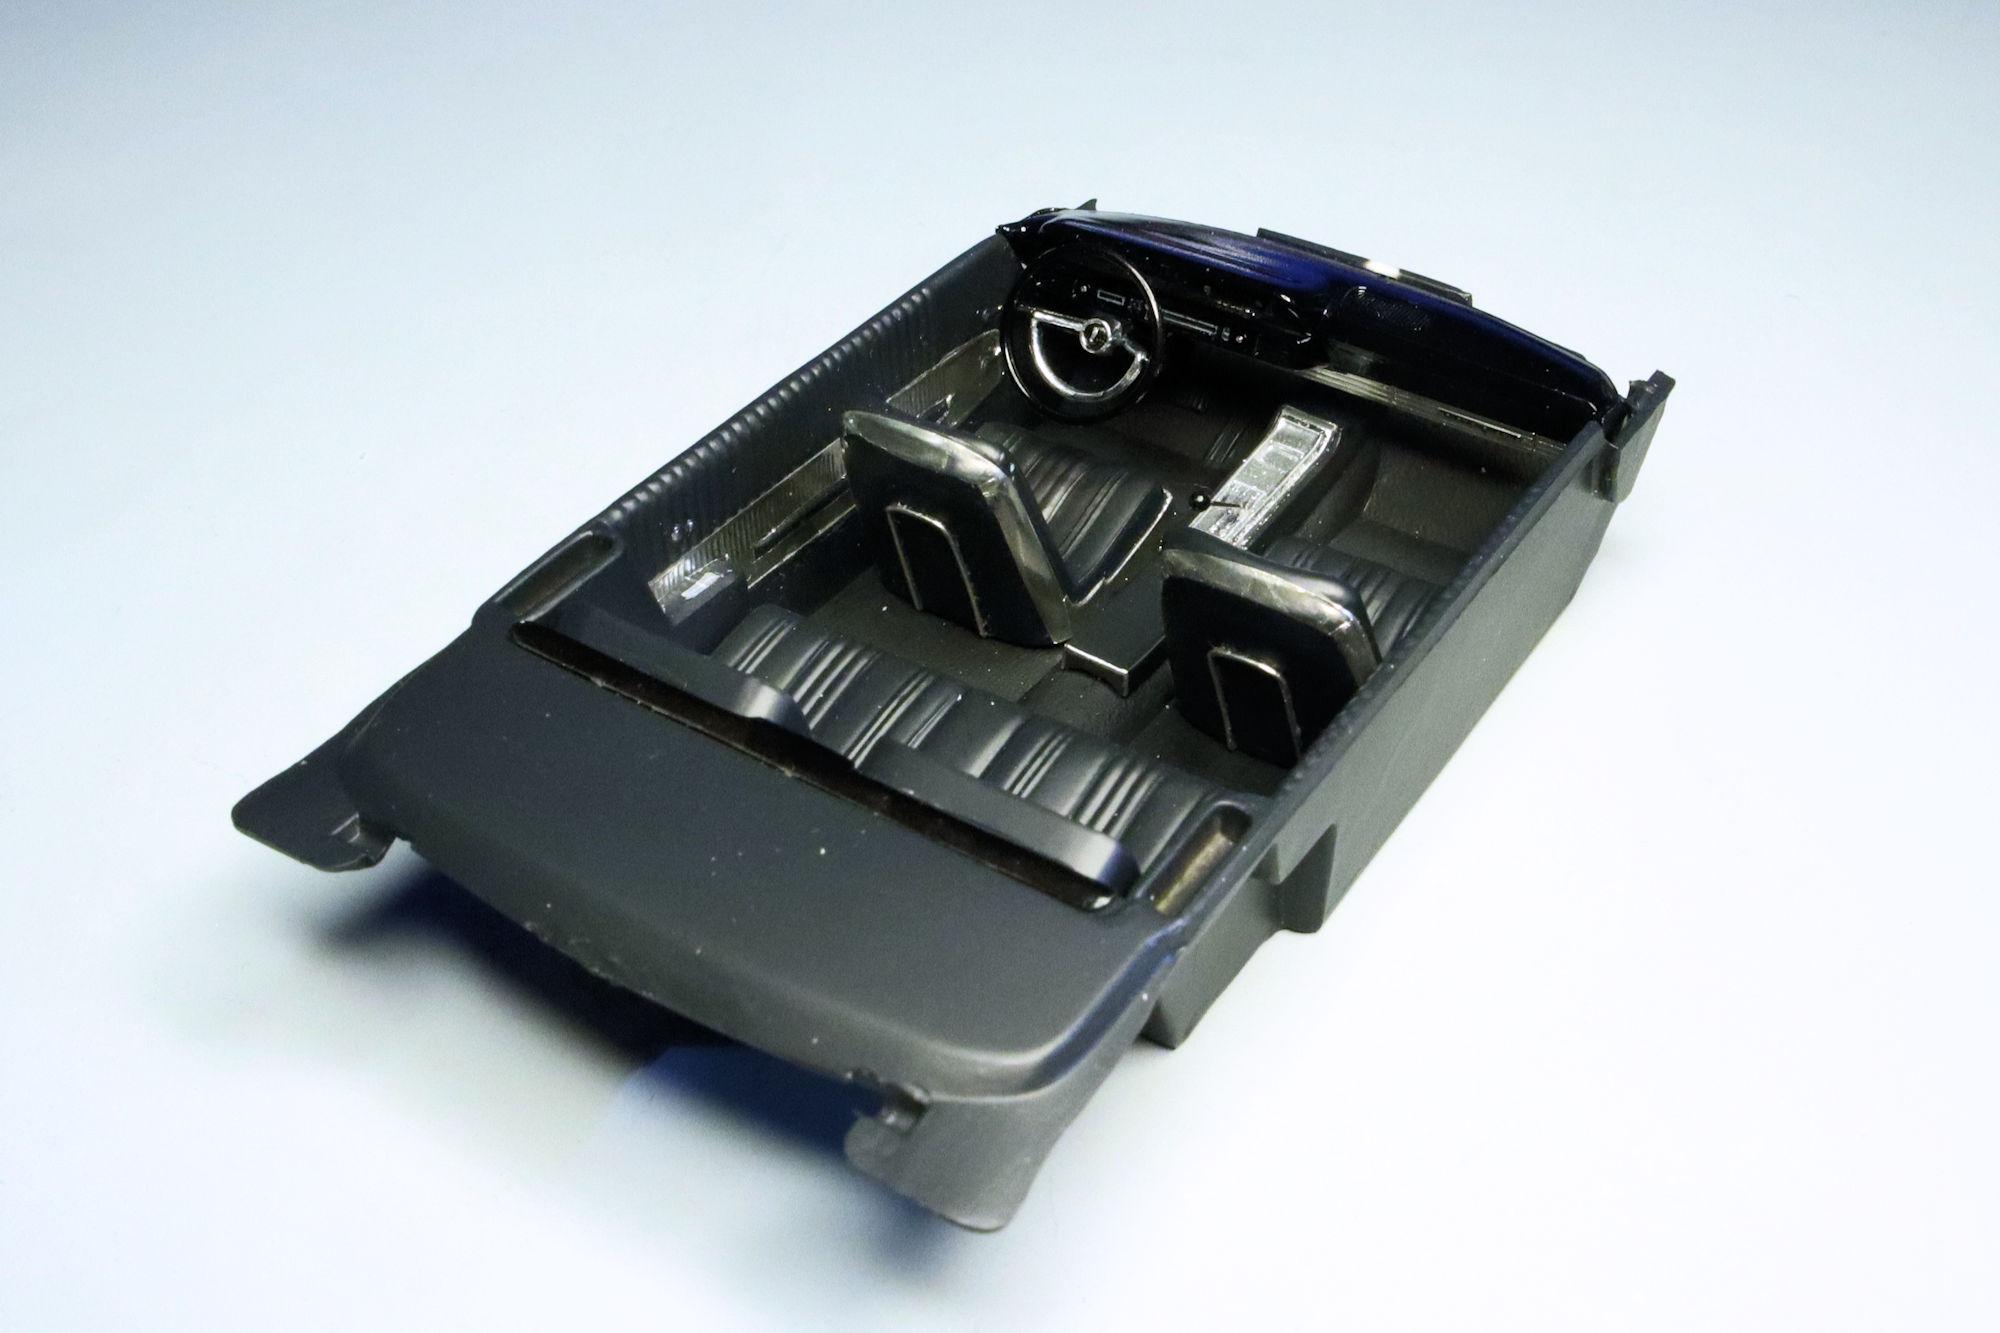
Hello Everybody! Progress is progressing on the Futura concept car! Now that the bodywork is mostly done, it's time to turn my attention to the interior. I sure hope the masking works out on this, I don't want to have to do it twice. That worked out pretty well! The next color to shoot is the flat black. The flat black came out well enough. There will be some cleanup to do but it shouldn't be difficult. As always, thanks for taking the time to look and please feel free to comment. David G.
-
Thank you Len, I'm glad you like it. Thanks DJ, I appreciate that.
-
It's coming along quite nicely! David G.
-
1:16 Gunze Sangyo 1937 Rolls-Royce Phantom III Sports Saloon
David G. replied to Anglia105E's topic in WIP: Model Cars
The warm white light seems suitable. David G. -
A great looking interior and a great looking model! I'll keep an eye out for it in the Under Glass section. David G.
-
1967 BEAUMONT Station Wagon Conversion
David G. replied to TheBEAUMONTGURU's topic in WIP: Model Cars
That's a fabulous looking build! David G. -
Ah, the mighty Test-Fit! Everything is looking good Daniel! David G.
-
That looks great Dennis! It's cases like this in which we have to remember to get photos of the interior before final assembly! David G.
-
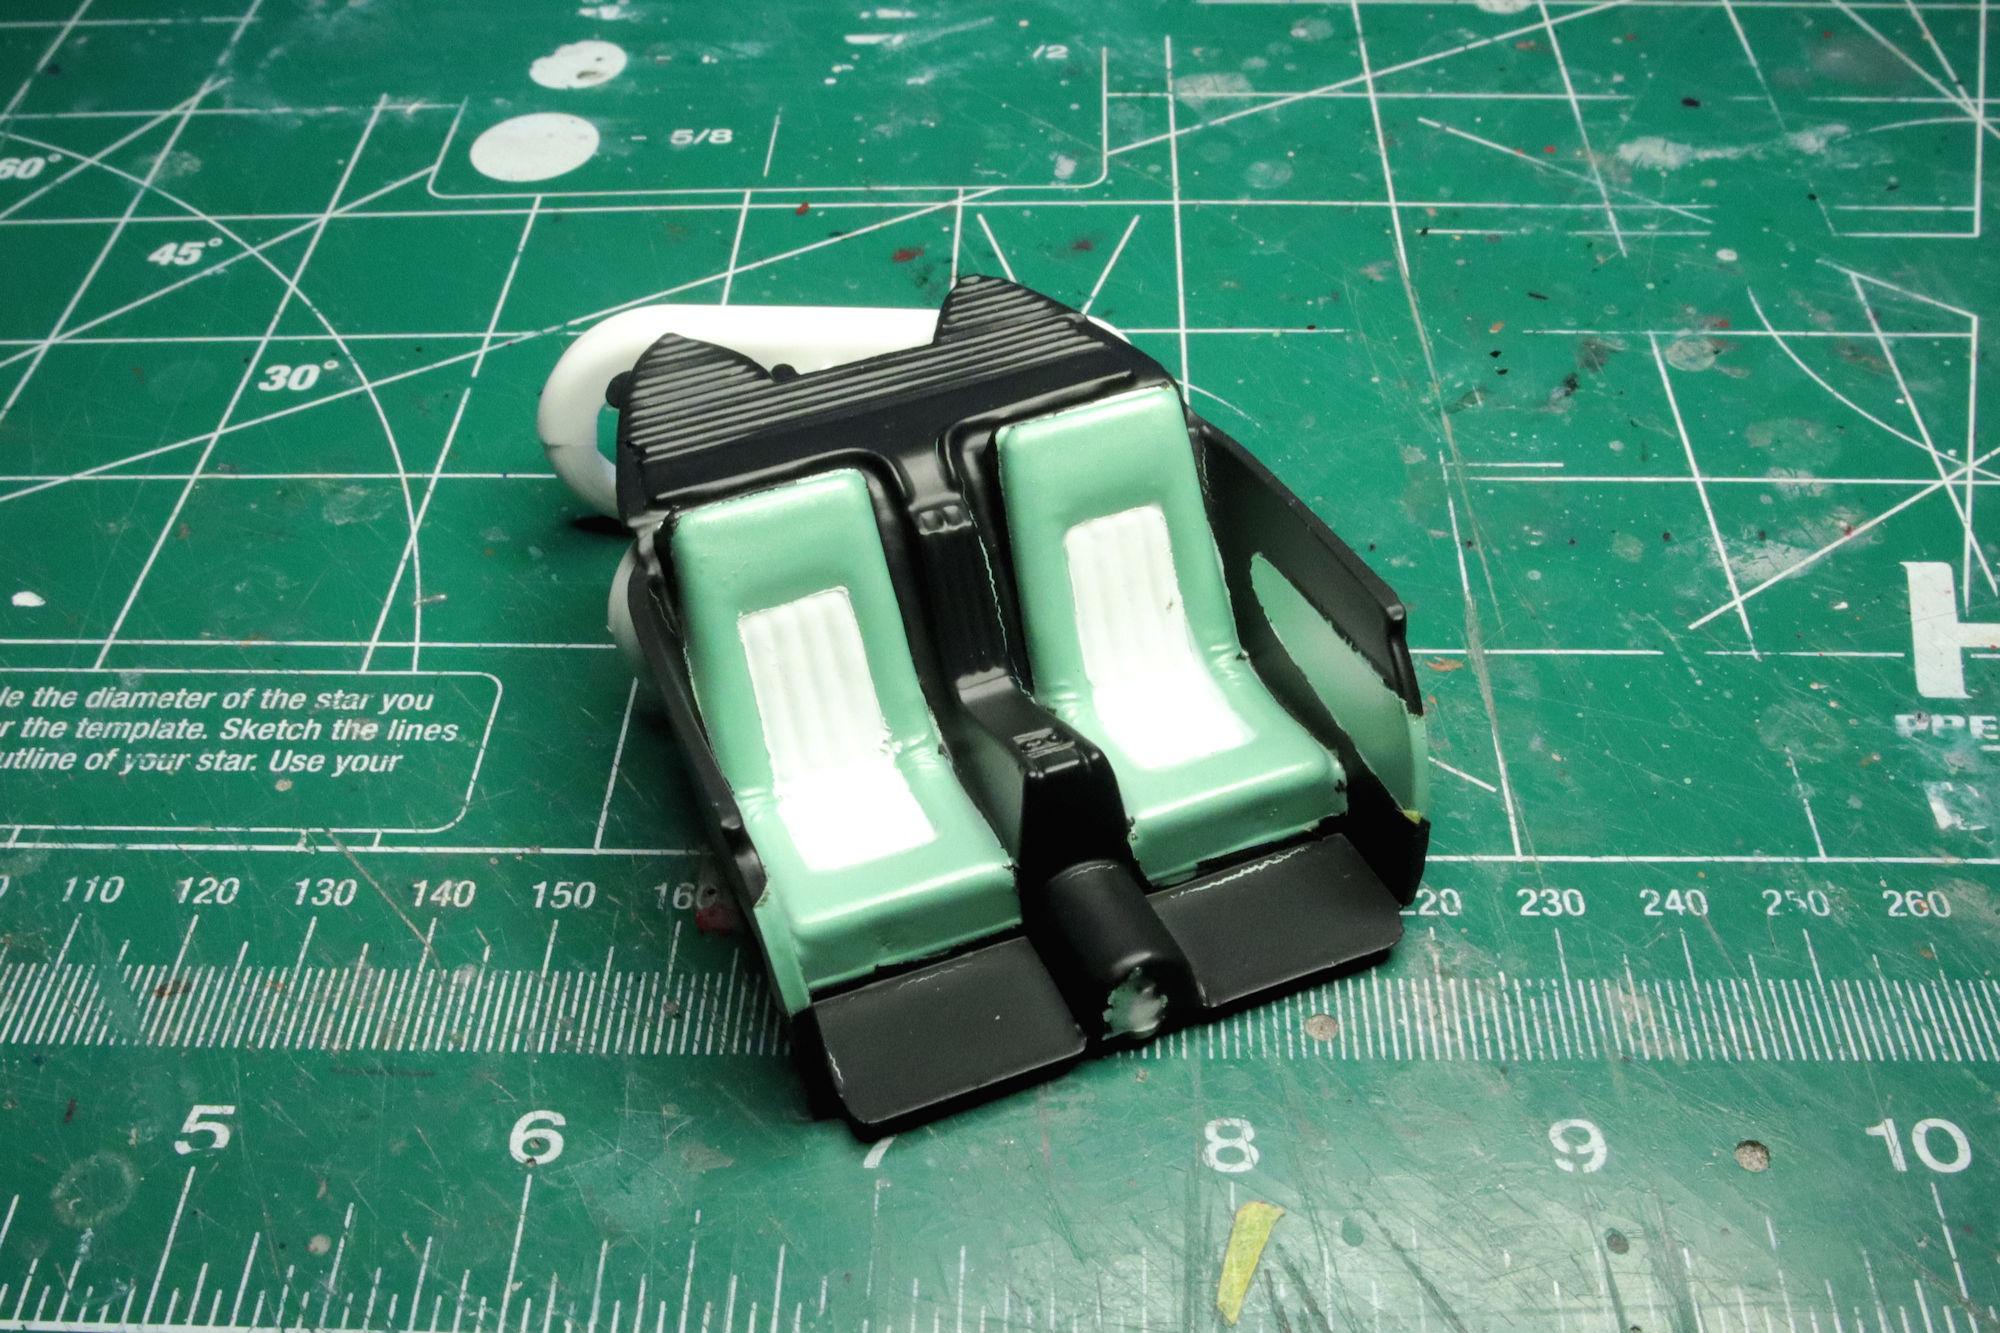
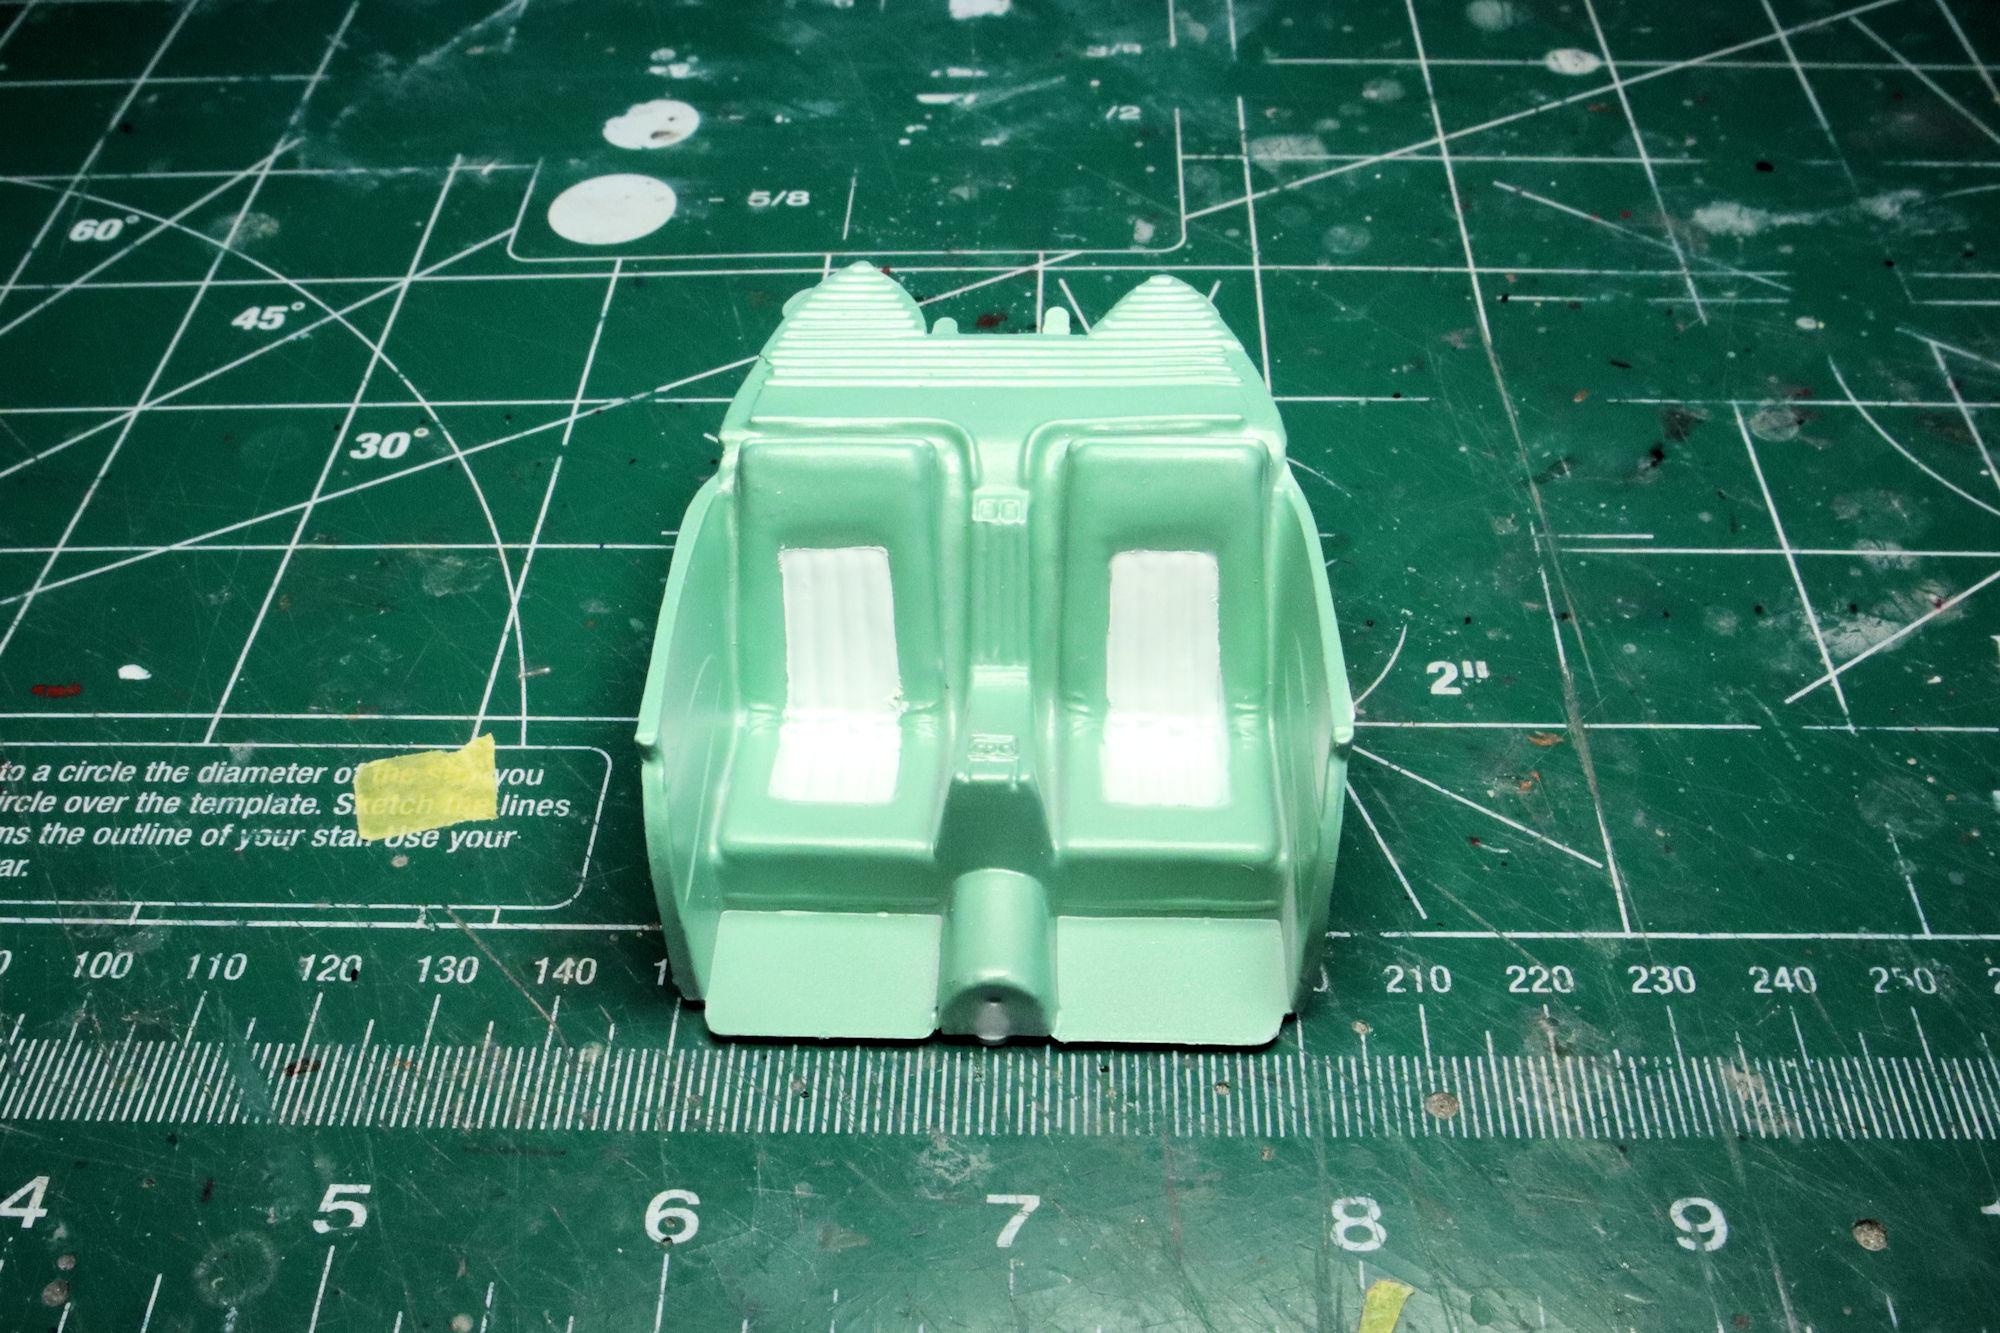
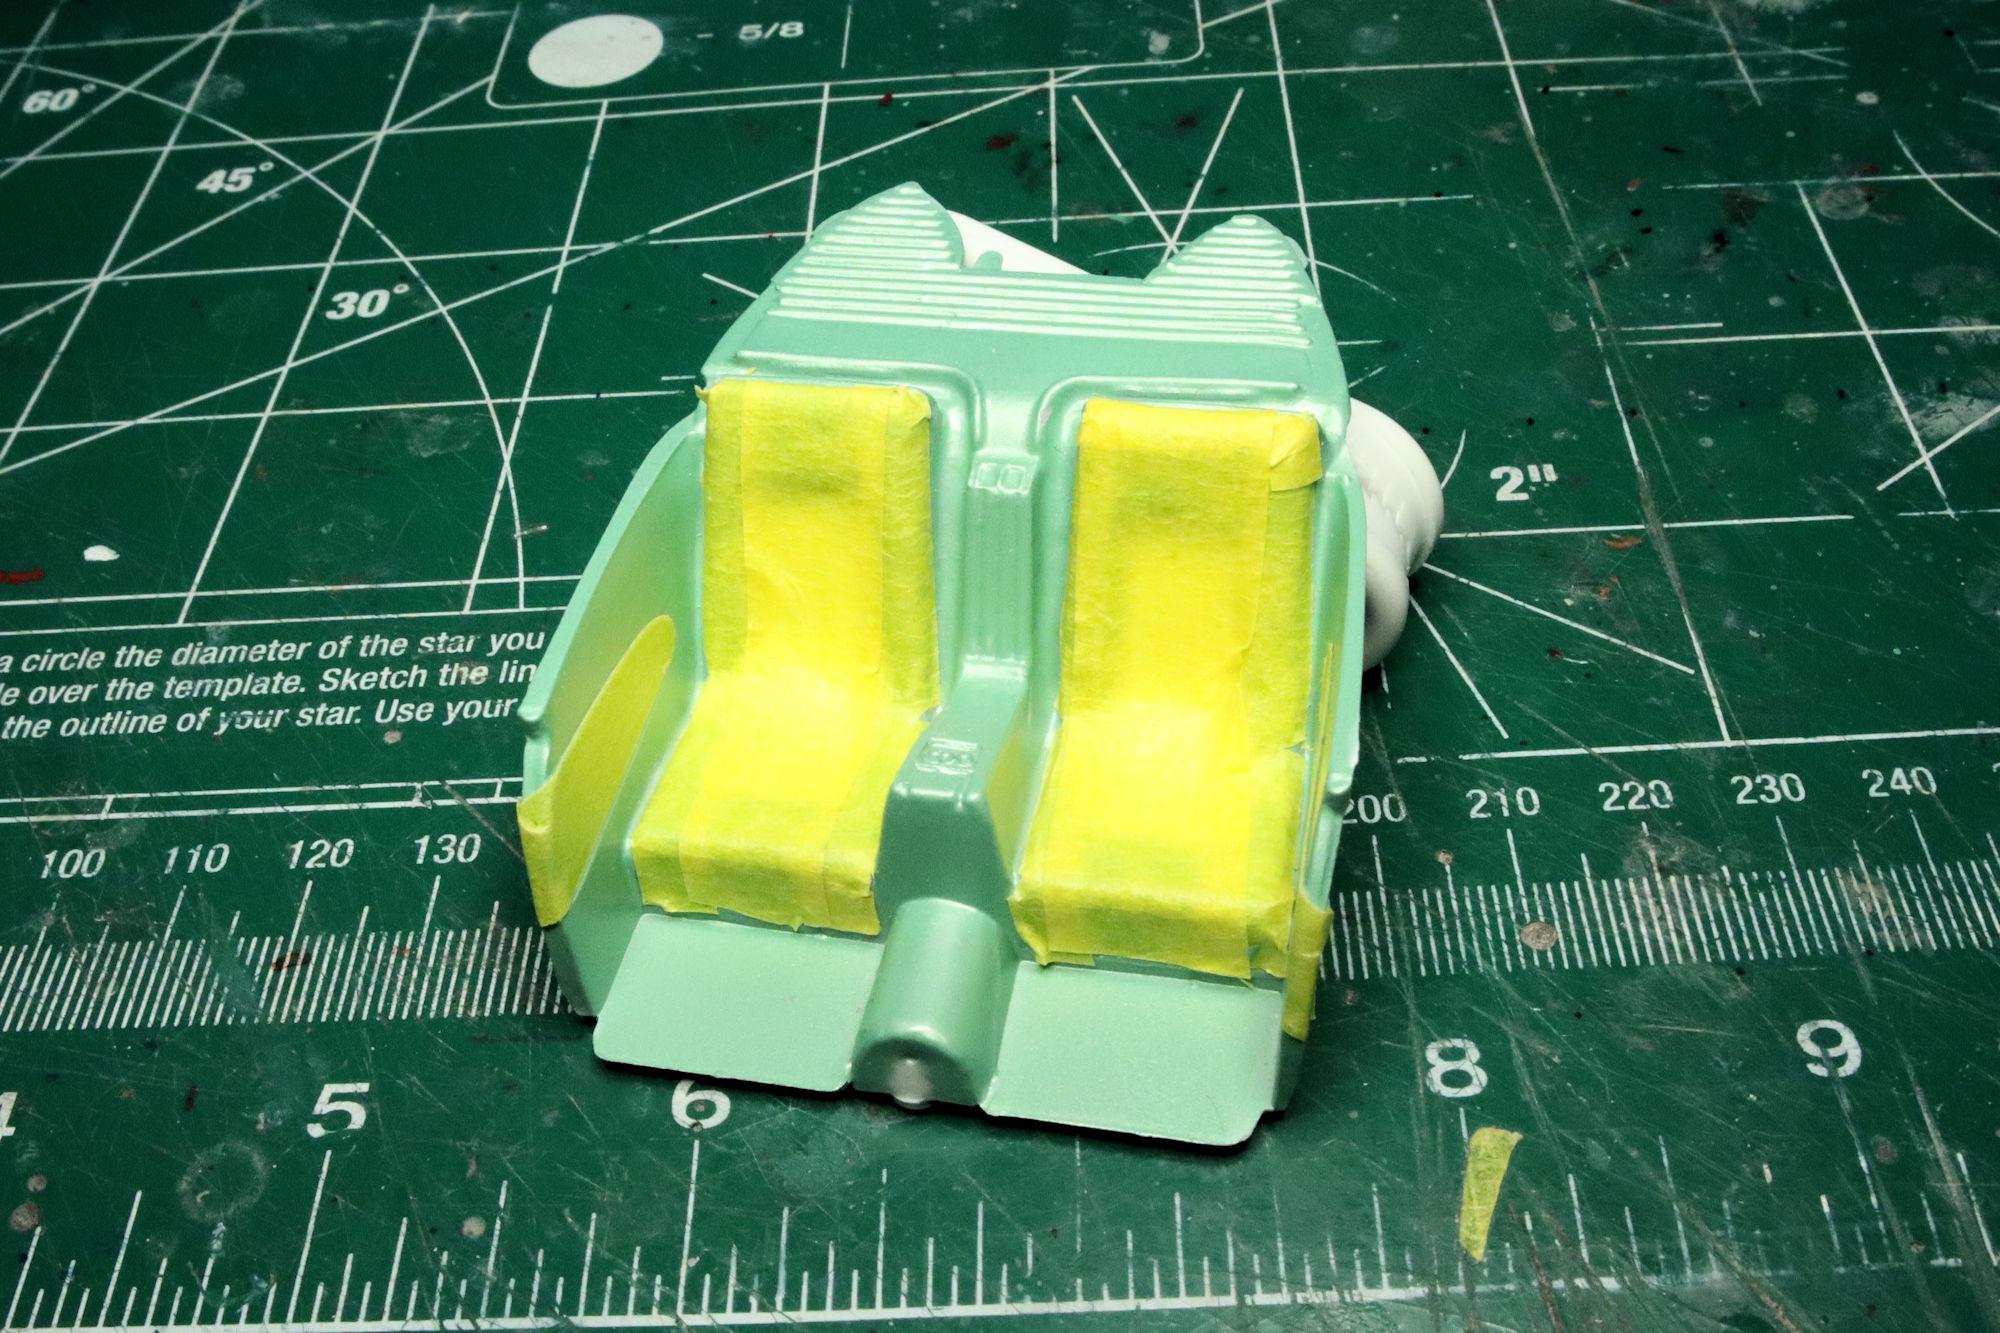
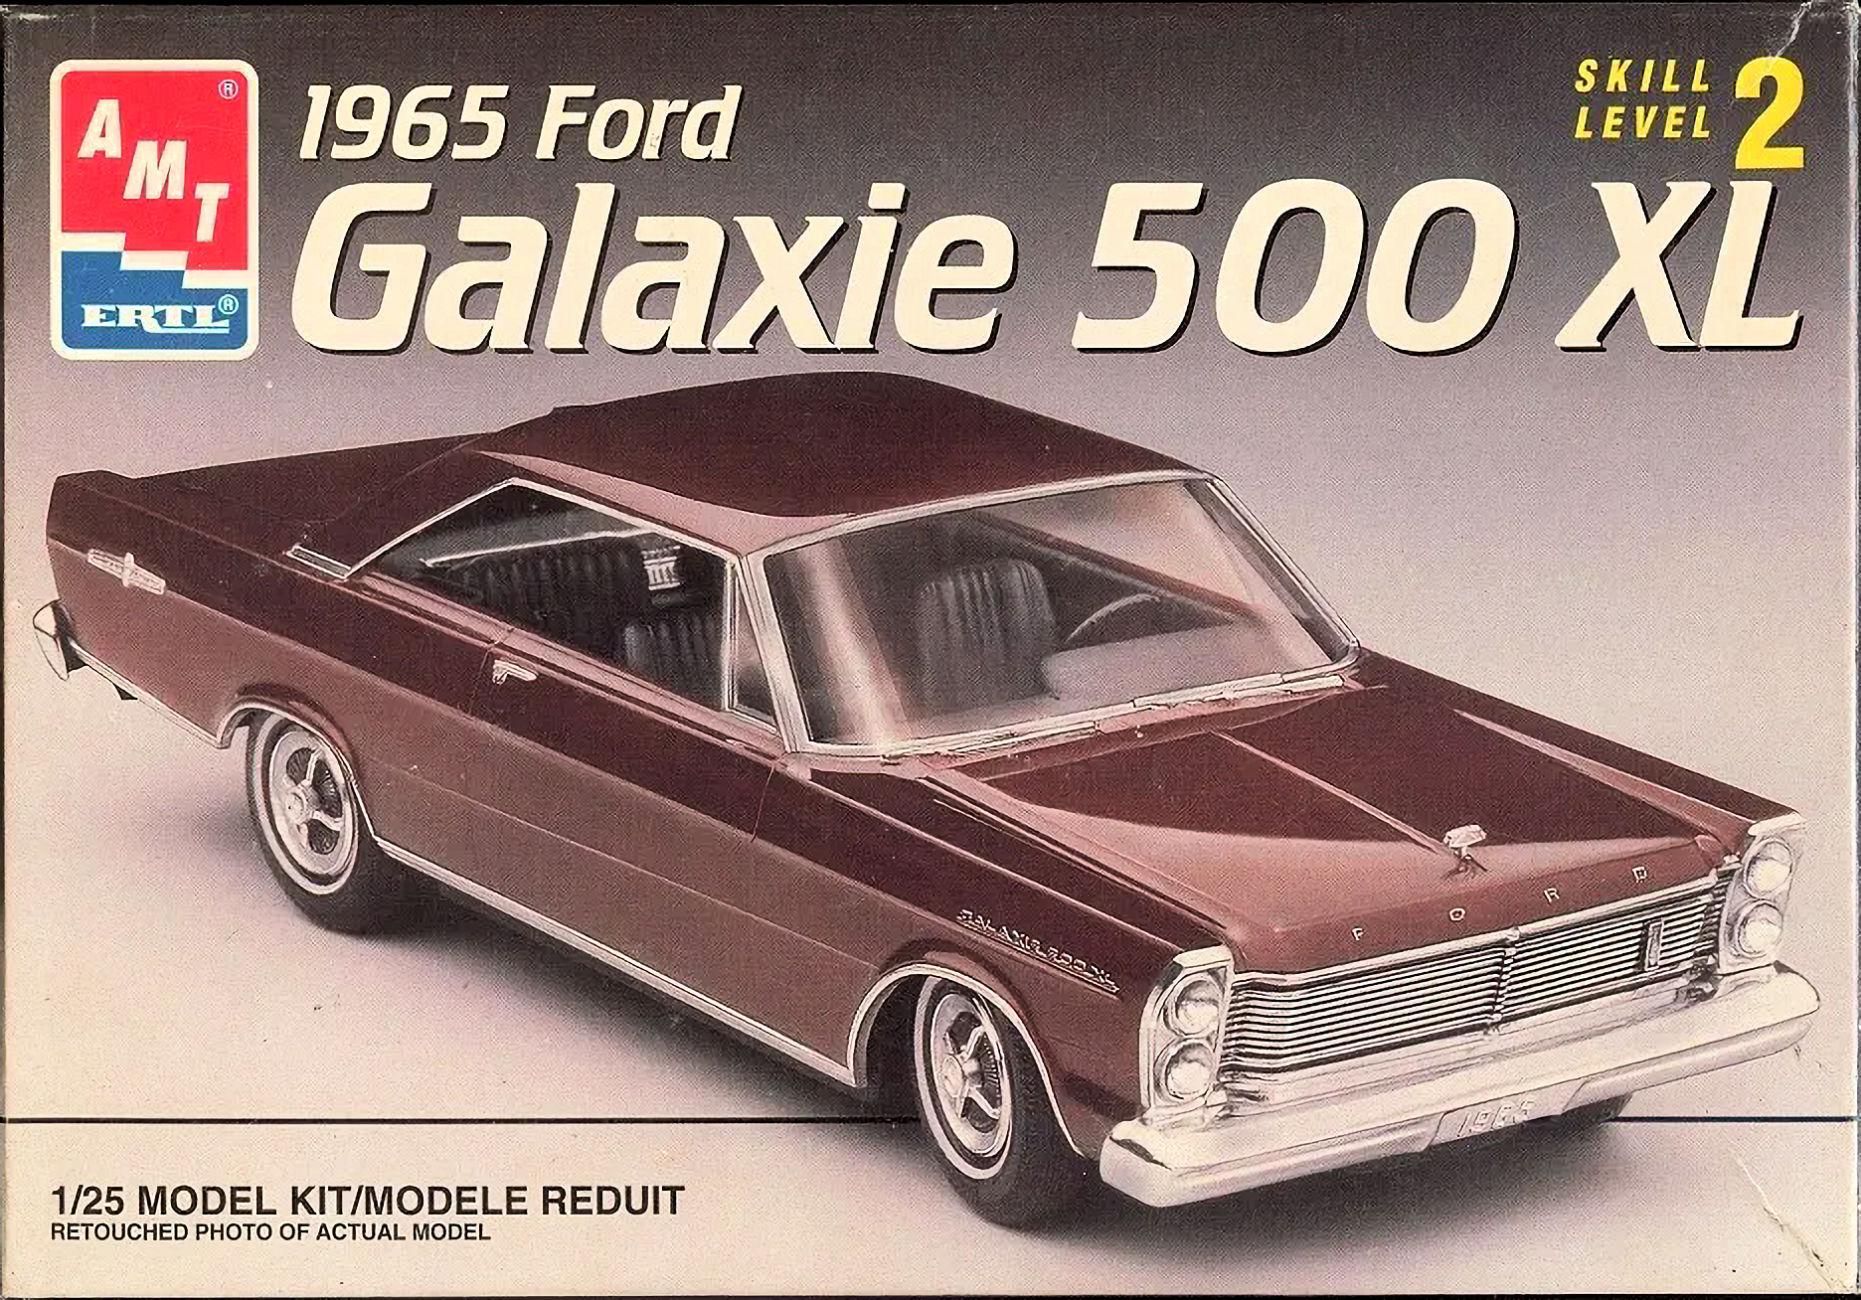
Here's another example of detail that may never be seen by anyone else once the model is built. I'm currently building AMT's 1965 Ford Galaxie 500 XL and just wrapped up the interior. Though no one will likely ever see it, I did manage to work some dashboard detail in. Thanks, David G.
-
Hello Everybody! It's time for the next Ford Galaxie update! The interior is completed! Basic black upholstery with chrome trim accents. Simple and to the point. Though no one will likely ever see it, I did manage to work some dashboard detail into the scene. As always, thanks for taking the time to look and please feel to post any comments you may have. David G.
-
Thank you Carl! David G.
-
Monogram's 1955 Lincoln Futura Concept Car: WIP
David G. replied to David G.'s topic in WIP: Model Cars
Thanks Trevor, I'm glad you like it. So I guess I'll be spared from the community dog-pile of paint shaming? Thanks Bart, I appreciate that. Thank you most kindly Carl. David G. -
1:16 Gunze Sangyo 1937 Rolls-Royce Phantom III Sports Saloon
David G. replied to Anglia105E's topic in WIP: Model Cars
Nice! Congratulations on the results outcome for the grille! David G. -
? That's cool! David G.
-
That's a great looking color! Good call on flat coating the decals. Nice work on the foil too. David G.
-
Monogram's 1955 Lincoln Futura Concept Car: WIP
David G. replied to David G.'s topic in WIP: Model Cars
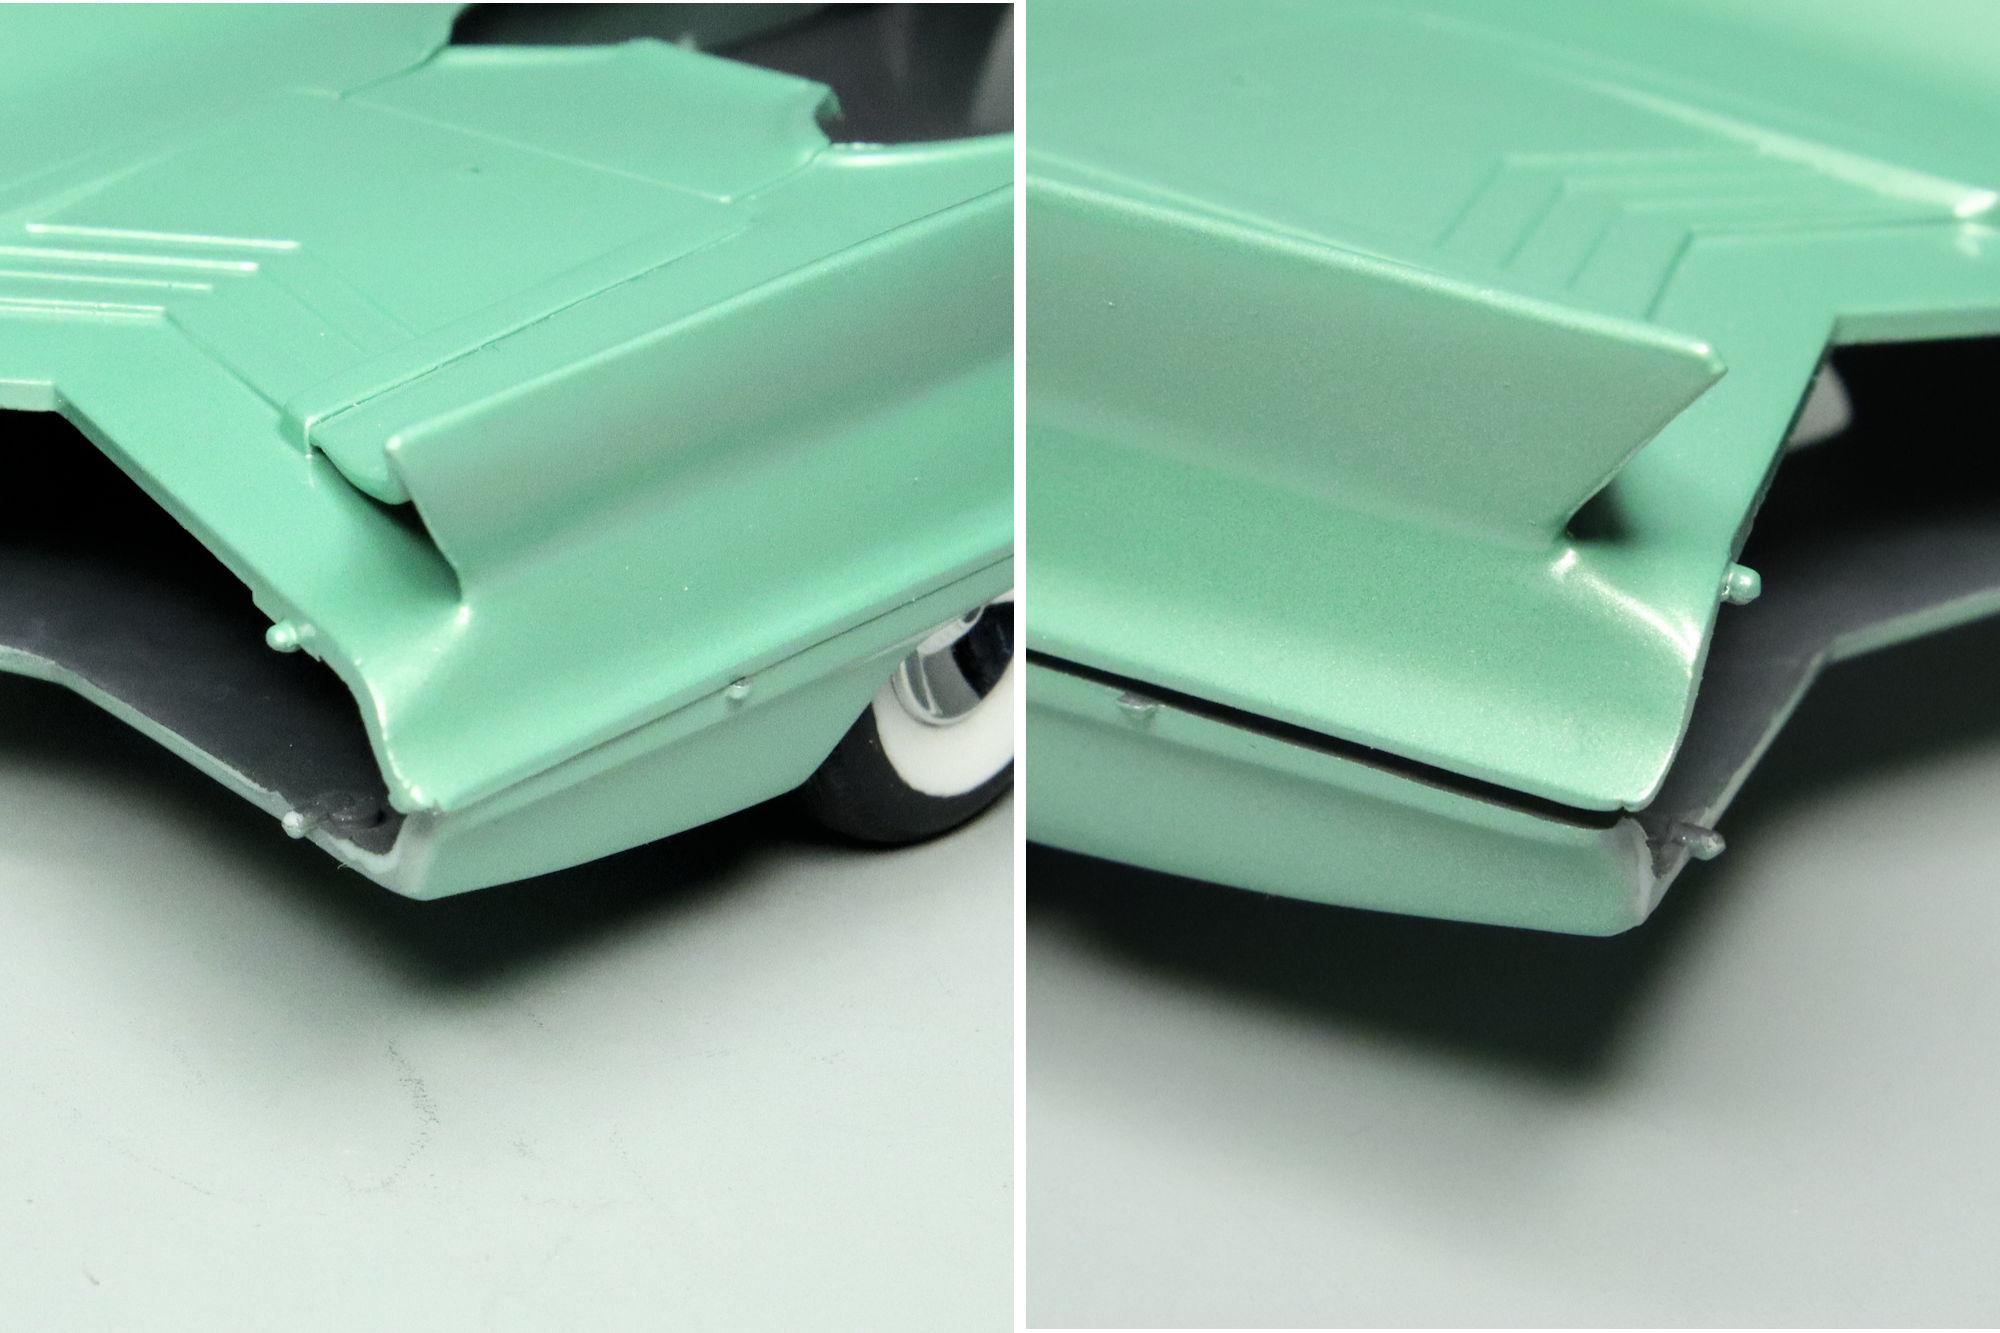
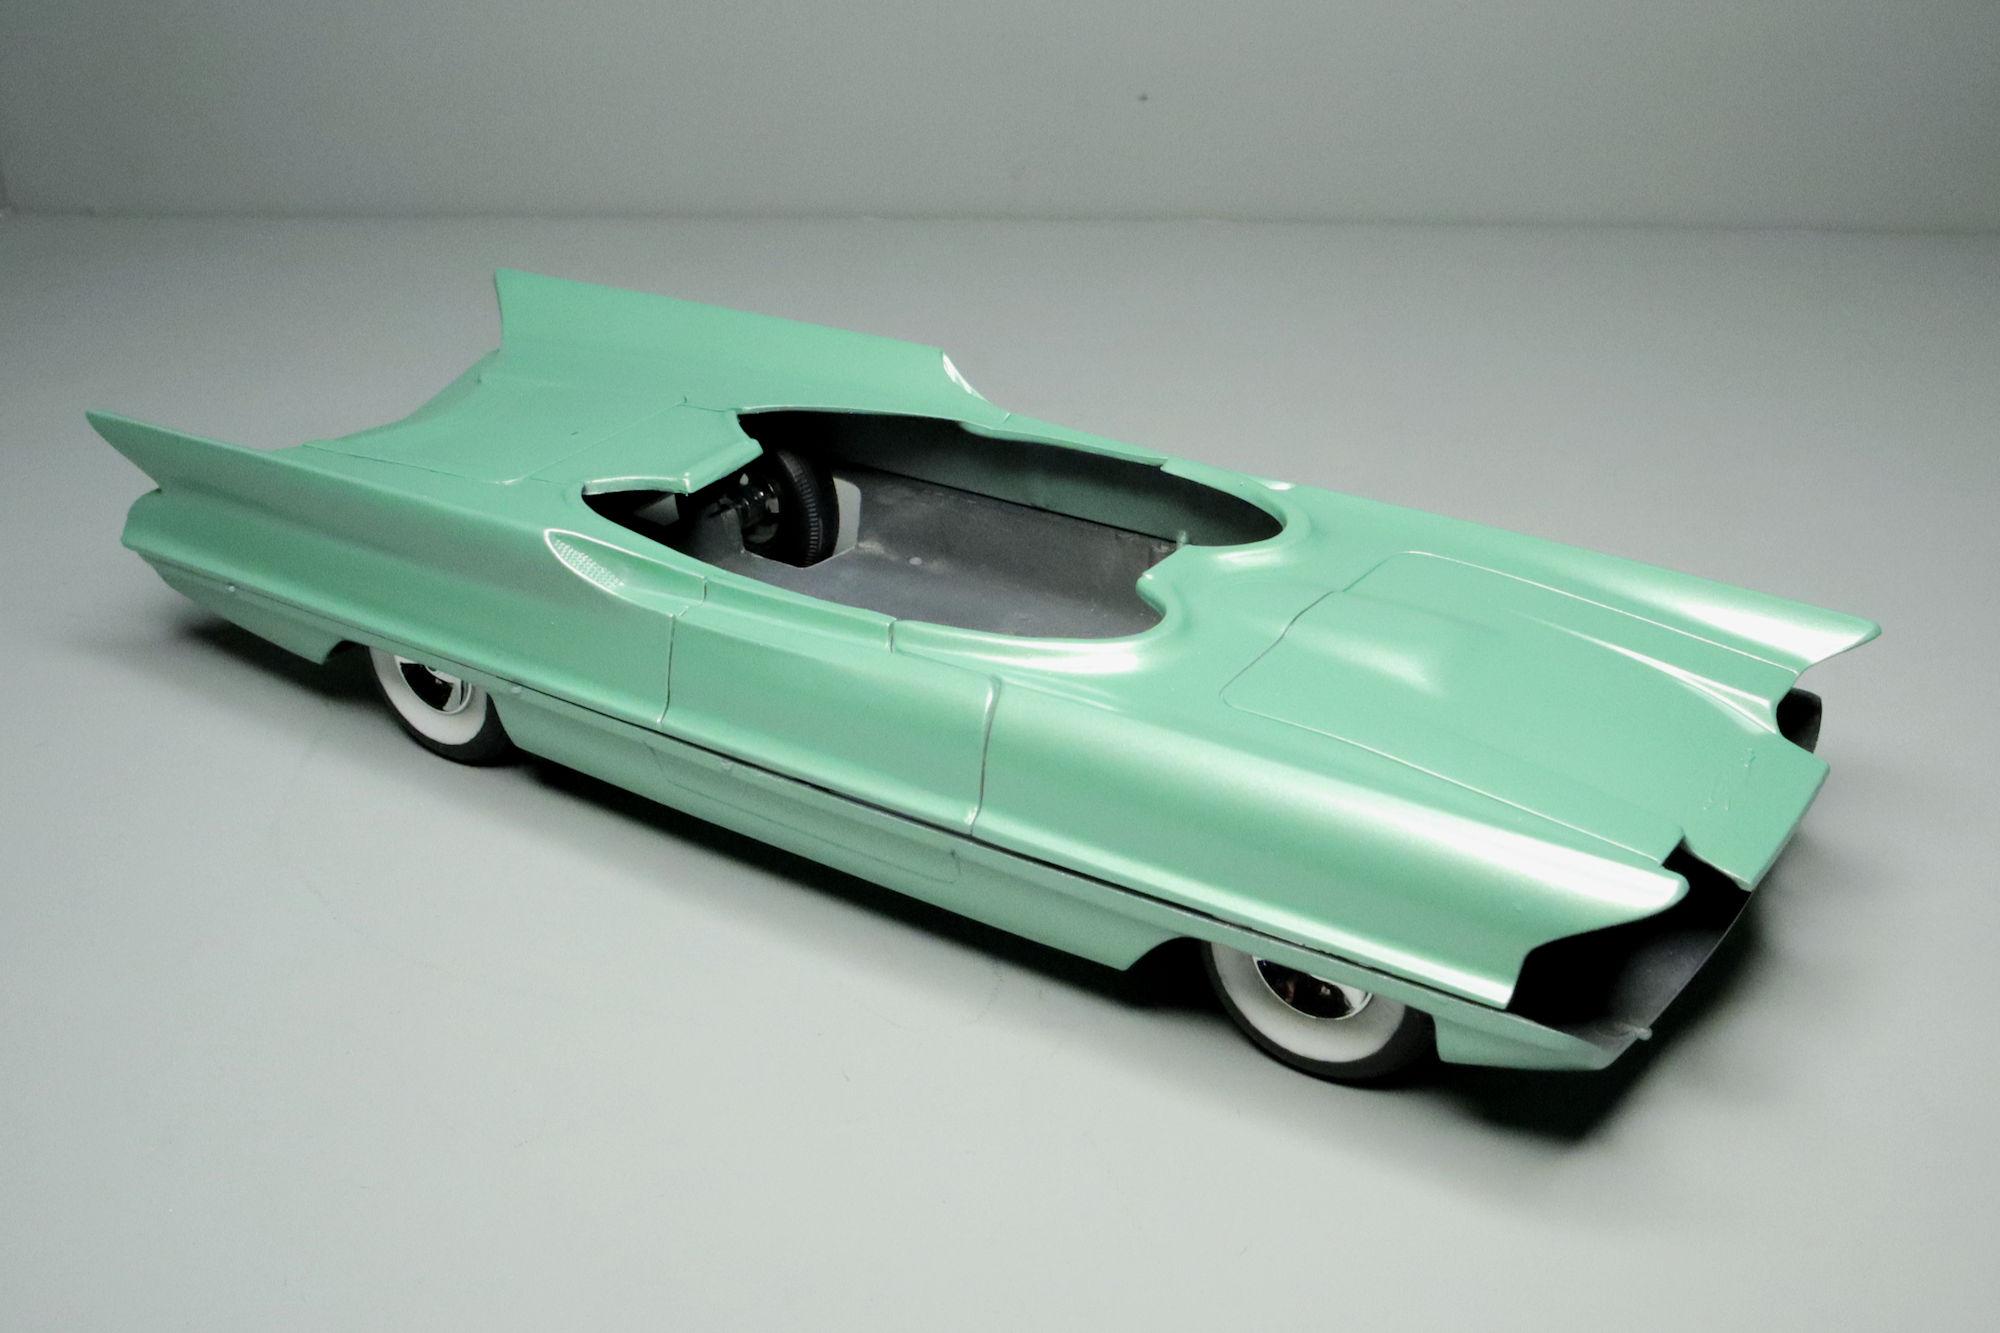
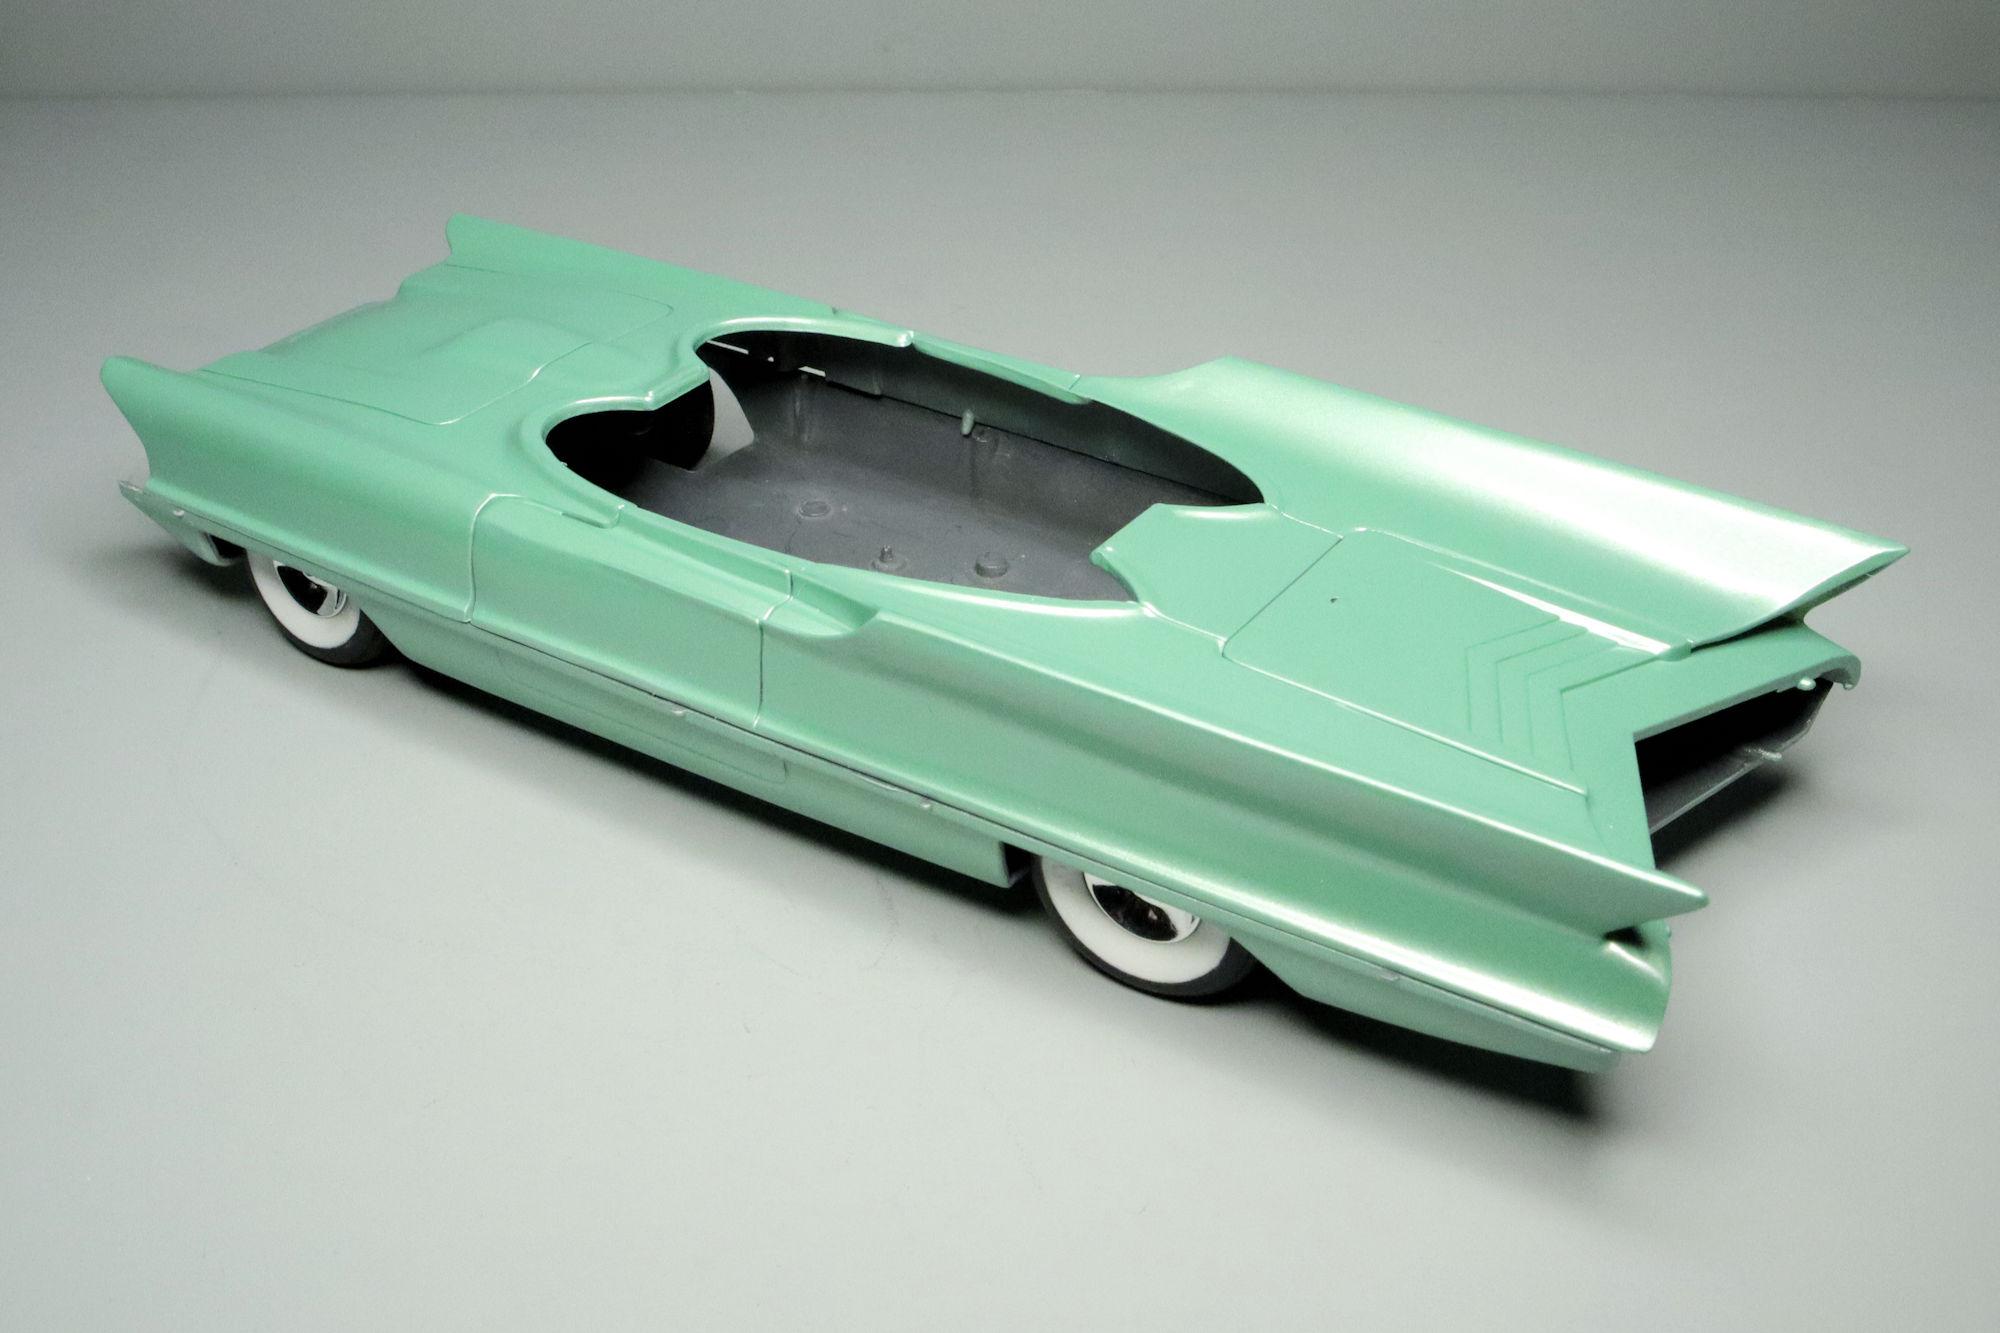
Hello Everybody! Finally! The bodywork on the upper section is done and the paint is on! I'm very pleased with the initial coat of paint. Even the problem areas that I had to correct came out quite nicely. As always, thanks for taking the time to look and please feel free to post any comments you may have. David G.
-
Monogram's 1955 Lincoln Futura Concept Car: WIP
David G. replied to David G.'s topic in WIP: Model Cars
That's funny! Thanks for the chuckle Trevor. The good news is that you won't have long to wait. I'm getting ready to post the next update presently. David G. -
That looks right Daniel. I still like the adjustable shackles. Is there actually enough travel in the suspension that the height could be adjusted? David G.
-
Monogram's 1955 Lincoln Futura Concept Car: WIP
David G. replied to David G.'s topic in WIP: Model Cars
That sounds cool Ricky. I'm really partial to Tamiya's TS-40 Metallic Black. I used it on my 1959 Chrysler Imperial. I have to be careful as it's a color I could easily overuse. David G. -
Thank you David. Yeah, it was the Sixties. Everybody had more money just because there was more money to be had. Thank you very much Greg. David G.
-
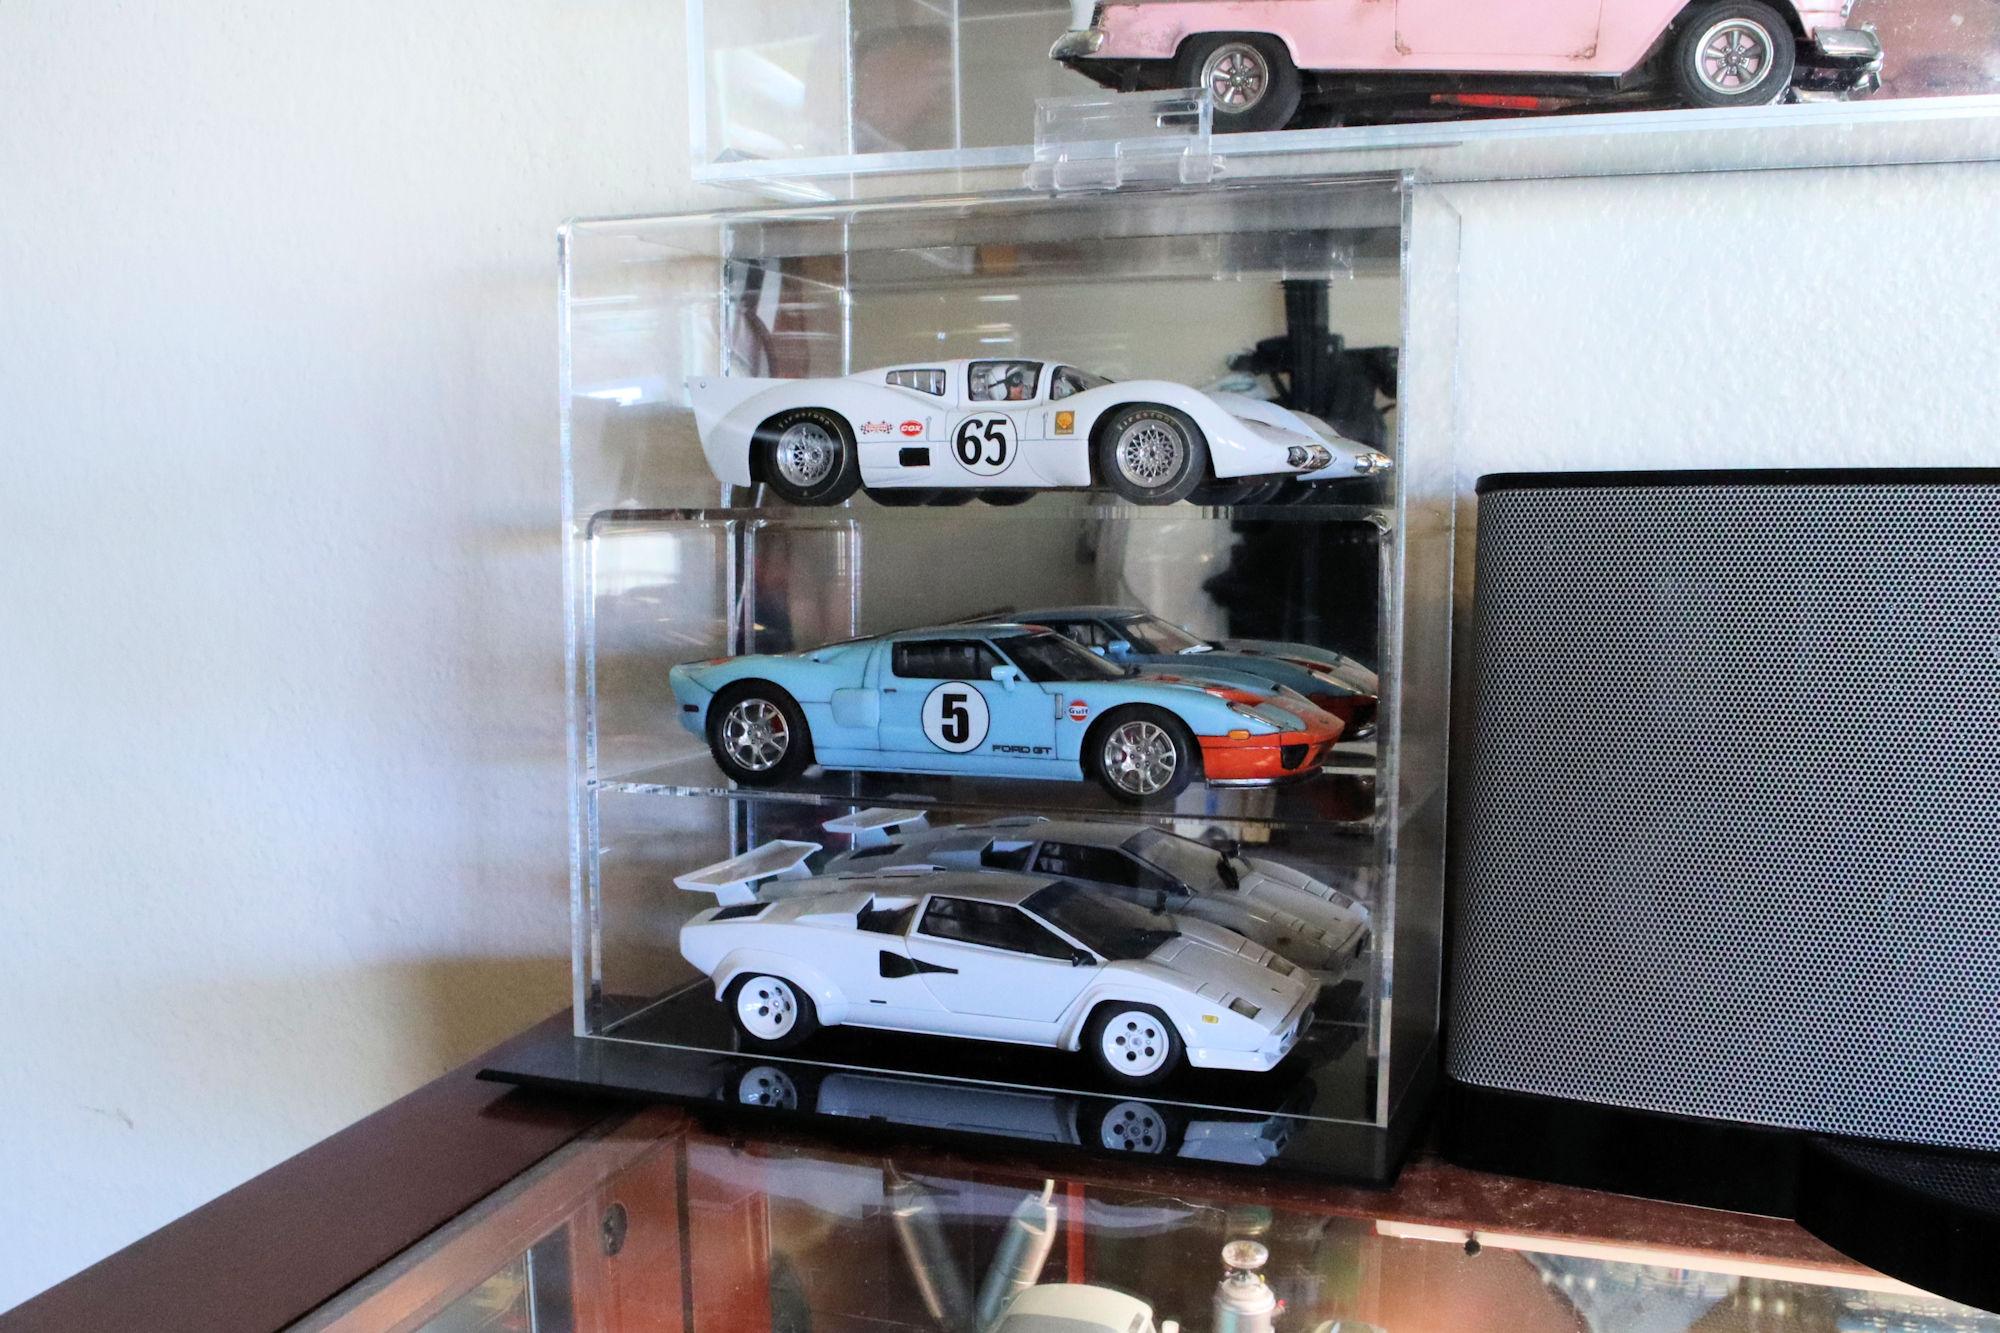
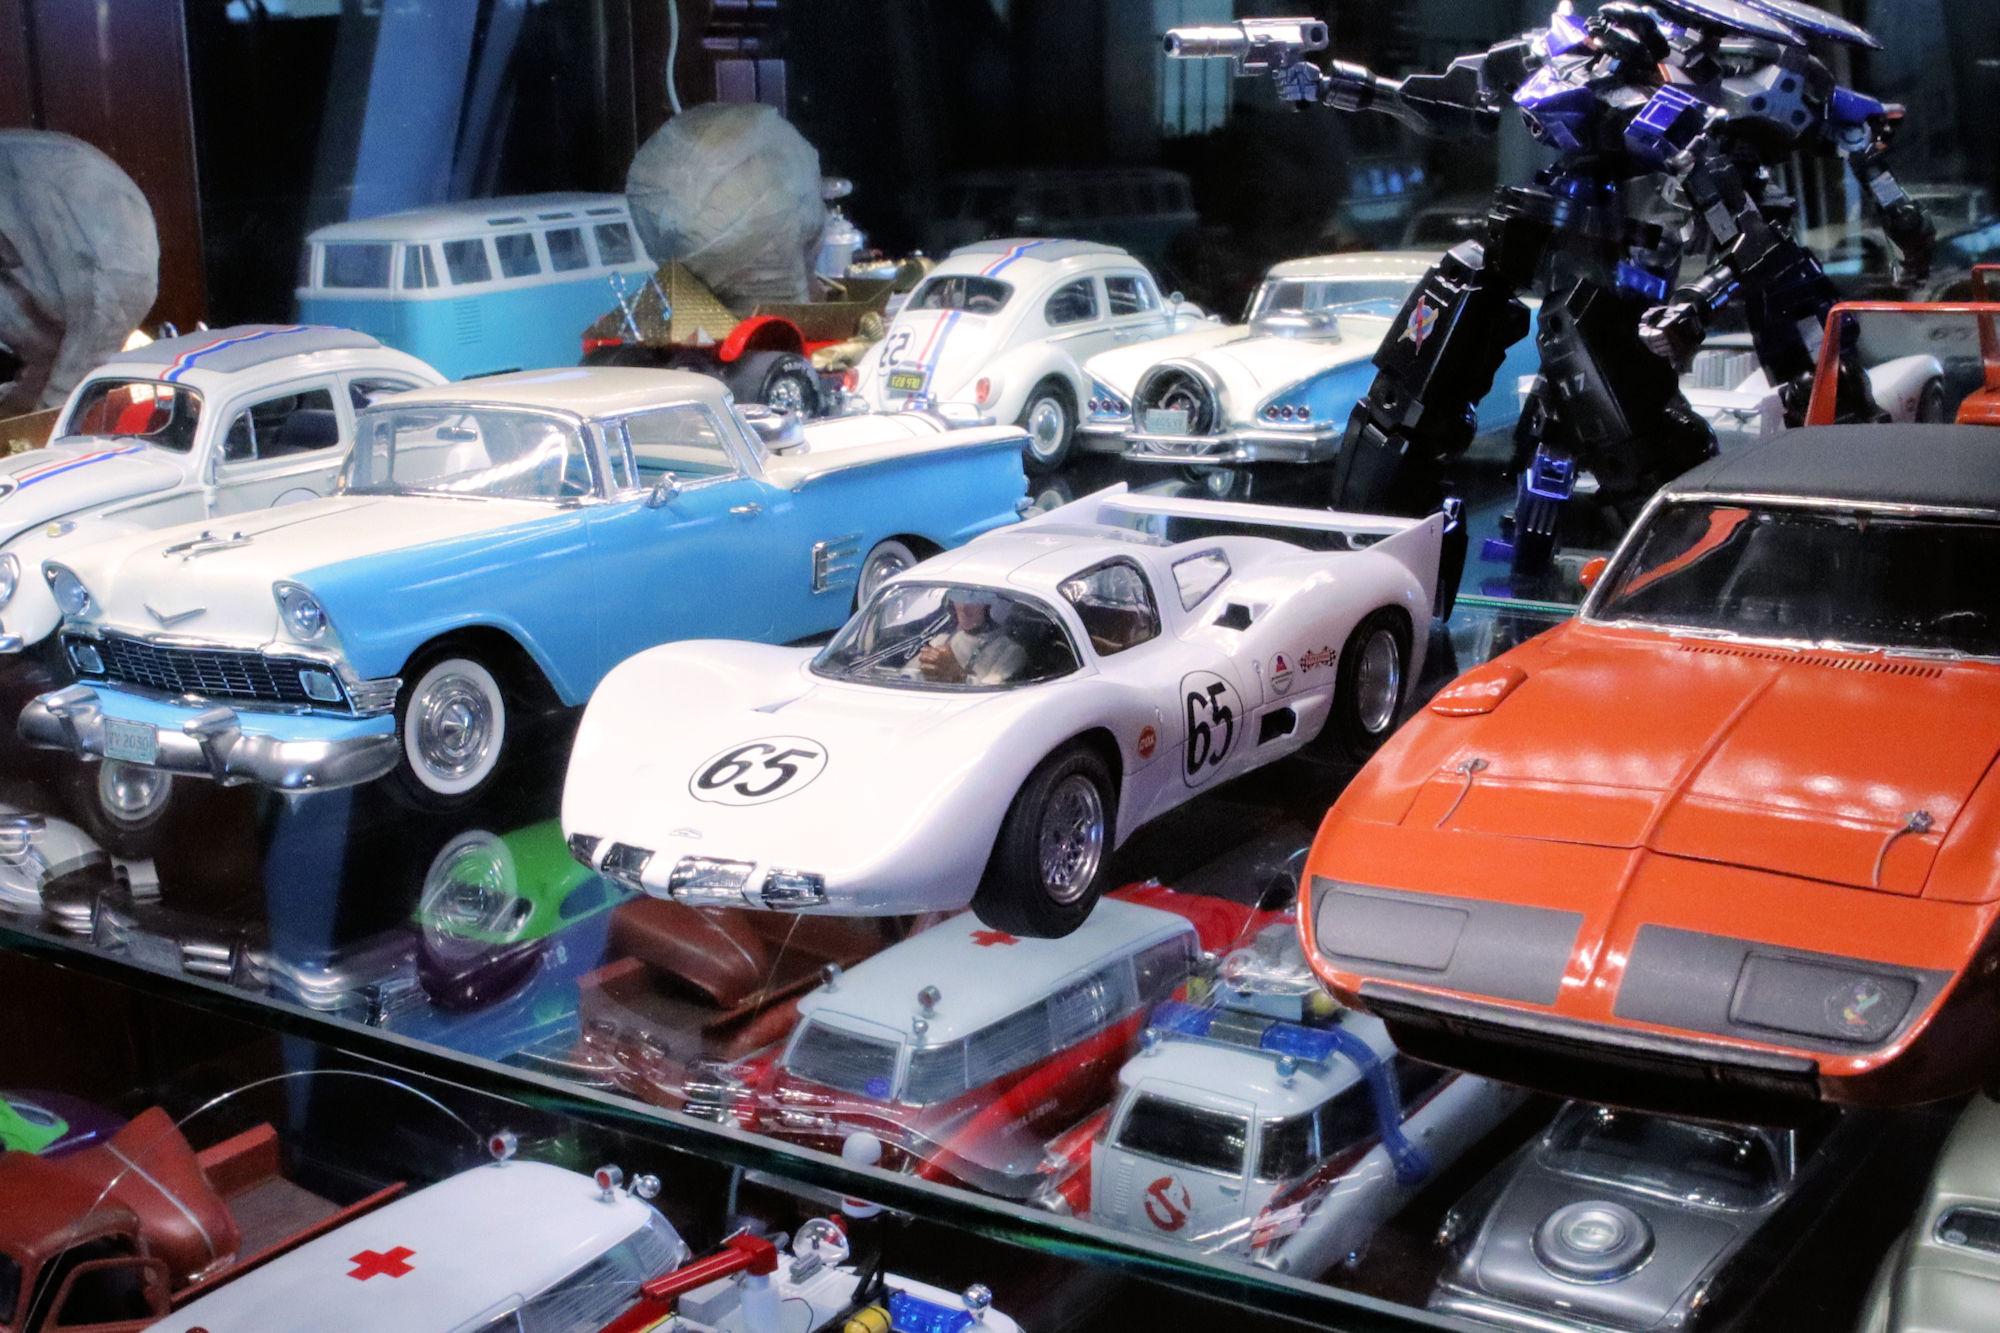
Hello Everybody! As many of you probably know, I have a tradition off finishing off my builds with a shot of the completed model in my main display case. Sort of a "cherry on the sundae". So here are the Display Case shots... yes, shots as there are two, for the Chaparral. Here is my traditional Display Case Shot! ...but we're not done yet. The Chaparral's permanent place will be one of honor and distinction, among my other legendary (and favorite) supercars! And with that, we conclude the build for Monogram's 1966 Chaparral 2D Coupe. Thank you to everyone who offered their support and encouragement through the comments you posted. David G.
-
Looking good Bob! David G.
-
1:16 Gunze Sangyo 1937 Rolls-Royce Phantom III Sports Saloon
David G. replied to Anglia105E's topic in WIP: Model Cars
I imagine that you're that familiar mixture of excitement, dread and anticipation that we all get when planning such an undertaking. It looks to be grand adventure! The progress you've made so far looks good David. Given your description of the steps you took in getting it all assembled makes me wonder how many of these kit designers have actually built the kits they've designed. Best of luck of luck with the lighting. I'm looking forward to seeing how it all works out. David G.