mrmike
-
Posts
5,324 -
Joined
-
Last visited
Content Type
Profiles
Forums
Events
Gallery
Everything posted by mrmike
-
Thanks Roy and Mike! I got second place in the Shelf Models Factory Stock class at the MASSCAR Show on March 15. Not bad for someone who went in to this competition without any expectations! To celebrate, I bought myself a mirrored display stand.
-
Thank you guys! The nice comments mean a lot to me. This Boss 302 is off to the MASSCAR show today so we shall see how this one stacks up against others.
-
Thanks guys! I usually put a license plate on after I finish the car, but I need to print up a new batch.
-
Thank you guys for the kind words and praise! Sometimes I just have to build it like it is on the box art and I was fortunate enough to be able to find a paint color that was close to the factory color without having to special order it from the aftermarket or from the dealer.
-
This is my 2013 Boss 302 Mustang. Painted with Tamiya TS-52 Candy Lime Green with Tamiya TS-48 Gunship Grey interior. Built mostly box stock, but I changed the air filter canister to an open element air filter from the 2008 Mustang Bullitt.
-
Thank you Jonathan!
-
Thank you Dan!
-
Thank you guys! This build gave me fits with the paint issues that I encountered. It is not the kit's fault...it's all mine! In the end, it turned out quite well and it now resides on my bookcase shelf.
-
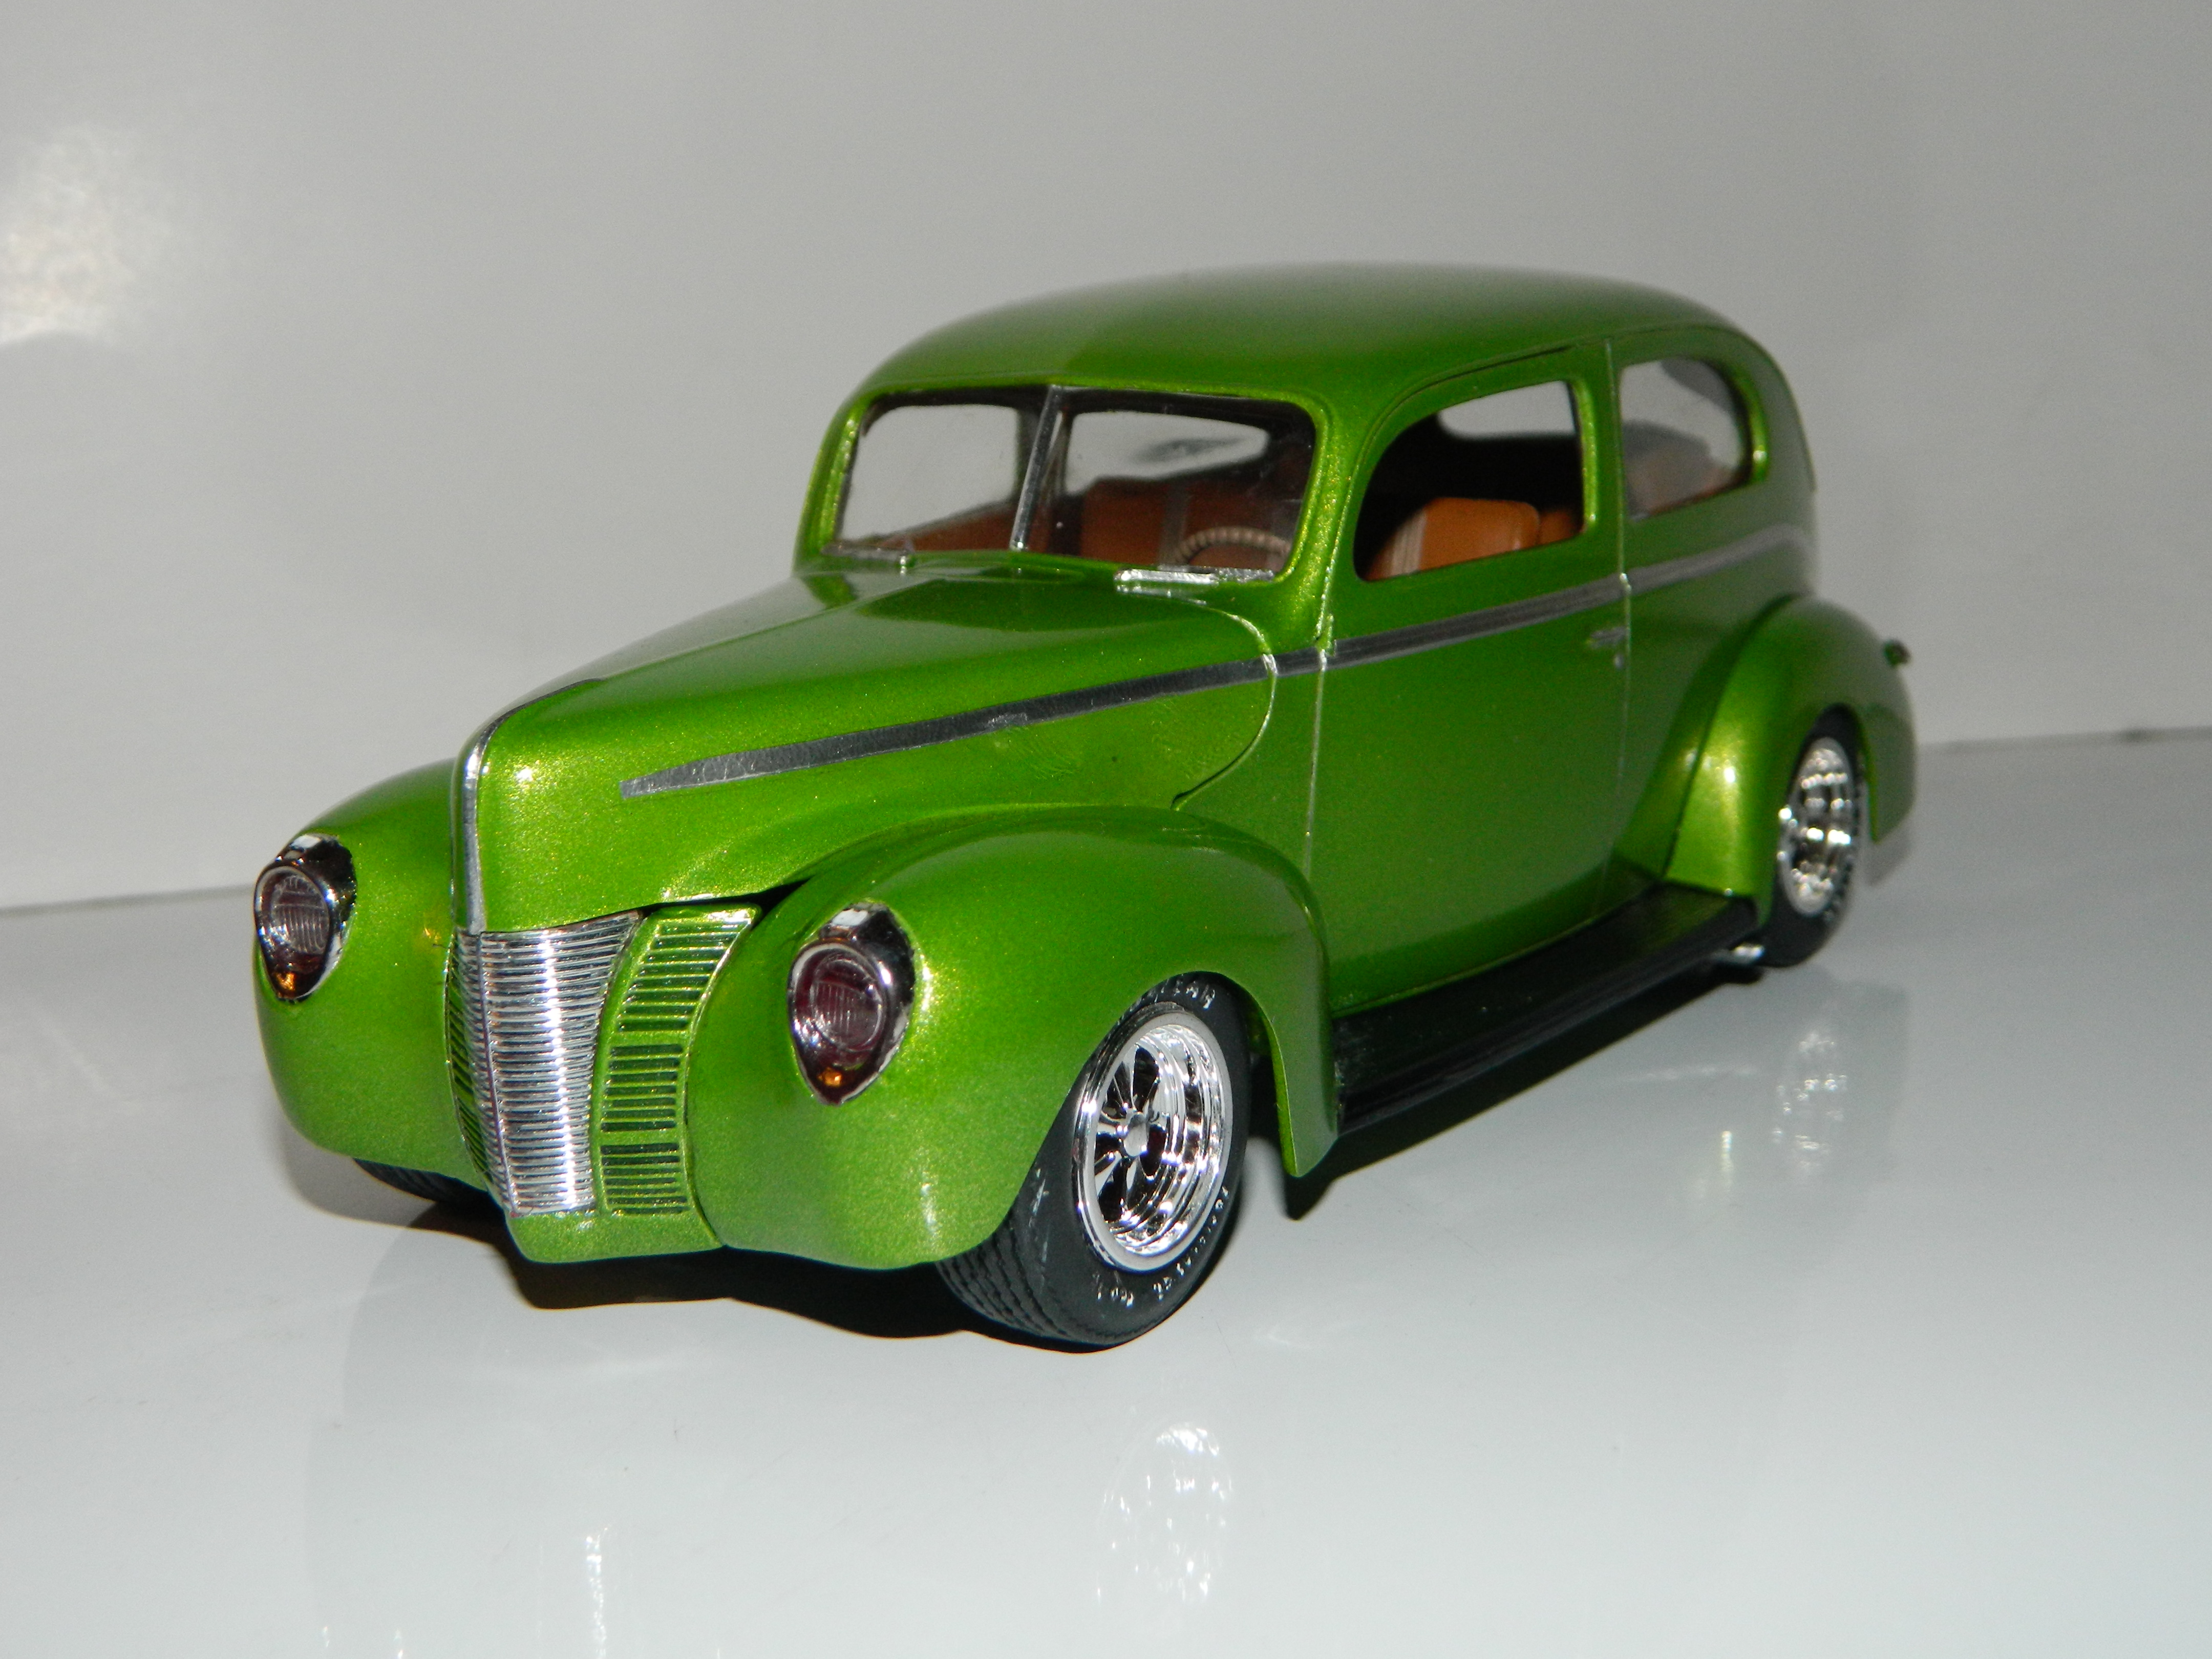
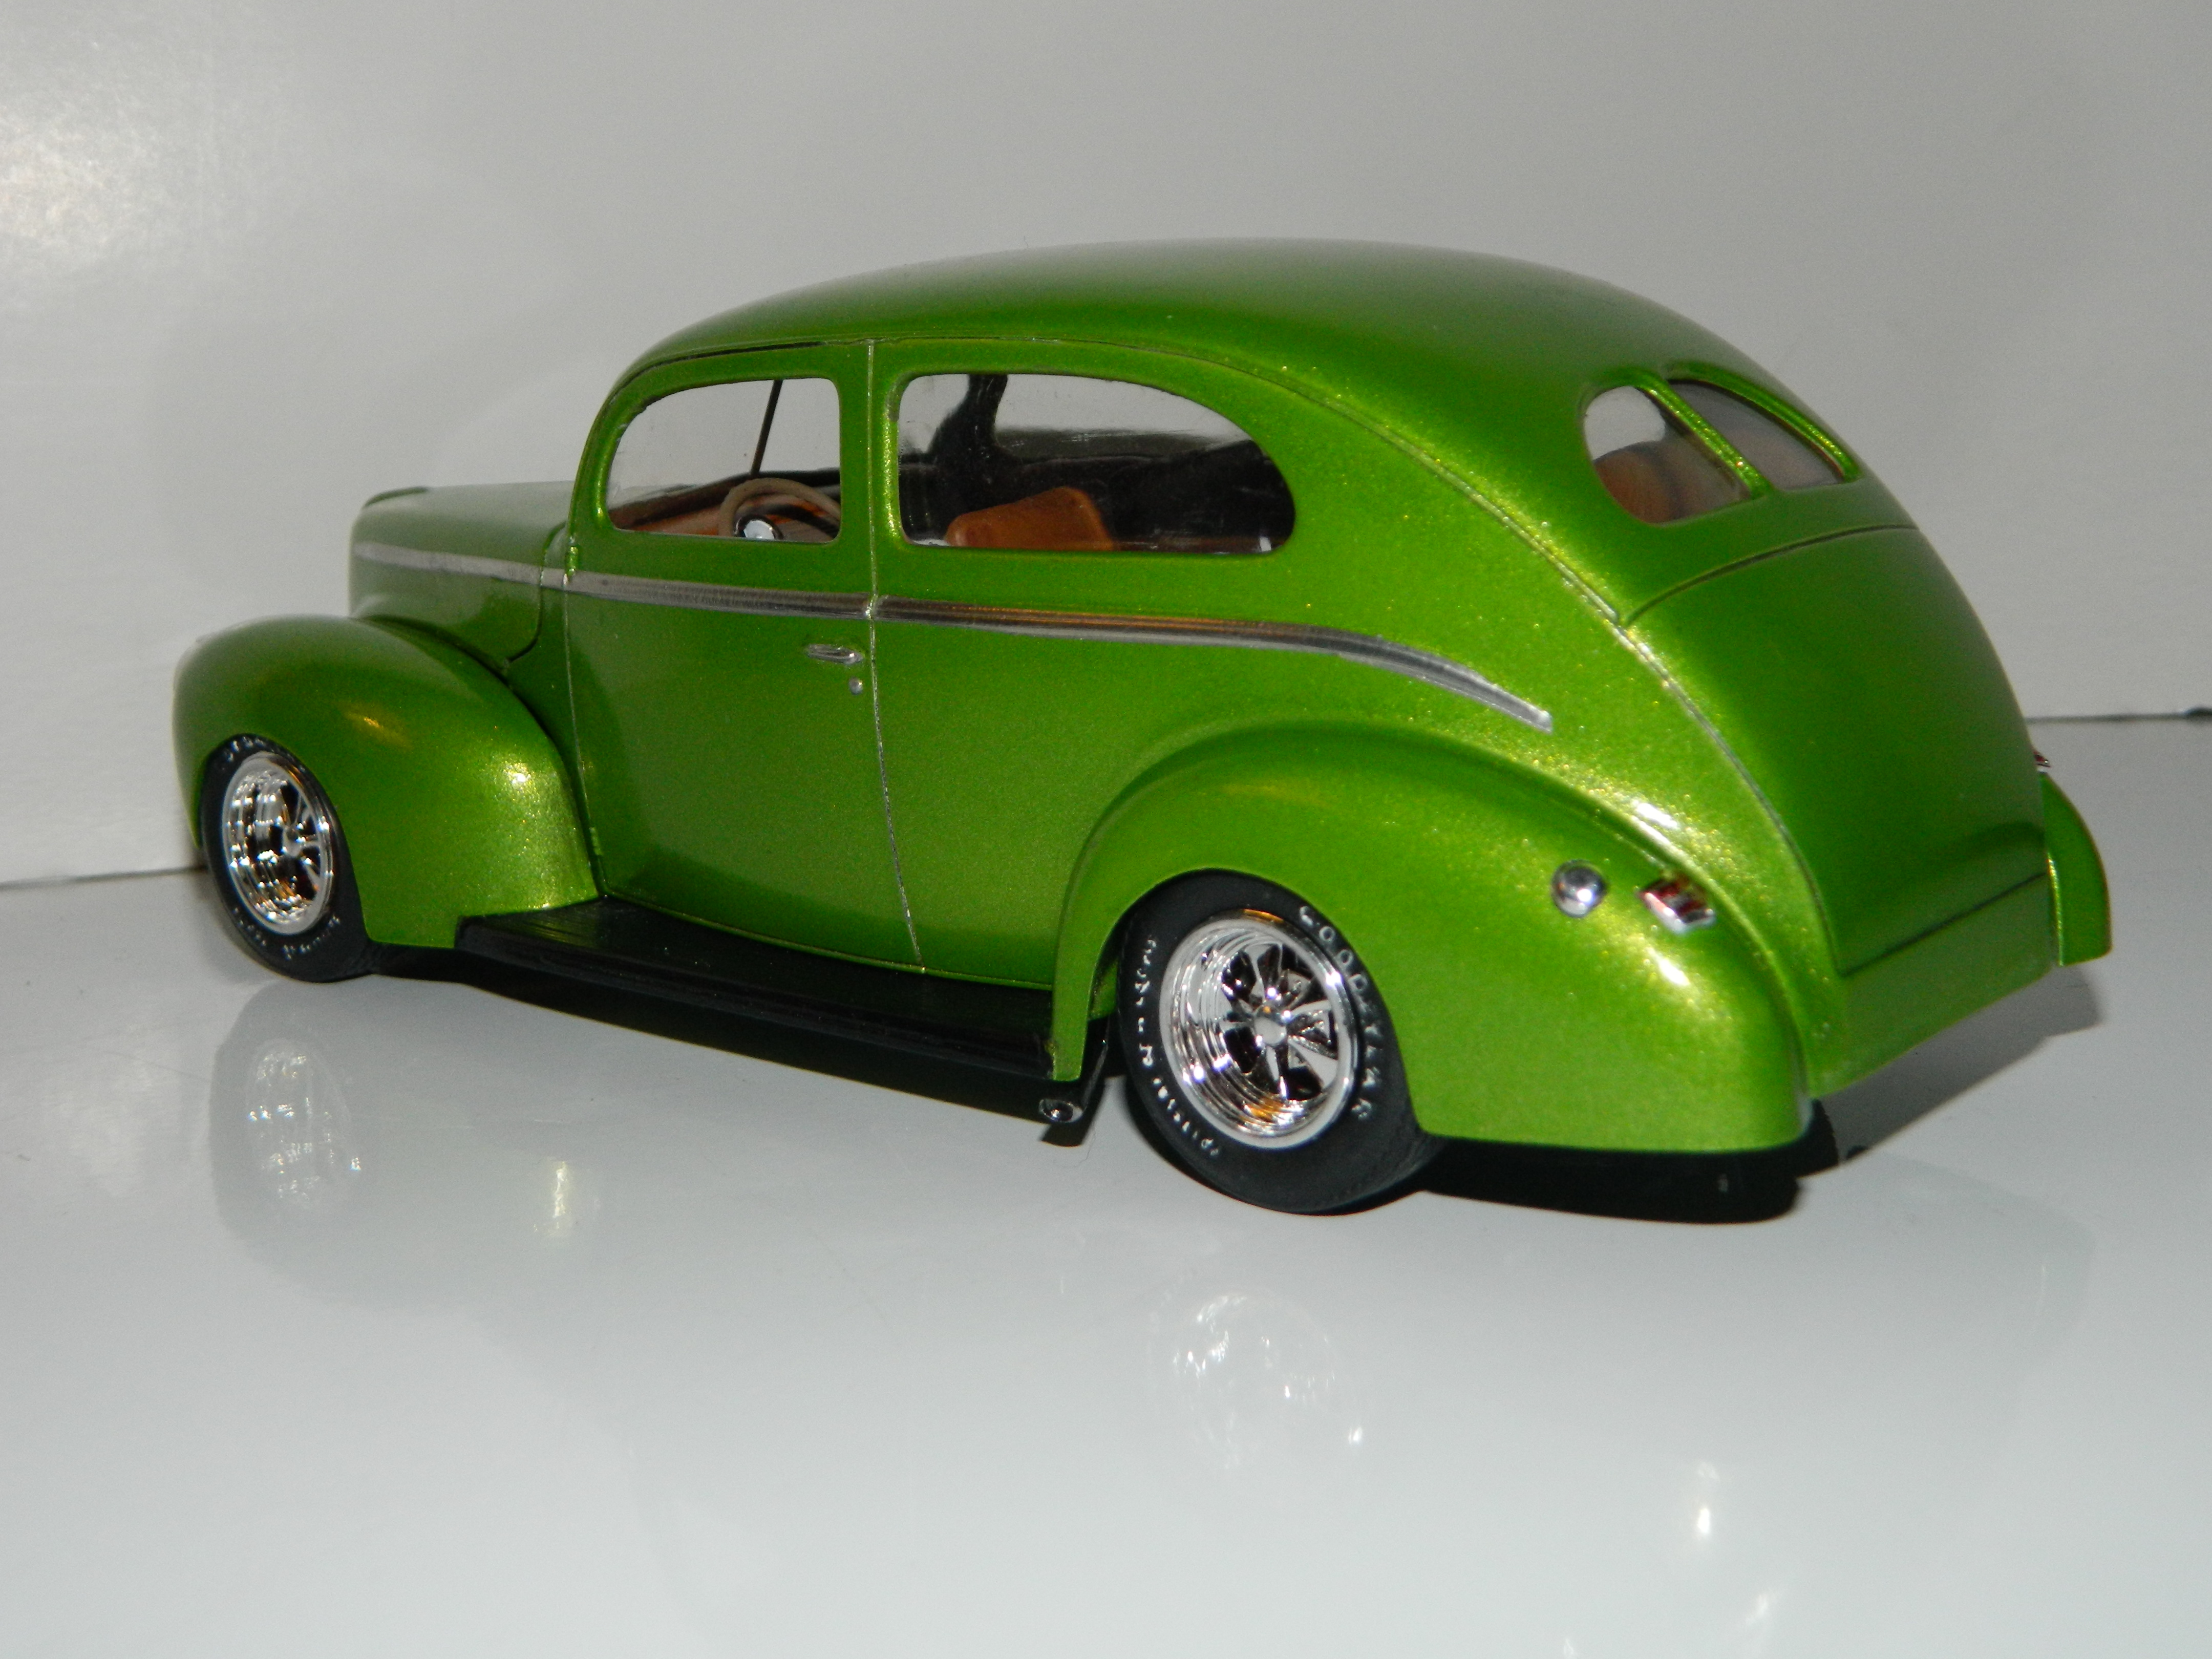
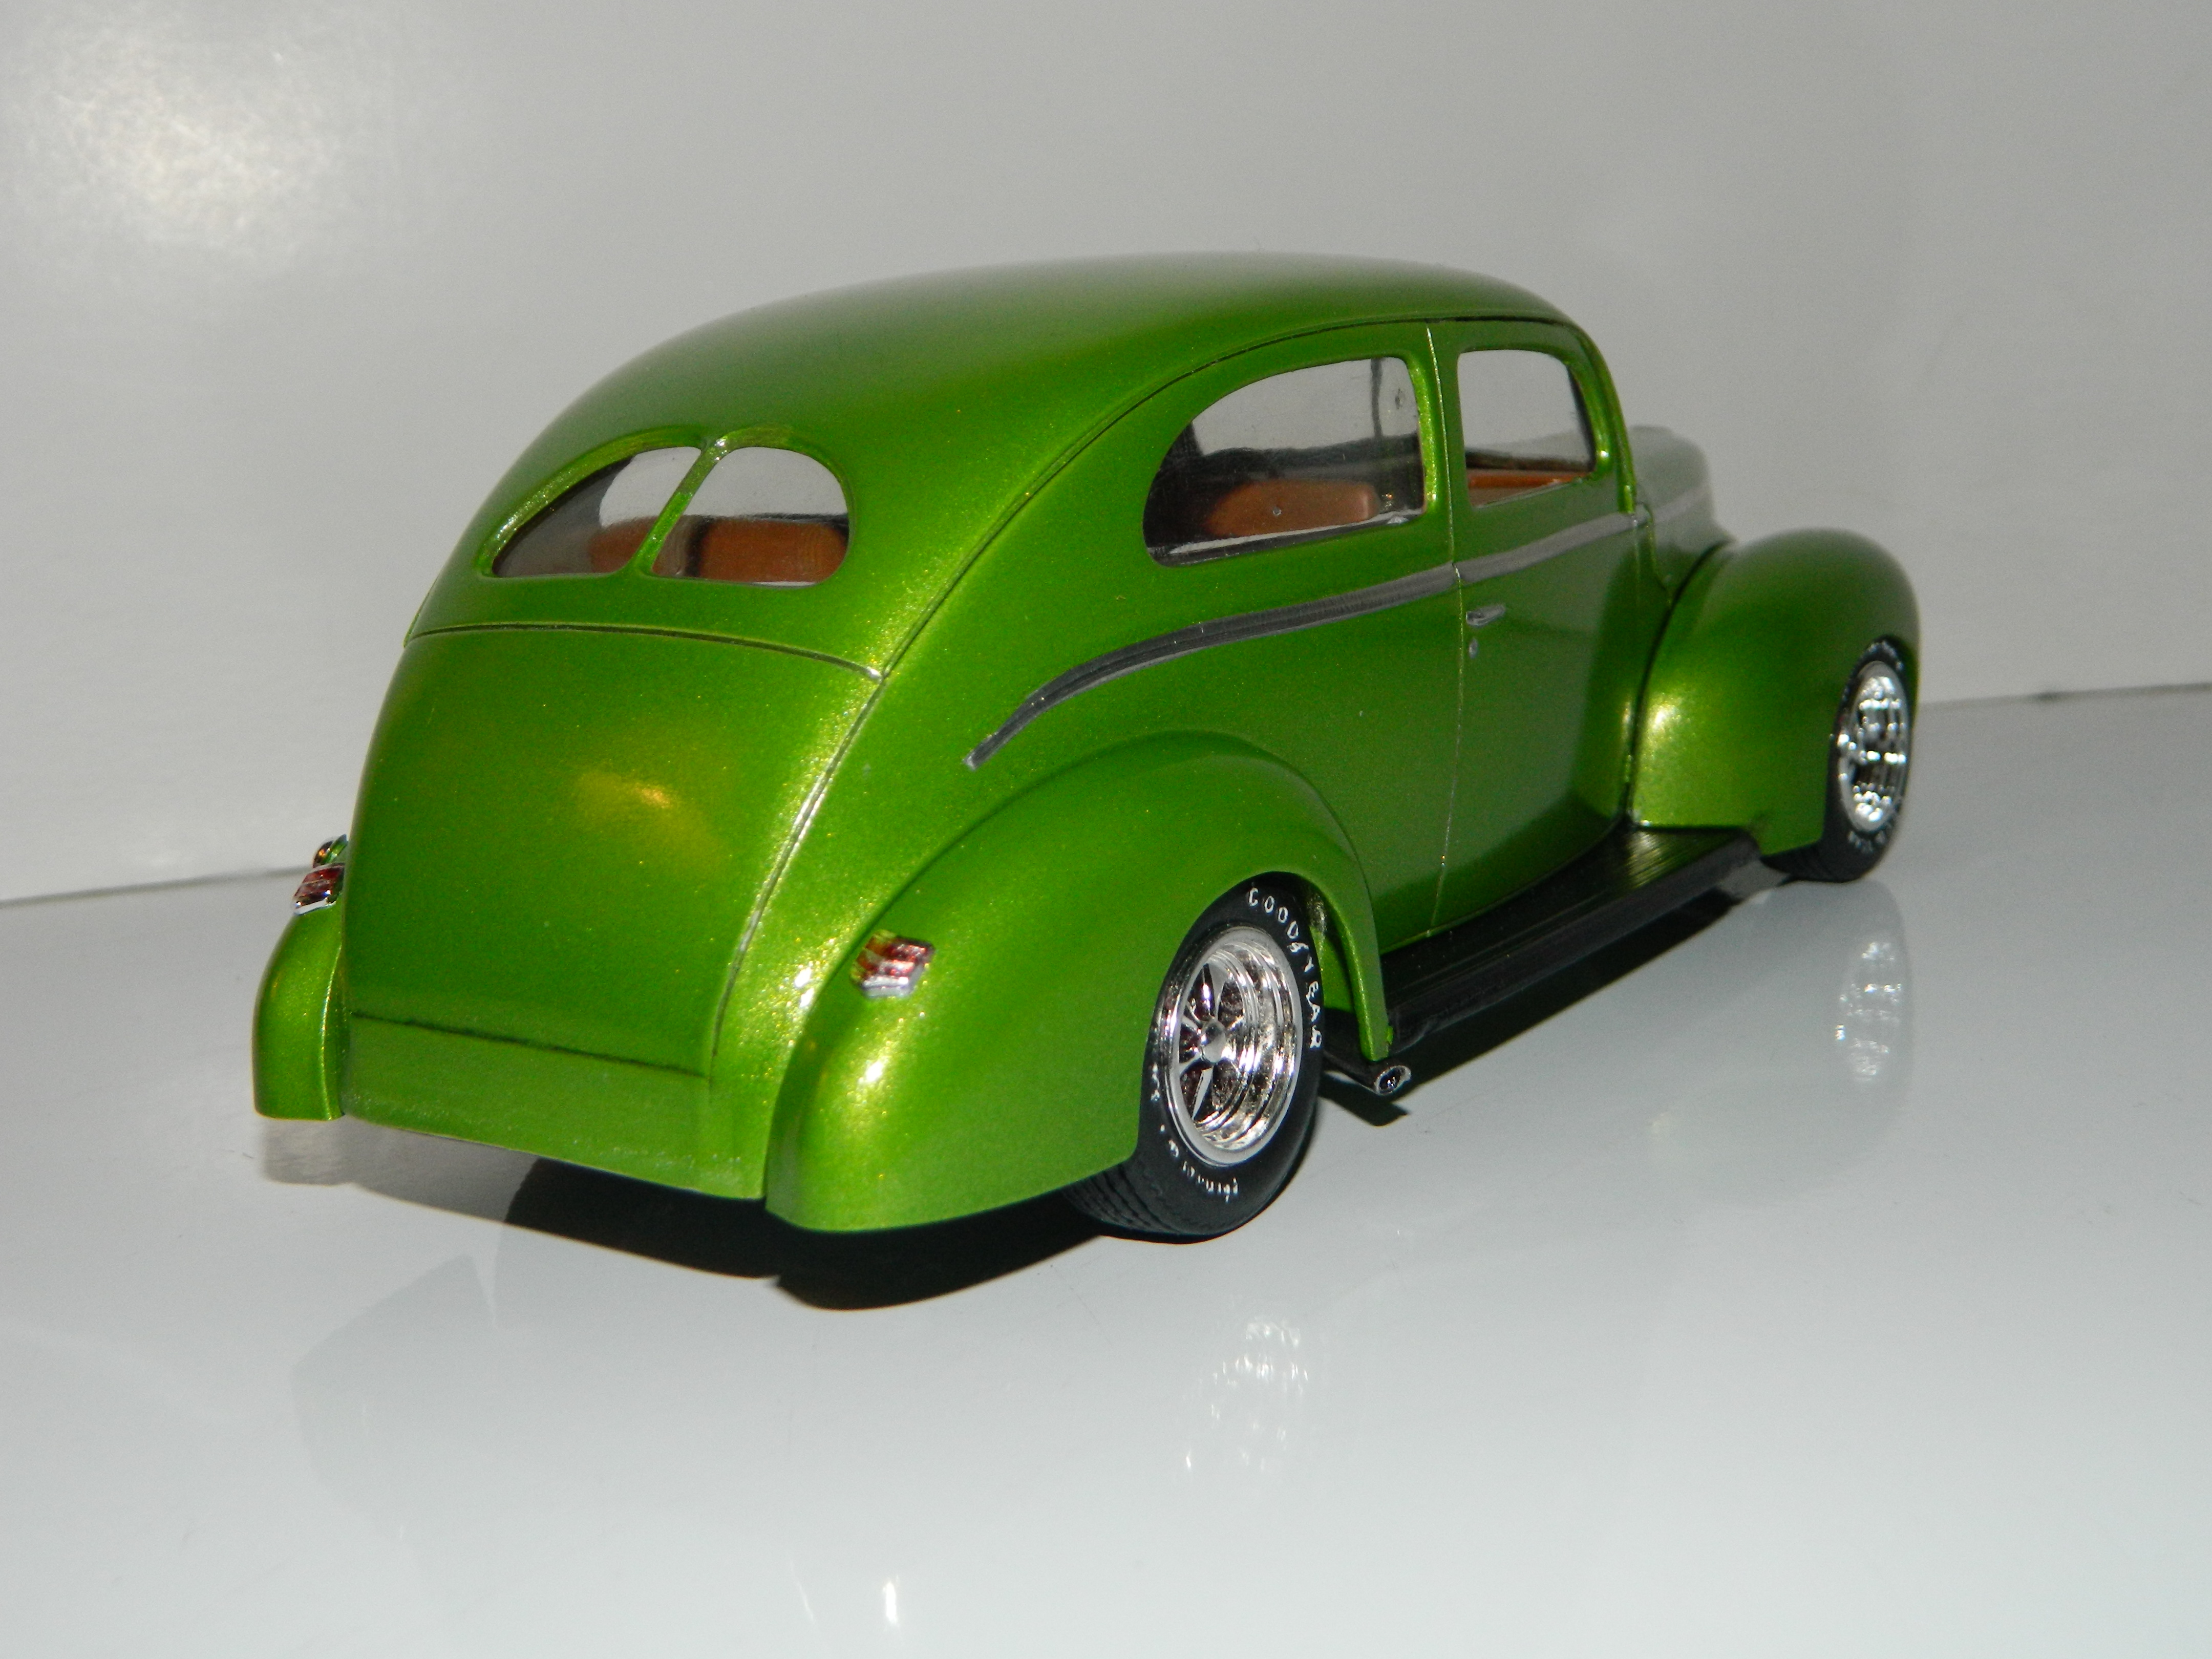
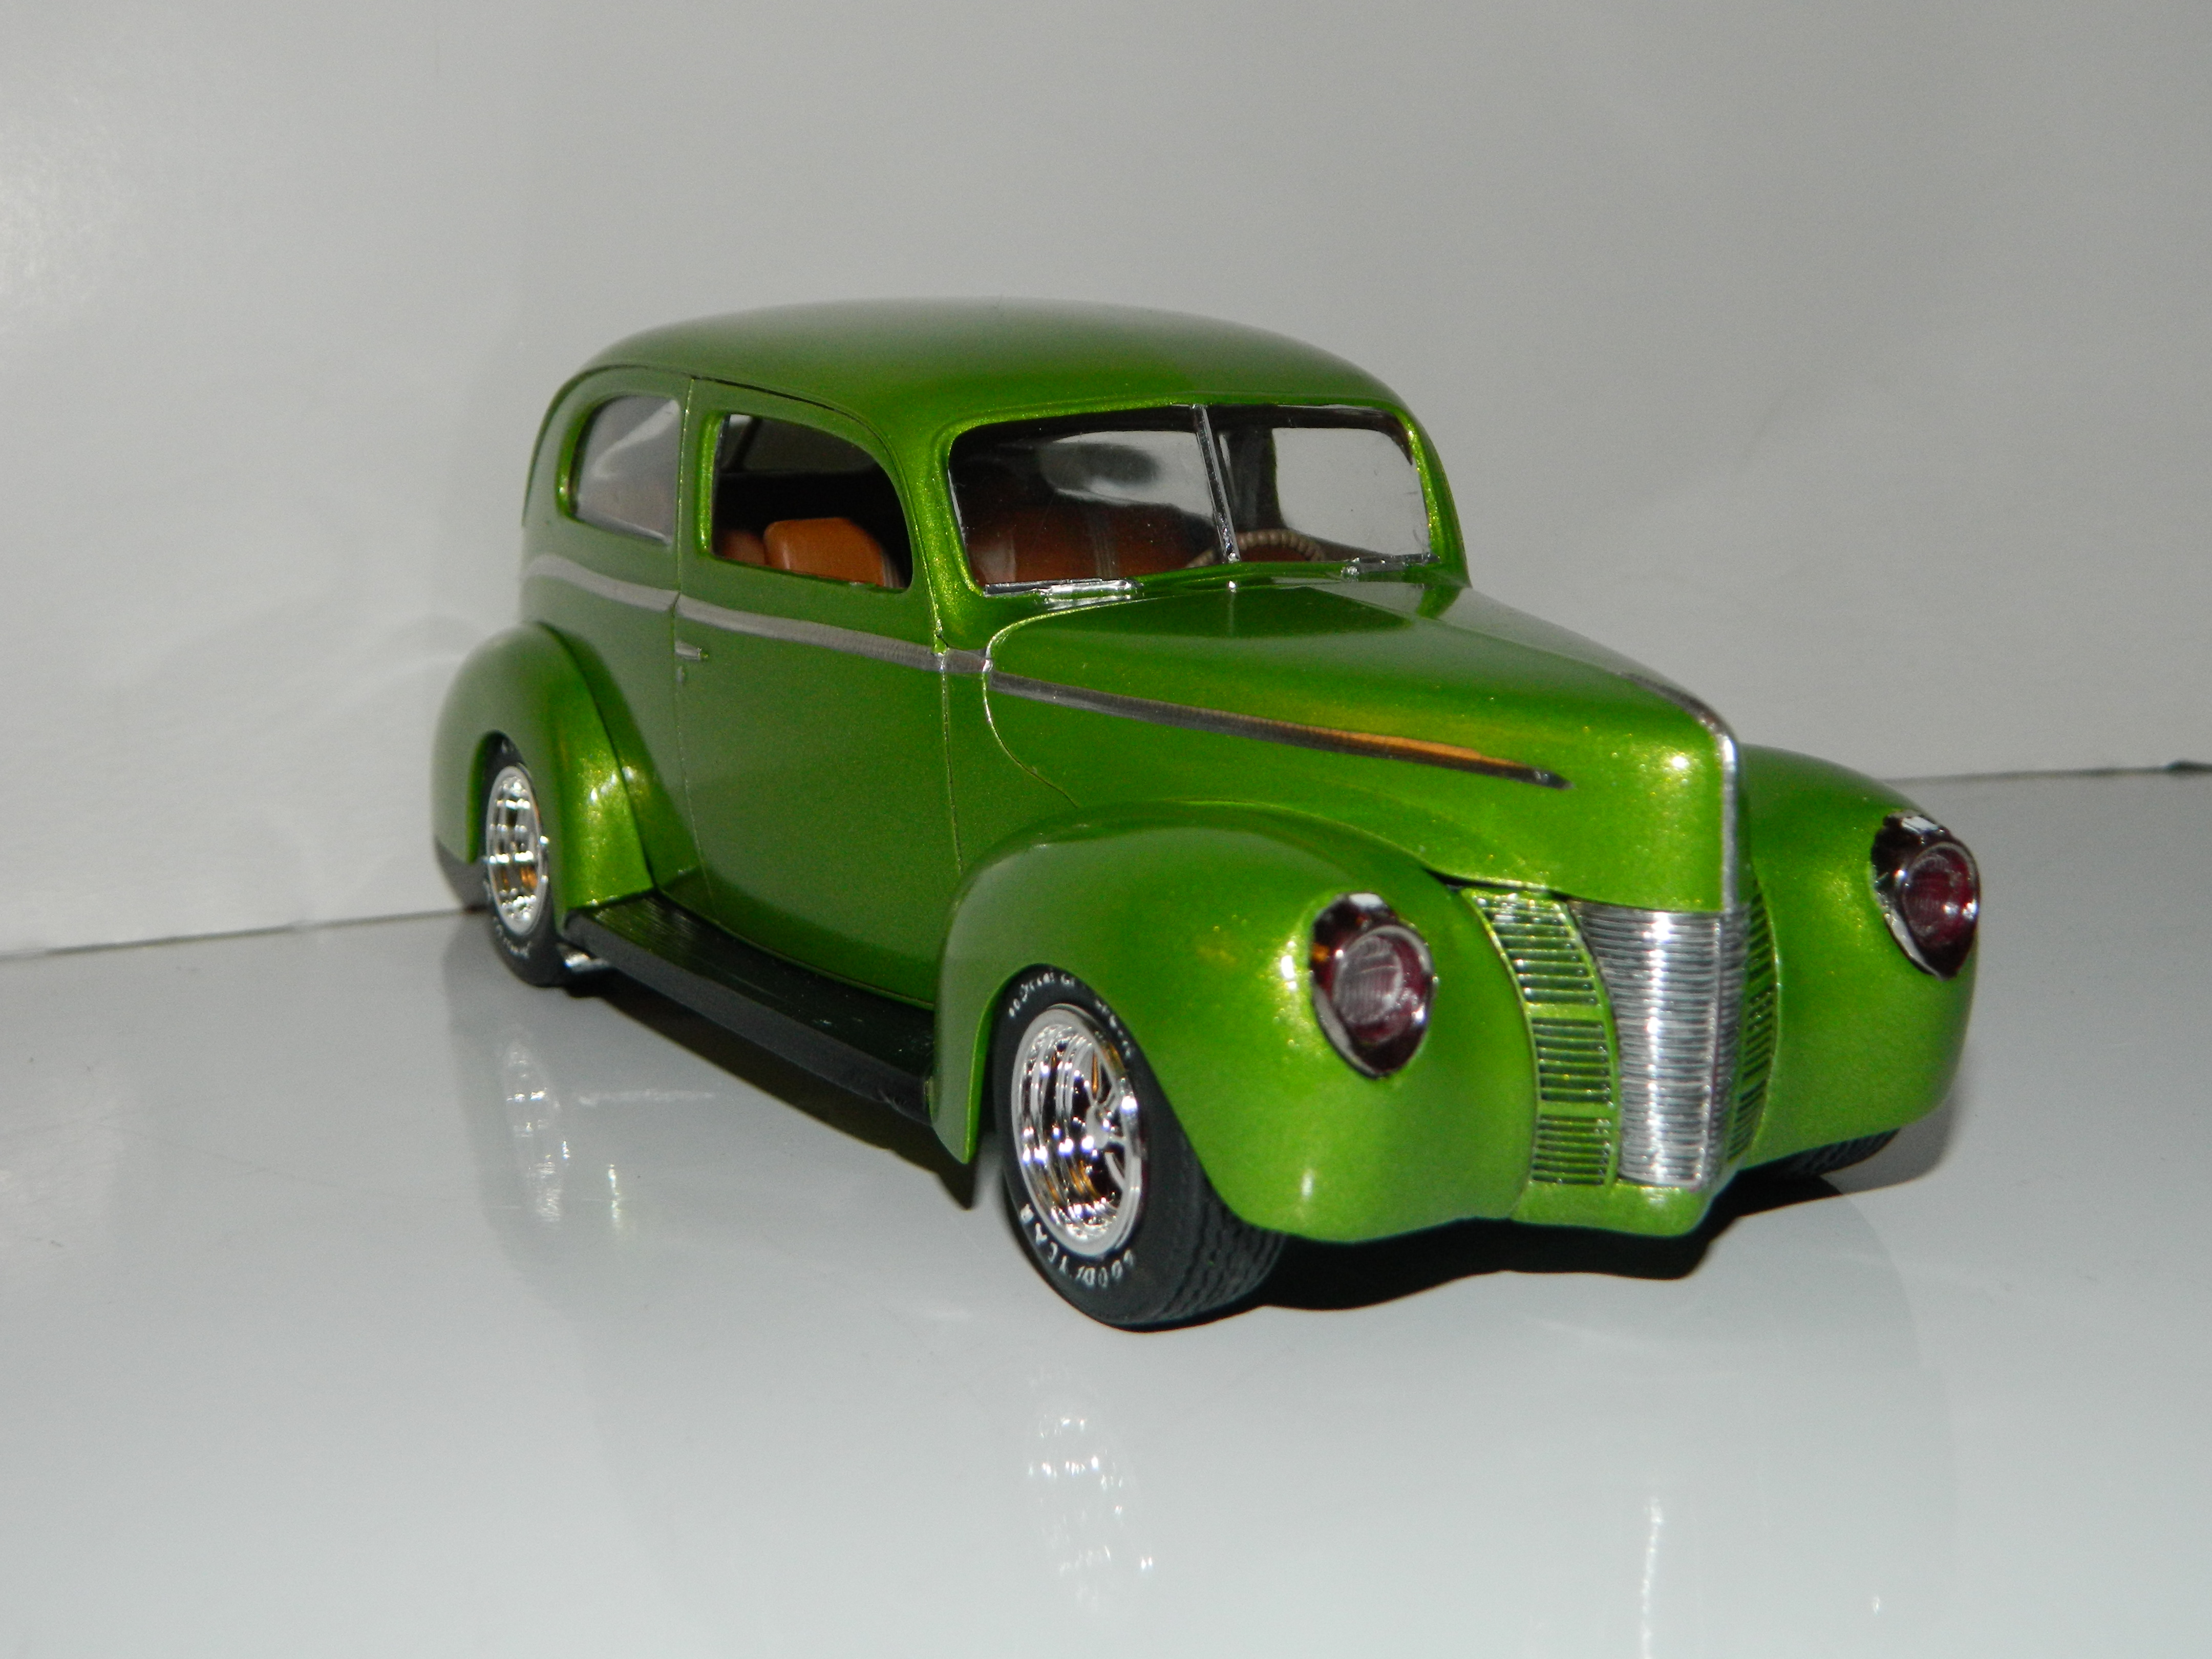
Thank you guys! Every now and then I get an AMT kit that just doesn't want to go together and when I started this build, I was sure that this was one of them. I choose to build the Tudor out-of-box with only having to dive into my parts box for an exhaust system and when it was completed, I had a great looking model and so far, the response from the members of my model club and you wonderful folks have been very positive. Thanks!
-
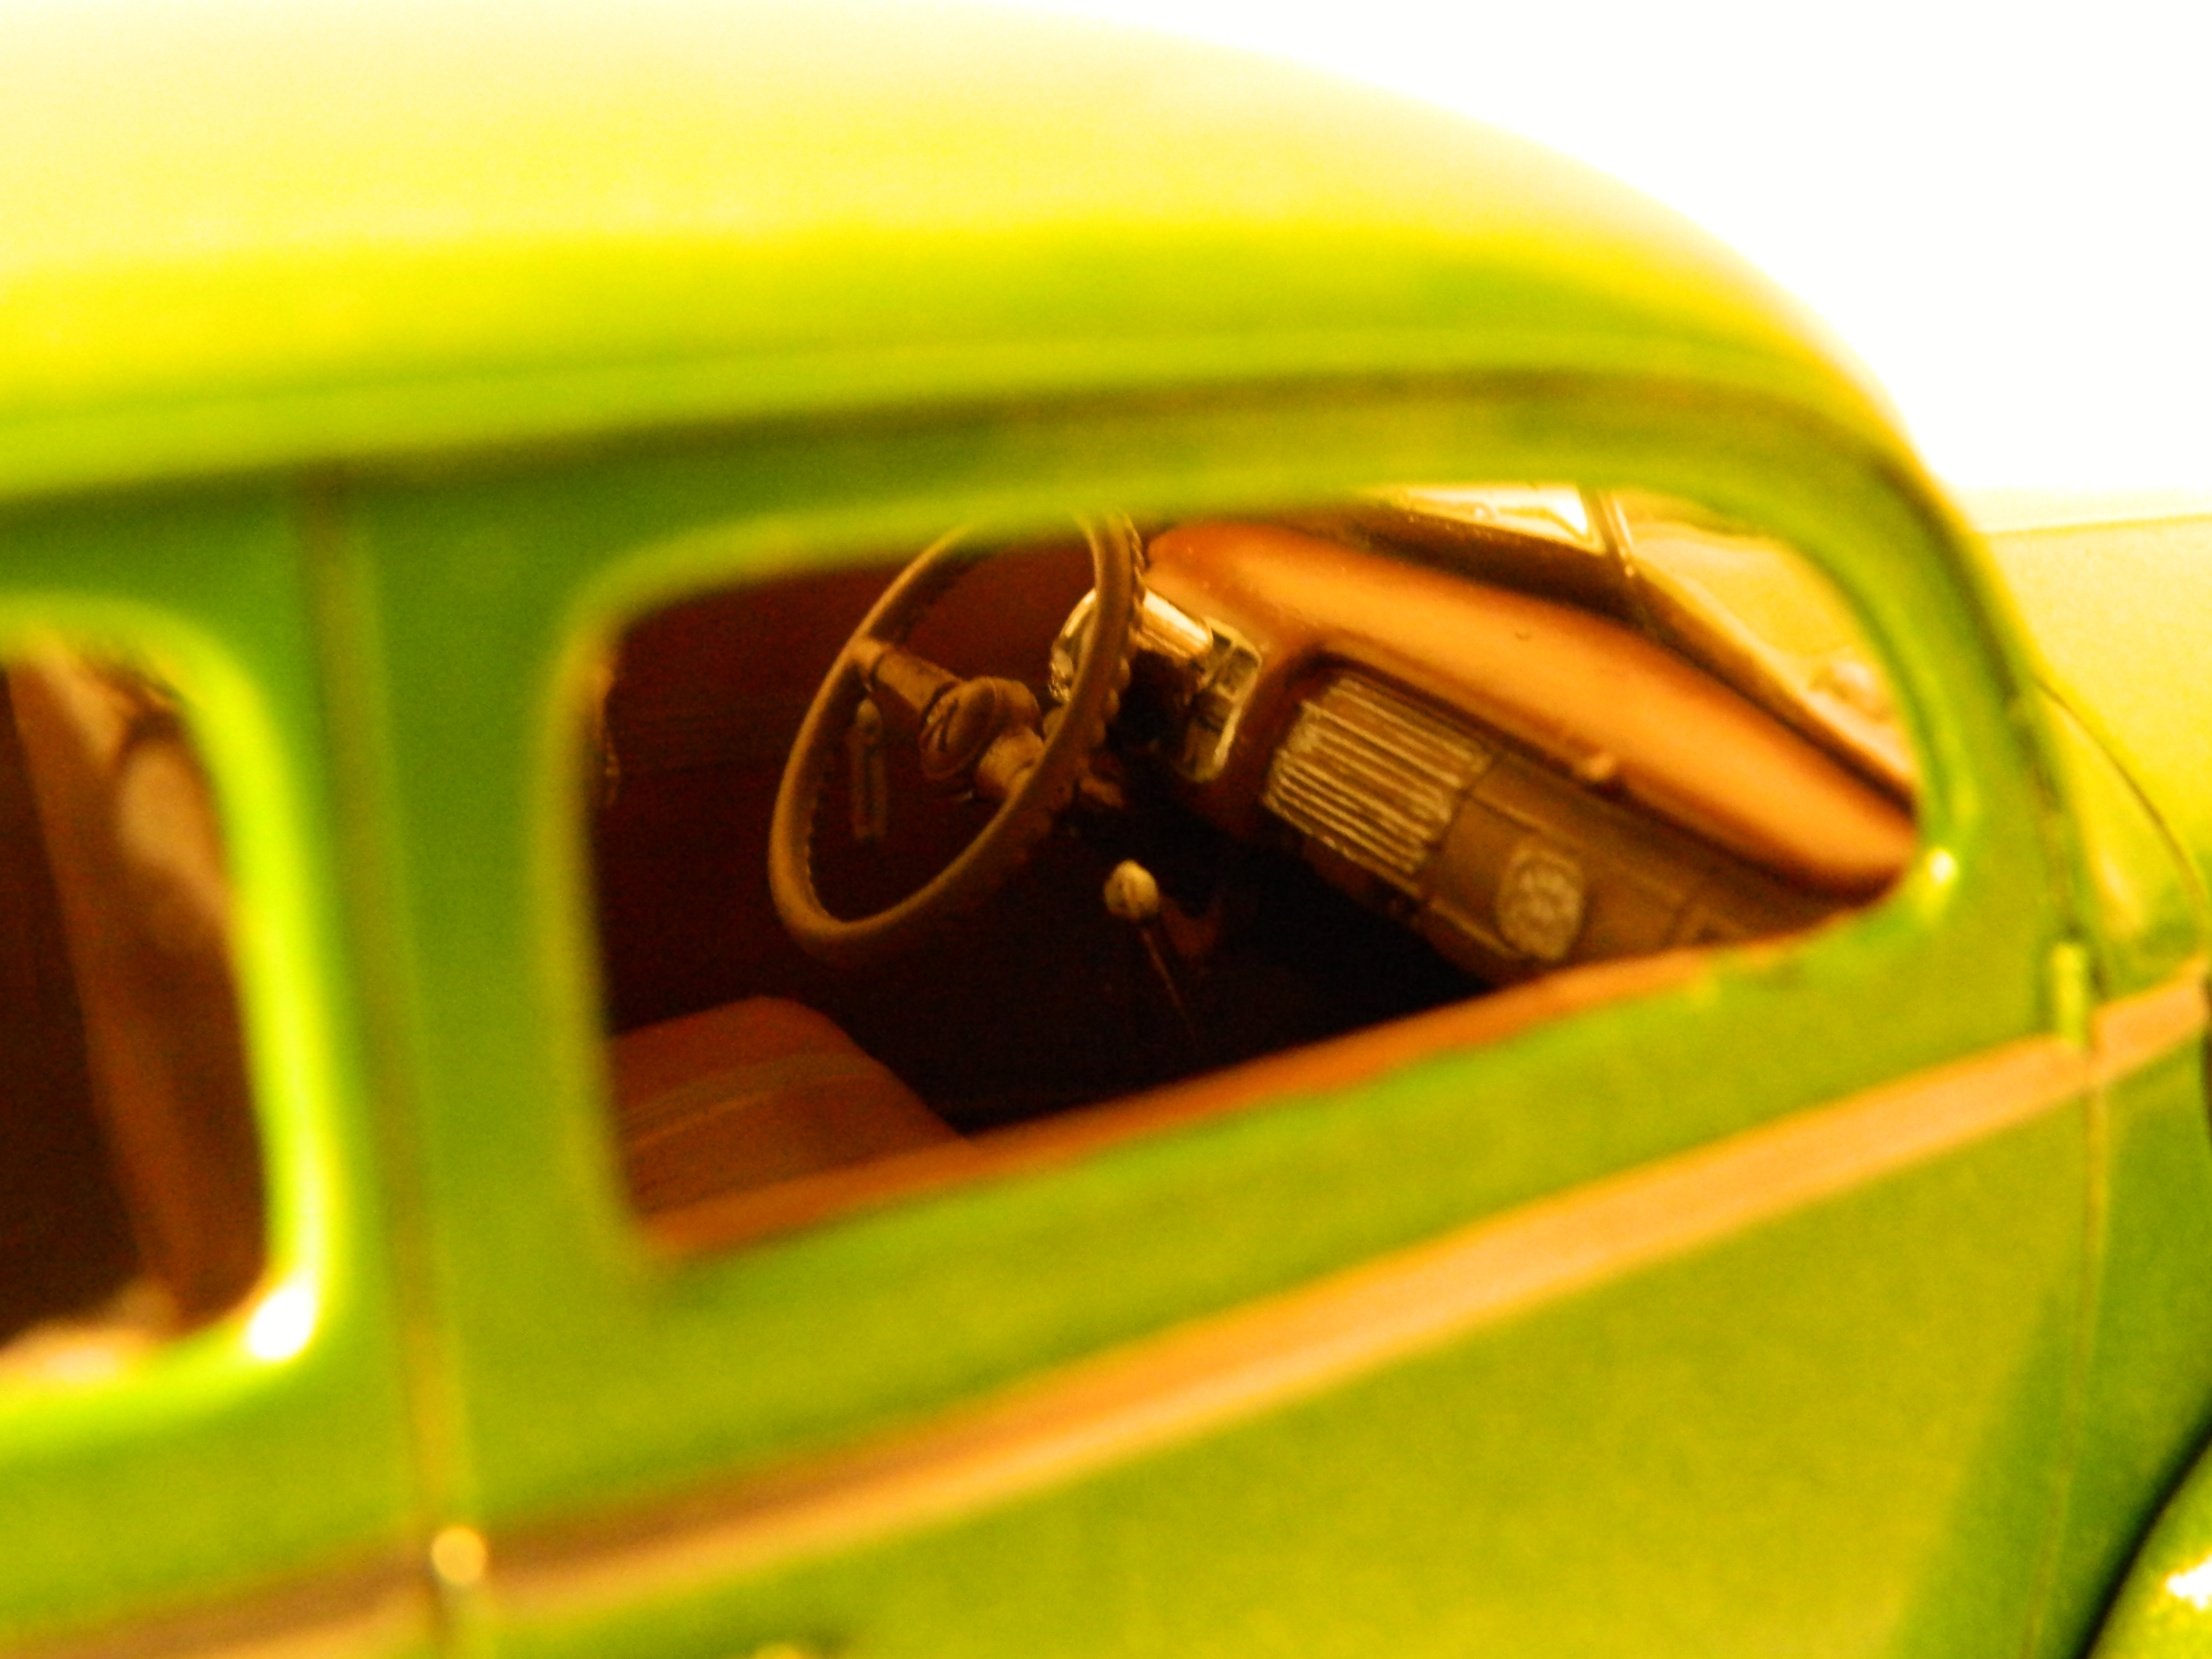
This is my '40 Ford Tudor Street Rod built from the AMT '39/'40 Ford Tudor Custom Tudor Sedan kit that I bought at an auction of a deceased Classic Plastic Model Club member collection of kits. The body is painted with Testors Lime Ice One Coat Lacquer with Model Master Acryl Leather interior. Built mostly out of box with the addition of an exhaust system from my parts box.

-
Looking good Jeff! Where did you get the hood scoop? I have the same kit and I would like to have one for mine. I'll be watching...
-
This is my '06 Viper SRT-10 painted with Tamiya TS-49 Bright Red with a semi-gloss black interior and built box stock.
-
Thank you guys! The Story Former Judge Darpolos walks into Lt. Det. Troy's office and starts asking questions about Roberto Solaros' arrest and the DA and DEA saying nothing which angers the Judge. McNally and Adam say nothing realizing that there nothing they can say to help the Judge out in this situation. The DA turns to Augie and says for him to go home and not to worry and that everything is fine. This doesn't answer Augie's questions and he gets mad and storms out of Adam's office and out of Police Headquarters. The following morning Solaros and his attorney with the DEA, the DA, McNally and Lt. Troy walking behind them, descend the steps in front of BPD Headquarters to a couple of cars parked at the curb. There is a small group of people milling about when Augustus Darpolos steps out of the crowd and aims a small Colt .38 Special revolver at Solaros. McNally yells, "Augie...NO!!!" as the gun fires once and hits Solaros in the chest and again and hits Solaros in the stomach. McNally and Adam subdue Augie and handcuff him while he is yelling, "He ruined me!" repeatedly. As patrol officers lead Augie away for processing, McNally starts to walk back up the steps and he says to DA Balling, "I hope you are happy with the outcome of this mess." The Build I have finished my 2006 Dodge Viper and it is posted in Under Glass. I would like to thank all those who have taken the time to view and to comment on my WIP.
-
The Story When McNally and Lt. Det. Troy returned to Boston Police Hq., they were met by two special agents from the DEA and Anthony Balling of the Massachusetts District Attorney's Office and they are not happy. Solaros was to have remained under house arrest while the DEA and the DA prepared their case against him. The arguing between McNally, Lt. Troy, the DEA, and the DA continued in Adam Troy's office for several minutes until DA Balling yelled, "Enough! Solaros will remain under house arrest and we go back to where we were before this mess began." McNally looks out the window of Lt. Troy's office in time to see Judge Darpolos and his bodyguard walk into the Squad Room. The Build I masked off the body for it's semi-gloss black trim. McNally will return...
-
Thanks Jonathan! Keeping the story interesting is one of my goals. Right now, finishing the Viper is another.
-
Thanks Dan! This one has been hanging around the bench for too long and it needs to be finished! Maybe this year!
-
Thanks for the tip, Del! The Story Solaros is taken to Marblehead PD to await transport to Boston PD. McNally calls Lt. Det. Troy and tells him that Solaros is is ready for pickup and how cooperative Marblehead PD has been with the arrest. Adam repies that transport is on its way and should be there soon. Judge Darpolos is waiting at home with his BPD supplied bodyguard and is told of Solaros arrest which he feels is like the weight of the world taken off of his shoulders. The Build Finally, the body and hood have been repainted and it looks pretty good. McNally will return...
-
The Story McNally parks his car under a tree and away from any street lights while he waits for a detective and backup from the Marblehead Police Dept. A car stops behind his car and a woman gets out and walks up to his car window. She identifies herself as Det. Eve Banner and she has a warrant for Roberto Solaros' arrest. They are going to wait for a squad car and two officers for backup which arrives a few minutes later. They go and knock on Roberto's front door and his greeted by Solaros himself. He greets them by name after reading their nametags until he gets to McNally. "I don't know you, my friend, but welcome to my home!" "You're right, you don't know me and you're under arrest. Face the wall and spread 'em." The Build After I repainted the Viper, I lost interest in it and I put it on the back burner. It is unusual for me to put a project on the back burner and after looking at the box sitting on the floor by the bench, I decided to resurrect this build and finish it. I need to finish the body and get the whole thing assembled. After polishing the body to remove any small flaws and smooth out the paint, I polished through the paint on the drivers door and fender and I broke the windshield frame again. I don't know if you can see it, but there is a thin spot on the hood, so I'm going to have to repaint the hood as well. And, the side skirts too. McNally will return...
-
Thanks guys! I have finished my '71 Satellite and it is posted in Under Glass. I would like to thank all those who have taken the time to view and to comment on my WIP.
-
This is my Monogram '71 Satellite paint with Duplicolor Light Blue Metallic with a black interior, MRC Cragar SS mags and Firestone Wide Oval tires, a 440+6 with a 4-speed transmission from the Monogram '70 Roadrunner.
-
Your Challenger is shaping up pretty well! Keep it going! Last night I did a mockup of the interior, chassis, body, and the hood and found that the engine sat too high in the chassis. This morning, I ripped out the engine from the chassis and modified the engine and transmission mounts and got the engine as low as I could get it. I added the wheel adapters to the MRC Cragars and will paint the adapters semigloss black. After polishing the body and hood last night, I added a wet coat of Testors Clear Gloss Lacquer this afternoon. More Mopar to come...
-
Thanks guys! The stripes were made with Tamiya TS-6 Matt Black. I believe that one of the resin casters out there does make the Satellite hood, but I don't remember who that caster is or what scale the hood is produced in. I clearcoated the body and decaled the hood and clearcoated it, too. The chassis is in-process. This is just a mockup with the front and rear suspensions. More Mopar to come...
-
Thanks John and Carl! I just crossed another hurdle with the Satellite...foiling! It wasn't a lot this time. I finished the engine and mounted it in the chassis. I need to finish the chassis by lowering the front suspension, adding the exhaust system, and rear suspension. More Mopar to come...
-
Thanks Carl and Glenn! The stripes came out just as I wanted. What's this? I had forgotten that I had this stashed away and I think they'll look great on the Satellite. More Mopar to come...
-
Dan, this Satellite is the Monogram 1/24 scale version. Bill, as far as I know, this model has never been re-issued, but was converted into the '71 GTX. You could get the GTX kit and remove the GTX script and build a Satellite/Roadrunner. One of the things I have been thinking about for this Satellite is striping. I didn't want to order any decals and I didn't have anything in my decal drawer suitable for the Satellite, so with ingenuity being the mother of invention, I got out my Tamiya and 3M tape and started masking the hood and front fenders for a Plymouth inspired stripes to be painted in black. I have finished the interior. I really like how the Hurst Pistol Grip Shifter looks sticking up from the console. More Mopar to come...