mrmike
-
Posts
5,326 -
Joined
-
Last visited
Content Type
Profiles
Forums
Events
Gallery
Everything posted by mrmike
-
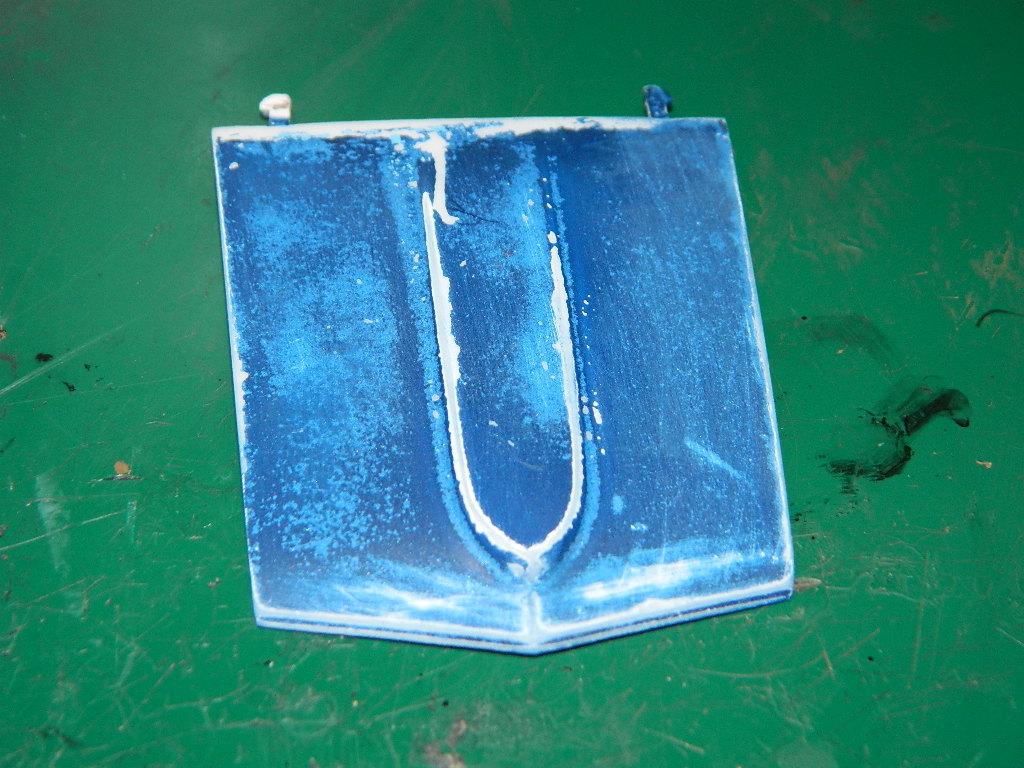
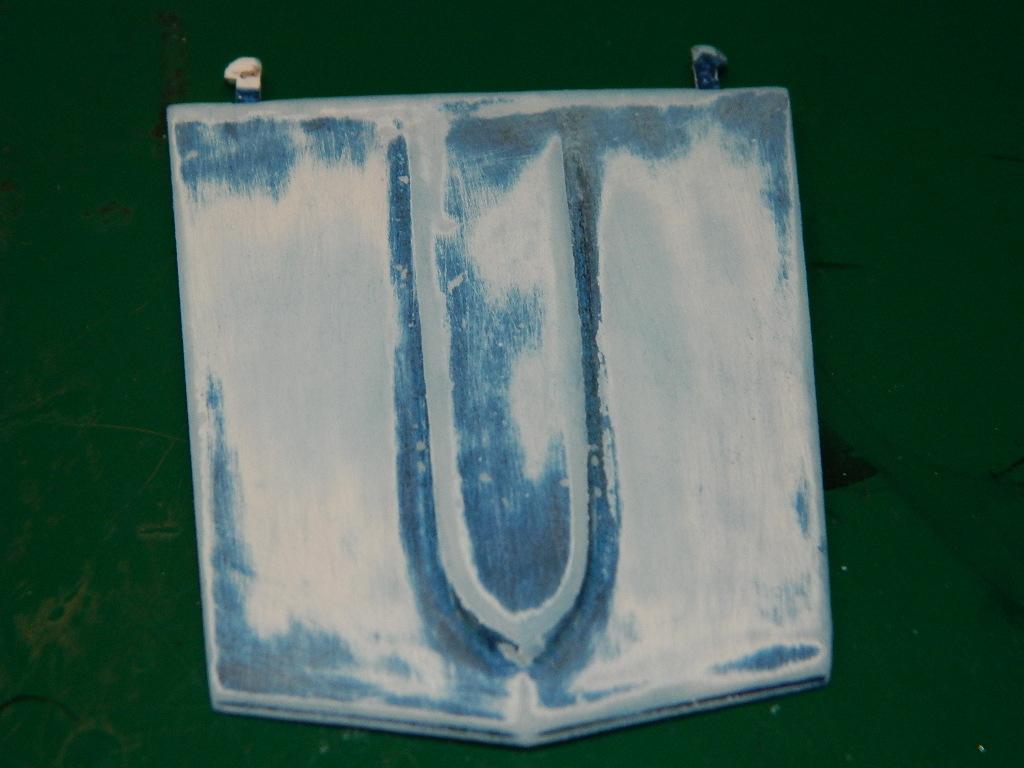
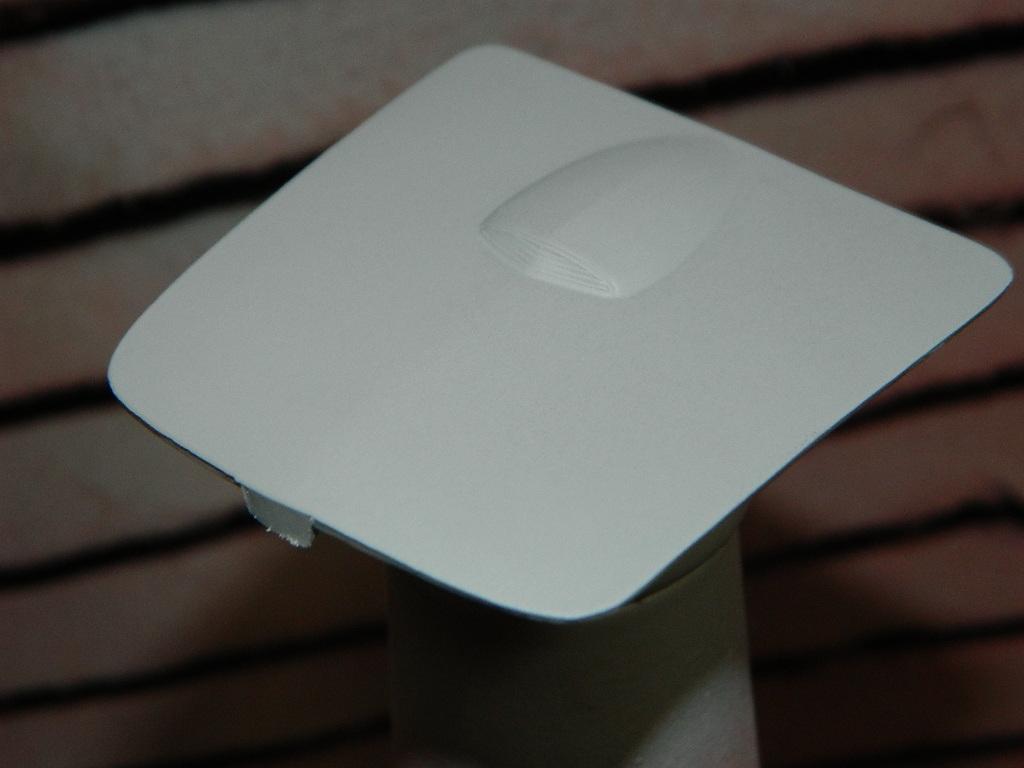
I took the hood out of the 91% alcohol and washed it good. It looked more like a hood off of a wreck in a bone yard. The last picture is after five minutes of sanding with 150 grit sandpaper. More sanding, a good bath and then primer and paint...again! More Boss 302 to come...

-

Ford Mustang GT4
mrmike replied to mrmike's topic in WIP: Other Racing: Road Racing, Land Speed Racers
I had stopped at the grocery store yesterday to get some beer and when I parked the car, I was next to an all black 2020 Shelby GT350! When I came out of the store, the owner was just finishing putting his groceries into his Shelby and we got to talking. He has had the car for a couple of weeks and he is still discovering some of the various little bits and features to the car. He said he would rather drive it. The owners manual is two inches thick! He got in it, started it up and ohh...what a glorious sound it made and that was with the exhaust system in the regular mode. He hit a switch and the exhaust system changed note and WOW!!! It sounded great for pissing off the neighbors! I would rather listen to that Shelby than any of the Harleys that run by the house daily! -
Revell Land Rover LWB
mrmike replied to GeeBee's topic in Model Trucks: Pickups, Vans, SUVs, Light Commercial
Looks excellent! I hope mine will look half as good as yours! -
Ford Mustang GT4
mrmike replied to mrmike's topic in WIP: Other Racing: Road Racing, Land Speed Racers
Thanks randyc! I'm more into straight lines than complex curves that I am bound to screw up. My sanity can rest easy now... -
$25 for a flea market special is a lot of money, IMHO. You can pay that much on ebay and get a better quality kit!
-
Gordon Murray and his T.50 revealed
mrmike replied to Matt Bacon's topic in General Automotive Talk (Trucks and Cars)
I saw this on Supercar Blondie's website. It looks impressive! And, I thought all he was doing was electric cars... -
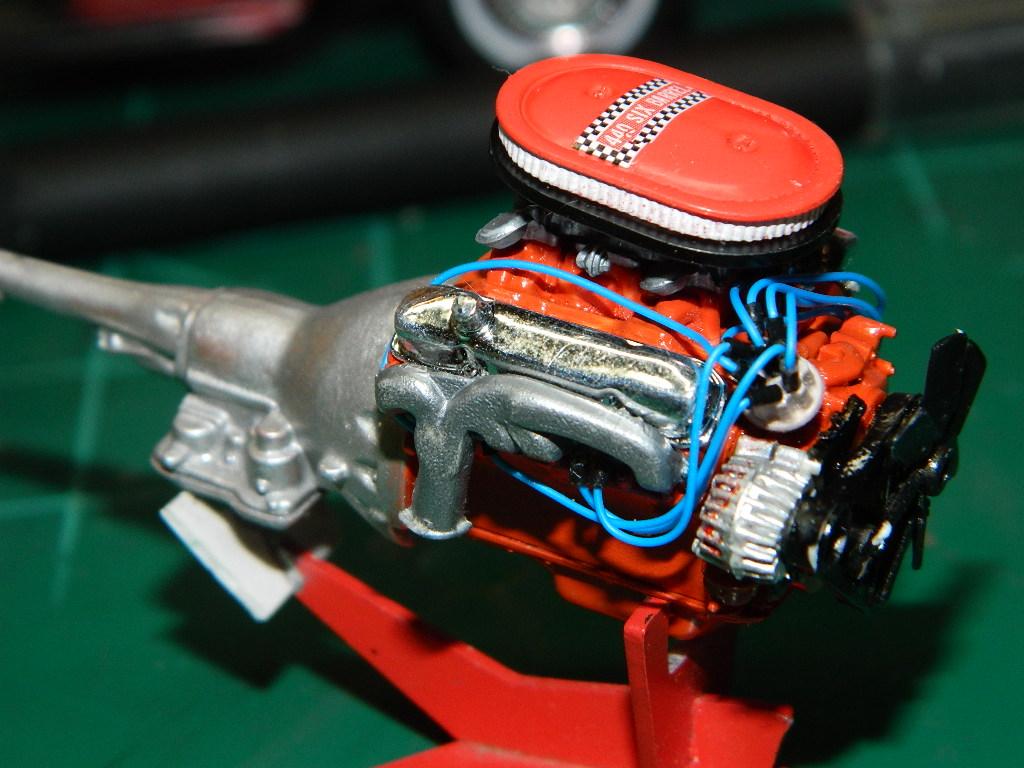
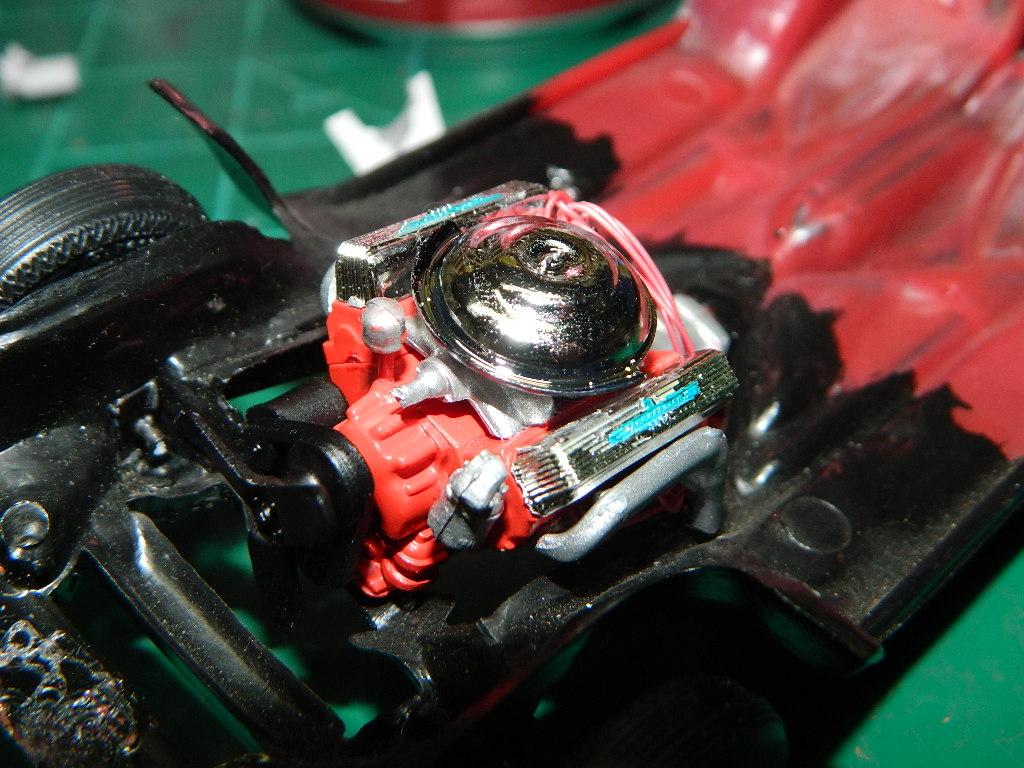
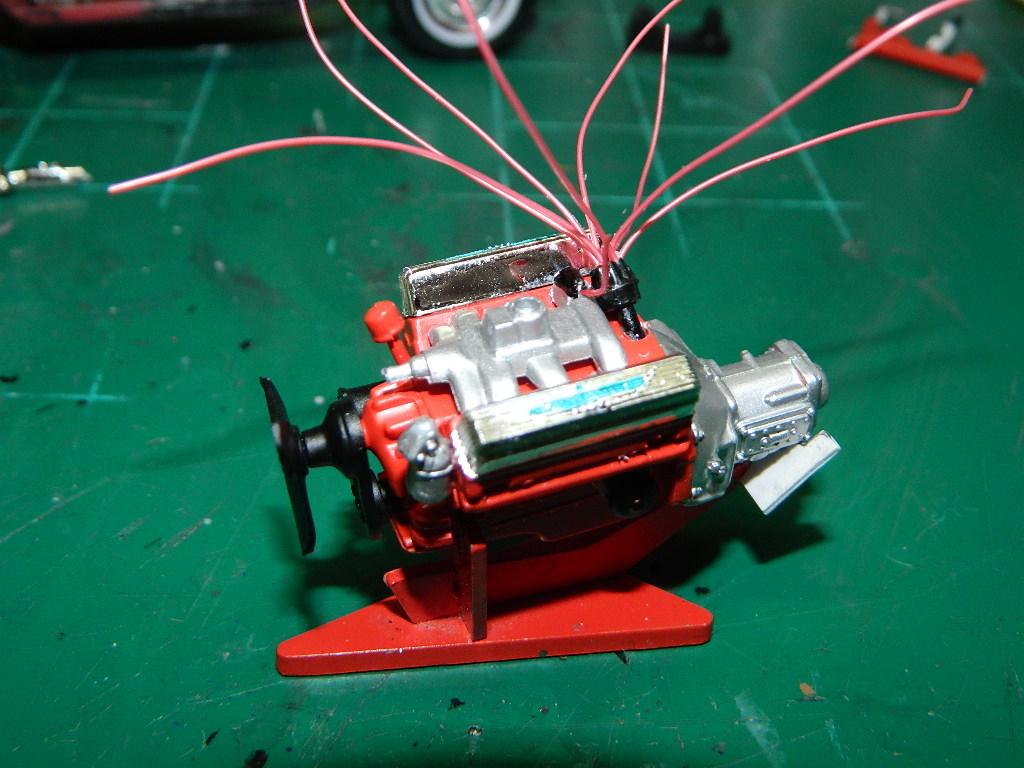
I think the +6 Barrel Carbs came from the '71 Duster 340 kit, but I am not 100% sure though. But, they do look far better than the carbs that I had on there before. Plus, I added the plug boots to the MAD Resin distributor, installed the distributor and wired the engine. More 'Cuda to come...
-
Ford Mustang GT4
mrmike replied to mrmike's topic in WIP: Other Racing: Road Racing, Land Speed Racers
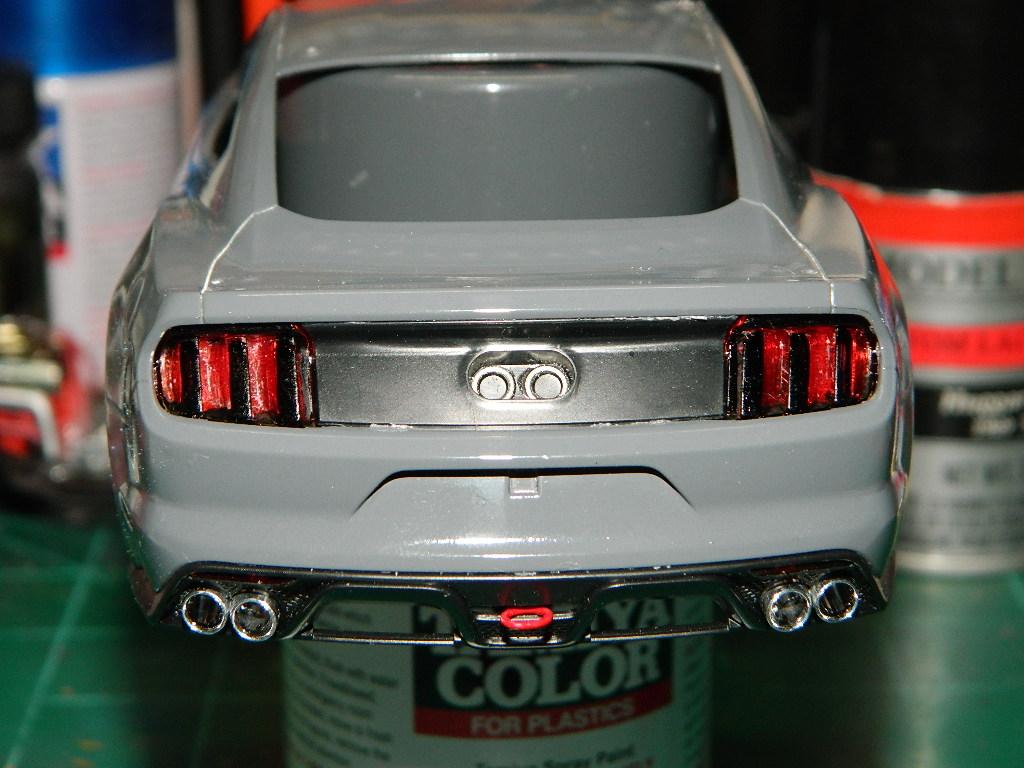
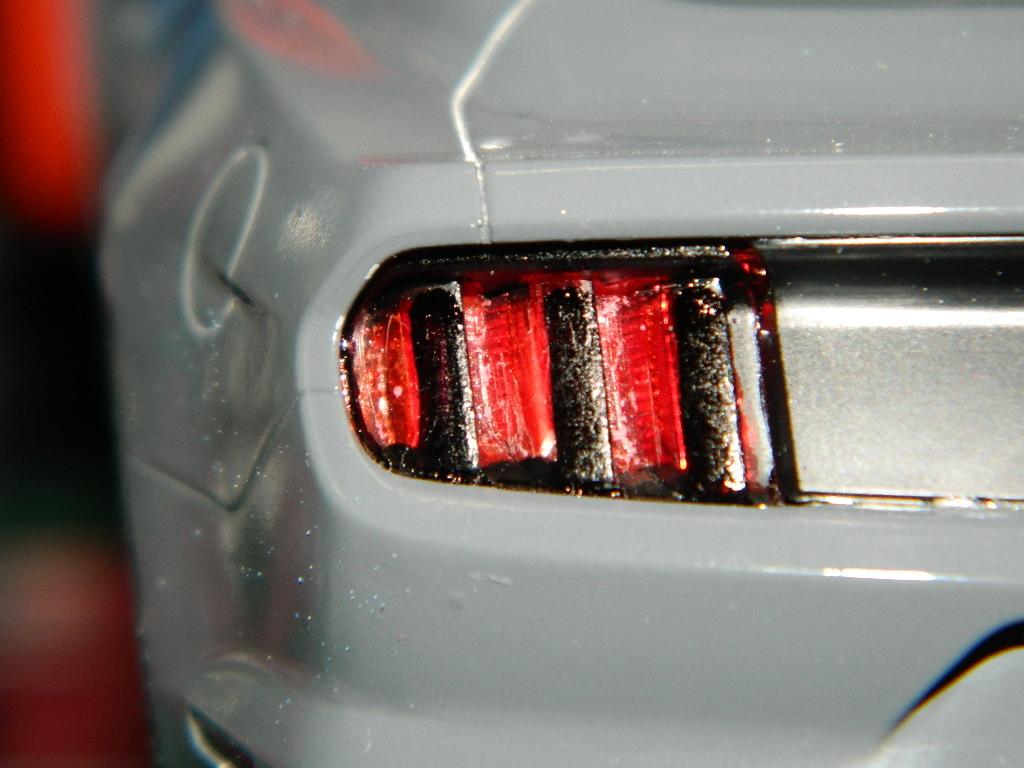
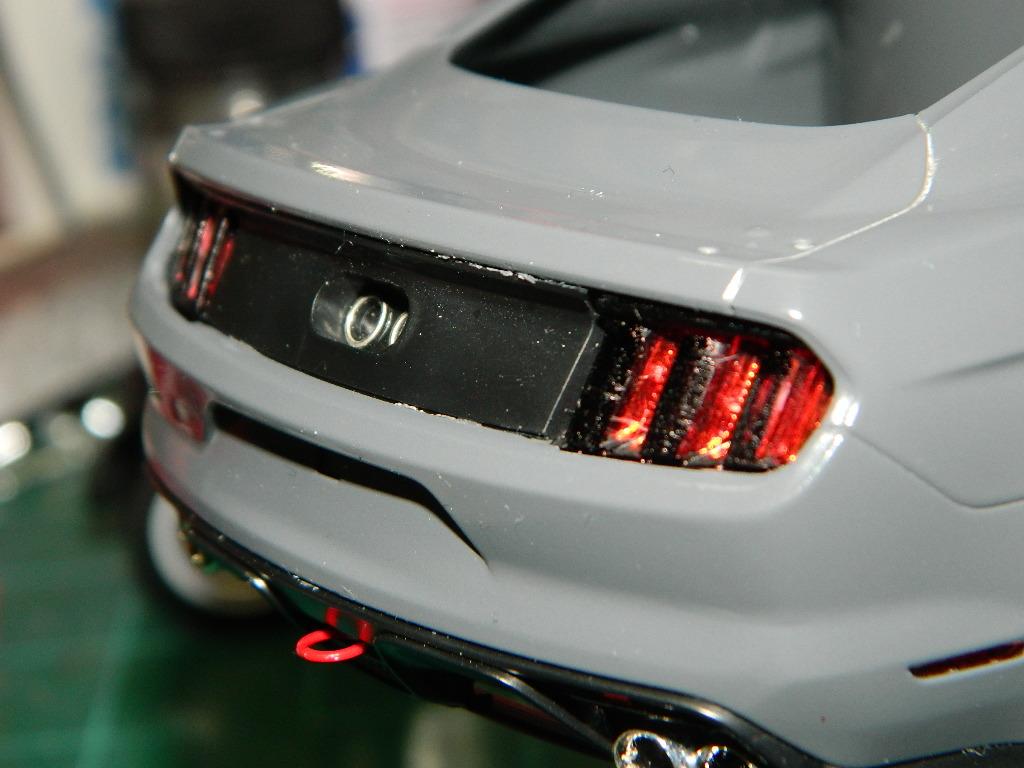
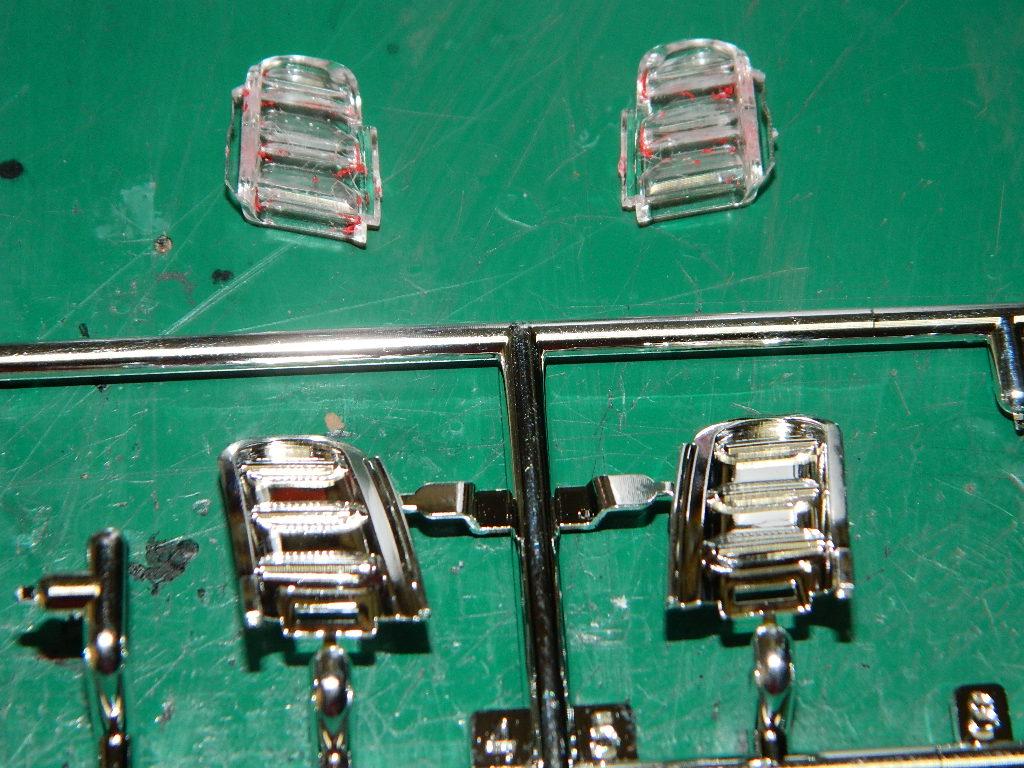
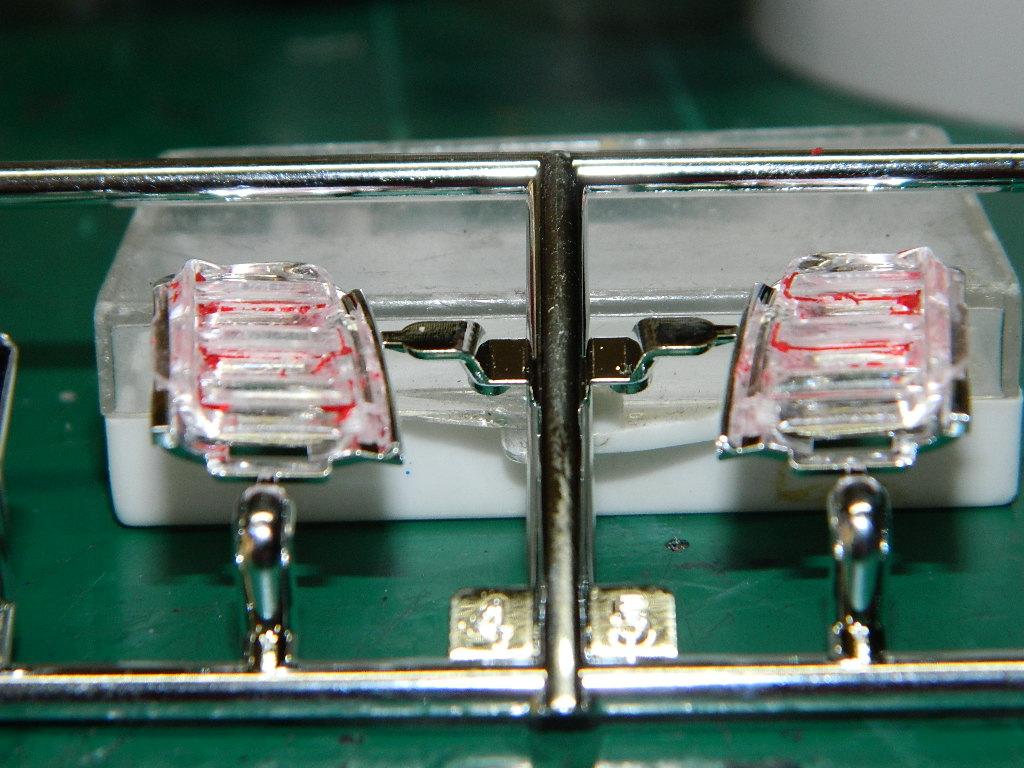
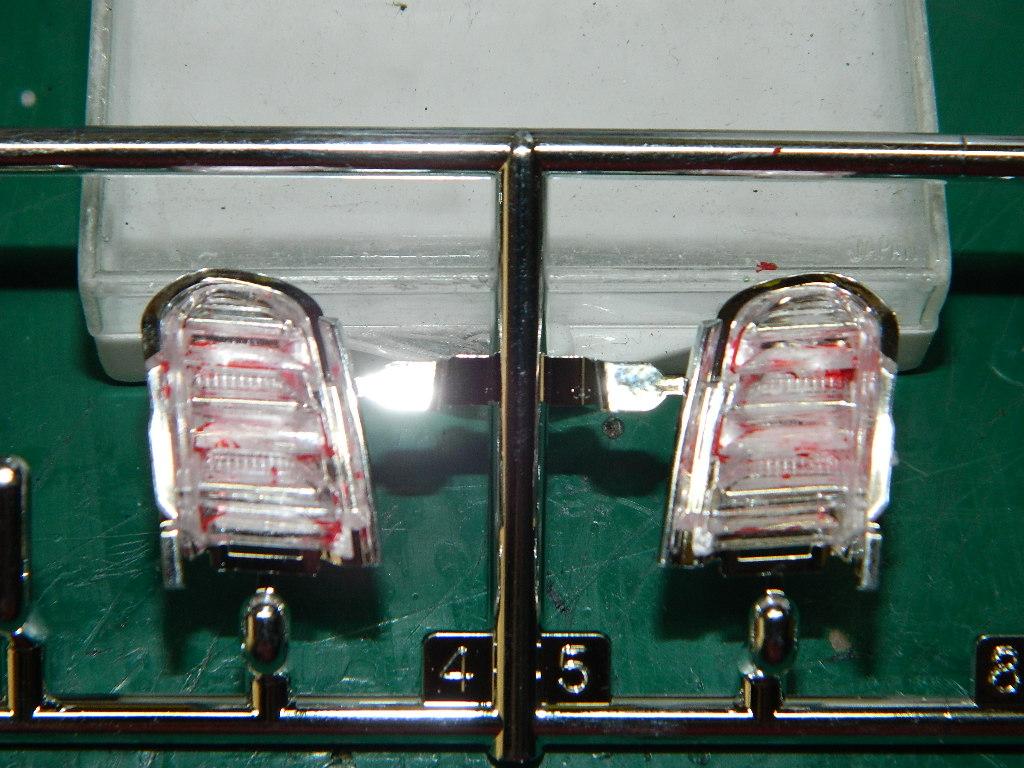
Another hurdle out of the way! I figured out a way to effectively paint the taillights by using a black felt tip pen and marking the blacked out areas of the taillights on one side and then painting the backside with Tamiya X-27 Clear Red. Then I glued the lenses to the chrome backings when the clear red dried. It's not perfect, but it is done. More Mustang to come...
-
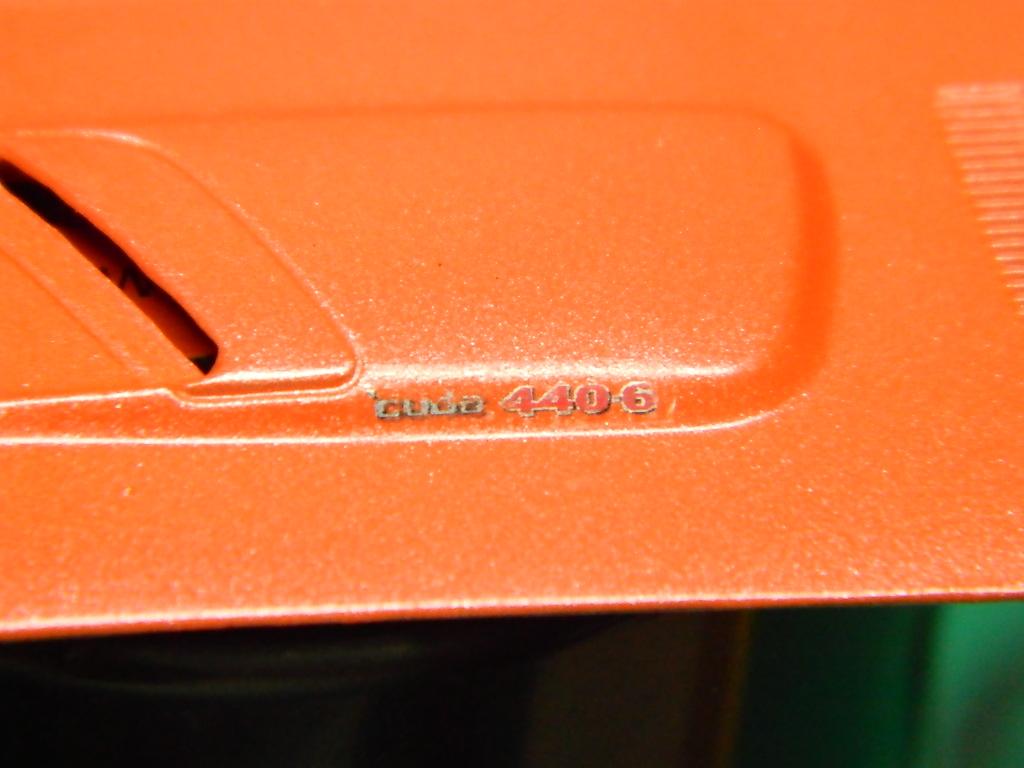
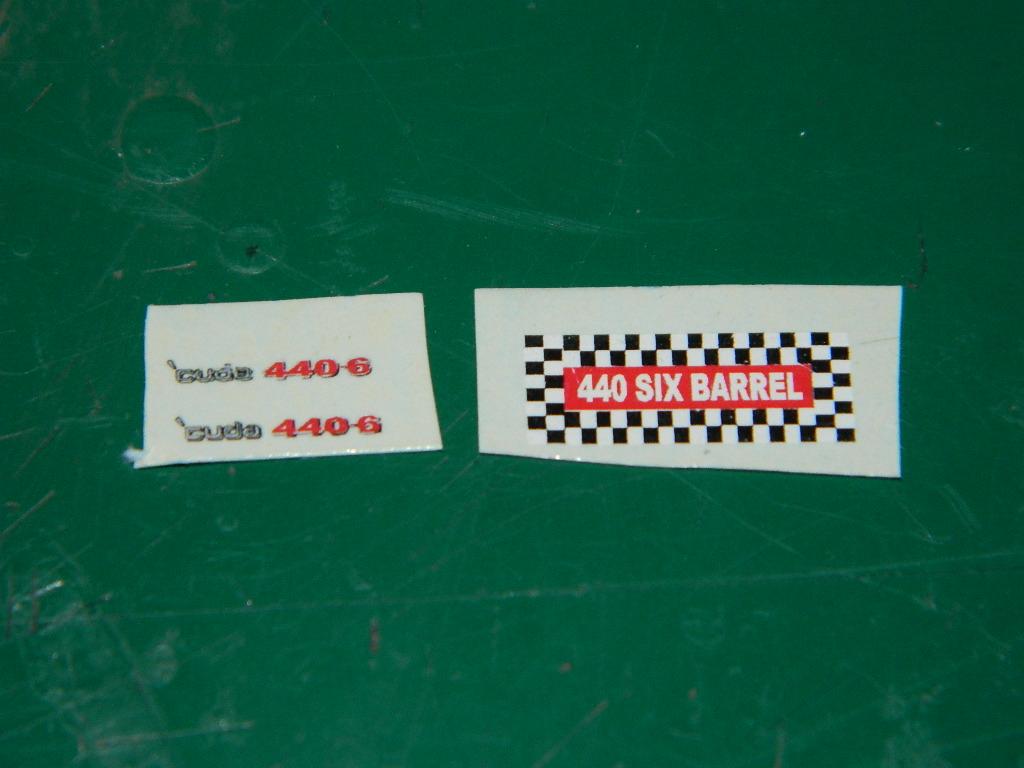
I added a couple of decals for the engine size to the hood. I found a 6-barrel carb setup and used that instead since it is much more detailed. I painted the air cleaner and added the decal to it. I broke the decal as I tried to position it on the air cleaner. More 'Cuda to come...
-
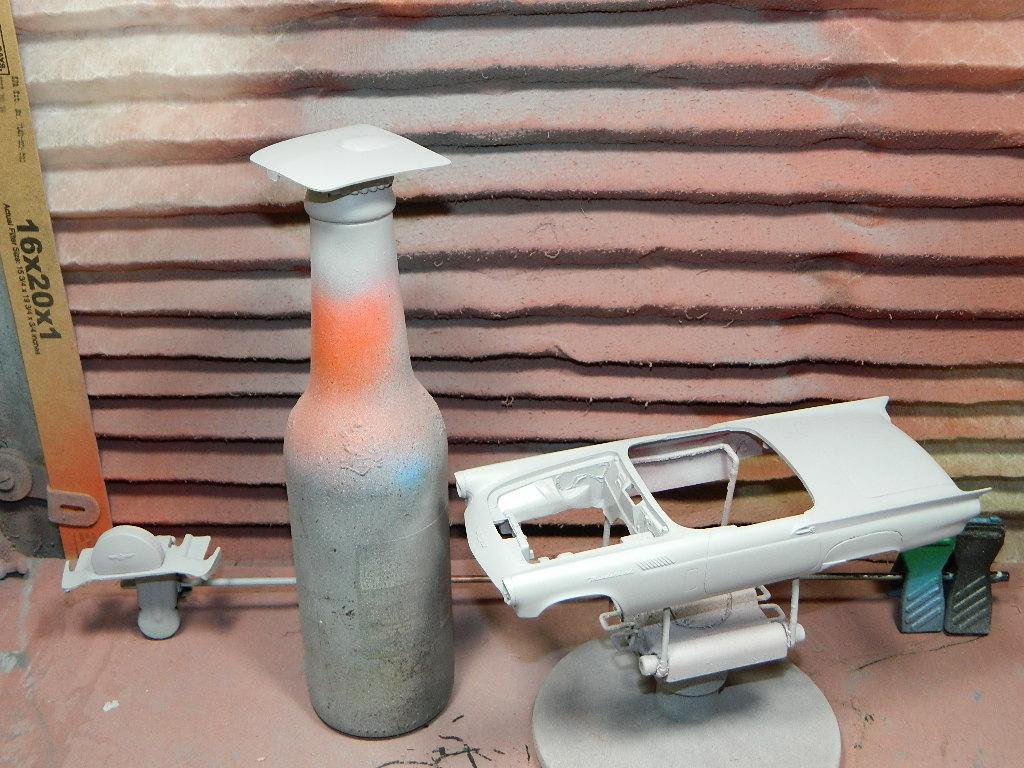
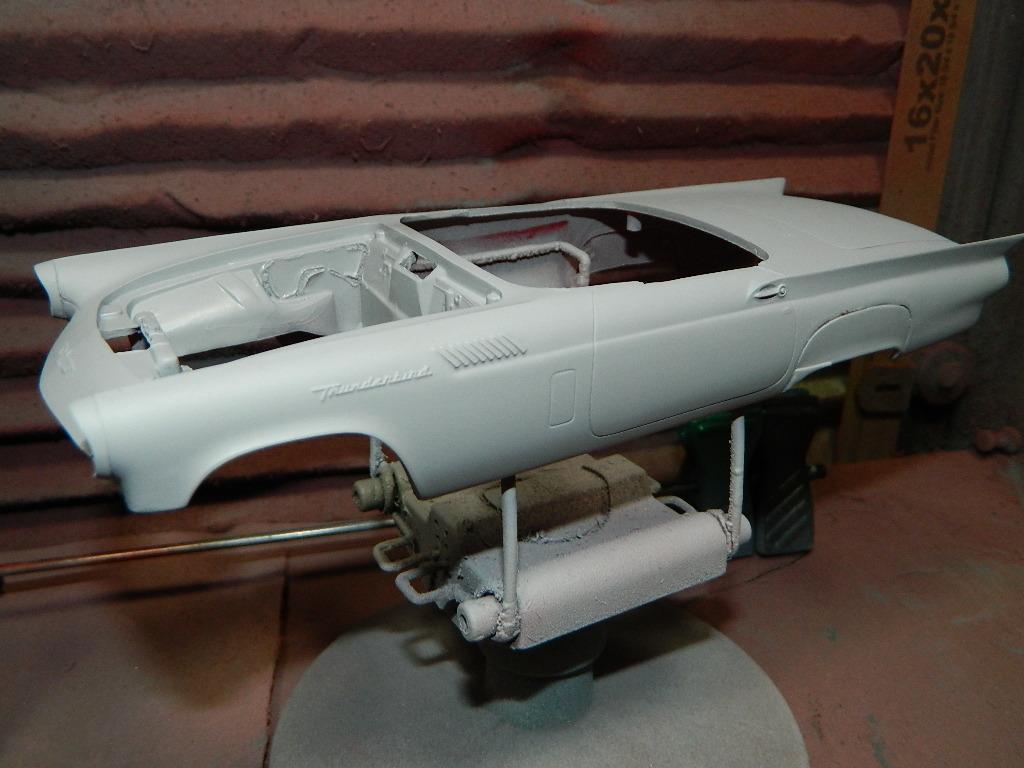
I got the '57 T-Bird into primer this afternoon. Now to let this dry thoroughly and then some sanding. More Vega$ to come...
-
Thanks, Carl!
-
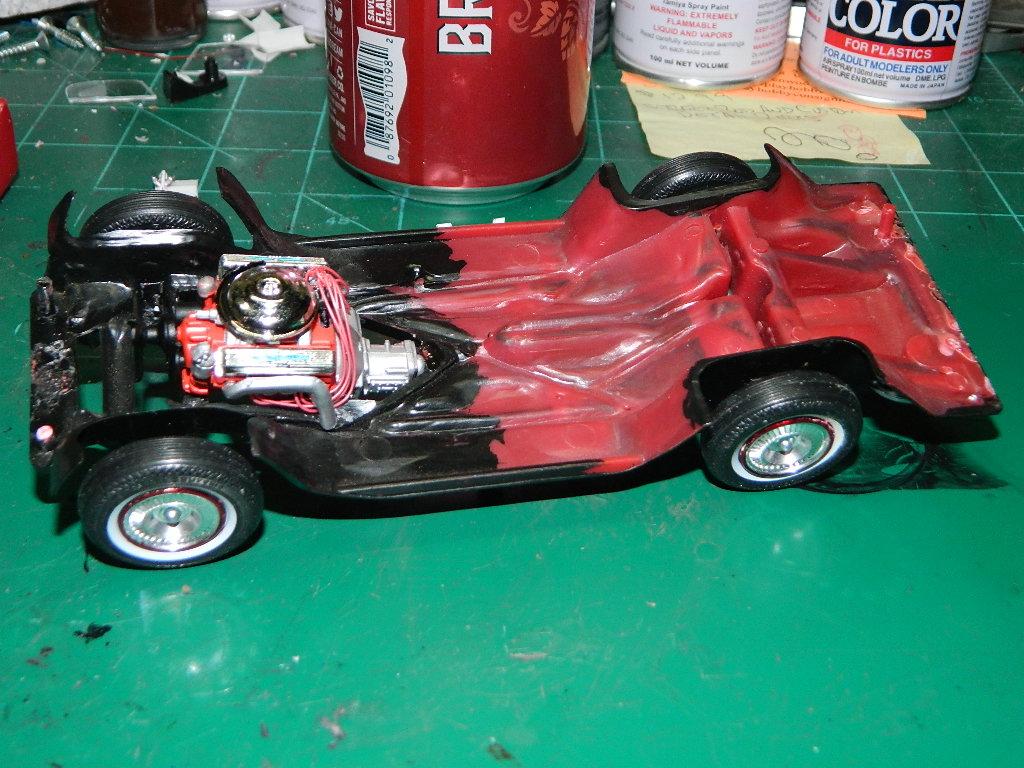
I finally got the engine wired and installed into the chassis and I completed the mobile phone. More Vega$ to come...
-
Ford Mustang GT4
mrmike replied to mrmike's topic in WIP: Other Racing: Road Racing, Land Speed Racers
Thanks Kenneth and John! I am probably making a bigger deal out of this than it actually is. Sometimes, I do this or the instructions (which I usually glance at) don't explain the procedure well. -
The interior wasn't revised since it really wasn't needed to convert the kit from the Mach I to the Boss 302. Their main focus was to create the new nose piece and convert the model kit to a Boss 302. I used the interior roll bar mounts and mounted the roll bar anyway.
-
That's interesting! Must have been a revision made to the mold somewhere along the way and of course, we are the last ones to know.
-
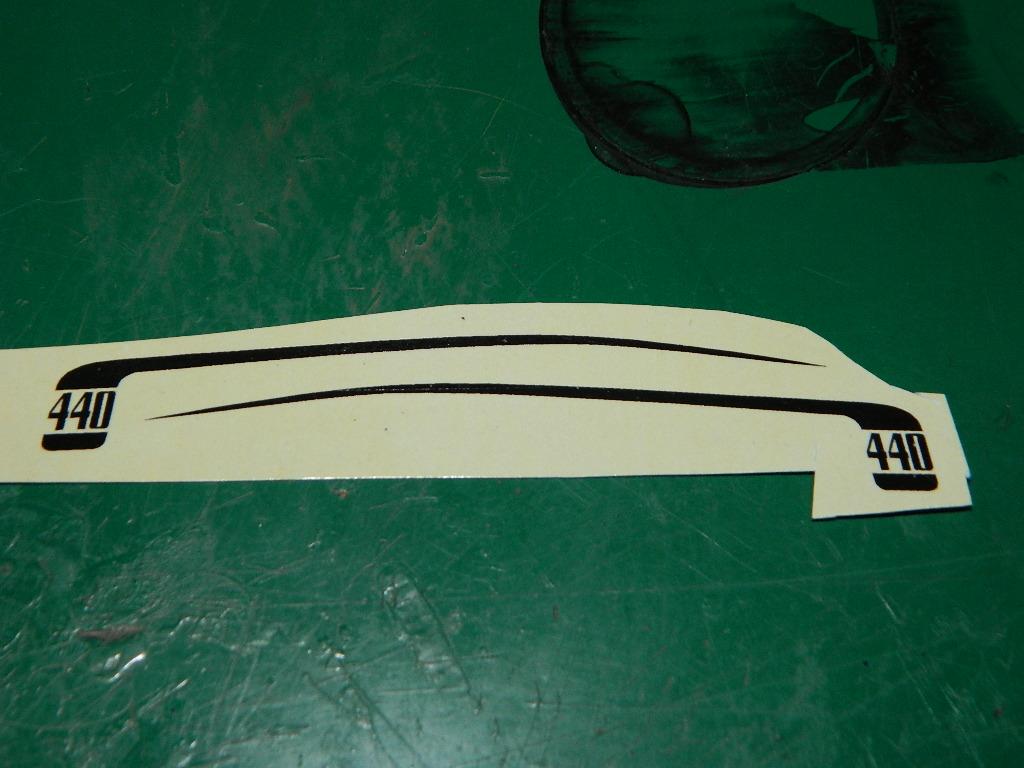
Thanks Guido! I finally found my decals! I kept avoiding a rolled up plastic bag since I thought it had tires in it. I opened the bag and there were my decals that I had set aside long ago. Now I can decal the body! More 'Cuda to come...
-
Yep! The plug wires run below the exhaust manifolds. Thanks, Andy!
-
Don't worry Randy. McNally is still on the job and looking for that coin collection!
-
Gareth, you have one of the Revell of Germany kit boxes. I'm surprised that the indent is not on the body. Maybe the body was revised?
-
Thanks Randy! It has been a couple weeks and I should get back to this build, story and all!
-
Ford Mustang GT4
mrmike replied to mrmike's topic in WIP: Other Racing: Road Racing, Land Speed Racers
I'm just trying to get the taillights right. I suppose it doesn't really matter if one or both sides are paint red. I'm just amazed by the complex molding of the taillights and baffled by how others can paint them up and make them look so perfect! -
On Spenser For Hire, I read that they use underarm deodorant and smeared it all over the door panels for closeups. I have been picking away at the Vega$ '57 T-Bird. Just little things. I added a wire to the phone receiver, coiled it and painted the holder and receiver. I added the wired distributor to the engine block, but I haven't run the wires yet. I also detailed the air cleaner assembly and will add that after I have run the plug wires. More Vega$ to come...
-
If I didn't know better, I would say that you are trying to pass off my model as yours! Looks great!
-
Ford Mustang GT4
mrmike replied to mrmike's topic in WIP: Other Racing: Road Racing, Land Speed Racers
Having messed up the taillights, I stripped the paint once again and will repainted them on the correct side. I was able to sort out which taillight goes where using chrome sprue D. Now to carefully paint the taillights! More Mustang to come...
-
Ford Mustang GT4
mrmike replied to mrmike's topic in WIP: Other Racing: Road Racing, Land Speed Racers
That is where I am stuck at the moment. I have painted the wrong side of the taillights, plus I had removed them from the parts sprue as well. Which side is out? I've made a real mess out of the taillights and I am hoping to redeem myself here. Arrgh!!!