Luis Ayala
-
Posts
368 -
Joined
-
Last visited
Content Type
Profiles
Forums
Events
Gallery
Everything posted by Luis Ayala
-
Looks Great!!! 👍
-
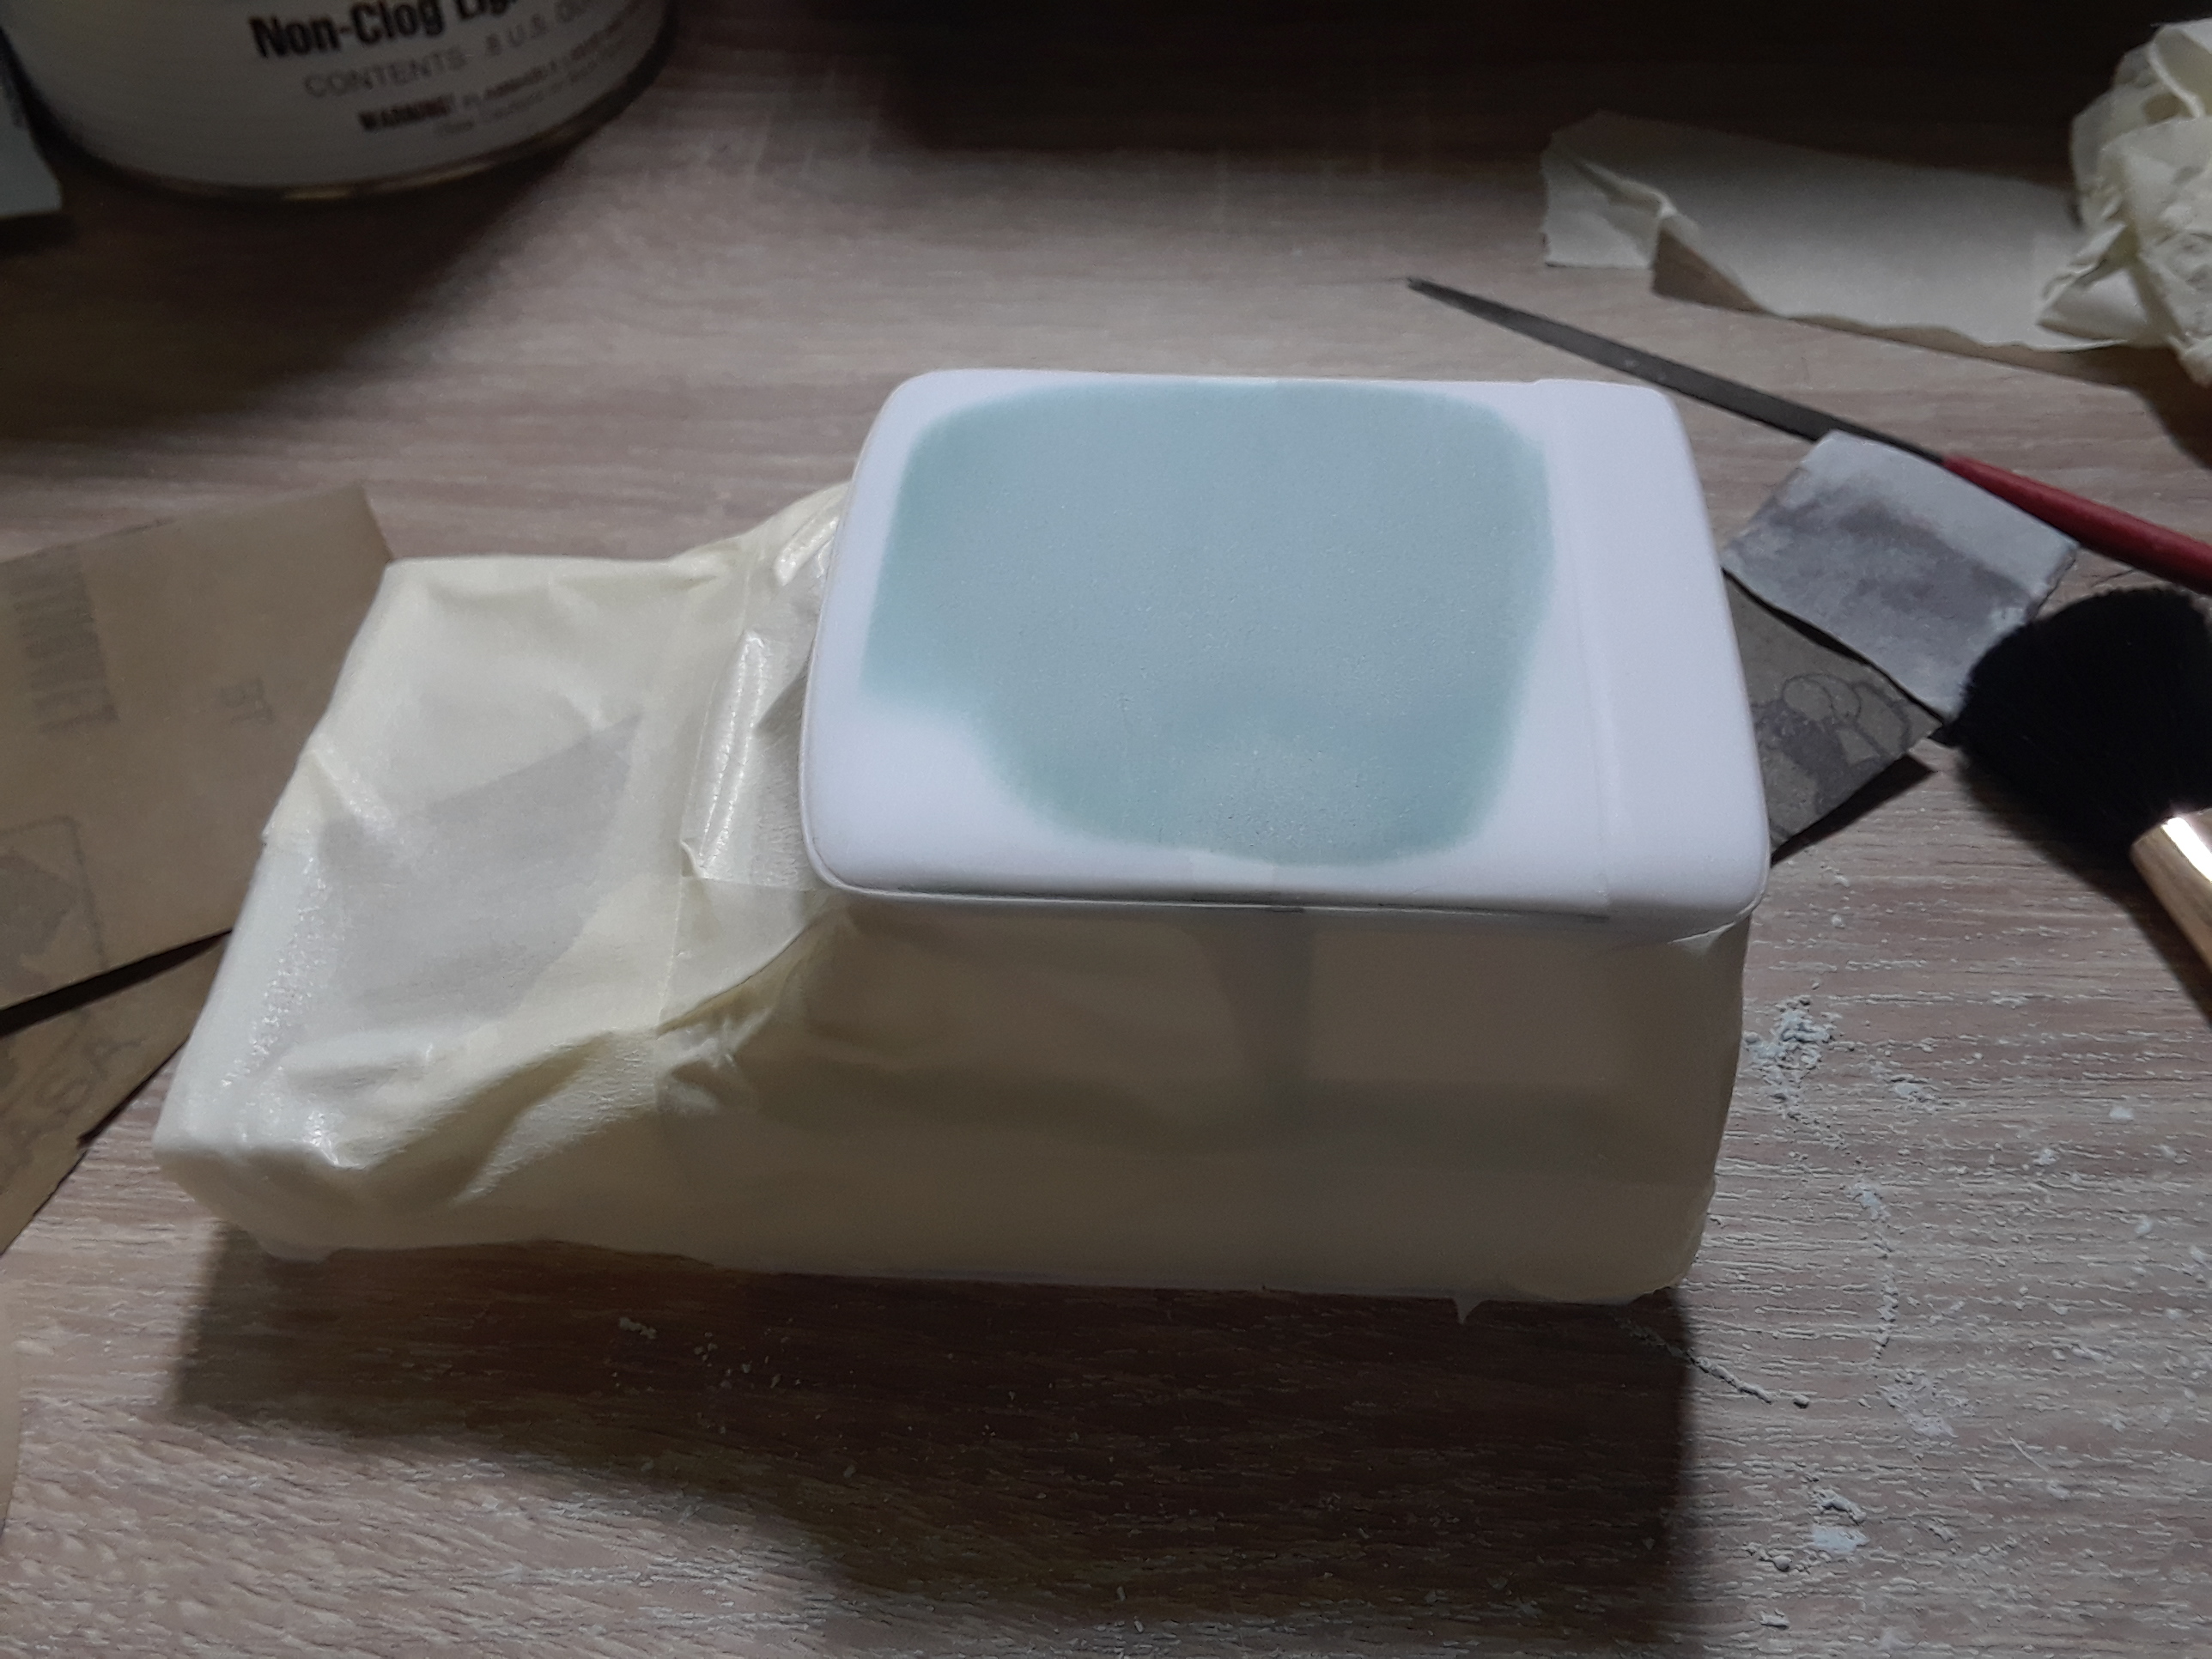
 Thank you all for your comments, I really appreciate it!! 🙂 Took two weeks off on vacation but unfortunately, due to the rain and delayed home projects, there was not much progress on the build. Hi Tom!!! I finished the urethane mold for the Cab, but the resin is getting saggy, as soon as I unmold it it warps from the sides. I was able to use some on the chassis I casted a couple of weeks ago but it looks that the catalyst of the remaining pots I have is not hardening the resin enough. I will order new resin next week so as soon as I have a decent cast I will post some pics. 👍
 -
Great work bringing this one back to life Tom!!! The gauge cluster looks fantastic!!!
-
Thanks Carl !!! I am glad you like it!!! Will be posting more progress later this week.
-
Thanks David!! 👍 I tried to get it as close as possible as the reference pics I am using. I have seen some other custom builds where the extent of the back door is larger but I liked the back door being a bit shorter that the front one. It still needs some work inside and some finishing details but I am very happy with the results so far.
-
Thanks Tom!!! I just started vacations this week so hopefully will be posting more progress soon. 👍
-
Just some small progress... I was able to get some bench time today and casted a few chassis for the other options I plan to build. Hope you like it and thanks for looking!!

-
Thanks Tom!!! I am glad you like the progress so far. I just send you a message regarding the casting. 👍
-
Great work so far Jason!!! Like the details on the engine and the body colors look great!! Thanks for sharing!!! 👍
-
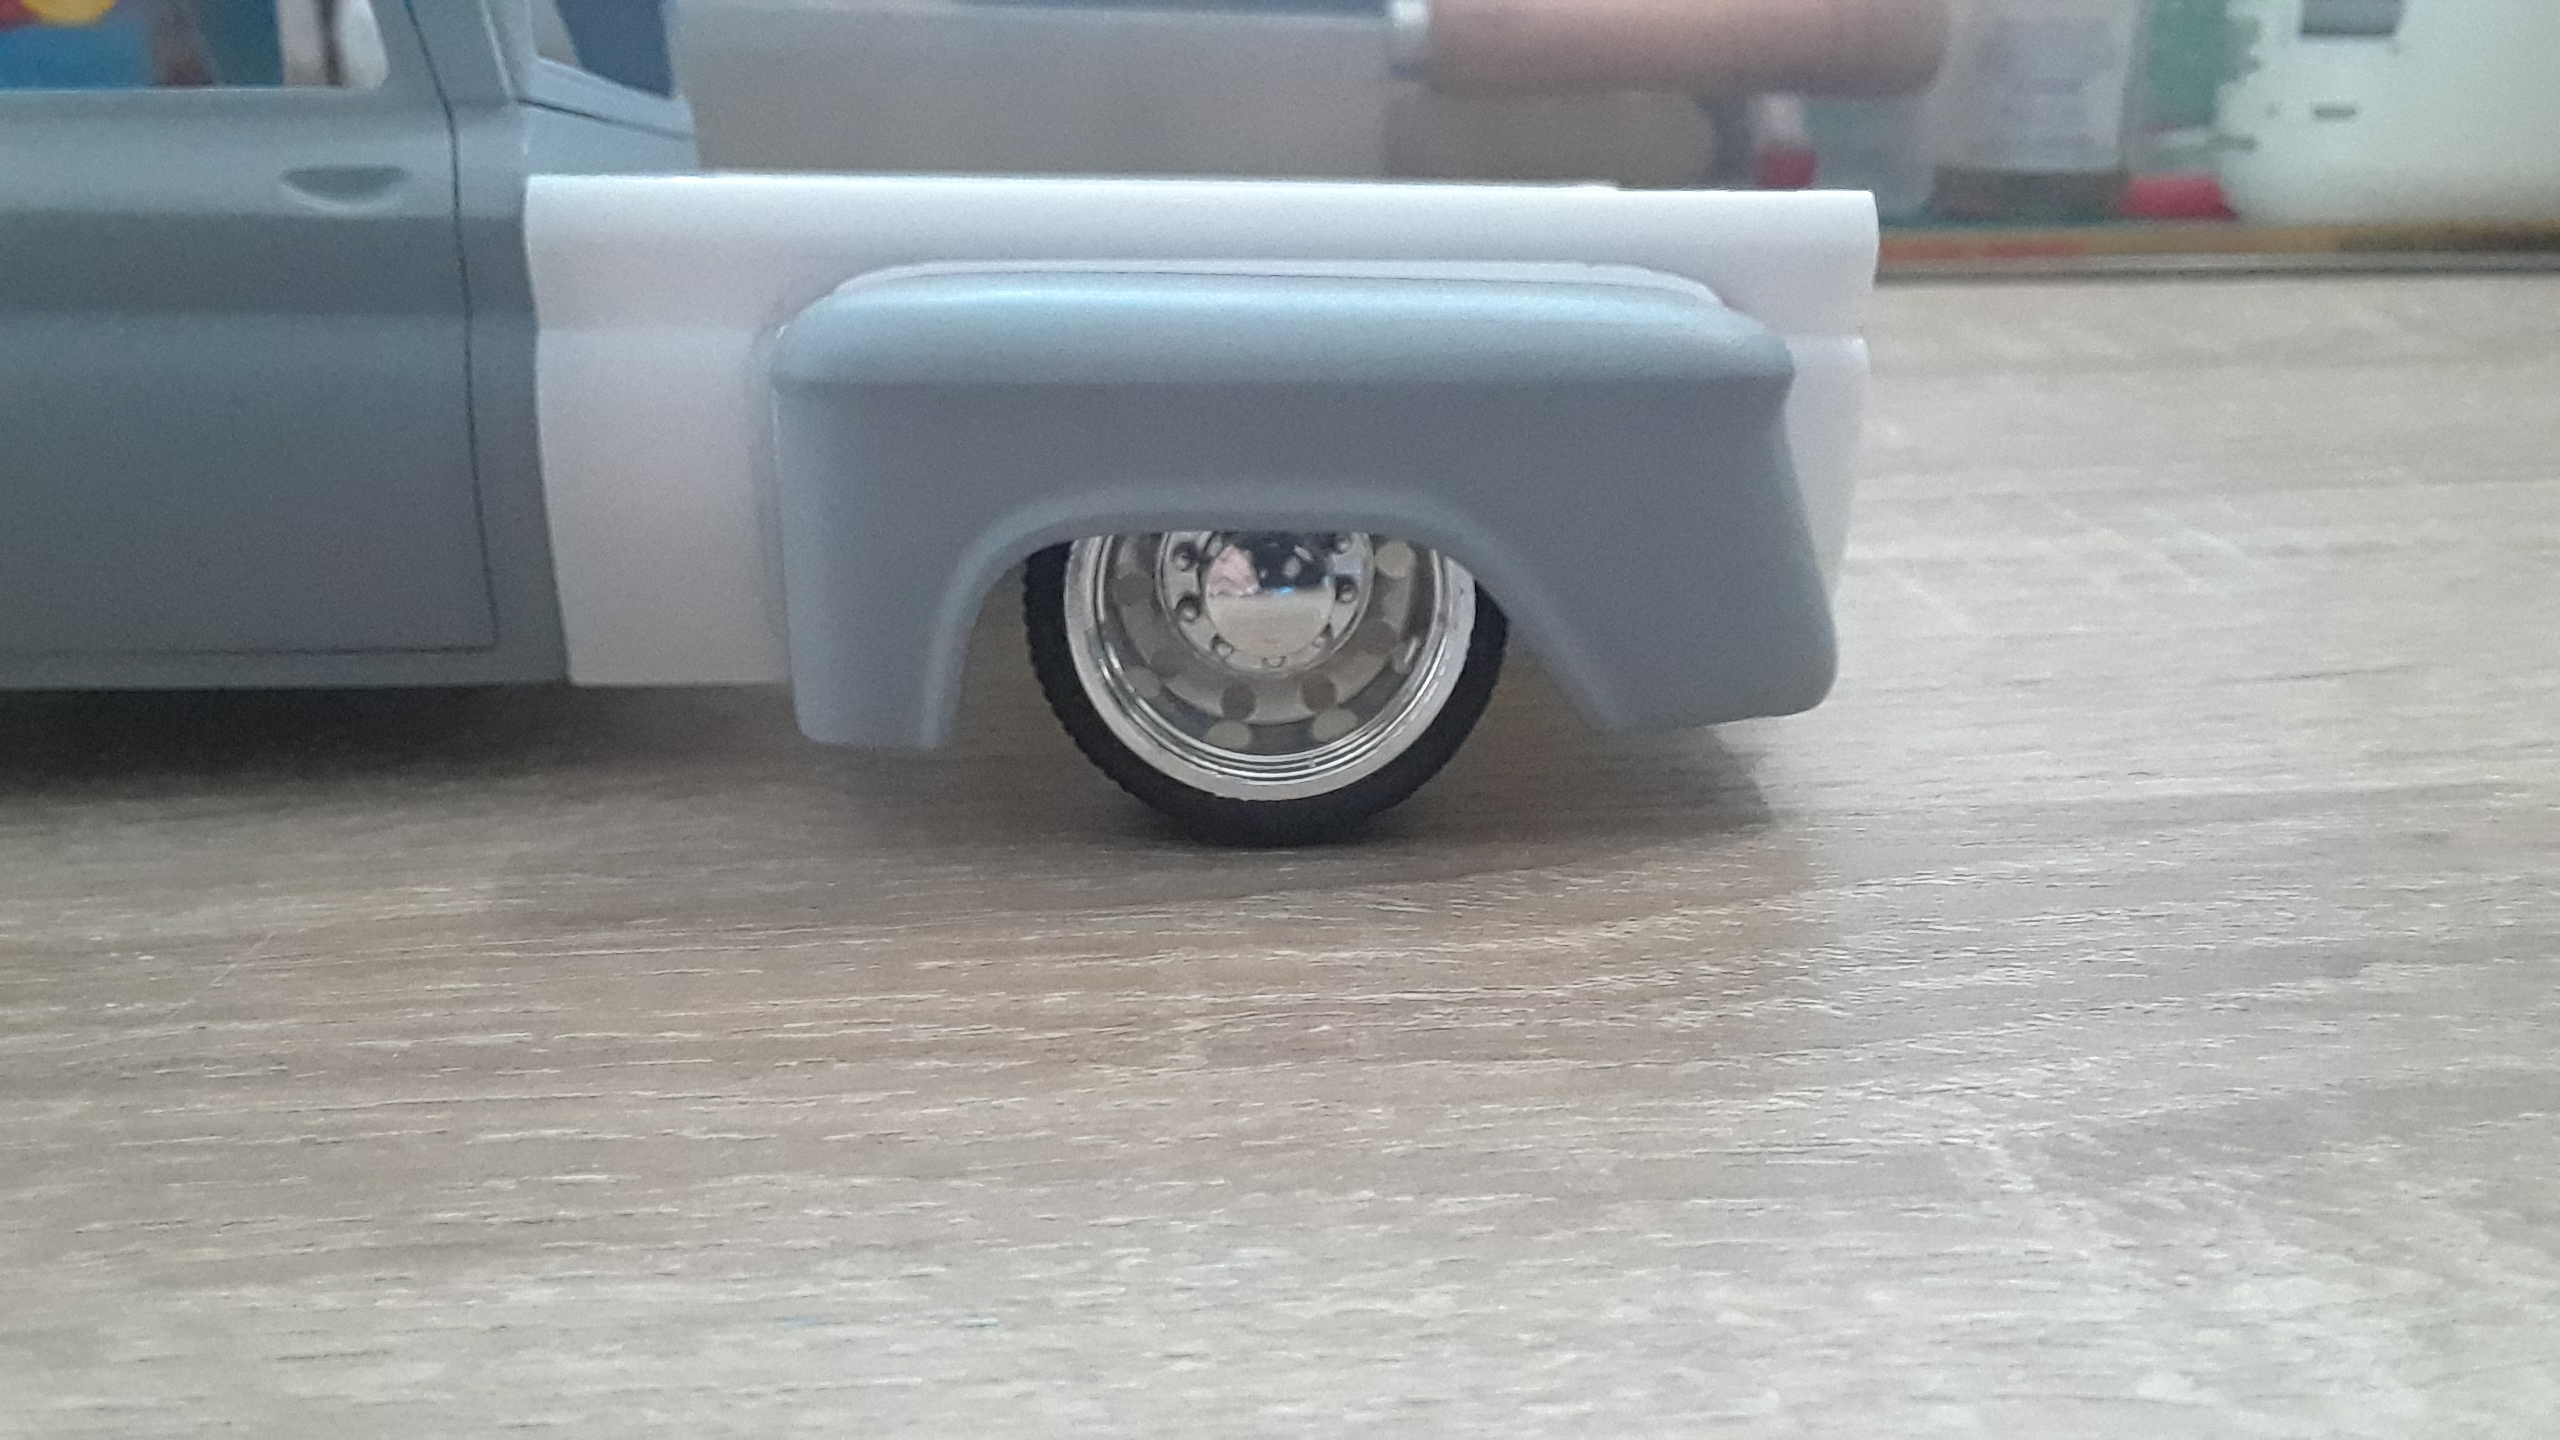
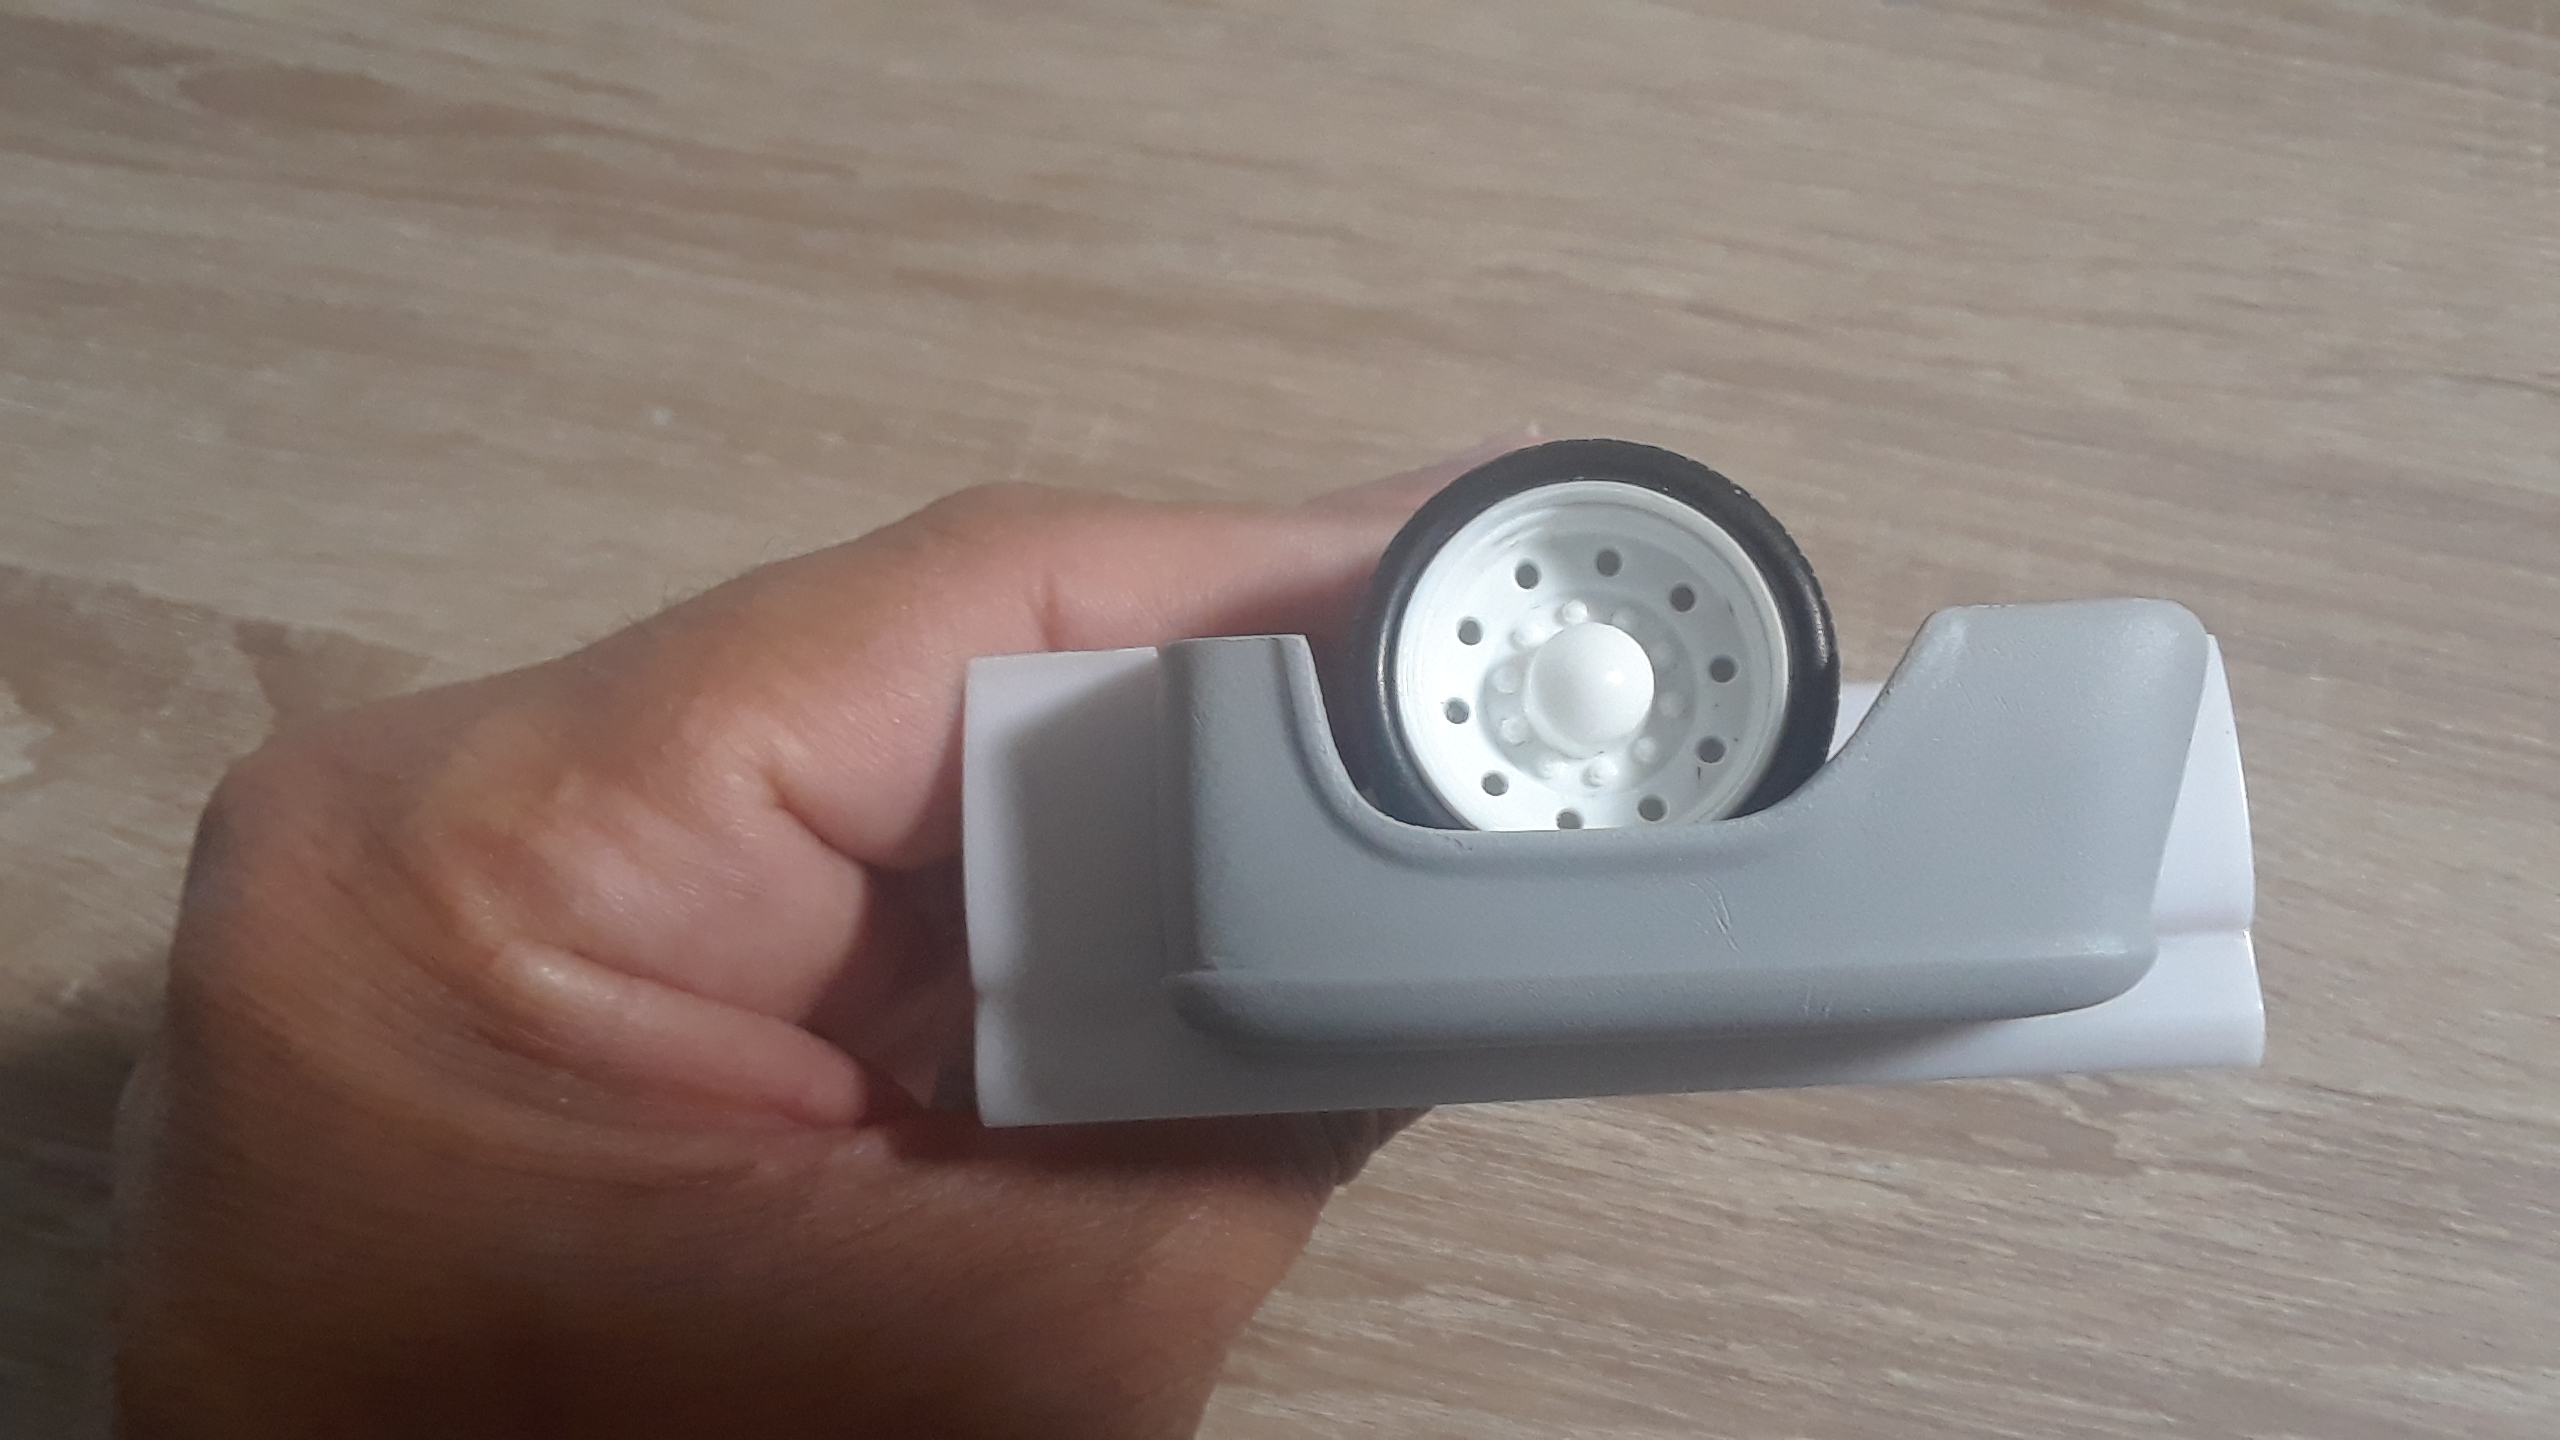
Thanks Andrew!!! The Chrome Rims you see in the first picture are the Moebius# MOE1010 set. Those are Big Rig wheels but with Pegasus 23" low profile tires that fit like a glove on them. Still have to notch the chassis and cut the bed, but the low profile tires will give me more room to set the stance I want without sacrificing too much of the bed.
-
Thank you all for your comments, I really appreciate it!!! I have a few ideas for the frenched tail lights so hopefully I can post more progress soon. Also I have to change the look of the grill to go along with the whole custom theme... Again, thank you all for your comments and thank you for looking!! 👍
-
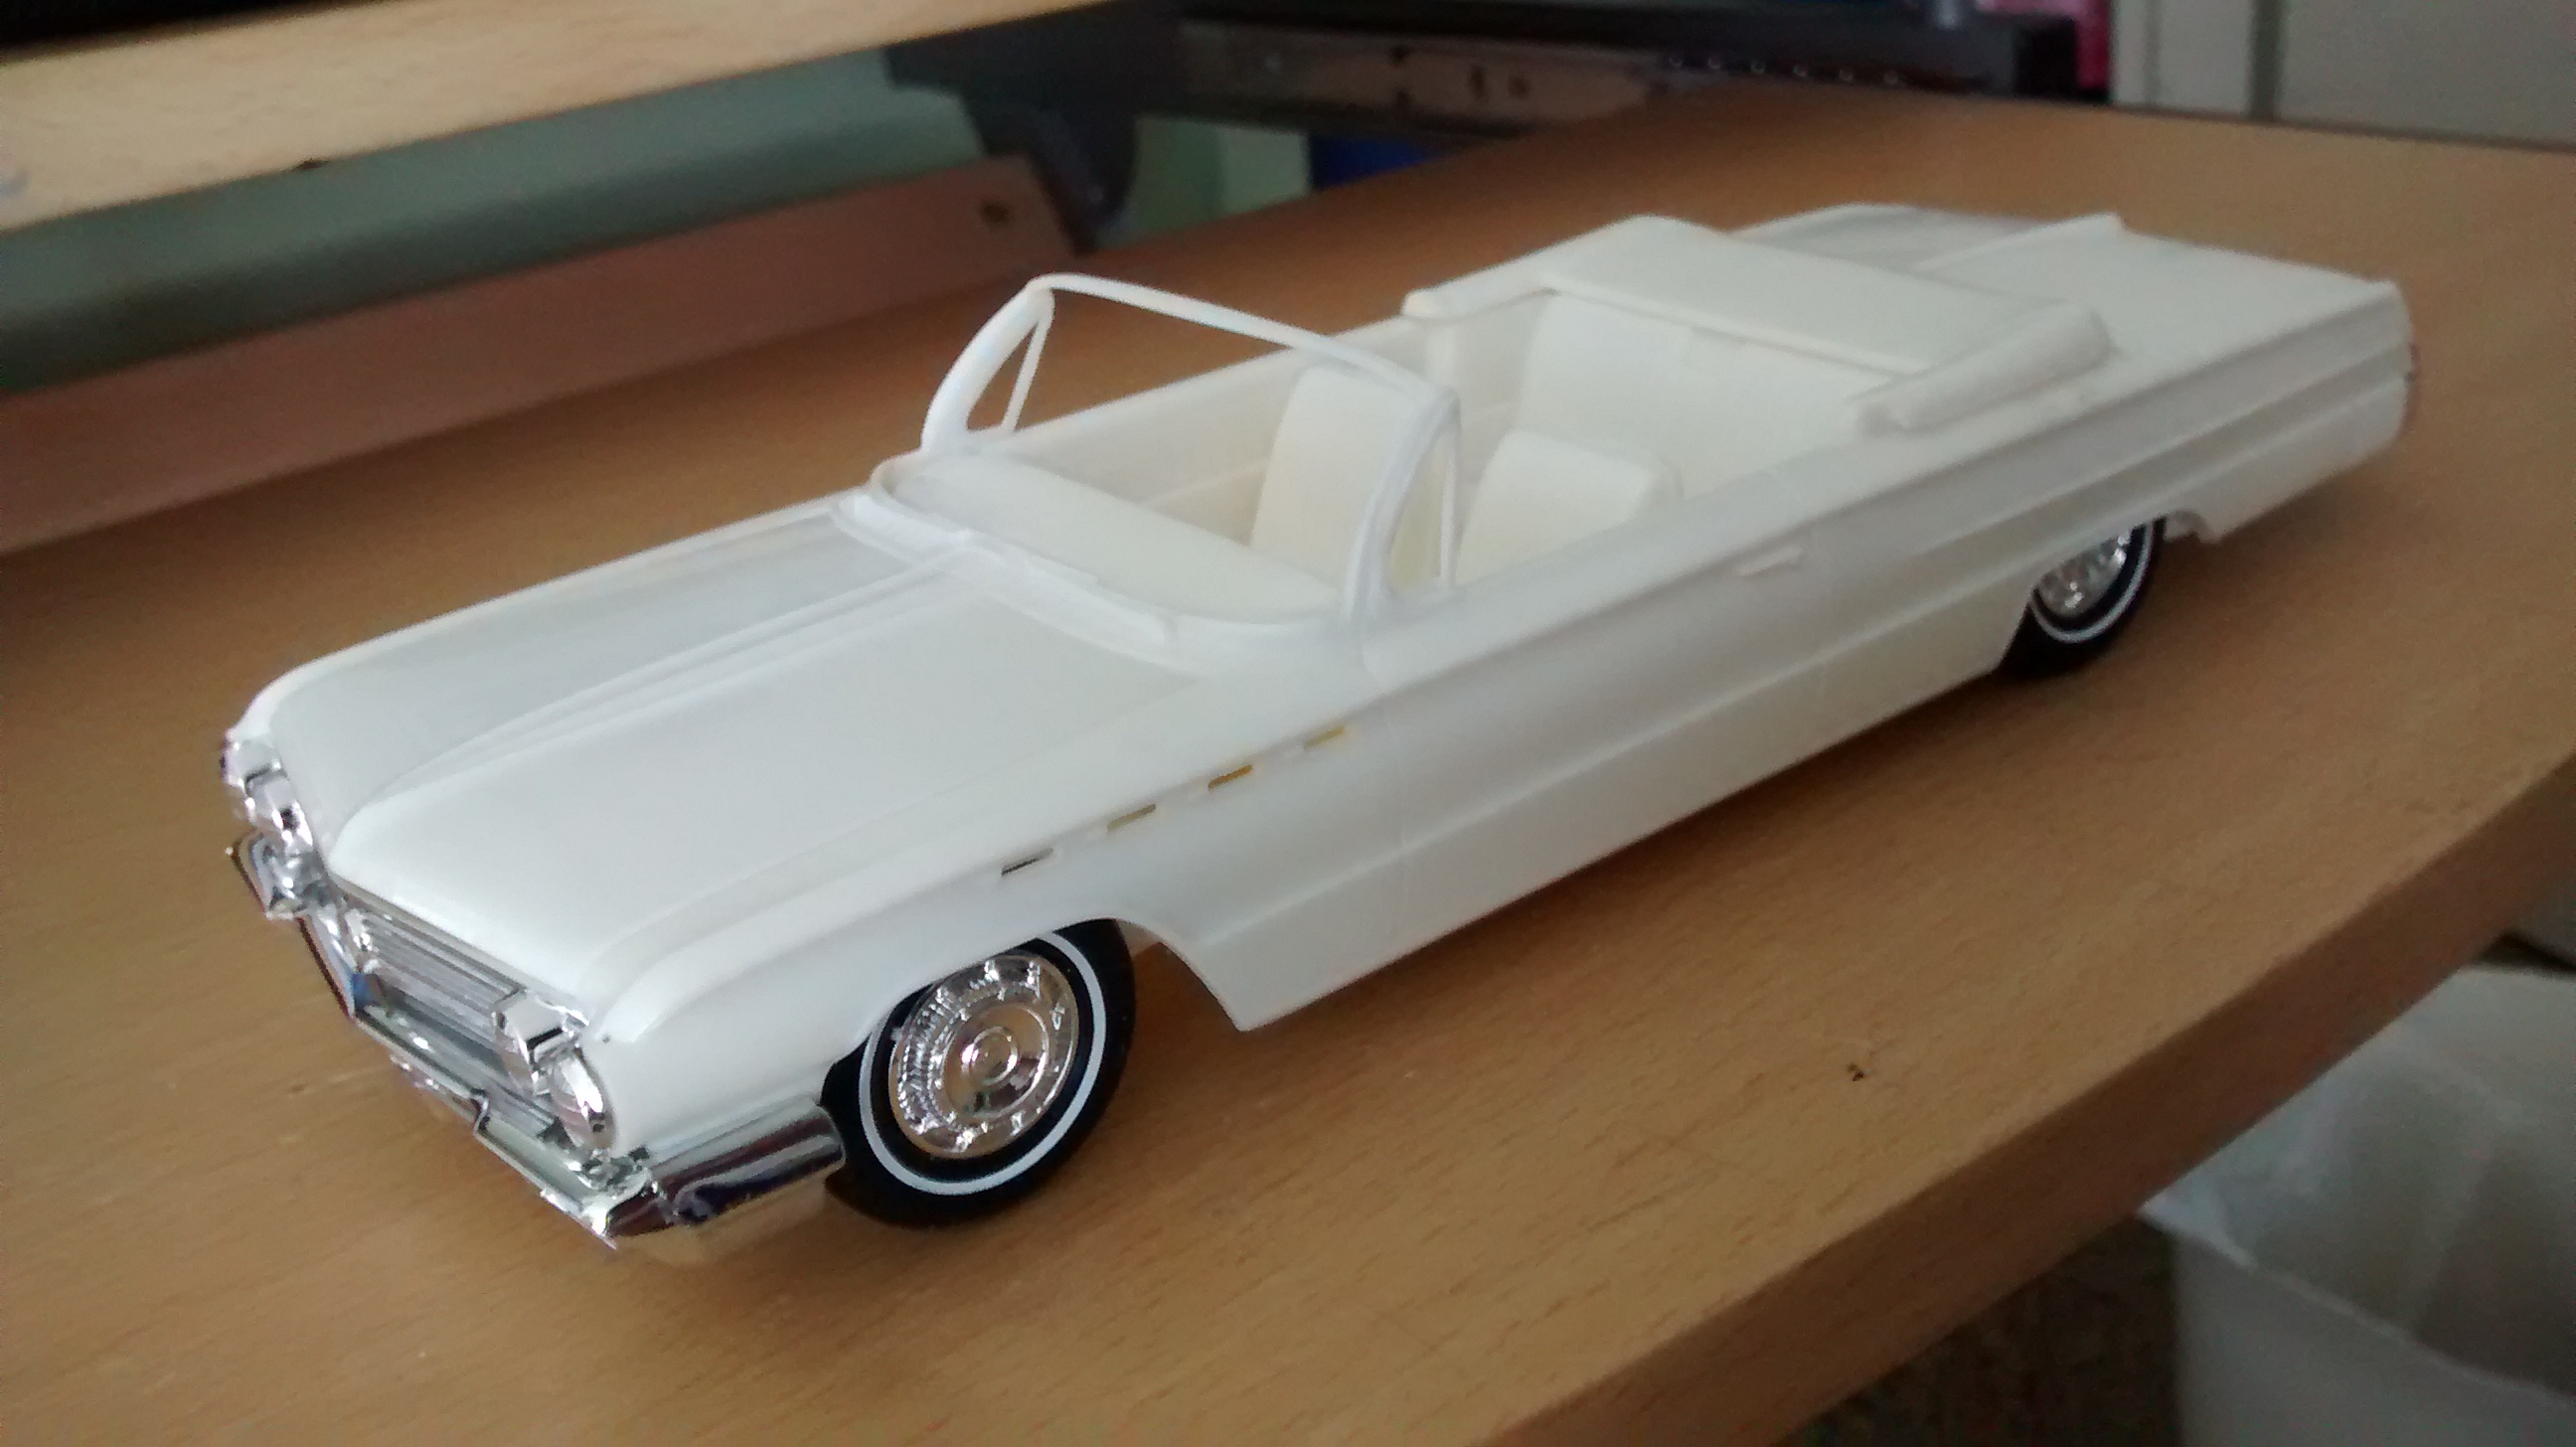
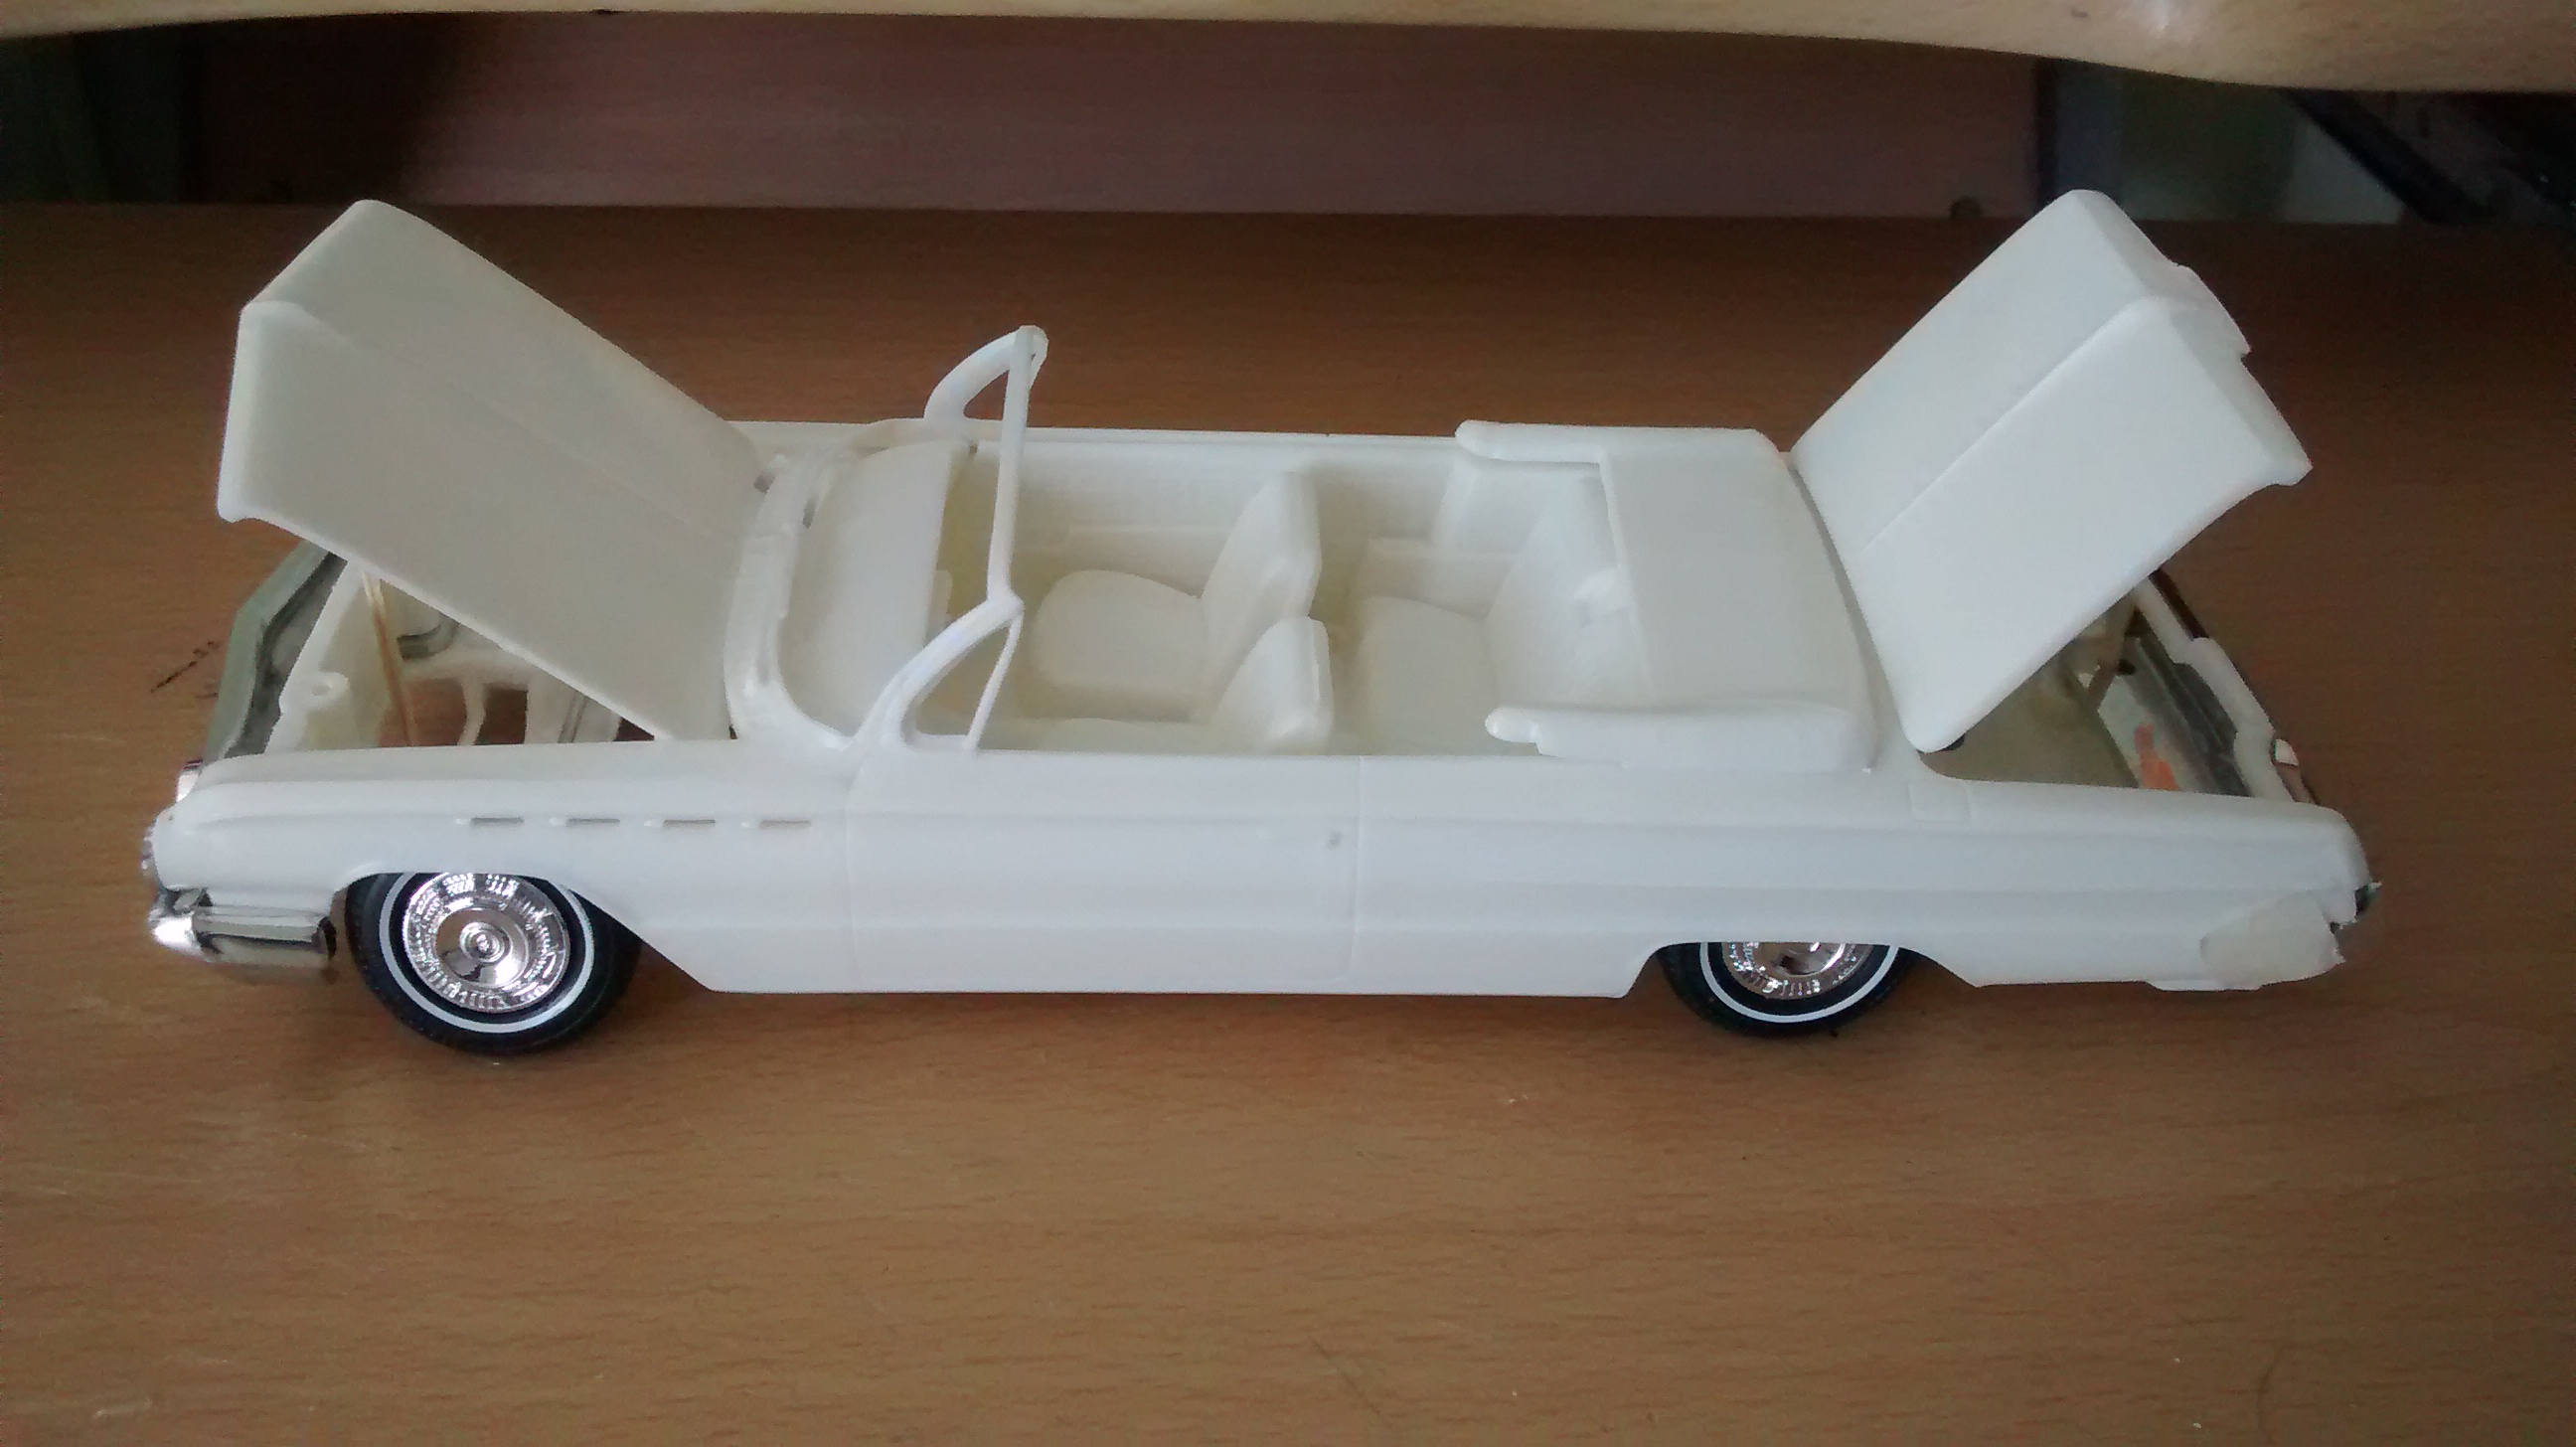
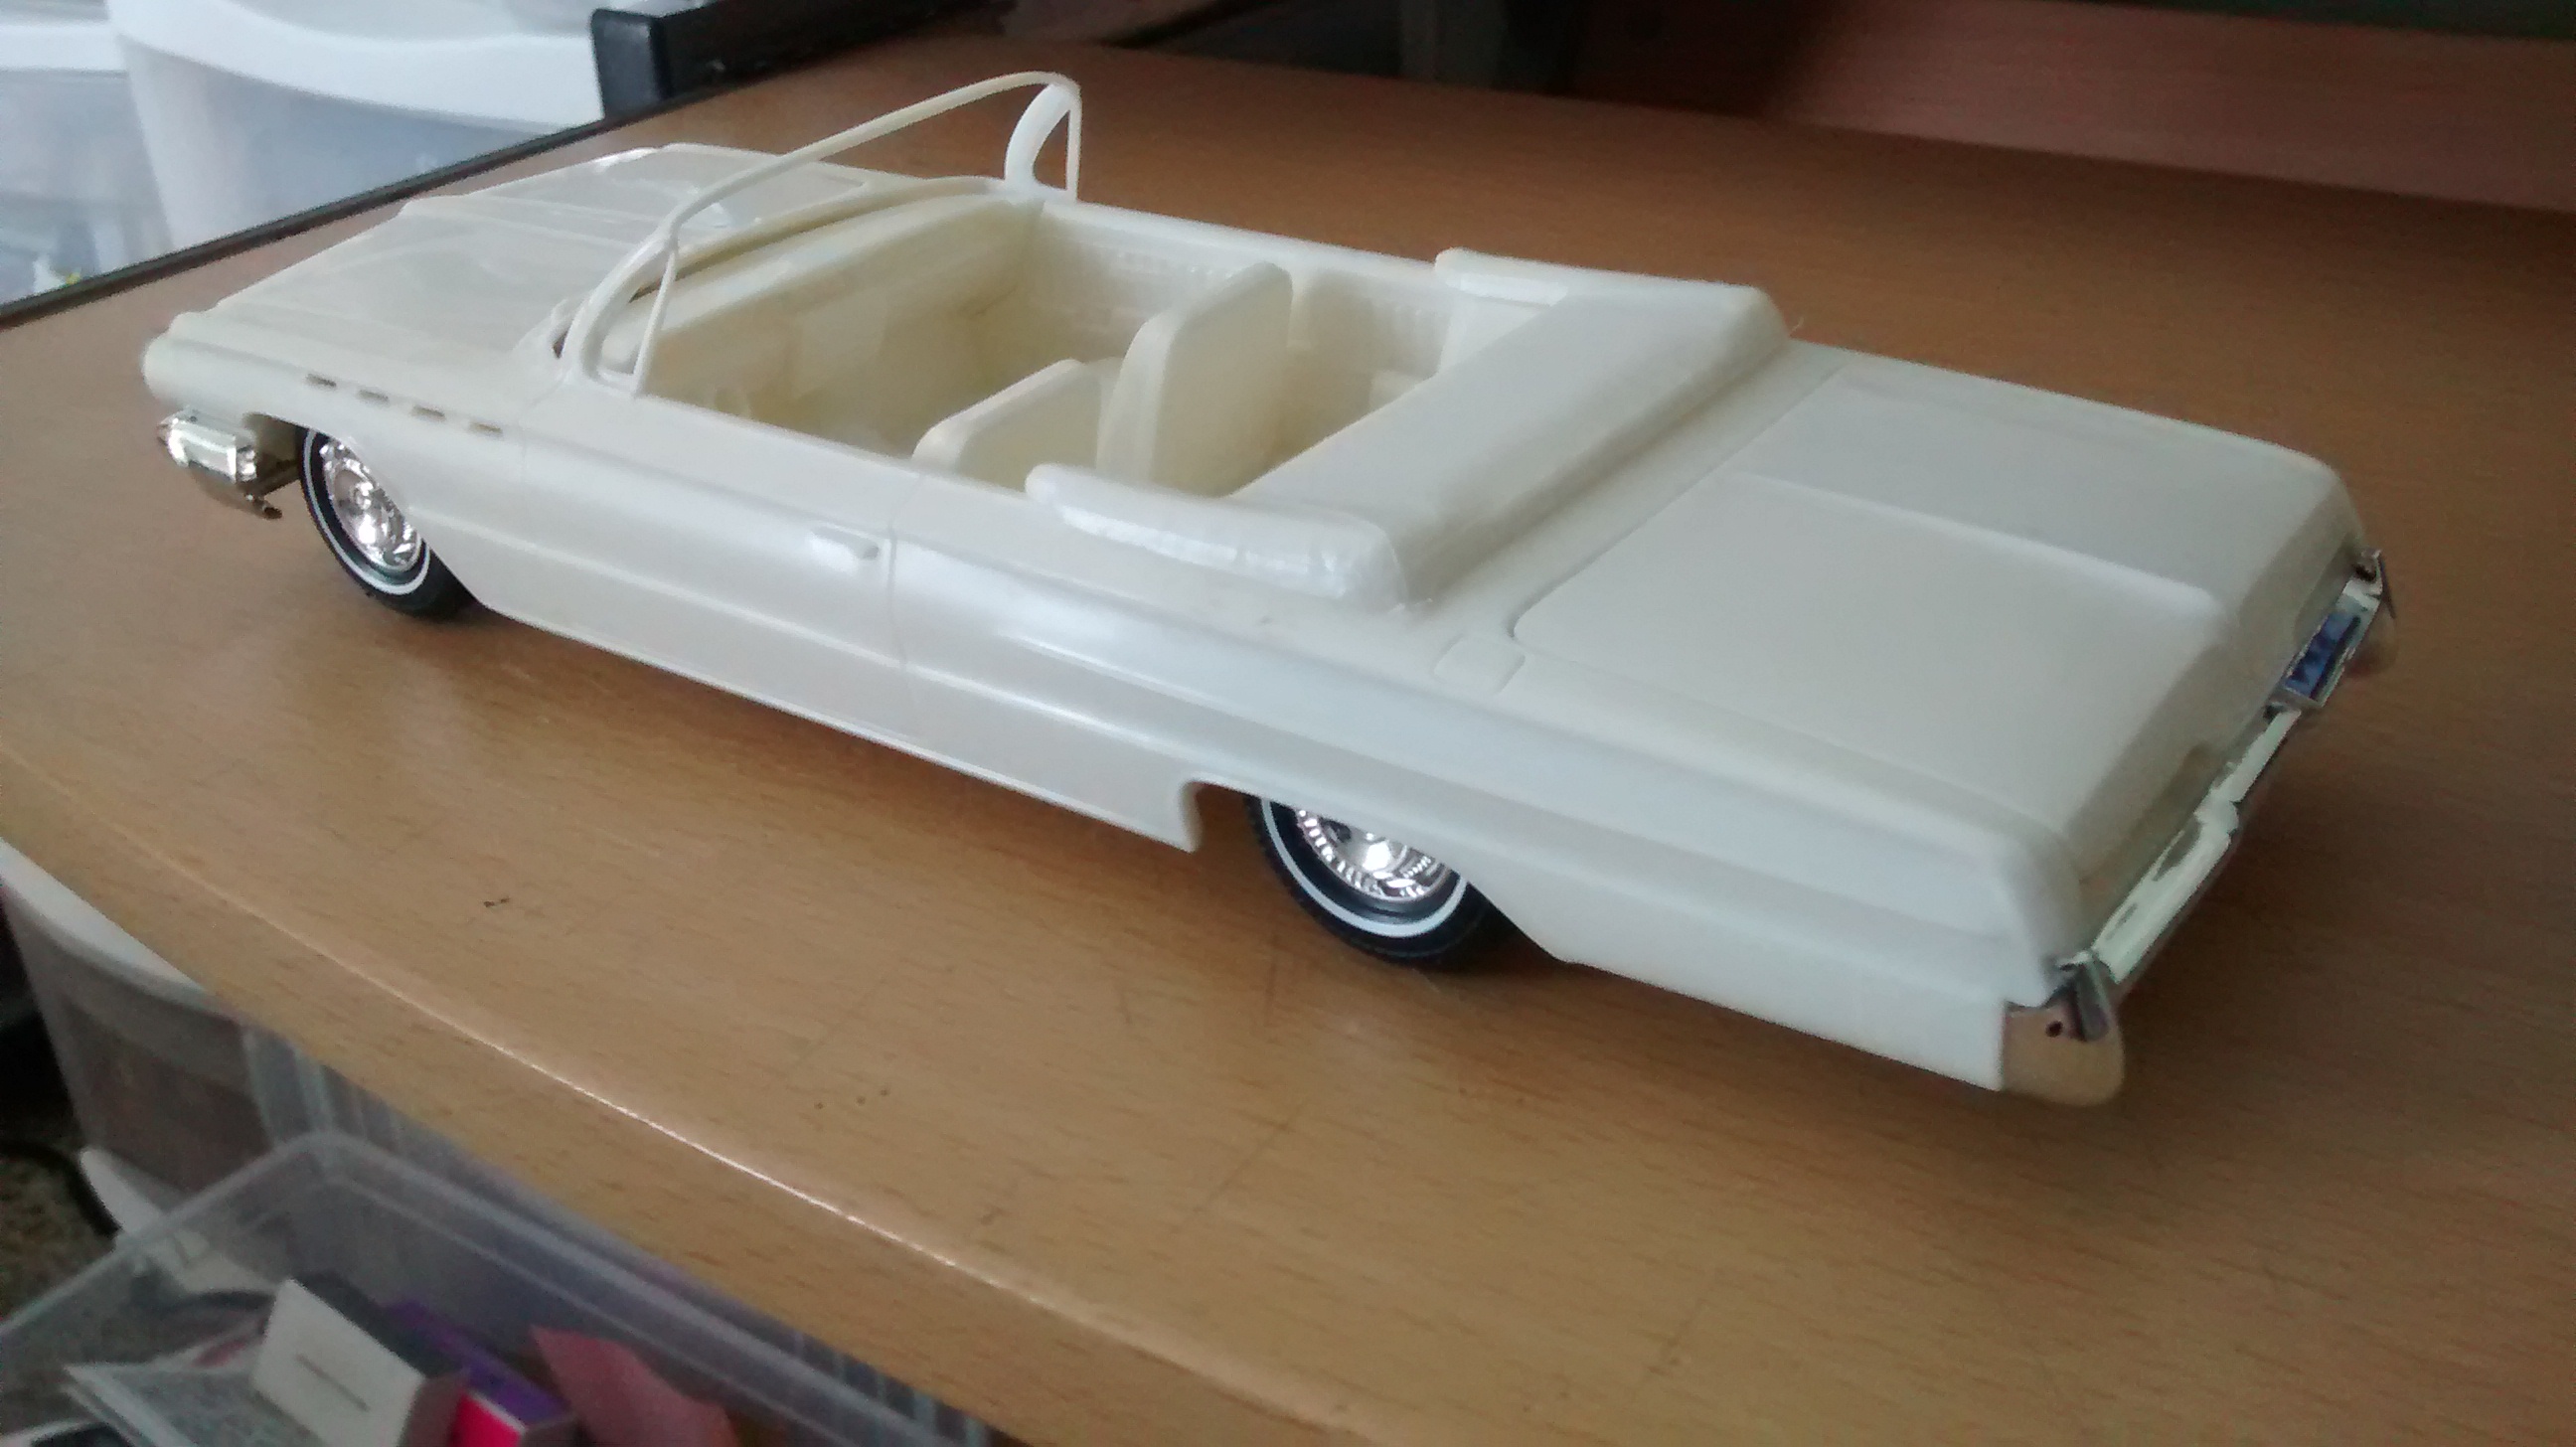
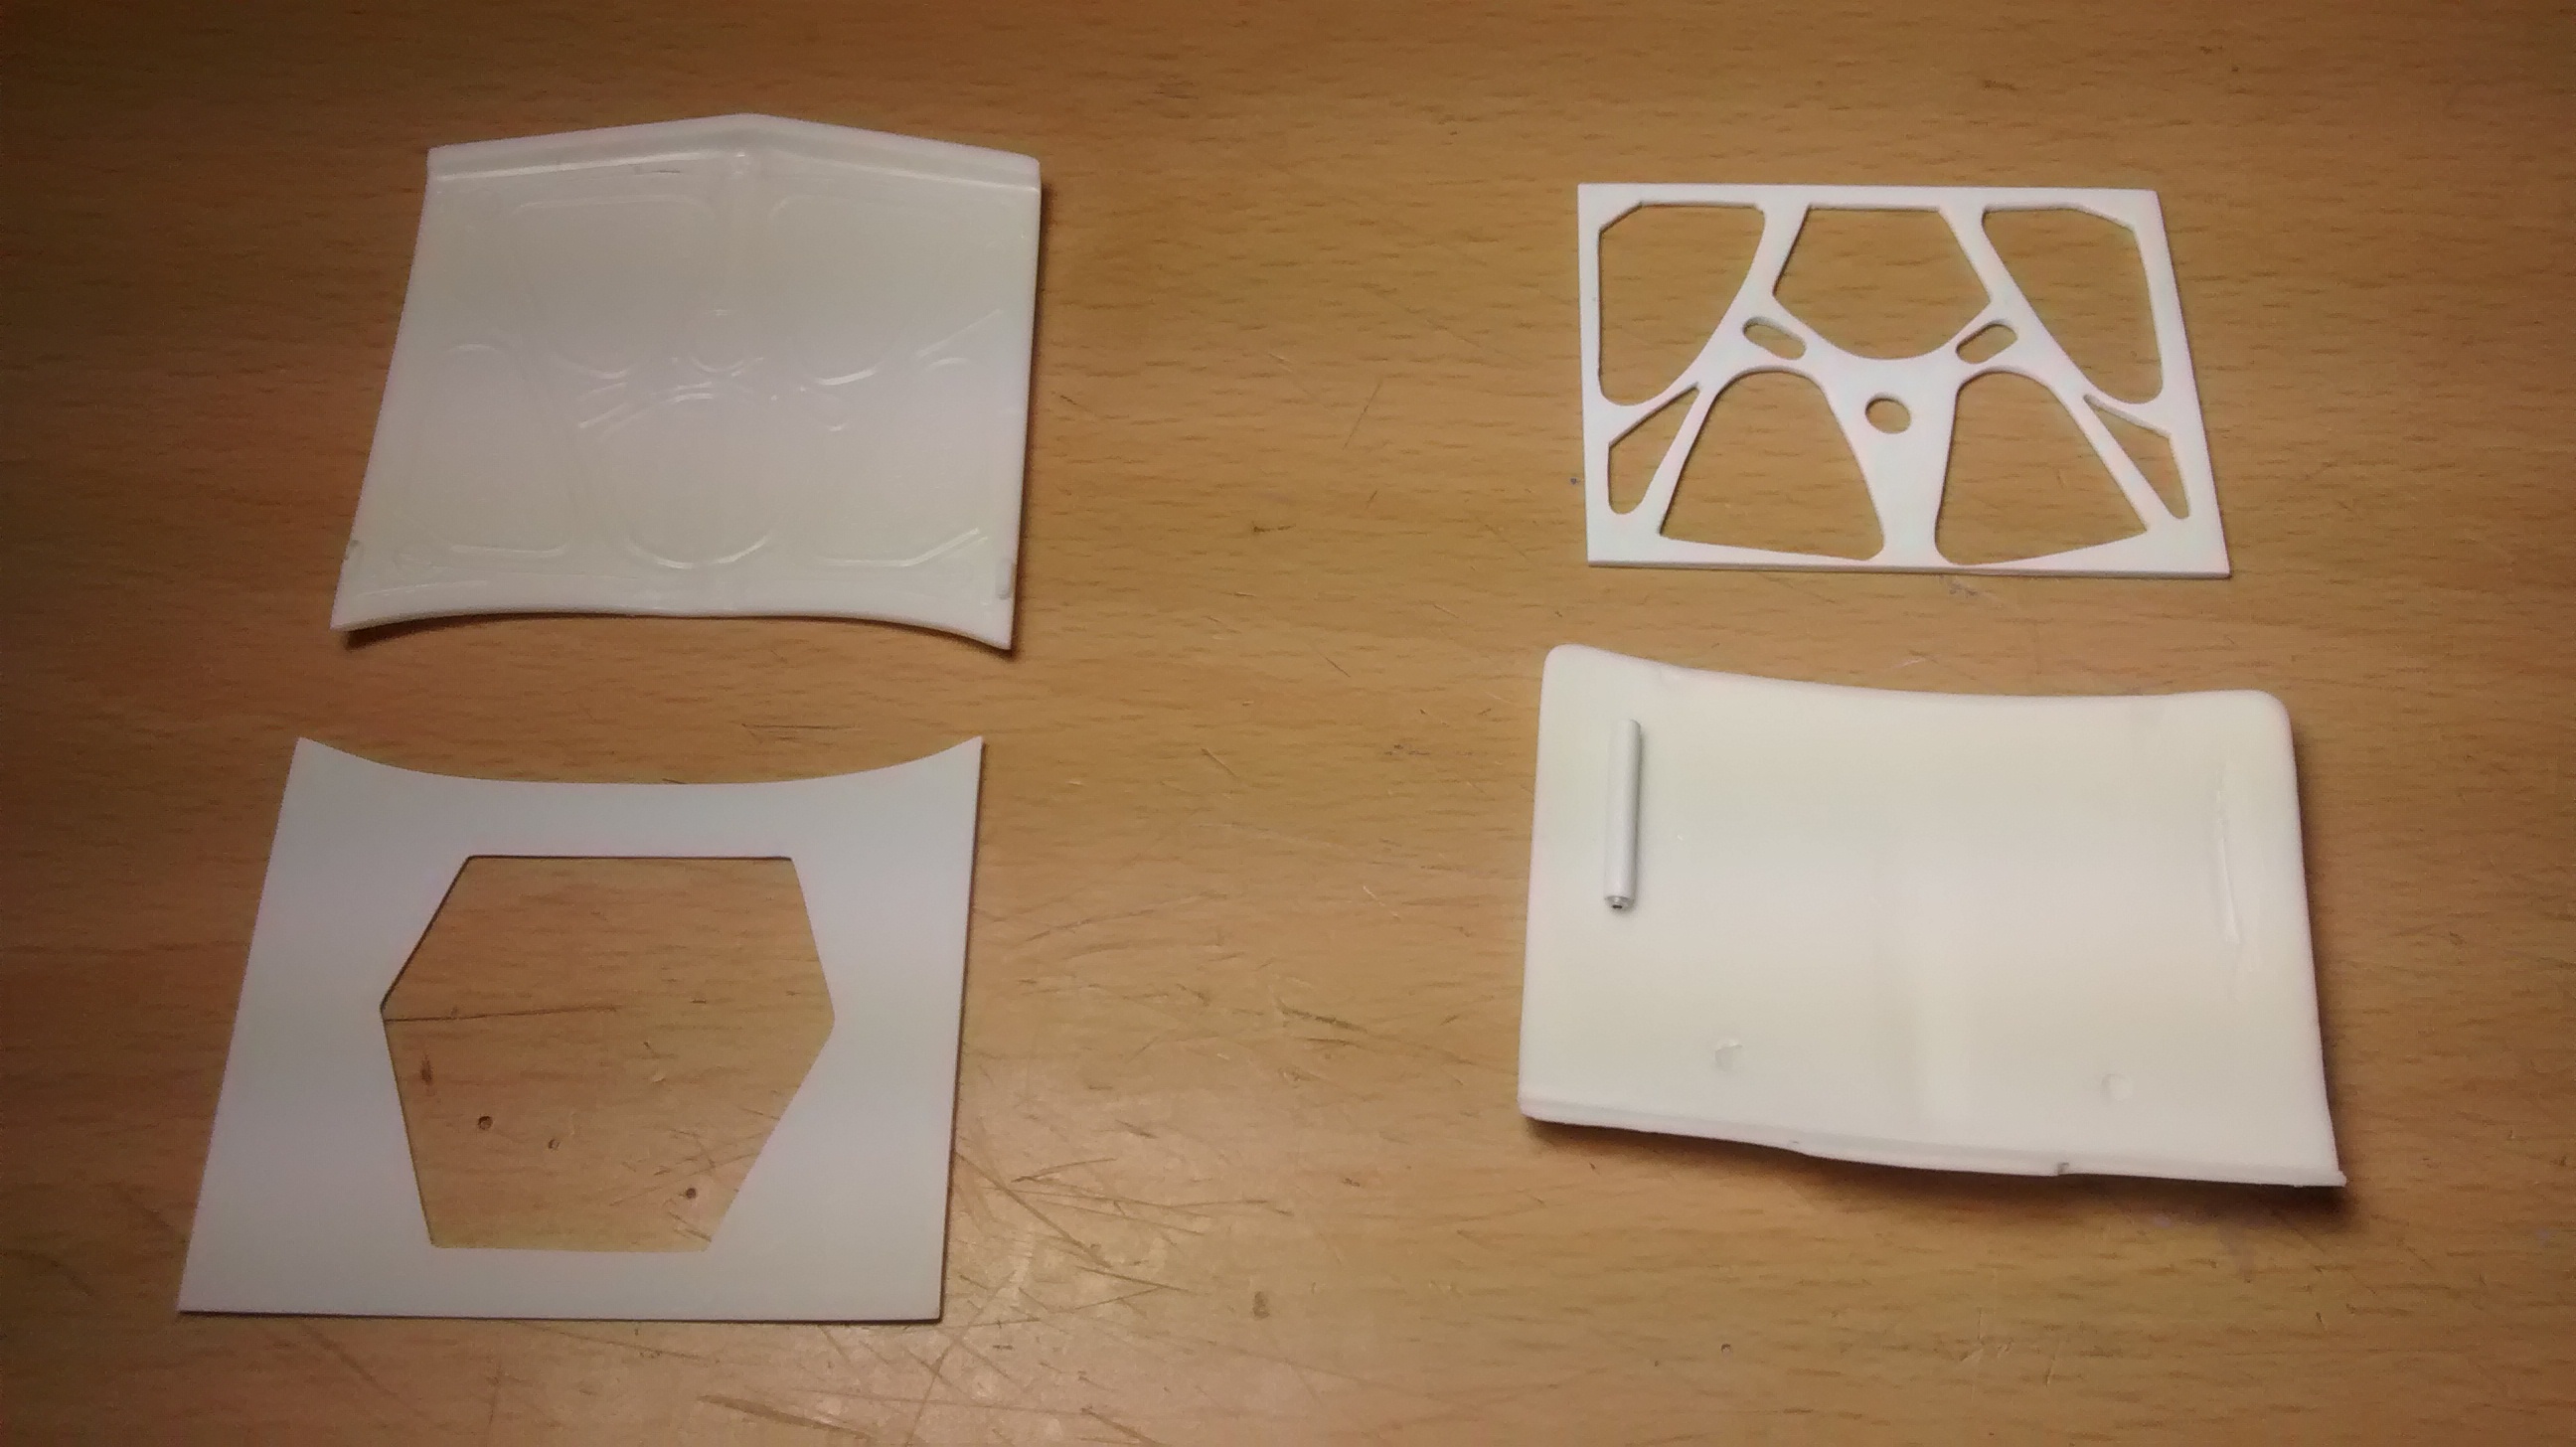
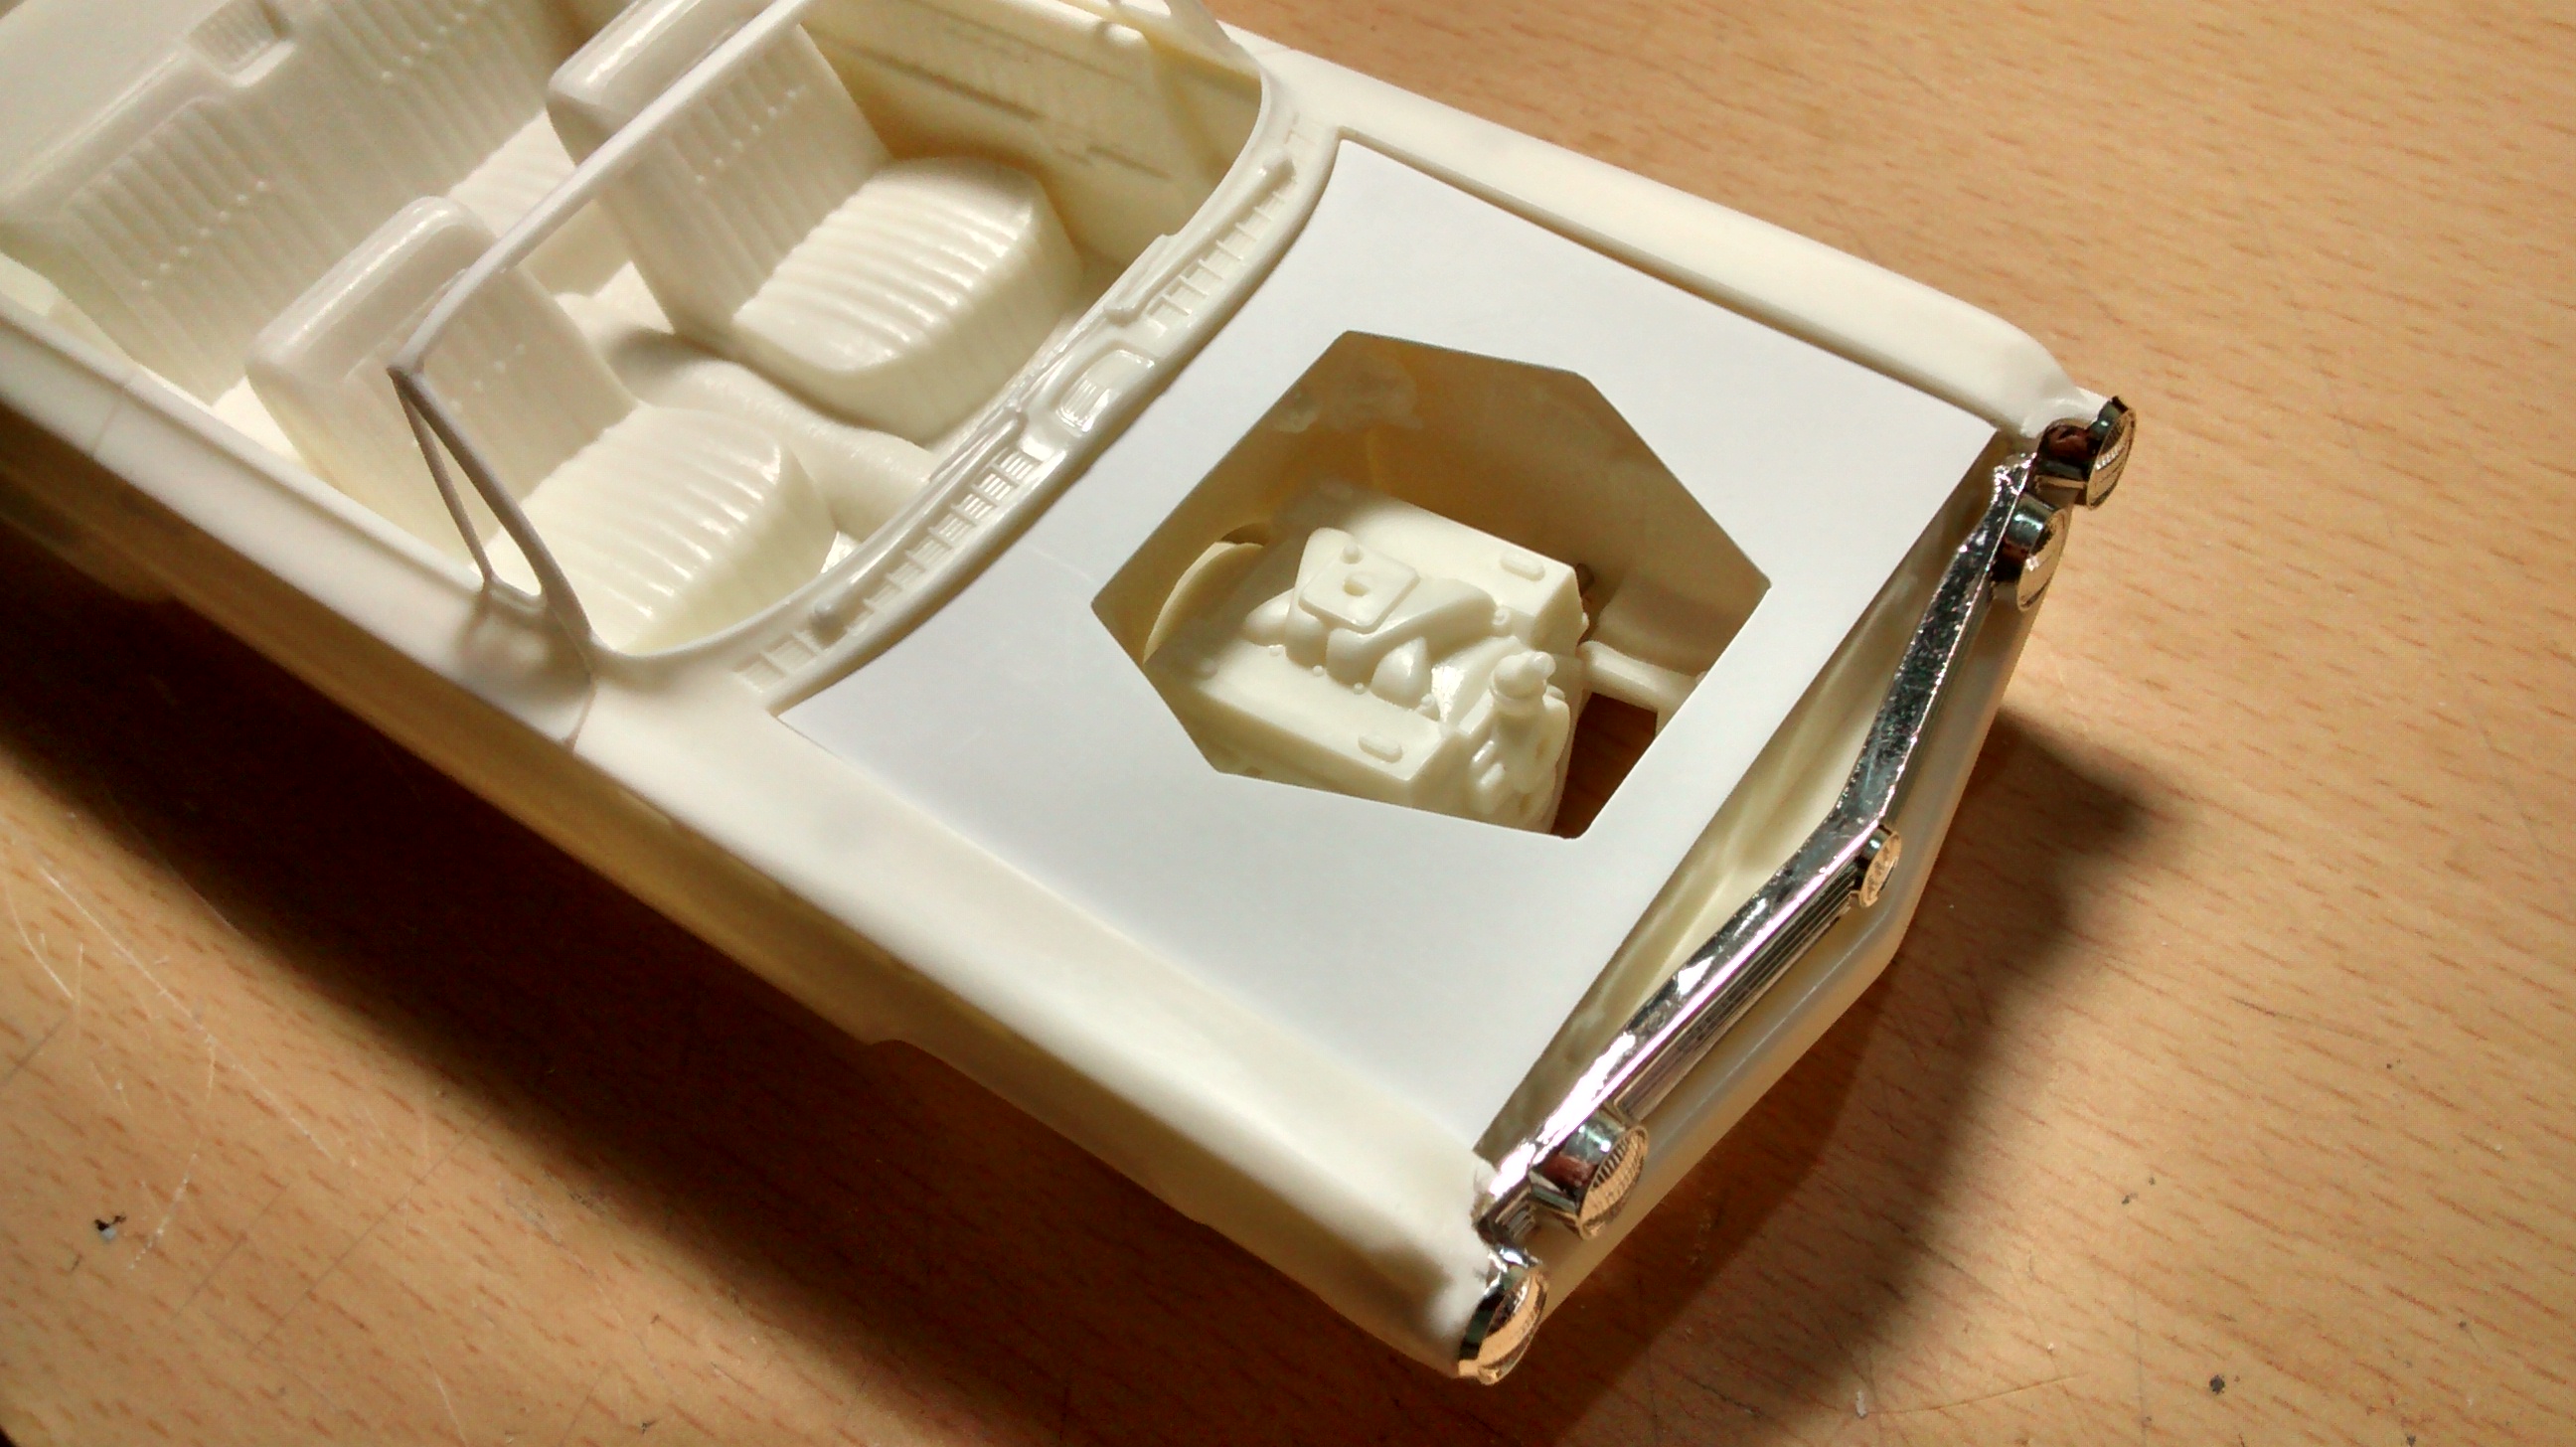
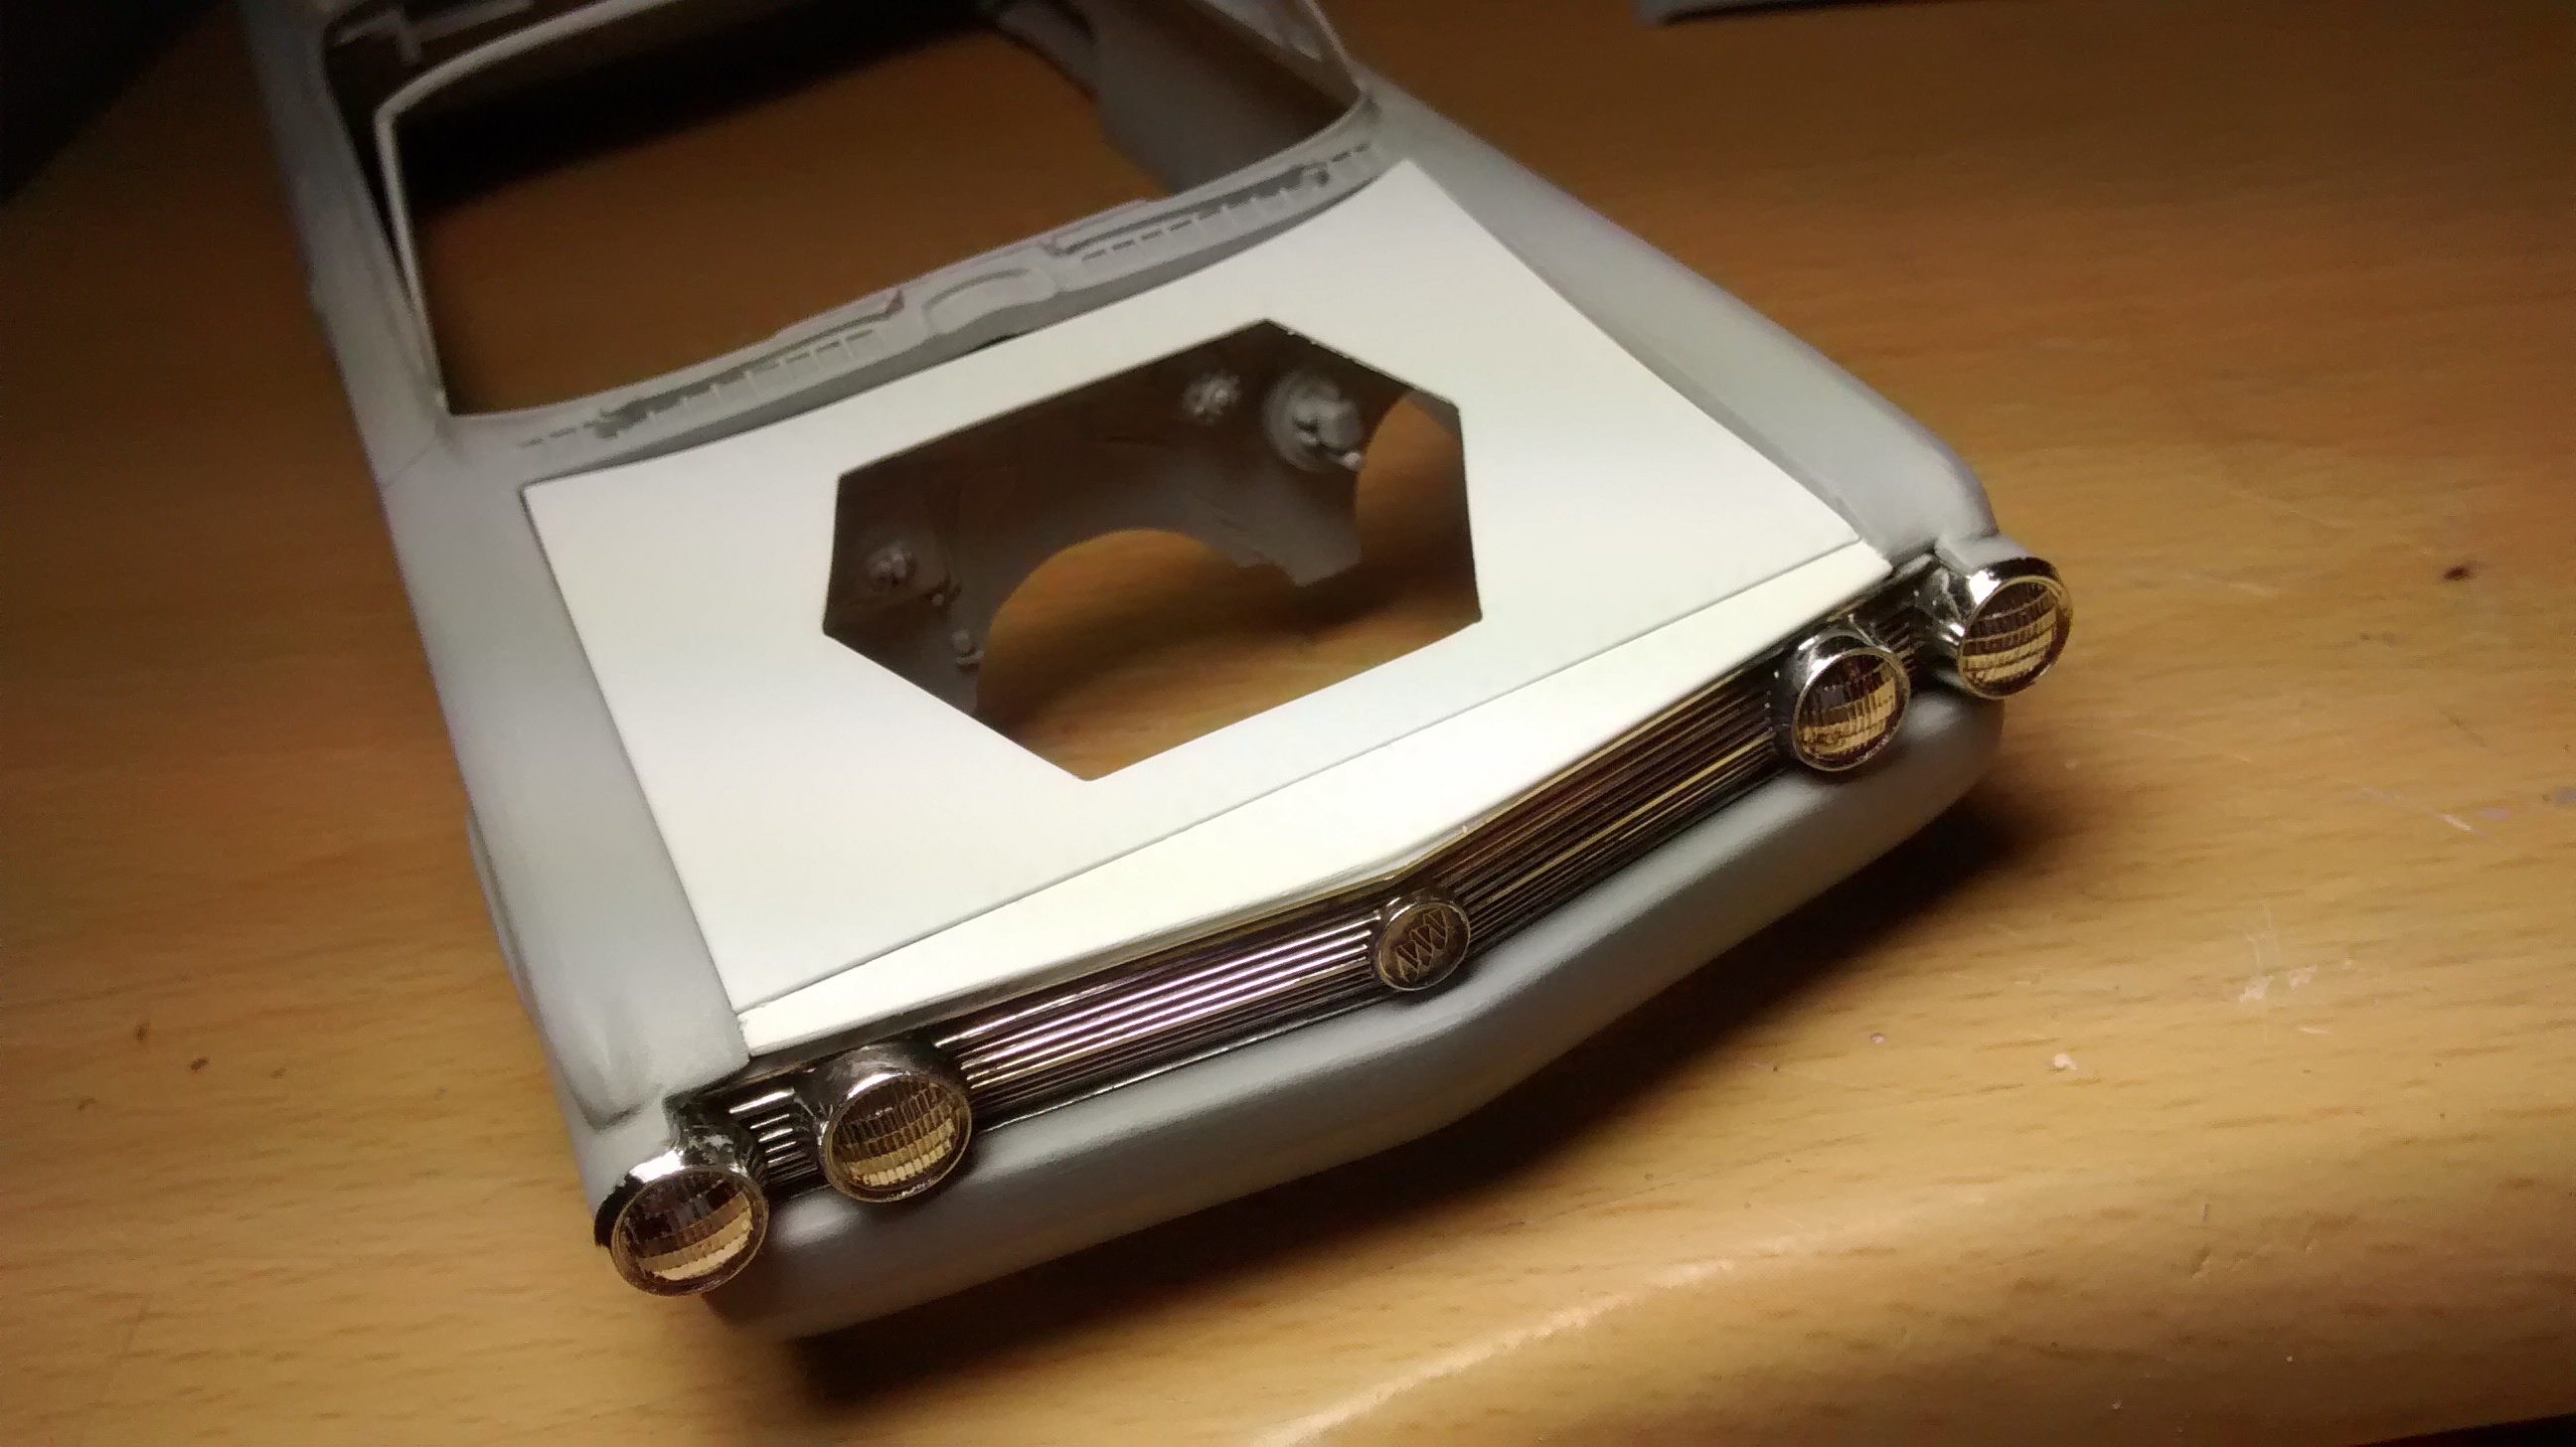
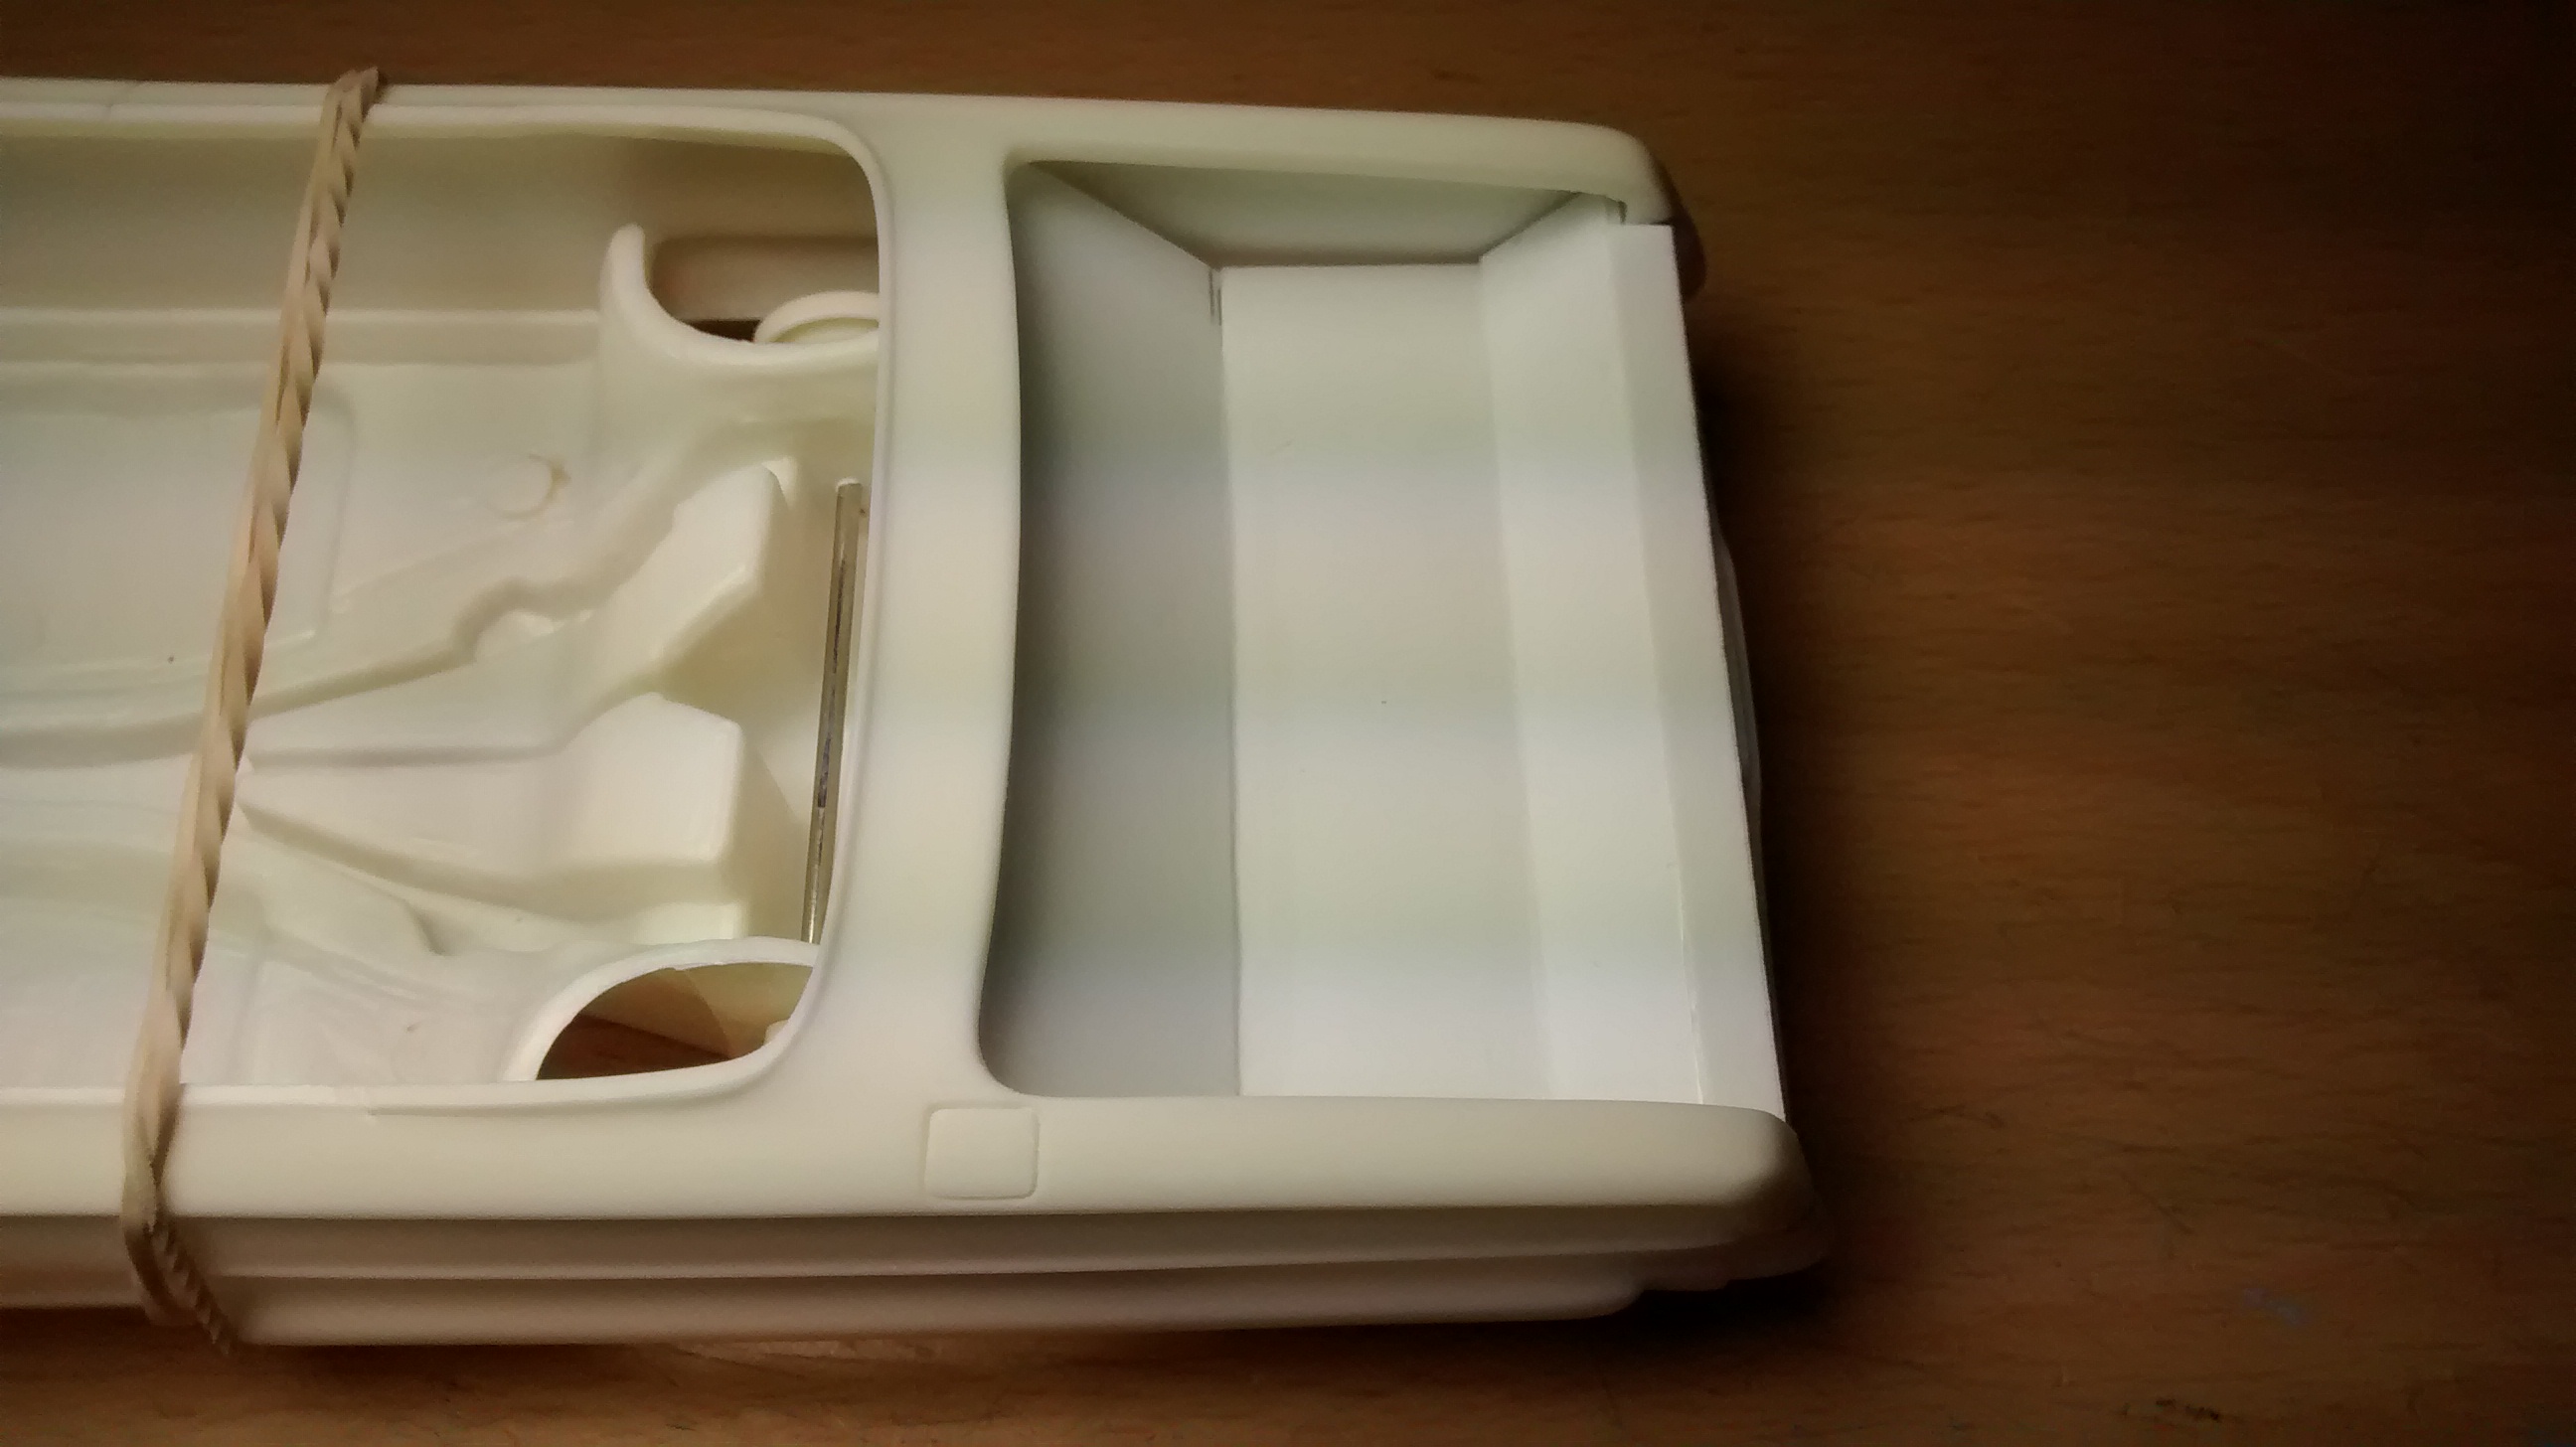
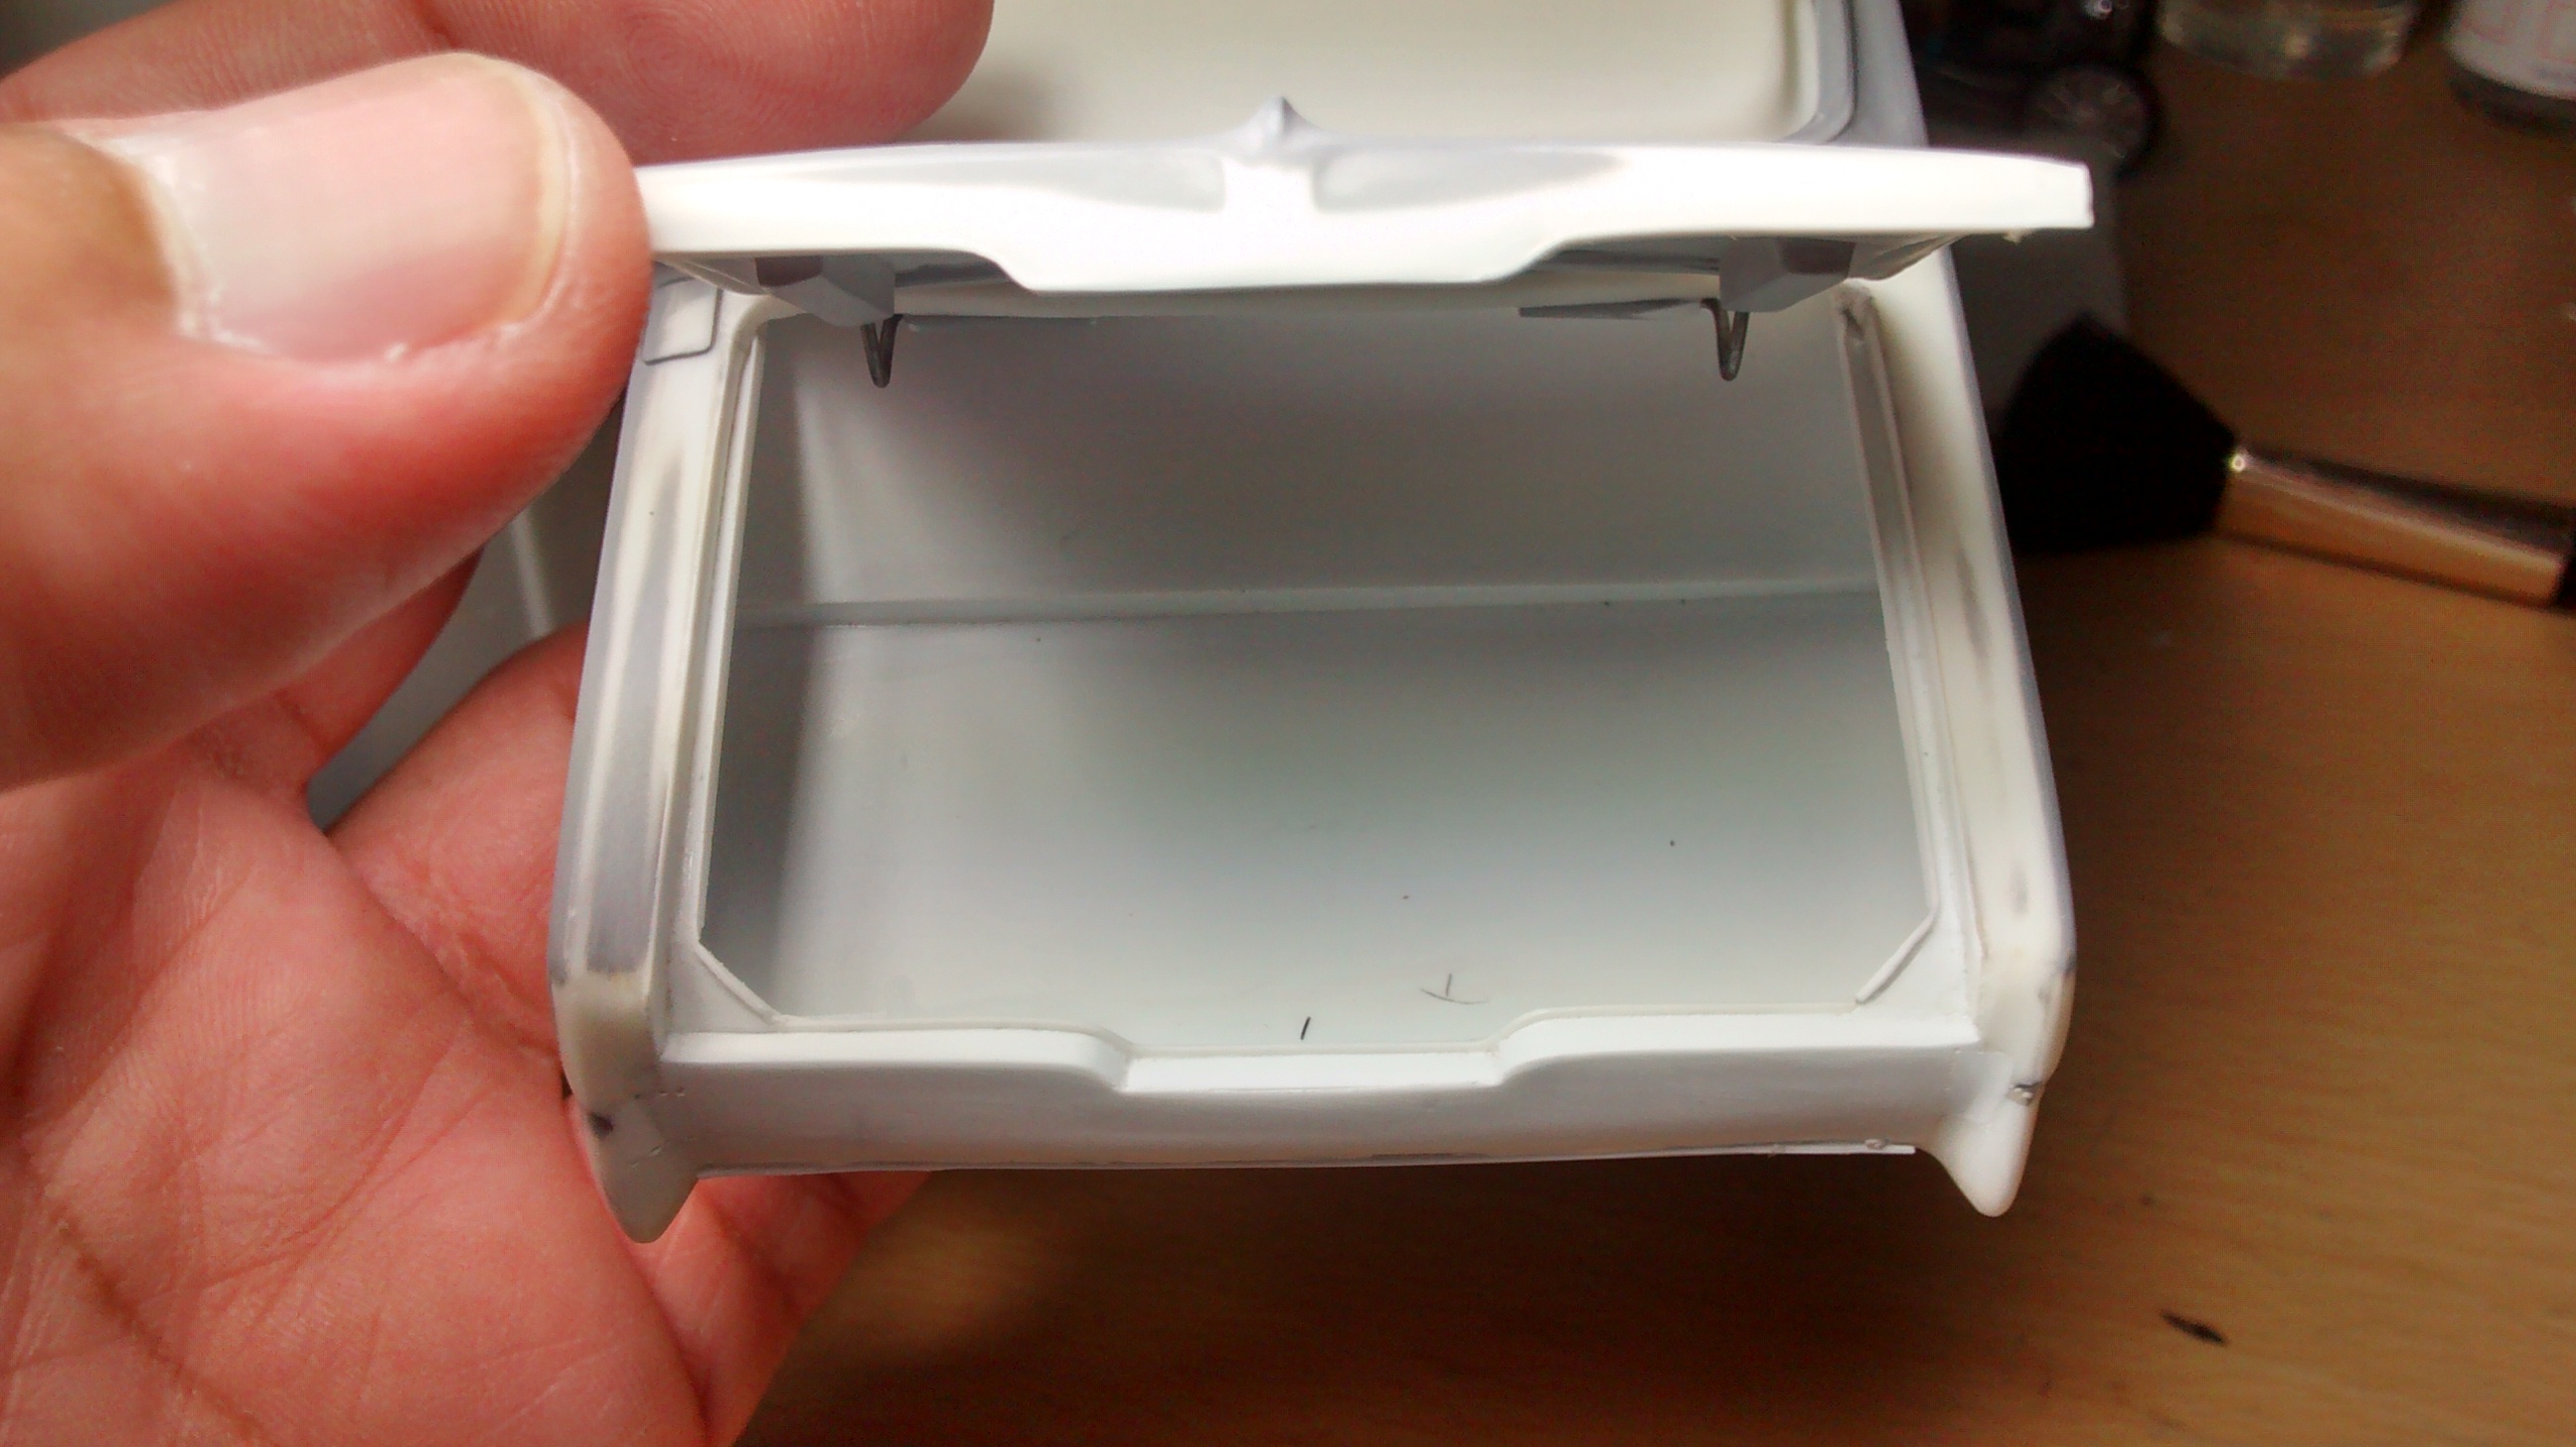
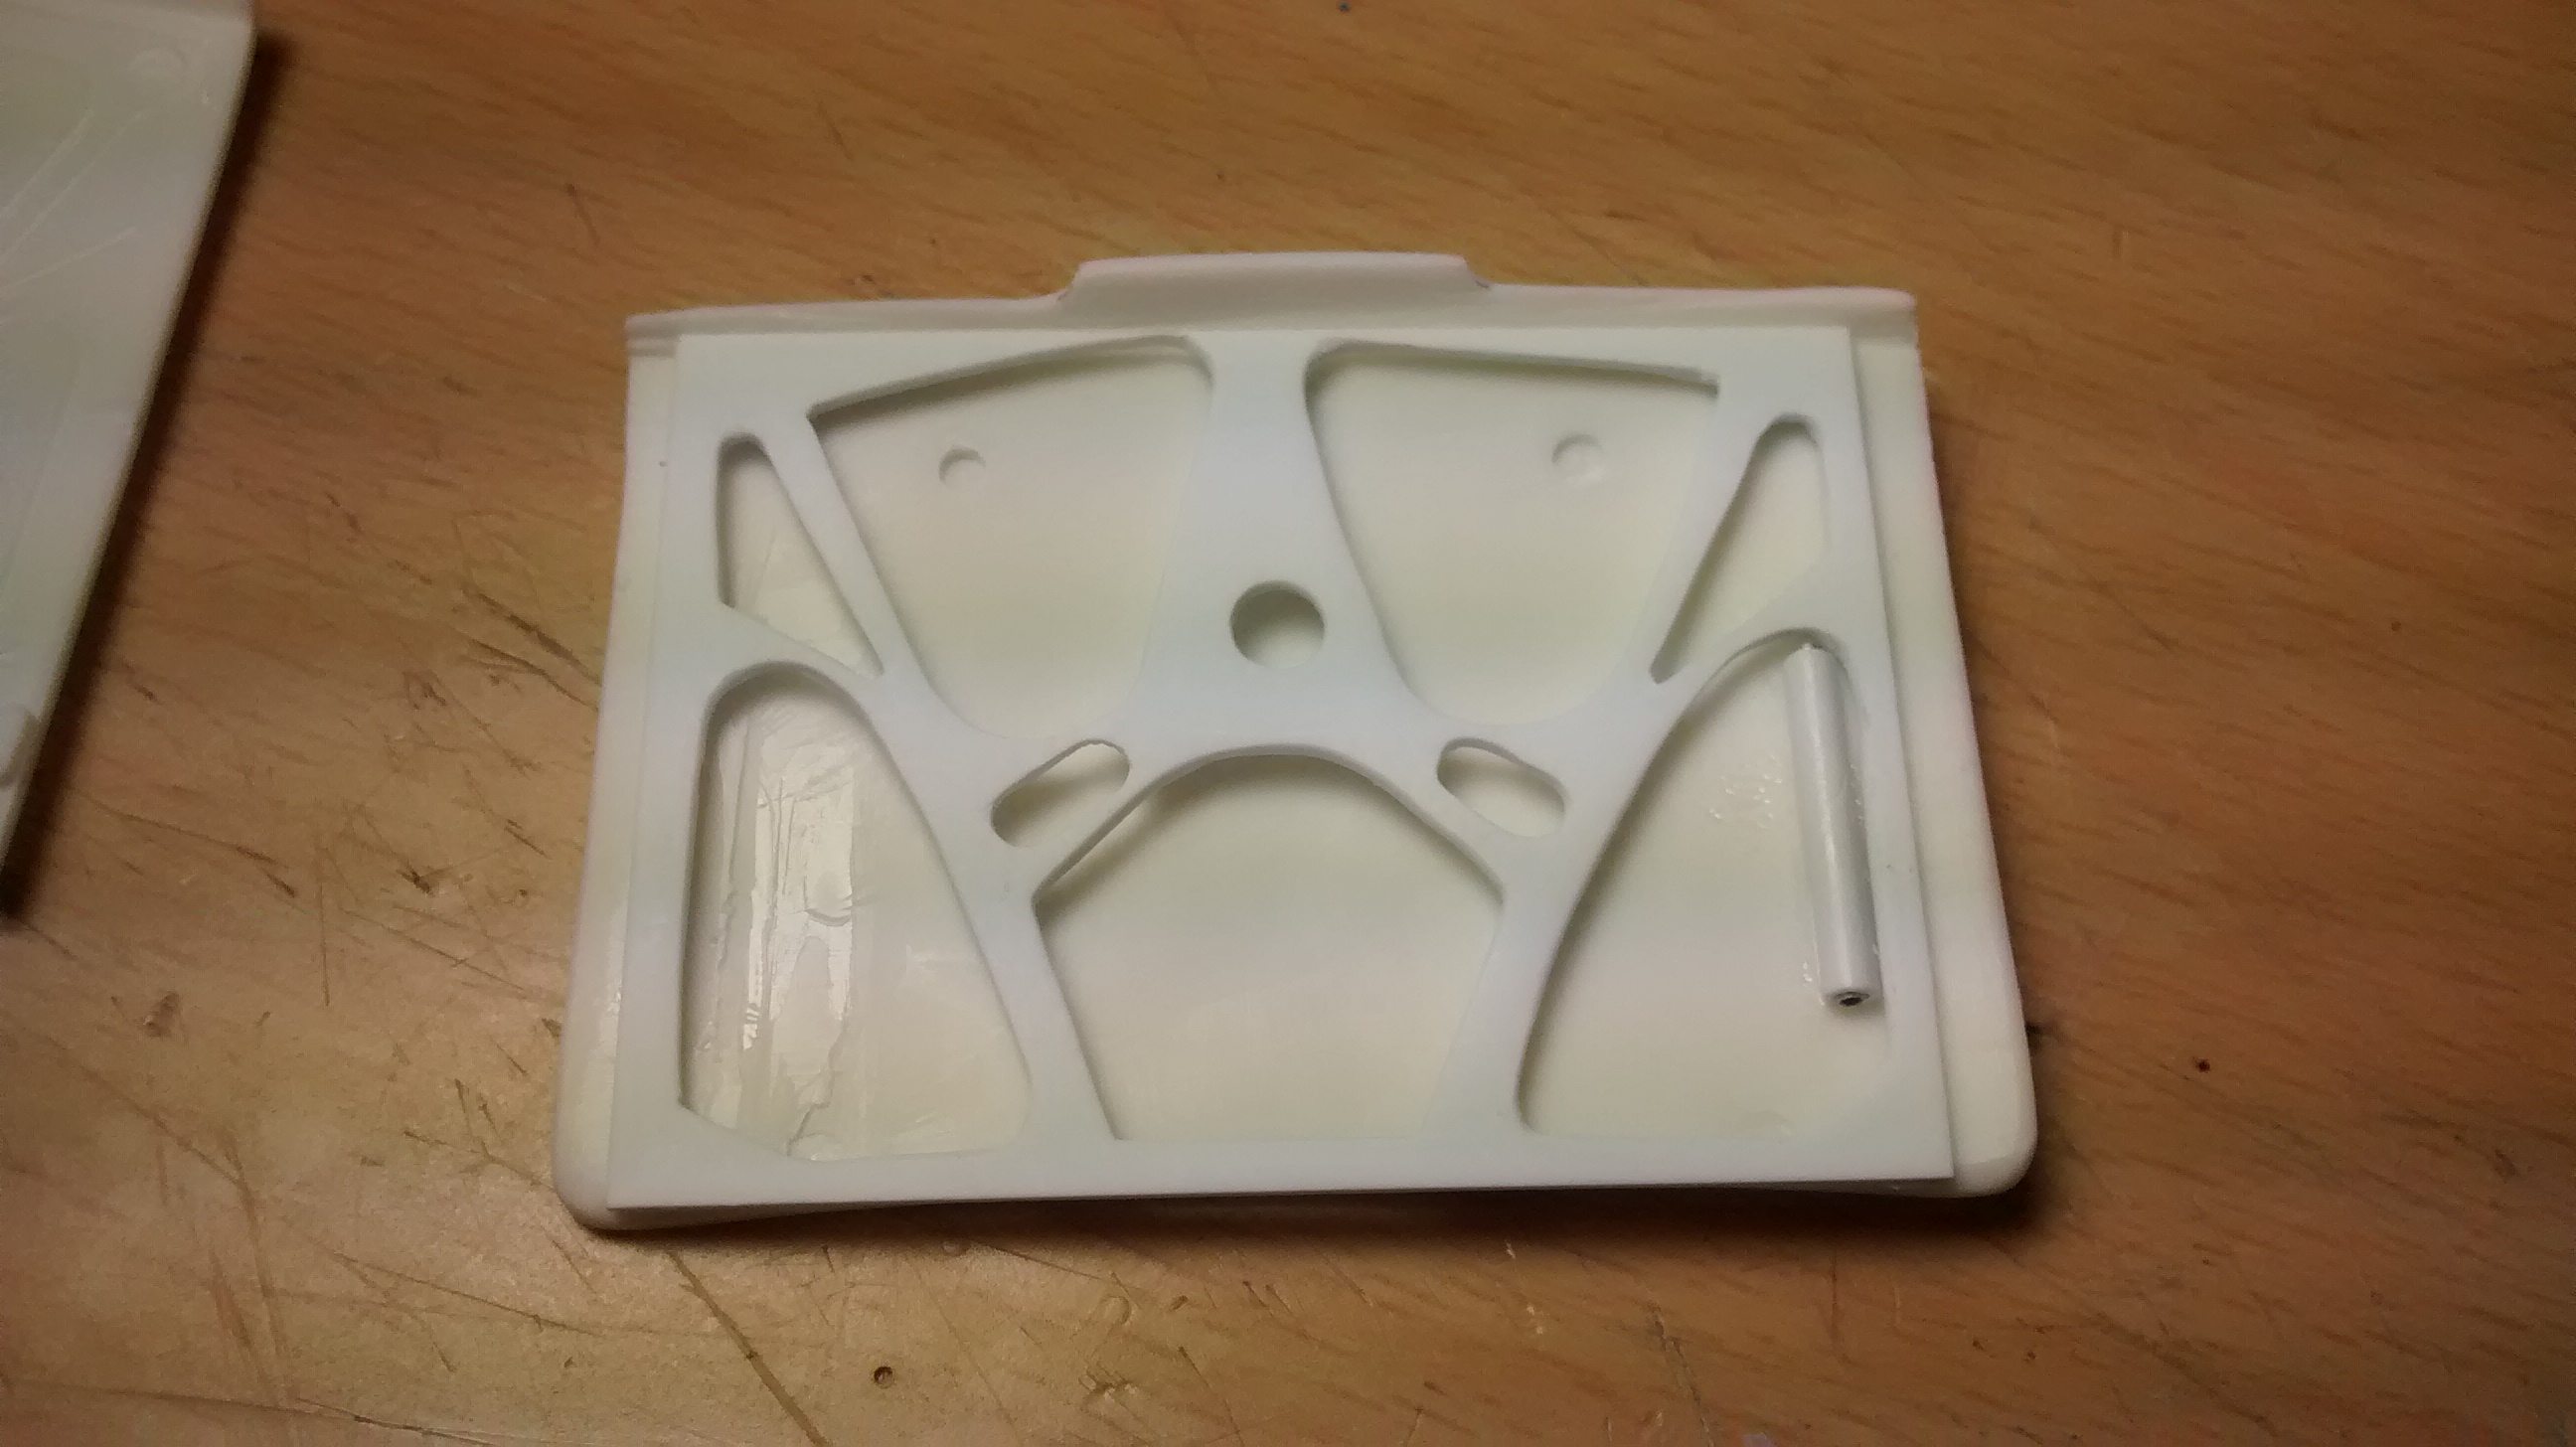
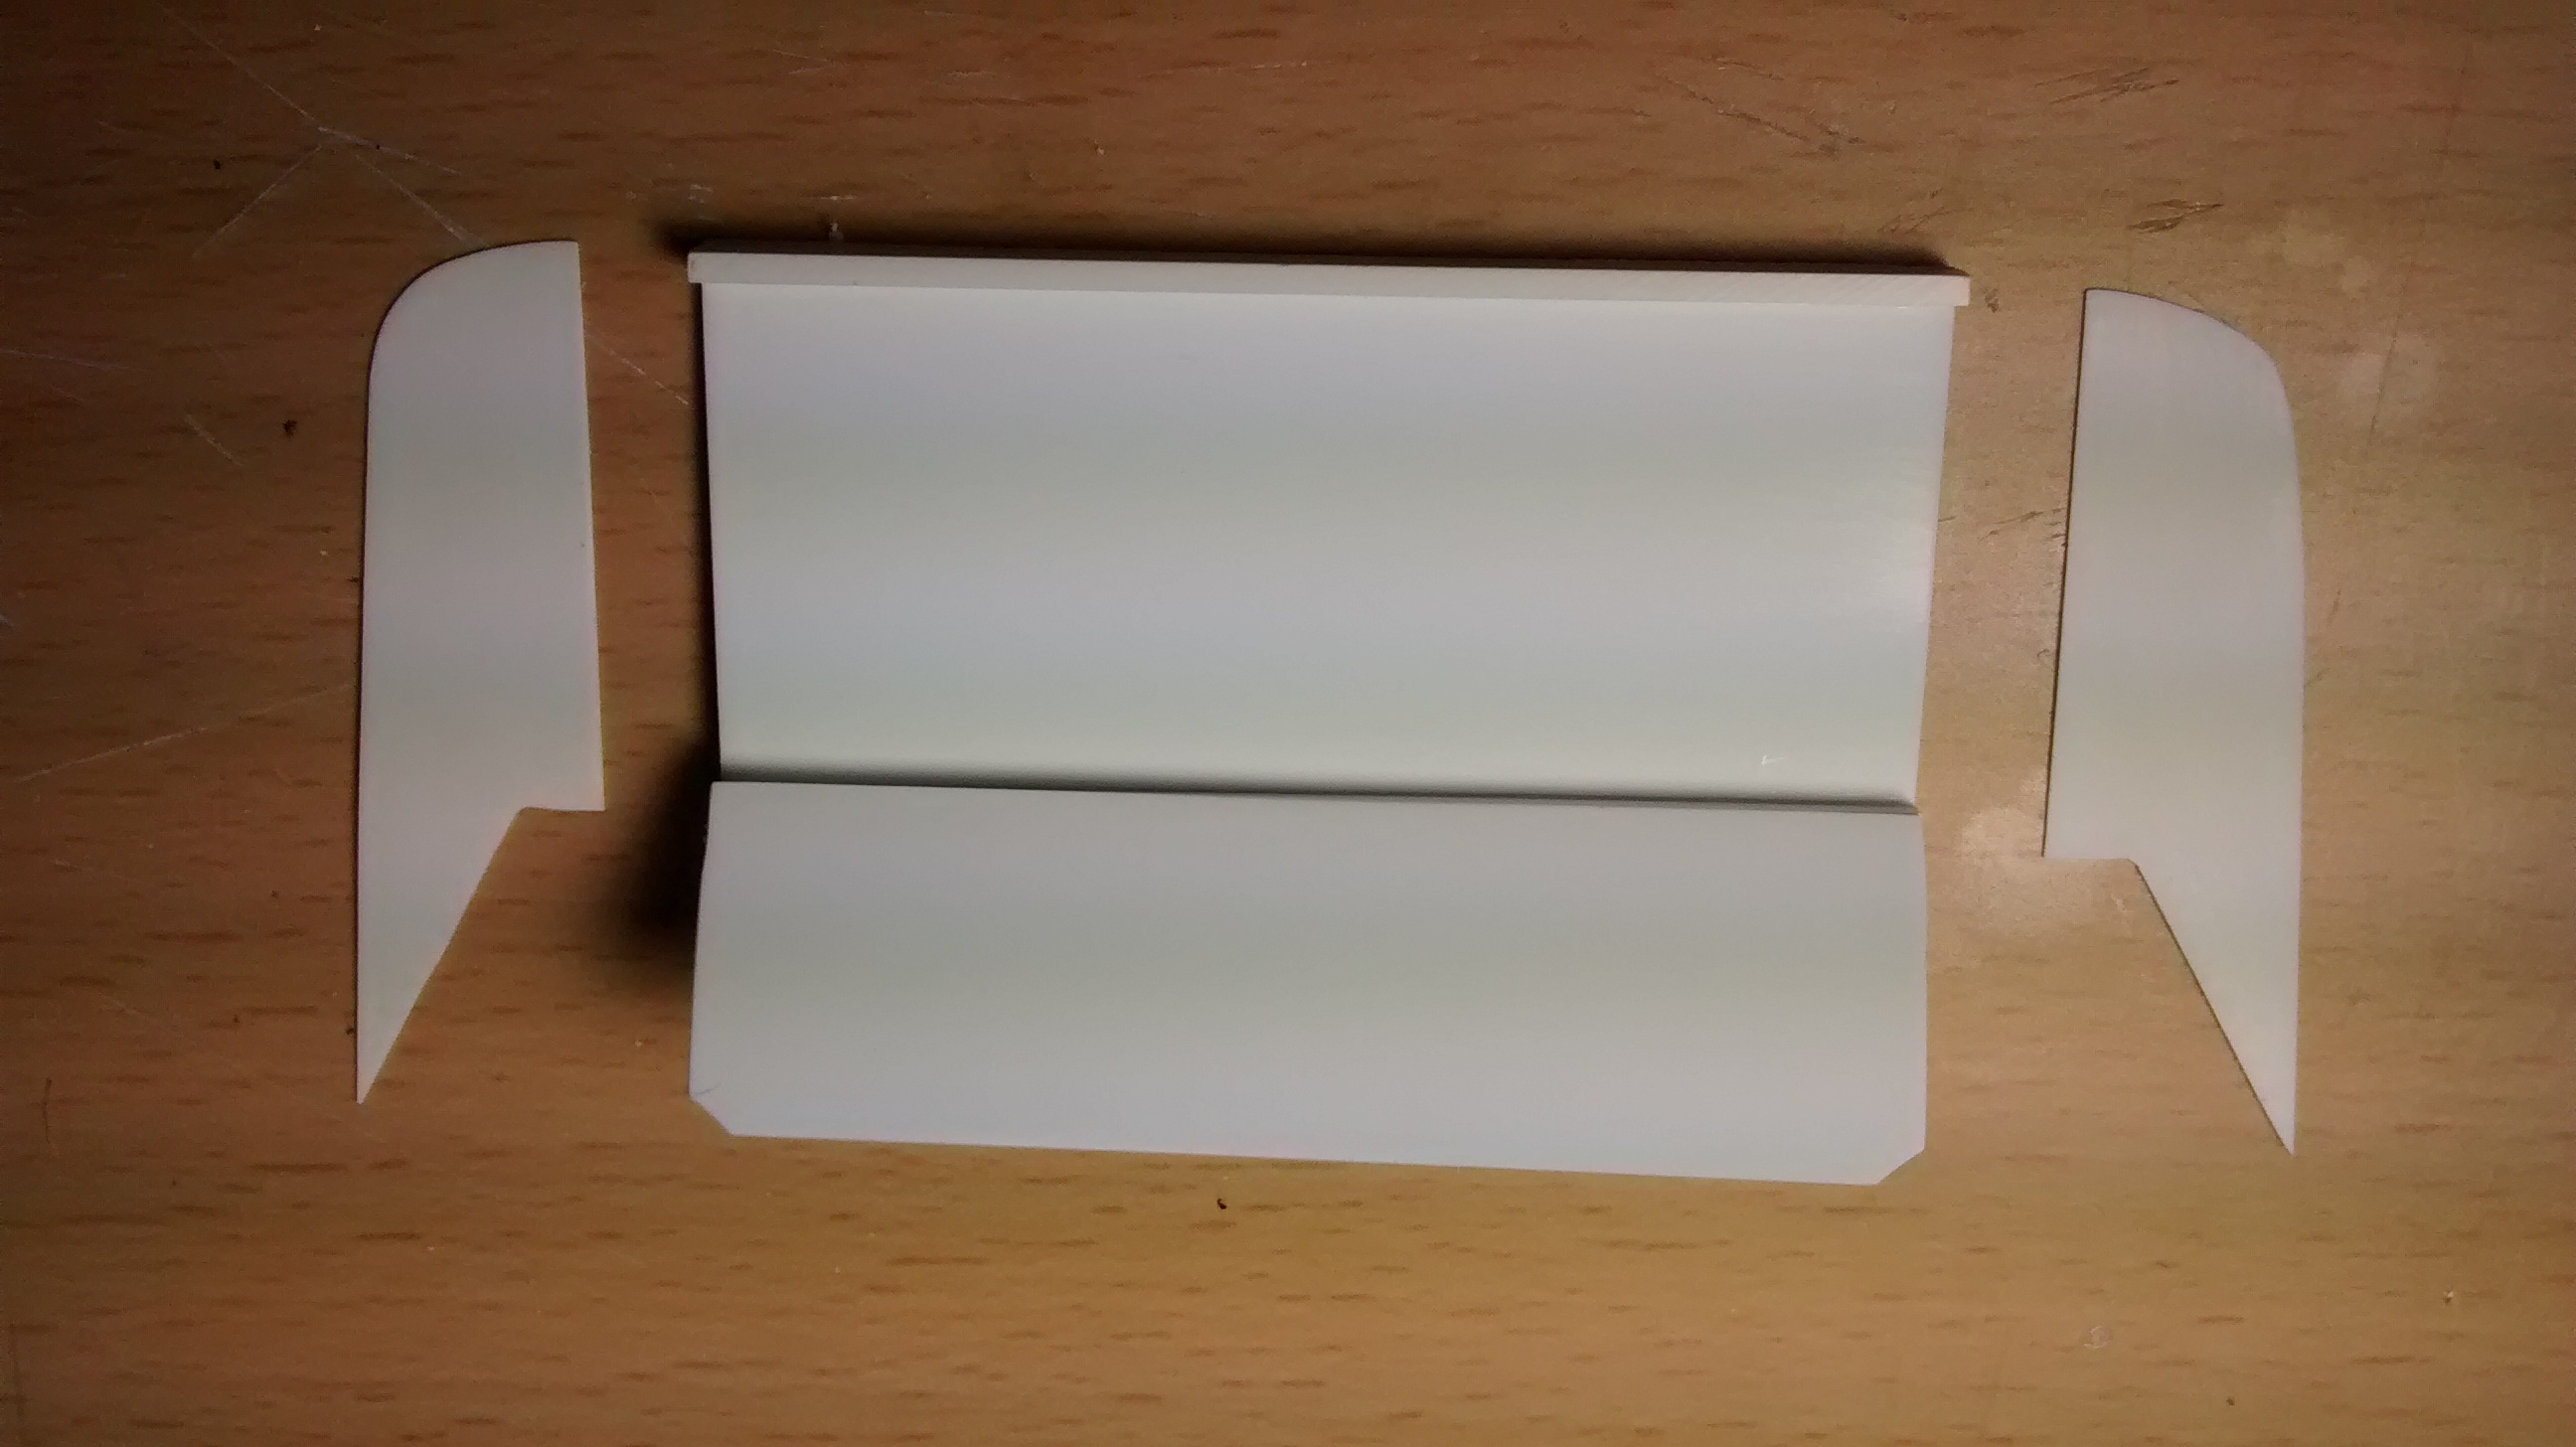
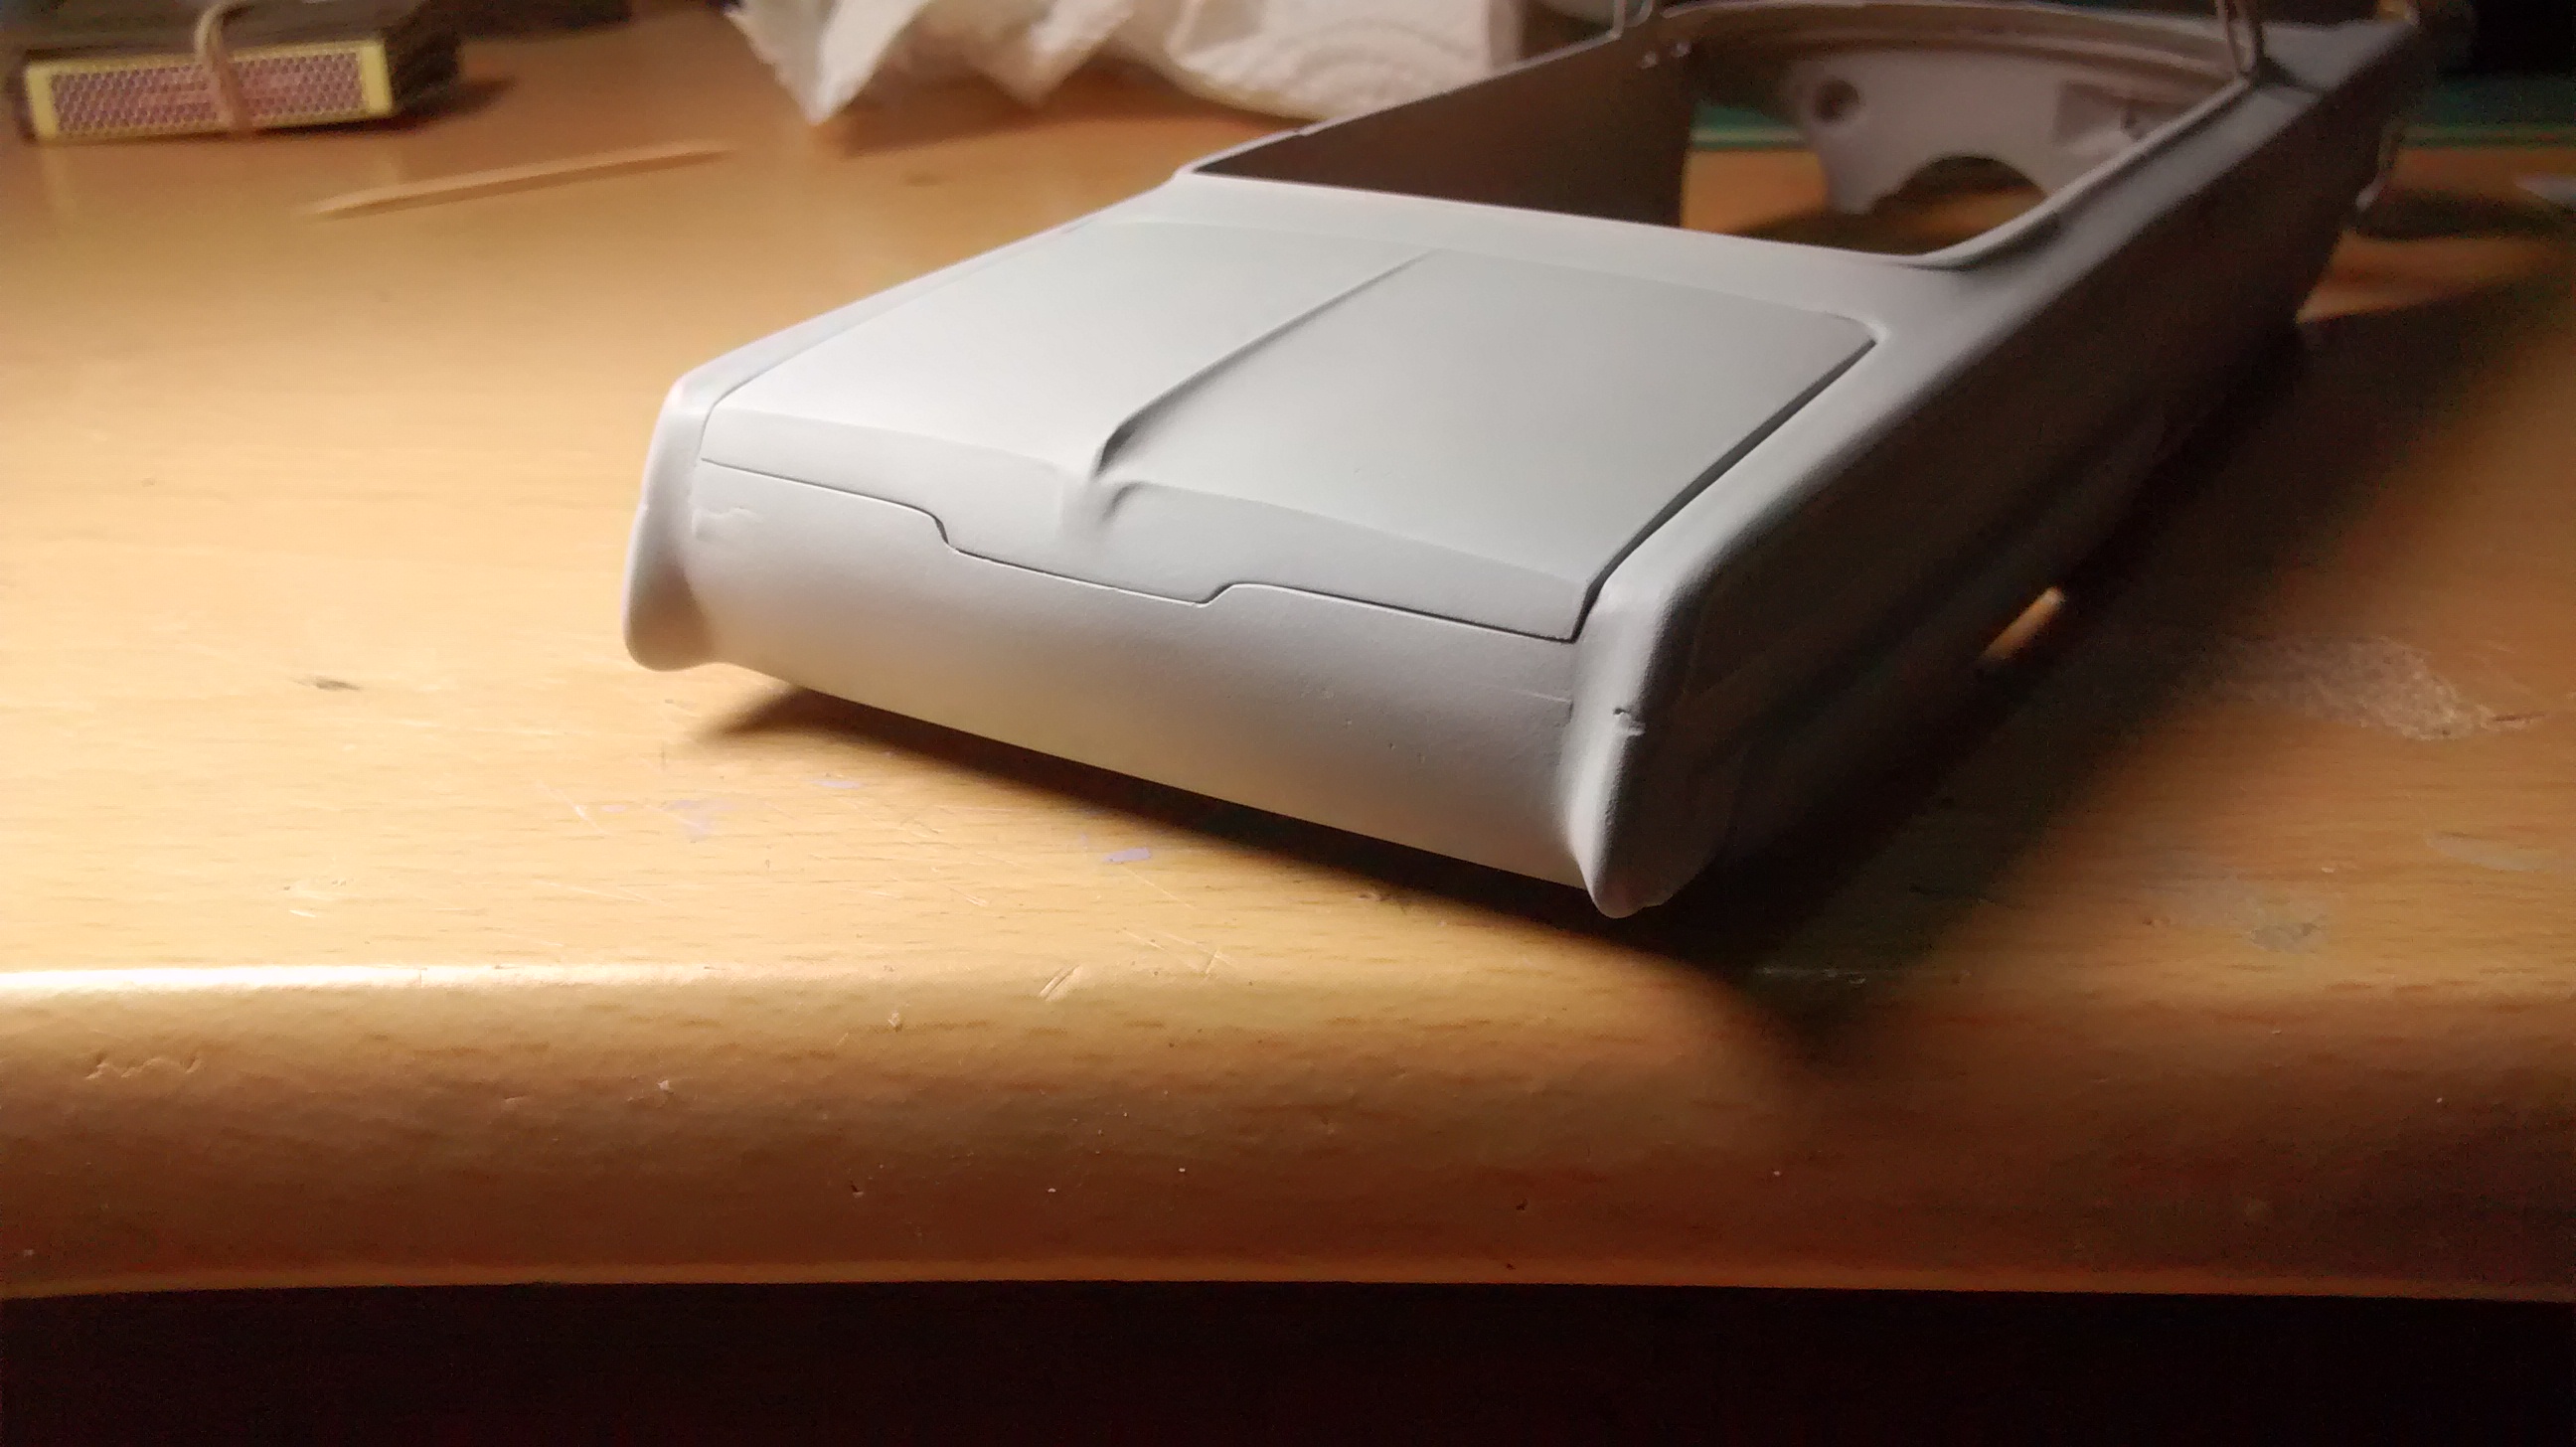
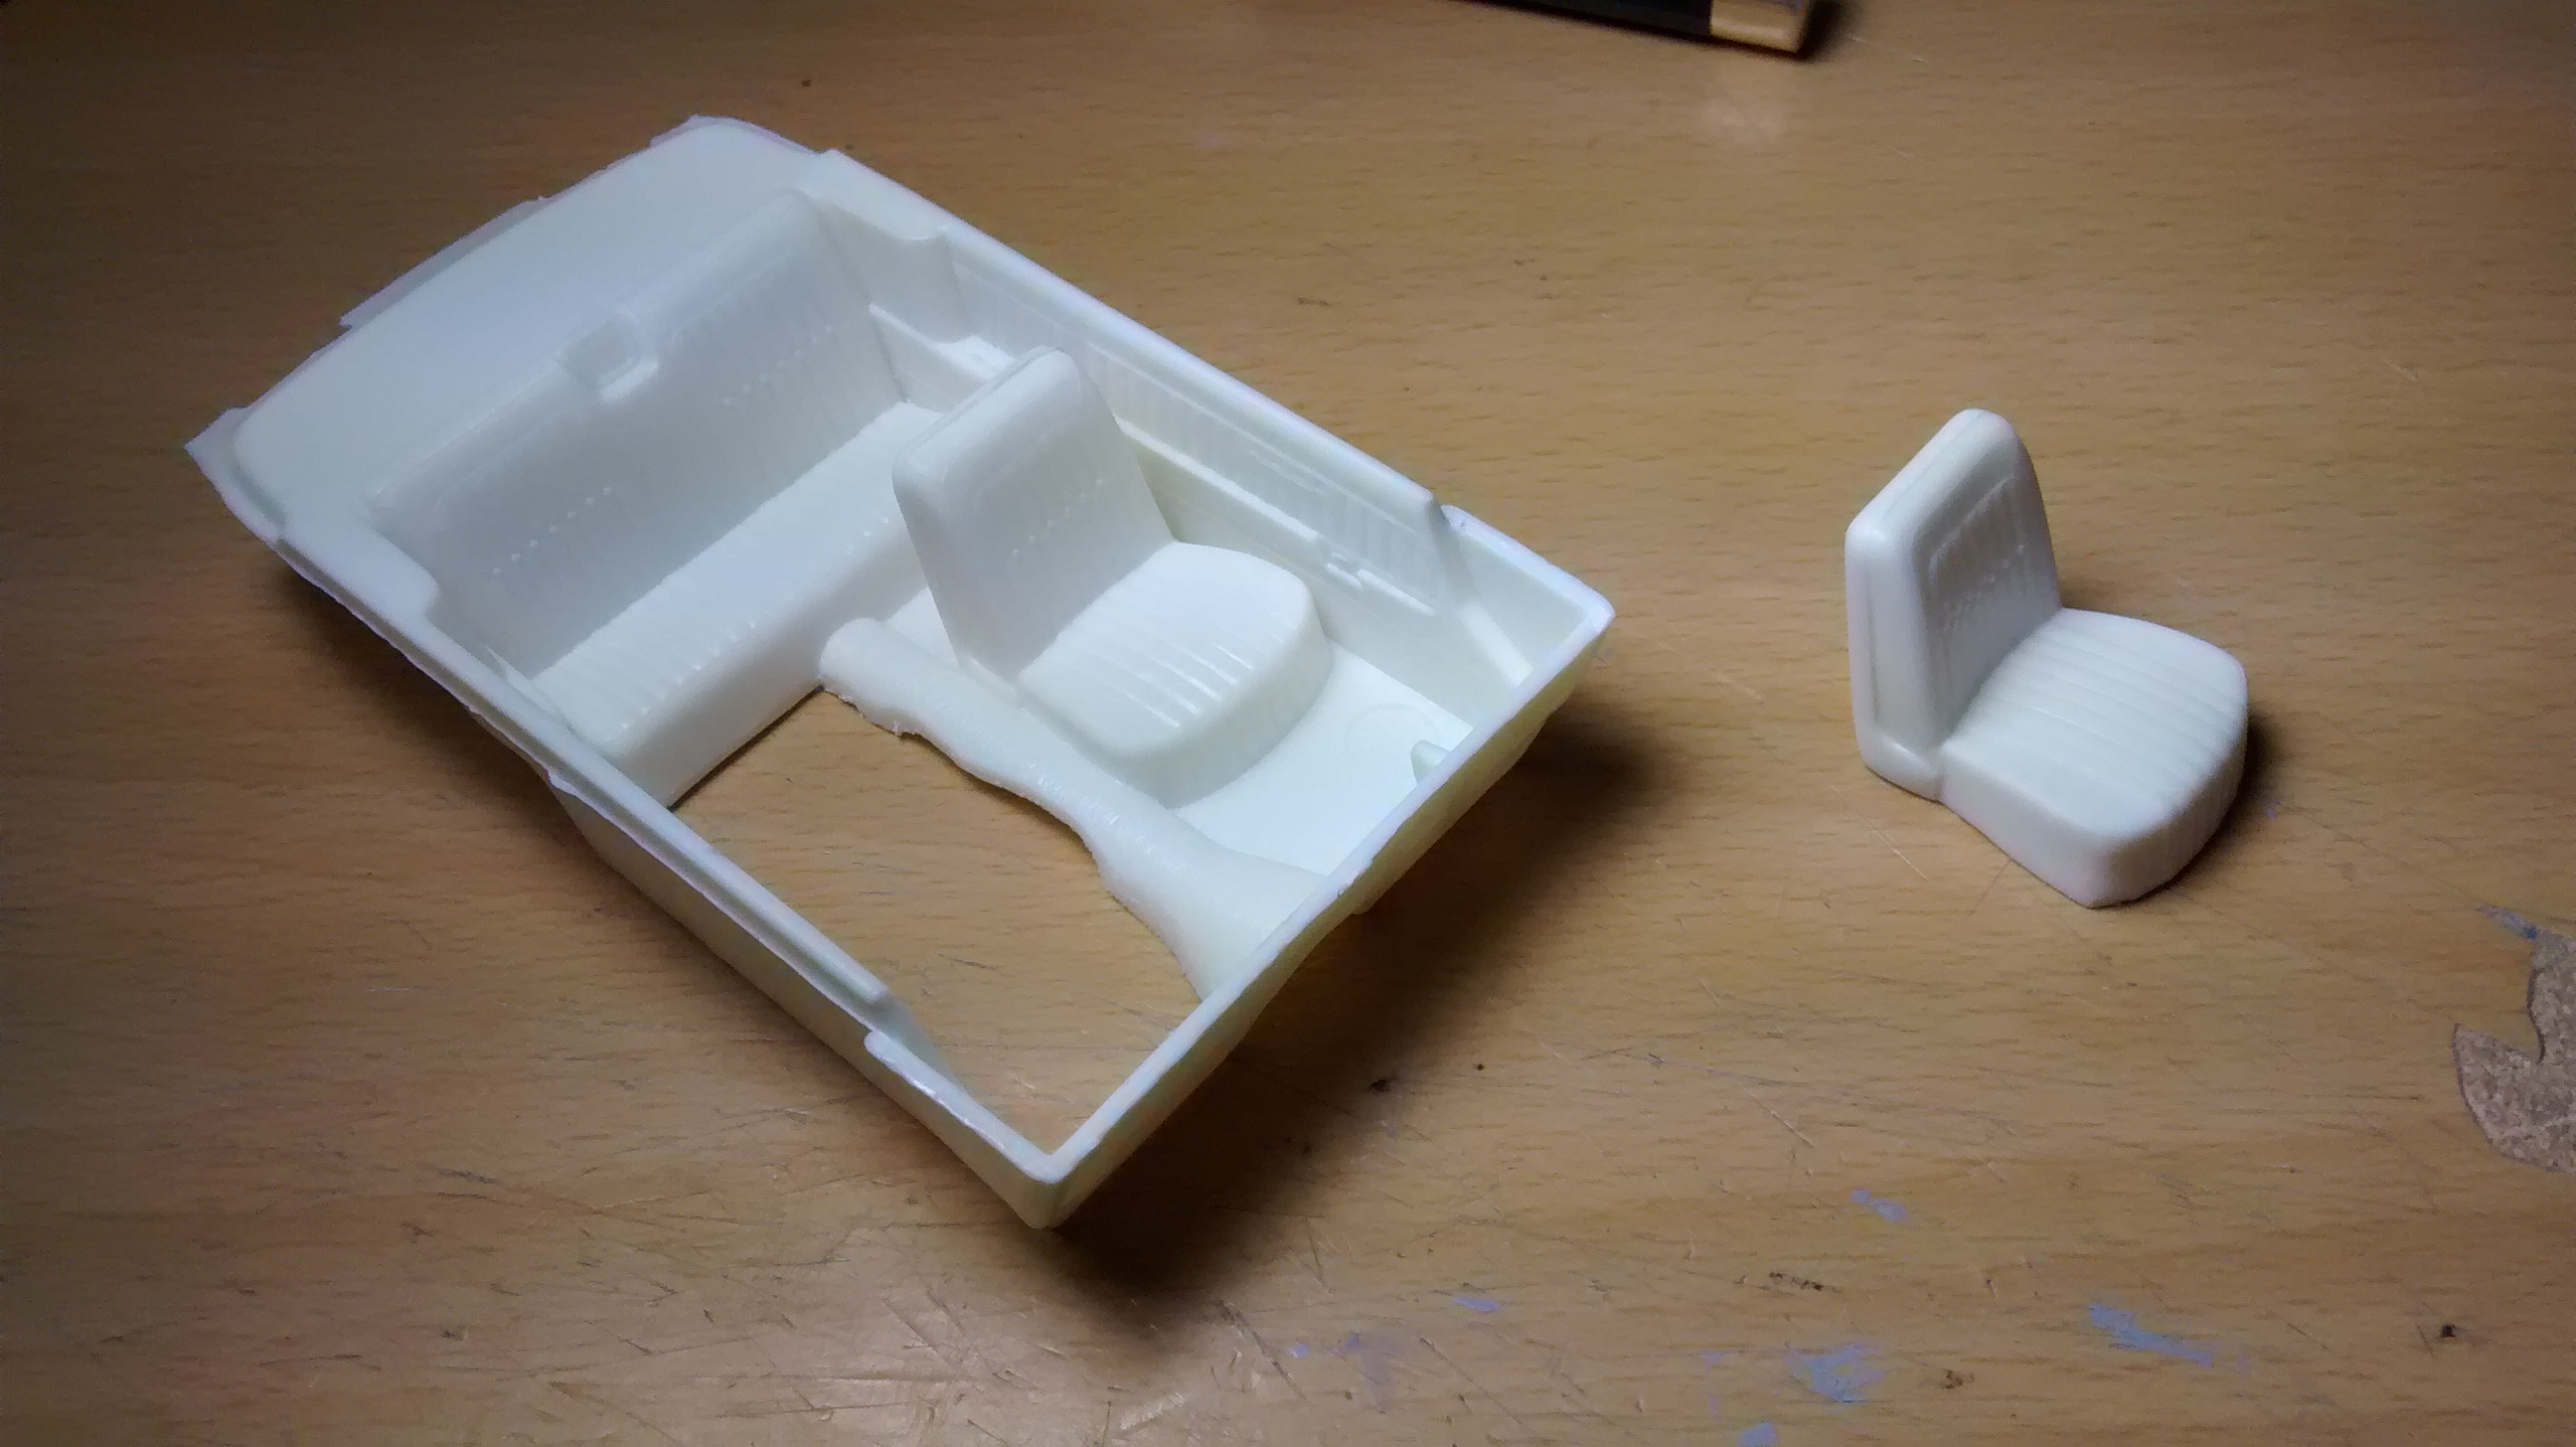
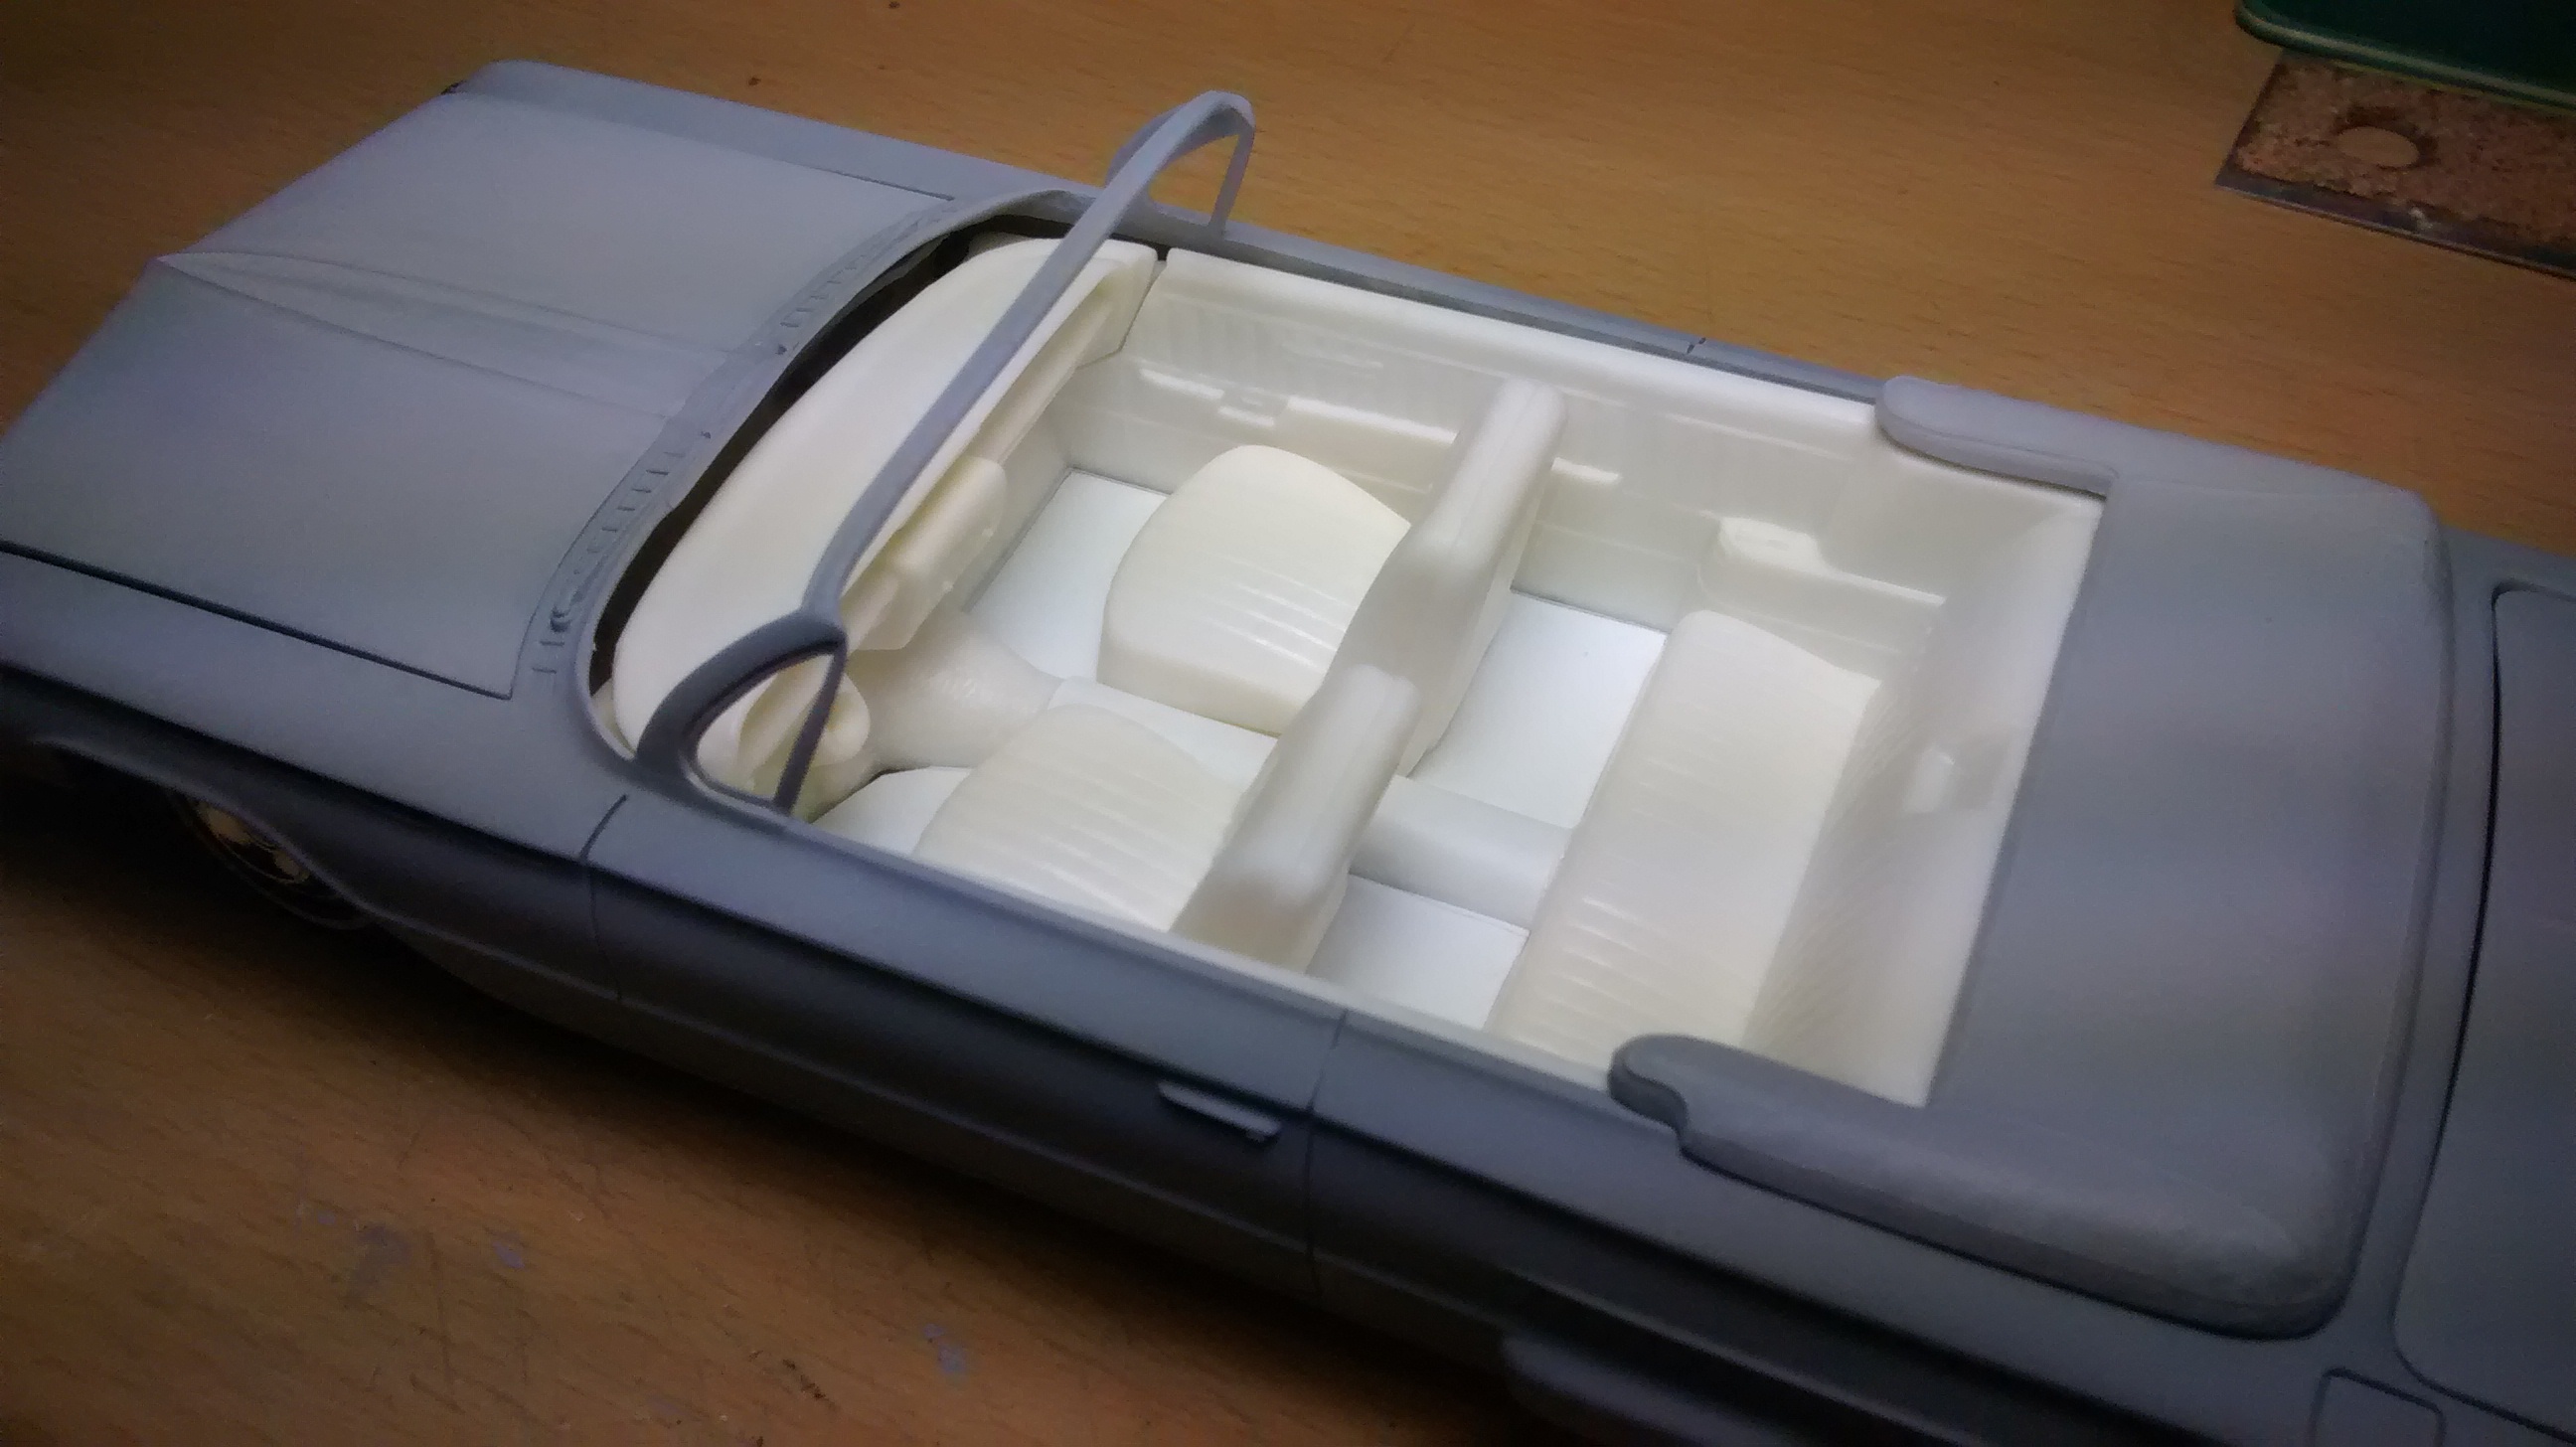
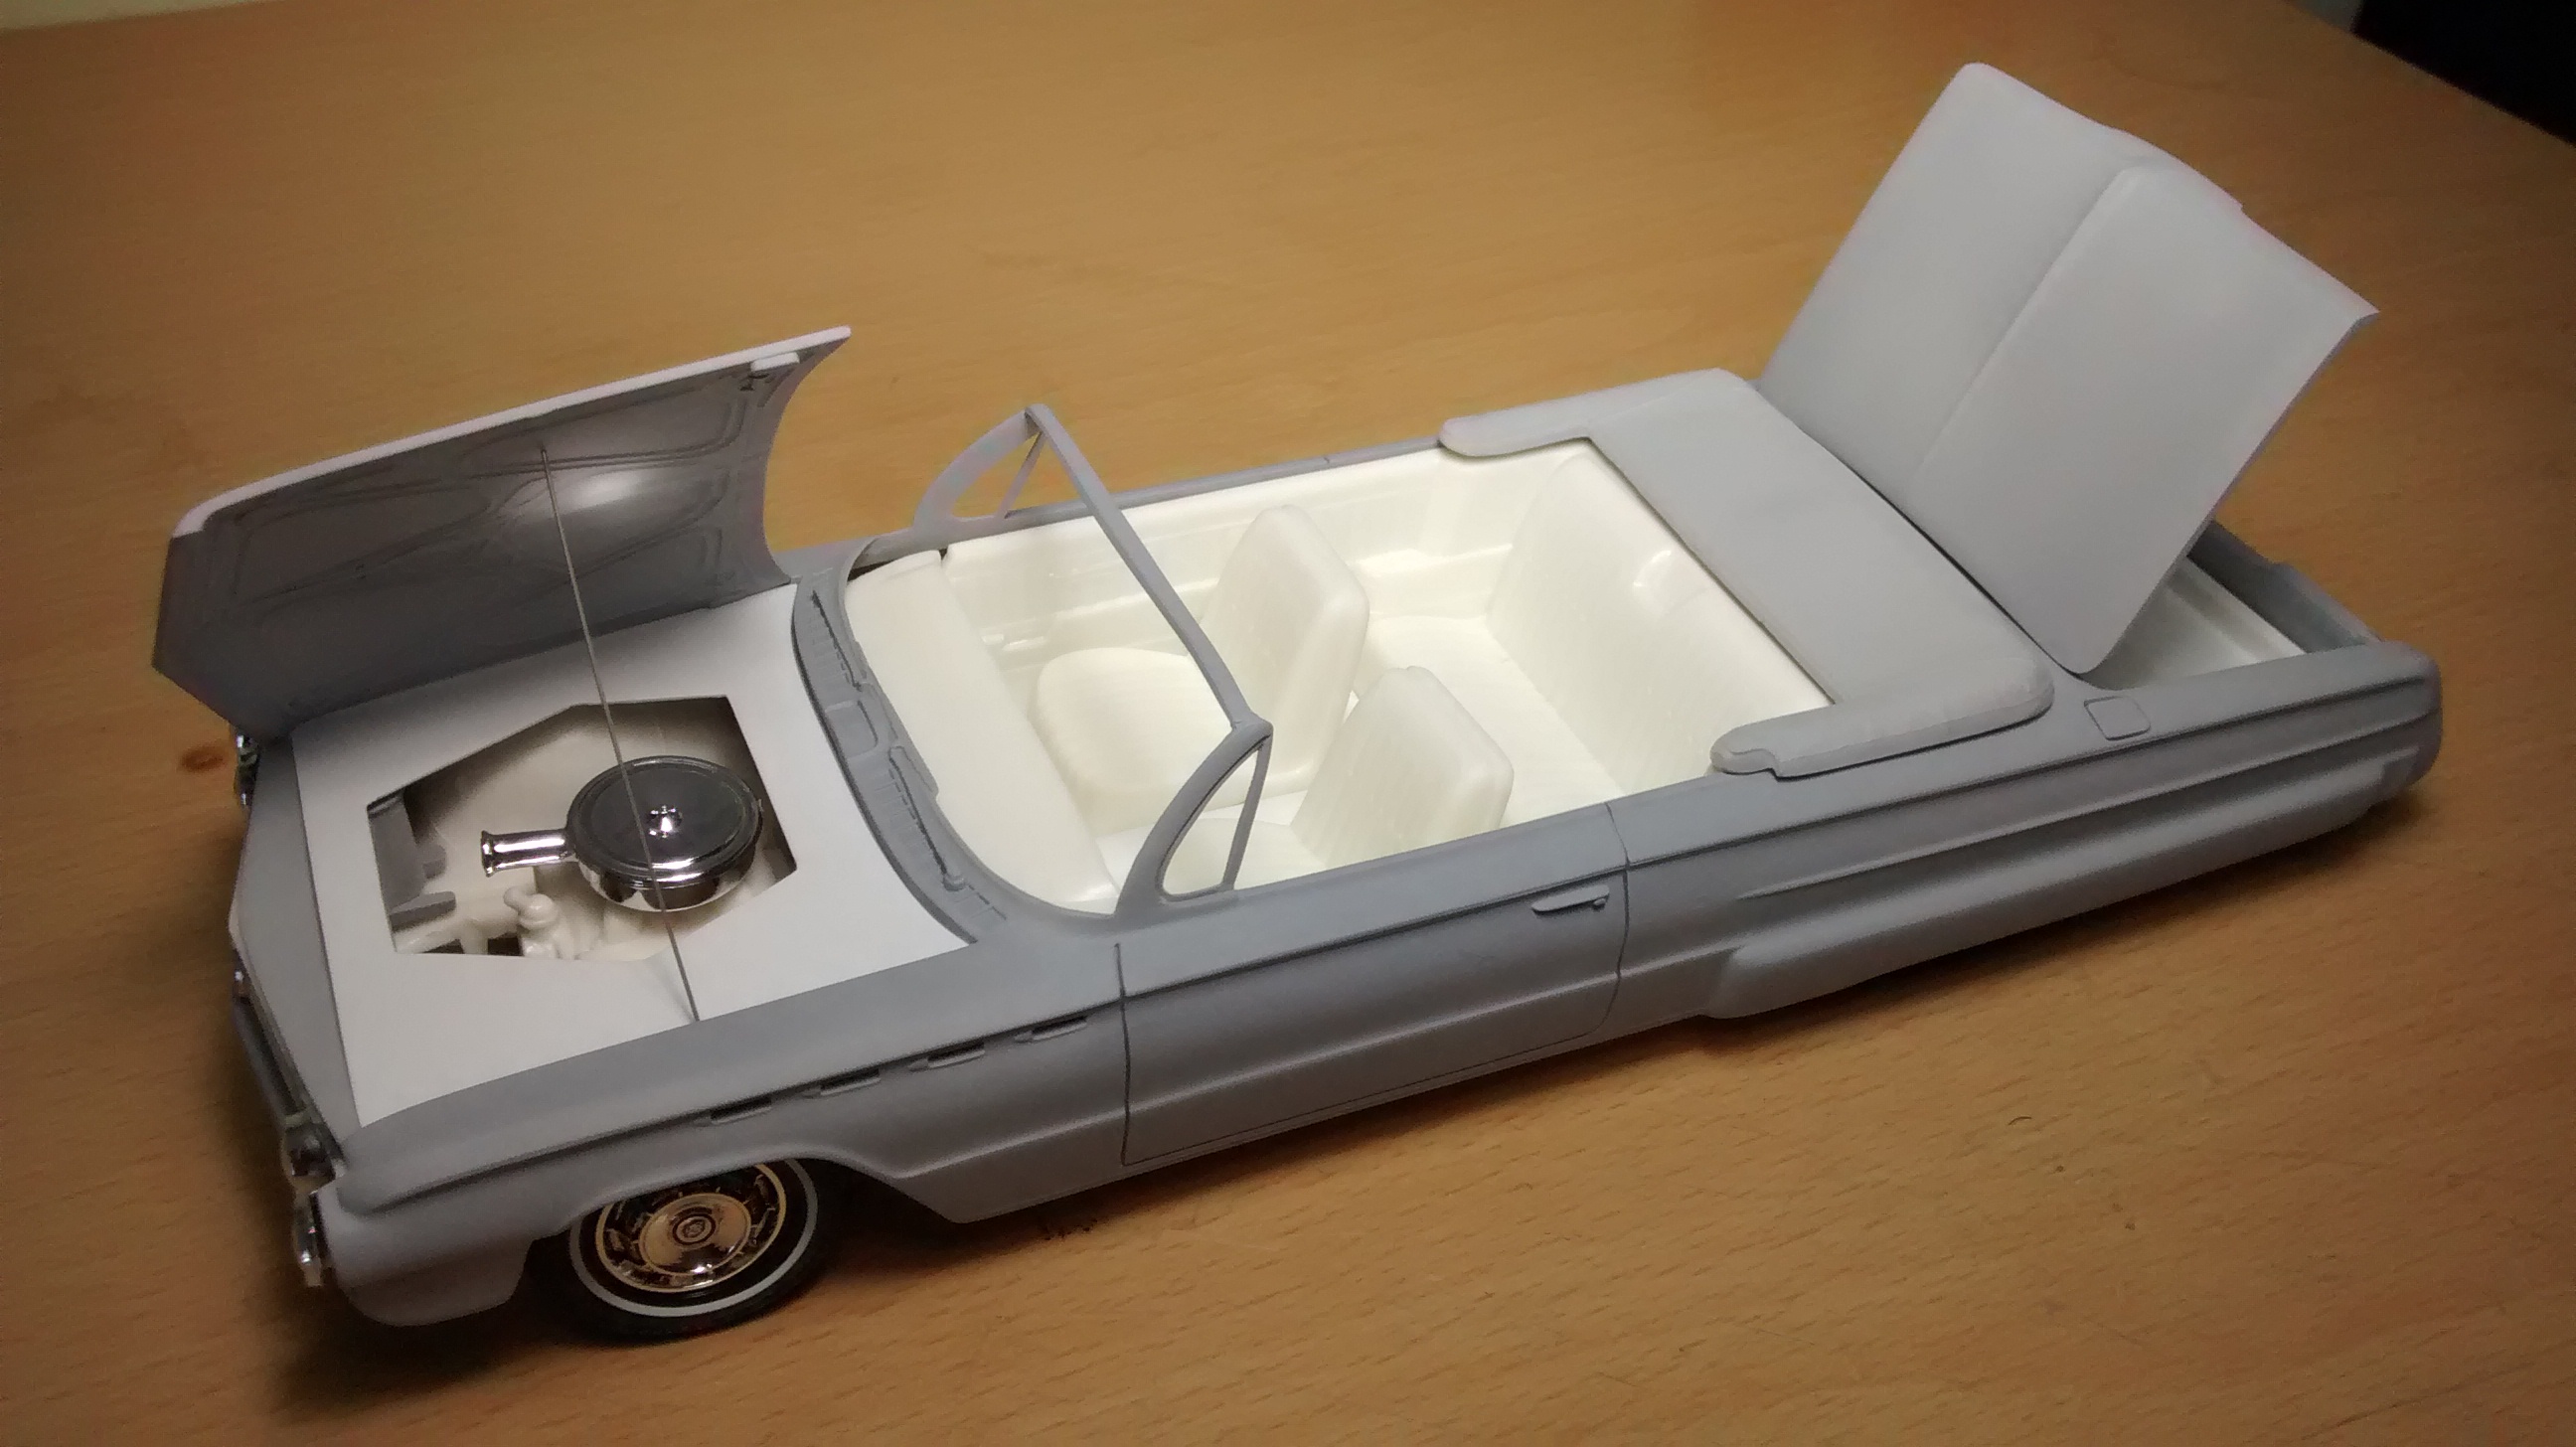
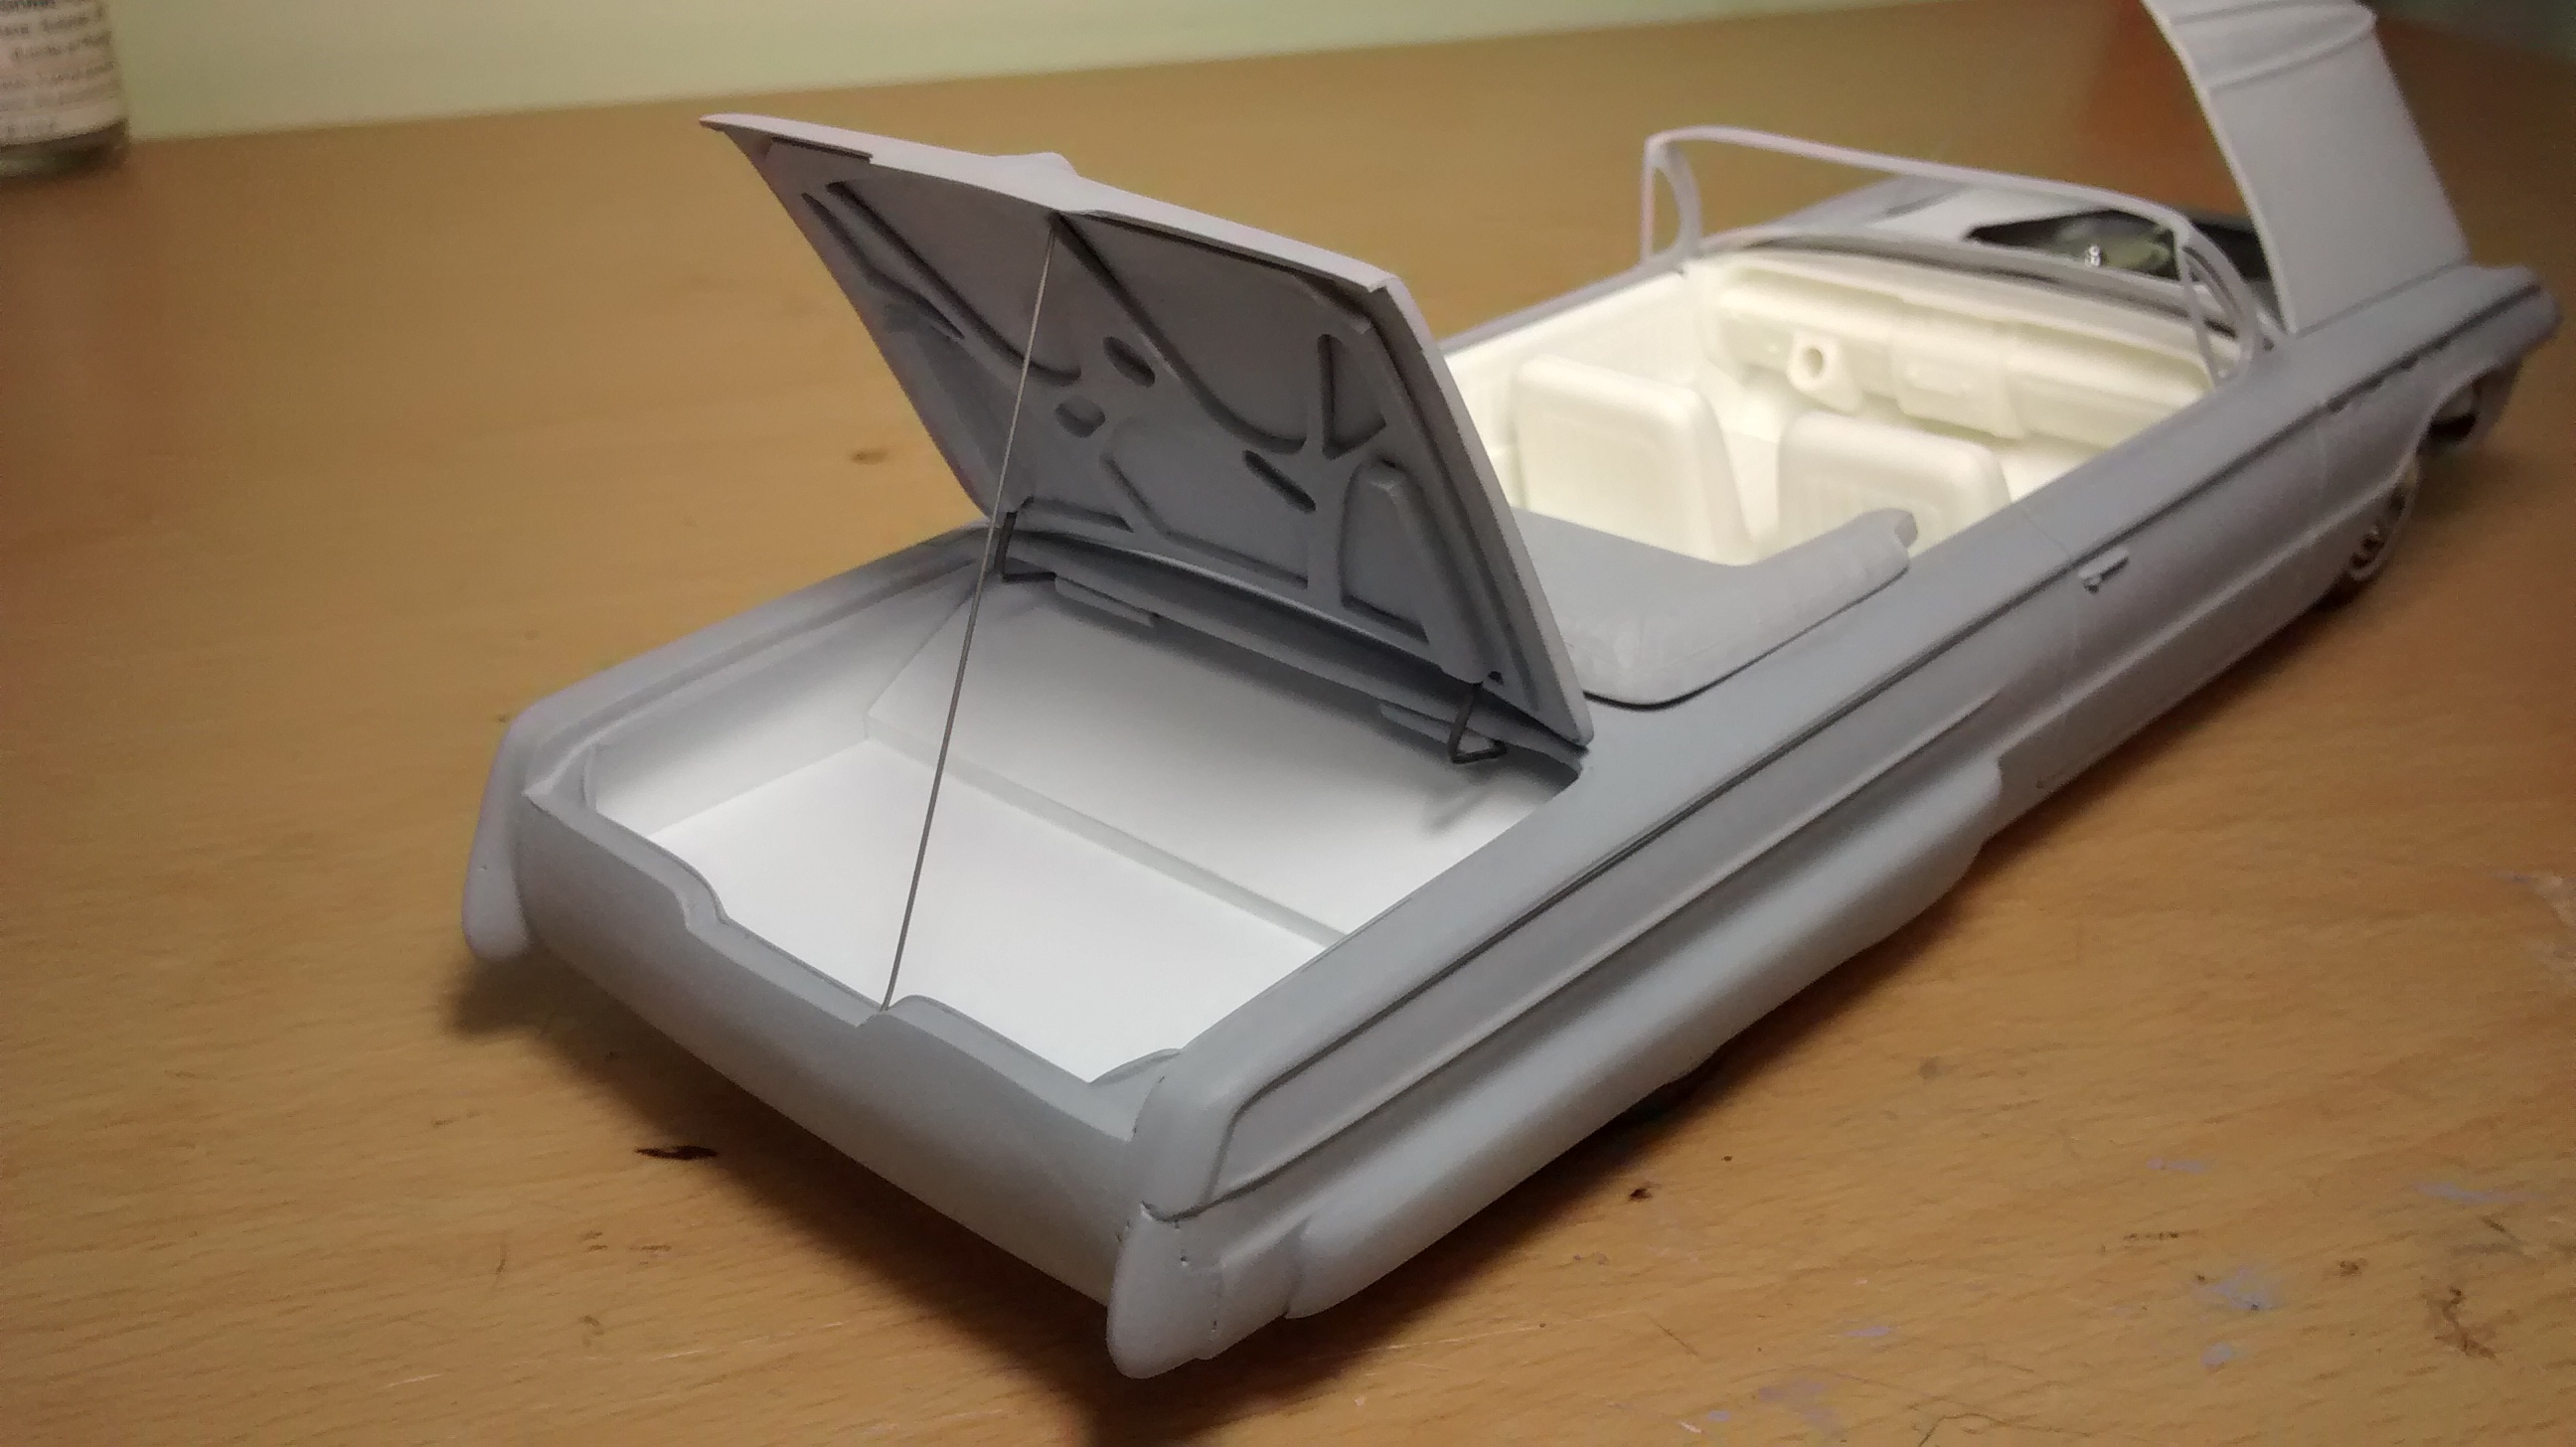
This is also another project that I have been working on for more than a year now. Unfortunately most of my stuff got ruined after Hurricane Maria hit us a few years ago so ended up working in a small table on the living room with was left of my workshop. This kit has some cool options for a custom build so I decided to go for a convertible look and chopped the top. I opened the trunk, added drip edges, some ribs on the trunk lid and completely erased the tail lights openings to add some frenched tail lights going forward. Build some custom panels for the trunk so I can get some power plants and speakers in there. Also added custom cover over the engine bay to hide the ugly stuff. The interior is all molded in one piece so to get some good two tone details on the upholstery I cut them out and build a new floor pan with styrene. I think I will use the white walls with the chrome rims... Lot of ideas so hopefully it will turn out pretty... Hope you like it and Thanks for looking.
-
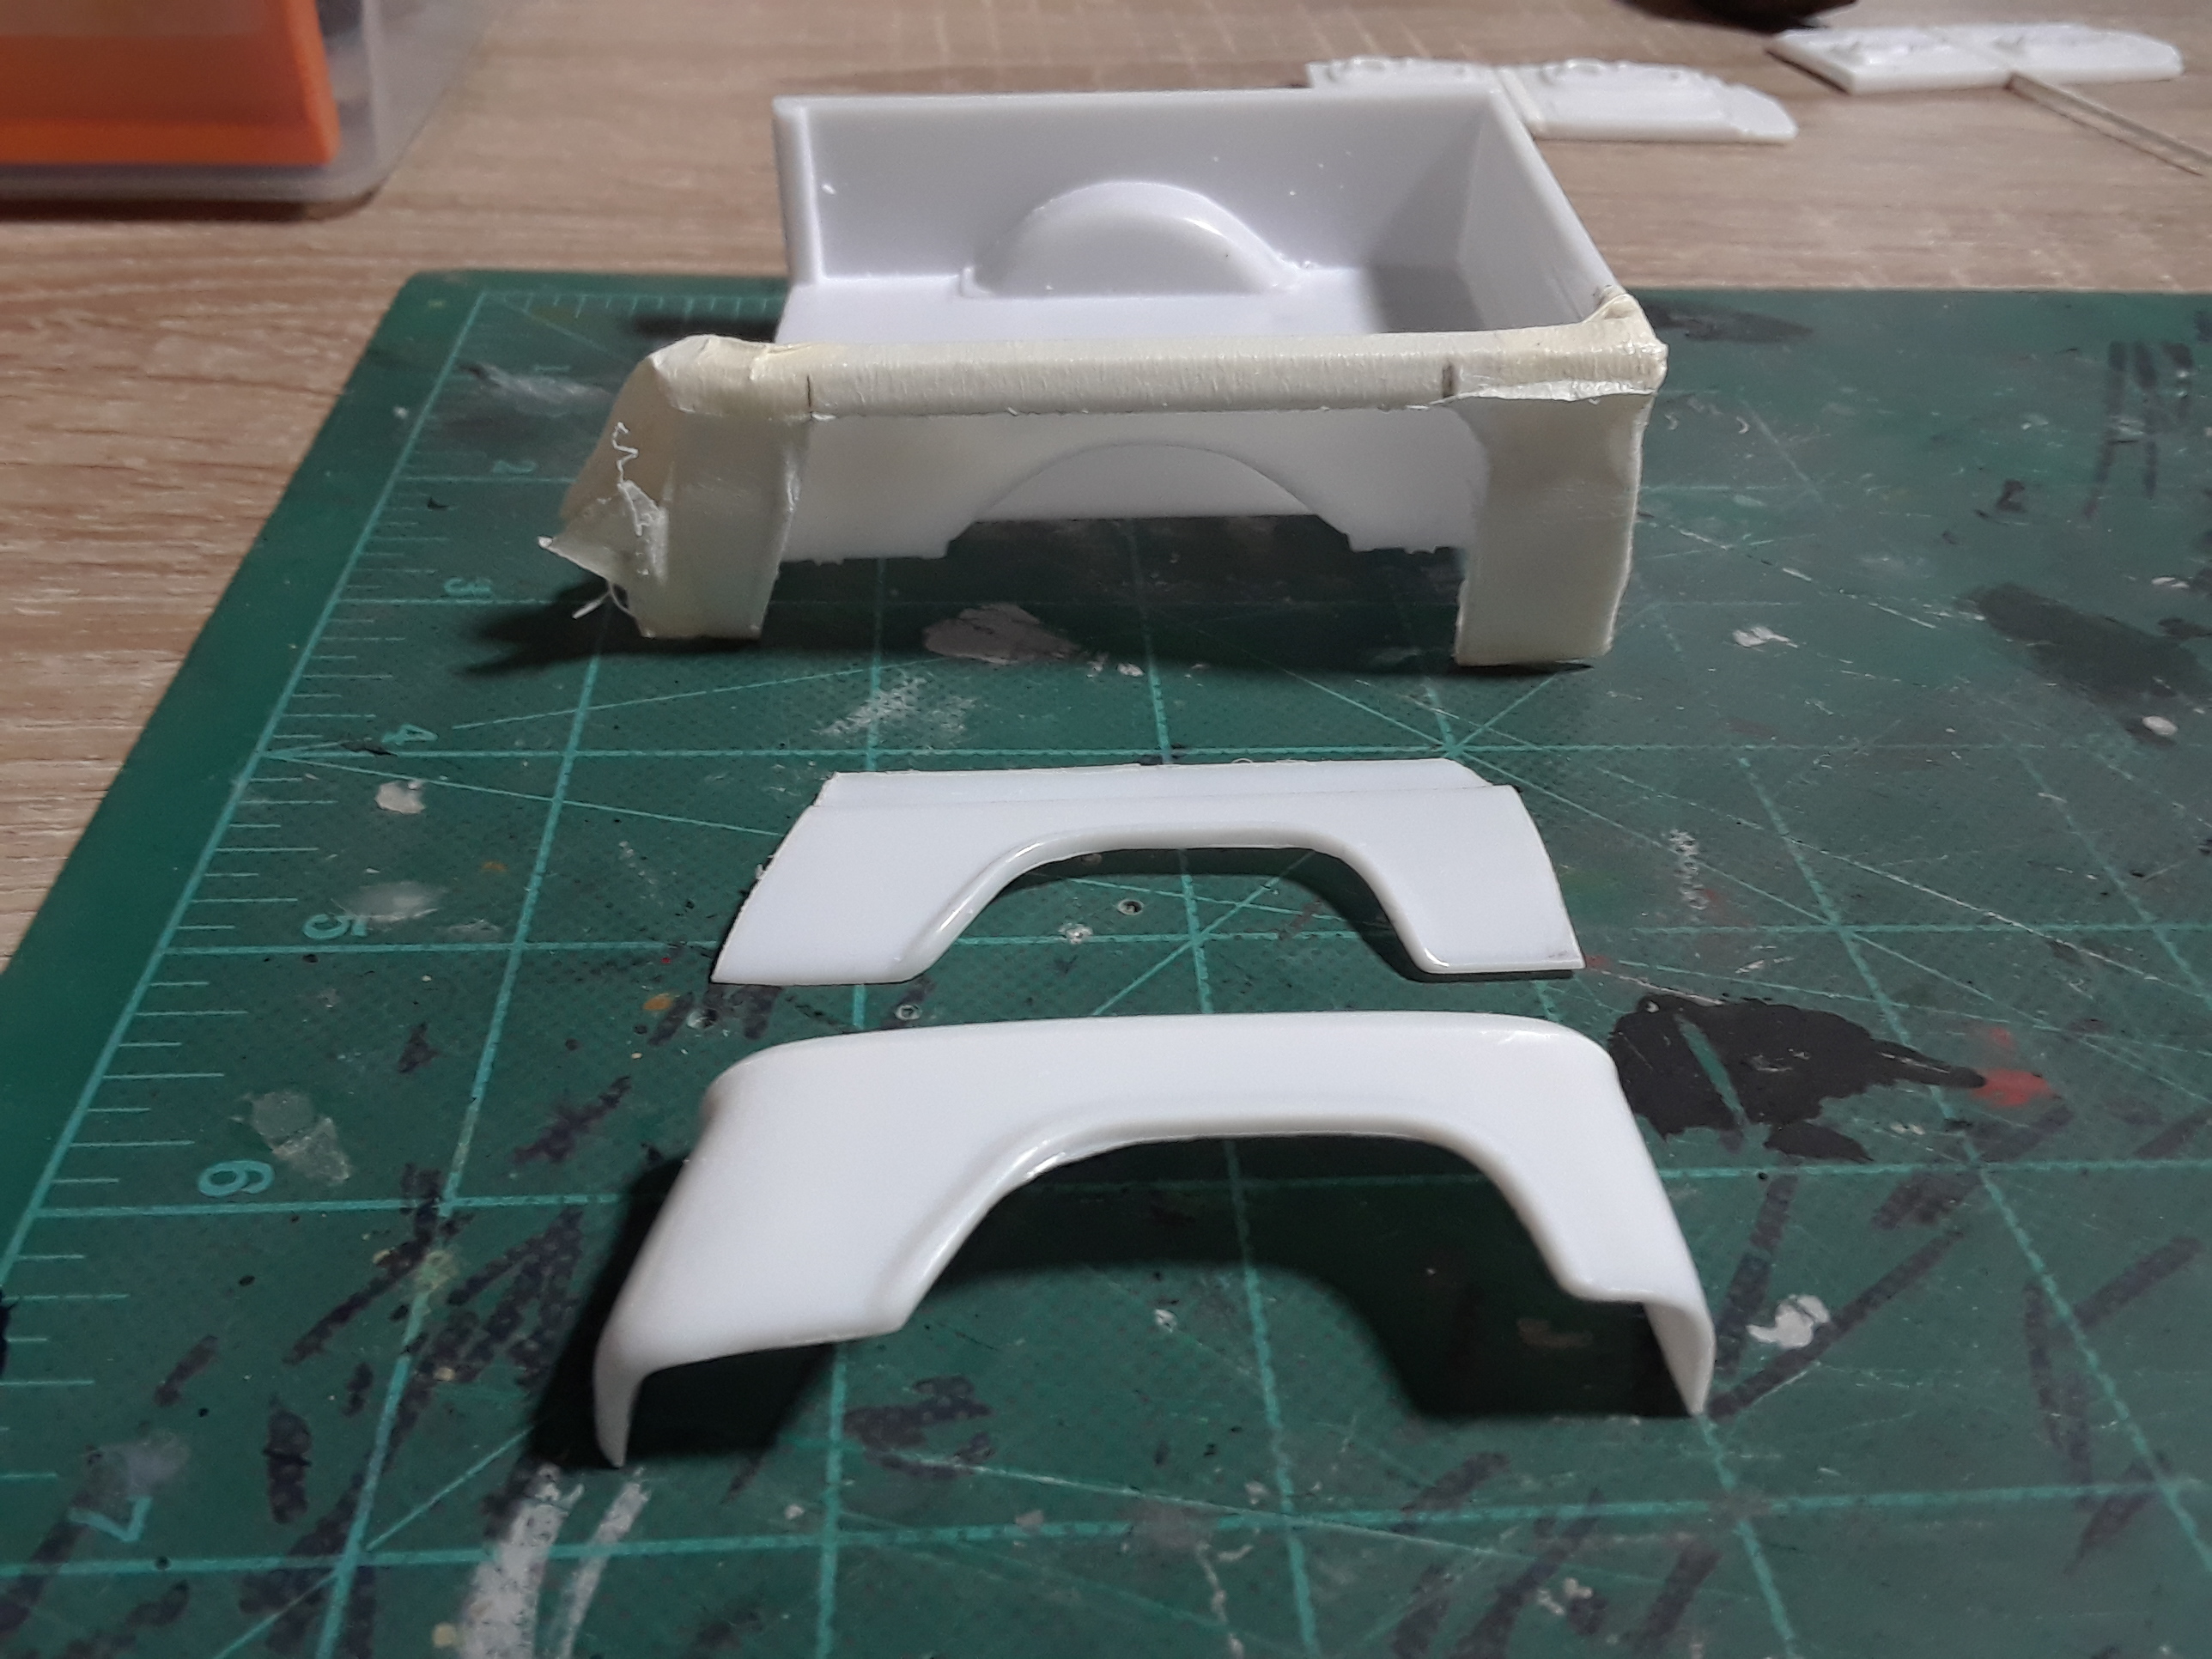
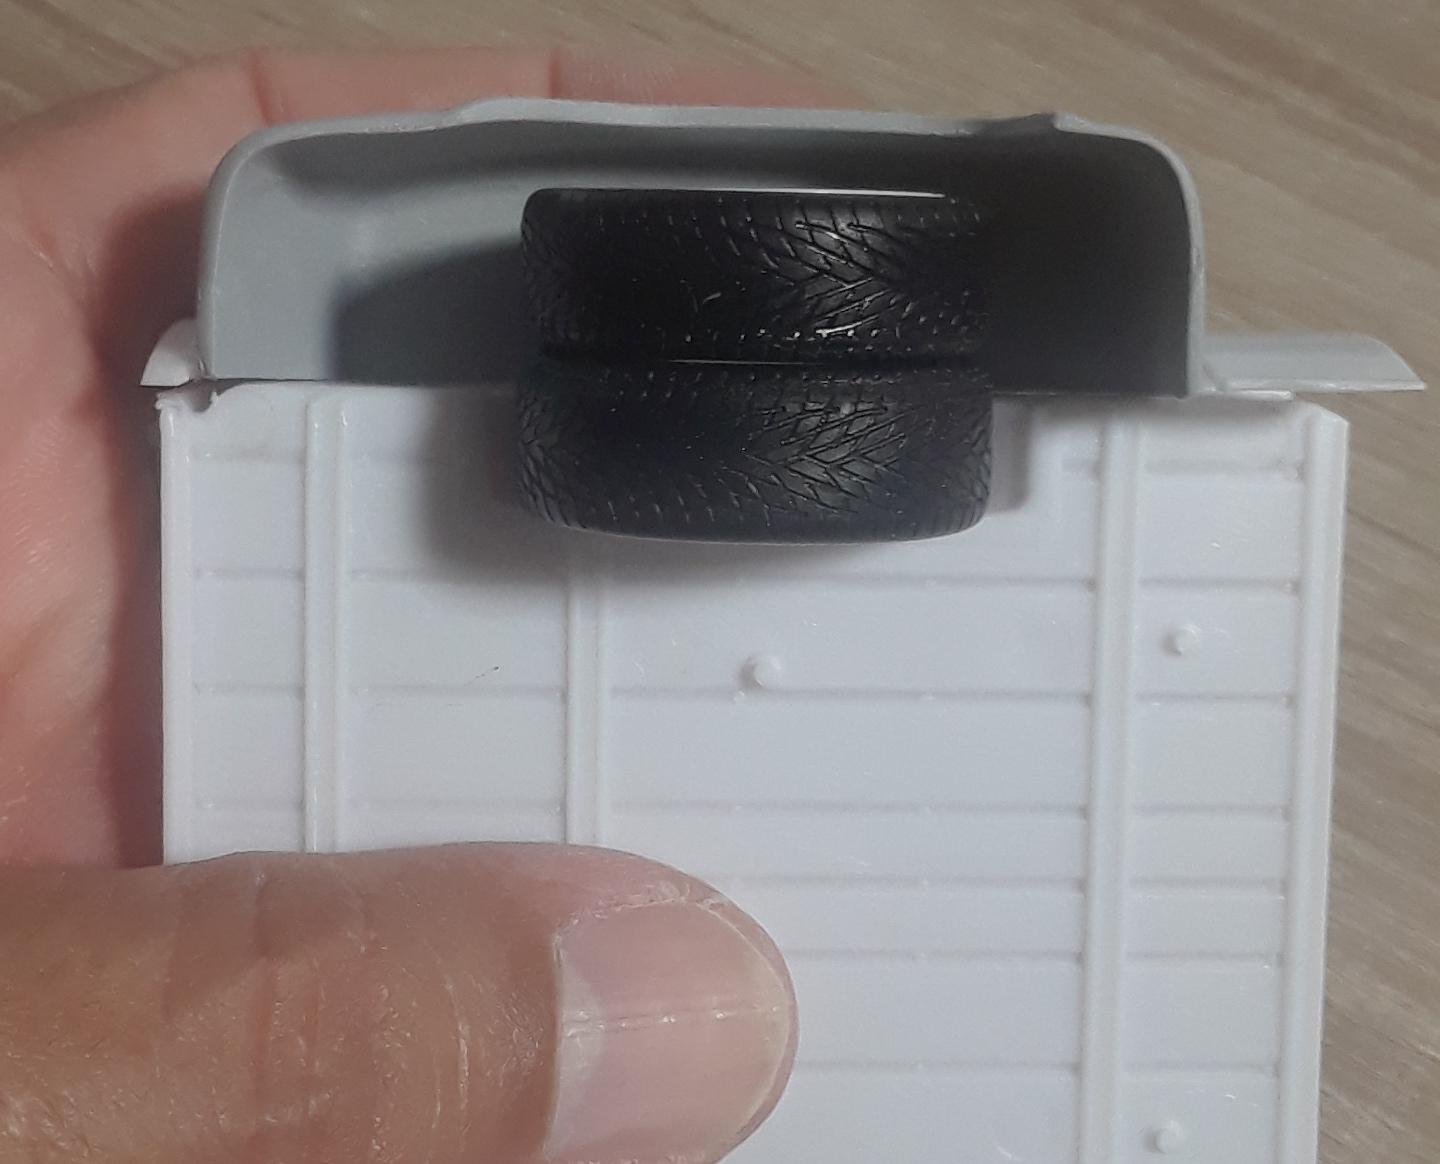
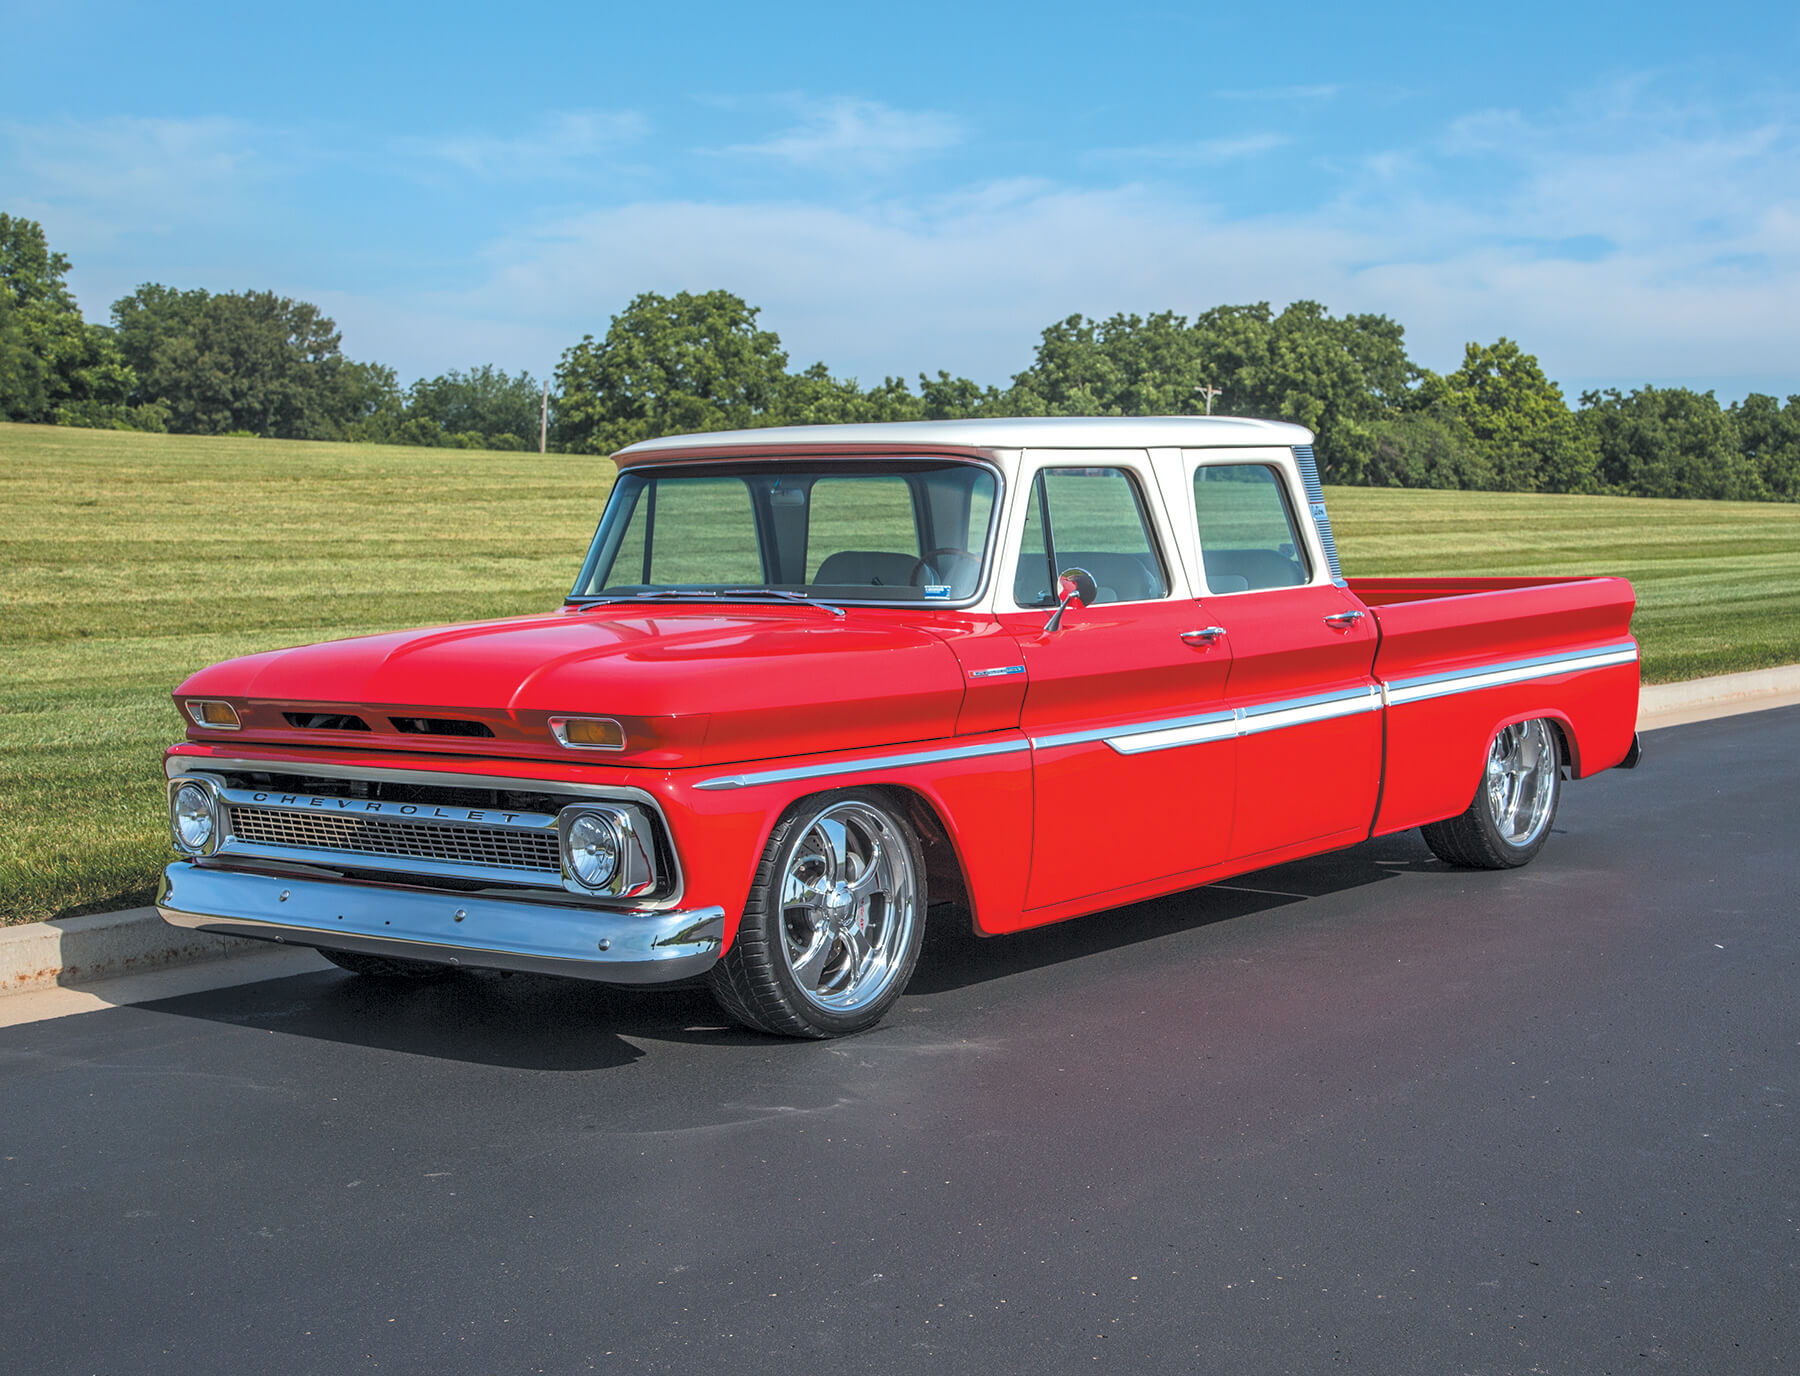
This picture is the reference of what I am trying to accomplish, but without the side trim. I like the color scheme but really haven't decided yet. Here is some progress of the Short Dually bed. These are old pics, just part of the actual progress of the build. I have two sets of rims that you will see below, but still have to cut the bed wheel wells to set them in the right stance. For the dually I want the "bagged" look, just a hair above ground. I have to cast the cab first and then cut the inner fenders, this way I will not sacrifice the original cab I will use for the master cast. Hope you like it and thanks for looking!!
-
Thanks Roy!! It is definitely hard to set some time for the workbench... Too many things going on and between work and family sometimes one can barely make it happen. I have been working on this one for more than a year now, so hopefully I will be able to finish it soon.
-
Great Job on this one brother!!! A ton of work to get there... but really rewarding in the end. Once all is glued and painted sometimes is hard to tell how much work was put into it... 👍
-
Thank you all for your comments!!! I am glad you like it so far!!! Dan, Thank you for moving the post to the correct forum. I apologize, I didn't realize I was on the wrong spot when posting...
-
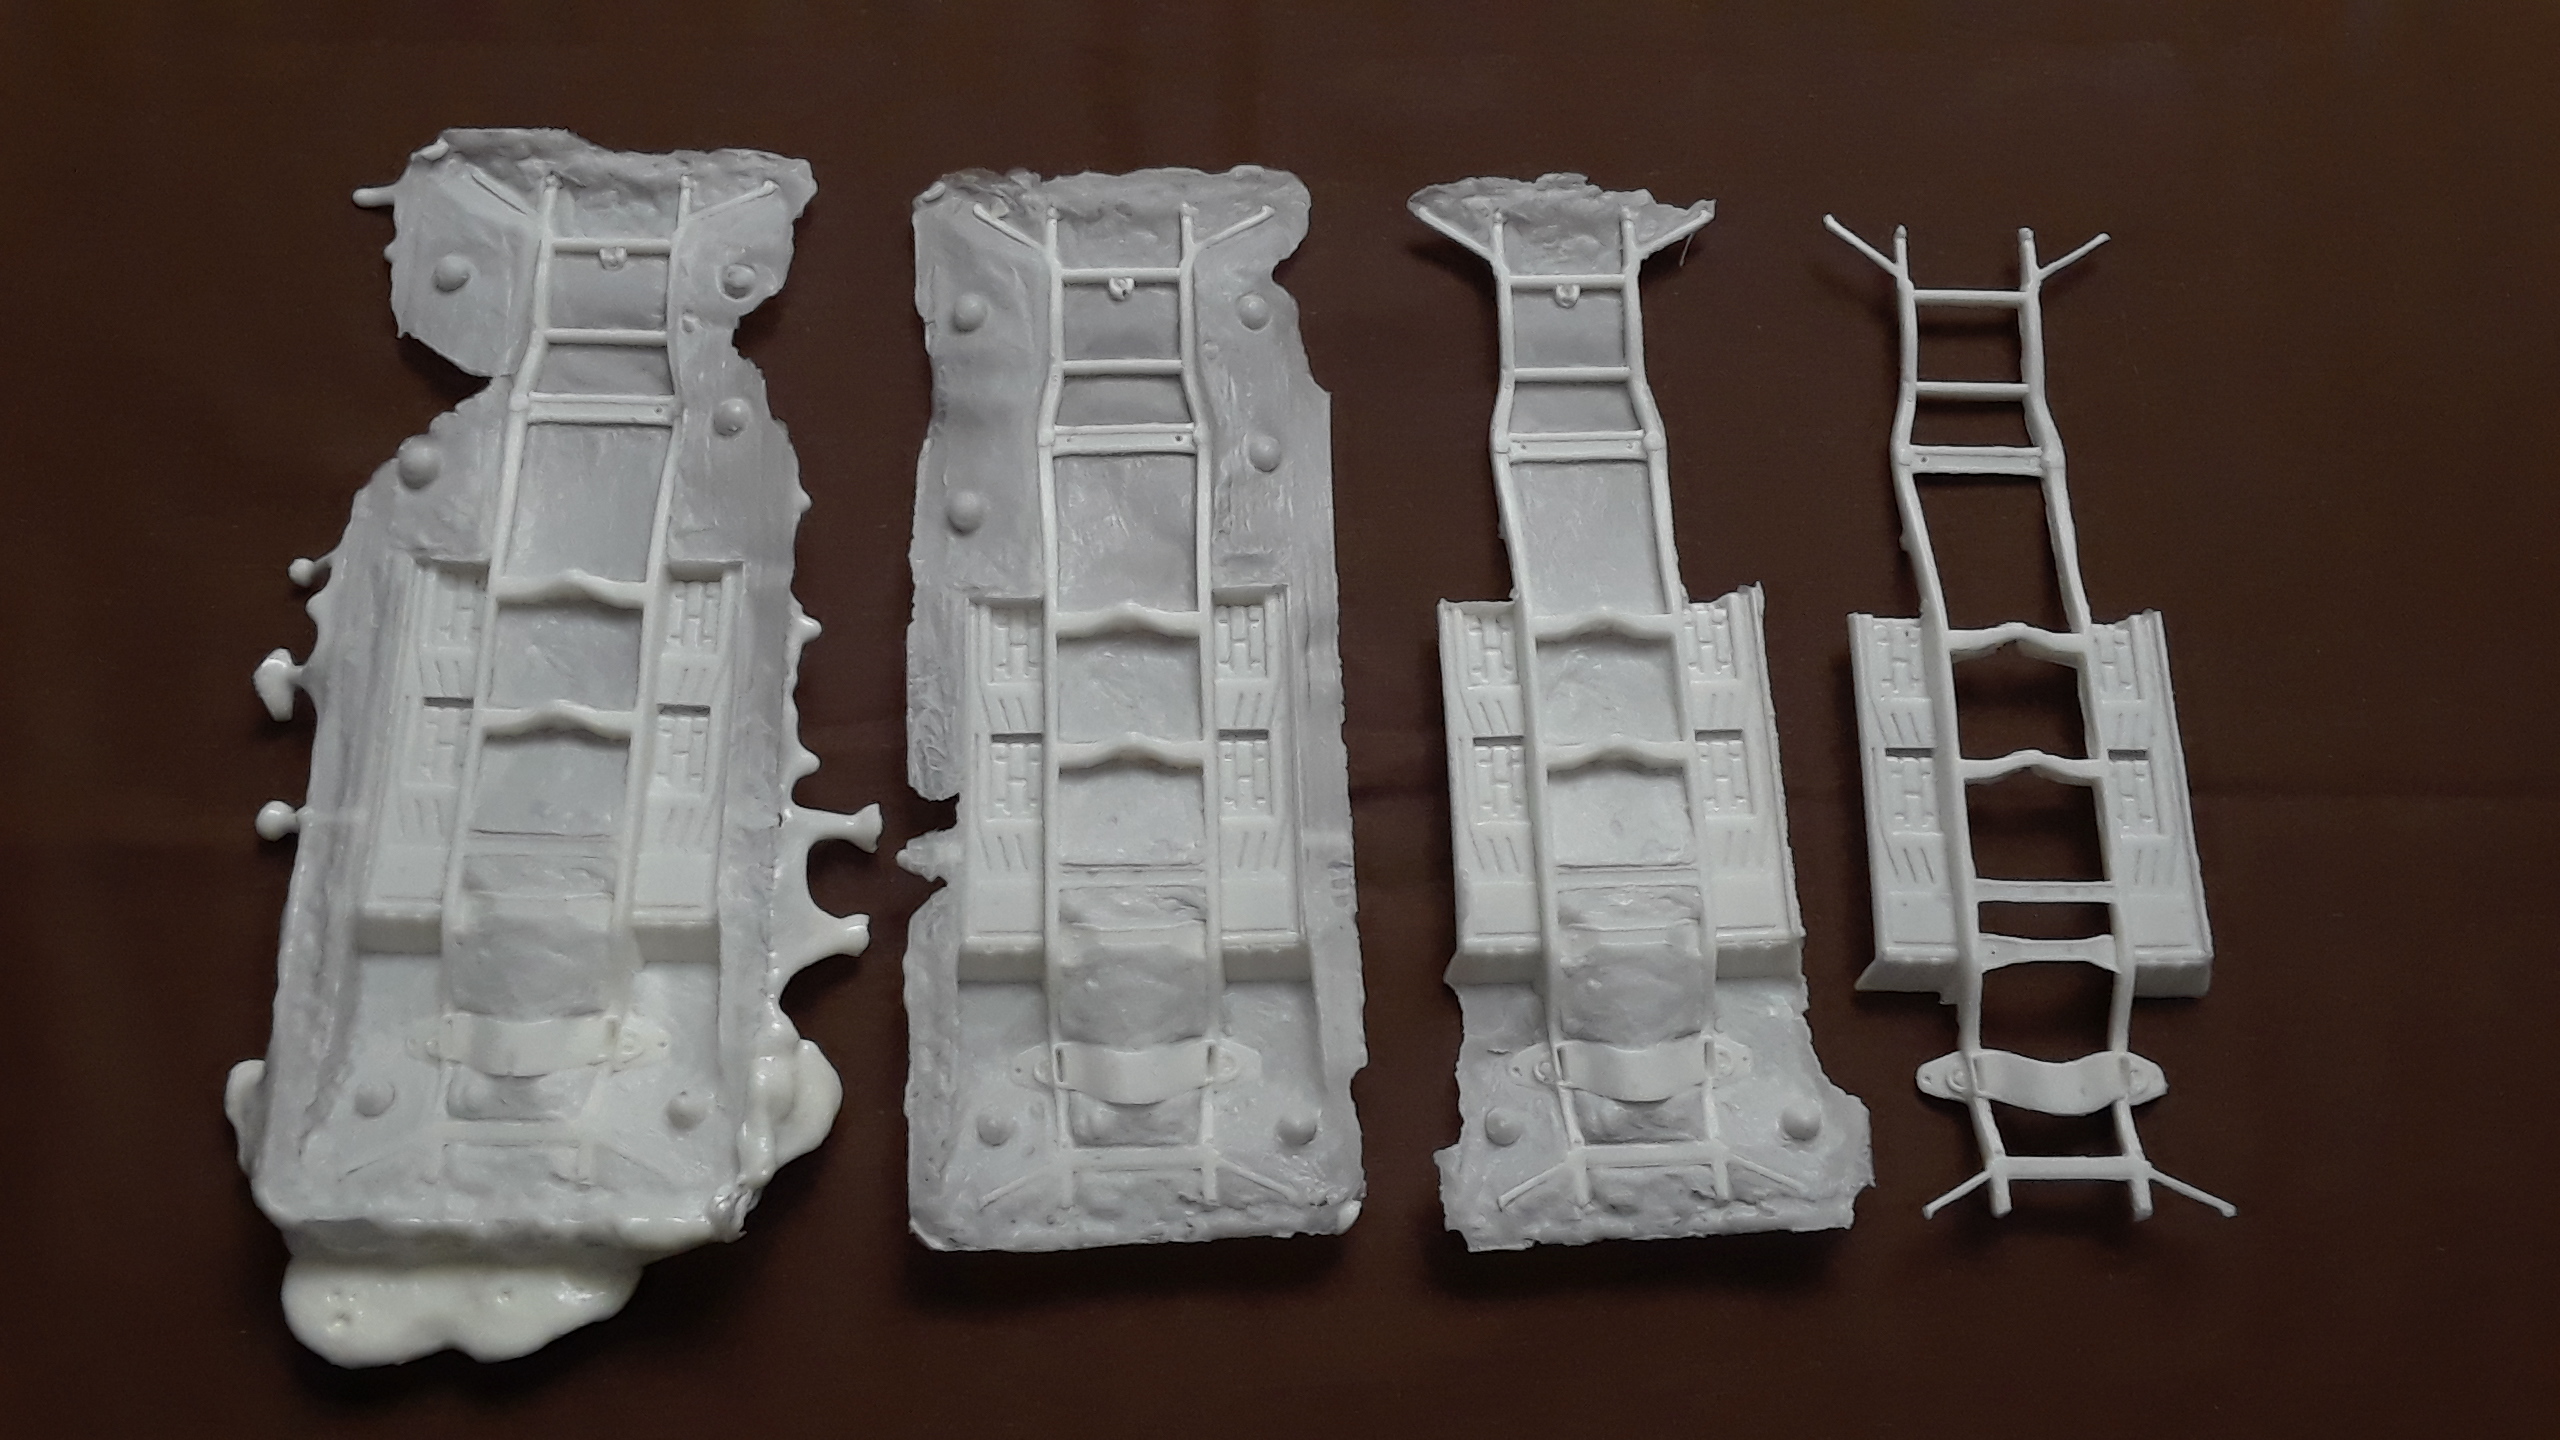
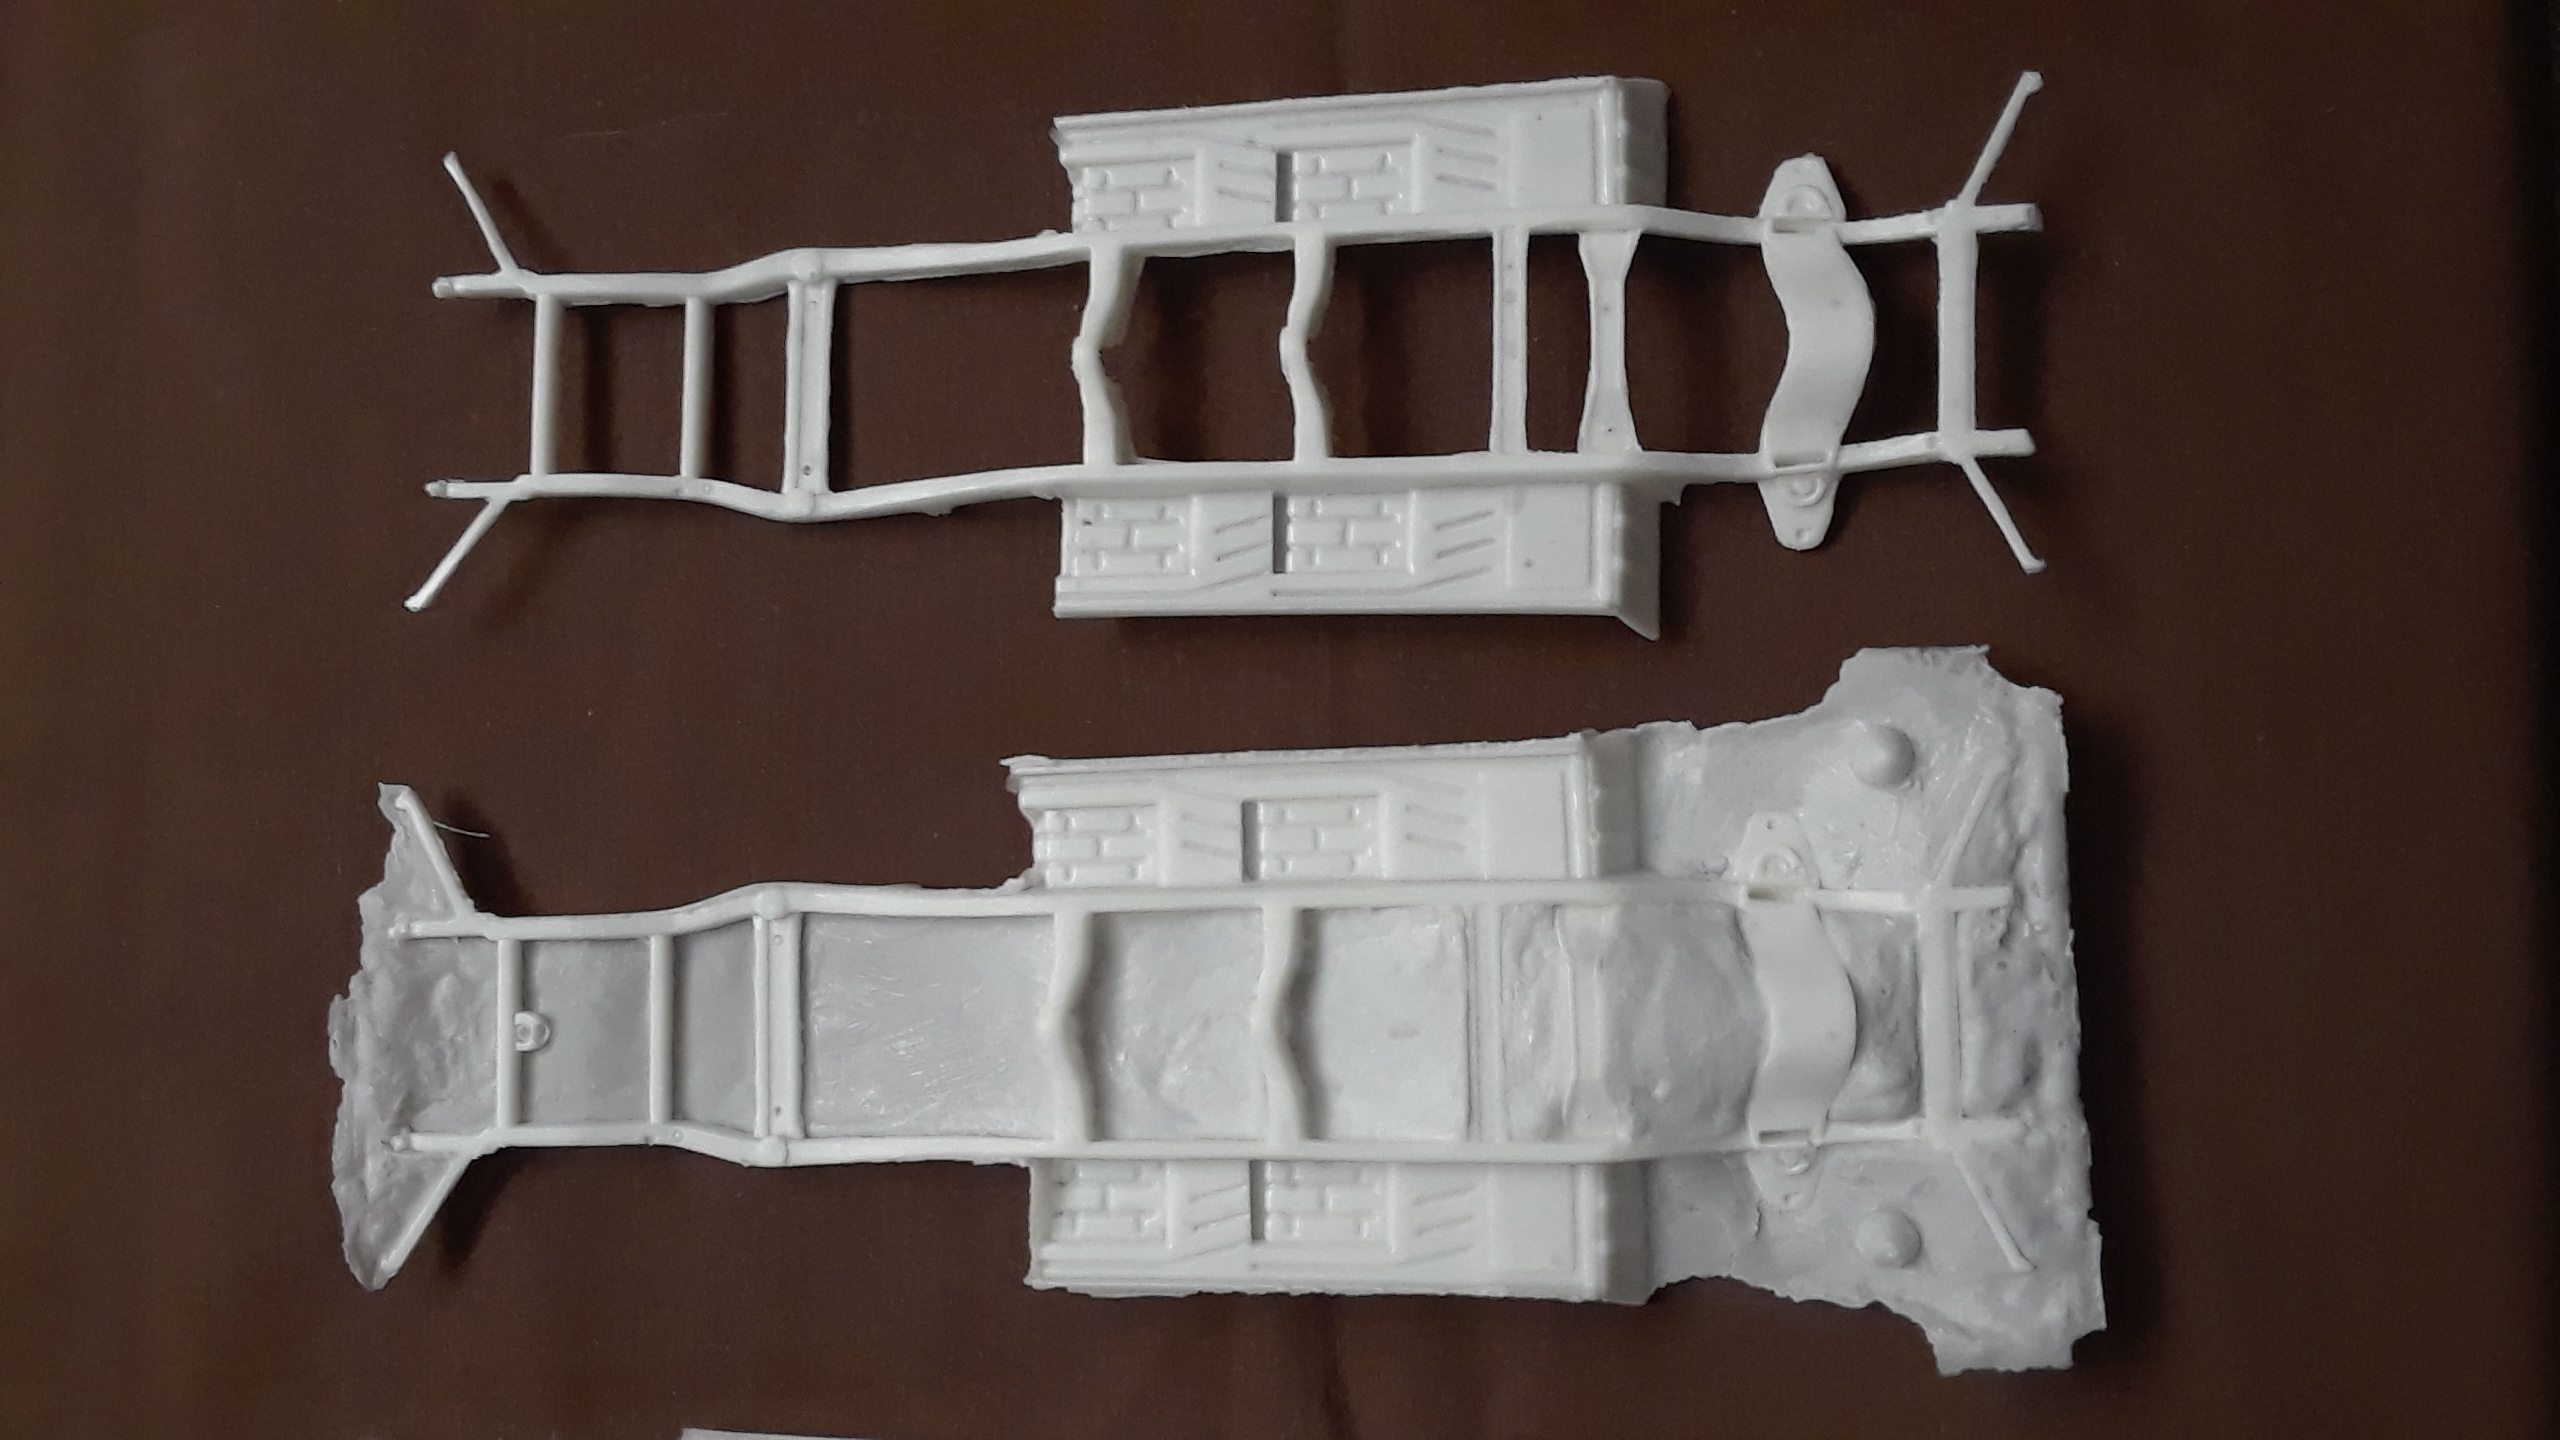
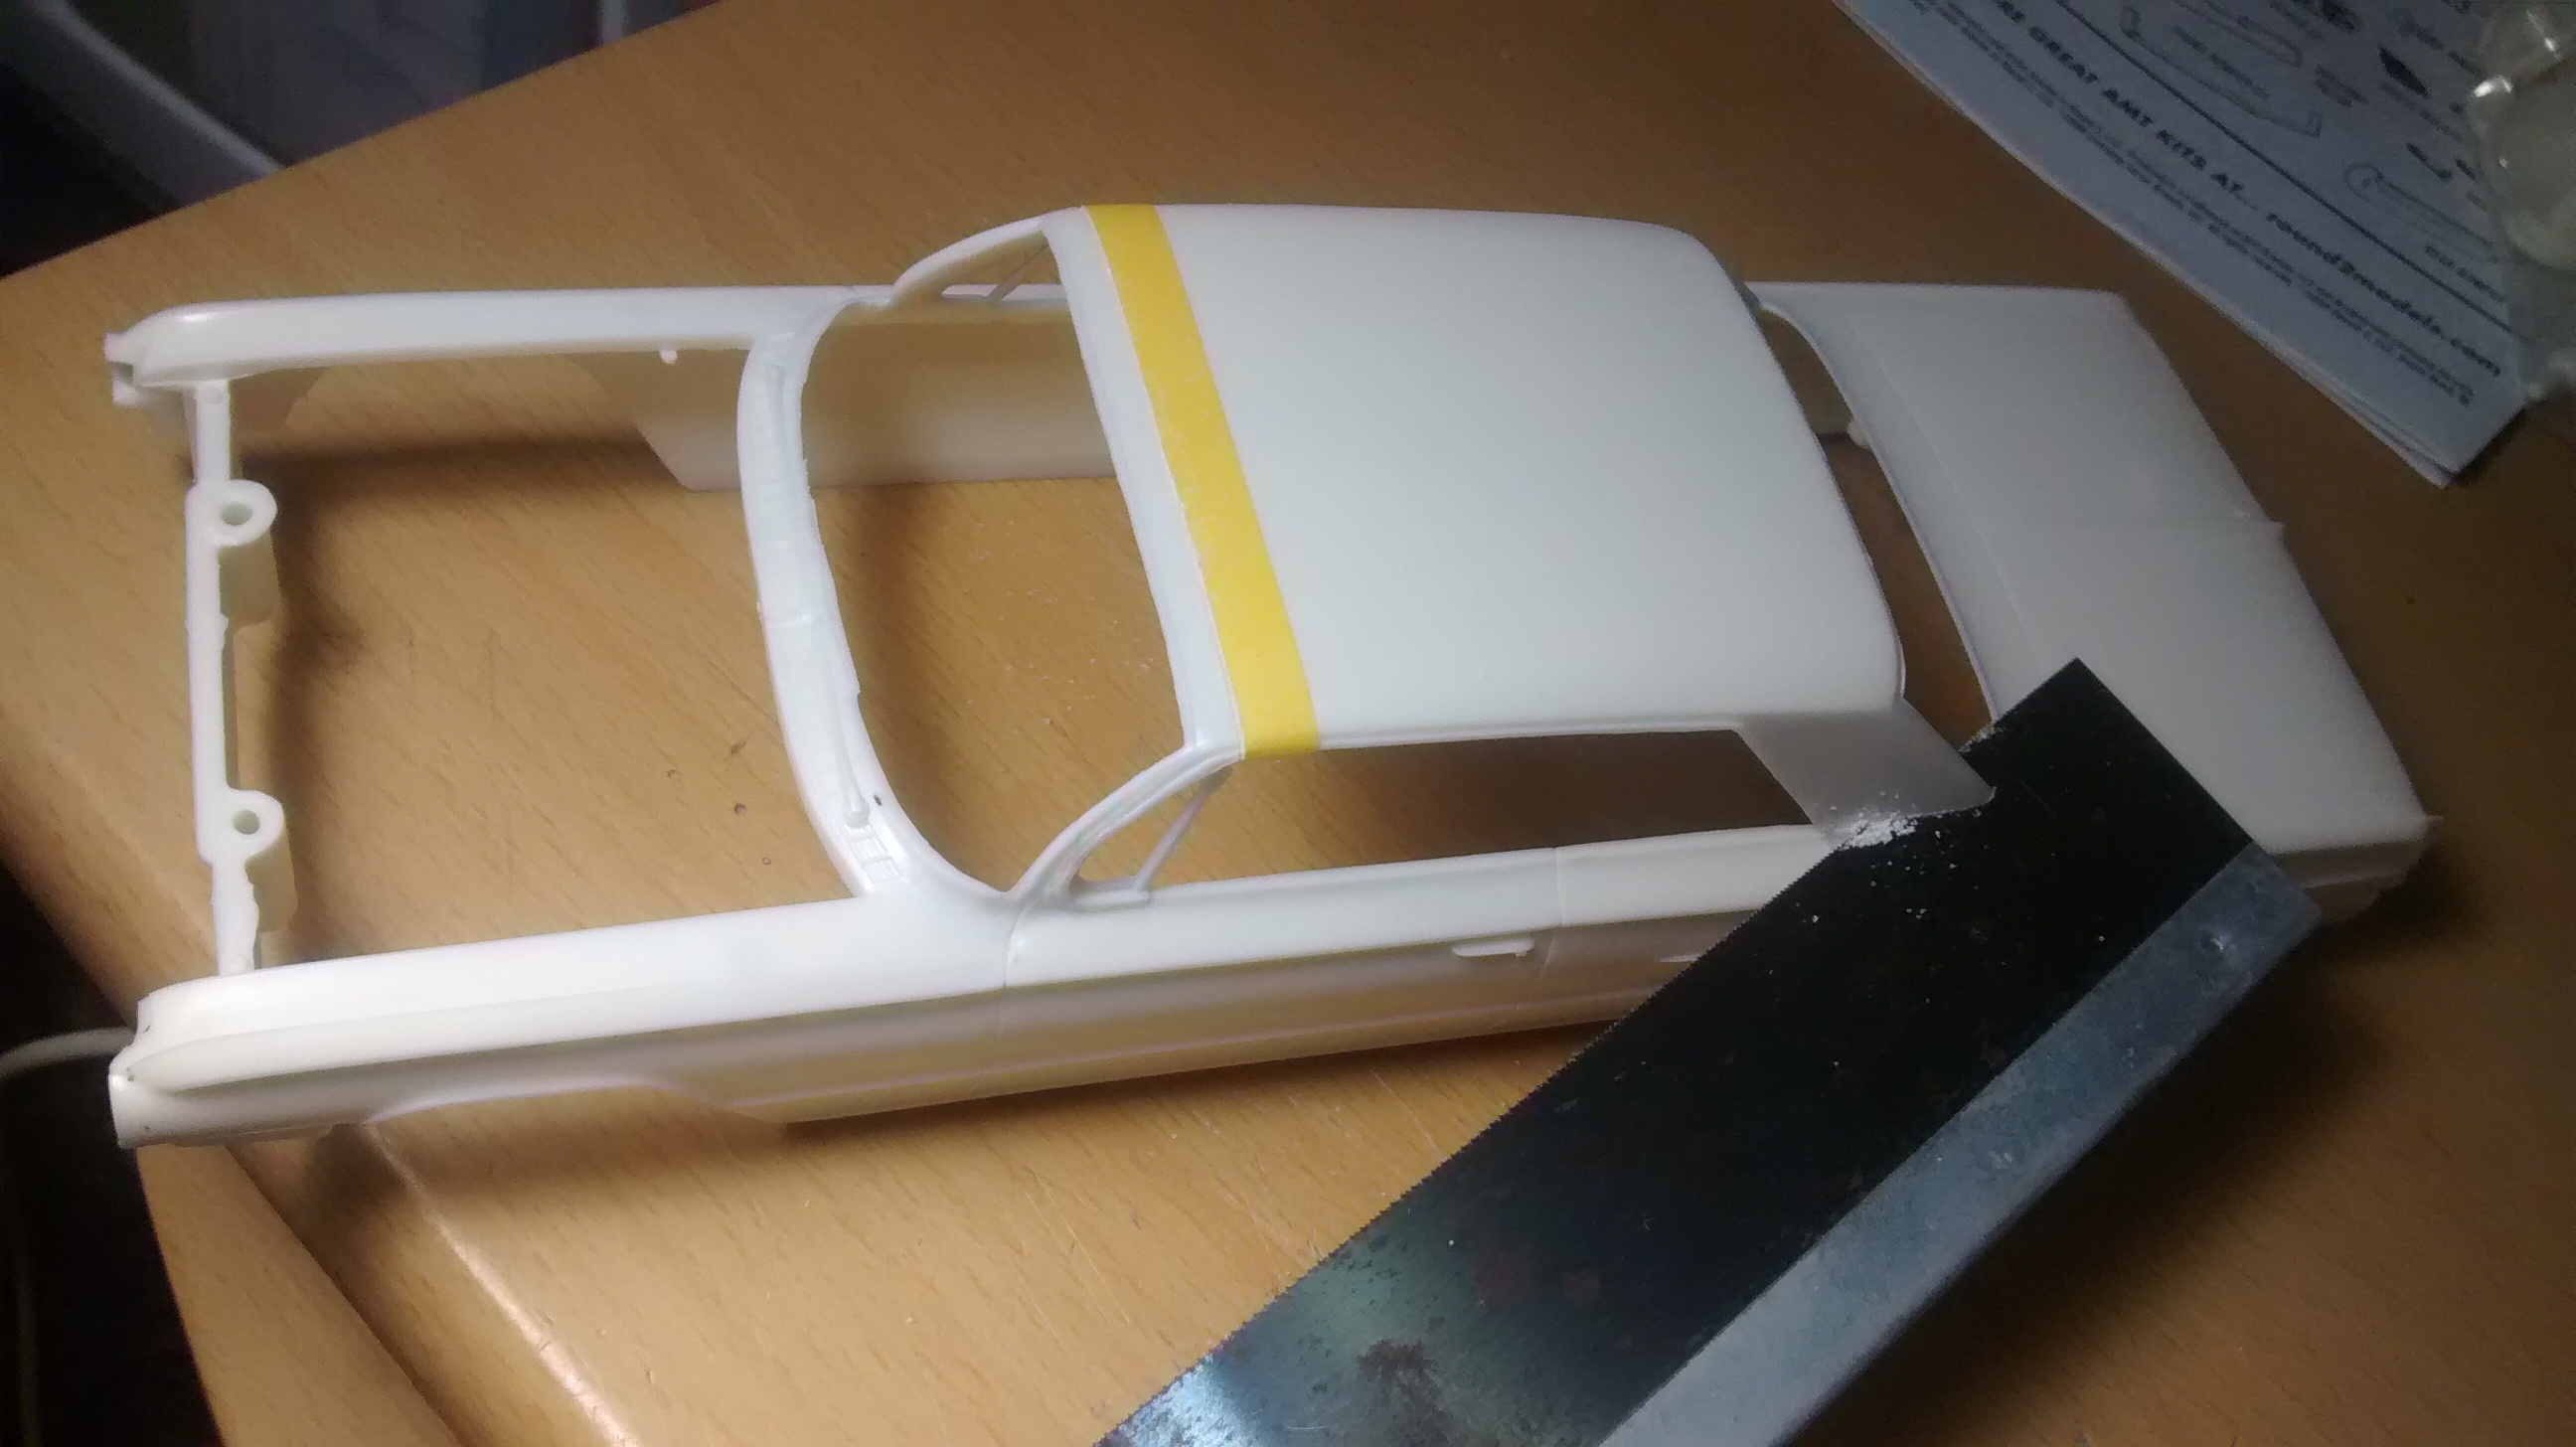
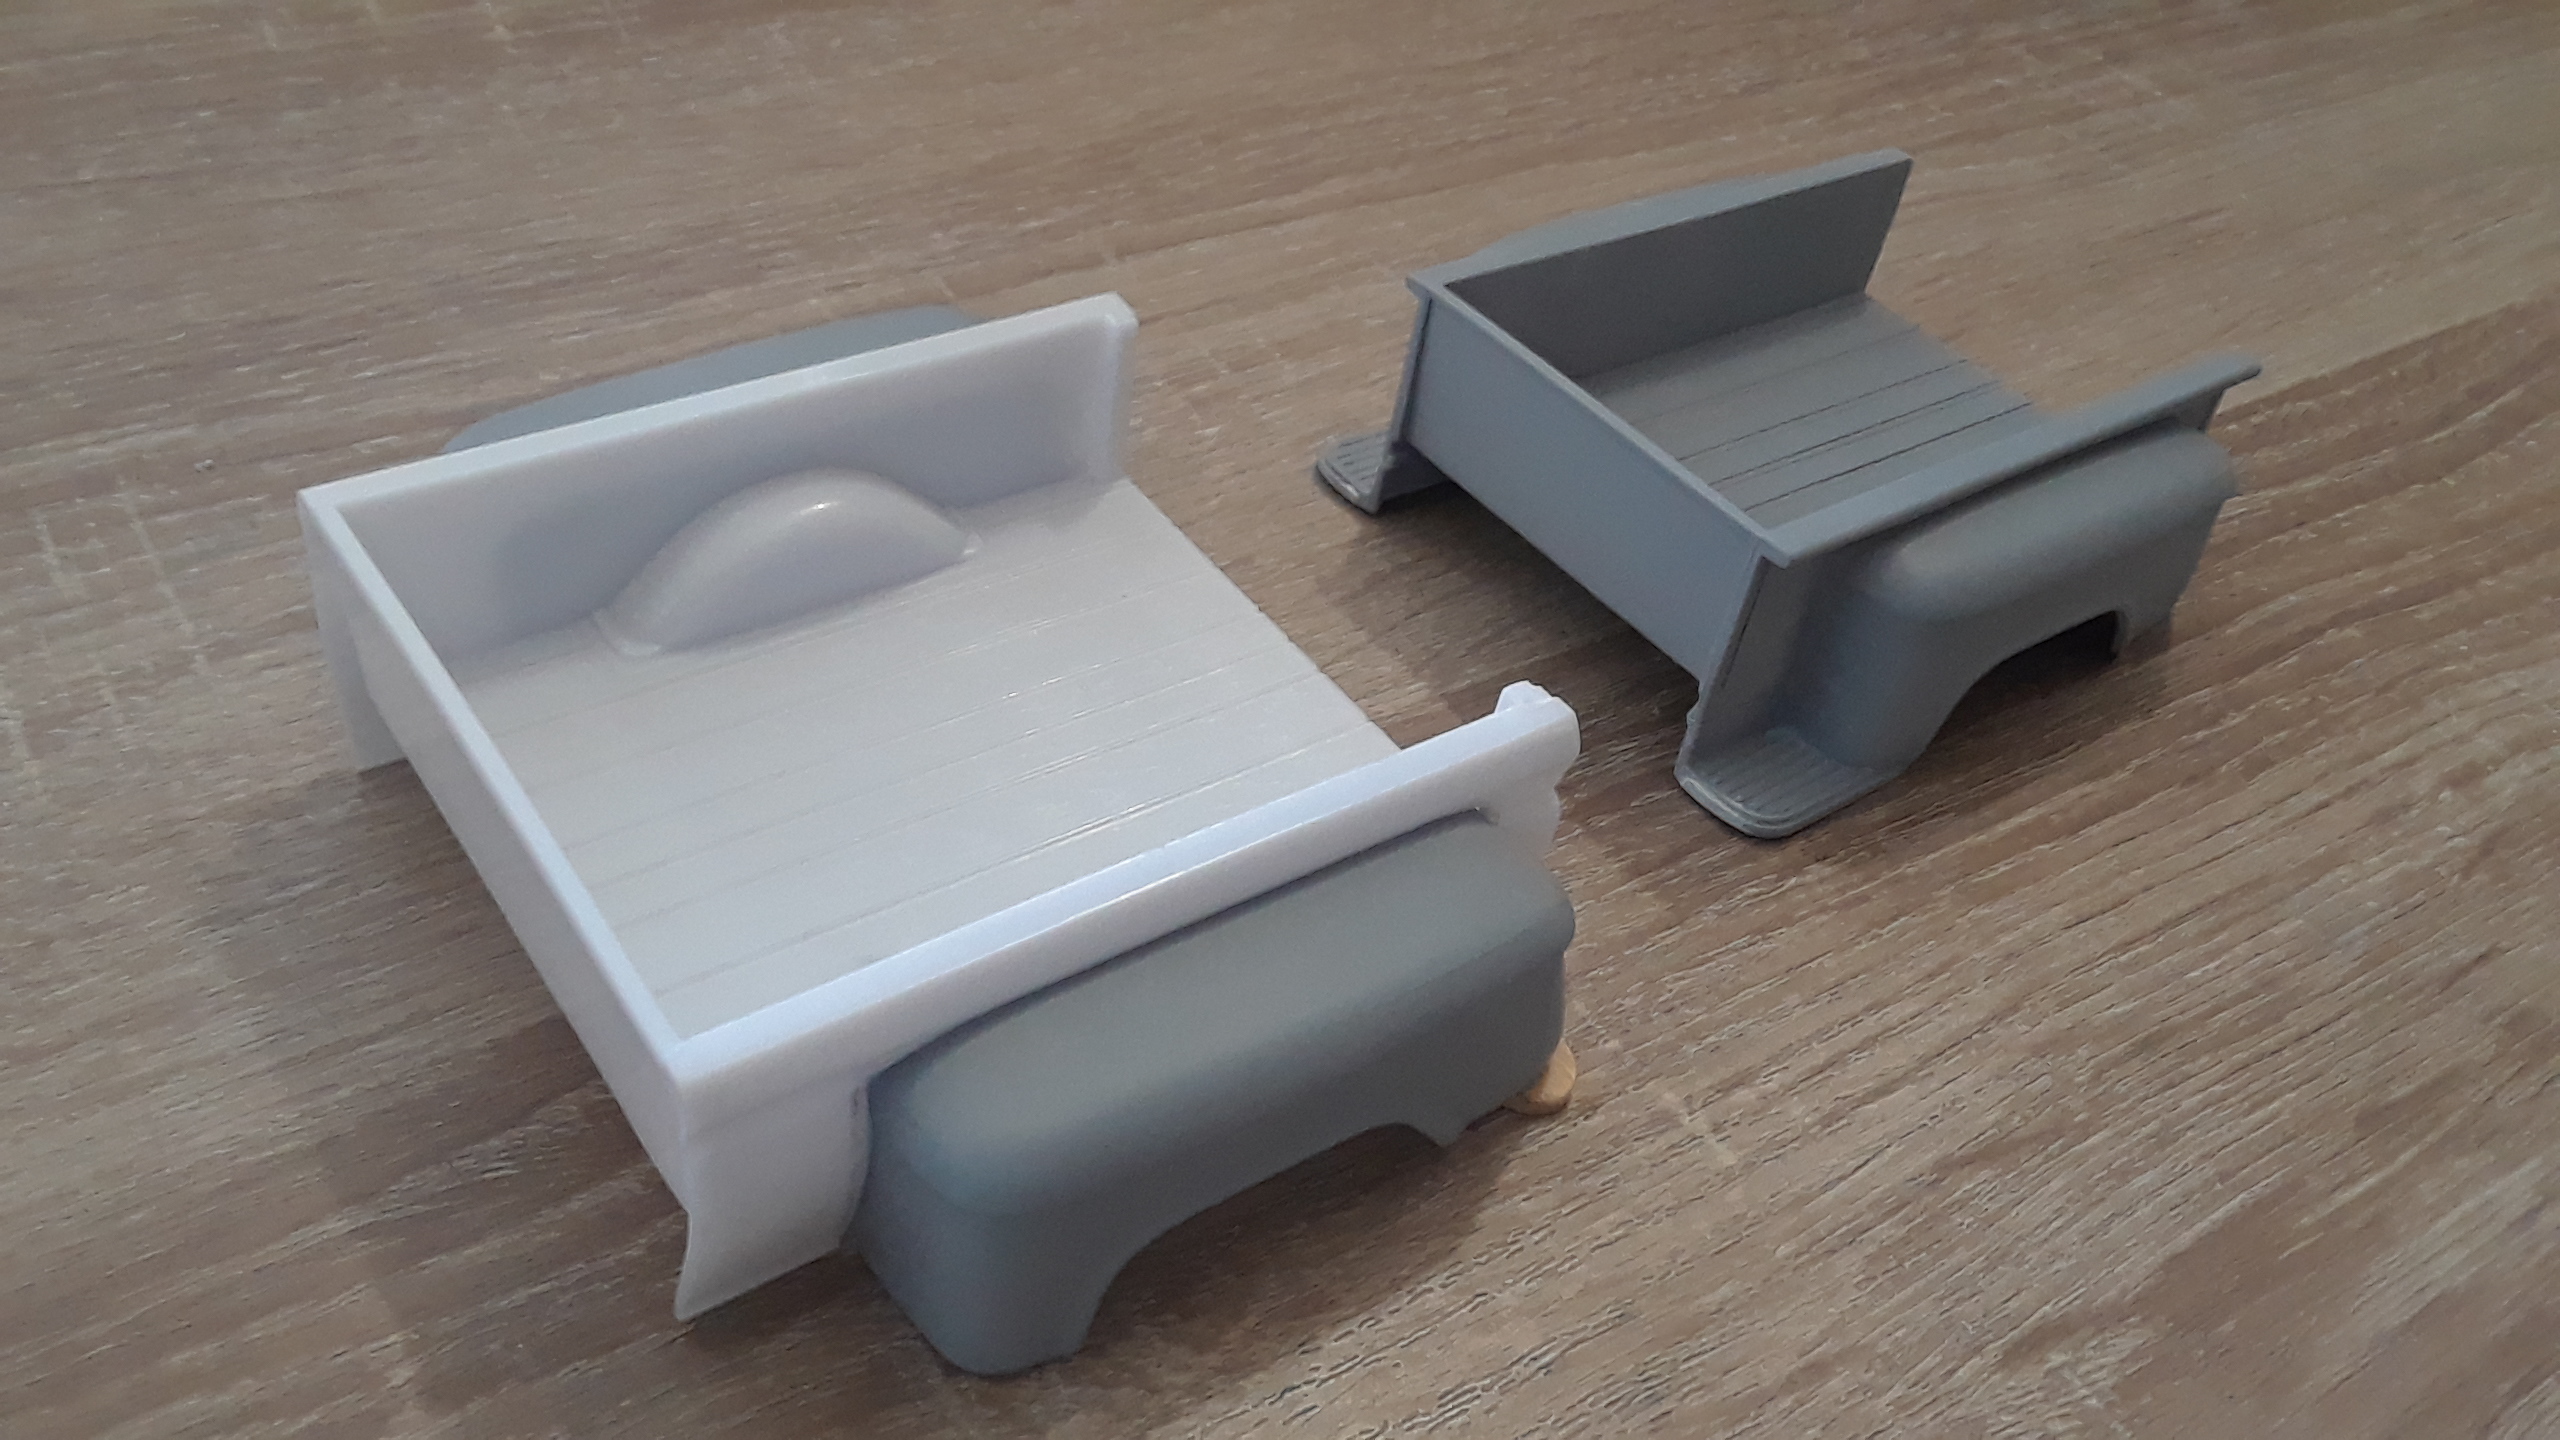
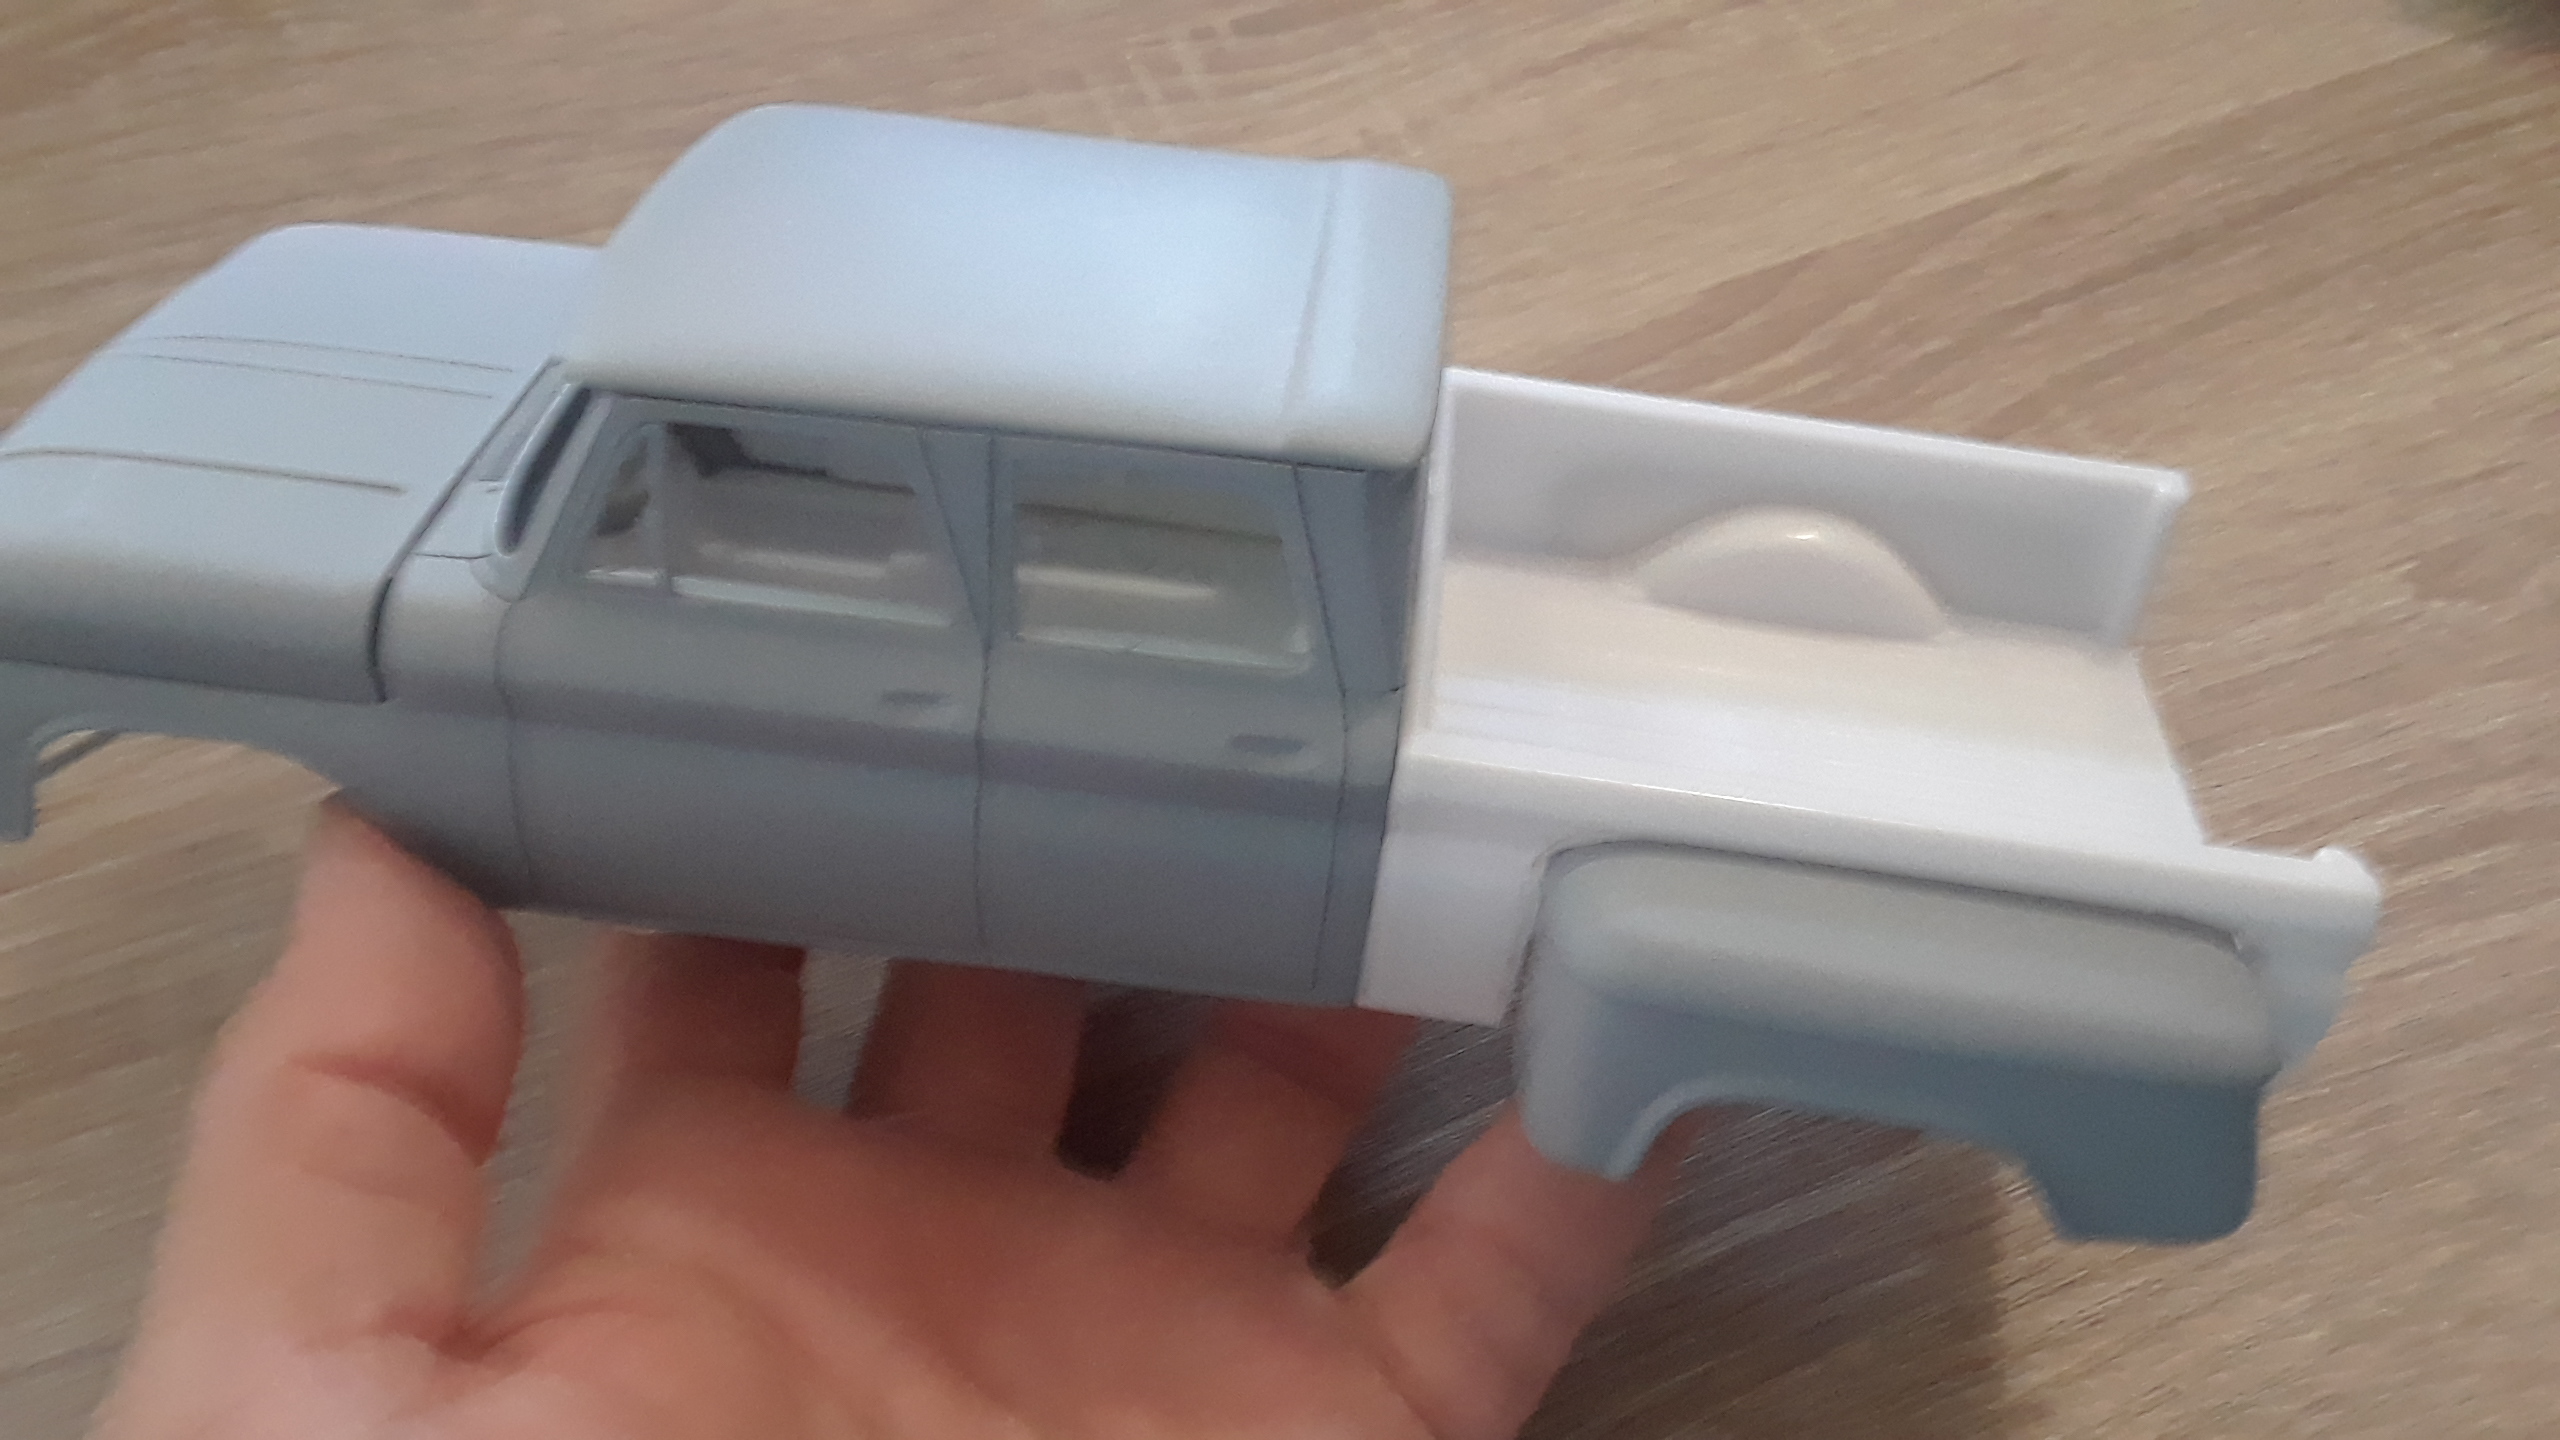
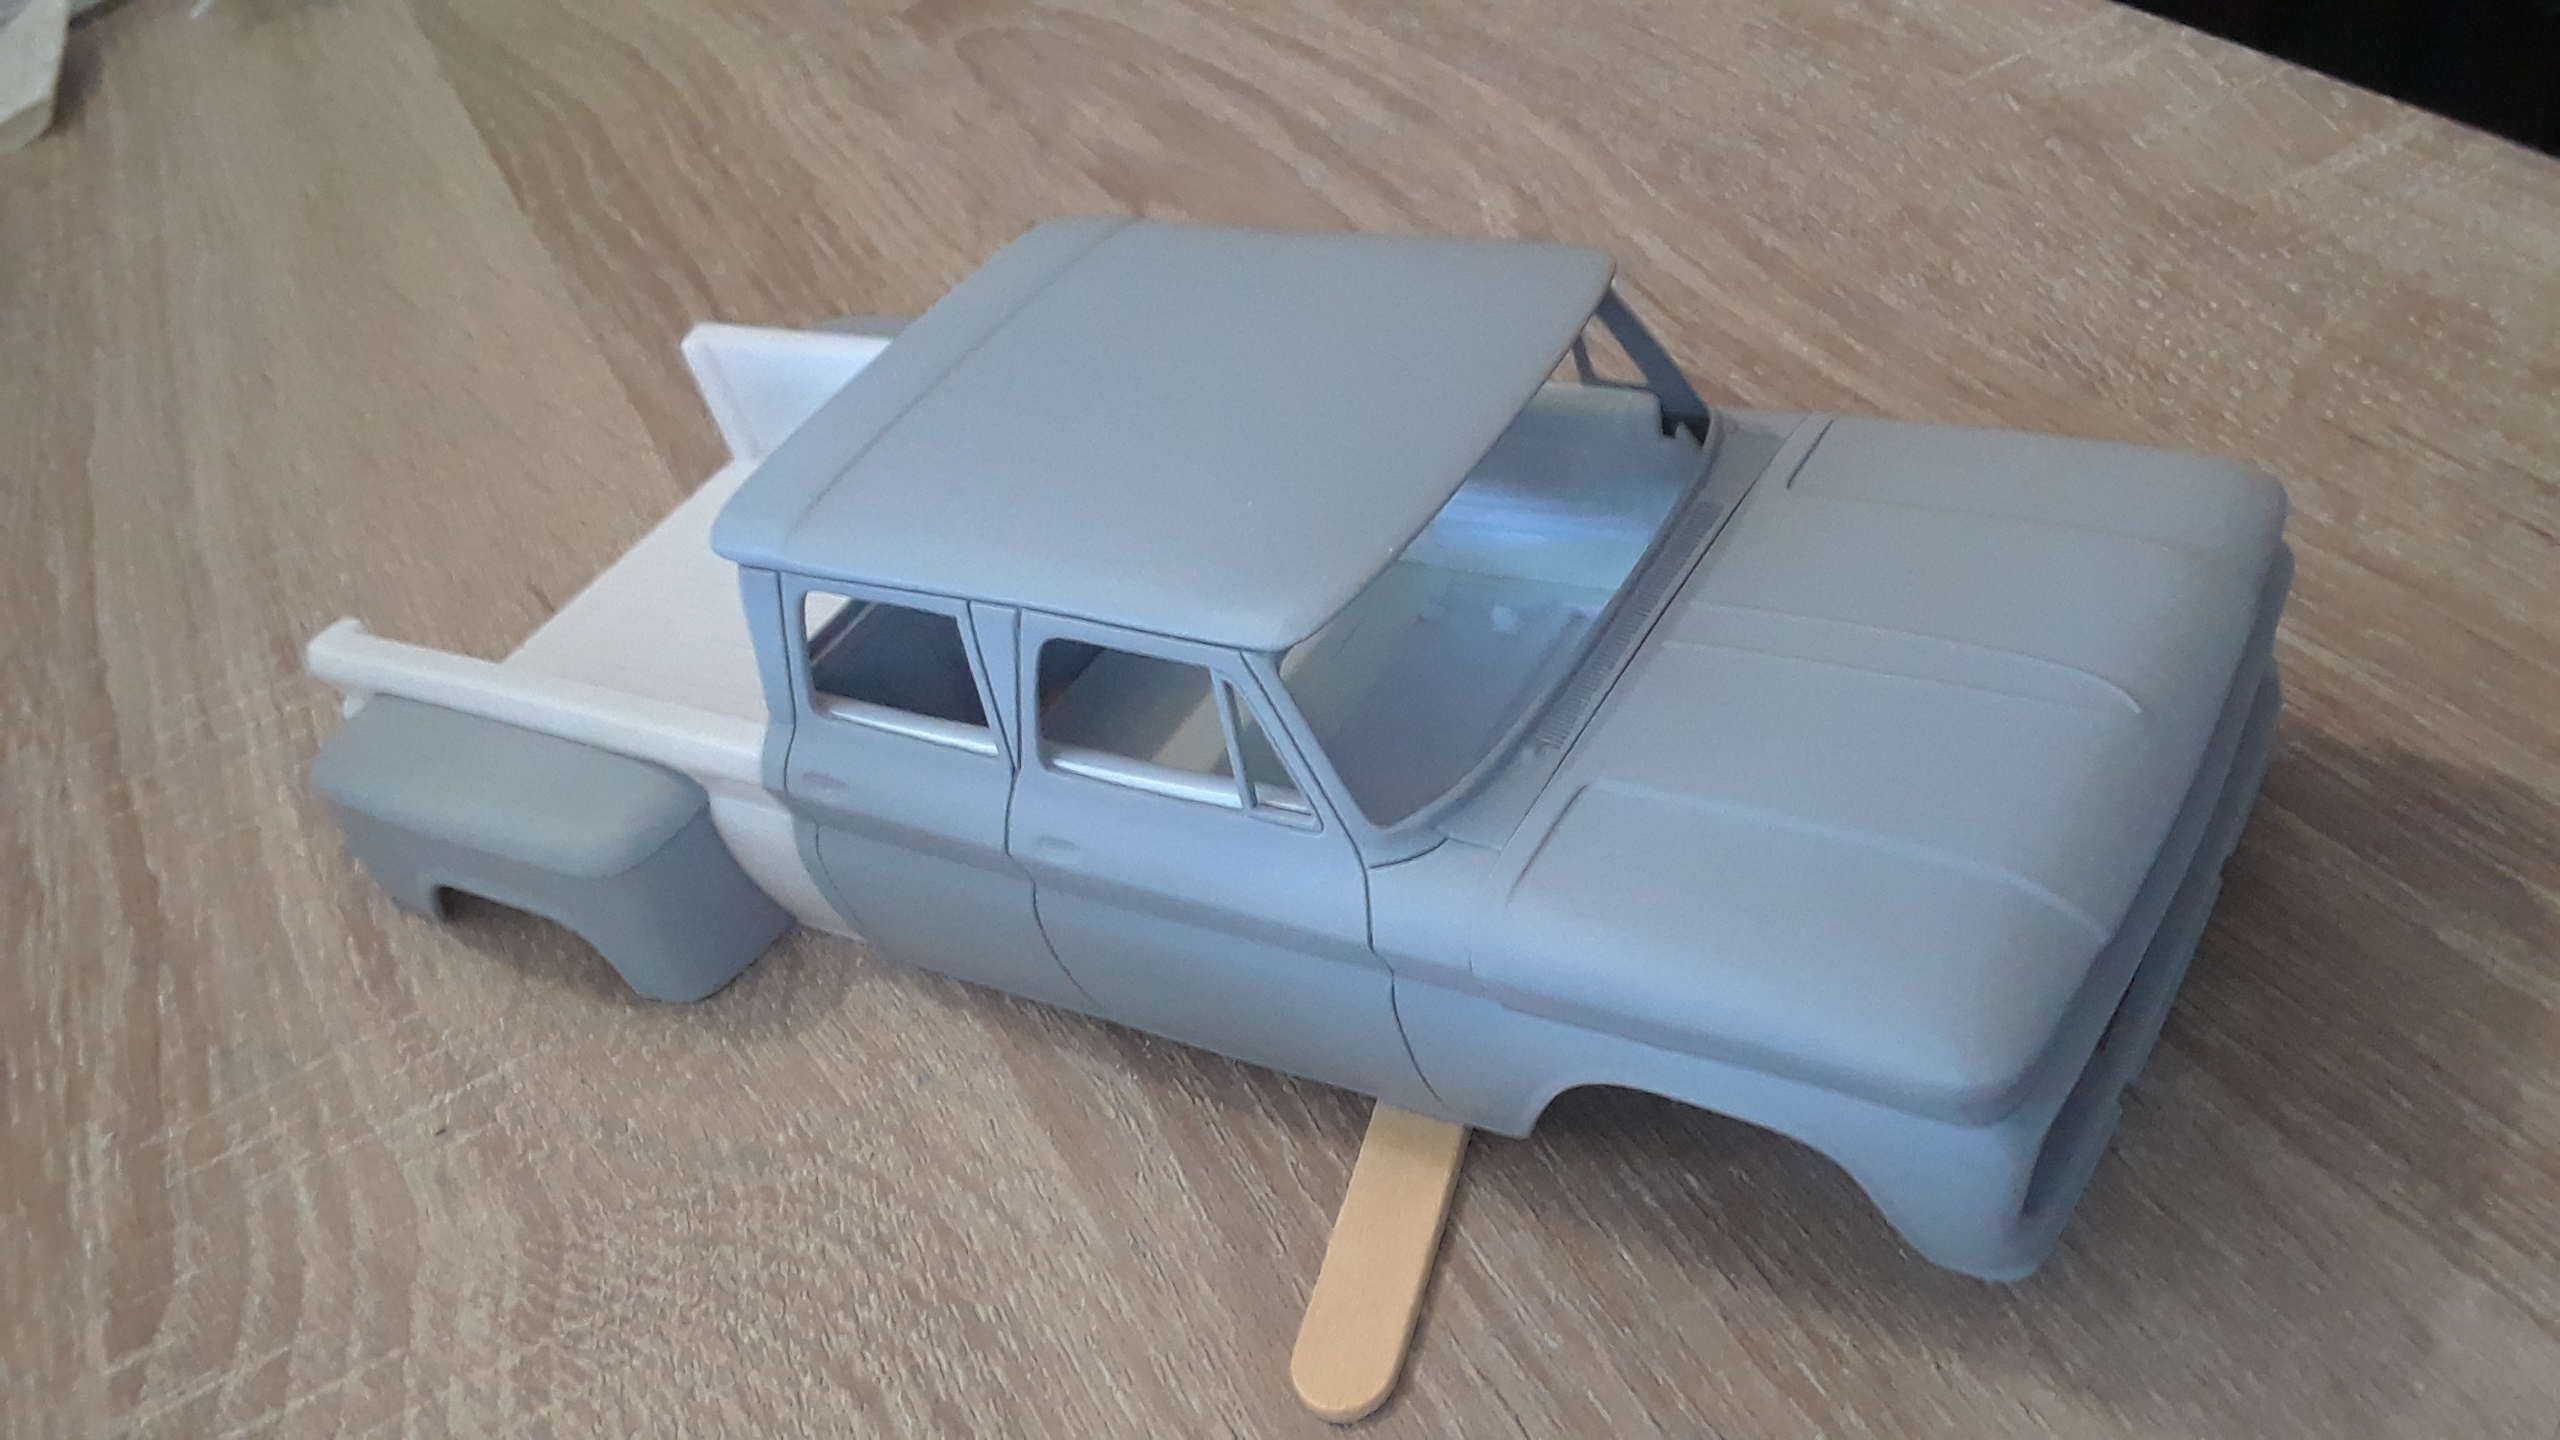
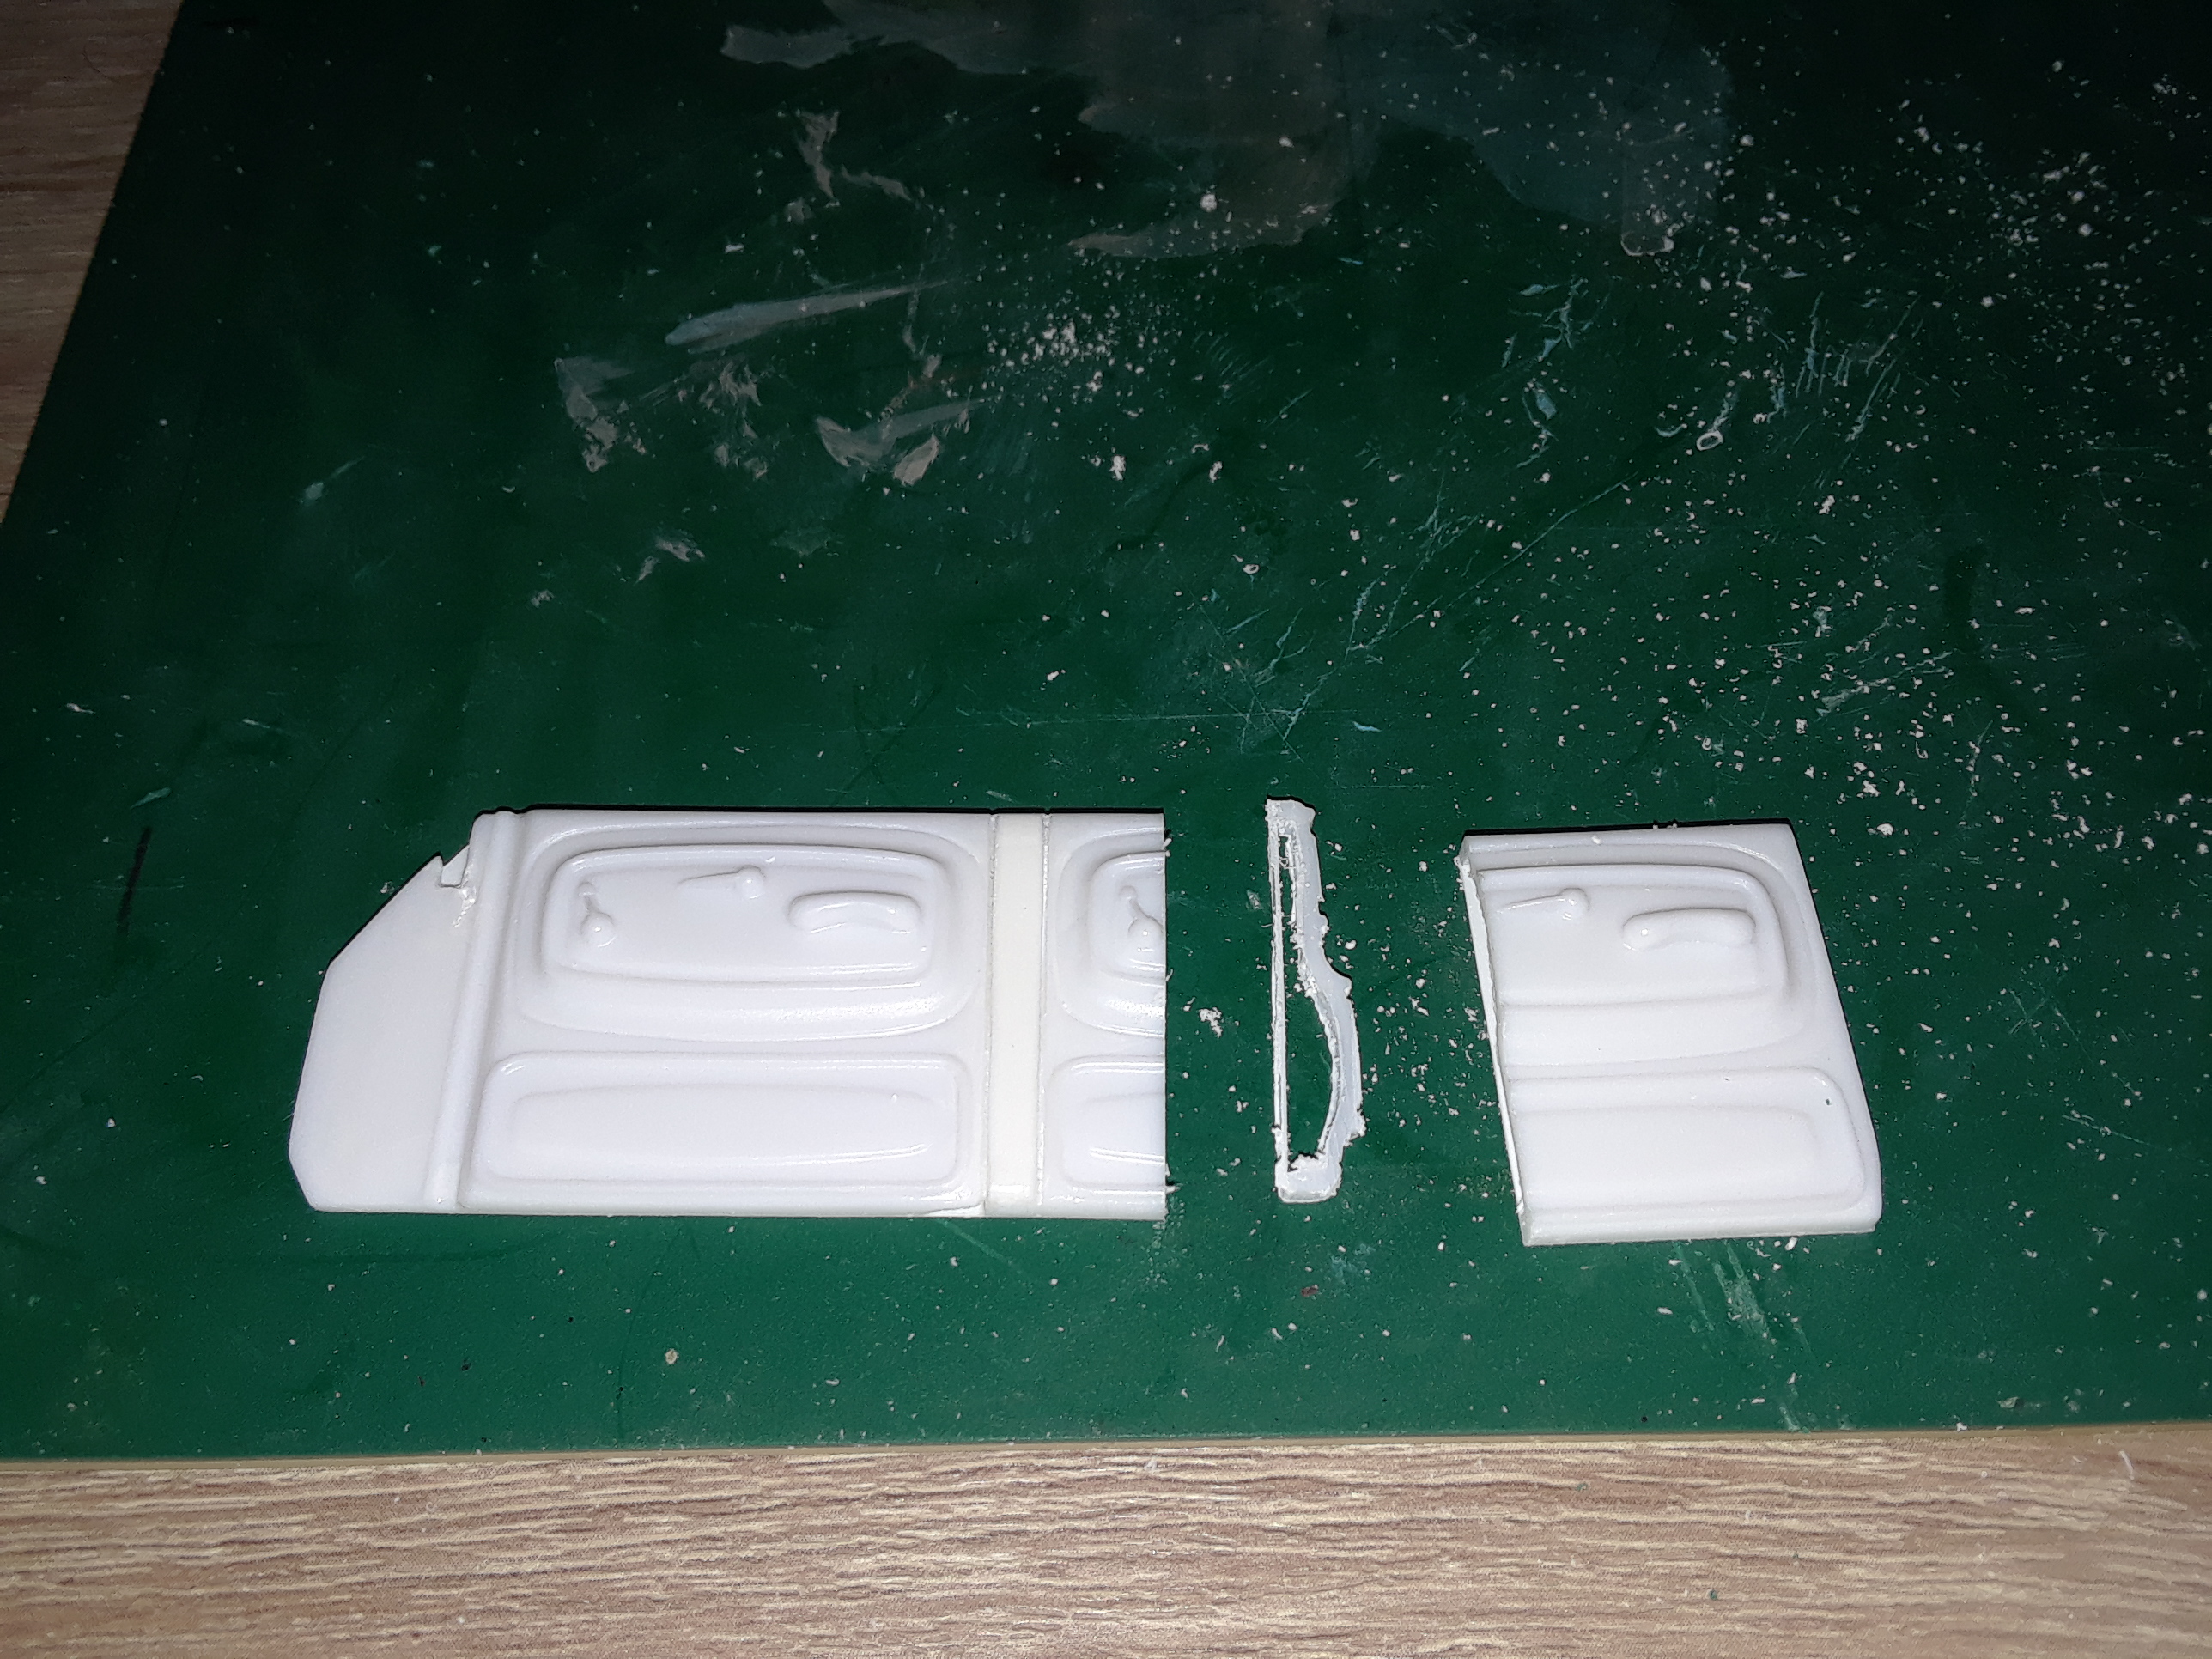
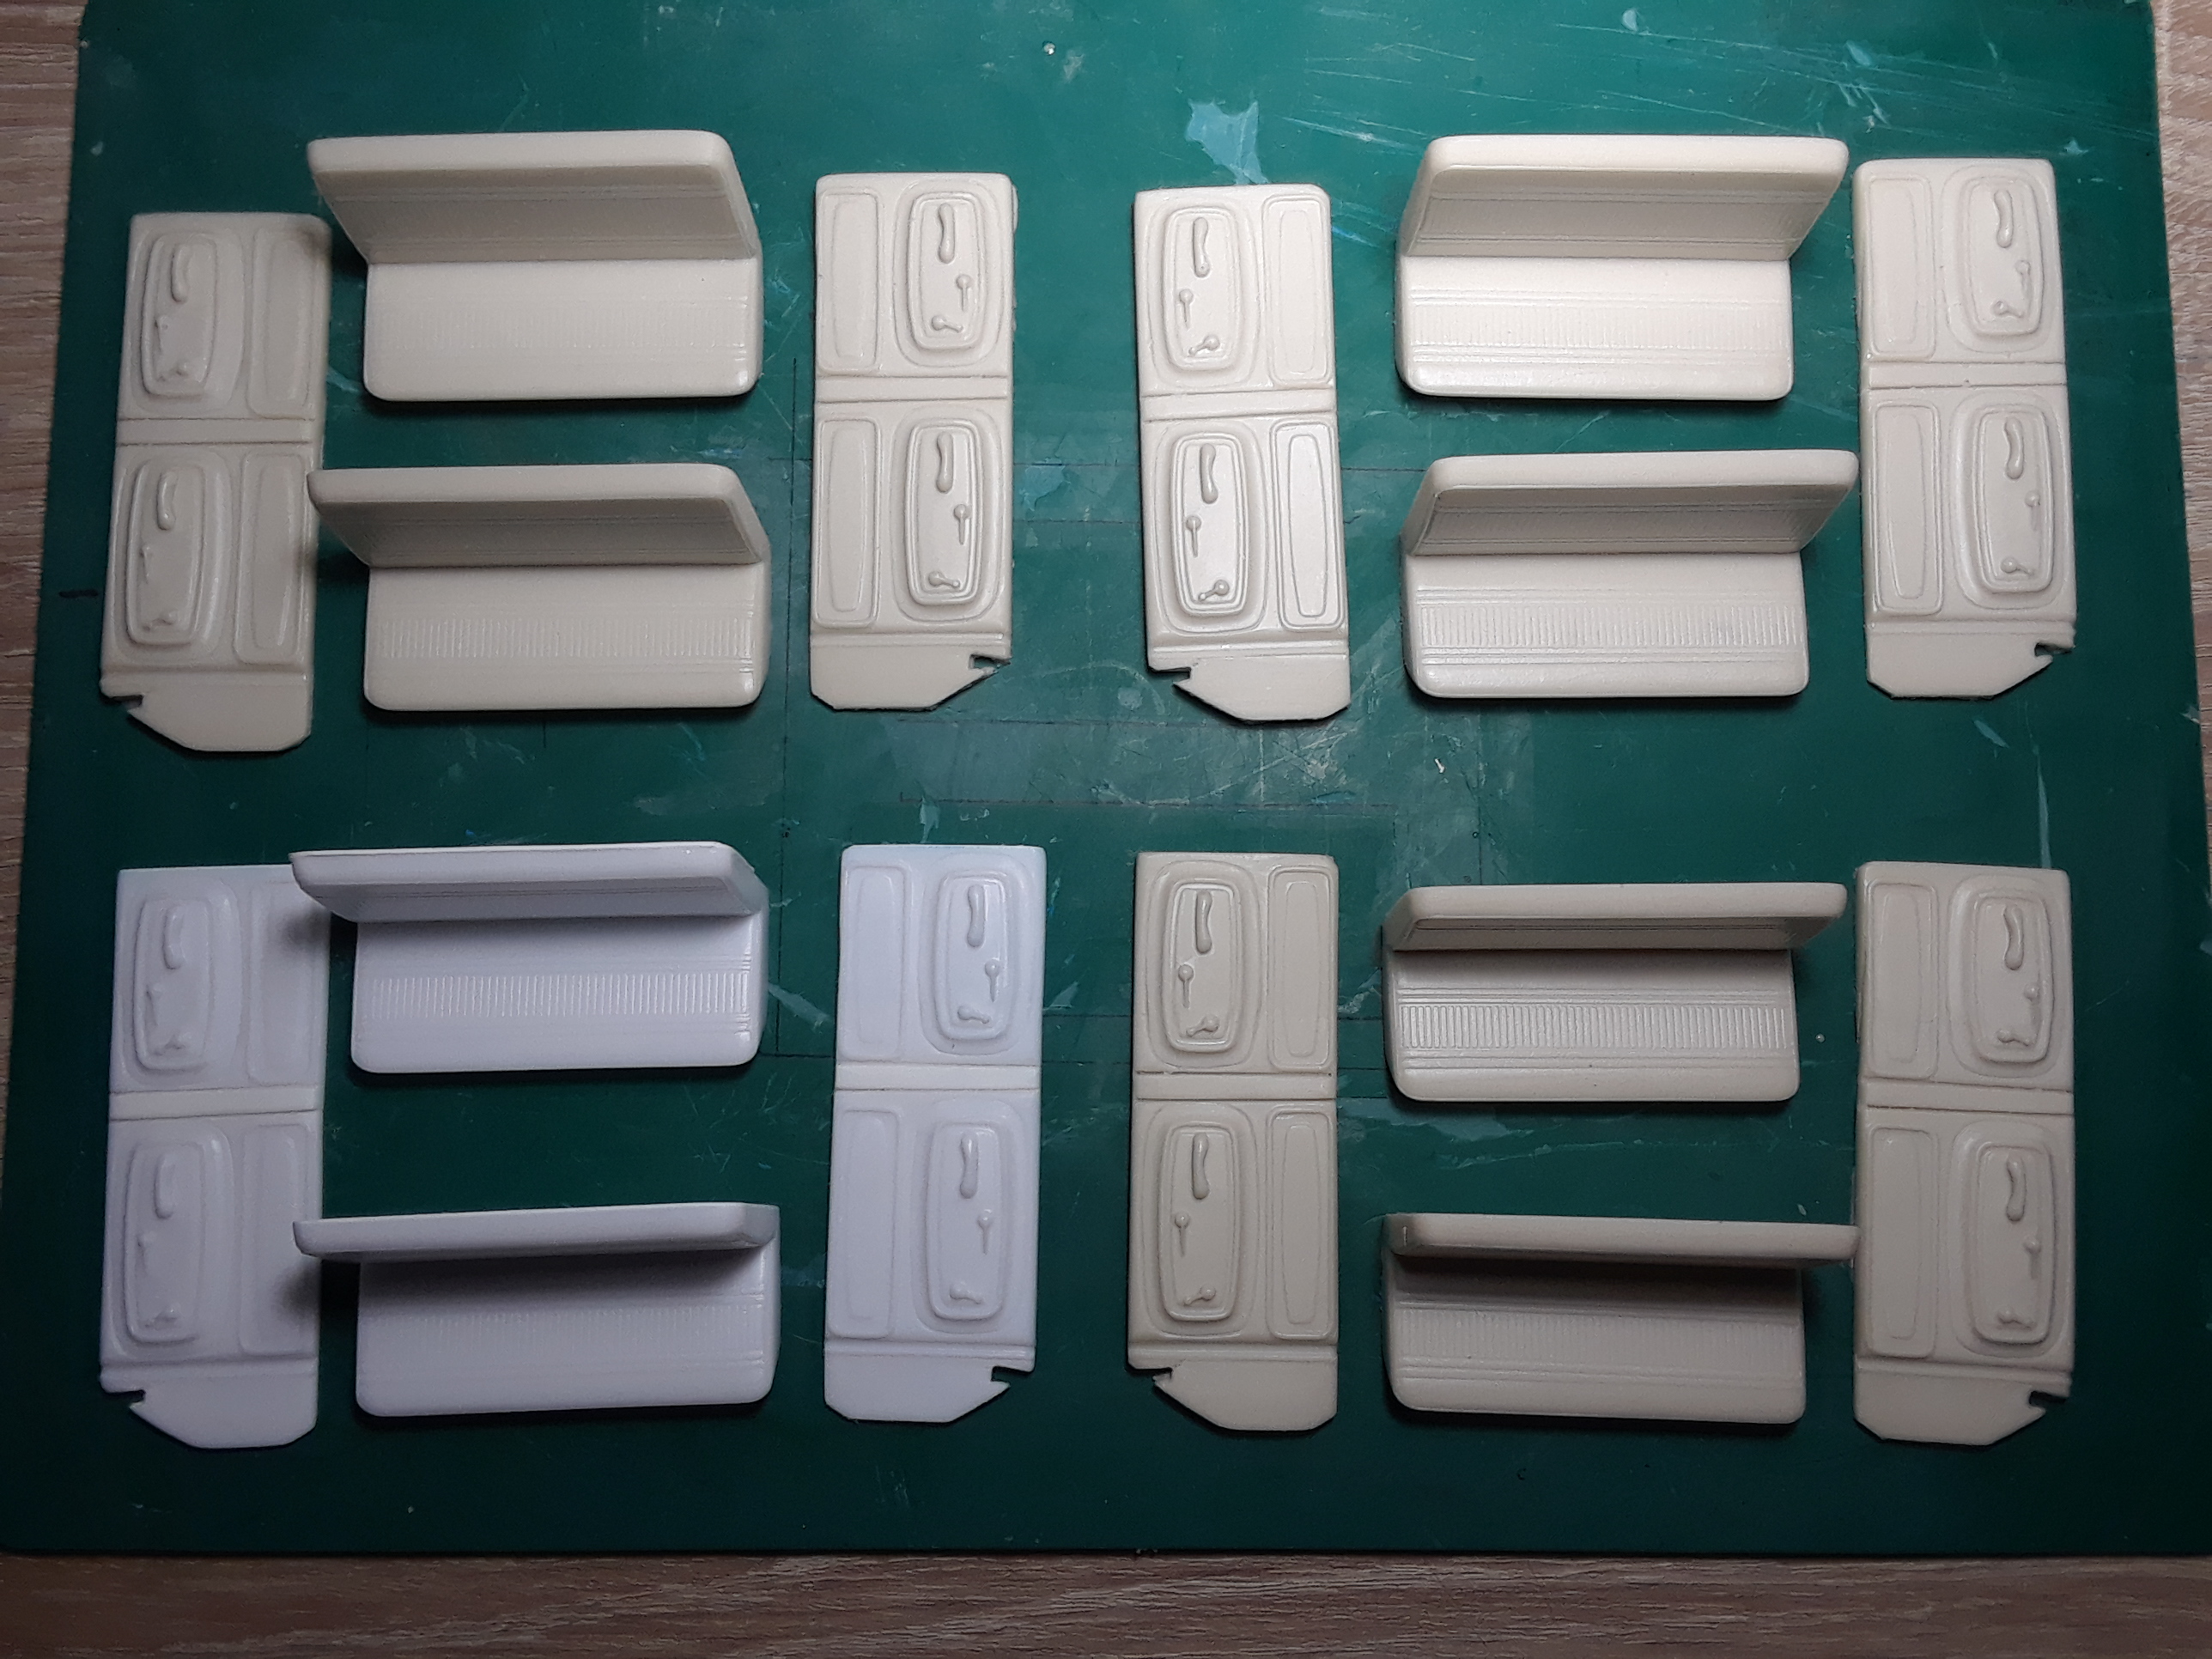
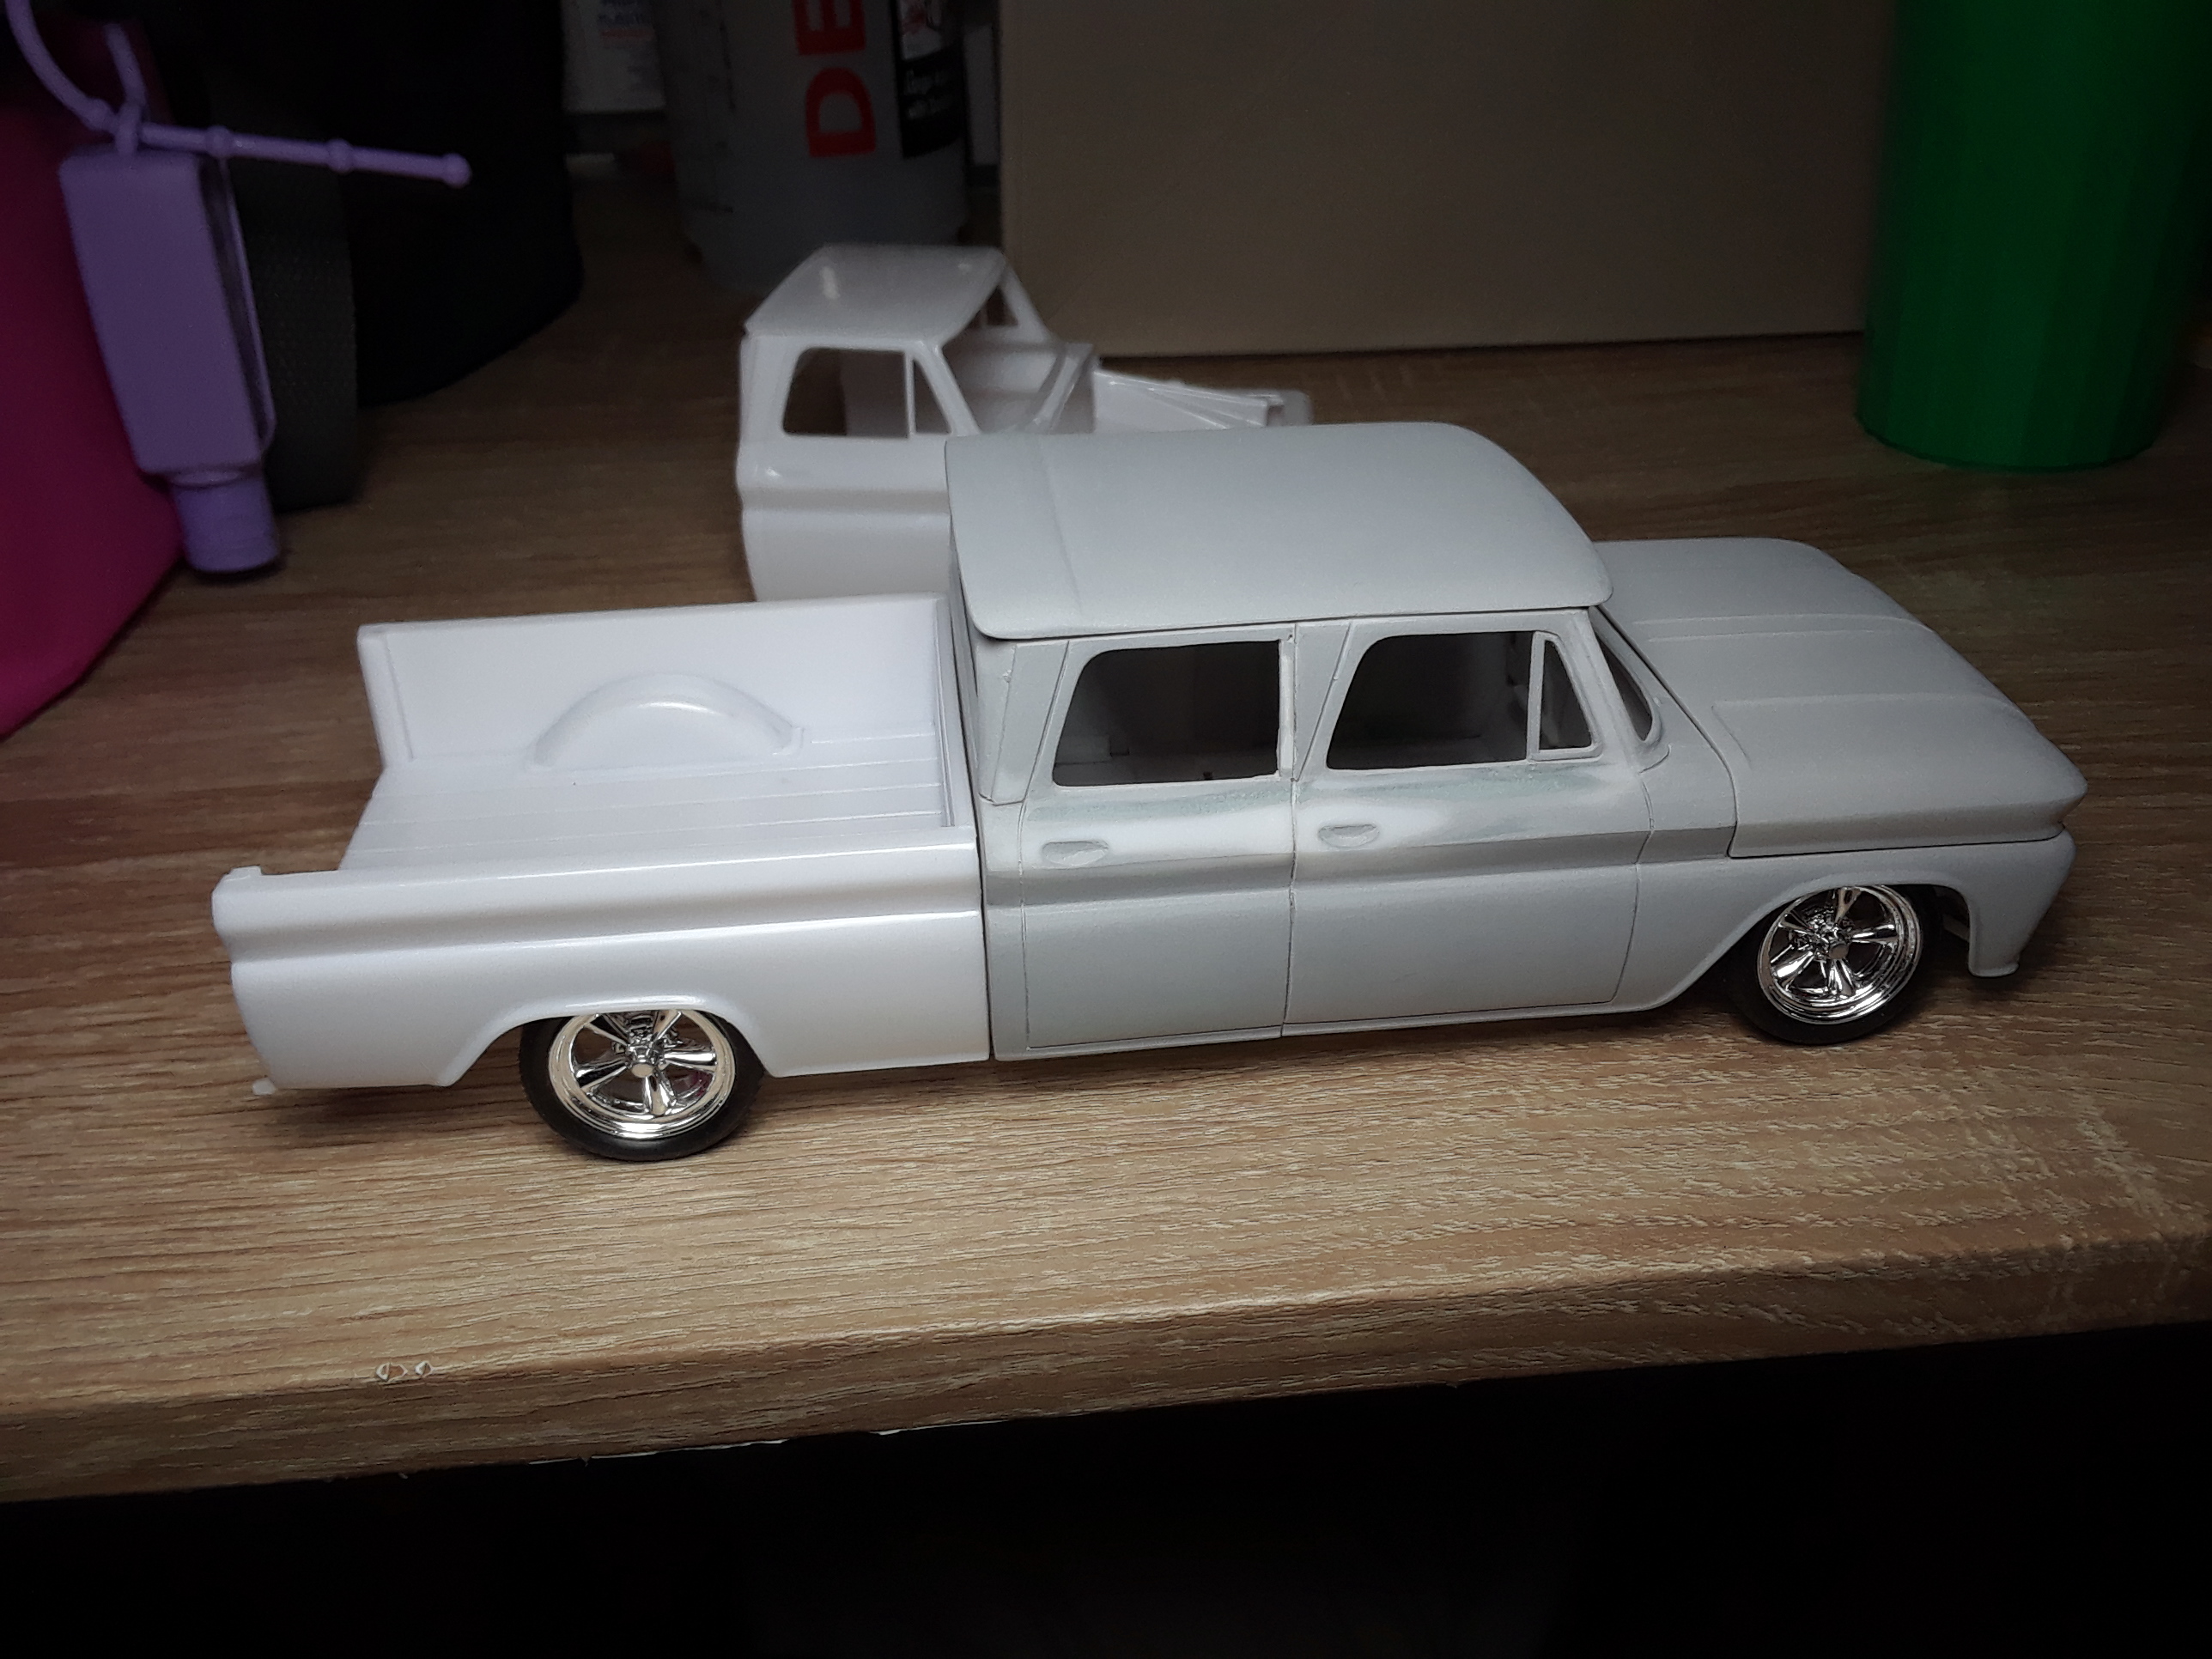
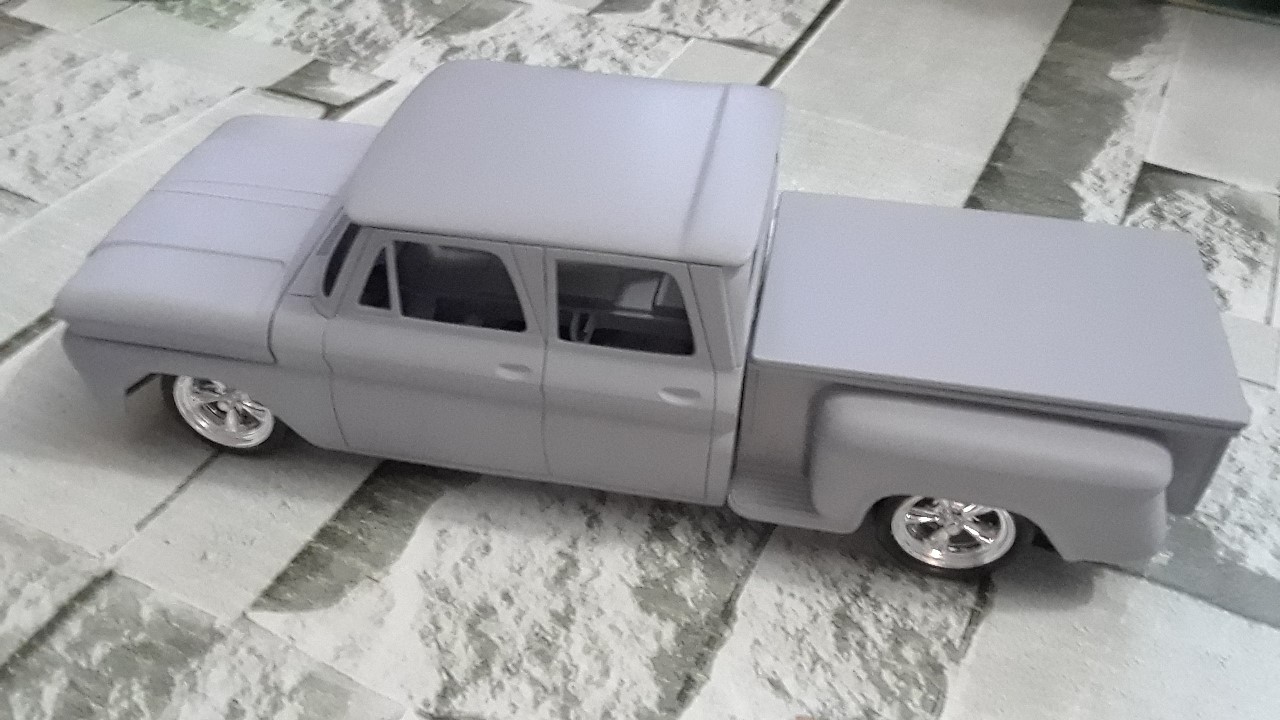
Started this project about a year ago so I will share a couple of the progress pics up to the stage it is right now. I wanted to build three versions of this one so I extended the chassis with the supports to be able to use either a stepside, a fleetside or a short bed dually. I already casted the chassis and the interiors. The dually bed is in progress but for this one I will only cast the wheel fenders to be attached to a donor fleetside bed. The cab is almost done so hopefully will be able to cast it while on vacation next month. Is not perfect but I am very happy with the results so far. Hope you like it and thanks for looking!!! Started with two Revell stepside 2 in 1 kits to make the extended cab. Then, extended the chassis and modified the front & rear suspension to get the stance I wanted. Then Molded & Casted the chassis to be able to build the three versions, Stepside, Fleetside and Dually. Then Put together the interior door panels. The rear panel was cut to size to match the door. Then Casted the Interiors. Next step was to built the cab floor pan and the matching interior tub base so both seats were set at the same height and the door panels match the window openings. Then cut the wheel fenders from a stepside donor bed, extend them and use a donor fleetside bet to make the dually. I may cast only the fenders but I guess it would be better to just cast the complete bed to avoid so much work in the future... Here you will see a test fit of the fleetside bed on the same chasiss and a mockup of the Dually on the works. And Finally the first one is almost ready to paint. Some minor fixes on the interior on the cab, cast it and then continue to work on the engine and interiors. The rims are the ones I selected for the Fleetside and the bed cover is just a piece of .20 styrene matched to the top of the bed. As I said is far from perfect but it has been a really fun project. Hope you like it and thanks for looking.
-
Excellent work Glen!!! Great to see you took a different approach and left the fenders and running boards in place. What color did you use for the body?? I really like it!!!
-
First, I hope all is well for everyone in the forum and their families. It has been 4 years since I last updated this post. This project is still alive, but I decided to put it in a box after an accident with the paint job. I have been around a couple of times on the forum these years and hopefully will be back more often. Is great to see the outstanding amount of craftsmanship and so many beautiful models built... It will definitely take me a long time to get up to date... Soon I will be sharing a few projects I have been working on for these past 4 years. Haven't finish anything yet but...I am getting there... Thank you all for your contribution to this forum and for keeping it alive...
-
Ladies and Gentlemen: Presenting my Class of 2018!
Luis Ayala replied to ismaelg's topic in Model Cars
Hi Ismael!!! Outstanding work as ussual. Sometimes we see the finished build and miss the challenges the builder went through to get it done. Hours and hours of fitting, filing, sanding, primer, over and over again... To get the paint right, to make it look like the real deal... I take my hatt off my friend... I really admire your tenacity and attention to detail. Congrats on all these amazing builds!!! Merry Christmas and best wishes on the holidays!!! My favorite... C7 Convertible Corvette 3LT -
Thank you all for your comments, I will post more progress soon. Hi David for the roof I plan to make a rag top.
-
I met Miguel in 2004, I was new to the hobby and it was the first time I was going to participate on a scale model contest. It was his "Mc Tonight Model Contest" which was more than just a contest, it was a gathering of family and friends. When I got in, he welcomed me and my family with a big smile and a strong hand shake. He worked really hard to promote the hobby here in Puerto Rico as well as outside of the Island and always encouraging others. His main event the "Caribbean Scale Auto Expo" (CSAE) is the biggest event we have had in a straight line here in Puerto Rico for more than ten years, as well as dozens of exhibitions and other small NNL Top20 events he organized. His footprint in our hobby here in PR has been a key instrument in promoting the work of his fellow modelers. He was a true fighter, with a steel strong will even in the most difficult situations. He inspired me to move forward in life not only in the hobby, but in my personnel and professional life. For me Miguel is and always will be family... I deeply feel his loss and my prayers are with his wife and sons. Rest in God,s hands brother...You will be missed, but never forgotten...
-
Spectacular job Yuri !!! Your attention to detail is amazing. Thanks for sharing!!!
-
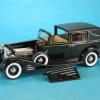
1929 Model A Roadster ArtDeco/Coachbuilt/Streamliner -DONE!
Luis Ayala replied to Impalow's topic in WIP: Model Cars
WOW!!! Absolutely stunning work!!! Definitely a Masterpiece!!! Thanks for sharing -
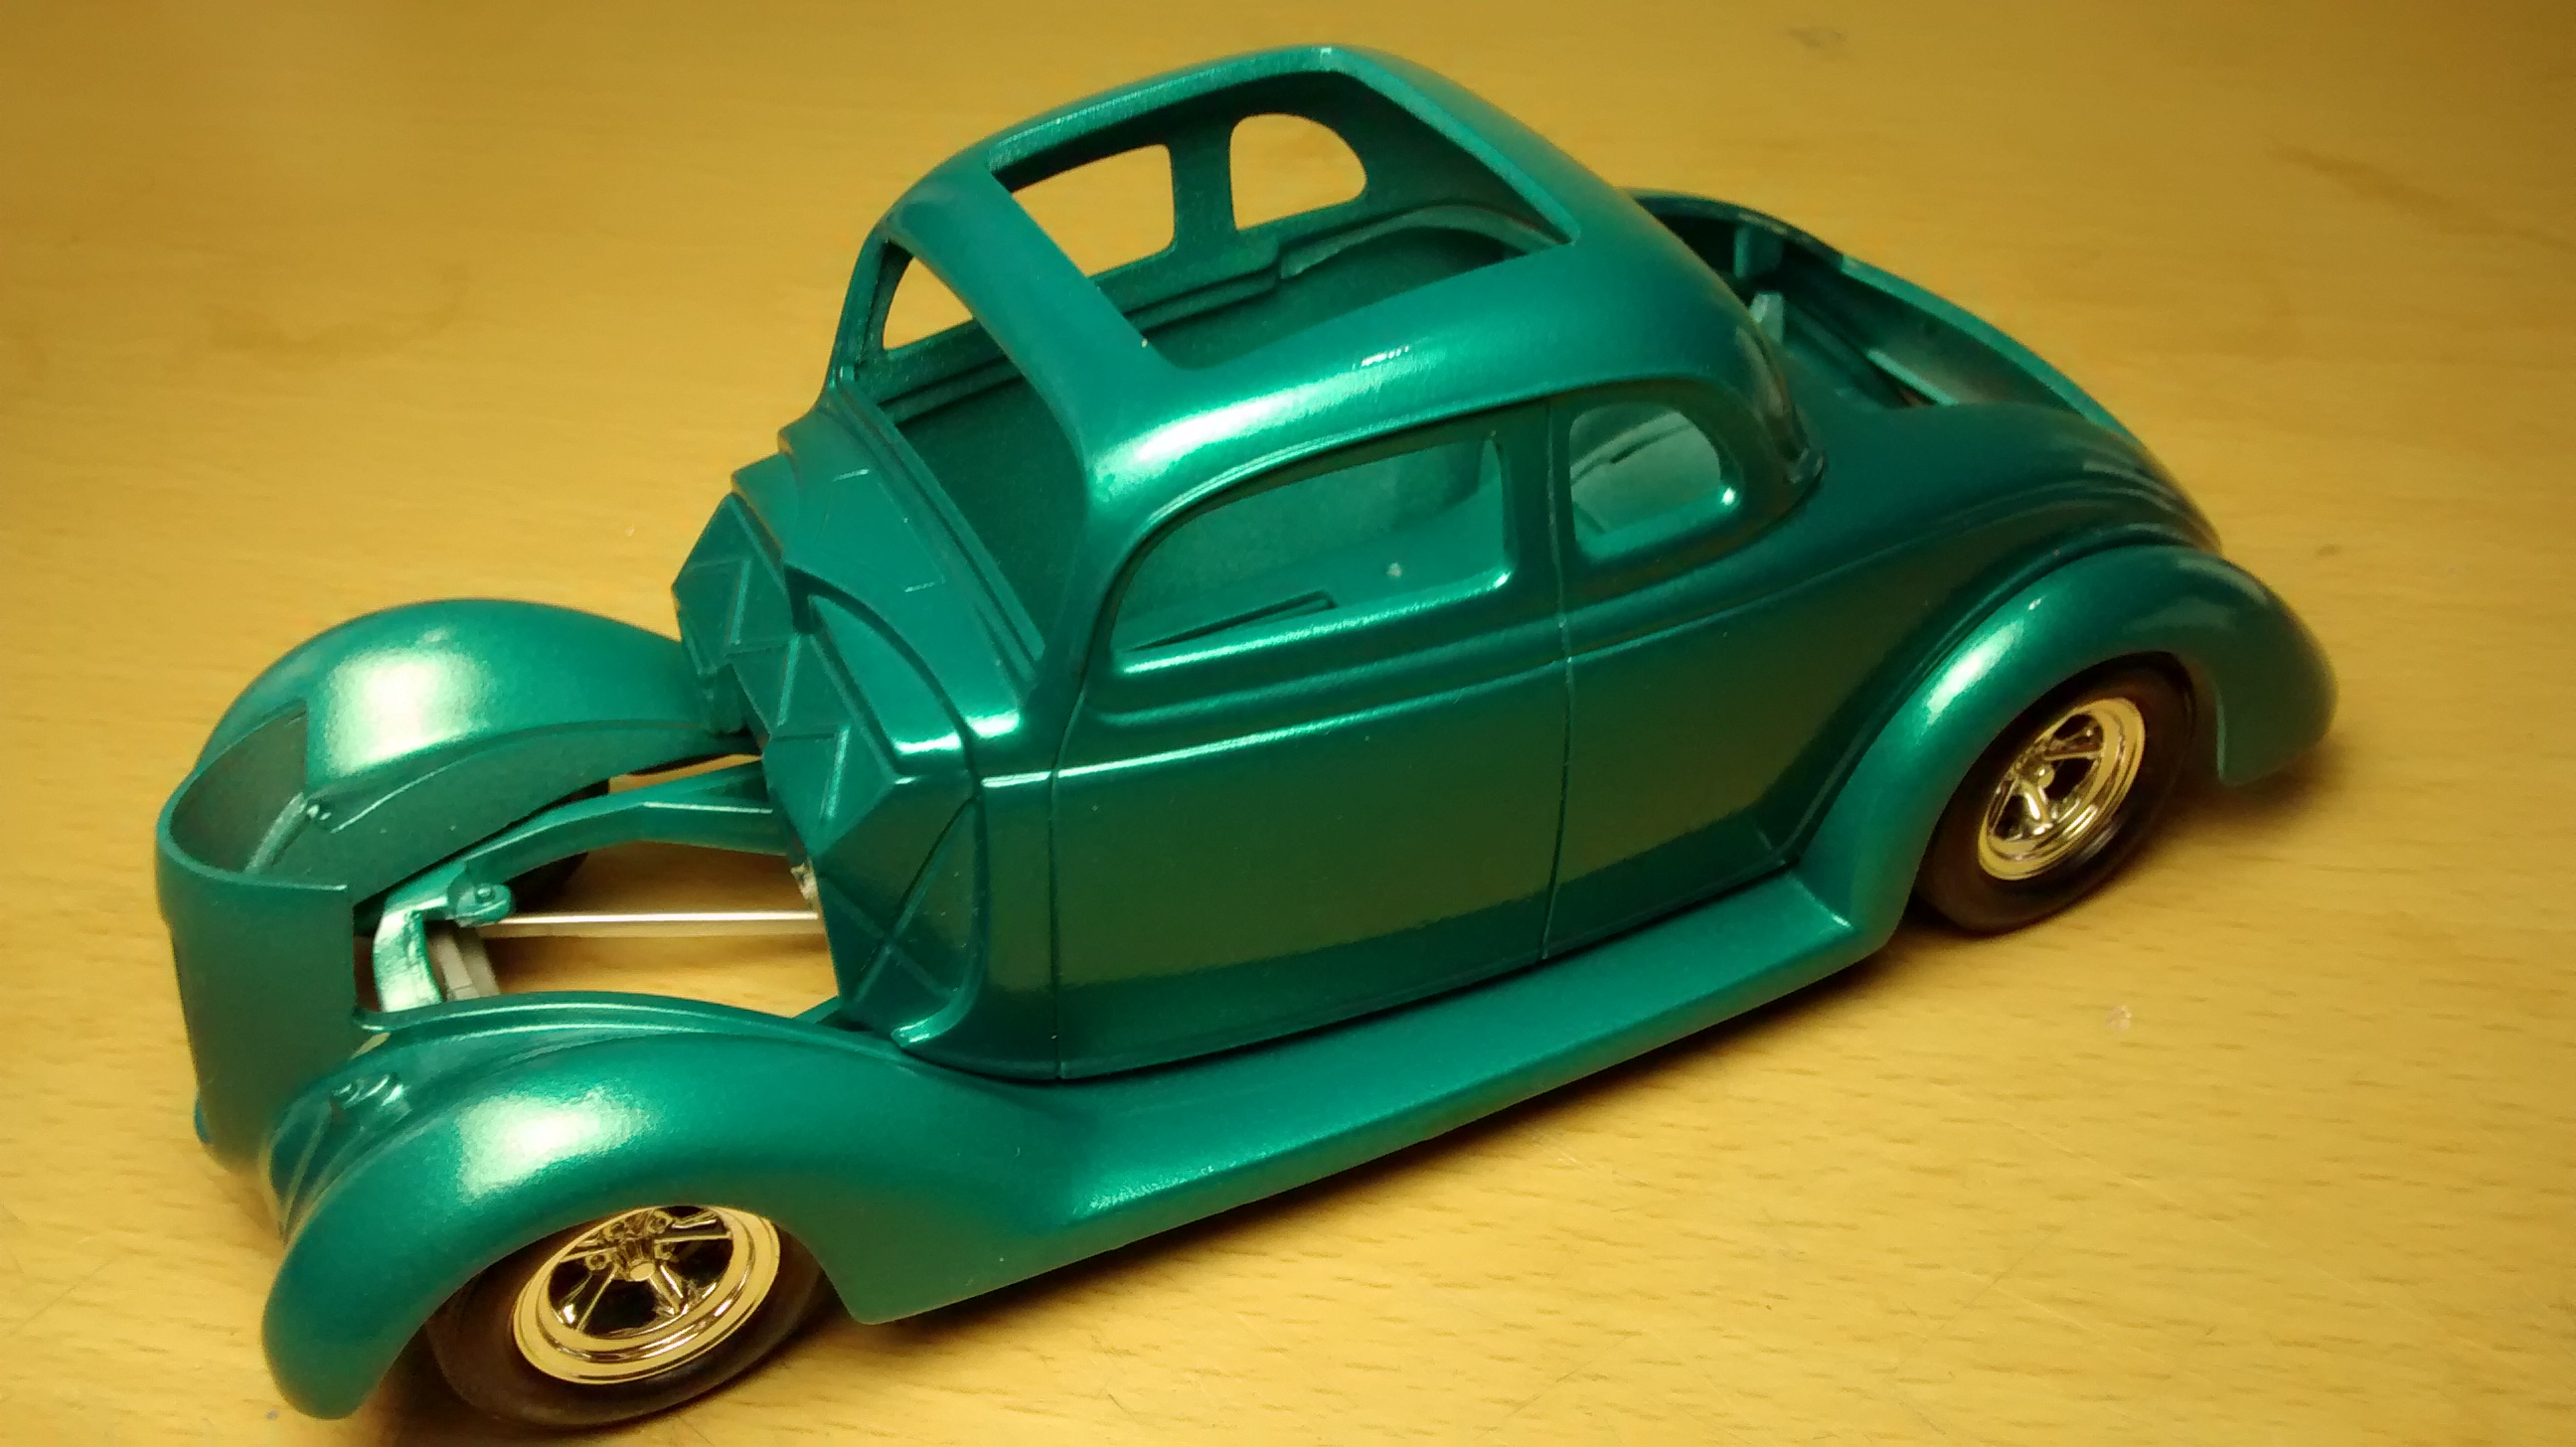
Well... It has been a year since my last progress post on this project... Had to put the hobby on hold for some time again, but last weekend I was able to get some paint on it so I just wanted to share some pics with you. The color is Teal Marble (nail lacquer) from sinful colors. I will take better pics outside soon to get a better shade of the color. Hope you like it and thanks for looking!!!