Gluebomber
-
Posts
322 -
Joined
-
Last visited
Content Type
Profiles
Forums
Events
Gallery
Everything posted by Gluebomber
-
Thanks, Guys, for the kind words.
-
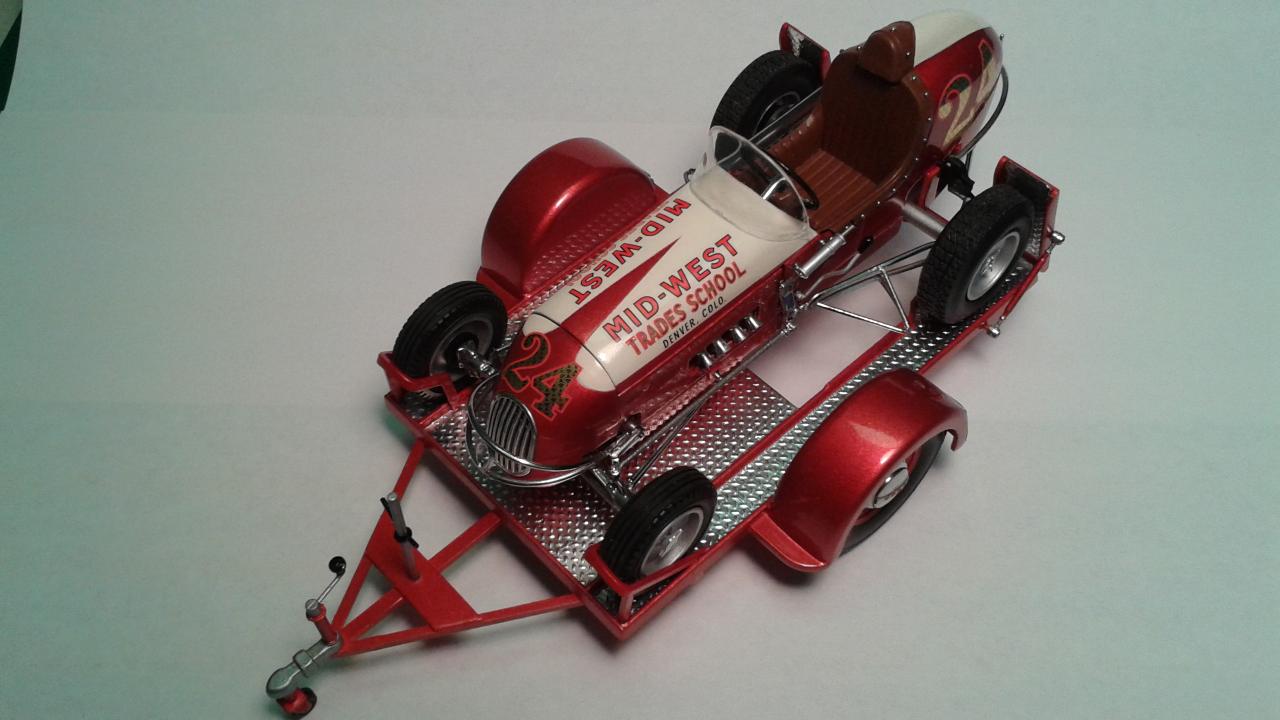
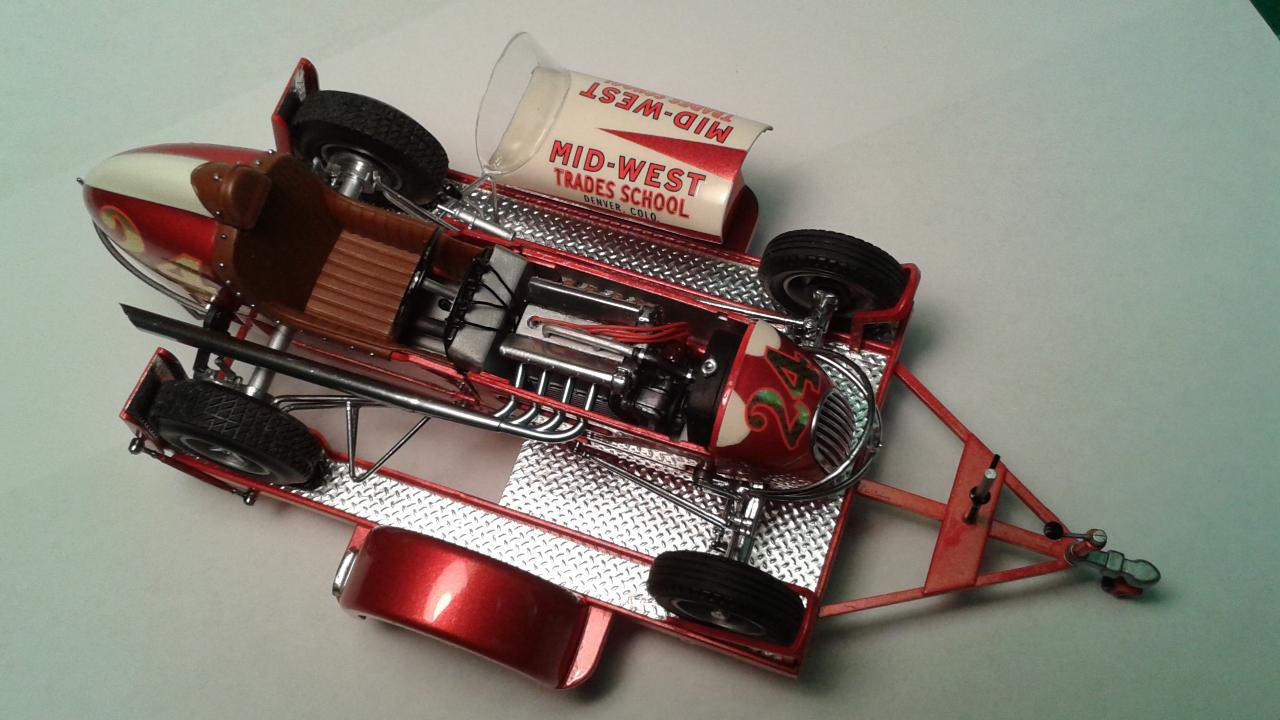
I've had a couple of these kits in my stash since they came out in 2010, but when I picked up the V-R-M decals for them at the IPMS Nationals, I had to build one. The kit is pretty straightforward, but a lot of the parts are really delicate and require some care and patience to get right. I added some engine details, rear nerf bars, and seat snaps, but the model is basically box stock. Paint is Tamiya Metallic Red and Racing White decanted and airbrushed, followed by some Omni clearcoat. All the chrome was stripped and repainted with Alclad and Metalizer. All comments, positive and negative, are welcome. Thanks for looking!

-
Looks great, Erich. You did a really nice job on the forks. How did you paint them?
-
Beautiful work, Jurgen.
-
Really nice work, Steve. One of my favorite cars. Did you use the kit decals for the orange stripes or did you paint them? If you used the decals, what paint did you use to get such a good match on the front valence?
-
Really nice work, Dale. I especially like the interior. What set did you use for the seatbelts?
-
Really nice job, Jason, on one of my all-time favorite cars.
-
Nice build, Chris, and a great looking collection!
-
That helps. Thanks again, Casey.
-
Thanks, Casey, but that's the site you go to when you click the link in the MCM article. I must just be missing it, but when I'm on that page how do I contact Two Cats to order a kit? Thanks again.
-
Does anyone have contact info for Two Cats Resins? I went to the link in the article on the MCM home page, but I couldn't find any contact or ordering info. Thanks.
-
Nice clean build. I also liked the heat staining on the exhausts.
-
Sharp build!
-
Thanks again for the kind comments, Guys. Harry and Skip, I'm with you on the scale effect of the metal flake. The bright light and closeup pictures makes it look a little more pronounced that in real life, but it's still more than I'd like. I actually painted this car with the Zero Paints version of this color and it was even worse. I stripped it and repainted it with the Scale Finishes silver and it improved enough to go ahead and finish the build. I'm starting to use Tamiya sprays with a urethane clear, and the flake on their metallics is a lot better. To your question Matija, I think the Fujimi kit came out before the Revell version, at least I know I had it first. For this one, I thought the molding was a little crisper than the Revell version, but I have a number of other Revell Ferraris and plan to build them.
-
Thanks for the kind words, Guys!
-
Nice model and good photography!
-
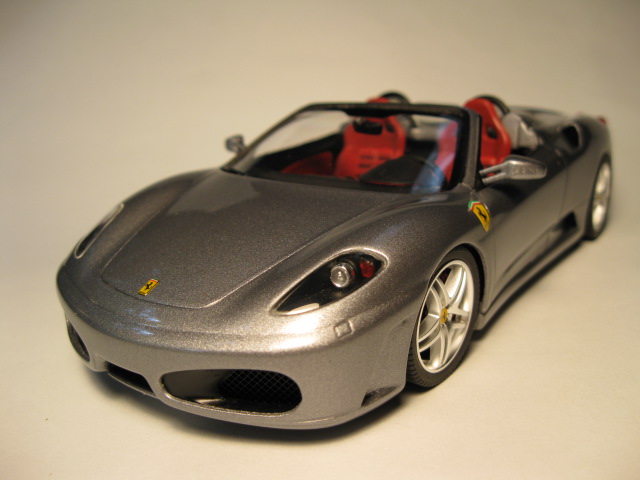
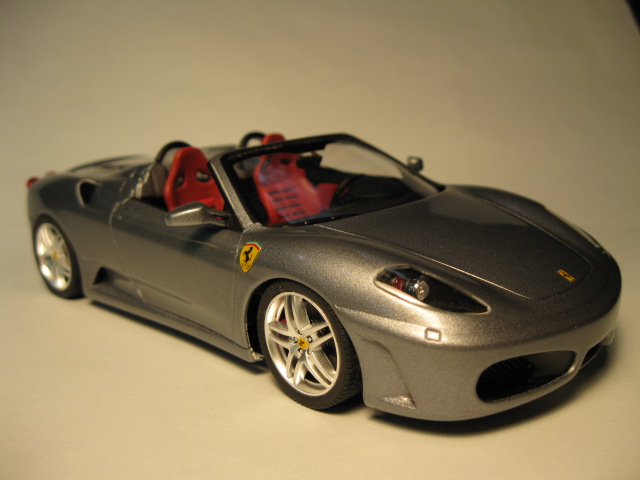
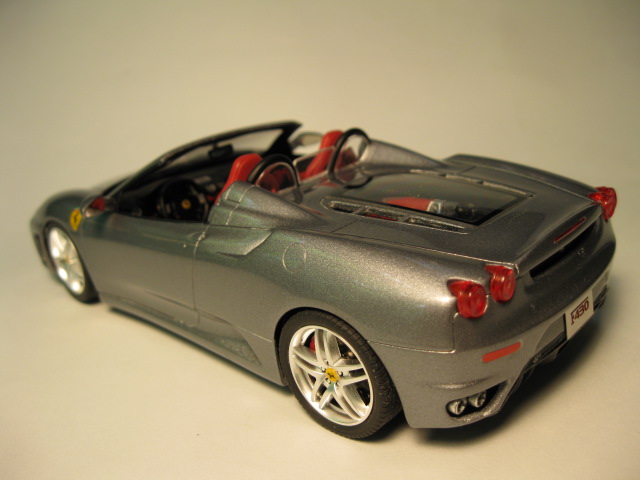
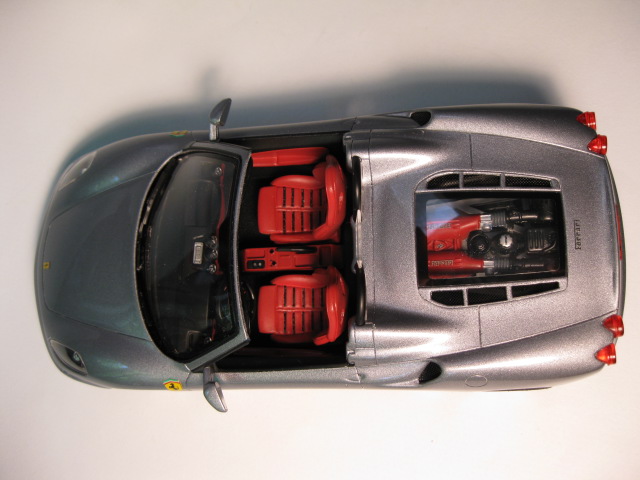
This is the Fujimi kit with some Crazy Modeler p/e screens and details added. I replaced the seats with resin Daytona ones from KA and replaced the one-piece kit engine with a full engine from the Revell 430. Paint is Scale Finishes Grigio Titanio with a urethane clearcoat. All comments, positive and negative, are welcome. Thanks for looking!
-
Absolutely stunning build. That's one of the best scale Ferrari engines I've seen and the interior is outstanding. Also, the finish and paint scheme are great. Well done!
-
That is very cool! Great Job!
-
Nice build! Your model brought back memories. My dad owned one too, but his was in Glen Green. Also, I bought a '58 Impala in 1979. That one was a little past its prime, but I had fun in it for about a year or so.
-
Hi, Chris. I used a circle cutter by a company named Olfa. It's like a compass with a blade on one end. I think I picked it up at an art supply store and have been surprised how often I use it. For example, in painting the wheels, I first sprayed them white then masked the centers with masking tape discs I cut with the circle cutter, so I could paint the aluminum rims.
-
Really nice build, Henry. Great detail under the hood.
-
Thanks for the kind comments, Guys.
-
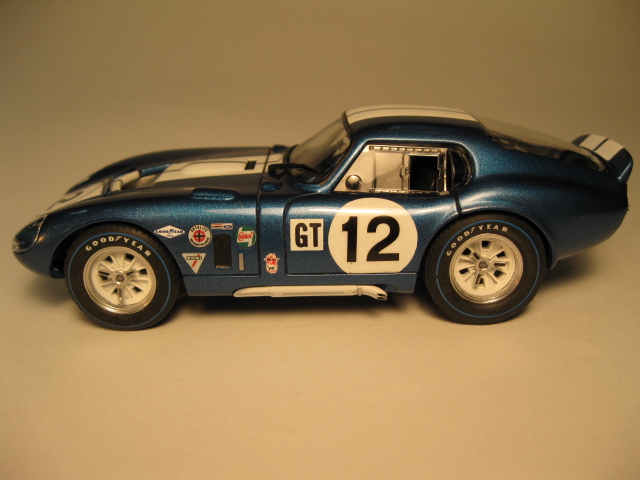
This is the Monogram slot car body converted to a shelf model. It started out as a test mule while I tried to find what I thought was an accurate Guardsman Blue that I could use when I built my HRM 1/24 Daytona Coupe. I finally settled on Automotive Touchup paint and it came out well enough on the 1/32 version that I decided to finish it. The wheels and tires are available as Monogram aftermarket parts, but since the wheels were chrome, they had to be stripped and painted. The stripes and roundels were cut from white decal material. The numbers and sponsor decals were cobbled together from various 1/32 and 1/24 sheets. Some of the decals are a little out of scale, but I always liked the look of the 1965 Sebring Daytonas, so I just decided to go ahead with what I had. It's far from perfect, but I'm calling it done. All comments, positive and negative are welcome. Thanks for looking!
-
Really nice work, Fred. Whose decals are those?