Gluebomber
-
Posts
322 -
Joined
-
Last visited
Content Type
Profiles
Forums
Events
Gallery
Everything posted by Gluebomber
-
Thanks again for the kind comments. Skip, quite honestly, I built this model 3+ years ago and don't remember my thought process. I probably just thought the polished aluminum trim would look better than the red leather.
-
grand sport corvette roadster
Gluebomber replied to 65slotcar's topic in Other Racing: Road Racing, Salt Flat Racers
Looks great, William. -
Looks great, Marco. You got the most out of this box-stock build!
-
Thanks again for the kind comments.
-
Maserati Tipo 61 Birdcage
Gluebomber replied to Gluebomber's topic in Other Racing: Road Racing, Salt Flat Racers
Thanks for the kind comments, Guys. -
Thanks for the kind words, Guys. David, it's the plastic kit.
-
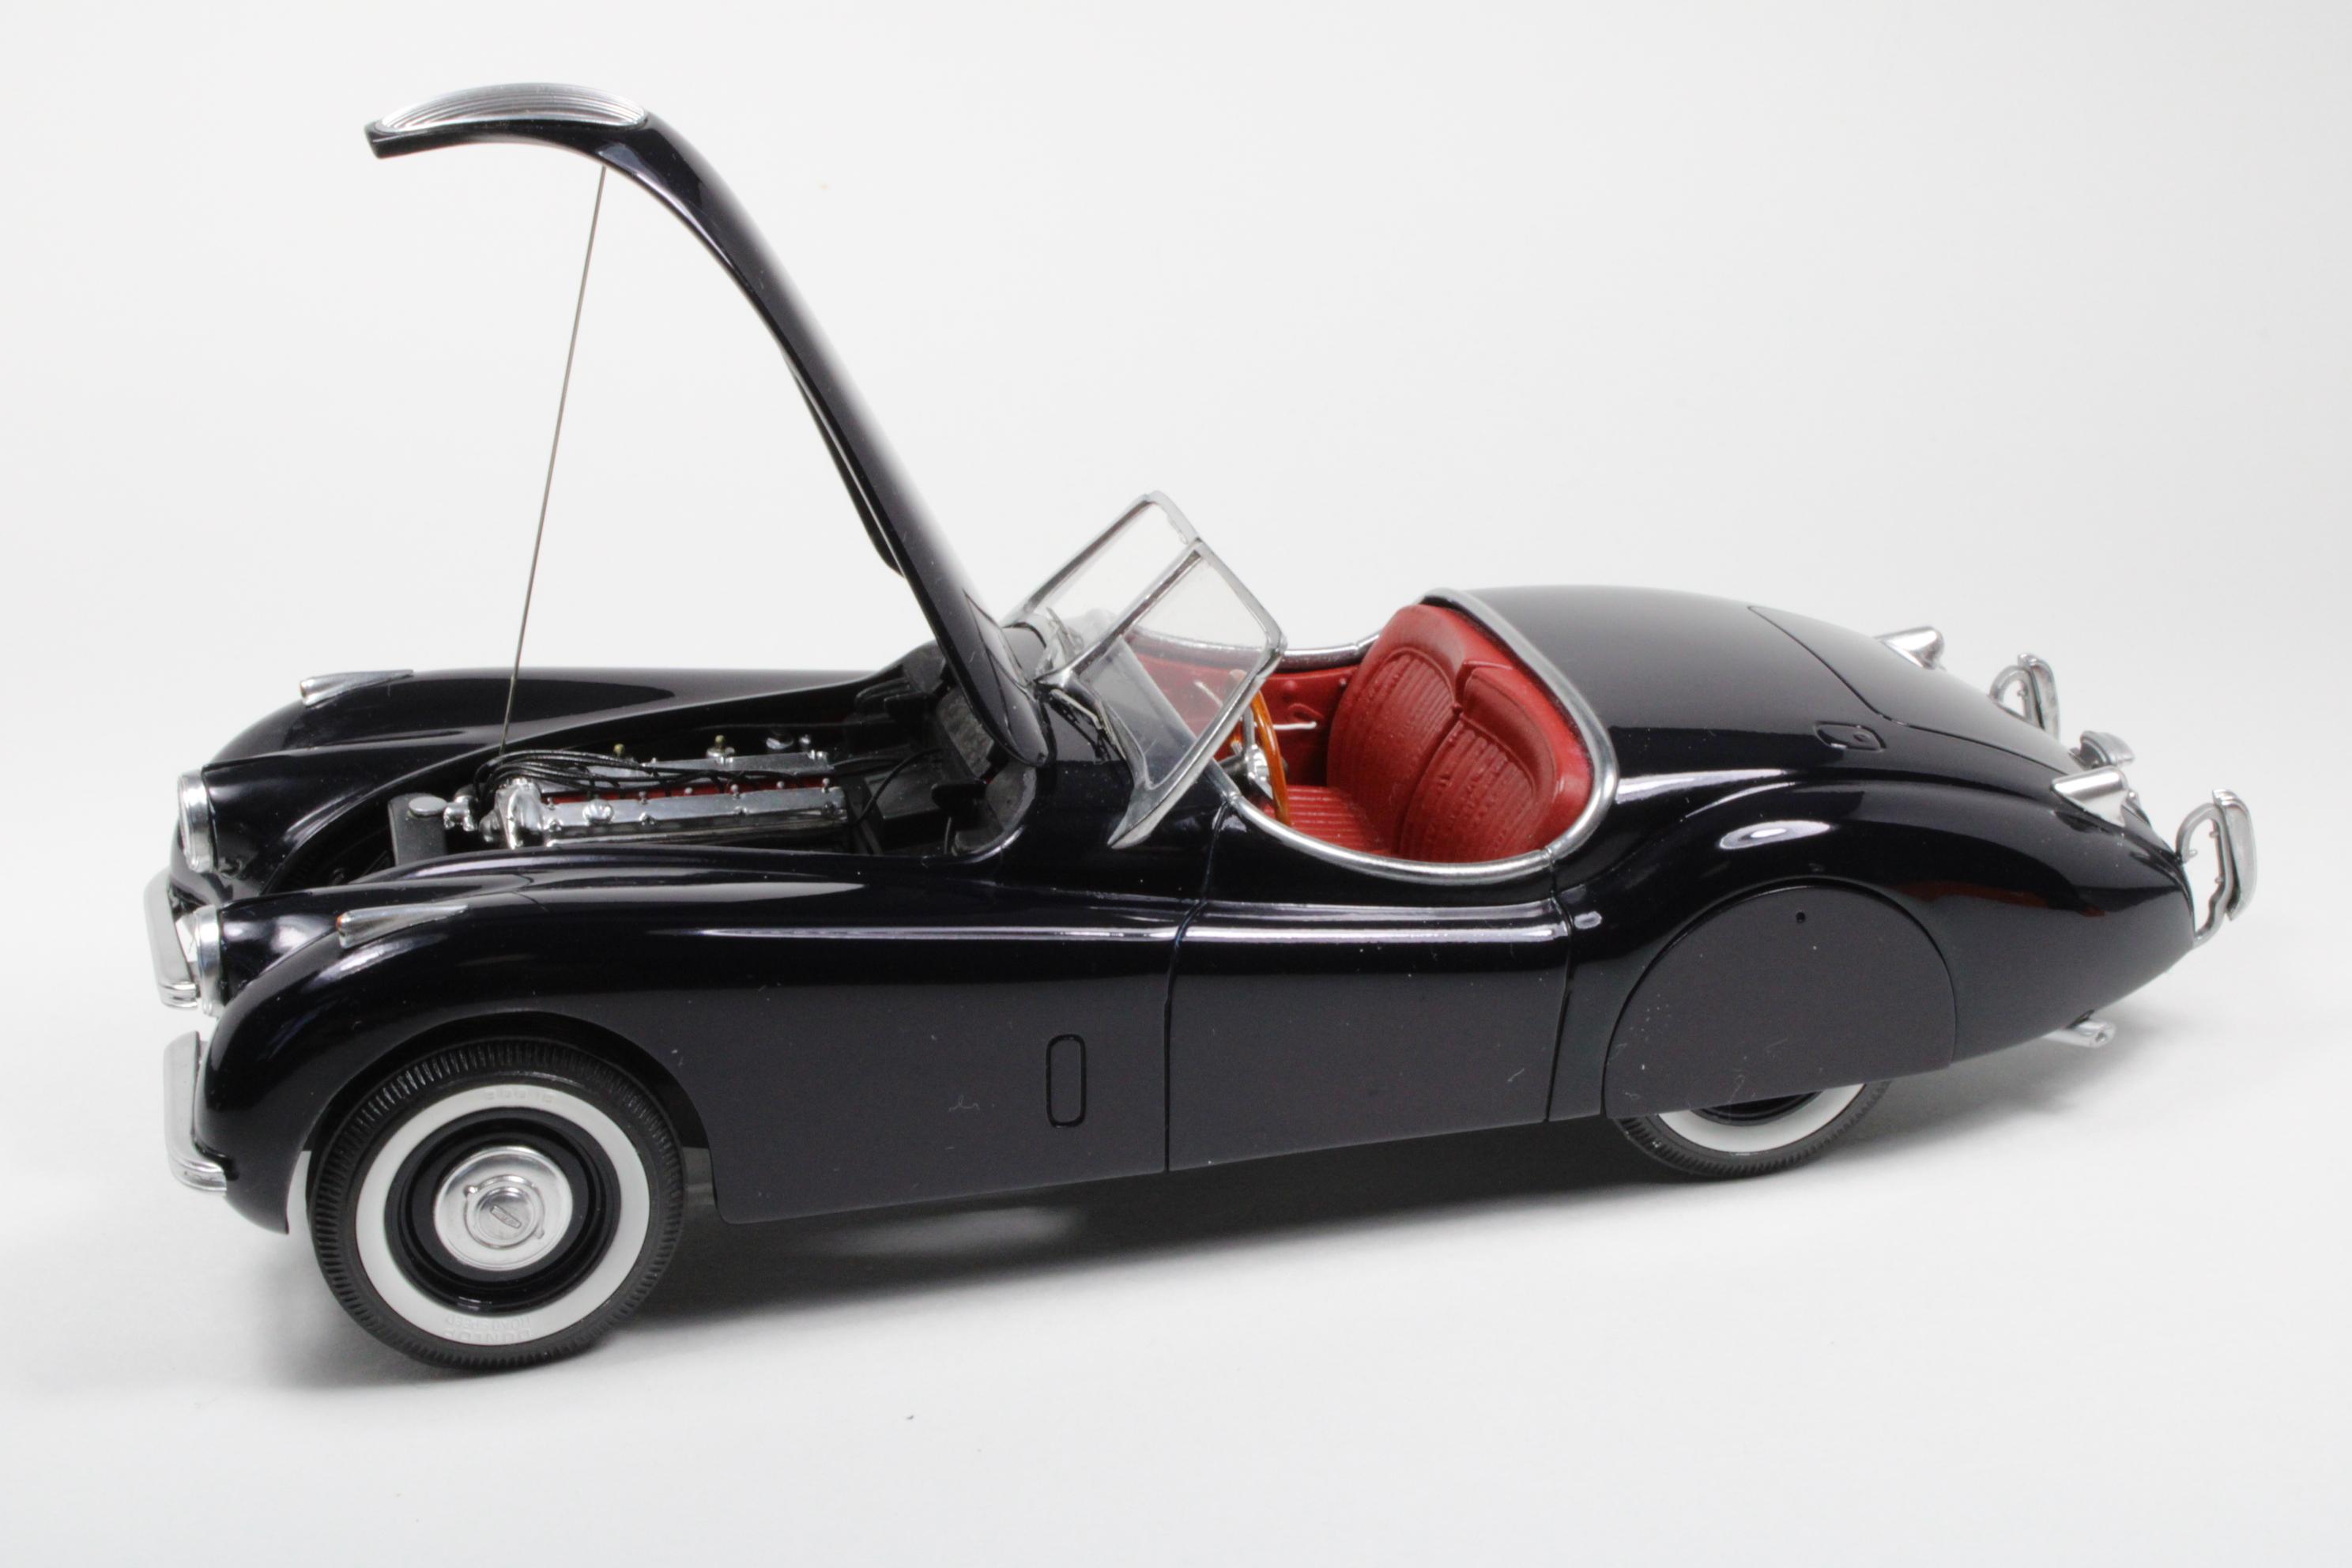
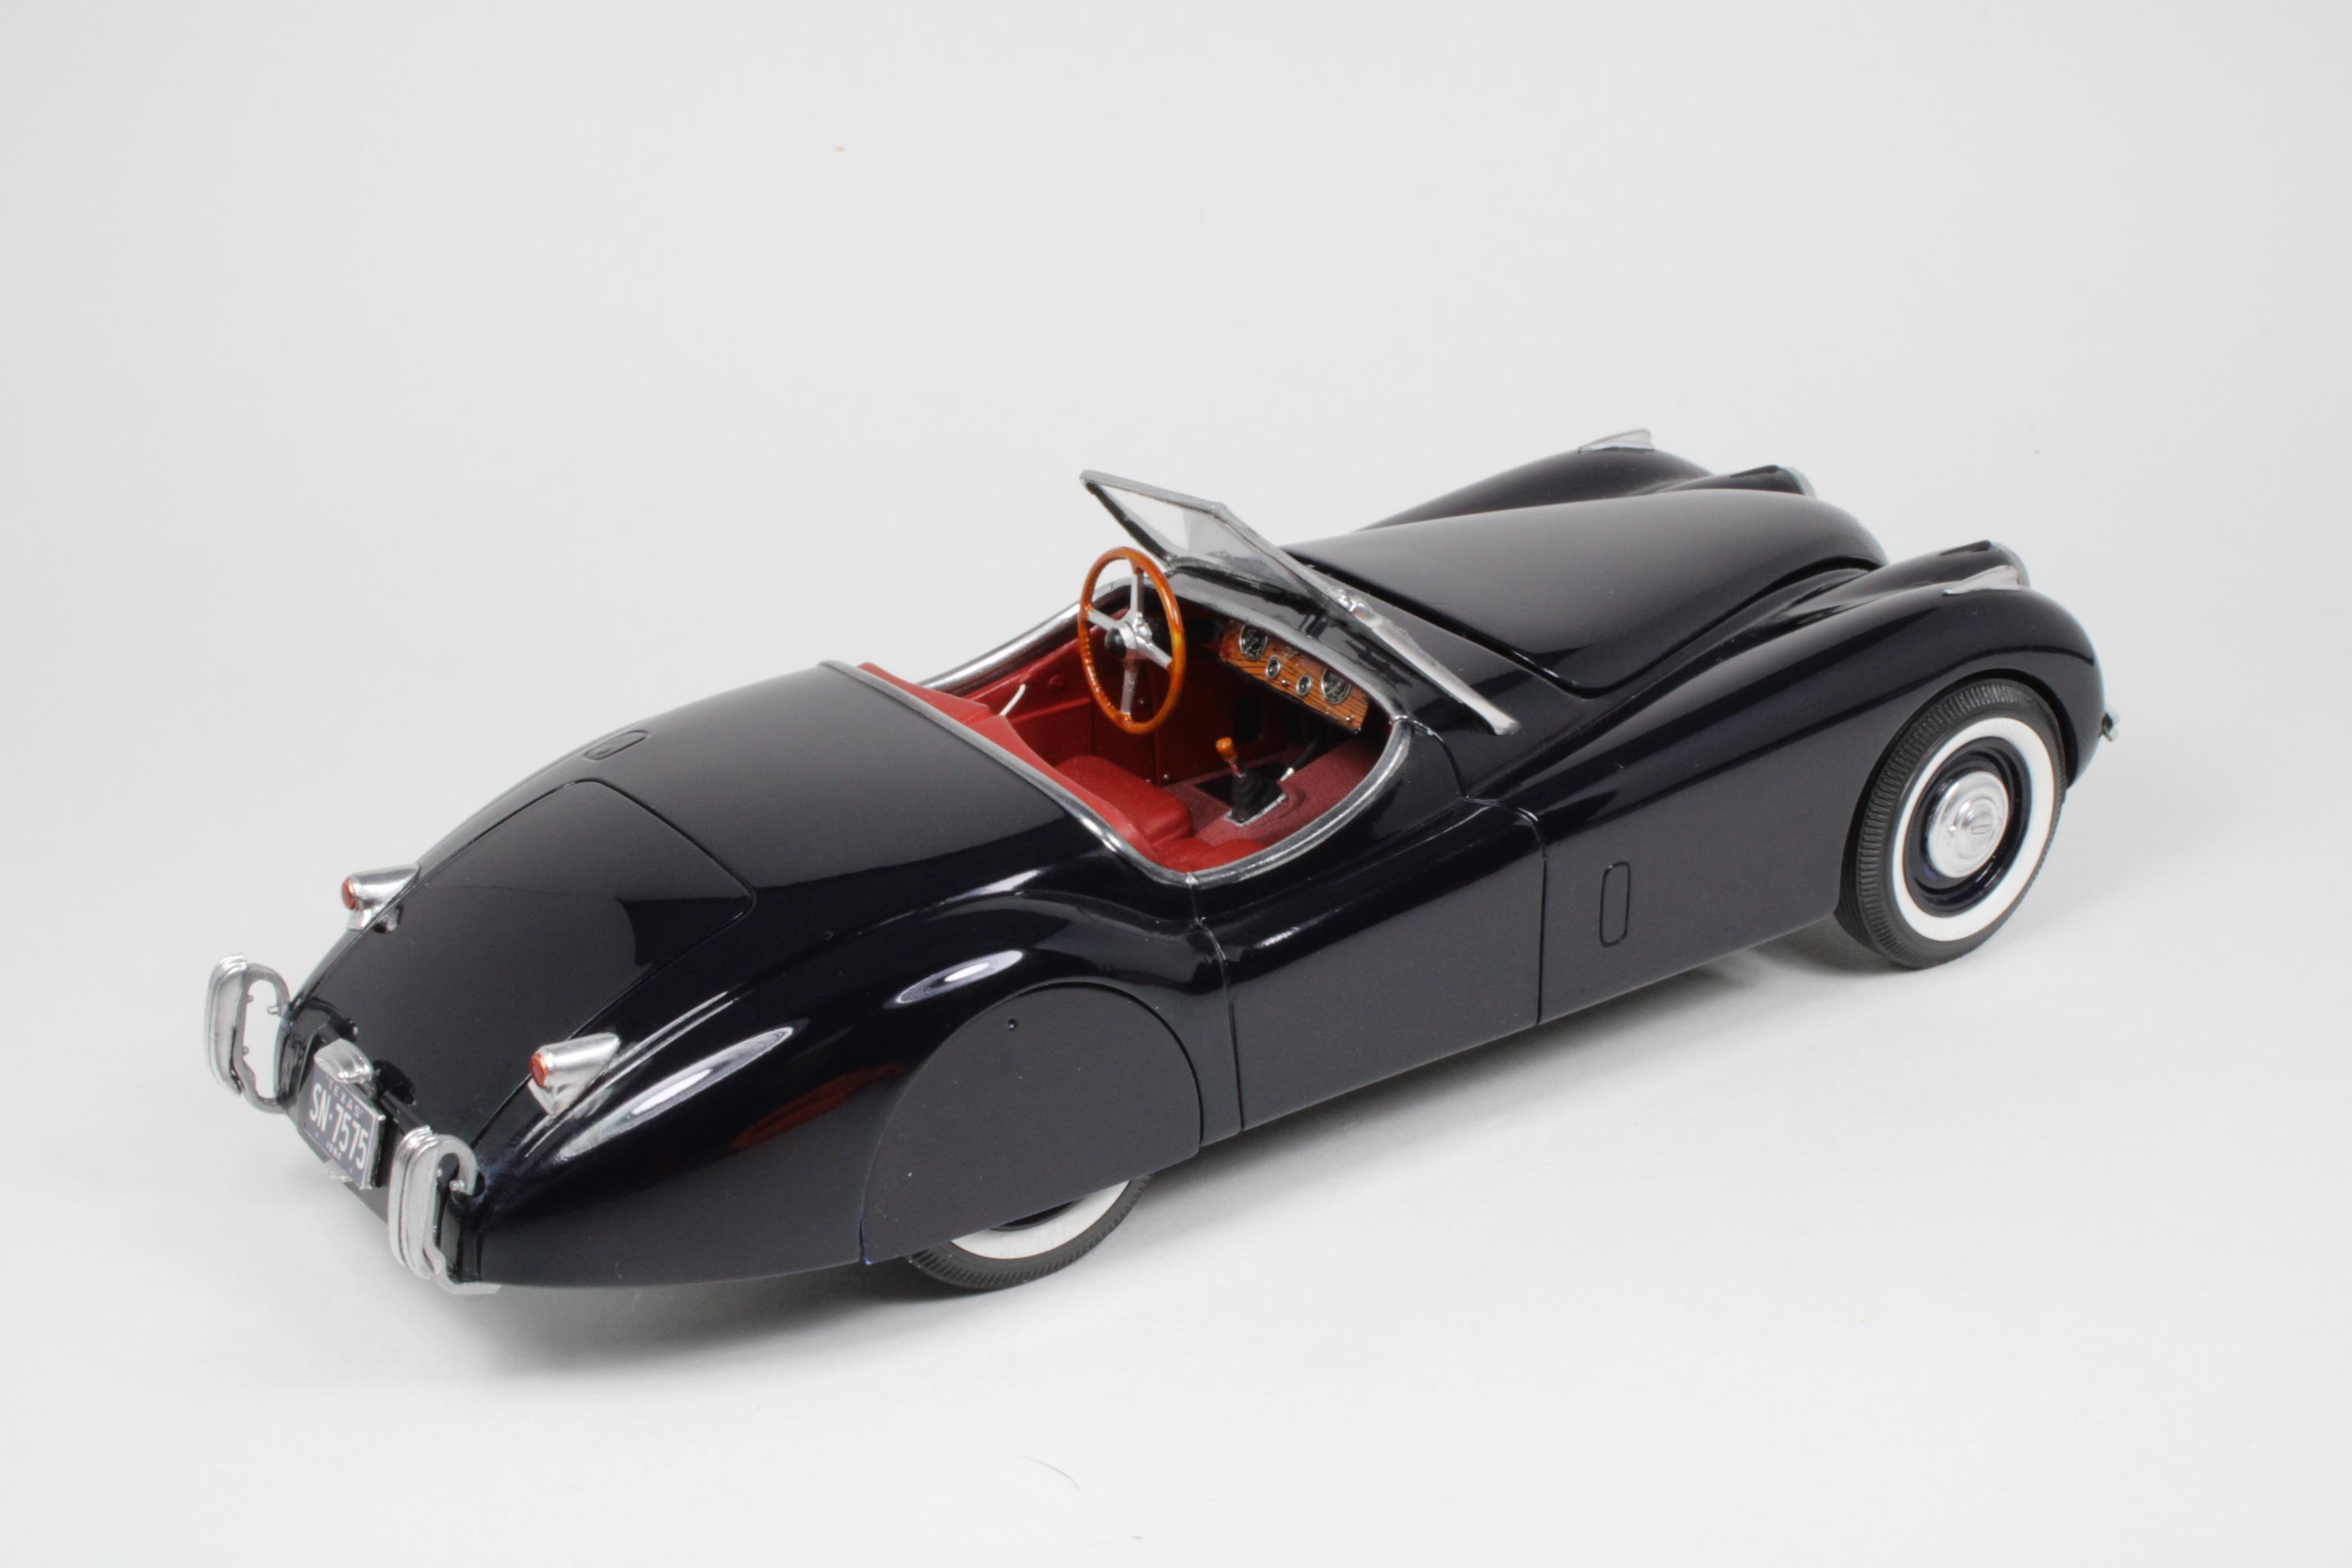
Below are some pictures of the Revell-Germany Jaguar XK-120. I didn't do much to the kit other than adding some engine wiring, detailing the dash, and adding some p/e wipers. Otherwise the kit was built box-stock. Paint is Tamiya Spray Dark Blue (TS-55) decanted and airbrushed, and a mix of Tamiya acrylics for the interior. All the kit chrome was stripped and repainted with Alclad Polished aluminum. I've built a few of the Revell-Germany classic sports cars and despite their age have found them to be great kits to build. They're also pretty readily available at model shows and I try to pick up as many as I can. All comments and constructive criticism are welcome. Thanks for looking!

-
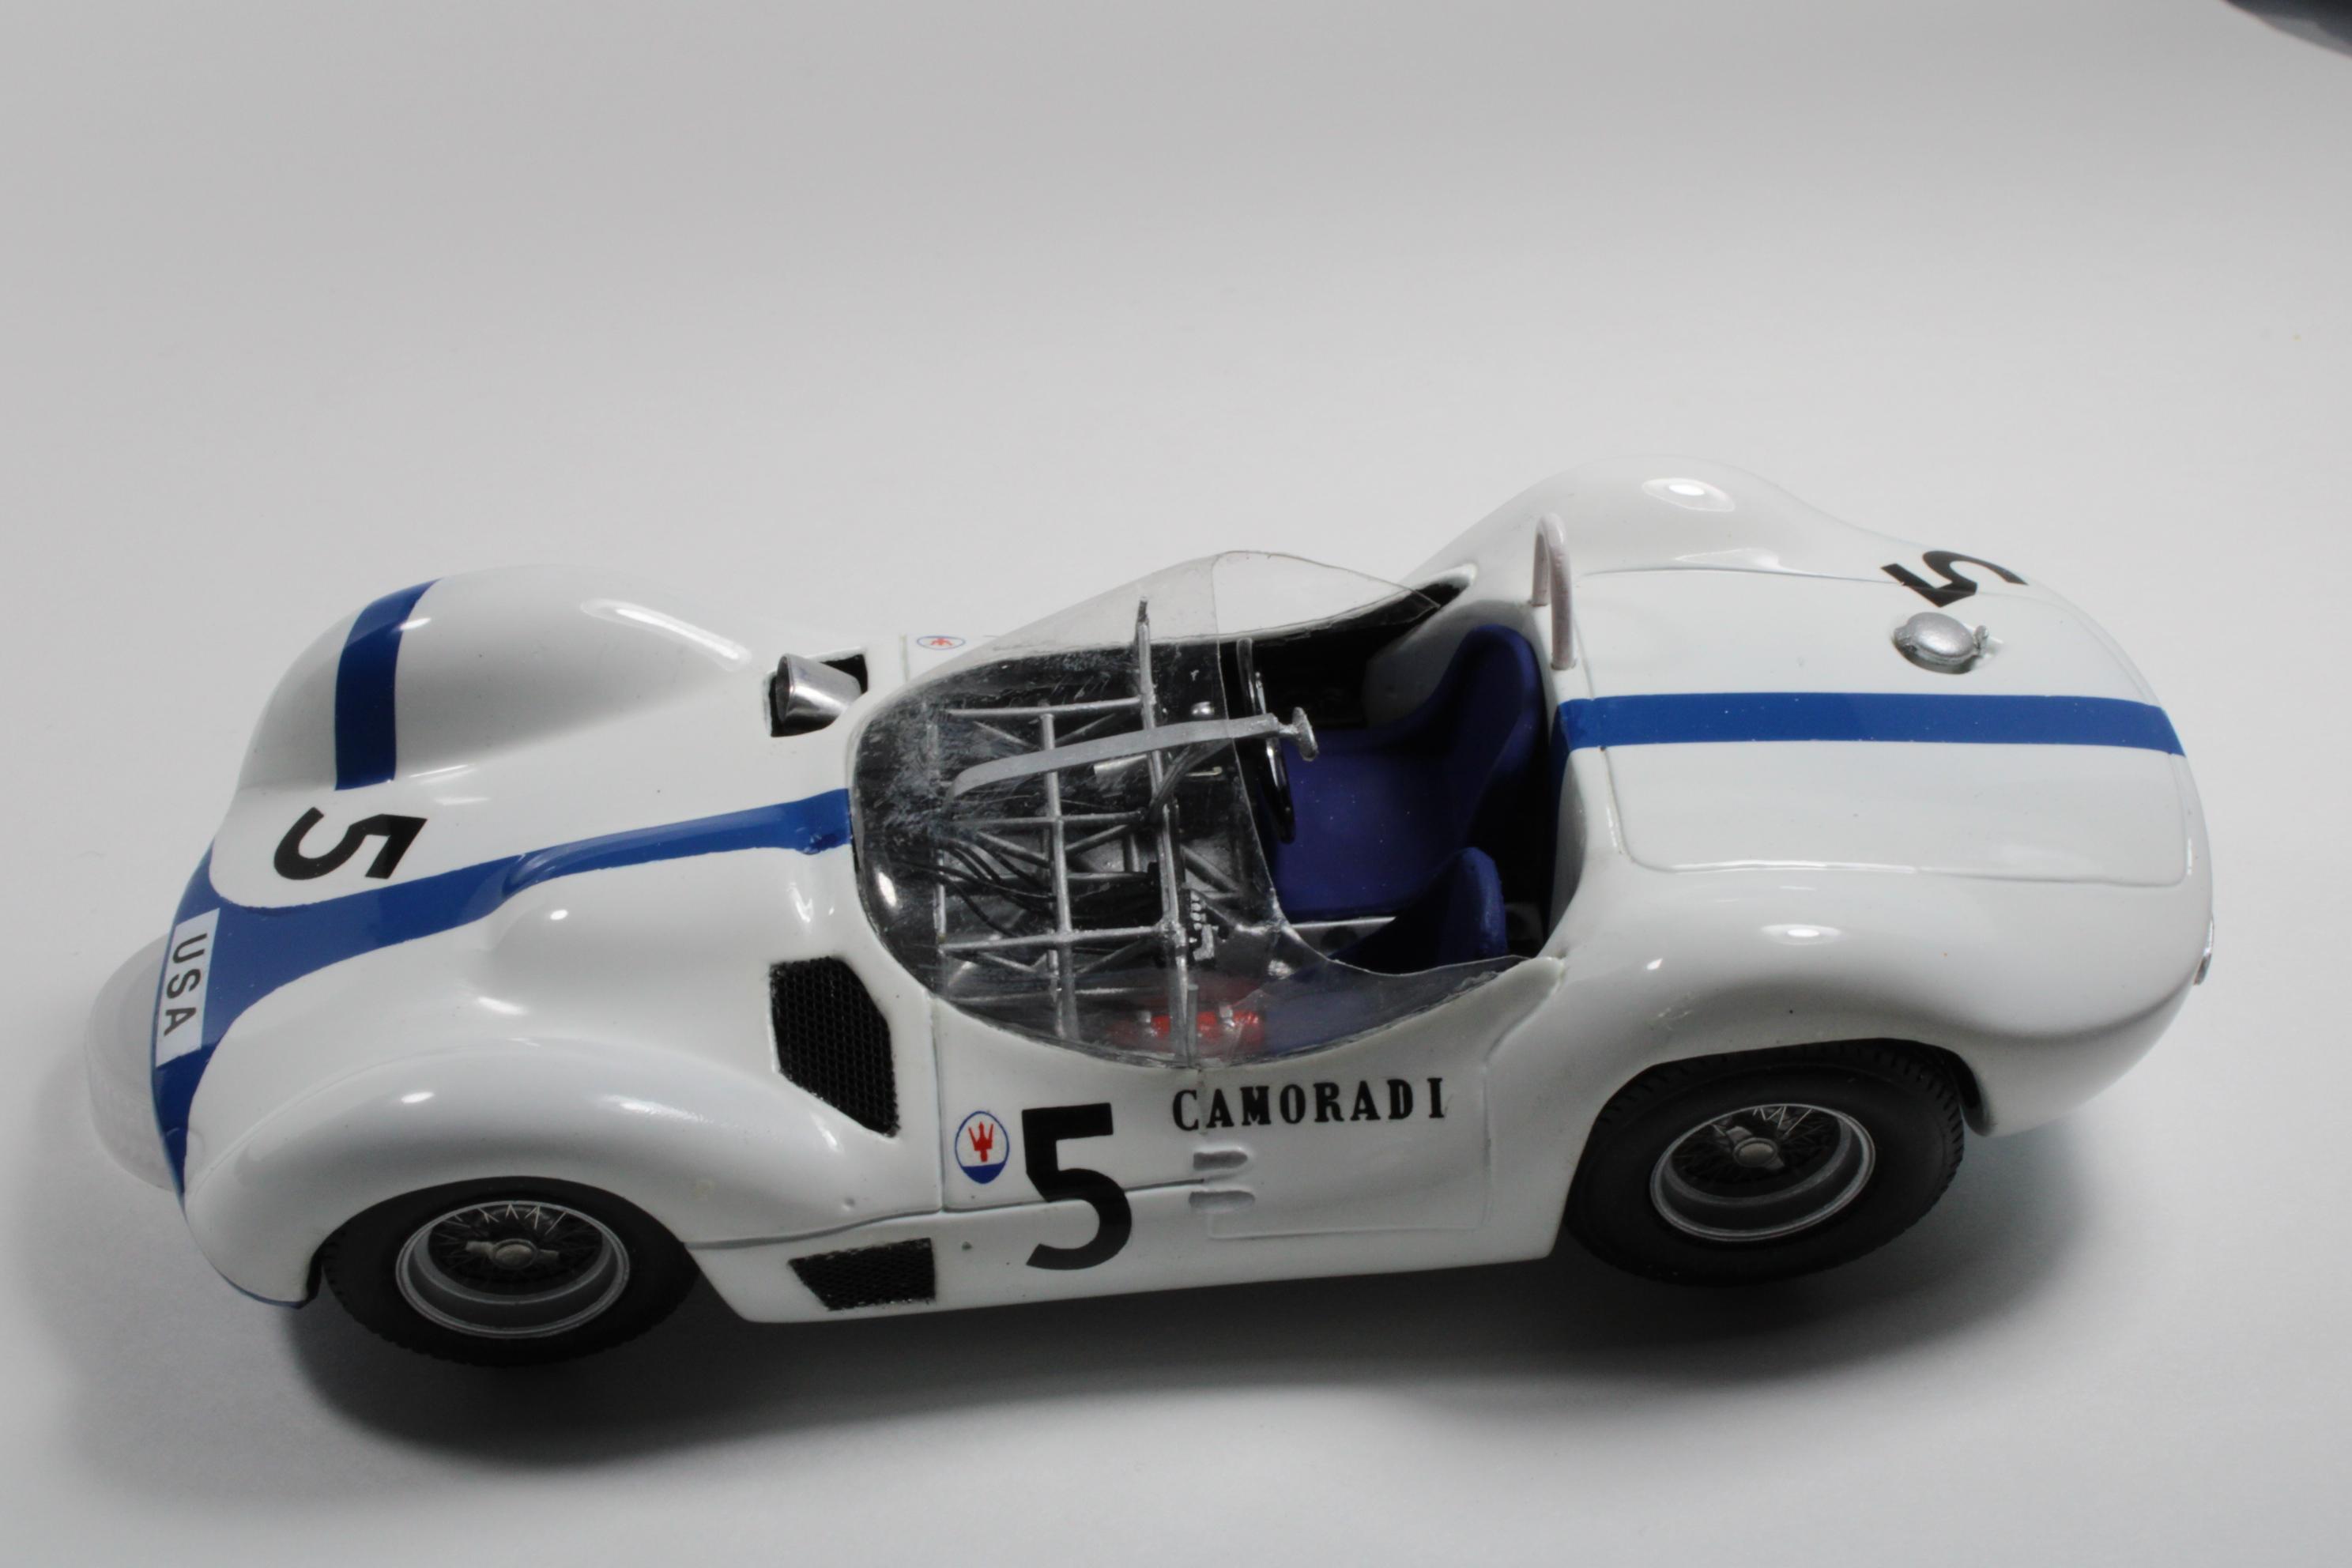
Below are some pictures of Aardvark Models Maserati Birdcage built to represent the winner of the 1960 Nurburgring 1000 km., driven by Dan Gurney and Stirling Moss. This kit has been out of production for many years and has become a "Holy Grail" kit for a lot of us car modelers. I was able to get one from a member of one of the racing discussion groups who was selling off part of his stash. Overall the kit built up well but I thought by taking some extra steps it could be improved a bit. The resin sections of the "birdcage" were pretty warped in my kit so I rebuilt that section using Evergreen plastic rod. I Dremeled out the molded in screens over the vents and covered the openings with brass screen painted black. I added an air intake that was a characteristic of this car by flattening and shaping some aluminum tube. The instruments were wired and p/e bezels were used on the dash. I also replaced the kit p/e wire wheels with some from the Gunze Ferrari 250 GTO, which I thought looked a little more refined. Paint is Tamiya Spray Pure White (TS-26) with TS Blue (TS-15) for the stripes. Different shades of Alclad and Metalizer were used on the interior. Amazingly, the ancient Fred Cady decals that came with the kit worked like a charm. The model is far from perfect, but I'm glad to add it to my shelf. If I could I'd like to get another kit to build the red Penske car, but the folks that own one don't seem to want to give them up. All comments and constructive criticism are welcome. Thanks for looking!
-
Thanks again for the kind words, Guys. Gareth, thanks for the info on UK car licensing standards. Tim, on the fender beading, Gunze made it a little easier by molding in a tiny channel along the tops of the fenders. I used some nickel silver wire from a company called Albion Alloys. The wire comes in straight lengths that can be shaped and I tried to shape the wire as close to the shape of the fenders as possible. When I had the shapes I needed I laid a bead of white glue in the channels, put in the shaped pieces, taped them down with narrow strips of tape , and left them overnight. The next day I carefully removed the tape taking care to not lift the wire from the channel. There was some white glue residue left behind that had to be cleaned up. On my first one I ran a damp Q-Tip along the bead and learned quickly that dissolved the white glue holding the wire. On later ones I used a Q-Tip with some fine Tamiya polishing compound along the bead. That cleaned up the residue and helped to further seat the wire into the grooves. Hope that helps.
-
Thanks again for the kind comments, Guys.
-
Porsche 911 GT1 98
Gluebomber replied to Gluebomber's topic in Other Racing: Road Racing, Salt Flat Racers
Thanks for the kind comments, Guys. -
Thanks for the kind words, Guys.
-
Below are some pics of the Gunze Sangyo Triumph TR-3. The kit is a curbside and was built essentially box-stock with the exception of some stainless steel wire added to the fender tops and some rivets to simulate the snaps for the convertible top. I also replaced the kit wheels with the plastic wire wheels from an Italeri Ferrari 250 GTO. Paint is Tamiya Spray British Green (TS-9) decanted and airbrushed and a mix of Tamiya acrylics for the interior. I was lucky to find this excellent kit at a model contest. Too bad it's out of production. All comments and constructive criticism are welcome. Thanks for looking!
-
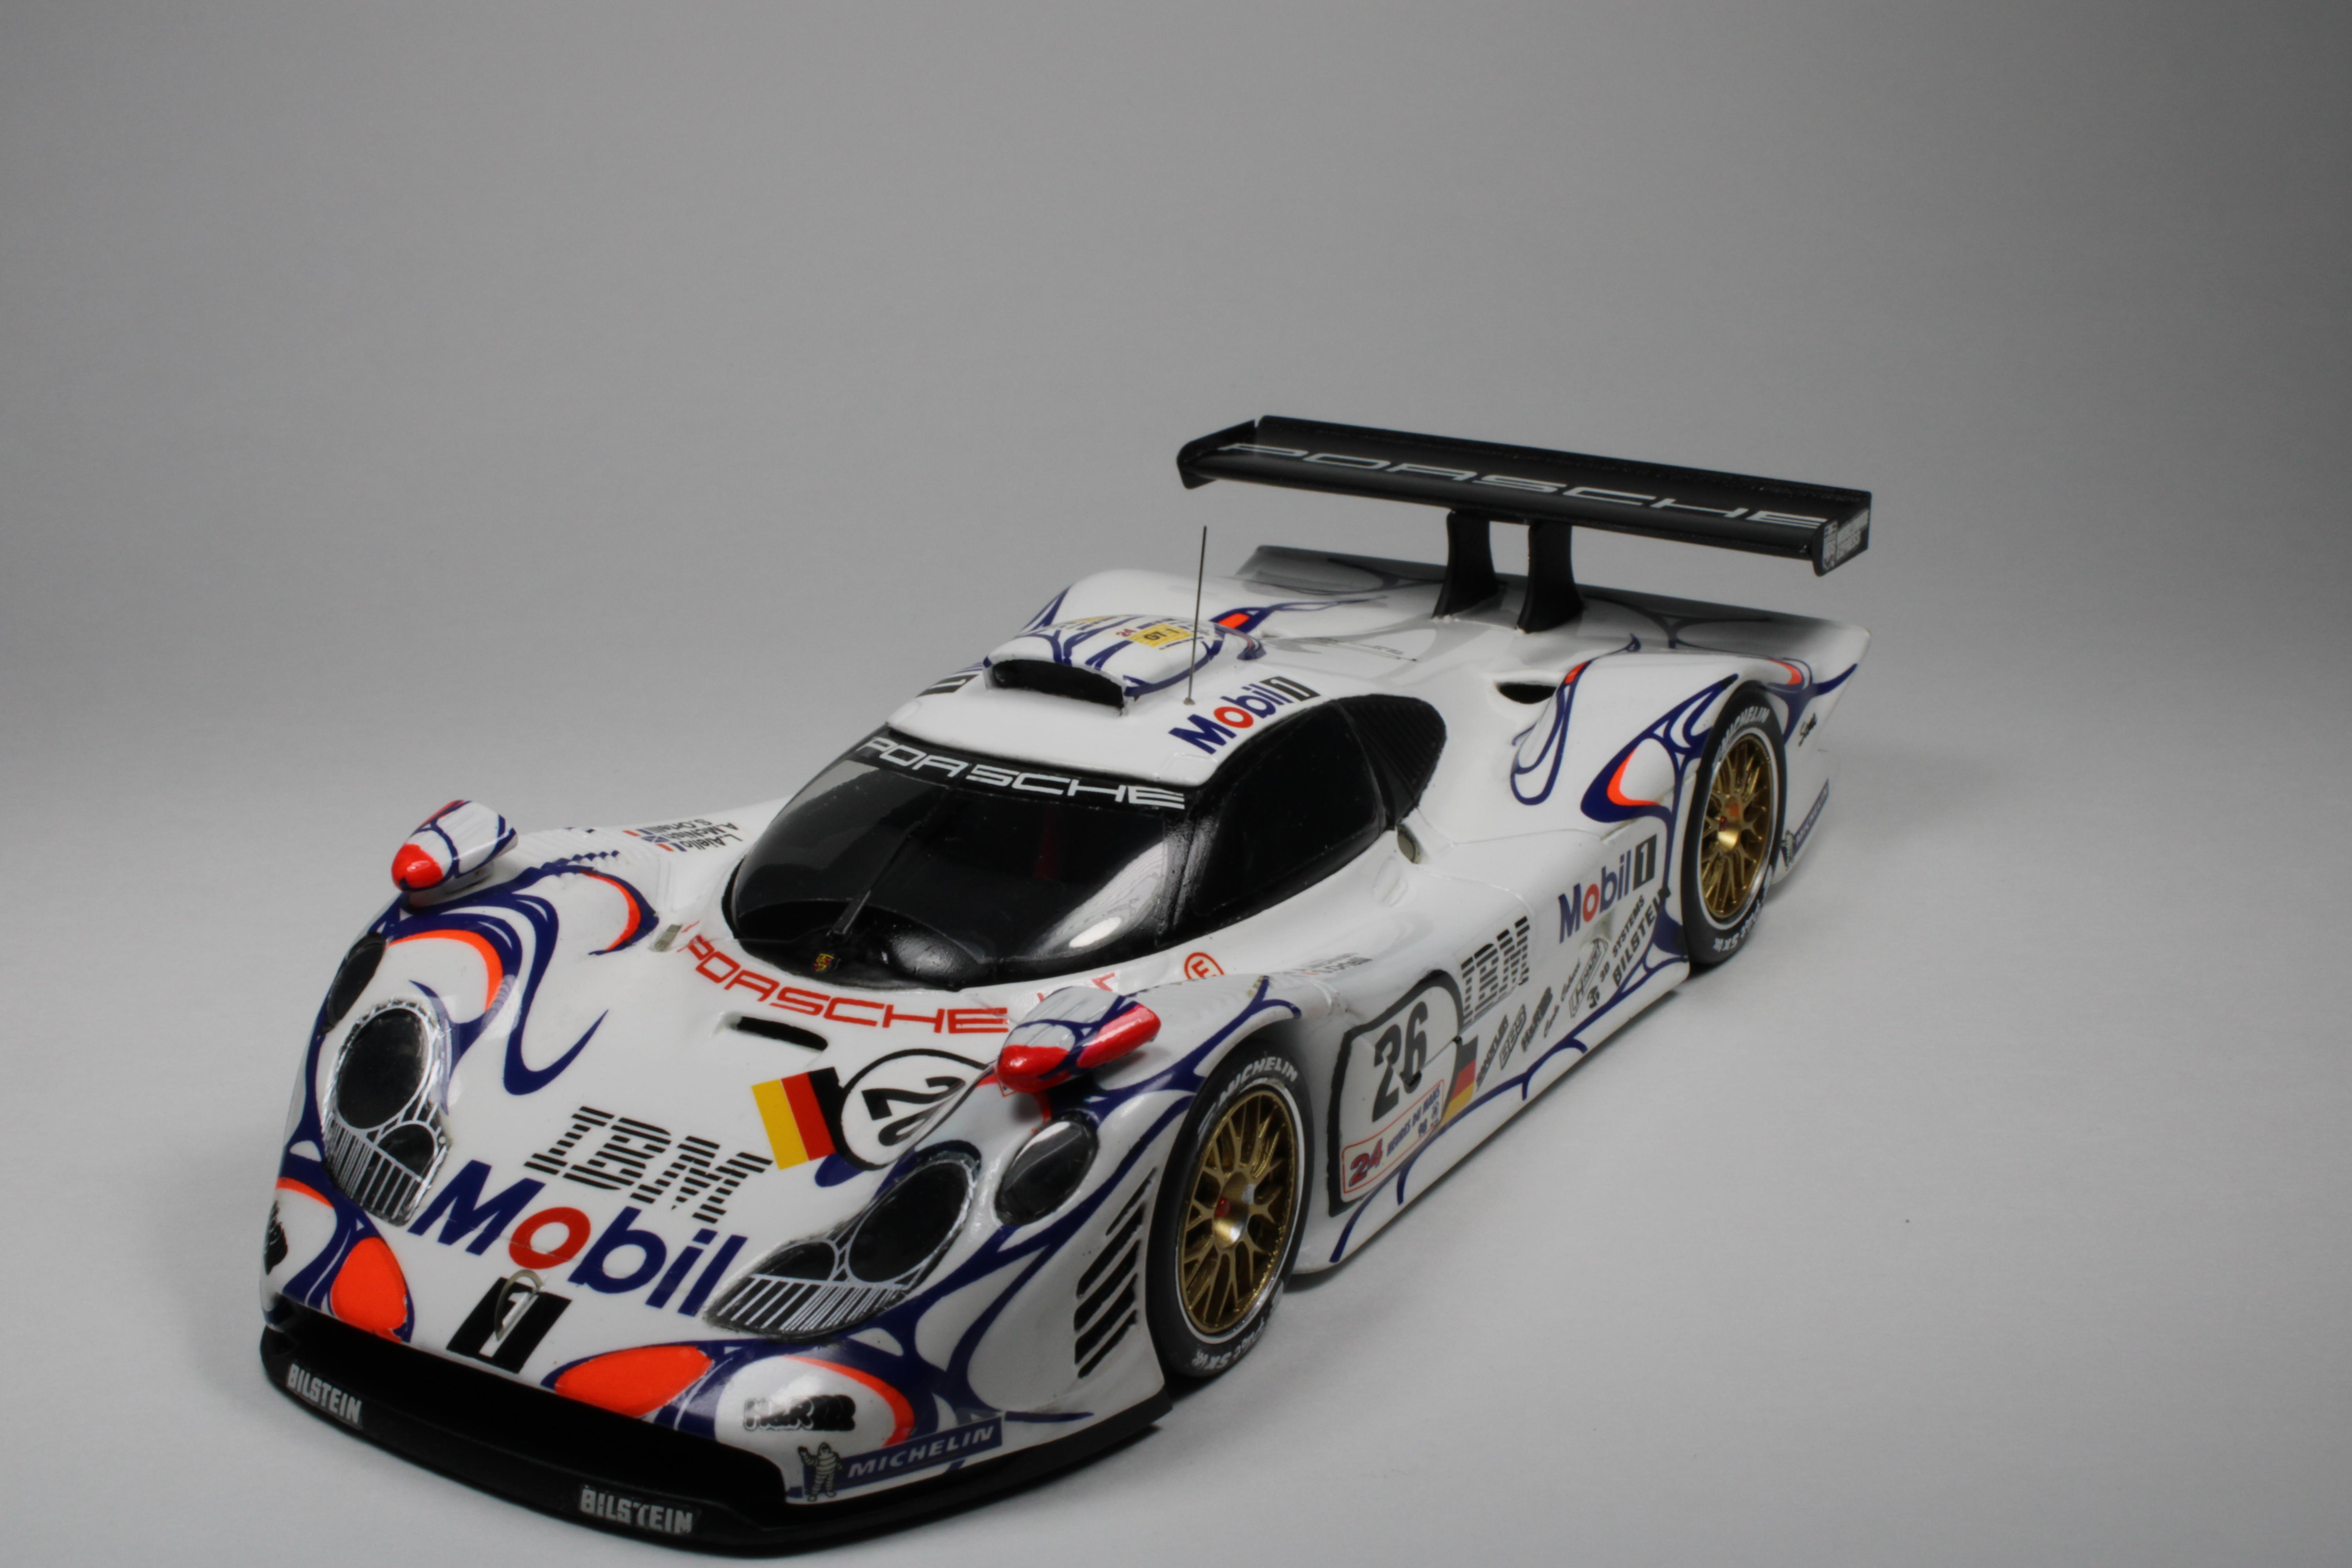
Below are some pictures of the Porsche 911 GT1 driven by Allan McNish, Laurent Aiello, and Stephane Ortelli that won the 24 Hours of Le Mans in 1998. The kit is by Scale Productions, long out of production and built out of the box. Paint is House of Kolor white basecoat with an Omni urethane clear coat over the decals. Overall the kit was an easy build with the biggest challenge being the decals. All comments and constructive criticism are welcome. Thanks for looking!
-
Thanks again for the kind comments.
-
Revell Penske Reynard
Gluebomber replied to Gluebomber's topic in Other Racing: Road Racing, Salt Flat Racers
Thanks for the kind words, Guys. -
Thanks for the kind words, Guys.
-
Attached are some pics of the Gunze Sangyo Jaguar XK-E Roadster. Paint is Krylon Burgundy decanted and airbrushed and a mix of Tamiya acrylics for the interior. I added stainless steel wire for the chrome trim on the fenders and on the door panels, scratchbuilt the headlight lens surrounds, and added some p/e wipers. The whitewalls came from the Revell '55 Chevy. Other than that the kit is built box stock. This kit was a pleasure to build but unfortunately is out of production. I'd like to find another one if the price was right. Any comments and constructive criticism are welcome. Thanks for looking!
-
Revell Penske Reynard
Gluebomber replied to Gluebomber's topic in Other Racing: Road Racing, Salt Flat Racers
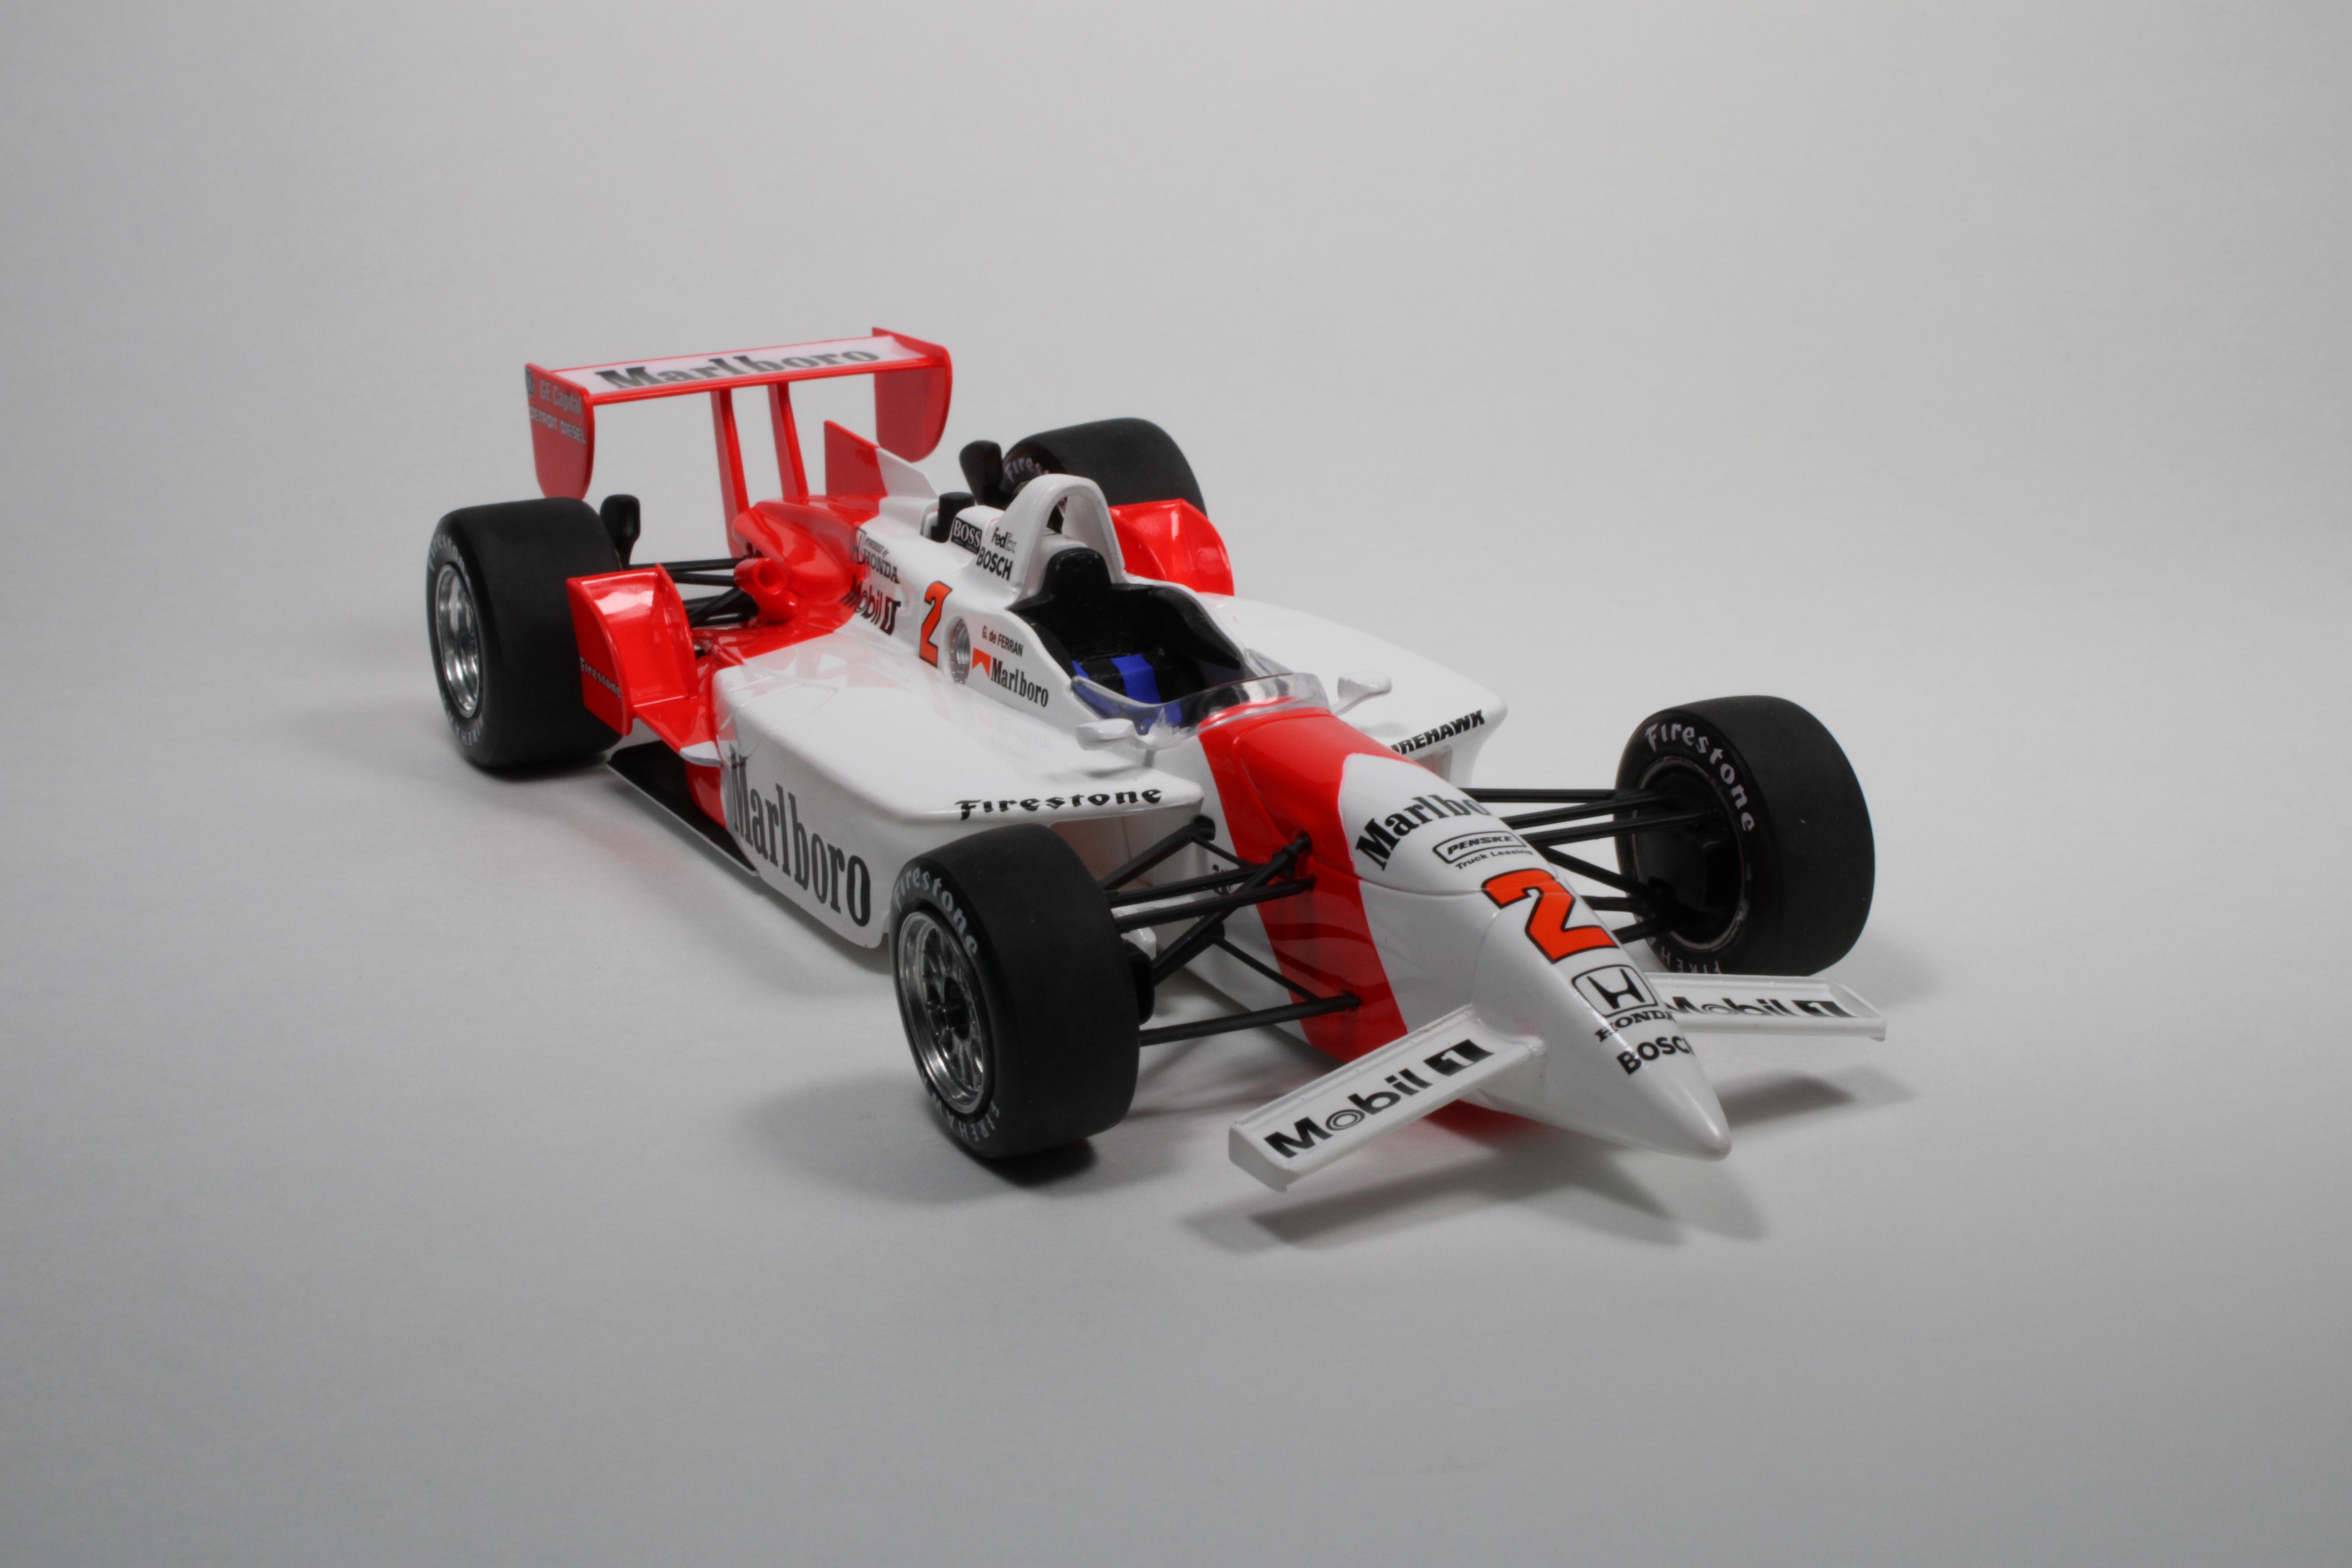
. -
Attached are some pics of a Revell CART Reynard representing the 2000 Penske Racing CART Champion driven by Gil de Ferran. About 20 years ago Revell put out a series of 1/25 CART Reynards. This model started as Team Rahal's Miller Lite Reynard. I obtained some SpeedLine decals of the Penske livery from a fellow modeler who was clearing some of his stash. Other than the decals and seatbelts the model was built box stock. Paint is Tamiya Spray Pure White (TS-26) and Fluorescent Red (TS-36) decanted and airbrushed. The wheels were stripped of their kit chrome and repainted with Alclad Chrome. Even though these kits are simple they can be a little fiddley but if you take your time they can be built into nice models. They're out of production but Revell produced a ton of them in a number of good liveries and you can still find them at model shows and ebay at reasonable prices. They can be good slump busters if you're looking for a quick build. Thanks for looking. Any comments or constructive criticism are welcome.
-
Revell Porsche GT 1 EVO
Gluebomber replied to cobraman's topic in WIP: Other Racing: Road Racing, Land Speed Racers
Maybe yours will fit better than mine did. If not, you can always display the model with the cover off. -
Revell Porsche GT 1 EVO
Gluebomber replied to cobraman's topic in WIP: Other Racing: Road Racing, Land Speed Racers
I built this kit about 15 years ago and it can be a nice model, but I had lots of problems getting the rear body/engine cover to fit. Rather than trying to wrestle it into place, I just glued it shut and built it as a curbside. -
Mercedes CLK DTM Builds
Gluebomber replied to Ghost_33's topic in Other Racing: Road Racing, Salt Flat Racers
Really nice builds, Joakim. Can I ask what gray you used for the body color on the Original-Teile? Thanks and again Great Work! -
Moss 250 GT SWB 2735 GT
Gluebomber replied to williamdp's topic in Other Racing: Road Racing, Salt Flat Racers
Outstanding build! -
Nice Work, Jim! Like a couple of the others, I'm a fan of the classic MB's, but I really like what you did on this one. Good styling without being over the top. What kit did you use?