Gluebomber
-
Posts
322 -
Joined
-
Last visited
Content Type
Profiles
Forums
Events
Gallery
Everything posted by Gluebomber
-
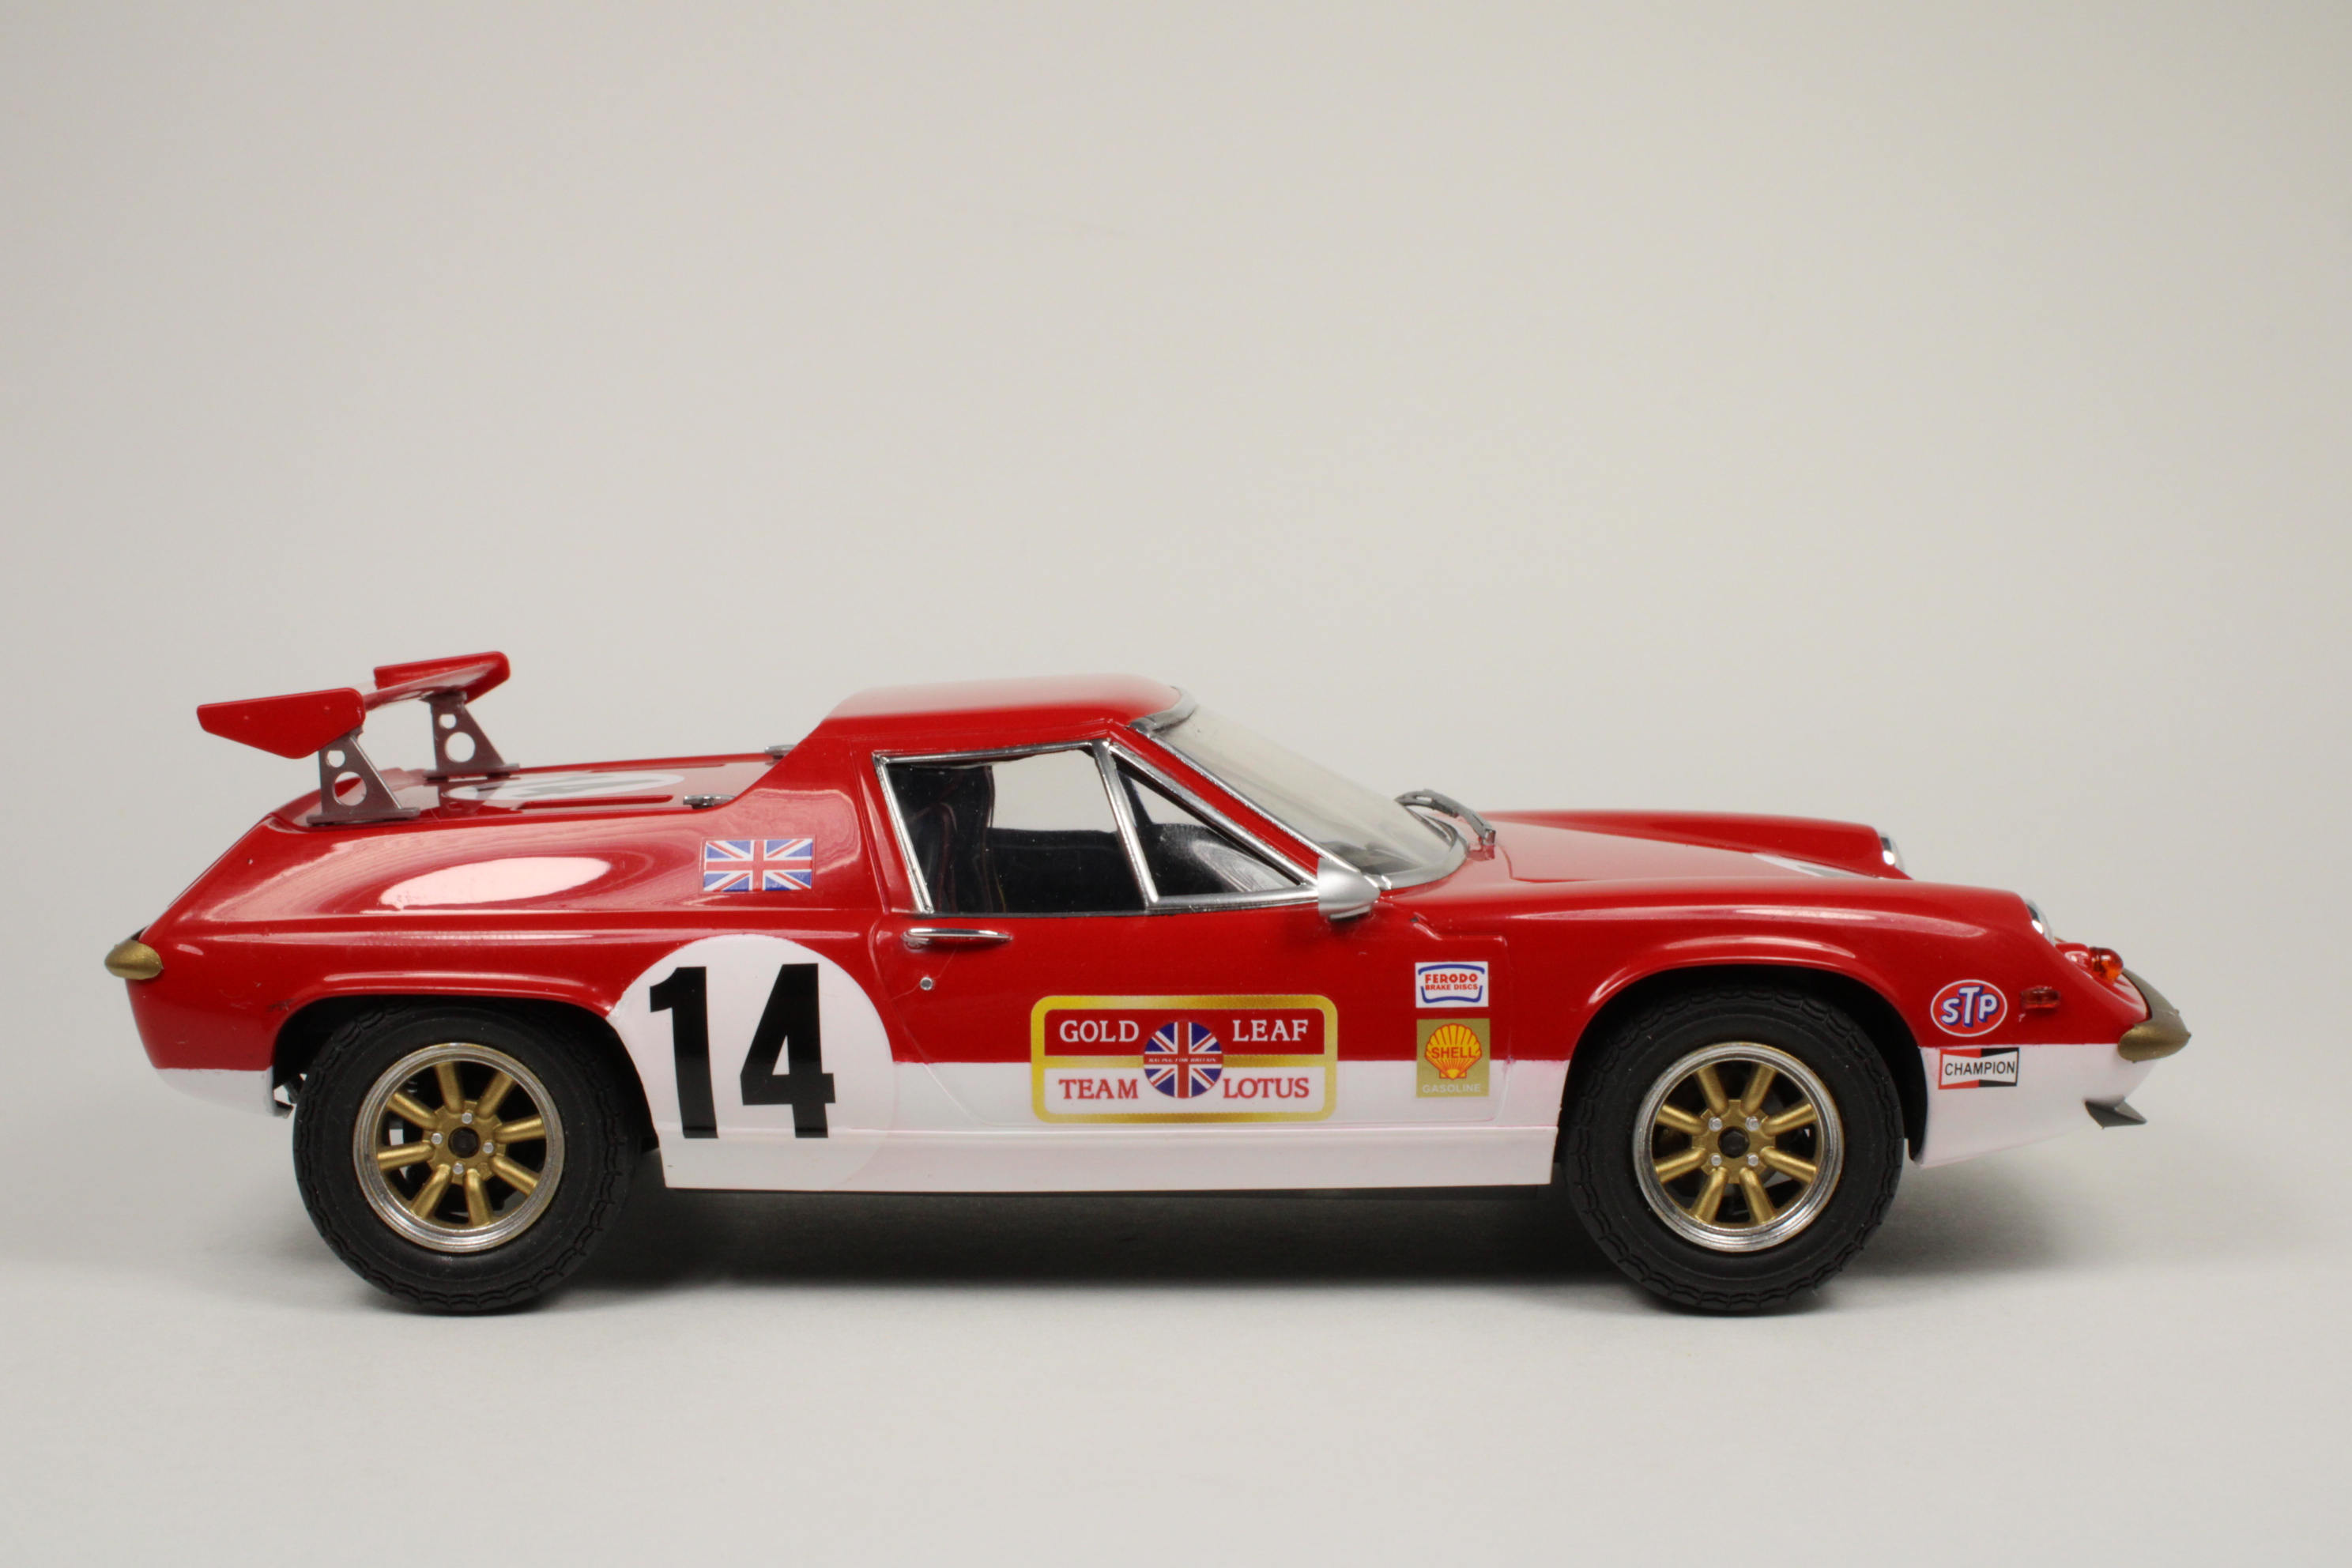
Gold Leaf Lotus Europa
Gluebomber replied to Gluebomber's topic in Other Racing: Road Racing, Salt Flat Racers
Thanks for the kind words, Guys. -
Below are some pics of the Tamiya Lotus Europa in the Gold Leaf livery. This kit was originally issued in 1999 and was recently re-released by Tamiya with additional p/e parts, turned aluminum carb intakes, alternate wheels, and a rear wing. Sponsorship liveries replaced national team colors for the first time in Formula 1 in 1968 with the red, white, and gold of Gold Leaf tobacco colors of the Lotus 49. I saw pictures of these colors used on a Lotus Europa and decided it would make a good looking model. My version isn't intended to be a replica of any specific car, but more of a tribute to the brand and colors. The model is built pretty much box stock. I added some engine wiring but everything else came with the kit. Paint is Tamiya Spray Italian Red (TS-8) and Pure White (TS-26) decanted, mixed with Gunze Leveling Thinner, and airbrushed. The gold parts were sprayed with Alclad II Pale Gold and chrome trim was done in Alclad II Chrome and a Molotow Liquid Chrome marker. The Gold Leaf markings are from Indycals with the remaining decals from my spares. Overall, the kit went together very well. I hope you like the pictures. All comments and constructive criticism are welcome.

-
Nice clean build, Thomas. I've had this car on my project list for several years as well. I hope mine turns out as well as yours!
-
Looks great from here, Jonathan. Love the livery. How was the kit?
-
Really nice work, Anders. Ebbro has done some really nice kits of interesting subjects and you did a great job on this one.
-
As mentioned earlier, this is not the easiest kit to build. You did a great job on it. Nice Work!
-
I really like this build. Creative and very well executed. Also, I love the livery you designed. Great Job!
-
Nice Work, Ray. Makes me want to pull this kit out of my stash.
-
Really nice build. Great Work, Clifford!
-
Great Work! I've had this kit in my stash for a number of years and haven't been sure what to do with it. You may have inspired me to take another look at it. What was your source for the brass fittings?
-
Beautiful work. Well Done!
-
2015 Corvette C7.R
Gluebomber replied to Speedpro's topic in Other Racing: Road Racing, Salt Flat Racers
Nice clean build. Well Done! -
Nice work, Bruce. I've rediscovered these Revell Reynard kits as well. You've shown they can be built into nice models and they're a nice break from some of the newer kits which seem to be getting a lot more complex.
-
Beautiful work, Helmut. I can see why your client was happy - even after 20 years! I have this kit in my stash and your build may have inspired me to dig it out and give it a go. Great Job!
-
Thanks again for the kind words, Guys.
-
Revell Team Green Kool Reynard
Gluebomber replied to Gluebomber's topic in Other Racing: Road Racing, Salt Flat Racers
Thanks again for the kind comments. -
Nice build, Mike!
-
Thanks again for the kind comments, Guys.
-
Nice work, Gareth. Good backstory too!
-
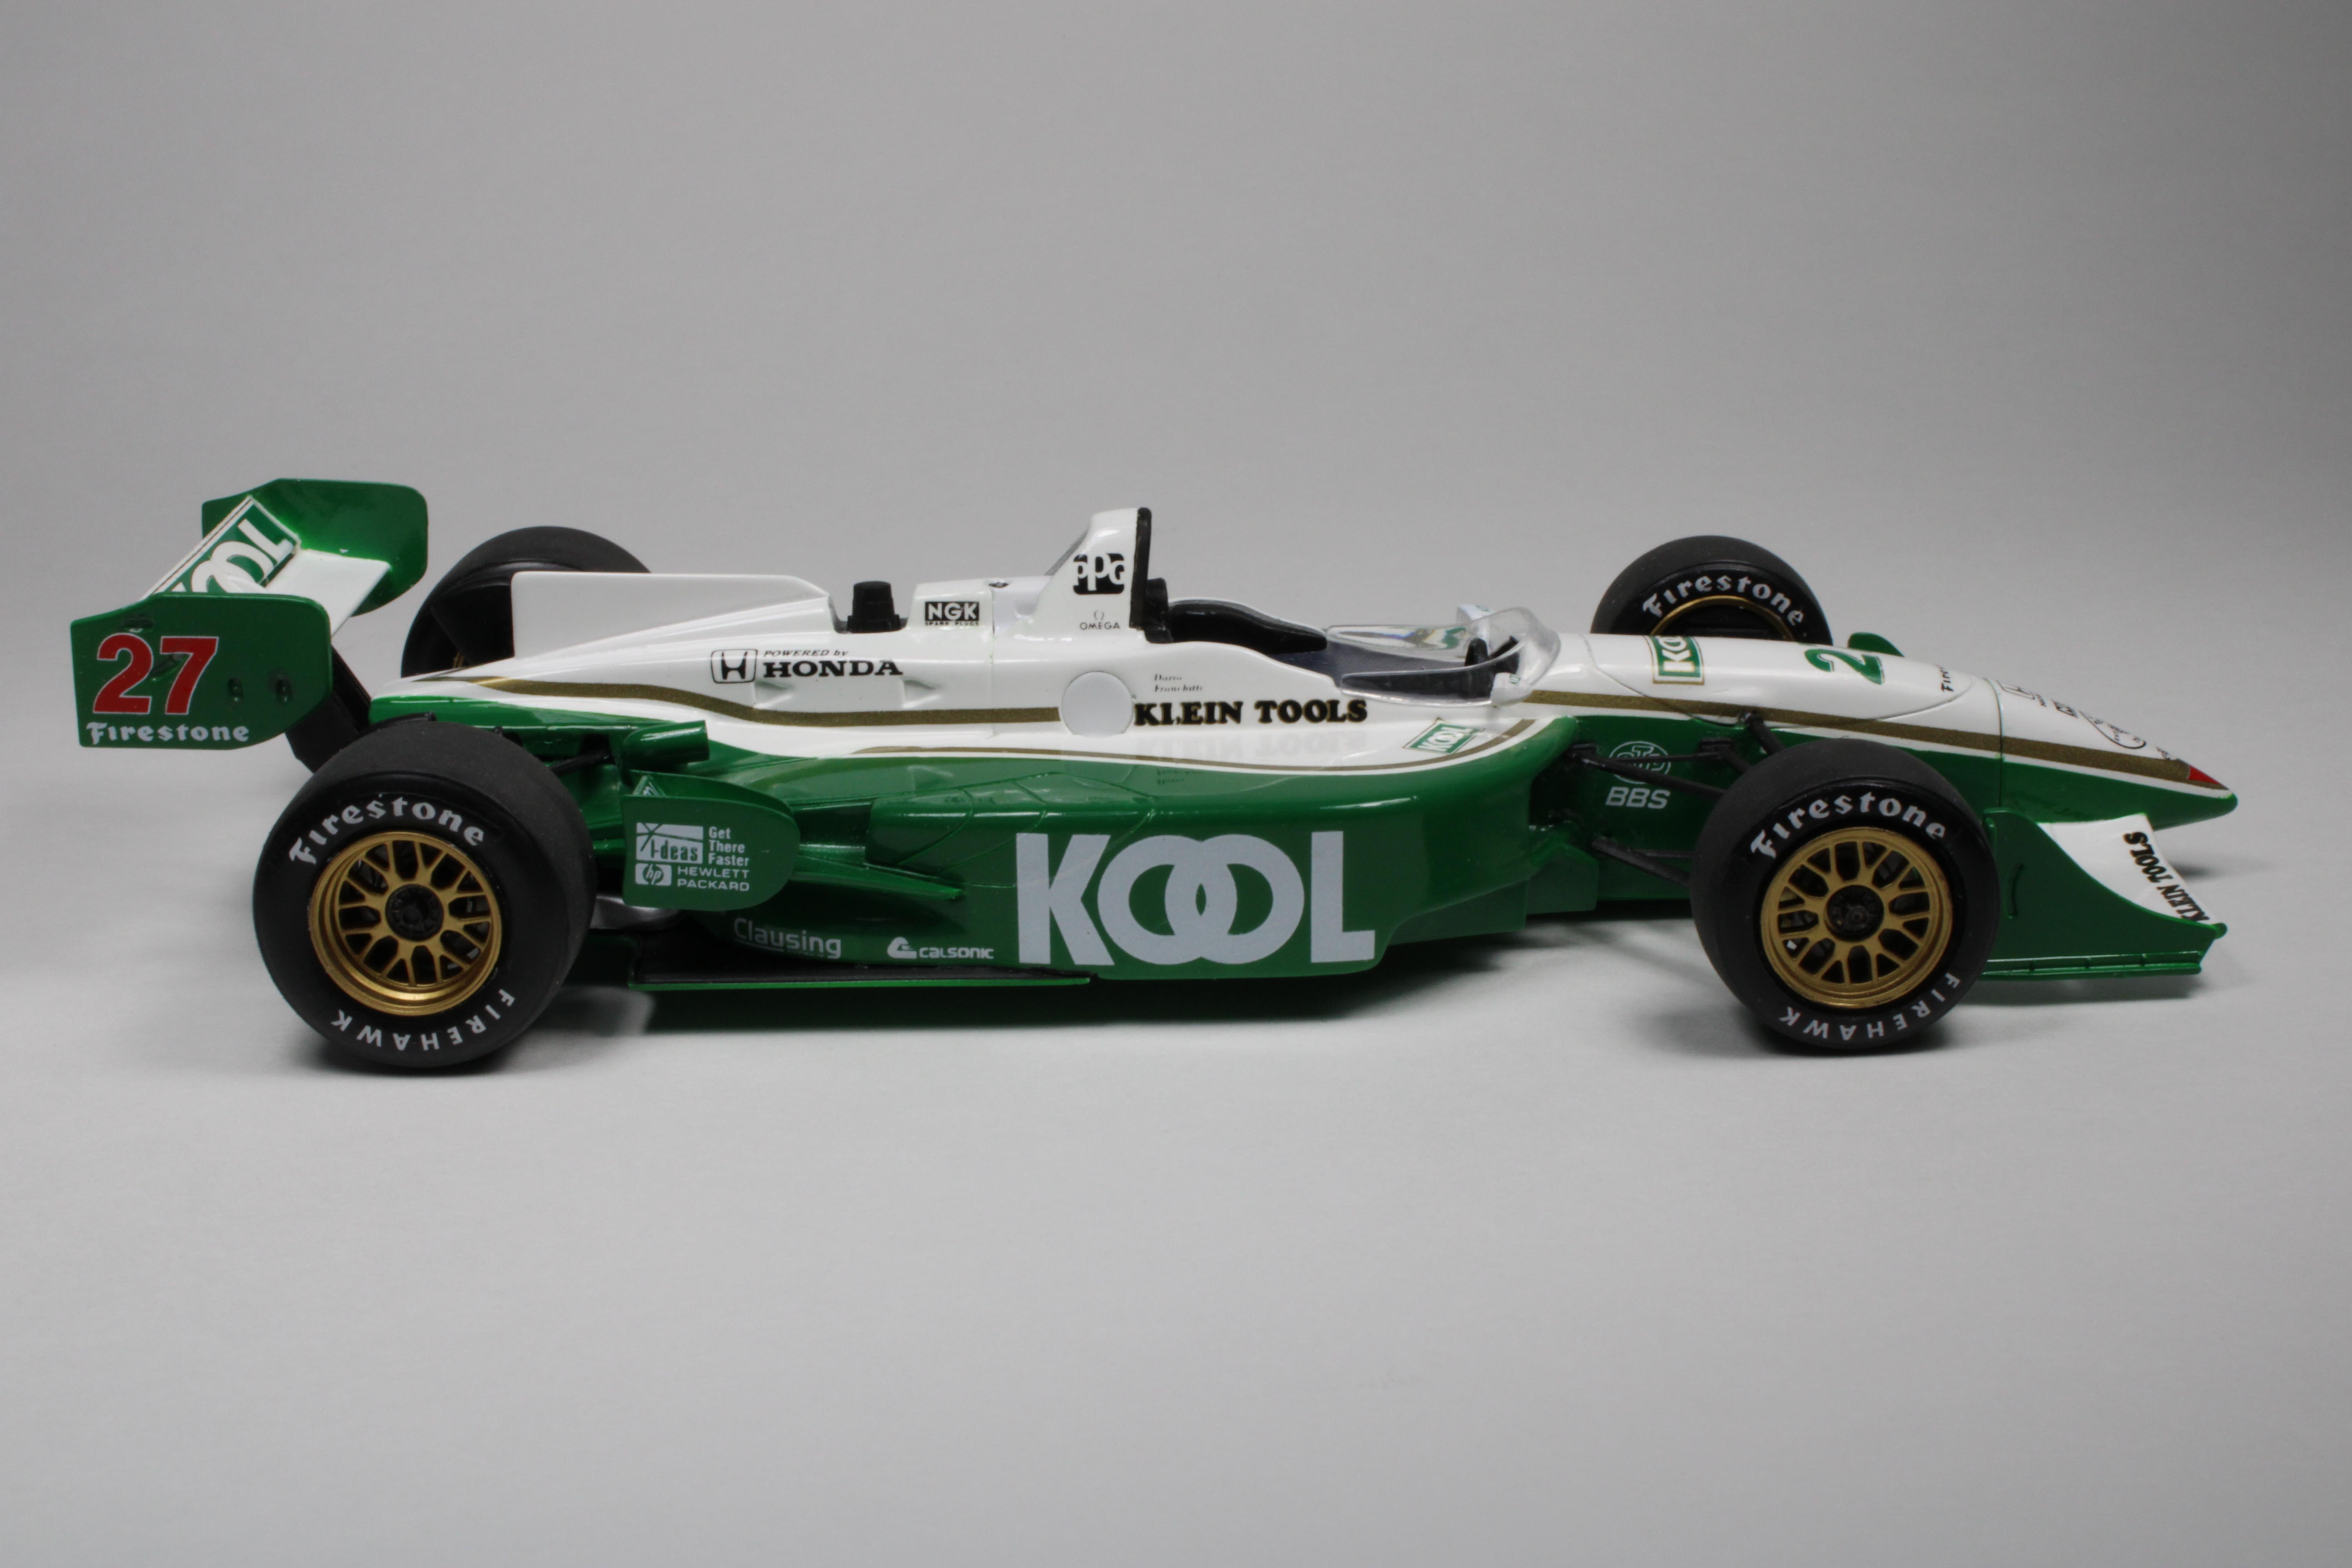
Revell Team Green Kool Reynard
Gluebomber replied to Gluebomber's topic in Other Racing: Road Racing, Salt Flat Racers
Thanks for the kind words, Guys. -
Thanks for all the kind comments, Guys.
-
Below are some pics of the 1998 Team Green Kool Reynard driven by Dario Franchitti in his rookie year. The model was based on the Revell Rahal Shell Reynard that came out about 20 years ago. The kit was built pretty much box-stock. I cut apart the lower plate which allowed me to attach it to the body and sand the resulting seam before painting which gave it a cleaner look. Paint is Tamiya Spray Pure White (TS-26) and a mix of Gunze Sangyo Mr. Color Bright Green (66) and Cobalt Blur (80) to match the decals. The Kool livery markings were from a sheet by Ricambi I got a number of years ago. Tire decals are from IndyCals and are highly recommended. The only other addition was a set of seat belts made from paper and Tuner Manufactory hardware. I've enjoyed building a number of these kits and if you can track down some of the aftermarket decals, or use the ones from IndyCals, you can build some attractive and unusual models. All comments and criticism are welcome. Thanks for looking!
-
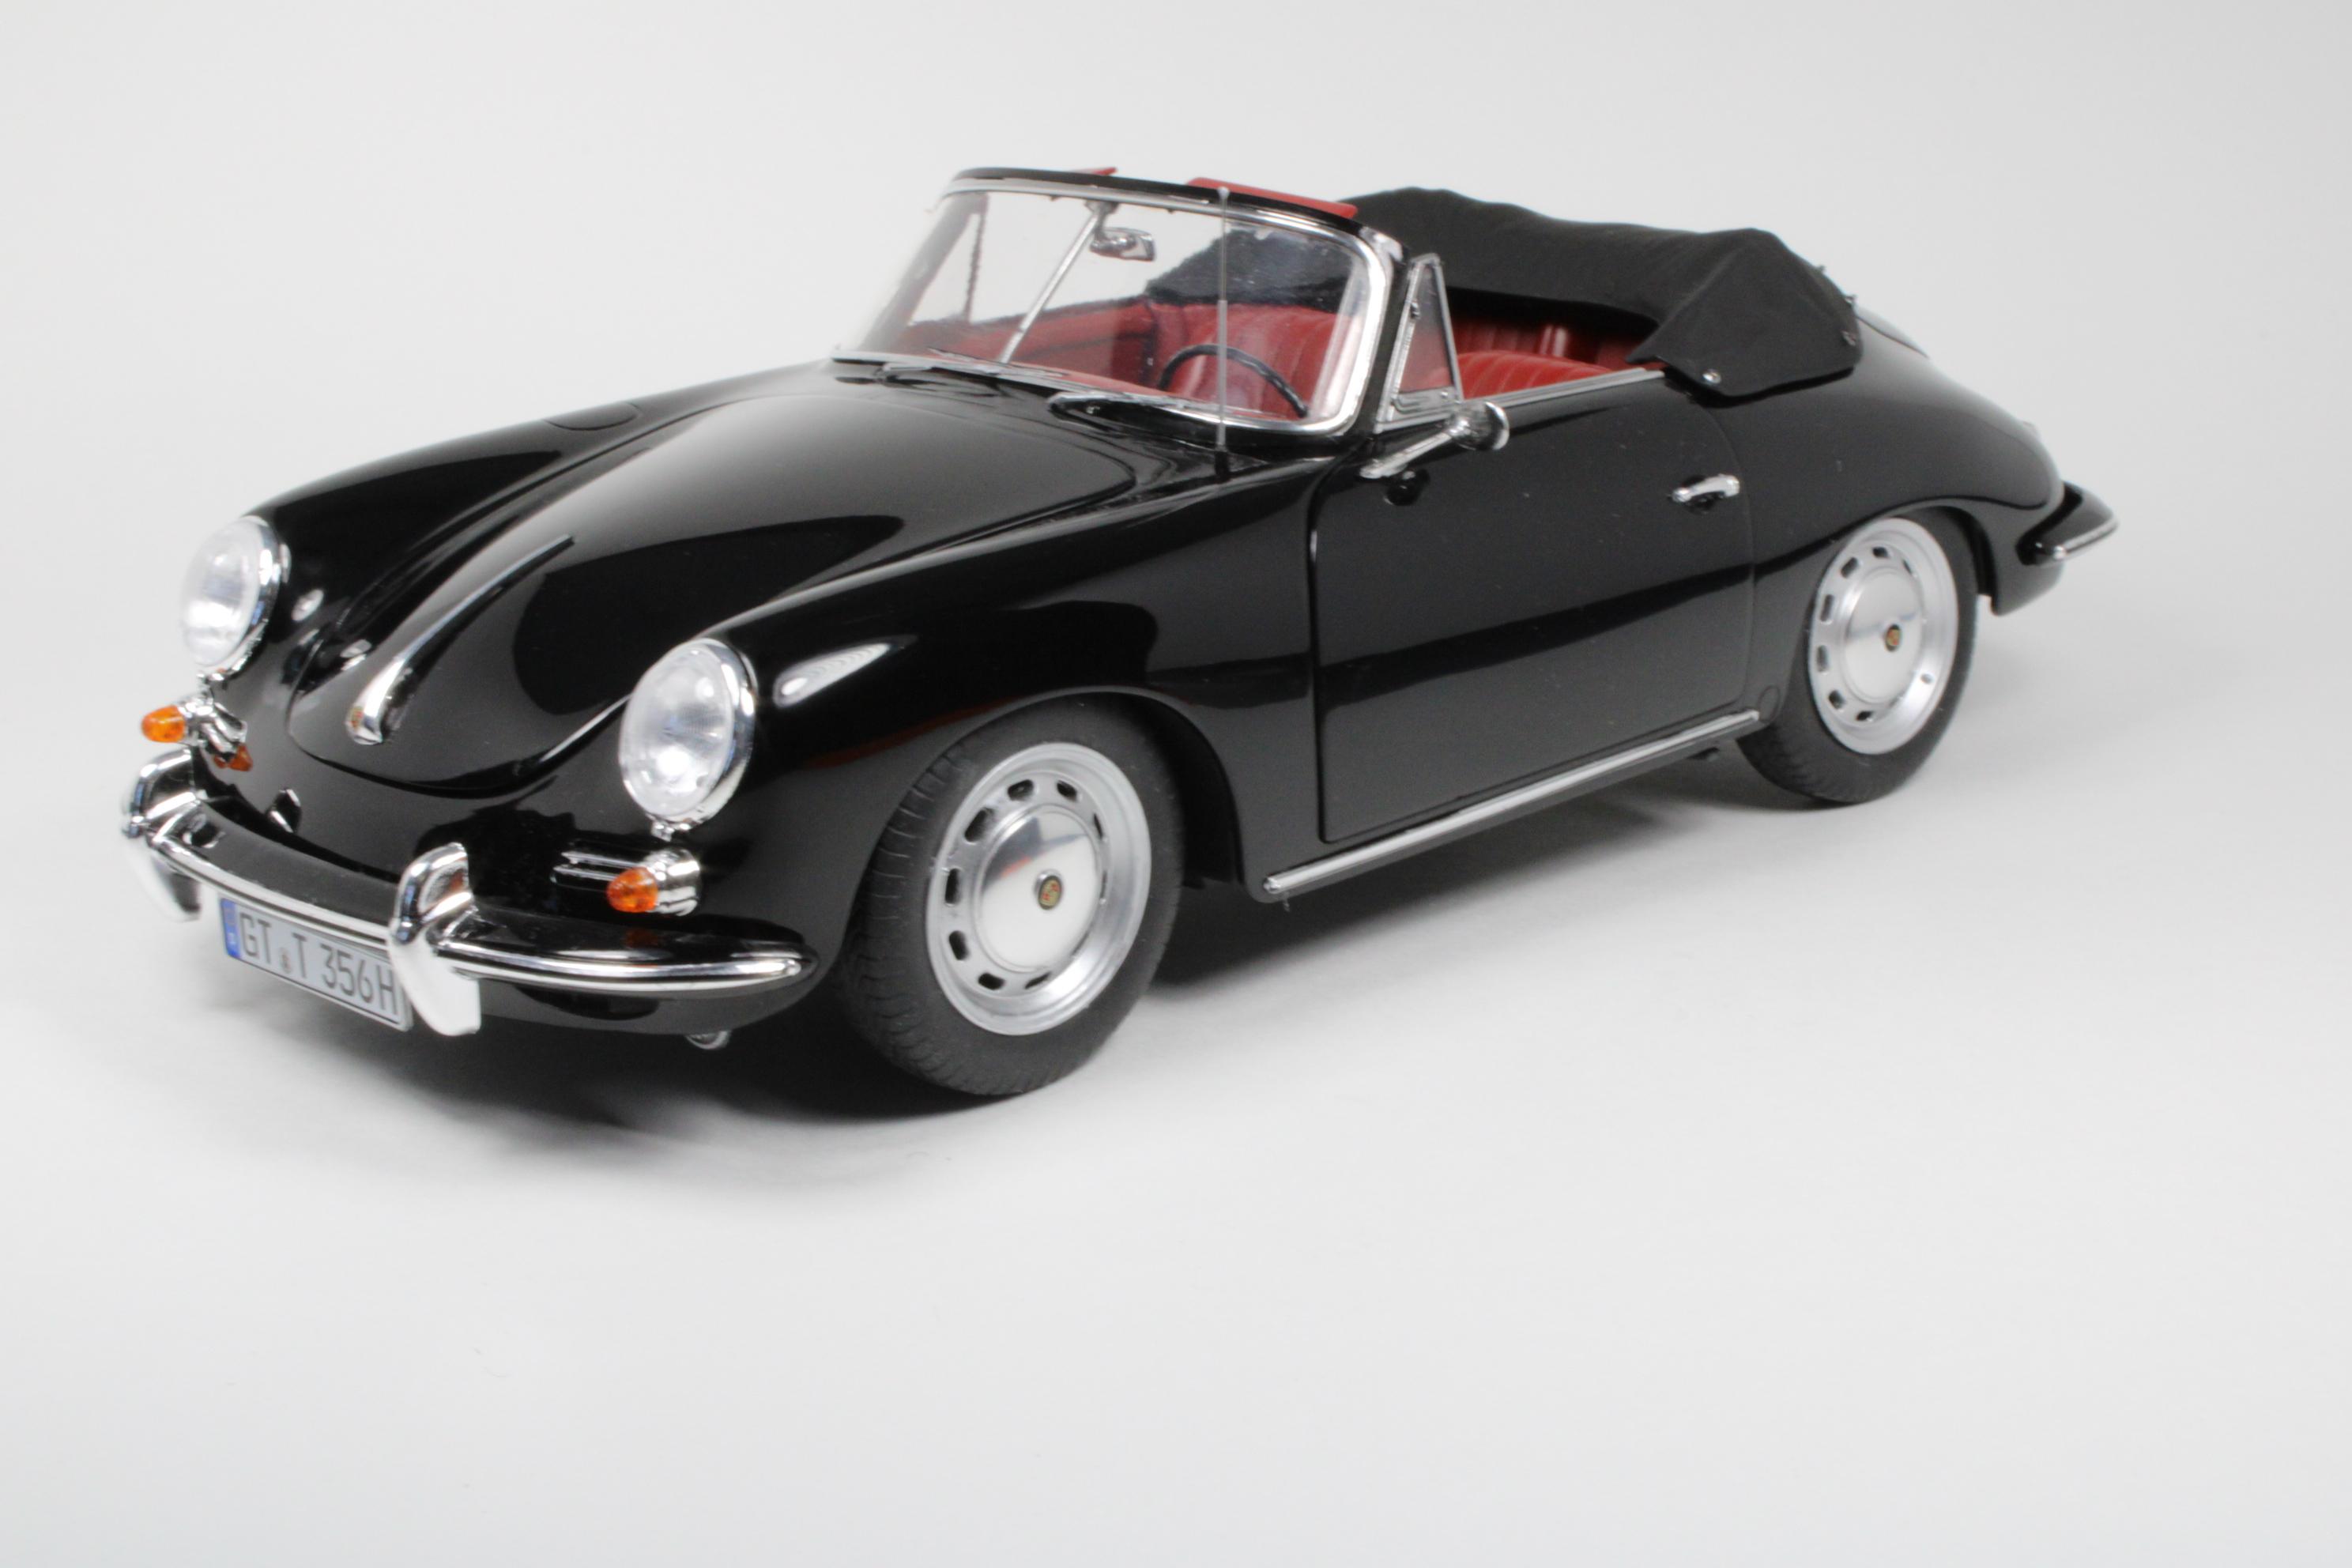
Below are some pics of the Revell-Germany 1/16 Porsche 356C Cabriolet. The kit is built mostly box stock. I added some engine details but the rear lid doesn't open wide enough for me to get a good picture. I also replaced the kit radio antenna with one made from stainless tubing and wire and I added some Grandt Line nuts to the convertible top to replicate the grommets and snaps. This is a good kit that is based on the 356 hardtop which is a snap-lock kit. Because of that there are large lugs on the inside of the body parts that are intended to snap over holes in the chassis and interior bucket. The lugs left large sink marks all over the body that had to be dealt with. I had to spend quite a bit of time sanding, filling, priming and repeating to get the body ready for paint. Paint is Tamiya Spray Gloss Black (TS-14) decanted and airbrushed. No clearcoat was used. The interior color is a mix of Tamiya acrylics. This is a model of one of my all-time favorite cars. I had enough fun with it that I'll probably build the hardtop at some point. The only problem is it takes up quite of bit of space on my shelf! All comments and constructive criticism are welcome. Thanks for looking!
-
Man! That's a beauty! Great Job, Anders.
-
Thanks again for the kind comments on my model. I'm going to stay out of the diecast vs built model discussion because I don't have any experience with diecasts so I don't have much to offer. I am glad we were able to reach what looks like an amicable conclusion to the earlier discussion in this thread.