Exotics_Builder
-
Posts
3,641 -
Joined
-
Last visited
Content Type
Profiles
Forums
Events
Gallery
Everything posted by Exotics_Builder
-
After the permanent loss of one venue (The World of Speed) and the lockdowns caused by the Pandemic, Scale Auto Builders Association has combined two events into one. For this year only, the event will be October 8. In succeeding years, we will be aiming back towards a springtime event. This will be a judged event.
-
 I decided that the trim around the roof was not going to give me the effect I wanted so I've omitted it. I have a couple of references to customs without it. I could still add it if I change my mind, but have to be careful. Since it is a custom, I do have some discretion ?
 -
Now the fun begins. Got the clear coat on and through mid-level polish. Time to apply the Bare Metal Foil (BMF). The kit trim was pretty “soft”. So, I augmented with Evergreen L-shaped strips as explained before. I also added a custom side spear. One BMF sheet I have kept tearing even with a new blade. Fortunately, I have an older sheet that is working out. Since a custom, I will not be following factory stock trim. But a lot of pieces will be the same.

-
Alpha Models Ferrari GTC4Lusso - Update 8/23/2022
Exotics_Builder replied to Exotics_Builder's topic in WIP: Model Cars
Well, I have a few of what you are seeking but, unfortunately, they are pegged for projects so not available to trade. I checked my usual Hobby Design sources, and they are no longer there. So I don't have any suggestions at the moment. -
Alpha Models Ferrari GTC4Lusso - Update 8/23/2022
Exotics_Builder replied to Exotics_Builder's topic in WIP: Model Cars
Besides the Rosso, which specific wheels are you seeking (pictures would help)? It seems as if a lot of the older Hobby Design stuff has "evaporated" in the last year or so. -
Alpha Models Ferrari GTC4Lusso - Update 8/23/2022
Exotics_Builder replied to Exotics_Builder's topic in WIP: Model Cars
What are you trying to accomplish using Novitec wheels? -
Alpha Models Ferrari GTC4Lusso - Update 8/23/2022
Exotics_Builder replied to Exotics_Builder's topic in WIP: Model Cars
Wheel assemblies done. Alpha provides two sets of wheels with the kit. But I decided to use a different wheel set. I have 2 sets of the Hobby Design Novitec Rosso wheels and decided to use one here. This also required different tires. Again, Hobby Design came through with their Michelin Pilot Sport tires. I used smaller front and larger rear. I cleaned the resin wheels and painted them (Tamiya Titanium Silver with TS13 Clear). The wheels came with air valves, but my set only had 3. Fortunately, I had backup in the form of ZoomOn air valves and used these. I also looked at applying wheel weights from Highlight Model Studio, but a test showed that they just “disappeared”. So, I left them off. I had to do some modifications to the wheel mountings to the body, but nothing significant.
-
I don't know of any general one, but I did sign up there when I attended and can let you know when something is going on.
-
Yesterday I picked up my friend and we travelled down to Salem Oregon to view the Brothers Car Collection. This collection is only open for special events, this one being for a charity. Although very heavy on American Muscle, there were quite a few exotics including a Bugatti Veyron, a bunch of Porsches, a bunch of Ferraris and some very unique cars. I took over 260 photos. Below is the link to the Flickr Album Link to Flickr Album...
-
A moment of madness! ?
-
1969 Camaro chassis/floorpan painting
Exotics_Builder replied to bytownshaker's topic in Model Building Questions and Answers
The car I am representing had light gray primer and the white was well into the chassis area. No undercoat on this one. People familiar with this have told me that the primer varied depending on a variety of things. West coast cars usually didn't get undercoating. Given the variety of info I've seen, I guess I'm accepting that.
-
I guess it is possible not all Goodguys events have the model show, but most of the ones I know do. This one was the 34th Griot’s Garage Pacific Northwest Nationals; July 22-24, 2022; Washington State Fair Events Center in Puyallup Washington which is about 35 miles south of Seattle. I looked at their 2022 event schedule and there was no model car contest listed for that event. We had over 400 models entered or displayed at this event, and the Pleasanton Goodguys is even BIGGER.
-
Check here to see if any fit your needs https://www.spotmodel.com/index.php?cPath=298_373&scale_id=9
-
Well, Scalemates has the 90 instructions. Should be close enough https://www.scalemates.com/products/img/1/2/1/1115121-36-instructions.pdf
-
Alpha Models Ferrari GTC4Lusso - Update 8/23/2022
Exotics_Builder replied to Exotics_Builder's topic in WIP: Model Cars
Getting back on this. While I am waiting for the base coat to dry before clearing and before I attack the interior detail, I elected to assemble the brakes and wheels. Ferrari has the option for carbon ceramic brakes, and I elected that for this kit. Also decided on red calipers. Fortunately, Zero Paints has the appropriate colors for the calipers and to simulate the brakes. The brakes are a multipart assembly with resin and Photoetch pieces. Careful assembly is required to ensure alignment when mounted with the wheel. The Lusso decal sheet did not include Ferrari logos for the calipers (although other Alpha Ferrari kits do). Fortunately, I have the Revell 599 SA Aperta that has very nice caliper logos. I did a hi-res scan of the area of the decal sheet I wanted. I then printed it out on quality decal paper. The logo is so small on the model that I used the hi-res bit map and did not convert to vector. The assembled brakes should look very well on the assembled model. Now on to the wheels.
-
Looks like the Revell of Germany VW bus. Could be this one or a variant of it
-
Went Saturday to a Cruise-in hosted on a Church's grounds at the North end of Vancouver. Show ended at 1:00 PM. So I had a "load of fun" trying to photo the cars and avoid as much glare from the sun as I could. Here is the link to the photo album. https://www.flickr.com/photos/142581265@N08/albums/72177720301137438
-
Chasing high and low spots?
Exotics_Builder replied to Dpate's topic in Model Building Questions and Answers
Ditto on the guide coat approach. -
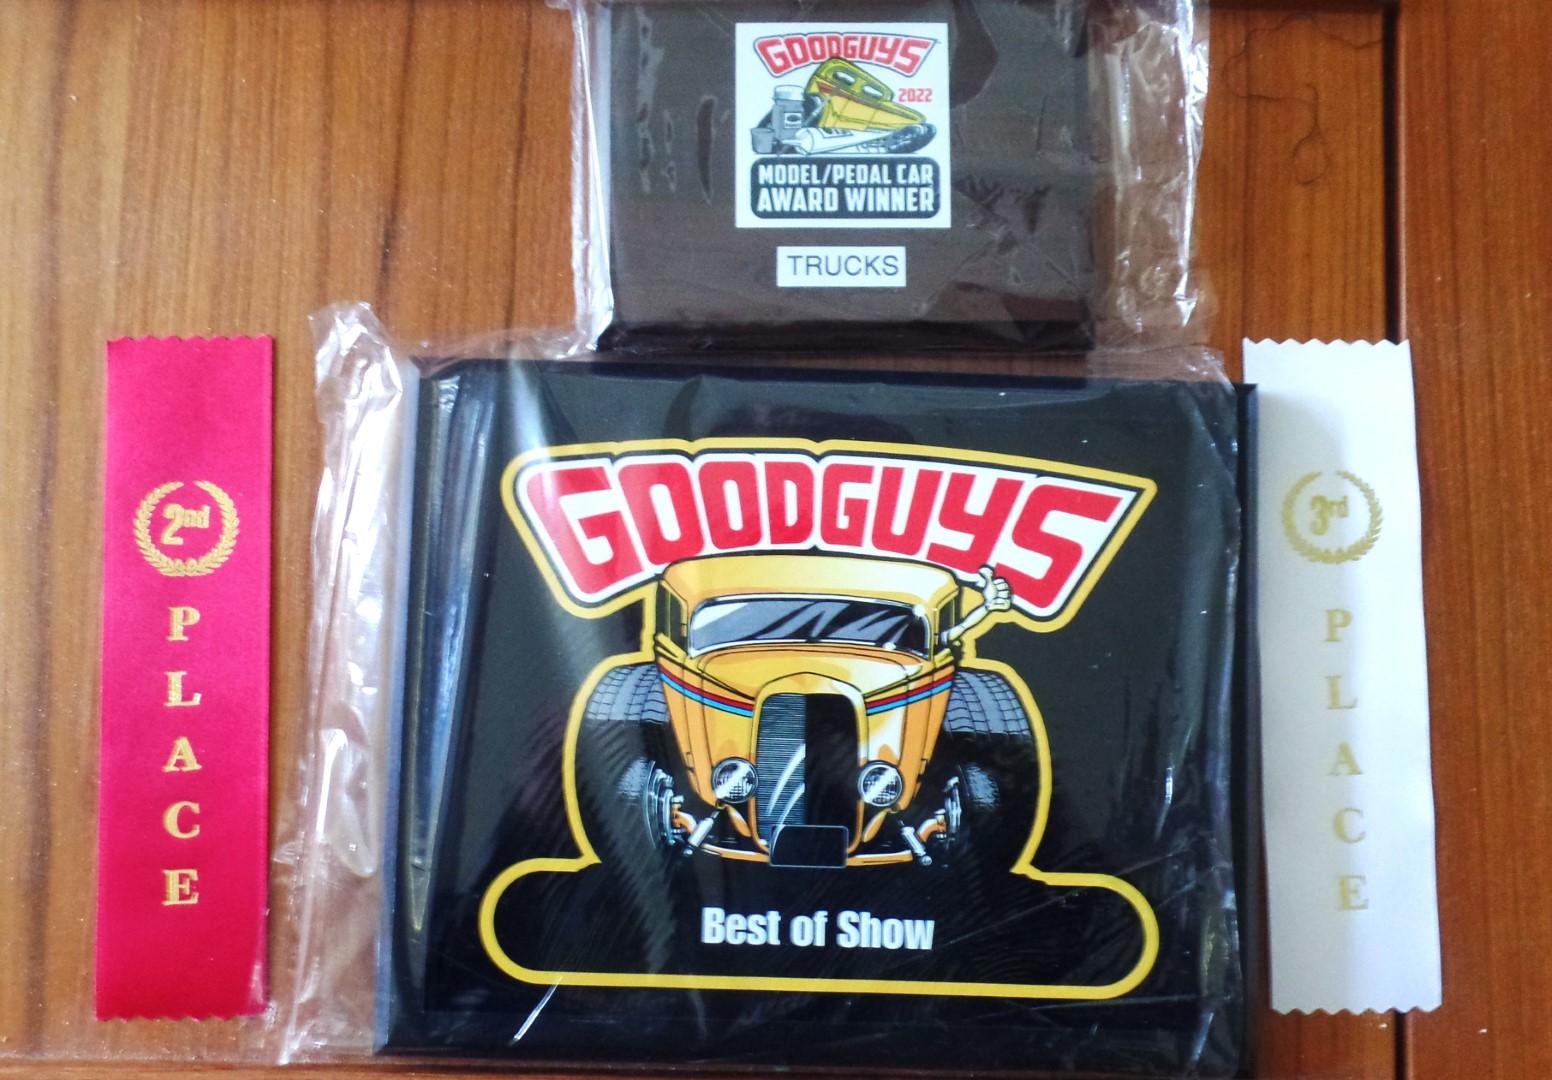
Drove the 150 miles up to Puyallup Washington to do the Goodguys Show. Sunday is wind down day, so a lot of cars that were there Saturday did not show again. There still were quite a few cars and I took a few photos. Also entered some models in the contest and came home with these: Here is a link to the album of photos I took https://www.flickr.com/photos/142581265@N08/albums/72177720300820778
-
Beats me. I would hate to judge any class that I felt I had some competency. And how Best of Show is chosen?
-
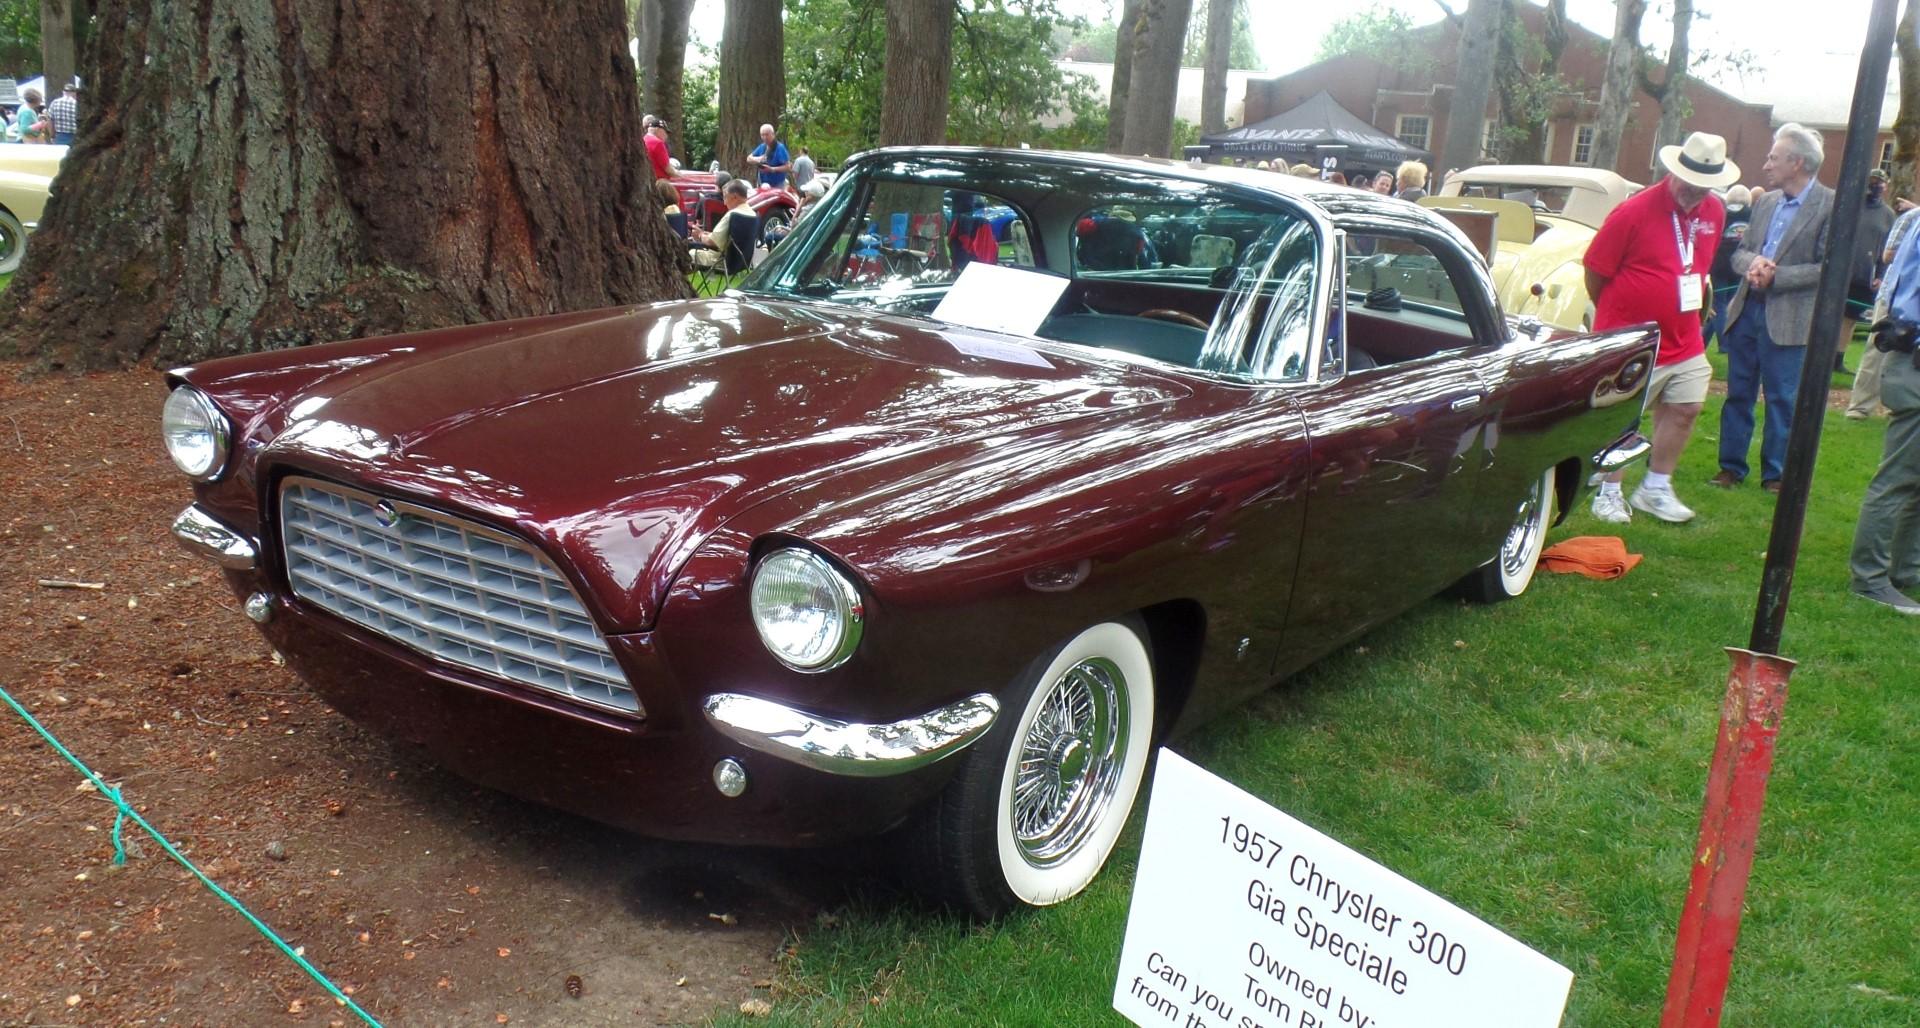
Best in Show was the Mercedes 500K Special Roadster https://flic.kr/s/aHBqjzYThi
-
ID these parts
Exotics_Builder replied to Modlbldr's topic in General Automotive Talk (Trucks and Cars)
I'd have to double check, but could be the Foose Cadillac
-
Alpha Models Ferrari GTC4Lusso - Update 8/23/2022
Exotics_Builder replied to Exotics_Builder's topic in WIP: Model Cars
I know, but this color scheme seemed to best fit. Especially when the Bronze I tried came out way too dark brown with the clearcoat.
.JPG.acad40274a1f4ffbf606f34d4e238940.JPG)
.JPG.a3f3ef86c23278e95f50ca04380317d0.JPG)
.JPG.a2b99b516146e3cc857fd71dea6c16dd.JPG)

.JPG.eb163f080963536b5c4479cb5ffd1532.JPG)
.JPG.0d900423e0c69a60b2f566d1d5682865.JPG)
.JPG.0199d686b3bd855bf96fc39dbf6548ec.JPG)

.JPG.efe2637e58be5a875c7832c2f82e23fd.JPG)
.JPG.000278234b57881e5441af73ac93da82.JPG)
.JPG.e8f698fd797f88a2a5cacd1410fcecff.JPG)
.JPG.4c1ac3a04a81036f053e218eb39d6557.JPG)