

Exotics_Builder
-
Posts
3,641 -
Joined
-
Last visited
Content Type
Profiles
Forums
Events
Gallery
Everything posted by Exotics_Builder
-

Need some 1/24 round defroster vents.
Exotics_Builder replied to Len Woodruff's topic in Model Building Questions and Answers
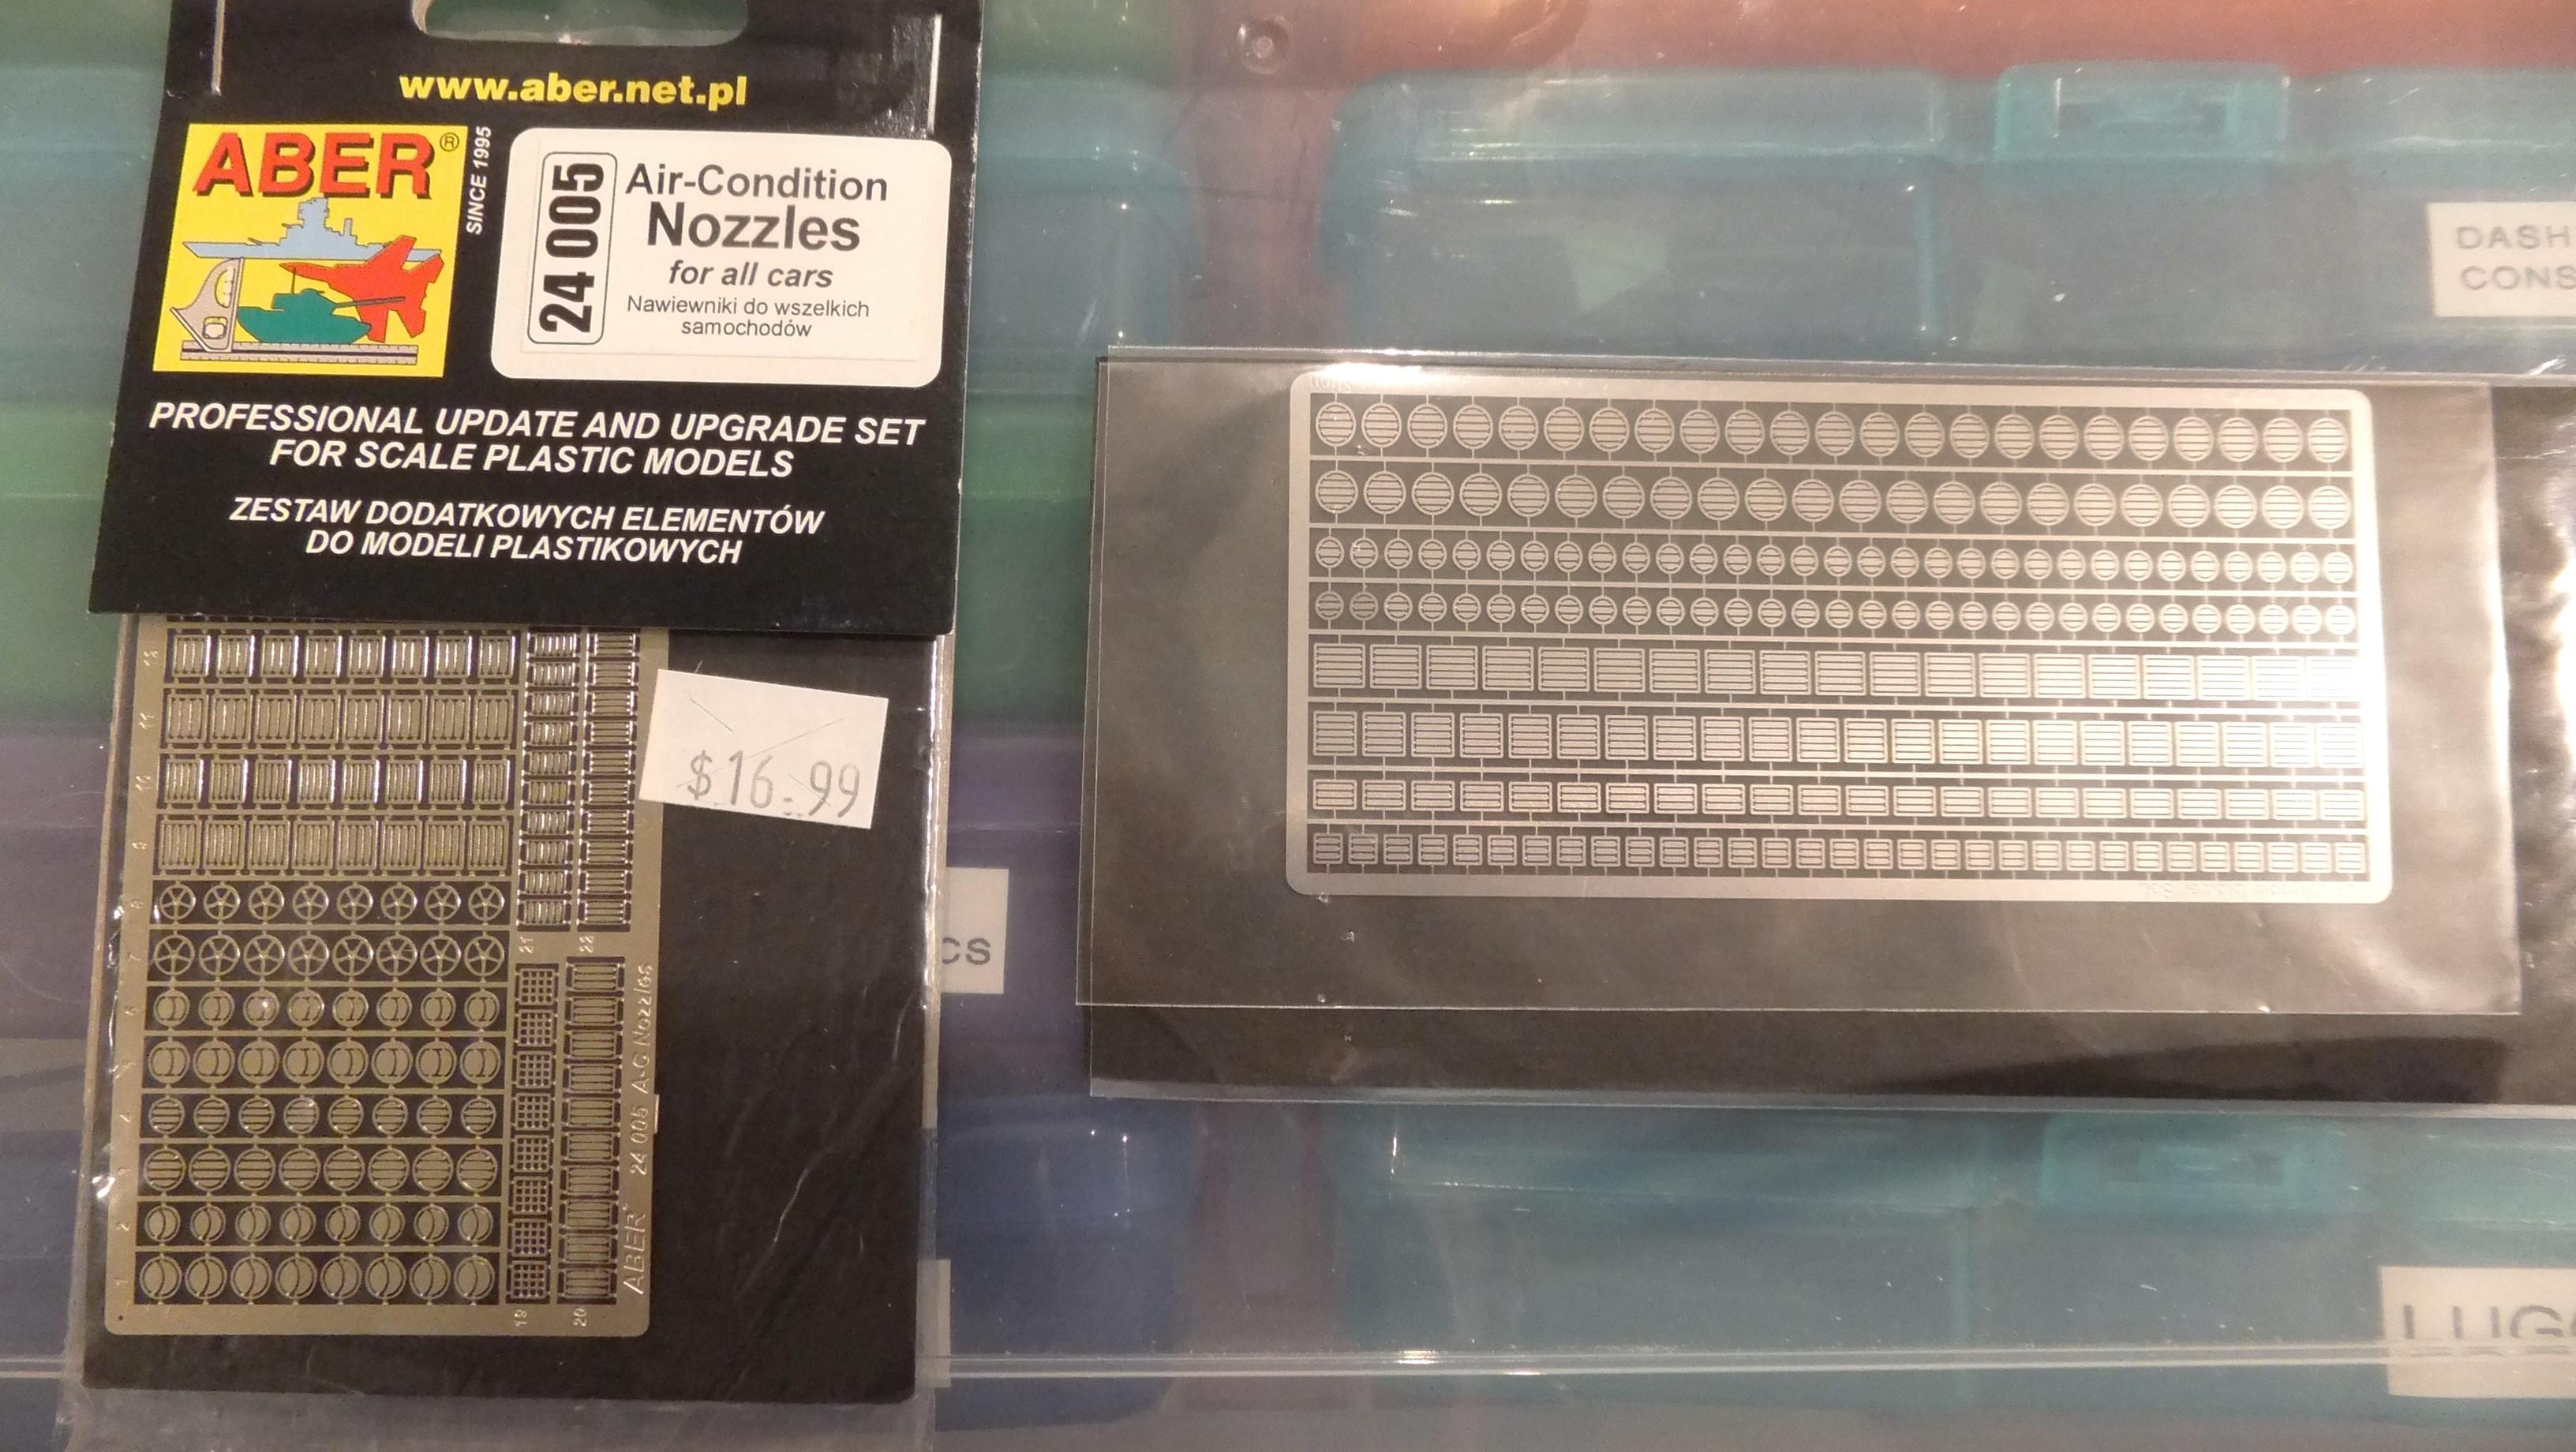
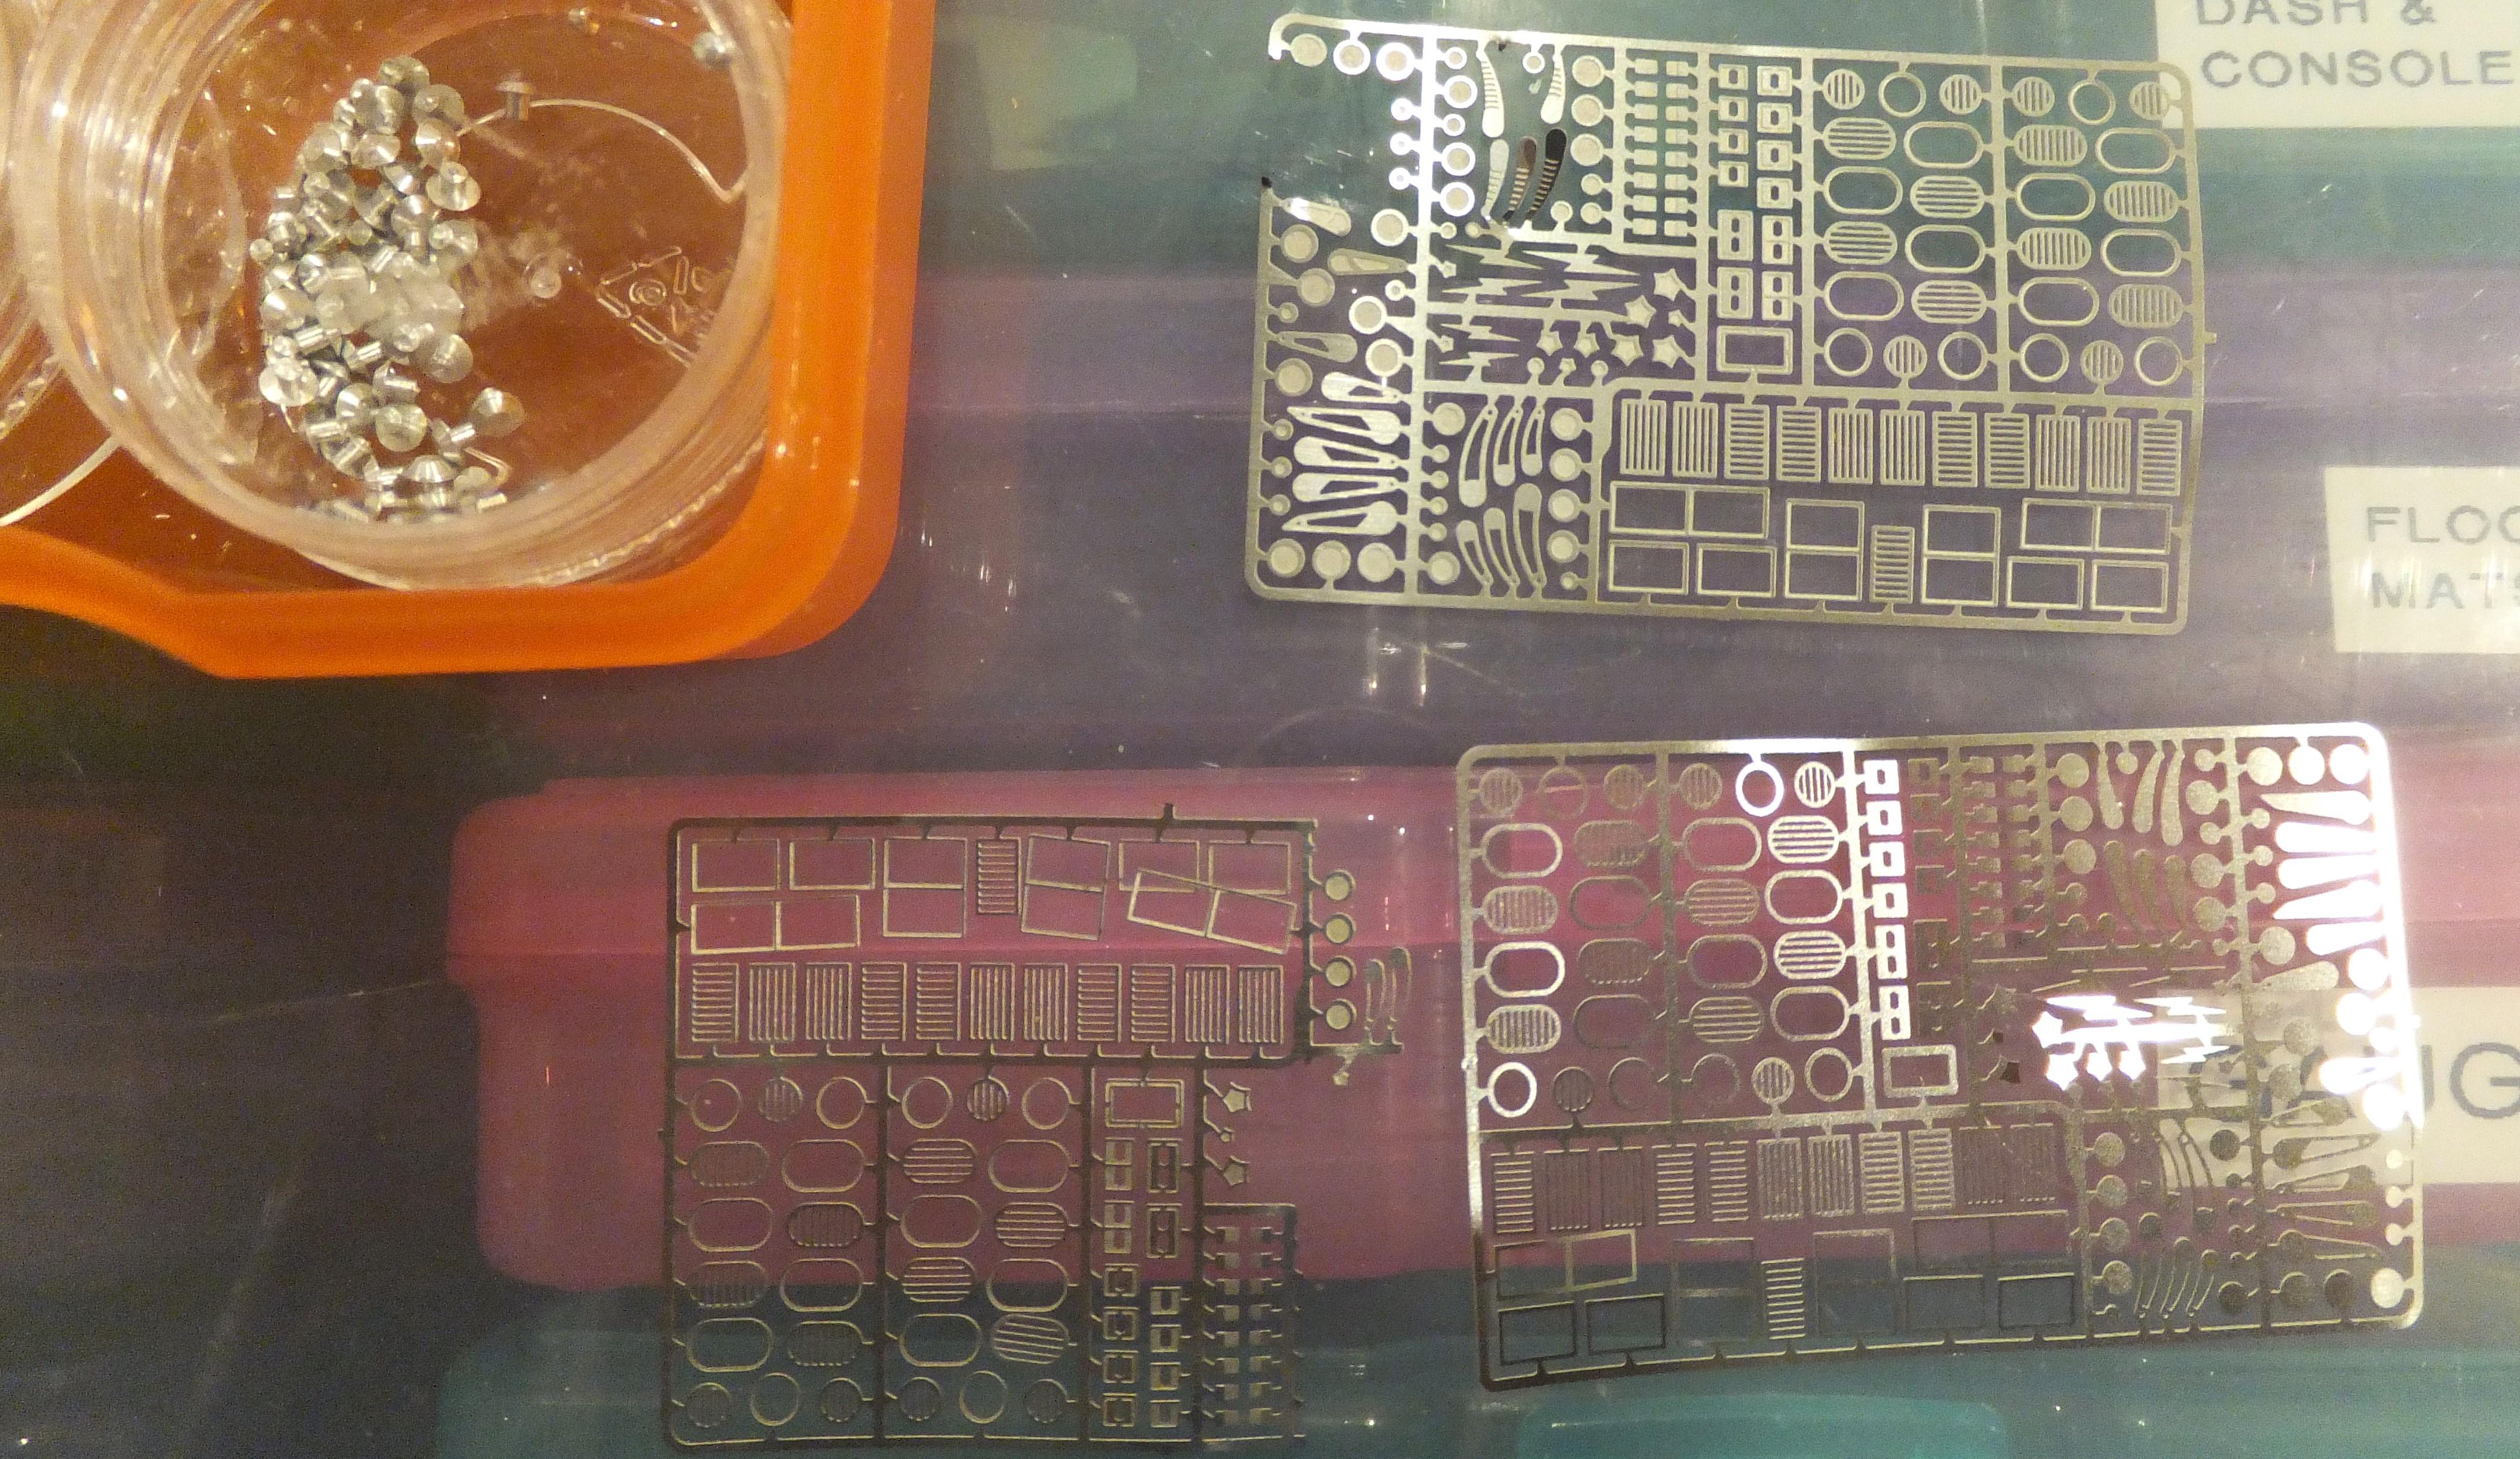
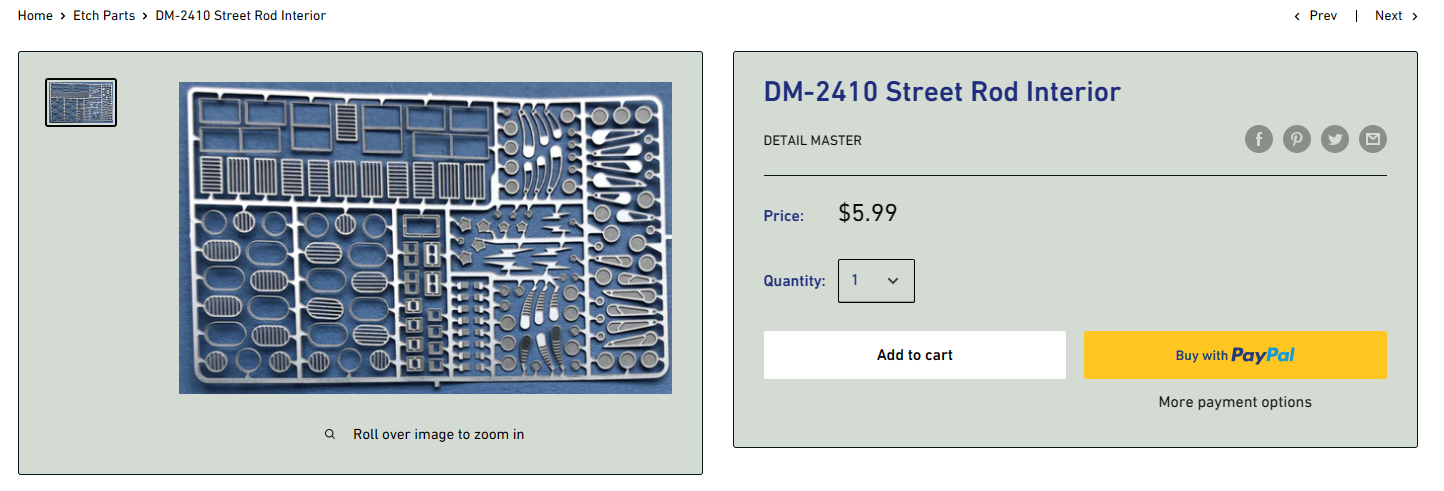
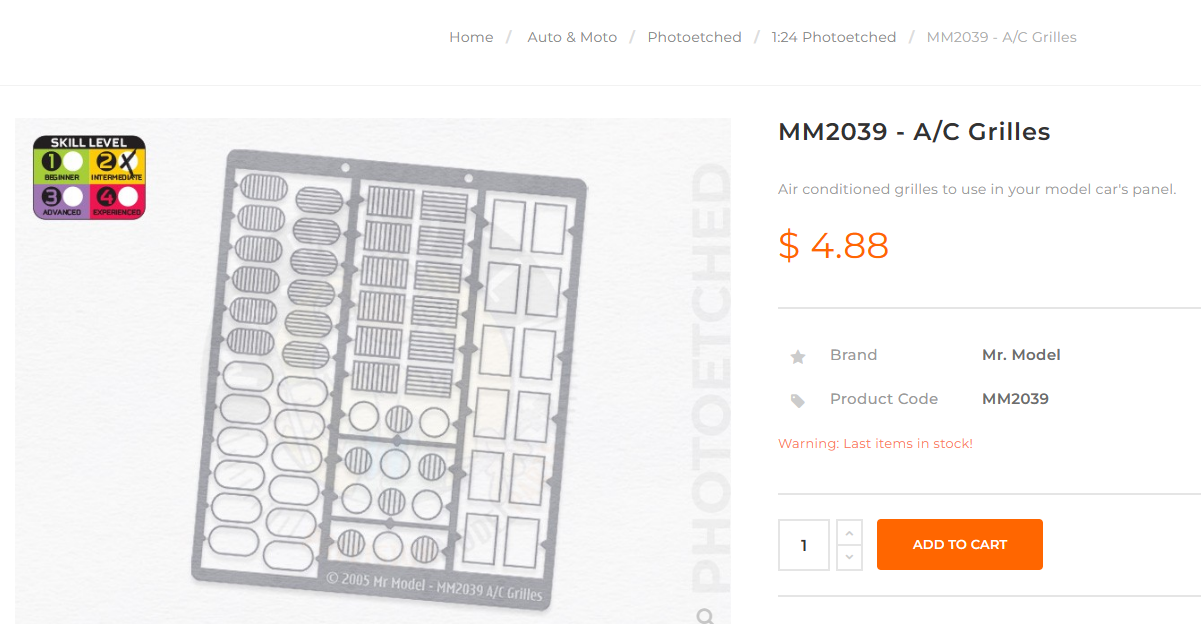
I do have a few A/C and vent PE. Sorry I didn't catch back before you ordered.
-
Need some 1/24 round defroster vents.
Exotics_Builder replied to Len Woodruff's topic in Model Building Questions and Answers
Just read your replies. I was going to check my stash downstairs as I have a bunch of interior detail parts. But since you already ordered, I hope they'll work. -
Need some 1/24 round defroster vents.
Exotics_Builder replied to Len Woodruff's topic in Model Building Questions and Answers
Offhand, this one for sure (although sizing may be a factor). Or
-
Who makes billet wheels for a 1/24 dually?
Exotics_Builder replied to LDO's topic in Truck Aftermarket / Resin / 3D Printed
Perhaps? https://www.dancingbearscaledcomponents.com/125-124-model-street-wheels -
Modern pickups. Interest?
Exotics_Builder replied to zaina's topic in Truck Aftermarket / Resin / 3D Printed
Just got my 2022 GMC Dually. Check it out in the What Did You Get Today thread http://www.modelcarsmag.com/forums/topic/66689-what-did-you-get-today-model-car-related-items/?do=findComment&comment=2694356 -
Texas 3D Customs
Exotics_Builder replied to Erik Smith's topic in Car Aftermarket / Resin / 3D Printed
Lovin this!!! -
Yes. There are some "blanks" from the printing process that appear to fit the windows. Will use those for templates. The bigger deal to form are the headlamp areas. Being a GM guy, just had to get a modern one. Still need to trade off my Meng Ford F350 though. And maybe the A&N model Trucks RAM Dually too.
- 39,276 replies
-
- 1
-

-
- johan
- glue bombs
- (and 1 more)
-
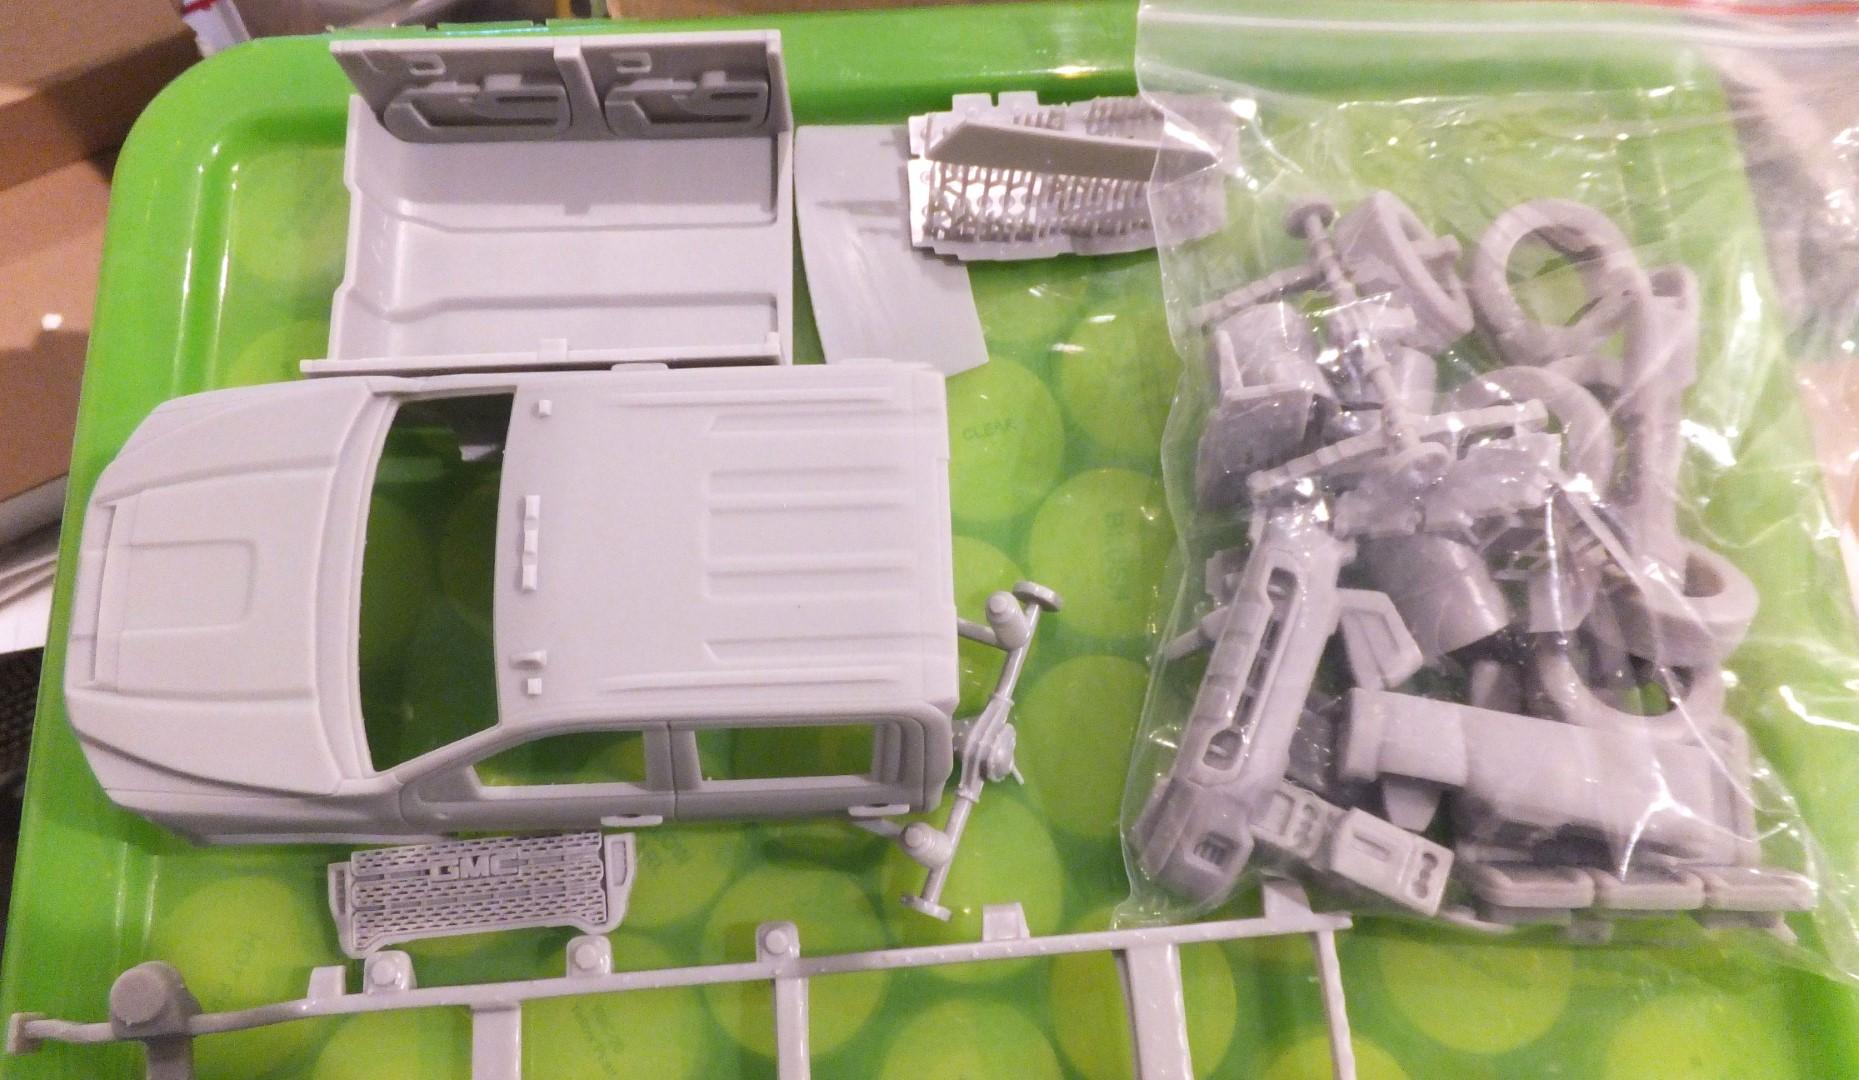
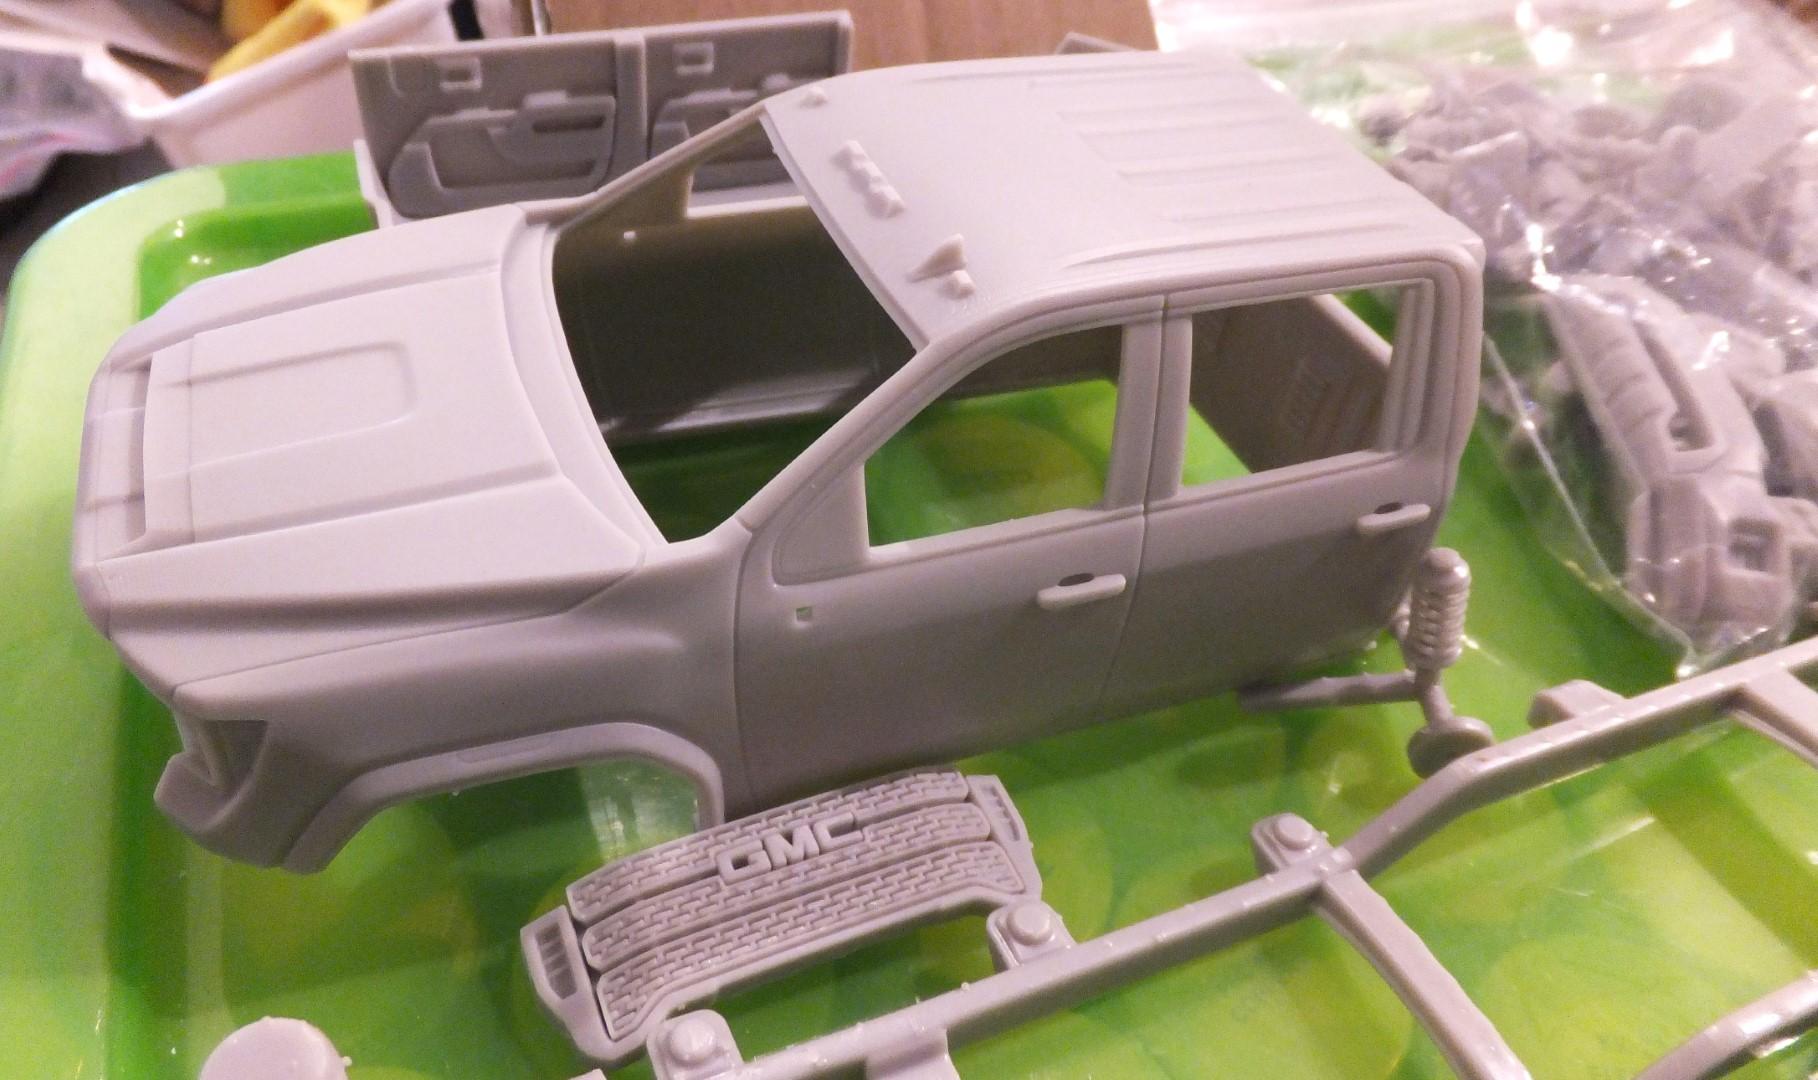
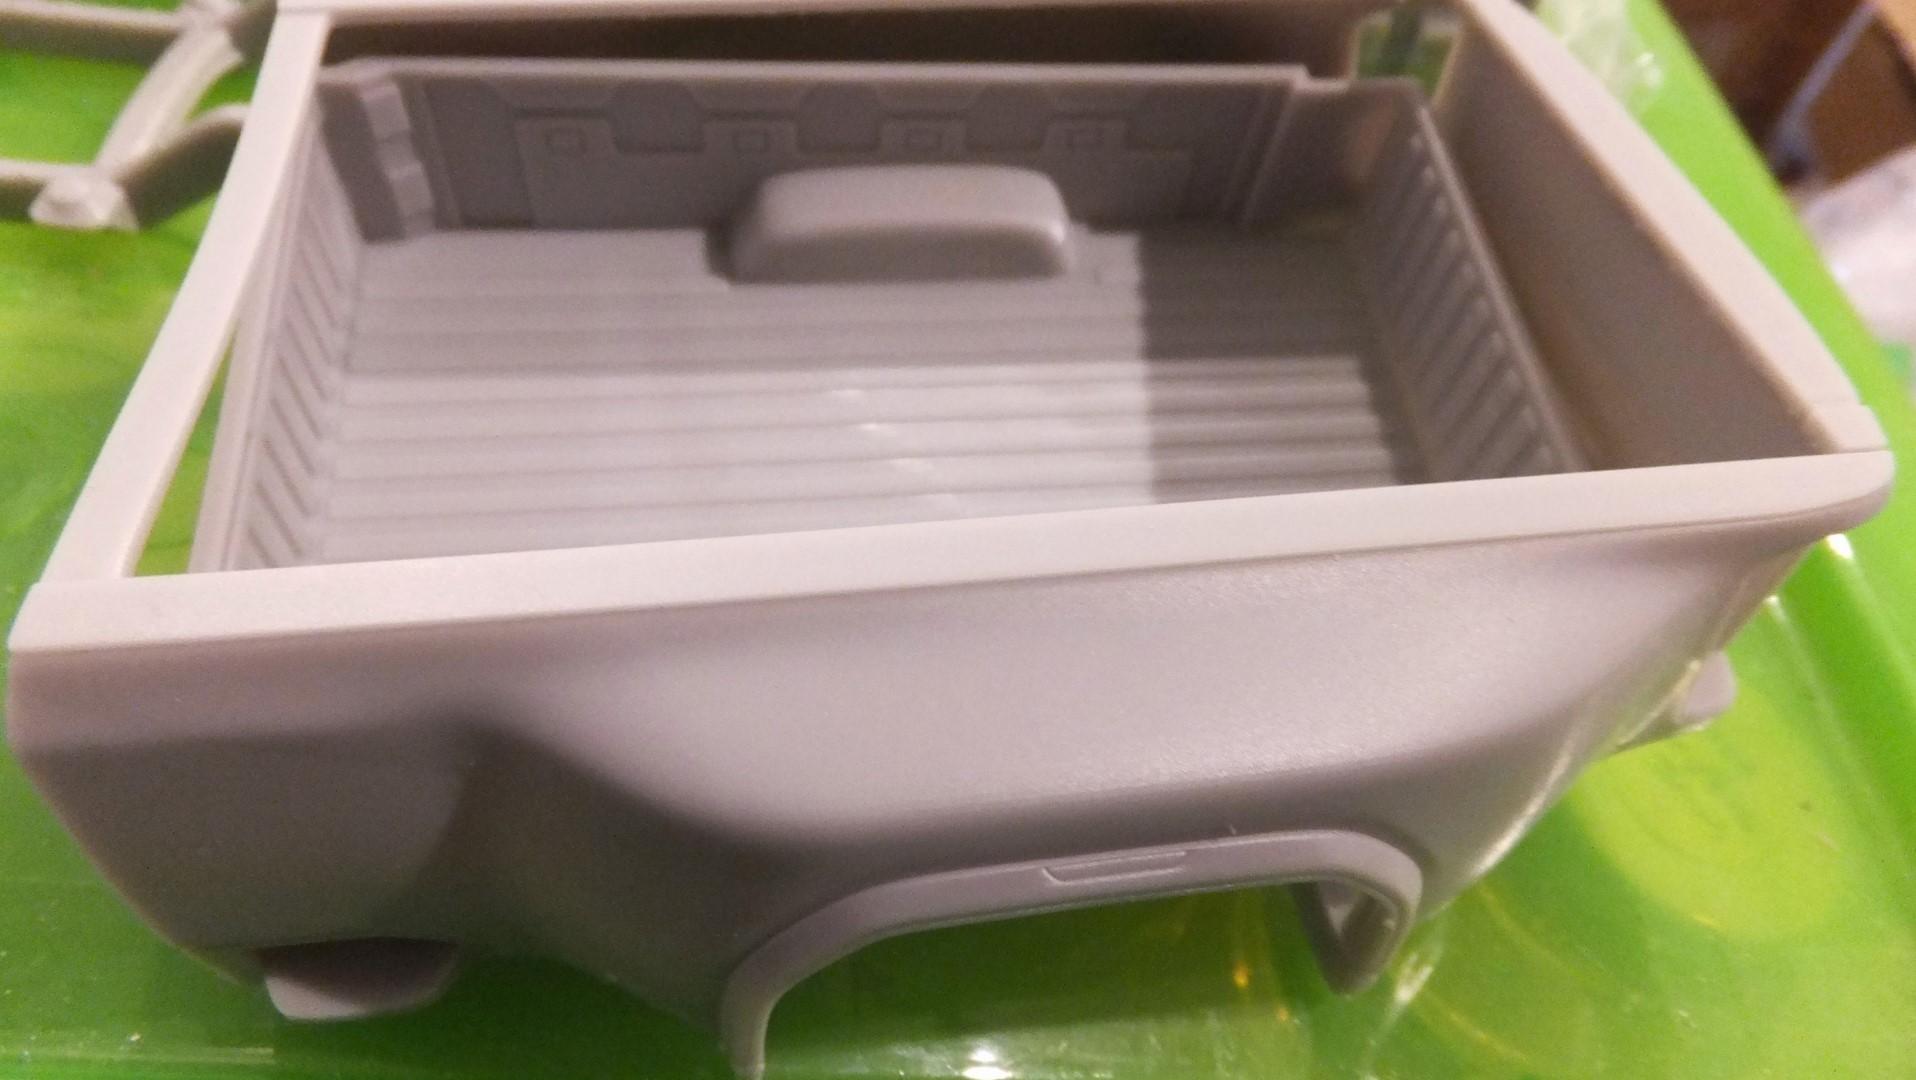
Arrived today. Done by Andy Lesiak. Very, very clean 3D print. Will not require a lot of clean up. Have a plan for this.
- 39,276 replies
-
- 4
-
-
- johan
- glue bombs
- (and 1 more)
-
Pontiac engine blue metallic
Exotics_Builder replied to casassa's topic in Model Building Questions and Answers
MCW or Scale Finishes. Although I still have a little of the Testor Pontiac Engine Blue 66-70 left that I airbrush as needed. -
Modern pickups. Interest?
Exotics_Builder replied to zaina's topic in Truck Aftermarket / Resin / 3D Printed
A 2022/23 GMC 4x4 Crew Cab Dually would be a great choice for me. -
Totally agree. I wound up with the "curbside" and decided to just stay with it.
-
This one? It does have an engine top insert ala some Alpha models and other kits, but not a full engine.
-
Looking for a Good Maroon Color
Exotics_Builder replied to Jim B's topic in Model Building Questions and Answers
Another vote for Tamiya TS11. This one over Light Gray Primer
-
Rock-Crusher was a term for the Muncie M-22 due to noise created by reduced gear angle. There also was a M-20 and M-21 with specific gearing. Ace-Garageguy may know more on the history, but supposedly the Muncie was a direct descendant of the BW T-10. M-20 was wide ratio. M-21 was close-ratio. And M-22 was also close-ration but much stronger.
-
Model Factory Hiro 1963 Ferrari 250 Lusso
Exotics_Builder replied to Brudda's topic in WIP: Model Cars
When I bought my Lusso kit when it first came out the body was broken at the driver side rear. I had gotten the model from Hobby Link Japan. I contacted them and they got a replacement to me fairly quick. -
Building this one as an Out of the Box. Already using the decals, but you can see what the kit has (unless there has been a recent change).
- 39,276 replies
-
- 1
-
-
- johan
- glue bombs
- (and 1 more)
-
Decal reproduction
Exotics_Builder replied to Racersonly's topic in Model Building Questions and Answers
Hard to tell from the posted photos. Experiences I have had is the decal film yellows. Another reason I clear decals after installing because I have had decals yellow with age. I use lacquer clears misted to avoid issues with enamels coloring. I plan to experiment with acrylic paint soon (Tamiya first) -
Model Factory Hiro 1963 Ferrari 250 Lusso
Exotics_Builder replied to Brudda's topic in WIP: Model Cars
Is the color choice I am planning on doing. Had it mind before I saw the actual car and that cemented my choice for this car! -
Model Factory Hiro 1963 Ferrari 250 Lusso
Exotics_Builder replied to Brudda's topic in WIP: Model Cars
Looking forward to watching your build. Got these photos at Brothers Car Collection in Salem a few months ago. May help detail your build.
-
Decal reproduction
Exotics_Builder replied to Racersonly's topic in Model Building Questions and Answers
Don't forget the Ziploc to avoid any moisture issue. Especially with the weather there this time of year. -
Model Factory Hiro 1963 Ferrari 250 Lusso
Exotics_Builder replied to Brudda's topic in WIP: Model Cars
I have a few MFH kits besides the 250 (a BIG favorite of mine). I had a few more but sold them off before moving back to Washington State. Made a few dollars, but just realized I have too many to build and not enough time.
-
Model Factory Hiro 1963 Ferrari 250 Lusso
Exotics_Builder replied to Brudda's topic in WIP: Model Cars
-
Decal reproduction
Exotics_Builder replied to Racersonly's topic in Model Building Questions and Answers
For the yellowing part, I've had past success with putting decals in a ziploc bag and taping to a window for sun exposure. Last summer I did that to a set of decals for a Fujimi BMW 6 Series Race Car. Frailty is another issue. I have had success with Microscale Decal Film, but the decals may be too far gone. The pictures you posted do not appear to be that bad, but a test is necessary. I have the benefit of a scanner that I use to make a copy of my decal sheet and, if necessary, can go from there. What I do depends on the base color of the vehicle and what is necessary to deal with the translucency of any printed decal (I'm excluding ALPS Printers as they are about effectively non-existent and also Dye-Sublimation printers as well) and what I need to do about the white. -
Model Factory Hiro 1963 Ferrari 250 Lusso
Exotics_Builder replied to Brudda's topic in WIP: Model Cars
Since 4 Pages, here is the entire instructions. If you need the page bottom chopped off, I'll scan or photo those.


.JPG.de1401d207e831f13f661c4c8e9a65f6.JPG)
.JPG.fd8e8e3e1445025d422ca5887d4d28f8.JPG)


