Exotics_Builder
-
Posts
3,641 -
Joined
-
Last visited
Content Type
Profiles
Forums
Events
Gallery
Everything posted by Exotics_Builder
-

White Letter Tires
Exotics_Builder replied to bill-e-boy's topic in Model Building Questions and Answers
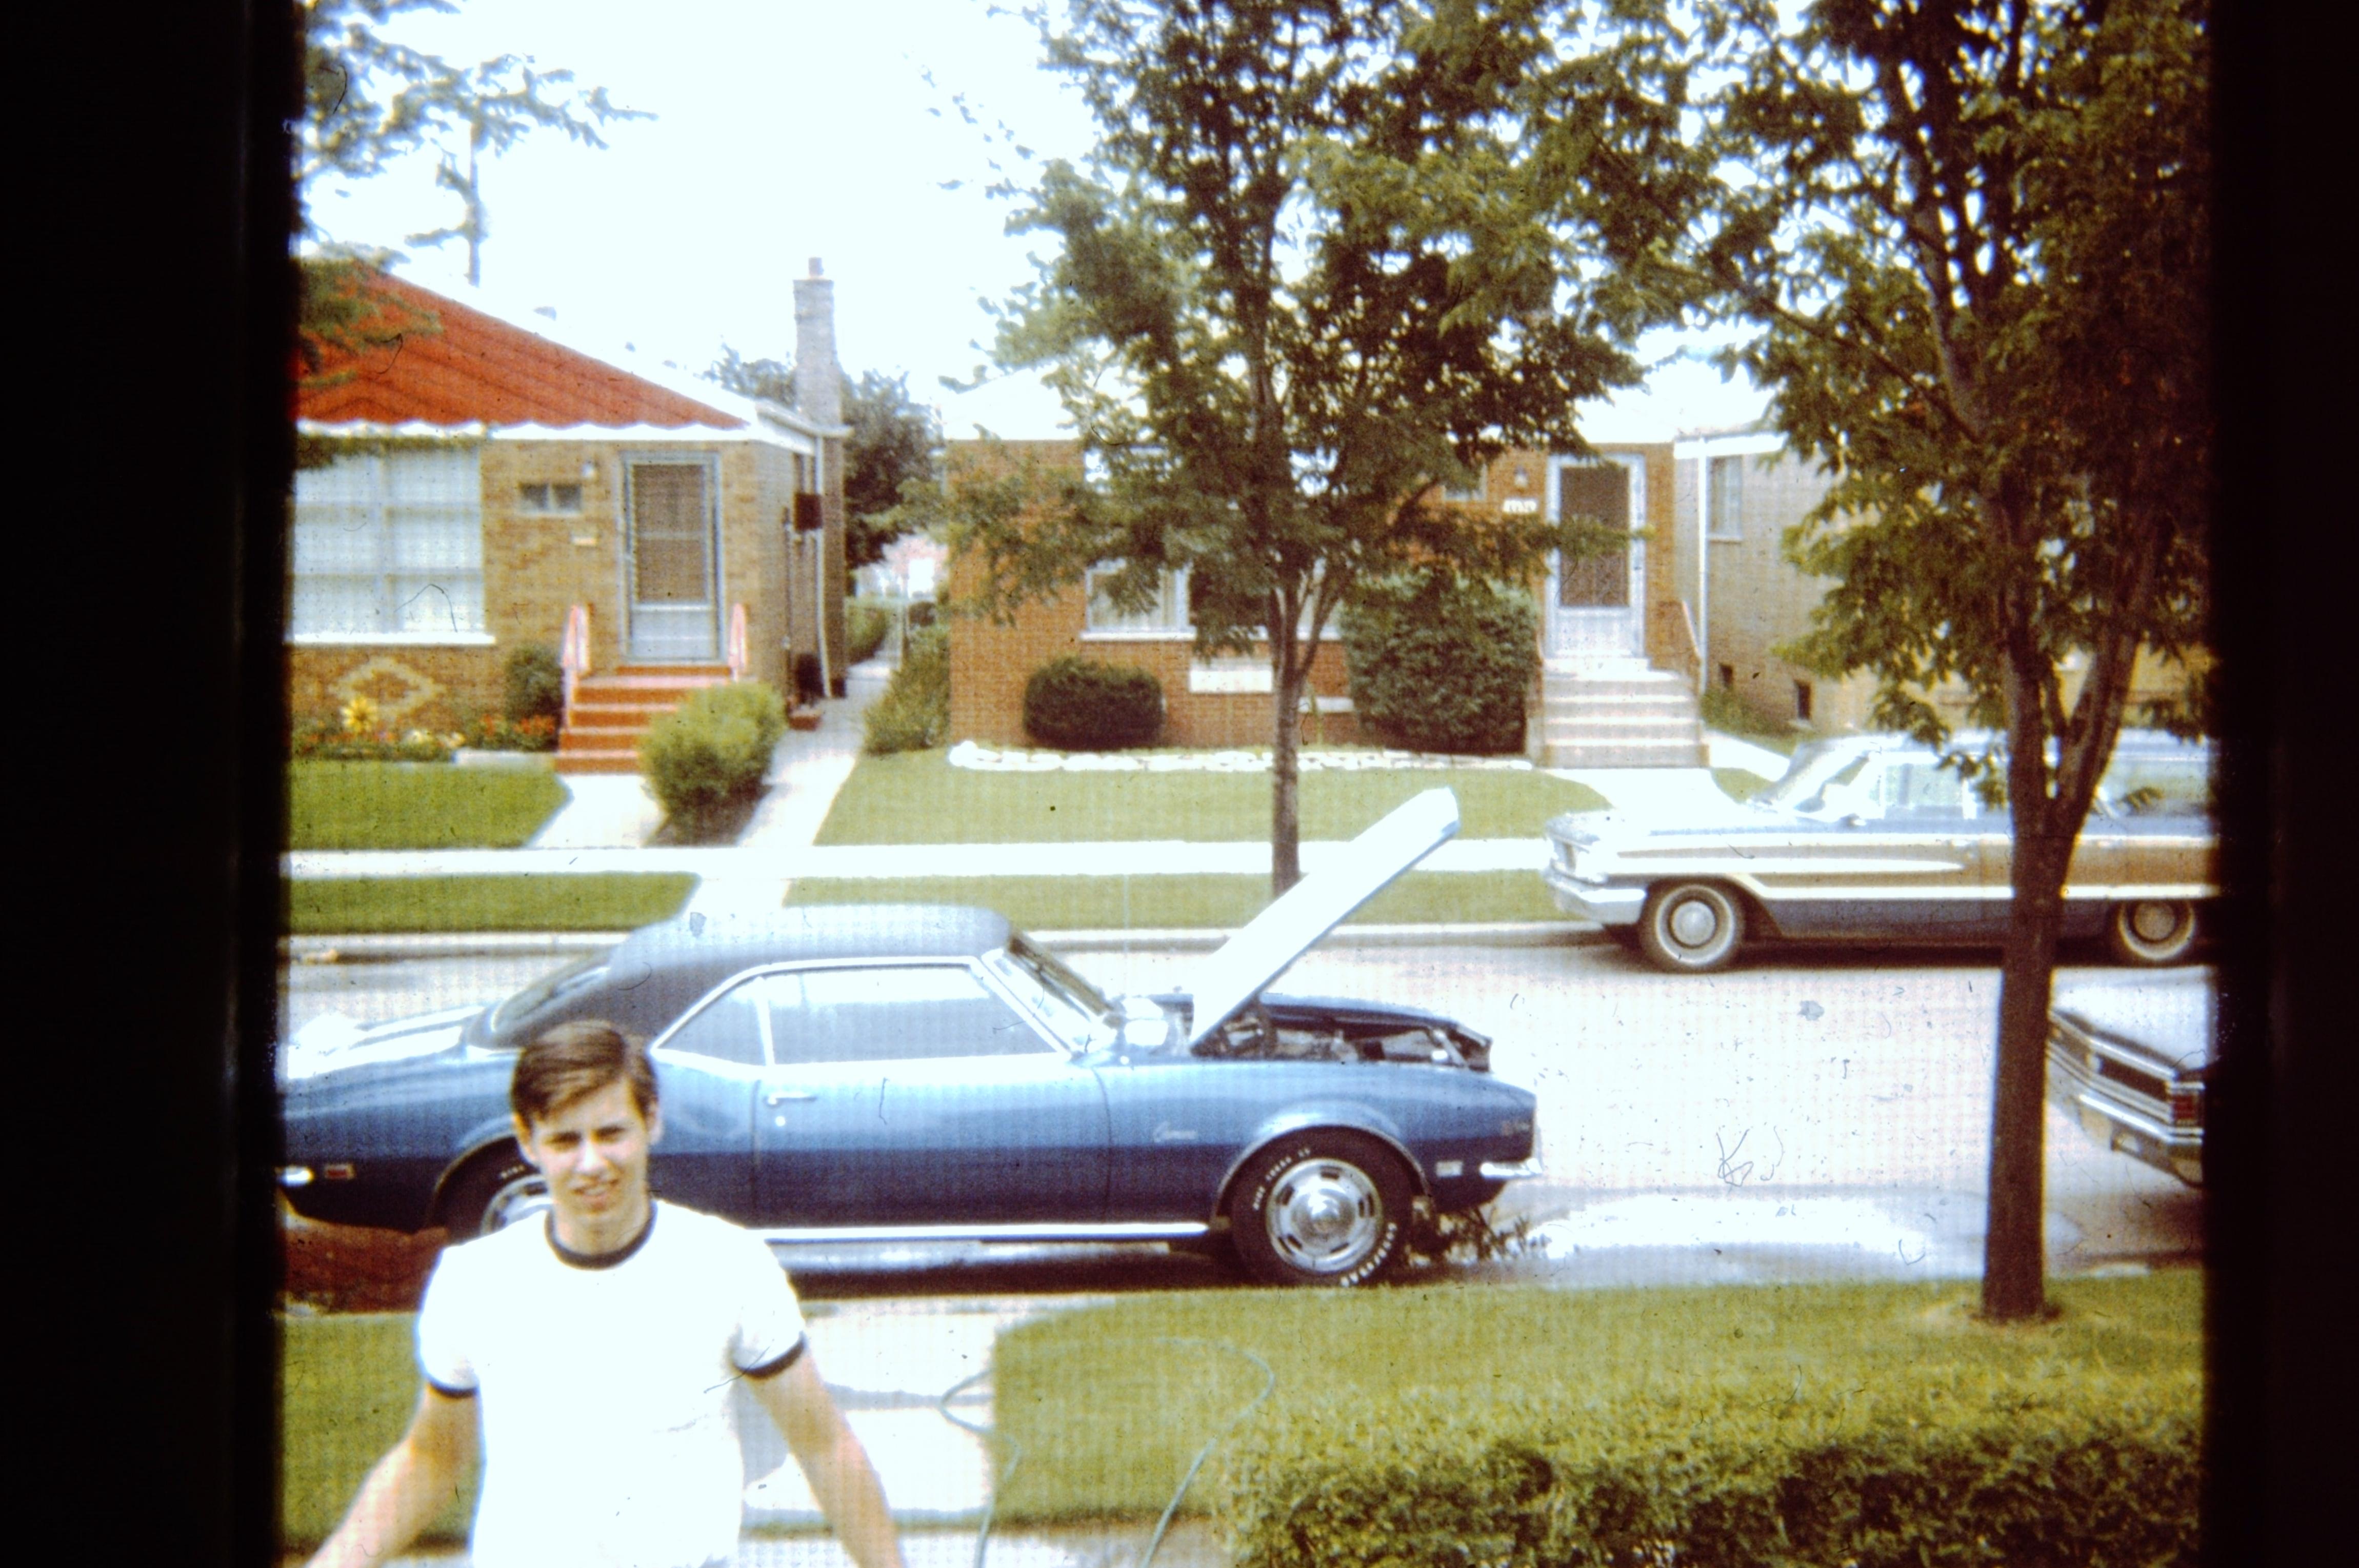
My brother. SS 396, 325 HP, 4 Speed, Bench Seat, Black on black -
White Letter Tires
Exotics_Builder replied to bill-e-boy's topic in Model Building Questions and Answers
Two weeks old from the dealership in early May 1968.
-
I've got two Styline versions, but nothing newer than this kit
-
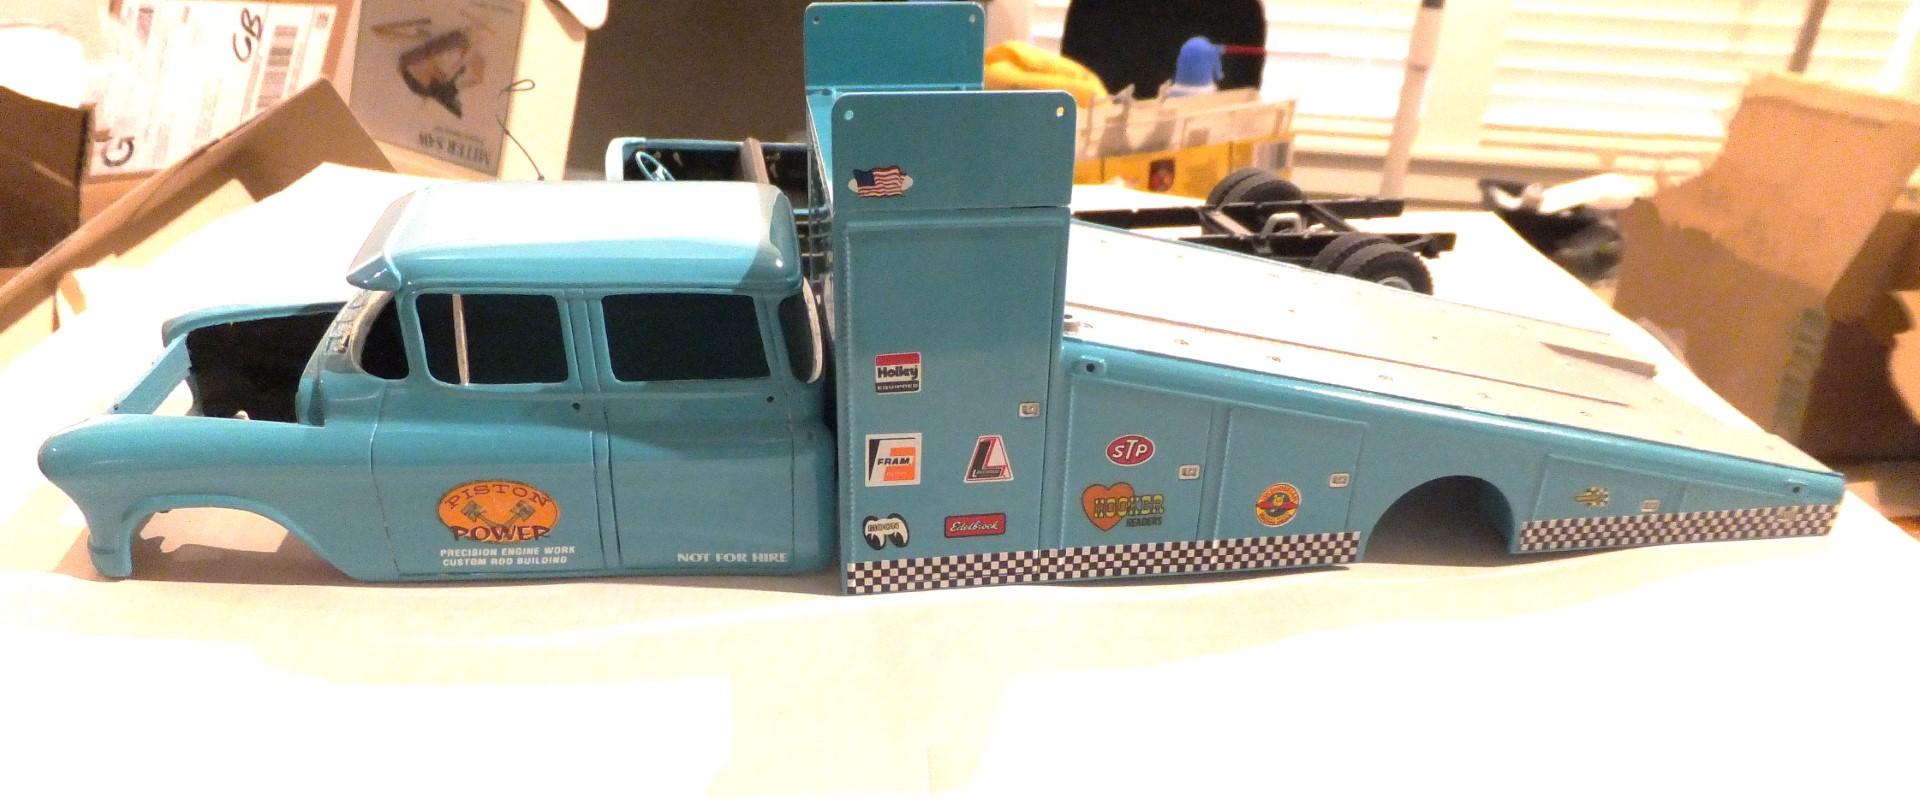
Got the base and first clear coats on. Starting to decal the cab and hauler ramp body. Detailed the interior a bit. But not totally prototypical. The caster used the AMT kit interior tub as their base. The detail on the kit is exceedingly soft and this wasn't any better. I added some details including scratch built arm rests, door handles and window cranks. Once decaled and final clear coat applied, finally assembly will begin.
-
Italeri 1/24 Ferrari 250GT California Spyder
Exotics_Builder replied to Justin Porter's topic in WIP: Model Cars
That is because the interior and engine came from the 250 GTO kit and were not updated. Also, the included cold air intake is not correct for a street version but could be construed an add-on. Replicas and Miniatures of Maryland DID an interior set but I do not believe Norm has it available anymore. HRM has an updated engine but is a $40+ option. When I built mine some 25 years back, I didn't have these parts and cobbled together pieces from the parts box to get more accuracy (including scratch building an air cleaner
-
2023 Oregon Midvalley IPMS Contest and Swap Meet
Exotics_Builder replied to Exotics_Builder's topic in Contests and Shows
I have the Monogram. Do you have that, the Hobby Boss or Italeri? The other aircraft I won is a 1/48 Monogram Eastern Airlines DC-3 -
2023 Oregon Midvalley IPMS Contest and Swap Meet
Exotics_Builder replied to Exotics_Builder's topic in Contests and Shows
NICE!!!!!!!!!!!!!!!!!! Hmm.... One was a 1/48 A-10 Warthog. Traffic patrol ? -
2023 Oregon Midvalley IPMS Contest and Swap Meet
Exotics_Builder replied to Exotics_Builder's topic in Contests and Shows
Hey, at first, I thought the same. Modeler I was talking to said a sub wouldn't do such a rise to surface near survivors in the water. Makes sense. But you could read it either way in my view. There was some serious craftsmanship on display. I'm really not into that area either, but can really appreciate the work and quality. I would up with 2 1/48 scale aircraft from the raffle and wondering if I should "dabble" in one. Not soon though. -
2023 Oregon Midvalley IPMS Contest and Swap Meet
Exotics_Builder replied to Exotics_Builder's topic in Contests and Shows
I was told the sub was sinking. Hence the life rafts near it as well as debris. Either way, stunning. It got Peoples' Choice. I certainly voted for it. -
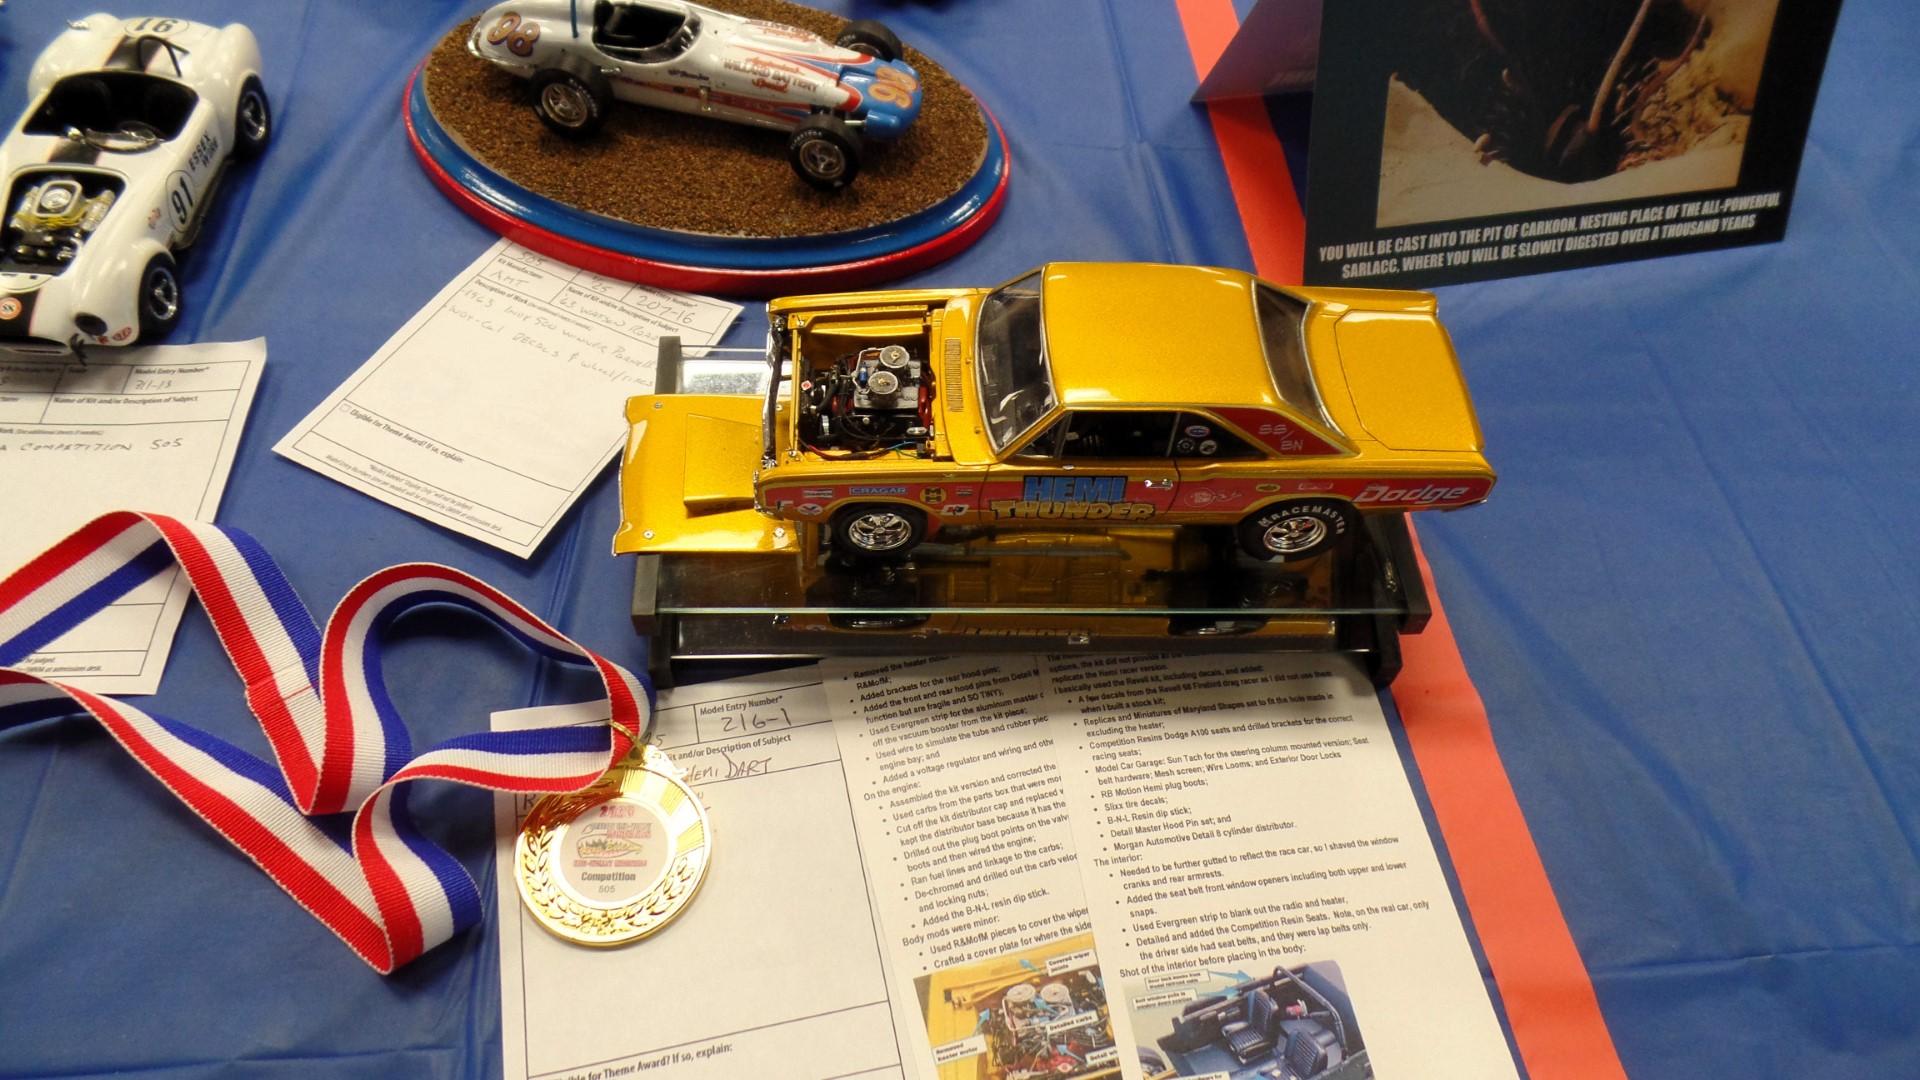
Went for the first time to this show. Picked up my good friend and wended our way down to Albany Oregon for the show. Very nice event. Smaller than the Nimcom and Bruce O'Hare shows I attended while in the Chicago area, but still great. Brought 3 models and came home with 3 awards, my friend came home with two. I also wound up with a good run on the raffles, even though tools and aircraft (their automotive stuff was somewhat weak.) I've included the link to the photo album. It includes all catgories, not just the 5 automotive classes. Some really NICE work presented. Album Link
-
The Future of Revell...for 2024 at least.
Exotics_Builder replied to niteowl7710's topic in Car Kit News & Reviews
That would be the way I would go with that for race versions -
As long as you are doing the shorter wheelbase version. The longer wheelbase version would be a nice option
-
My two fave's in their collection are the 67 Cherokee and the 250 GT/L Lusso
-
Had a chance yesterday to go back to the Brothers' Collection in Salem Oregon. This time we were able to visit the "workshop" area as well as the collection. I took photos of the new stuff (not seen at my August 2022 visit) and some added photos of the more interesting (to me). https://flic.kr/s/aHBqjAY9N5 And here is a refresher of my August 2022 visit of the collection https://flic.kr/s/aHBqjA3vsC
-
Moebius Sneek Peek at NHRSA Show
Exotics_Builder replied to Fabrux's topic in Truck Kit News & Reviews
Got that right. Would save a lot of work correcting the AMT -
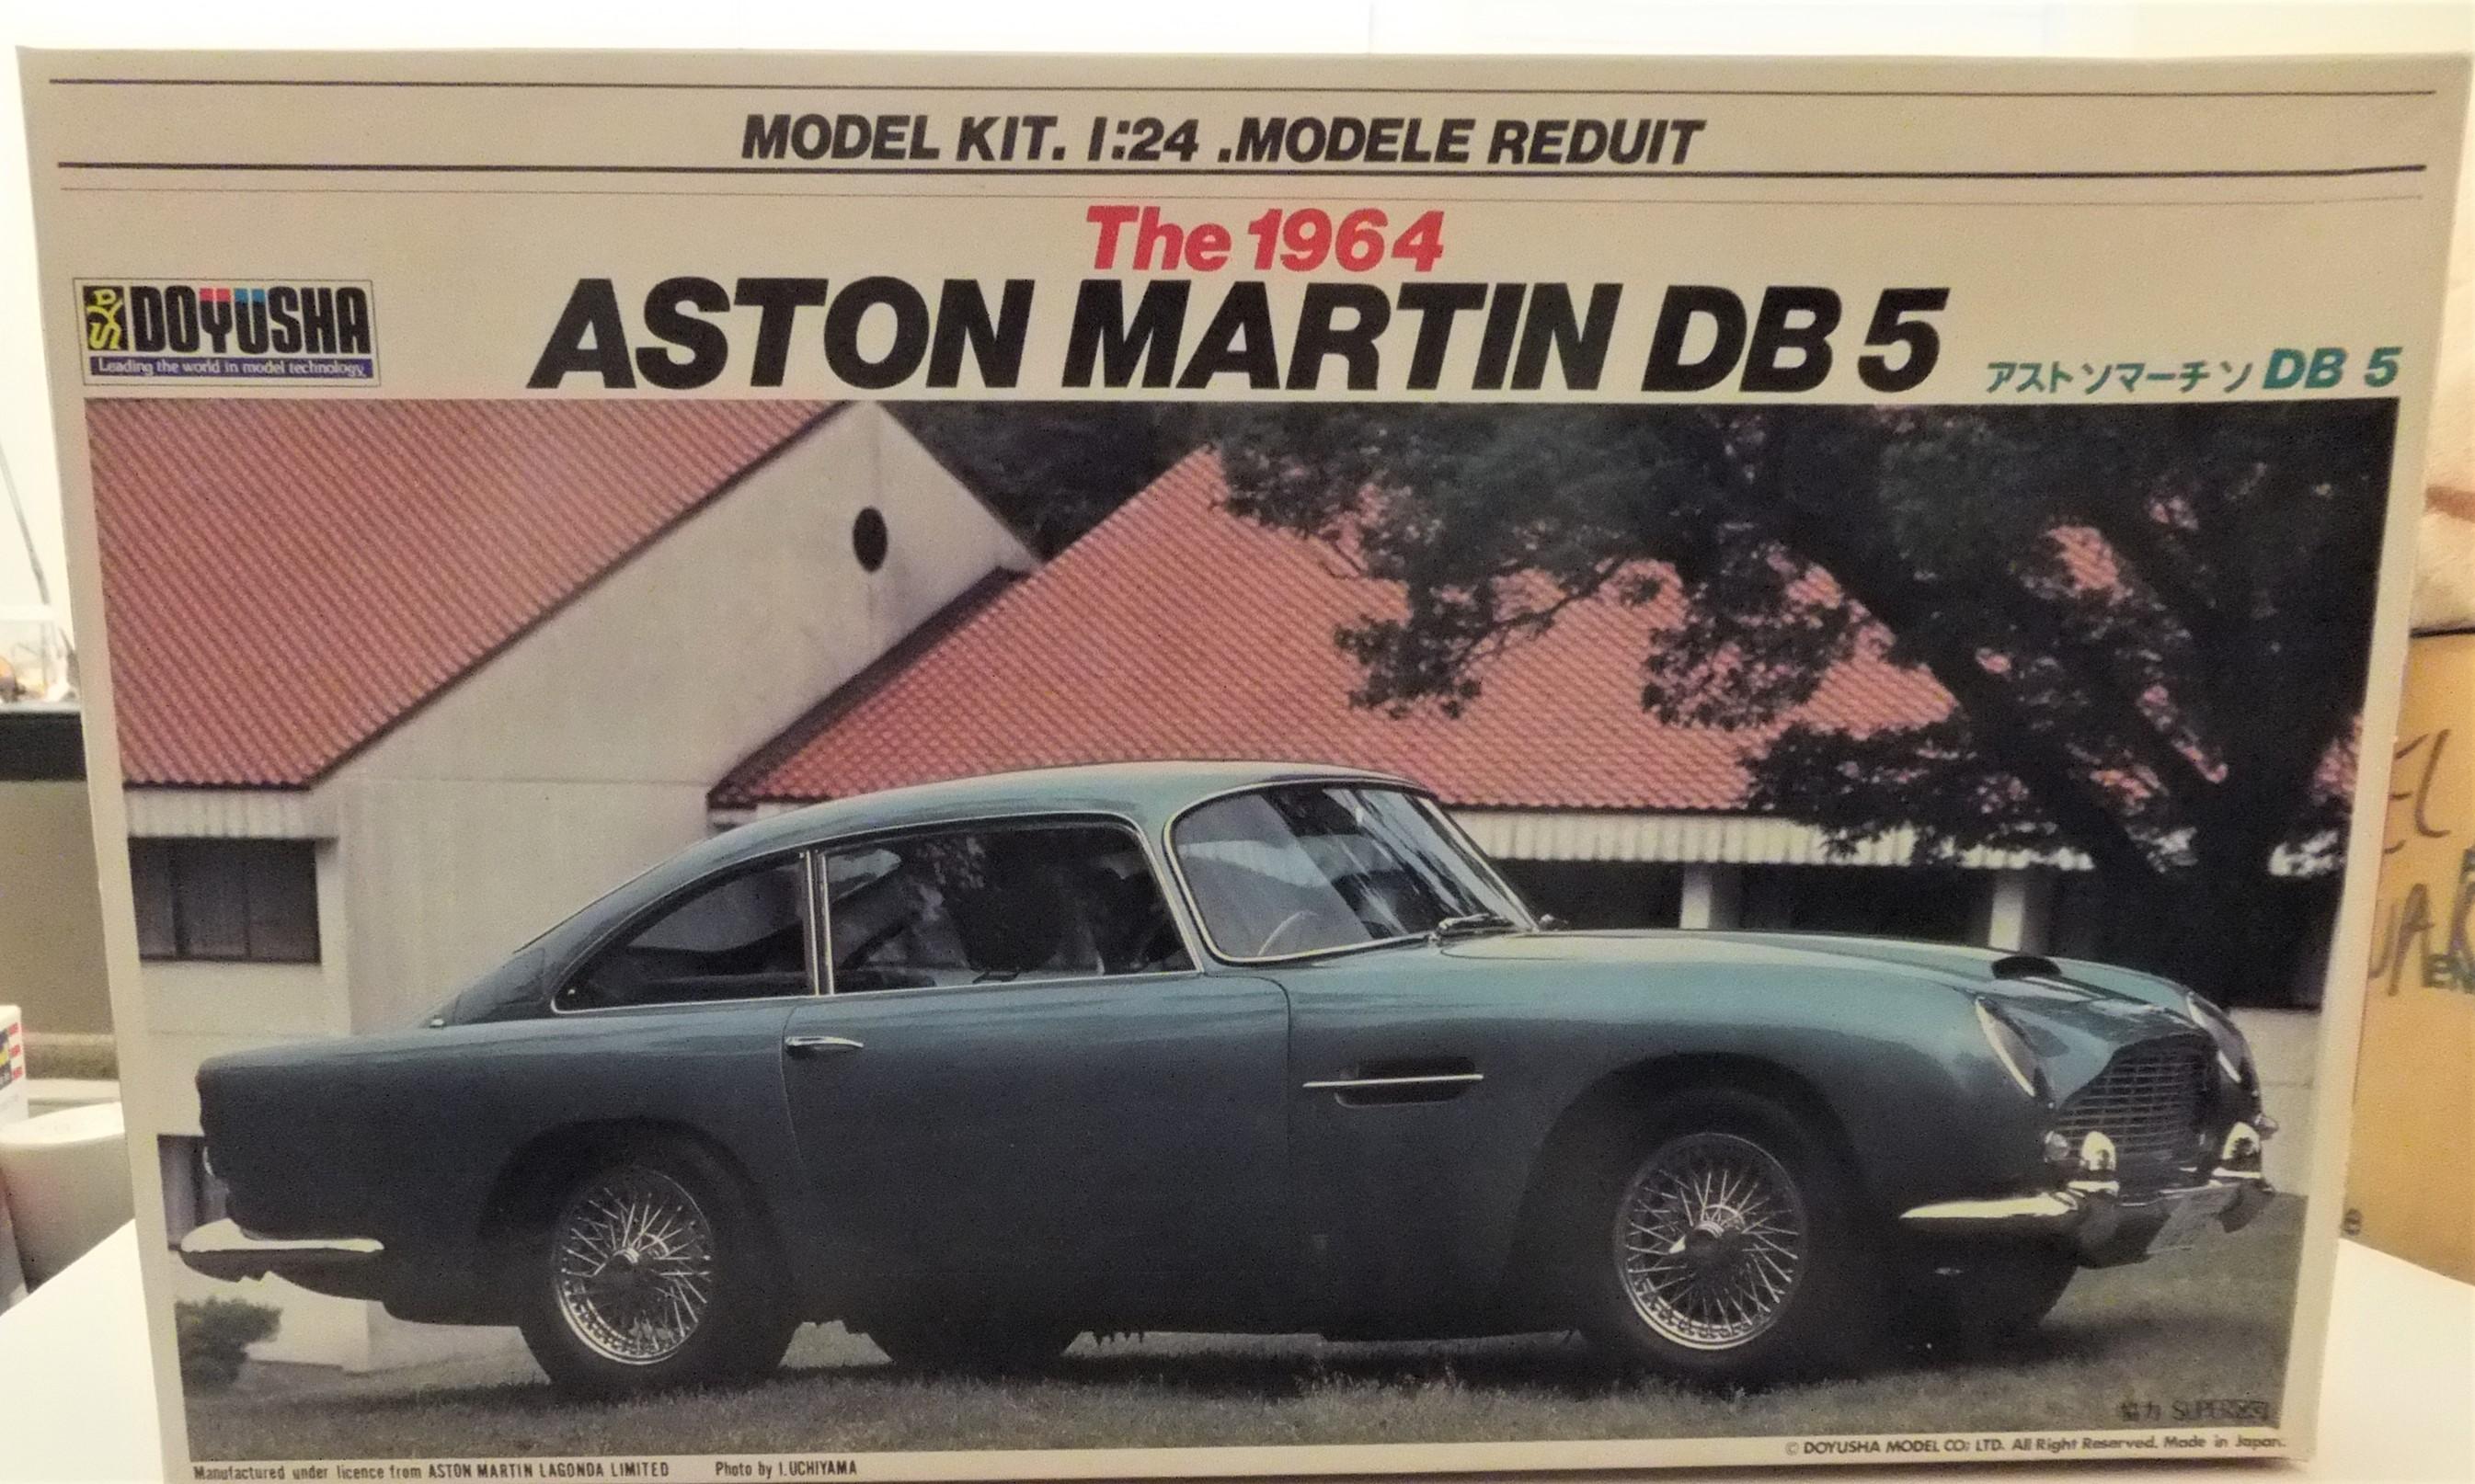
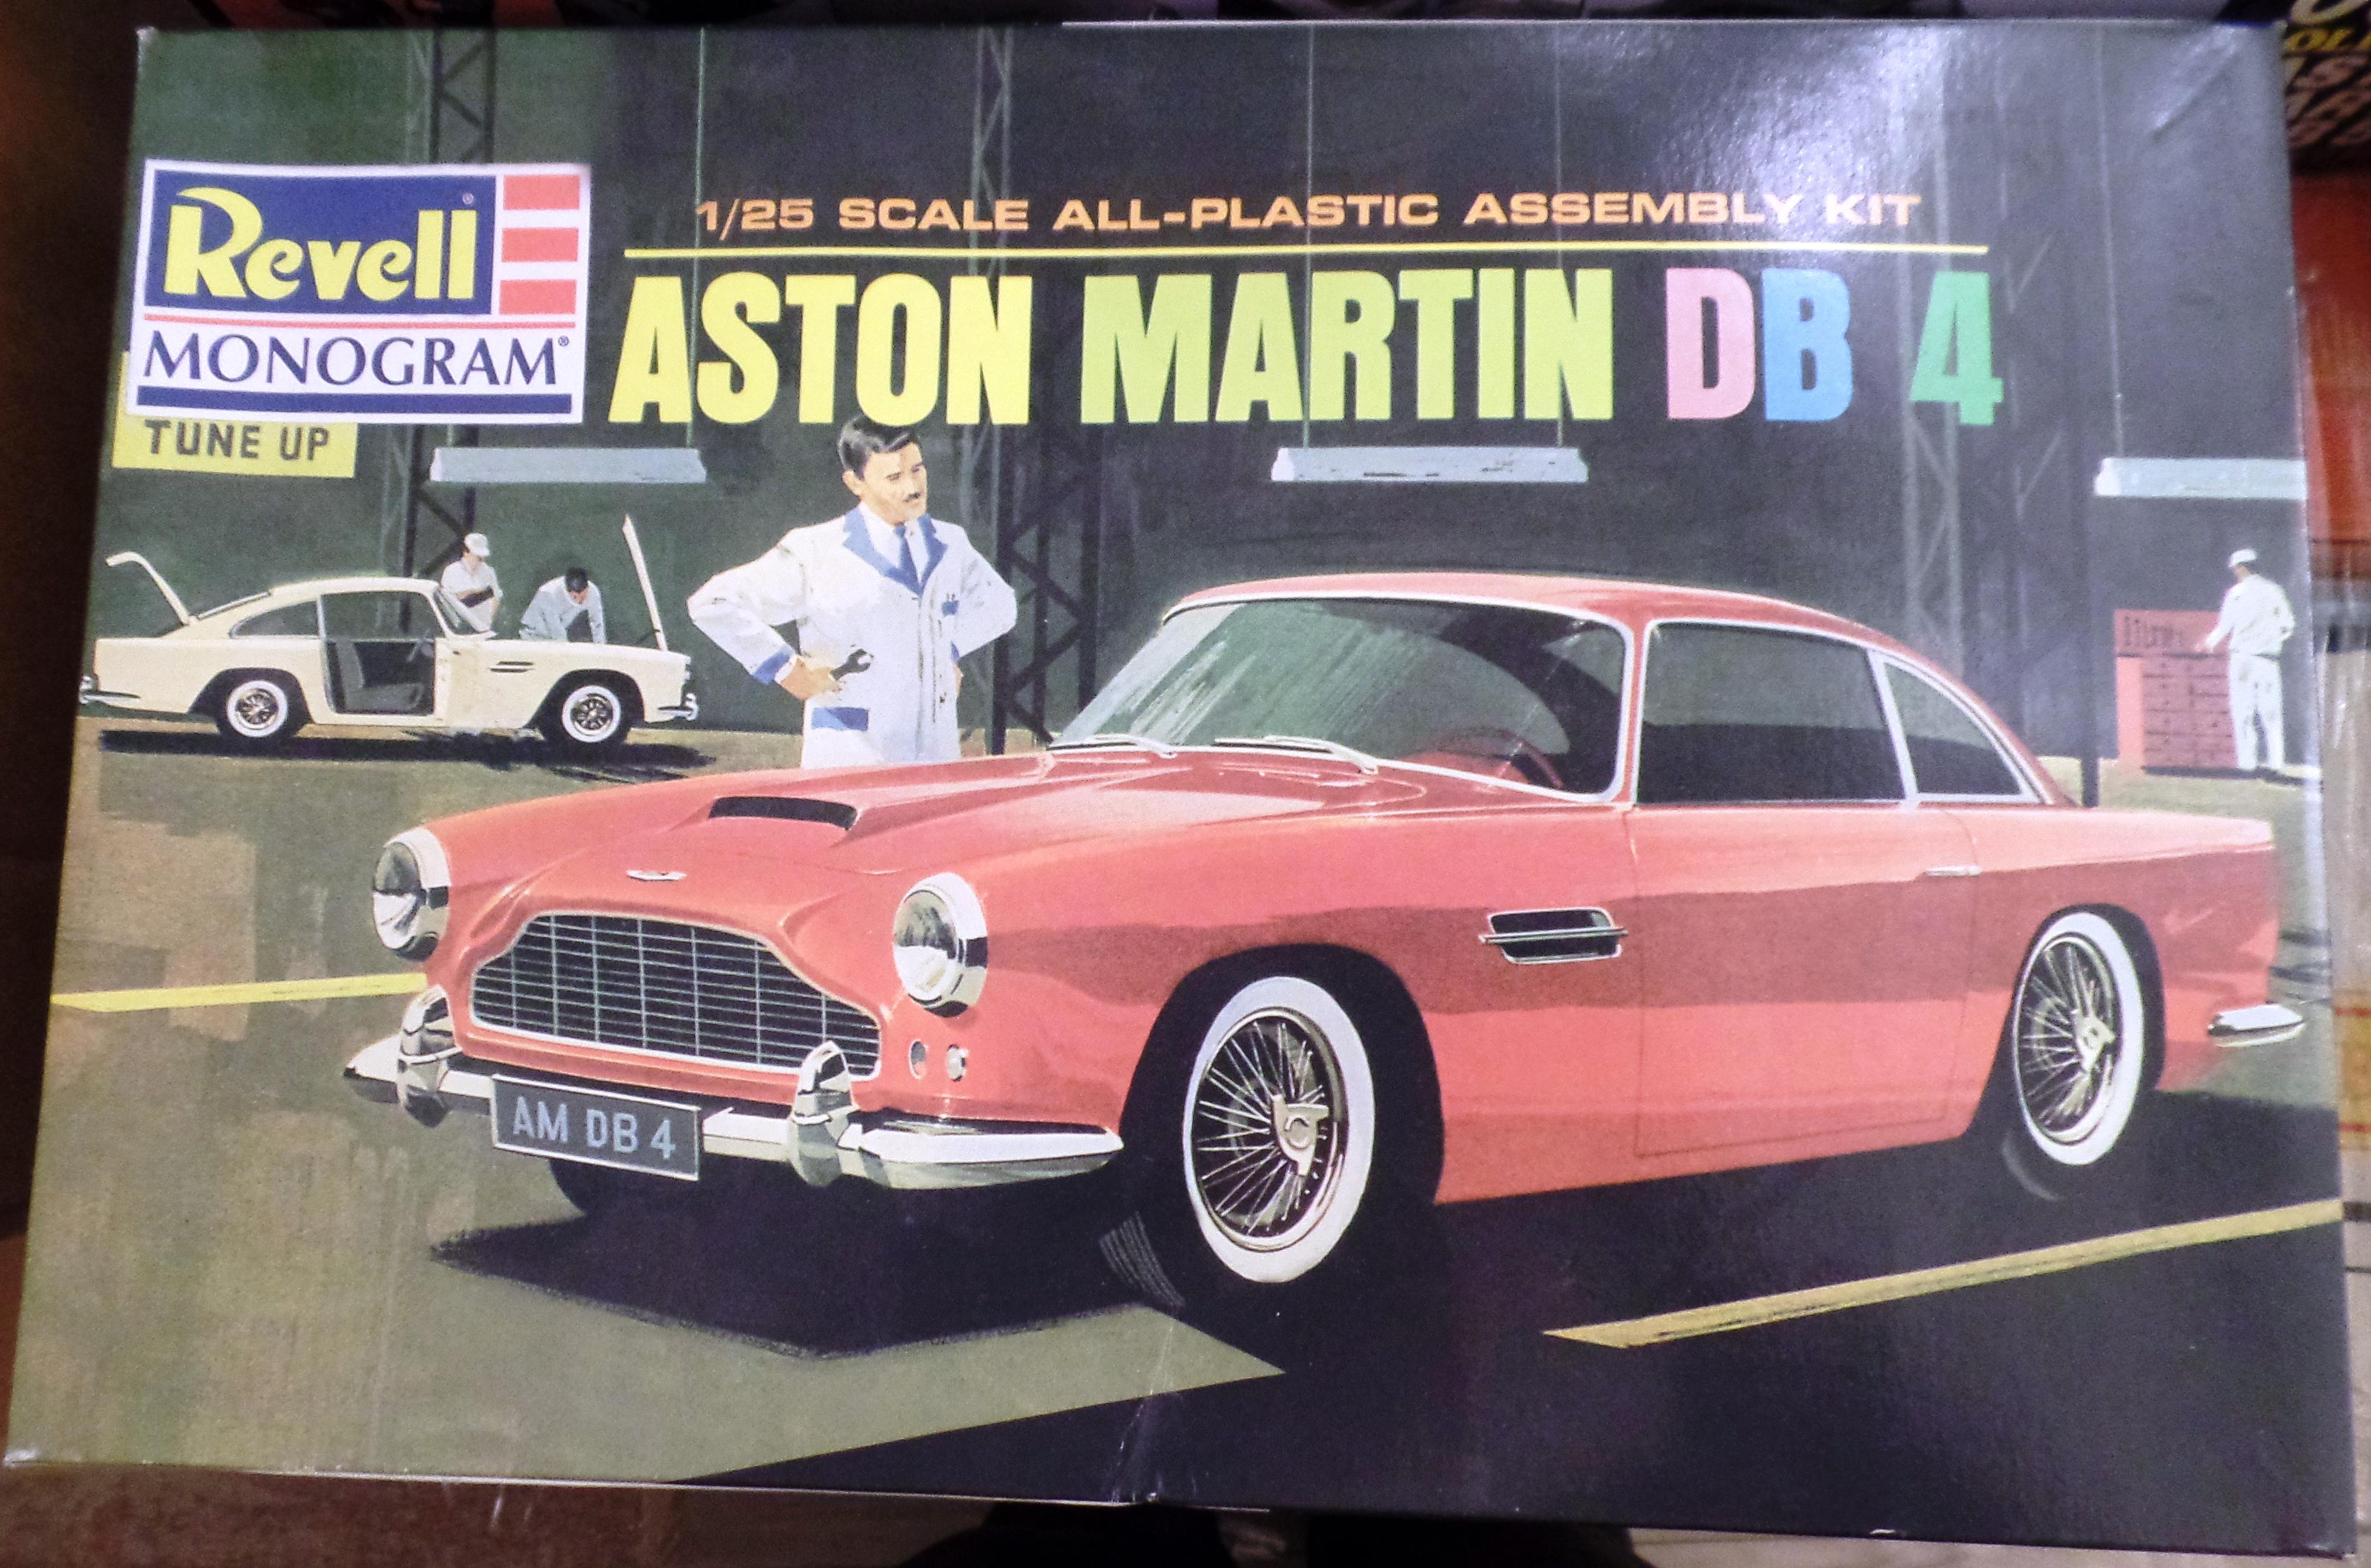
Curious on the dimensional fit of the Doyusha DB5 and Aurora DB4 as I have the 2 and am contemplating the same fit.
-
New Pro Tech 3D Parts
Exotics_Builder replied to Pro Tech's topic in Car Aftermarket / Resin / 3D Printed
Love those plug boots -
coarse screen for intakes ala Ferrari kits
Exotics_Builder replied to fiatboy's topic in Model Building Questions and Answers
Detail Master and Model Car Garage sell various grille "mesh". You just need to find the right size/pattern -
The crew cab I got at club meeting (don't know who cast it) is rough on the inside and required some considerable mod of the interior pieces to get a decent fit. The mods won't be visible when assembled which is good because some serious trimming was needed or there would be big gaps in the firewall area. Finishing up the cab part and stripped the ramp body to repaint after the drop off the stand.
-
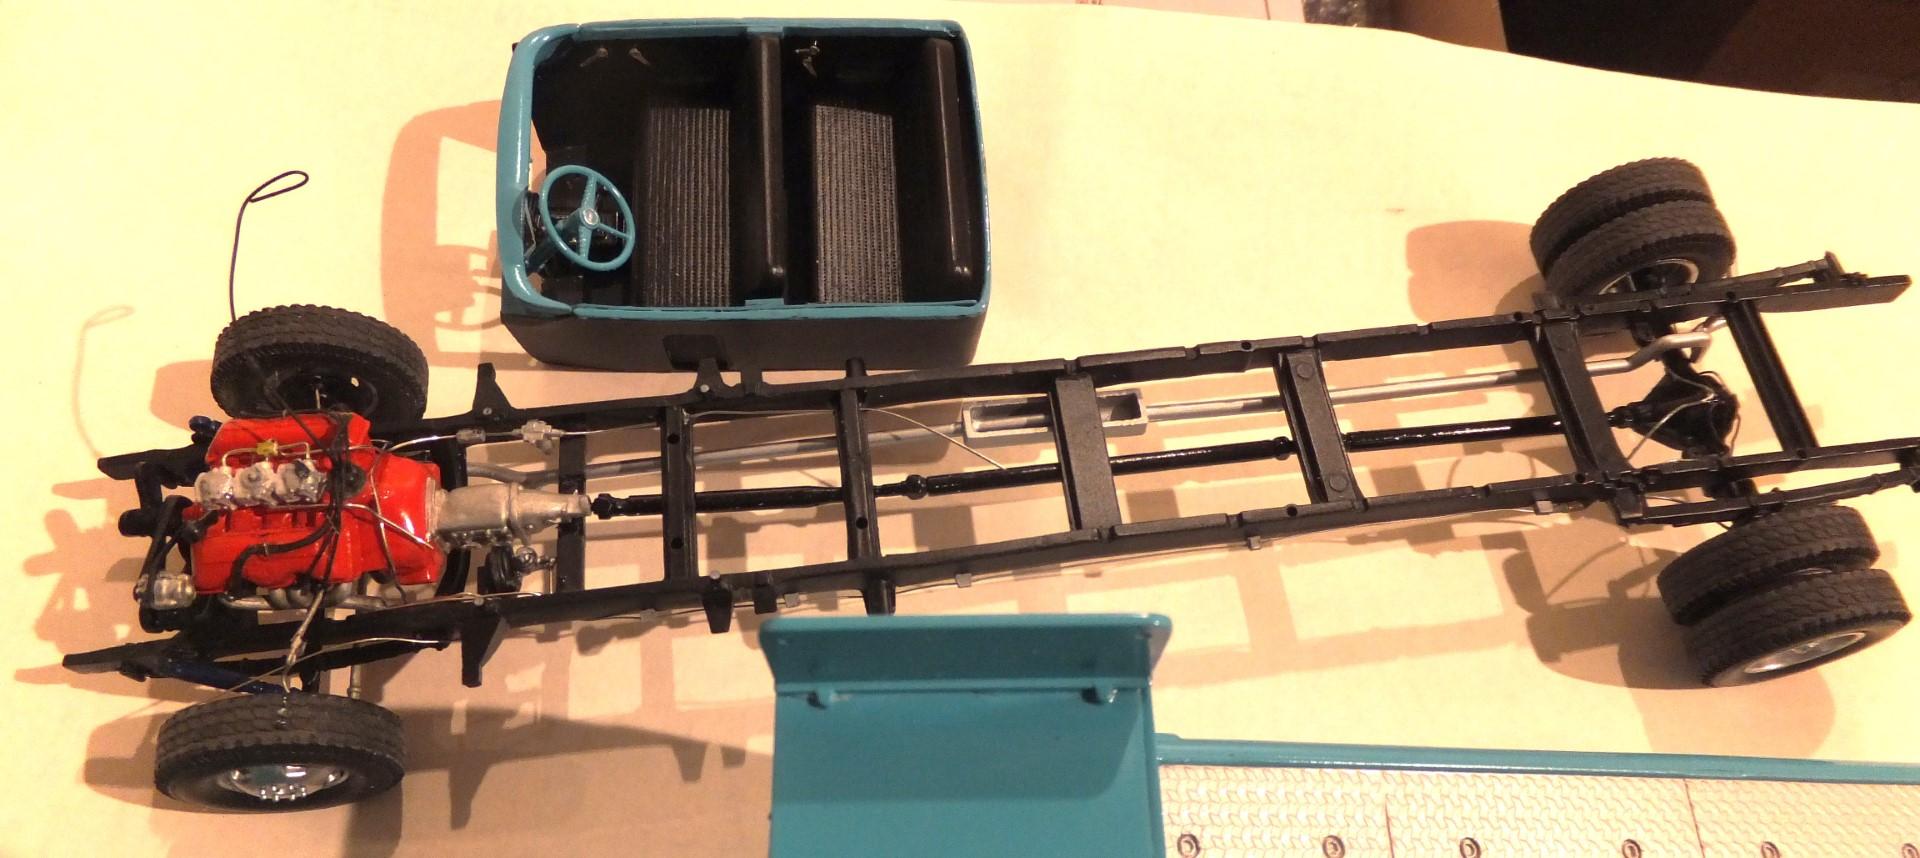
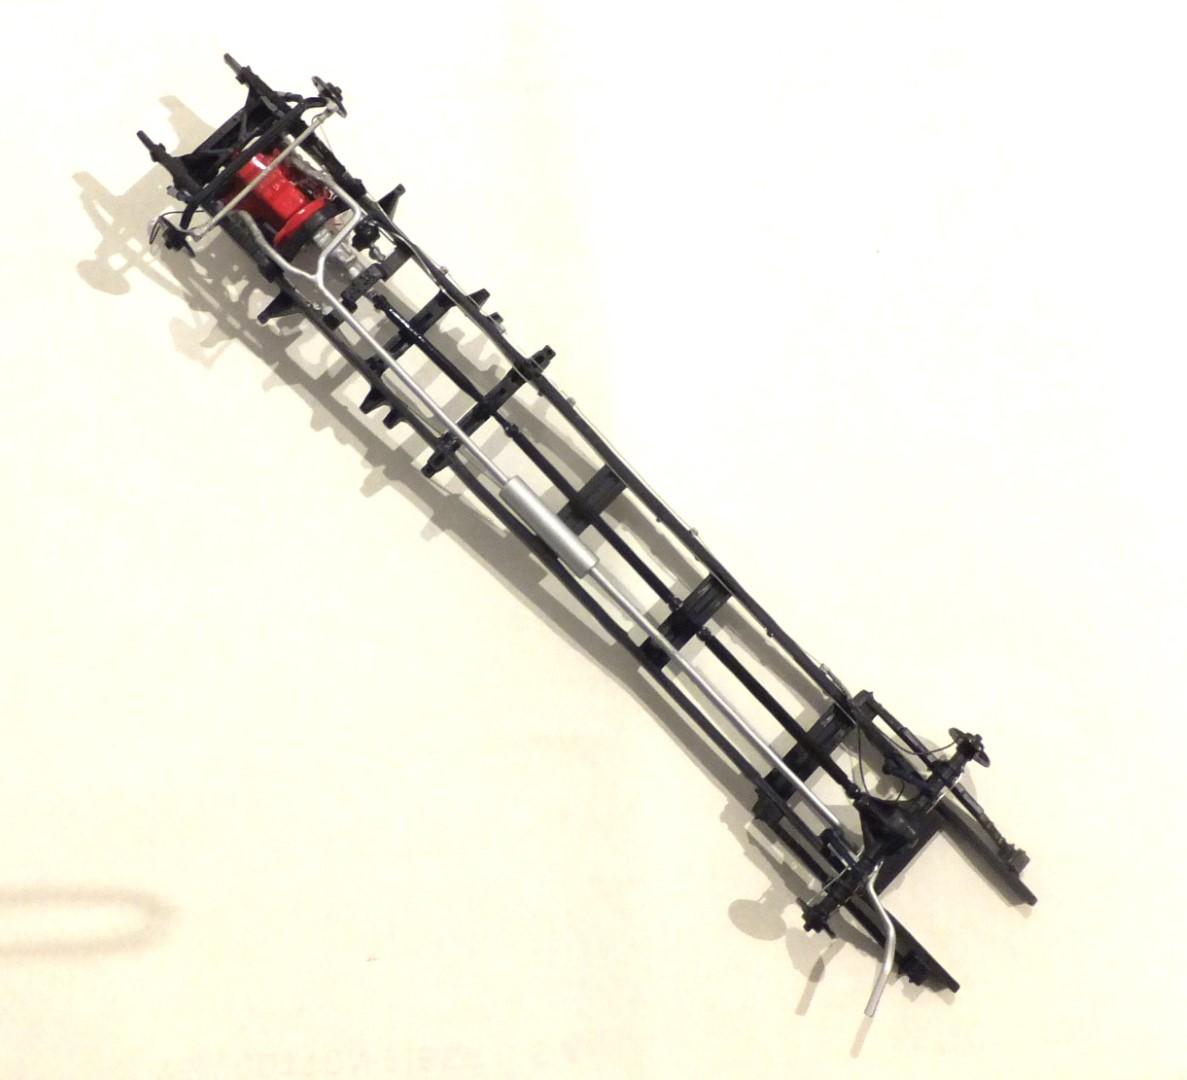
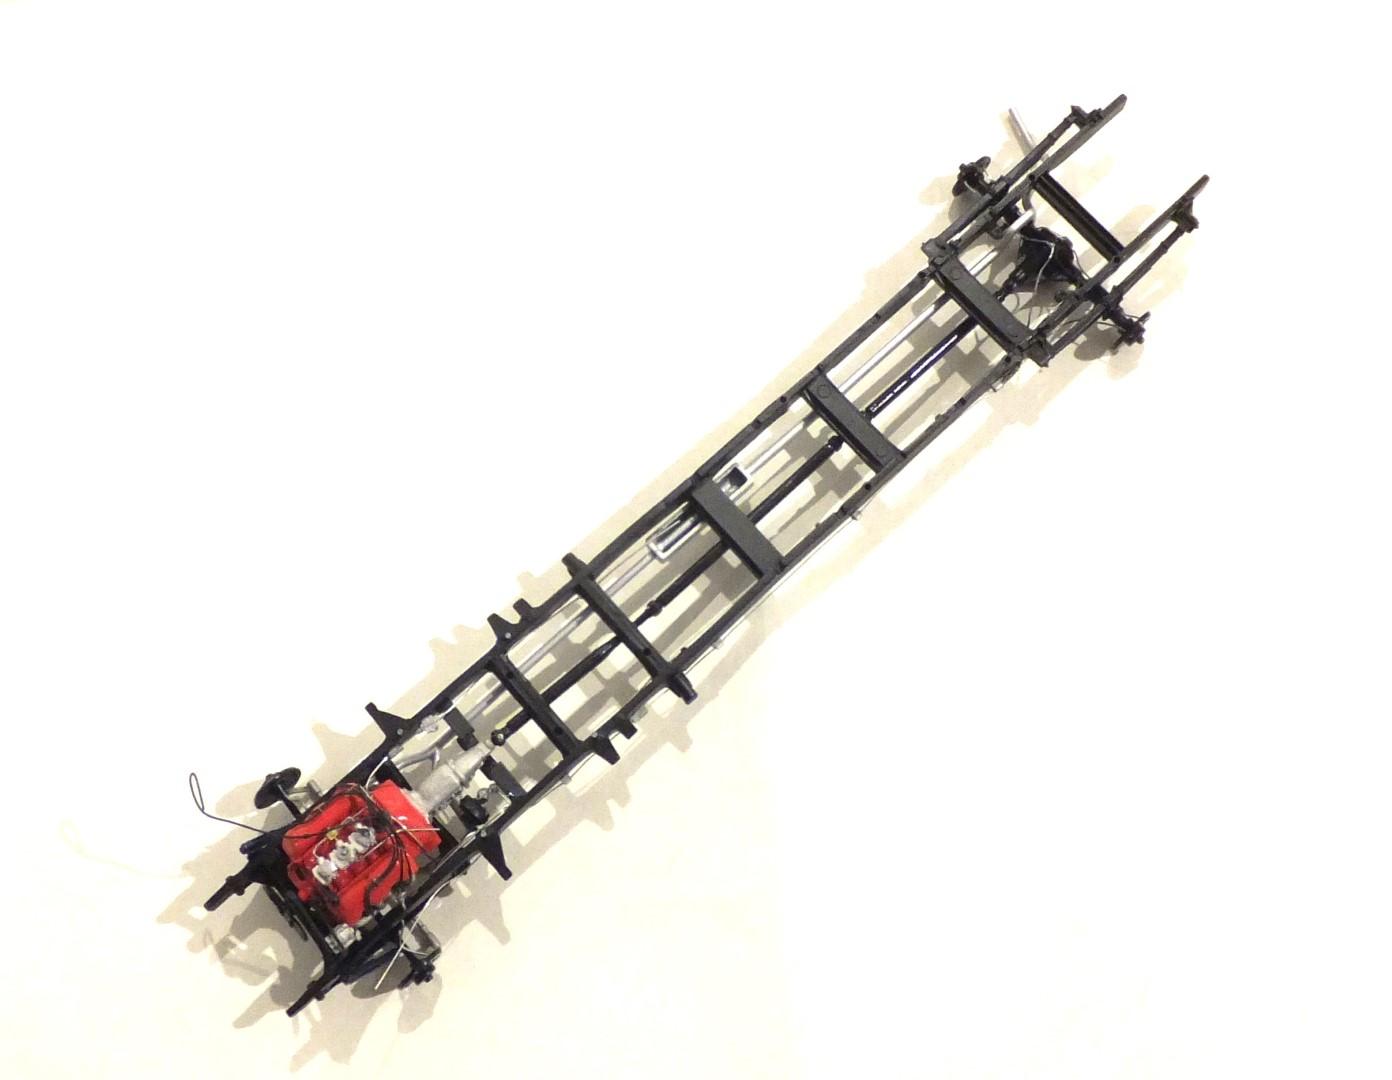
Update 3 Got the frame just about fully assembled. Cannot do much more until the cab is mounted so I can complete simulating fuel and parking brake lines. Using the Ford trucks exhaust and bendable rod, I crafted the exhaust system. I used rod as I had no solder of the right diameter, and no hardware store had the needed size either. Getting ready to mount the wheels and finish the painting plus the interior.
-
Yes. I have experienced that as well. Just had an order arrive the other day. They've always been good in fulfilling orders.
-
Don't remember that one. Would be worth getting if still able to get
-
I pulled out the 63 and 67 kits and also noticed that when using the 67 chassis you will have to work with the 63 interior tub to get it to fit properly. Specifically, in the area where the rear wheel wells intrude into the interior.
-
It is in my plan. You can do it. Now there are some things you need to consider as to differences between 63 and 67 such as 63 had drum brakes all around.