Exotics_Builder
-
Posts
3,641 -
Joined
-
Last visited
Content Type
Profiles
Forums
Events
Gallery
Everything posted by Exotics_Builder
-

Model Factory Hiro 1963 Ferrari 250 Lusso
Exotics_Builder replied to Brudda's topic in WIP: Model Cars
What part of the instructions are you missing? I have this kit
-
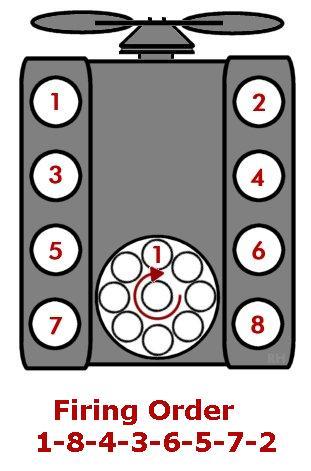
Well, the engine in that kit is a Small Block Chevy. The stock carbs were likely Rochester. http://hotrodcarbs.com/wp-content/gallery/chevy/img_0923.jpg Transmission appears to be a GM TurboHydro, not Powerglide. And, of course, the standard firing order is I have the kit in the stash so I can check more out if needed.
-
I had the same problem and did get a replacement from them.
-
I had that kit some years ago and was so disappointed in it that I sold it off.
-
Thanks all for your input. A is definitely off the list. A couple of other options have popped into my mind, but B is a strong contender.
-
The body is a Replicas and Minatures of Maryland Custom 48 Ford designed by Juha Airo. Already discarded the Smoothster idea. There is also chassis clearance for the rear that would require extensive surgery to accommodate. Wheel sizes are different. B is larger diameter.
-
Either A: or B: Thanks for any feedback.
-
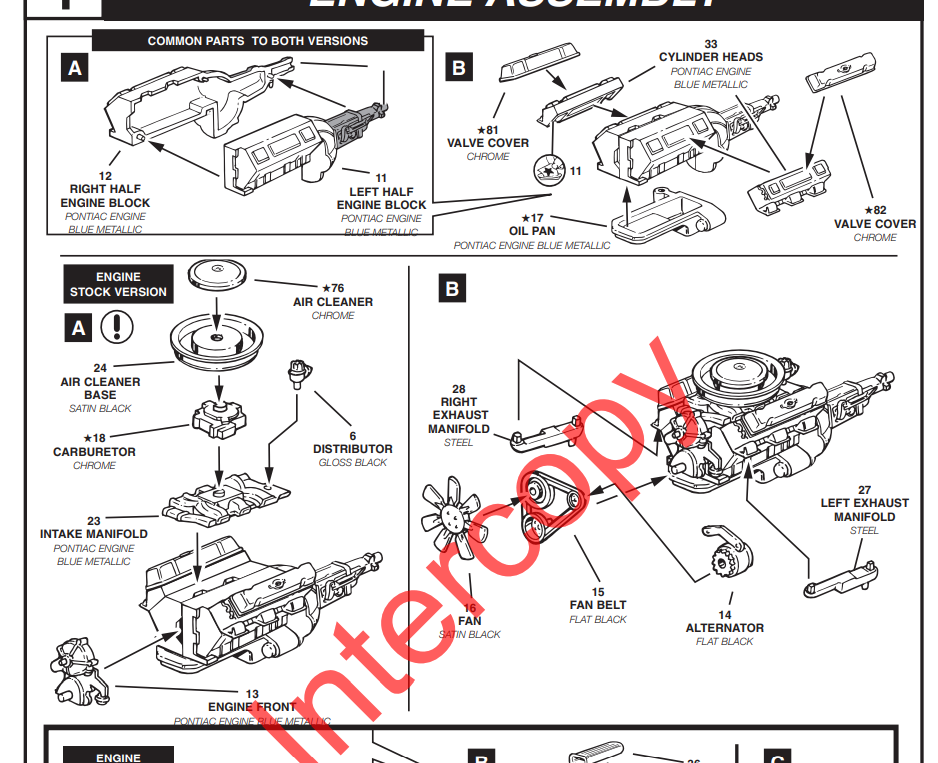
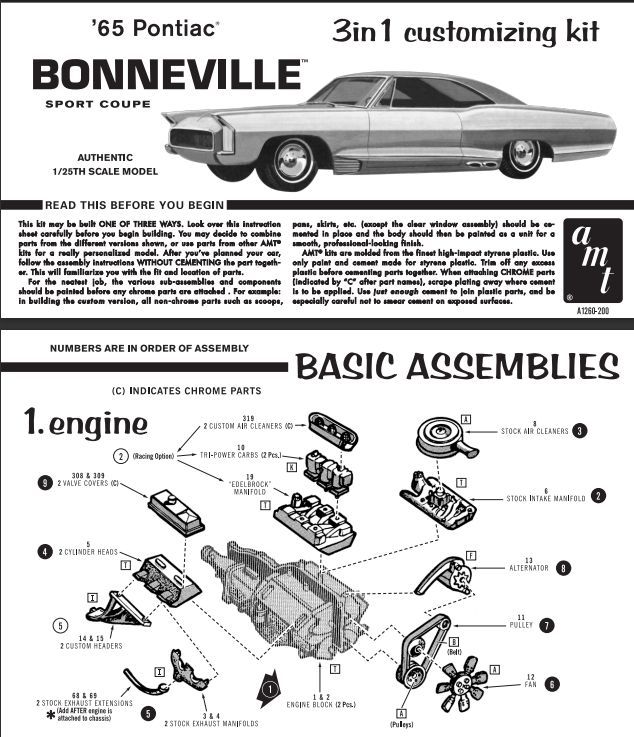
First, Polar Lights 64 GTO LeMans AMT 65 GTO Revell 68 Firebird 400 Revell Firebird compared to AMT GTO, AMT GTO on top Revell Firebird compared to Polar Lights GTO, Polar Lights in blue AMT 65 Pontiac Bonneville (looks the same or very similar to the AMT 65 GTO) AMT 64 Grand Prix (looks the same or very similar to the AMT 65 GTO)
-
Revell 68 Firebird instruction I have all the above kits and can get the parts to photograph if that helps
-
In his original post, he said he already checked it out and said it does not look right and too wide
-
Did not the Polar Lights GTO have a Single 4 BBL? I can check tomorrow as I was converting that 64 to a 65 and was going to do a tri-power. AMT 64 Pontiac Grand Prix but it looks a little "lumpy" AMT 65 Bonneville
-
Wallet is safe this month. ?
-
https://www.scalemates.com/products/img/2/4/3/265243-18-instructions.pdf
-
1970 Pontiac Trans Am - Box Stock - Update 12/26/2022
Exotics_Builder replied to Exotics_Builder's topic in WIP: Model Cars
I received my new paint just before we got “swiped” by the big cold snap. We had sleet and freezing rain that made travel difficult, but we had prepared for it and just hunkered down. I’ve got the major sub-assemblies almost complete. The chassis is painted except for the overspray of the base color. Then I’ll assemble it completely. Everything you see in the photo is either hand or spray painted aided by a liberal use of Tamiya Masking tape. As I previously said, in this issue of the kit, Revell provides a very comprehensive decal sheet. Included are body decals for both the White and Lucerne Blue body color options. Interior decals include seat belts and door “hardware”. Not very realistic, but since I’m building this box stock it will have to do. Got the base color on today. Will clear tomorrow. An advantage of MCW lacquers is their quick dry time. The paints in the photo are what have been used, including the different primers depending on final color of parts. Body is in Tamiya White and most parts Tamiya Light Gray primers. Chassis, suspension, and interior parts were primed with Mr. Hobby Black Surfacer 1500. The engine is almost complete, needing the cold air cleaner component to be added. A test fit of the air cleaner indicates I might have to shave the top of the distributor to get hood clearance. We’ll see. I used Testors Pontiac Engine Blue thinned and airbrushed and then detailed with various paints. On the decal sheet, Revell provides lettering for the fan belts. What you see is OOB detailed only with paint and kit supplied decals. Revell provides Tampo printed Firestone Wide Ovals in this kit version, and I set about to detail the wheels with paint plus the kit supplied decals for the center cap. I also lightly sanded the tread to get a used look. Even though more detail would really pop on this, I stayed box stock. The front grill was hand painted flat black with Gloss Flat Clear sides. Still need to do a little touch on the grill area. Finally, a shot of the interior with all the decals and paint effects applied. An odd thing is Revell gives all these decals for the interior, but neglect to include a turn signal level on the steering column. Hope to finish by the weekend.
-
Looking for a tire
Exotics_Builder replied to dodgelover's topic in Model Building Questions and Answers
I've got that kit and will likely use Geronimoworks wheels and tires on it. You are just looking for a front tire, correct?
-
1970 Pontiac Trans Am - Box Stock - Update 12/26/2022
Exotics_Builder replied to Exotics_Builder's topic in WIP: Model Cars
Supposedly the same as Mulsanne Blue on Chevy's. But this still looks darker. A lot of references are in this range (but likely repainted) Then you get this also (and it seems more than just differences in lighting) -
1970 Pontiac Trans Am - Box Stock - Update 12/26/2022
Exotics_Builder replied to Exotics_Builder's topic in WIP: Model Cars
As I'm working this, the Lucerne Blue just appears too dark, and the clear coat is not helping very much. Trying to determine my options on this, but I think a new paint source is needed. Can work the other parts while I figure out. -
1970 Pontiac Trans Am - Box Stock - Update 12/26/2022
Exotics_Builder replied to Exotics_Builder's topic in WIP: Model Cars
Wish we could have attended. But... -
1970 Pontiac Trans Am - Box Stock - Update 12/26/2022
Exotics_Builder replied to Exotics_Builder's topic in WIP: Model Cars
Facebook group challenge. This is my third time. First was the 66 GeeTO, second the 66 GTO and now this one. Fun times, great group and great models.
-
I won the model at a raffle a while back and it has been sitting on the shelf. I decided to “enter” it in this year’s Poncho Perfection build off that Tim Sickle has been doing the last few years. The deadline is done by January 1. As I have a few other projects (modeling and non-modeling) in the works, I elected to do this as Box Stock. I will not tell you how difficult it is for me to do Box Stock (something I have not done in decades). This is especially true when you get to the engine/engine and chassis areas. But I am going at it. To this point, I have cleaned up the body and parts; applied base coat (Lucerne Blue from Gravity Paints) and readied the interior and chassis for detail painting. The engine was painted using some Testors Pontiac Engine Blue that I thinned and shot through my airbrush. I have enough of that paint left for perhaps one to two more engines of the 66-69 era. I did pour some for a good friend so he could use on his 69 Firebird 400 that is replicating his son-in-law’s real car. This issue of the Revell kit has a lot of decals that will help detailing, including seat belts. So, a good choice for a detail fanatic such as me. Don’t expect massive build reports on this one. The one thing I have noticed is the base coat seems darker than it should be. And I used a lighter primer than suggested.
-
I’ve taken this as far as I think practical although I may go back and visit the hood some. It just did not fit well from the get-go. I’ve shaved the edges to the point where the hood is touching the radiator shroud and other parts of the engine bay. No impact from the air cleaner, so I will probably chew on it a bit more or just leave it be. Although better than some older AMT releases, the reissue I have has some major shortcomings. Besides the aforementioned hood fit, the parts of the pickup bed did not join well and had gaps requiring a lot of putty work in an area with detail that would be quite hard to retain. The tailgate did not fit well, and I decided to glue in place positioning as best I could. The passenger side body detail is “softer” than the driver’s side. The firewall does not reflect any El Camino photos I’ve used for reference plus there is no brake master cylinder there. The engine squeezes into the engine bay requiring the headers to touch the frame. Not really visible but not what I like to see. There is no starter included even though shown in the instructions. With the fit into the body, the headers would have “collided” with one anyways (I tried with a parts box piece). So, I simulated one with a piece of Evergreen Rod cut to about the right length. Again, it is buried from view, but not to my liking. Summarizing the work. · 3-inch chop · Modified pickup bed · Highly modified and detailed interior · Shaved off door handles and trim and added custom side trim · Added rear fender skirts · “Built up” the chrome trim on the fins and pickup bed surround as they were soft · Modified the front end using the kit custom pieces and “eyebrow” fillers from the Revell 59 Impala · Upgraded the dashboard as it was lacking a lot of detail · Seats and door cards from Revell 59 Impala · Detailed the 348 engine and added air cleaner from parts box · Painted Bob’s Paint Crème Brulé and cleared with Tamiya TS13 Clear. The chop was easier than I anticipated, at least in the front curved A-pillar. The B-pillar needed some attention as it is quite thin and needed a bit of stiffening. This was also my first use of Bob’s Paint and needed a little practice to thin appropriately. Reasonably satisfied with the result.
-
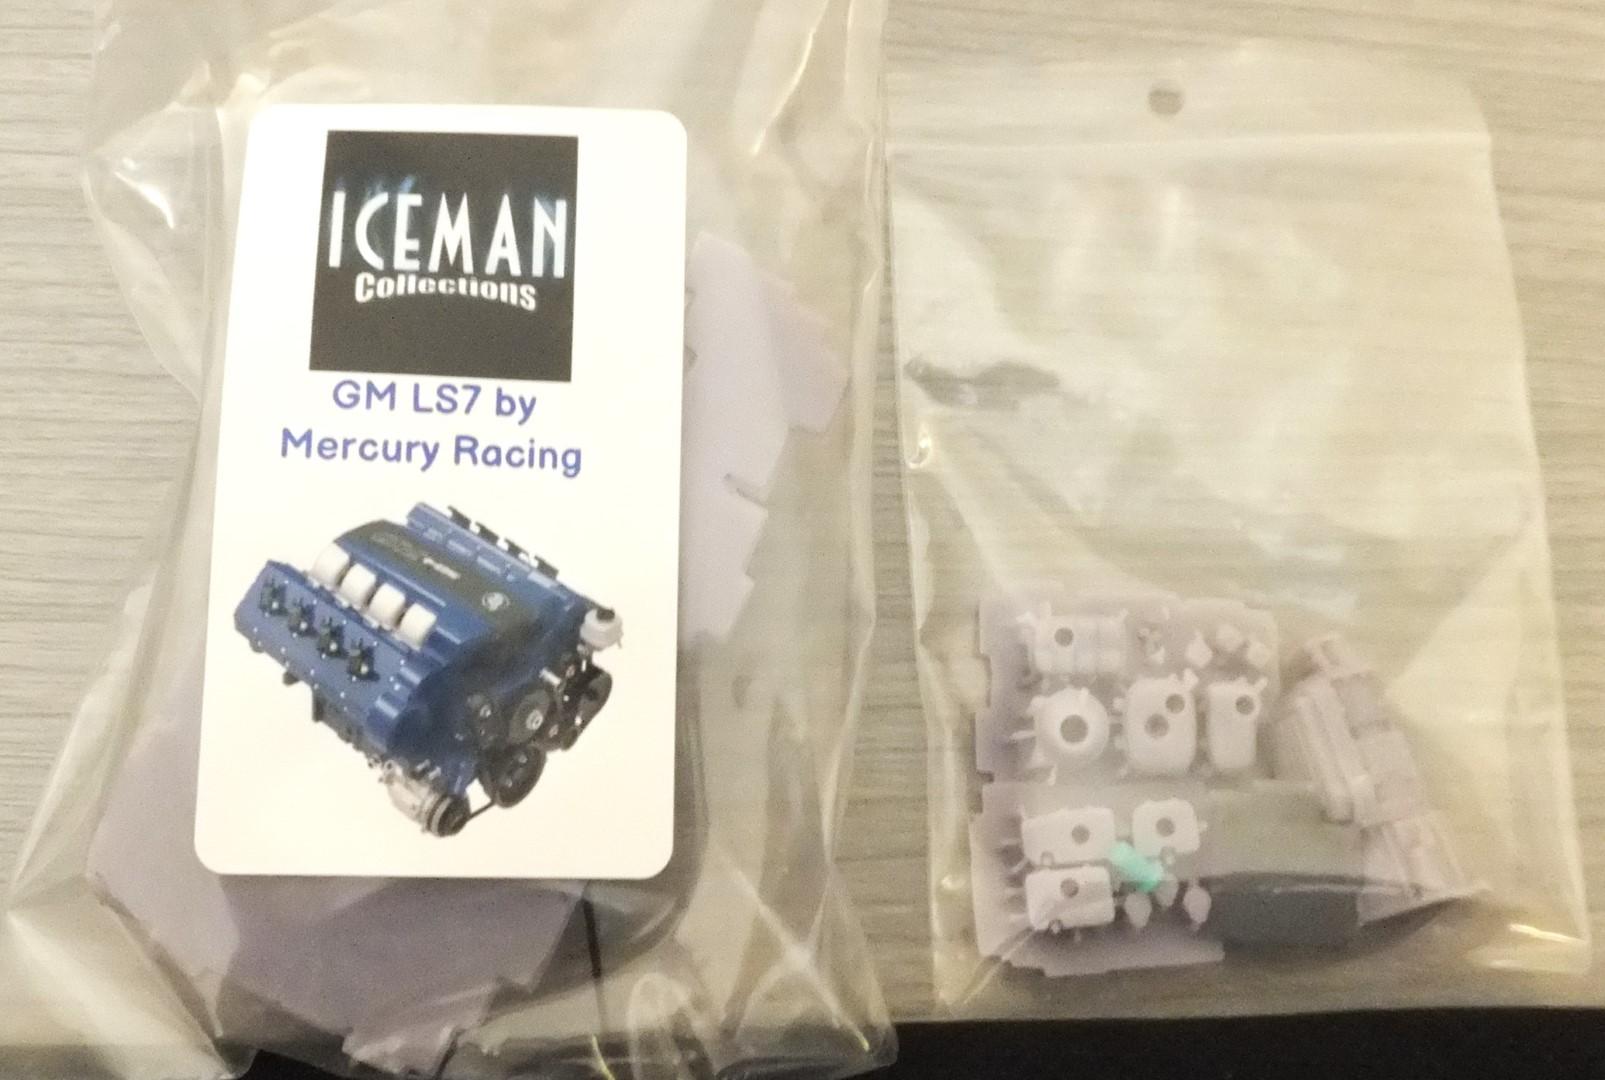
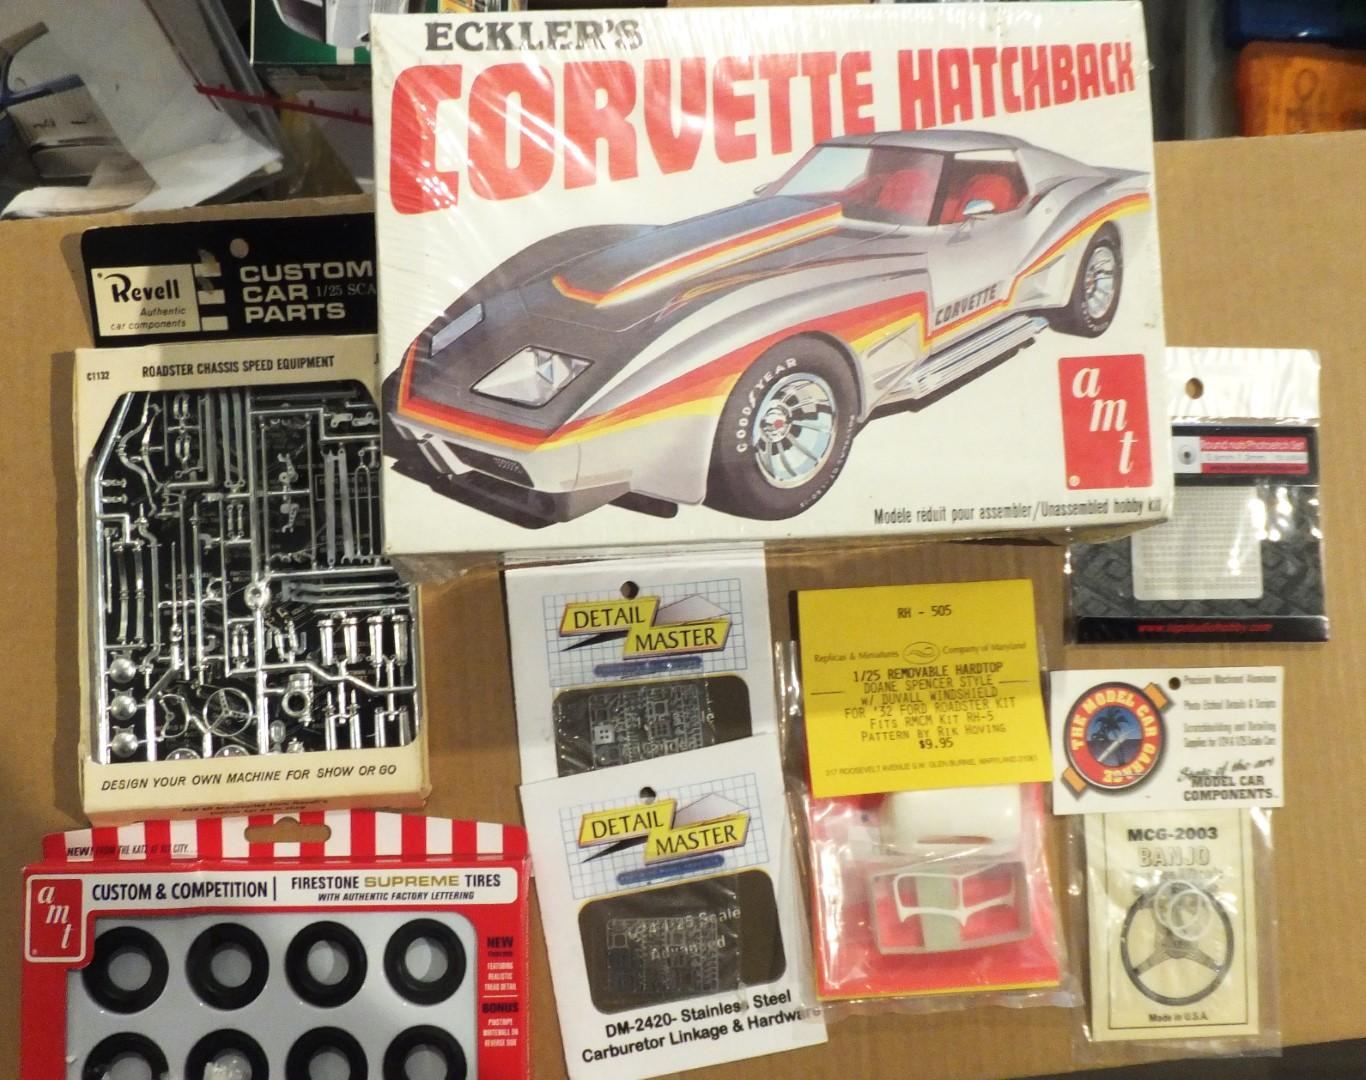
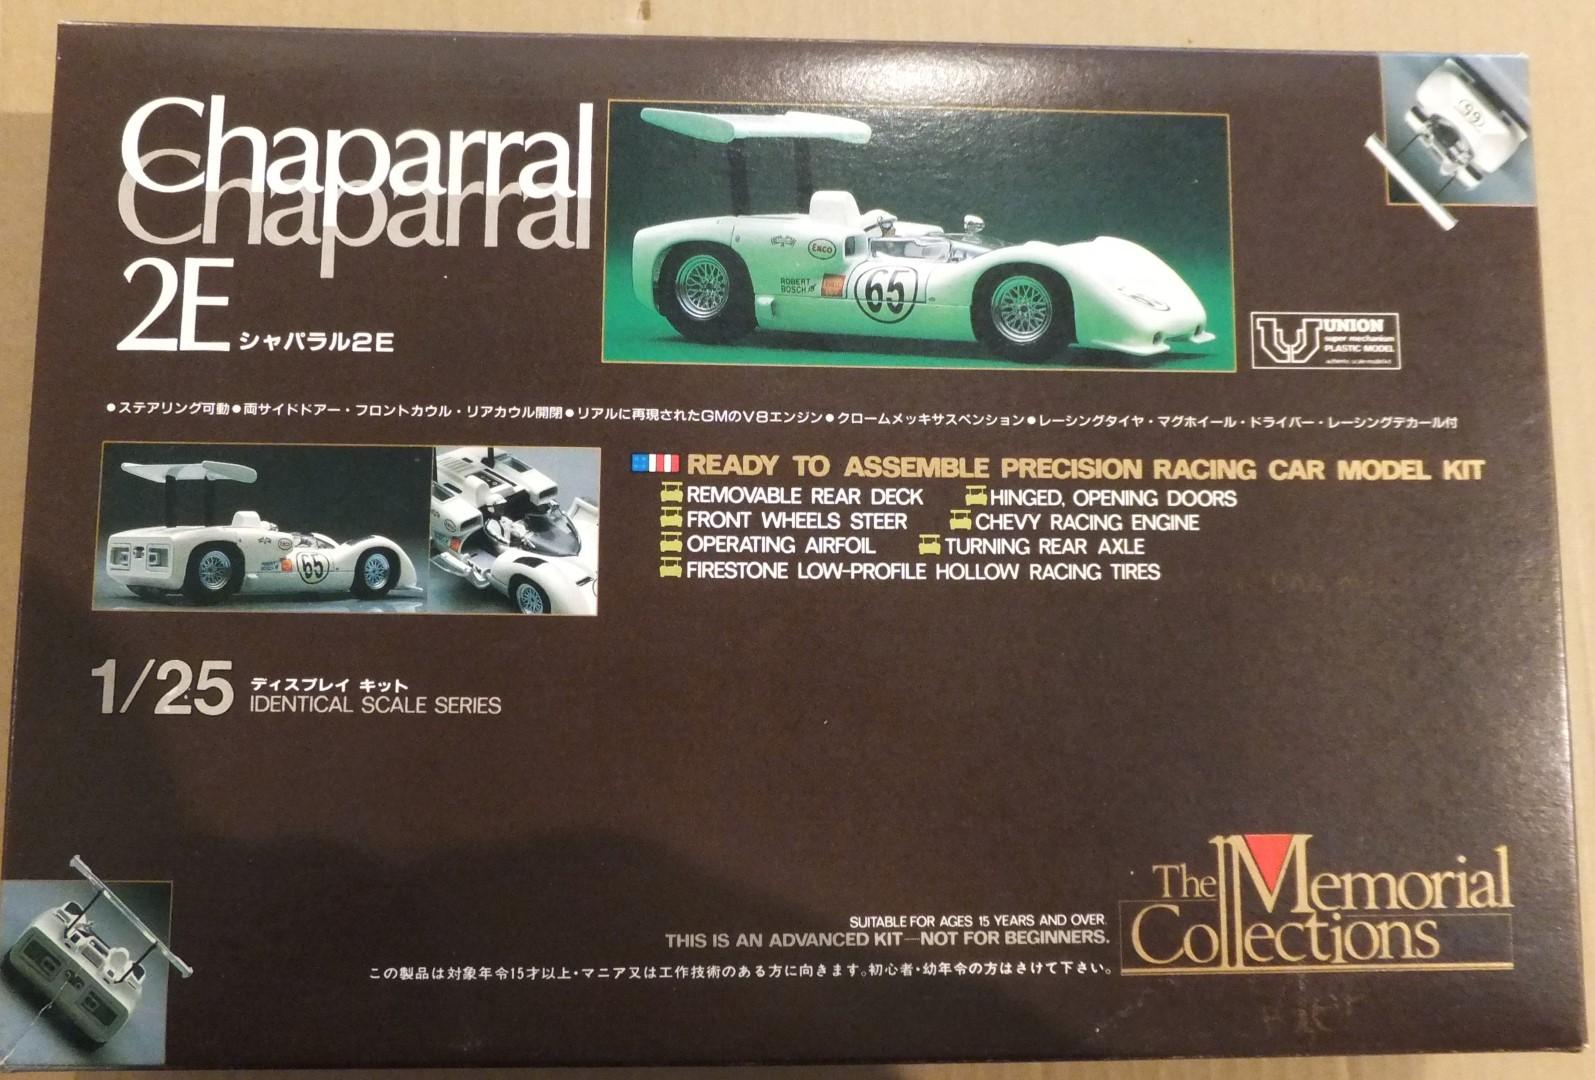
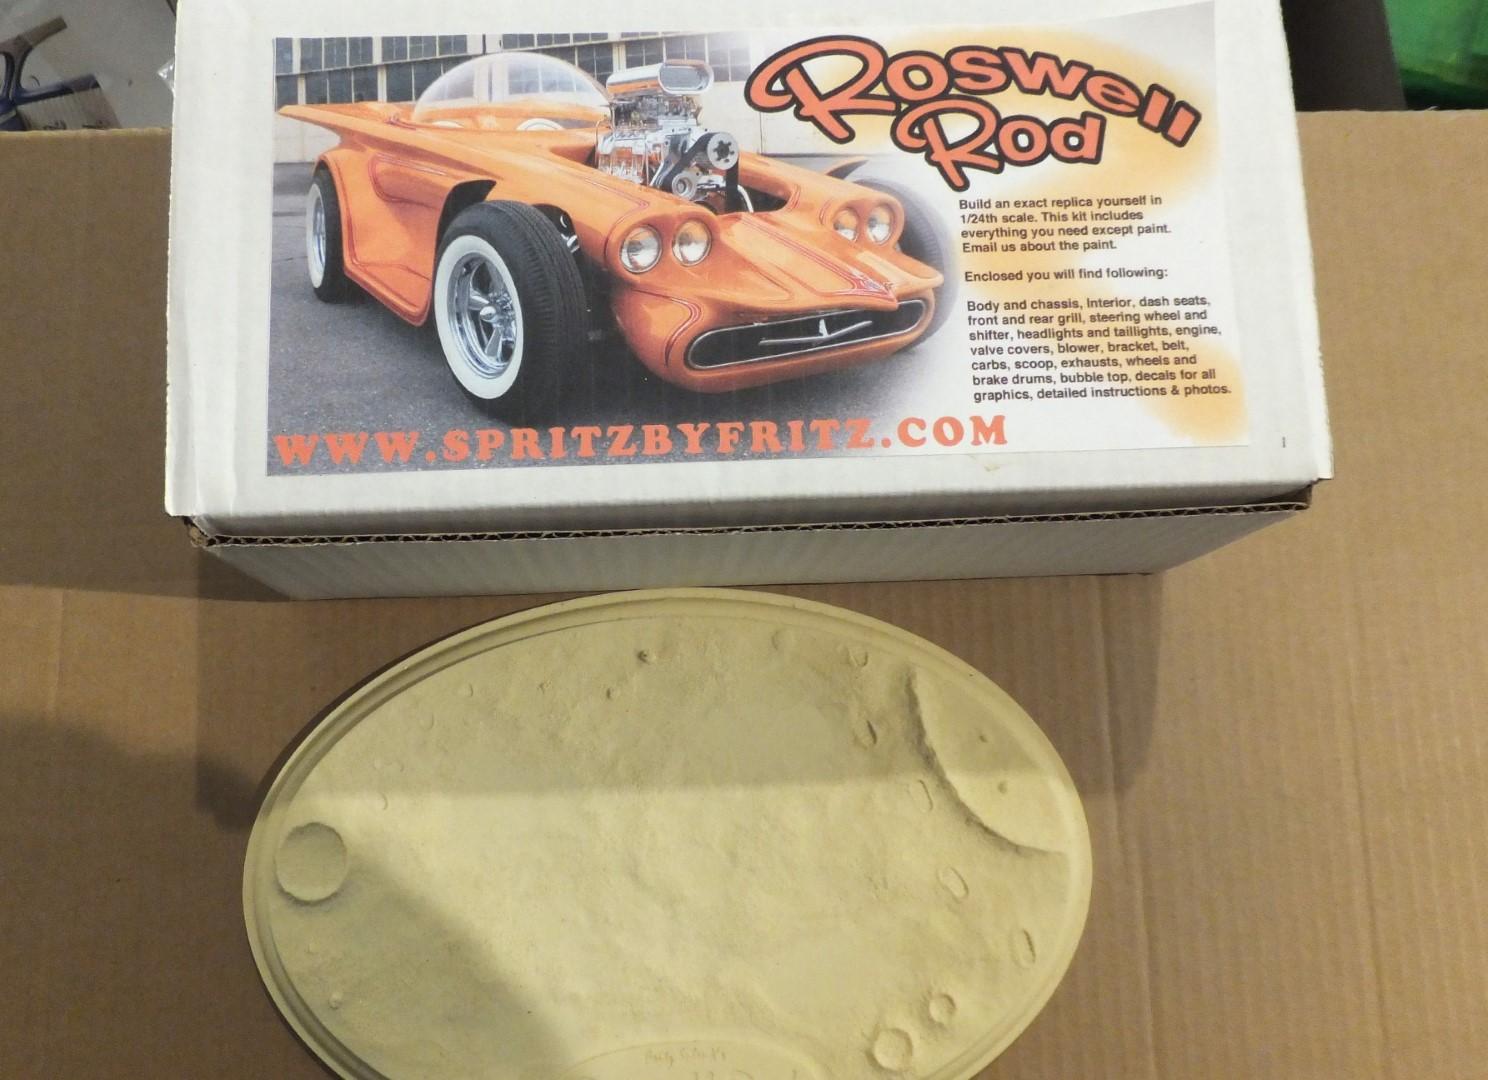
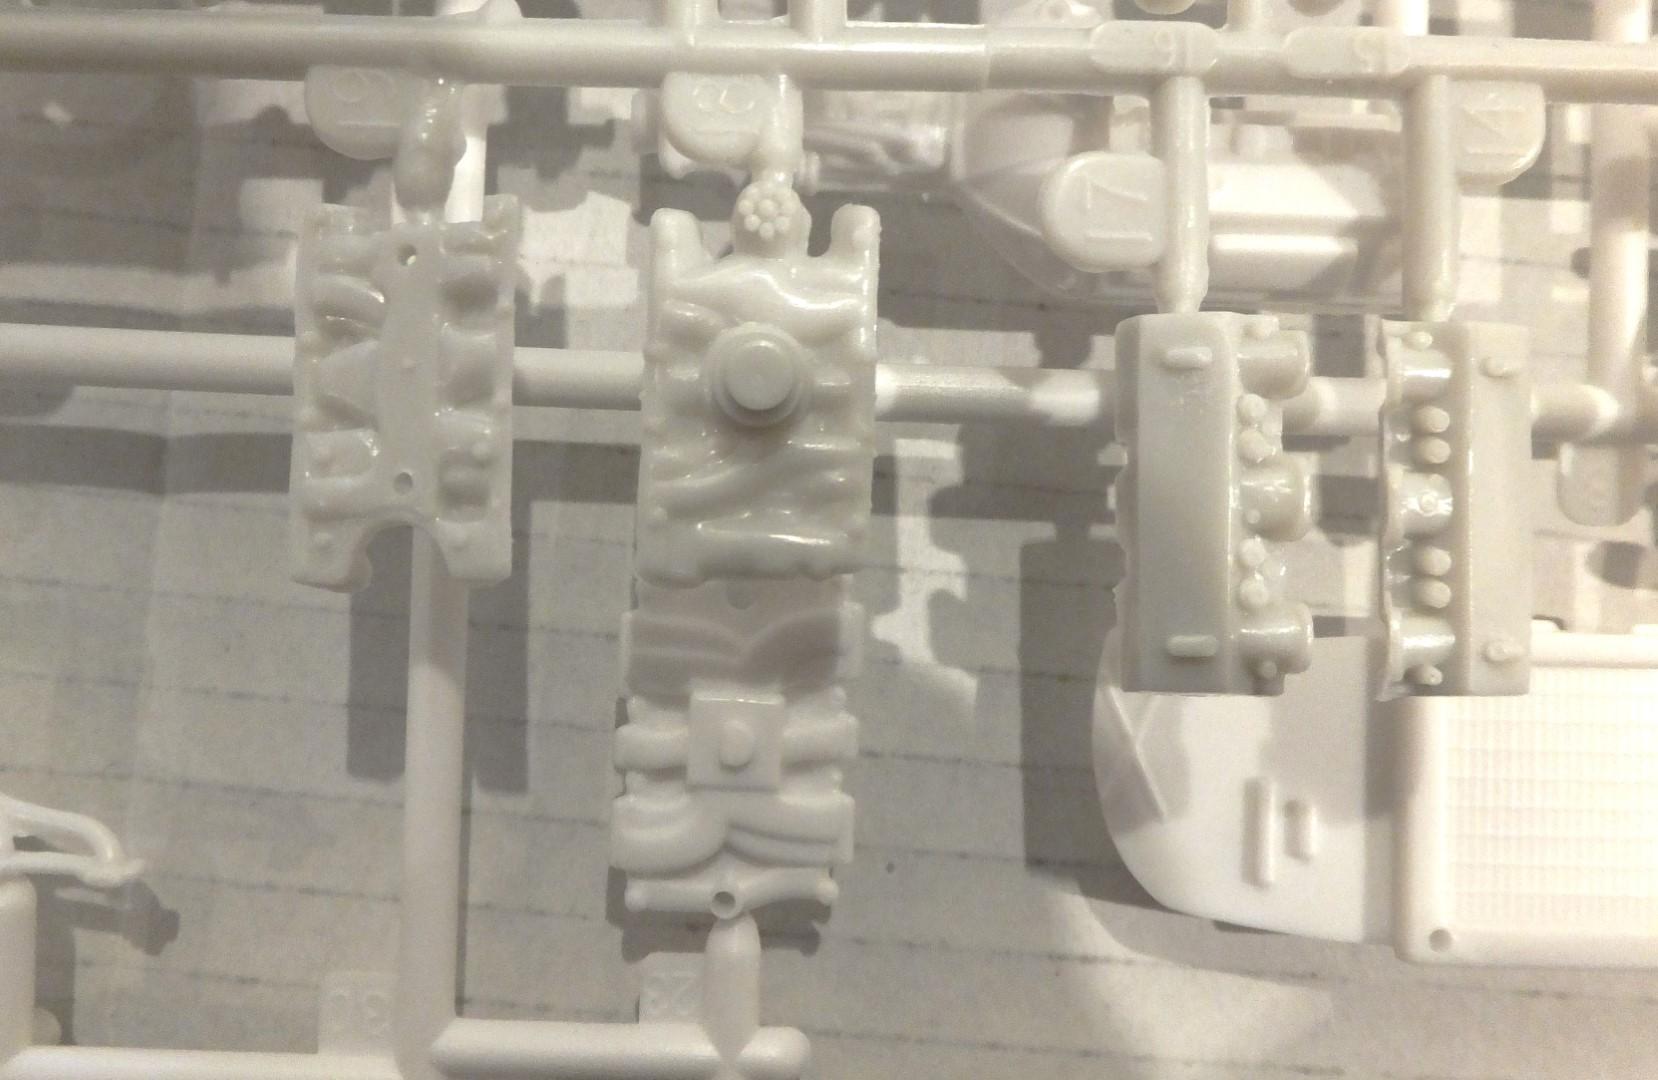
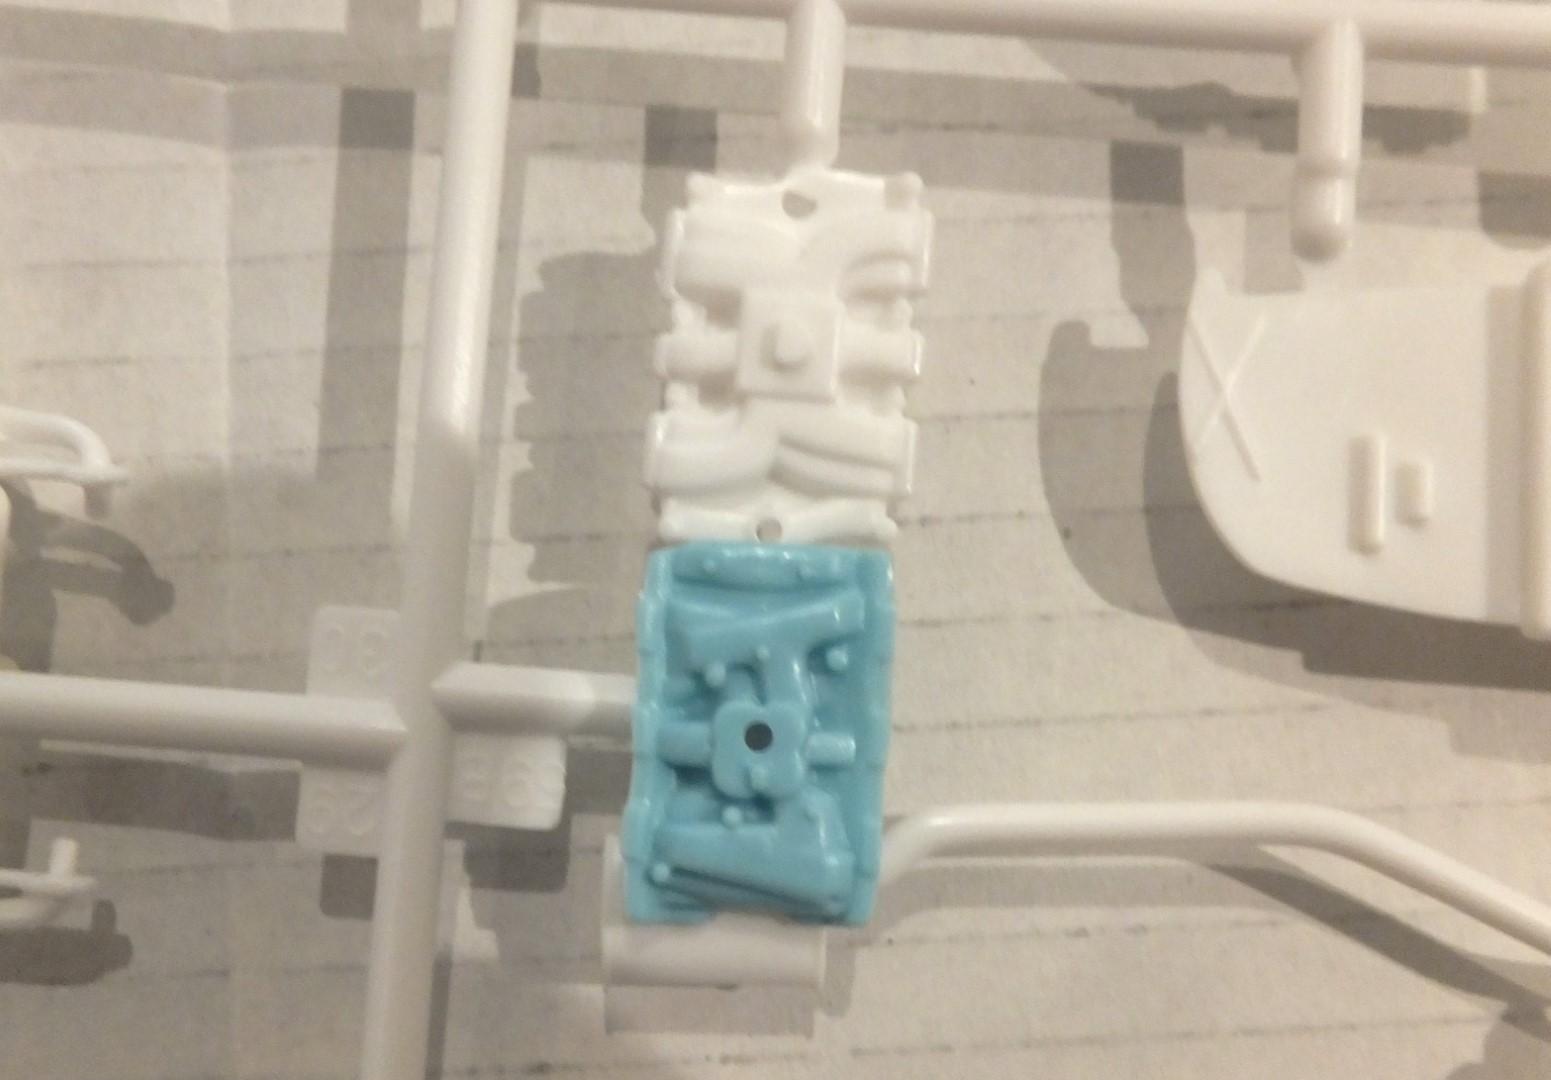
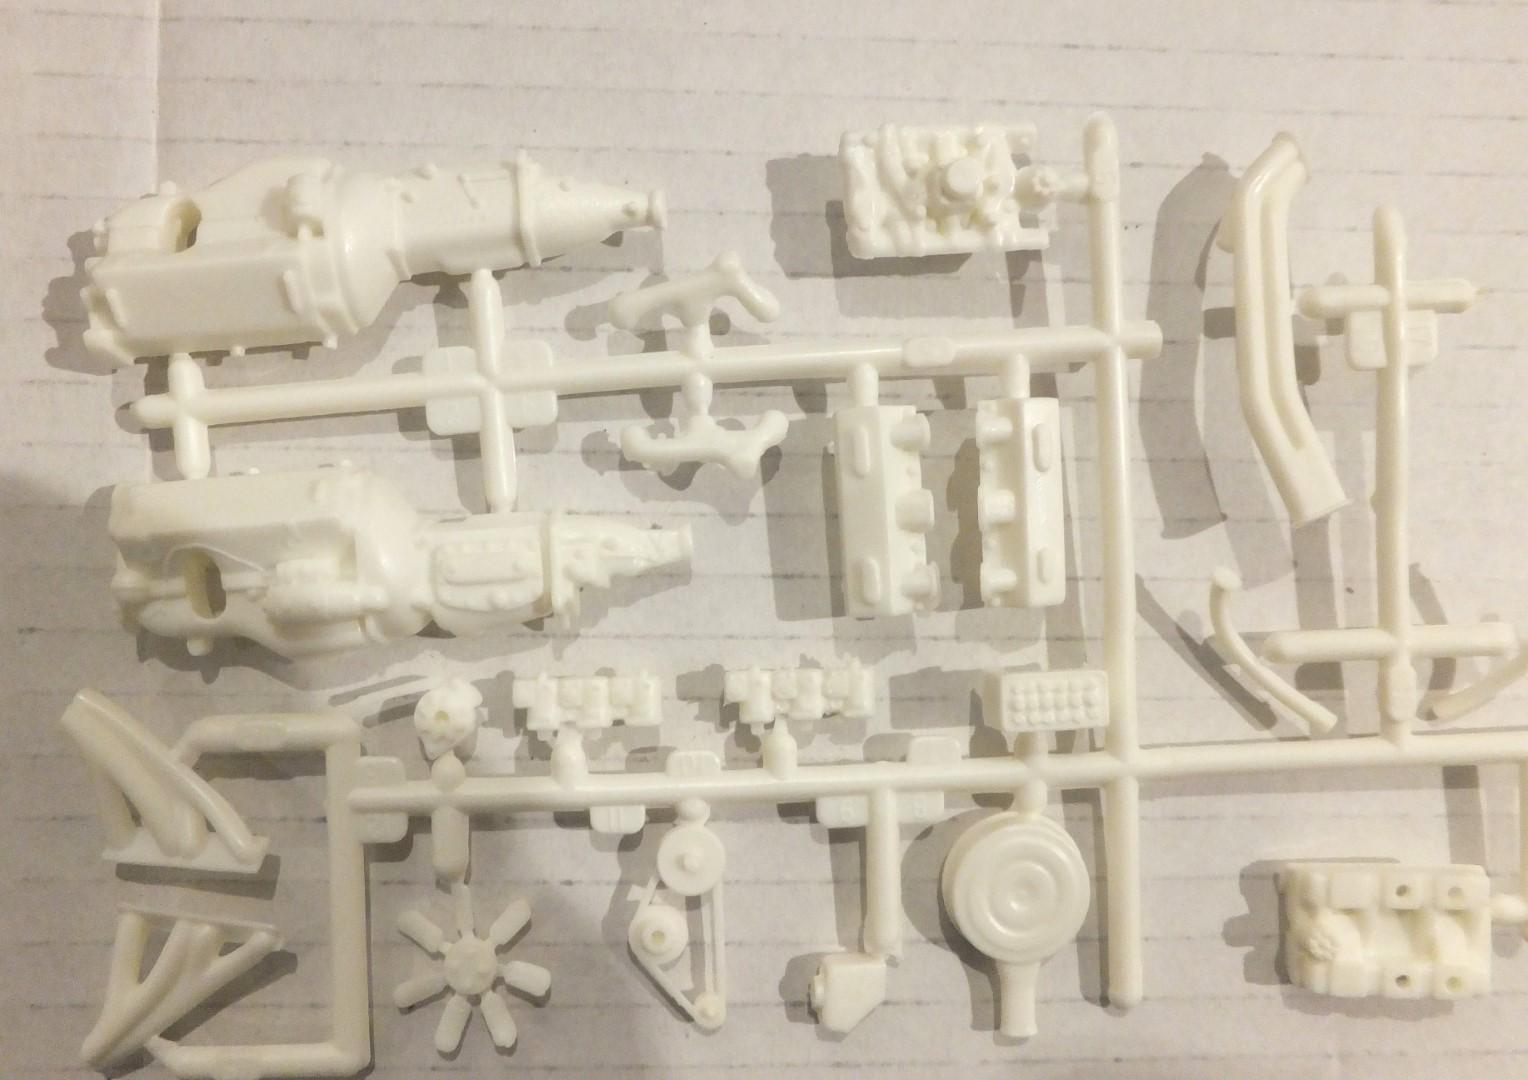
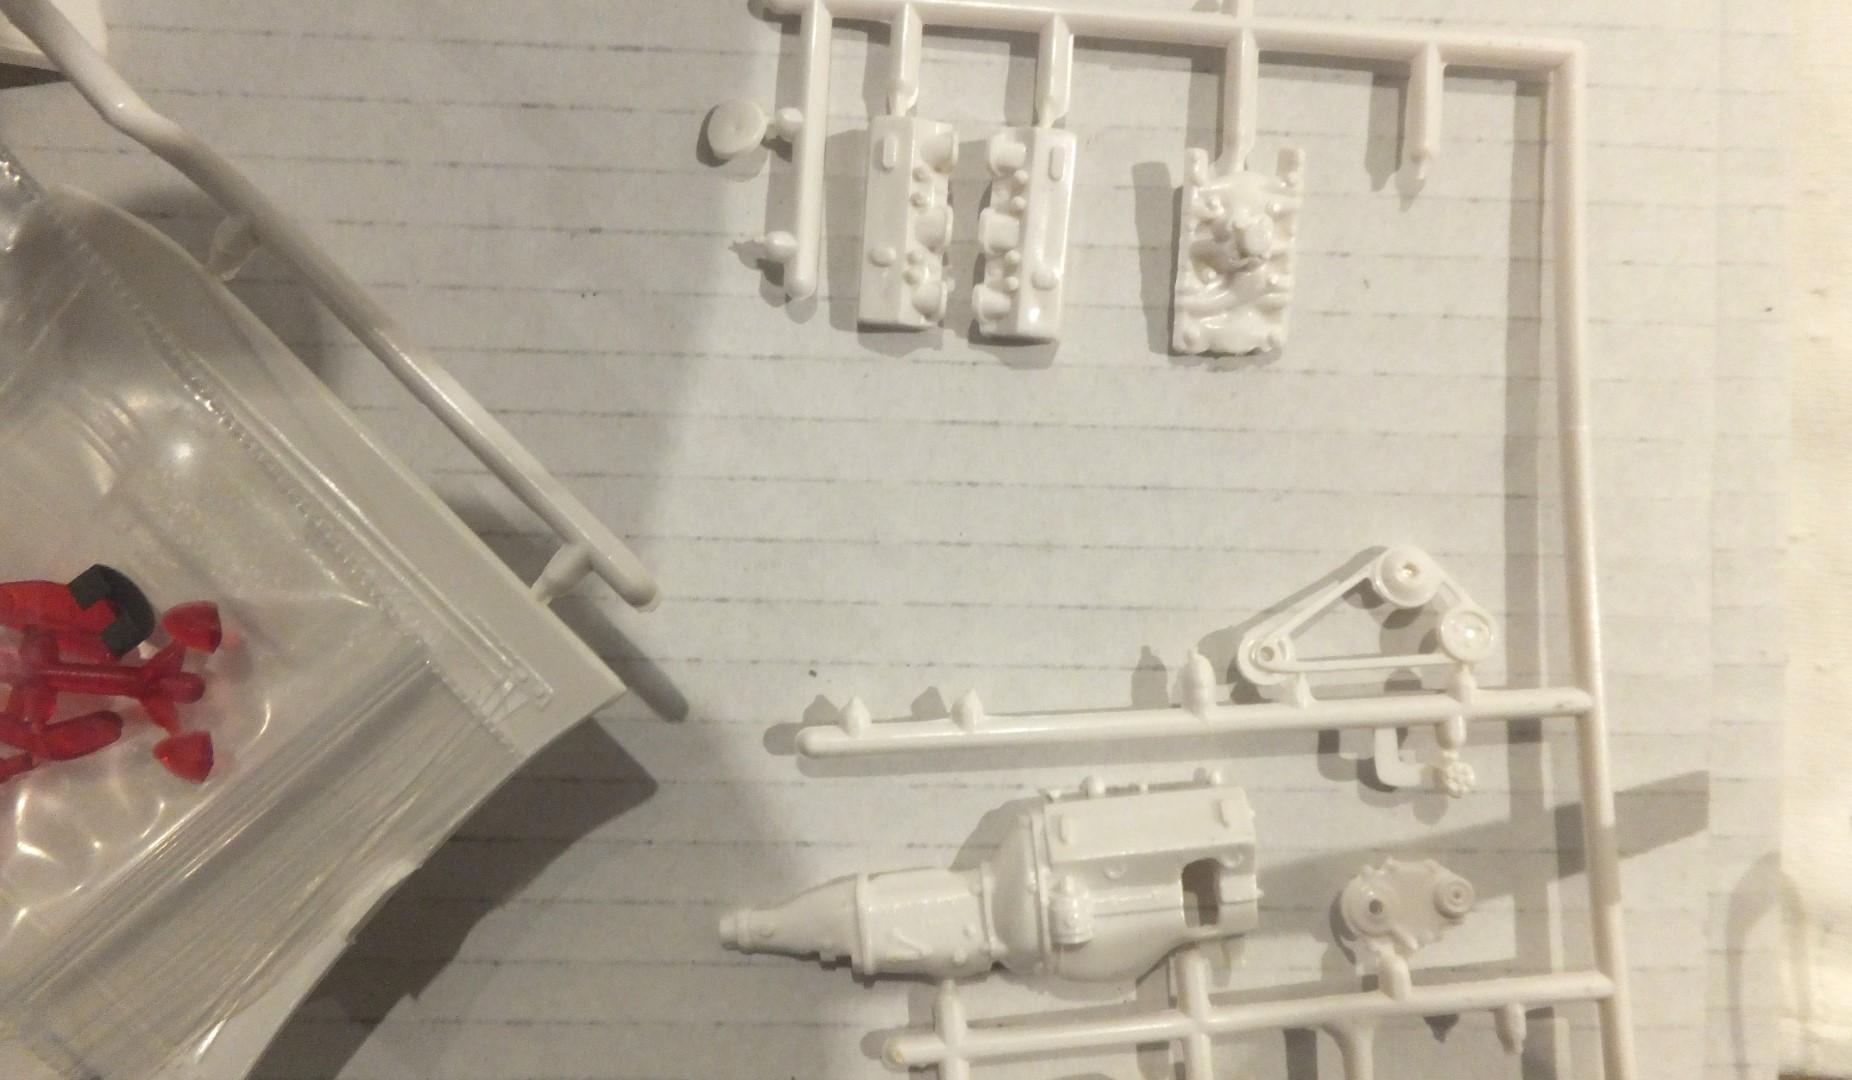
Some orders arrived the other day and then I went to a sale where the owner had a bunch of purchased collections up for the buying
- 39,276 replies
-
- 5
-

-
- johan
- glue bombs
- (and 1 more)


.JPG.525f9886c59c0cc0d89b5b1d24fab151.JPG)
.JPG.0dc48d732c076dada3a60411e76b8c7f.JPG)
.JPG.c27b0fb0b8a285da16bedd9e54481461.JPG)
.JPG.c75270d86d4b06b08e09f3d06bca74af.JPG)
.JPG.57b4c9448f07b089046f8be060af9722.JPG)
.JPG.778856a7a3262f33e82ba6e91a6e8afa.JPG)
.JPG.1b9bd53dc4adce64035337ac42133bf1.JPG)
.JPG.a2f56b4ff330eed67b8dffdb6d2c3f88.JPG)
.JPG.9093a94e4992b40c6382f7f91991cf3e.JPG)