Rockford
-
Posts
1,944 -
Joined
-
Last visited
Content Type
Profiles
Forums
Events
Gallery
Everything posted by Rockford
-
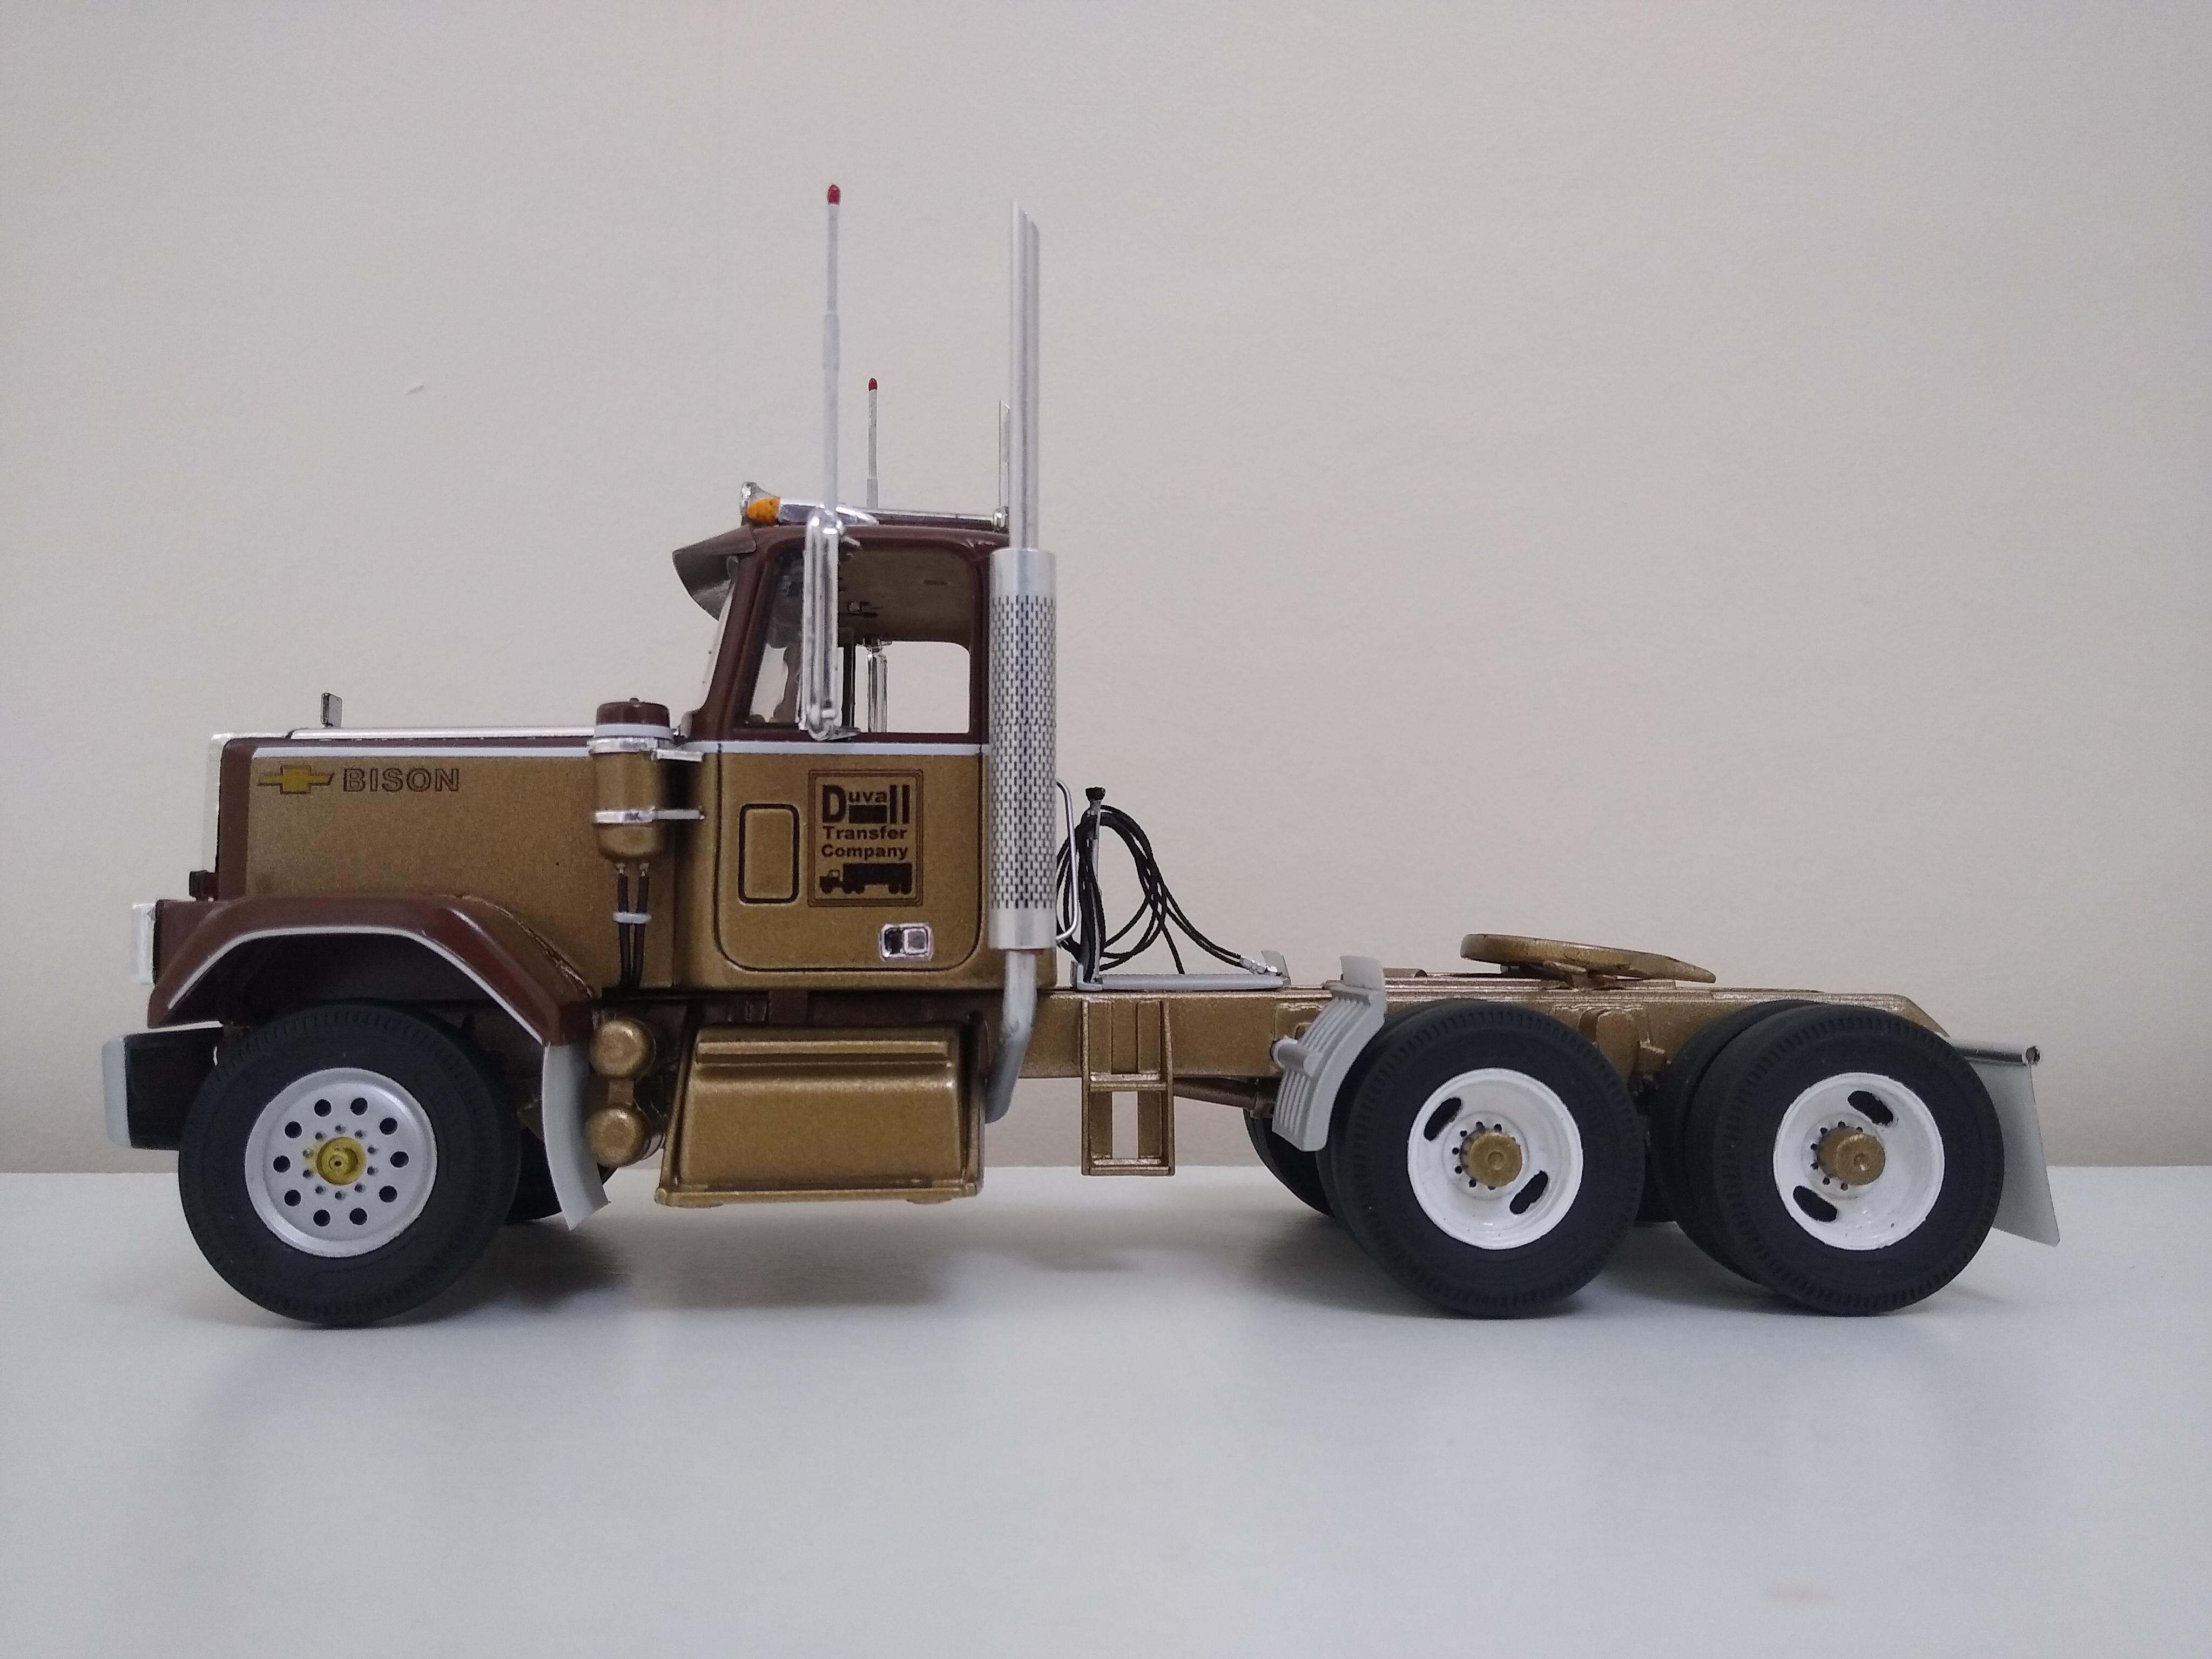
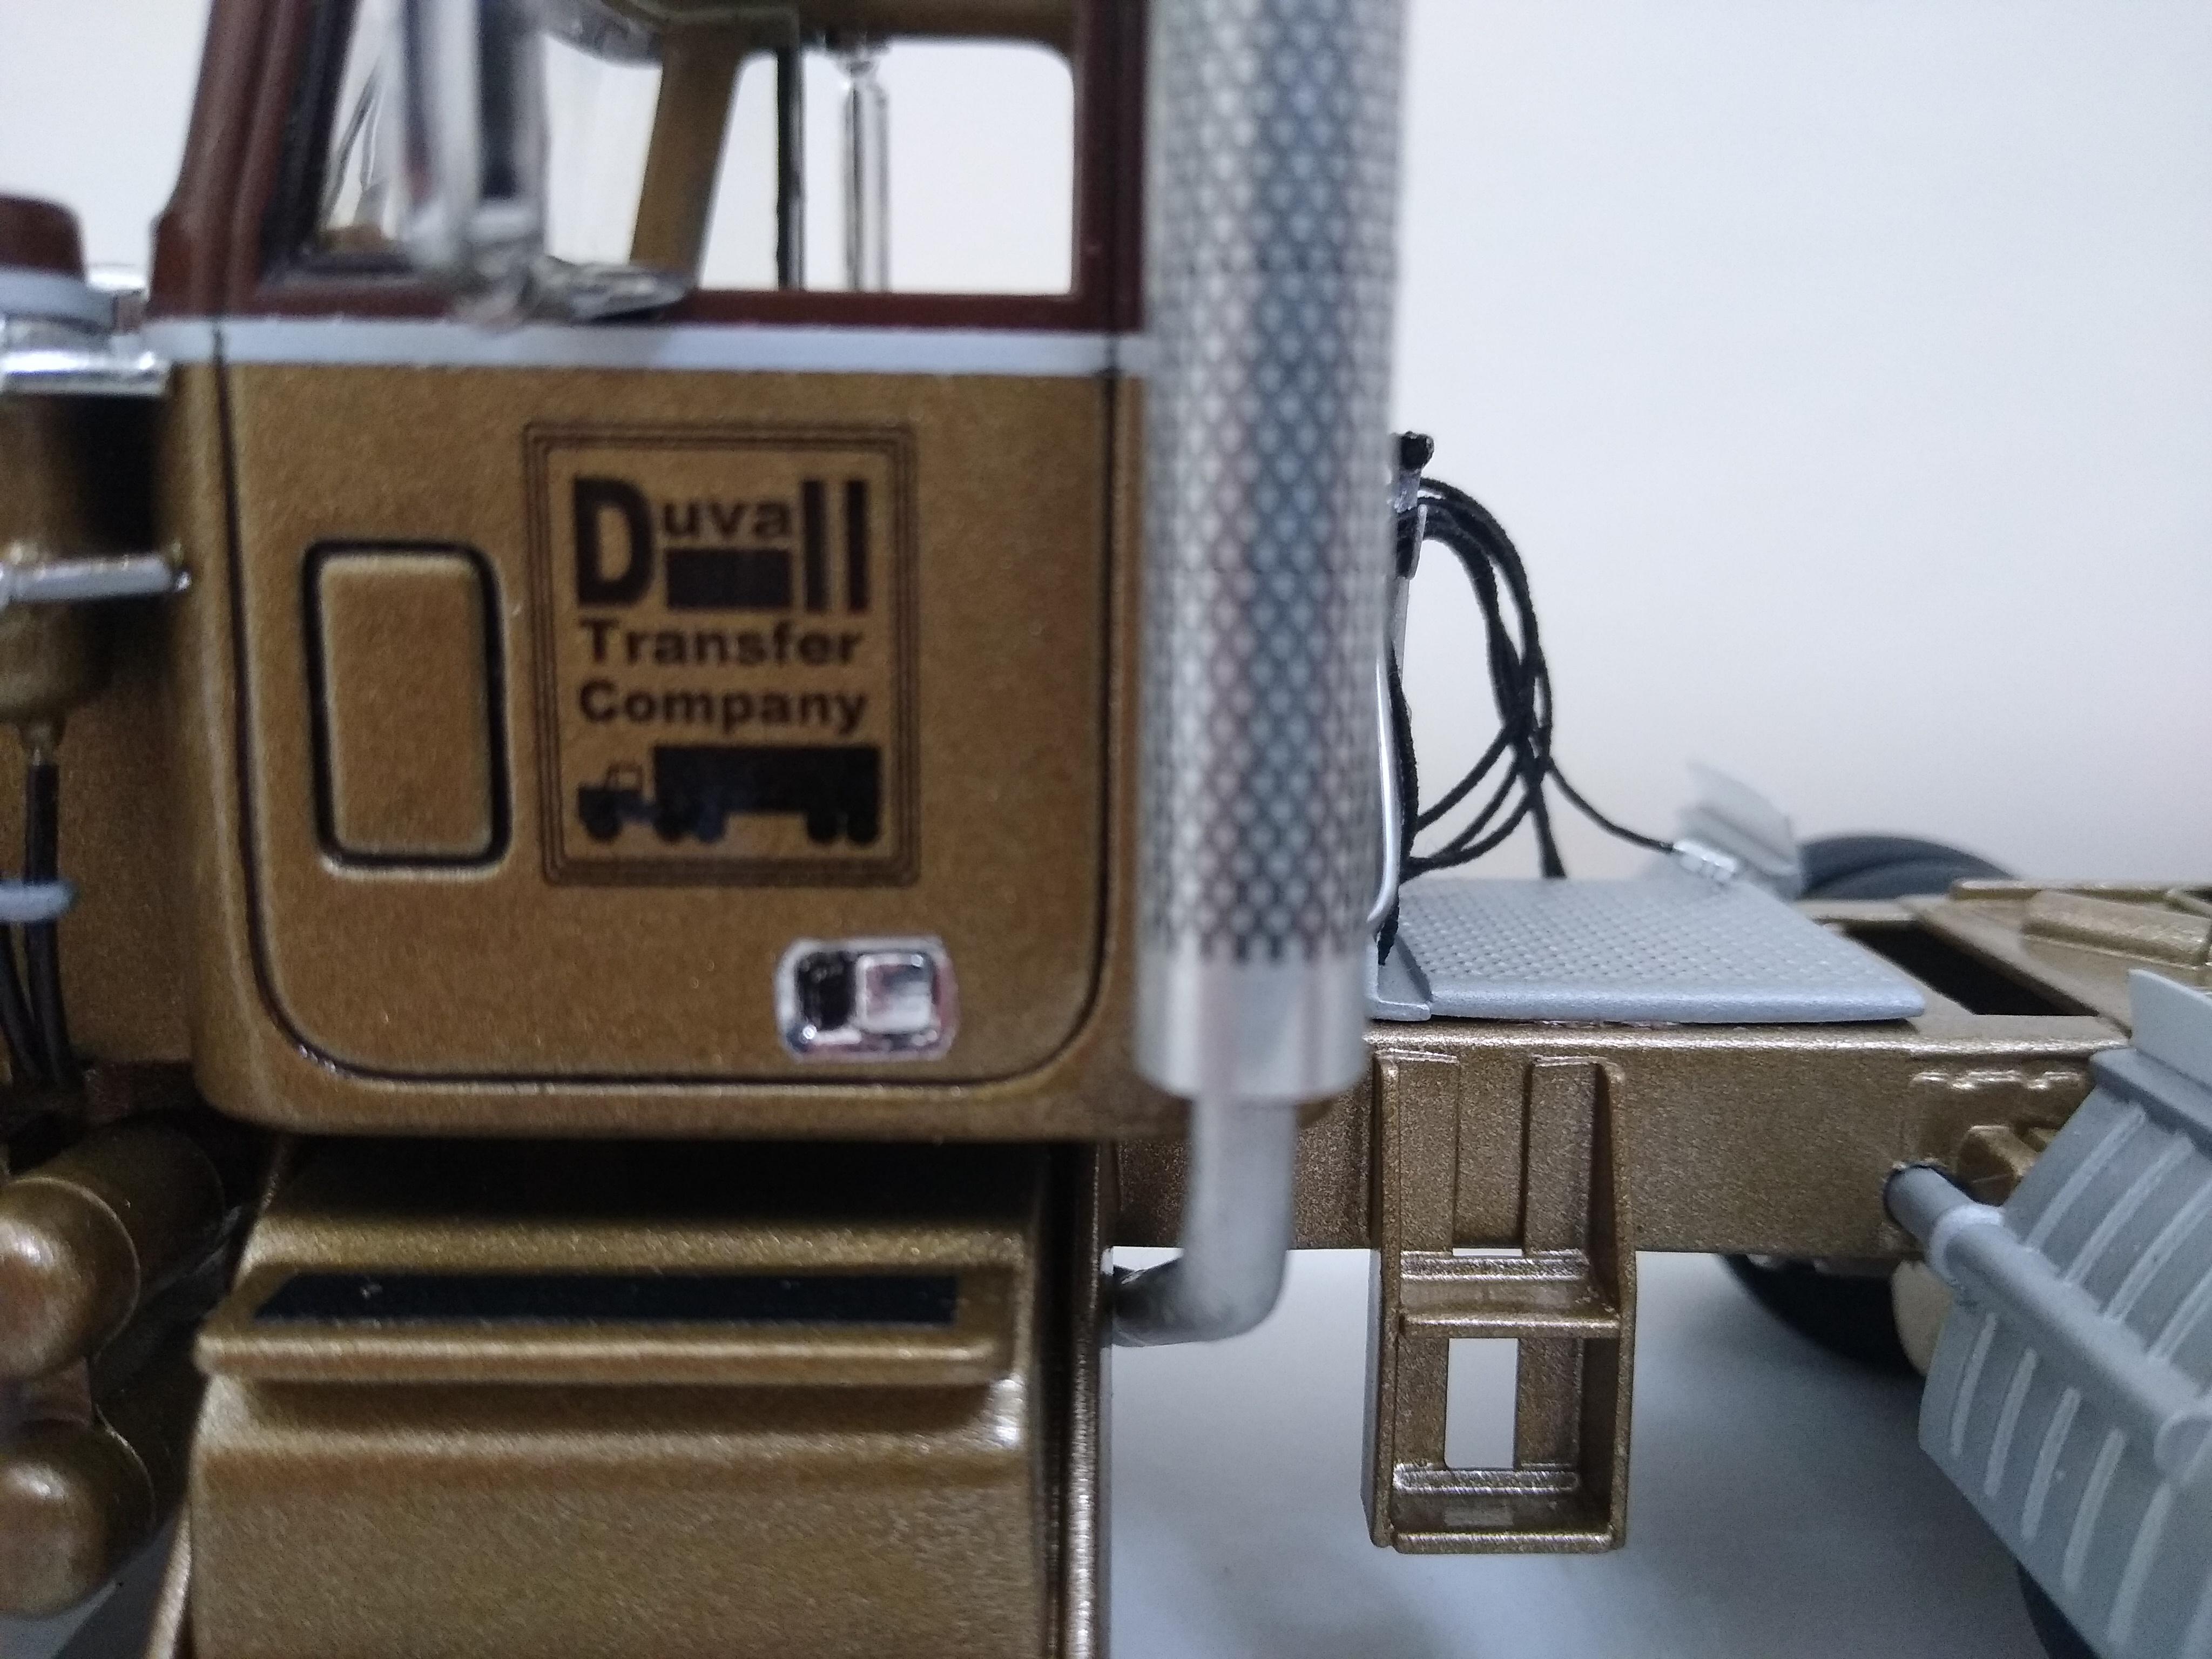
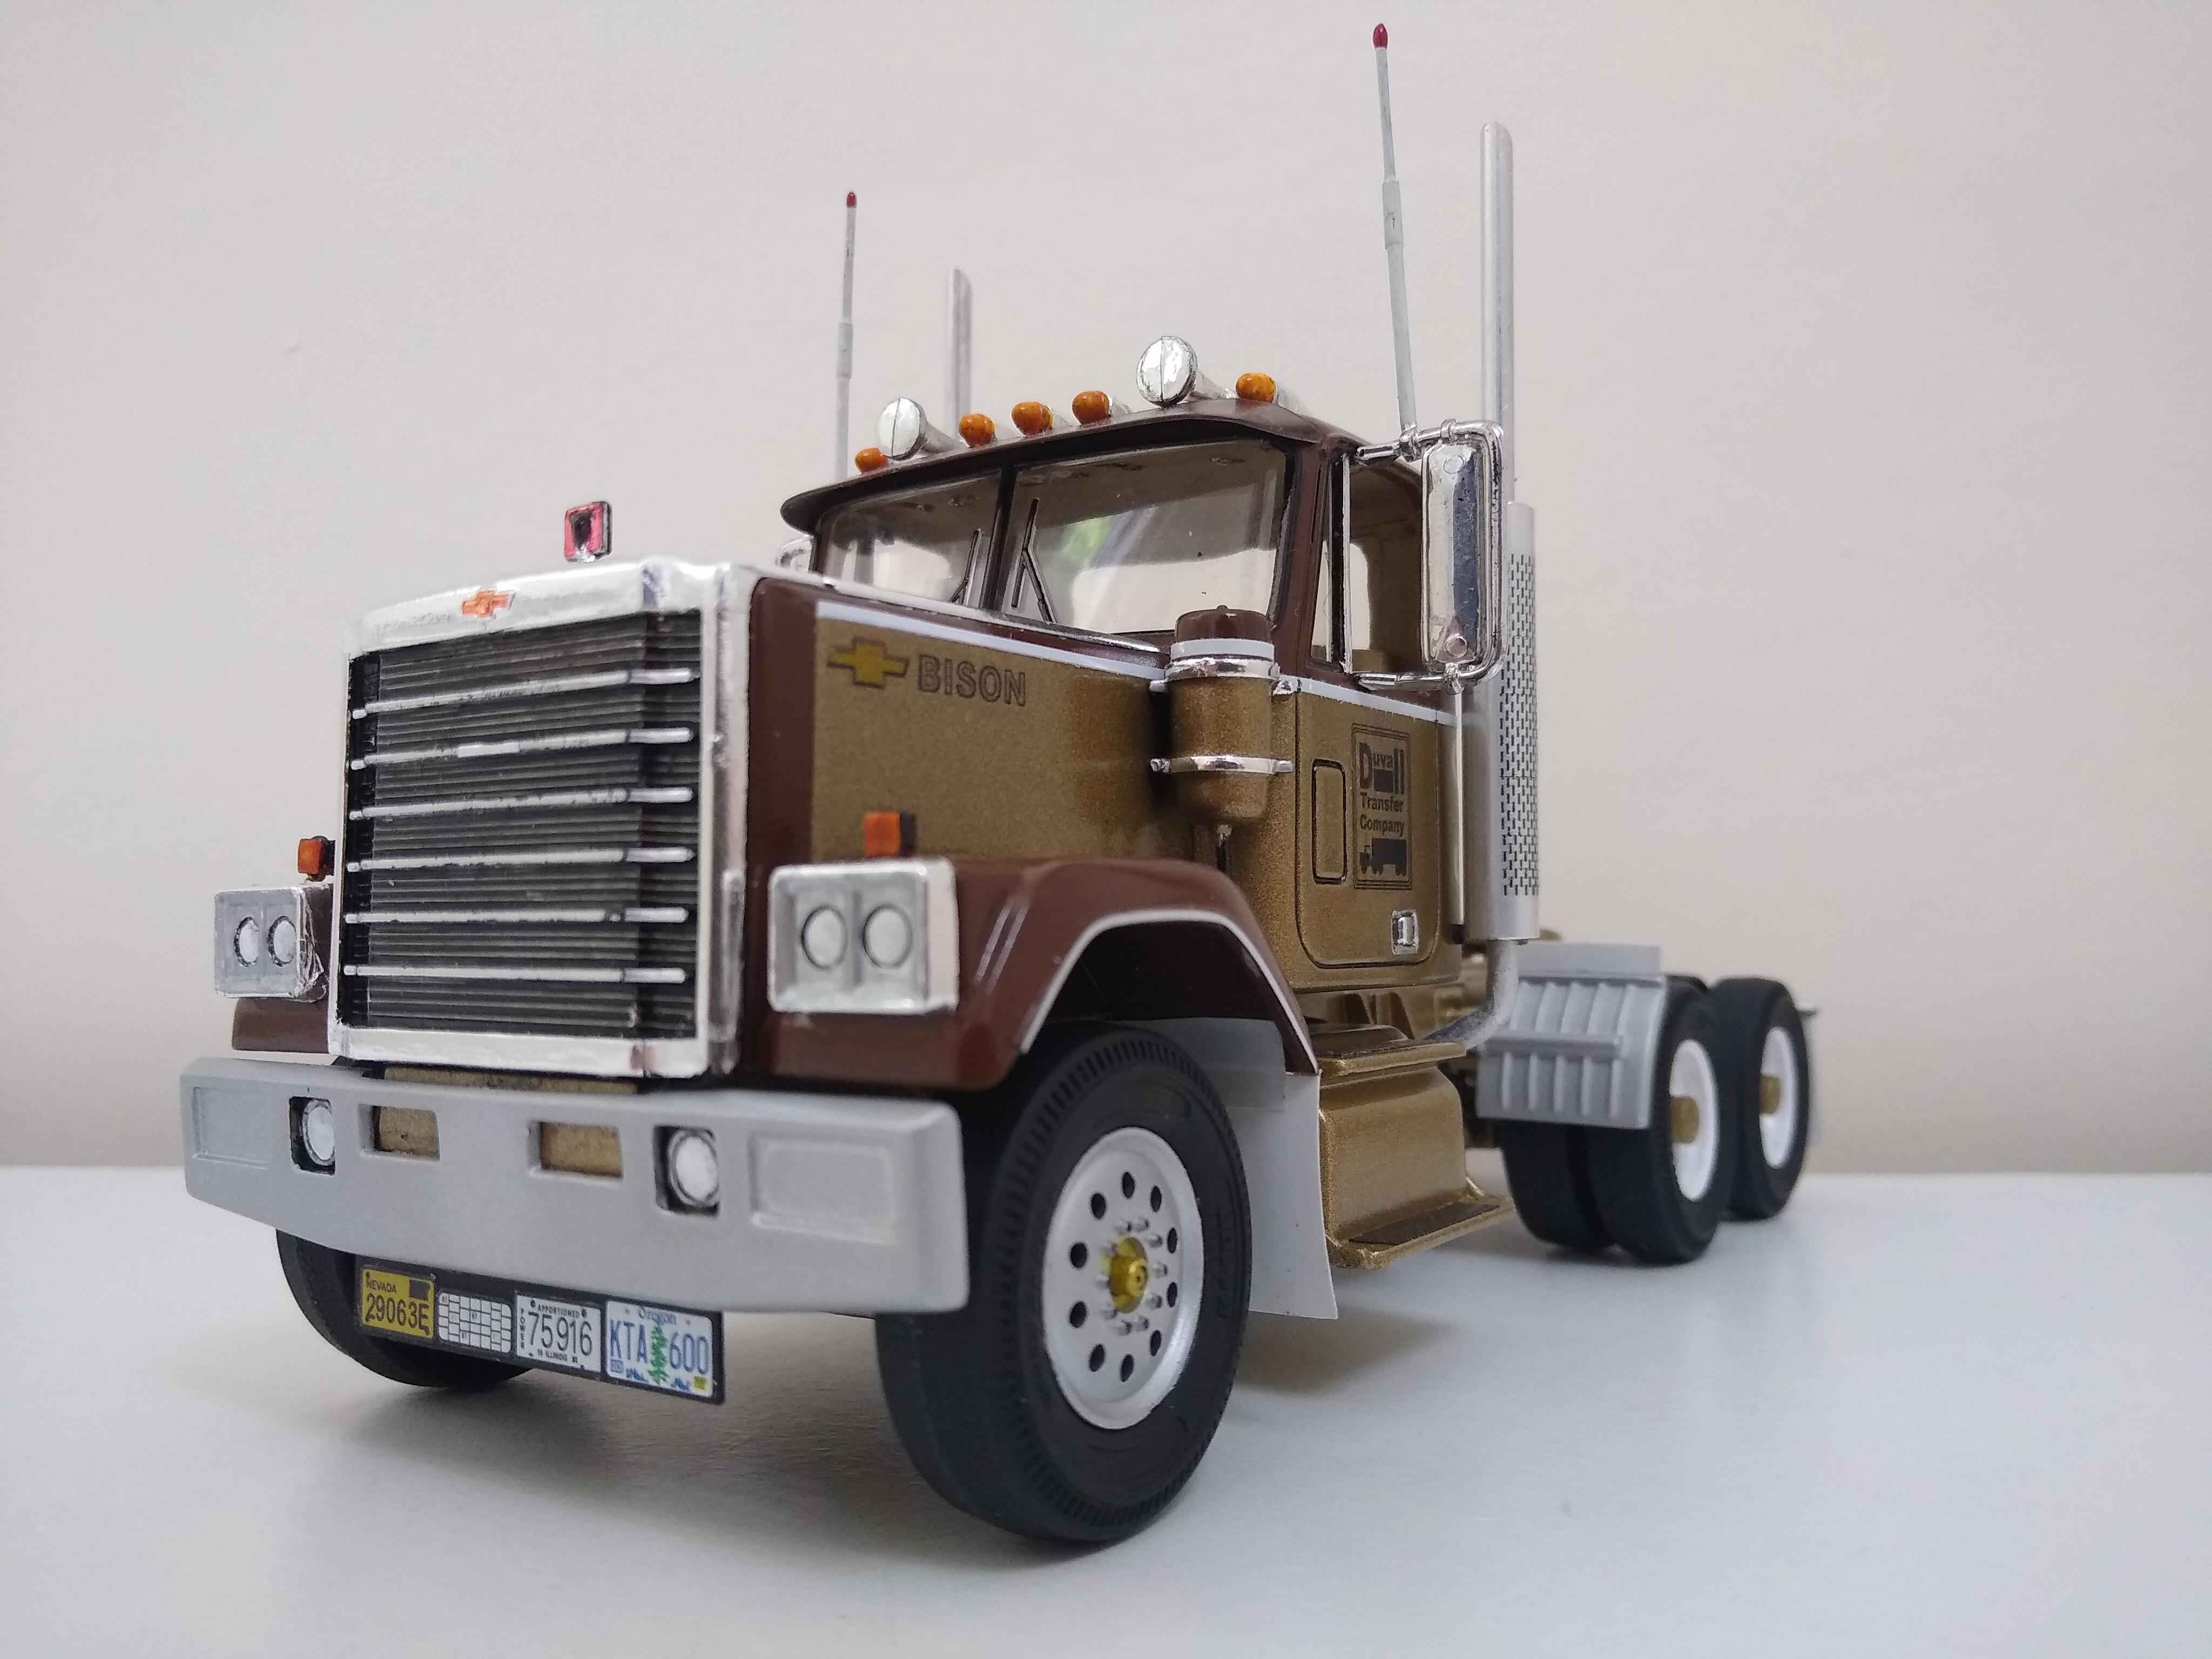
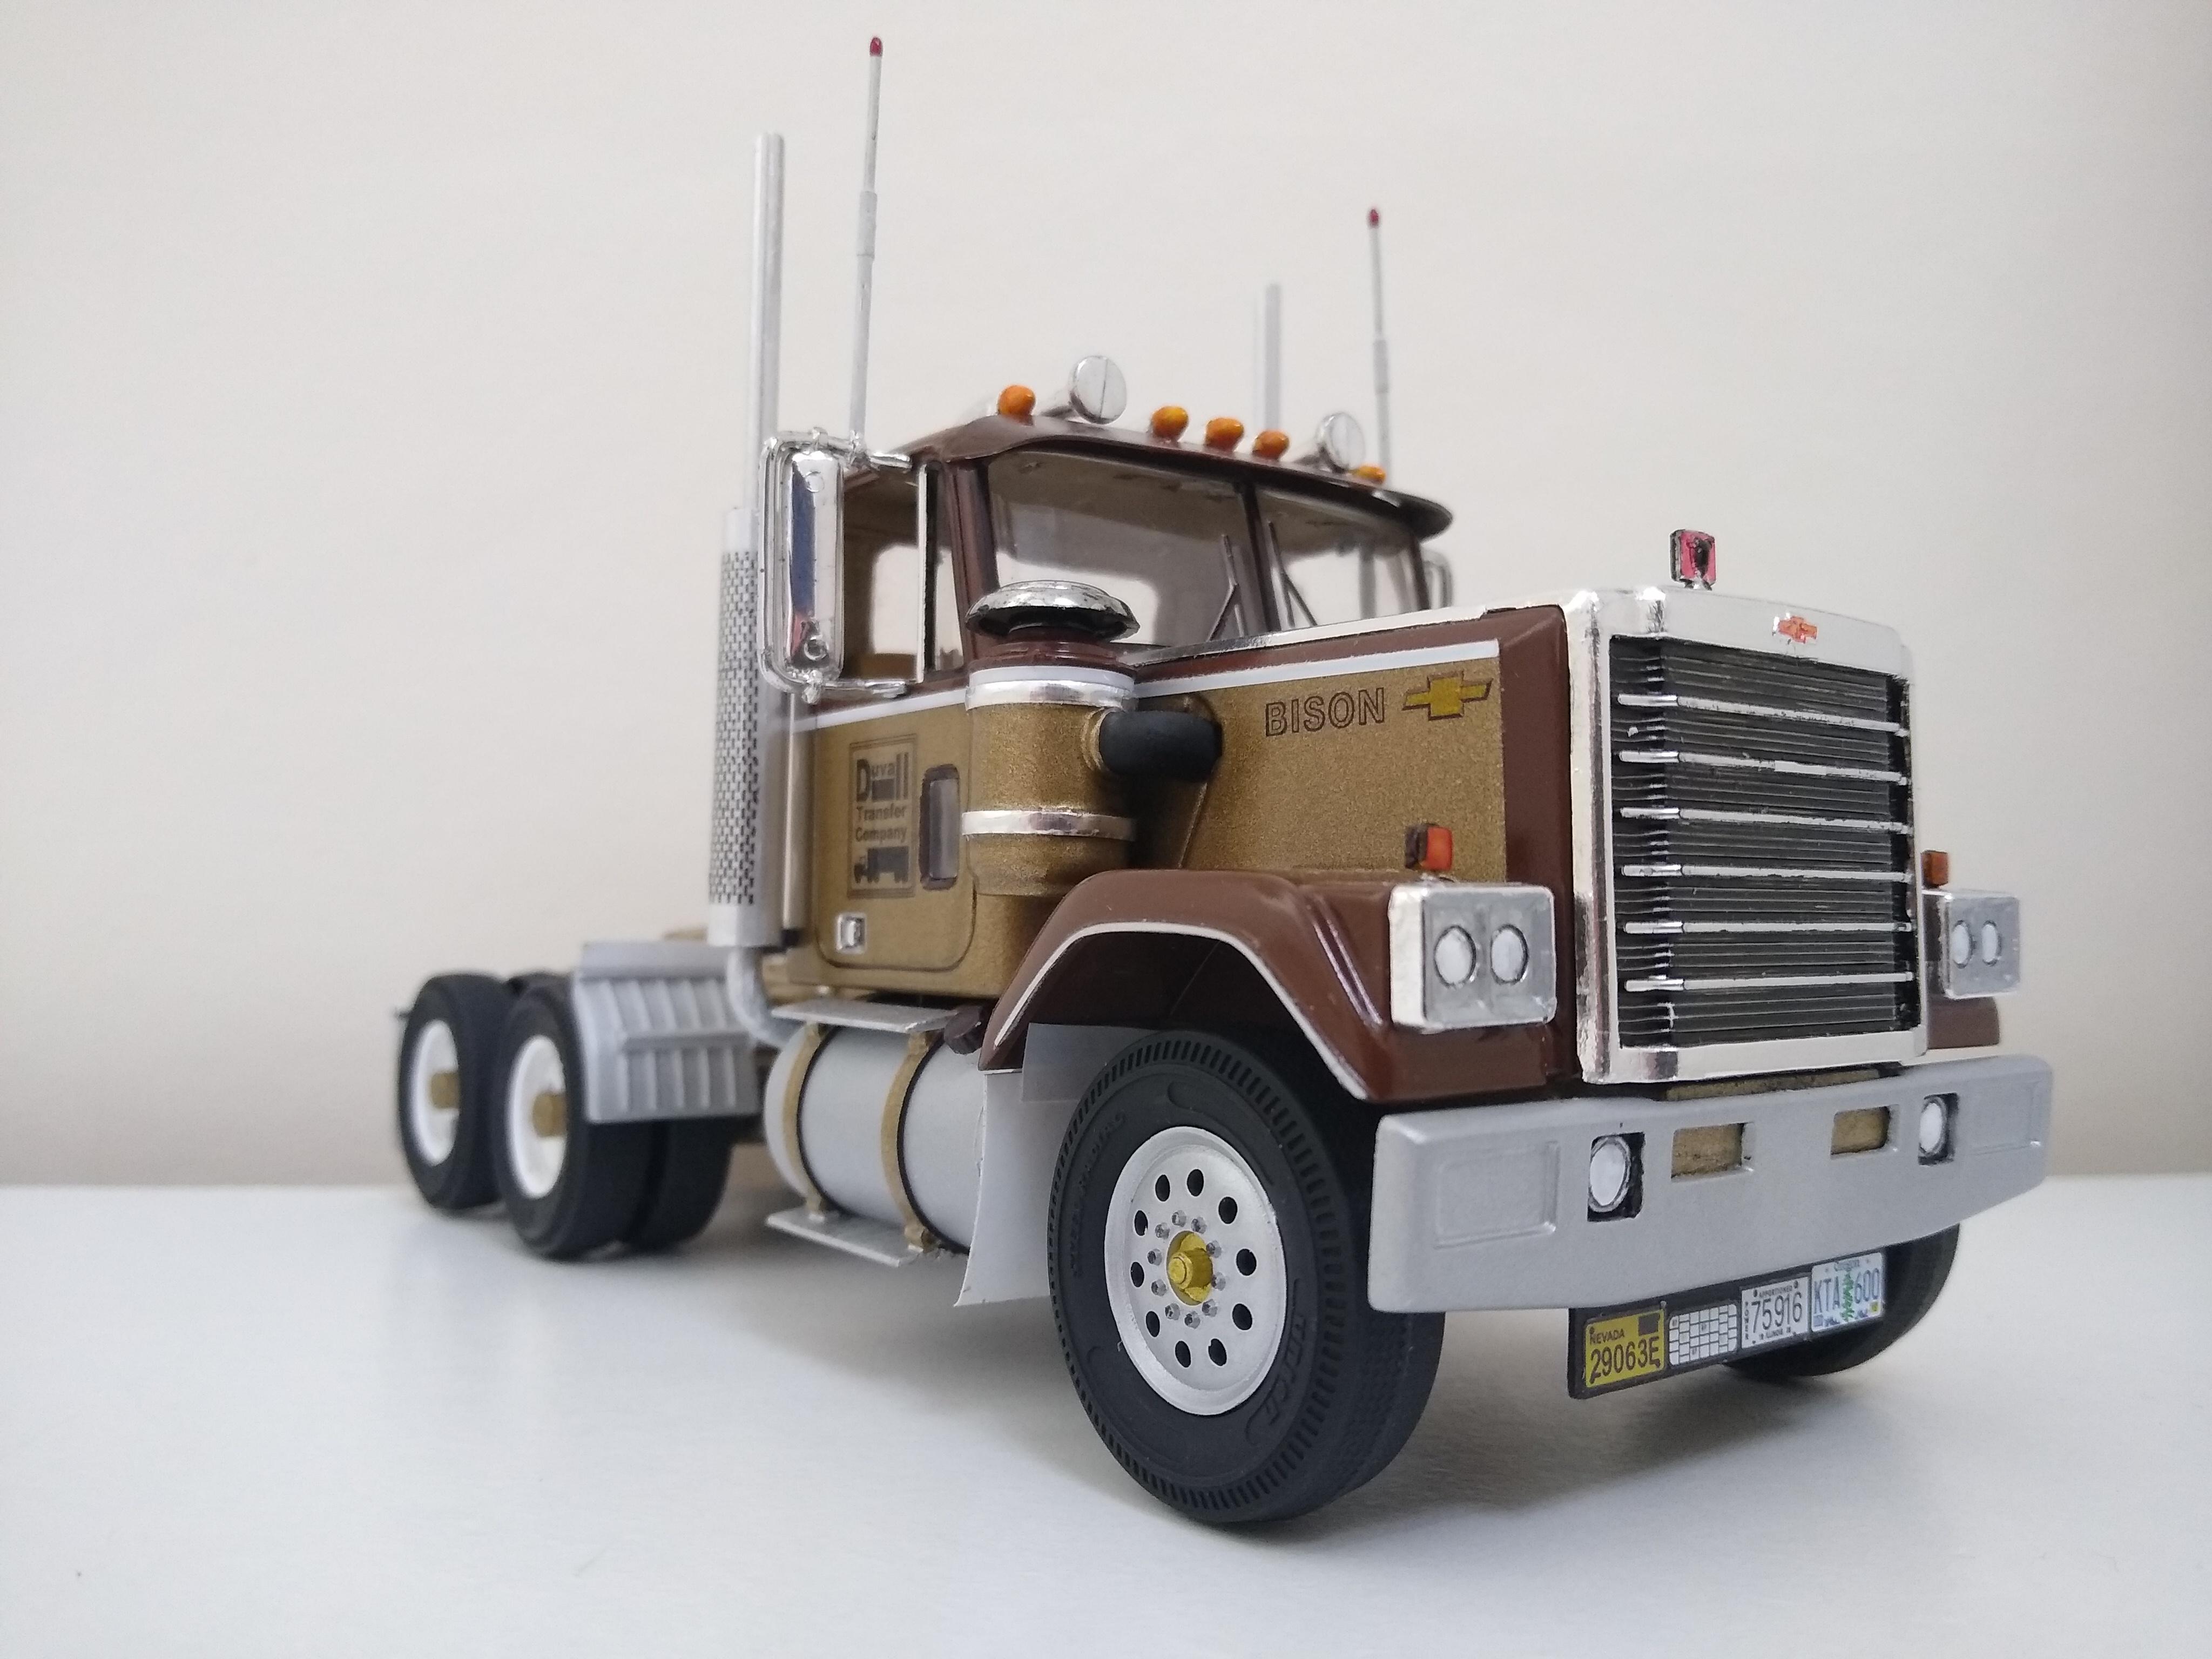
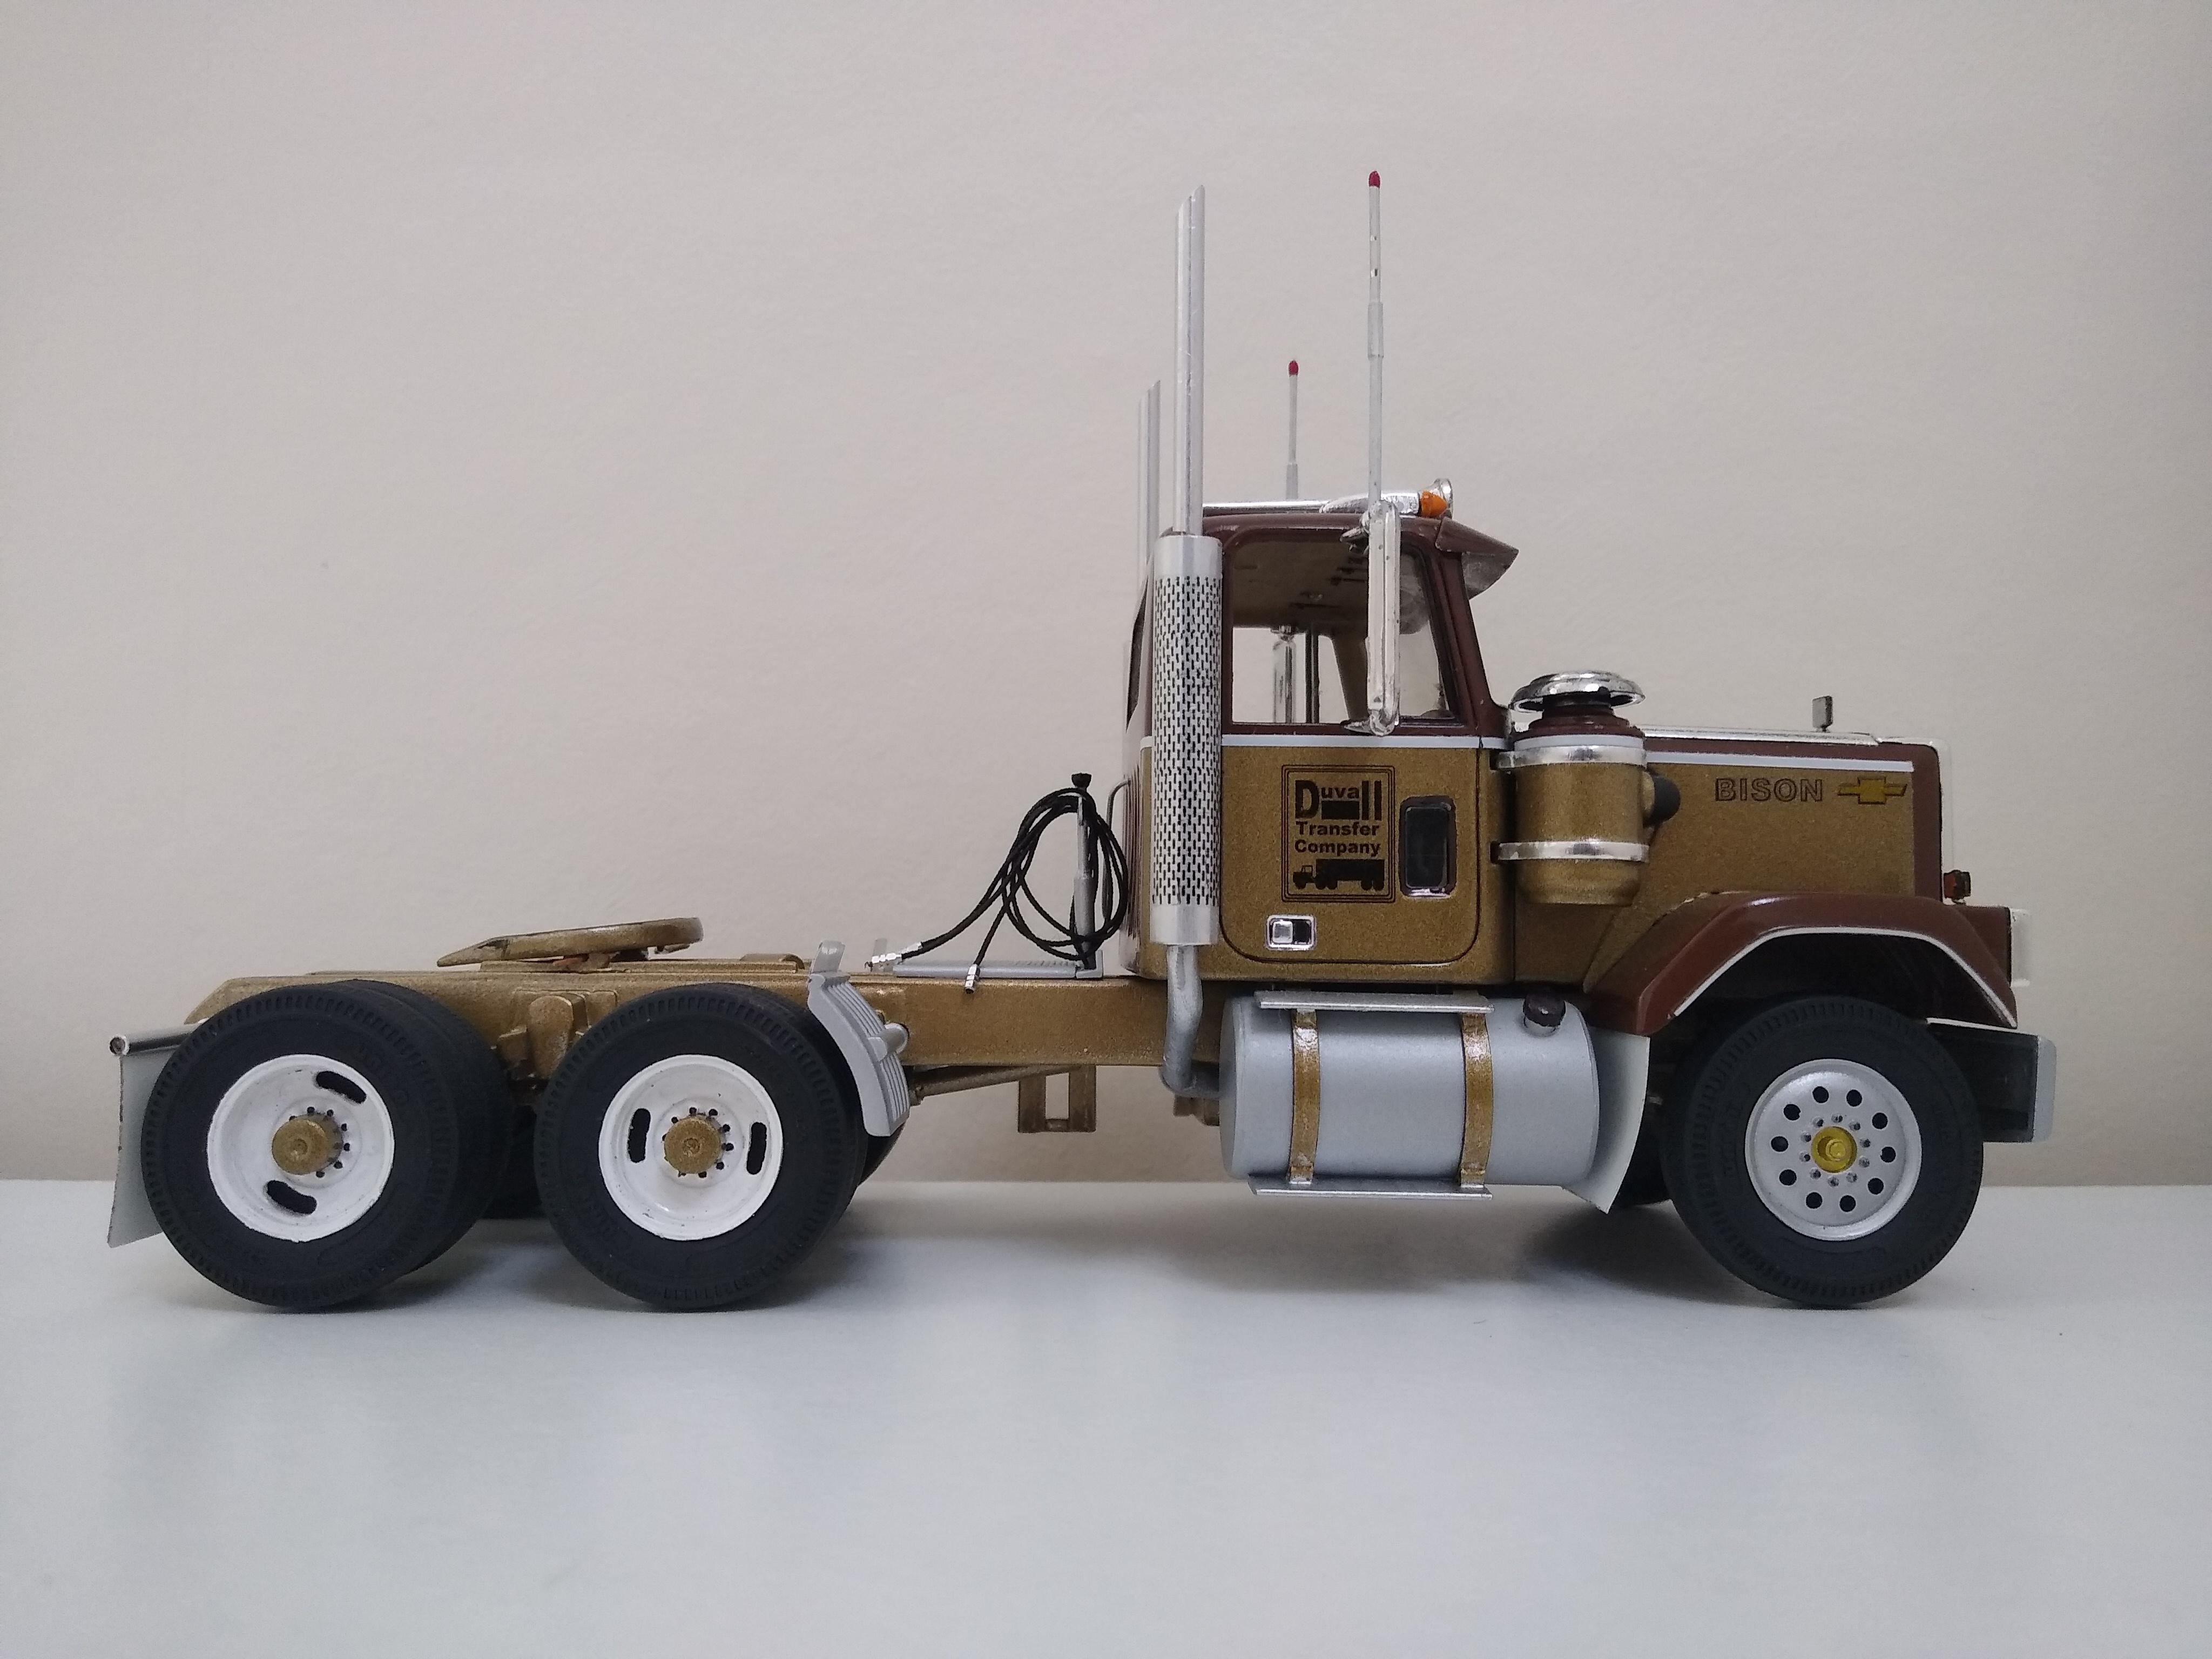
So, "I'm calling this finished" - to coin a popular phrase. It's one of the two Bisons I've been working on in my WIP, the other being a double sleeper. Final step was to draw up some Chevy bowties, a BISON nameplate and my fictional company logo Duvall Transfer Company. All done with old Microsoft Paint® on clear decal paper. I know they lose their colour against the paint but they look ok. White decal paper would have created its own issues. I'm happy with it all round. All the little adjustments have come together to make it a decent looking truck.

-

Dodge Cabover
Rockford replied to Repstock's topic in WIP: Model Trucks: Big Rigs and Heavy Equipment
That's a masterpiece. -
Dodge Cabover
Rockford replied to Repstock's topic in WIP: Model Trucks: Big Rigs and Heavy Equipment
But how's the cab? Did it survive ok? It is such a work of art that you did there I'd hate to see it damaged. -
Thanks Steve It's easier than it looks, otherwise I wouldn't be doing it! ?. Yes the wheels on these kits are horrendous but it's all I've got to work with. They're hidden usually but with opening the hood I've created a monster here. I'm currently working out a fix for this truck. I'm not a 3D printer/aftermarket person. I have to be resourceful [or stupid/stubborn?].
-
Thanks Ben. You can do it mate, just do your homework, get dimensions, positioning etc... and start building layer by layer. I'm not craftsman, believe me.
-
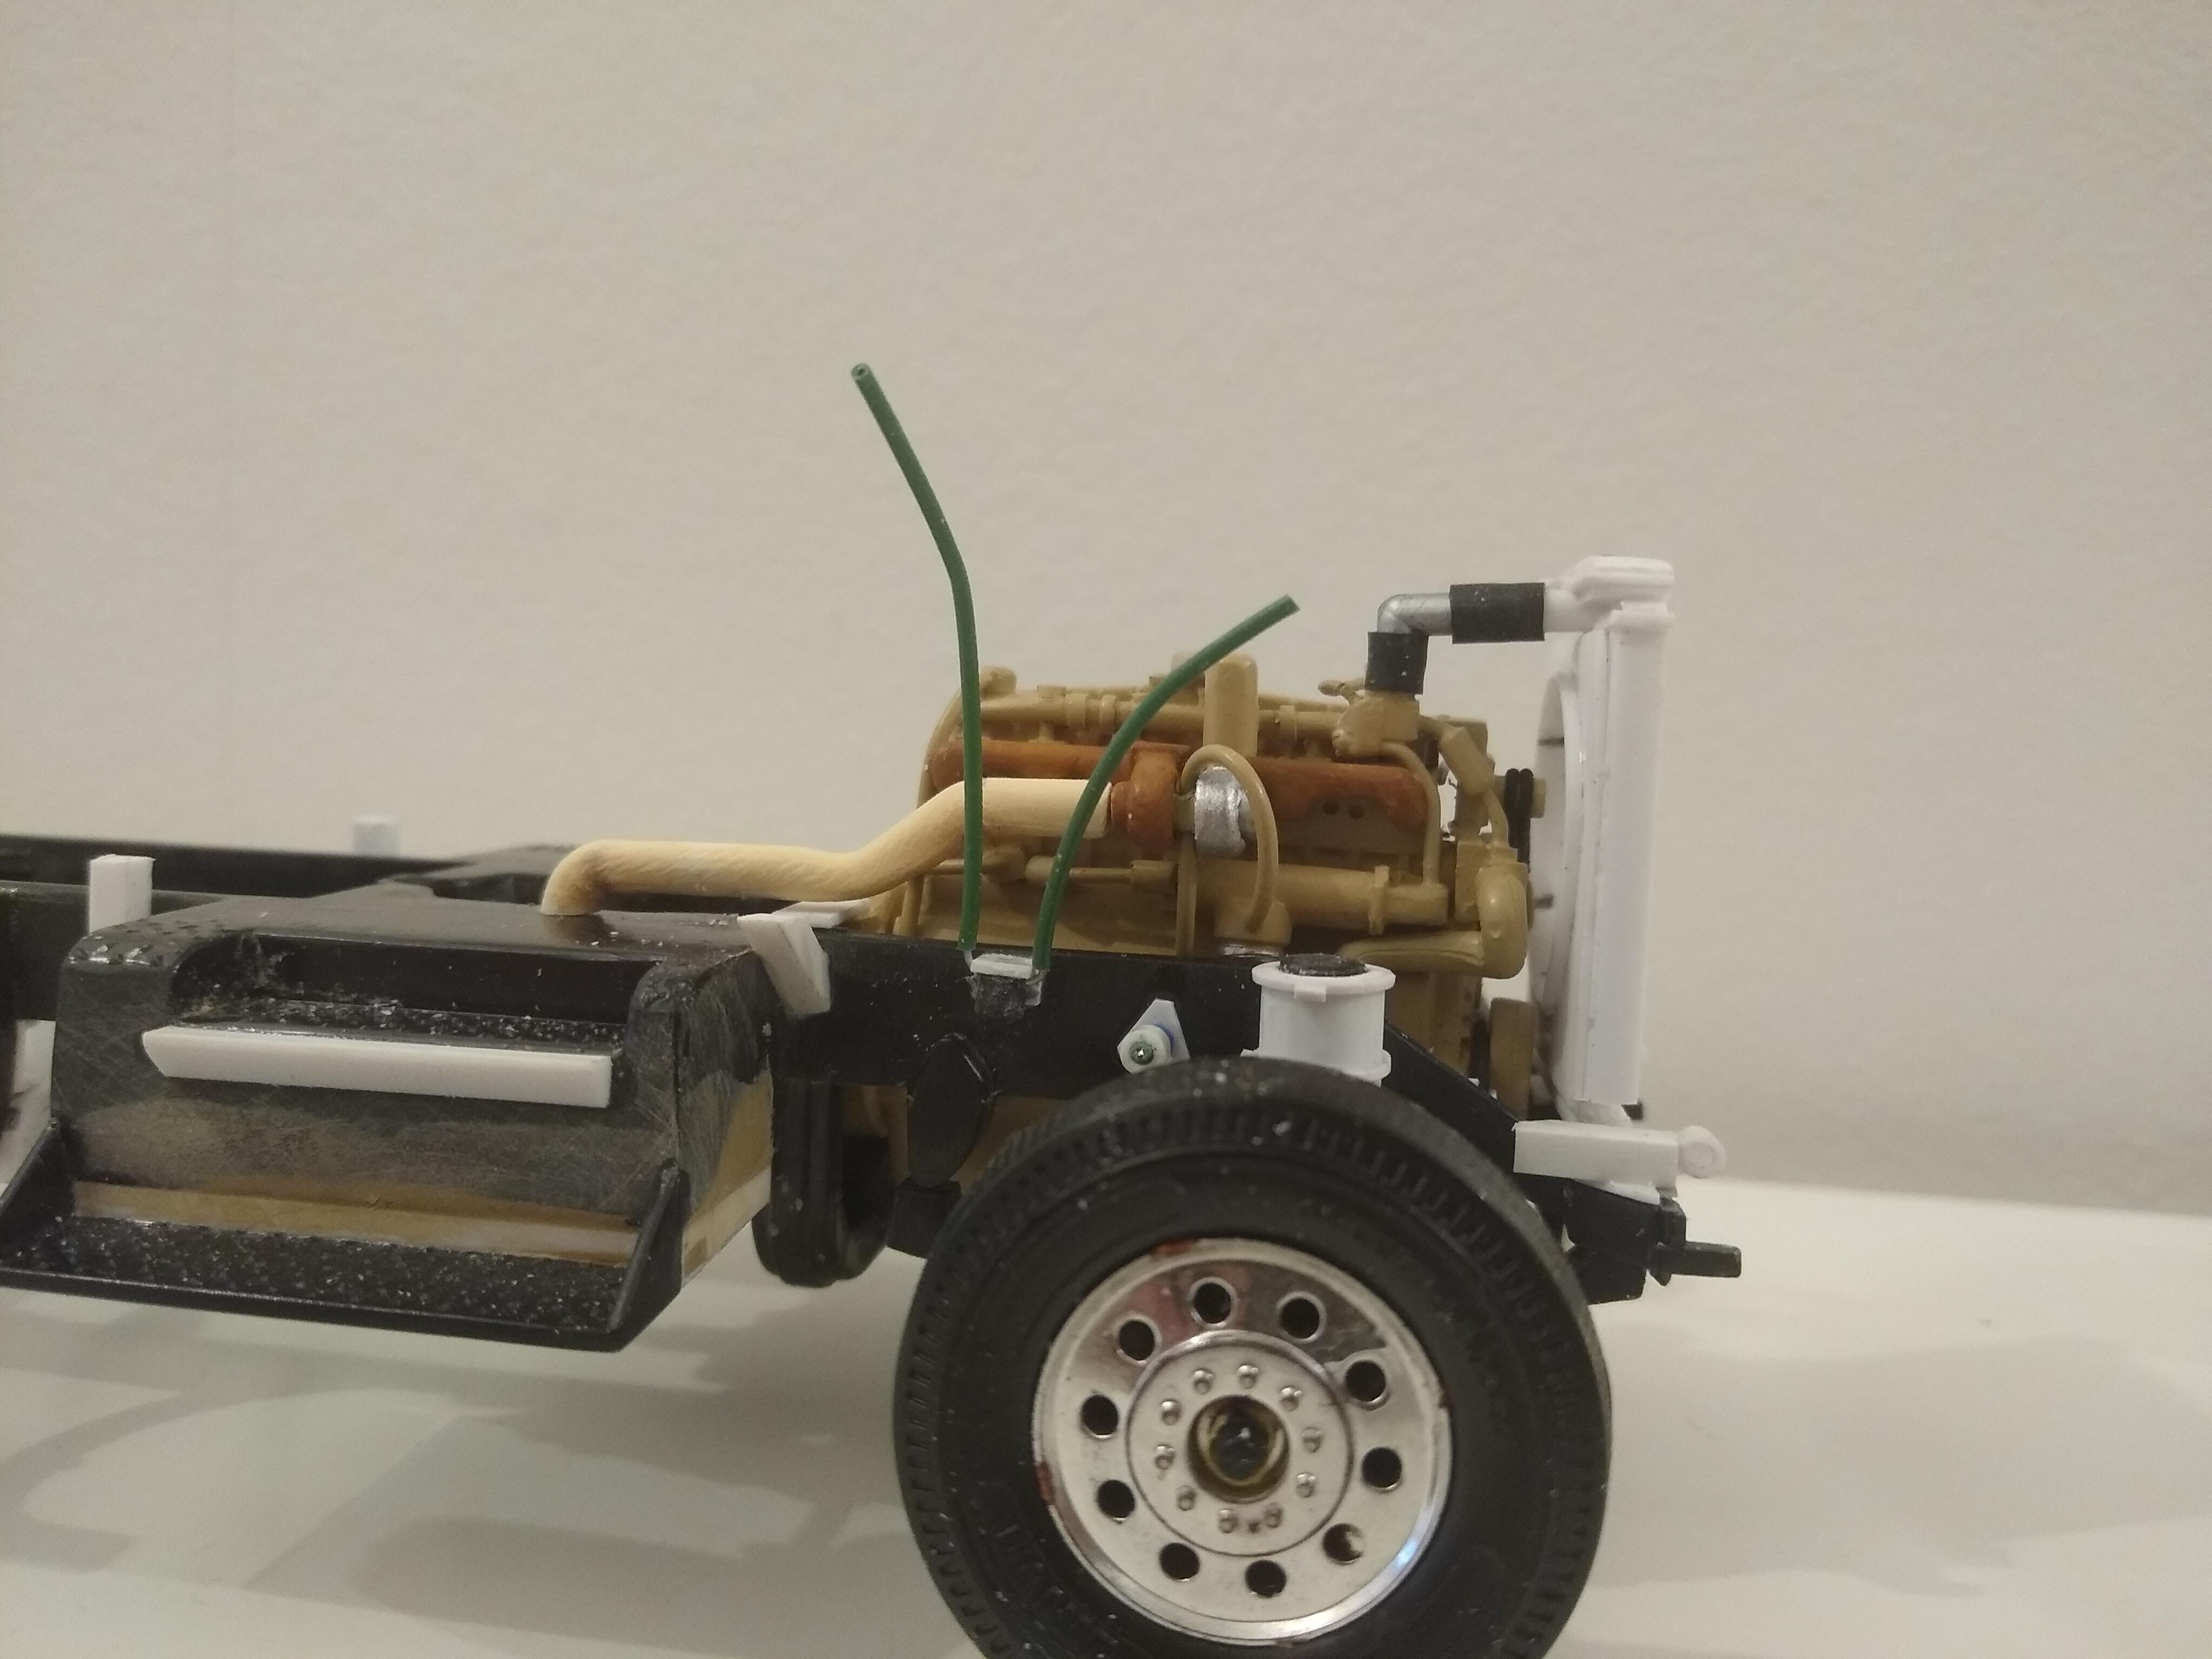
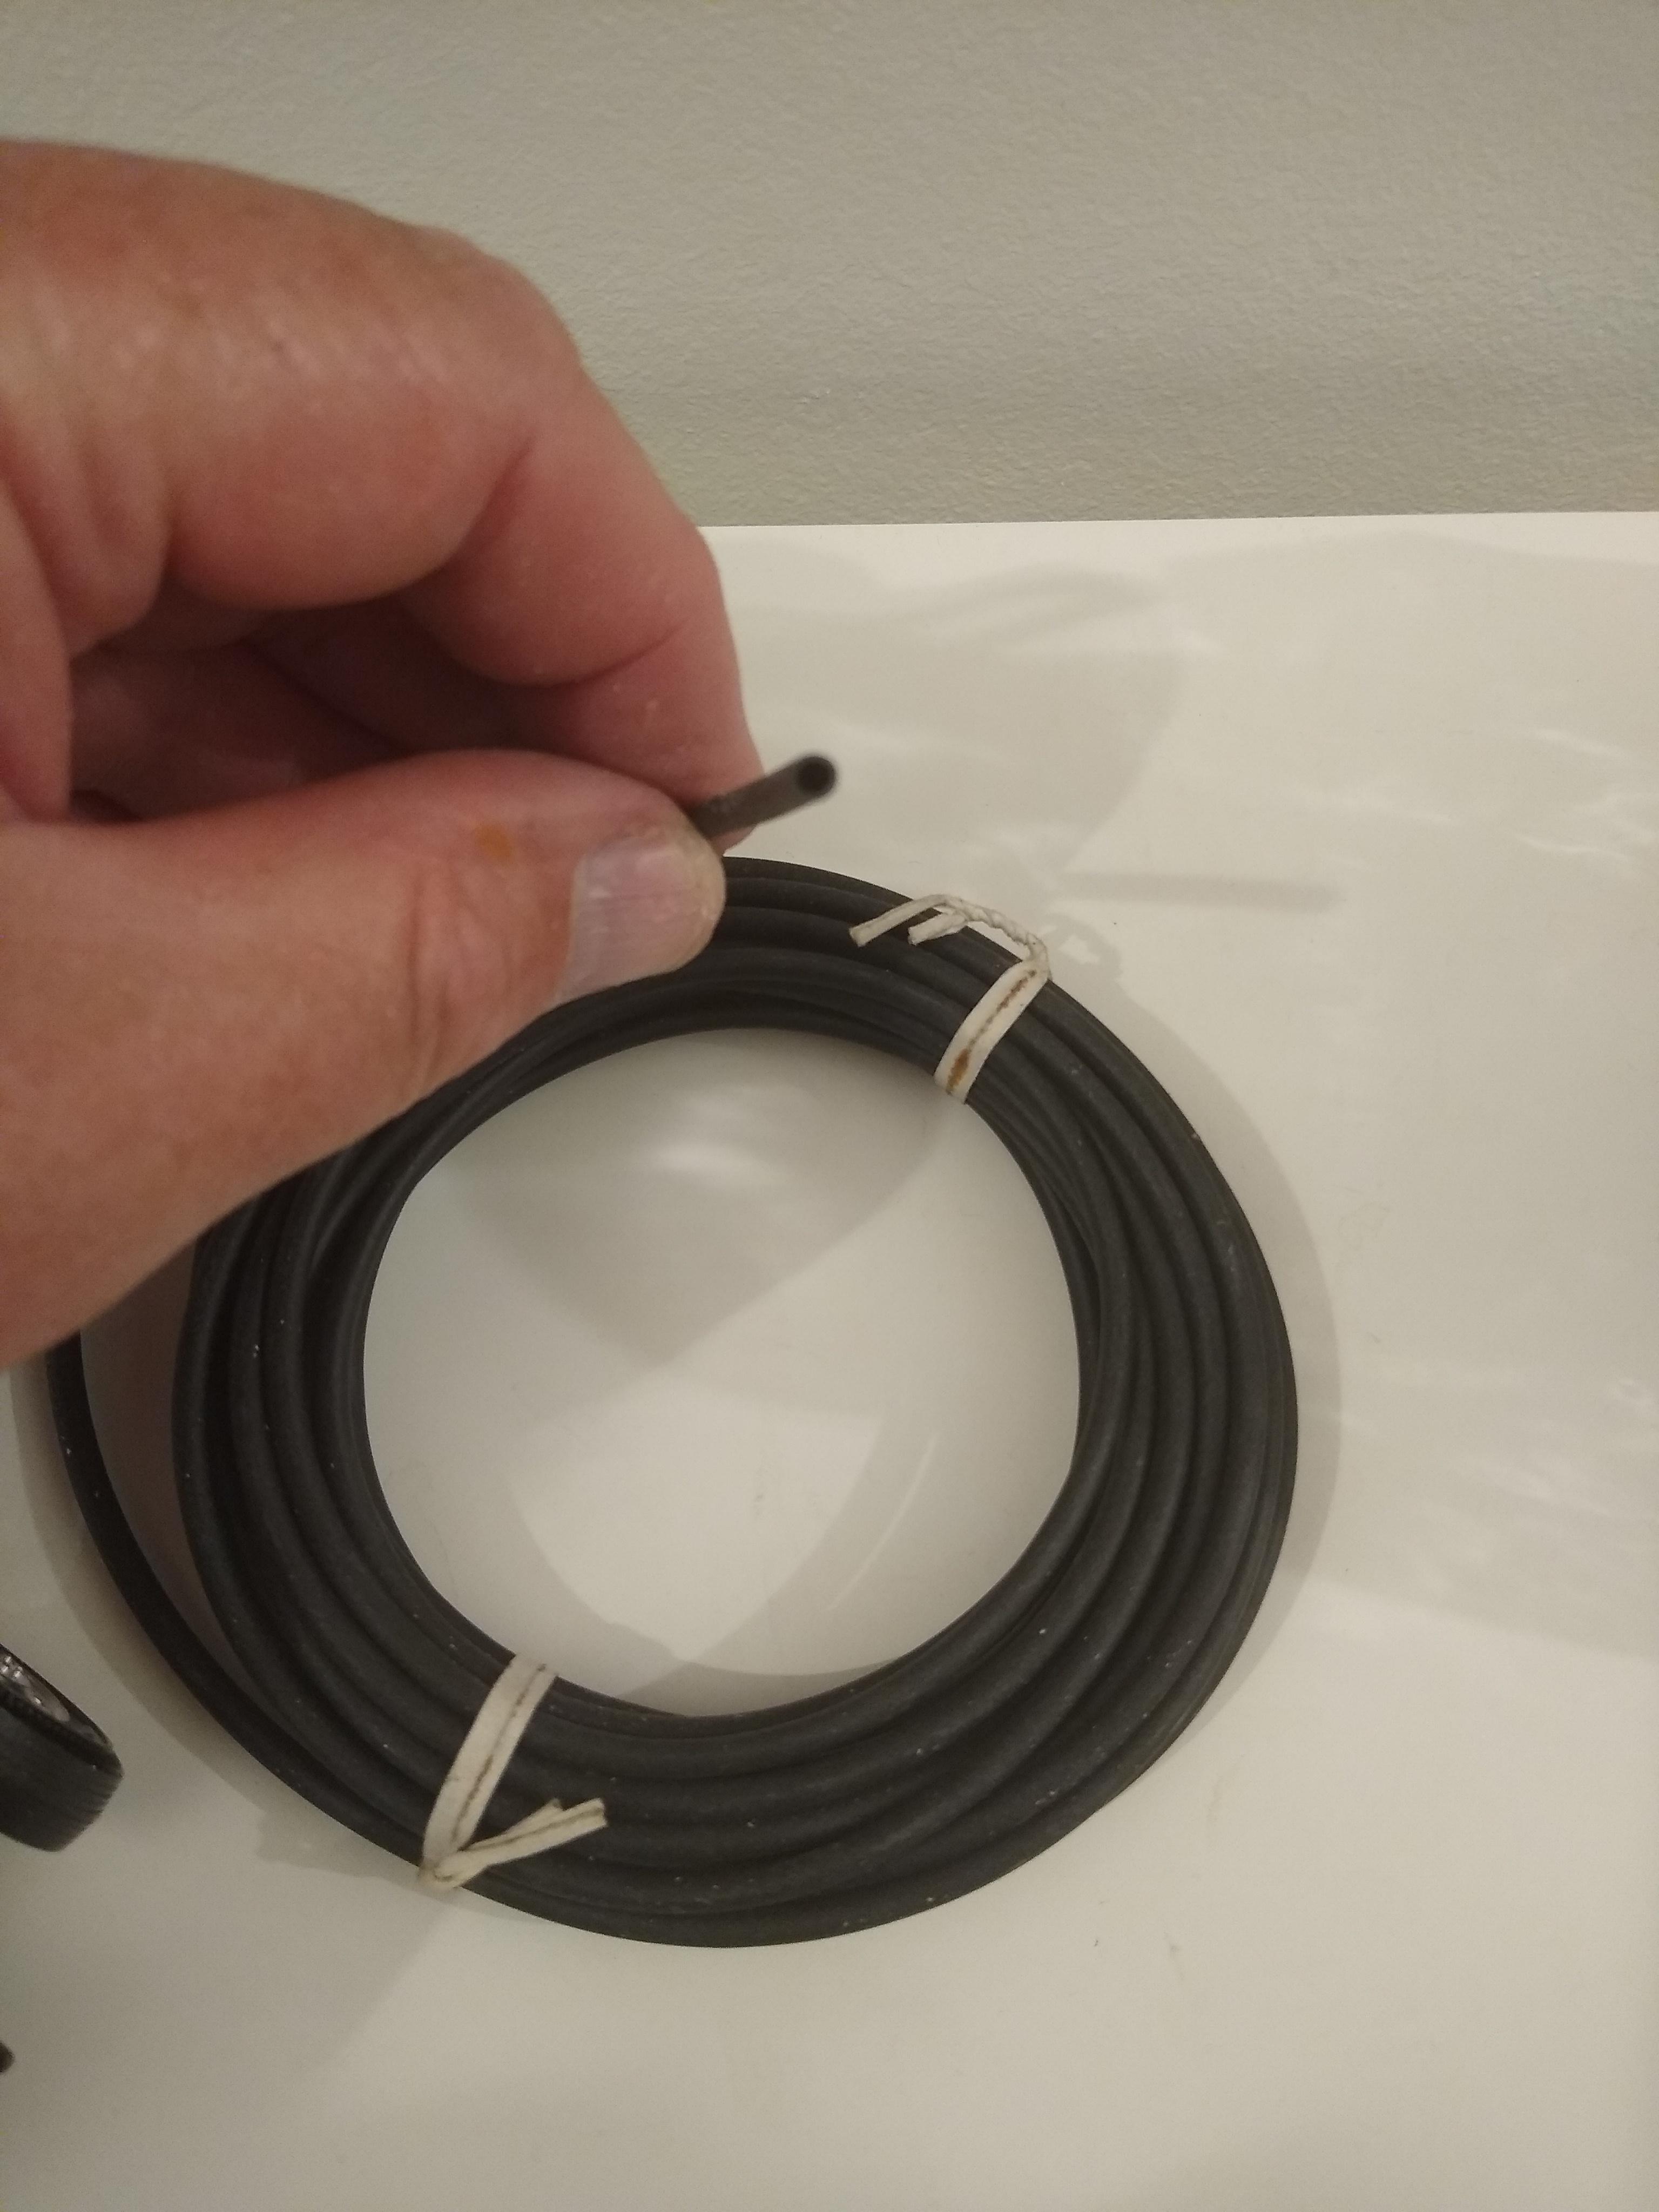
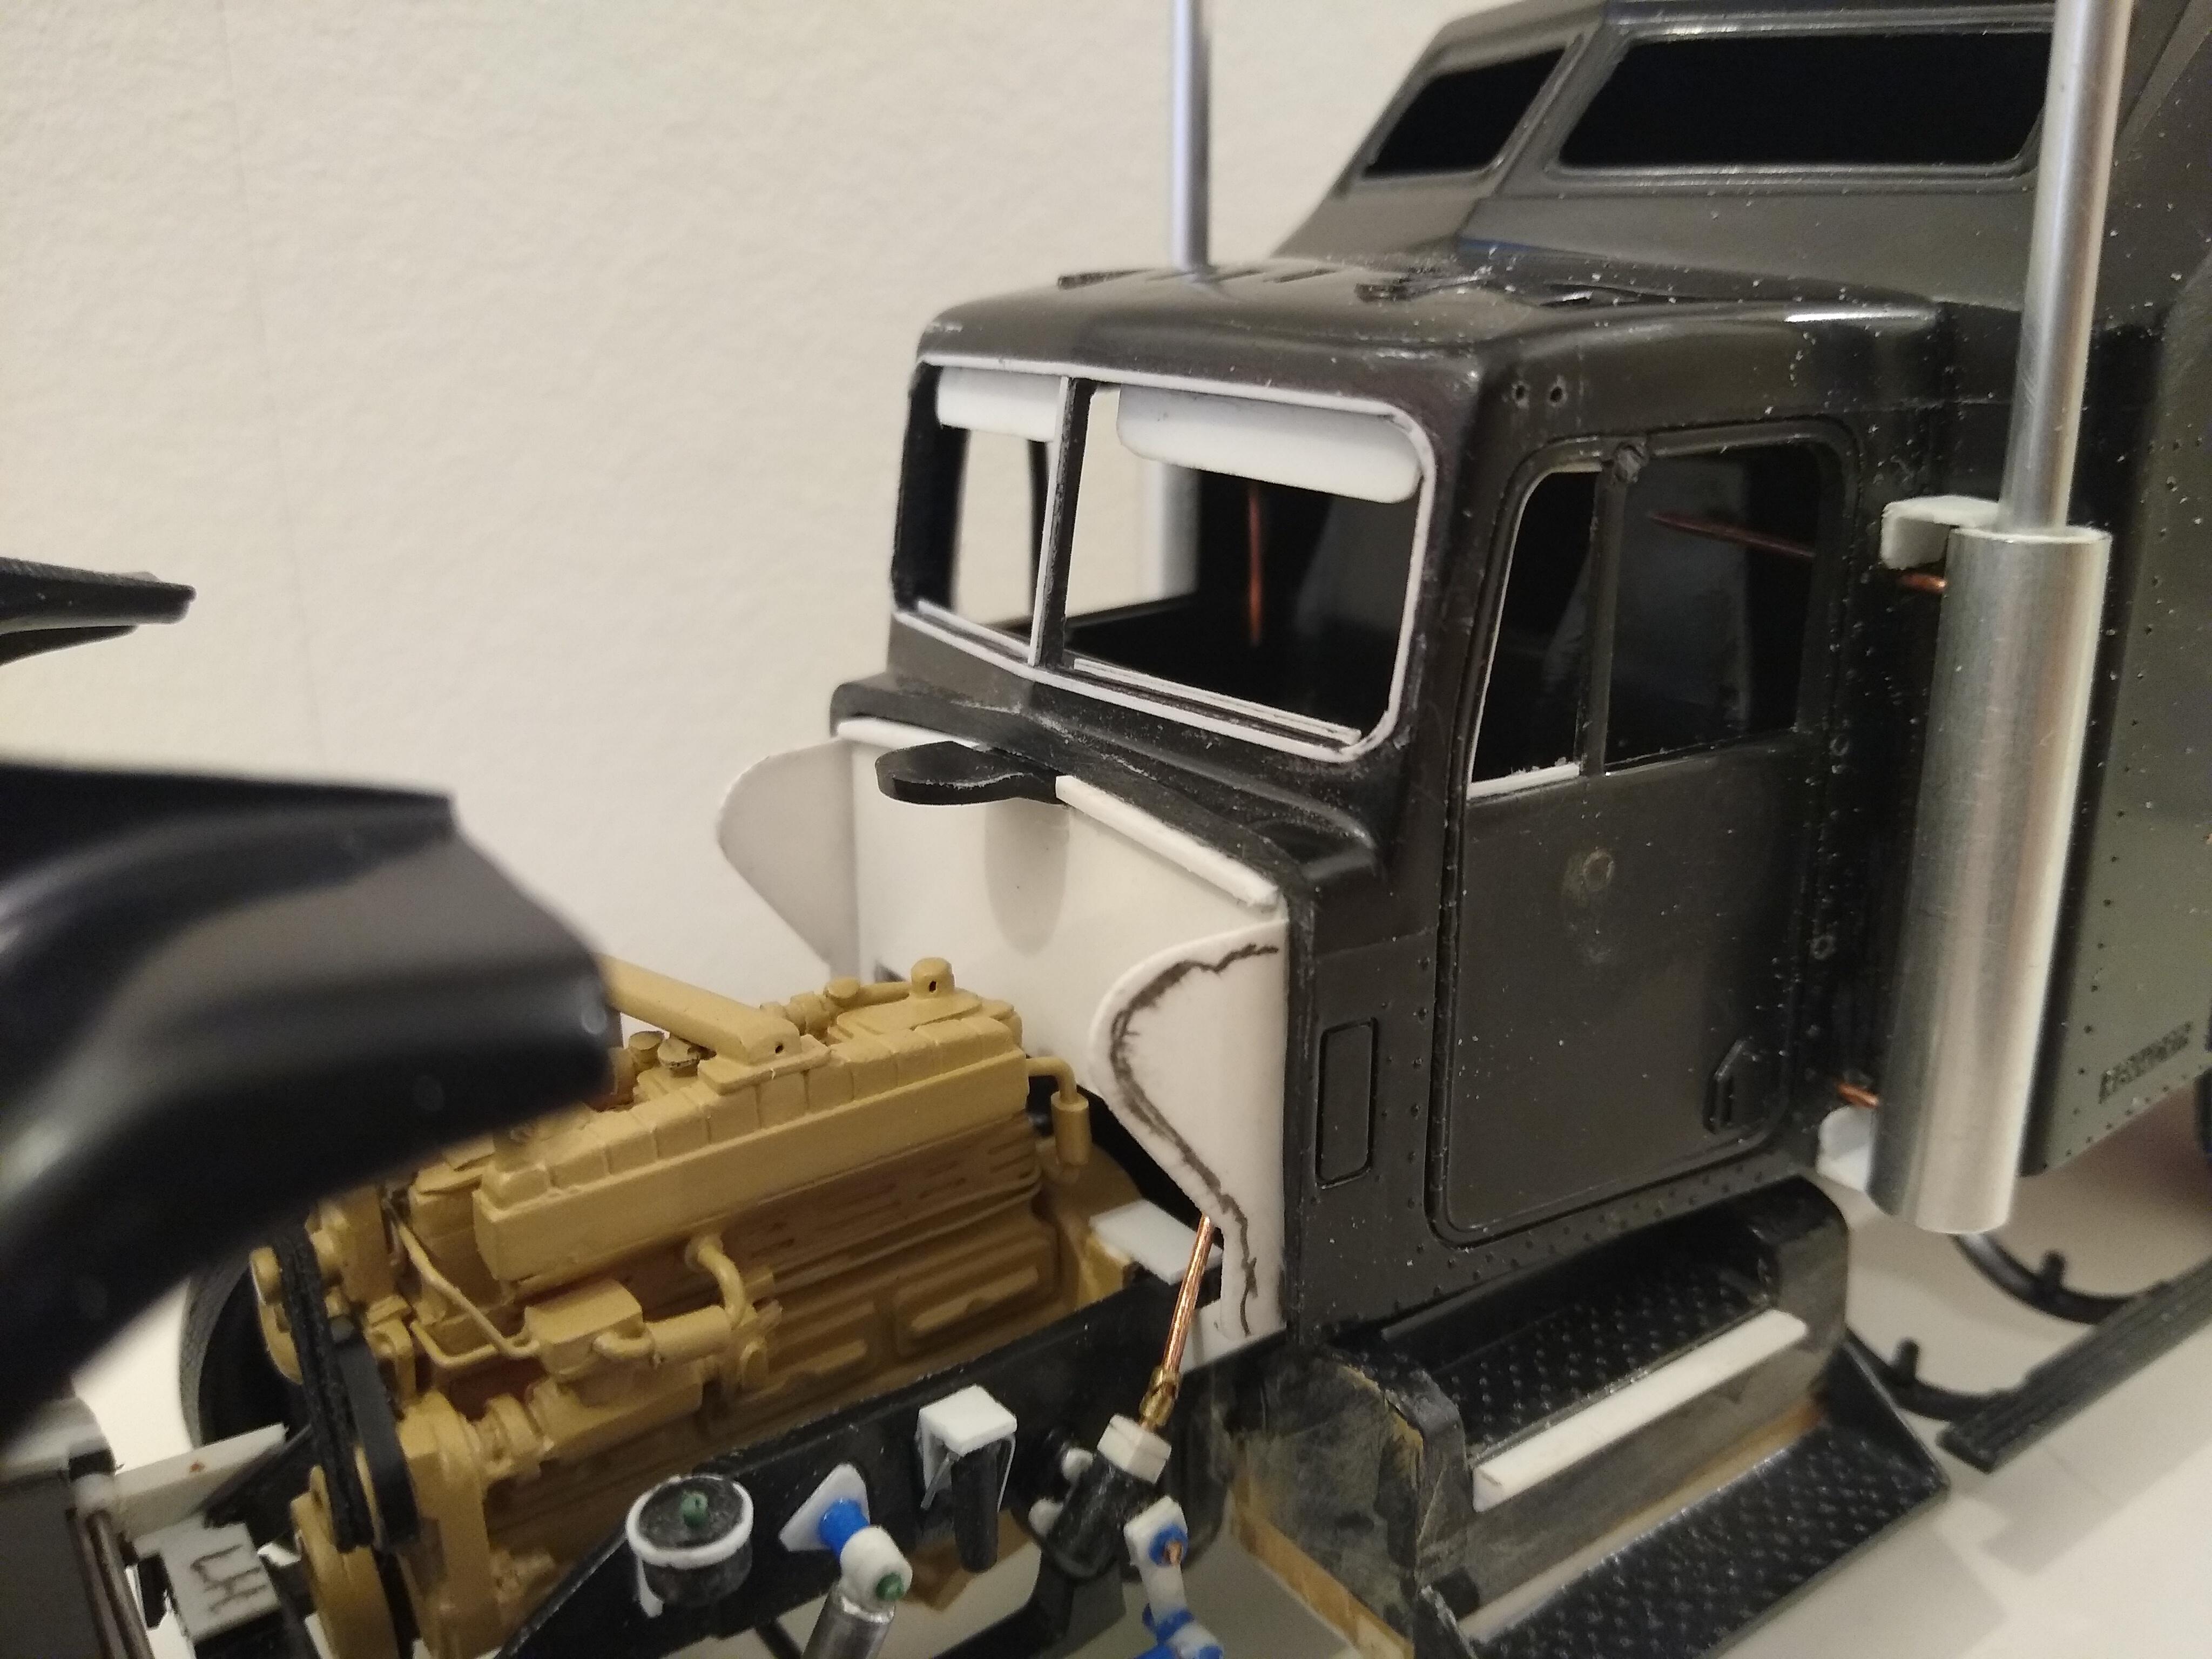
Didn't get my full afternoon off today but got a little done. Broke the candle out and bent up suitably sized sprue into a bottom and top hose for the radiator and an exhaust pipe from the turbo. For rubber hose I used some sheathing for household wiring that's sat in my garage for decades. Does the job perfectly. So my radiator is plumbed in now.
-
Put the inlet system together. Built a crosspipe between the air filters out of chubby sprue. Used the same with a candle to form two 90 degree bends. Wrapped the bends in 0.8mm square rod to simulate the strengthening ribs and matched it all up to the turbo inlet. Looks ok.
-
1/25 Revell Peterbilt 359
Rockford replied to cifenet's topic in WIP: Model Trucks: Big Rigs and Heavy Equipment
I had success several years ago using food colouring to tint screens. You basically form a bath of food colour and dip the pieces. It takes a bit of experimentation regarding strength and method but it worked well. There might be a tutorial somewhere. -
1949 Freightliner Bubblenose
Rockford replied to RoninUtah's topic in Model Trucks: Big Rigs and Heavy Equipment
Love these old 'shakers. Such a shame the big fleets like CF have disappeared. -
Dodge Cabover
Rockford replied to Repstock's topic in WIP: Model Trucks: Big Rigs and Heavy Equipment
Very tidy job you've made of that. It's going to look great. It's a very rewarding thing making something from scratch isn't it? -
1/25 Revell Peterbilt 359
Rockford replied to cifenet's topic in WIP: Model Trucks: Big Rigs and Heavy Equipment
You're doing a great job on this kit, just as you did on the Transtar. It will be an impressive and distinctive truck when it's finished. -
Peterbilt 351
Rockford replied to The Brush's topic in WIP: Model Trucks: Big Rigs and Heavy Equipment
That's looking great mate. You're right, it is finally good weather for painting over here in GB. I'm sure your paint job will turn out great. -
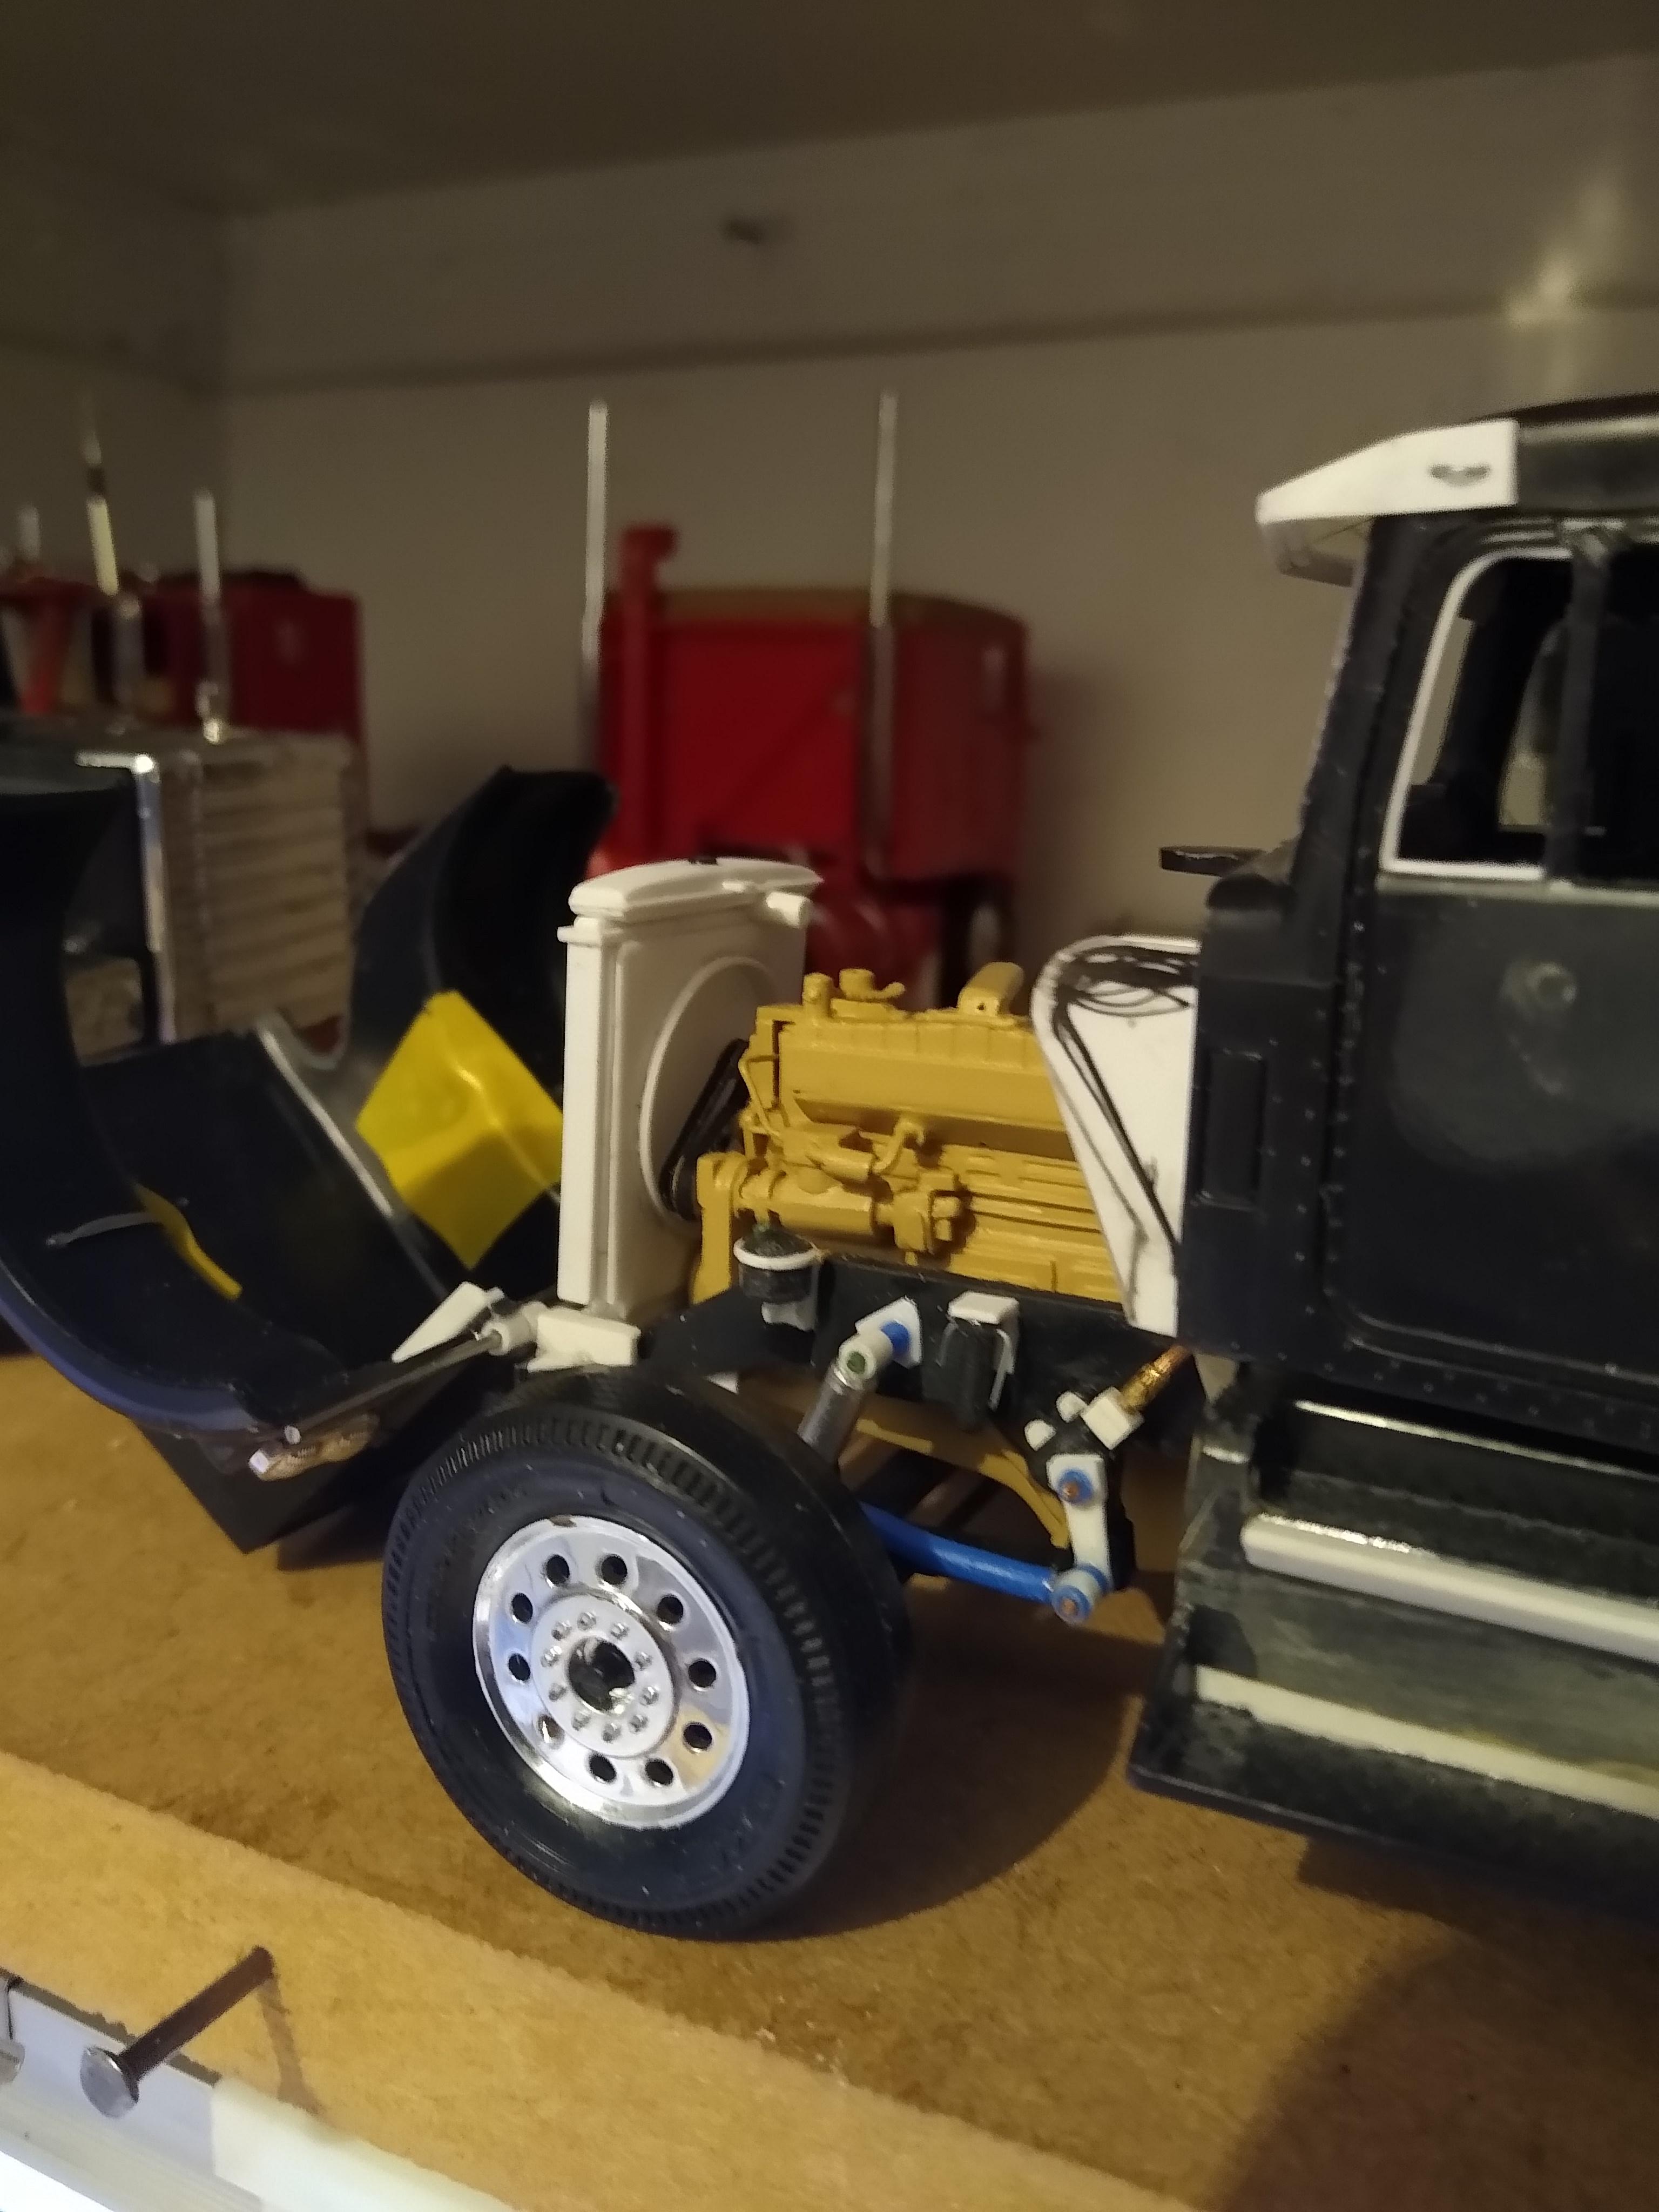
Today's project:- scratchbuilt a radiator. I used the AMT 1/25 kit for reference, also searched for 1980 W900 radiators for sale and truck auction sites. Used plastic card mainly and built it up in layers. Had to notch the bottom corners to get round the hood brackets. Header tank is 4 layers of card with one slightly proud to form the seam. Opened the hole in the fan shroud and inserted the edge of the cowling. Looks ok and the hood still closes.
-
2023 BRGB Movin' On Kenworth
Rockford replied to leafsprings's topic in WIP: Model Trucks: Big Rigs and Heavy Equipment
I keep looking for updates on this project. Good to see the colour going on! Can't wait to see it finished. Force makes a good point, that it is practically impossible to form an opinion on a colour from the TV screen or stills, probably because there was so much intense artificial lighting being used. Sometimes it looks really dark green and other times there's a like a golden tinge in the colour. Yours does look great though. Keep up the good work. -
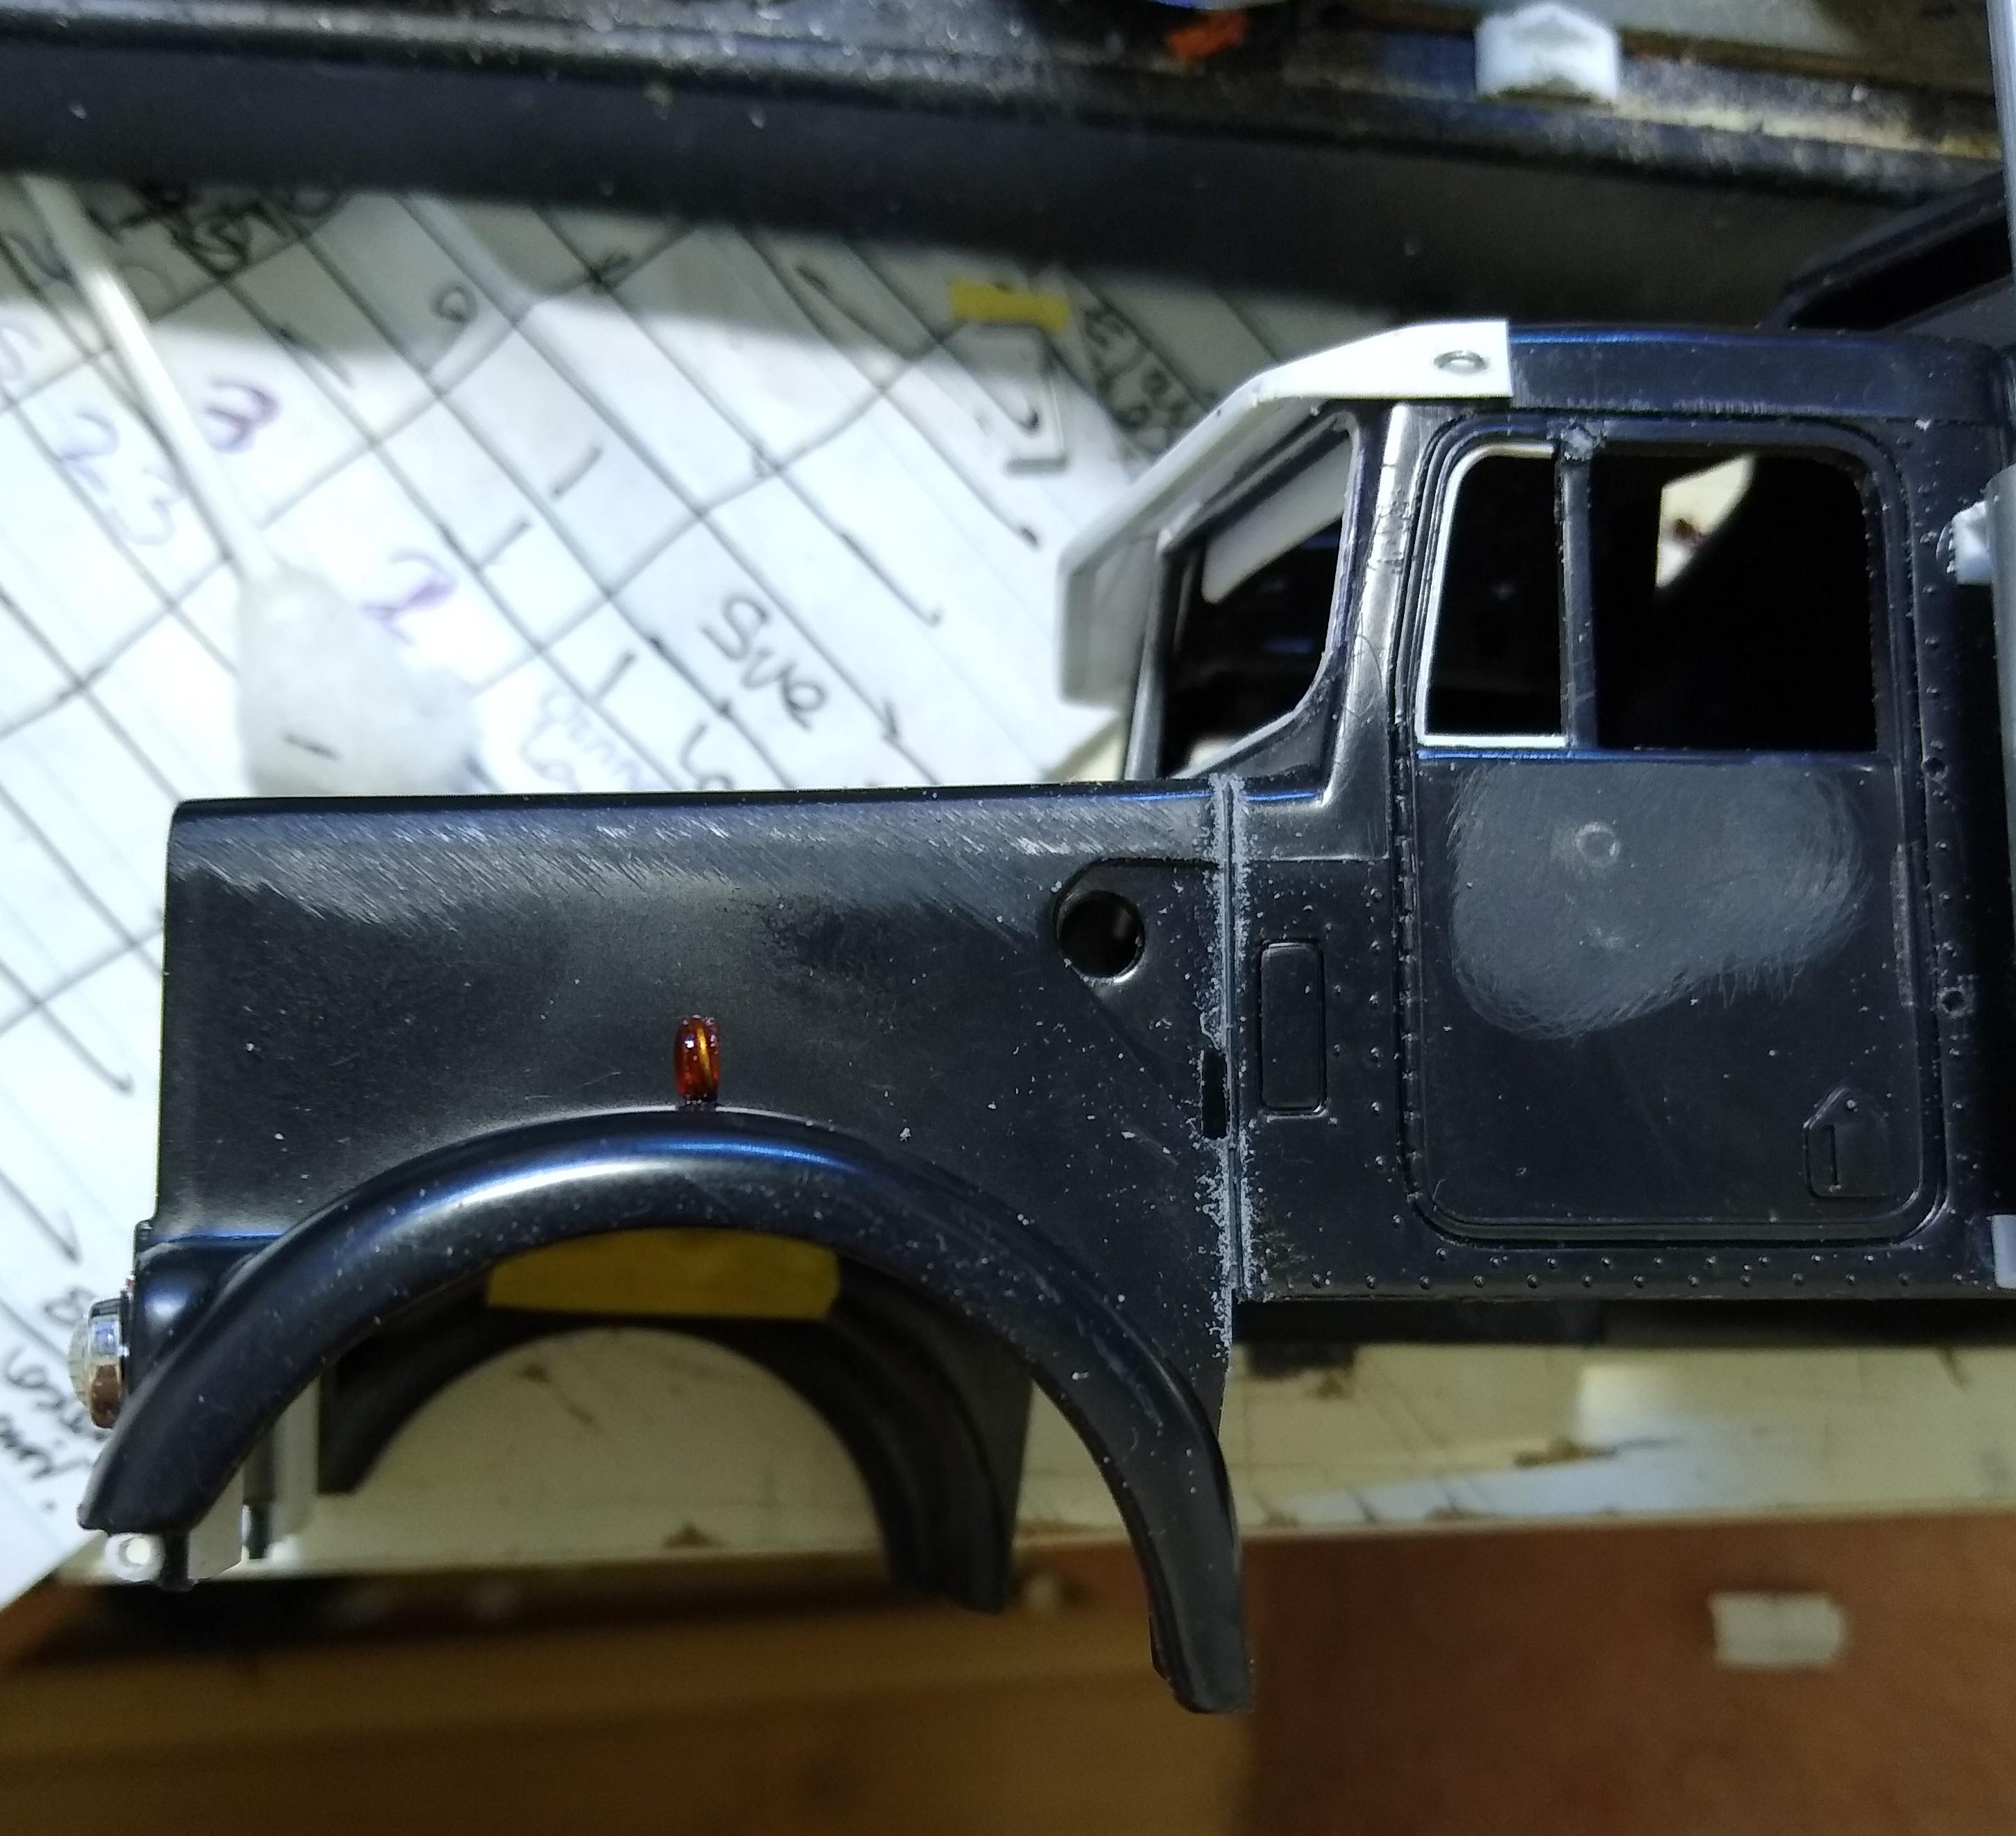
After all my work yesterday I went to bed and started checking some things on the interwebs and found that I'd made the hood inserts the wrong shape. I'd copied the AMT 1/25 shape but looking at Twinsticks Garage's truck I realised that the line sloping inward is straight. So, 6:30am Sunday morning whilst making breakfast I removed the wrong ones, cut some new ones and got them fitted. TBH it will make shaping the hood easier, looking at the real things there's a gap between the bottom of the hood and the cab. The insert fills the gap.
-
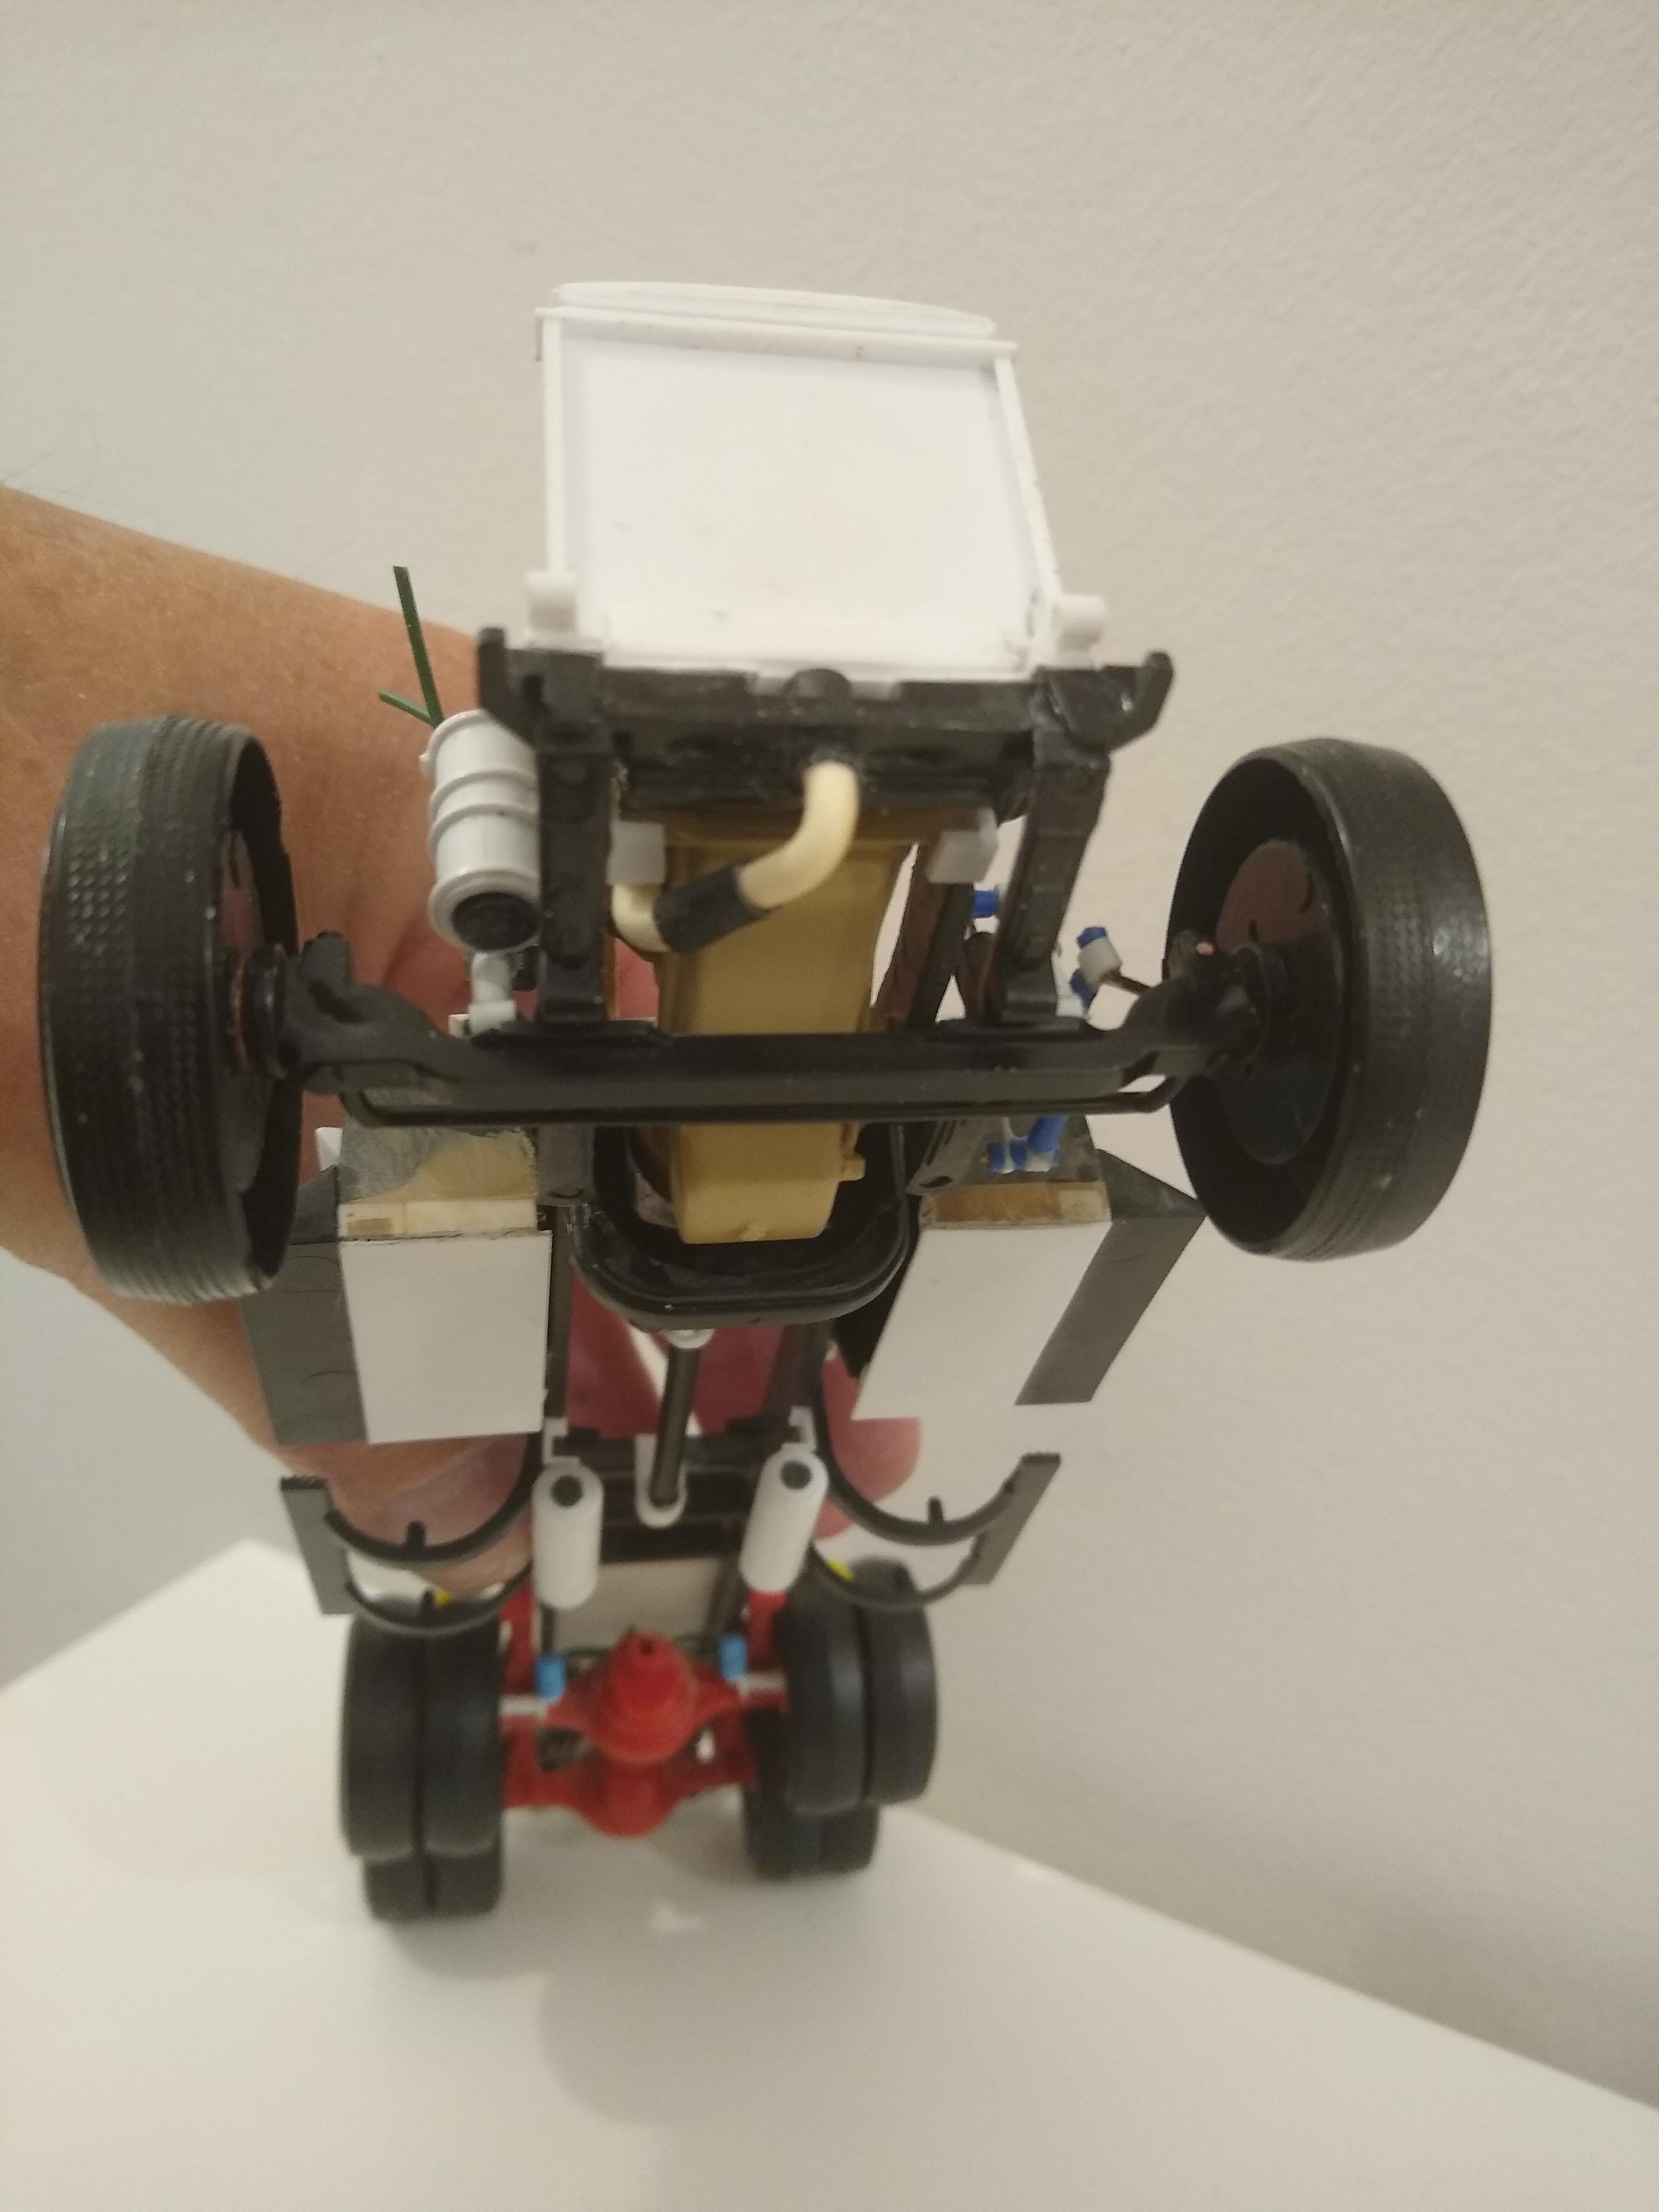
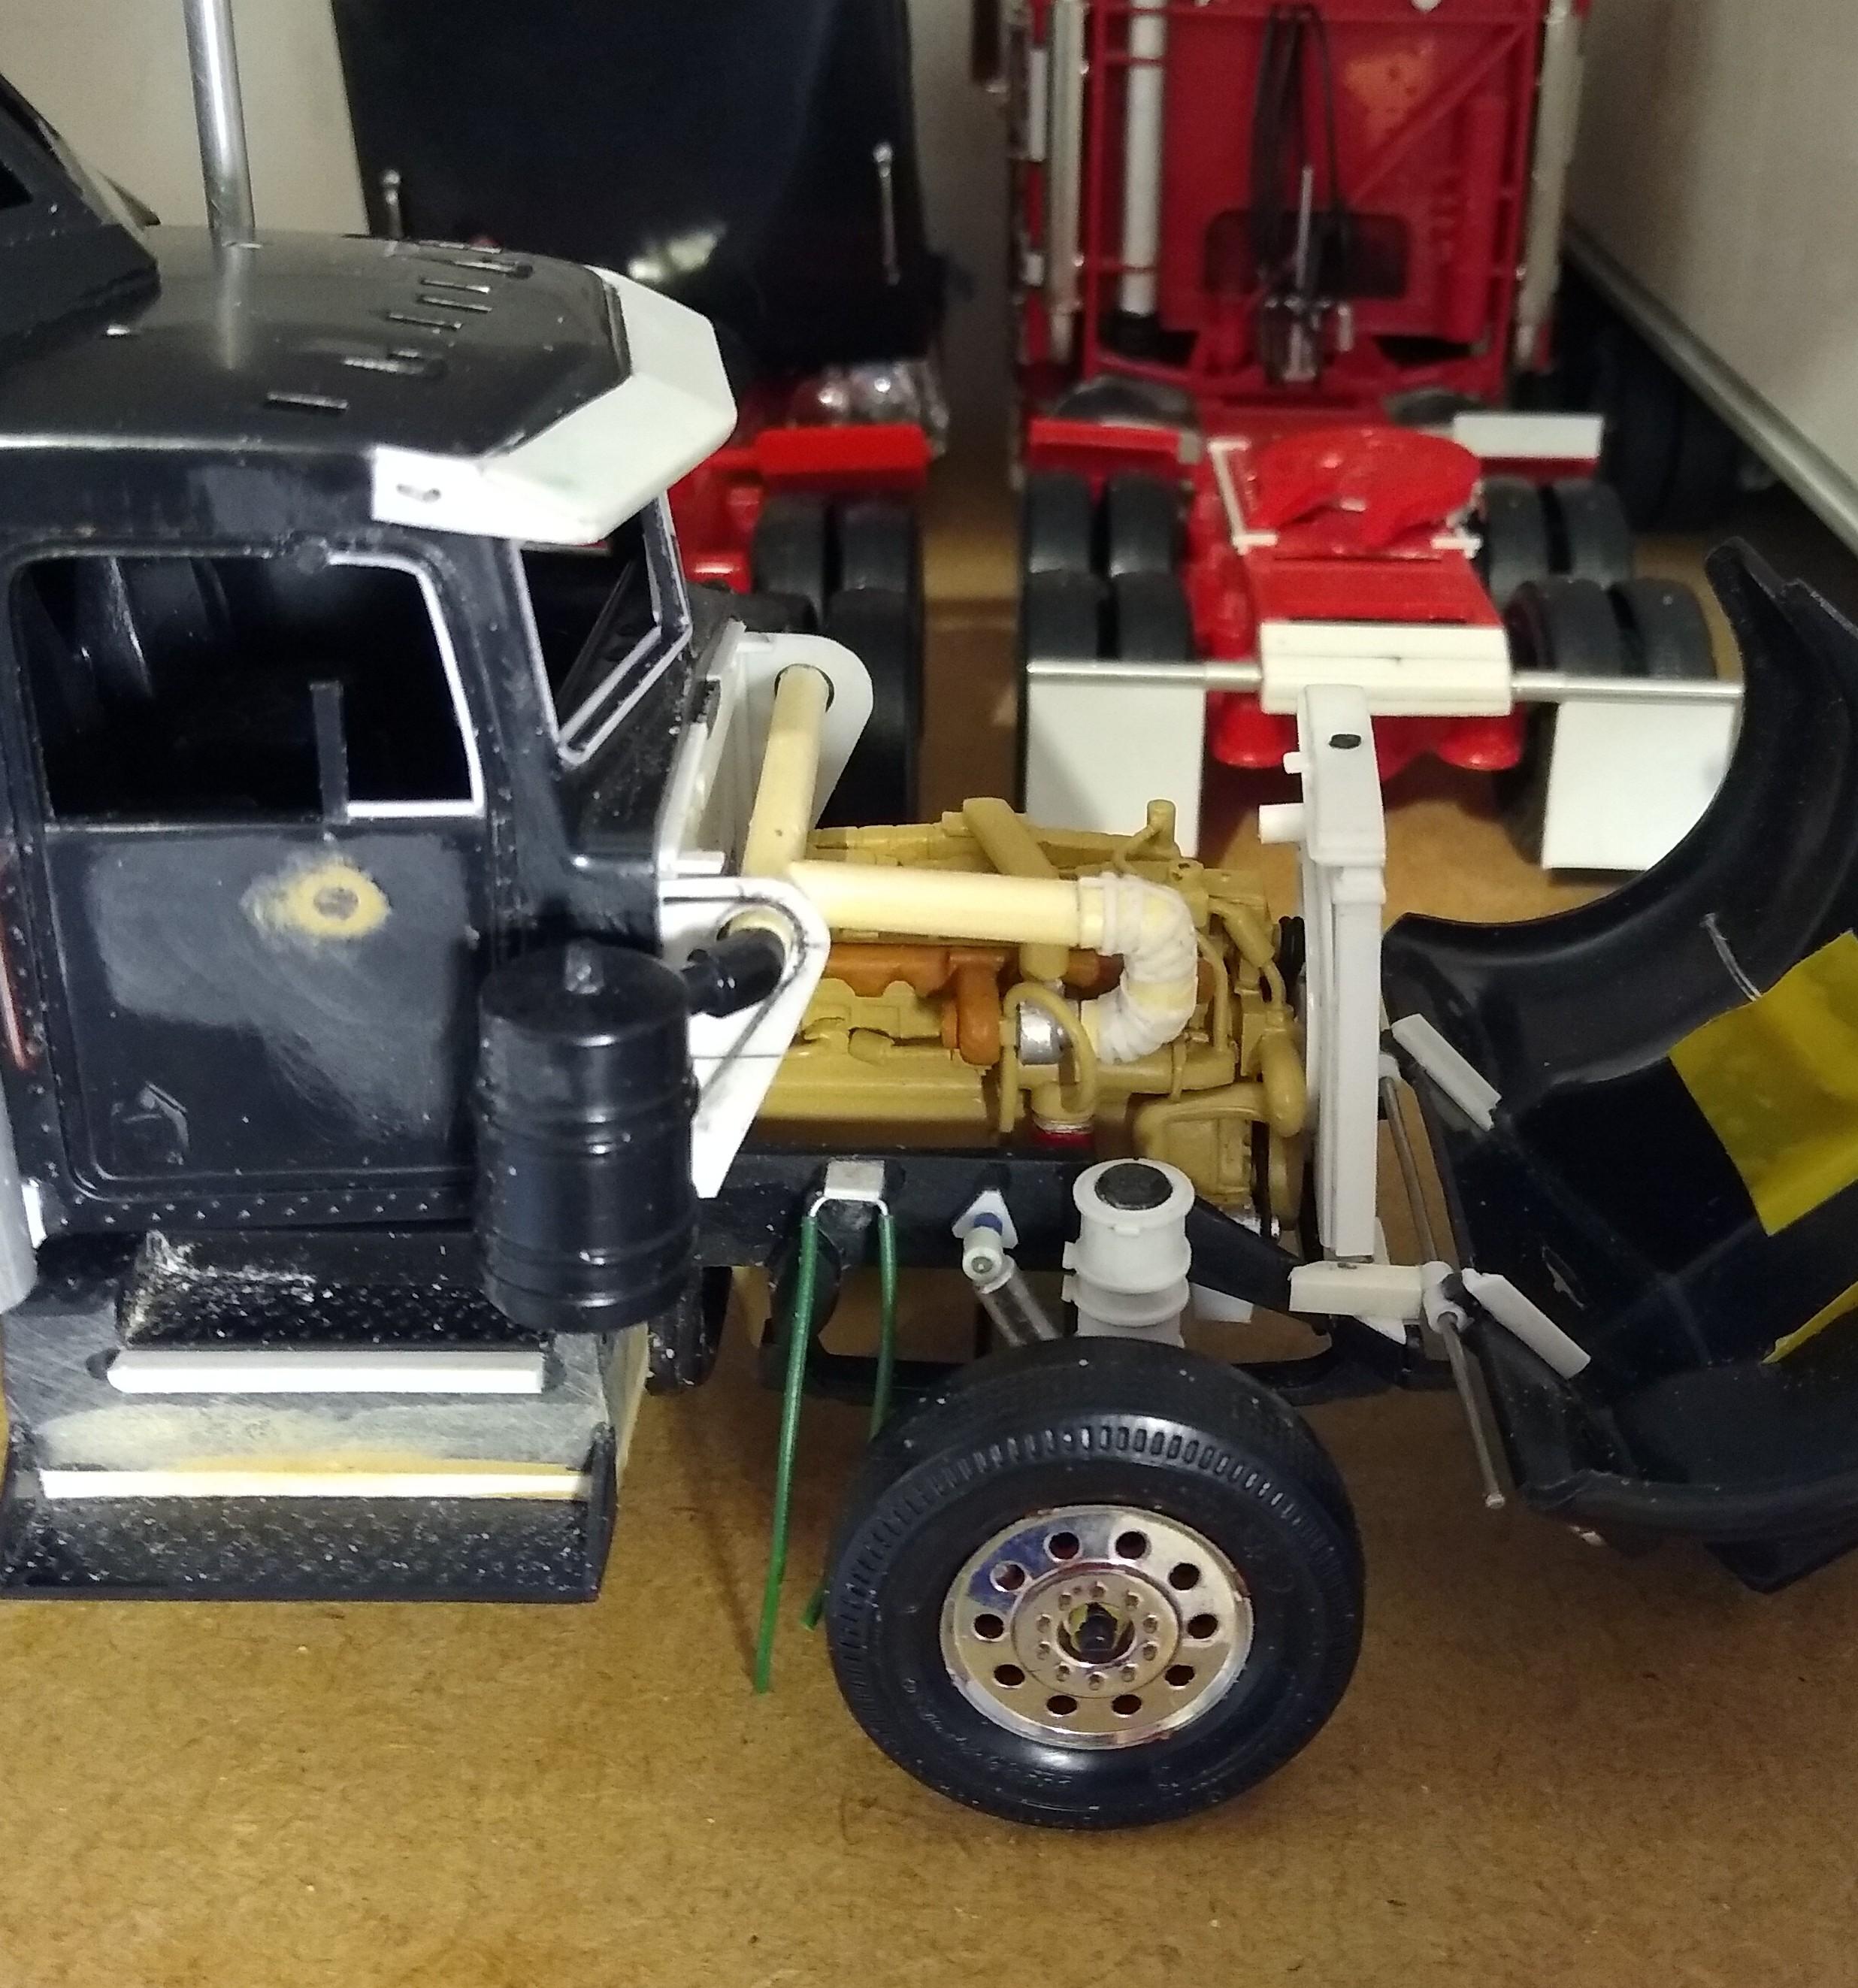
Terrifying day today, I could not put off separating the hood from the cab any longer. I could ruin my all my work if I get it wrong! Carefully made the cut with my razor saw. I just cut straight because I knew the inserts for the air filters would have to be made up anew. I removed the inserts from the hood and, cut new ones from card and attached them to the cab. Added a drip rail to the top of the firewall. I'll have to trim the lower rear of the hood so that it passes the air trunking ok as it tilts. AMT didn't anticipate the hood tilting so the angle is a little too sharp. Fabbed some engine mounts and dropped the Cummins into place. Looks great! The hood closes almost perfectly. I might just have to raise one cab nount a touch to get spot on alignment. With the bumper and grille in place the hood tilts to the perfect 90 degree position.
-
1/25 Revell Peterbilt 359
Rockford replied to cifenet's topic in WIP: Model Trucks: Big Rigs and Heavy Equipment
The tyres on the Revell kit are indeed unbelievably bad. Hard to conceive how someone could look at that in the factory and say they approved of it for production. It's not as if they've never seen a tyre before is it? This build is becoming an epic! Great work and well done for detailing your steps. You keep saying that you're a novice, well in choice of kit only, your abilities are excellent. -
1/25 Revell Peterbilt 359
Rockford replied to cifenet's topic in WIP: Model Trucks: Big Rigs and Heavy Equipment
You're giving this your best efforts. Great to be able to print your own stuff to sort the problems out. -
Dodge Cabover
Rockford replied to Repstock's topic in WIP: Model Trucks: Big Rigs and Heavy Equipment
This is one worth watching. -
Trying to be methodical in my approach to opening the hood. I carefully trimmed the cab mounts I'd fitted until they just sat on the cab floor. I then cut the fronts off and glued the bottom piece to the chassis. This ensured that the cab assembly sat level supported from front to back. I then glued 2.3mm tube in place, two on the hood, two on the chassis, and pinned them together using a large paperclip. The theory is, when I part the hood from the cab it should be correctly aligned. It's a bit terrifying but if it goes pear shaped I can always glue it back together and use my Cummins elsewhere.
-
Thanks sir, I'm sort of resigned to 1/32 because of space constraints but I do enjoy the challenge of making these things credible. I'd much rather work in 1/24 or 1/25, so much more choice.
-
Thanks Ben, can't wait to see your 1/32 build. We're a small group.
-
2× Chevy Bison
Rockford replied to Rockford's topic in WIP: Model Trucks: Big Rigs and Heavy Equipment
Thanks Ben Next job, back to the W900 and work out how to open up the hood and keep it looking straight. -
2× Chevy Bison
Rockford replied to Rockford's topic in WIP: Model Trucks: Big Rigs and Heavy Equipment
Thanks Justin Although I have to jump through hoops to make these snappers look half decent they build square and straight which apparently, the AMT General or Bison doesn't, but many seem to end up looking good. I hope yours comes together ok. I built one nearly 40 years ago and was always very proud of it, but it's too long ago to recall what issues I had with it. -
2× Chevy Bison
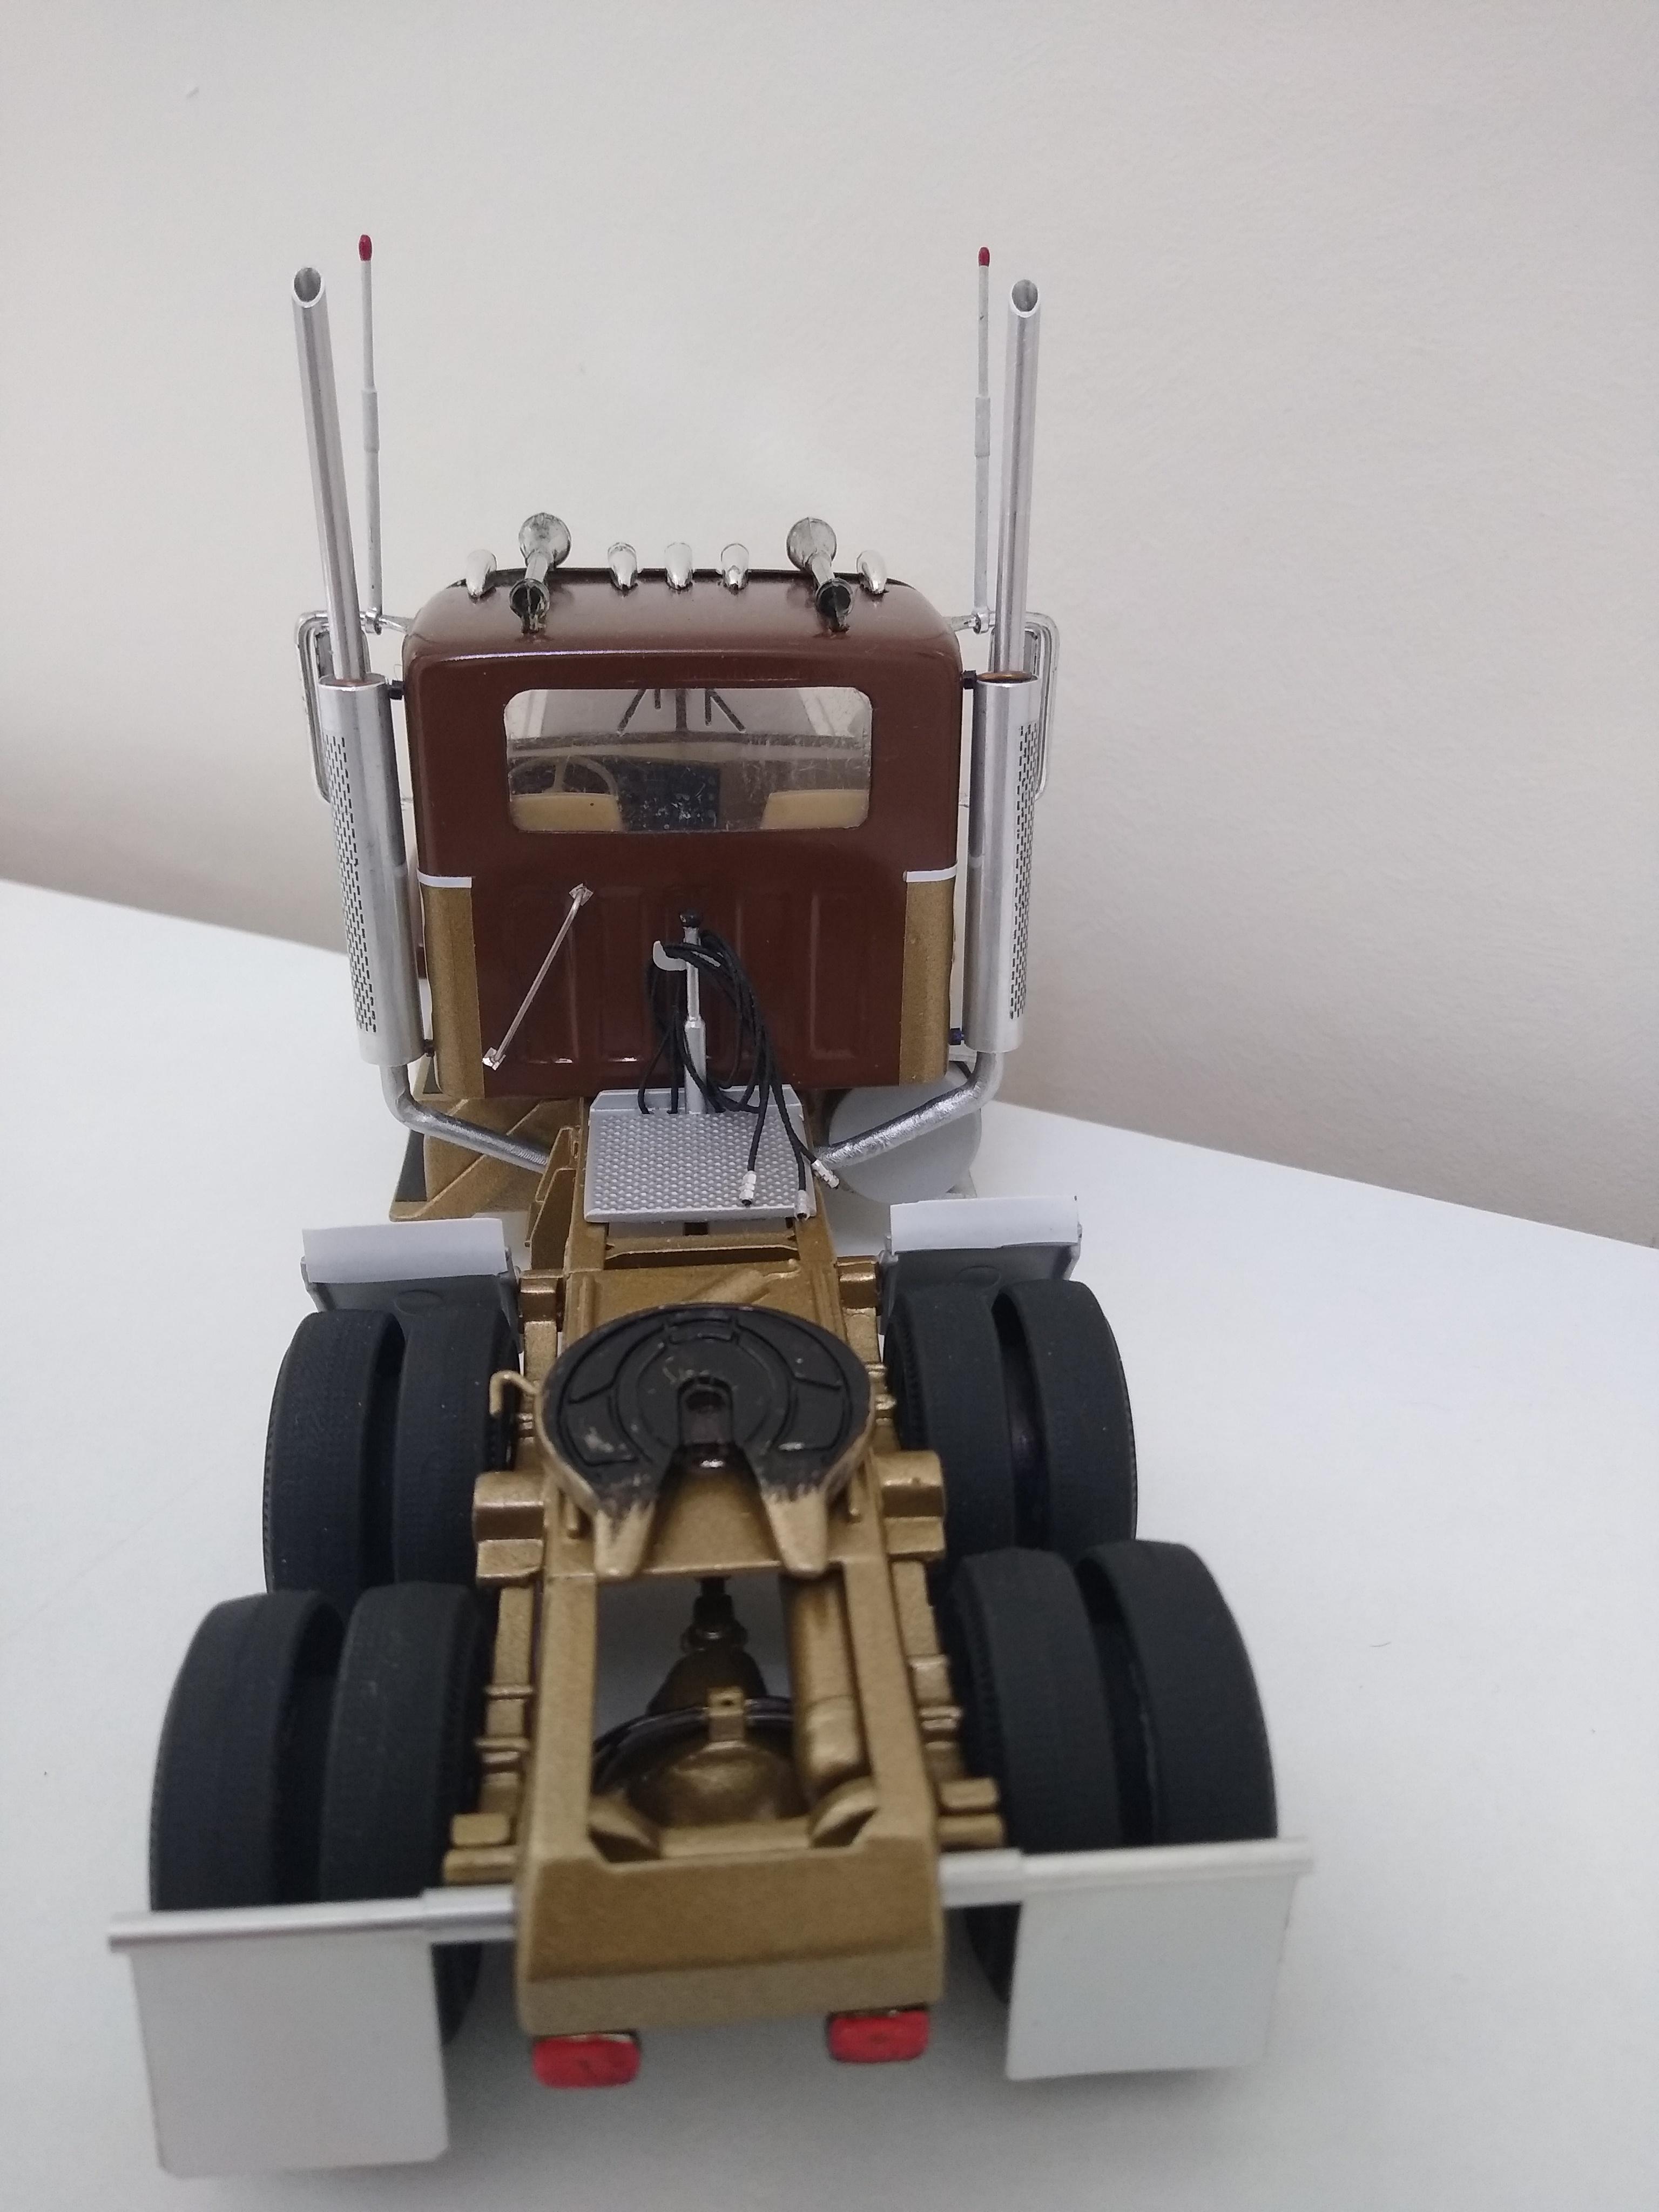
Rockford replied to Rockford's topic in WIP: Model Trucks: Big Rigs and Heavy Equipment
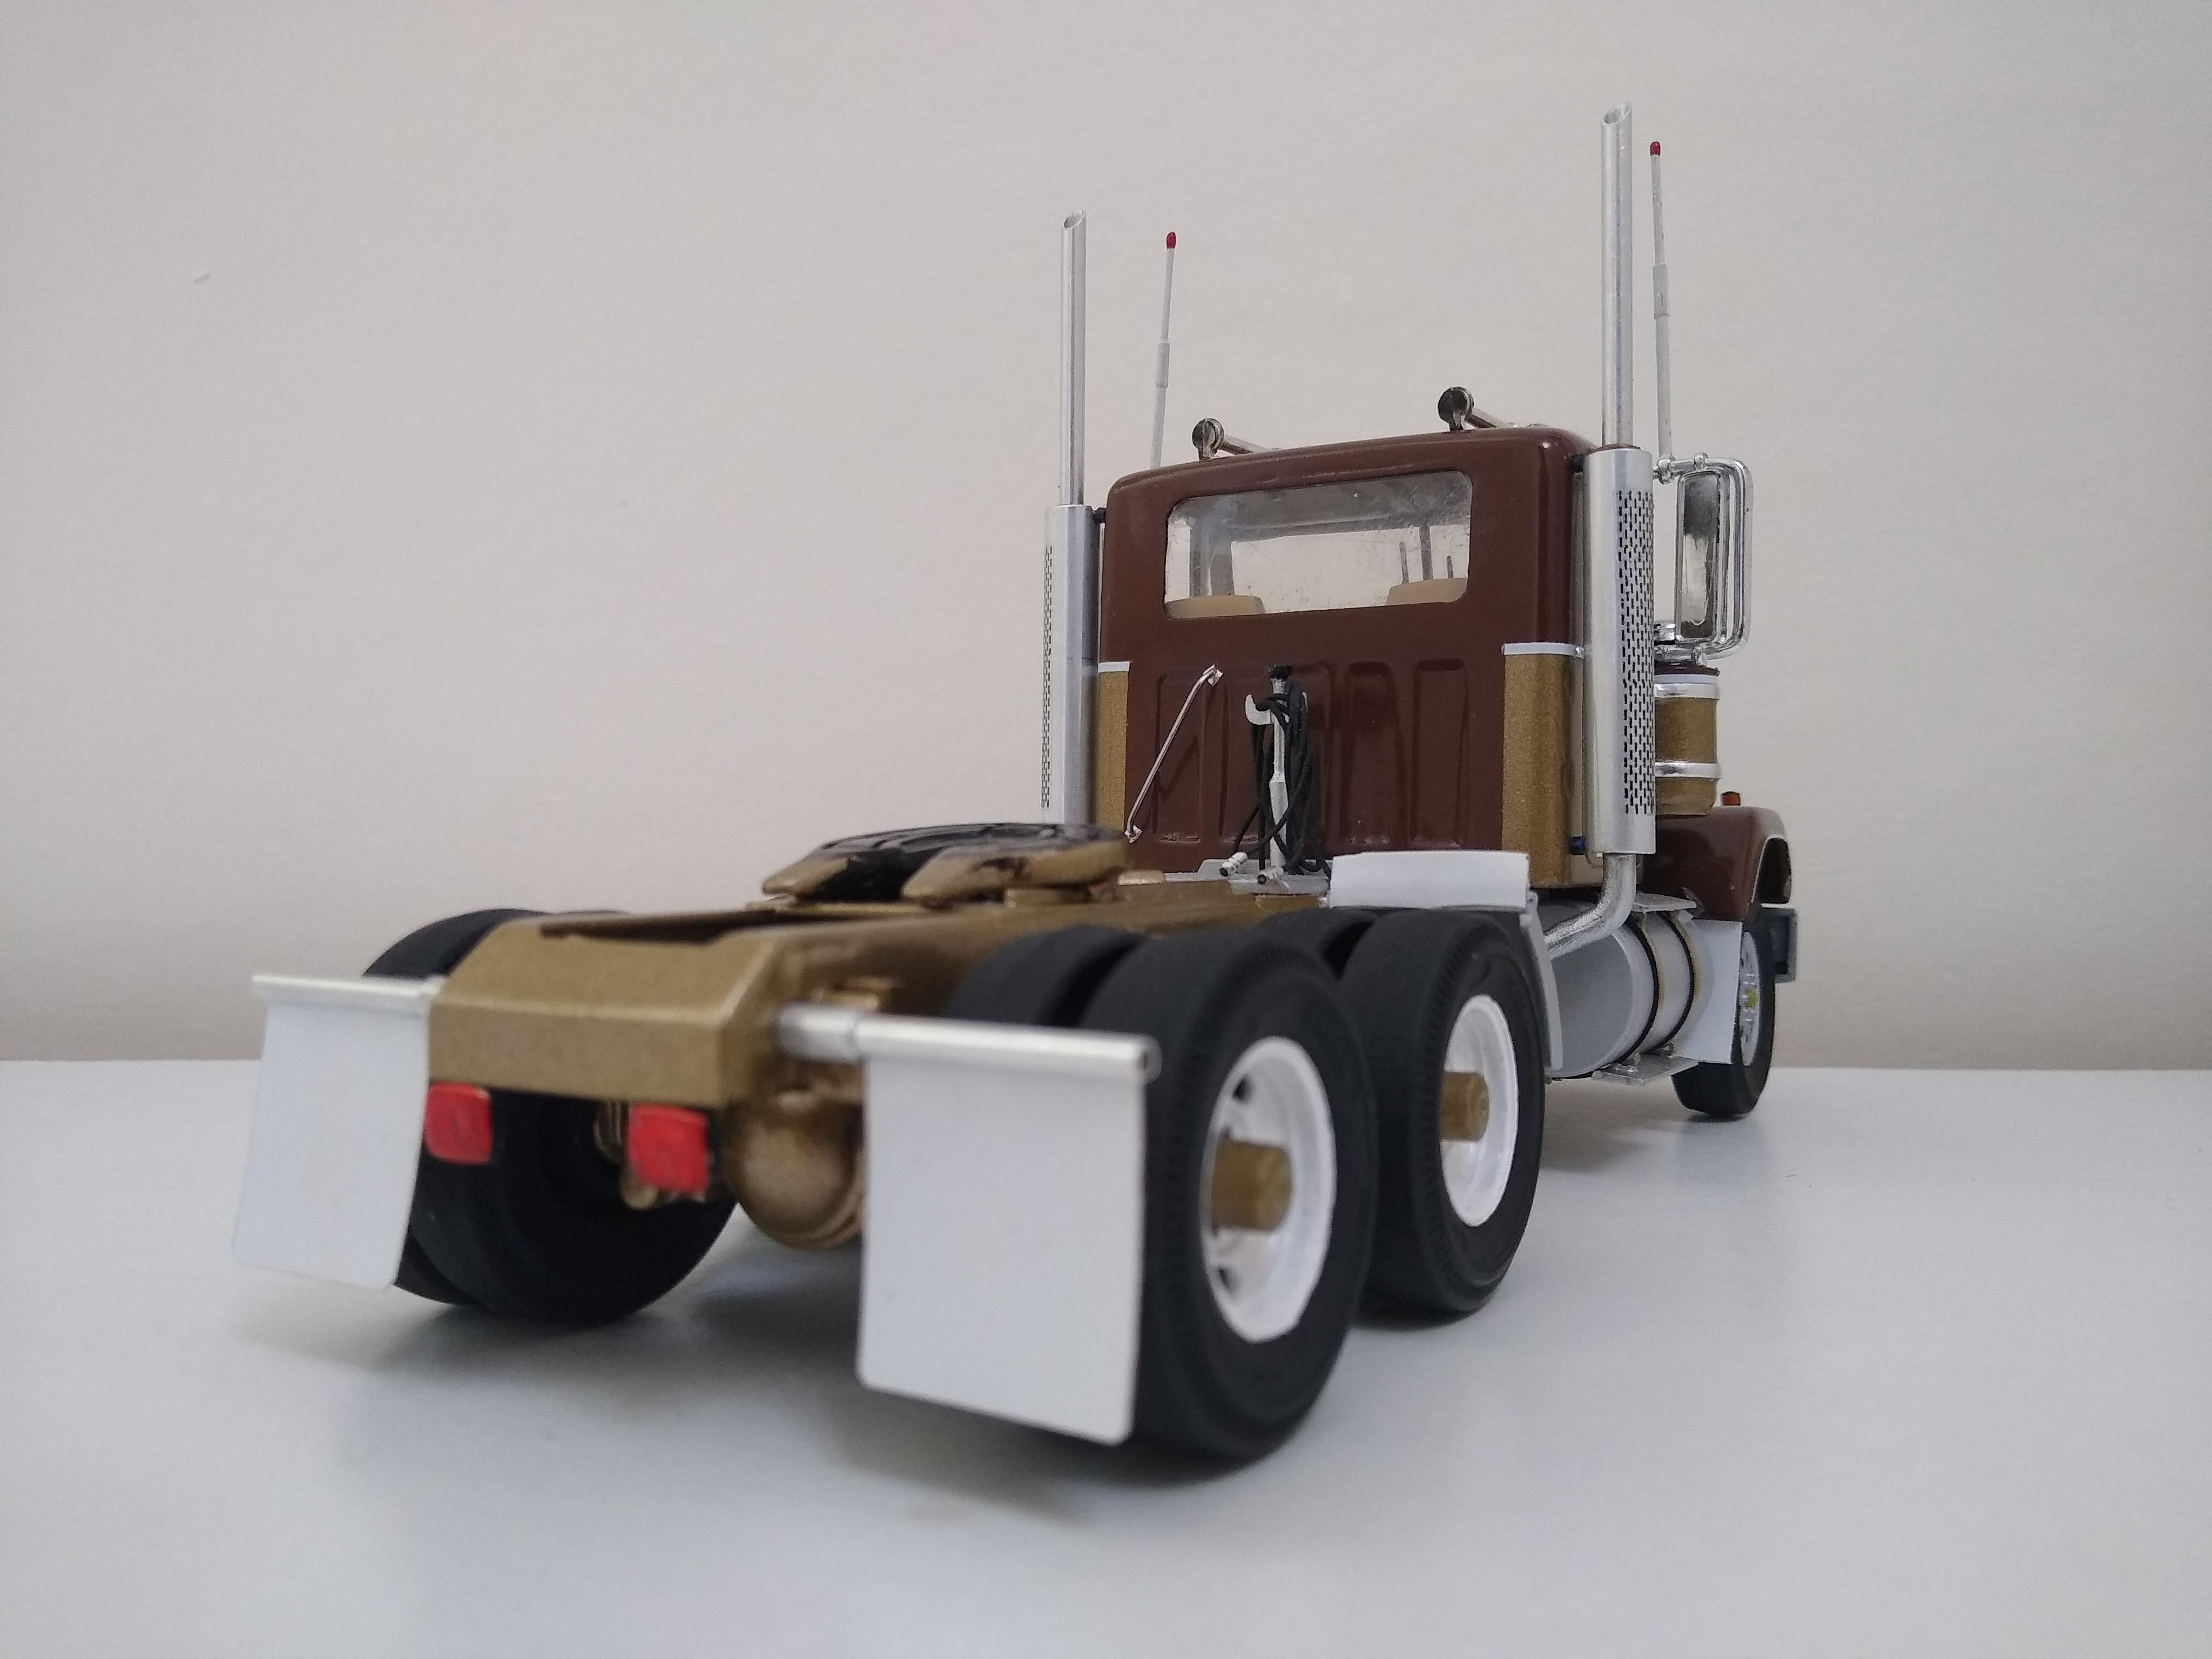
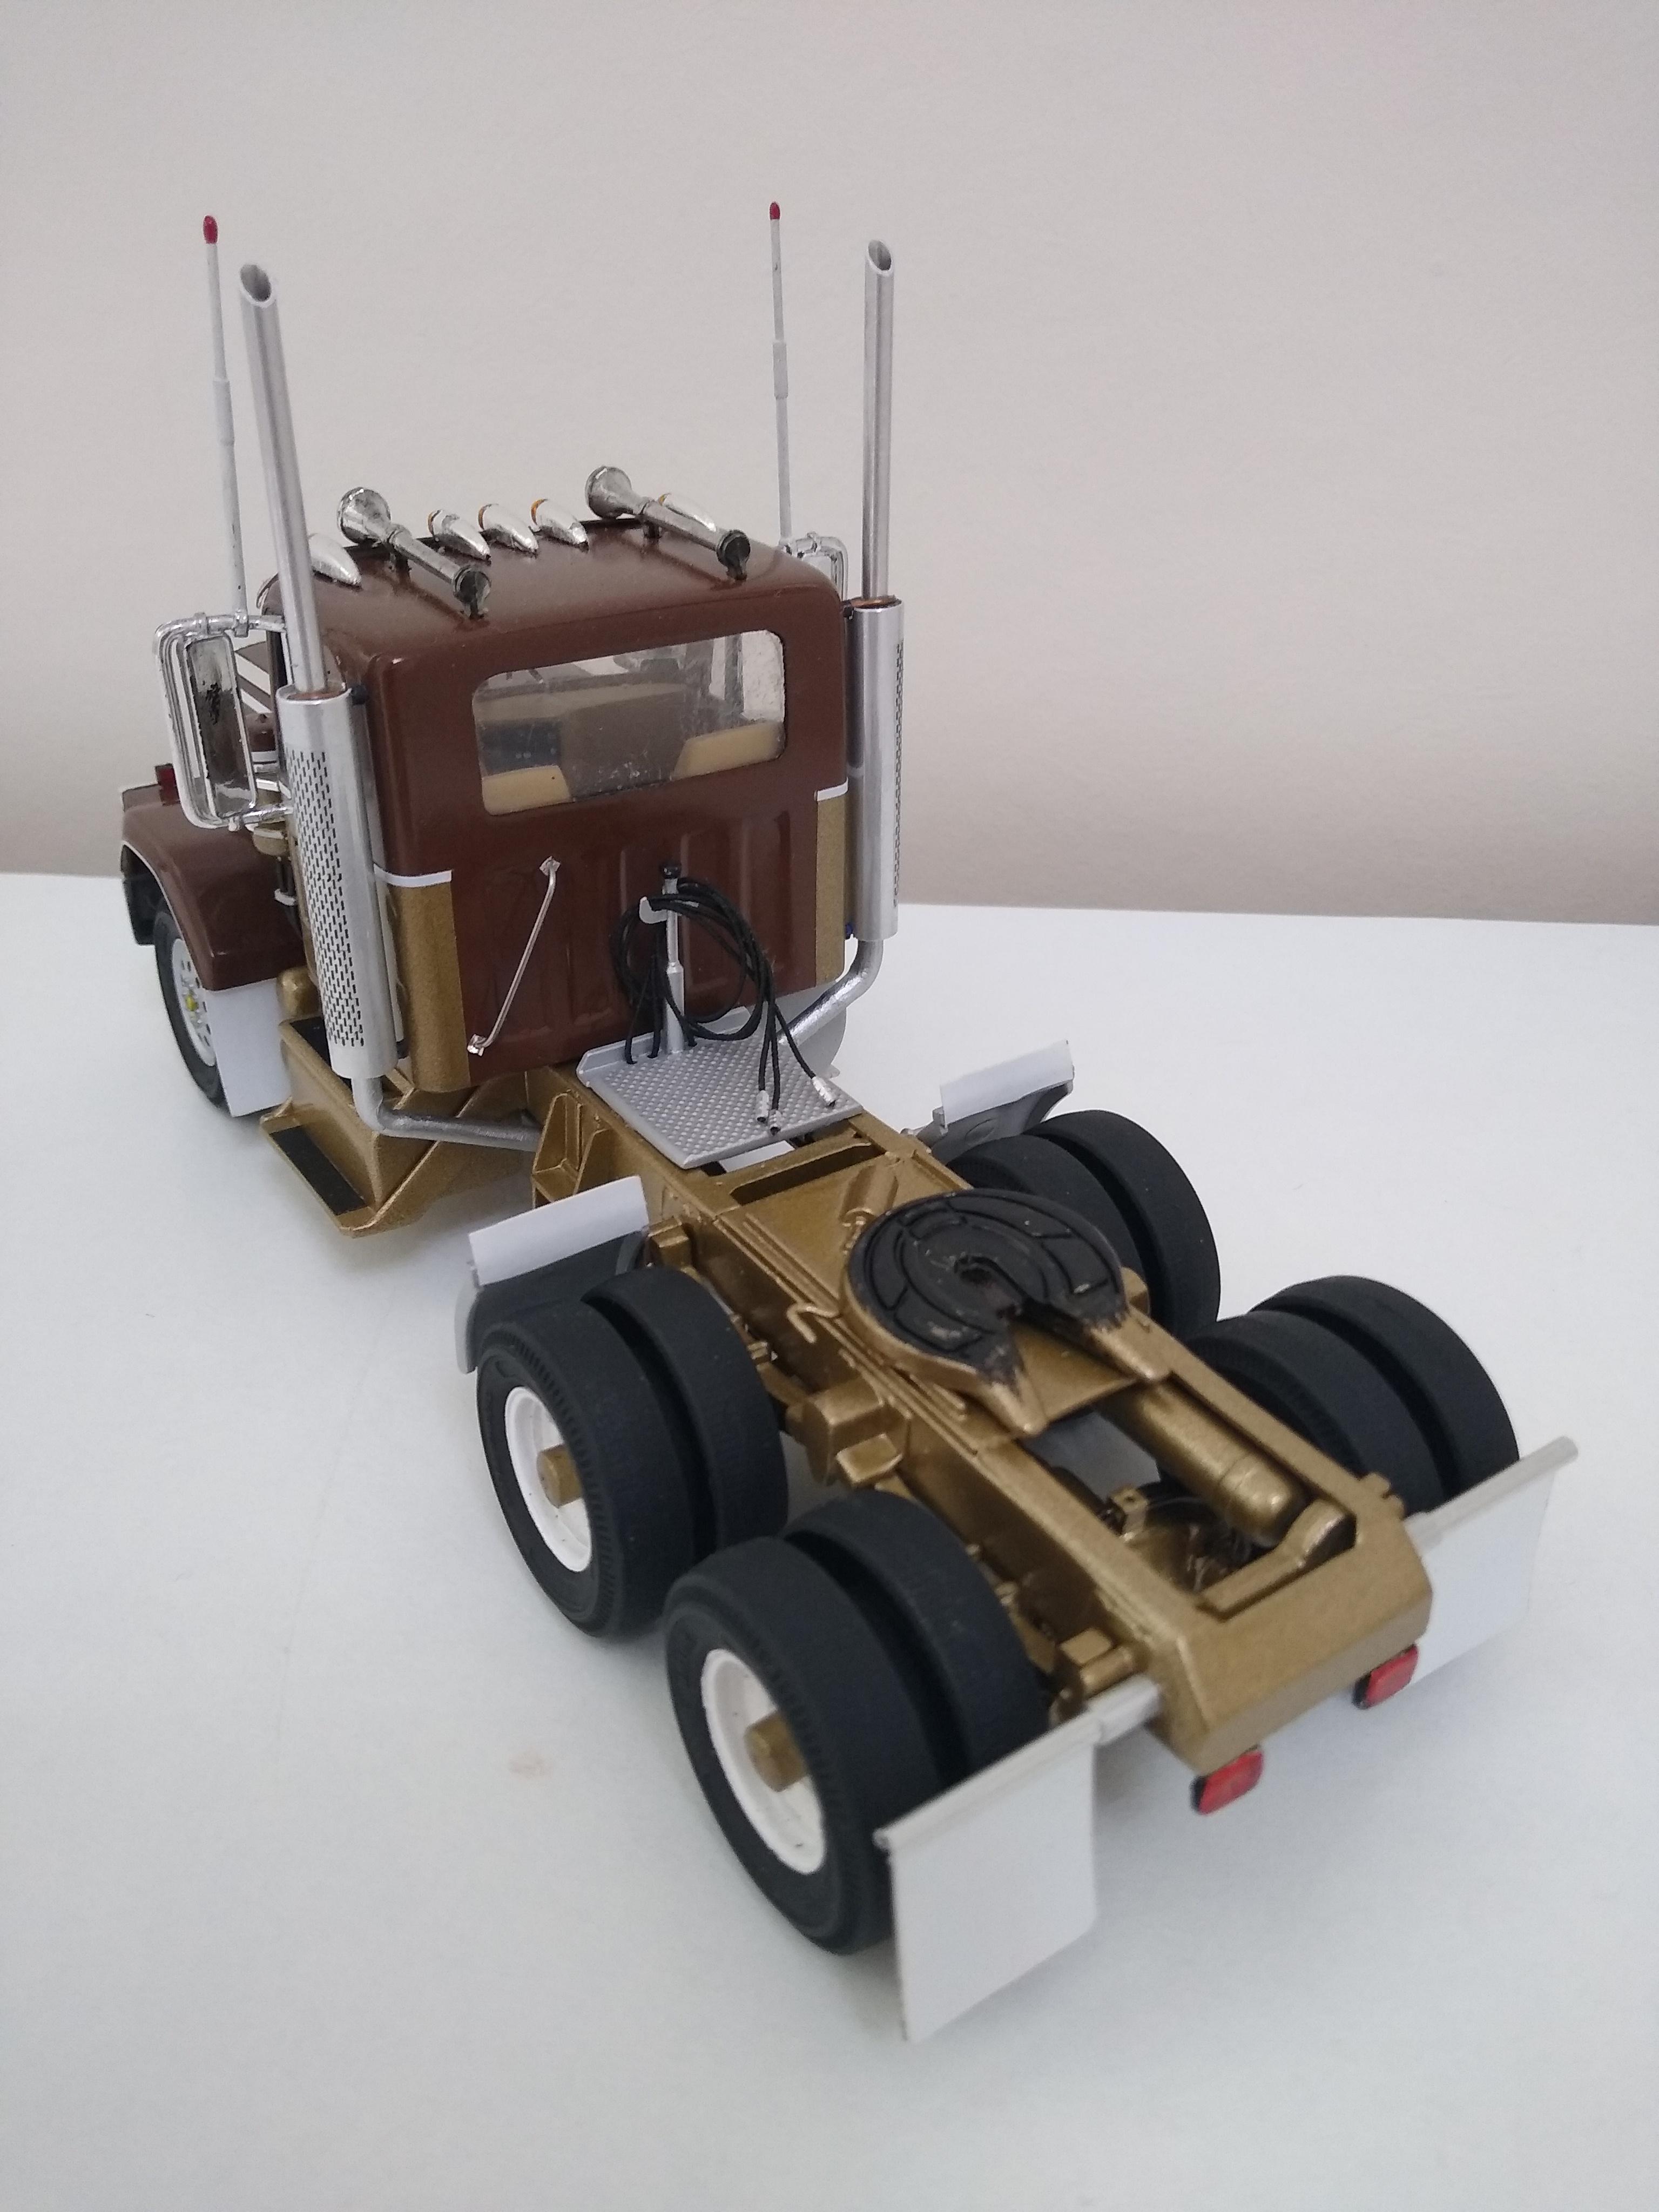
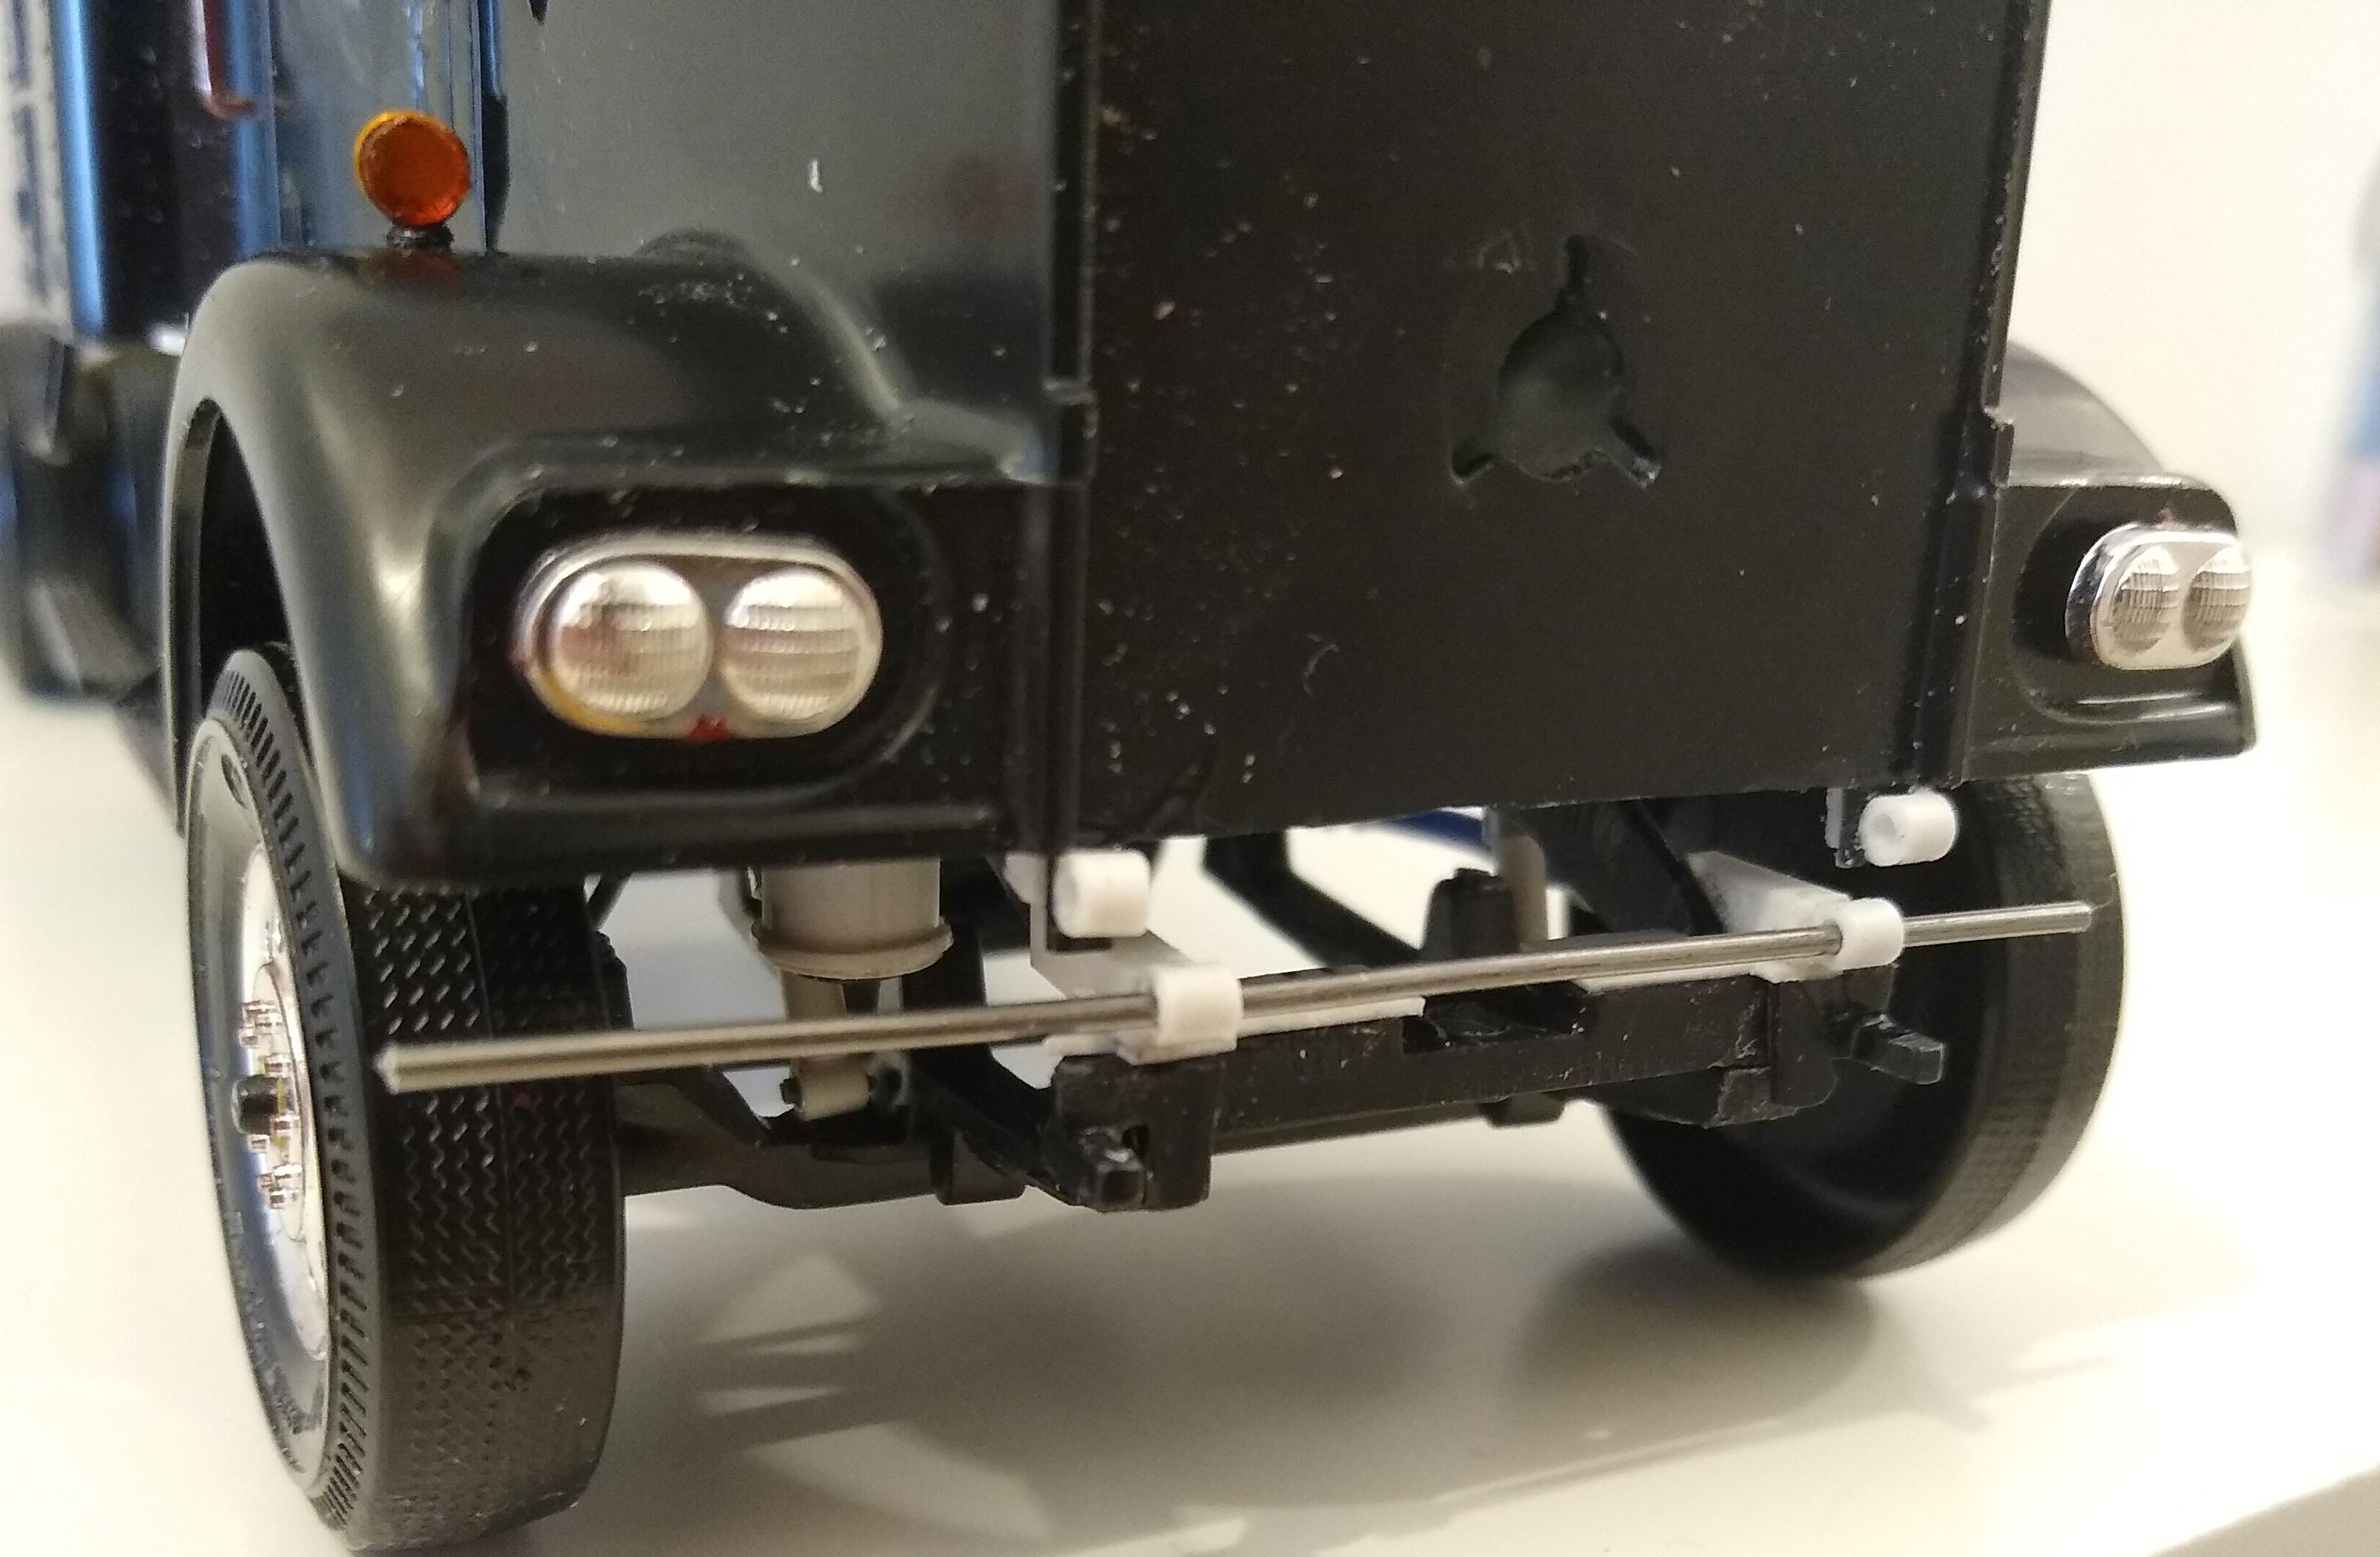
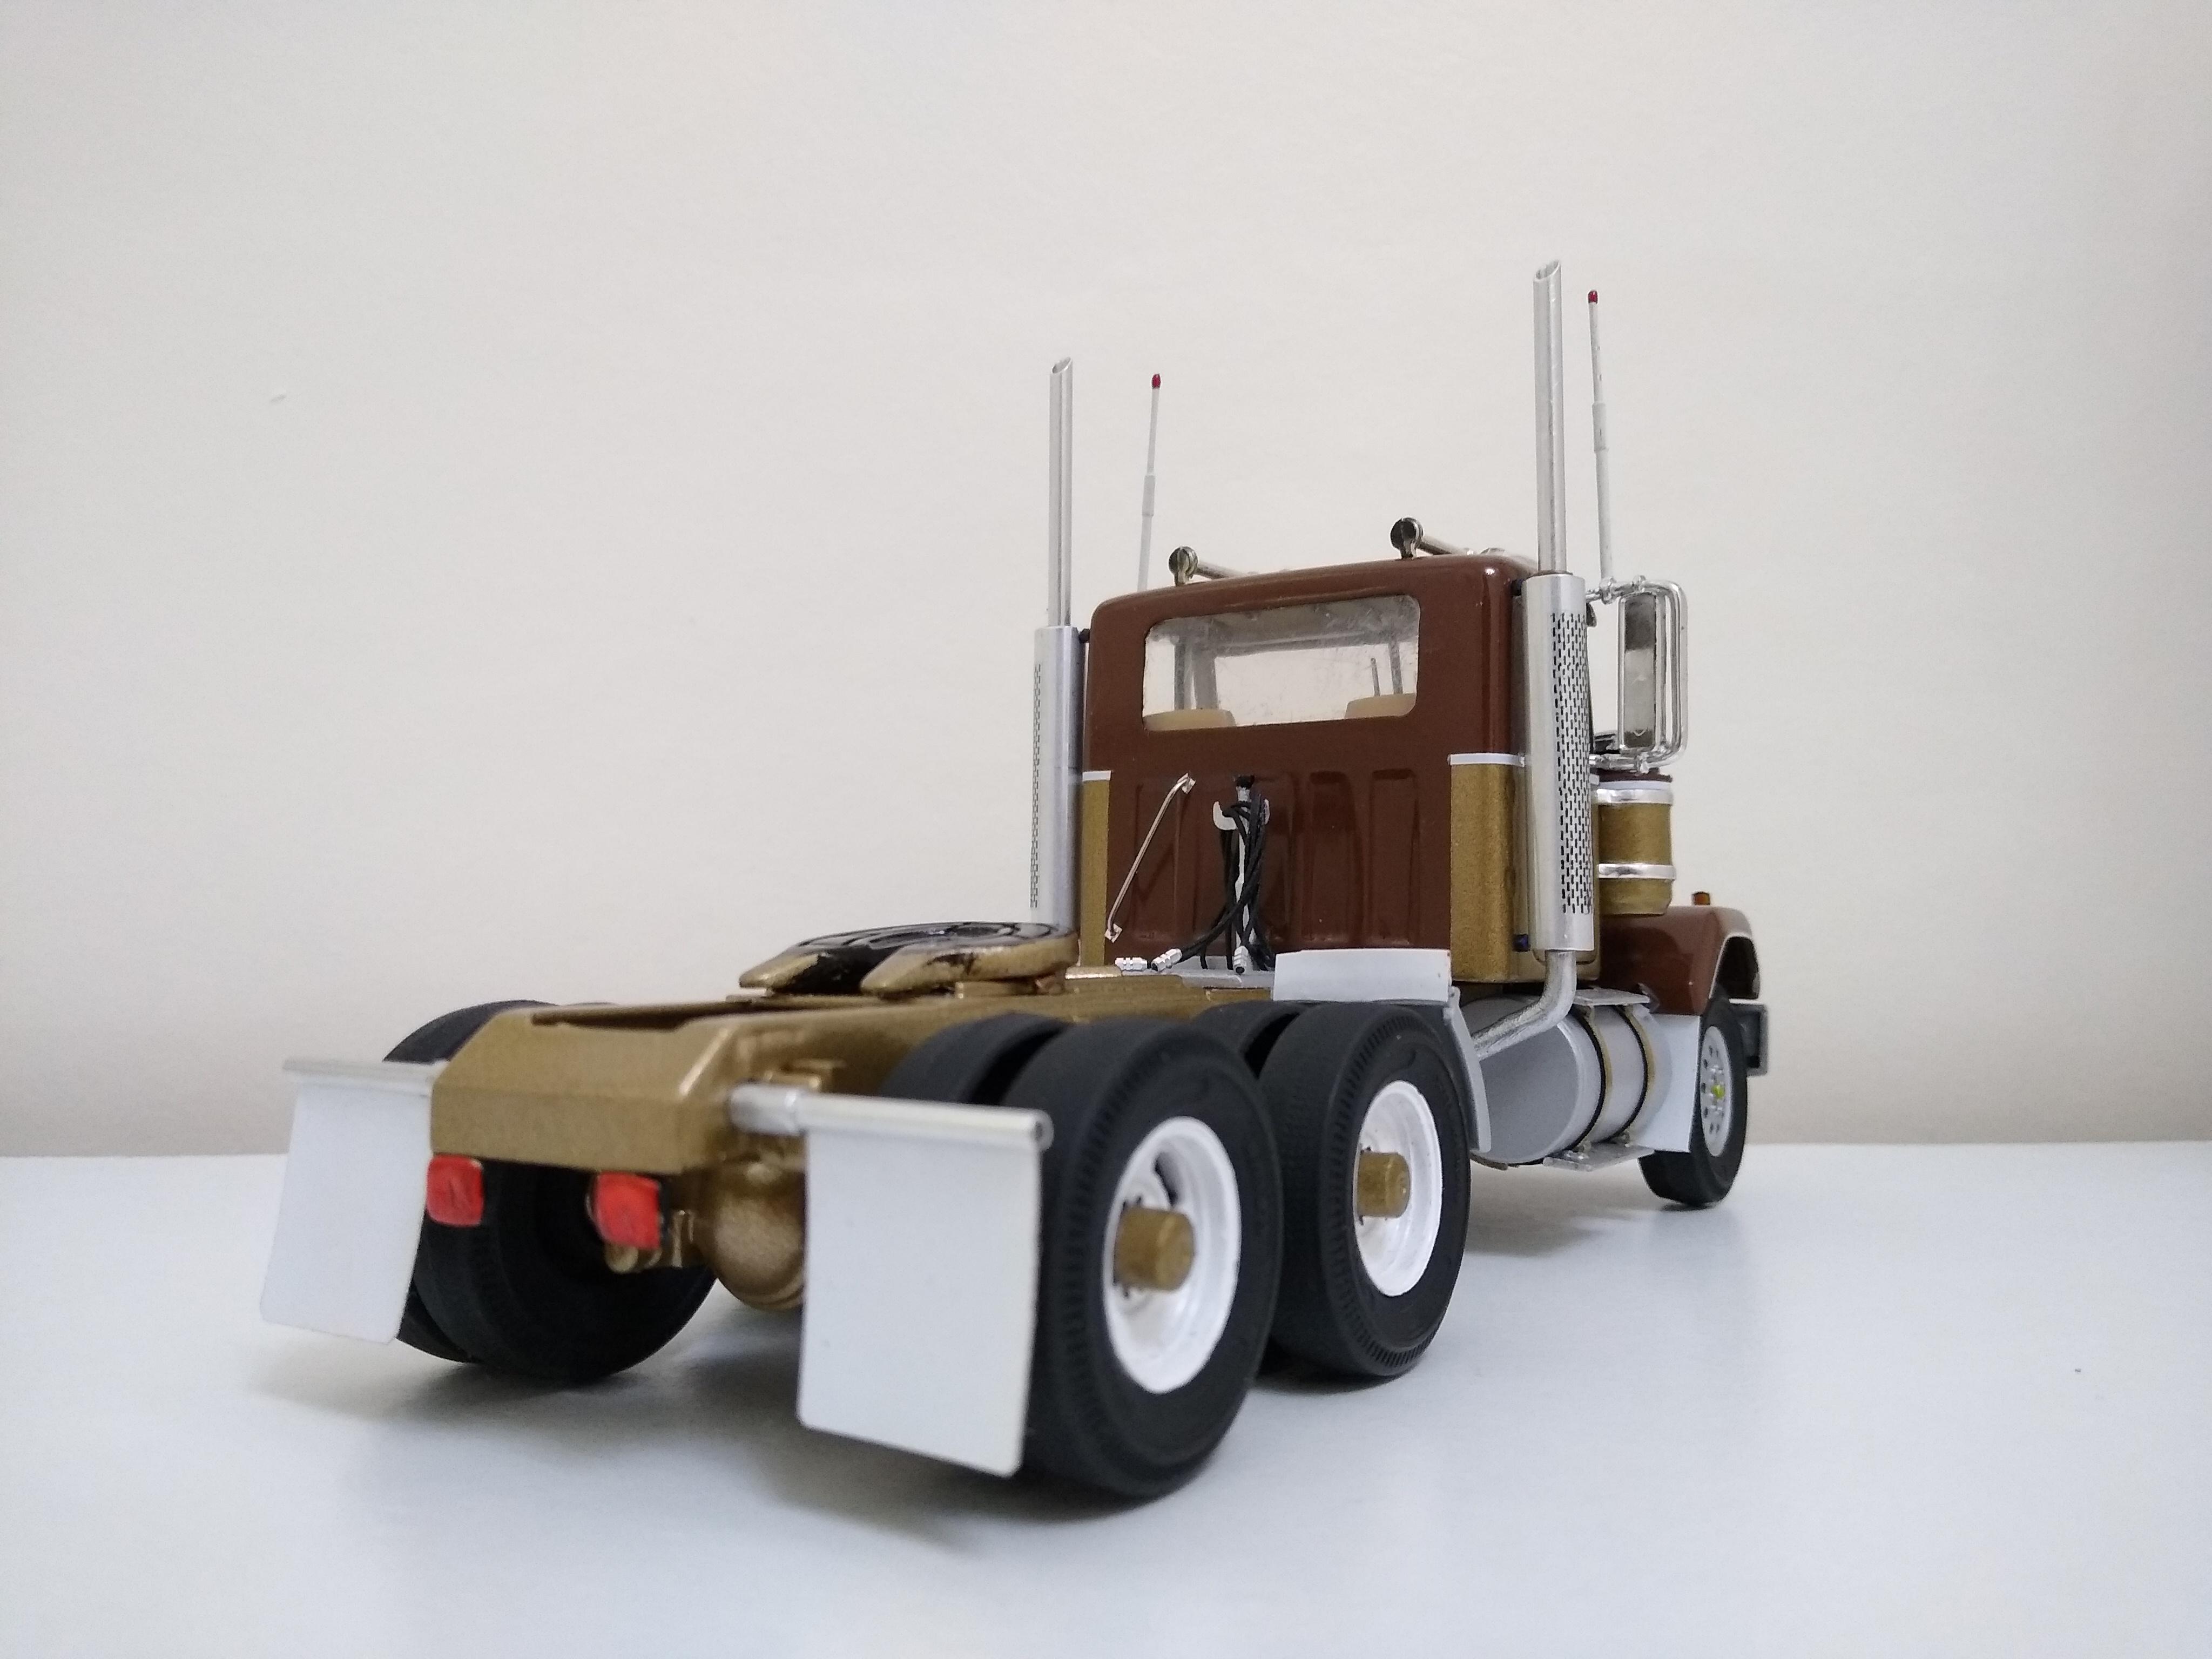
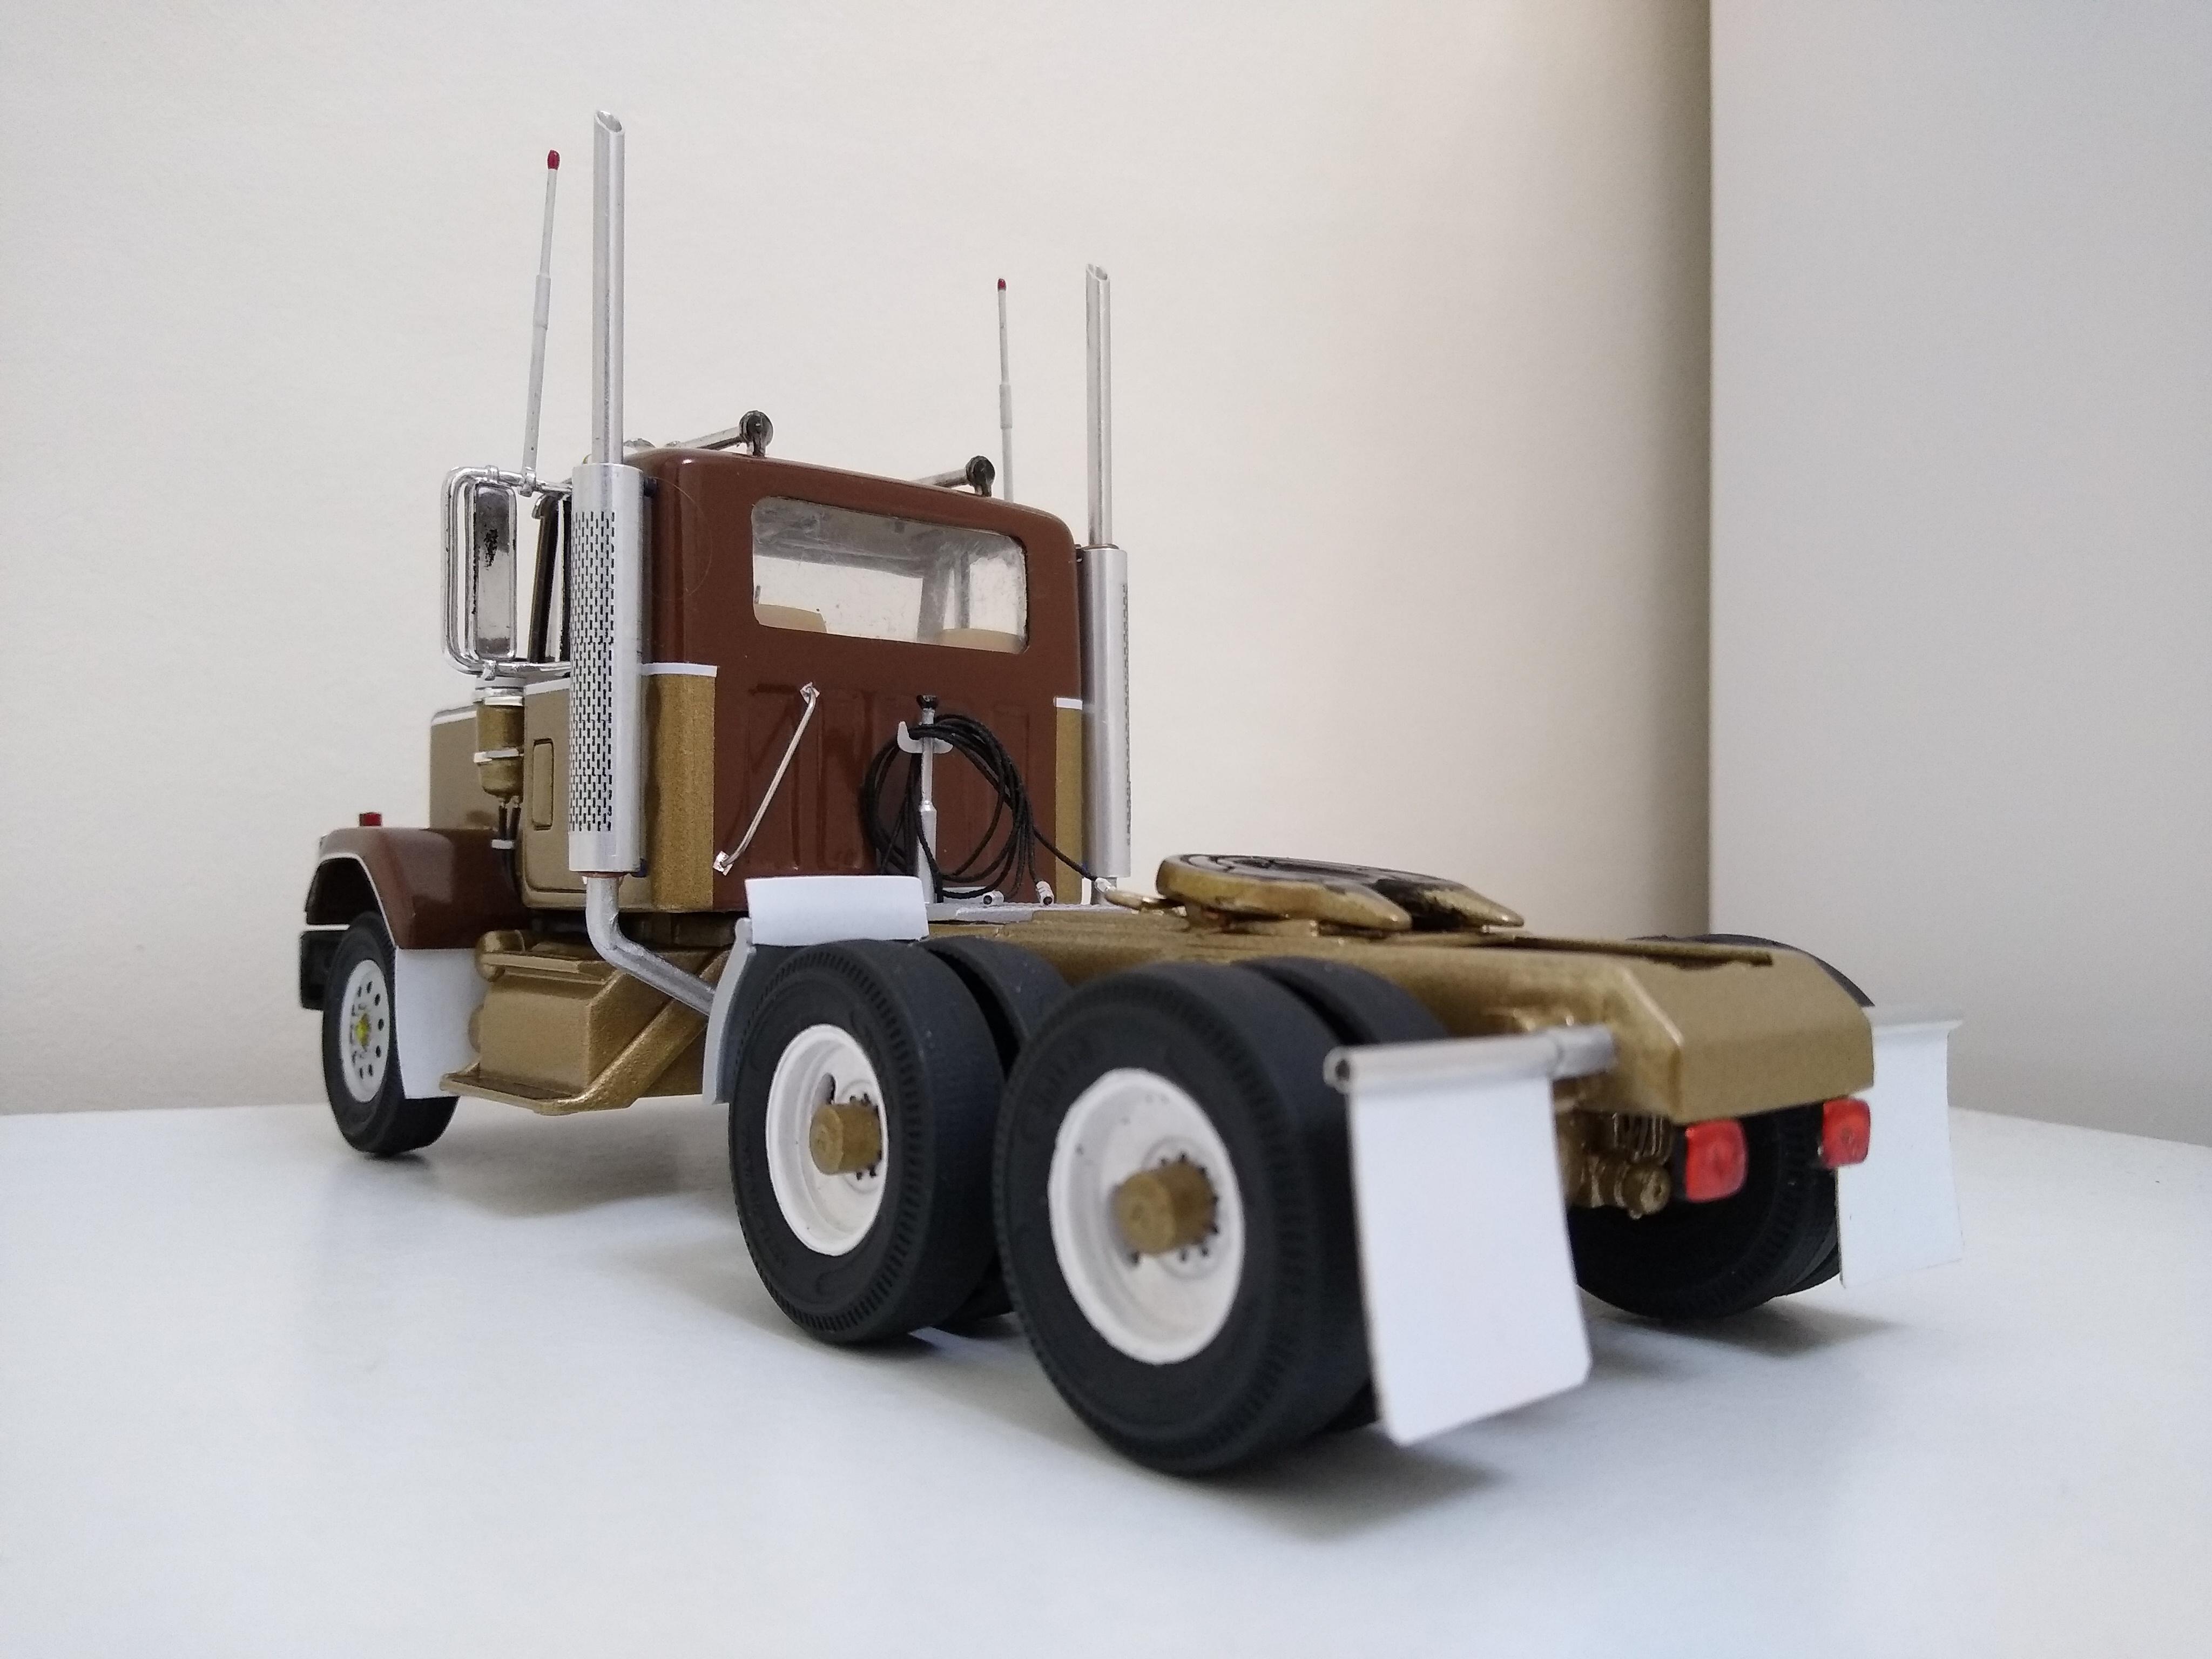
The daycab of my two Bisons is all but done. Added my licence plates and bingo plate, rear lights, got the sunvisor to fit by shaping it around the three middle clearance lights, piped in my luberfiner, added some perforation decals I'd drawn up to the heat shields, and greased my fifth wheel (because a clean one ain't making any money!). He's already been busy with various loads. I've got to give it some badges on the hood and a company name. I've sat him next to his brother Longshanks, who he donated his sleeper to.