Rockford
-
Posts
1,944 -
Joined
-
Last visited
Content Type
Profiles
Forums
Events
Gallery
Everything posted by Rockford
-
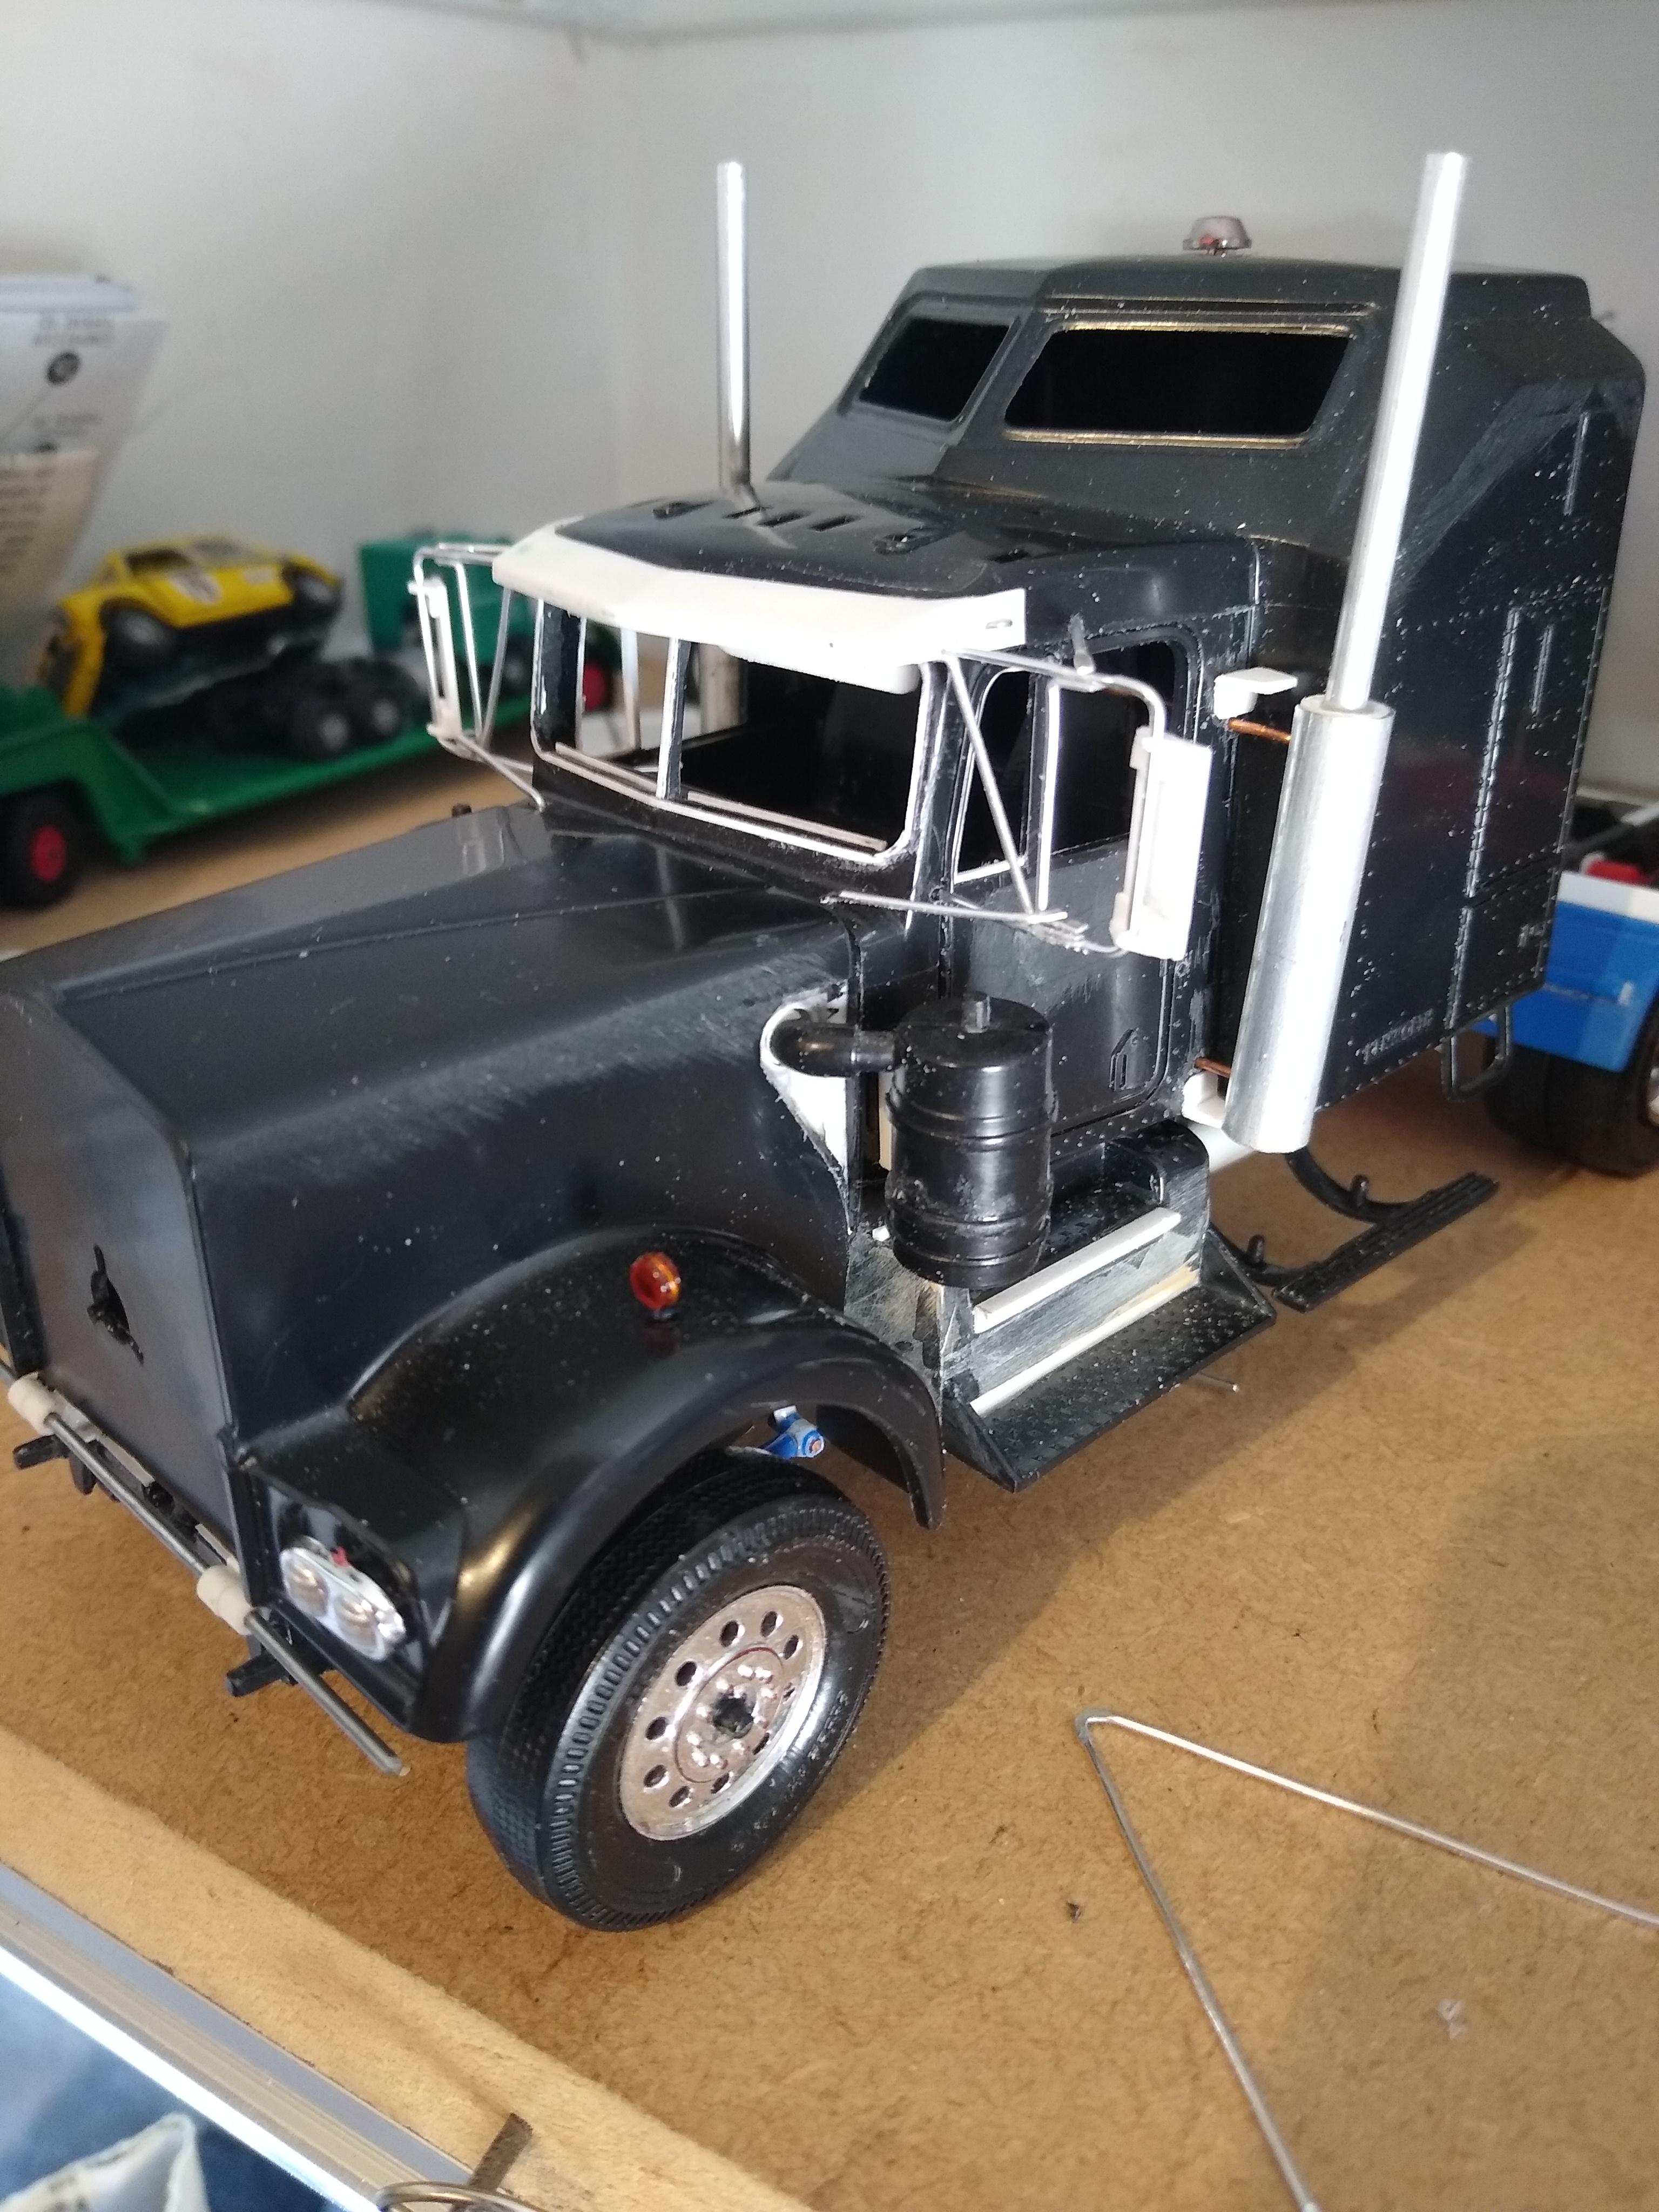
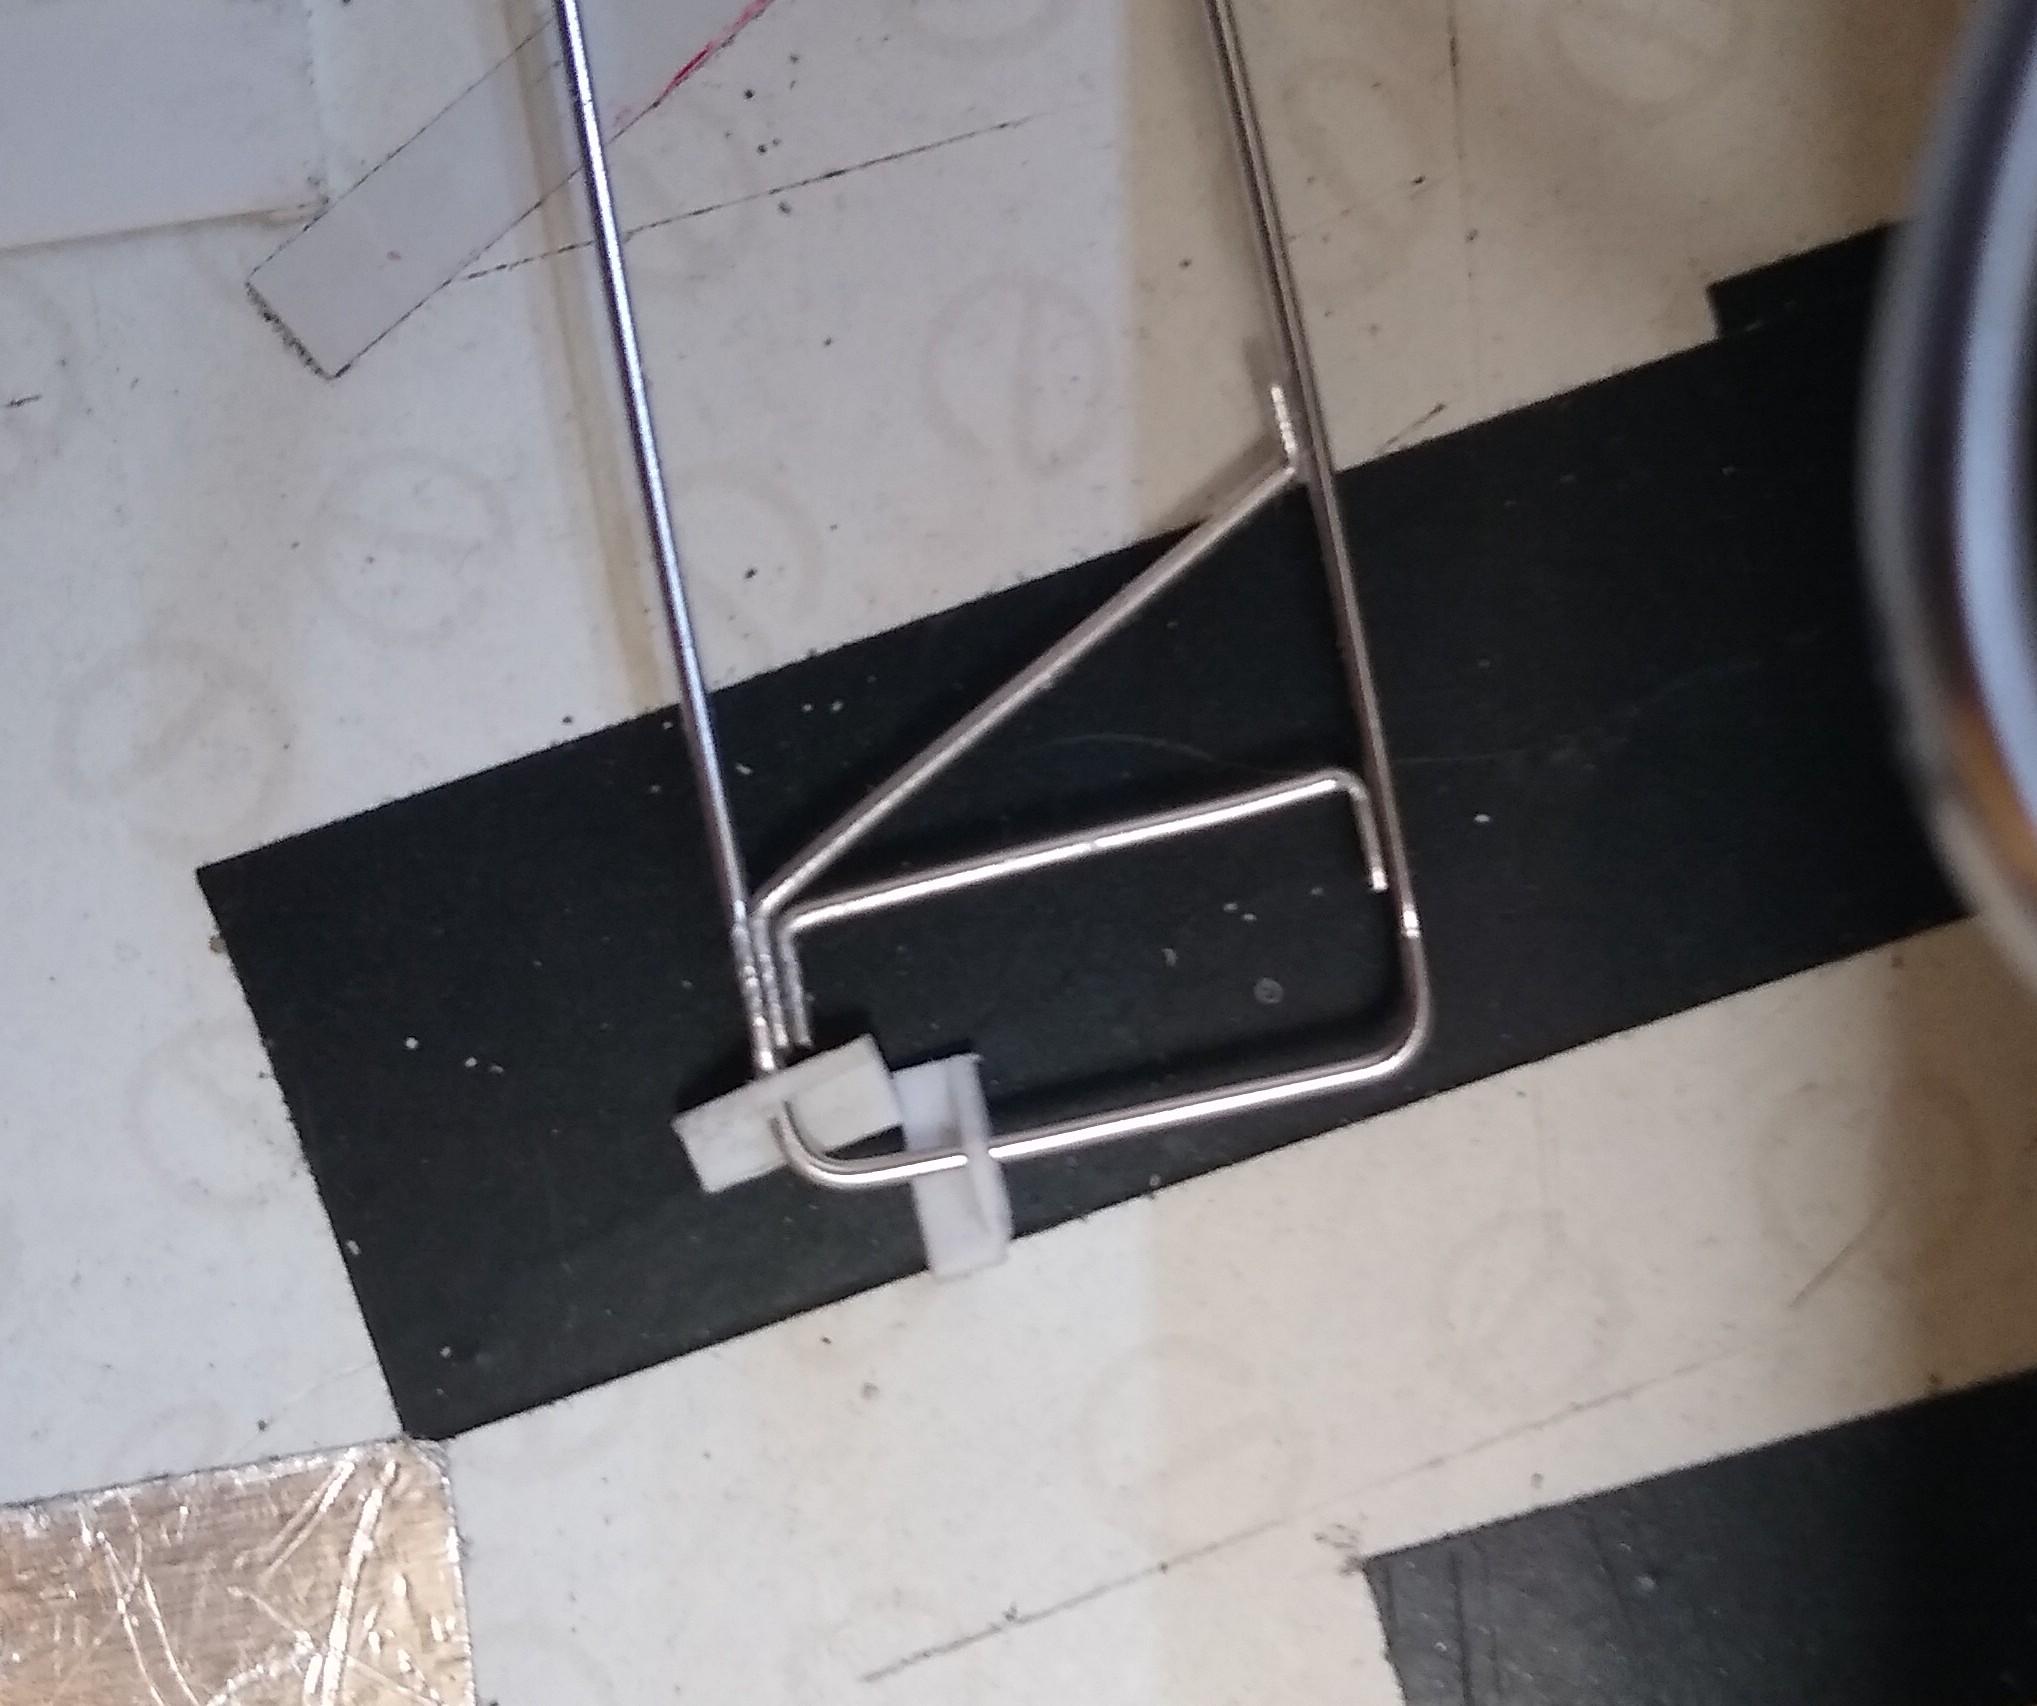
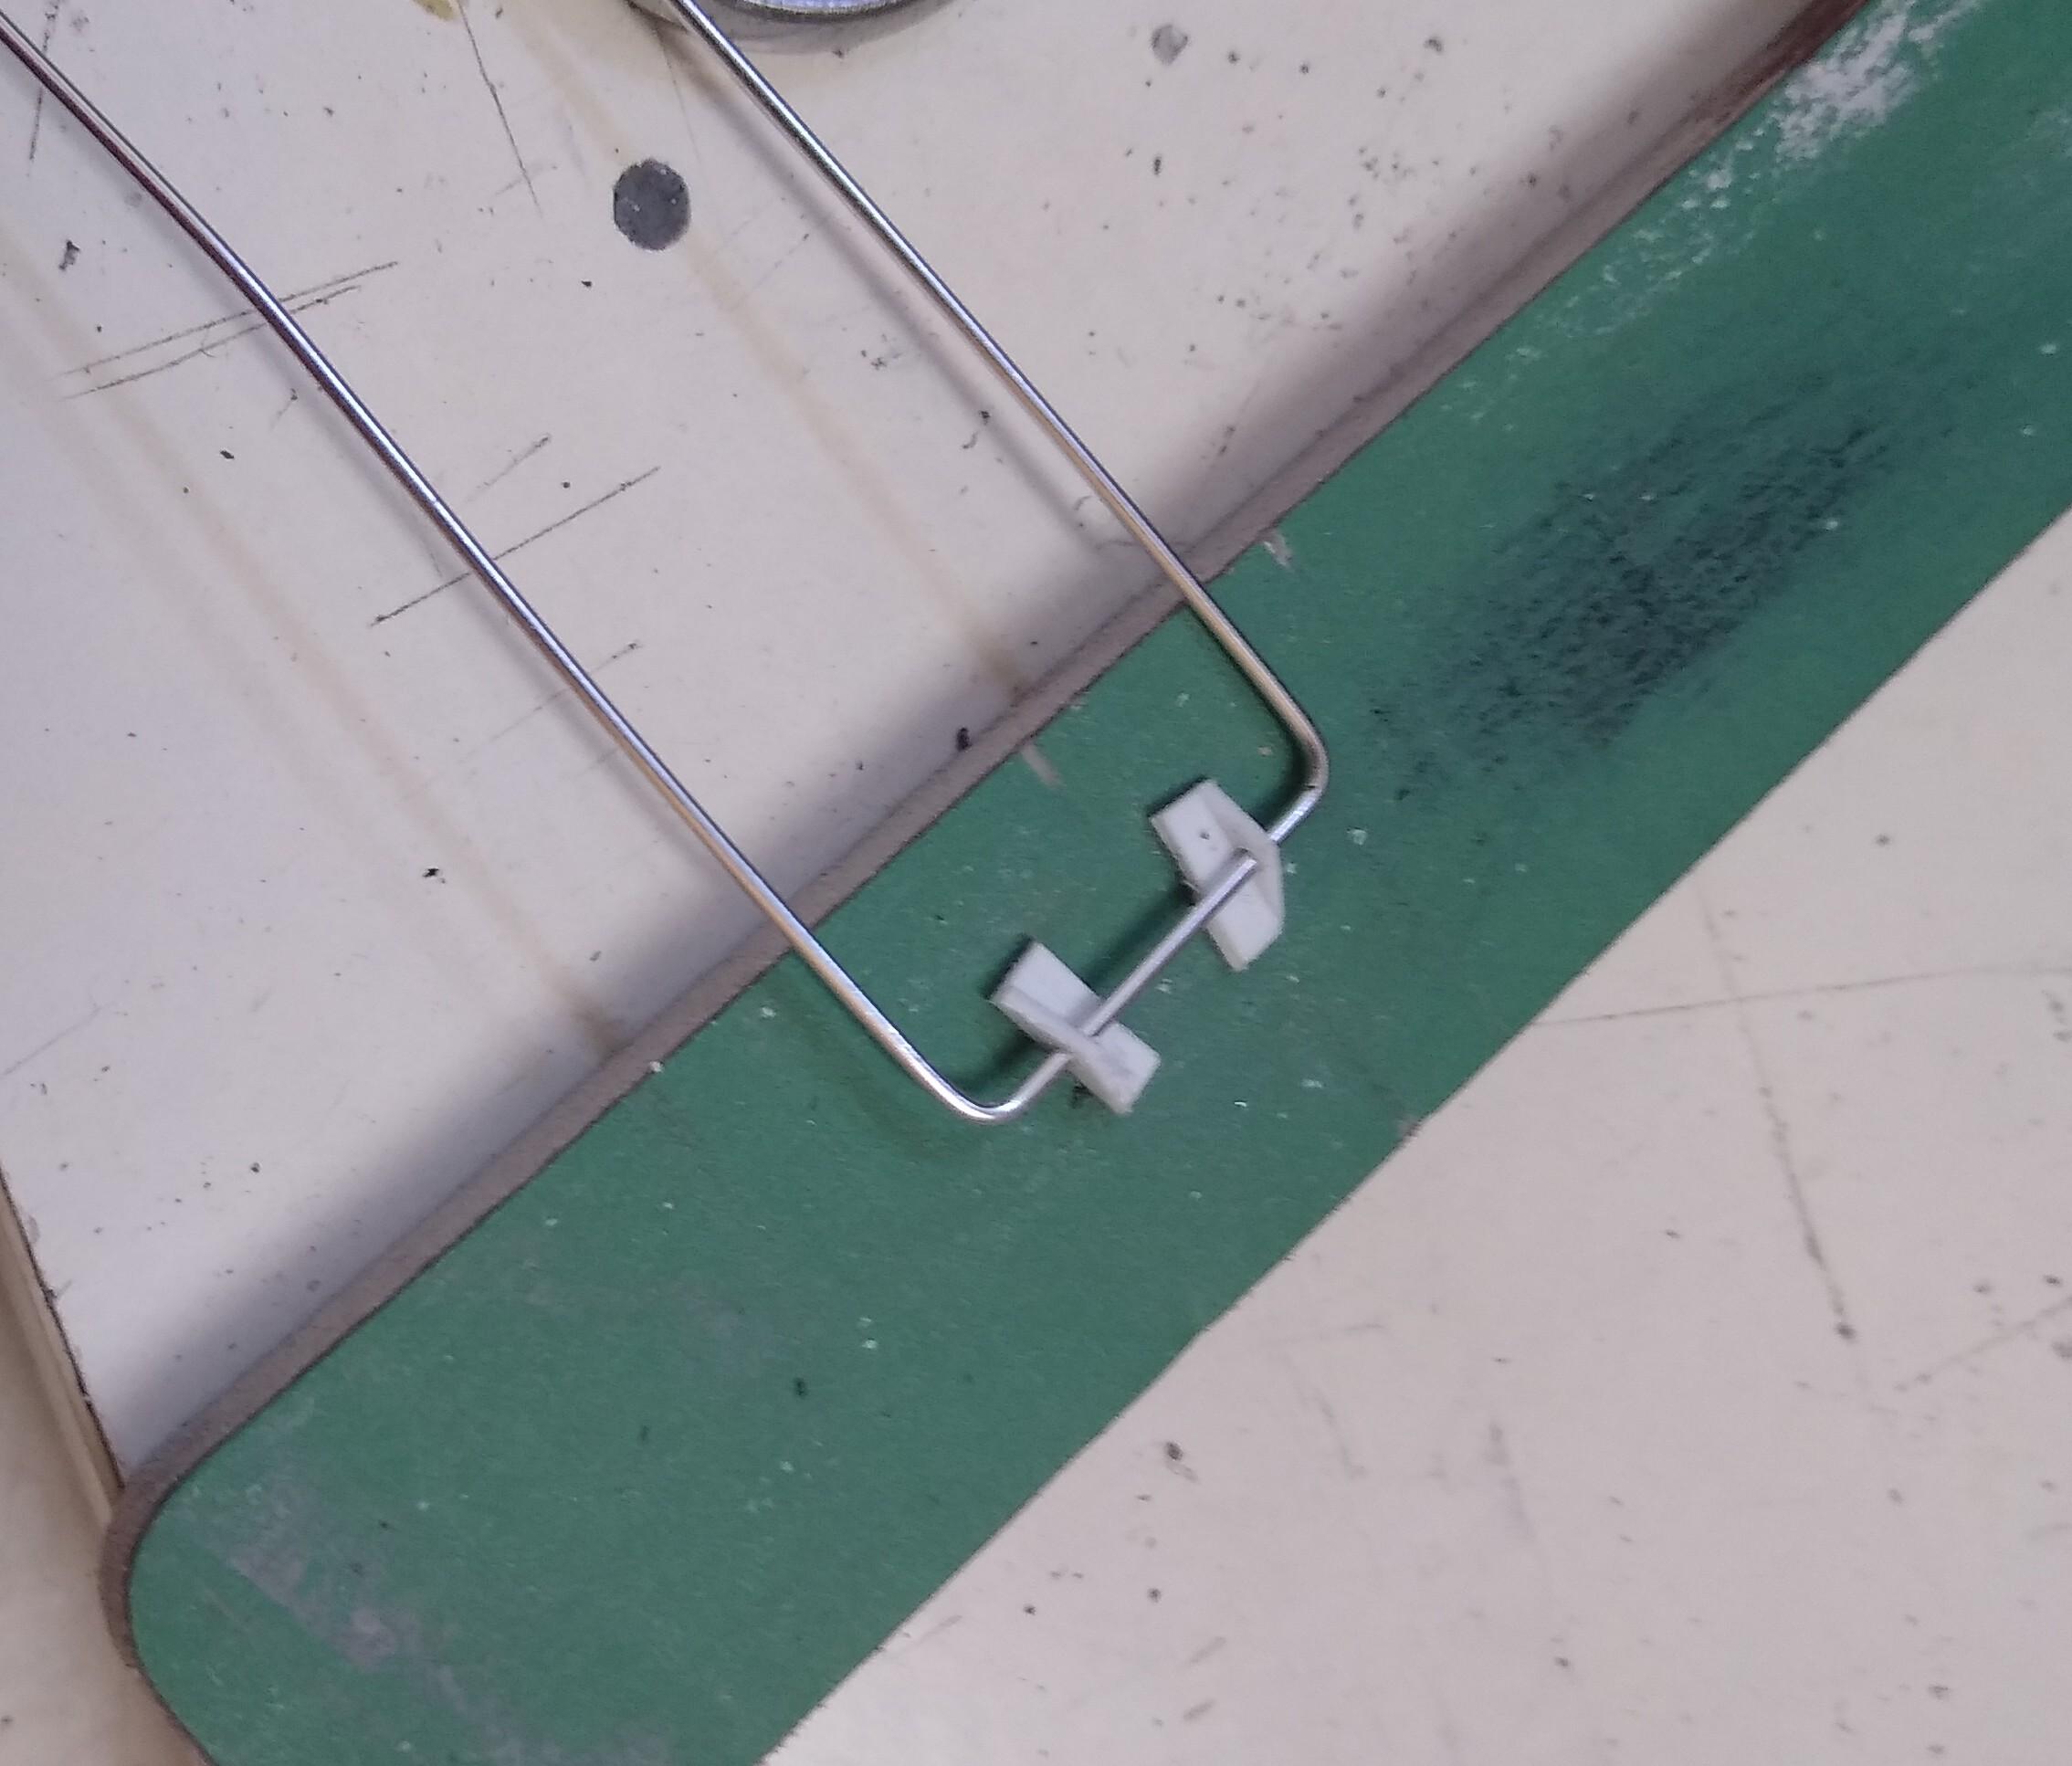
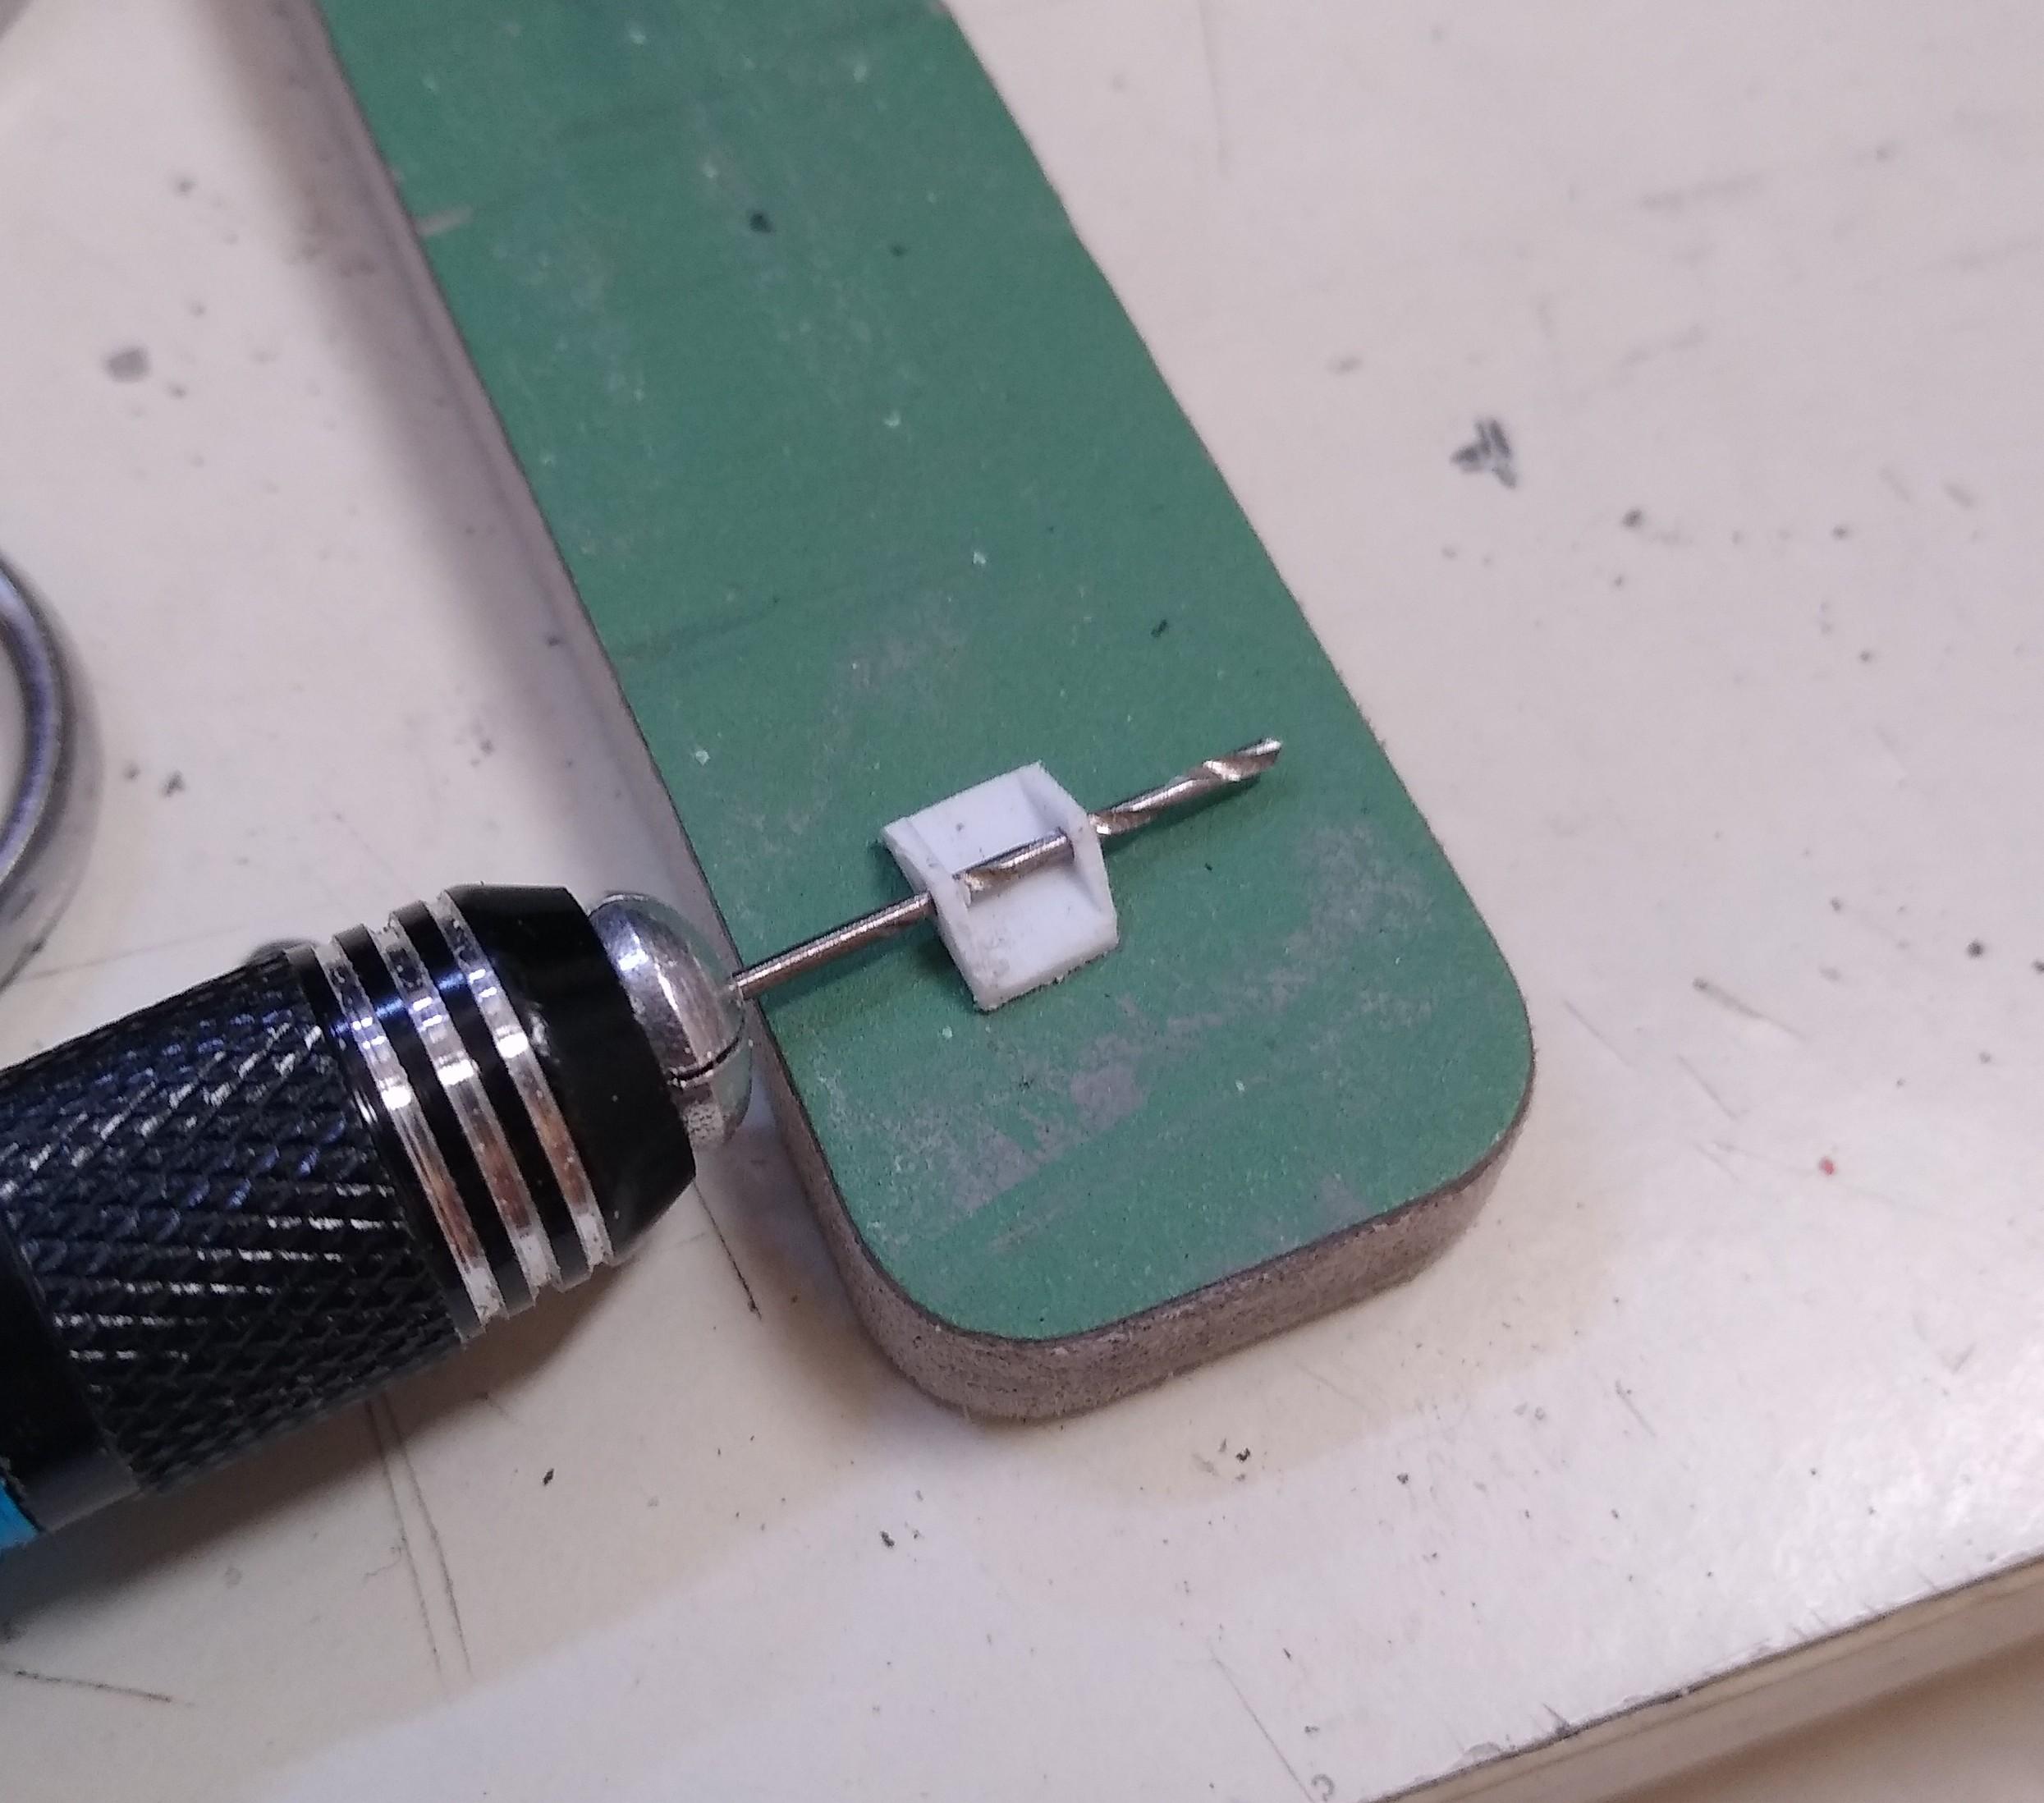
 One of my main worries with this kit has been the mirrors. The kit pieces bear no resemblance to the real thing, just a single arm that connects to the door like a K100, obviously due to its Snap fit design. I wanted to have something as close to the real thing as possible but it just seemed too difficult. I tried paperclips - too strong, copper wire was not much better. I had resigned myself to using the T600 Snaptite ones but they would be a pig to secure and would be too fragile. I saw some 0.8mm aluminium craft jewellery wire on eBay, only a couple of pounds for a roll so I thought I'd give that a go. It's soft and workable and doesn't need painting. I made a little jig to bend the two arms the same. Then drilled and cut mirror brackets from C-section channel, halved them and slid them on the arms. Using pliers I formed the braces etc... and flattened each end into a tab where they connected, just like the real thing, then superglued them together. I drilled holes in the cab for the arms themselves and each of the braces. Then attached a mirror head to the two plastic brackets. They're quite sturdy with the bracing in place, possibly a little too long but they'll do for me. The interior is getting very little attention on this truck as no one will see much. I think I'm at the paint stage almost now. Weather is far too damp to paint just now though, and I can't think of a colour scheme. I've enough to get on with though, as you can see in the background.
-
Kenworth W925
Rockford replied to Bronzekeg's topic in WIP: Model Trucks: Big Rigs and Heavy Equipment
Looks great in the photos but usual AMT woes! -
Dodge Cabover
Rockford replied to Repstock's topic in WIP: Model Trucks: Big Rigs and Heavy Equipment
I'll get my coat... -
It would be great to see the malaise era in kit form. The Monte can be made to look excellent as a shelf model but it would be better with a proper chassis and drivetrain. Then let's see the rest...
-
Kenworth W925
Rockford replied to Bronzekeg's topic in WIP: Model Trucks: Big Rigs and Heavy Equipment
That's a good decal sheet, I wish stuff wasn't so costly to get over here. -
Replica Build Ford Louisville Boxtruck
Rockford replied to TruckerAL's topic in Model Trucks: Big Rigs and Heavy Equipment
Nice looking box van, I especially like the hub odometer on the rear axle. Well done. -
Kenworth W925
Rockford replied to Bronzekeg's topic in WIP: Model Trucks: Big Rigs and Heavy Equipment
Paint stripes or decals? That does look a top grade finish there mate. -
Kenworth W925
Rockford replied to Bronzekeg's topic in WIP: Model Trucks: Big Rigs and Heavy Equipment
That does look a great finish, well done. -
AMT Lowboy Trailer.
Rockford replied to OldTrucker's topic in WIP: Model Trucks: Big Rigs and Heavy Equipment
Boards look good. I used exactly the same on my 1/32 flatbed. The natural difference between the beards is realistic. I used black duct tape on mine to bind them together, made them easier to handle. -
2023 BRGB Movin' On Kenworth
Rockford replied to leafsprings's topic in WIP: Model Trucks: Big Rigs and Heavy Equipment
How are you going to do the white pinstripe around the front fender opening? I'm thinking about it on my 1/32 Aerodyne and I'm not sure what approach to adopt. Do your decals have them on the sheet? -
2023 BRGB Movin' On Kenworth
Rockford replied to leafsprings's topic in WIP: Model Trucks: Big Rigs and Heavy Equipment
You've put together just the right mix of parts to capture the 'look' of the actual truck. It sits right, the wheels and tyres go well, really well done. I can almost hear Sonny moaning at Will "I've gotta make the payments on my truck!" -
AMT Lowboy Trailer.
Rockford replied to OldTrucker's topic in WIP: Model Trucks: Big Rigs and Heavy Equipment
1993! Wow, that's some stalled project. It spans two centuries. The tree your popsicle sticks are taken from wasn't even planted then. Well done for getting it going again. It will look good with the real wood decking. -
Kenworth W925
Rockford replied to Bronzekeg's topic in WIP: Model Trucks: Big Rigs and Heavy Equipment
Tanks look very realistic, I've never heard of the paint you used. Straps are good too. Good to see some plumbing going on too. You realise how old a truck this kit is depicting when you see those fuel filler necks. In the early 70s they went to the recessed type of fuel filler. Cue Force with the day and date... ? -
Kenworth W925
Rockford replied to Bronzekeg's topic in WIP: Model Trucks: Big Rigs and Heavy Equipment
AMT instructions, wrong!? Never! Looks great though. The ali on the tanks looks very realistic, that's why I thought you'd taped them. I saw someone did a box van with ali duct tape on the site. -
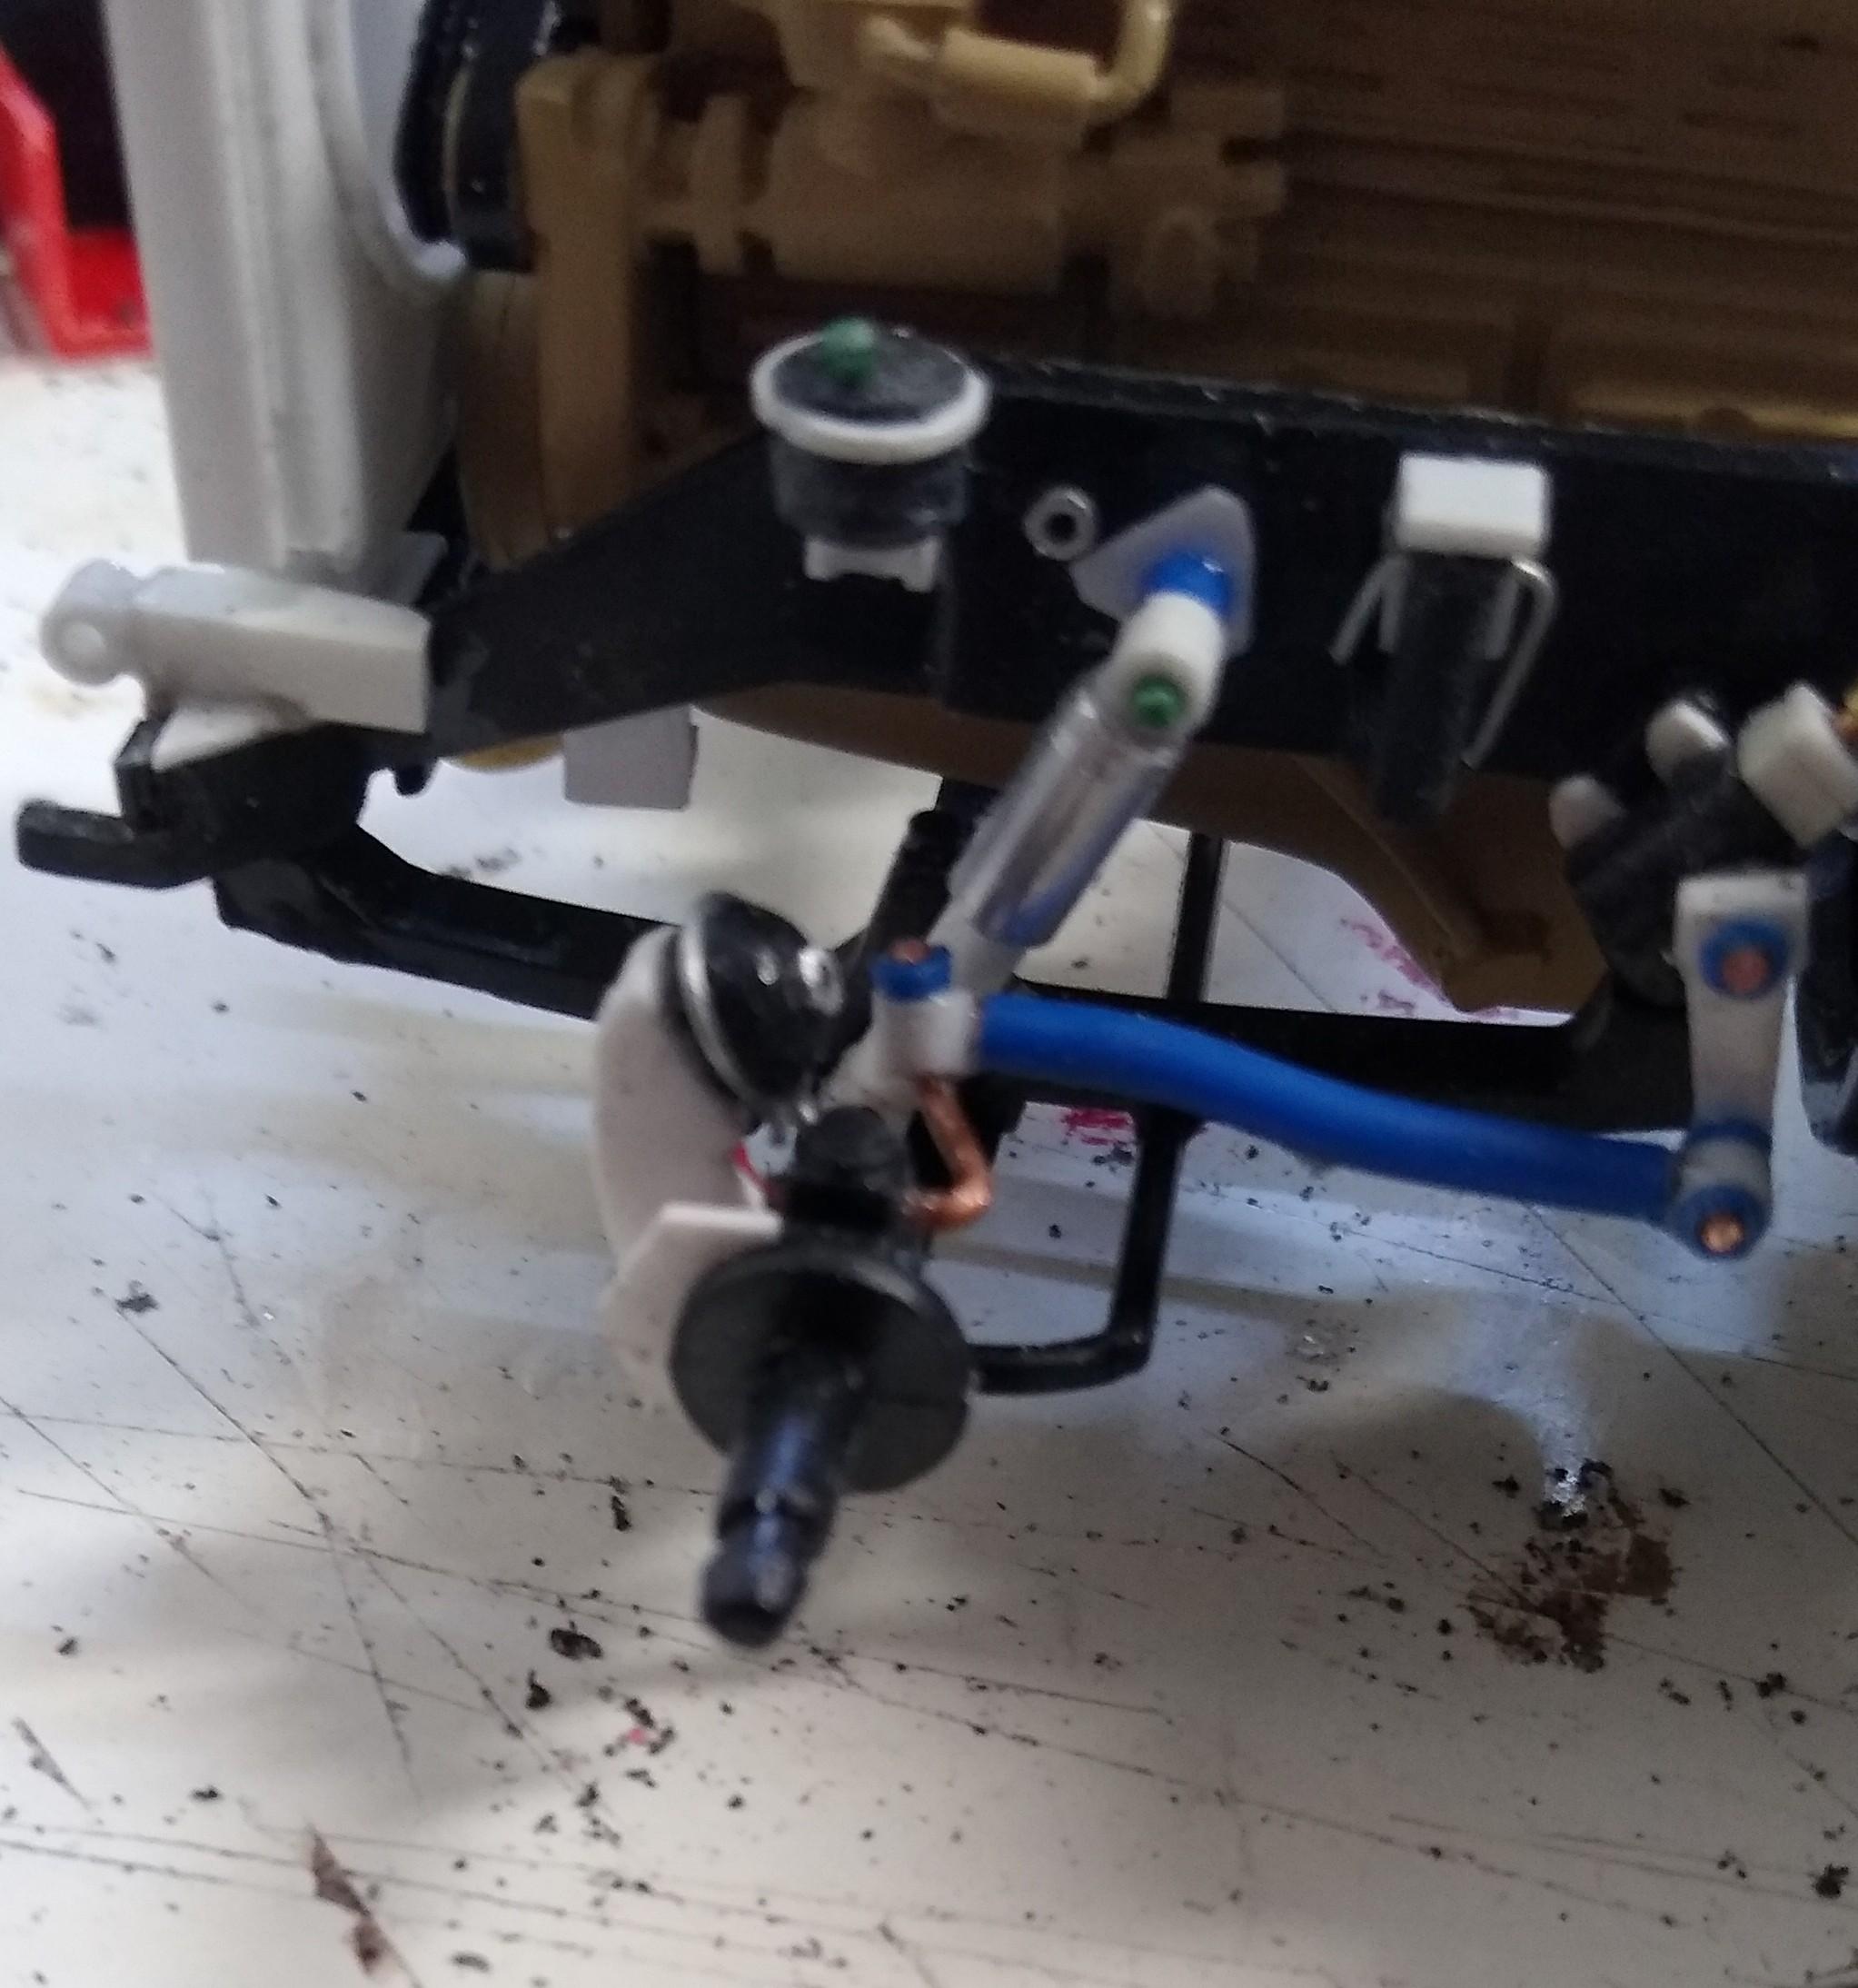
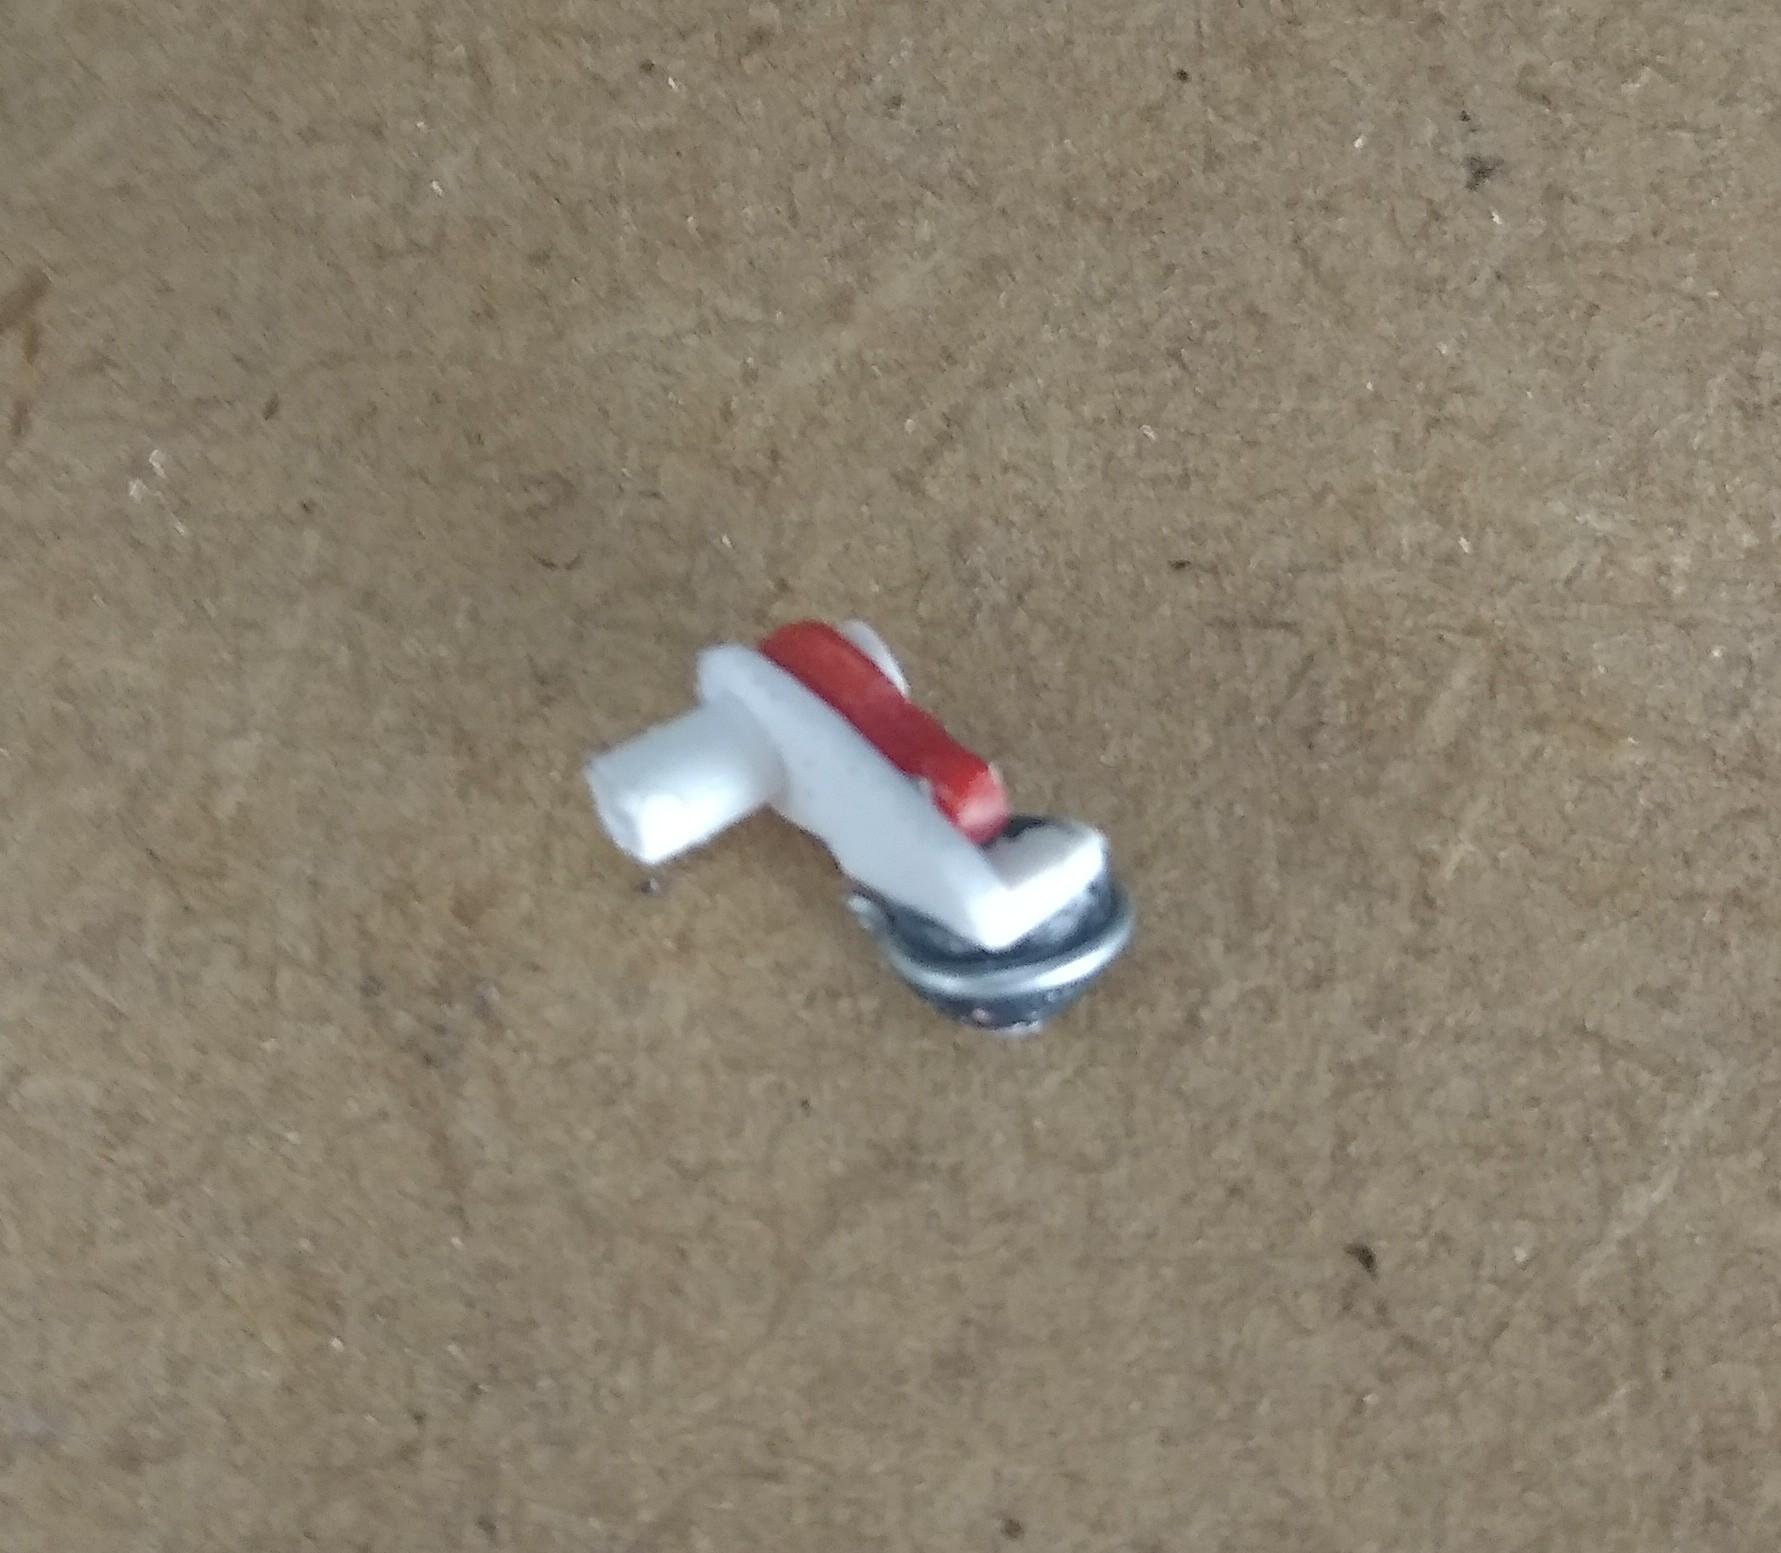
Built my second brake chamber and actuator assembly for the opposite side. Fitted them to the brackets I attached to the stub axle. Look ok. Then I realised that I should have just said that this was a 'no front brakes' truck and I could have saved my energies.
-
2023 BRGB Movin' On Kenworth
Rockford replied to leafsprings's topic in WIP: Model Trucks: Big Rigs and Heavy Equipment
I was watching an episode of Movin'On the other day and I noticed something I've never seen before. The mudflaps used to come and go throughout each episode but in the episode 'Fraud', they uncoupled from the trailer (that was so obviously going to suffer some disaster because it was old and white, not their usual silver Fruehauf box), and the mudflaps were stowed behind the fuel tanks in a similar way to how they'd be at the rear of the chassis. They must have added extra brackets so that they could just pick them out of the rear ones and move them forward, otherwise they'd probably get lost. I'm not saying that you need to do this, I'm just expressing how unbelievably boring I can be.
-
Kenworth W925
Rockford replied to Bronzekeg's topic in WIP: Model Trucks: Big Rigs and Heavy Equipment
Hang on, these tanks have moulded-in straps don't they? So I'm assuming you have rubbed them out, but what have you wrapped the barrel of the tank with? Looks like ali tape. You're hiding your light under a bushel mate. Please, do tell. -
1955 White 3000
Rockford replied to Chuck Most's topic in Model Trucks: Big Rigs and Heavy Equipment
Looks great, a faithful old workhorse, used and abused. Well done. -
2023 BRGB TRIAXLE FREIGHTLINER WRECKER
Rockford replied to Dutzie's topic in WIP: Model Trucks: Big Rigs and Heavy Equipment
Just, wow, really. -
Changing Gears
Rockford replied to J.B. Customs's topic in WIP: Model Trucks: Big Rigs and Heavy Equipment
Looks great to me! Paint is my nemesis, I hate it. Your results look excellent. -
Kenworth W925
Rockford replied to Bronzekeg's topic in WIP: Model Trucks: Big Rigs and Heavy Equipment
Your usual brilliant work sir! -
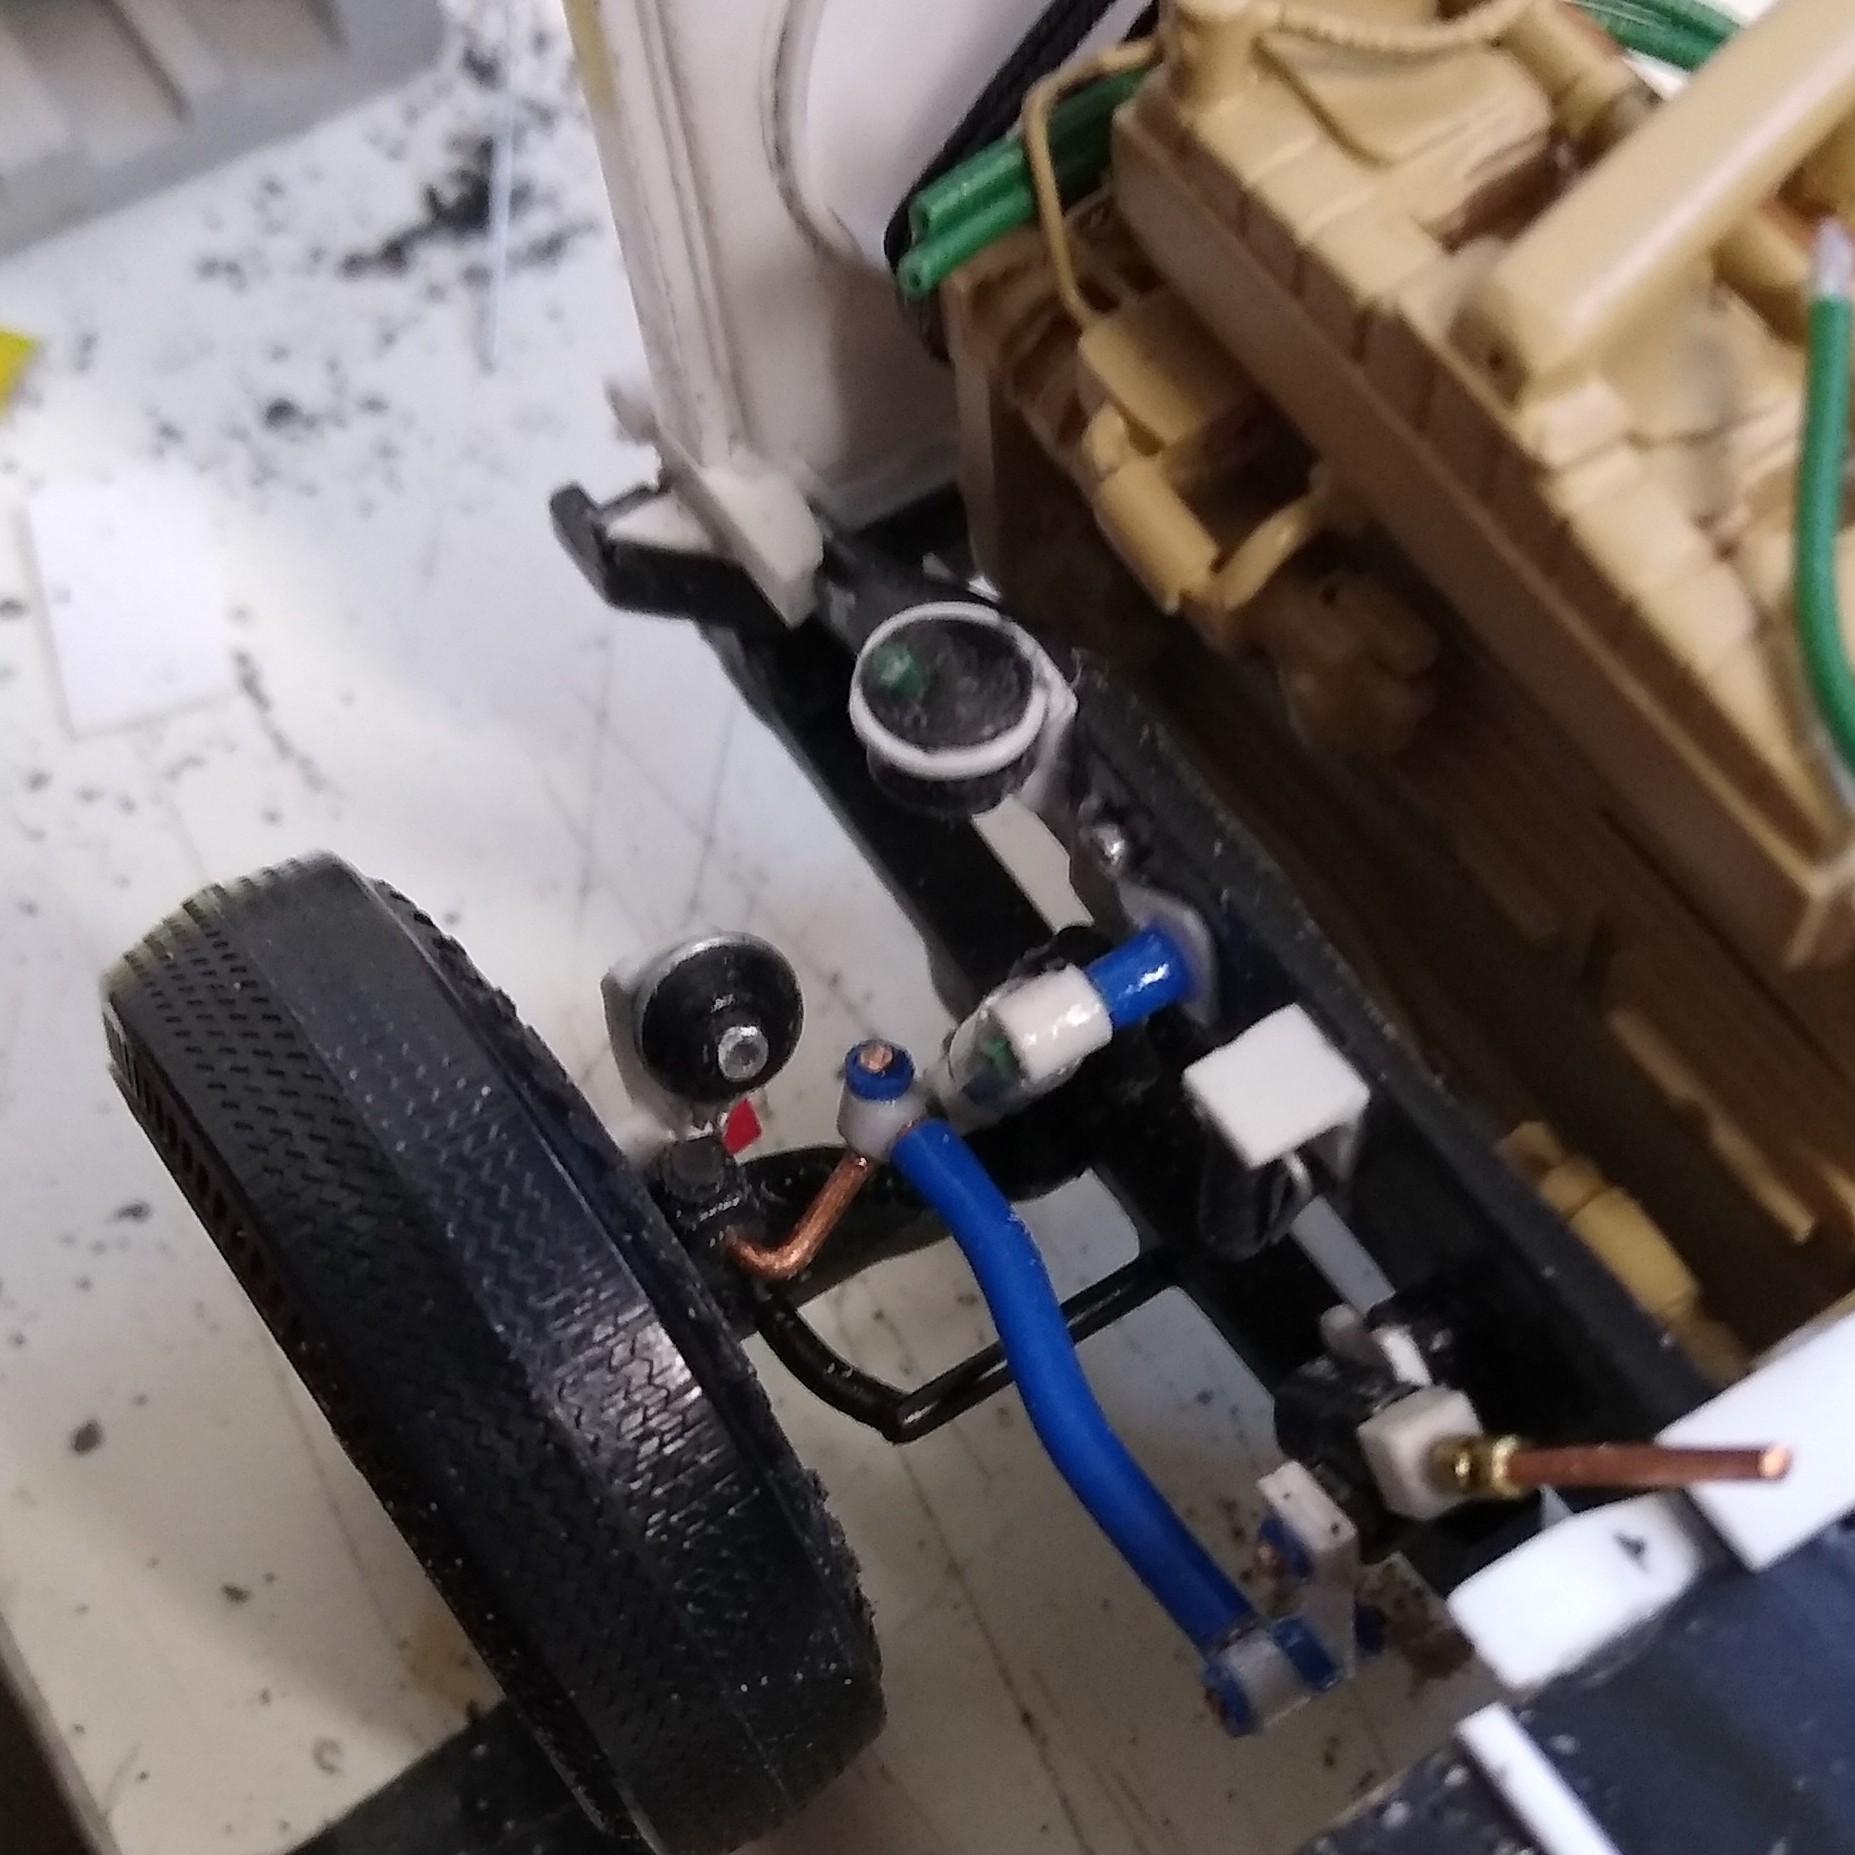
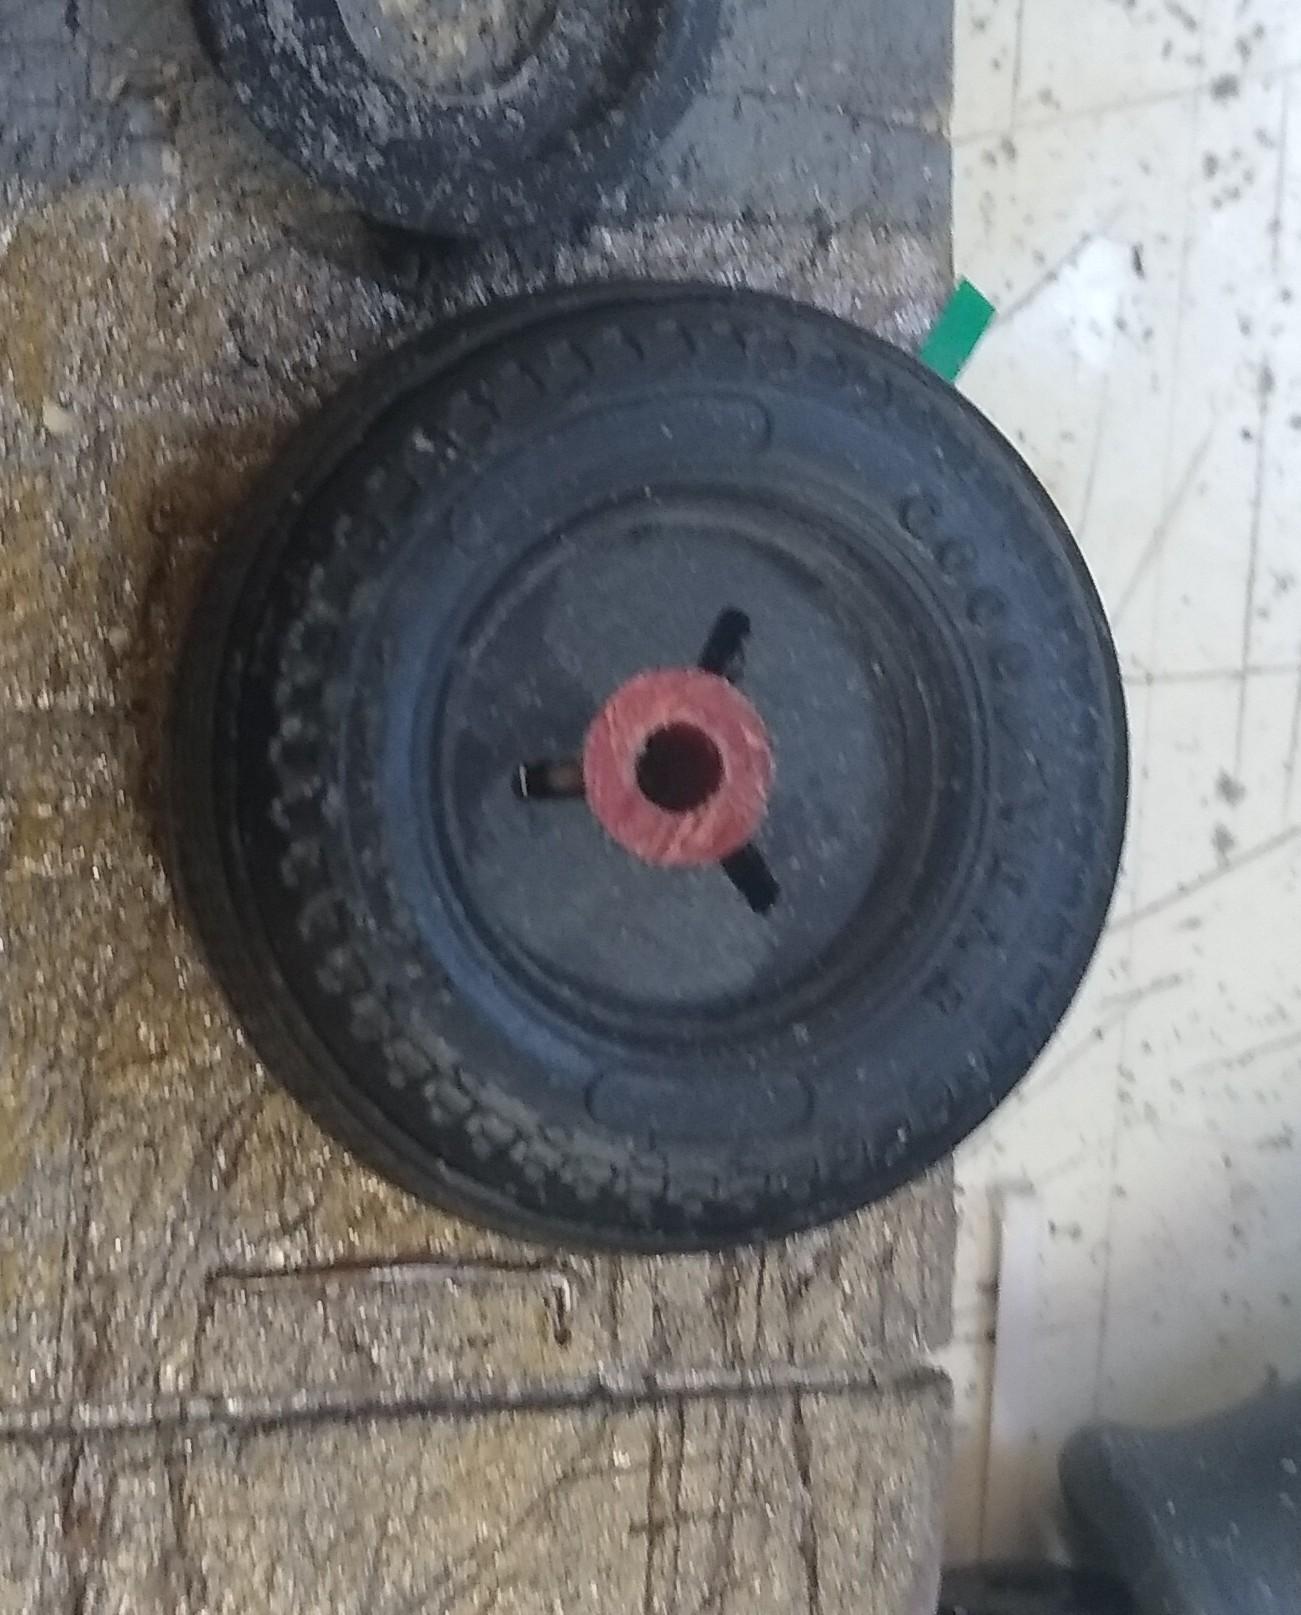
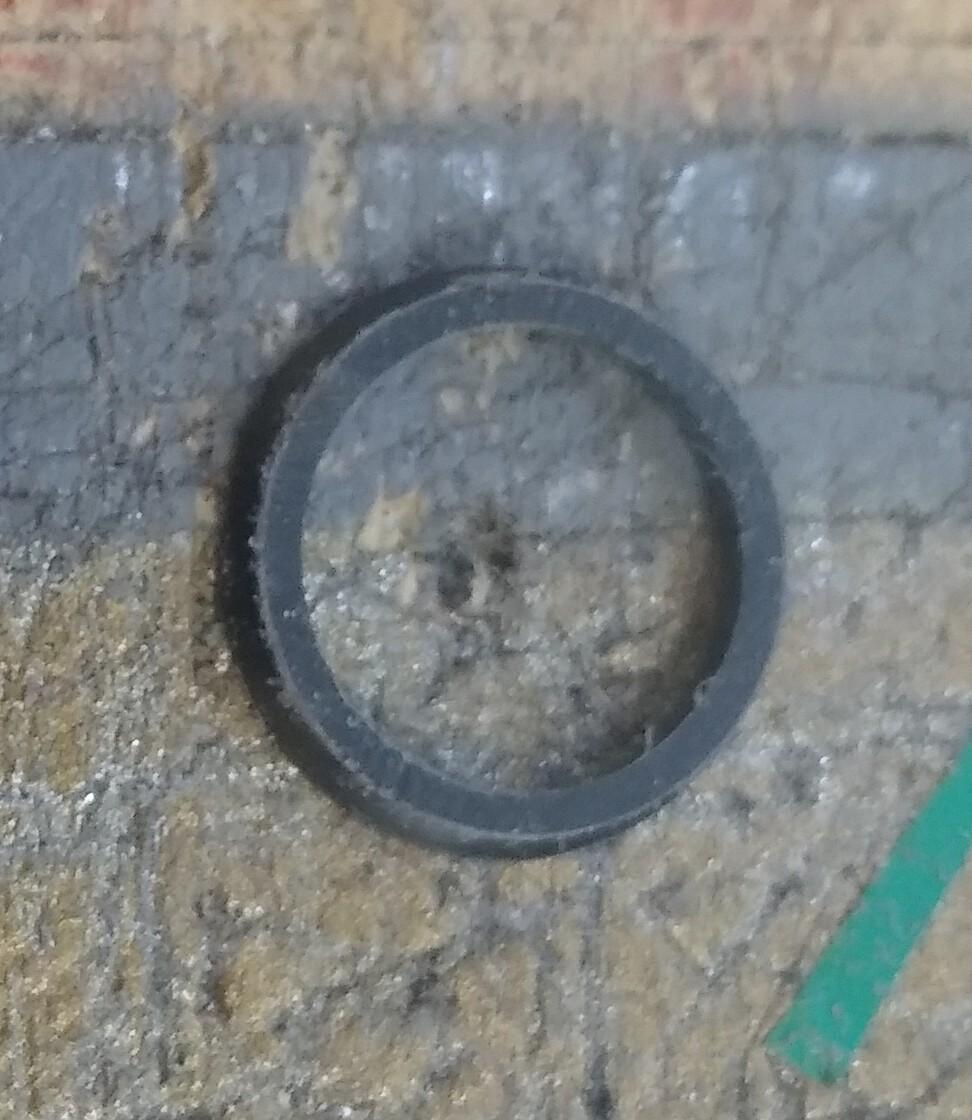
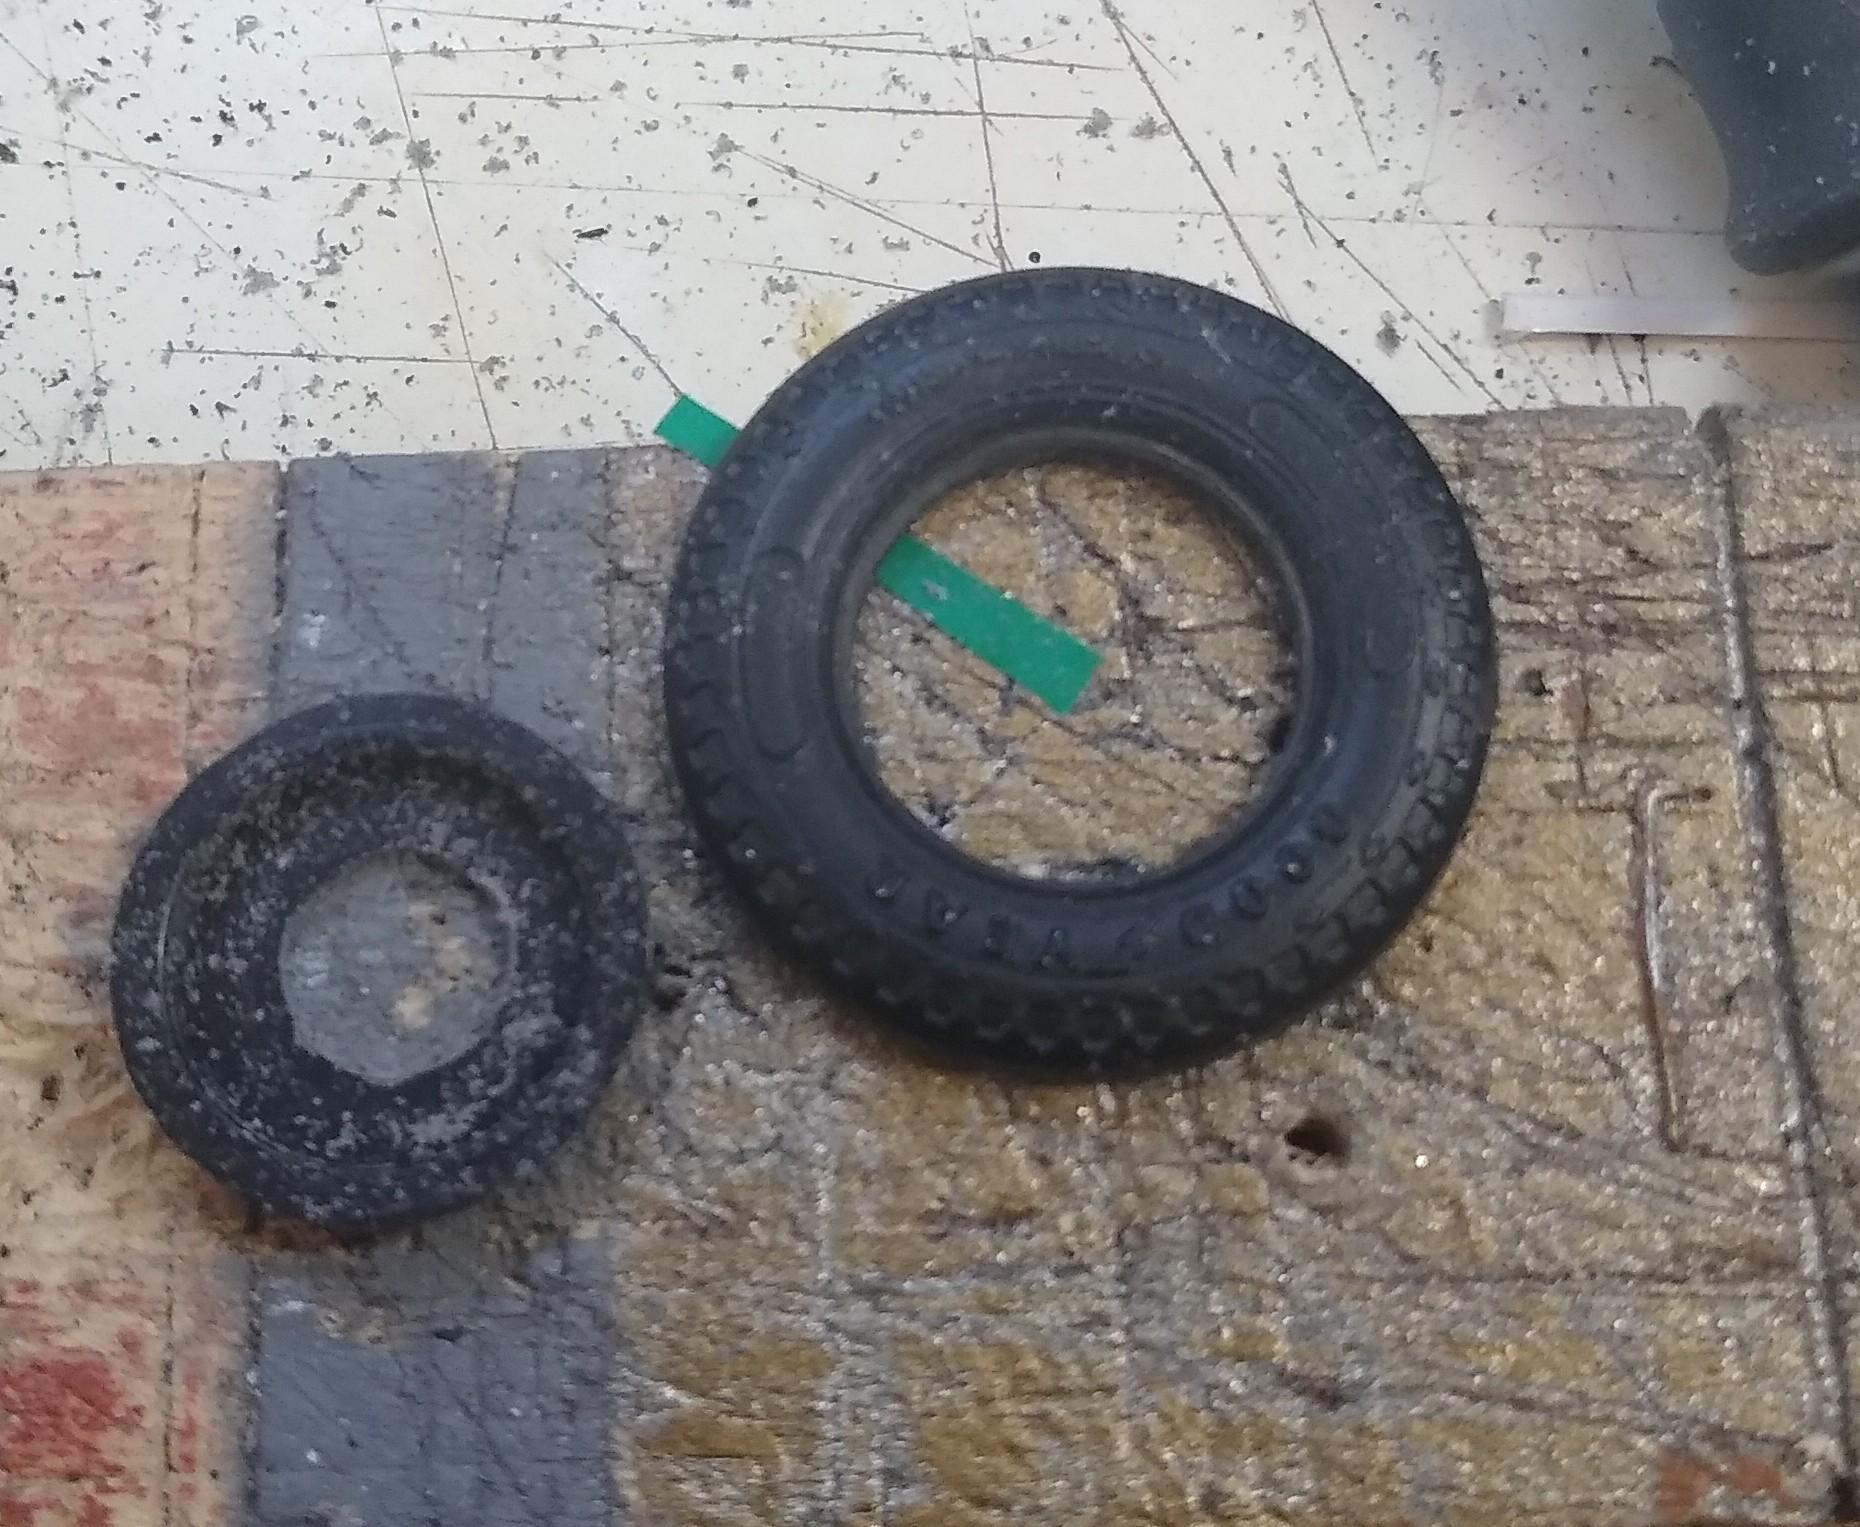
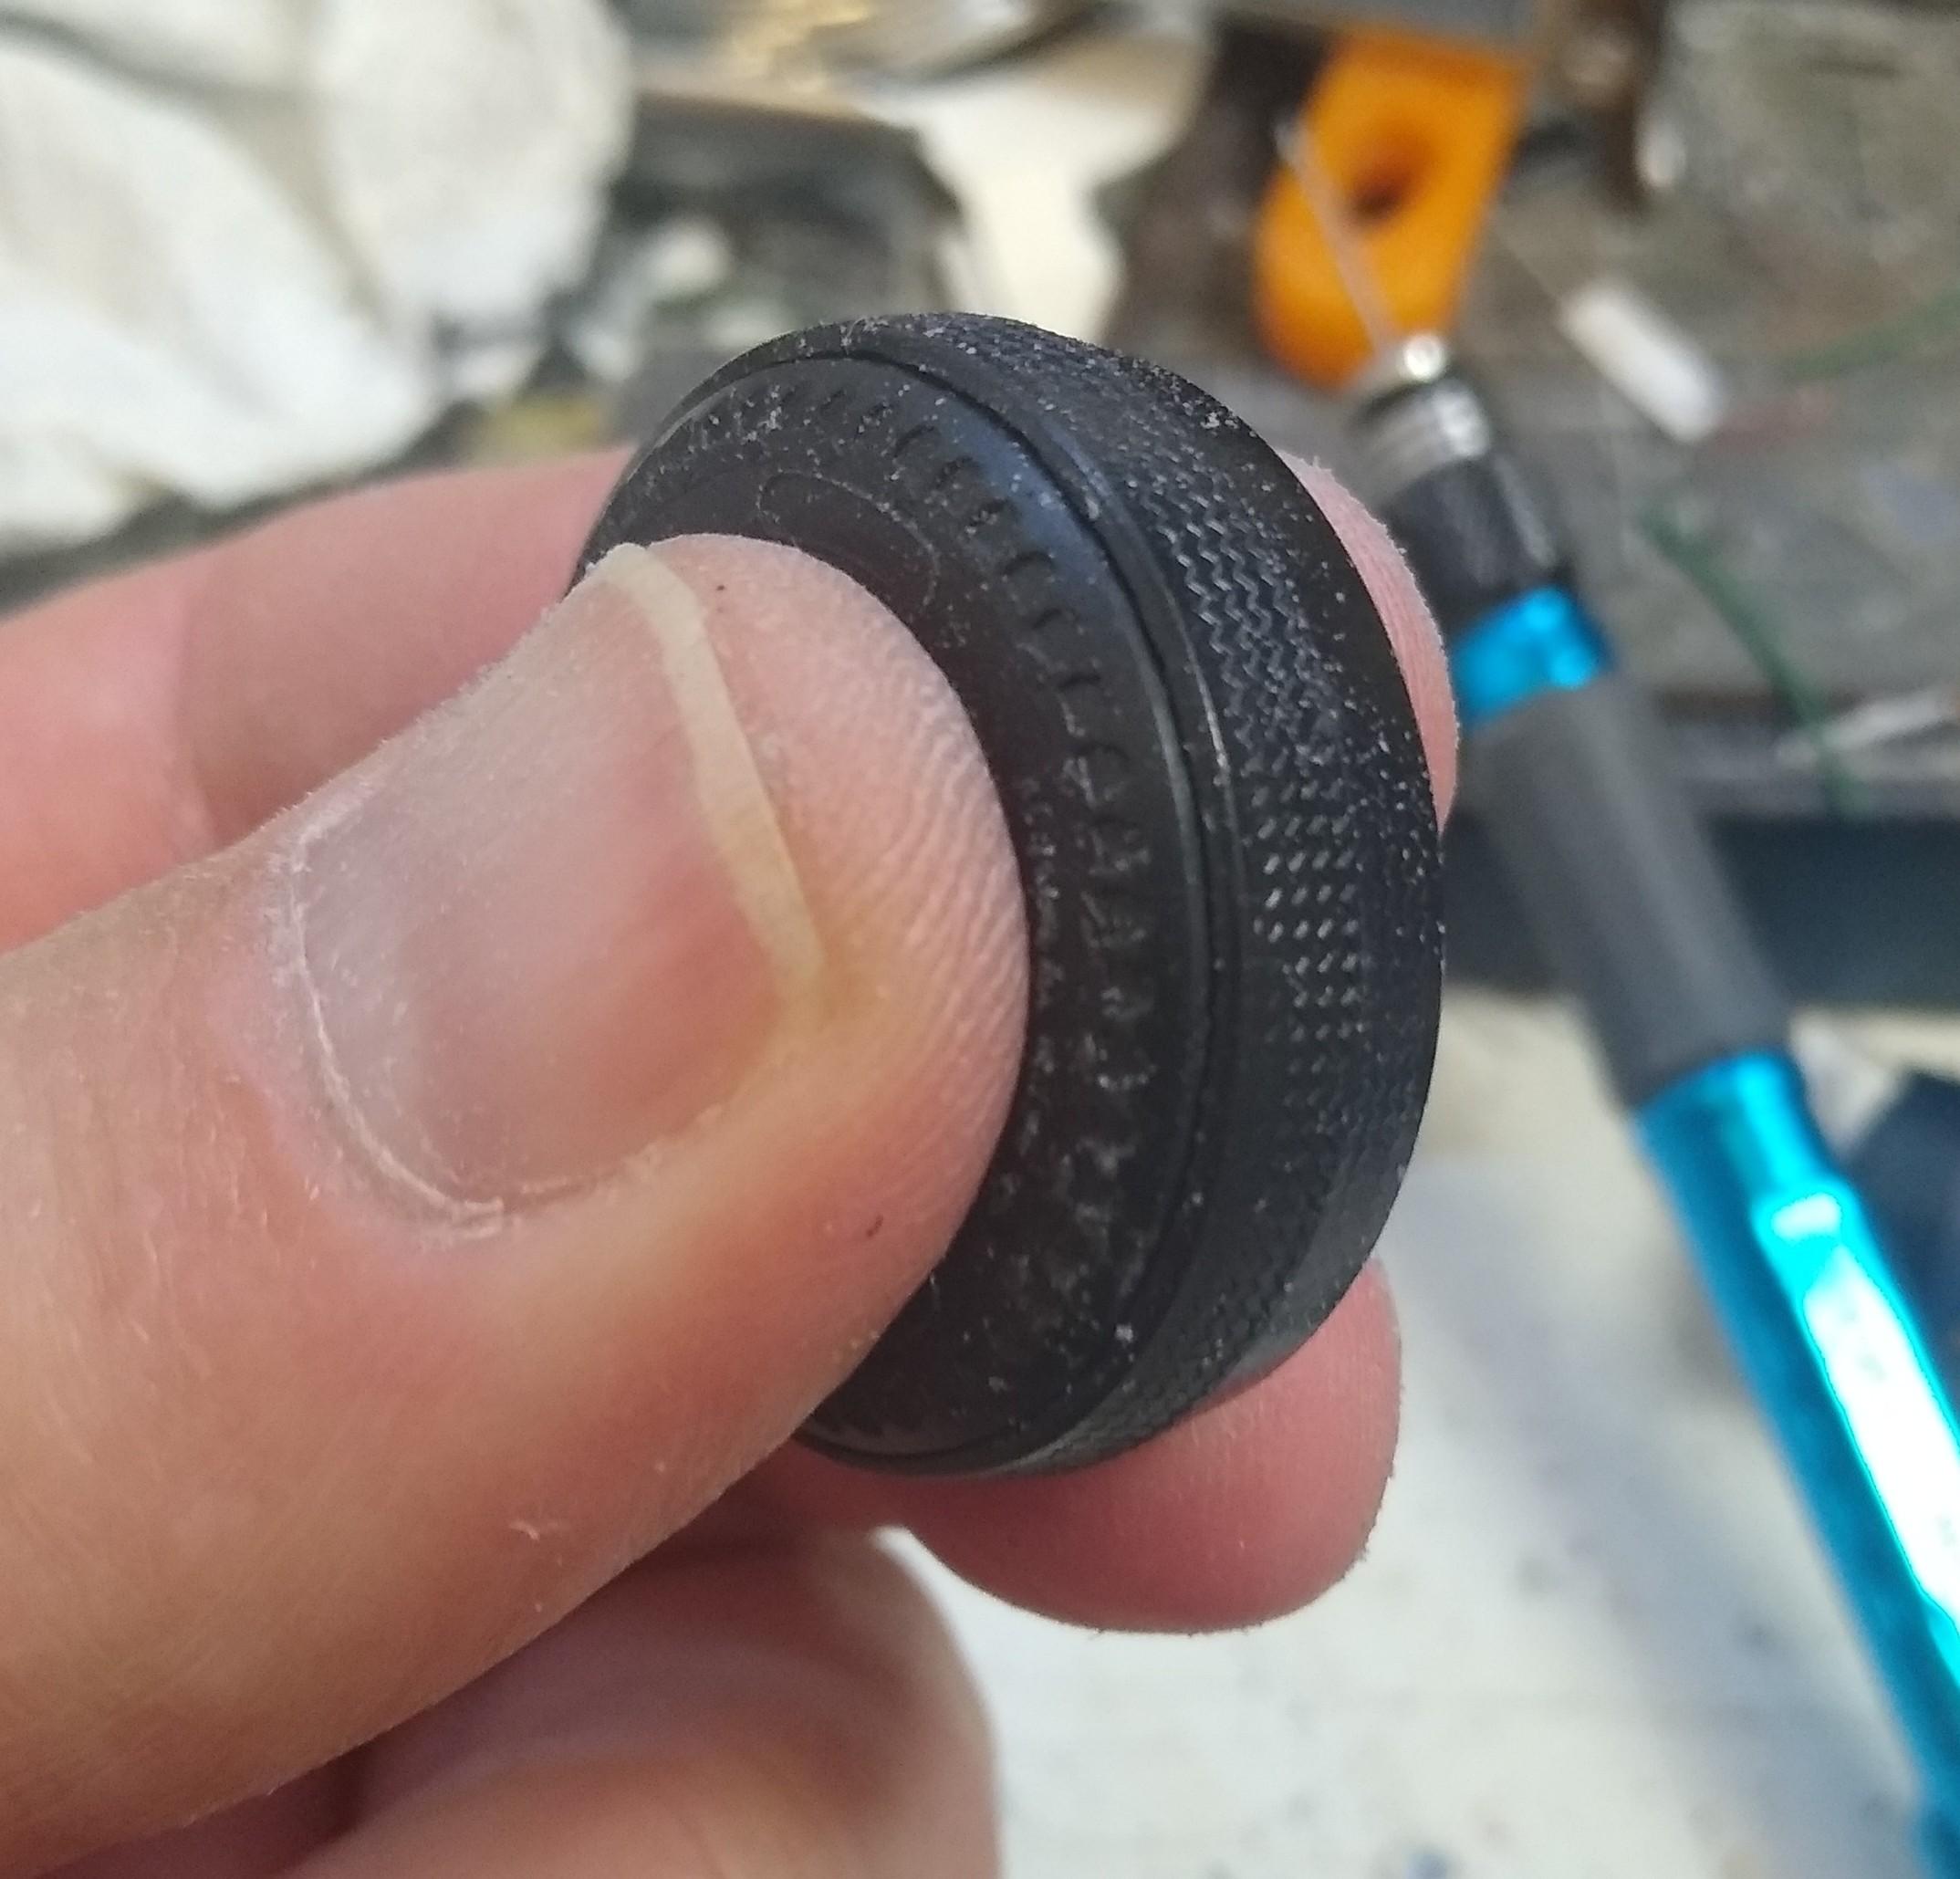
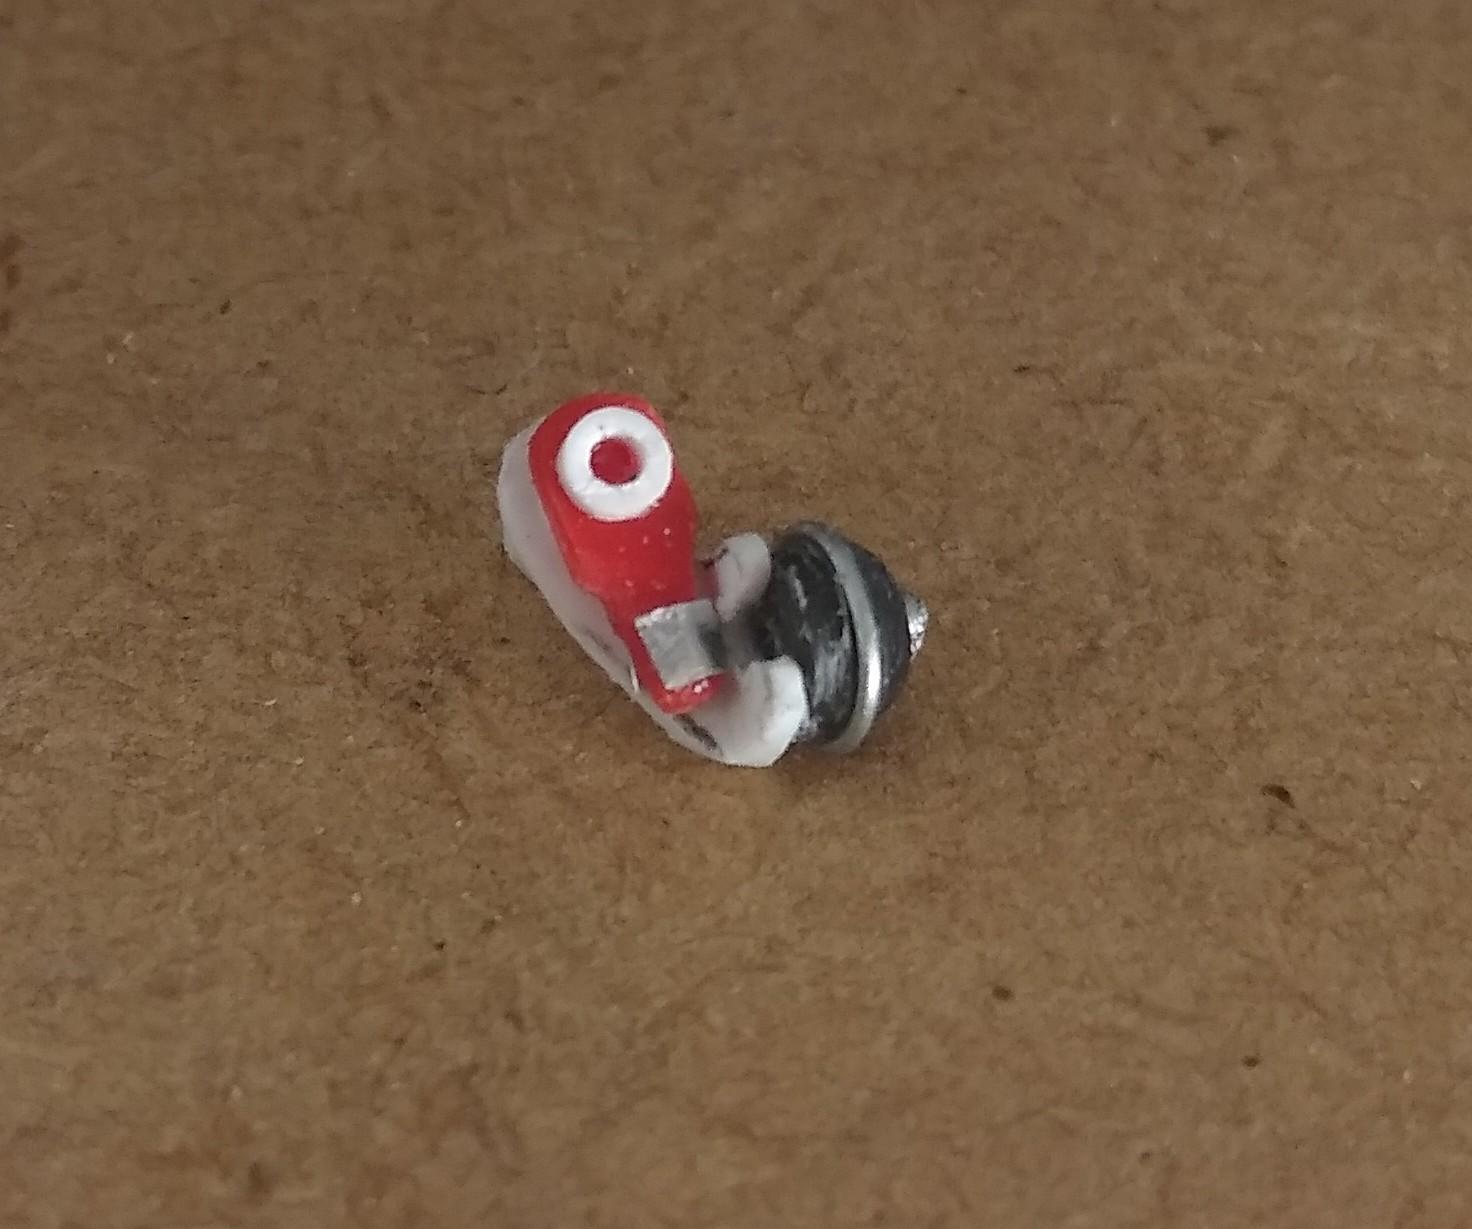
Opening the hood on this truck has caused a lot of work, piping, a whole engine, radiator, steering etc... but it's also made the atrocious Monogram hollow tyres all too obvious. They're normally hidden in the dark under the cab but not here, what to do? I only have one spare Monogram tyre so that's a non-starter. However, I do have about twenty spare AMT tyres. I tested sizes and an idea ? came to mind. Using a marker pen as a spindle I cut a sidewall off a tyre. It dropped straight into the Monogram piece. With a little trimming it sat down well. Then I took an AMT inner and wheel and filed it until the backplate came off and it was just a rim. Glued it all in place. Looks ok. Not perfect but it's better than the original mess. Once painted they should blend in better. Turned my attention to the front brakes. Turned a chamber out of chubby sprue and used 0.5mm wire for the clamp ring. Cut a bracket from 90° angle and 2.3mm hollow tube. Shaped a slack adjuster from scrap. Just waiting for it all to set before I fit it.
-
Dodge Cabover
Rockford replied to Repstock's topic in WIP: Model Trucks: Big Rigs and Heavy Equipment
Looks great, you'd never imagine that's scratch built! -
Now my trailer fix is quelled for the time being (I've just bought two more, what's wrong with me!?), I turned my attention back to the W900. Just did some necessary things that don't really stand out but make me feel better. I added the brace from the firewall to the radiator and the hood supports on the firewall. To simulate the main loom into the cab I bound about 20 lengths of cotton together so it looks suitably messy. Added heater hoses and hoses to the water filter. I tried making mirror arms from aluminium wire but they were a mess so I'm going to resort to using the mirror arms off the Snaptite T600.
-
AMT/Italeri Ford LTL9000
Rockford replied to TruckerAL's topic in Model Trucks: Big Rigs and Heavy Equipment
Nice clean looking rig. I do like the Fords of this era, including the cabovers, very much underappreciated.