Rockford
-
Posts
1,944 -
Joined
-
Last visited
Content Type
Profiles
Forums
Events
Gallery
Everything posted by Rockford
-

Revell Rammstein Tour truck
Rockford replied to iamsuperdan's topic in Model Trucks: Big Rigs and Heavy Equipment
Nice looking rig. -
Gents Could someone please tell me the sze of the "exterior posts" on this kit? I'm thinking of building one in a different scale from 1/25th. Thanks in advance. Steve
-
This is going to be a beast!
-
Autocar ACX 8 x 4 Cabover
Rockford replied to Jürgen M.'s topic in WIP: Model Trucks: Big Rigs and Heavy Equipment
Looking good Jürgen, looking forward to seeing this come together. -
My own Sundance
Rockford replied to Rockford's topic in WIP: Model Trucks: Big Rigs and Heavy Equipment
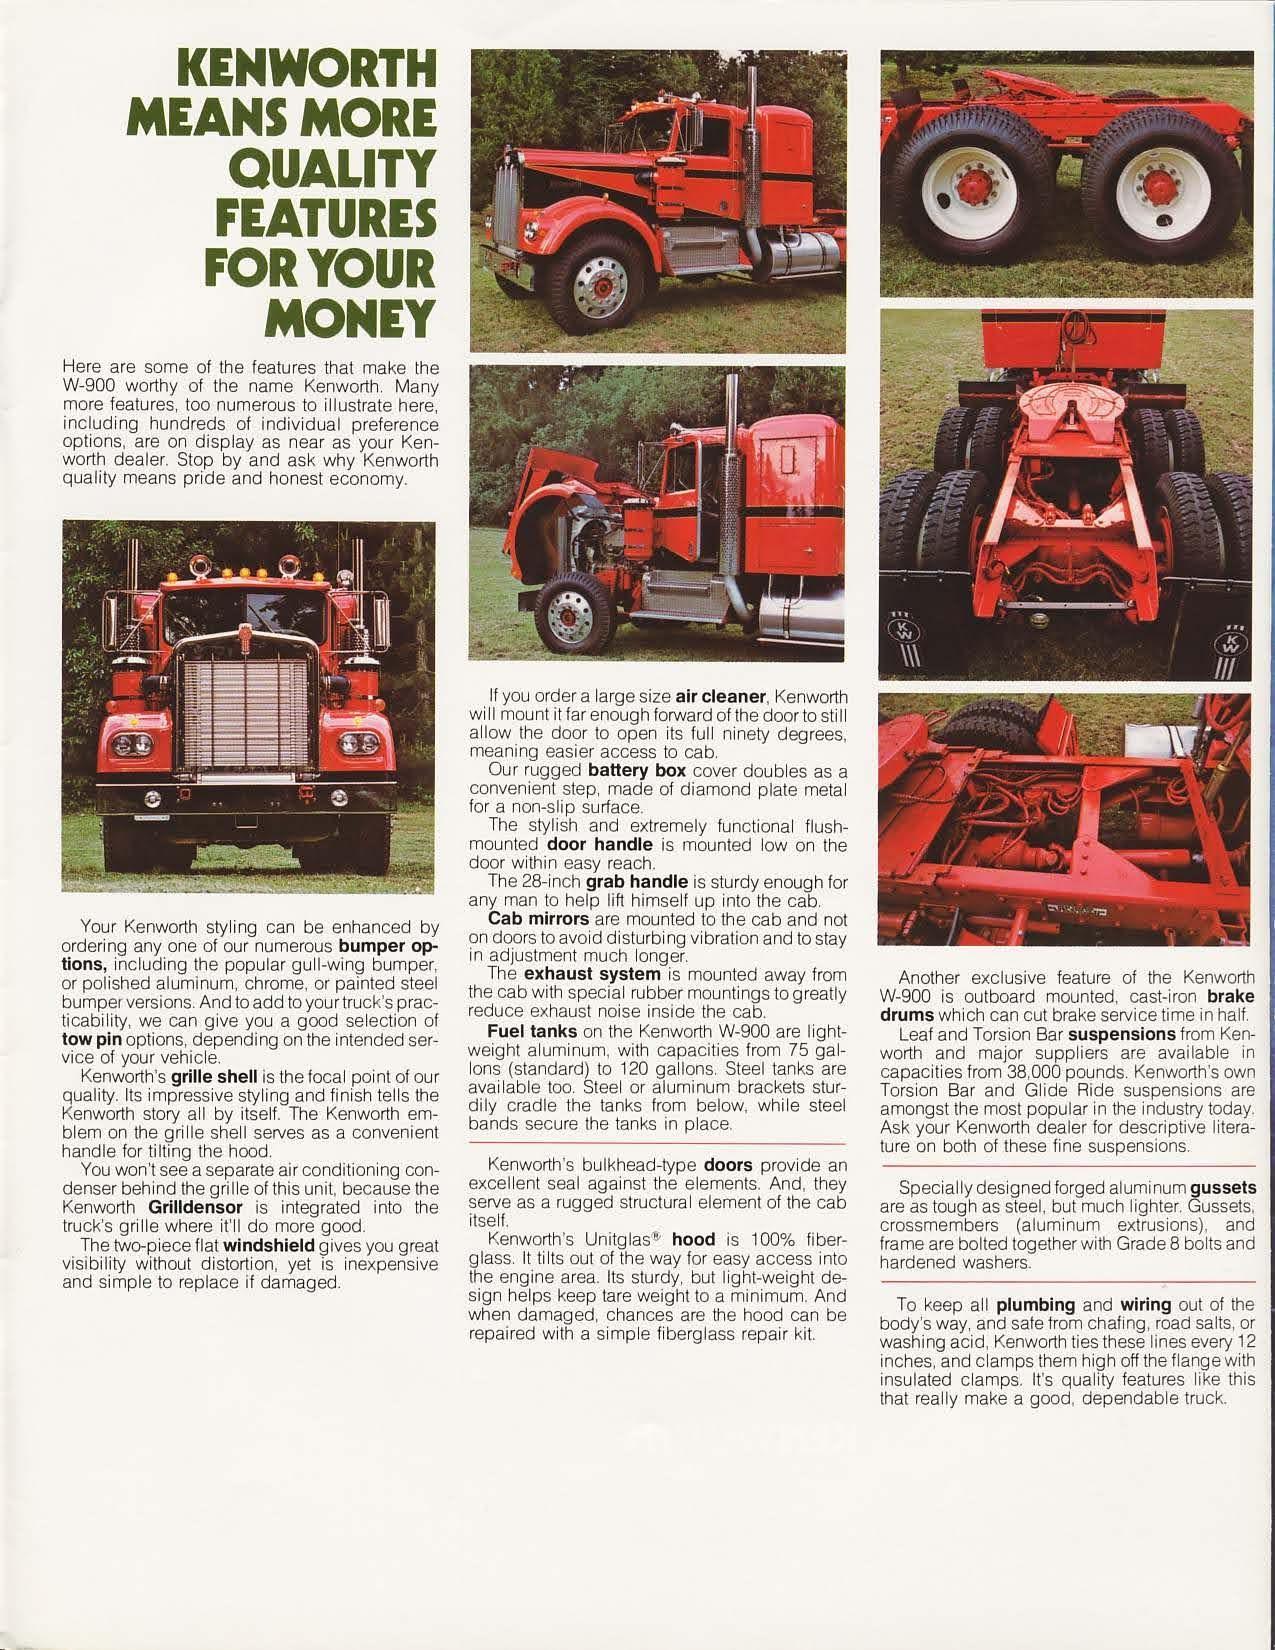
Good clear picture that, thanks. You can see from that picture that the pogo stick mount is mounted with the upright facing the back. Not the usual way but Kenworth seemed to do that then, the brochure for the W900 has it the same way, but not as clear.
-
Autocar ACX 8 x 4 Cabover
Rockford replied to Jürgen M.'s topic in WIP: Model Trucks: Big Rigs and Heavy Equipment
Very clever stuff, looks great! -
AMT "Miller" GMC Astro 95
Rockford replied to Goodwrench3's topic in WIP: Model Trucks: Big Rigs and Heavy Equipment
I usually envy you 1/25 guys but on this one I'll keep my snappers. I'm sure you'll make a great job of it. It does build into a great looking truck. -
My own Sundance
Rockford replied to Rockford's topic in WIP: Model Trucks: Big Rigs and Heavy Equipment
Thanks, I'm really nervous about getting it looking right. I'm not going massive on the details on this one (I hope), but the back end is so open to view I had to get it looking right. -
Really crisp work there, I'm sure this will look great. I'd love to do a Navajo truck one day. I loved the droms they ran.
-
That is fantastic! You're really pushing yourself there. Looks great.
-
My own Sundance
Rockford replied to Rockford's topic in WIP: Model Trucks: Big Rigs and Heavy Equipment
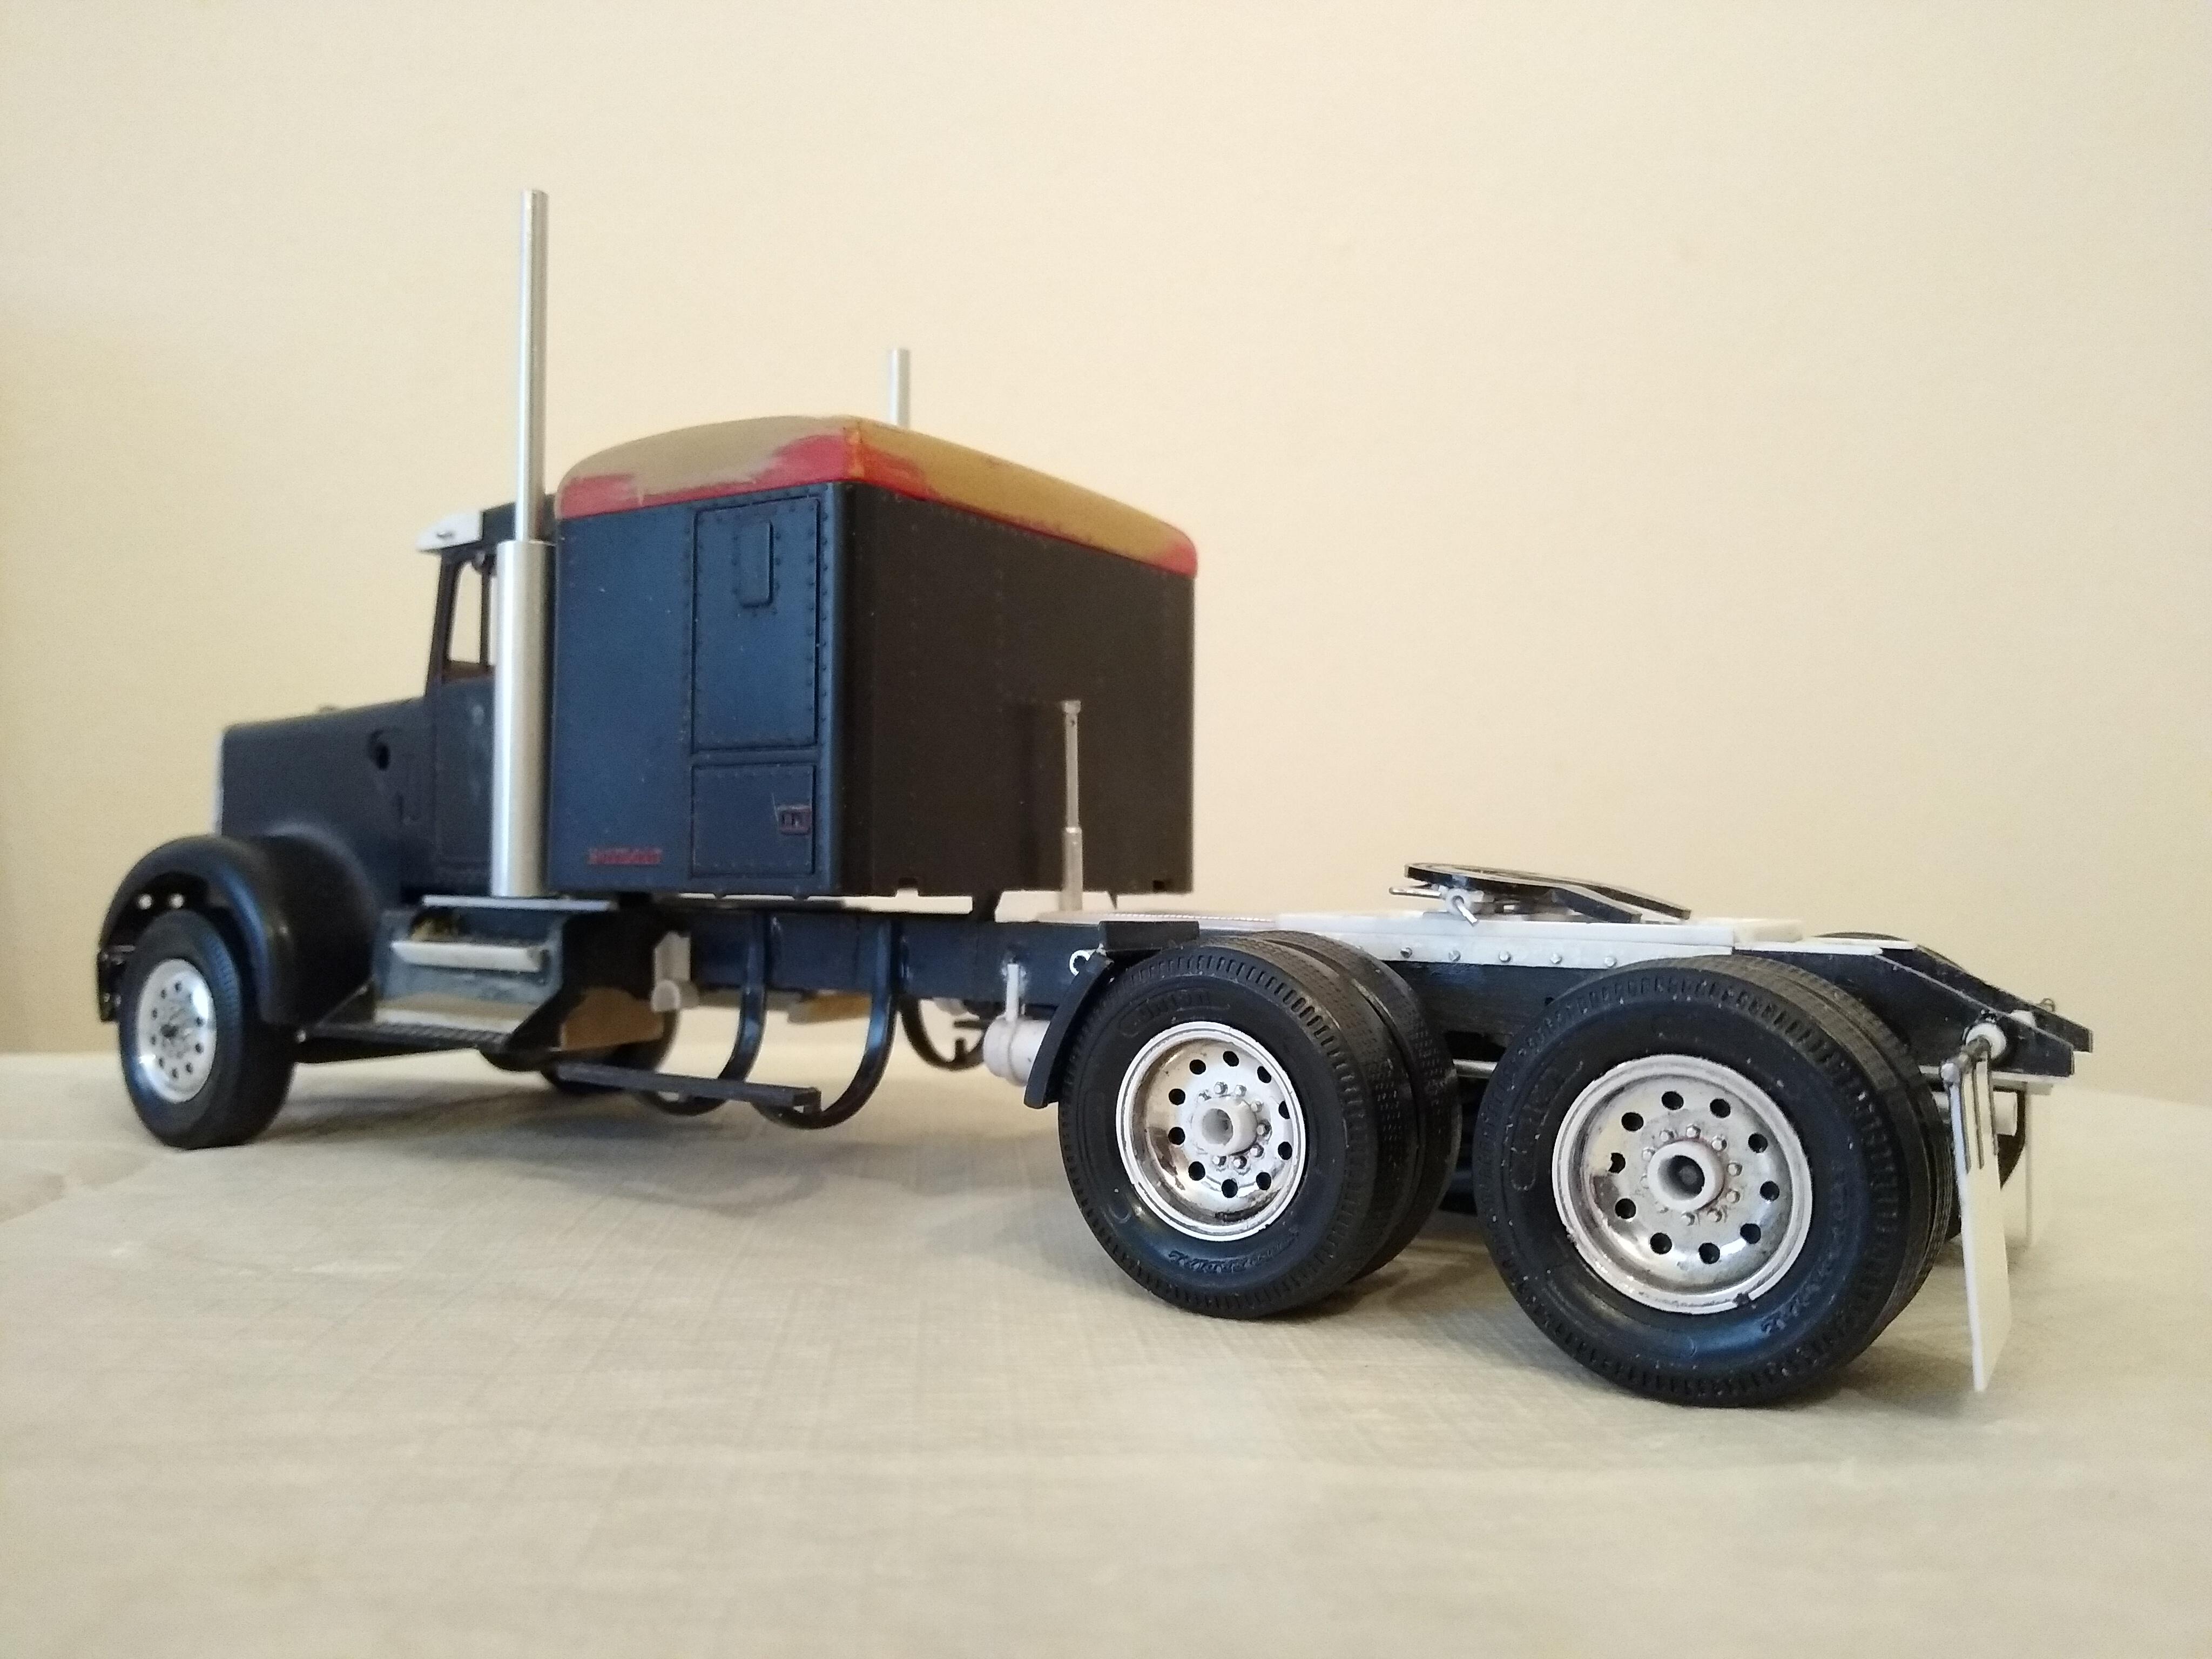
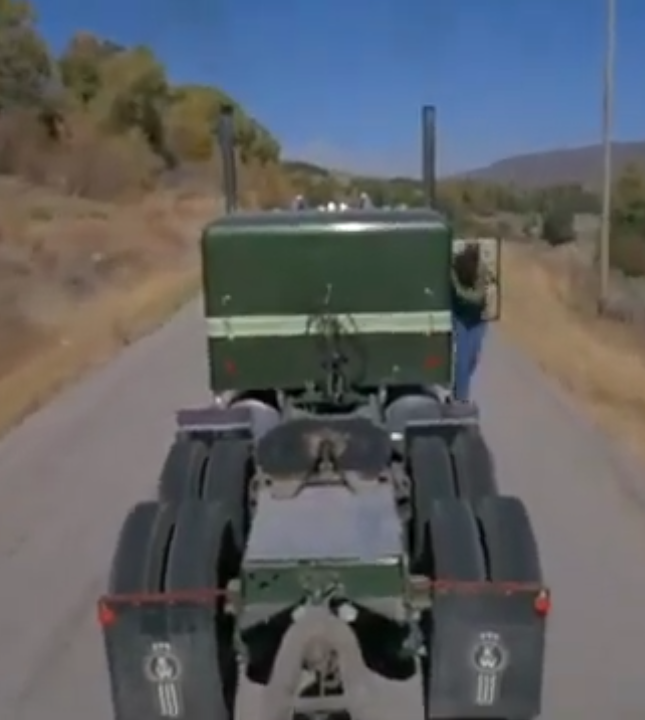
Well, great minds think alike Charlie, I fitted a couple of bosses through the side rail, cut the crossbar and inserted the brackets and it looks ok. The bosses will blend in better when everything is green. Looks much more like the real thing. In the photo of the real thing they've moved the deckplate to behind the 5th wheel for a stunt where Sonny unhitched a drawbar trailer from the pintle hook fitted to the rear cross member. The deckplate was only held by rubber straps.
-
Autocar ACX 8 x 4 Cabover
Rockford replied to Jürgen M.'s topic in WIP: Model Trucks: Big Rigs and Heavy Equipment
Fascinating stuff, looks like a municipal chassis, garbage truck etc... Are you using an Autocar chassis? I don't suppose it matters really does it? -
My own Sundance
Rockford replied to Rockford's topic in WIP: Model Trucks: Big Rigs and Heavy Equipment
Good suggestion sir! That's the sort thing I'm mulling over. Really not sure how to balance accuracy, robustness and the need to assemble cleanly once painted. -
All excellent stuff! The sky's the limit now for you Jürgen. The Diamond Reo looks rather beefy and the finished Marmon looks brilliant. Lee up the good work! Looking forward to seeing more of your builds.
-
My own Sundance
Rockford replied to Rockford's topic in WIP: Model Trucks: Big Rigs and Heavy Equipment
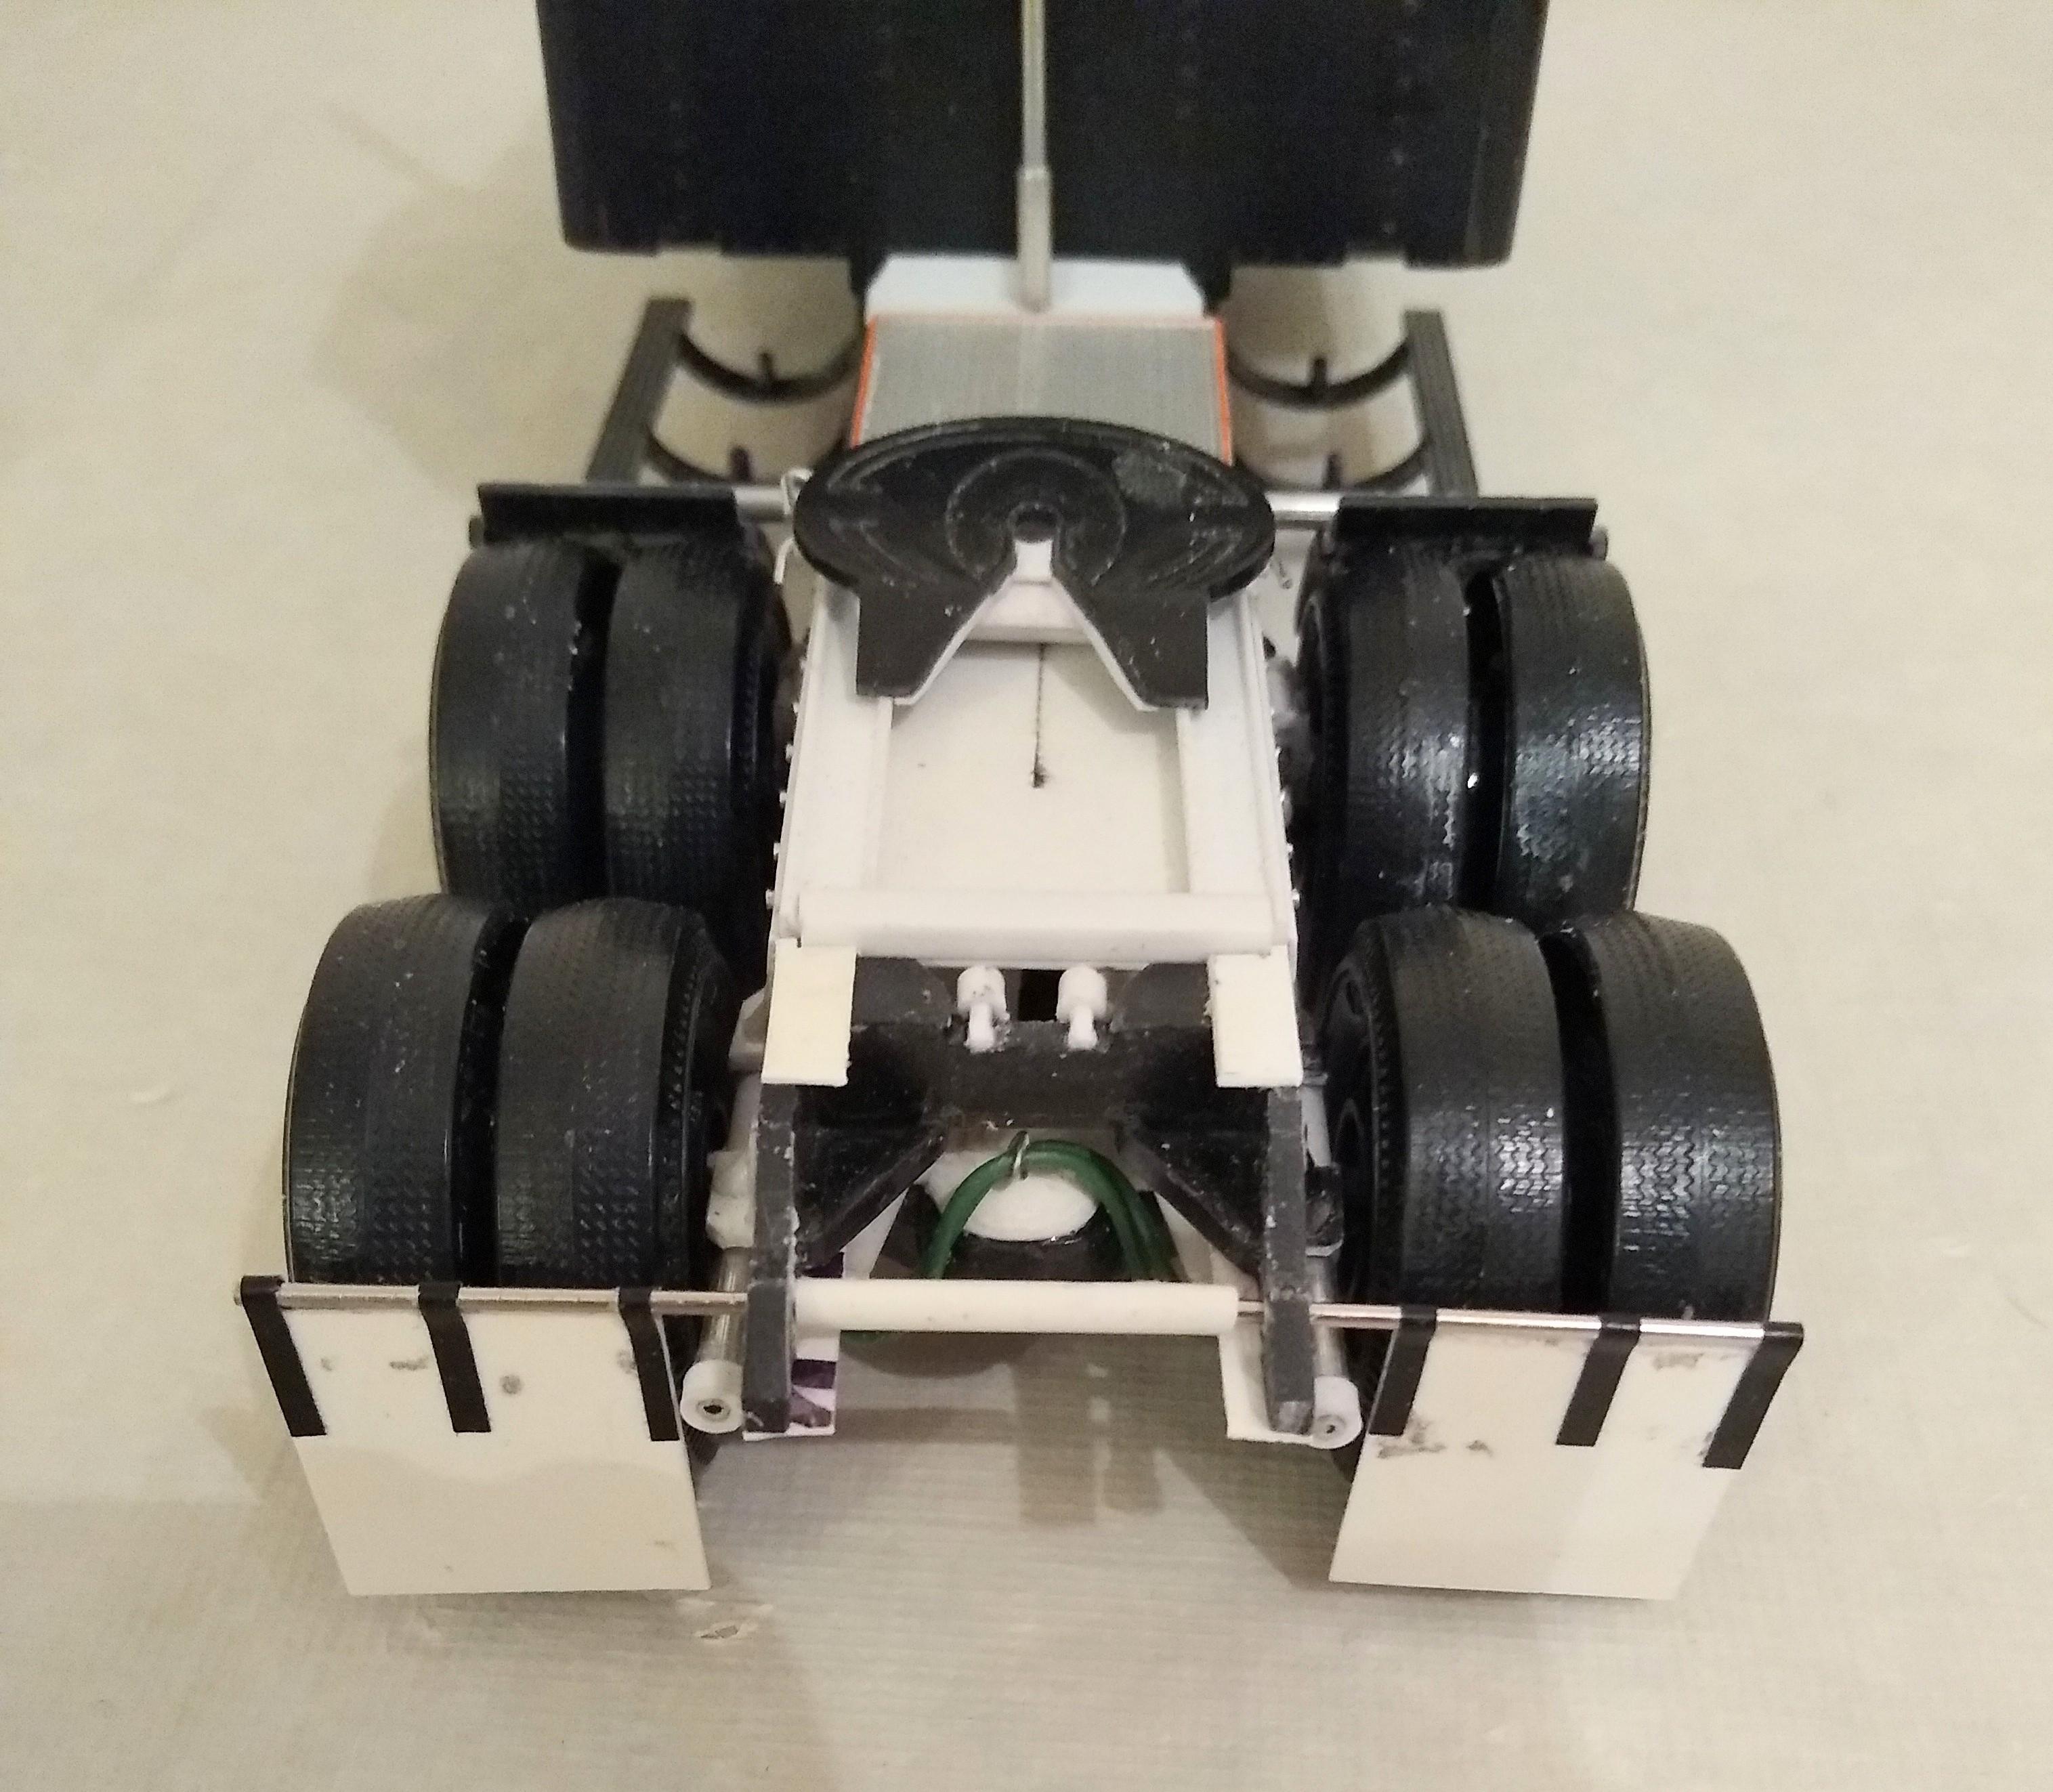
I'd done my usual and covered the crossbar for the mudflaps with a closing panel but it isn't accurate. I needed to open up the rear of the chassis and that will require a new way of hanging the mudflaps. I shimmed the old holes with plastic tube and rebuilt the rear ears of the chassis. I hung two prototype mudflaps over a straightened paperclip using electrical tape. Also added top and bottom flanges to the chassis rails. I'm considering how to do this for the finished product. I'd like to eliminate the crossbar but the flaps have to be fairly robust still. At worst I'll use one bar right across and mount the light bracket below it to confuse the eye. The crossbar there now is temporary.
-
You've done an amazing job there, I thought they'd done a chrome sided version!
-
My own Sundance
Rockford replied to Rockford's topic in WIP: Model Trucks: Big Rigs and Heavy Equipment
Did my second quarter fender. Treated the back of each with superglue then trimmed the tail ends of the wires. Look ok to me, good to have the separate braces as in the real thing and I love that I can see the wire going through the tube and into the fender. They're strong too. Just got to add the flap to the top edge but I'll leave that until after paint.
-
Jurgen, good to see you back! Really clever stuff printing your own cab. Are you self taught? How long did all that take? Well done on your Marmon. Looks great. Did you do the instrument panel too? Very nice work.
-
Very nice fleet. Great Great Dane! Looks good with mudflaps fixed to the rear-end so they don't move with the tandems.
-
My own Sundance
Rockford replied to Rockford's topic in WIP: Model Trucks: Big Rigs and Heavy Equipment
You're more than welcome mate. They'd be much easier to do in 1/25th too, bigger pieces to work with. -
My own Sundance
Rockford replied to Rockford's topic in WIP: Model Trucks: Big Rigs and Heavy Equipment
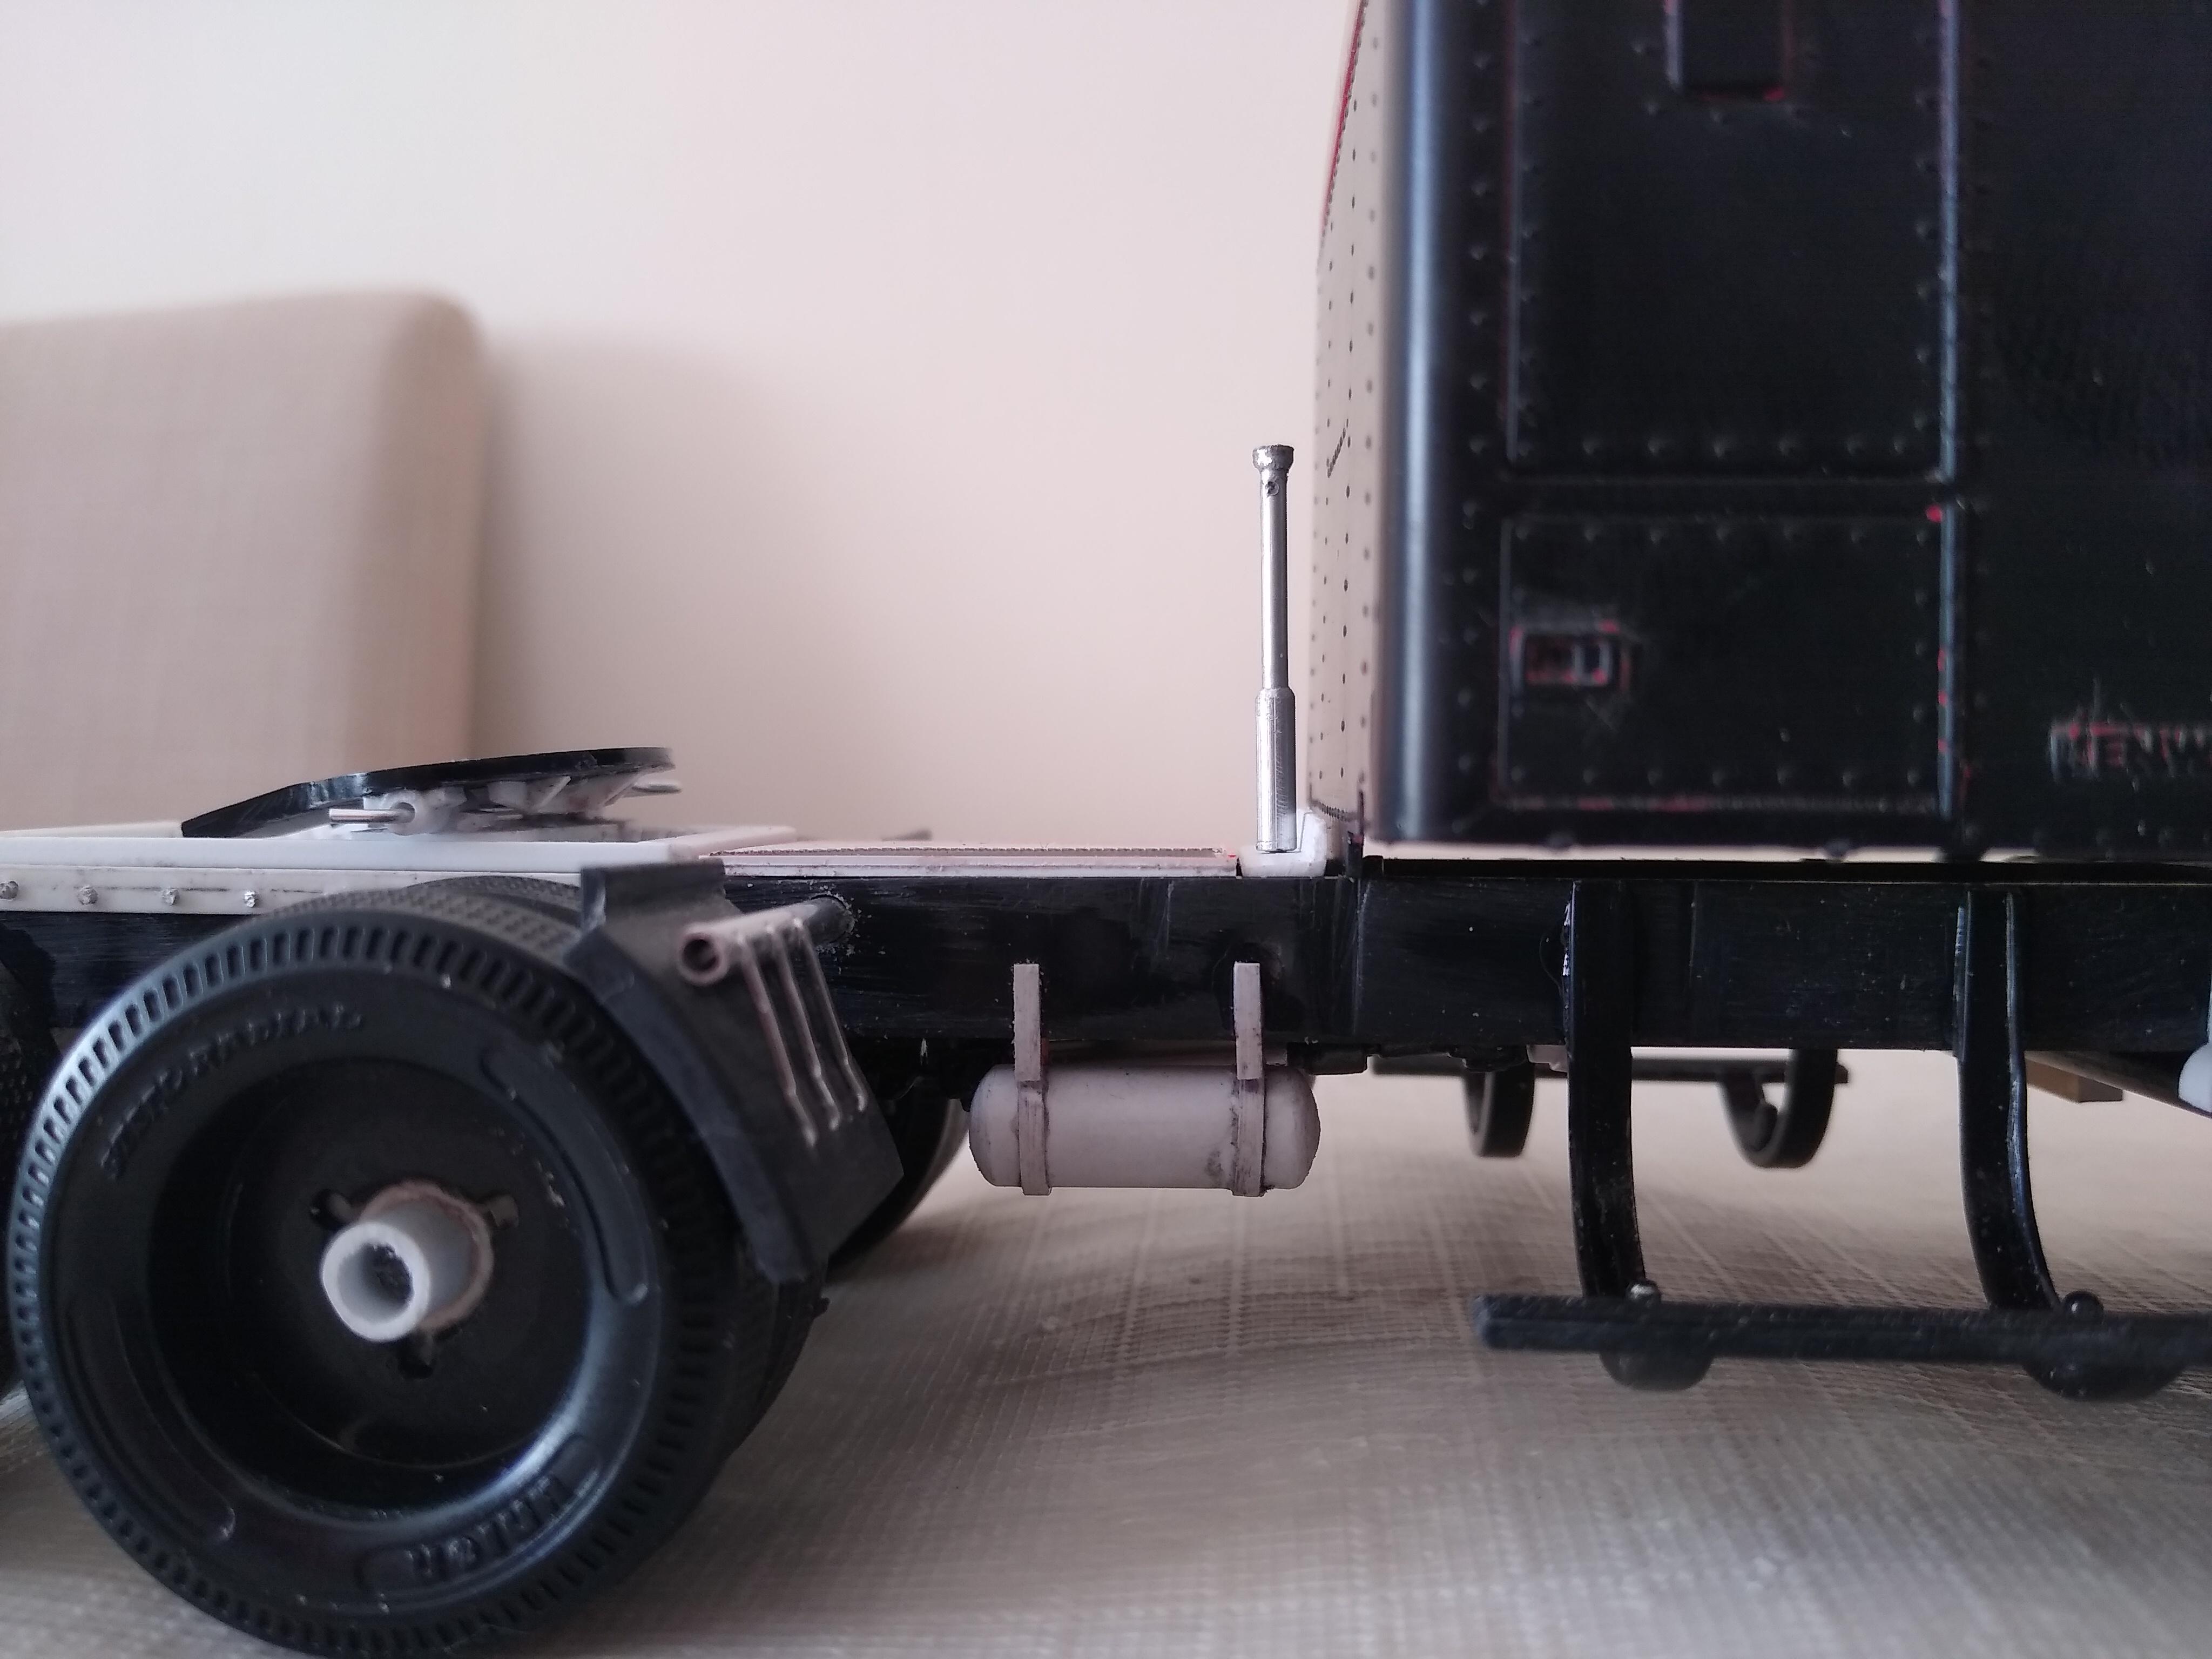
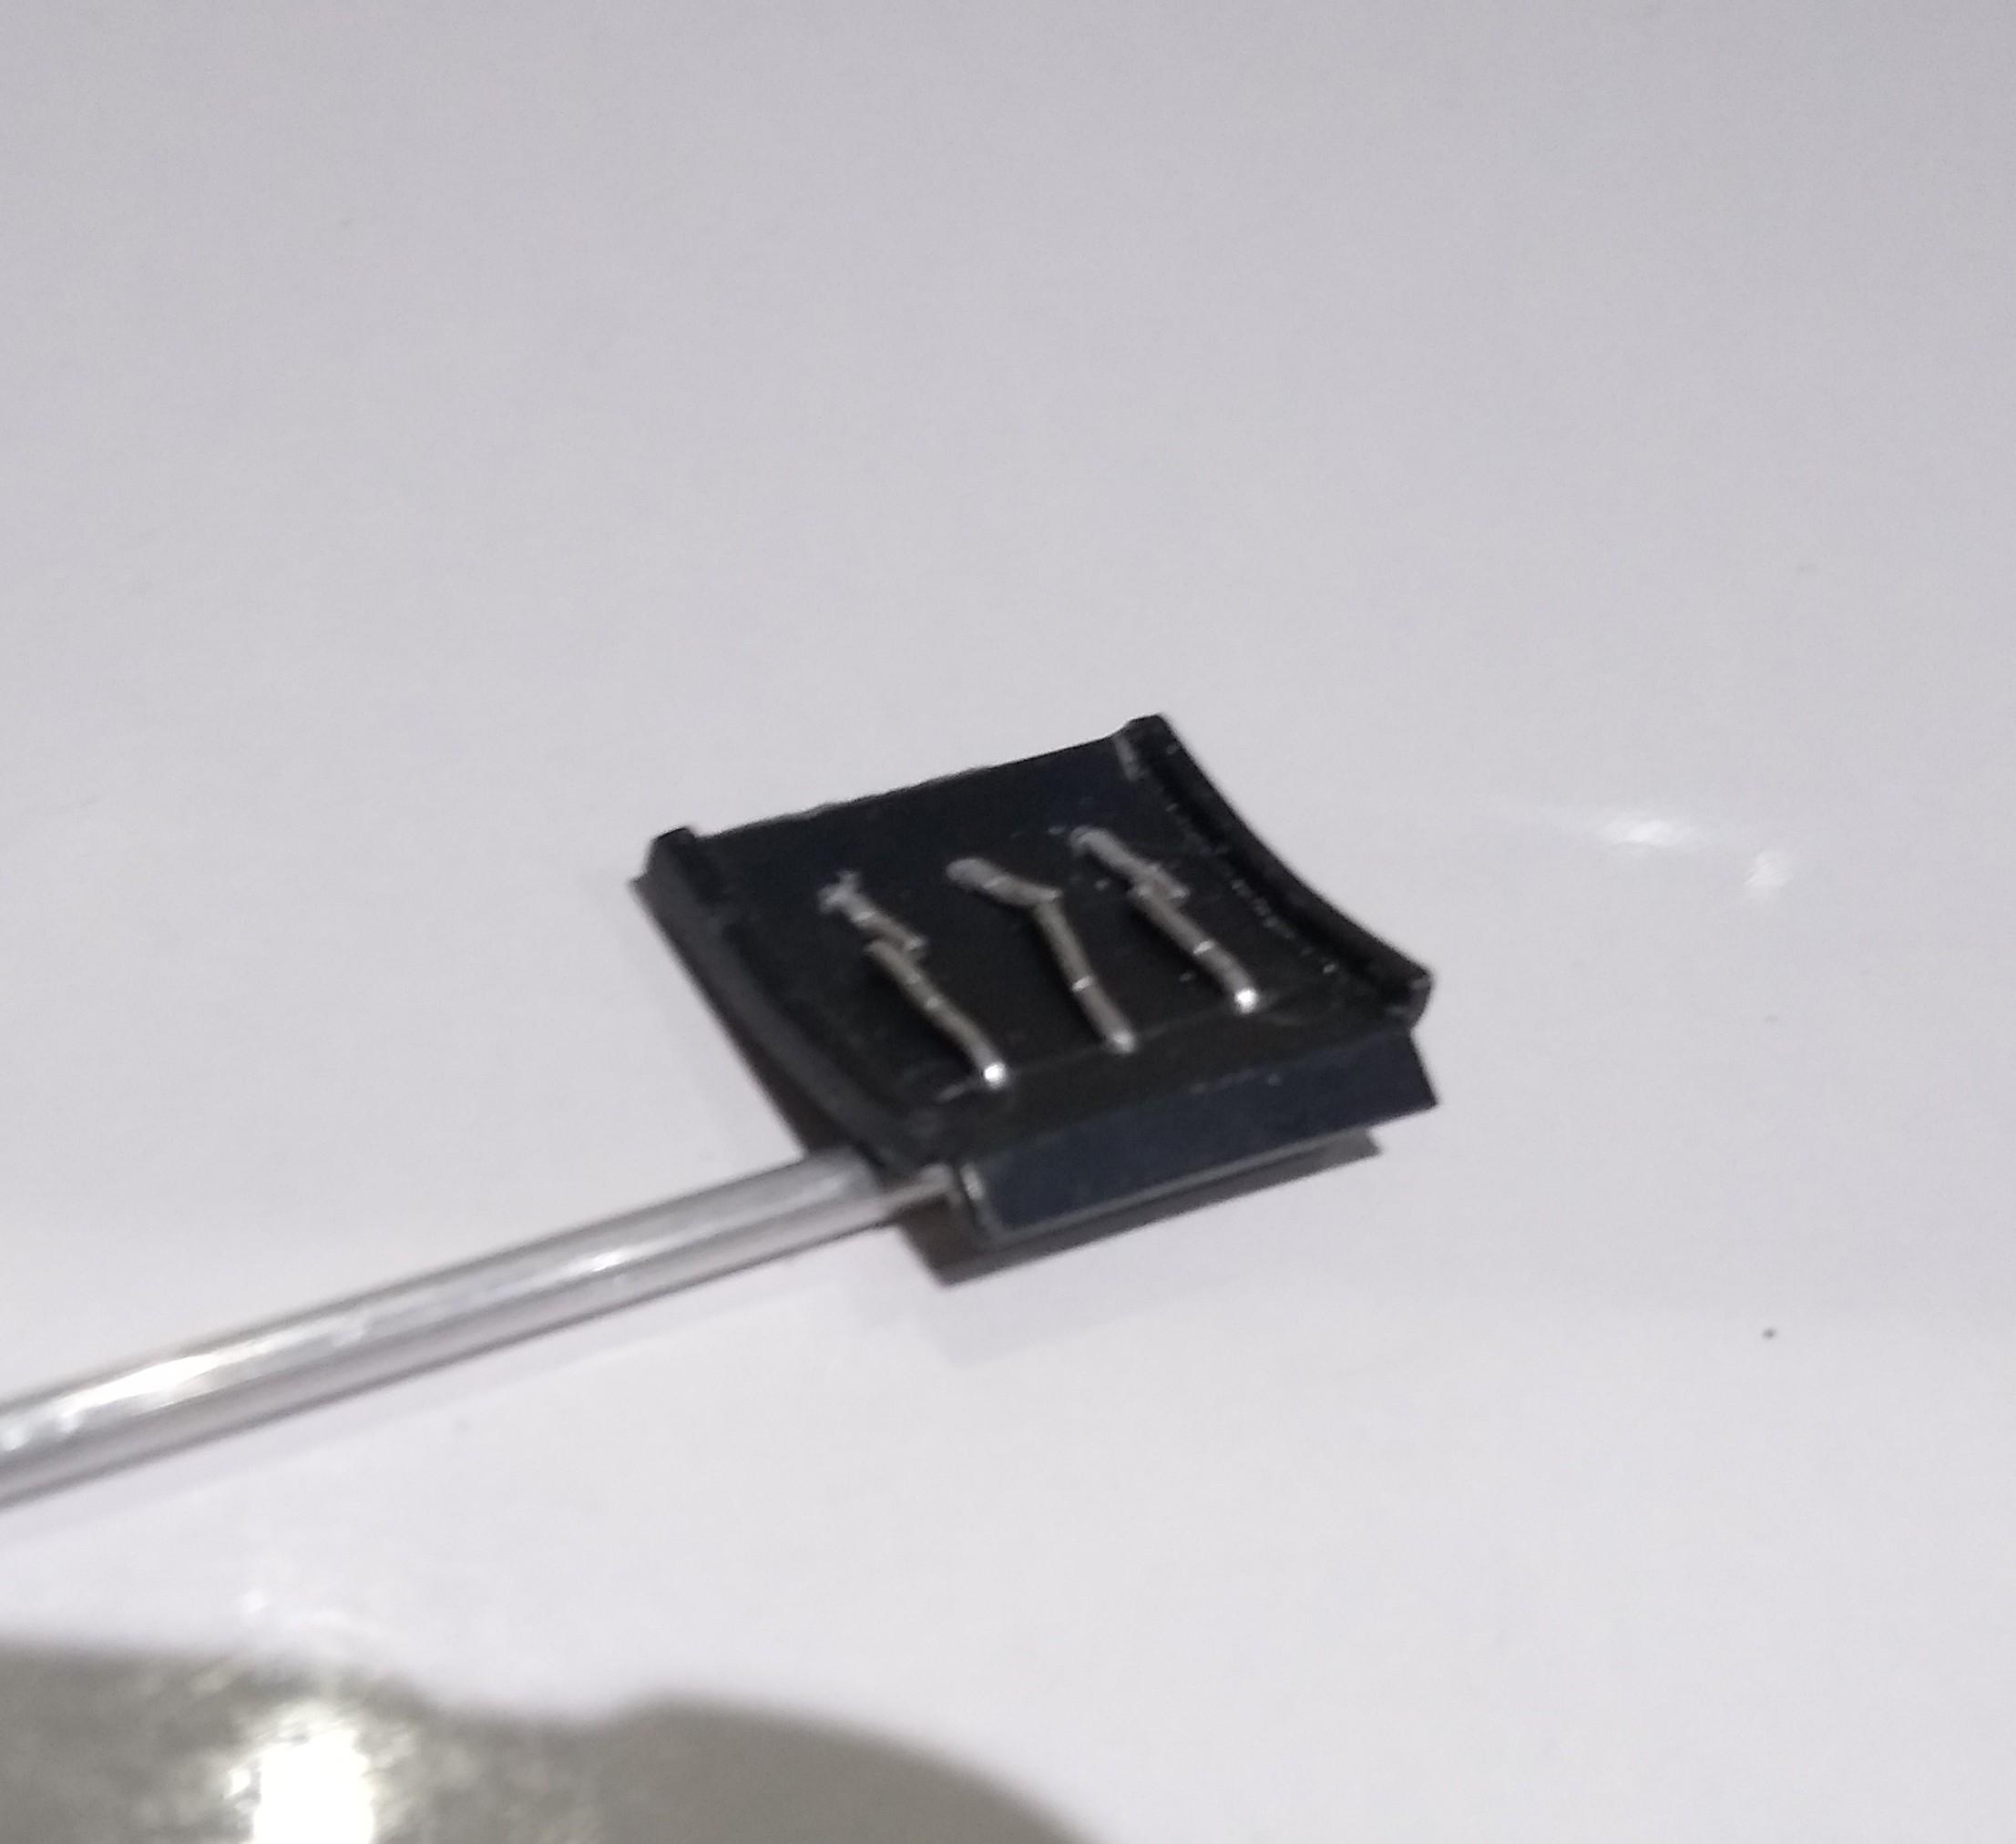
Did my usual filling of the rear diff with plastic offcuts, scratch built some rear shock absorbers, brake chambers and airhoses etc ... Added the mounting plates for the 5th wheel slider. Drilled them and added 0.8mm ali wire to simulate the substantial bolts there. Looks good to me. Whilst doing this I snapped a quarter fender (should have took them off I know), they're very fragile though and I've repaired it but I'm dreading the terrible fender droop you see on some finished kits. So, I decided to try something I've been thinking about for some time. I took another pair of fenders that were already broken and drilled six holes where the moulded braces start and finish. Then I filed all the detail off. I drilled three corresponding holes in a piece of 2mm ali tube and then wired the two together with 0.8mm ali wire. Flattened the ends with pliers and it looks ok for a first shot. I'll rewire it and keep it straight next time, the braces got a bit mauled on installation. Bit messy at the back but who will see that? Will certainly be sturdy!
-
Ford c-800(900)
Rockford replied to 53gmc's topic in WIP: Model Trucks: Big Rigs and Heavy Equipment
Interesting subject well executed. Not sure I'd want to spend a night in one though! -
La France Eagle Fire Truck
Rockford replied to louis Carabott's topic in Model Trucks: Big Rigs and Heavy Equipment
I don't know how I missed this, unbelievable detail. Fantastic stuff. -
AMT Freightliner C.O.E.
Rockford replied to athlon's topic in Model Trucks: Big Rigs and Heavy Equipment
Great looking rig, kind of unsung hero I like. Plain and simple, built for work. -
My own Sundance
Rockford replied to Rockford's topic in WIP: Model Trucks: Big Rigs and Heavy Equipment
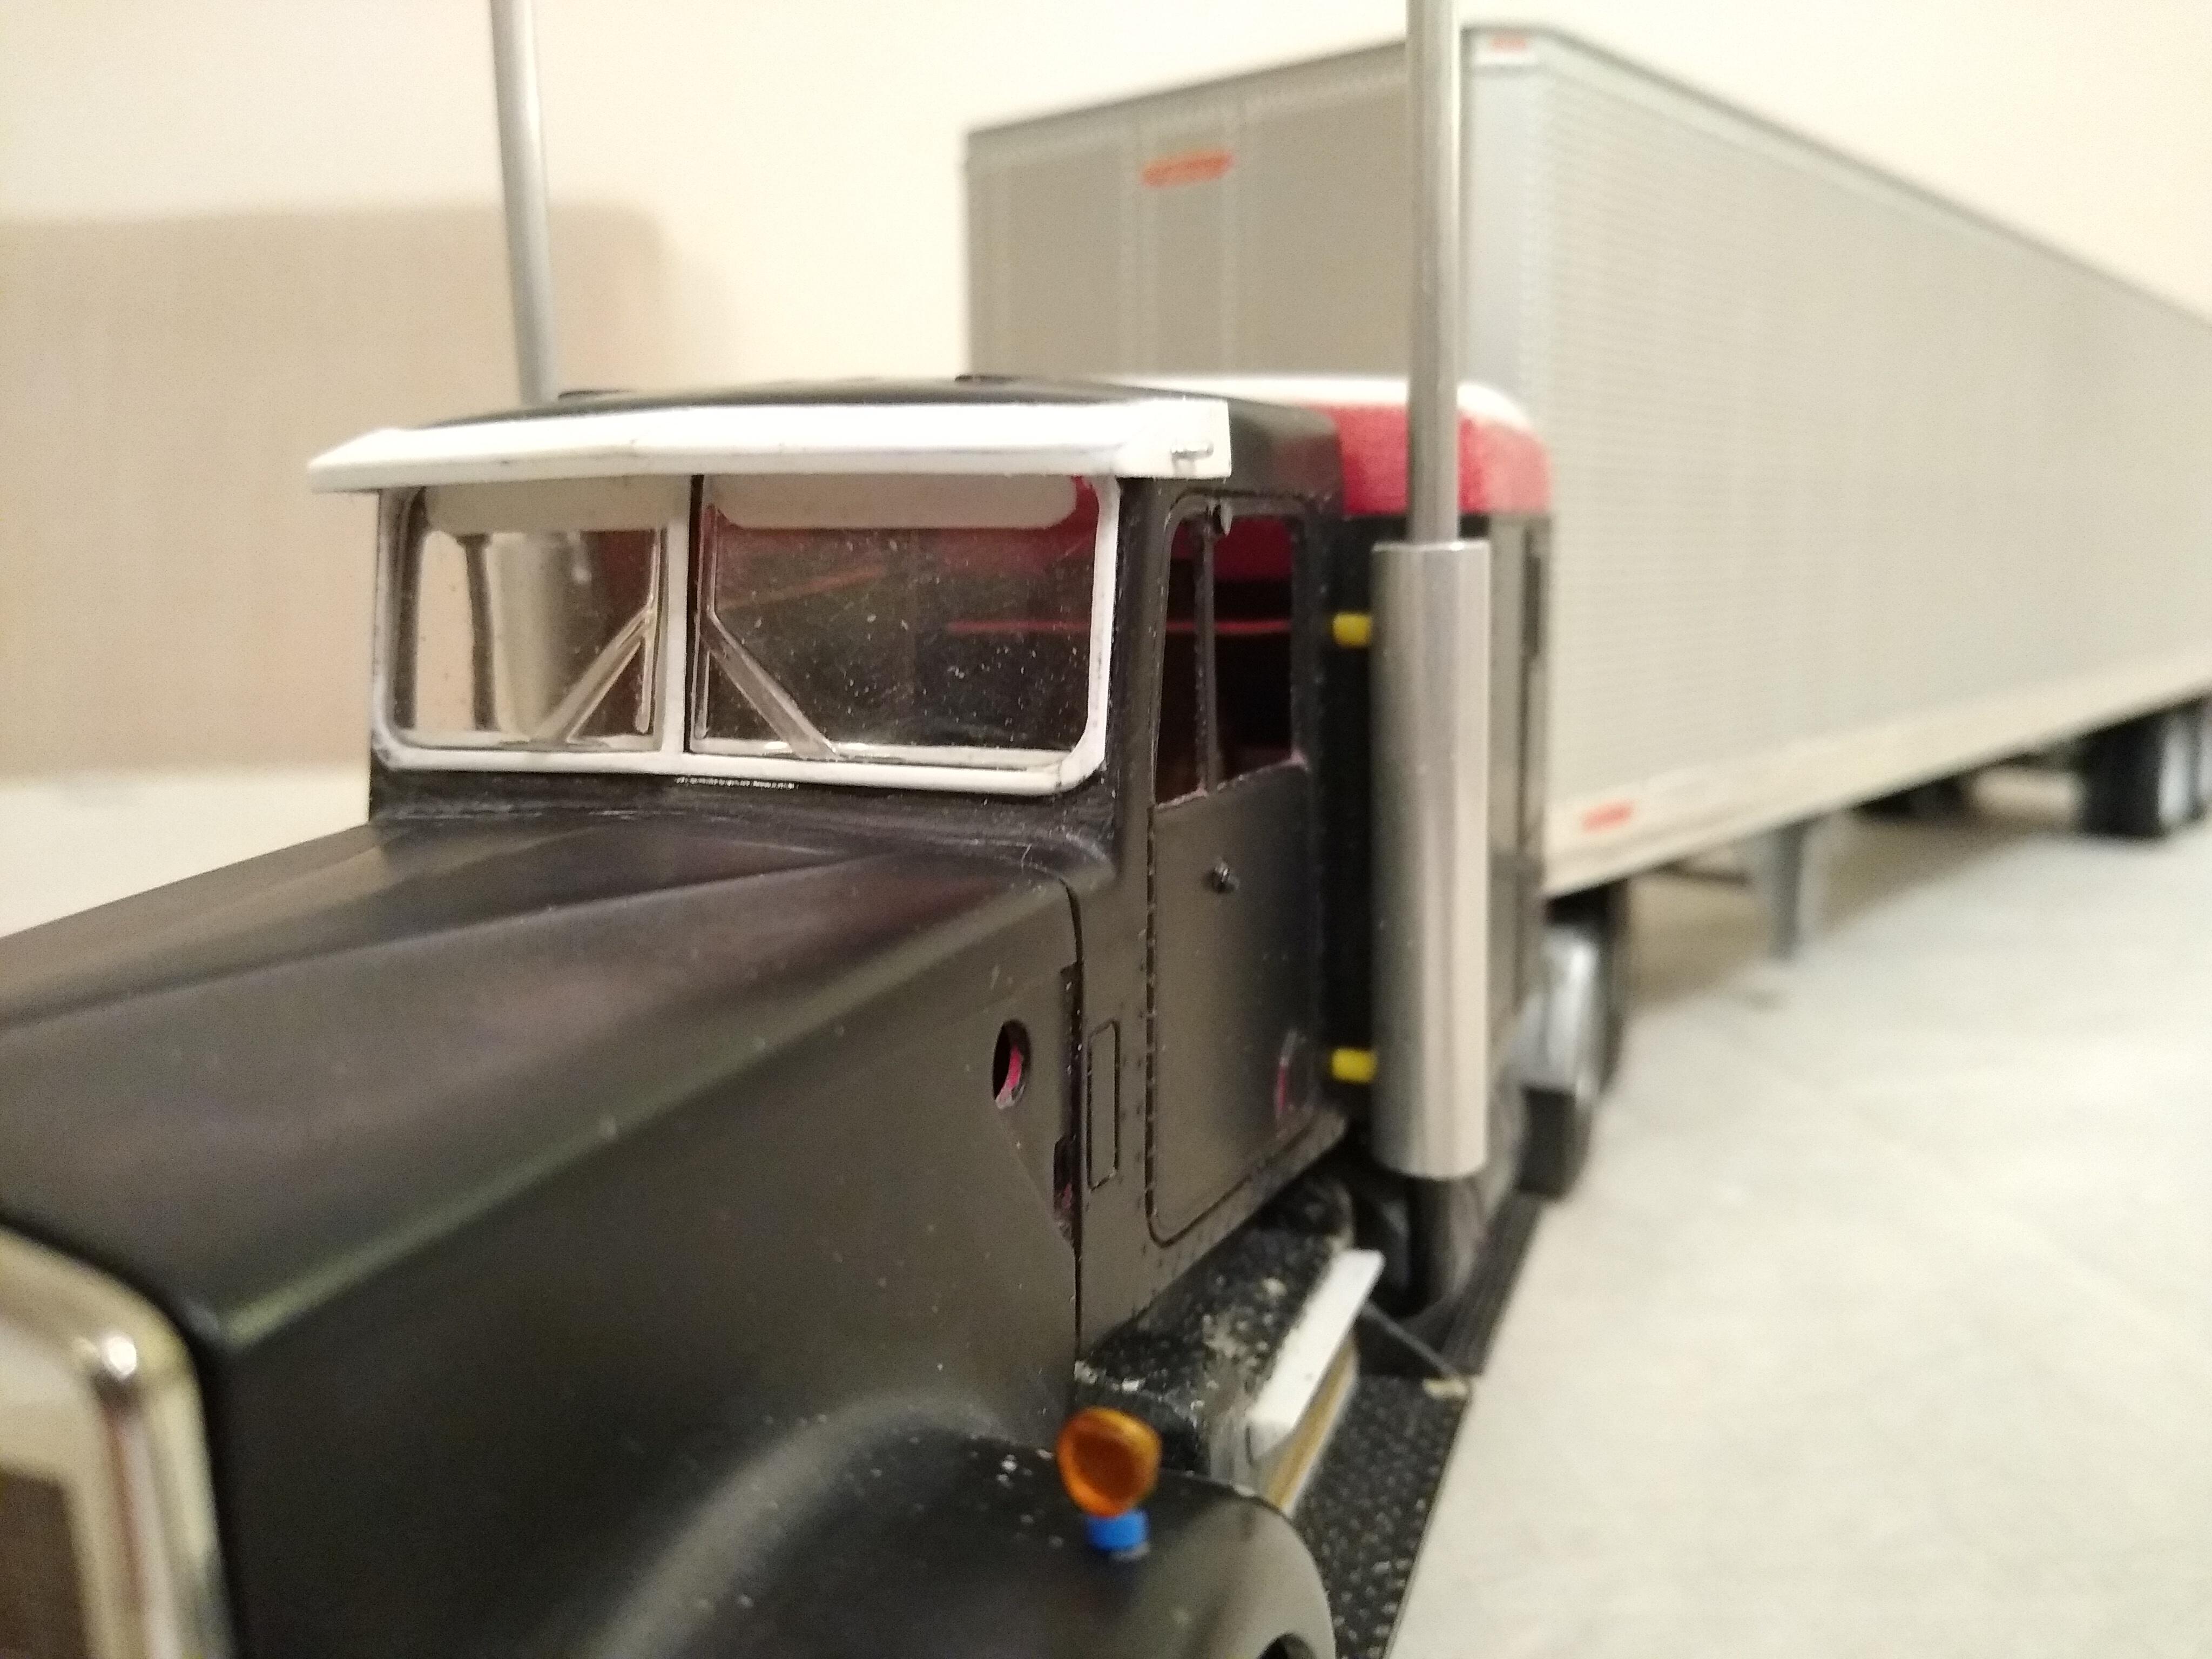
Bent up my exhaust pipes from sprue, added two hangers to go to the chassis. Cut a Monogram T600 windshield piece into 2 and filed them down to fit the openings in the cab. Finished the visor off. Made some indicators for the hood using my clear sprue and wire method.