Rockford
-
Posts
1,944 -
Joined
-
Last visited
Content Type
Profiles
Forums
Events
Gallery
Everything posted by Rockford
-

My own Sundance
Rockford replied to Rockford's topic in WIP: Model Trucks: Big Rigs and Heavy Equipment
Jürgen, I honestly don't know how I managed it. I did use the AMT 1/25 version as a pattern for my angles etc... and reduced the size accordingly for 1/32. It took a full day though. -
Another "Convoy" Truck!
Rockford replied to Jürgen M.'s topic in WIP: Model Trucks: Big Rigs and Heavy Equipment
You're doing another brilliant job Jürgen, great to watch. I'd think your KW would have a single turbo at that age if it had a Cummins or a Caterpillar straight six in it. There were still non-turbo motors around but the turbo engines were becoming much more popular. The rear suspension looks like a Reyco 102 setup to me. Your 3D drawing isn't too far of the mark. -
My own Sundance
Rockford replied to Rockford's topic in WIP: Model Trucks: Big Rigs and Heavy Equipment
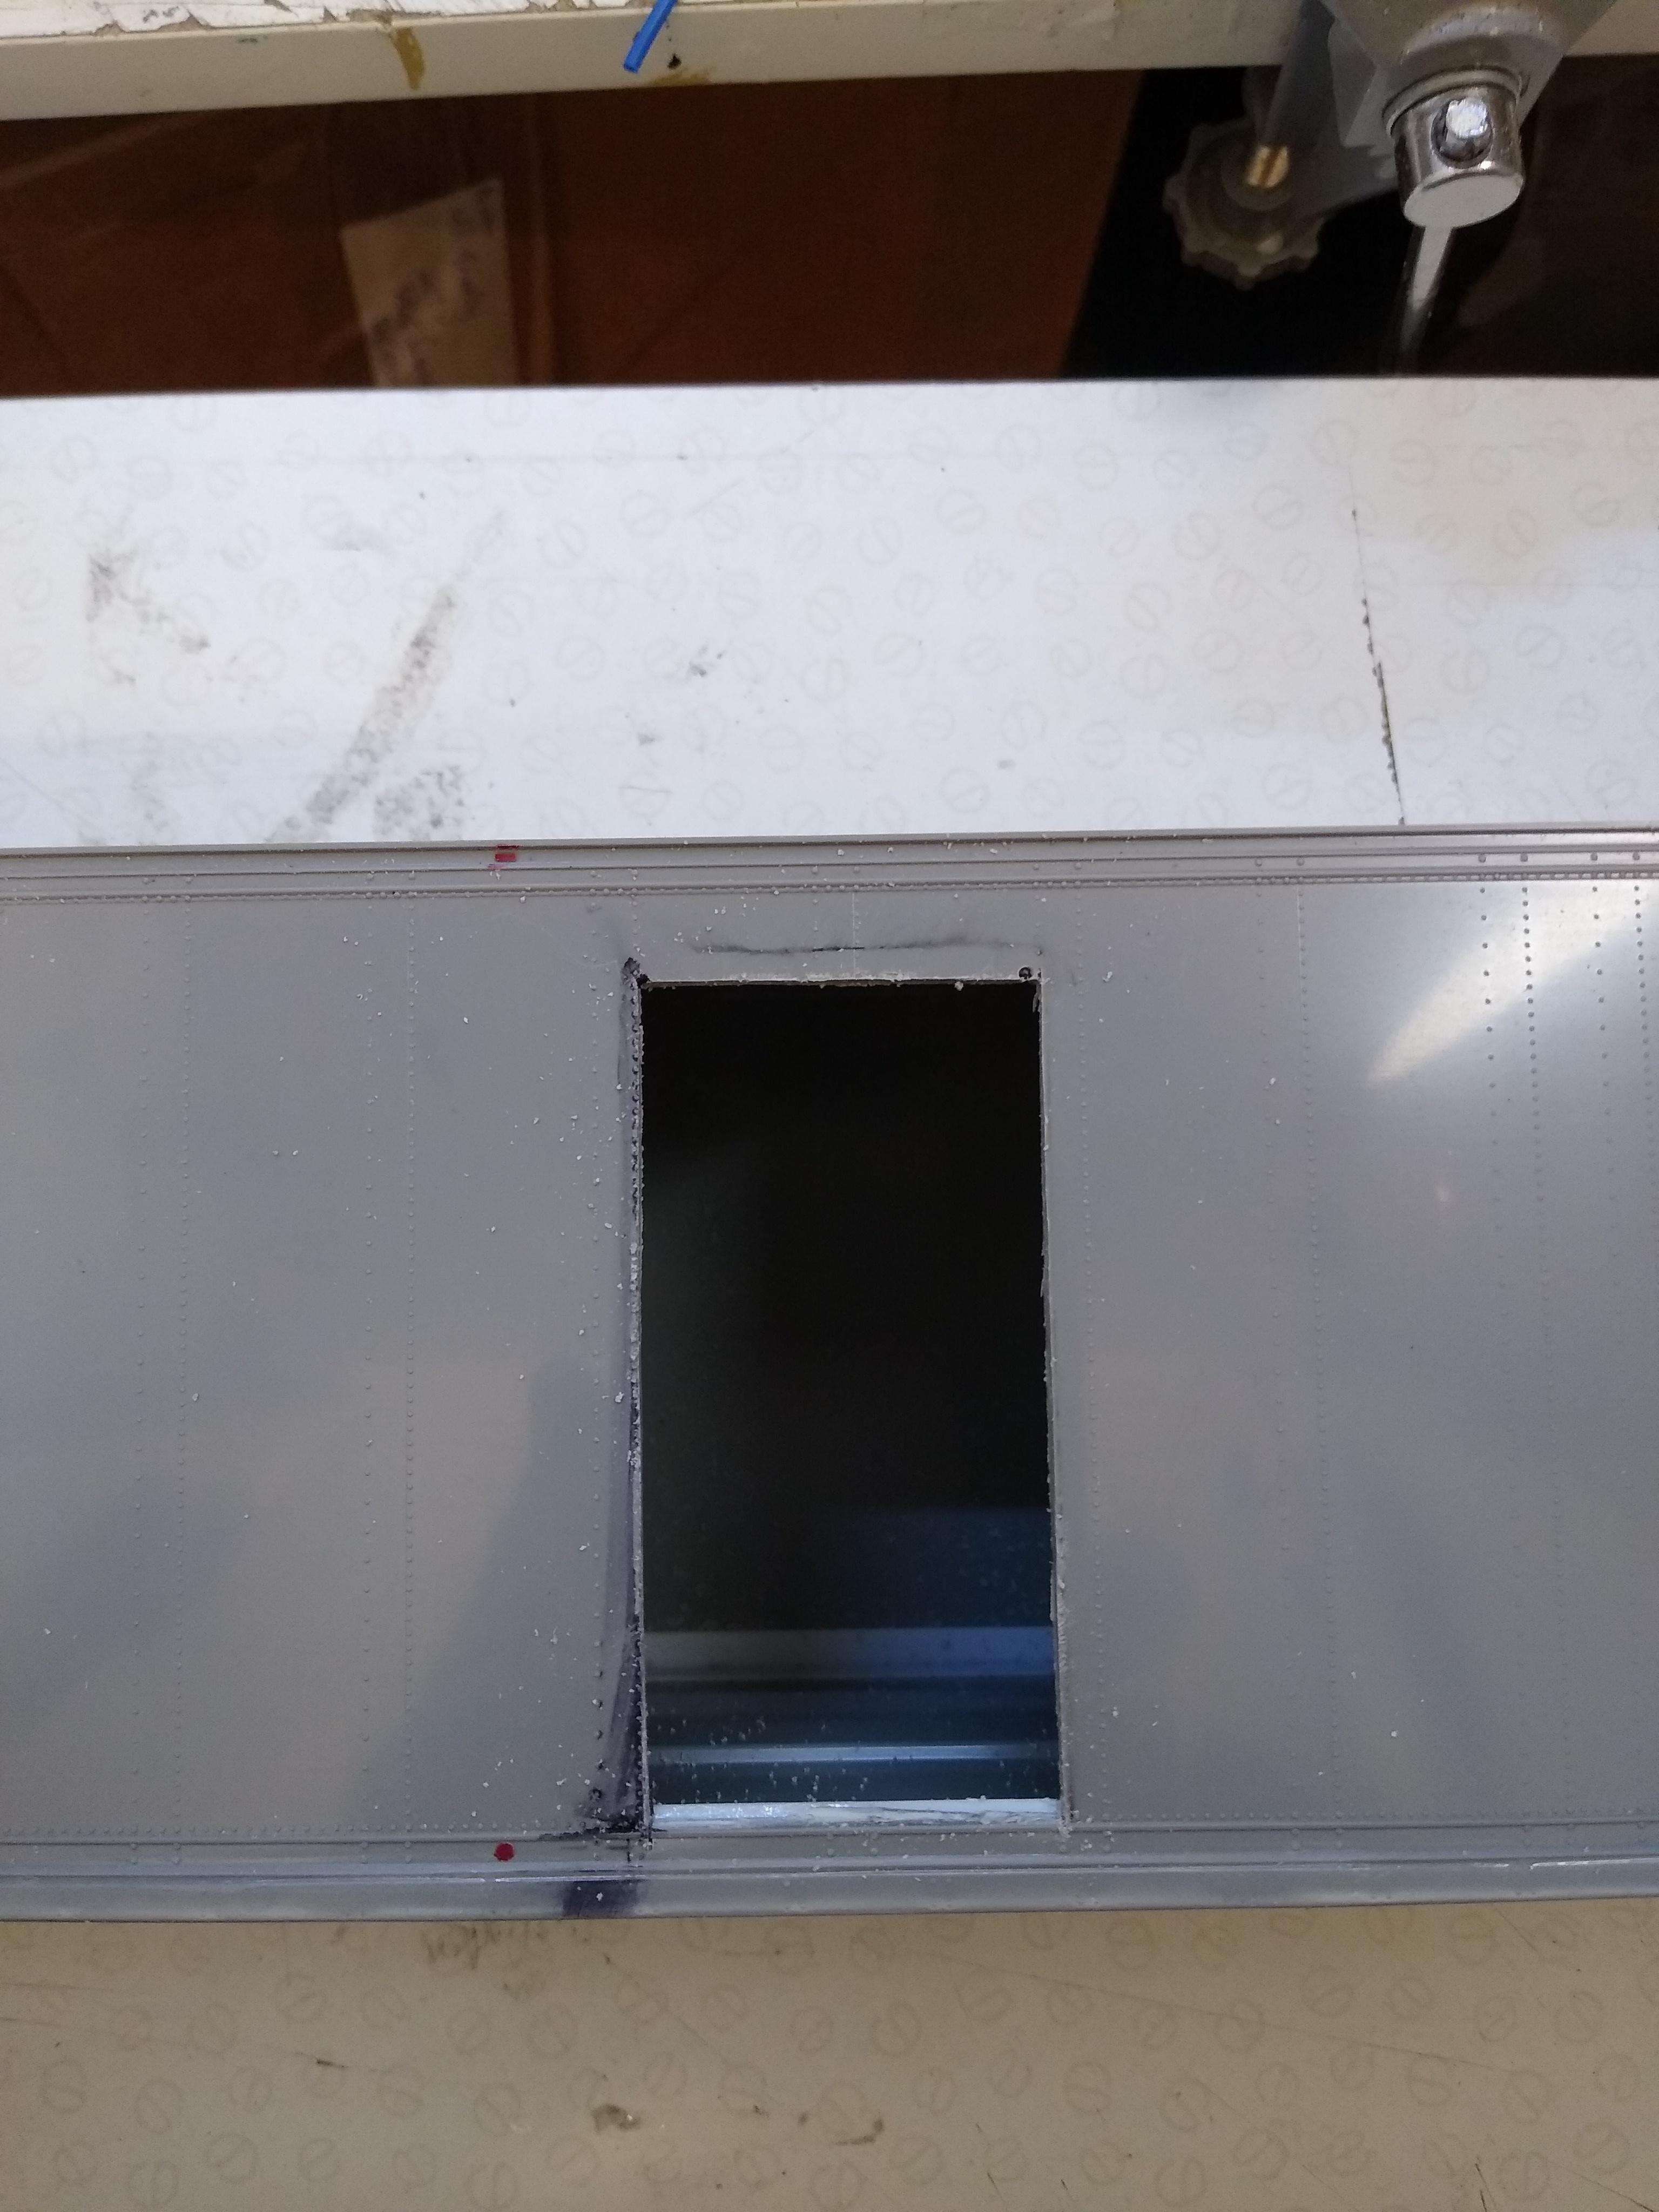
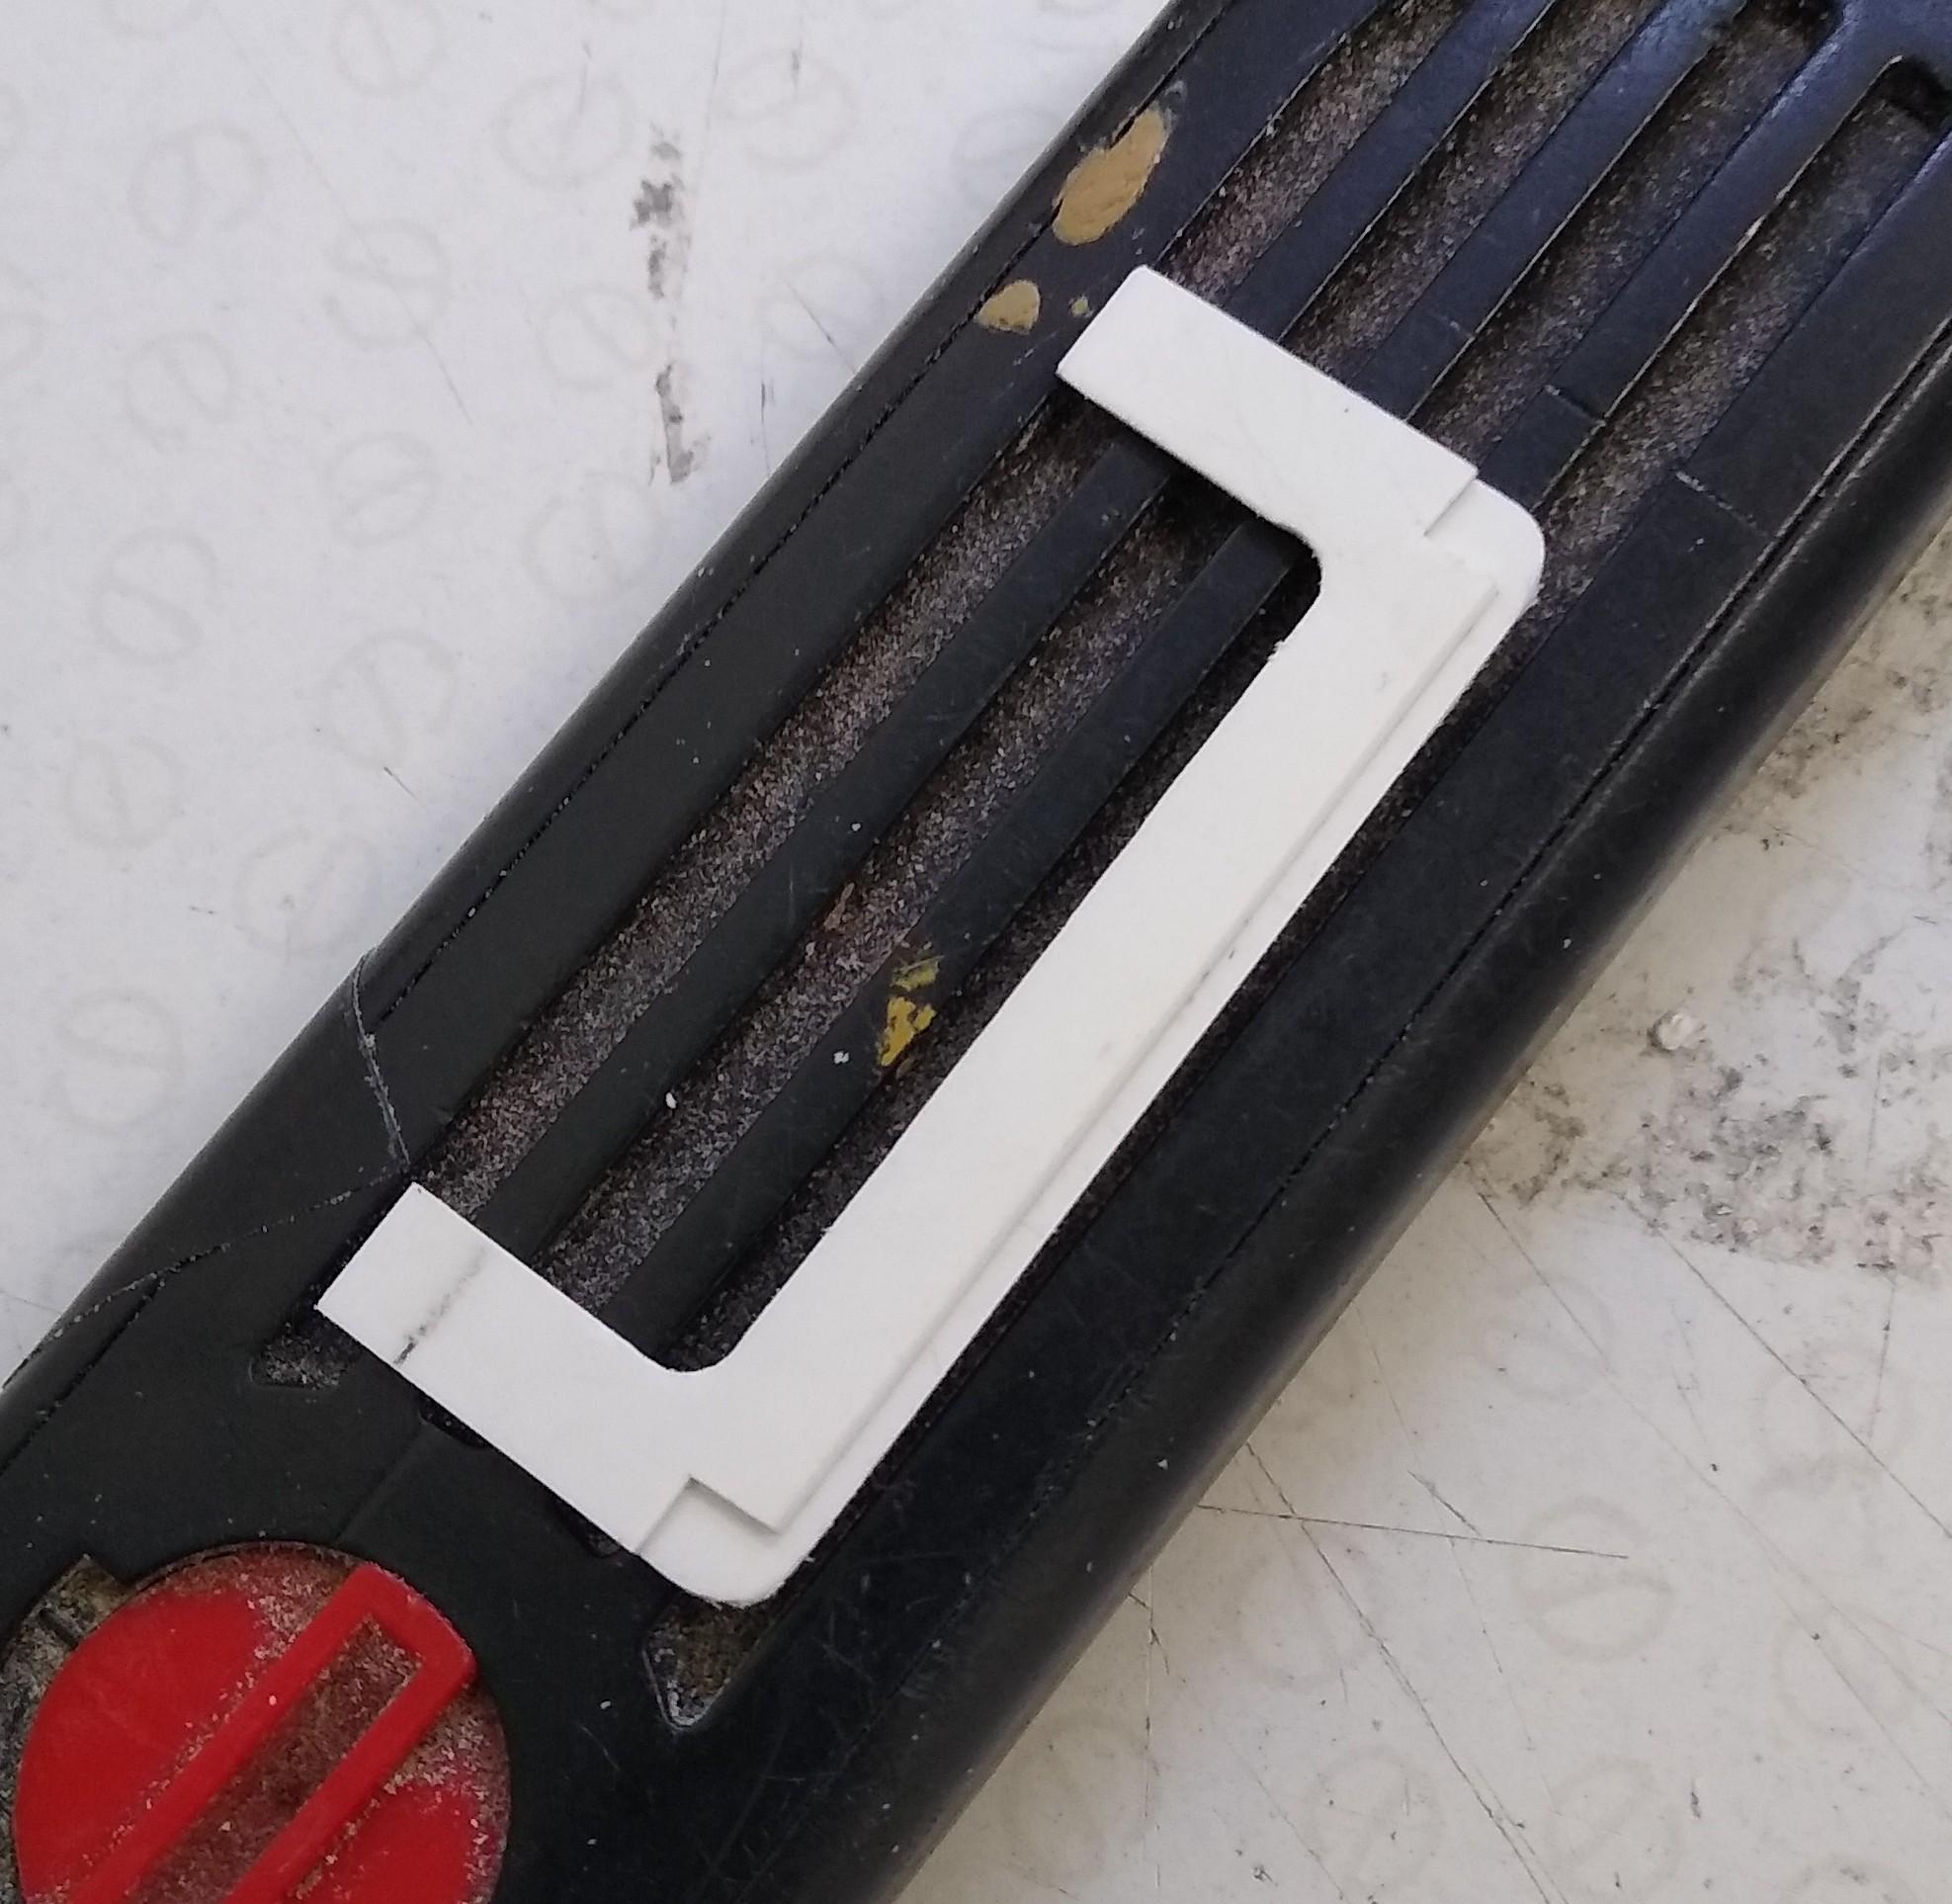
Force and I were talking about trailer colours for Sonny Pruitt's rig (the van is bare aluminium but my query is the chassis: silver or grey?) and he reminded me of something that's been nagging at me for a while. The trailer had a side door, the Monogram one doesn't. I'd considered laying one out in plastic strip but I wasn't happy about making a handle, the lock bar, the hinges etc ... The Fruehauf doors are too tall because the side doors are smaller and couldn't be cut down tidily. Then I realised that, of the two AMT Trailmobile doors I'd saved recently, I only need the LH one, the RH would be perfect for the job. I marked the van where the door opening is and then gently scribed the lines with a knife. Took a hobby saw and gently dug into the cut until it went through, then took the cut to the limits. The opening was purposefully too small so I could use the door as a GO-NO-GO guage until it fitted all round. Two pieces of card stock behind for support and plopped the door in. Still needs the reinforcing piece under the lower rail but looks good to me!
-
Peterbilt 359 "Black Magic"
Rockford replied to Jürgen M.'s topic in Model Trucks: Big Rigs and Heavy Equipment
Clever stuff on the lights. Well done on another rejuvenation. -
KW W925 work over
Rockford replied to Jürgen M.'s topic in Model Trucks: Big Rigs and Heavy Equipment
Looks transformed! Good job. No offence taken on the GMC, all part of the process. Paint looks great. -
My own Sundance
Rockford replied to Rockford's topic in WIP: Model Trucks: Big Rigs and Heavy Equipment
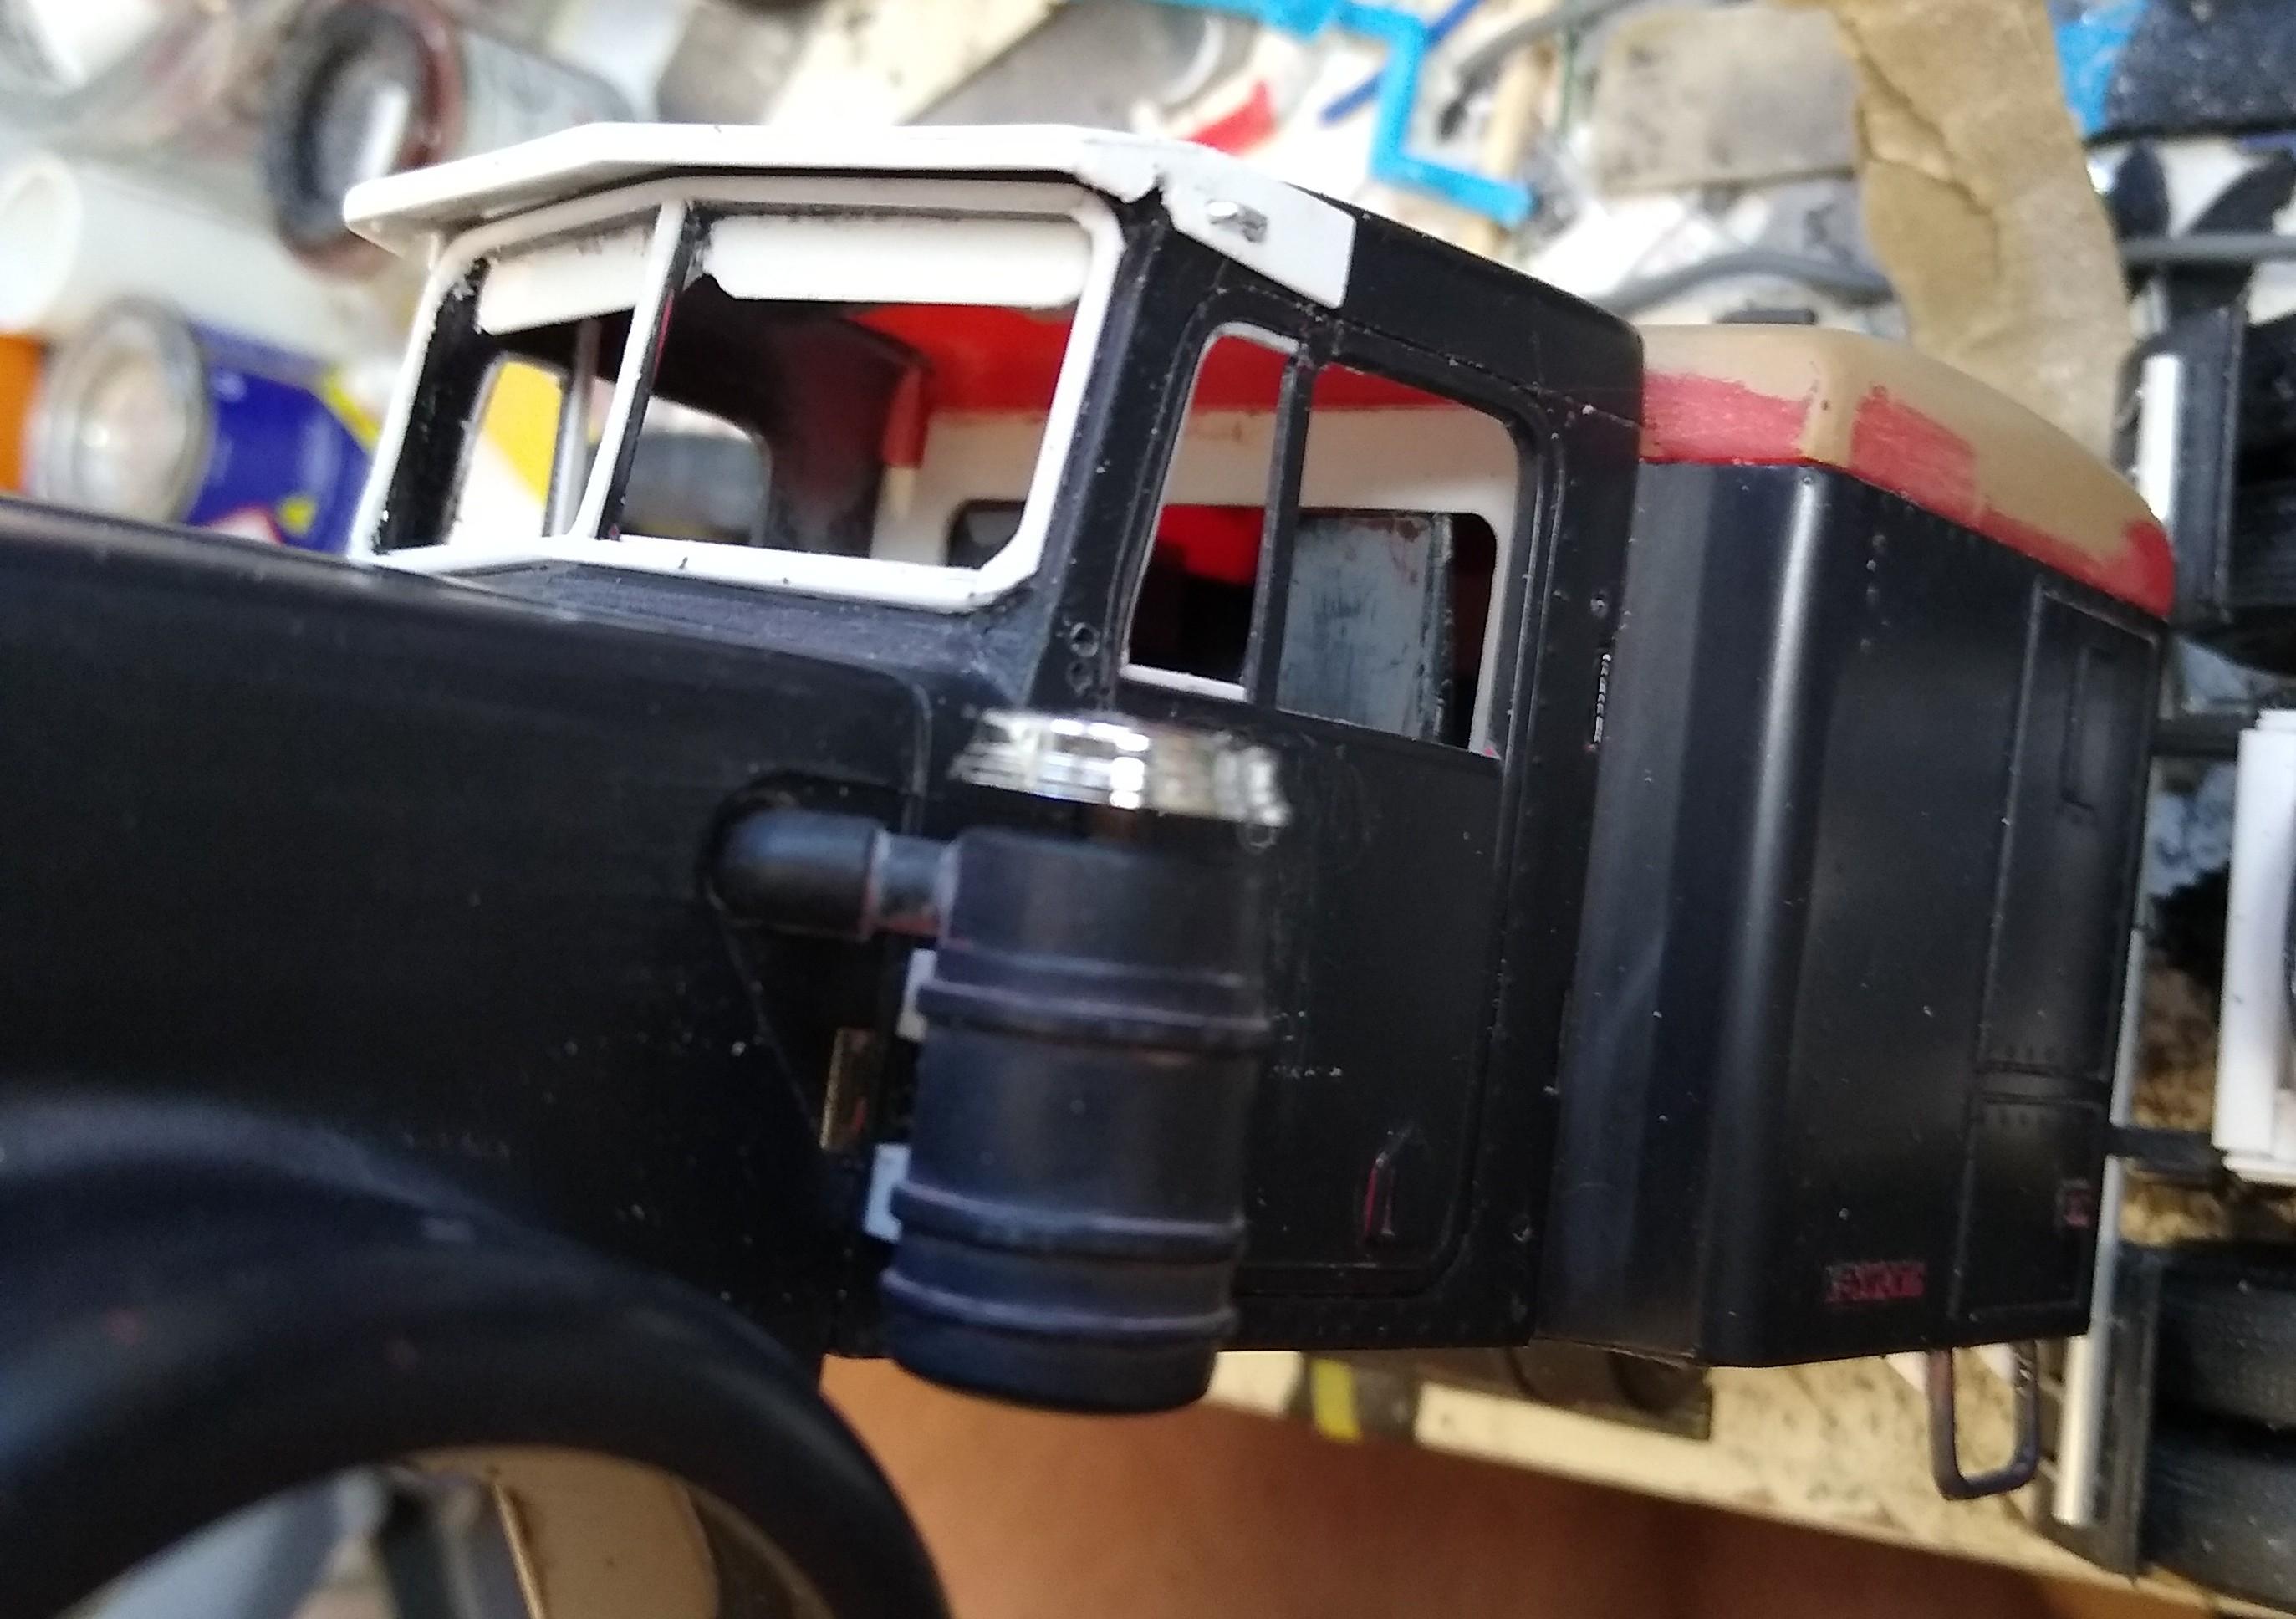
It's been six weeks since I was able to touch any of my projects and I've been getting out of the habit so I pushed myself to do something today. Made an upper bulkhead for the sleeper access and fitted the sleeper cap. The bulkhead mimics the gasket between the two. I'm going to make some decals to represent the diamond buttoned interior upholstery. Did some remedial work on the tyres and added the quarter light rubbers (in 0.75mm square strip) to the quarter lights. Not the most dramatic day's work but has to be done before paint and it's got me moving again. As we hit April, suitable conditions for painting are almost here. Weather in GB has been atrocious, cold, wet, windy for months.
-
A little big project
Rockford replied to Chariots of Fire's topic in WIP: Model Trucks: Big Rigs and Heavy Equipment
Great build that. Someone gave me one of those LHD signs as a present a few years ago. It's stamped aluminium. I recall seeing these trucks when I was a kid in the 70s. They looked massive, especially with that huge hood. They'd finish their days as recovery trucks in garages, like a lot of WW2 Scammells built for similar purposes. -
Peterbilt 379 RV
Rockford replied to vincen47's topic in WIP: Model Trucks: Big Rigs and Heavy Equipment
Very clever, looks impressive. Good work on the exhaust flex. -
I'm a trailerholic
Rockford replied to Rockford's topic in WIP: Model Trucks: Big Rigs and Heavy Equipment
Thanks Jürgen, it's a real contradiction this kit. The box is beautifully moulded but the underpinnings are utter garbage! It's worth the effort though. -
You didn't write too much at all, great account of the build, would have been an interesting WIP. You've done a great job on the model, looks really sharp. I think I've only ever built one Italeri kit and that was decades ago but I recall not liking it the experience, I think it was the Western Star kit.
-
TBH the only compatibility issues people mention are between 1/24 and 1/25 scale trucks and trailers, in that they look disproportionate, actual coupling usually isn't an issue. Anyway the Revell Peterbilt and the transporter trailer are both 1/25 so you shouldn't have an issue in that area.
-
Fixing a Boo-Boo!
Rockford replied to StevenGuthmiller's topic in General Automotive Talk (Trucks and Cars)
I bet you're relieved about your built in safety device! I'd hate to see a beautiful build like that ruined. -
In the opening shot of your post the stripes do have a green tinge, on the one where you asked what it says on the doors they're pure tan coloured to me. Co.ours can vary so much on film, but I'd lean toward a khaki for the stripe. The twin pup trailers were never 20ft in my experience, always 25-27 feet.
-
Goodbye Hot Rod Magazine?
Rockford replied to Rockford's topic in General Automotive Talk (Trucks and Cars)
Just remembered another one about a turbo that drove the rear axle to add power, it was branded Turbonique. They tested it under the headline "Turbonique, fantastique or junque?" Brilliant. -
Goodbye Hot Rod Magazine?
Rockford replied to Rockford's topic in General Automotive Talk (Trucks and Cars)
I've always found the quality of the journalism in the US magazines superior to UK titles, the tech articles and series on vehicles like the Wilshire Shaker or the Disco Nova were just so well written and photographed. I do really miss the gentle irreverence of Car Craft though, remember the Anti-Tour against the Power Tour of Hot Rod? Cheeky! Some of the articles still stick in the mind now:- "The Car That Put the 'ick' in Buick", "Polishing the Fireturd", "This Car Makes Little Children Cry" - this was about a hemi Dodge that was very loud; they did a photoshoot outside an art-deco ice cream parlour and forgot it was full of children. When they fired it, up the poor kids in the shop wet themselves. There was another article about someone building a car and he had an obscure Eastern European name, it was something like Hrbrzyk, and regardless of the article content they called it "Tom Hybrzyk Can't Pronounce Hybrzyk". Just fantastic stuff. Imagine how pleased I was when I discovered that the owner of Hot Rod, Robert E Petersen was married to a girl called Margie McNally - obviously a distant relative! -
After the silent cull of Car Craft, Musclecar Review et al a few years ago I've just learned that Hot Rod magazine has become a quarterly publication. Only found out when no March issue landed. I thought after all the other titles slipped away unannounced HR was safe but it seems not. I've been reading it since I was 16 years old, I'm 60 now. I wonder how long it can survive in this format. Next thing they'll be telling us that they're going to stop making Pontiacs!
-
You're not fishing for complements but you're going to get some from me. I think the stuff you're doing is amazing and I dearly wish I could do the same. Your so resourceful and not scared dive in and try stuff. I spend three weeks handcrafting a Cummins which was great, but I'd need another three weeks to make another one. Once you've modelled something you can press a few buttons and do another one while you have your breakfast! Vast improvement. Your R series is looking great, especially when you consider what a complex shape Mack cabs and hoods are. Keep up the good work, you're an inspiration mate.
-
Tilted wheels. Why?
Rockford replied to Earl Marischal's topic in General Automotive Talk (Trucks and Cars)
I'm not saying what anyone should or shouldn't do but the fact is that negative camber does have a use, indeed many production cars have a slight negative camber to help the outer tyre in a turn plant more squarely onto the ground. This improves cornering as the weight of the vehicle shifts to the outer side of the car in a cornering situation, however it's only ever a marginal amount of camber because it does have a negative impact on tyre wear and a vehicle spends most of its life in a 'straight ahead' position. Race cars exaggerate camber because they spend much more of their life cornering and at highspeed, (most racing drivers don't take the wife, kids and groceries around the track with them) and tyre life is much less of an issue for them. They subject the chassis to much higher forces than a road car, thus causing more suspension deflection, weight transfer, tyre deformation etc... so the greater camber angle helps to plant the outer, greater weight bearing tyres more squarely on the ground producing more grip and higher speeds. The changes in geometry of a low rider that someone mentioned earlier demonstrates what happens to wheel angles as a suspension deflects, especially a traditional double wishbone with unequal length upper and lower arms. Hope that makes sense. -
1/32 Mack F700
Rockford replied to The Brush's topic in WIP: Model Trucks: Big Rigs and Heavy Equipment
Unbelievable craftsmanship there mate. Well done. Can you do human body parts? I've a few that need replacing. -
Scratchbuilt White 7000
Rockford replied to Repstock's topic in WIP: Model Trucks: Big Rigs and Heavy Equipment
That is something else! Utterly amazing. -
Alaskan Hauler(ish)
Rockford replied to Chris K's topic in WIP: Model Trucks: Big Rigs and Heavy Equipment
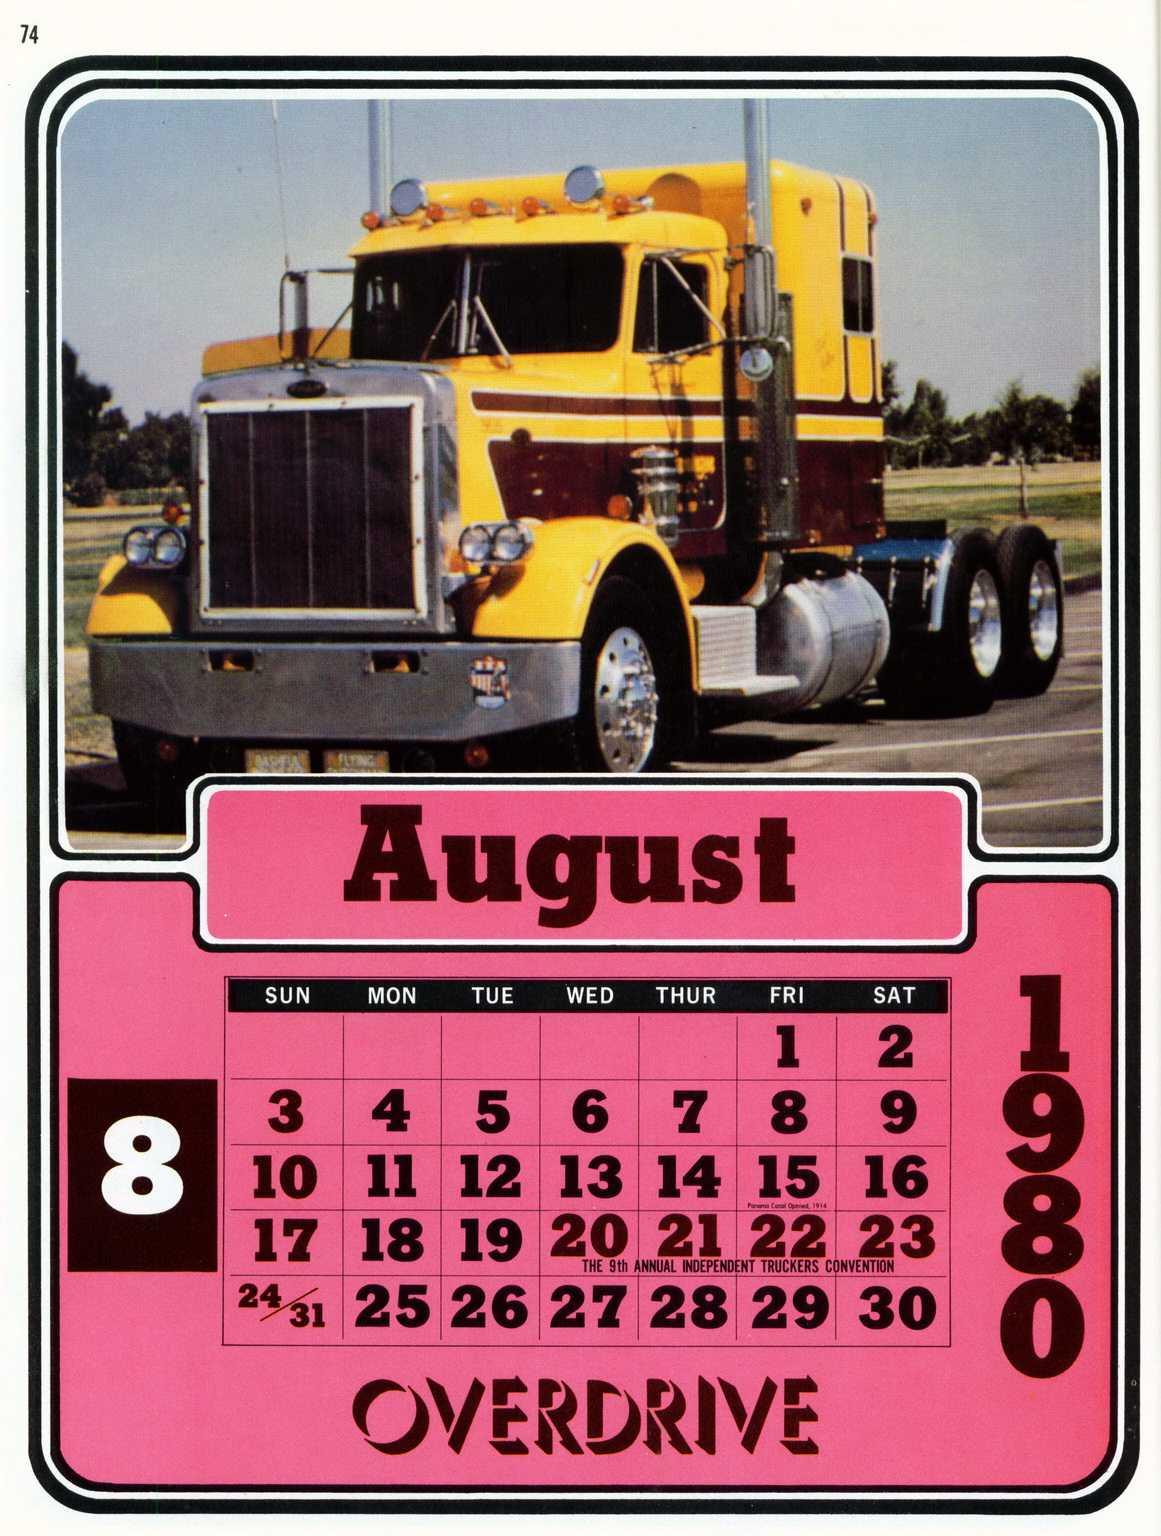
Found this last night from Overdrive magazine in 1980 and I'd say you're pretty much at the same height!
-
1:43 scale peterbilt
Rockford replied to 53gmc's topic in WIP: Model Trucks: Big Rigs and Heavy Equipment
Looks like a great project. I have a real affection for the kit on the bottom. I intend to do that stripe combo on a 359 one day. -
Where's this been?
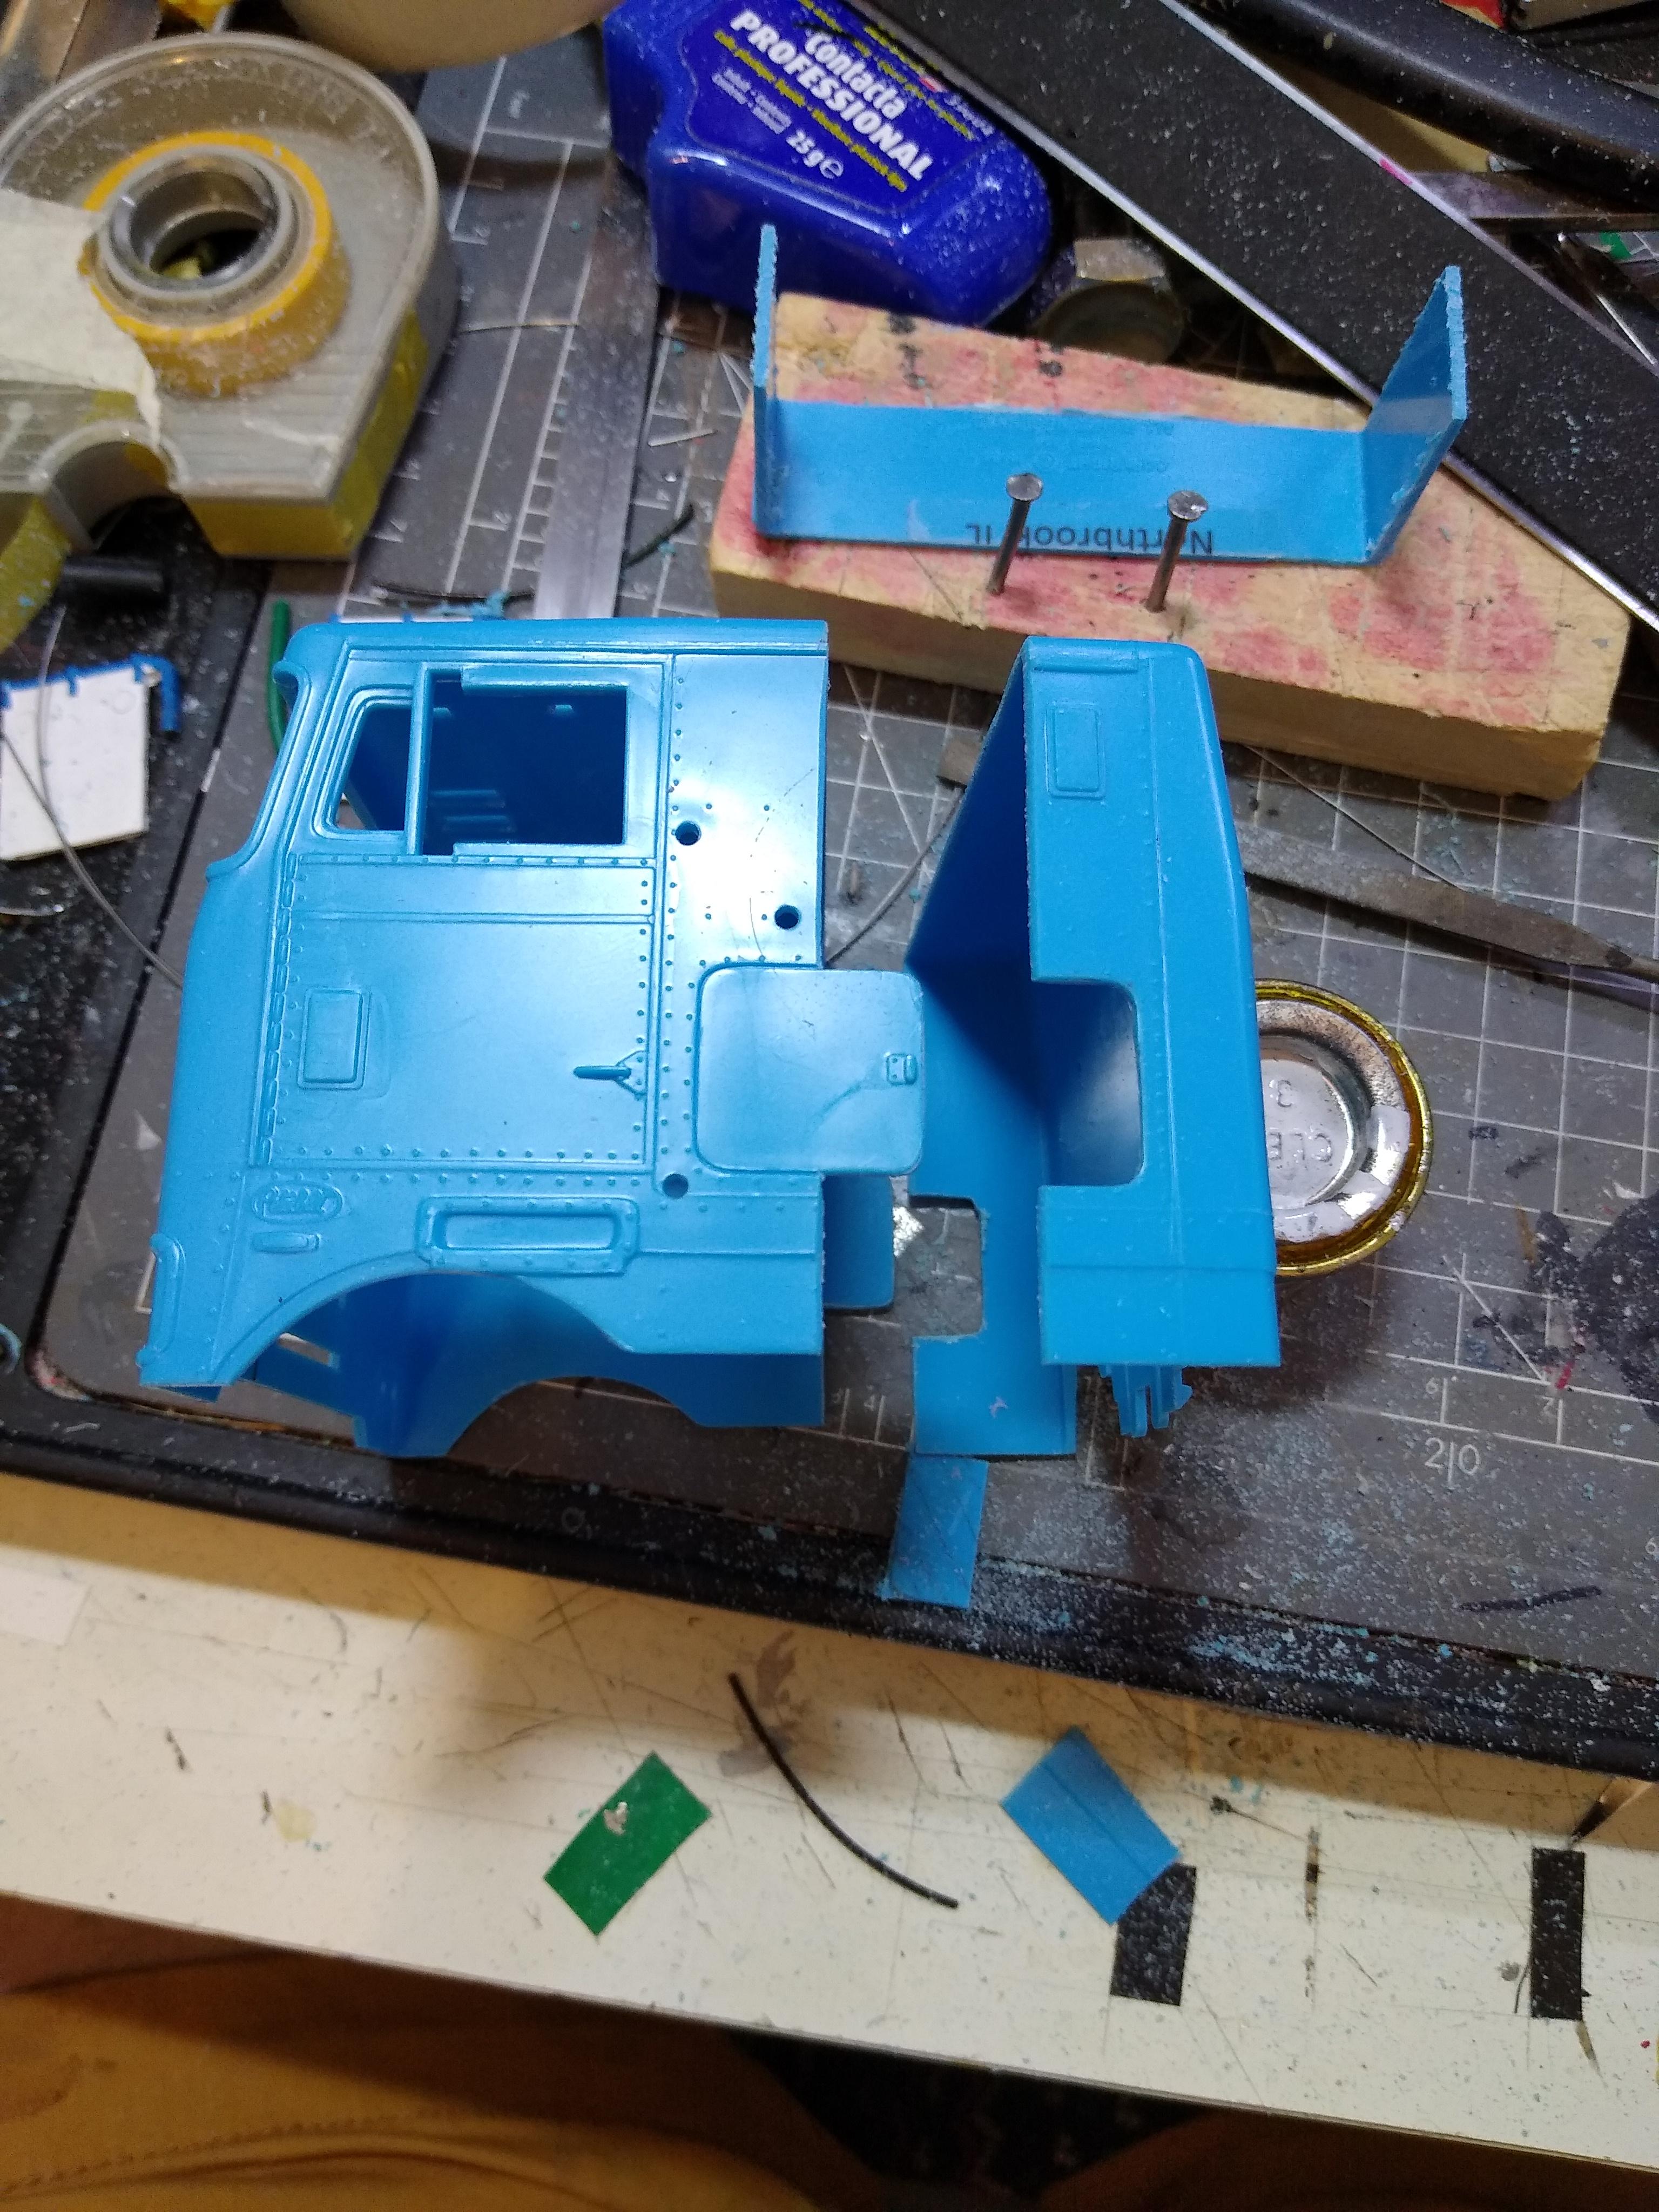
Rockford replied to Rockford's topic in WIP: Model Trucks: Big Rigs and Heavy Equipment
I did, it's not too bad to do. It wasn't too much trouble really, even for a scaredy cat like me! I centered the cut lines on the centre of the locker doors because it let me keep the vents and the holes for the grab rails.
-
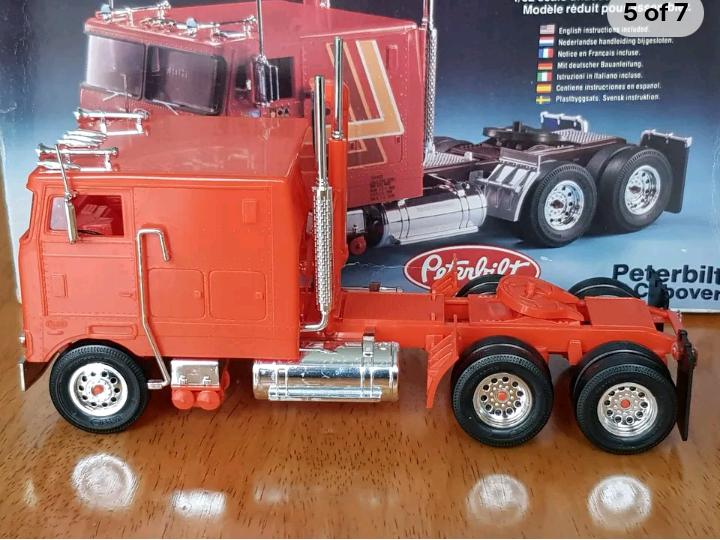
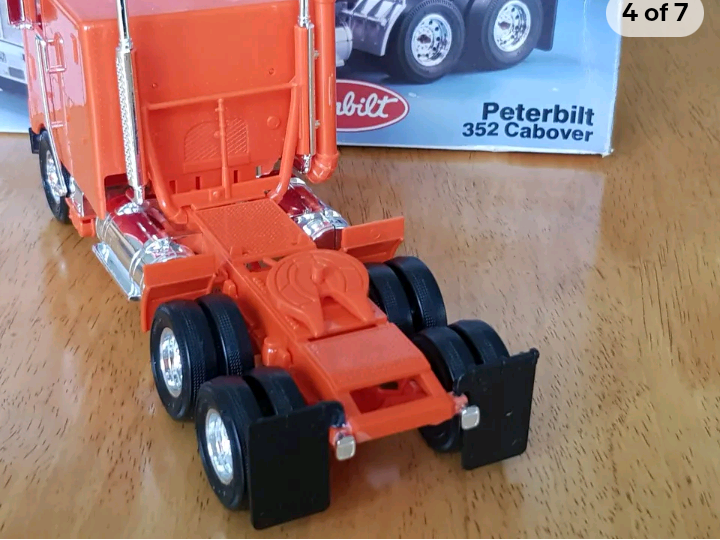
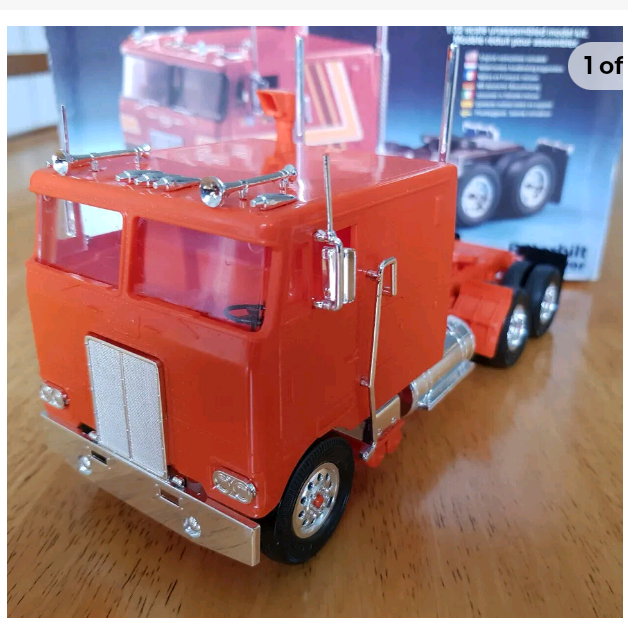
Got this off hype-bay. Paid a little more than usual for it but look at it. It's the original issue kit from 1981, built, and not a speck of dust on it. Just the CB aerials have snapped. They must have built it and put it straight in the box. Never put the decals on it either. I had this kit in 1981 so it's great to see it again. I can't leave it like this though, so I'm going to do some work on it but I want it to look like the original release that it is. Here is mine on the shelf in 1981.
-
Scratchbuilt White 7000
Rockford replied to Repstock's topic in WIP: Model Trucks: Big Rigs and Heavy Equipment
Oh, that IS good. Very tidy. You must be proud of that.