Rockford
-
Posts
1,944 -
Joined
-
Last visited
Content Type
Profiles
Forums
Events
Gallery
Everything posted by Rockford
-
 Looks fantastic that mate. You're learning what European trucks are like, so cluttered there's no room for anything, and they're so complex that they're a bear to work on. You're doing a great job though.
 -
It's in the post!
Rockford replied to Rockford's topic in WIP: Model Trucks: Big Rigs and Heavy Equipment
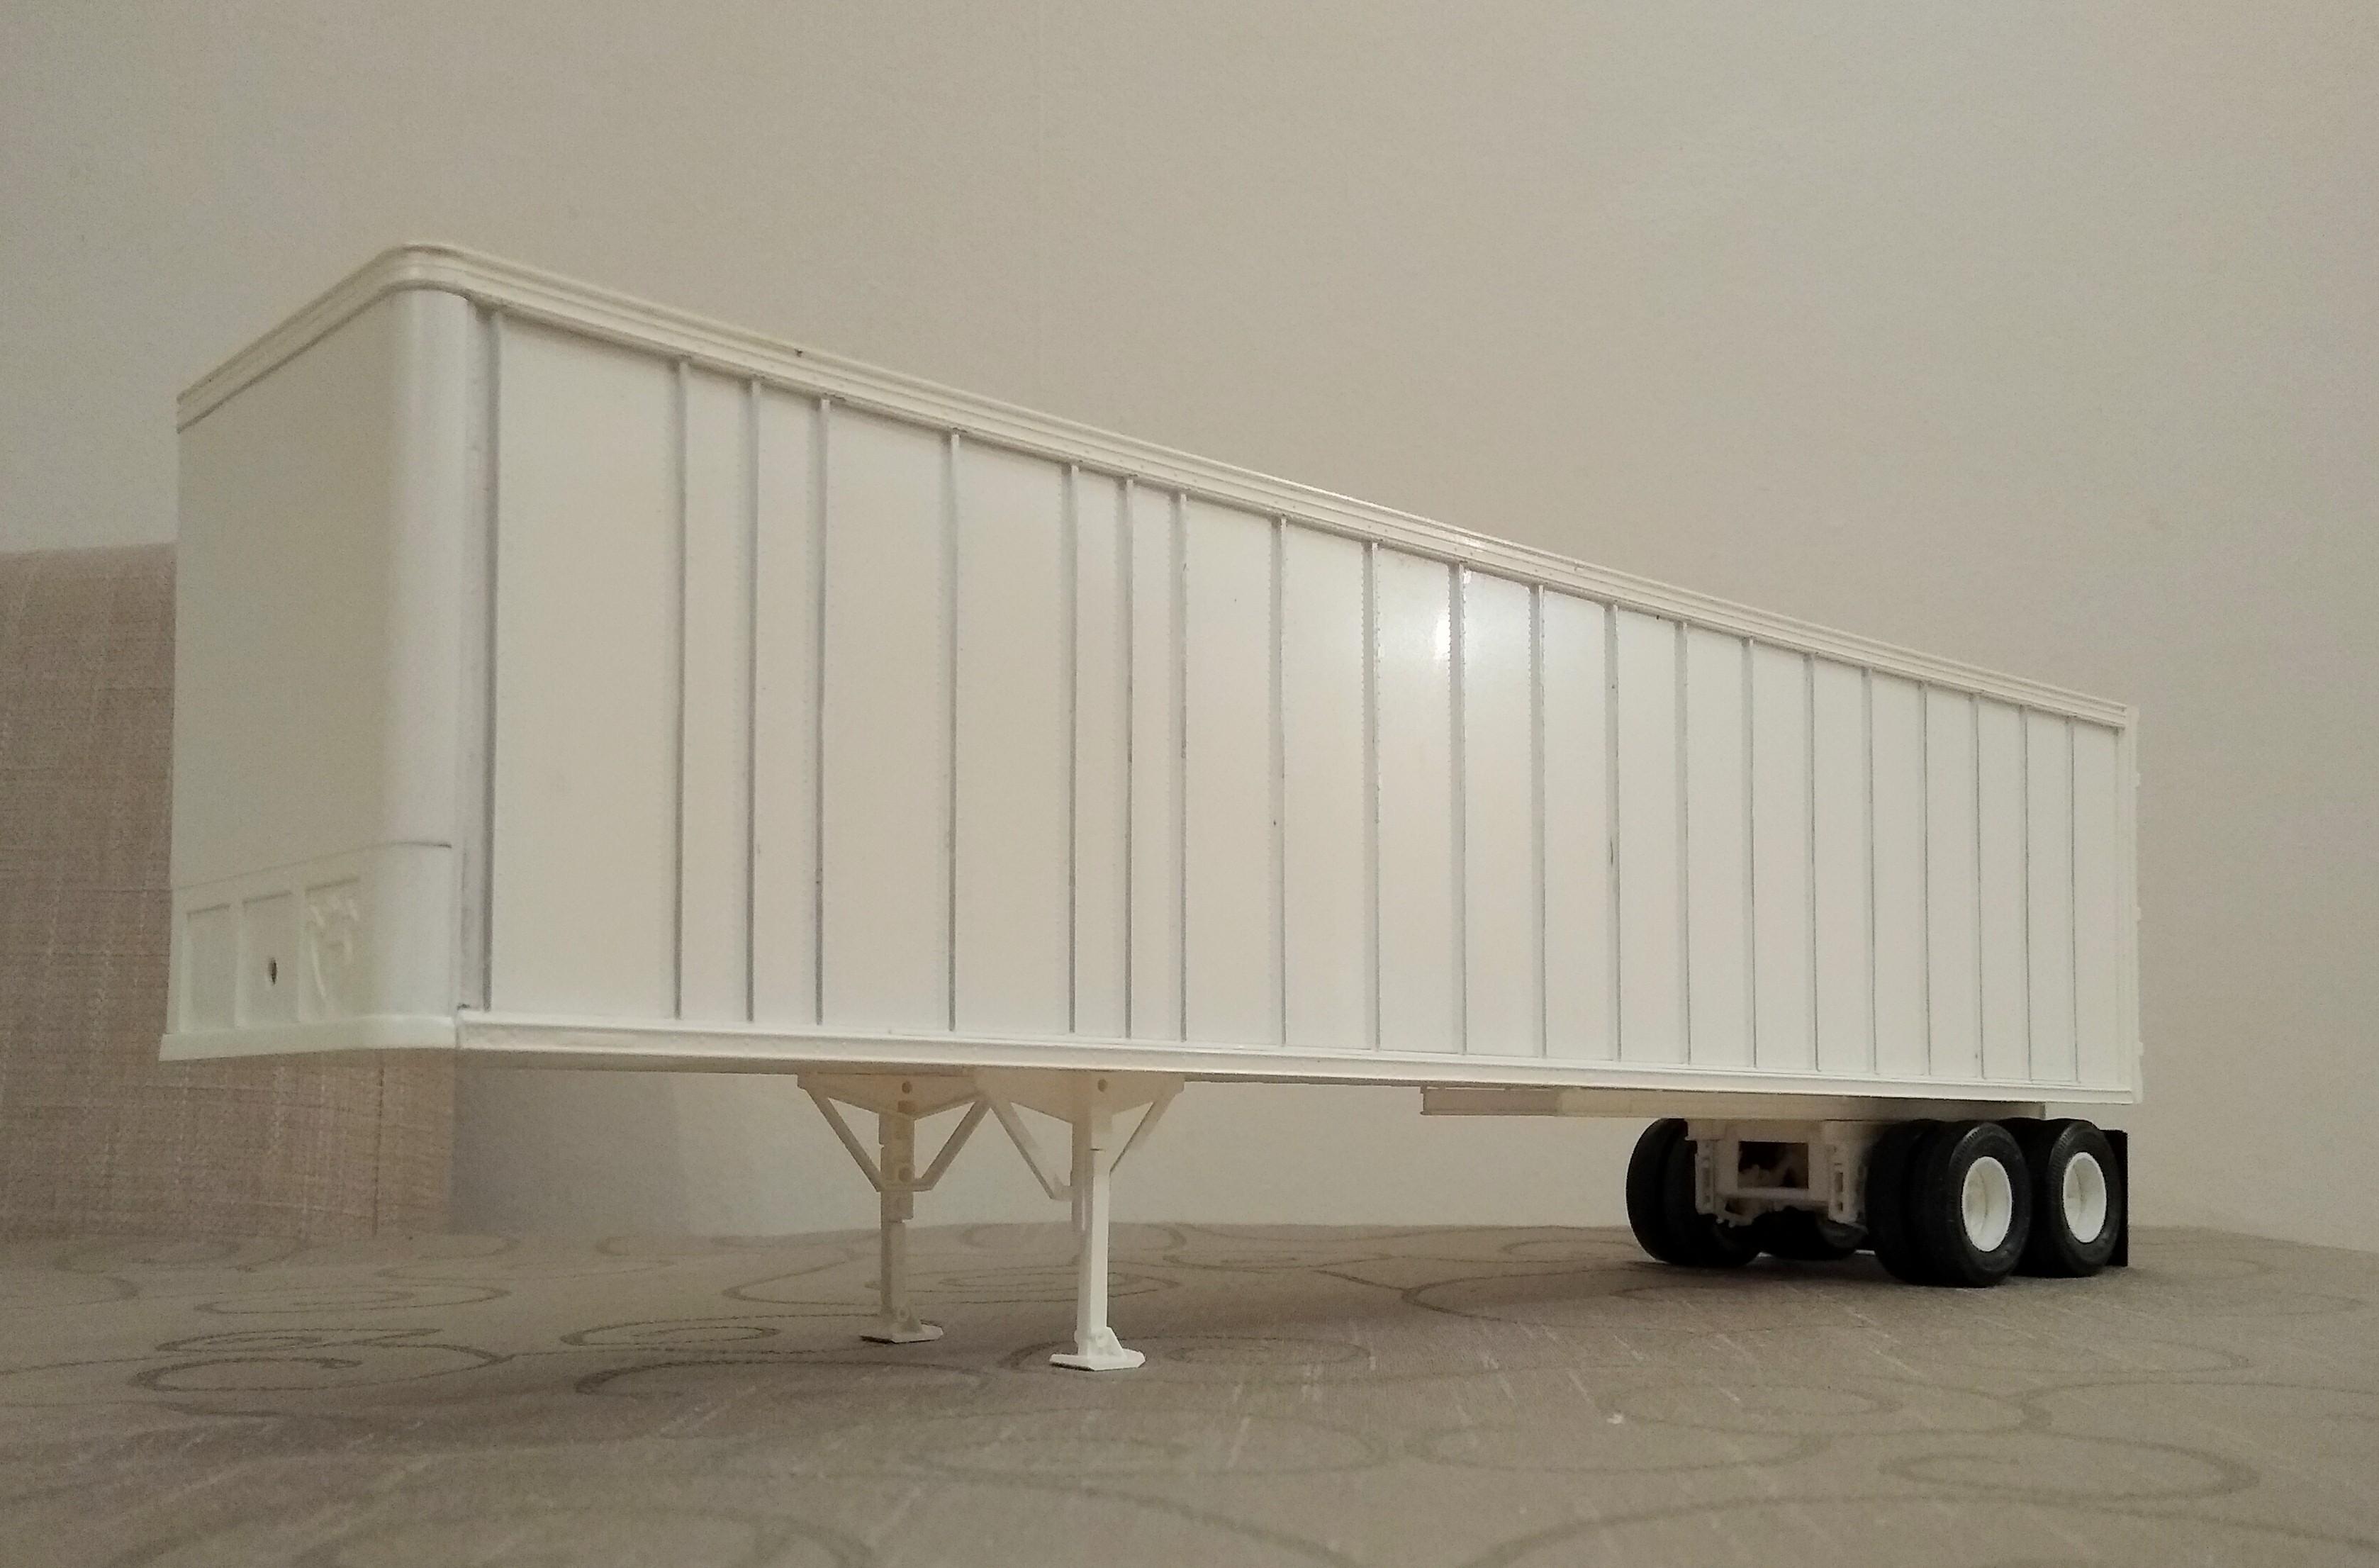
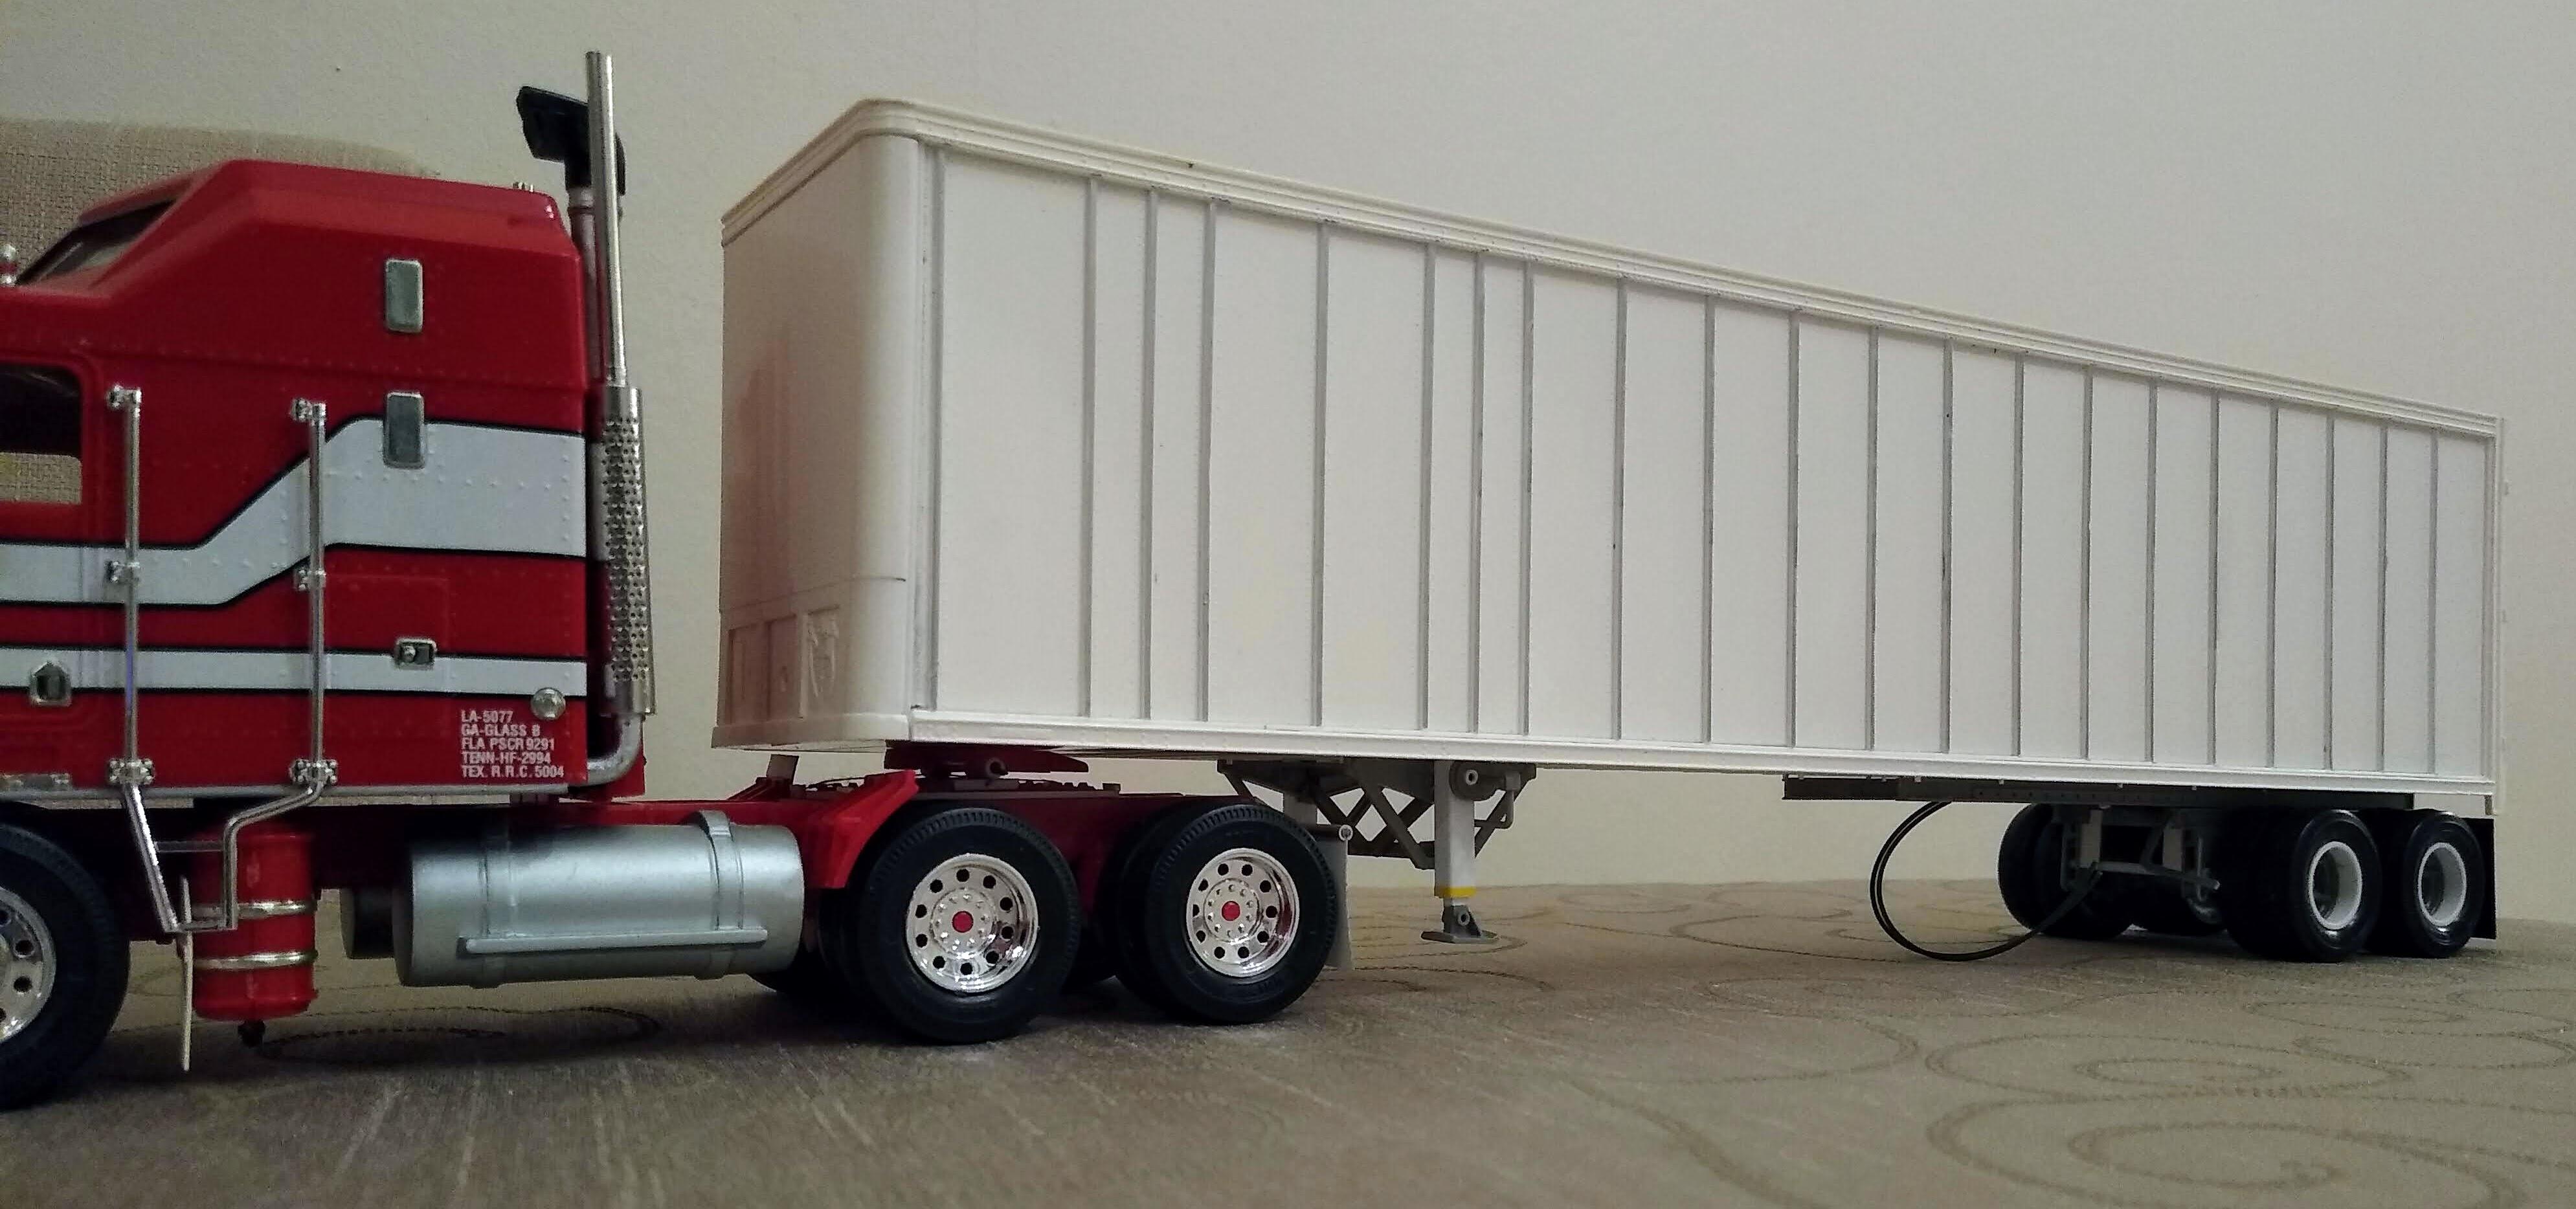
Built the operating landing gear. Reprofiled the front bulkhead and started building a rear roller tailgate instead of the kit doors. Also added the backs to the rear lights.
-
This looks like a diecast you're modifying? Interesting subject.
-
GMC Crackerbox
Rockford replied to carsntrucks4you's topic in Model Trucks: Big Rigs and Heavy Equipment
It would have been called a biscuit tin in GB. There was a Foden we used to call a Mickey Mouse because it was shaped like his head. -
AMT "Miller" GMC Astro 95
Rockford replied to Goodwrench3's topic in WIP: Model Trucks: Big Rigs and Heavy Equipment
Looks tidy to me! -
Very resourceful and I'm sure the finished product will be impressive. As for the ballast situation, are the tyres hollow? Would they come off the rims and take a bit of ballast inside? I remember tilting the cab on a Scania 111 (I think)and was careful to empty everything I could out of the cab. The driver forgot about a pair of pliers under his mattress though. Straight through the windscreen!
-
International CO-4000, Navajo Trucking.
Rockford replied to Repstock's topic in Model Trucks: Big Rigs and Heavy Equipment
That's a really nice rendition. There's something about the old Navajo trucks. -
C15 Powered Pete 378
Rockford replied to IP1297's topic in Model Trucks: Big Rigs and Heavy Equipment
Well done. Looks good -
International PayStar 5000 with Rex mixer
Rockford replied to Dutzie's topic in Model Trucks: Big Rigs and Heavy Equipment
Very realistic. A real tribute to the unsung workers. -
My 75 Dodge Bighorn
Rockford replied to Scott Eriksen's topic in Model Trucks: Big Rigs and Heavy Equipment
That's an impressive looking truck. Don't see many around, real or models! -
Outstanding
-
GMC Crackerbox
Rockford replied to carsntrucks4you's topic in Model Trucks: Big Rigs and Heavy Equipment
Cracker of a Crackerbox! -
It's in the post!
Rockford replied to Rockford's topic in WIP: Model Trucks: Big Rigs and Heavy Equipment
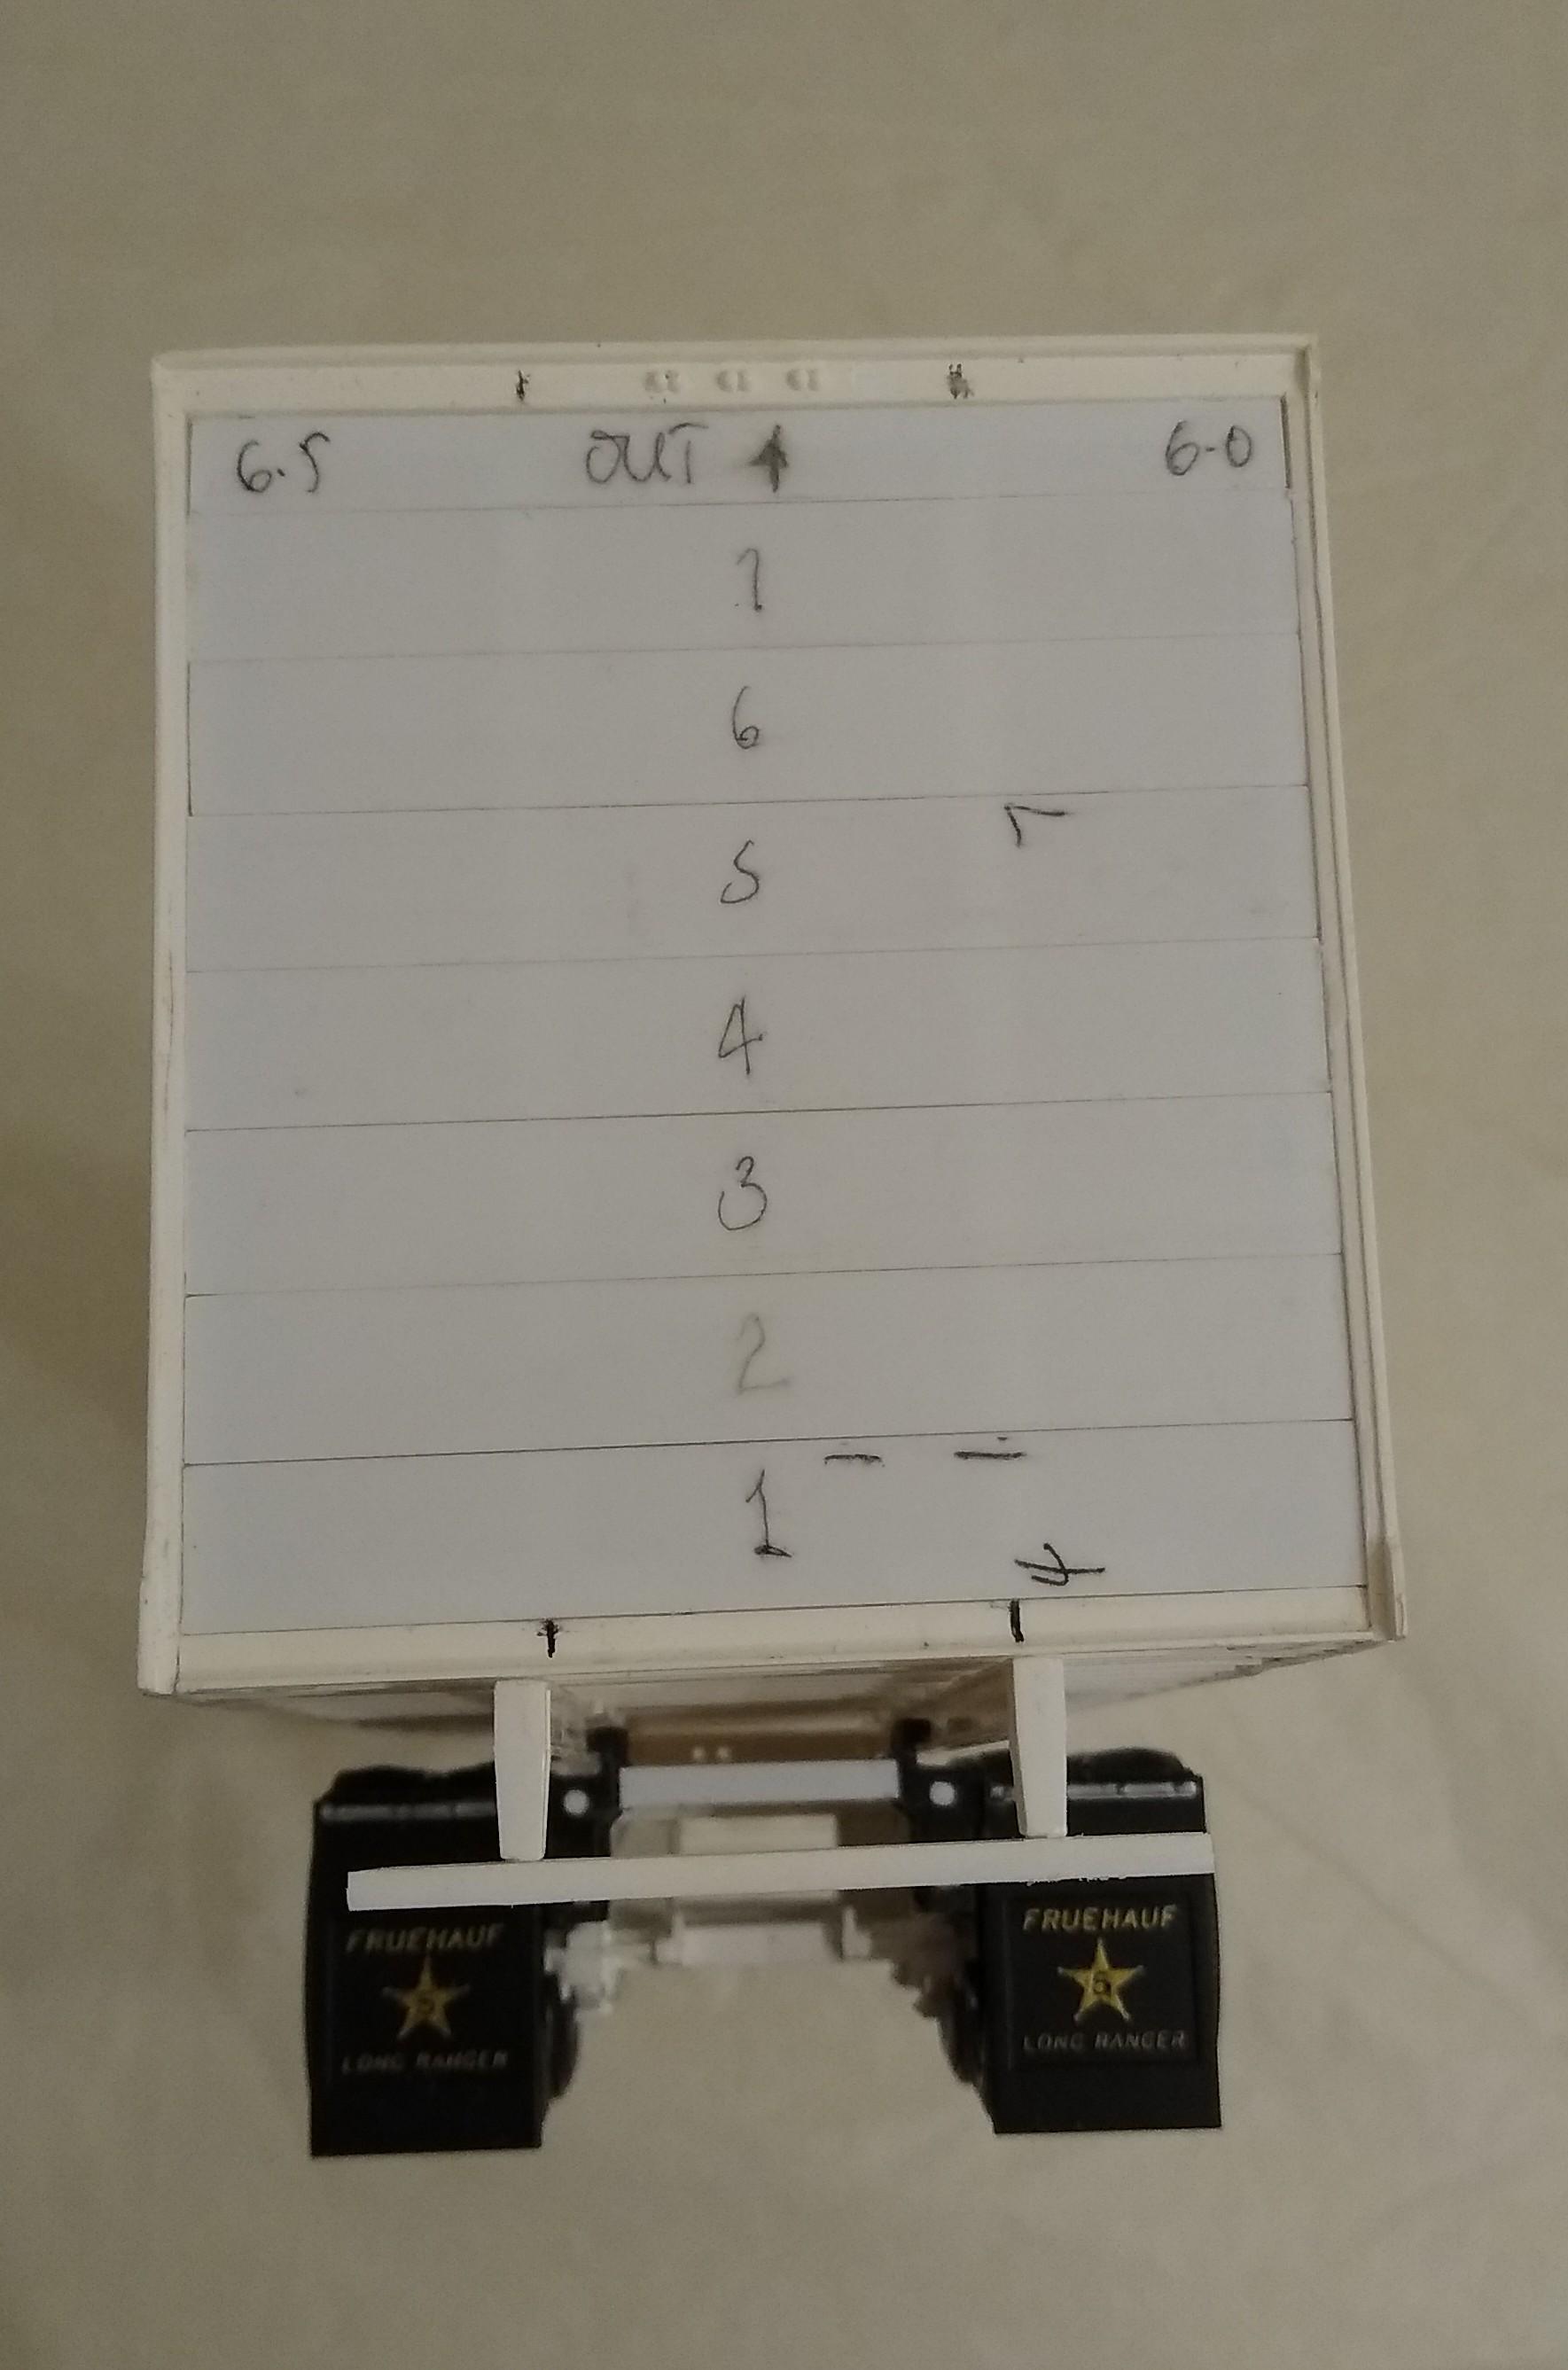
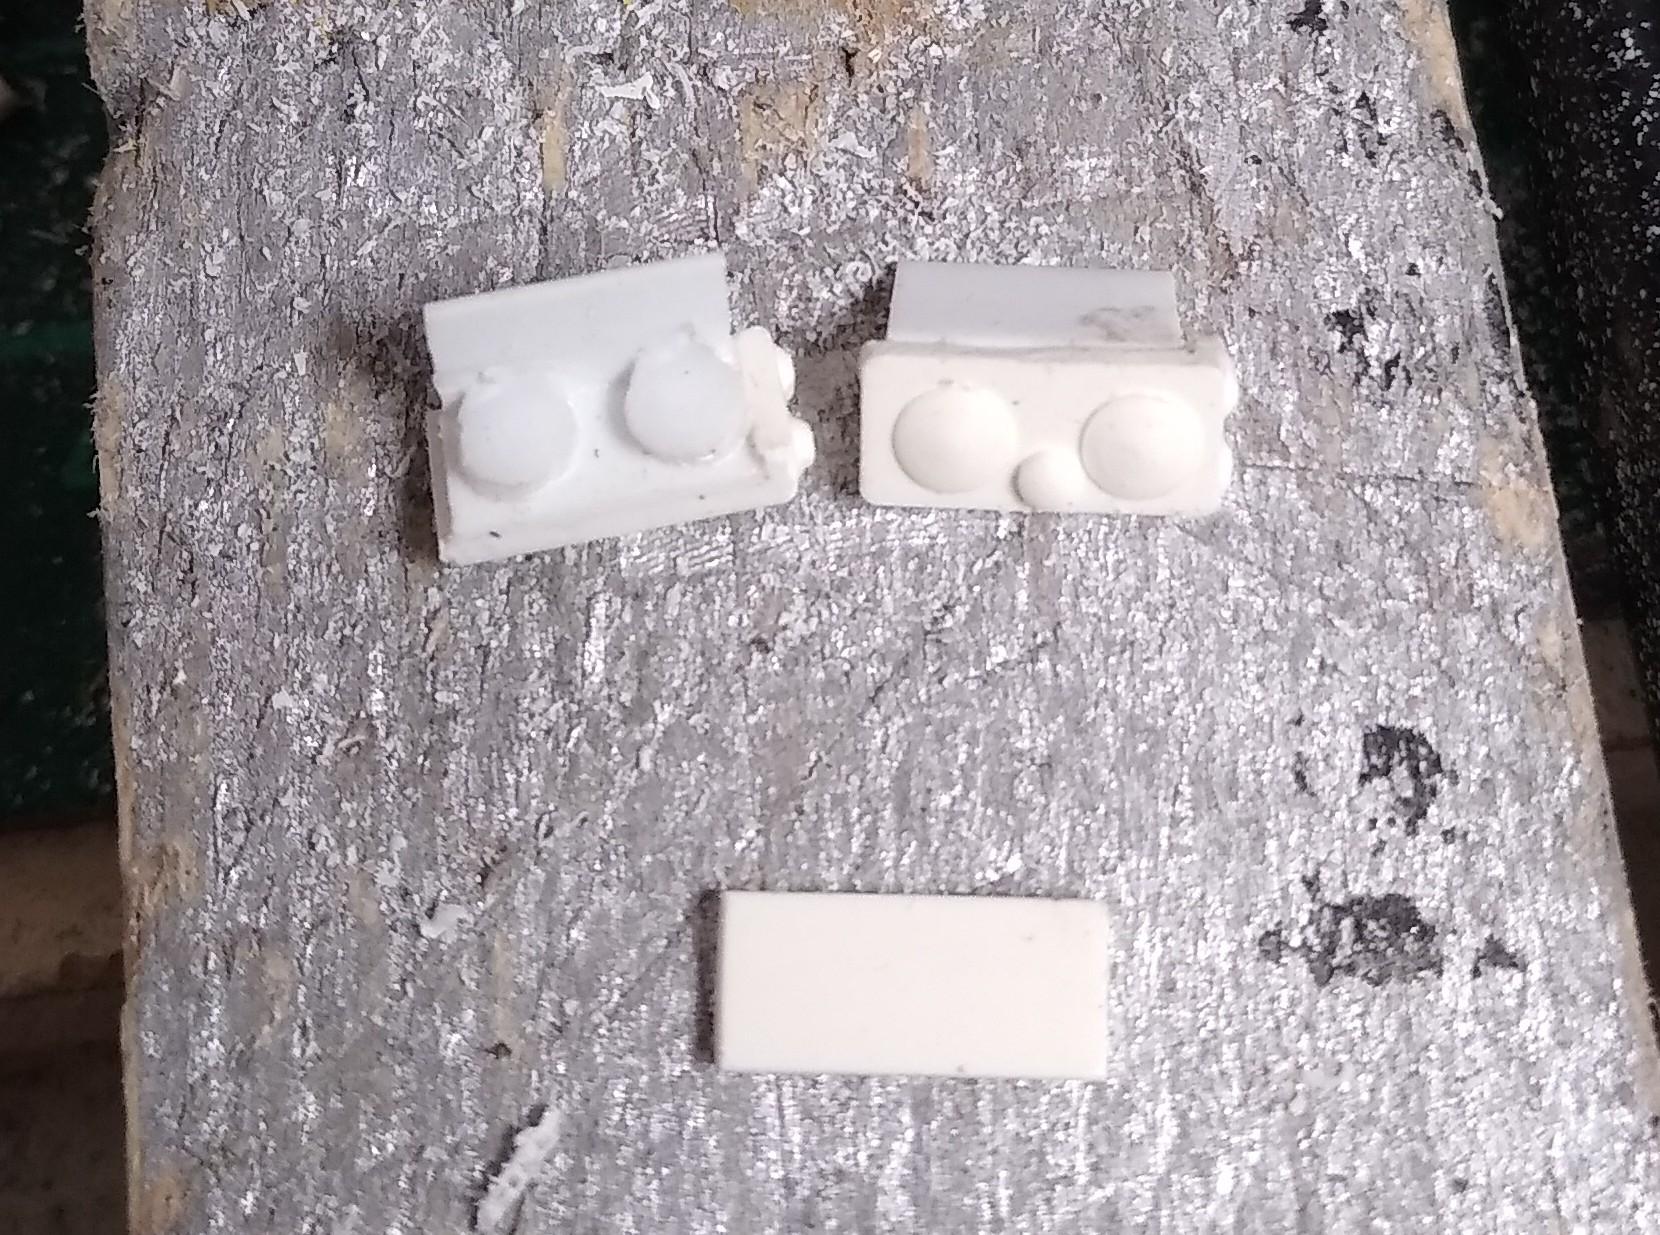
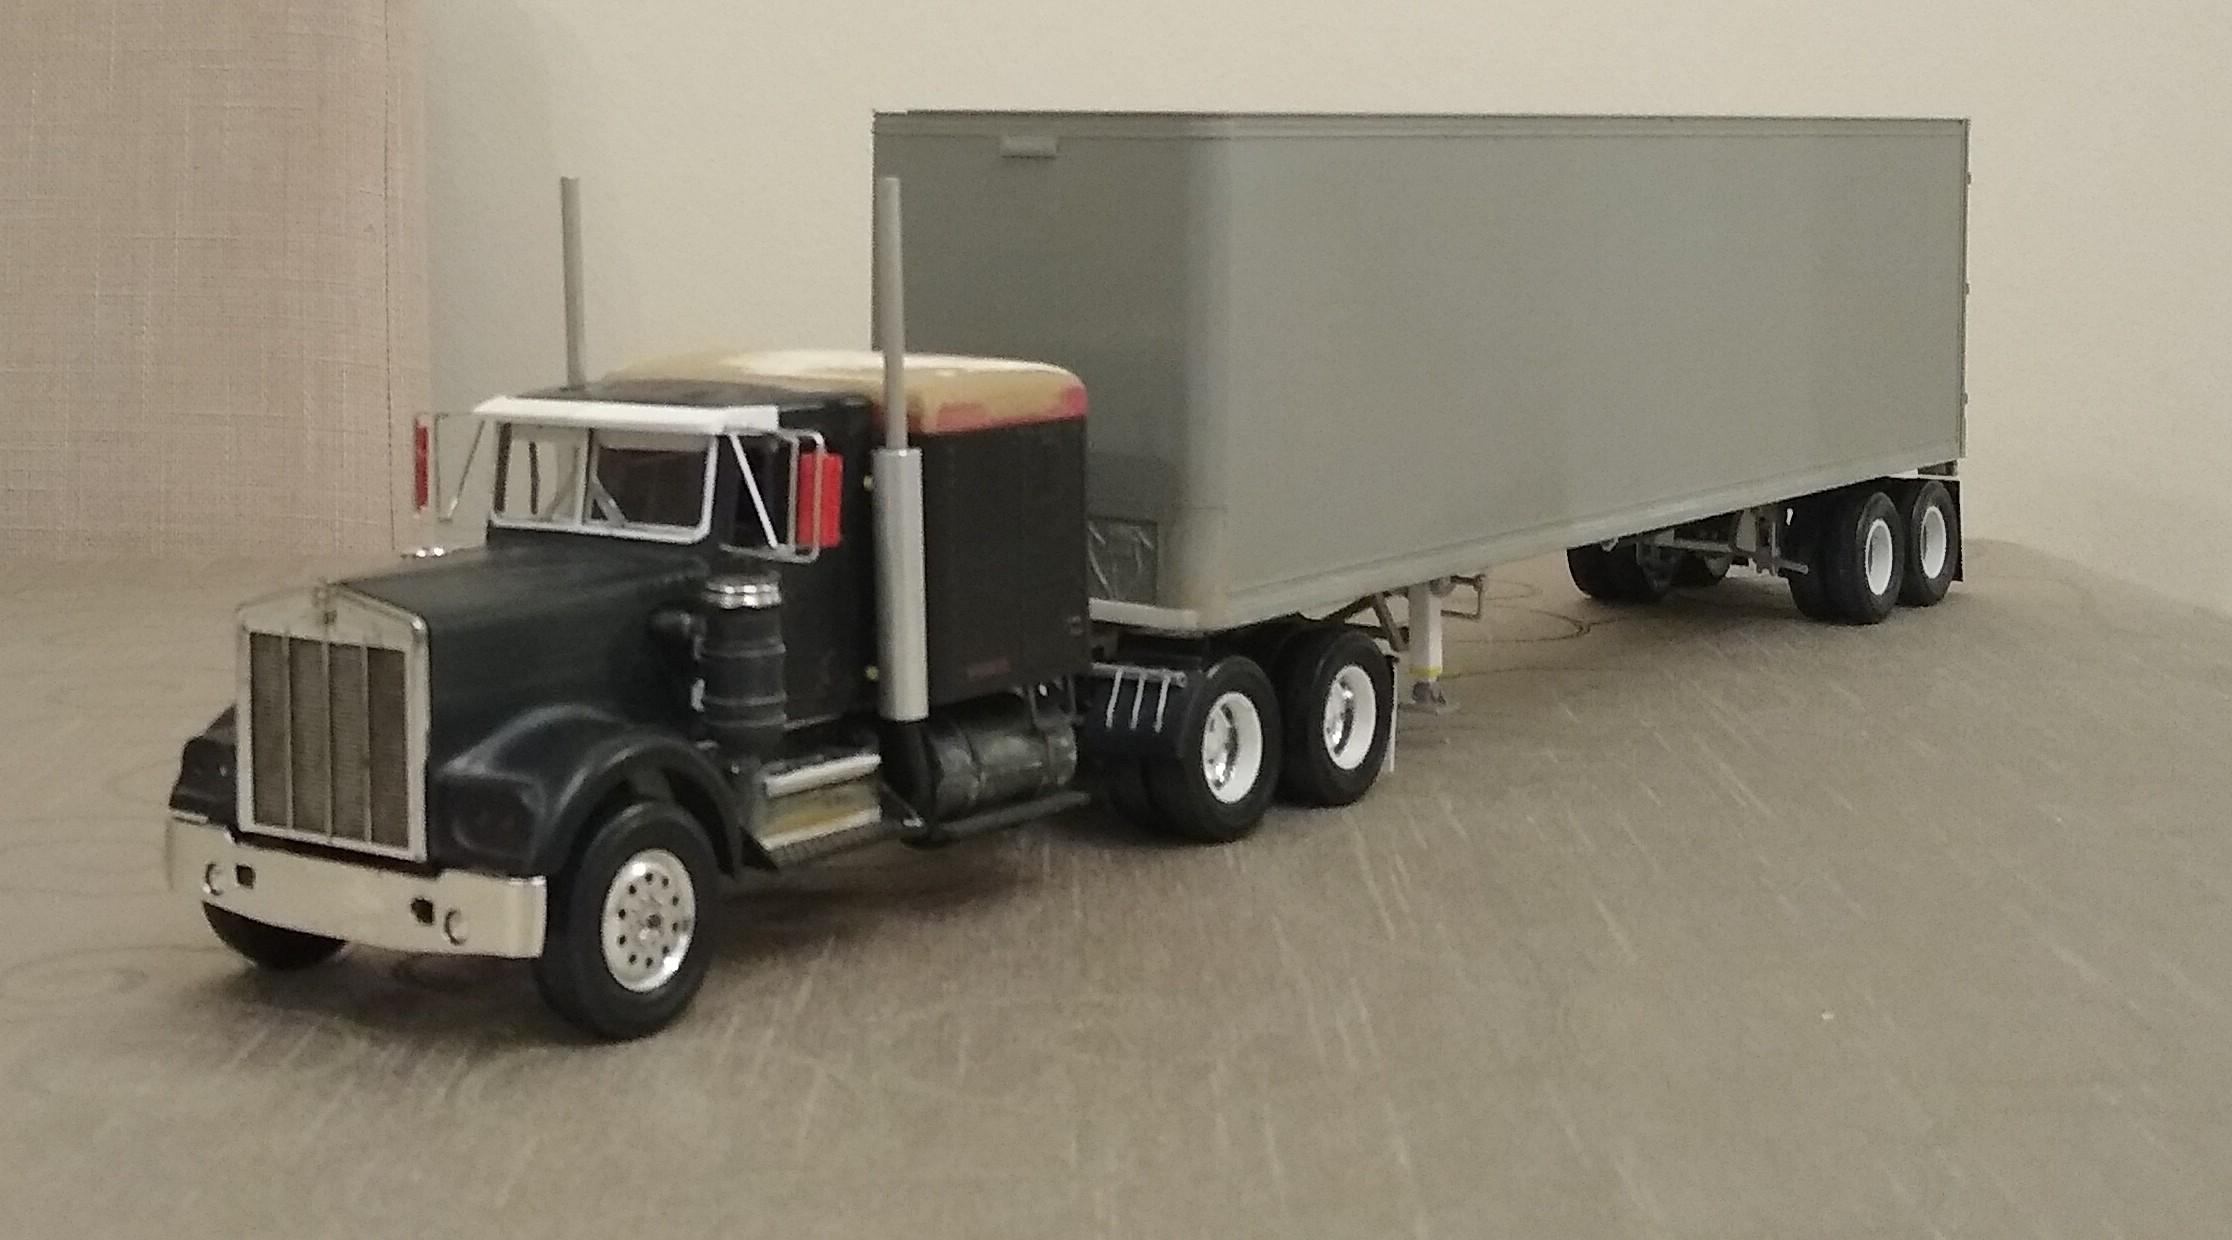
The title came from when I was a kid and saw the AMT Exterior Post van advertised and thought it was something to do with a special type of mail! Took me a while to work it out. Got it on its feet. Altered the wheels to eliminate the shallow wheel rim. Landing gear tomorrow.
-
Ford H series, very old build.
Rockford replied to Repstock's topic in Model Trucks: Big Rigs and Heavy Equipment
I think it looks great. Well done. -
I've wanted an exterior post van for some time. You 1/25 lads have one, even the 1/43 boys get one in the TnT series! 1/32? Just a desert. So I made my own from a Monogram Reefer kit. Cut the sides out and recessed them. Added 1mm square strip at each rivet line to keep that detail. After that it was pretty standard stuff like suspension mods. I pegged the two suspension rails together to make it easier. Getting the van body near square was a real struggle. Once released from each other, the roof and sides proved to be bent all over the place which required heavy bracing on the chassis. I borrowed the suspension off the Pruitt trailer for a mock up.
-
Great job. Looks right.
-
Rapid progress! Looks great, shame about the wheels not sitting square but small beer in comparison to the issues with AMT classics! Keep up the good work.
-
My own Sundance
Rockford replied to Rockford's topic in WIP: Model Trucks: Big Rigs and Heavy Equipment
It's the old compromise of manufacturing considerations over realism, and I suppose they were starter kits aimed at younger modellers, not us old perfectionists. I do wish I had took the plunge before now, but you grow in confidence as well as frustration with successive projects. -
Looking forward to this build, you always do a really impressive job. The seam issue is frustrating but I don't understand the chassis design, it's not like it's a big chassis in truck terms! I'm sure you've nailed it though.
-
My own Sundance
Rockford replied to Rockford's topic in WIP: Model Trucks: Big Rigs and Heavy Equipment
Well Håkan I took the leap. I had a "spare" set of drives on a built truck I only paid a few quid for so I used them. I did the same as the trailer wheels but used two strips of 0.5mm plastic card, one inside the other, to create the lip on the edge of the rim. Used BMF on them and they marry up to the kit wheels very well. Added drive hubs too. At last, a 1/32 with wheels that look right (almost). I suppose Sundance deserves the best. In the last picture you can also see the adjustments I had to make to the lower rail on the front bulkhead of the trailer. The is proud at one side and too short on the other so I added a strip of plastic across the front and then sanded it back.
-
Workover R.D.
Rockford replied to Jürgen M.'s topic in WIP: Model Trucks: Big Rigs and Heavy Equipment
Very clever mate. It's going to be great when it is finished. Your surface finish looks better too! You're getting more and more professional with each job. -
Ryder Ford H Model
Rockford replied to DRIPTROIT 71's topic in Model Trucks: Big Rigs and Heavy Equipment
Looks great and a great subject. Amazing how Ford left the curve of the cab-forward wheelarches in place and just used a filler panel. -
Scratch end dump in progress
Rockford replied to cdntrucking's topic in WIP: Model Trucks: Big Rigs and Heavy Equipment
They do stretch you but the satisfaction you get from it is great. I have to say it looks brilliant! -
My own Sundance
Rockford replied to Rockford's topic in WIP: Model Trucks: Big Rigs and Heavy Equipment
He did apparently, only one season. I thought they were asking him to impersonate Woody Allen when I watched the Rockford episode with him in. -
My own Sundance
Rockford replied to Rockford's topic in WIP: Model Trucks: Big Rigs and Heavy Equipment
Thanks mate, I have considered it on the drives but I've messed around that much with them already, and they'd be a harder one to pull off cleanly....