Rockford
-
Posts
1,944 -
Joined
-
Last visited
Content Type
Profiles
Forums
Events
Gallery
Everything posted by Rockford
-

Mack DM 600 GW Trucks tribute build
Rockford replied to gotnitro?'s topic in WIP: Model Trucks: Big Rigs and Heavy Equipment
That's going to look beefy -
Thanks Gary, means a lot.
-
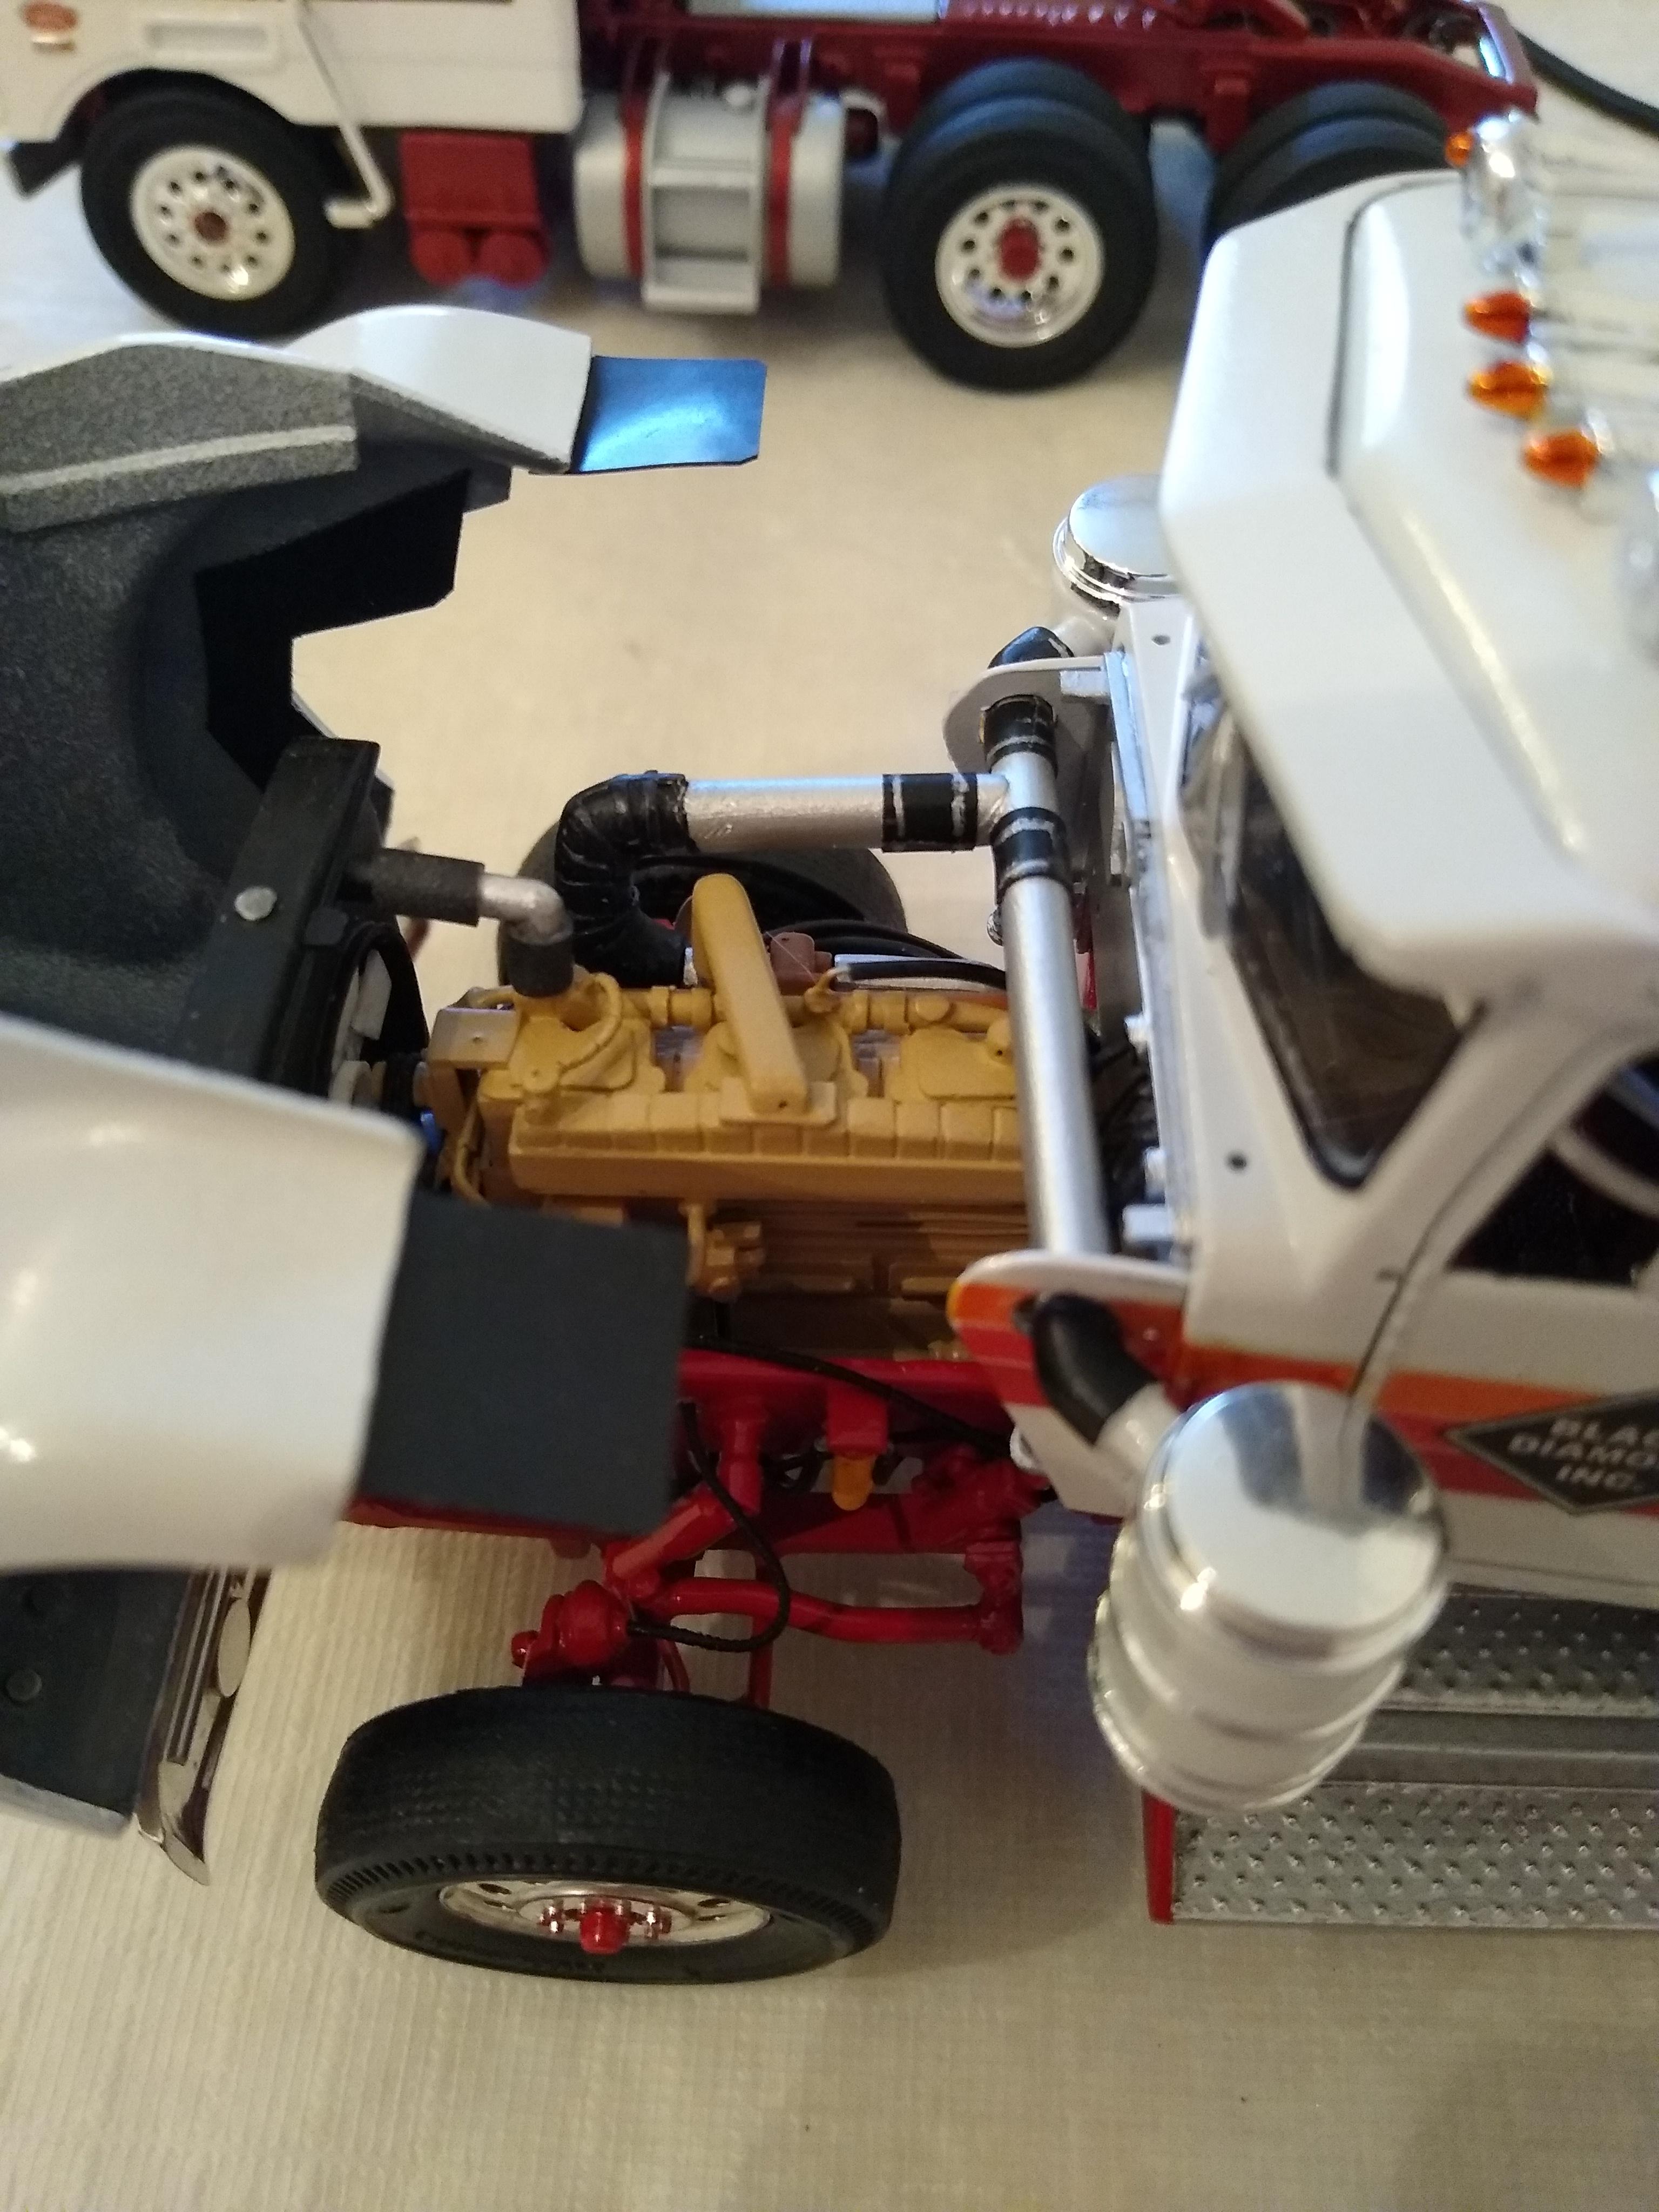
Couldn't resist a bit more fitting this afternoon. Fitted the stacks and put my perforation decals on the exhaust heat shields. Fitted the air filters. Added electricians tape to the air intake pipe to form the hoses. Fitted the pogo stick and piped it up. Still a few things I've got to do but I think it's going to look pretty good. I do like being able to open the hood and see a Cummins under there.

-
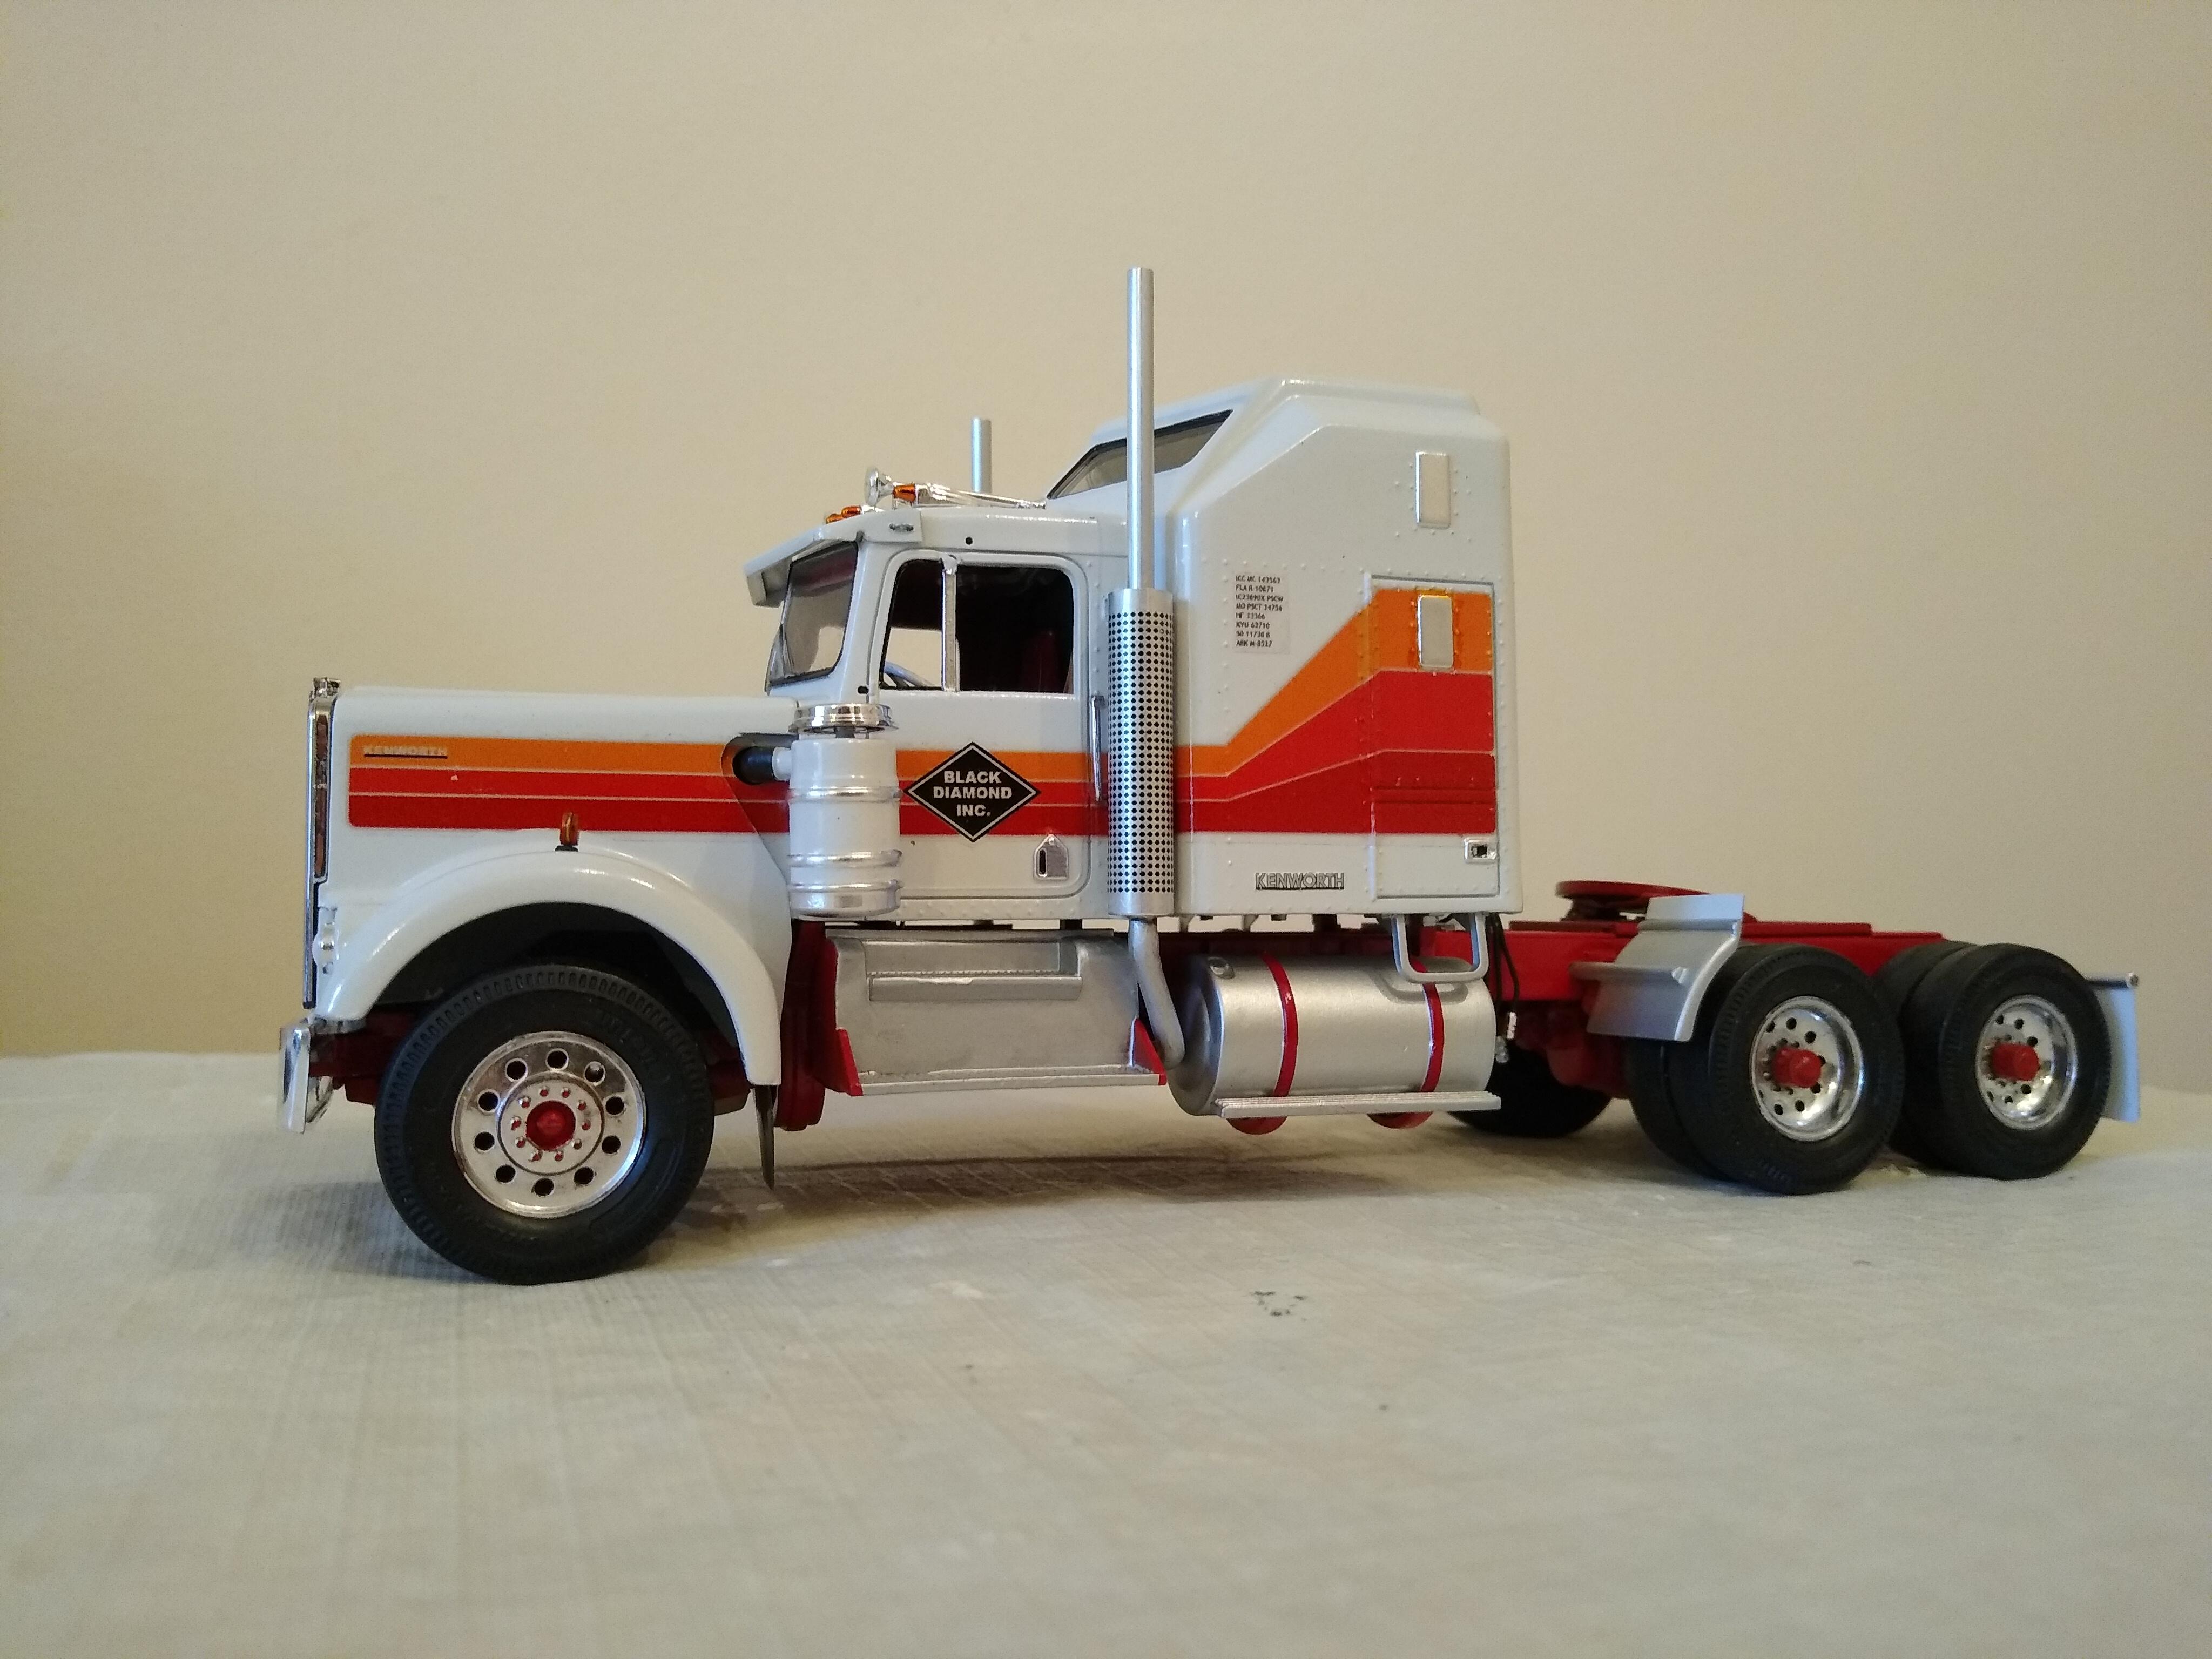
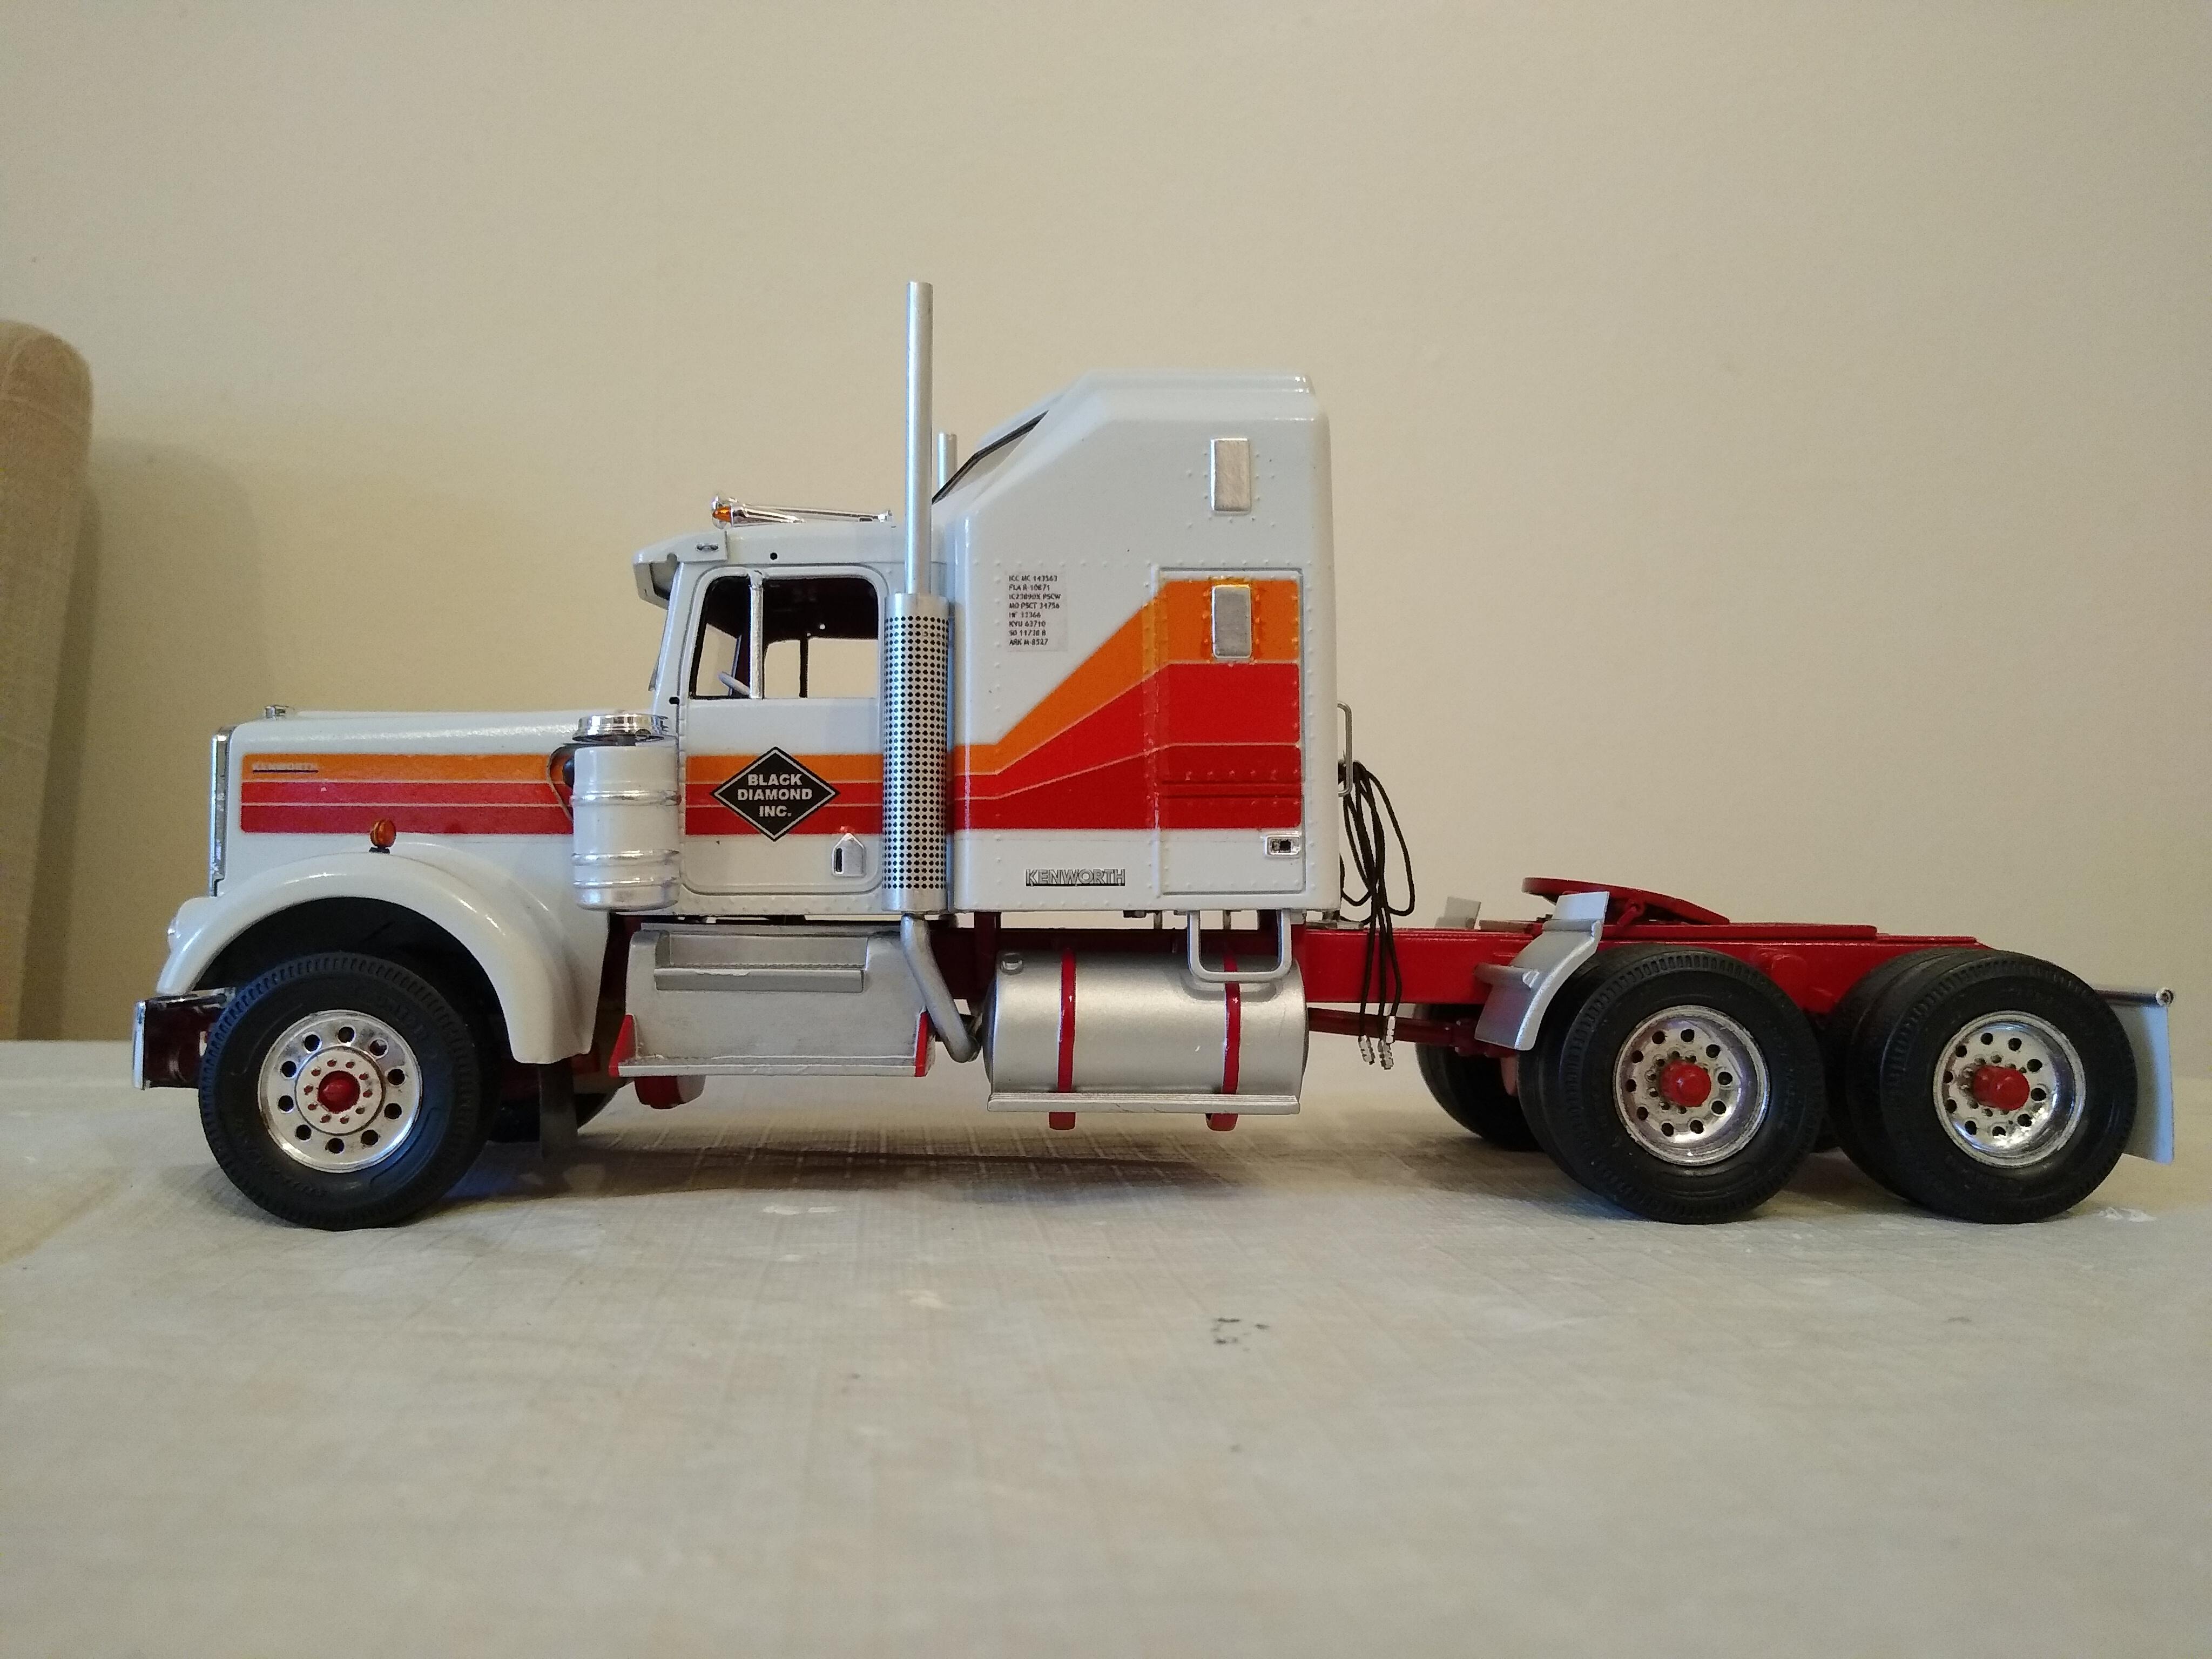
Happy to say that I managed to get the stripe decals on. After the Pepsi trailer I thought they'd be a doddle but I had an issue with the lacquer delaminating when I was cutting them out. Suffered a bit of the colour bleeding but managed to make them look ok. Added my ICC numbers and some Kenworth badges I'd saved from another kit. I'm still so happy with how it turned out.
-
New house, New project!
Rockford replied to TruckerAL's topic in Model Trucks: Big Rigs and Heavy Equipment
You ADDRESSED your subject very well there, it has my STAMP of approval. I do envy you your hobby room, I can only imagine the mess I could make in a room where "she who must be obeyed" has no jurisdiction. ? -
AMT White-Freightliner to Optimus Prime
Rockford replied to Devyn's topic in WIP: Model Trucks: Big Rigs and Heavy Equipment
Looks good, did you sort your problem with installation of the interior? It's so long since I built one of these I can't offer any solid advice but can imagine it is all to do with filing the interior bucket.- 32 replies
-
- 1
-

-
- amt
- freightliner
- (and 1 more)
-
Carlile Heavy Haul Kenworth T-800
Rockford replied to AussieTrekkie's topic in Model Trucks: Big Rigs and Heavy Equipment
Nice, thorough job. -
Very nice.
-
An everydayFord day cab tractor
Rockford replied to BIGTRUCK's topic in WIP: Model Trucks: Big Rigs and Heavy Equipment
I see, an extendable would be interesting! -
2023 BRGB Movin' On Kenworth
Rockford replied to leafsprings's topic in WIP: Model Trucks: Big Rigs and Heavy Equipment
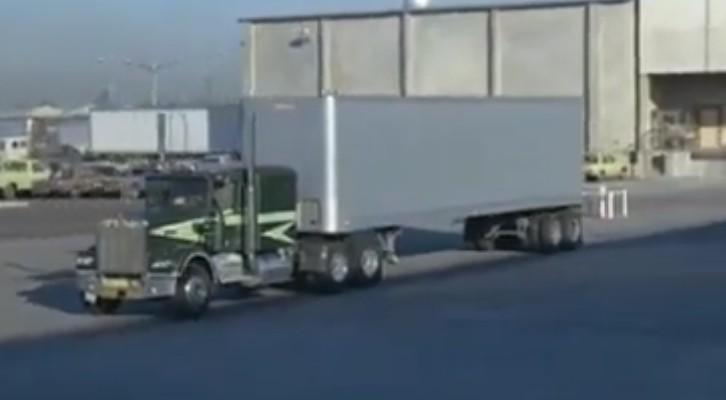
That will finish it off so well. I don't want to hijack your thread but I remember finding this picture on the interwebs and I just thought it is the perfect American truck for me. The stance and the proportions are just right. It says everything to me about why American trucks are different to the European stuff. The reason why I mentioned an aluminium Fruehauf was because I had been watching a few episodes with this trailer. Bare ali. Either way it's an impressive looking combination. Can't wait to see the finished rig. I'll get to do one of my own one day.
-
AMT Dump Trailer
Rockford replied to OldTrucker's topic in WIP: Model Trucks: Big Rigs and Heavy Equipment
That's going to be a good looking trailer. Glad you didn't lose your tailgate to the tree-rat. -
2023 BRGB 70's Kenworth W 900
Rockford replied to lwwoodss's topic in WIP: Model Trucks: Big Rigs and Heavy Equipment
Excellent building. -
An everydayFord day cab tractor
Rockford replied to BIGTRUCK's topic in WIP: Model Trucks: Big Rigs and Heavy Equipment
Going to be a bit of a chunky monkey! Good work. Are you going to lose an axle from the trailer? -
AMT White-Freightliner to Optimus Prime
Rockford replied to Devyn's topic in WIP: Model Trucks: Big Rigs and Heavy Equipment
The notorious Freightliner joint! I don't envy you that job. I'm sure you'll sort it.- 32 replies
-
- 1
-
-
- amt
- freightliner
- (and 1 more)
-
Printed my stripes onto decal paper today and gave them two coats of lacquer. The colours look rich. Drew a few licence plates, a bingo plate some ICC permit numbers. I like to get most out of the sheet I'm using. Let them cure for a day or so while I get on with assembly.
-
2023 BRGB Movin' On Kenworth
Rockford replied to leafsprings's topic in WIP: Model Trucks: Big Rigs and Heavy Equipment
That looks the part mate. I hope we're going to see a load of pictures in the "Under Glass" section. Any chance of a trailer? Aluminium Fruehauf? -
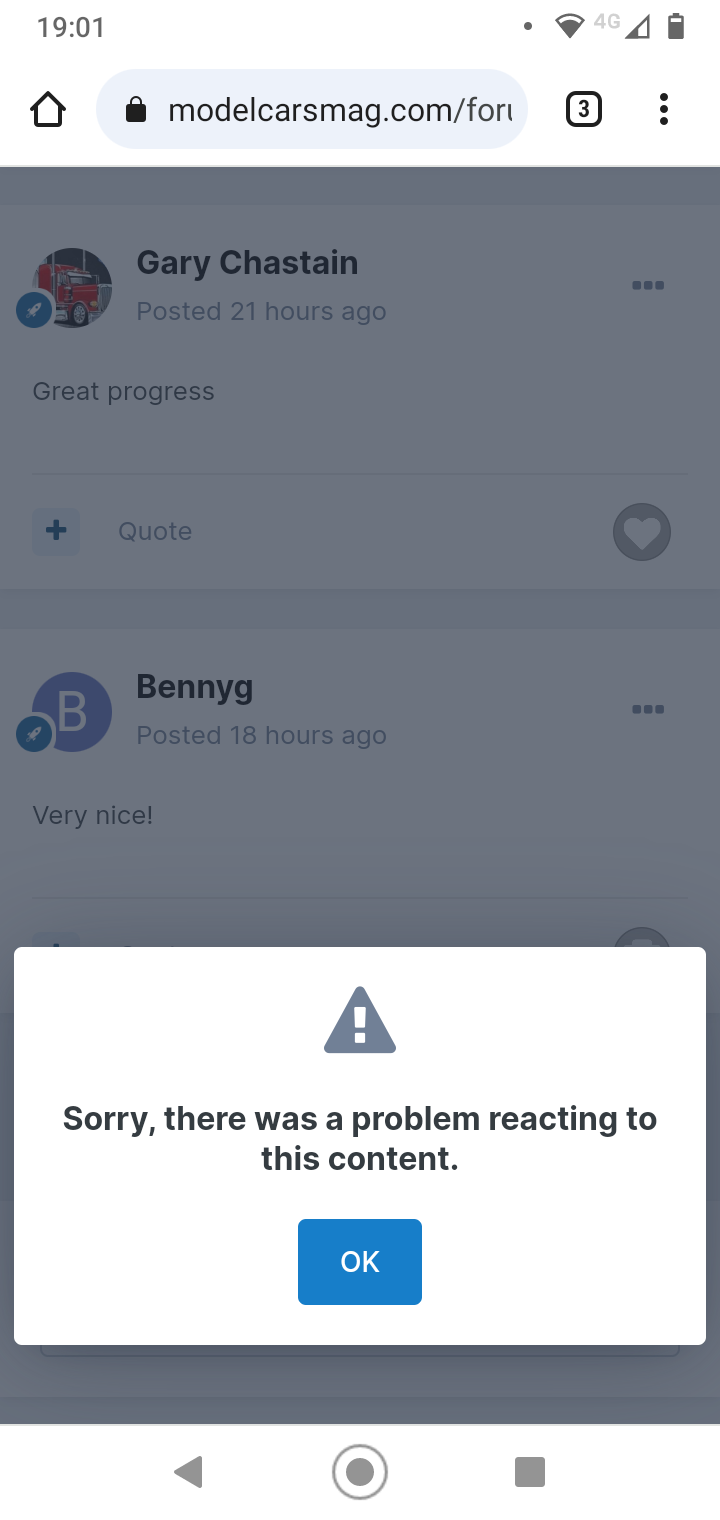
Gary and Benny, thanks for your kind comments. When I try to hit the thanks button, this is what I get.
-
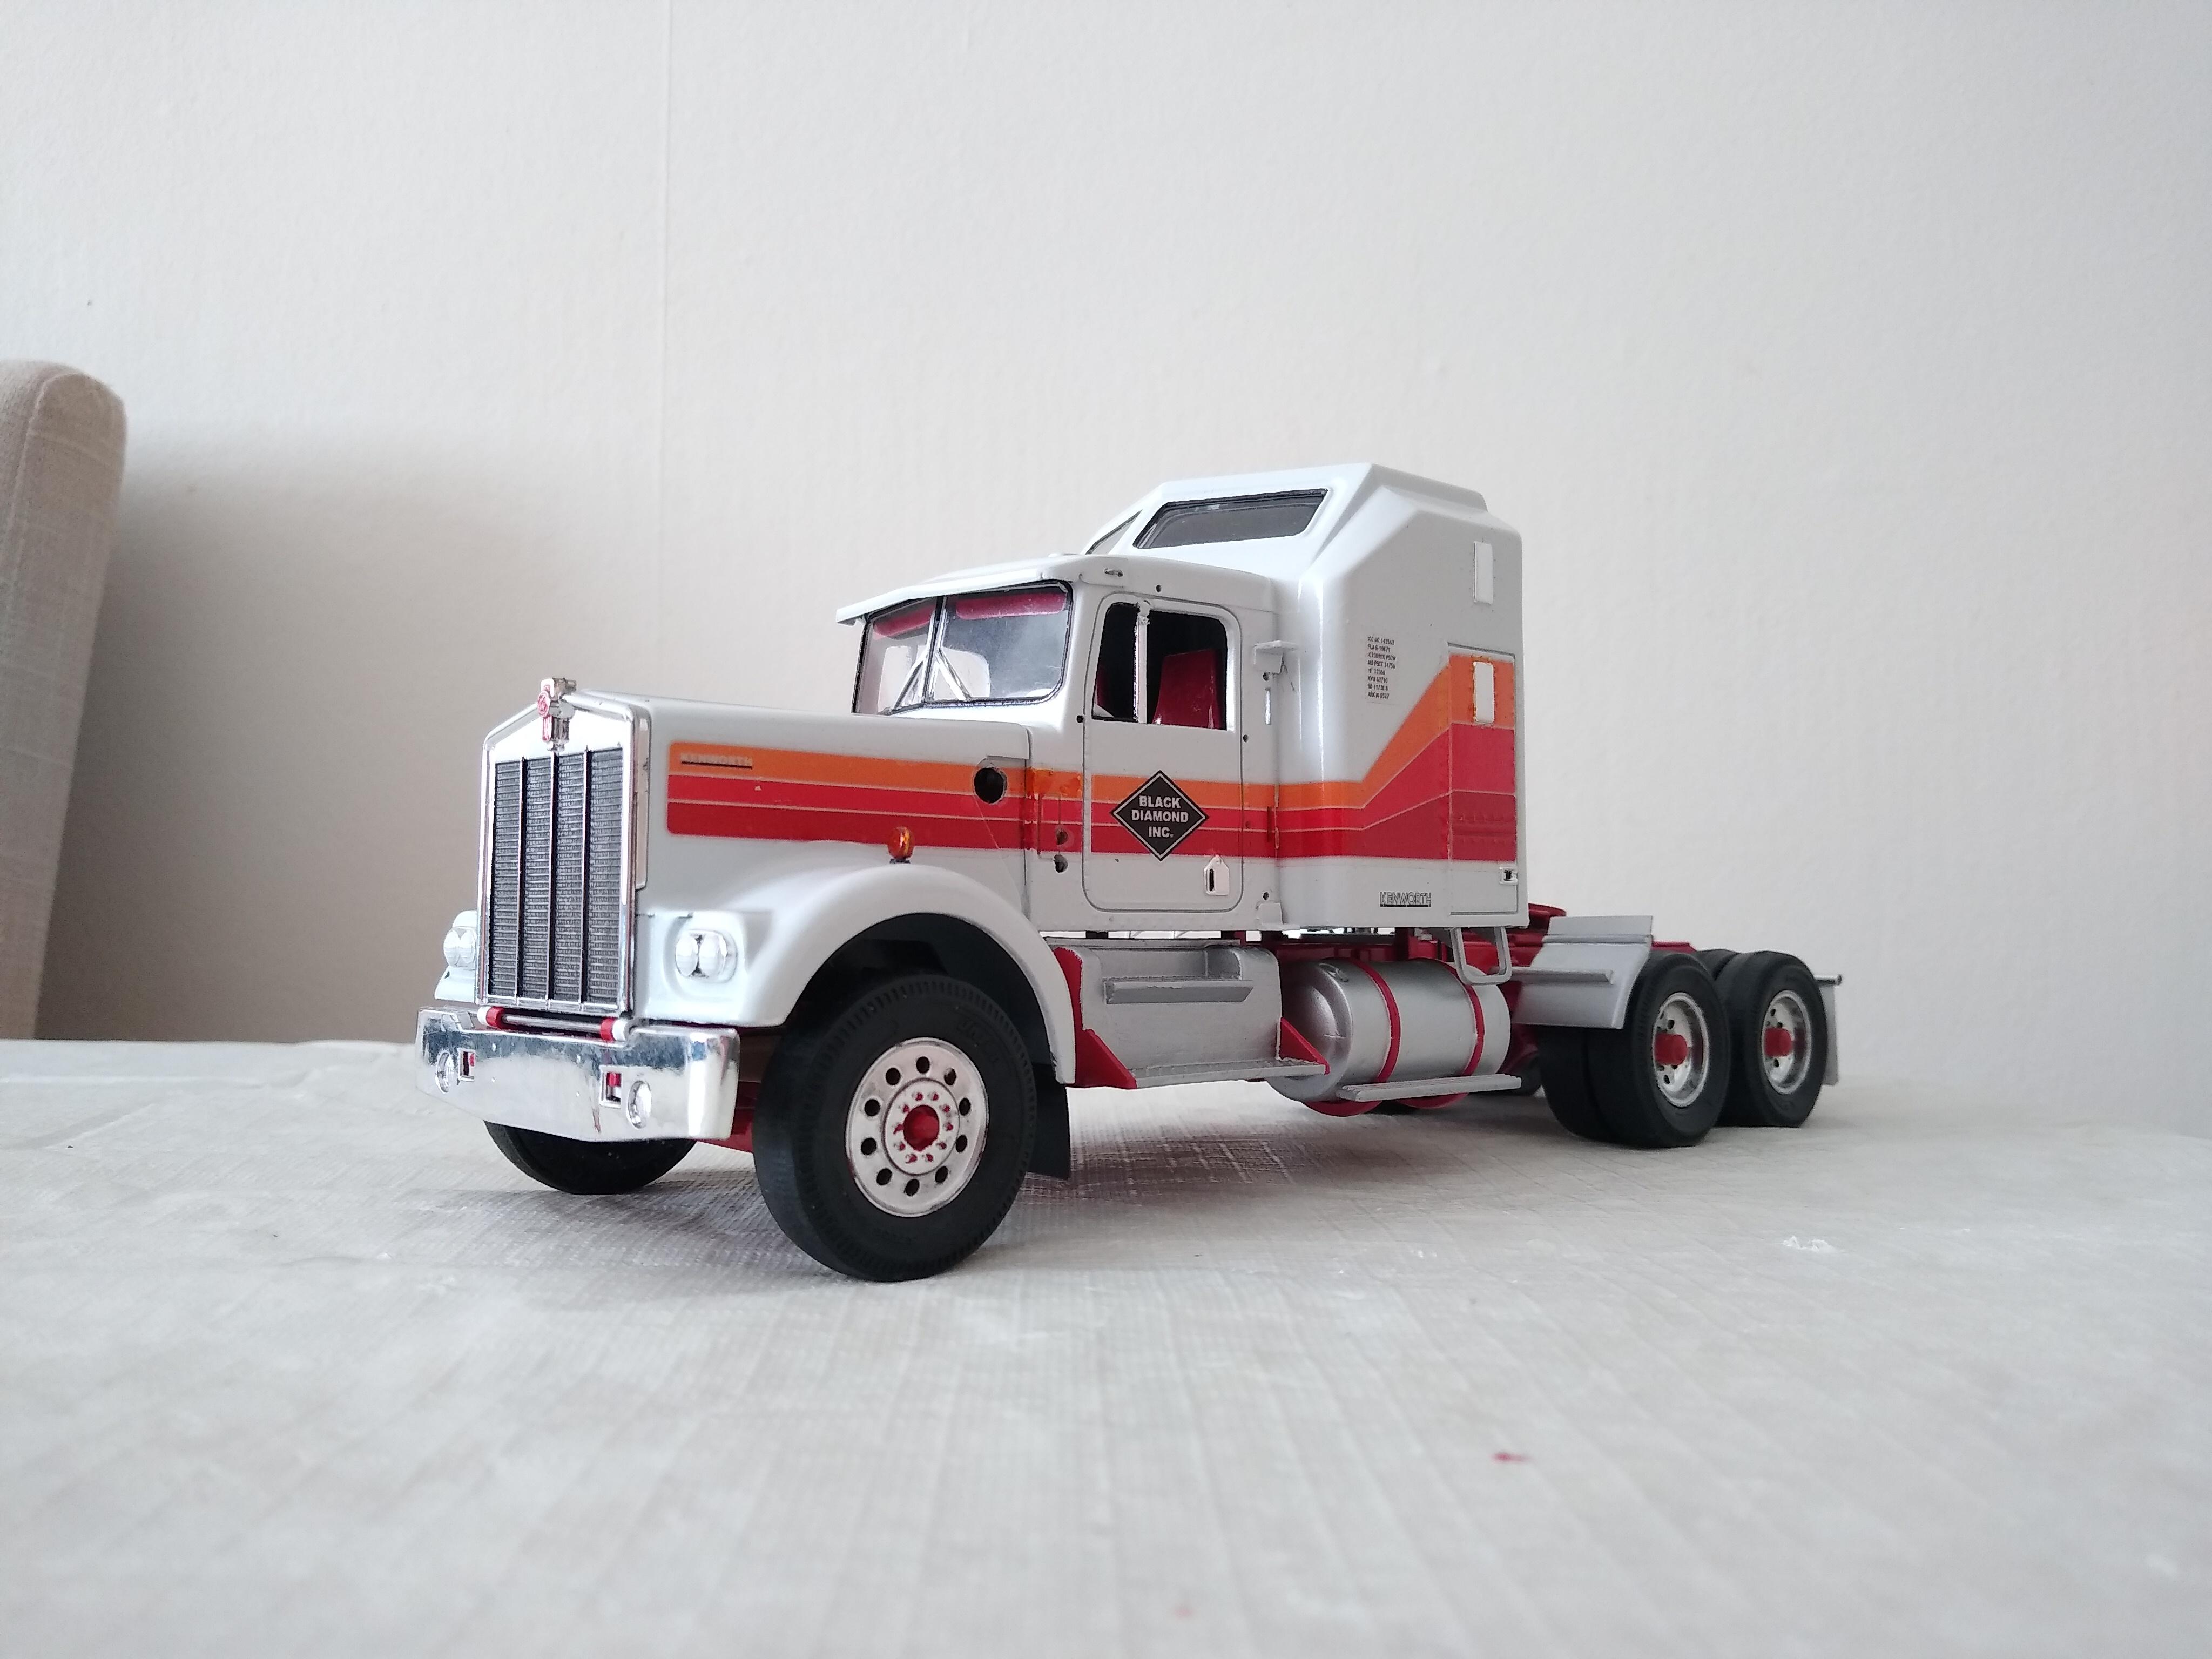
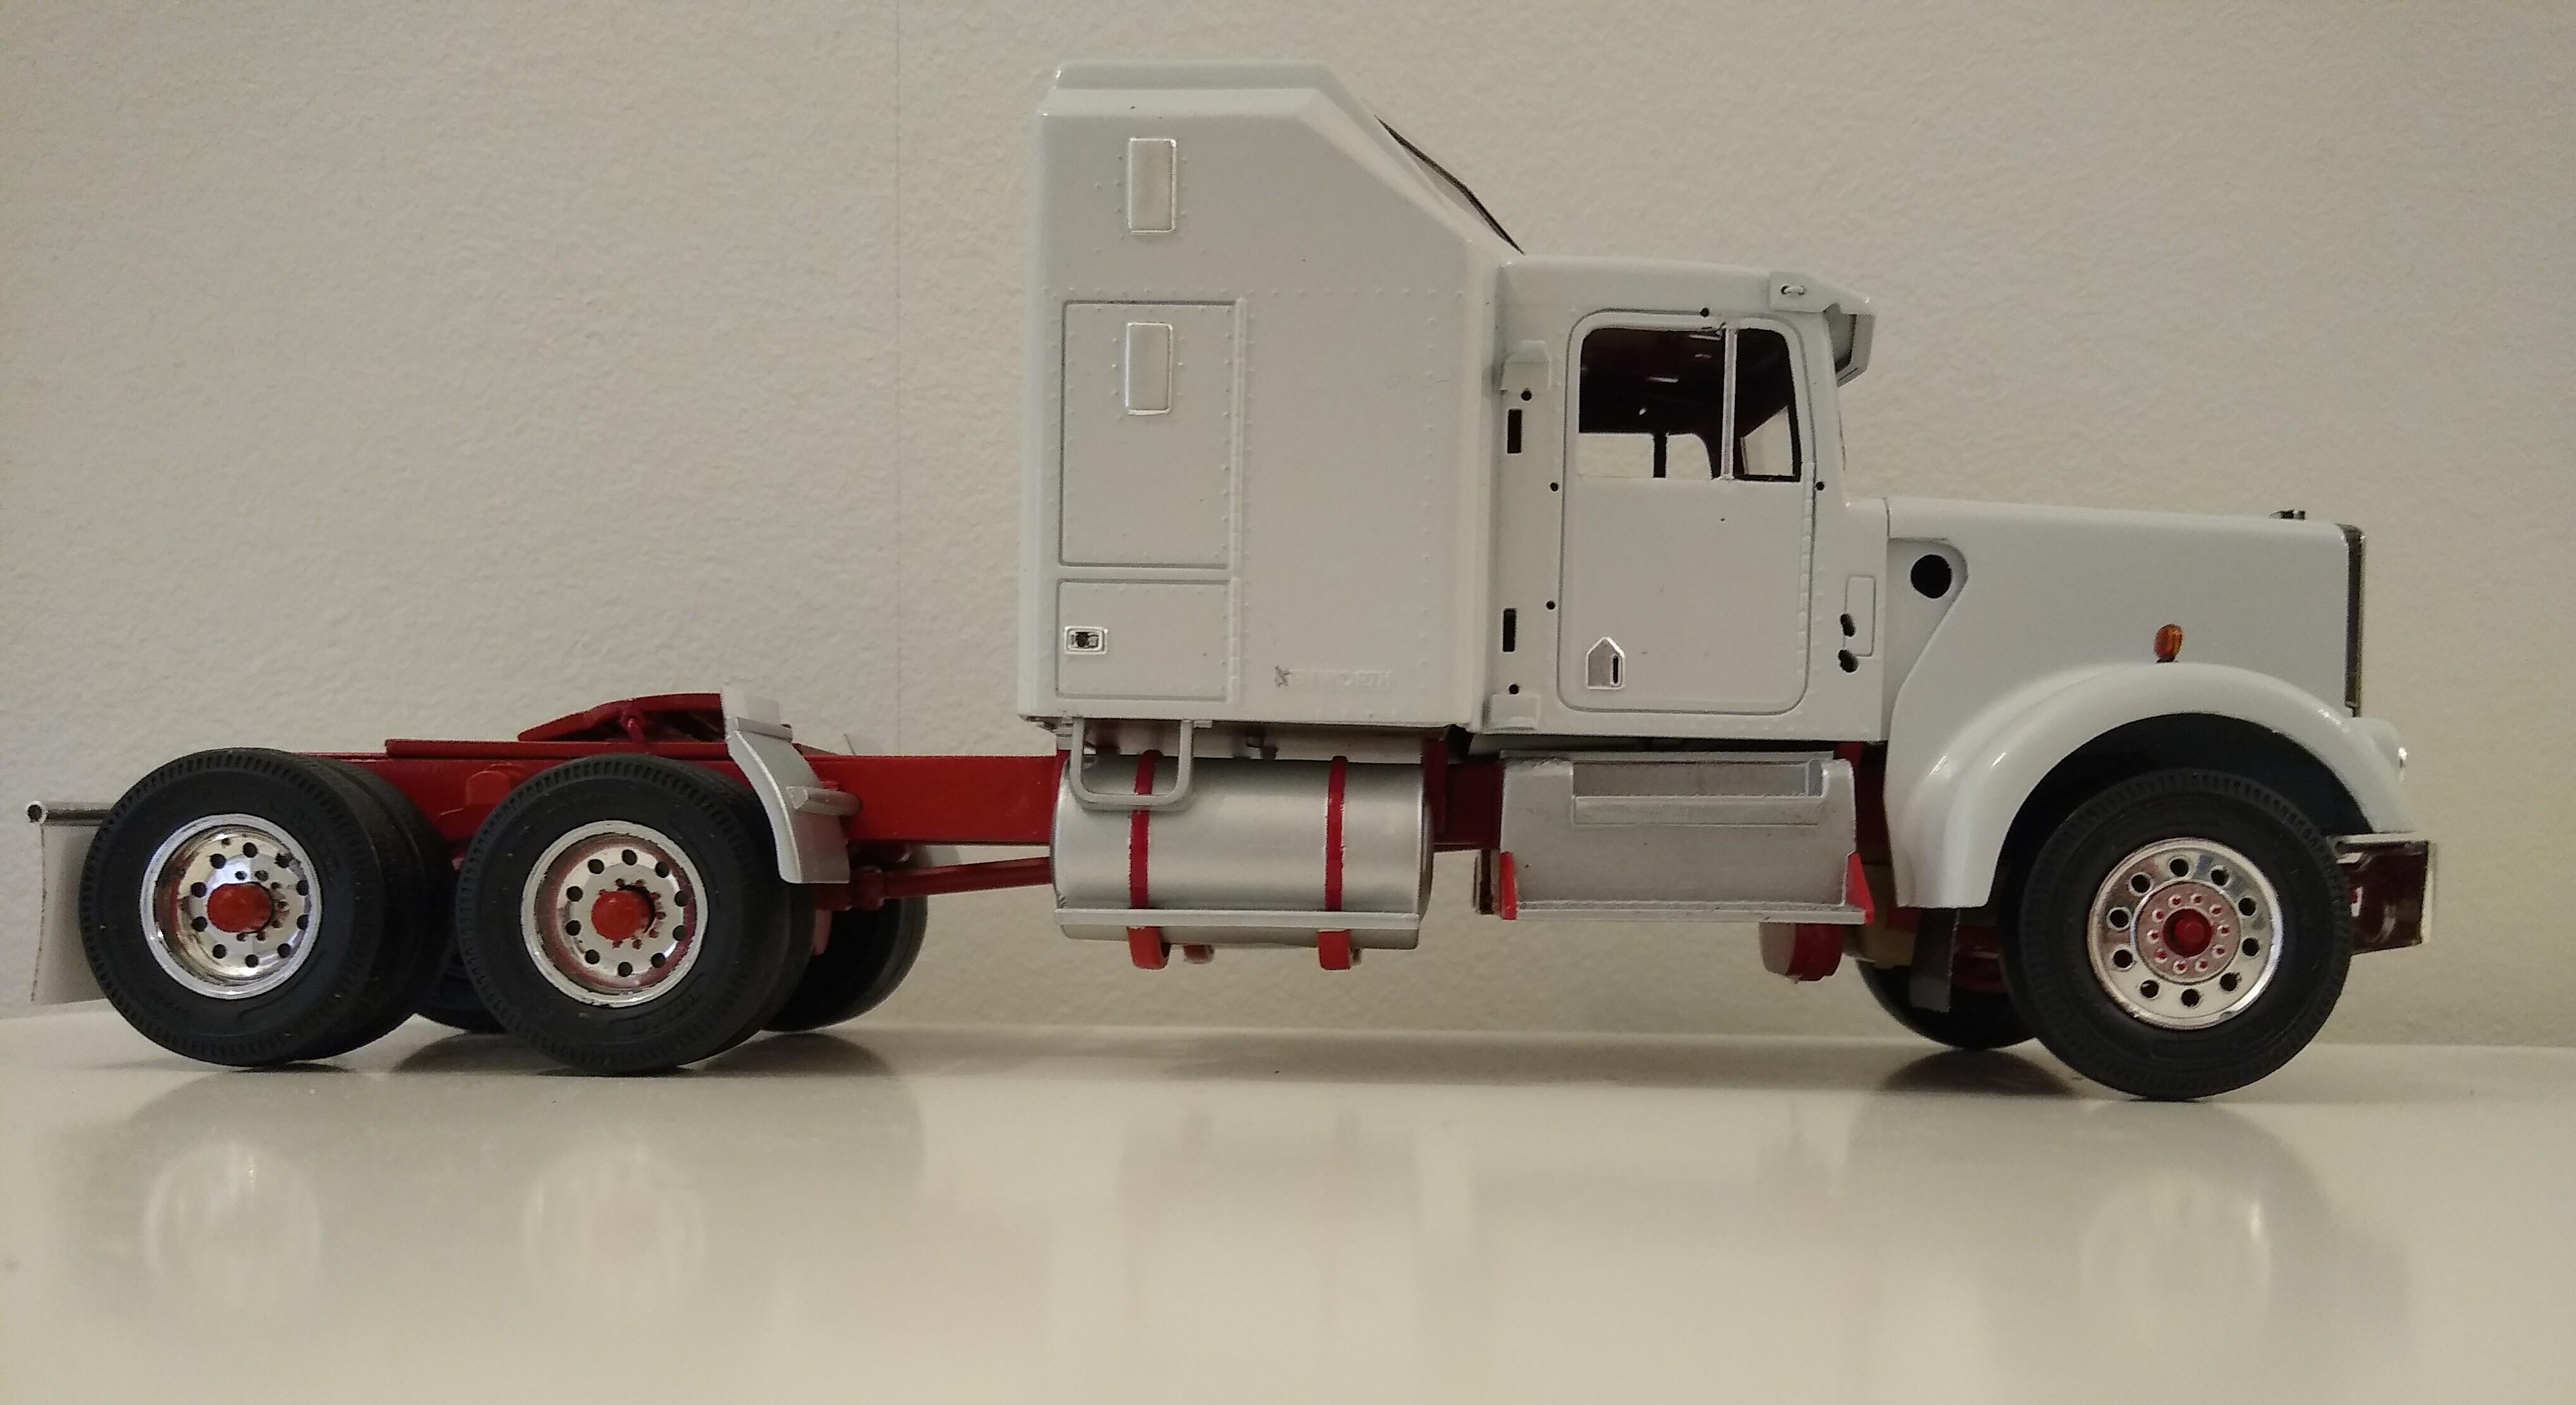
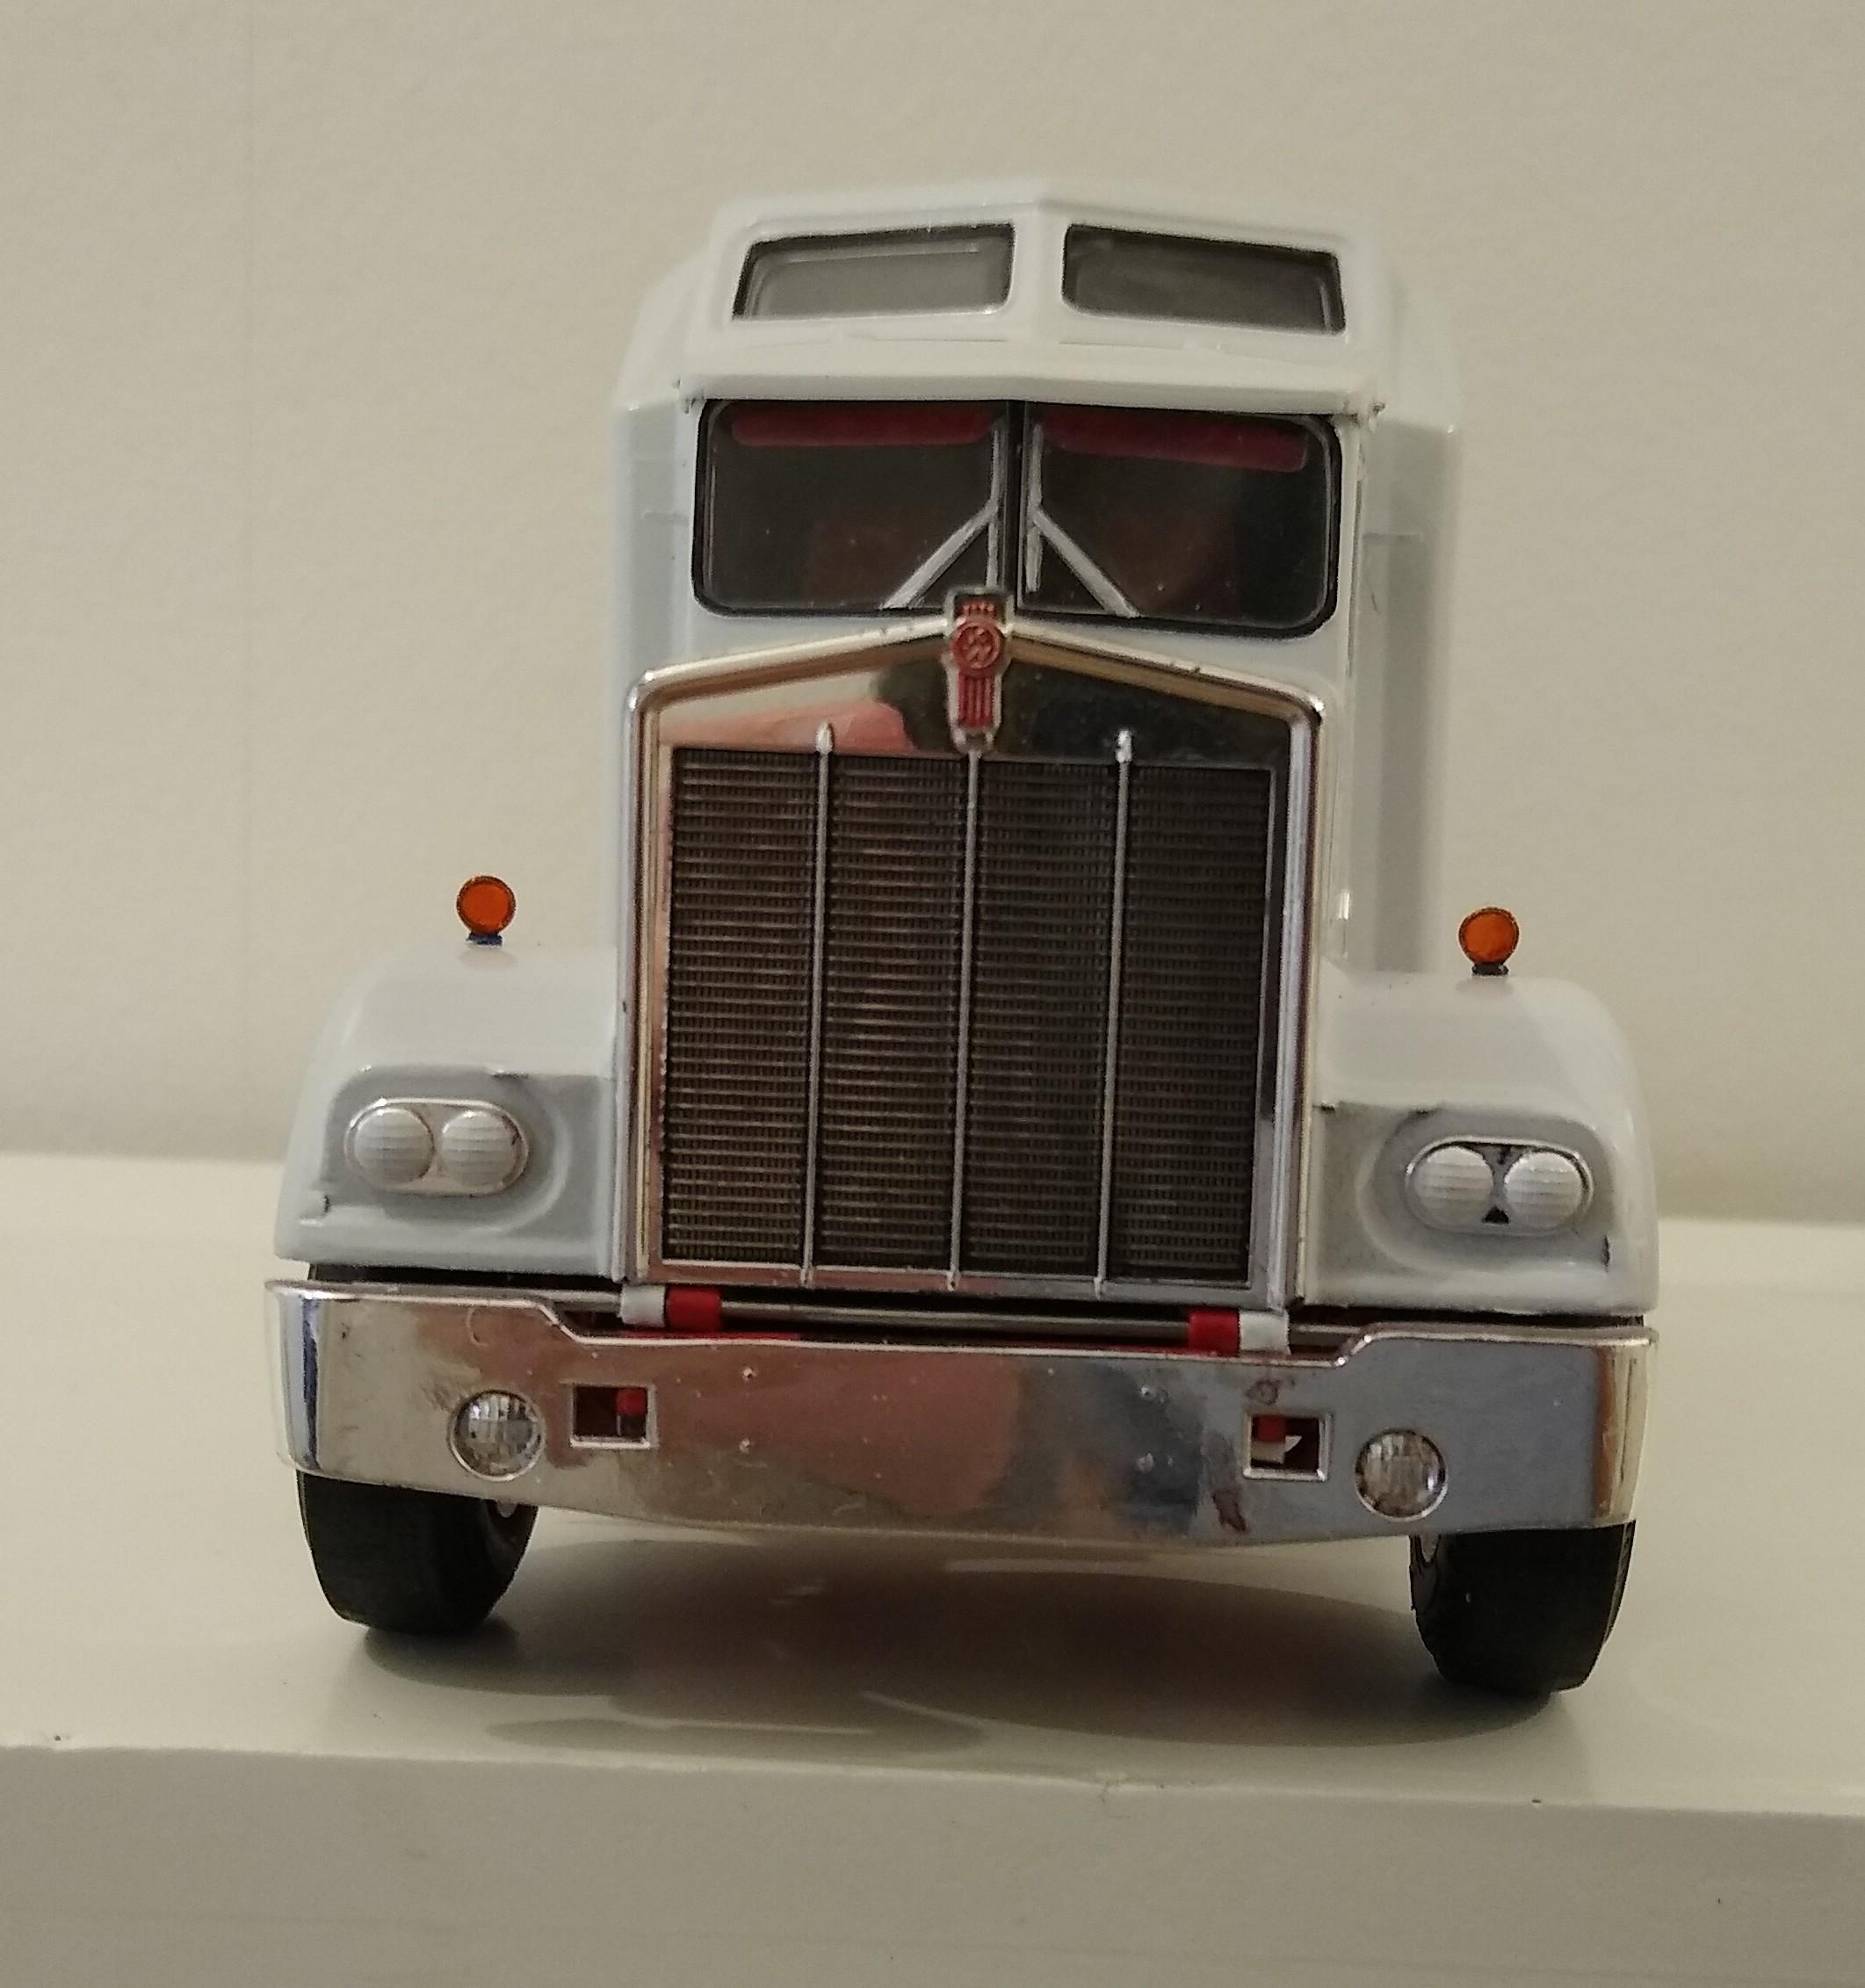
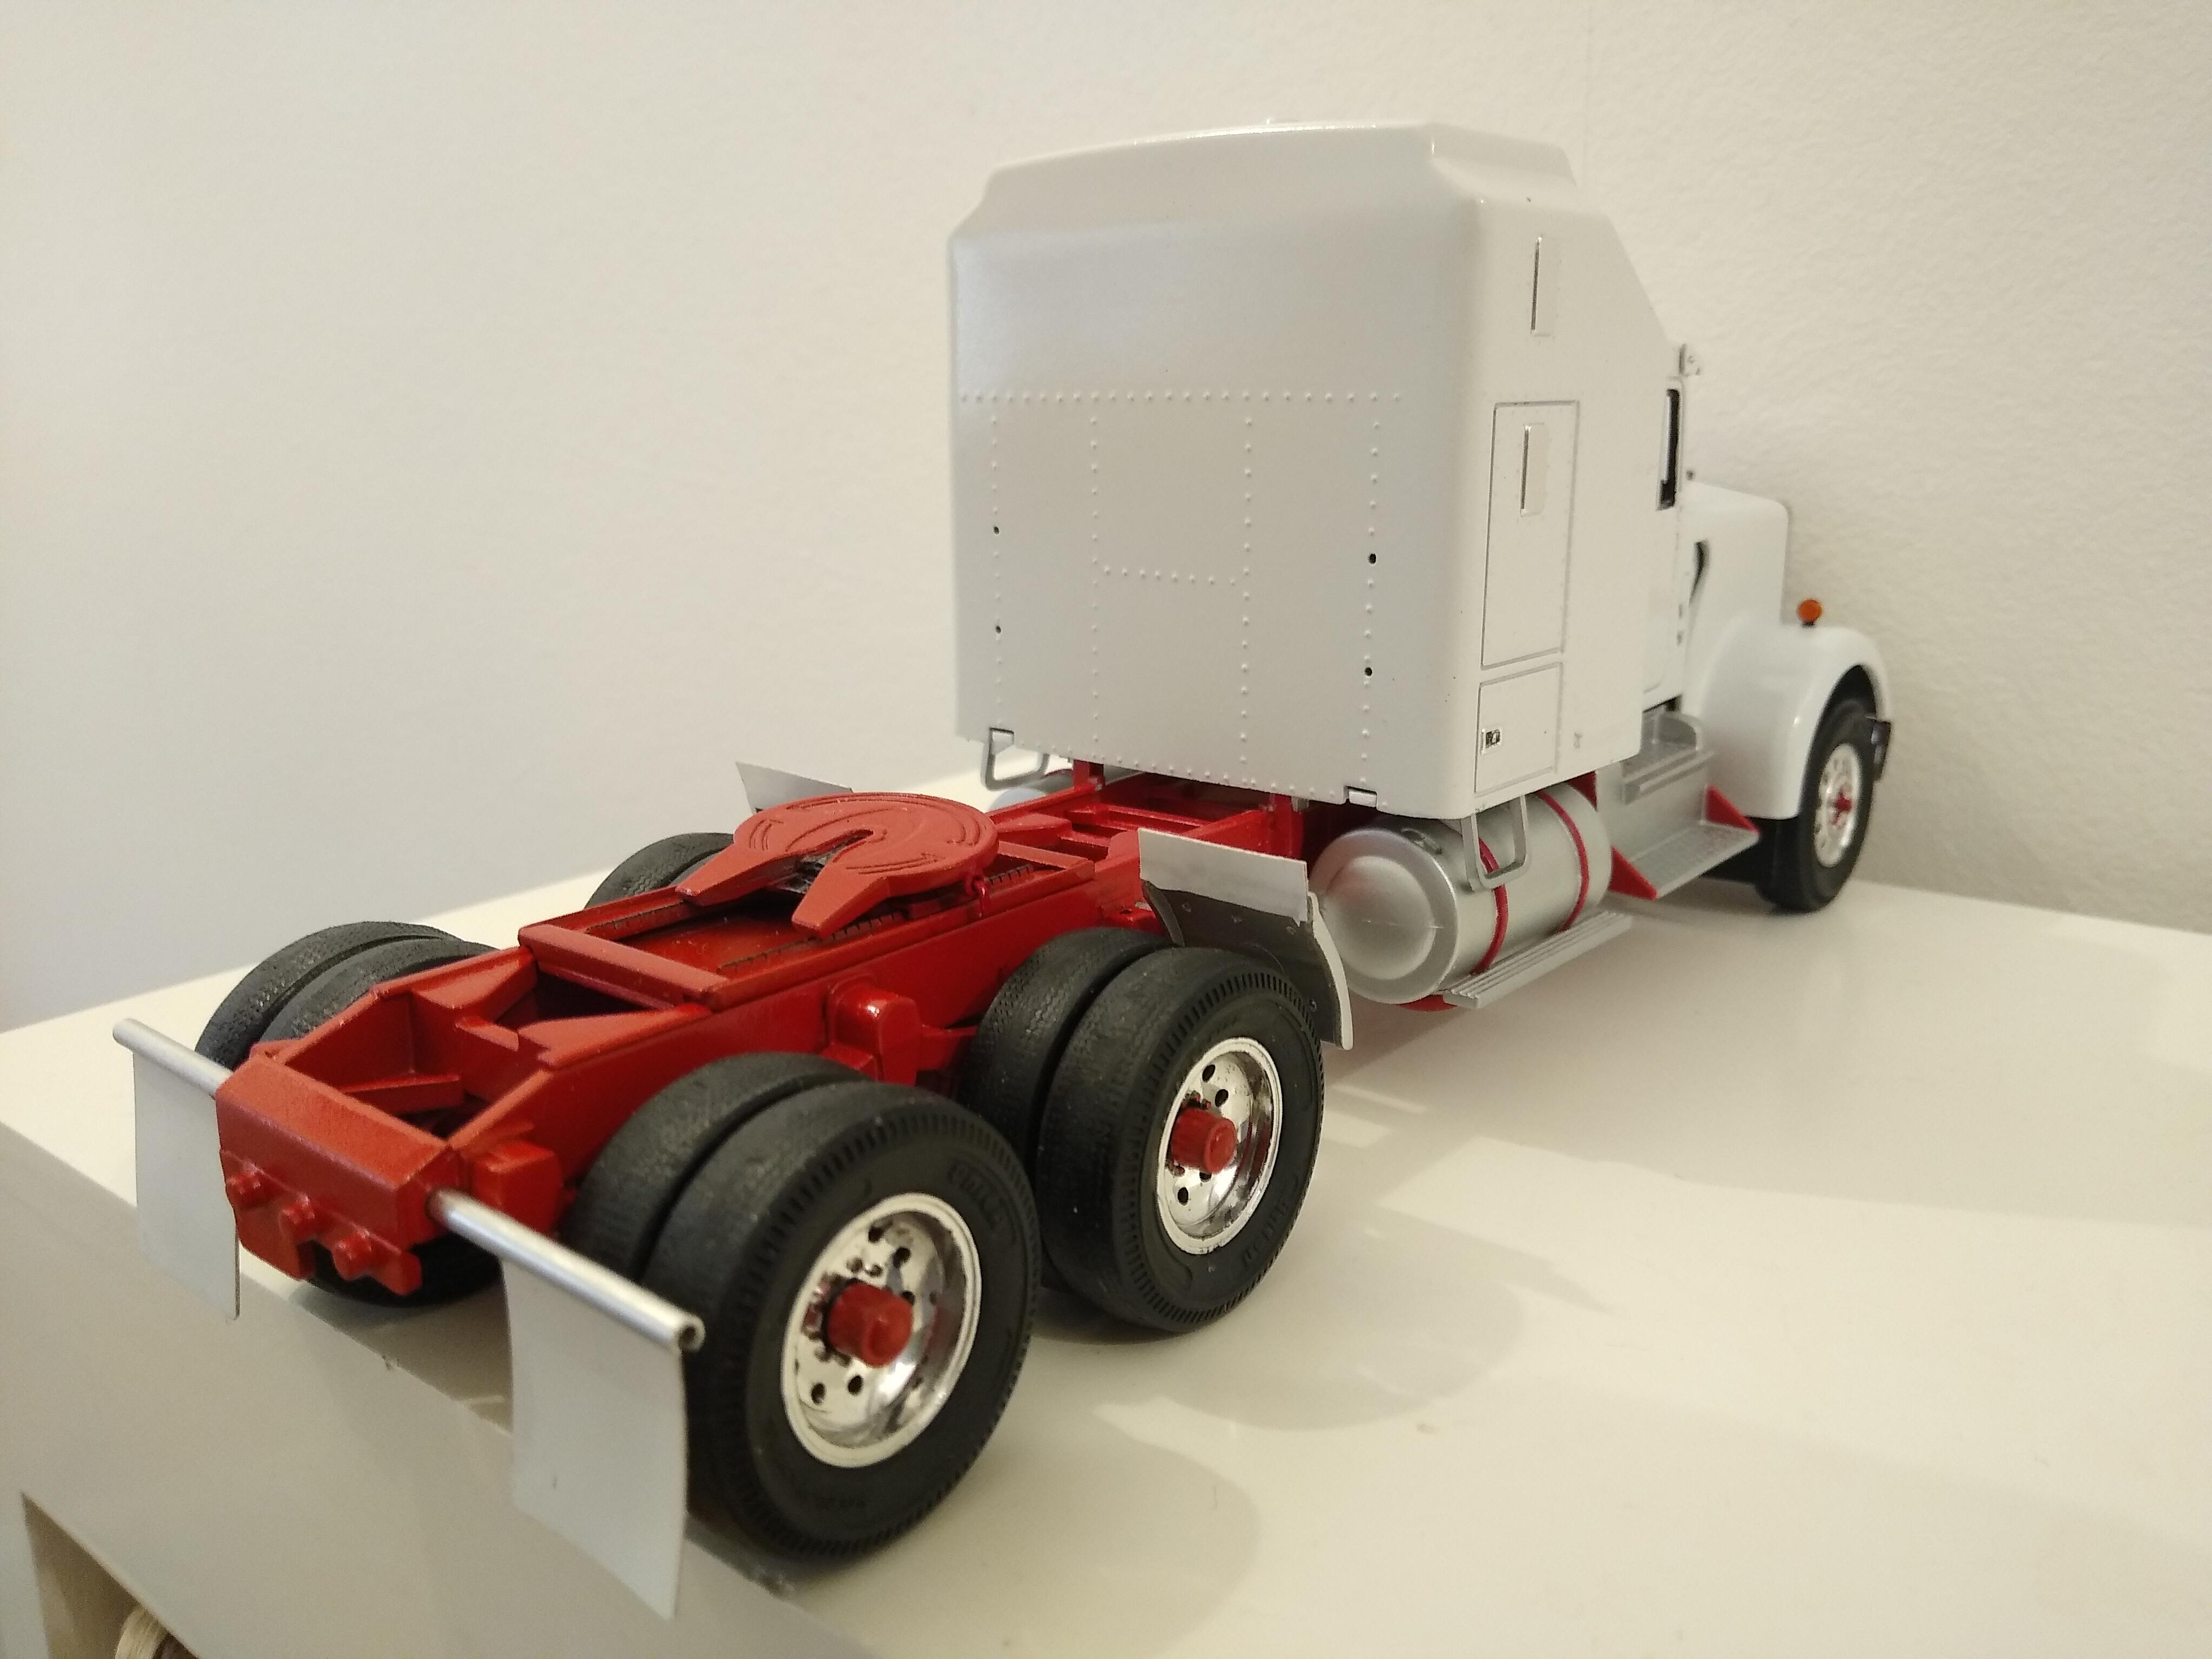
Things really starting to come together now. Applied some BMF, old stuff but went really well, I think it was the matt aluminium. Fitted the windscreens and visor. Added the indicator lamps I made and mudflaps to the hood. Cut the locating tab off the back of the sleeper, looks much better. Good alignment is still spot on. I'm so pleased with how things are working out. It looks like a W900!
-
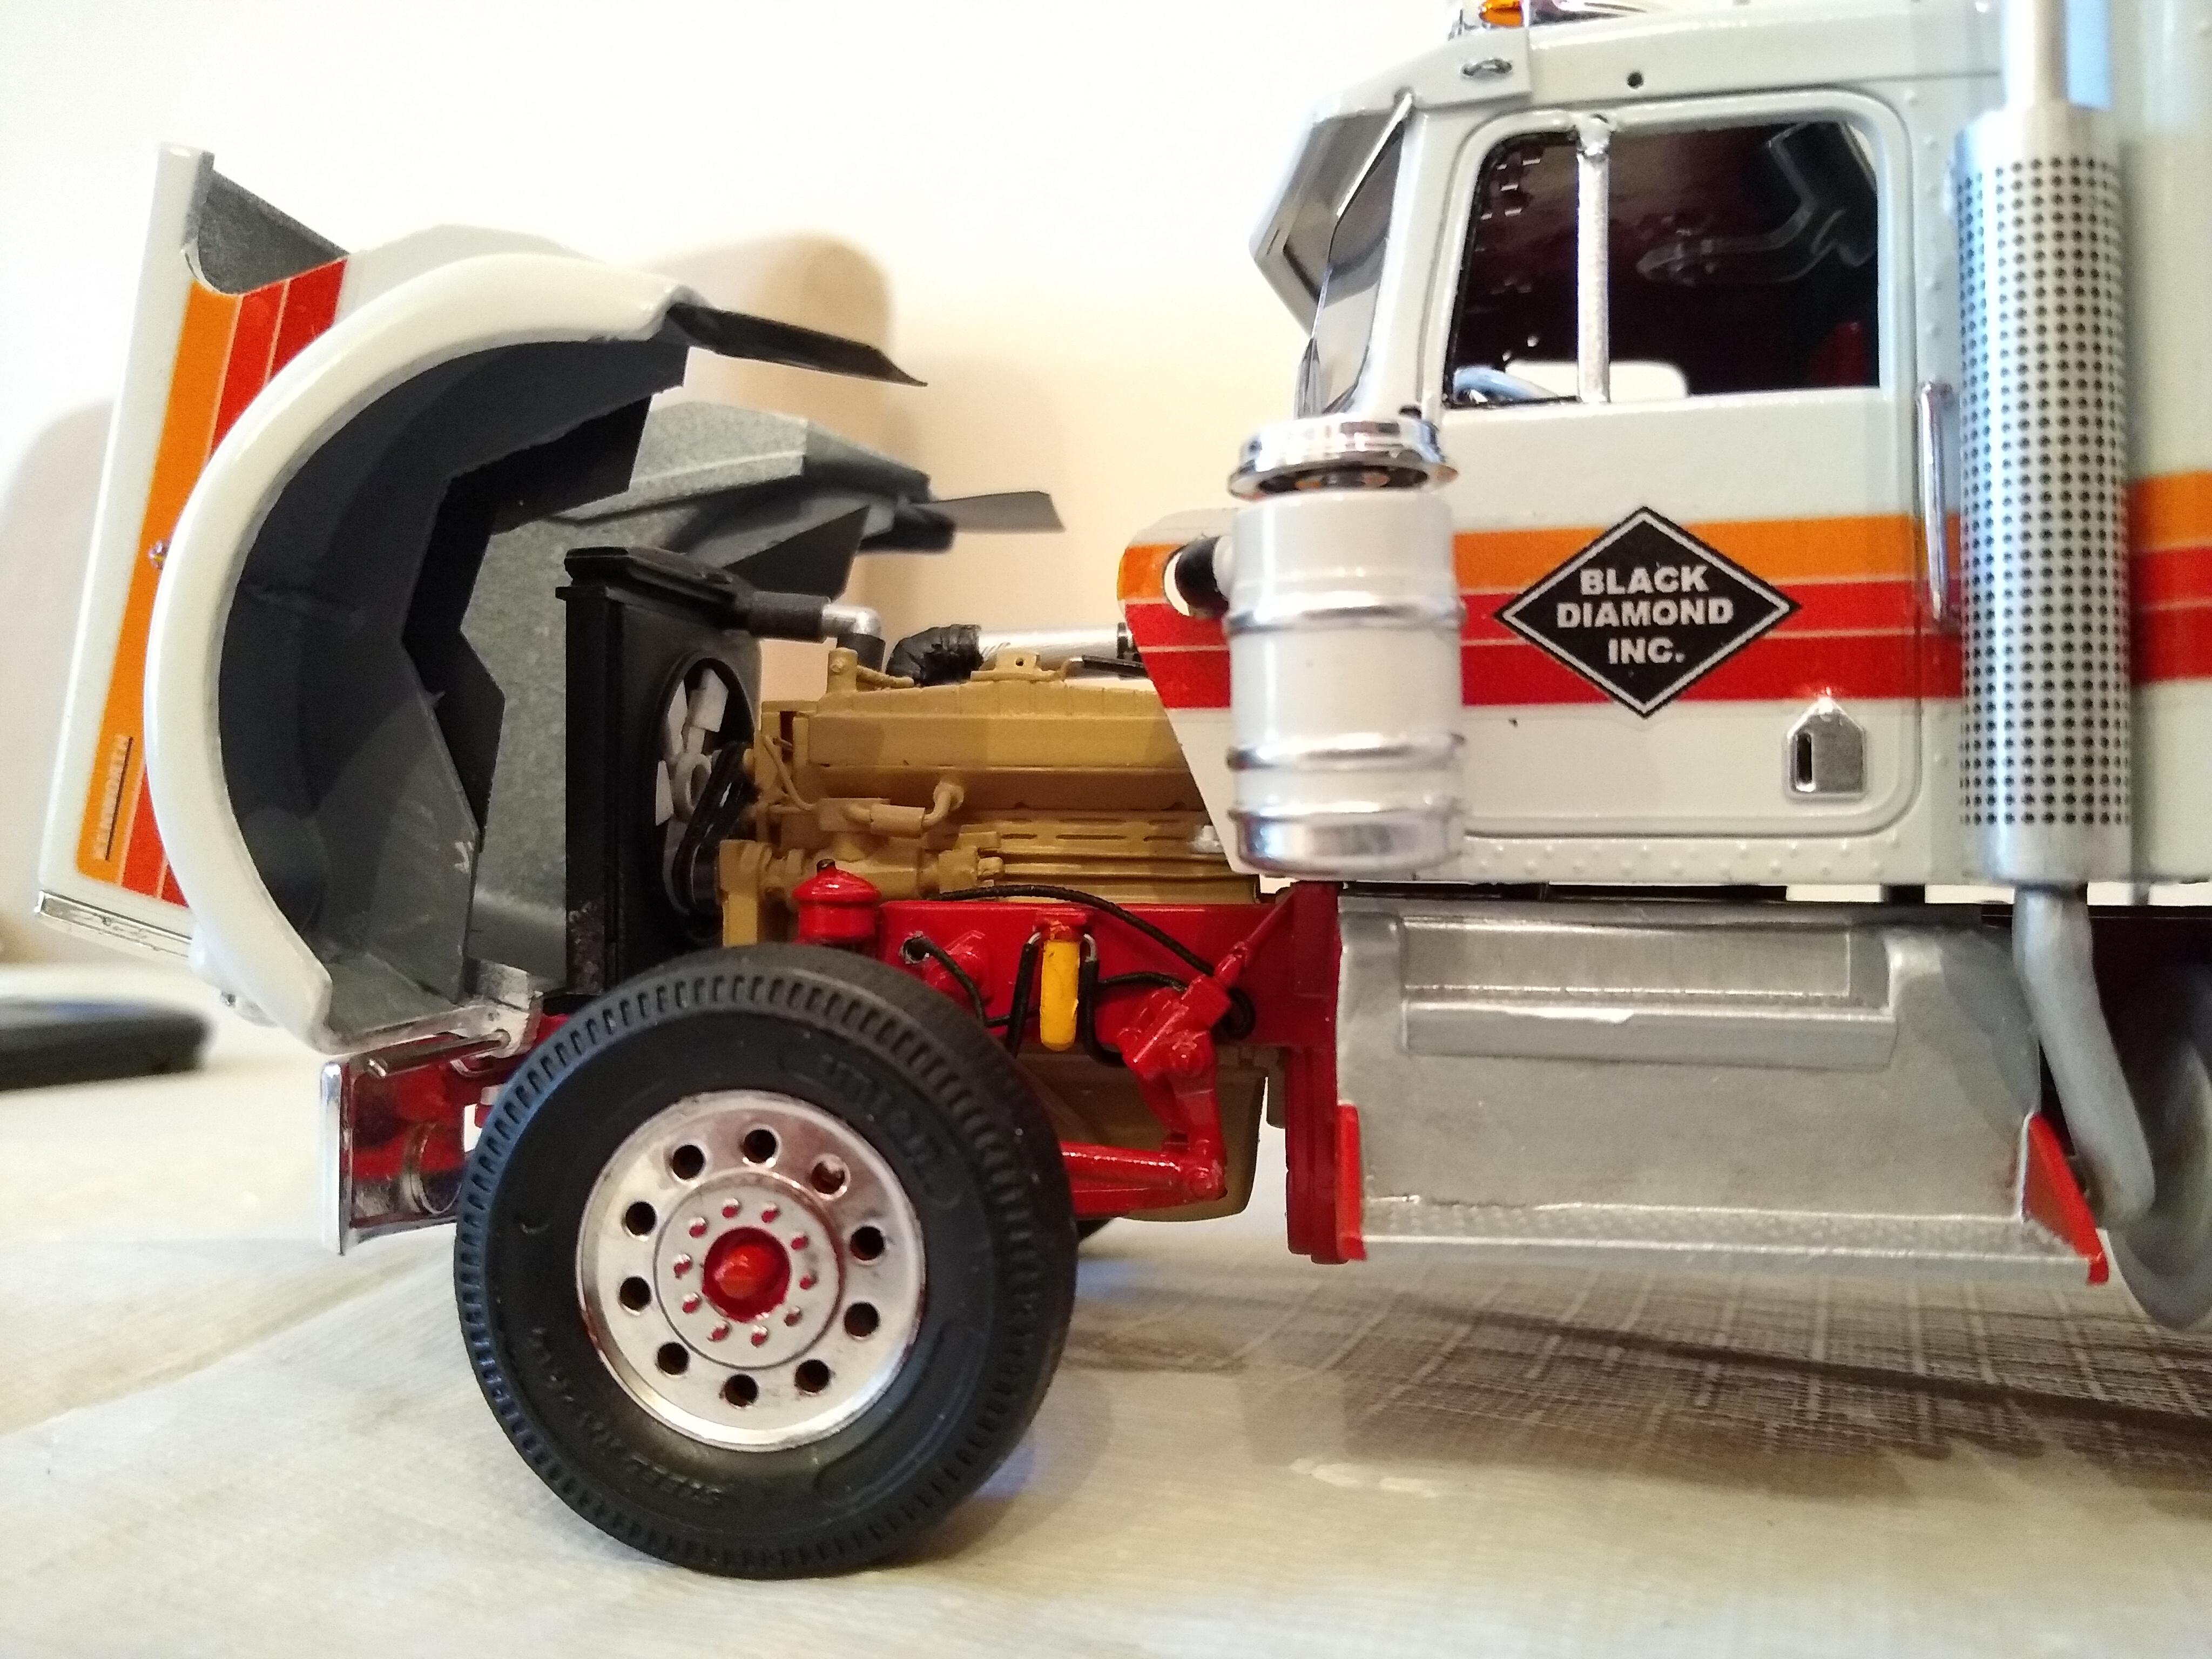
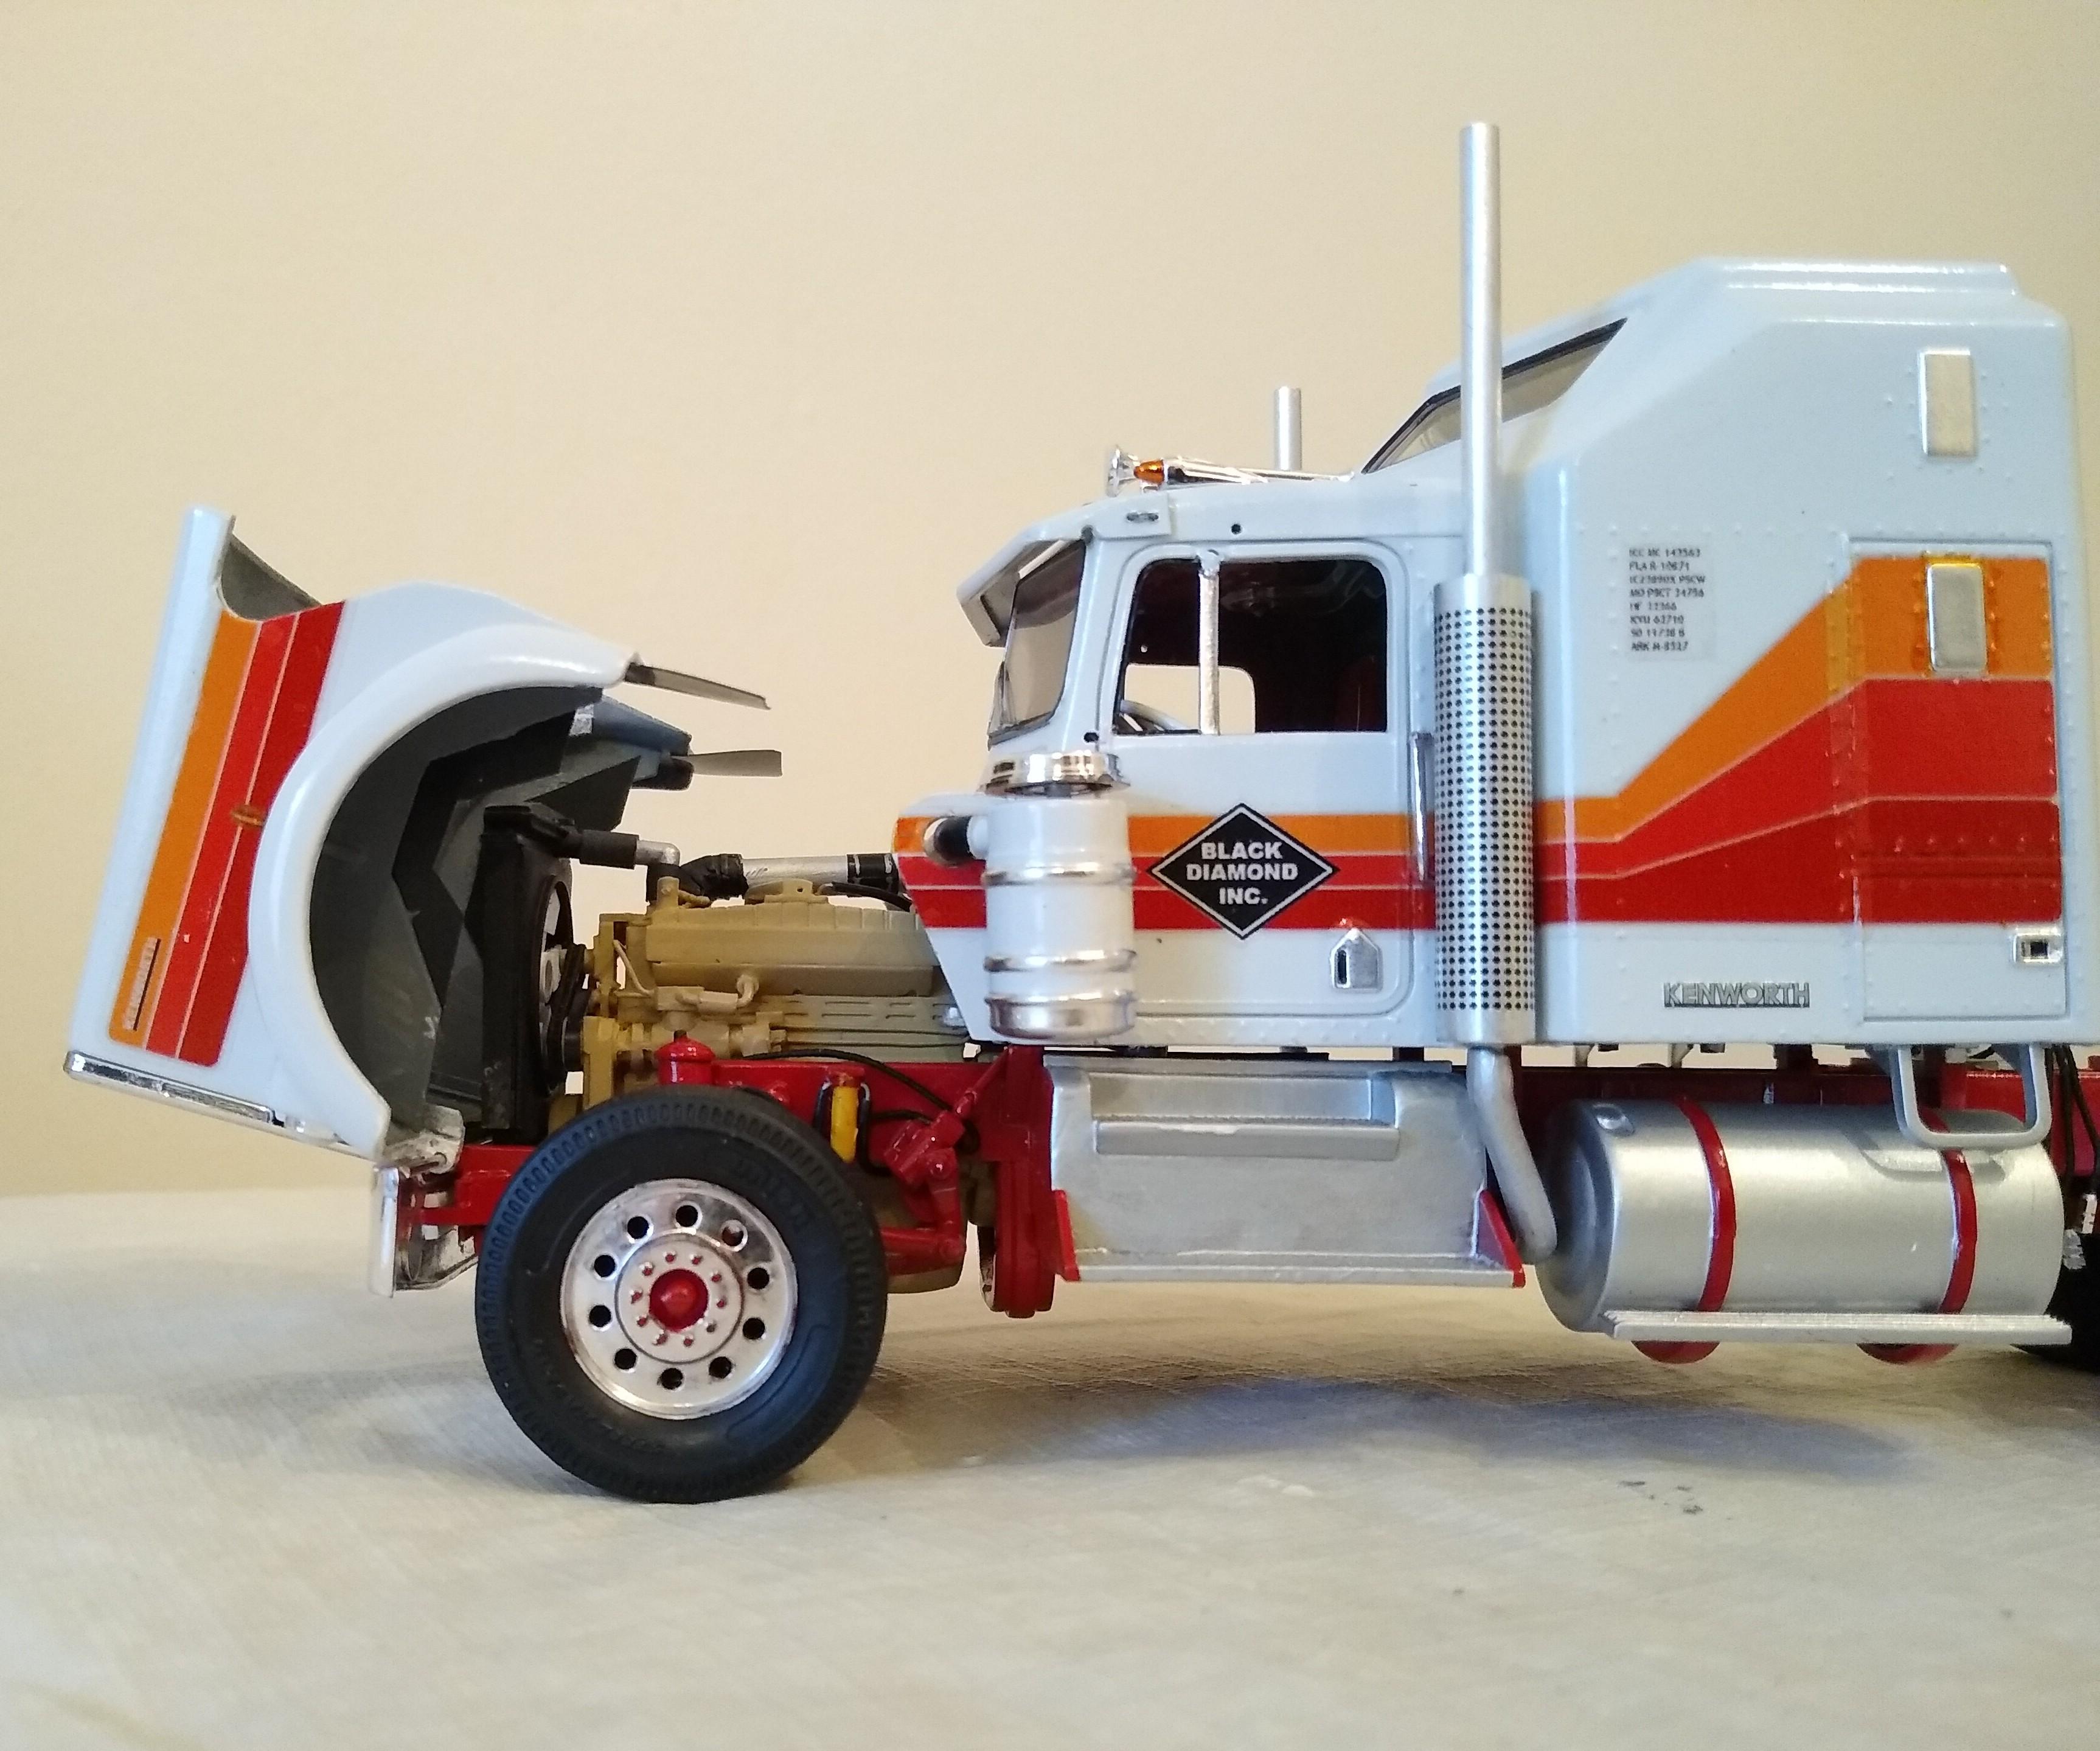
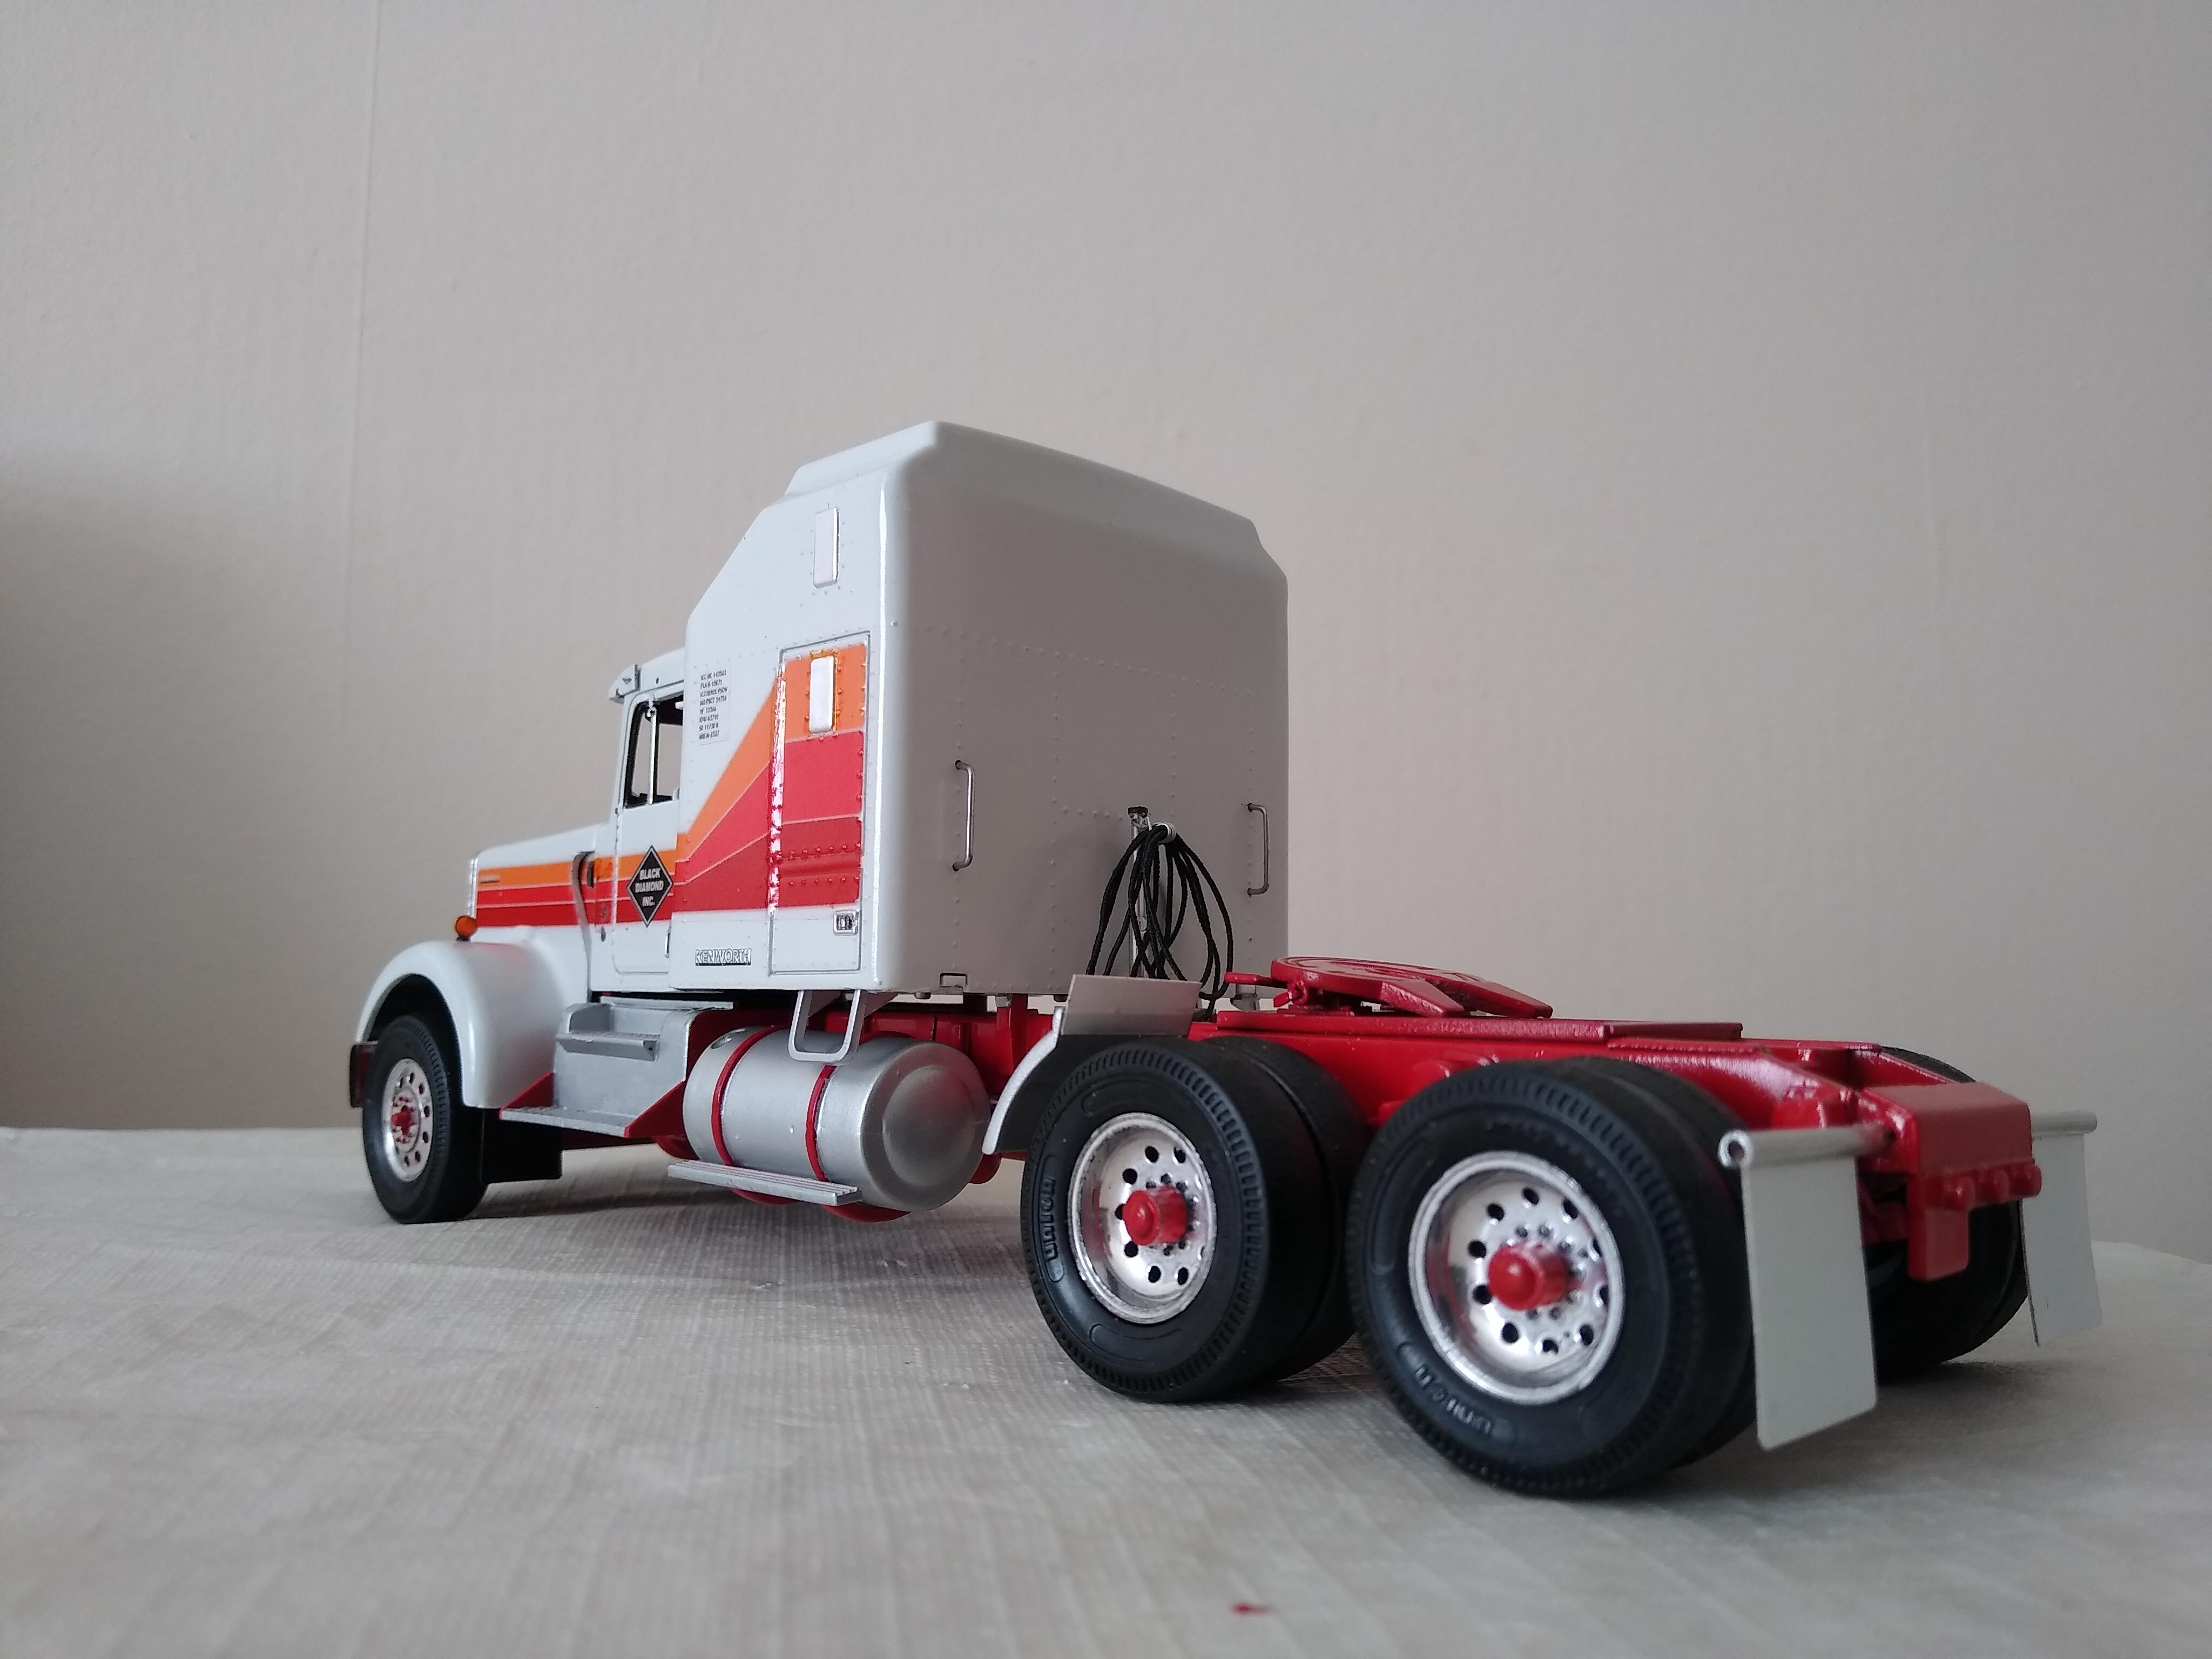
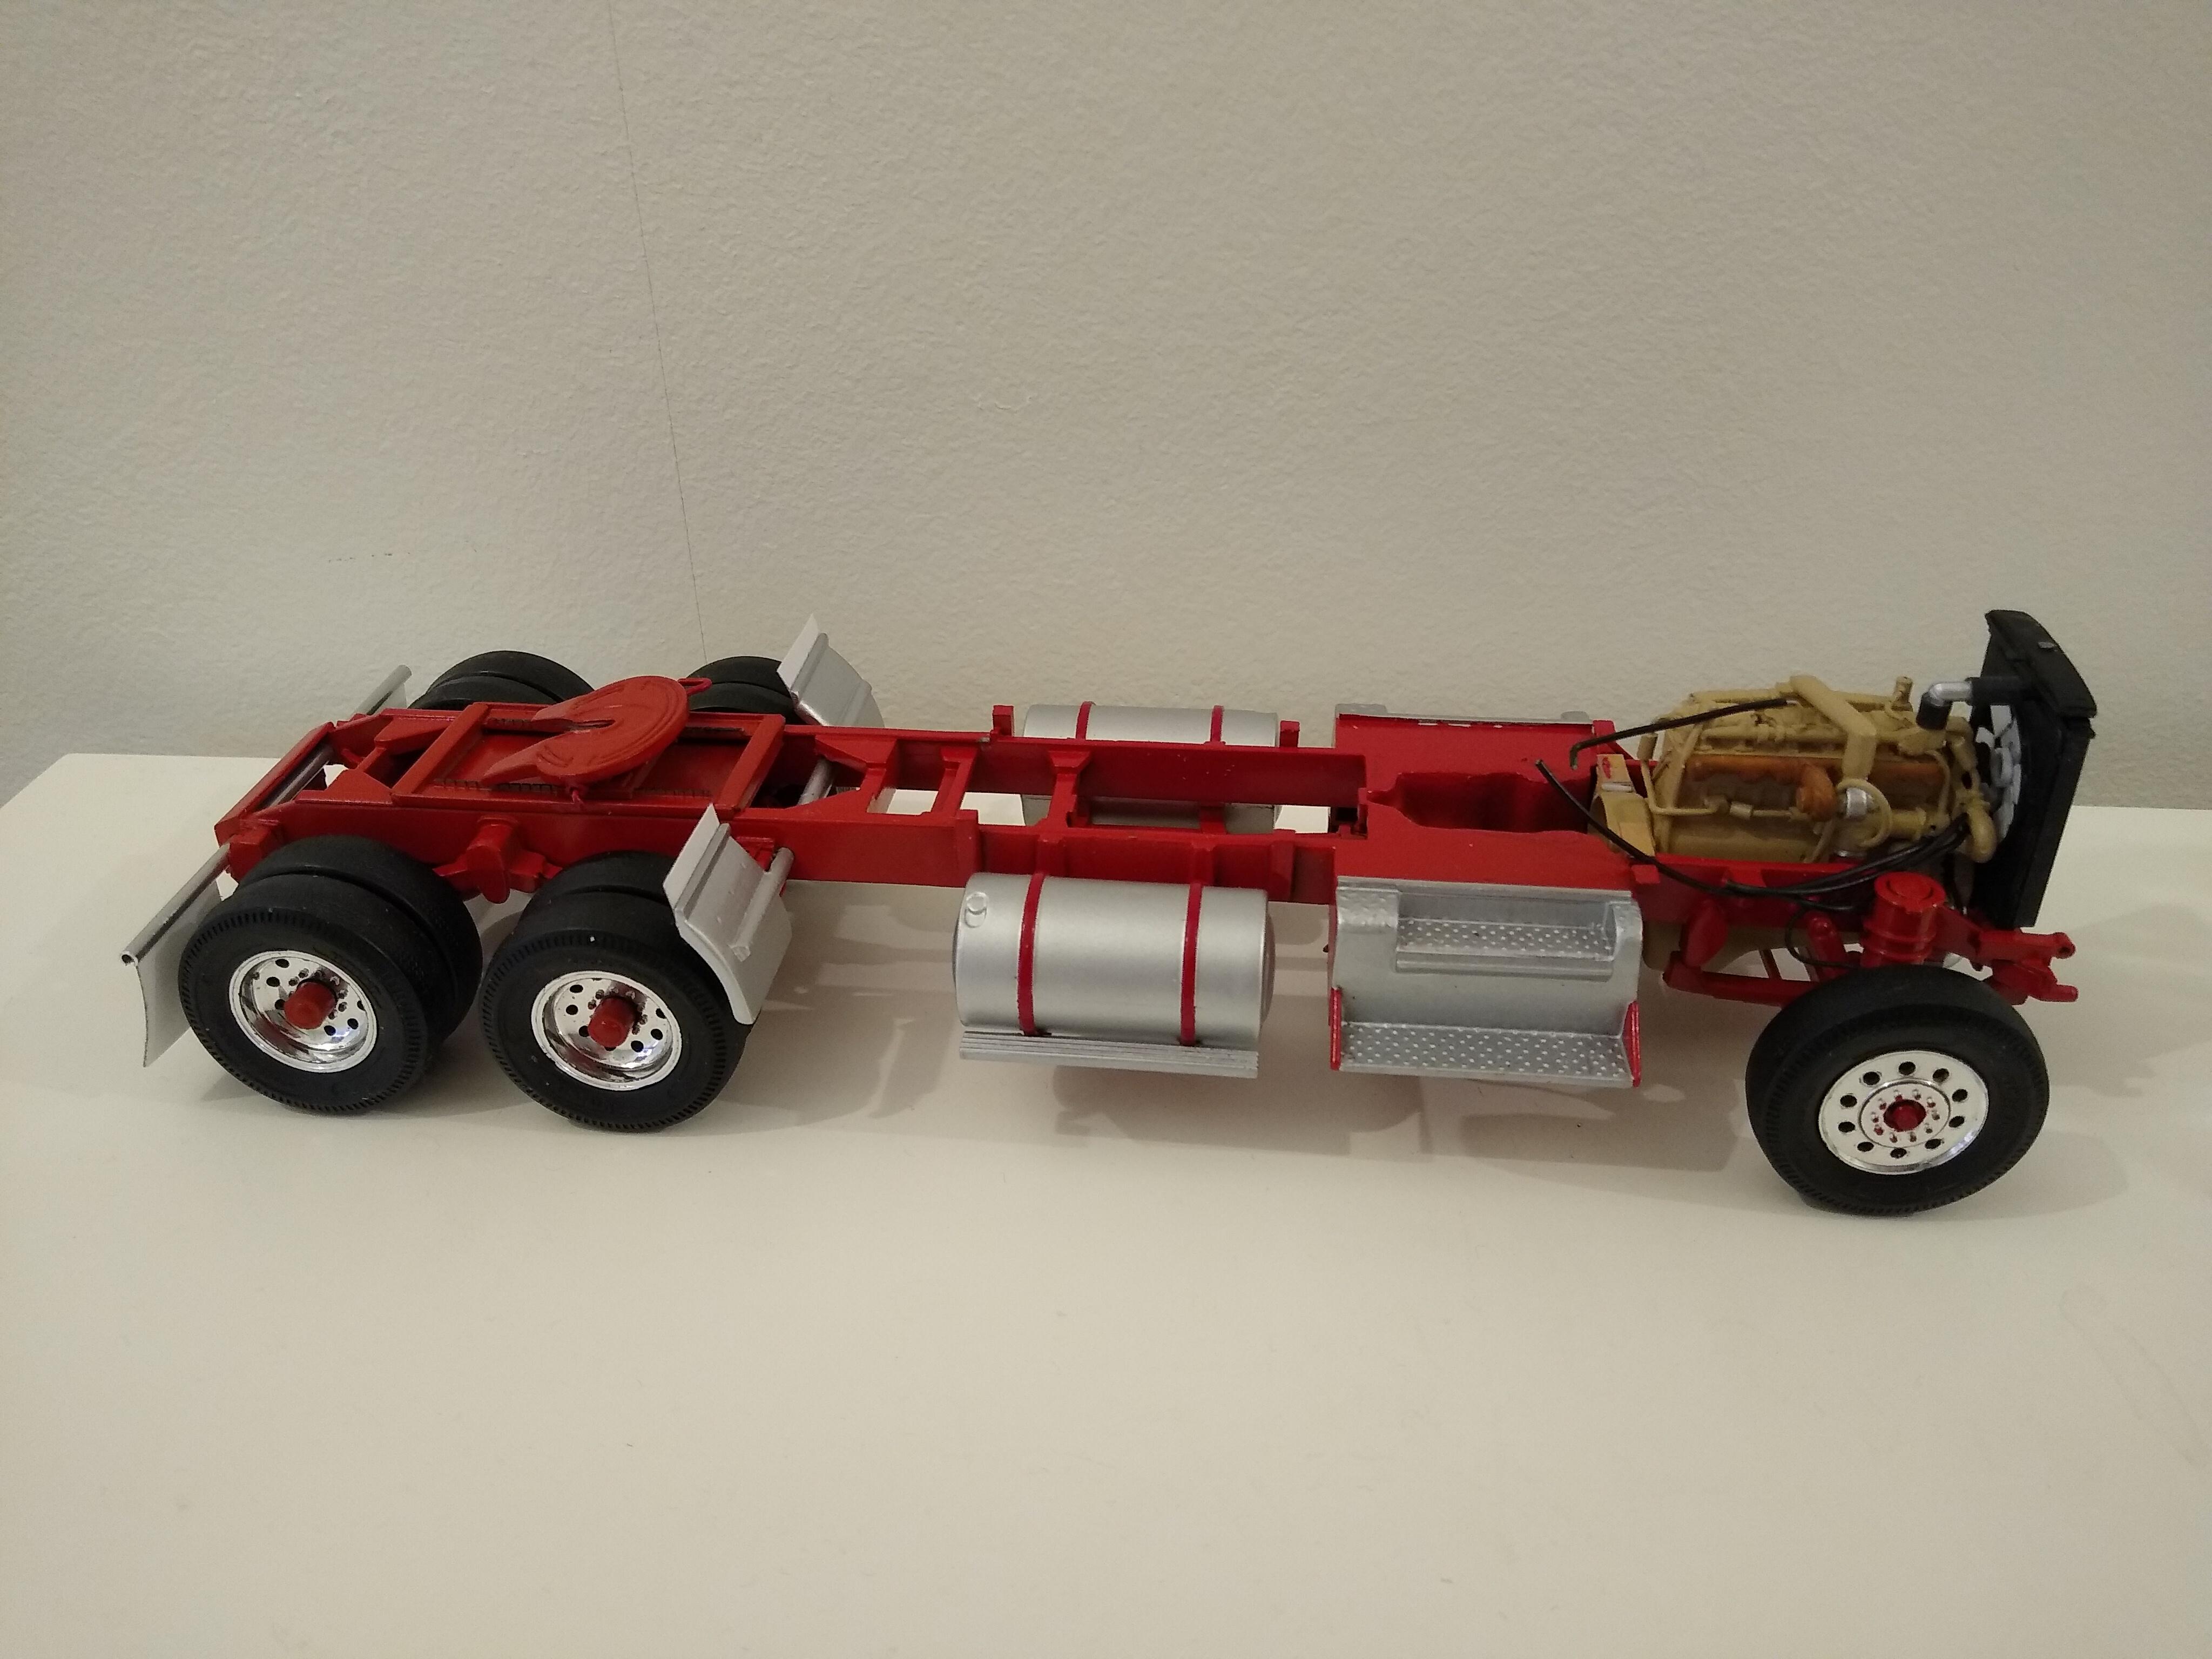
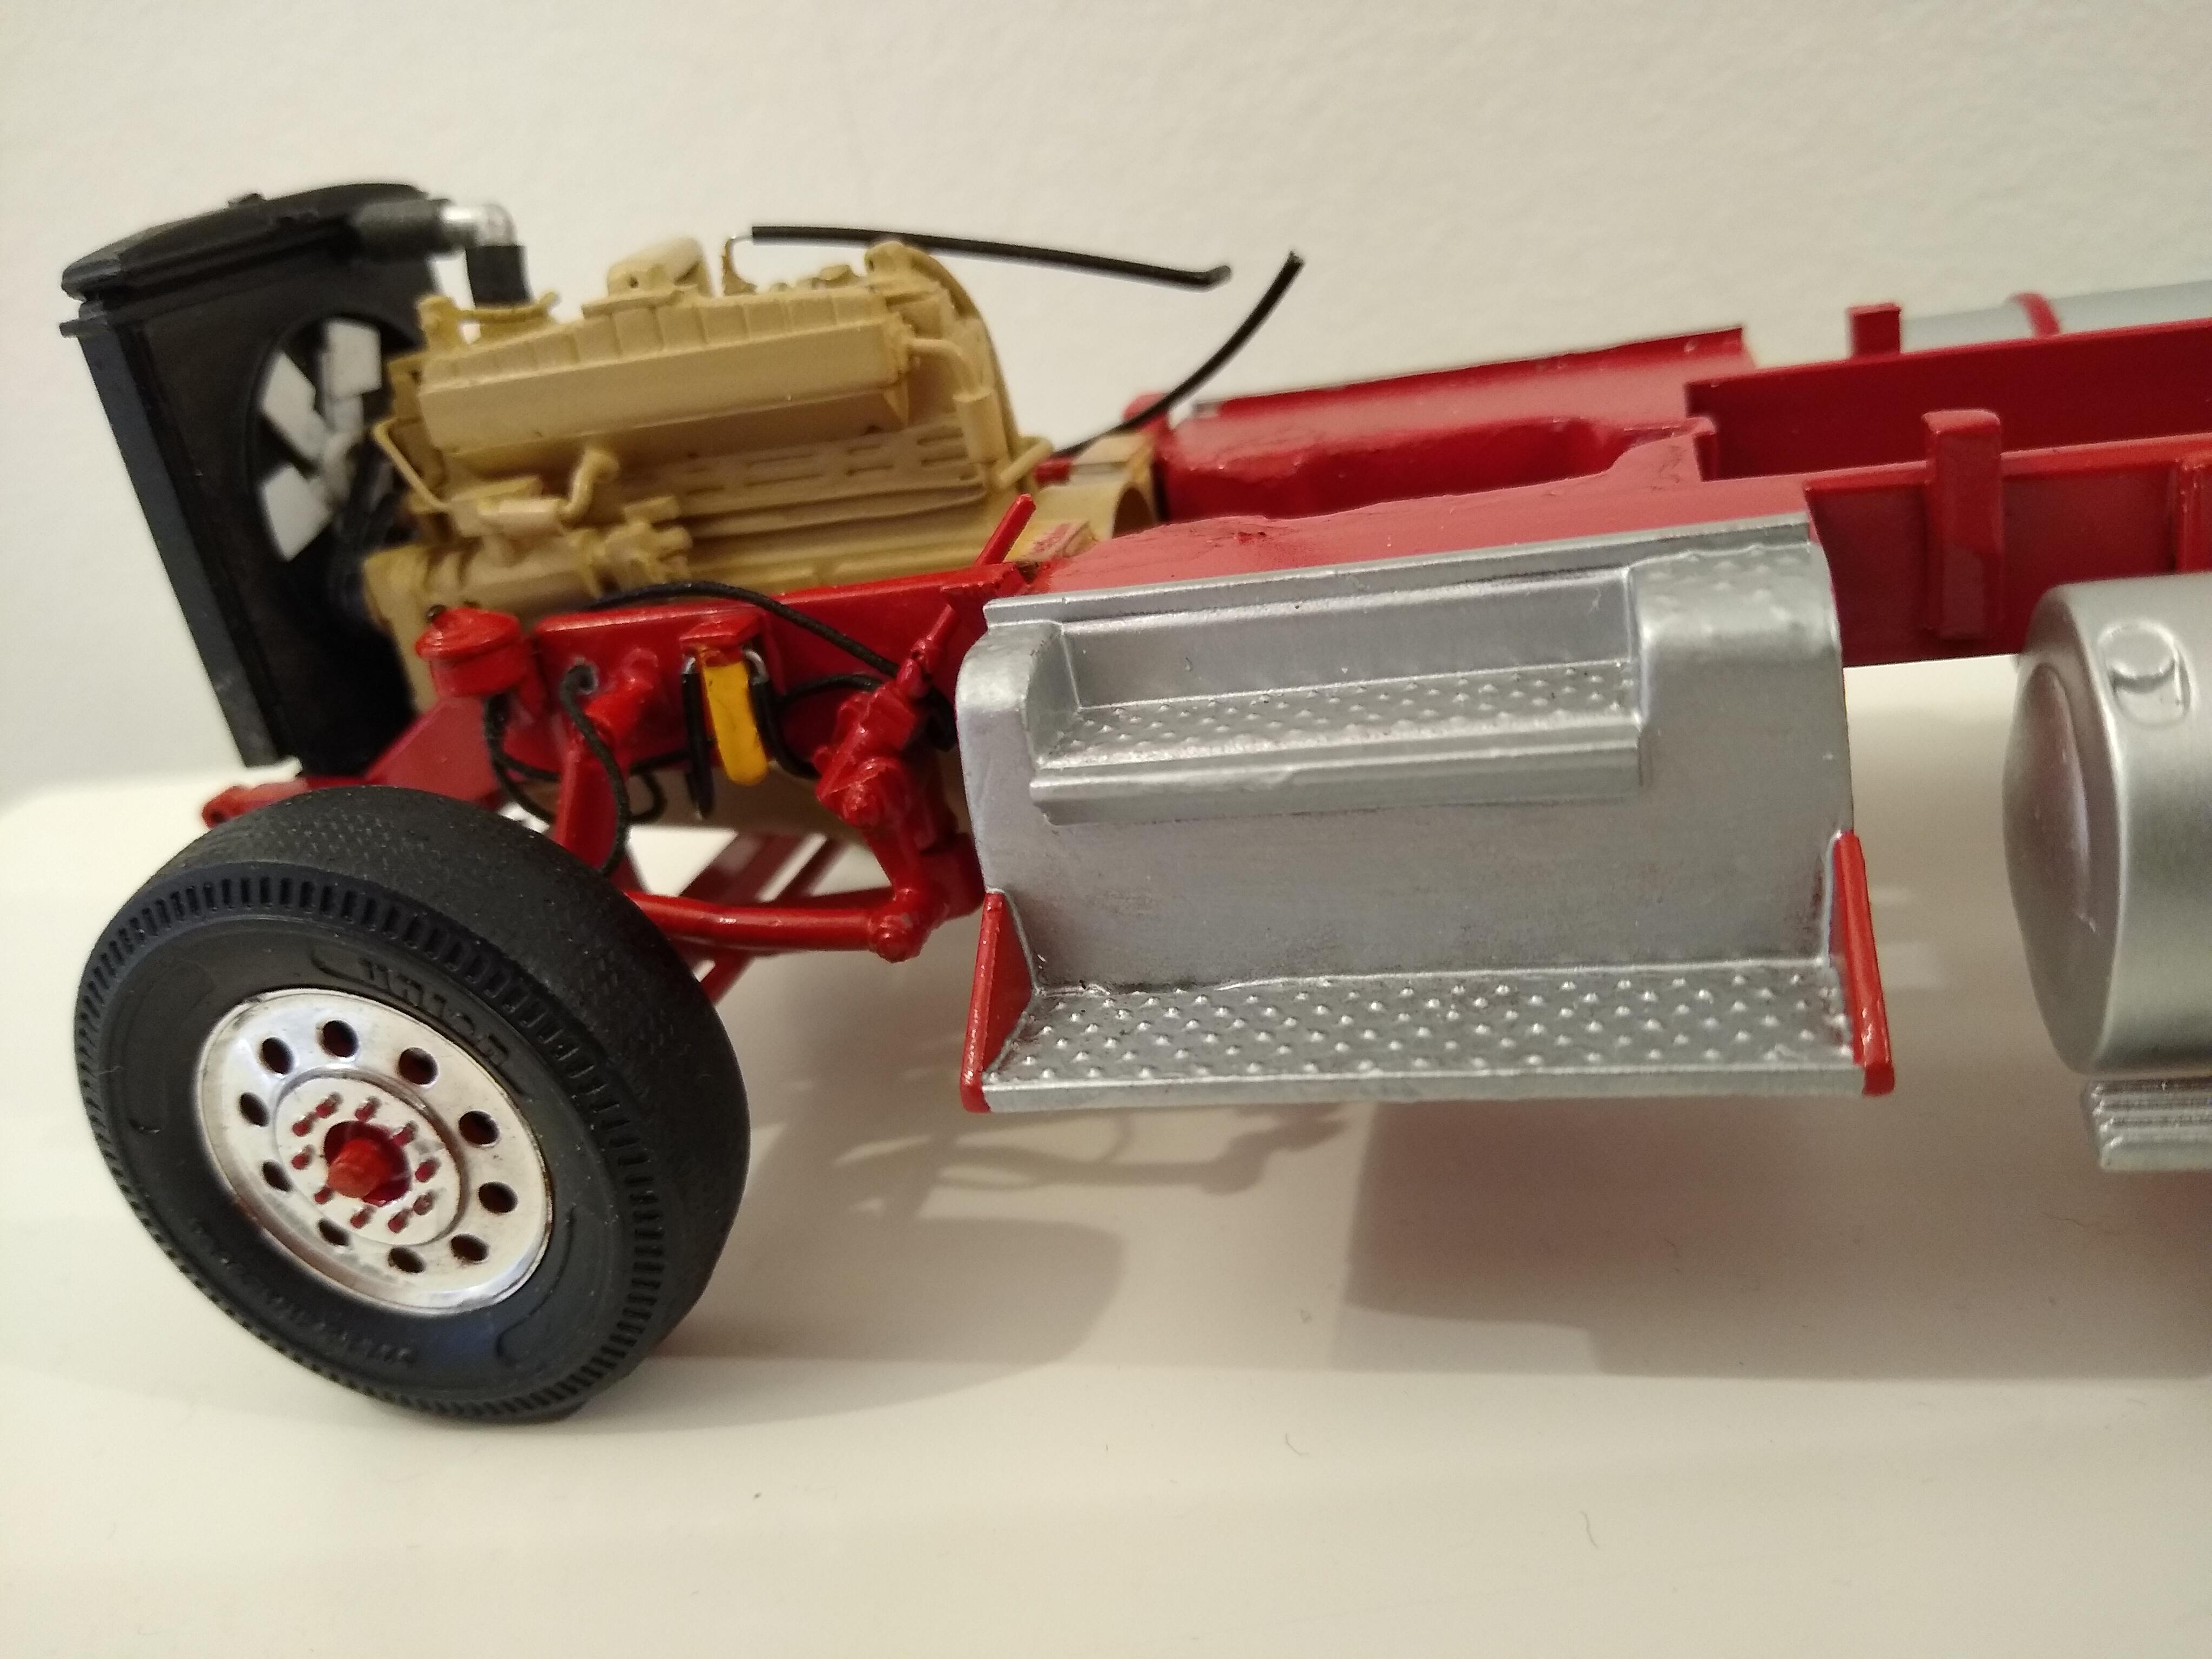
Fiddly day today. Fitted the engine and added the plumbing for the front brake chambers, water filter, power steering, fuel filter and heater. Painted and fitted the radiator. Gave the interior a quick splash of an oxblood red. The interior is dire but I'm not going to waste time on it because you won't see anything anyway. Fitted the wheels and rear hubs. Looks ok. Tried fitting the cab with the interior in and it sat pointing upwards at about 15 degrees, amazing what a few coats of paint will do!
-
Question for those in the UK
Rockford replied to iamsuperdan's topic in General Automotive Talk (Trucks and Cars)
Enjoy your time over here. I'm the other end of the country I'm afraid. Hope you find something interesting. -
Most detailed model?
Rockford replied to Scott8950's topic in General Automotive Talk (Trucks and Cars)
They are way beyond me, oh if only... I console myself by thinking that if I built something that good I'd be bound to drop it on the way into the show, therefore I've managed to avoid a whole world of disappointment in my life! -
Penske Mack MH613 “Ultraliner”
Rockford replied to tractoraholic's topic in Model Trucks: Big Rigs and Heavy Equipment
What a great looking build! Some impressive details too, really set it off. -
Oh yeah, cakewalk that! ? I do see what you mean. Still inventive though. Good idea on the paper templates. It's amazing how your brain processes things like this, that's why I find scratchbuilding so interesting.
-
Tidy job. Great work on the tanks and brackets.
-
Quite a challenge to get the elliptical shape of the tank right, especially the end panels with their double curvature. You did it though! Impressive stuff.