mr moto
-
Posts
1,344 -
Joined
-
Last visited
Content Type
Profiles
Forums
Events
Gallery
Everything posted by mr moto
-
V12 zoomie headers - how do I?
mr moto replied to Jantrix's topic in Model Building Questions and Answers
I've tried the covered wire before since the LHS had some in stock. Great idea but not as good in practice. I find it very stiff and difficult to work with. Any use of tools to bend it will damage the relatively thin and soft covering. LHS doesn't stock the bends and I didn't know they existed but that looks like a much better idea to me. BTW, I feel lucky to have a LHS even if they don't always have the most advanced stuff. -
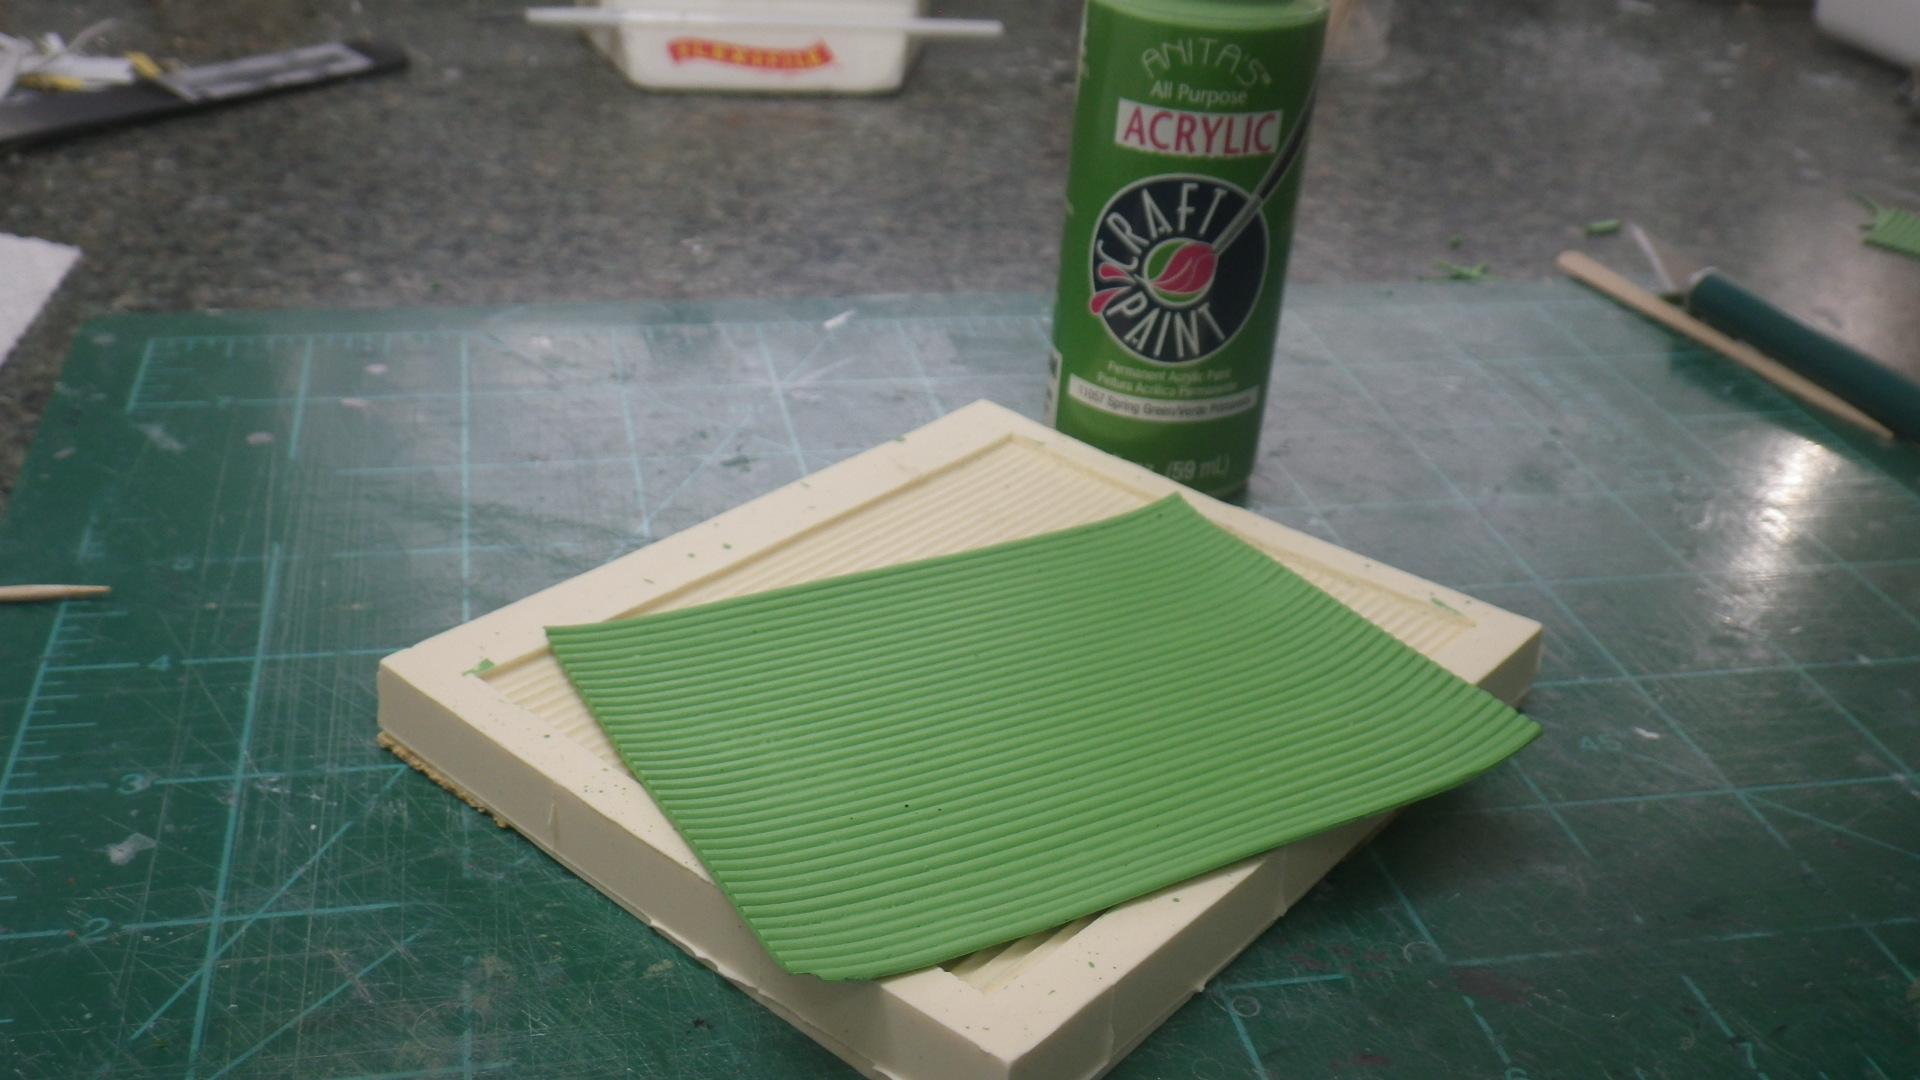
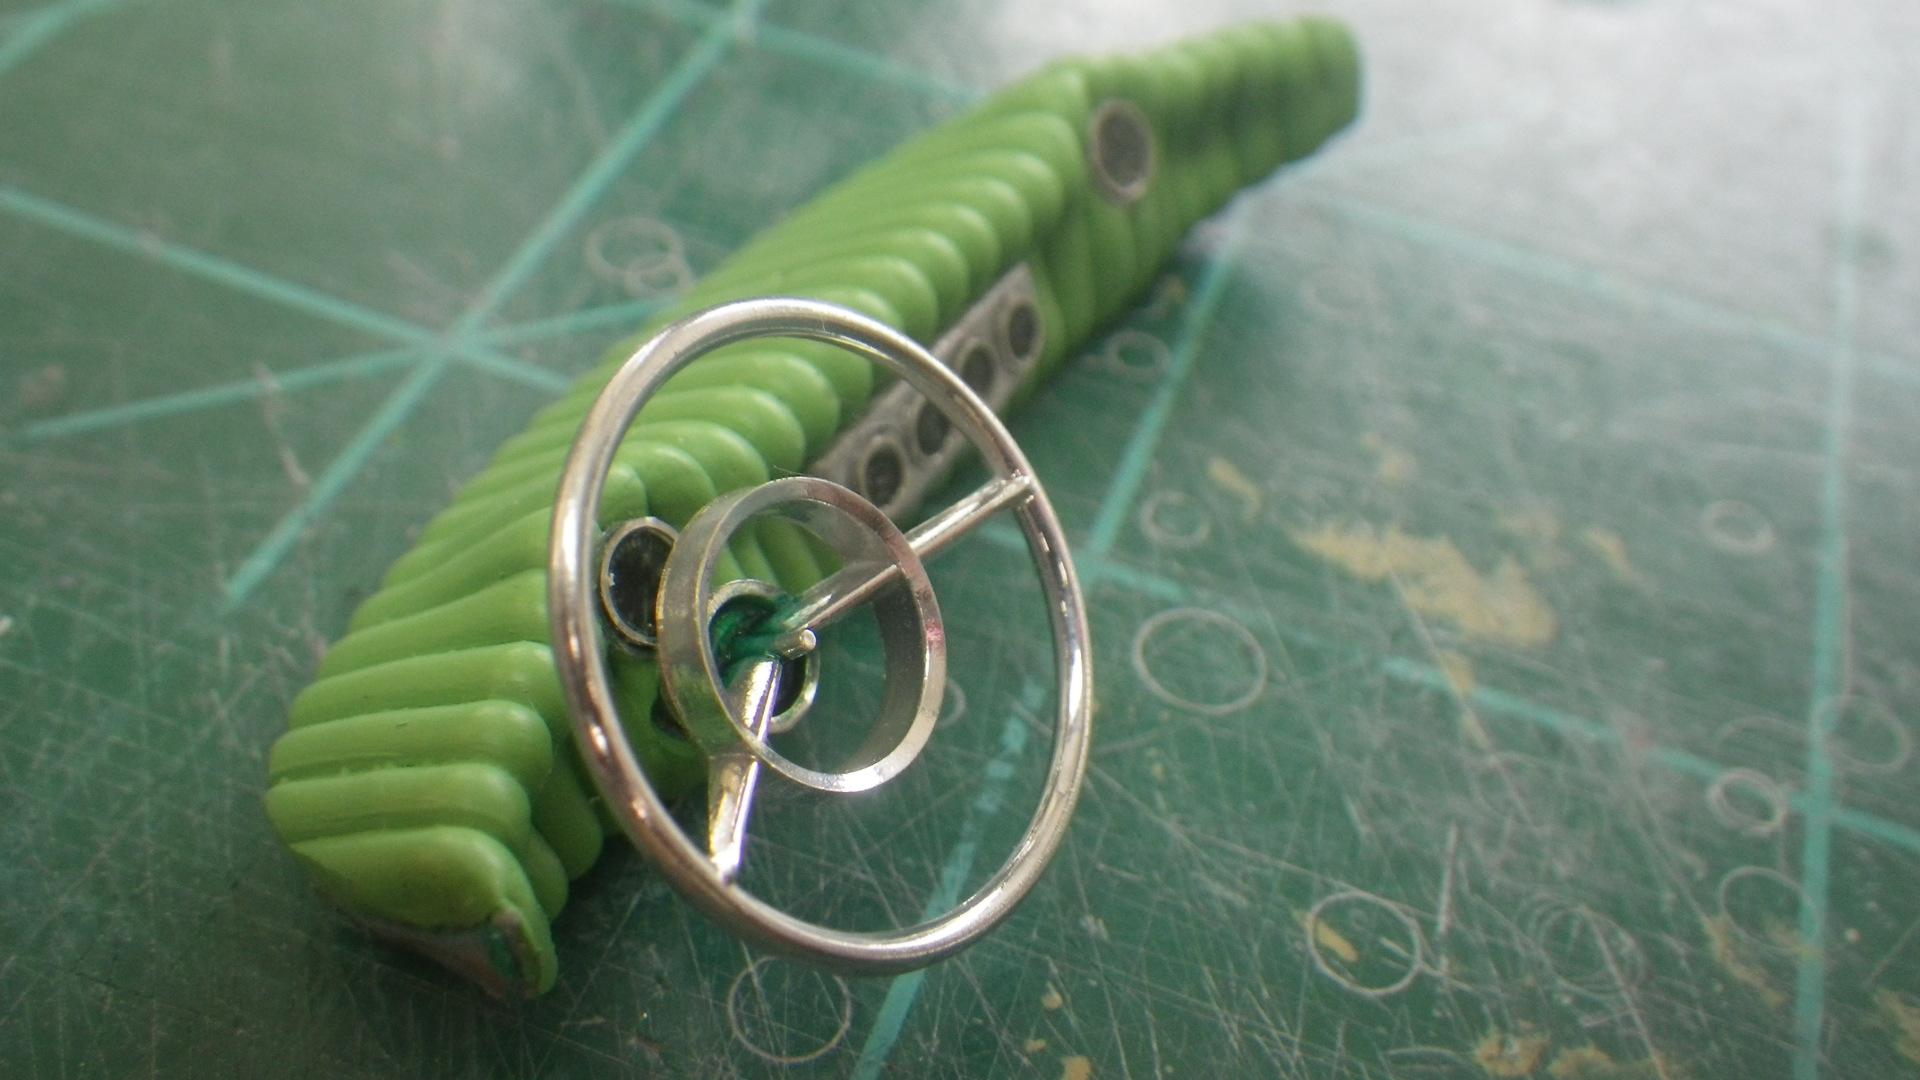
It was done using flexible tuck n' roll made from acrylic craft paint. I don't know if you're familiar with that method at all but there's a discussion of it somewhere on the forum - maybe someone remembers where and when or you might be able to find it with a search. It helps to have some experience with simple resin casting. That way you'll know of the basics of making a silicone mold and may have the materials around. I didn't get a lot of photos of what I did on this build but I can post a few. Here's a sheet of tuck n roll just out of the mold: You can see that I prefer Anita's brand paints for this. You can get them at Hob Lob for all of $0.89 a bottle. One bottles makes two sheets like that one - plenty enough for almost any model. To apply it I cut a piece large enough to cover the whole dash with some to spare then lightly coated the backside of my piece with Micro Mark liquid PSA glue (tacky glue). You can get similar glues at Hob Lob and such and they seem to work just as well. After it dried to a nice tack I literally wrapped the entire dash with the upholstery. I had never really done that before. I had only used it for maybe the top of the dash, seat inserts, door panels, that kind of thing but it worked great at following the shape. It's very flexible. Just take it slow and work it into all the contours. After that just trim off the excess with a good hobby knife. In this case, I put all new gauges to make a totally new instrument panel. More often you would probably not cover the instrument panel section of your dash - up to you how far you go. My thinking on the two large round gauges is that, if I was building a 1:1 car, the one in front of the driver would be the real speedometer and the one in front of the passenger would be calibrated to read about 25% high just to really impress them!

-
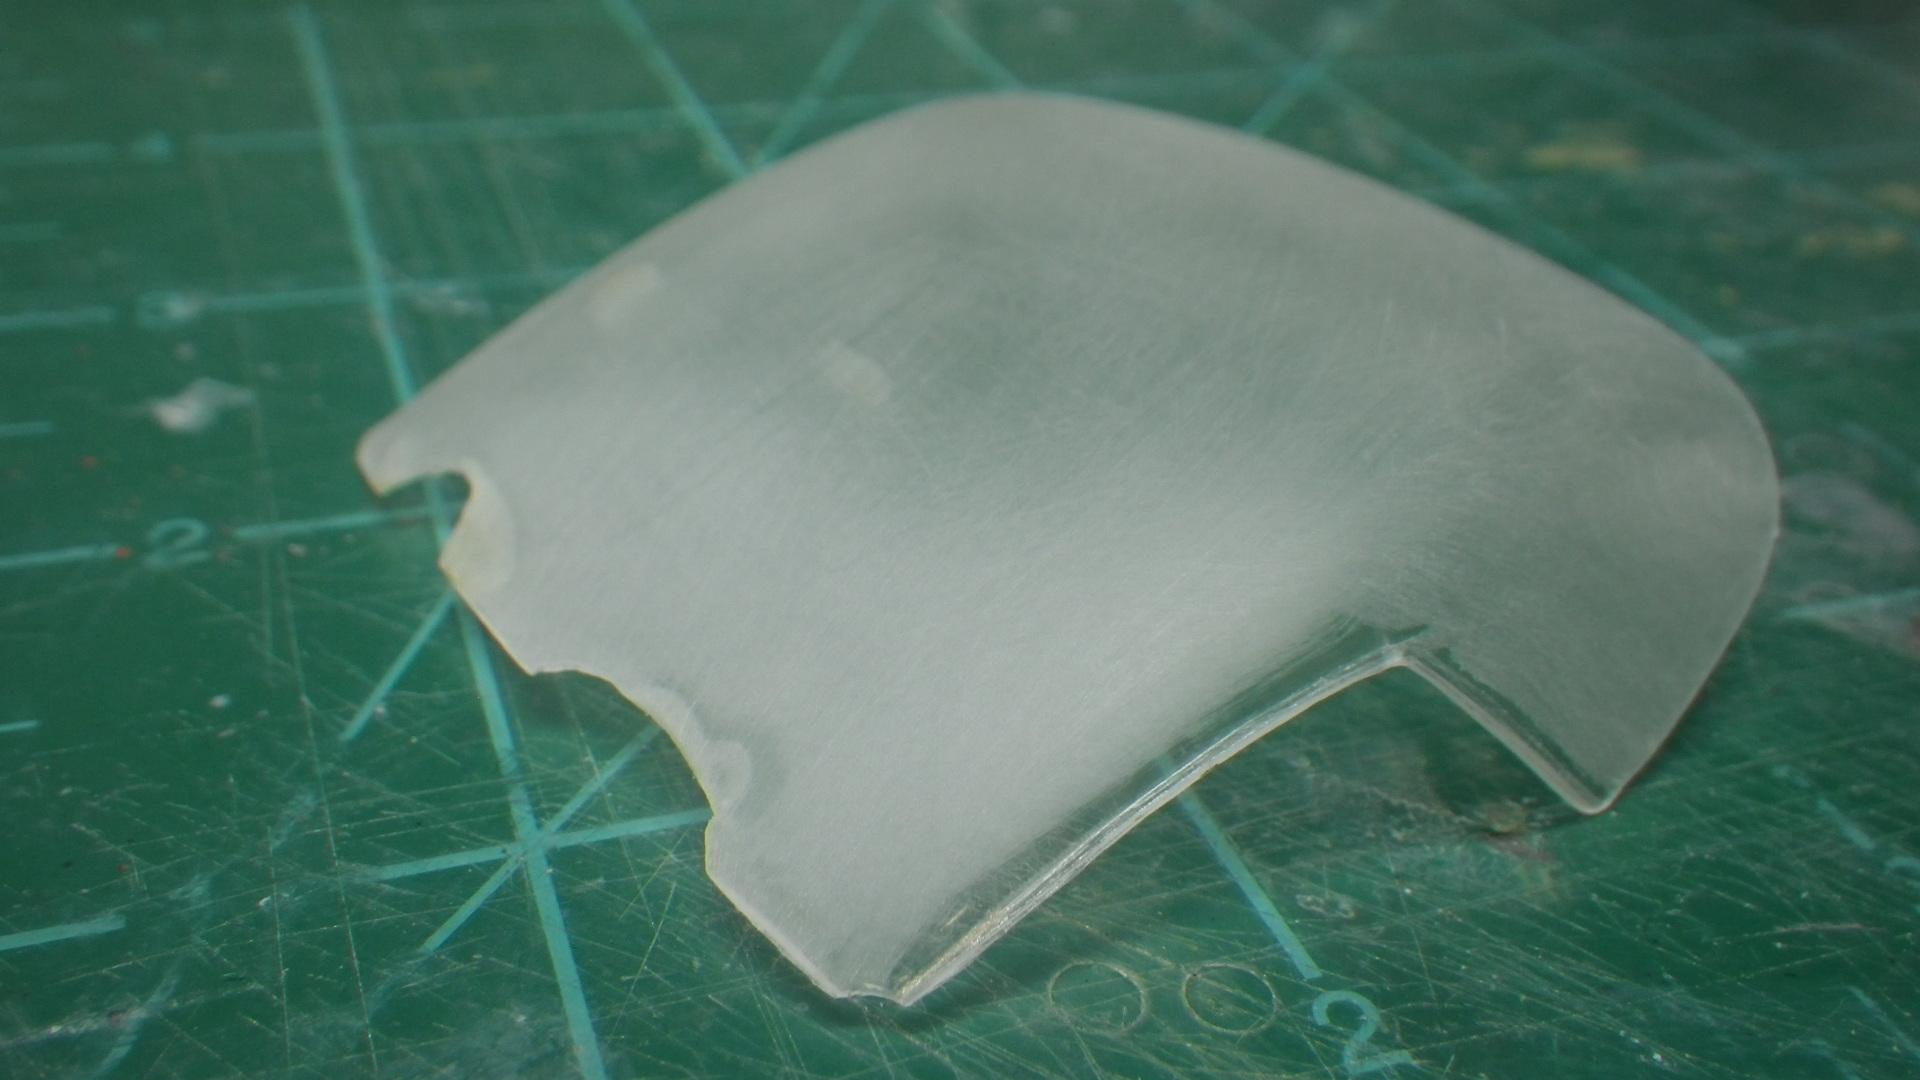
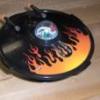
I think I'm way overdue to give everybody a very large "thank you" for all the great comments and appreciation. THANK YOU, EVERYONE!! Because of my age I have a built-in tendency to build old school but I still wasn't sure if this one fit into any known era at all. That's the reason for the "maybe" in the title. Thanks again to Ace Garage Guy for showing that it would have fit right in. A lot of people have commented on the roof. That part came in the SMP Corvette annuals for a few years and it originally had all the outlines of the roof panels and pillars molded into the clear roof so it could be painted to look like the Corvette's optional removable roof by leaving the window areas clear. The one I had was glue damaged from the original build so some creative damage control was needed. Didn't get a picture of the way it started out but here's the annual that it came from: And this is what the roof looked like after all the molded-in detail was sanded off: So the flames are really there to cover up the damage. From this point it was sanded down with 2000 grit paper (much finer than a 2000 grit polishing pad), buffed with some Novus #2 on a felt Dremel wheel, masked, flame painted and then dipped in Pledge/Future stuff. So that's the full story on that one. Part's like that really can be saved!
-
Thanks, Alan! Here's what I did with the interior using cast acrylic craft paint and dollhouse carpet.
-
Thanks for the compliment and thanks for that tip. I had to Google Bob McNulty. I must have been channeling his vibes!
-
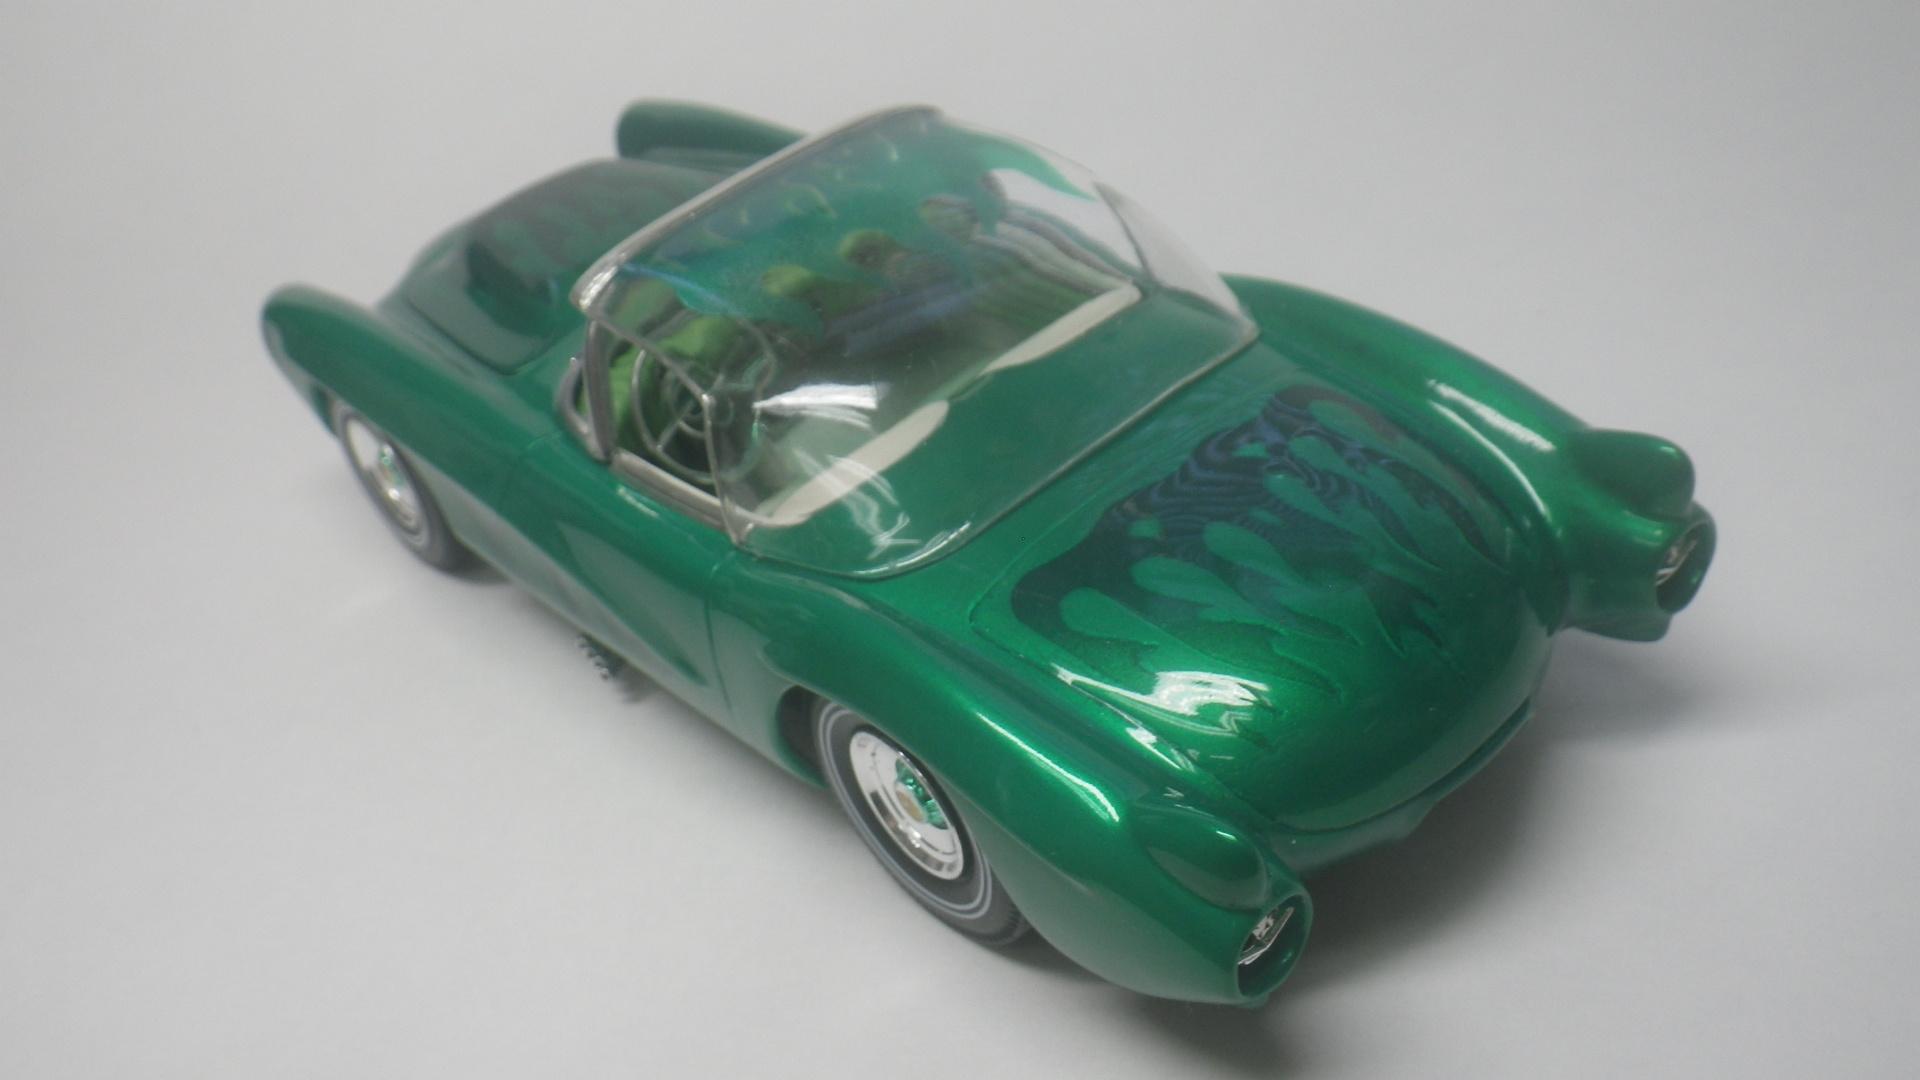
A friend and fellow club member gave me this AMT 1957 Corvette kit that was missing an engine. He buys small lots of models from Ebay to be used in our club raffle and any that are incomplete tend to be passed along to members. I started to install a '57 Chrysler hemi but then decided to be lazy and build a curbside custom. It has '58 Lincoln headlights (Reps & Mins of MD), '59 Cadillac taillights, '63 Plymouth wheel covers, and a grill surround and hood scoop made from a resin '56 Studebaker Hawk hood with photoetch grill mesh. The roof was salvaged and restored as well as I could from a glue-bombed SMP '59 Corvette annual. Paint is Duplicolor Metalcast green and Testors wet look clear over a white pearl base. Here we go - hope you enjoy.
-
Beautiful build of a truly classic car.
-
Great to see you back again. I always love your builds.
-
ThunderCat: 58 TBird with 92 Cougar roof: a contemporary Custom
mr moto replied to Claude Thibodeau's topic in Model Cars
Beautiful work and SO CLEAN. A lot of lessons in model building contained here! -
Huntington Beach? Shouldn't it be equipped with a surfboard?
-
I still have a set of '57 T-Bird upholstery stickers around somewhere. Maybe I can get a picture posted later. The whitewall stickers came into being as a short term solution because the whitewall paint AMT used was found to contain lead.
-
Doctors don't know everything about life!
-
Not sure but I think that "pebbly finish" is just printed on the packaging and is not on the sheets.
-
I like to build period kustoms and to me they require stylish steering wheels like many early 60's Mopars had. Since Modelhaus went away I don't know of any source for those '60/'61 Dodge/Plymouth/Imperial wheels. Is anybody casting these right now?
-
Revell/Monogram 1959 Cadillac.
-
Anybody seen one of these models before
mr moto replied to slusher's topic in General Automotive Talk (Trucks and Cars)
I had one of those when it was first issued. It was a lot more fun if you hooked it up to the blower port of a vacuum cleaner instead of personally blowing through the tube but it still got old before too long. It could probably be made into some kind of a futuristic kustom and be more fun! -
You can try contacting them at modelhaustires@gmail.com. Can't guarantee that it still works but that was their E-mail at one time.
-
Cal Custom foot gas pedal
mr moto replied to Mike C.'s topic in Model Building Questions and Answers
Model Car Garage has a photoetched version. -
Another suggestion for the muffler situation is to tightly wrap it with a narrow strip of masking tape a few inches long or clamp it in a hobby vise to hold it together while you drill.
-
Absolutely.
-
Plastruct plastic-weld is MEK. The Bondene is methyl chloride as is Flexifile. Some others are acetone based. They all work but have various advantages and disadvantages. For instance, if you use the Flexifile Touch n Flow applicator you can expect the MEK based glues to clog it up. They all work pretty well on styrene but some work better on other plastics such as ABS.
-
My choice also. It's shiny and stays straight unless you deliberately bend it.
-
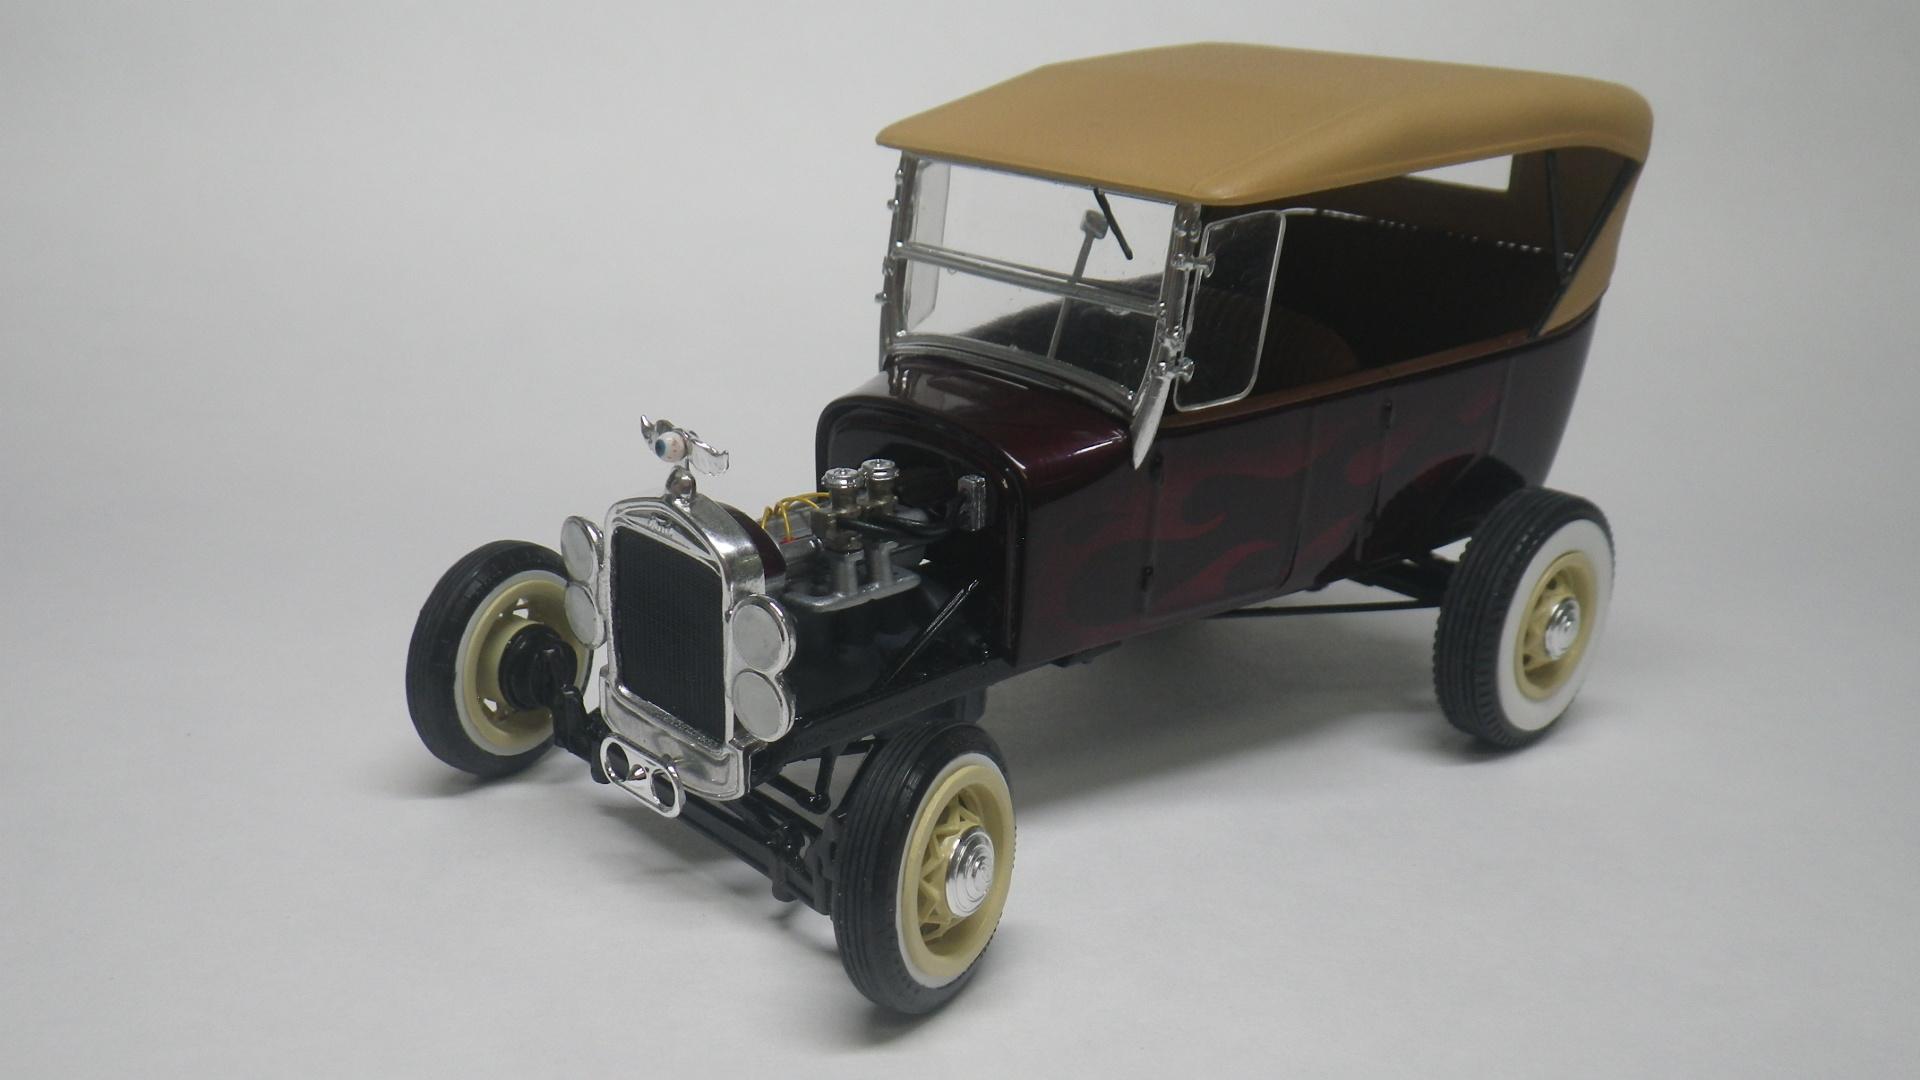
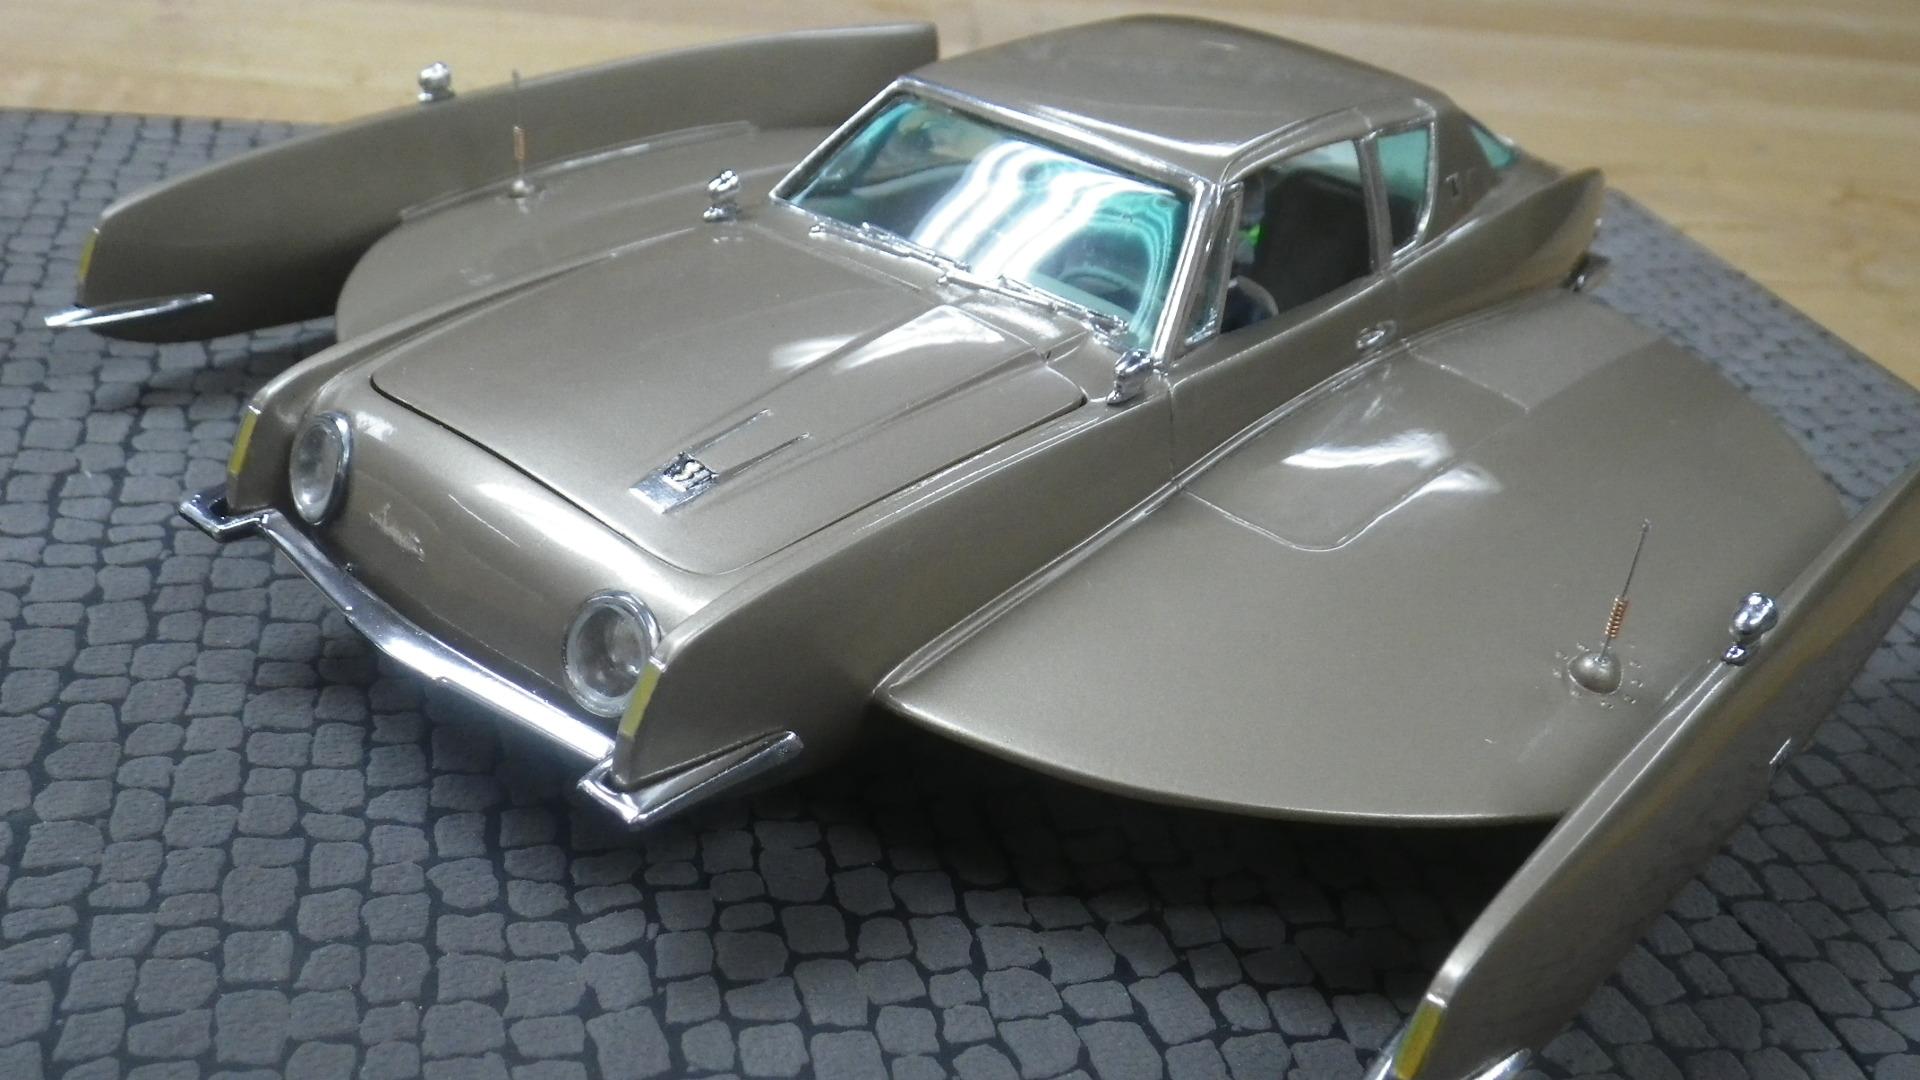
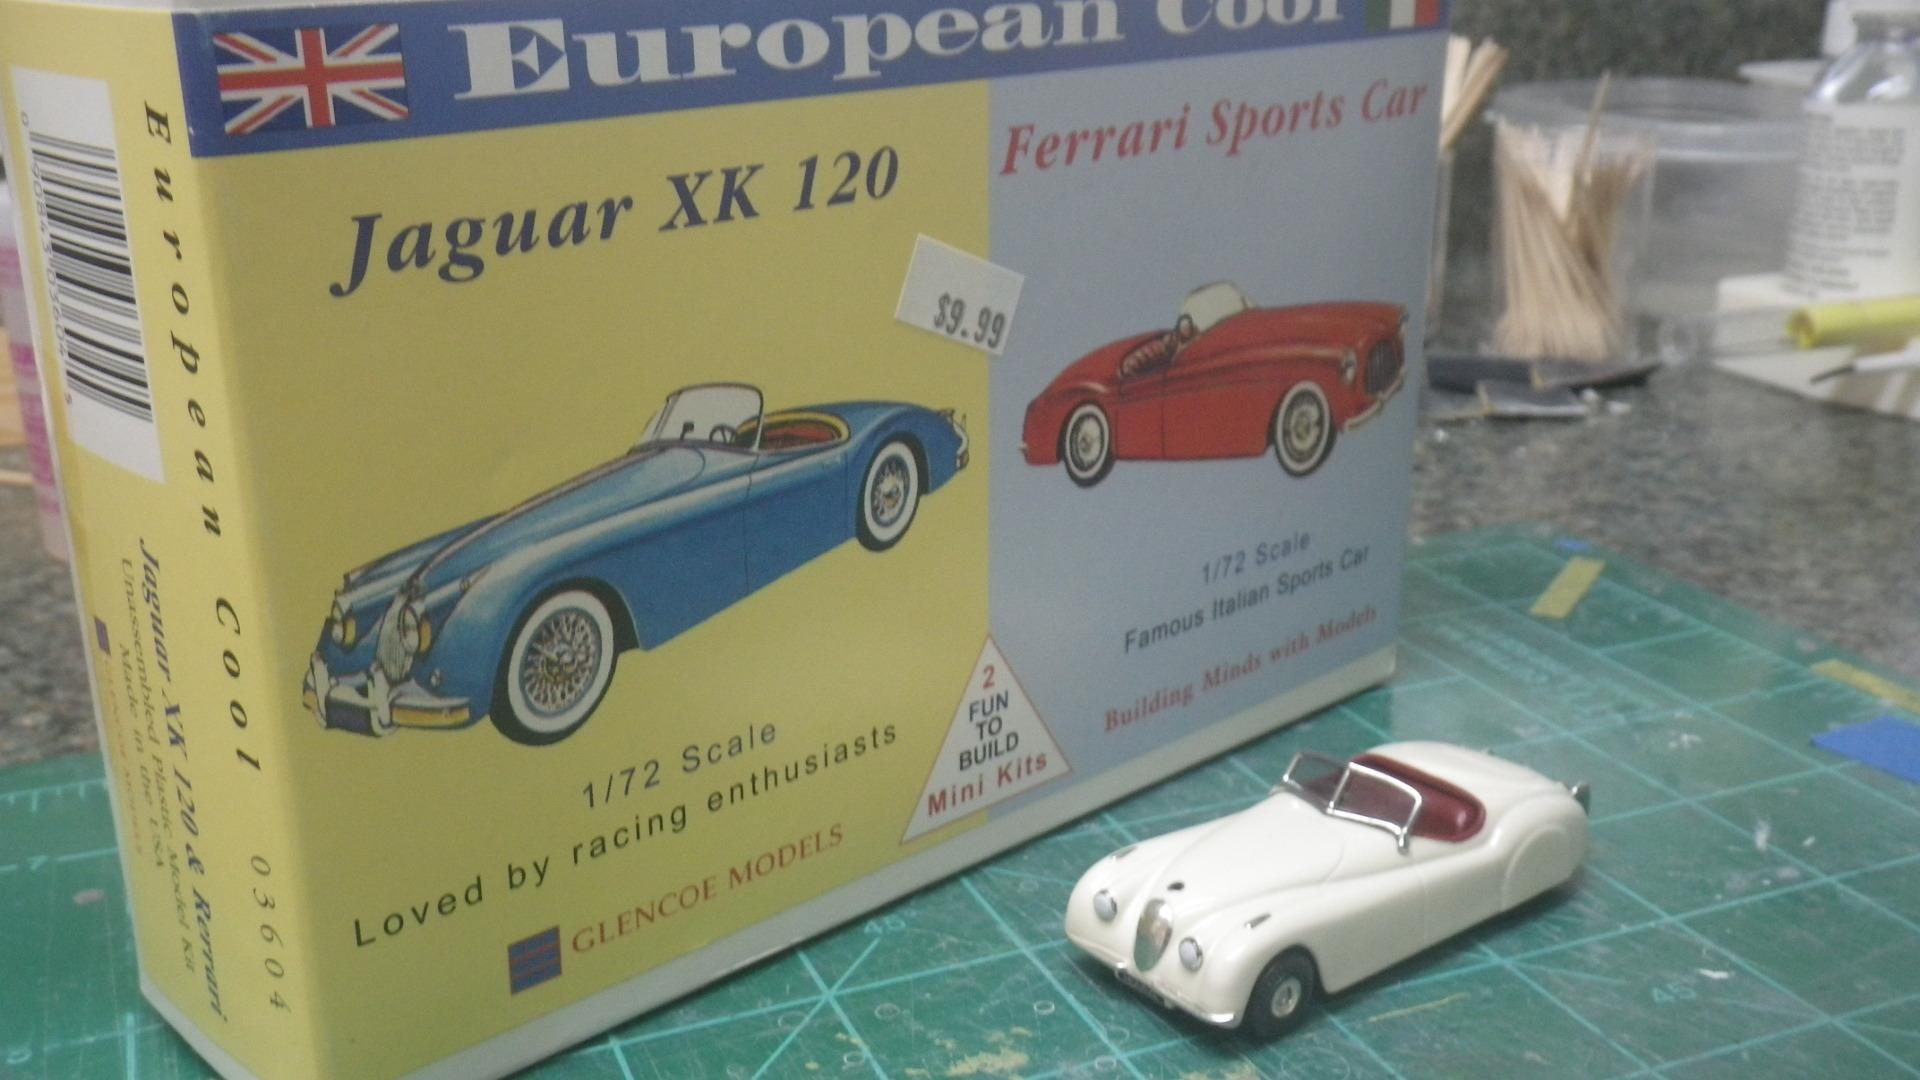
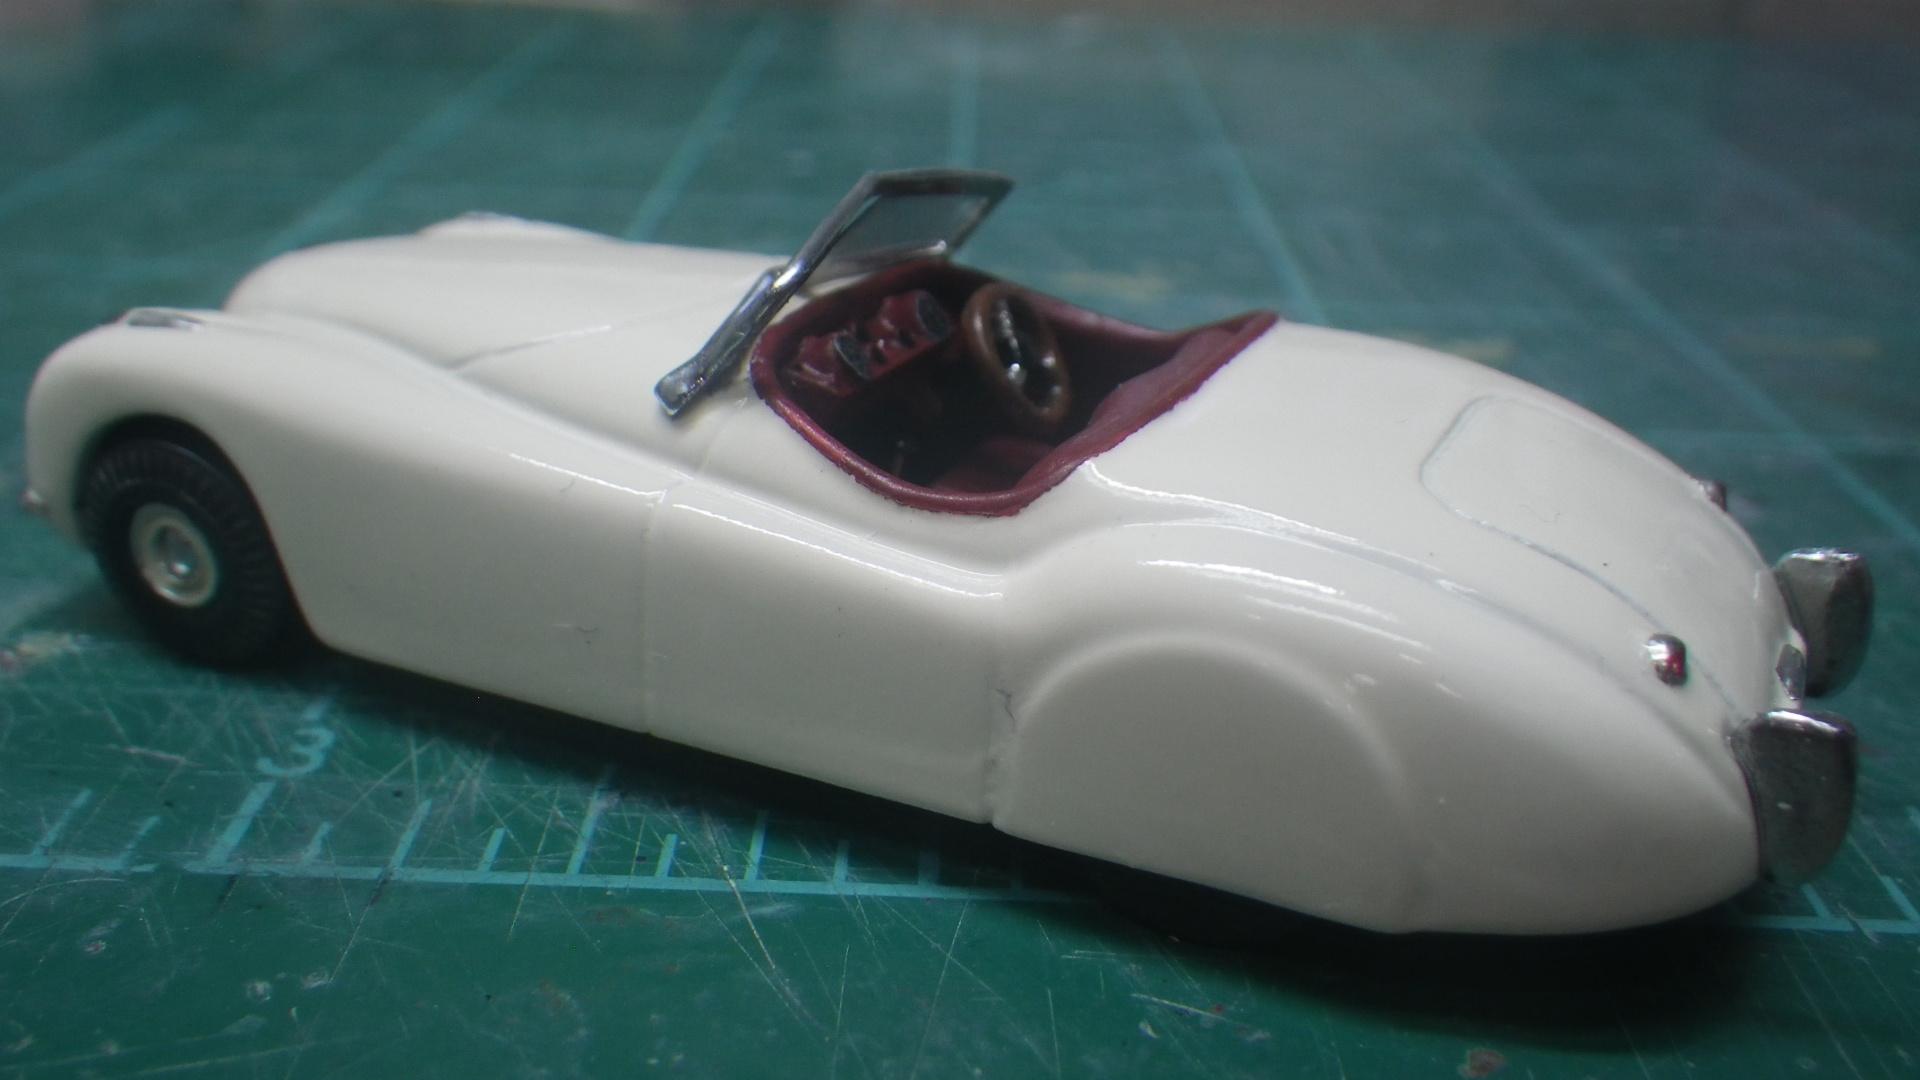
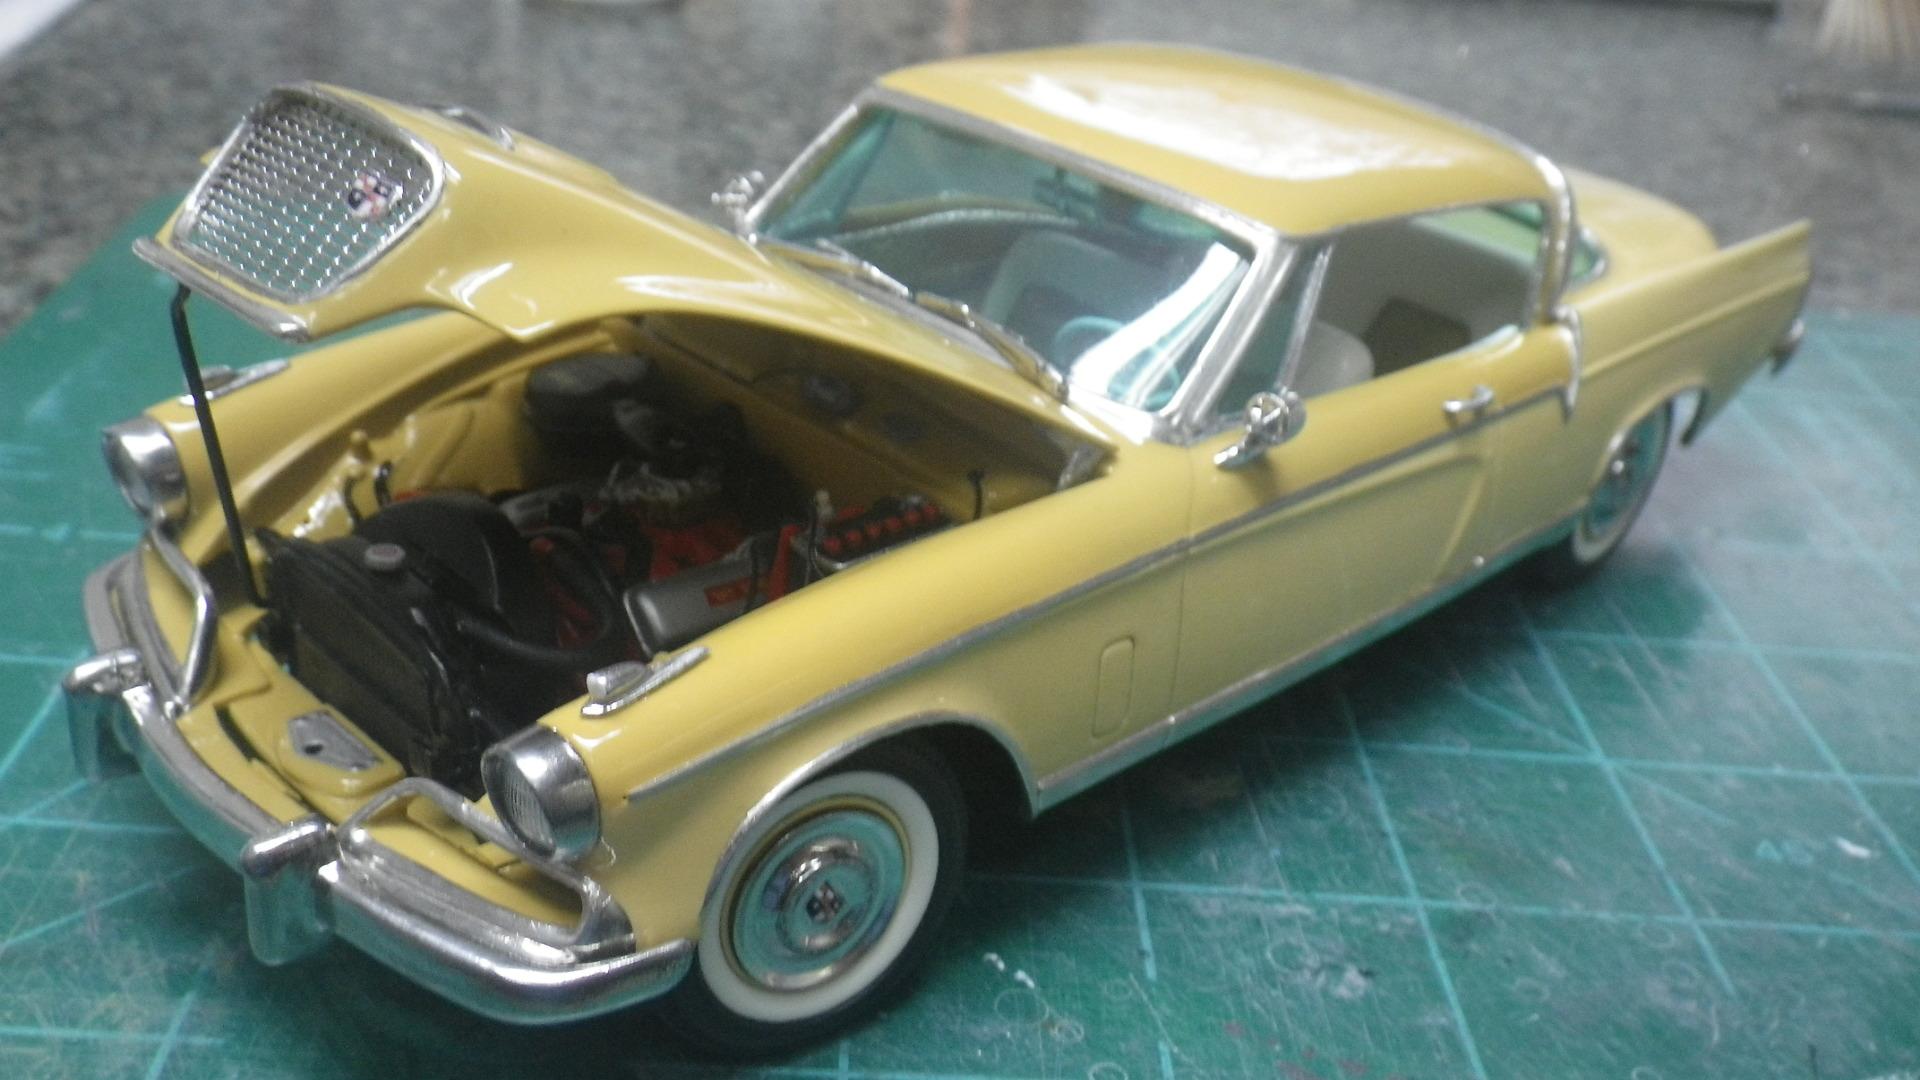
Not too many to show and an odd lot for sure but a good year overall. Here they are and not necessarily in any order. 1927 Model T Phaeton: The Bugsport Avanti: Rolls Royce Silver Cloud: Jaguar XK-120 (1/72 scale) 1956 Studebaker Golden Hawk: Thank you to everybody for looking and supporting my efforts this year past. May you all have a great 2022 in every way.
-
Ideas for tiny racing seats
mr moto replied to Fat Brian's topic in Model Building Questions and Answers
Maybe a set of 1/32 seats is just what it needs. -
1956 Studebaker Golden Hawk (56J): Sunglow over Yellowstone
mr moto replied to mr moto's topic in Model Cars
Thanks for those photo tips, Peter. And huge thanks to everyone who has commented on this build. I think the main thing my photo setup needs is more light. As Pete commented they're underexposed. I going to be looking for some kind of positionable light - maybe something that will clip onto the chair. The one overhead fixture just isn't bright enough for this use. The door lines haven't been highlighted with anything at all. I never have liked the look of putting a wash in the panel lines, etc. Just make sure the lines are deep and sharp enough before painting. The window tint is described in the WIP thread. It's very simple - just a mix of decanted Testors transparent enamels. The recipe is the WIP. But I realize that I left out two things that may be important to the overall result. 1: I give the windows a short soak in Super Clean before painting - maybe 20 minutes - to remove whatever release agent or other gunk might be on there. 2: After they're tinted I dip them in Future. Now you know all my secrets! Pete, what did you use to improve my photo?