av405
-
Posts
1,202 -
Joined
-
Last visited
Content Type
Profiles
Forums
Events
Gallery
Everything posted by av405
-

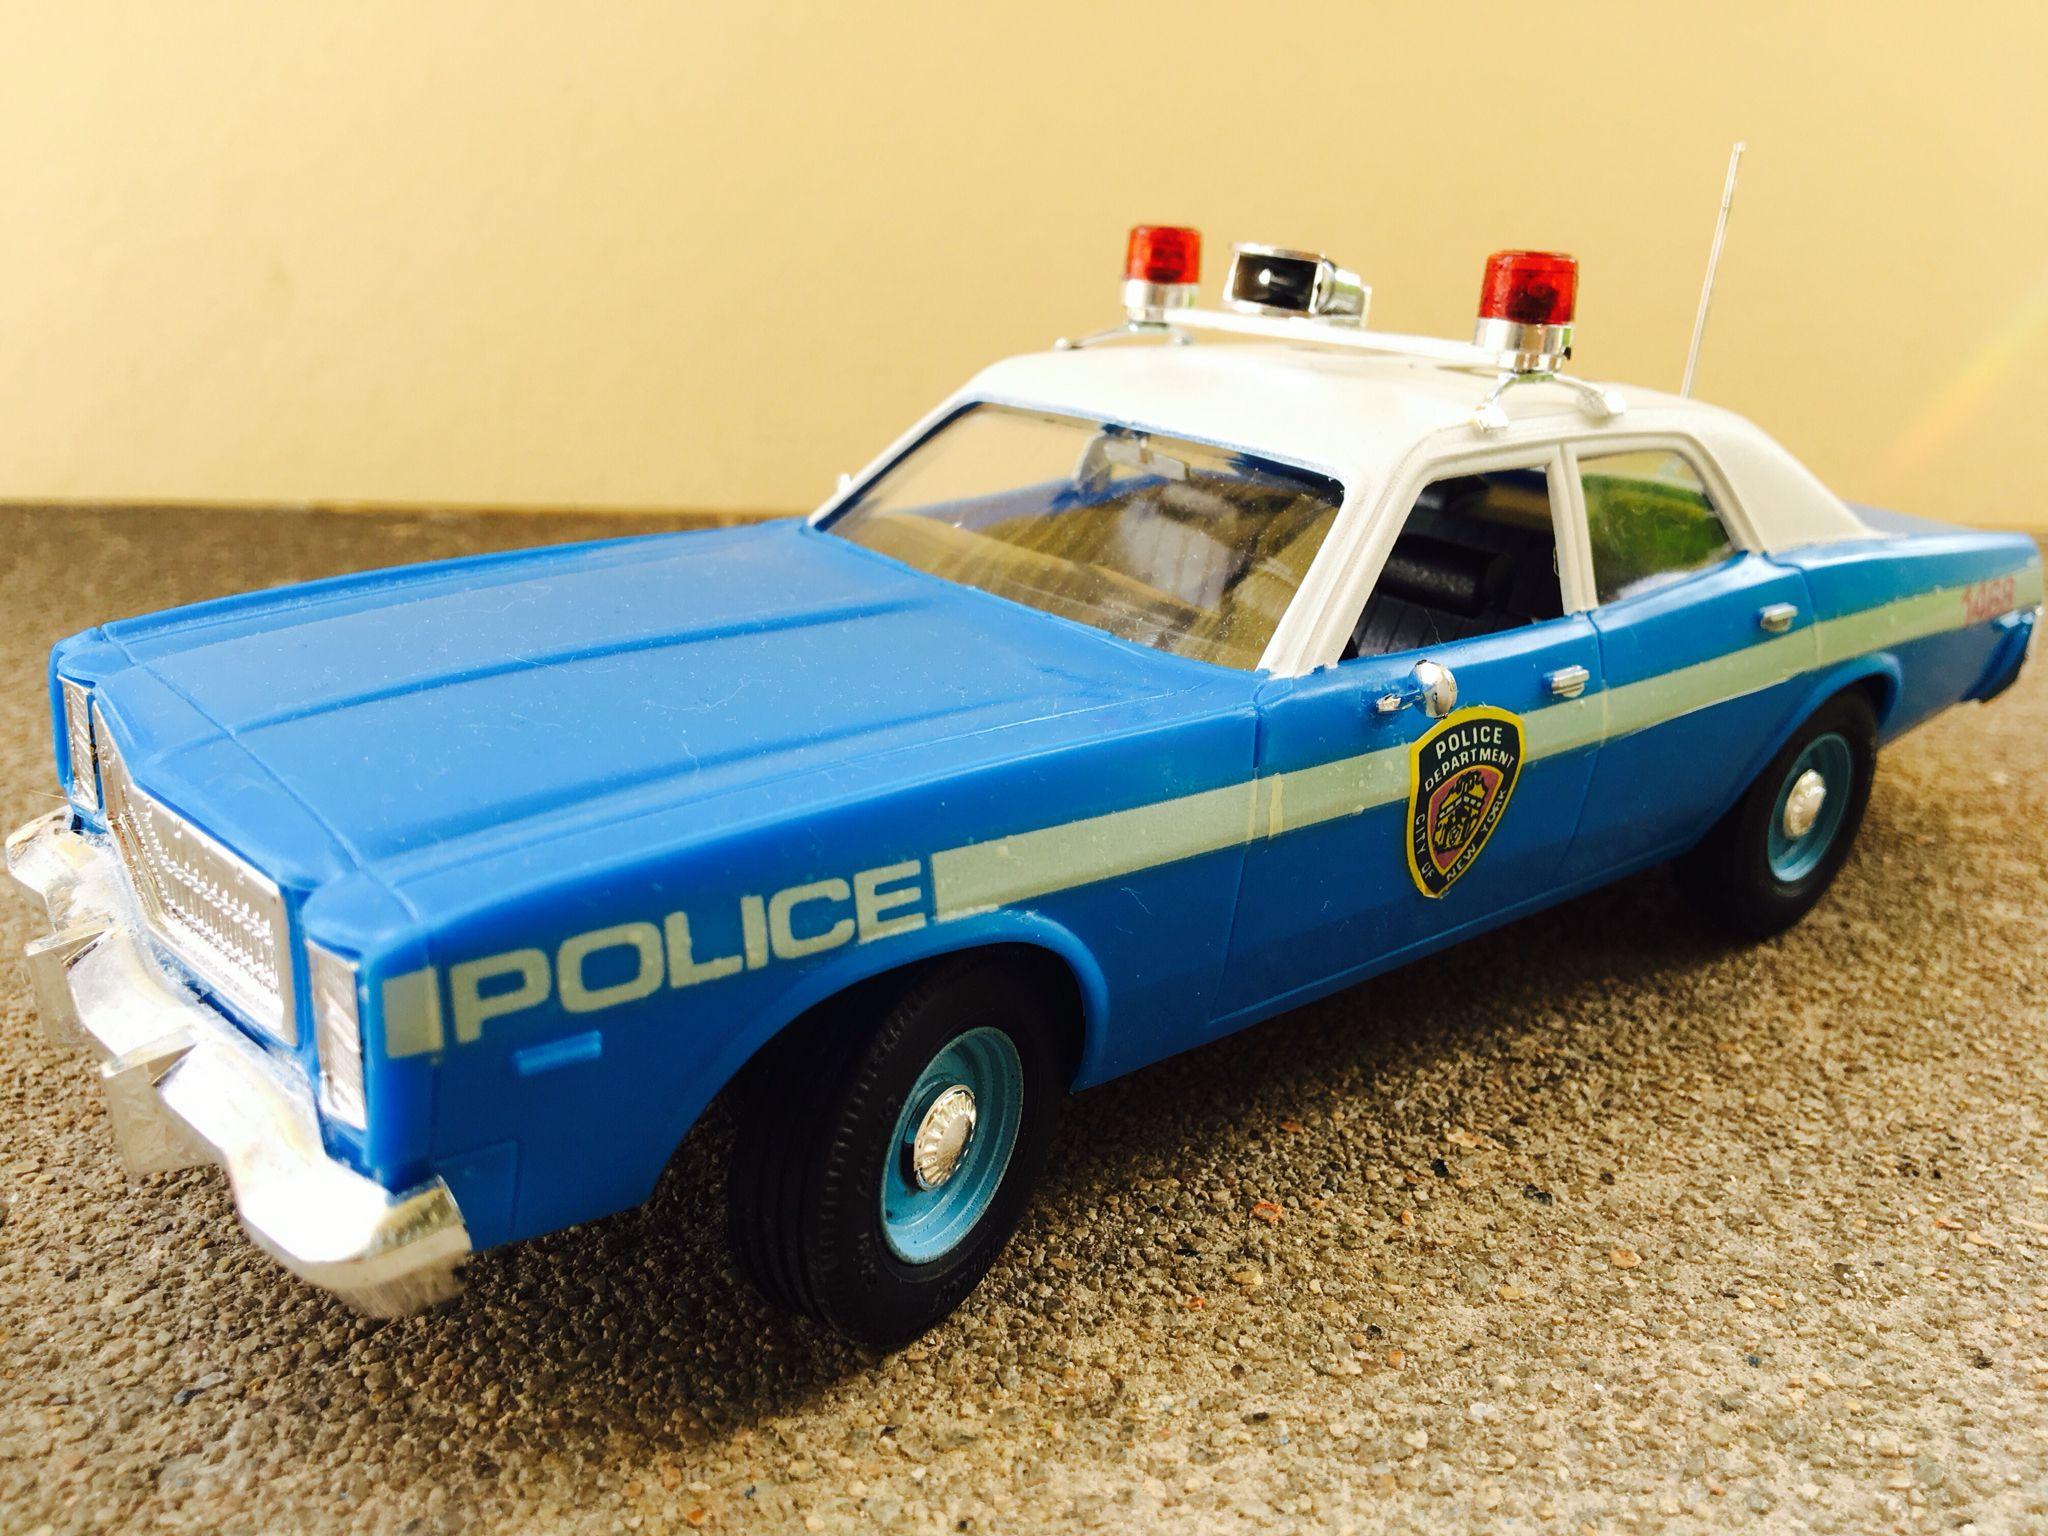
Comparison of Yodel and MPC Dodge Monacos
av405 replied to ABC Auto Industry's topic in Car Kit News & Reviews
Those would probably be good for a 1977 model. But you need slotted wheels to recreate a 1978 model. Quite a few aftermarket companies currently sell those slotted wheels and hubcaps. -
Comparison of Yodel and MPC Dodge Monacos
av405 replied to ABC Auto Industry's topic in Car Kit News & Reviews
The MPC body is by far the most accurate. The proportions on it are correct vs the Yodel body, which to me looks cartoonish. But based on pictures and what I've read online, the Yodel kit contained some parts that were more accurate compared to the MPC kit, especially wheels and tires. The Yodel version also had other goodies like a Fury grill. Yodel: MPC:
-
What's LCP? An aftermarket company?
-
80's Ford F650/F800 resin truck
av405 replied to turboski's topic in Truck Aftermarket / Resin / 3D Printed
Funny that you ask. I bought my copy from P&P resin works a few years back. I believe the guy who ran it is called Eric. Anyhow, P&P has a facebook page that was last active January 2023. I sent him a message on facebook about acquiring another of the Ford cabs on June 3rd, but haven't heard back yet. -
Excellent seller, custom service, and products. You won't be disappointed.
-
GMC Kodiak now available
av405 replied to cargostar's topic in Truck Aftermarket / Resin / 3D Printed
What kit recommendations do you have for this one? The AMT Louisville? -
1992 Ford F-150 XL Work Truck
av405 replied to av405's topic in WIP: Model Trucks: Pickups, Vans, SUVs, Light Commercial
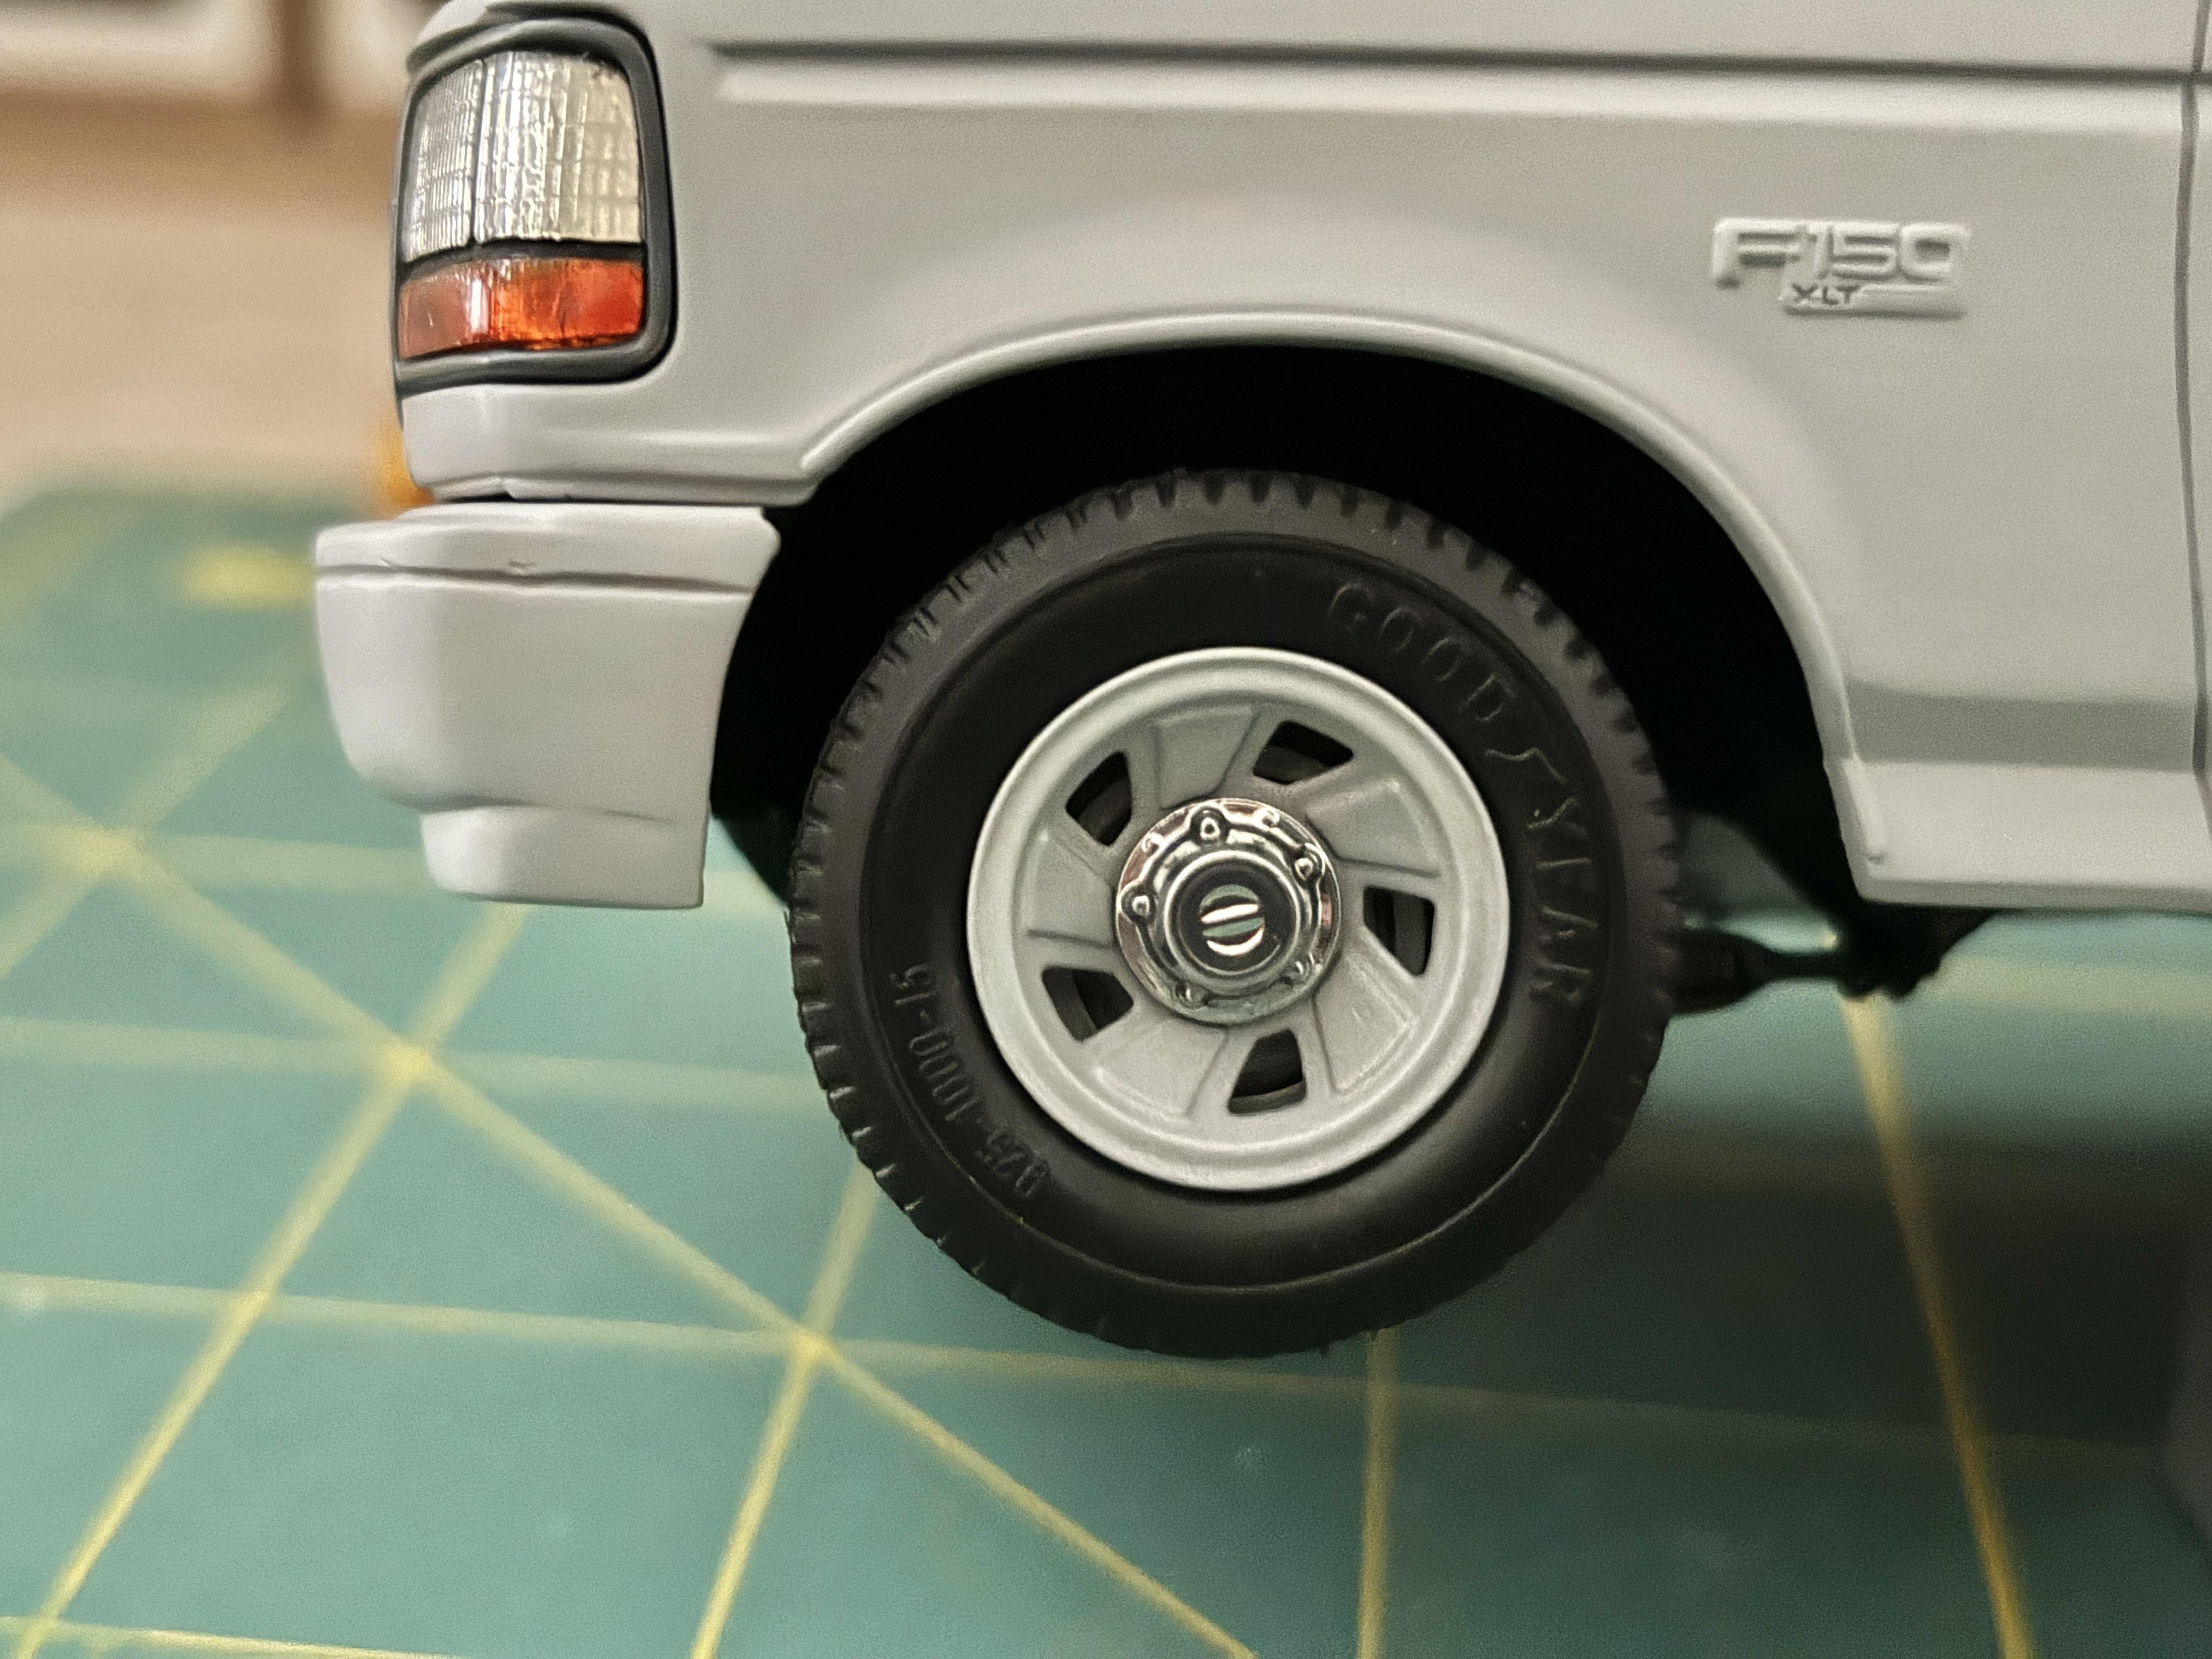
Thanks! Thank you! I'm at the point in my modeling "career" where I've really focused on being patient and not rushing things. As the saying goes, slow is smooth, smooth is fast. Thanks! They don't seem to get as much love as the equivalent Chevy trucks of the era do. I forgot to add this earlier: I painted the center caps with a sharpened toothpick and Vallejo red. It came out better than I thought.
-
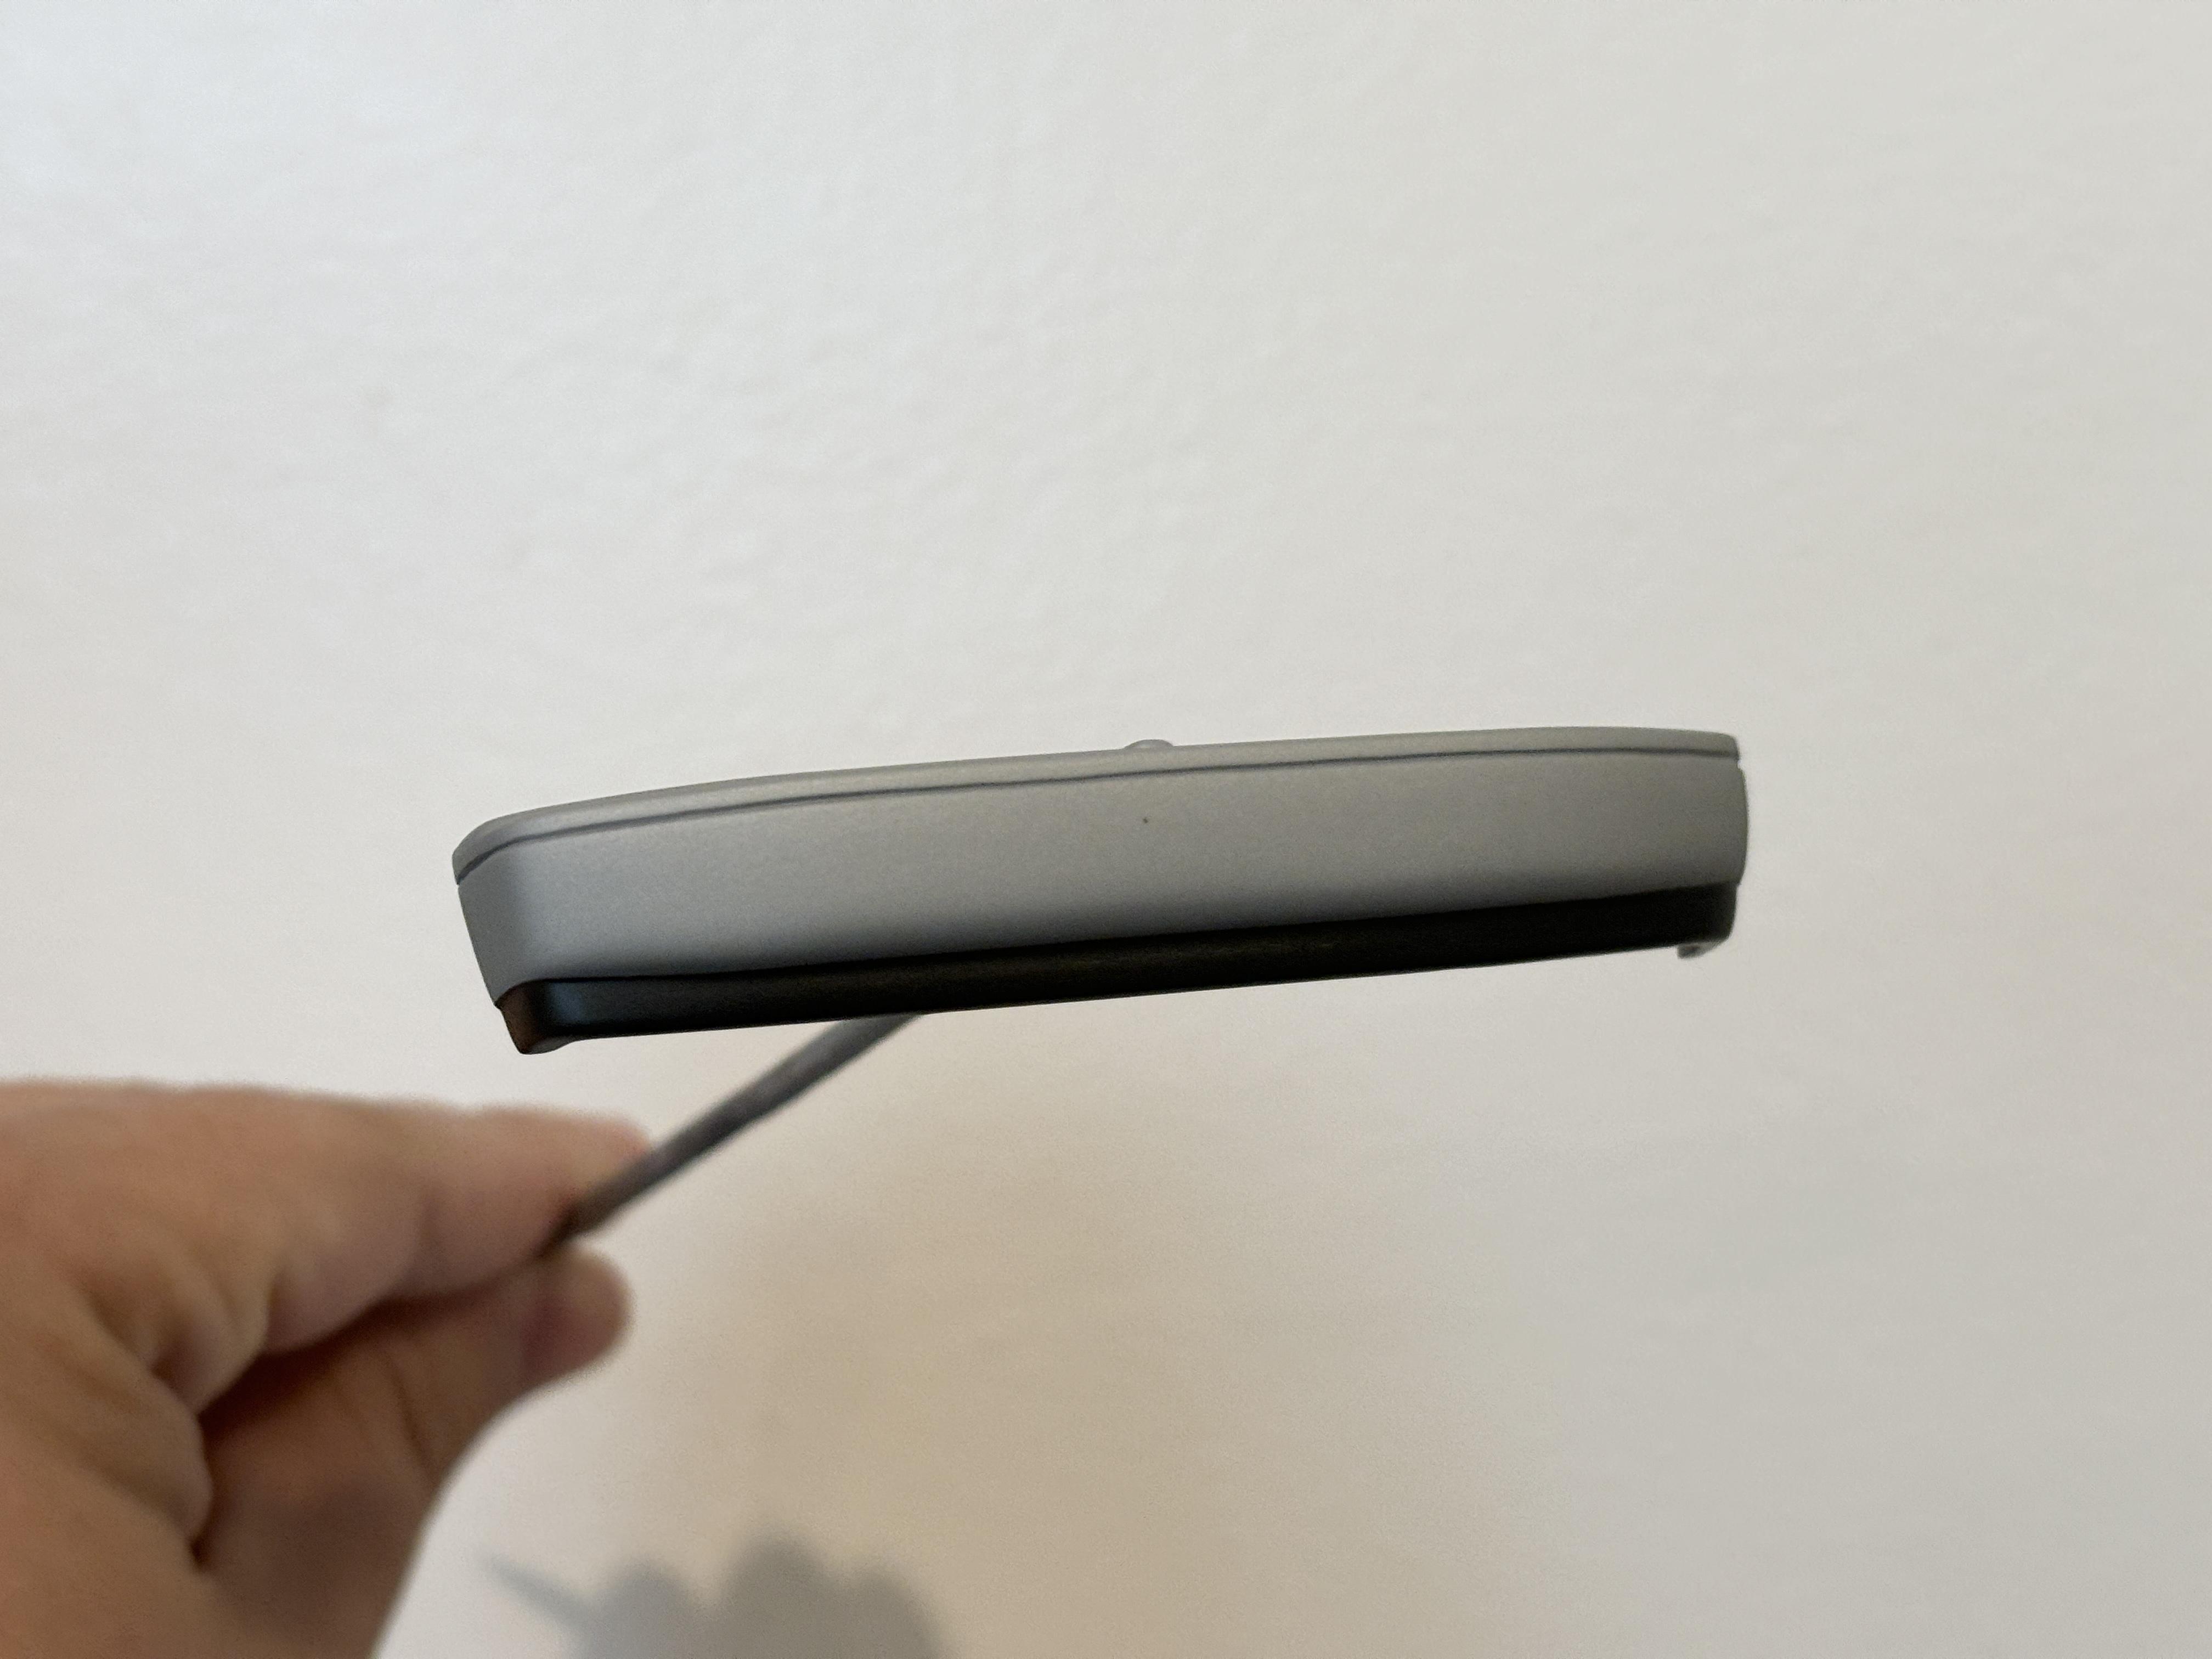
There are no rules here concerning what camera(s) you must use to post photos. I think you'll find that most of us use our cell phone cameras to take and post photos here. The quality of current cell phone cameras is on par, maybe even better, than what you would get out of some basic cameras "back in the day." I recently upgraded from an IPhone XS to an IPhone 15. At face value, the quality isn't much different but my new phone gives me a lot more versatility when taking and editing photos.
-
I still scratch my head thinking about Revell's Crown Victoria. They invested time and resources into making a brand new, inferior version of something that is already widely available.
-
1992 Ford F-150 XL Work Truck
av405 replied to av405's topic in WIP: Model Trucks: Pickups, Vans, SUVs, Light Commercial
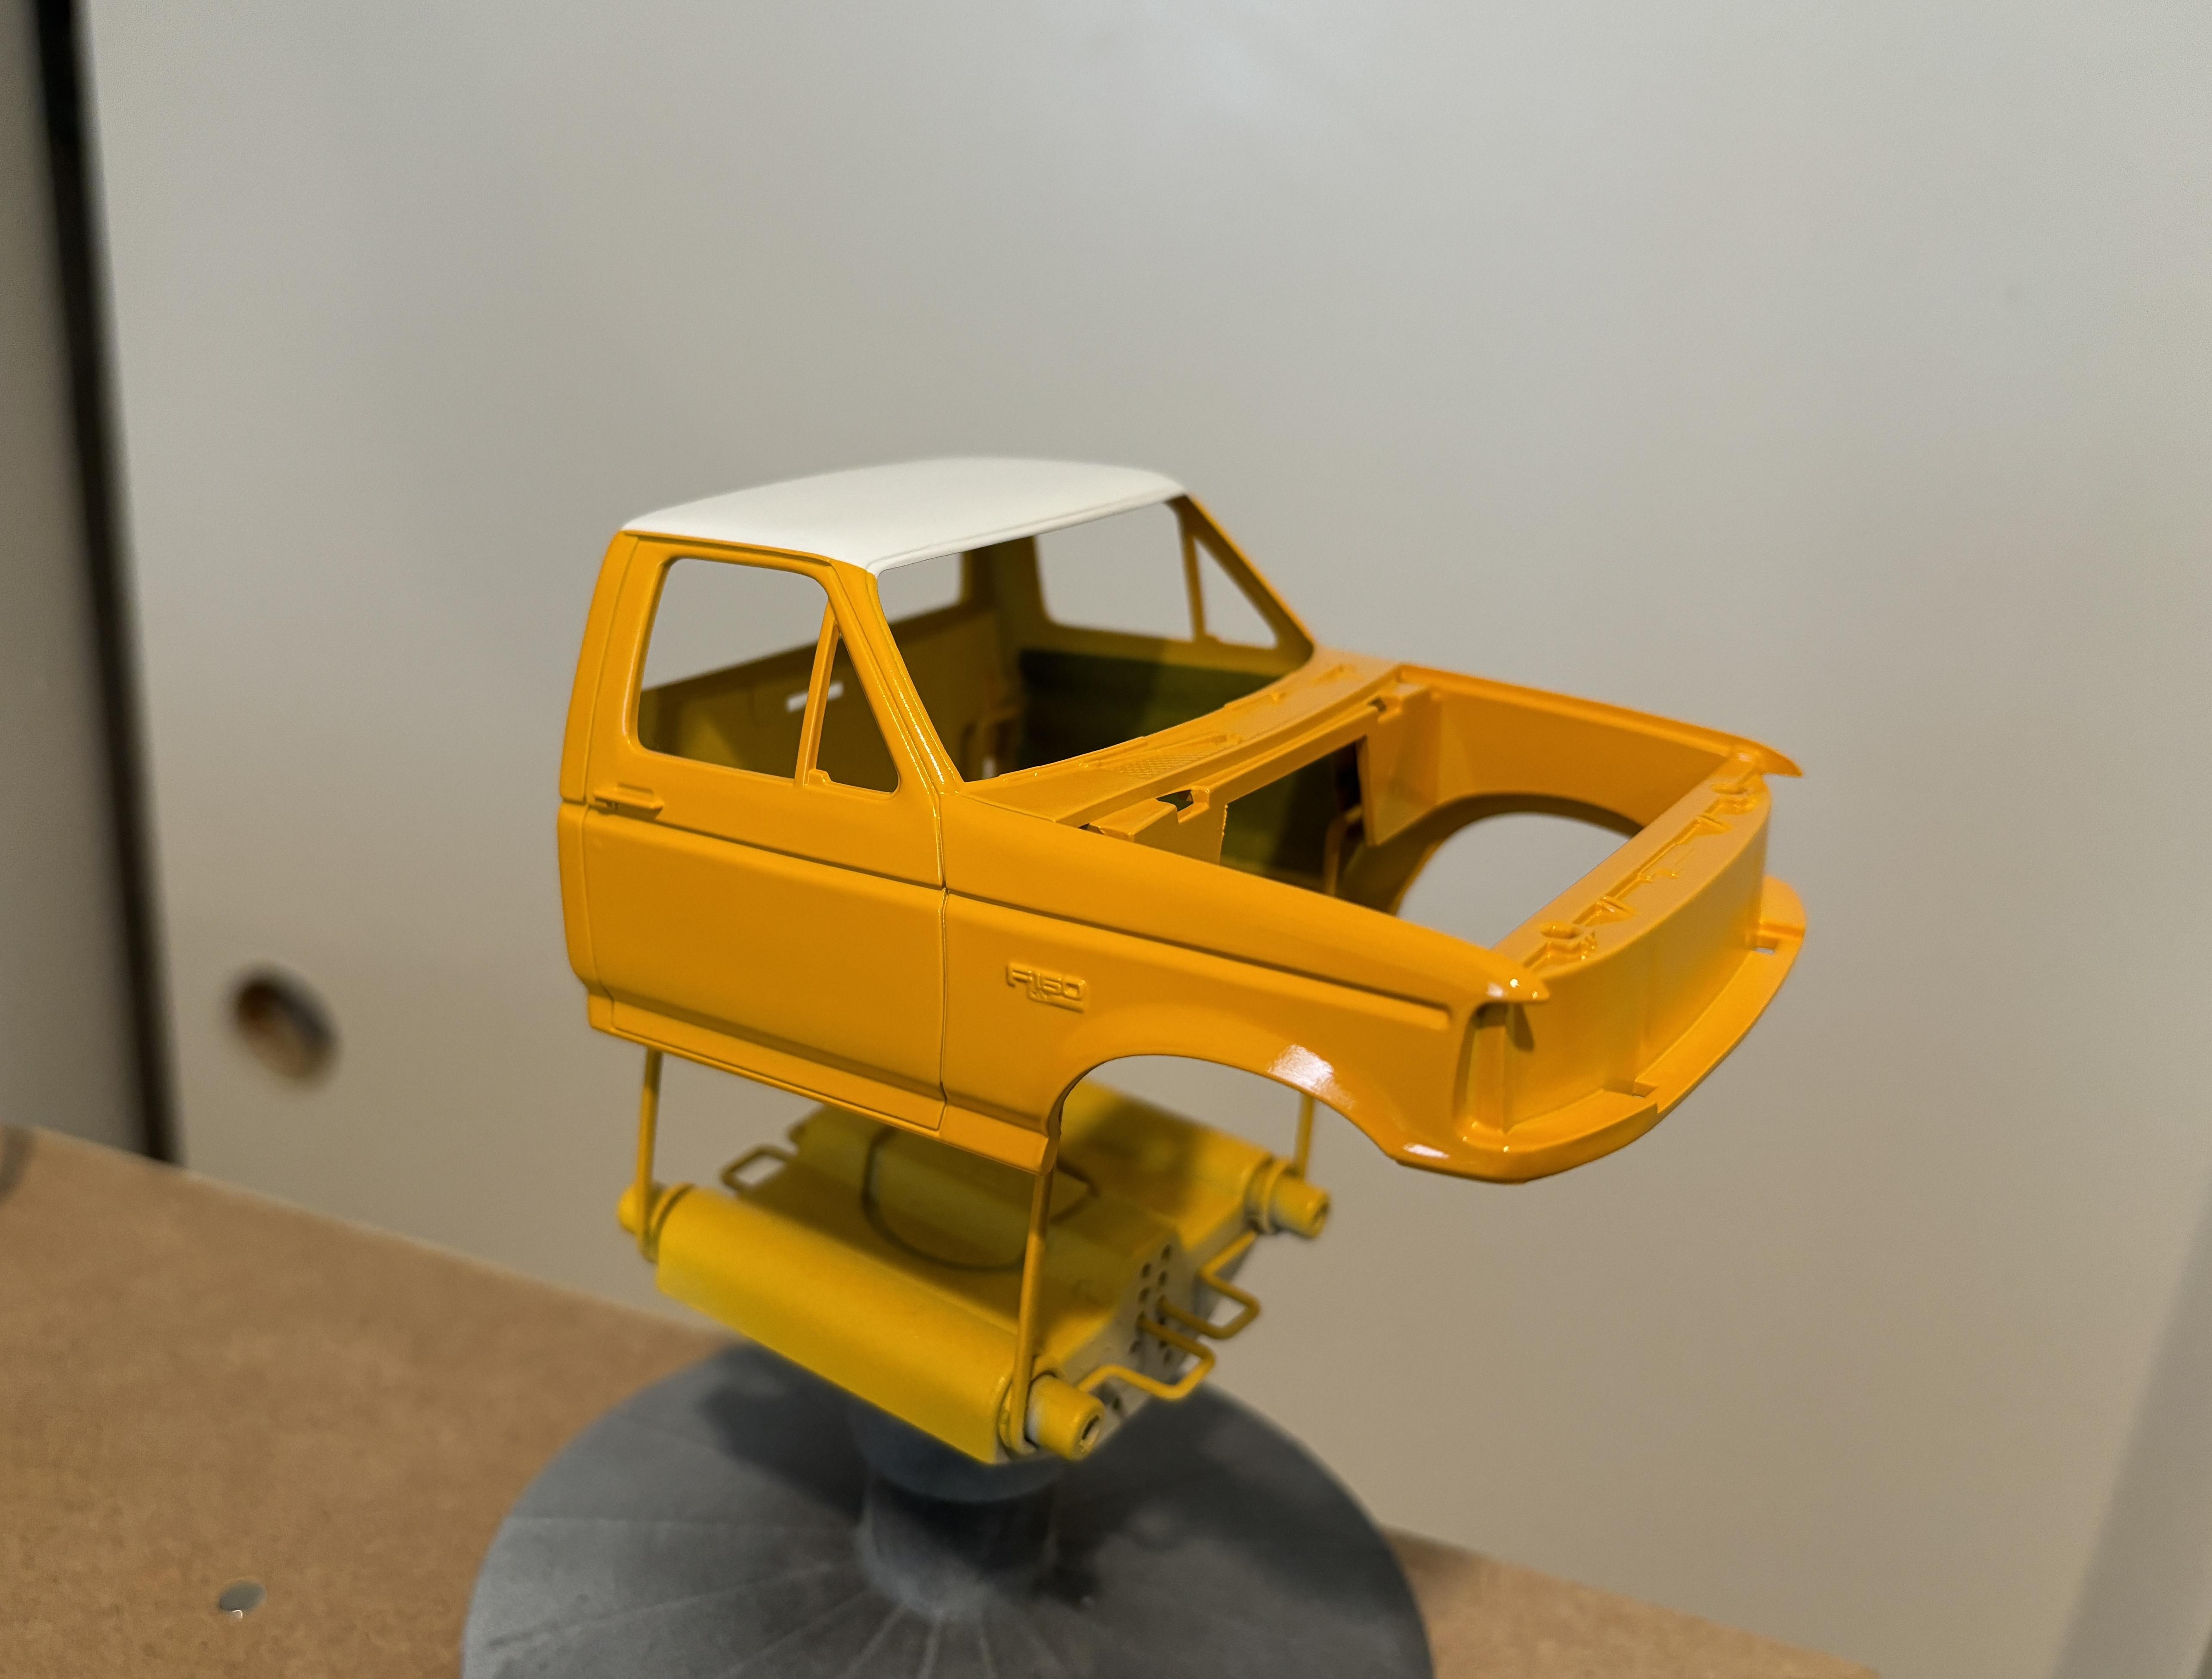
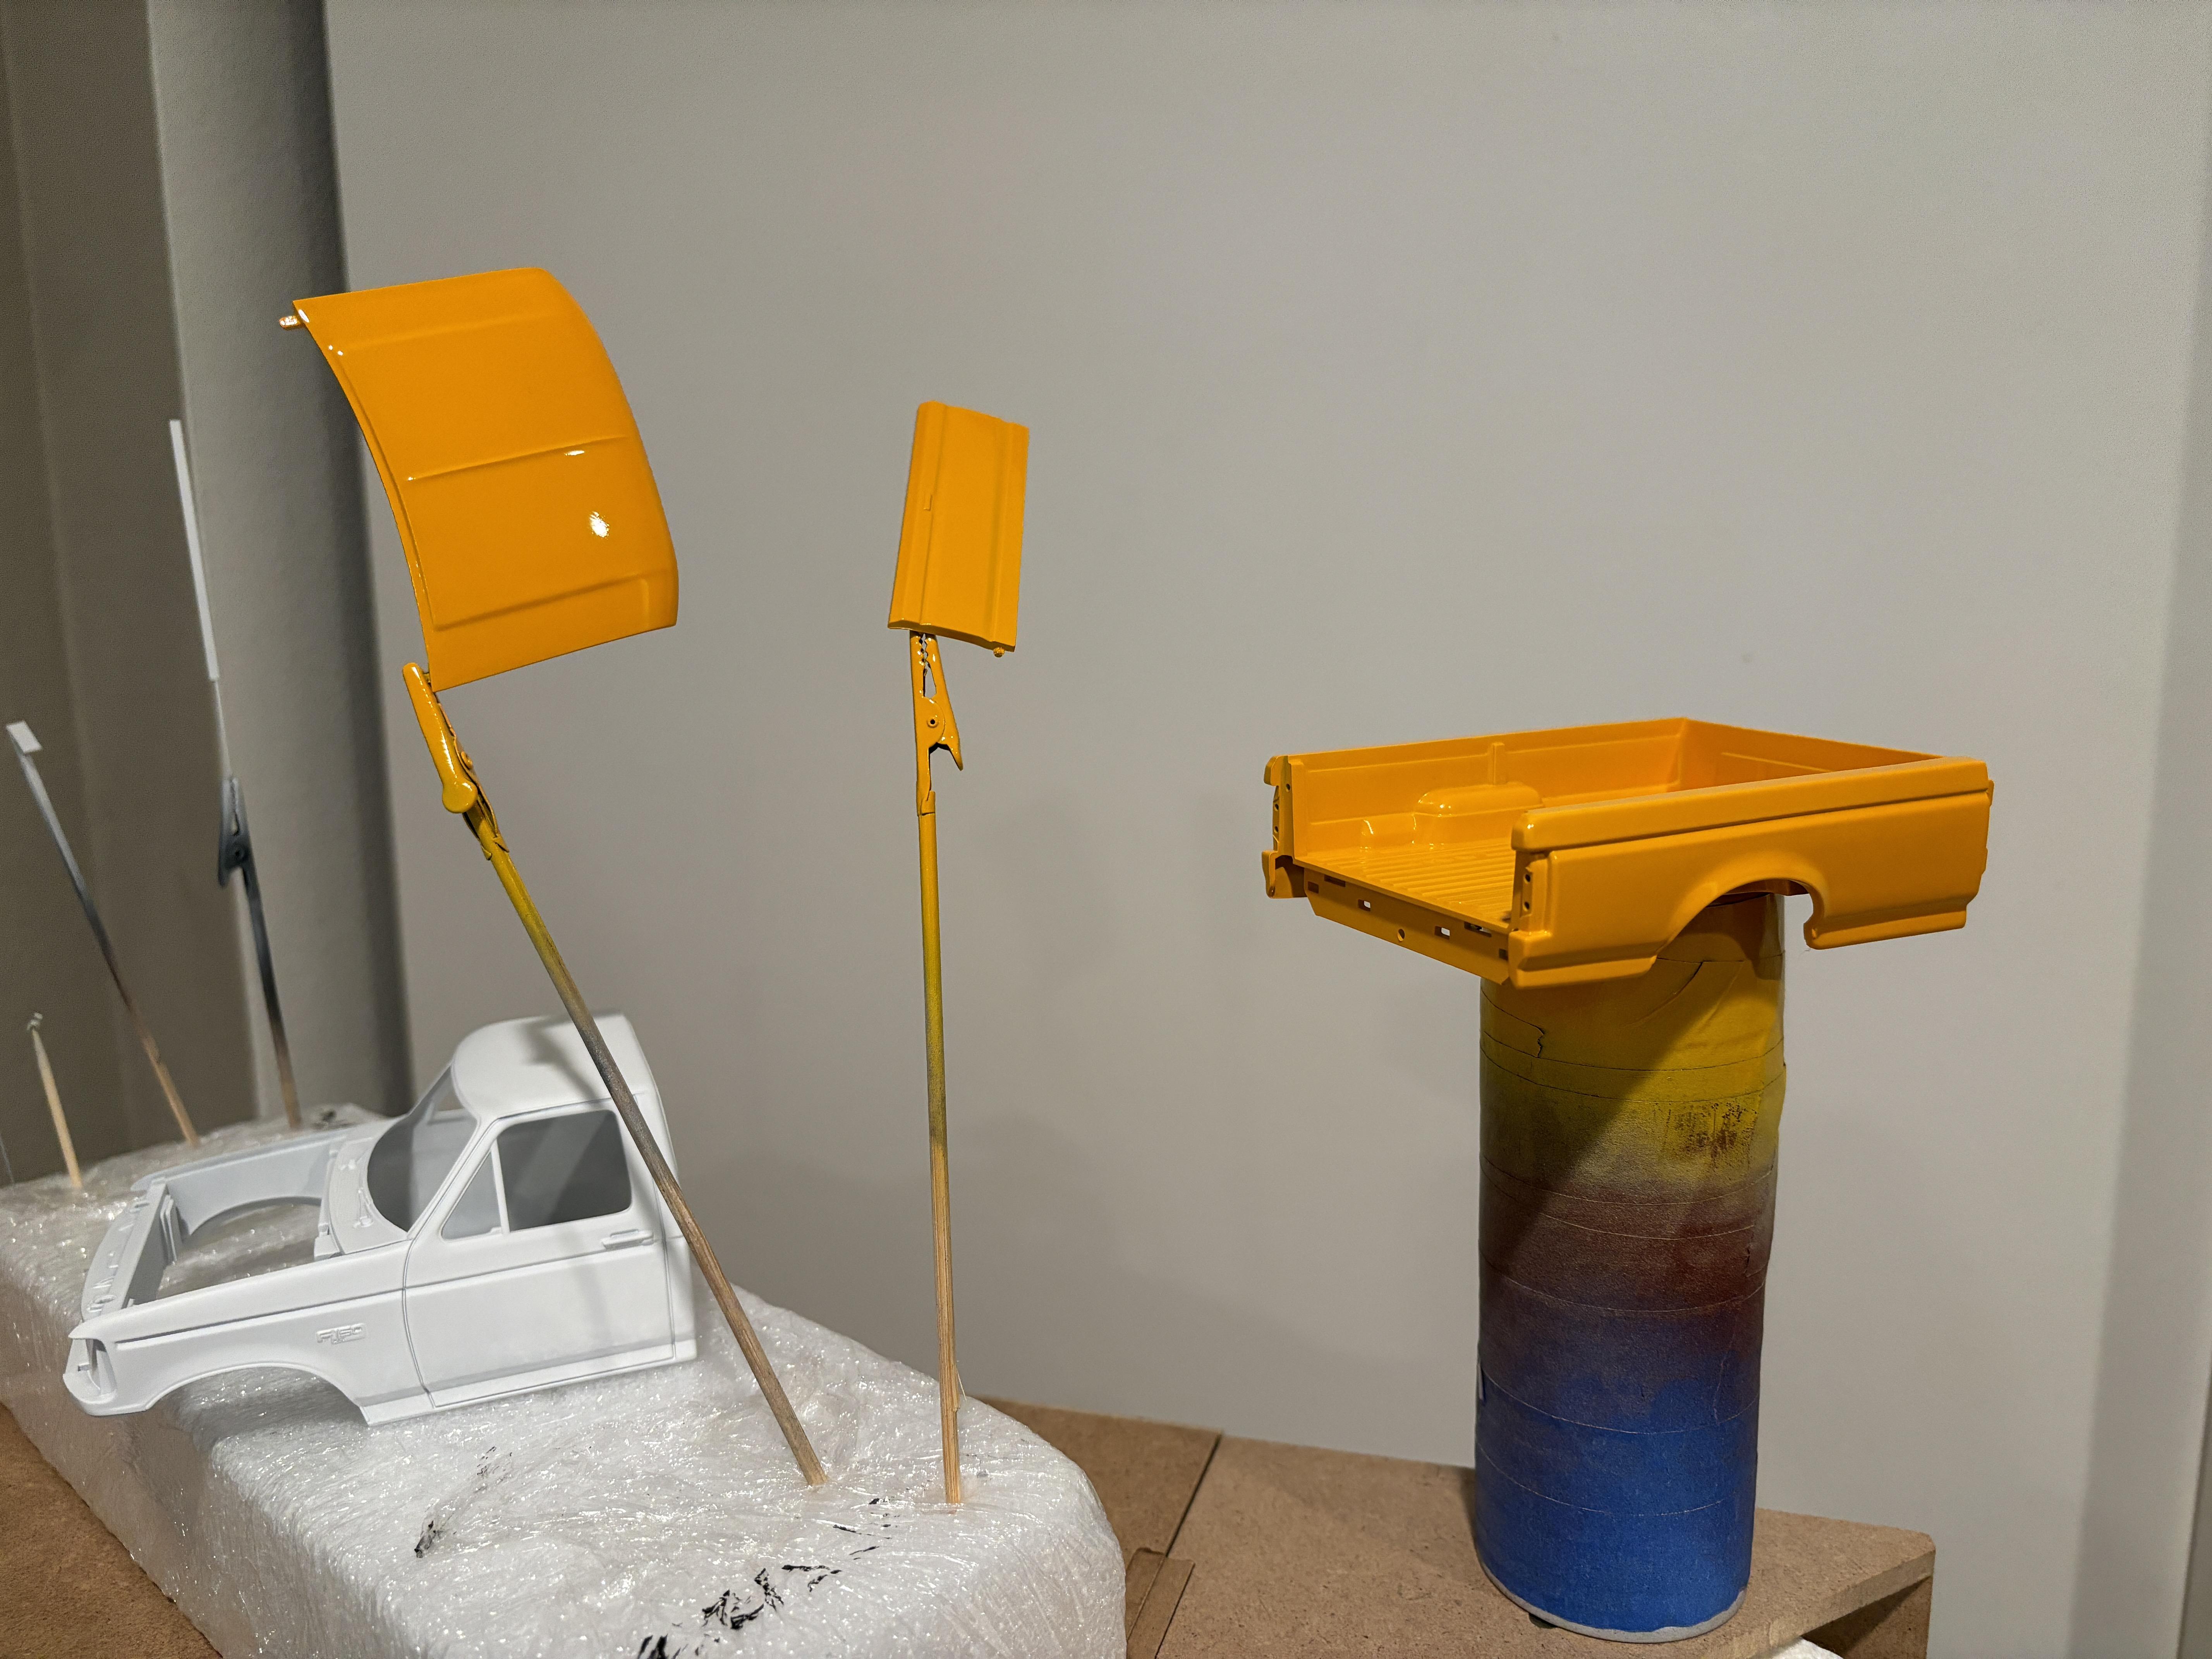
Thanks! Speaking of color, I finally got my new Tamiya paint cans. I decided to leave the roof white to give the truck a more distinct look. These type of two-tone paint schemes were fairly common on construction/municipal work trucks back then. It seems like the use of bright colored/multi-colored work trucks started to go away in the early to mid 2000s as companies and municipalities sought to cut costs. Now, most work trucks are just plain white. Since the primer was white, I simply masked off the roof and painted the rest of the cab yellow. I used bare metal foil for the edges and tamiya tape for the rest. Using BMF always gives me the absolute best paint lines. I'll give the paint a week to dry, sand out a small imperfection that came up, re-shoot a bit of yellow, then clear the whole thing.
-
https://cults3d.com/en/3d-model/various/pickup-truck-towing-mirrors-pack-1
-
Hello all. I'm looking for this sheet, specifically the security decals.
-
AMT 1984 GMC pickup
av405 replied to DJMar's topic in WIP: Model Trucks: Pickups, Vans, SUVs, Light Commercial
Looks great! I'll be watching this one. -
It does appear to have the Nite stripes, but none of the corresponding name decals.
-
Very sparse on the vehicle front, but I'm in for some F-150s.
-
From a fellow SoCal modeler, welcome!
-
1992 Ford F-150 XL Work Truck
av405 replied to av405's topic in WIP: Model Trucks: Pickups, Vans, SUVs, Light Commercial
Thanks, Ulf! -
I've dealt with him before, both through ebay and facebook. Very professional guy and the quality of his work is good. He sells a lot of Andrey Bezrodny's 3D designs that a lot of other 3D printers do. The best part about Diolex is that he includes clear "glass" for the windows and headlights/tail lights at a very good price.
-
1992 Ford F-150 XL Work Truck
av405 replied to av405's topic in WIP: Model Trucks: Pickups, Vans, SUVs, Light Commercial
Thank you all for the kind words! This weekend was all about the paint. I painted over the grey primer with Mr. Surfacer 1500 white primer. Remember folks, bright colors like yellow need a white undercoat. Mr. Surfacer 1500 lays on so smooth that no wet sanding is necessary after to get a smooth finish. Unfortunately, my Tamiya Camel Yellow can started to run low as I was getting to the cab. Typically, a can of Tamiya is plenty enough to paint an entire kit. However, I expended some paint running my spoon tests. I just ordered another can, so the cab will be finished as soon as that arrives. Until then, this project is officially on hold.
-
1992 Ford F-150 XL Work Truck
av405 replied to av405's topic in WIP: Model Trucks: Pickups, Vans, SUVs, Light Commercial
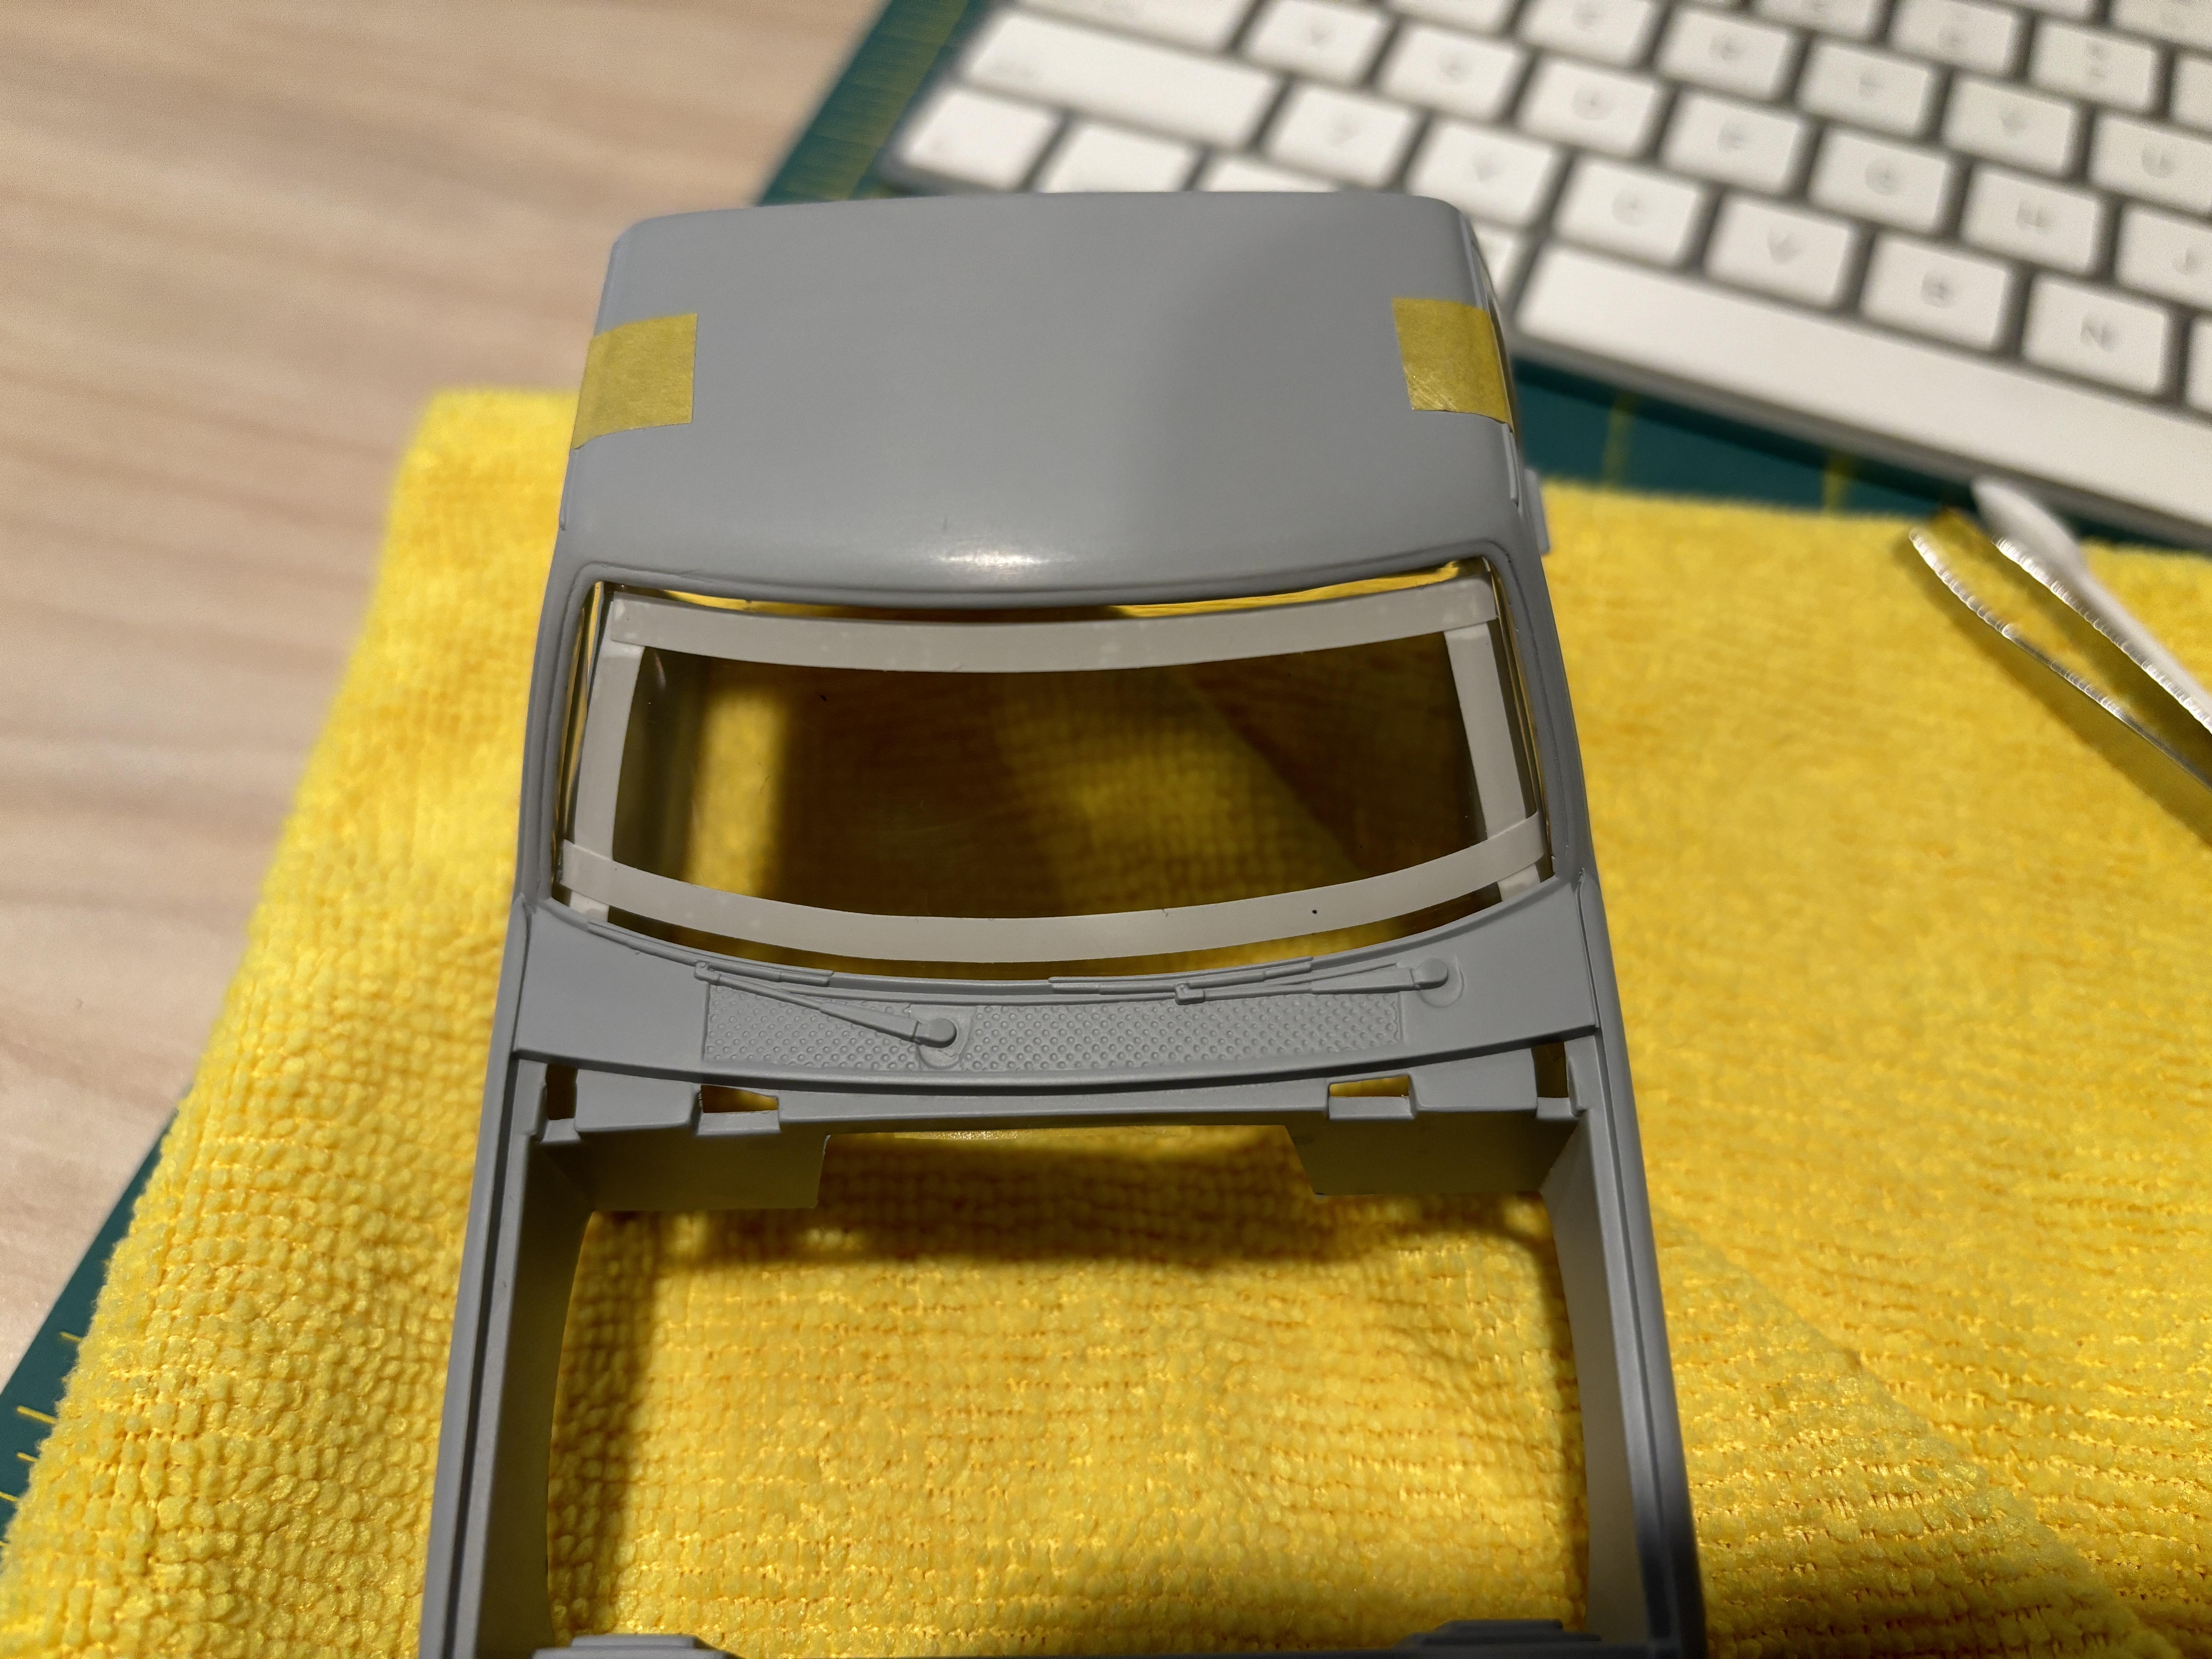
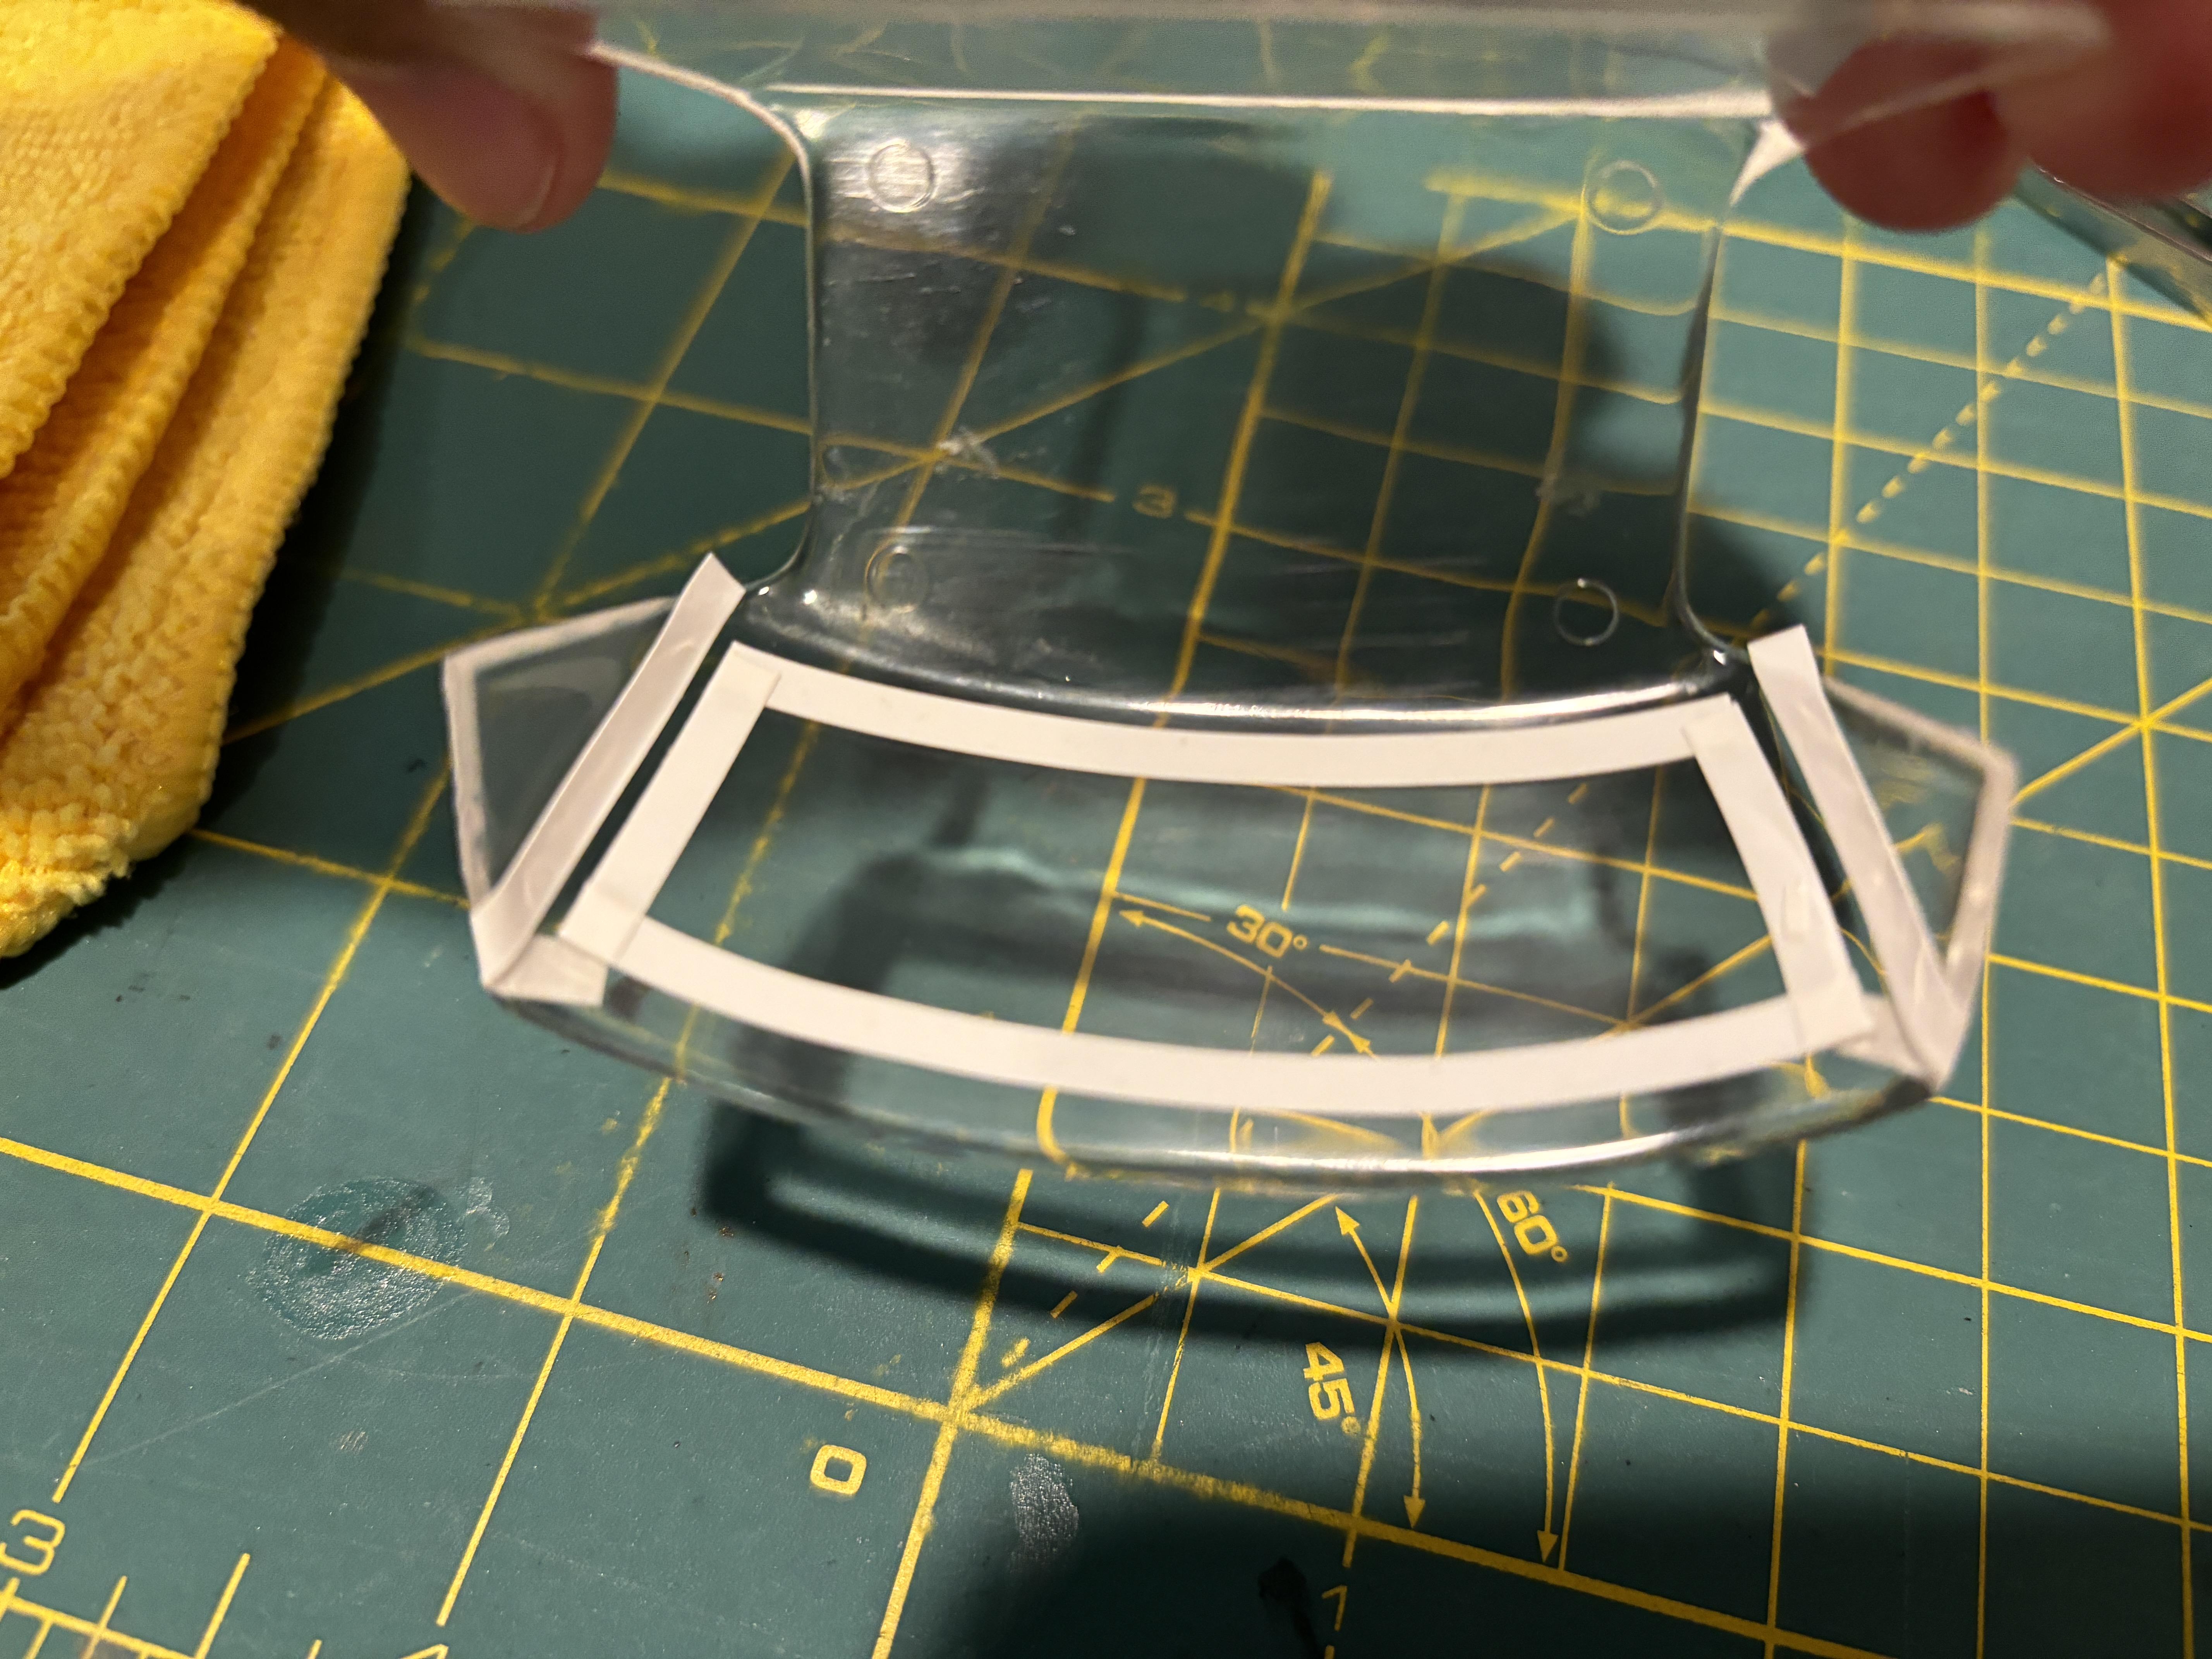
With the addition of some Mr. Surfacer 1500 black primer to the bottom, the front bumper is done. I just noticed that there is a tiny black debris speck in the middle of the bumper which must have attached itself when I first painted it with the Silver Leaf. I will leave it alone as it will eventually get covered up with a license plate. Now onto the front window. When painting the black surround on these windows, I like to use the contours/edges typically found on a lot of kit windows to mask off sections that won't be painted. The window on this kit doesn't have edges so this is what I did. First I taped the window to the cab. I then used white tamiya masking tape (the flexible kind intended for curves) and created paint edges along the inside of the window, going slow to make sure that everything was even: Once I was satisfied, I used a sharp knife and removed any excess tape. I then brush painted the desired areas with Vallejo flat black. Since it is such a small area and I painted the inside of the window, I didn't have to worry about any paint brush streaks being visible from the outside:
-
1992 Ford F-150 XL Work Truck
av405 replied to av405's topic in WIP: Model Trucks: Pickups, Vans, SUVs, Light Commercial
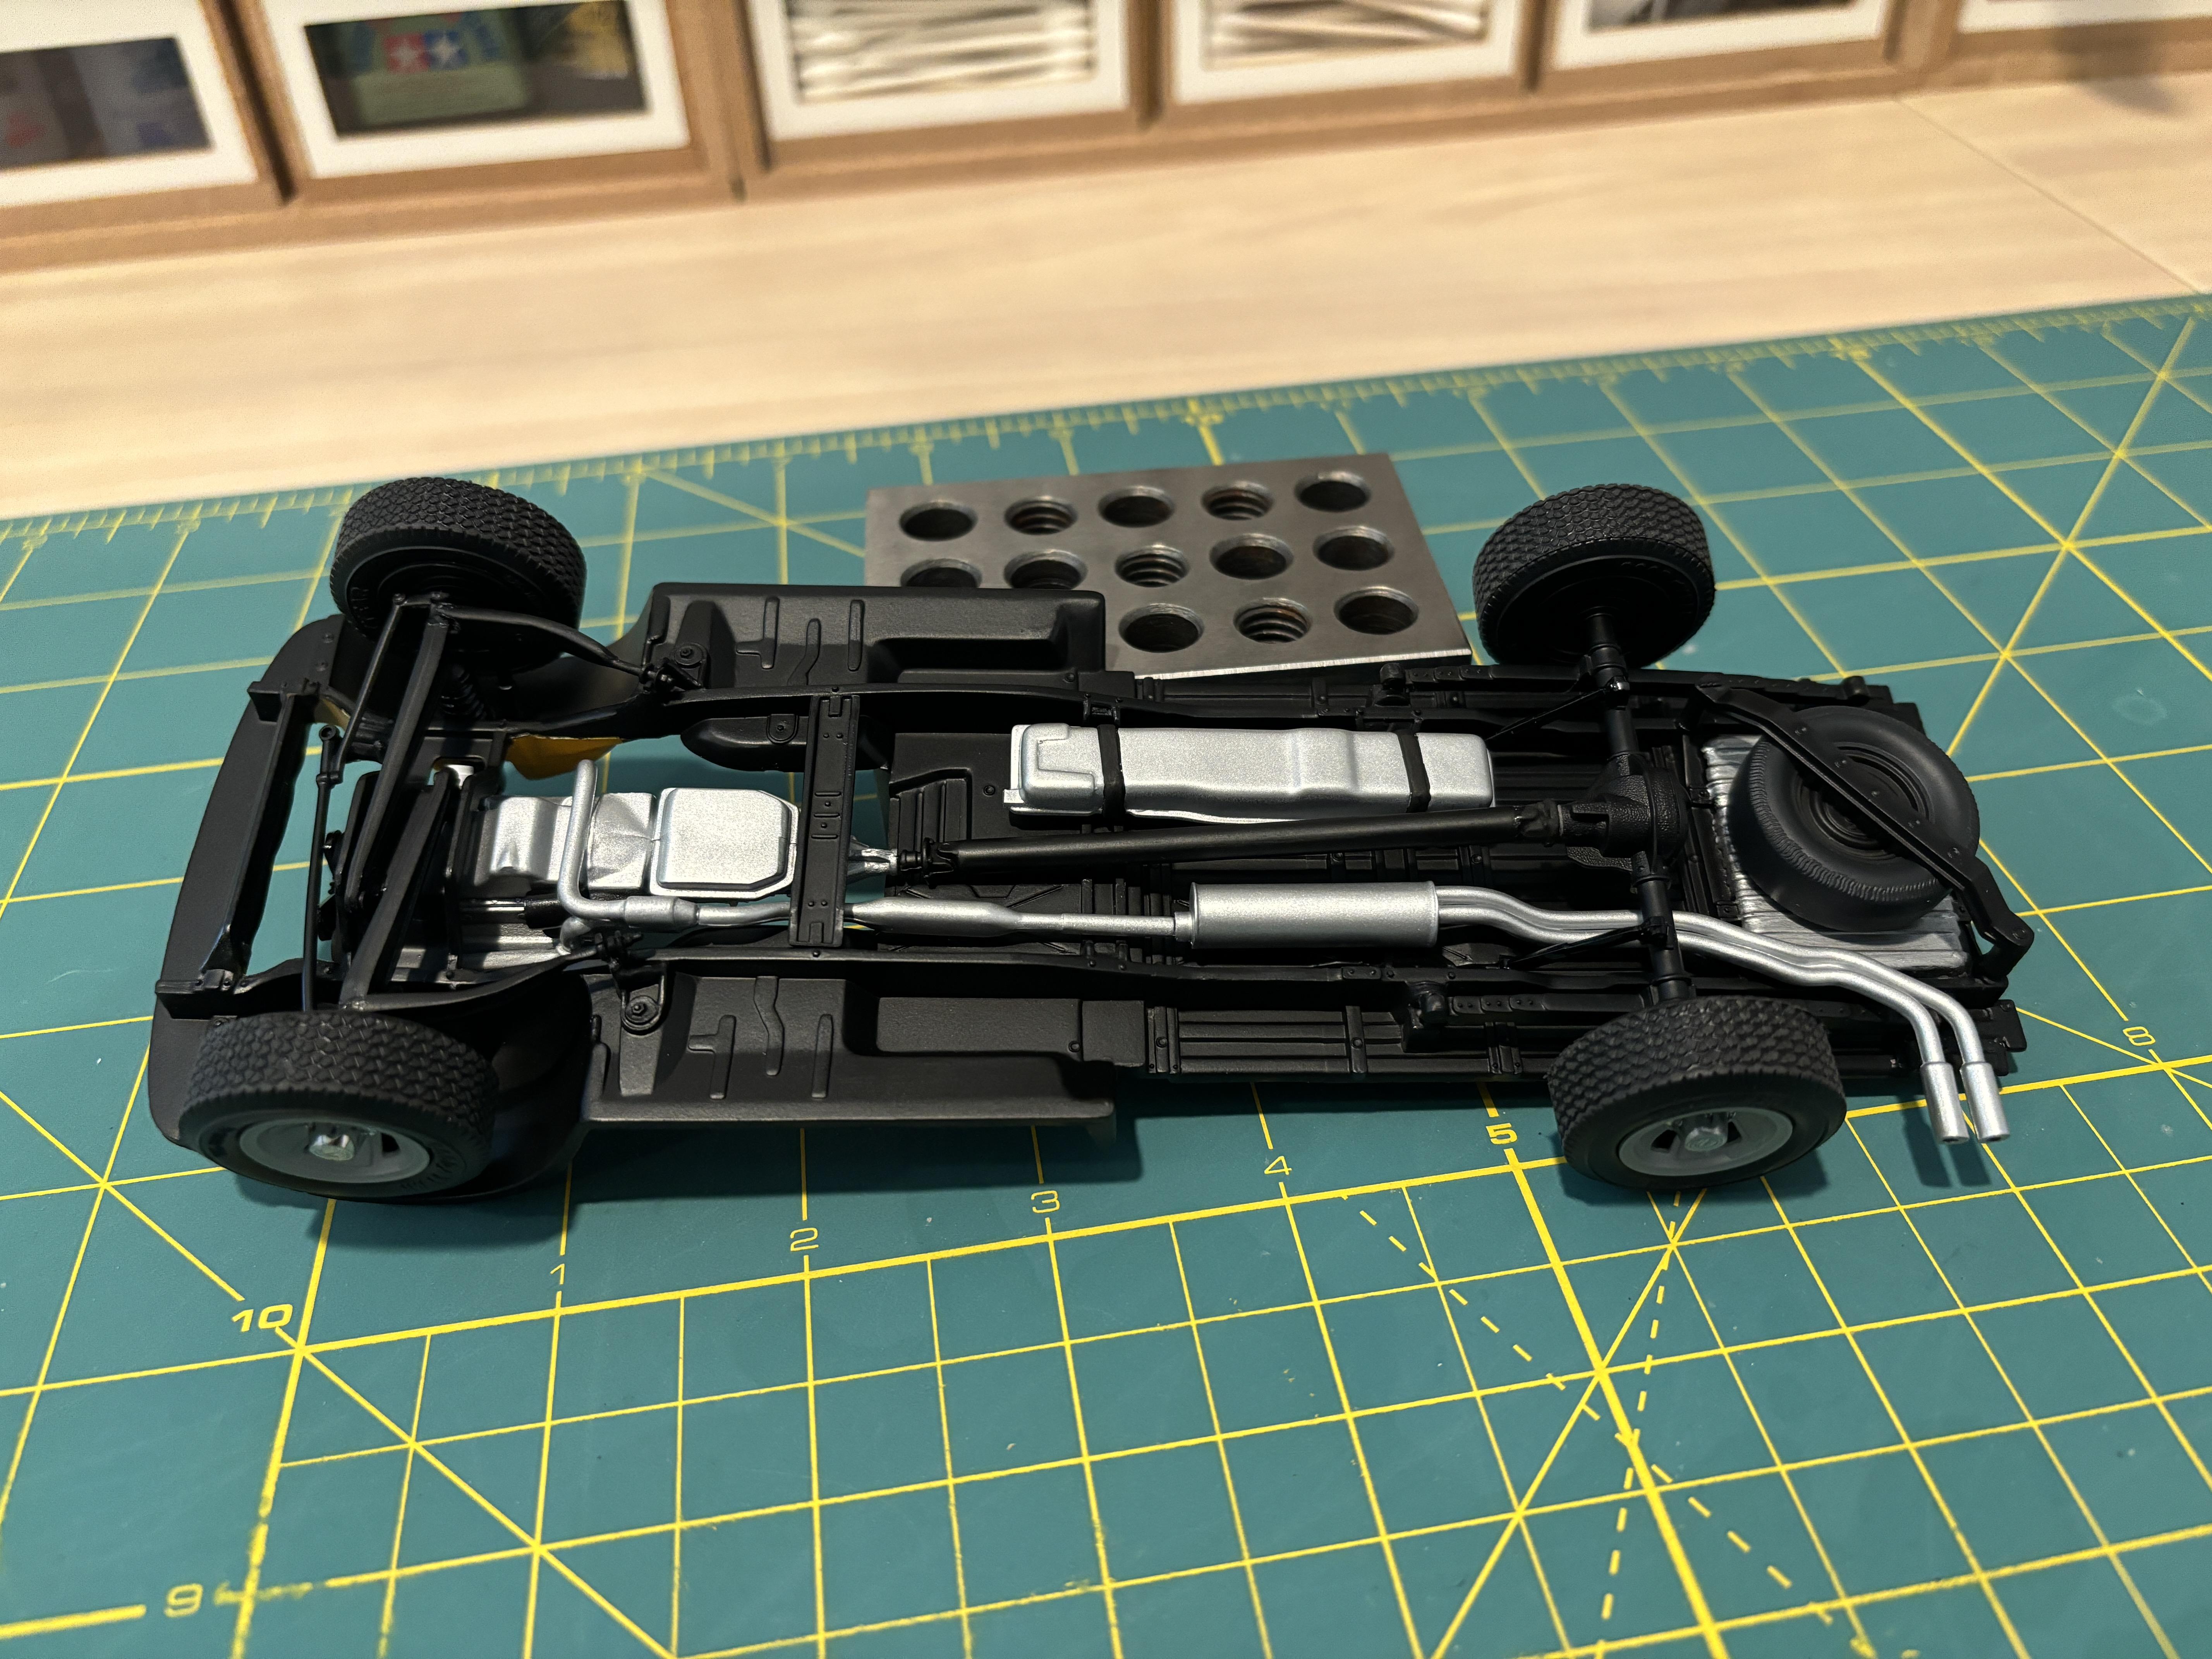
Thanks! Thanks! Glad its worked out for you as well. It's definitely one of the best tips I've learned on this forum. Now for some more progress. The chassis and engine bay are done. It was my first time detailing up a chassis and engine bay, and I'm happy with the outcome all things considered. I still prefer building curbside, but I'm always happy to try out new things and further my modeling skills: I painted the bumpers today. I followed the same paint method as the wheels - Tamiya Silver Leaf cleared with Tamiya Flat Clear: Some imperfections showed through at the bottom of the front bumper. Luckily, I have to paint that portion flat black so that should be an easy fix.
-
1992 Ford F-150 XL Work Truck
av405 replied to av405's topic in WIP: Model Trucks: Pickups, Vans, SUVs, Light Commercial
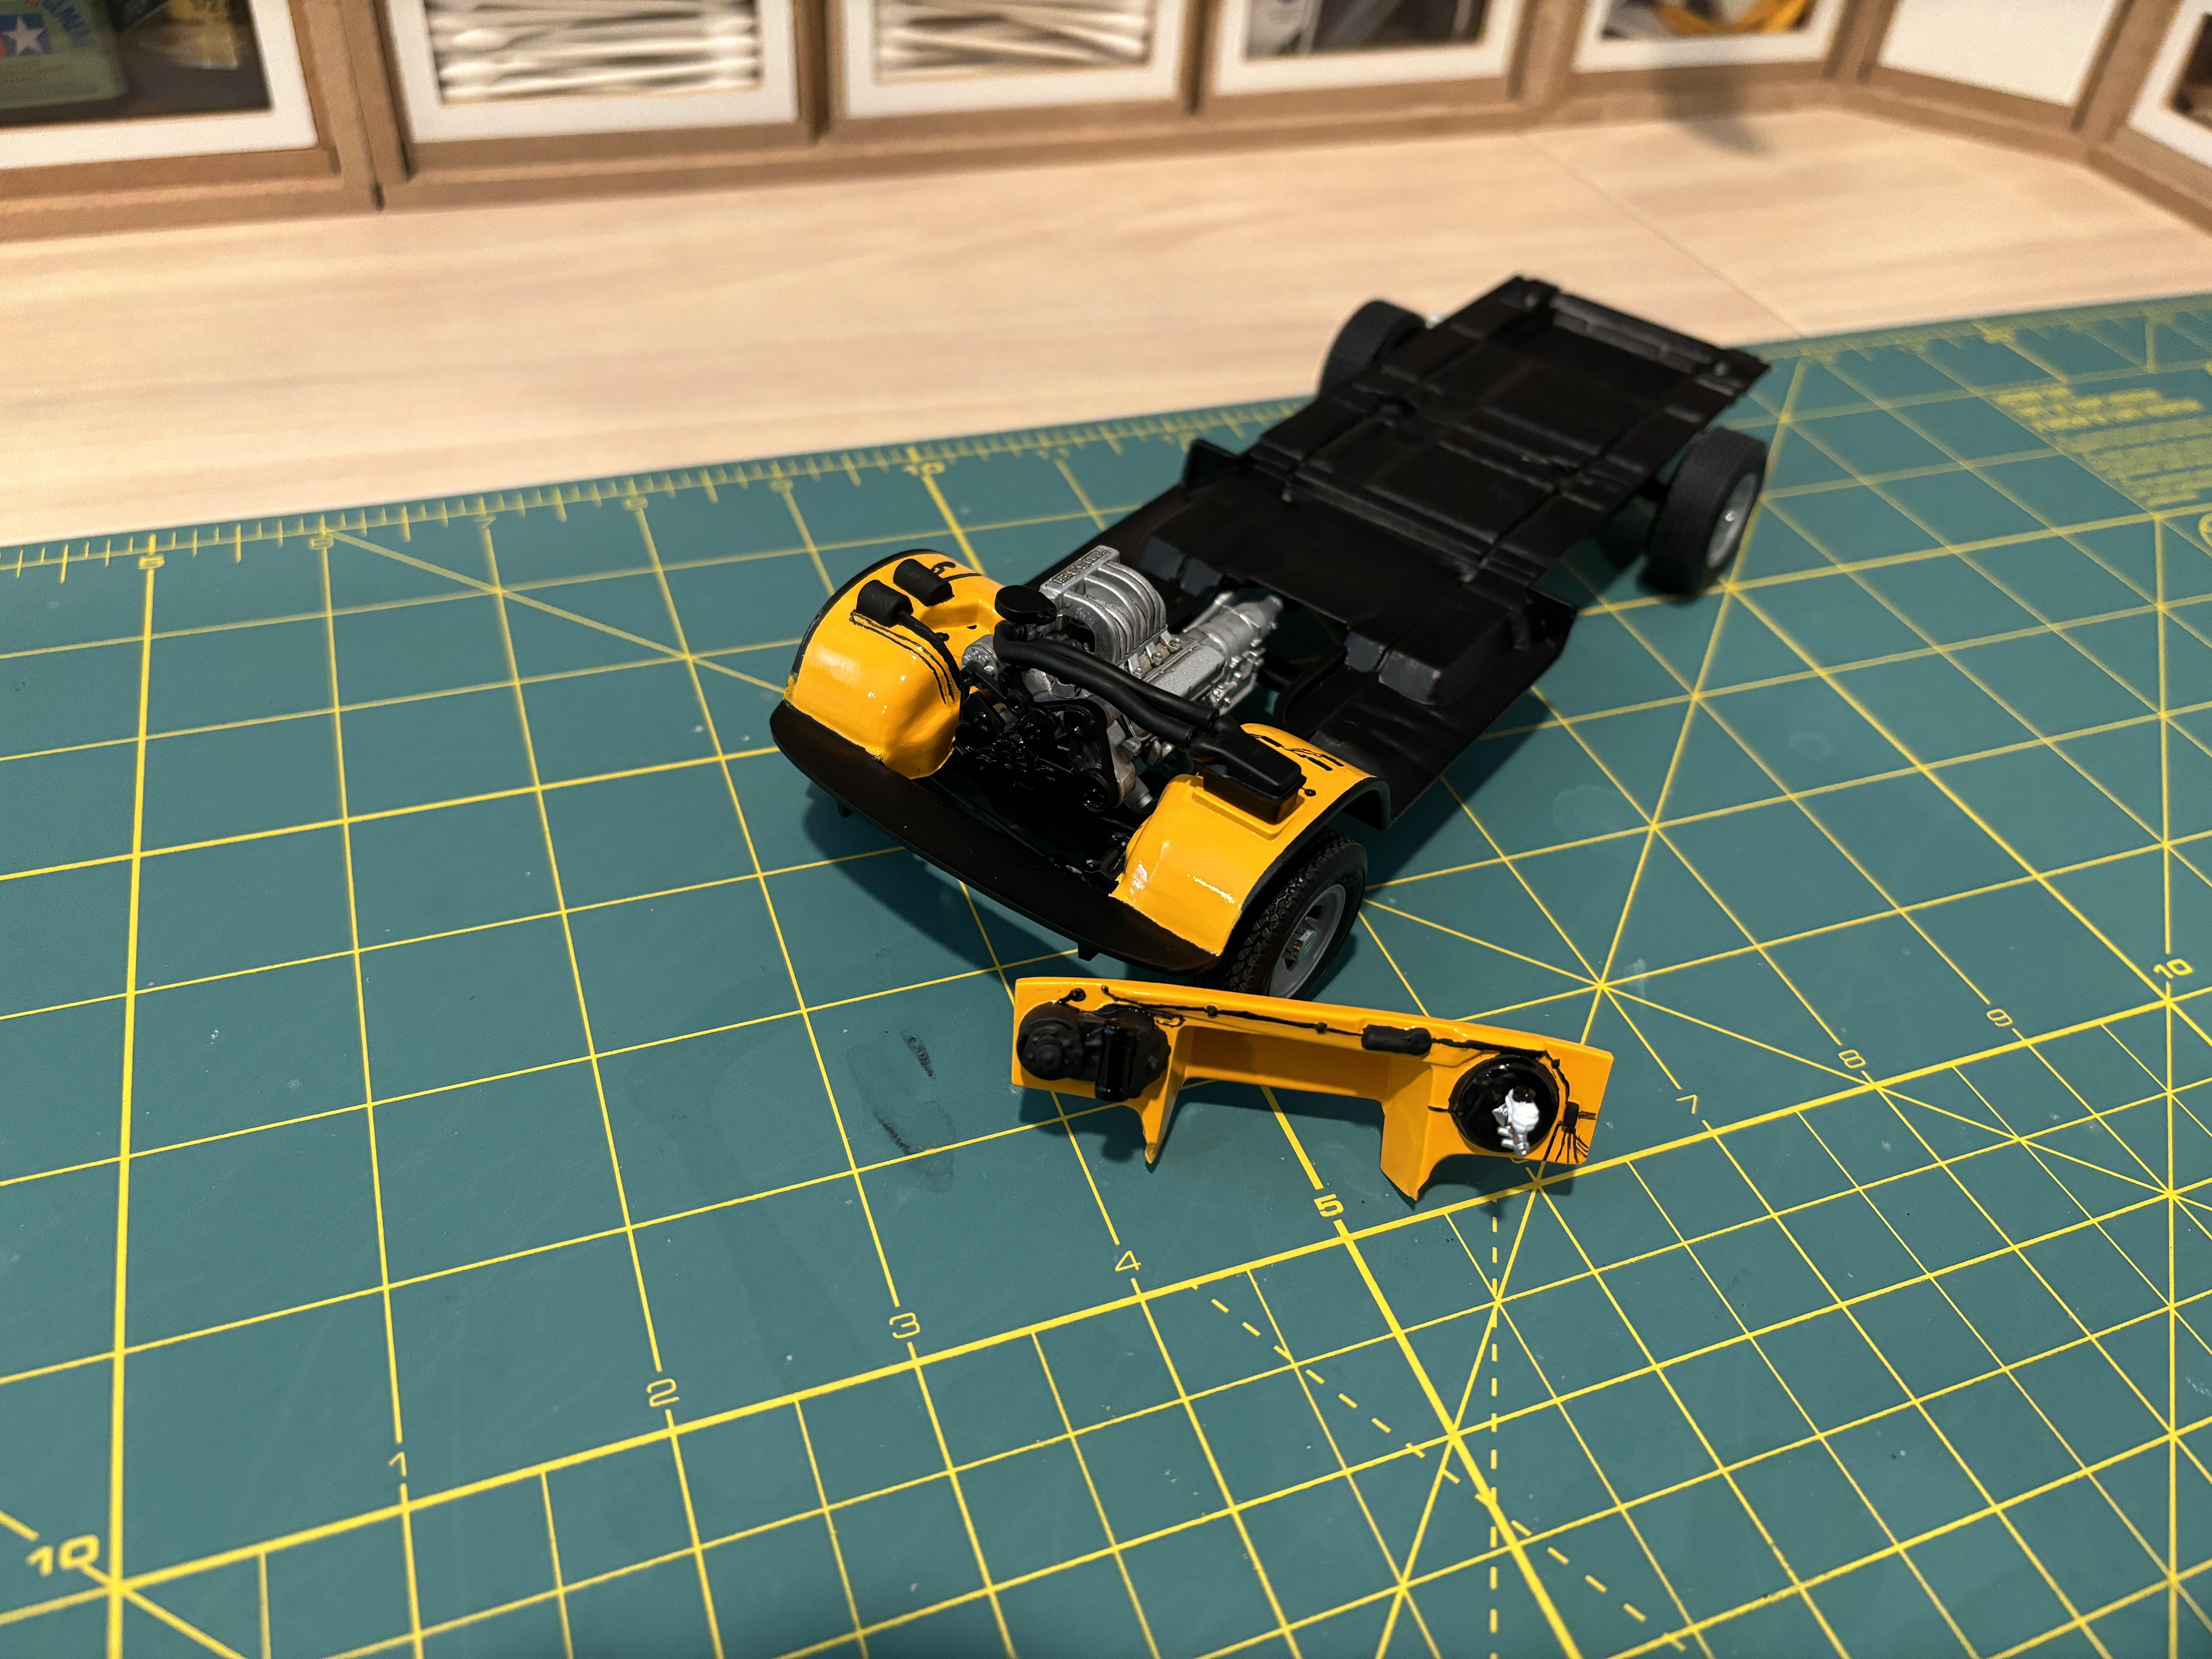
Thank you! Yes, you're right about that. I should have specified in my earlier posts that the interior door panels are correct for power windows but not for cranks. I thought about re-doing the upholstery pattern on the seats with putty. But like you said, its good to know when to stop, especially when it comes to interior stuff that won't be too visible. The windows had some fine scratches and blemishes from having bounced around unprotected inside the box for decades. A little Novus 2 and some polishing pads took care of most of it: I spent the last few days working on the stance of the truck. These AMT Ford kits sit a bit too low to the ground for my liking. I added some thin Evergreen pieces to give the truck a slight lift. I could have probably gone just a bit higher, but I didn't want to push my luck. Here's how the truck looks as of today, with the corrected stance and main components mocked up:
-
1992 Ford F-150 XL Work Truck
av405 replied to av405's topic in WIP: Model Trucks: Pickups, Vans, SUVs, Light Commercial
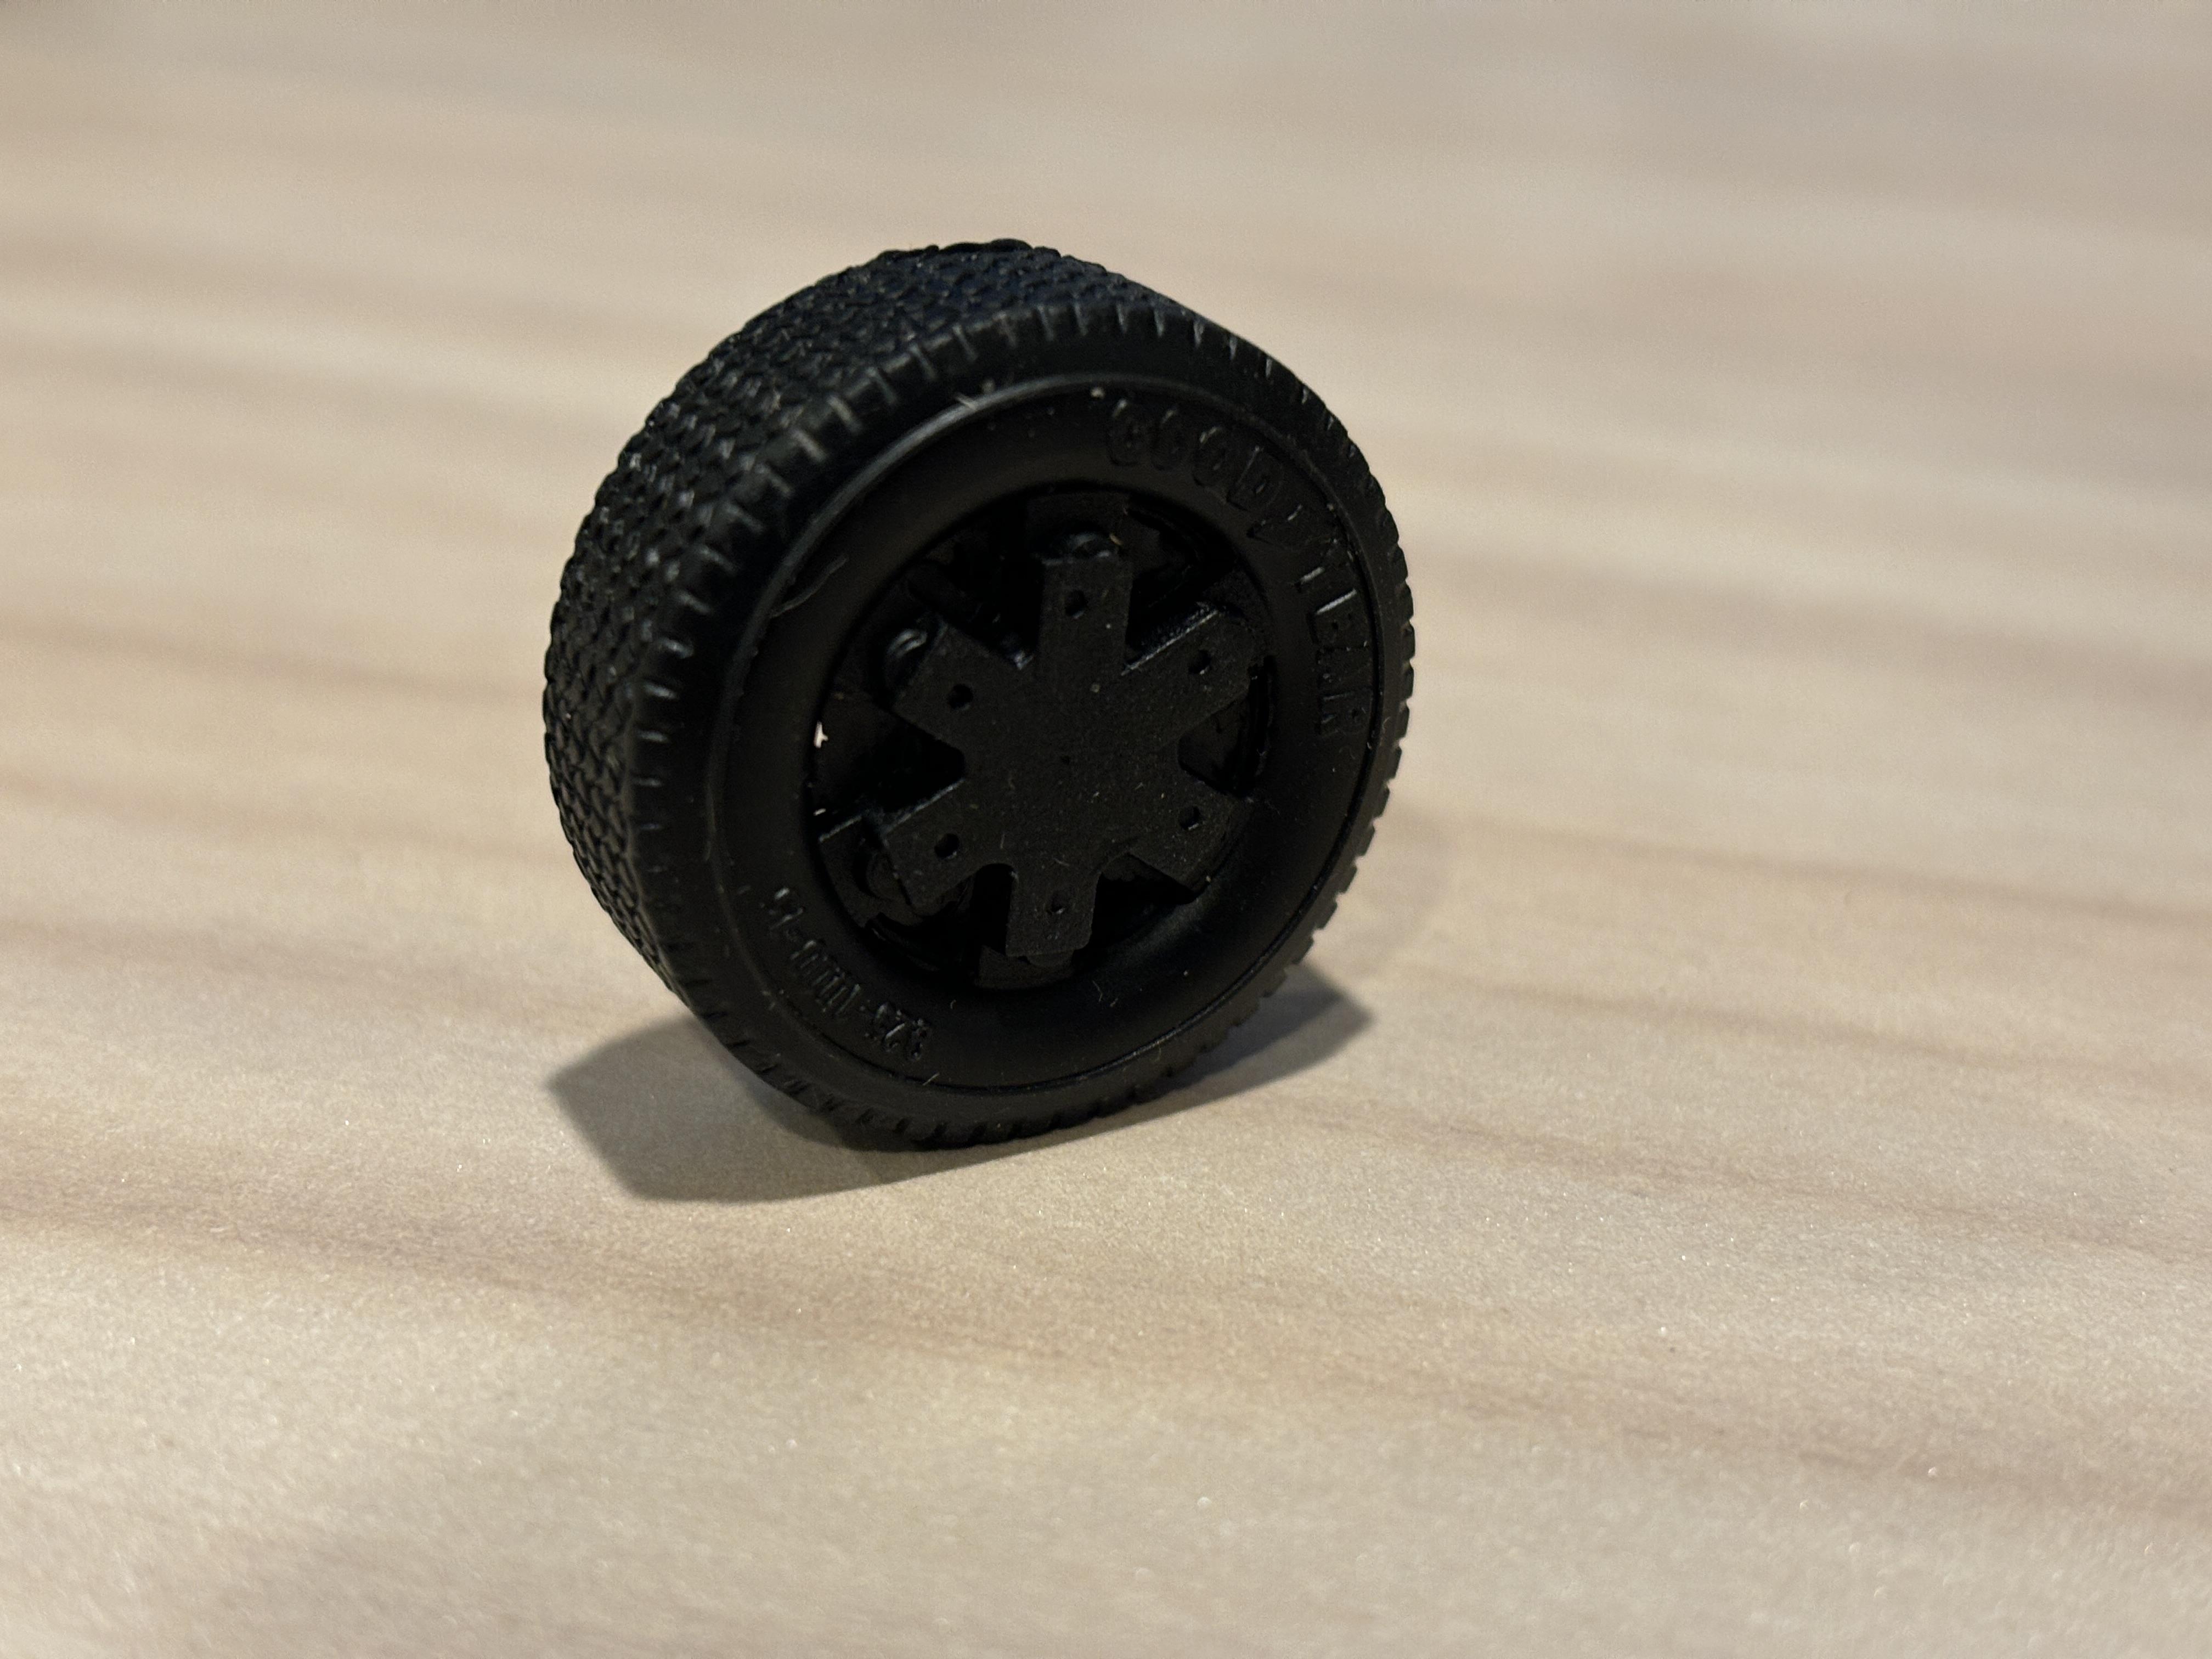
I did everything with an Xacto knife. This is the second AMT kit in a row that I work on where the wheels come this way. Both are early 90's kits, so this must have been standard back then. Each time I've taken a bit too much off at least one tire. Good point. I do have some silver paints, but they were all too bright. The real Ford wheels are more of a "subdued argent.' Somewhere between flat grey and silver. The bumpers are the same color so I'm going to paint them the same as well. -
1992 Ford F-150 XL Work Truck
av405 replied to av405's topic in WIP: Model Trucks: Pickups, Vans, SUVs, Light Commercial
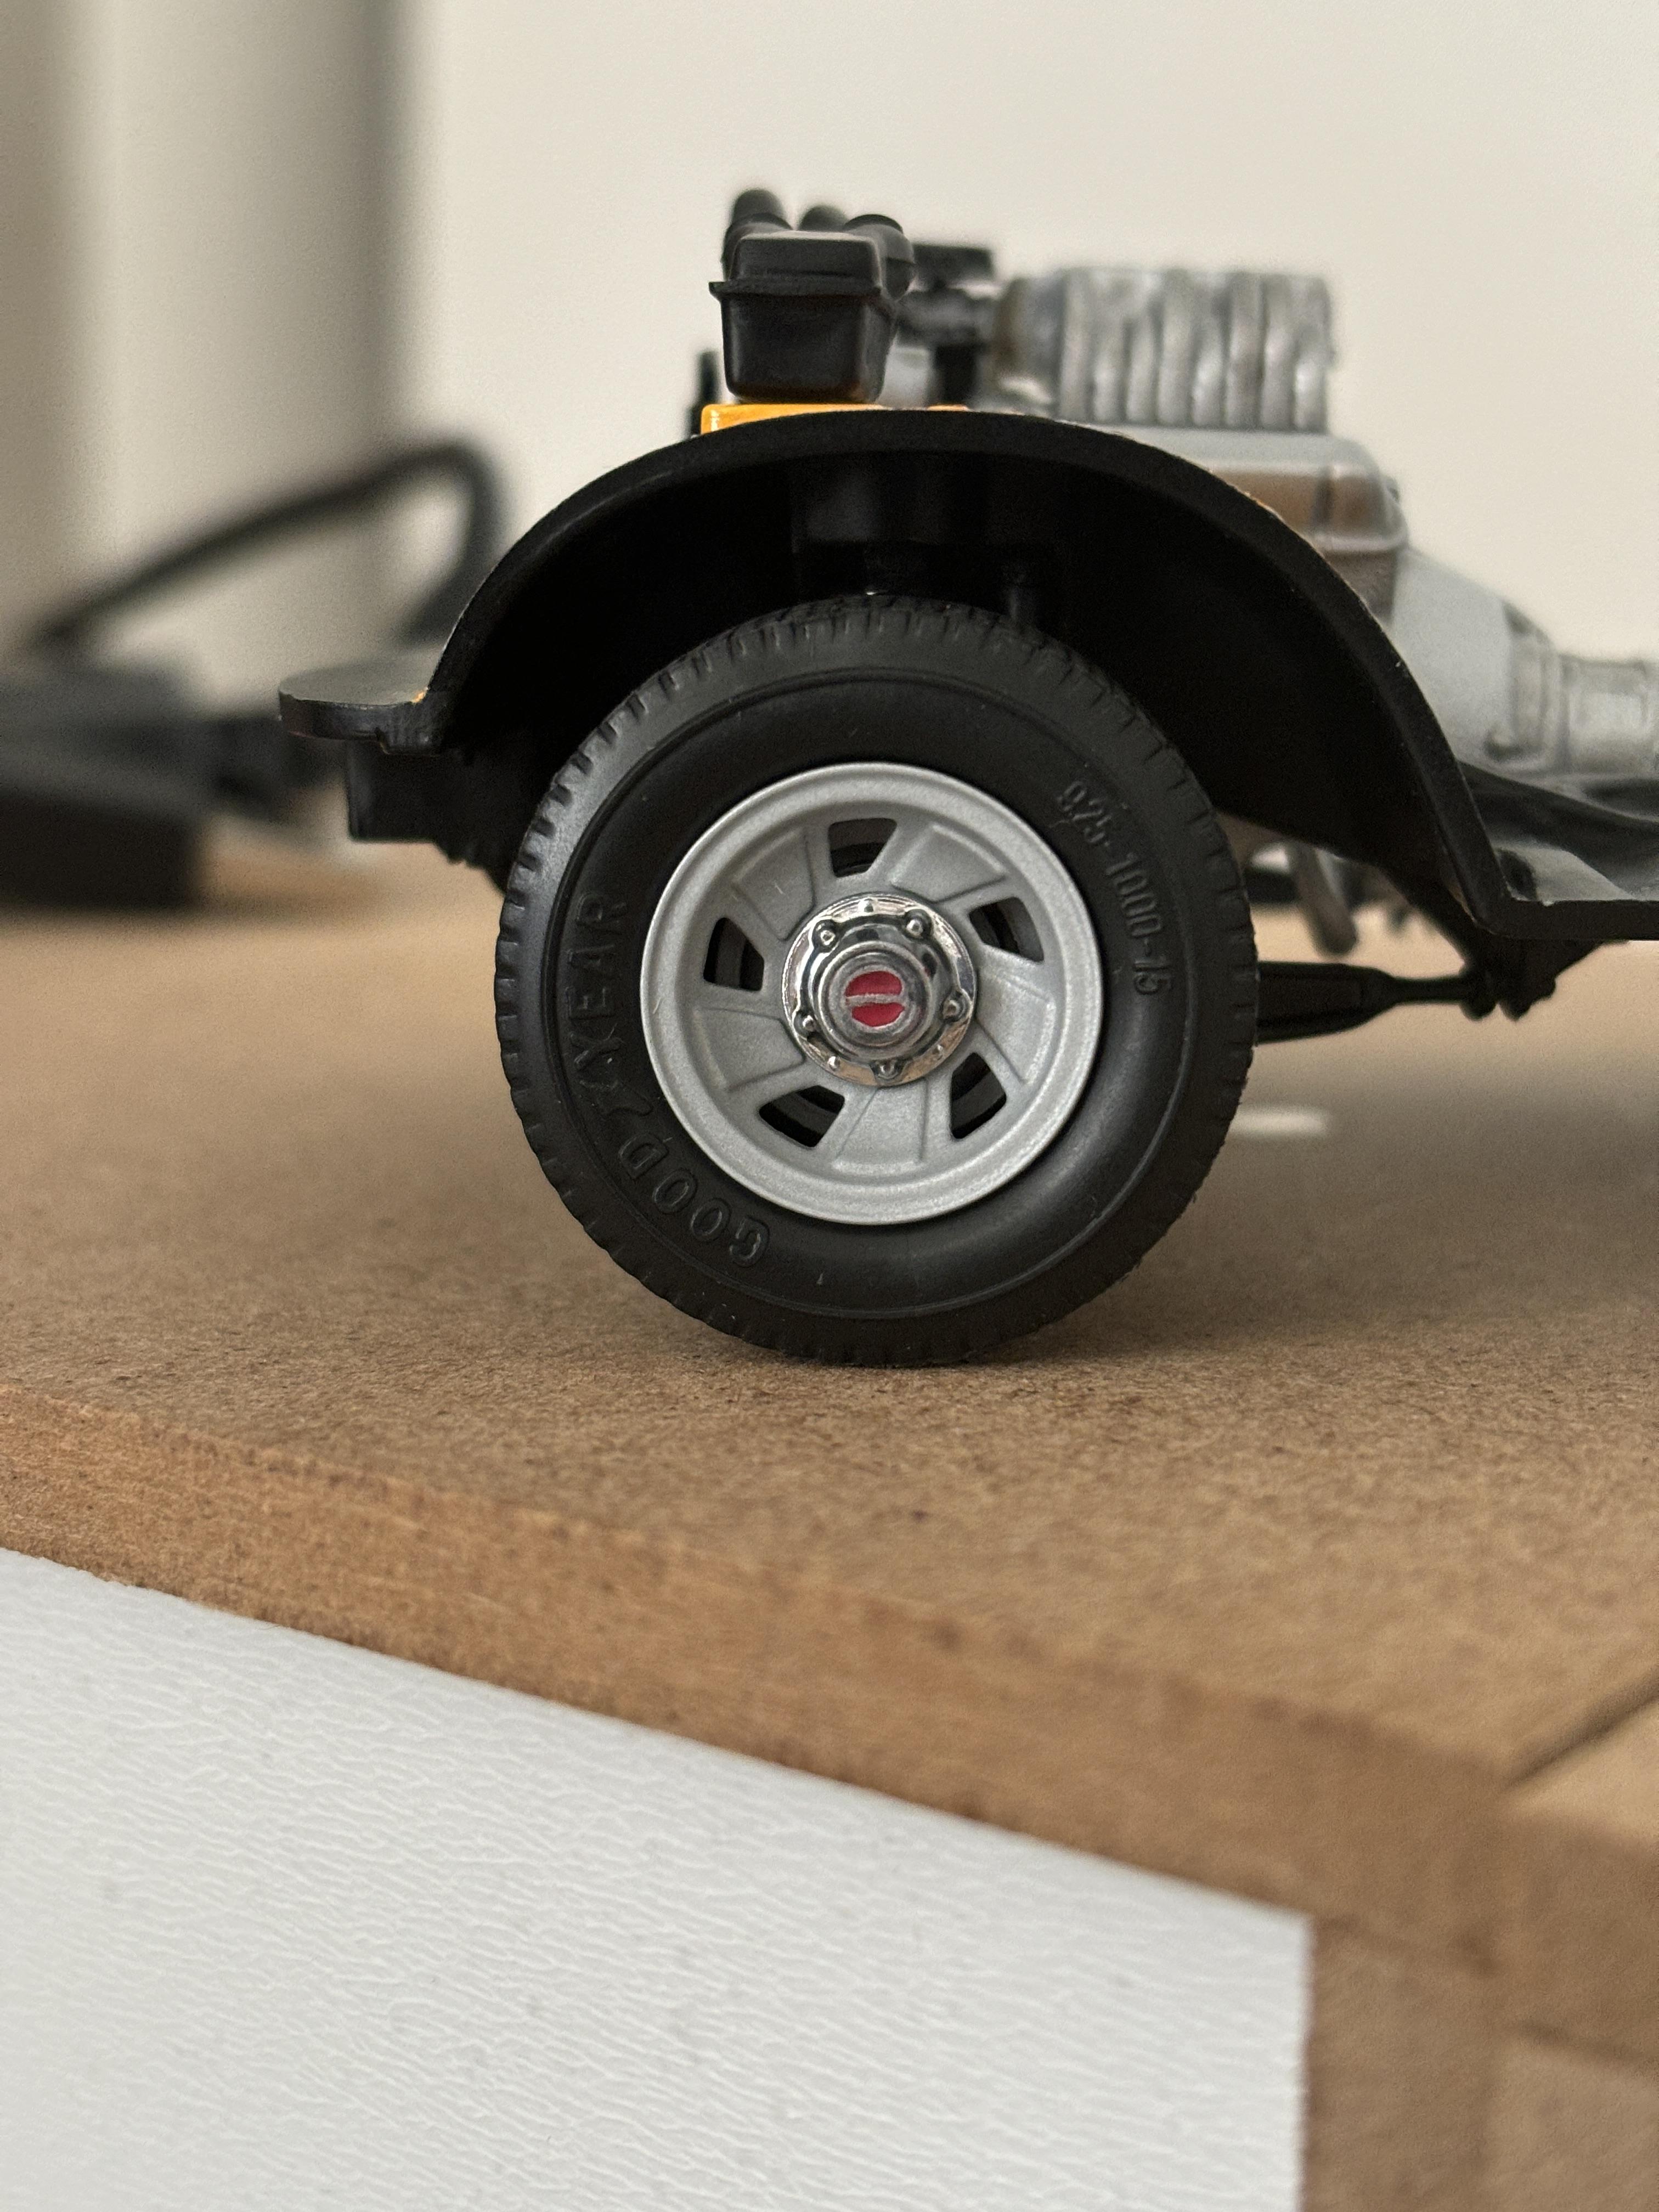
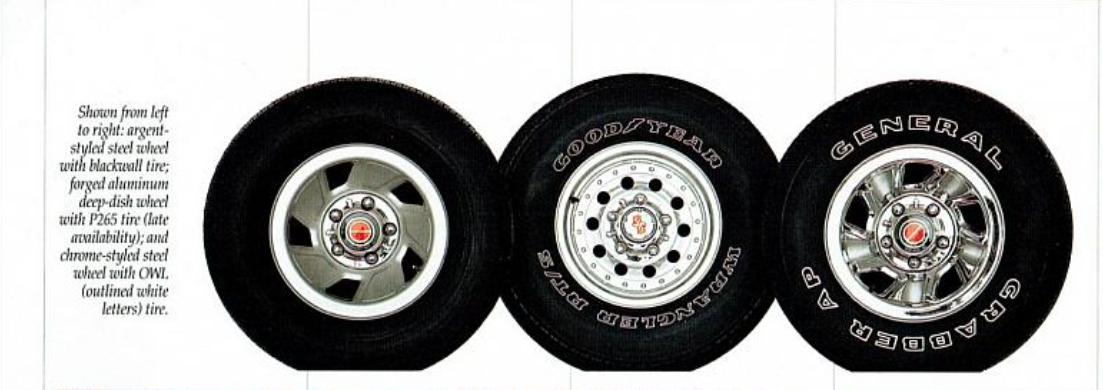
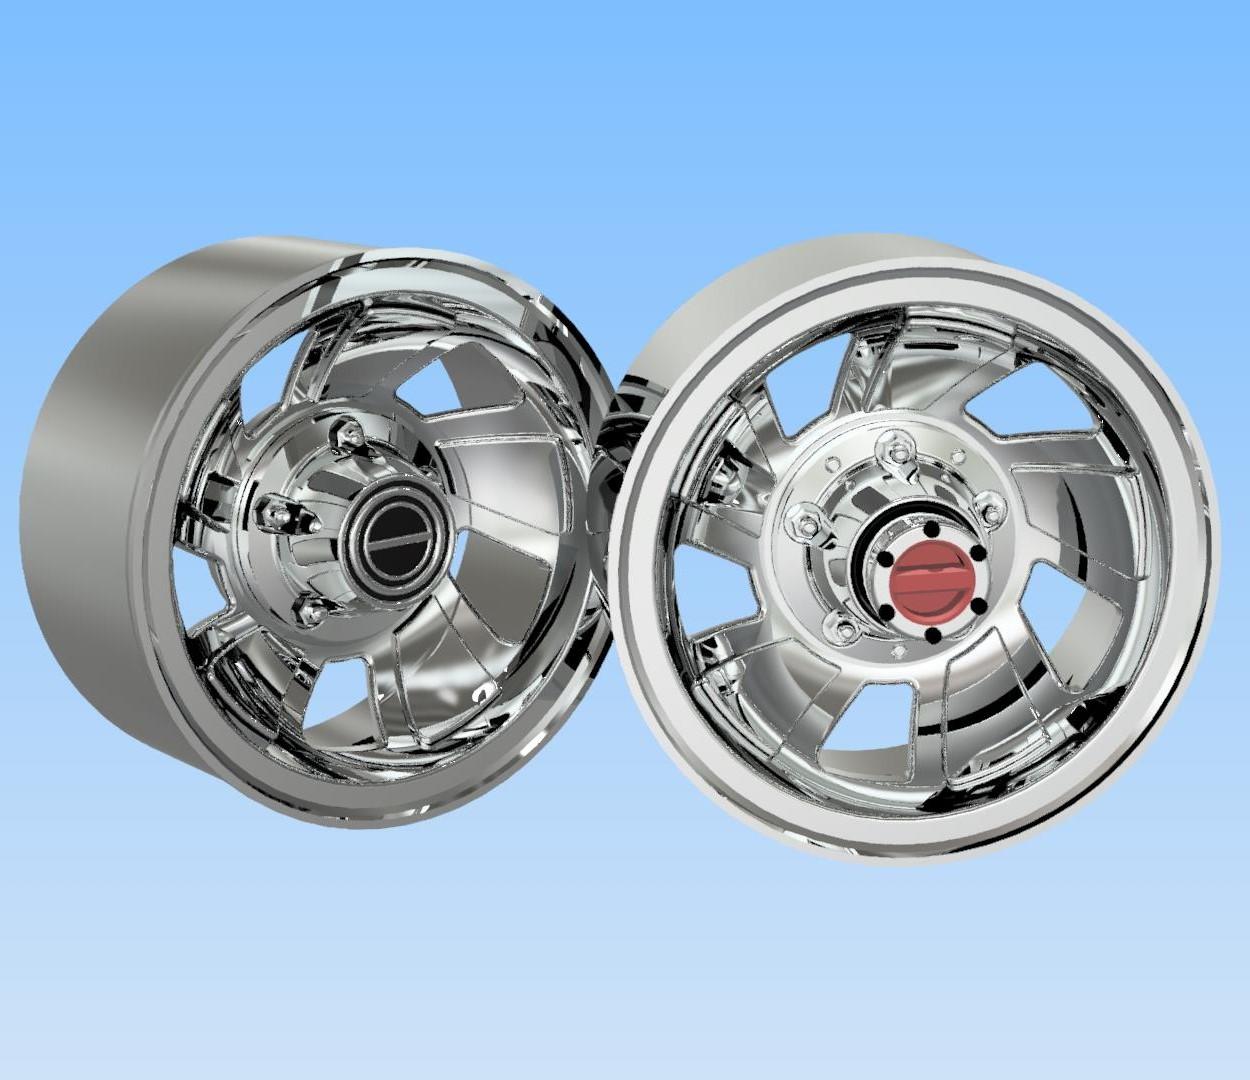
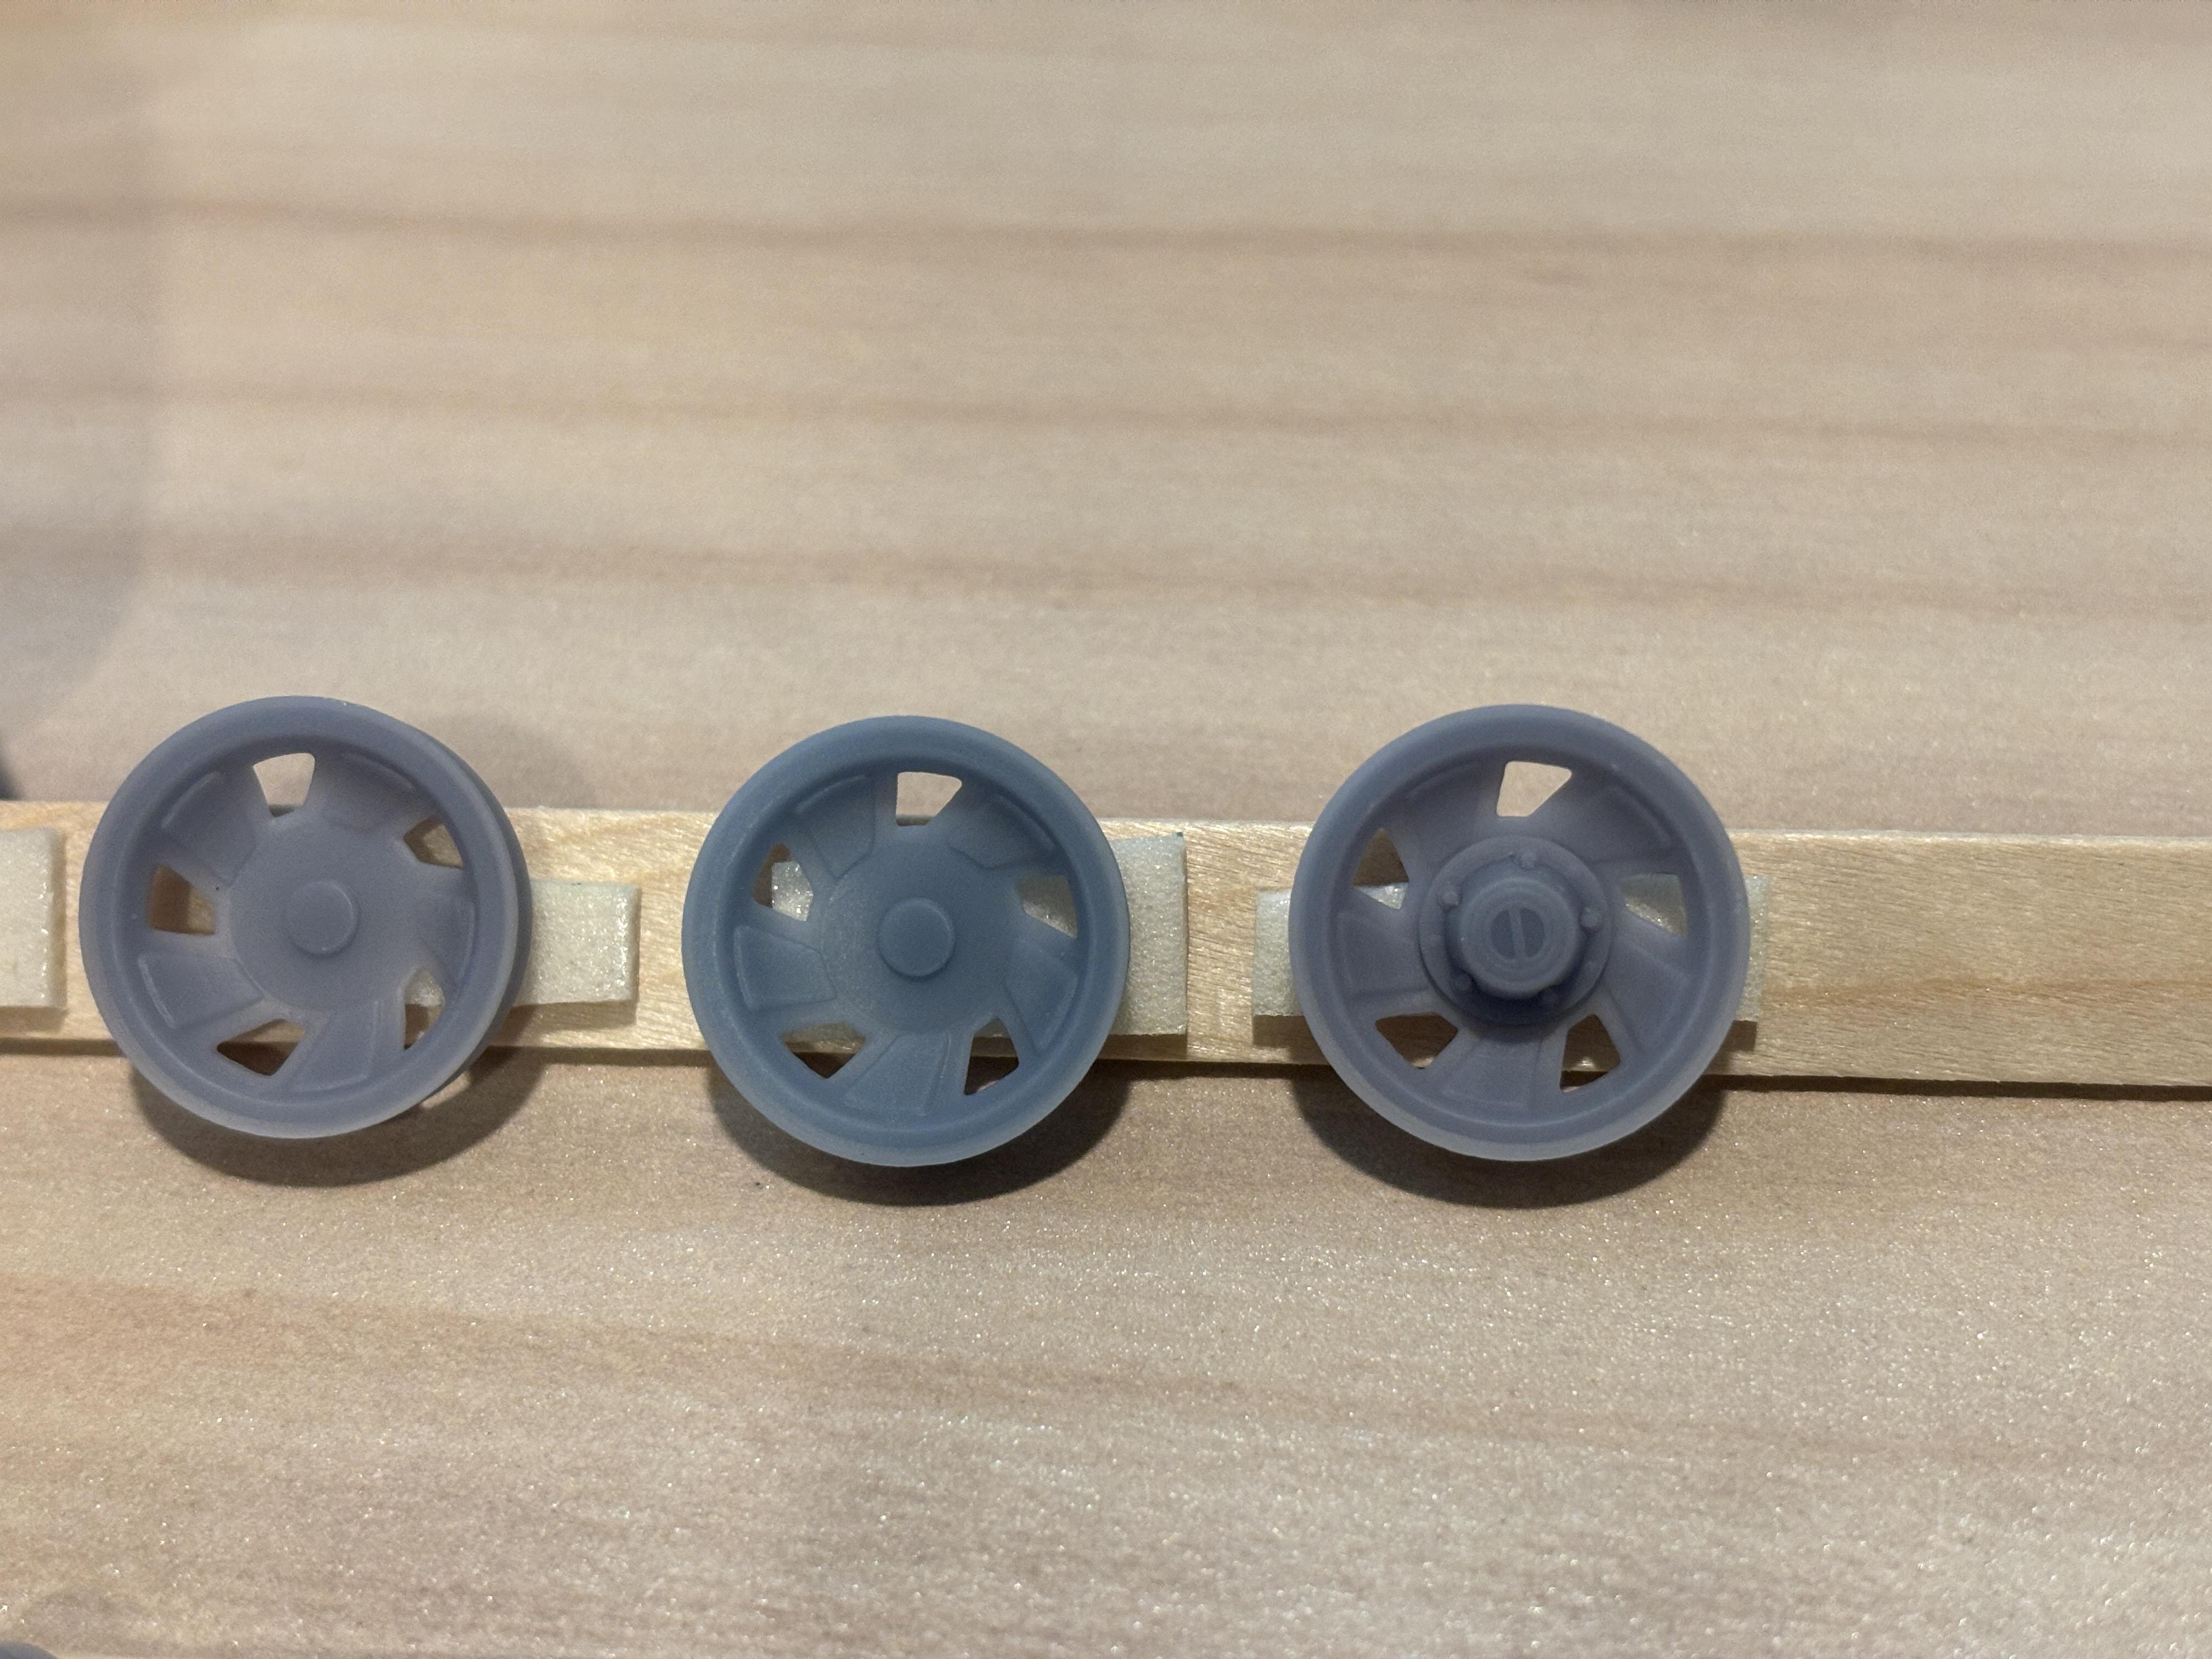
Now onto one of the other challenges of this build: the wheels. Excluding the Lightning kits, all other versions of the AMT F-150 come with the Forged Aluminum style wheels featured in the middle of this brochure picture. It's a beautiful design, but they were not options on the XL models. Oddly enough, they were options on the Custom model, which was marketed as a step below the XLs. For a long time, this project stalled due to the lack of appropriate wheels until the aftermarket came through for me. Zforce Modelworx features this design for sale on cults: https://cults3d.com/en/3d-model/various/ford-f150-90s-15-oem-fans It's a very flexible design as they are appropriate for XL and XLT model trucks, depending on how they are painted. Best of all, the hubcaps are separate pieces from the wheels: The advertised Ford color for these wheels is argent. Unfortunately, I do not have any argent paints or anything that comes close to the right look, so I had to experiment a bit. Here's the final result: The wheels were painted with Tamiya TS-30 Silver Leaf and then clear coated with TS-80 Flat Clear. TS-30 is a very argent-like color, but has too much shine. The center caps were painted with Revell Chrom(e) spray. I cannot recommend this product enough. I let it dry for 2 weeks and it was rock solid after. This spray does not need primer or a base. I still have to paint the center of the caps, but I will do that at a later stage. If anybody has recommendations for a good argent spray color, I'm all ears. Also, I'm going to end this post by saying how much I hate having to remove this:
-
1992 Ford F-150 XL Work Truck
av405 replied to av405's topic in WIP: Model Trucks: Pickups, Vans, SUVs, Light Commercial
You have a point on the cleanliness aspect, especially when the base trucks have vinyl seats. They're not great if its hot, but boy are they easy to clean. Thanks for the kind words! I did that freehand. It's very easy to do with a Sharpie. The trick is to run the side of the marker tip along the edges, not the tip itself. Glad to help! This was my first time removing the moldings off of an entire kit and I managed to do it all in one night. I actually found it to be much easier than I thought it would be and now I'm not so "scared" to do it again. As for the fender emblems, those will be covered up by "XL" decals. Thanks!