av405
-
Posts
1,201 -
Joined
-
Last visited
Content Type
Profiles
Forums
Events
Gallery
Everything posted by av405
-
 Thank you, Brian!
 -
Thanks! Thank you. The mold is exactly what I should have done as an alternative, but didn't since I have no experience with molds. I will probably end up doing that next time. Thanks for the tips! A little more WIP. This is what the kit glass' rear window looks like. Before turning it into a split window, the rear windshield wiper has to be removed: I used a sprue cutter to remove the molded-in wiper. I then sanded the area with 600, 1000 and 3000 grit sanding sponges and followed it up with Novus 2 polish. After this, I took measurements, drew my cutting line, applied engraving tape and used my Tamiya scriber to create the split window: And here is the completed conversion. I glued a thin piece of styrene to the rear door hatch to create a more prominent and defined opening handle. The rear window should look more convincing once I paint the black trim on the inside. I do realize there are some slight body work imperfections on the rear doors. I got as far as my skills and patience could take me. Some of those imperfections will eventually be covered up with decals for the Sheriff's markings.

-
Looks nice. I haven't seen one of these kits built up in a while.
-
Looks like the light bar, sans lenses. It makes sense as it's with the rest of the parts to be chromed.
-
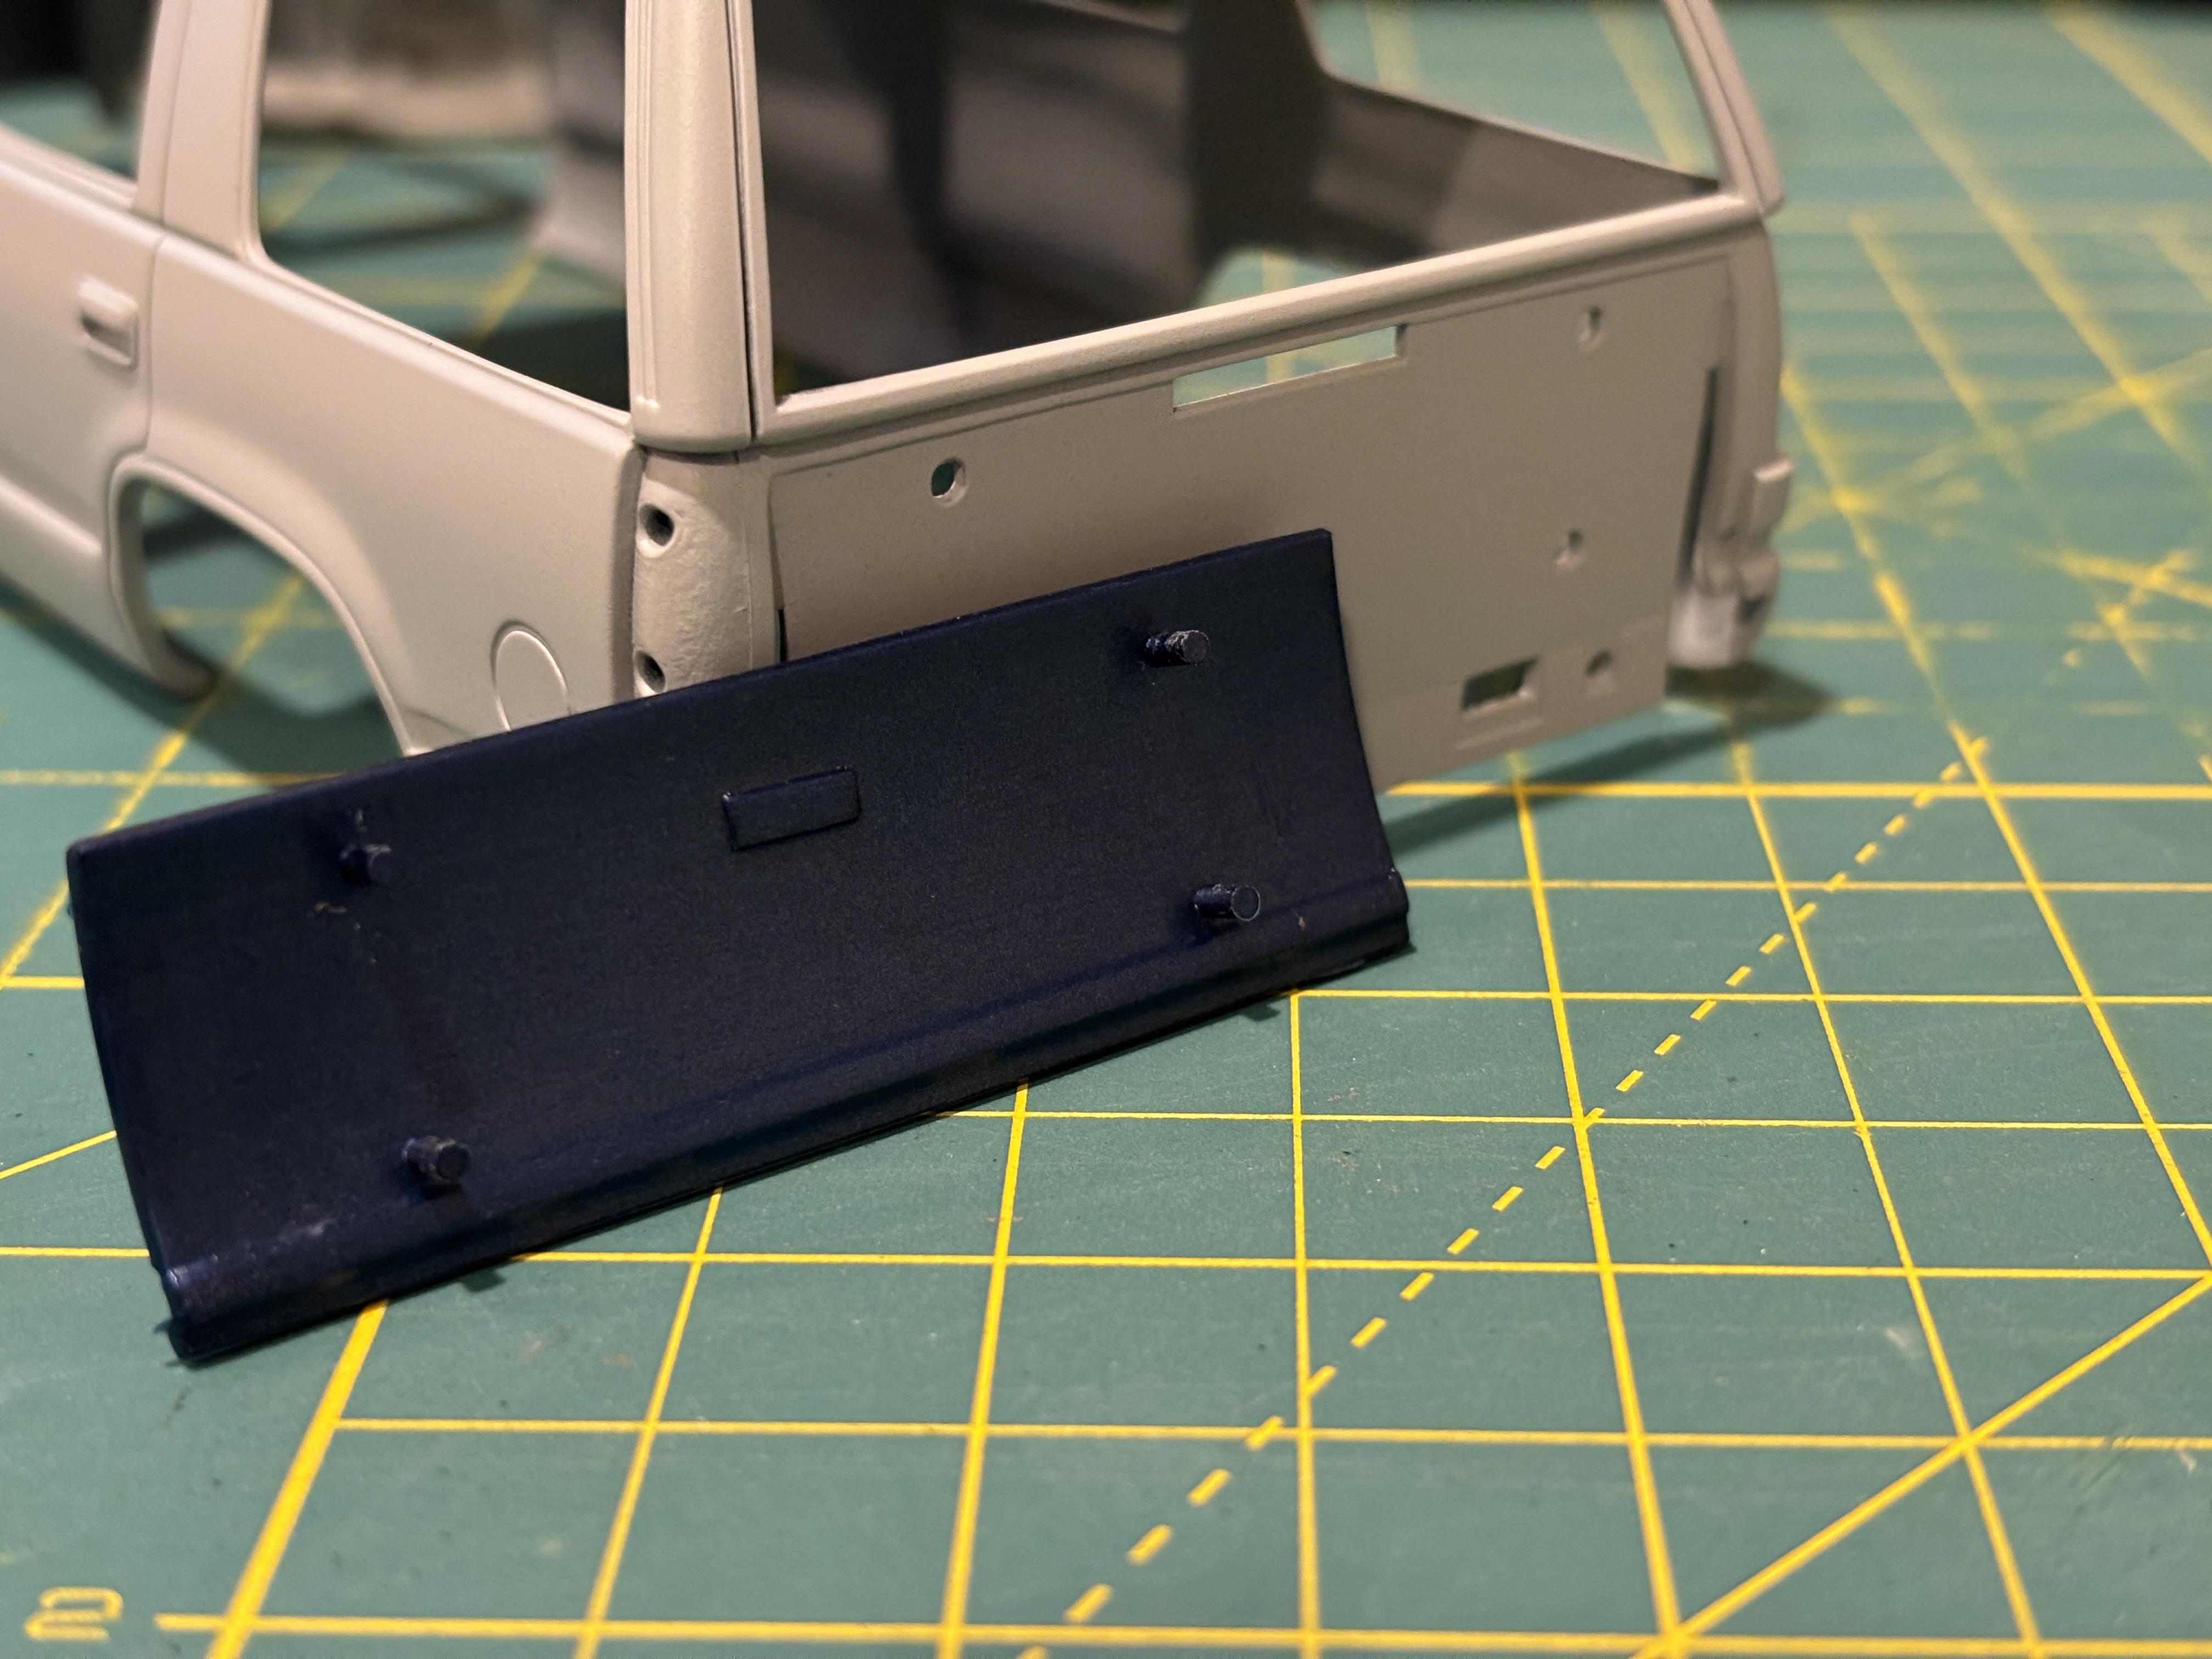
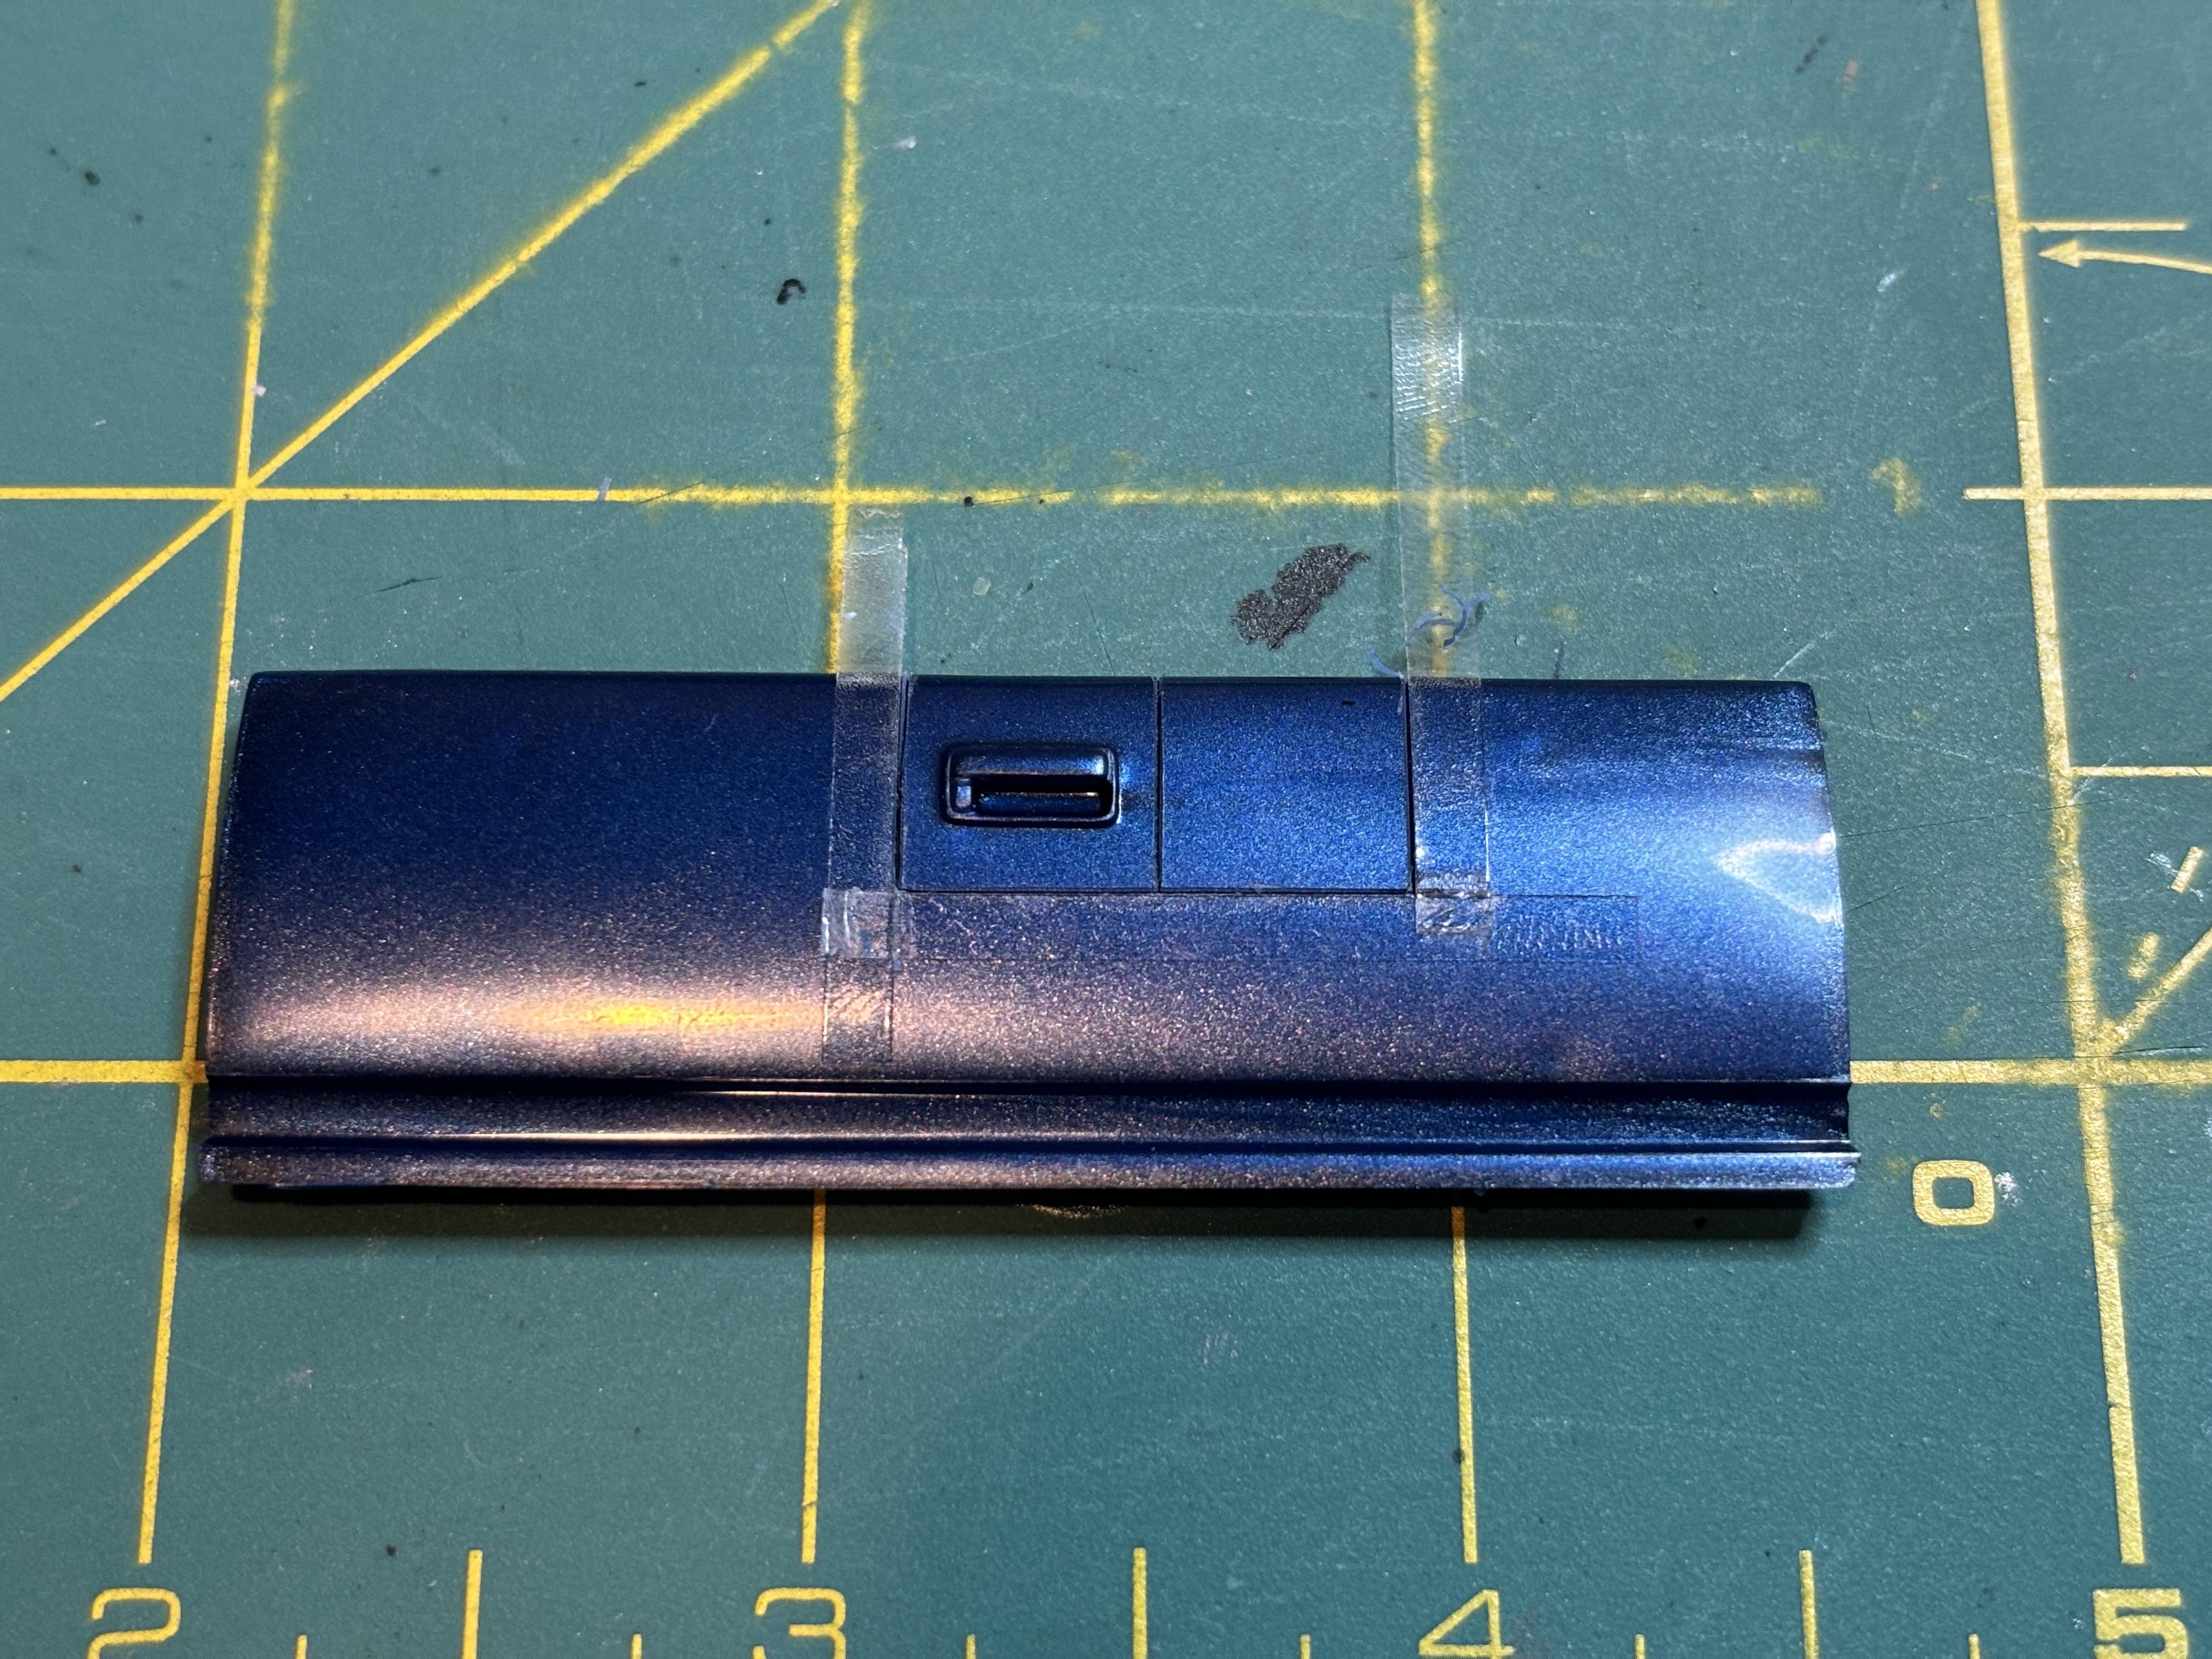
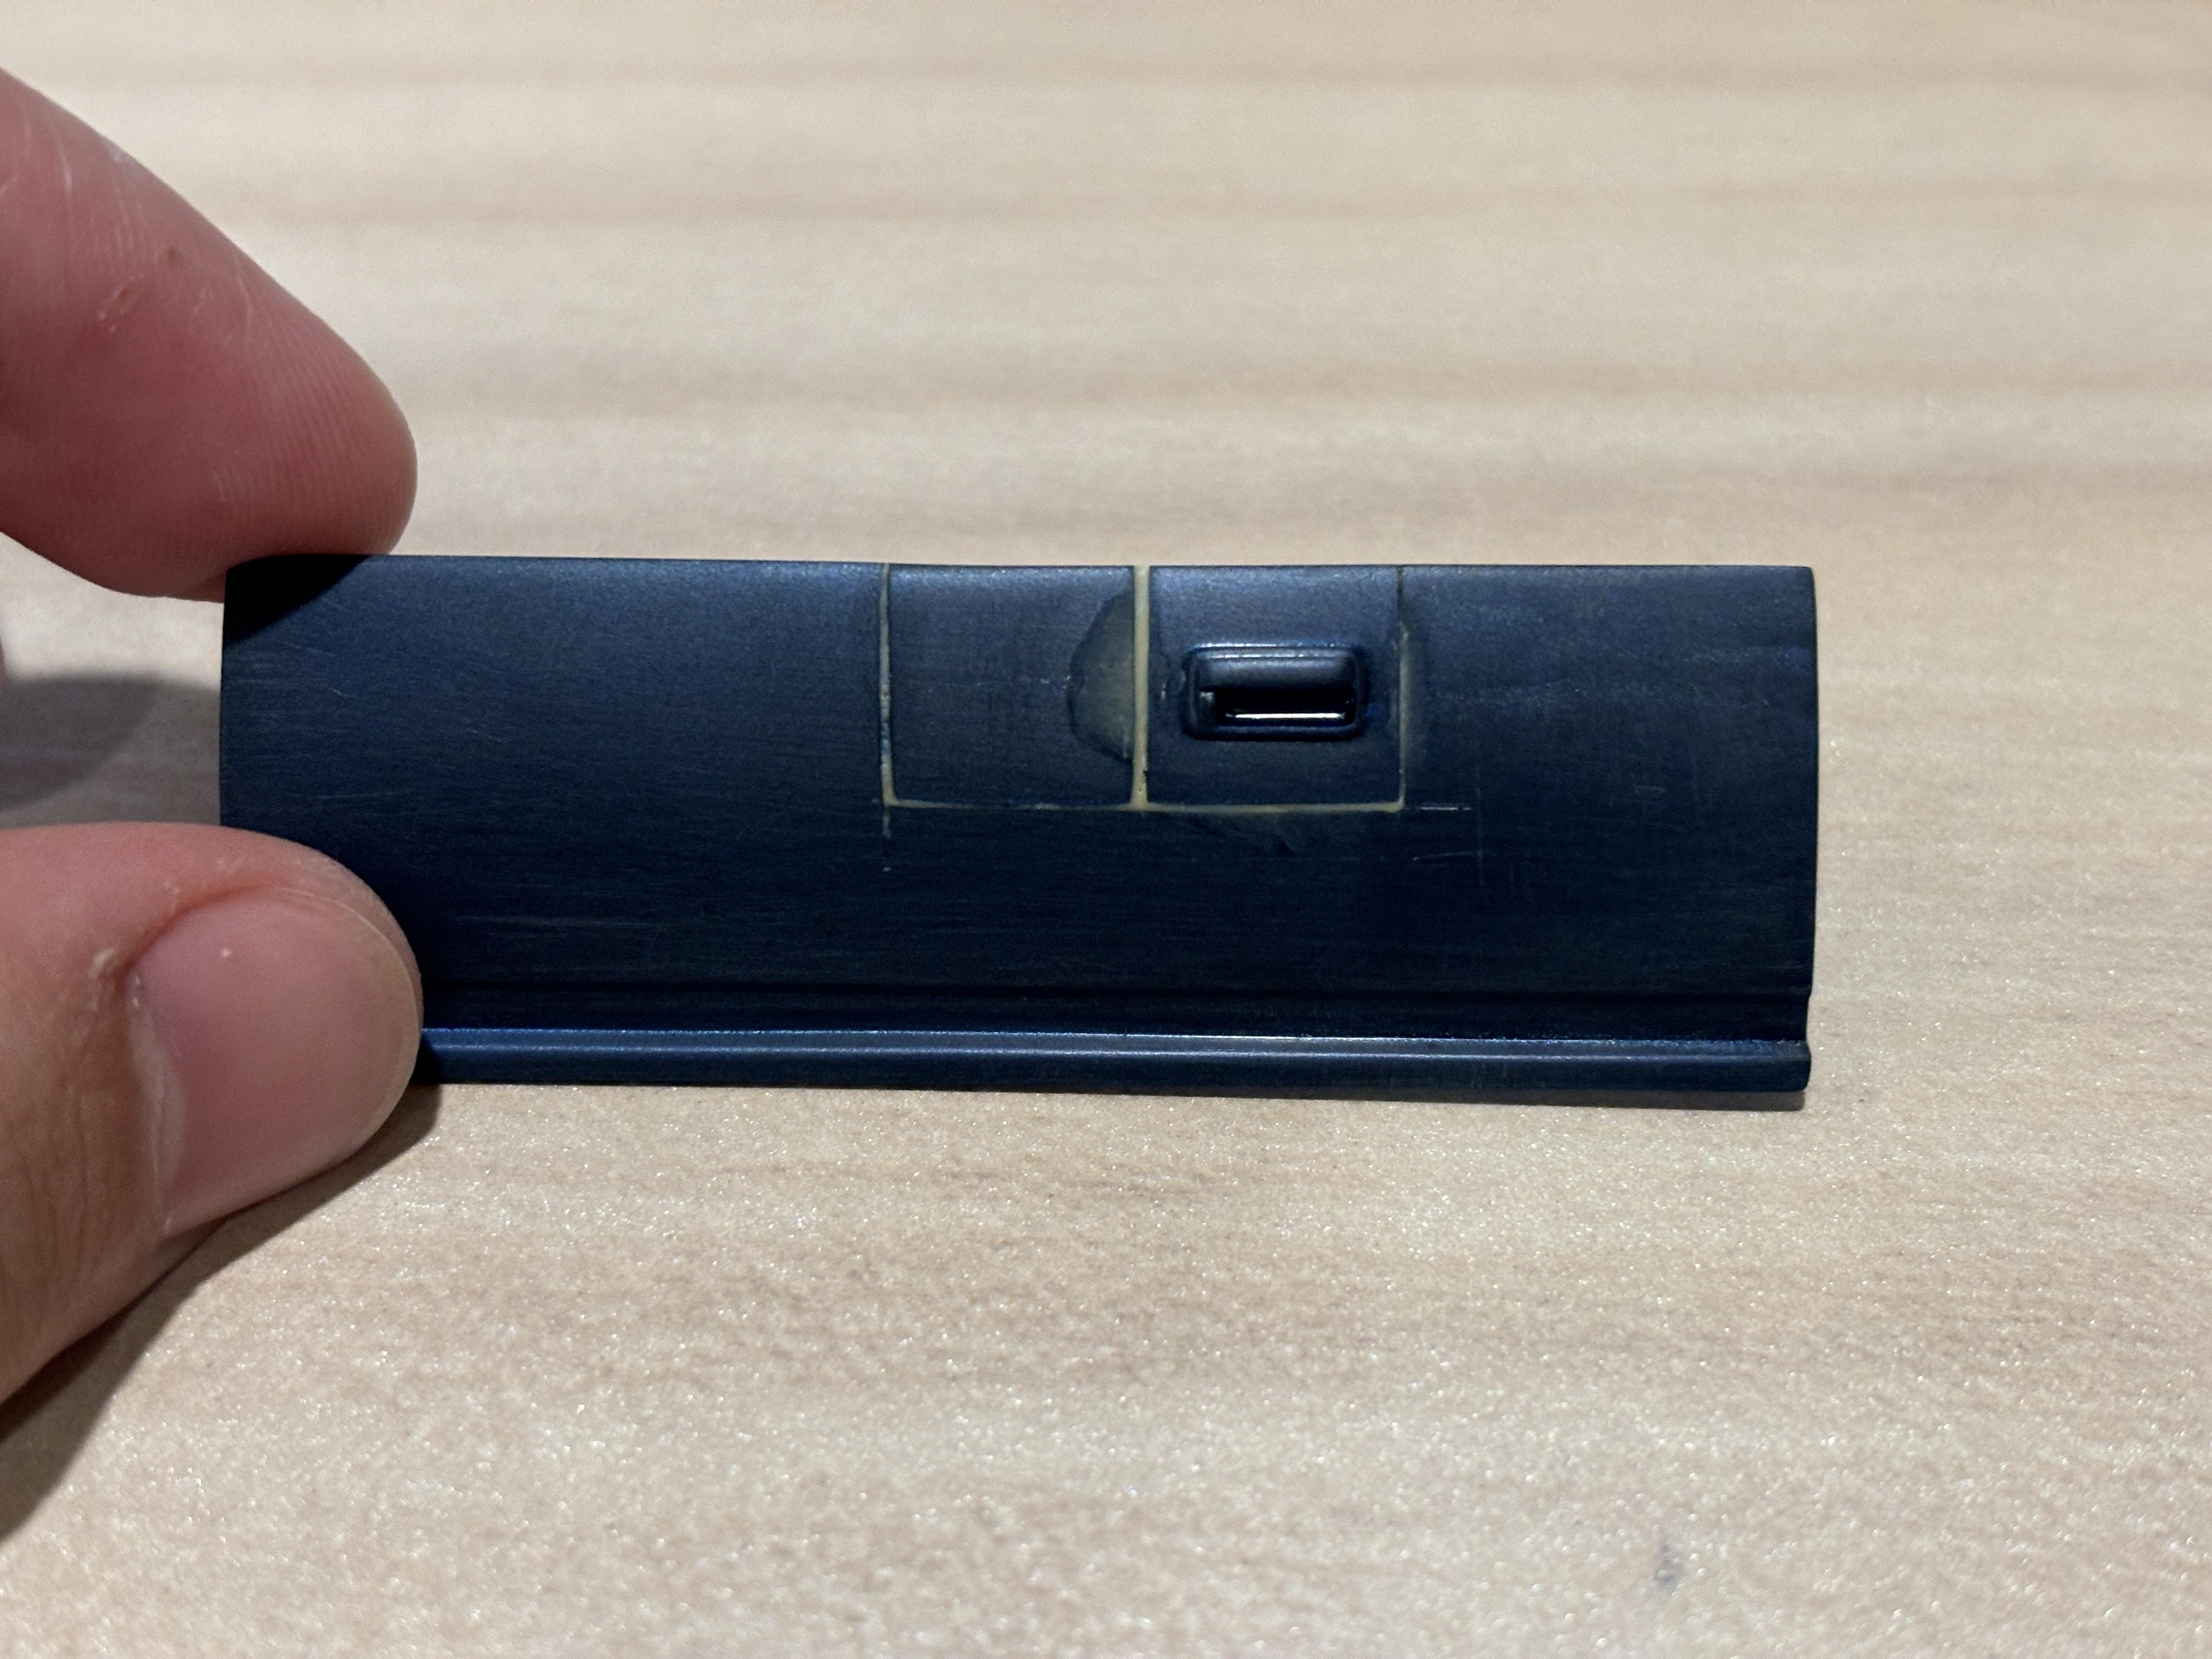
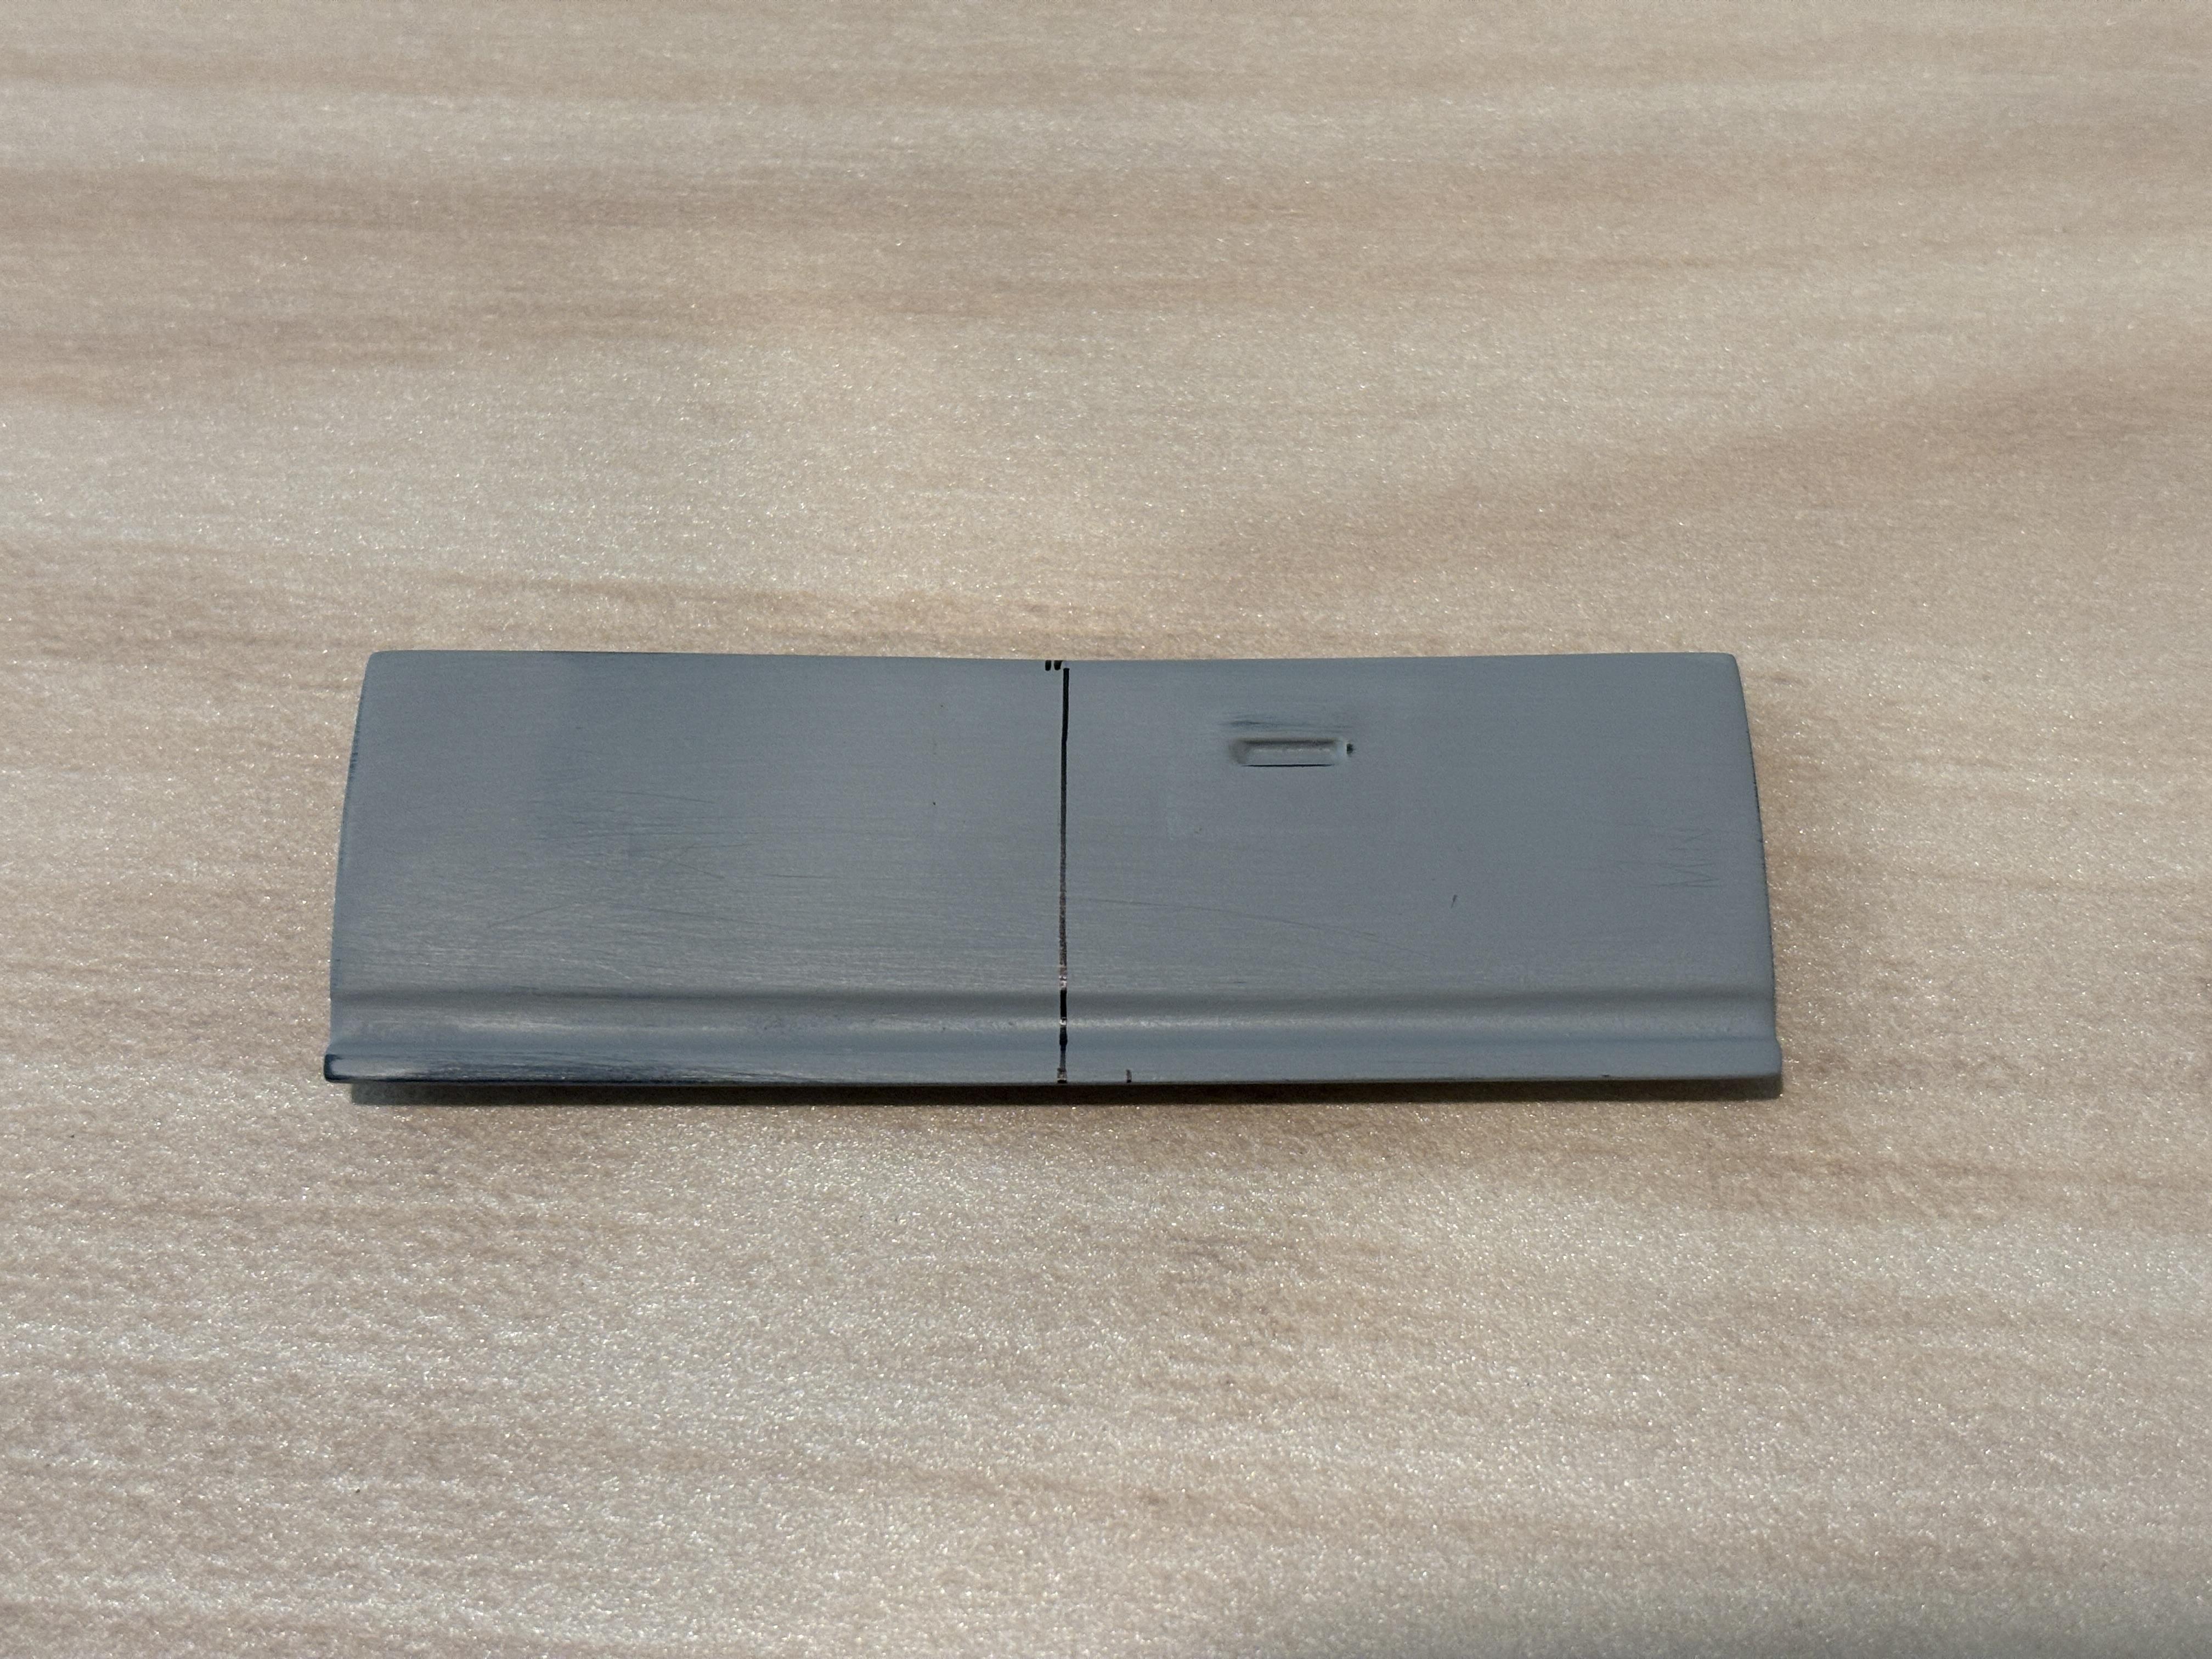
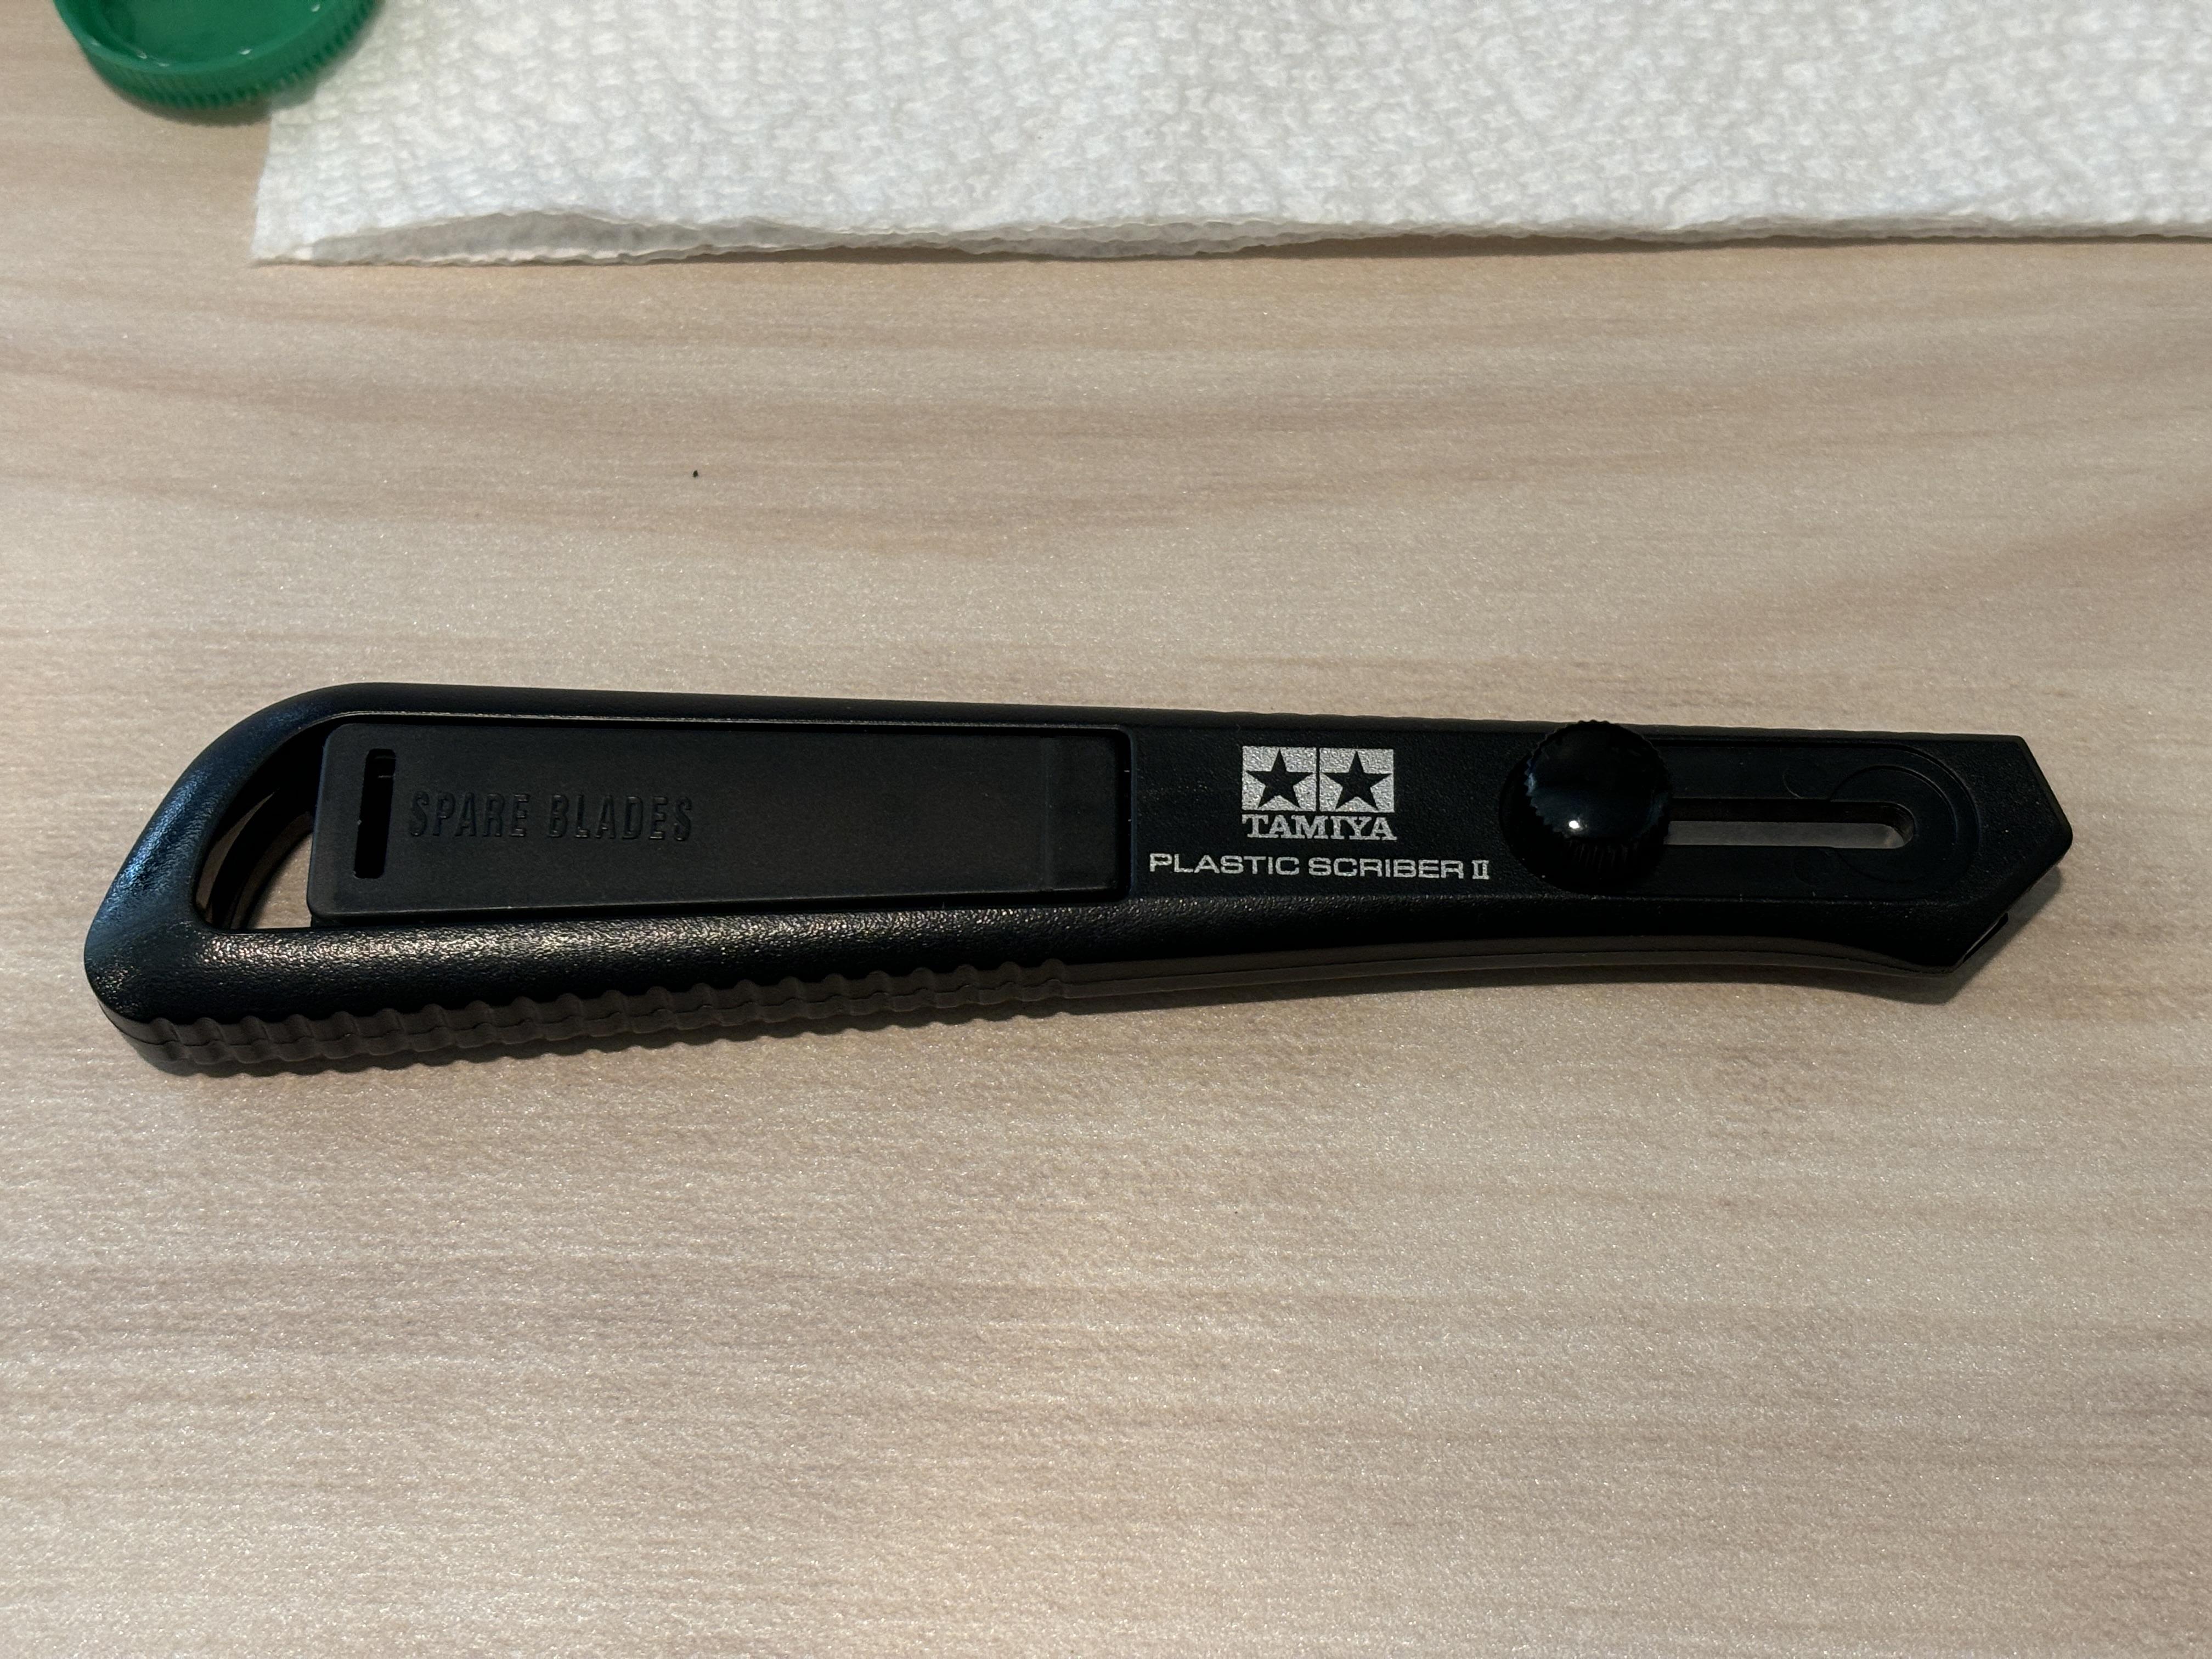
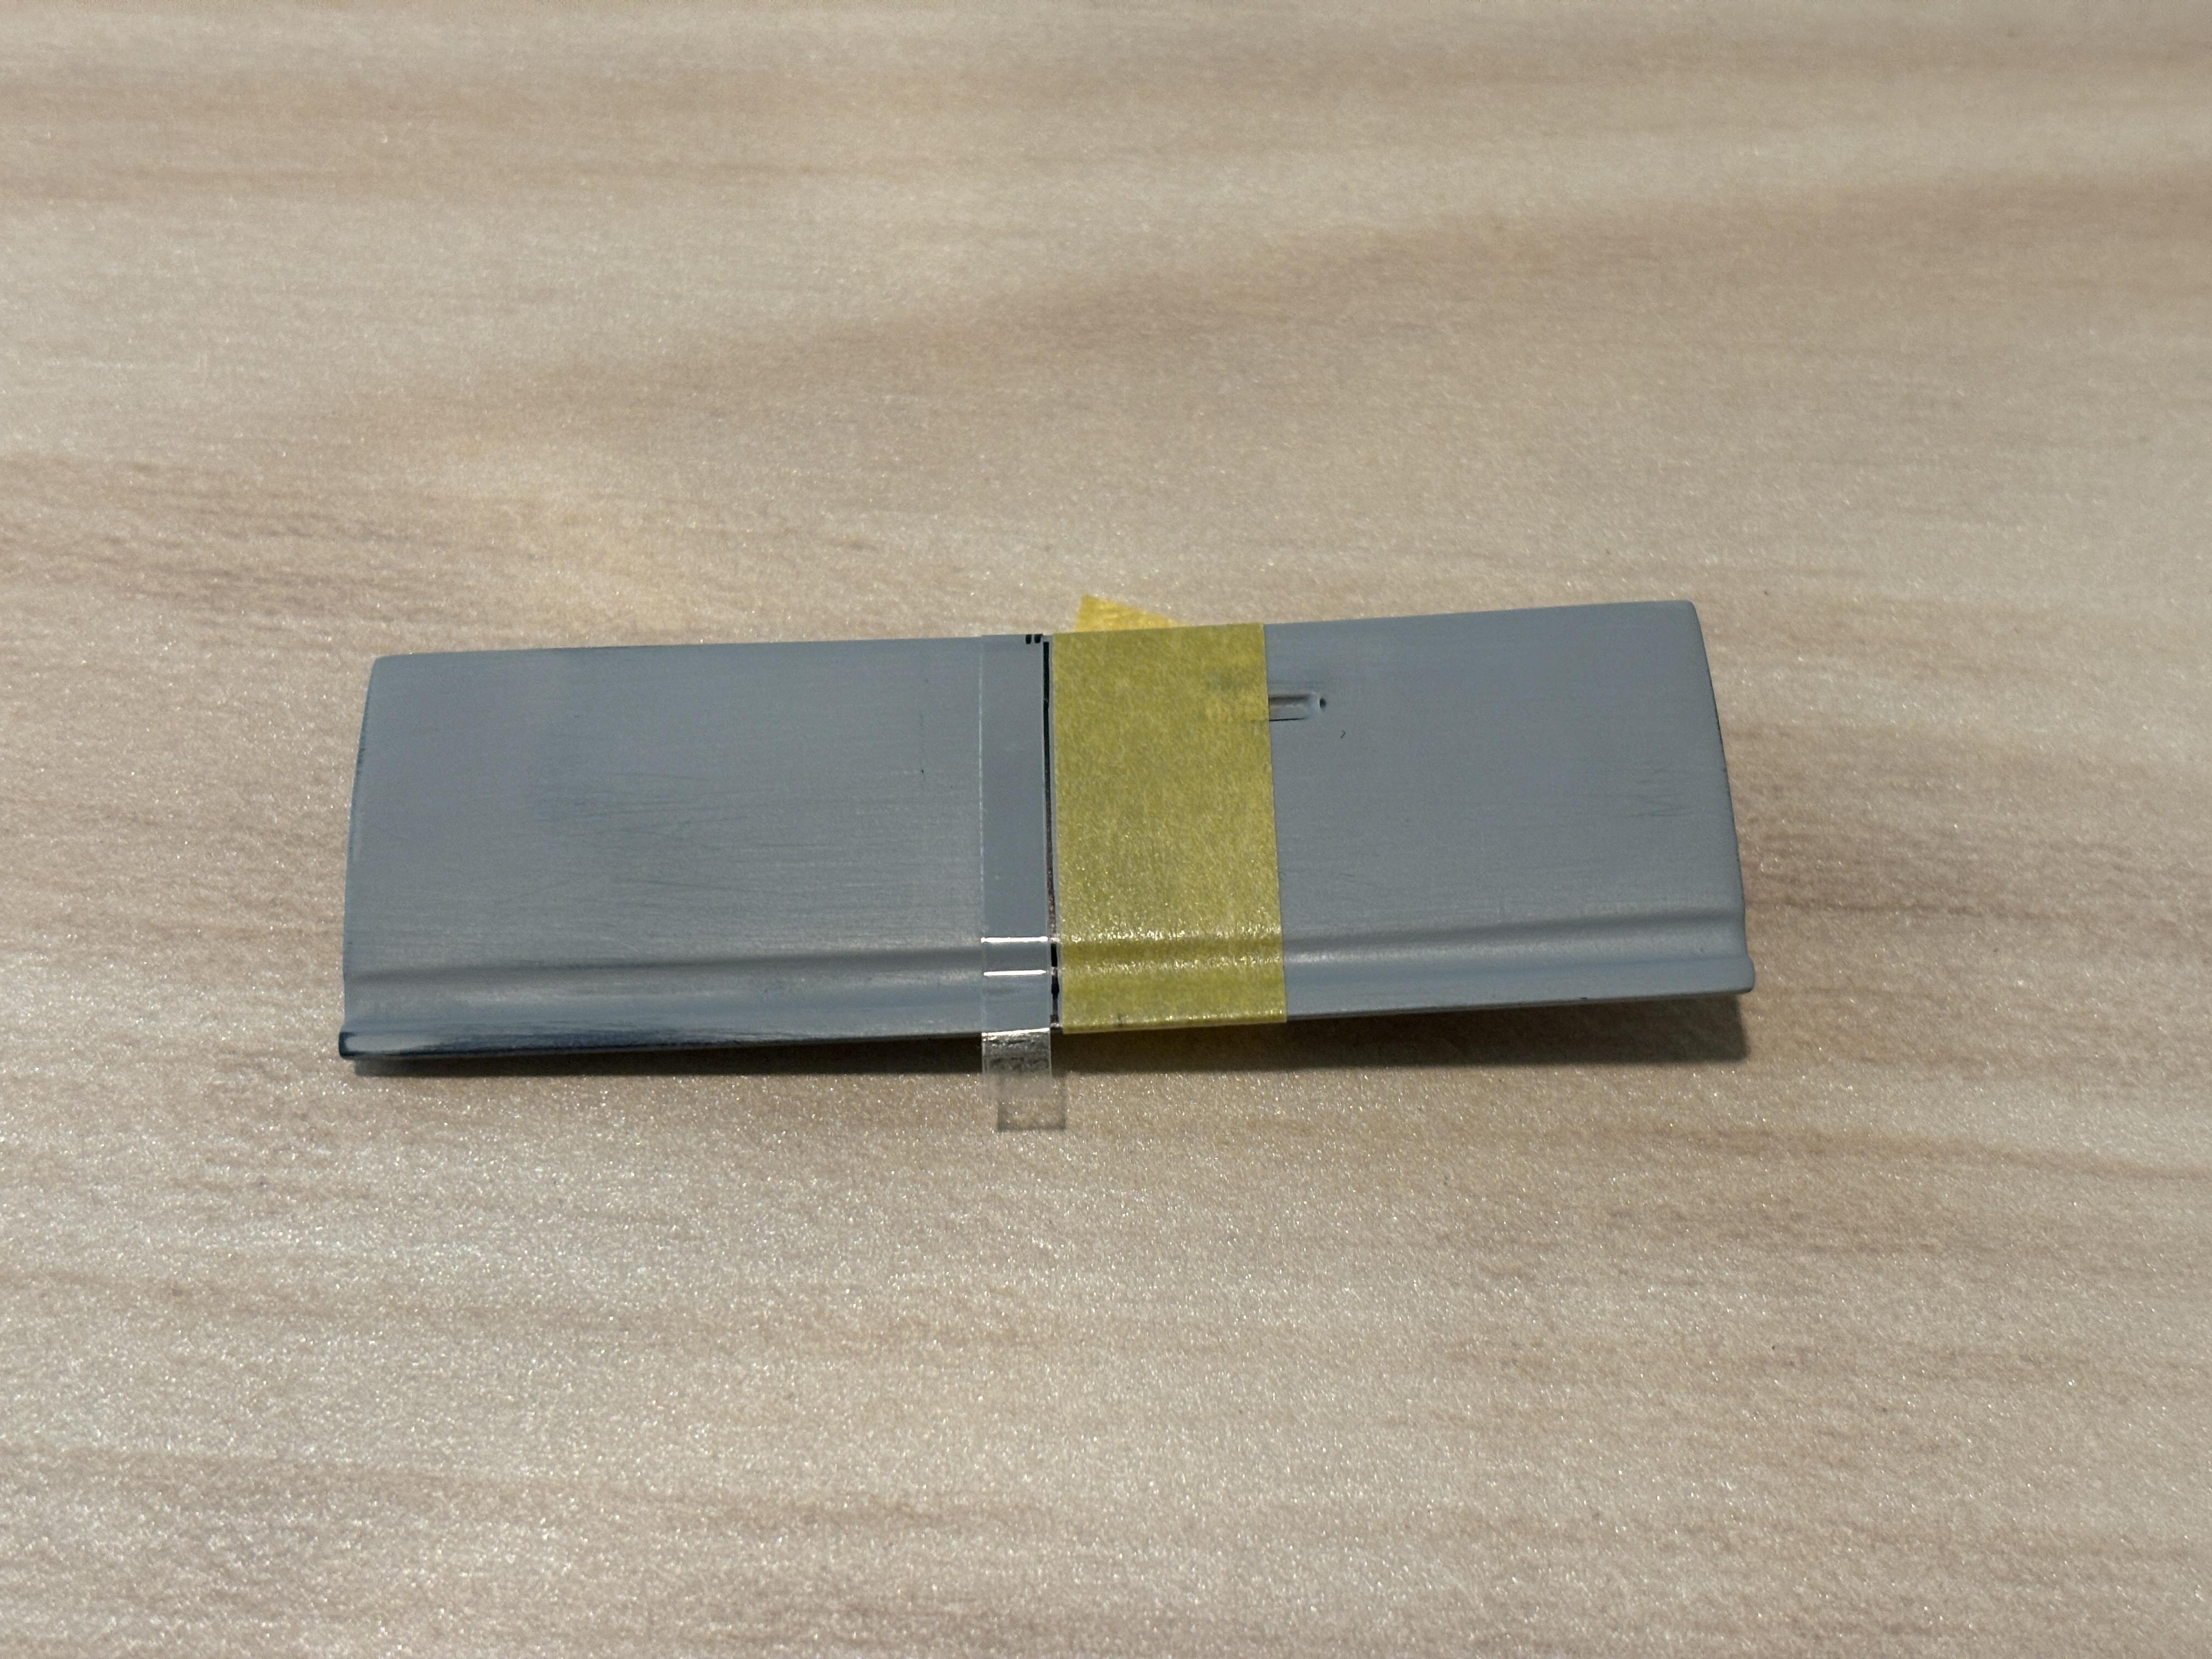
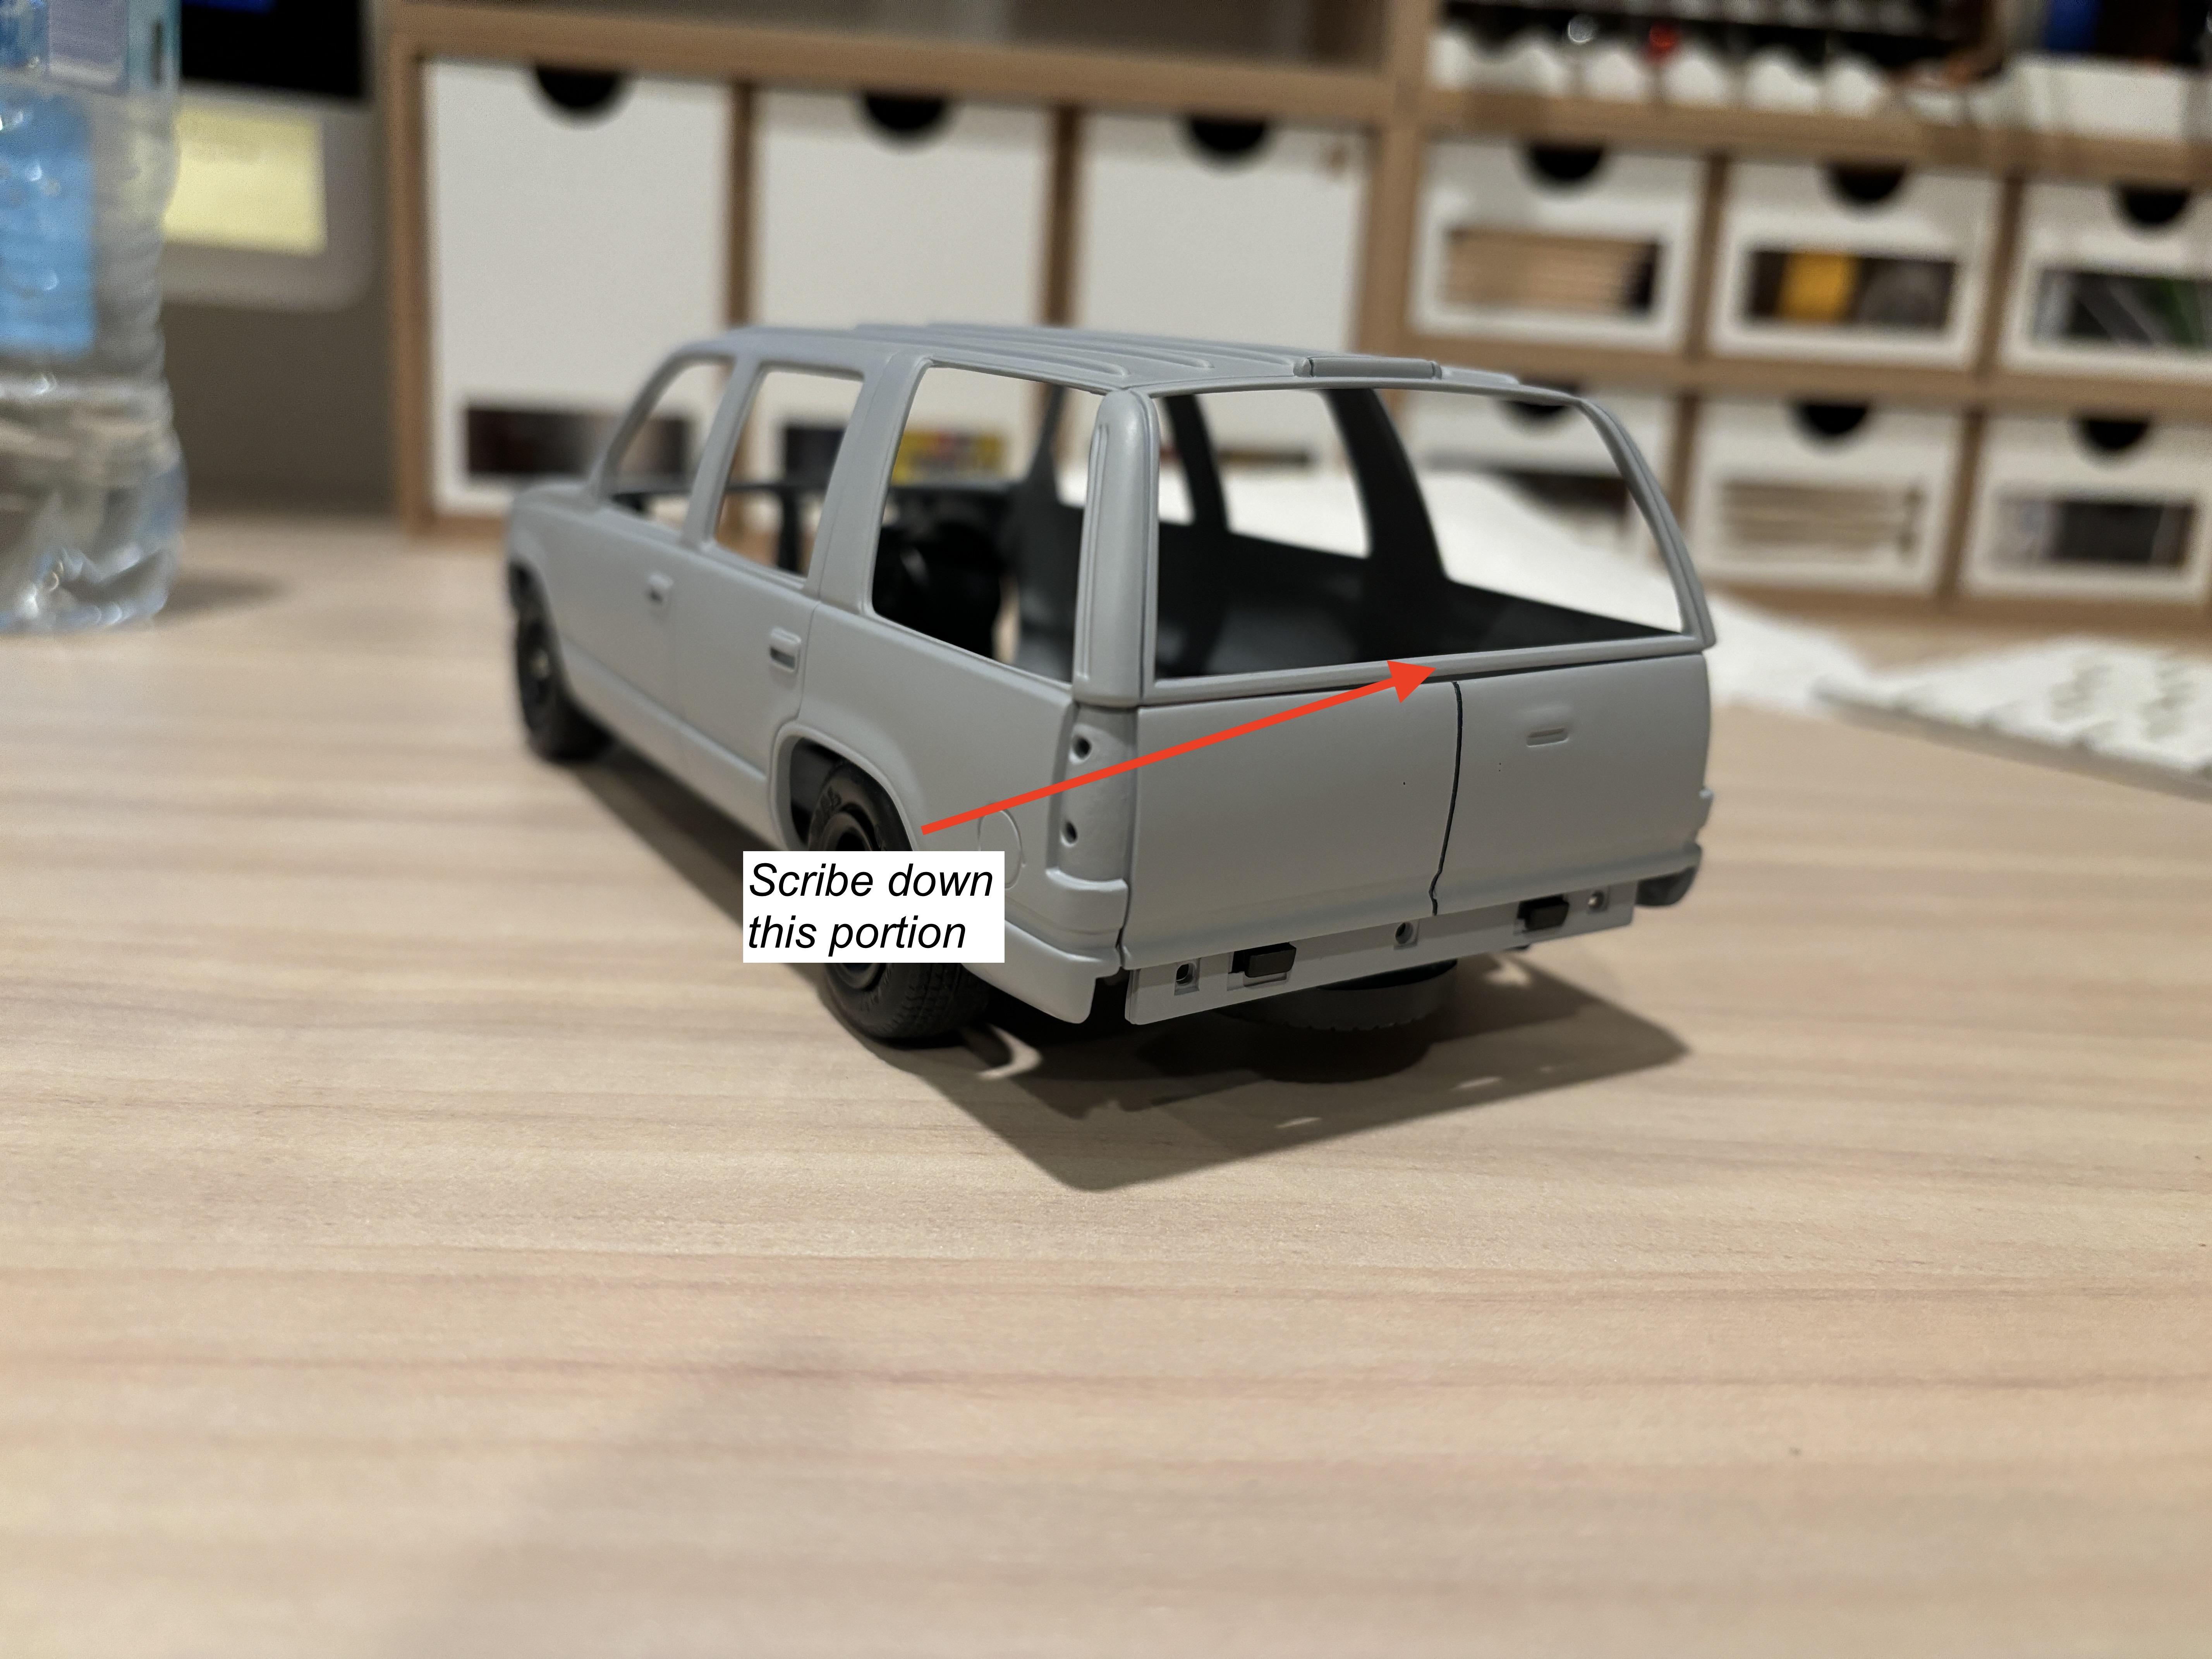
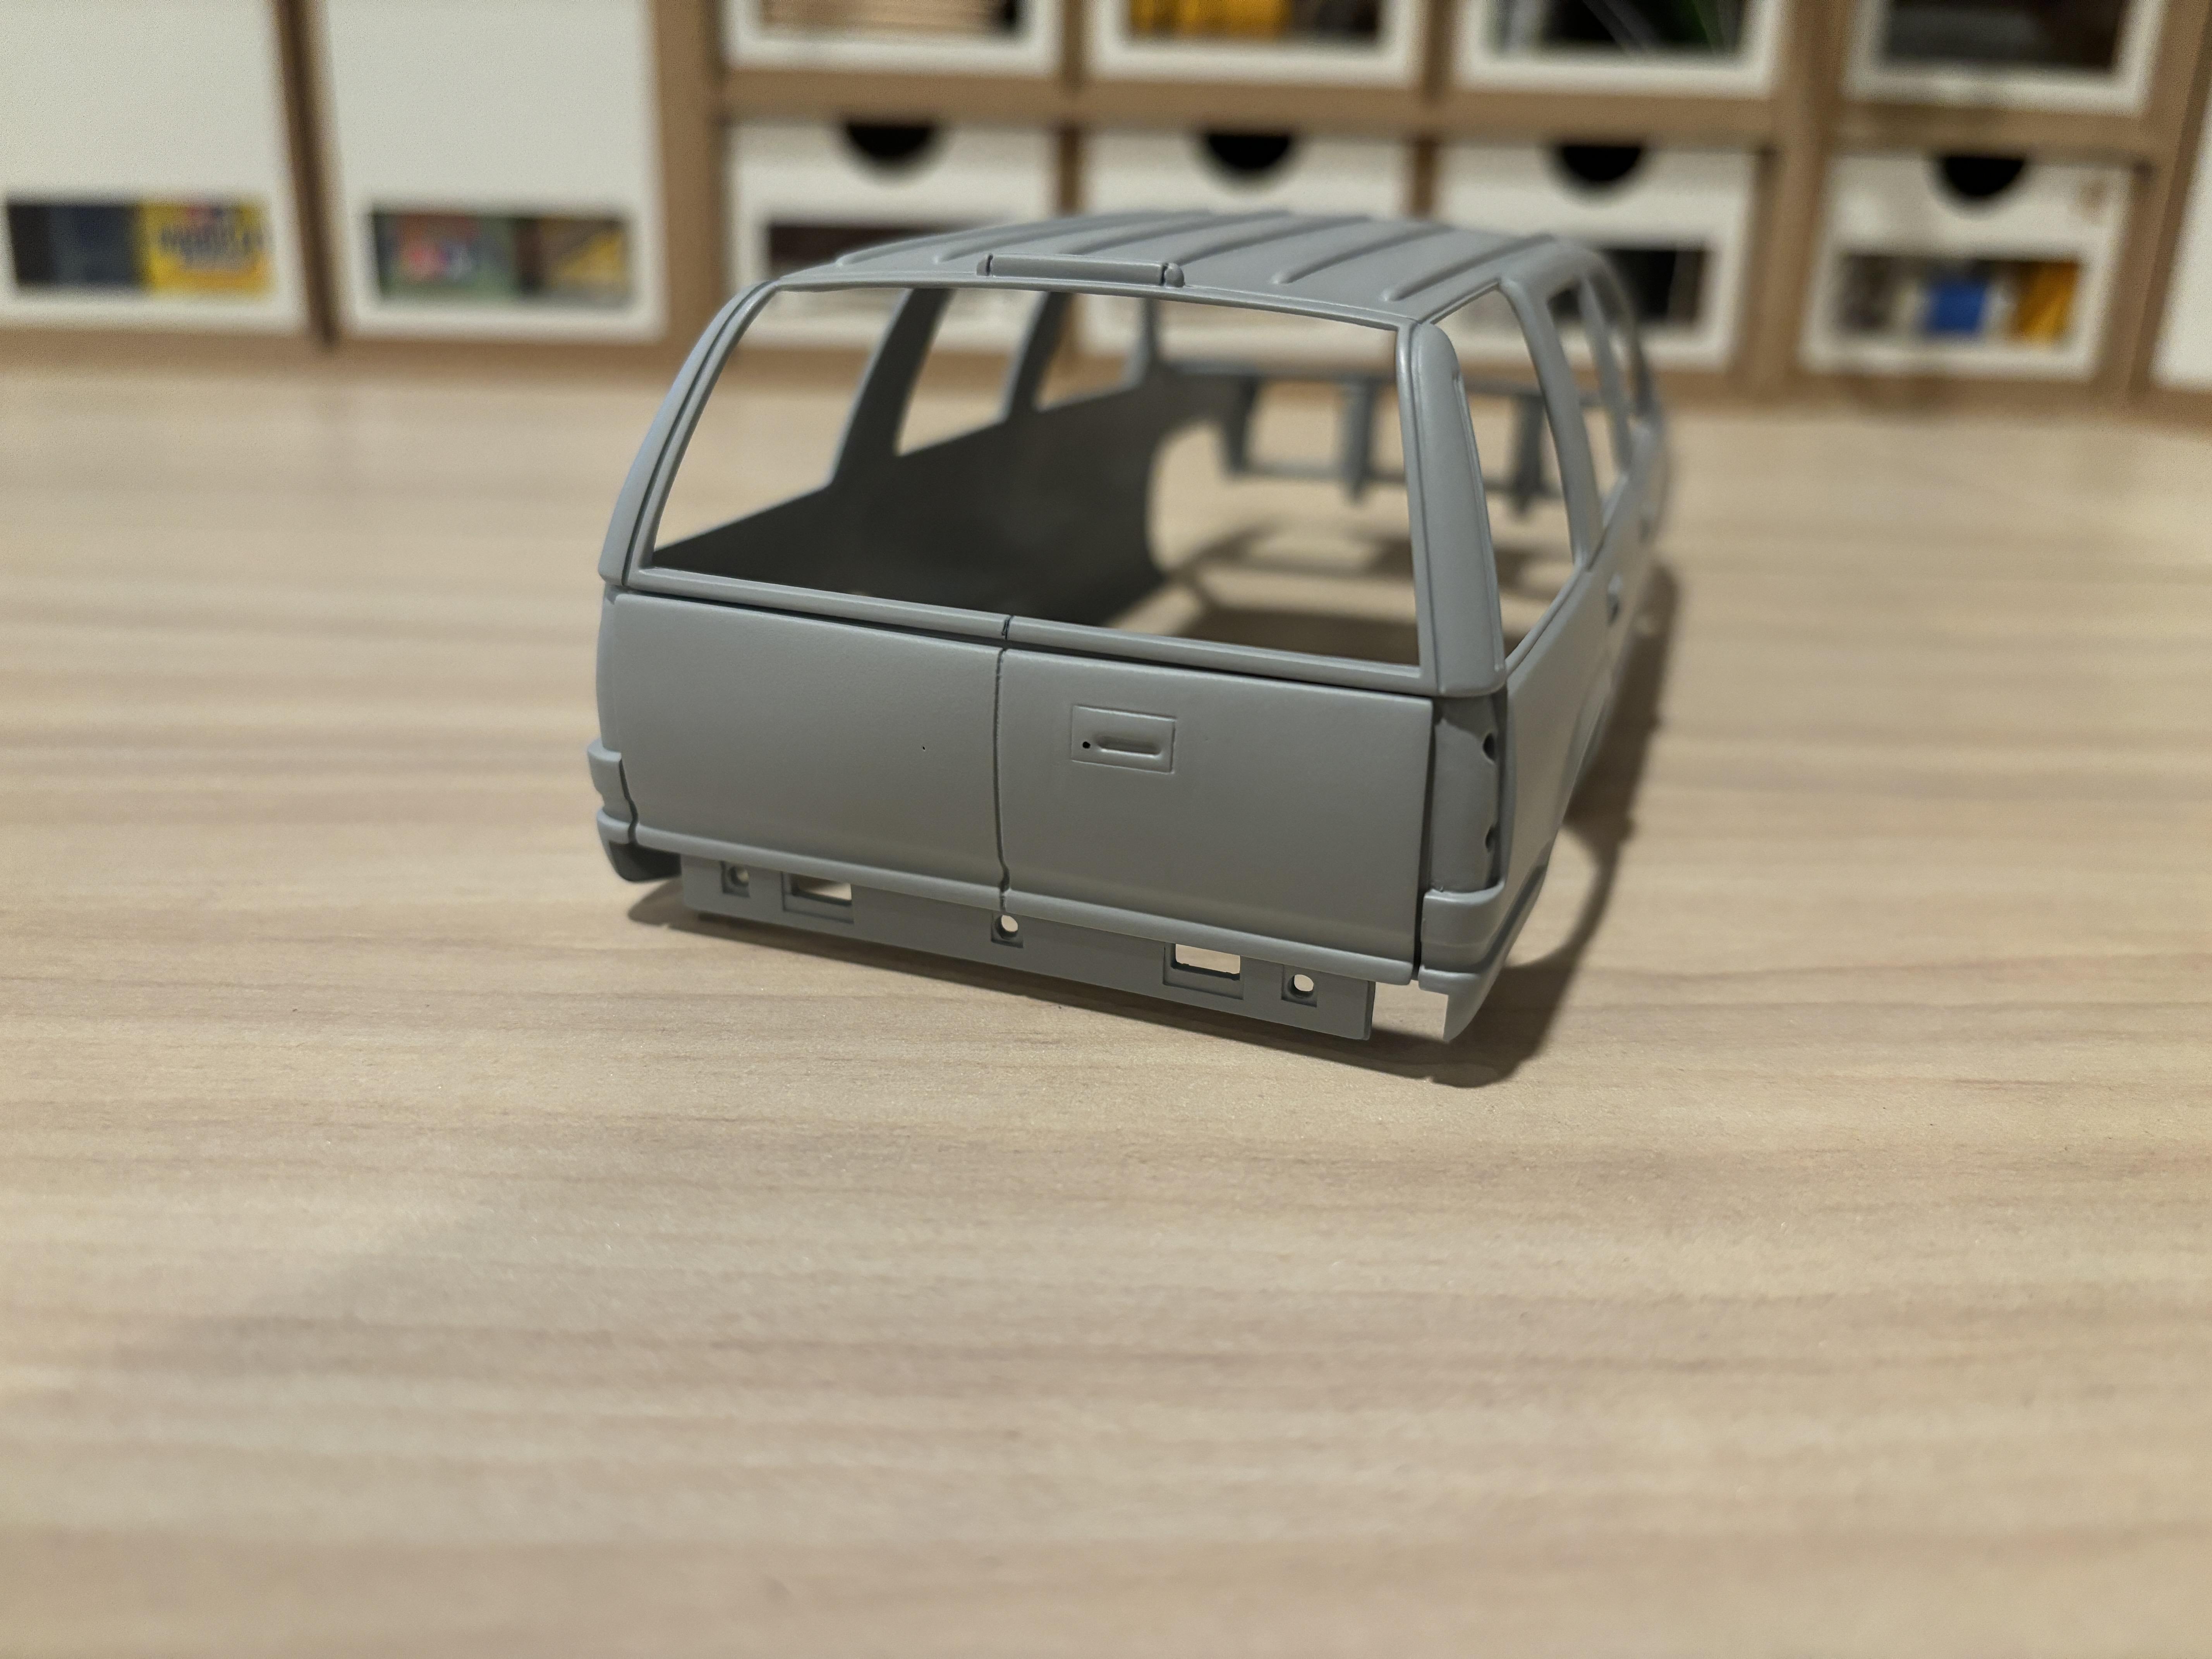
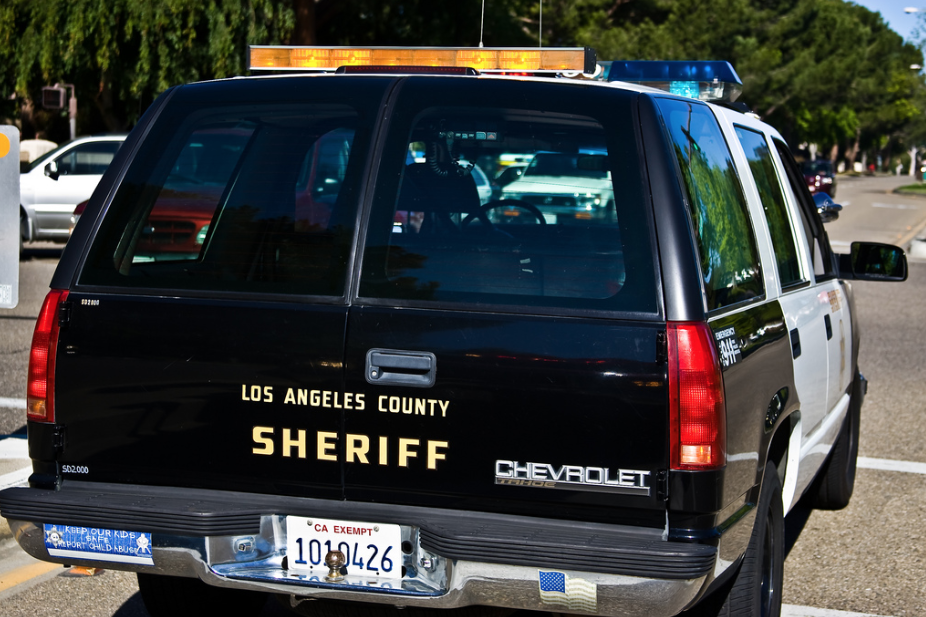
Well, things have been busy at home. But a few hours at a time, I got a chance to work on modifying the rear door. The AMT Tahoe comes with a lift tailgate. As many of you know, Chevy used to offer rear cargo doors (aka barn doors) as an option on the Tahoes and Suburbans up until the 2007 refresh. This was no different on the police package Tahoes. Since LASD used cargo doors, I had to add them to my build with some minor "plastic surgery." First of all, I want to sincerely thank AMT for having made the tailgate door a separate piece: First of all, I had to decide how to relocate the tailgate latch from the center to the right side of the door. I decided to cut out two square pieces from the top half of the door, with one containing the latch, and switch them around. My tools for this task were various scribing tools and some trusty scribing tape: Here's the WIP: After I reversed both pieces, I applied some thin styrene strips to the back of the tailgate as a brace and secured them with Tamiya Extra Thin cement. I made sure that the strips were thin enough to not interfere with the clearance between the door and the rest of the body. I then filled in the gaps with Tamiya Epoxy Putty. If you note, the door latch is about an 1/8 of an inch too far to the right. This was a conscious decision on my part as I would have had to have cut right next to the latch molding to get the distance more accurate, and this would have made the epoxy application/sanding process much harder. Following this, I applied the first layer of primer and it was time to scribe the cargo door line down the middle. I first took measurements and used a black pen to draw my cut line: I followed this up with my trusty Tamiya Scriber and scribing tape. I applied Tamiya yellow tape on the opposite side in case my blade went rogue on me: After taking my time with various slow, deliberate passes with my scriber, I had my cargo doors: Once I was happy with the door itself, I had to scribe out the piece shown below: If you'll notice, I accidentally obliterated much of the detail on the tailgate latch through the epoxy filler sanding stage. To give this area more definition, I scribed around the latch to give it deeper lines and drilled in a keyhole. Here is the final result after sanding things smooth with 600 and 3000 grit pads and re-priming: The real thing for comparison: I still have to scribe the cargo windows into the kit glass to complete the look, so that job will be next. In retrospect, it may have been easier to create a mold out of the door latch and then add that mold to where I needed it. This would have prevented a lot of the plastic surgery and I may have been able to get the latch more centered where it should be. I might try that next time I have to do something similar.
-
PM sent.
-
That looks good, you can definitely count me in to purchase when they're ready for sale. Have you ever considered doing bench seats for the square body trucks and the 90's OBS trucks?
-
Amt 2021 Dodge Charger Pursuit Pennsylvania State Trooper build.
av405 replied to the60falcon's topic in Model Cars
Nicely done! -
I don't disagree, but I'm sure his willingness and ability to churn out multiple built kits for companies to showcase is a huge factor. I sure know that at the speed I build, I would barely get 1/30th of the new releases completed, hence making me useless to the model companies ? Plus Chris' channel has a lot of followers, which doesn't hurt. I personally view his videos to check out the kit's contents as he's pretty thorough with his unboxings and is usually one of, if not the first, to publish them. But I look elsewhere for honest breakdowns and reviews of the kits since that channel doesn't go down that path. I'll just leave it at that as this subject has been covered numerous times on this forum.
-
That's a no on this question. I had to eliminate the rub strips on my recent XL truck build.
-
Yes. I'm definitely very pleased with them.
-
Thanks fellas!
-
Looks great!
-
Outstanding work my friend!
-
I like them, they're not too thick. I think the finish is a bit flat and that they would look better with some type of "lens" finish on them. But that is on the modeler and not really a reflection on the quality of the decals.
-
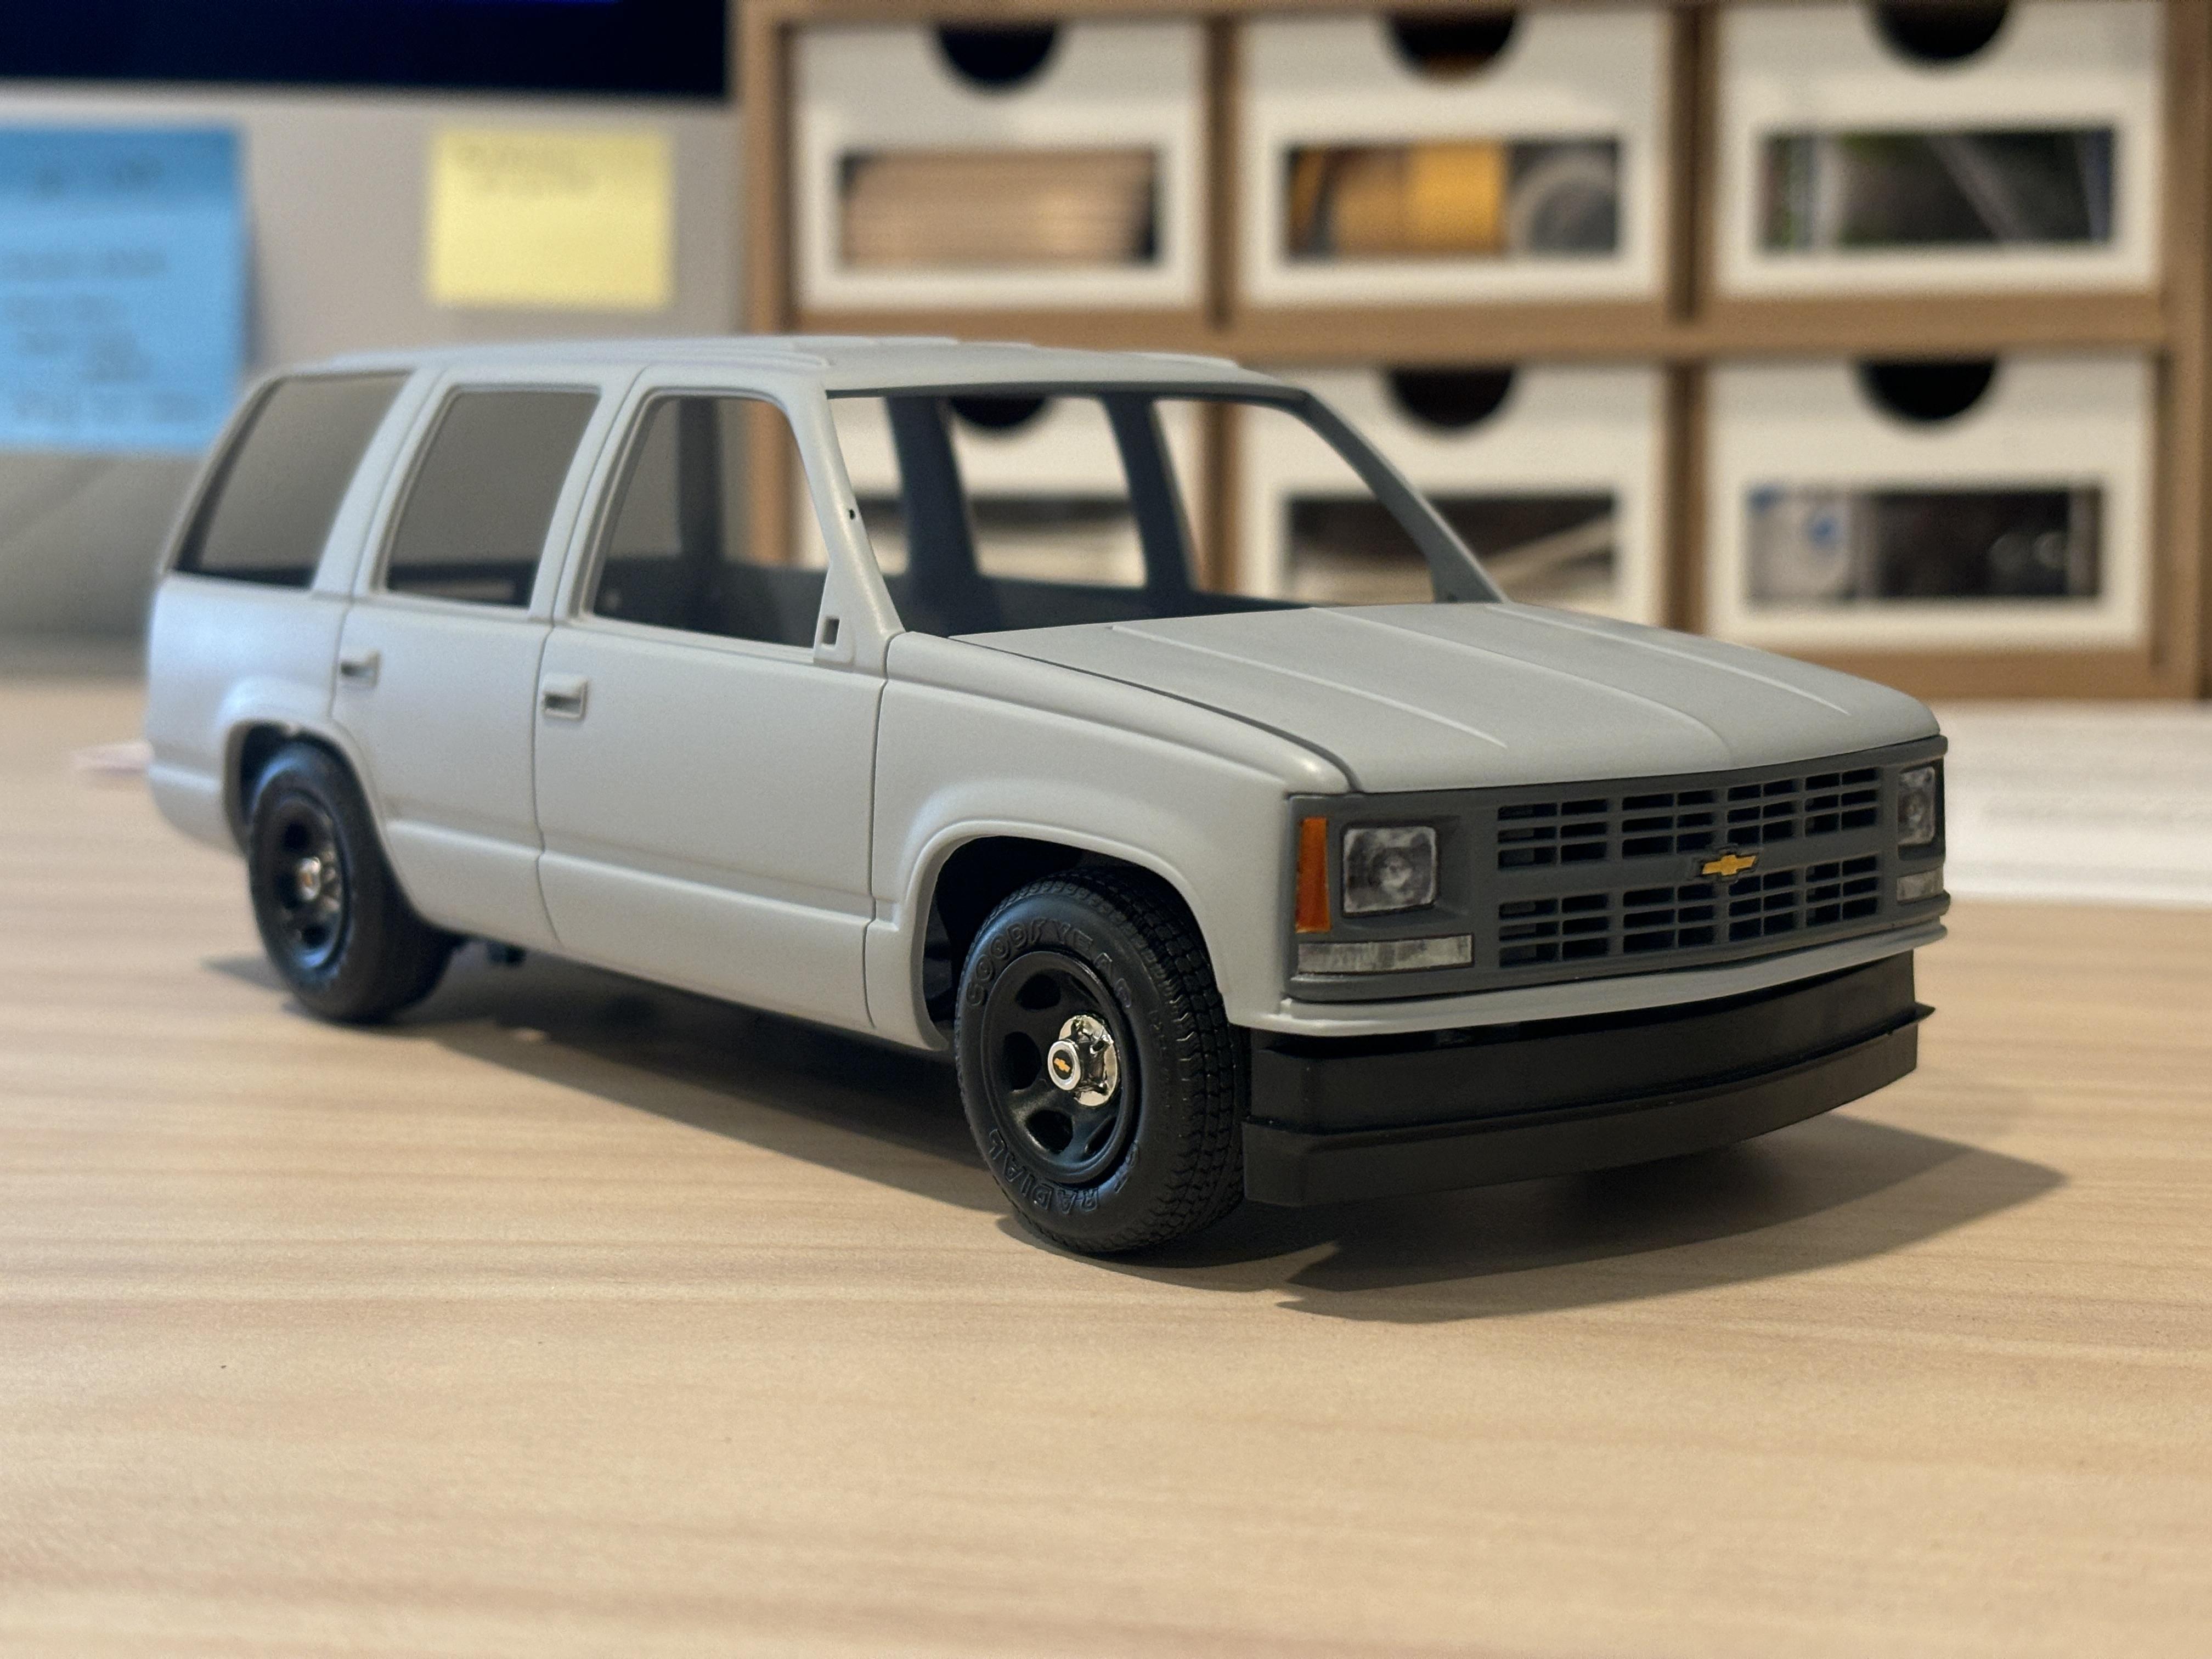
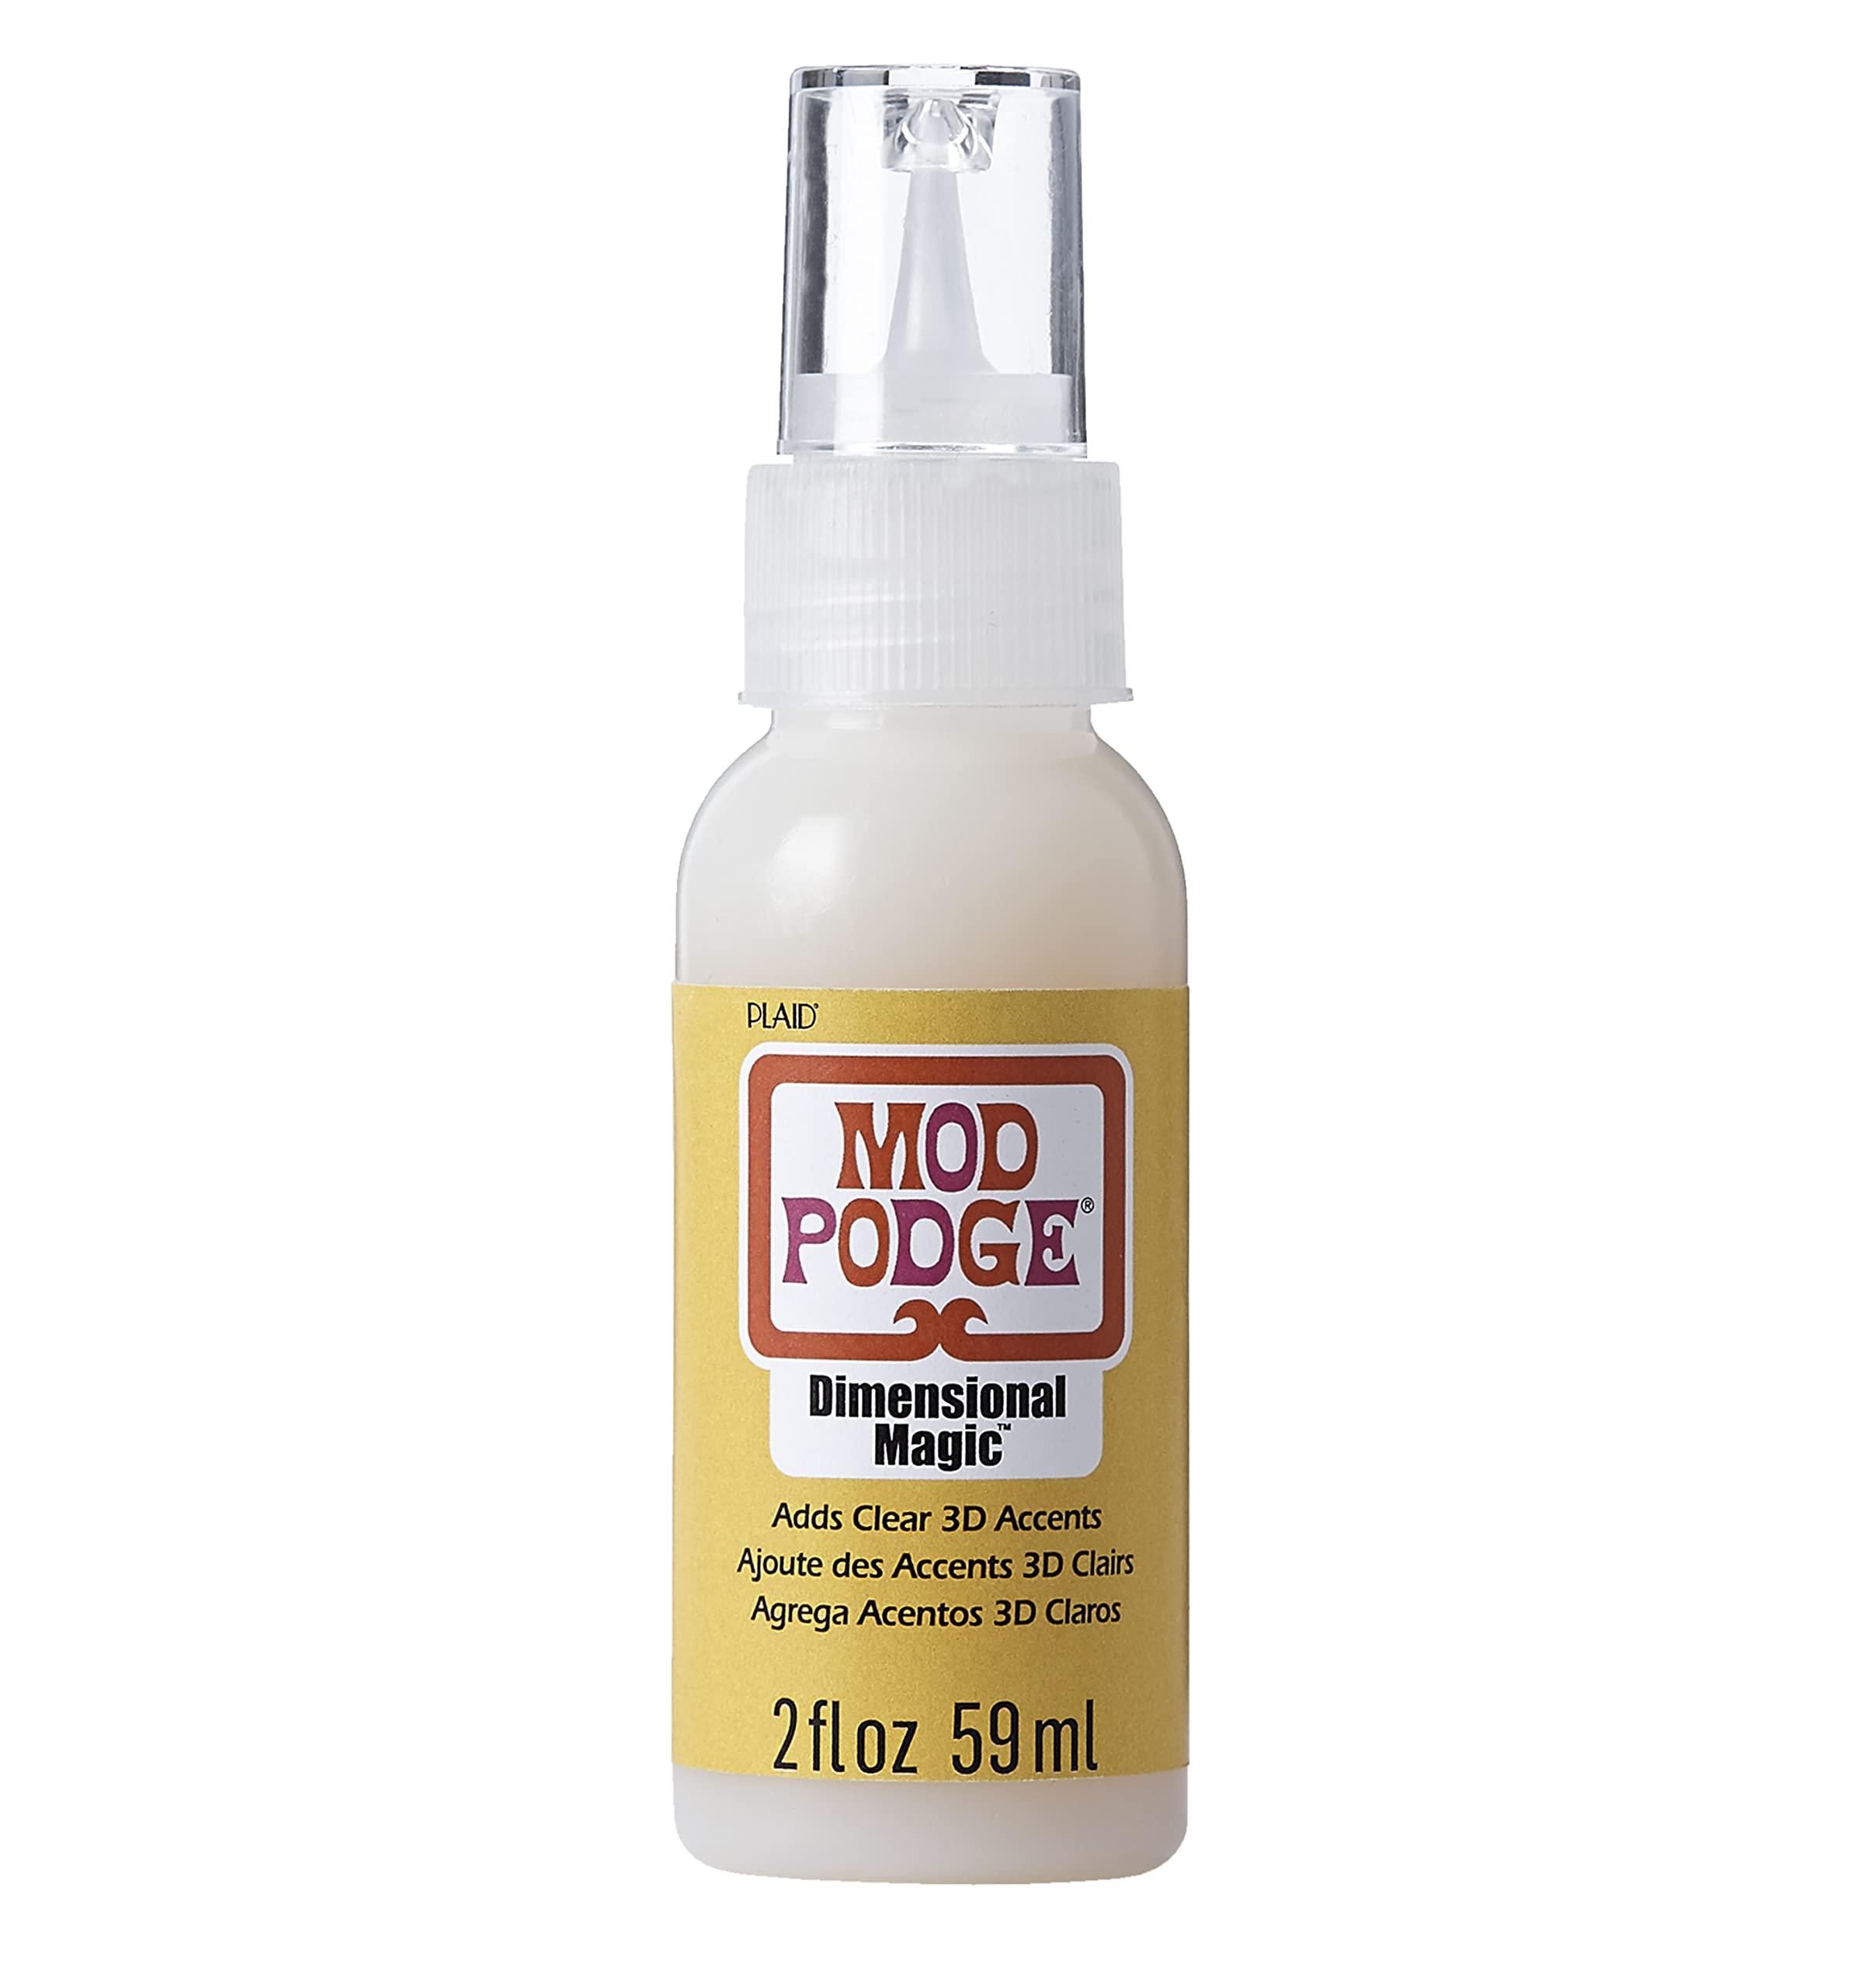
Thanks guys! Carl, both are doing well and resting at home. Thank you for asking. I got a chance to finish the grill recently. As I mentioned previously, it was painted with Tamiya German Grey. After considering some paint options for the headlights, I decided that decals might be the best way to go. I purchased some headlight decals from STS Decals: https://stsdecals.com/collections/headlights Before applying the decals, I used a black Gundam Marker I purchased at Hobby Lobby to outline the headlight buckets and create the illusion of a rubber seal. I placed pieces of bare metal foil on the turn signal lenses and then brush painted over the BMF with Tamiya X-26 Clear Orange. After this, I applied the STS Decals. The pieces came from both the OBS Chevy and Ford Bronco sets, I just slightly trimmed them to fit my grill. To create a headlight lens effect, I used Mod Podge Dimensional Magic. I heard about it on a Facebook group and it seemed like a better alternative to epoxy, which can yellow over time. The Mod Podge is fairly self leveling, I just spread it out with a toothpick. It requires 24 hrs to dry. Once that was done, I took an extra Chevy "bowtie" decal from the C-3500 decal sheet to finish things off: Overall, I was pleased with the outcome and I think the decals gave me a more realistic finish than what I could have achieved with paint. The pictures don't really show the effect of the Mod Podge, but it's there.
-
1992 Ford F-150 XL Work Truck
av405 replied to av405's topic in WIP: Model Trucks: Pickups, Vans, SUVs, Light Commercial
Thank you, Ronald. -
Joe, I will respectfully disagree that poor business practices are becoming more tolerated and accepted. Many online vendors are top notch and just by perusing this forum, you will see that those vendors are acknowledged for just that. I'm lucky to have an old-school hobby shop near me. I don't shop there much, but occasionally show my support. The thing about the owner is that he's a bit of a BLAH_BLAH_BLAH_BLAH. As a 33 year old, I appreciate a guy who can run a brick and mortar shop and like having a physical place to stop by for "emergency" purchases. But I definitely prefer the professionalism I get from certain online vendors I frequent. Anyhow, tangent over. I hope your experience with Ray's Kits North America is as pleasant as I have found it to be.
-
I completely empathize with your situation and agree that Ray's communication needs to be better. But saying this is a "new world" issue isn't accurate as I know of many "old school" aftermarket casters, both past and present, that carried on similar business practices or worse. I wouldn't call it a generational thing, just an individual issue that certain businesses will always have. As some of us mentioned before, you can also go through Ray's Decals North America as that person is much more respondent since he is only a distributor. It's not an ideal situation, just trying to give you other options. The distributor's email is sunbird93racer@yahoo.com.
-
I would still get in touch with him and make your request. I've dealt with him before (I forget his name) and as someone else said, he has a direct line to Ray and takes care of a lot of the behind-the-scenes hassles. You've got nothing to lose at this point by doing so. Anybody from Canada or the US, go through the North American branch. It's a lot easier.
-
Hummer H1
av405 replied to Allison's topic in WIP: Model Trucks: Pickups, Vans, SUVs, Light Commercial
Looking good so far. -
Thank you!
-
Thank you, DJ. Prior to measuring the grill out myself, I had read about the differences a few times on this forum. Well, the time has come. This project is officially on hold. I'm surprised I got so much done in 2 weeks. 90% of what's left to do is to paint the body, including clear and polishing, and to paint the black edges (frit) on the glass.
-
Thanks! It wasn't until the late 2000's that LASD began to incorporate plexiglass into the separator. Before then, it was just metal mesh. I haven't found a single photo of a Tahoe with a separator, so I didn't include one. Which makes sense since field supervisors aren't really expected to make arrests/transport arrestees.
-
I'm very excited about these! Speaking of vans, I would love to see 1979-1982 and 1983-1991 grills for the AMT Econoline kit.