av405
-
Posts
1,201 -
Joined
-
Last visited
Content Type
Profiles
Forums
Events
Gallery
Everything posted by av405
-
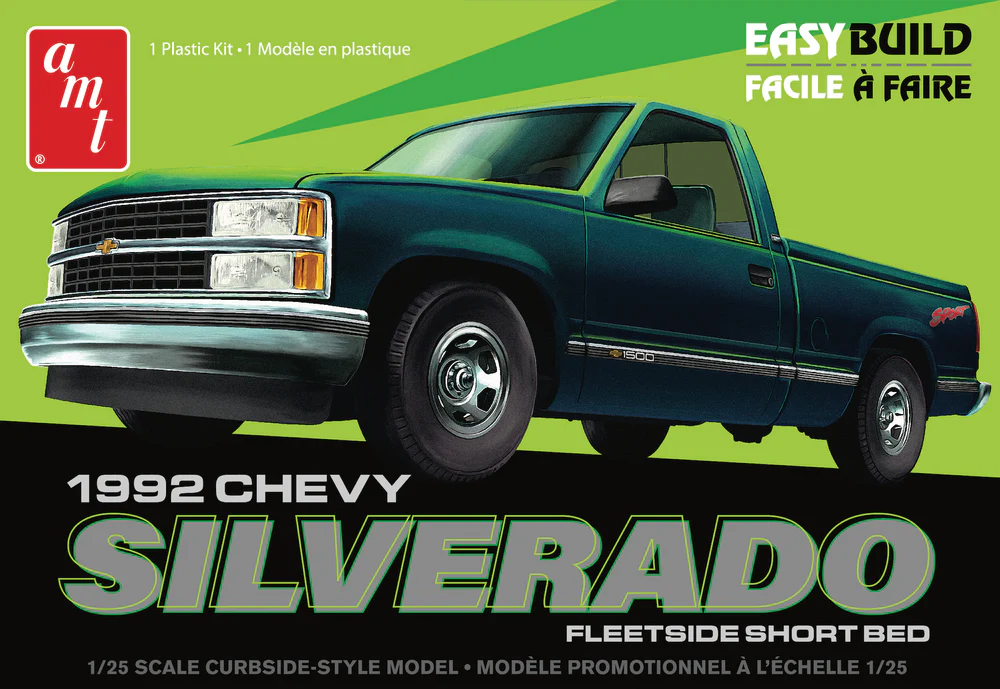
I'll probably pick one up. I never bought any of the previous releases and this fits right into my love of everyday vehicles. The 1:1s seemed to be everywhere for about 10 years after the initial release.
-
 Thanks! Thank you! Baby is doing well. He's approaching 5 months now and already weighs 18 lbs. Just trying to keep him away from the bad air quality we've been having in So Cal due to the fires. Thanks! I always thought that the barn doors looked better than the tail gate rear door.
 -
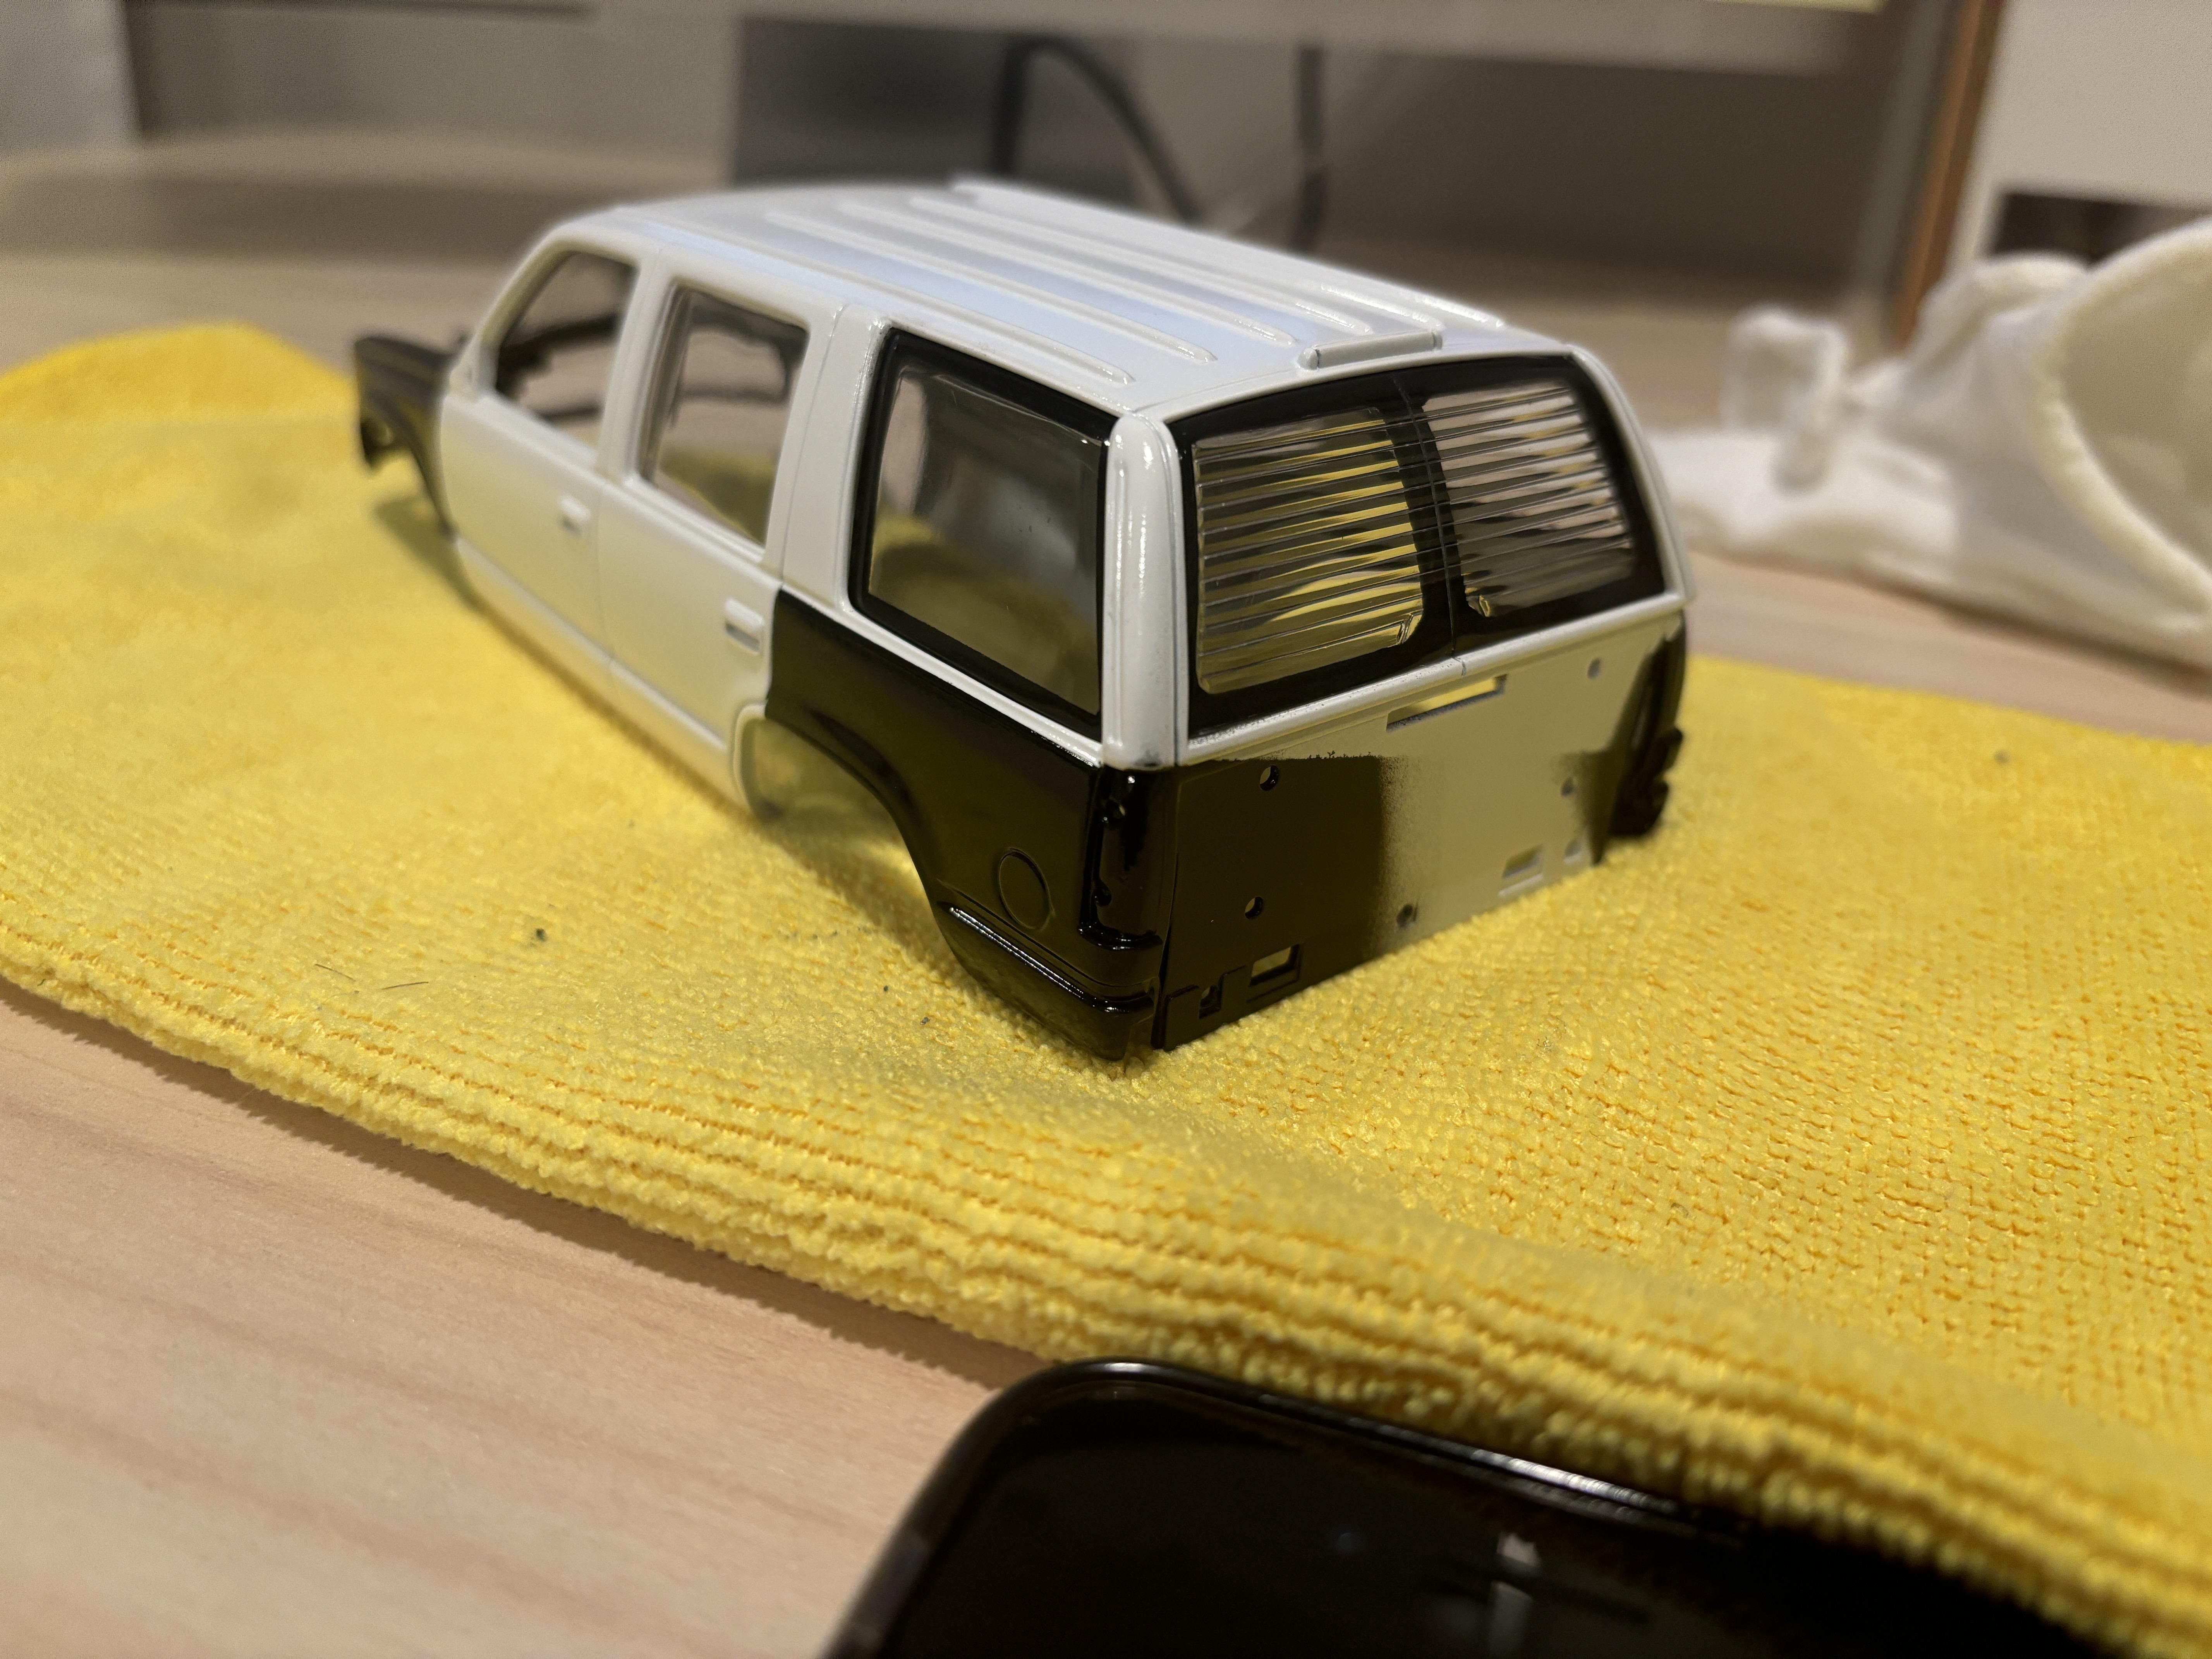
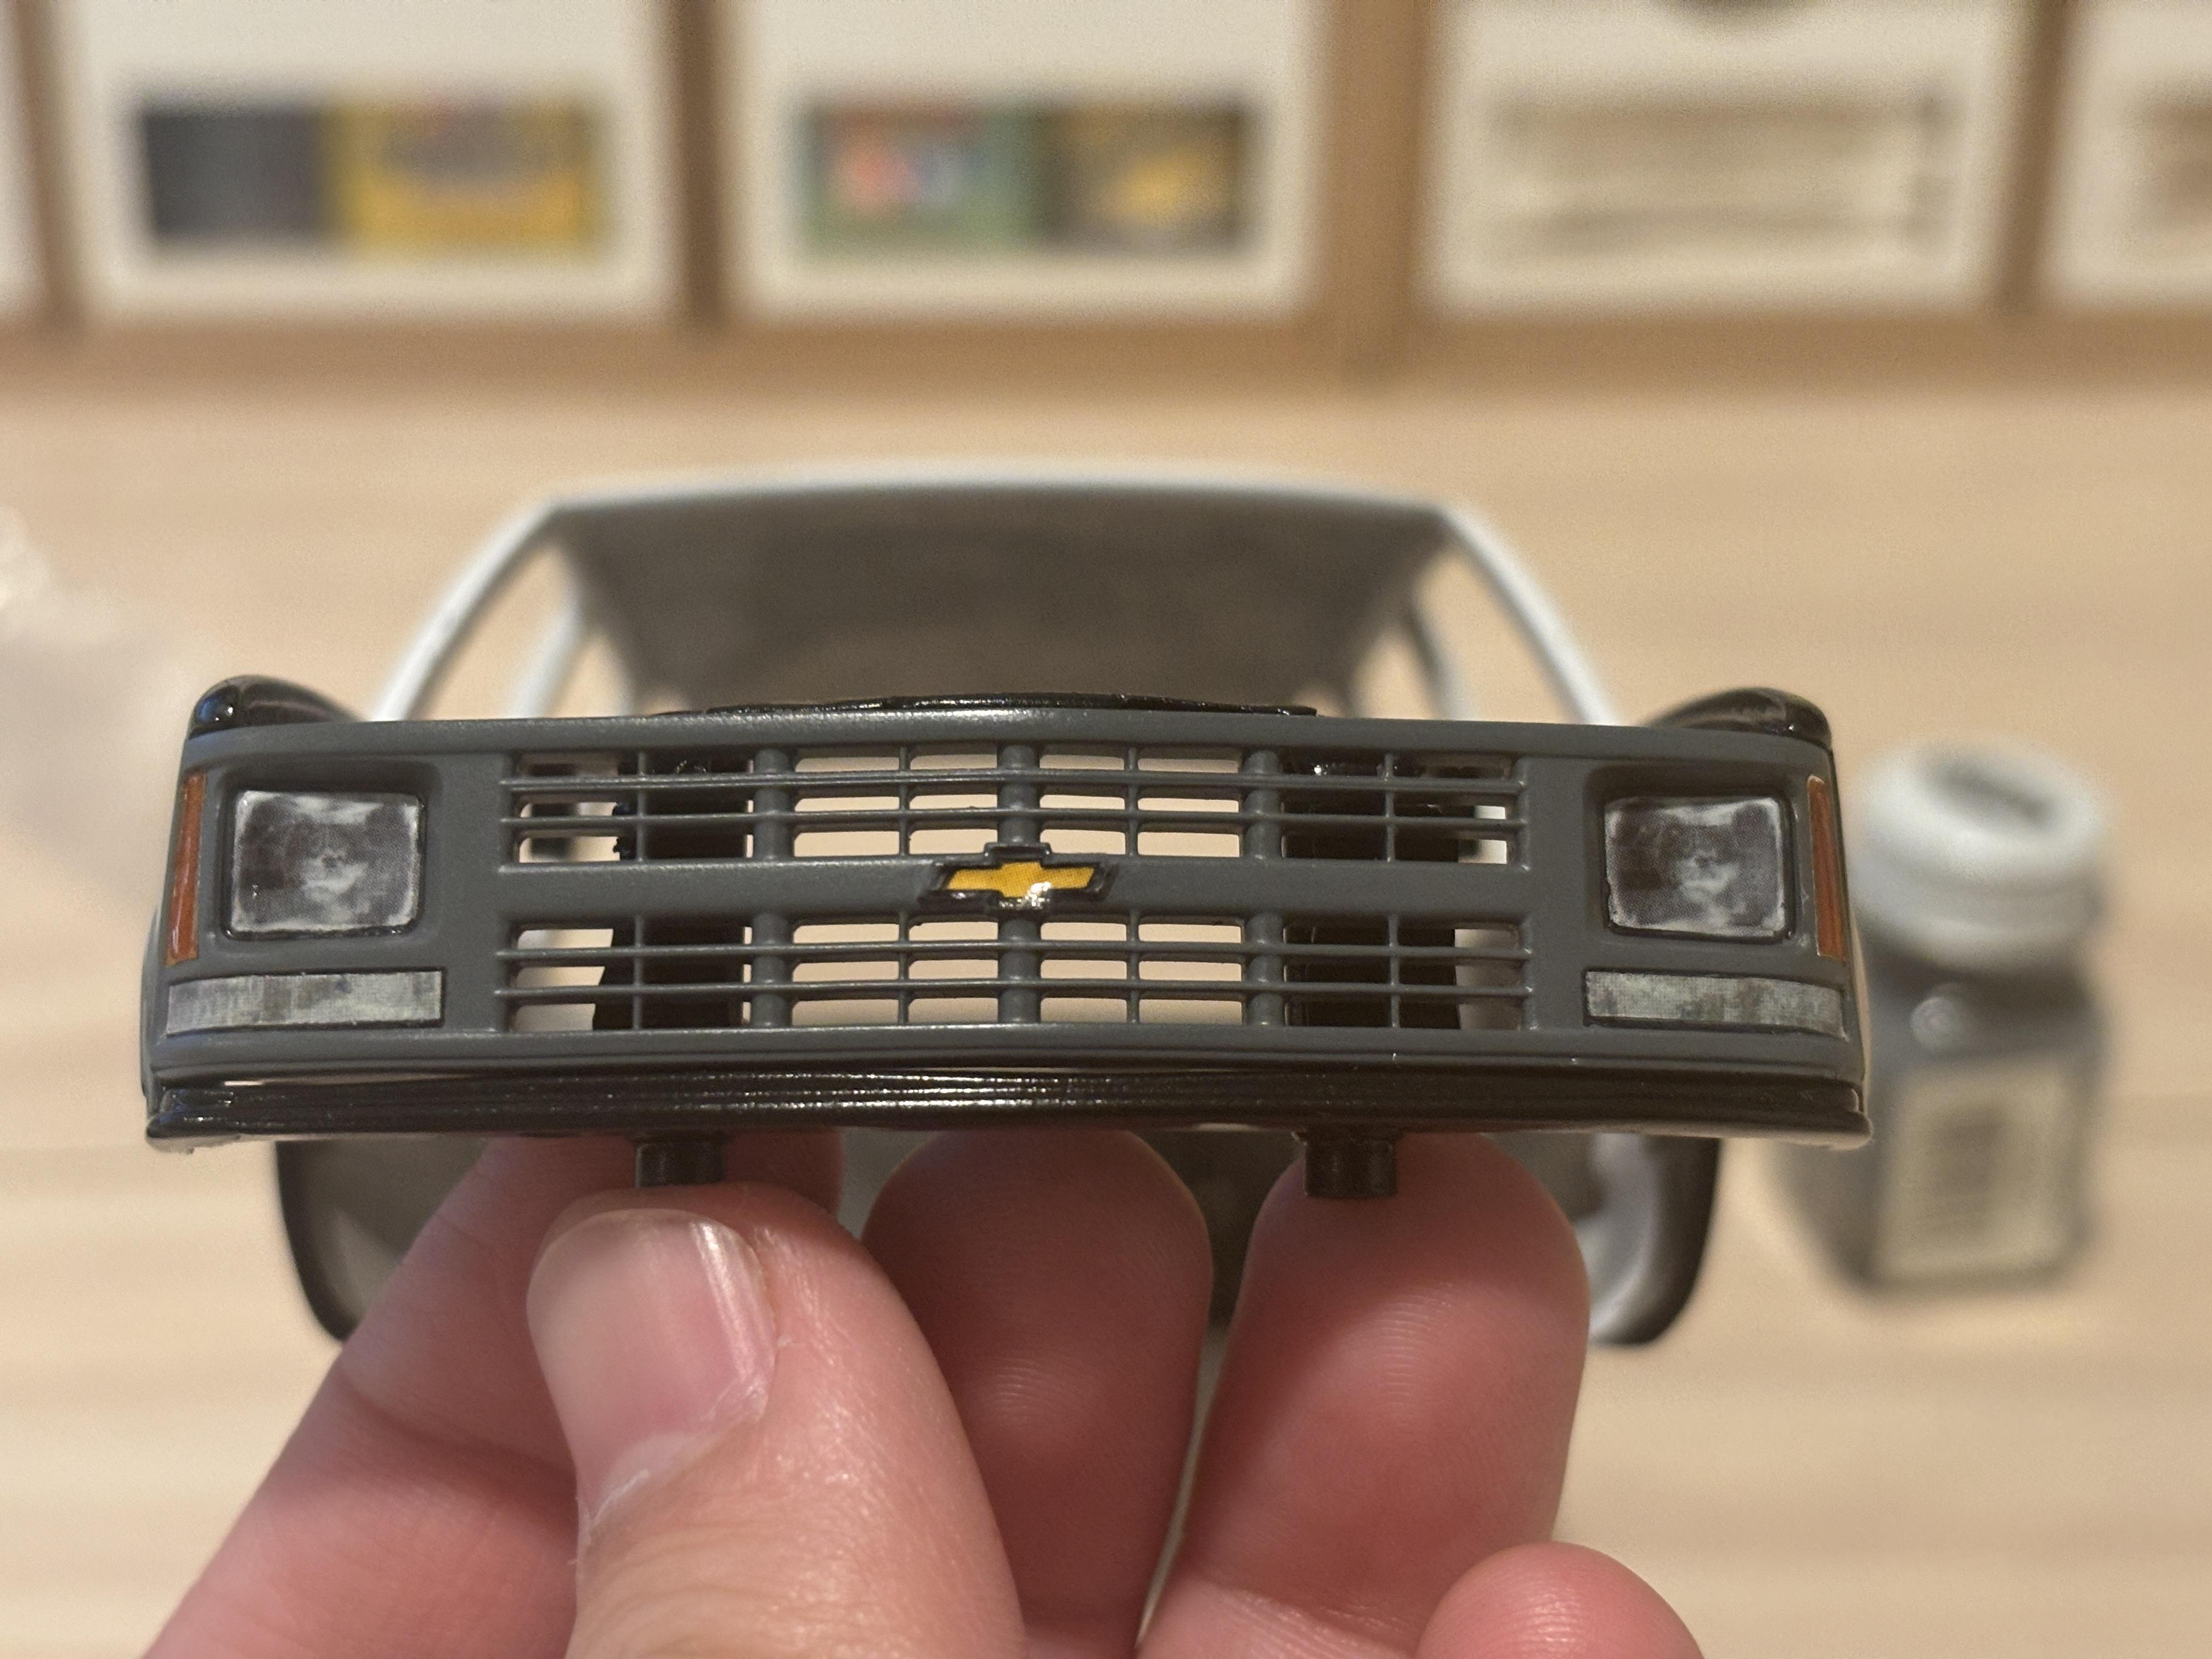
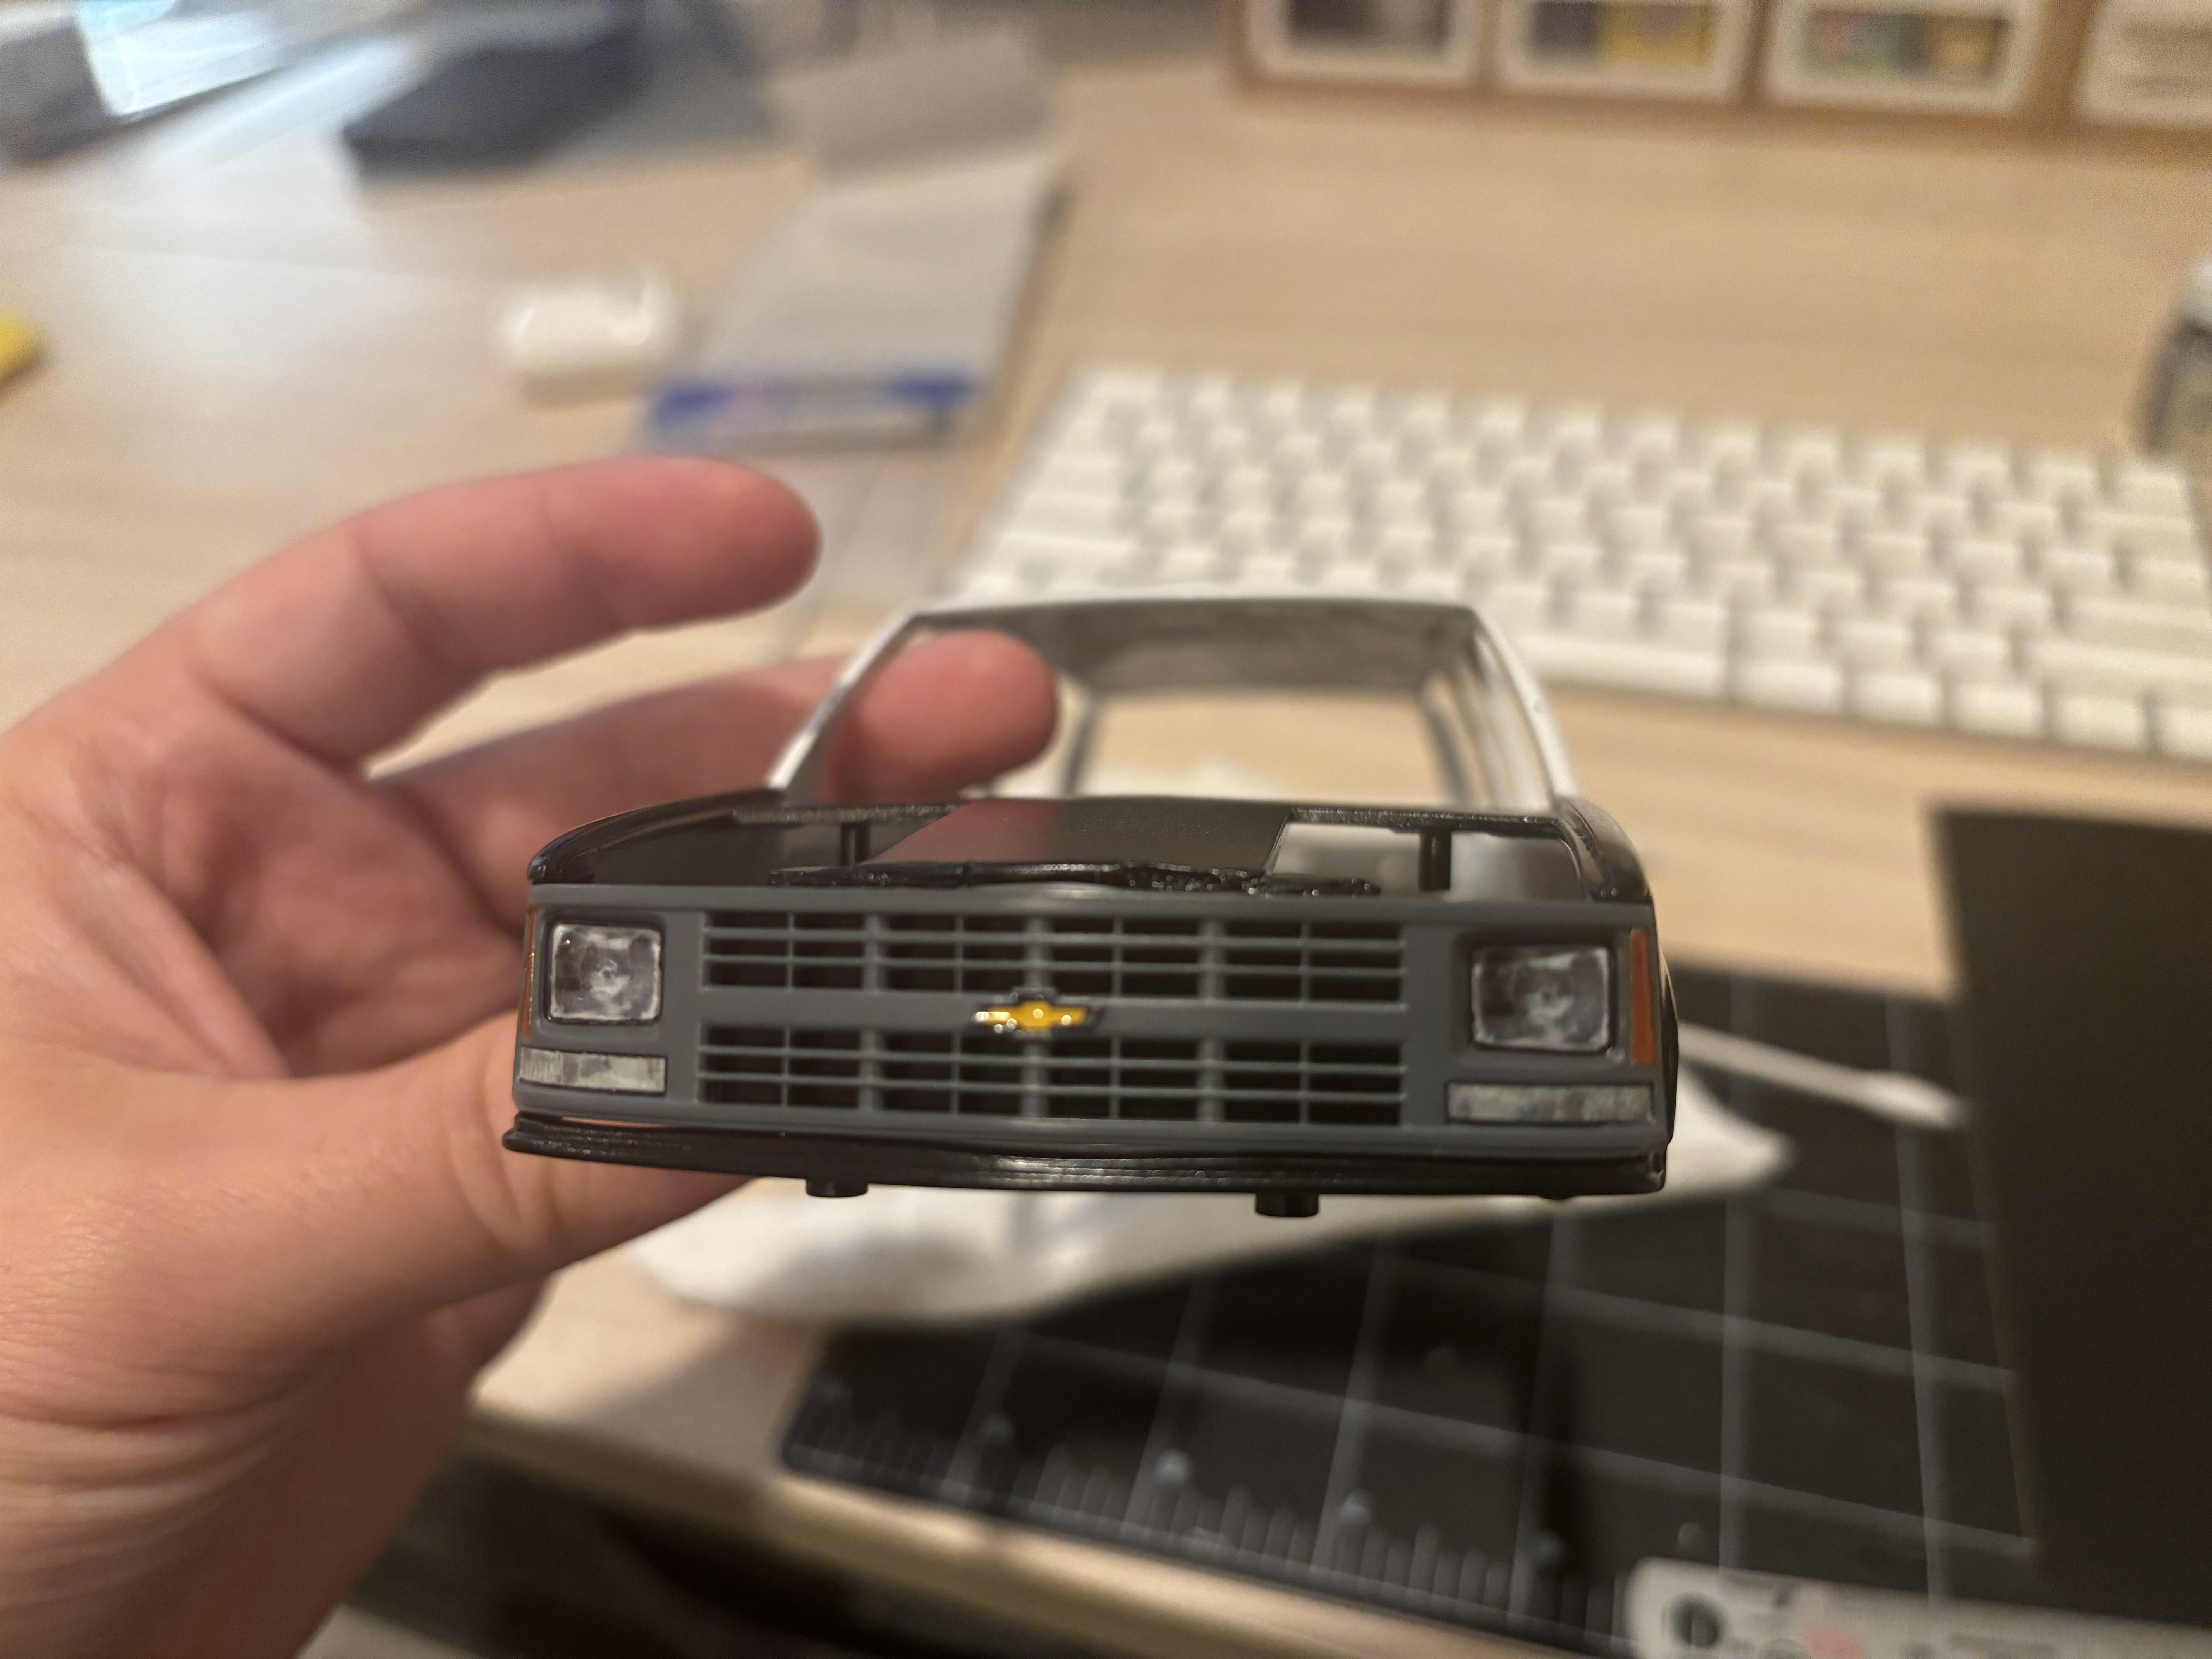
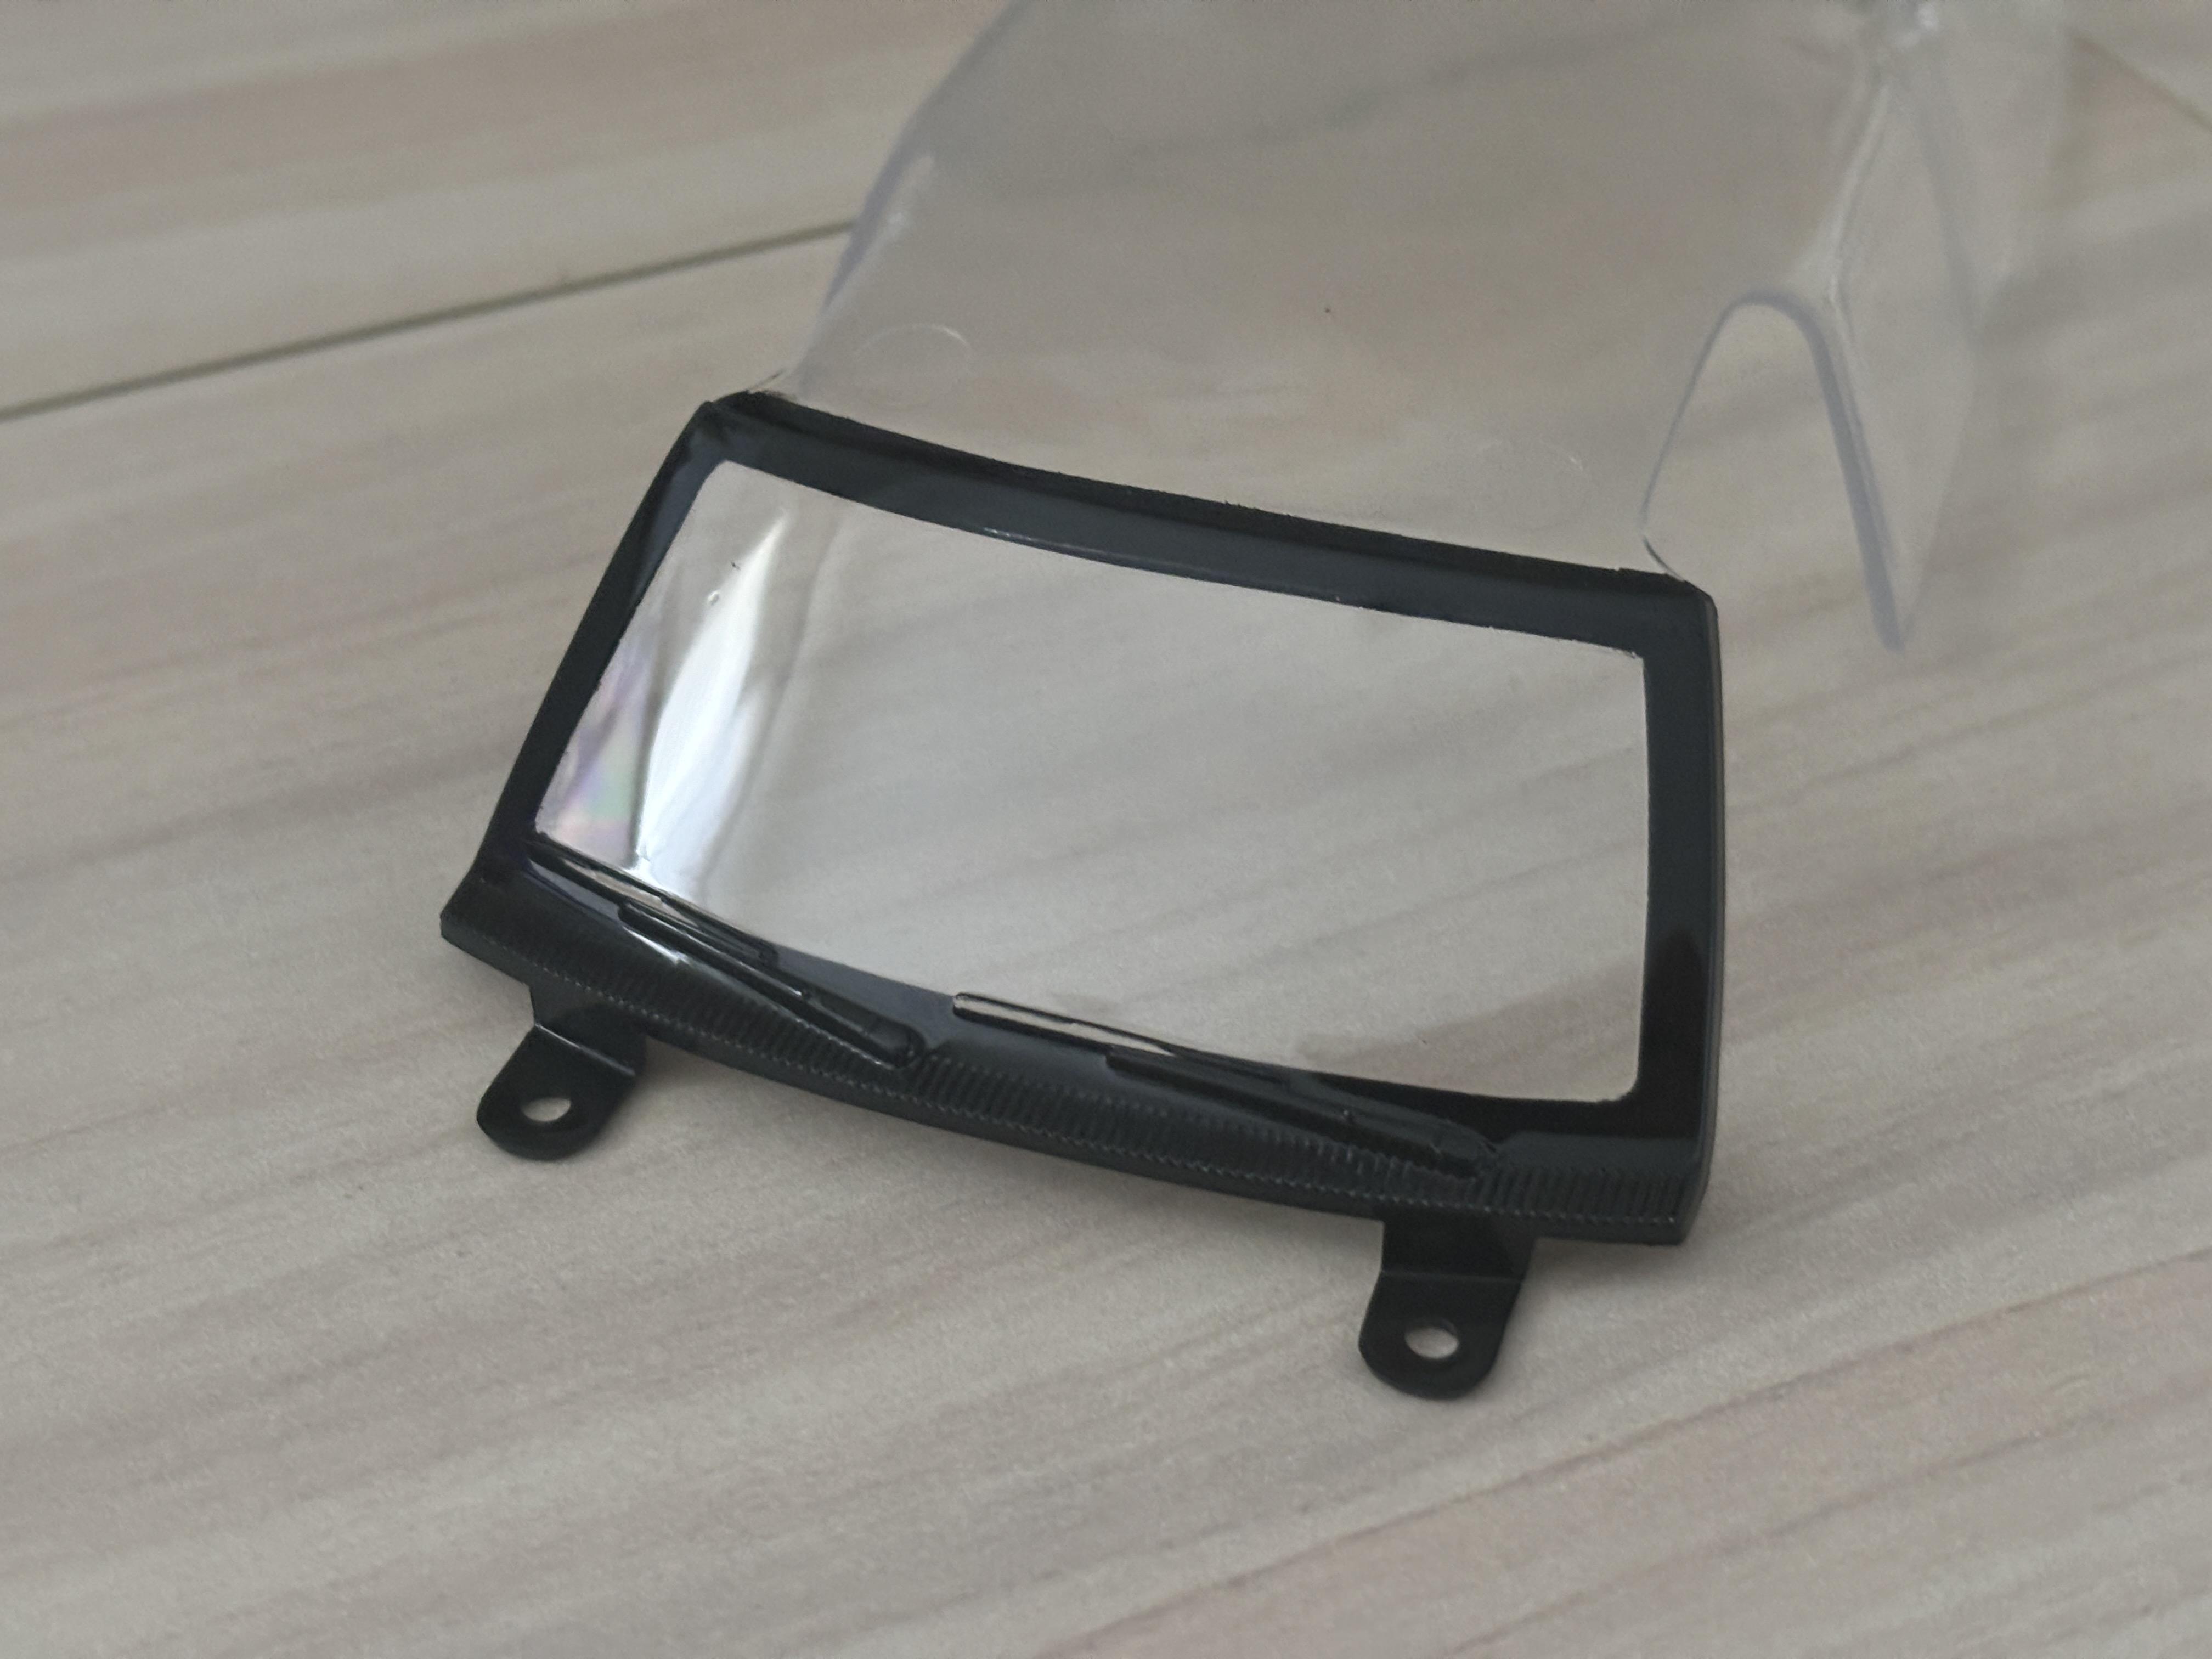
I finished detail painting the interior glass piece. The piece has well-defined ridges for the black borders around the front and black windows, so I just brushed Vallejo black acrylic paint on the inside and wiped away any excess with a pointed cotton swab. Since I scribed the rear window to convert it into 2 barn door windows, I had to paint the black border down the middle. The horizontal lines along the back window are raised ridges along the interior, so I had a hard time taping the area to paint it. I used an old roll of flexible black pactra tape and placed it down the middle. I then blended it with Vallejo black. The rear side windows have no ridges, so I placed the glass inside the cab and used Tamiya tape to eyeball and create my own borders. I then brush painted with Vallejo acrylic black again. I love Vallejo black as it is very easy to brush on. Since the area is so small and I'm painting along the interior of the glass piece, there are no brush marks visible from the outside. After completing the black borders, I brush painted the roof with Testors Flat Gray enamel. It's a bit darker than the gray I used for the interior tub, but the contrast shouldn't really be visible from the outside and I just want it too look close. I find Testors enamel to be very easy to brush on once it's been thoroughly mixed. I'll use the same Testors paint on the inside of the body, particularly the interior pillars. I'd say it looks pretty good: After this, I addressed one final issue with the grill. The 3D printed aftermarket grill I'm using has open vents, meaning that the obliterated front end of the body will be visible: My initial solution was to glue black styrene sheets to the back of the grill, but I did not leave any clearance between the grill and the mounting holes/pillars that I left on the front end. I opted to use Hasegawa flat black finish tape along the back: And here's the result: With this done, all that is left is to wet sand/polish the body and then final assembly. The body is now dry, but I will have to find the time to sit down and go through the tedious wet sand and polishing stage.

-
Late 80s F 250 small hubcaps
av405 replied to junkyardjeff's topic in General Automotive Talk (Trucks and Cars)
https://cults3d.com/en/3d-model/various/80s-ford-f250 https://cults3d.com/en/3d-model/various/ford-f-series-base-wheels-with-integrated-hub-caps -
Mr. Finishing Surfacer 1500 White Primer.
-
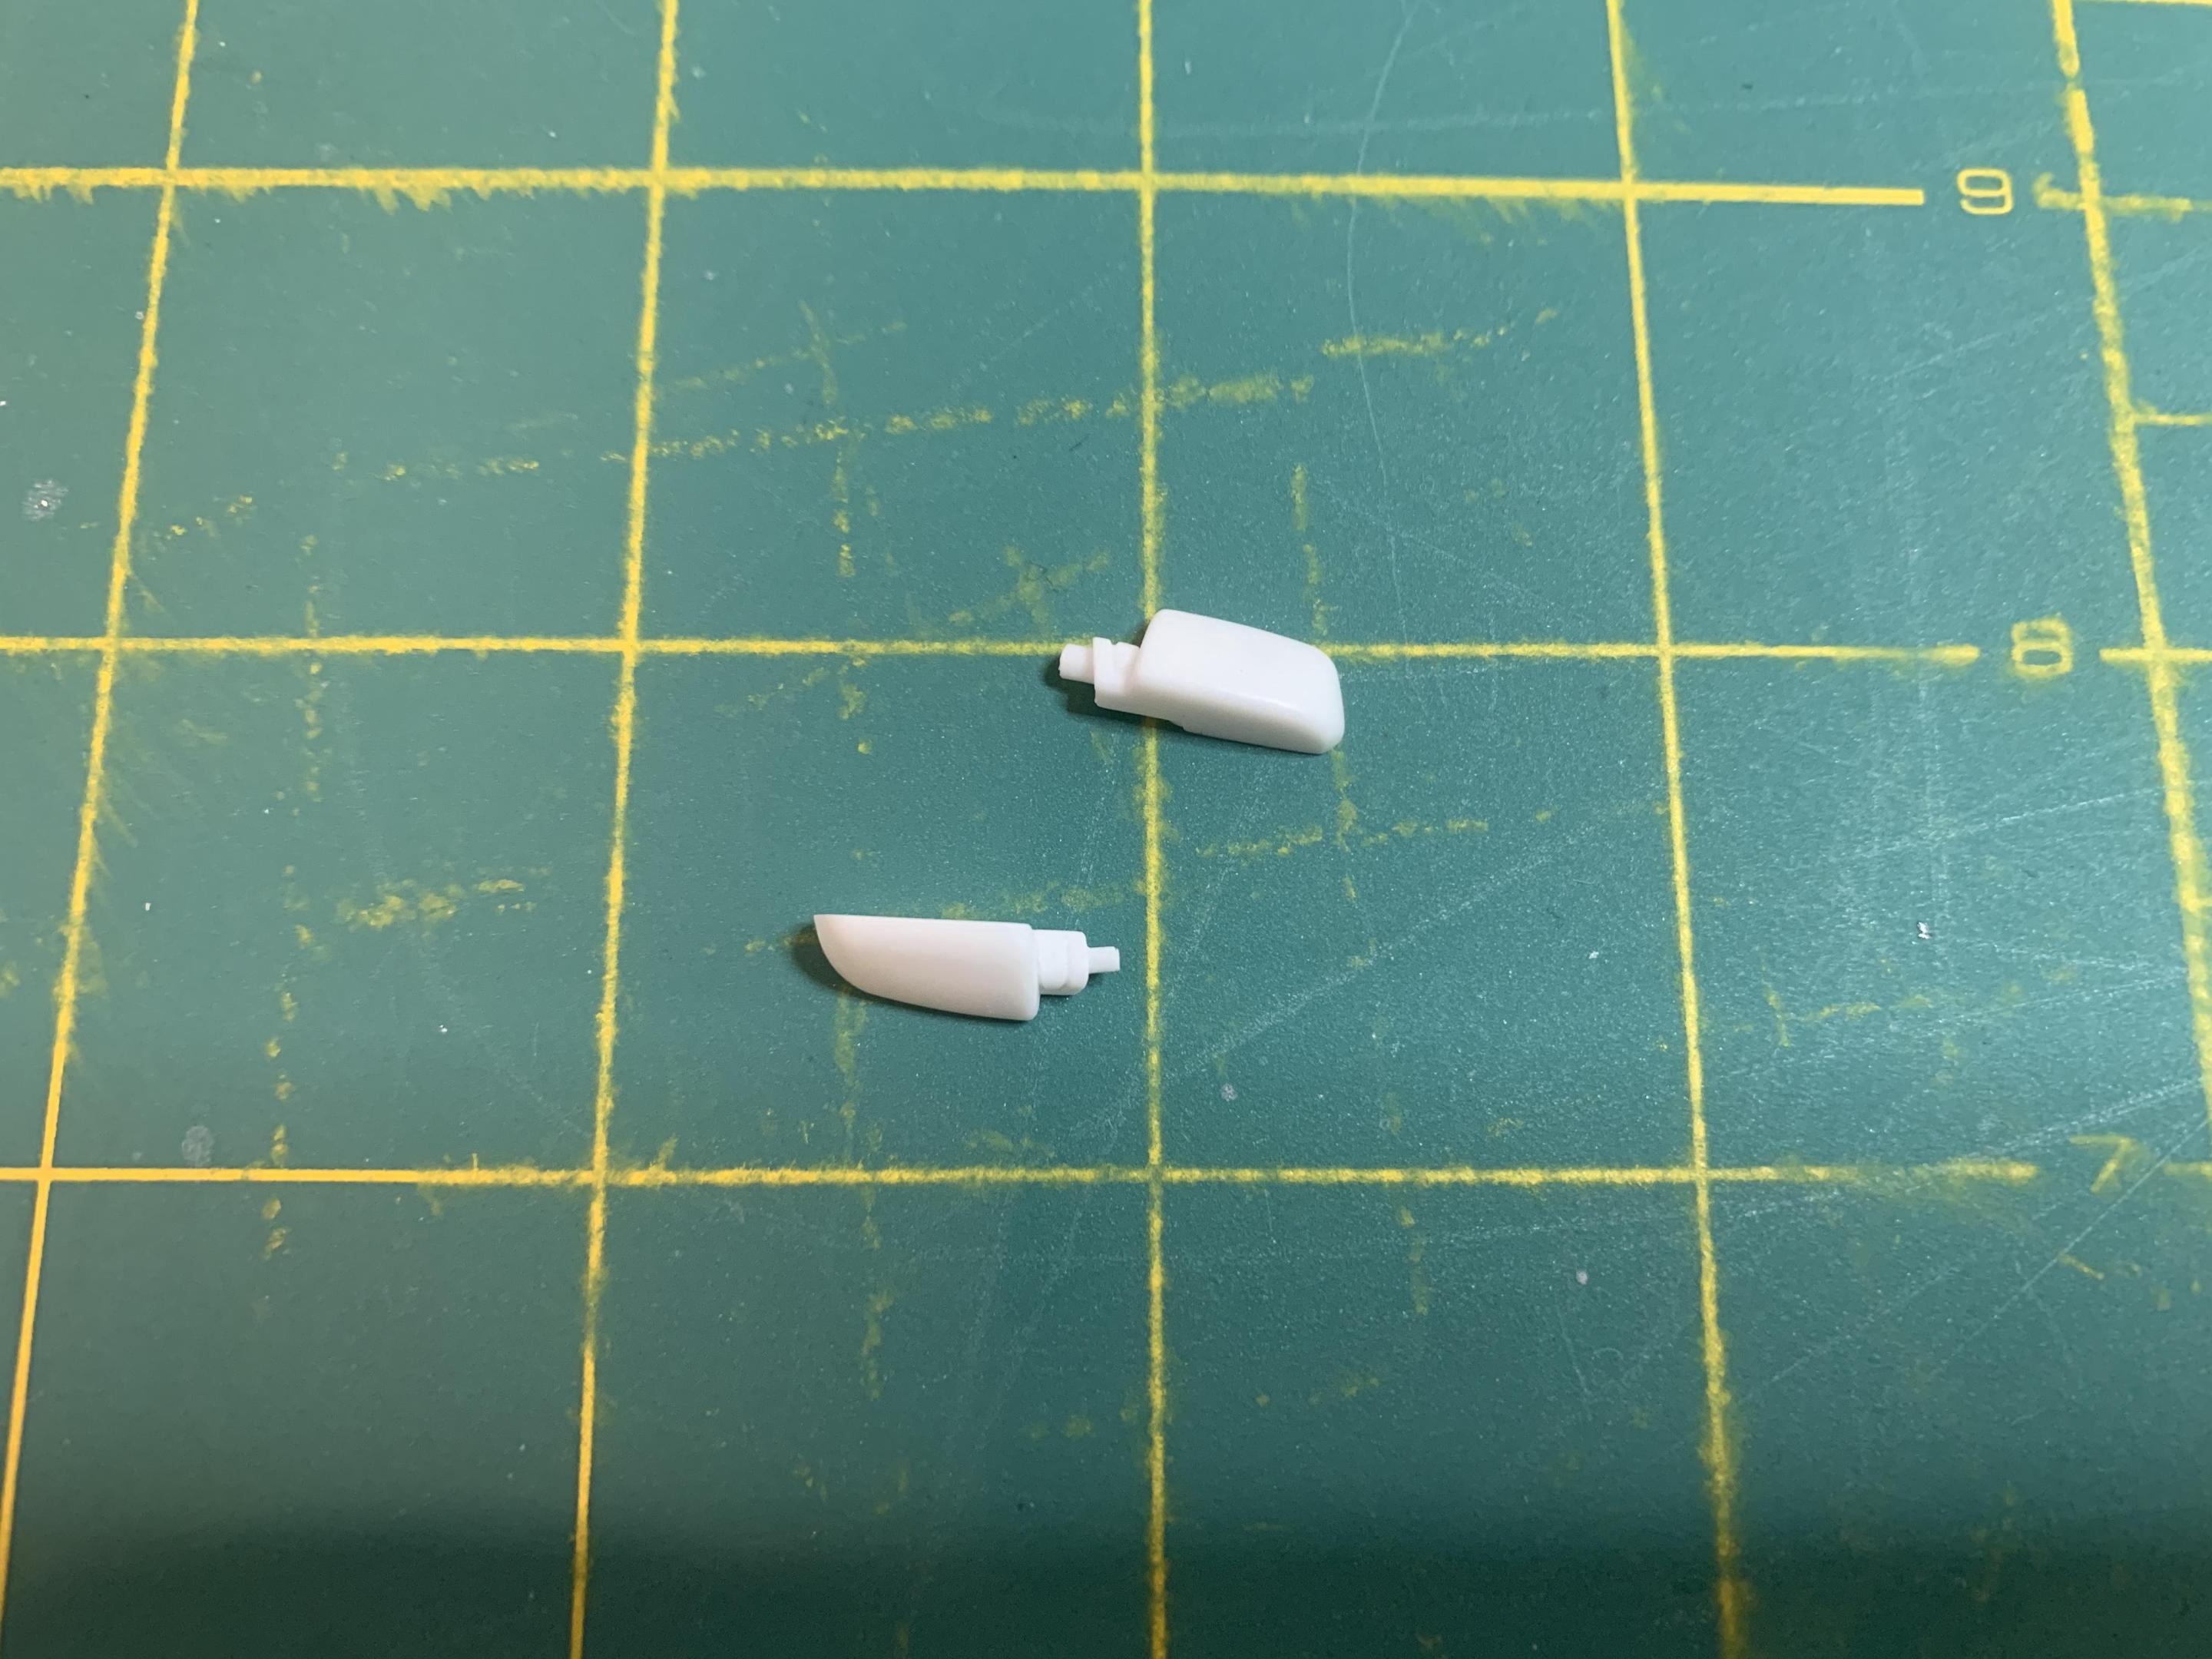
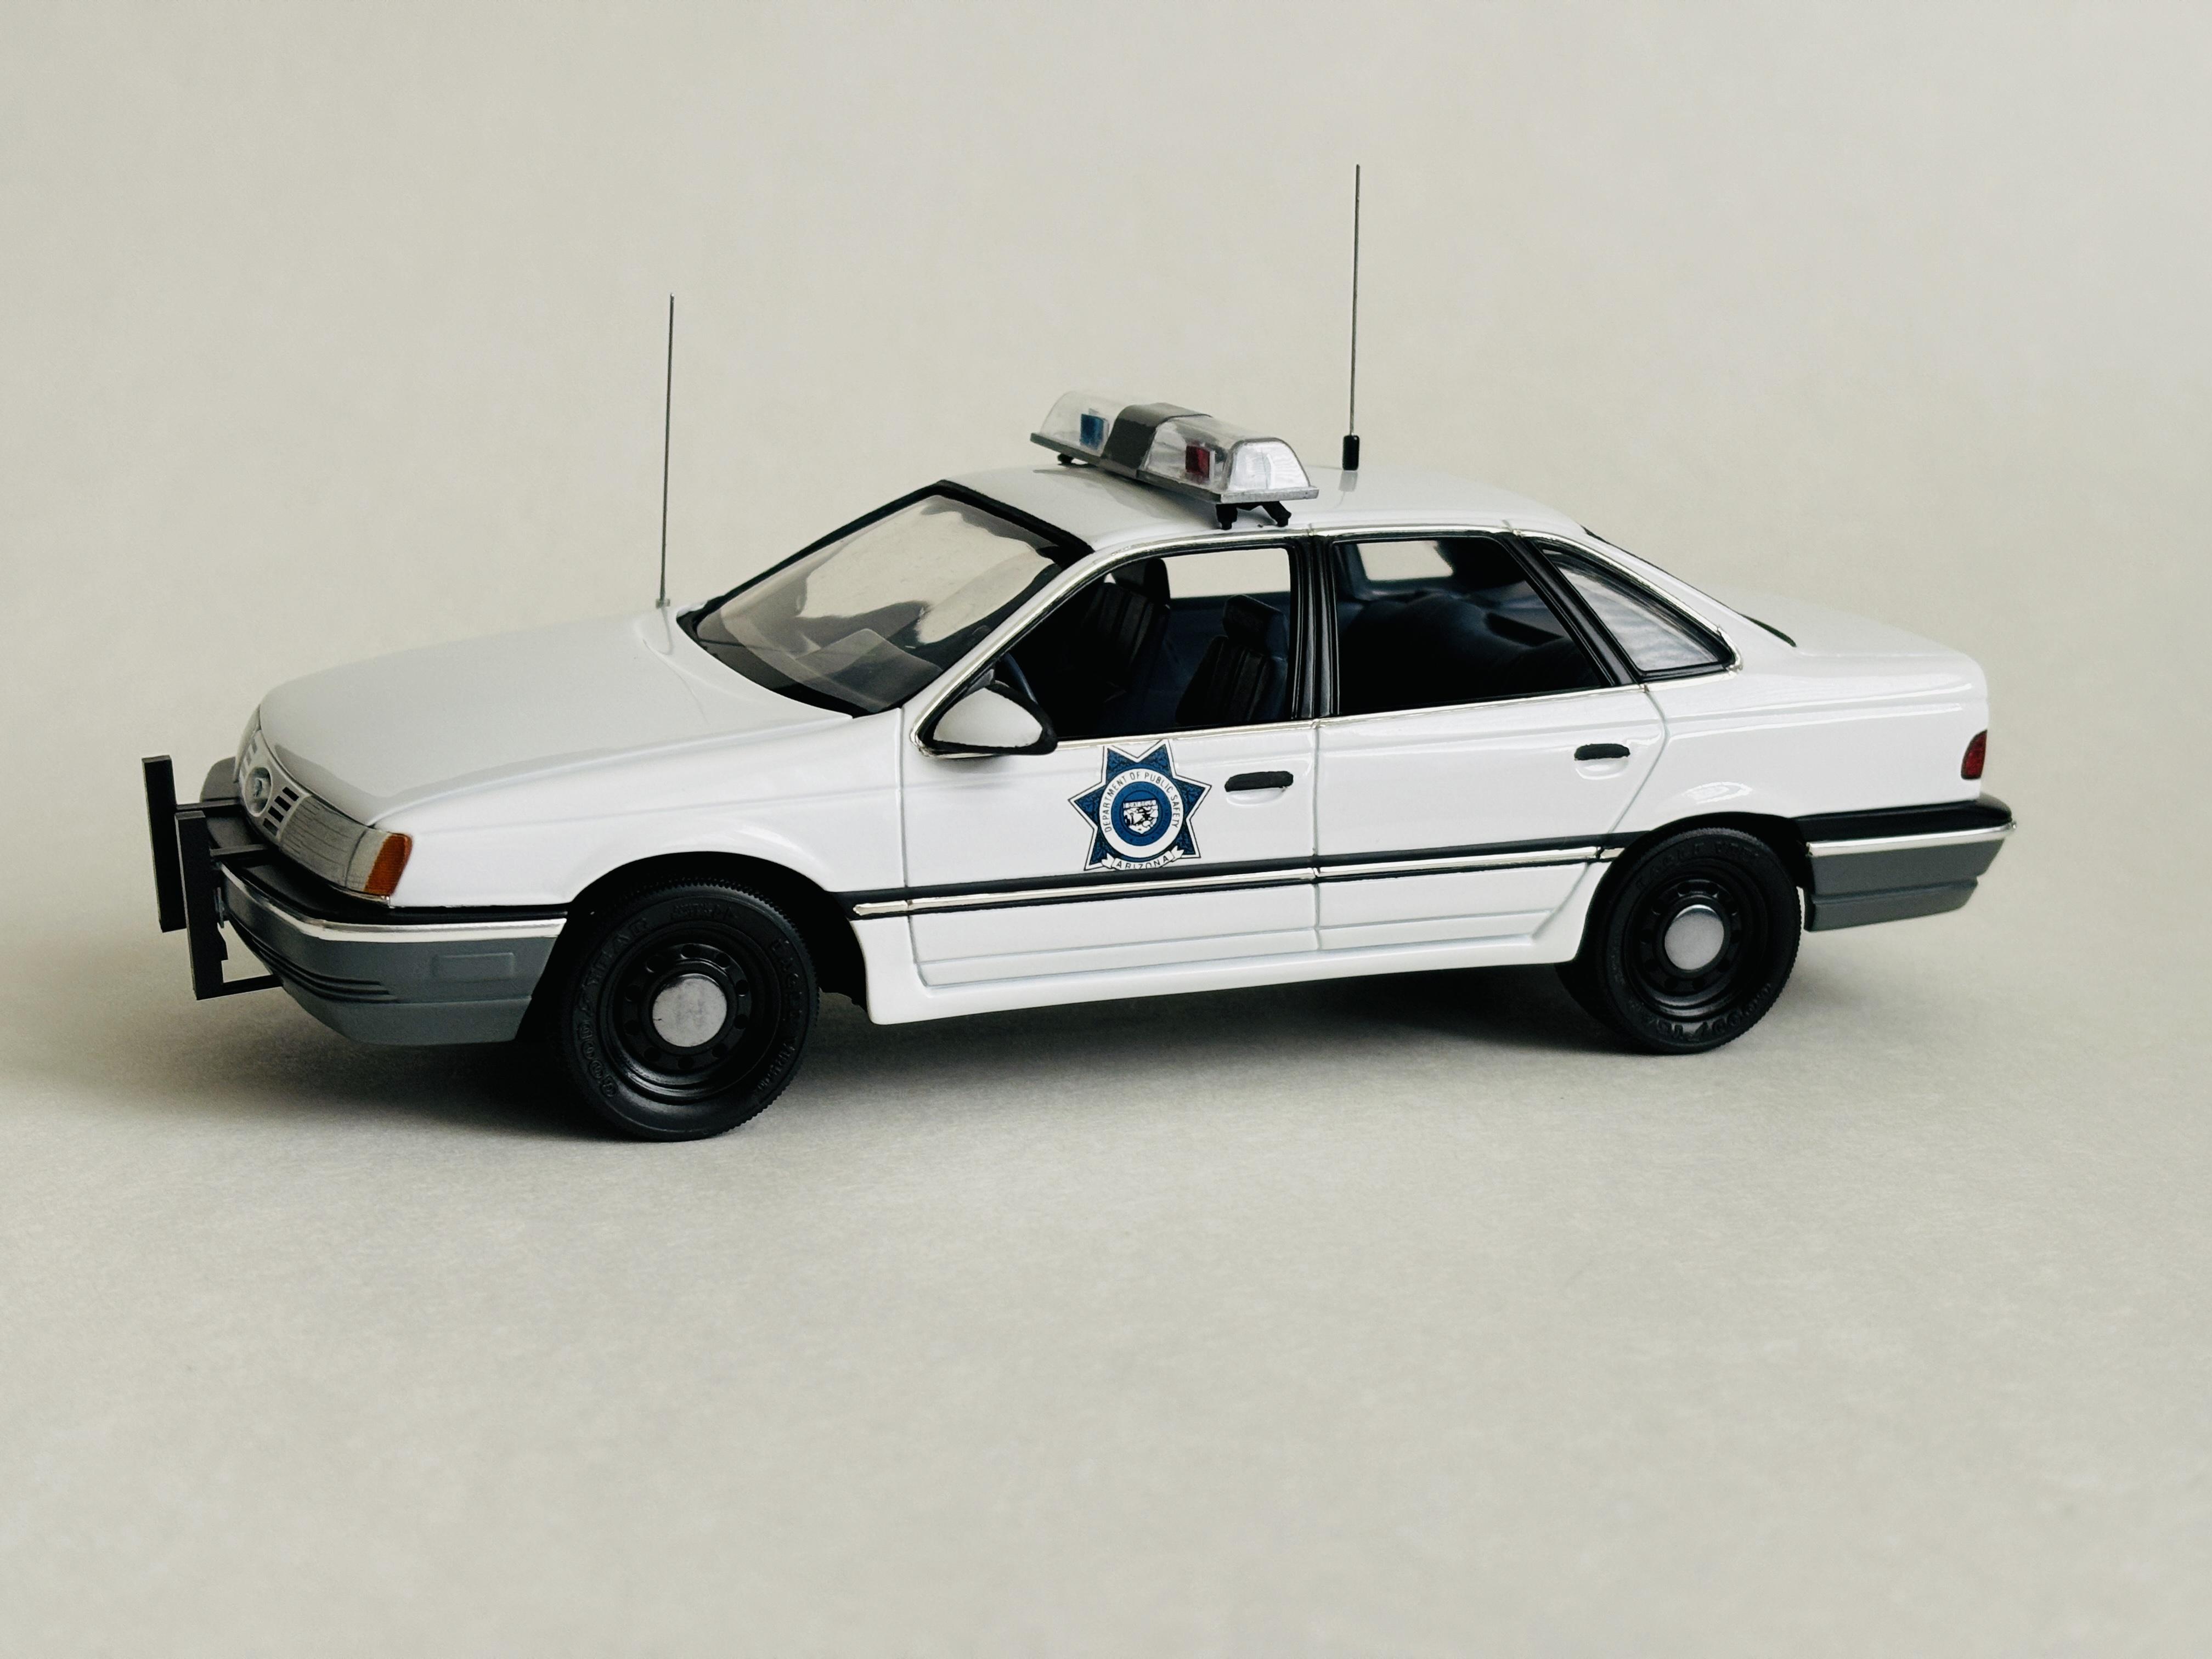
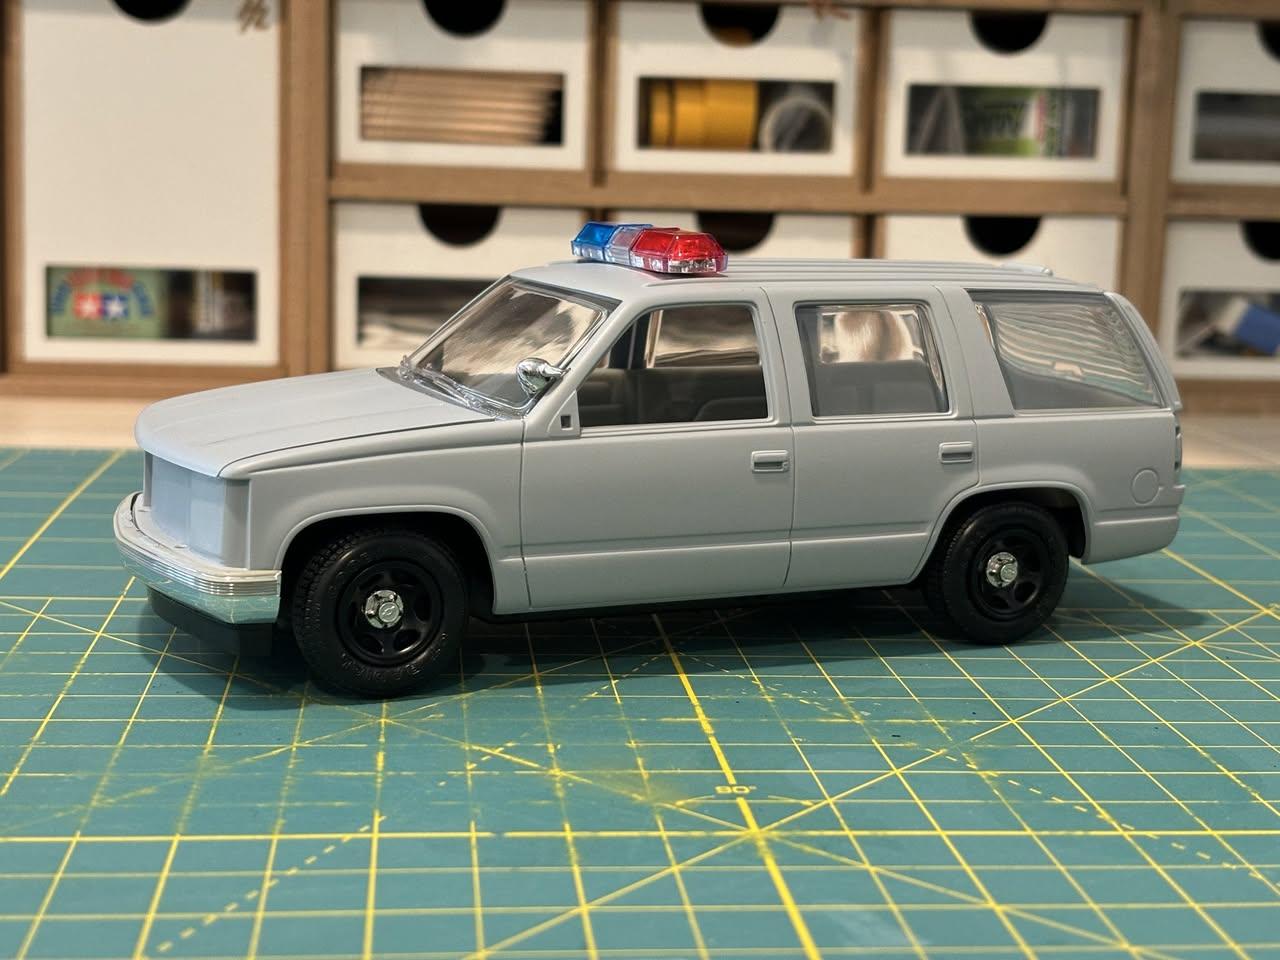
I cleared the body today with 4 progressively heavier coats of my favorite spray clear - Mr. Super Clear UV Cut Gloss: I think it's a bit hard to tell from the pictures, but the clear definitely gave the flat white primer the pop I was looking for. Maybe it's just me, but it doesn't seem as glossy as spraying white gloss paint with clear coat. It's fine for this build since it's a police vehicle, but I may not use this method for something "nicer." I'll see how it continues to dry. I'll give everything 1-2 weeks to dry before wet sanding and polish. Over the weekend, I also dealt with the side mirrors. For some reason, AMT gave the Tahoe and the old and new versions of the C-3500 dually kit side view mirrors from the S-10. PPV models used the "aero" style mirrors. Thankfully, the most recent issue AMT 1992 Silverado kit has the mirrors that I need. This is the second time I rob the mirrors from one of these kits for another build. I snipped away the mounting pegs, applied primer, and then Tamiya TS-14 Black: While the clear dries, I will finish painting the black border portions of the kit-supplied plastic "glass." Stay tuned.
-
i would support this.
-
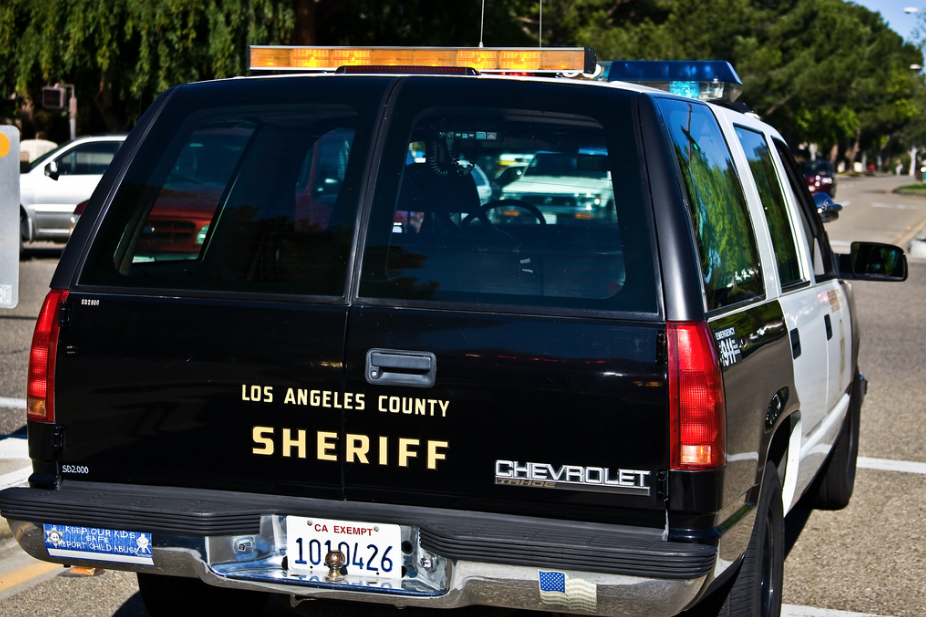
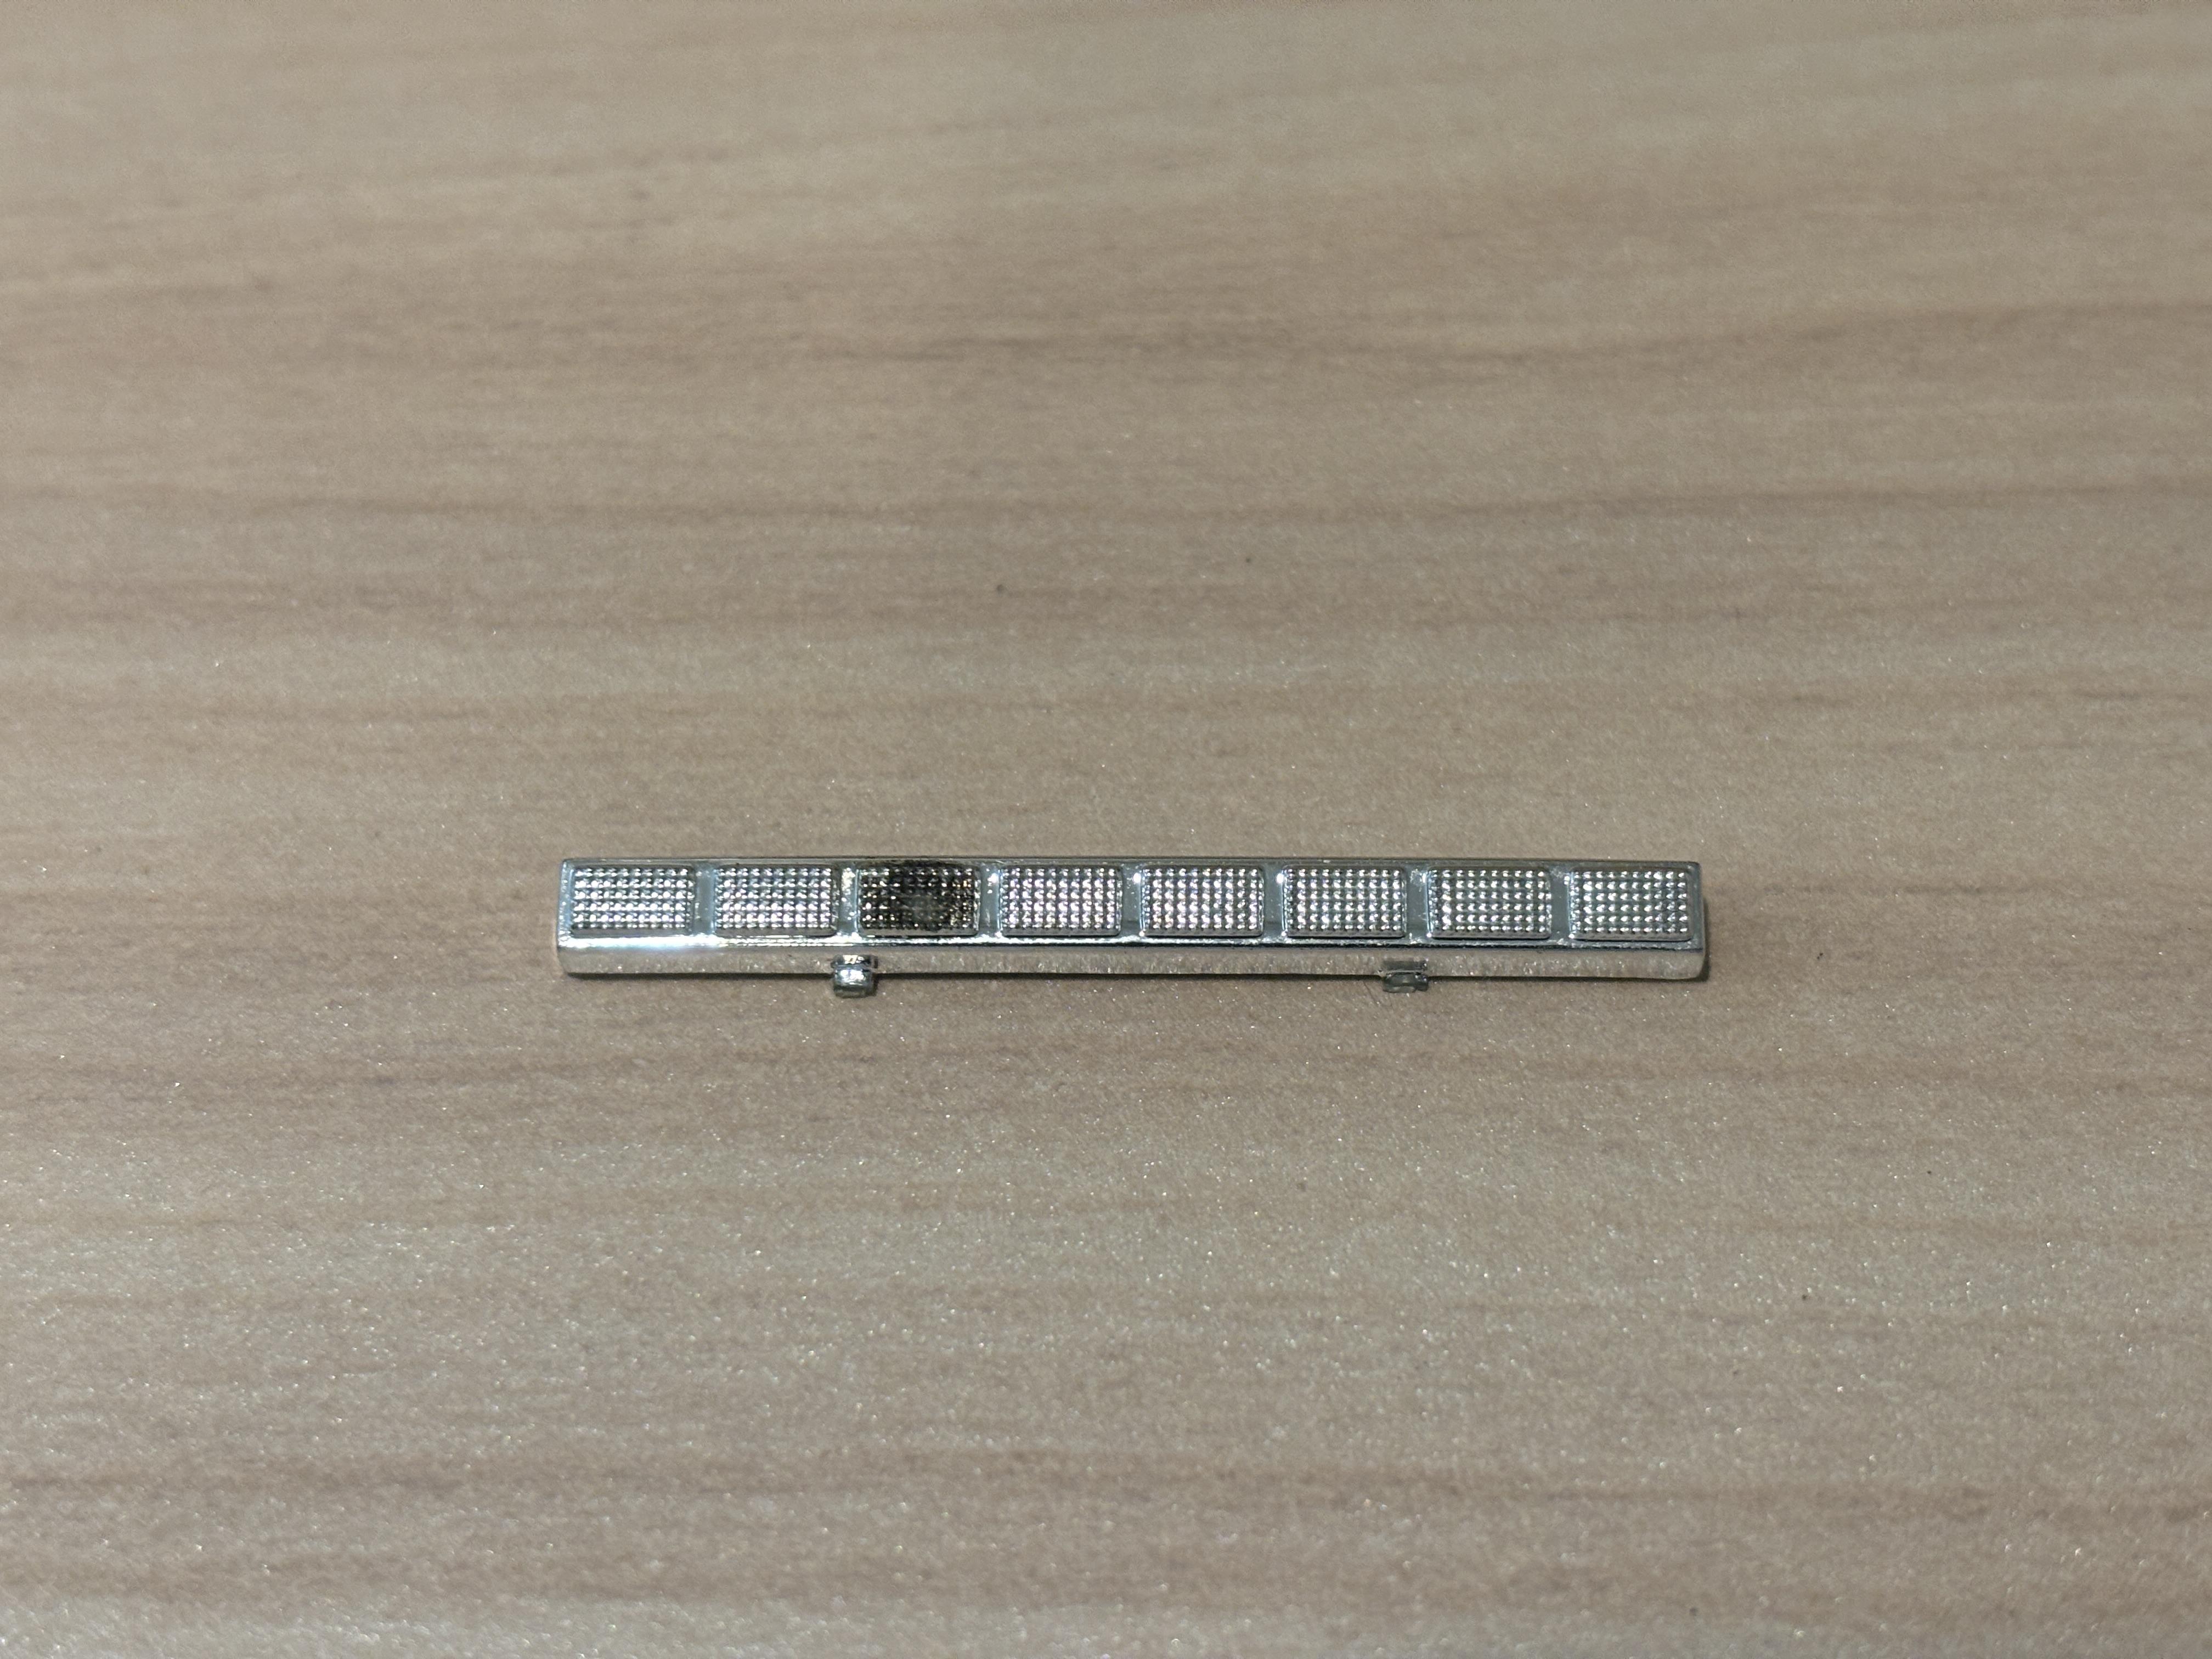
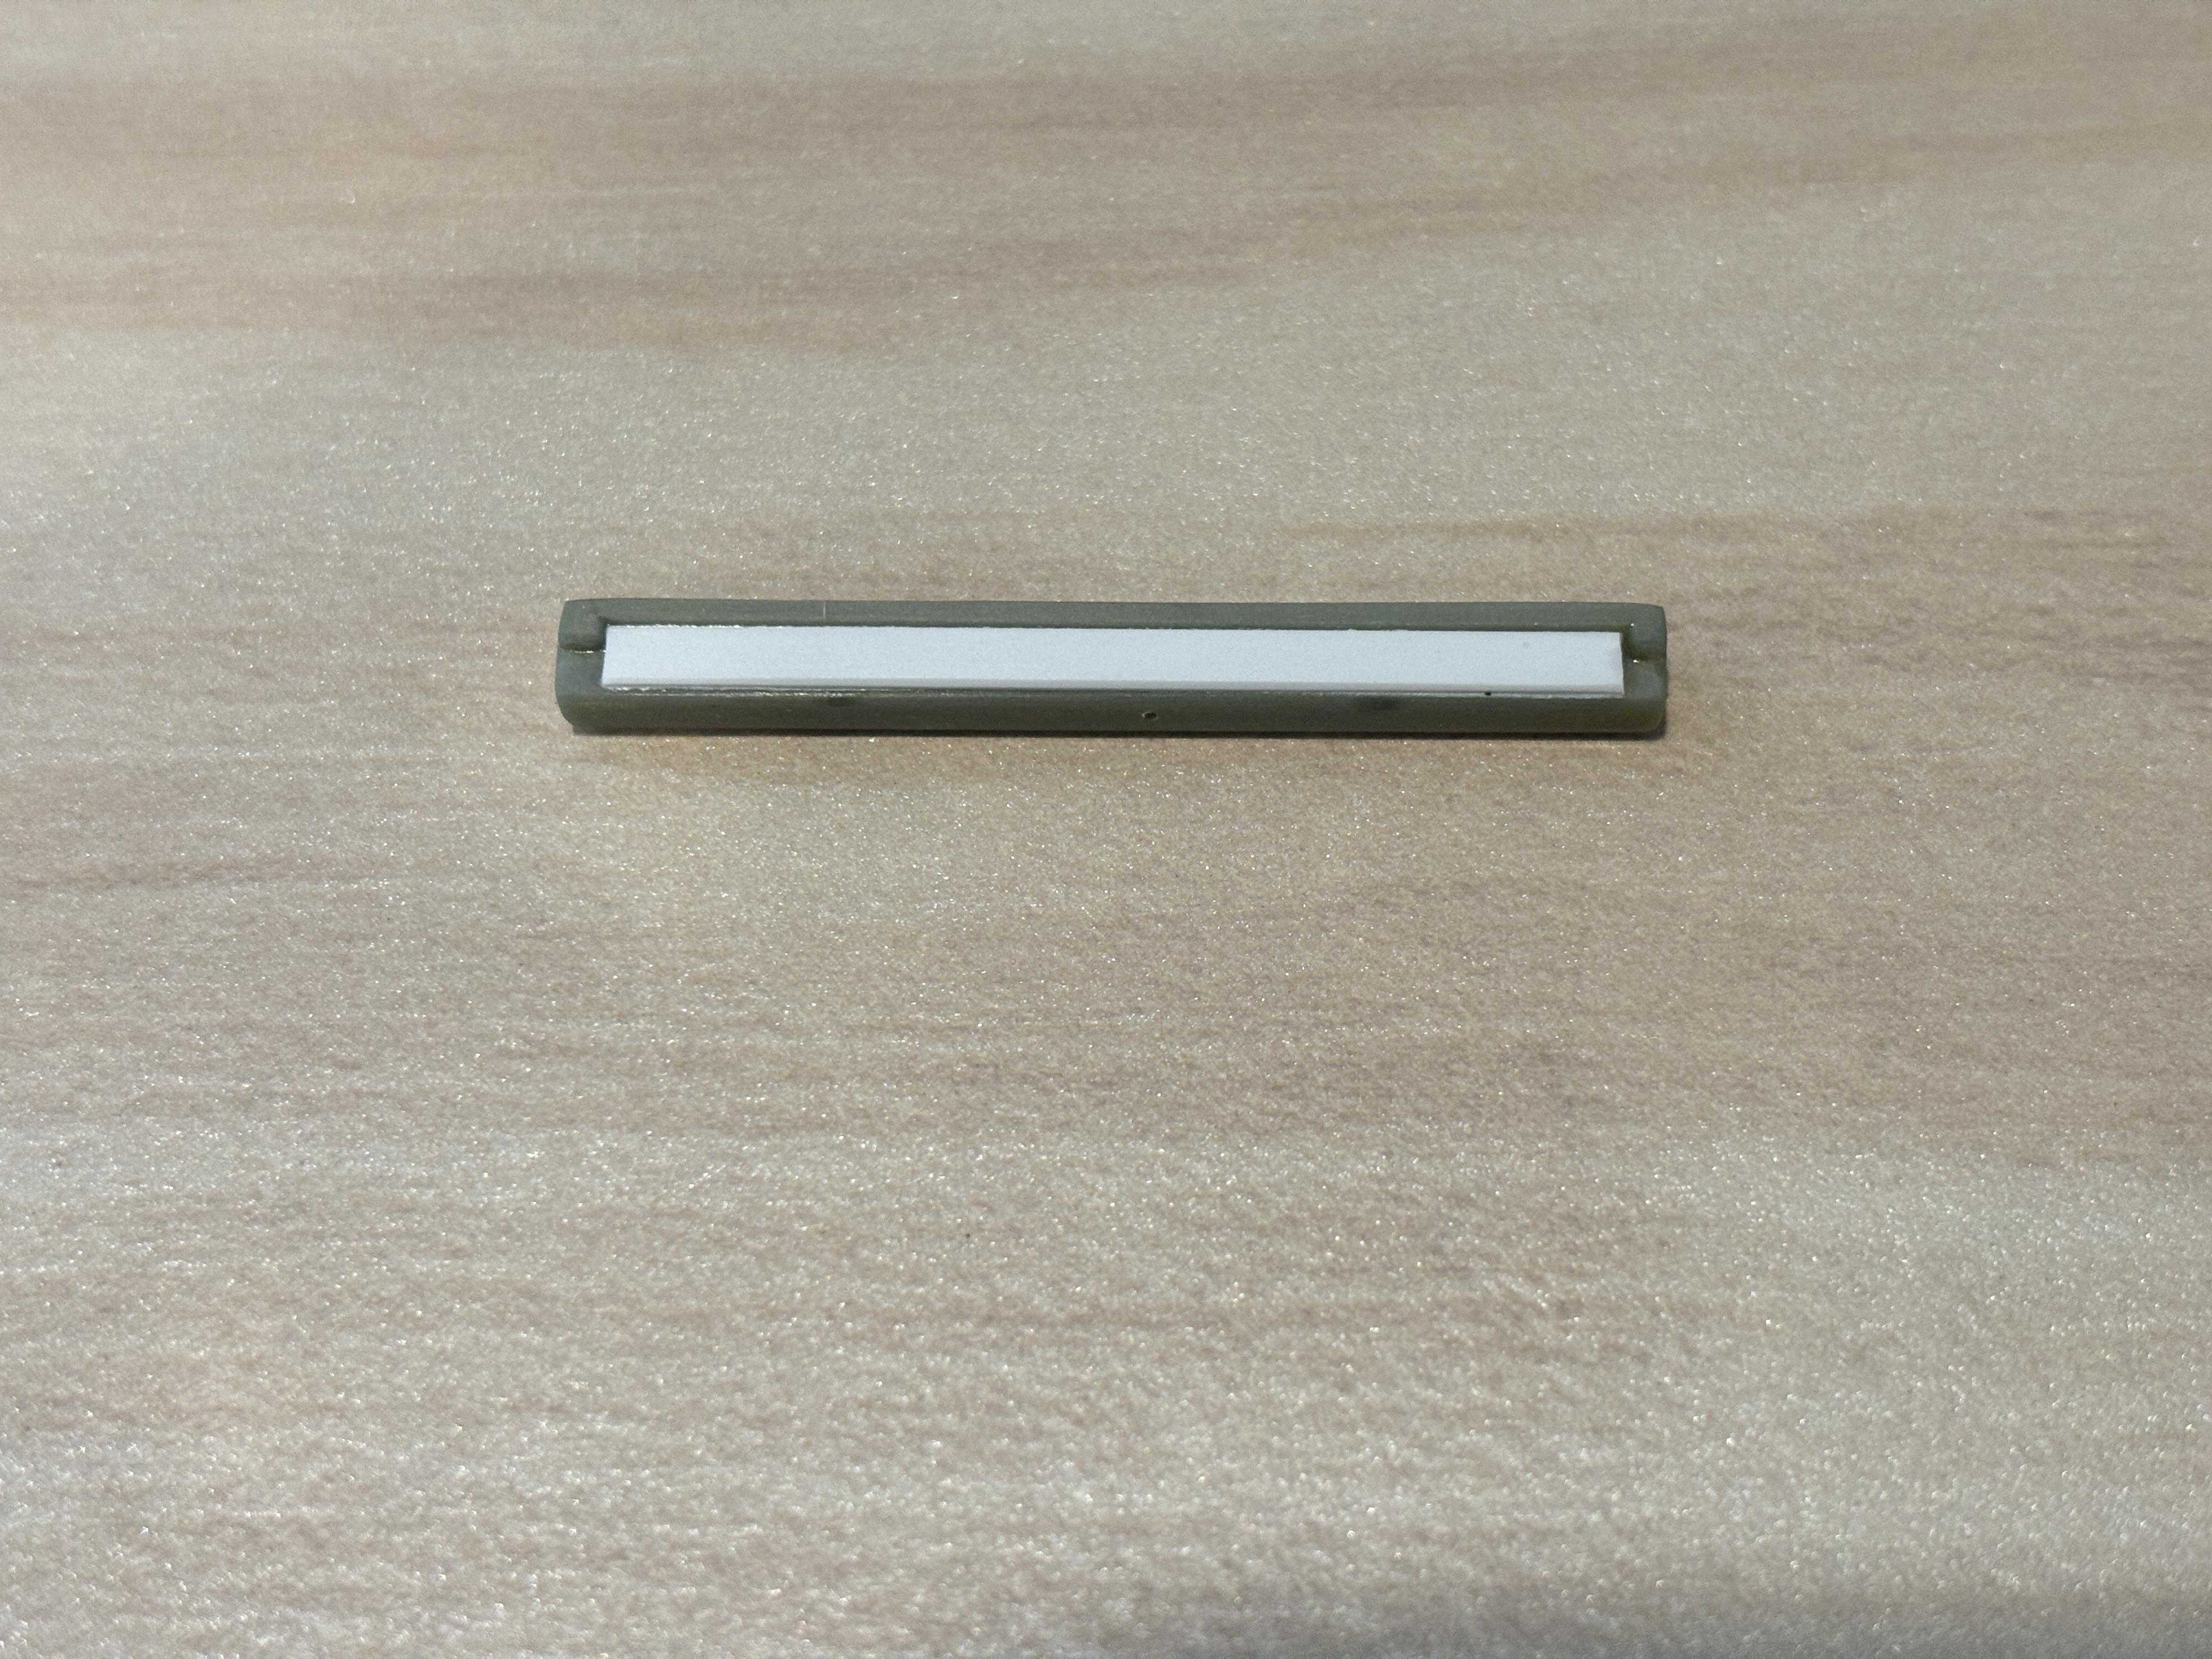
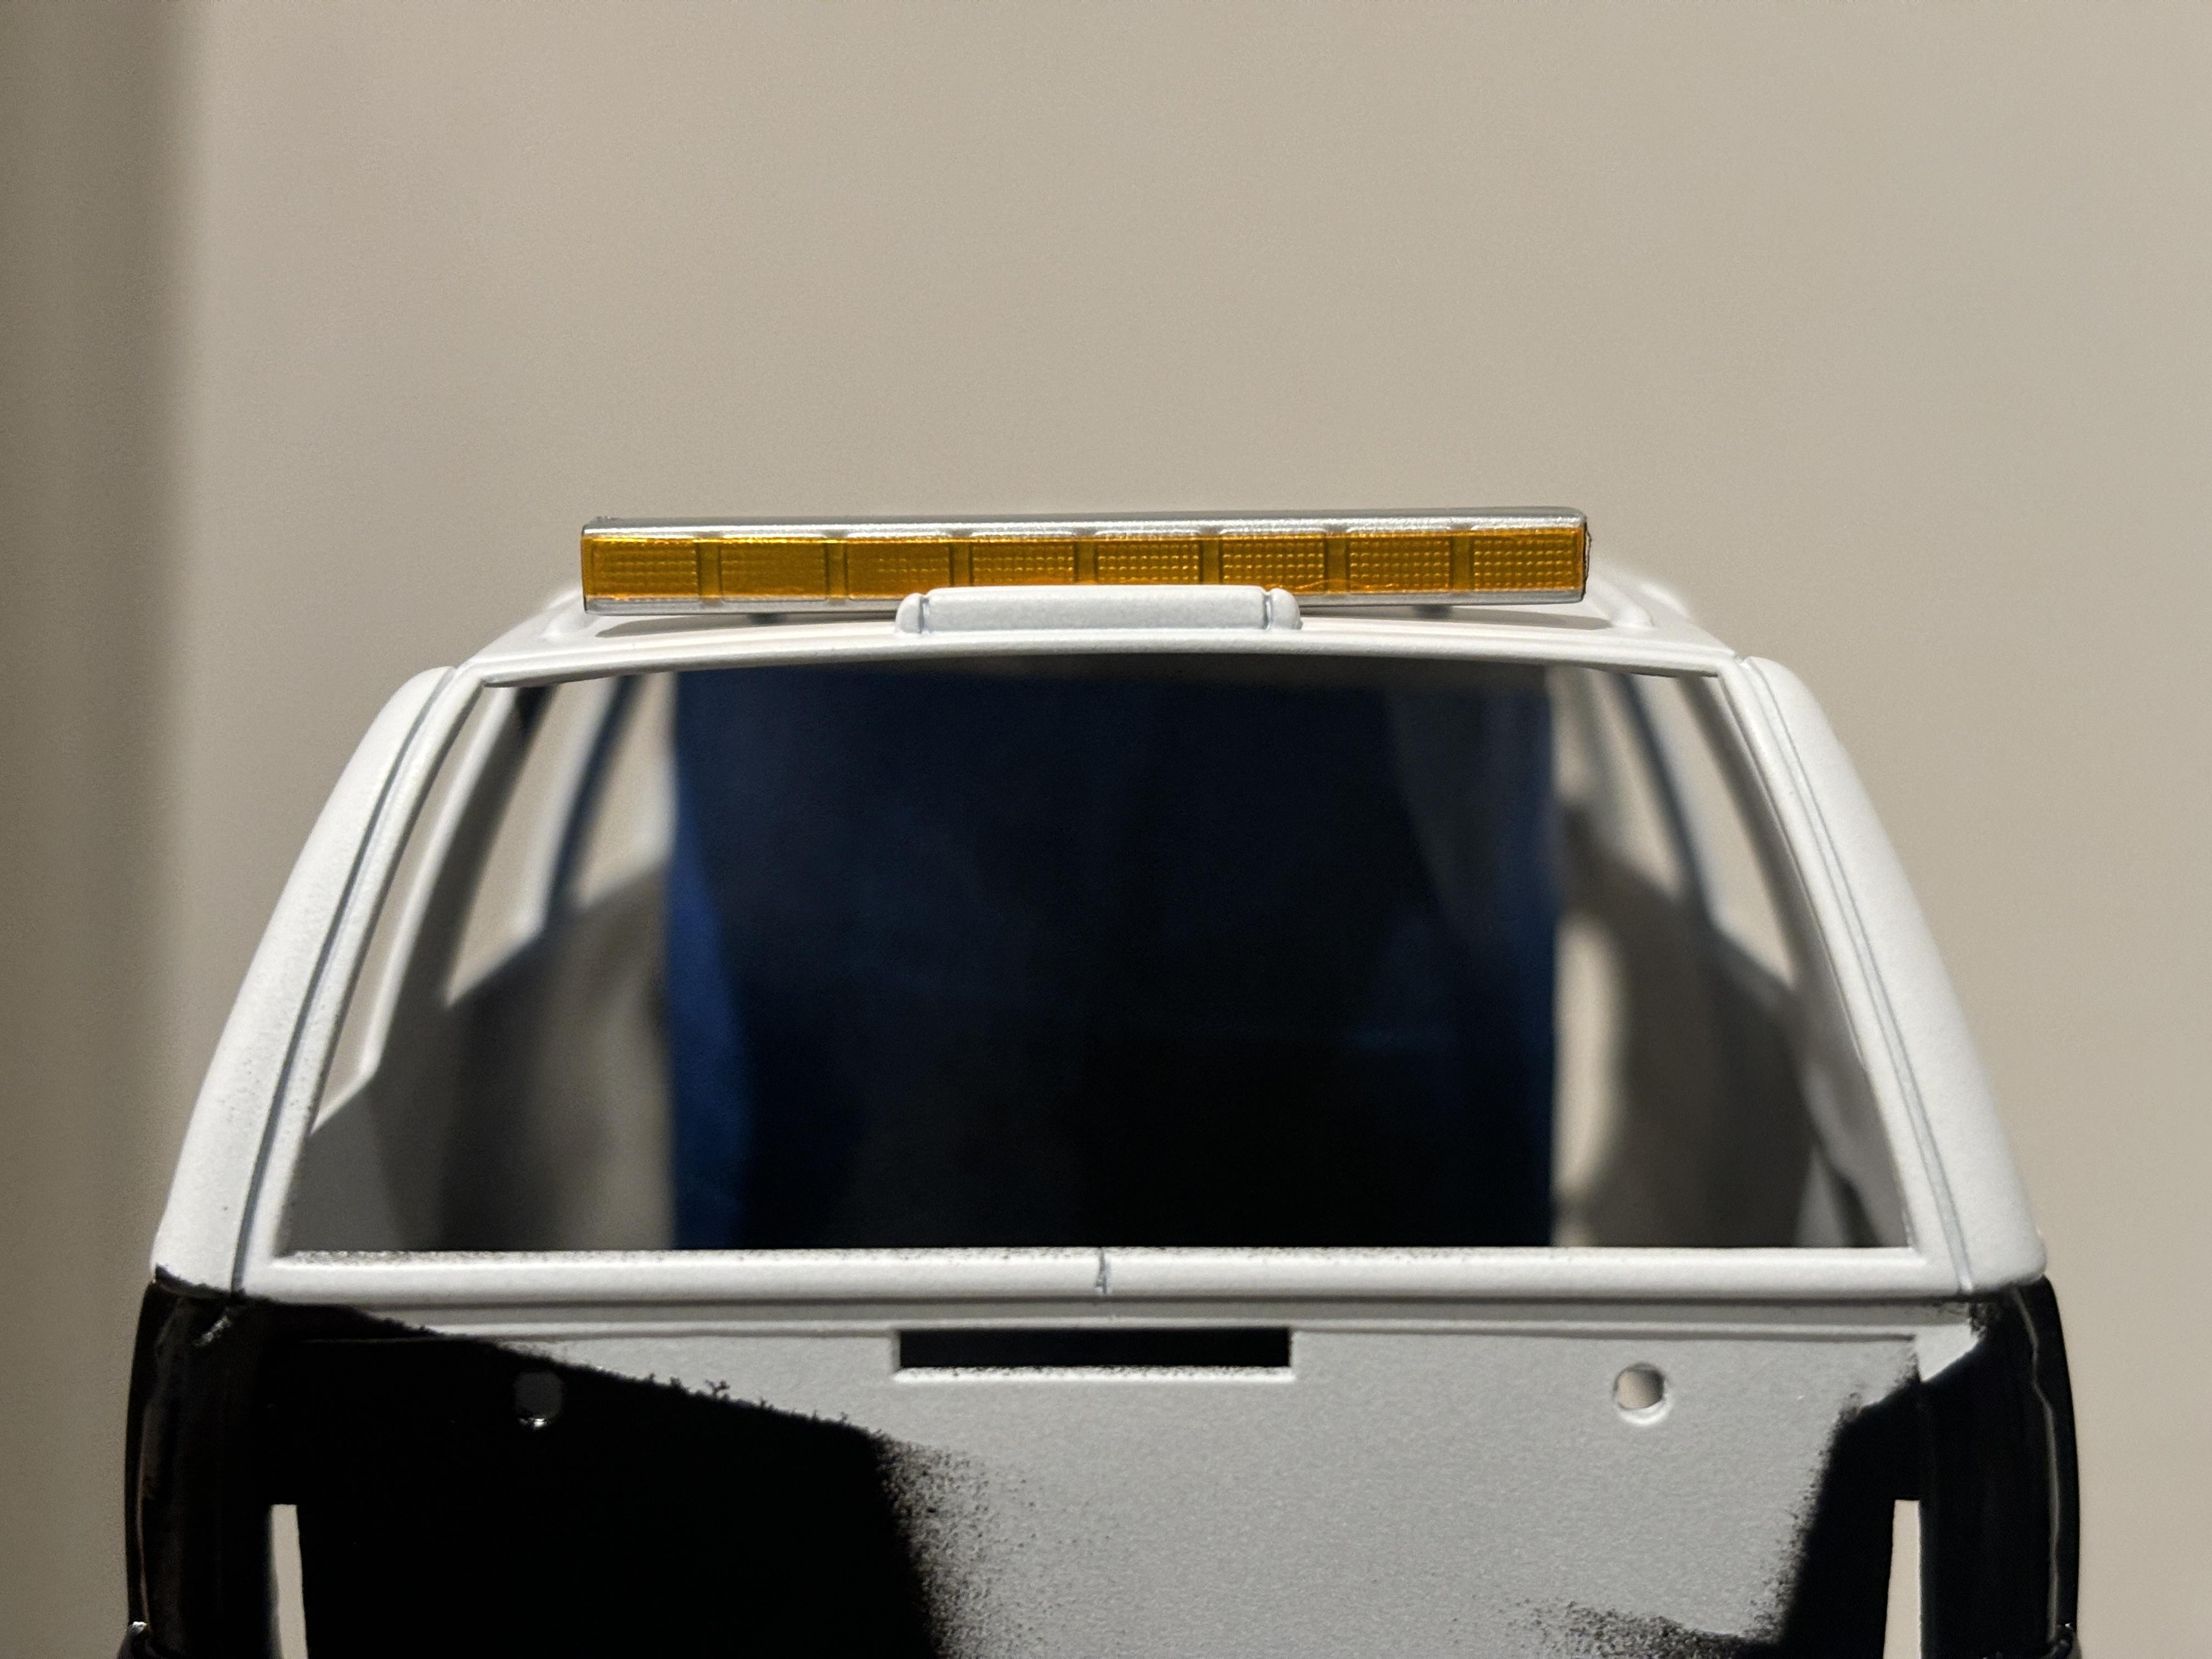
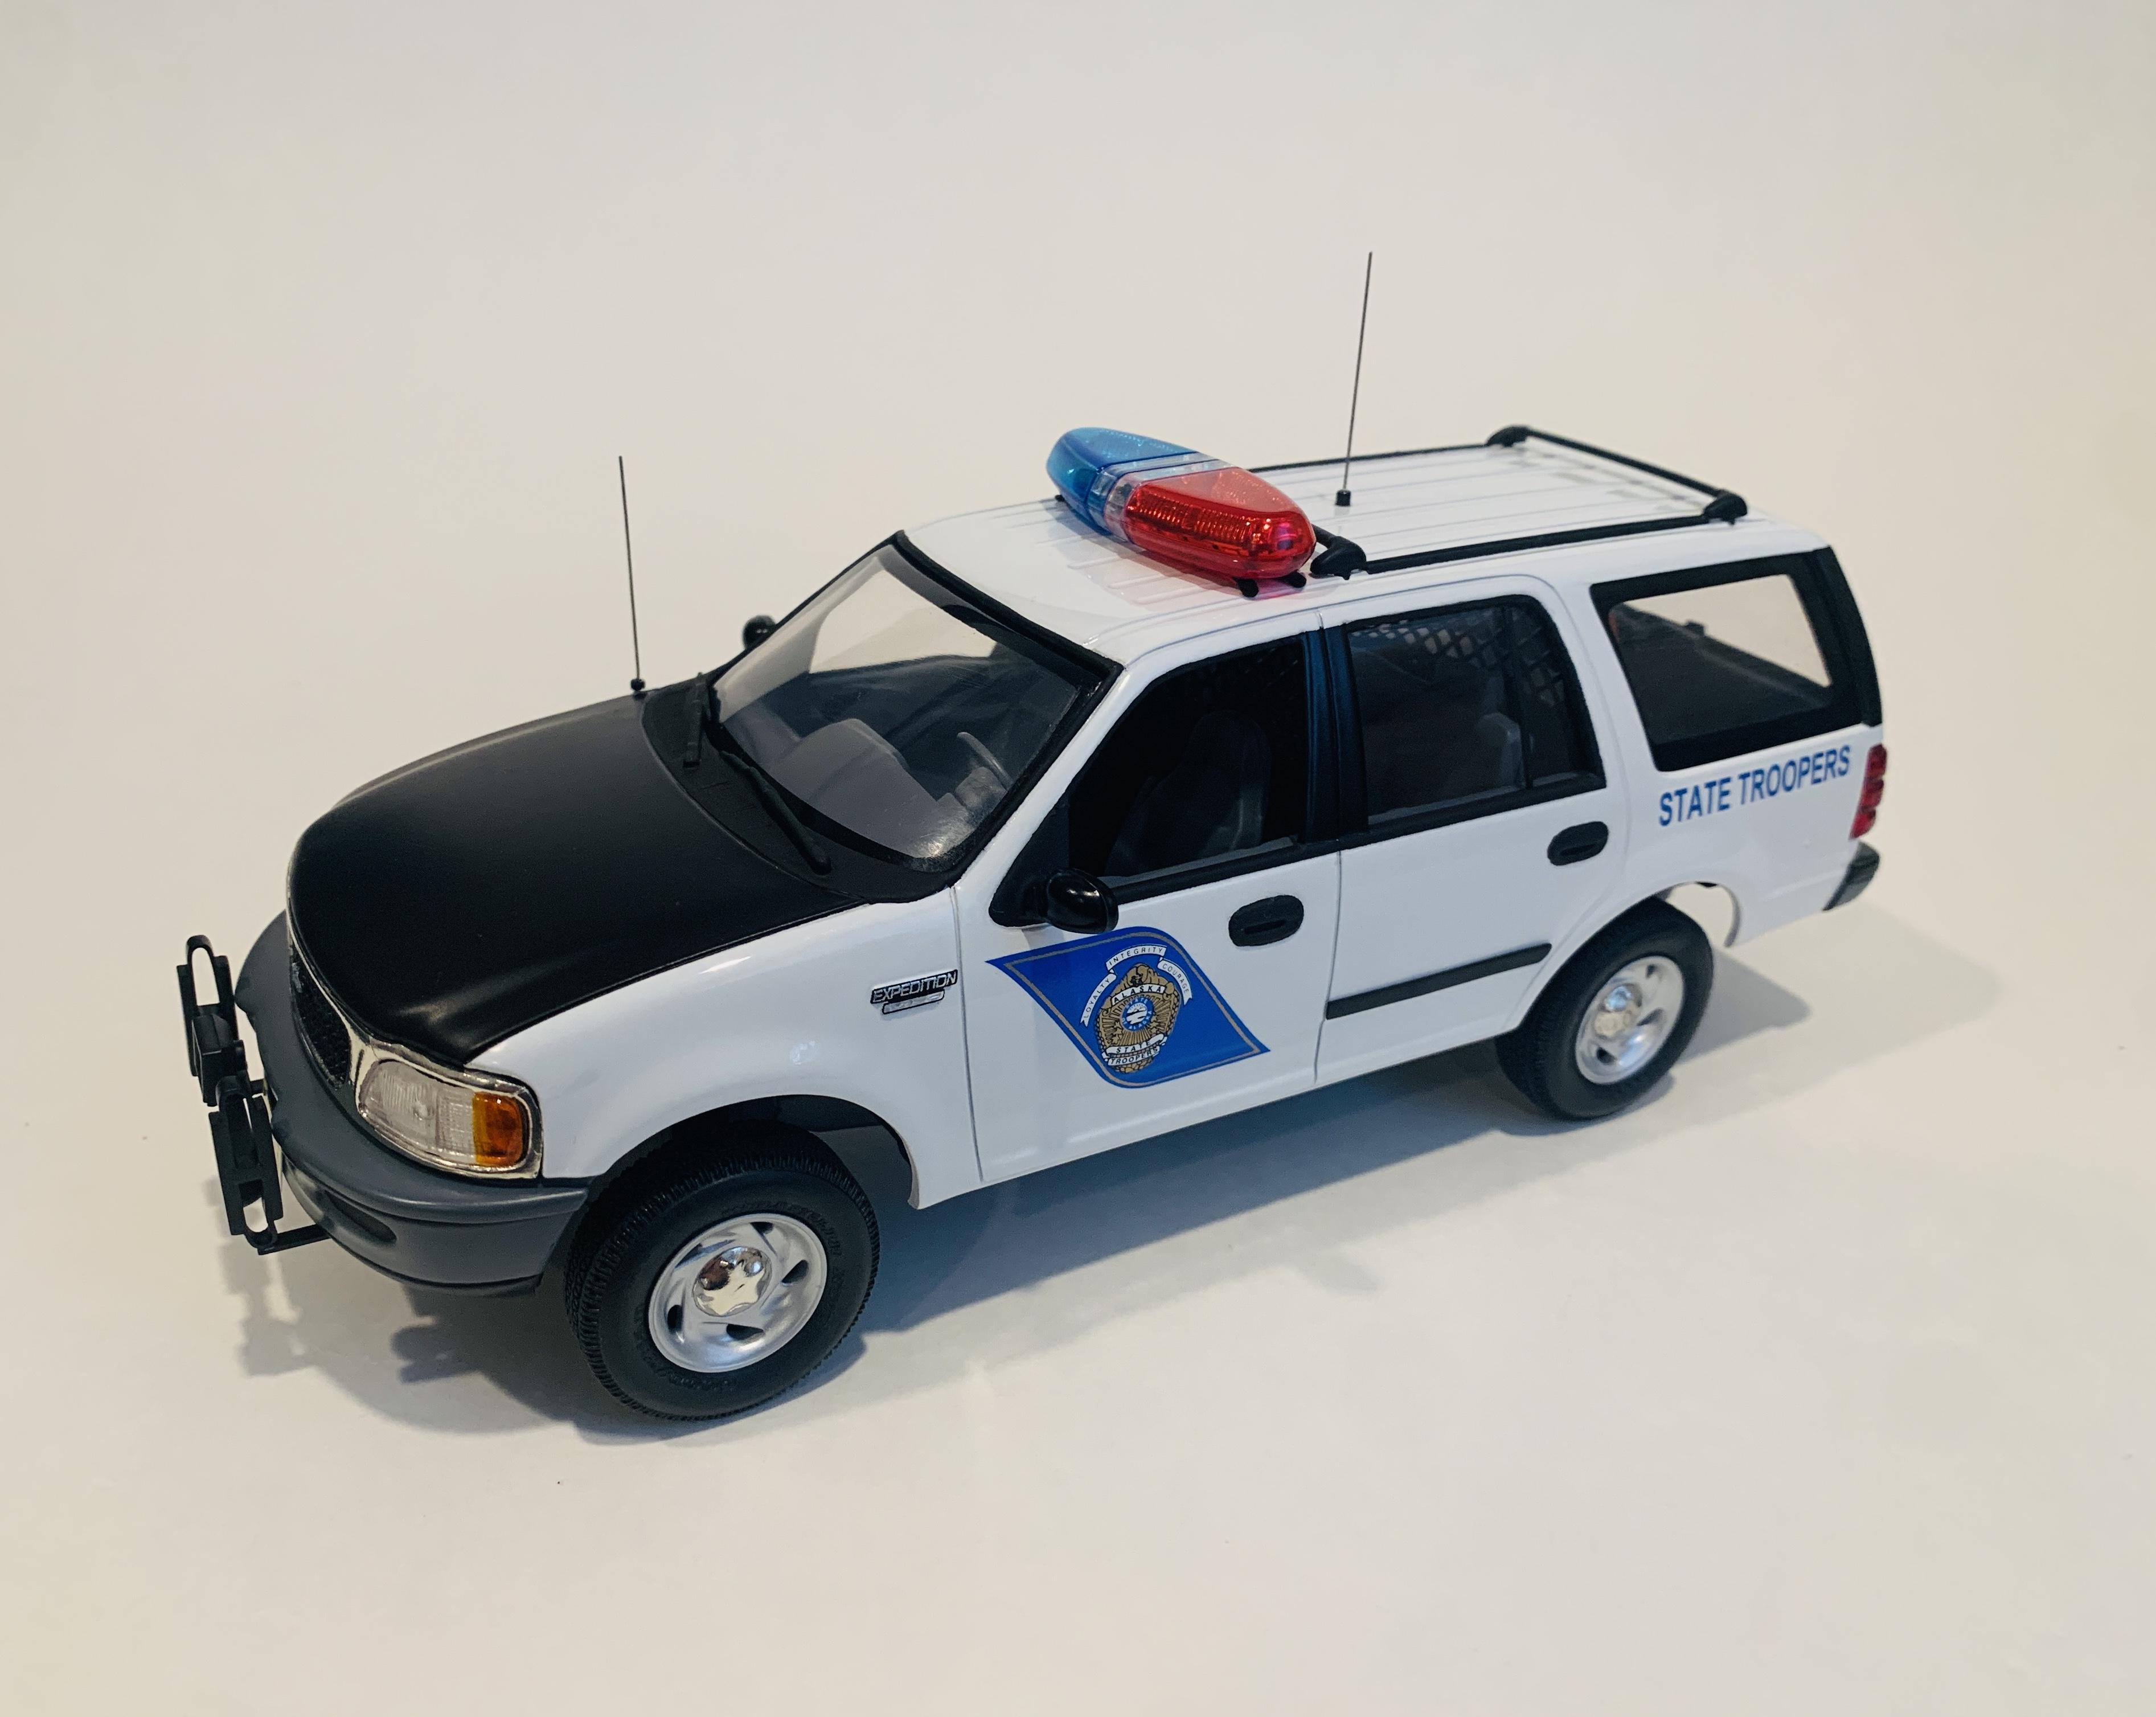
Thank you, Carl. While the body is drying, I worked on the rear arrow stick. Here is the real thing for reference: I grabbed a spare arrow stick from the Lindberg Crown Victoria Ohio State Patrol kit. The design isn't exactly the same and it had a blemish. I decided to use the blemish as an excuse to strip the chrome off and make it look closer to what I needed. Here it is before: And here it is after stripping: I used a piece of evergreen stock to fill in the rear of the arrow stick. This is not filled as the arrow stick is meant to attach to the Lindberg kit's Vector light bar. I painted the entire piece with Tamiya AS-12 Bare Metal Silver. I then cut out a piece of clear plastic, painted it with Tamiya TS-73 Clear Orange, and glued it on top of the arrow stick. Some flat black was applied to the sides of the arrow stick to match the real thing. And here it is: Not perfect but it looks closer to the real thing.
-
Here's some photos, straight from Revell's website. And a video: https://revell.de/en/shop/product/077249090-stranger-things-1985-chevrolet-k5-blazer All I can say is that I'm still trying to recover my jaw from off the floor.
- 167 replies
-
- 10
-

-
Brian, while I respect your opinion, I must disagree. At the end of the day, what kits we find to be exciting or of broad appeal is subjective since we look at this topic from our own personal lens. I for one am excited to get such a highly detailed kit of this subject vs. one of a sports car or a "popular" and "sexy" type of vehicle. From my view, those are a dime a dozen and we truck guys don't get as much love. I think the Blazer checks off a lot of marks: - Tie-in to a long running popular series. Some people will buy the kit merely for this reason. - With the aftermarket, this kit essentially covers a 10 year design (1981-1991). A lot of people will be able to replicate a Blazer/Jimmy that they may have had or know of. - This will appeal to emergency modelers like me as they were heavily used by police/fire/EMS. - At this point, Blazers are "old school" cars that have cross-generational appeal. Many of us are REALLY hoping that this tooling leads to pickup truck and even Suburban versions. If that happens, the potential for return on investment on this kit would be BIG. To get back to your point: If I was king of a model car company for a day, I would invest equally into new tooling for both modern subjects and older subjects. Like a 1985 Blazer AND a 2023 Durango
-
Thank you, Brian. Very nice. Make sure you post a WIP thread, I would love to see the progress.
-
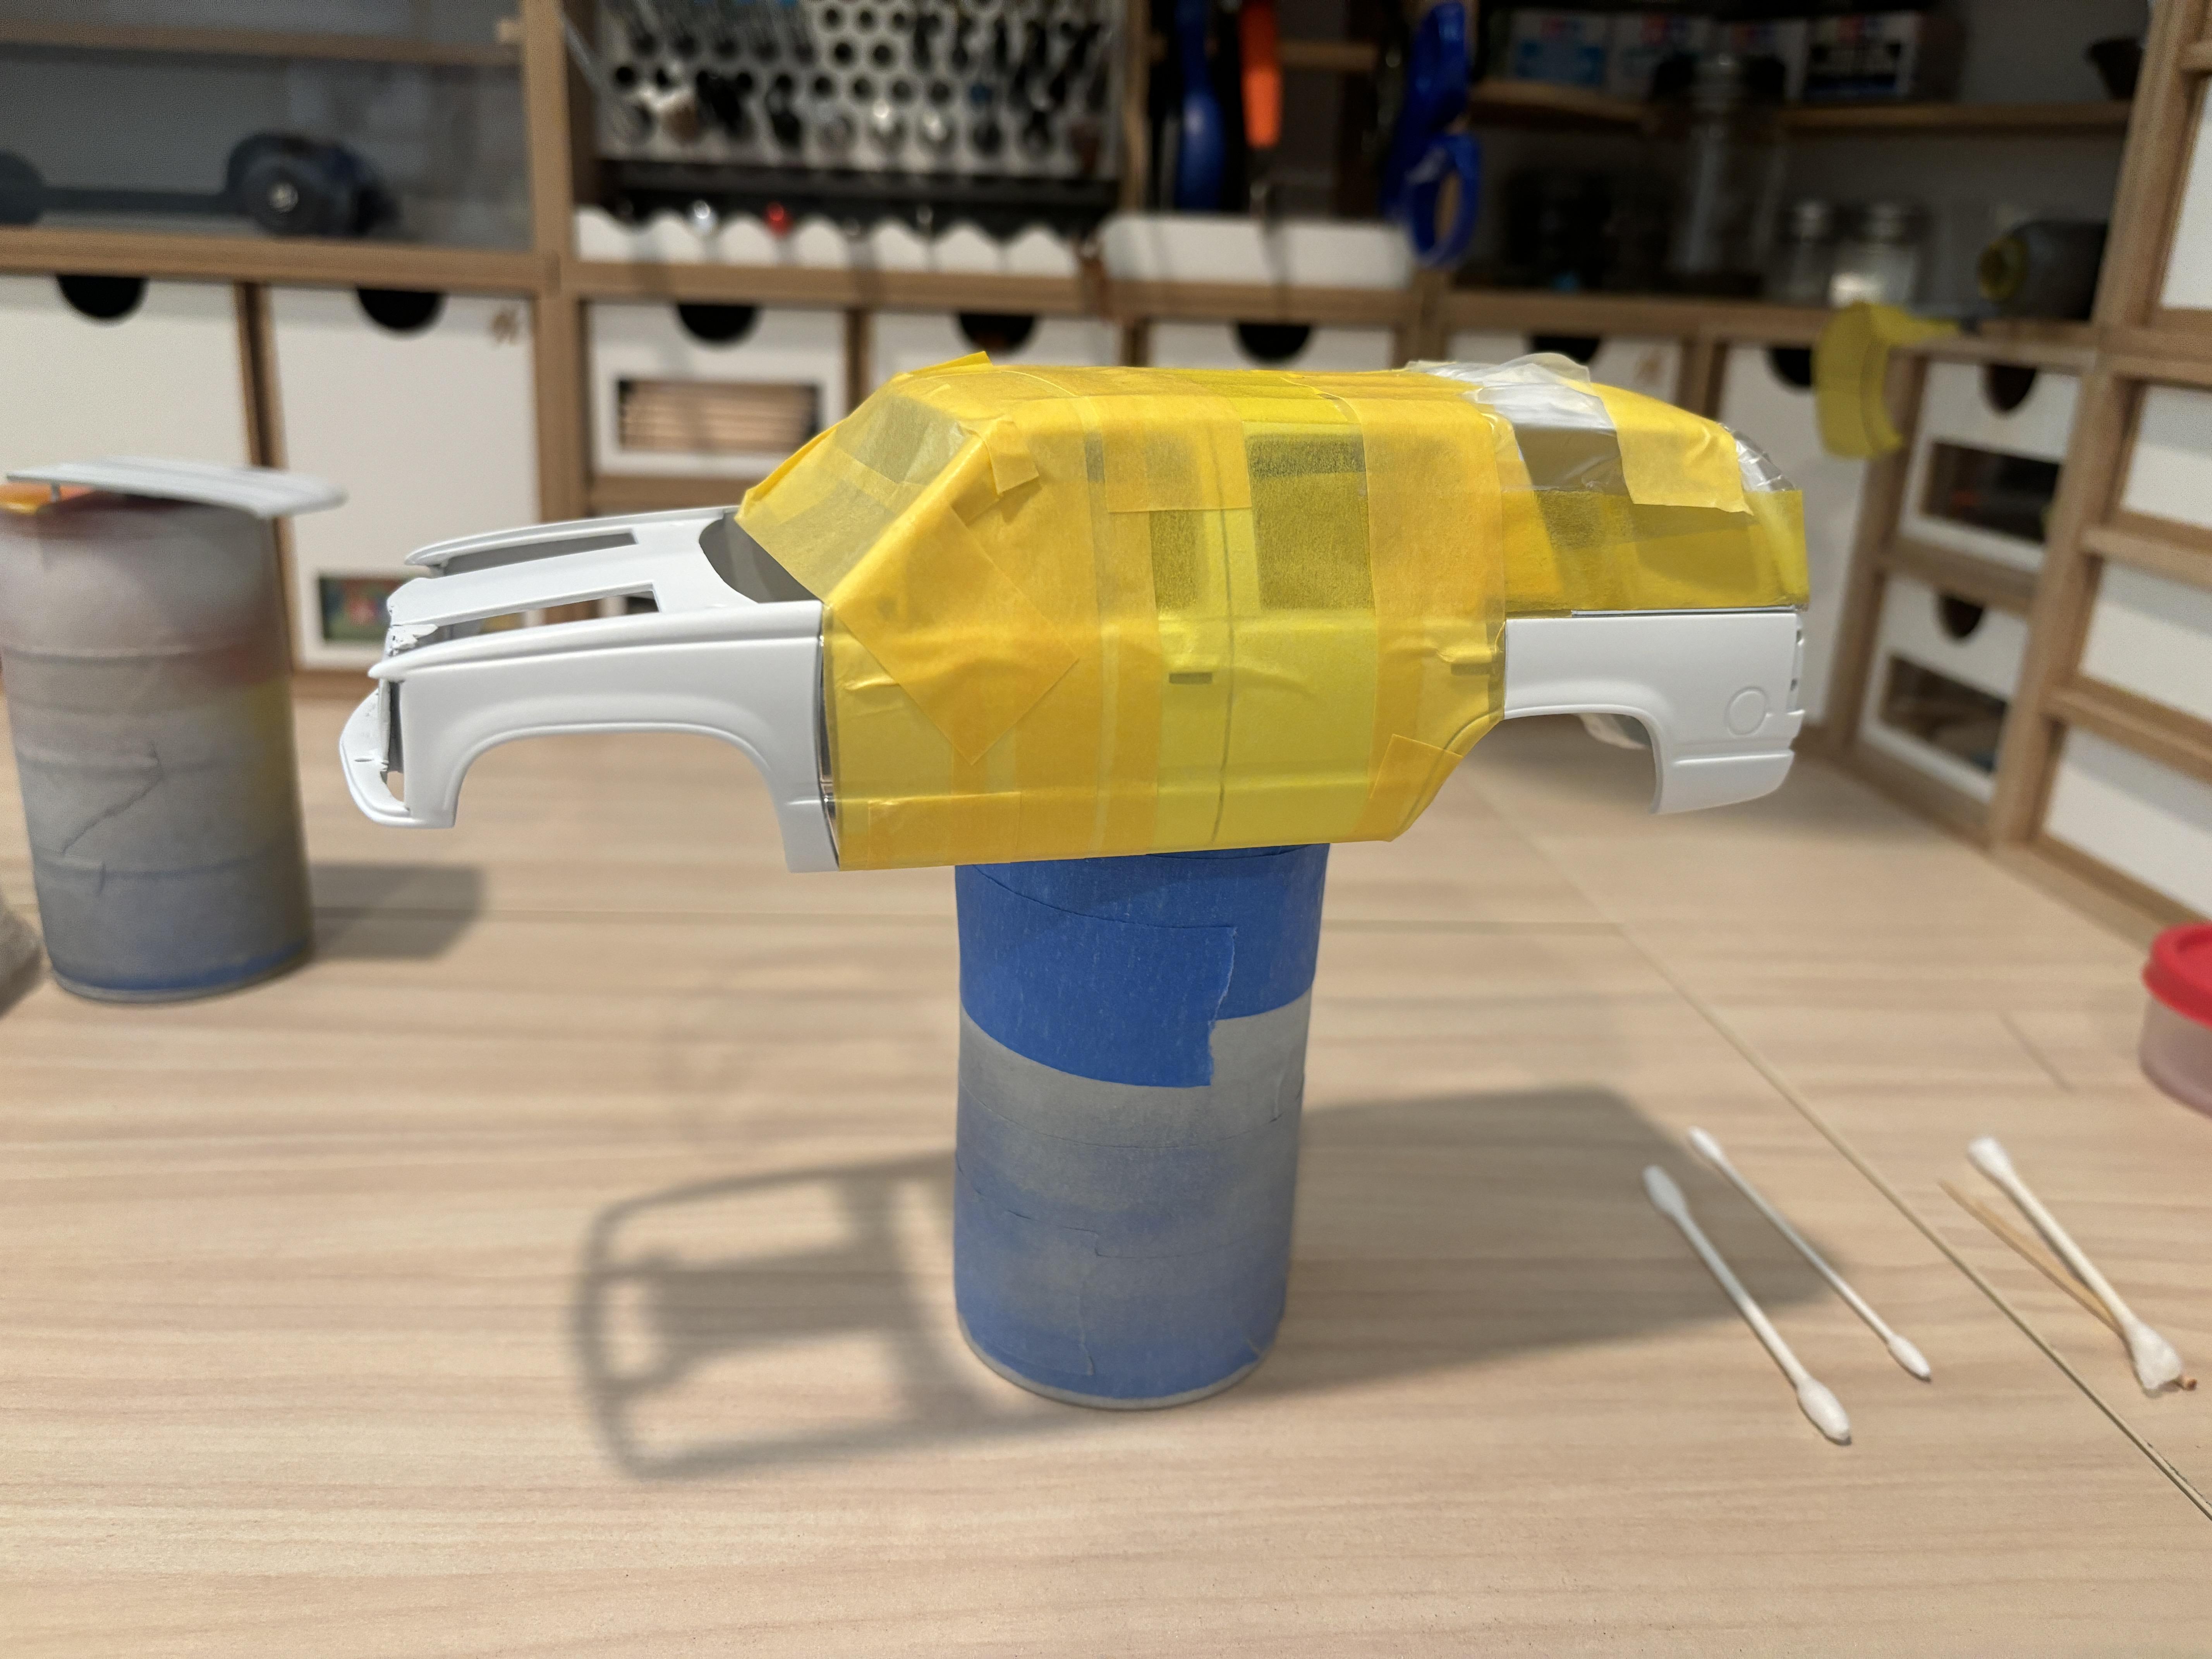
I finally got time to do a paint session today. I masked the body off with various sizes of Tamiya masking tape. The paint edges were masked off with bare metal foil. For crisp edges, I have found no better solution than BMF. Here's everything after applying 3 progressively heavier coats of Tamiya TS-14 Black. I'll give it about a week to dry, after which I will clear everything evenly.
-
2024 was my most productive year yet. I ventured outside of my usual cop car realm and built other subject matters. I also challenged myself to try new methods and expand into using 3D parts. As you can probably tell, I'm fond of emergency, light commercial, and stock everyday subjects. I hope to finish the Tahoe this year.
-
Very interesting info, thank you.
-
1980 Toyota 4x4 snap AMT
av405 replied to Silvercreeker's topic in Model Trucks: Pickups, Vans, SUVs, Light Commercial
Looks great! -
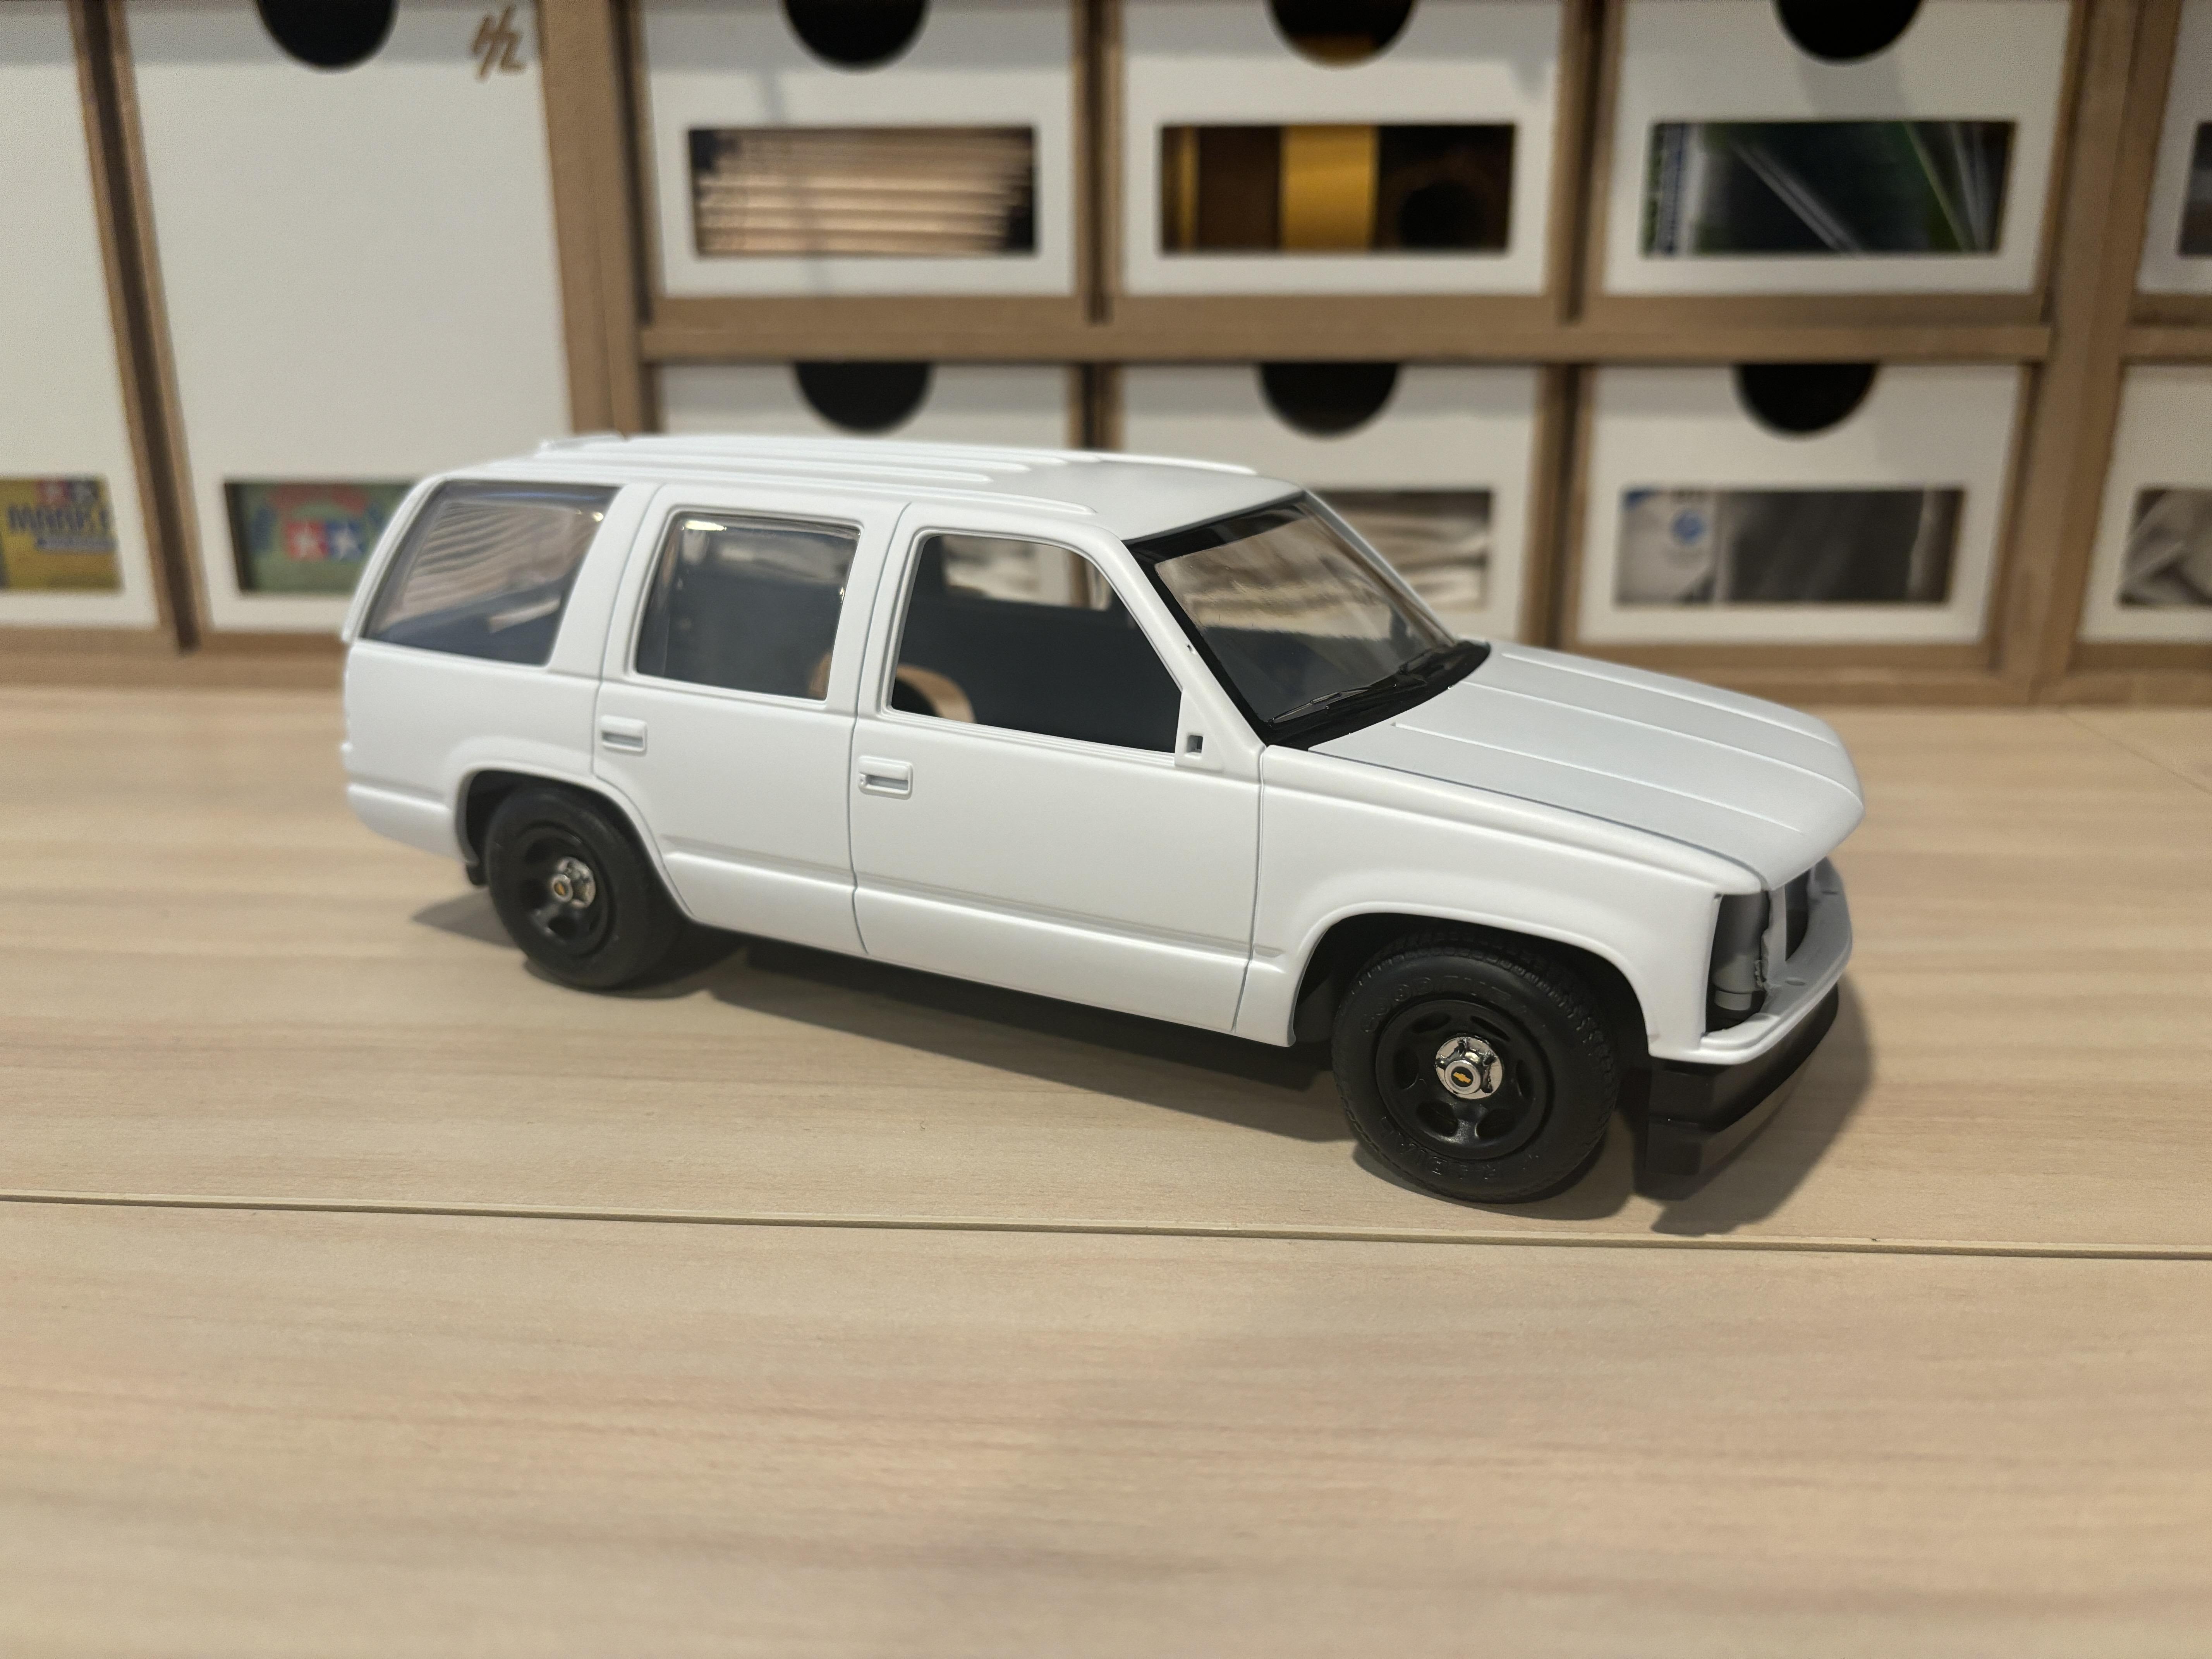
Stephen, thank you for the kind words. For the grill, send a message to Andy Lesiak. He is a member of this forum @zaina . It is not his design, but he modified and printed it out for me to fit the Tahoe. Andy is an upstanding individual. As for progress on this build, it has been very slow. I painted the black frit band around the front windshield using tape and Mr. Surfacer 1500 Black Primer along the inside. After this, I dipped the windshield into a bowl of Future Floor polish to give the clear plastic some extra shine. My bottle of Future is about 15 years old now and is yellow. If you're in the same boat, do not let this deter you as the Future does not dry yellow. As for the frit/black borders around the rest of the windows, I will brush paint those from the interior. I also primed the entire body with Mr. Surfacer 1500 White Primer. The white primer will serve as the base white color. Next up, I will tape off the white portions to paint the black parts and then clear coat the entire body. This is basically a shortcut for me as it takes away some of the labor of having to tape off the body twice to paint both the black and white portions separately. Since I always clear coat my bodies, this last step will give the flat white primer the gloss look it needs.
-
This is why I find the price to be a little more acceptable. Now I'm not spending $7 bucks or so for a can of gloss black to pair with my chrome spray paint. Your 79 Malibu is beautiful, by the way.
-
Bump
-
I'll refrain from posting most of my thoughts on the subject. People like HPIguys definitely have a place in the hobby, many of us just seem to disagree on what that place is. With that being said, this quote is a point I will challenge. I don't believe that he really points out a lot of faults or issues. If you pay close attention to some builds, you can see issues that he didn't address in the final result. As a youtuber of his stature, I'm not sure how many faults he can point out in a kit that he is provided with for free for the purposes of hyping it up. I like his videos just to see the kit contents (especially decal sheets), but I rely on this forum to point out any major issues with kits.
-
I'm guessing it's because the Blazer is the only new kit of the bunch, so they're working out last minute details?
-
Bump
-
1984 Silverado
av405 replied to k100's topic in WIP: Model Trucks: Pickups, Vans, SUVs, Light Commercial
Great project. Can't wait to see how it progresses. -
Thank you, Ron.
-
CHEVY 5500 SERVICE TRUCK
av405 replied to yh70's topic in WIP: Model Trucks: Pickups, Vans, SUVs, Light Commercial
Fantastic work! You don't see a lot of these heavy duty work trucks being built in scale. Can you post or link Tim's advice on 3D prep work? -
I'm looking for a set of the larger aero-style mirrors and the decal sheet (partial is fine) found in this kit: