Maindrian Pace
-
Posts
2,367 -
Joined
-
Last visited
Content Type
Profiles
Forums
Events
Gallery
Everything posted by Maindrian Pace
-
Wow, is that ever nice. This car wins the Maximum use of Minimum Color award.
-
Very cool, I like the rubber splash details on the lower 1/4s.
-
1969 Beaumont front bumper/grille
Maindrian Pace replied to Maindrian Pace's topic in Car Aftermarket / Resin / 3D Printed
-
PM Greg through this board.
-
We have the Maverick rear bumper now.

-
1969 Beaumont front bumper/grille
Maindrian Pace replied to Maindrian Pace's topic in Car Aftermarket / Resin / 3D Printed
Steven, PM me. -
1969 Beaumont front bumper/grille
Maindrian Pace replied to Maindrian Pace's topic in Car Aftermarket / Resin / 3D Printed
Finally! I have four good taillight sets, so the kit is ready to go out. I'll have more after Jan 6. -
The big reveal is going to be nothing short of an event in the hobby.
-
Sometimes I hate Hobby Lobby
Maindrian Pace replied to El Roberto's topic in General Automotive Talk (Trucks and Cars)
Mesa has the Revell Baja Broncos back, I already have one so I picked up a spray can of Testors Mopar yellow that was reduced to $1.55. -
Great source, I've ordered from him twice - once five years ago and the other just last month. Great service, and the first order was for custom white walls in 1:32 scale for Lindberg cars. No extra charge for those either. His store is on Storenvy.
-
Thanks Guys. Echoxrayniner (NJ Taylor) can be PM'd through his thread showing some of his wares, And his website links are in his signature. Be prepared to see things that you want. Really want.
-
The Can Am is easily my favorite Colonnade car.
-
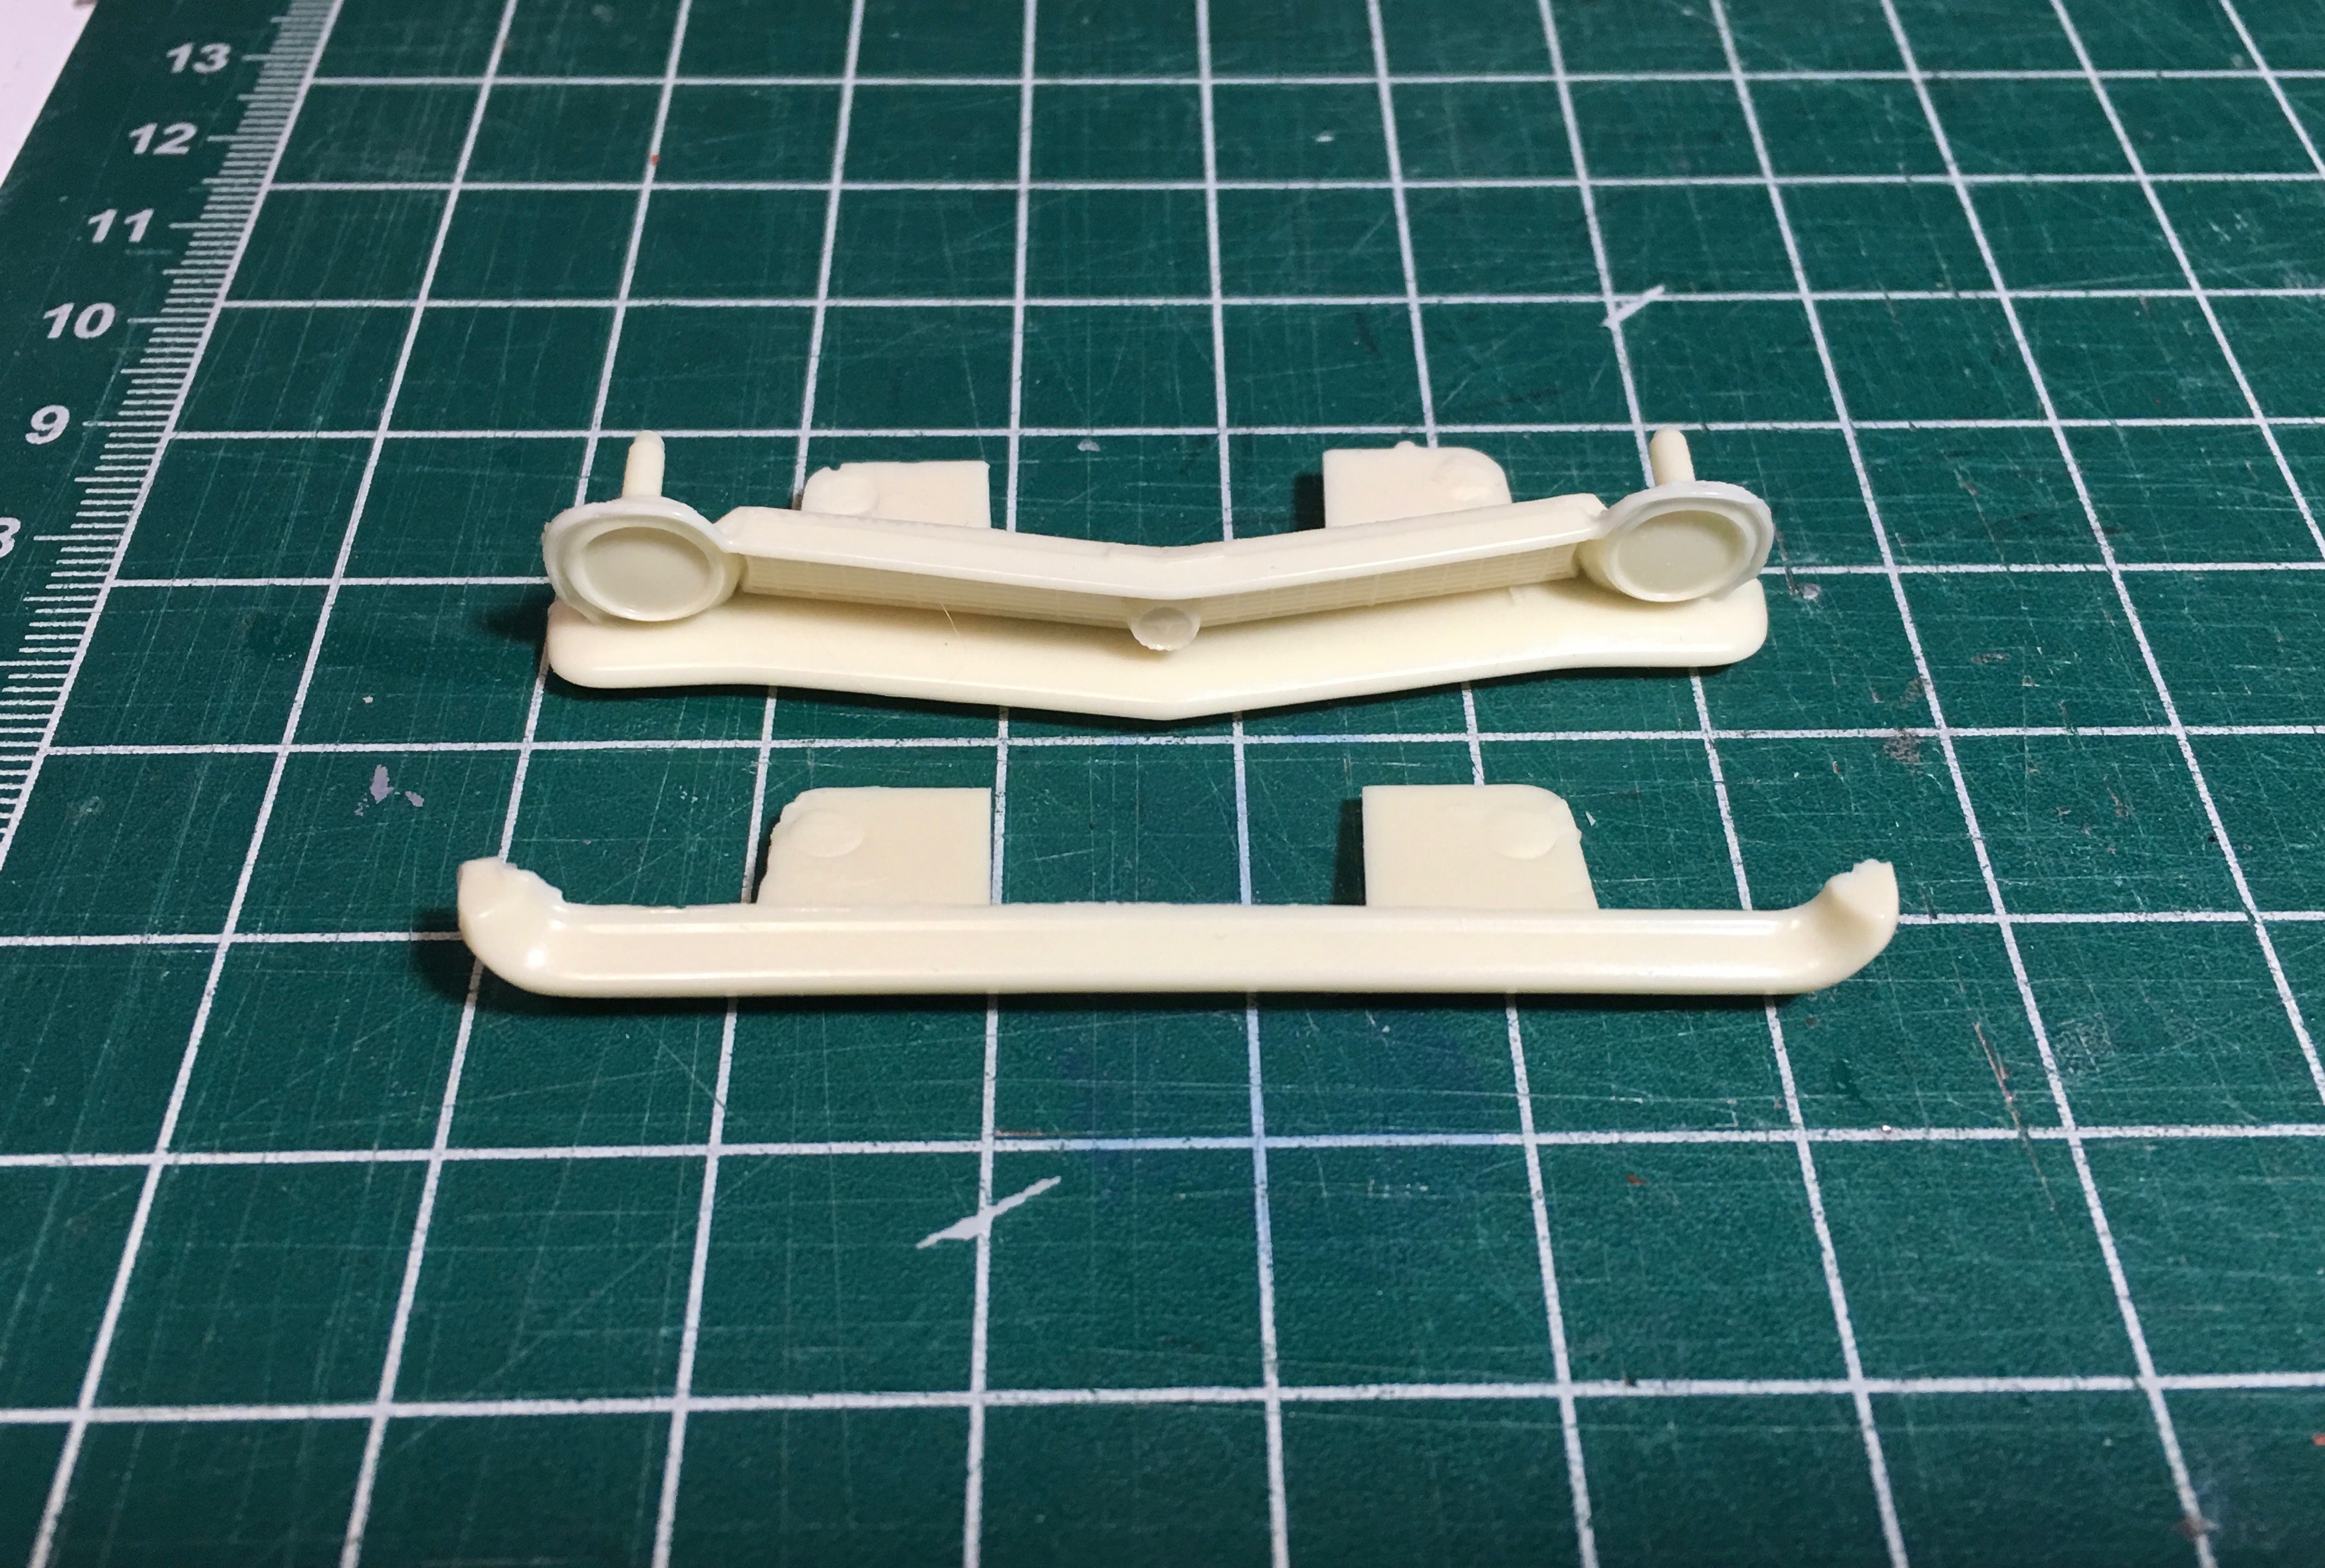
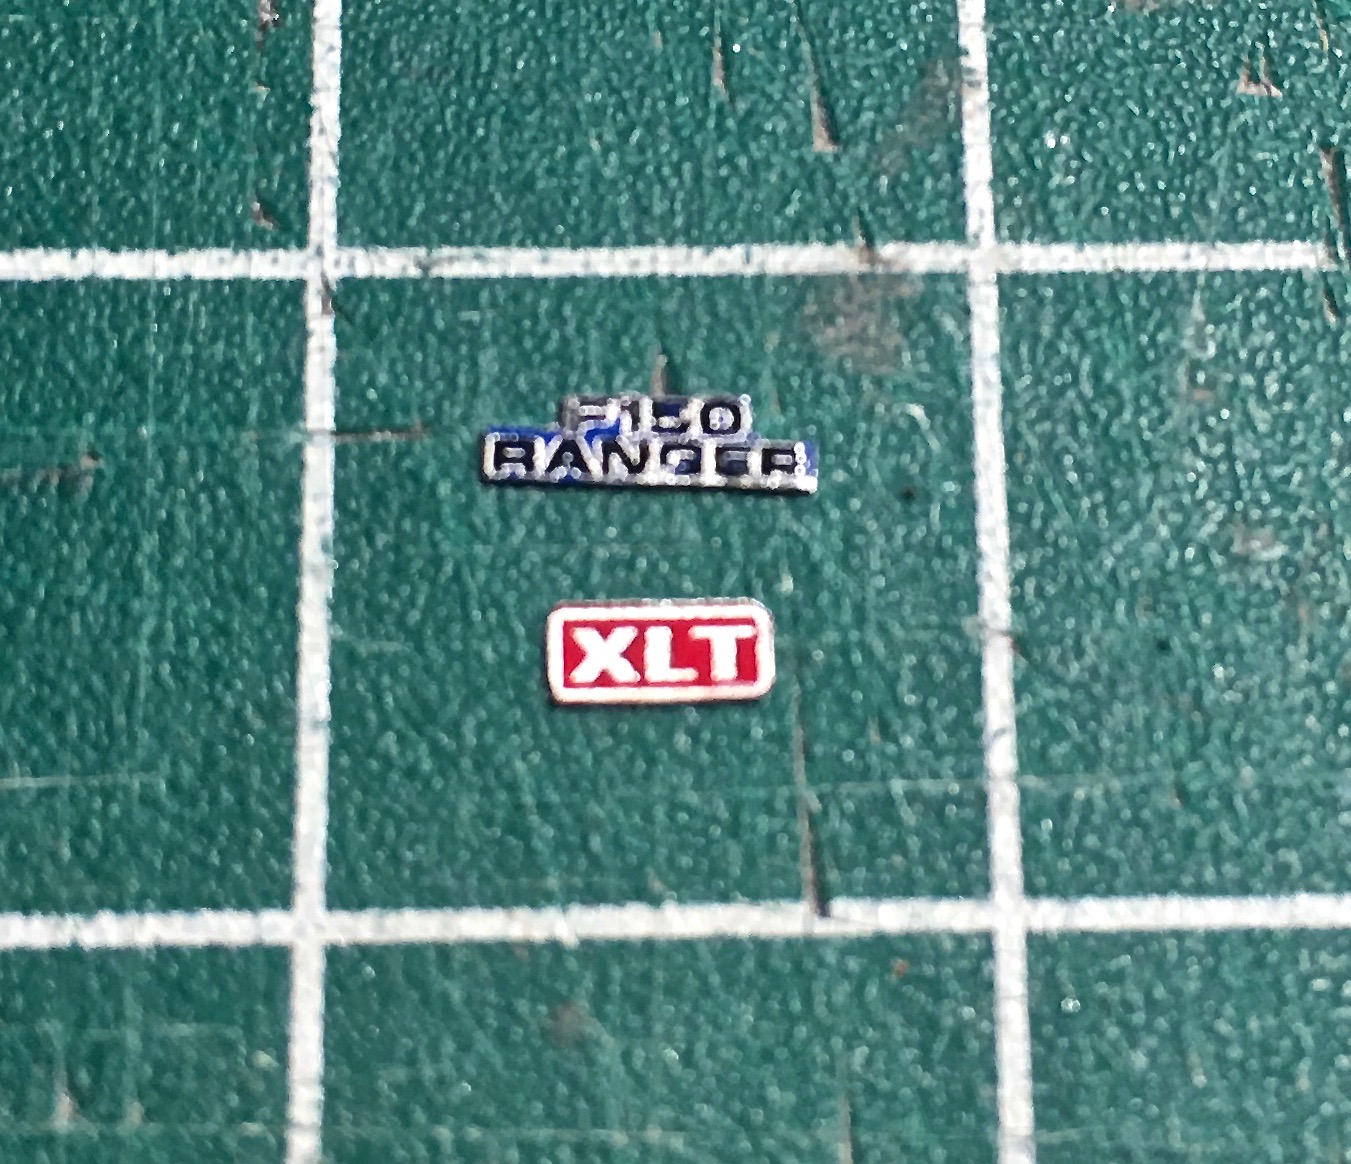
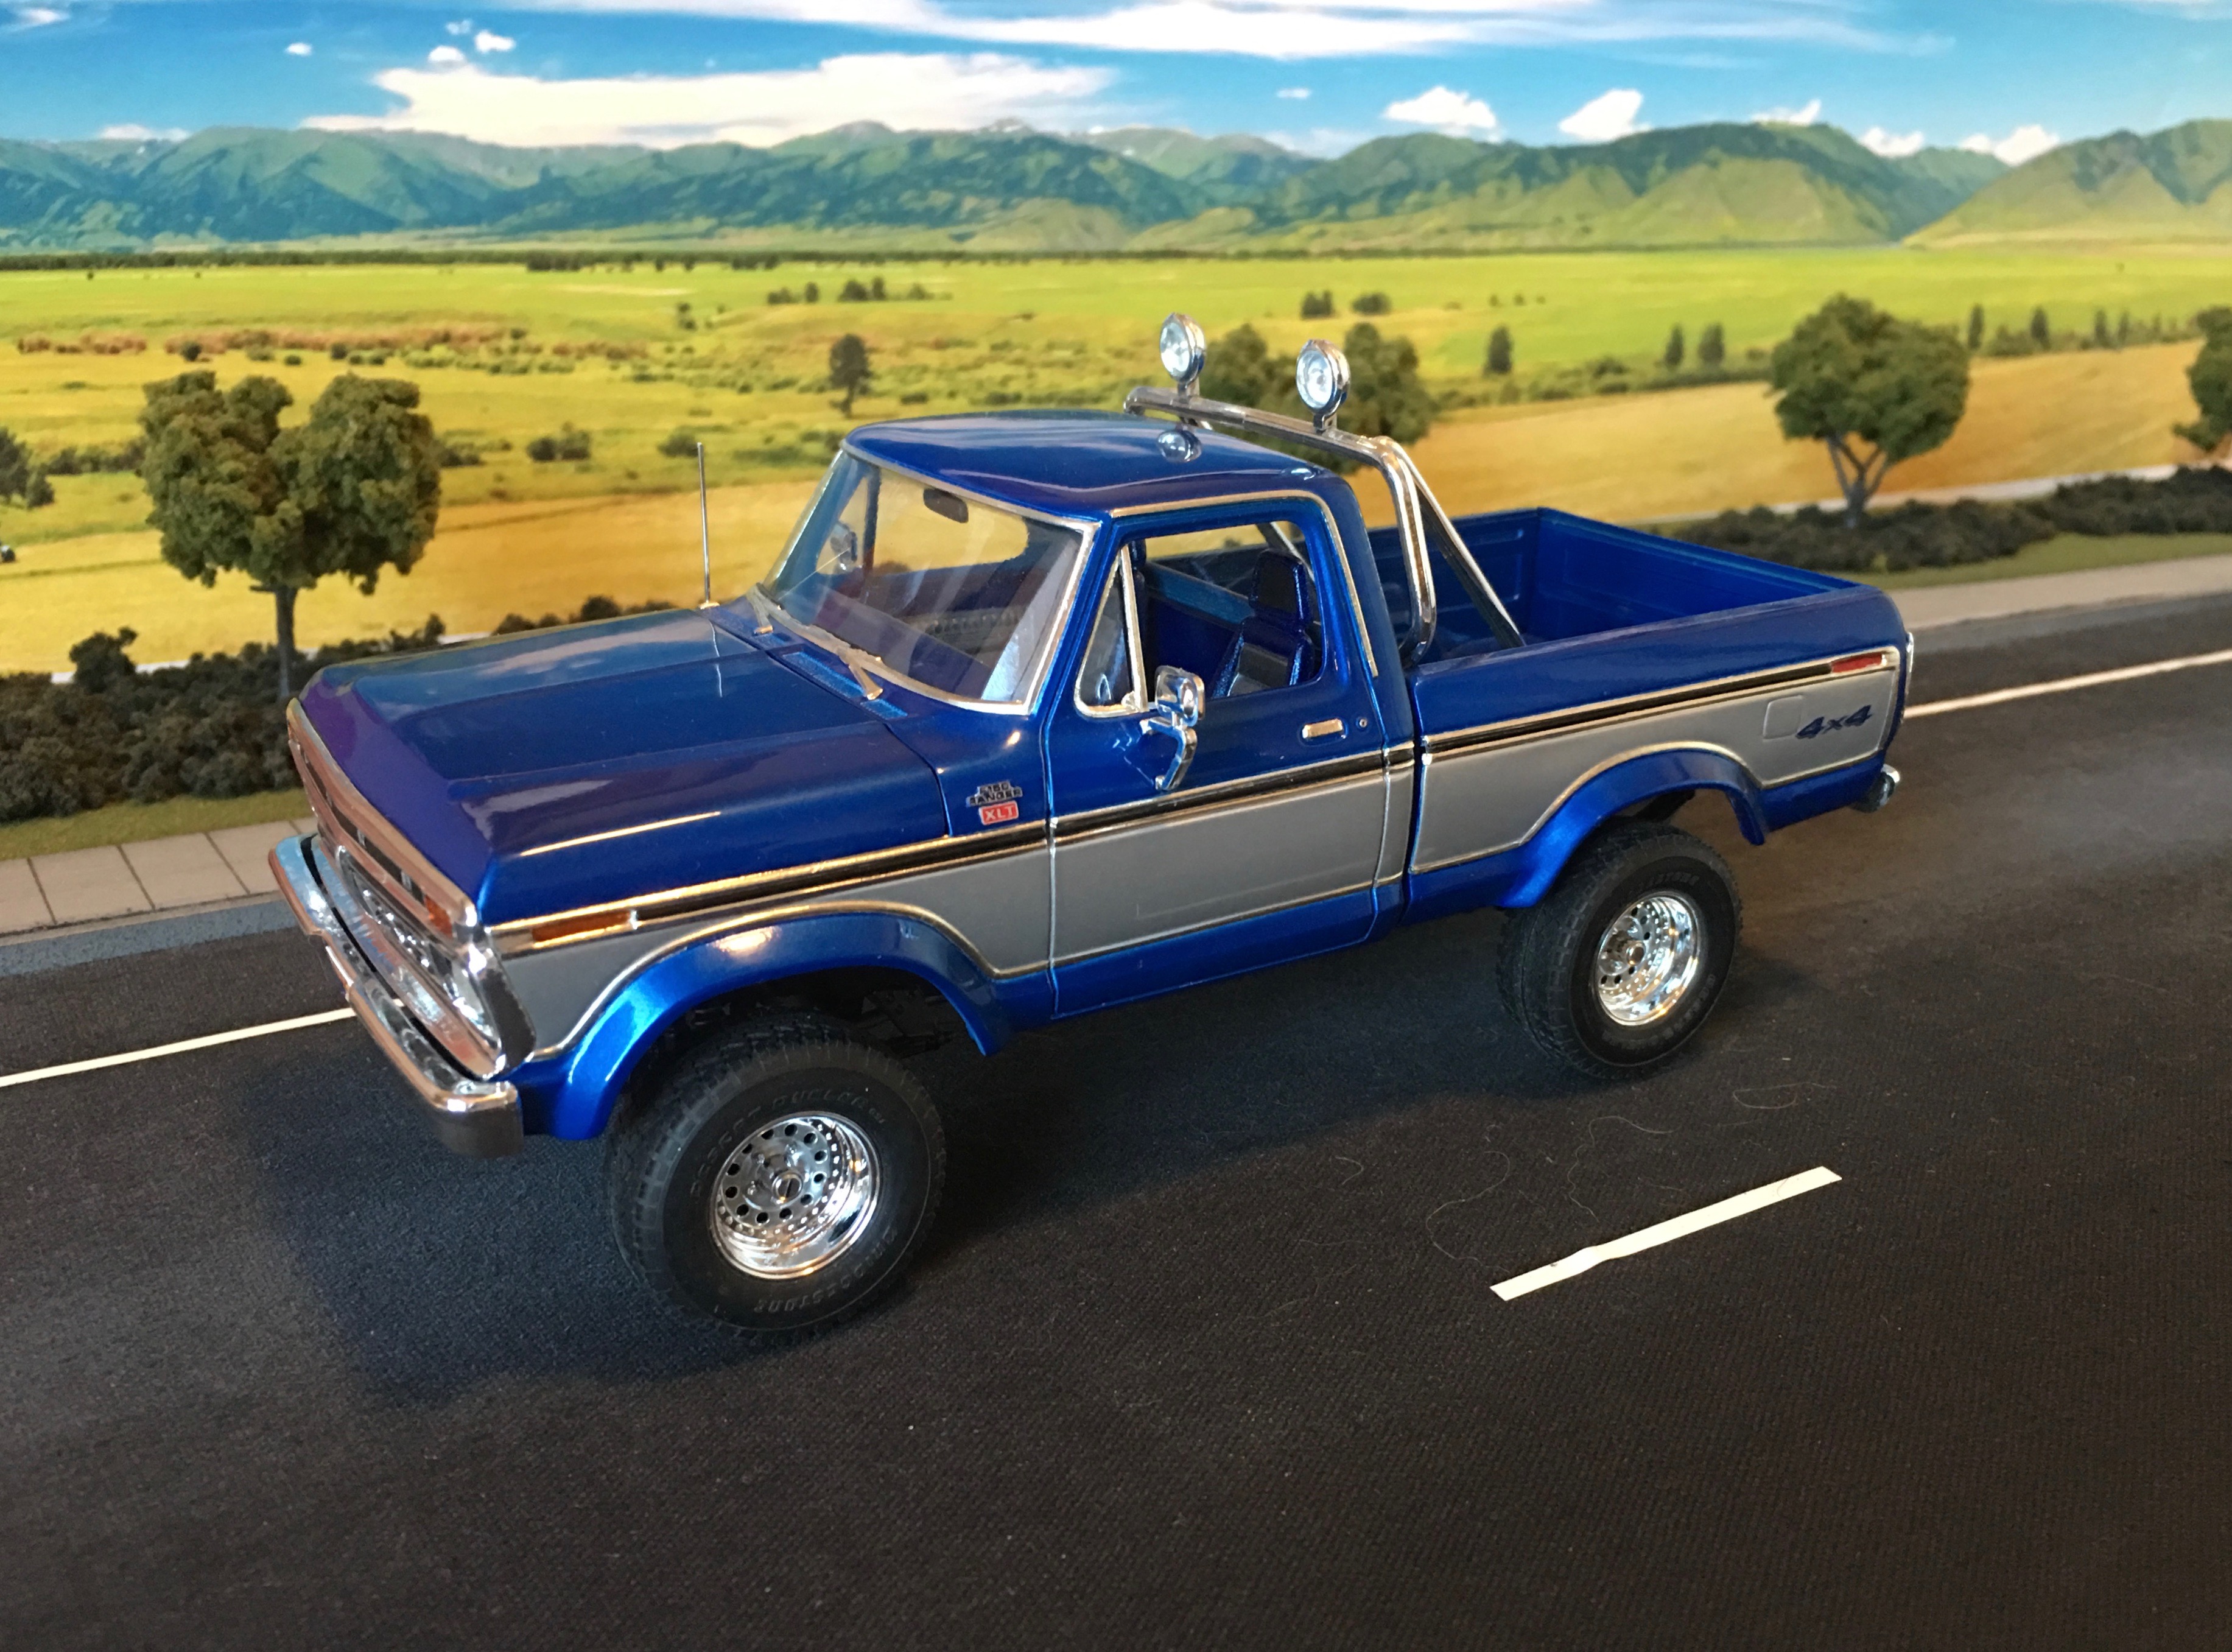
I've never liked the look of decals that represent emblems or scripts directly on the paint, because they look too much like decals, and not like three dimensional emblems. A simple fix is to put the decals on thin sheet styrene, cut them out, and glue them to the model. Much better 3D look. This F-150 has been needing side emblems for some time now, with no good (or at least easy) way to get them added. Until Echoxrayniner came up with a solution, all the way from the Netherlands. His products are top-shelf, and I don't think he'll be happy until he fills every single gap in the hobby that can be covered by a decal. I ordered his exhaustively complete emblem sheet that covers three generations of F Series, and got to work. These tiny decals are delicate, and an experiment with another one off of another sheet resulted in the decal breaking up when I tried to apply it to a piece of scrap. Pretty common, and the fix was to apply two coats of Microscale decal film. I then added the decals to pieces of .010" styrene, with the scripts going over body color blue paint and the XLT emblems going over red paint. The decals have transparent elements, so the paint will show the correct color through. The edges rolled up a bit, so I stuck them back down with Micro Sol, then sprayed on two coats of Krylon Crystal Clear. After cutting the emblems out with an exacto knife, I painted the edges with a Molotow chrome pen. I added them to the truck with my favorite adhesive for emblems and photoetch, clear enamel paint.
-
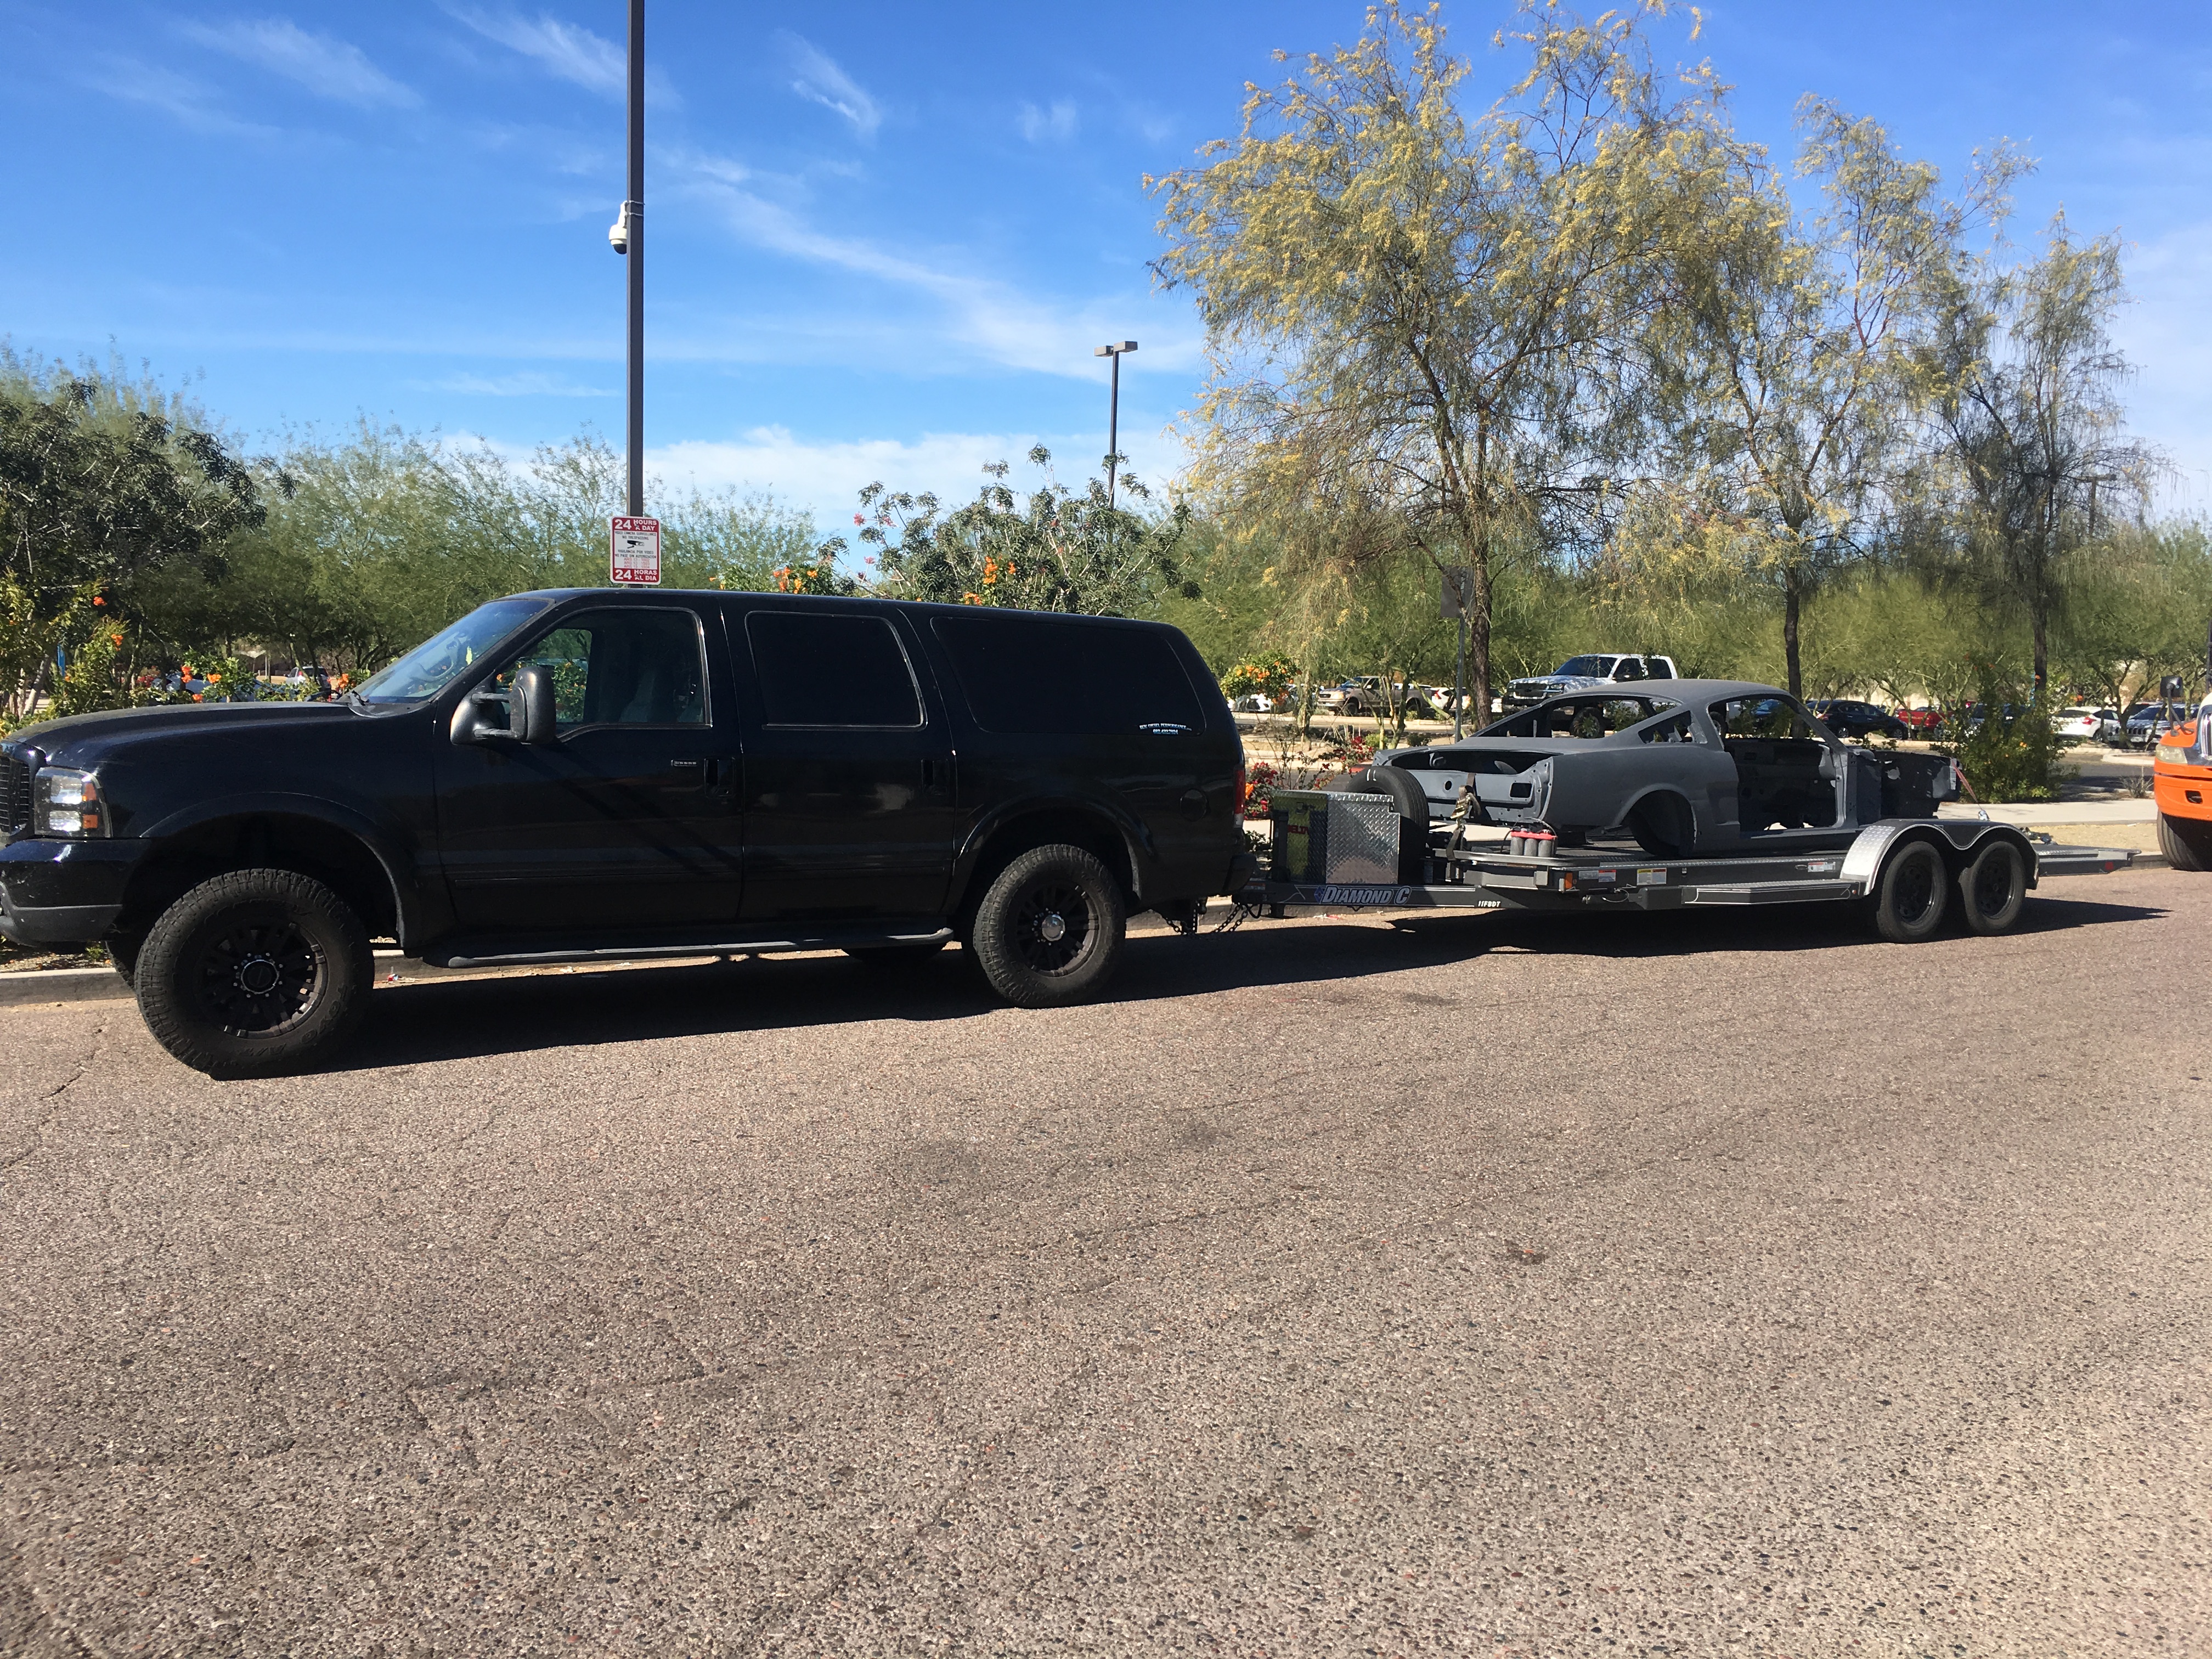
What did you see on the road today?
Maindrian Pace replied to Harry P.'s topic in General Automotive Talk (Trucks and Cars)
Del Taco parking lot:
-
1969 Beaumont front bumper/grille
Maindrian Pace replied to Maindrian Pace's topic in Car Aftermarket / Resin / 3D Printed
I am the contact on this kit, but they won't be ready until we get new clear resin to cast the clear parts. When that is done, I will update the thread. -
1969 Beaumont front bumper/grille
Maindrian Pace replied to Maindrian Pace's topic in Car Aftermarket / Resin / 3D Printed
I would like to hear his input for sure. -
1969 Beaumont front bumper/grille
Maindrian Pace replied to Maindrian Pace's topic in Car Aftermarket / Resin / 3D Printed
Yes, BMF on the windshield frame. I hope the console is correct, because he used that too. Today was an instant replay of last Sunday. One clear red set, (actually 1/2 set because one lens had a bubble in it) followed by a fail pink set. I then tried a clear set, only to have the clear come out in opaque white - never seen that before. So the resin is probably bad, have to find another product that works better. Unless y'all don't mind opaque taillights, I got a bunch of those. I'll get this figured out eventually. -
1969 Beaumont front bumper/grille
Maindrian Pace replied to Maindrian Pace's topic in Car Aftermarket / Resin / 3D Printed
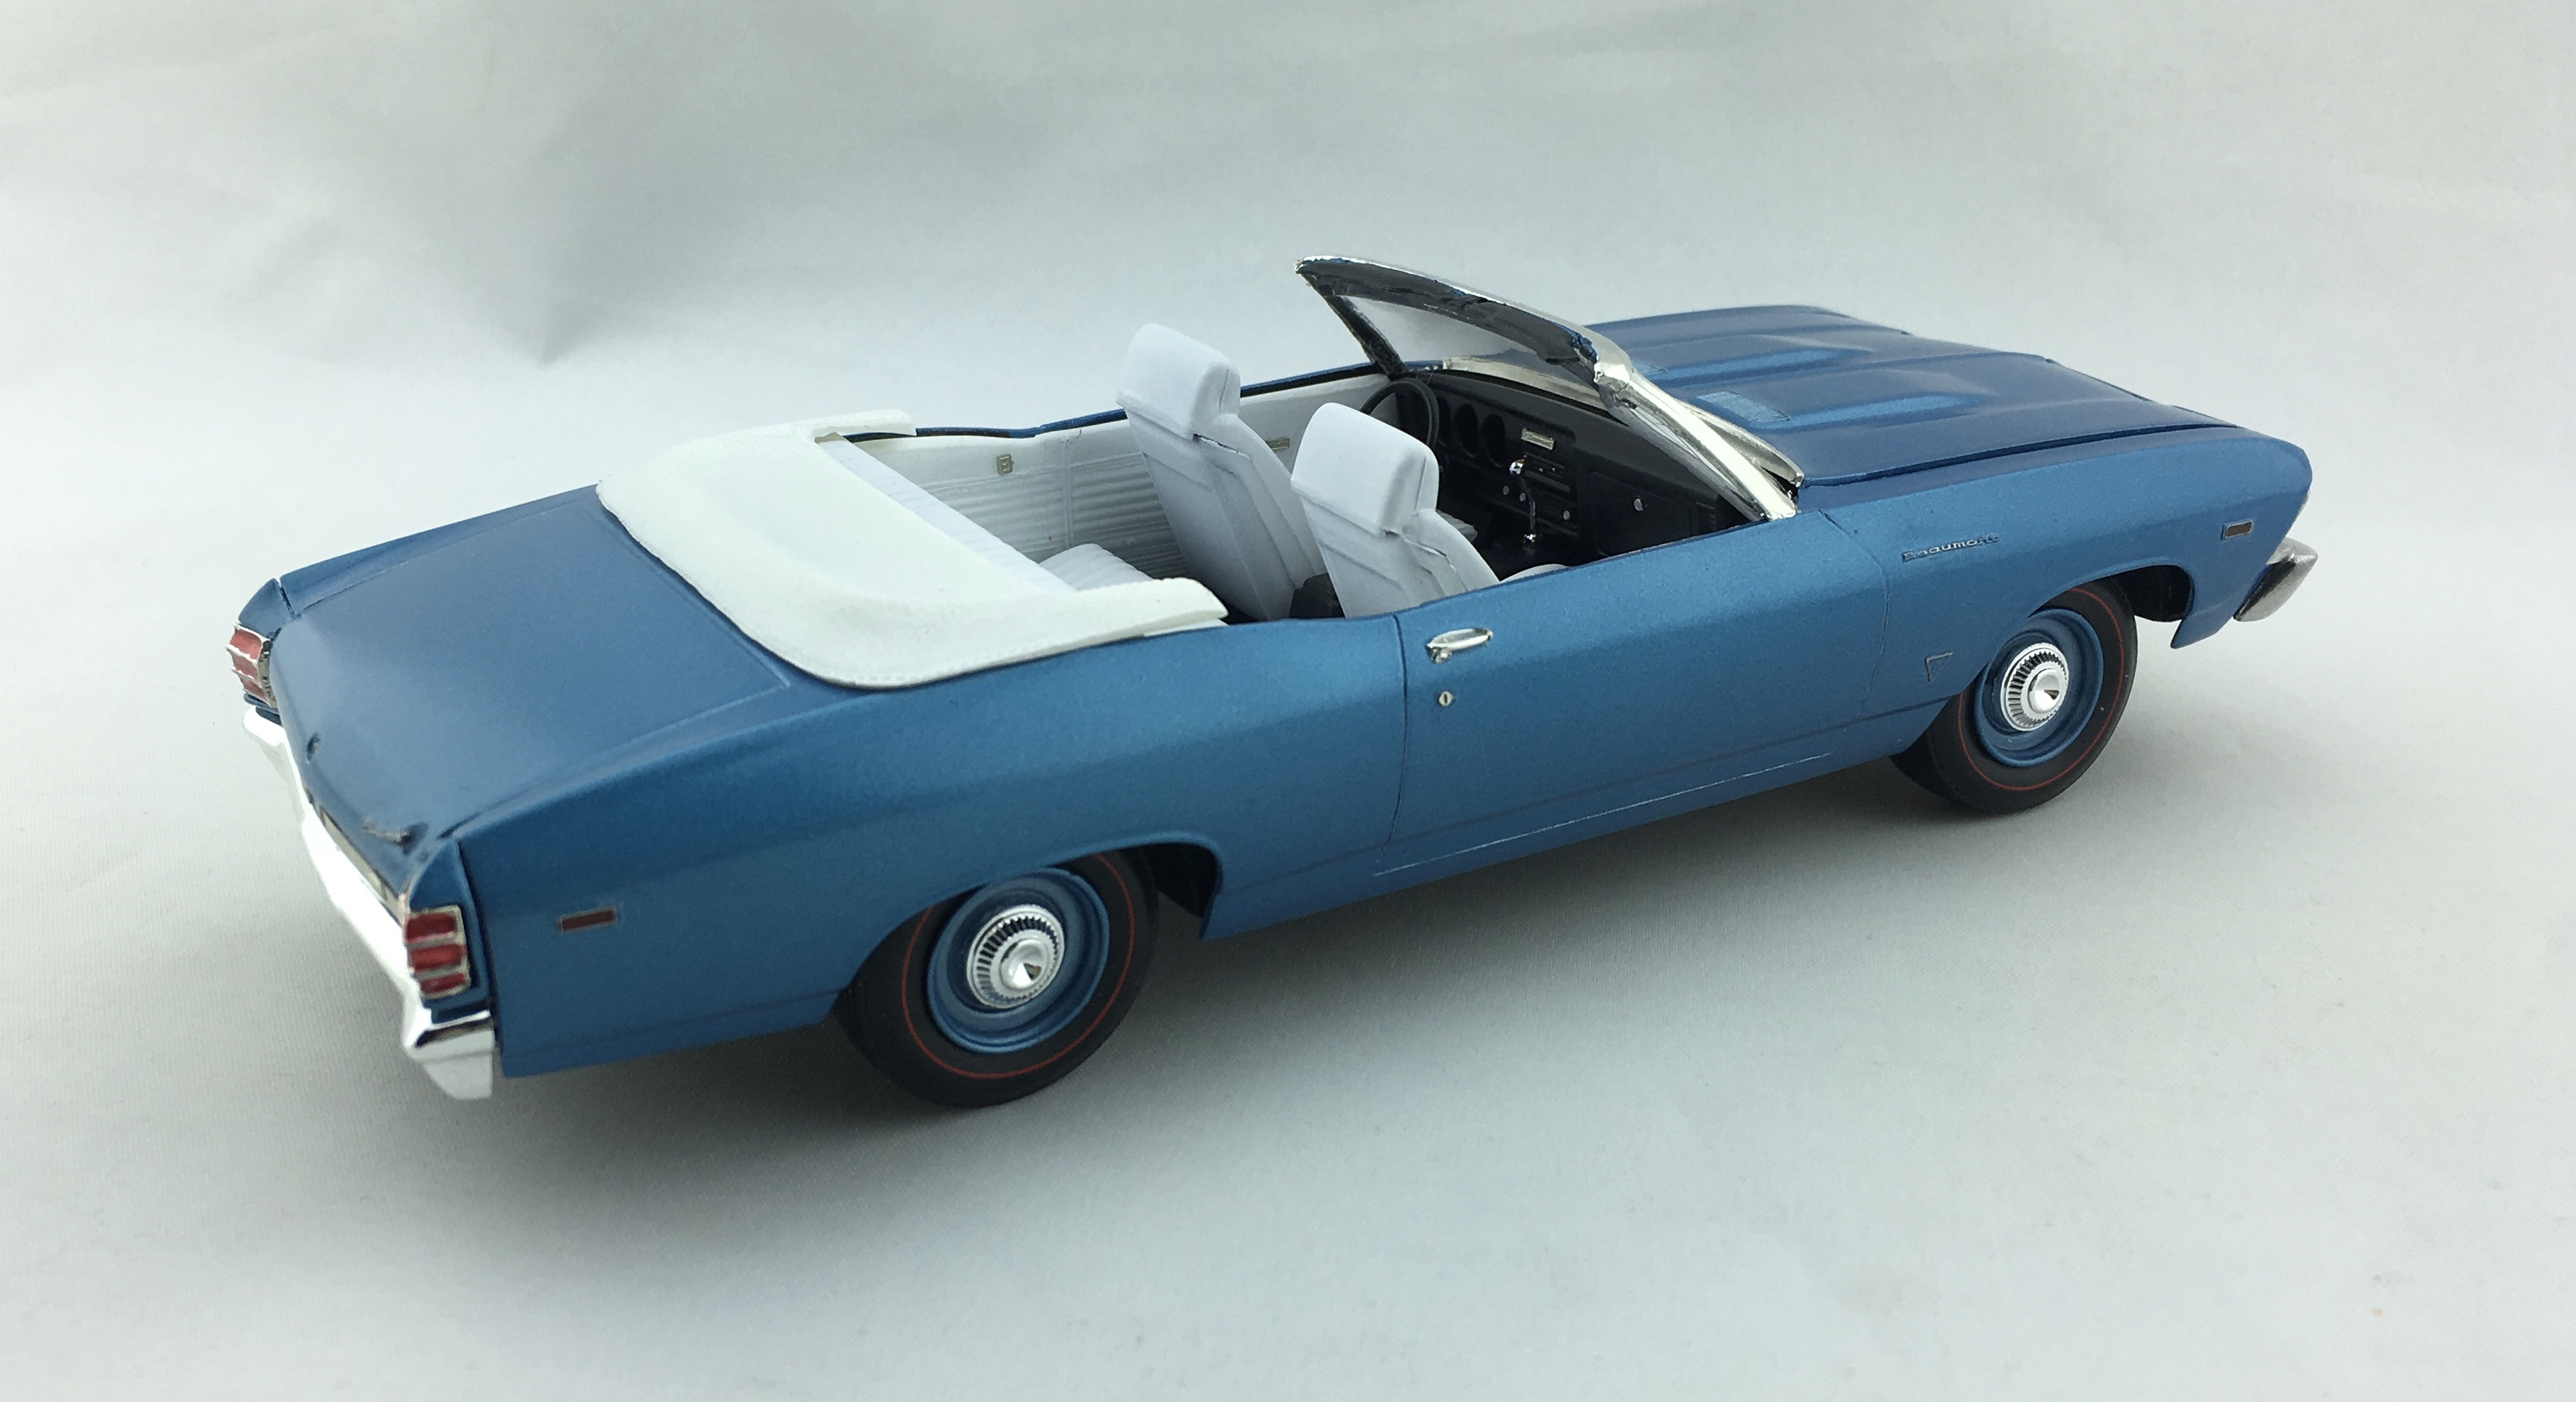
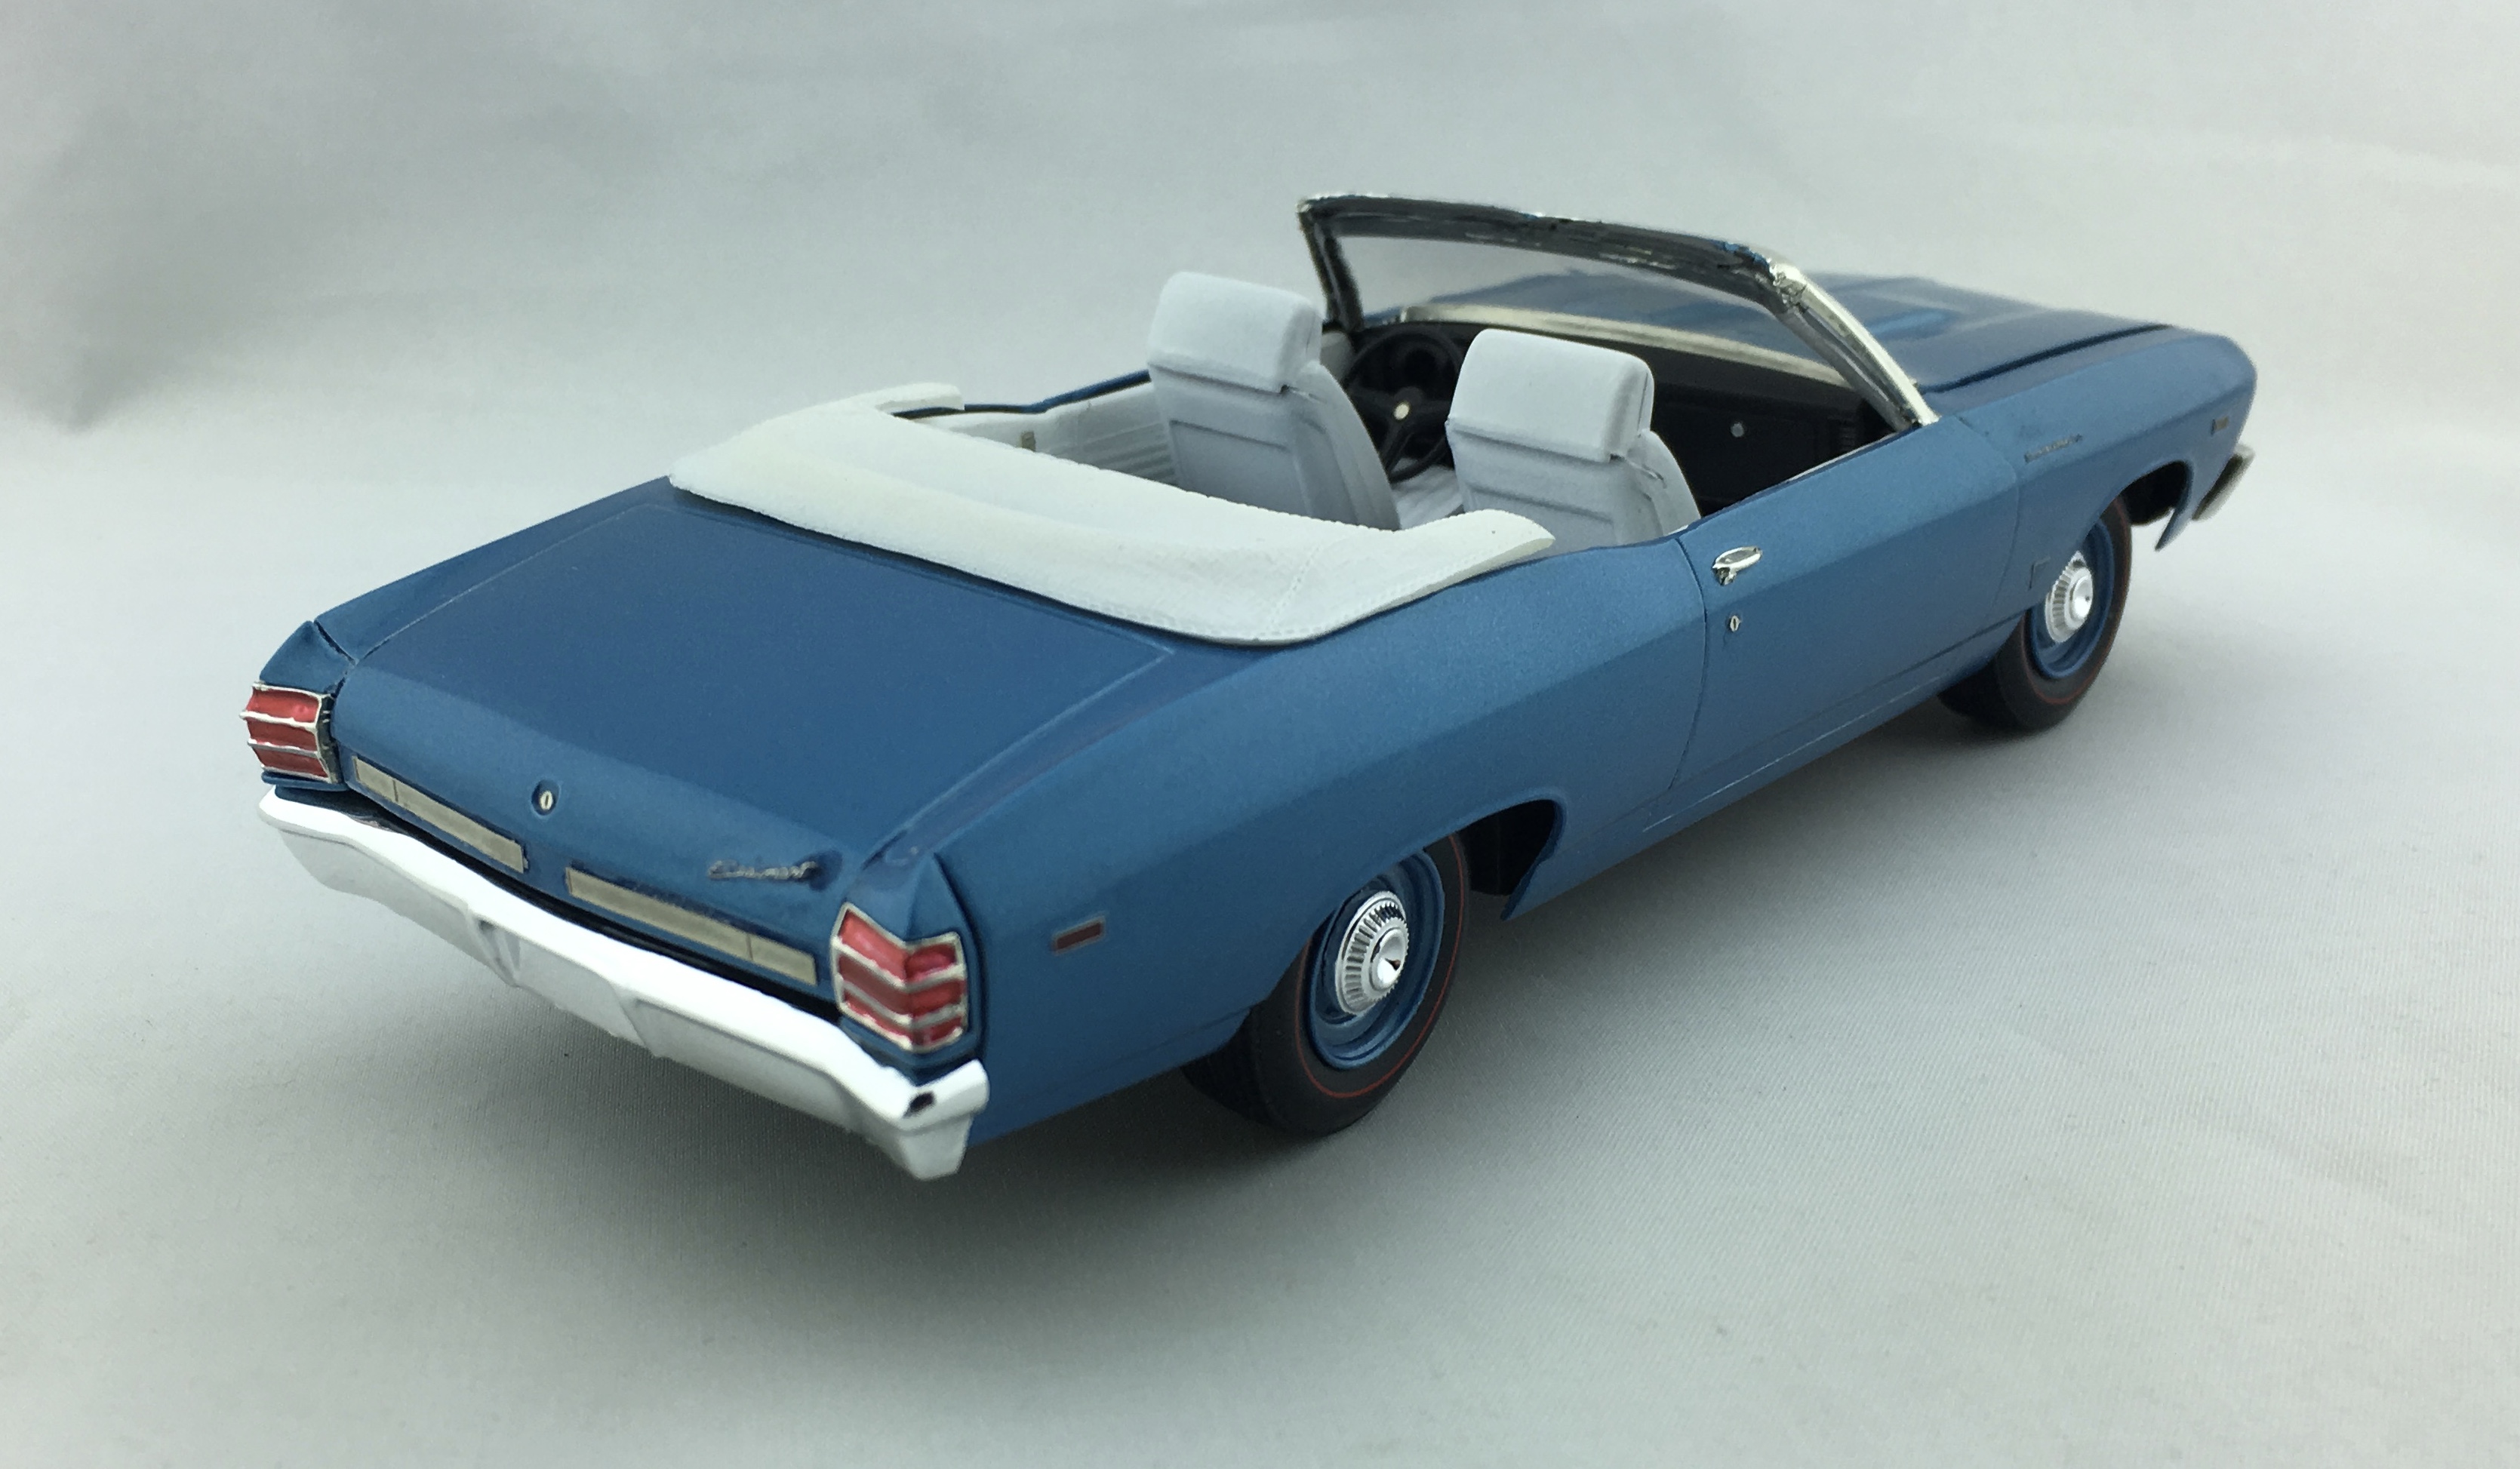
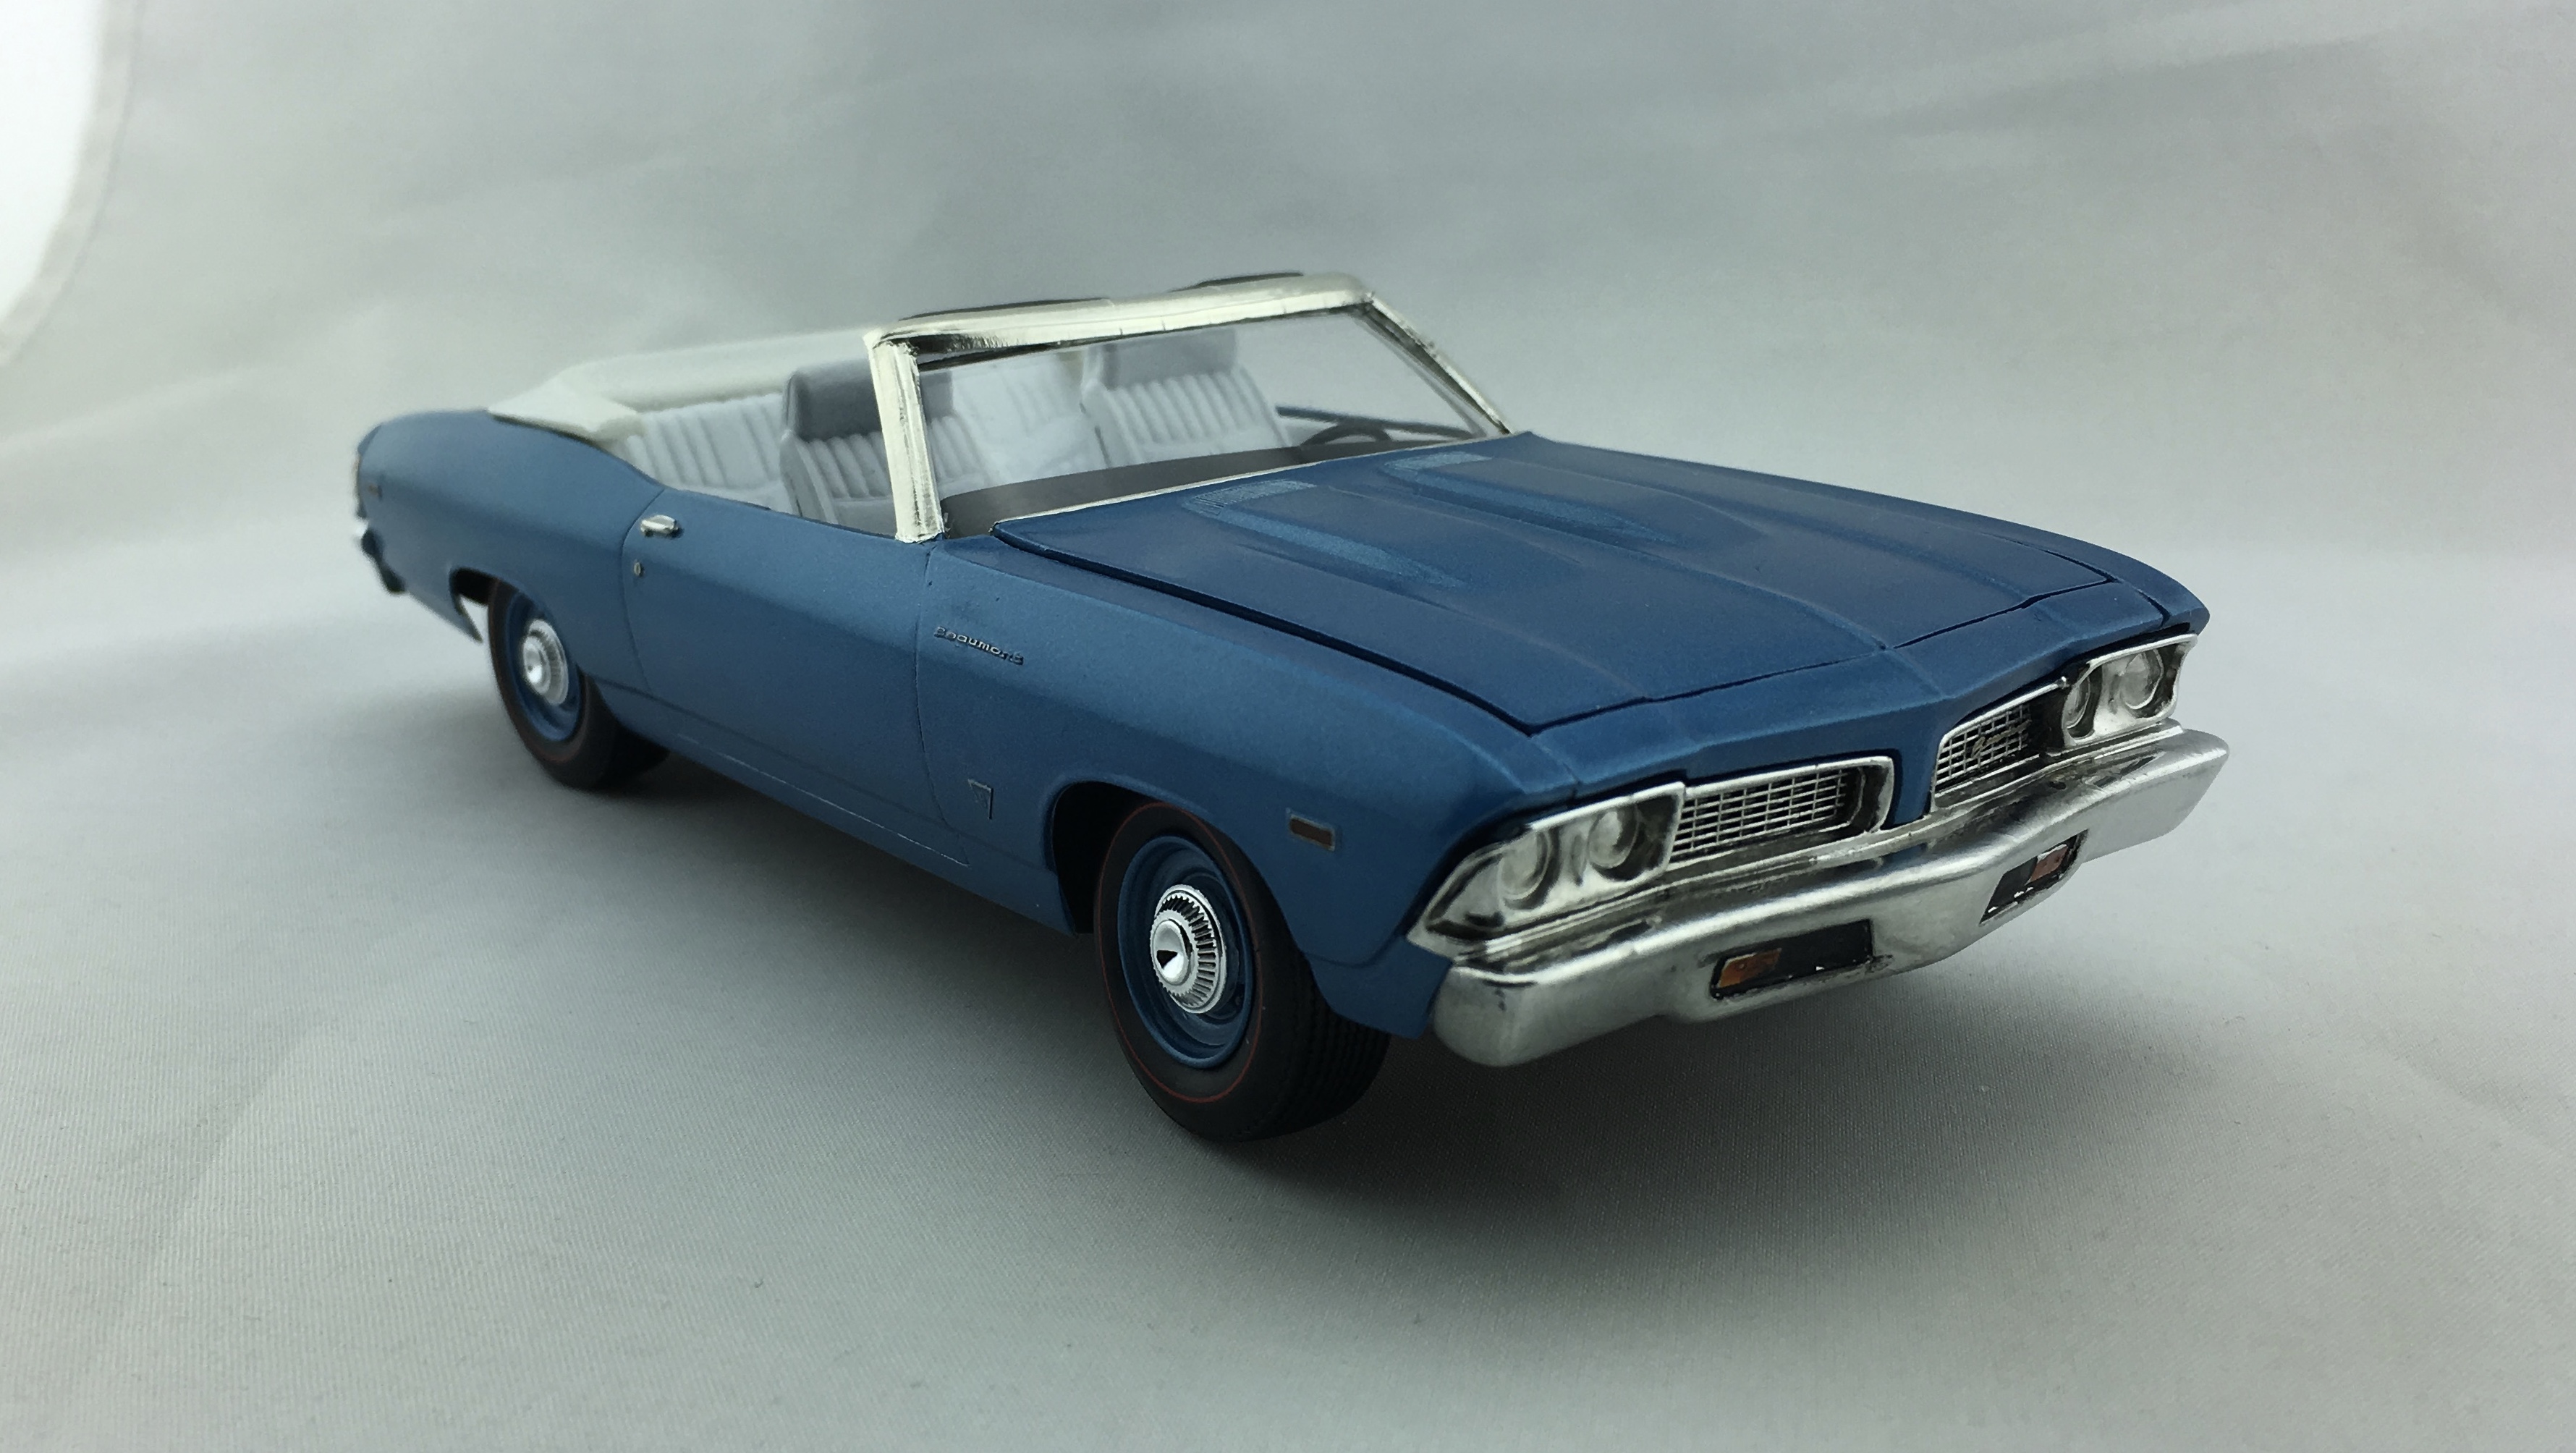
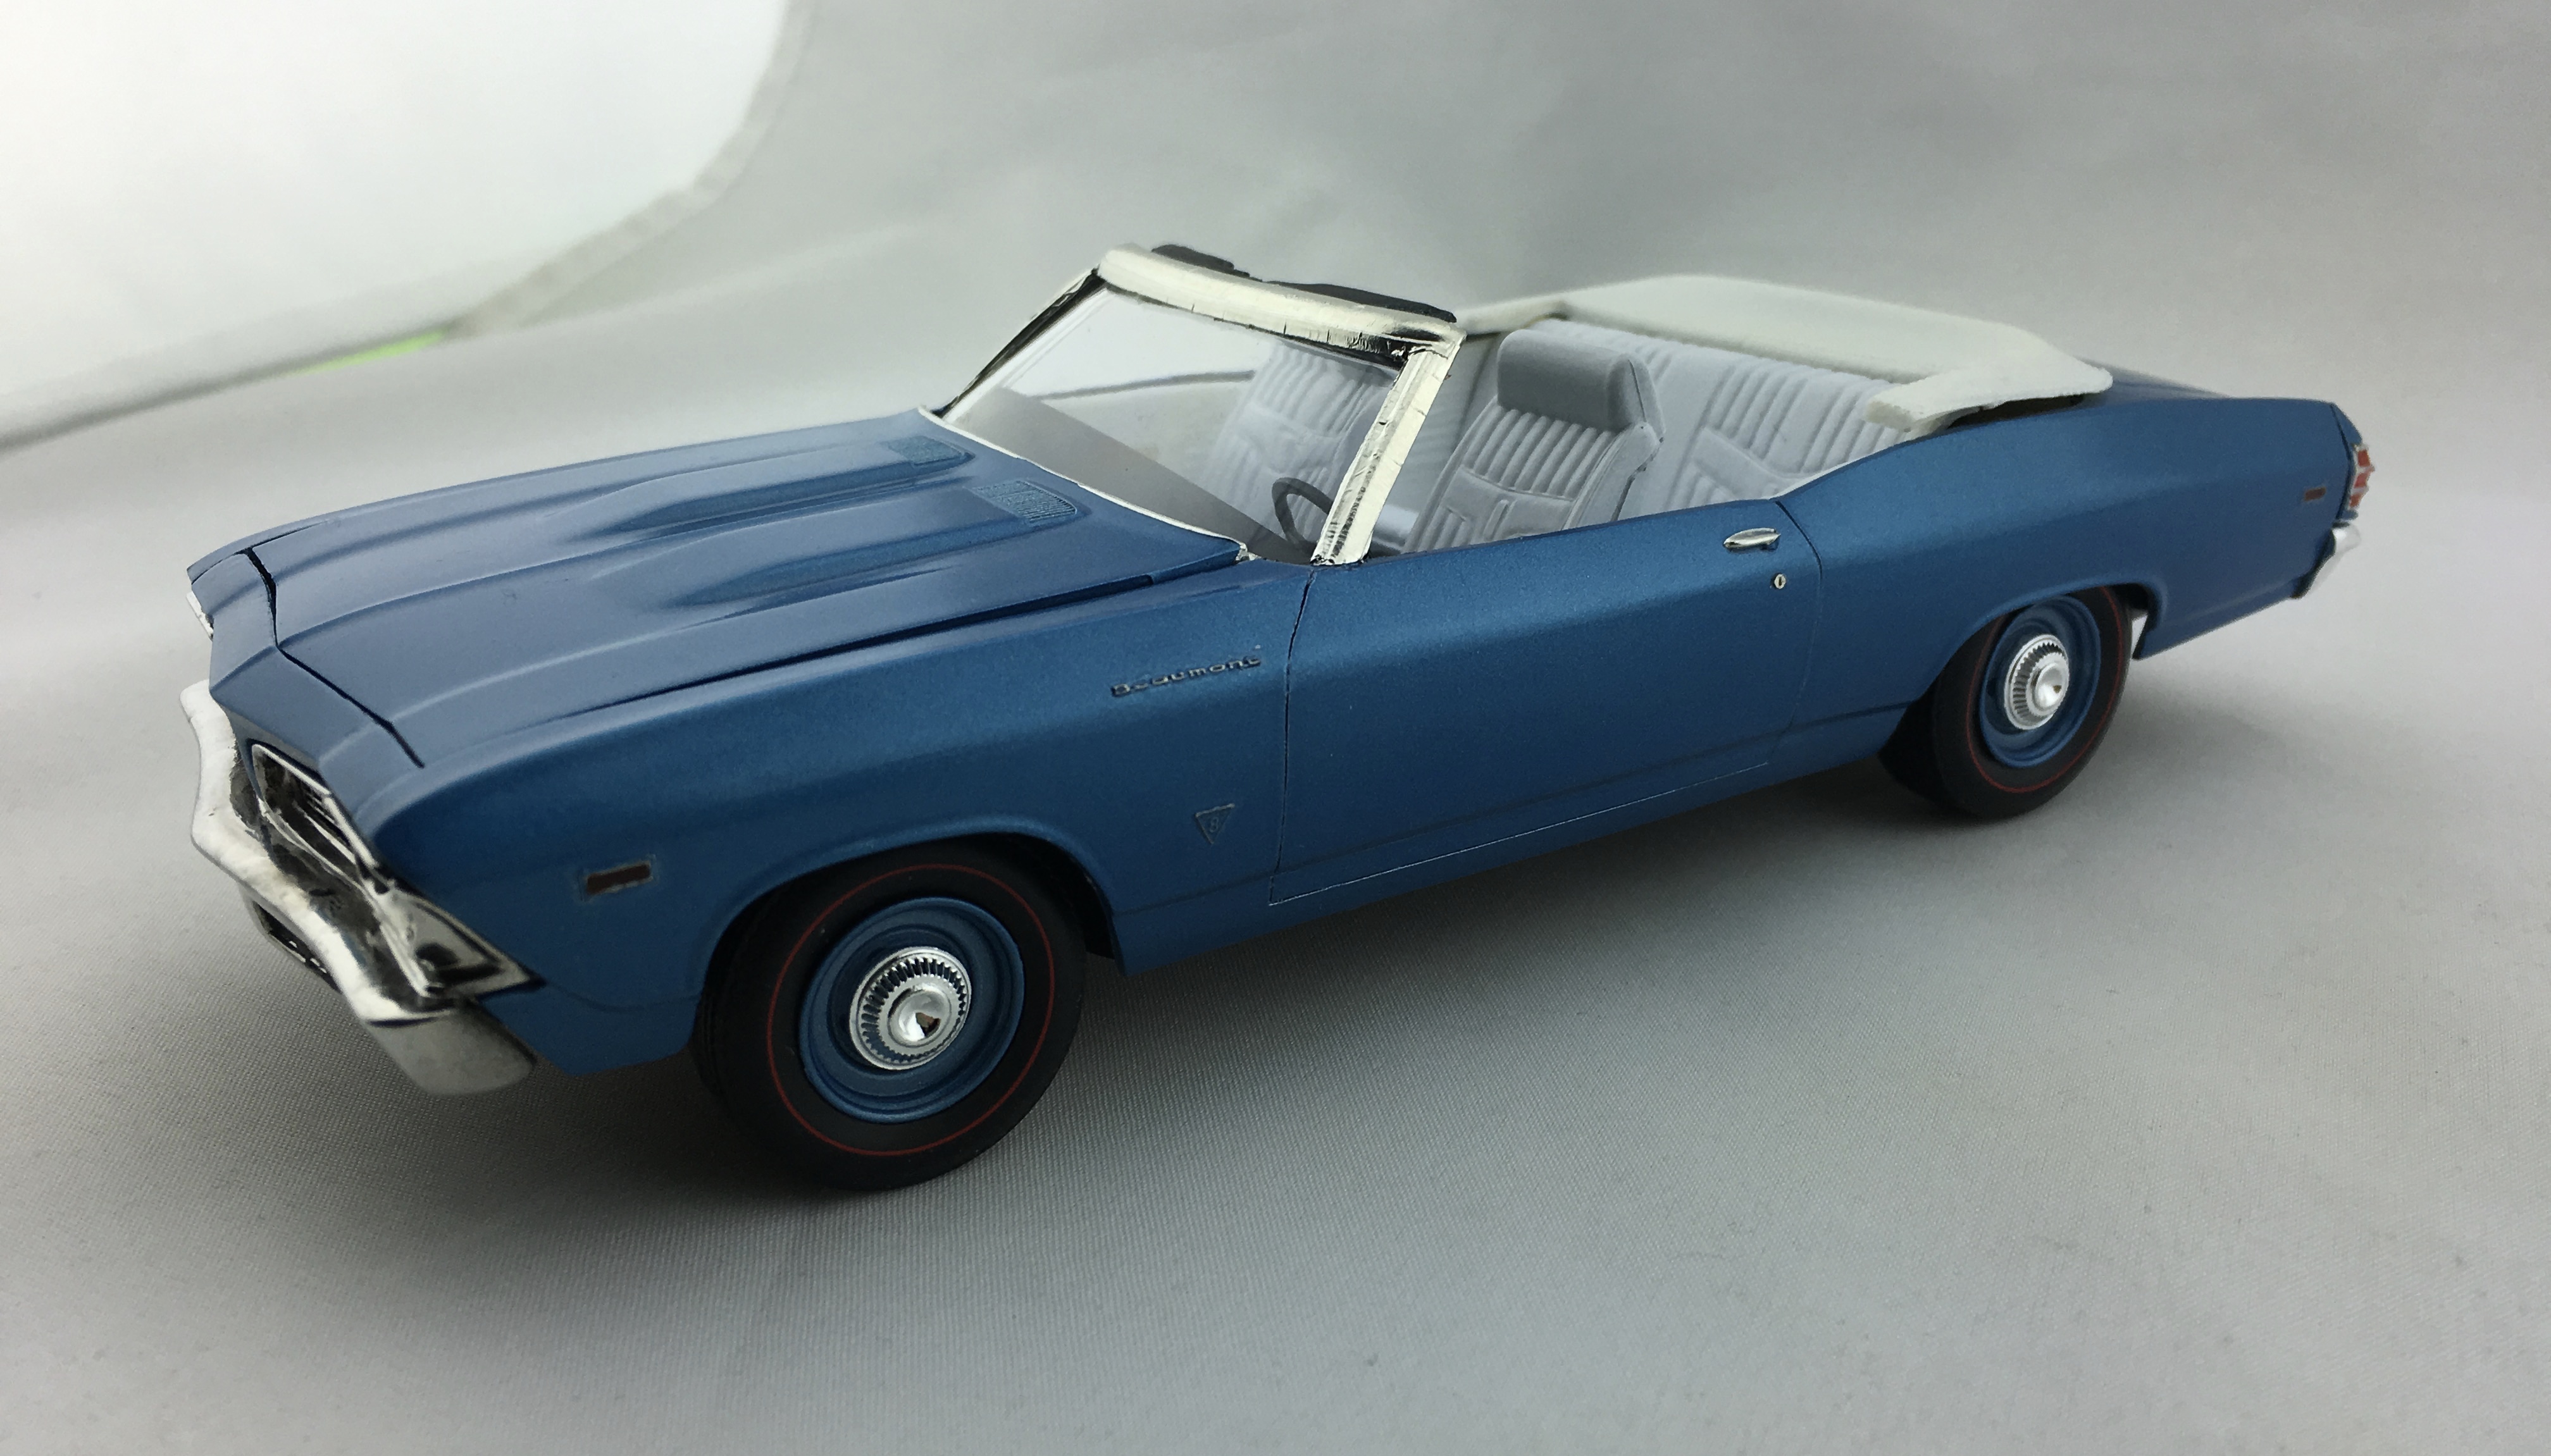
Per board rules, we can't mention price here, and it's not really been determined yet. When I get the red stuff figured out, I'll update the thread and let everyone know that it's available. Harold Oswald got the first prototype kit and had his SD 396 convertible ready for last night's club meeting. He said that this build is a 13 day wonder that he did while entertaining out of state company and attending the Goodguys show. I'm all out of excuses for not building now... The front bumper is done in Alclad, he used the front and rear seats from the GTO for the correct upholstery pattern, the hub caps are Missing Link, and the MCG photoetch set includes all of the Beaumont emblems including the front and rear scripts, the four side fender emblems, the dash emblem that fits the GTO dash perfectly, and even the rear strip trim pieces below the trunk lid. He got the kit before I made any clear taillights, so these lenses are tan opaque resin; bare metal foiled, and painted with Tamiya clear red. They looked very good. Off to the Resin Ranch today to take on the Battle of the Taillights, part 2.
-
Fires destroy 2 resin casters
Maindrian Pace replied to Gramps46's topic in Car Aftermarket / Resin / 3D Printed
I just saw an article in a British publication about burned pets and rabbits, wildlife and so forth. With pictures. Couldn't finish the article. -
1969 Beaumont front bumper/grille
Maindrian Pace replied to Maindrian Pace's topic in Car Aftermarket / Resin / 3D Printed
Update. The kits are almost ready, and will include the correct dash as a nice last-minute bonus. So what's the holdup? The tale of the taillights: As it turns out, casting in clear red is tricky. Very tricky. Below is yesterday's frustration, in order. All are in Smooth-On 325 clear: #1 is the first attempt using the Smooth-On color tint red, came out in hideous pink. Not good. #2 is the second attempt, I substituted House of Kolor apple red Kandy Intensifier for the previous tint, and they came out absolutely perfect. Thinking that I had figured it all out, I did the same thing for attempt #3, which inexplicably came out in a lovely shade of strawberry taffy. Attempt #4 was the same procedure, but with degassing the two part resin in the vacuum chamber first... resulting in more taffy. #5 is the if-all-else-fails default, just casting in clear, which is more reliable, and the builder can paint the lenses in Tamiya clear red or equivalent, which may actually be a more realistic look, although I do like the look of the single successful set. The most annoying thing here is not knowing why one set came out perfect, followed by two that didn't. Better luck next week?
-
Instant collectible!
-
This thread never gets old.
-
1969 Beaumont front bumper/grille
Maindrian Pace replied to Maindrian Pace's topic in Car Aftermarket / Resin / 3D Printed
That's the plan. -
1969 Beaumont front bumper/grille
Maindrian Pace replied to Maindrian Pace's topic in Car Aftermarket / Resin / 3D Printed
Finally. Won't be too long now. We'll make a multiple taillight mold tomorrow. -
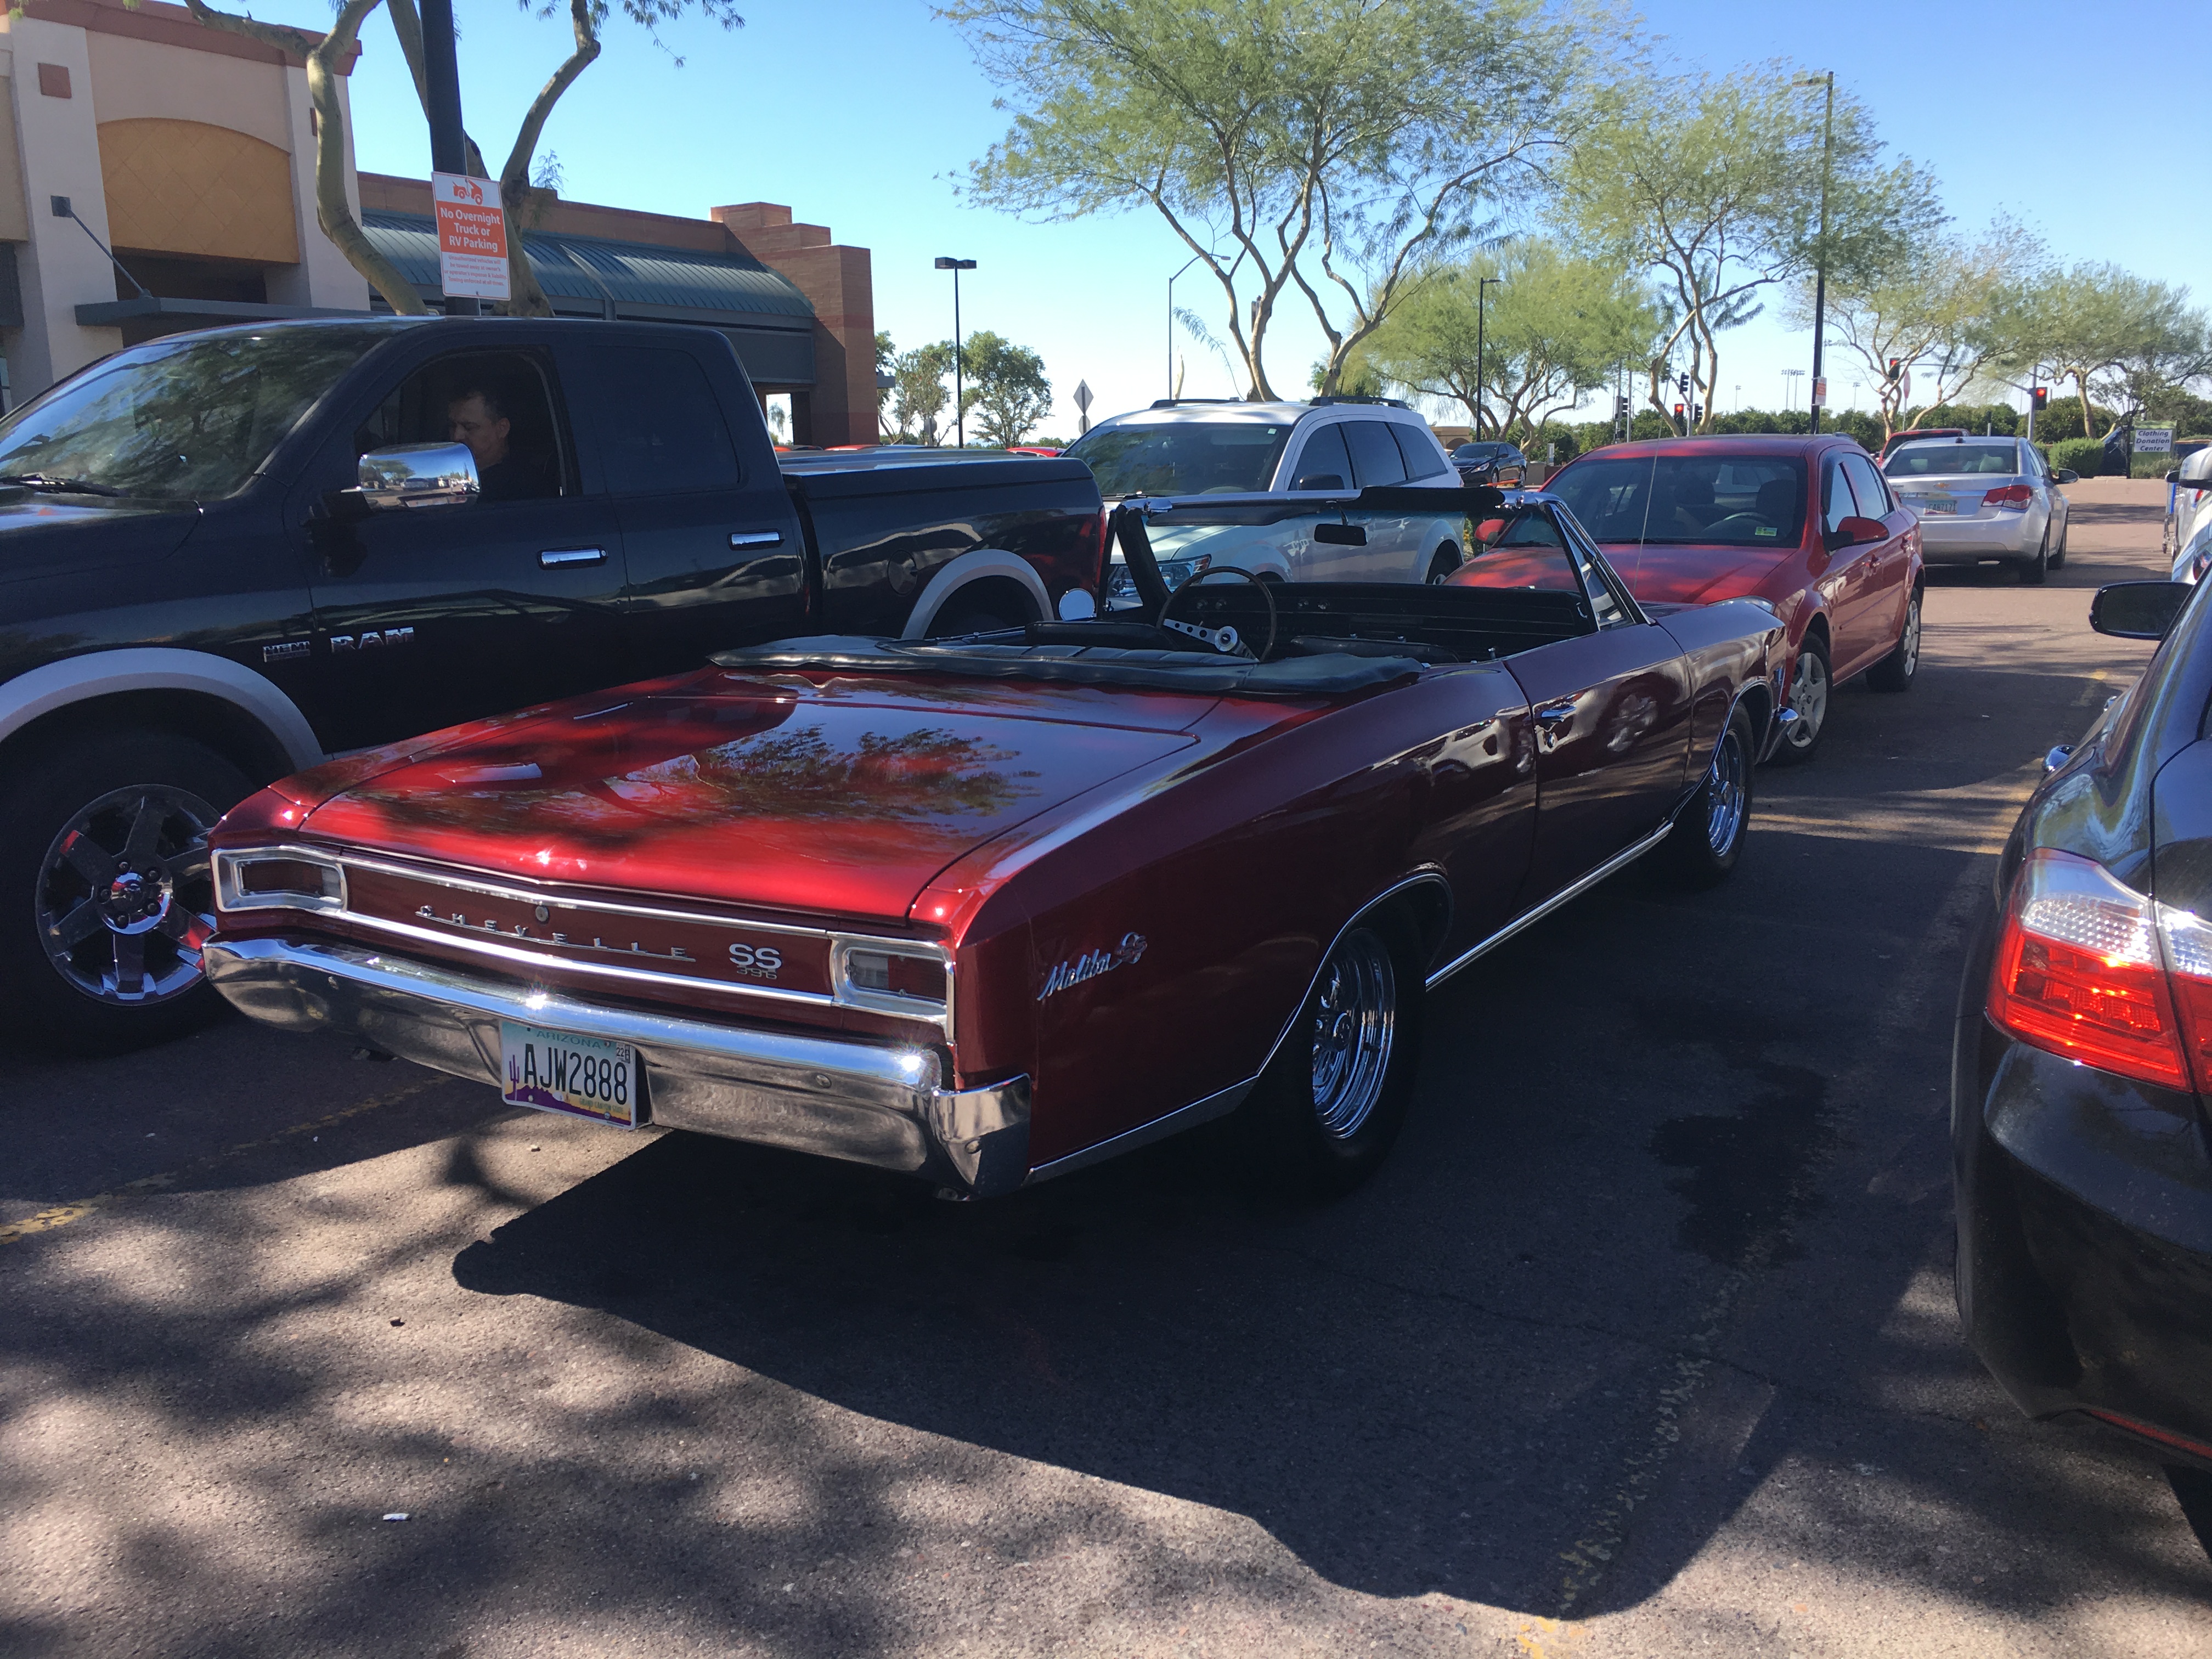
What did you see on the road today?
Maindrian Pace replied to Harry P.'s topic in General Automotive Talk (Trucks and Cars)
'66 Chevelle, Walmart parking lot in Mesa.