PatW
-
Posts
4,611 -
Joined
-
Last visited
Content Type
Profiles
Forums
Events
Gallery
Everything posted by PatW
-
I love the Nascar's Kevin, well done and welcome back!
-
Yes I've just ordered one direct from Heller! Same problem, that's my order of builds for 2016 up the creak! But I'm still looking forward to getting it, especially as I have just finished the 2CV Fourgonnette.
-

Rupp Sno Dragster
PatW replied to gerdog's topic in WIP: All The Rest: Motorcycles, Aviation, Military, Sci-Fi, Figures
Looks good Gerry, another I have on the shelf that I haven't yet got around to building! -
Heller 1/24 Citroën Méhari - Now with actual review!
PatW replied to Junkman's topic in Car Kit News & Reviews
Yes I know the 2CV Fourgonnette, I've just finished one! Nice kit and it's in the light trucks thread.. -
Heller 1/24 Citroën Méhari - Now with actual review!
PatW replied to Junkman's topic in Car Kit News & Reviews
An interesting addition to the Heller range! I've just ordered from Heller the Citroen Van 'HY' (Corrugated Van), so I'm waiting to see how long it takes to come and possibly order the Mehari. Someone living near us had one imported in the day, it was odd to see it 'bouncing around everywhere'! -
Cheers Stephen, happy new 2016!
-
And yes I'm still looking for more classic, dune/sand/beach buggy kits!
-
Subaru Sambar, Japan Post
PatW replied to martinfan5's topic in Model Trucks: Pickups, Vans, SUVs, Light Commercial
Super little van Jonathan. Just like my 2CV Fourgennette. -
Super VDub Ulf, Merry Christmas!
-
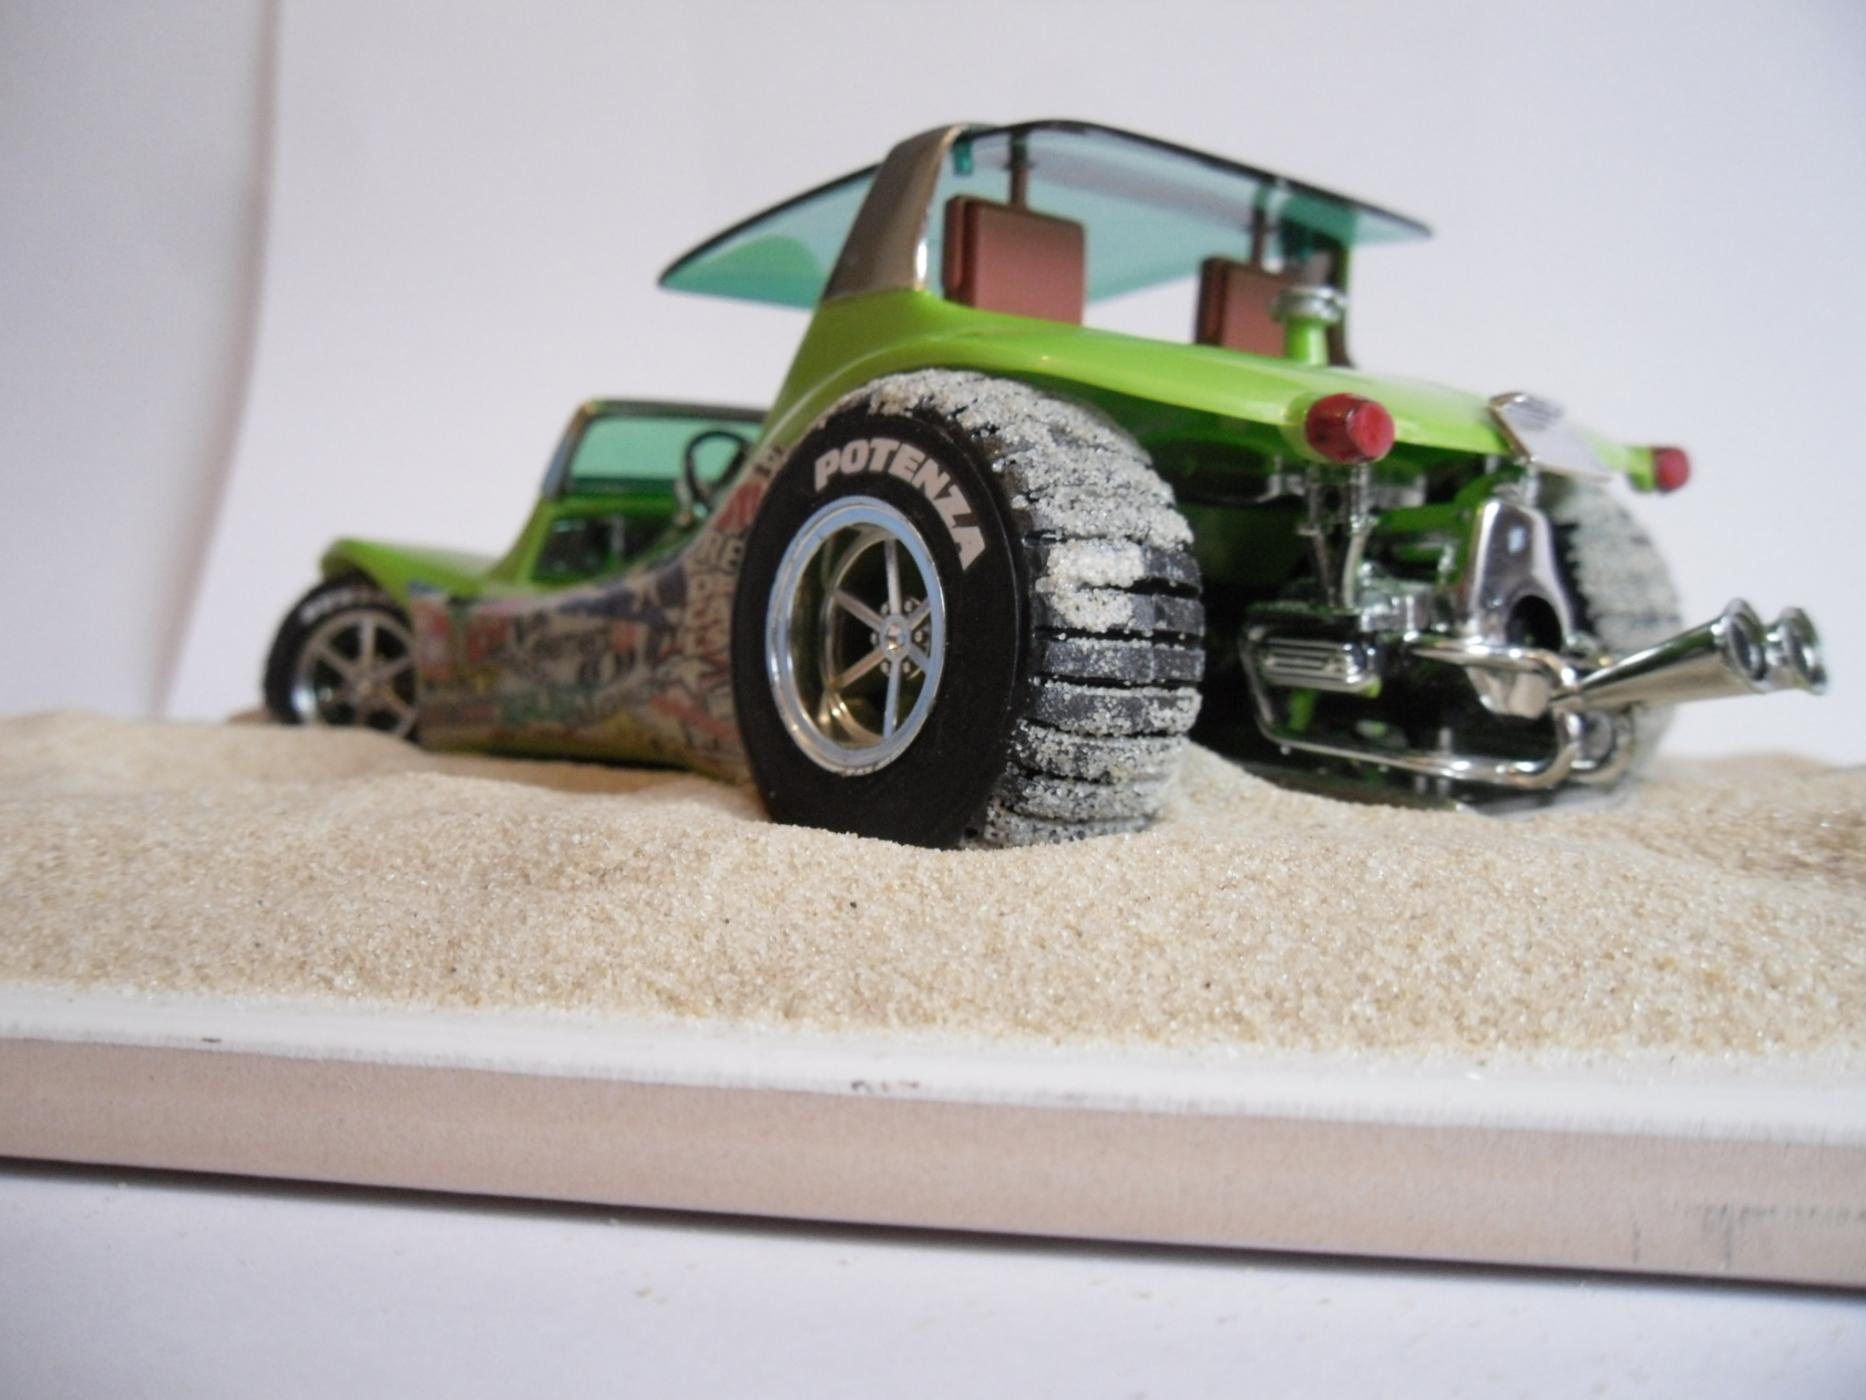
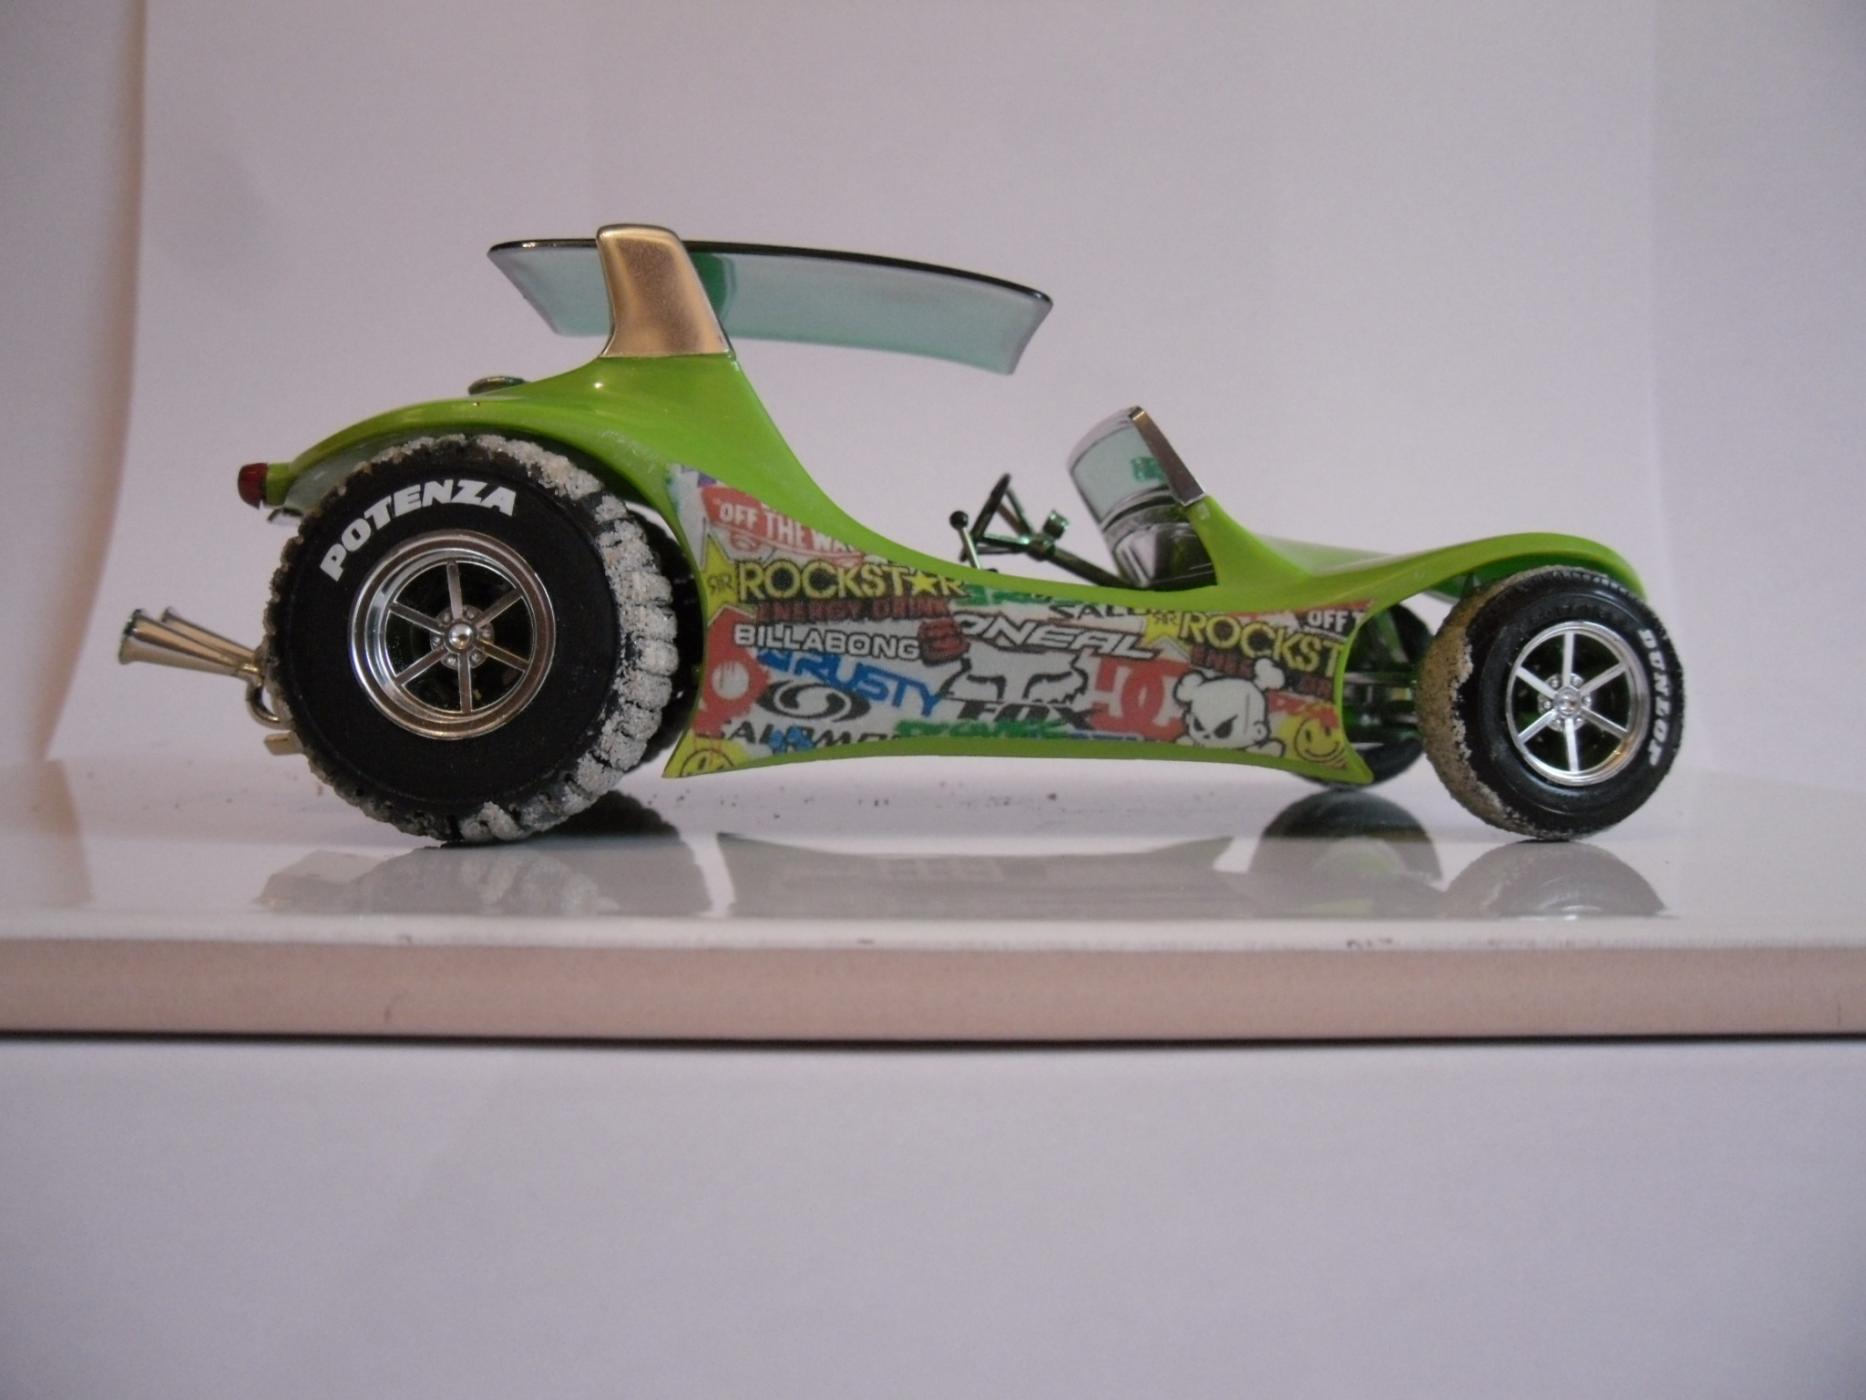
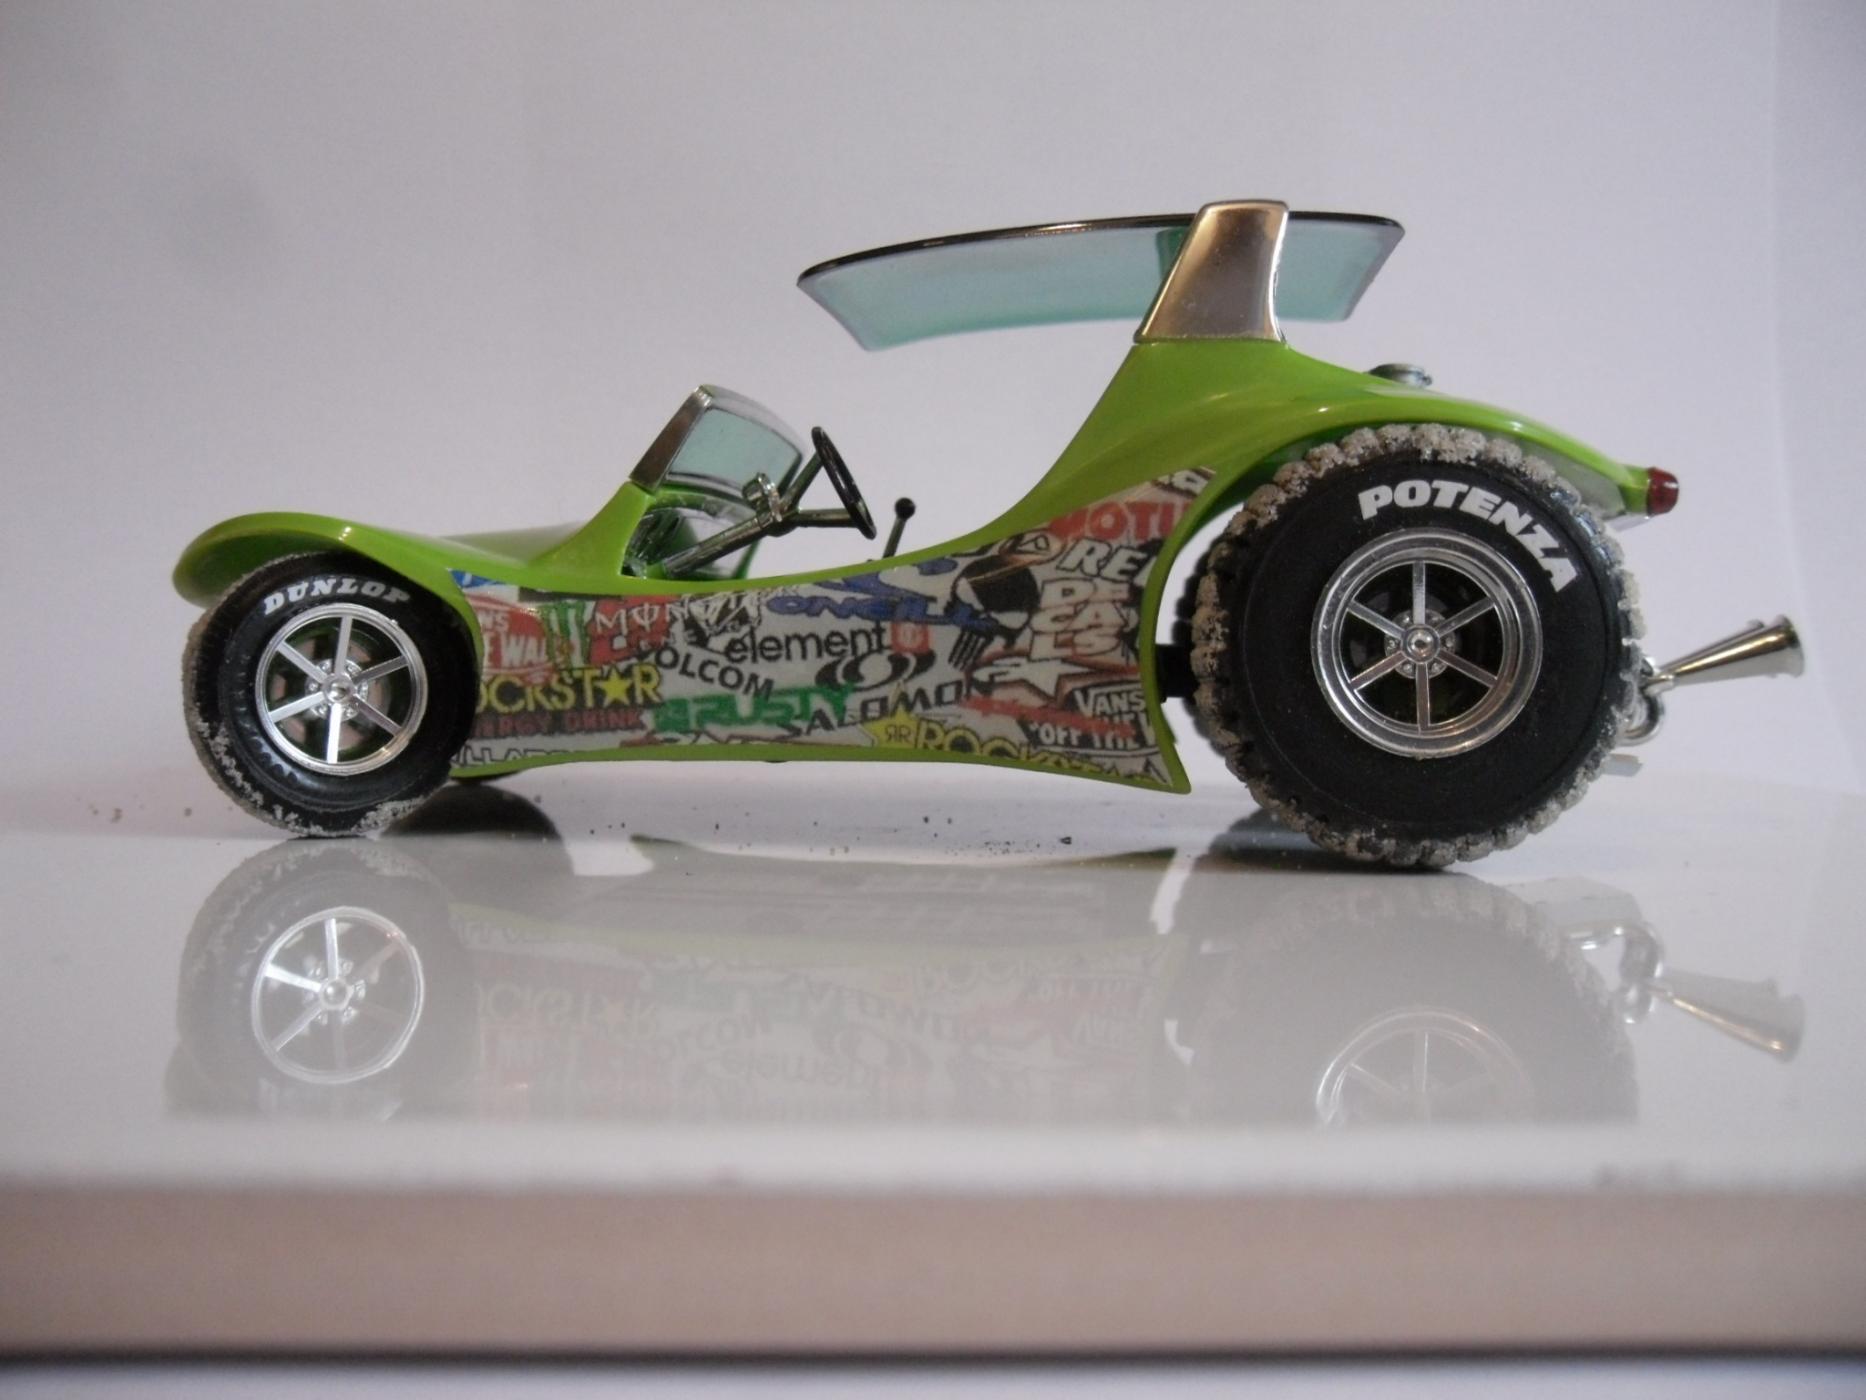
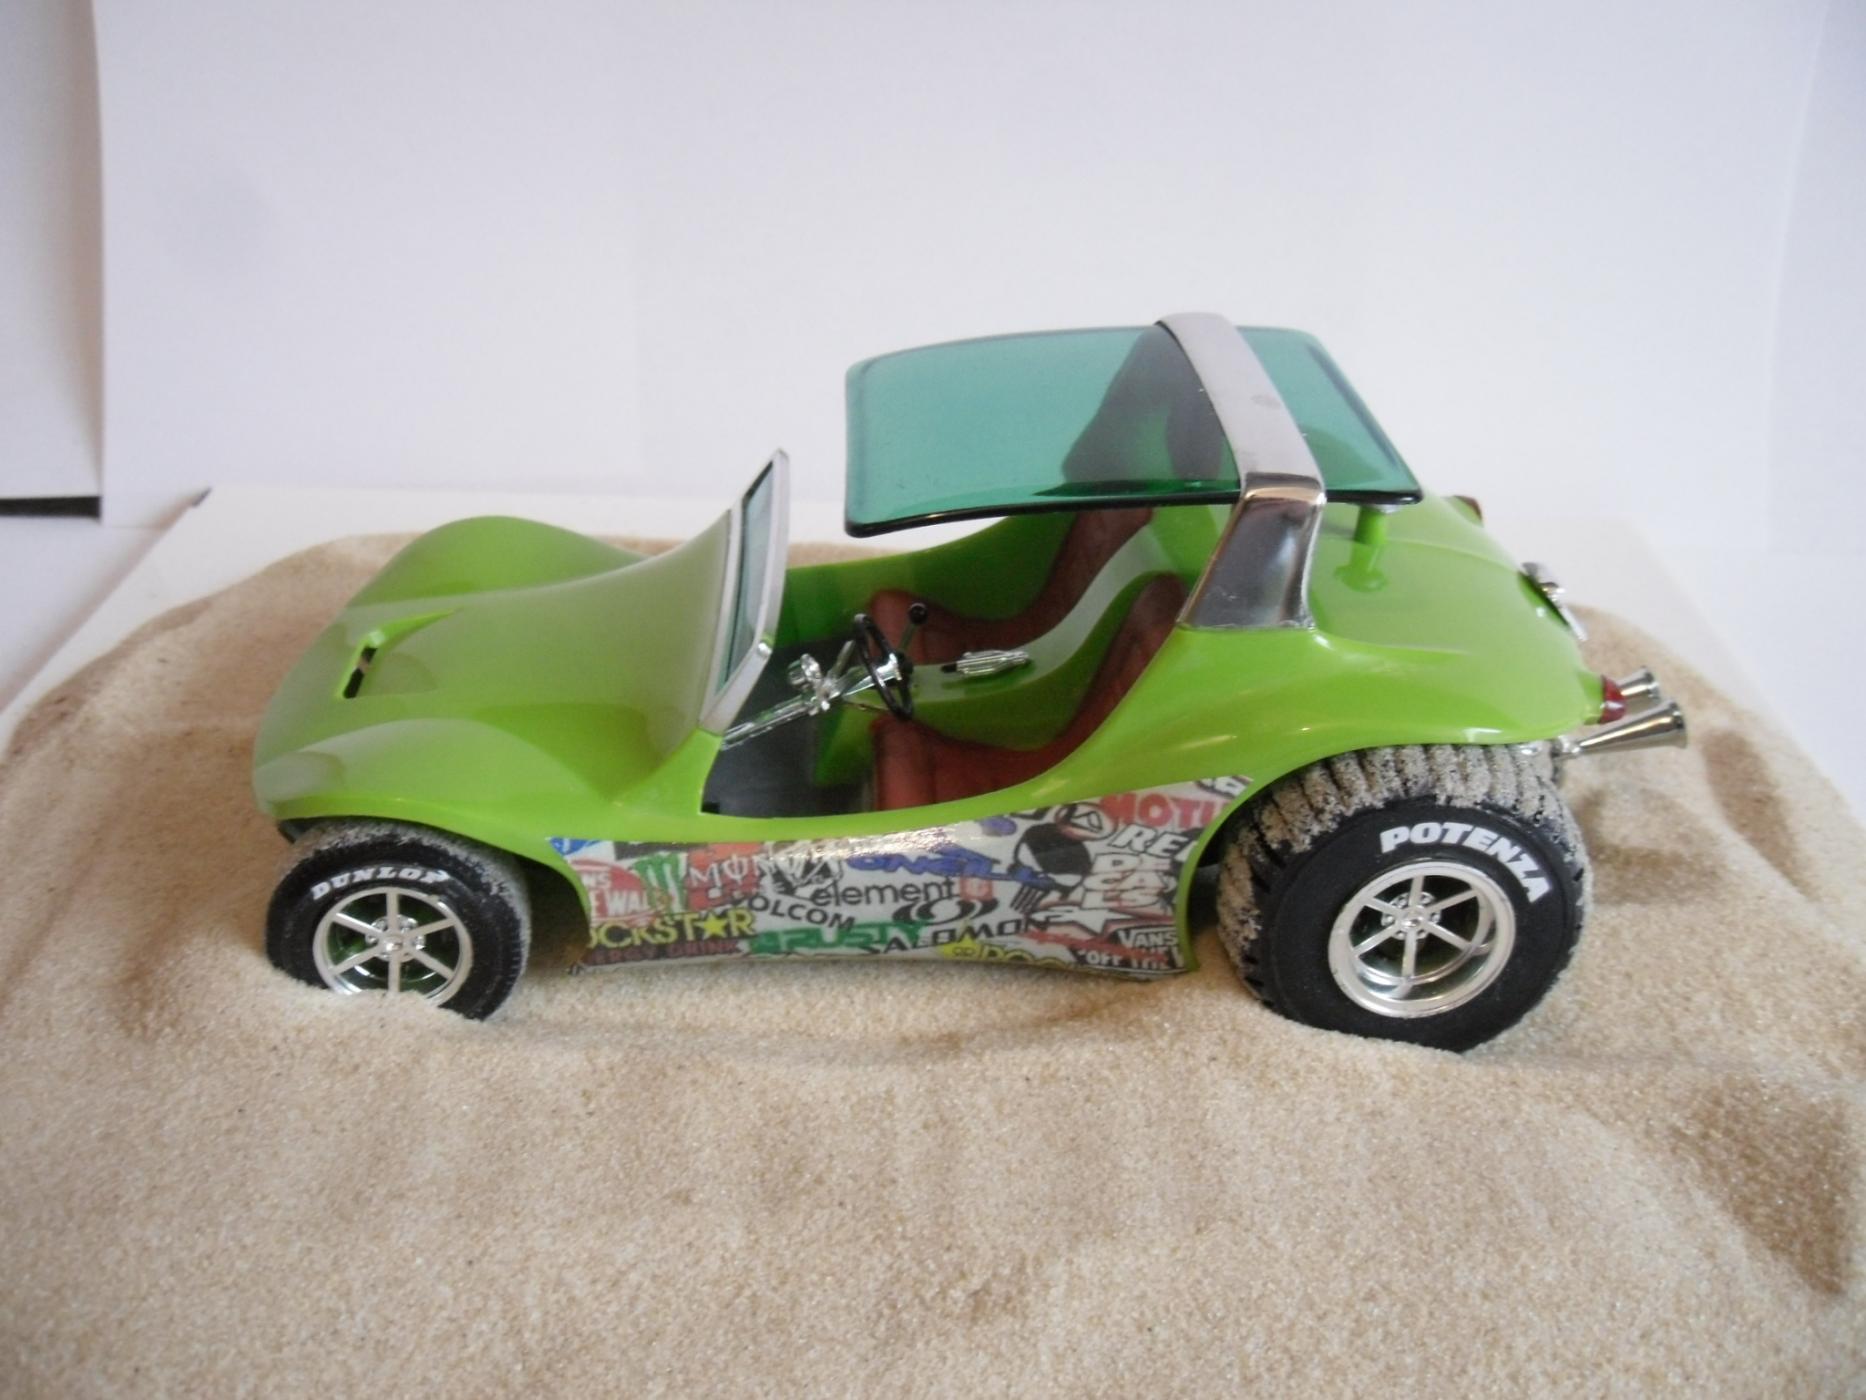
Thanks guys, yes I dragged the car through the sand to get the right 'tracks', and adding white glue and rolling the scuffed tyres in the sand helped with the result. Yes I also enjoy adding my home printed decals, adding that extra touch I think is important. Thanks espo I'll see if I can find Pismo Beach on Google search, and if so another pic or two may appear on here. As above Merry Christmas and a super new 2016 to you all! And yes I'm still looking for more classic, dune/sand/beach buggy kits!
-
Well thanks again guys,this build is one that I've been looking for for some time has really worked out. Merry Christmas to you all & a Very Happy New 2016.
-
Wow Bob super builds, Merry Christmas to all in Florida and a very happy new 2016.
-
Well thanks guys, I don't know that I would get this response! Yes JTalmage, after finding the kit decals discoloured and coating them with clear gloss, and still no joy. The Crab looked a bit plain without any decals so I went through a some pages of ones I had printed a few months ago, and hey presto a colourful image along the previously blank sides. The sand is a very fine version used in the laying of block paving that we use on our short driveway up to the garage. I have been searching the web for a sand dune backdrop to go behind the Crab, but find a suitable one.
-
and

-
Bought from ebay UK as an 'already started' kit decals shot so added my own decals and sand!
-
Type 2 VW Pickup
PatW replied to Brent's topic in Model Trucks: Pickups, Vans, SUVs, Light Commercial
Superb V Dub Brent well done! -
Superb build Tomo well done! Both Prodrive and Richard lived nearby, and it was a great shock to loose him. You've done him proud with this superb build.
-
Superb Jim, as you know I'm a big fan of these as well. I've just picked up a Monogram Sand Crab, so should have that on here soon. Well done Jim.
-
This is great. I am trying to get rusting right, but it takes time, we all have to start somewhere. It's difficult to work through when i've been used to getting paint right, smooth and glossy, and then your train of thought is the opposite. Well done.
-
Superb Adriano, as a rally marshal on various World Rally venues I remember these cars big time. Their speed and agility was amazing, well done great build!
-
Tamiya/Ebbro Citroen 2CV Fourgonnette
PatW replied to PatW's topic in Model Trucks: Pickups, Vans, SUVs, Light Commercial
Thanks guys. Yes Bernard they are on white! I'm so glad I bought a pair of those semi circular bladed scissors, it made the job of cutting them all out by hand just that bit easier! And I also want to get another and paint it in army camo, or my splinter black and white camo, as used on my McLaren 4/12 surfboard sportscar (decals) and on a '49 chopped Mercury (Painted). As this one above the shell is unpainted. -
Tamiya/Ebbro Citroen 2CV Fourgonnette
PatW replied to PatW's topic in Model Trucks: Pickups, Vans, SUVs, Light Commercial
Hi slusher thanks again. -
Thanks Marc, they did make a 'Safari' car called the Mehari, superb for driving across the dunes with the sprung suspension they had! They also used the chassis for a base to supply to 3rd World countries. They included patterns for the bodyshells to be made of plywood, to keep the price and maintenance down.
-
Tamiya/Ebbro Citroen 2CV Fourgonnette
PatW replied to PatW's topic in Model Trucks: Pickups, Vans, SUVs, Light Commercial
Thanks GTJUNIOR. -
Very nice Ulf, it's good to see a British car on here. My elder brother bought a new 1963 mid-green Mini van straight from the factory at Cowley, Oxford, and my mother had a darker green Mini Countryman with the wood trimmed sides.