Ace-Garageguy
-
Posts
38,182 -
Joined
-
Last visited
Content Type
Profiles
Forums
Events
Gallery
Everything posted by Ace-Garageguy
-

Scribe-ing deeper panel lines
Ace-Garageguy replied to Ahajmano's topic in Model Building Questions and Answers
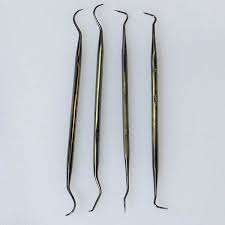
The best ones I have are made from cheap Chinese (Harbor Freight) dental tools, with a different point ground on the tip. They're easier to guide around corners than the flat-handled tools as well. EDIT: As with every tool, there is a learning curve. Don't practice on the model you care about.
-
Kookies Tee in a plastic kit ?
Ace-Garageguy replied to Greg Myers's topic in General Automotive Talk (Trucks and Cars)
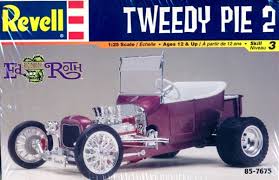
Yup...as per Casey's two reference posts, it would be an easy kitbash to do a credible Kookie-Kar using the original Tweedy Pie or Tweedy Pie 2 as a jumping off point, and easily-sourced components to make up the difference. The old Revell parts-pack Caddy engine comes to mind, and the valve covers on the Orange Crate are about right (though the O-Ccrate is an Olds, they ought to fit pretty OK). Similar pickup beds abound too. It's just not that tough. Of course, on the other hand, it wouldn't be cripplingly difficult to modify one of the Tweedy-Pie tools (cut NEW steel using a lot of old data) either.
-
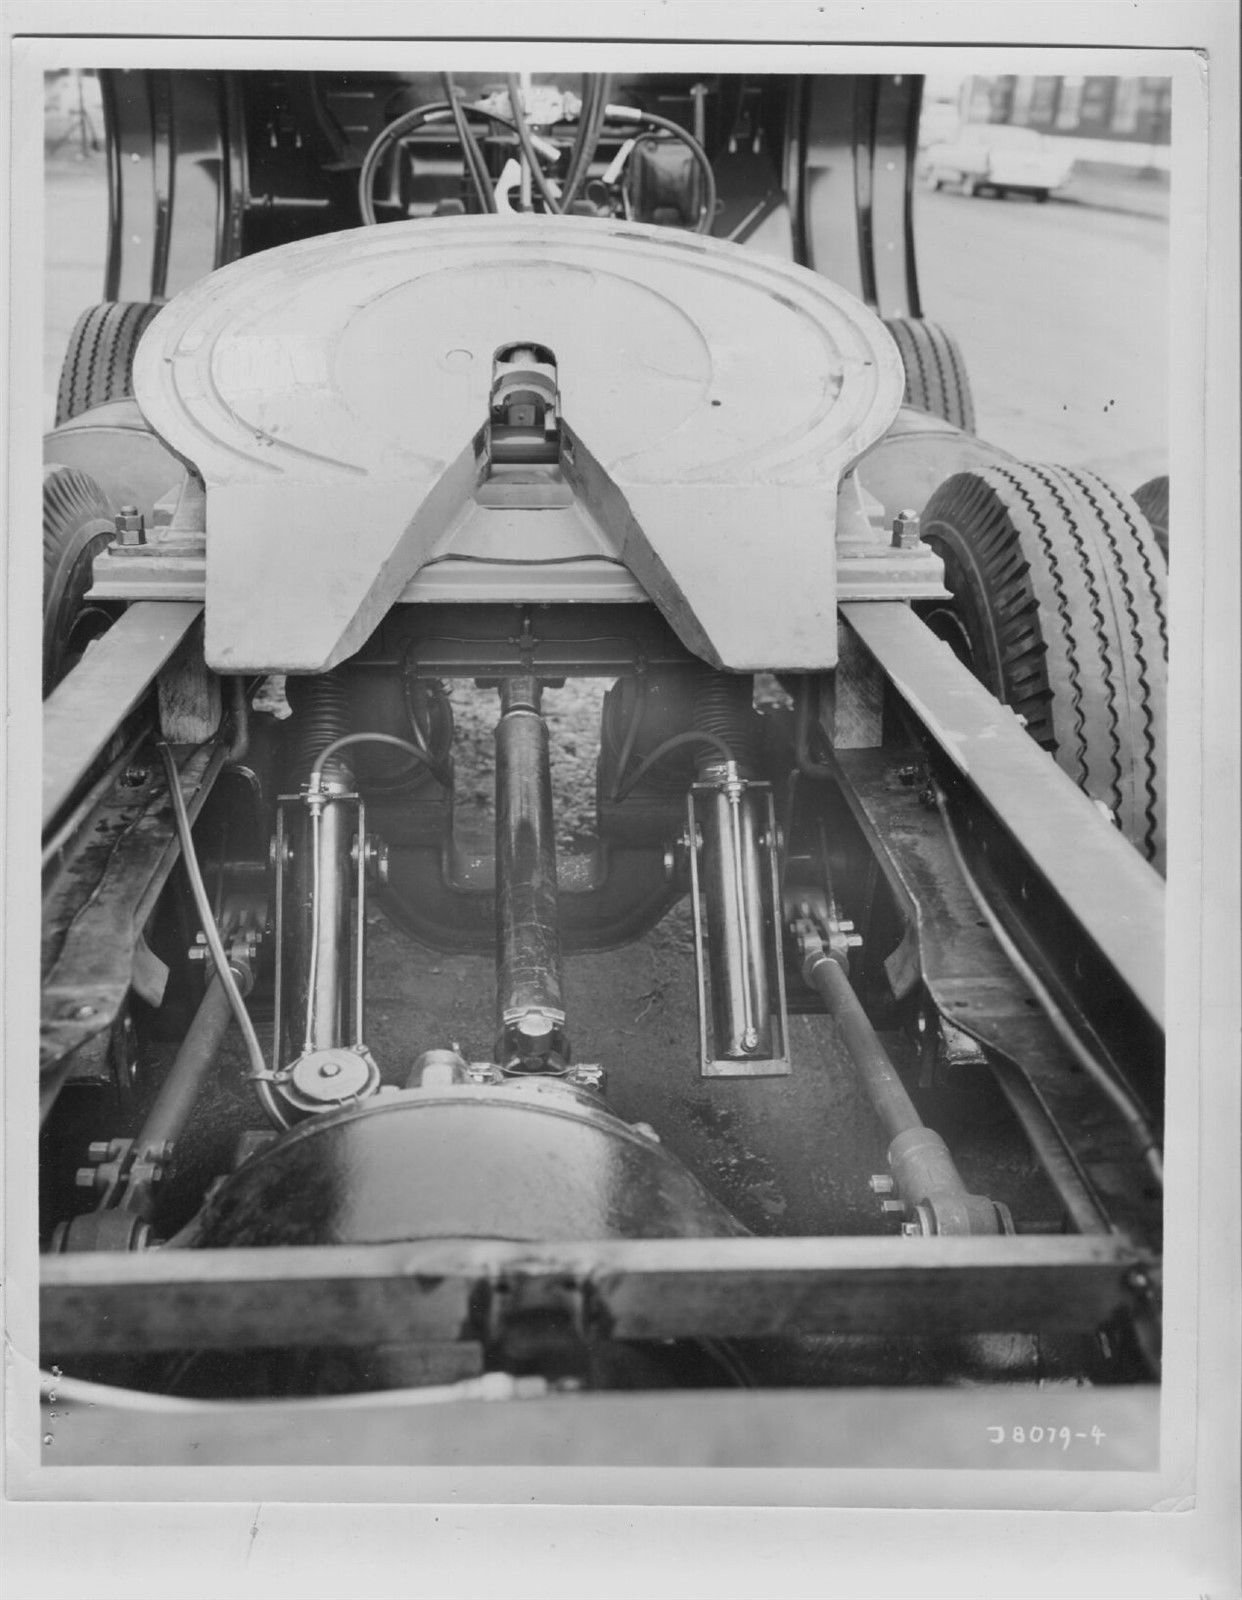
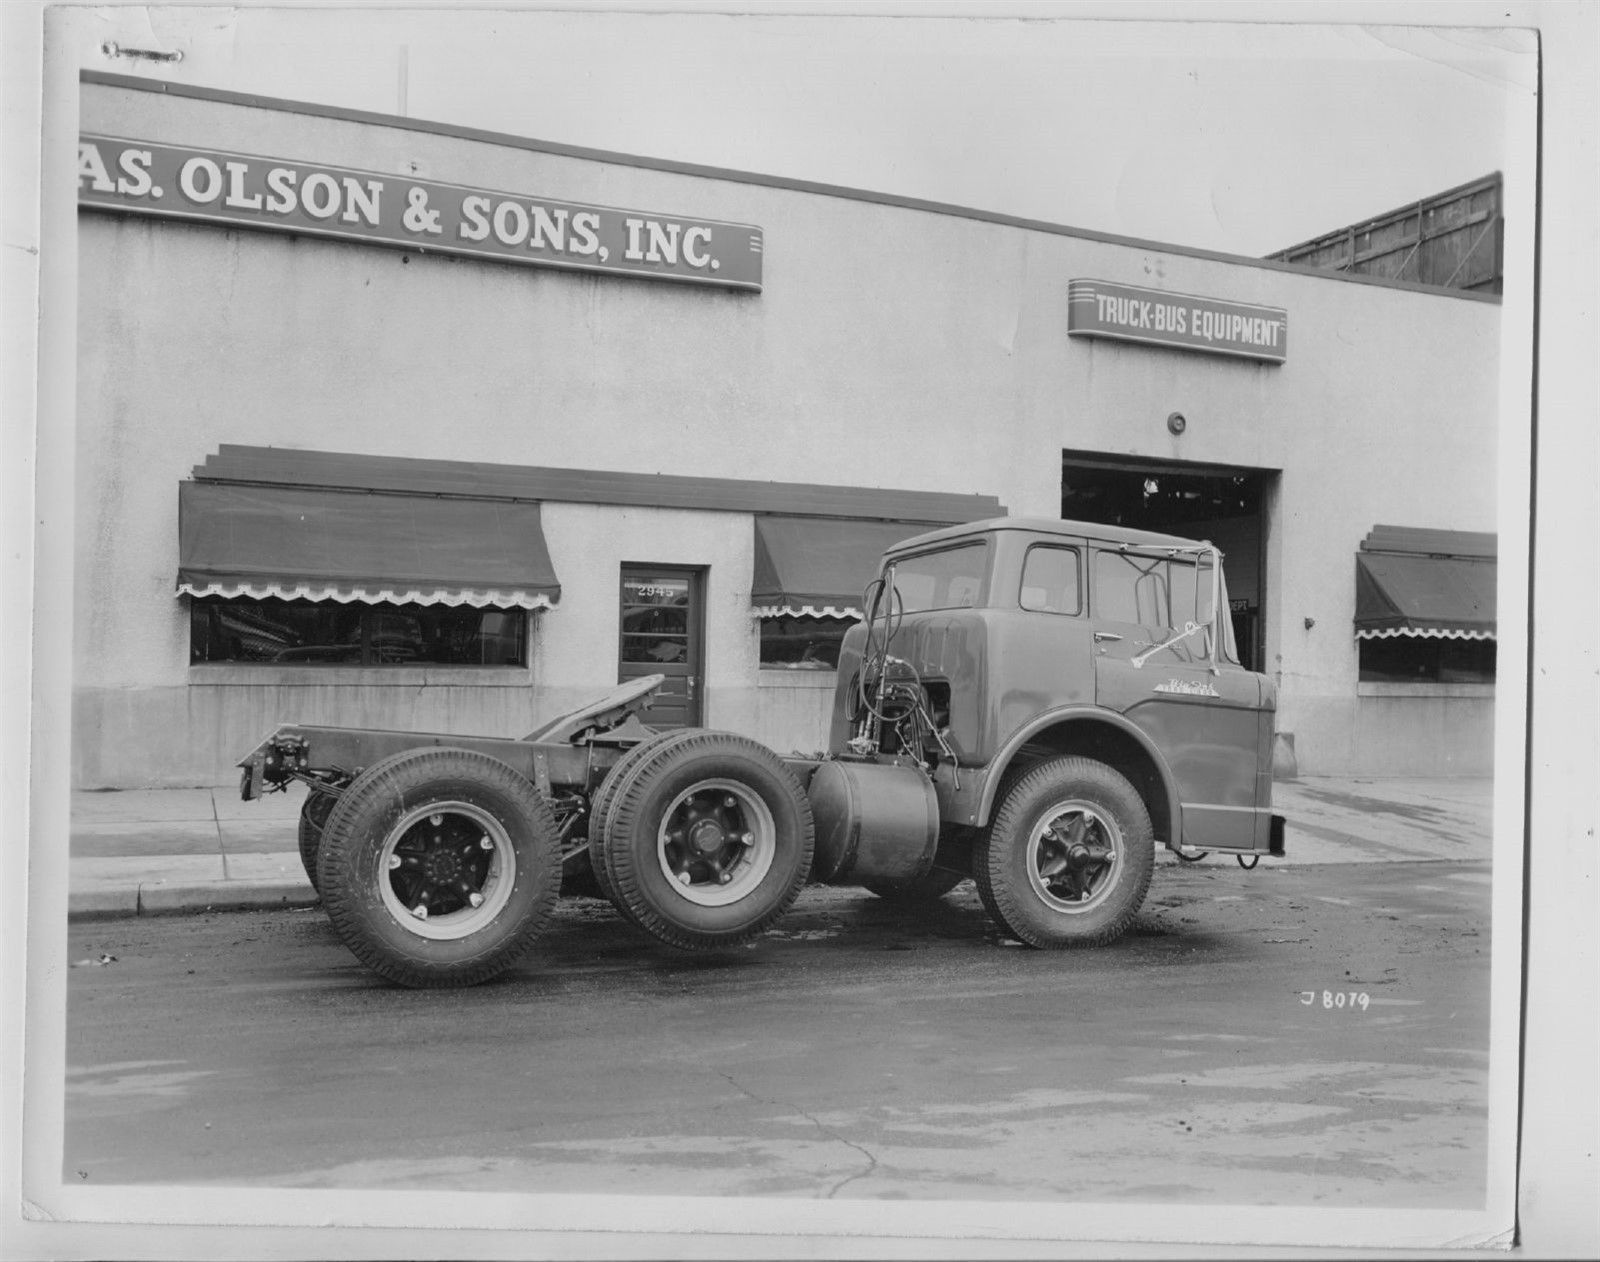
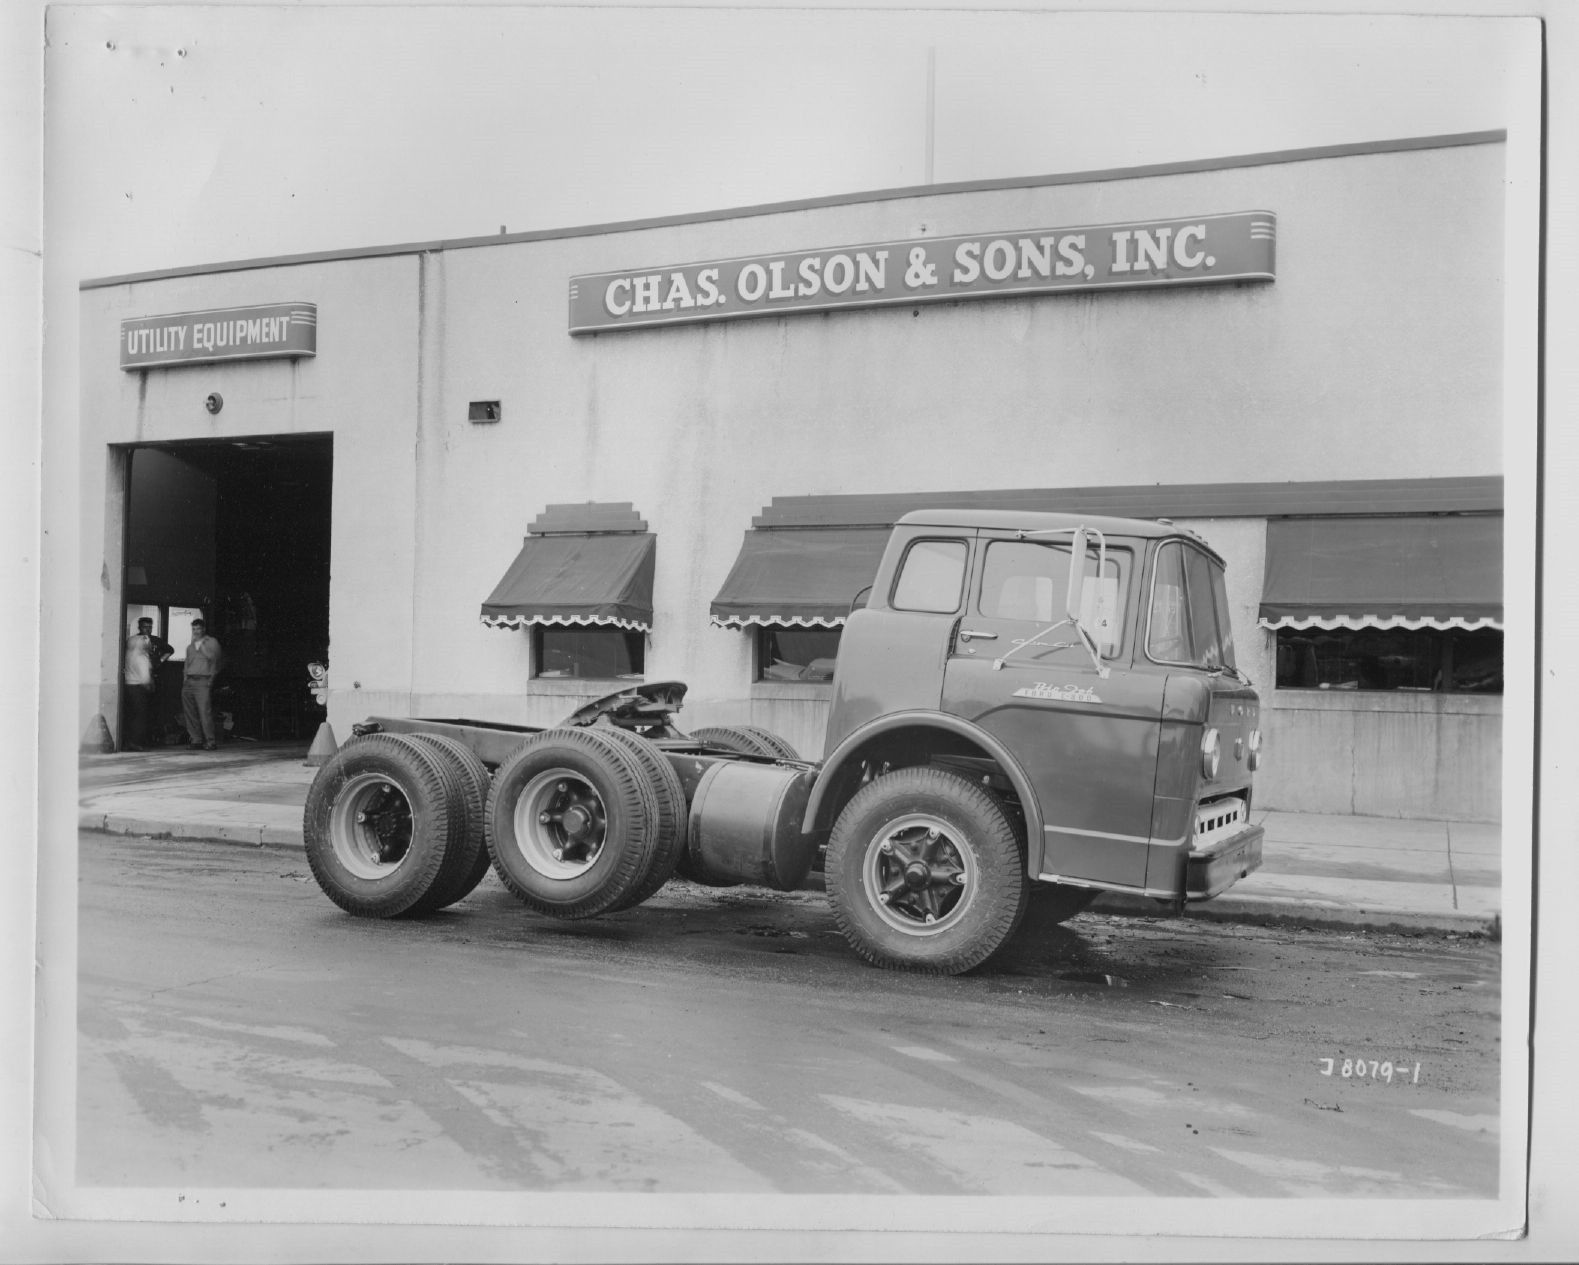
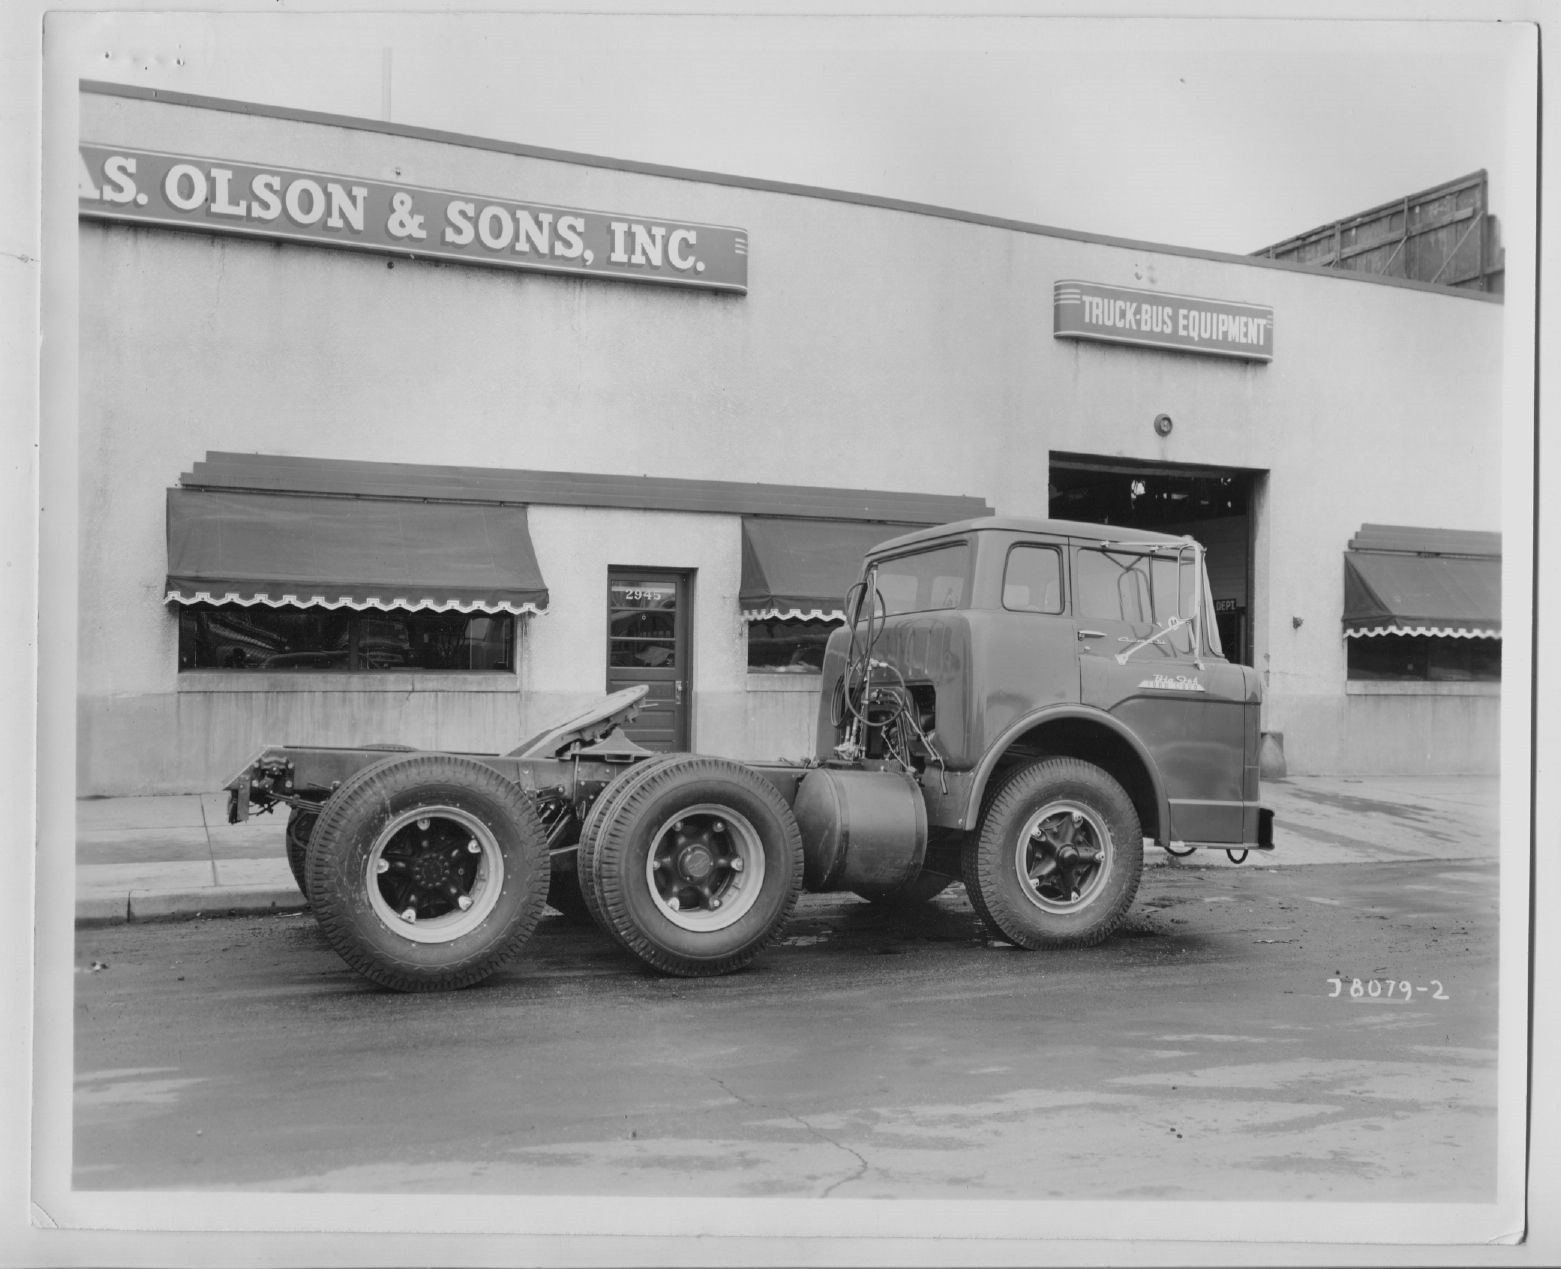
Interesting axle setup...
-
Revell 1957 Ford Custom Gasser...?????
Ace-Garageguy replied to Deuces's topic in Model Building Questions and Answers
Yeah, it'll work. But you're not limited to only kit parts to build '57 Ford gassers. This old AMT uses stuff pirated from who-knows where (nose too high; final configuration will have her level, with the class-legal 24" crank centerline). And this first-issue Revell wagon was gasserized way before Revell did it... -
Early Bond girl Honor Blackman... Not many people manage to still look this good at 90...
-
Scribe-ing deeper panel lines
Ace-Garageguy replied to Ahajmano's topic in Model Building Questions and Answers
Yeah, that would be my guess. The tools are VERY sharp, and you need to go slowly, letting the blade tip do the work. There are quite a few YouTube videos available on the subject. -
Very nice save, well worth the effort you put in.
-
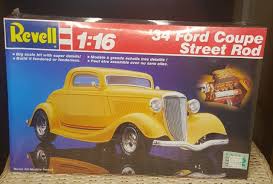
Anyone interested in this one?
Ace-Garageguy replied to Bullitt's topic in General Automotive Talk (Trucks and Cars)
Don't forget Revellogram's 1/16 '34 Fords.
-
What's your take on the Linux developers who aren't too happy about the new "code of conduct", and are making noises about rescinding some of their code, possibly crippling the kernel?
-
Anyone interested in this one?
Ace-Garageguy replied to Bullitt's topic in General Automotive Talk (Trucks and Cars)
Wow. I think $35,000 US is a little steep. Maybe if it was the very last one on the planet...nah. Even 35,000 yen is $300 US. Still nah. -
Weber Carbs on Small Block Chevy?
Ace-Garageguy replied to Snake45's topic in Model Building Questions and Answers
Those do appear to look more like downdrafts than sidedrafts, and they have stub Y-manifolds that could be used to convert a Hilborn-style injection manifold to a Weber-compatible manifold as in the photo I posted above. -
Weber Carbs on Small Block Chevy?
Ace-Garageguy replied to Snake45's topic in Model Building Questions and Answers
The cross-ram sidedraft setup from the Accurate Miniatures kits would be cool, but it's noticeably large for 1/25 (being scaled as 1/24) to anyone who's used to looking at the real things. The carbs on the AMT '63 big-block are sidedrafts, but they're incorrectly mounted as downdrafts...again, immediately noticeable to anyone familiar with the real deal...and almost certainly wouldn't fit under your hood as downdrafts anyway. BUT...the carbs themselves...sidedrafts... are decent, and could be the basis of a cross-ram setup like the AM GS kits have, but scaled to look right in a 1/25 engine bay. Still, you'd have to build your own intake manifold.
-
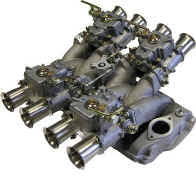
Weber Carbs on Small Block Chevy?
Ace-Garageguy replied to Snake45's topic in Model Building Questions and Answers
If you already have decent downdraft carbs, you can use a modified Hilborn-style injection manifold on a kit engine...but because the little Chebby pairs intake ports very close together, the spacing of Hilborn-style manifold ports will be somewhat wrong for Webers. One source for a starting-point manifold is the AMT '55 Nomad. For correctly-mounted downdrafts, you're going to need a manifold that looks like this...and I don't know of one right at this moment. -
Weber Carbs on Small Block Chevy?
Ace-Garageguy replied to Snake45's topic in Model Building Questions and Answers
-
Weber Carbs on Small Block Chevy?
Ace-Garageguy replied to Snake45's topic in Model Building Questions and Answers
The AM GS kits are the only correct Weber-equipped smallblock Chebbys I can think of right off hand. The kits feature sidedraft carbs, mounted correctly. This is important, as Webers come in two distinct and NON-INTERCHANGEABLE designs...sidedraft and downdraft. Mounting sidedrafts as downdrafts, or vice-versa, is as wrong as mounting a Holley upside down. The AMT '63 Stingray fastback has a set of SIDEDRAFTS mounted incorrectly as downdrafts (on a big-block). To get a decent set of downdrafts for a little Chebby, I believe you're in for some light fabrication of an appropriate manifold, and sourcing a good set of carbs from one of the Cobra kits, or aftermarket. These have been covered extensively elsewhen on the forum, but note: one set of aftermarket carbs sold by RepMin as EITHER side-OR-down is incorrect for one or the other. -
Yeah, my guess would be (and I'll look it up) that they're HDPE or LDPE, neither of which should react with styrene or vinyl...but choo never know WHAT choo'll get in cheap offshore-made stuff.
-
Excellent points. Has anyone to date had any adverse reactions between vinyl tires and baggies?
-
This seems appropriate
Ace-Garageguy replied to Dave Ambrose's topic in General Automotive Talk (Trucks and Cars)
That is VERY interesting. I'm looking forward to getting back into model RR-ing, and probably because I don't WORK in the field, and don't know as much about it as I do cars, I can accept a degree of "good enough" that I just can't let slide with model cars. I'm perfectly content with much of the vintage RR rolling-stock and locomotives with molded-on handrails, steps, and grabs, for instance, that many of today's RR guys find entirely inadequate. I'm also content with the "freelance" approach, modeling something that COULD have been (functionally), but not striving to capture every technical or historical detail absolutely correctly. Interesting... -
Impressive degree of organization there, sir. Same basic ideas I operate on, but you've taken it to the next level, for sure.
-
This seems appropriate
Ace-Garageguy replied to Dave Ambrose's topic in General Automotive Talk (Trucks and Cars)
Exactly. And each one I'm DIS-satisfied with shows me things I can do better on the NEXT one that won't grate on my enjoyment when I look at it. Every now and then, I'll produce something and look back at it and say to myself "man, that's pretty nice; if I saw that done by somebody else, I'd be impressed and inspired". And usually when I hit that particular high, I also tend to think "did I really do that??" That's what I'm looking for...that objective certainty that something is a GOOD job. That's what I find to be the most satisfying part of any endeavor, but getting there is the "fun". -
This seems appropriate
Ace-Garageguy replied to Dave Ambrose's topic in General Automotive Talk (Trucks and Cars)
It's always important to remember that however a particular modeler approaches the hobby, and what he finds enjoyable, is the only valid way for that individual to do it. And it's also important to remember IT IS A HOBBY. It's NOT the same as working on race-cars or aircraft, where anything less than "right" can get people killed. Personally, if I can't do something well, either I don't do it, or I invest the time and effort to go beyond mediocrity and achieve at least "competence"...or if it turns out I just don't have the aptitude, rather than going through life doing things badly...which I find detestable...I find something else to do with my time. I have FUN chasing excellence, and I don't do it to please anyone else, or to compete, or to "make others look bad". I do it for ME. There are a LOT of modelers whose skills are far beyond mine, and I find looking at THEIR work to be inspiration, rather than a reminder that I'm not "good enough". But not everyone has an innate desire to become a master in any given field. We're all wired differently, and we should accept that about each other. Too many times, I see the idea of striving for excellence, and historical and technical accuracy, put down with snide "they're ruining the fun" remarks. I've always been curious about that. Maybe somebody can explain why it's OK to diss folks who care a lot about the quality of what they turn out, but it's NOT OK to diss those who don't. -
Significant improvement over the kinda toylike parts that are in the box. Love your color choice for it too.
-
Old School Retro Cool Custom '67 Camaro--Update, New Pics 10/9/18
Ace-Garageguy replied to Snake45's topic in WIP: Model Cars
The build quality on the real ones isn't particularly accurate, and fit varies from car to car, but ALL the photos show the same general relationships. And I don't know about you, but 1 scale inch. or 1mm in 1/25 scale, is as obvious to my eye as having a stick poked in it. Model on, Mr. Snake. Just trying to help. -
Old School Retro Cool Custom '67 Camaro--Update, New Pics 10/9/18
Ace-Garageguy replied to Snake45's topic in WIP: Model Cars
Yup, that's about the way I read it. But the first question to address is whether the kit maker got the slope of the rear edge of the quarter panels right. Mr. Snakes first correction shot has the tail panel set too far forward of the edges, but to get the angle just right, the edges need to be spot-on first. -
Old School Retro Cool Custom '67 Camaro--Update, New Pics 10/9/18
Ace-Garageguy replied to Snake45's topic in WIP: Model Cars
These photos further illustrate the significant set-in of the top of the rear panel relative to the quarter-panel corners. The upper corners of the quarters themselves are obviously rolled forward to accommodate this. Best way to measure the angle would be to get a car sitting dead-level at the rockers, and put an angle-finder on the tail panel. Put one on the fender corners as well to verify the kit body, if the object is to get the initial "look" of the car correct. Kit manufacturers are very often somewhat off with many of these relationships...like the kit Snake is starting with...and many bodyshops that "restore" and "repair" vehicles miss them as well.