geordie
-
Posts
183 -
Joined
-
Last visited
Content Type
Profiles
Forums
Events
Gallery
Everything posted by geordie
-
Very nice work guys .... thanks for sharing.
-
Night running lights ... that would make sense ... thank you.
-
I like it !! Just out of curiosity, do the instructions give any clue what the line of three holes are for ... at the rear of each door opening ... rear brake ducts?
-
Very nice Roger !! Thanks for sharing .... that's the look that I want.
-
Perhaps I did not explain my request clearly enough ... I understand the 'normal' hemi' colors ... but I want to try something different ... painting the engine in a range of metal shade colors ... just looking for some inspiration photos to see if this is the direction that I want to go. Thanks in advance.
-
I'm looking for some inspiration ... would like to see some photos of V8's that have been painted in a variety of metallic, or metal color finishes. For the Street Charger I am looking for an alternative to the orange colored hemi ... I want a more race car vibe. Thanks in advance.
-
Very nice workmanship ... keep it up ... I'm looking forward to seeing more work on this build
-
A nice 'pride' of Camaros Christopher ... you can be very proud of them
-
Simply phenomenal workmanship !!
-
De-chrome it .... slam it and paint it in primer
-
I am interested in trying this kit one day myself ... although I fancy transplanting the running gear into a old Austin ... an making a circuit racer for the Goodwood Festival of Speed
-
Wonderful resurrection ... I'm really digging the engine detail ... very nice work !!
-
Welcome back !! One of my favorite auto body shapes ... good luck with the build ... I'll be following this one.
-
Looking very nice !!
-
I'll be retiring from work at the end of next week ... that's great ... but it also means that I'm an old fart ? Had a productive day today on the Street Charger ... I sanded down the rear wheel arches and they are stable and solid ... I made a beaded arch by running a length of .060 inch square Evergreen around each arch, this will give each arch a smoother profile, extend them a bit and give me an edge to sand up to. I then applied a thin layer of Tamiya putty to shape the arches ... I'll let that harden up over night and then go to work on that. Also today was the 'maiden voyage for my Iwata Eclipse air brush set up ... after some plastic spoon painting and practice I primered the majority of the drive train with Model Master Primer. I have never owned an air brush before ... except a cheap bottle feed one with compressed air cans .... I am very impressed with the Iwata Eclipse ... very smooth and controlled ....

-
Very nice !!
-
I am liking this … very good work …. very interesting project. I am not a fan of Cobra's generally …. but I do like this concept car very much …. stick with it … lot of work to do.
-
Atin, Please check your personal messages … I sent you an article from the Airfix Magazine (2011) on building this kit.
-
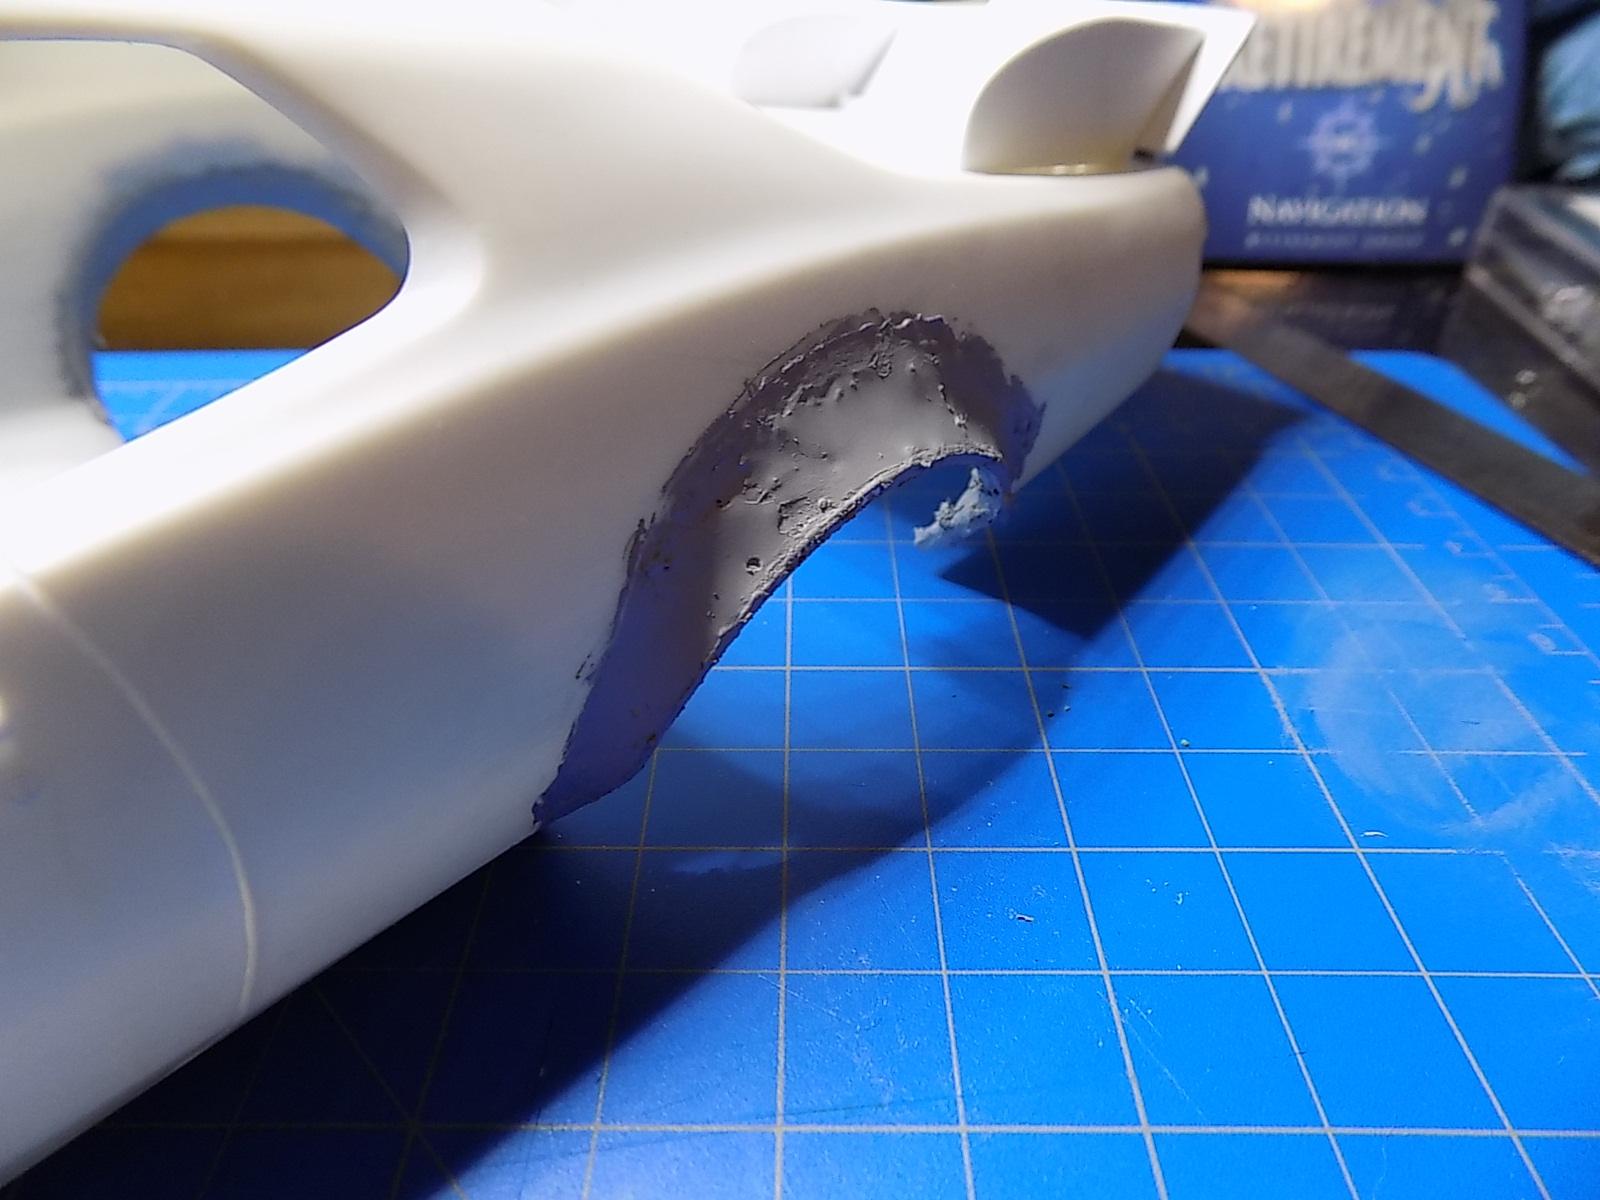
Both left and right rear wheel arches are now 'flared' ... I'll amuse myself filing, filling and smoothing them ... while I think about the design for the rear brake cooling ducts.
-
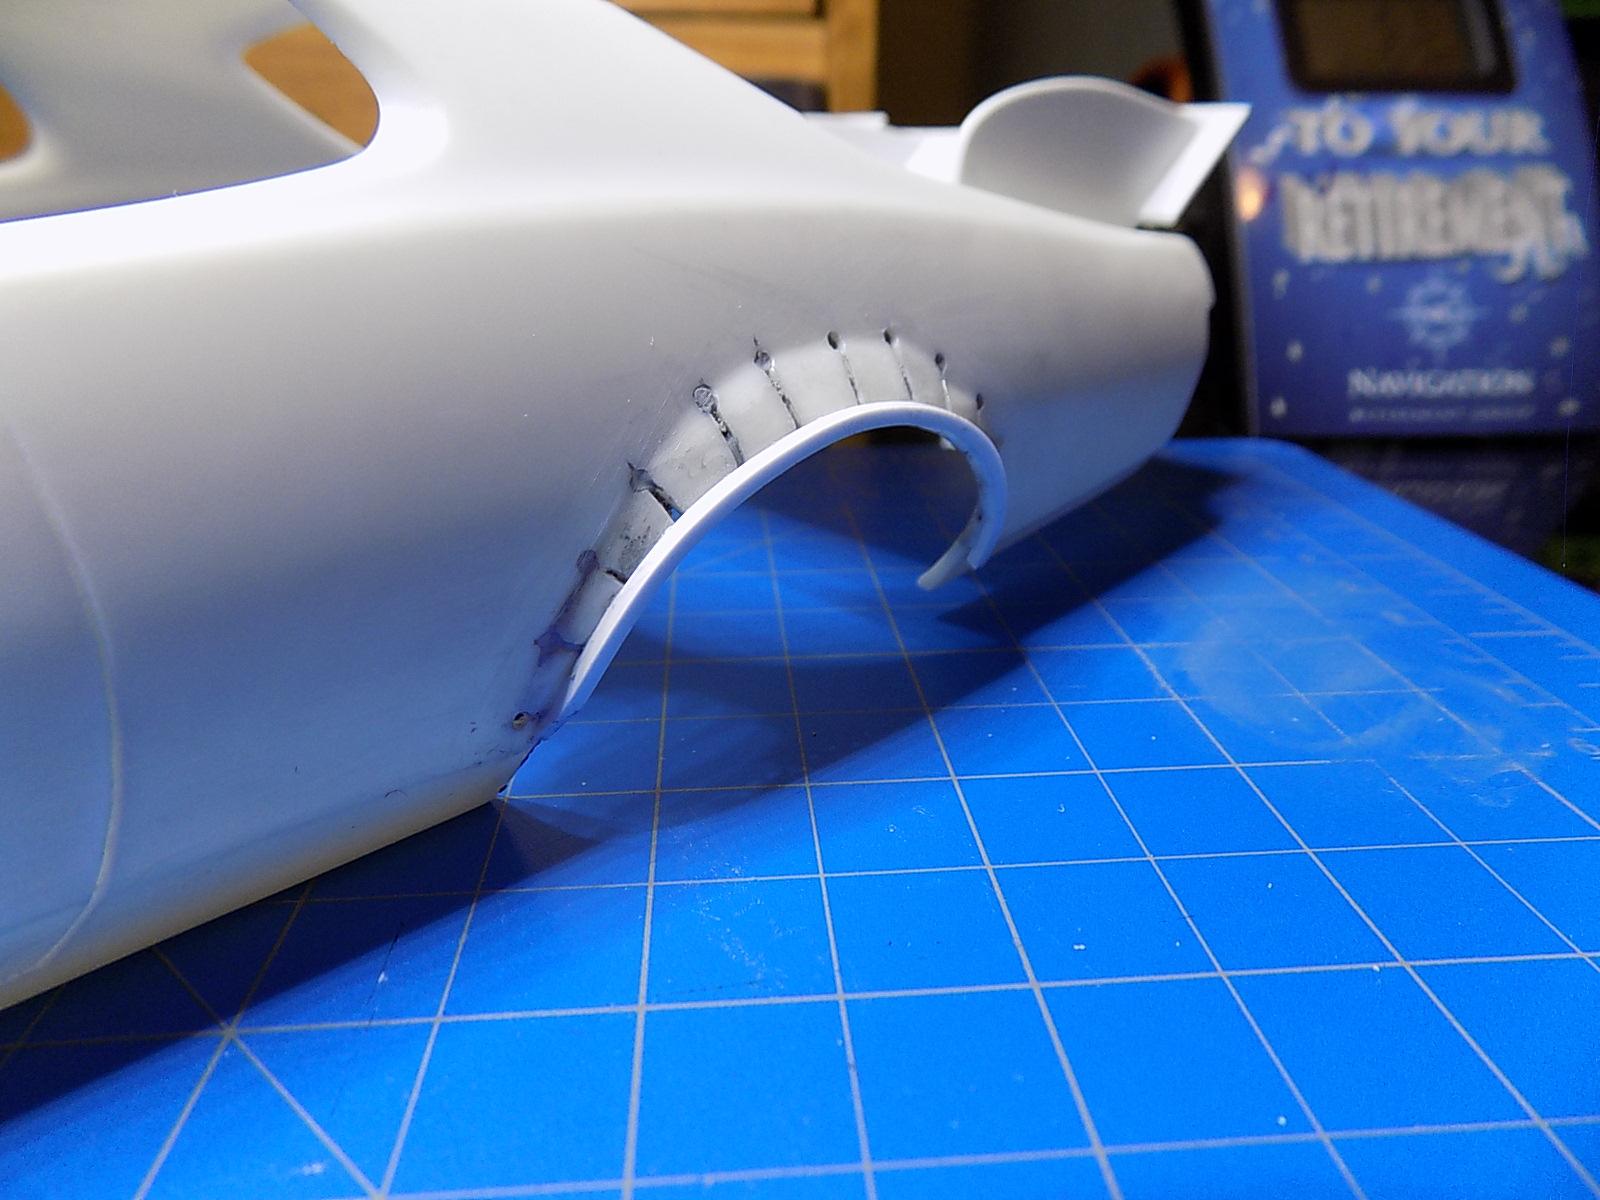
Worked on the passenger side rear wheel arch today ... my goal was to 'flare' the arch ... instead of just 'clagging' on plastic filler to create the arch. Generally the approach shown in the attached photos seemed to work pretty well. The individual plastic tangs did not 'bend' as I expected ... they tended to crack, but stay connected ... mostly. I secured them with a layer of plastic filler on the inside and will file, smooth and add more filler to the outside to shape. First time I've tried this ...
-
Bentley Blower 1930, Airfix 1:12
geordie replied to primabaleron's topic in Other Racing: Road Racing, Salt Flat Racers
Bloody marvelous !!! -
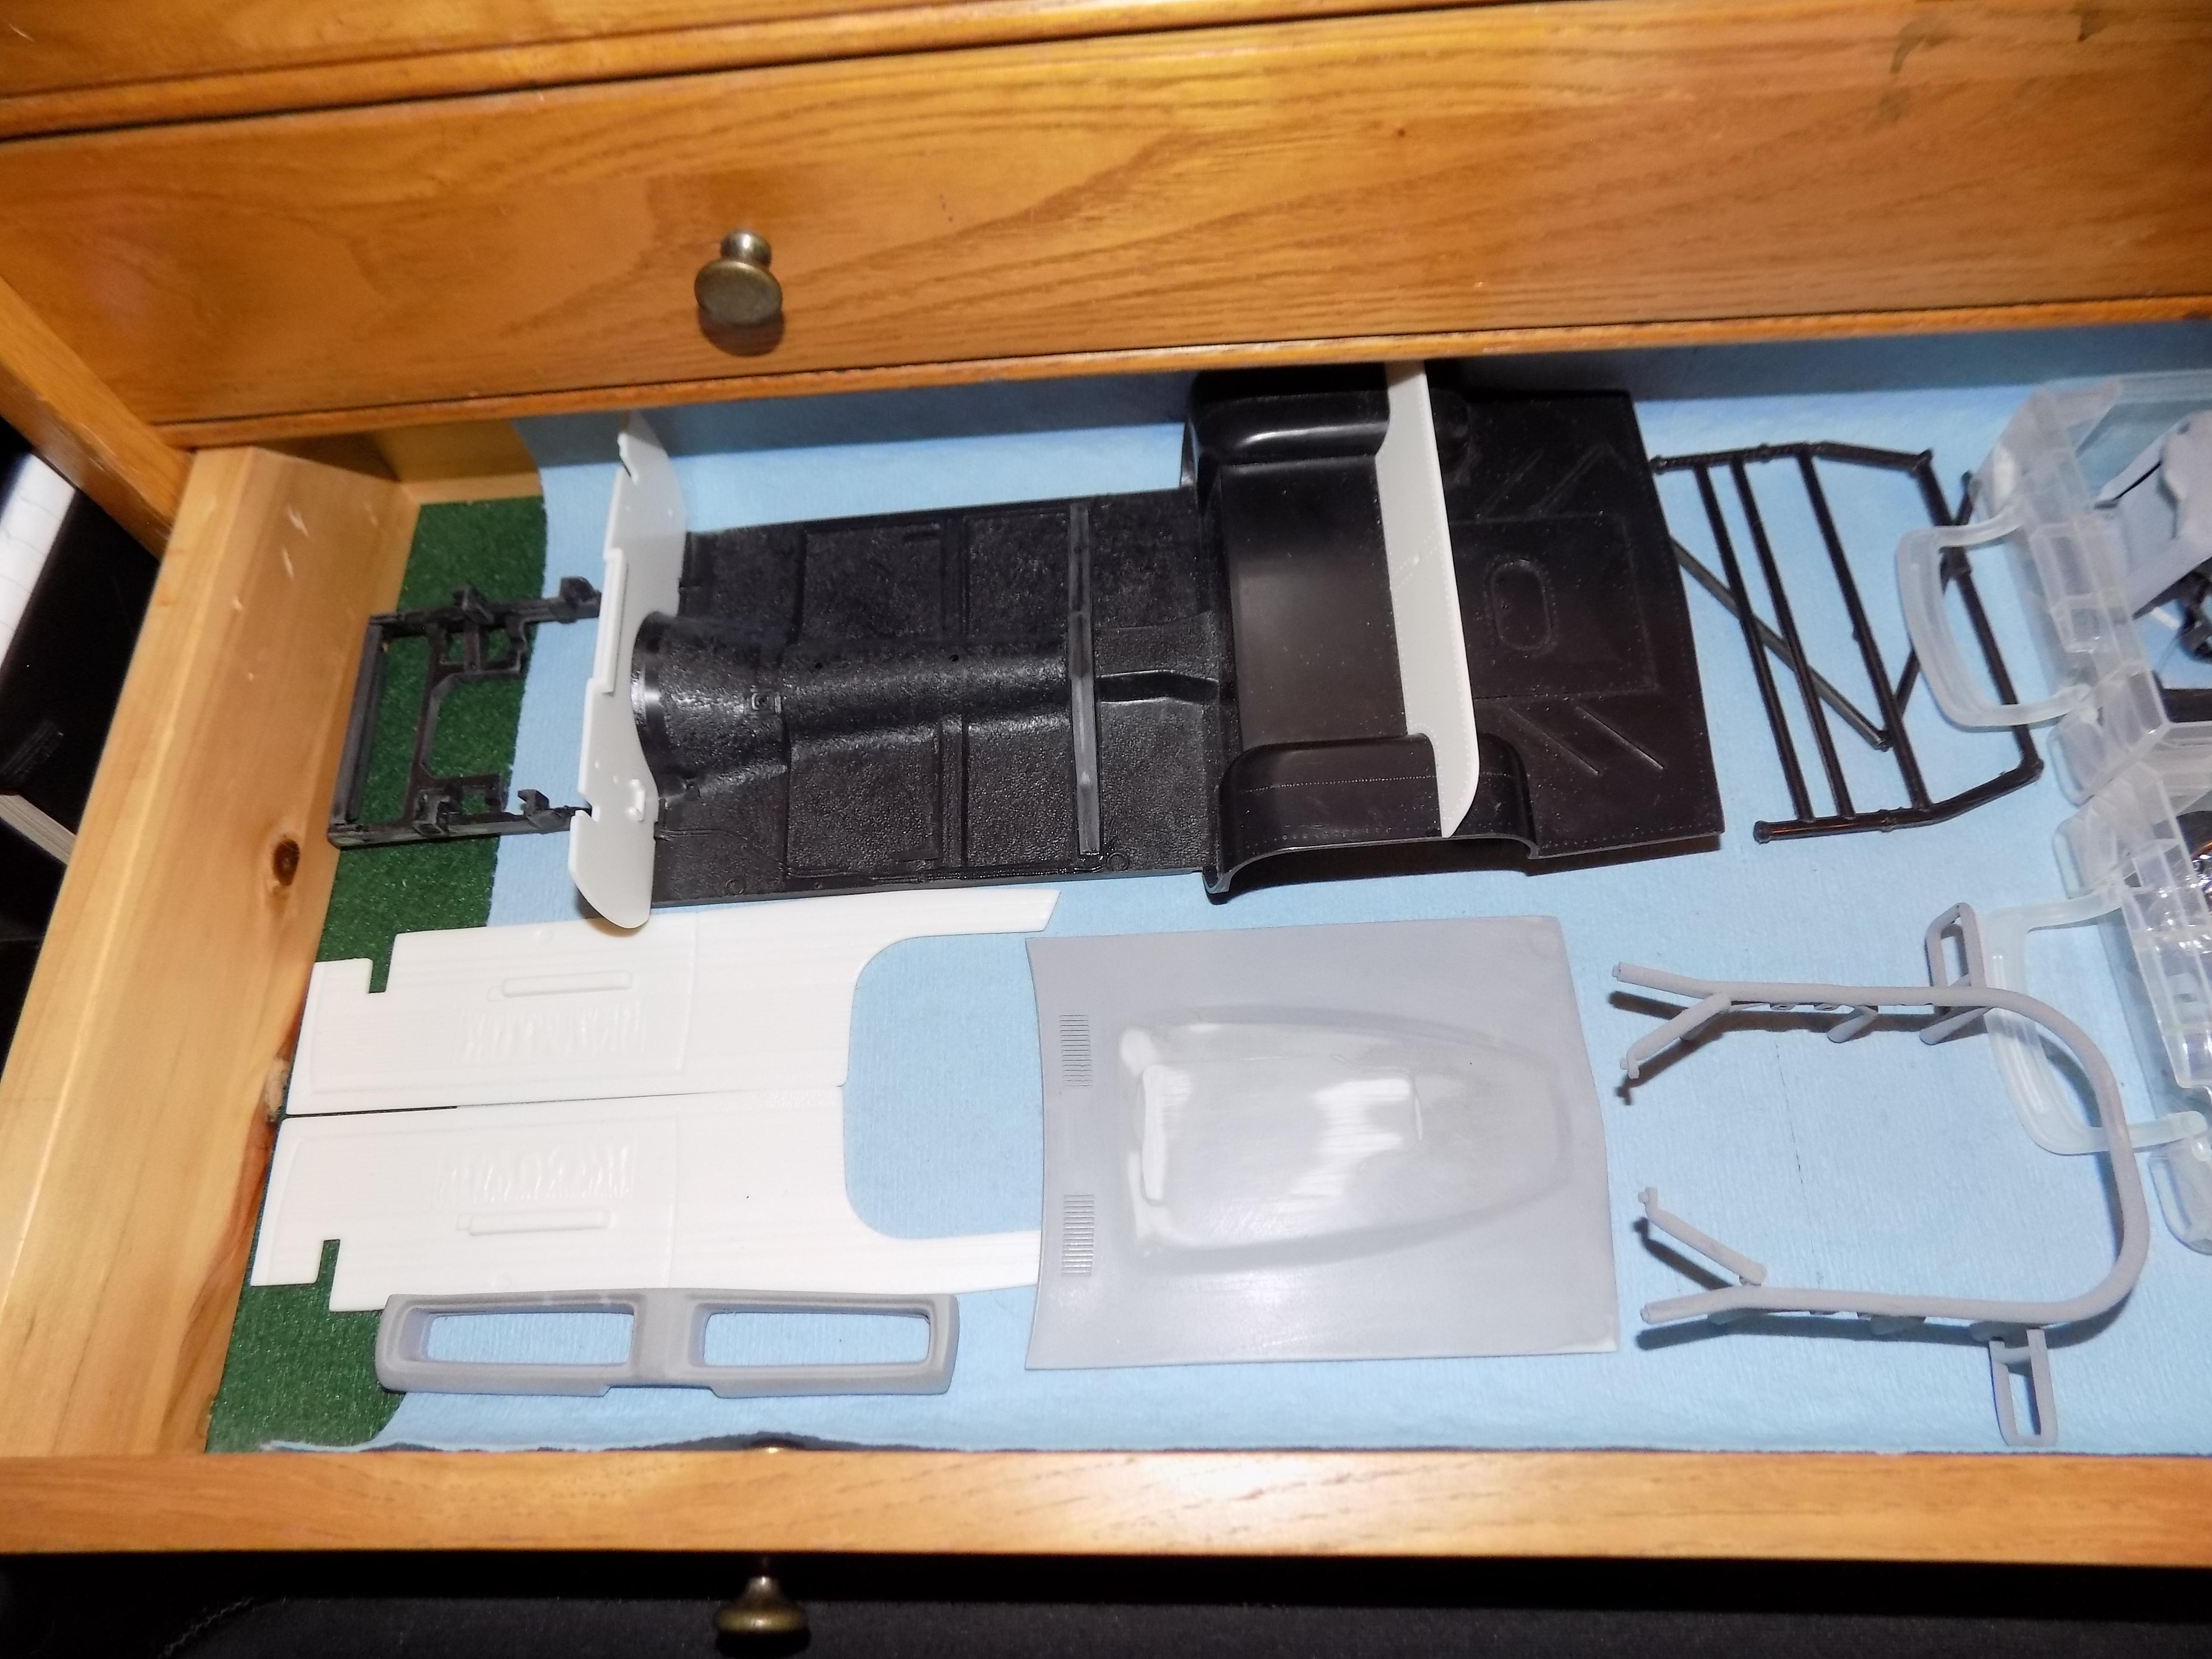
See previous images .... lot of progress this weekend .... the majority of parts are now prepped for primer painting .... body still needs a lot of work.
-
-
Why did this reply not post ??
-
Next job on the Charger is to widen the rear arches .... I don't want to do this by just applying filler and shaping it .... I plan to pie cut the existing arches and adding small wedge pieces between the cuts .... then smoothing and finishing with some filler ..... anybody tried this and have any tips. Thanks in advance.