Search the Community
Showing results for tags 'Pro Touring'.
-
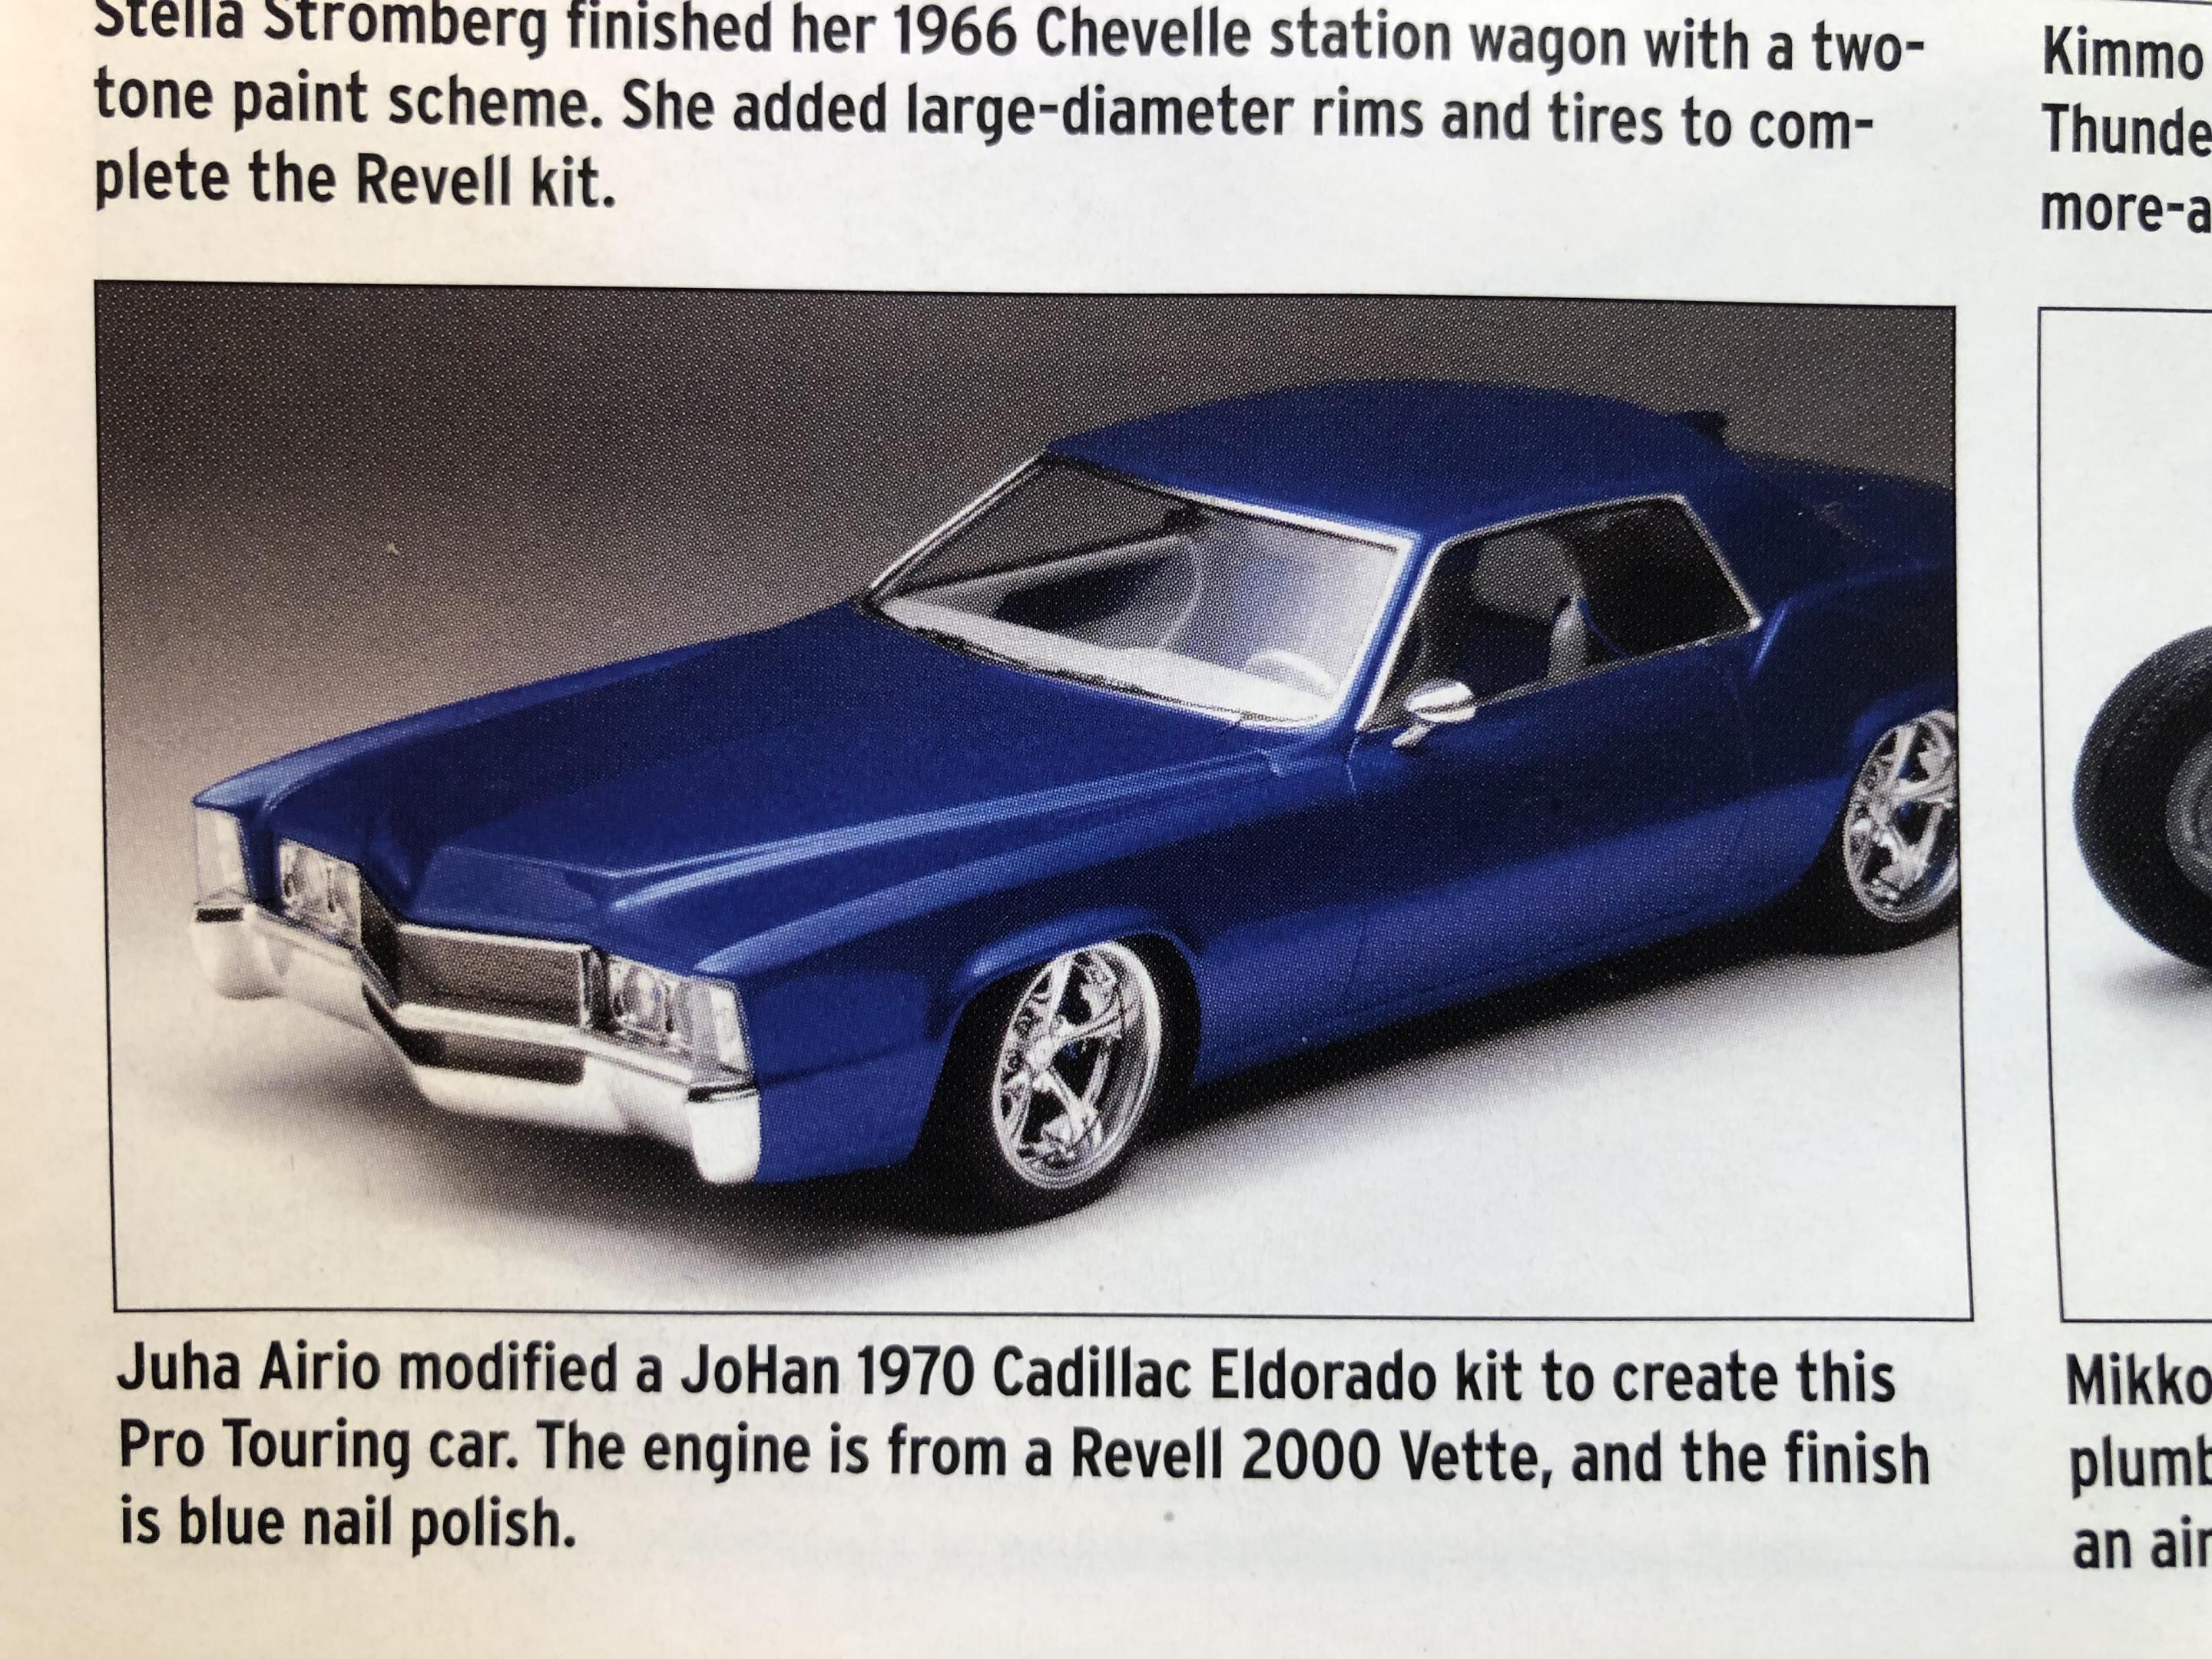
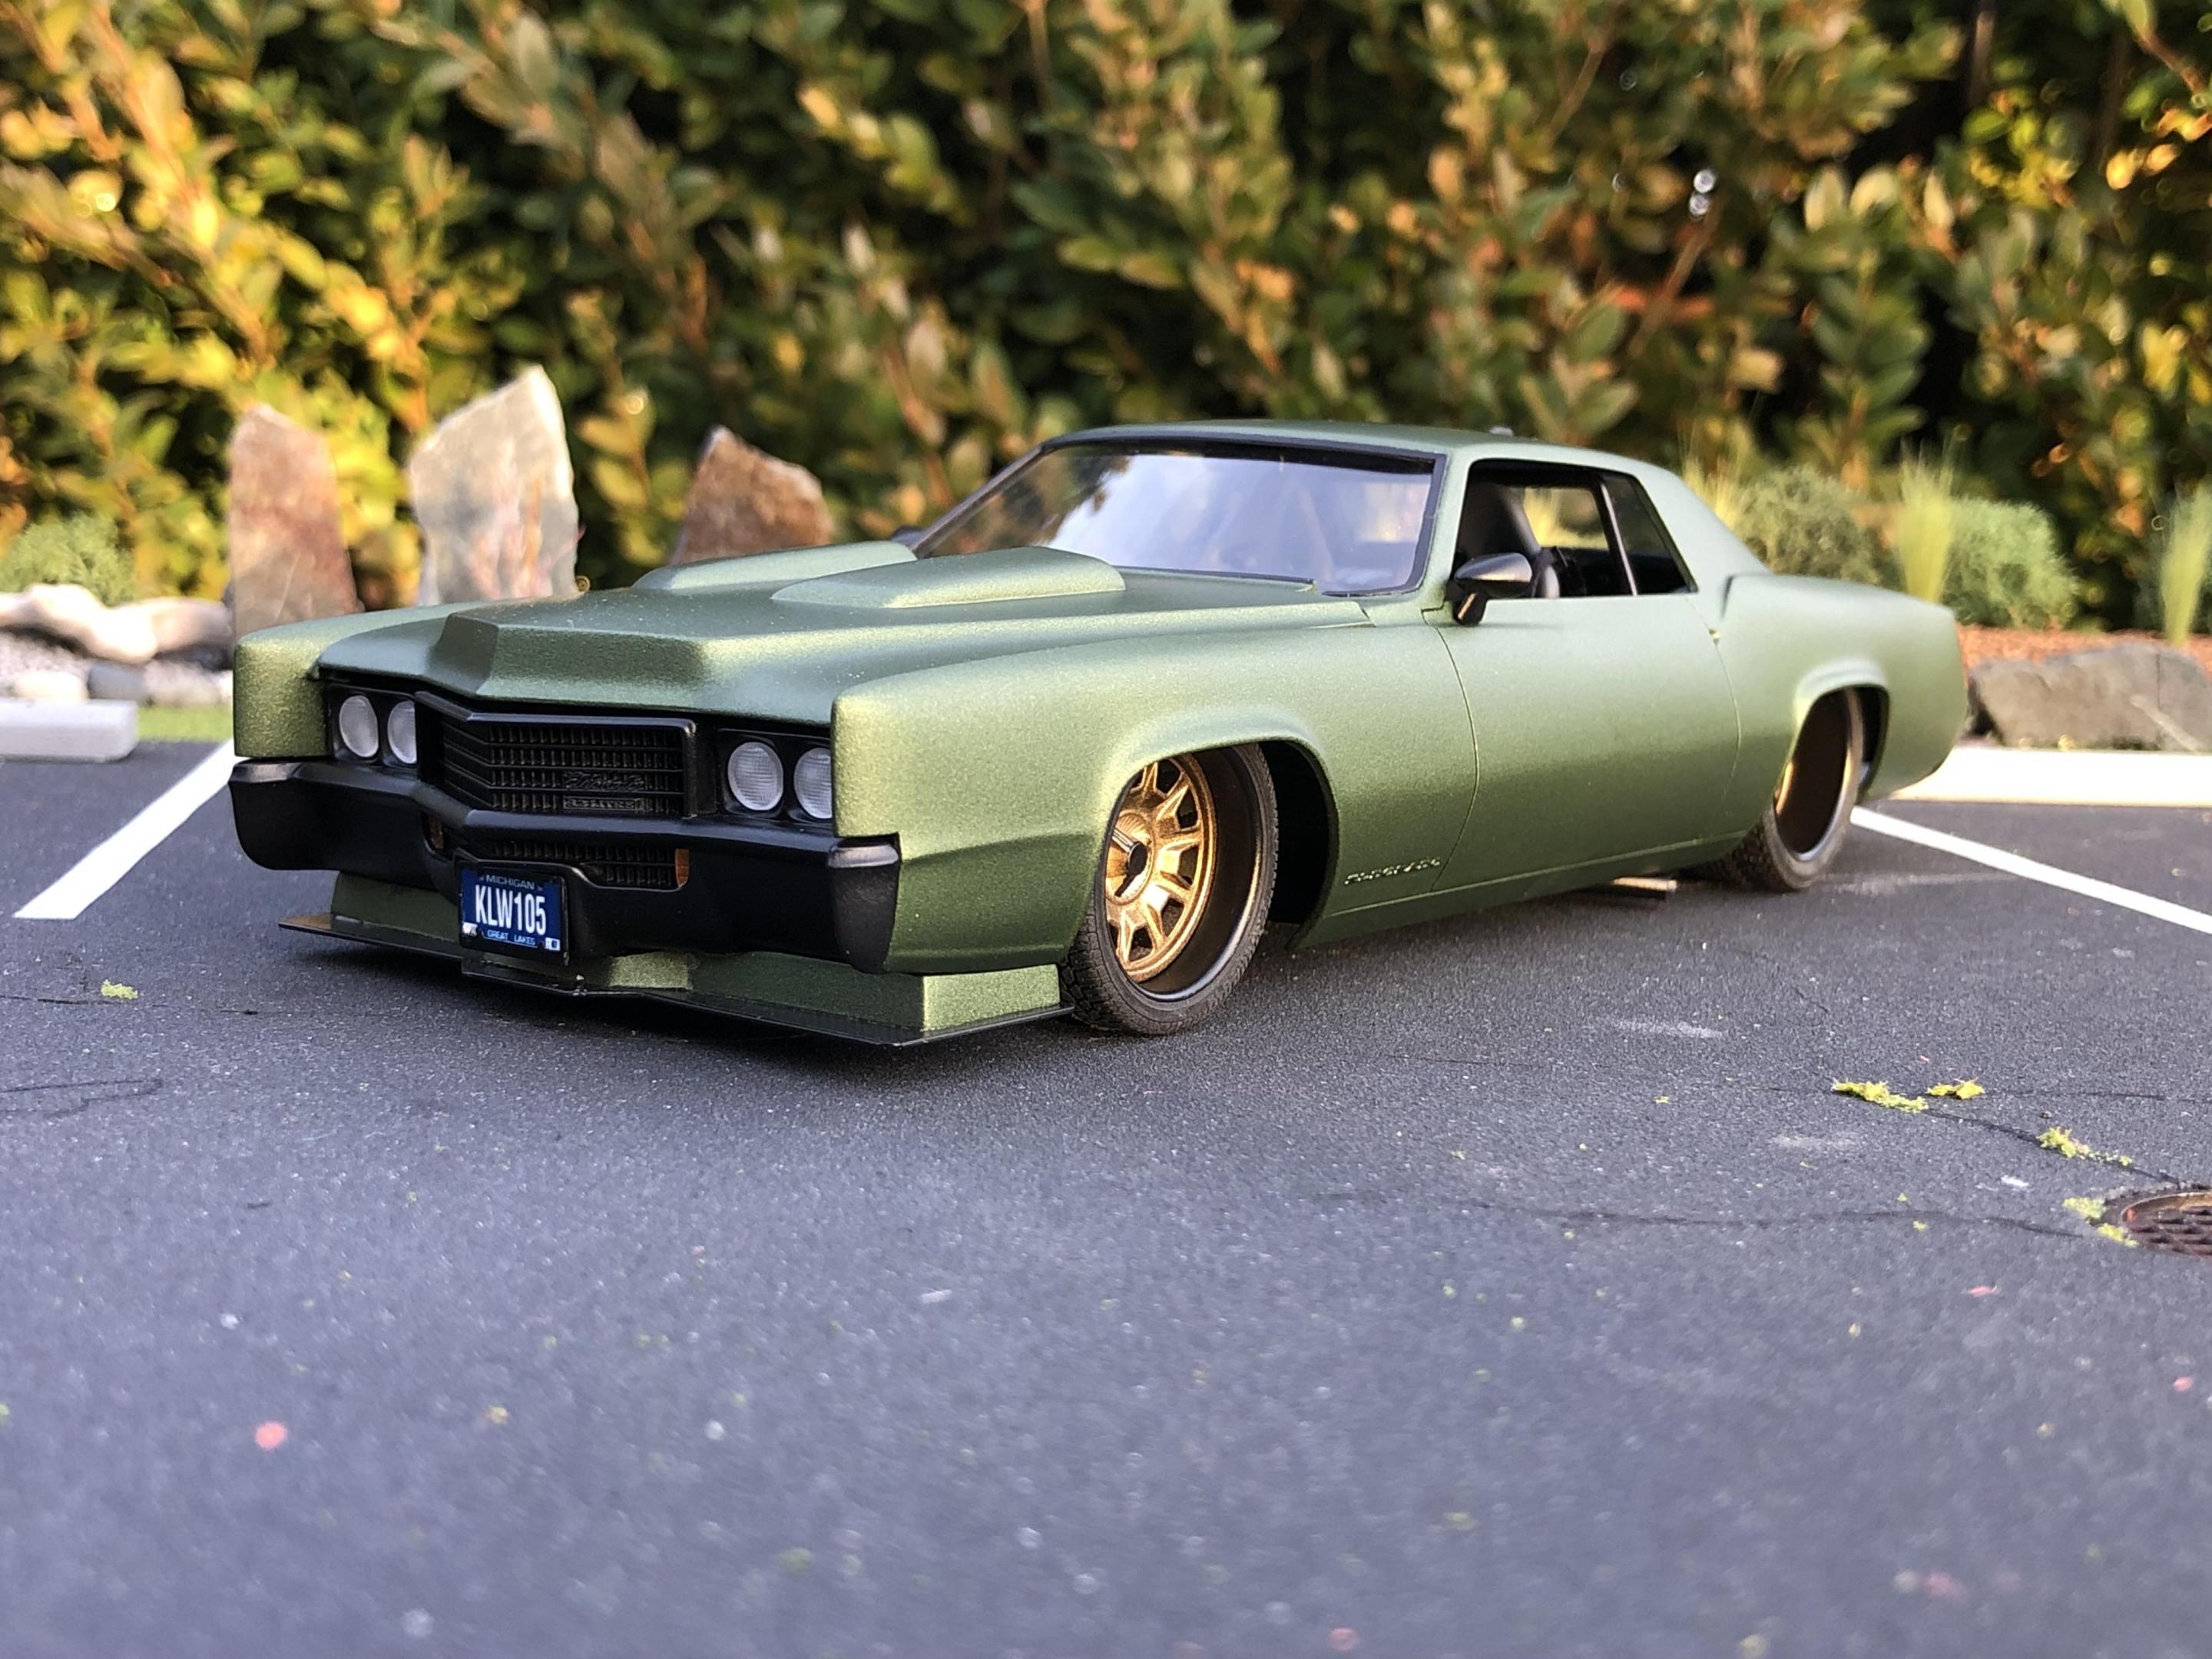
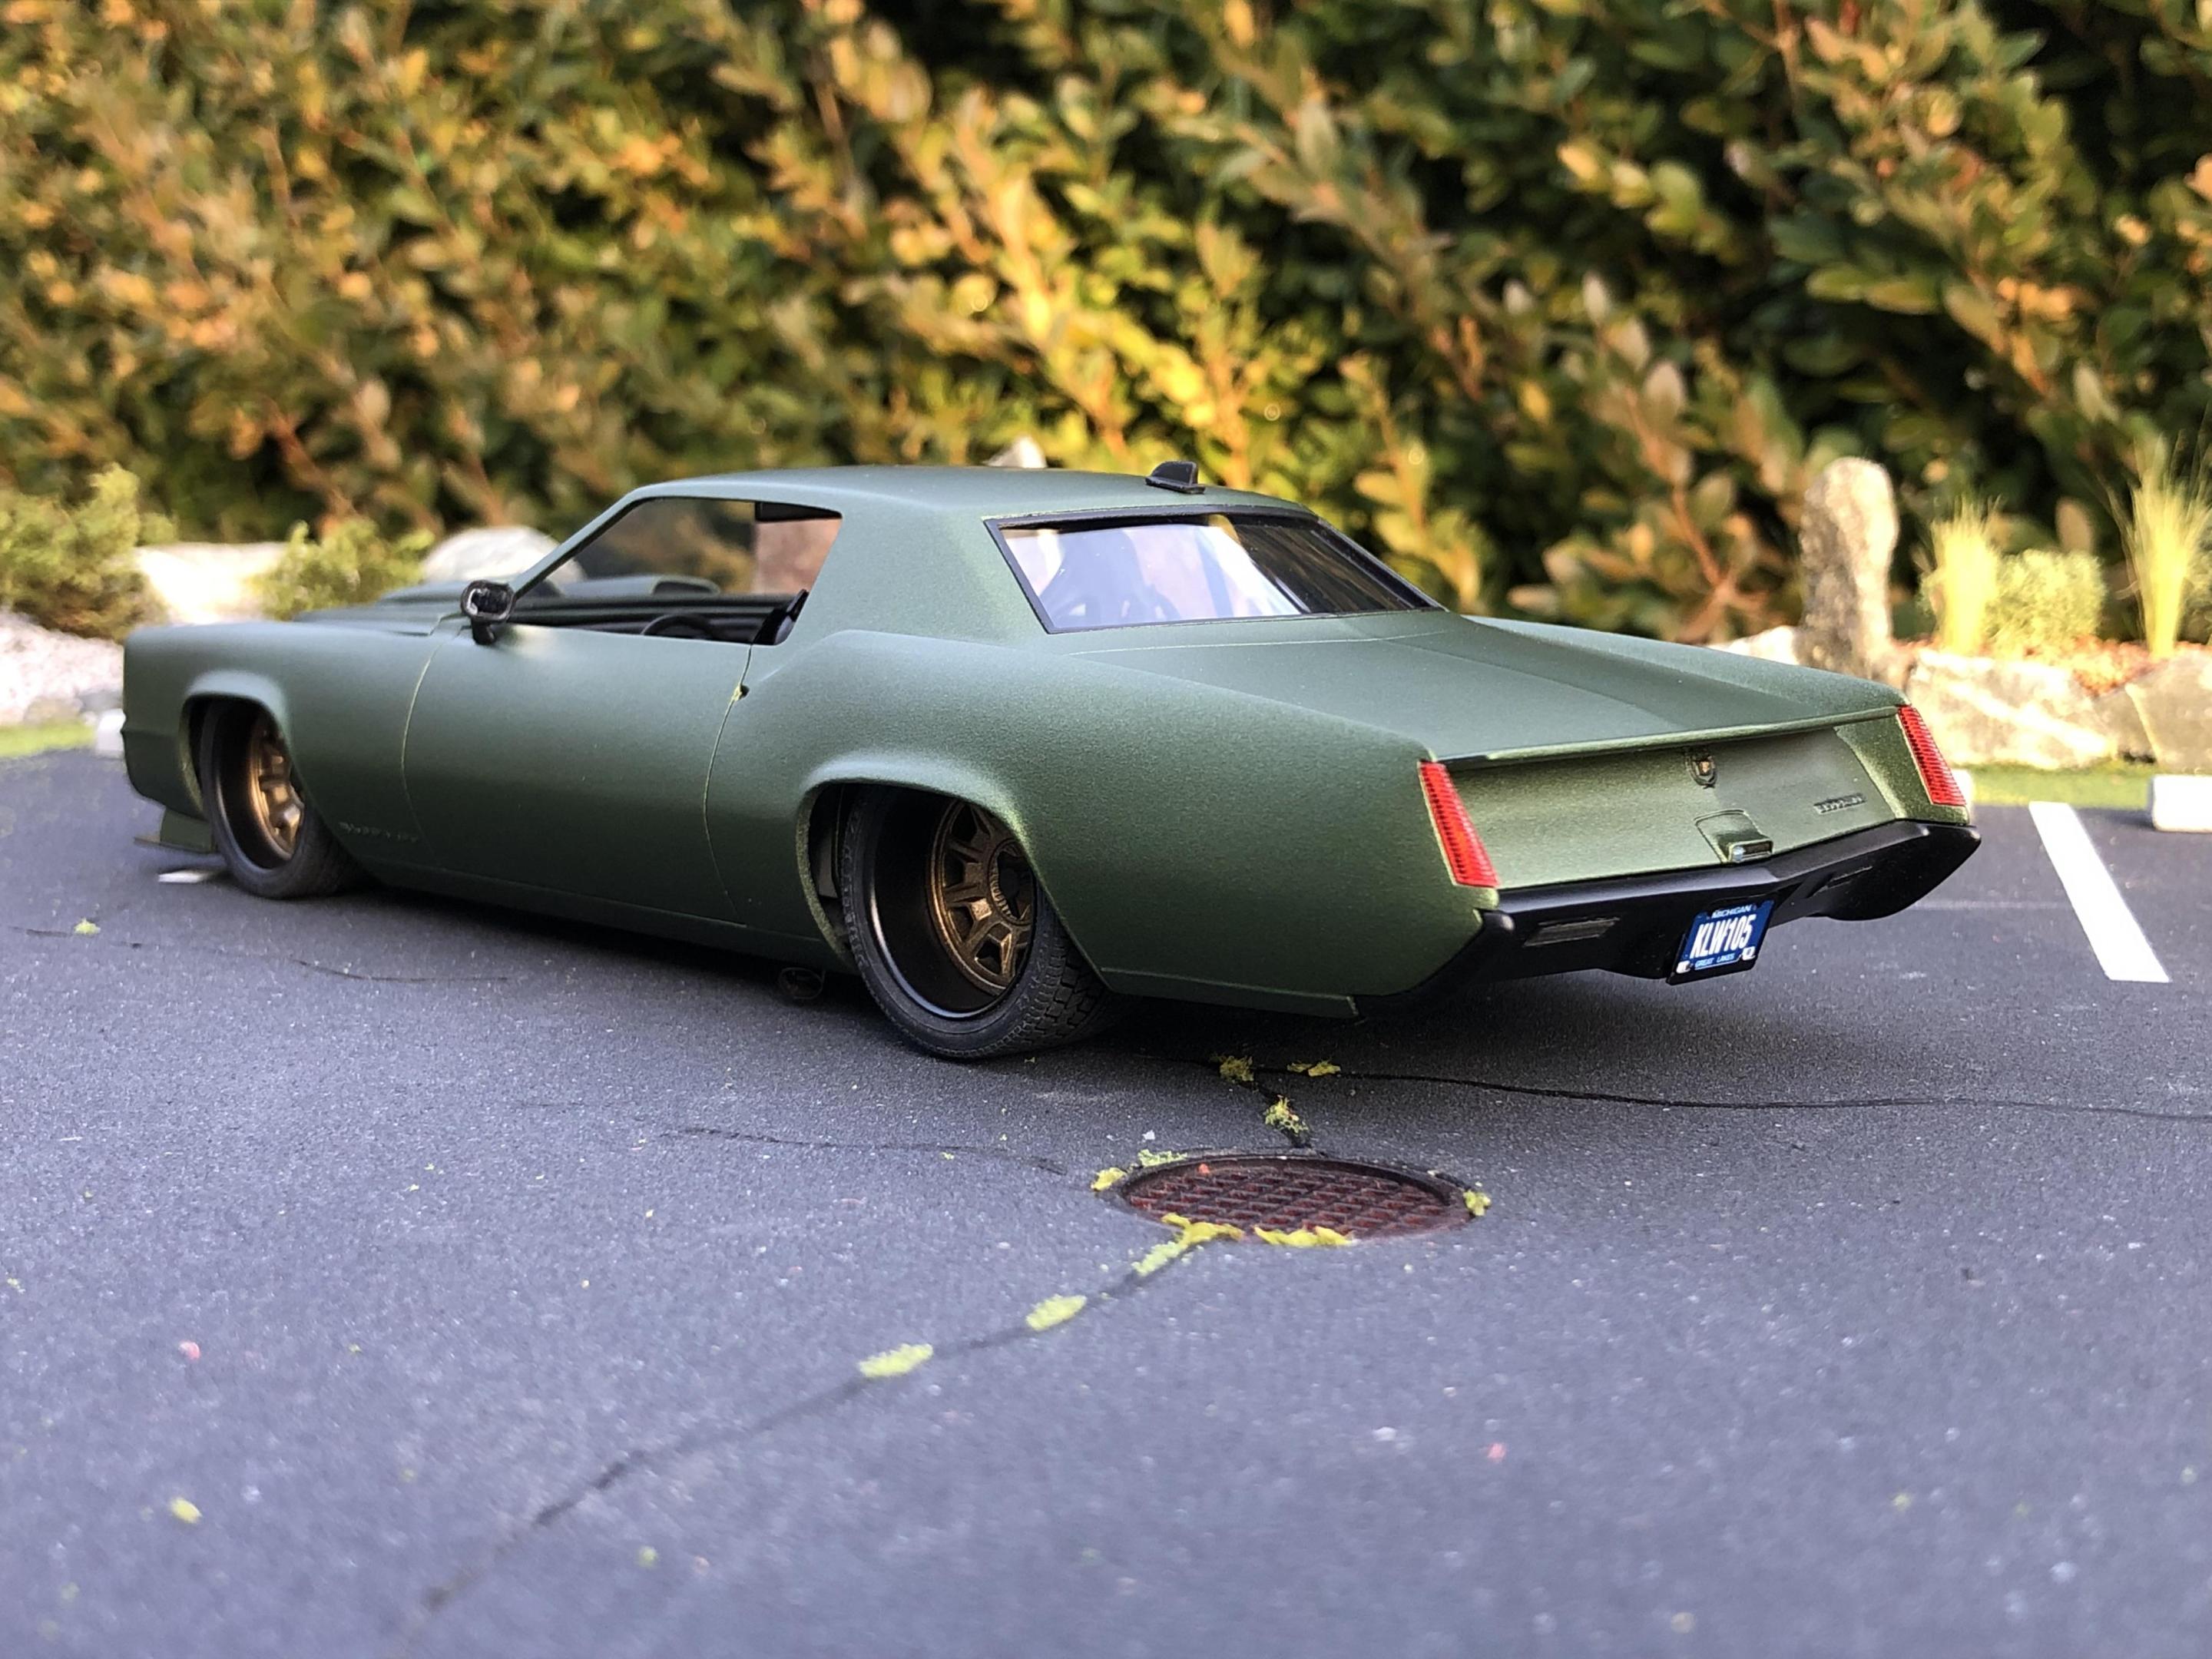
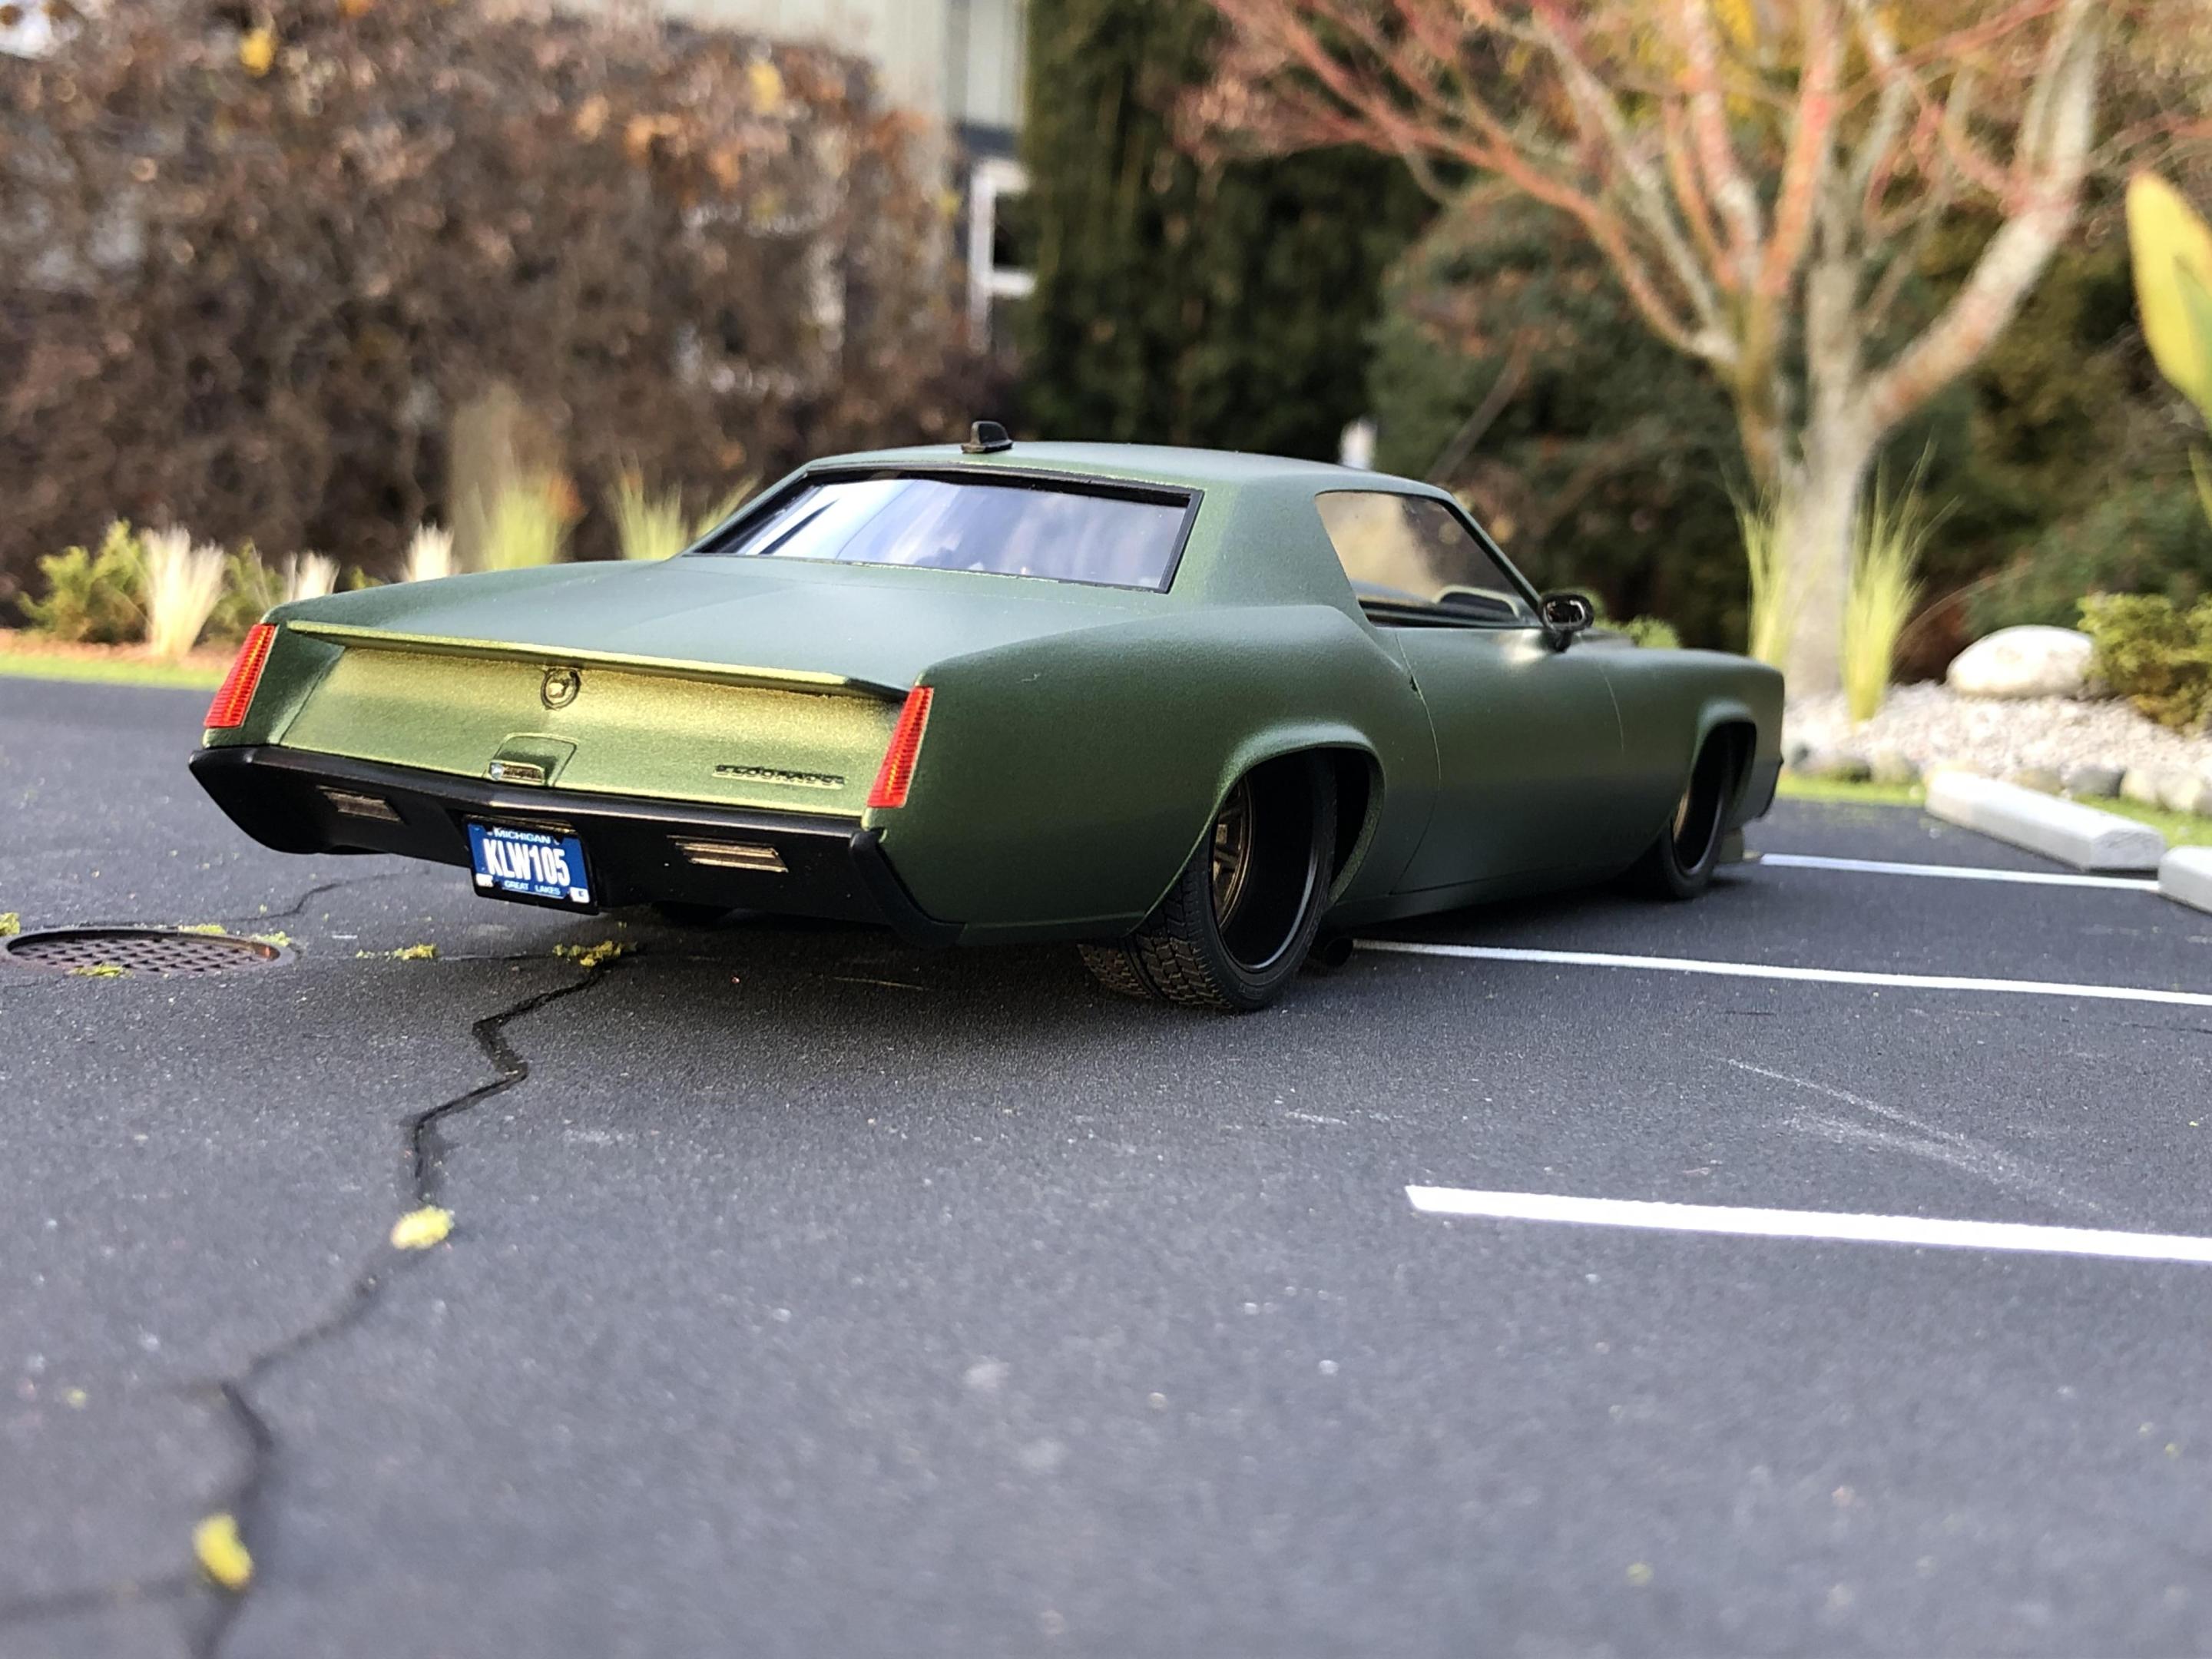
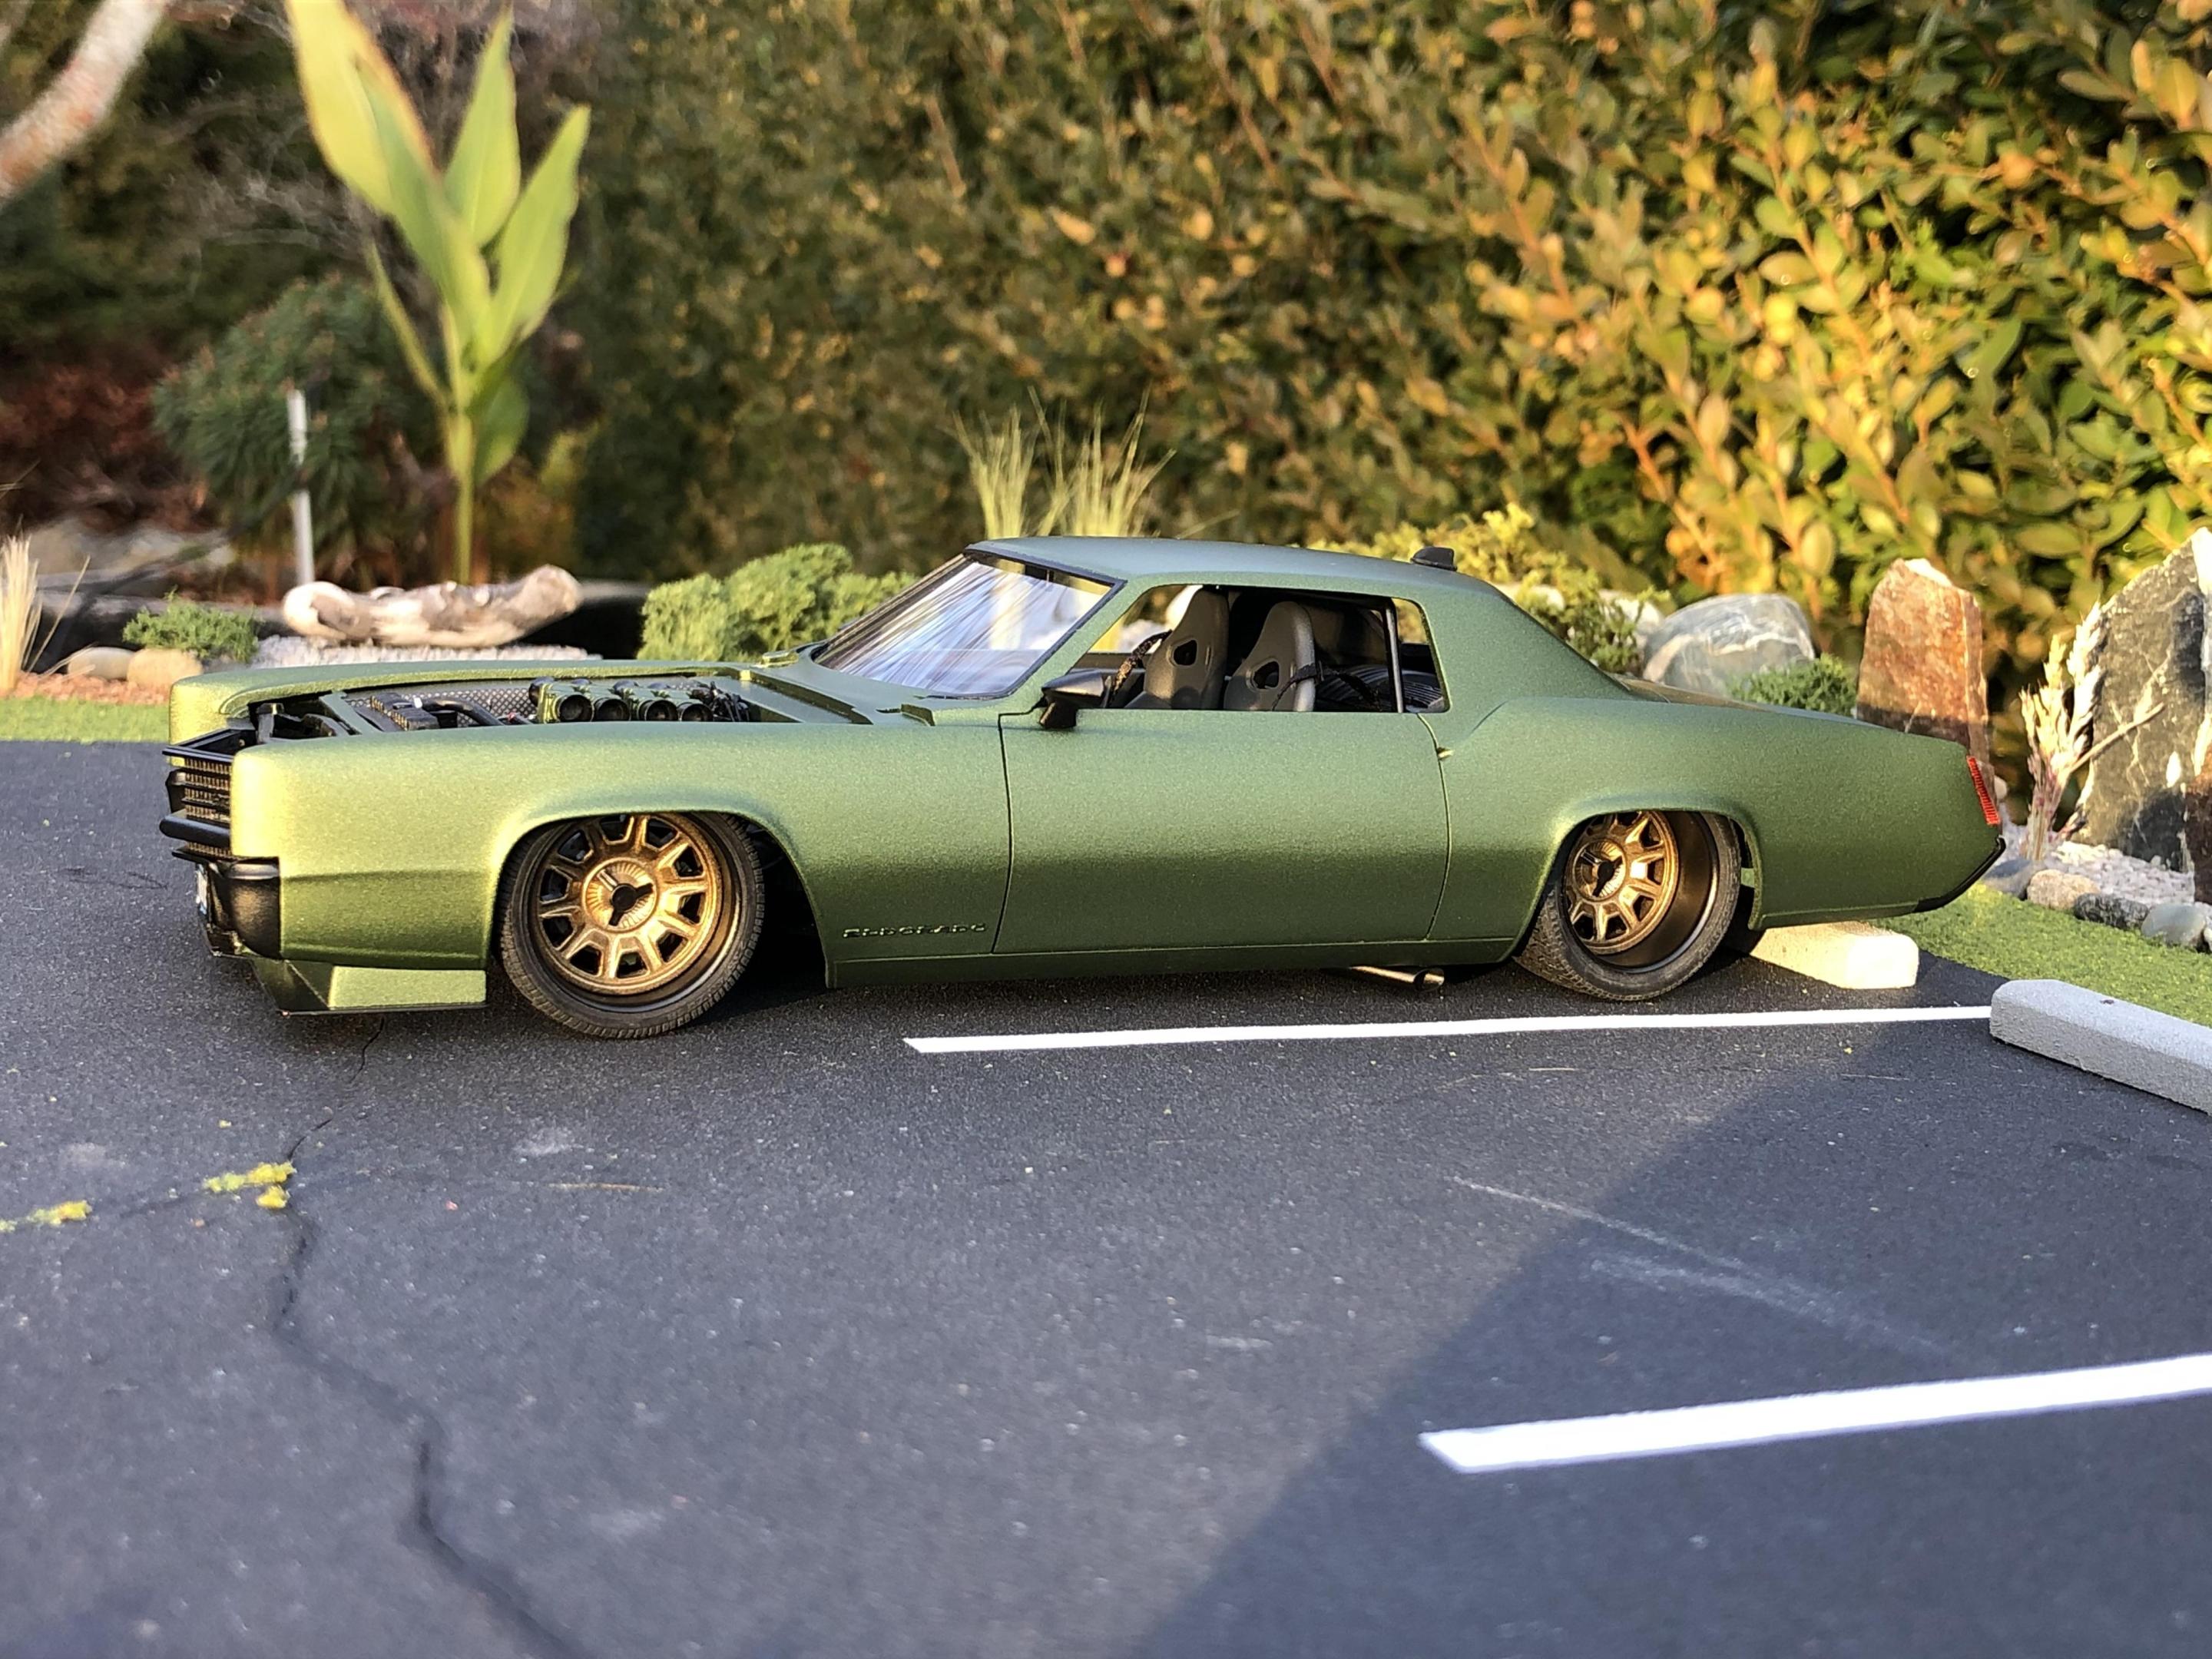
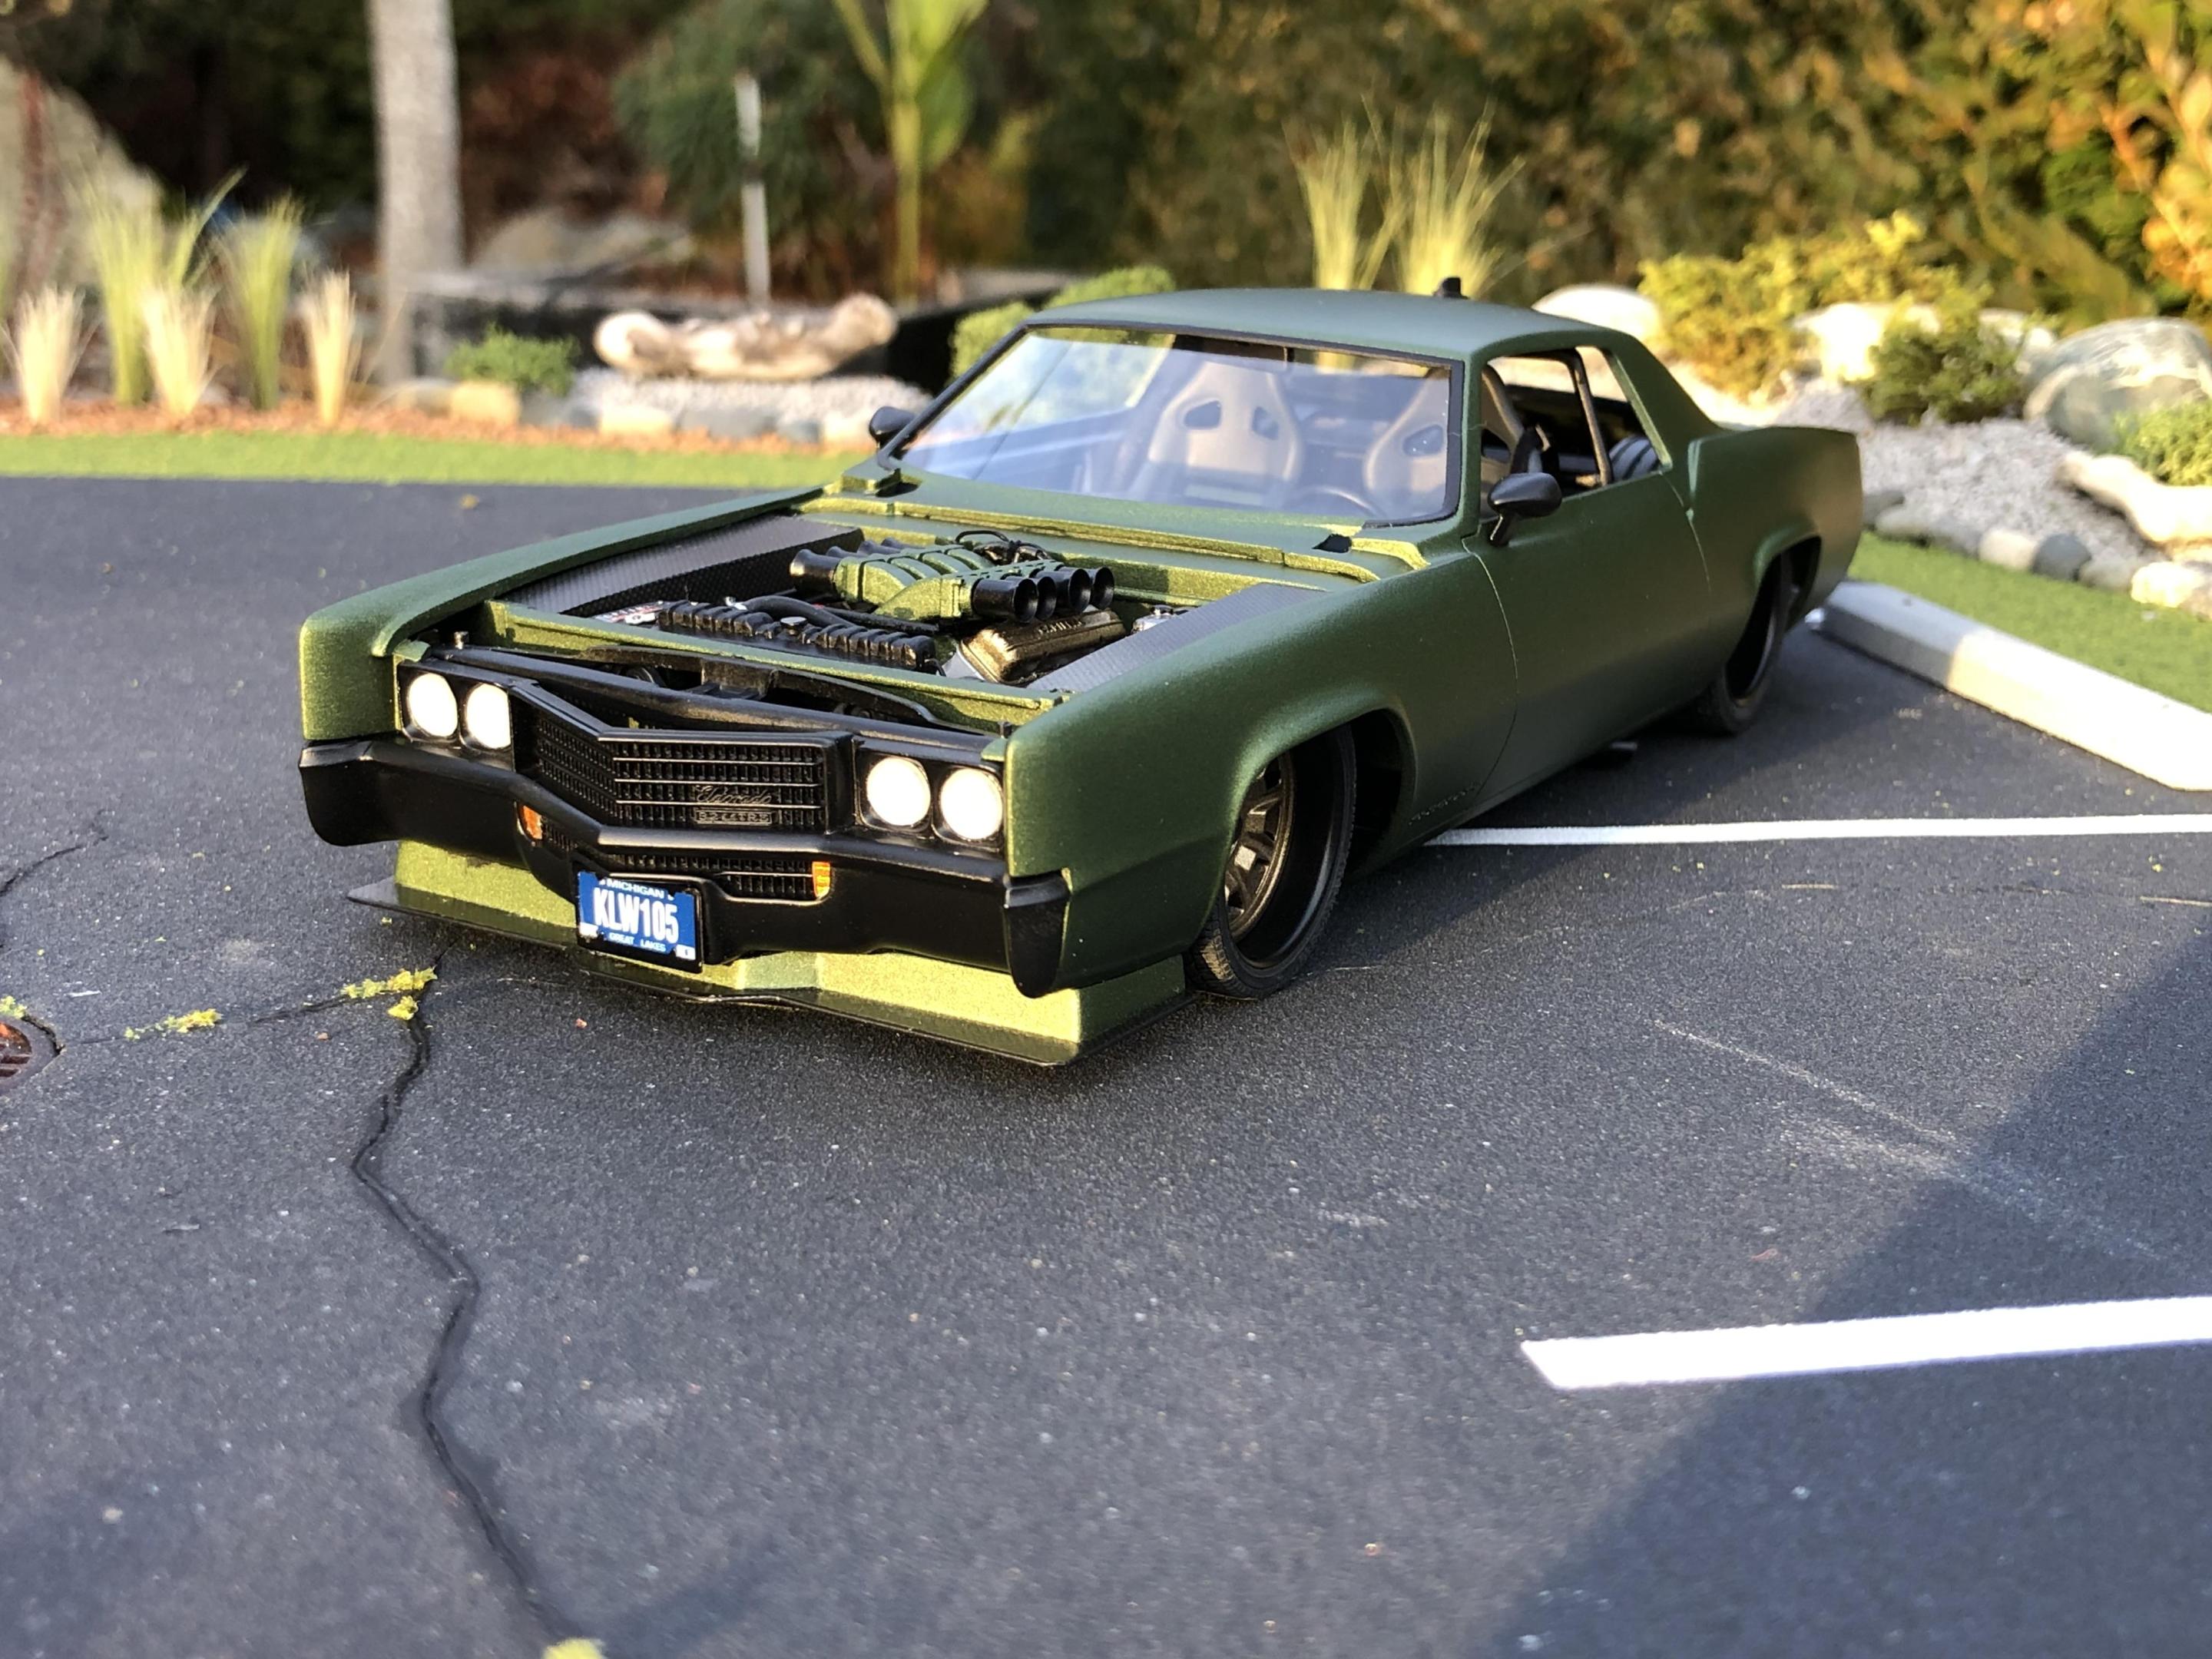
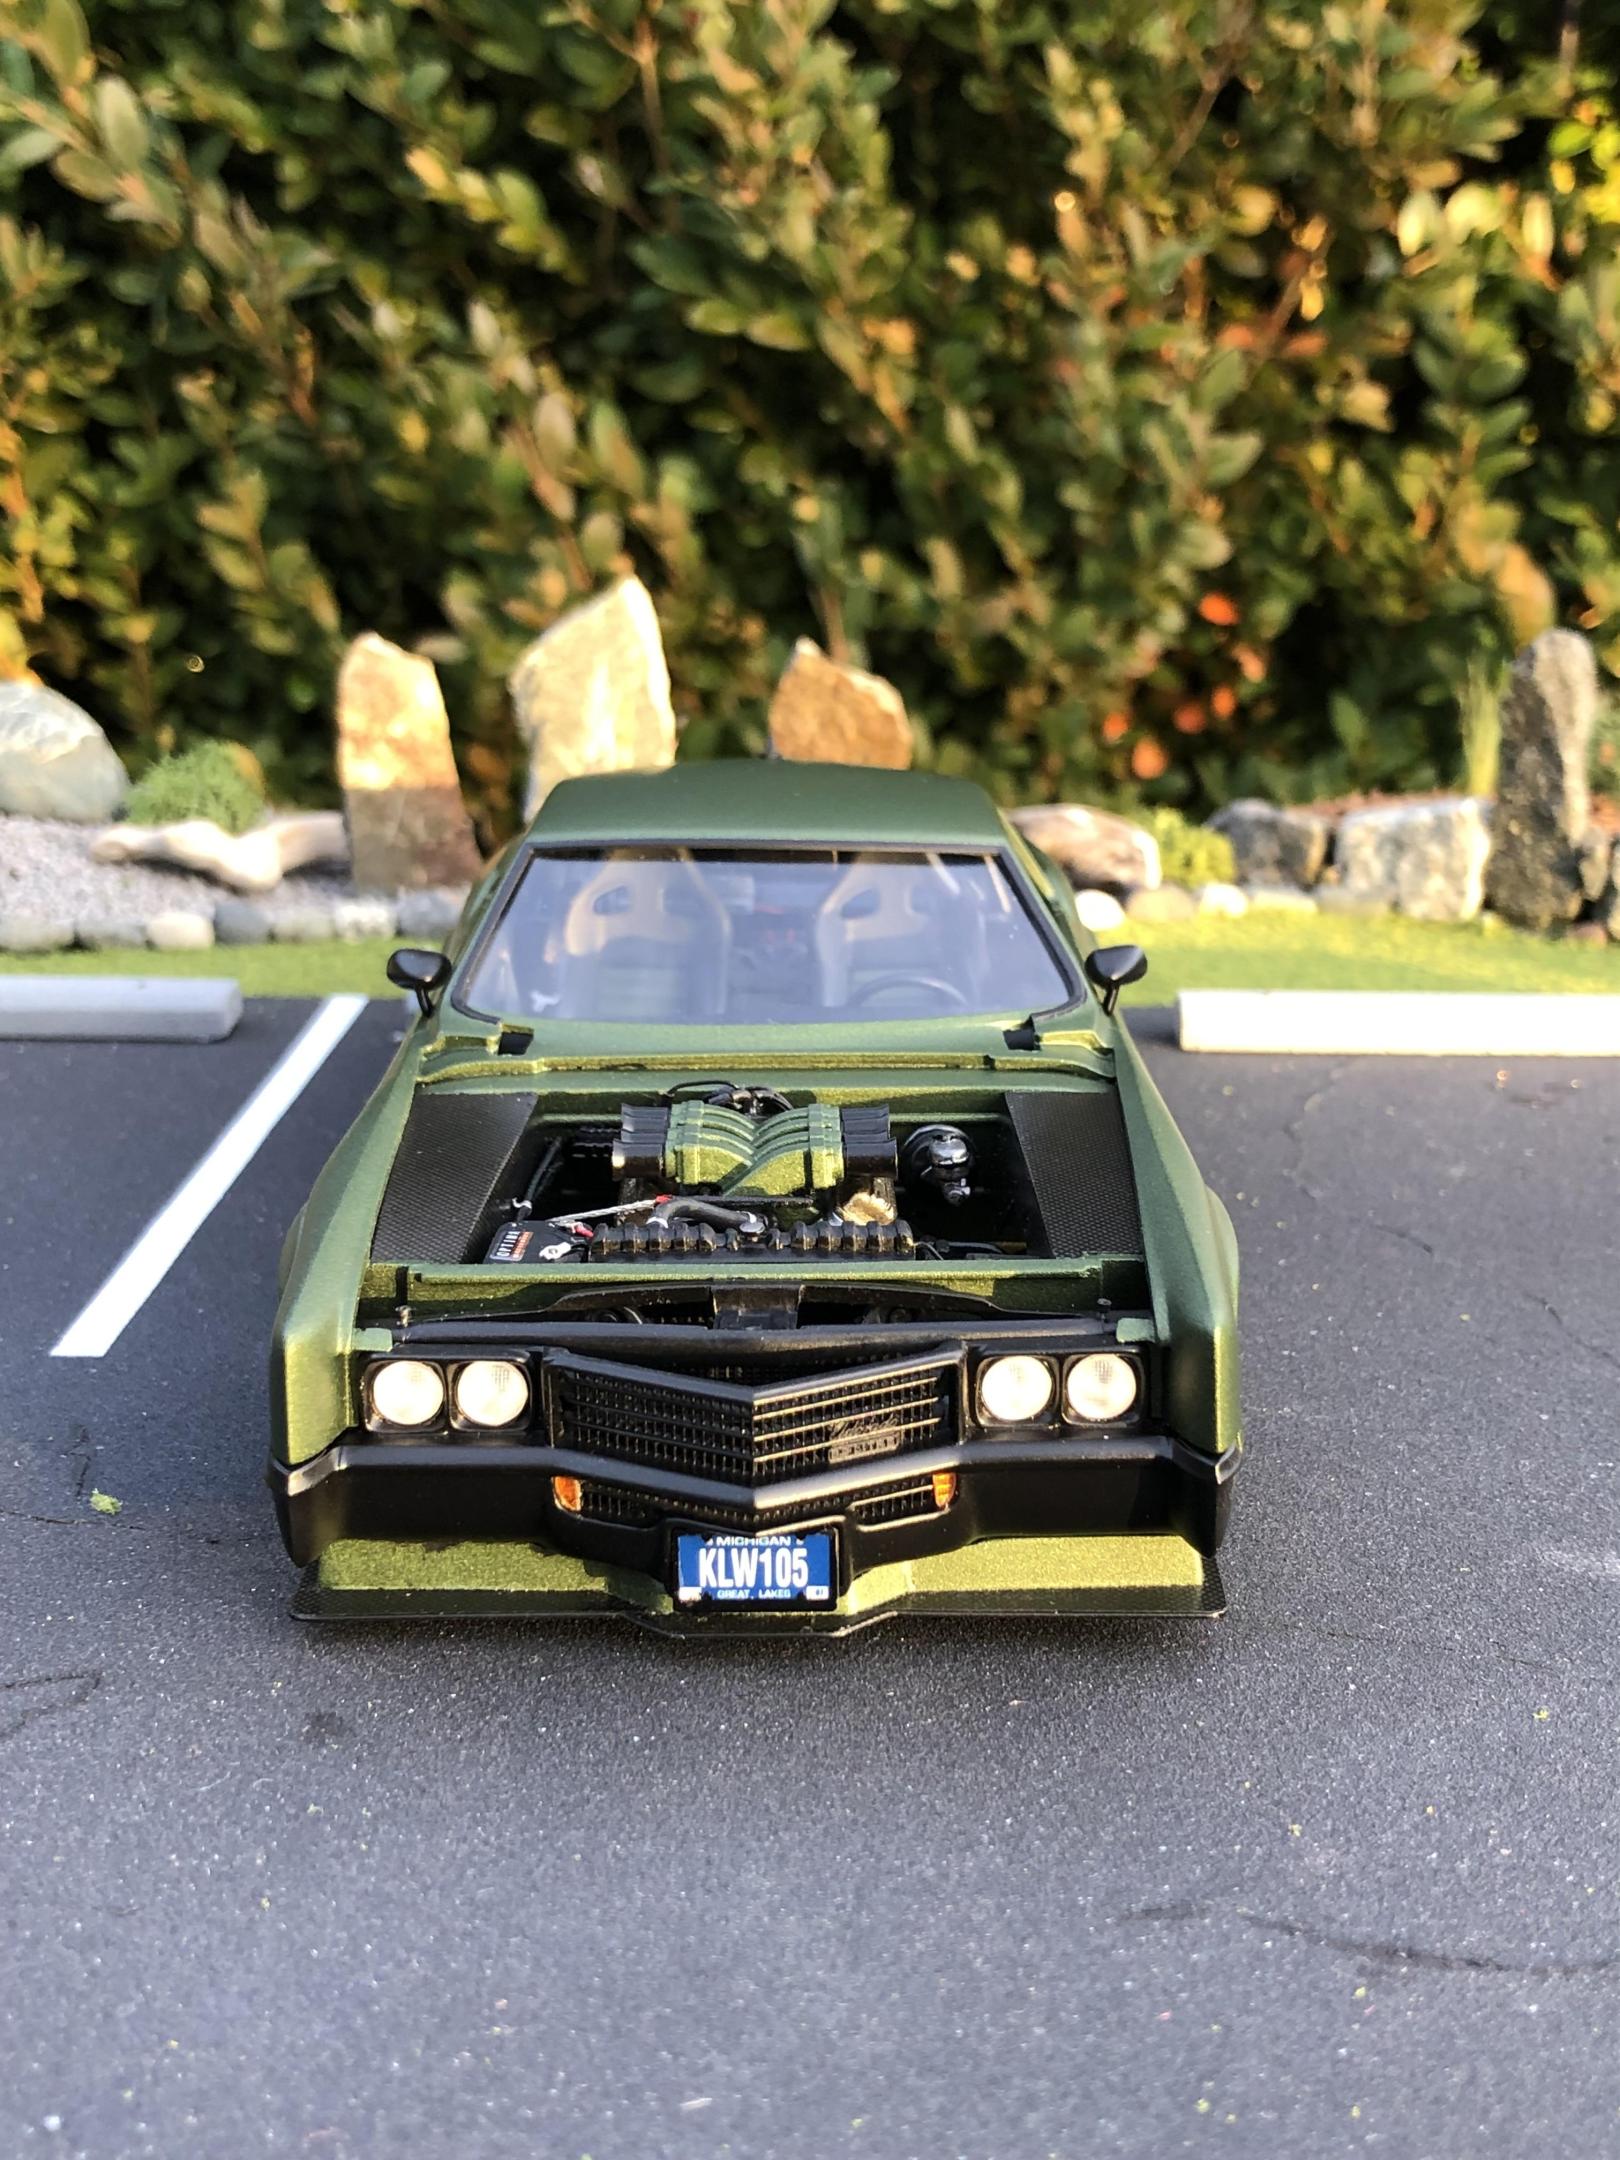
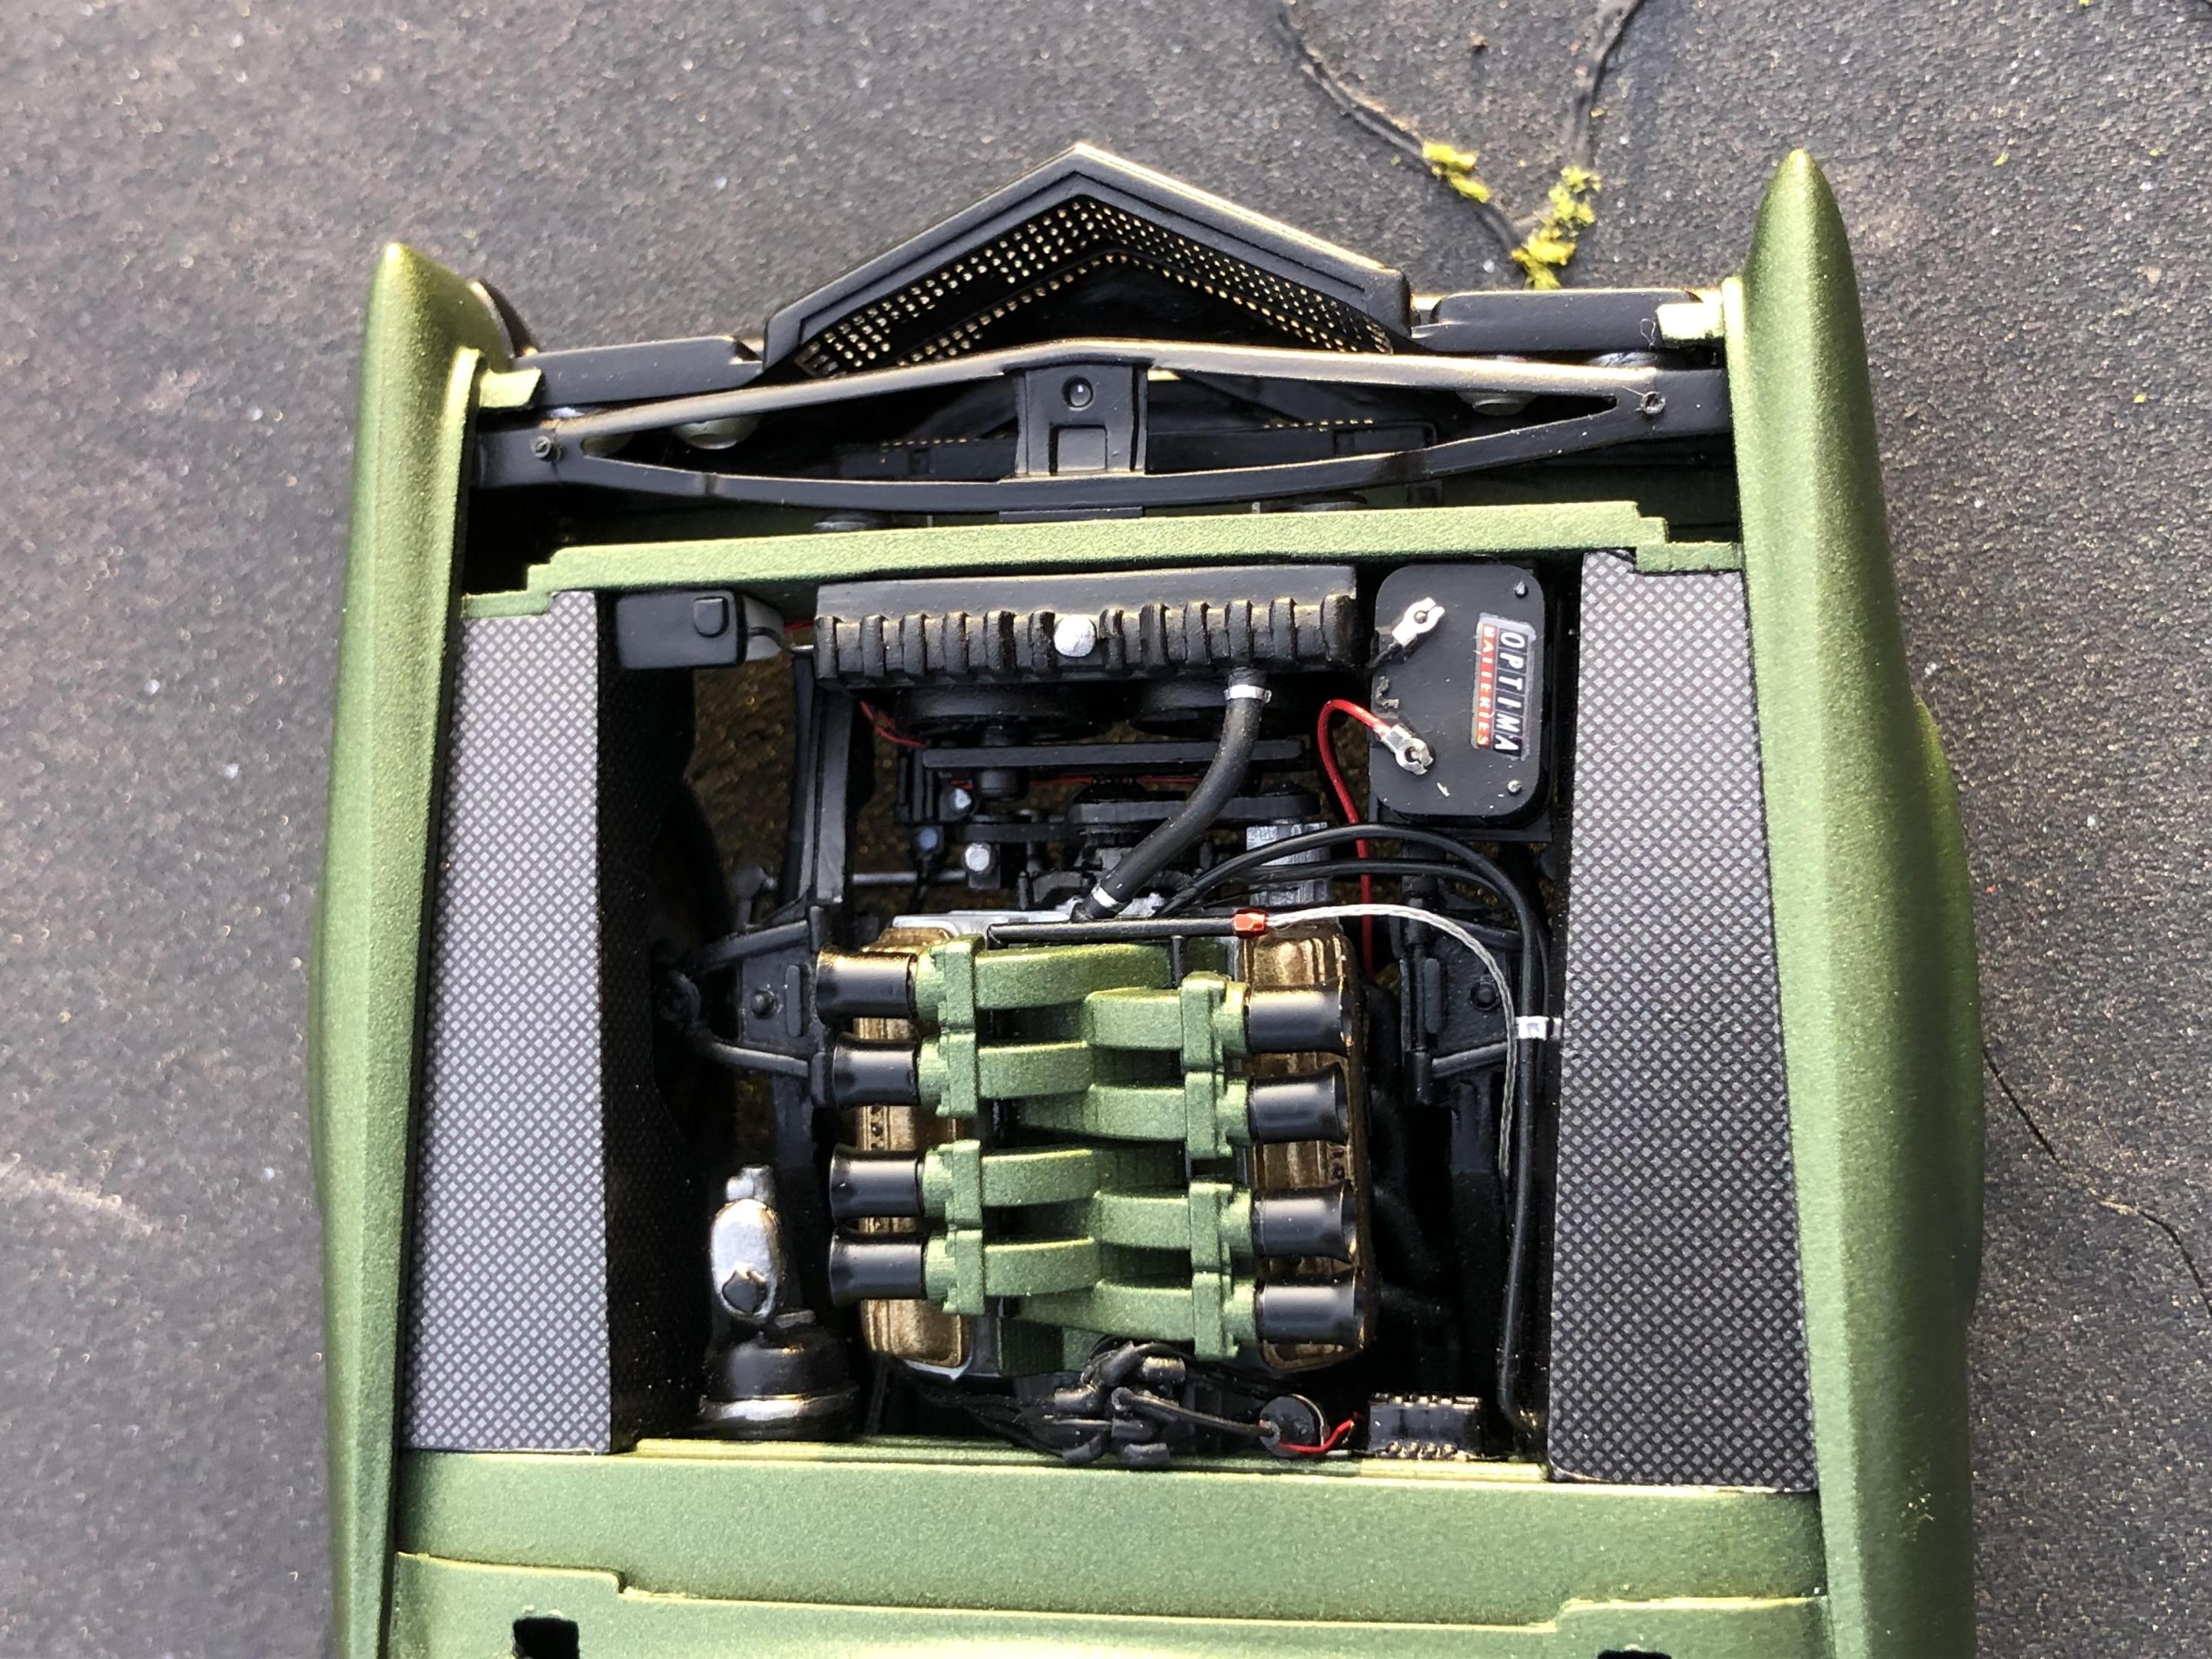
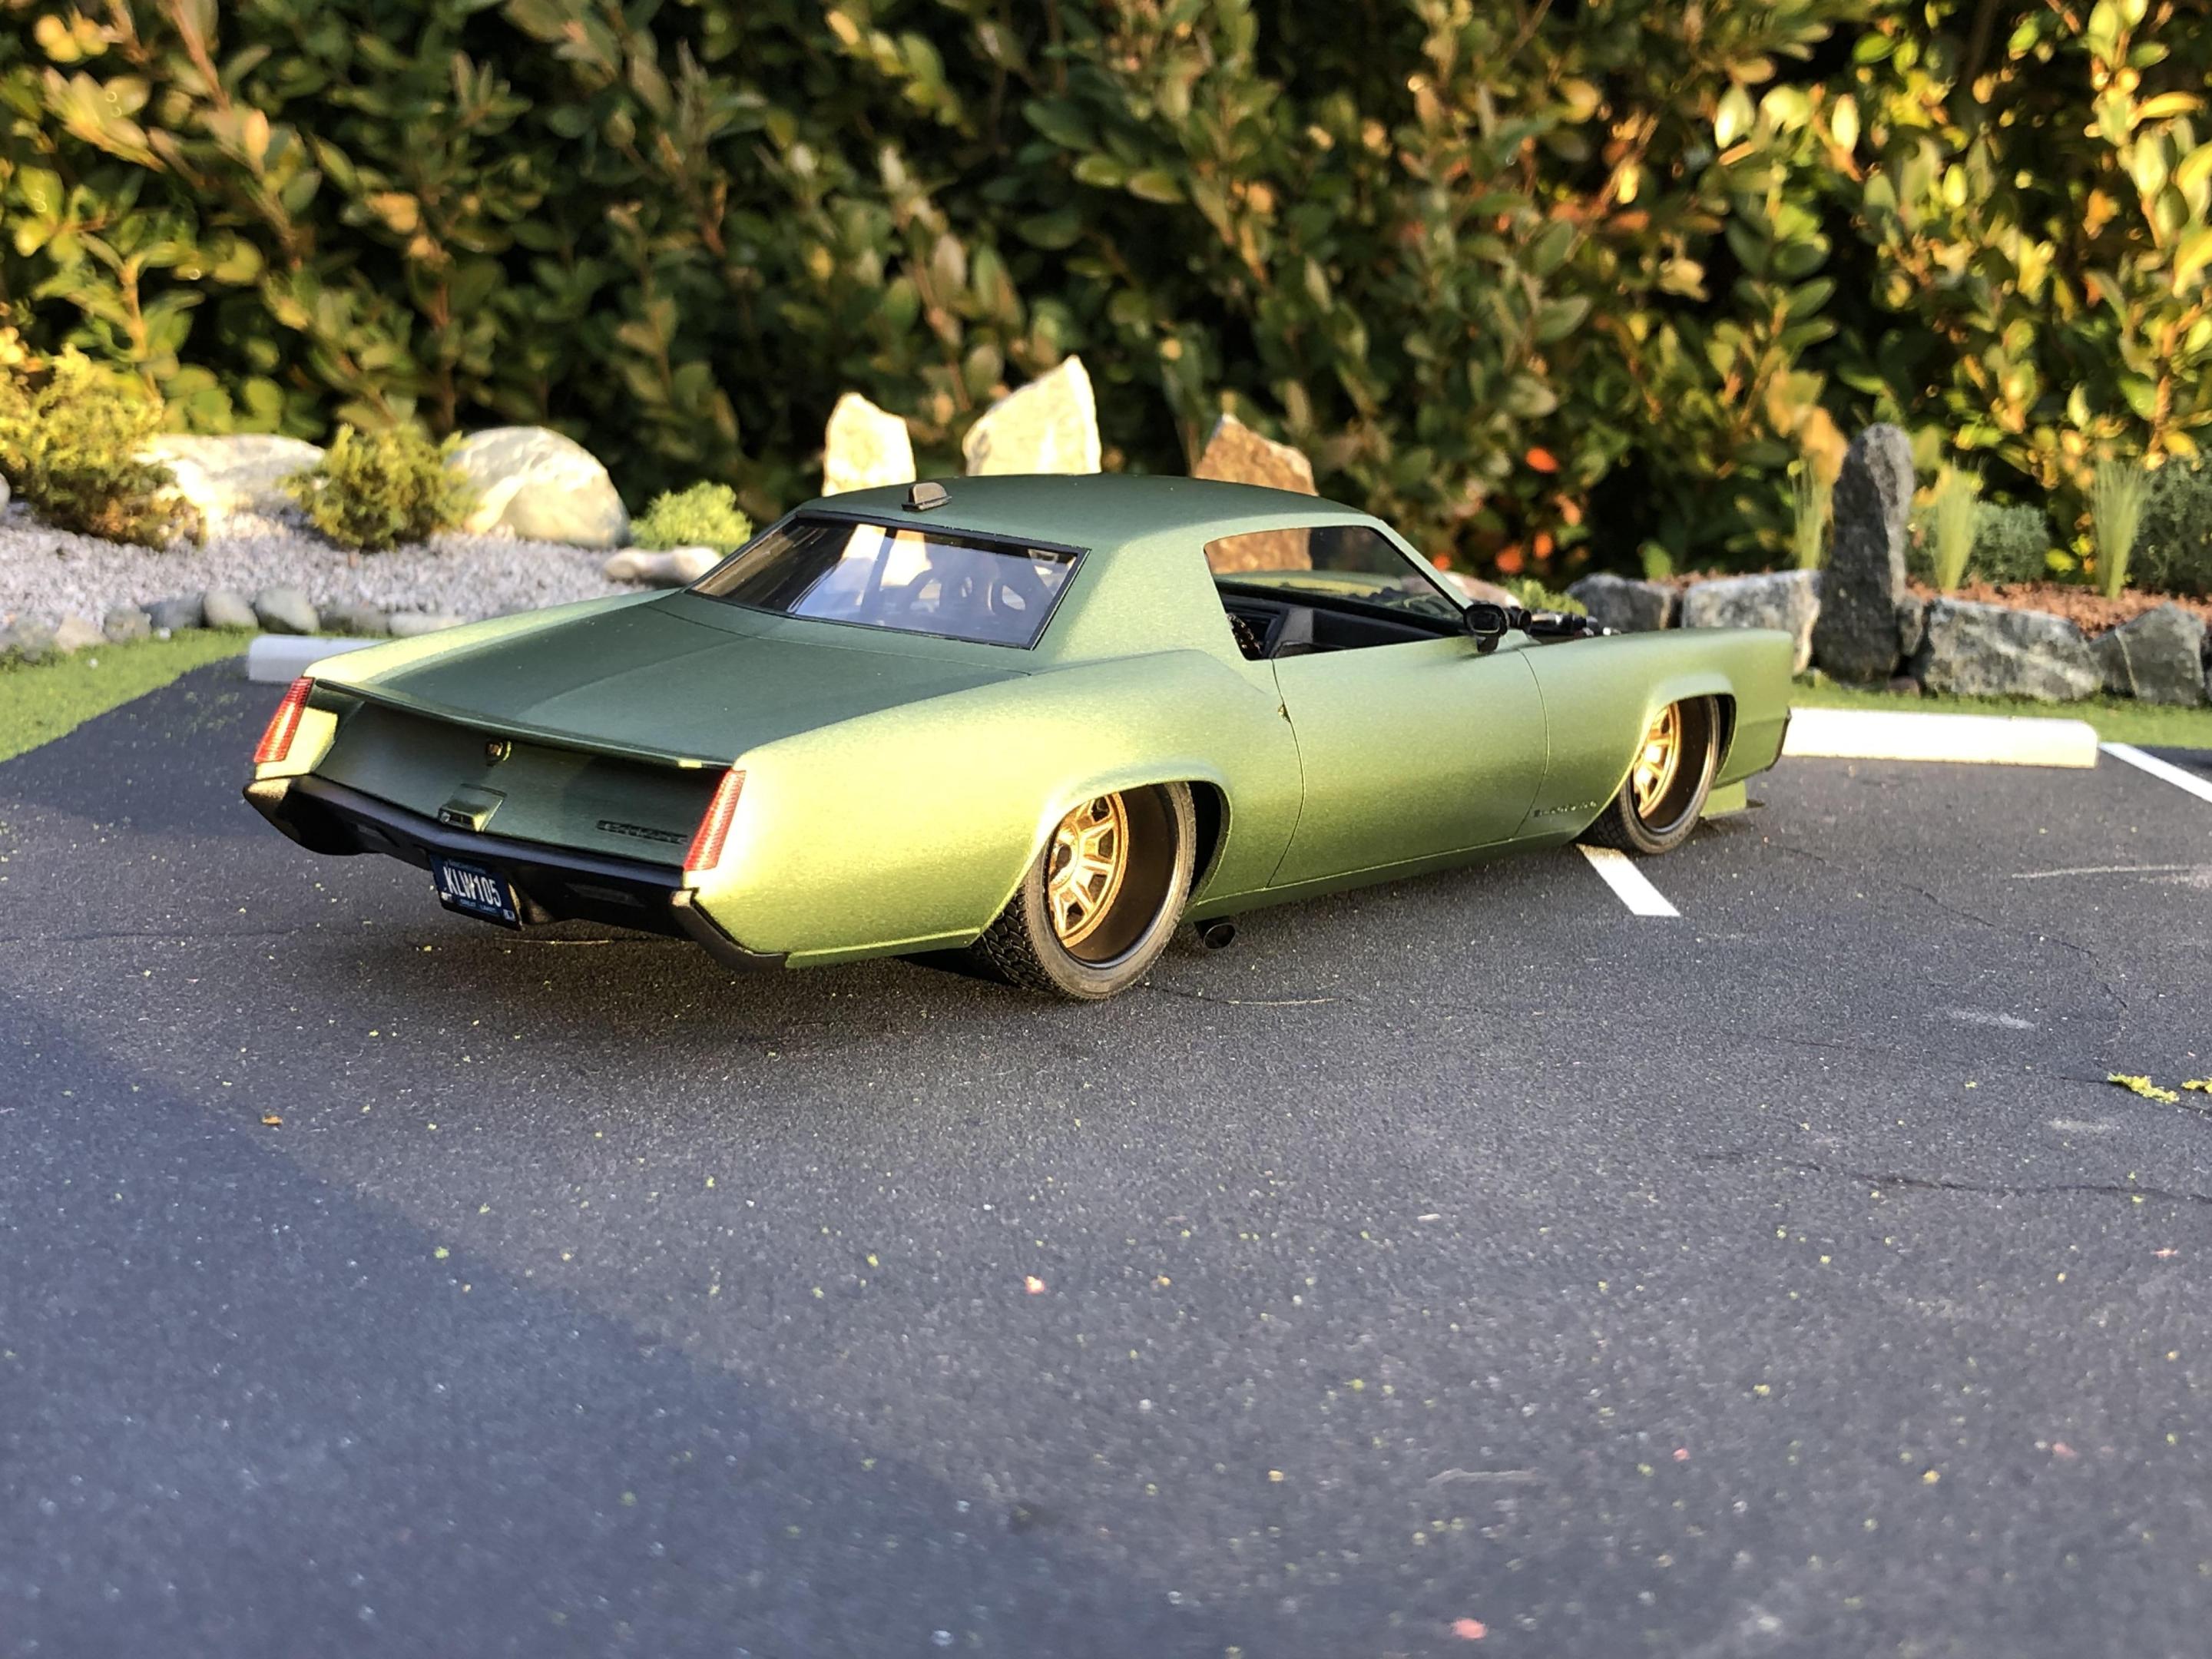
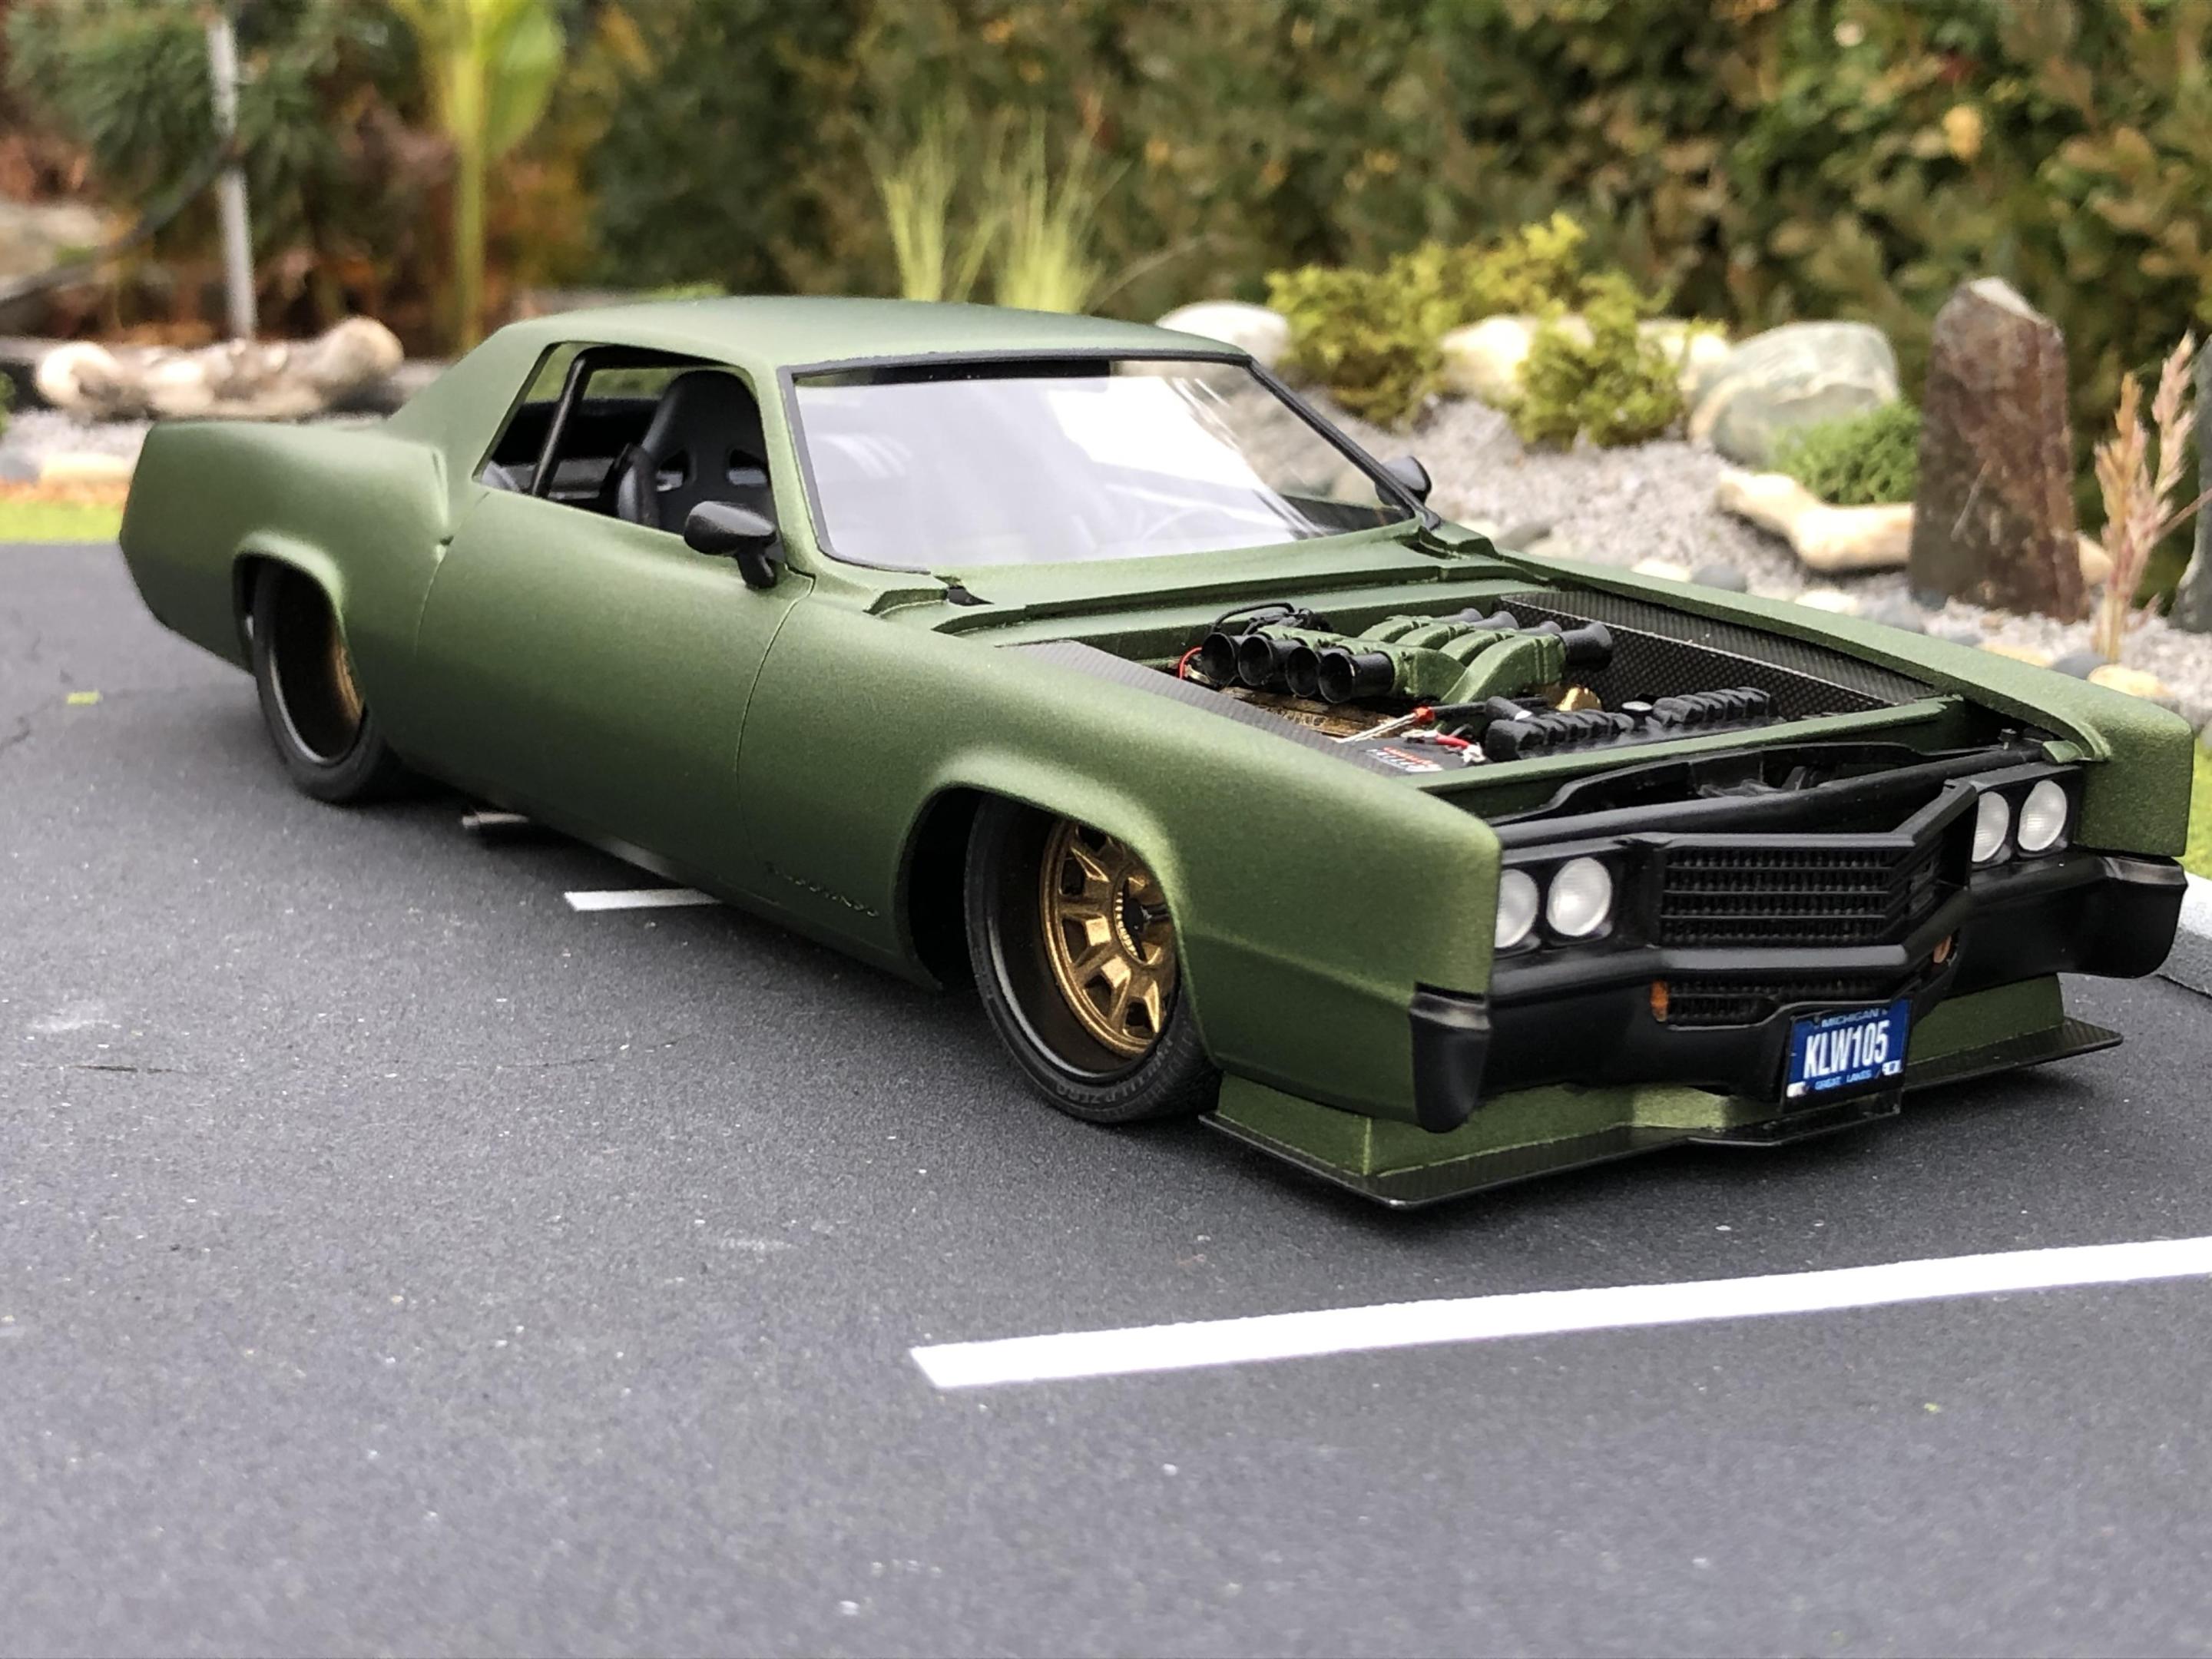
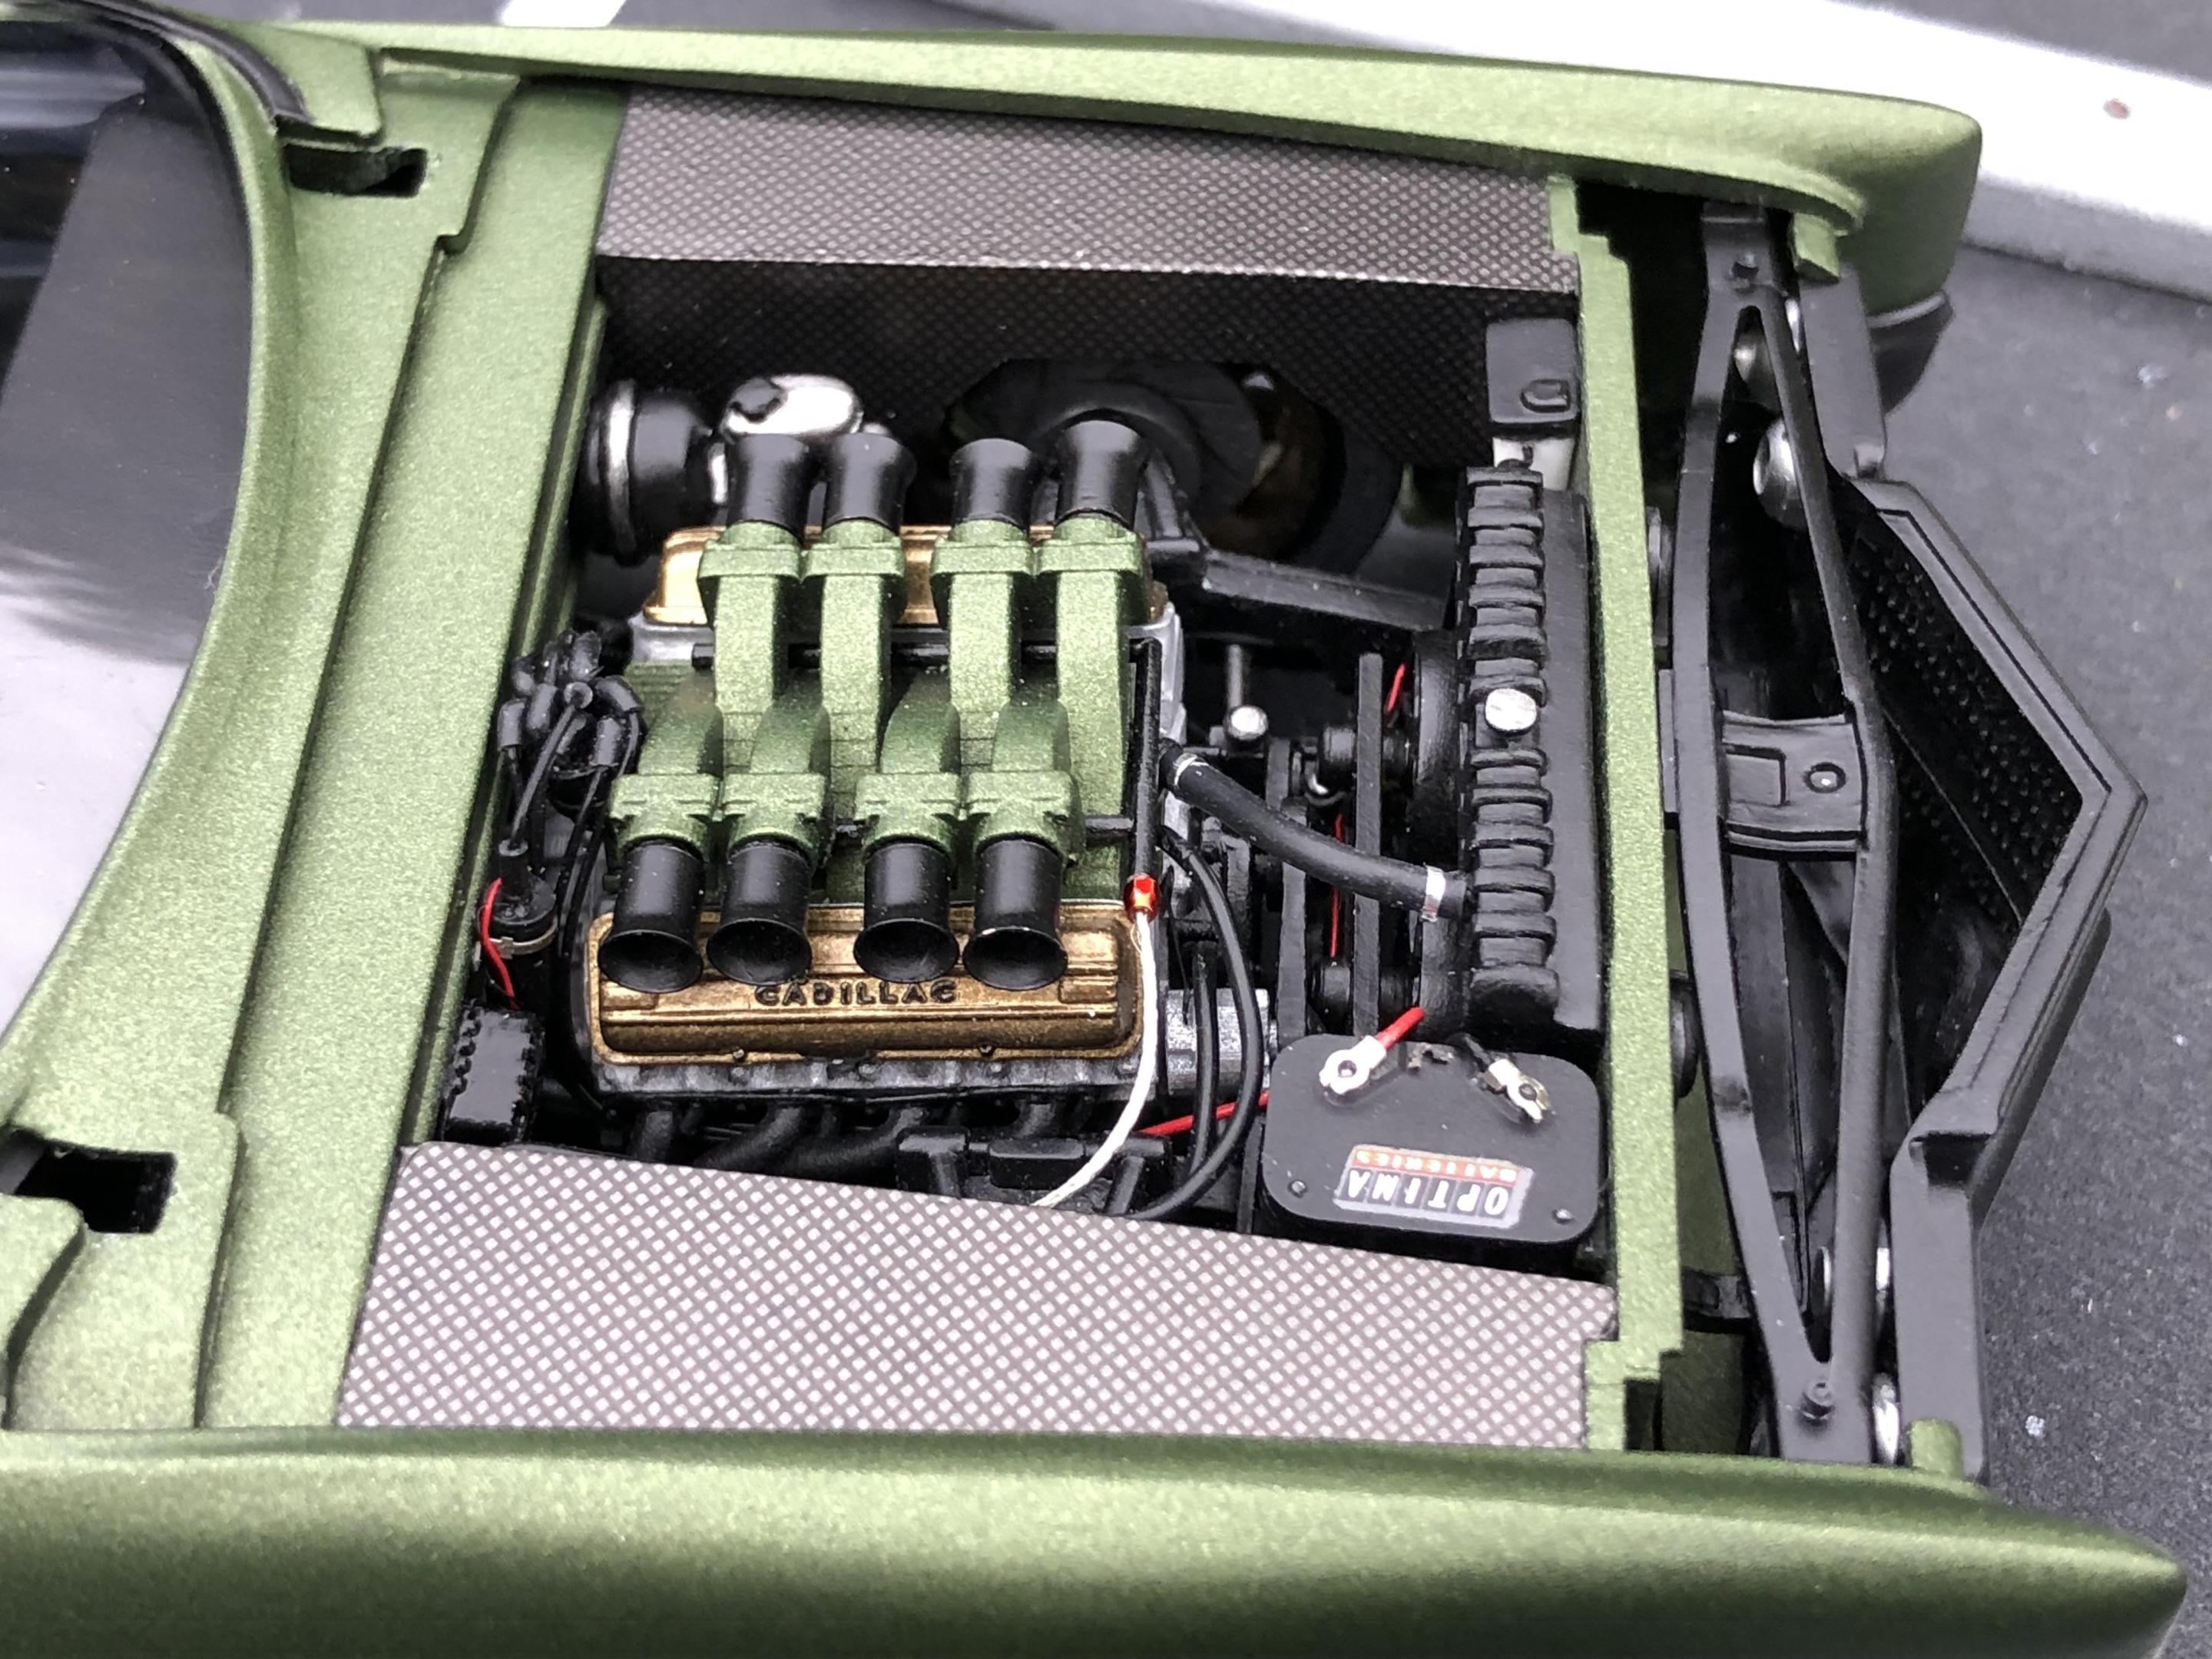
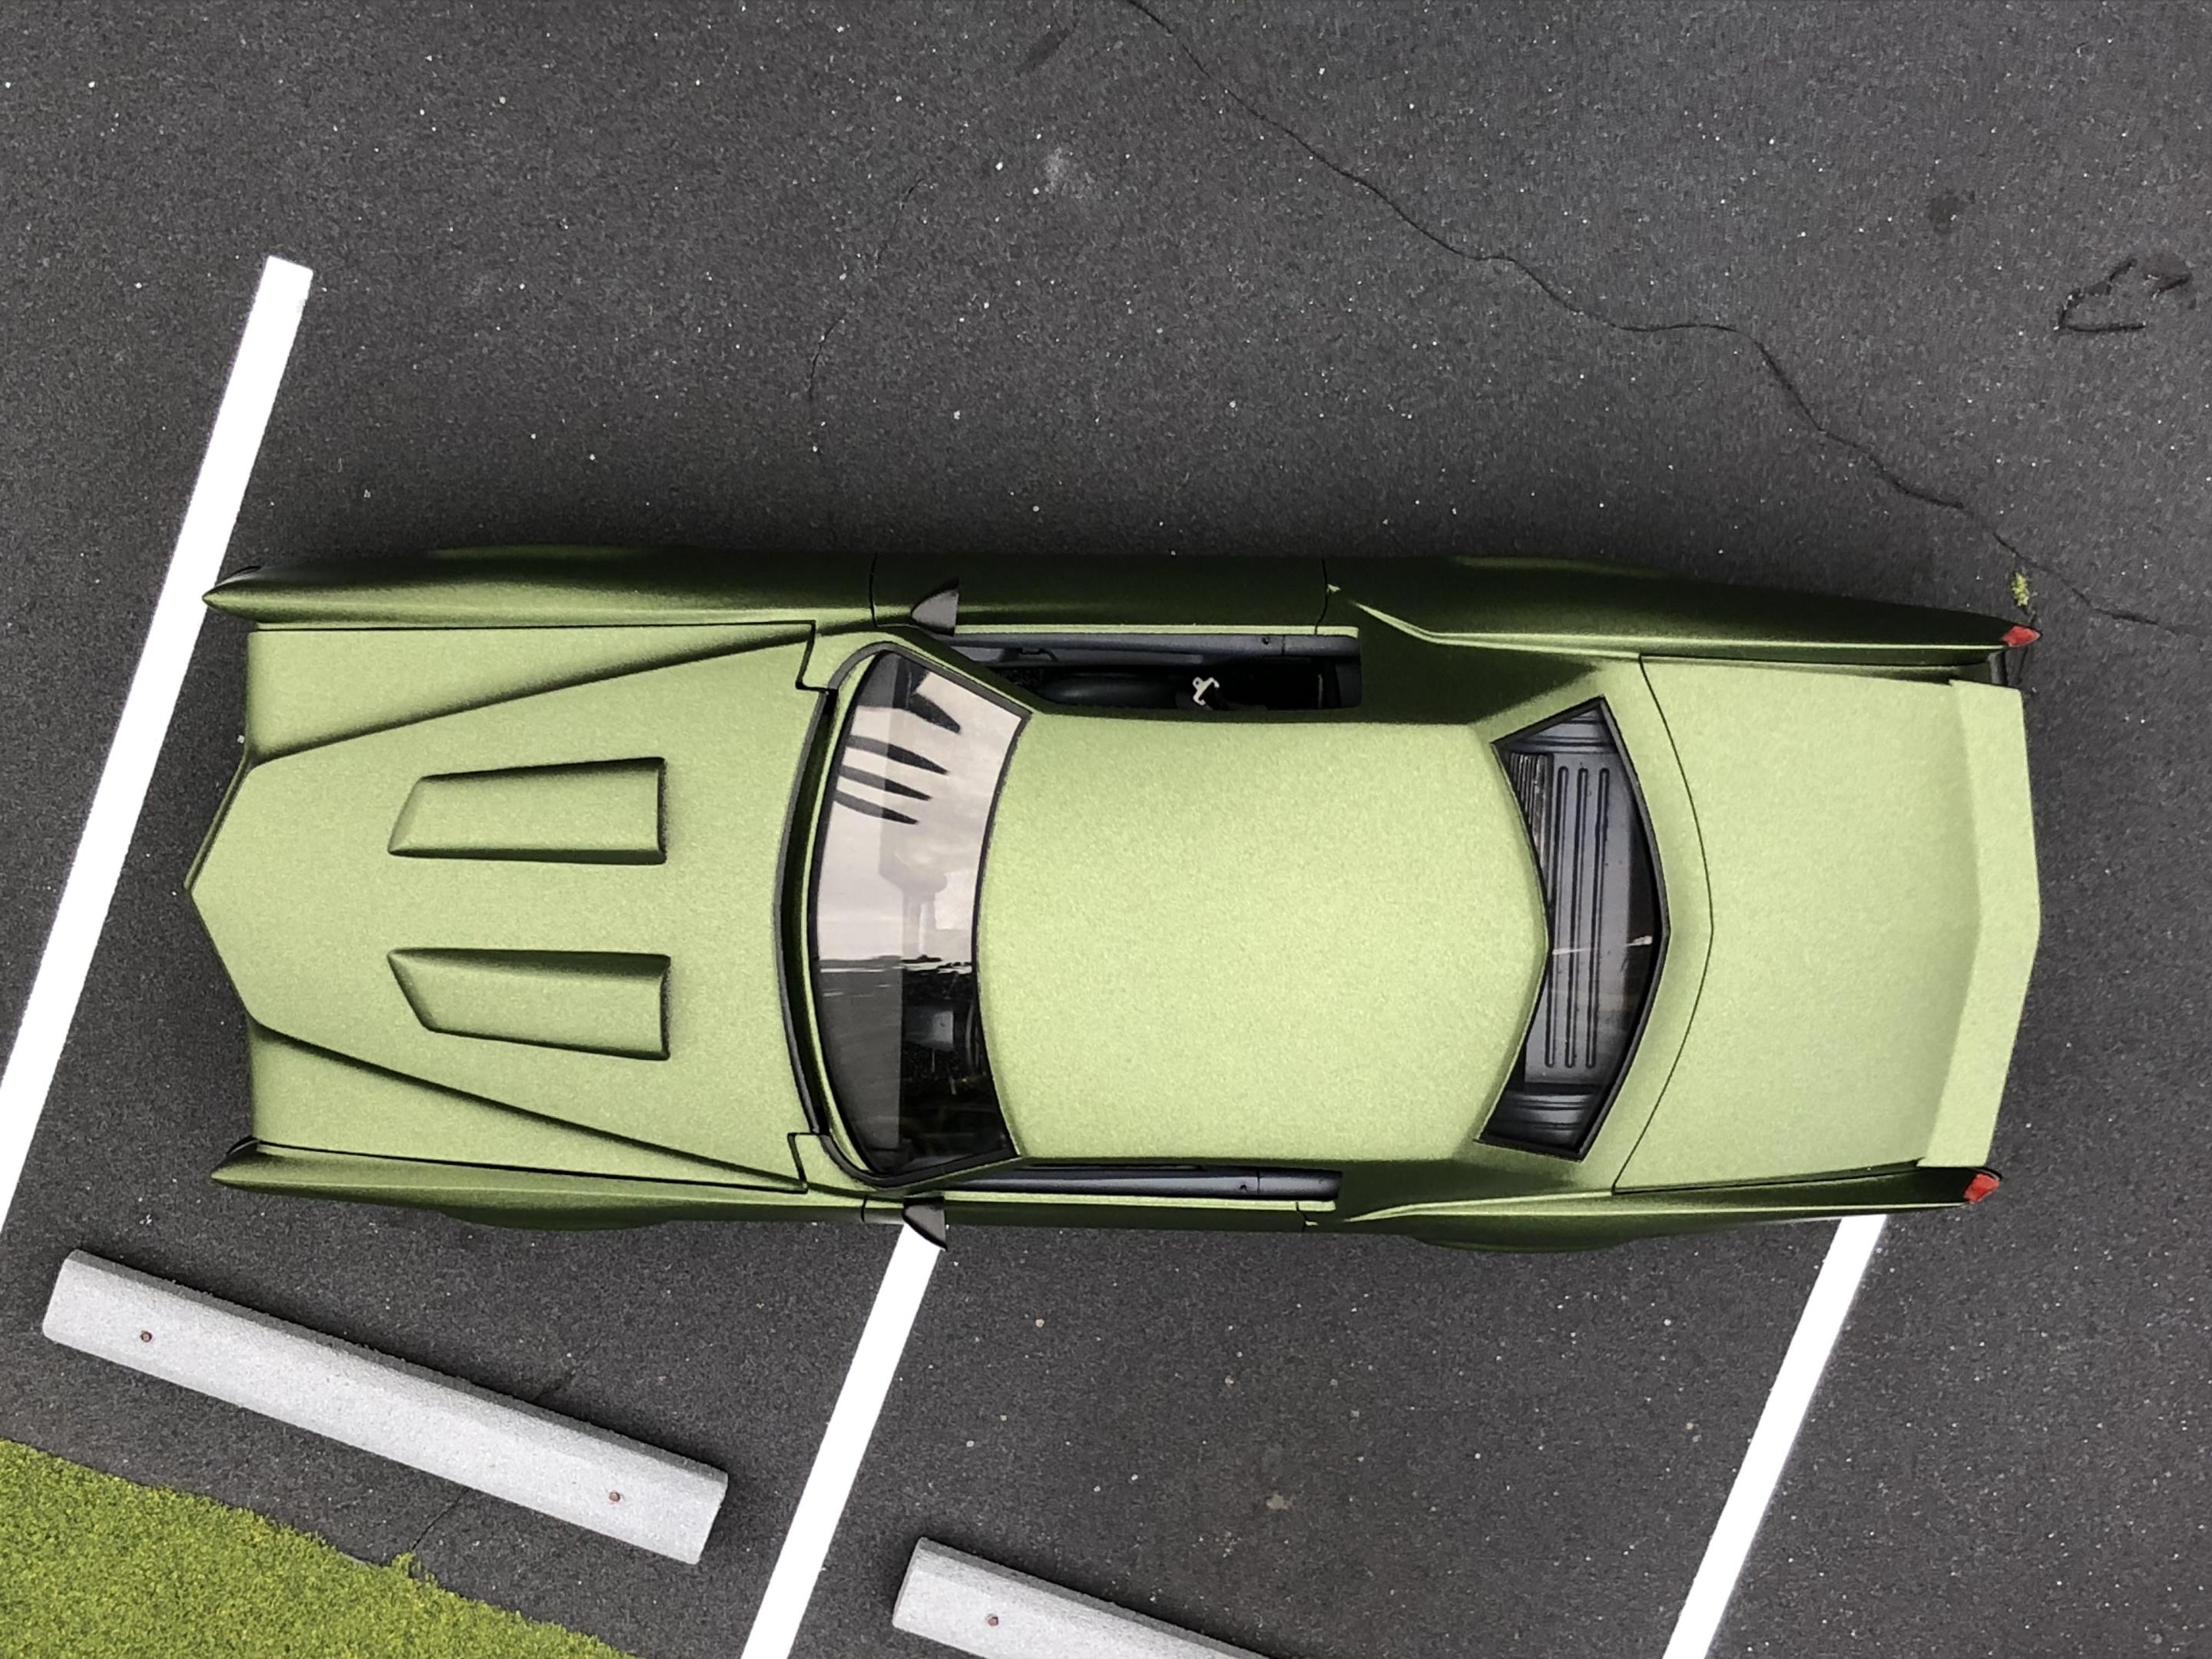
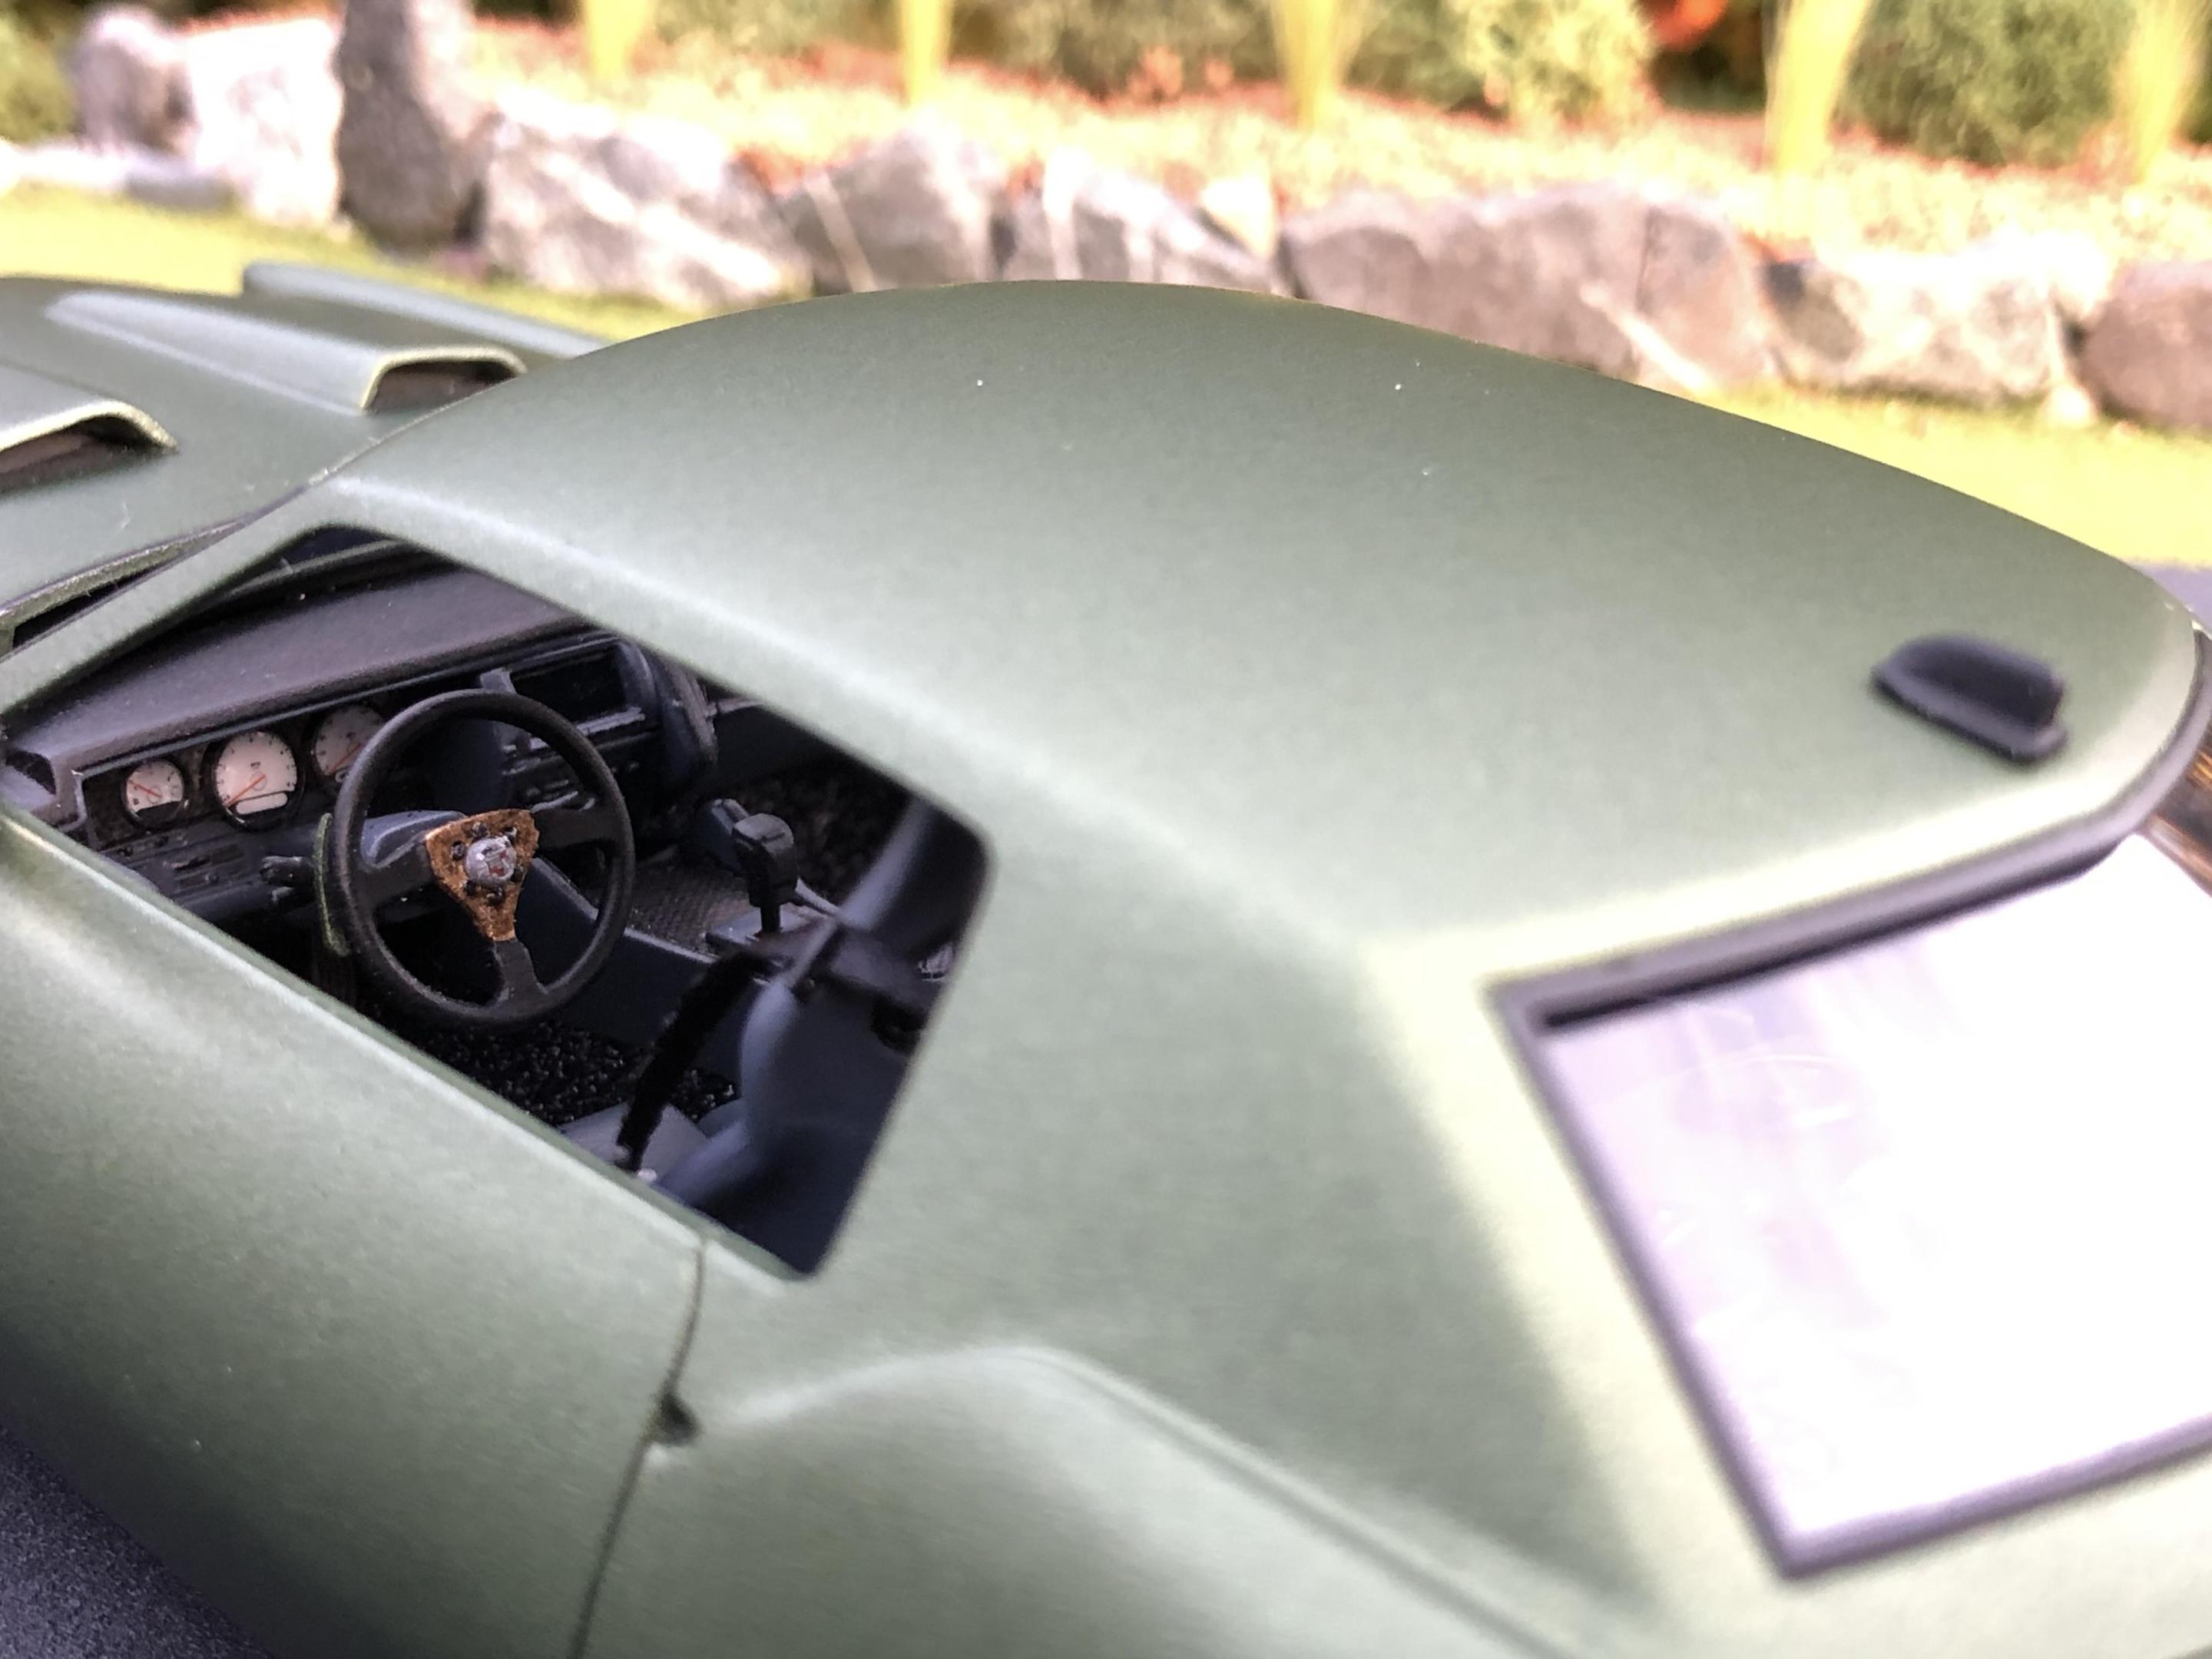
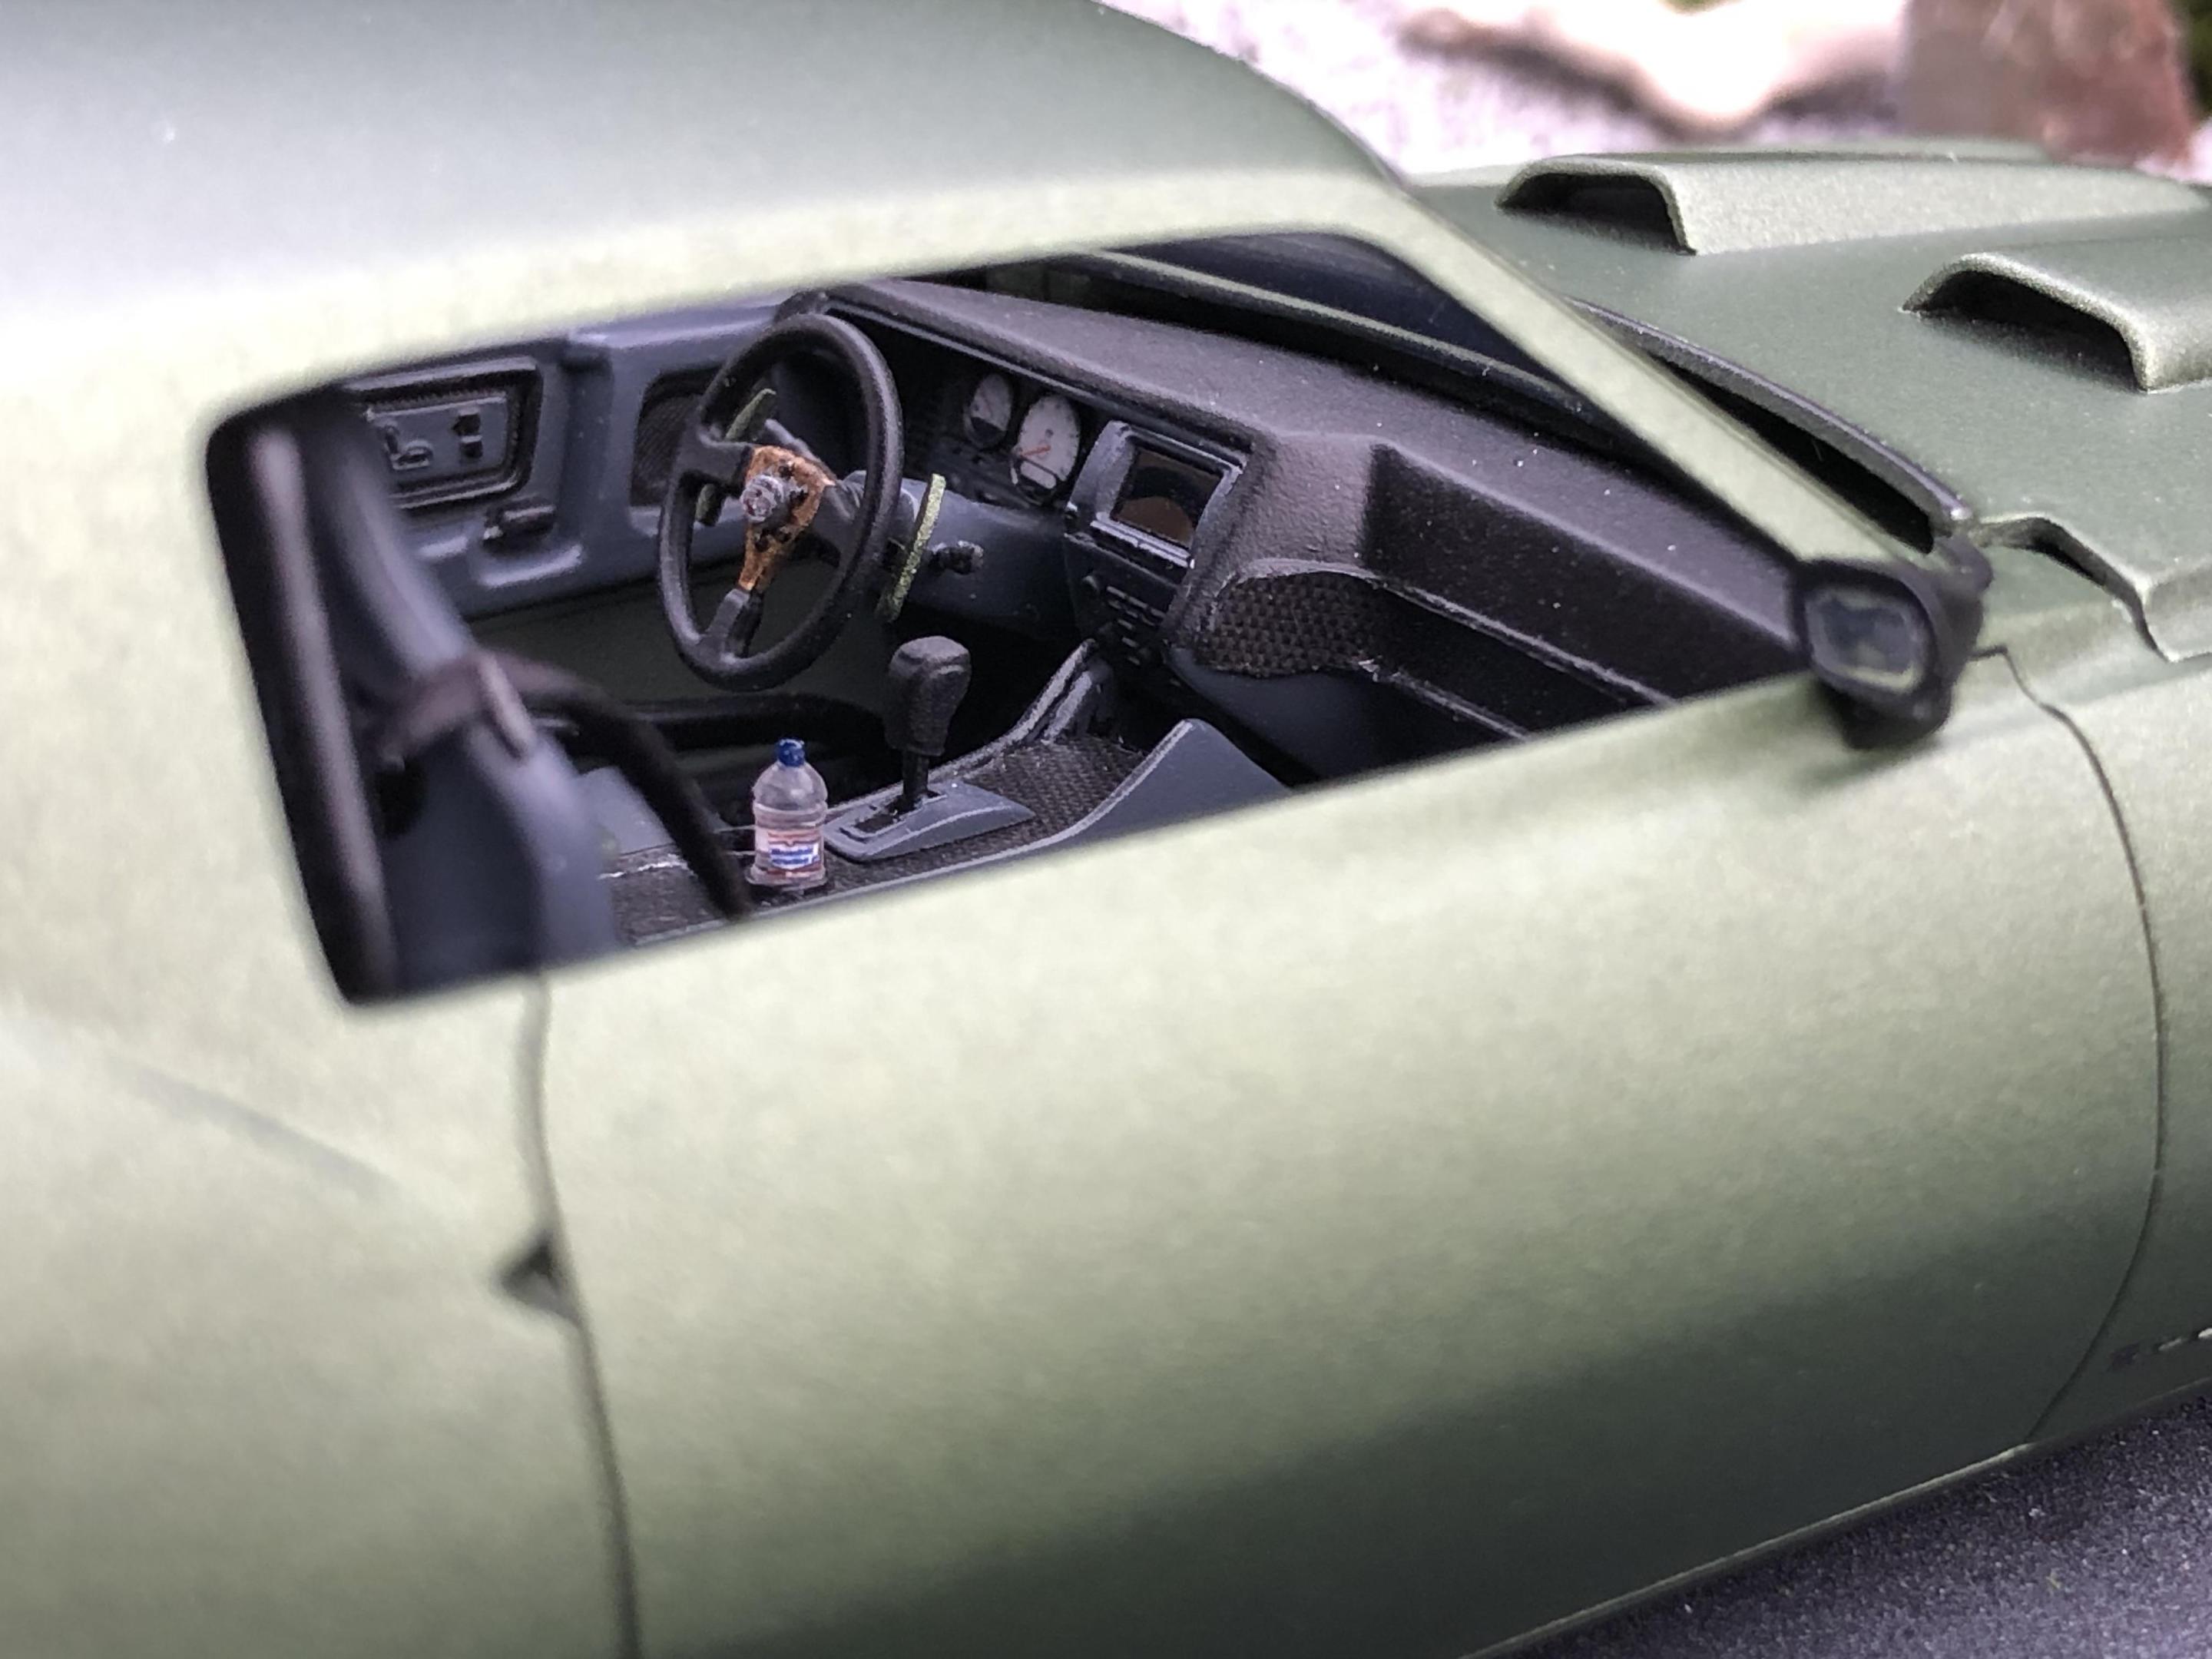
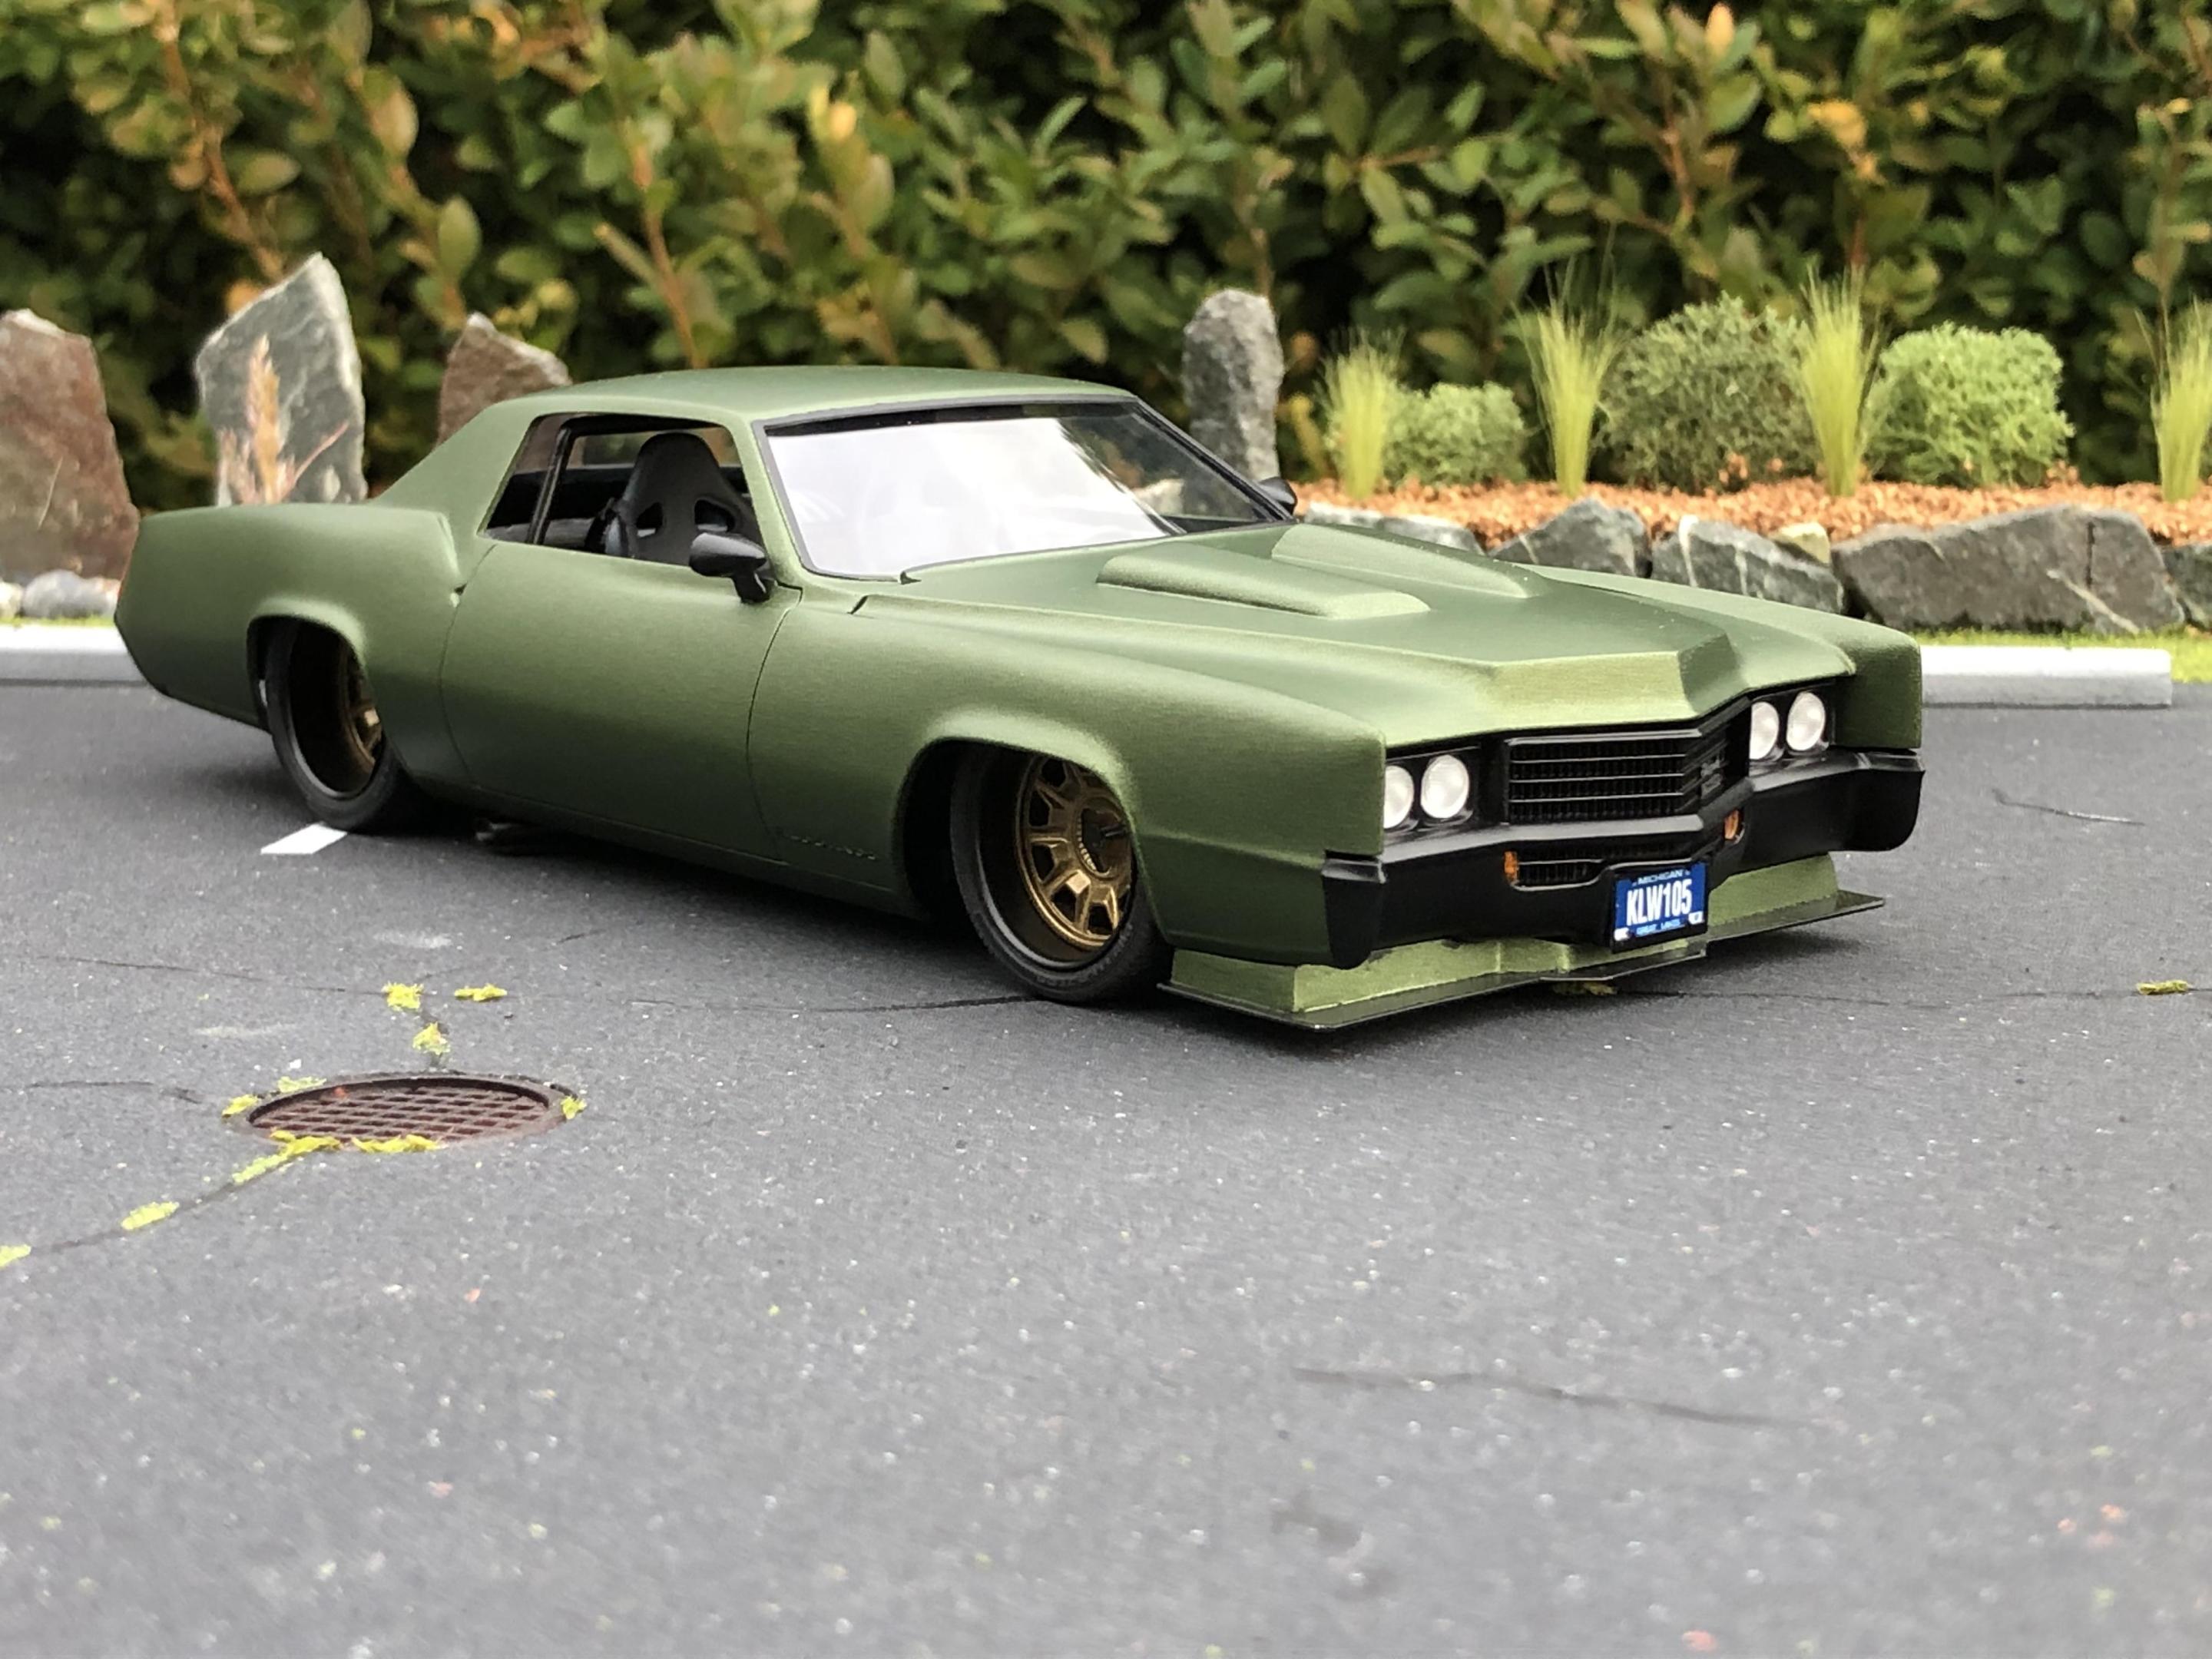
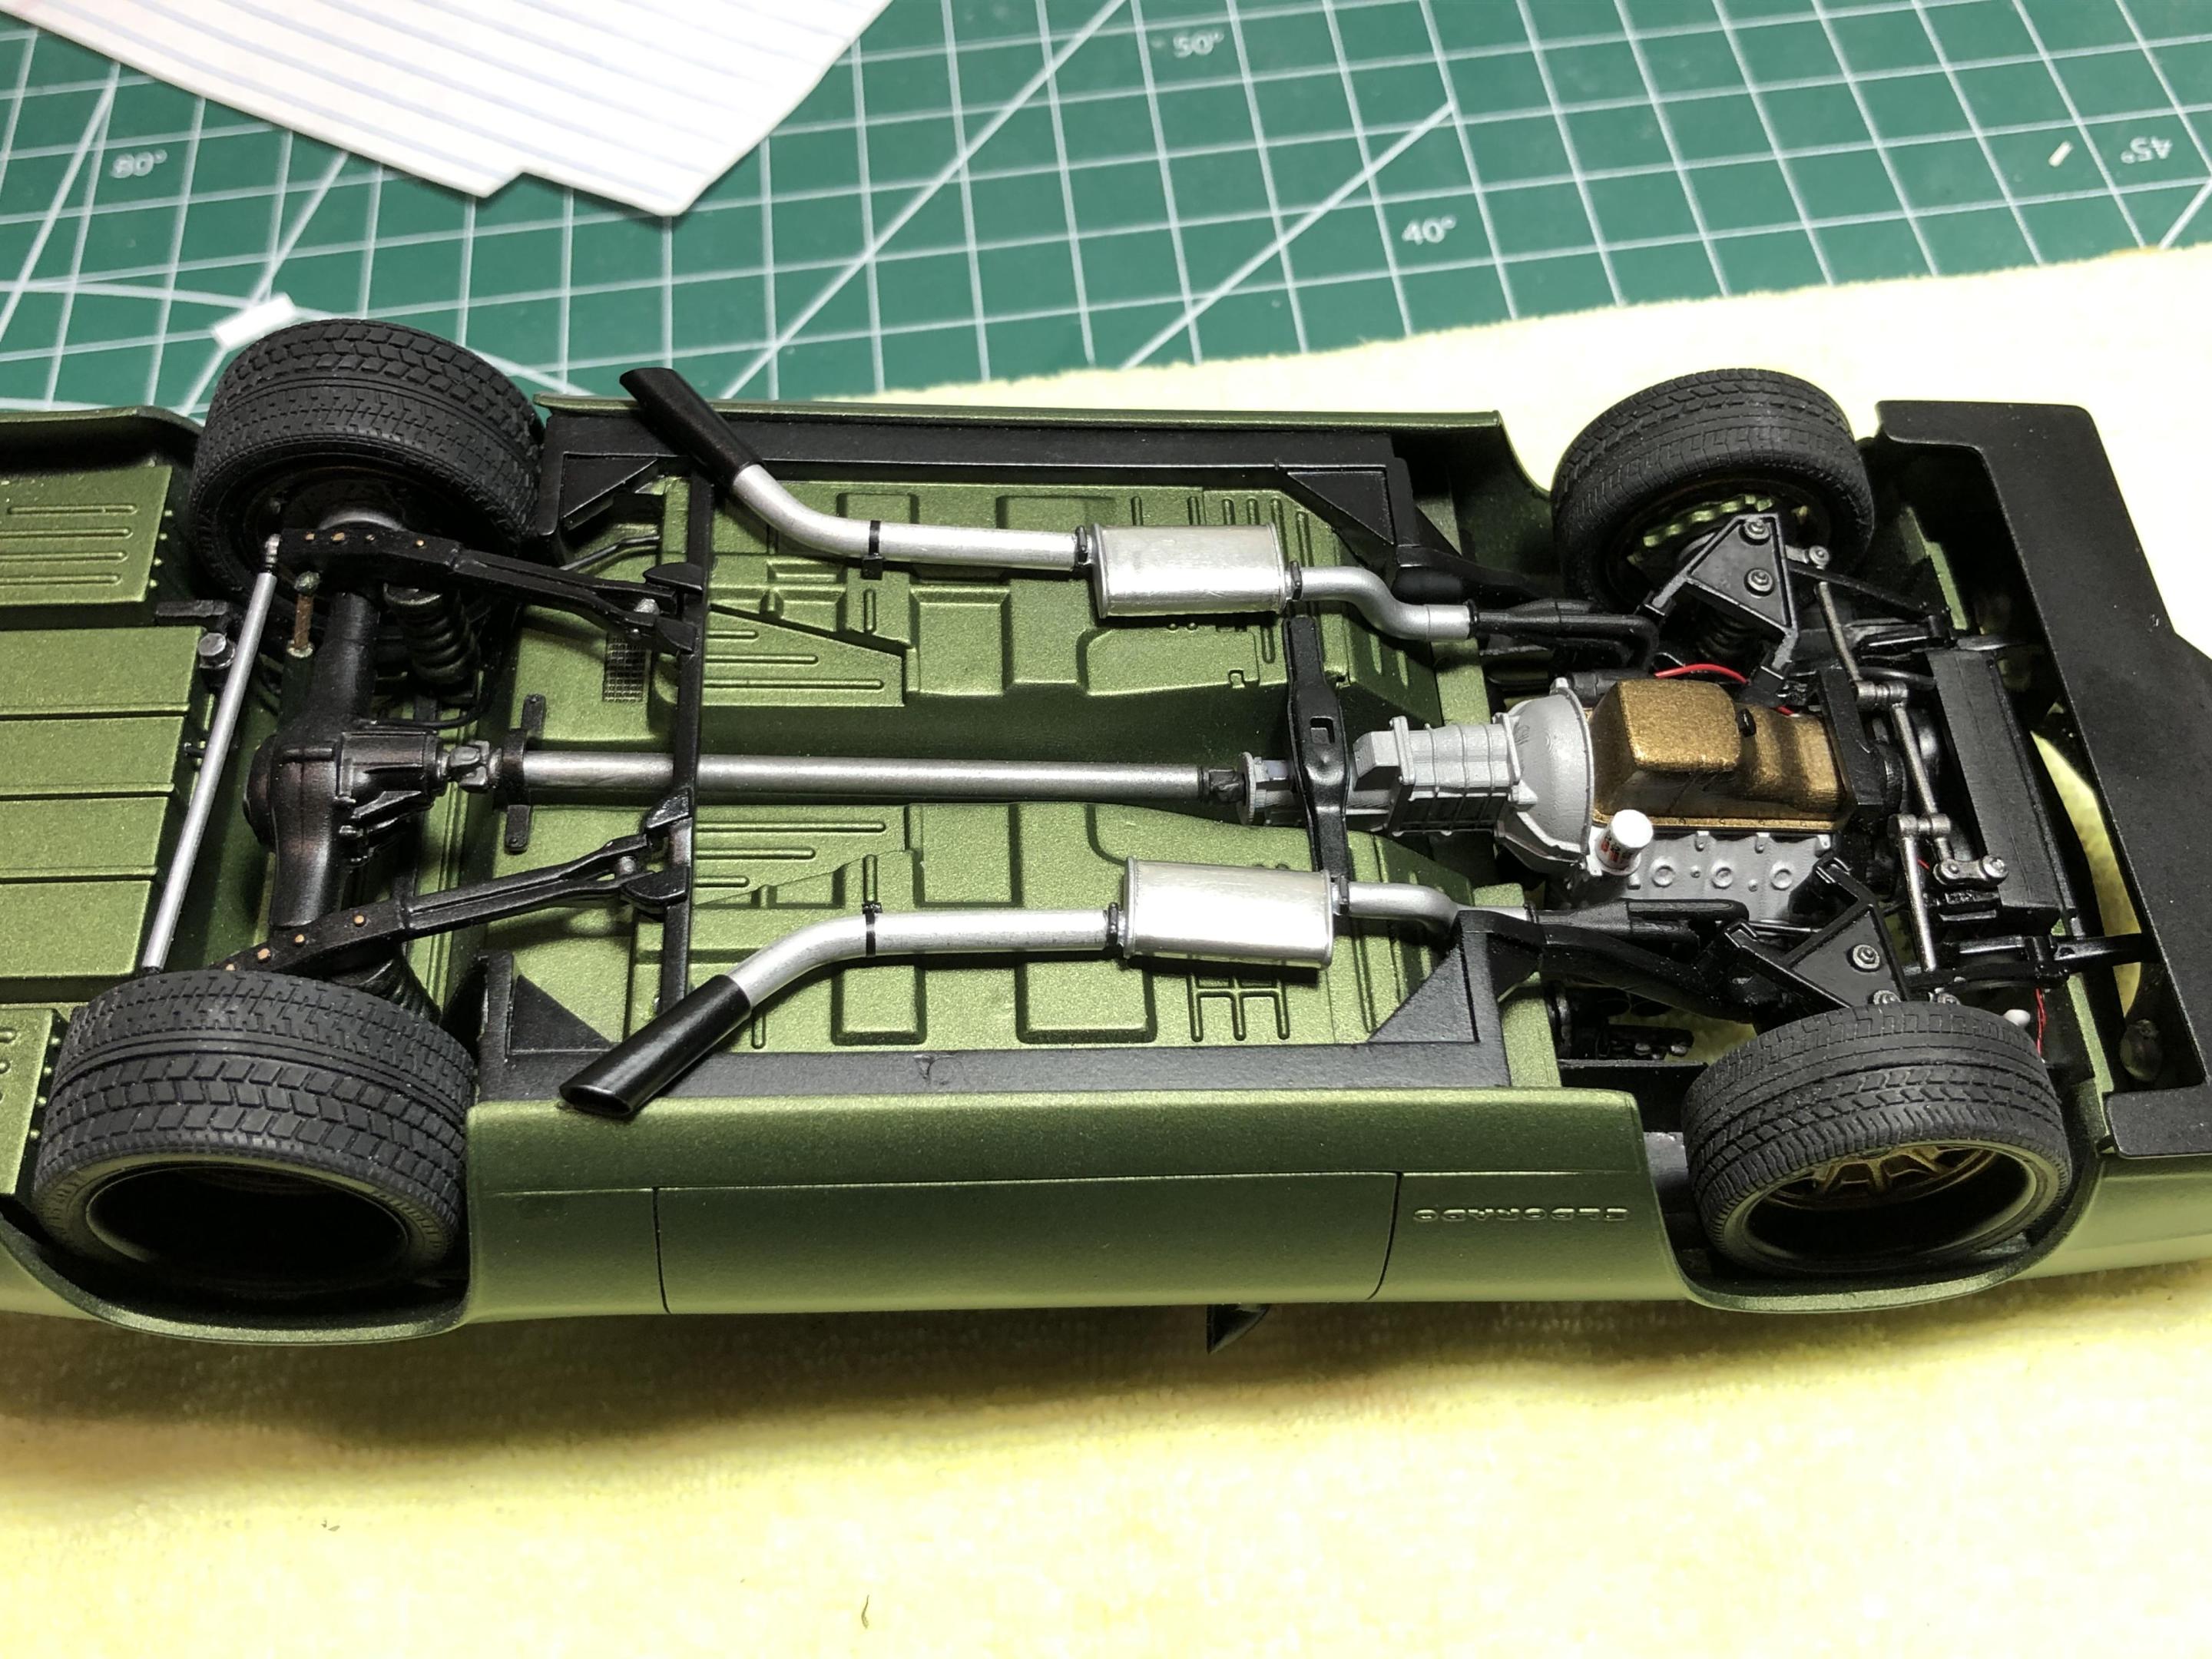
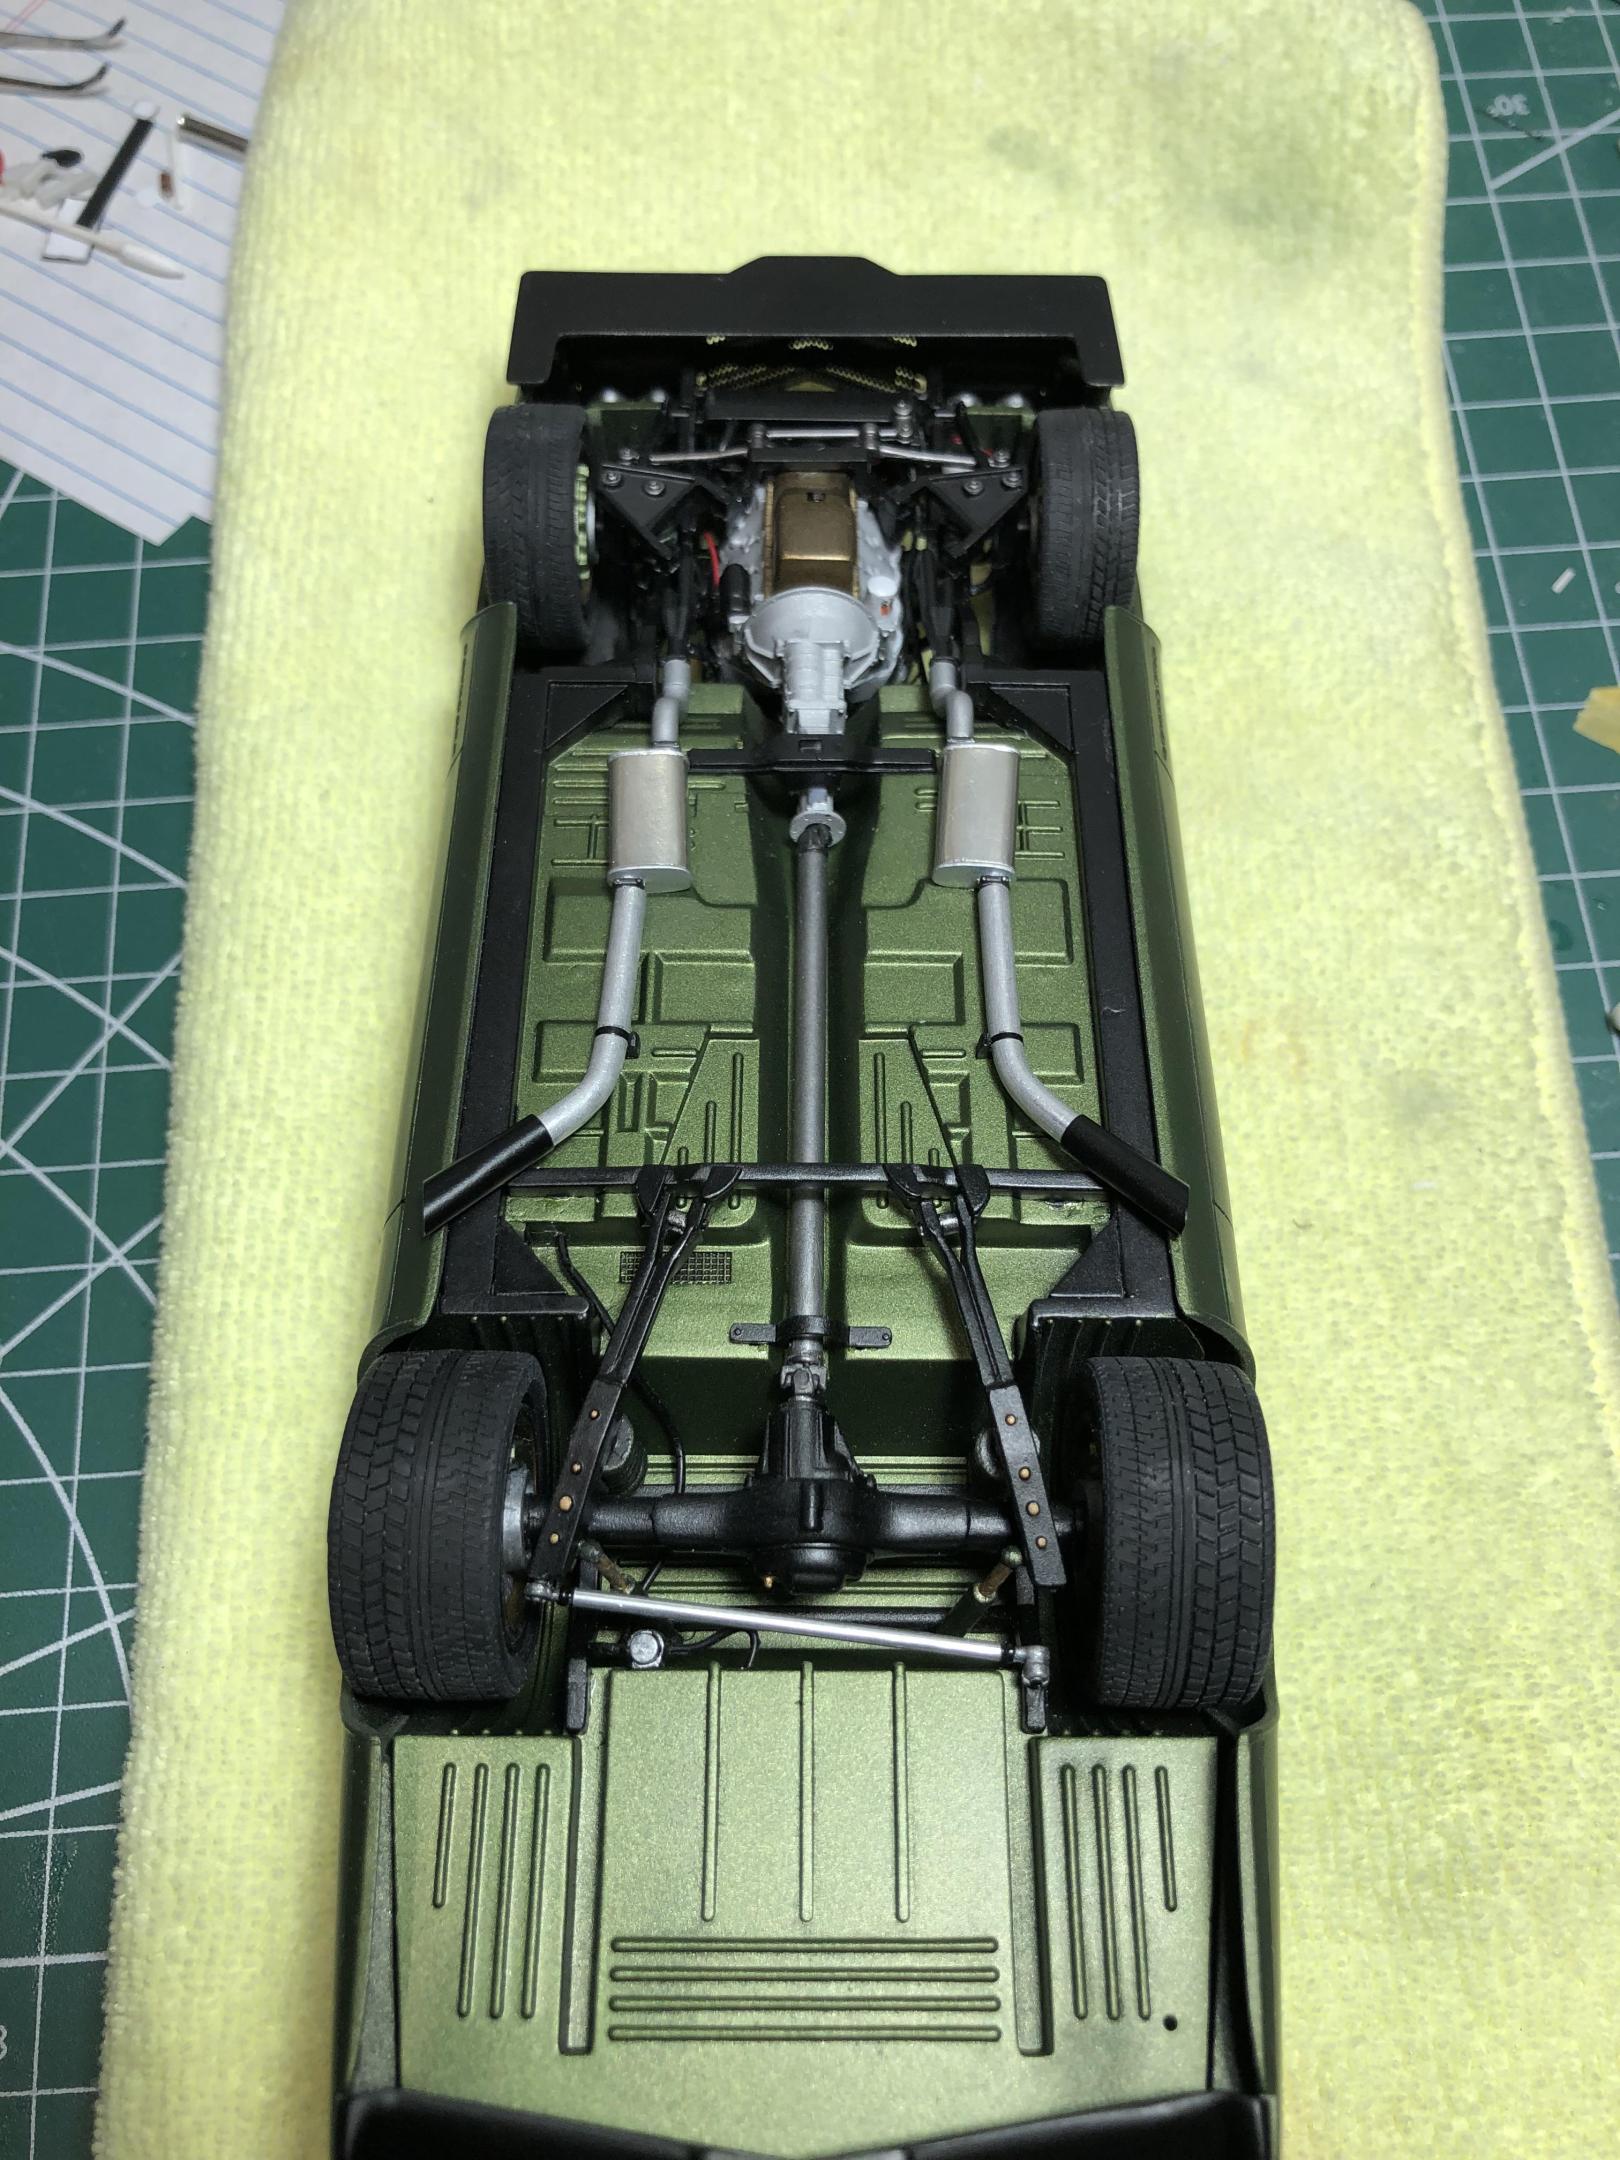
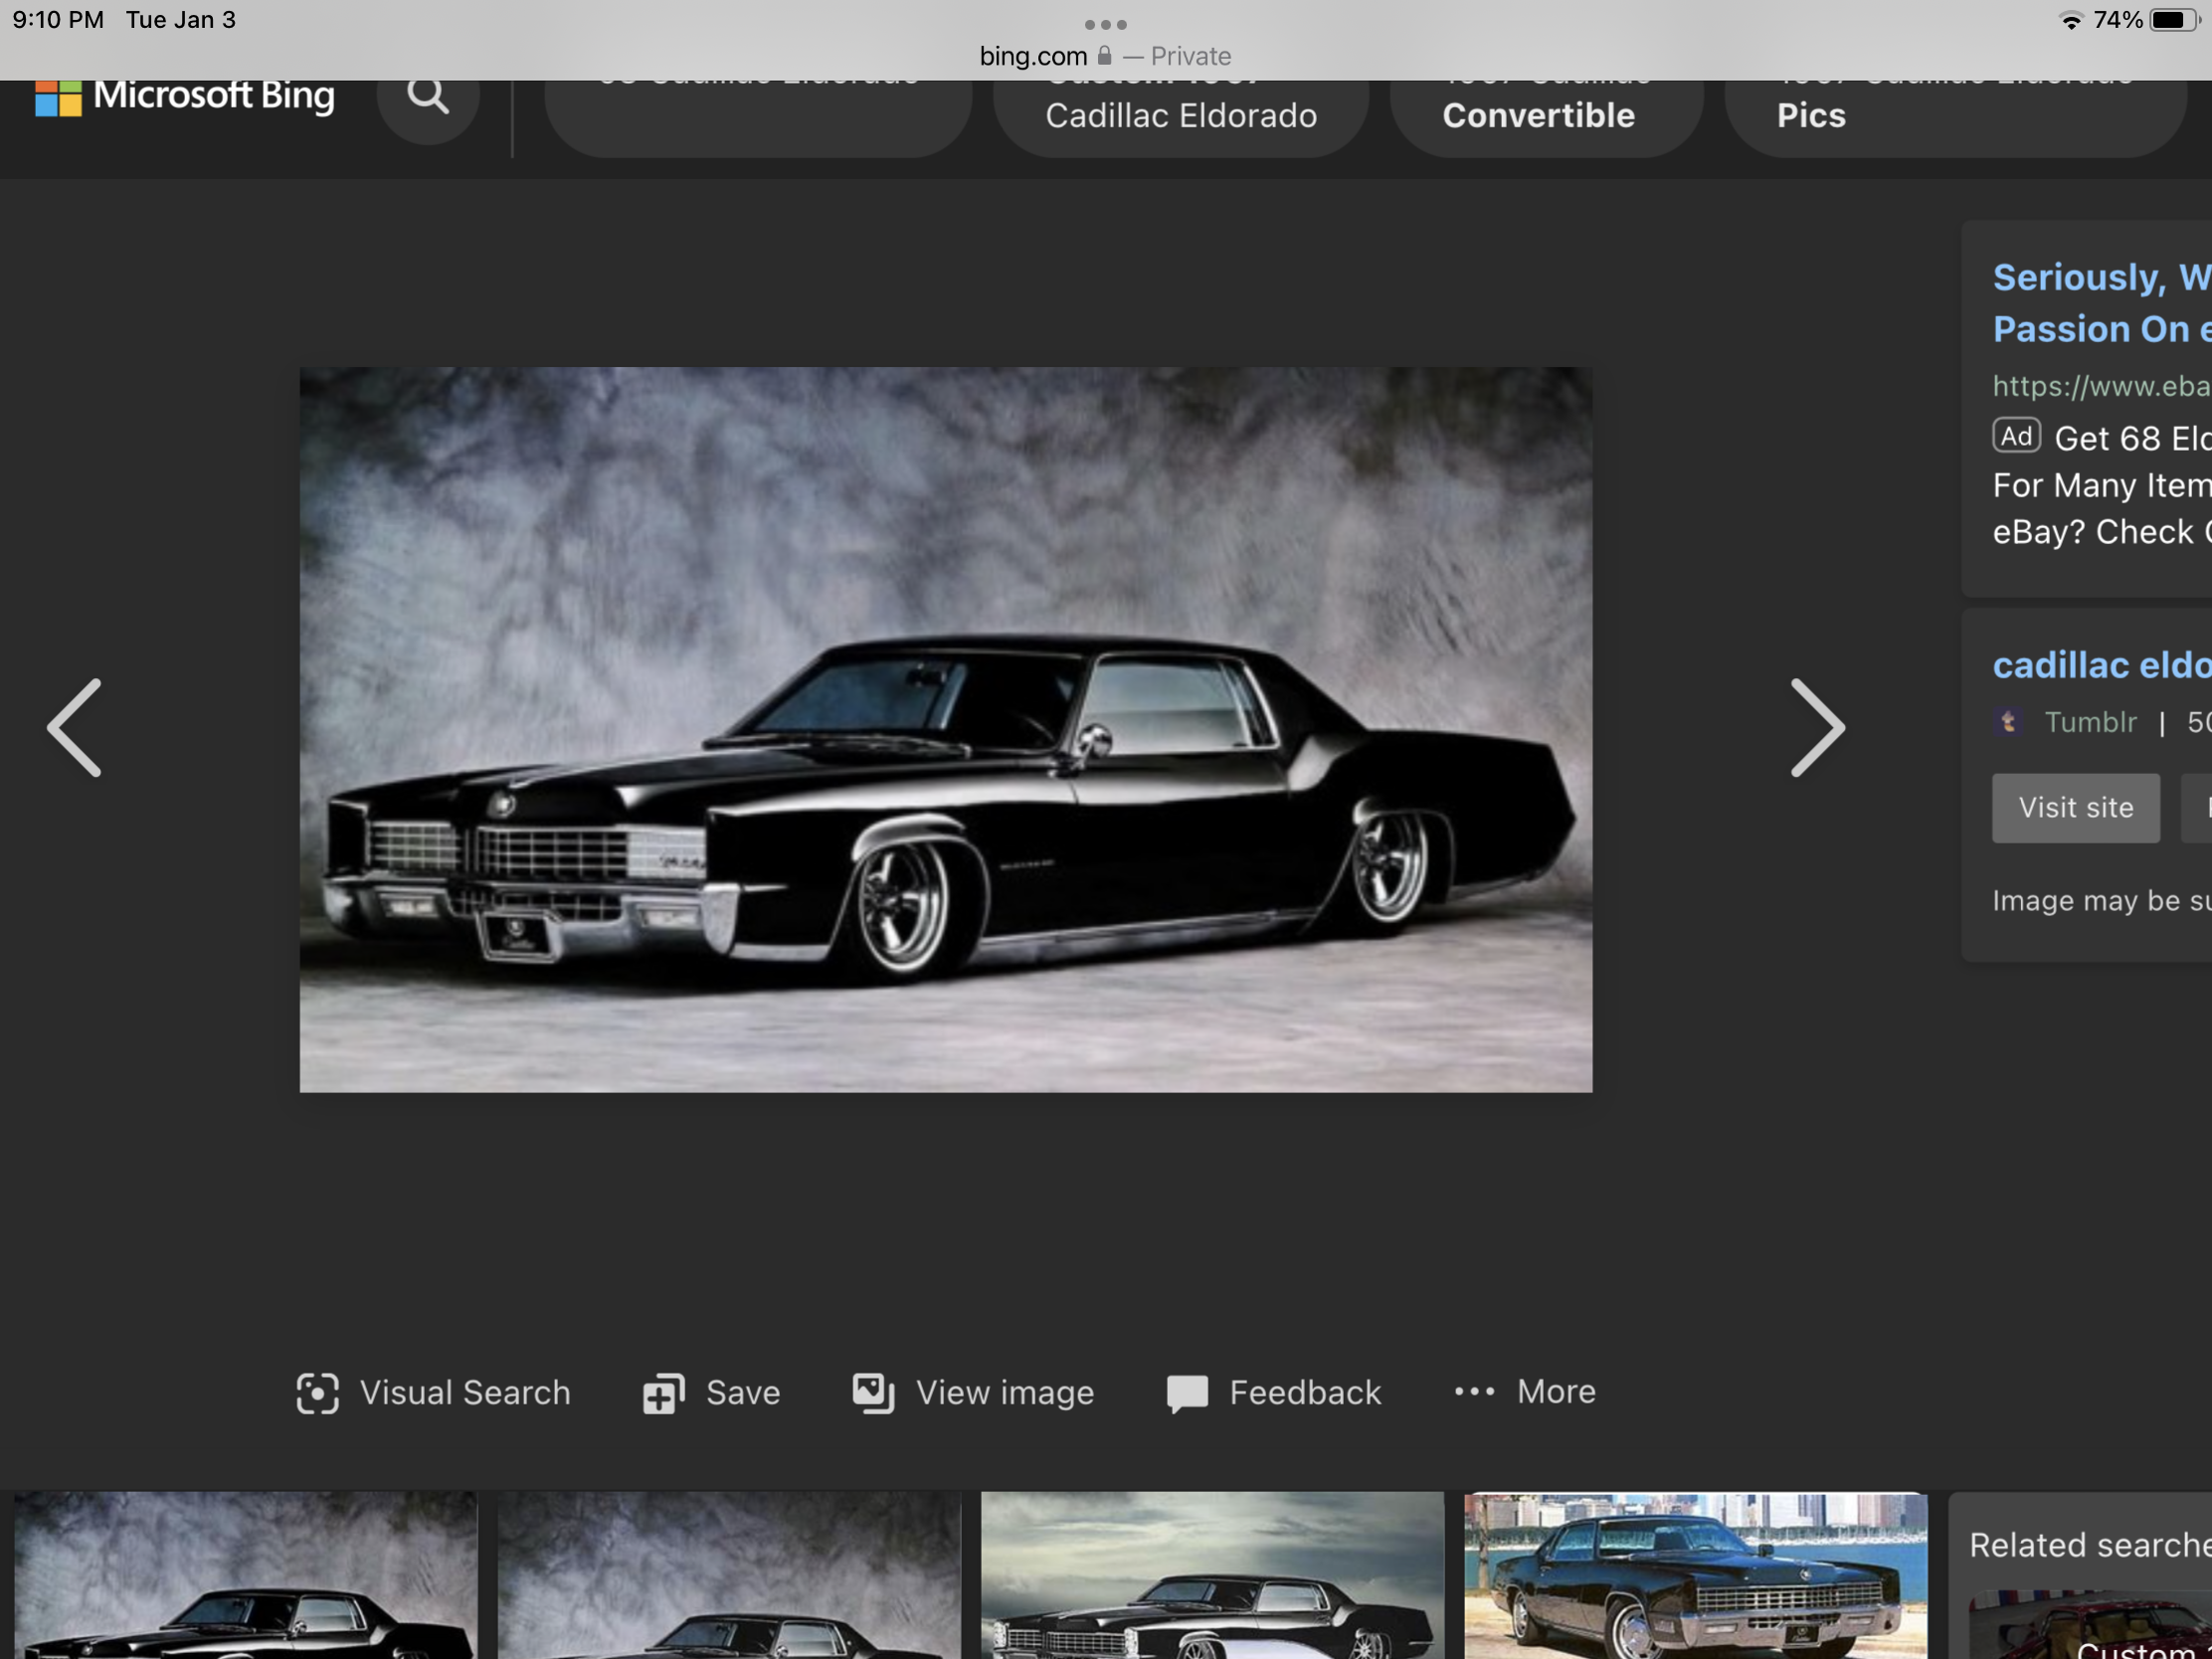
Hello all, This was a “bucket list” build for me. It has been rattling around in my head for years, and was inspired by a Juha Aurio build from years ago. It’s a kit bash of the Johan 70 Caddy, and a modified AMT nascar chassis. I wanted to maintain the beautiful Cadillac lines while giving it a full tilt aggressive pro touring look. It’s built in a very similar style to the Dutch Boys Camaro I did last year. So…. the body got a “wide body” treatment, rear fenders are flared 2 3/4”, fronts 2”. Most of the trim was shaved, but I opted to keep most of the script. I added the Dutch Boys style door latches again. Front grill was opened from behind, new head lights added, and new turn signals. Front spoiler/splitter, rear spoiler, and nav antenna scratch built, and just for fun, there’s a backup camera in the fuel door. Under the hood got some details added, along with some basic wiring and plumbing. The engine is a 572 from Iceman Collections. I swapped out his valve covers for some Cadillac pieces, and added bootlace ferrule intake trumpets. The wheel centres are from the Foose 65 Impala, with resin hoops, and tires from Scale Productions. The interior has seats from a Ferrari, Lincoln door cards, modified kit dash with nav screen, scratch built centre console and speaker box, paddle shifters, embossing powder carpet, and carbon fibre accents. Many thanks to those of you that patiently followed along and contributed to the build thread. All the comments and input were much appreciated. Build thread : First photo is the build from Juha Aurio. Juha, if you happen to see this, thank you! And my version… Thanks for having a look. As always, all comments welcome.
- 54 replies
-
- 27
-

-
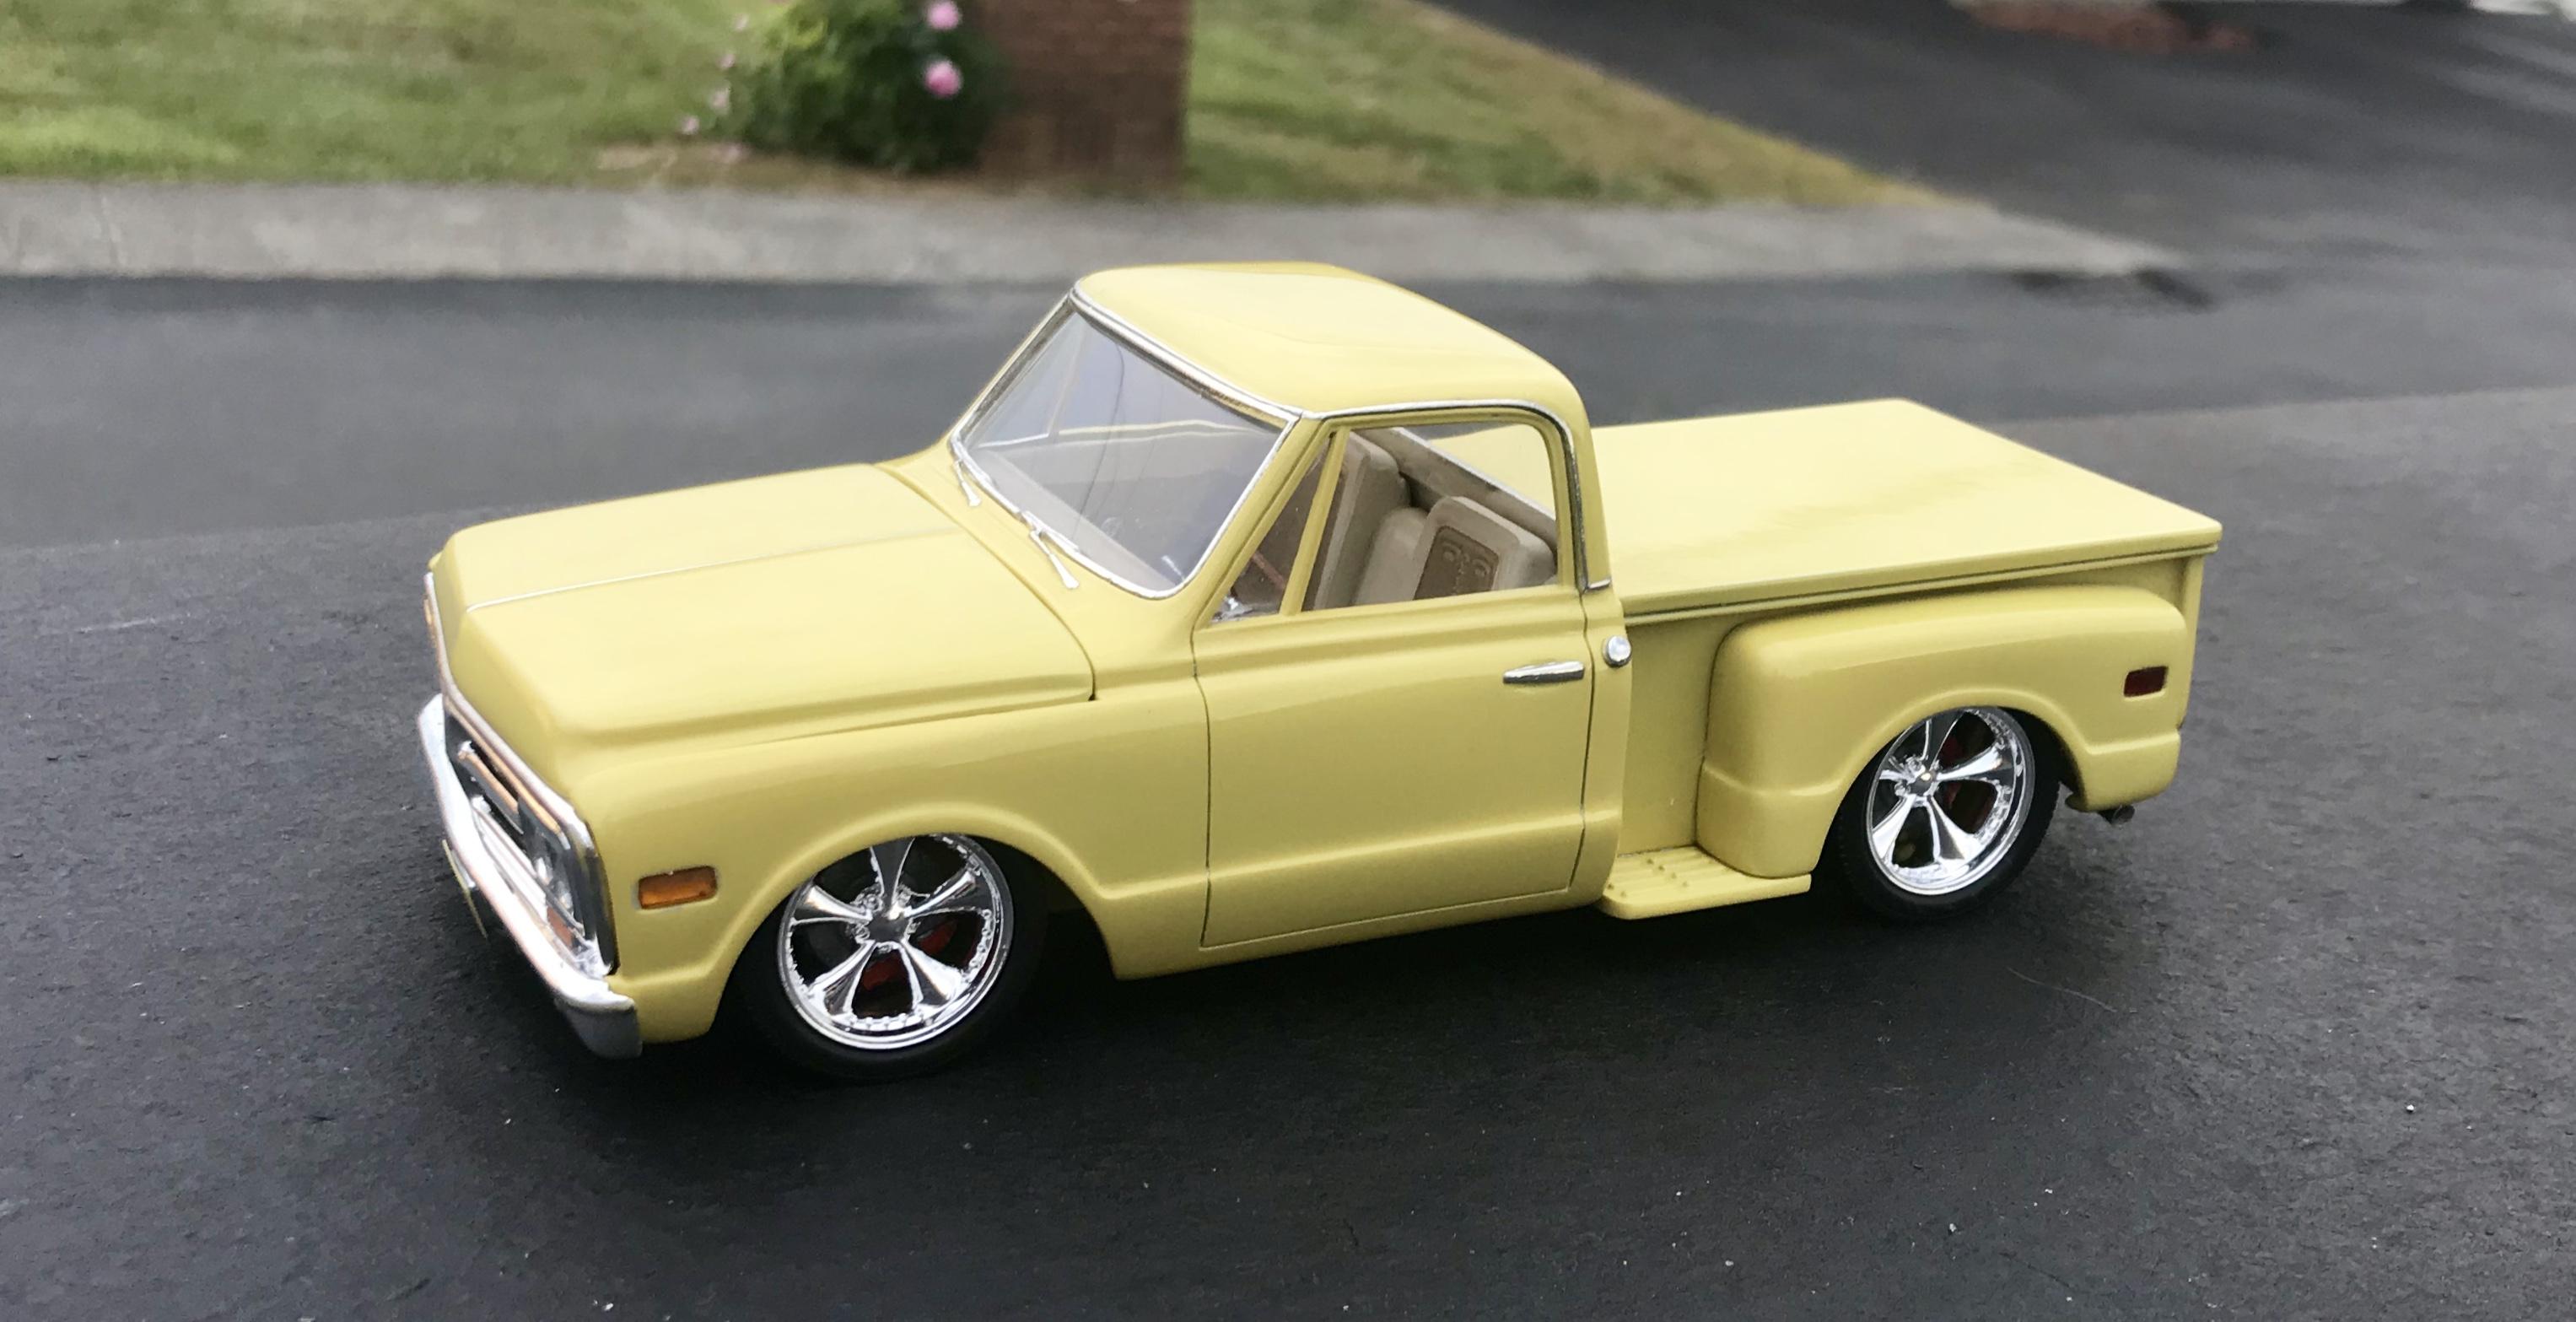
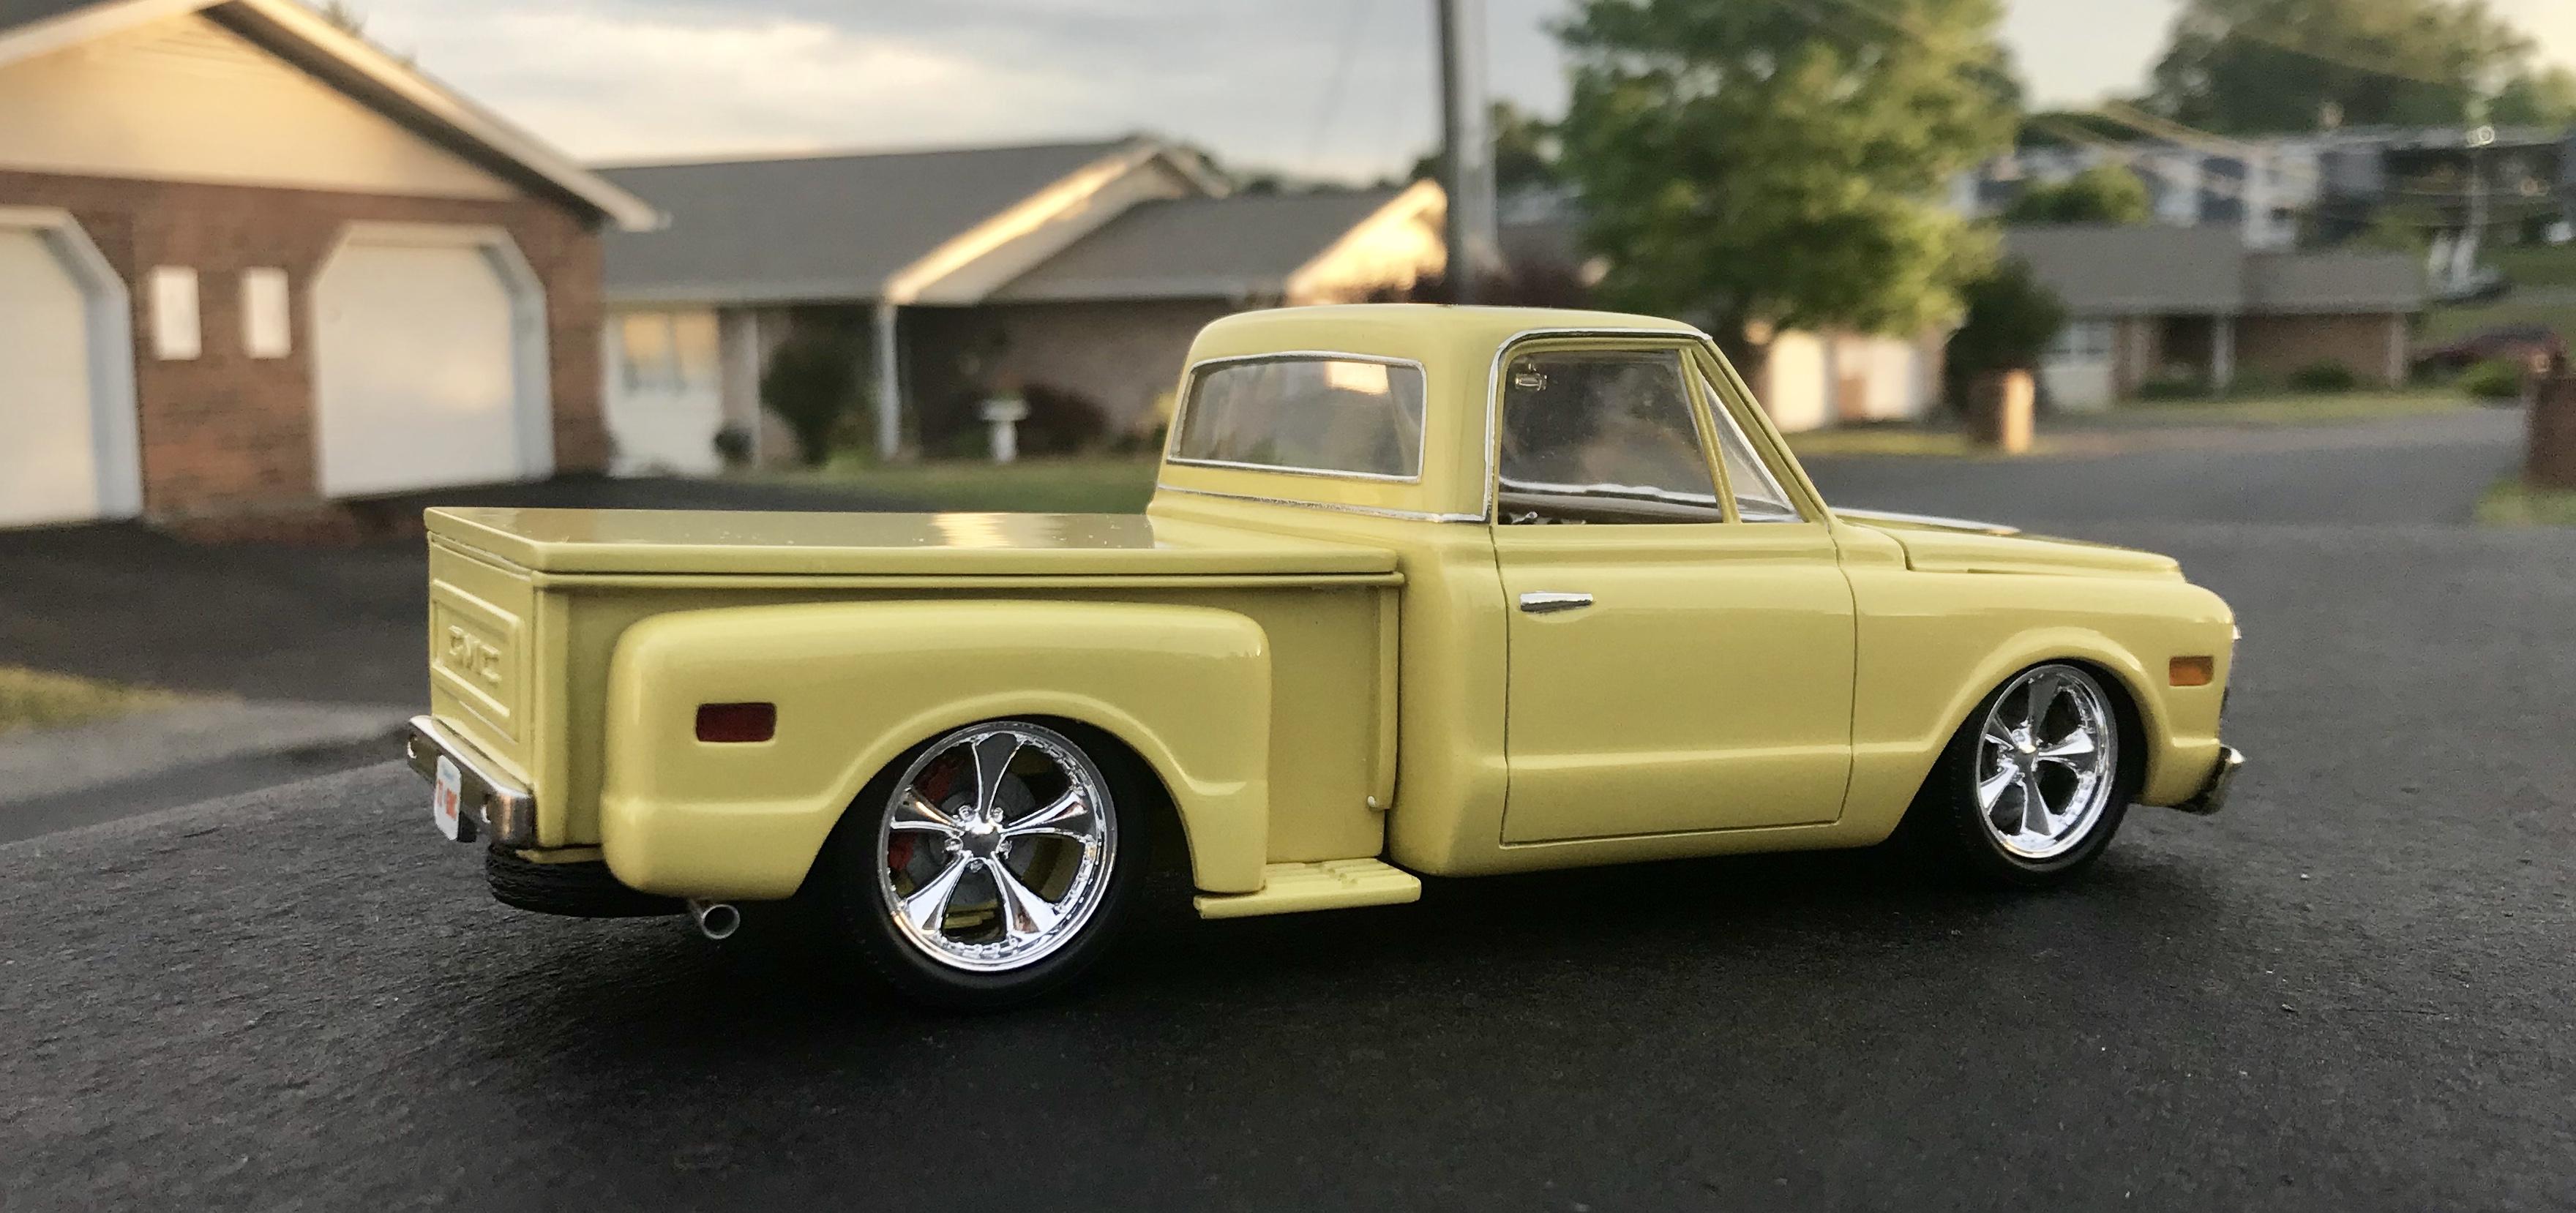
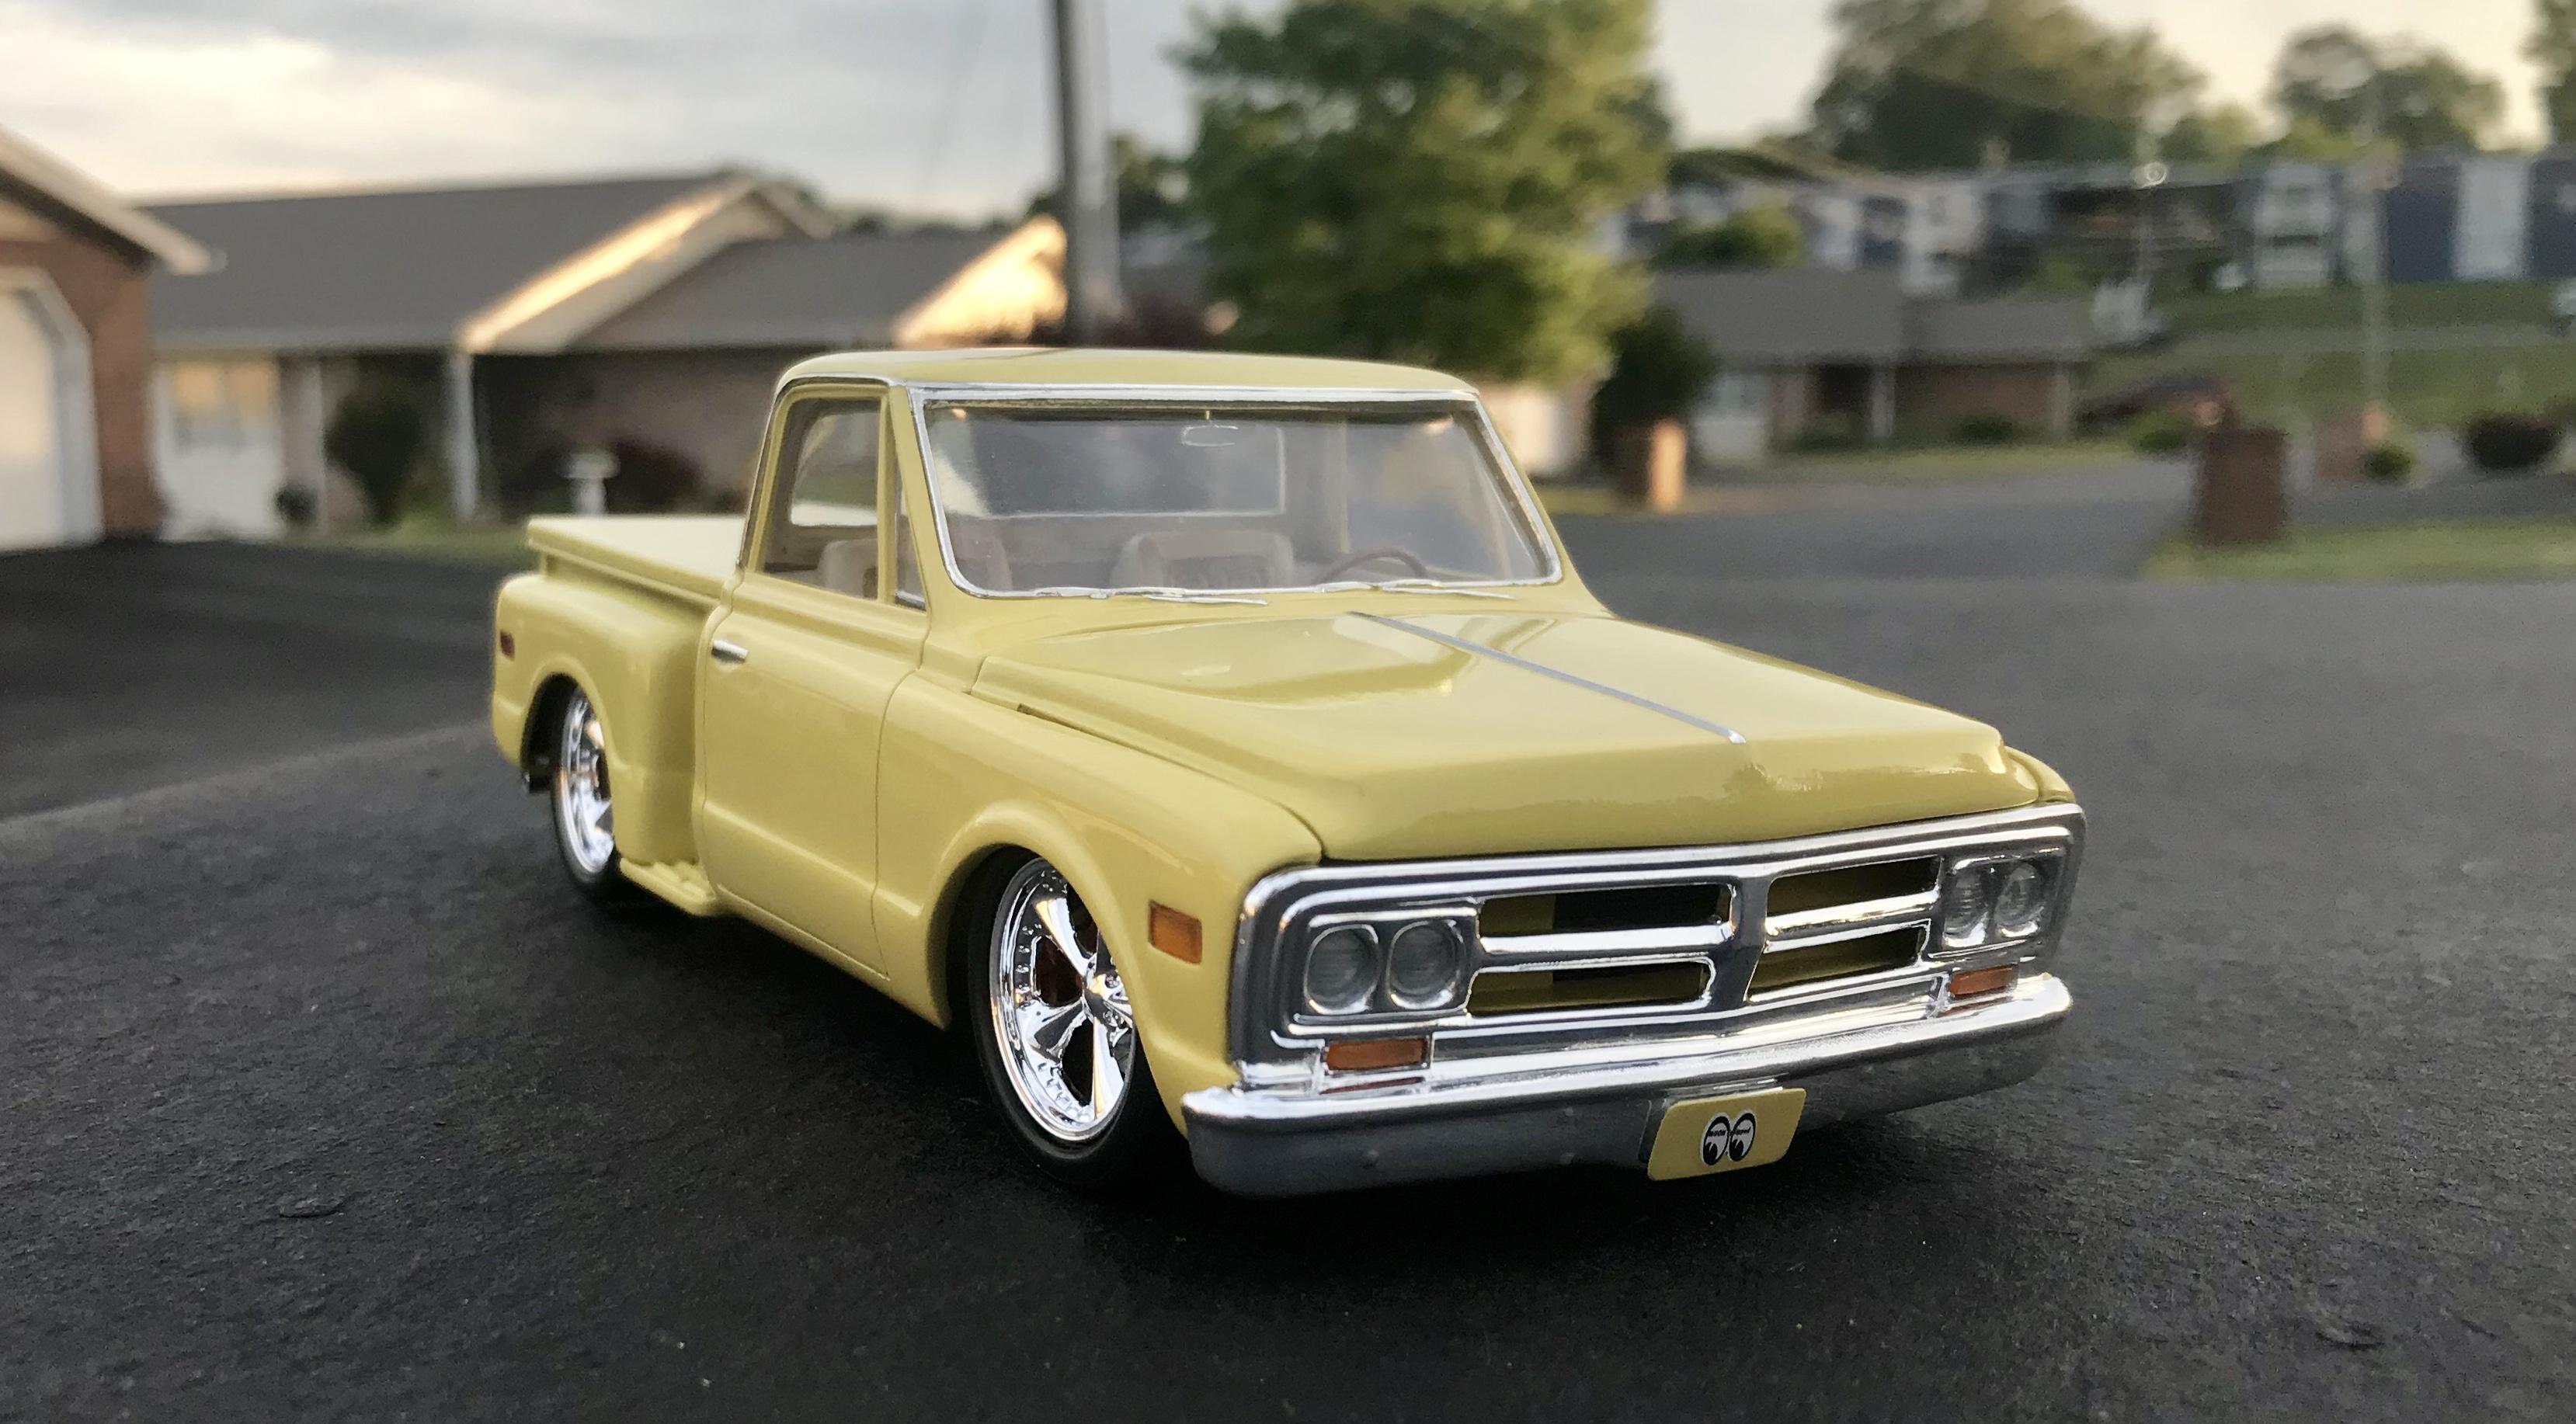
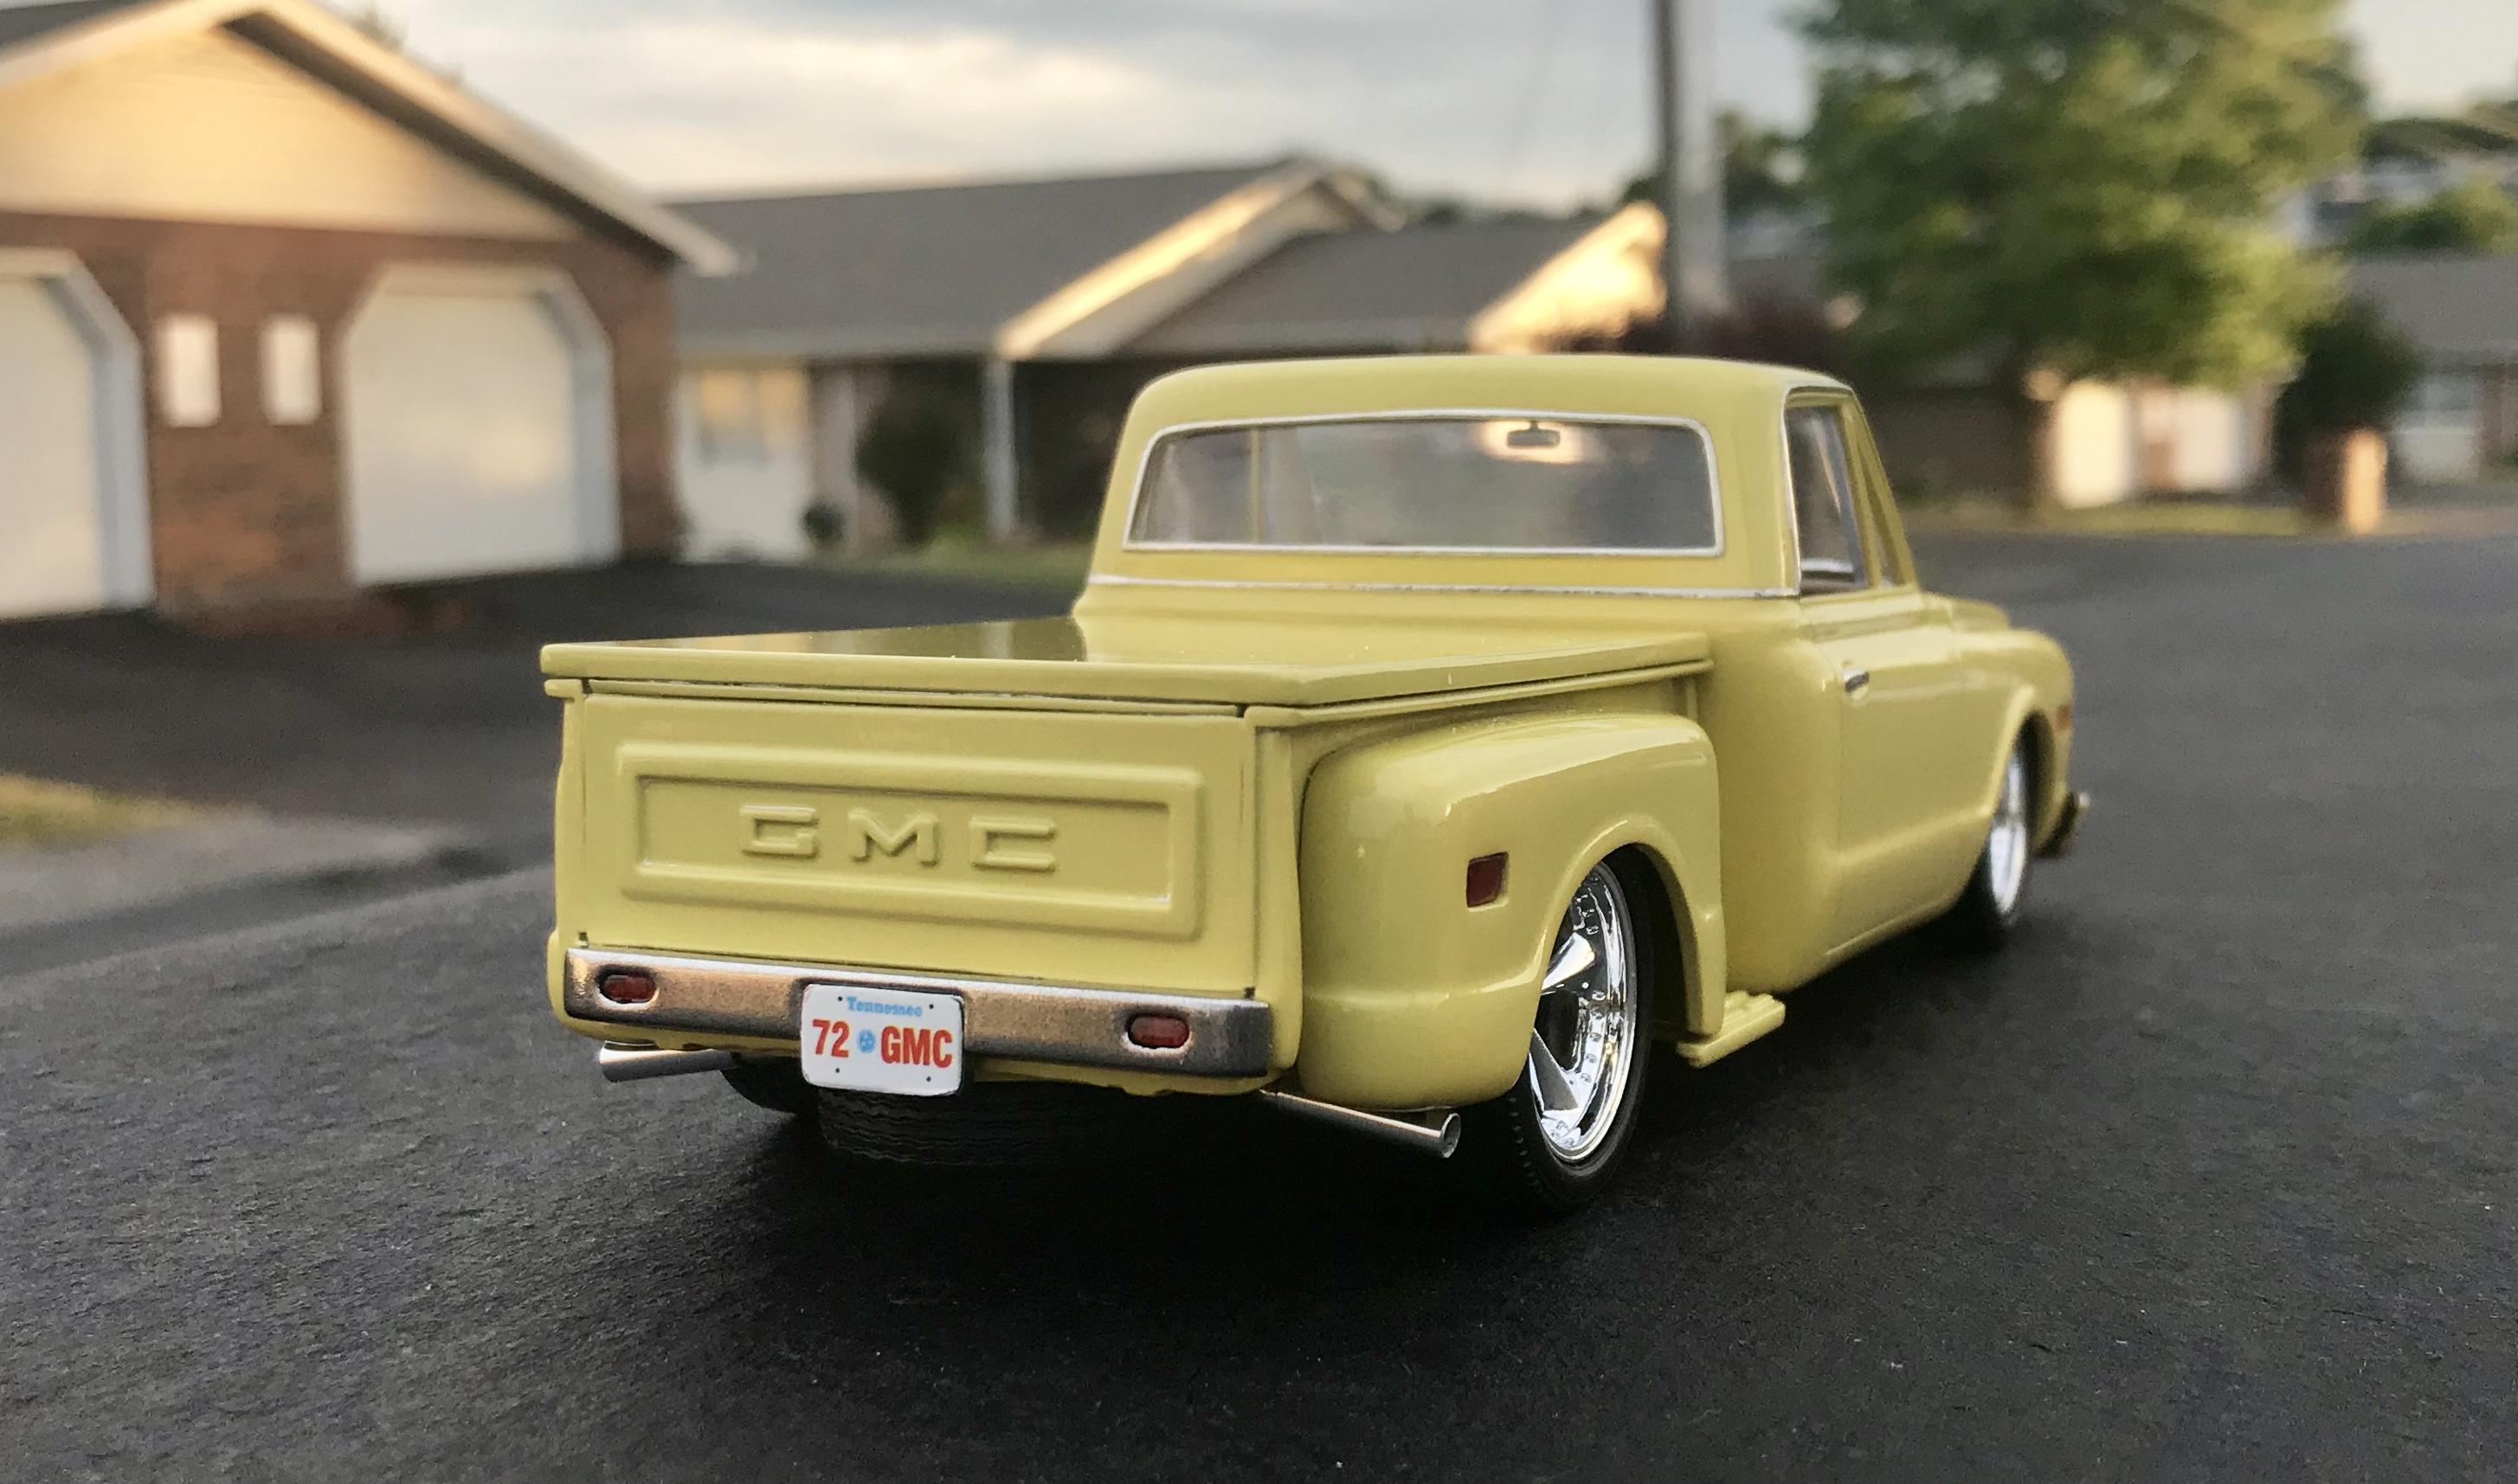
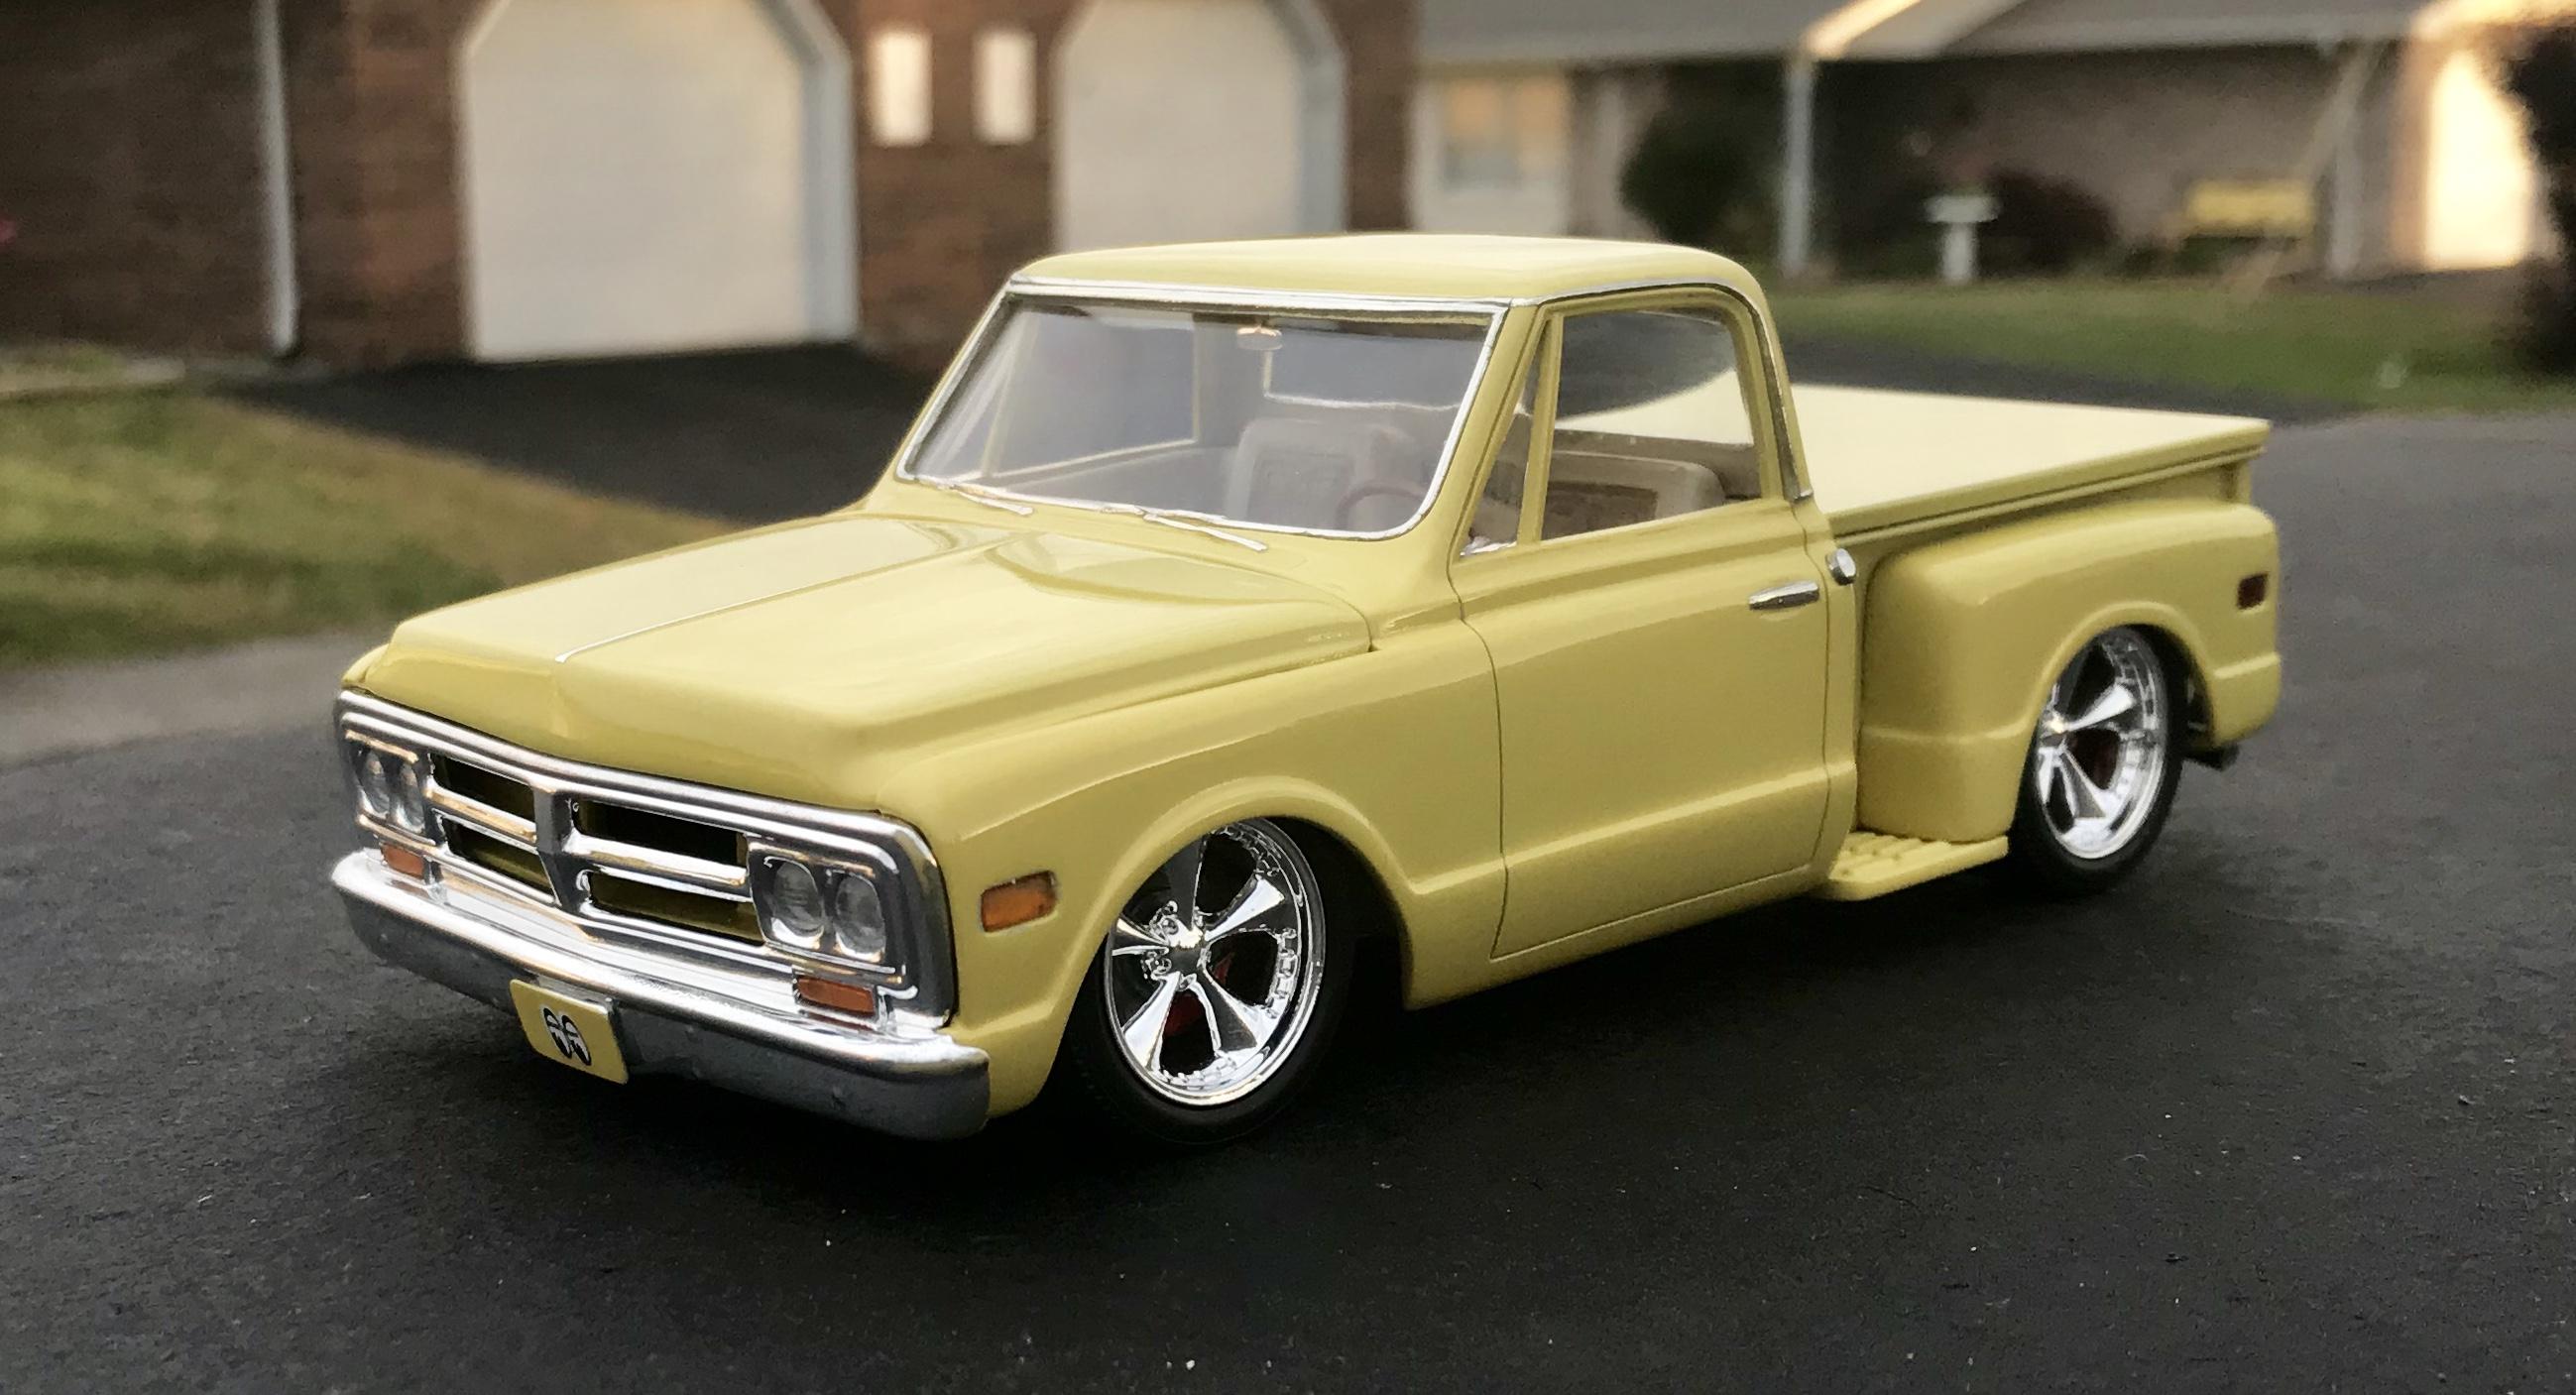
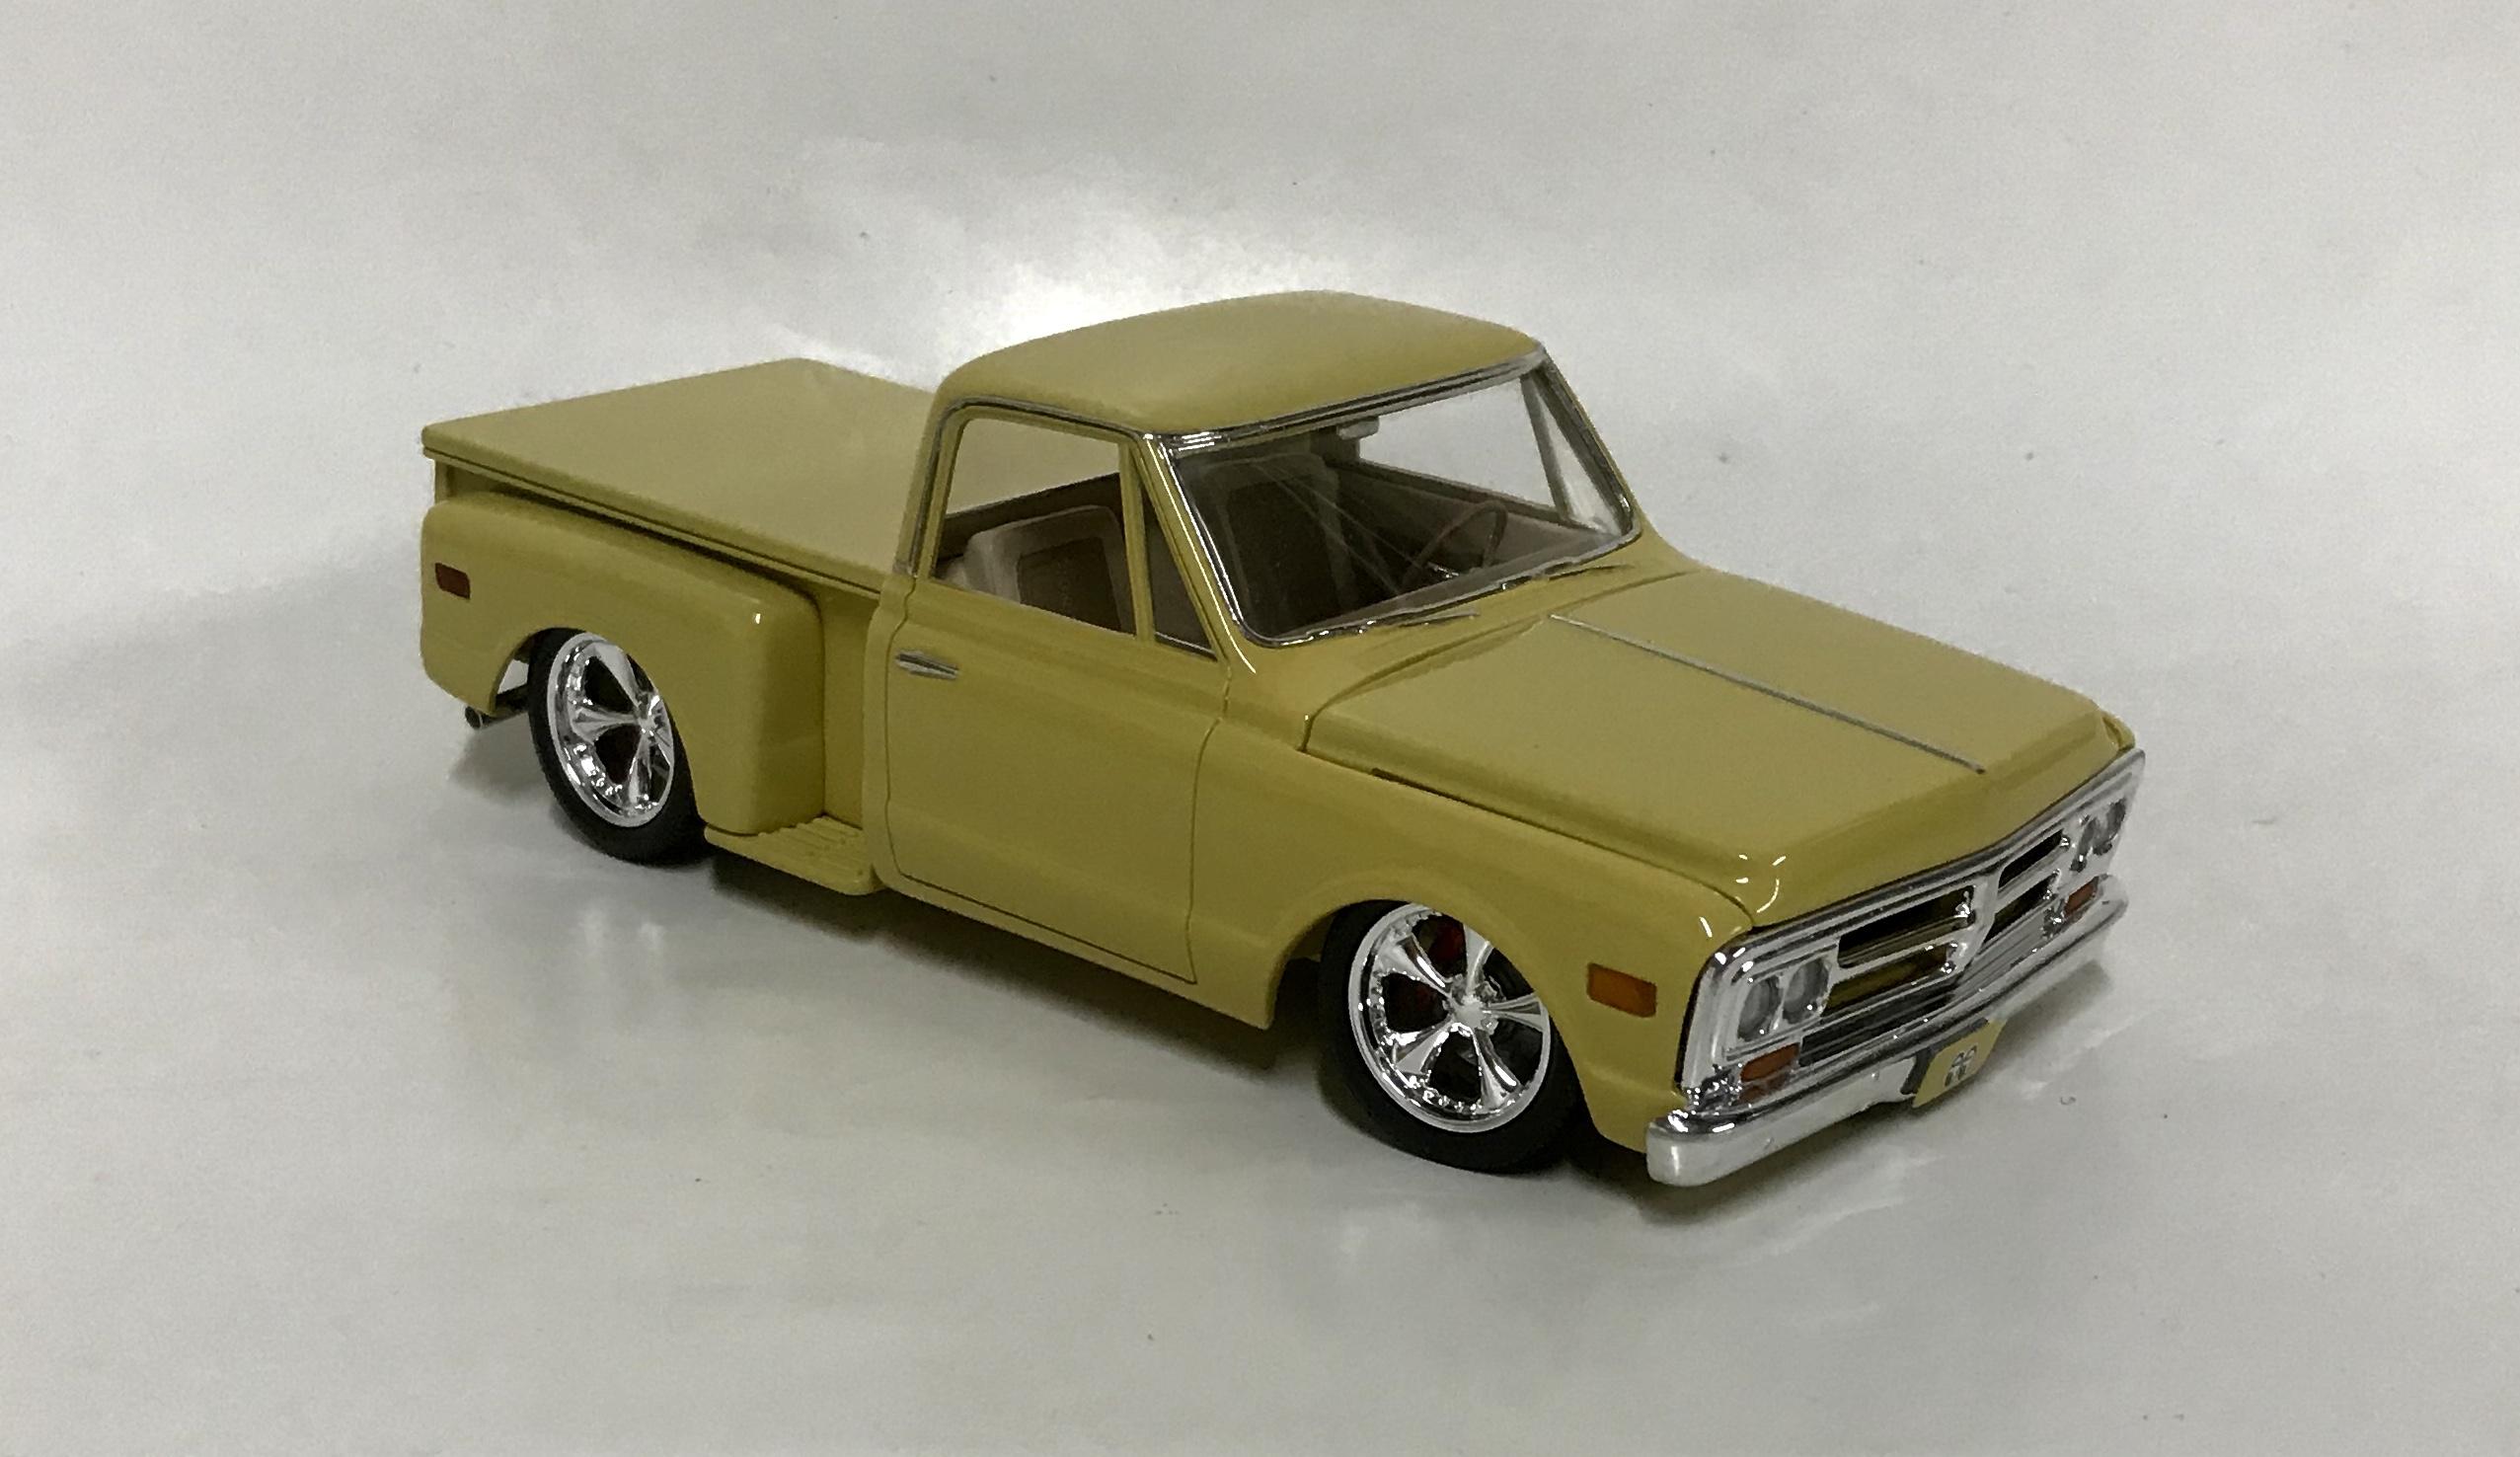
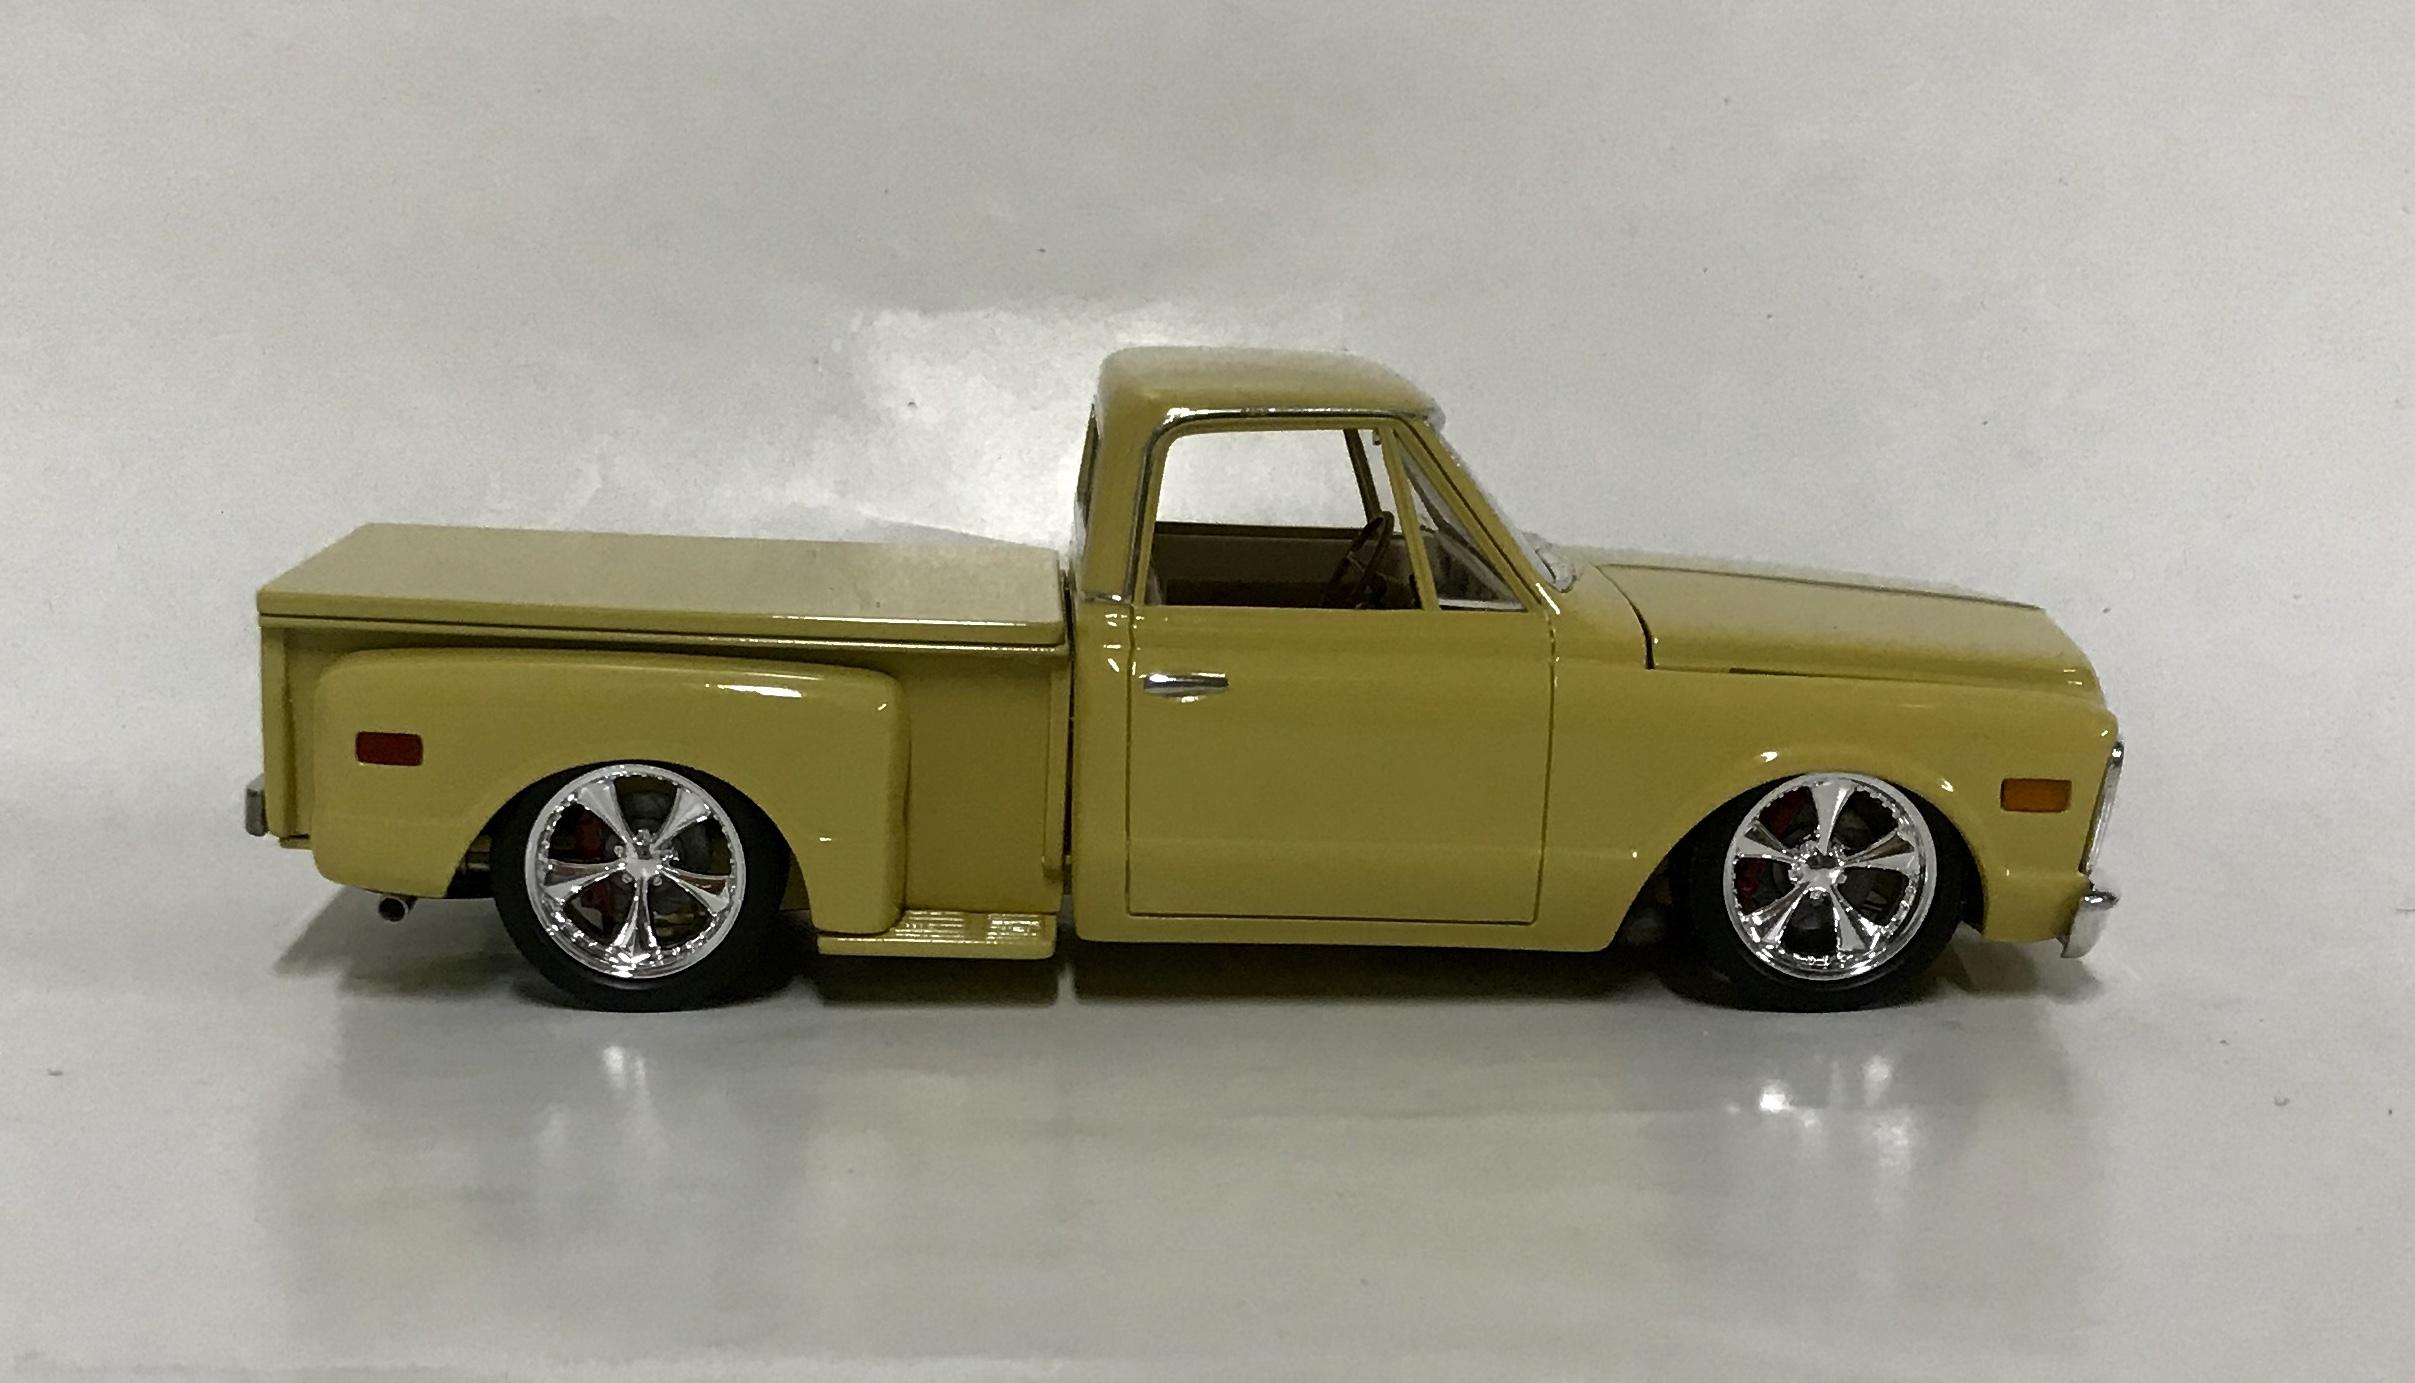
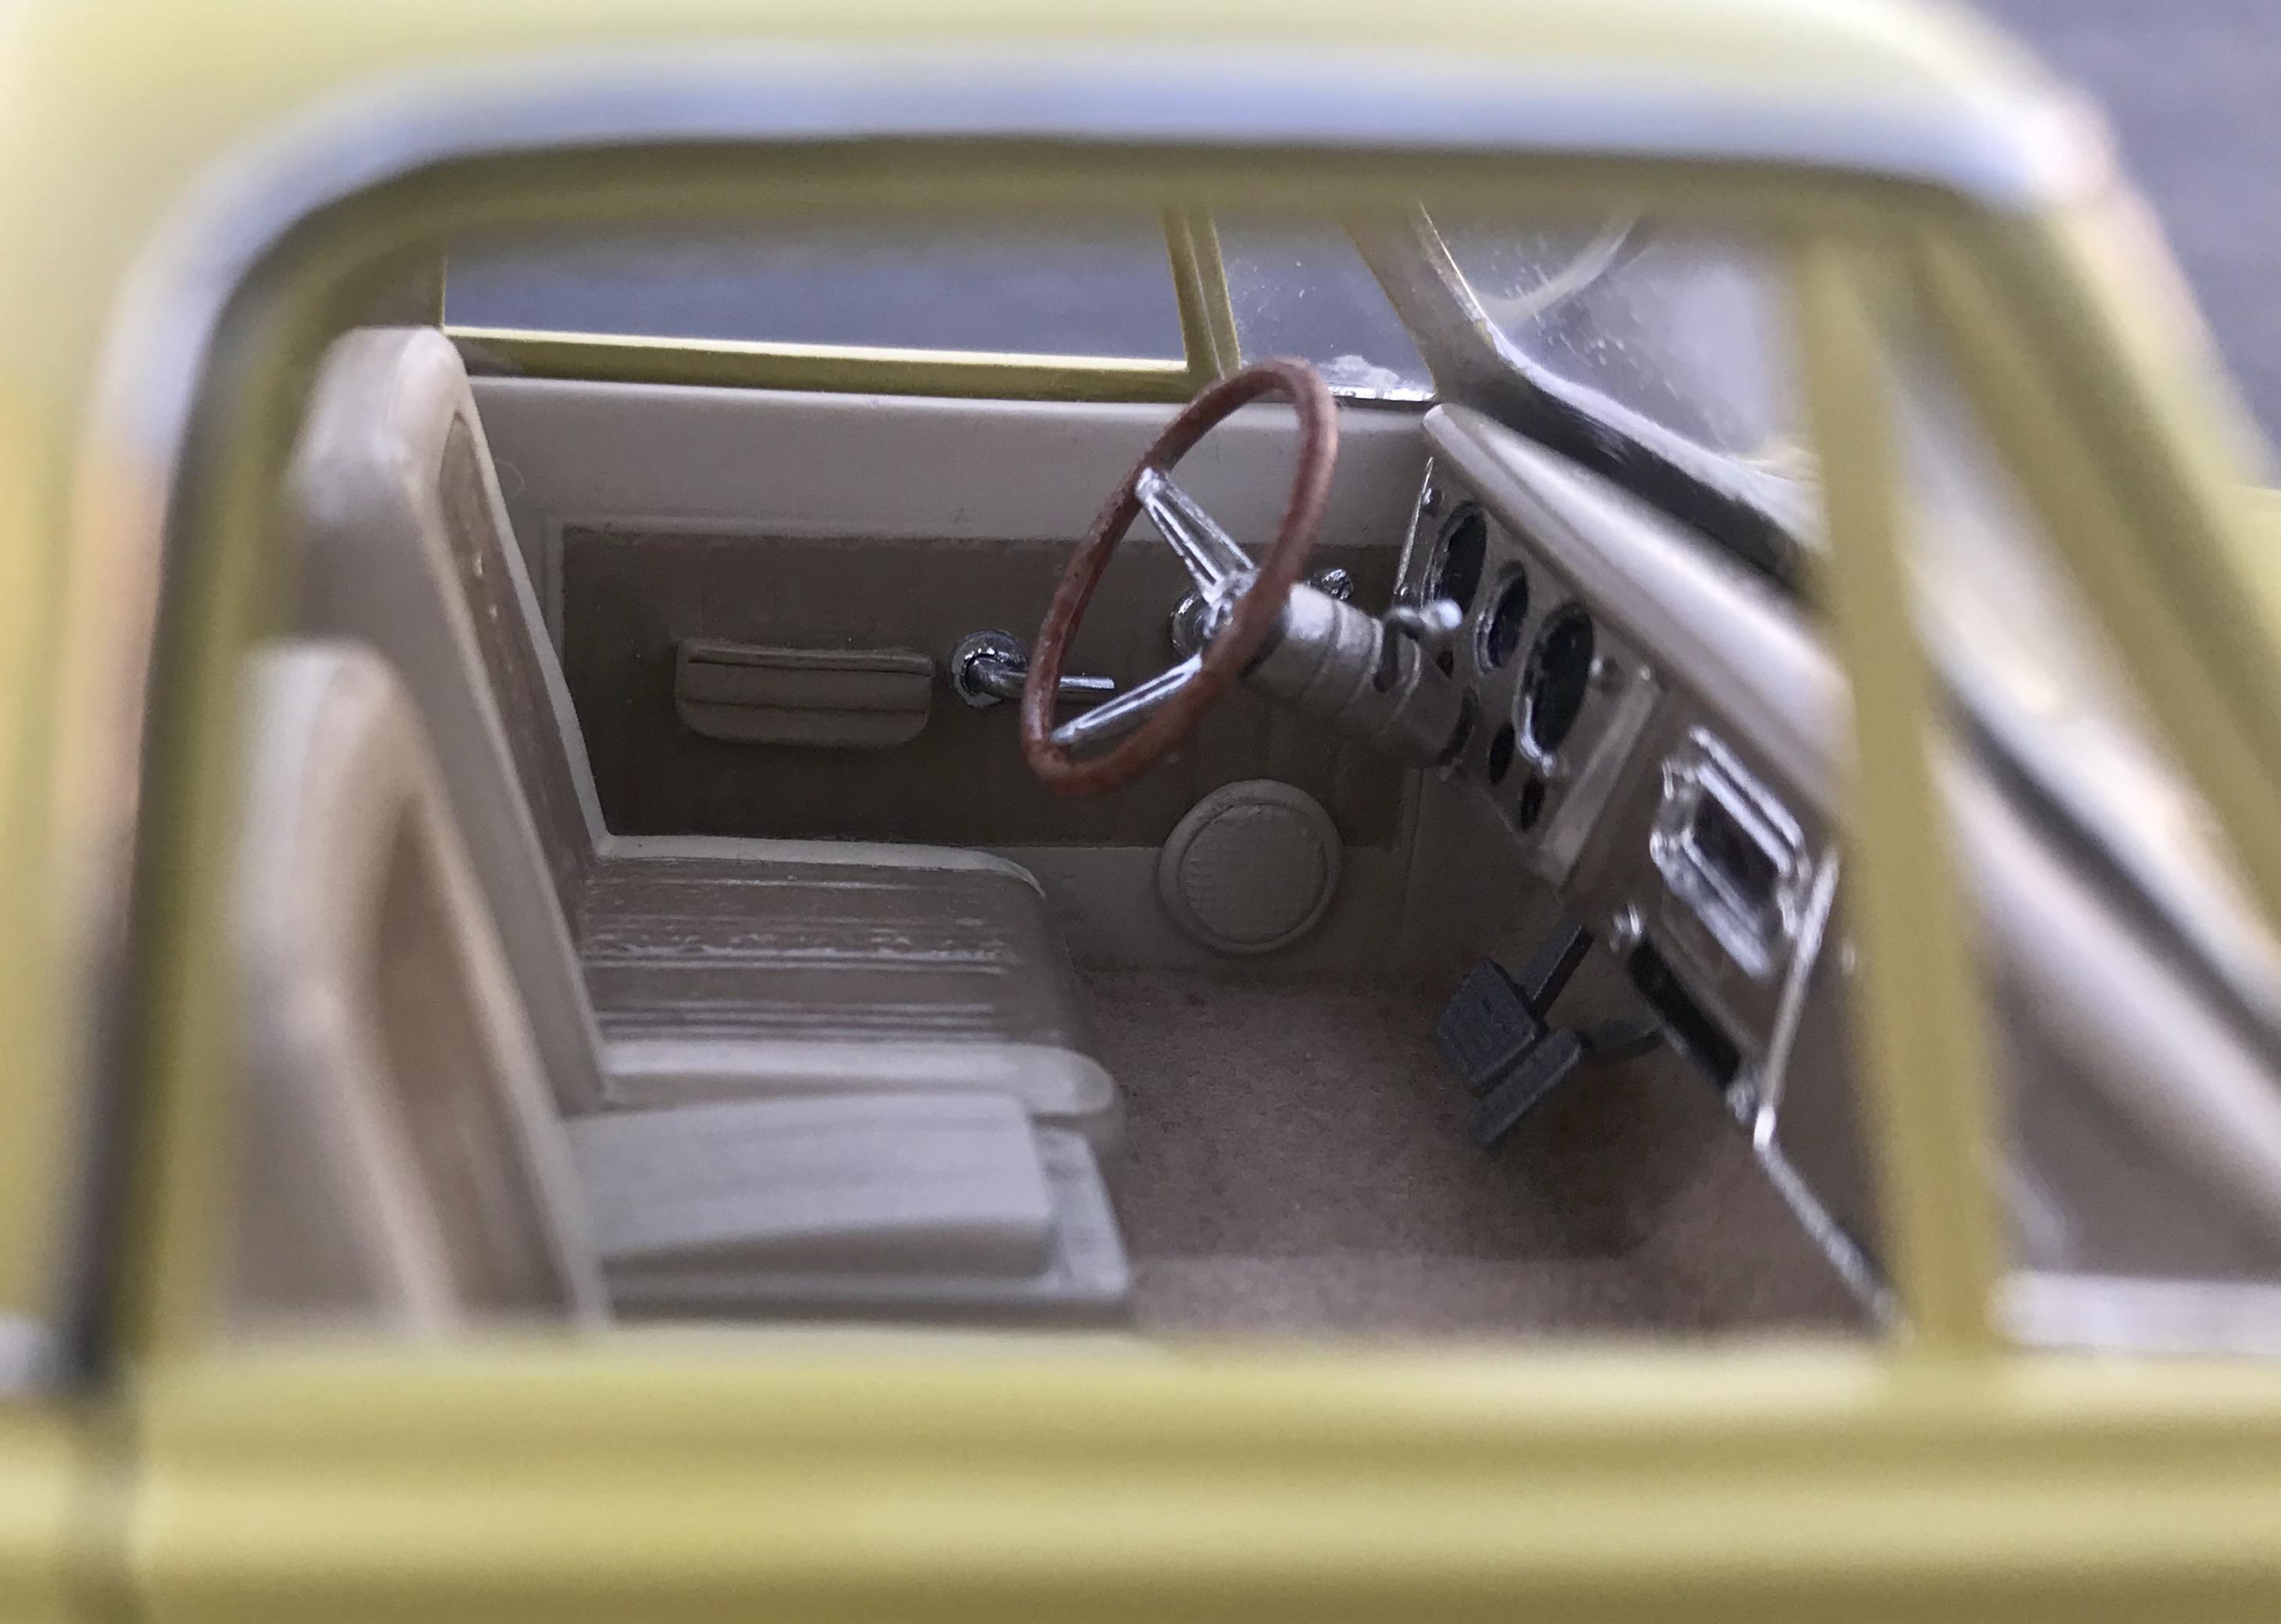
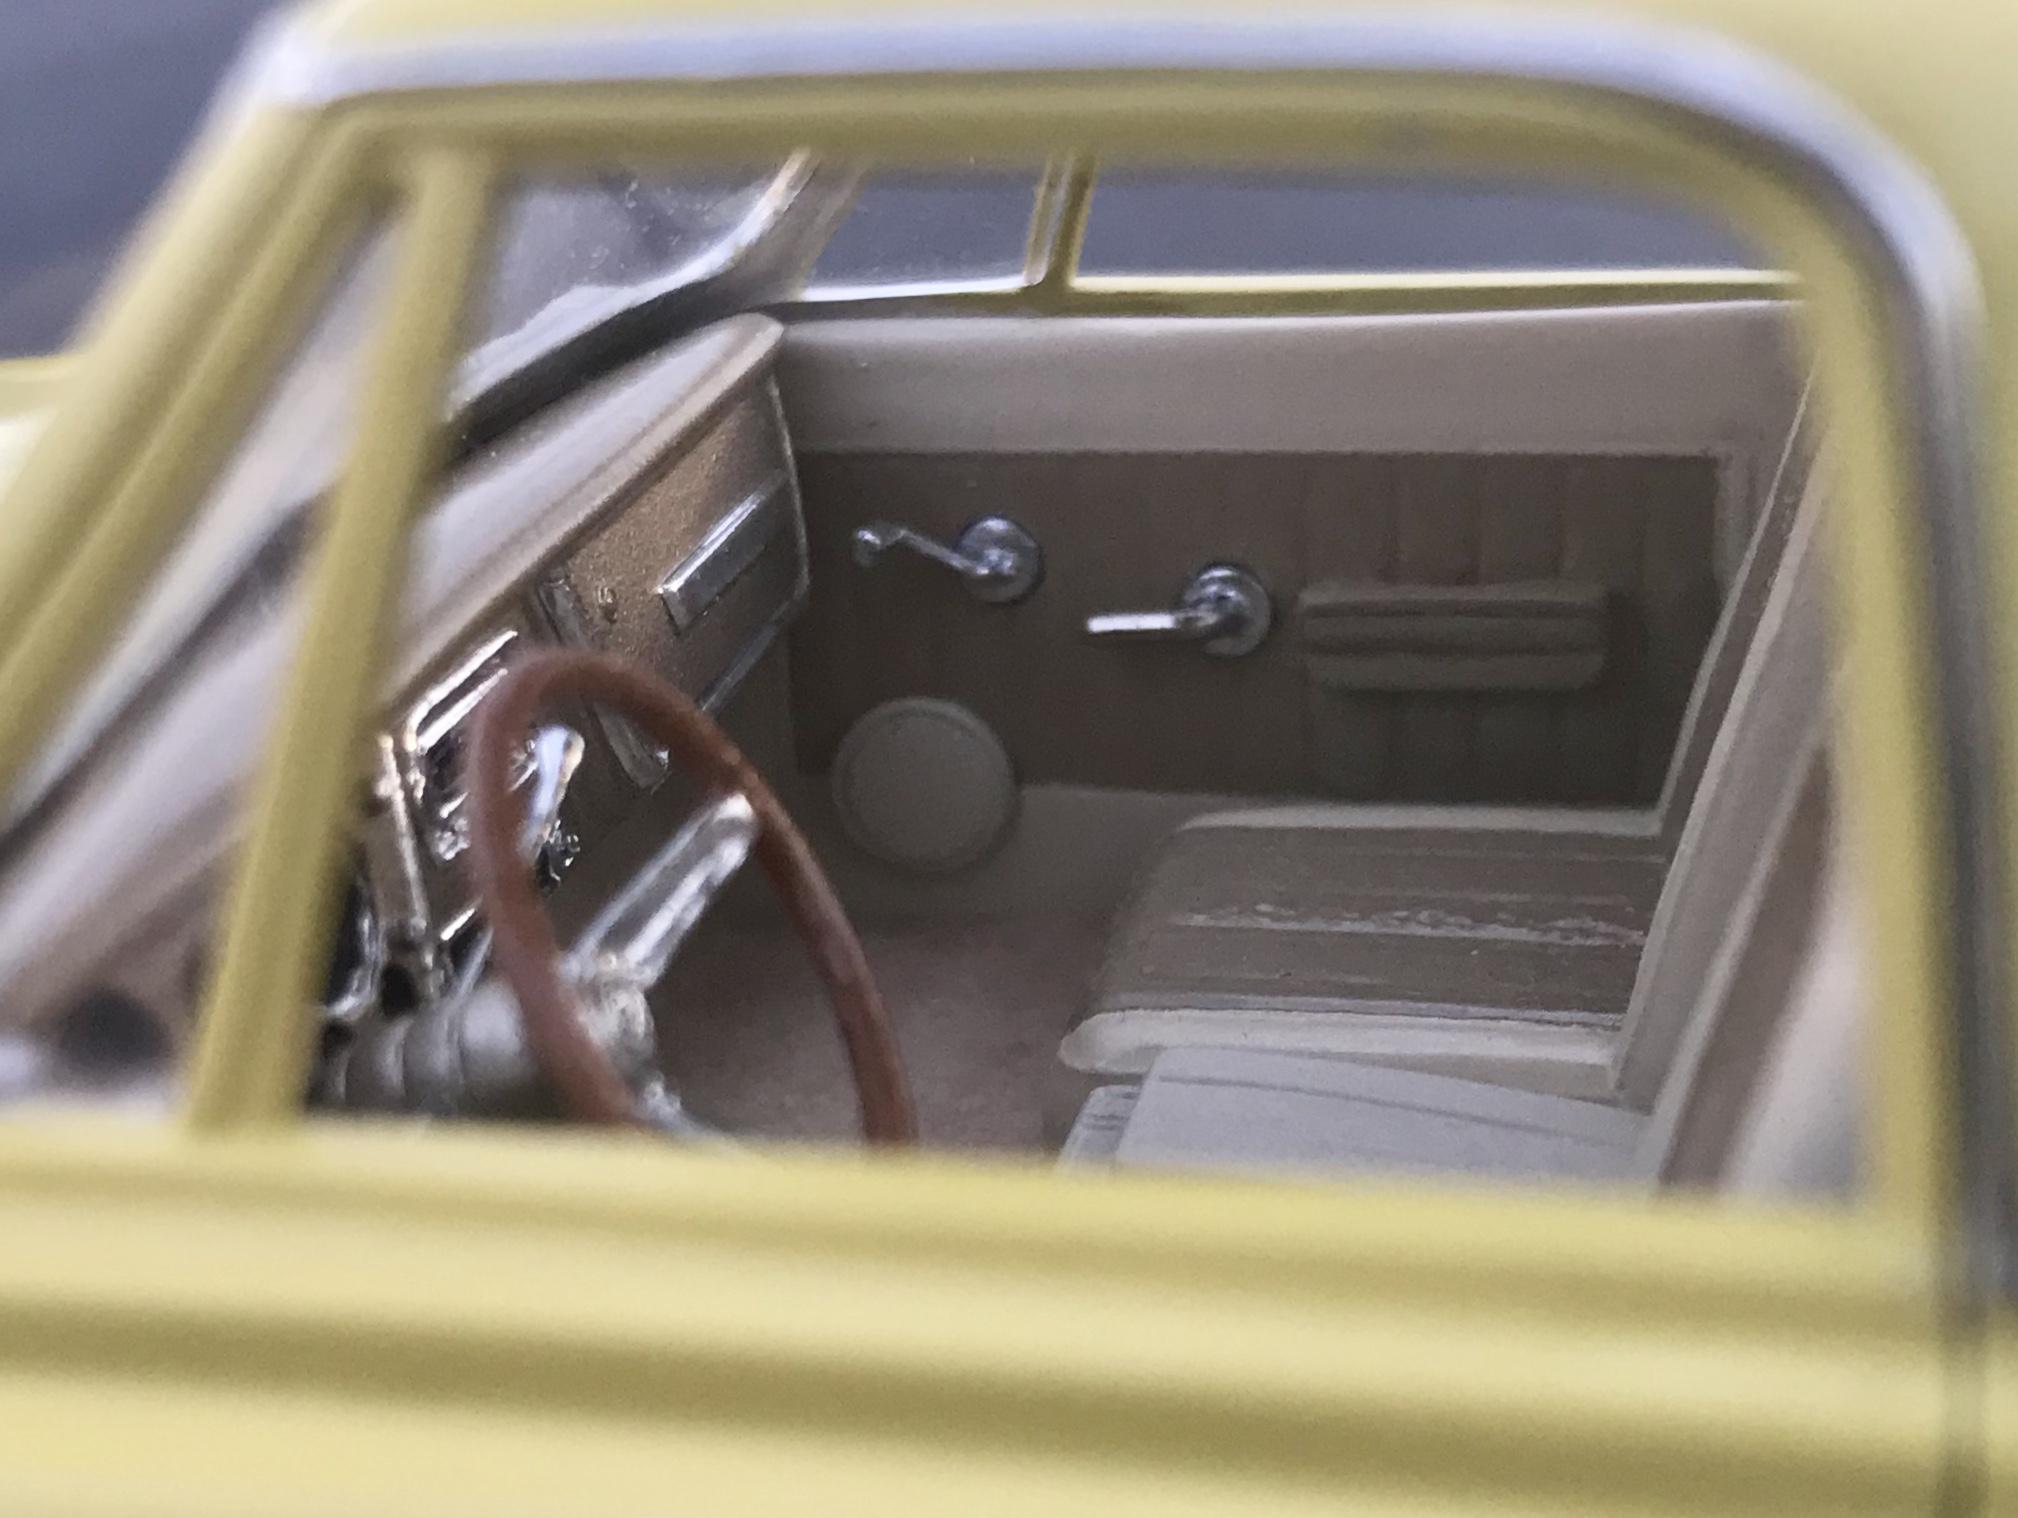
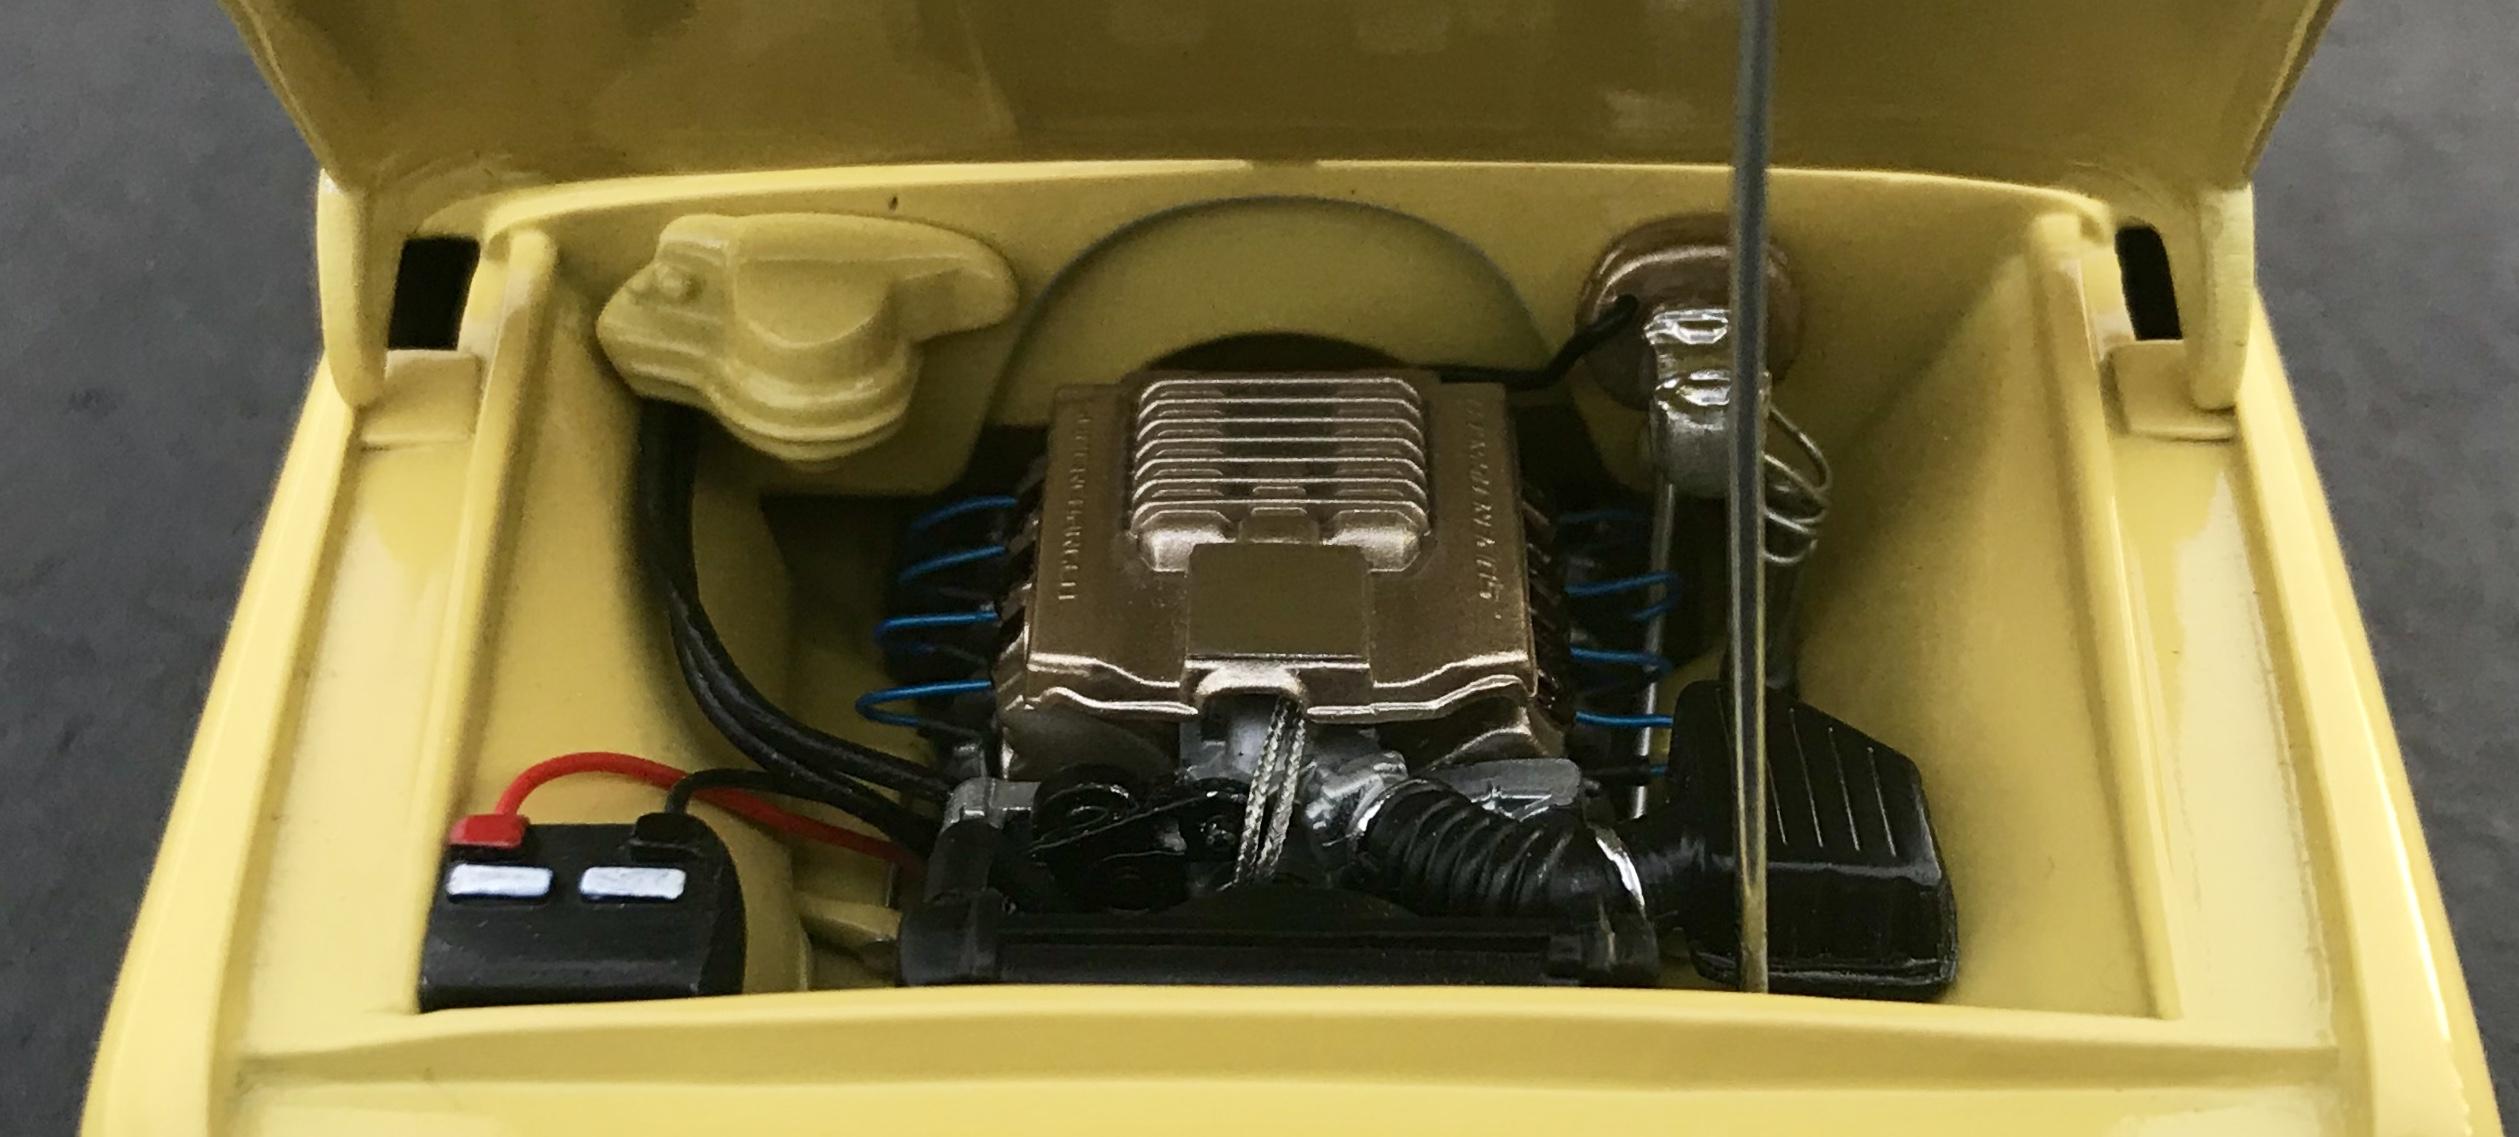
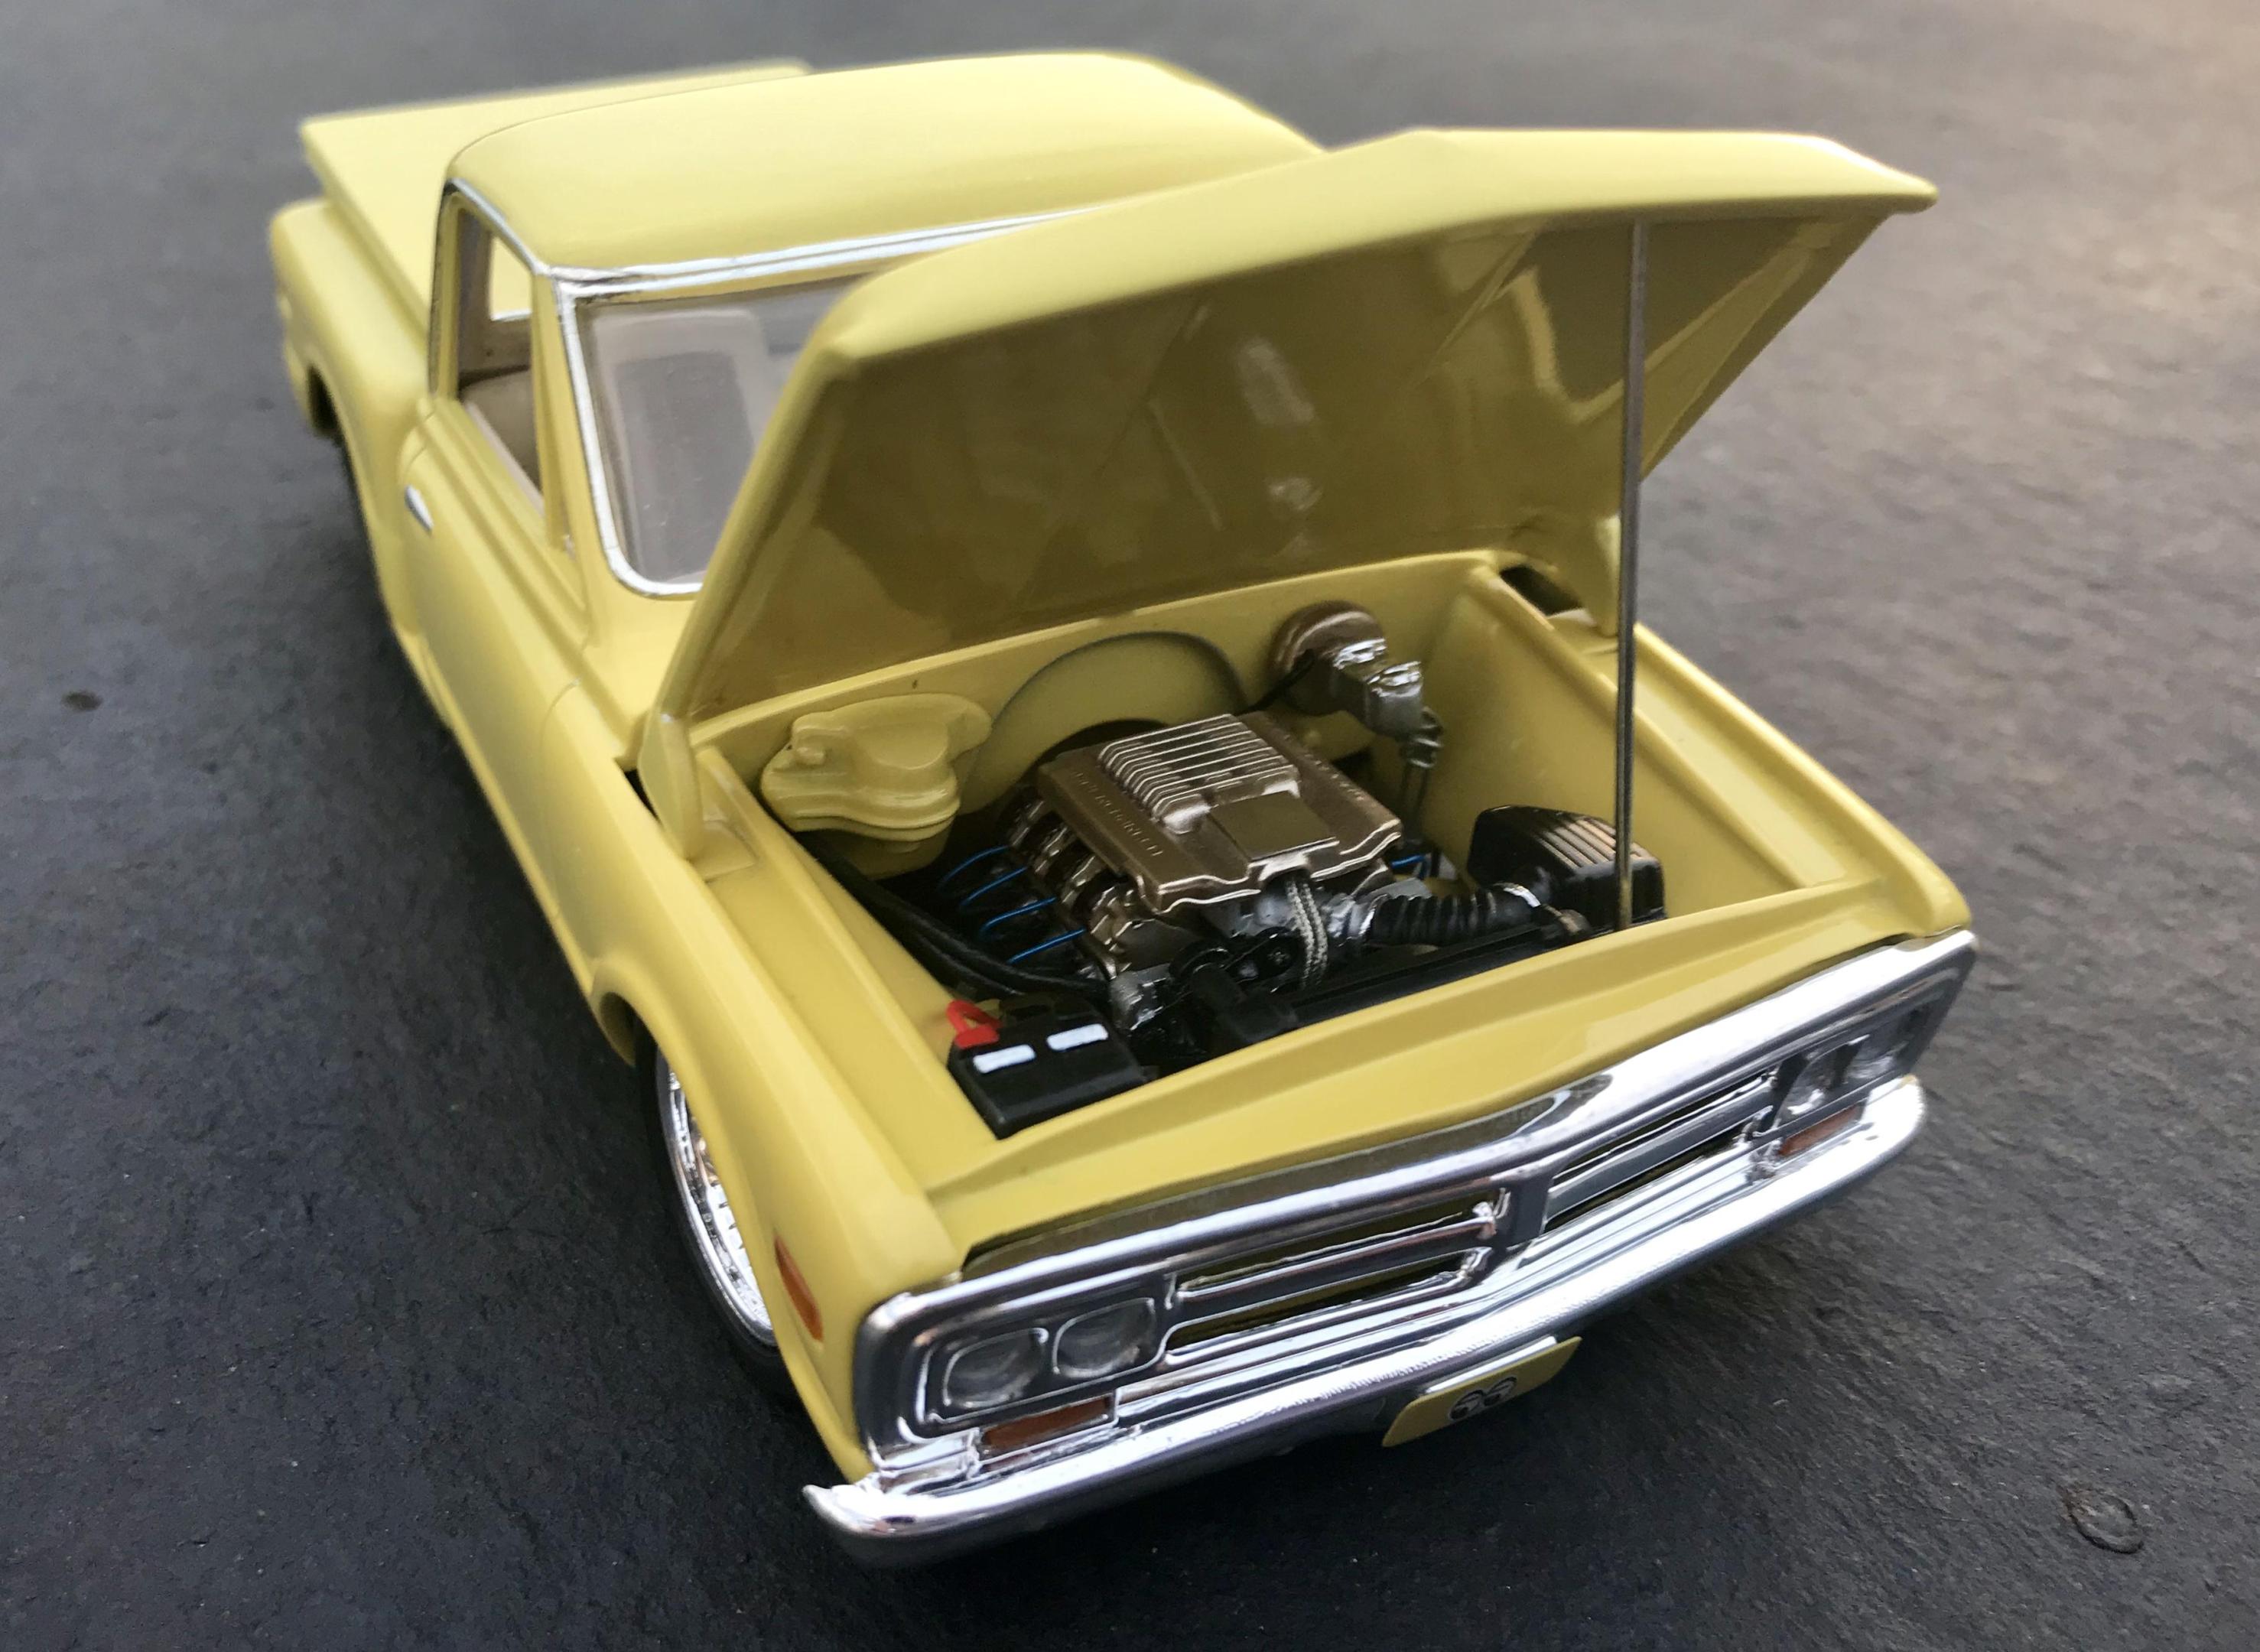
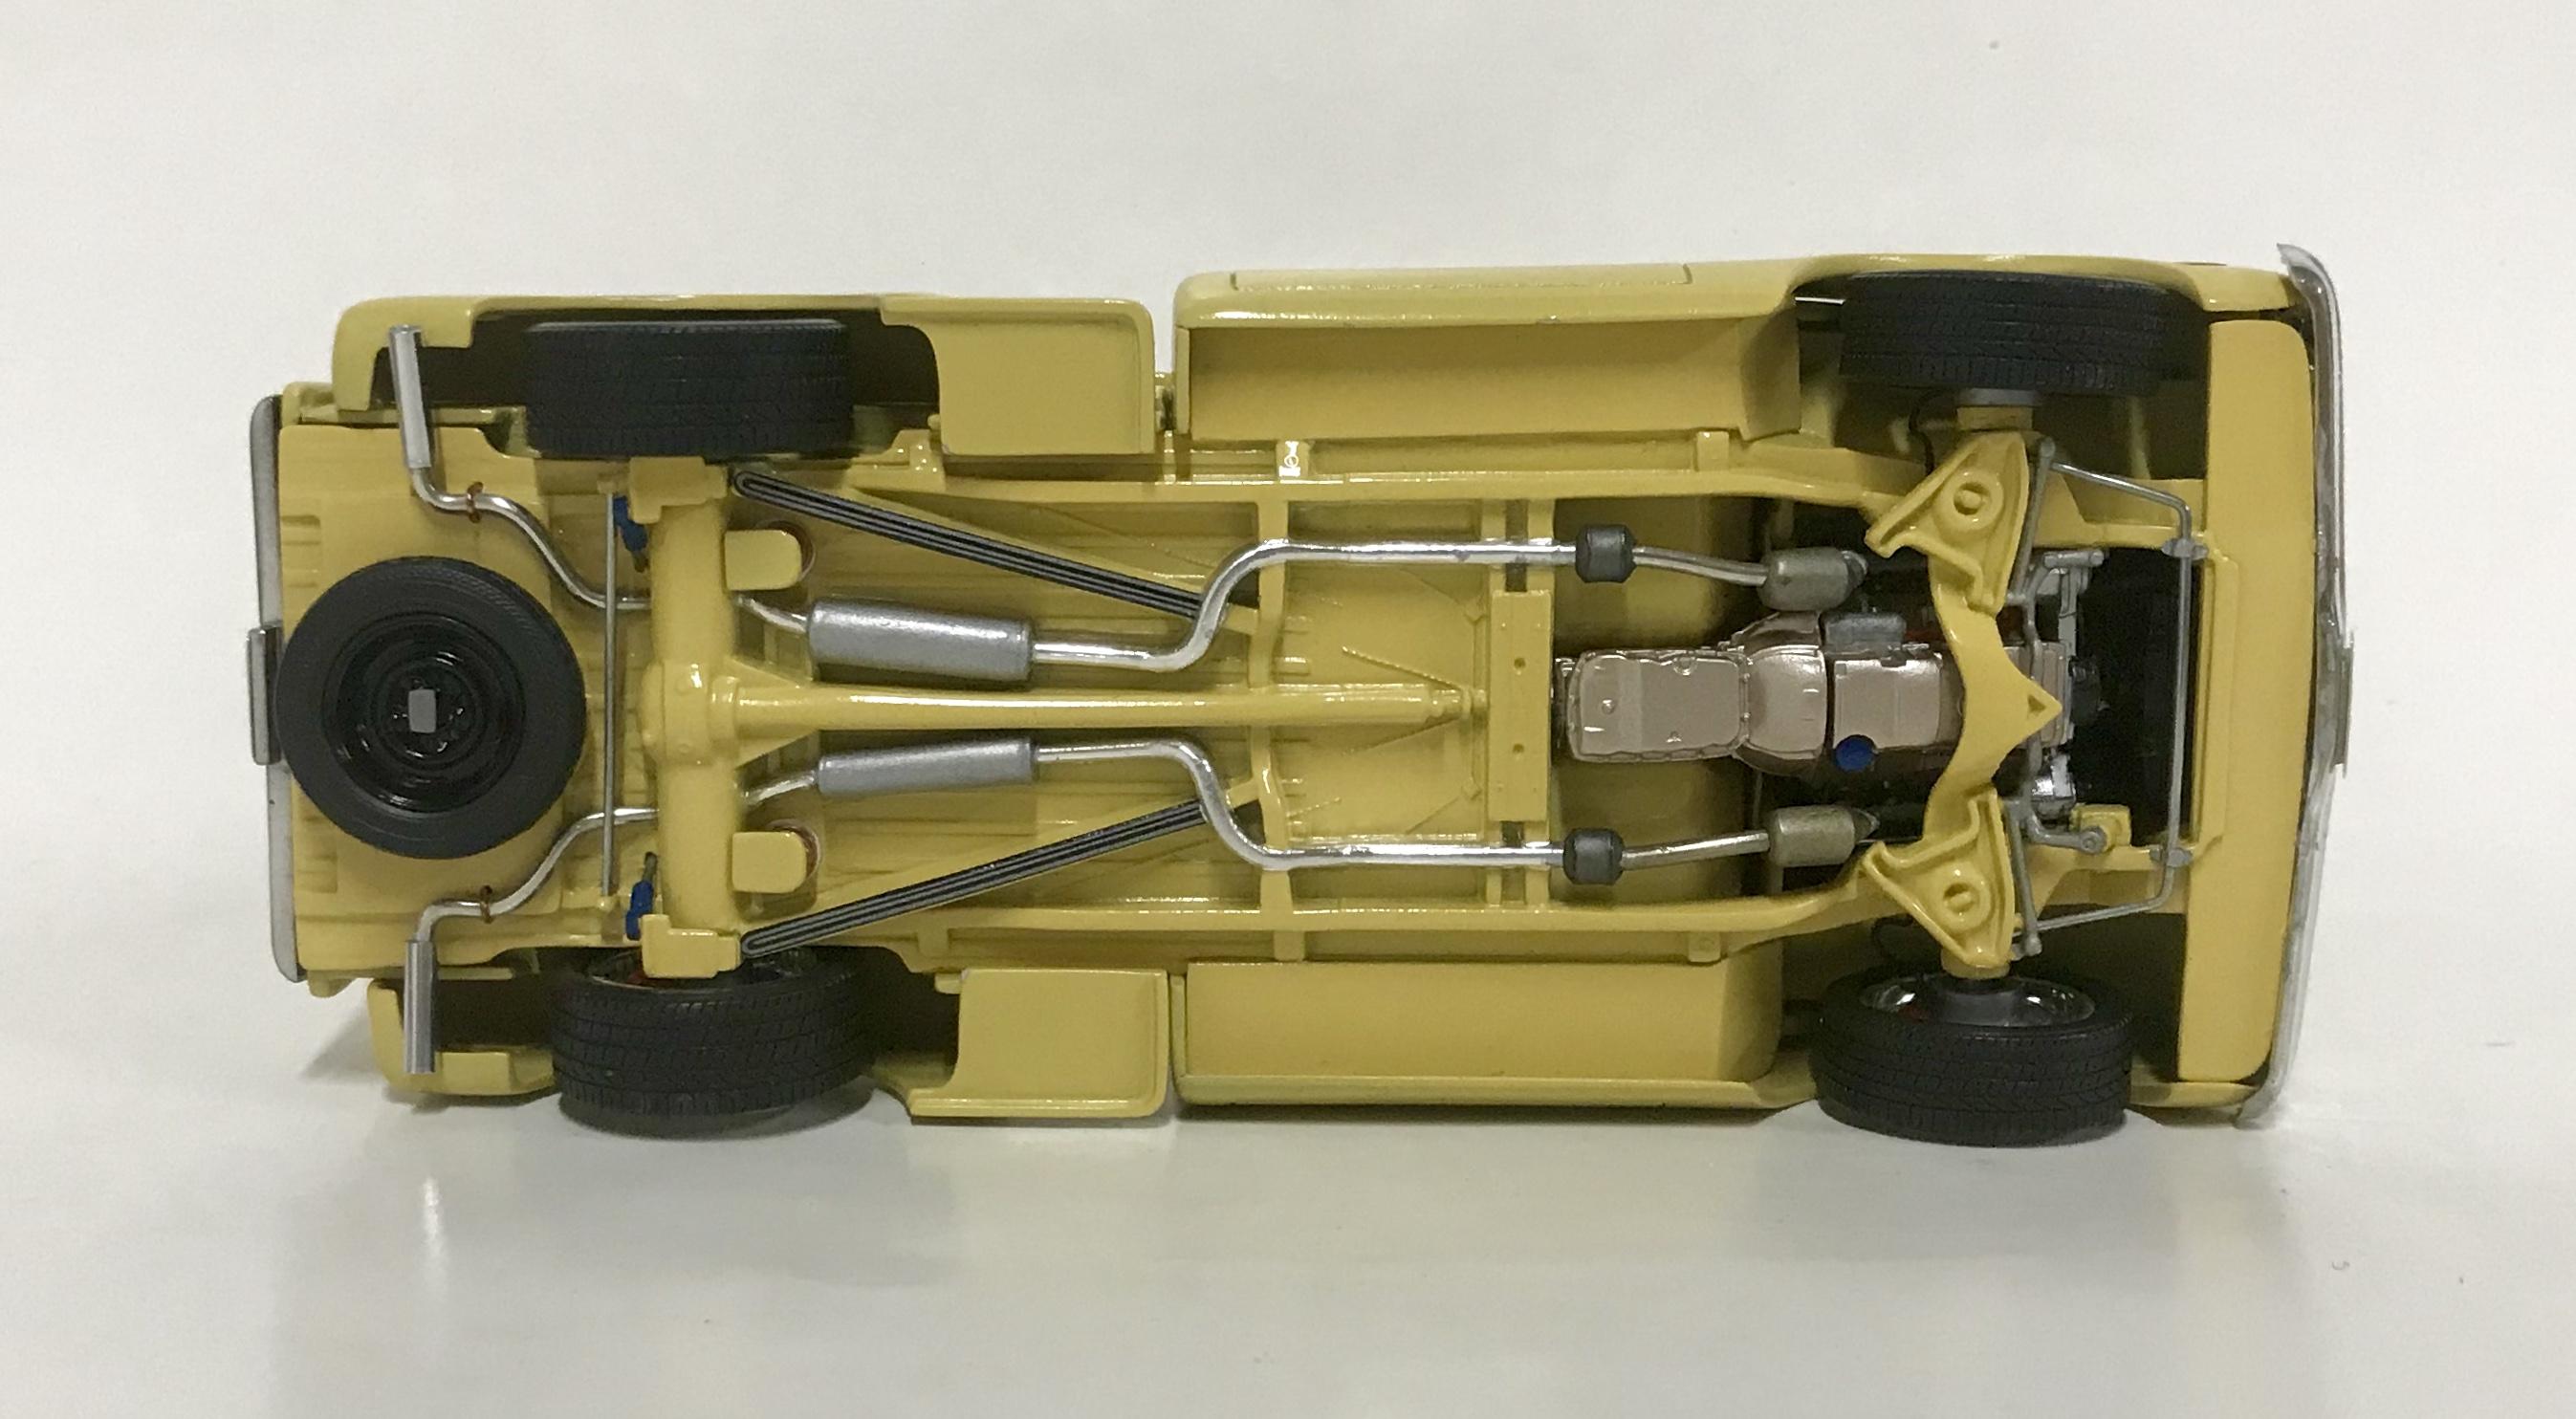
I built this AMT 1972 GMC Stepside a while back and it cooperated easily with everything I wanted to do to it. It had been waiting patiently in my stash since I got it back in the 90’s. I’m glad I waited to do this one now instead of back then, as my skills are more developed now versus then. Once I started on it I couldn’t put it down, I was on a major roll. Besides the Stepside kit, I used parts from a Foose pickup and a Revell 2013 Camaro, a Revell 1967 Chevelle, an AMT 1967 Chevelle and several other kits. It is covered with Dupli-Color Toyota Yellow and clear with the engine painted with Dupli-Color Naples Gold. The interior was covered with Krylon Almond satin and Khaki satin and I tried to pull off a wood grain steering wheel. It doesn’t have one single aftermarket part on it but it does have some scratch built ones. This one was fun one for sure.
-
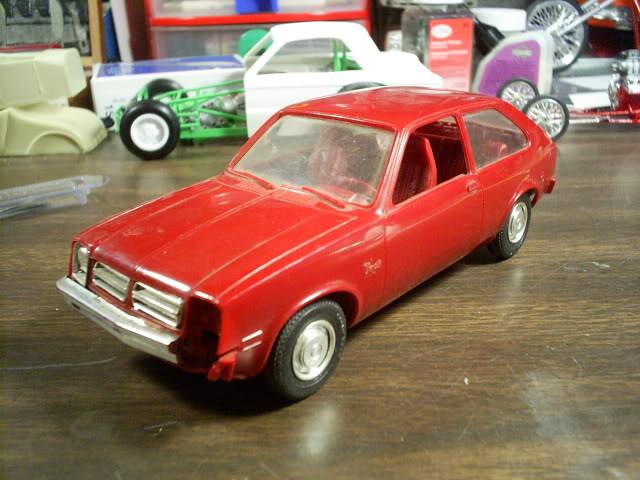
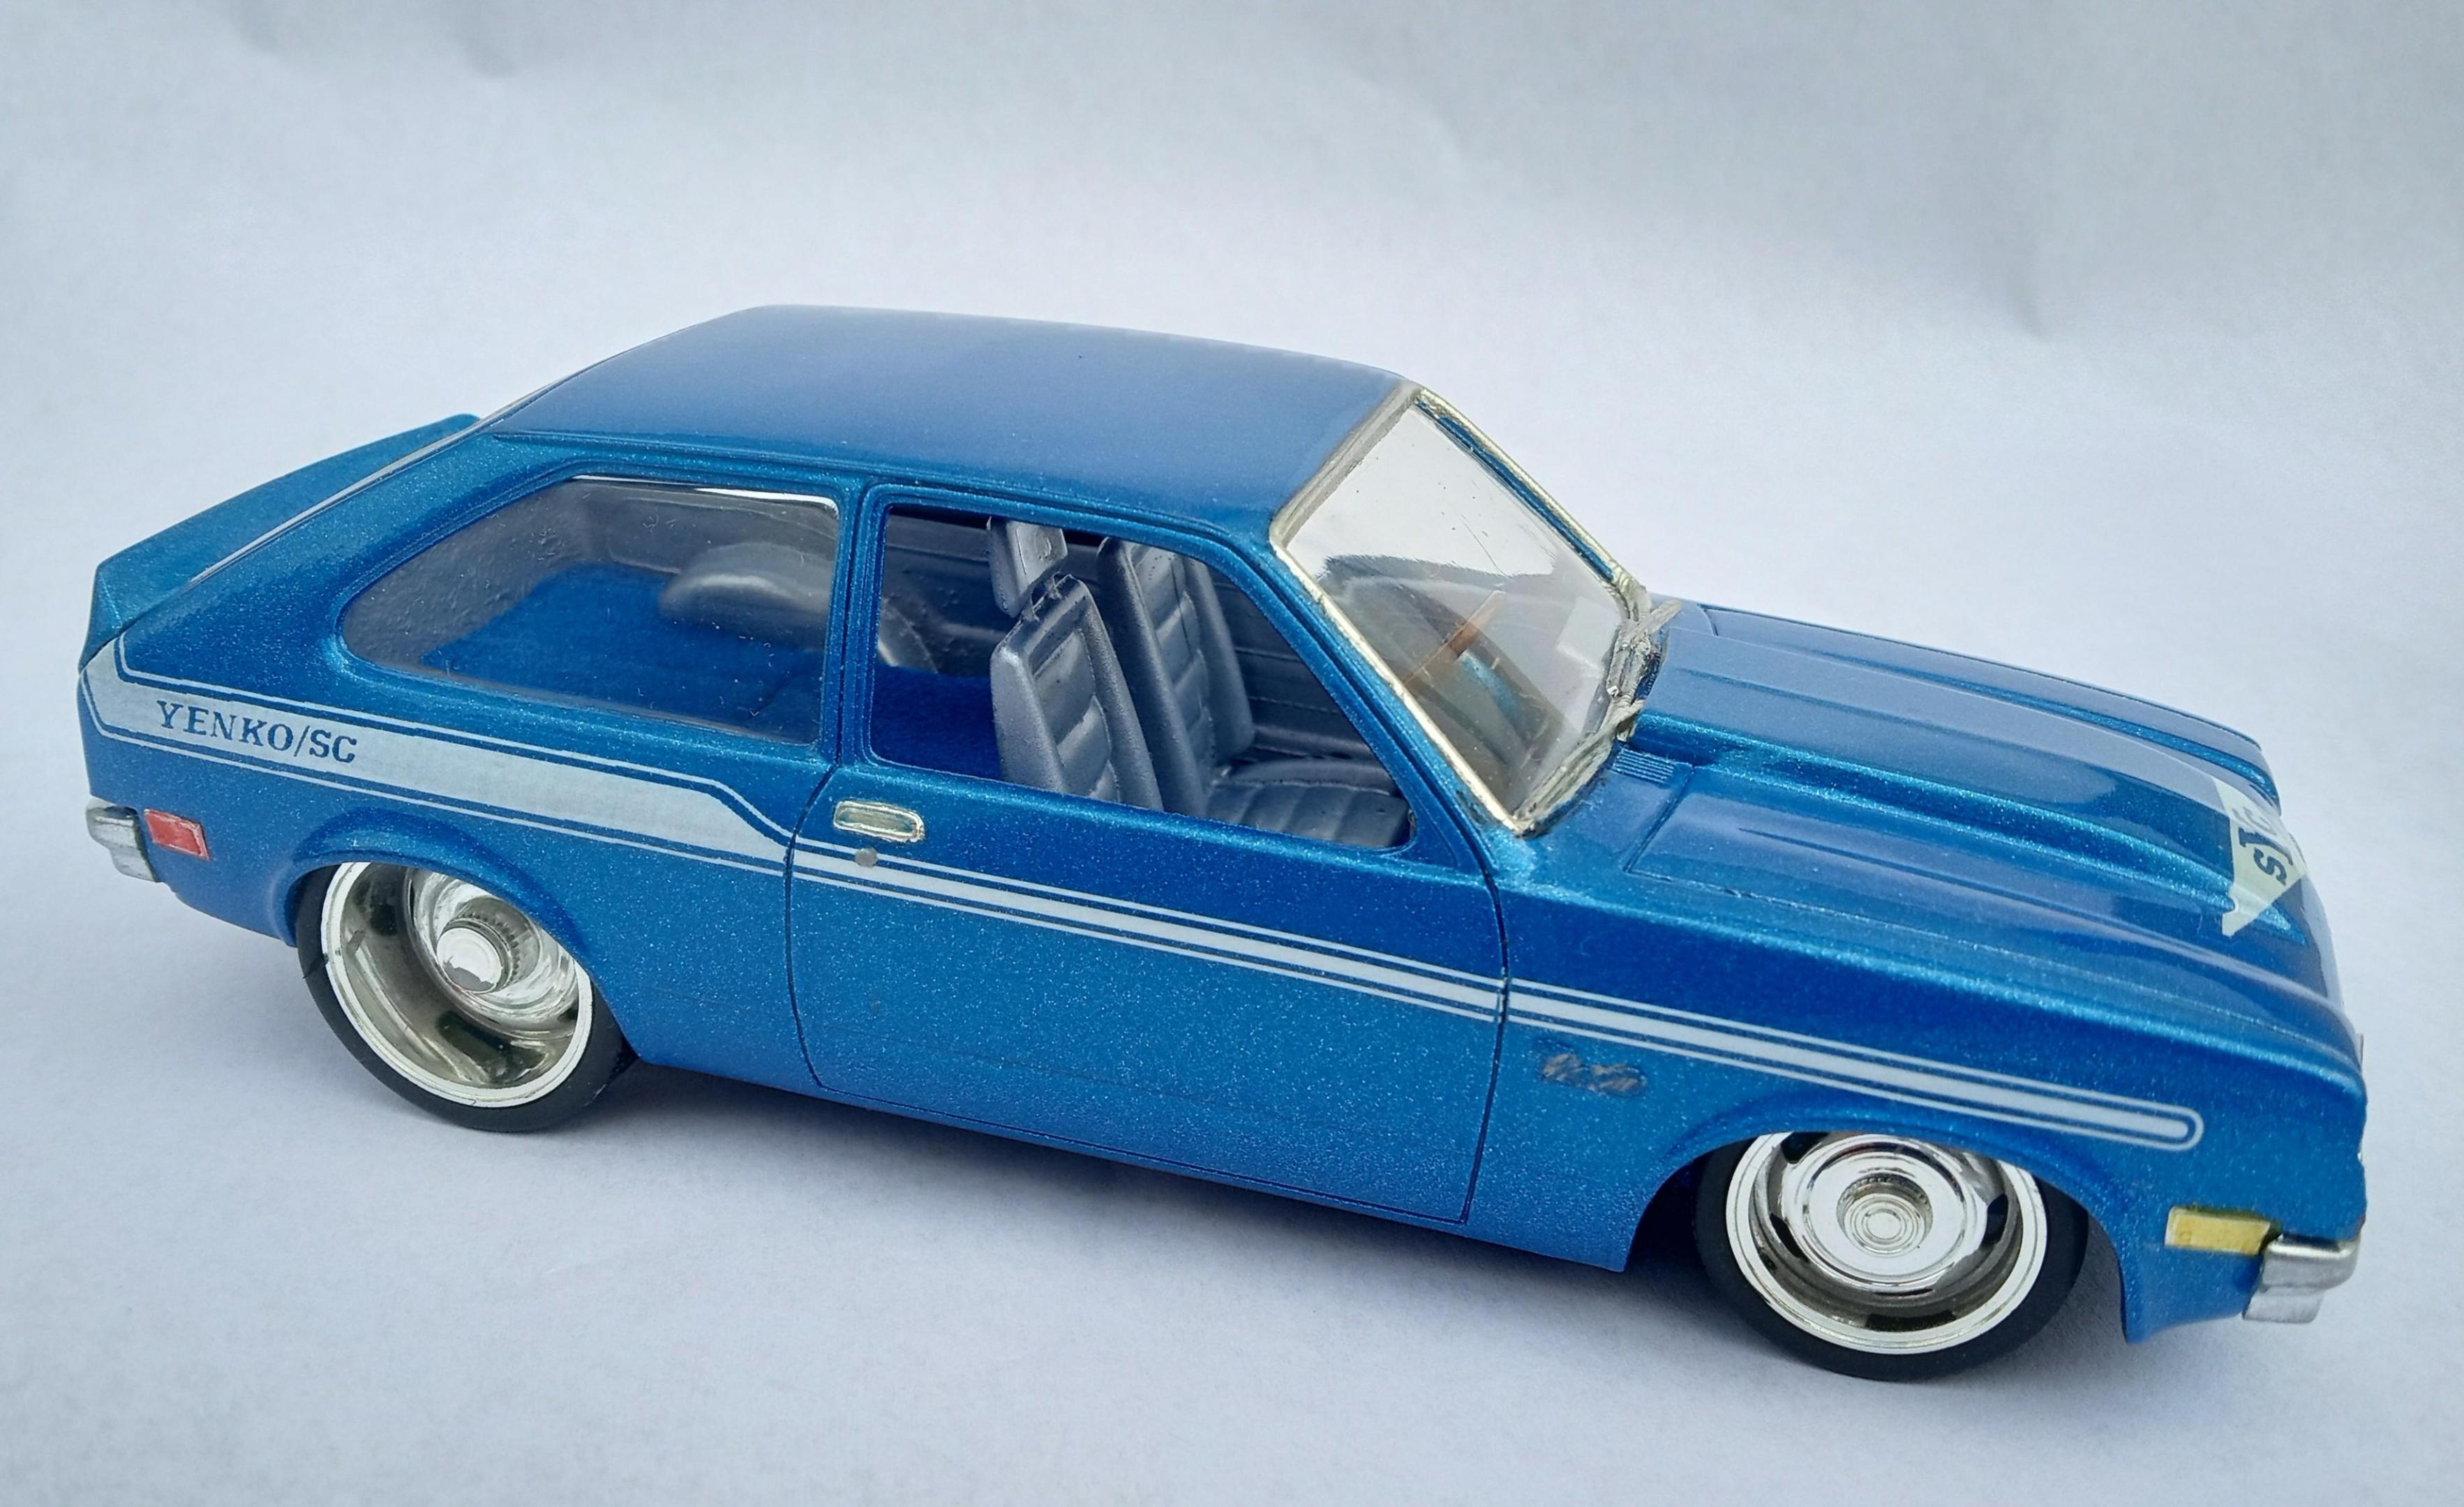
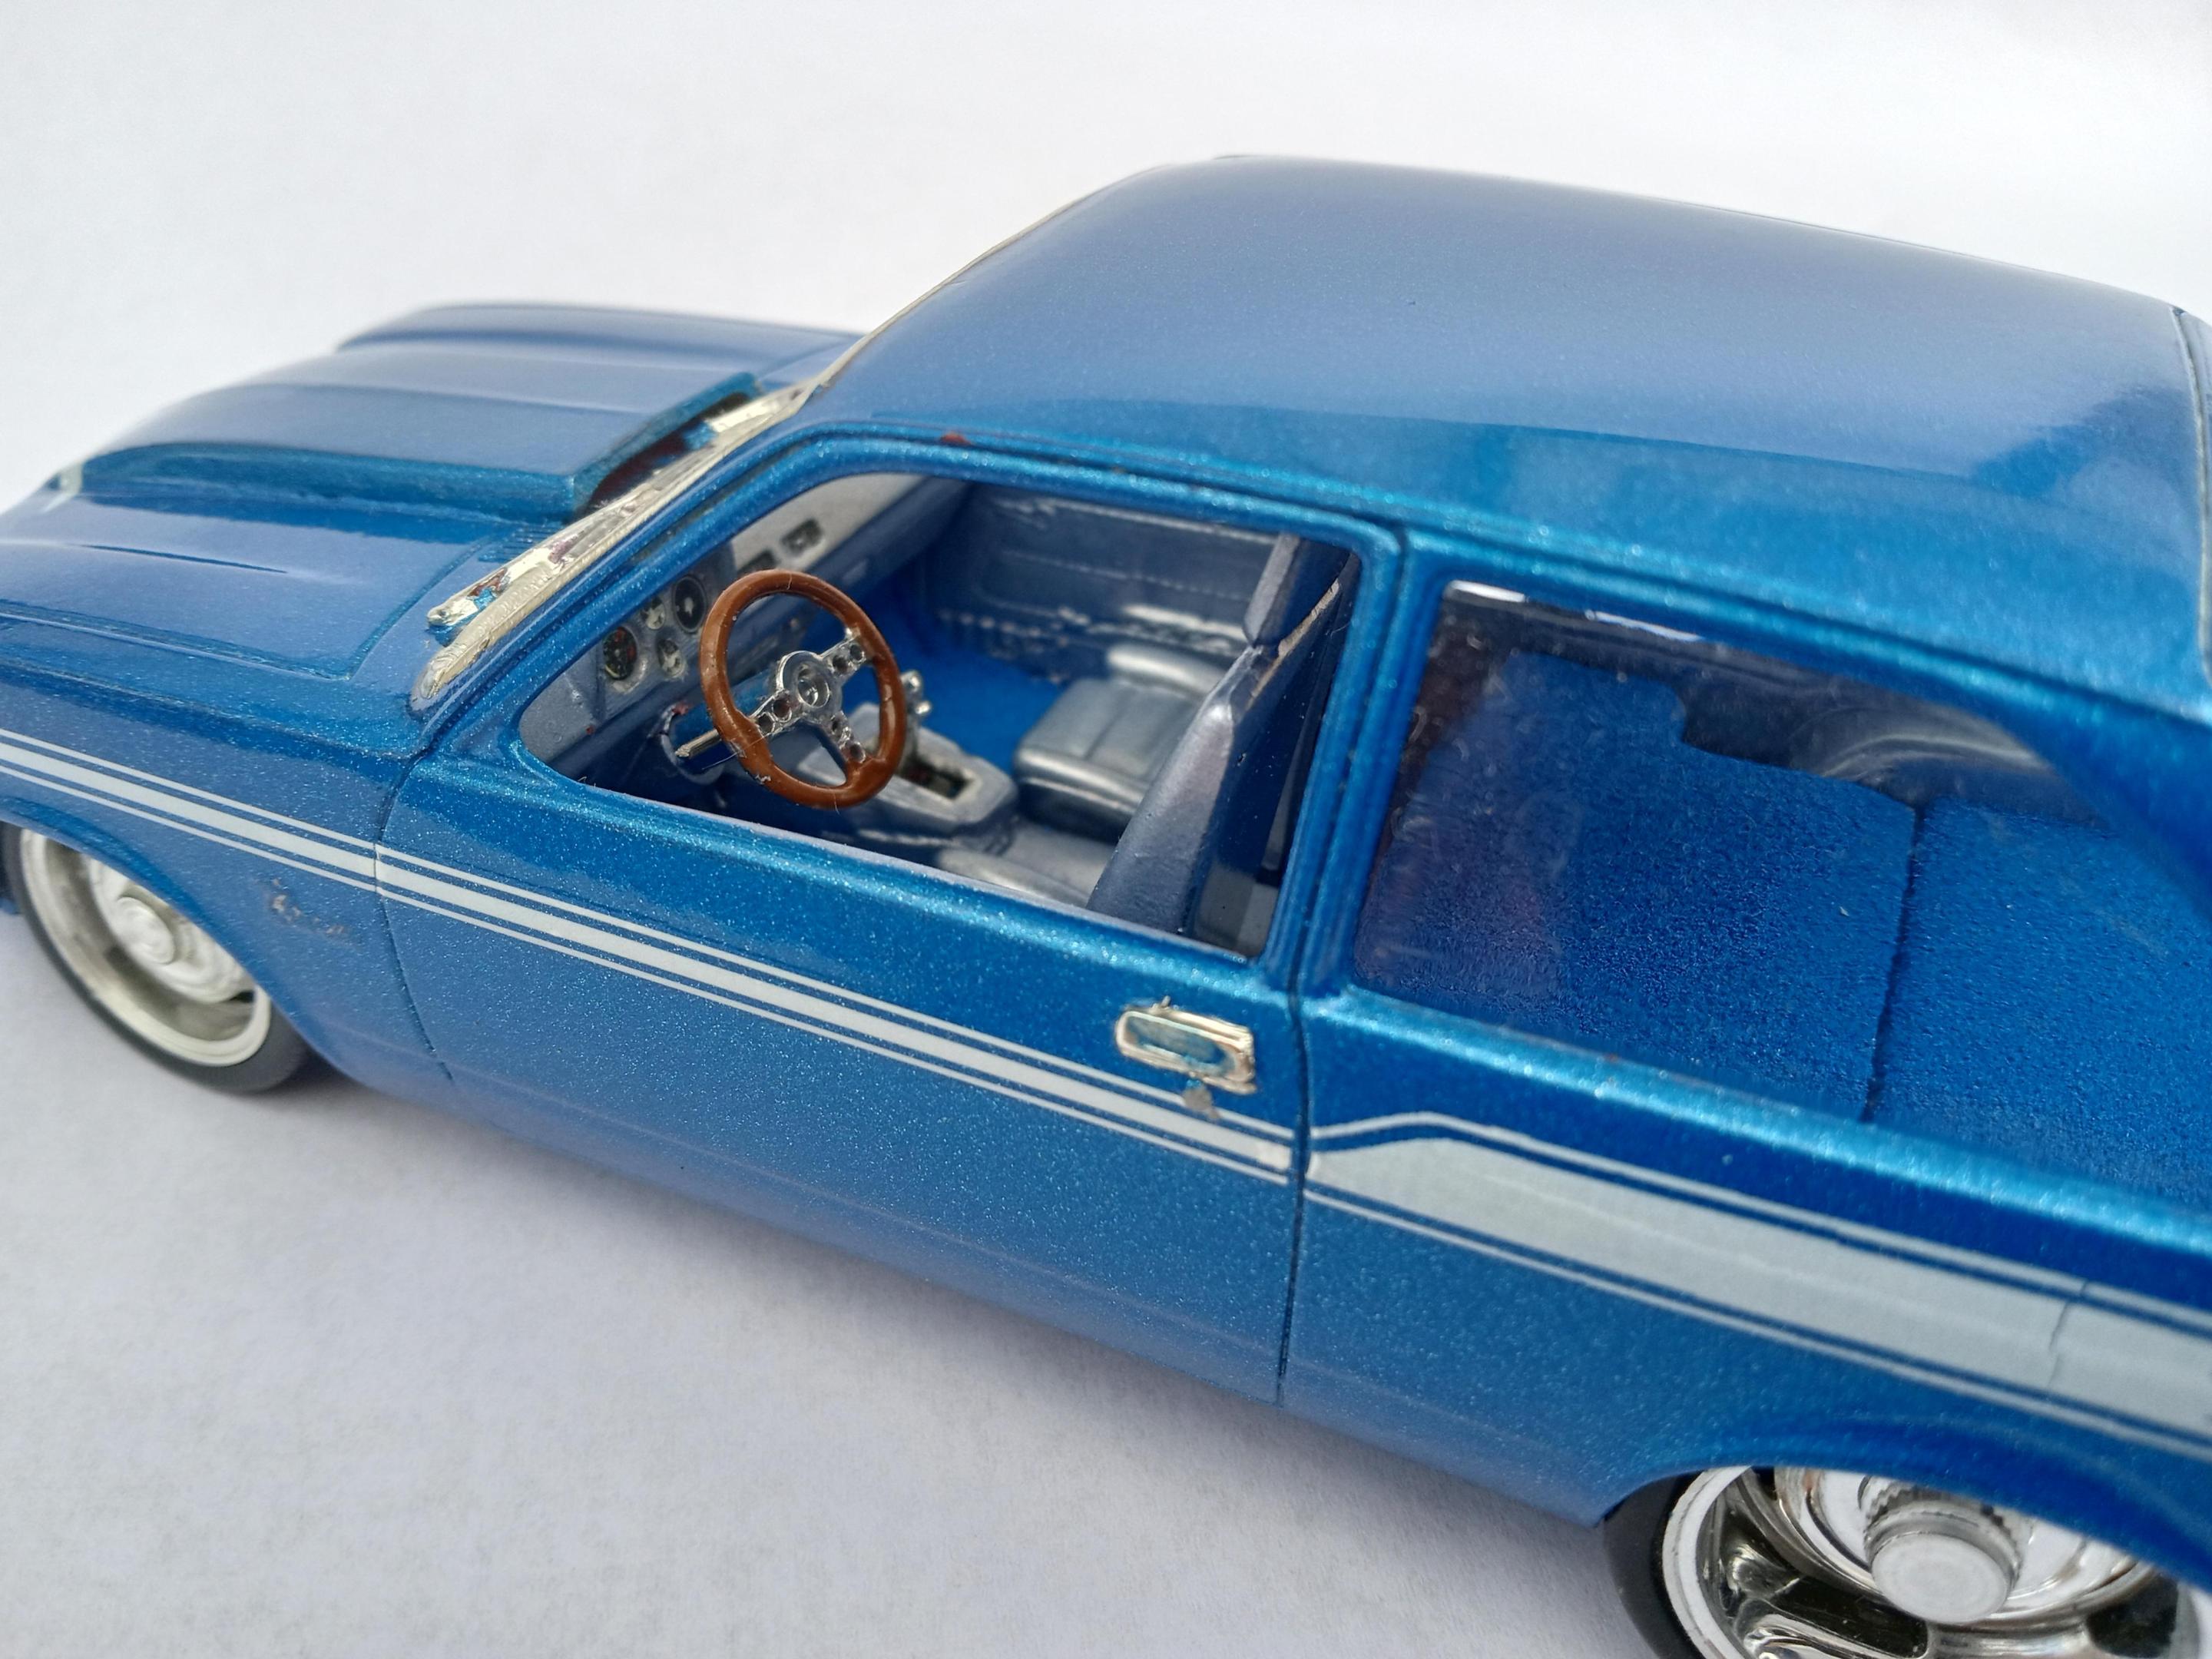
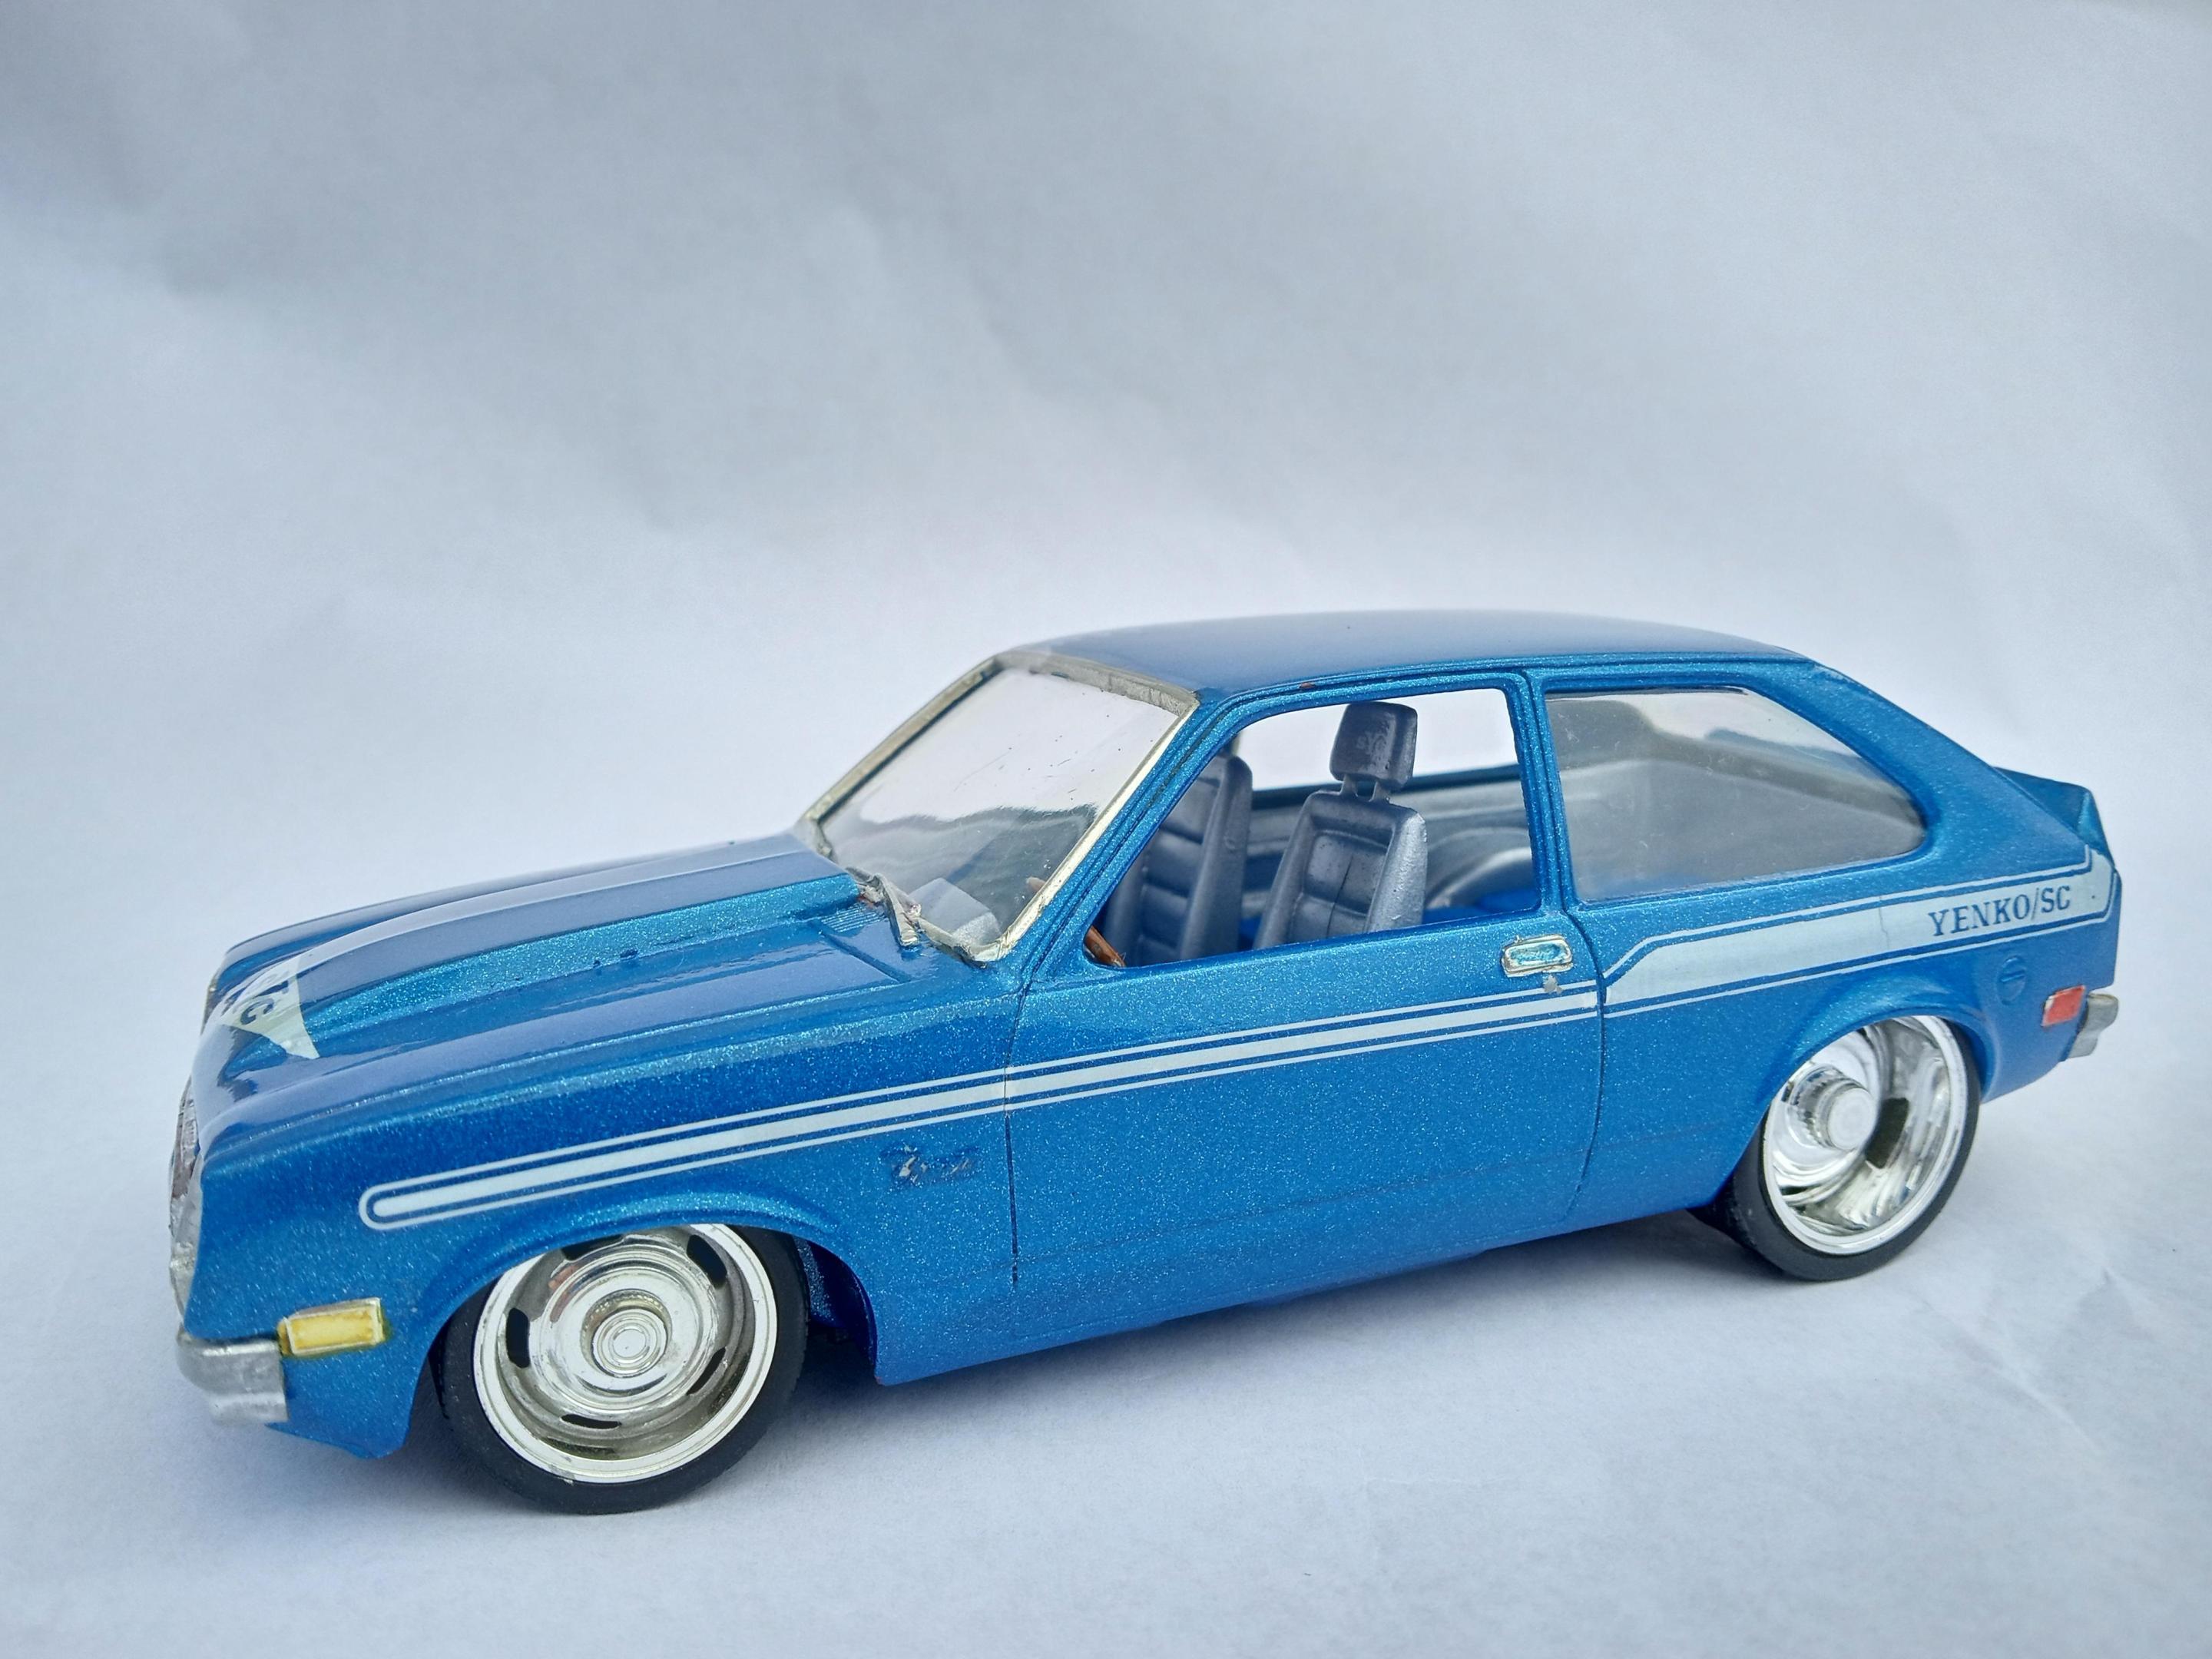
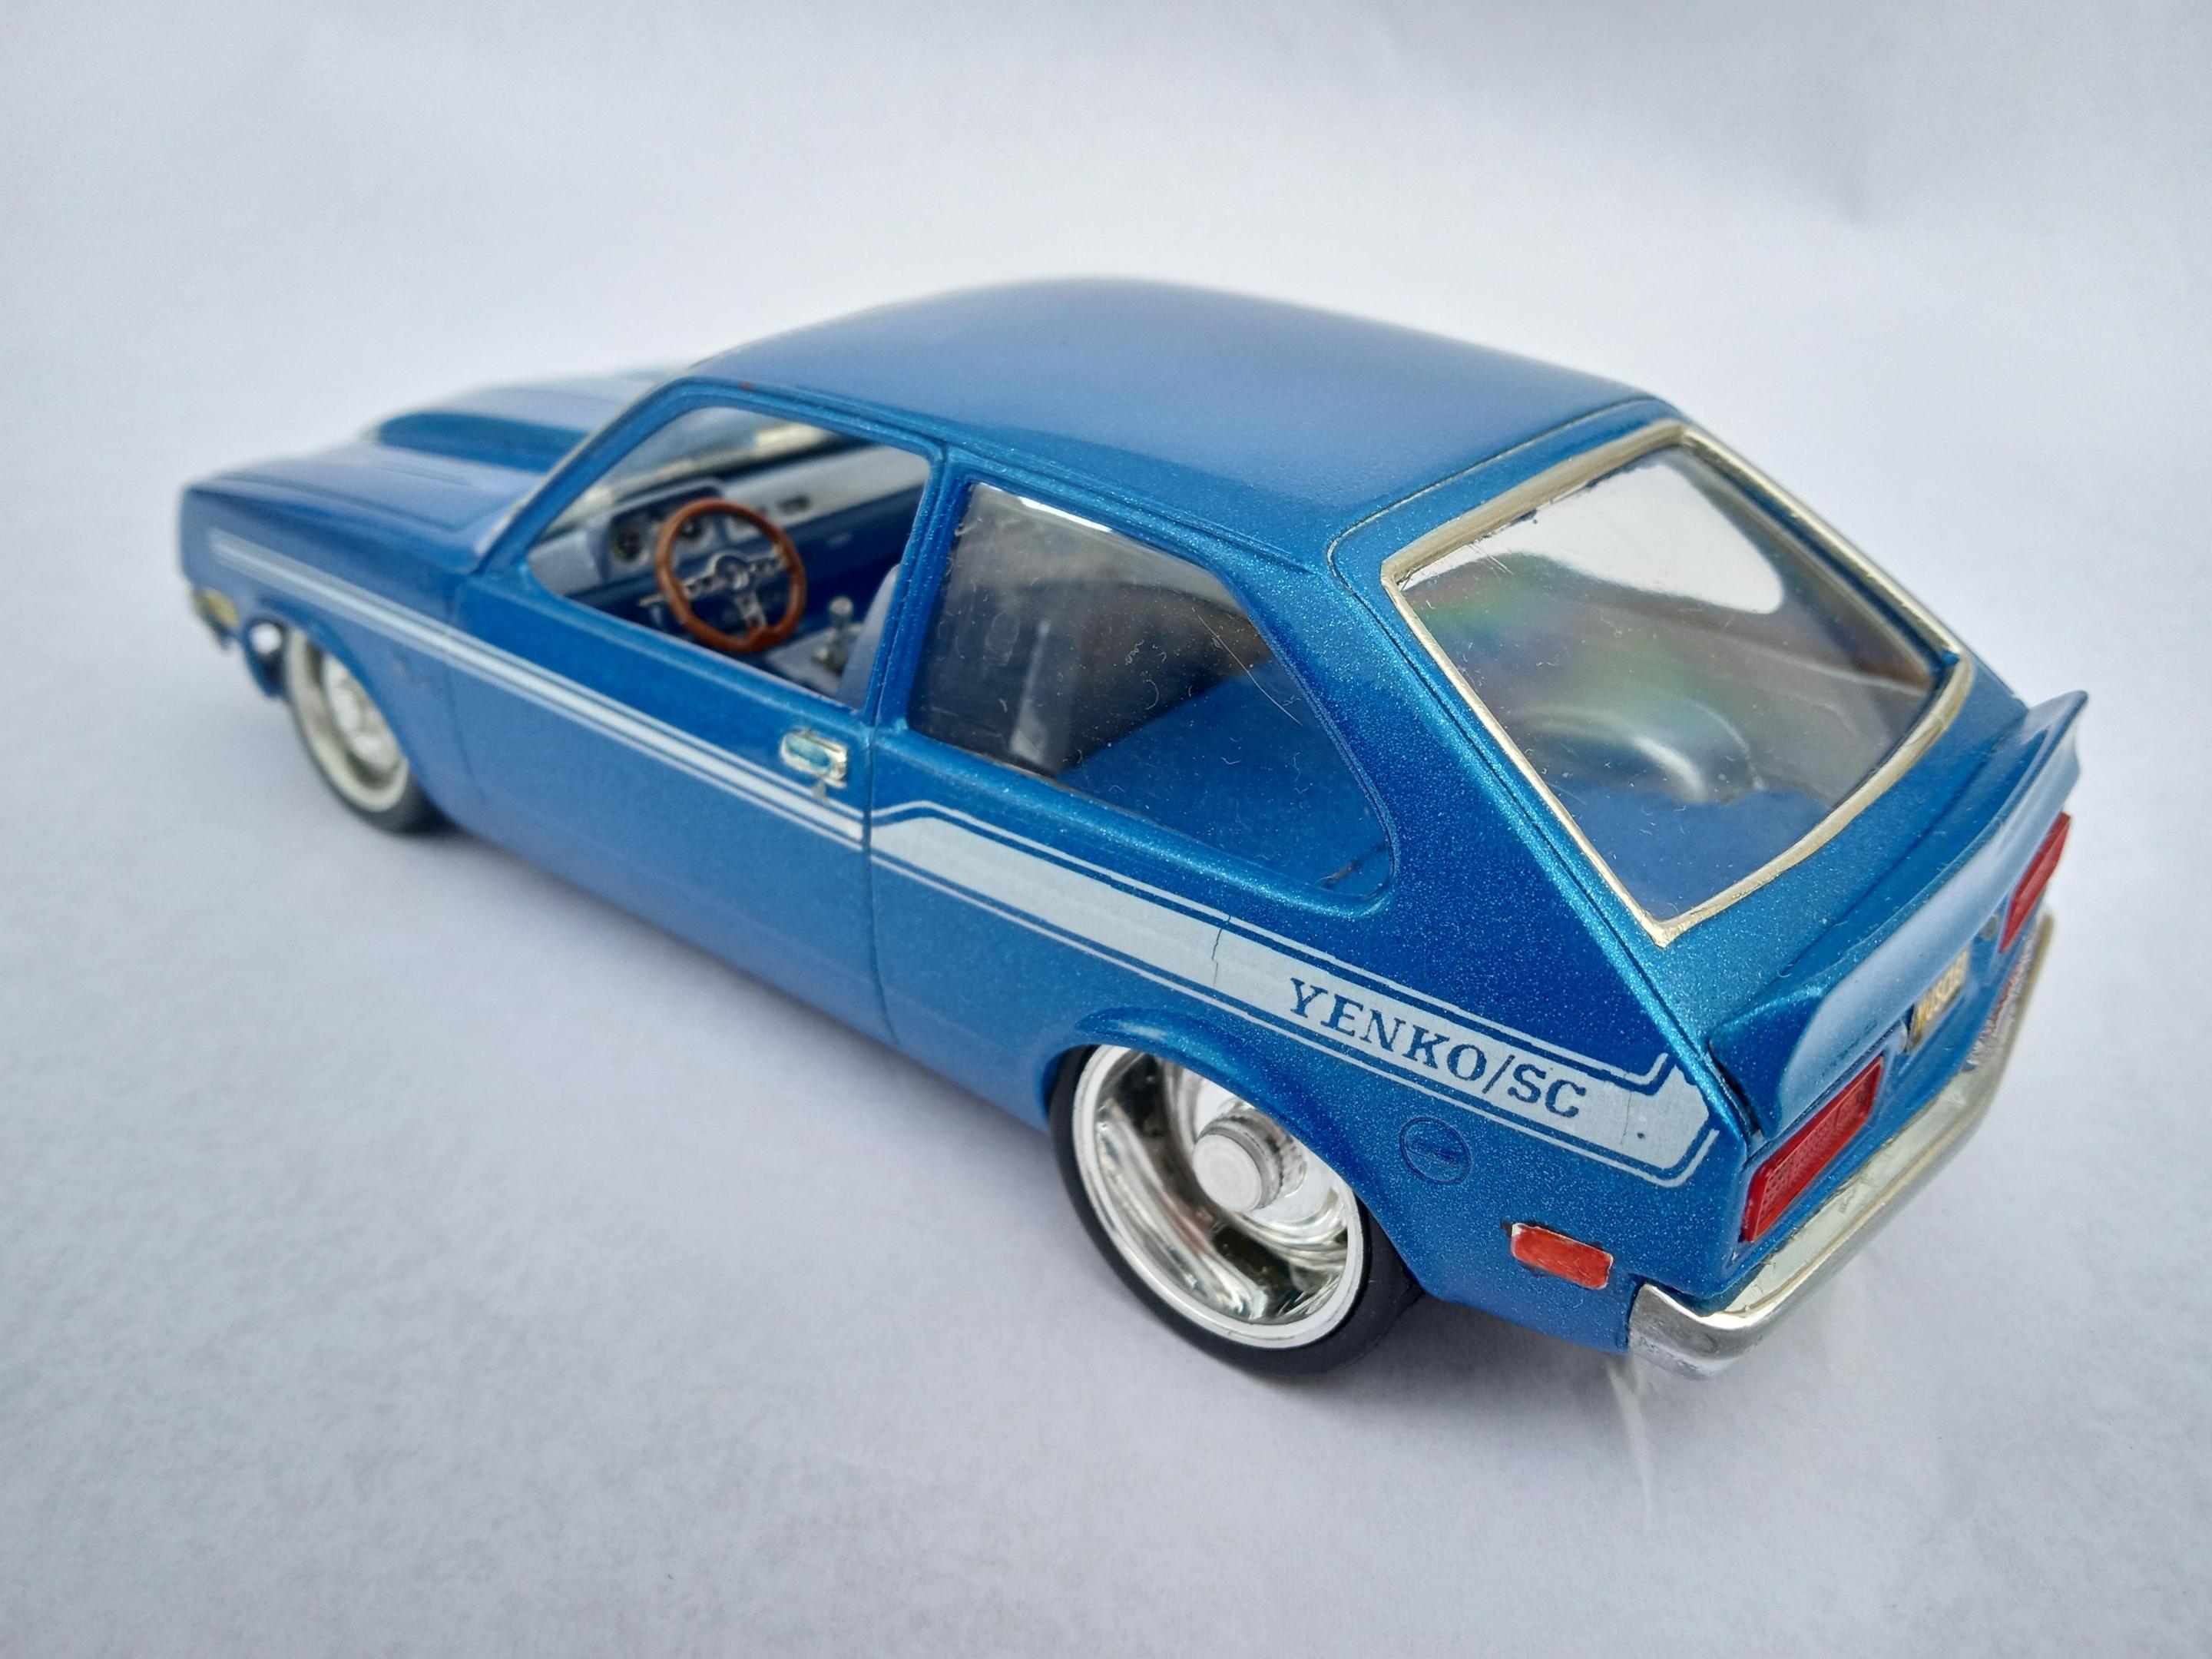
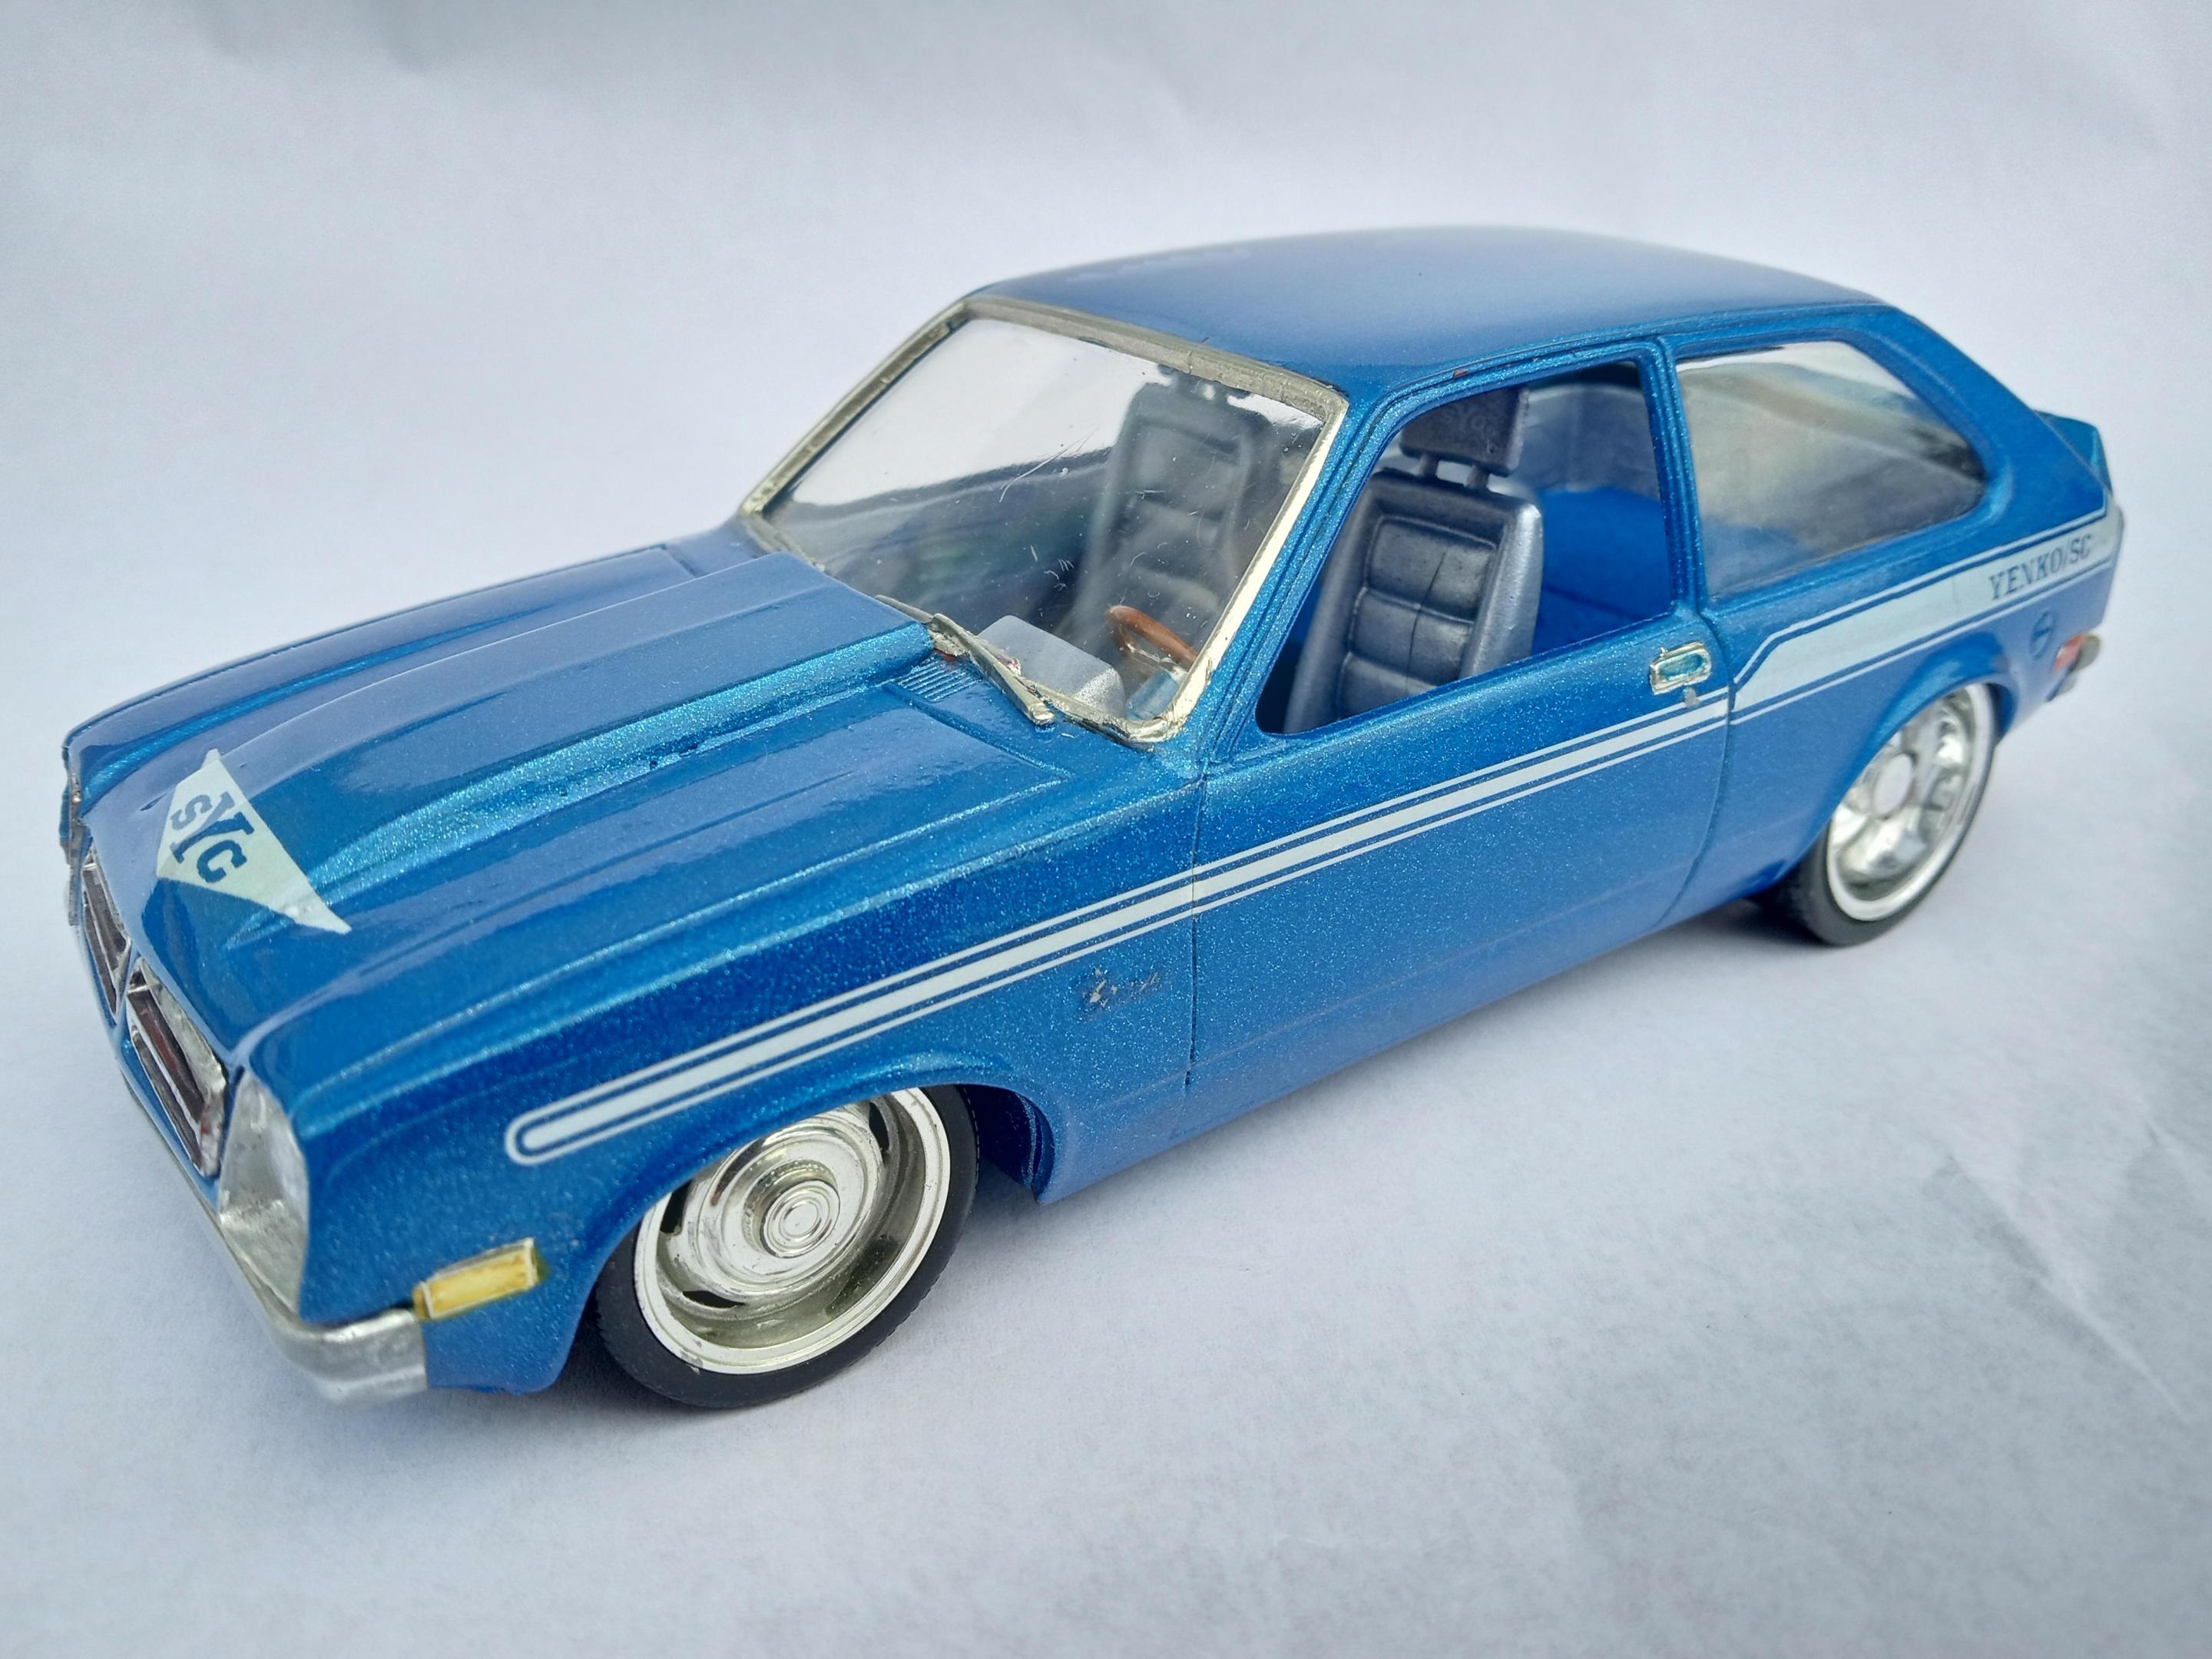
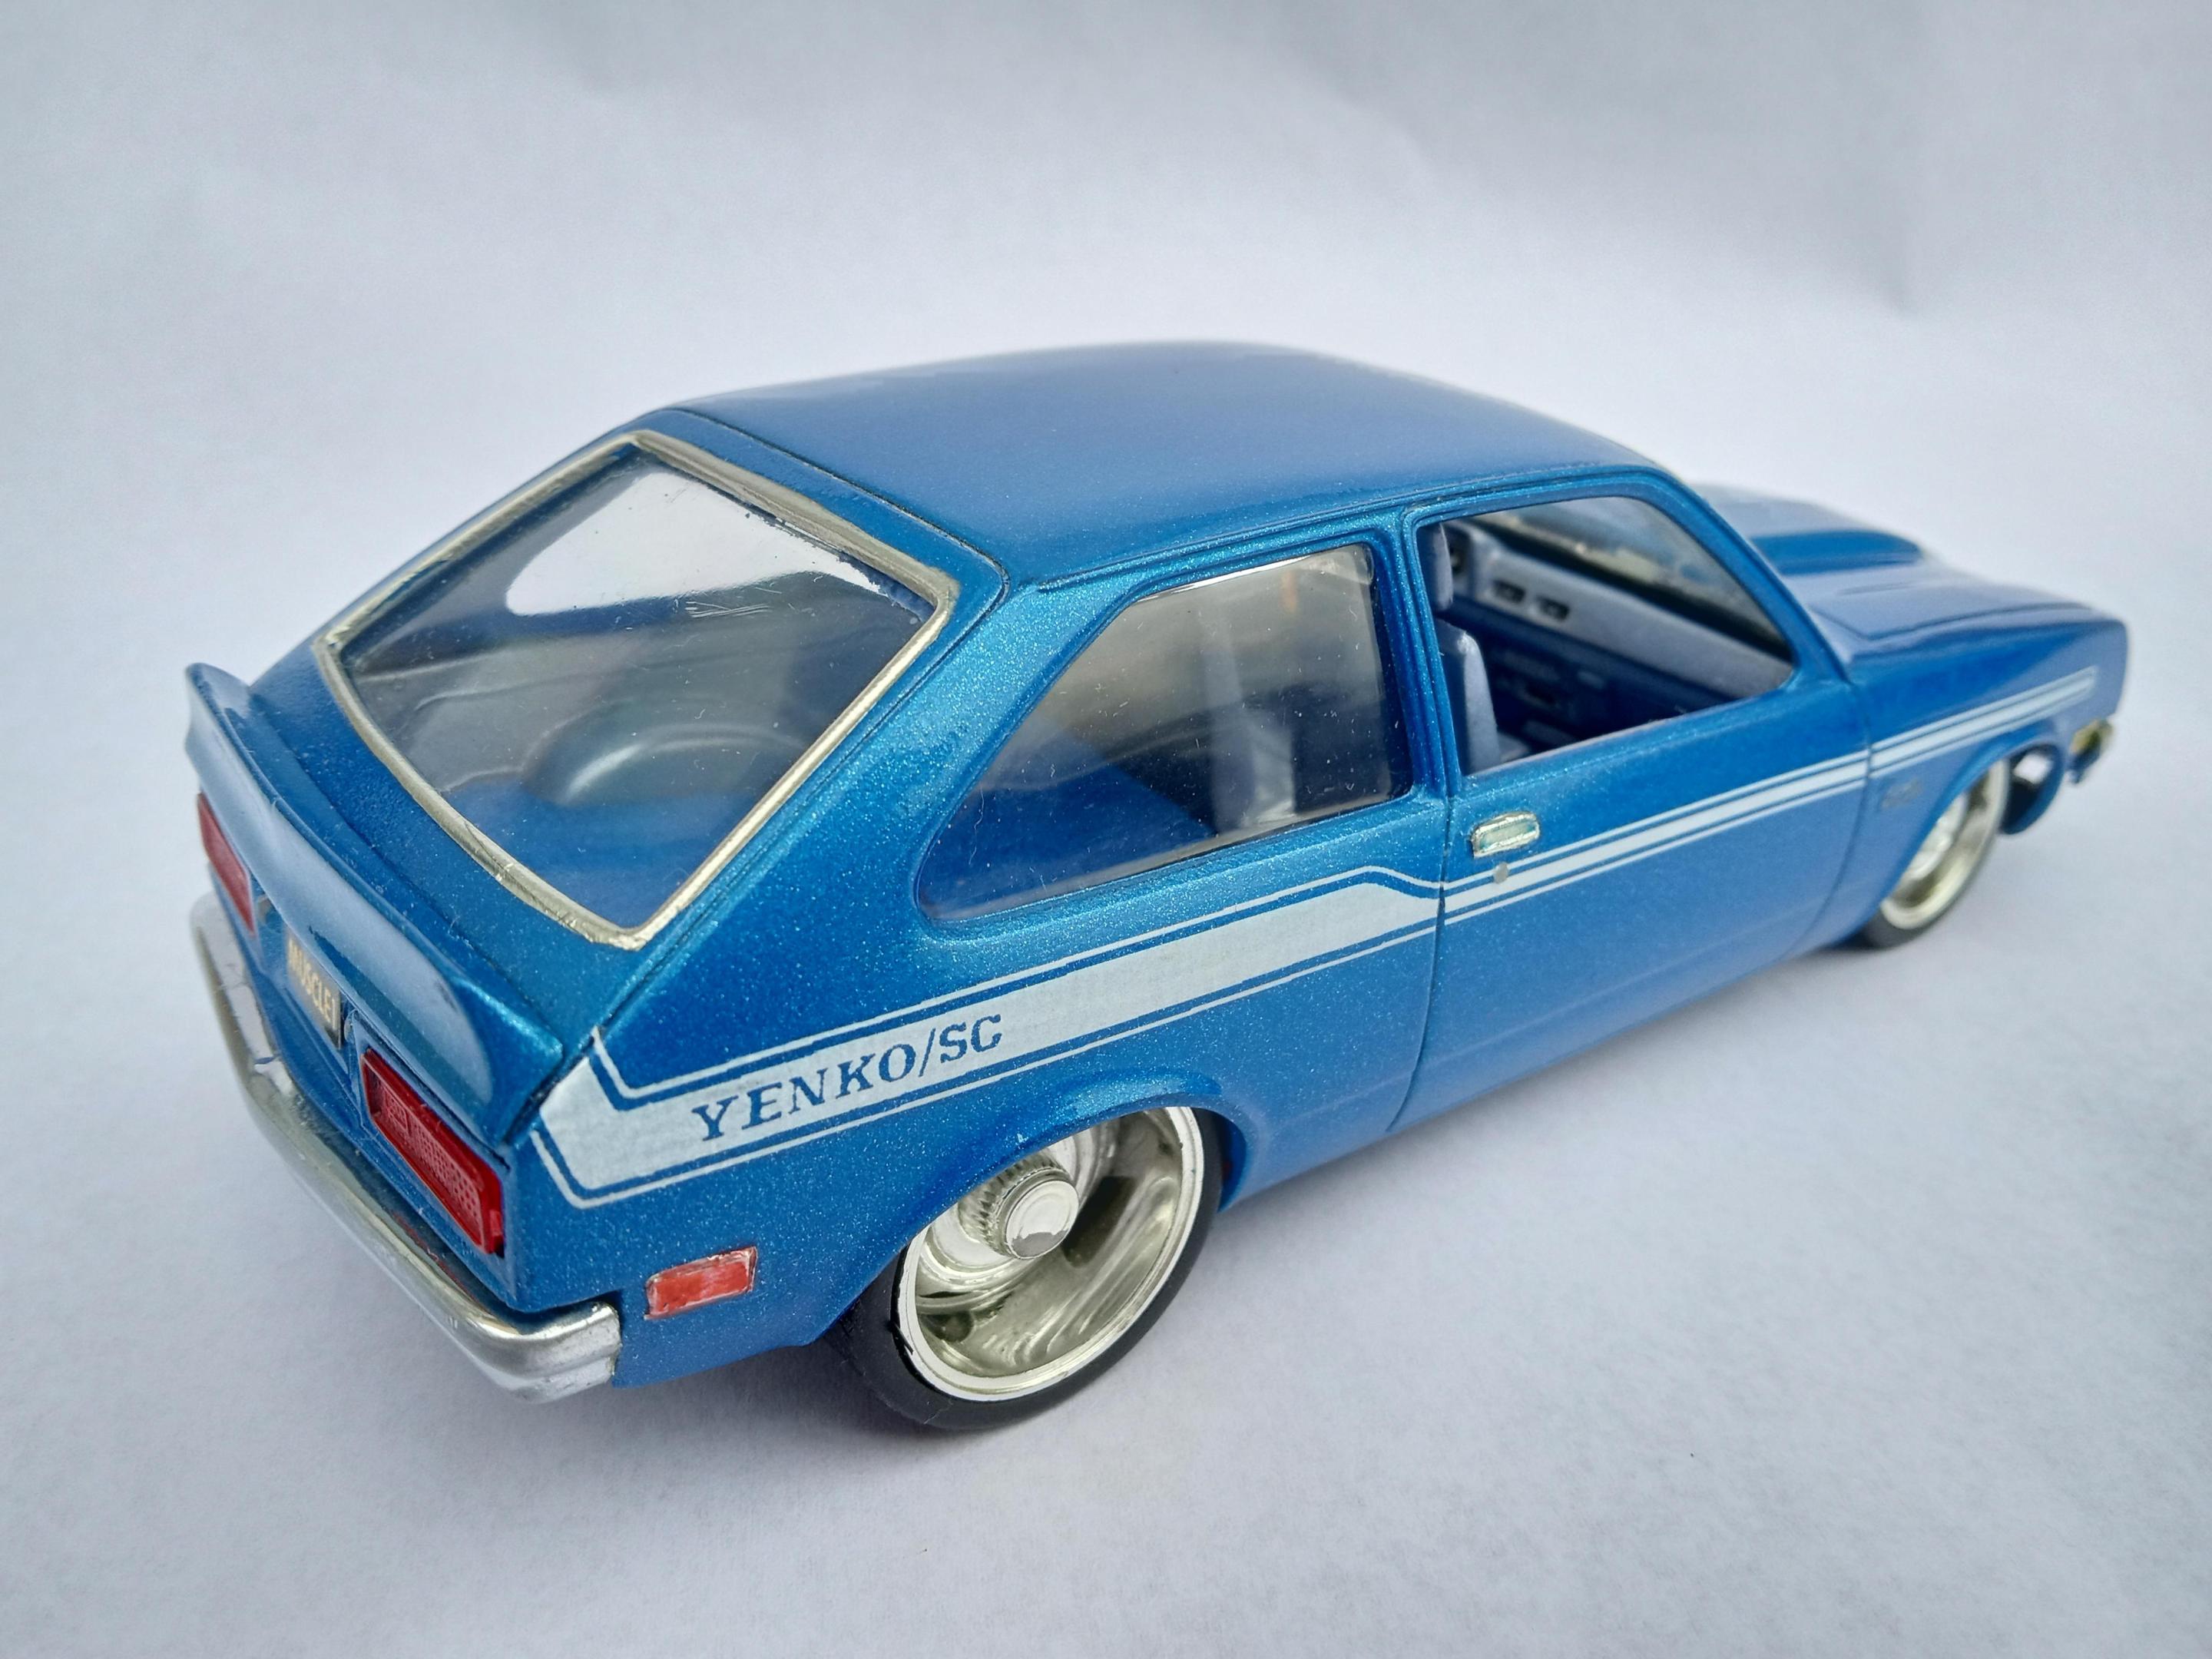
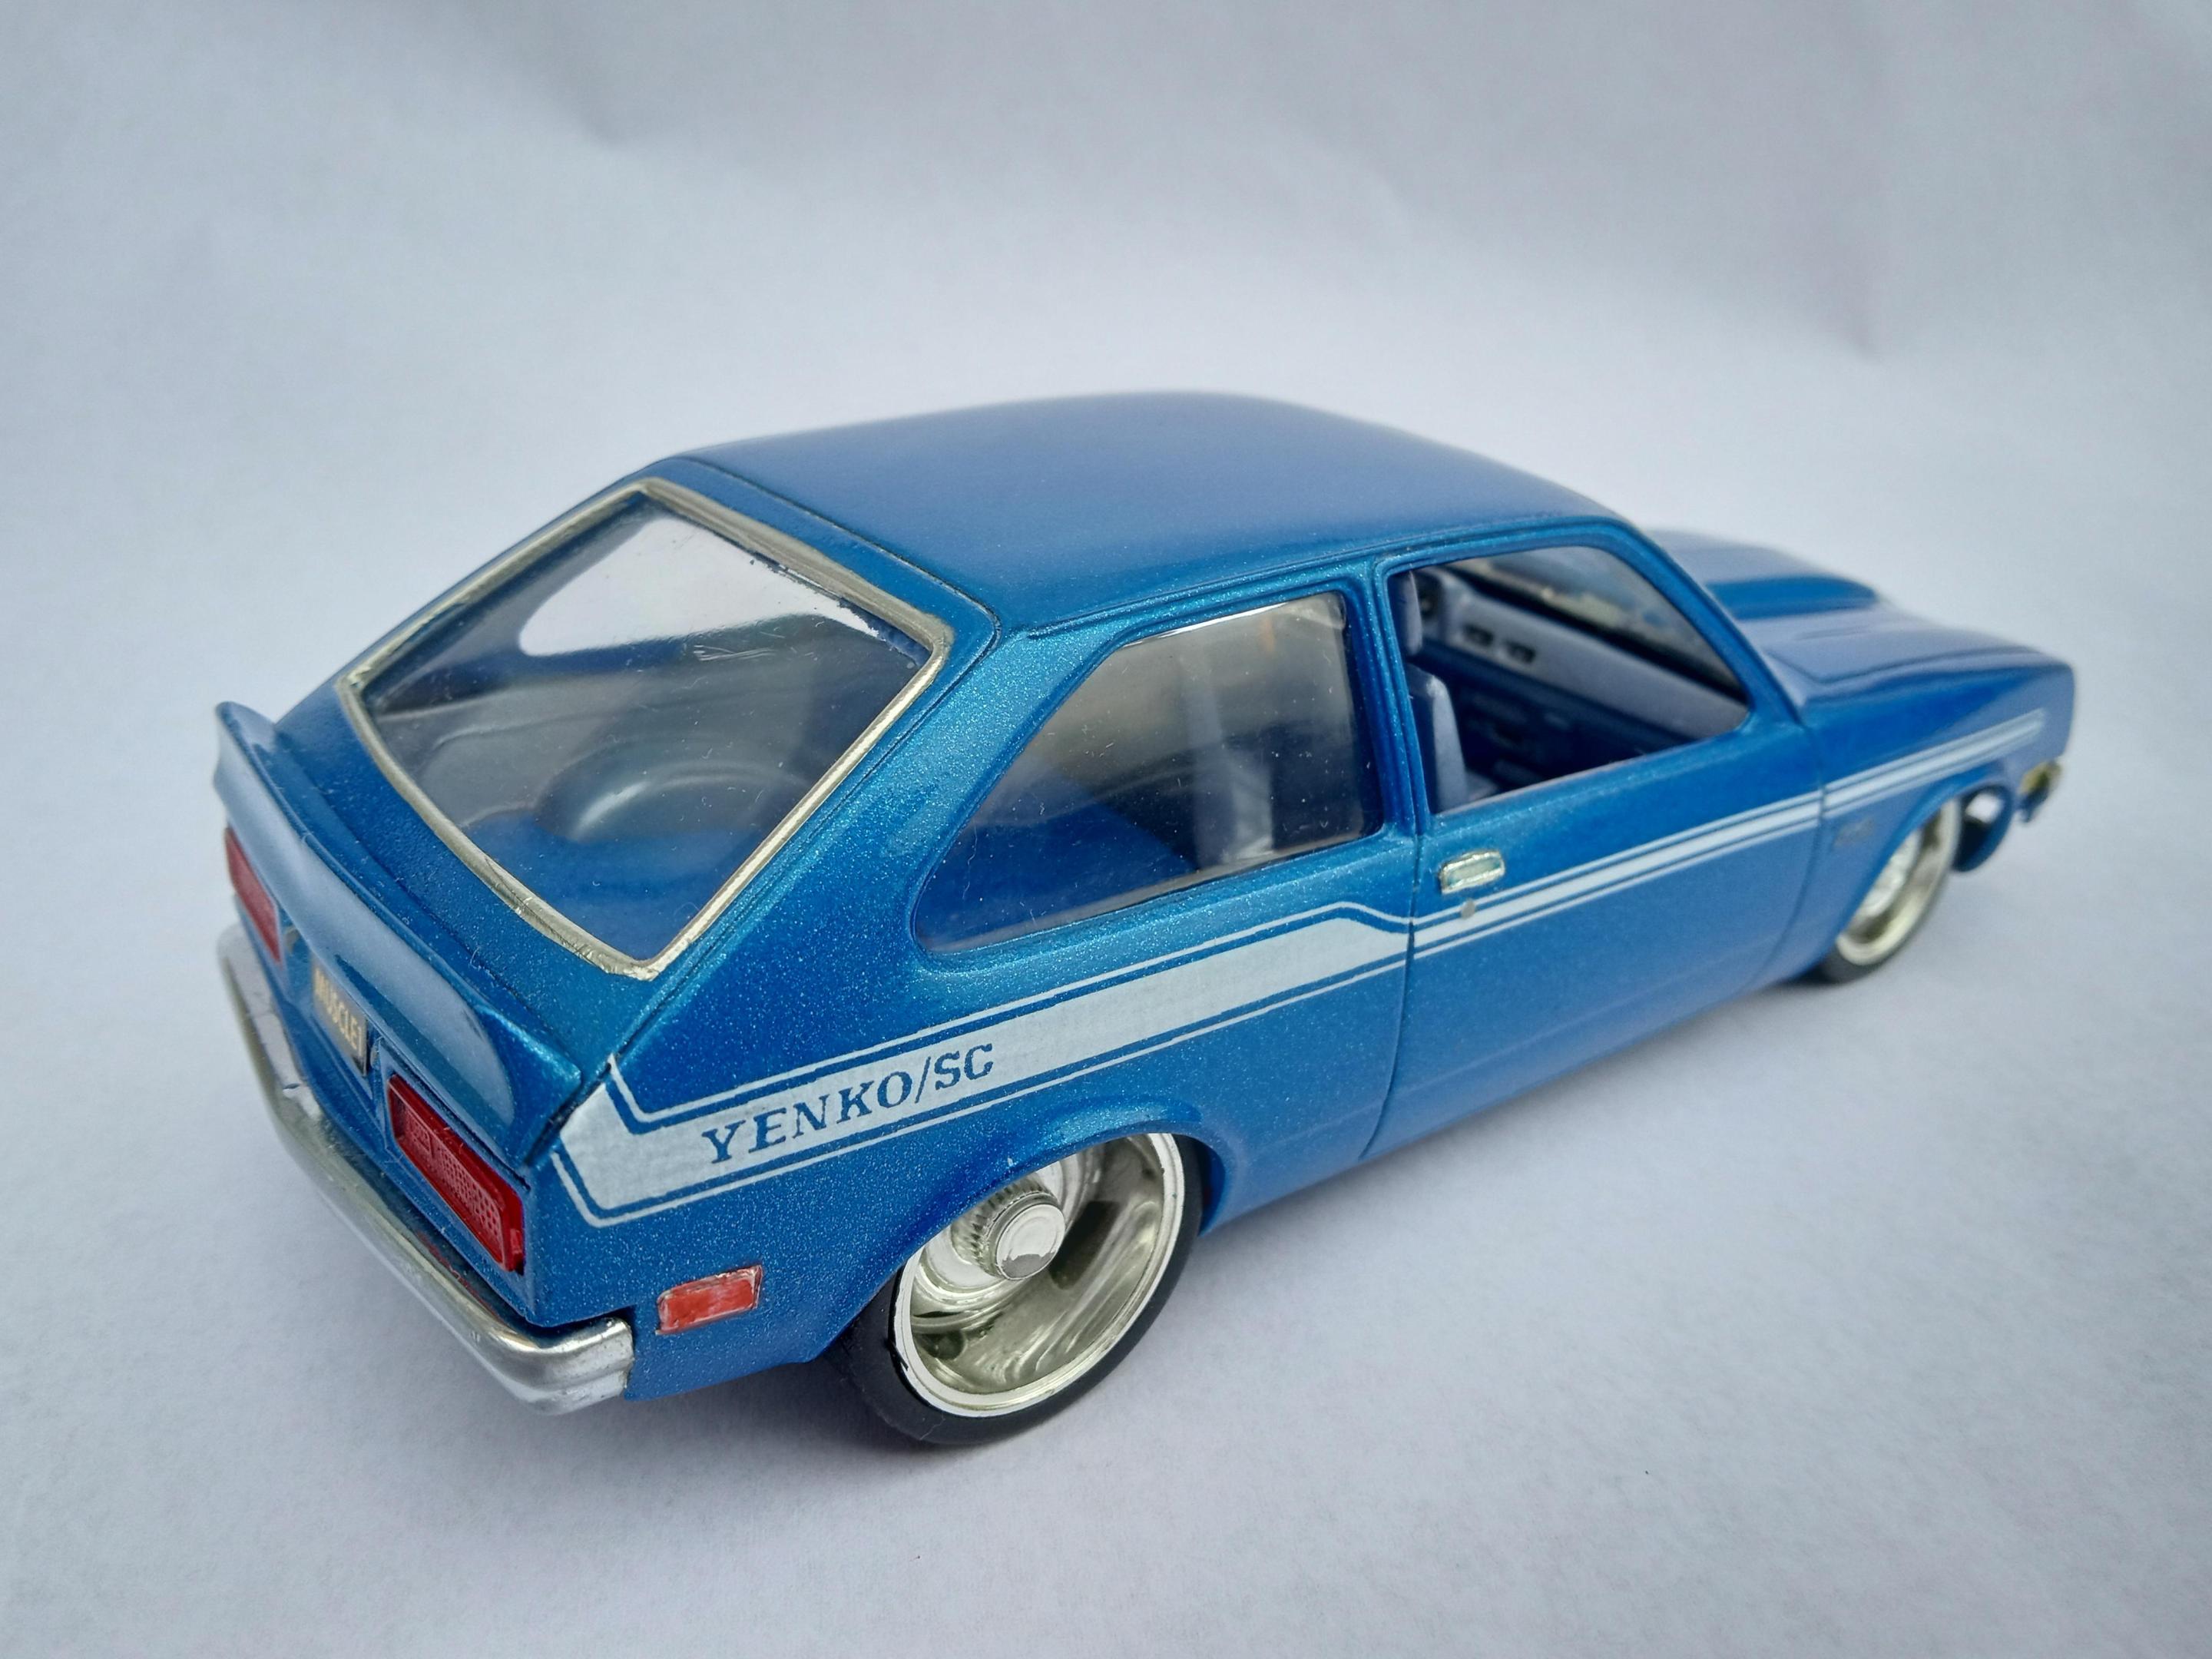
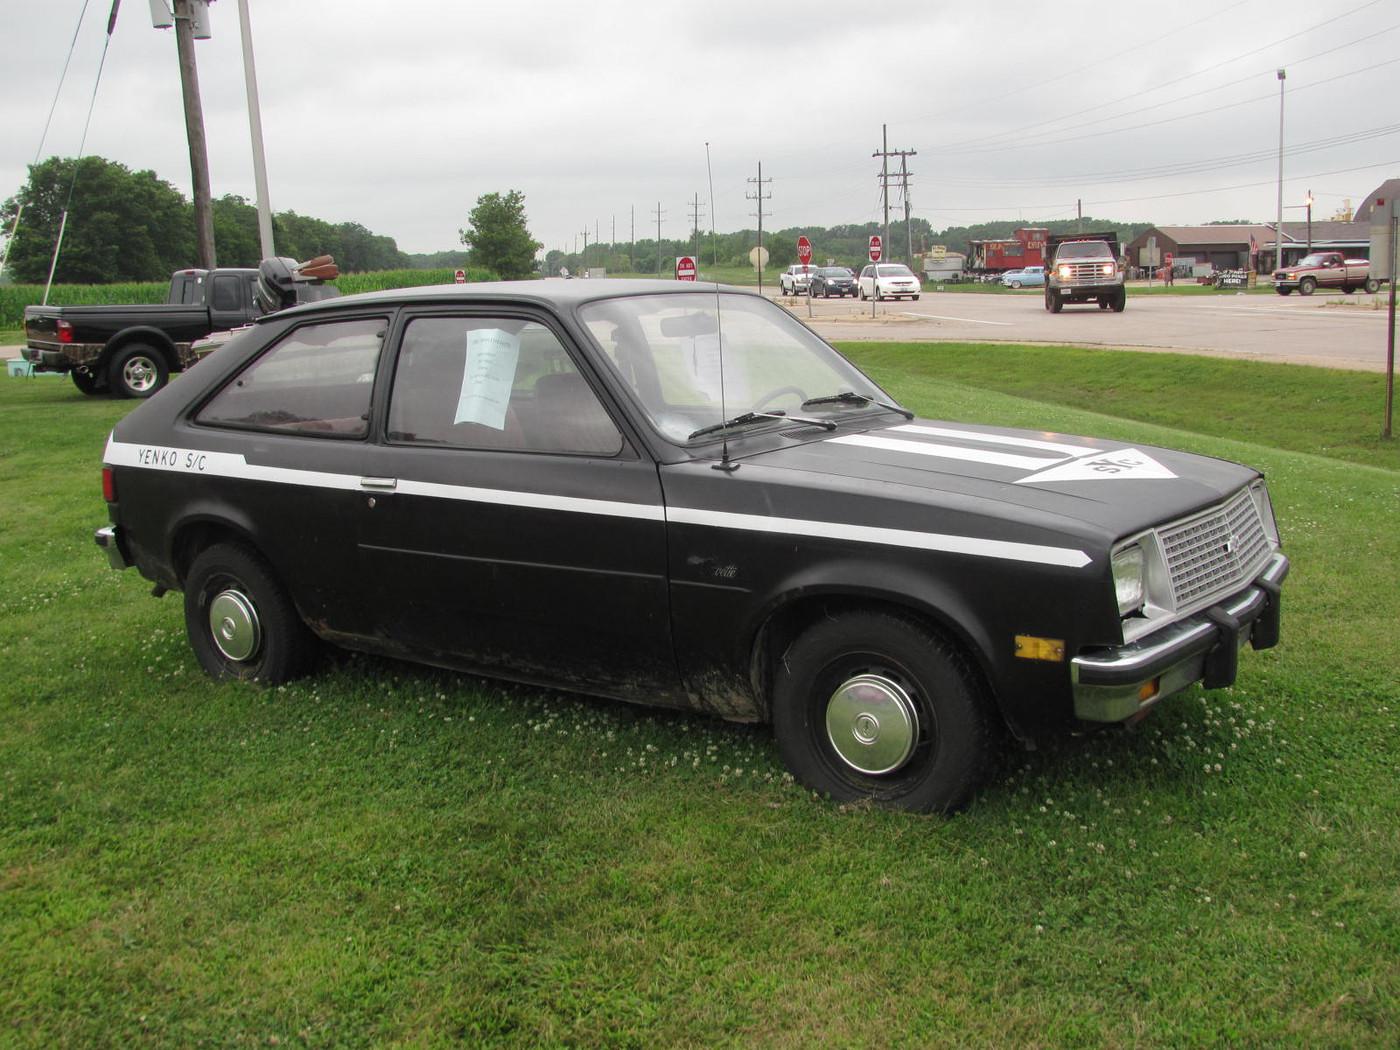
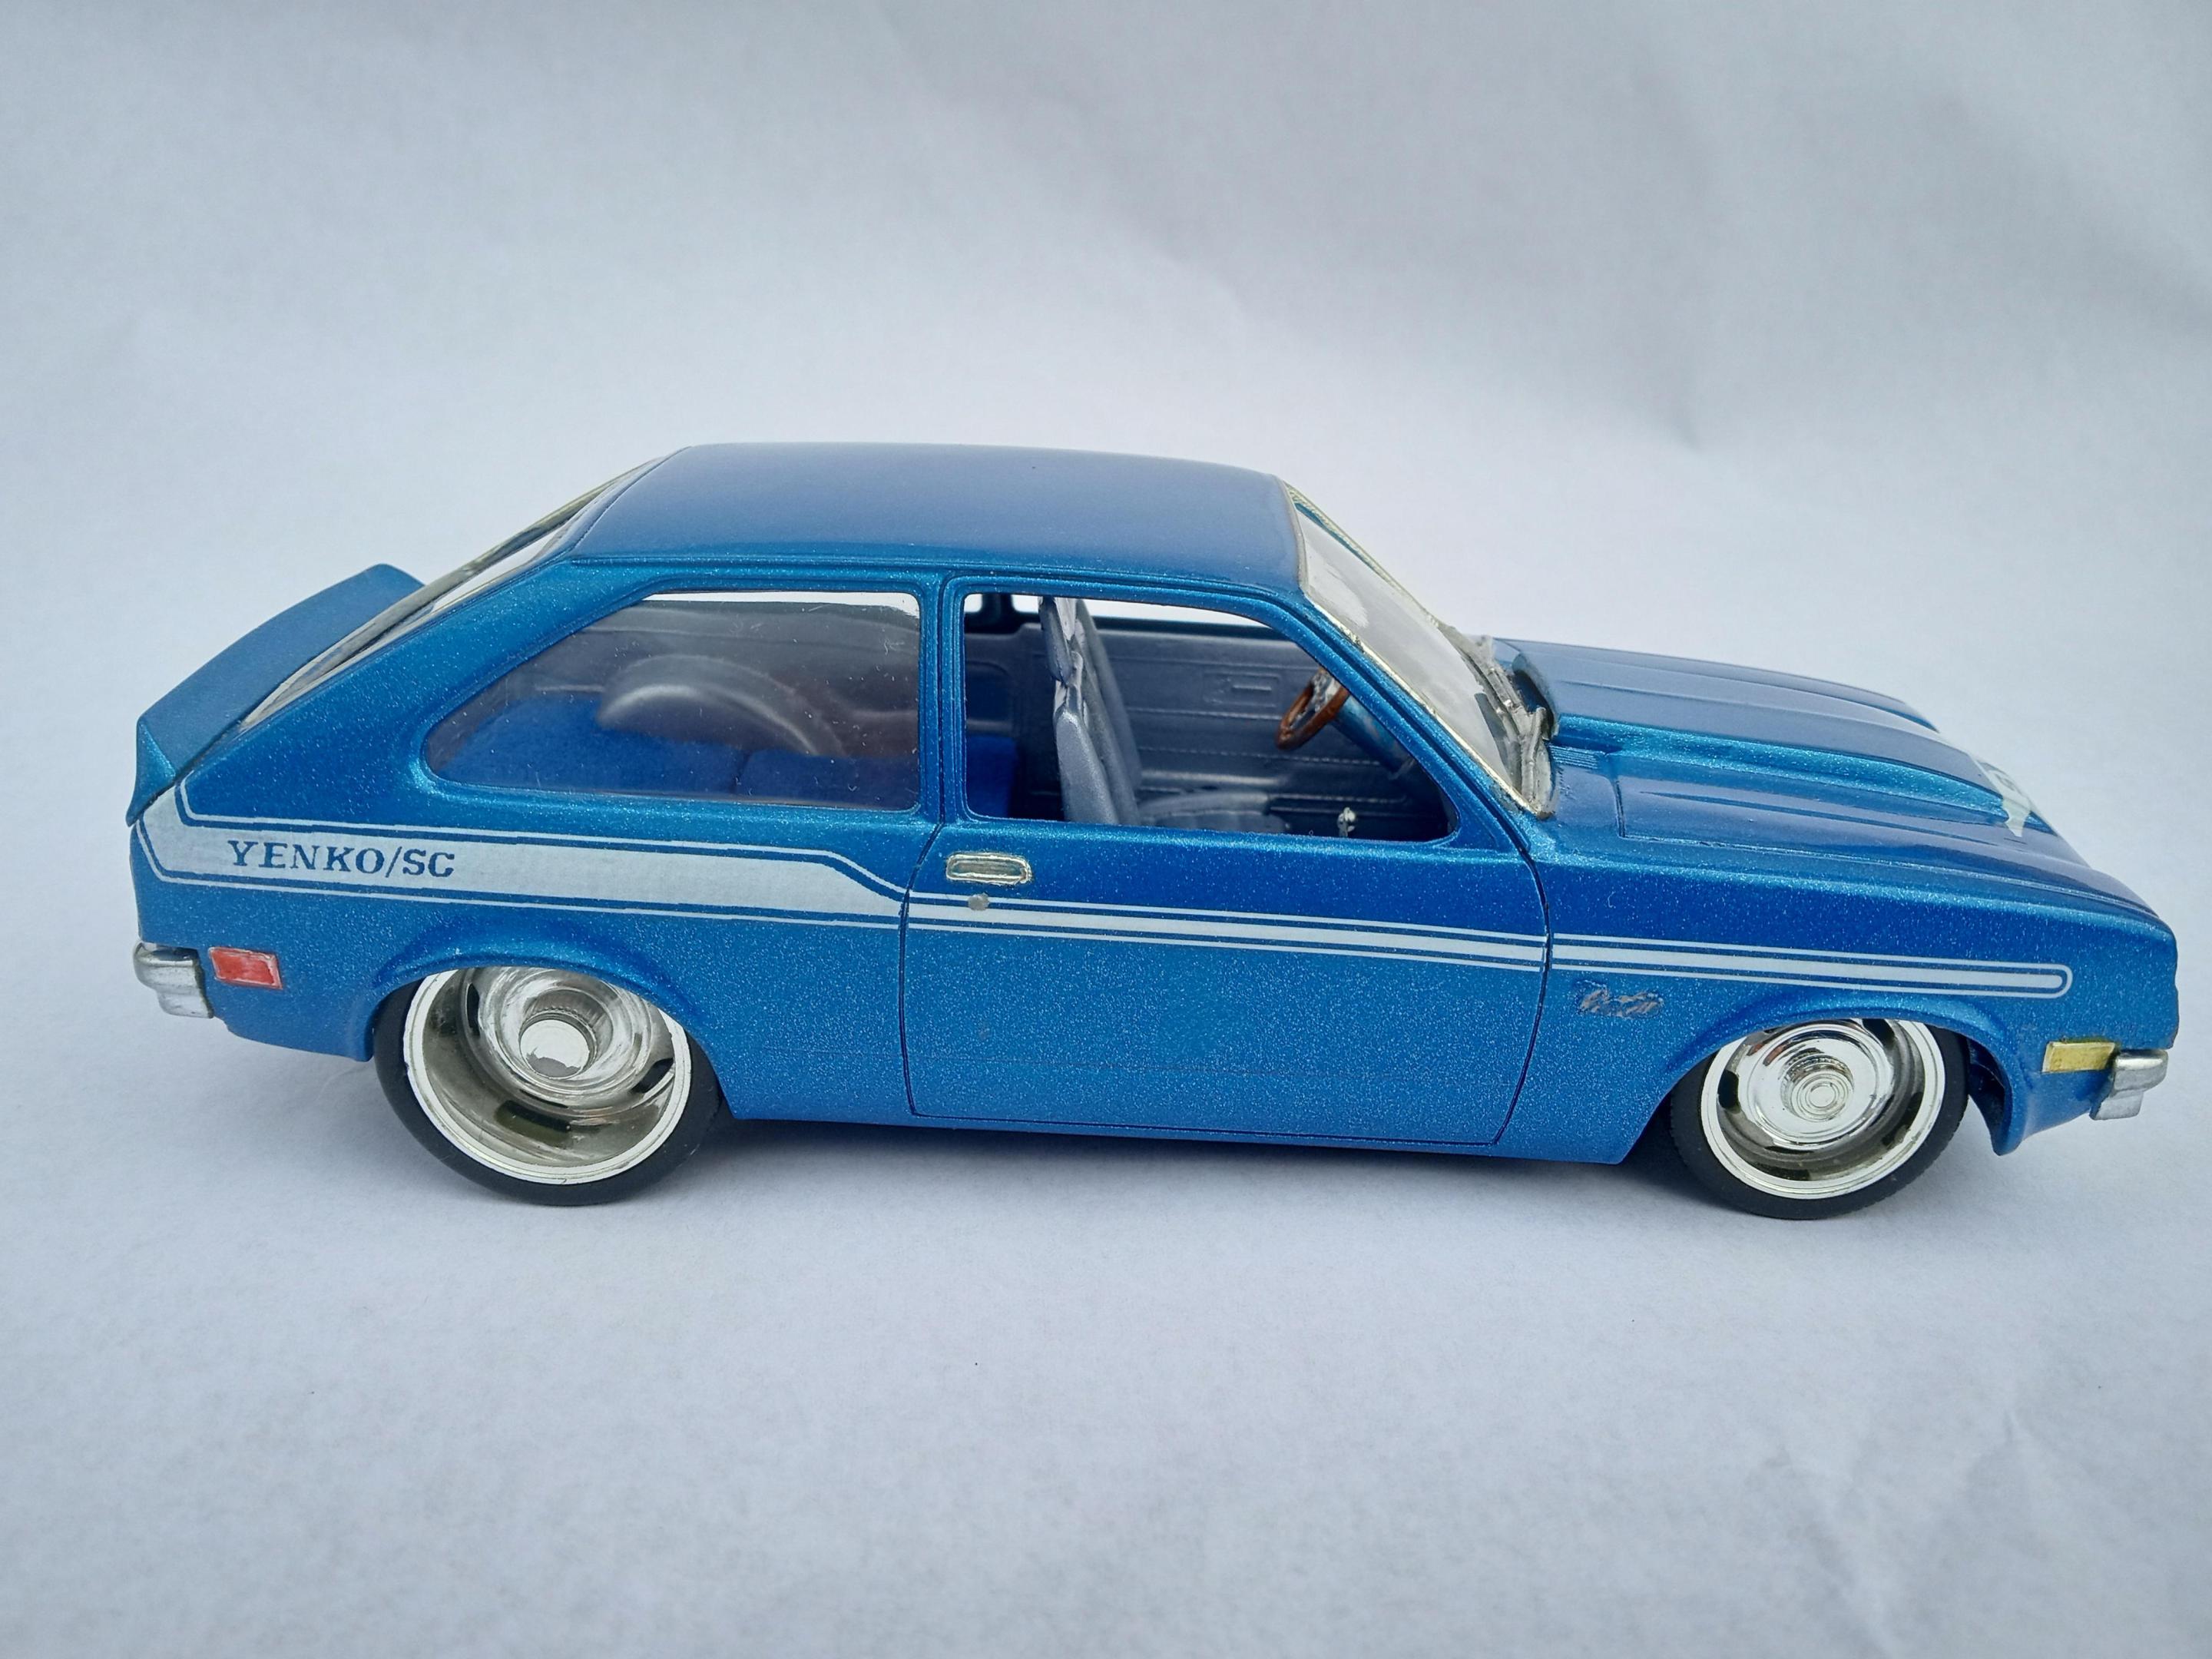
A simple little curbside build, that started out with a broken promo, while the Yenko Chevette concept was inspired by a car, that sat for sale, in front of a local storage facility several years ago... Now for the finished product.... Body mods were limited to molding in a cowl scoop, that was cultivated from a Revell 1/32 scale '69 Z 28 hood, while the rear spoiler is a narrowed Revell 1/25 '69 Z snap kit unit..... The stock Chevette front and rear bumpers were split down the center, narrowed, and tucked in closer to the body. New axle holes were drilled to mount big n little large diameter Corvette style Rally Wheels, sourced from a 1/32 scale Jada diecast. Paint is Testors Extreme Lacquer Icy Blue, cleared with Duplicolor 1K (Love that stuff)... Decals are a mix of Revell kit decals and a set of 1/32 scale slot car decals that I found on eBay. Interior features the custom bucket seats from an AMT Dodge D50 pickup kit, Corvette shifter, and a custom steering wheel from the parts box. Interior finish is Tamiya Light Blue Pearl.... Carpet is blue embossing powder..
- 27 replies
-
- 10
-

-
- chevette
- pro touring
-
(and 1 more)
Tagged with:
-
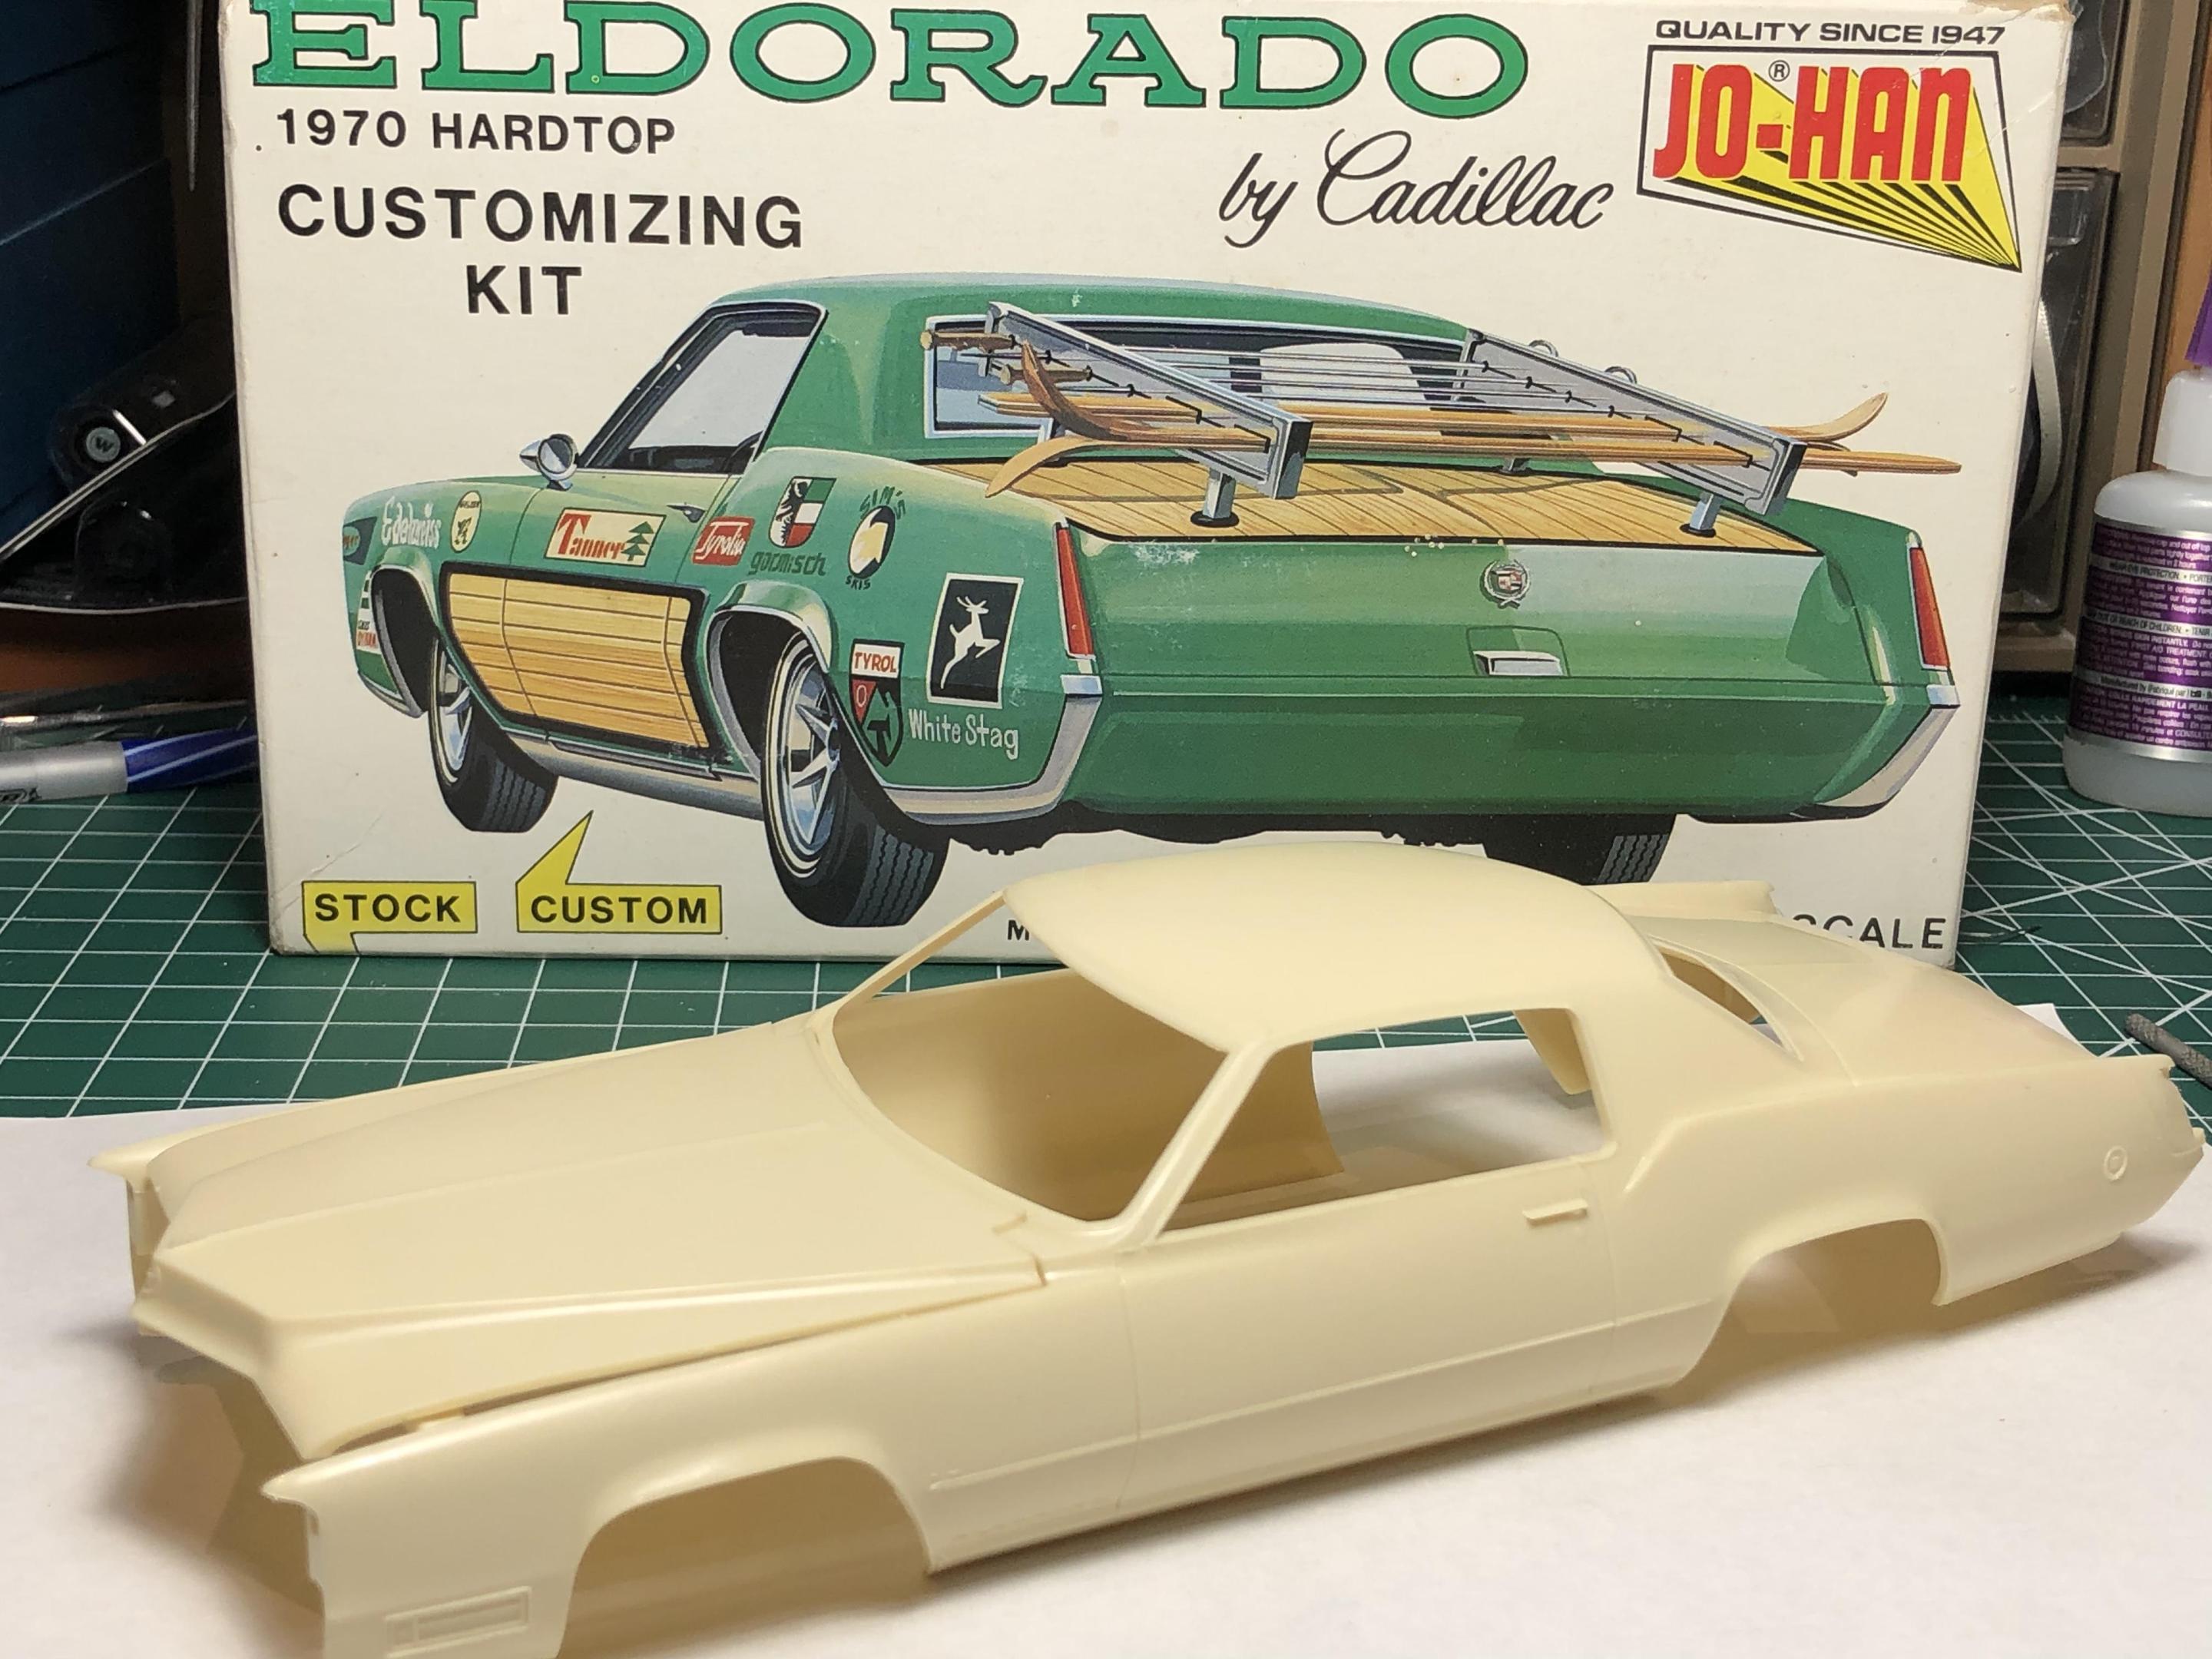
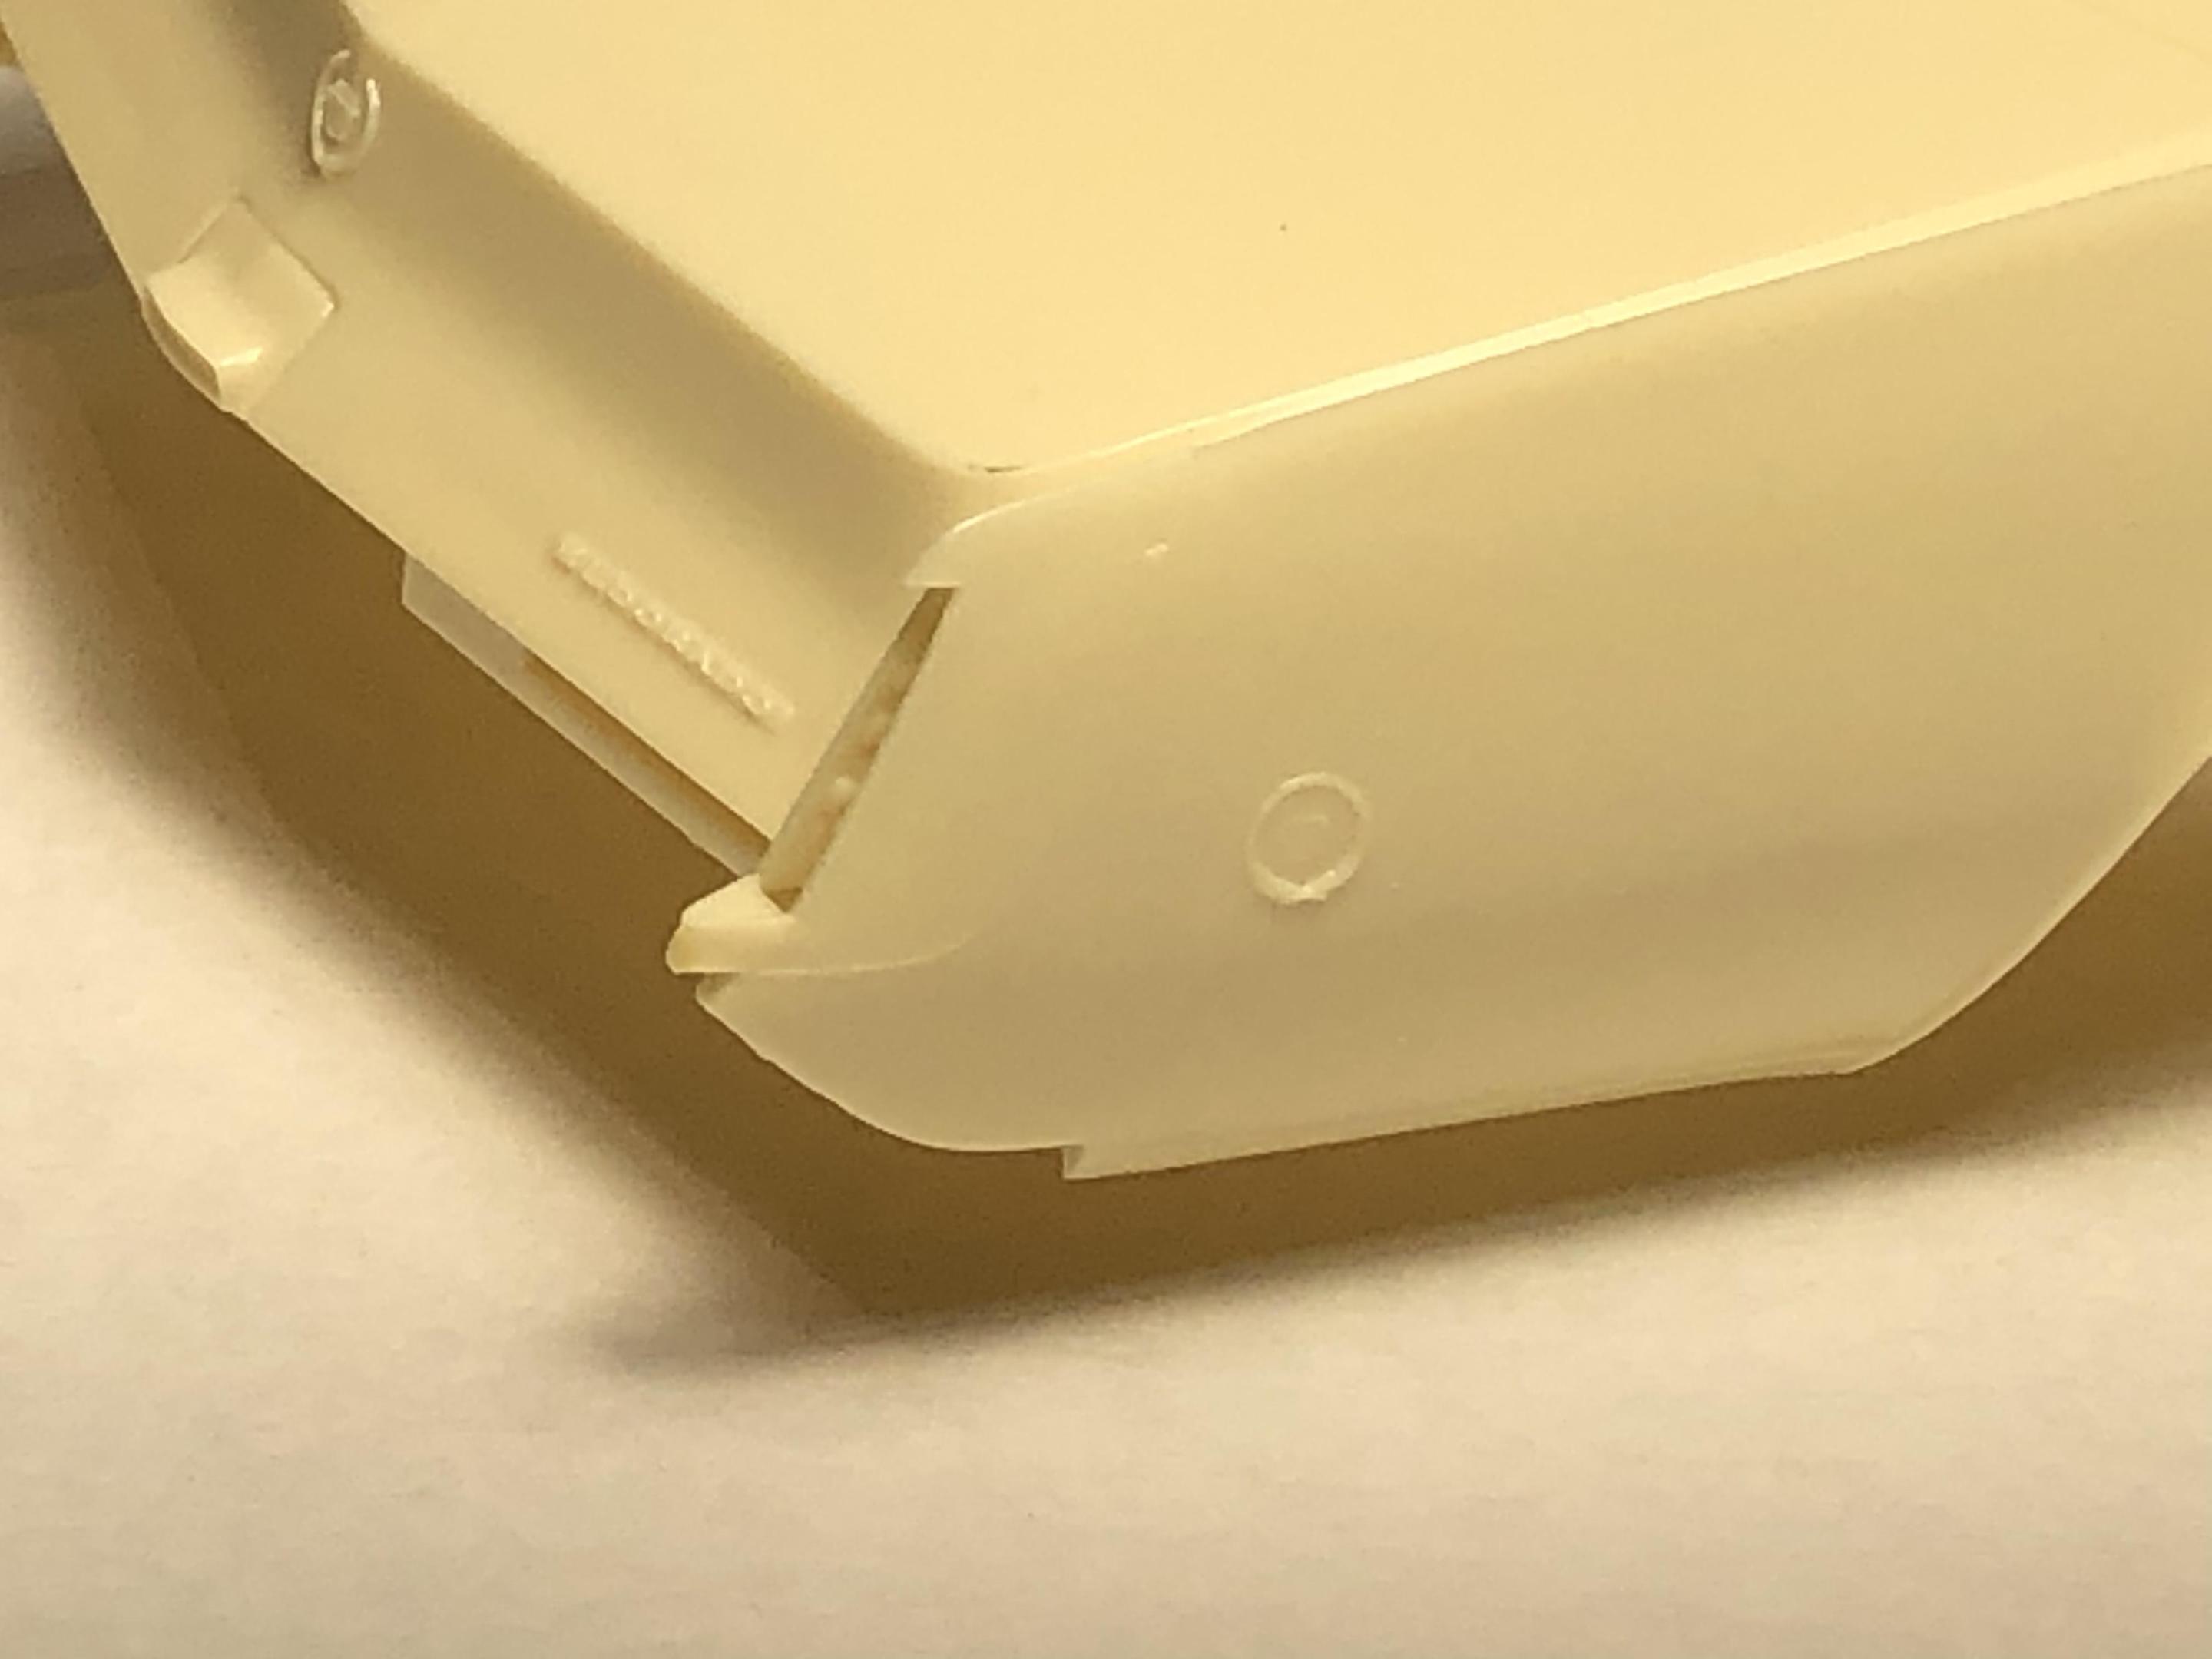
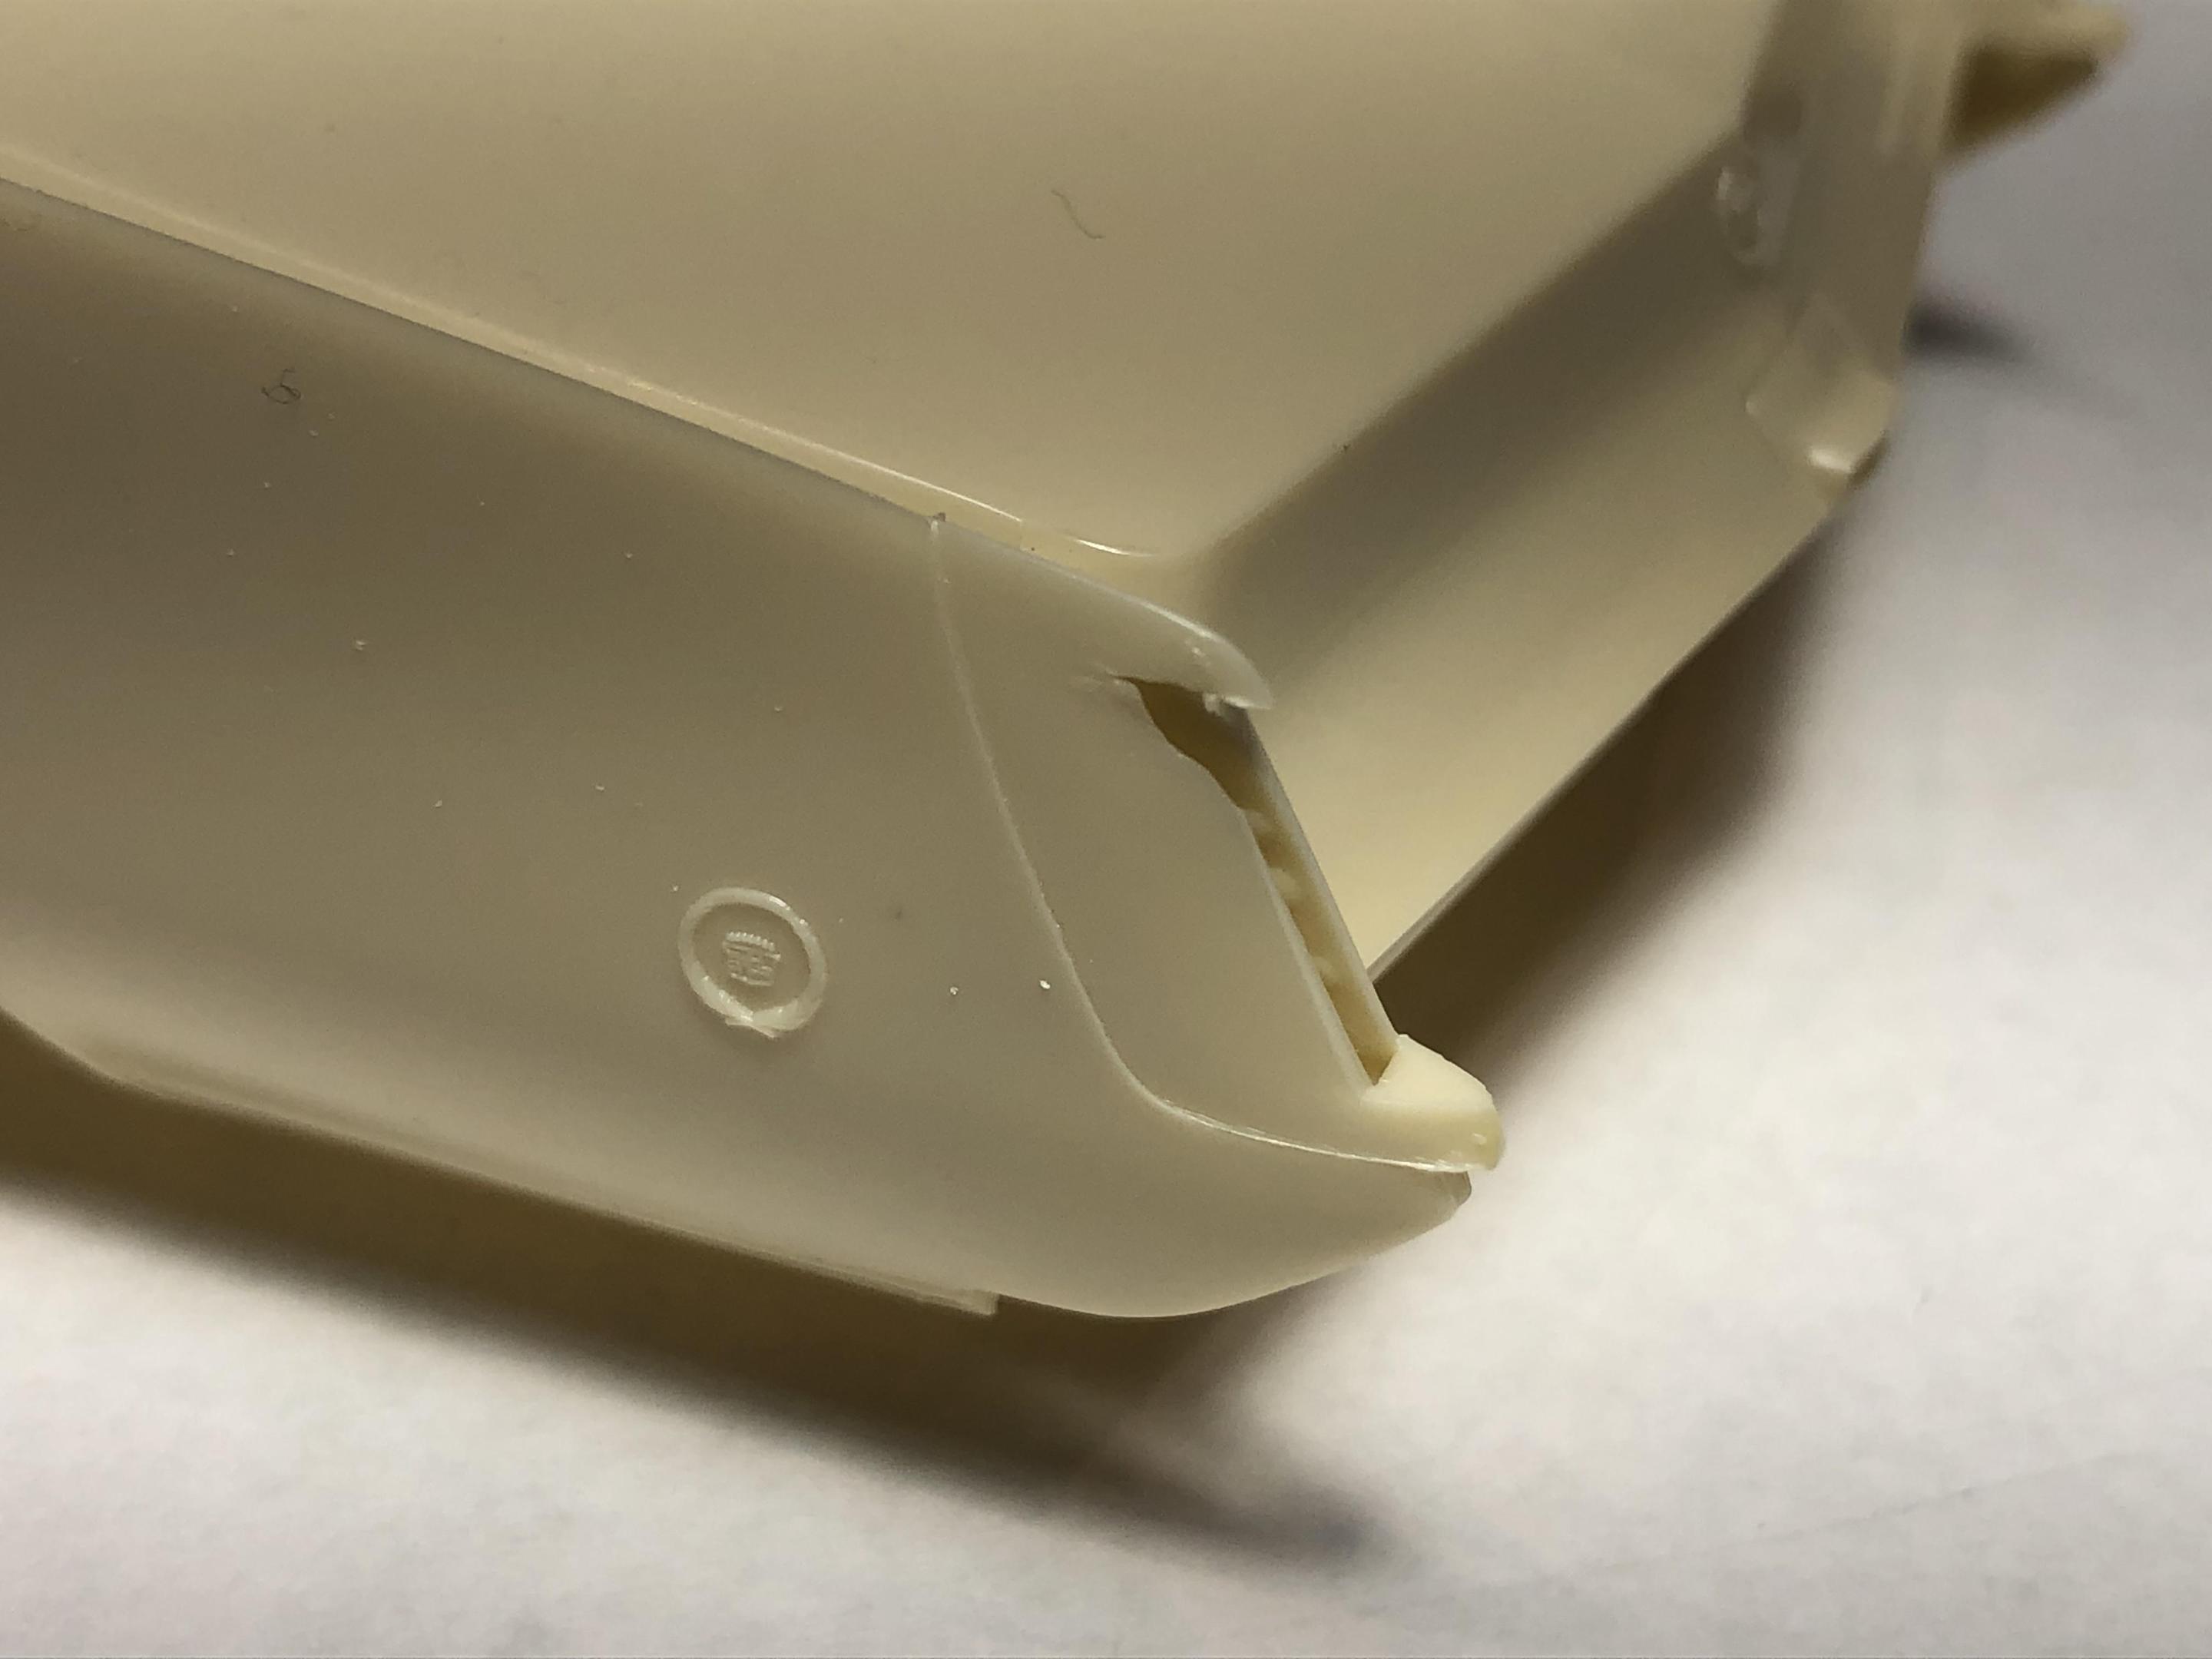
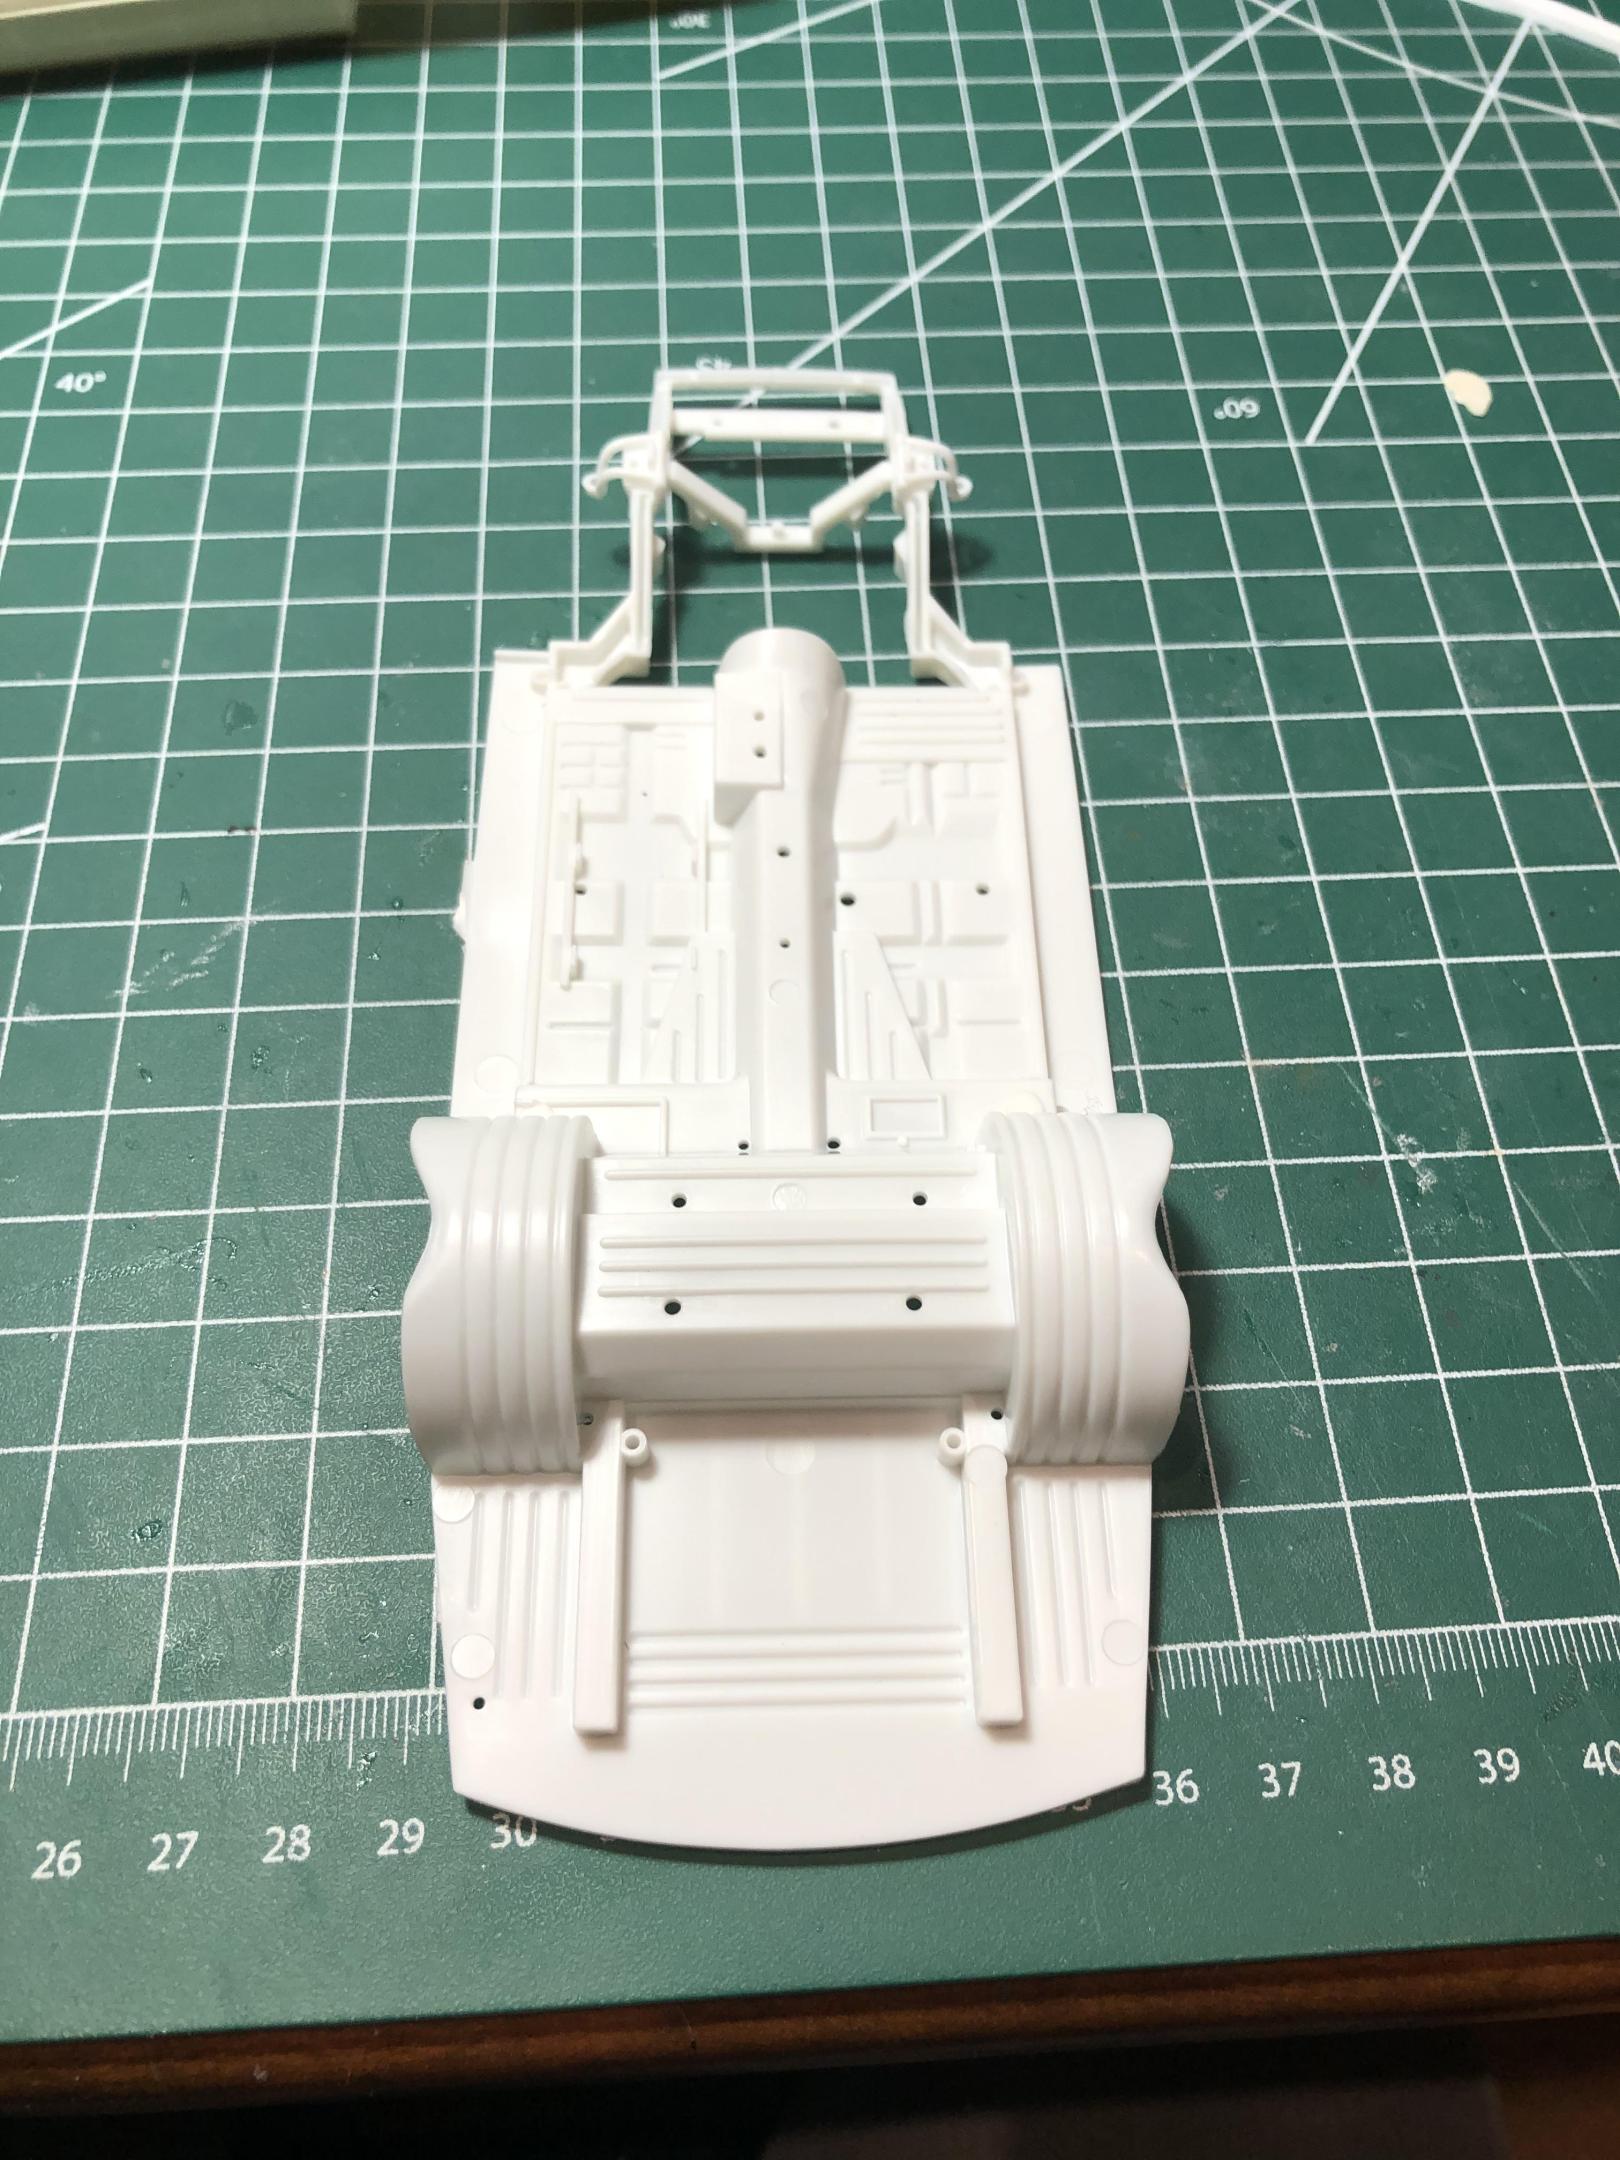
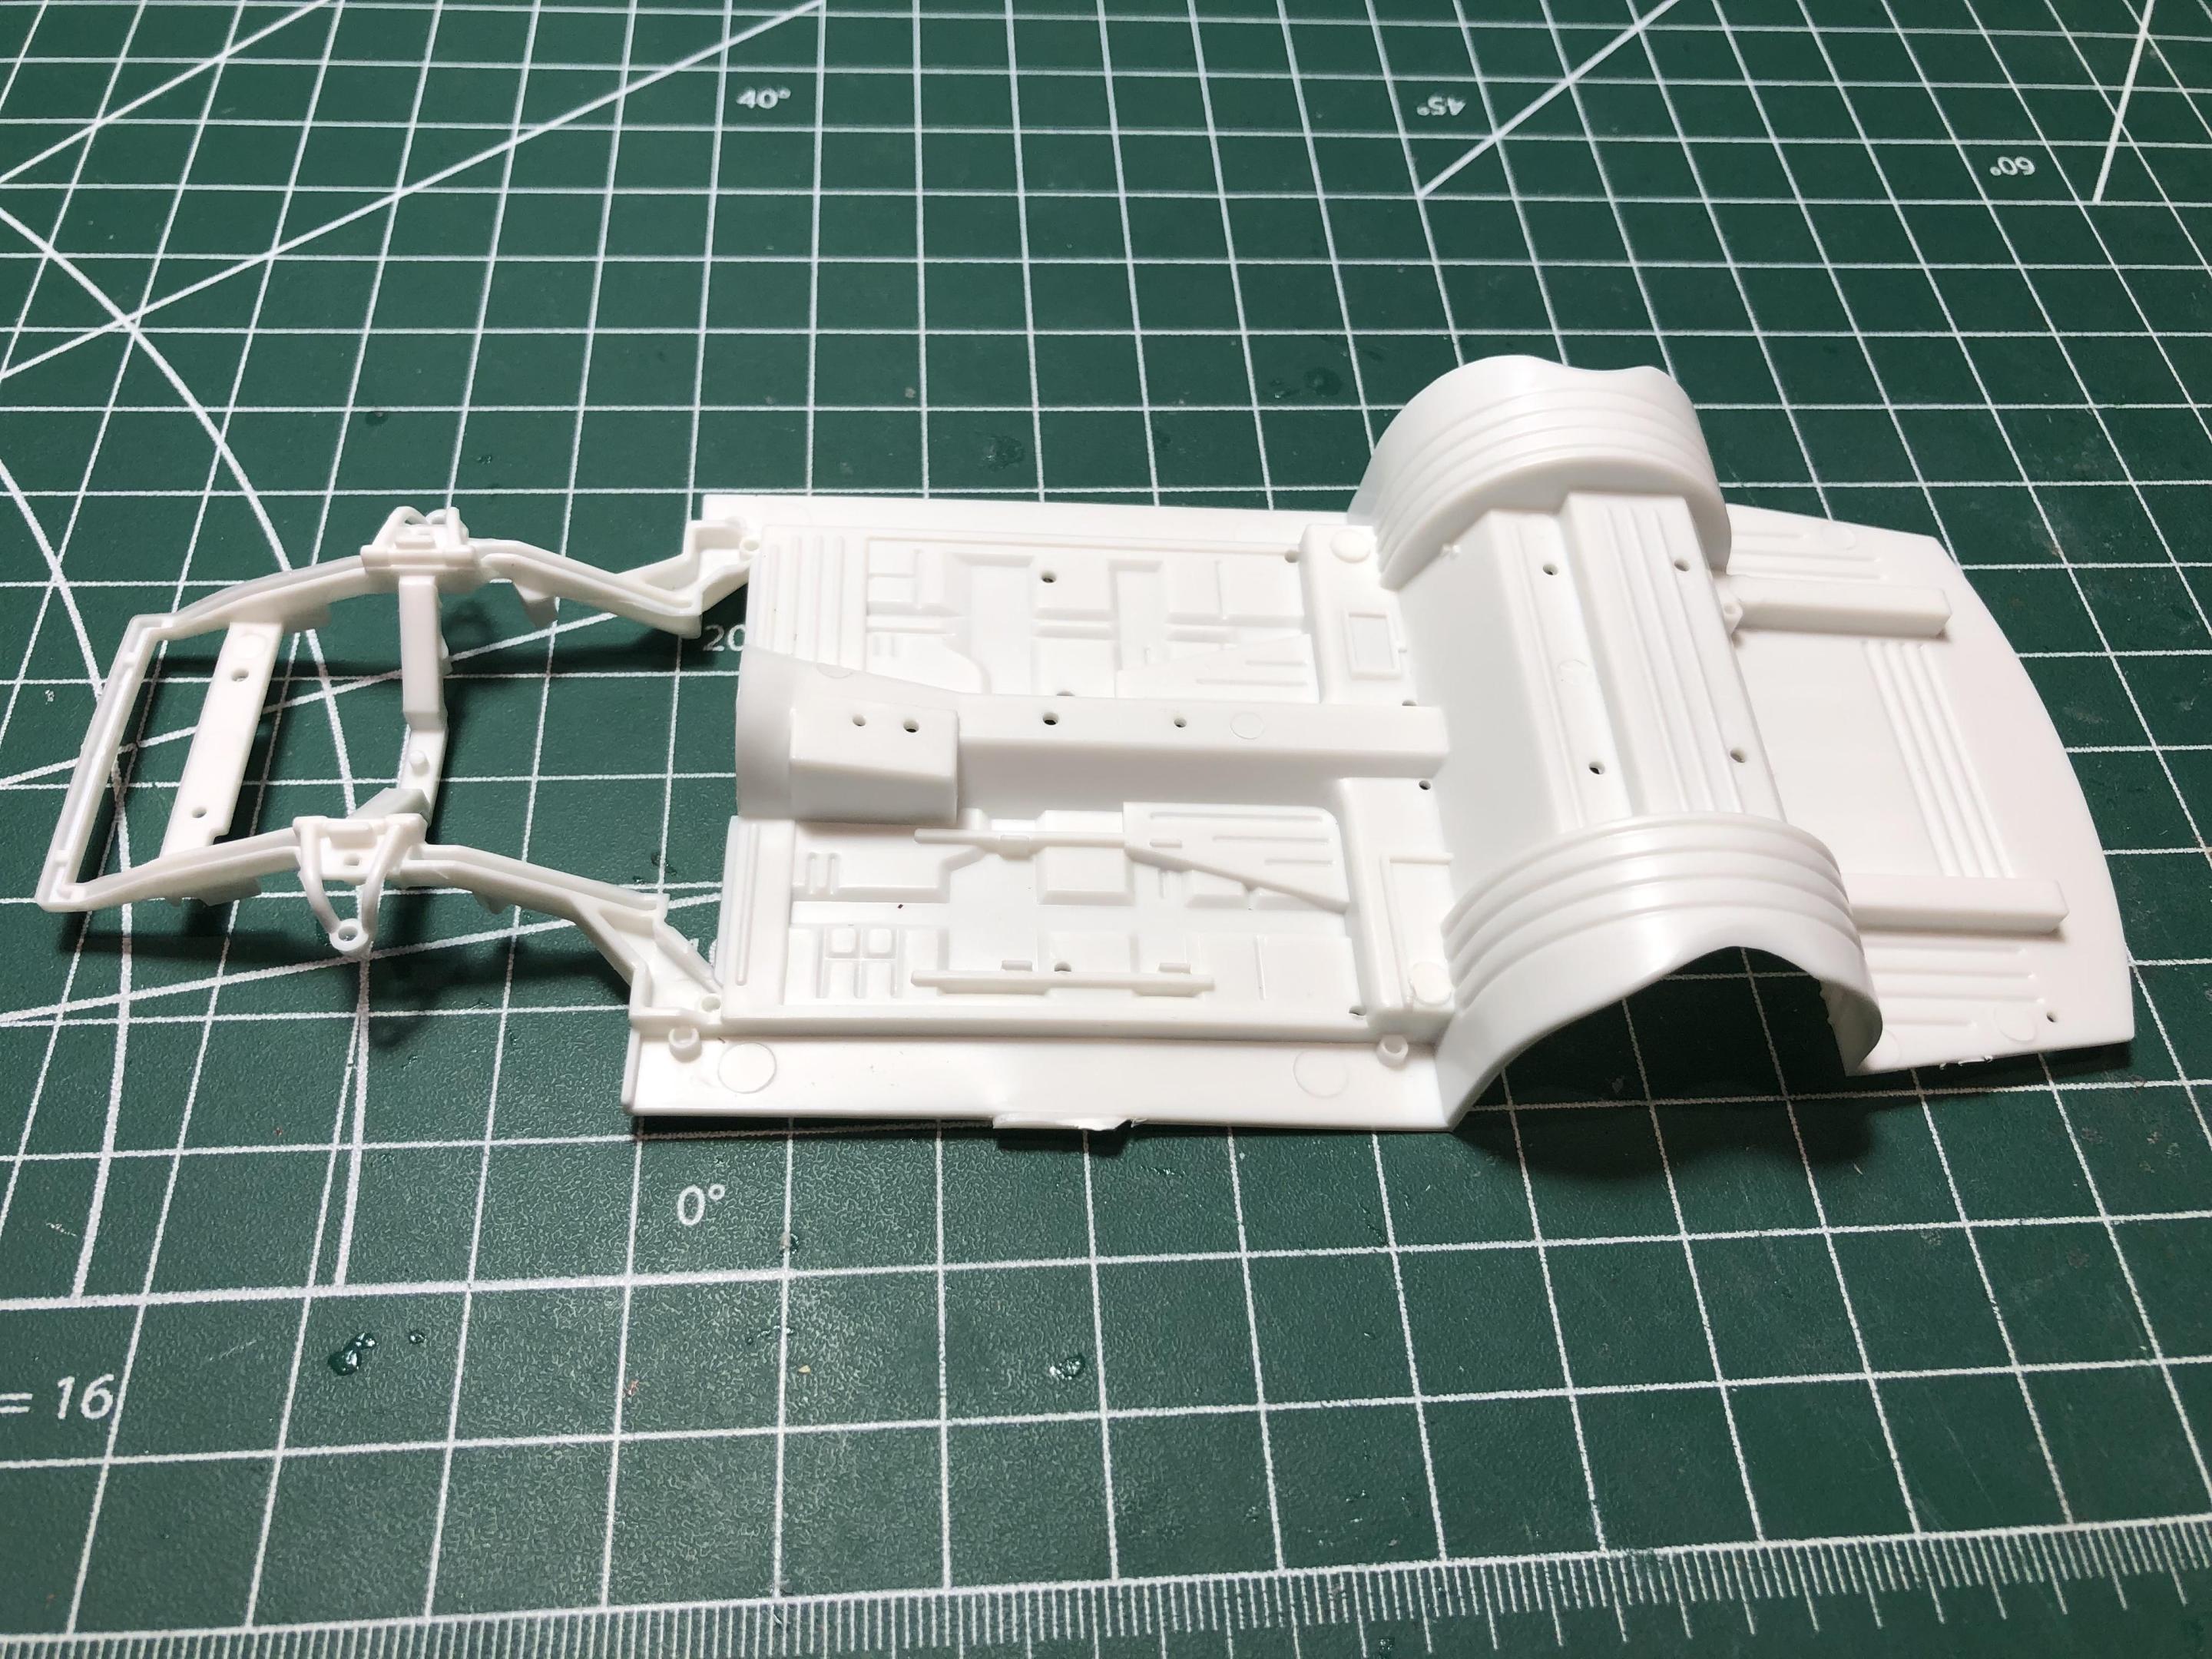
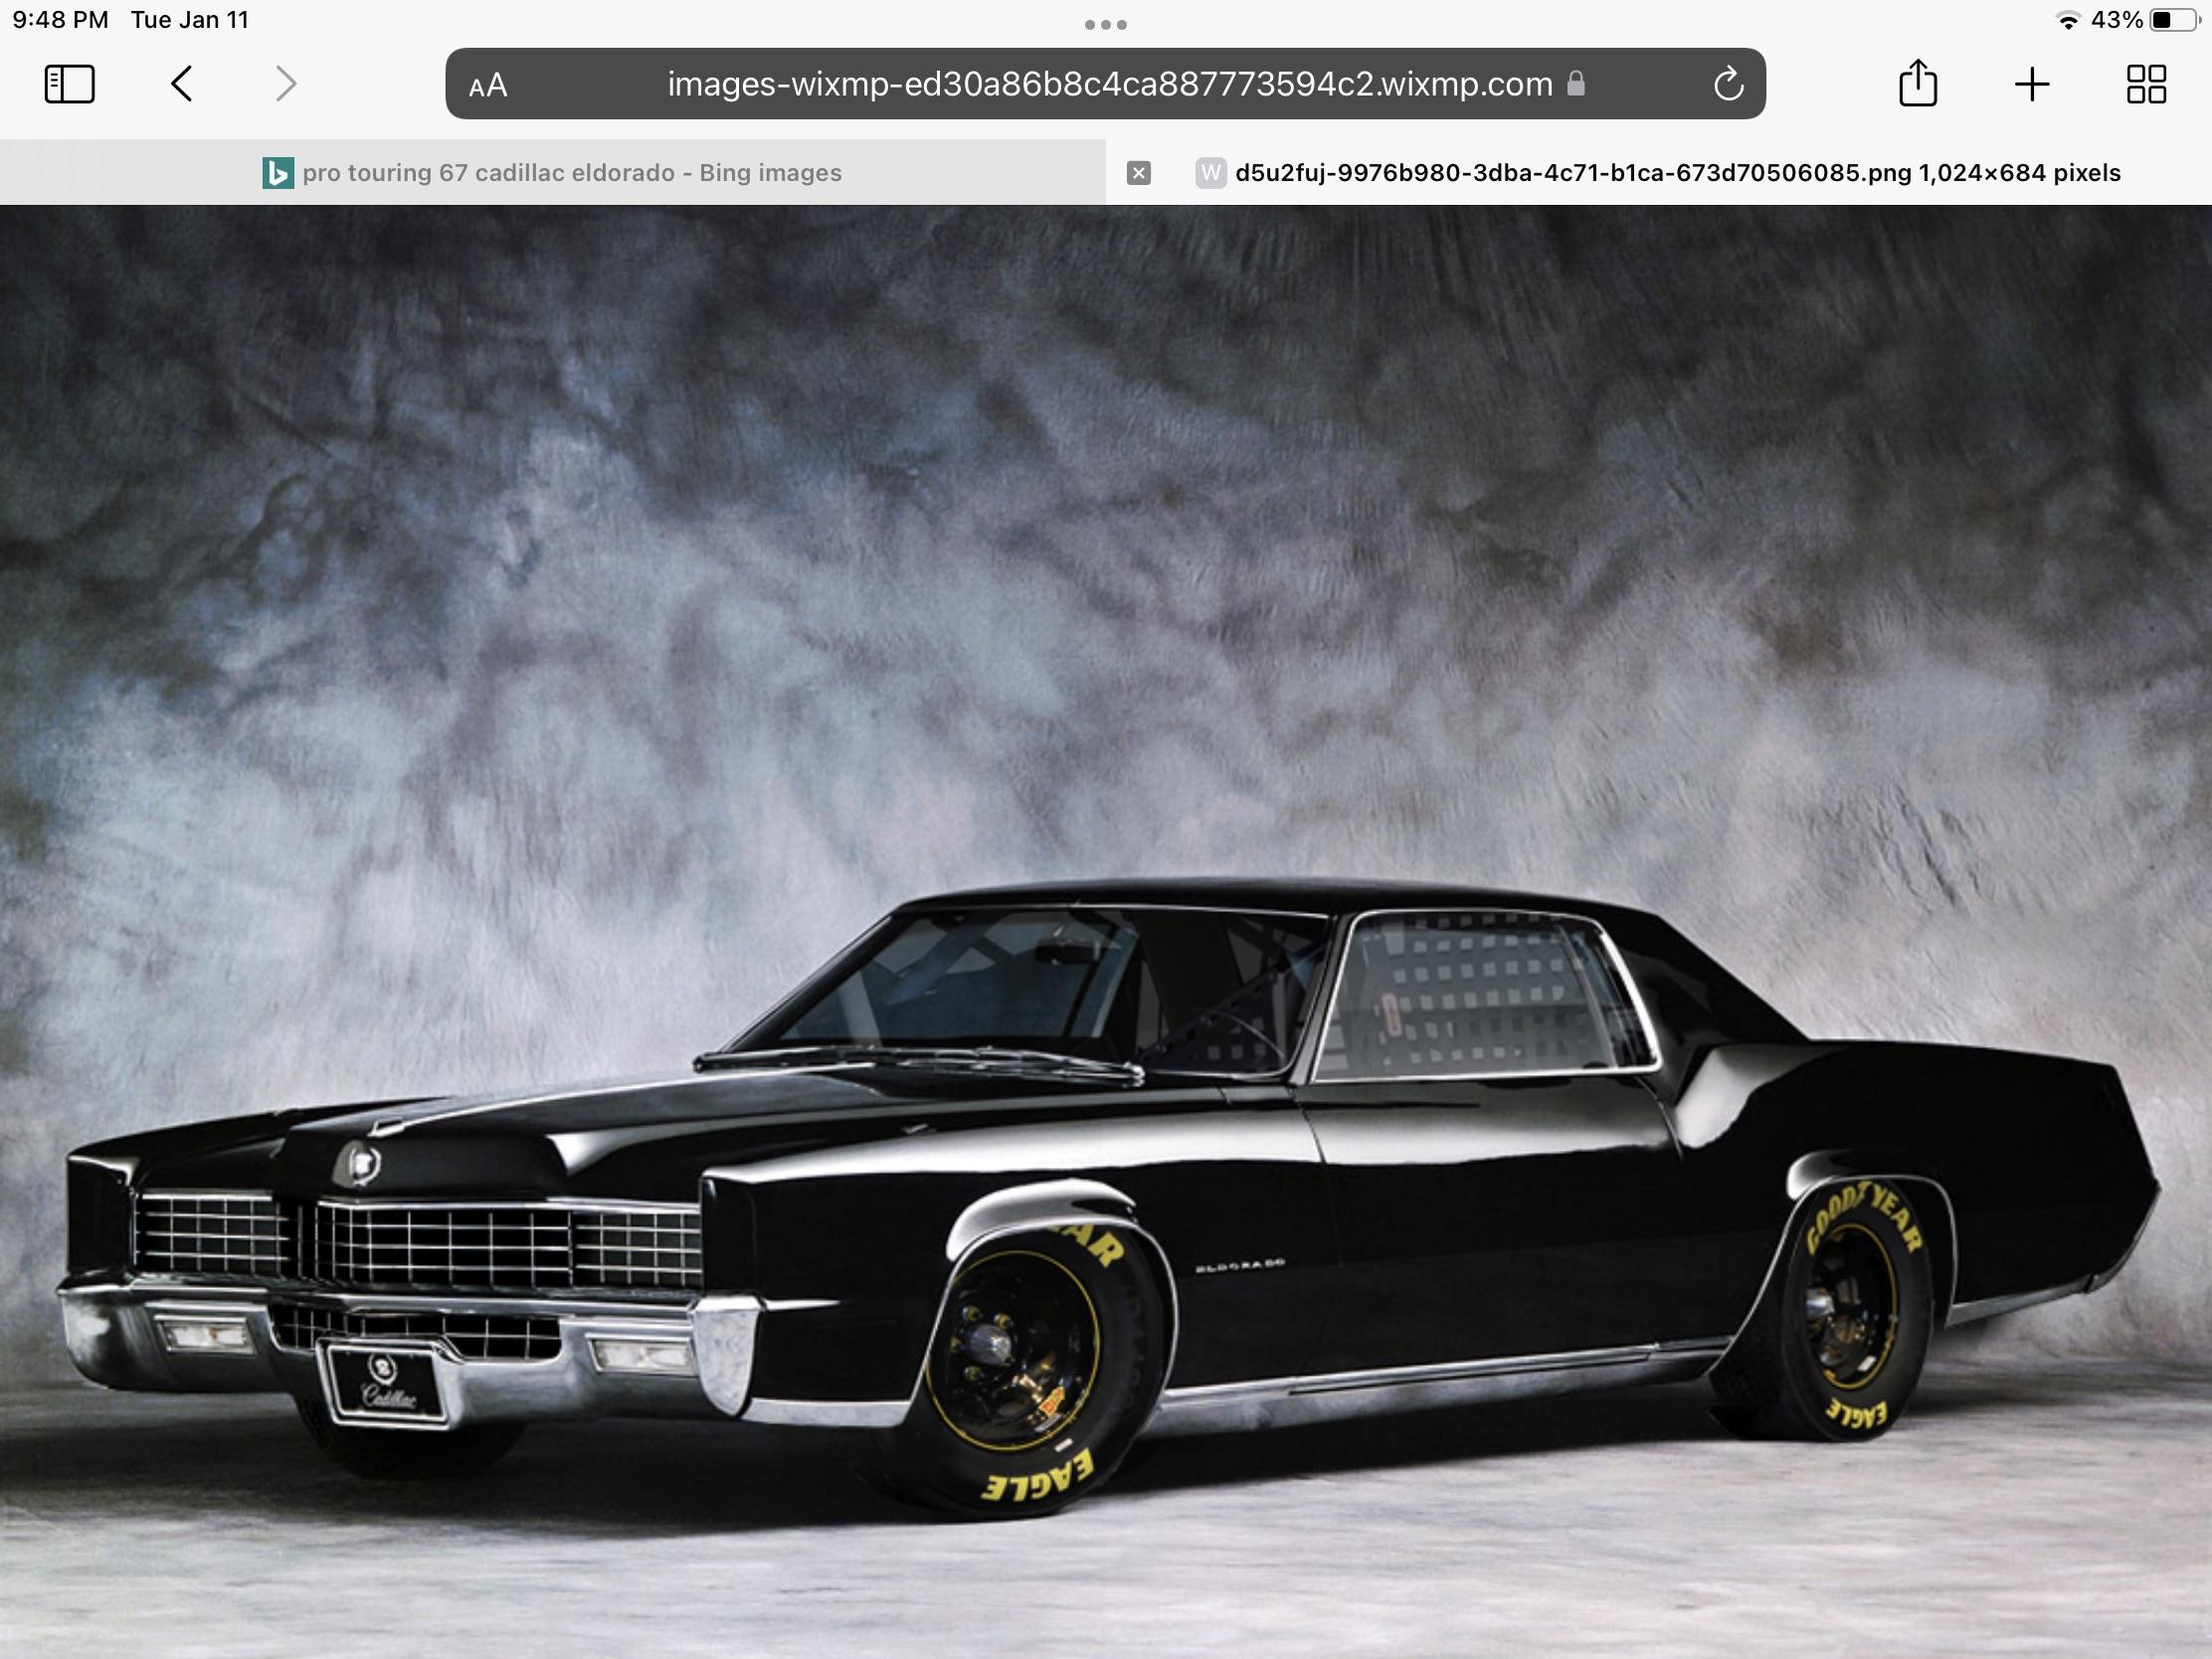
Hi all, This project has been percolating in my brain for years. I finally got the kit about 3ish years ago, and I am now ready to tackle it. I spent a few hours last night going thru my stash and parts bins accumulating a bunch of goodies to mash up. The plan is to use a slightly toned down NASCAR chassis, I will keep the body somewhat stock, but shave some trim. I love the lines of this car! The interior will be a blend of lots of parts from various kits, and some scratch building. I will credit the late Juha Aurio (I hope I spelled that correct) for the inspiration of this. He built a beautiful blue custom that was in a contest cars magazine some years ago. My thought way back then was that I would do a simple curbside build, but with what I have learned since being on this forum, I feel my skills have improved, so I’m going all in. Before I go any further, my sincere apologies to purists, and those who disapprove of cutting up collectable or rare kits. I collect kits, but I collect them to build. I treat any kit the same, and I have almost no knowledge of “box stock”. So here we go! Starting point… The body is actually in very nice condition, so far the only flaw I see is a short shot on the driver side tail light area passenger side.. driver side… Shouldn’t be too hard to fix up. Chassis before any tinkering… The chassis needs to be narrowed and the front of the chassis (forward of the firewall) needs to be extended a scale 10”. Some of the inspiration I have found.. No, it will not be black!! No, it will not be a full roll cage NASCAR build. Man these look good dropped down tho!! It will be low, and will be very aggressive looking, but hopefully still classy at the same time. I already have a colour but not sharing that yet. I have several wheel tire choices, still need to narrow that down. I also plan on ordering some wheels this week, so my choices may actually expand. The engine will be a big block with a modern intake, or maybe twin turbos, regardless, it will have more than enough power to move this beast along. Still need to play with options once the chassis is further along. If it works out, I will use the Cadillac valve covers in the kit. I have all the ideas sorted out in my head, just need to start slicing and dicing to make it a reality. LOTS of details to sort out still, especially with the interior. This should be a fun one. As always, all comments welcome and thanks for having a look. Cheers, Steve
- 220 replies
-
- 12
-

-
- johan
- pro touring
-
(and 1 more)
Tagged with:
-
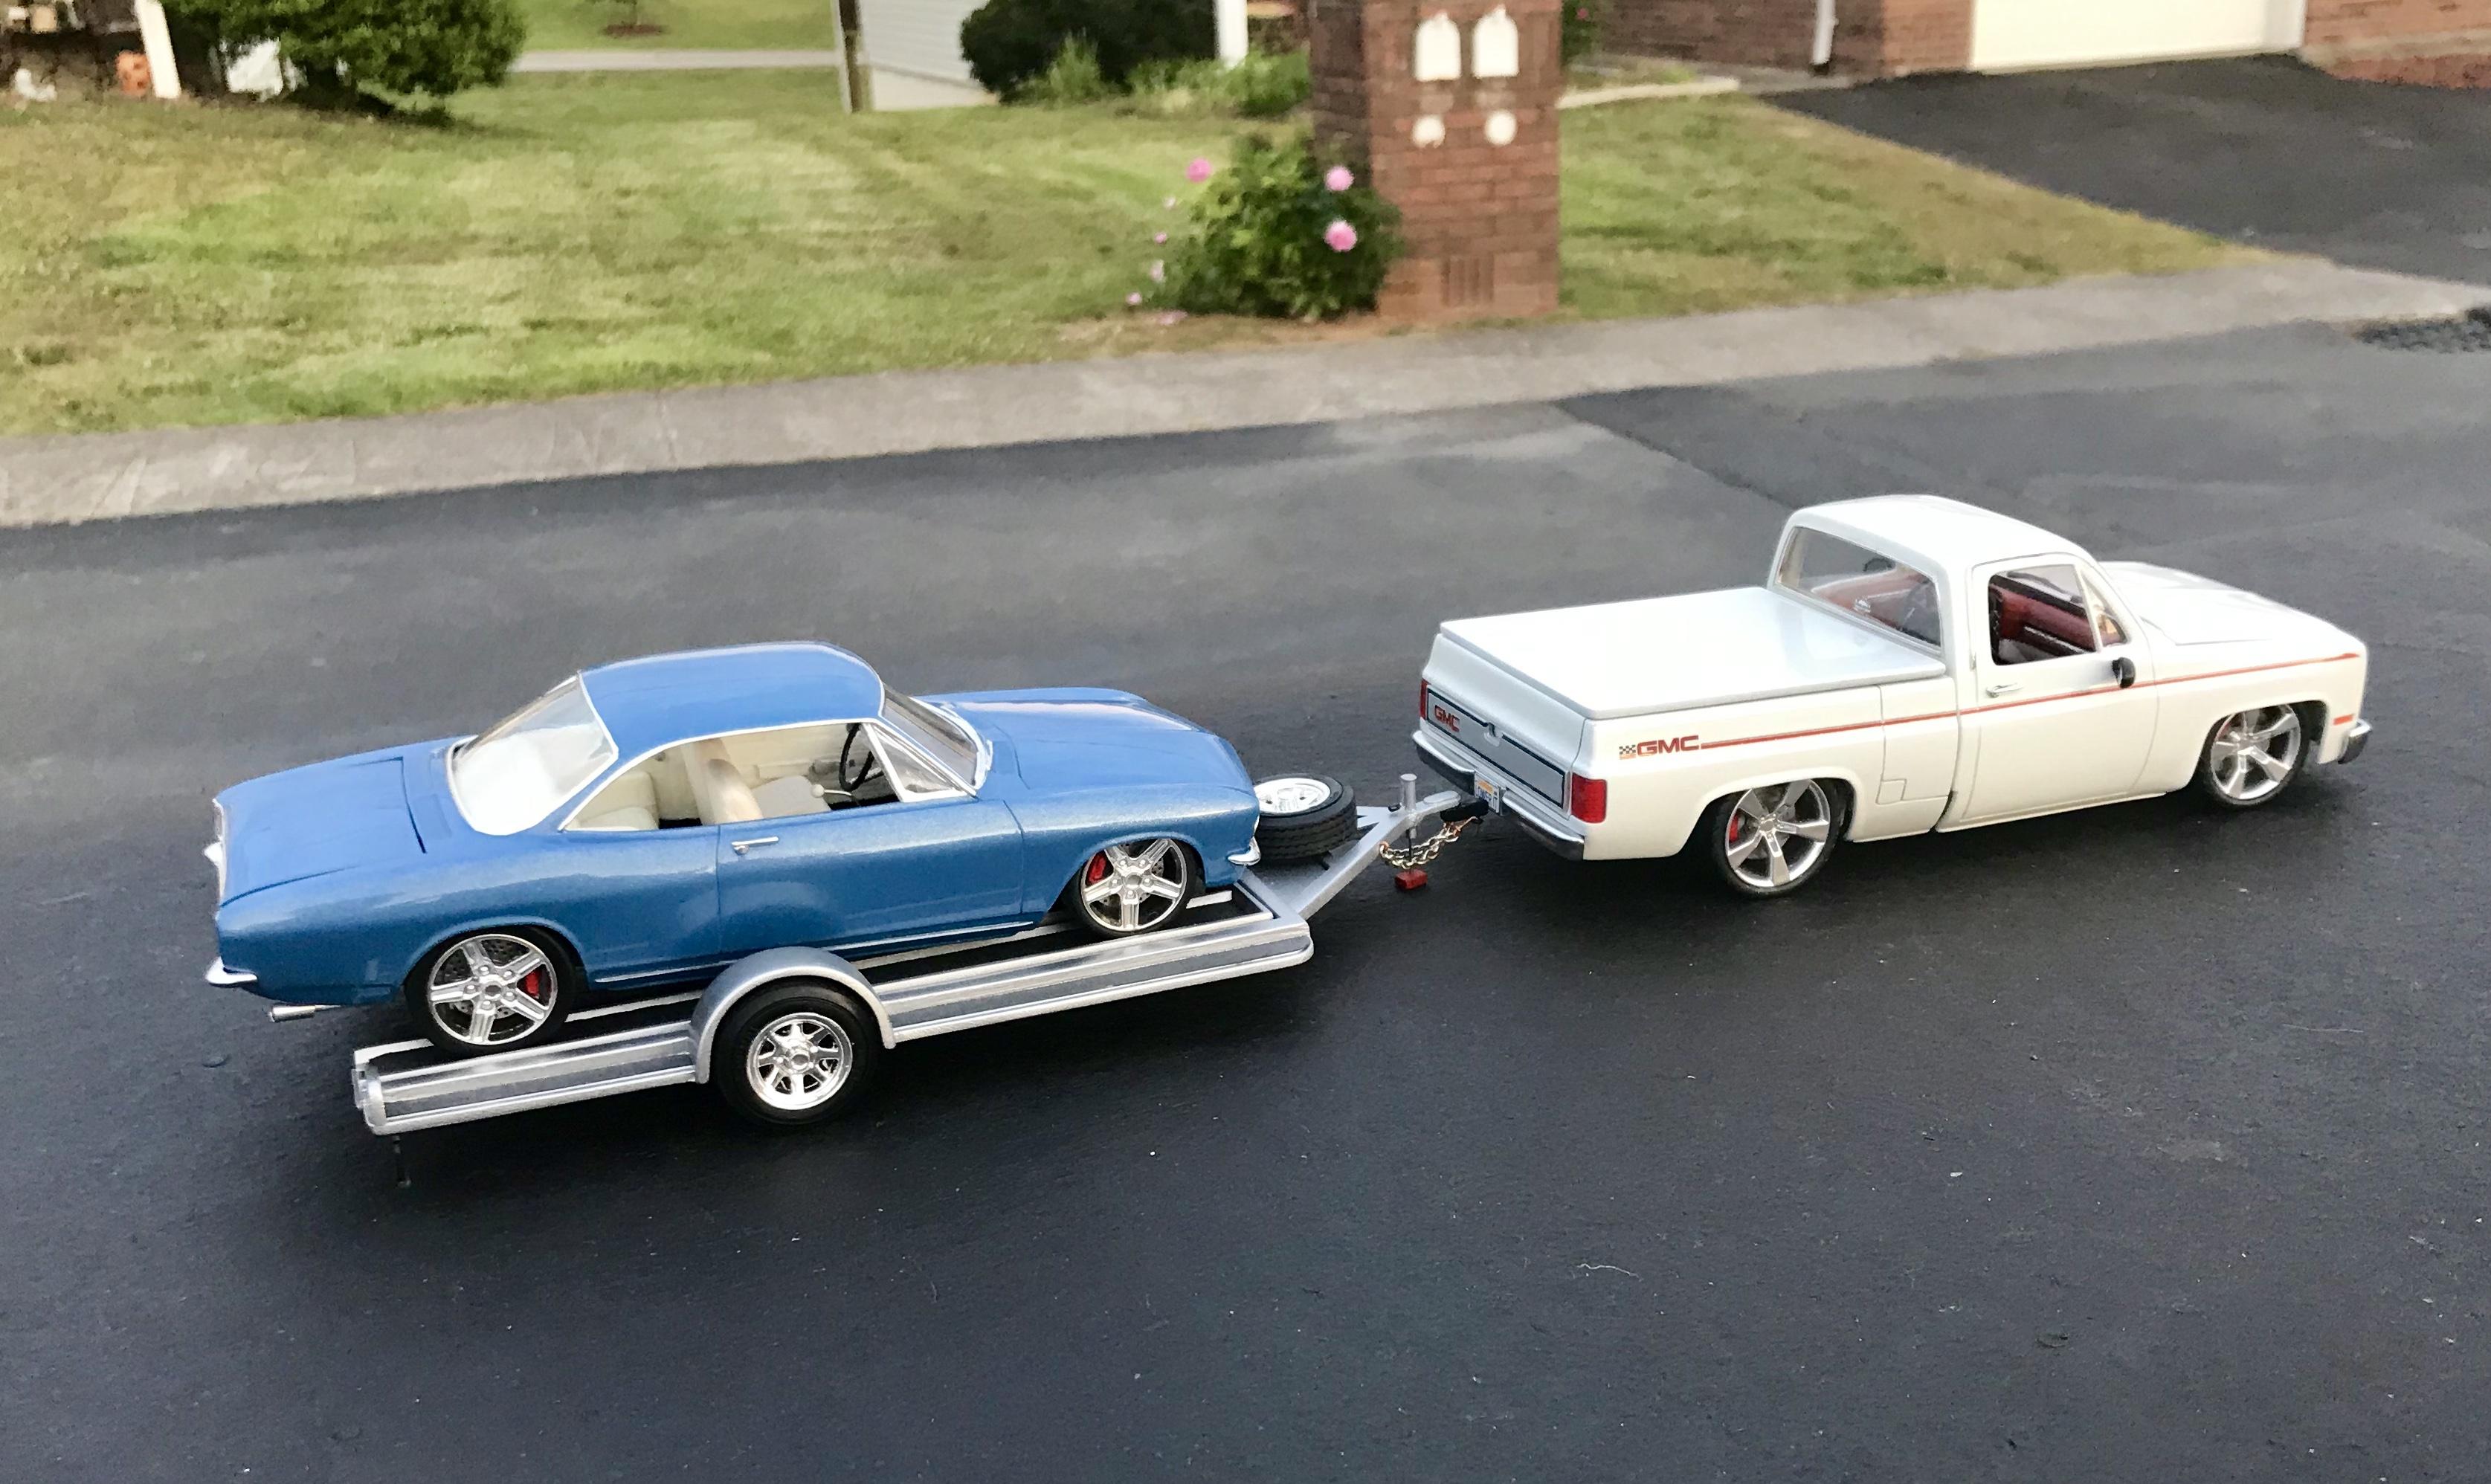
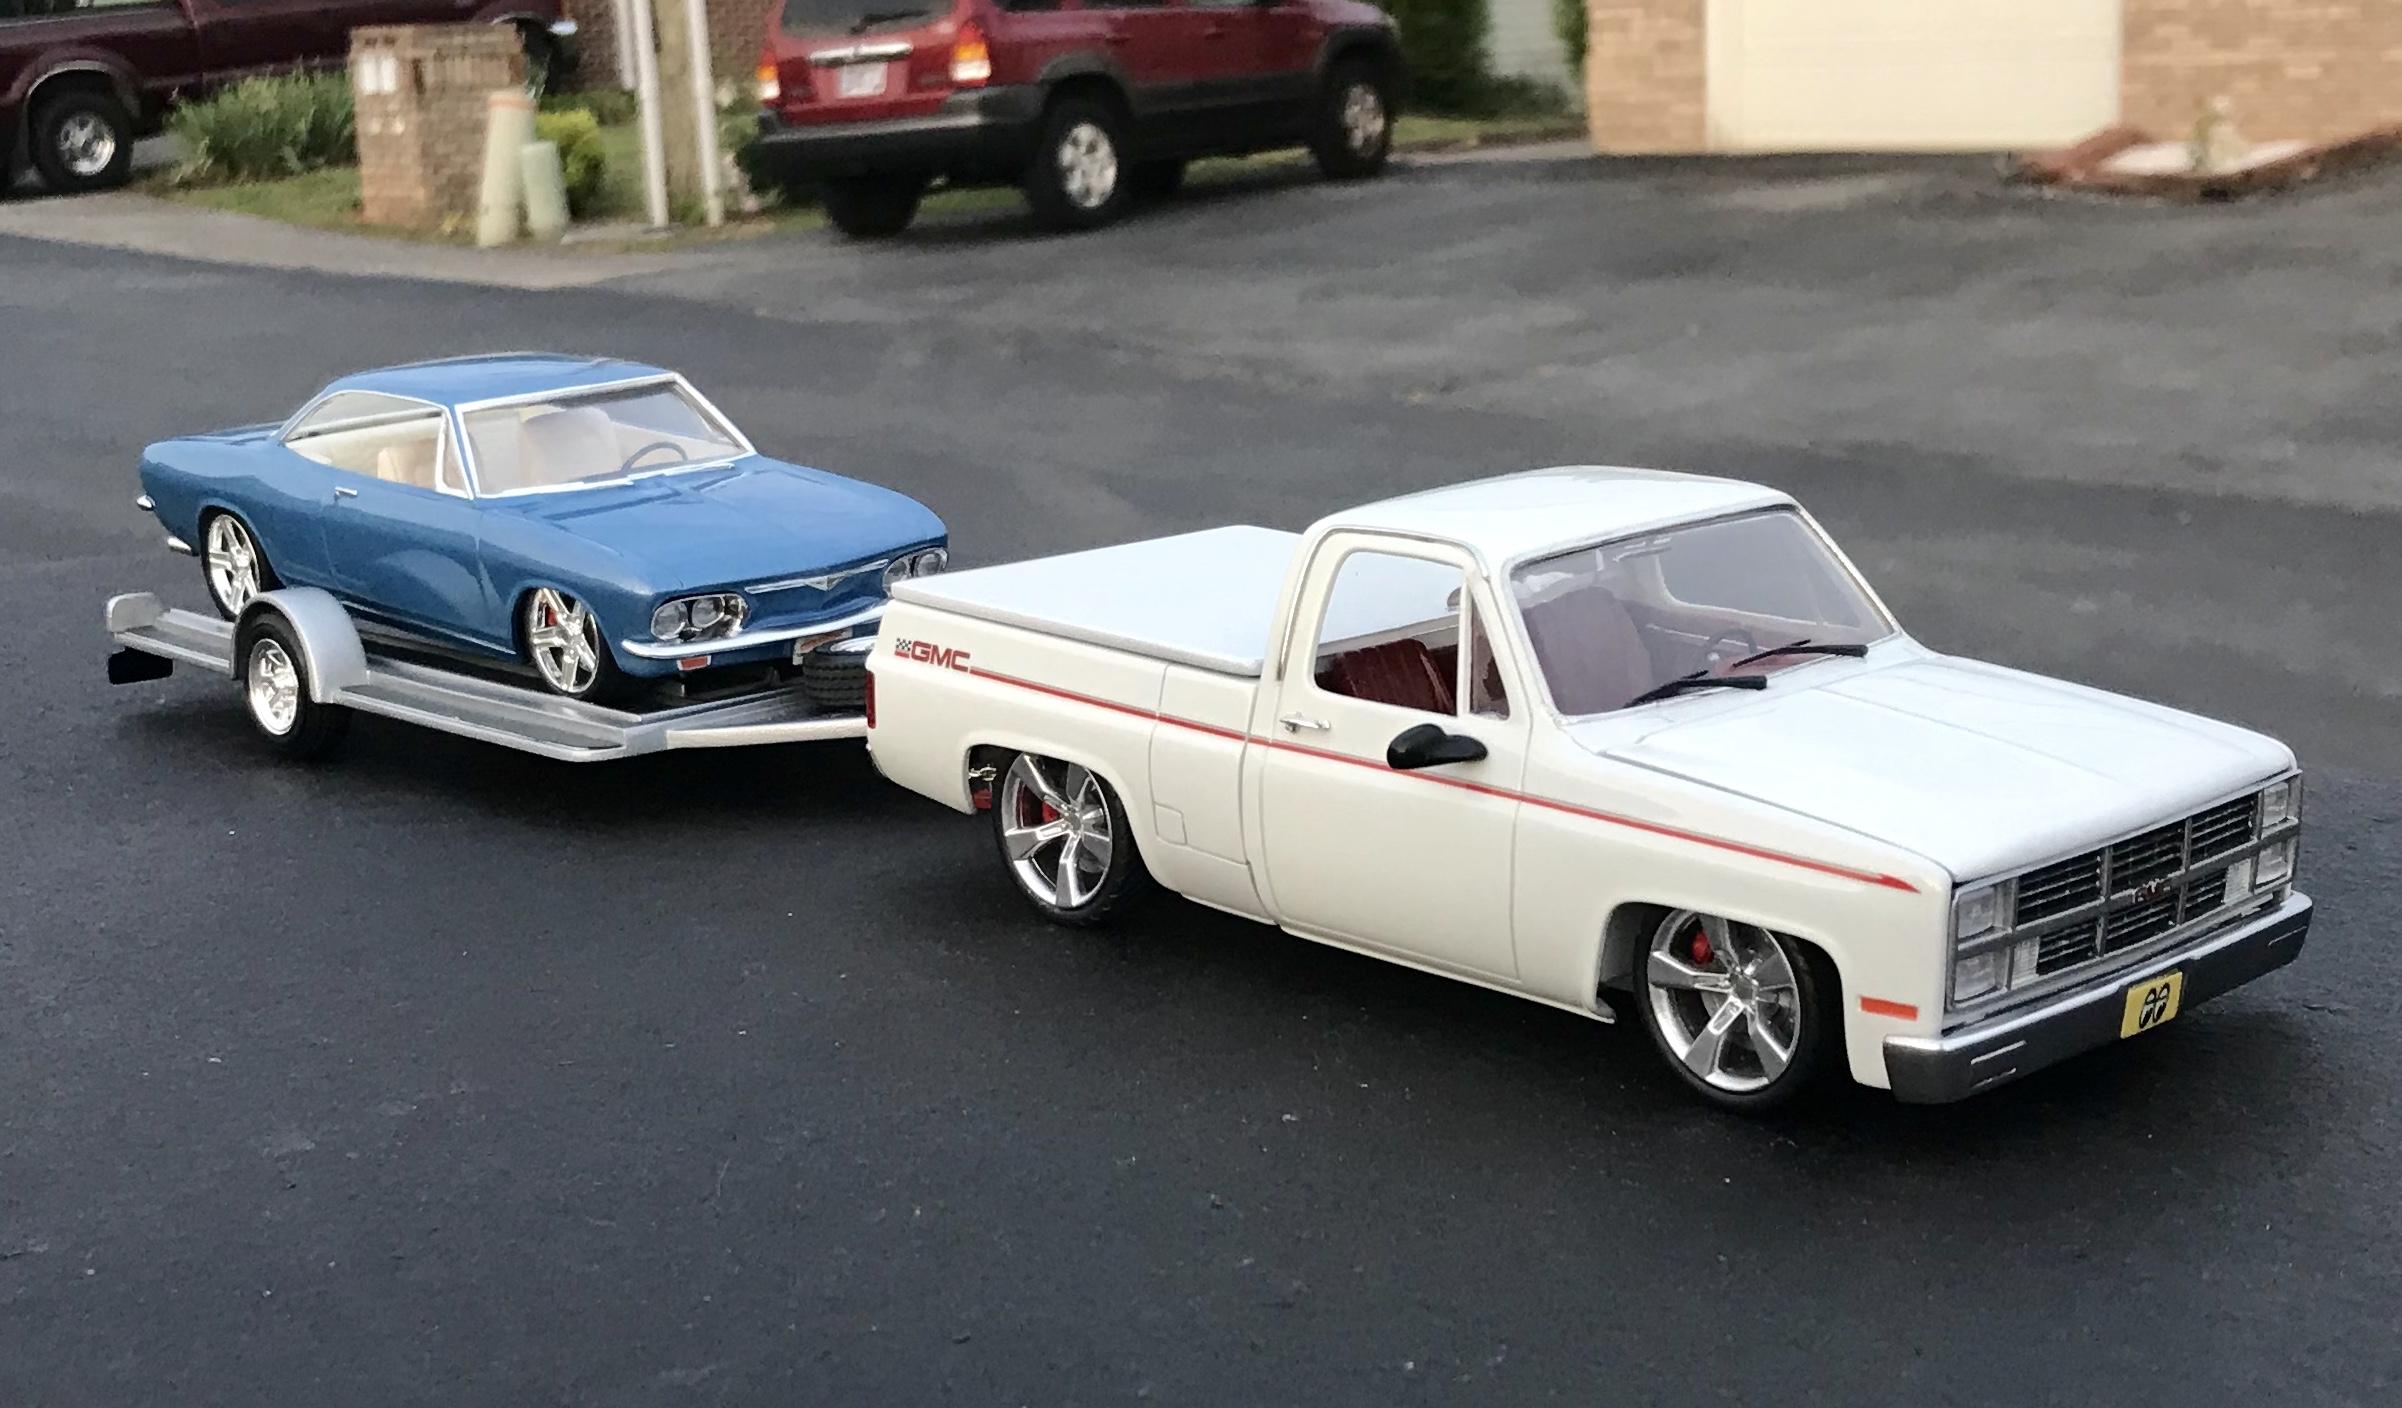
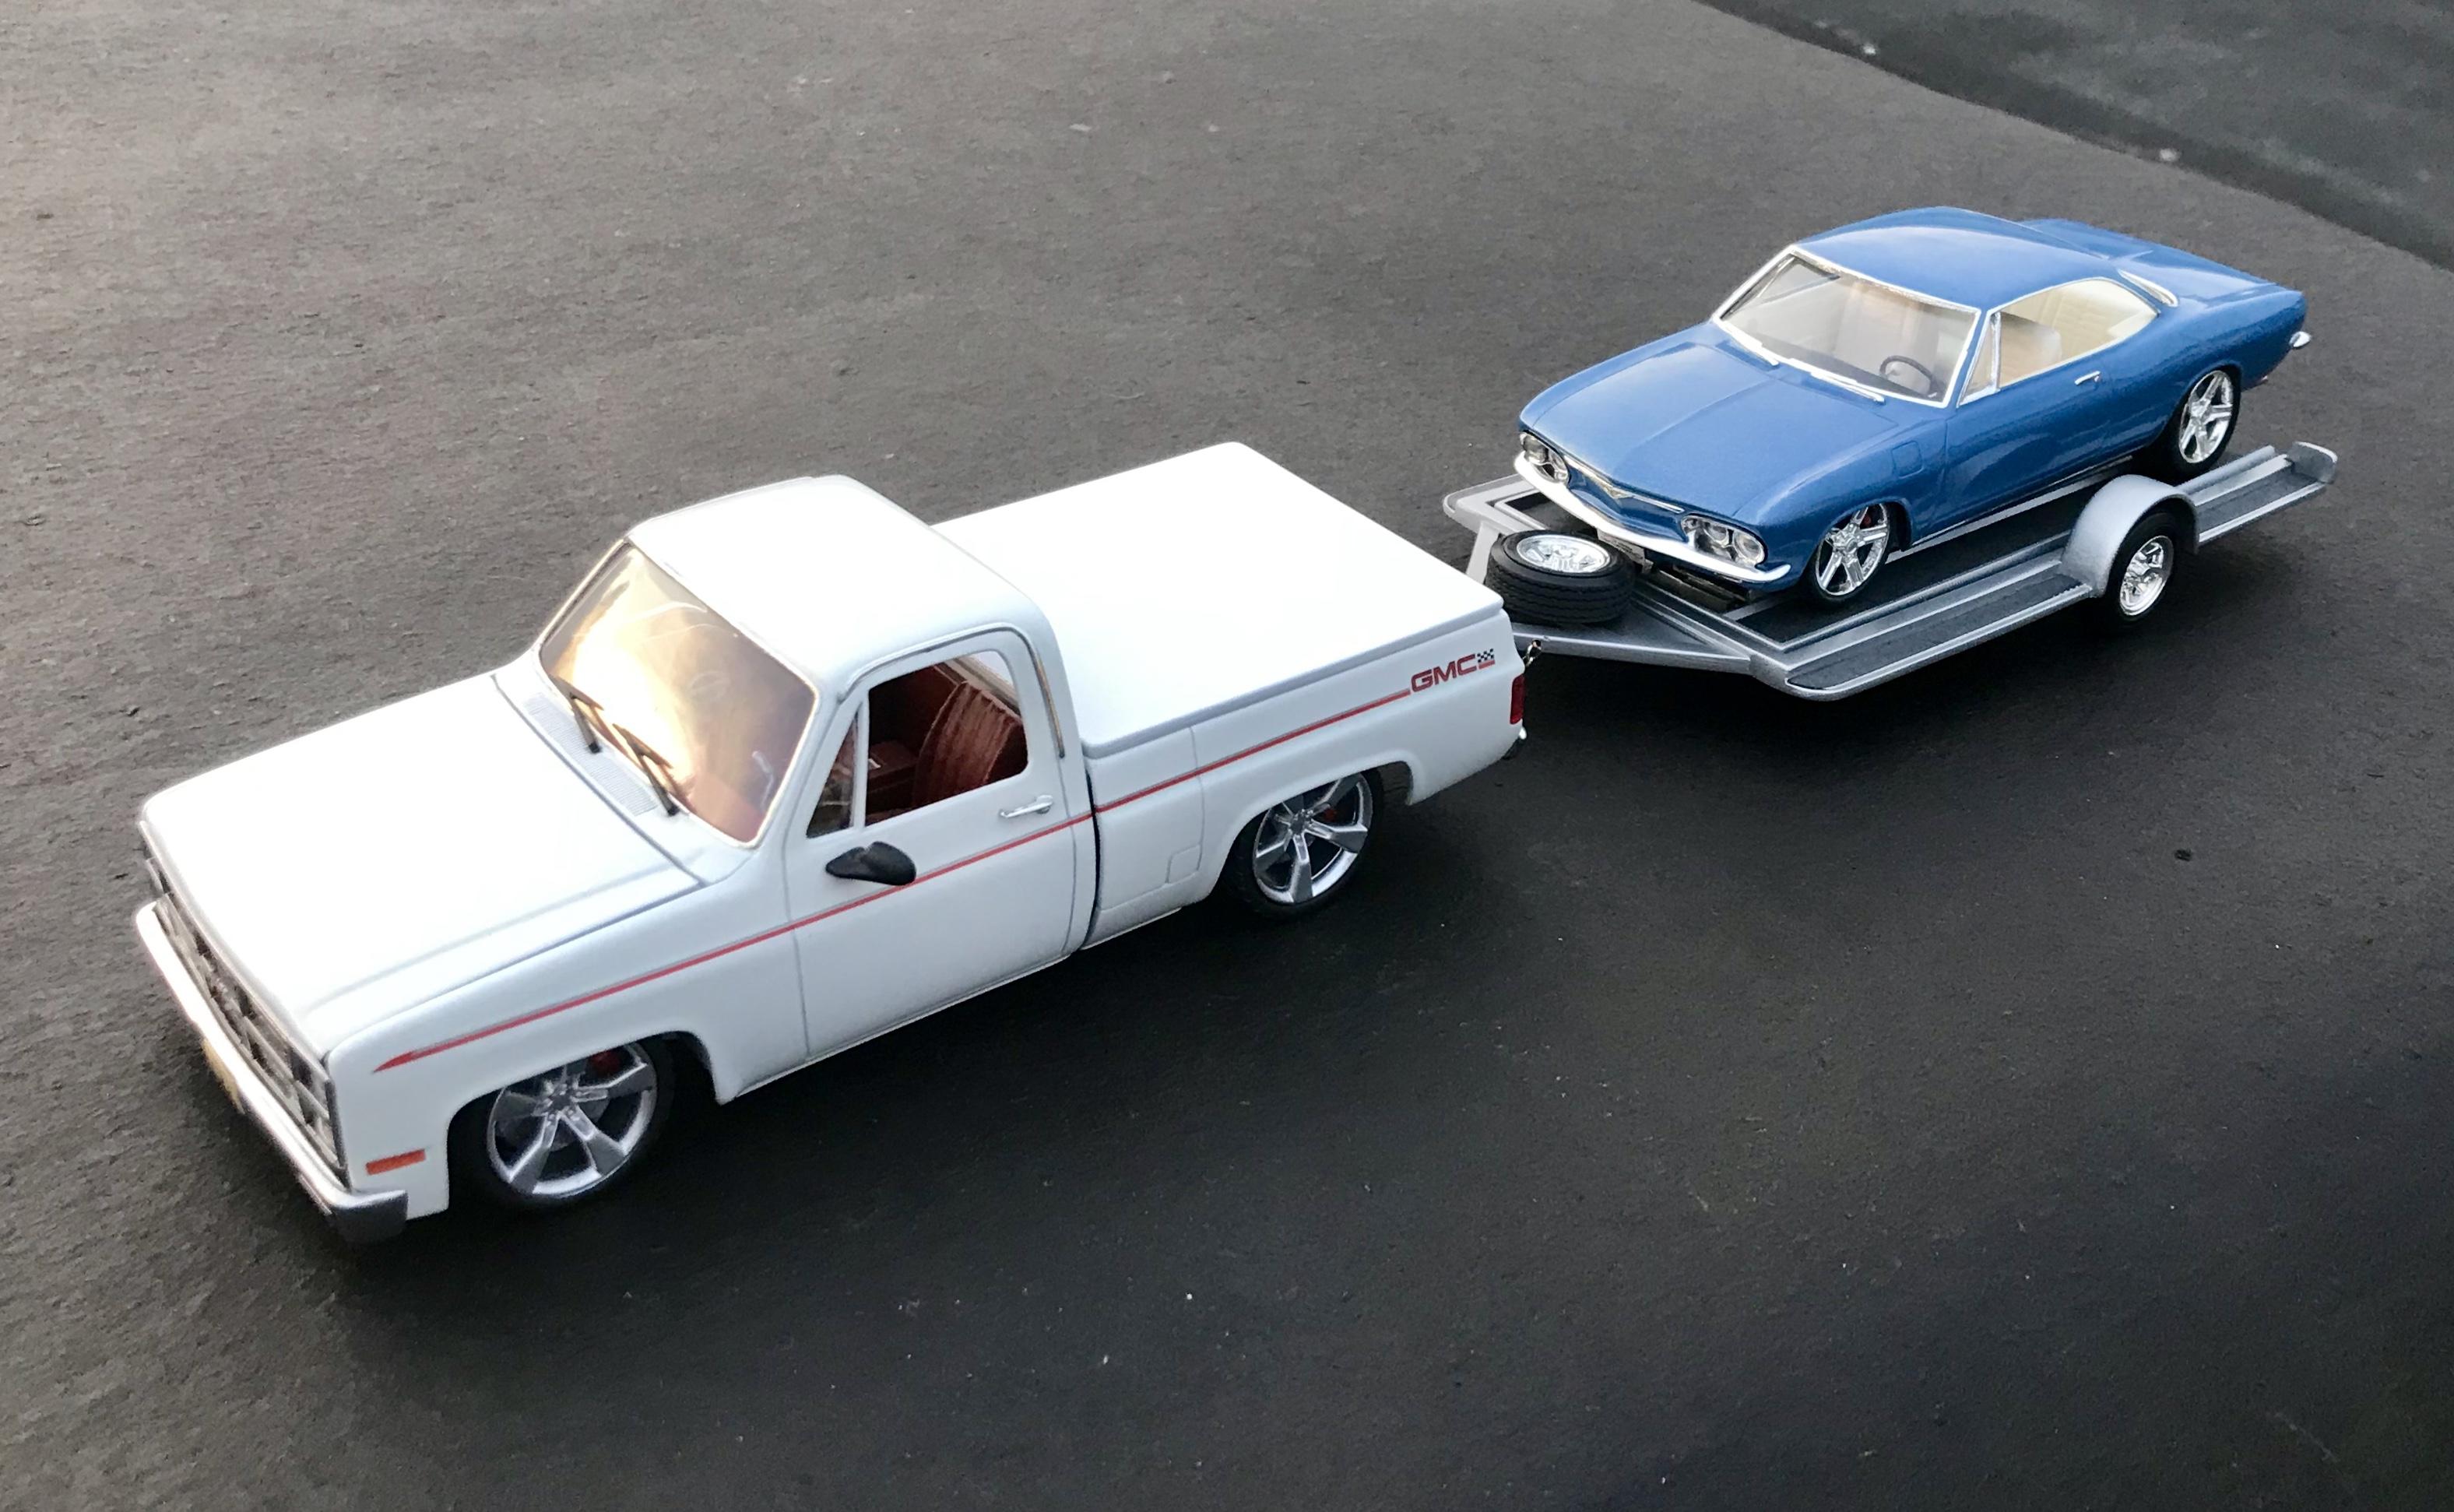
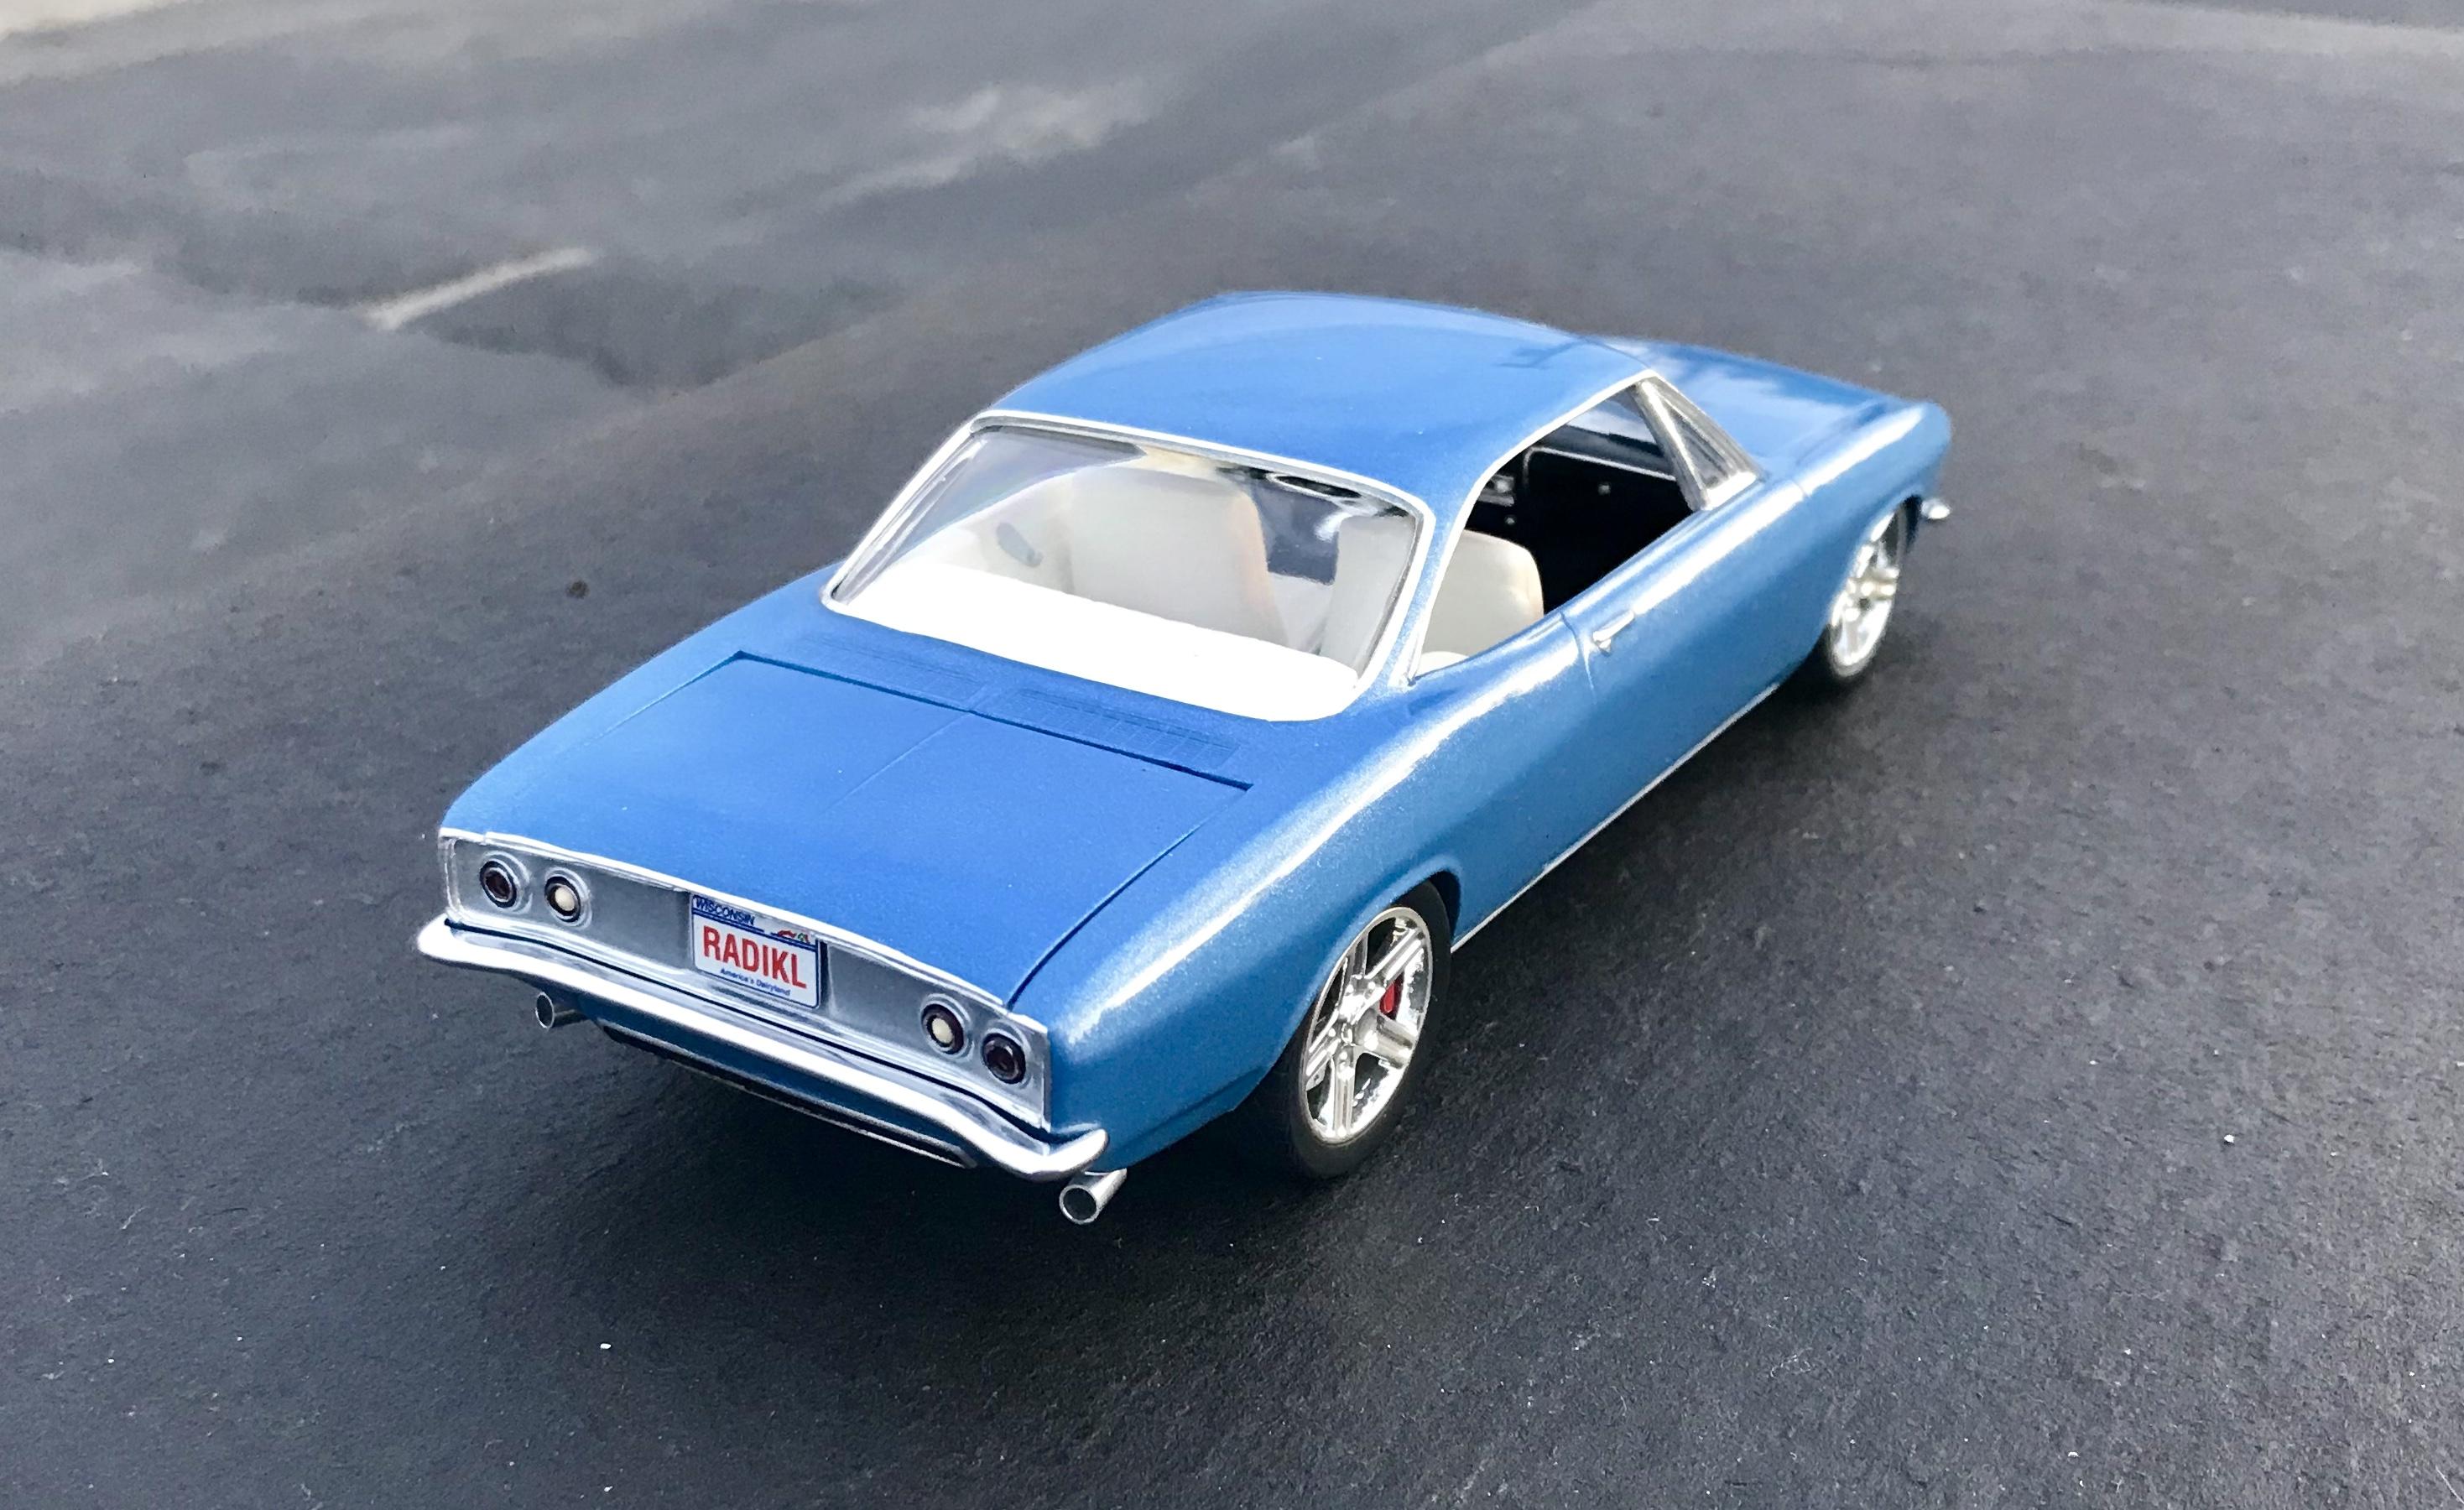
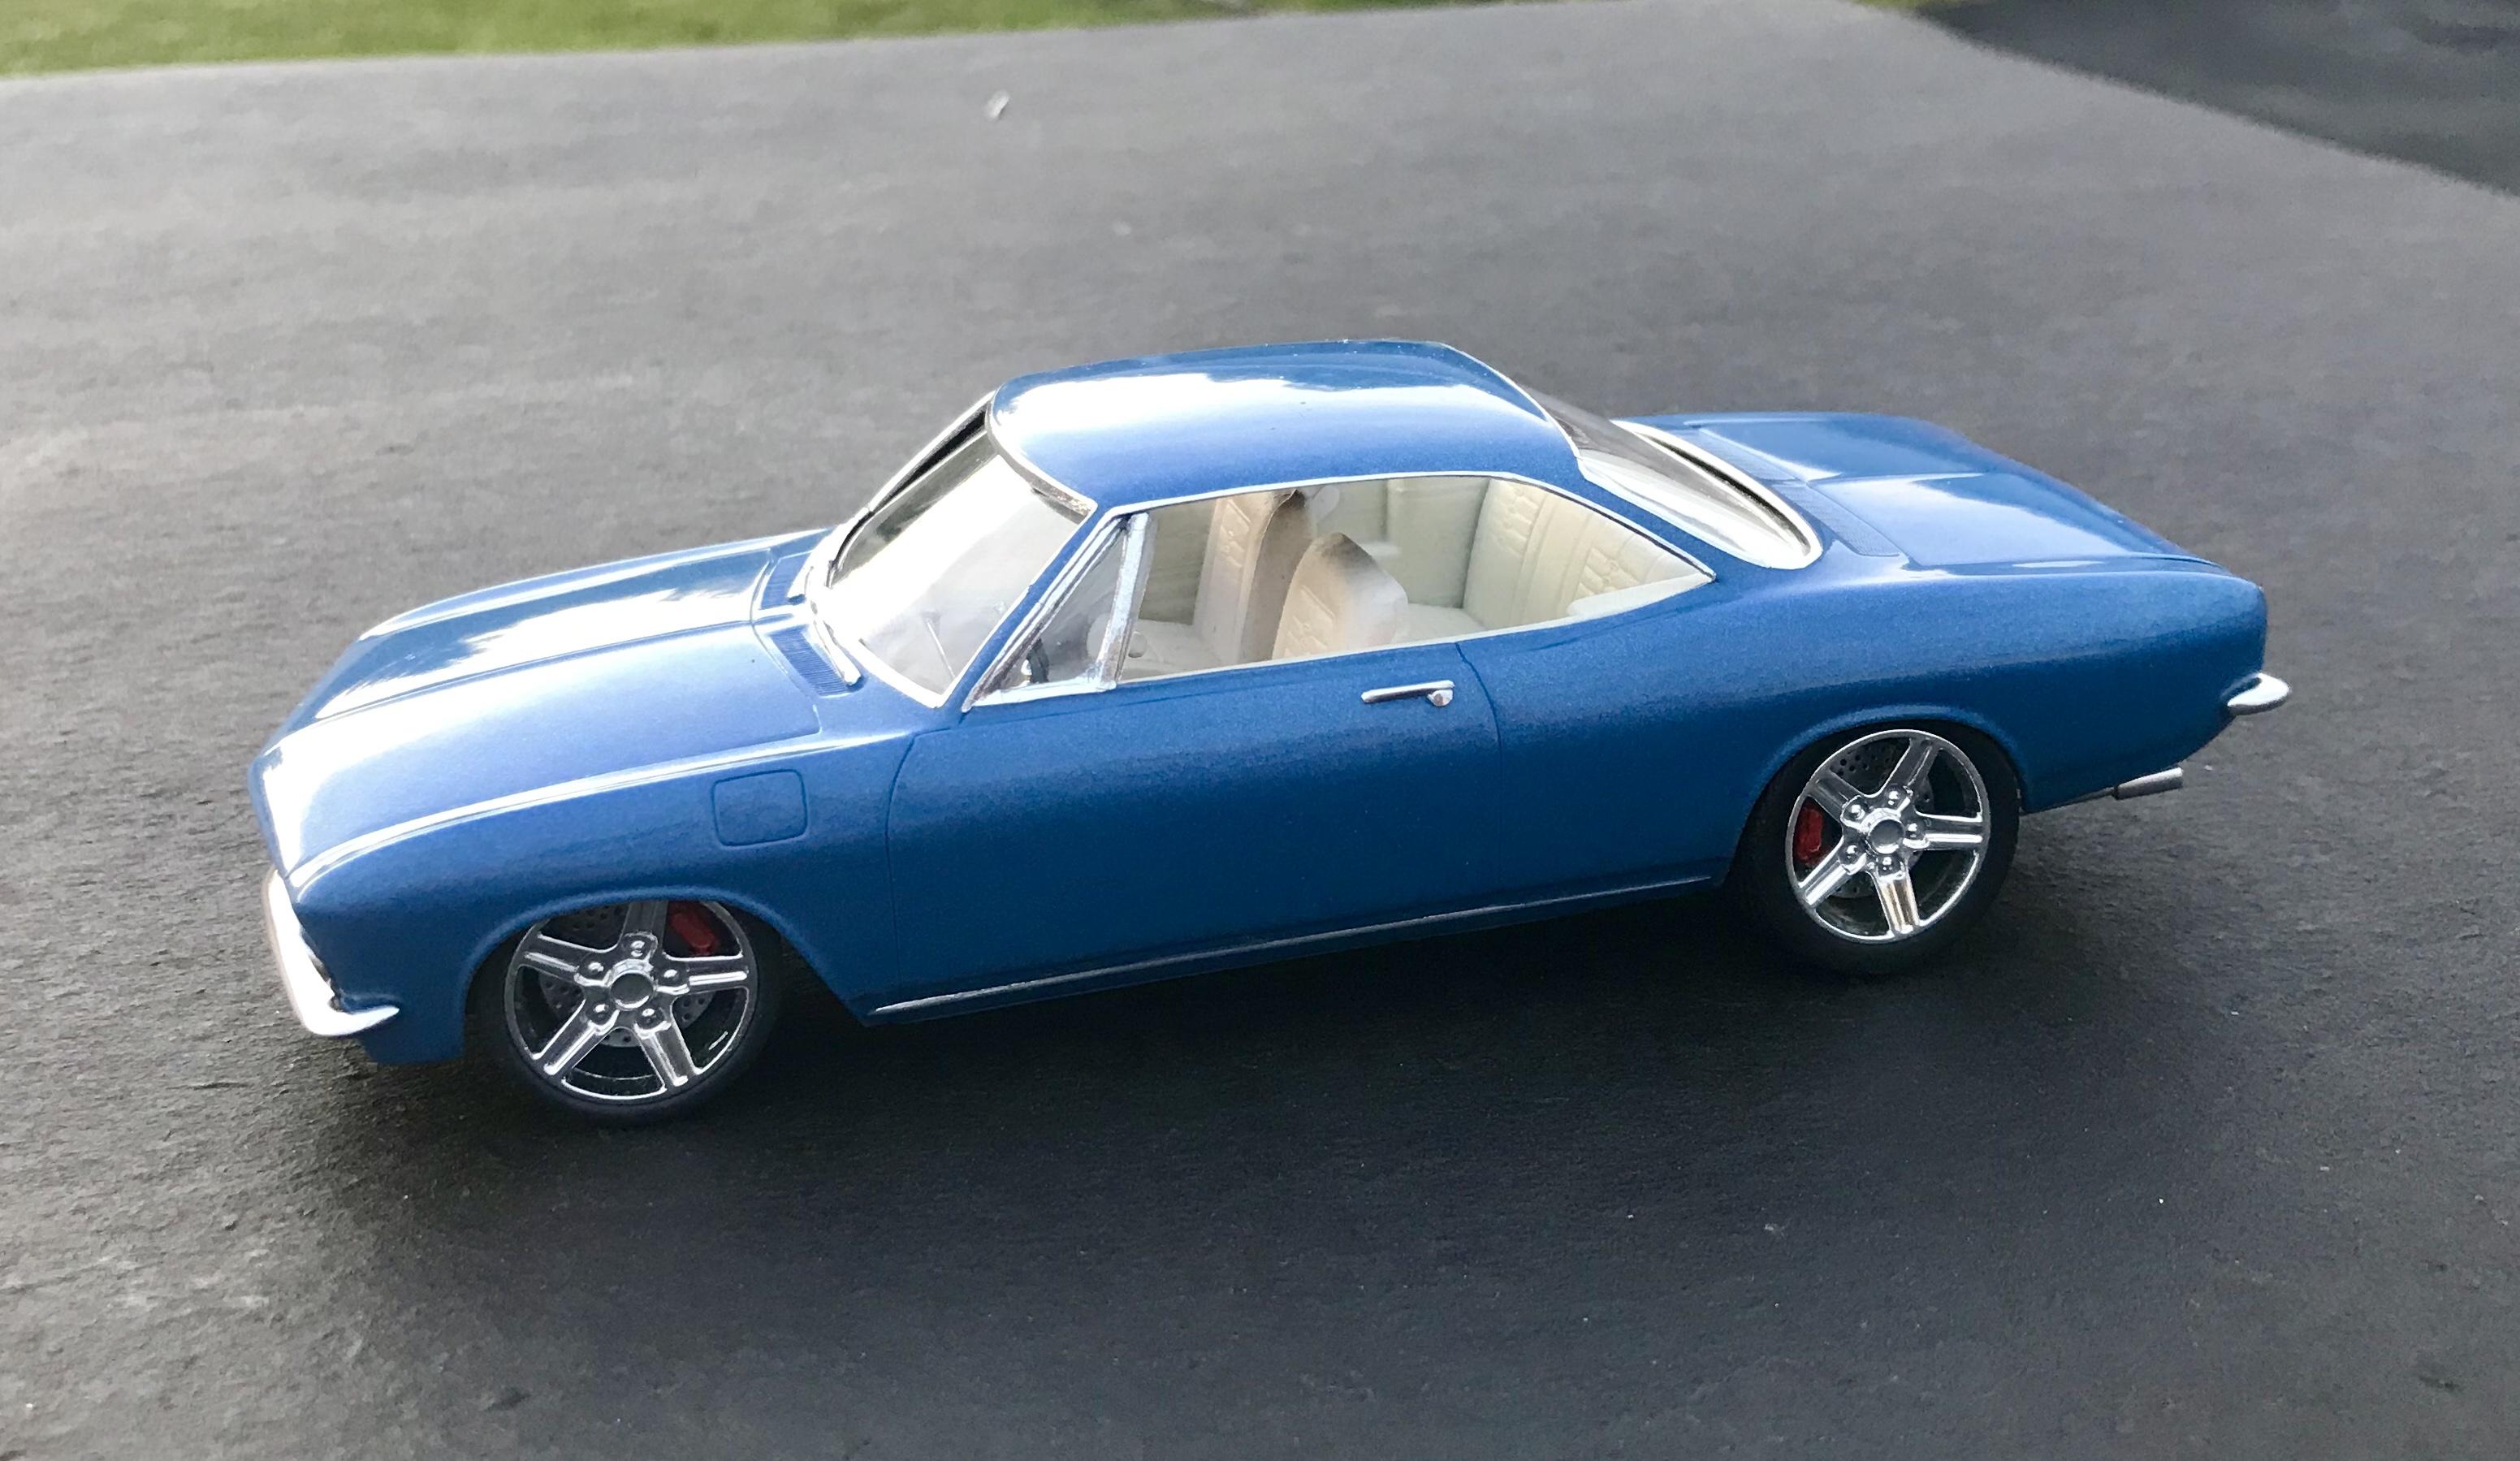
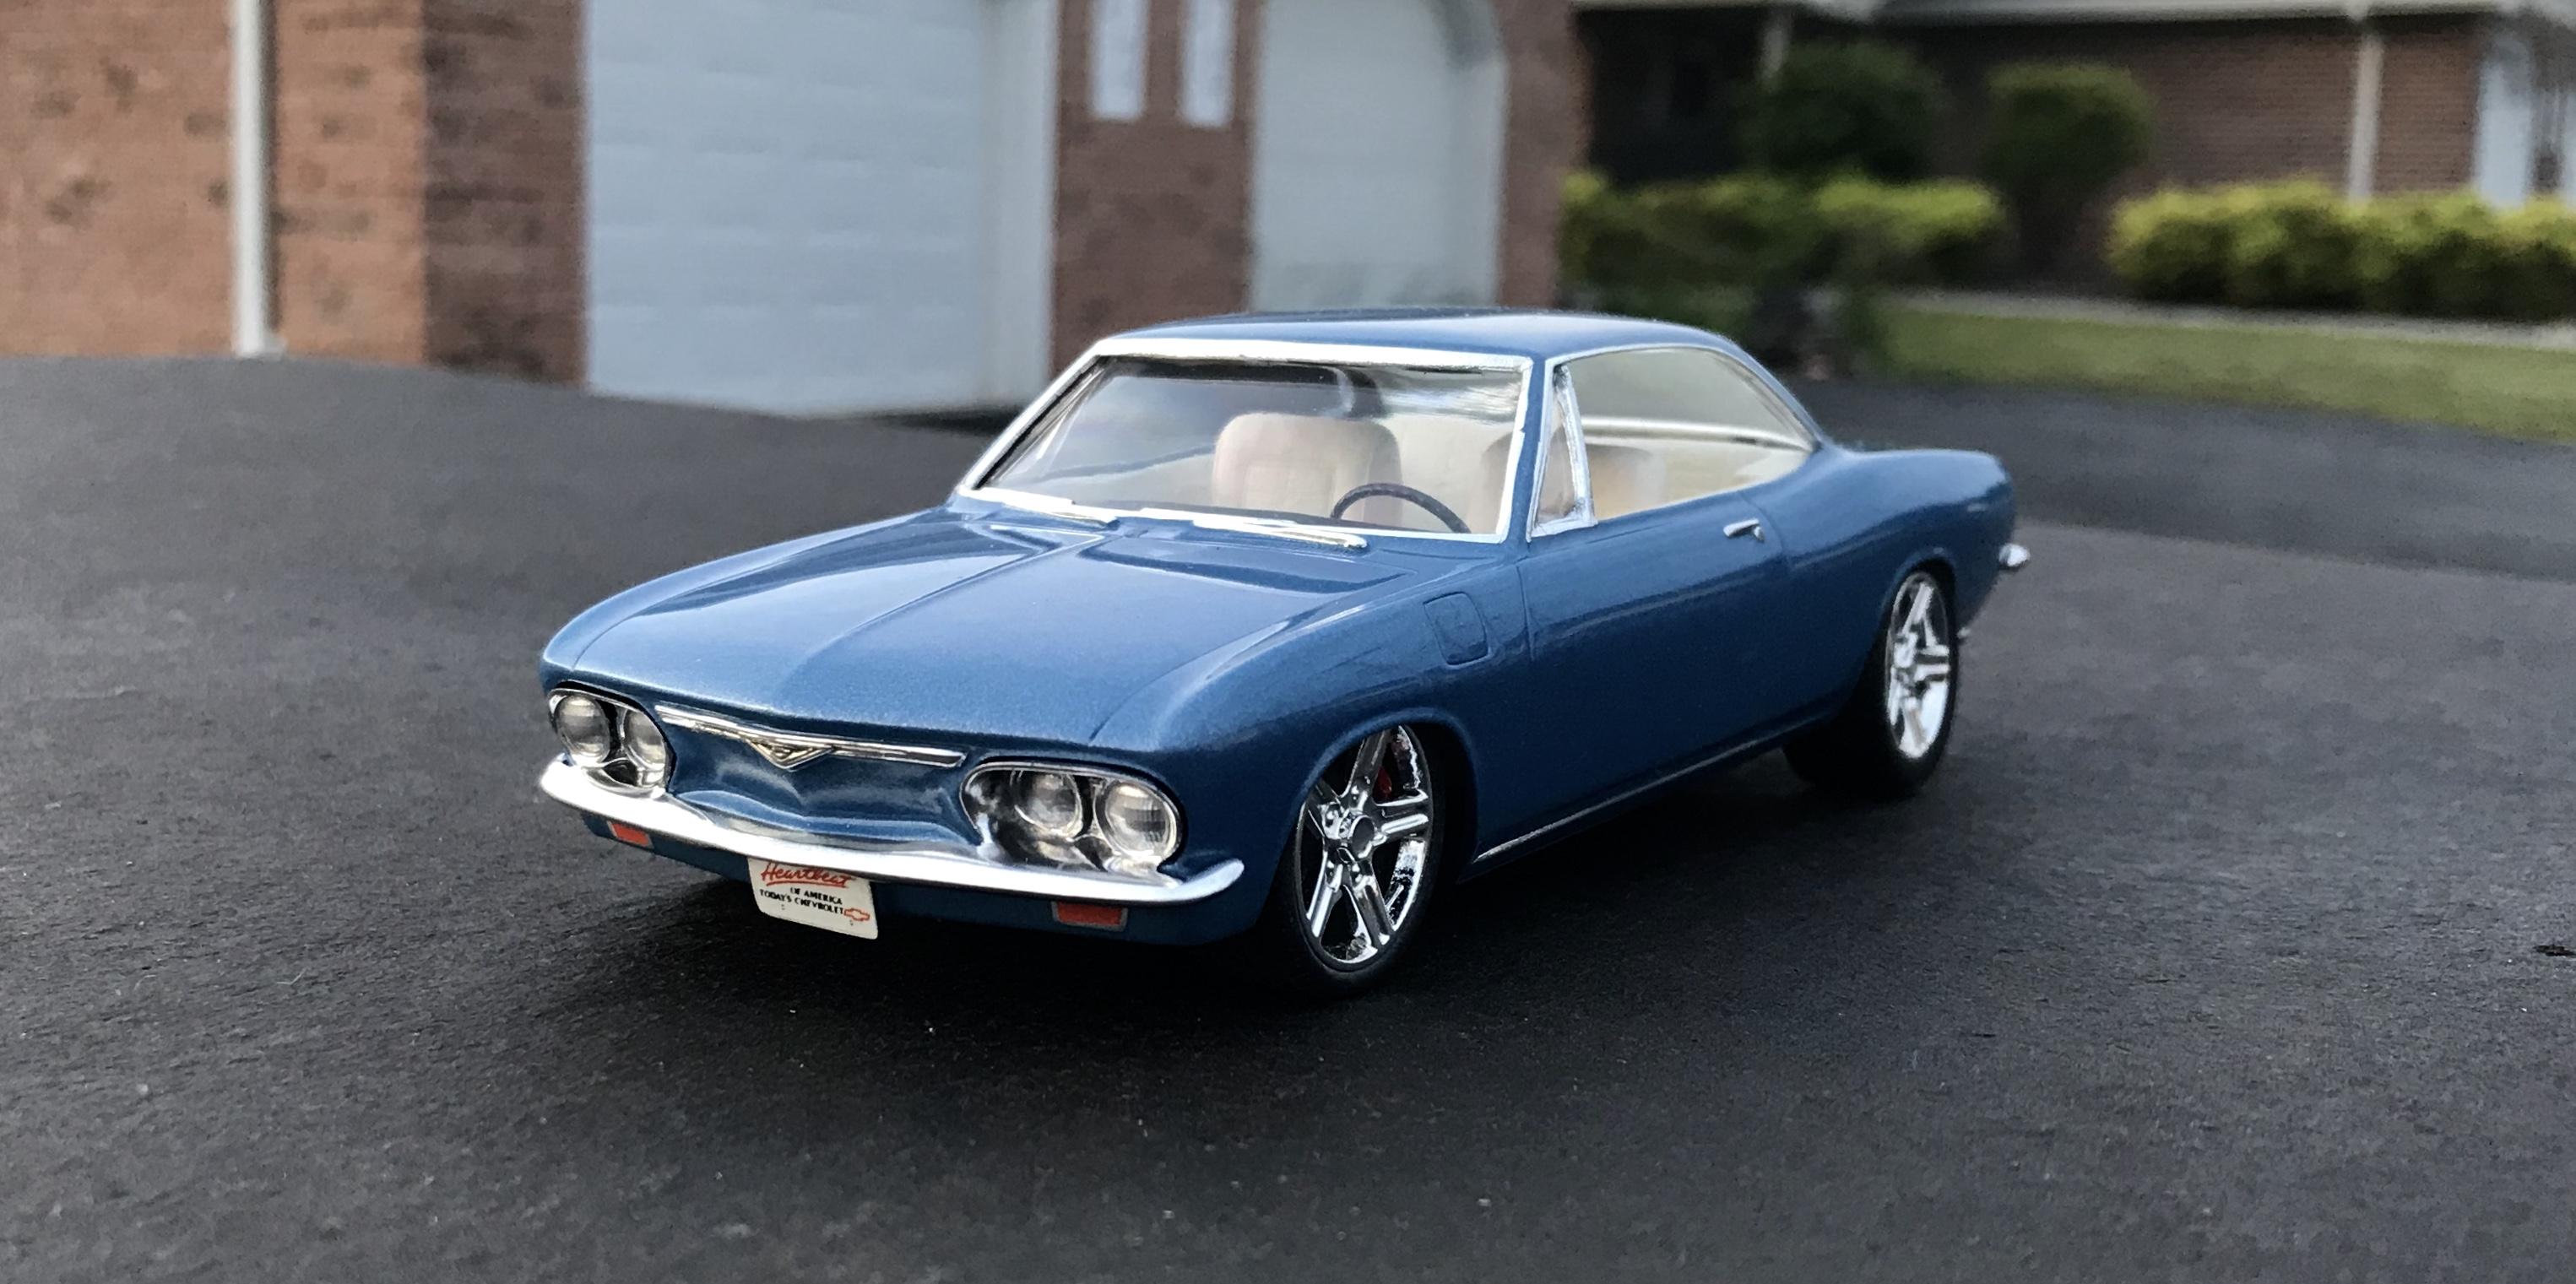
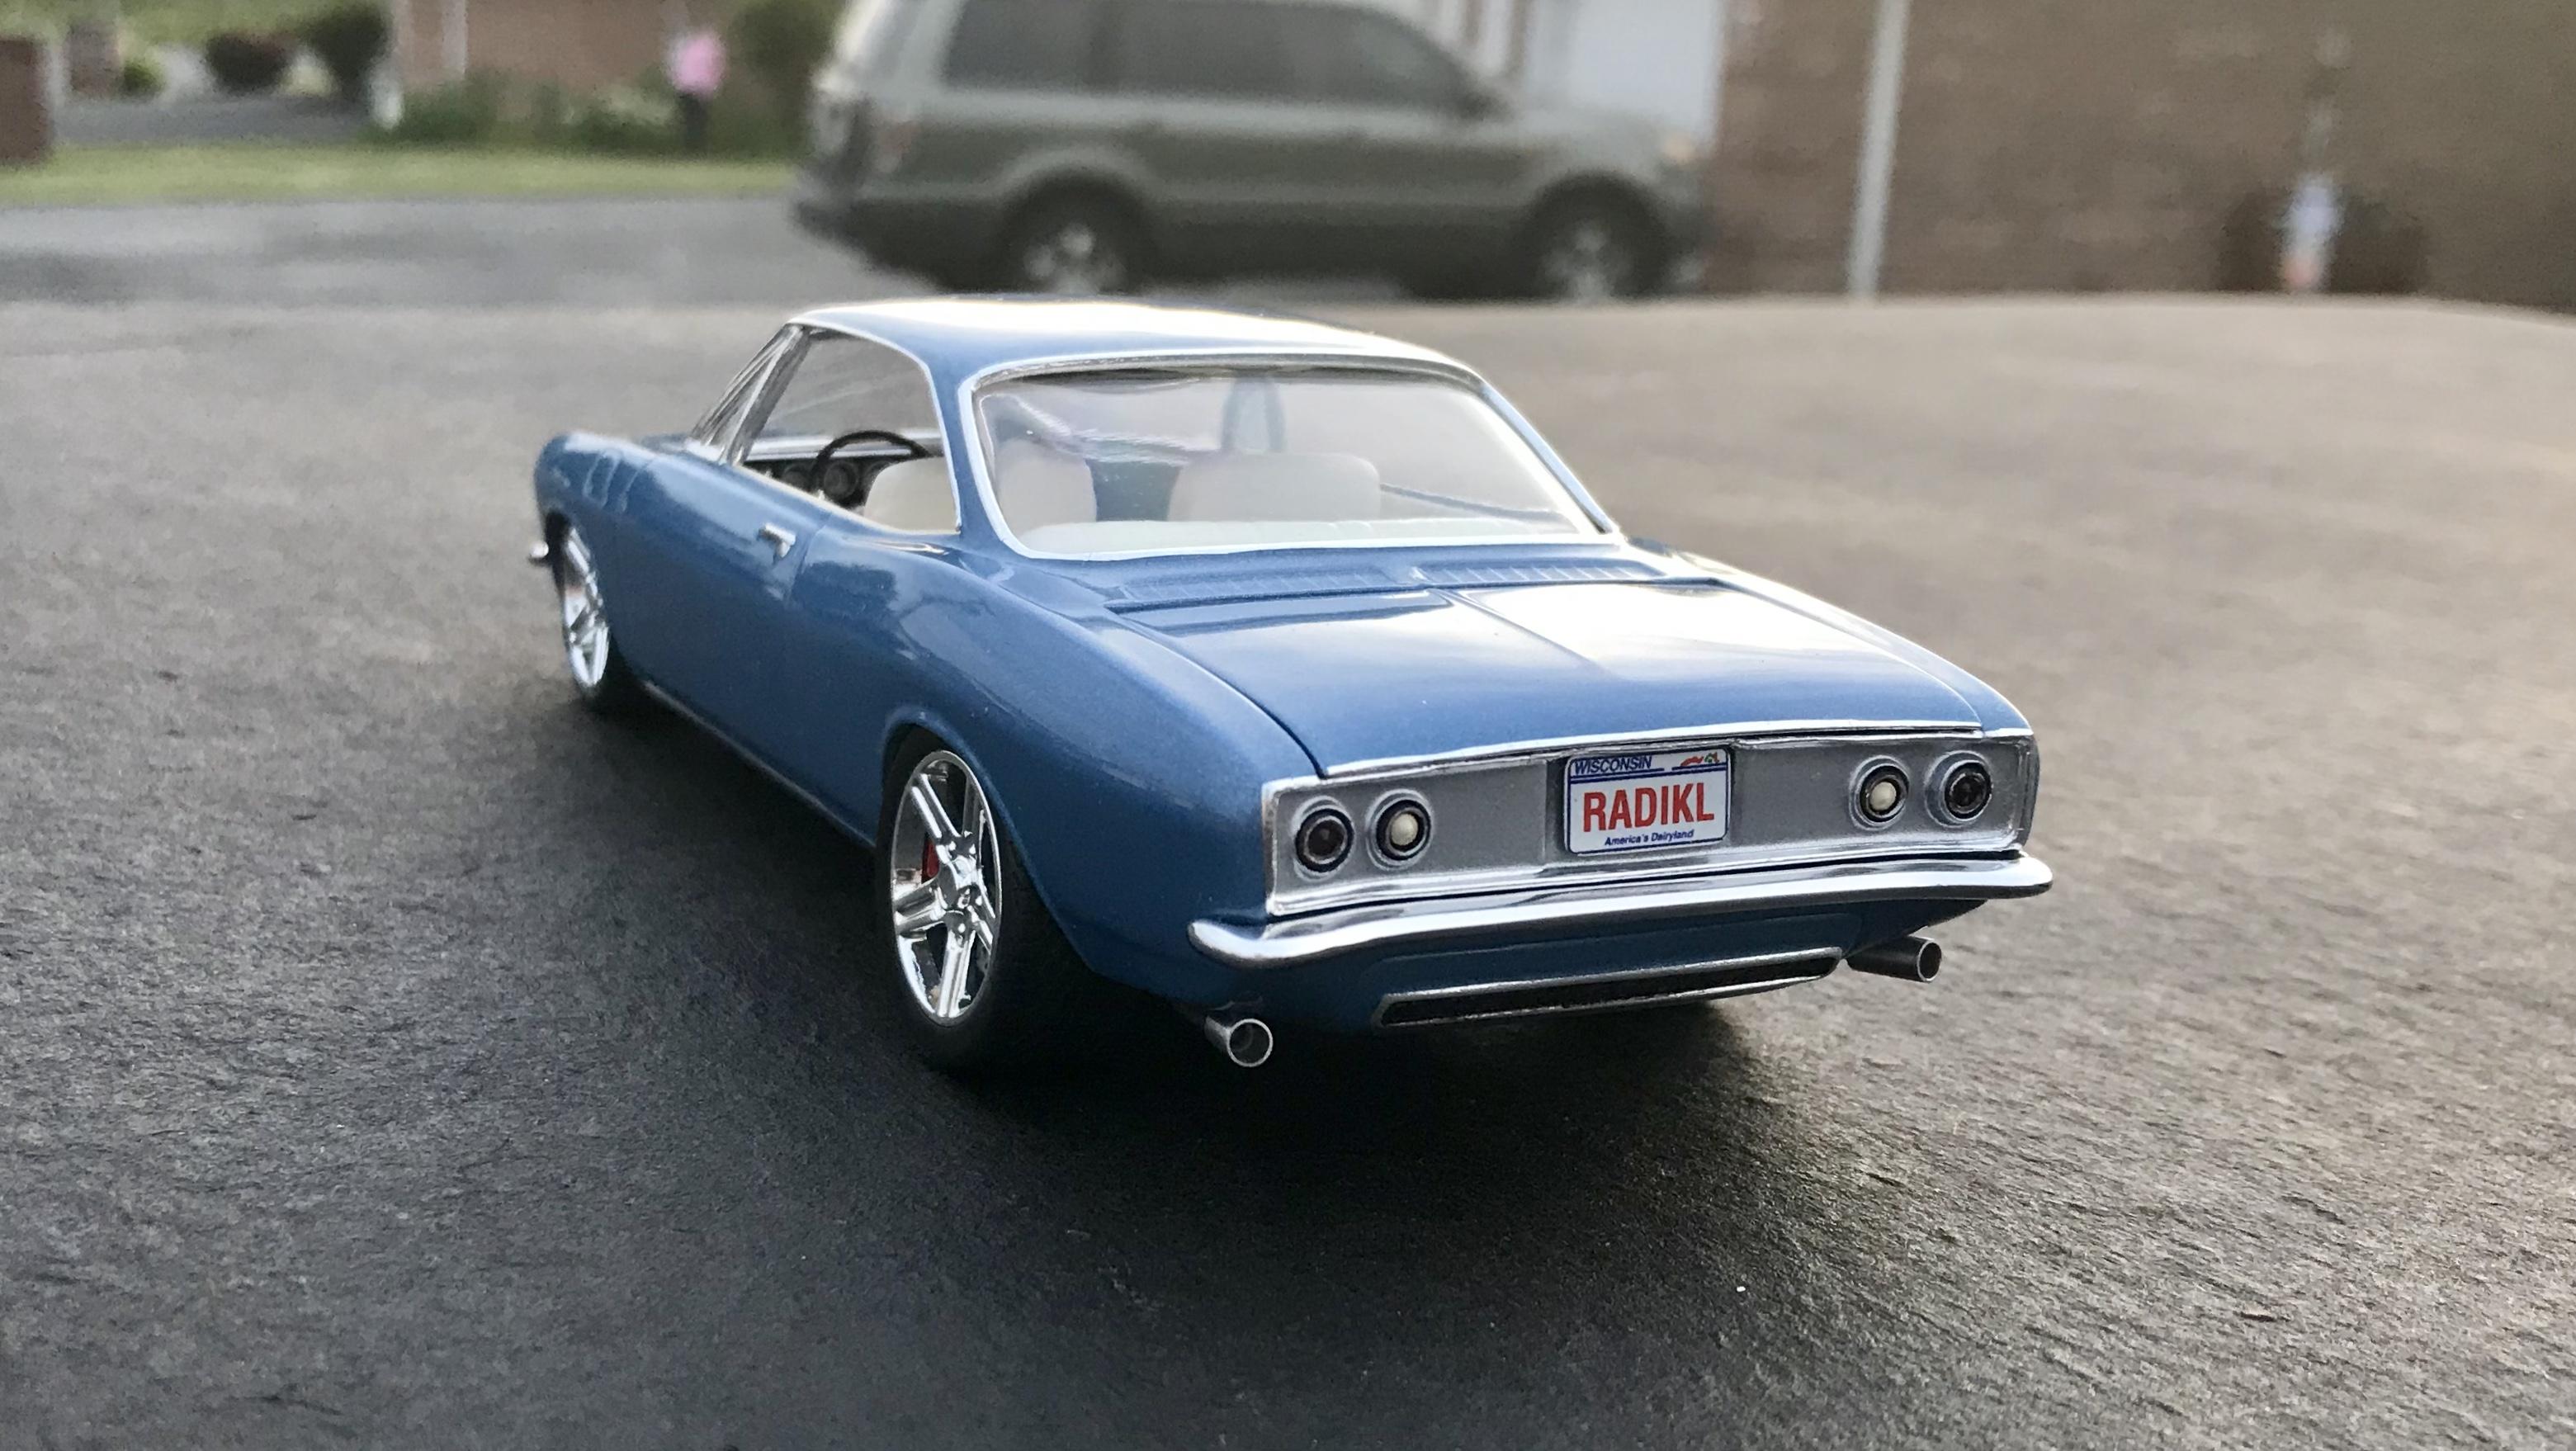
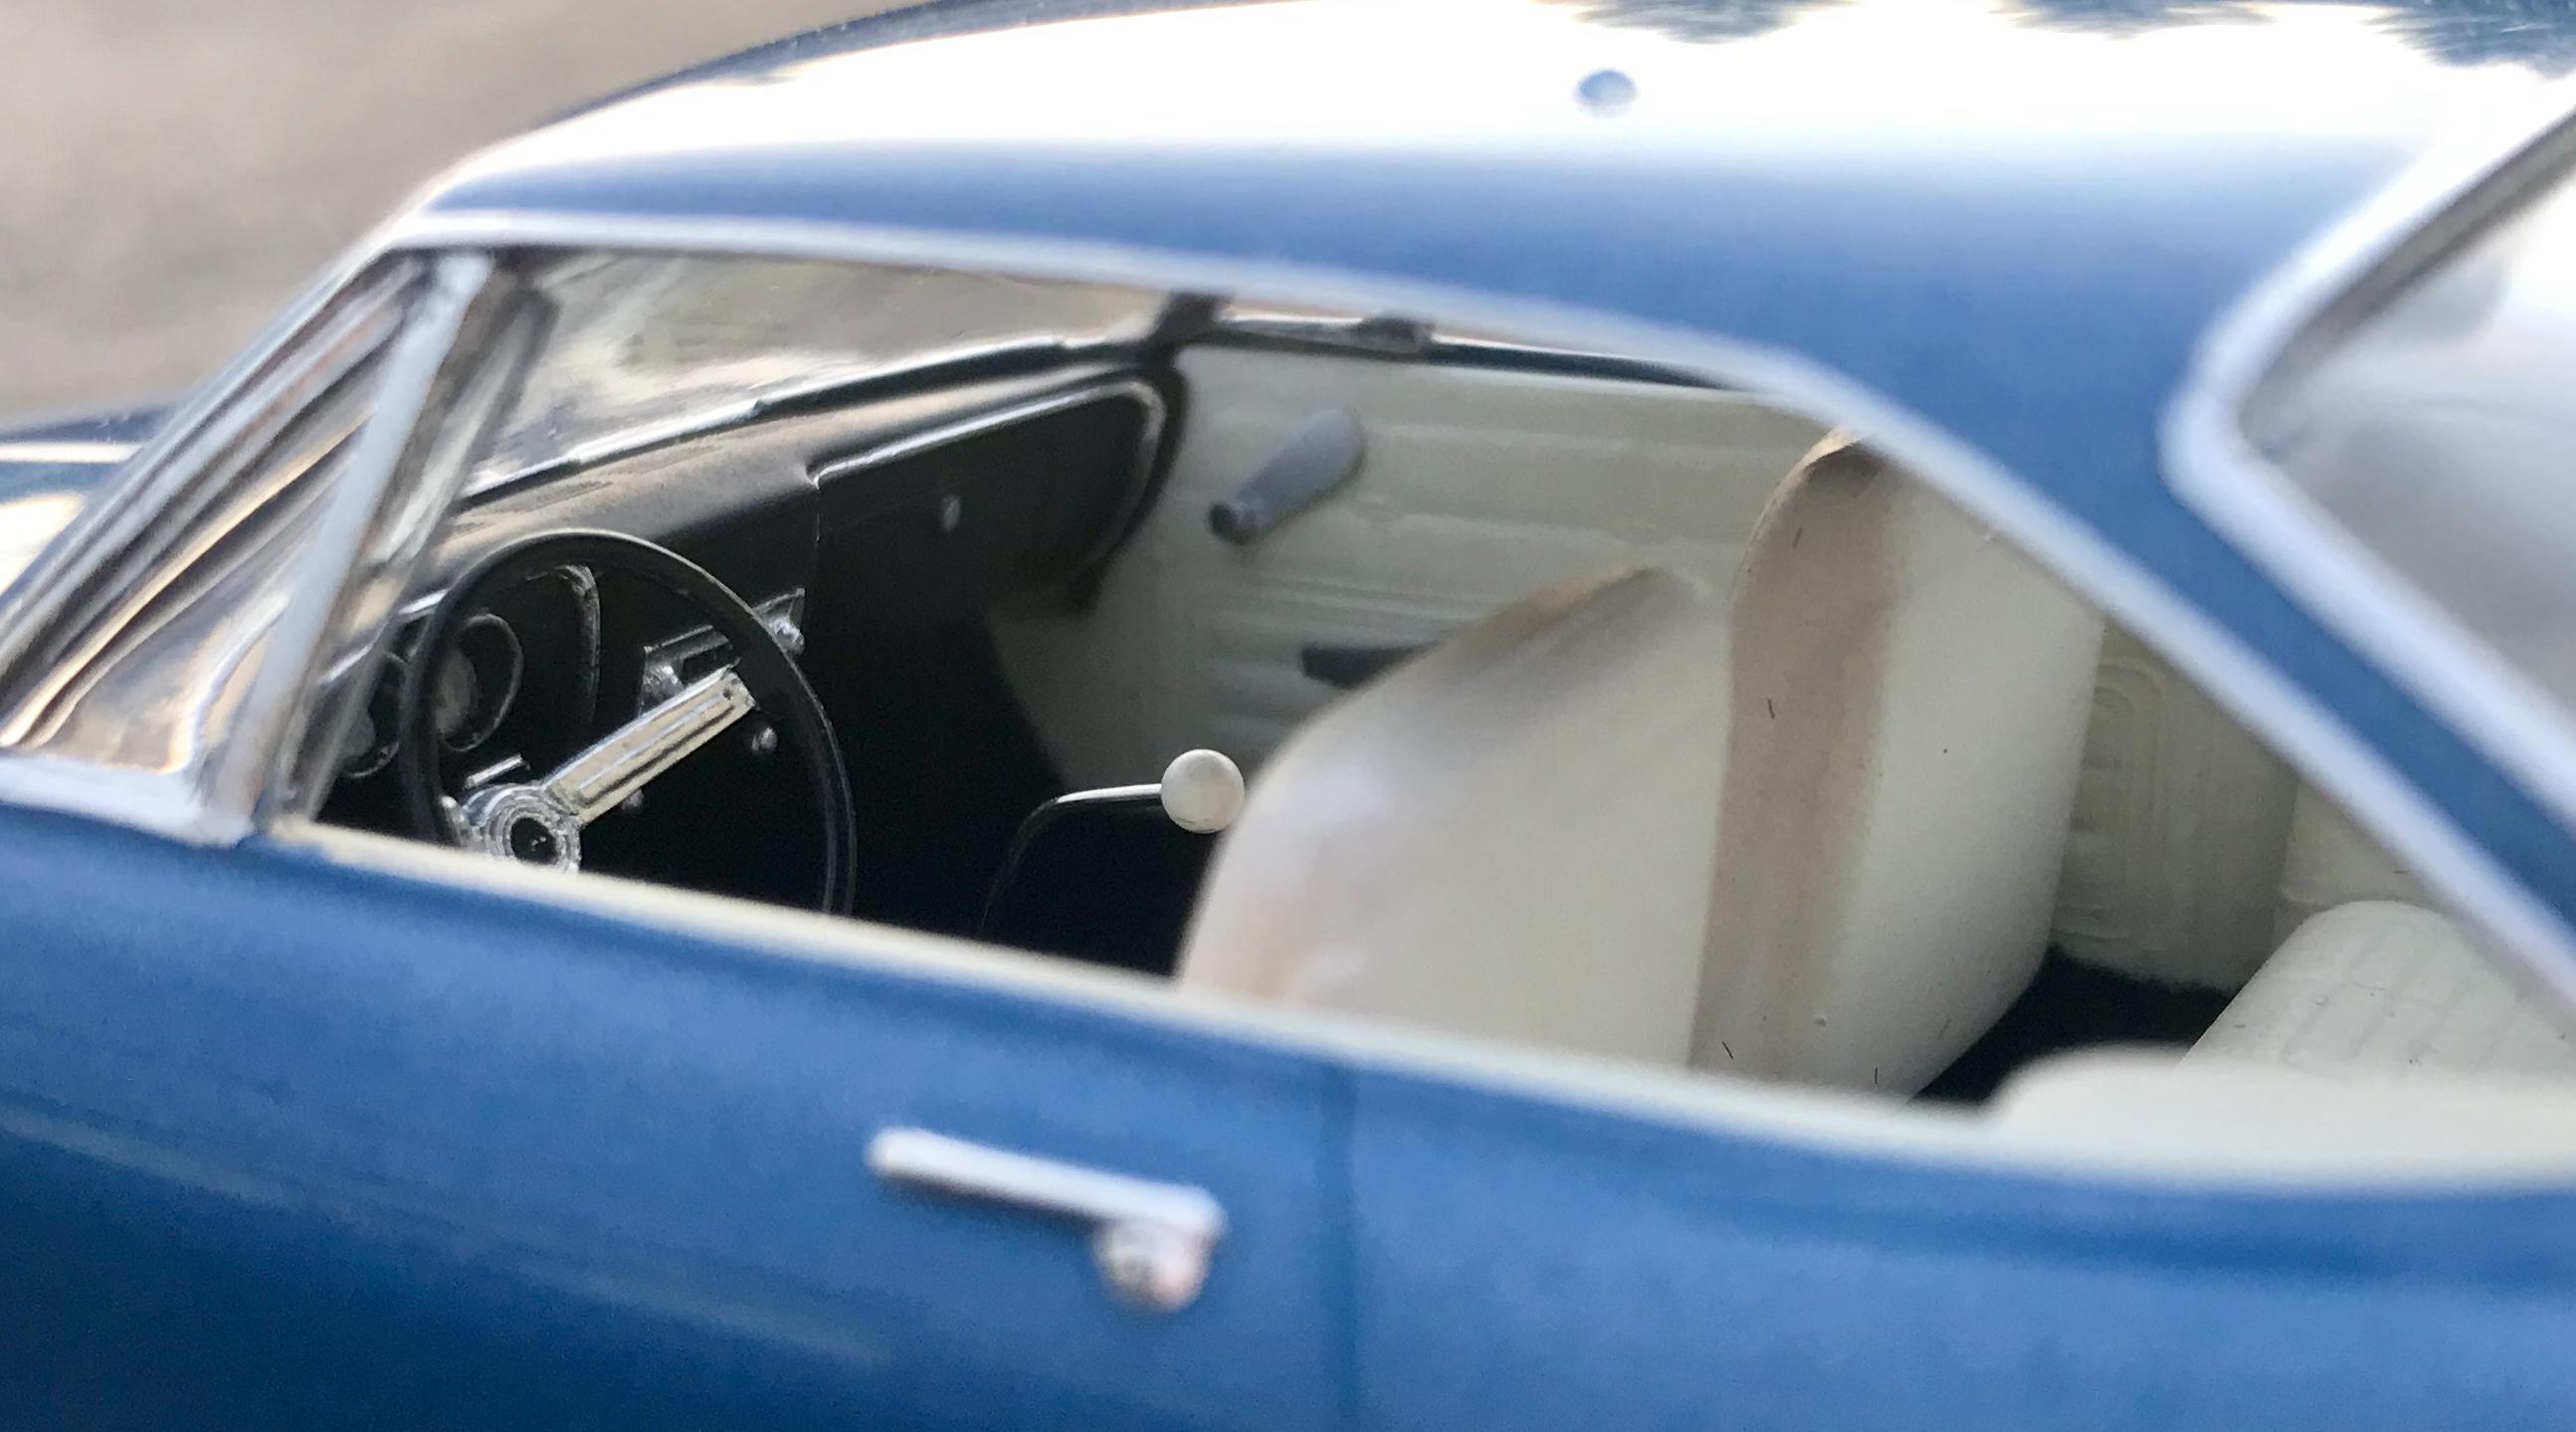
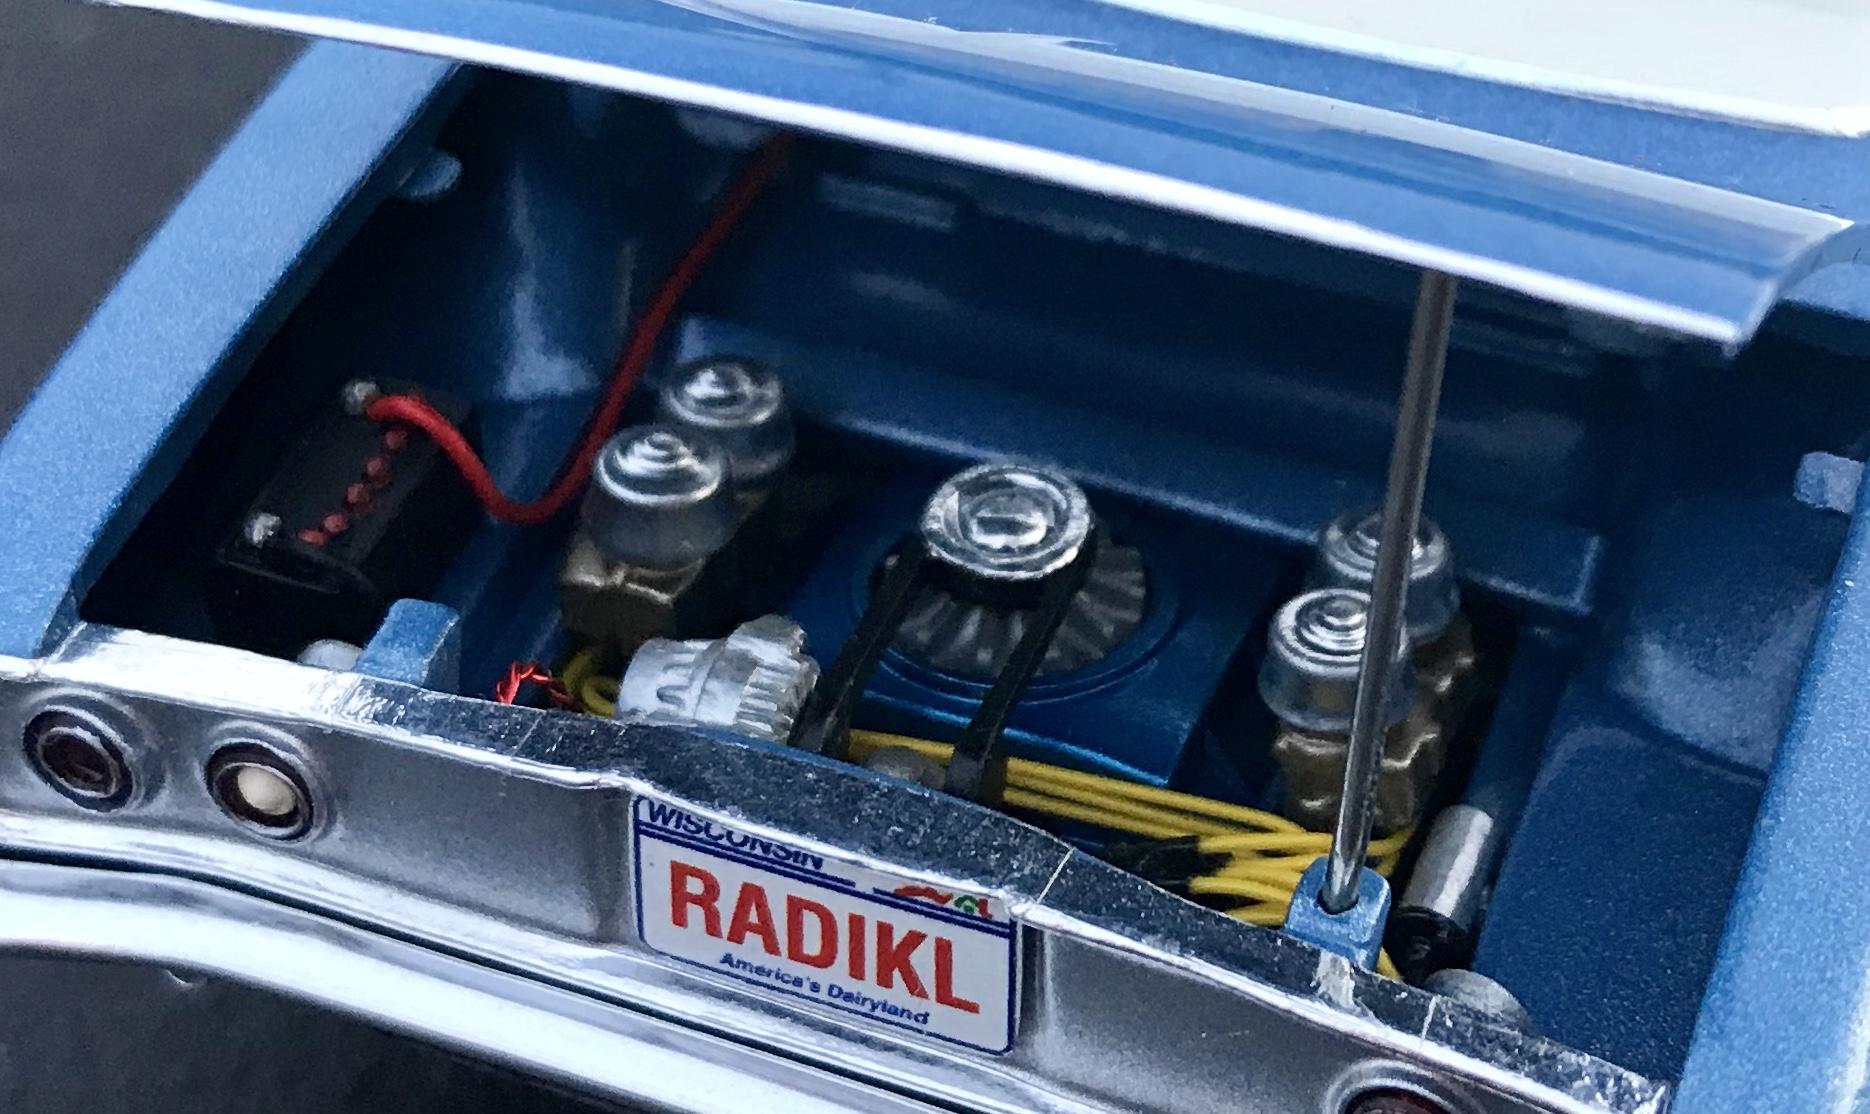
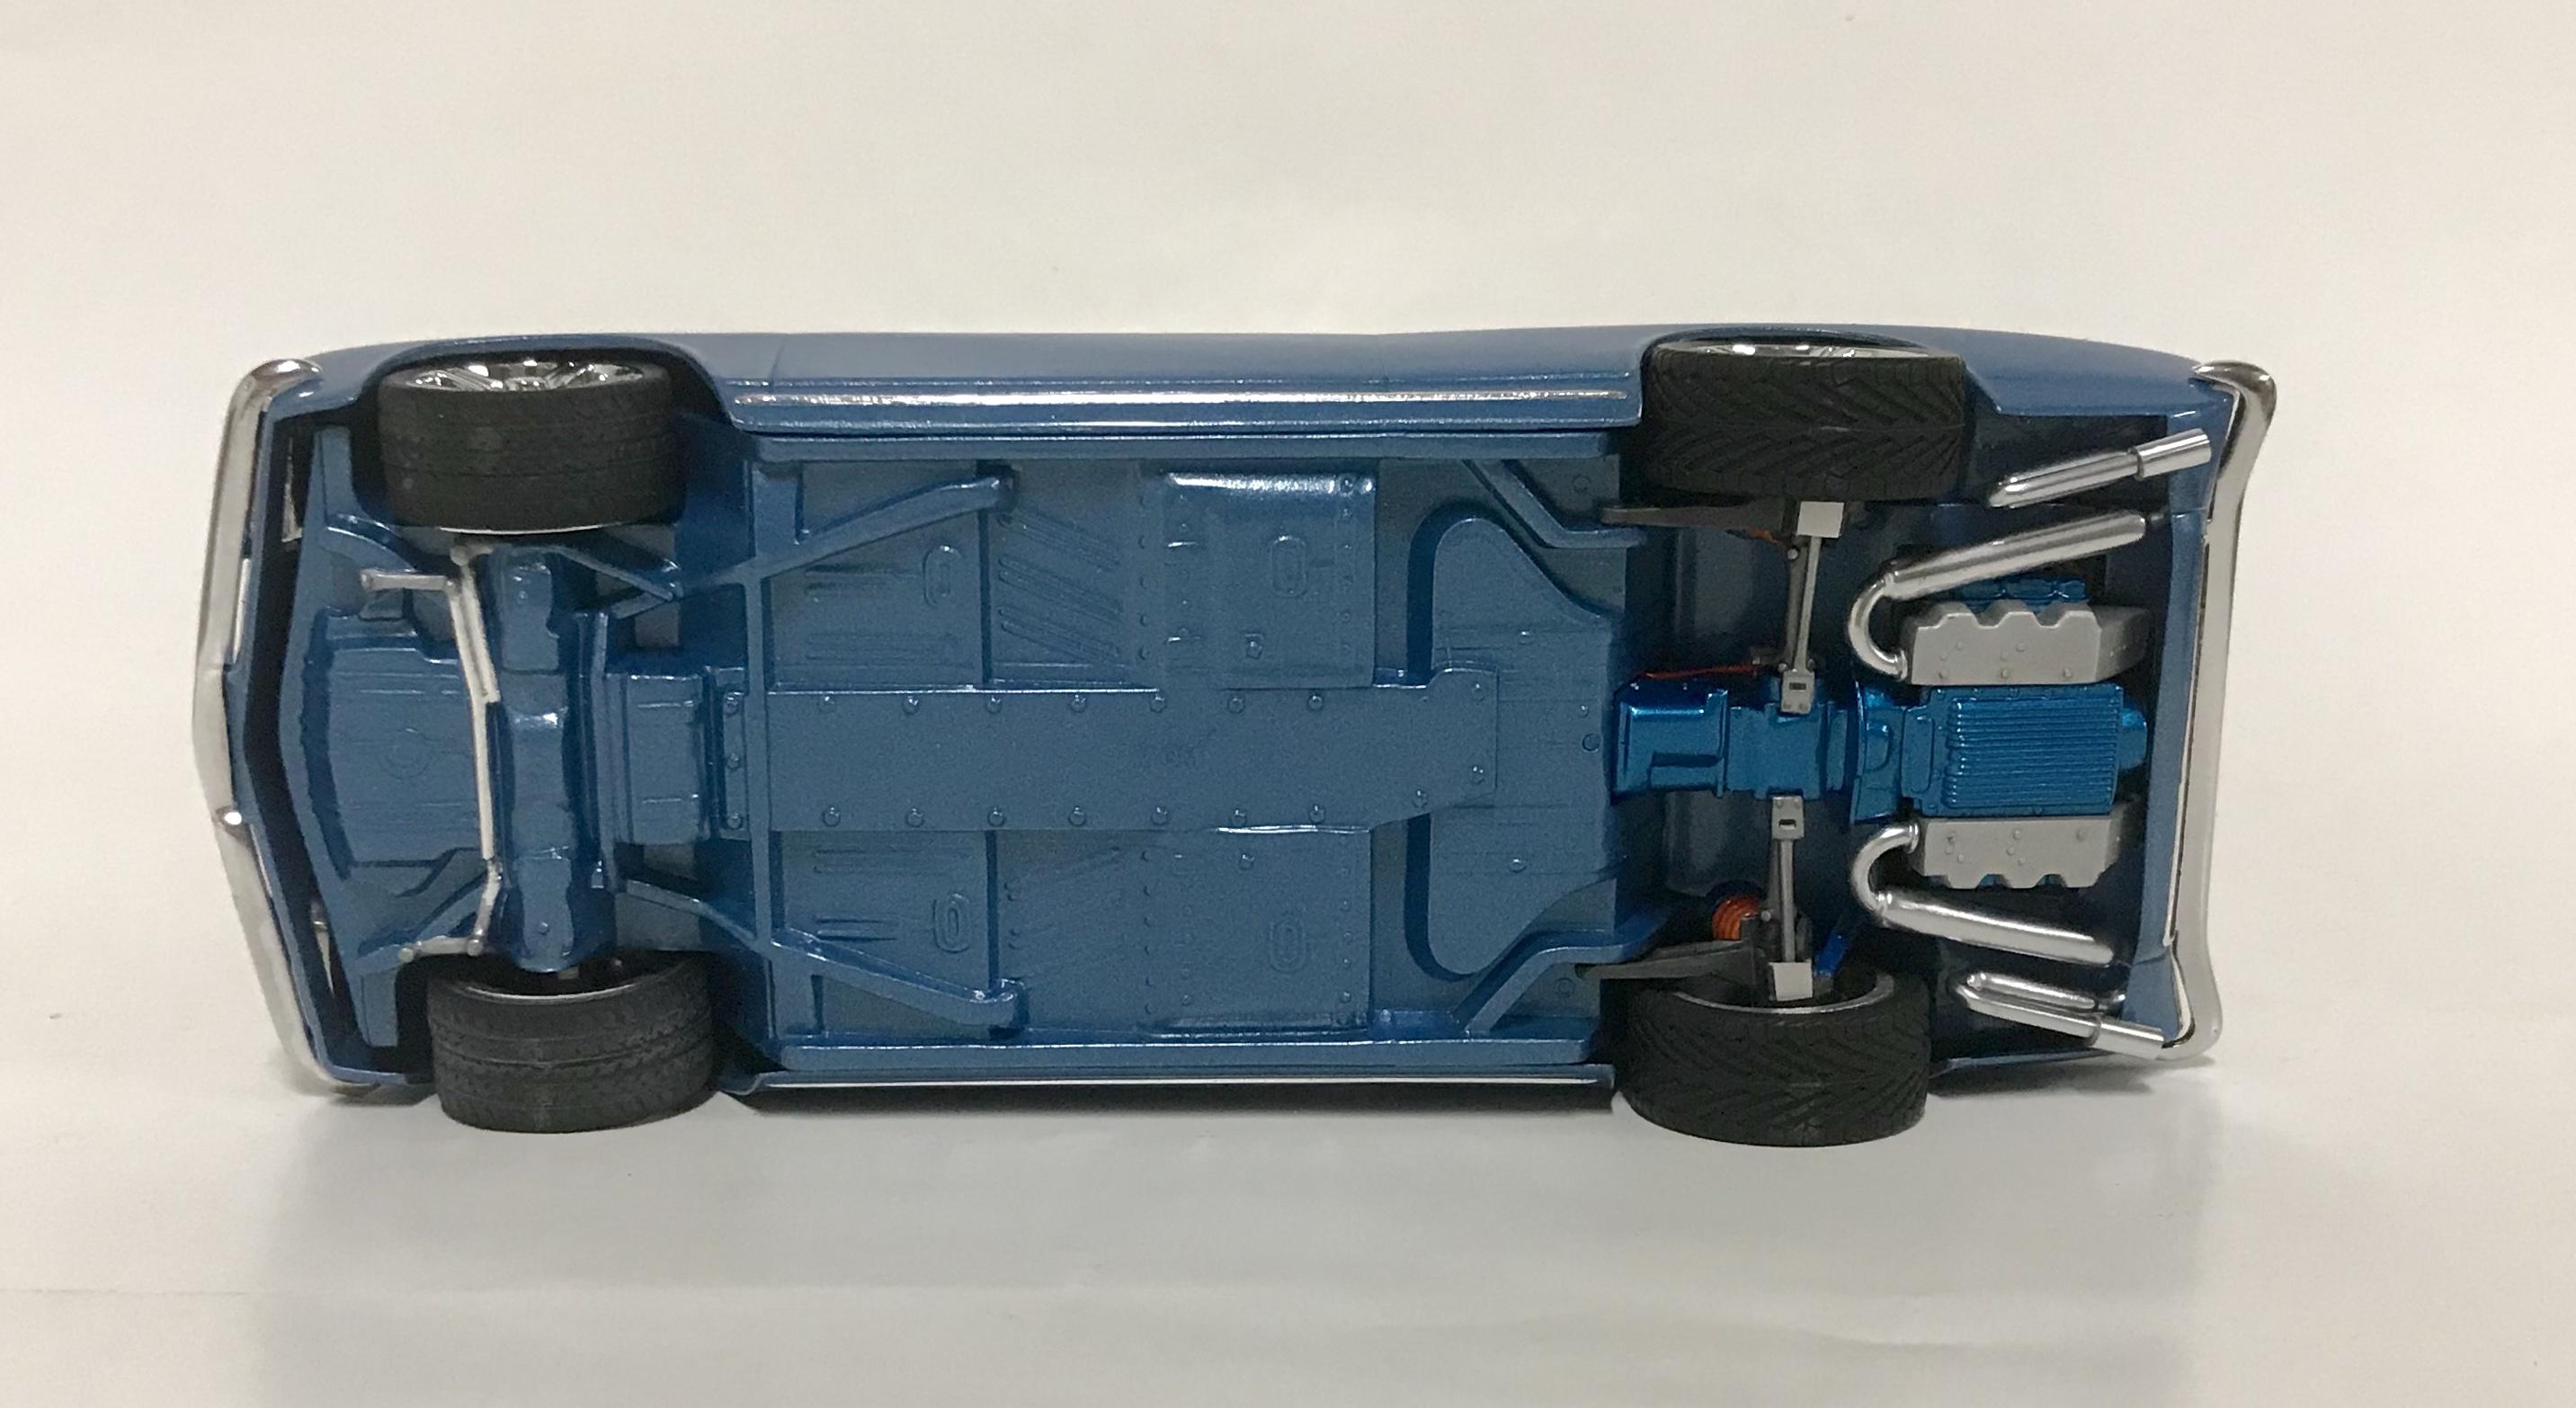
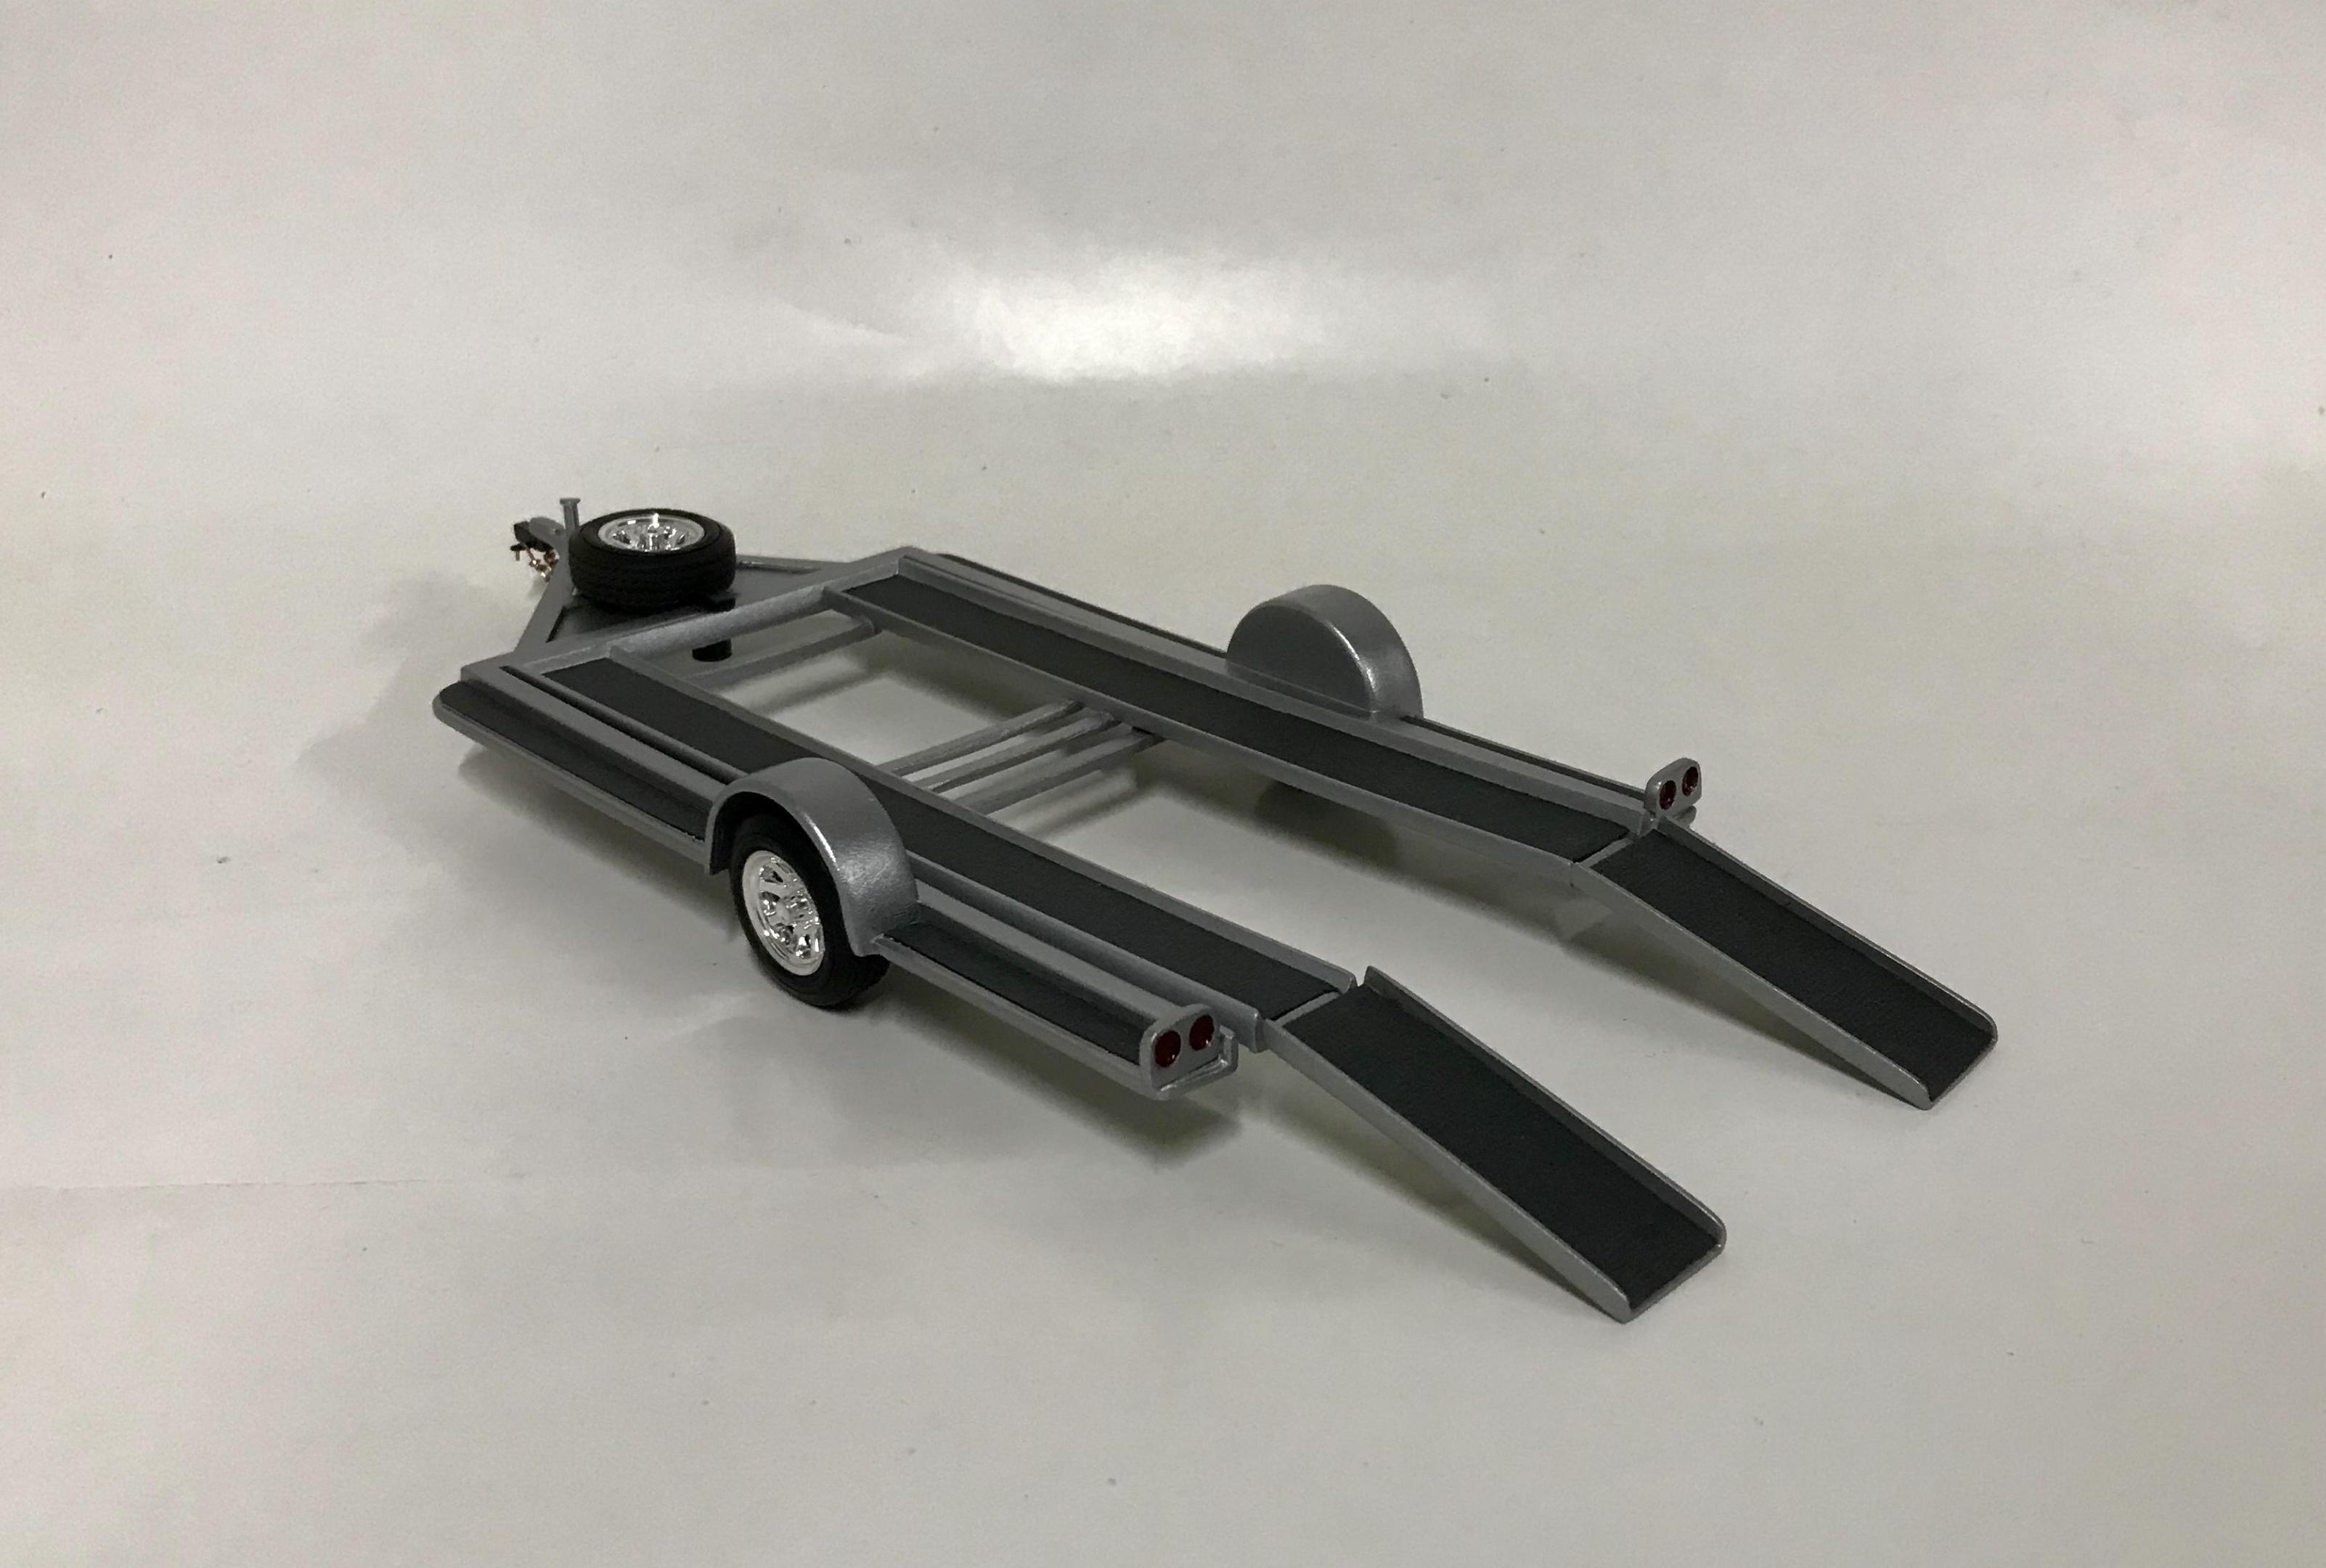
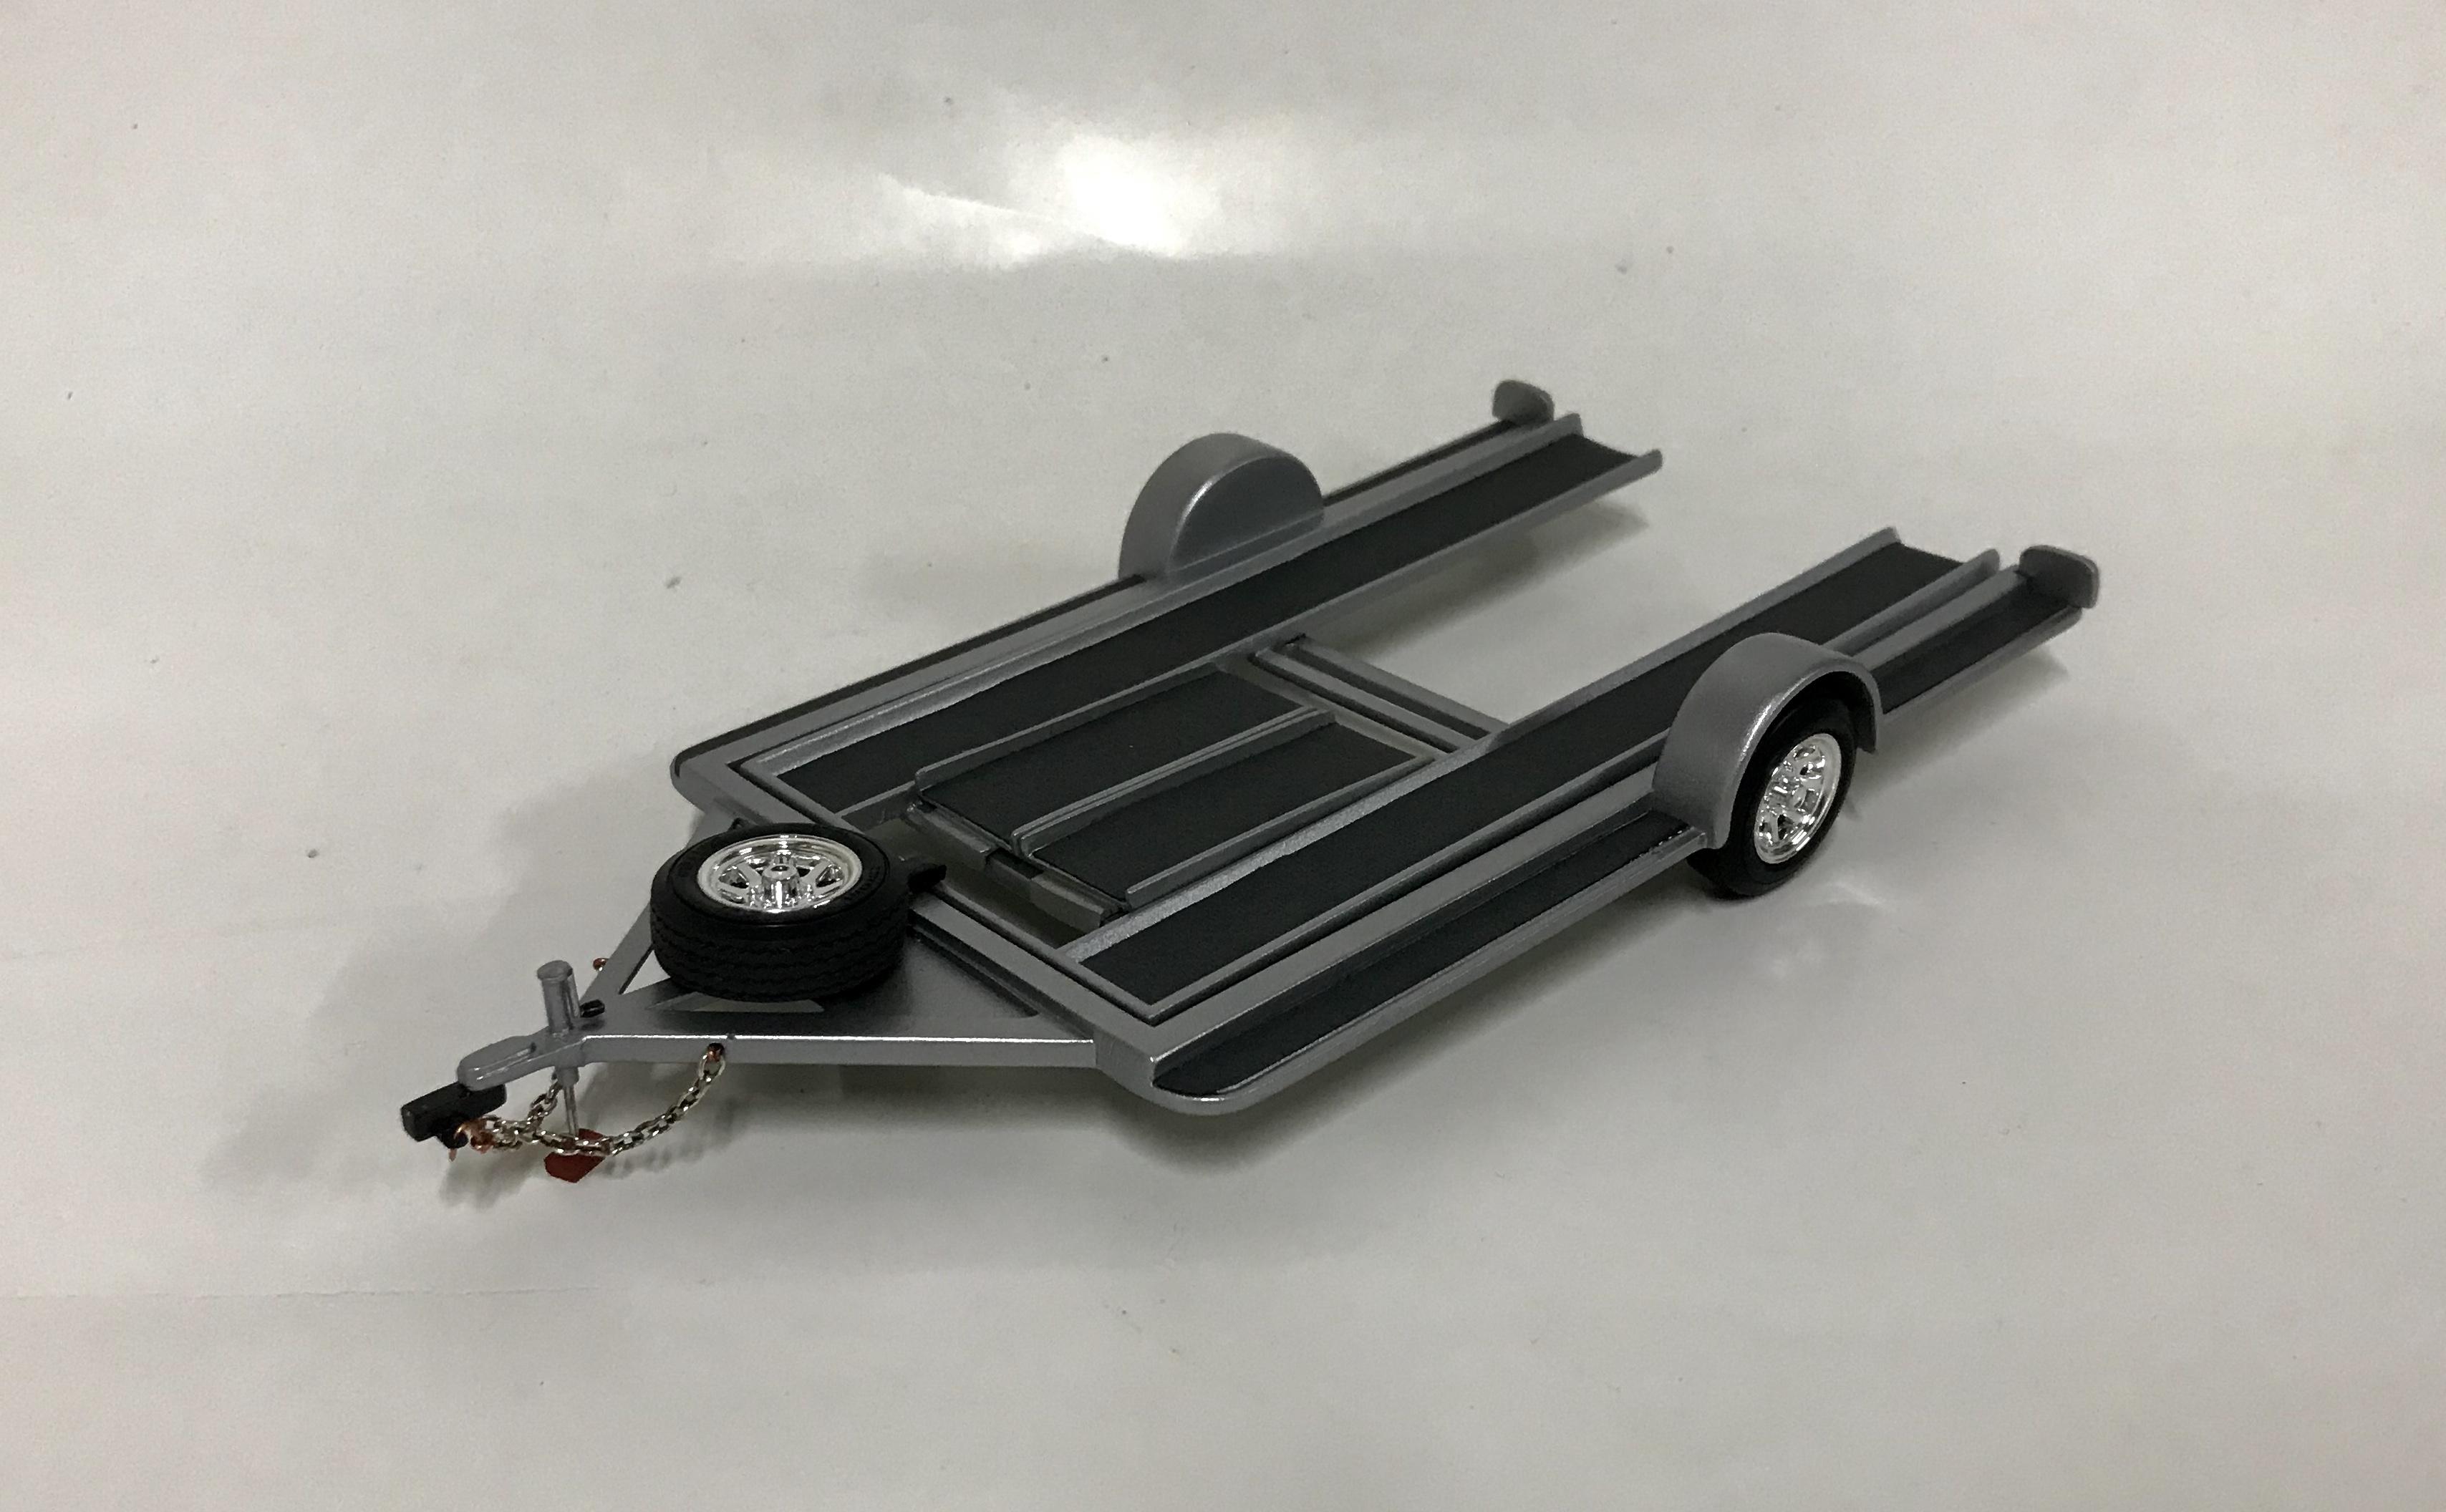
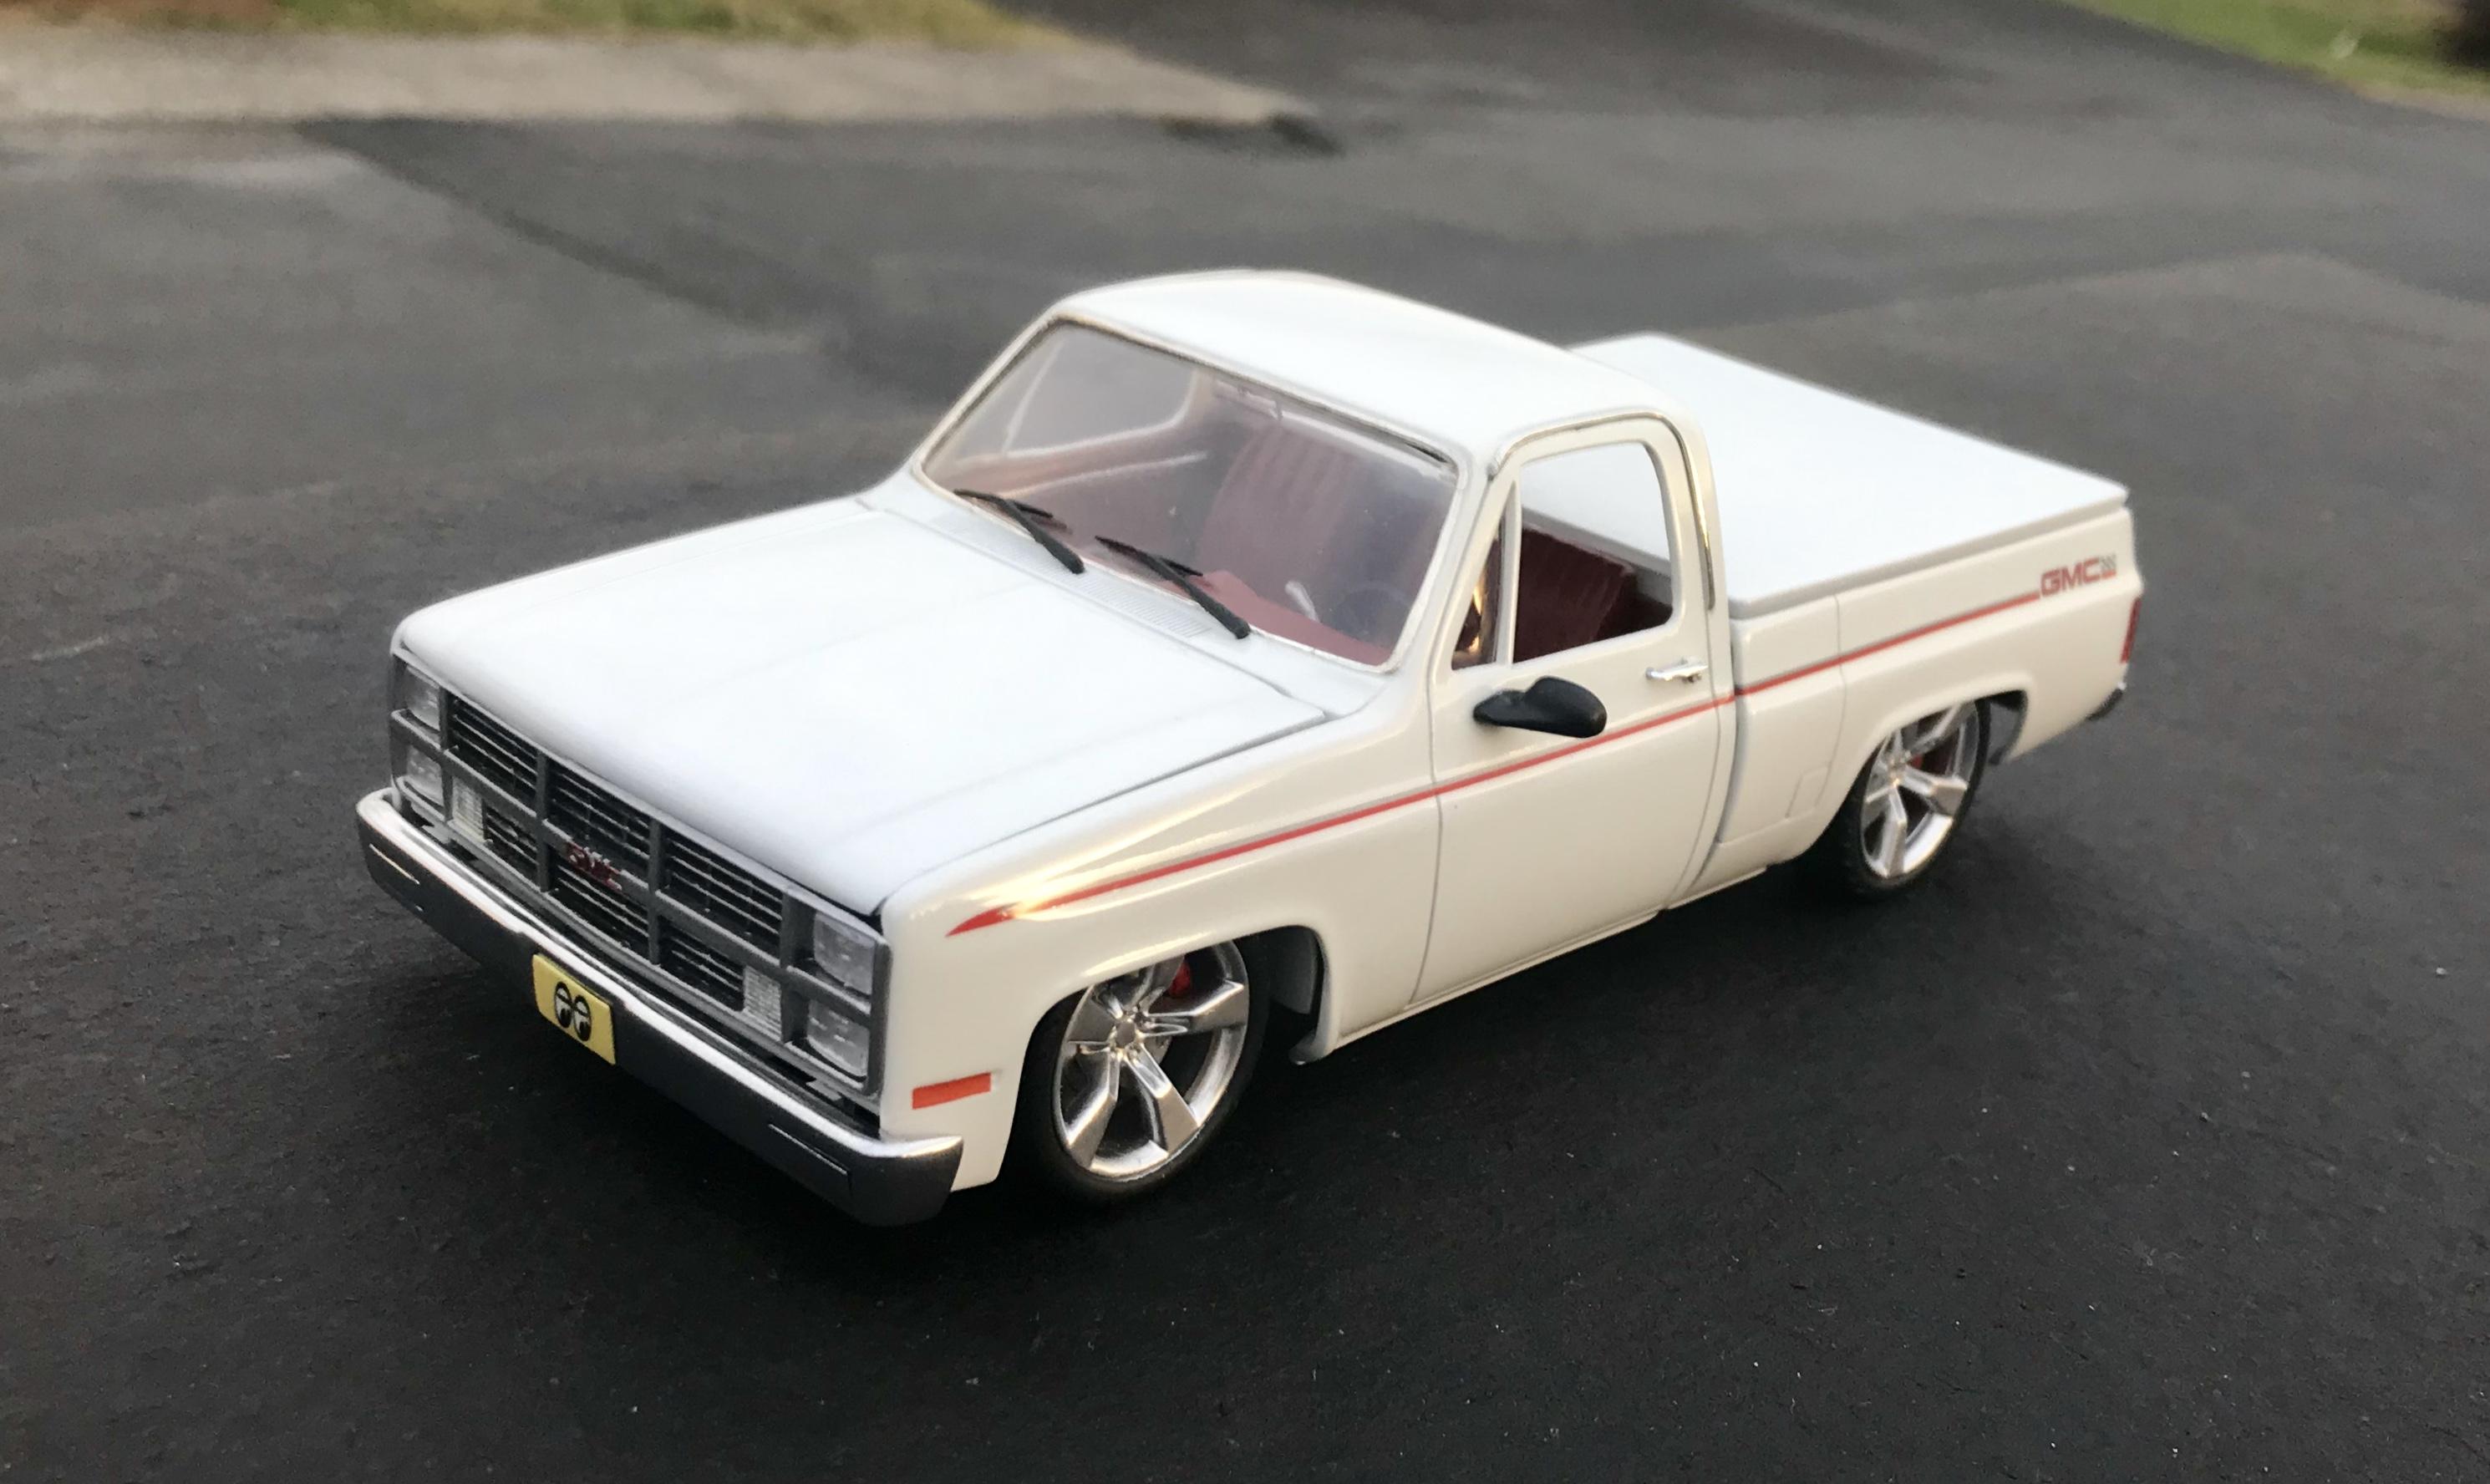
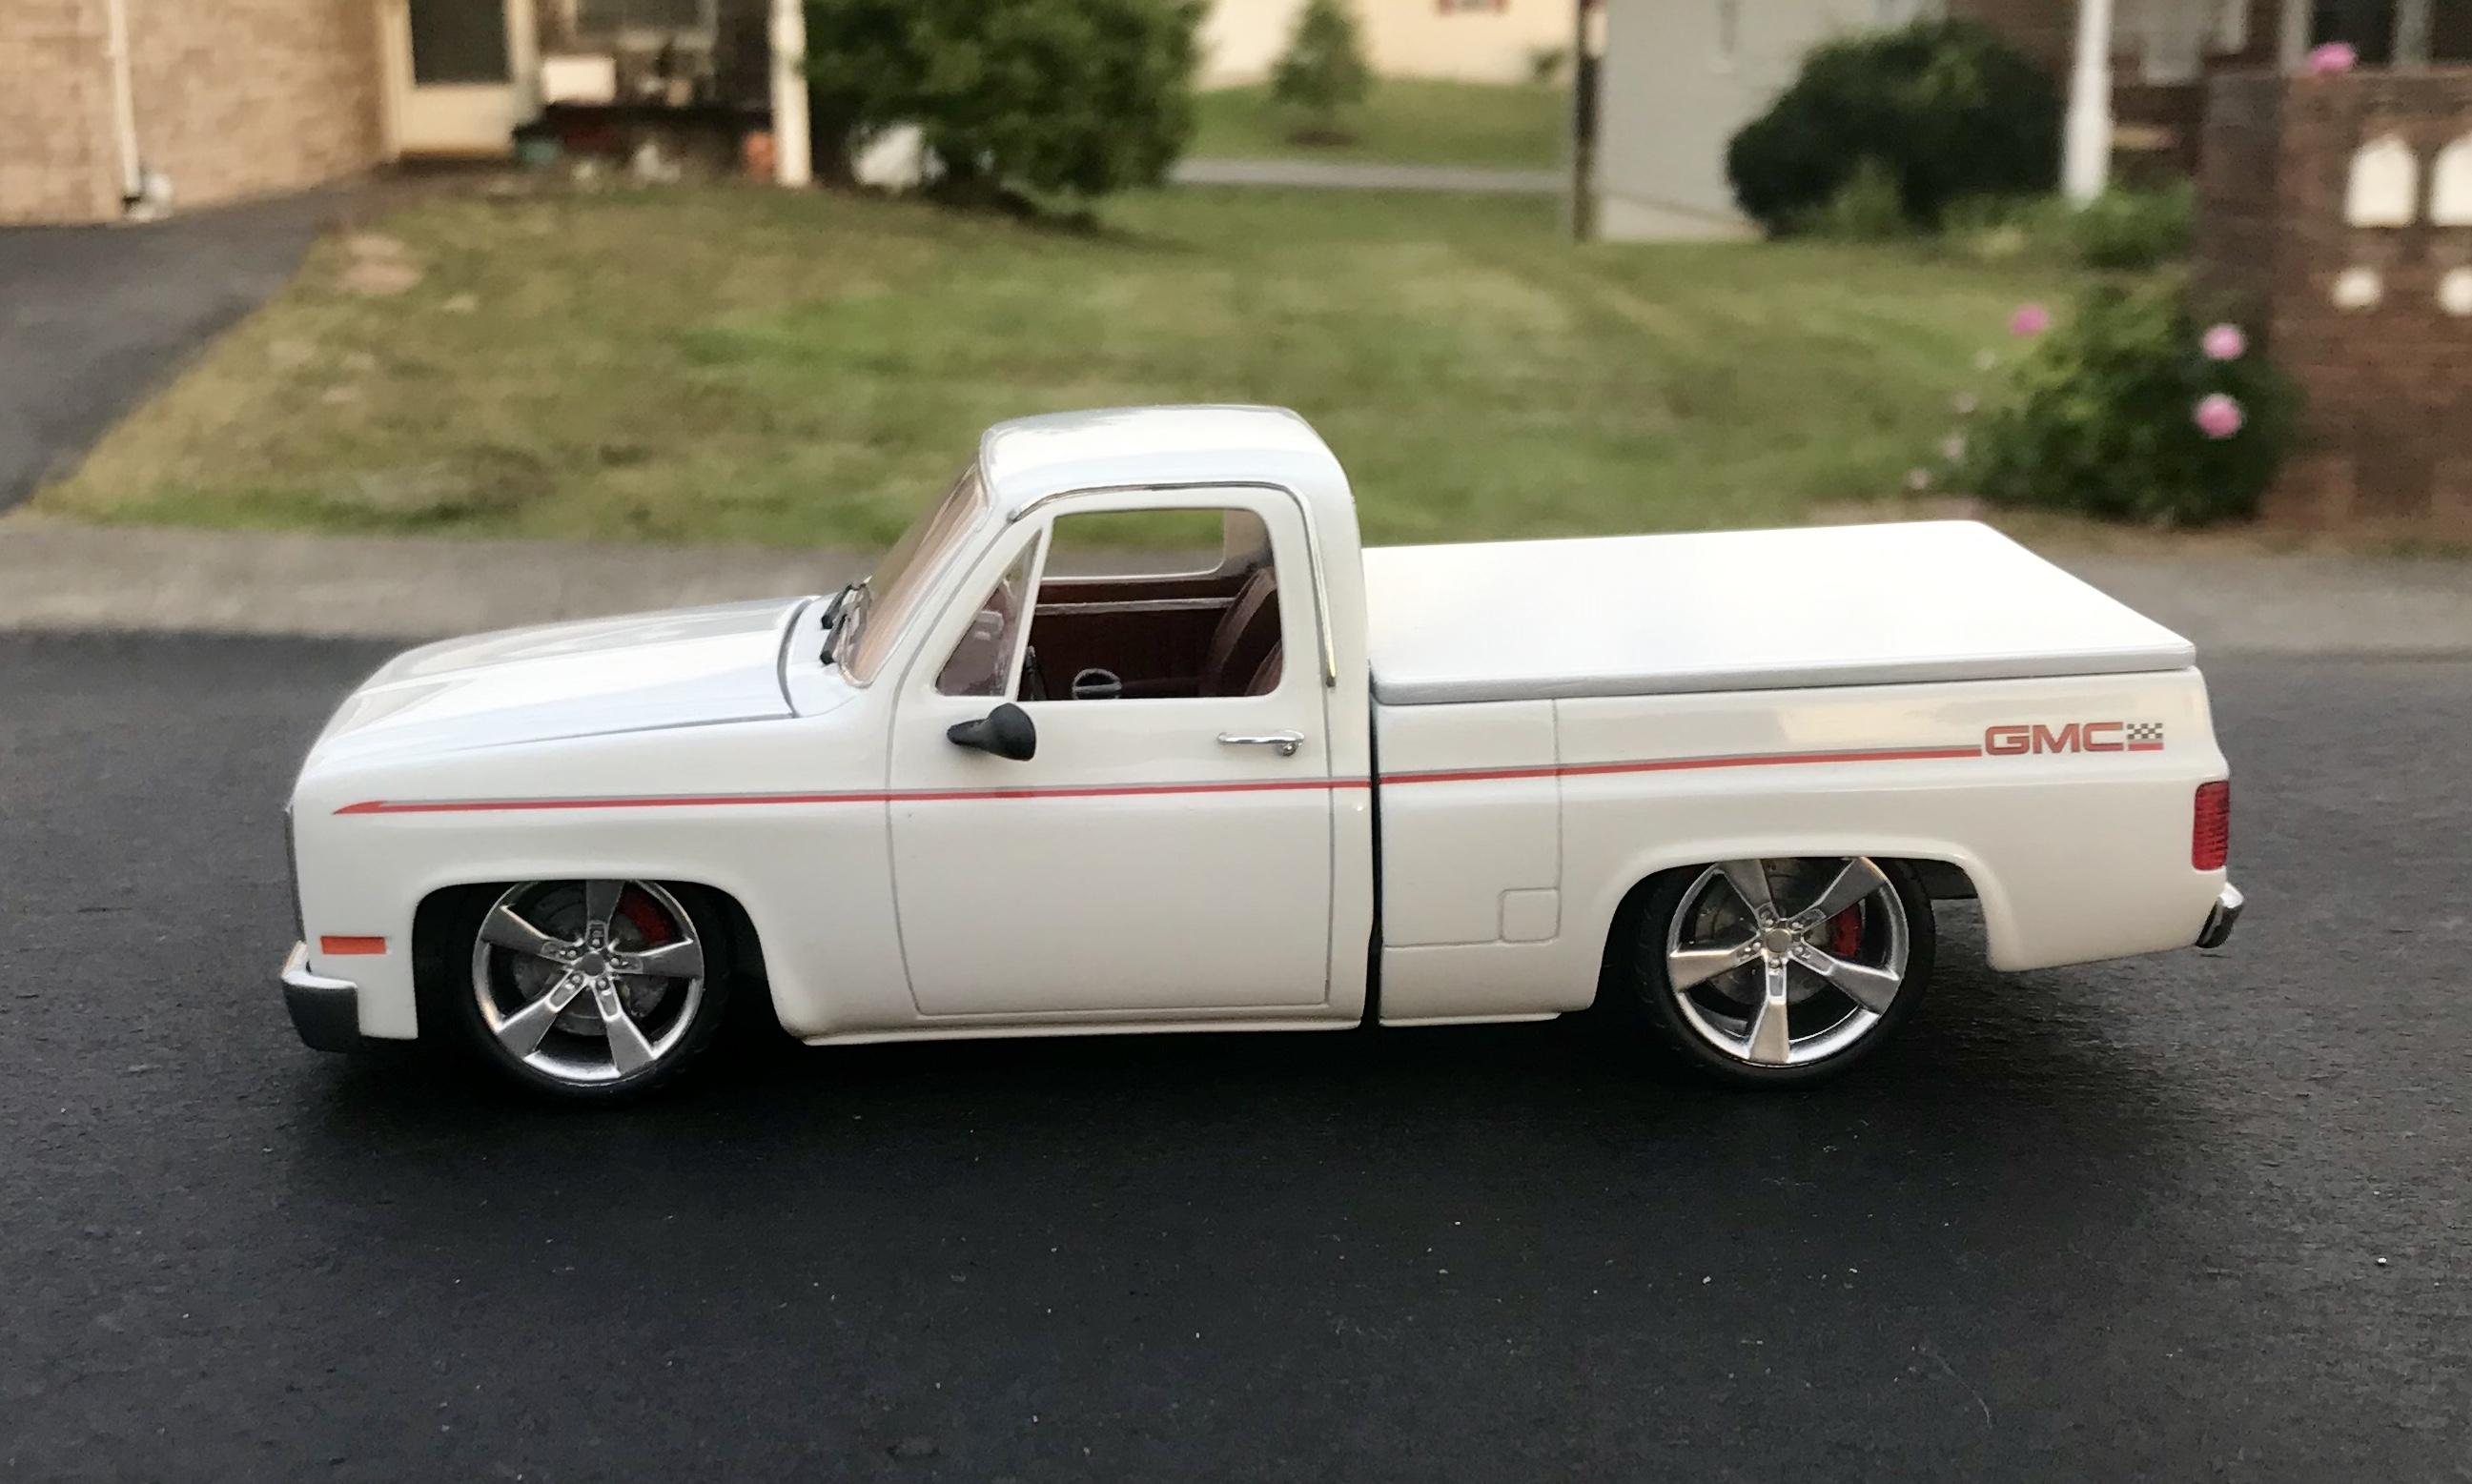
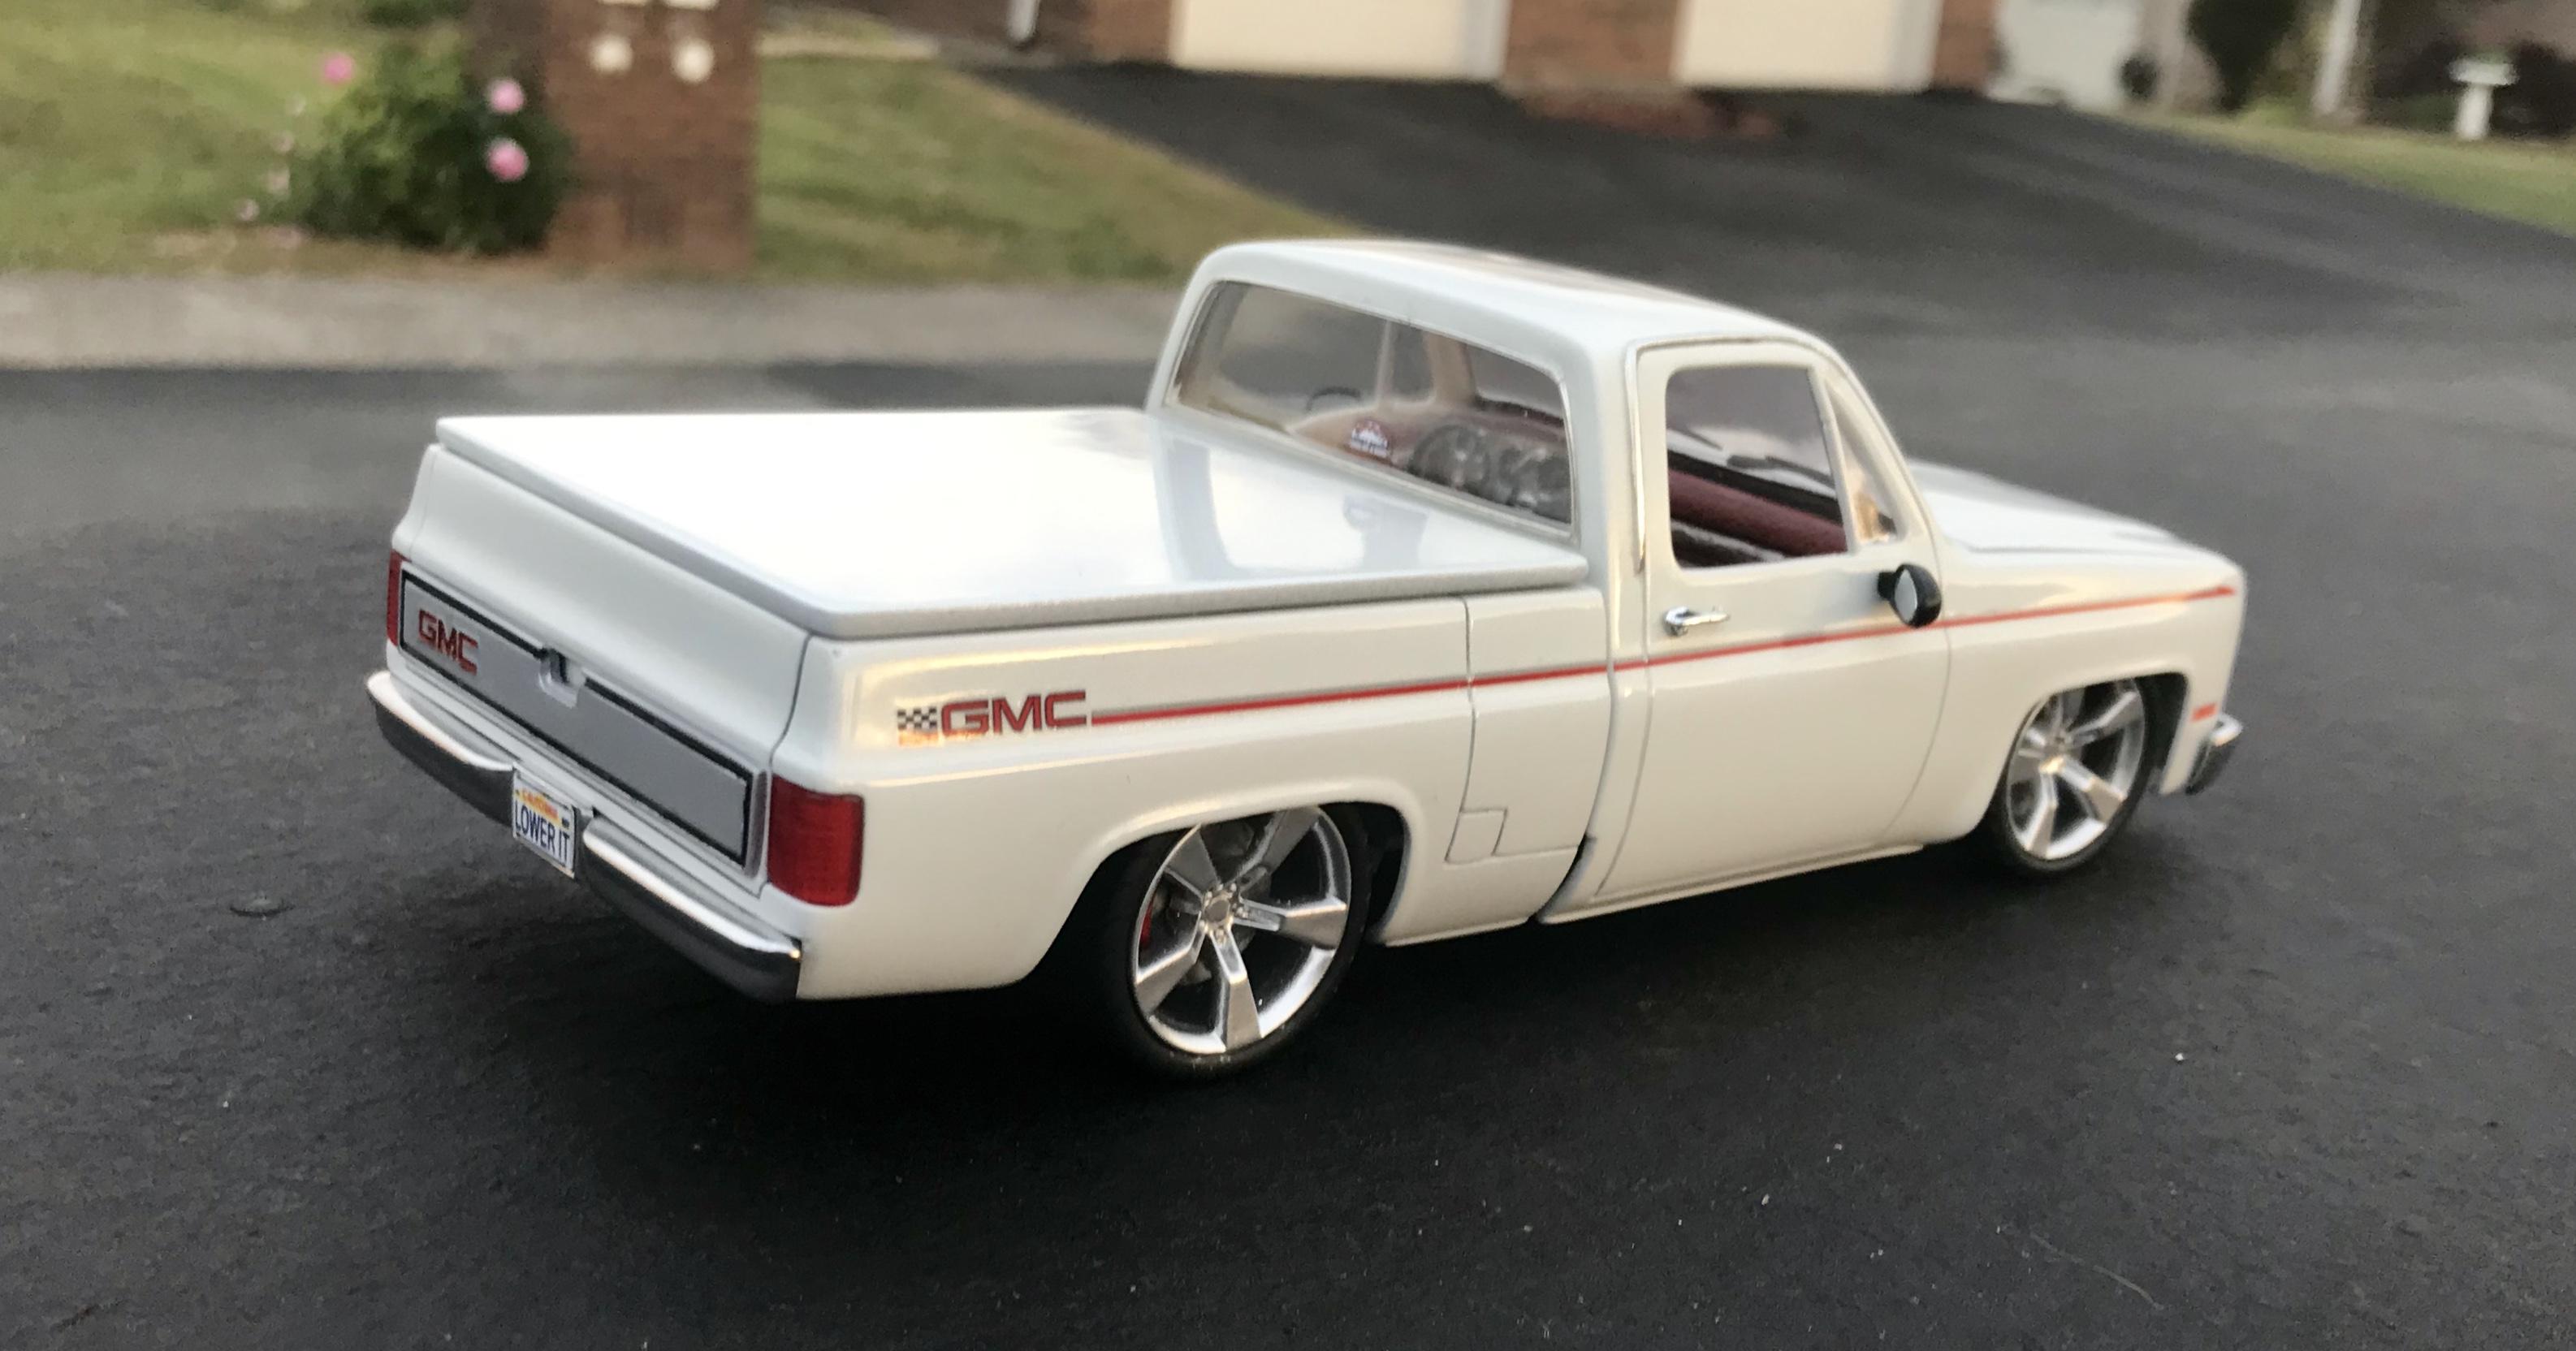
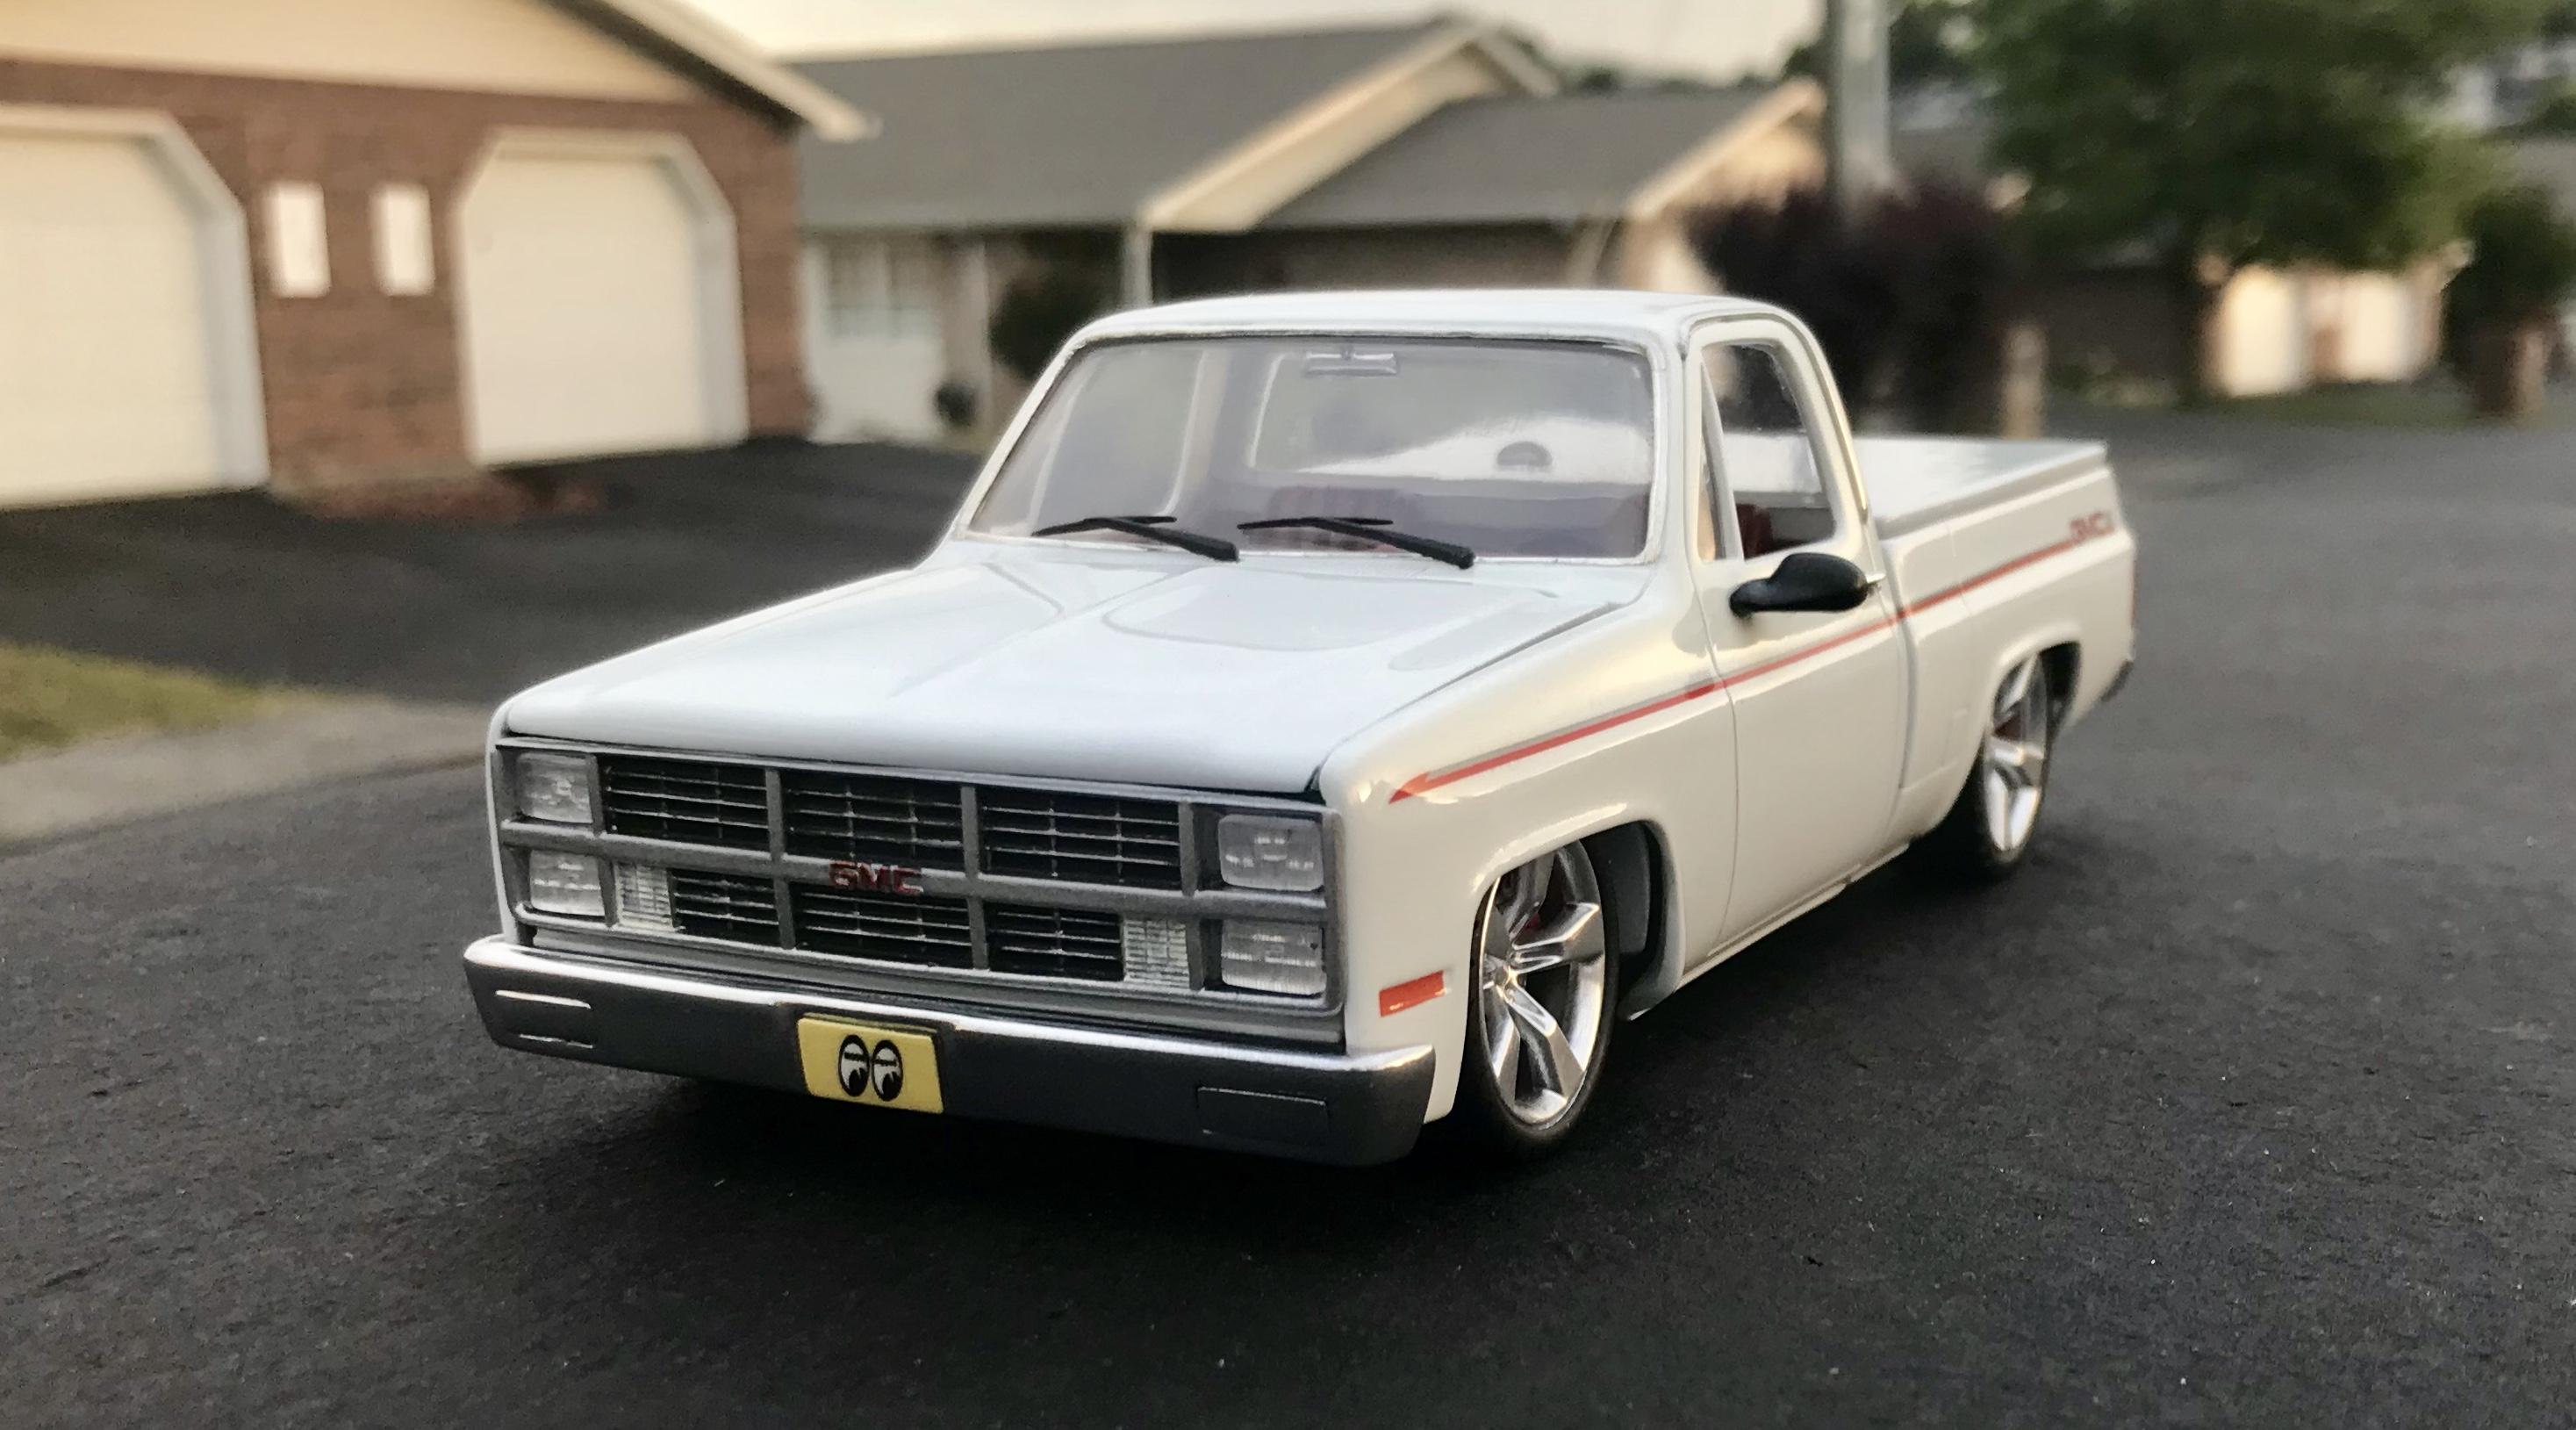
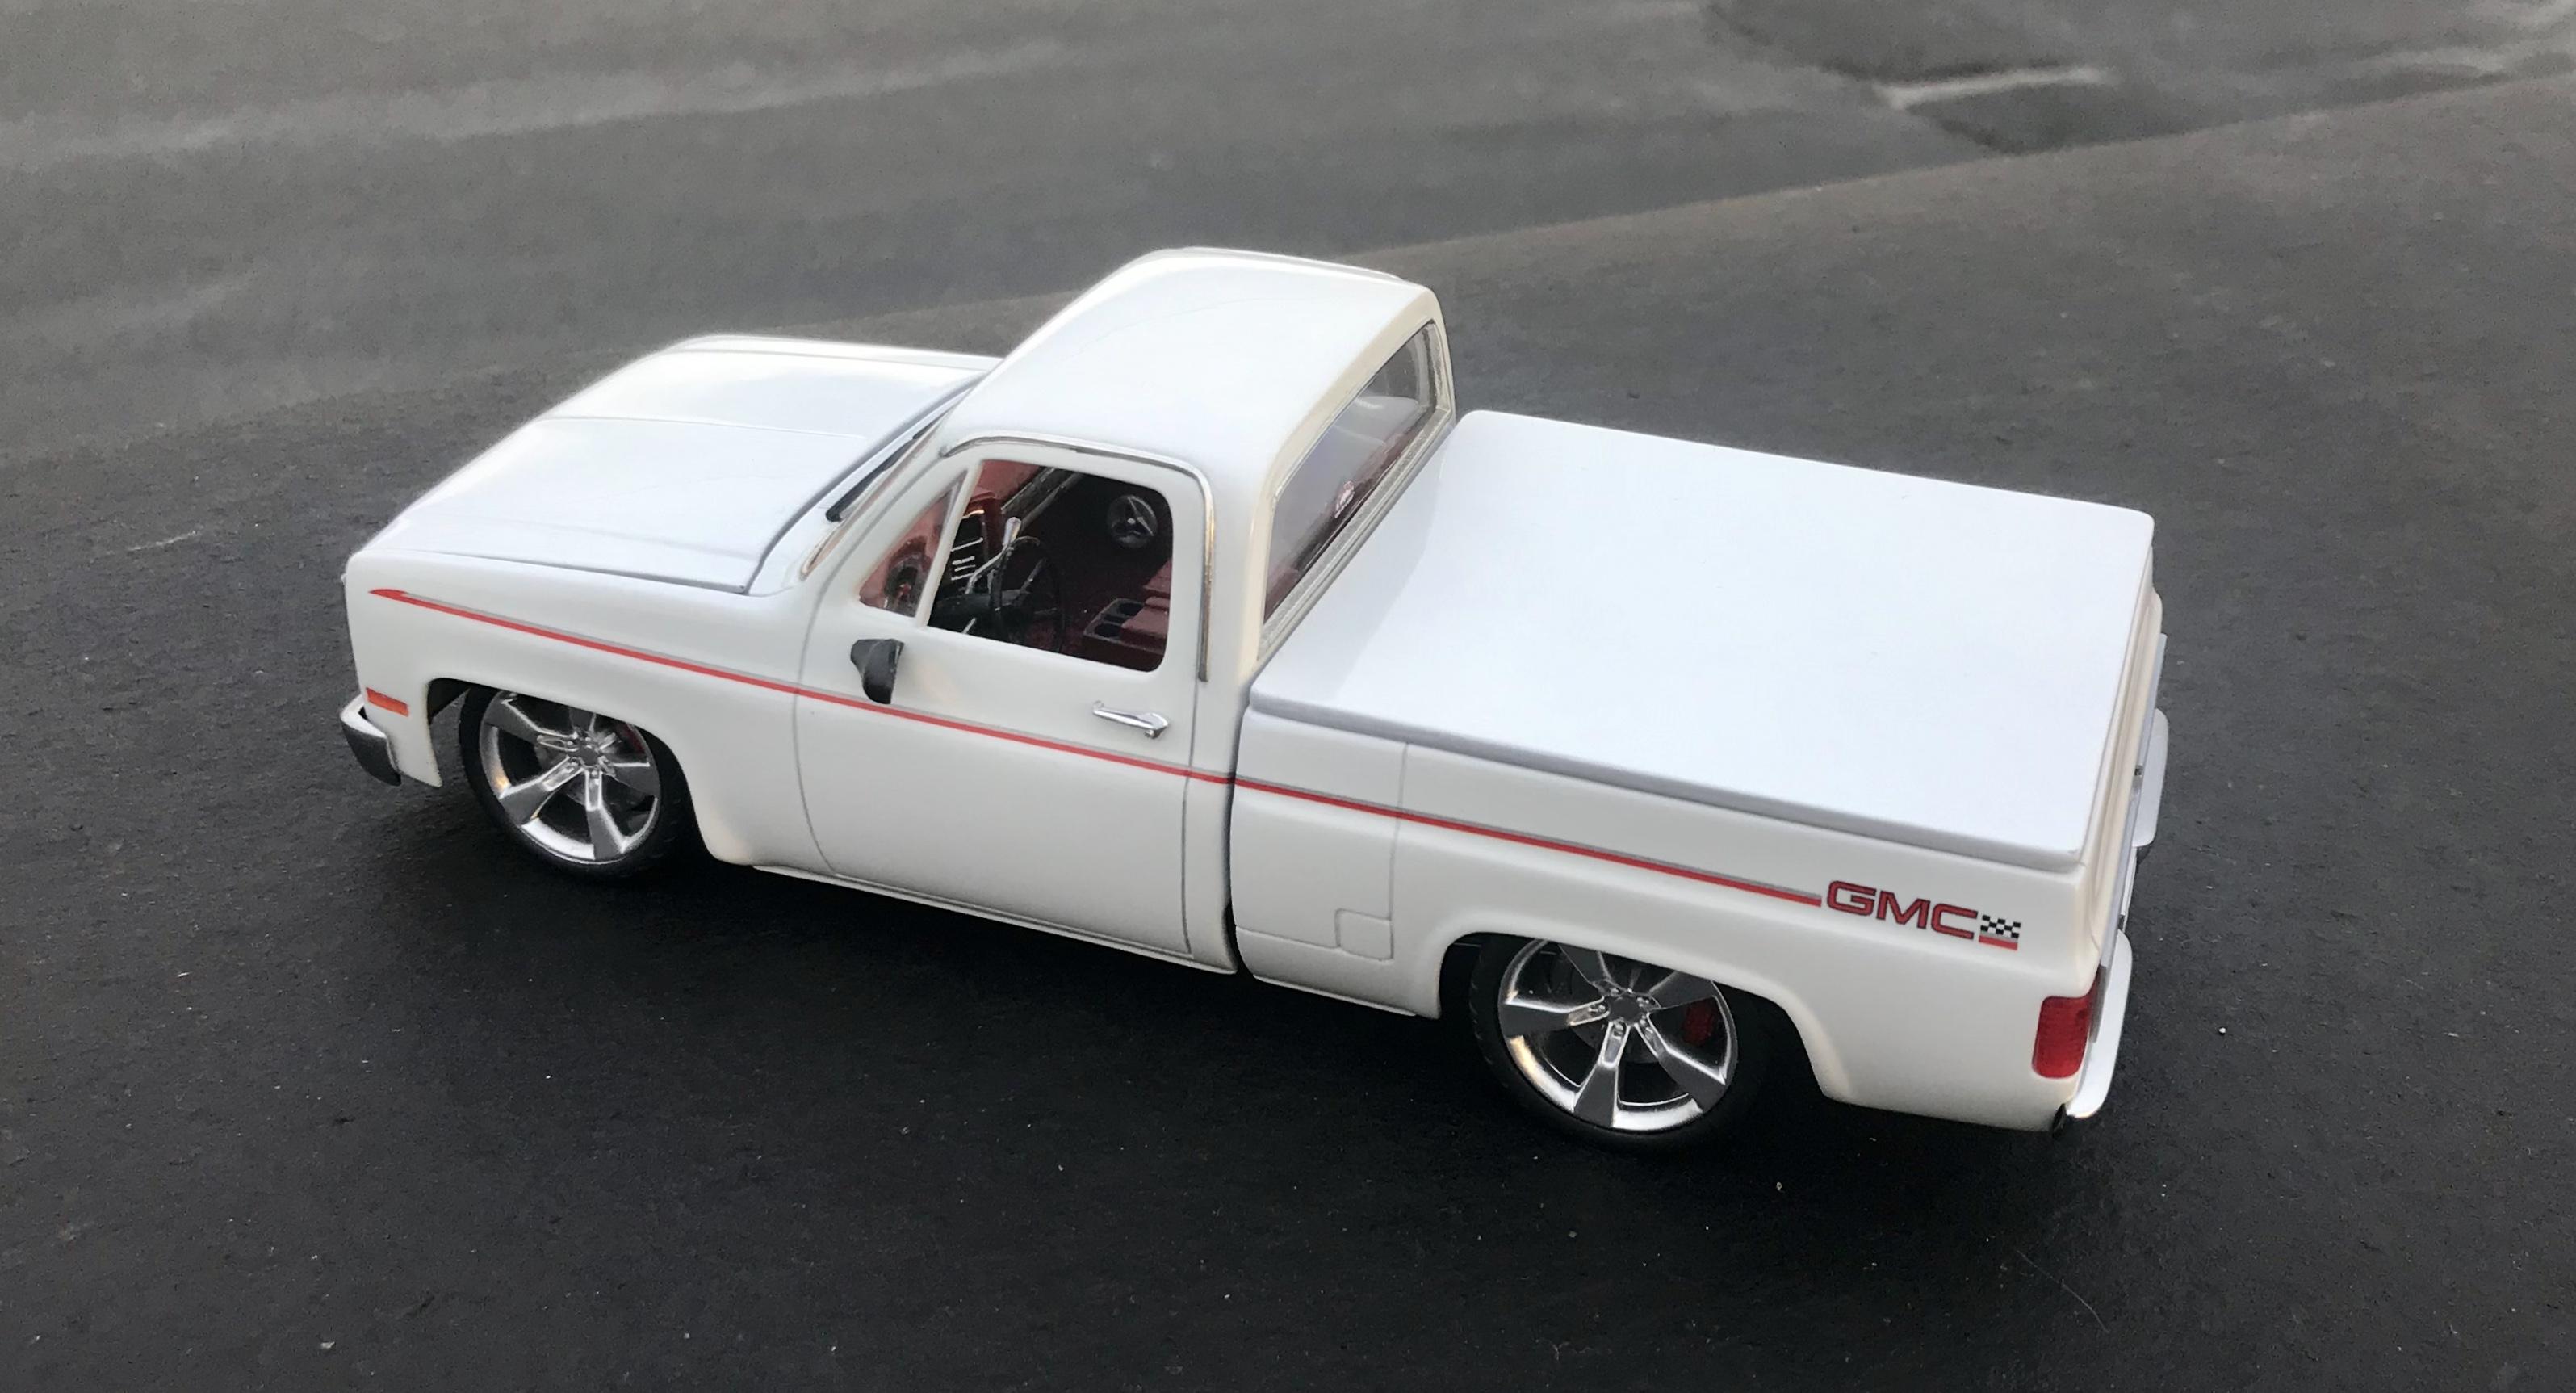
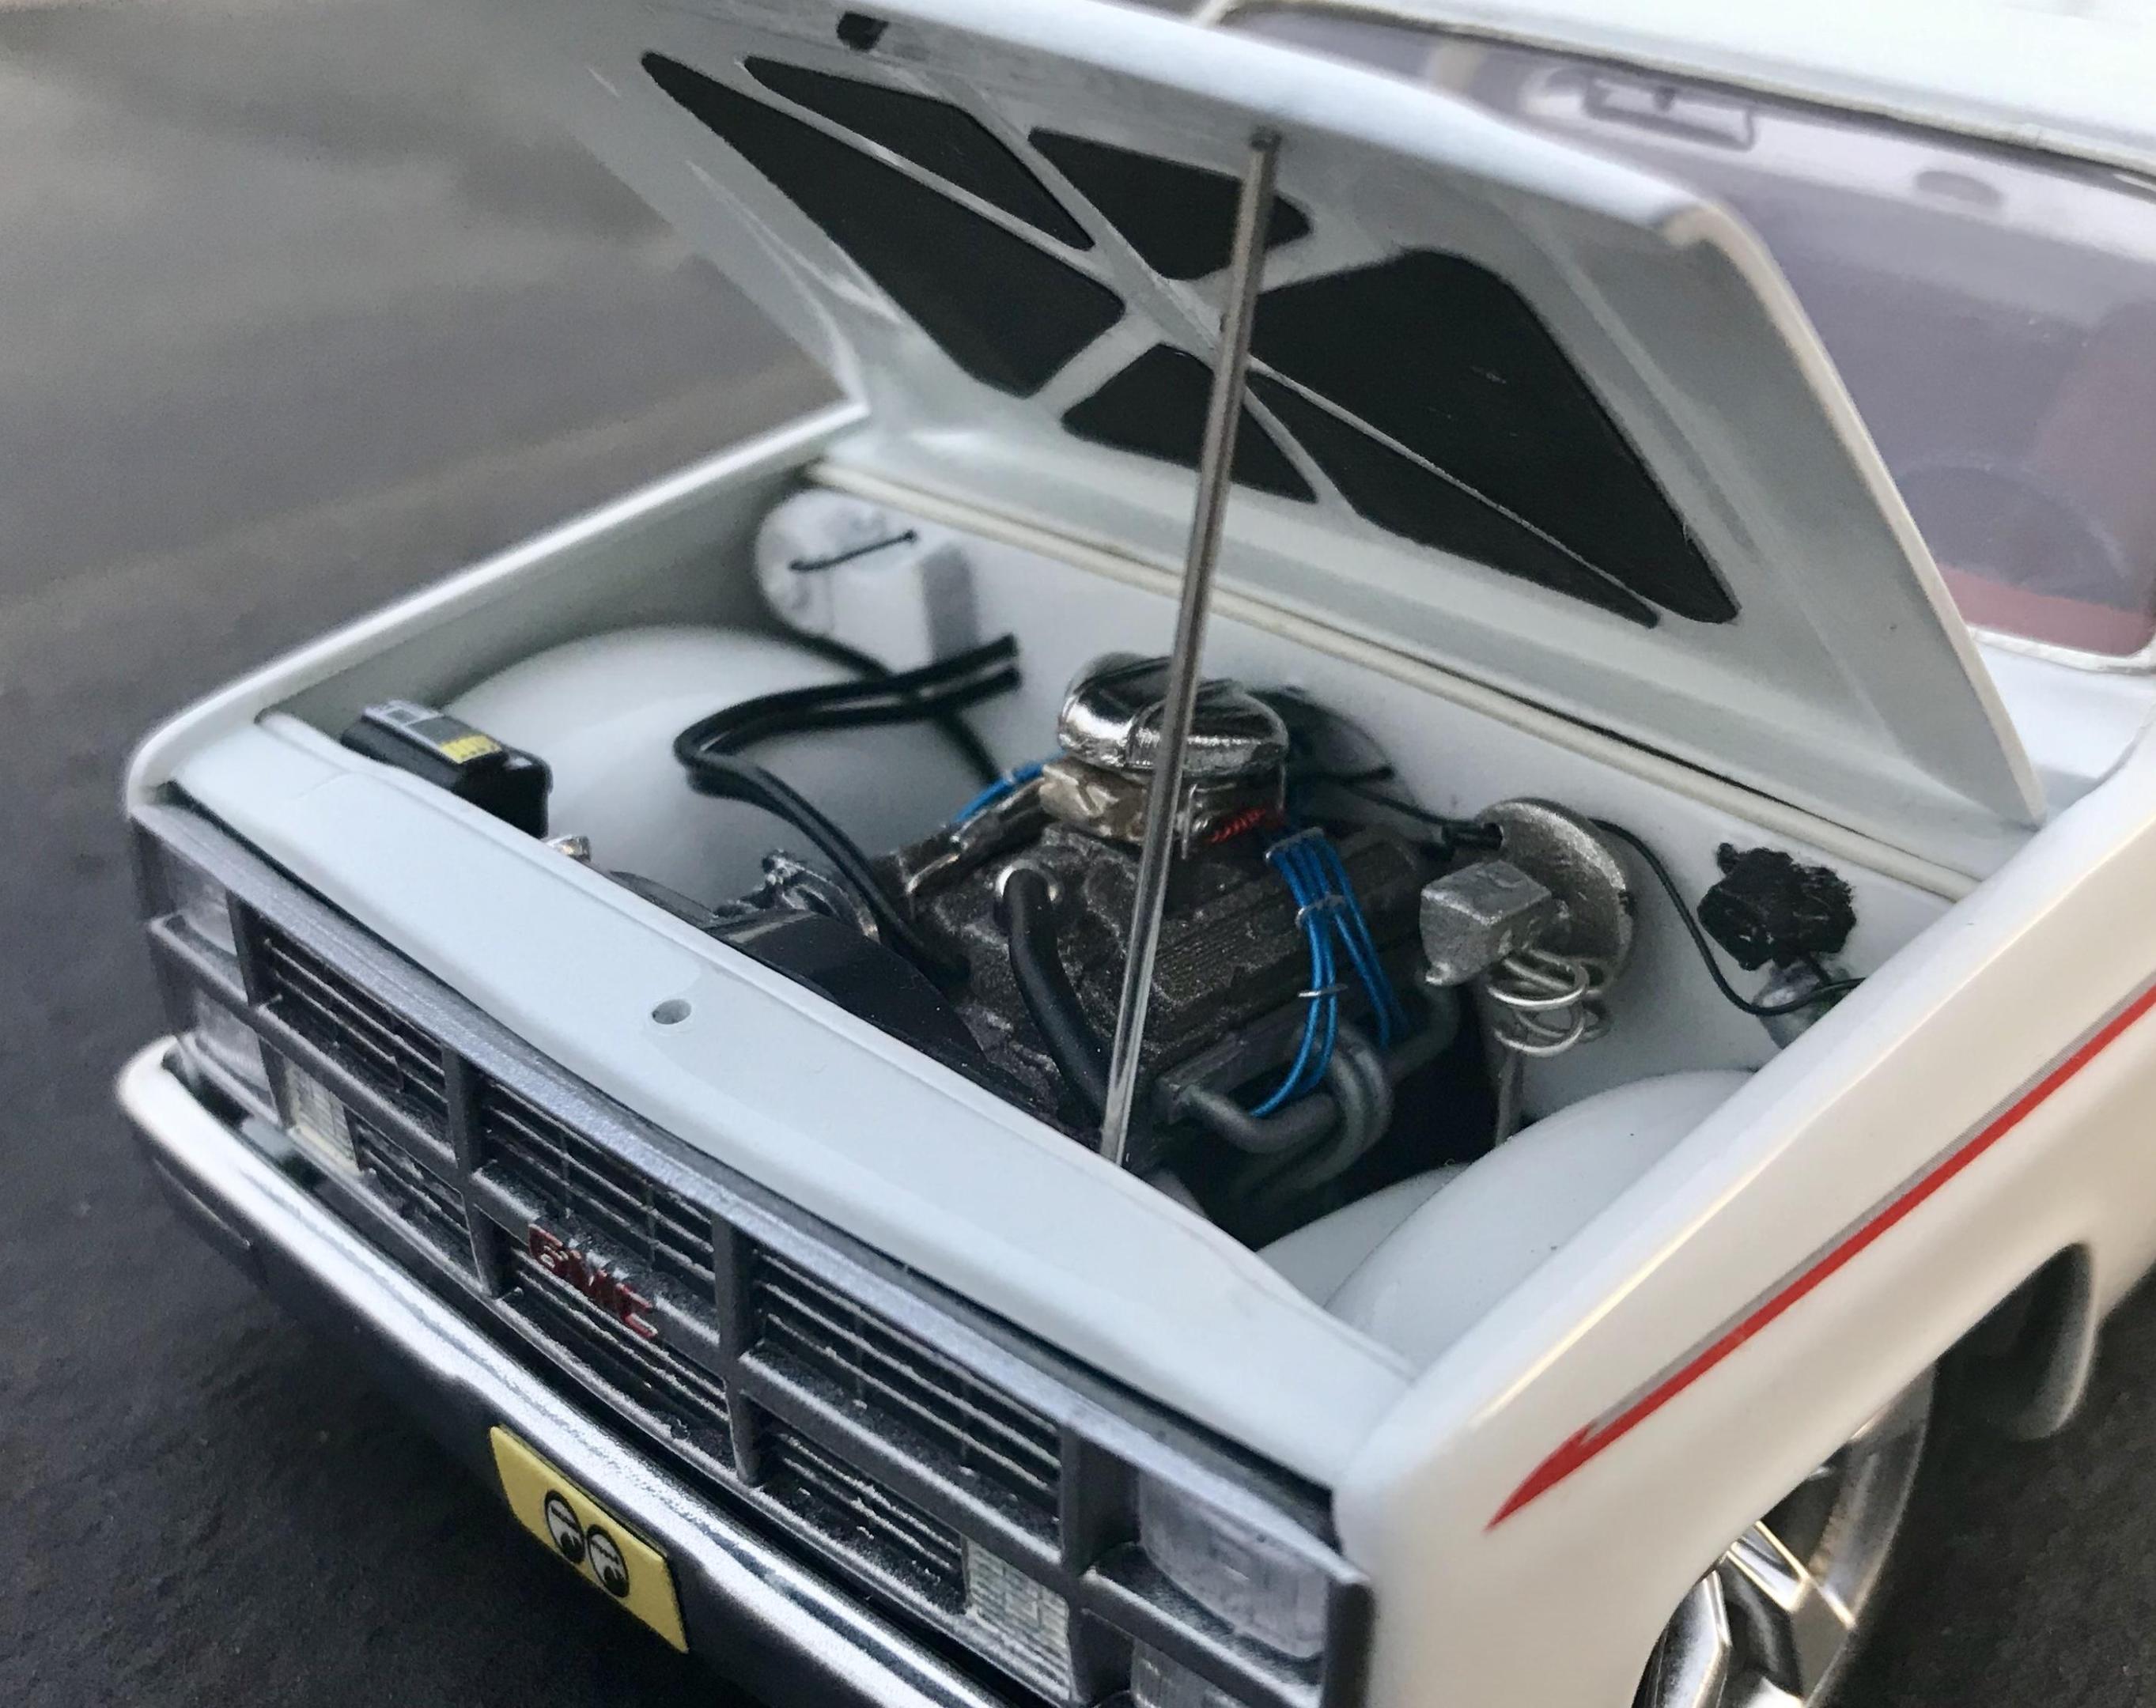
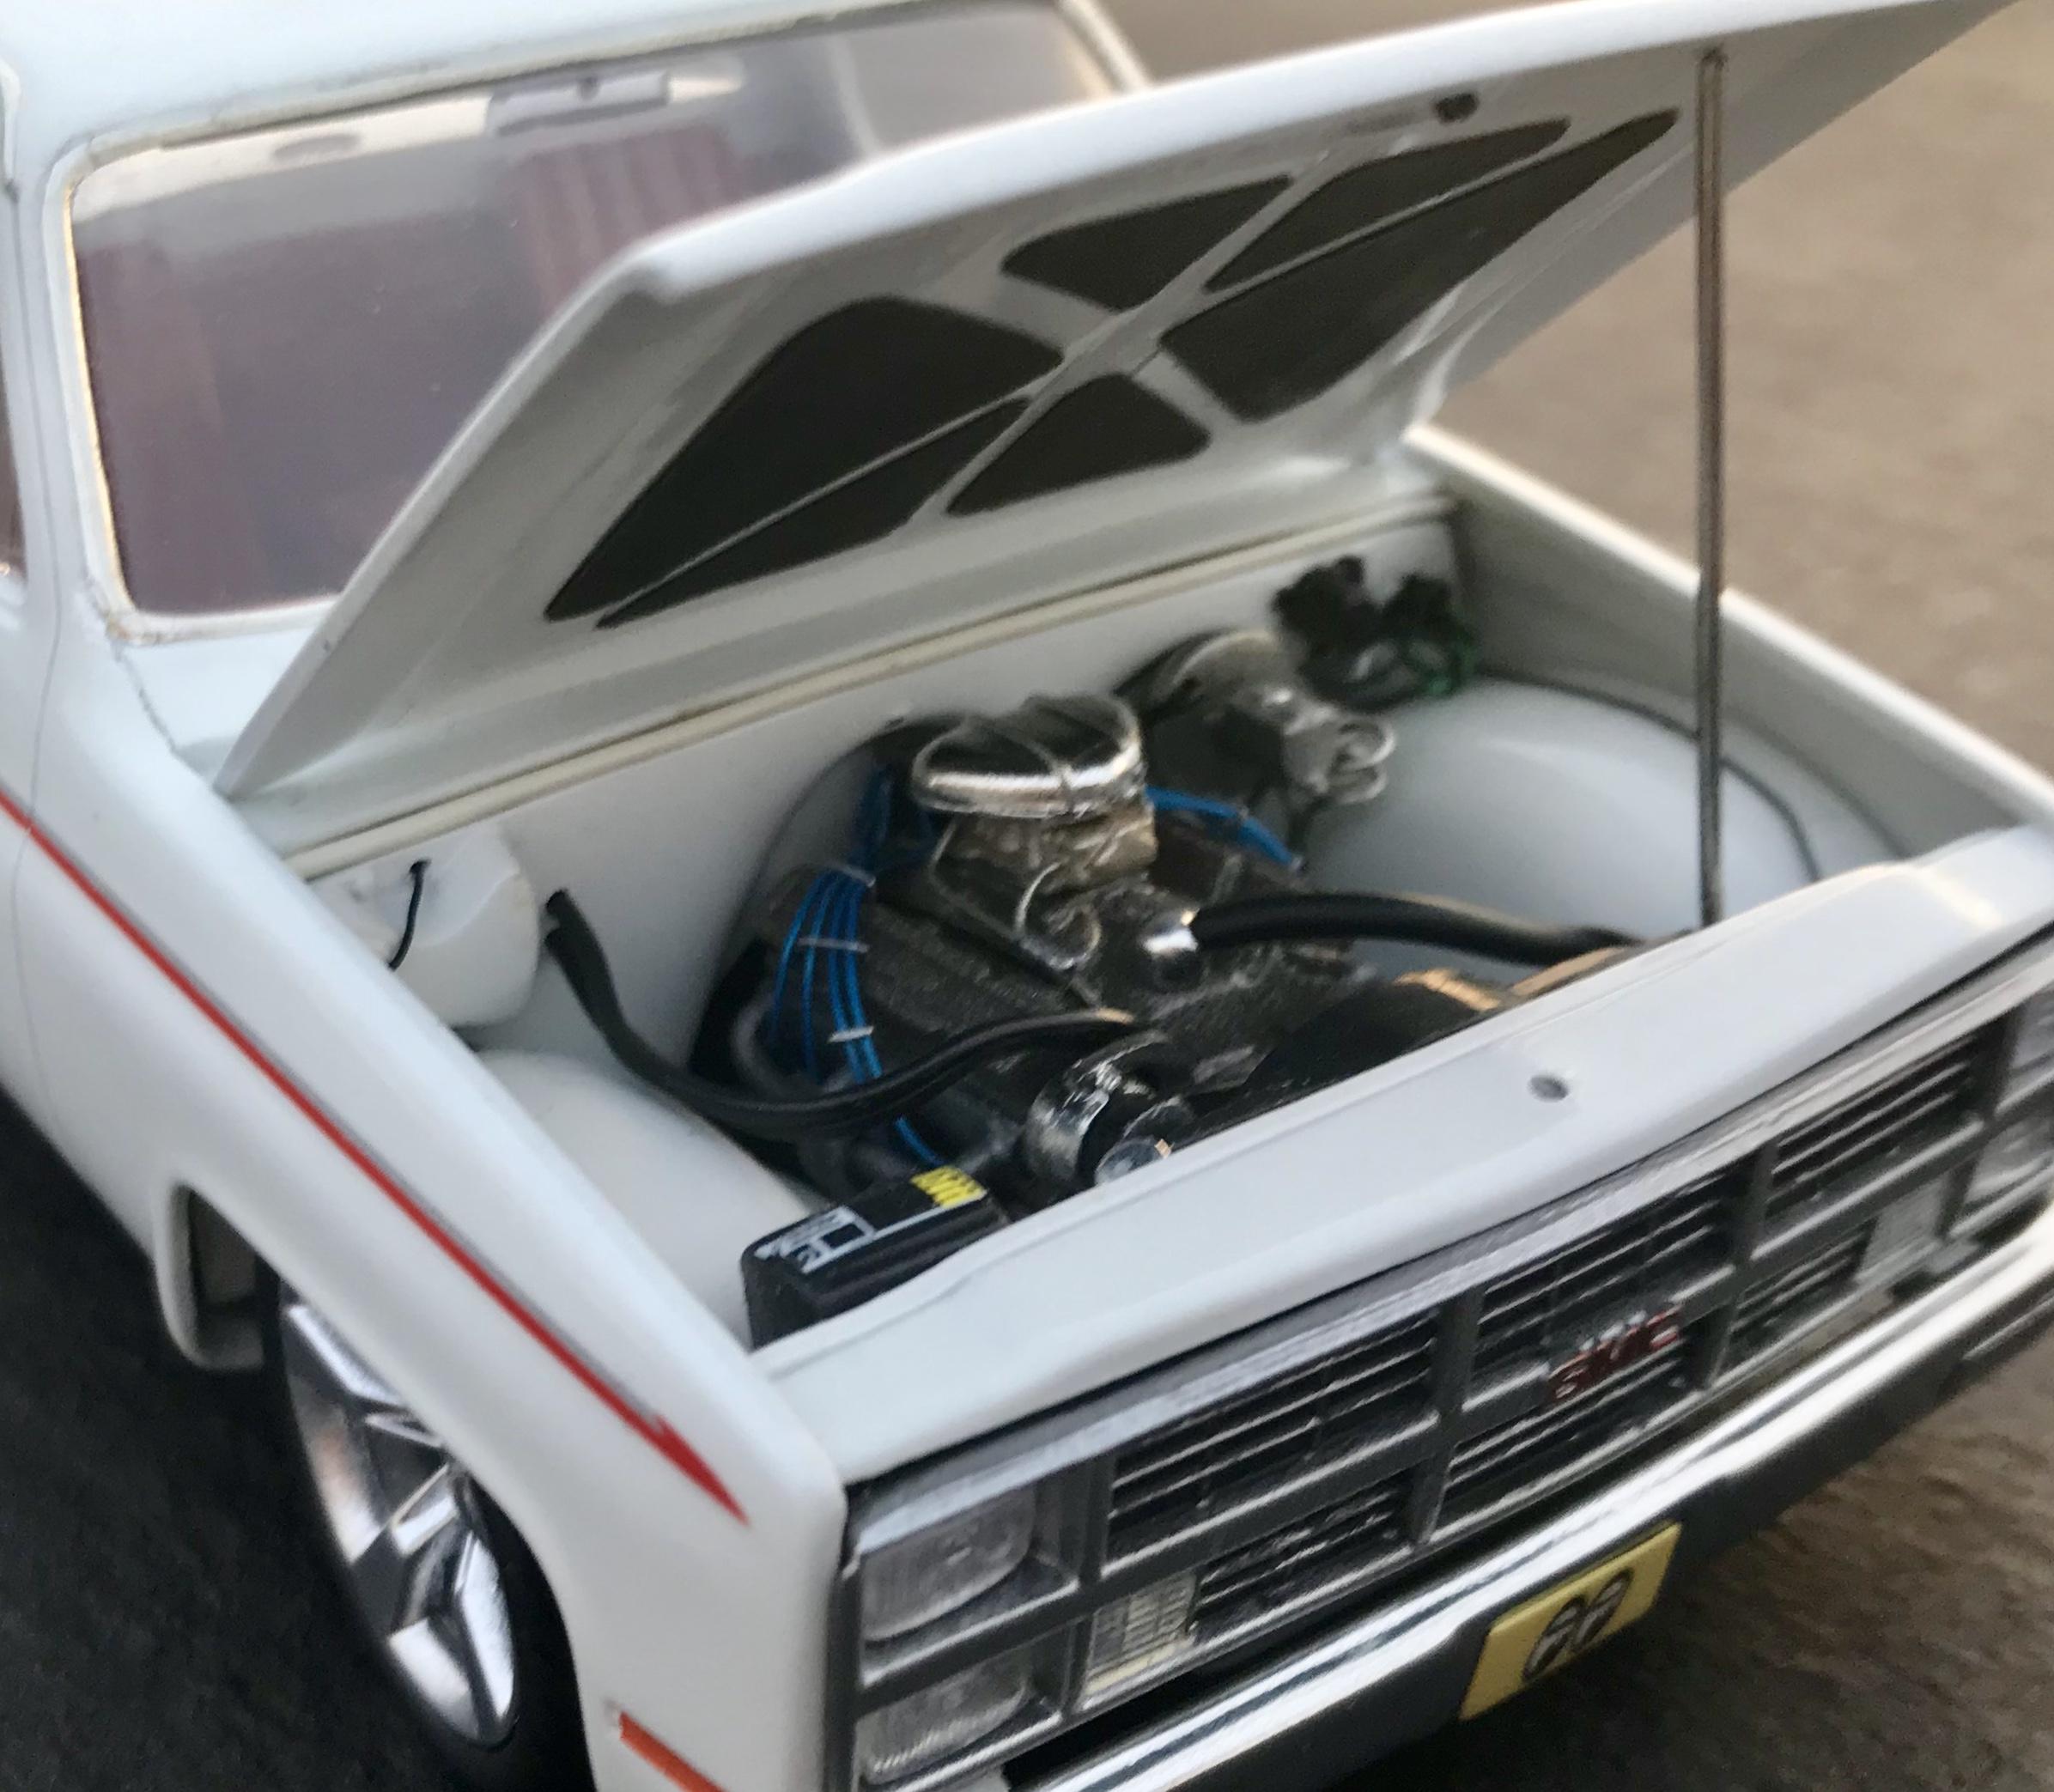
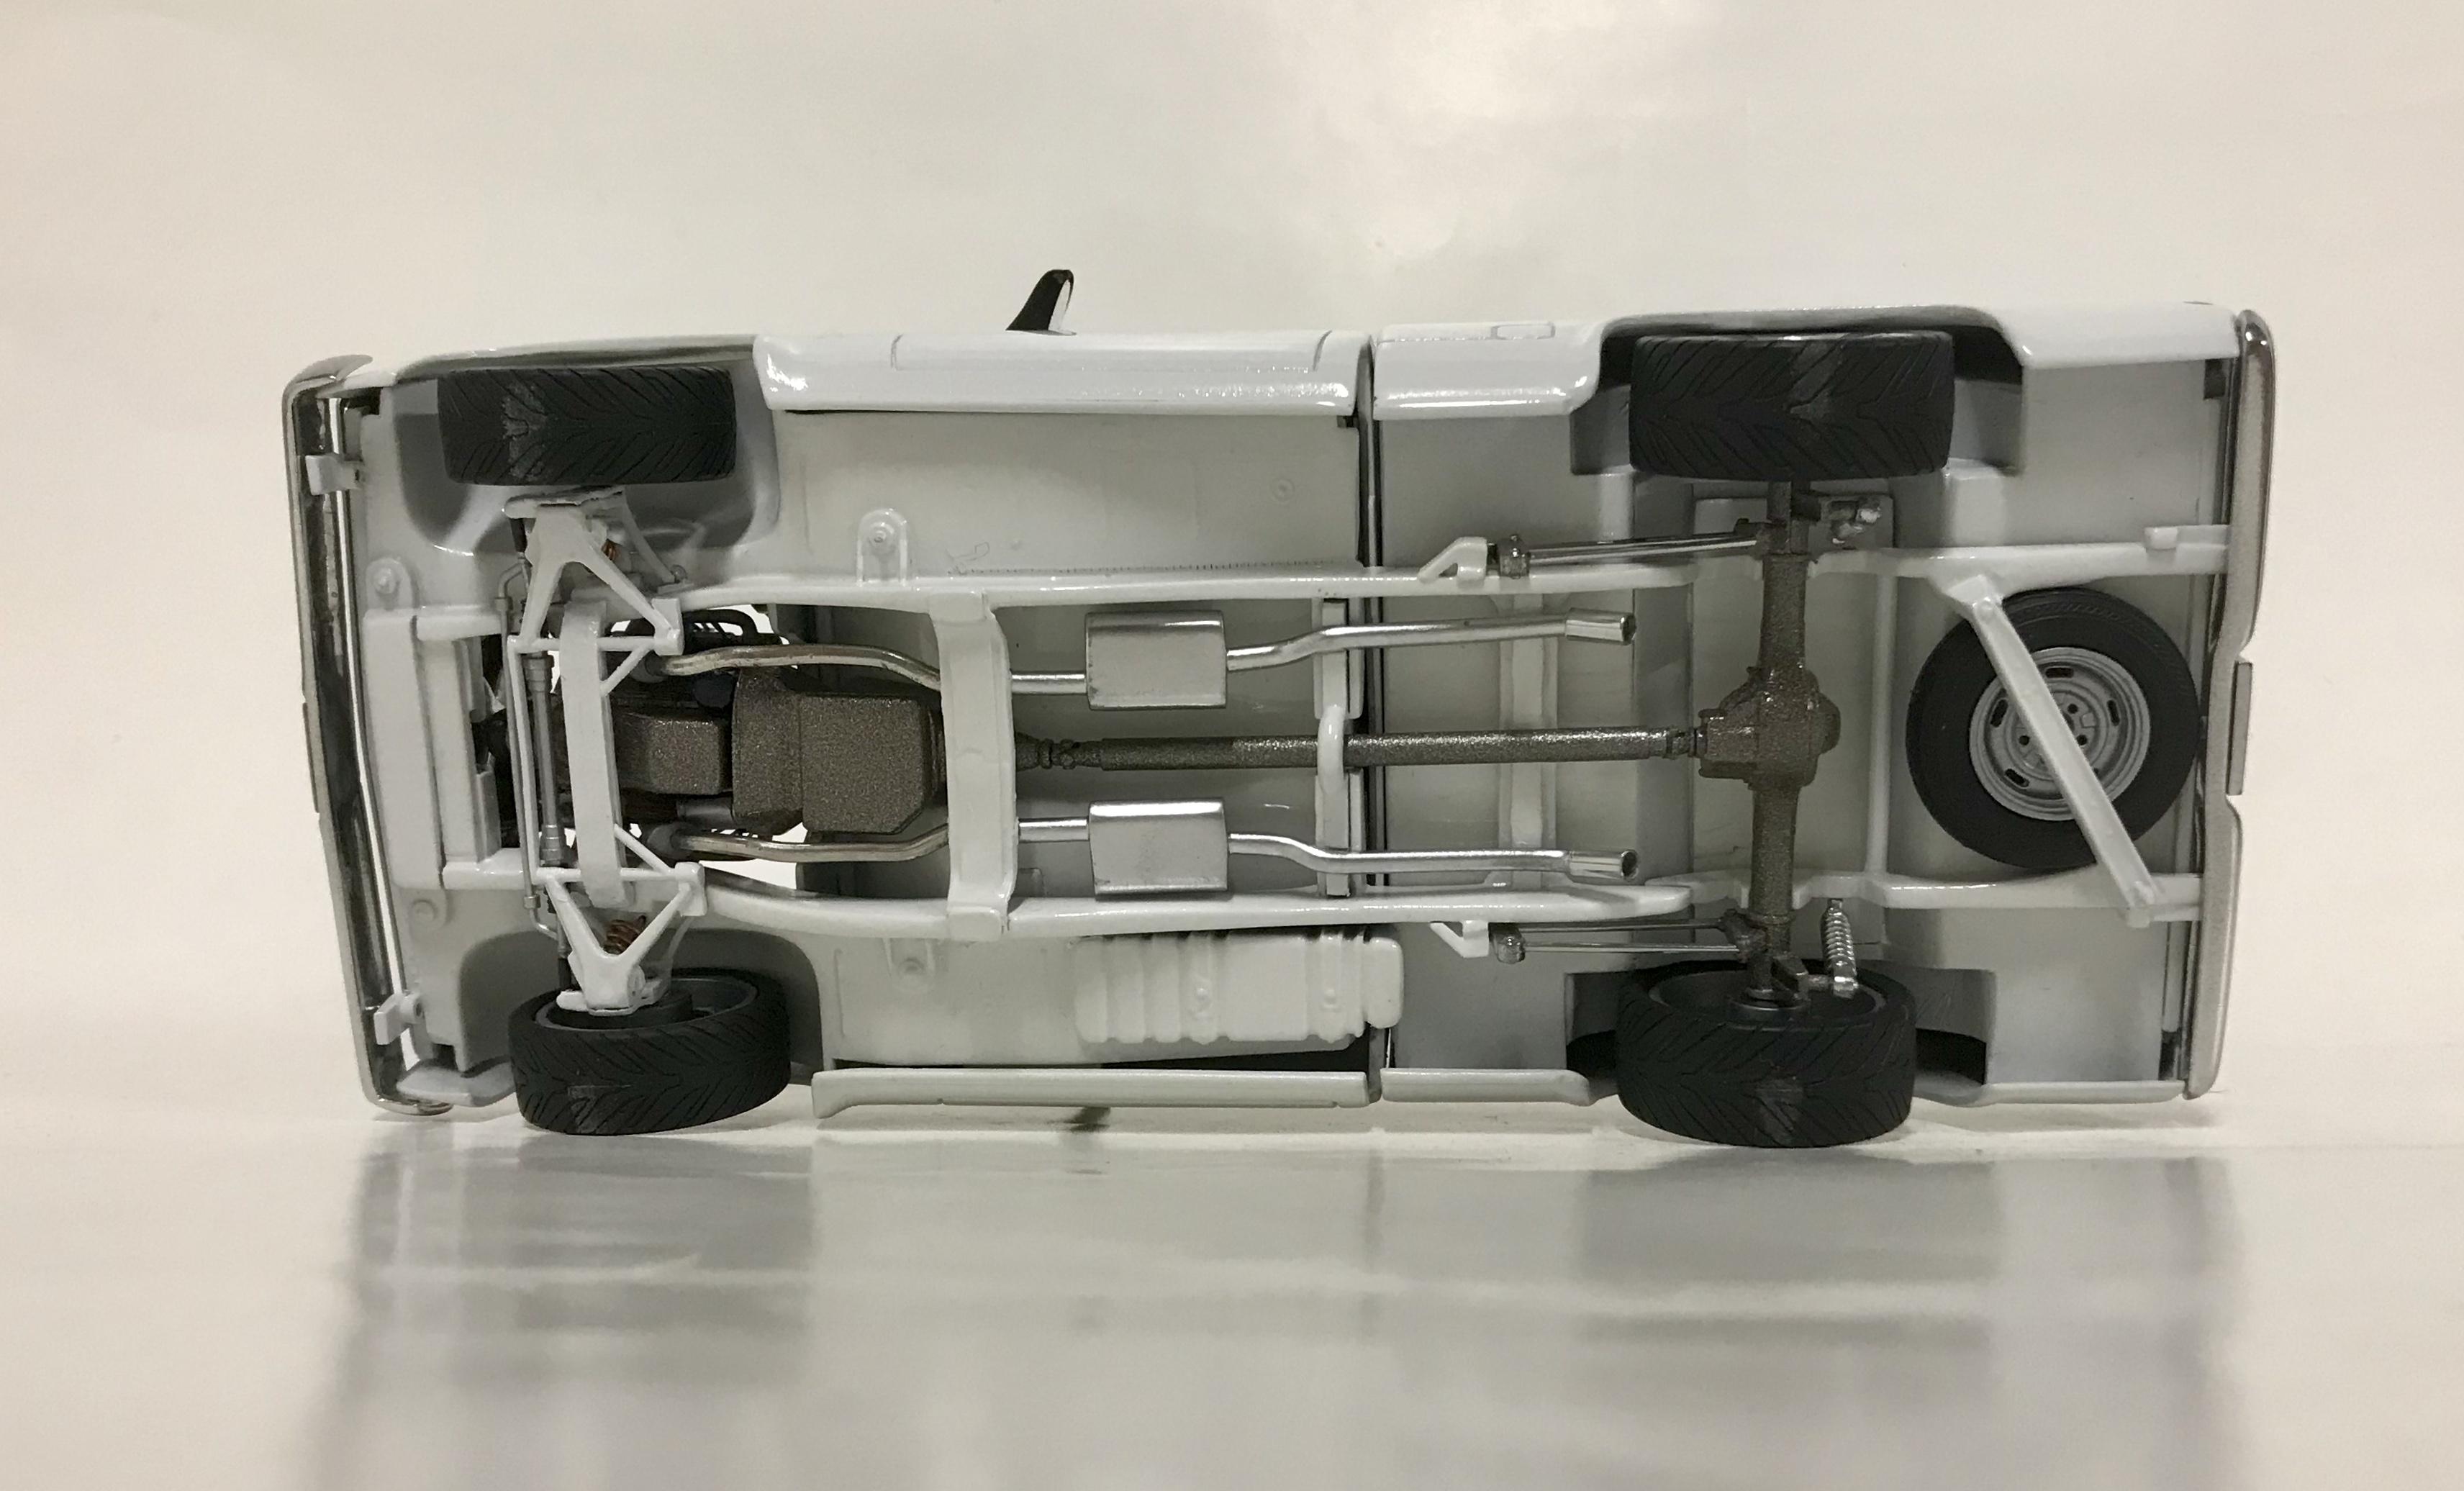
This is my show rig finished up. I’ve had the Corvair built for a while and I posted it on here when I had Photobucket, but it got sunk in the vast sea of watermarks. It has a new life as a trailer queen, being hauled by my 84 GMC pickup. The trailer is an MPC piece my late brother in law gave me back in 1988. The Corvair was built using a set of IROK wheels and tires from Pegasus, along with their disc brake set. I added some aluminum exhaust tips, some engine wiring, with scratch built license plates and shifter. It was painted with Dupli-Color medium Maui blue metallic that I found at Ollie’s for $1.59, with some clear that was cut and polished. The trailer was given to me by my late brother in law back in 1988, and I’ve saved it until now waiting on just the right project to include it in. It started out, when I got it, with dark blue enamel paint and all the cross braces were broken. I stripped the paint and fixed the cross braces, then scratch built the ramps and the trailer hitch, along with the safety chains. It was painted using Plasti-Kote Ford silver metallic, that I again found at Ollie’s for a $1.99. I covered the running boards and ramps with craft paper, trying to get everything uniform. The wheels came in the AMT Dodge D50 pickup with parts box tires. The 84 GMC is the MPC Deserter 4 wheel drive that I converted to a 2 wheel drive. It took quiet a bit of work to get it there, but it was worth it in the end. I used a Foose pickup for all the front and rear suspension. I had to c notch the frame and the bed floor to get the stance I was looking for, and scratch built coil over shocks for the front end. The wheels, tires and brakes came from the Revell Concept Camaro snap kit. The engine came in the kit, with parts added from an AMT GM NASCAR kit, along with the headers from an AMT 55 Chevy Stepside pickup. The rest of the exhaust is a combination of soldier, Foose pickup pipes and mufflers, and aluminum tube for tips. The interior has scratch built door panels and trim, along with armrest and window cranks and a few other tricks. It was covered with Tamiya dull red and matching custom mixed flocking. On the exterior, I added headlight lenses from the parts box, and modified the front bumper. Windshield wipers were added from the Lindberg Chevelle, door handles from the Foose pickup, and side mirrors from a Saleen Mustang, along with the rear bumper from an old Bigfoot monster truck. The tonneau cover was scratch built, along with the tags on both ends. It was painted using Dupli-Color pure white from, yes, you guessed it, Ollie’s for a $1.29. The kit decals were used for the stripes and cleared and polished. I built these in memory of my brother in law, David Wood. He passed away from cancer in 1994 at the age of 36. I tried to build this as outstanding as he was. He’s the only person I ever met that loved model cars as much as I do. I still miss him.
-
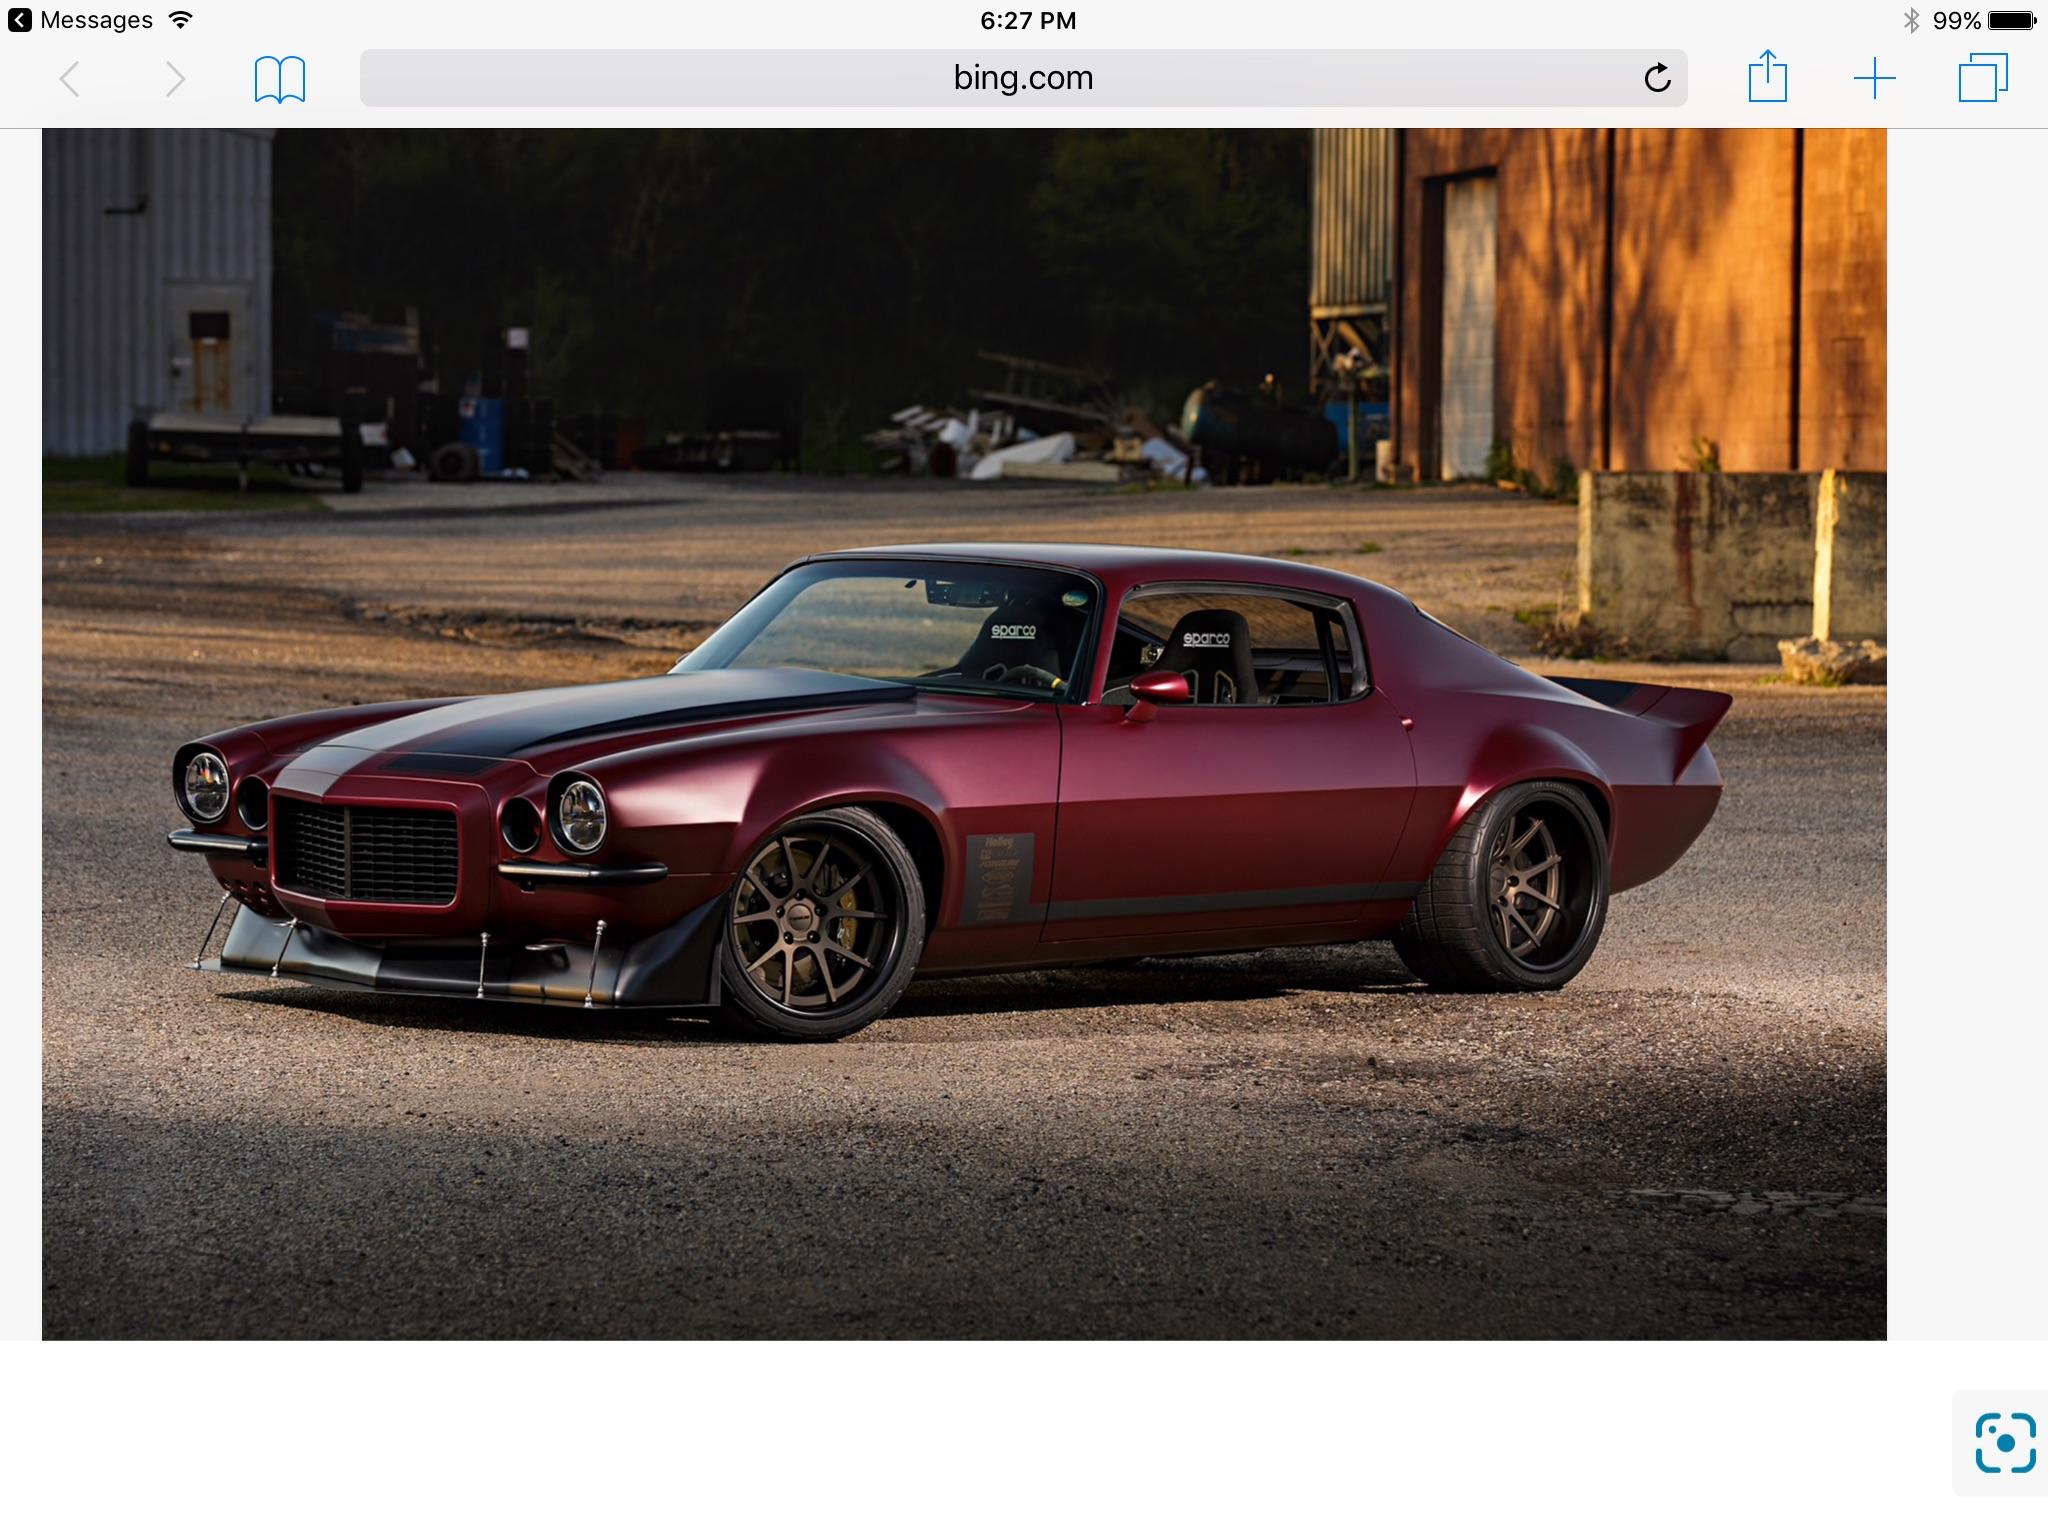
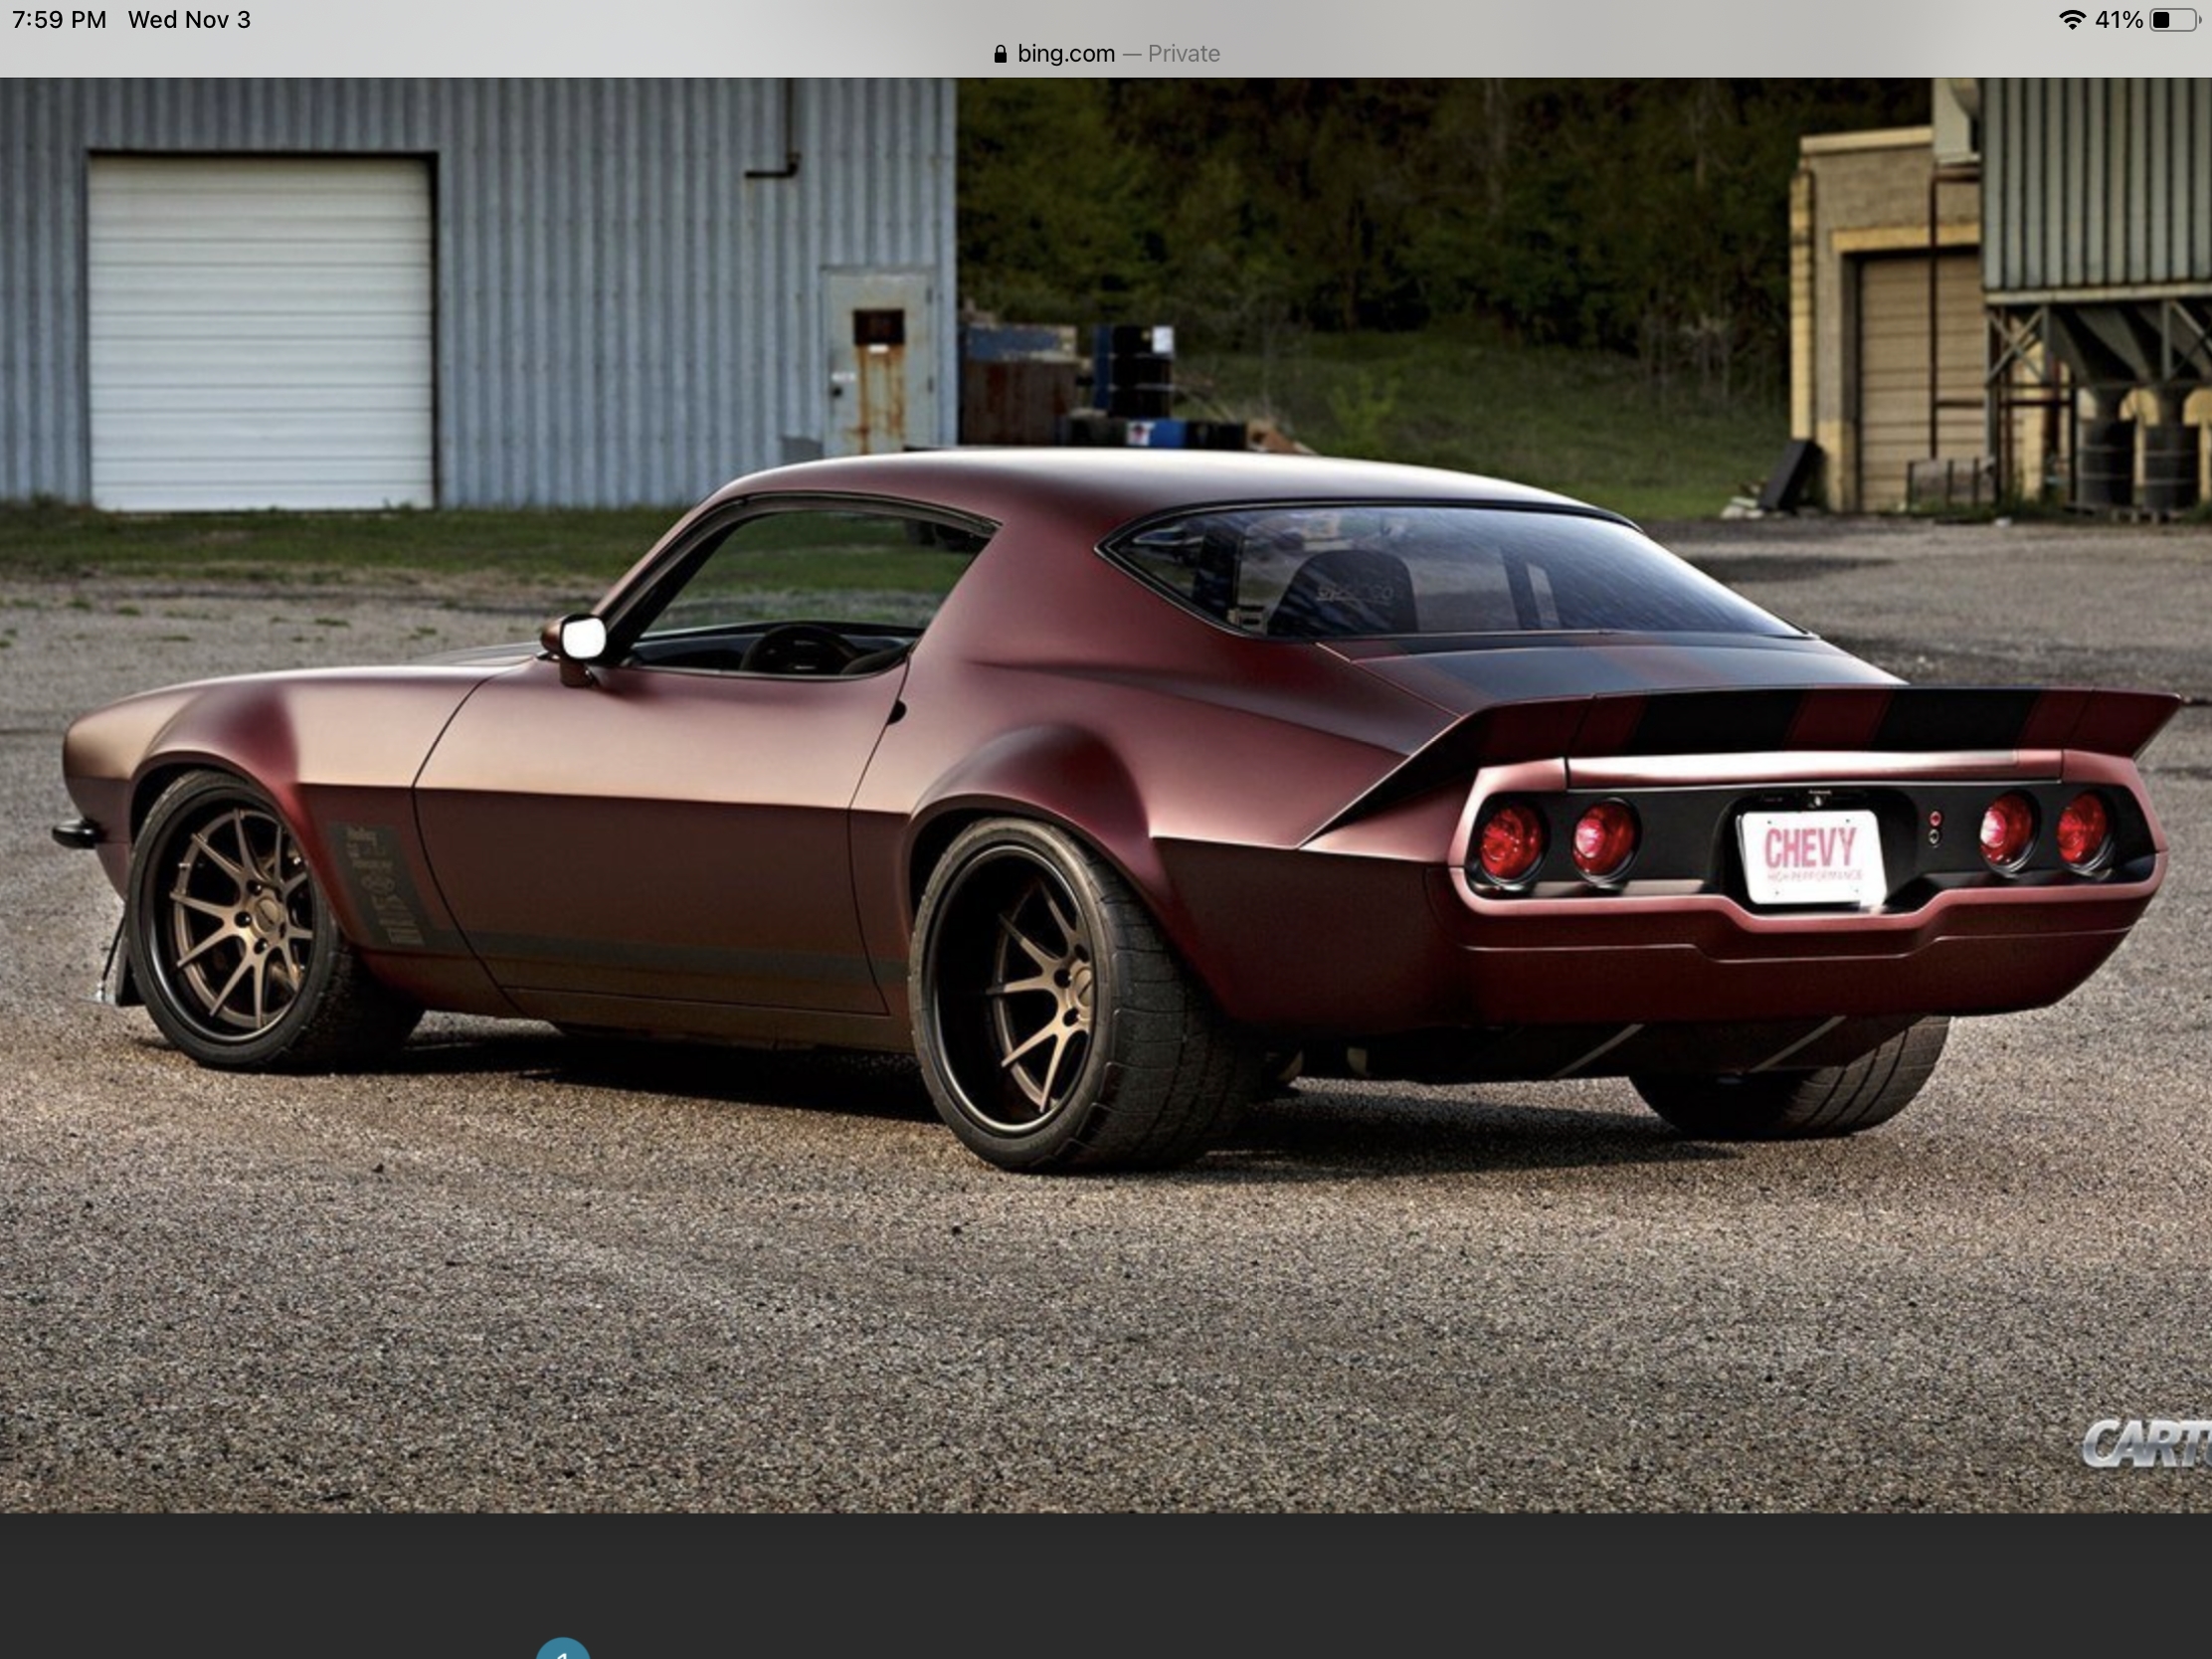
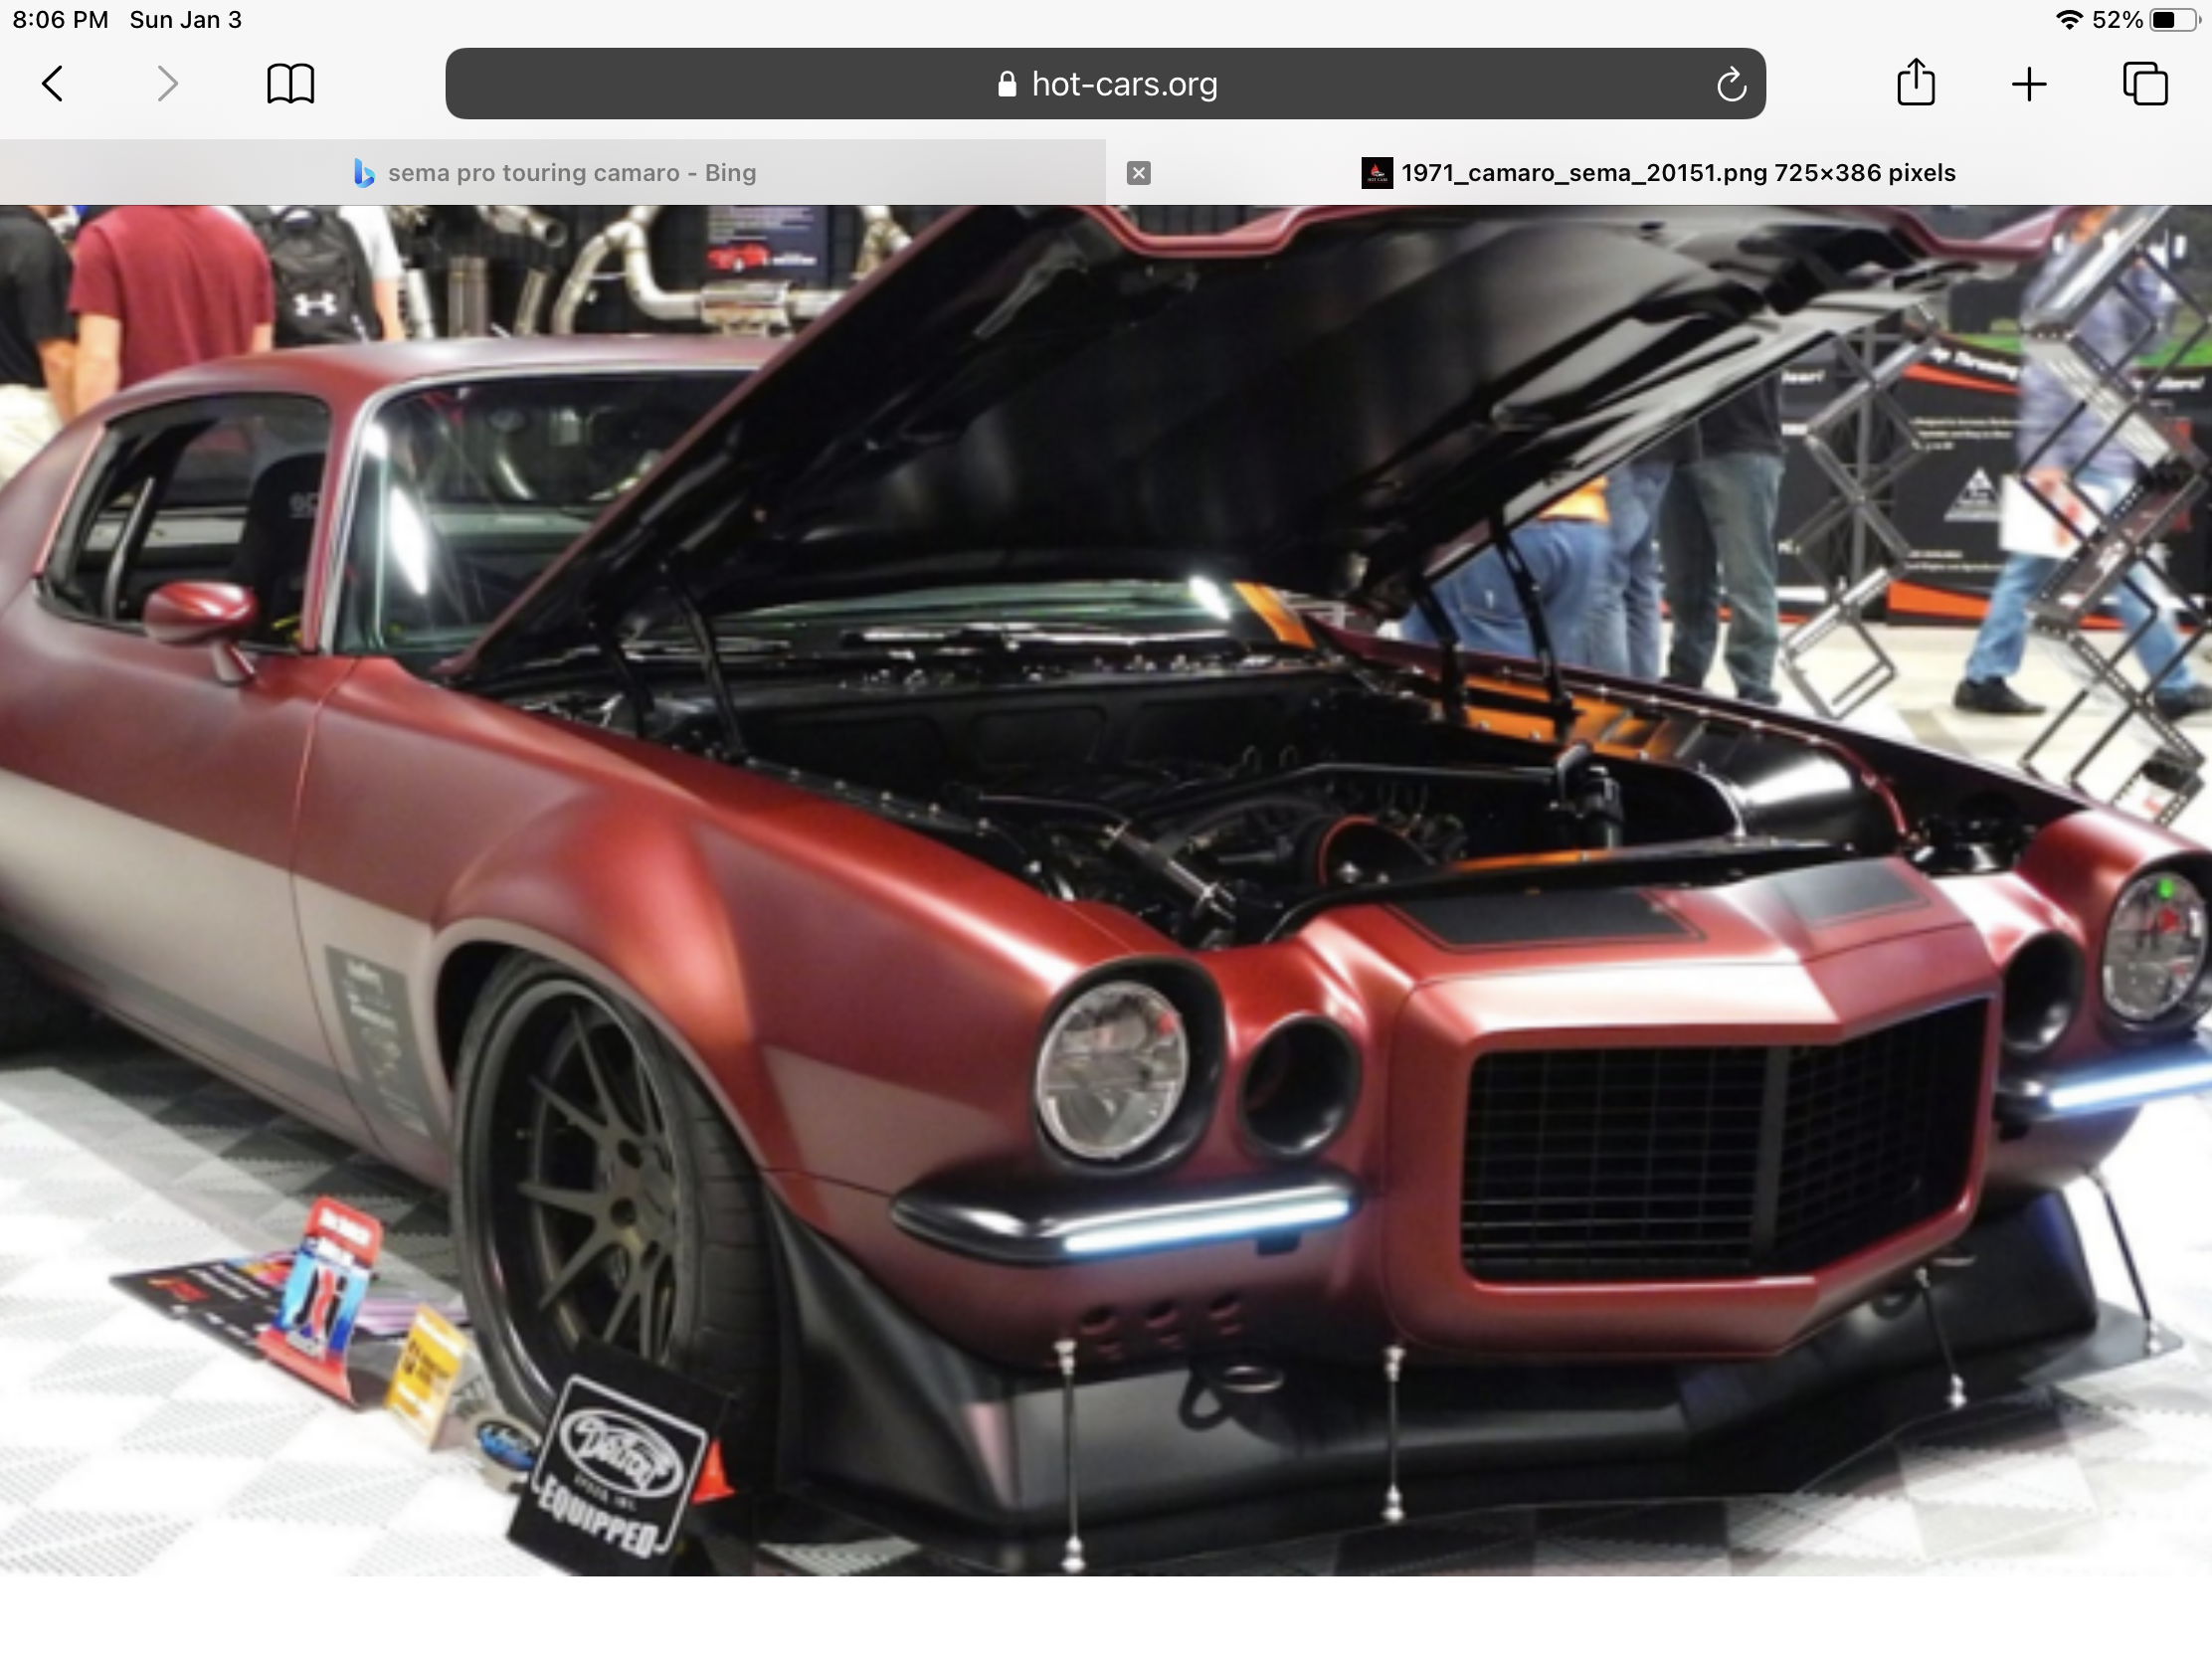
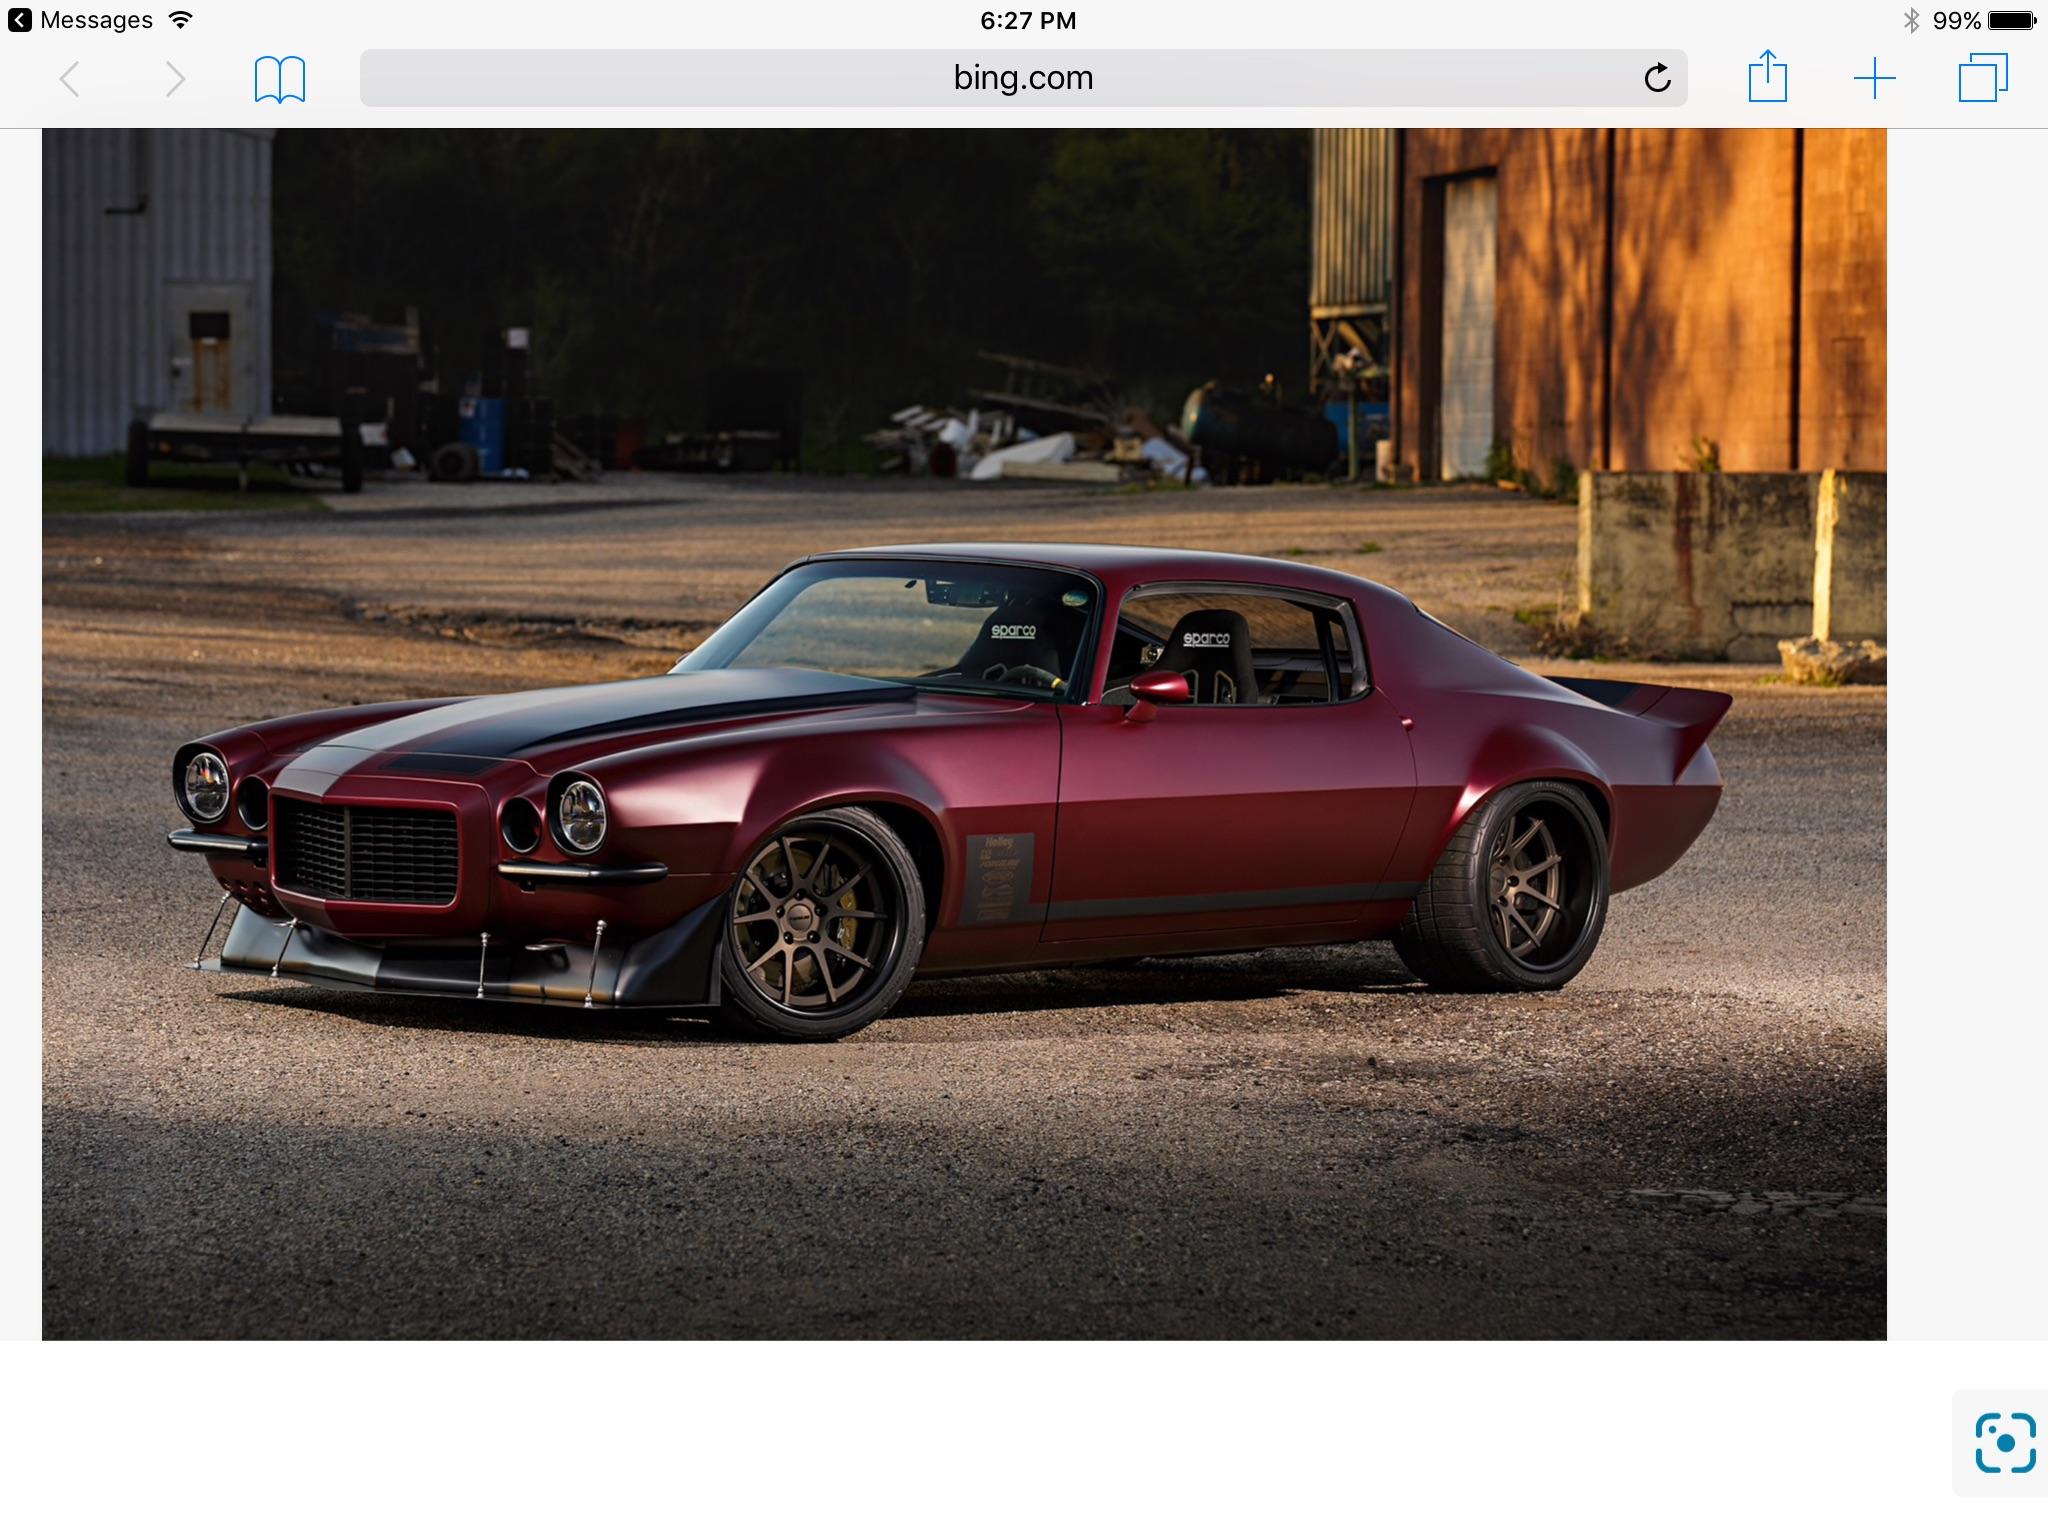
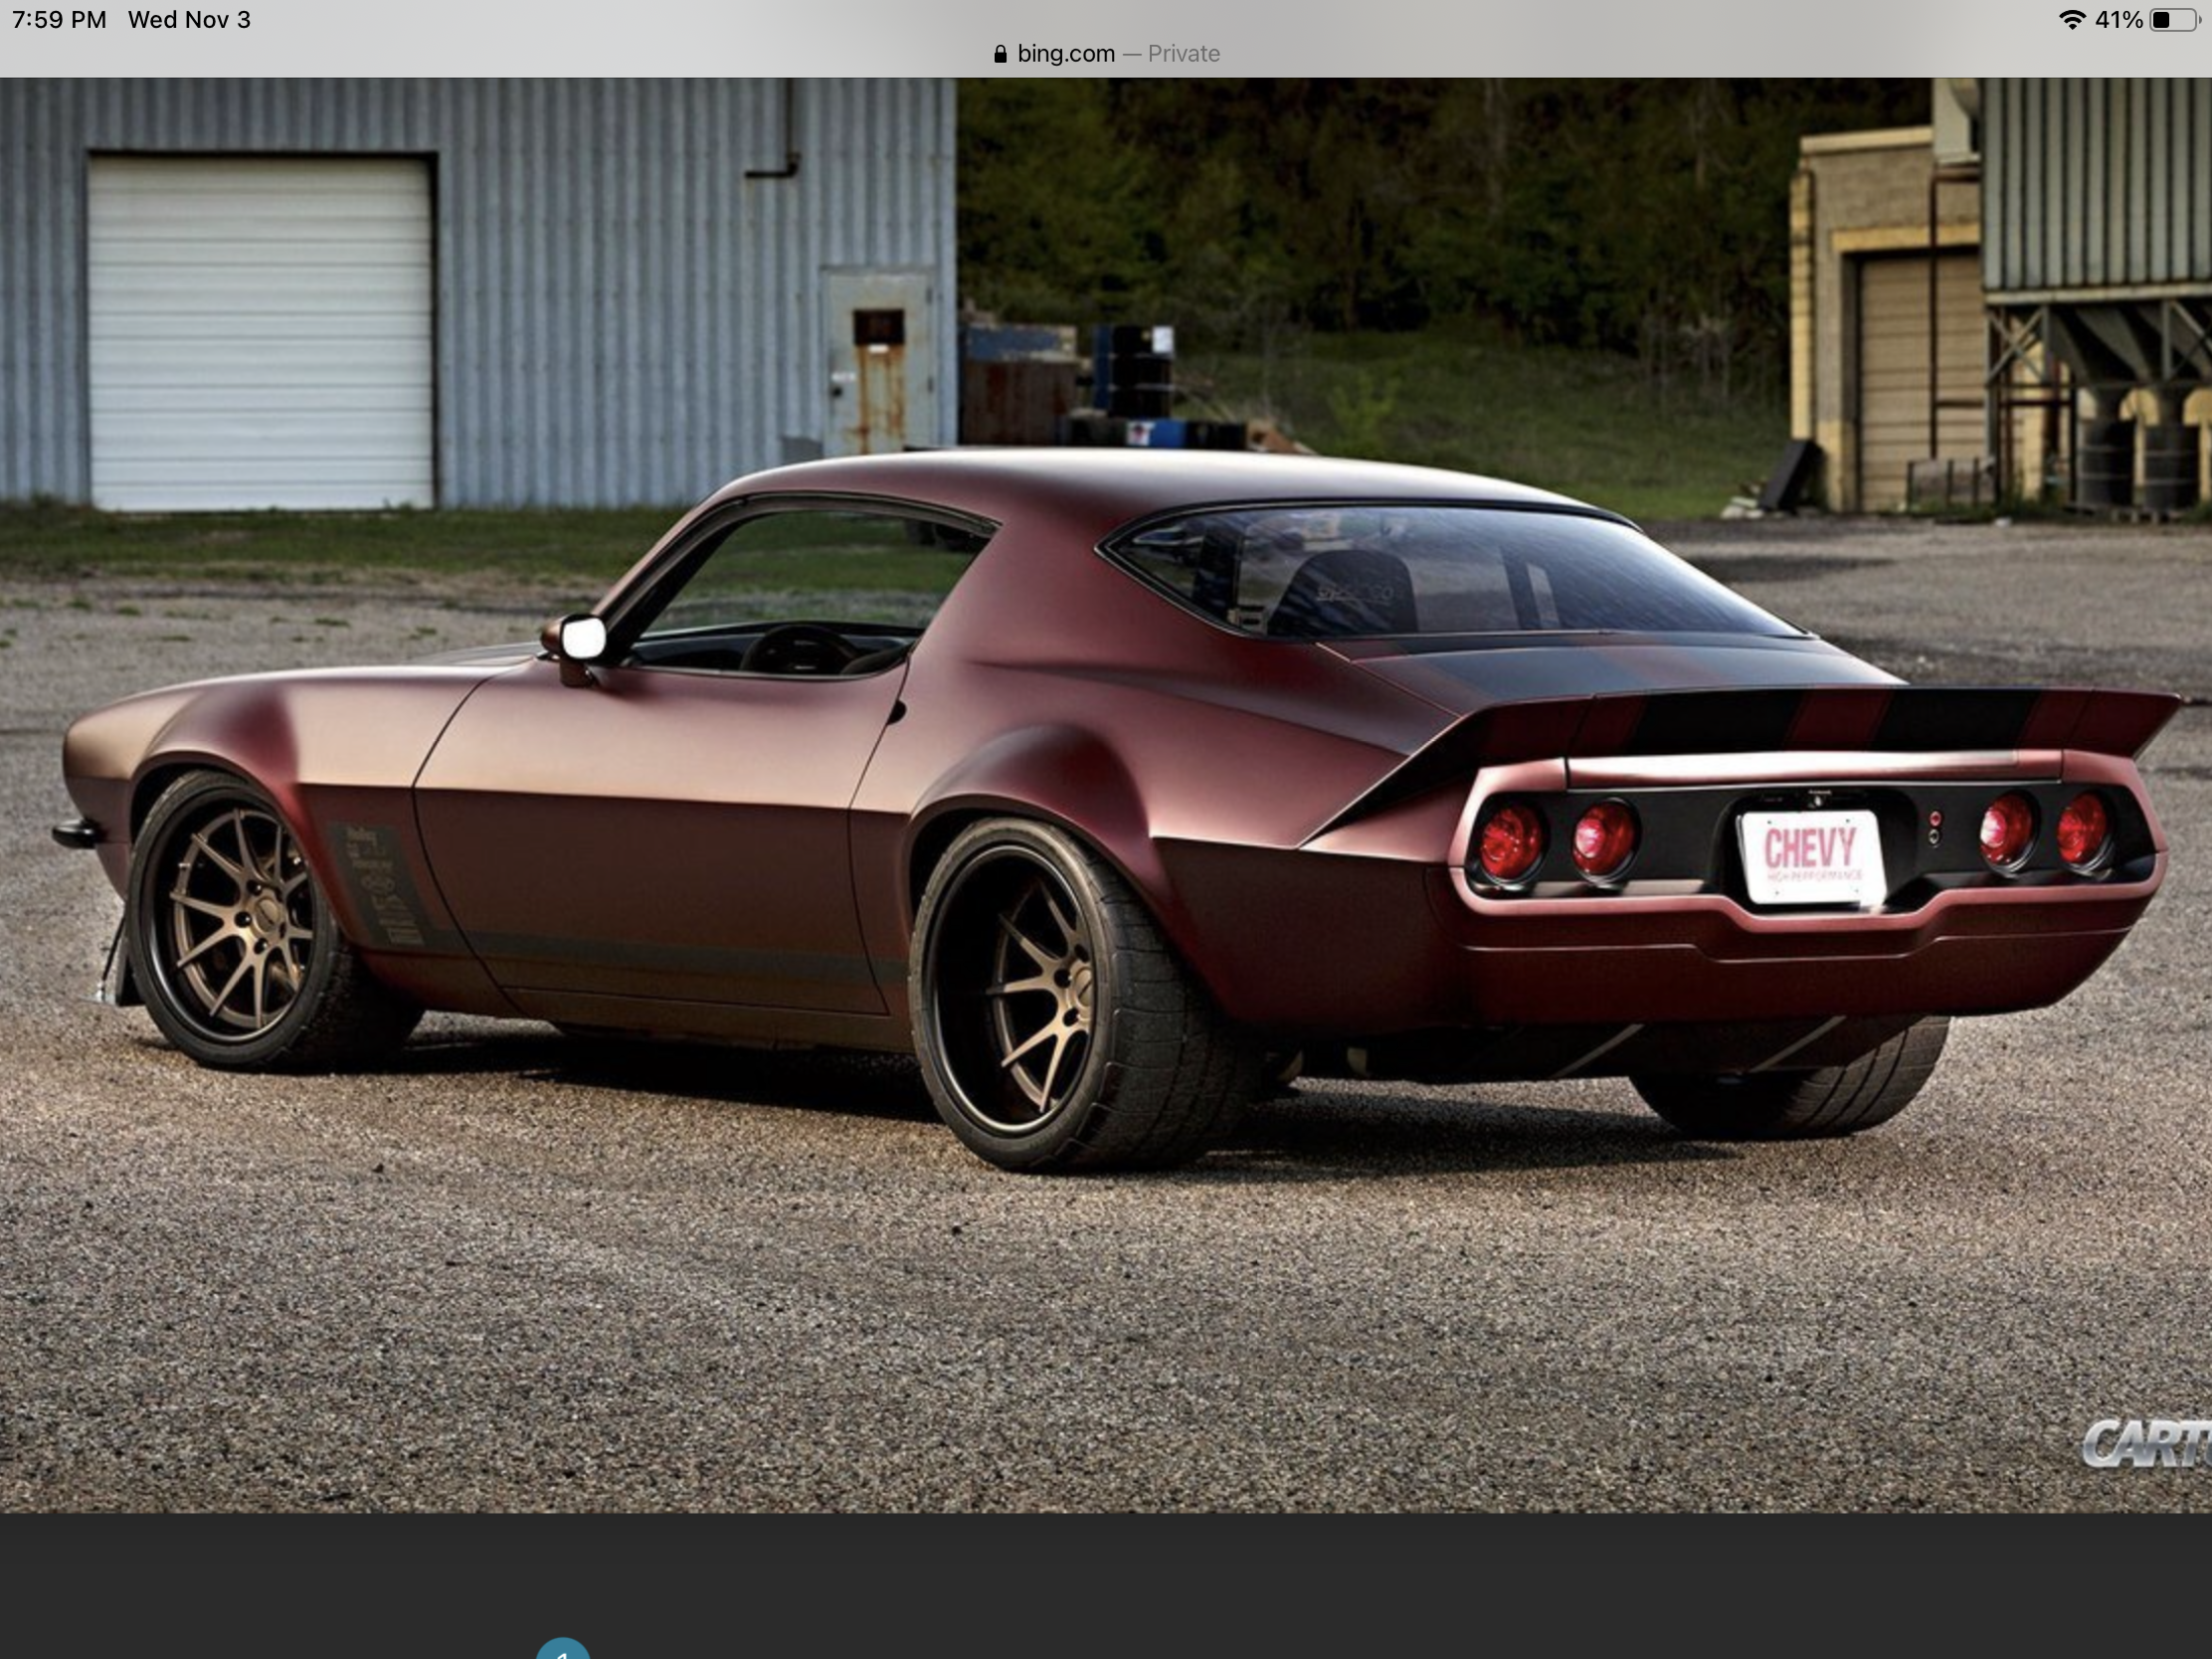
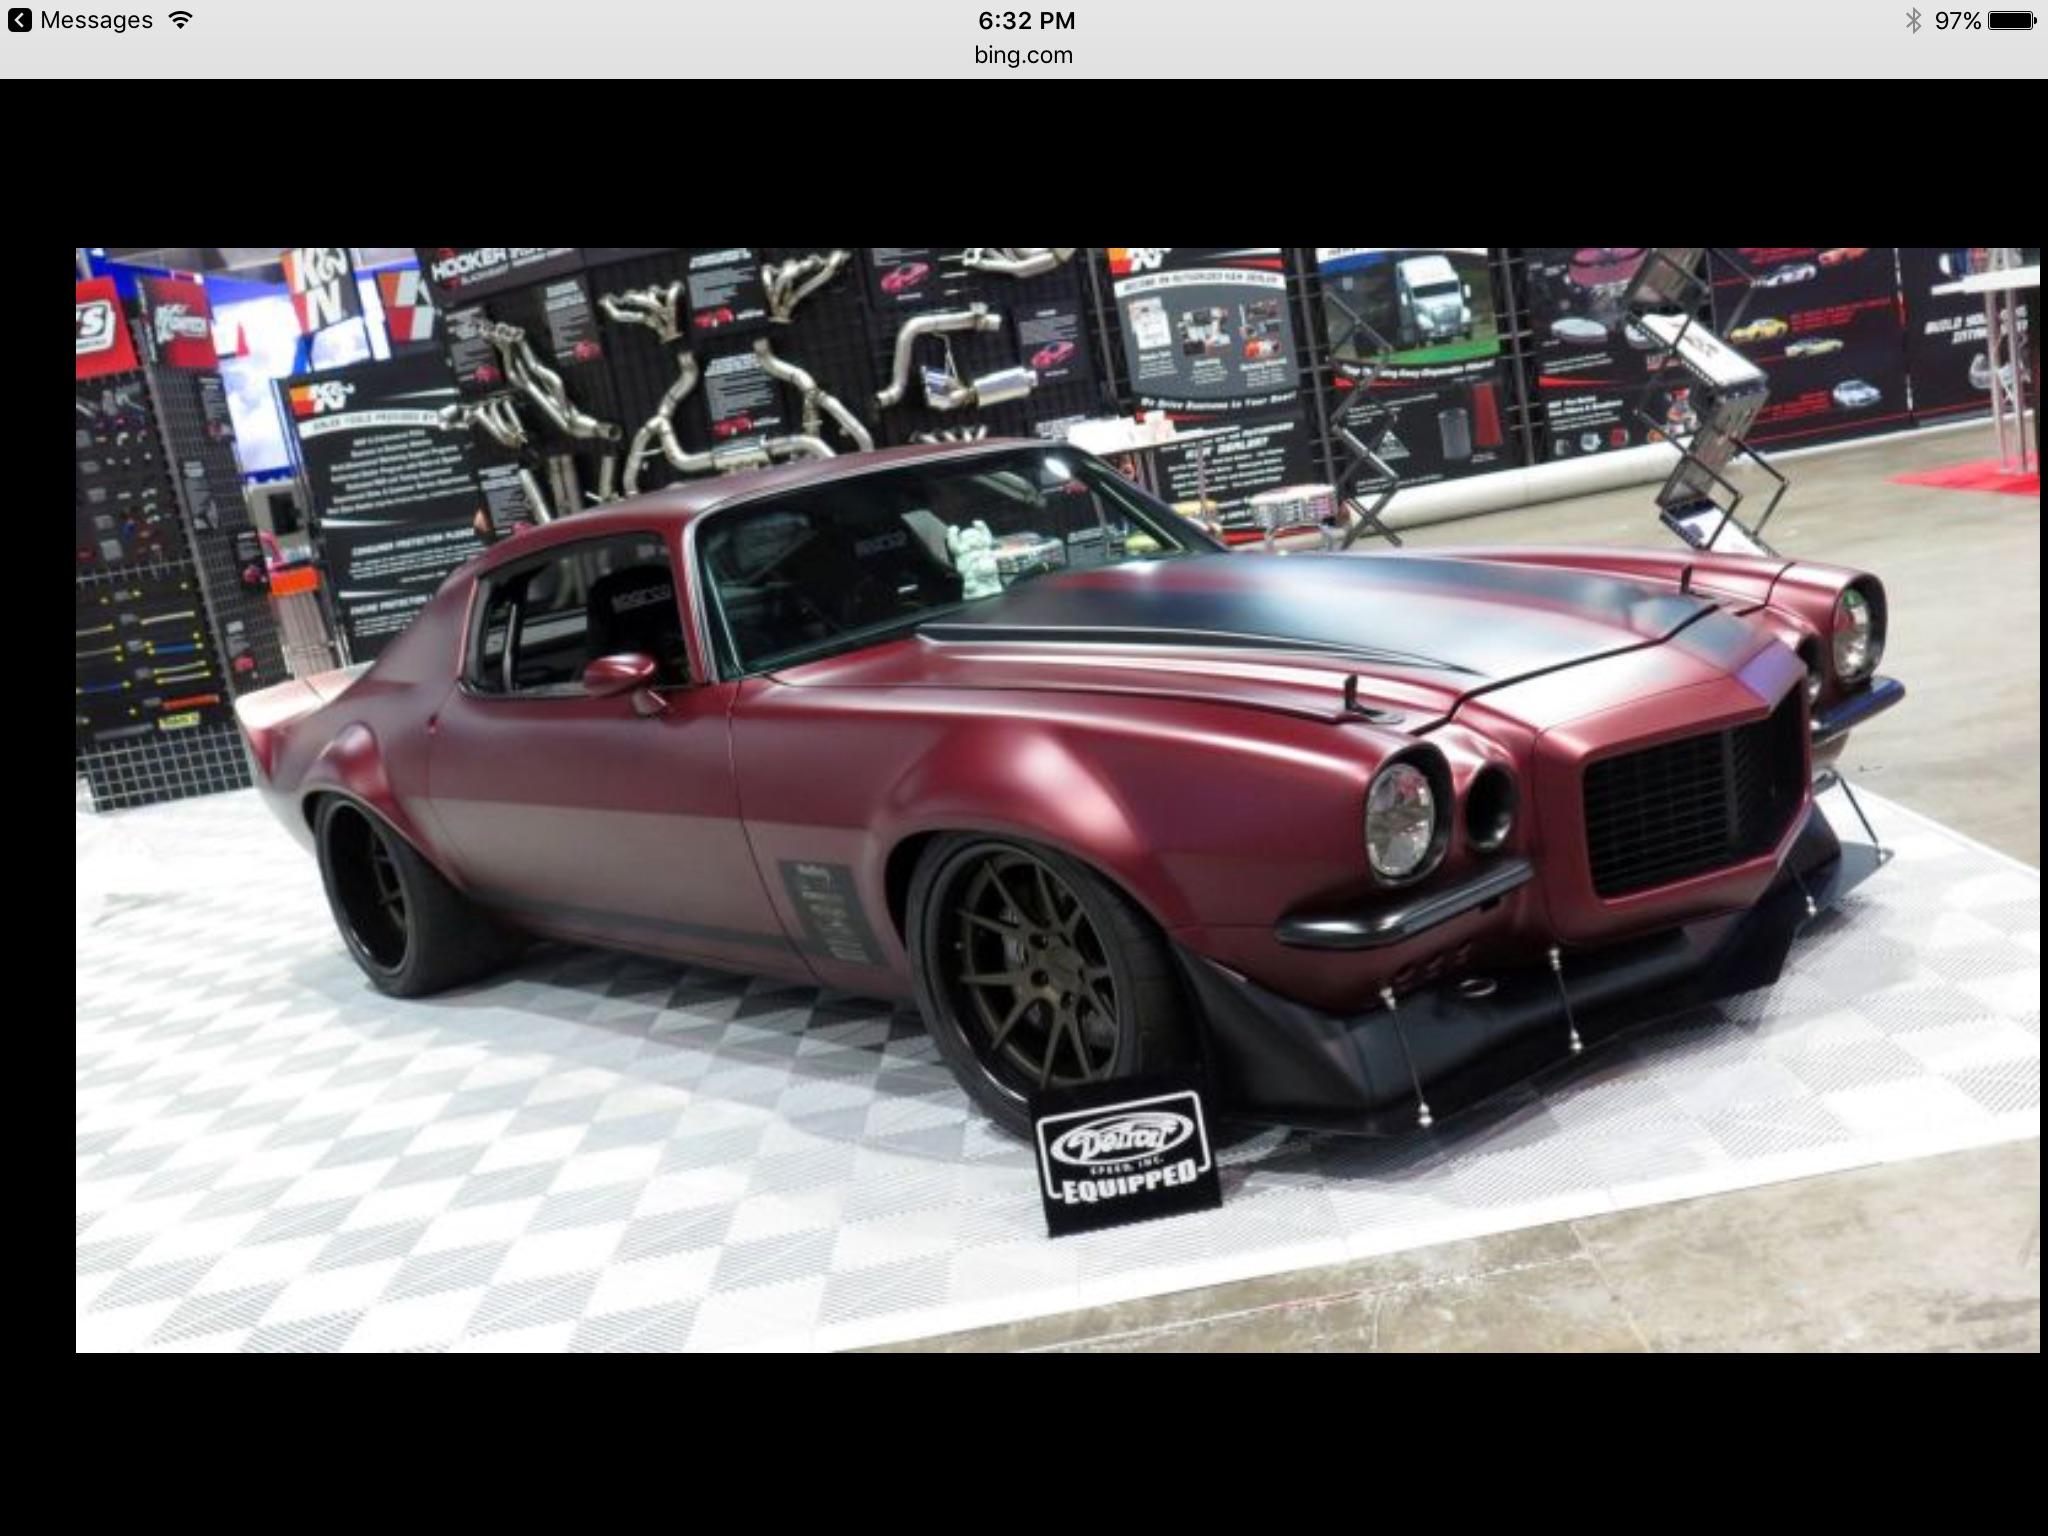
Hi guys, Time for the next build. I’m really liking the pro touring style of cars right now. I still like pro street too of course, and… well anything low. So here’s the inspiration. Dutchboys 71 Camaro built for the 2015 SEMA show. I haven’t done a deep dive on the car, just some images online. I fell in love the second I saw this beast. The colour is absolutely killer. I will not be doing an exact replica, but I intend to capture the overall look of the car. For any of you that saw my 300c build, that was a build to prep for this one. As I understand it, this car set the bar (and raised it) for all pro touring cars in 2015. Some of the mods include air intakes where the turn signals were to cool the brakes. Turn signals are in the front bumpers, not sure yet if I will do that, (still lots of planning and decisions to make) but it’s on my “maybe” list. I am going to replicate the door handles, and the trim will be black, I also intend to do my best to replicate the body colour. I’ve started work on the body and will post some pics of progress tomorrow. Cheers, Steve
-
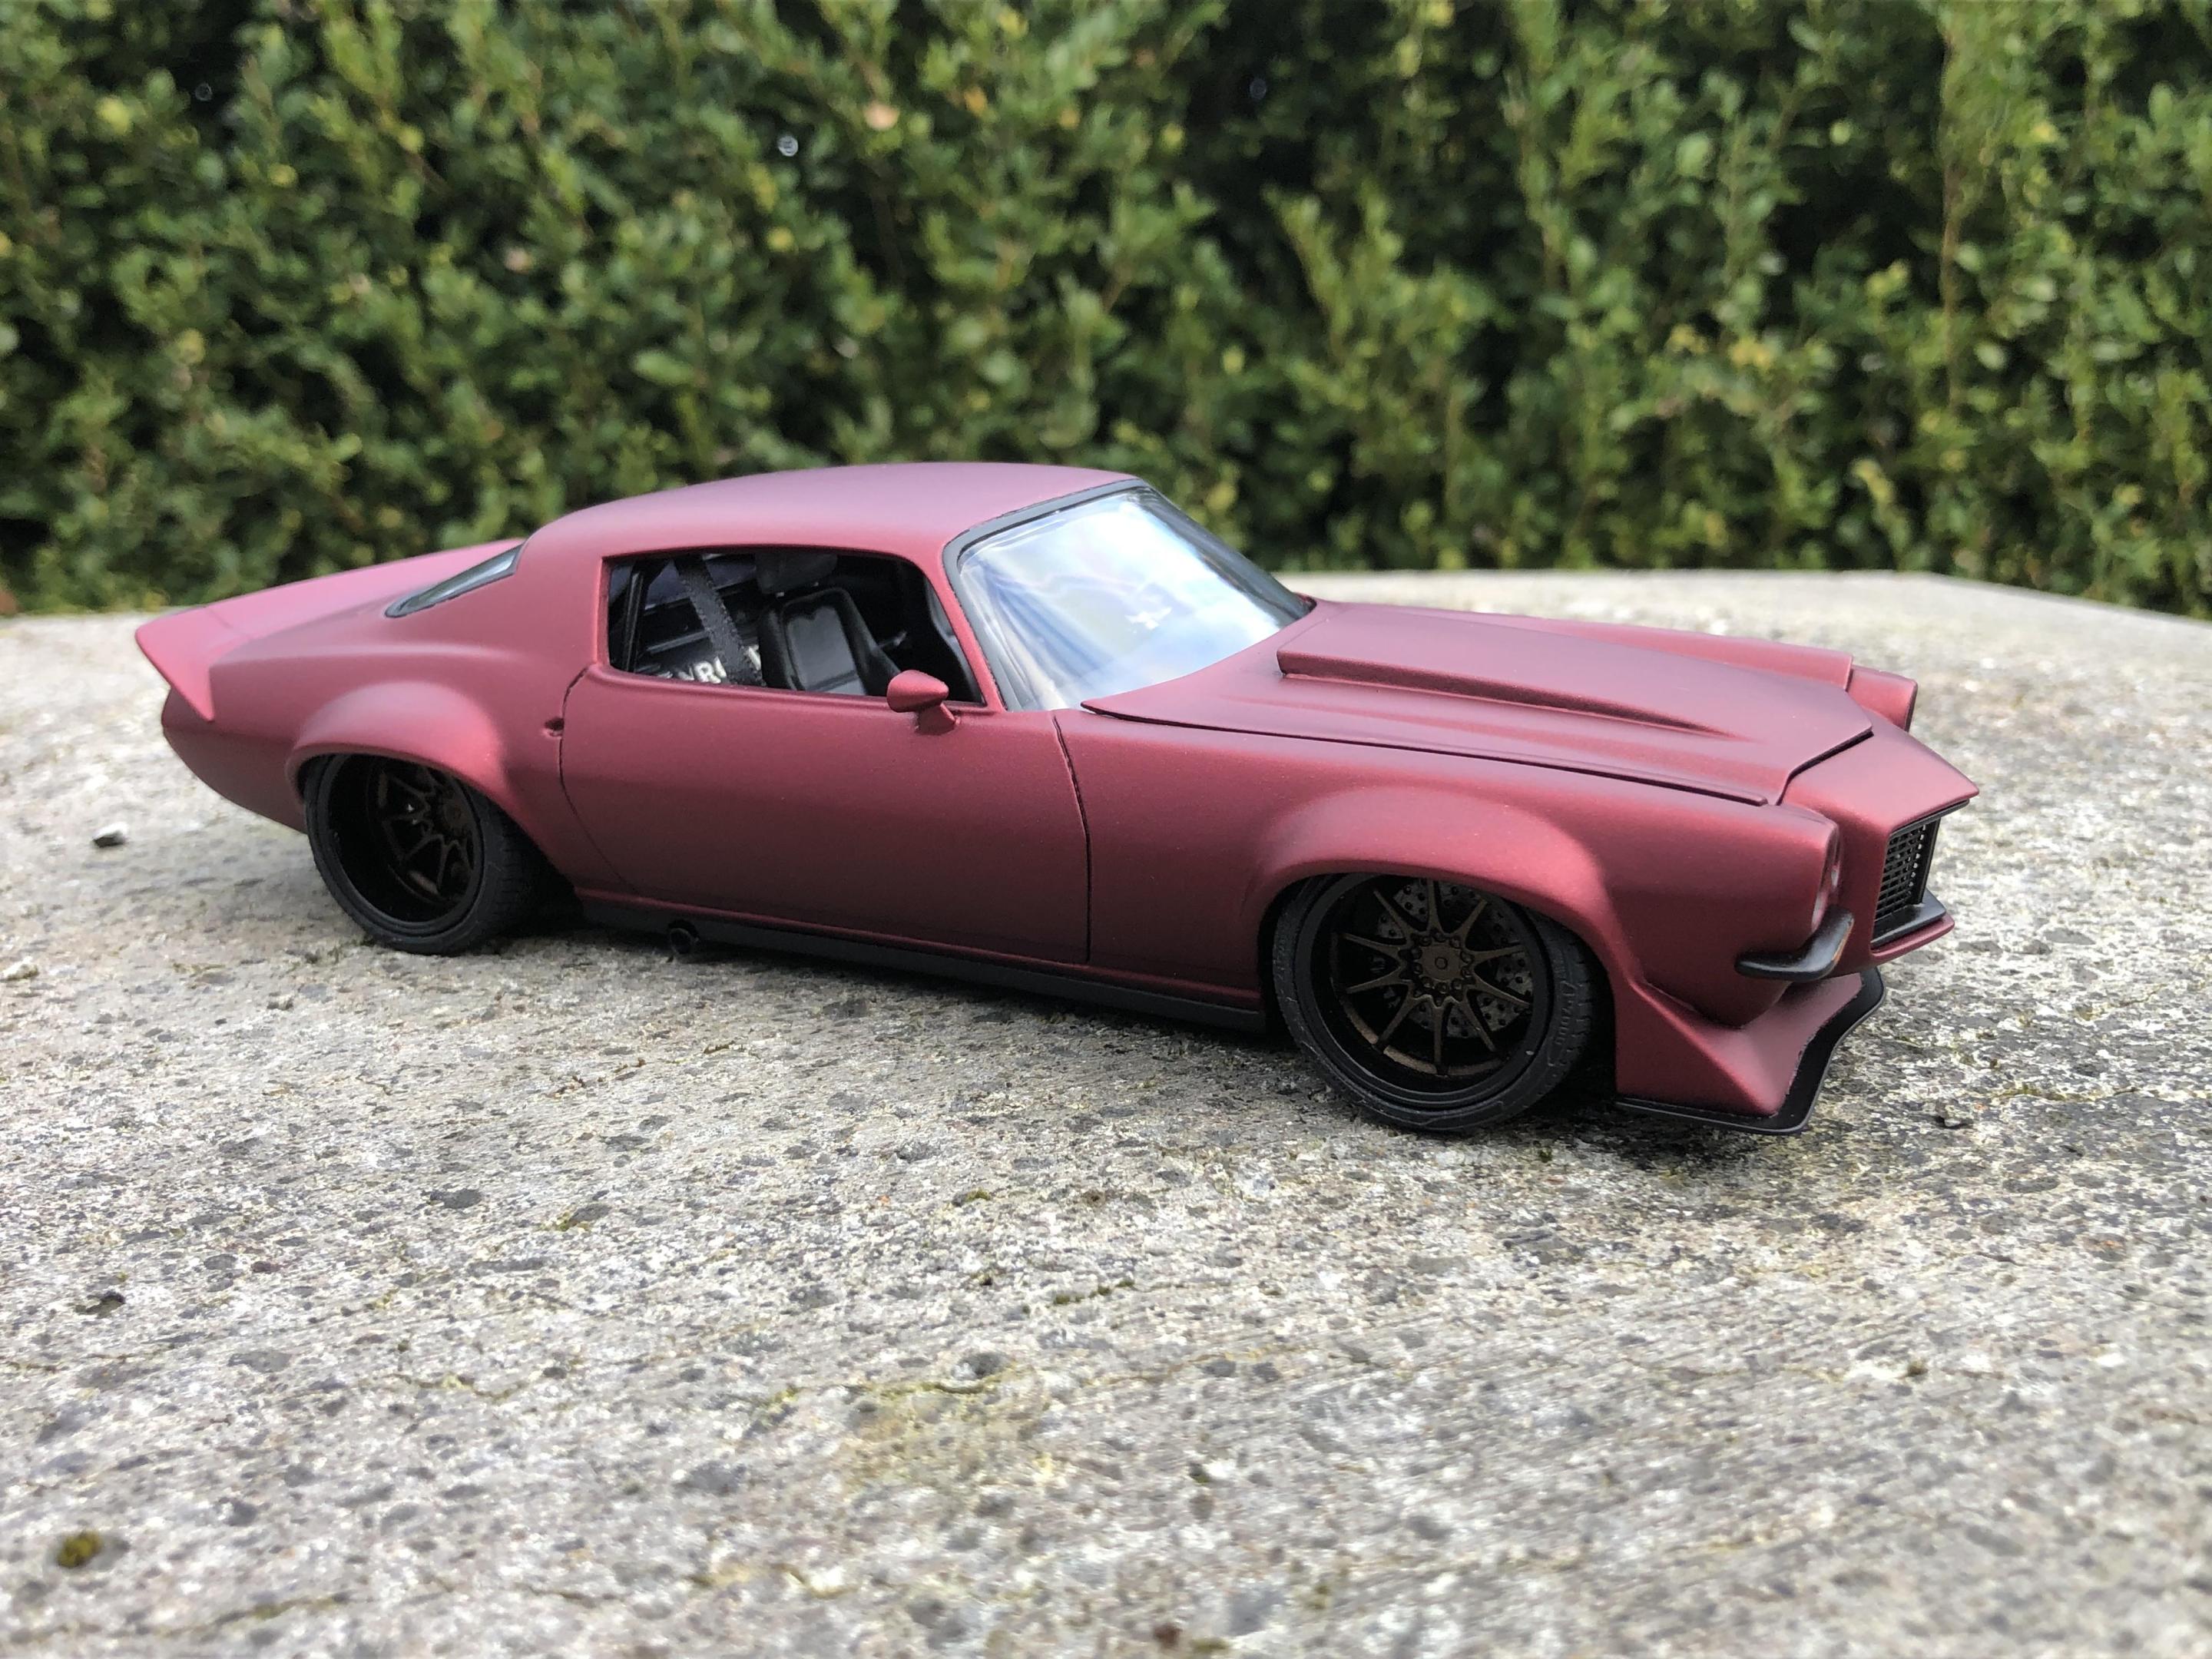
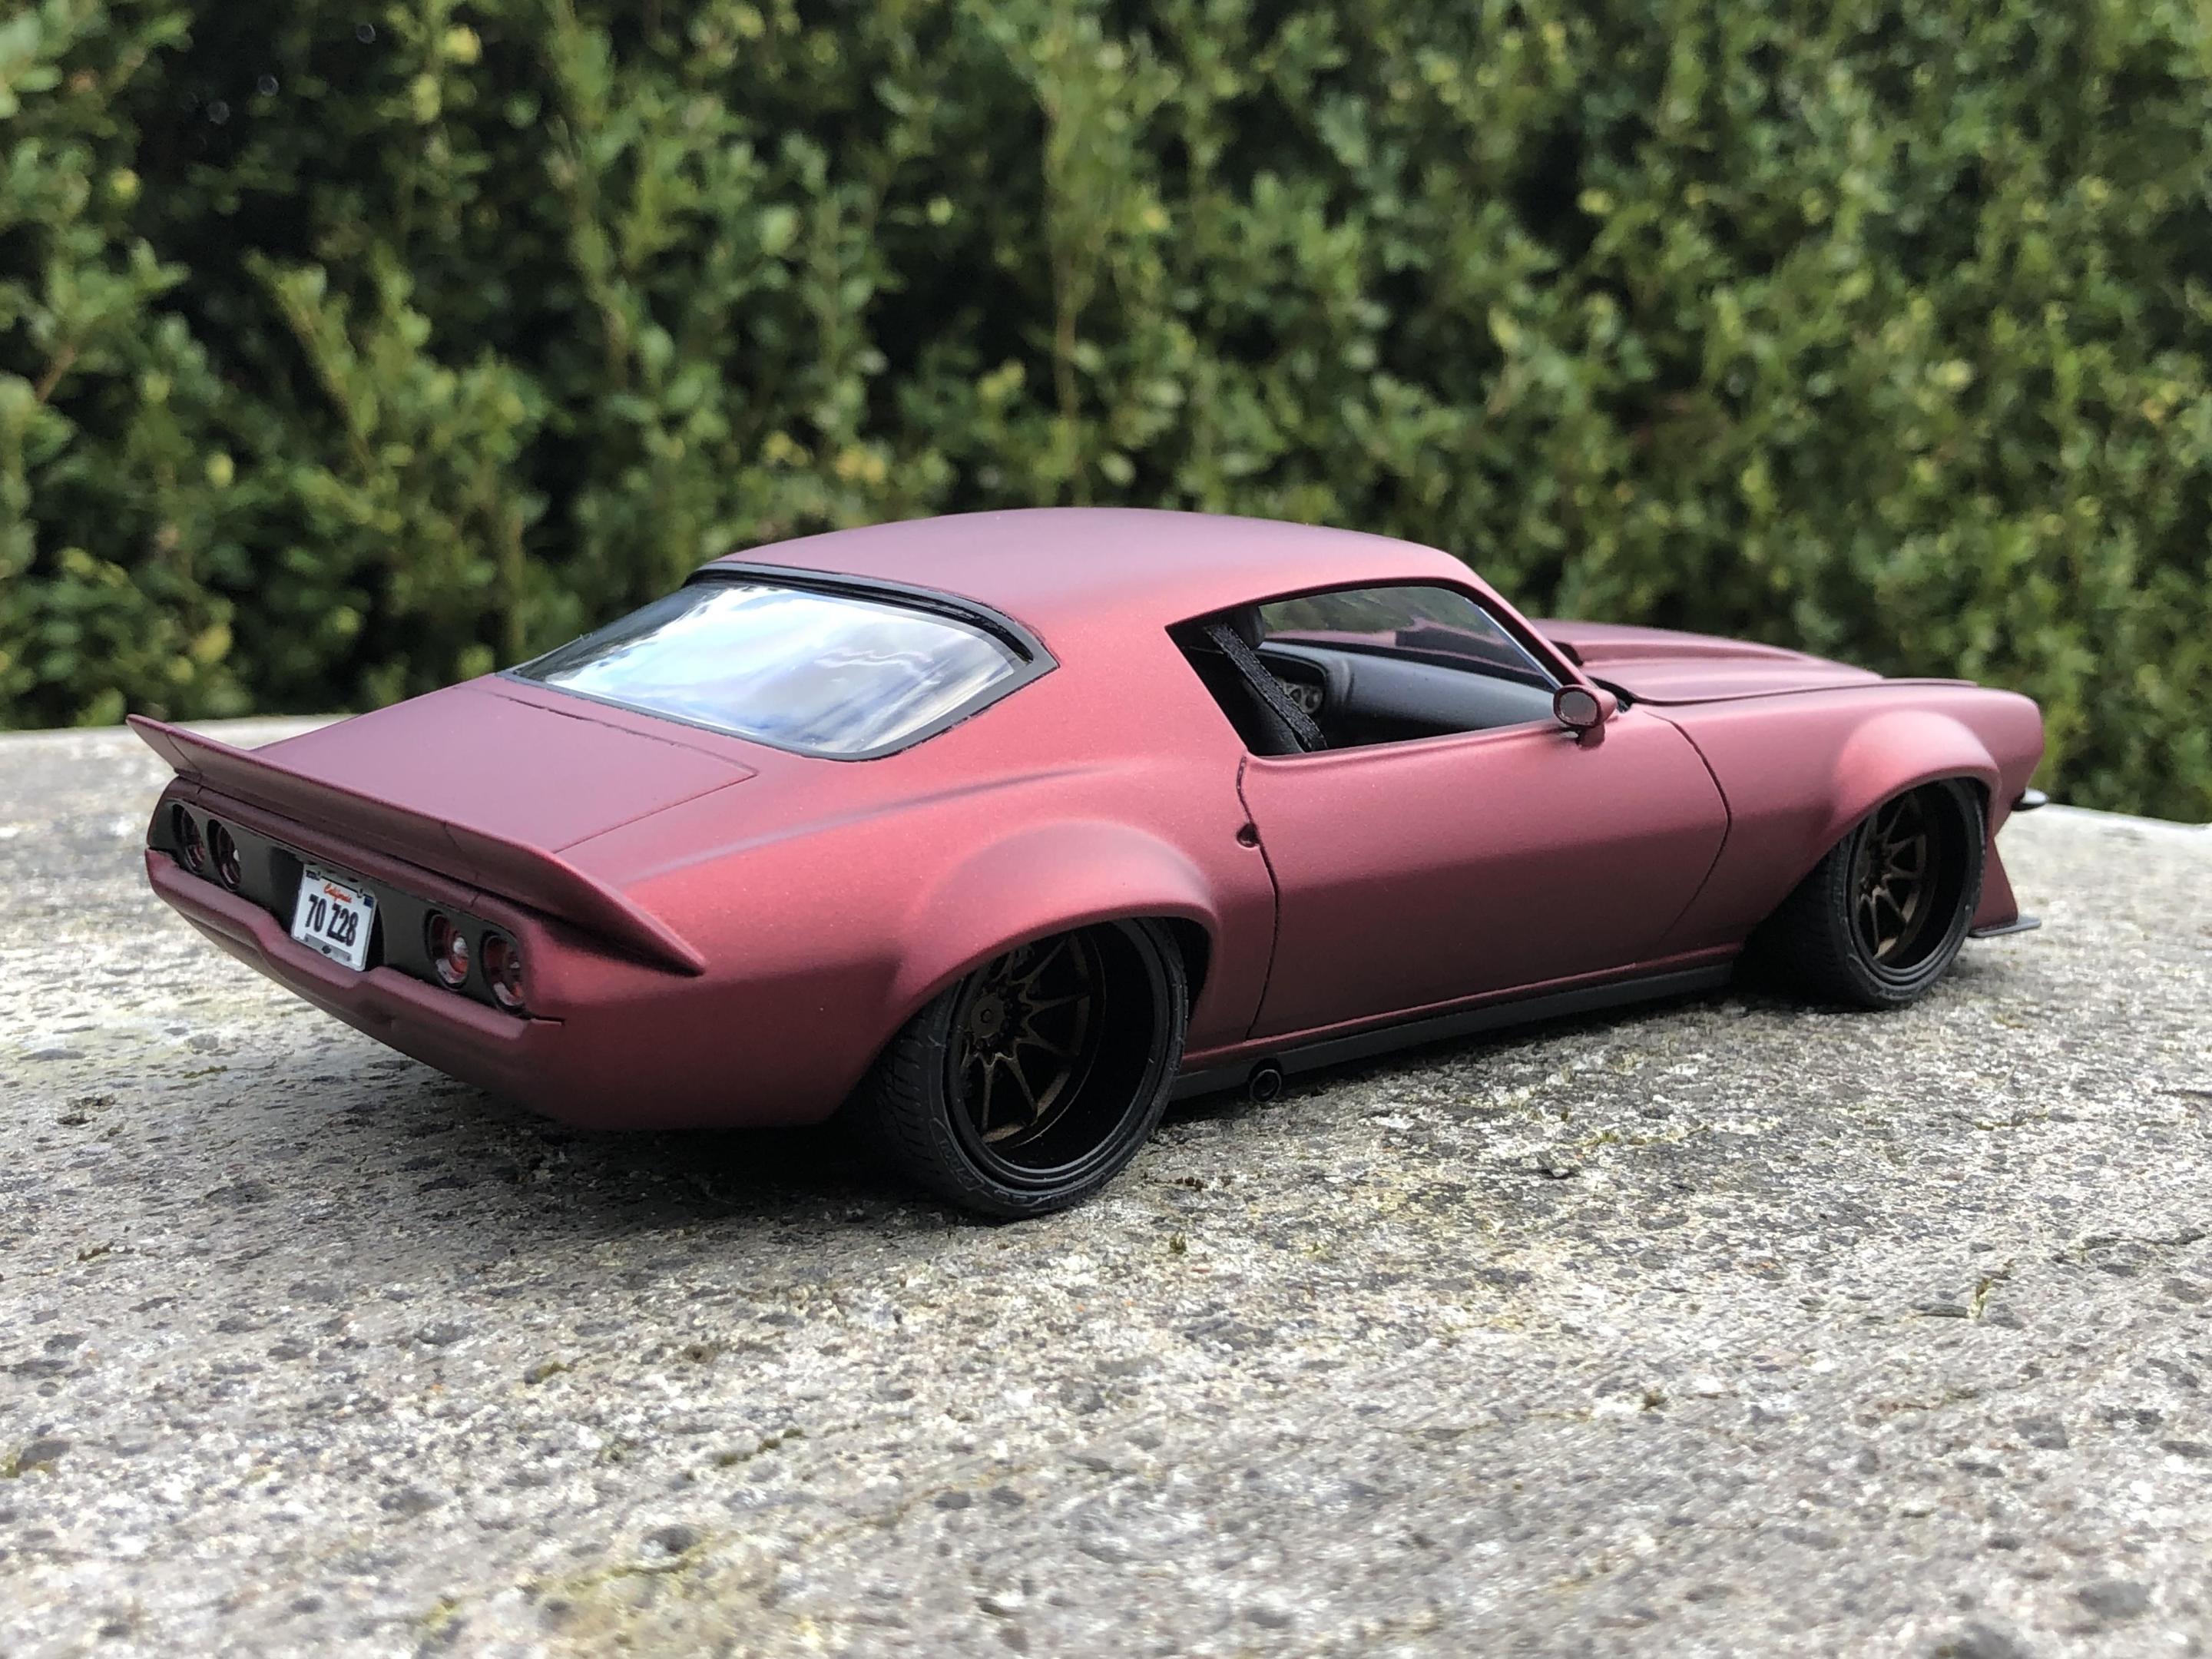
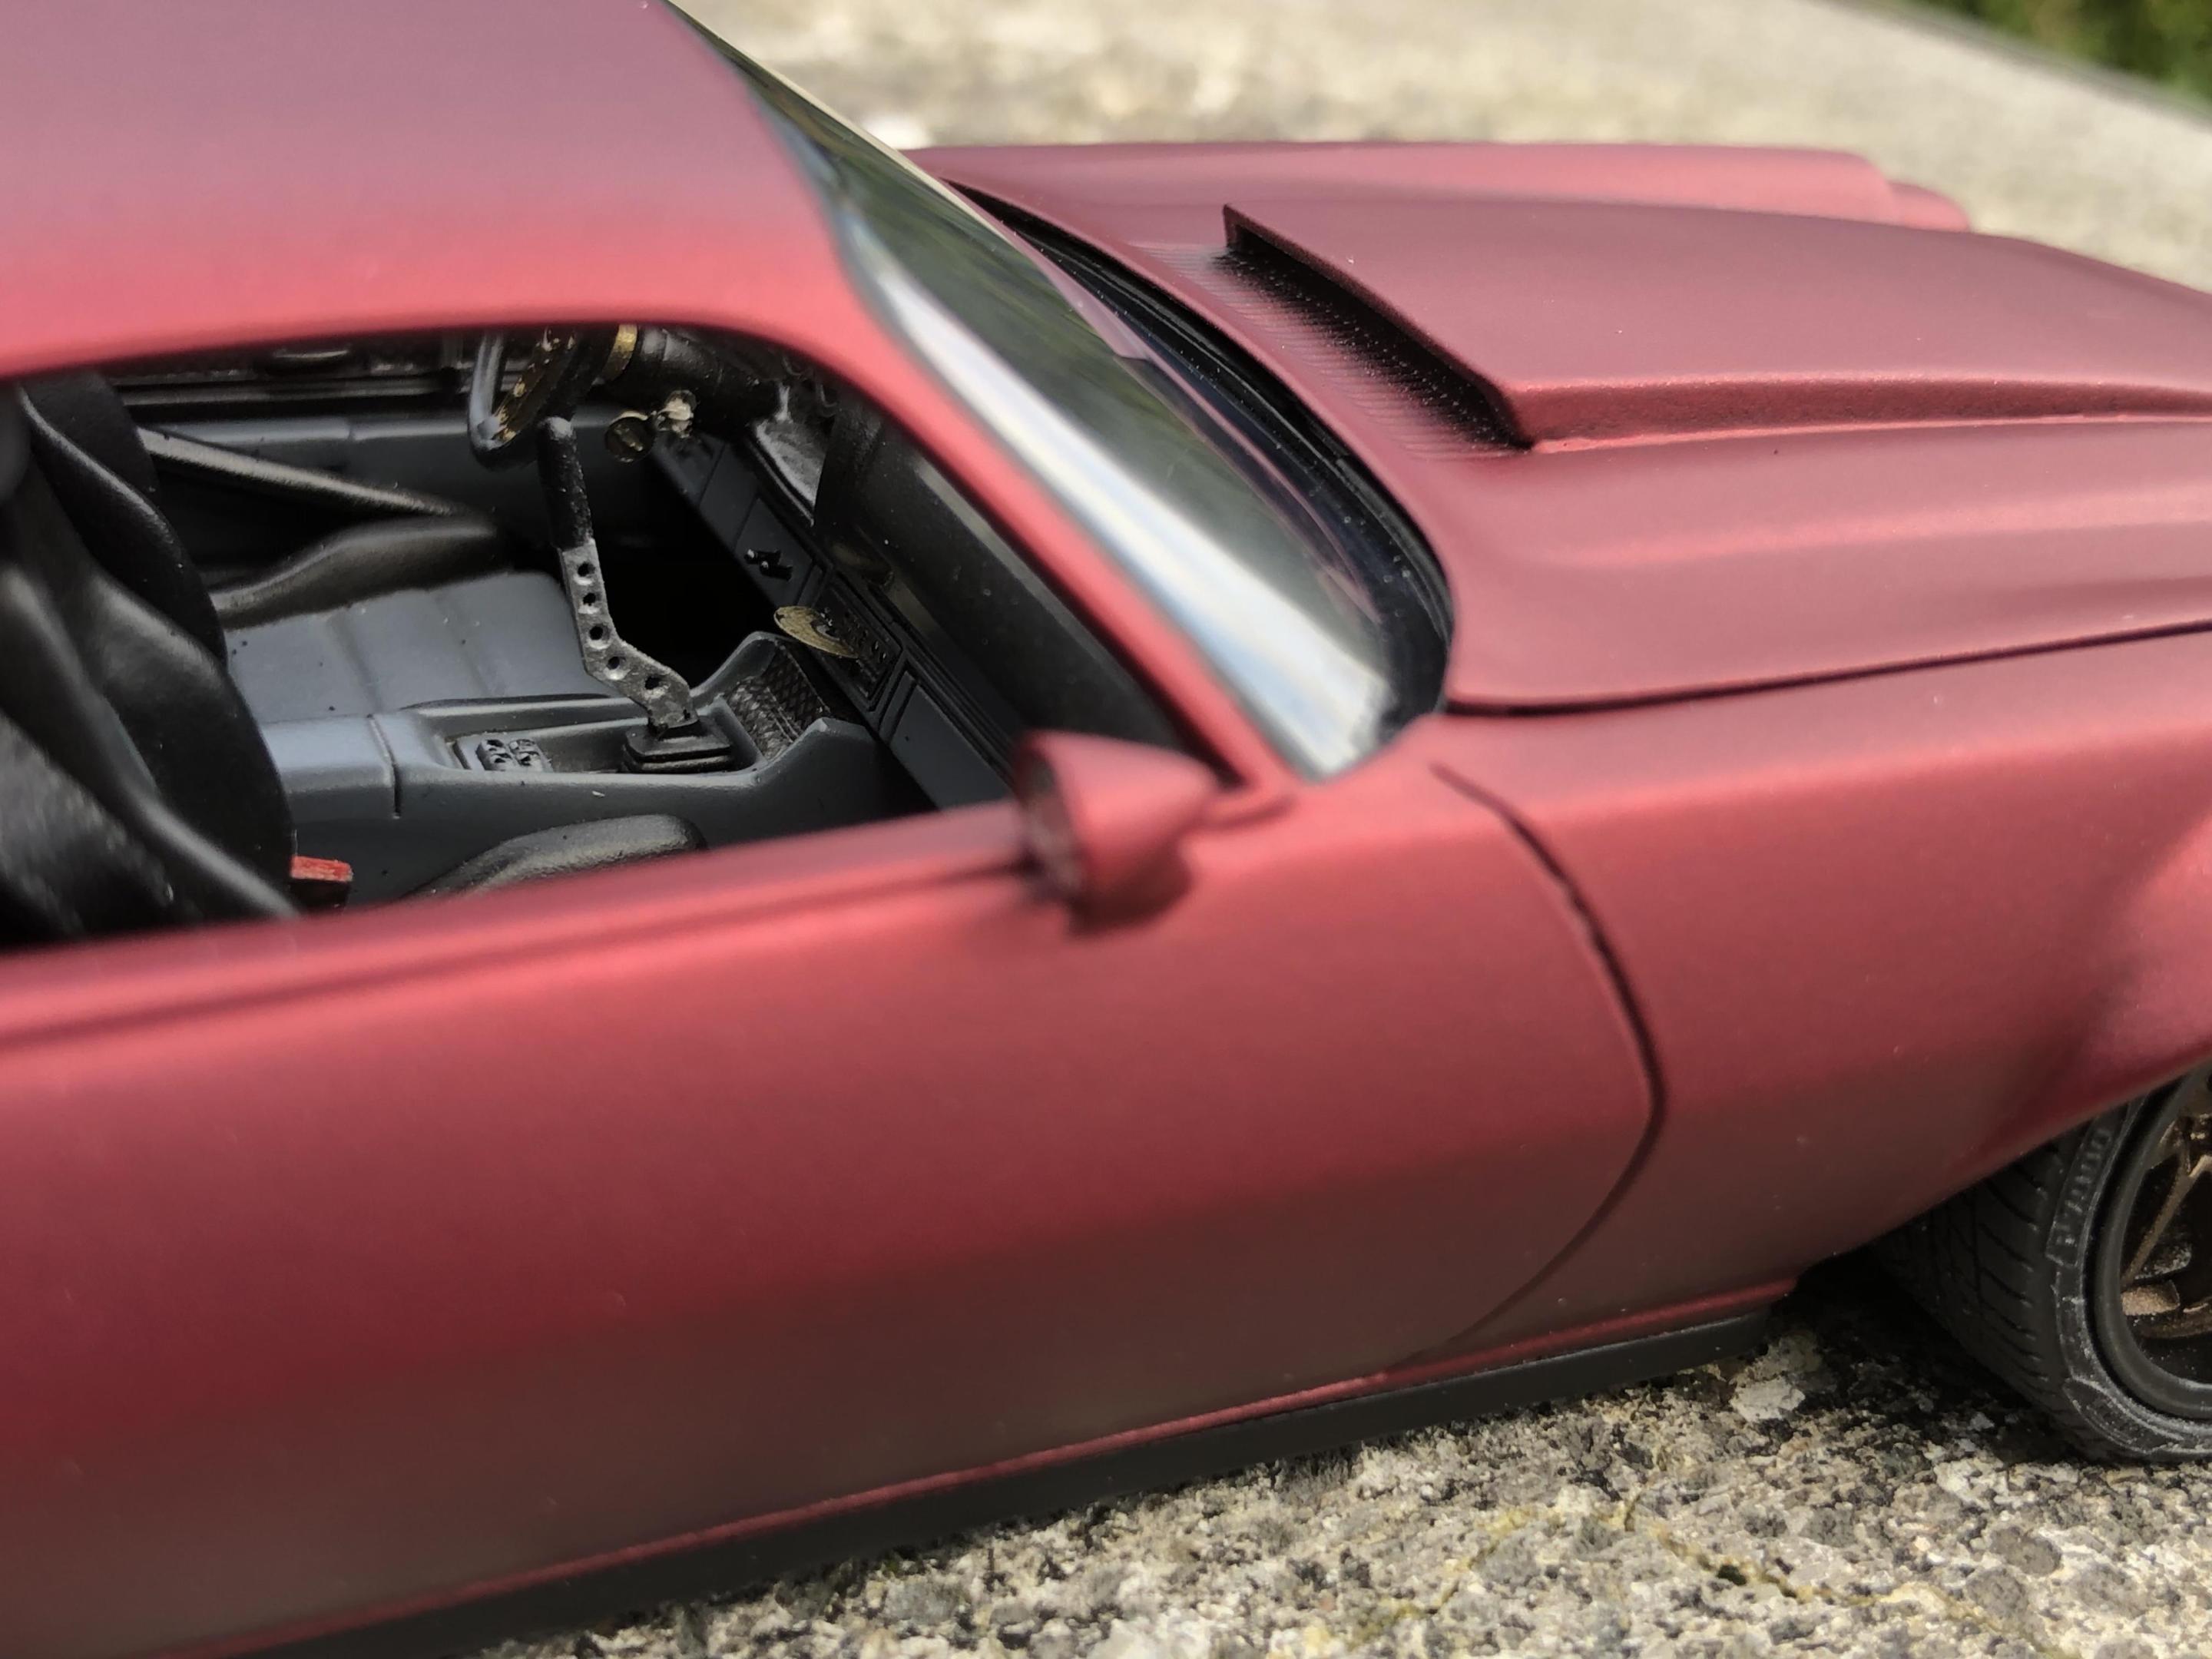
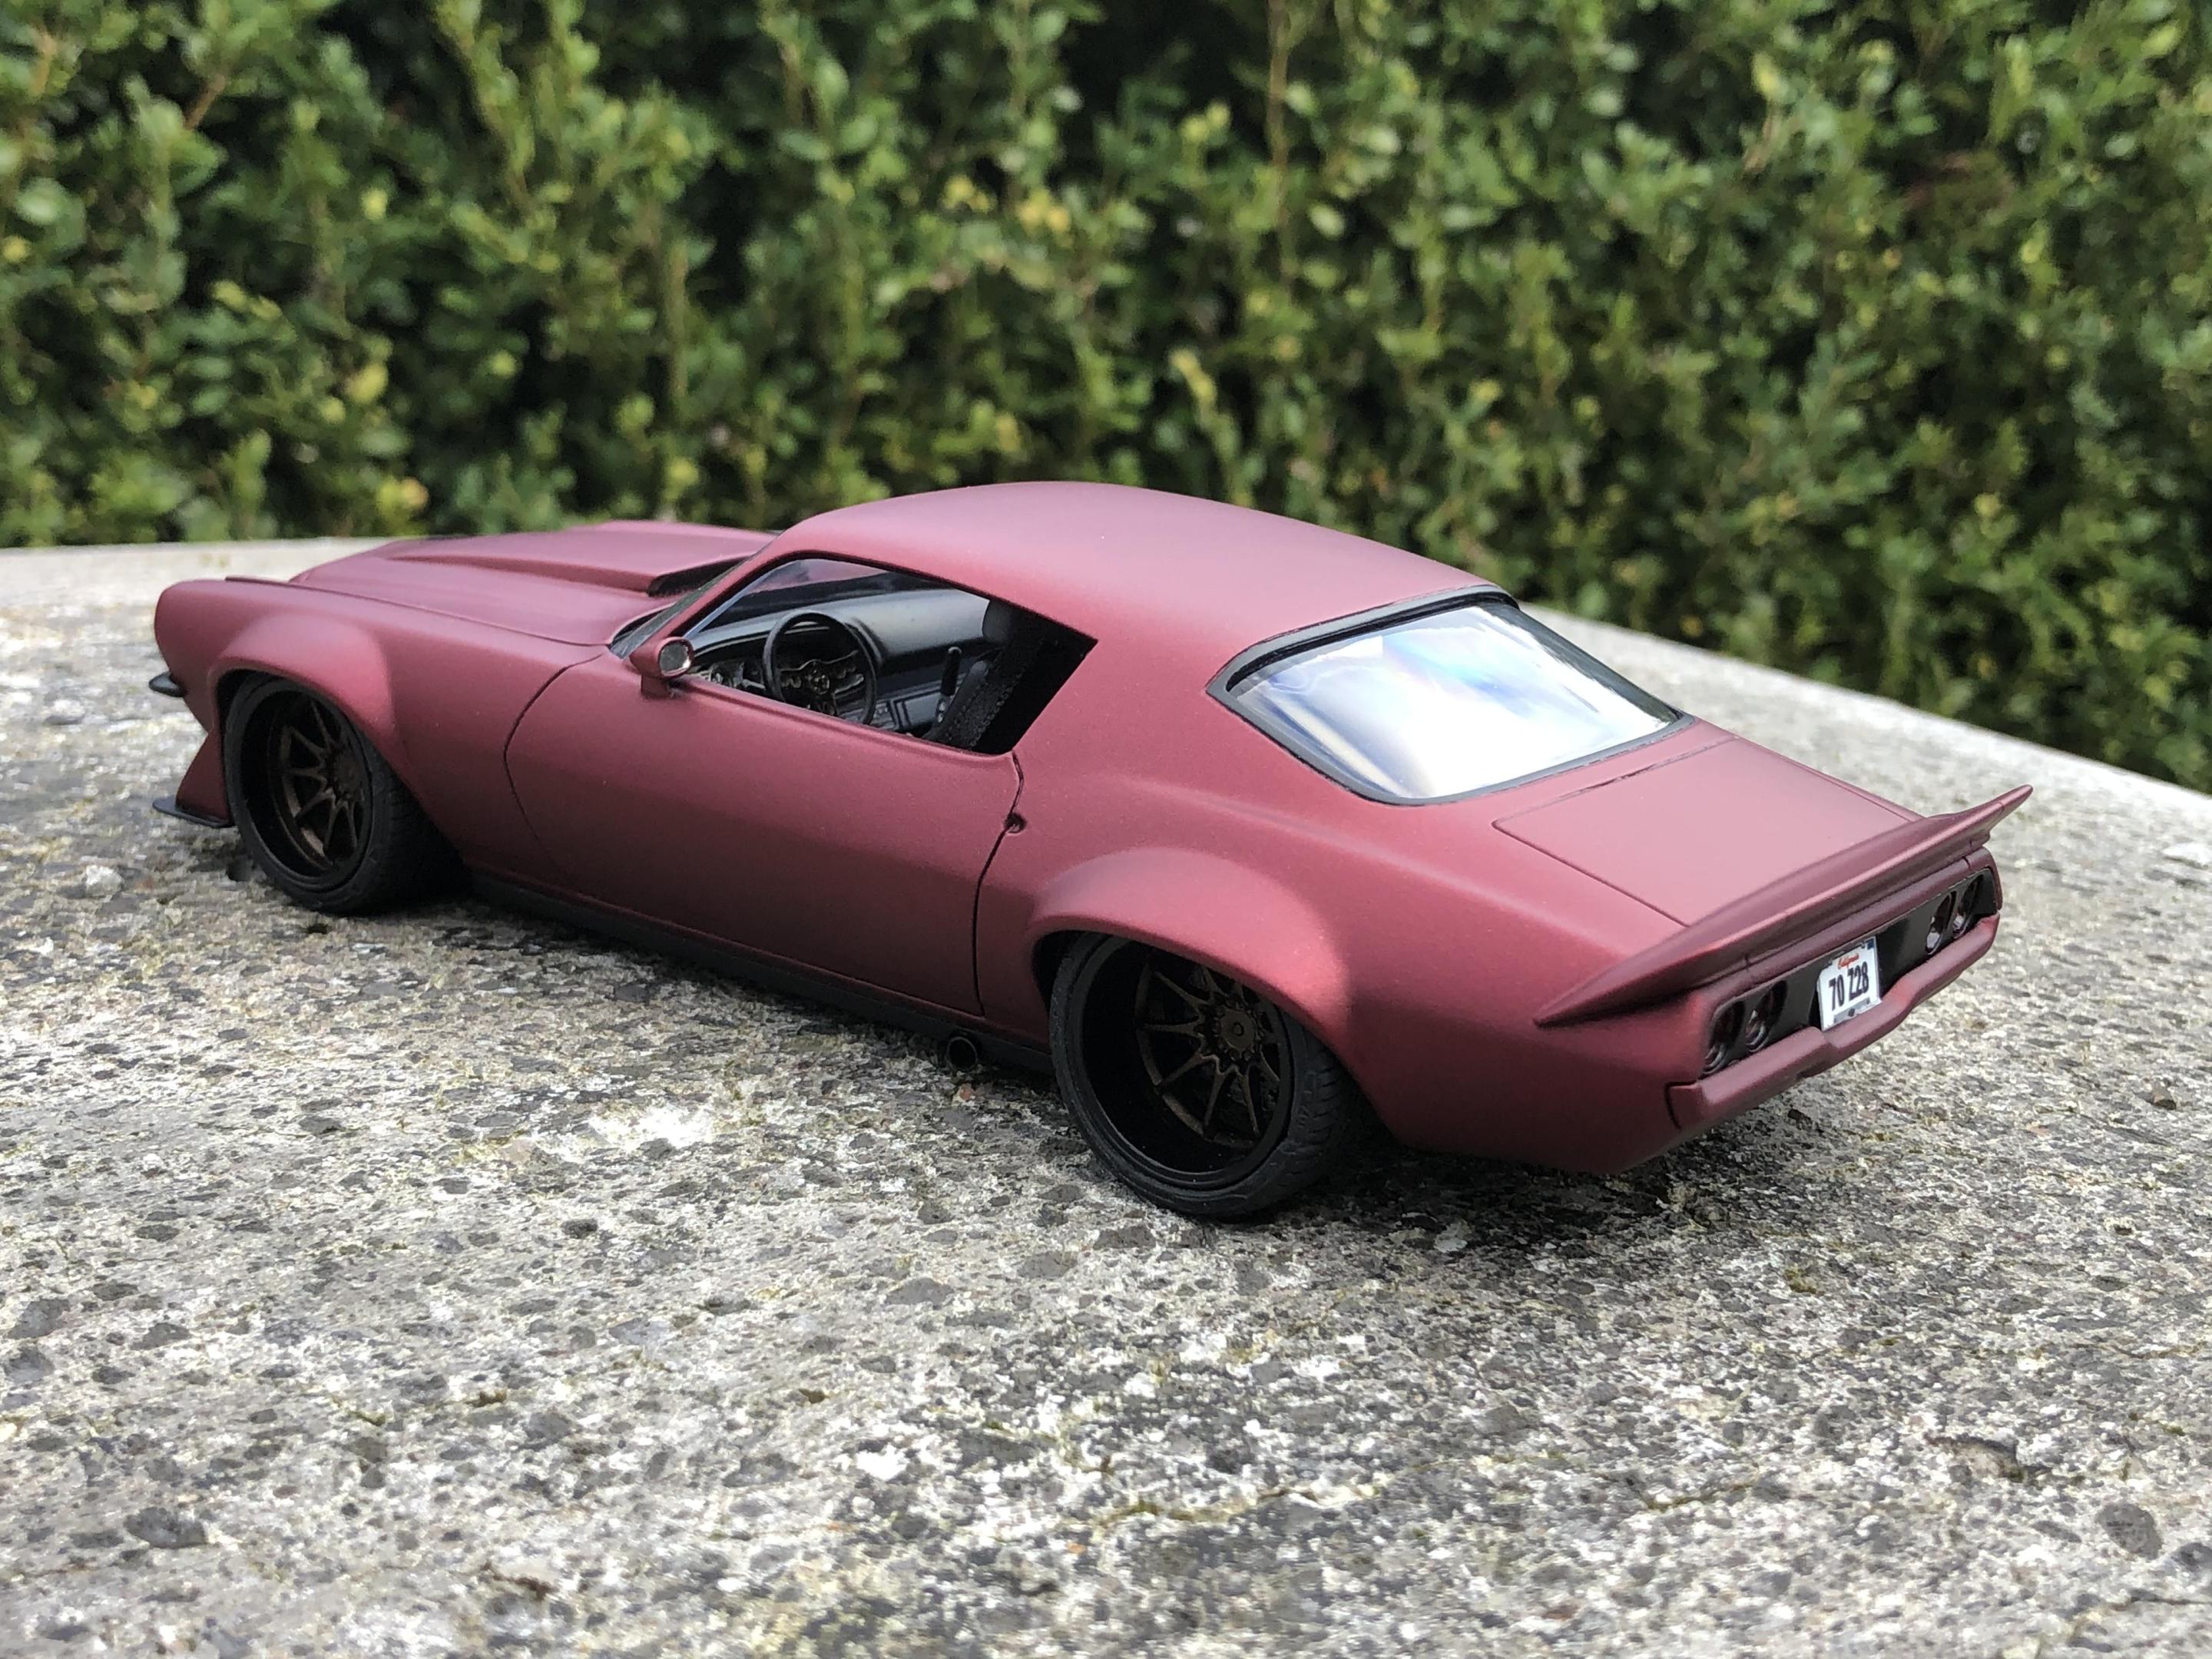
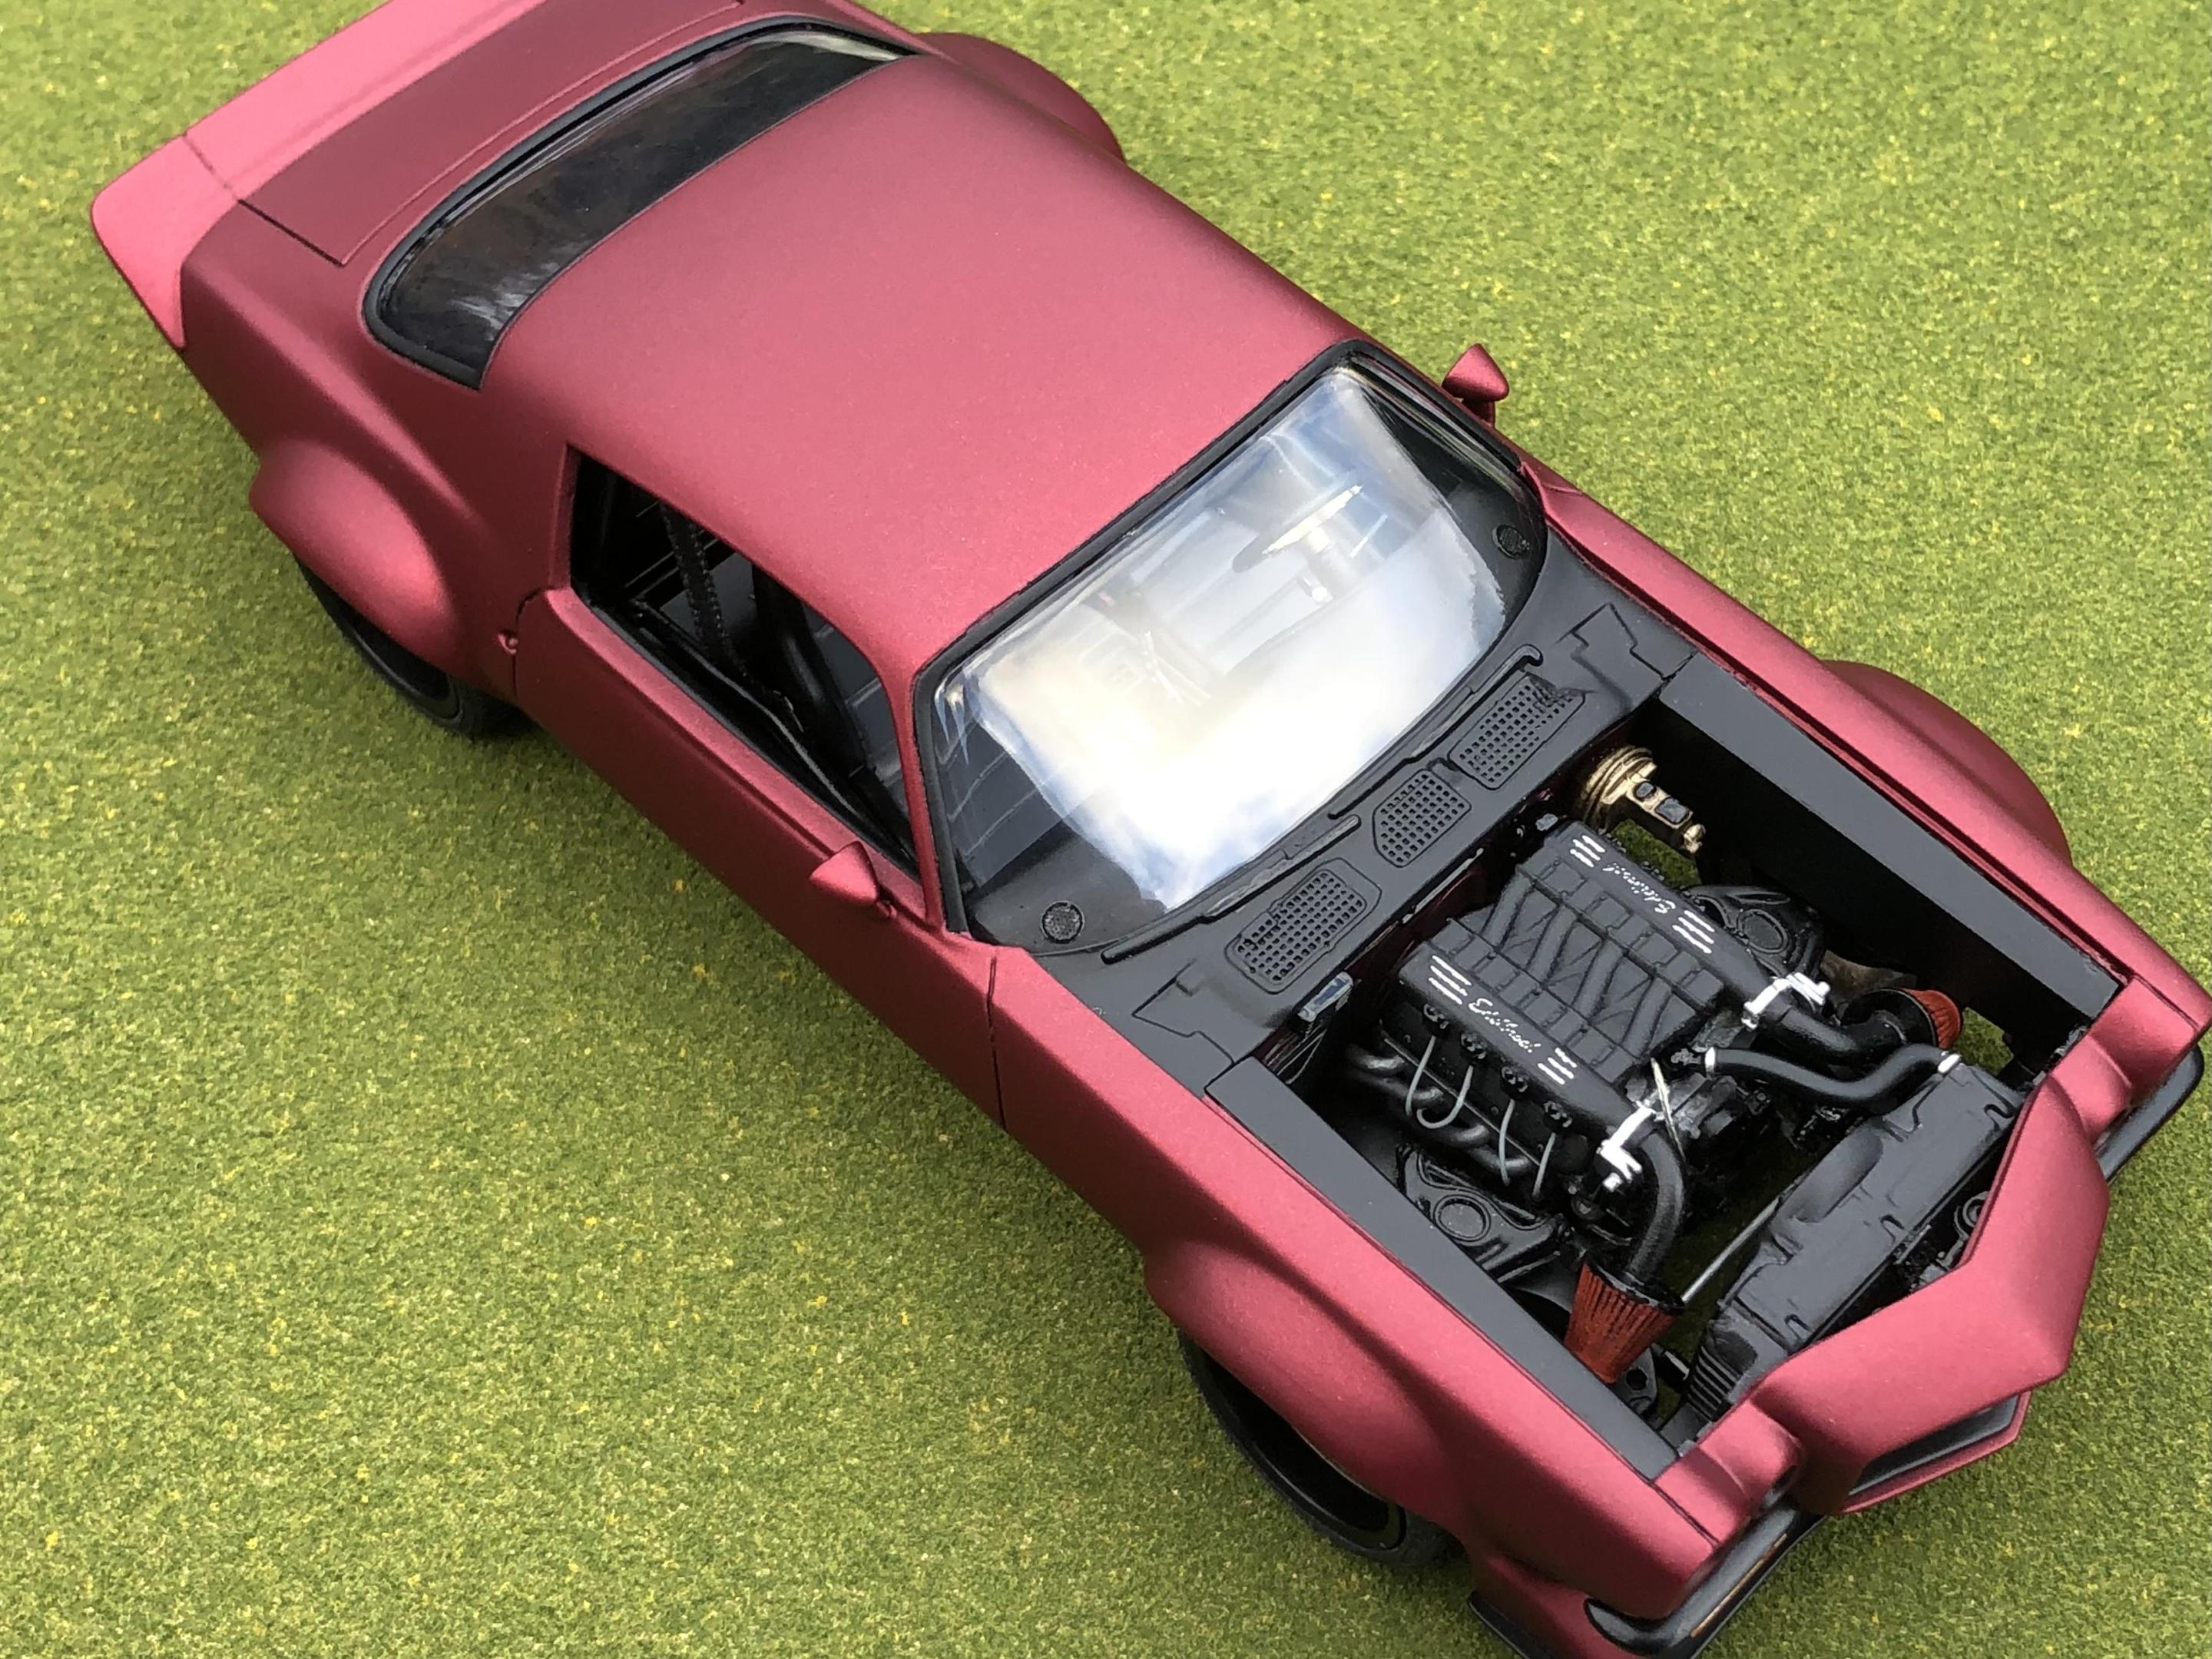
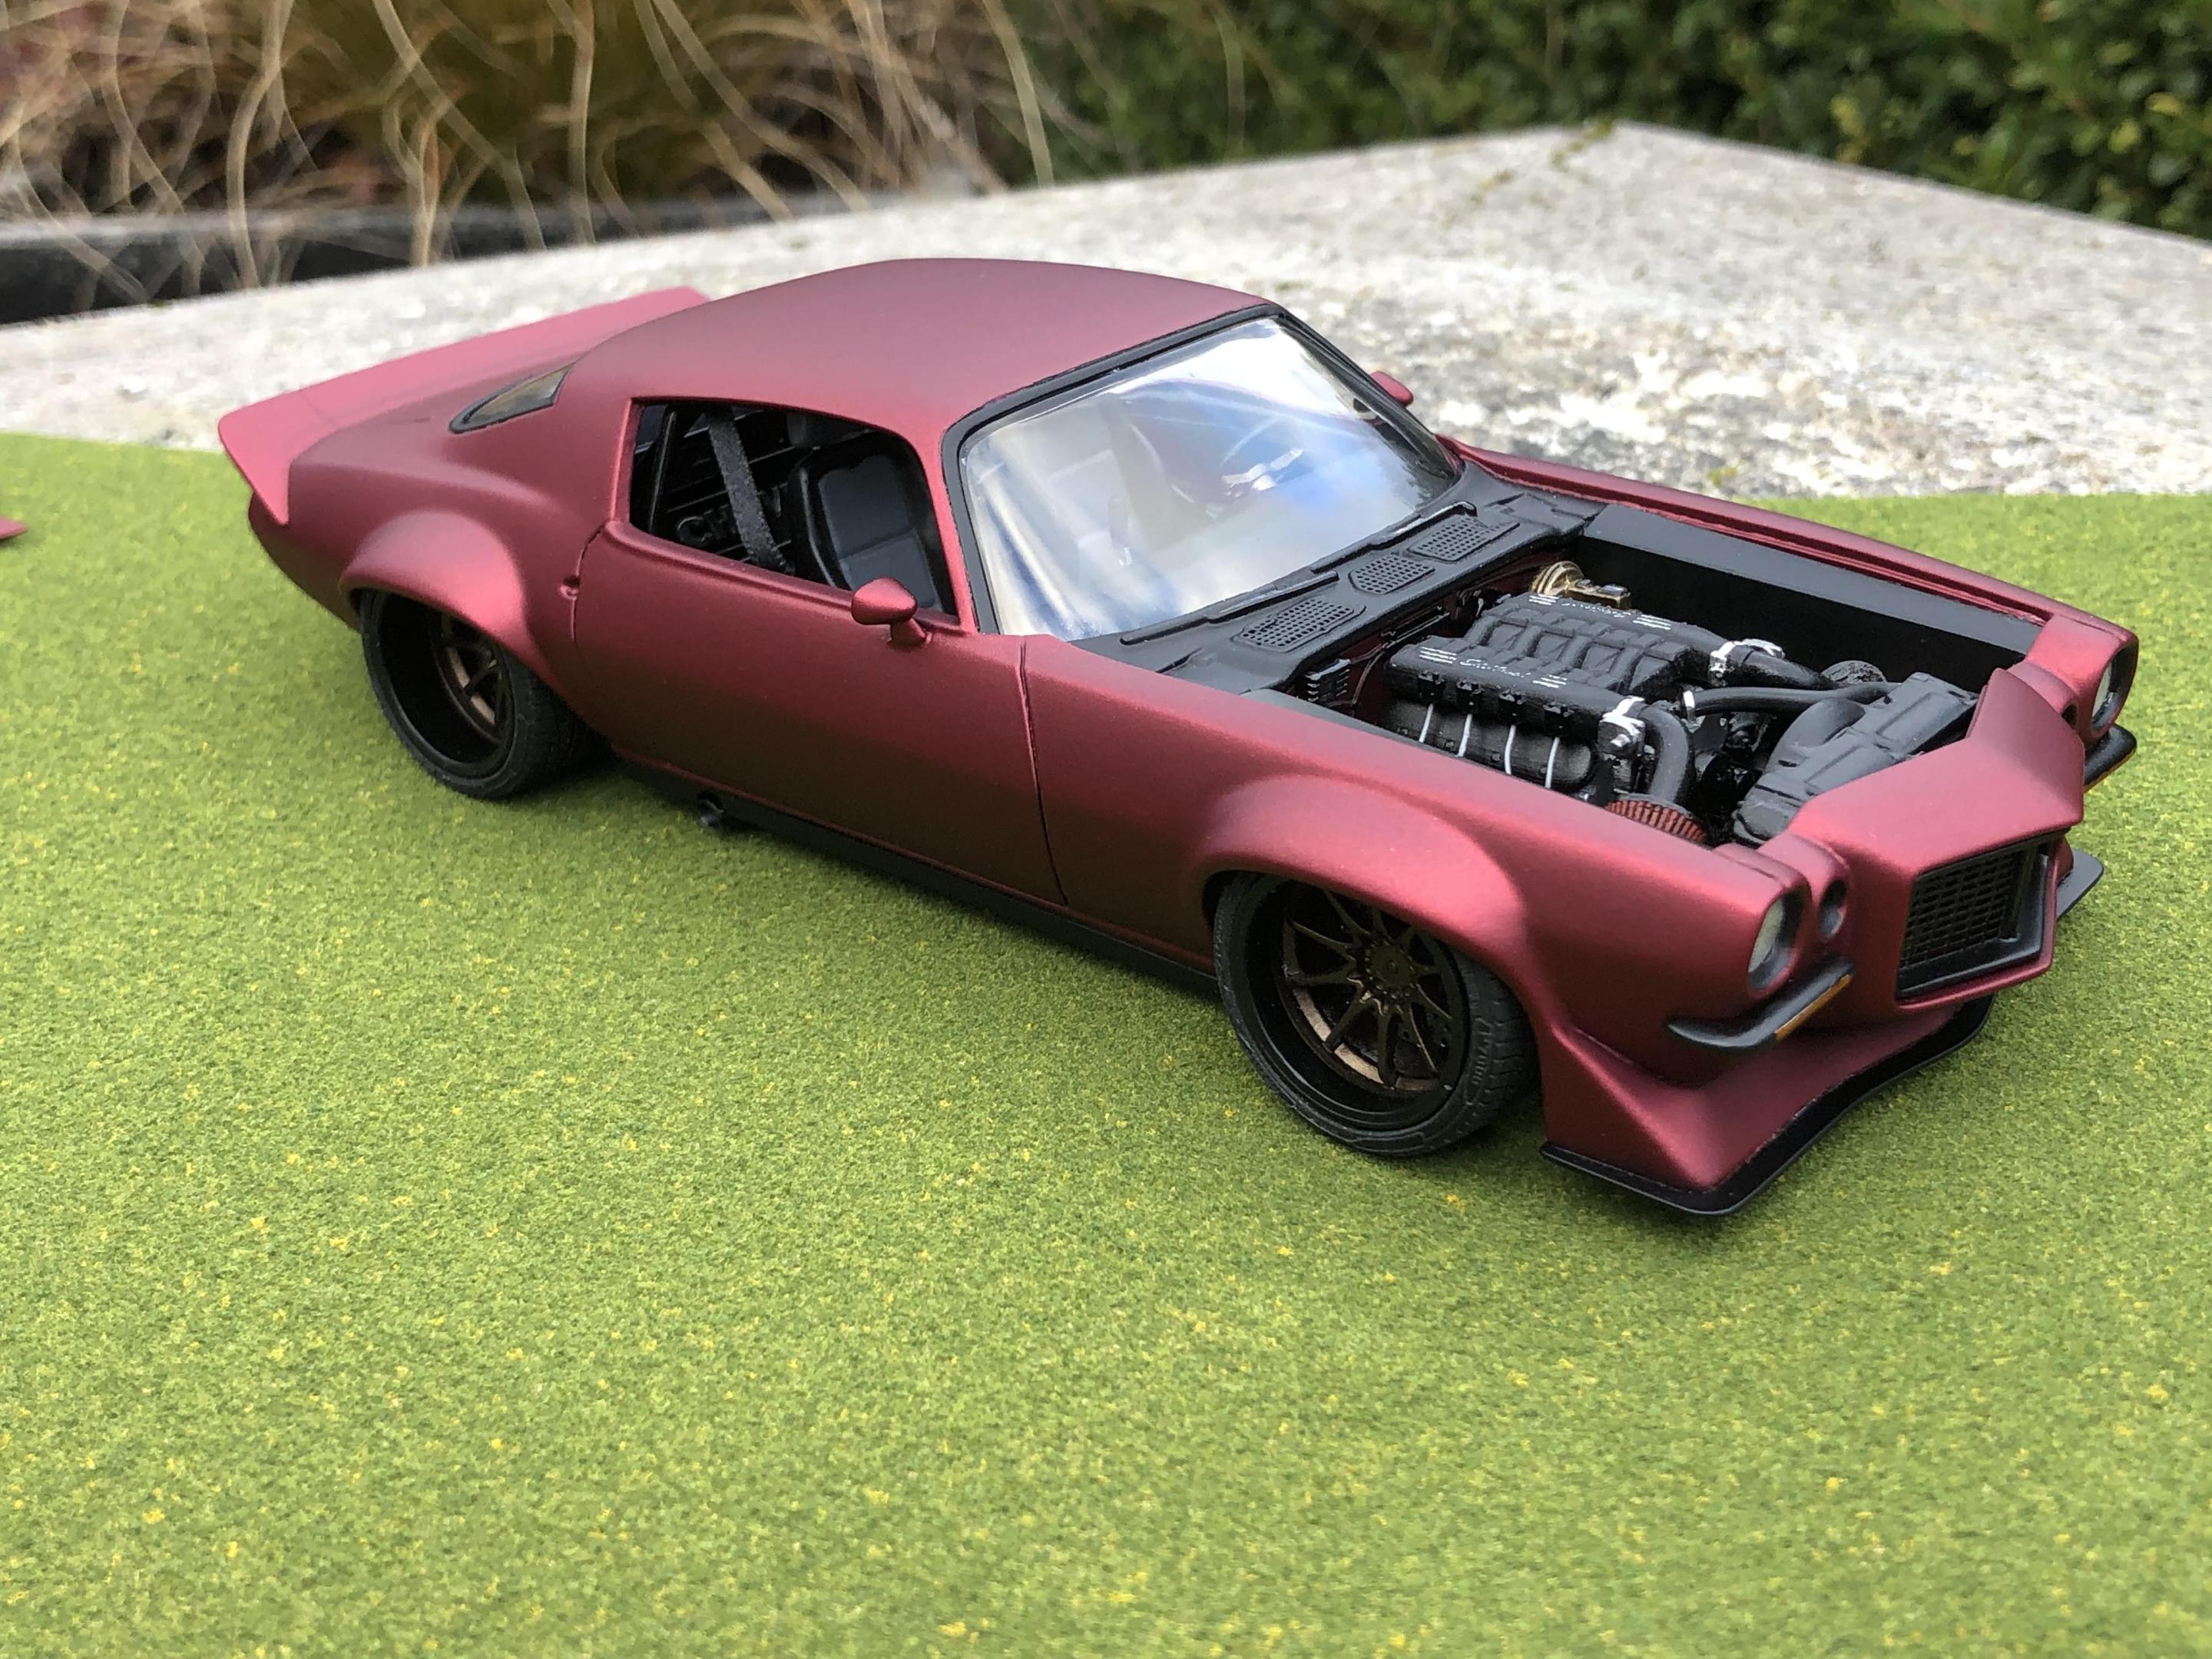
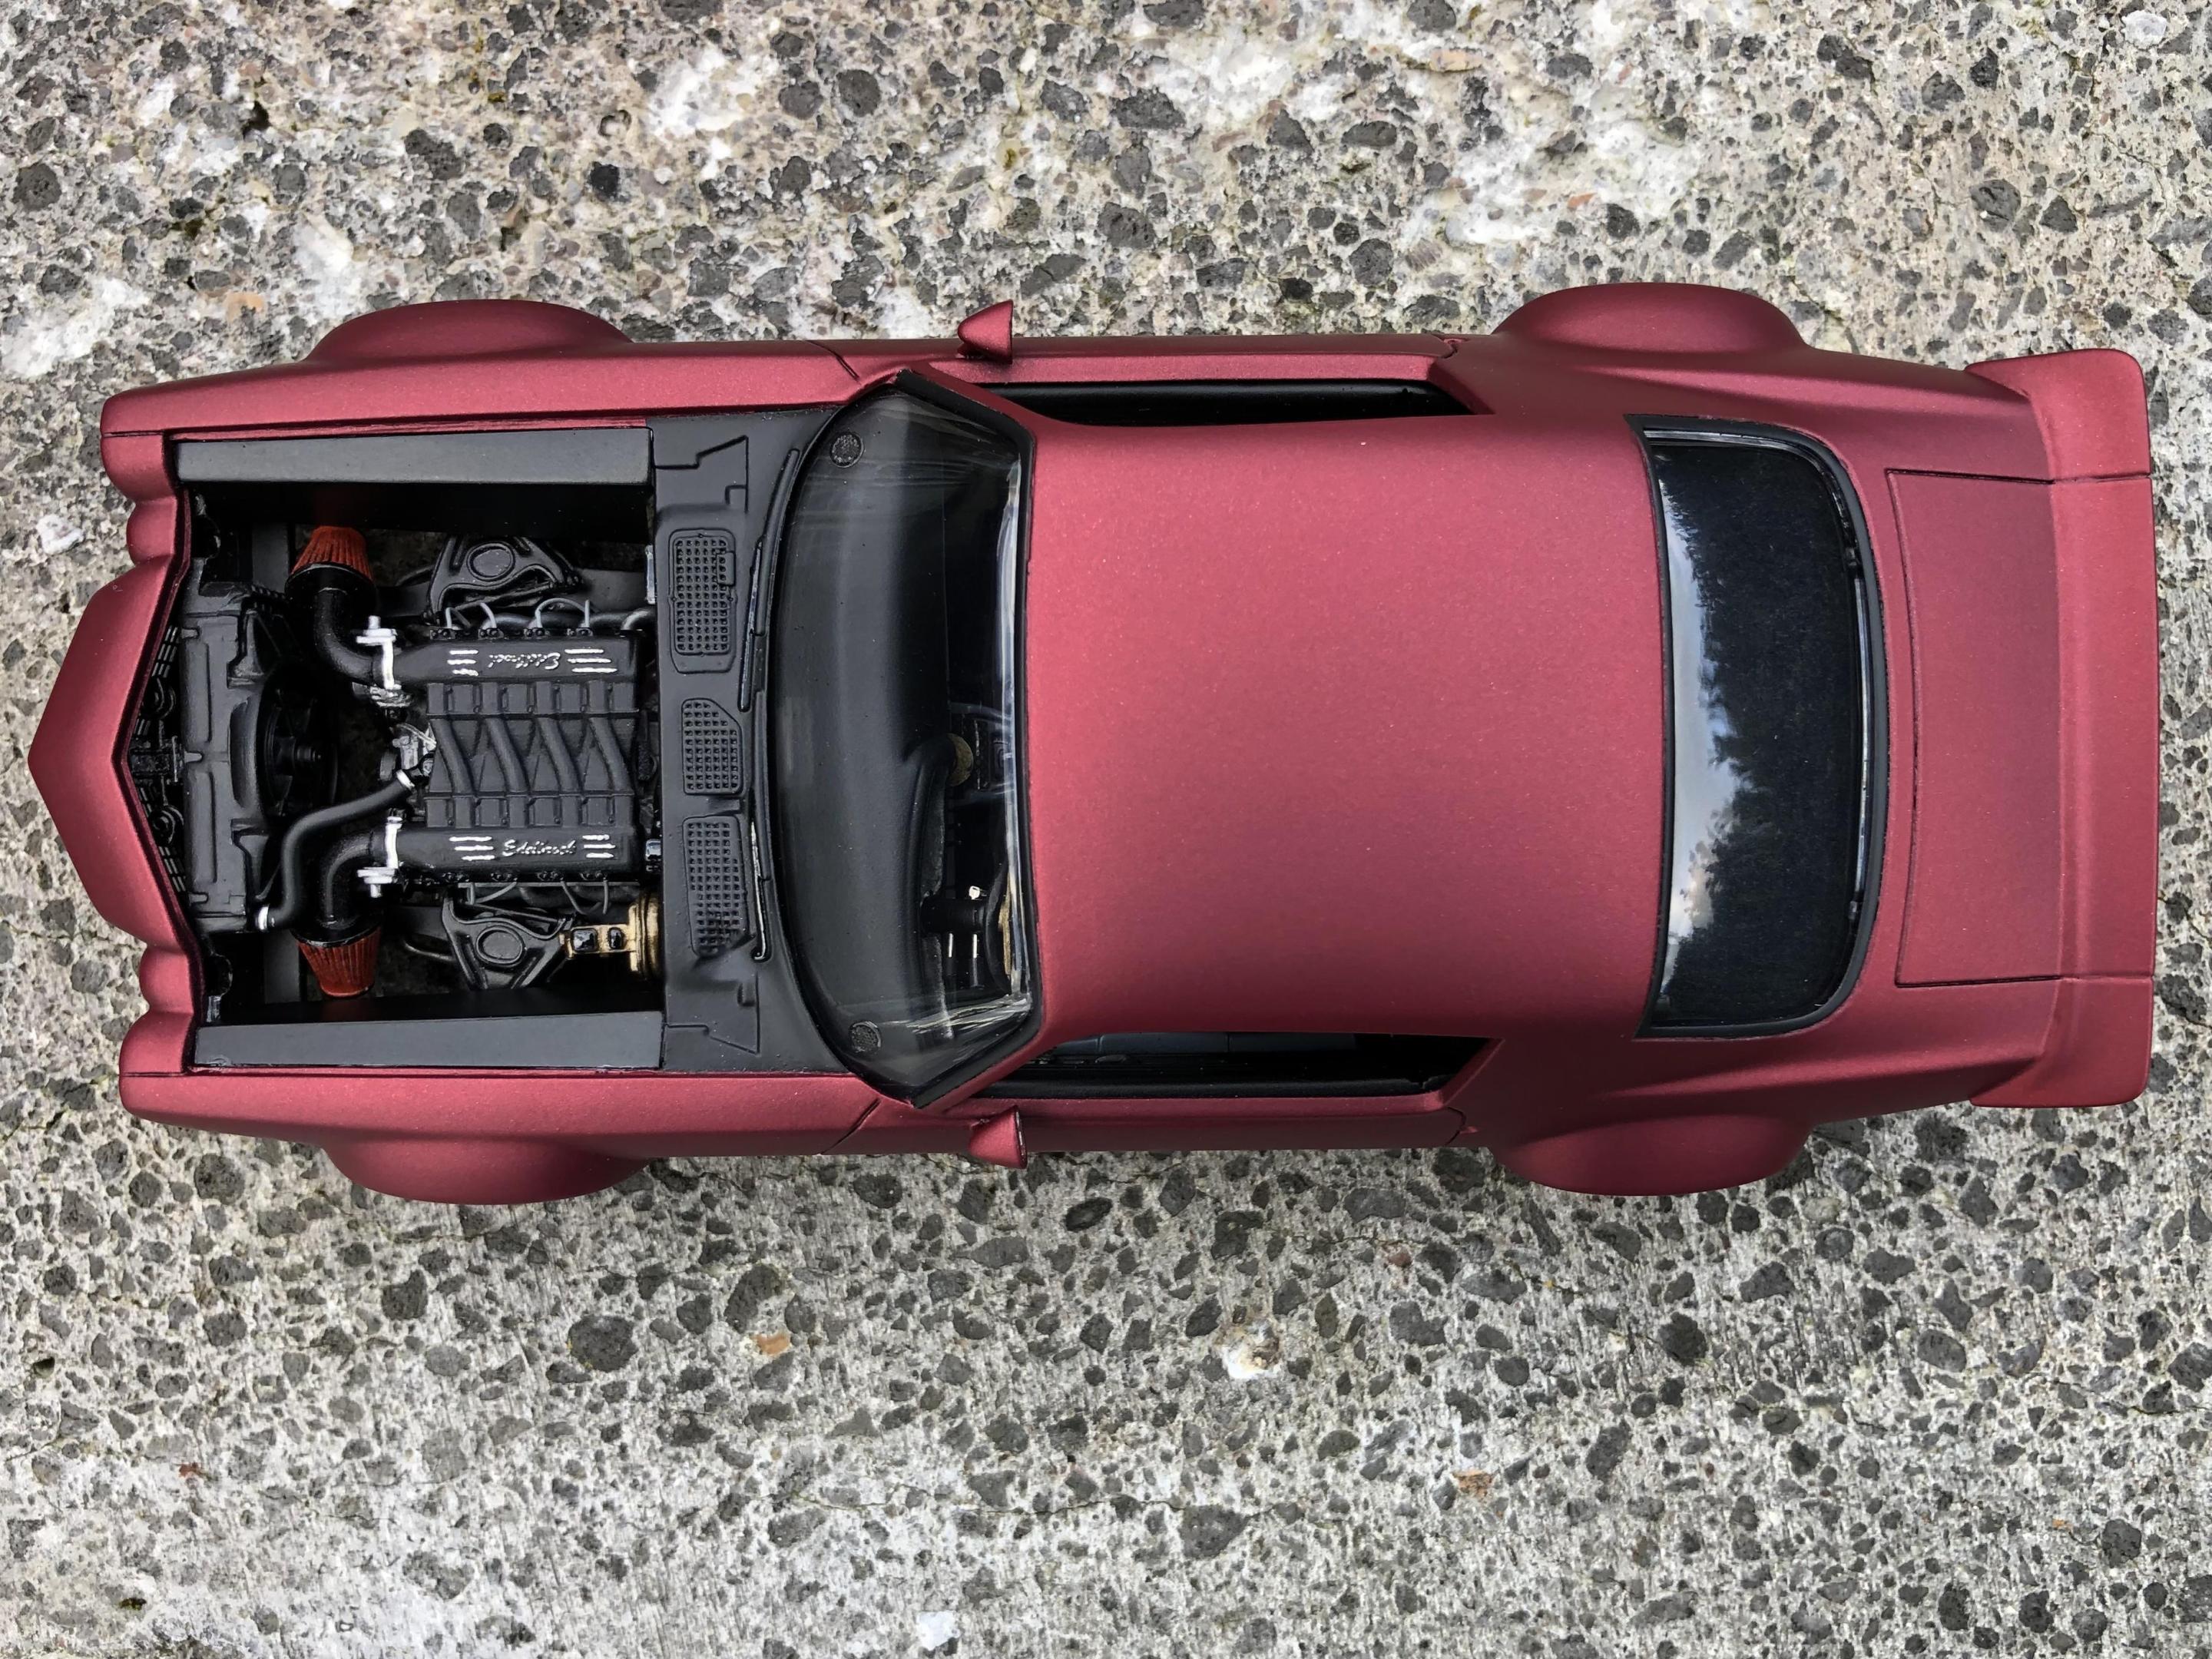
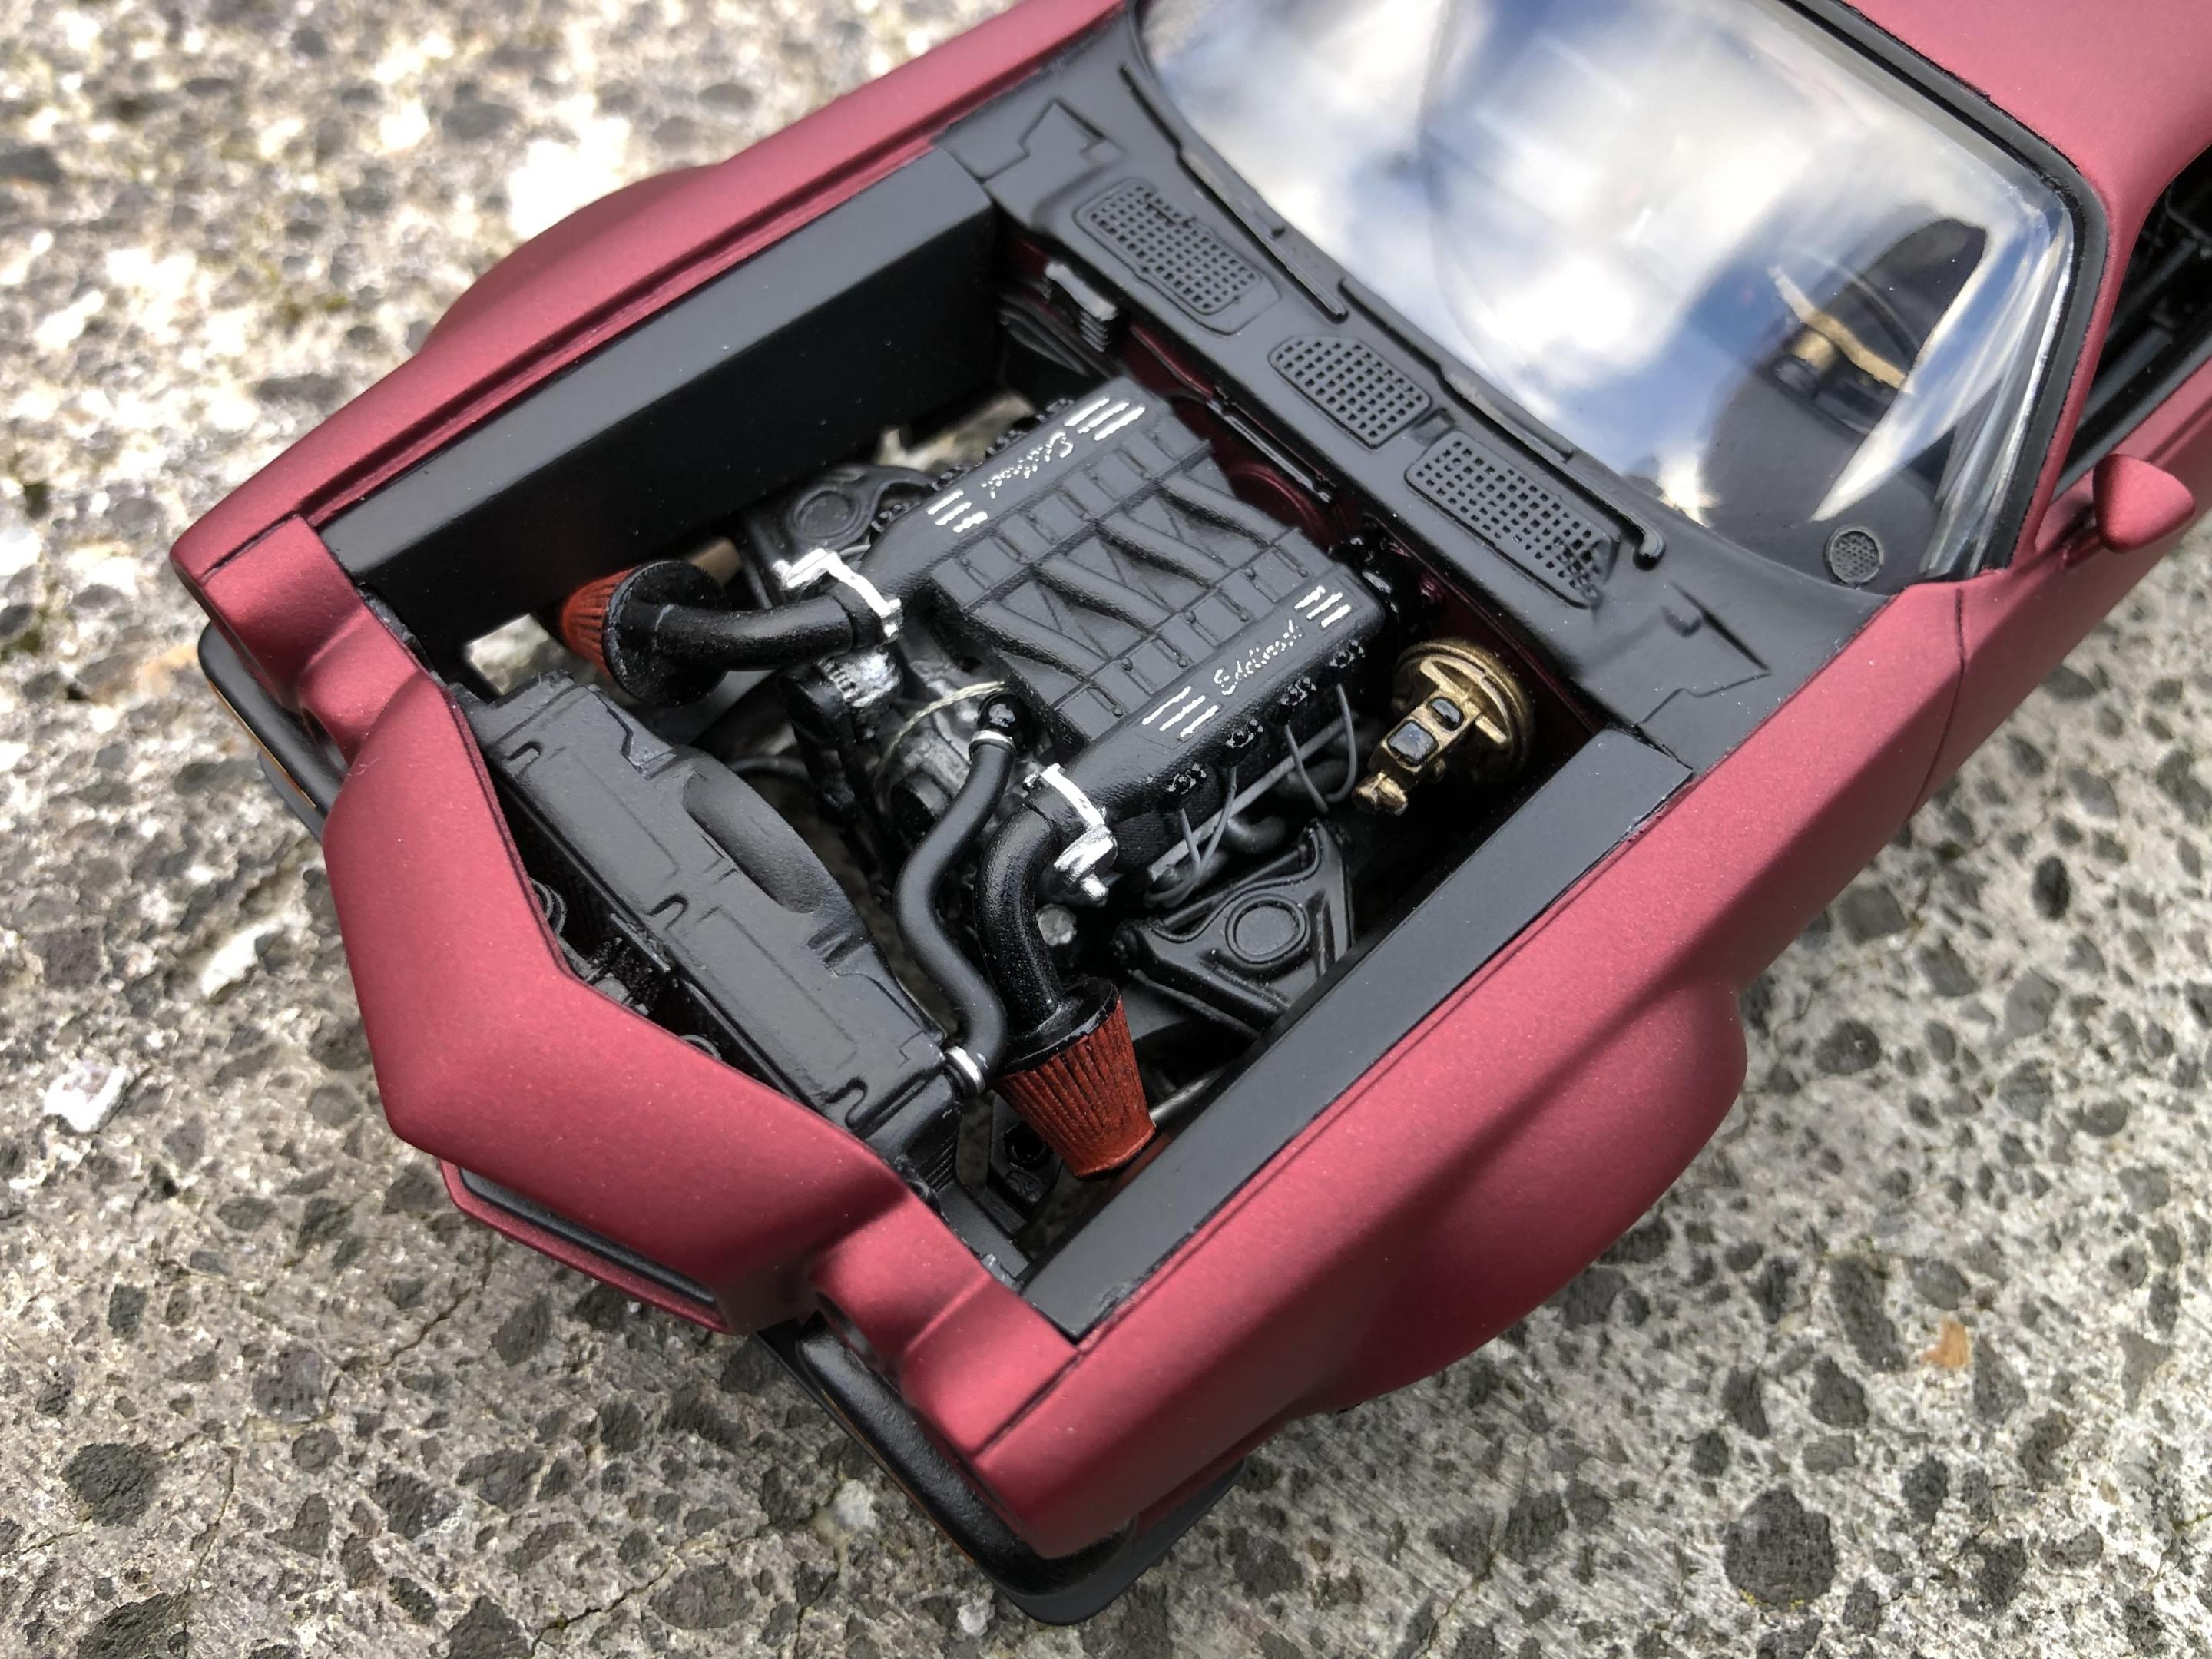
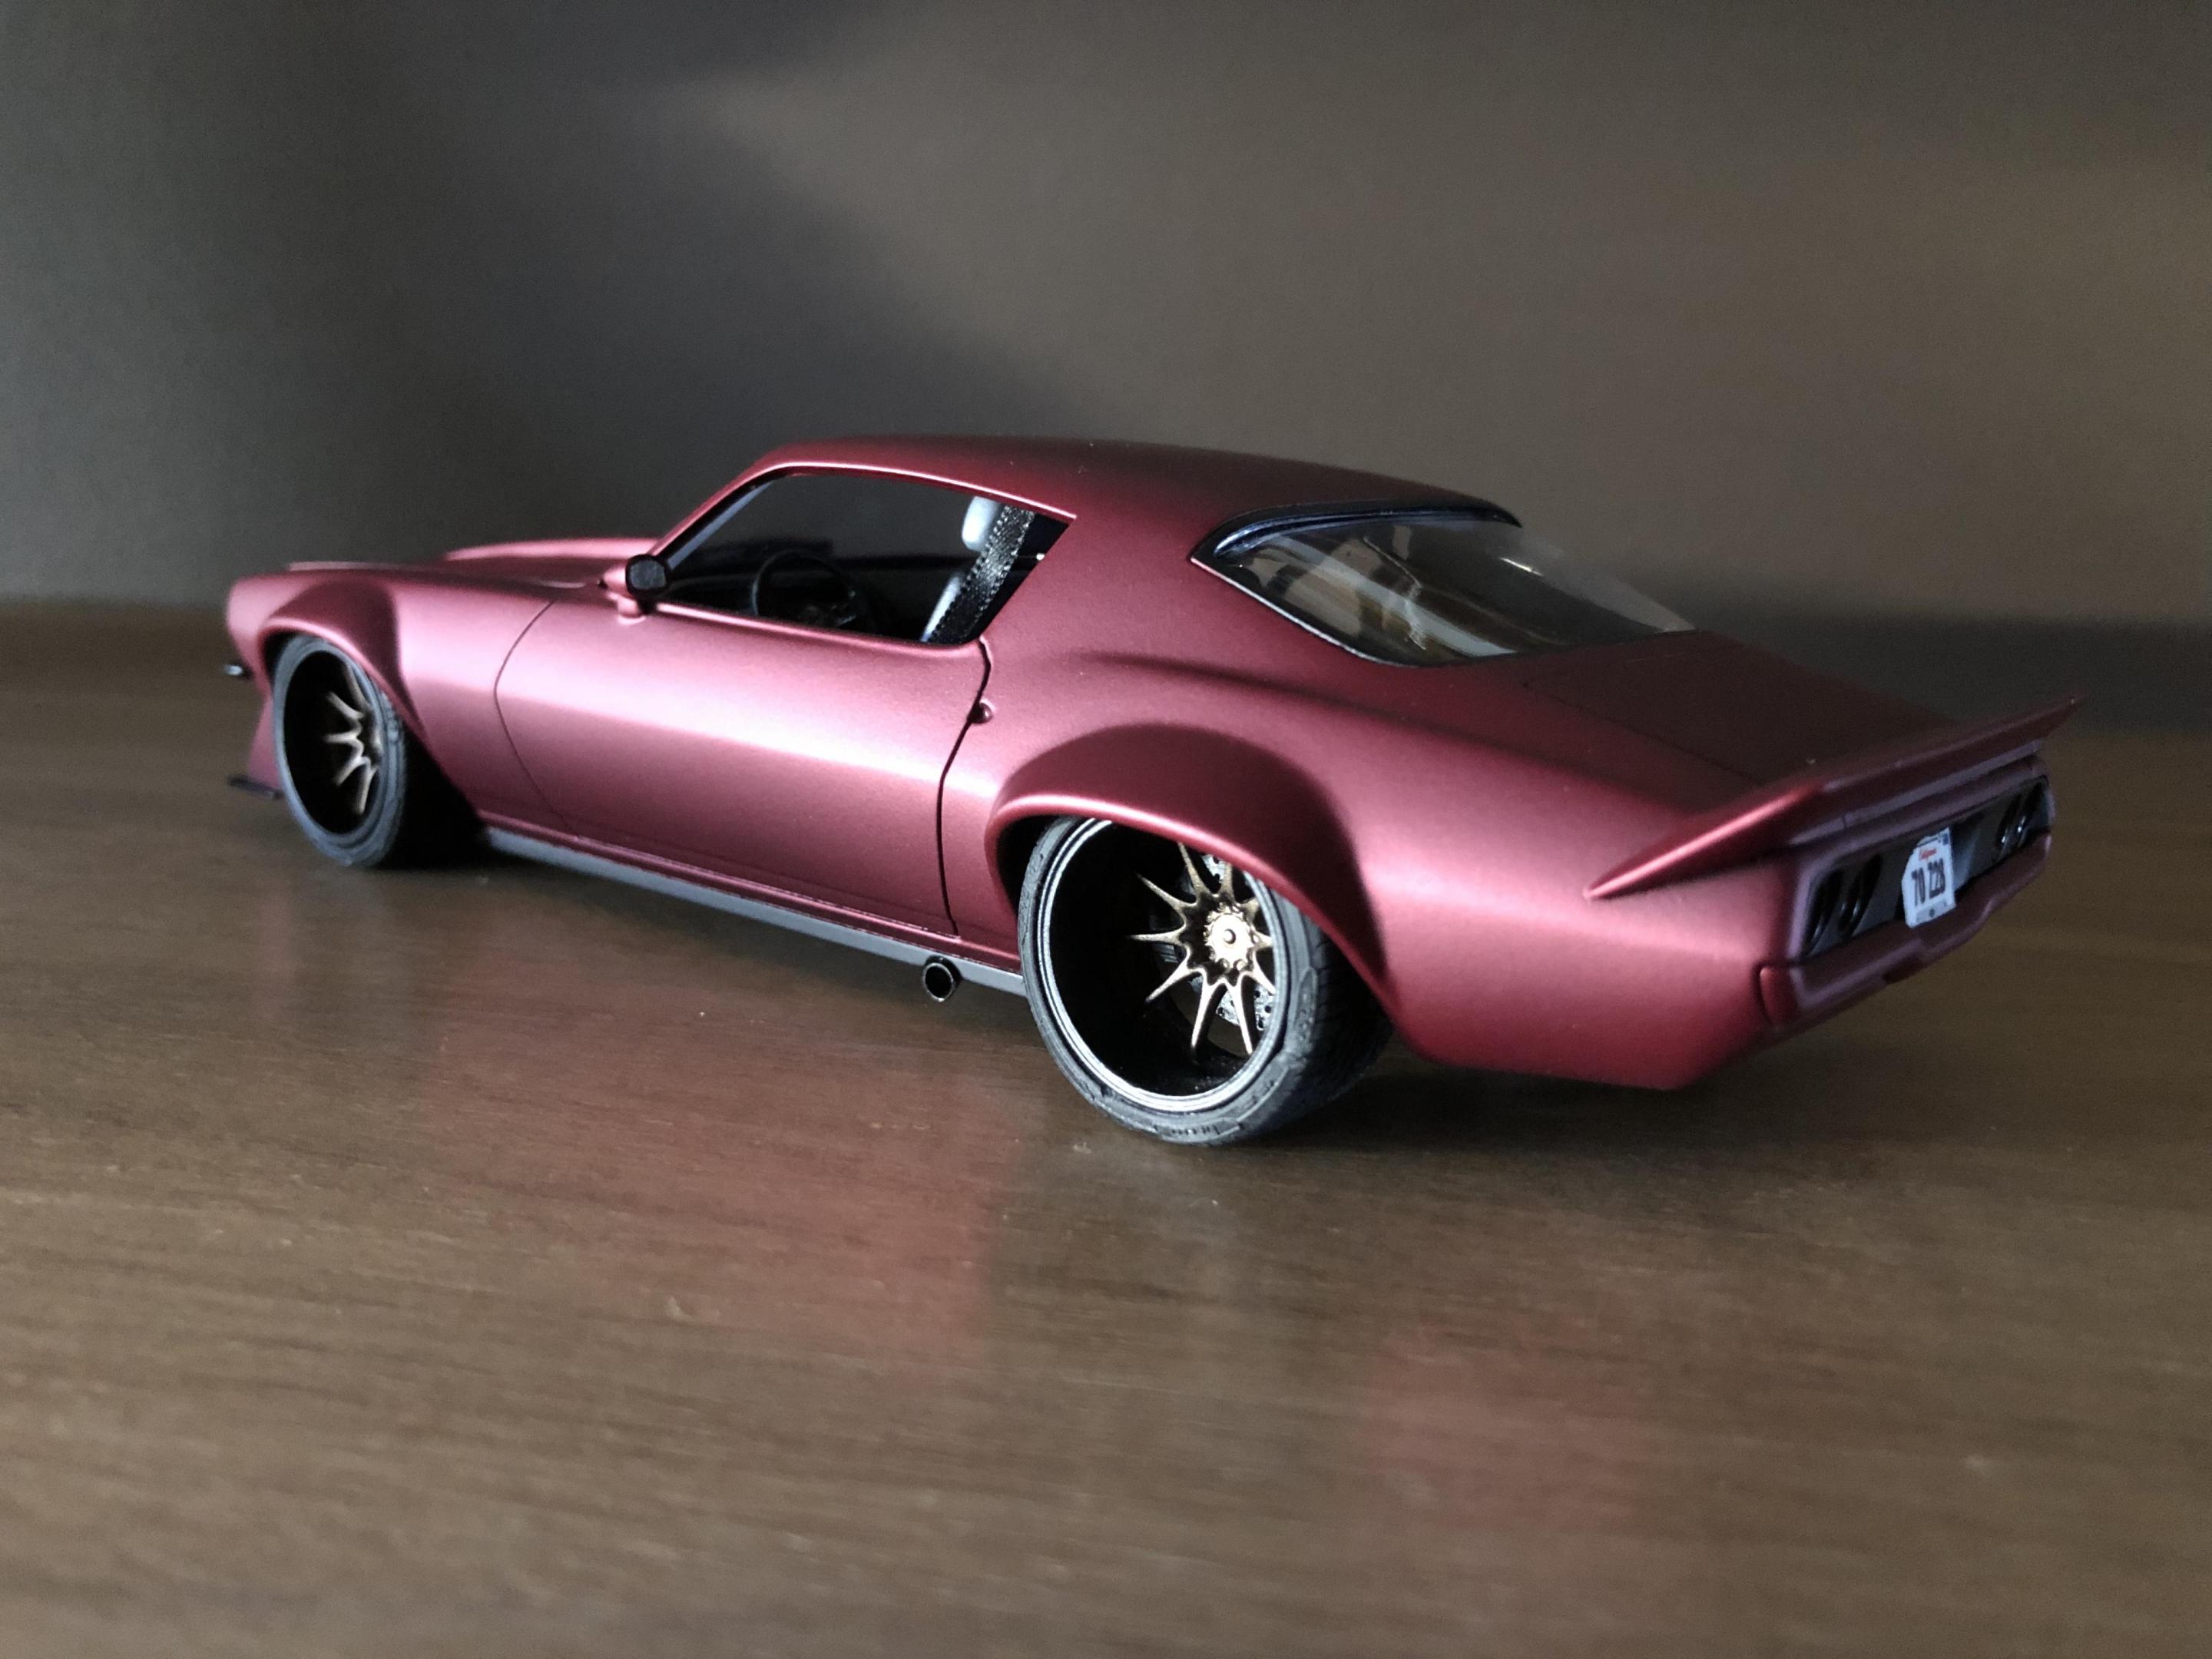
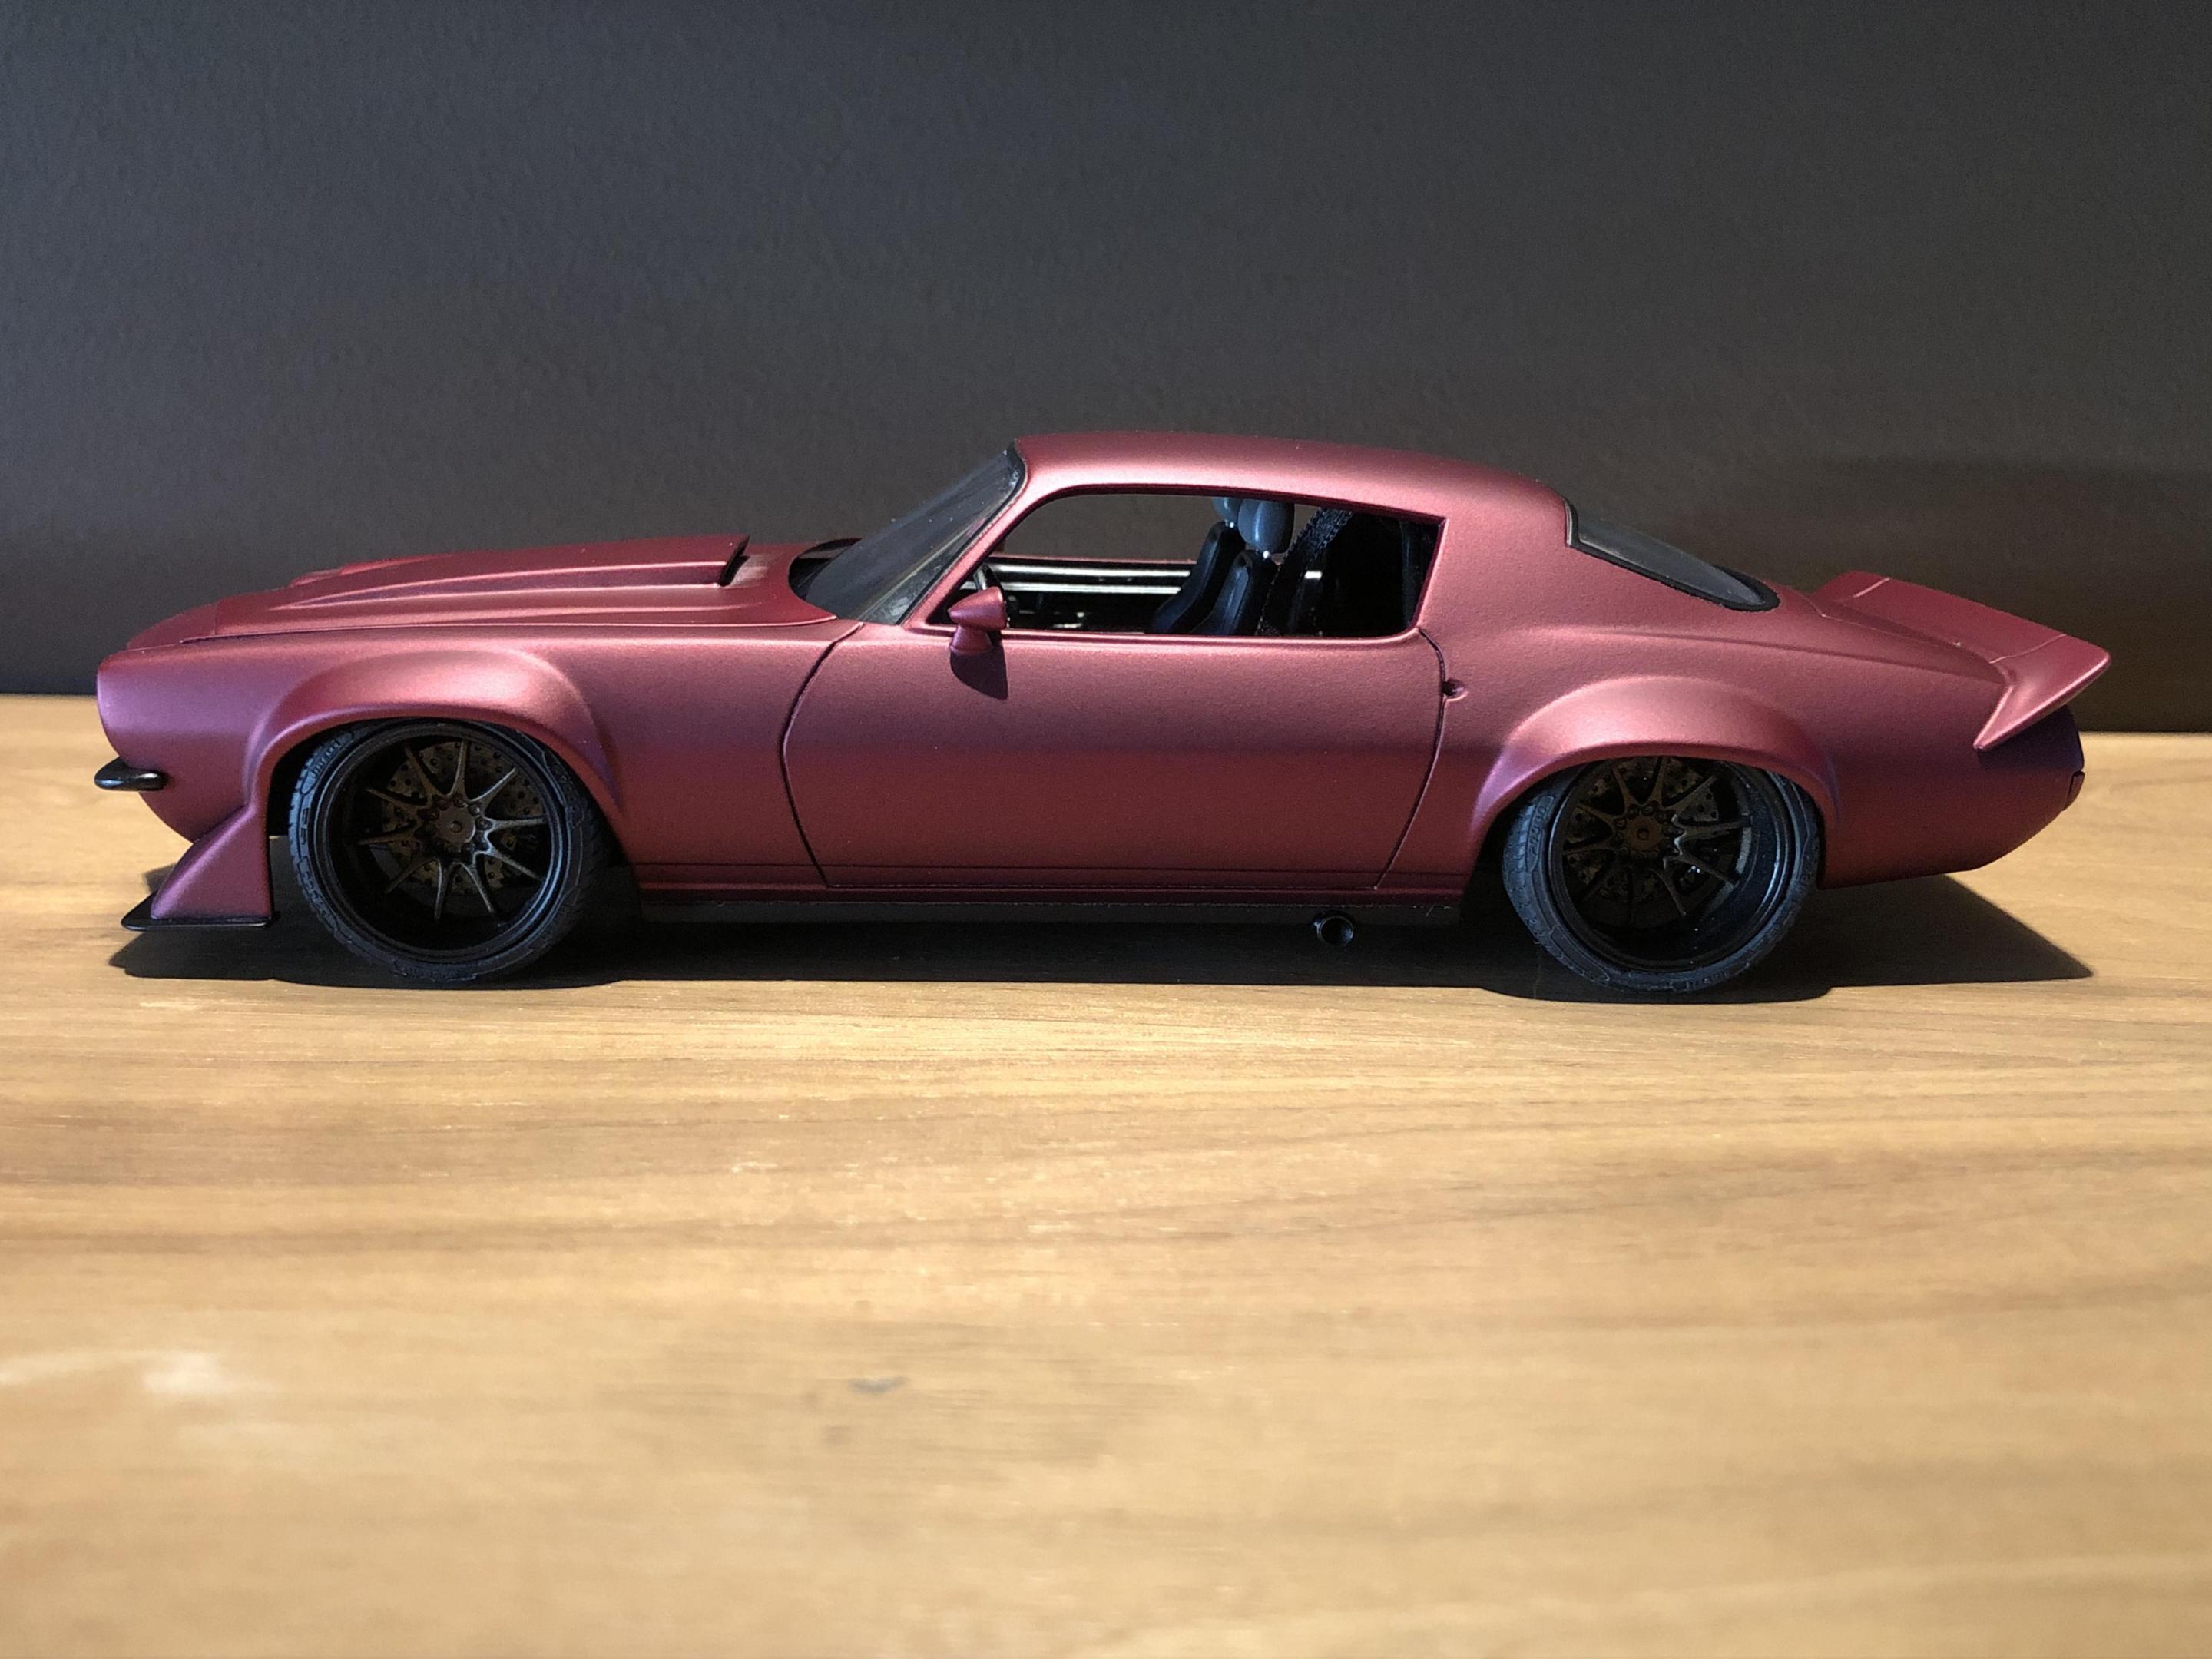
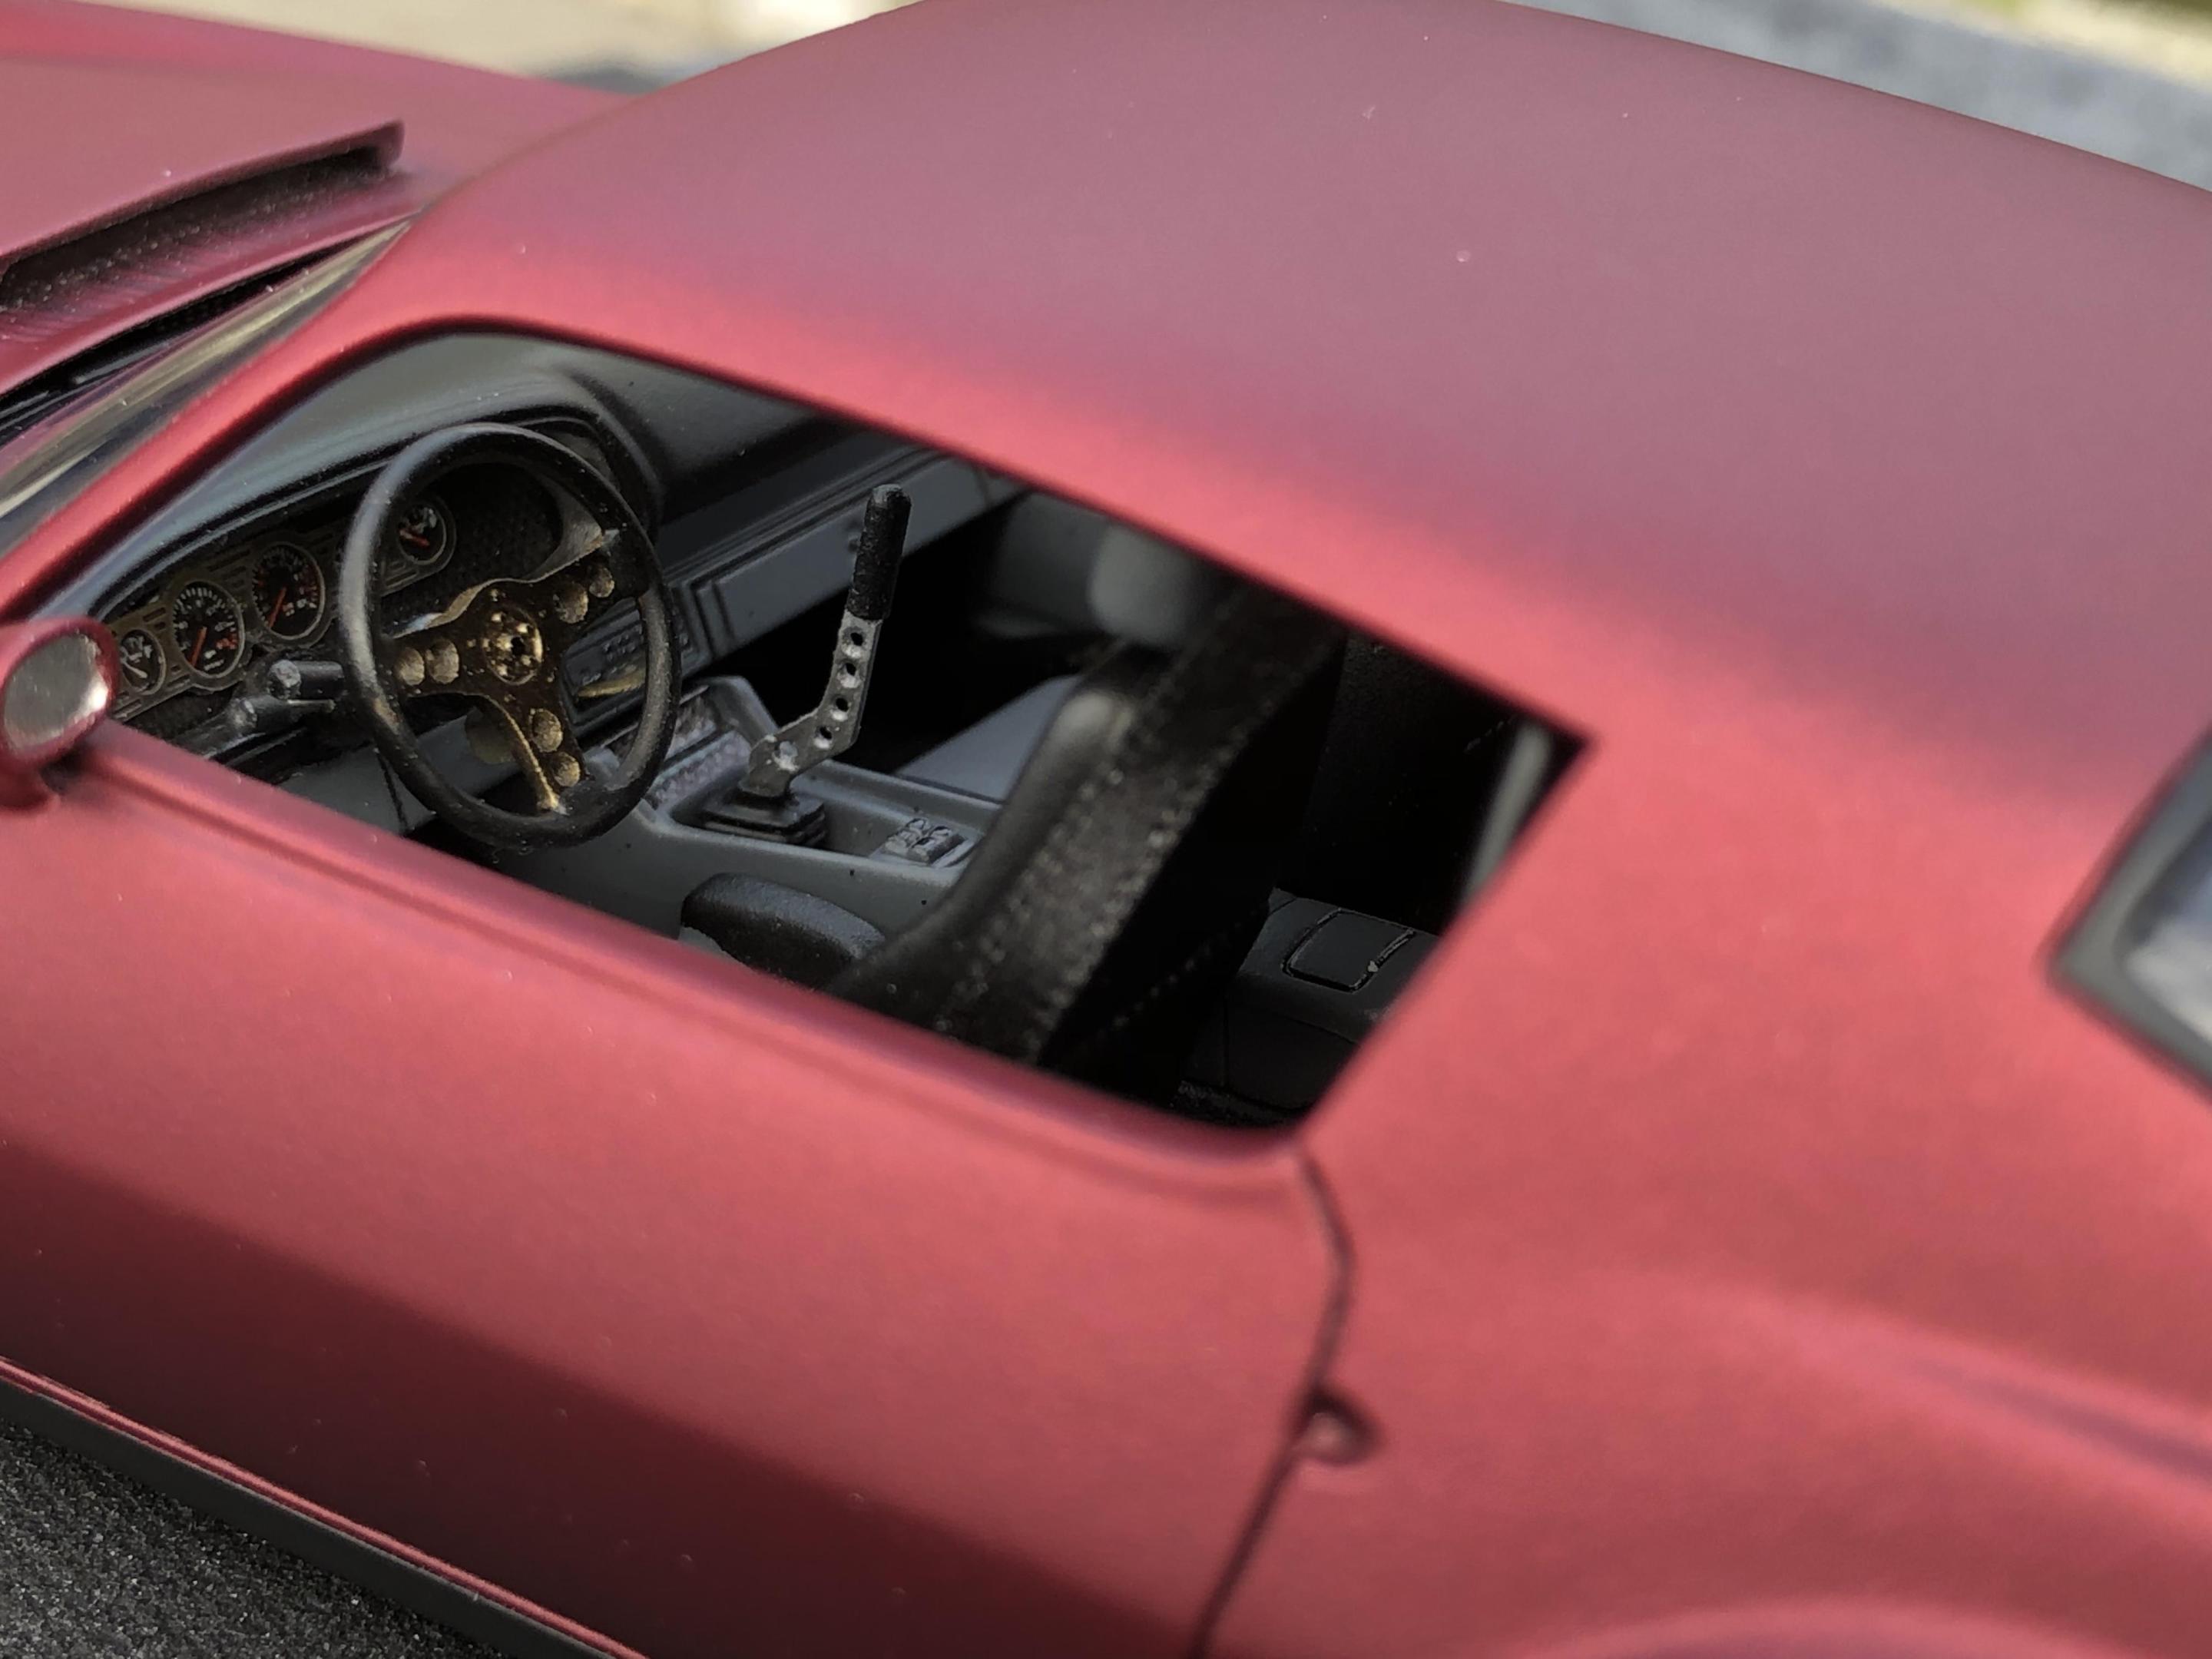
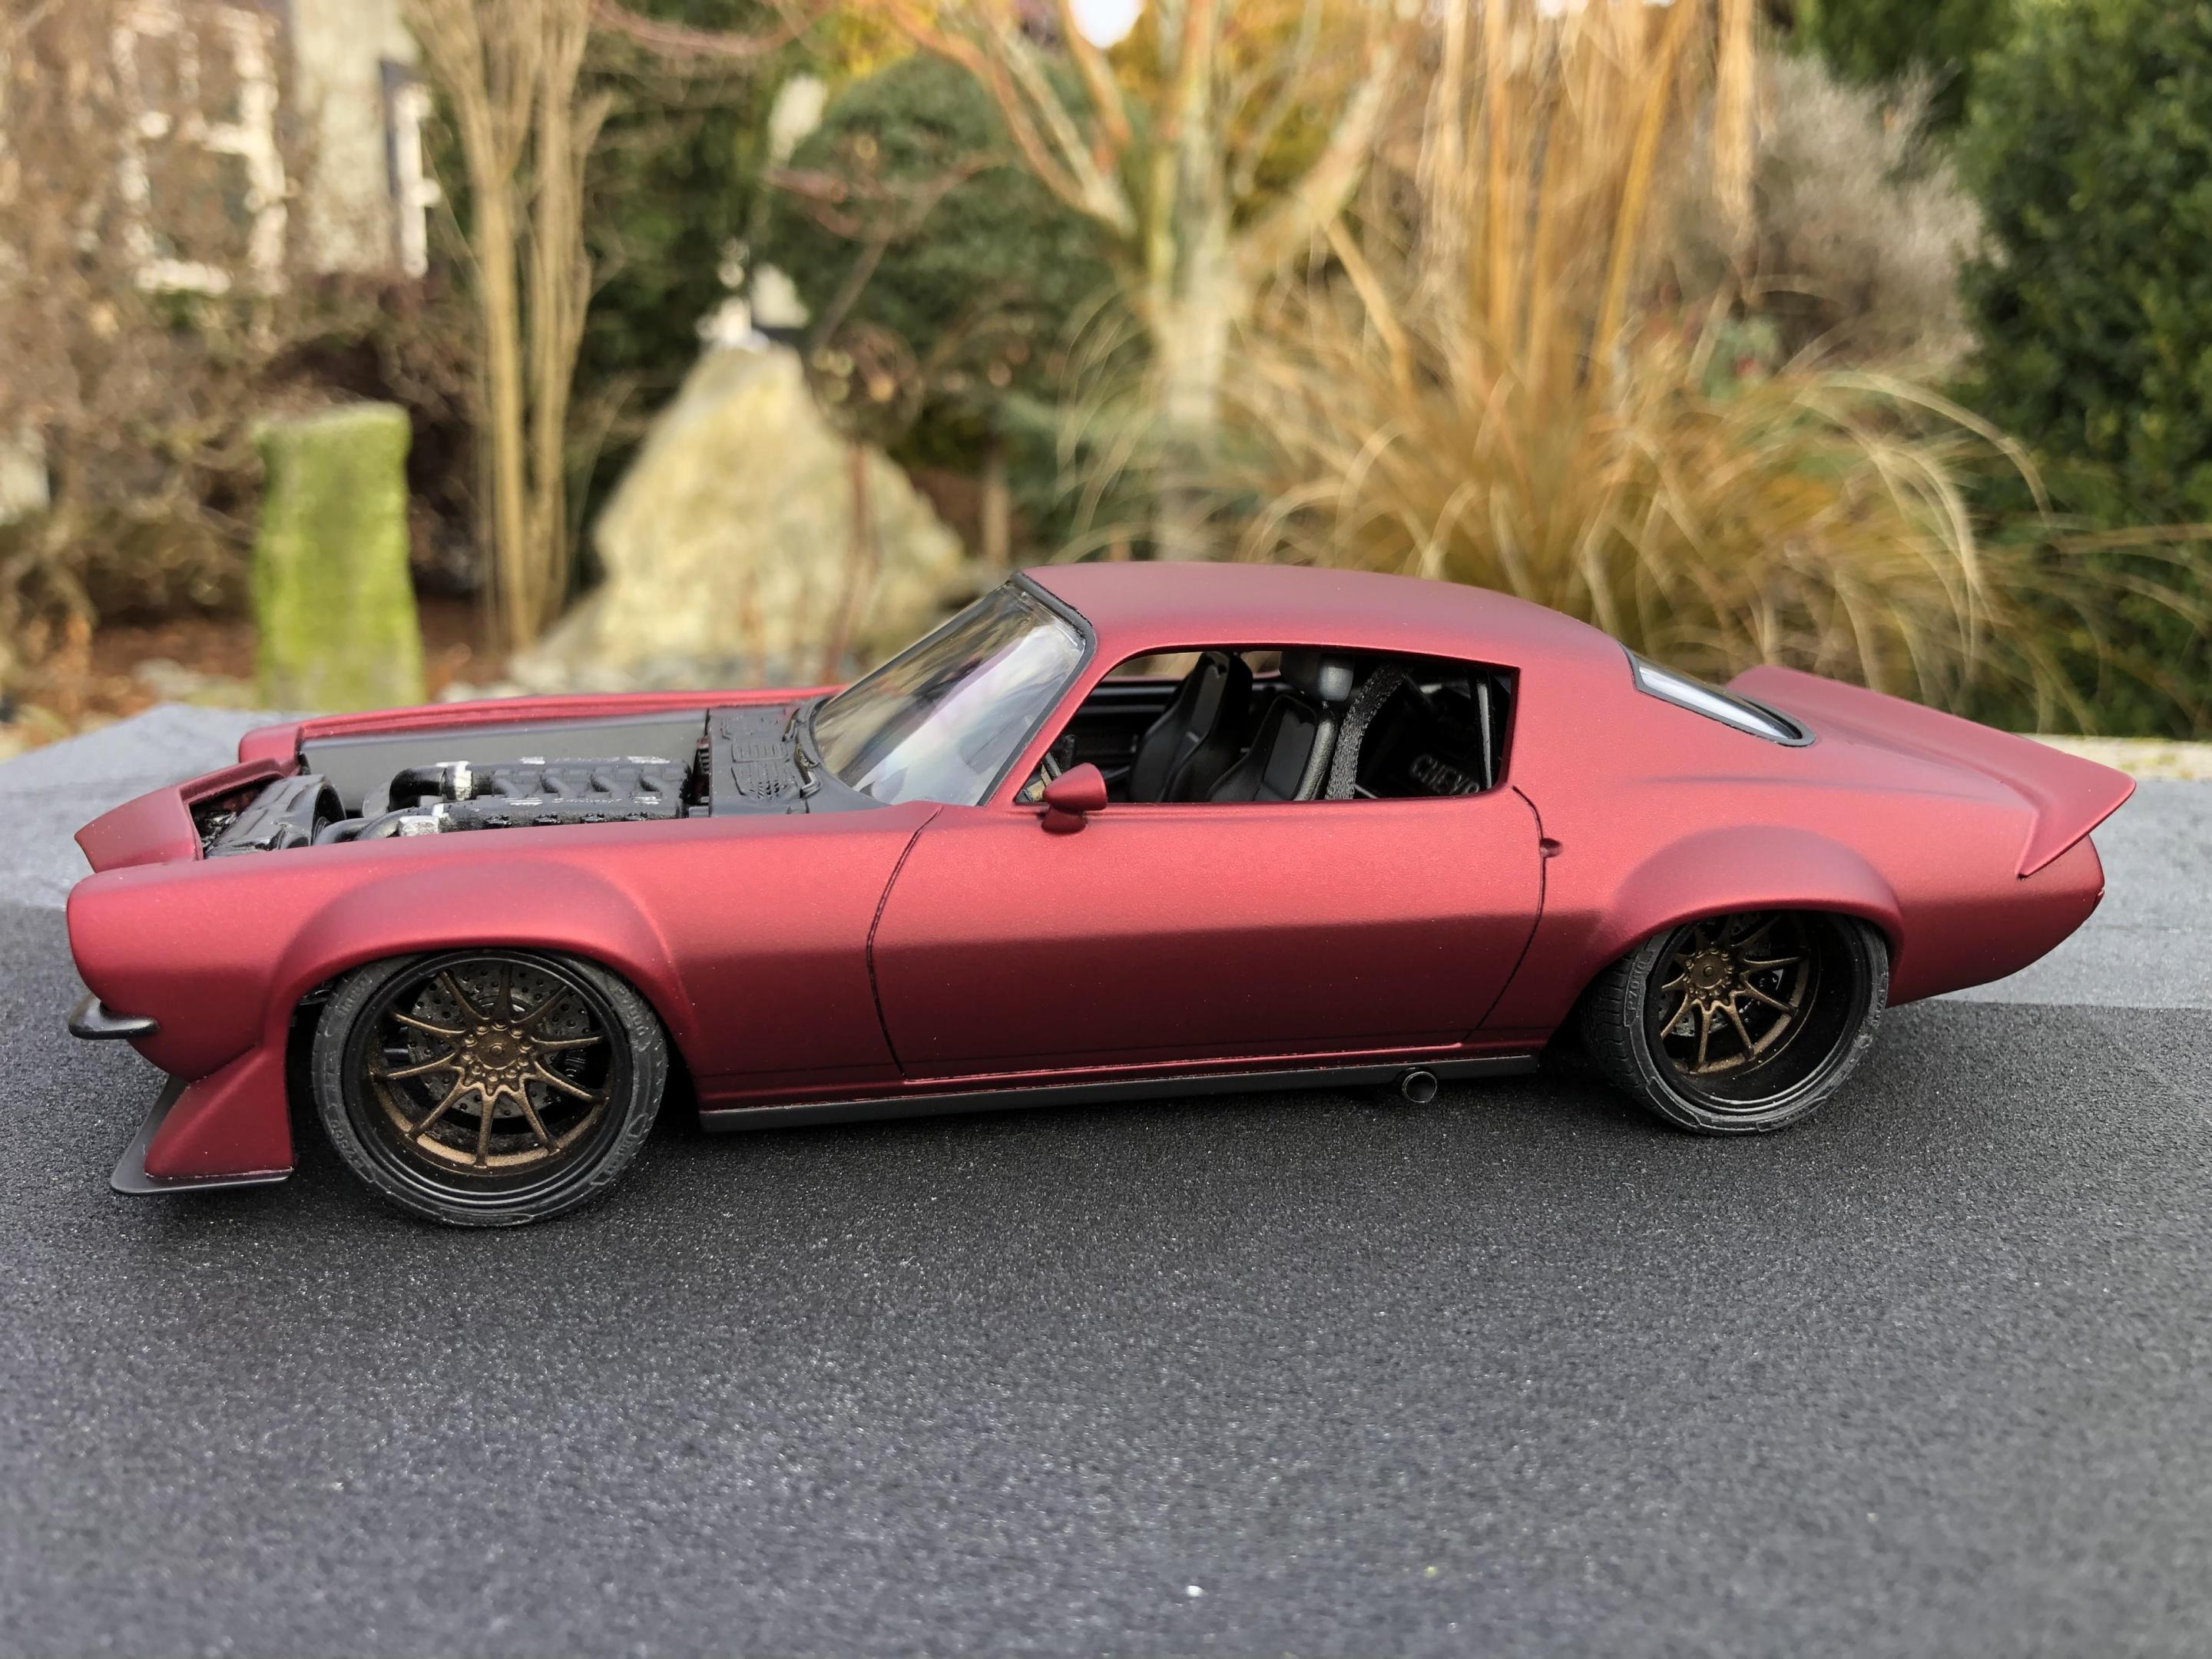
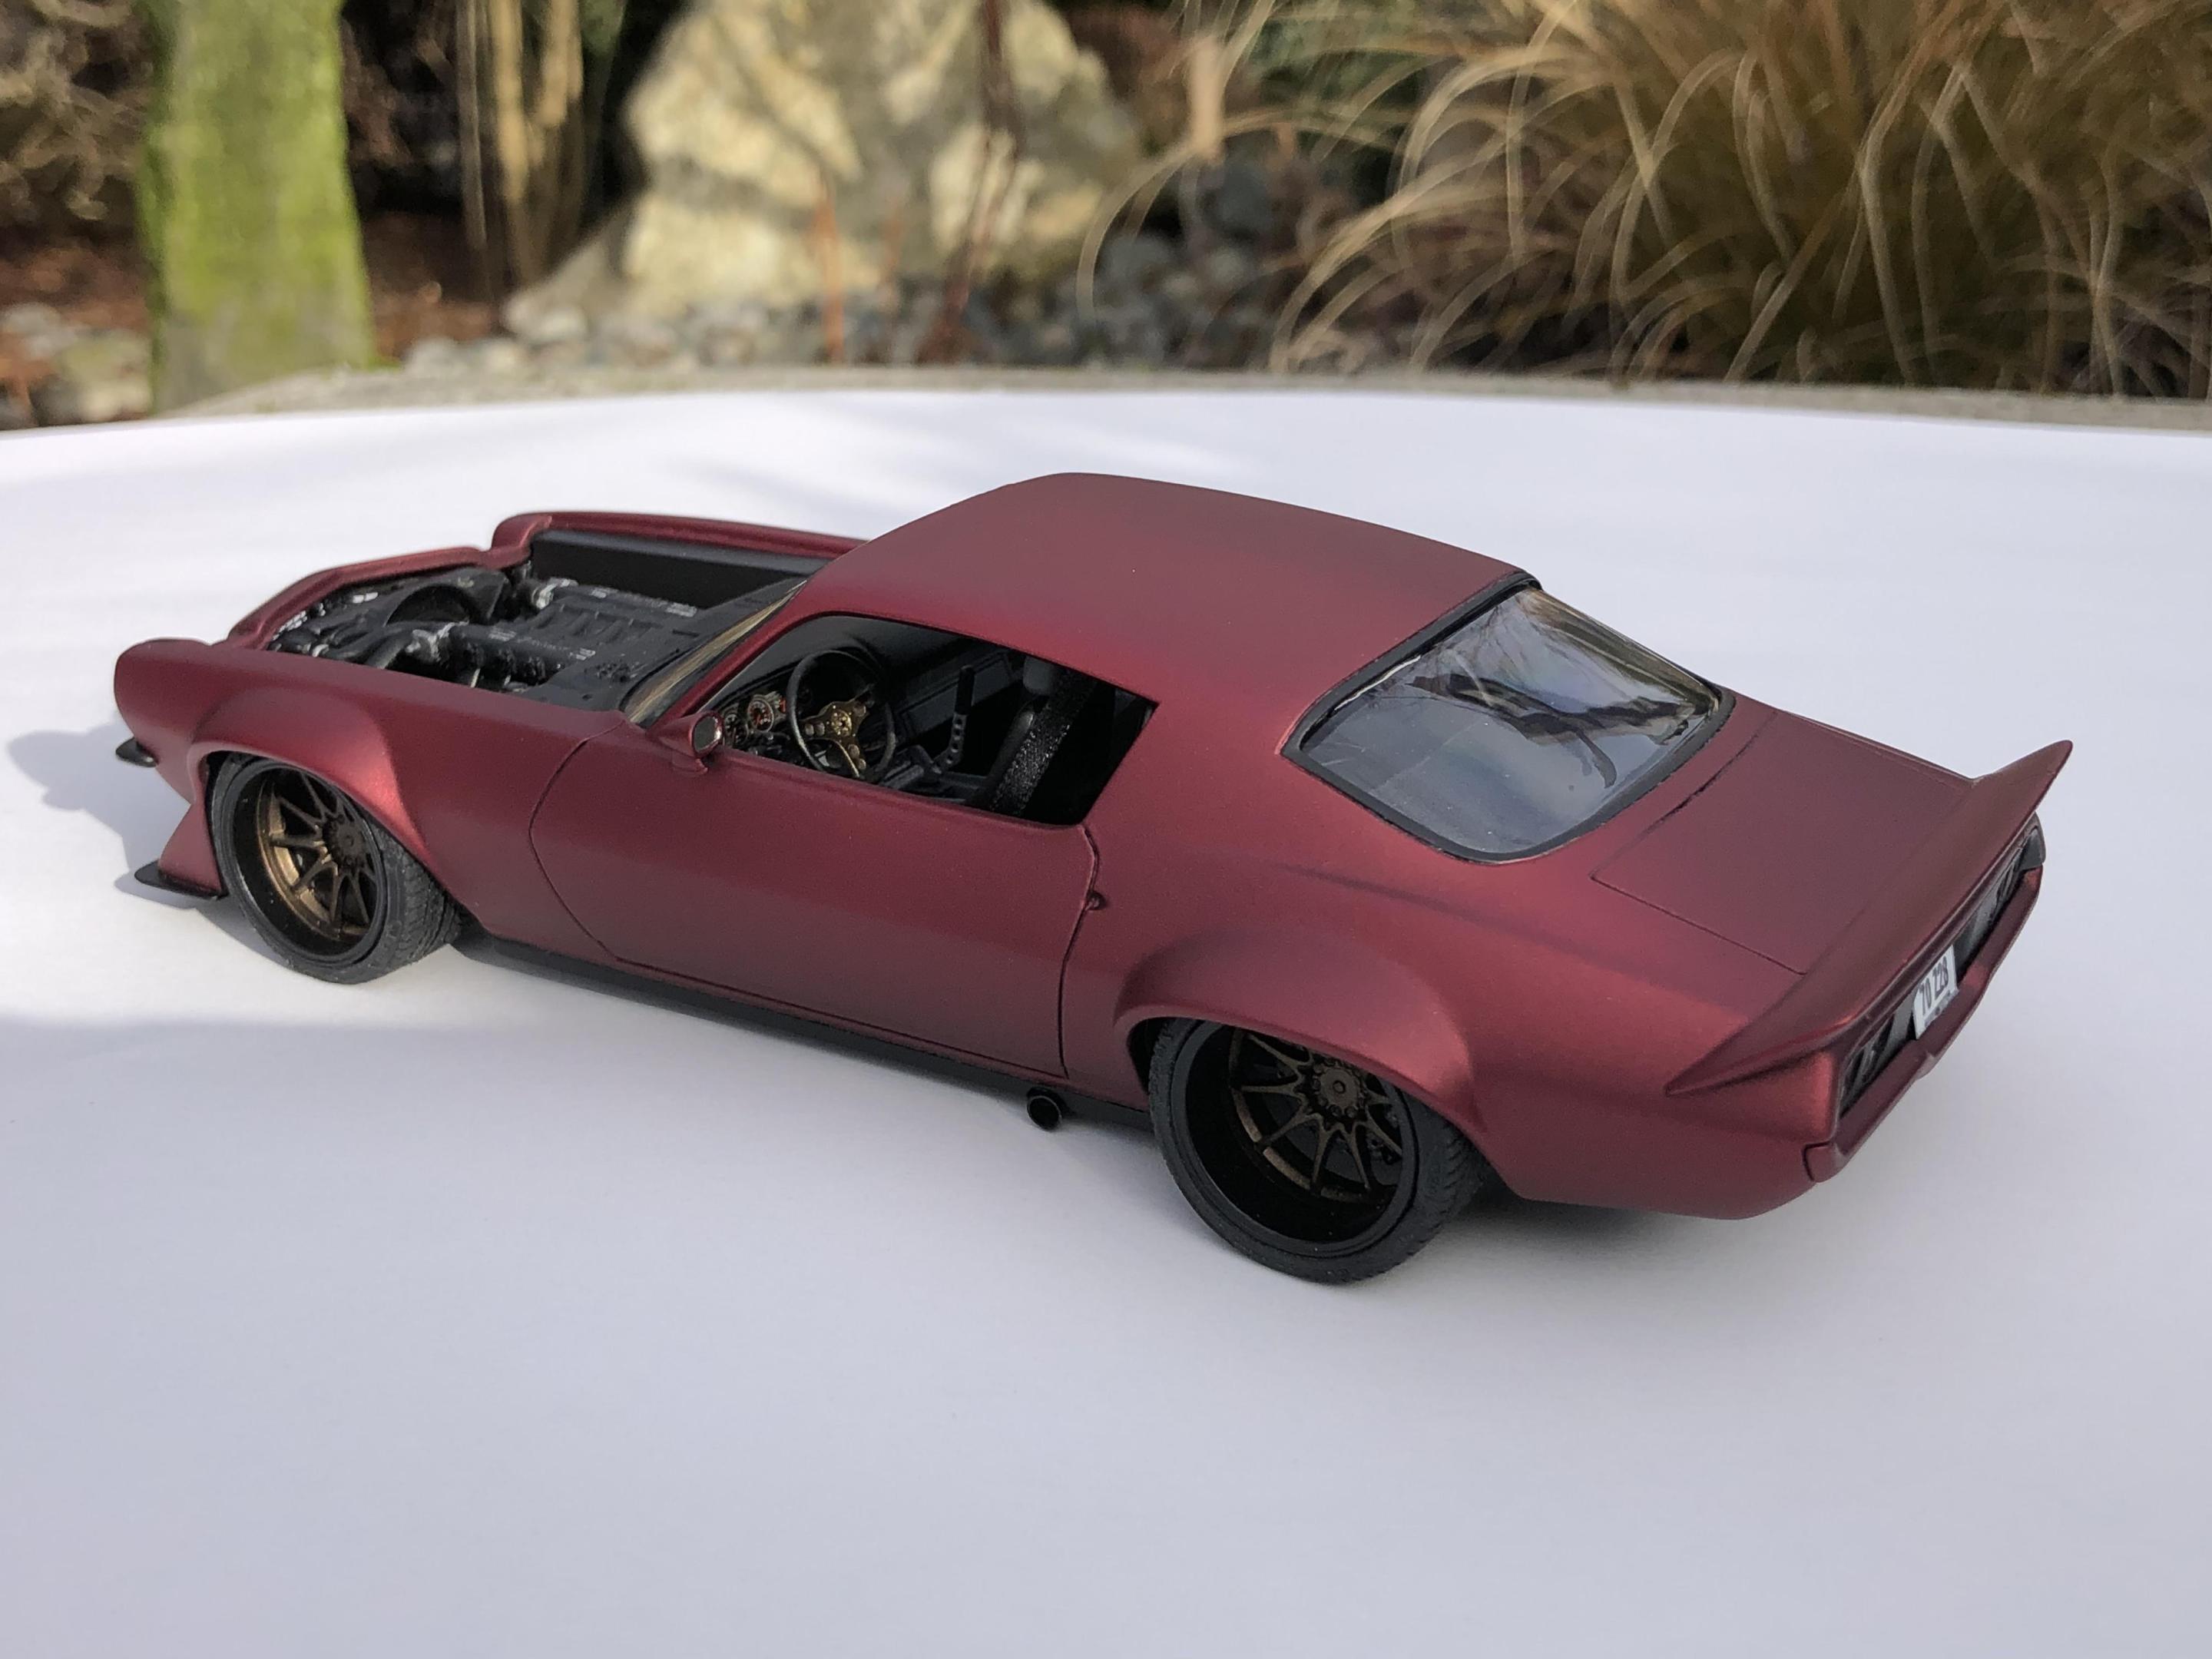
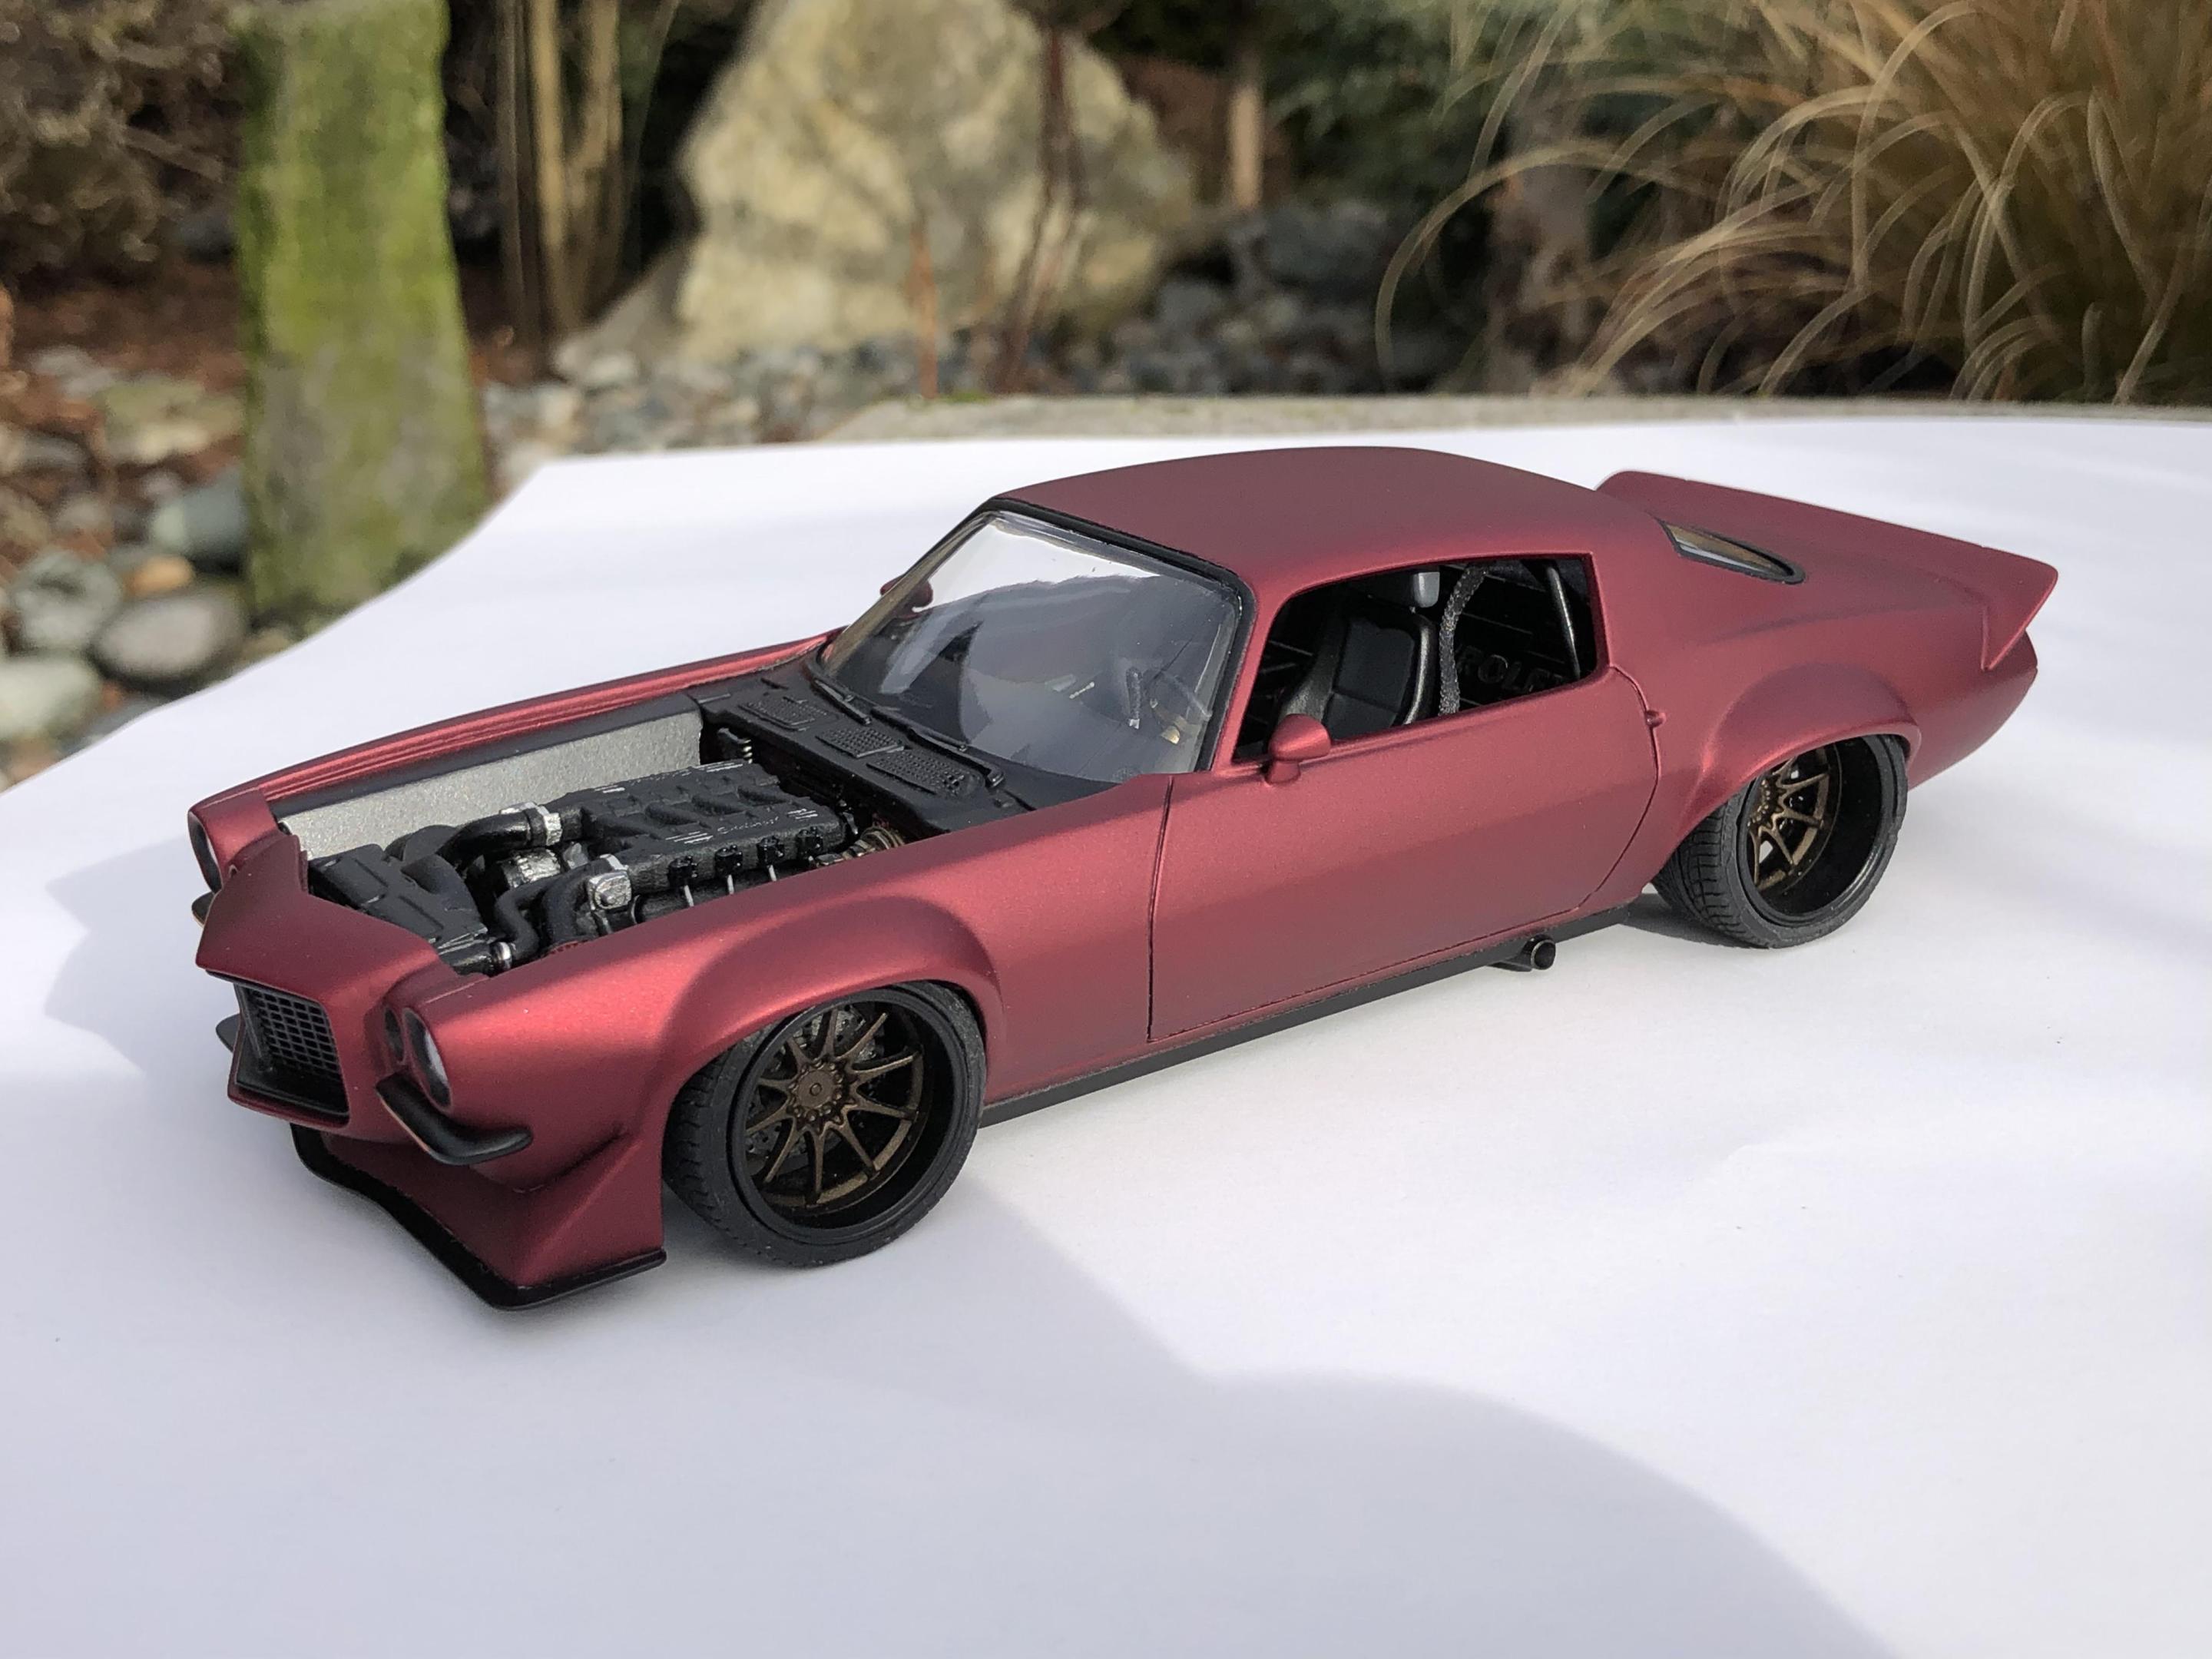
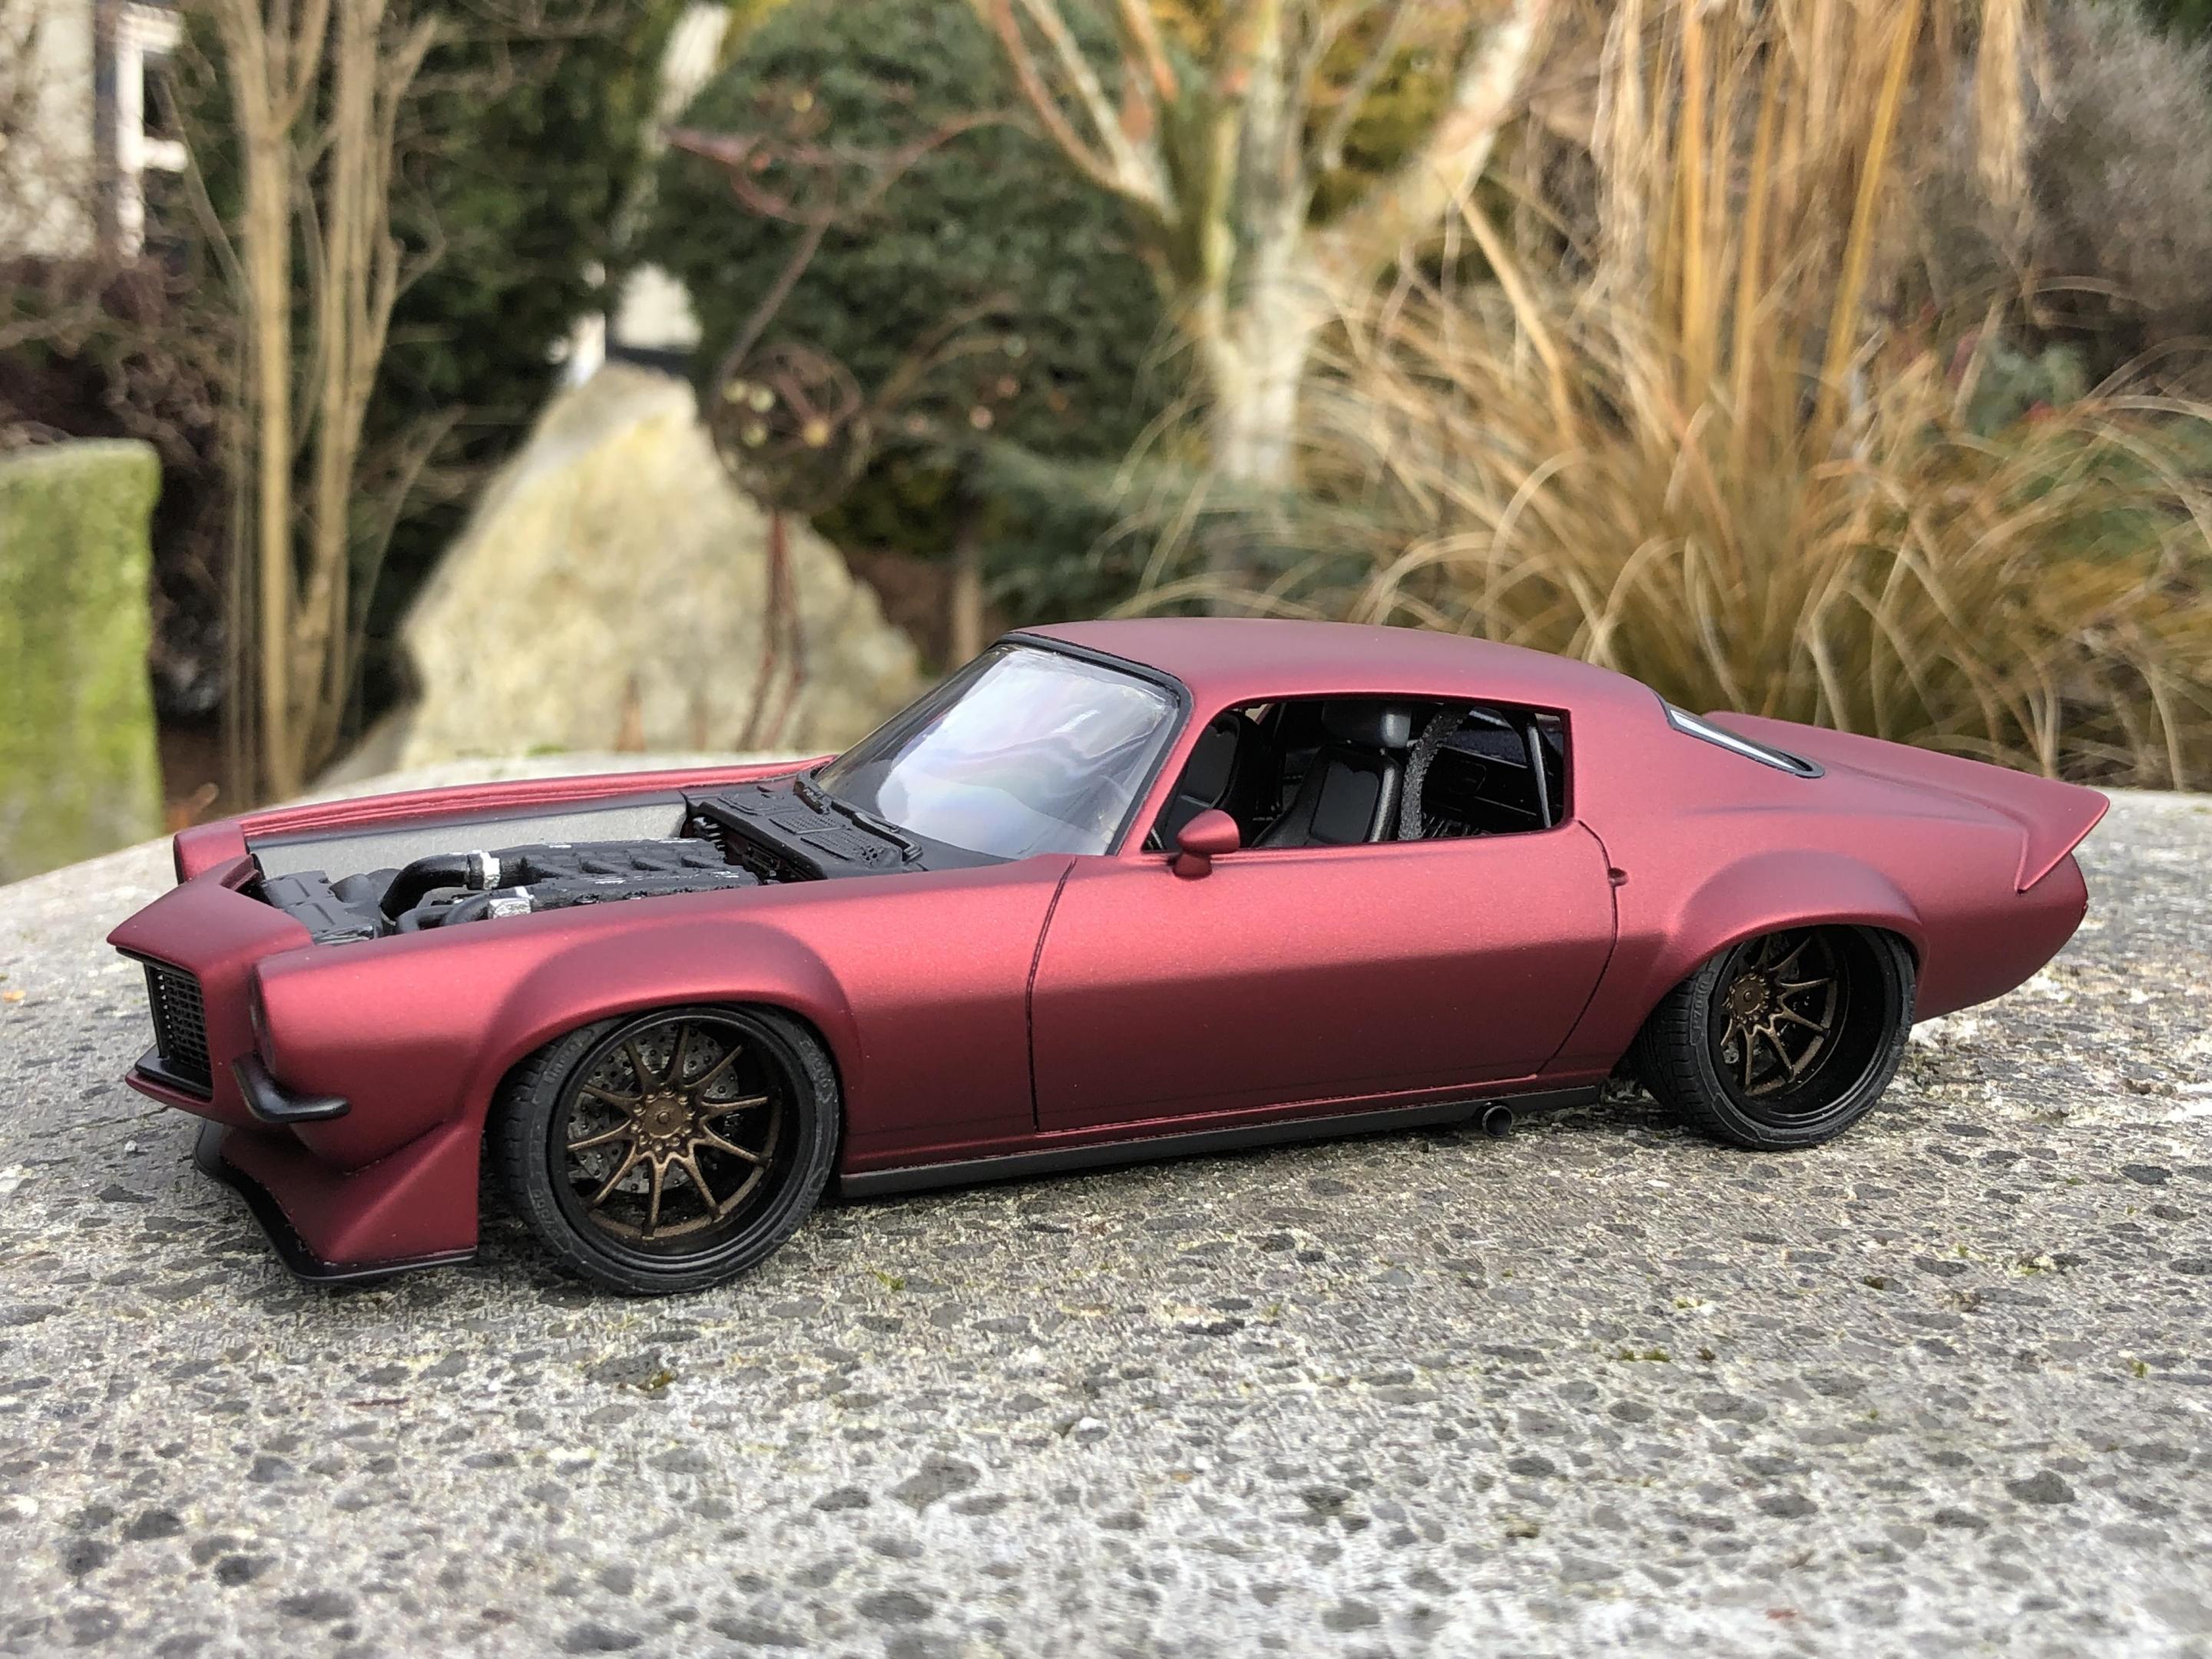
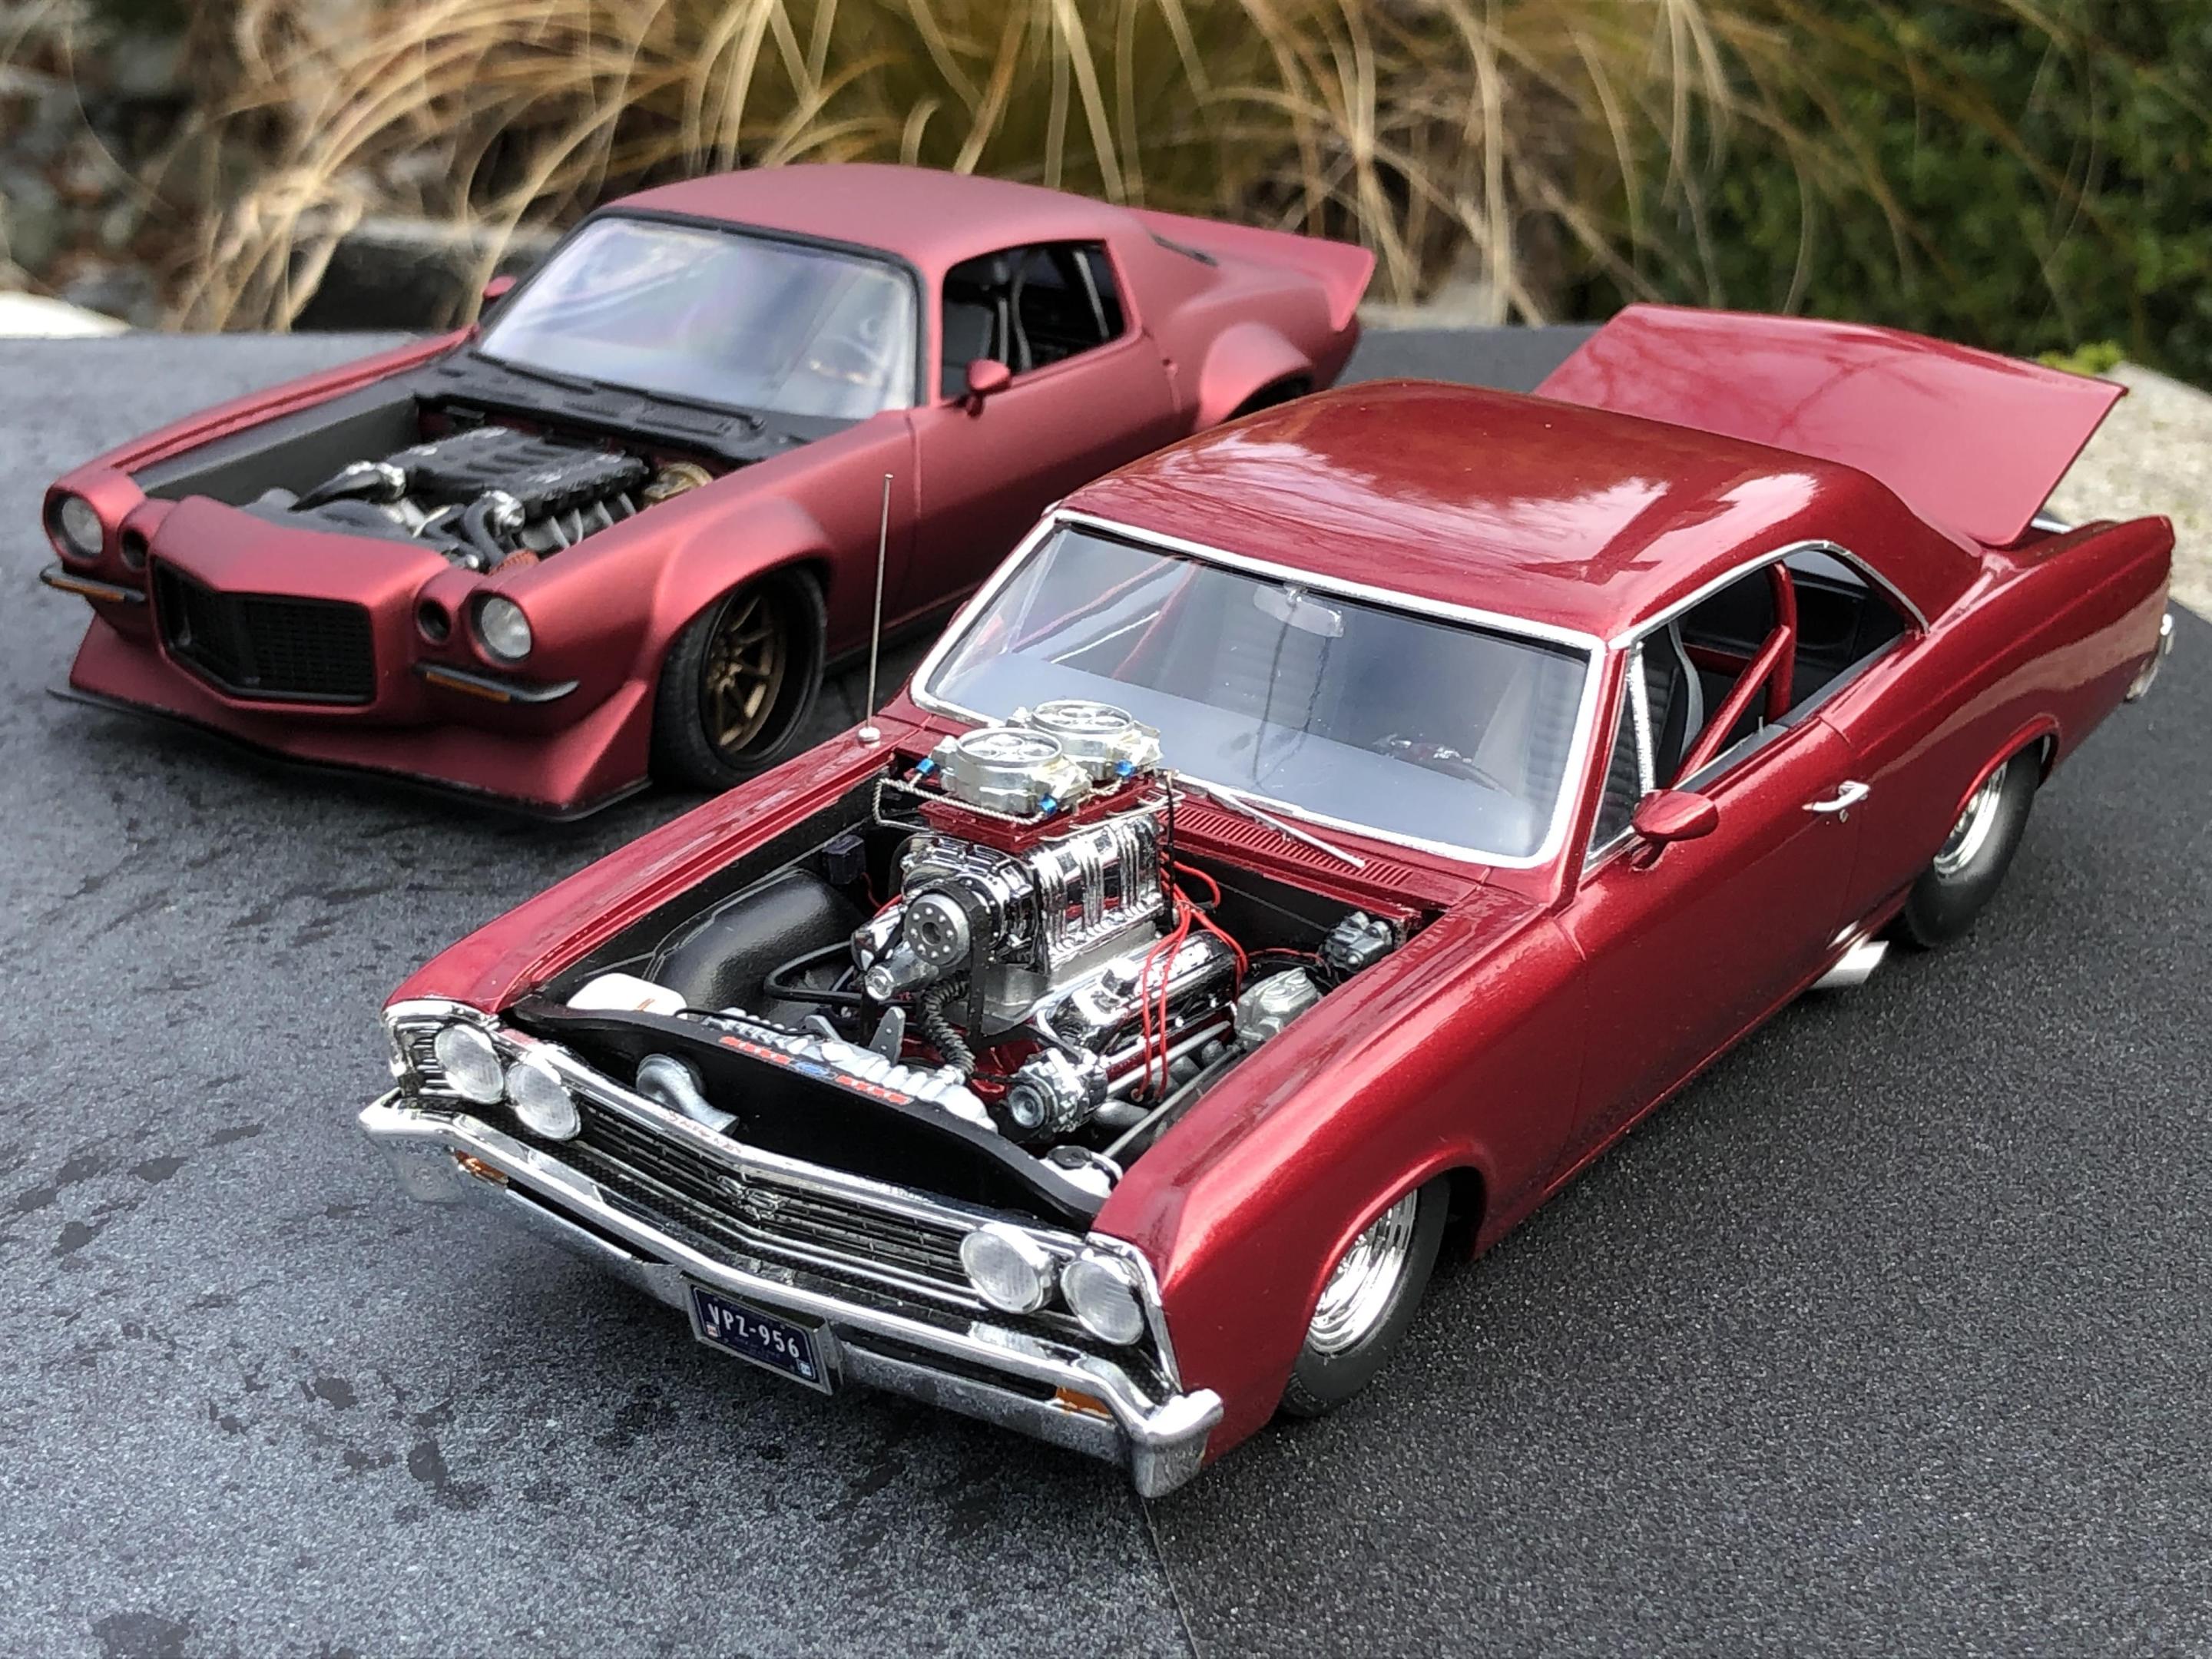
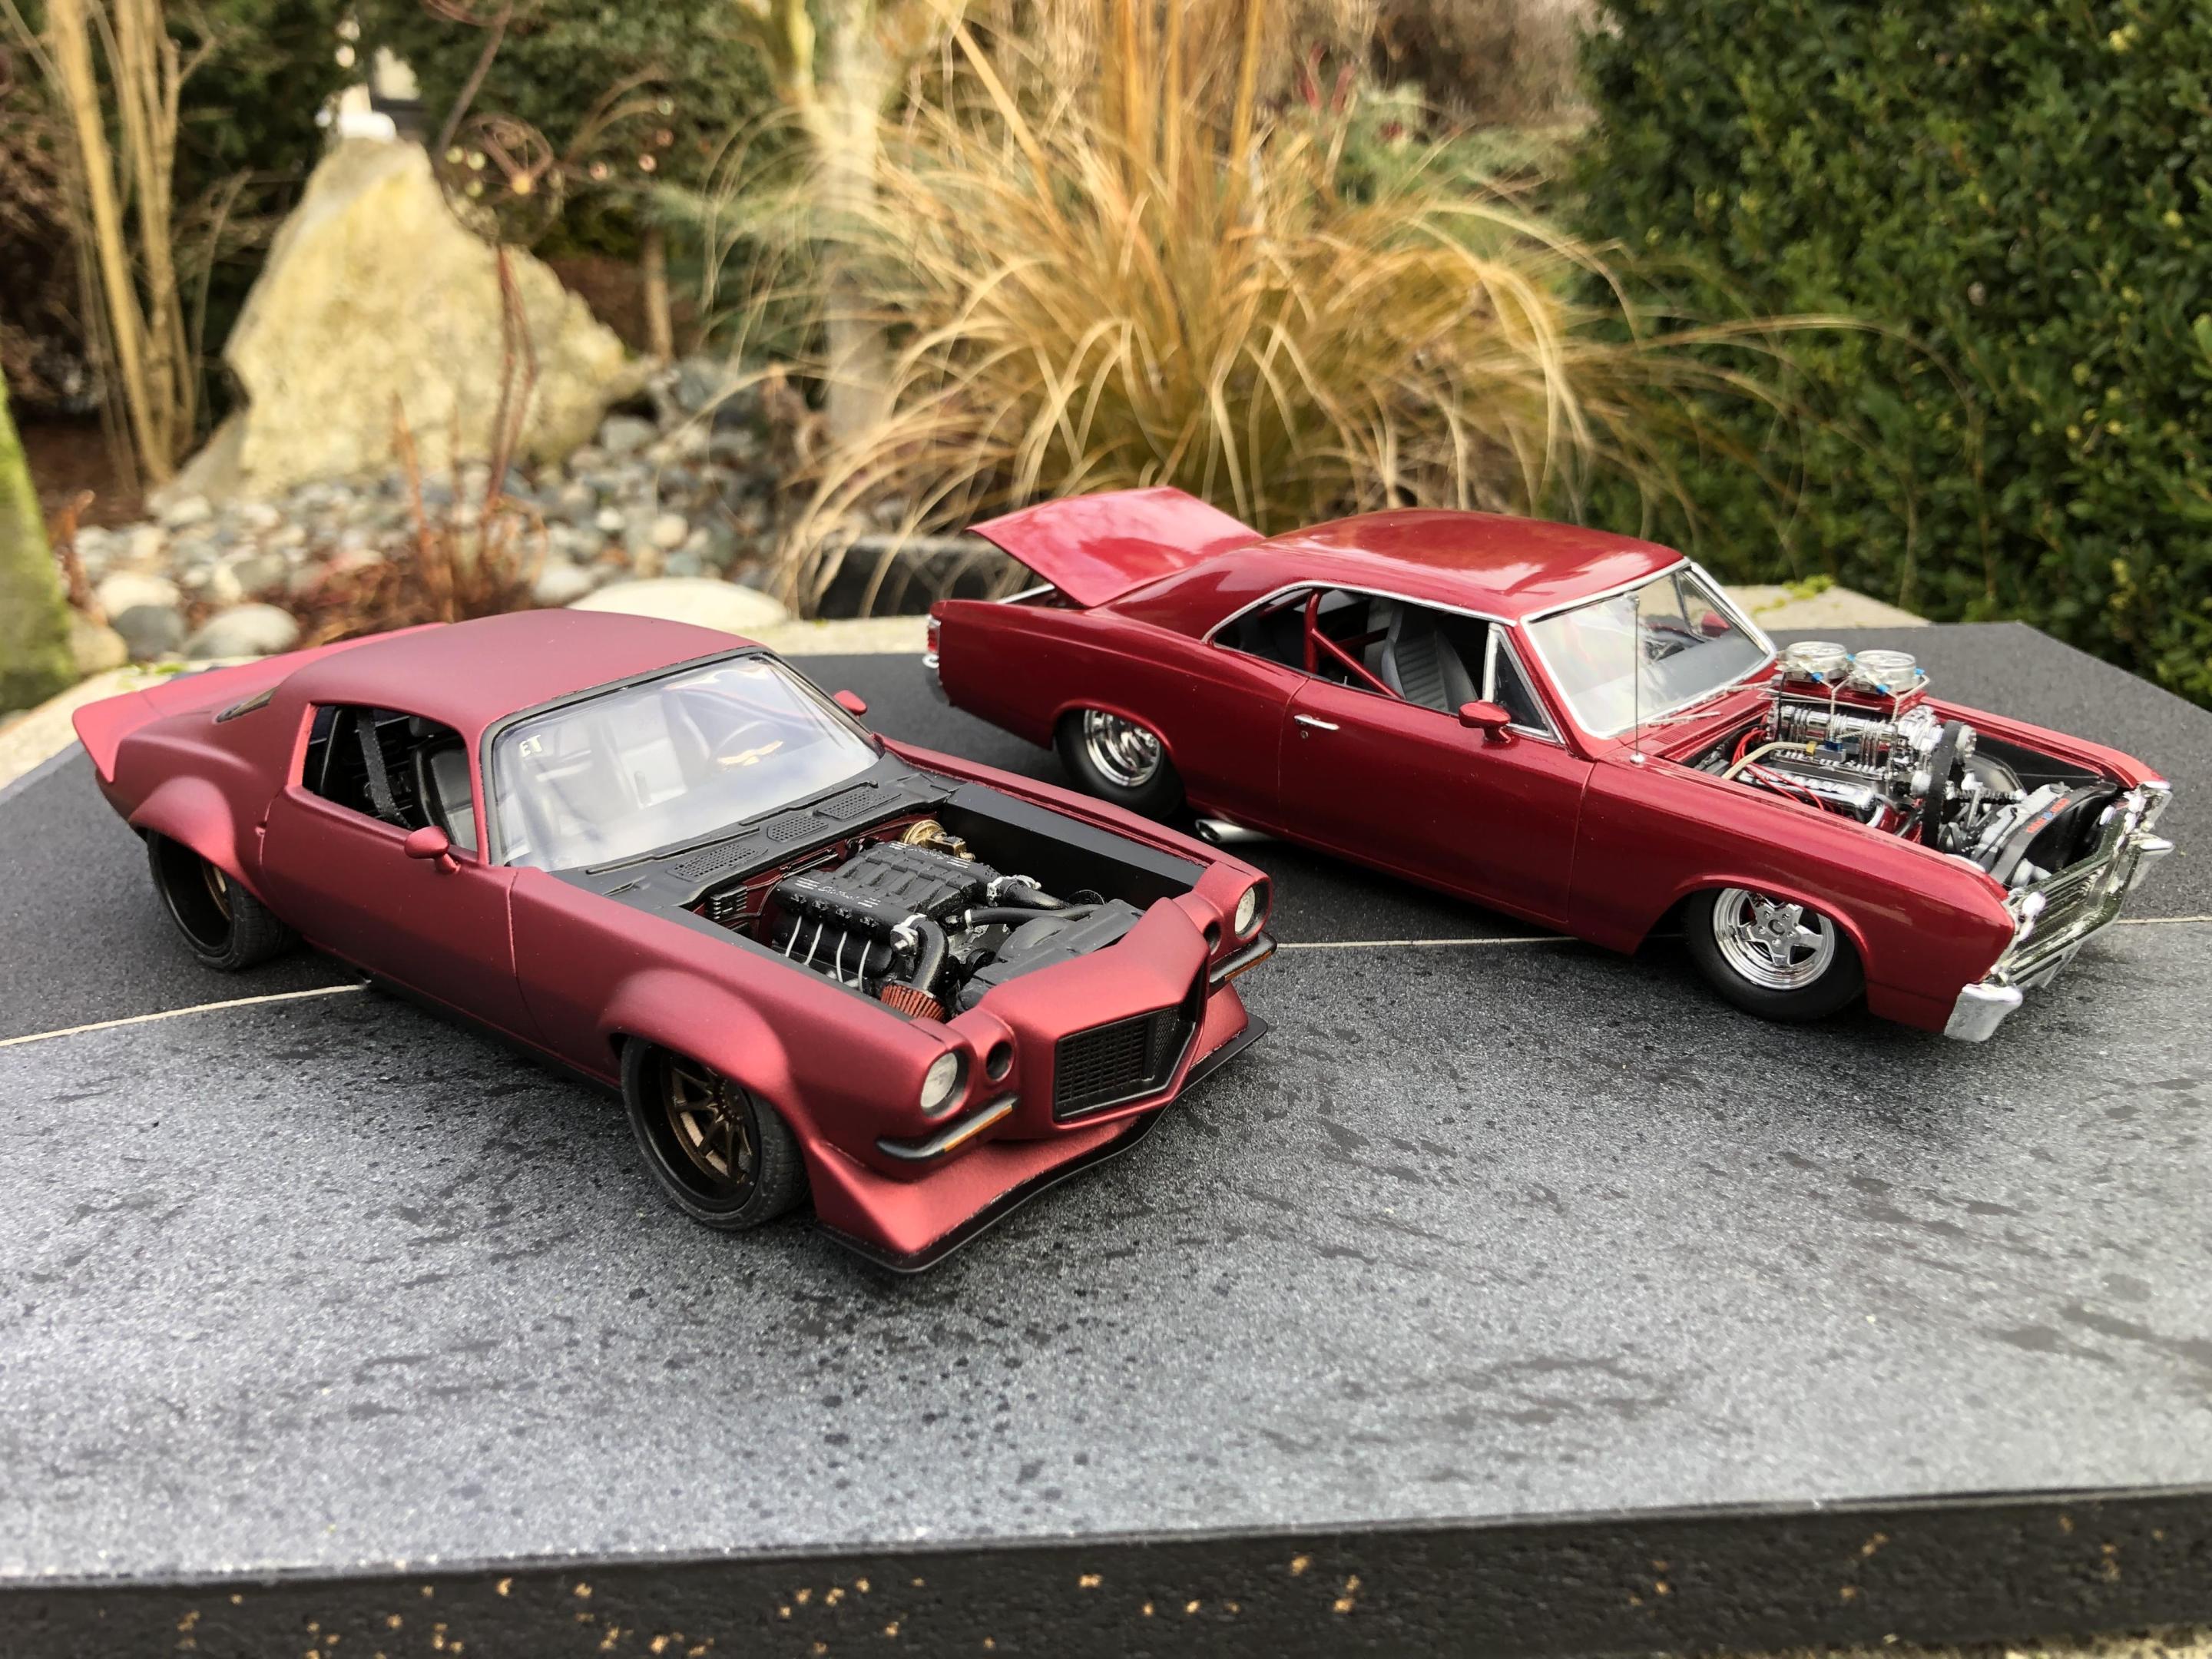
Hi all, A quick backstory on the 1:1 car. I don’t know a lot of the details, but what I learned is that the Dutchboys took this car to SEMA in 2015. The car set, and raised the bar for pro touring cars. My build is NOT intended to be a replica, just a tribute to capture the look of the car. I fell in love with the paint job when I saw it. Soooooo….. I added fender flares, and raised the wheel openings on the body modified Aoshima wheels added a splitter, modified the rear spoiler and bumper, photo etch grill, removed front turn signals for air intakes, added turn signals in bumpers 3d printed intake and air cleaners, made headers from 1.5mm solder, interior has a roll bar, hand made shifter, carbon fibre decals, photo etch door handles, speakers, gauge surround, and keys in the ignition. MCG printed gauges, sub woofer, fire extinguisher, embossing powder carpet and package shelf paint is Tamiya grey primer, Tamiya gloss black, Dupli-Colour GM medium Garnet red followed by Mr Hobby super smooth matte clear As I mentioned above, this is not intended to be a replica, just a tribute. I put my own spin on a few things. I am including more than my usual amount of photos to try and show the paint in different light. Still need a good sunset shot…. I’ll add that when weather permits. Honestly, the colour is hard to capture with my limited photography skills. Anyhoo, enough babbling here it is. First 3 photos are obviously the real car and inspiration Sorry for excessive photos…. just trying to show how much the paint changes in different light. Here is a couple of photos for comparison. The 67 Chevelle is painted the same colour with gloss clear… A big thanks as always to all of you that followed along on the WIP. I always appreciate the input and comments. I’ve been on the forum for 1 1/2 years now, and have learned a lot of tricks in that time. Thanks to everyone who shares their tips, tricks and techniques on this forum!!! As always, thanks for taking the time to look and comment Cheers, Steve
-
Hi! The 69 Camaro is a timeless design, a "one year car" as they say. It's replacement was marketed as the 70 1/2... What if that new grille had debuted on the 69? And some experiments took place? Mix a Revell 69 Z28, ZR-1 Corvette powertrain, radiator and tailights panel, IFS, rolling stock, fuel cell and battery case from the Phantom Vicky, all modified. Nose & hood from AMT's Baldwin Motion 70 Camaro, with hidden headlights (ah... the 60's!) headers from revell's 41 Willys motor, and now let's start cutting... The monocoque frame is totally scratch-built. The front section rises on electric actuators, the new cowl is there, as are the door sills and seat-belt retractors. The inner door panels are part of the front section, the rear window becomes a hatch, the rear seat is junked to give way to a powerfull speakers enclosure & amp, and the trunk welcomes a pedestal on which resides a twin-cantelivered mono-shock air suspension, fed (as are the front air struts) by a Ride Tech air compressor & reservoir. The 9" Ford rear is anchored by a triangulated 4Bar system. The floor pan is totally flat, using a taller "tunnel" to encase the tranny & driving shaft, leading to huge tubs. Scratchbuilt console, arm rest, cup holders, fire extinguisher and hand brake lever. Bucket seats are from my parts box. Fully hosed and wired, including the AC hard lines running to the radiator. Scratchbuilt: pedals, shifter, column, steering shaft, 4W disc brakes and calipers, carpets, valve stems. Blacked-out window surrounds. Paint is Tamya's Titanium silver + Testor's Wet look clear. Custom Tamya's acrylic mix for the interior and carpets. Alclad chrome on numerous parts. The joy of scale modeling is you can let your imagination run, and have fun! CT
-
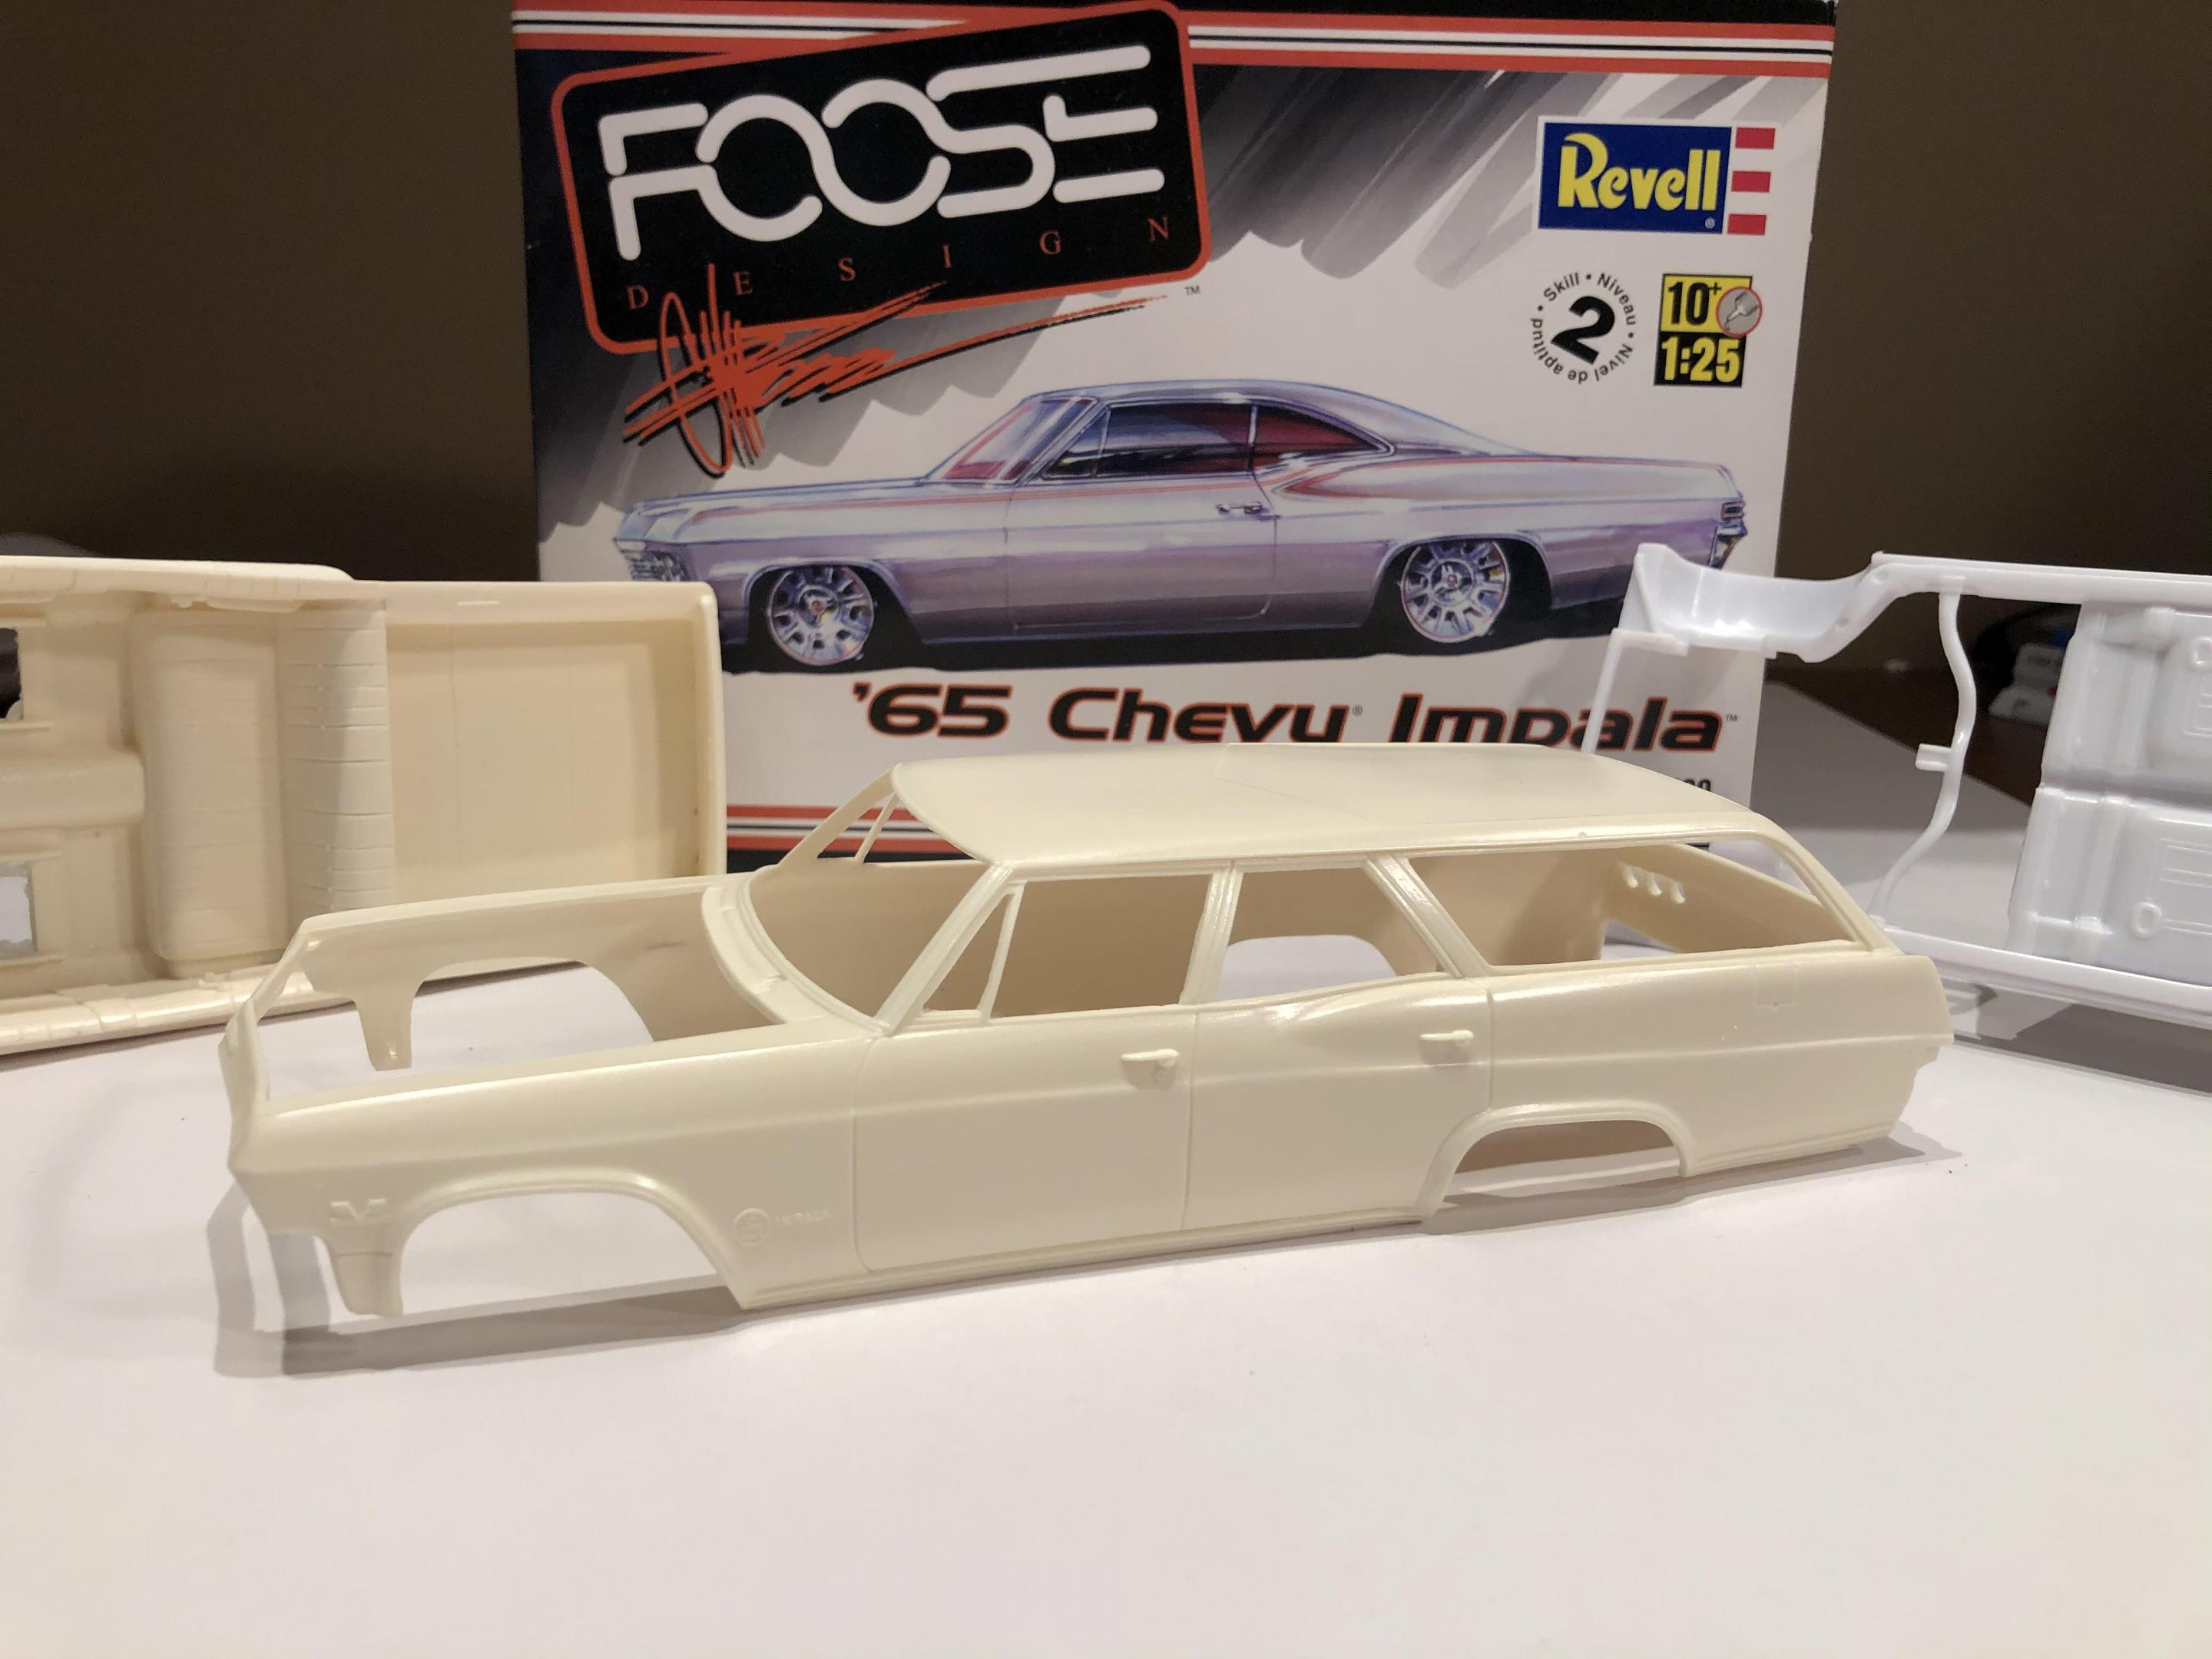
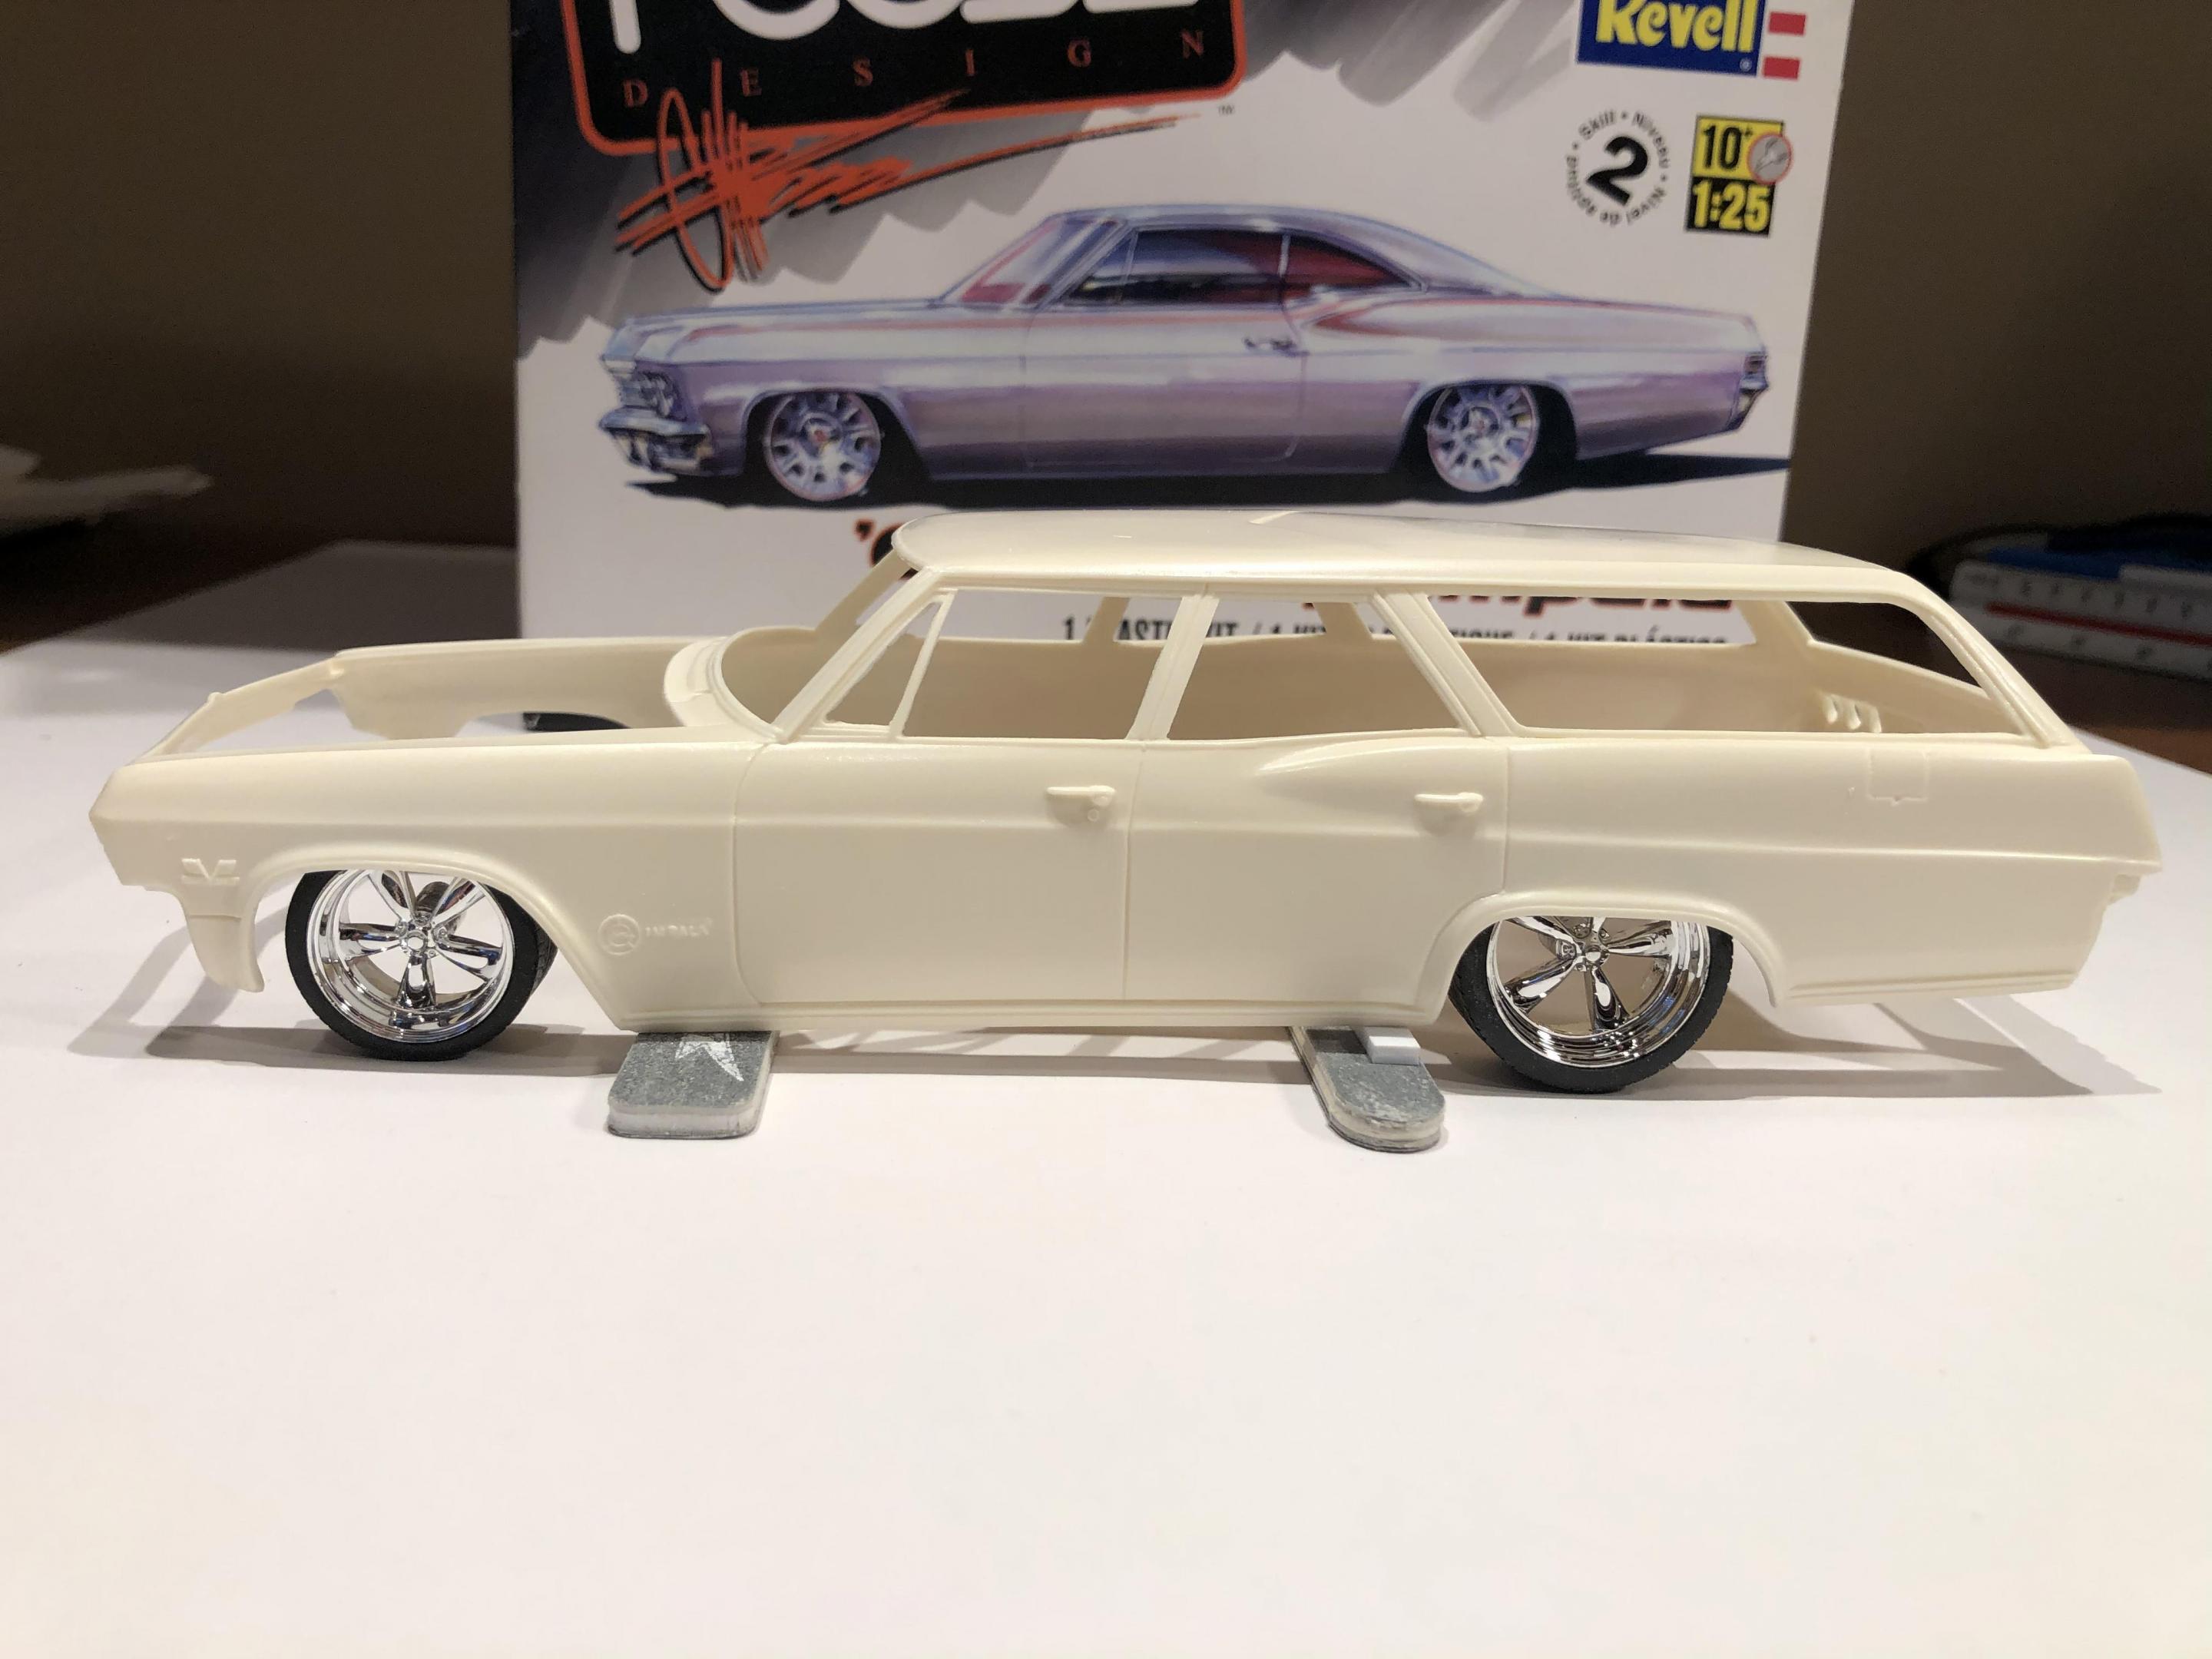
Hi all, Next up, A Modelhaus resin 65 Impala wagon. I’m going to kit bash it with the Foose 65 Impala kit. ( I will need another one of these as I really like the Foose kit) If you have seen my builds, you may have guessed it will be low... yup. Still gathering bits and planning, so it will be a slow start. The resin kit will supply the body, interior tub, (which will need some mods), glass, and rear bumper. Everything else will be from the Foose kit, or parts stash. I played around a bit with the notion of converting it to a two door, but will likely take the easy route on this one and stay with the 4 doors. Probably Pegasus “T” wheels, which are my wheel of choice for this type of build. Sort of classic, sort of modern at the same time in my opinion. The engine will be a big block, deciding between a BNL resin 454 with modern induction set up, a Ron Olsen LS engine with a similar modern intake, or a good ol 409 with a modern intake, maybe a belt driven turbo. Decisions, decisions.... The body has a slight “twist”, or warp to it. I will try to straighten it, but failing that, it is subtle enough to live with, and I think when glued to chassis it will probably right itself. Any input on straightening would be welcomed. As always, any thoughts, comments, input and ideas welcomed. Thanks for having a look. Cheers, Steve
- 165 replies
-
Hi everyone I've been building and scrapping this build for going on 3 years. This is my first model build I've ever done. I would love to get ideas, help, or any other feedback to help me move this baby along. I have a bunch of ideas I want to incorporate into it from some of my favorite builds. So far I'm going to be making a efi itb dodge NASCAR engine. I made the wide 5 wheels from some wheels off of eBay. I think I definitely need some kind of flares to widen the stance (I think it looks too narrow under the stock fenders). I'll post some quick mock up pics below. Thanks for looking and look forward to see what you all think.
- 56 replies
-
- pro touring
- mopar
-
(and 2 more)
Tagged with:
-
I'm building a canyon-carving Pacer wagon, and a live axle with parallel leaf springs just doesn't seem to go with the theme of the rest of the build so far. Does anybody have any suggestions as far as modern, mid-sized independent rear suspensions are concerned? I was thinking perhaps a Revell Challenger or Charger may be a viable donor, or perhaps a Camaro or latest generation Mustang. Has anybody built any of these that can speak as to the quality of these rear suspension sub-assemblies, and how easily they can or cannot be separated from their associated chassis? I'm not looking for a street rod style rear end, and I think I'd have to go too far back to find an available Corvette kit that didn't incorporate a transaxle. Edit: I'm using a Toyota 2JZ-GTE for power, so if there's a European or Japanese subject that has a decent rear suspension to adapt, I'm down for that, too.
- 30 replies
-
- tuner
- pro touring
-
(and 1 more)
Tagged with:
-
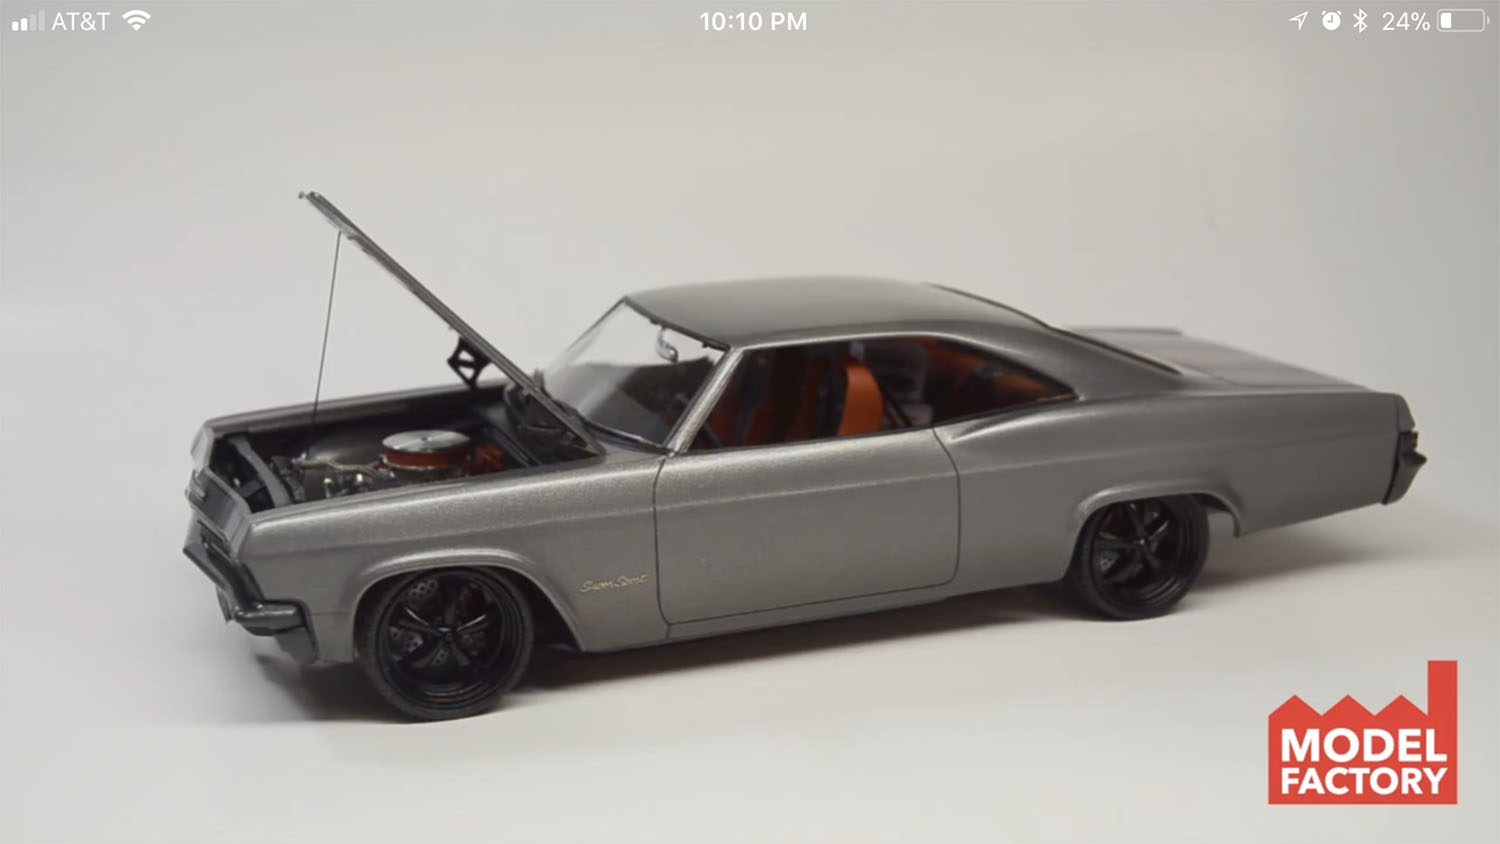
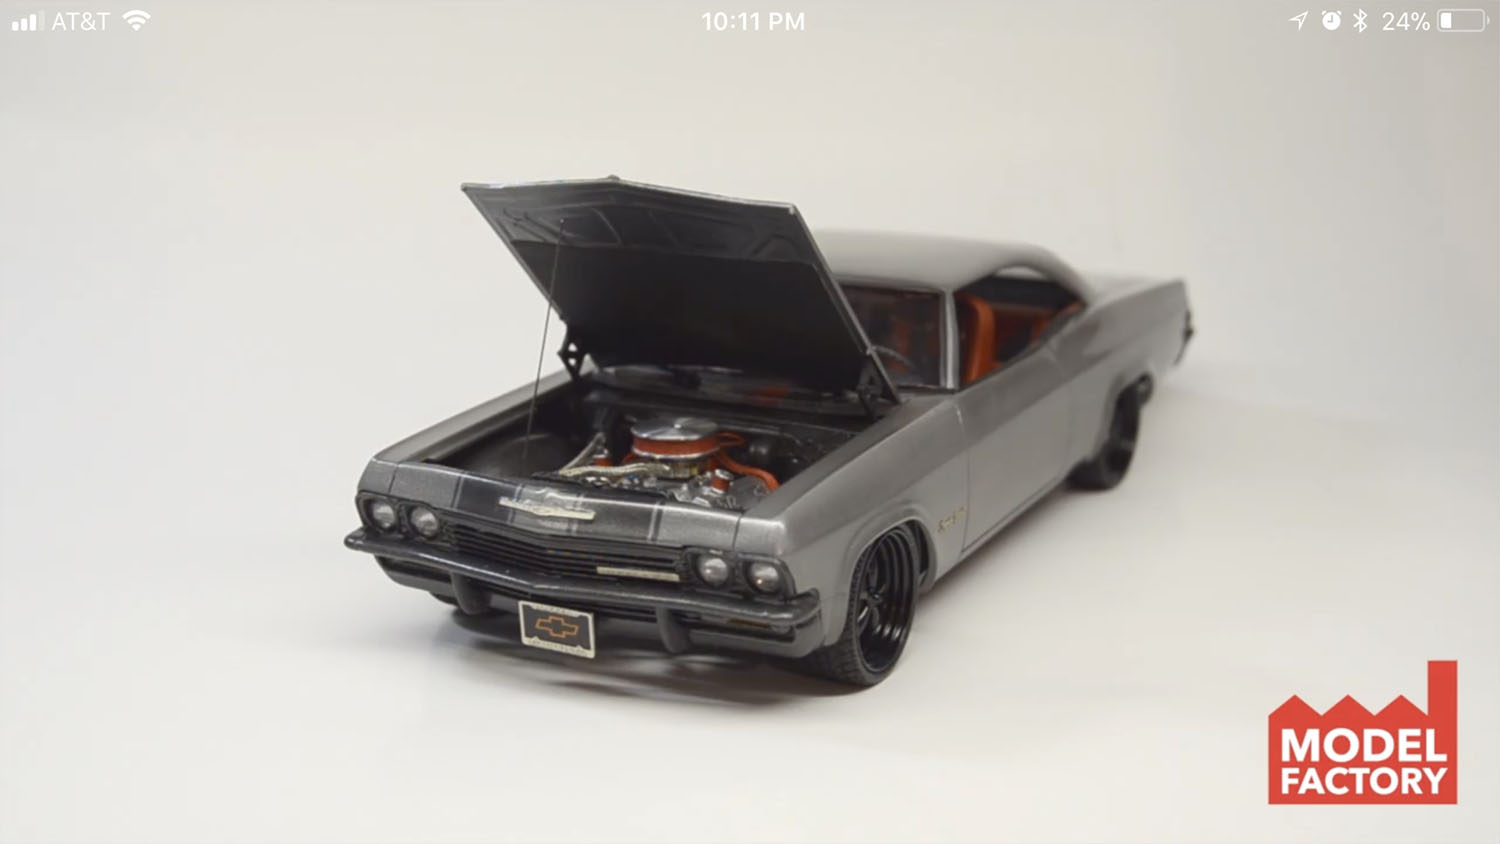
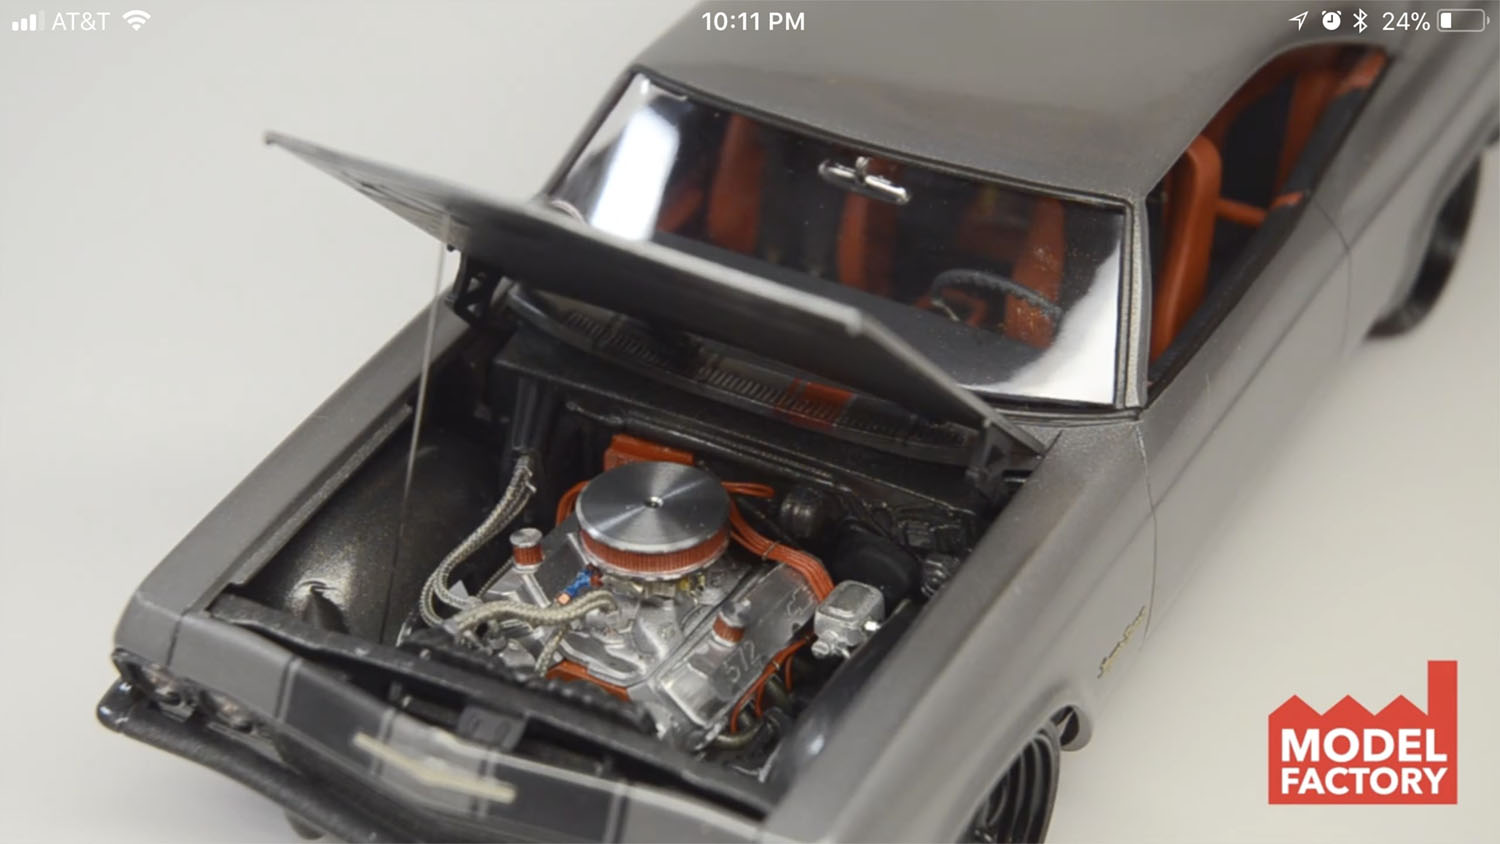
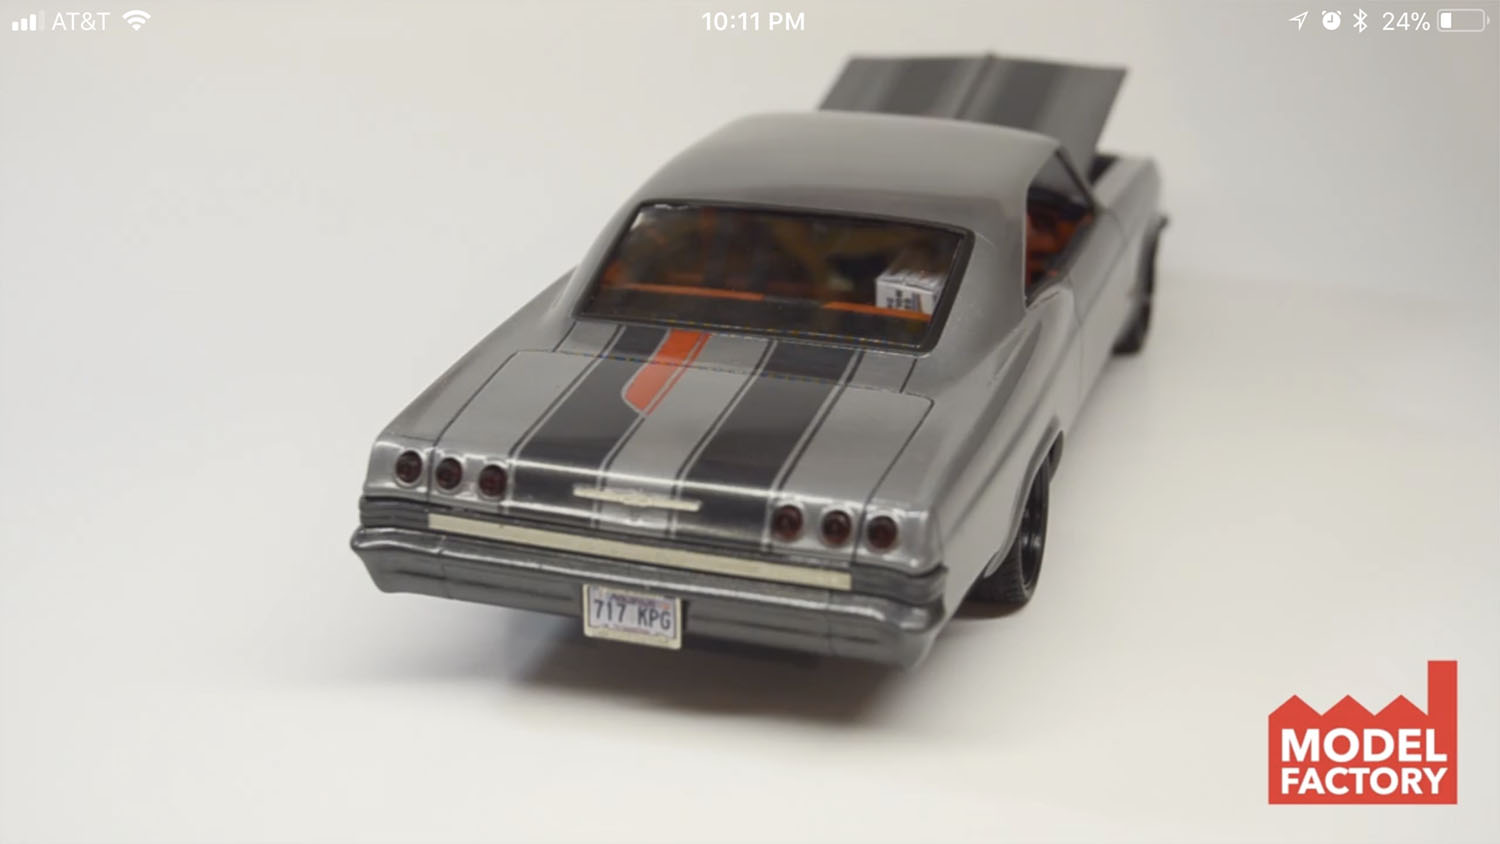
Hi all, Been a while since I posted one of my builds on here. This is the Revell Foose 65 Impala that I finished up a couple of months ago. I used a lot of engine and interior detail parts from Pro Tech Such as all wiring, plumbing, fittings, carb, air cleaner, oil breathers, oil filter, throttle linkage, distributor setup and seatbelt harness. Also a complete Resin and Aluminum Big Block 572 engine, full exhaust and custom racing seats from Sweet Scale detail. The wheels are parts box wheels that I took off of an old Di-cast a few years ago. There is a PE set form The Model Car Garage used also for the emblems and dash detail. Hope you all enjoy the pics.
-
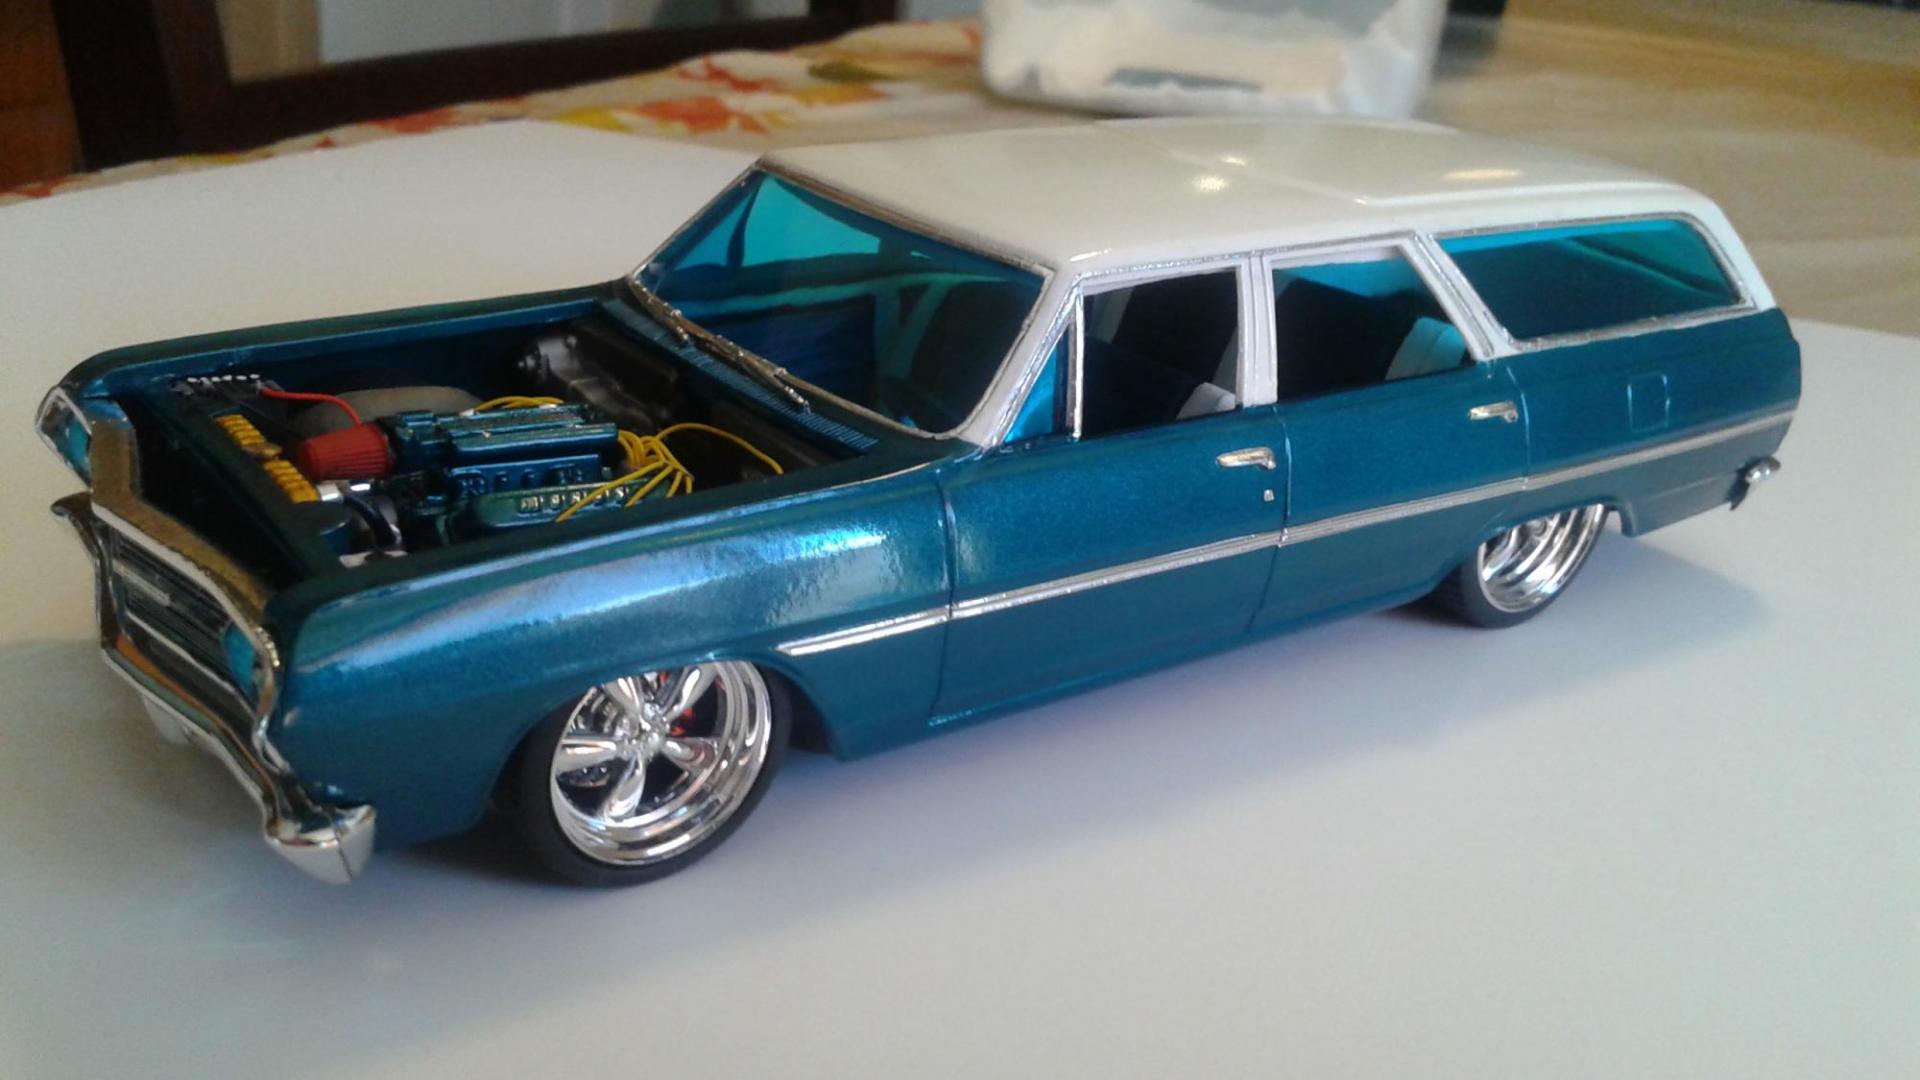
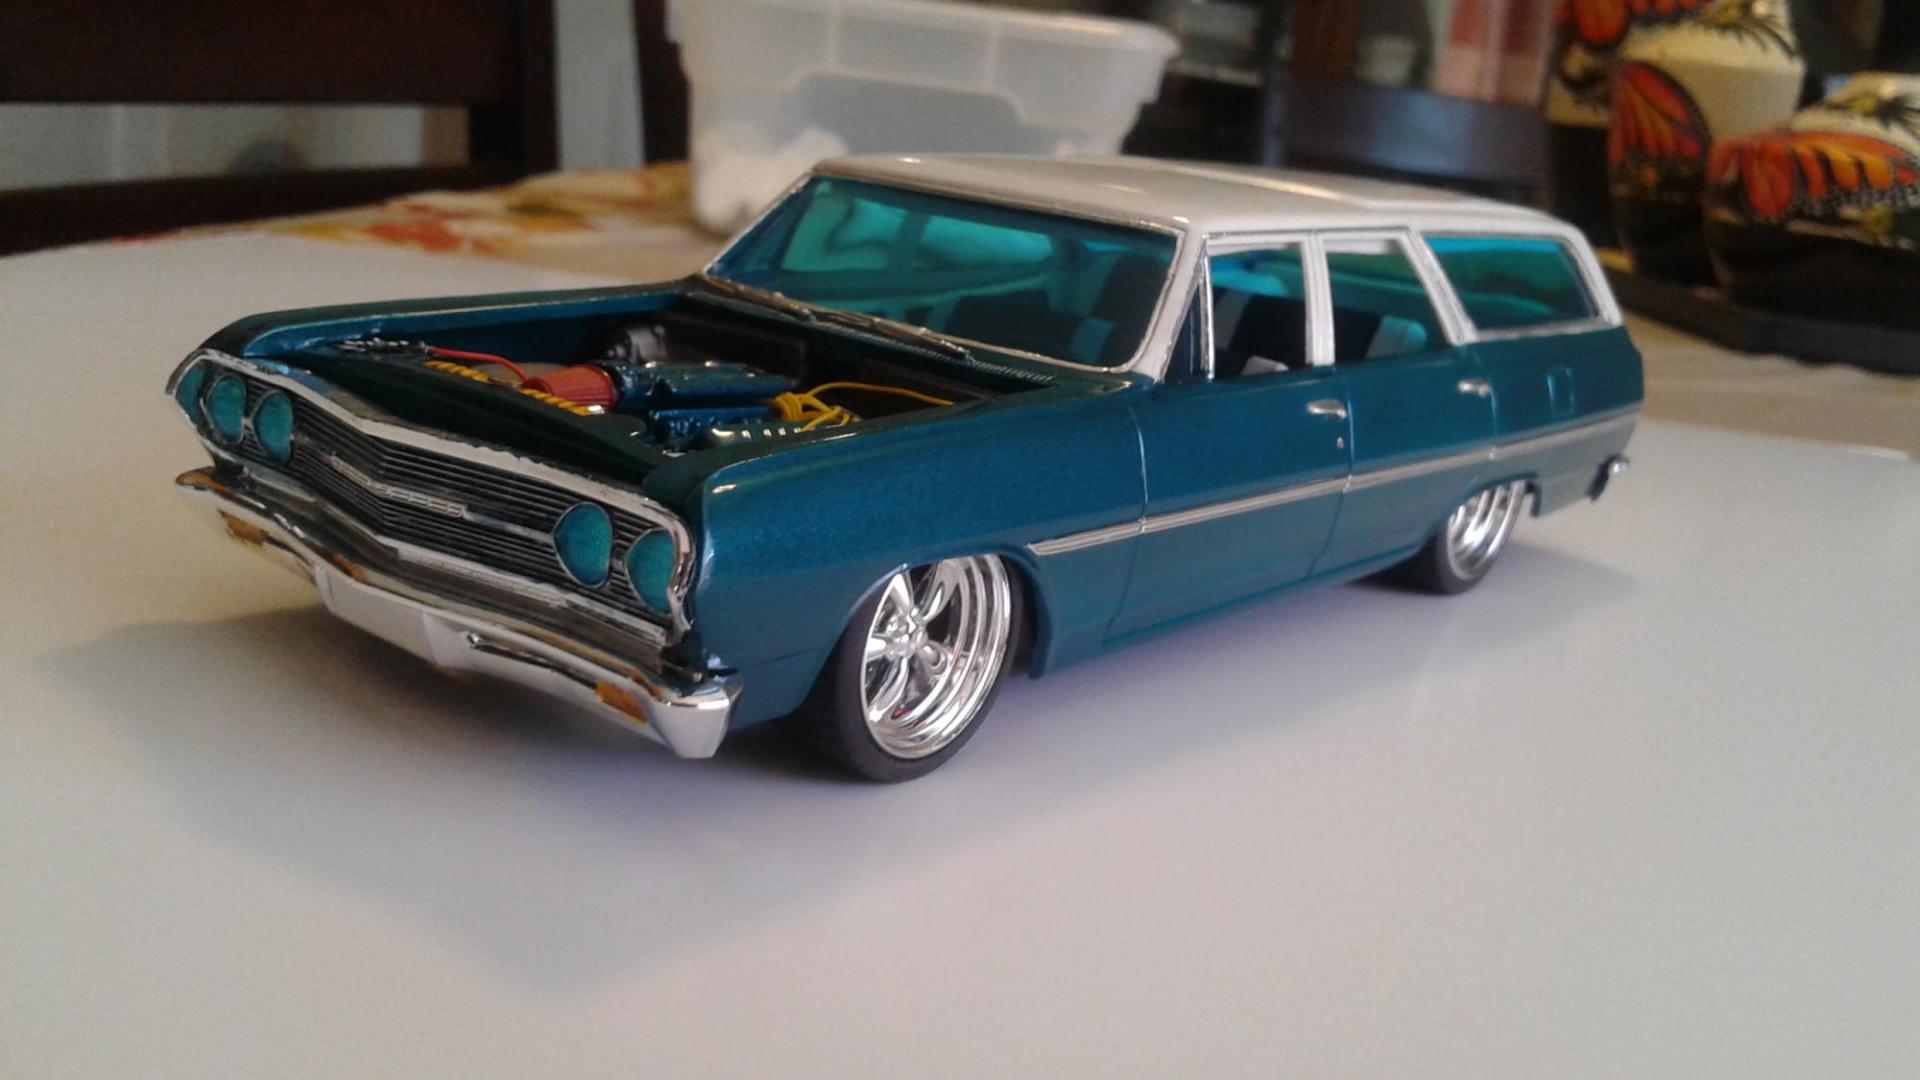
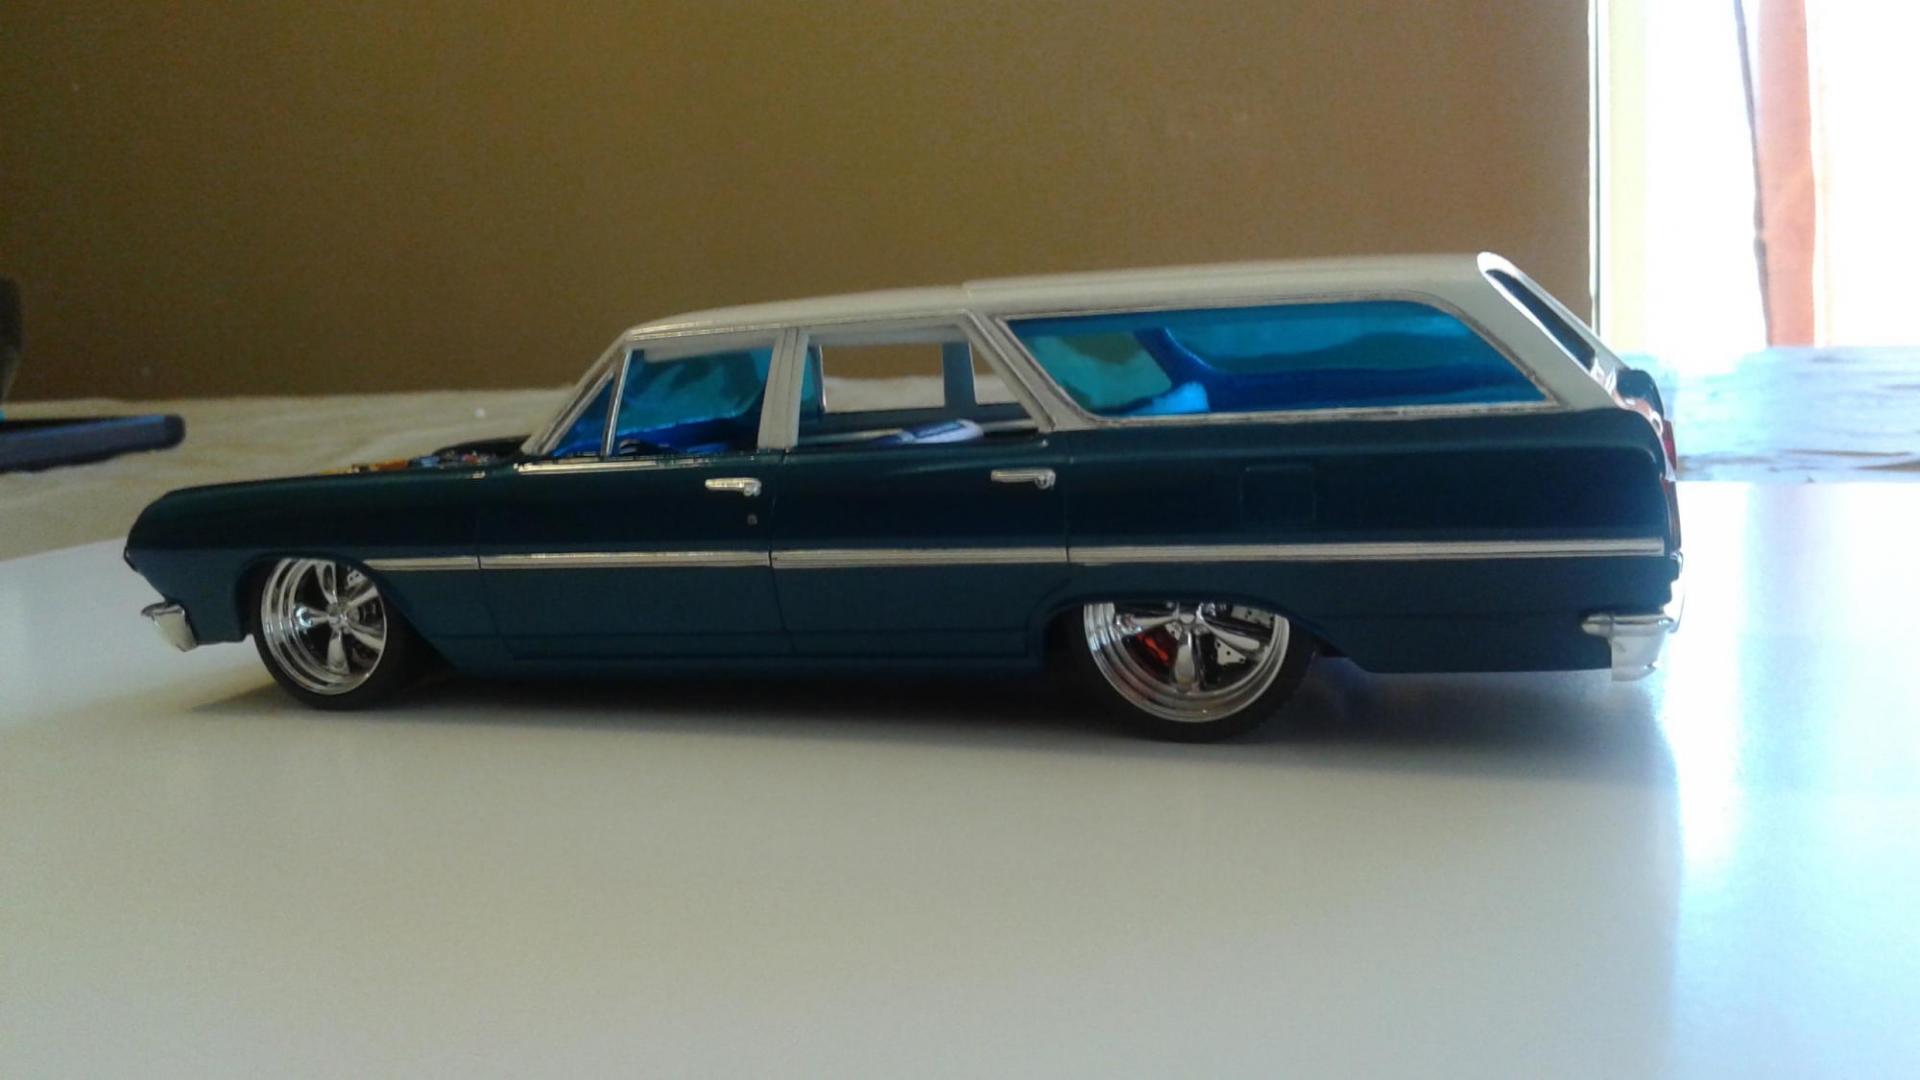
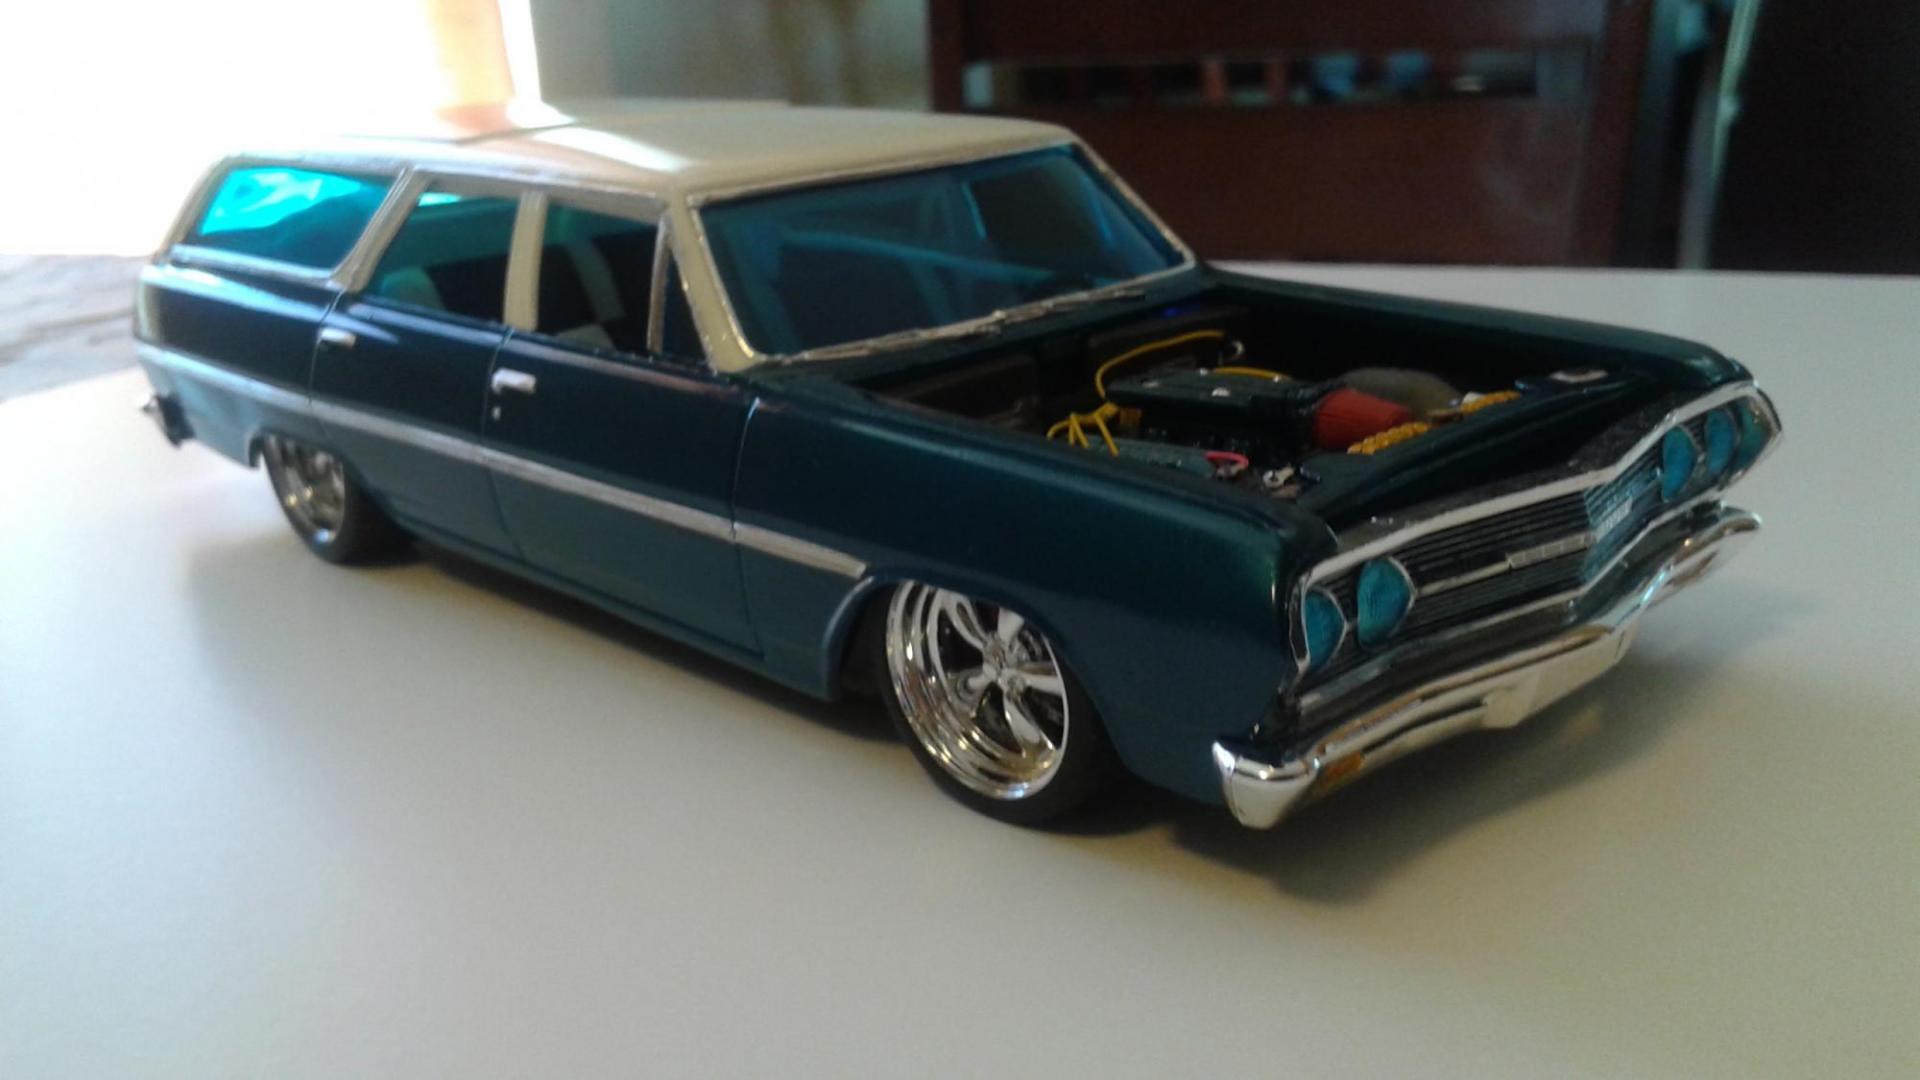
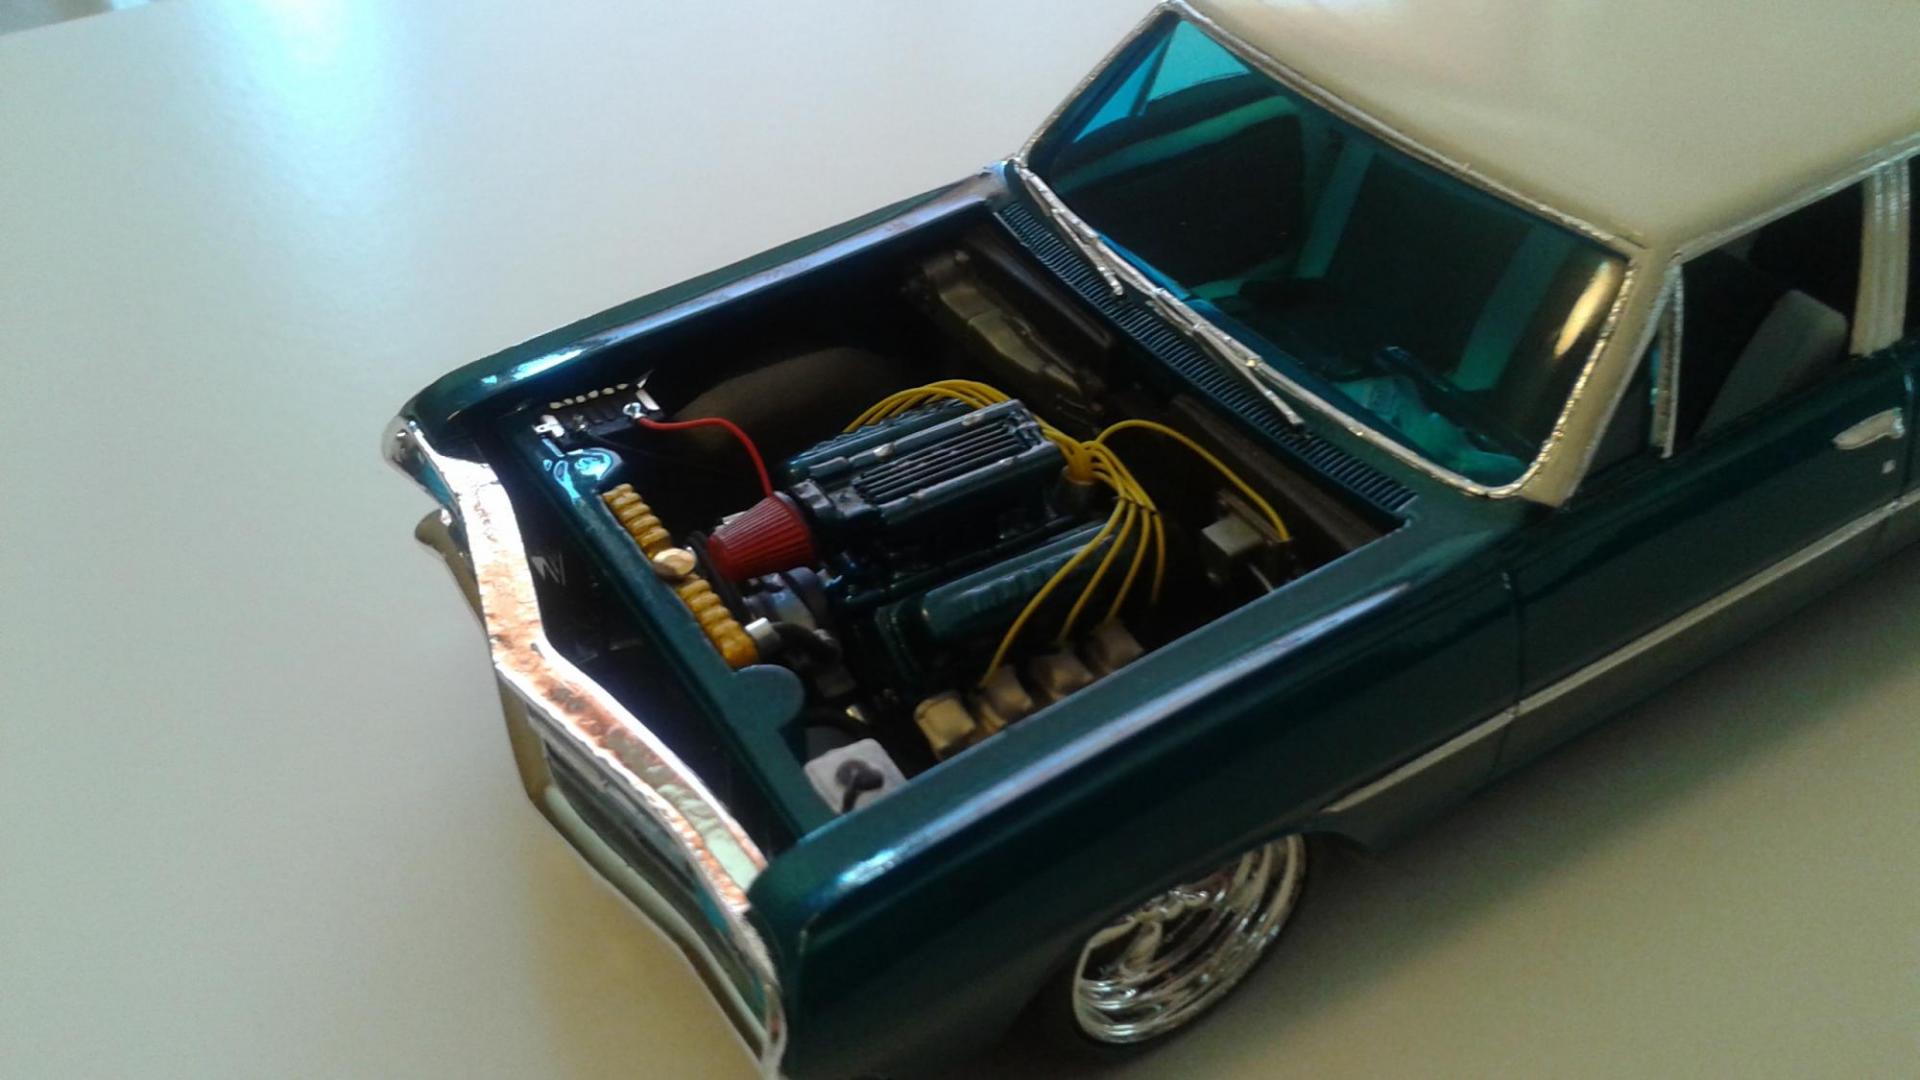
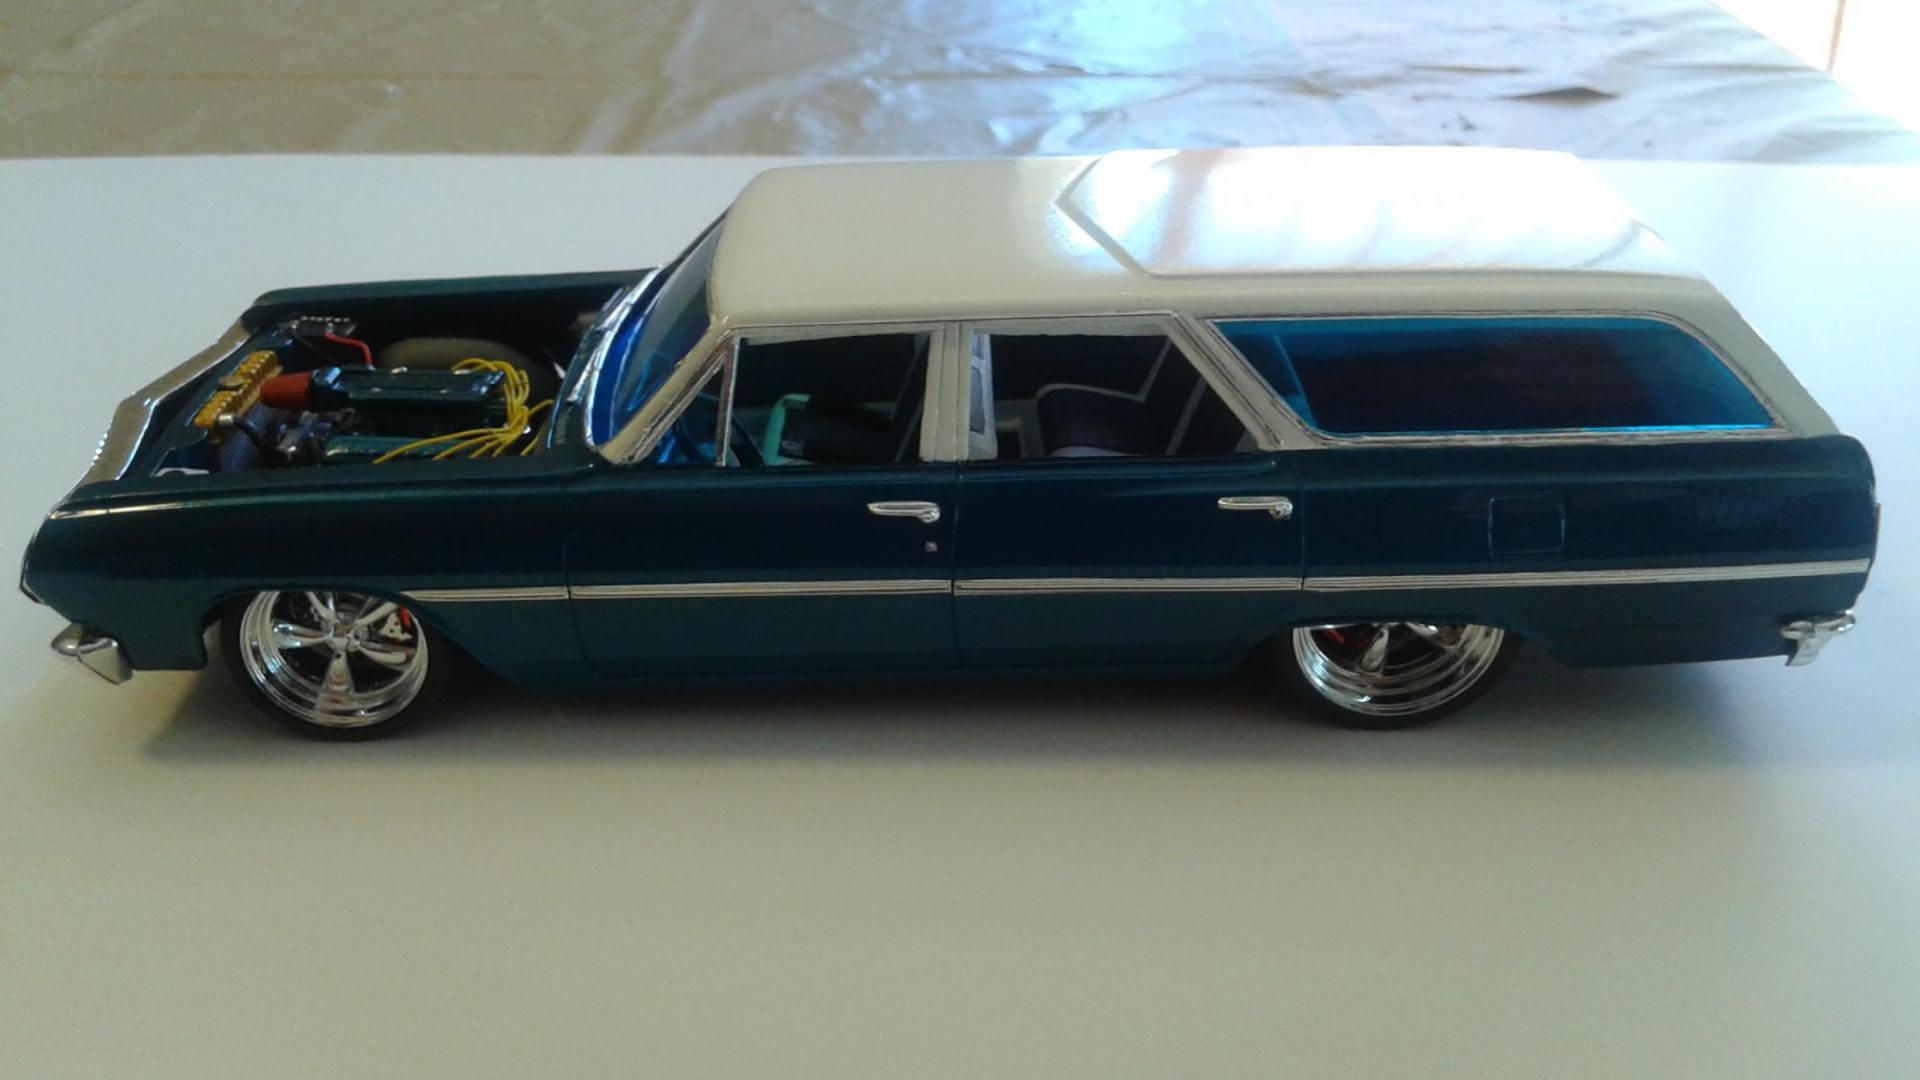
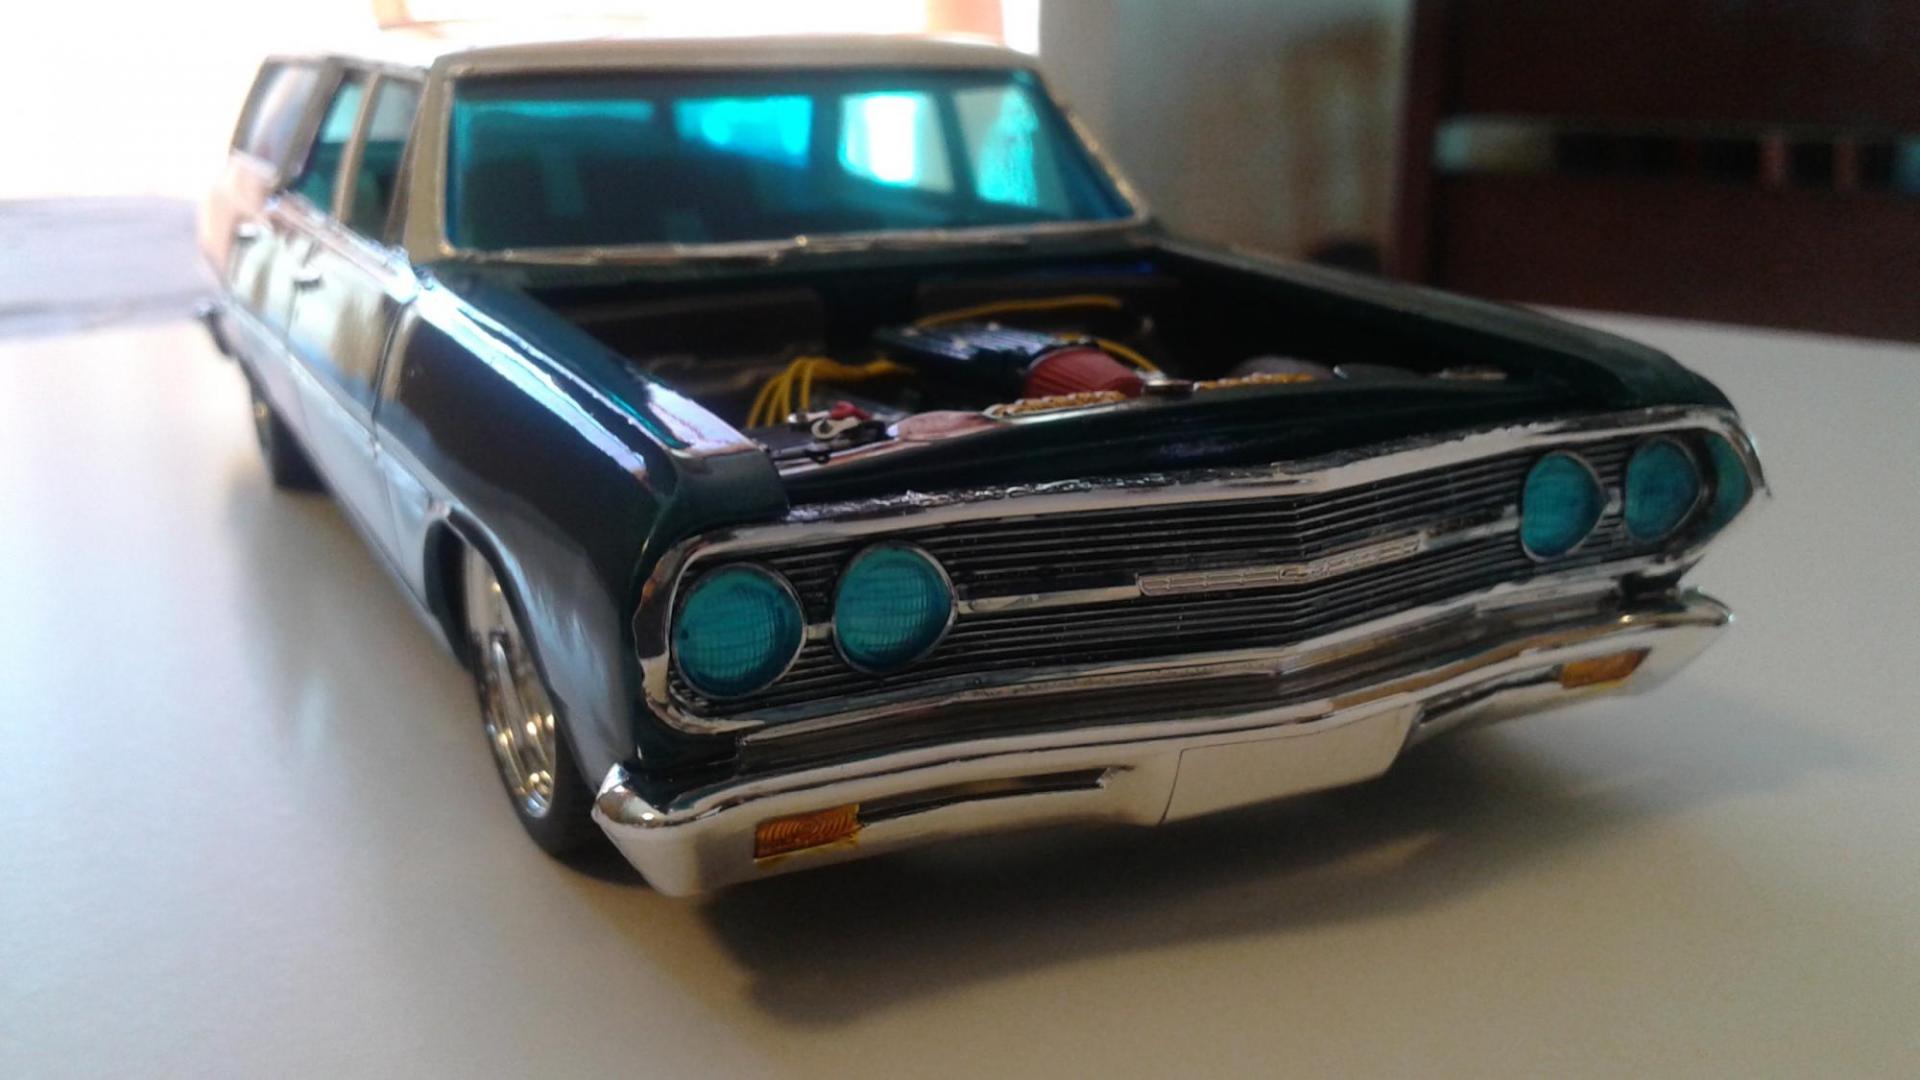
Hello everyone it's been three years since I last posted anything built. Getting back to building again this wagon was my first choice I am a wagon lover built many so I thought this would be my spark! Hope you all like my build. Amt 65 Chevele wagon with two tone paint pure white / Boyds Chezoom teal paint over clear cote. Pegasus big n little wheels with disk brakes lowered suspension. Engine Ross Gibson bb 427fi. Wires and battery plumbed engine painted to match body. Interior in white with matching color accents some details. Used color glass on this kit to go along with body. Chrome foil added. THIS WAS FOUR MONTH BUILD HAS GUN DOING IT MORE TO COME!
-
Gmp 68 yenko camaro street fighter I picked up at a flea market I shaved the mirrors, door handles, hood pins, turn signal lights off the grill,wipers, and rear spoiler. The the back window is tinted with 35% black window tint, there's few carbon accents still has the billet specialties wheels on it and for paint I'm undecided on. I'll post pics later
-
Hello - I'm looking for advice on how to build a '69 Chevy Pro Touring scale vehicle. I'm particularly interested in finding a style wheel that will match the 1/25 scale Revell '69 Chevy Nova SS or Yenko kit that I plan to use. I'm familiar with Aoshima and Pegasus but I couldn't find a style that I'm looking for with these. I found some Aoshima that might work, but I'm unfamiliar with what inch wheel and tire size I might need (they were all pictured with imports). I also noticed that these were 1/24 scale. I'm open to resin, aluminum, 3D printed, or maybe even another kit that I could find something in this particular style: Boze Performance or something close to this - http://www.bozeforged.com/performance.html I'm also wondering how I might go about lowering this kit as well as if the box stock engines would work or other upgrades that I might do for Pro Touring. This style is all new territory for me, so thanks for any help, even if you can steer me in the direction for more research.
-
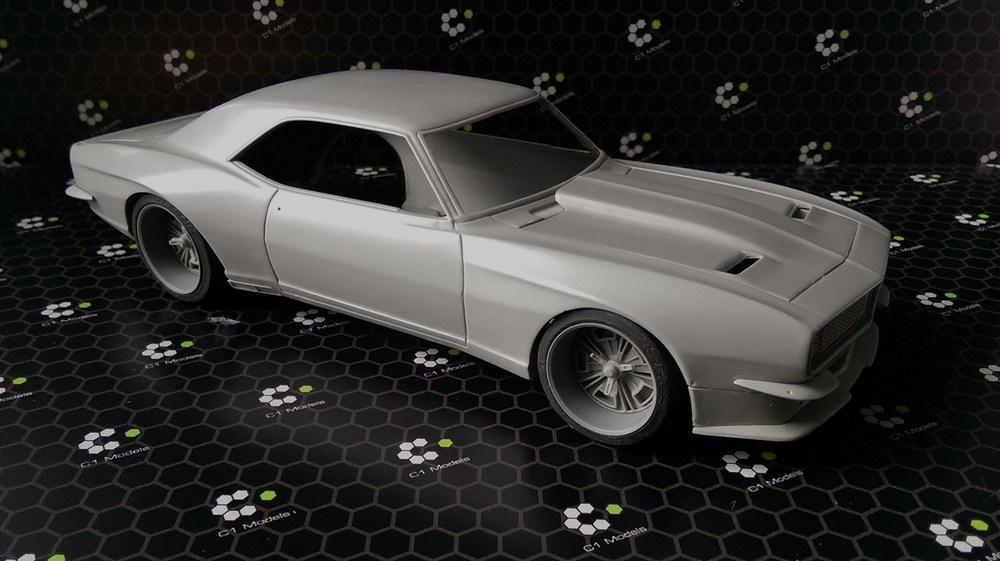
So I have this kit from C1 Models, the 67 Camaro widebody. I am trying to decide what to do with it. I was thinking of using the Corvette C5R kit for the chssis/suspension stuff, but I can't decide on an engine. I was thinking either the Grand Sport engine, or the C5R engine. Modern or old school? I dunno.
-
Hi! This was the kit i started as i register on this forum a year ago. Have had some issues on the way,been putting it away and pulling it back million times. I tried to figure out a theme for it,did not want huge chromed wheels,and make it look bagged,i do like the style sometimes tho. So it is supposed to represent somthing you can drive everyday,haul down the dragstrip or throw around the track. Drivetrain is LS7 with two massive turbos,this linked to an 6speed manual,big brembo brakes,some meaty tires,the wheels are 17". The body is stock besides shaved markers,door locks,the rear wing,the front spoiler,and it`s lowered and given some agressive camber. Inside is stock beside Viper Coupe seats. I have not finished the exhaust, still waiting on some styrene rods. Color is Tamiya white pearl,the primer is actually red,this is why it looks grey. Then there are decals (i was unlucky some places) from Firebird Design if i remember right. Not everyones cup of tea,but here is some pics.
- 26 replies
-
- ls7
- pro touring
-
(and 2 more)
Tagged with:
-
I haven't posted anything here in ages, because I haven't been building for ages. I recently found some time to resume this wonderful hobby and rather than finish one of my WIP's, I started another project in true Modeler's ADD fashion. This build began with a Bandit Resin 1971 Chevelle. I provided Bandit with the master for this resin kit, including a flat hood and a front bumper and grille that does not have an SS emblem. The body is a repop of the original AMT 1971 Chevelle annual and can use an AMT 1970 or 1972 Chevelle to build. Bandit's offering also includes a rear bumper that is missing the SS emblem. That bumper was found in the AMT 1971 Chevelle annual.I removed the SS trim from the body, including the wheel opening moldings, then slammed the stance over a set of big and little Rally wheels I got from Steven "Z-Man" Zimmerman. The hood is from an MPC SSlasher Chevelle. Here it is in primer with the wheels painted. Here it is shortly after the first stage of painting was completed. Decanted Testors Citrus Yellow Metallic. I applied the Heavy Chevy graphics courtesy of Fred Cady then cleared with decanted Testors Wet Look Clear.
- 59 replies
-
- Bandit Resins
- Chevelle
-
(and 2 more)
Tagged with:
-
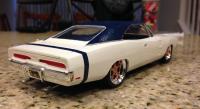
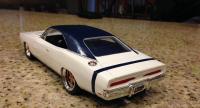
Hi everyone. I've just completed my newest build this year. I used an old General Lee kit that I had been given a long time ago. I never thought I would build this but I have to say I had a lot of fun. I can't tell you what year it is but I know that the back window is not like the regular General Lee's that I have seen. Also, I modified the car as I am going against my best friends in a build off! Things that went well include: Paint came out pretty good, my best yet I created the vinyl top using the masking tape (blue tape) method Staggered wheels overall color scheme Well, here it goes.
- 7 replies
-
- Dodge Charger
- General Lee
-
(and 2 more)
Tagged with:
