Exotics_Builder
-
Posts
3,310 -
Joined
-
Last visited


.thumb.jpg.e12e5df0ccf757b78eedbb1abdd7fb95.jpg)


Exotics_Builder's Achievements
MCM Ohana (6/6)
-
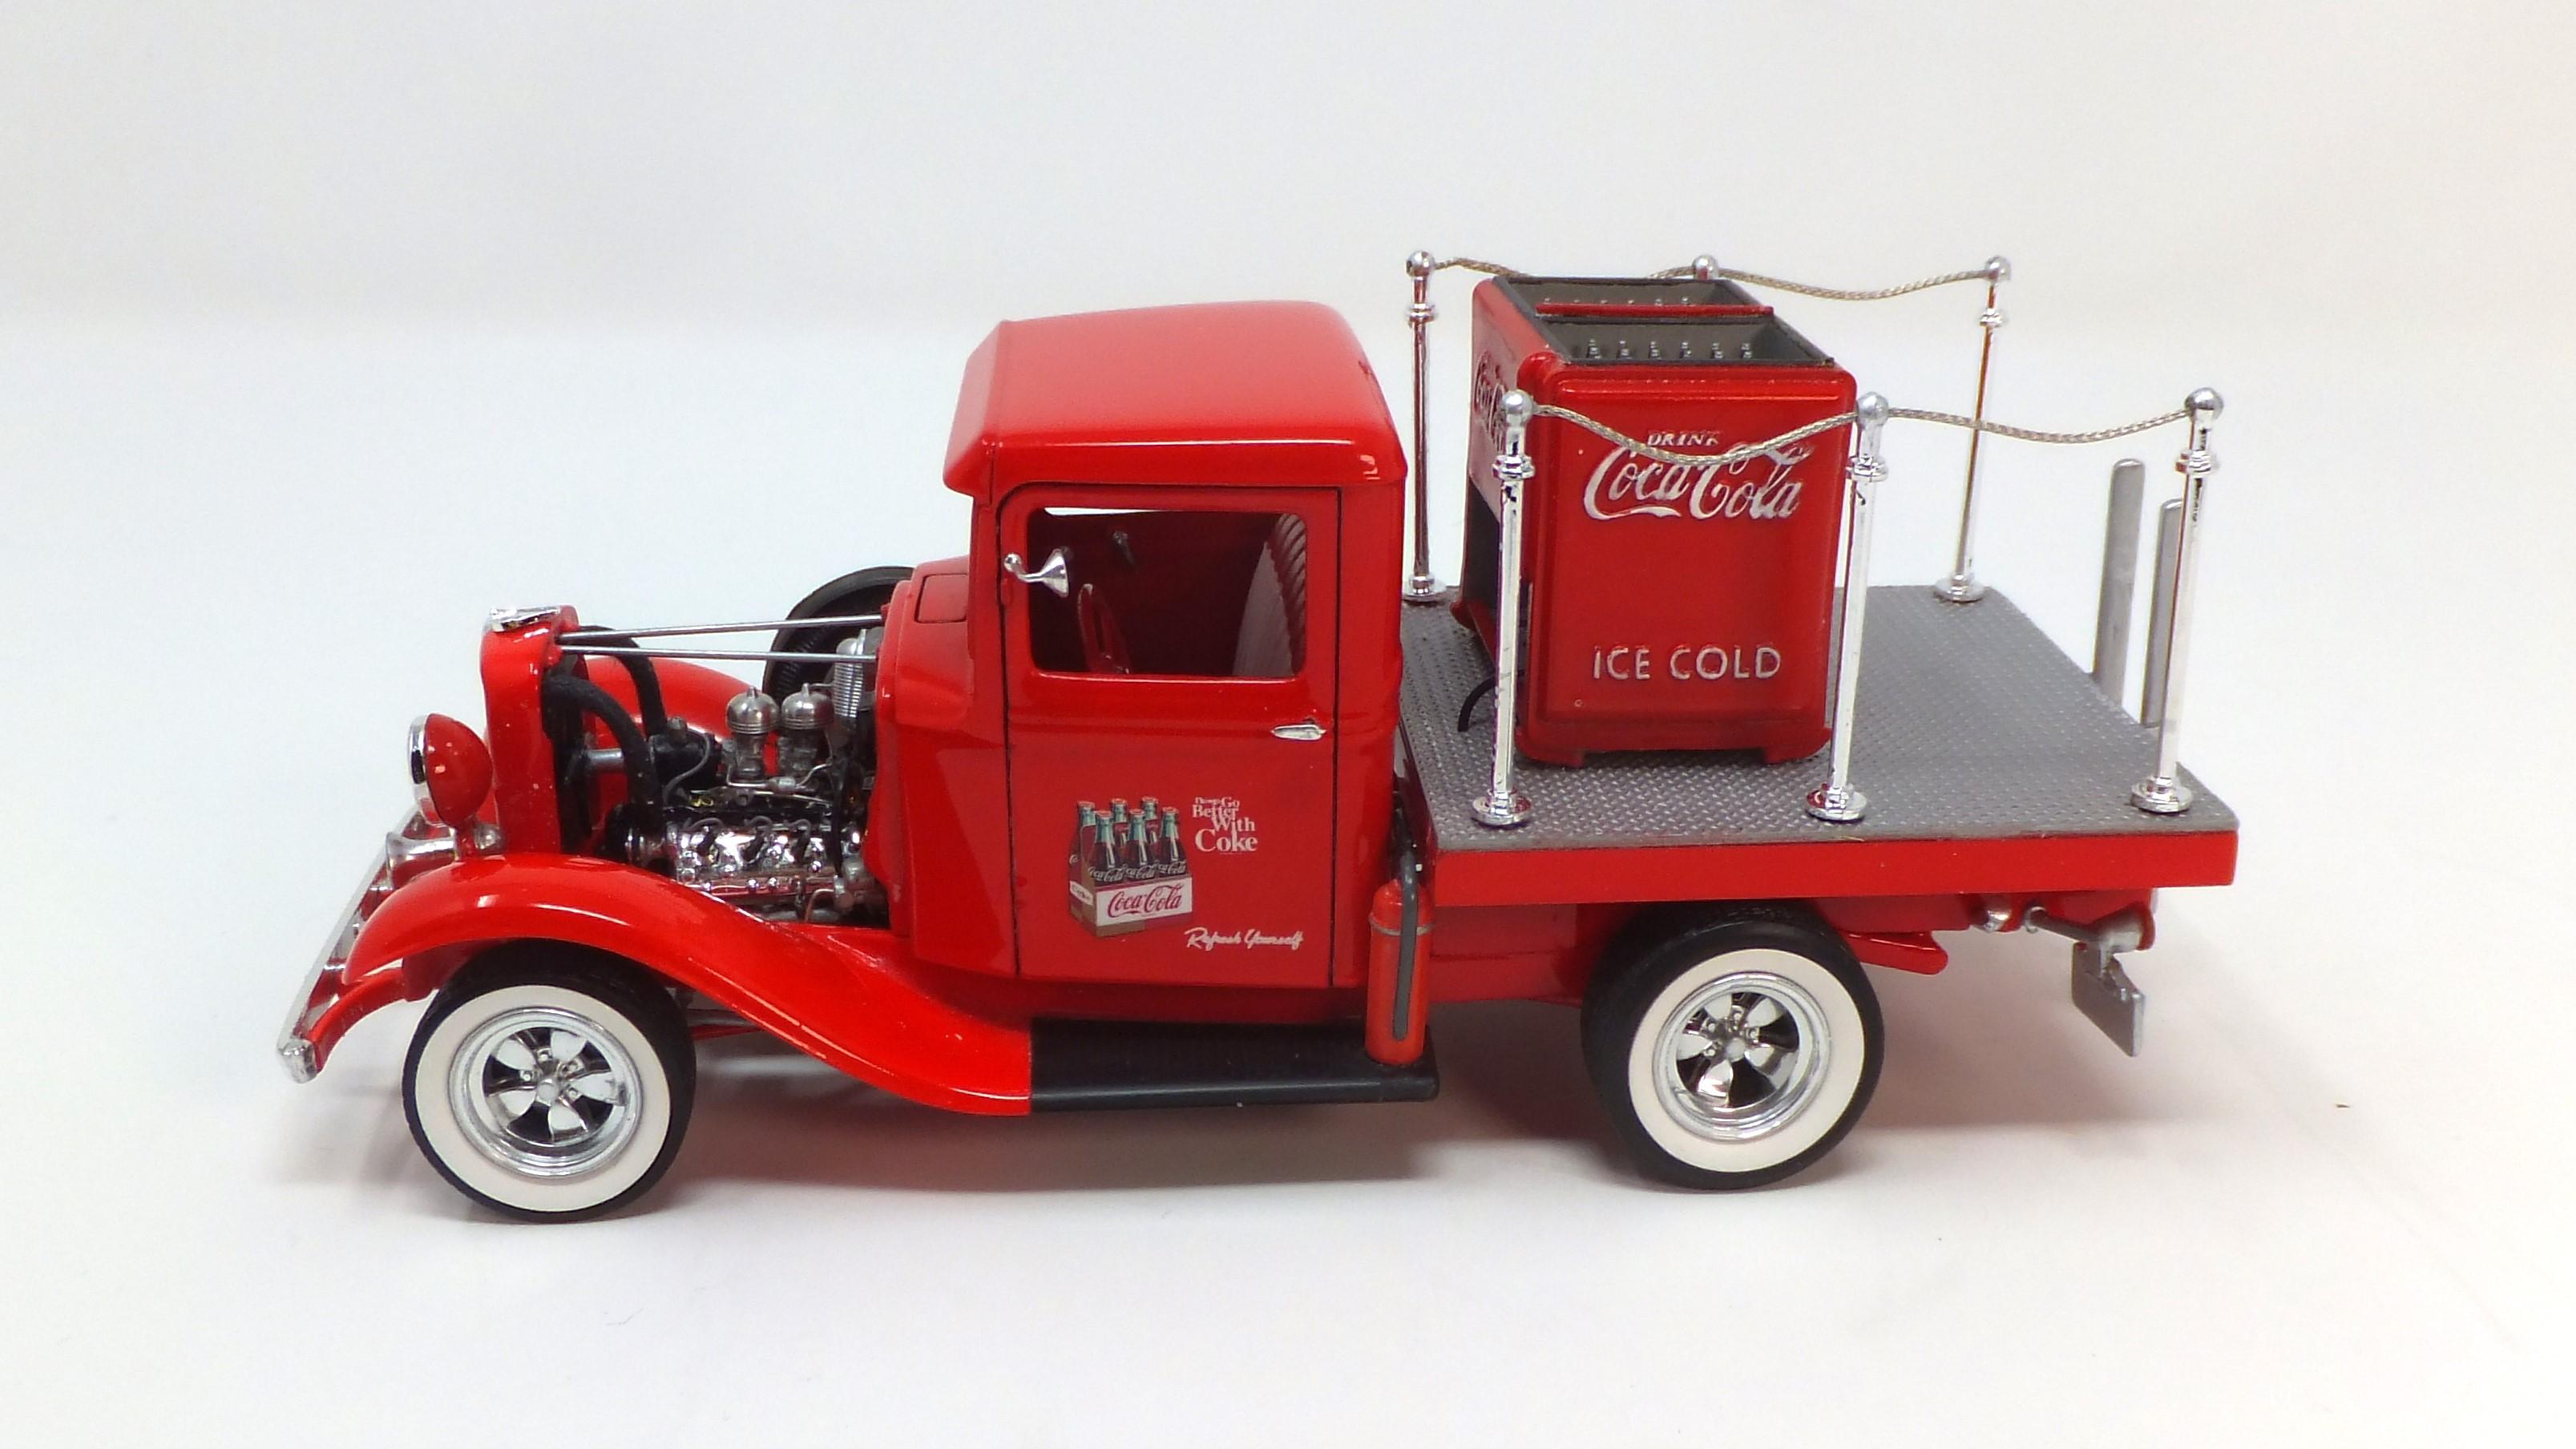
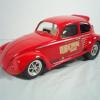
 Base is 1/25 scale Lindberg/AMT kit. Work: Engine detailed using aftermarket and scratch-built parts. Detailed chassis with fuel and brake lines. Interior detail with parts box seat and adding interior door and window handles. Photoetched front grill. Aftermarket Coca Cola Cooler. Modified into flatbed with diamond pattern floor. Added stanchions with cable and access ladder on bed. Aftermarket big and little tires with parts box wheels and resin air valves. Combined 3 Coca Cola decals from a set to get the door logos. Painted Scale Finishes Coca Cola Red under Mr. Hobby Clear Gloss. Aftermarket Parts Used: Replicas and Miniatures of Maryland: Flathead parts; big and little white wall tiresk Parts by Parks: Stromberg Air Cleaners; Beehive Oil Filter. Detail Master: Plug wire; radiator mesh. Model Car Garage: Grill material; Stromberg carburetor set. USCP: Tire air valves. Pro Tech: Plug boots 90 degrees.
-
Complete and off the bench. Go to Completed to see the result.
-
Another GTO question, intake manifold
Exotics_Builder replied to ksnow's topic in Model Building Questions and Answers
Only decent 4bbl Pontiac I recollect is the Revell 68 Firebird 400. -
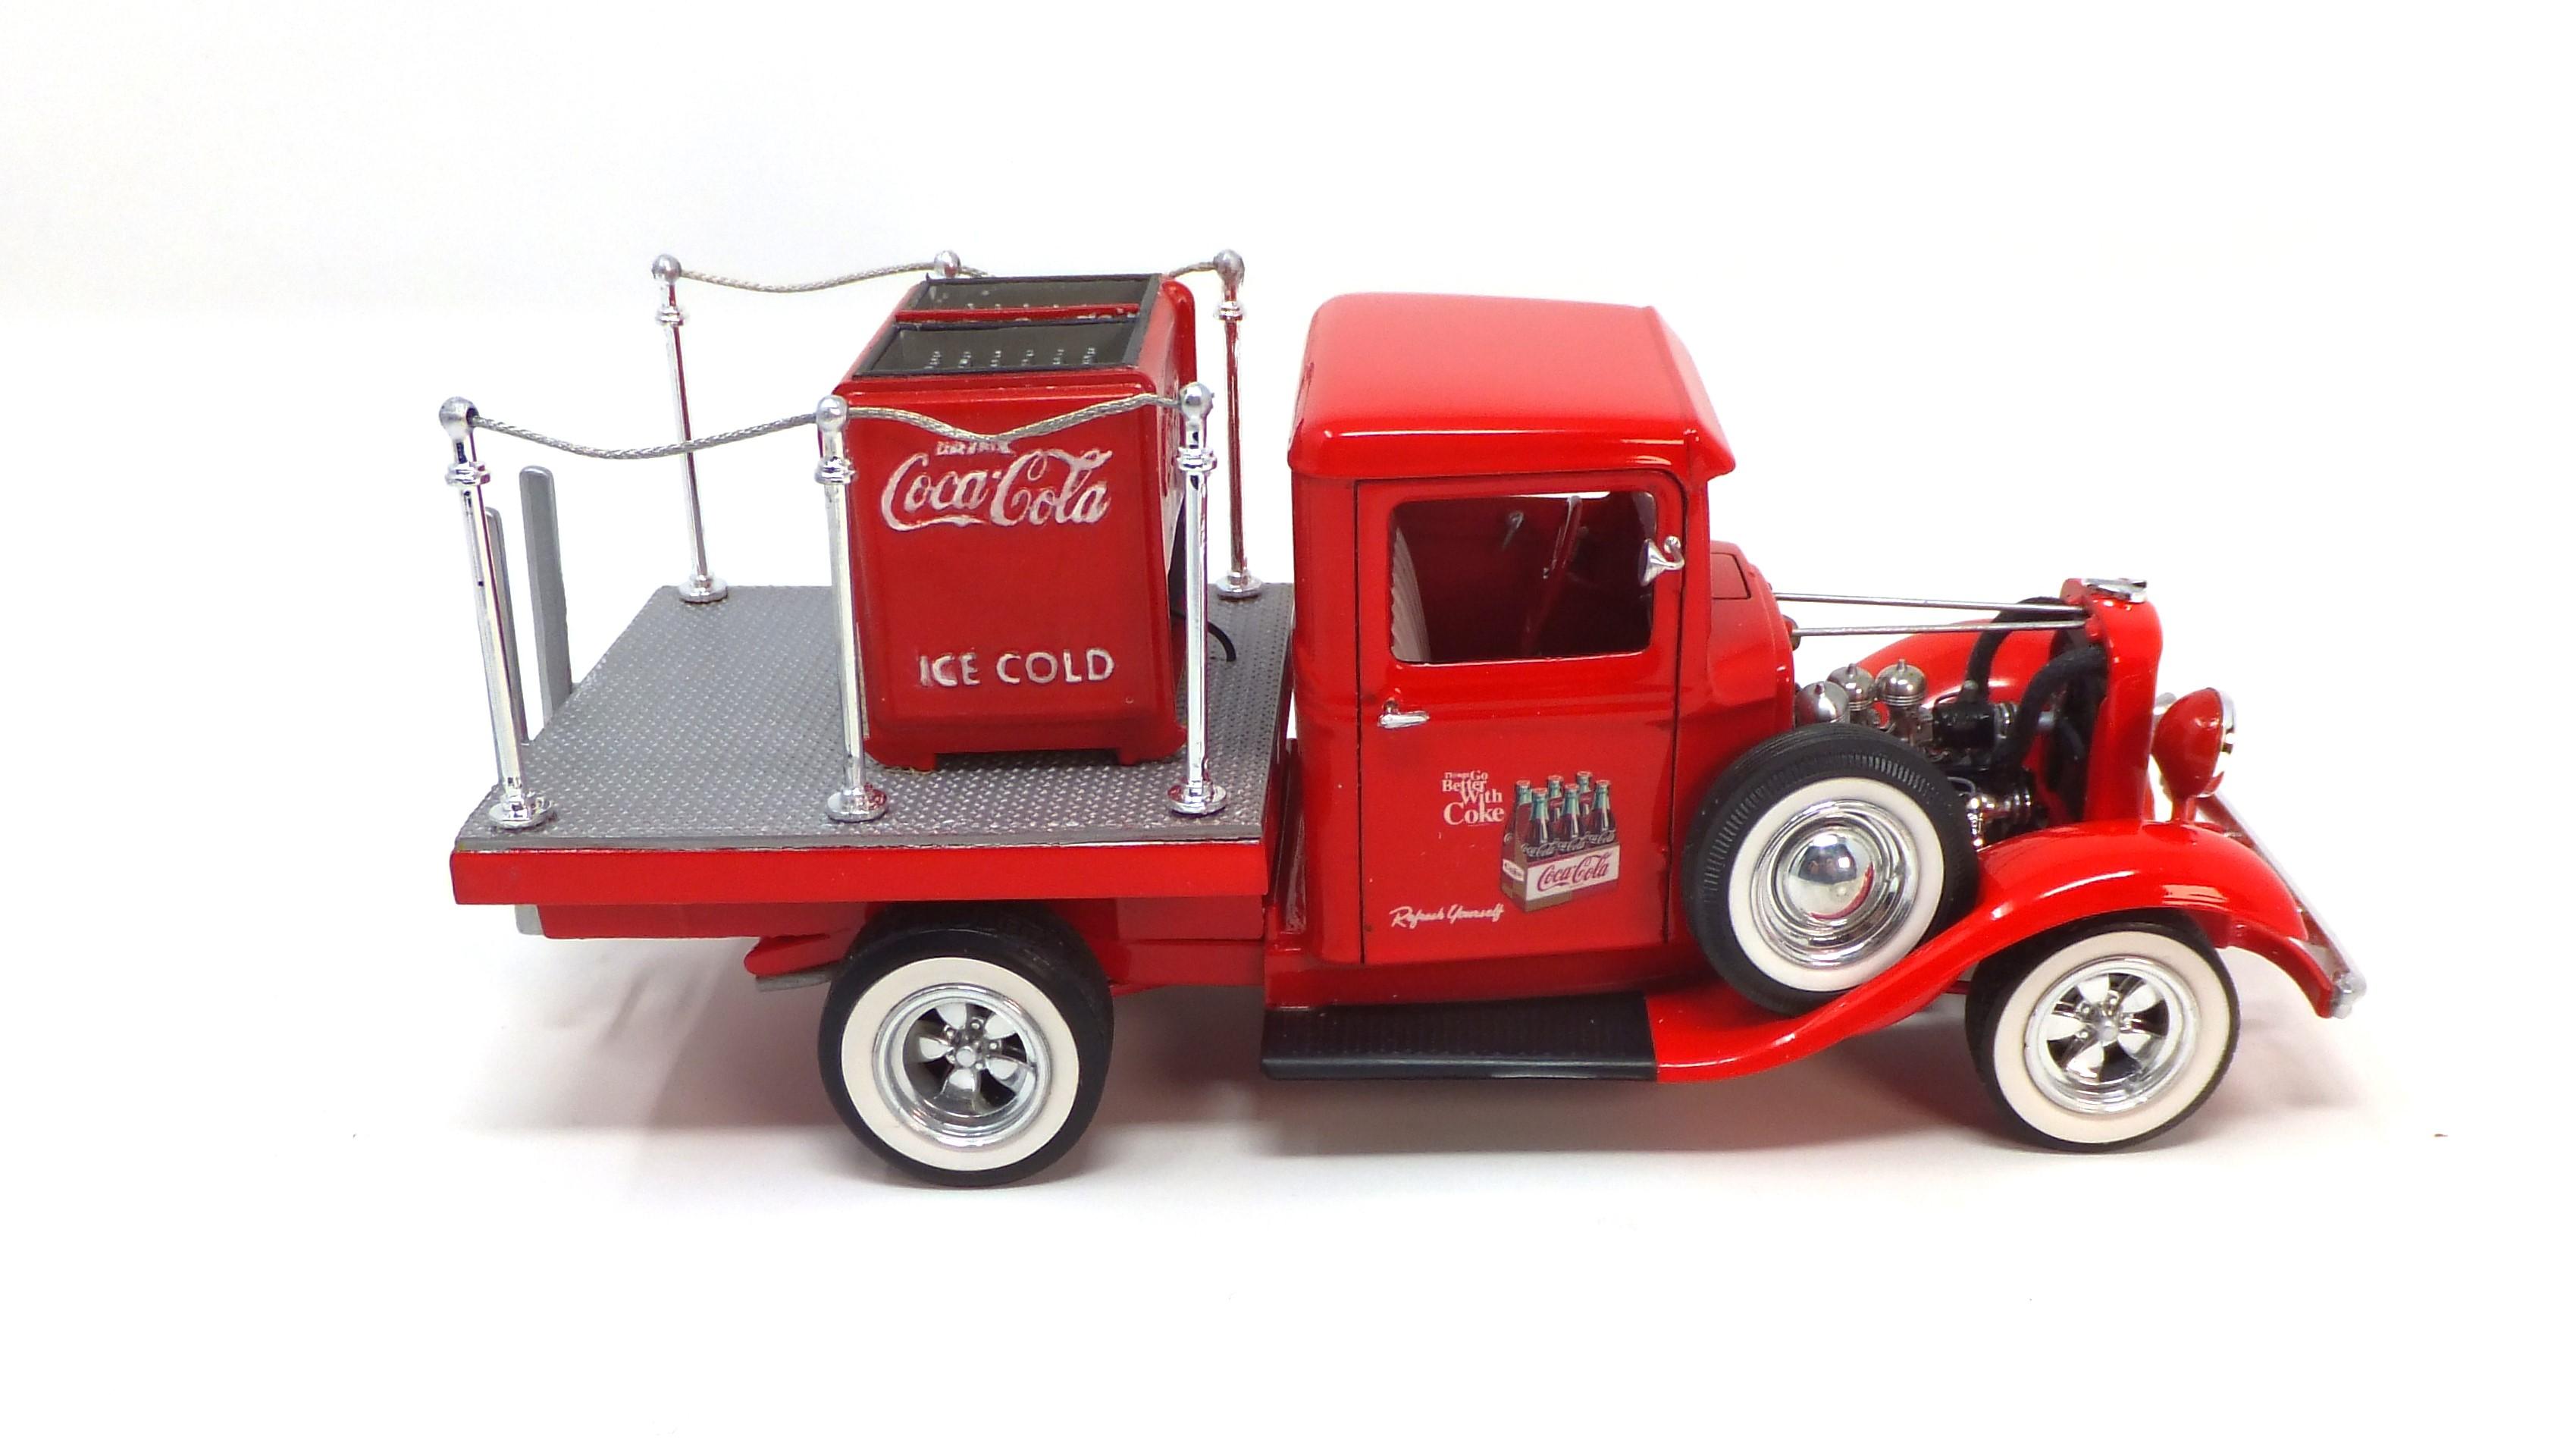
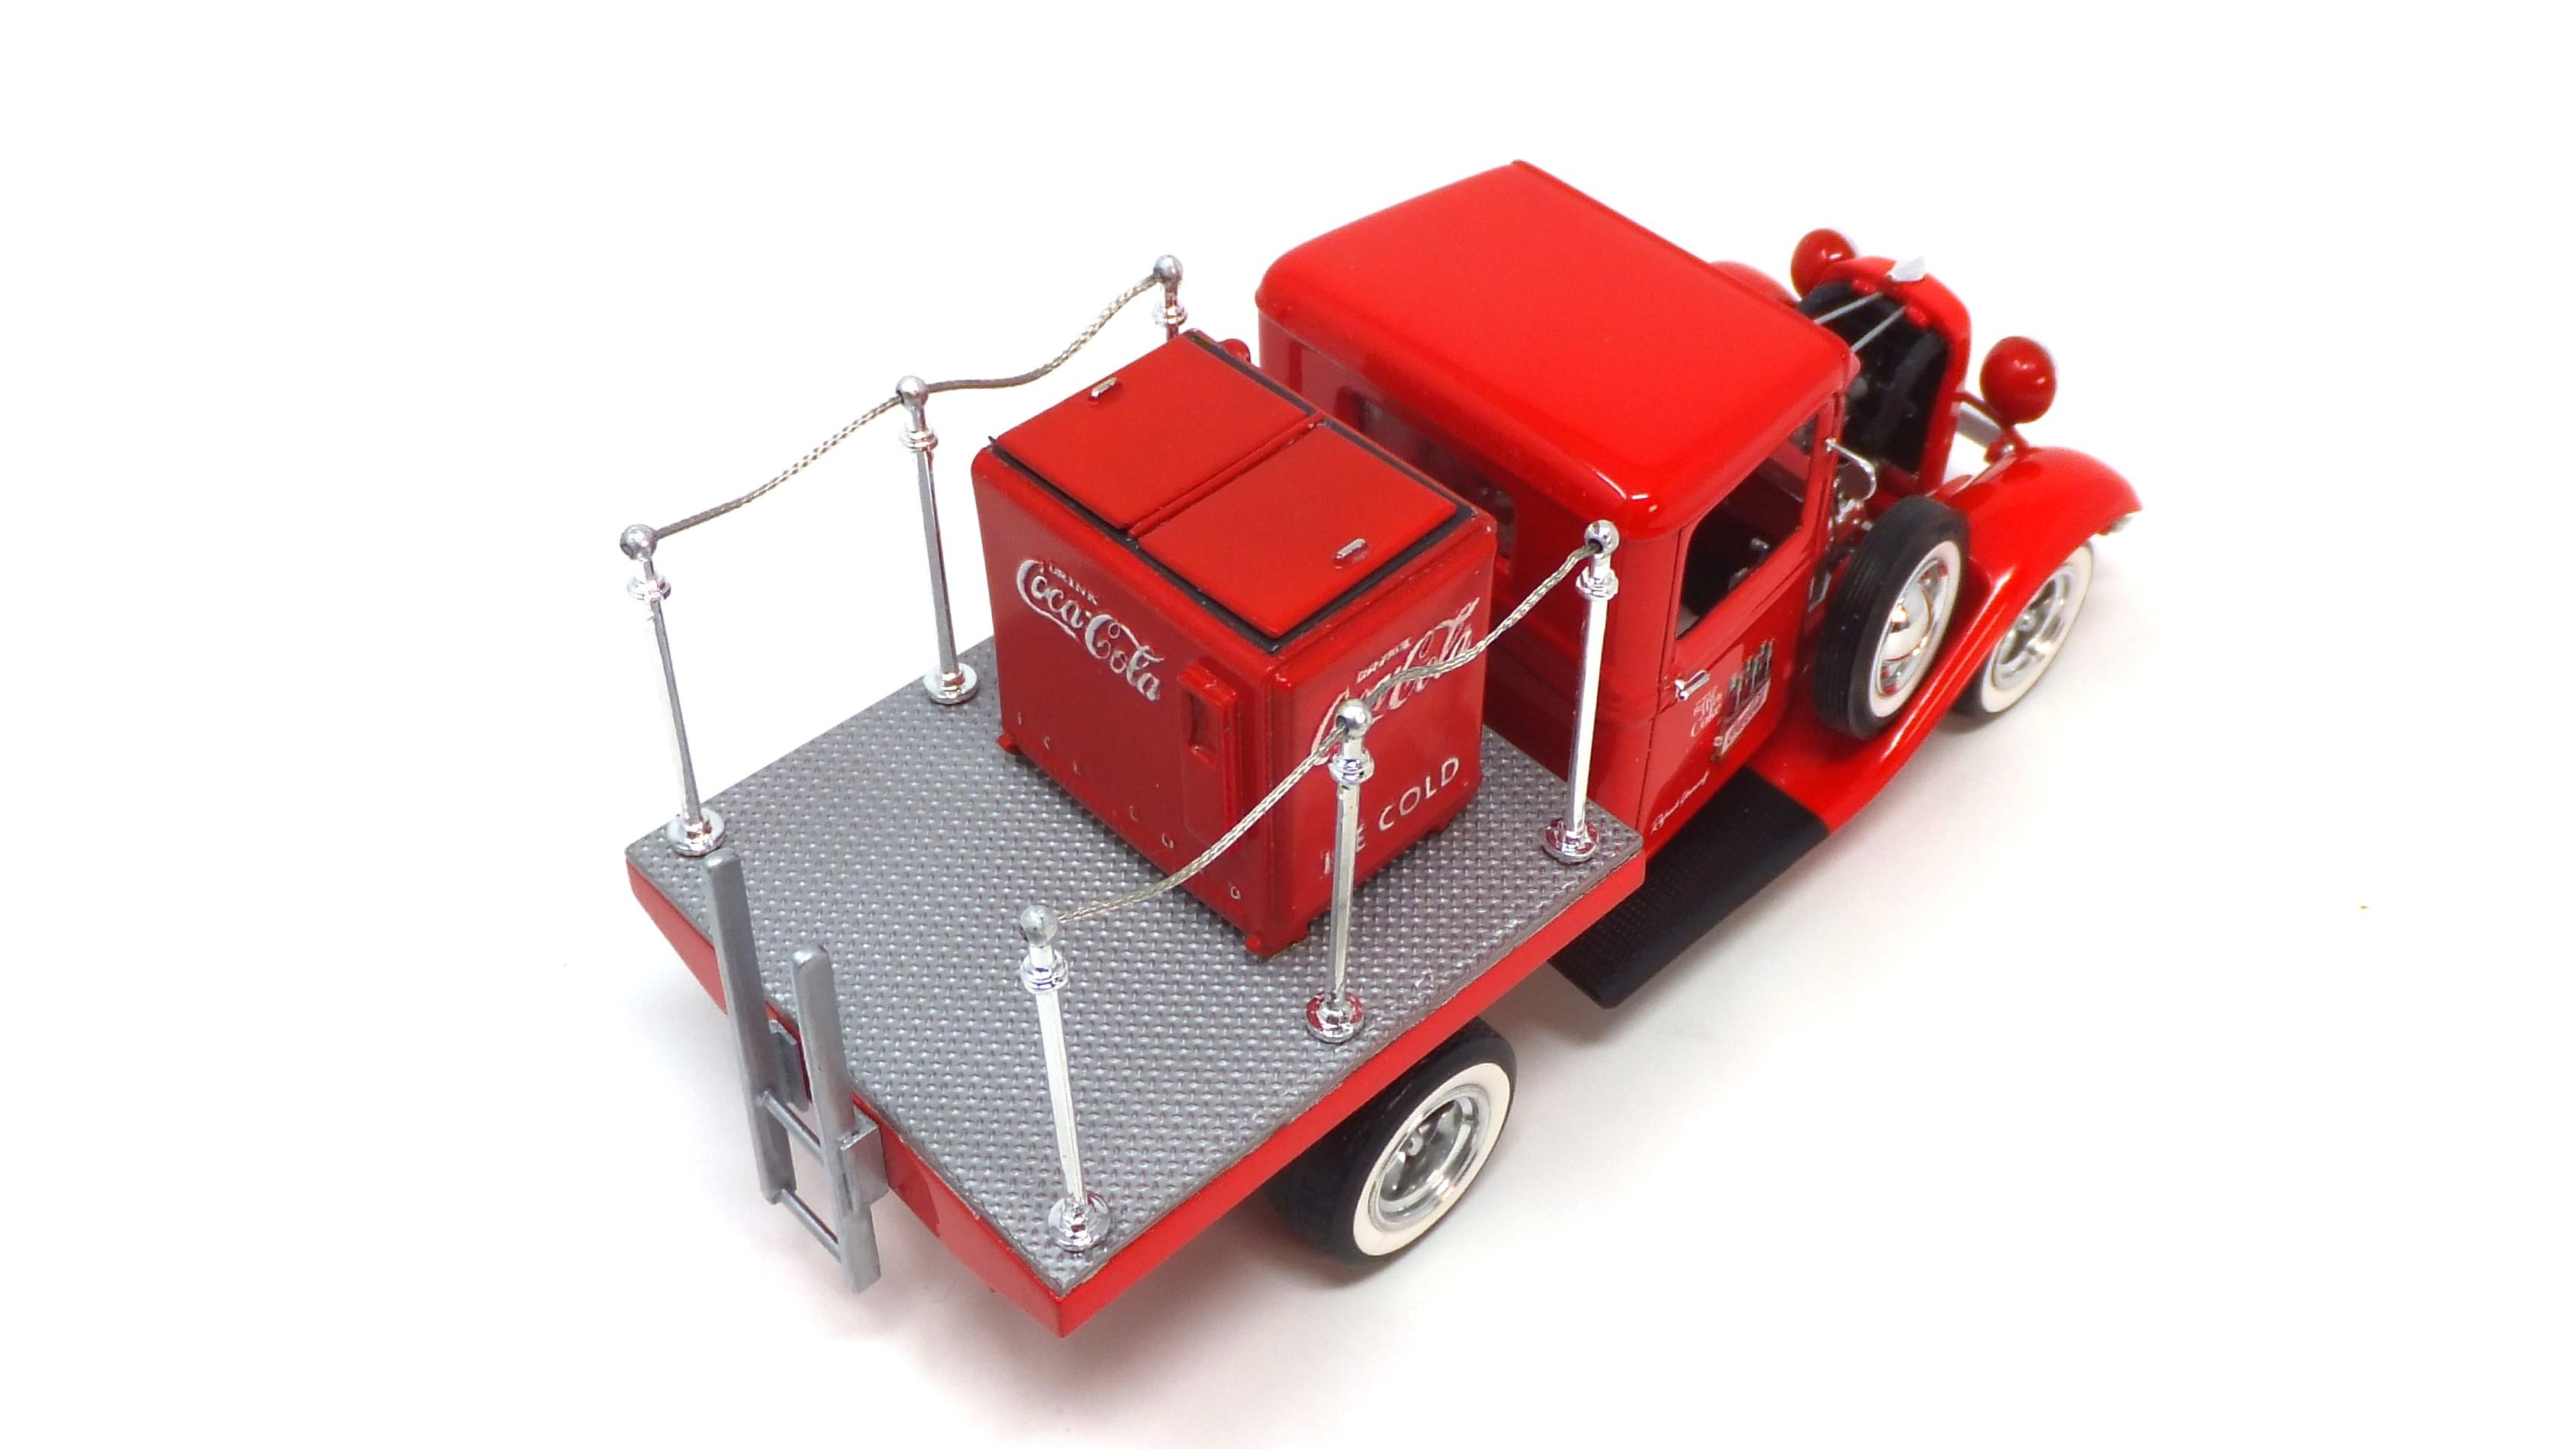
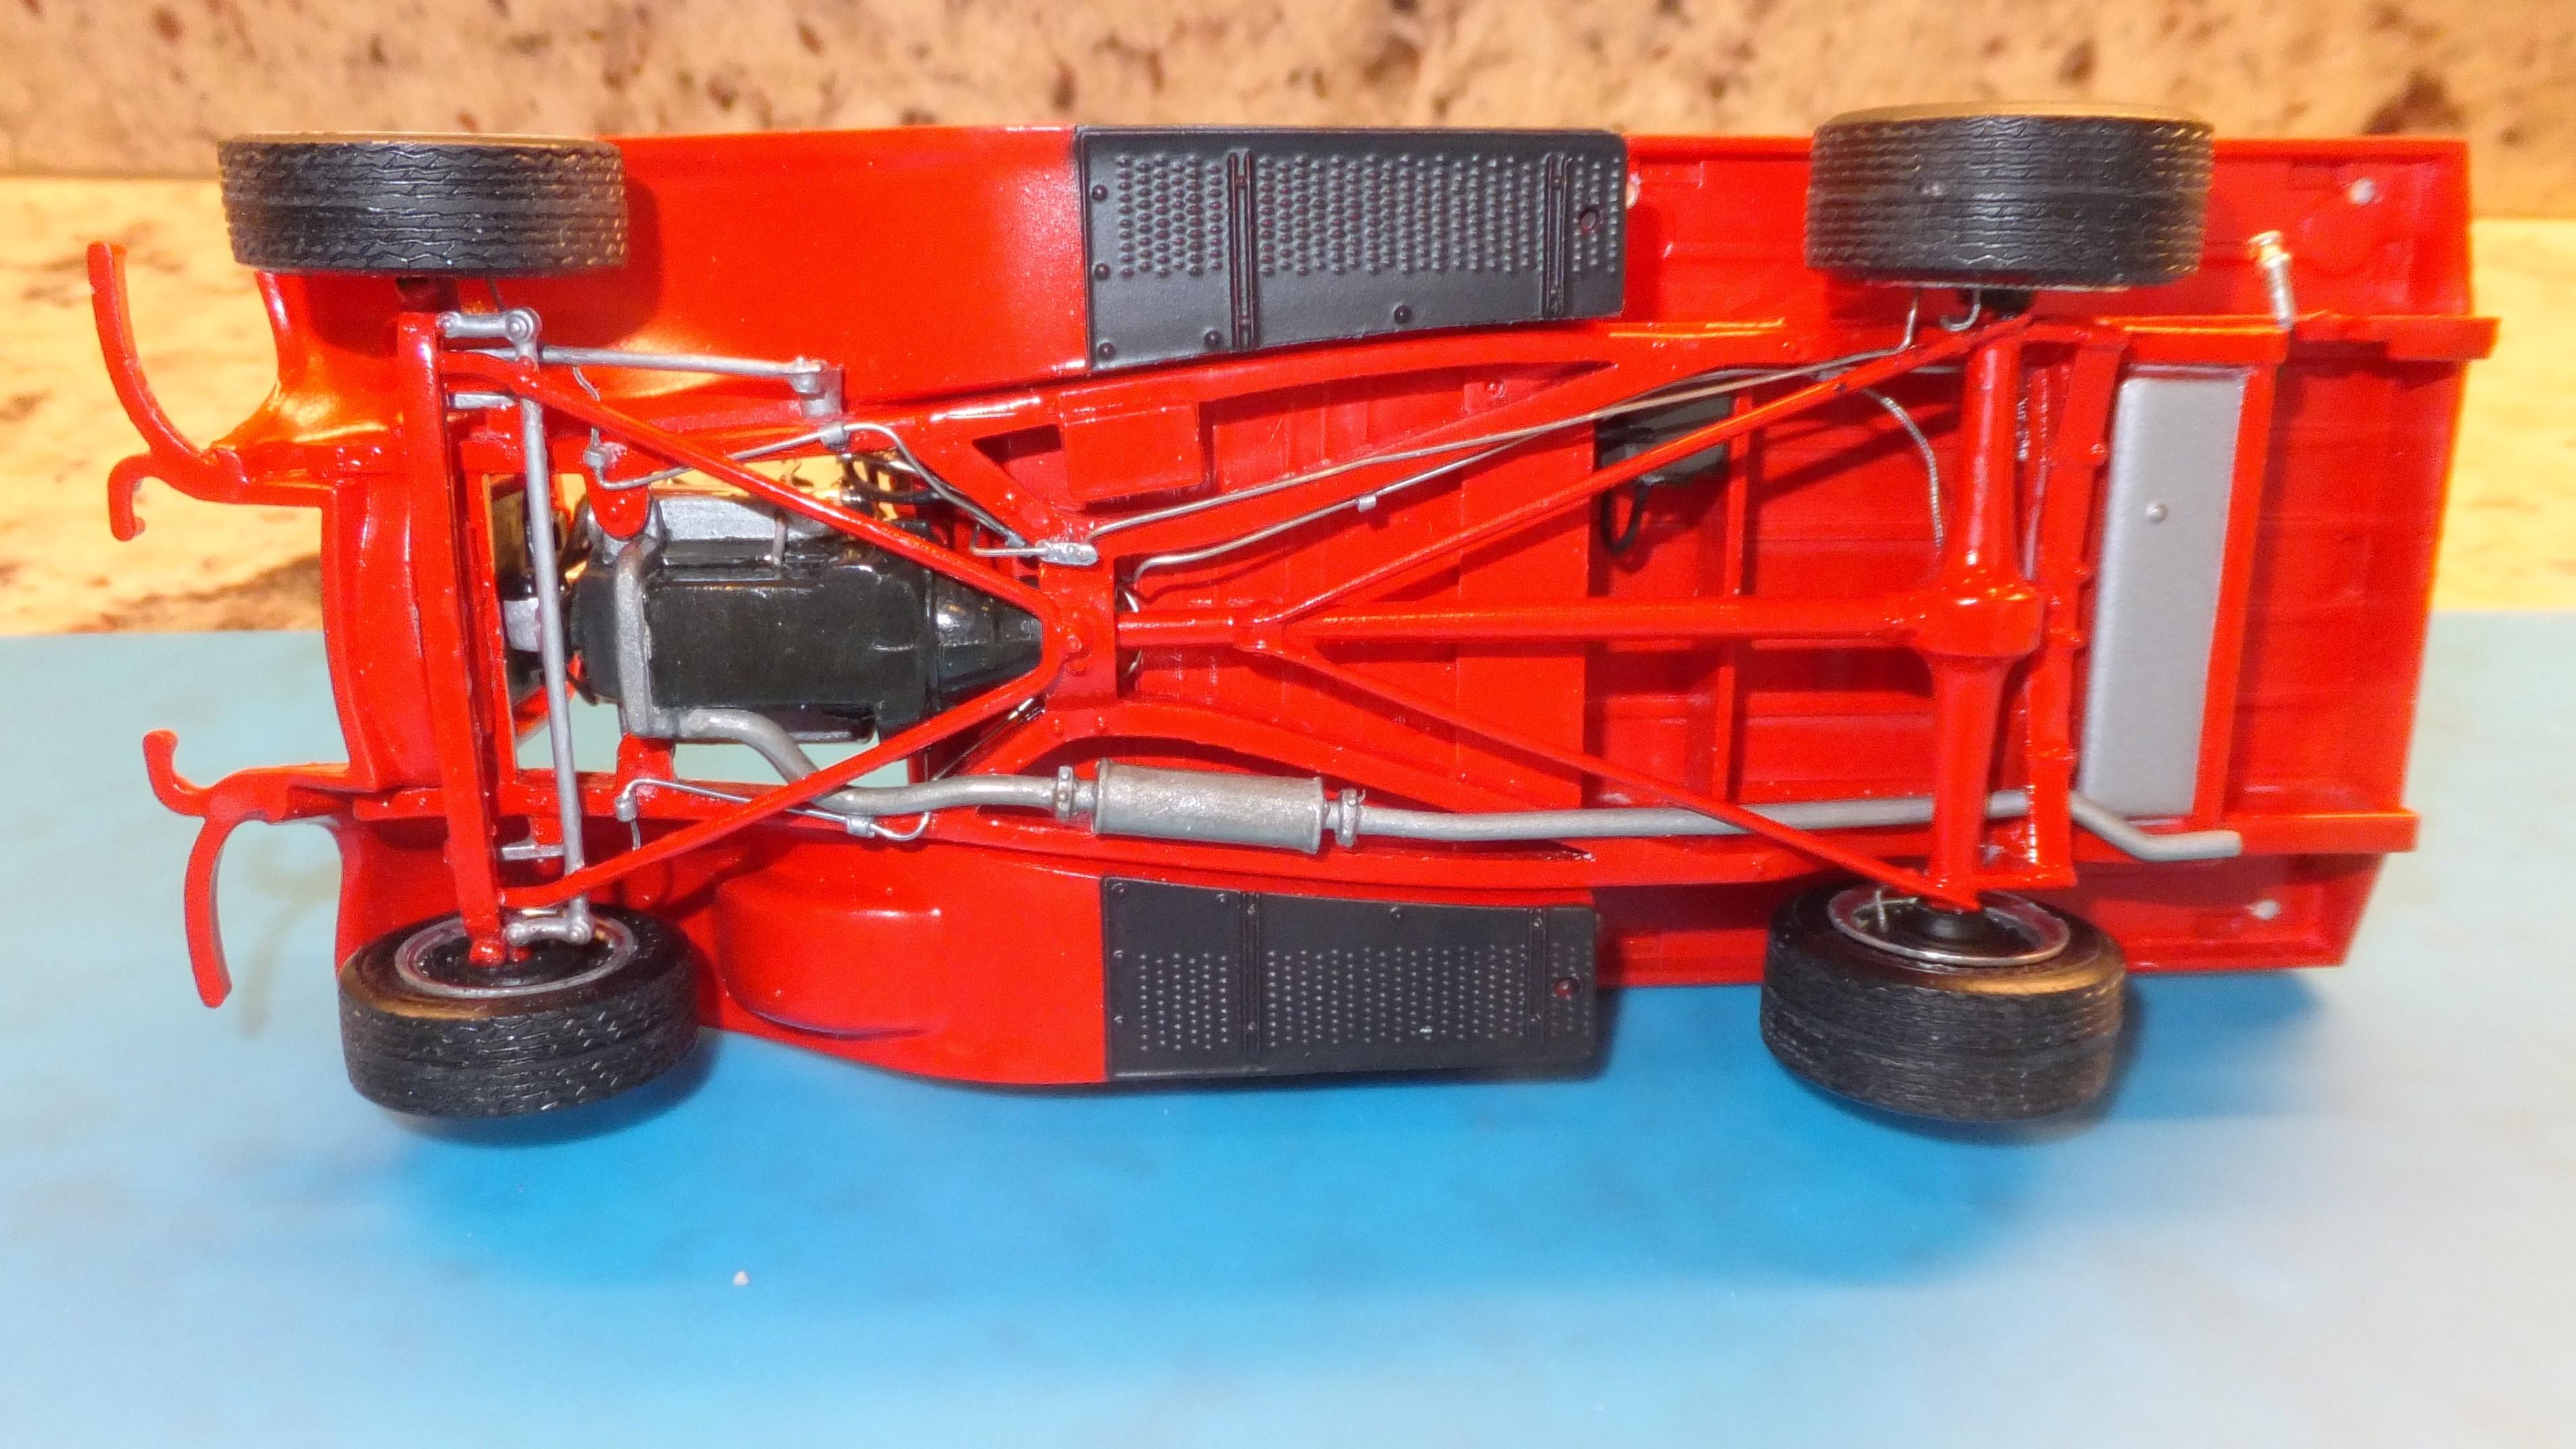
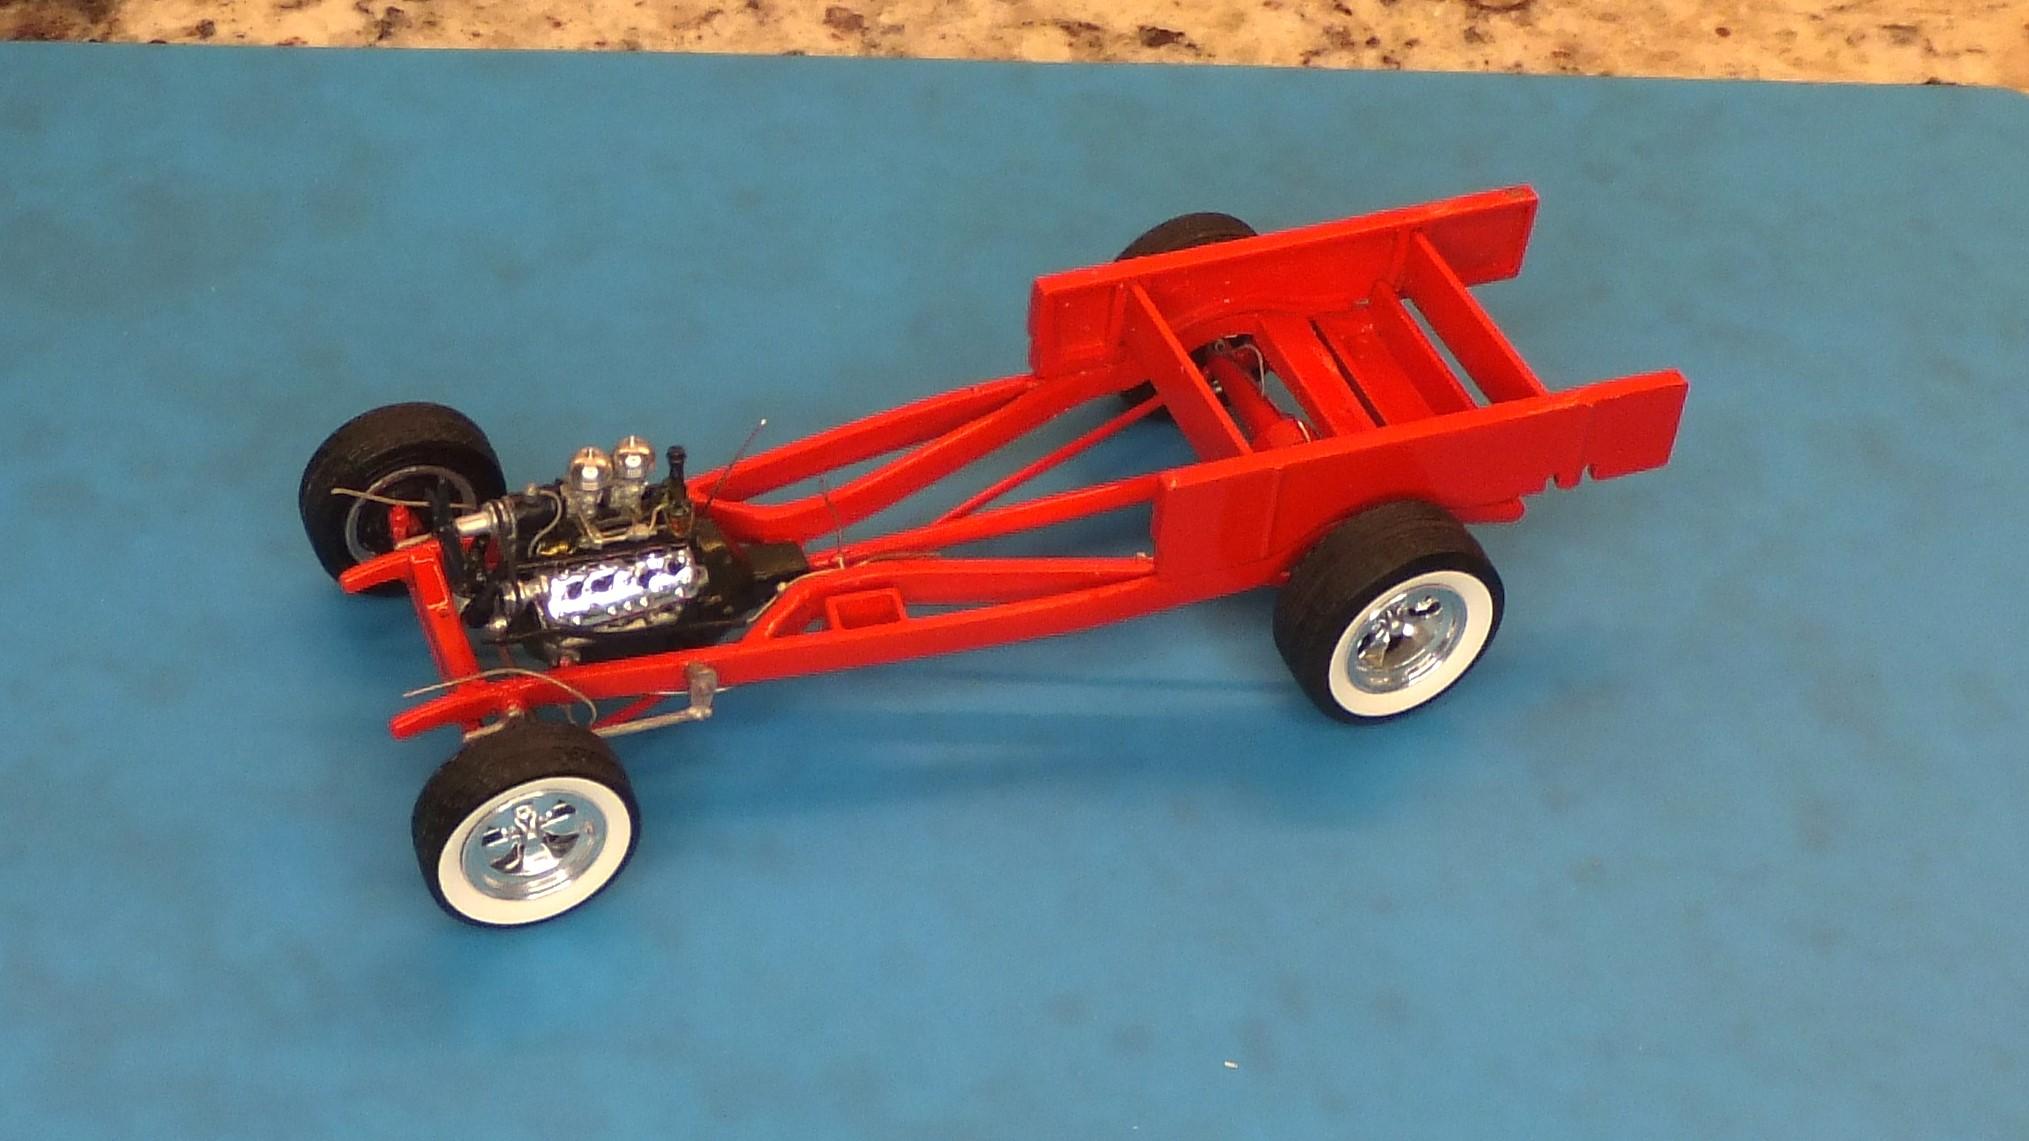
4/30 Update – Into Final Assembly Started the final assembly process. The first photo gives you an idea of what the result will be. As we all know, attaching the last pieces after you have gotten the finish done is always tedious. I also took a chassis shot to show the fuel and brake line details. The dark spot in the top middle is the box holding the inverter and the power cord from the cooler runs into it. In adding the fuel cap and tube, I noticed that it was floating in space. So, I added an extension to run it to the fuel tank. Next photos will be the result.
-
Labatt's? Molson's? Kokanee (closer to me)? 😀 When I got back in the hobby after college and getting settled down a bit I concentrated on detail as I didn't have a lot of room and painting was problematic in the apartment (hit or miss). Enjoy doing detail and little "Easter Eggs" in the build. I realized you were joking, but actually did vex over several of the items you noted. I usually decide to spend more time on the most visible aspects and do some trompe l'oeil (fool the eye) on less visible. But Ace-Garageguy would likely give me demerits on it 😉
-
I decided against the belt as not really visible. If it were more exposed, I would have done some more research. Makes me think of maybe getting another one for a future project where it is being refurbished. But I have so much in the stash and so many ideas, I don't know. I REALLY DO appreciate your feedback and info.
-
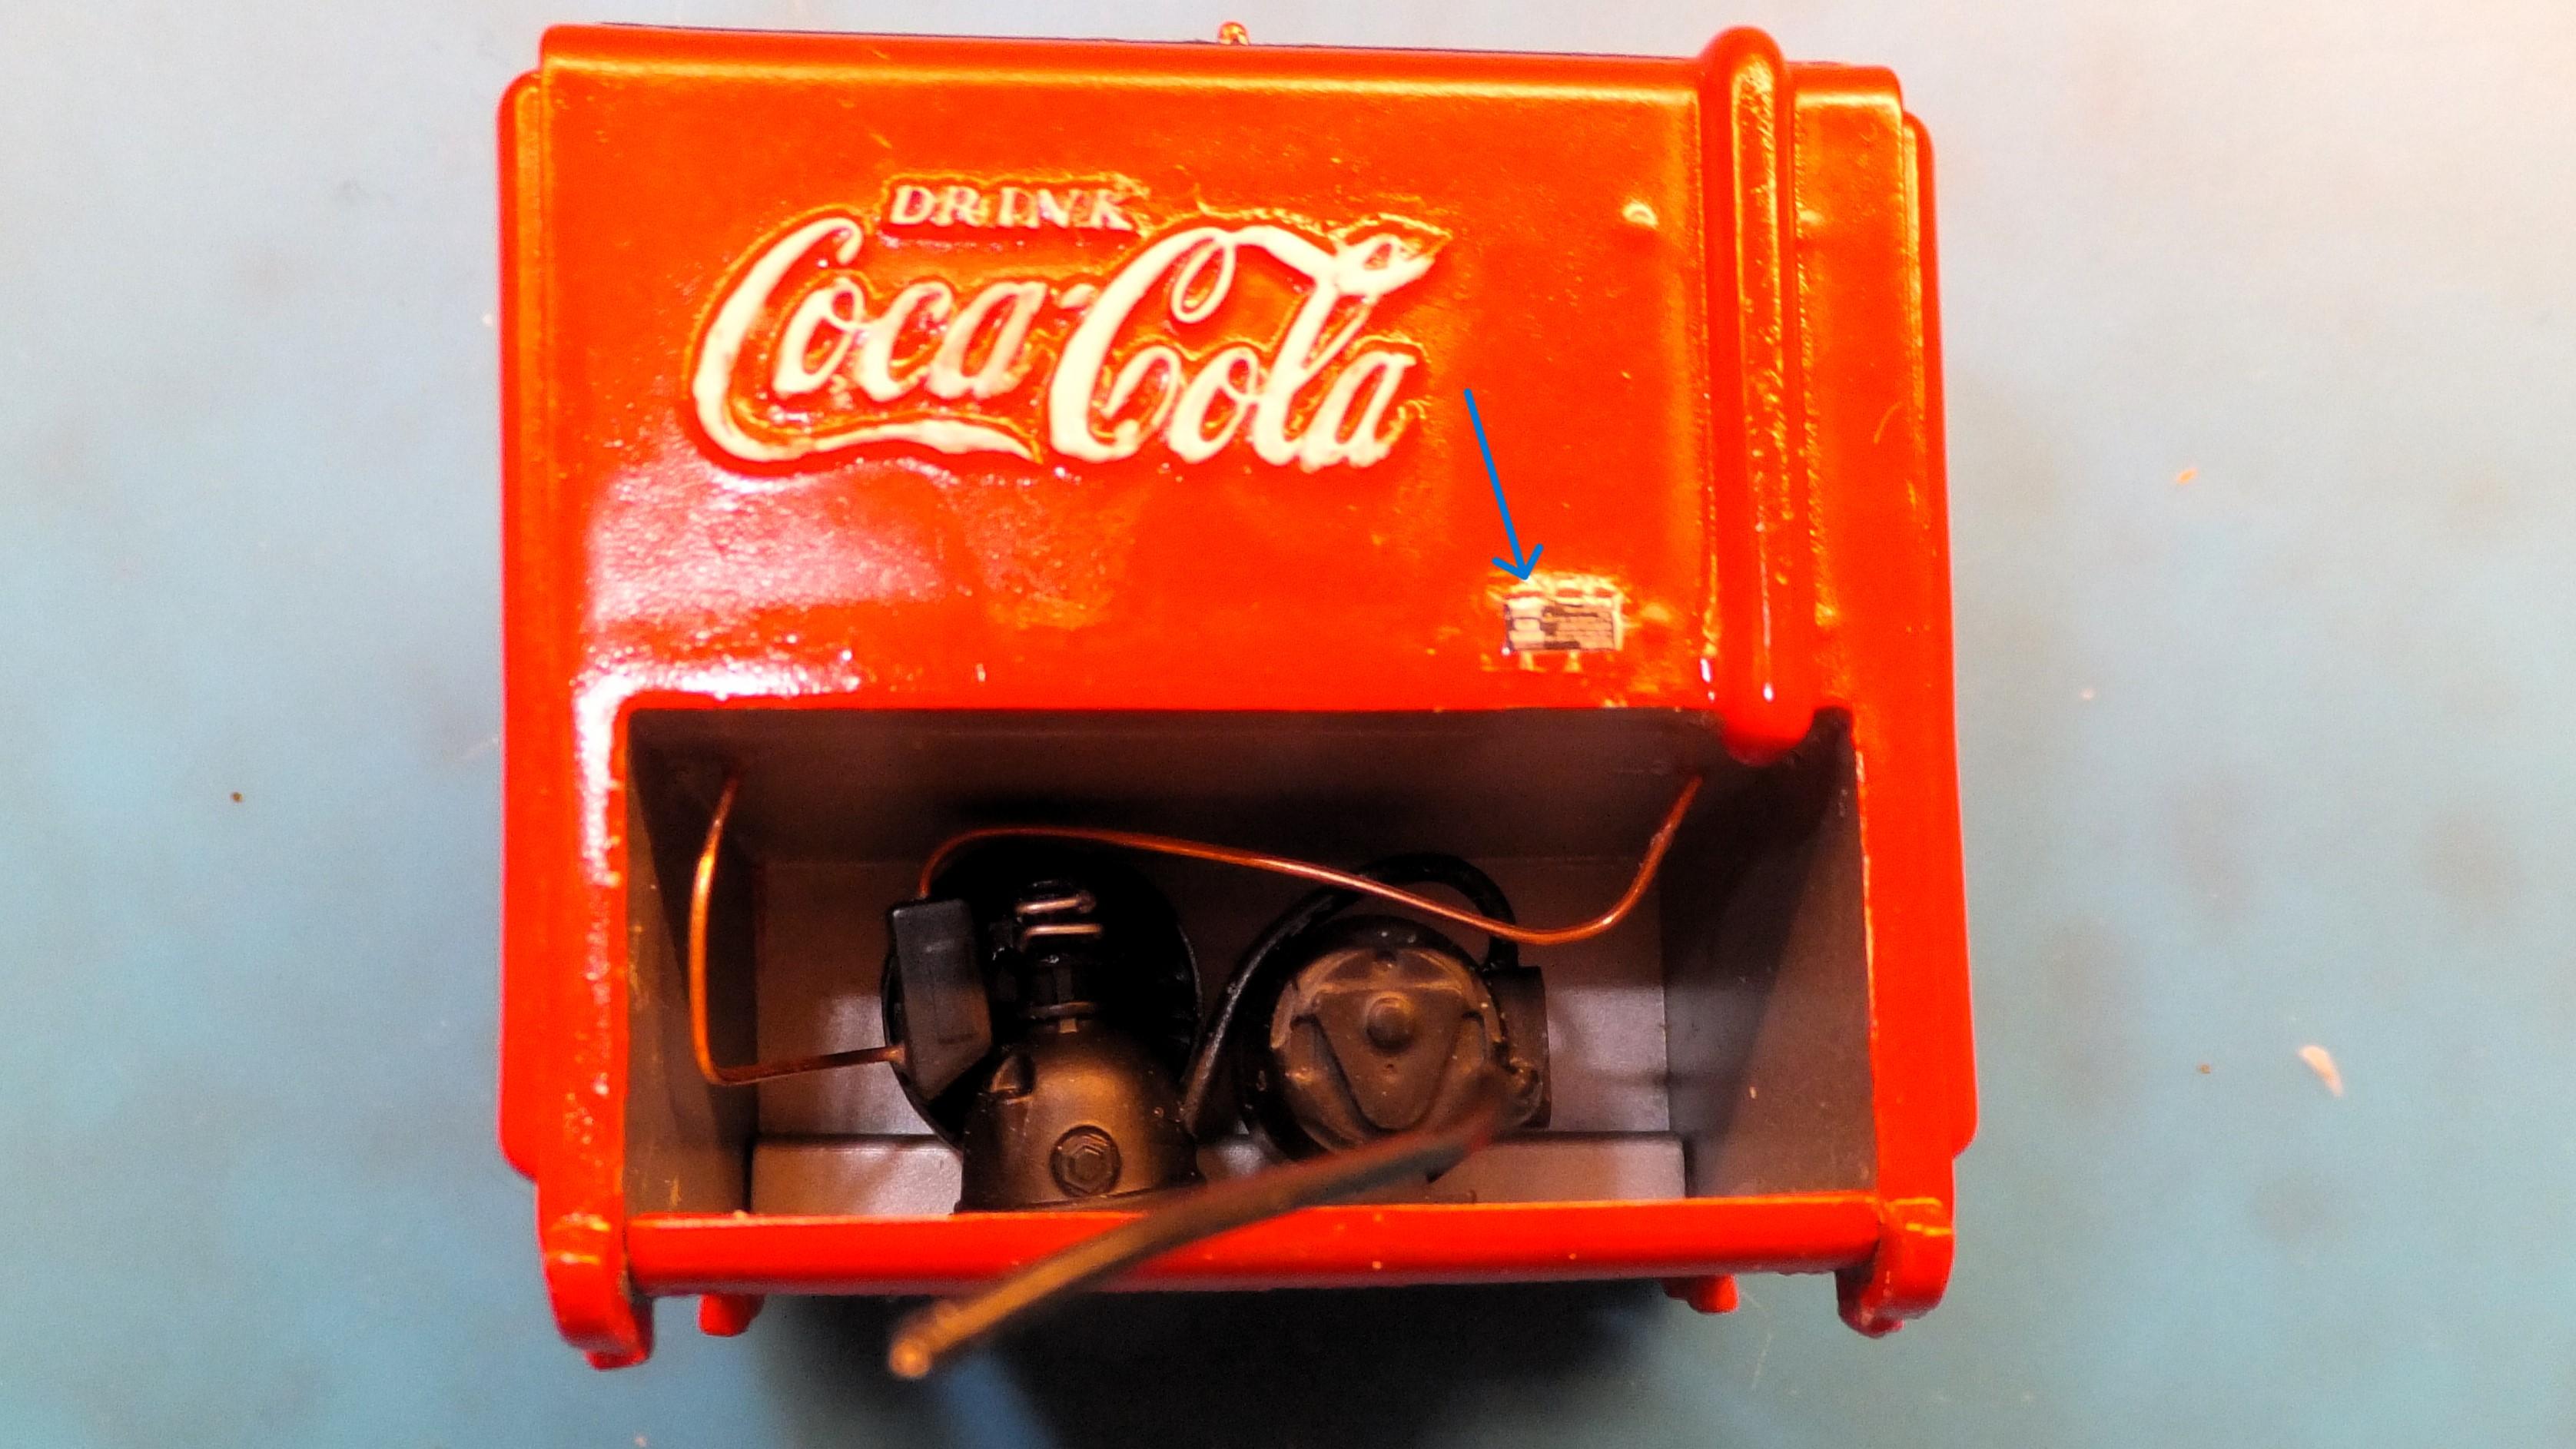
The round piece in the back is supposed to be a fan. As to coil, well, I couldn't find anything that was representative of one, so it went without. Real one and model
-
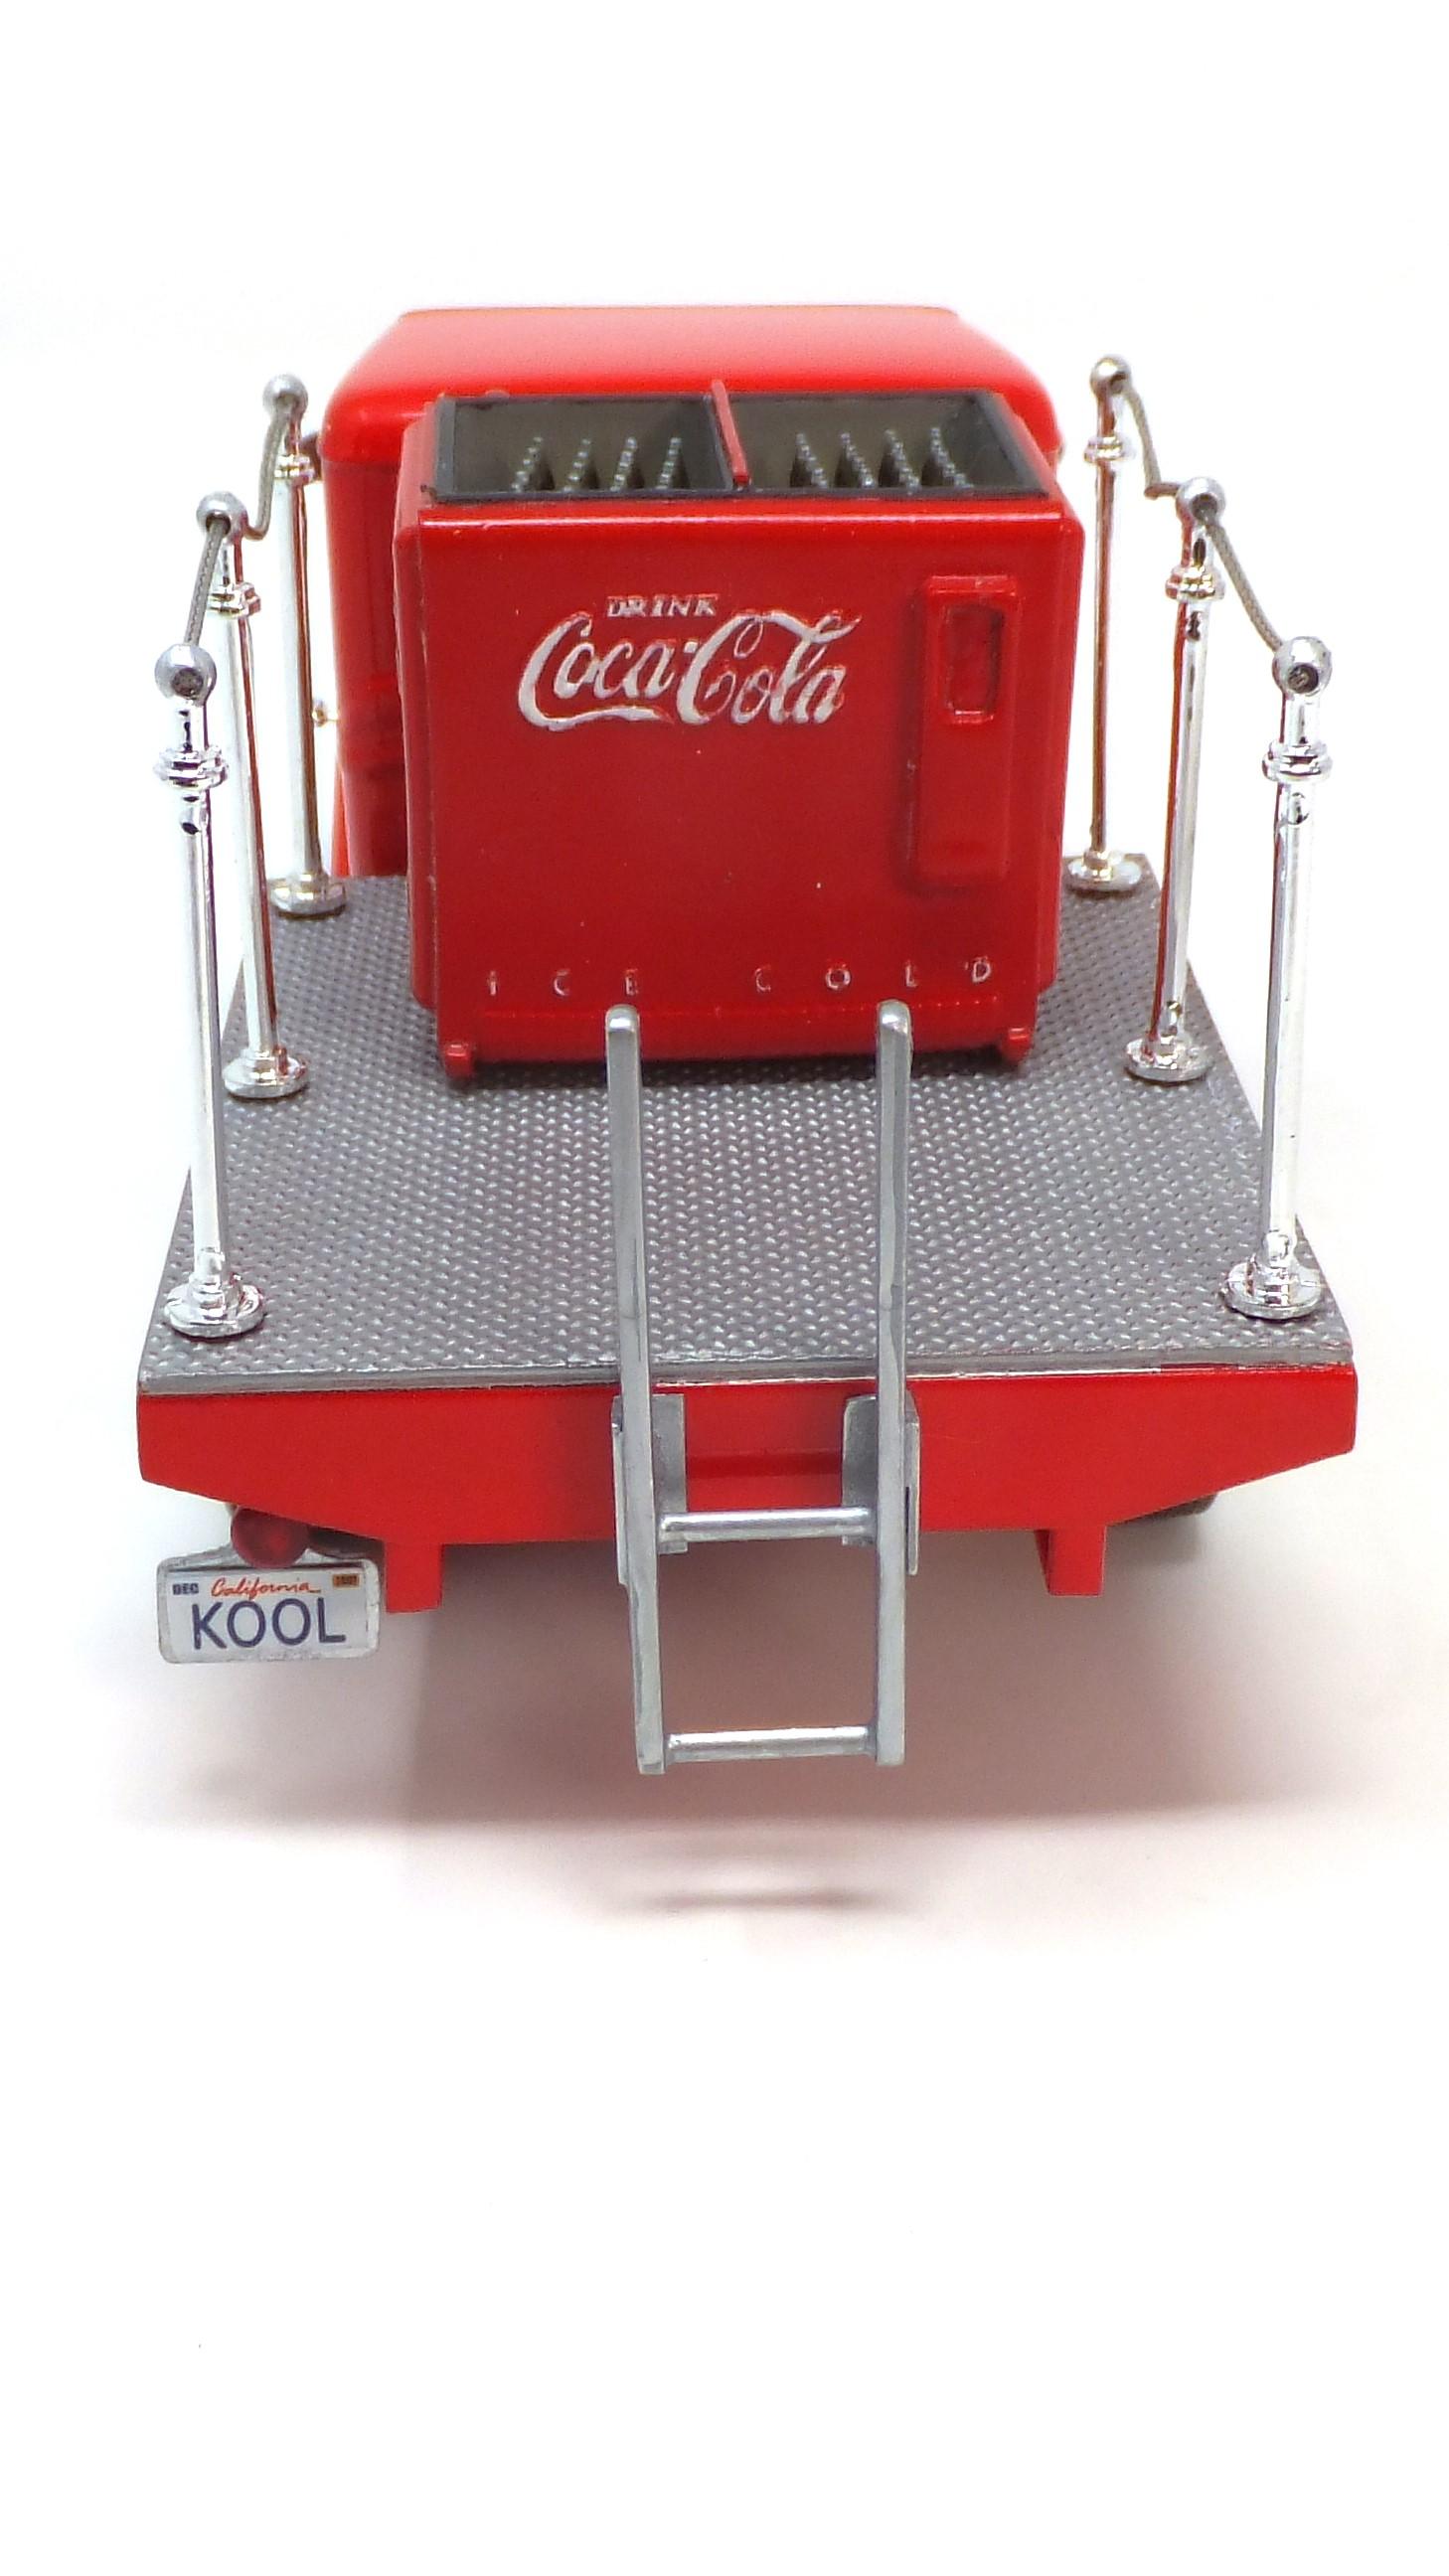
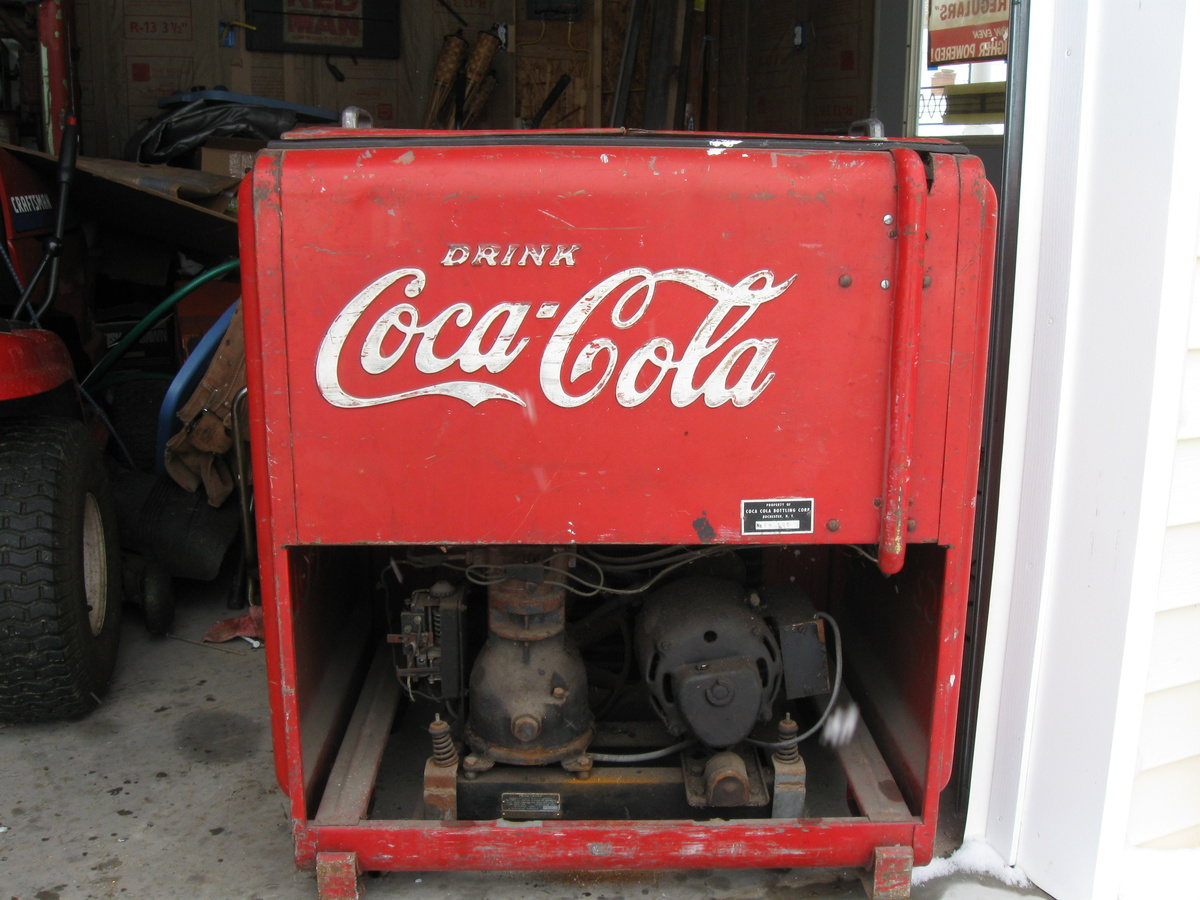
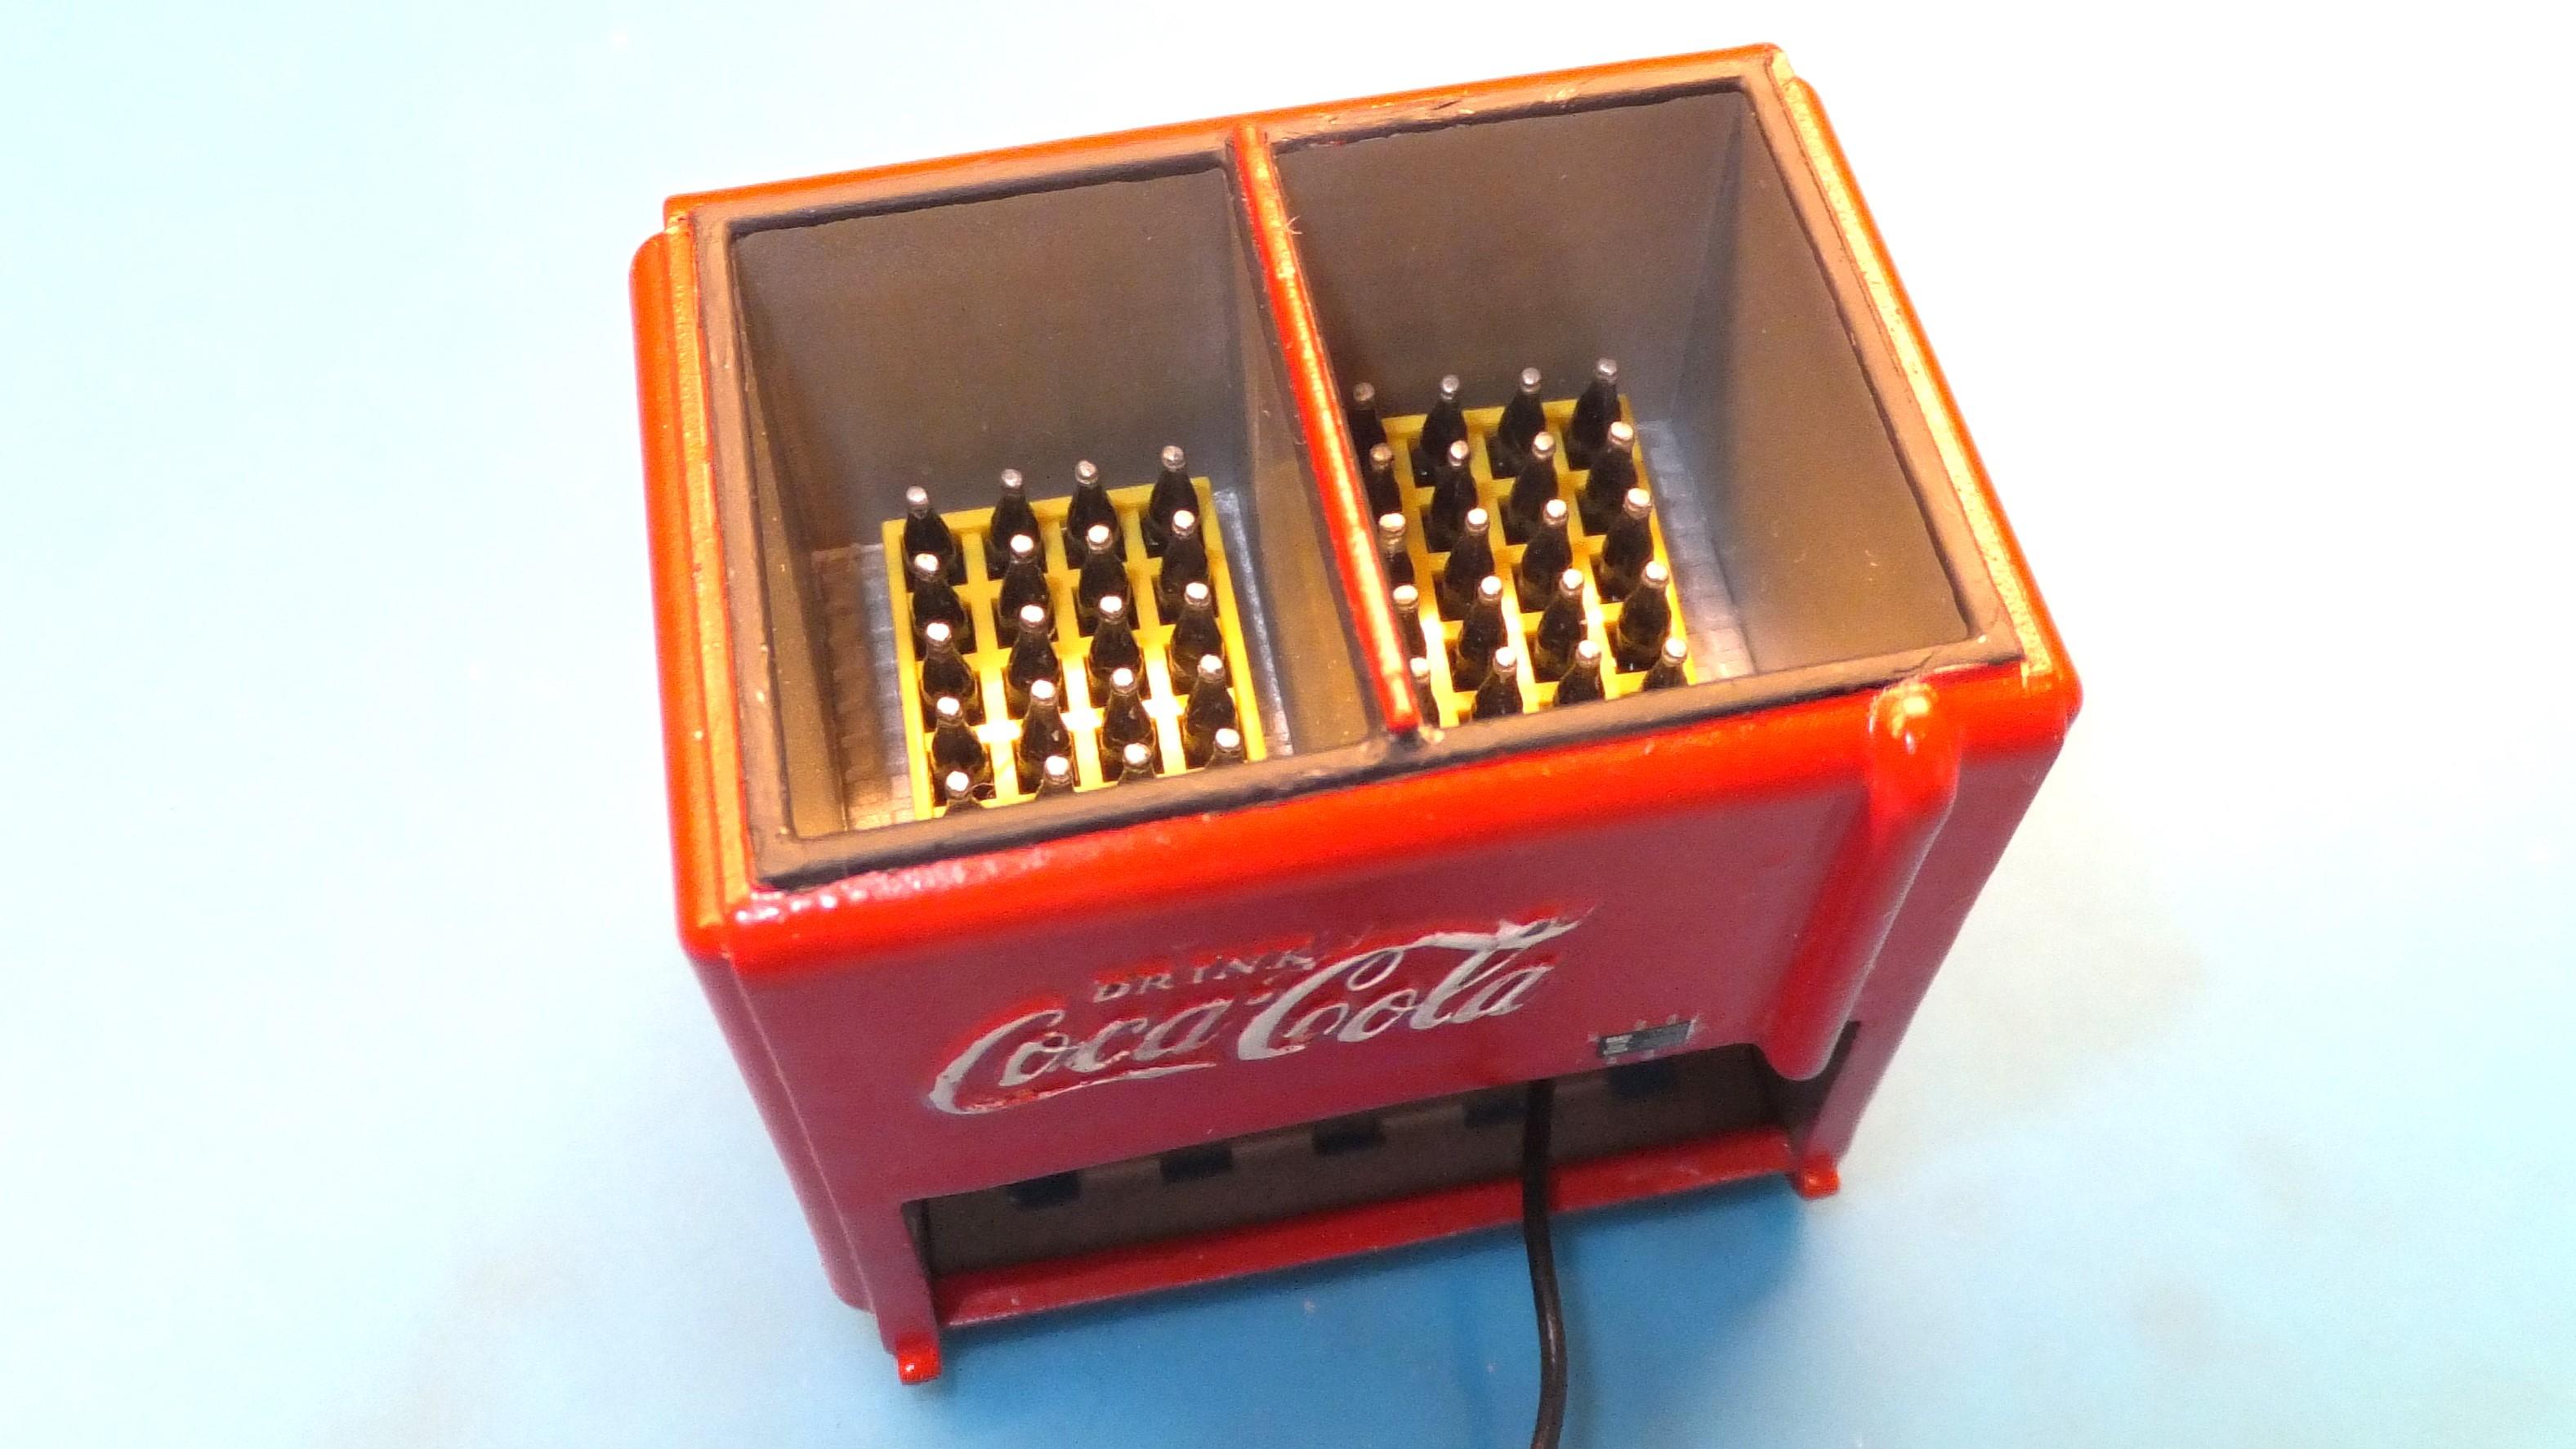
Update 4/25 – The “cargo” Getting closer. I’ve got the chassis detail as far as it will go. And finish clear coating the cab. Getting the flatbed area “cargo” prepped and ready to install. The reason for the quotes around cargo will be evident in the final assembly. The cargo will be a Coca Cola Cooler. I choose the AK Interactive Doozy brand 1940 Westinghouse unit for its detail and the fact that it is a refrigerated unit with detail. The ice chest in the AMT 61 Falcon Ranchero purportedly represents a water bath version and there is no internal detail, it would nee to be crafted. The Doozy kit is meant to be weathered, but I choose to keep it refurbished but still rough with age. A motor and compressor assembly are provided. I decided to add a little more detail to represent some wiring and refrigerant lines. Not as detailed as a real one, but it gives the effect and will not be highly visible. I took an engine bay decal that looked close to a product plate and added it to the cooler body. I also crafted a weatherproof box to carry an inverter that the electrical plug can be placed. The box is under the bed on the pickup rail. Remaining is to polish out the cab and do the final assembly. It should be ready for our upcoming Pacific Northwest Model Car Fest on May 4.
-
Going to try again after several months. After the move back to Washington State, as I went through the model stash, I discovered a missing parts tree from this kit: The parts tree is C and has these parts: I have gone through all the boxes and cannot find it. I certainly would not plan to buy another complete kit (long out of production). The Tamiya parts sources no longer have anything for this, nor does Tamiya. If you have one you are willing to let go, let's work a trade. I have quite a parts stash. Thanks for looking. Any help is appreciated.
-
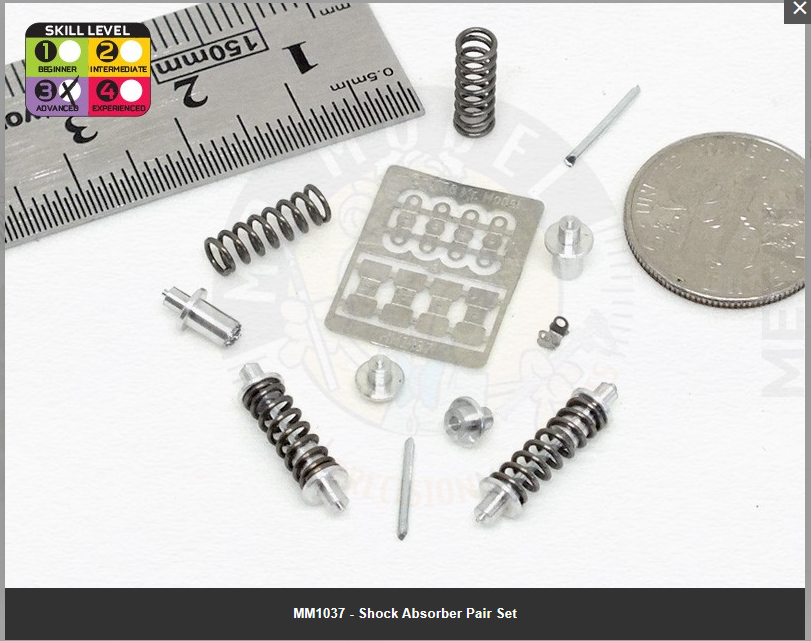
I've ordered from them before. And some US online stores carry them, but out of stock at the moment. Besides Future Attractions mentioned above, there is also Aber, Top Studio and Yamamoto Model. Burbank House of Hobby has an Aber set. The others, except Future Attraction, you'd likely have to get from Europe.
-
Of the top of my head, Mr. Model (from Brazil). There are some others
-
I'm confused. That is what it says on the instructions. Do you have the model number?
-
This one? https://www.tamiyausa.com/media/files/16003ml-1006-3ad4.pdf
-
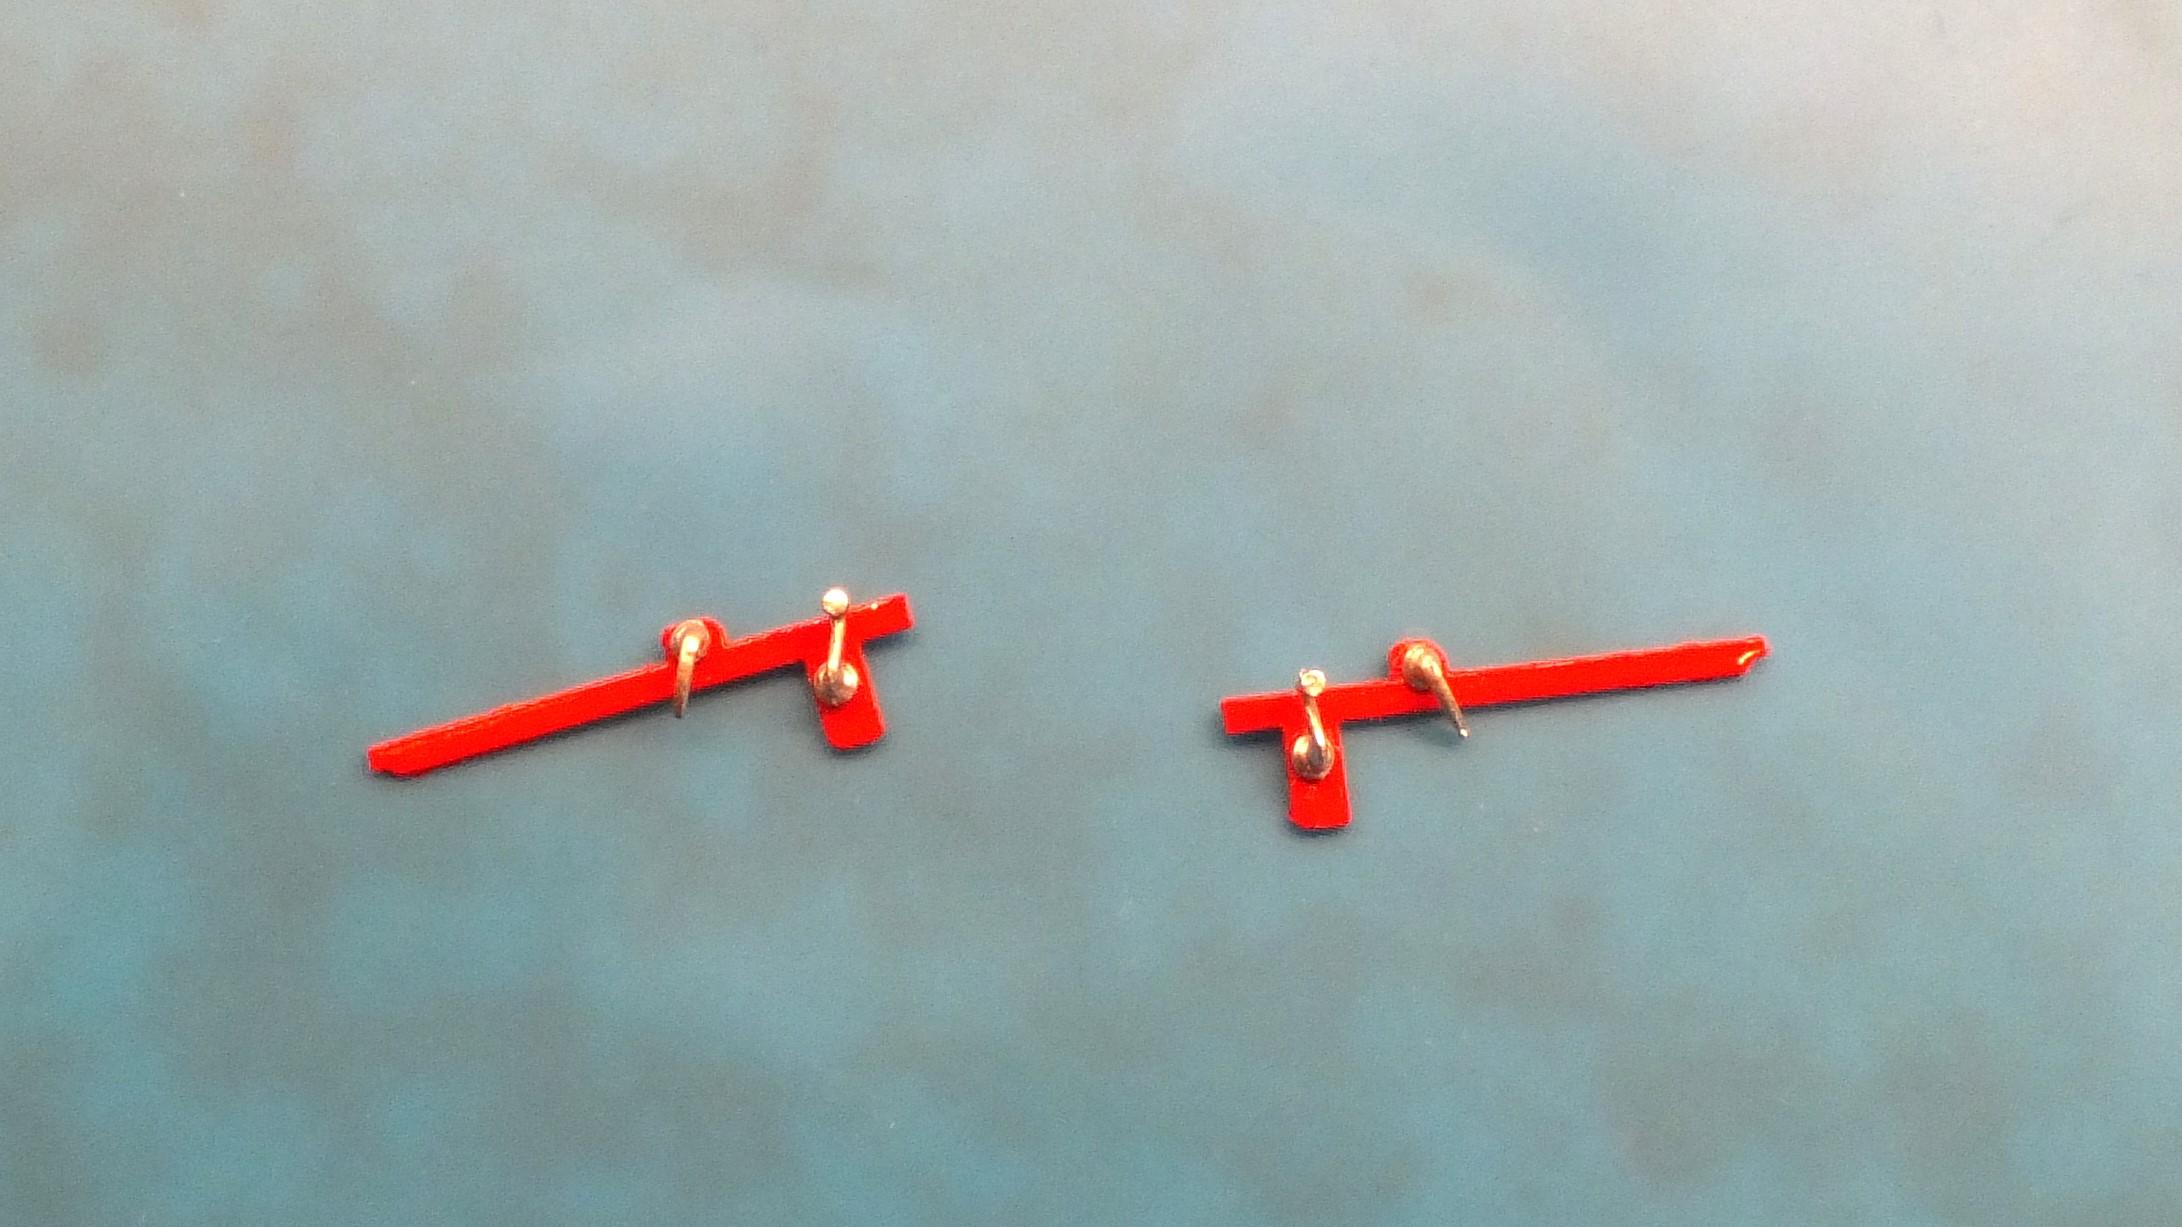
Update 4/18 - Engine to Chassis and Interior Door Detail Got the fuel and brake lines in place as far as I can go without the engine. So, I mounted the engine to the chassis and installed the wheels and tires. I will attach the brake lines to the wheels as well as to a scratch built proportioning valve. Took the brake booster from the kit and removed the vacuum assist. I built a piece to mount to the chassis and will run a line from the valve to the reservoir. I will also attach the fuel line to the engine. Still debating on a beehive filter addition. I am not installing door cards either scratch built or from another kit. It will not go with my intent on the model. There is an extremely fine etching of the interior door in the kit, including handles. But it is so fine that it does not even worth mentioning. Since the cab will not be chopped, I decided to mockup the top panel piece and add resin door handles and window crank. When ready, I will attach to the door sides.
-
1/24 Scale Seat Belt Buckles?
Exotics_Builder replied to Noah H.'s topic in Model Building Questions and Answers
Just a sampling. https://www.spotmodel.com/advanced_search_result.php?osCsid=tfvkj66i0fh3qipic86emkgko6&types_id=48&scales_id=9 https://www.google.com/search?sca_esv=0bc39af9d1d15b37&sca_upv=1&q=hobby+design+1/24+seatbelt&uds=AMwkrPuHg33dywq06rO2P3P076cYG-R6xtVZ5pXBPPWNFYnSGmHkF2q6VHUPe07FfO7TfhPP4U21n1YWrZlZnDRm2KXVtIArolHnGWprz33RJK_WvQyfdKEPxy3zJvj8CgklXyUrmeF-RDruafPNL97ilUu1uok446S4l4lFPDpbGyyeVxxuLu-2F1Nu3DodGMm0_k9ZjtqGzGShh1Y-oMju666f1Pct2itc_PrM2wS8FpkzmlLvZSvxuI4cStCYLa_3yJdaBggNnpI5Jbar_OPKuAEizvNXHOr1MG-n7YRmh01Q00hr3EC94CNhYw_eNeSf16IYCyFi&udm=2&prmd=isvnmbtz&sa=X&ved=2ahUKEwjhyMnCrMKFAxXrBDQIHe6_A9QQtKgLegQIDRAB&biw=1674&bih=832&dpr=1