-
Posts
9,785 -
Joined
-
Last visited
Content Type
Profiles
Forums
Events
Gallery
Everything posted by MrObsessive
-
You'll want to get gloves such as can be seen here. As far as 3D programs if you want to get into modifying files and such in the future, you'll want to get familiar with Blender, Fusion360, 3DBuilder, NetFabb to name a few. Tons of vids out there to show what functions do what. Be careful of some files that say "printable". A number of times I've gotten "ready to print" files that turned out to be waaaay too thin in the wall thickness, and unfortunately, because the .stl file had already been altered, it was VERY difficult if not impossible to change it. Especially for car bodies this is critical, and your wall thickness should be at least 1mm MINIMUM. It's the major reason I'd rather start with the native .obj files and do my own format conversions and wall thickness------been burned by a couple "printable" files so far. I can tell immediately from looking at the wheel wells of a printable file if it's worth the trouble buying it. If it appears thin, it's a no-go in my book. Hope this helps!
-
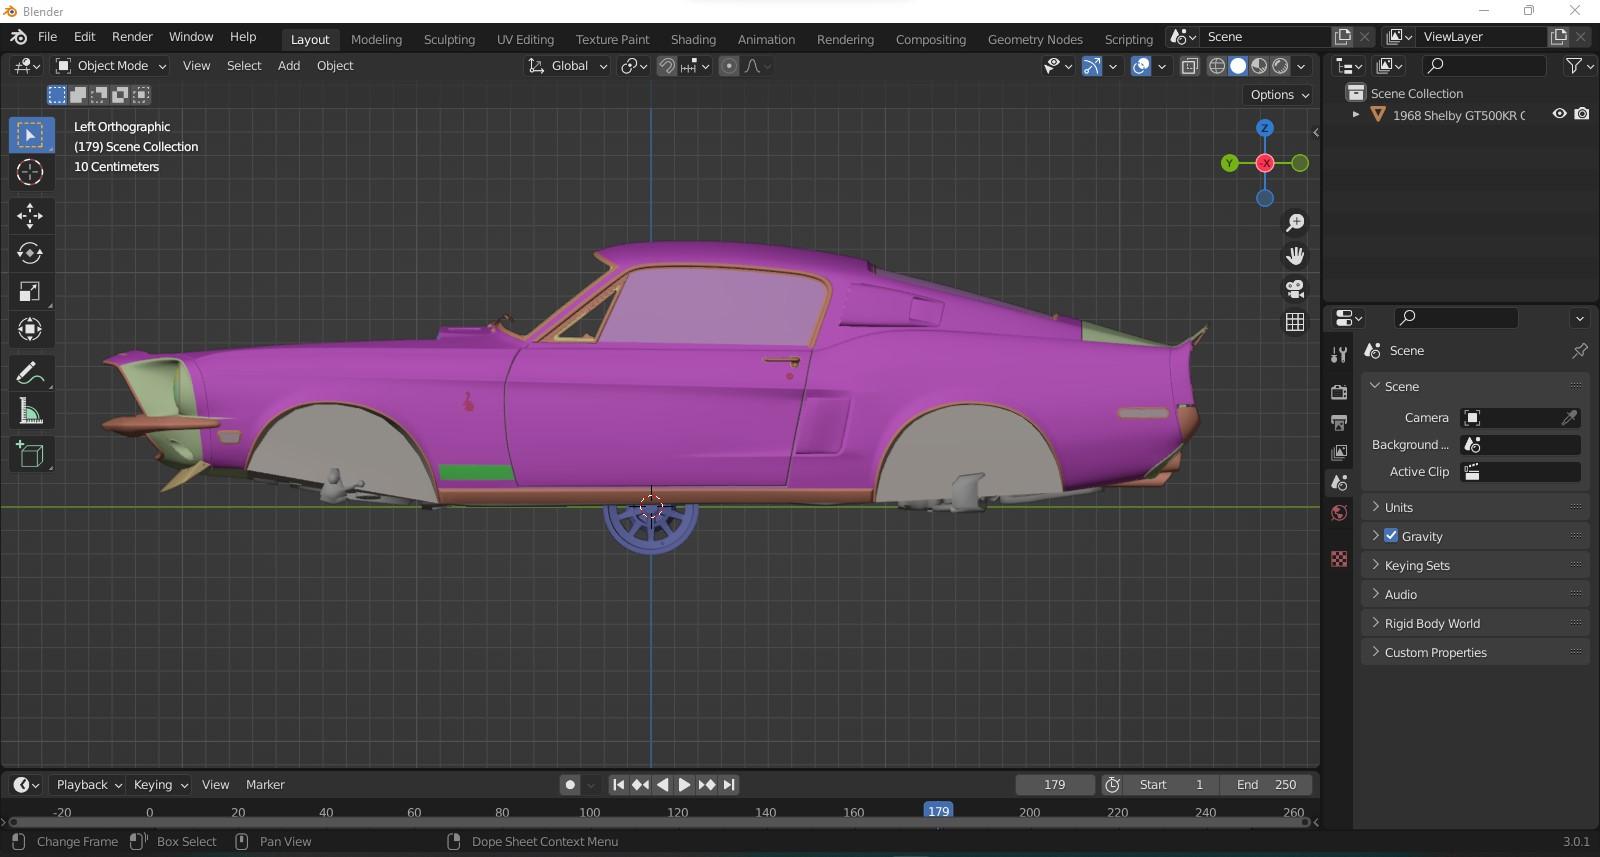
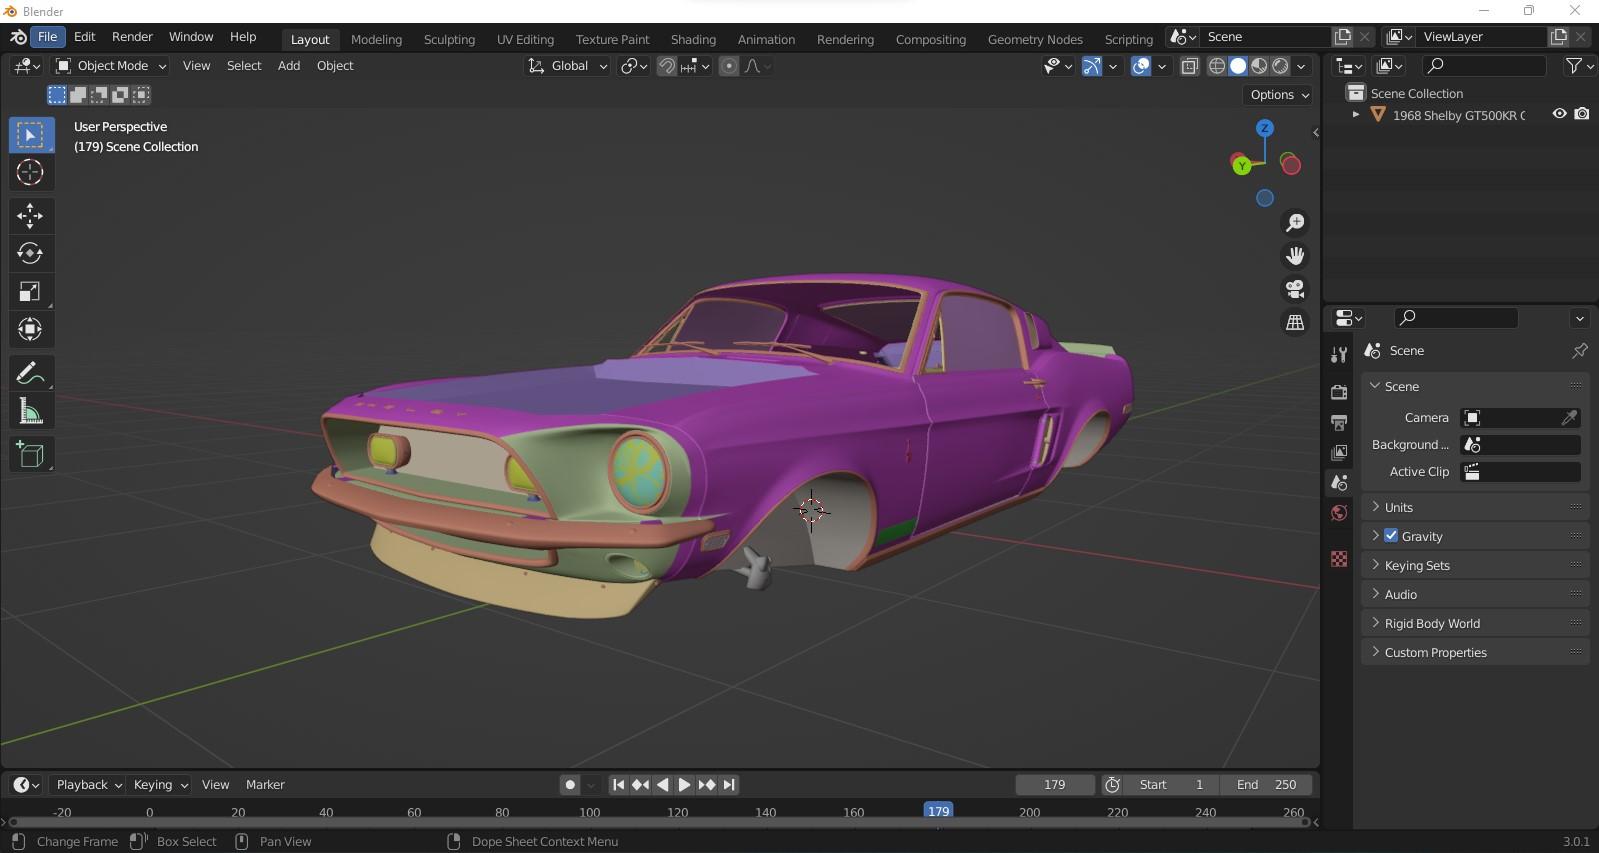
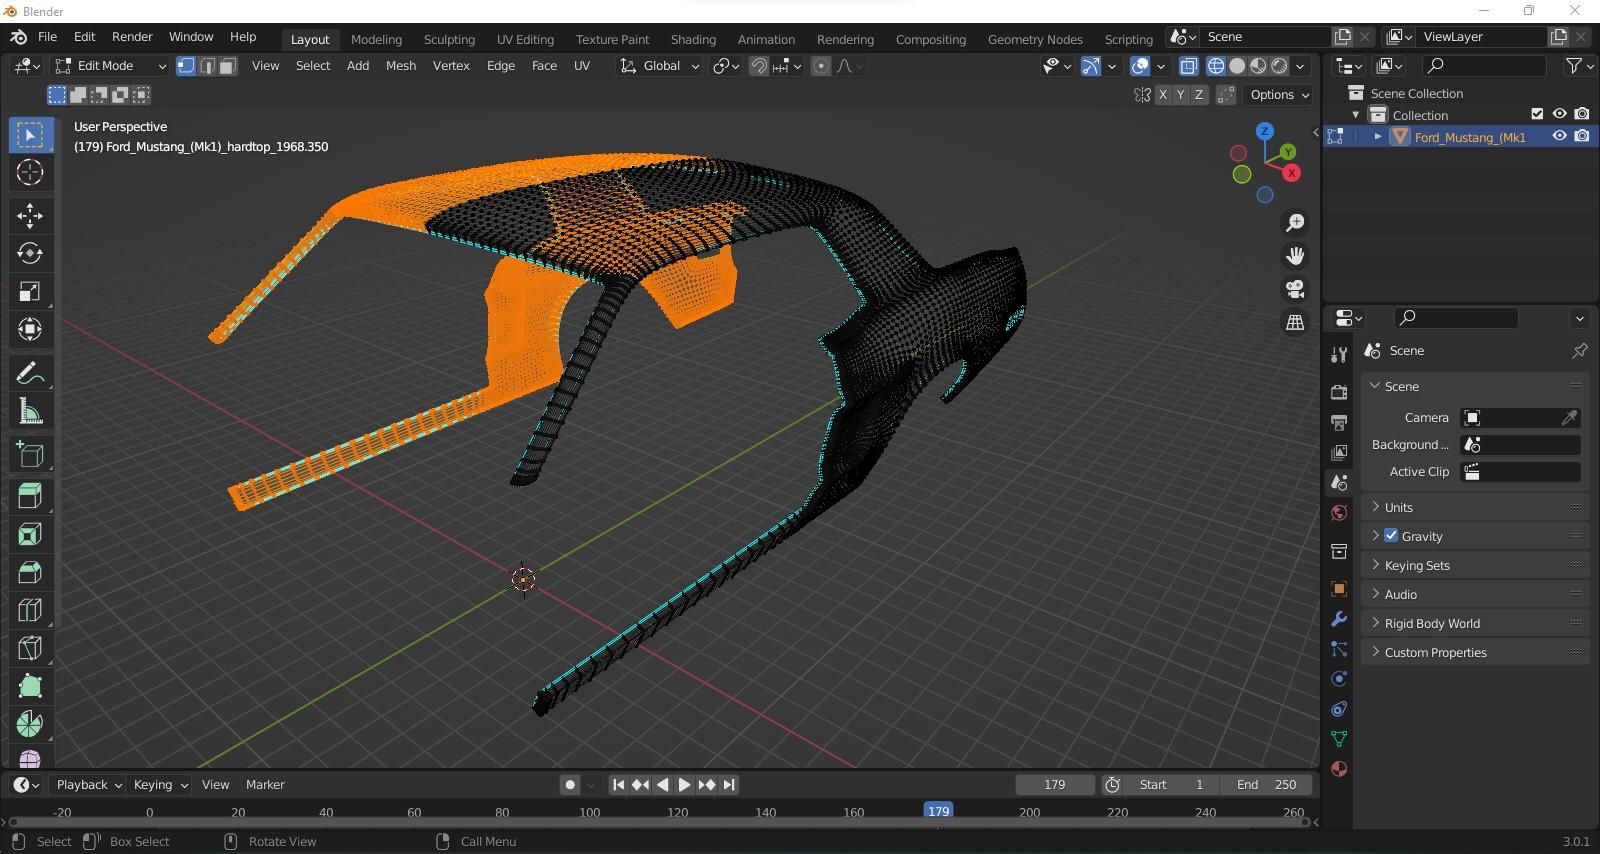
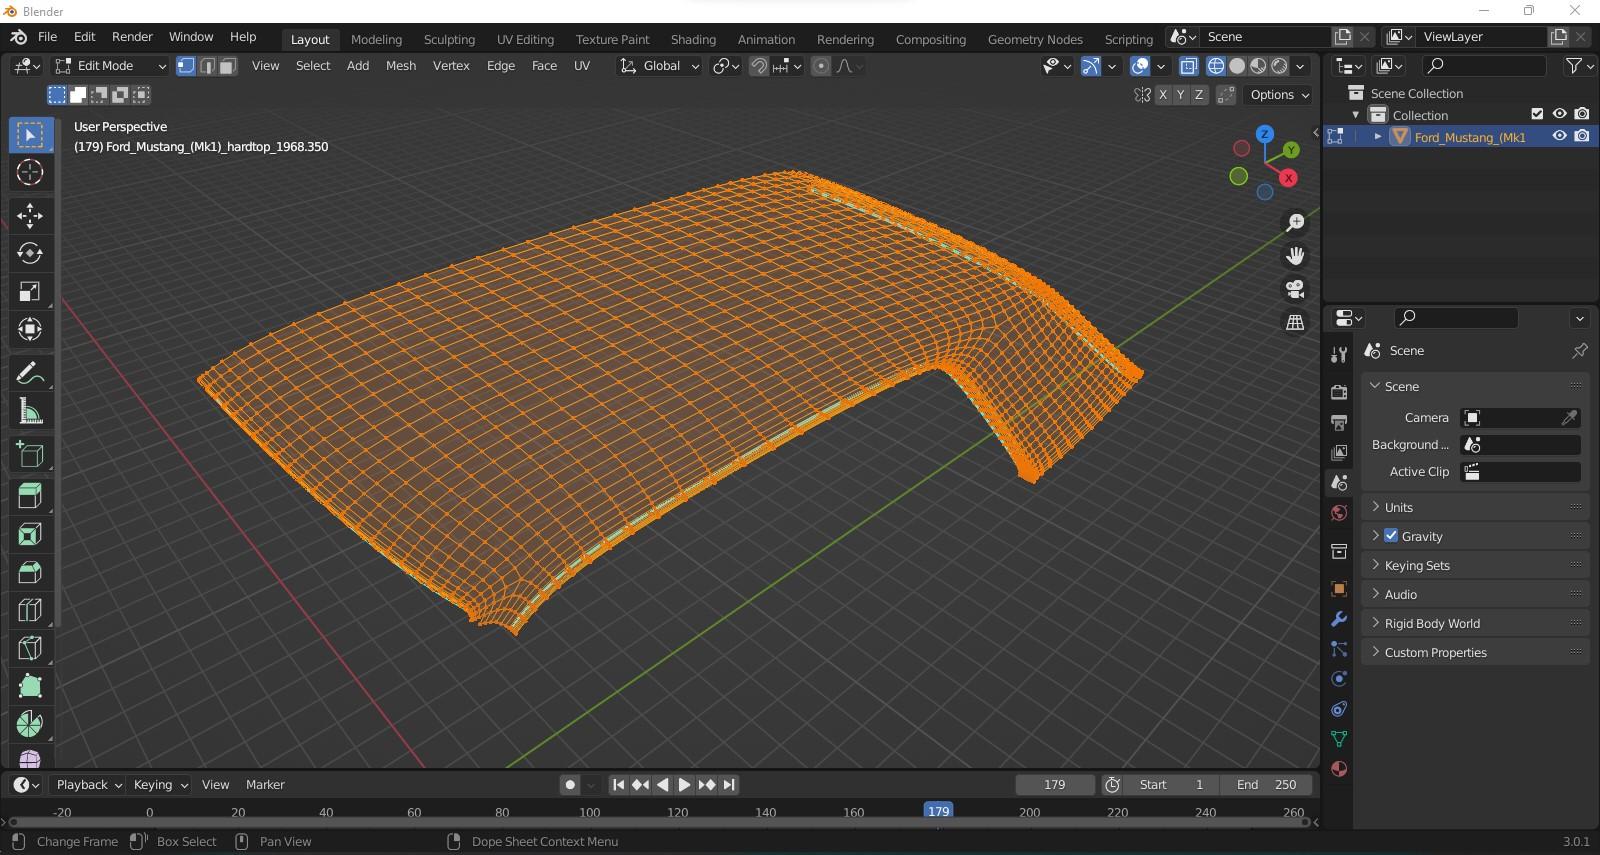
OK! Here are some screenshots of the Shelby........the different colors represent texturing which is used as part of the video game format. This file is so good (one separate file for a COMPLETE ACCURATE interior), it even includes a file for the 10 spoke wheels. Now you have to extract them, but for the exception of the wheels I showed above, NO ONE has done that wheel correctly.
-
Thanks Brian! The files that a lot of the parts came from were in fact a SUPER SHARP '68 Shelby Mustang Fastback game file (Forza Horizon). Maybe one of these days, I'll reformat and print that file. I'll see if I can get a screenshot of the body........someone knew what they were doing when they designed this car for a video game of all things.
-
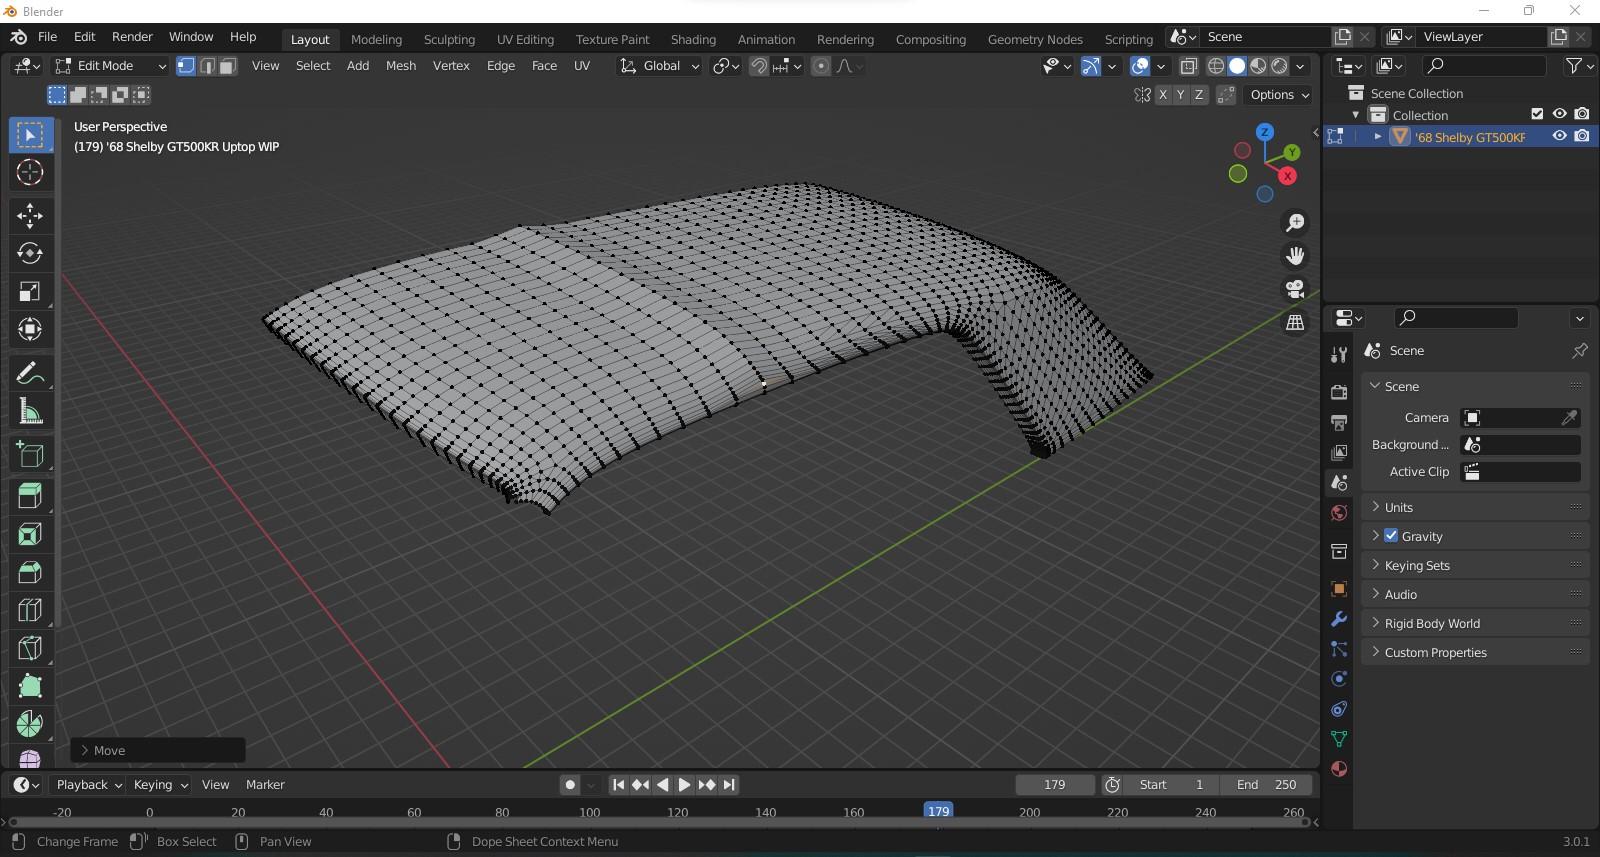
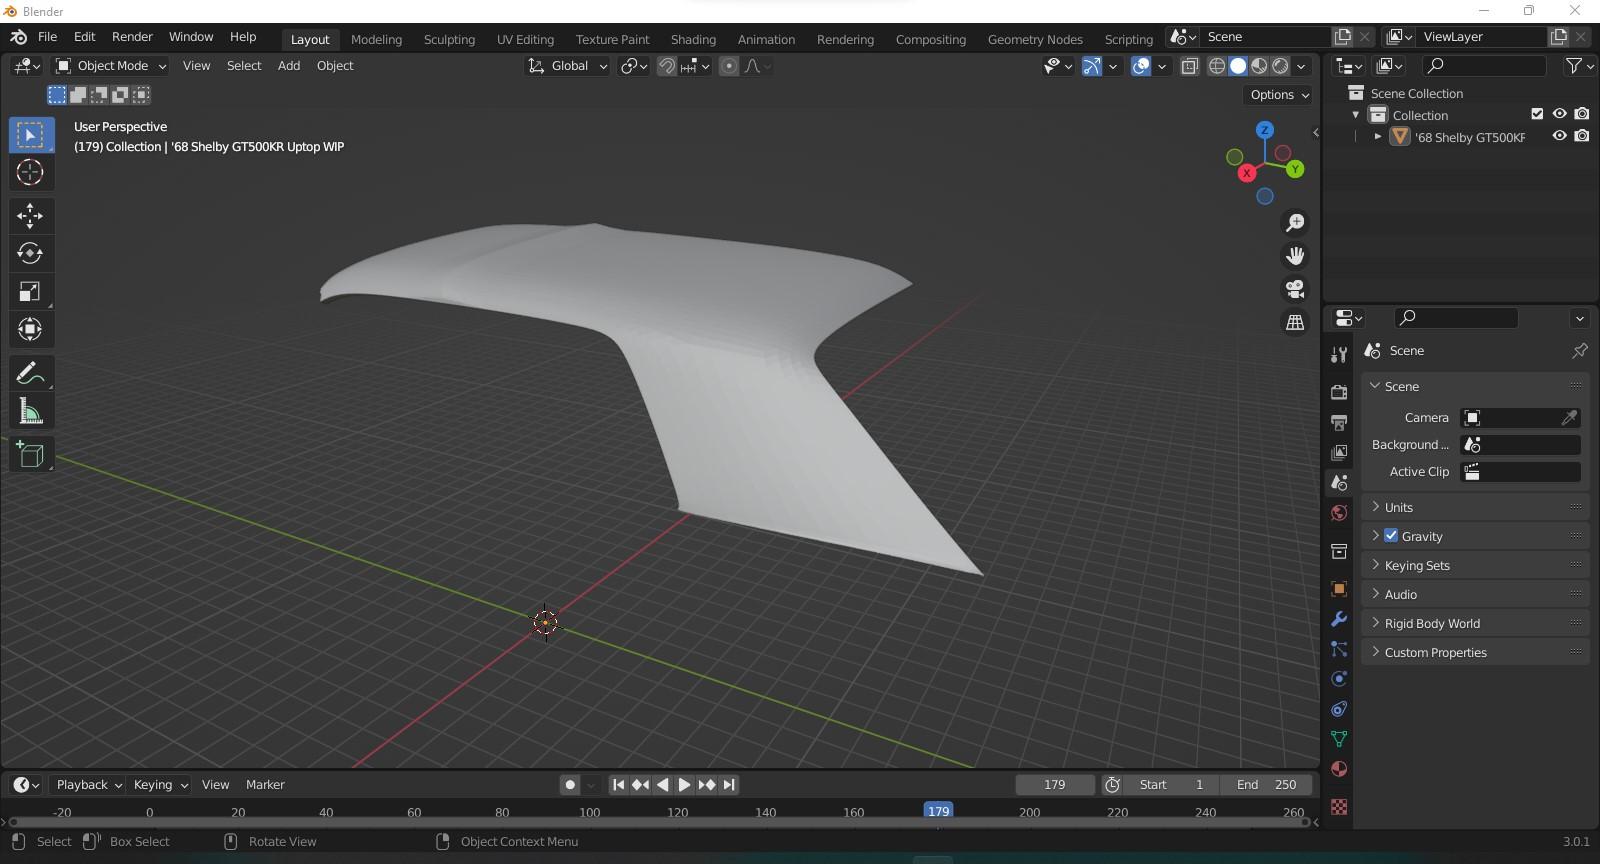
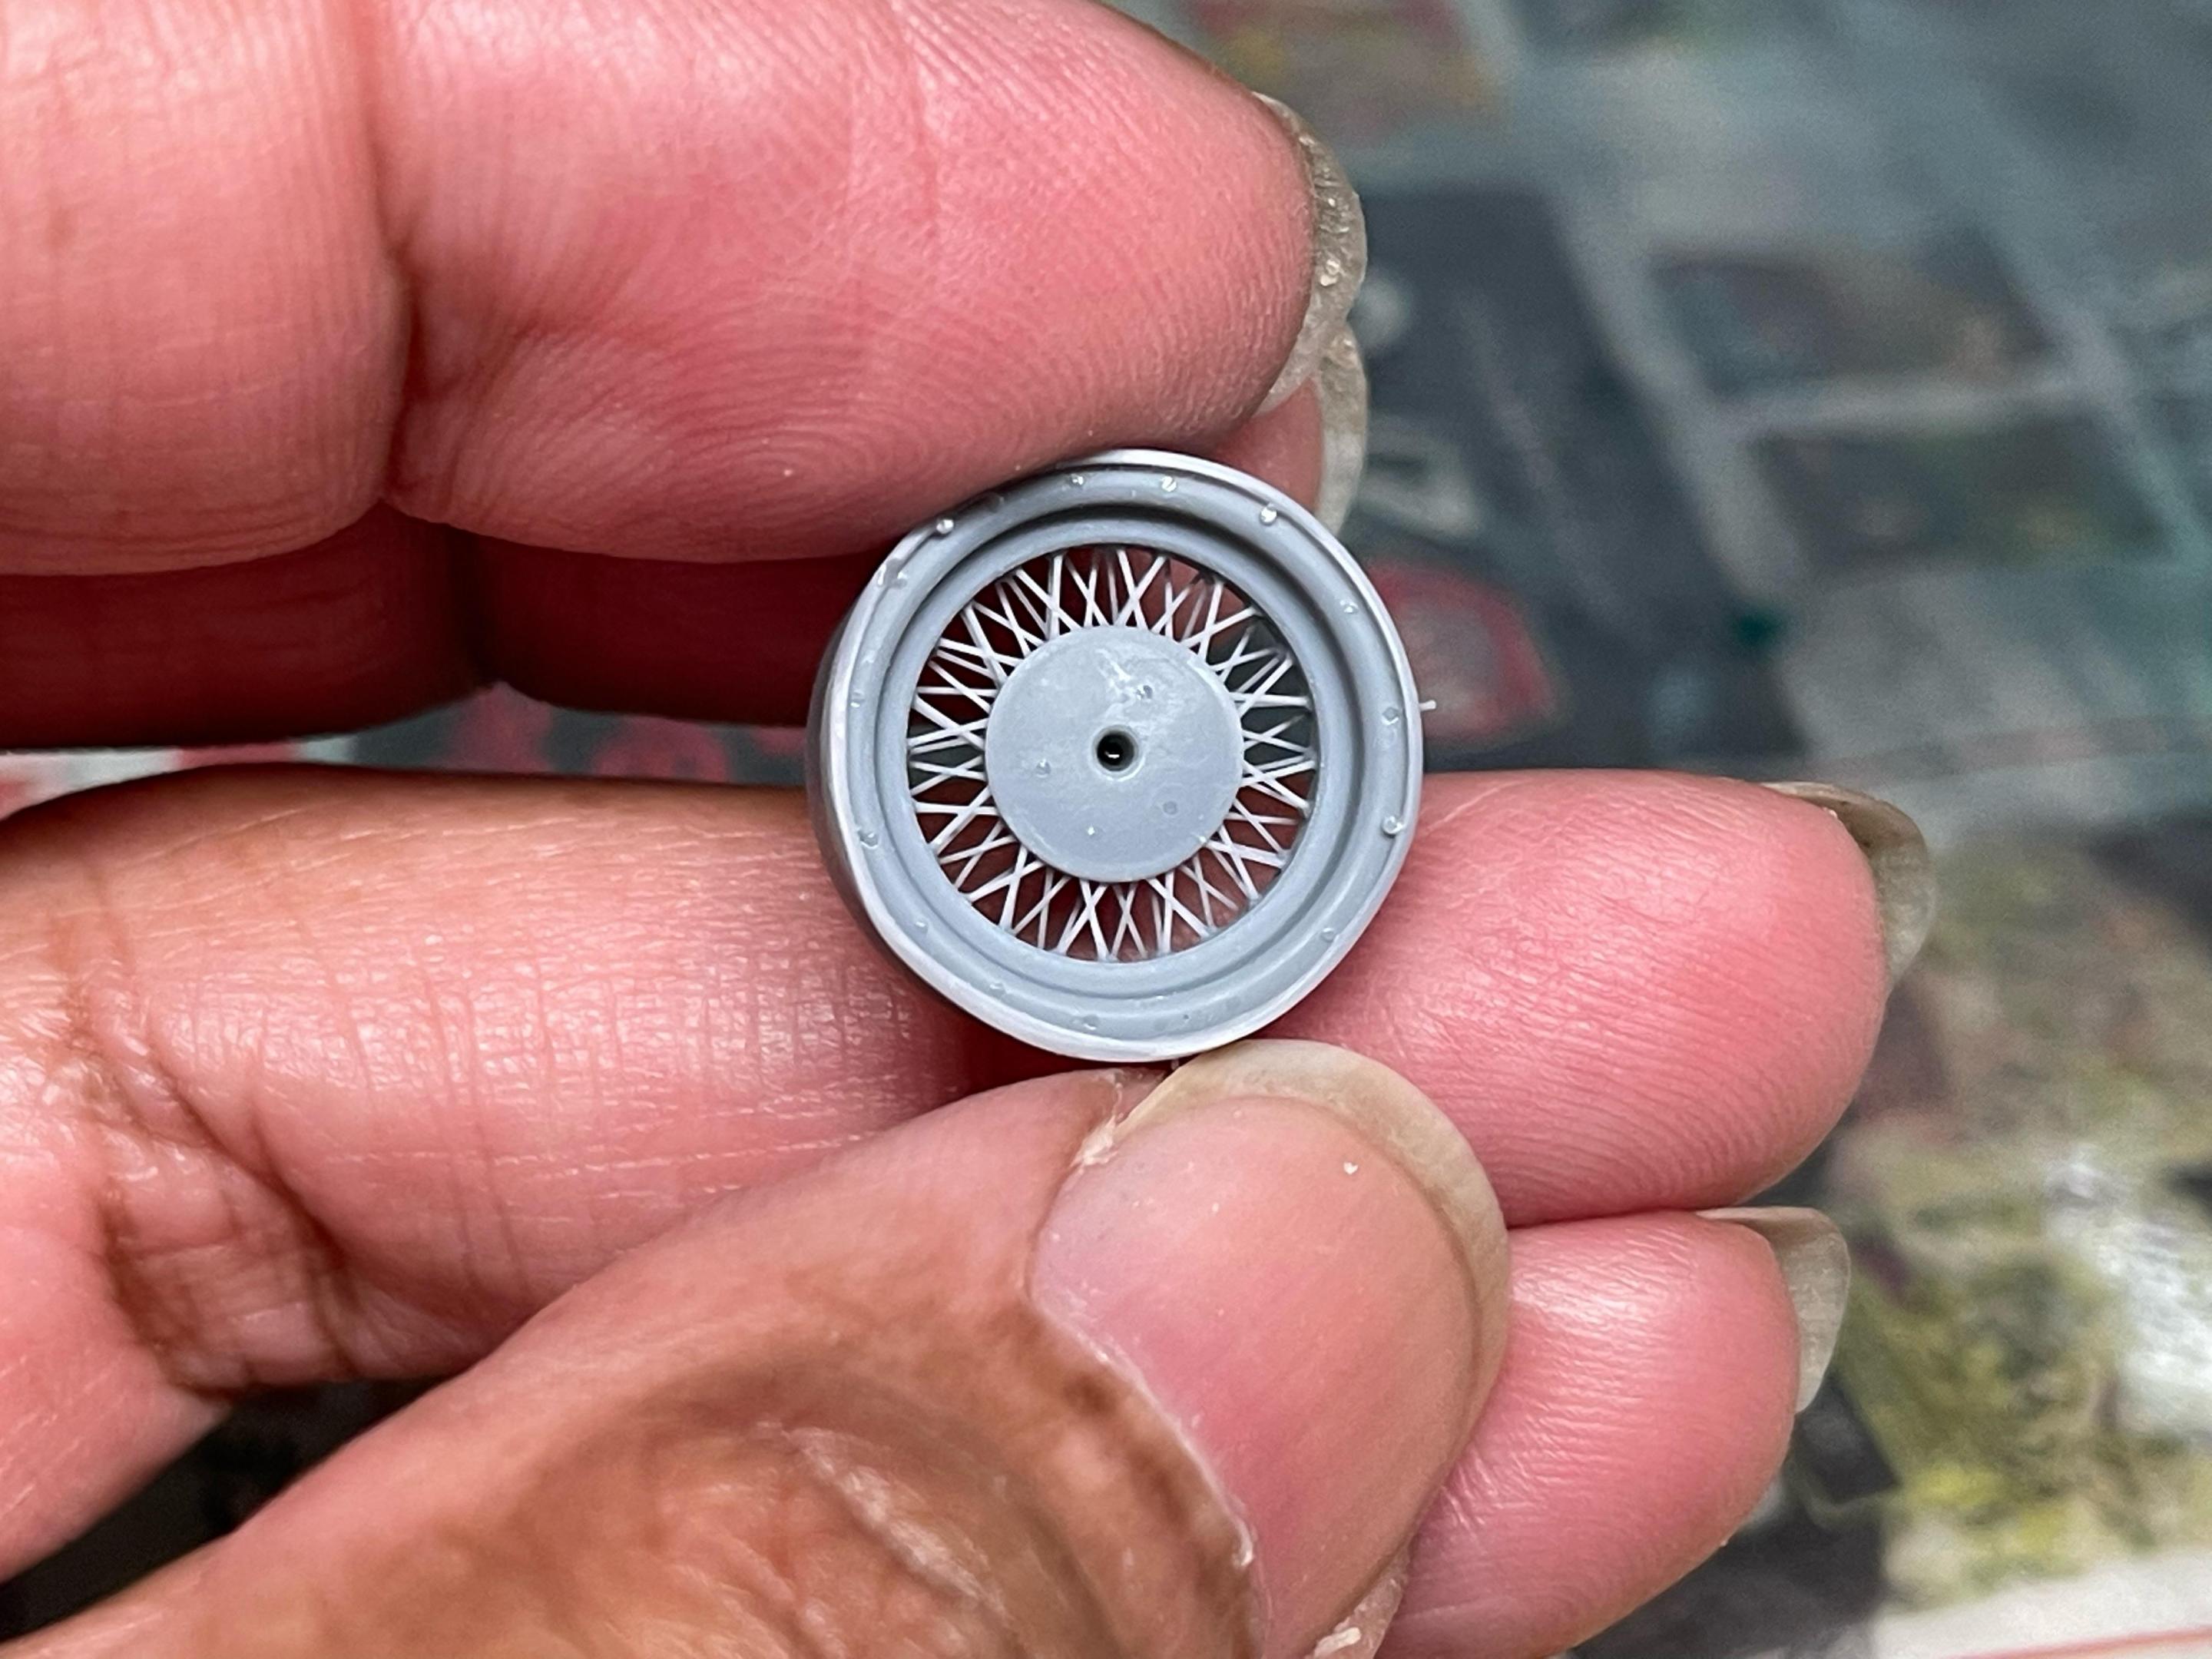
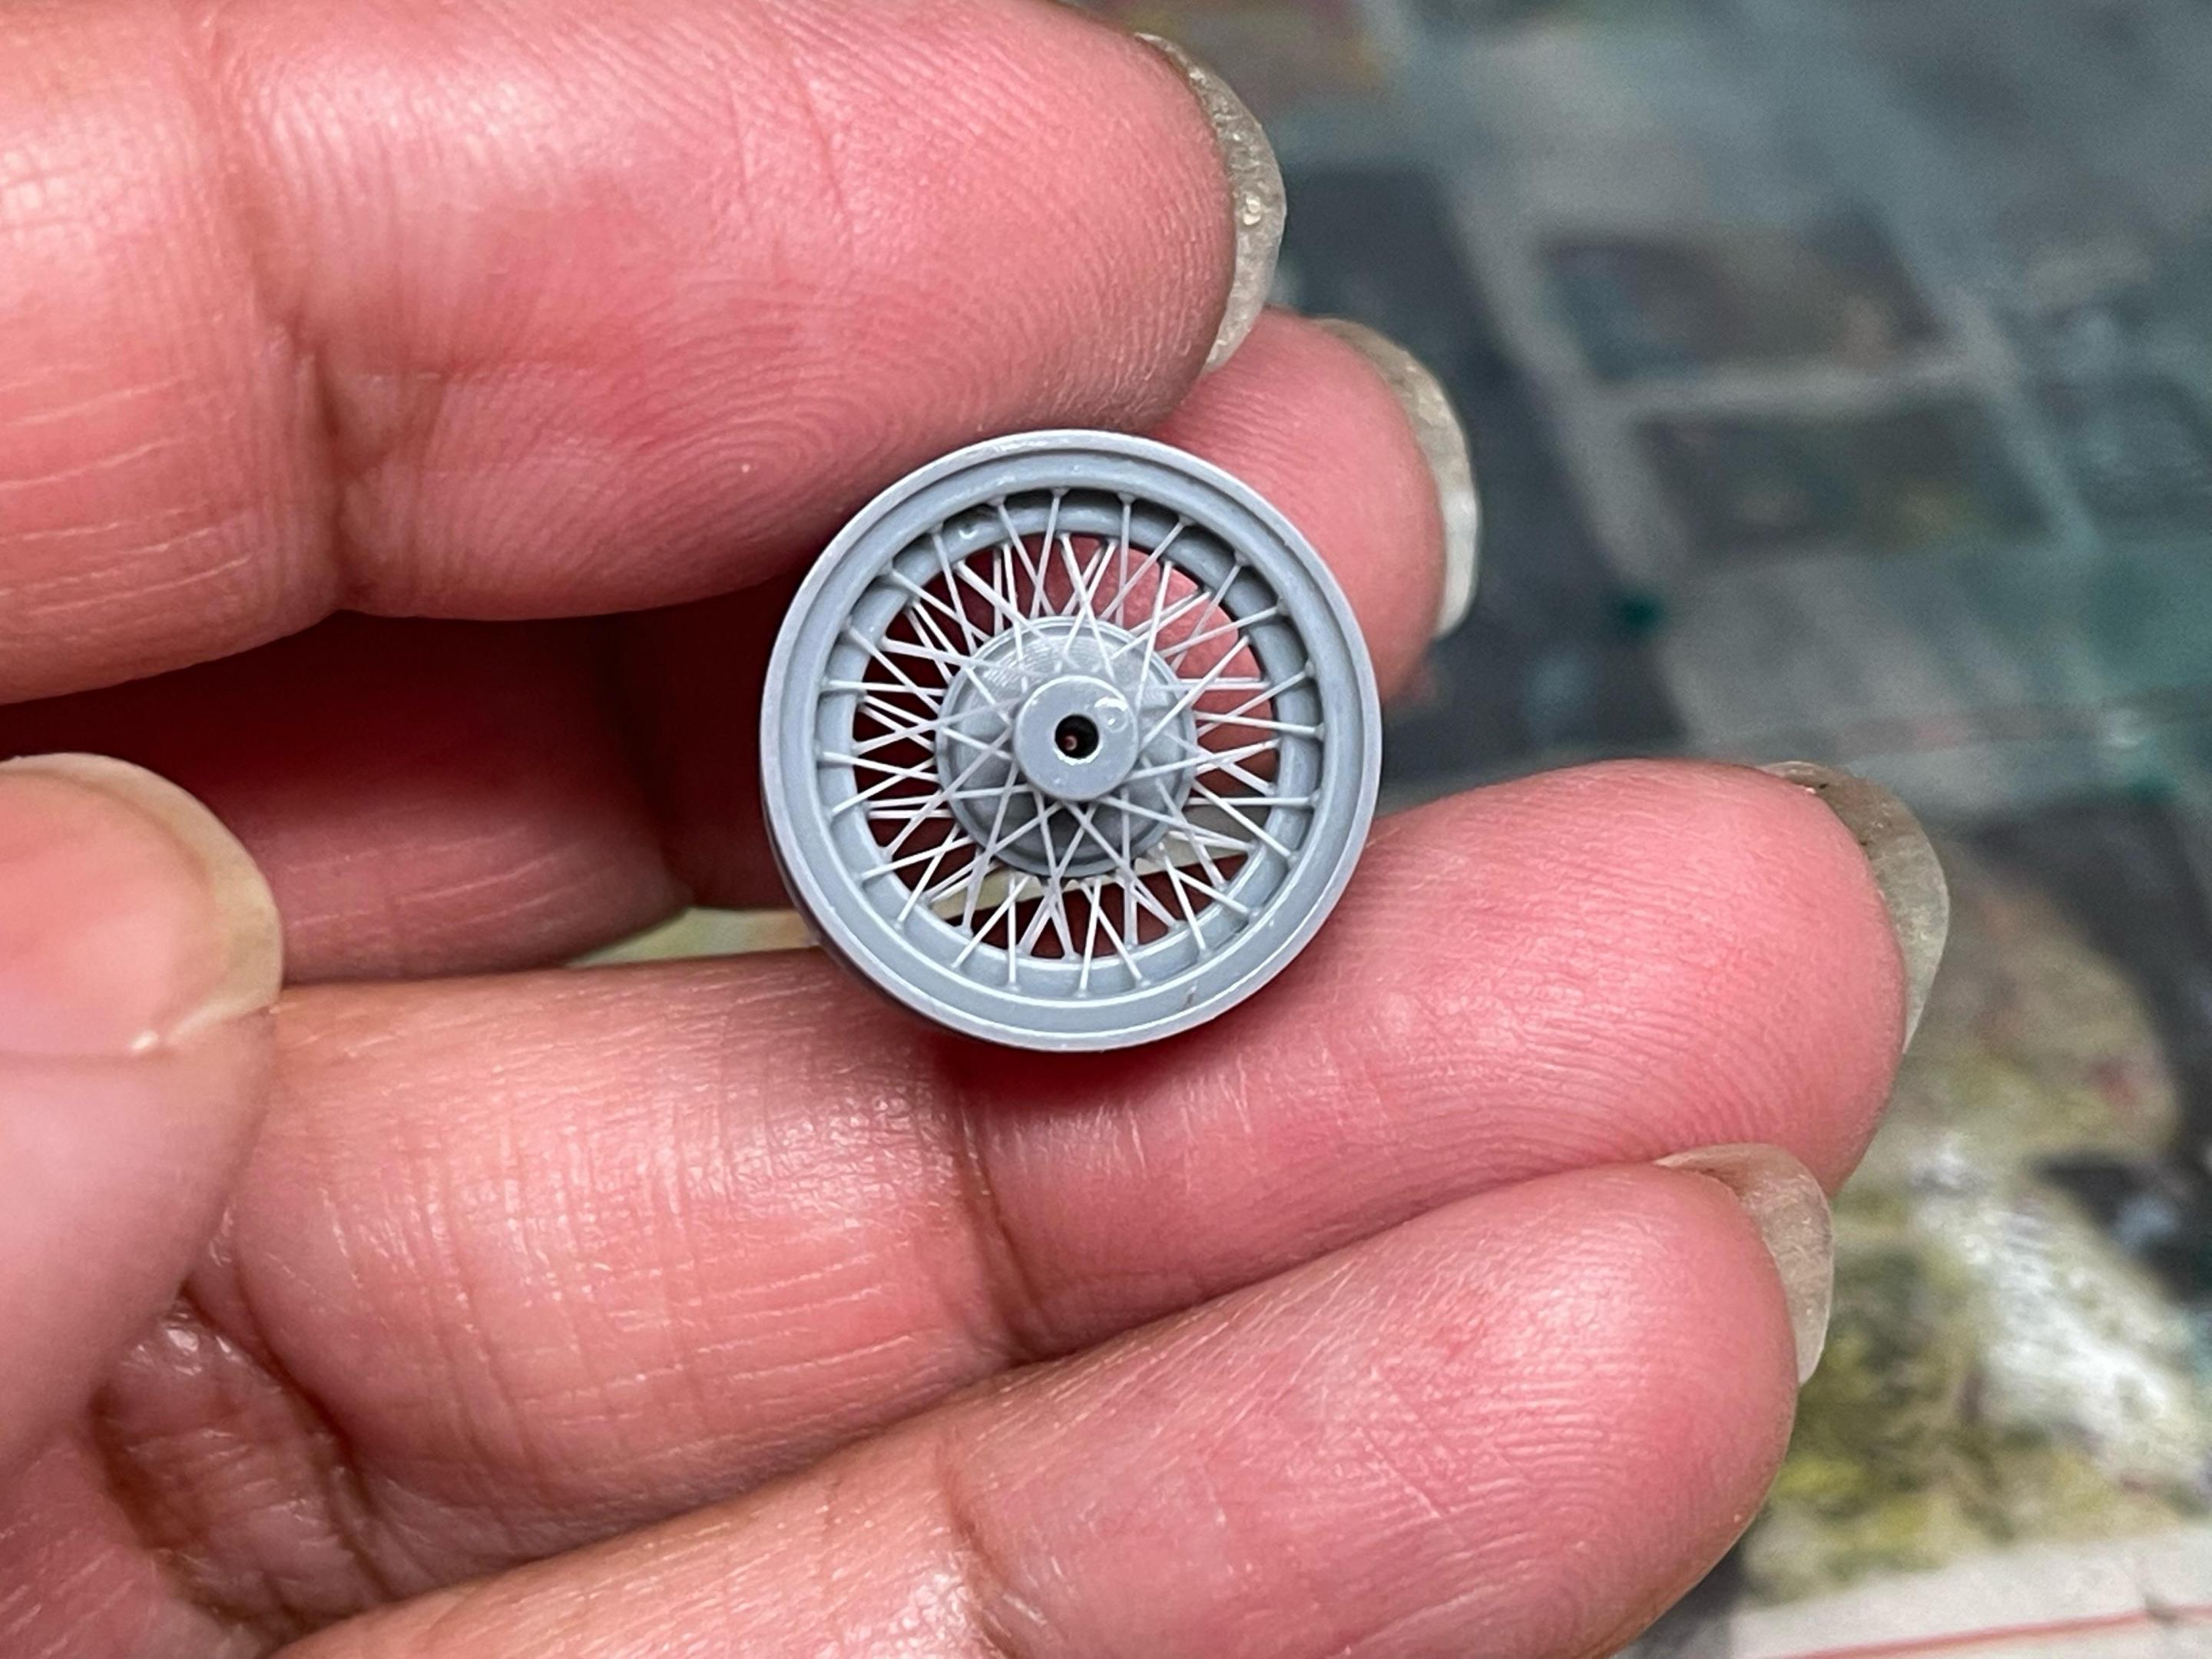
This is another one I posted on FB, and folks are still talking about it. I based this one again off a printable file of the regular Mustang coupe, but quite a bit of editing/scaling went into the body to first make it a convertible, and then make it a Shelby version. The Shelby parts came from .obj files I have of a '68 Shelby Fastback, and its files originated from a Forza Horizon video game which I converted. I gotta say that this particular Shelby puts to shame anything I've seen come from the kit makers, as its body lines are EXACTLY CORRECT. No, I don't plan on selling the files, or the model...........I get that question a lot on FB, and I do this strictly for my own hobby use particularly something that's my own creation. I've a bunch of pics below......some of them I'll describe what was up in that particular pic. Enjoy! Print time for the convertible was 16+ hours with 2,977 layers. I get questions from time to time as to why it takes so long------GOOD prints take time with a high resolution (.030mm layer or less) set on your printer. The 3D prints you see with rough surfaces and horrific layer lines, I can guarantee were a rush job, and were done rather quickly. Good luck in trying to get rid of those lines in critical areas such as scripts or body trim. Edited doors came out very well as they originally had the window frames on 'em. I never thought that looked quite right as they were a bit heavy-handed, so I edited those out for the CS and the convertible. The Shelby taillight panel came from one of the game file '68 Shelby's I have. The file had to be converted, scaled, and then thickened up to survive printing. The rear bumper came from the original .obj files I have of this Mustang. Due to the scale origin of the printable body, it had to be edited to suit as far as scale, file format, and print-ability. I extruded the lettering just a bit on the Shelby nose, since the nose itself (another game file origin) had to be thickened up for printing. In Blender, I extruded the letters so that they were a bit above the surface but still would mesh with the vertices underneath. They came out pretty well, and we'll see down the road how they'll show up after BMF and painting. If all else fails, I have Model Car Garage's very nice PE set he has now of this car. The hood was yet another '68 Shelby game file that had to be converted for use here. I actually like this hood a bit better than the one I'm using on my '68 Green Hornet project! Same decklid from the CS I'm using here............... The rollbar came out a wee bit wonky. This is an easy fix though with some liquid resin and a UV light. Sand to shape, and that's it. The door sills came from a '65 Mustang coupe file which was also part of the Forza Horizon game series. ANOTHER ONE that has spot on body lines, and one I wouldn't mind converting and printing someday. Side scoops are from the same '68 Shelby Fastback game files. These are not printed, but cast resin and IMO, not very well. I'm looking at a file on gamemodels.ru where they have a '68 Barracuda file that has the CORRECT wheels. The MOPARS and Ford shared this design.......GM's were slightly different in the spoke area near the center cap as they were "straighter" while the Ford and MOPAR ones were curved. These 10 spokes were 3D printed by @Superbird McMonte and are super excellent! I'm going to use his wheels on my Green Hornet, but they wouldn't look bad on this convertible either. These were 10 spokes 3D printed and cast by Plamoz. They were only available for a very short time, and then for whatever reason, they pulled the plug never to be seen again. It's the reason you want to grab items in the hobby you want if you can, as they can disappear without a trace, The same goes for 3D files too. From time to time, I'm working on an uptop for the convertible. Lots of editing will be involved here, and more than likely I'll be getting the putty and resin out after it's printed to get the finer details. I have a bunch of pics of the uptops on '68 Mustangs. I don't want the one out of the Monogram '65 Mustang kit as it's too "boxy" and "straight". Convertible tops have a certain droop and sag in places on them and I don't want mine to look like a hardtop with ridges on the roof. Thanks for lookin'!
-

3D printing a part for a 240Z
MrObsessive replied to Pete J.'s topic in Model Building Questions and Answers
Pete, I'll have to keep you posted on that. I've got sooooo many 3D projects lined up including getting my builds done before GSL next year, I don't want to commit to something and then not be able to follow through. If you know someone or a service that can print it, I can get you the files you need. I have this kit also, and somewhere along the line I'd like to take the file and convert it to be printable for the 1/12 one. -

3D printing a part for a 240Z
MrObsessive replied to Pete J.'s topic in Model Building Questions and Answers
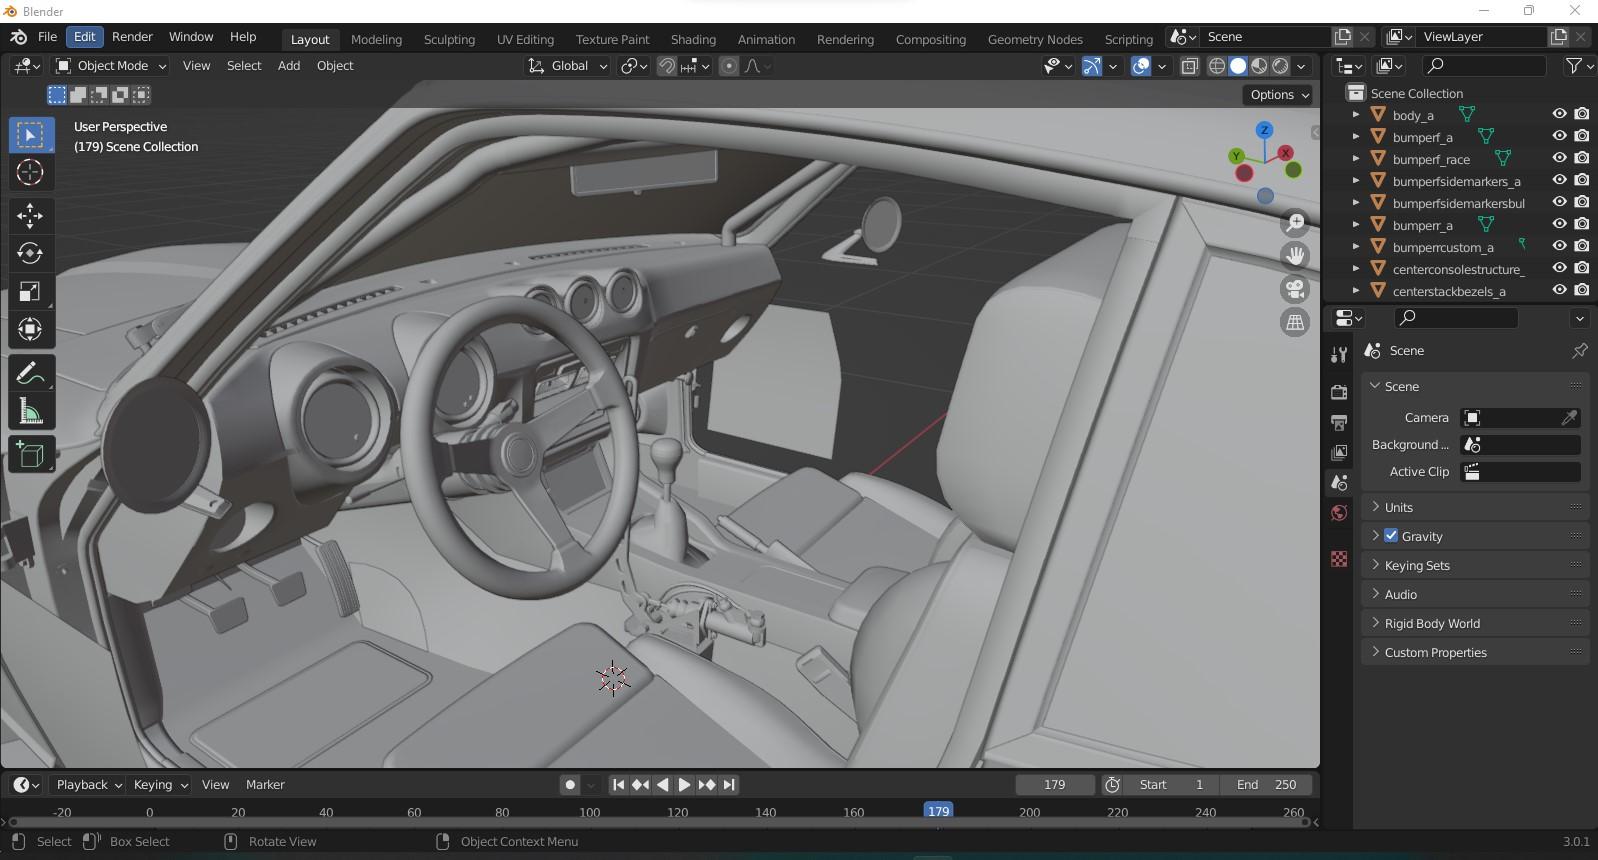
OK.......I came across two car files which had a left hand drive dash. One was rather "blah", the other one was MUCH nicer and very detailed. I got some screenshots of it in Blender which is a CAD program for 3D files. The way it works with 3D printing, what I have here is something done in a .obj format. The format needs to be converted (this program does it) to a .stl file, which makes it able to be worked with for printing. In the large scale you mentioned, that may be possible----I do know it can be done in 1/24-25 as I just printed a car using many of these same types of files I described. Interesting enough, the Z car file I downloaded was in fact a ZG, both of which I have in 1/12 and 1/24 Tamiya kits. -

3D printing a part for a 240Z
MrObsessive replied to Pete J.'s topic in Model Building Questions and Answers
Somewhere out there, files I do believe can be had for that car. I belong to gamemodels.ru forum which there's LOTS of cars out there that can be downloaded from game files, and be made printable. I don't have that car on my radar, but now I'm going to get nosy and see if there's a file indeed for that. It might even be left hand drive, but if not-----I've mirror imaged parts (and bodies) so that they can be printed. Now my curiosity is up! -
I printed this just a day or so ago, and I thought I'd post it here as it's been all over FB, and some have gone crazy over it. 1968 Mustang California Special which was a greatly modified file by me, as there are no files of this car out there. The main body file came from Cults3D.com, but I had to add the rear fender caps, taillight panel, new rear valance, side scoops, door jambs (the original file was very weak in this area), trunk spoiler, and I took off some of the trim on the roof and door frames as IMO they were a bit too heavy handed. The parts I added came from Forza game file cars of other Shelby's, and the original .obj file I have of the 1968 Mustang coupe. Print time was just over 16 hours, and it was printed on my Phrozen Sonic Mighty 4K at .030mm layer height, with AA turned on. Enjoy! This was originally a test piece for the nose section of a '68 Shelby convertible. It was the second failure for the 1/43, so I went back to the drawing board, and zeroed in on what the issue was. I've since printed the convertible which finished just this morning (1/25 scale), and later on I'll do a thread on that. I got curious to see if the Green Hornet chassis/interior that I built, would it fit in the car with no issue. Well it does quite well, and with some slight wheelbase tweaks, the AMT '67 chassis would work very well with this car when the time comes to build it. The Shelby Green Hornet is on the downside of getting done............hopefully by next month it's all done and I can move on to the next one. The wheels I extracted out of the .obj files I have of the regular Mustang coupe, and the files were then converted to be made printable. I extruded the GT lettering just a bit after the wheel was thickened up.....they showed up well, but a lot of pics of CS's don't have the GT lettering on 'em. No matter, I can use them just the same, and there's certainly Mustangs and other Fords of the era that used these.
-
That shouldn't really affect that as those layers are getting cured just before the build plate rises. I had an issue with the coupe version I did of this car when I had it tilted the other way------it kept putting some sort of "crease" or "fold" on the passenger side rear quarter. Sort of print shift, and it just wasn't this file, but other files I noticed that. Doing it this way seems to have blunted that, and from the coupe file I just created a California Special which is running now, and I have it tilted the same way as the convertible. I'll post pics later on after it's all done. Thanks for the nice words!
-
This is a body I just printed the other day at .030mm layer height. Frankly, overly obtrusive layer lines are a real turnoff for me. I'd sooner take the extra time needed to get the body right than try to be super fast and make a quick buck like I see some vendors (on eBay for example) do. That's just me though...........
-
I would set it to 30 (.030). That'll give you a better surface, although the model will take longer to print. Good models should take time to get the finer details correct........I see many models turning up on eBay that have HORRENDOUS layer lines on 'em. Those can be a nightmare to get rid of especially if they're crossing over sensitive areas such as trim or scripts. They're cheap, but as the saying goes "You get what you pay for".
-
That sounds like uncured resin coming out. If that's the case, that will be nothing but trouble from this point forward. If the body is overly thick, when it was printed the resin wasn't curing fast enough before the next layer was put over it. That's what can lead to uncured resin, especially among thicker printings. You can try to wash the body with some 91% alcohol to clean it up a bit. If it's still oozing, you may want to run a UV light over it, but frankly........I'd be contacting the vendor to let them know what's up. They may not know there's an issue. BTW, the resin I use in my printer (Phrozen Aqua Gray 4K), I have no trouble sanding or sharpening up panel lines if needed. I don't know what they're using, but it sounds like really troublesome stuff.
-
For whatever reason, AMT has ignored the '69 Chevy Impala Sports Coupe, and keep giving us the formal roof 1970 Caprice. I thought at one time of taking the '70 Chevy, modifying the roof from the '70 Buick Wildcat (ESPECIALLY the C pillar), and doing this version. Well, not long ago, I came across a series of 3D models on this site here. I was quite impressed by what I saw, and I got in touch with the designer of those model as he's on FB. He then posted a bunch of pics on FB of what he was working on, and one of them happened to be a 3D file of the '69 Impala with the CORRECT Sports Coupe roofline. I bought the file, and set about to convert them to make it printable. He did offer it in a .stl file, but I'd rather work with the .obj files as I can convert them later as for me it's easier to work with in that format. Here are pics of the results. I have to say that this is the ONLY correct version of this car I've seen. I've seen the resin versions out there, but to my eyes the roofline is simply not correct. I have gotten other very nice files from him before the Chevy.........a '79 Pontiac Bonneville, '77 Grand Prix, 1980 Cadillac Seville, and a 1970 Mercury Marauder X 100. The body has a few print issues which are easily fixed with some liquid resin and a UV light. The trunk file I'll need to print later as that wouldn't fit on the build plate as it was. Yes, that is a 1/58th scale Impala I did as a test print before I did the larger one. ?
-
Stay tuned.........I can do a post on that. ⏱️
-

Vacuum forming windshield using PETG
MrObsessive replied to Len Woodruff's topic in Model Building Questions and Answers
Len, take a look at my vid here..........there's no heat control on the unit, you have to look at the sheet as it starts to "sag". It may take a bunch of tries as I explain. -
That looks really good Doug! Blender is a good program for editing 3D models, but one thing that drives me crazy about it is how it thickens bodies up. It bulks everything all at once, and I have to put the model in "separate parts" mode and go around and lessen the thickness on the trim and bumpers for example. I noticed this particularly with a '69 Chevy Impala 3D file that I finally got to print. The trim was looking too heavy handed for my tastes, and I had to go part by part and shrink things down. The trim on yours looks good! This is another model that the kit makers have ignored over the years----chalk one up for another reason to get into 3D printing!
-

67-68 Mustang coupe body
MrObsessive replied to mark 23's topic in Model Building Questions and Answers
Yup.....it's why I spent a lot of time hacking up the '66 Mustang and using its upper rear quarters and roofline (modified) on the lower body on my '68 Shelby Green Hornet WIP. A lot of work, but you simply can't put the notchback roof on a Fastback body. The rear quarters on those are "swoopier", thus a bit shorter at the very tail end on the Fastback. Some folks however get a bit miffed when you mention that to them............. -

67-68 Mustang coupe body
MrObsessive replied to mark 23's topic in Model Building Questions and Answers
I just 3D printed a couple over the last couple weeks. I sold one on eBay, the other is on there now, and it'll be the LAST for quite some time. My handle there is Obssesivebldr, but be prepared for some fierce competition. The last one I had on there, the bidding was super furious during the last five minutes. Here are some shots of the 3D prints......I don't do direct sales as far as printing for others. Waaaaay too much headaches involved with that. I'll print something, and eventually it'll end up on the 'Bay. Open door one which sold last week............. Closed door one which is on the 'Bay now......... -
The up-top out of the '62 Buick would be a better bet as it's more accurate for all of GM's full size convertibles from '61-'64. The Revell '59 Chevy one while nice, has a bit different "sail panel" in the rear than the later cars. As Steve mentioned, you're going to have to do some tweaking here and there to get the top to fit.
-
I could spend HOURS looking over his artwork! So.............are each of his items he created, can they be had as .obj files? I see some real nice gems on there I'd like to have including this one......... He may be a bit pricey, but from what I've seen, they're worth every penny! As far as the '56 Safari, I could whip the body on that into shape.....it's just not high on my list at the moment. I may run across a nicer file though, but for the time being that'll do.


