customline
-
Posts
3,794 -
Joined
-
Last visited
Content Type
Profiles
Forums
Events
Gallery
Everything posted by customline
-
I wish I had thought to do that with the rear pan....actually, I wish they had thought of it.
-
Thanks, Greg.....I have work to do ....edit: I really like the air filter, my garage is filthy too ! ?
-
I went through just a little and mine was like you describe so when I hit white I stopped the shaping operation for another day. You're getting close. I shot mine this afternoon with Ace Premium gloss black and tried to put it in my new dehydrator but it wouldn't fit! The body is mounted on a Tamiya spray stand and it wouldn't fit under the "dome" ? ! ! I gotta raise the dome or chop the stand ? Normal, perfectly normal.
-
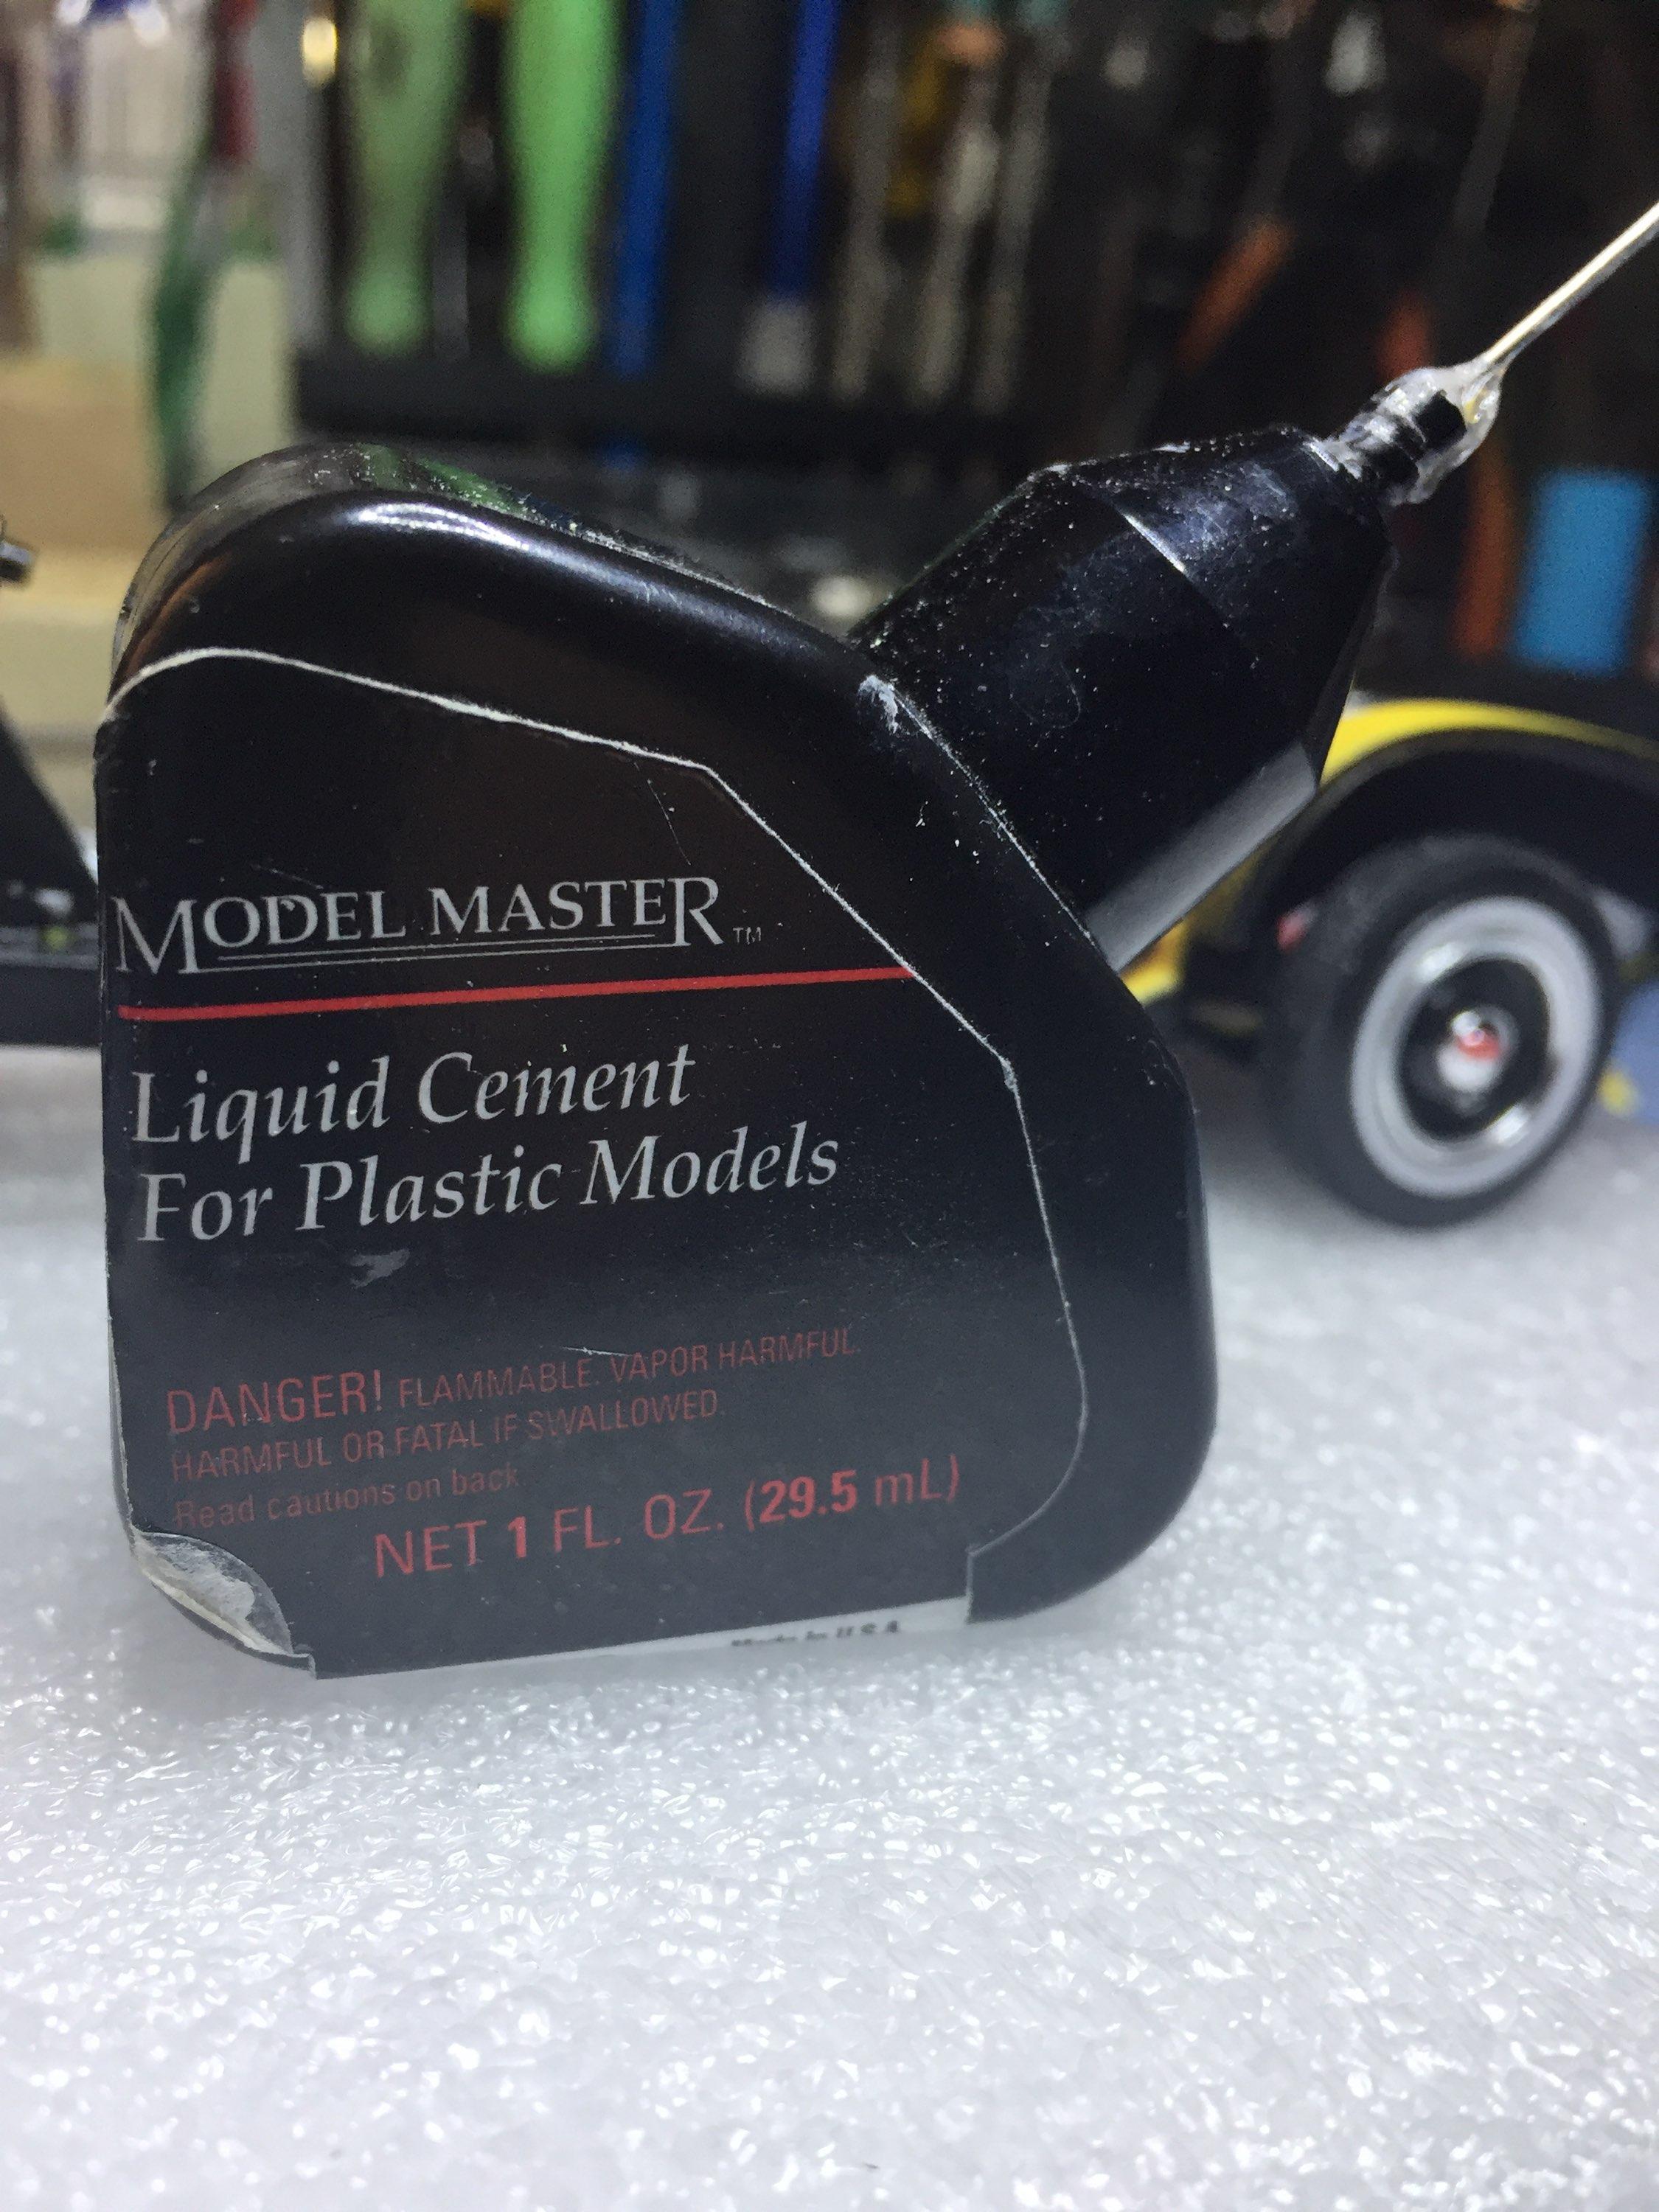
No, it looks like you have a solvent type. The one I pictured above is thicker; runny but not watery. It's a mystery, Greg. Hopefully the Dehydrator will suck the life out of it pretty soon. Is it still gooey or can you stick a finger in it and not get any on it? Did it bond to the plastic really well? The reason I used the Plastruct "welder" was its pretty hot and I wanted to get a good bond. The solvent type cements are not all the same, some are hotter than others- they melt the plastic and evaporate at different rates from brand to brand and maybe the one you used is a "cooler" type. You just gotta wait it out ?.
-
Testor's plastic cement in a container like in the picture below but with a different label?

-
Oh no, Dave, I was just venting ? I guess I should used more emojis. Sorry ?! For some reason my browser doesn't play well with the emoji thingie and it slows me down. I should be more careful when venting ?
-

Is There Room For Another 41 Plymouth or Two?
customline replied to LennyB's topic in WIP: Model Cars
An old hemi is always a good choice. Good call, Len ?! -
Thanks, Greg. I don't get it about the sprue goo. Mine was solid after 48 hours. Oh, and I finally bought a dehydrator! Haven't tried it yet but I cut out the baskets so it's ready when the weather breaks. Should I tape all the sections together? I'm thinking like a dome with the lid taped to the sections. Pick the whole mess up off the base. Right? ?
-
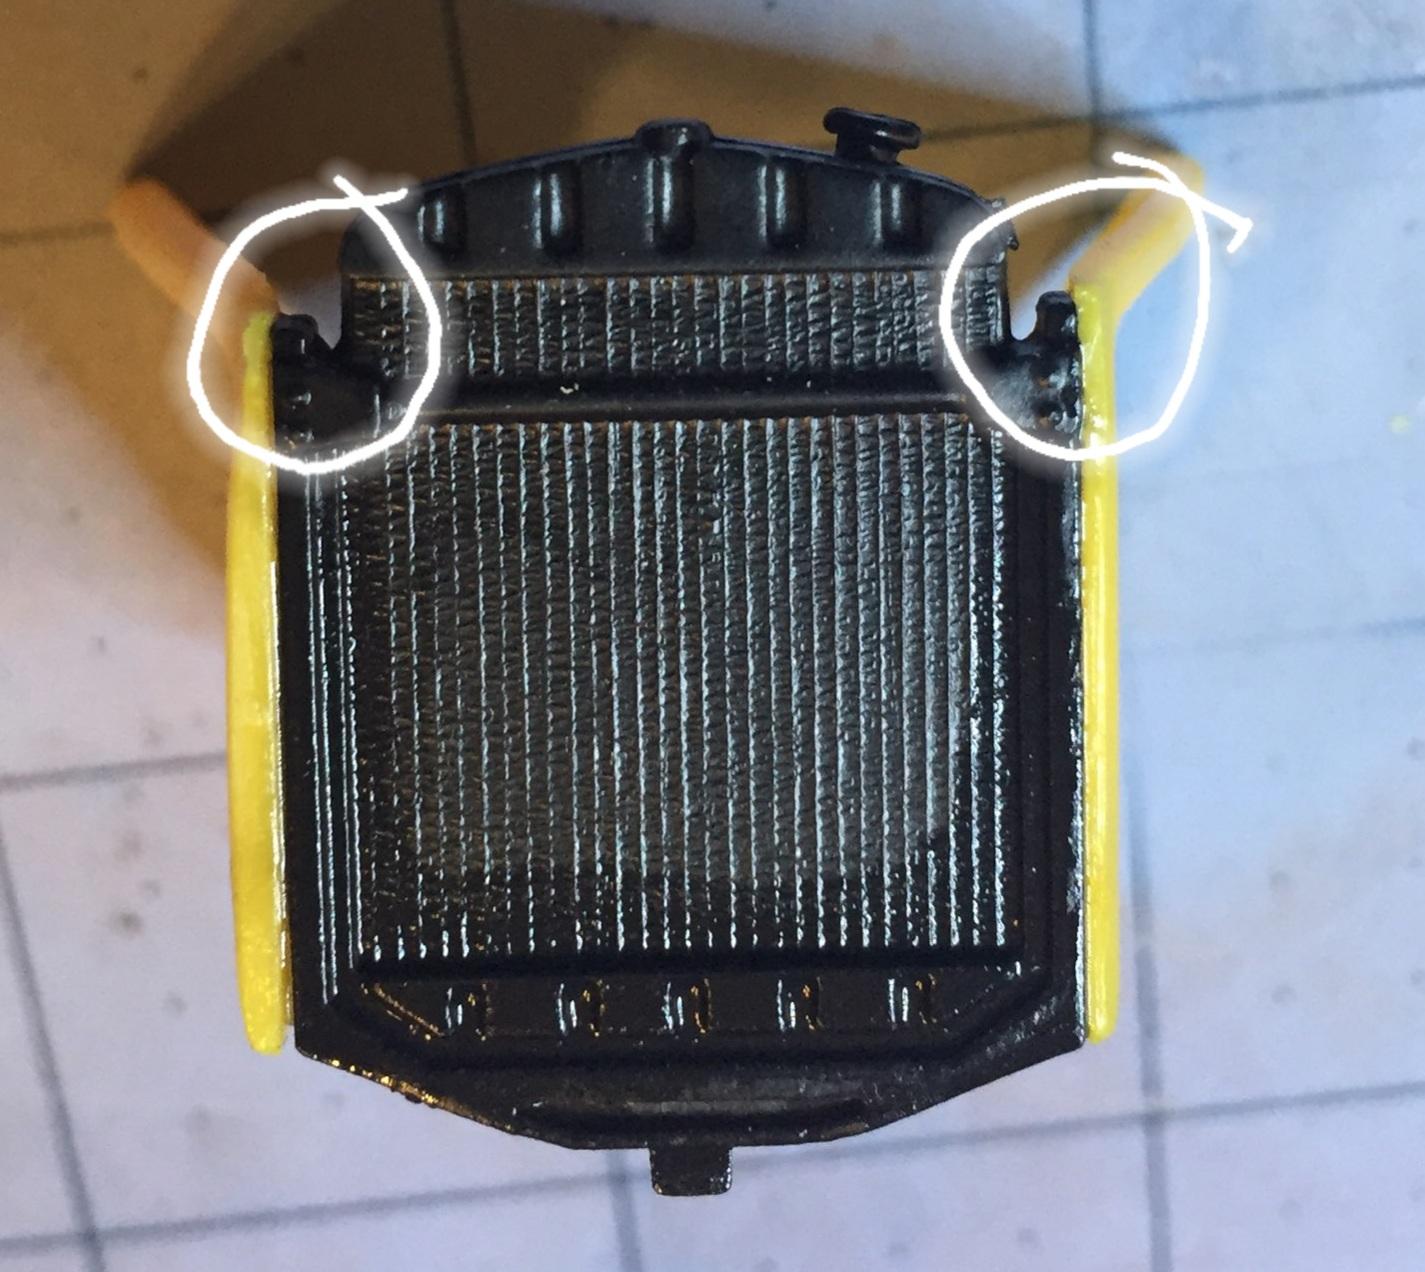
Let's be clear about this kit, the way it is currently..... P.O.S., full stop. Maybe the early ones were better but it's clearly not well designed. The fit of the interior tub is absolute. The inner fender panels must be tweaked at the locating pins. Look closely, there's a round pin with a D shape at the bottom and I had to clean them up to get them in all the way. The panels must mate with the radiator support(which includes the radiator) with no way of positive locating and, on my kit, the driver side panel top front corner lined up flush with the top of the rad support. The right side was high by about 1/16". I had to trim the bottom to get it to fit like the driver side and there is nothing on the firewall to locate the panels and the interface is very tight. I have glued the panel/rad assembly so now I will need to force the tub into place in order to get all 4 pins to go in their holes. I may need to trim the panels if I can't get a fit. The fun never ends. And then there's the exhaust system......?
-
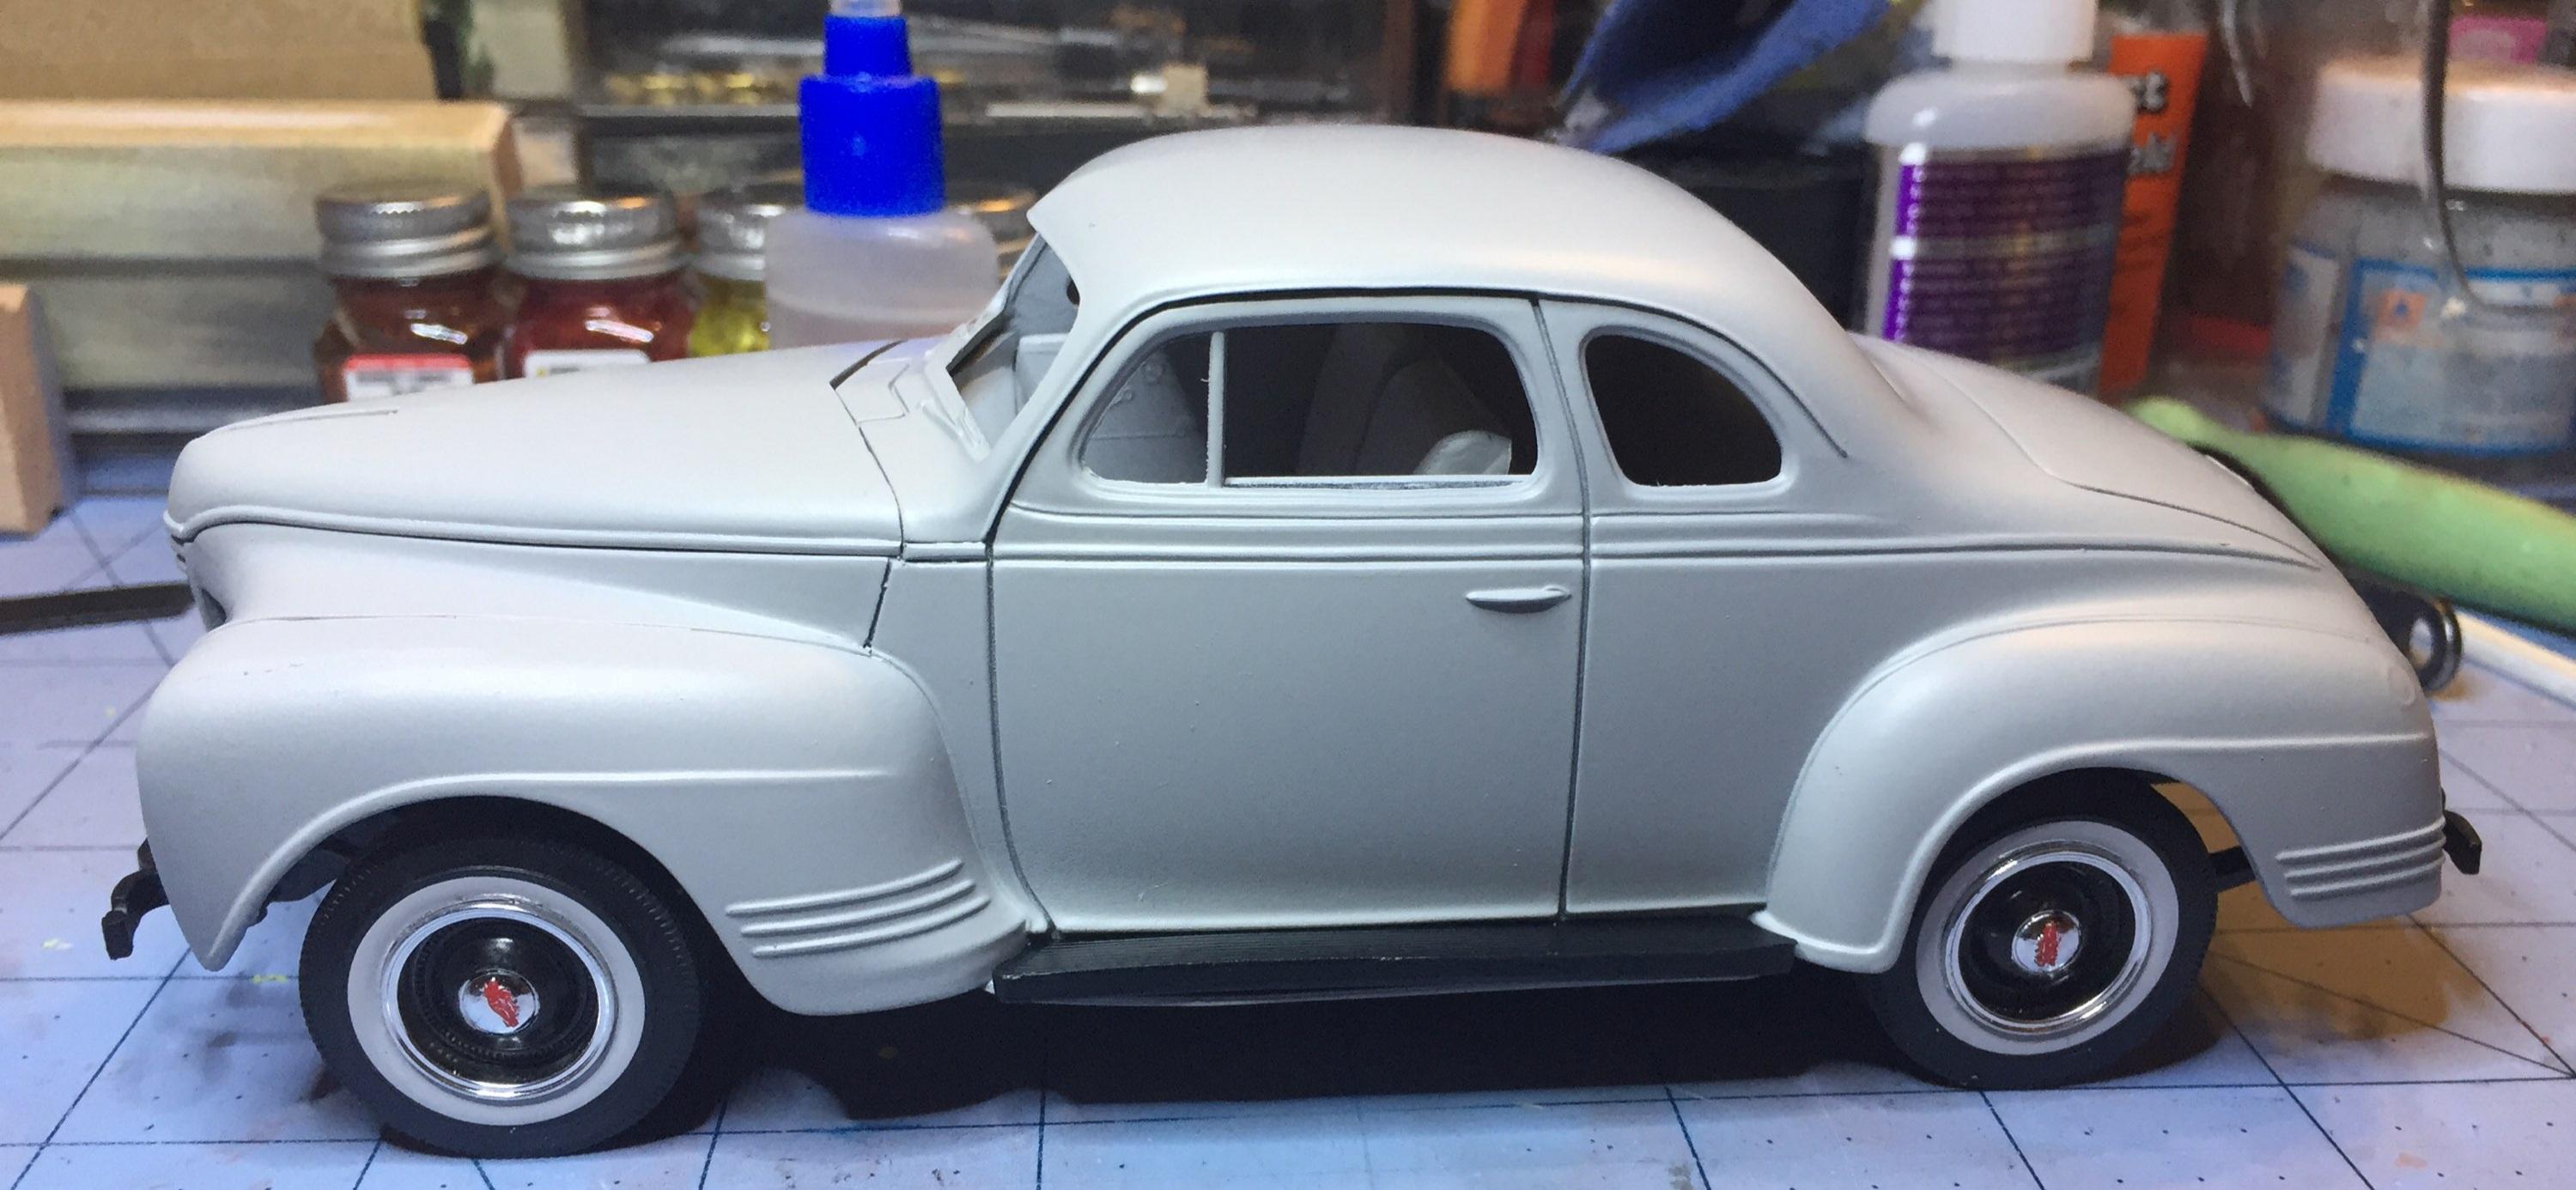
Yeah, I did. I'm not really happy with it but not because of the way it looks. It ain't right. Such is the way with this kit. I may look for alternatives. One of the kit tires has a bad white wall. It's everywhere I turn. ?. As it stands, the plan is a rattle can paint job in gloss black using Ace Premium brand.... weather permitting.
-
Yeah, Lenny, I get it. Saturdays are fun days. I was able to take advantage of the weather today and get some paint done. This build is a learning experience and I will have lots of Intel to help me now and the next time thanks to you and Greg and everyone else who contributed to this project. I have had and continue to have a great deal of fun with this. However it turns out, I am happy to have been part of it.
-
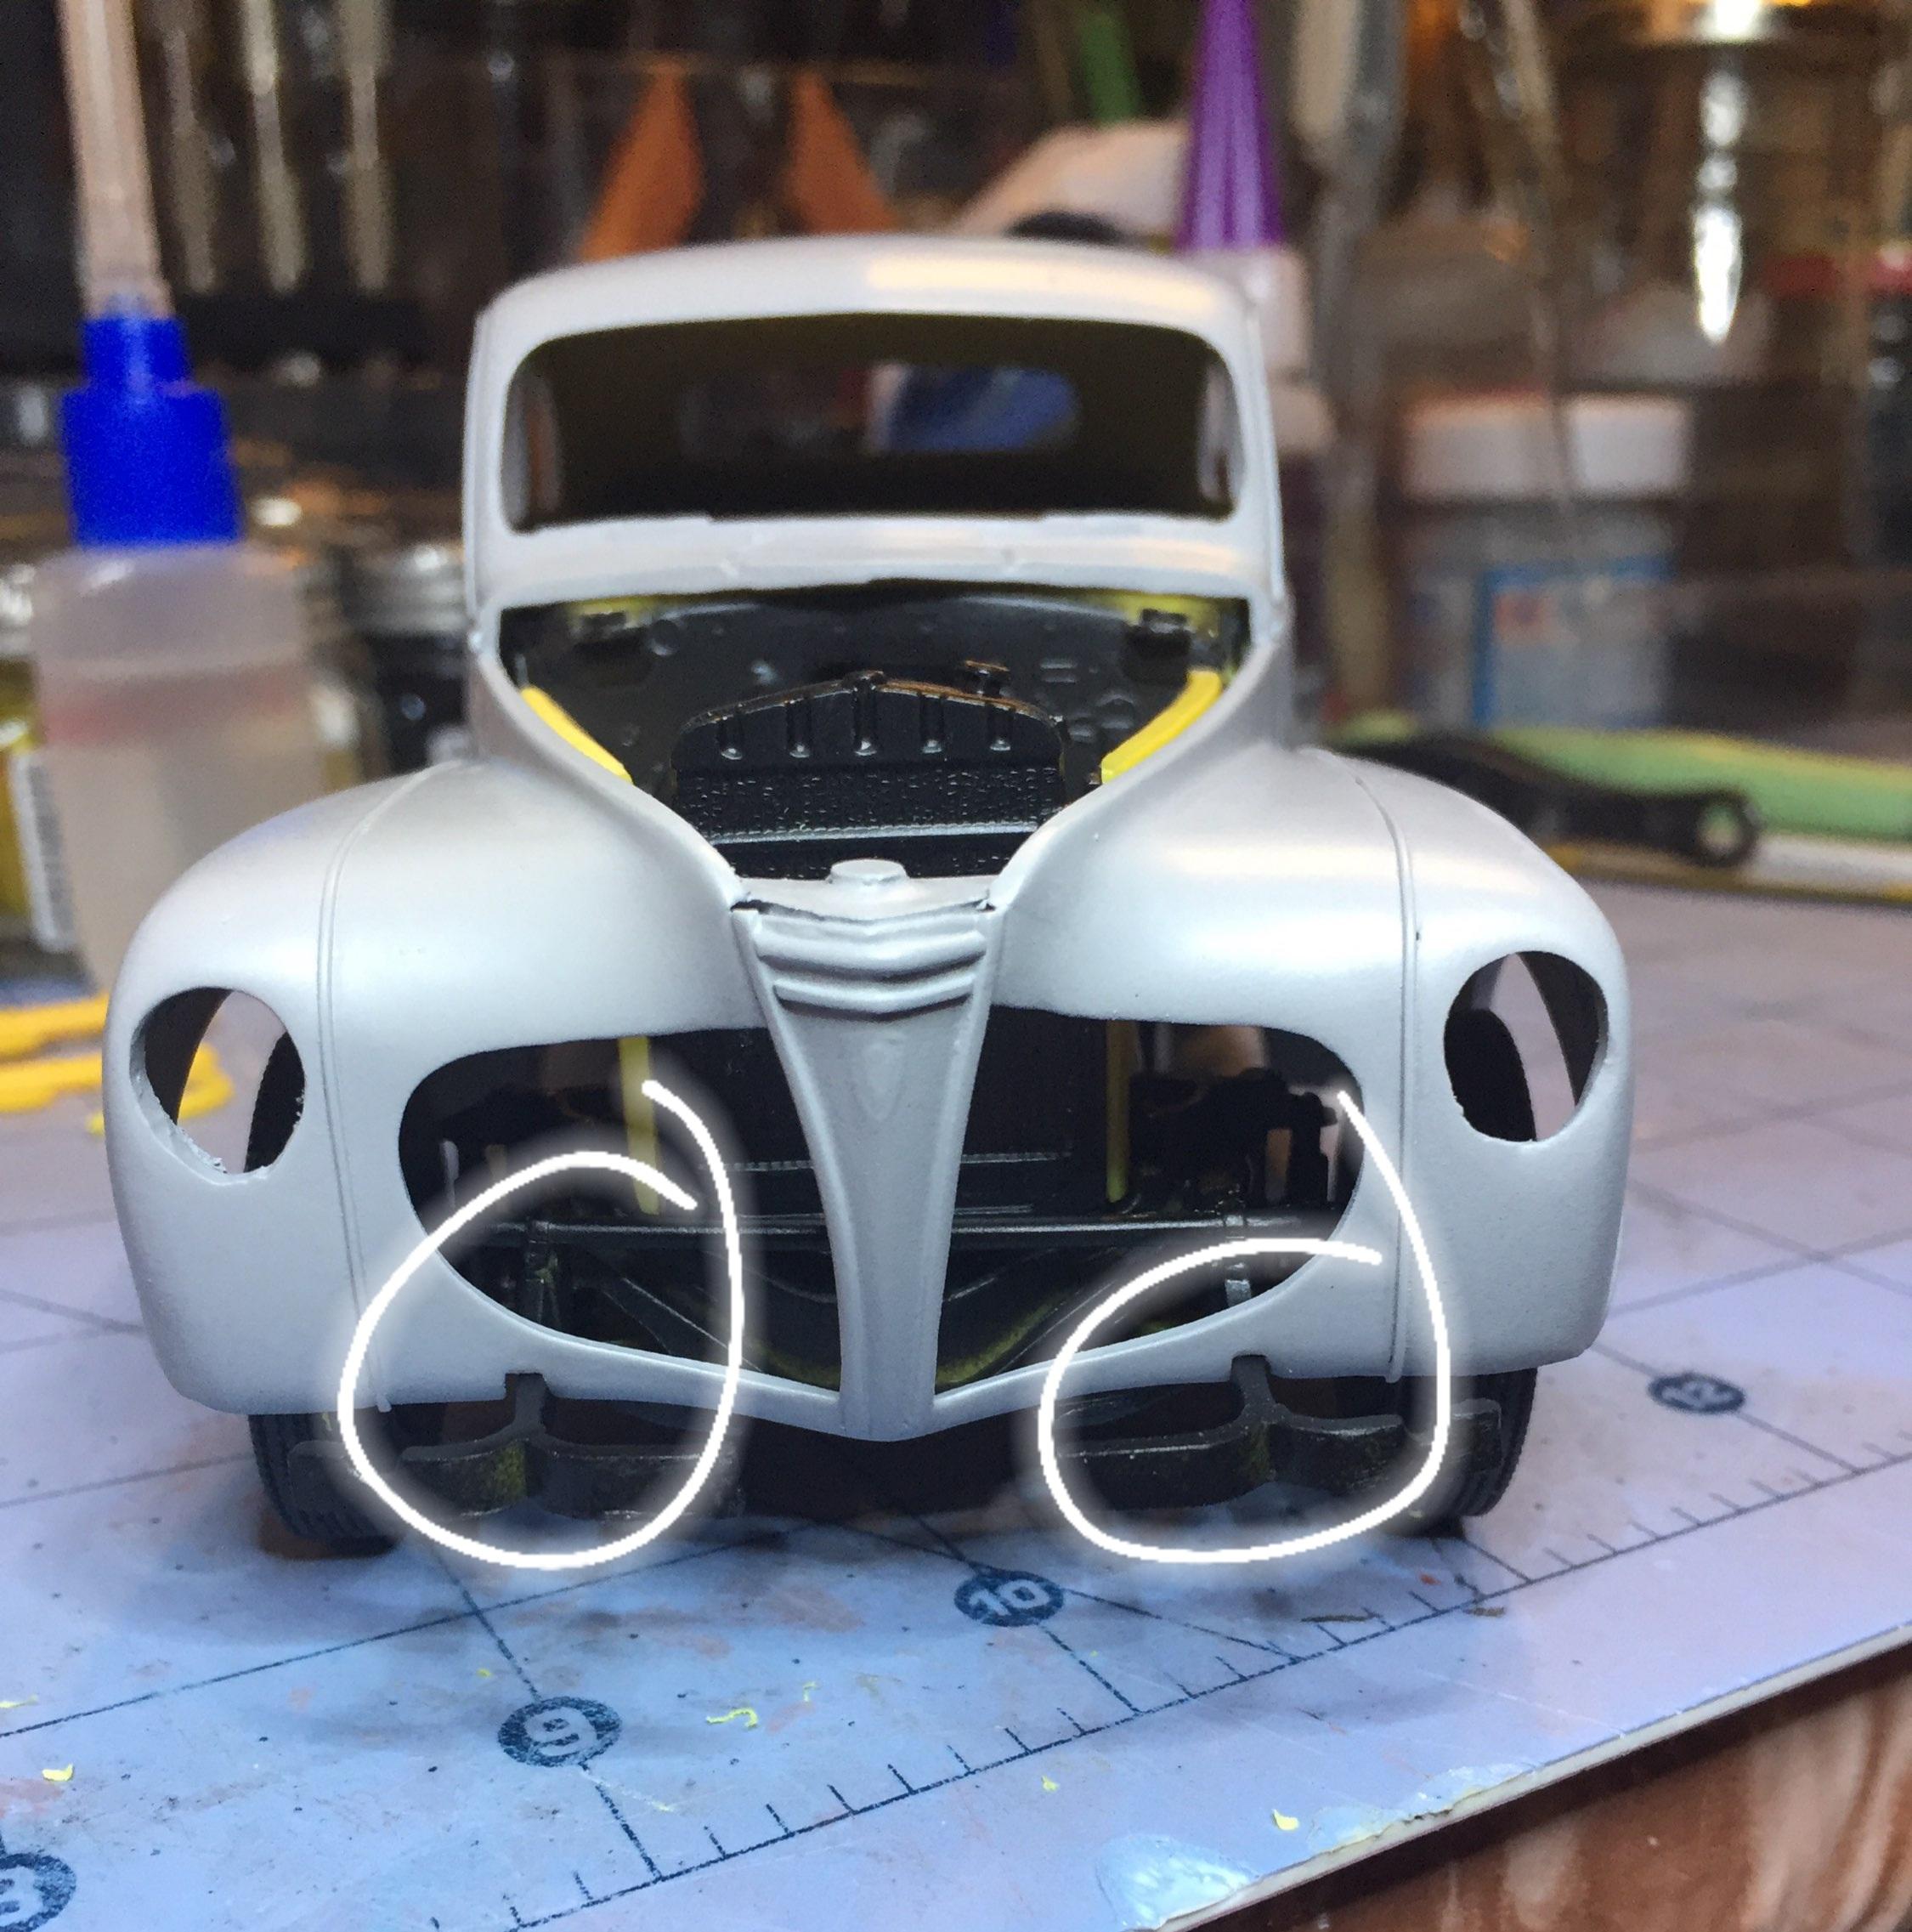
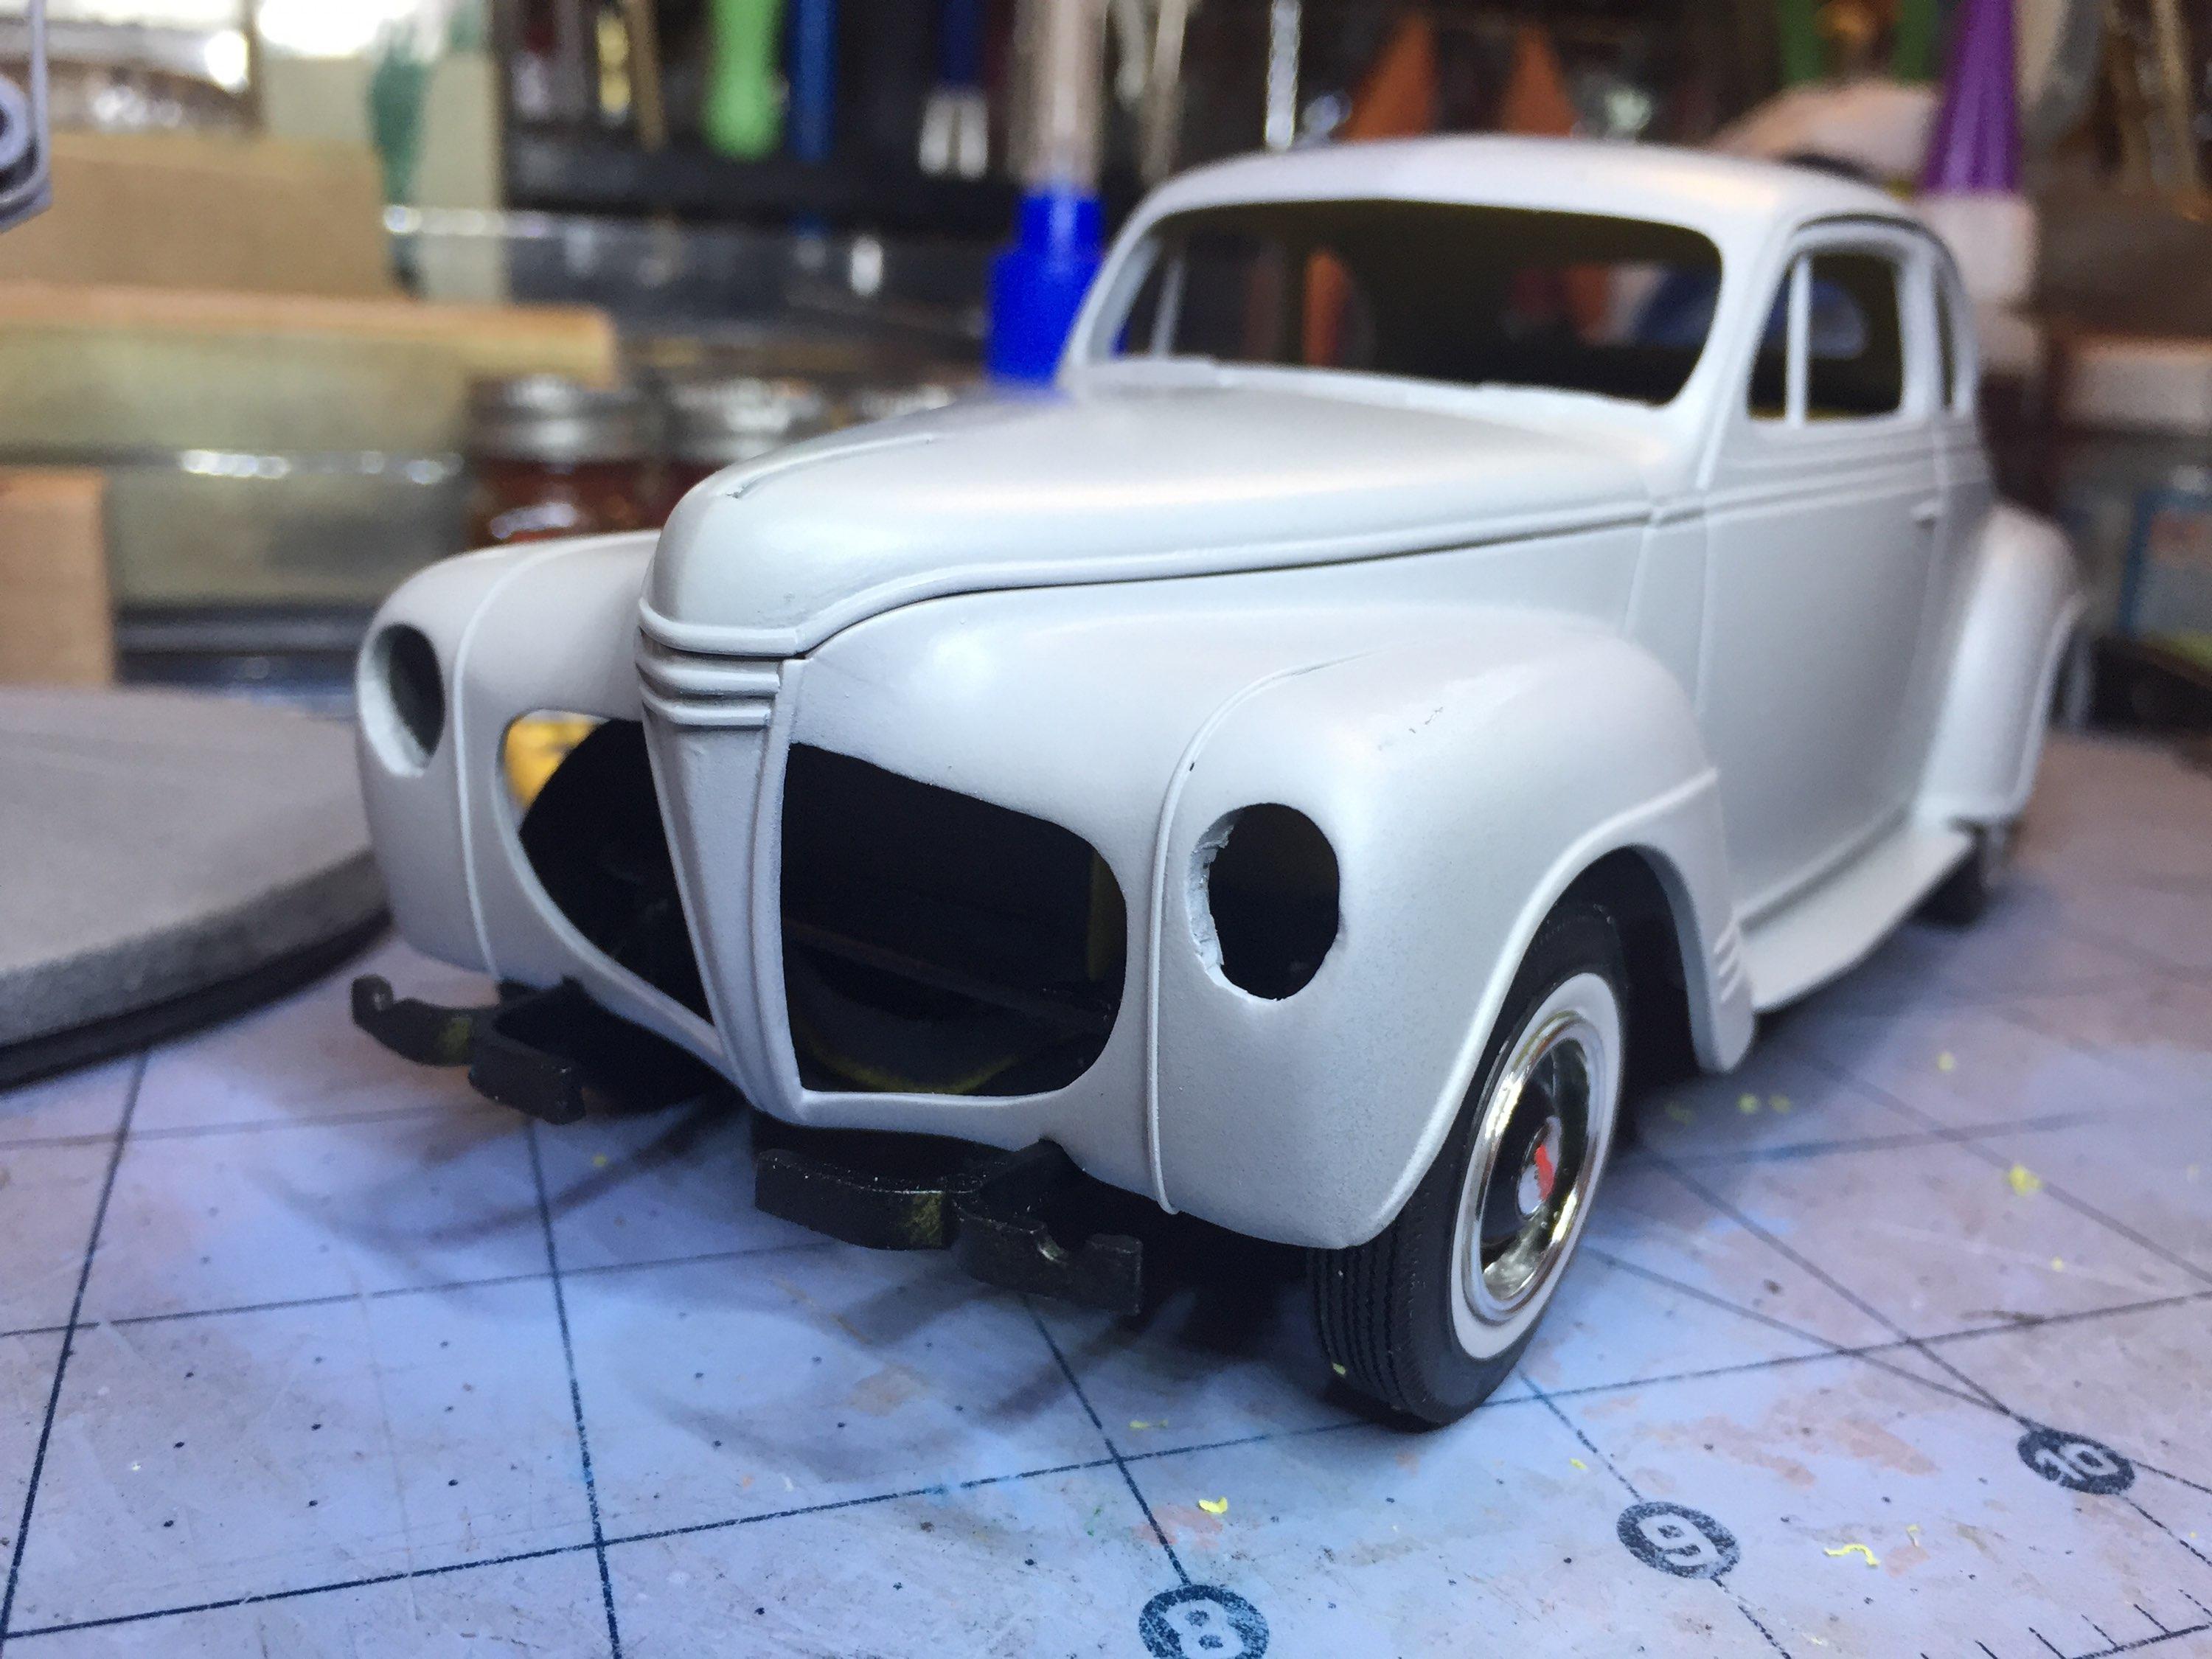
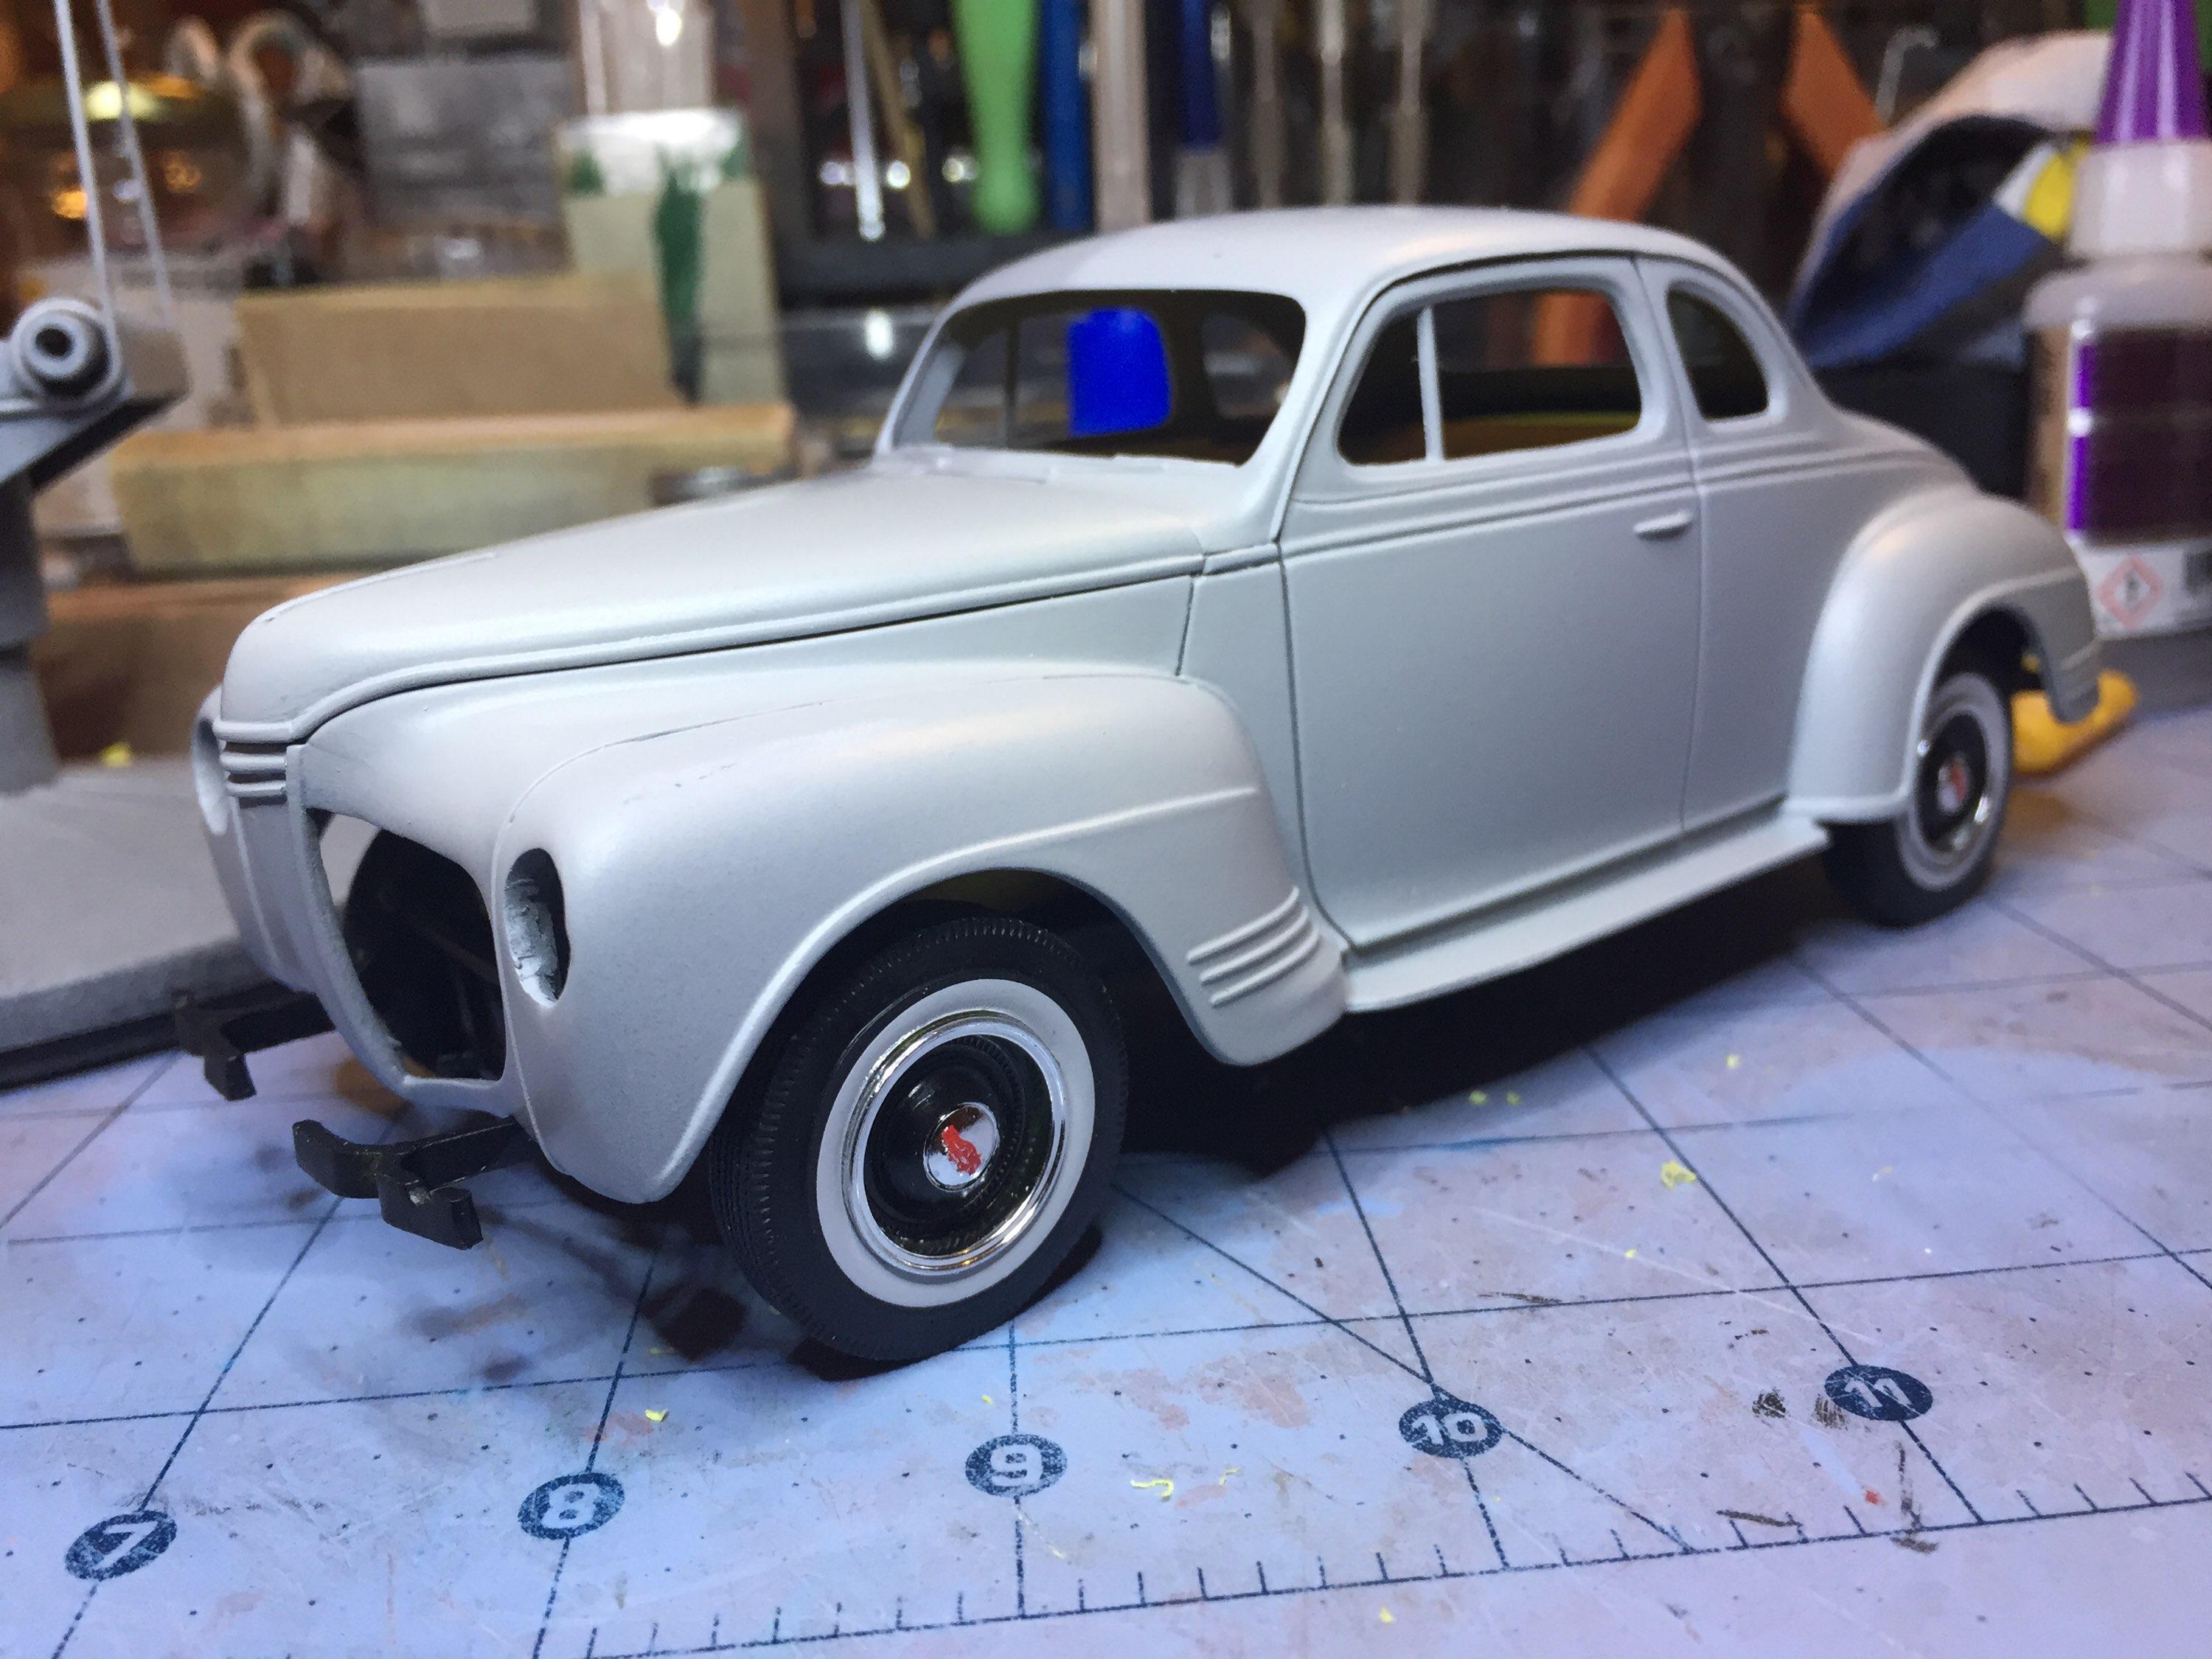
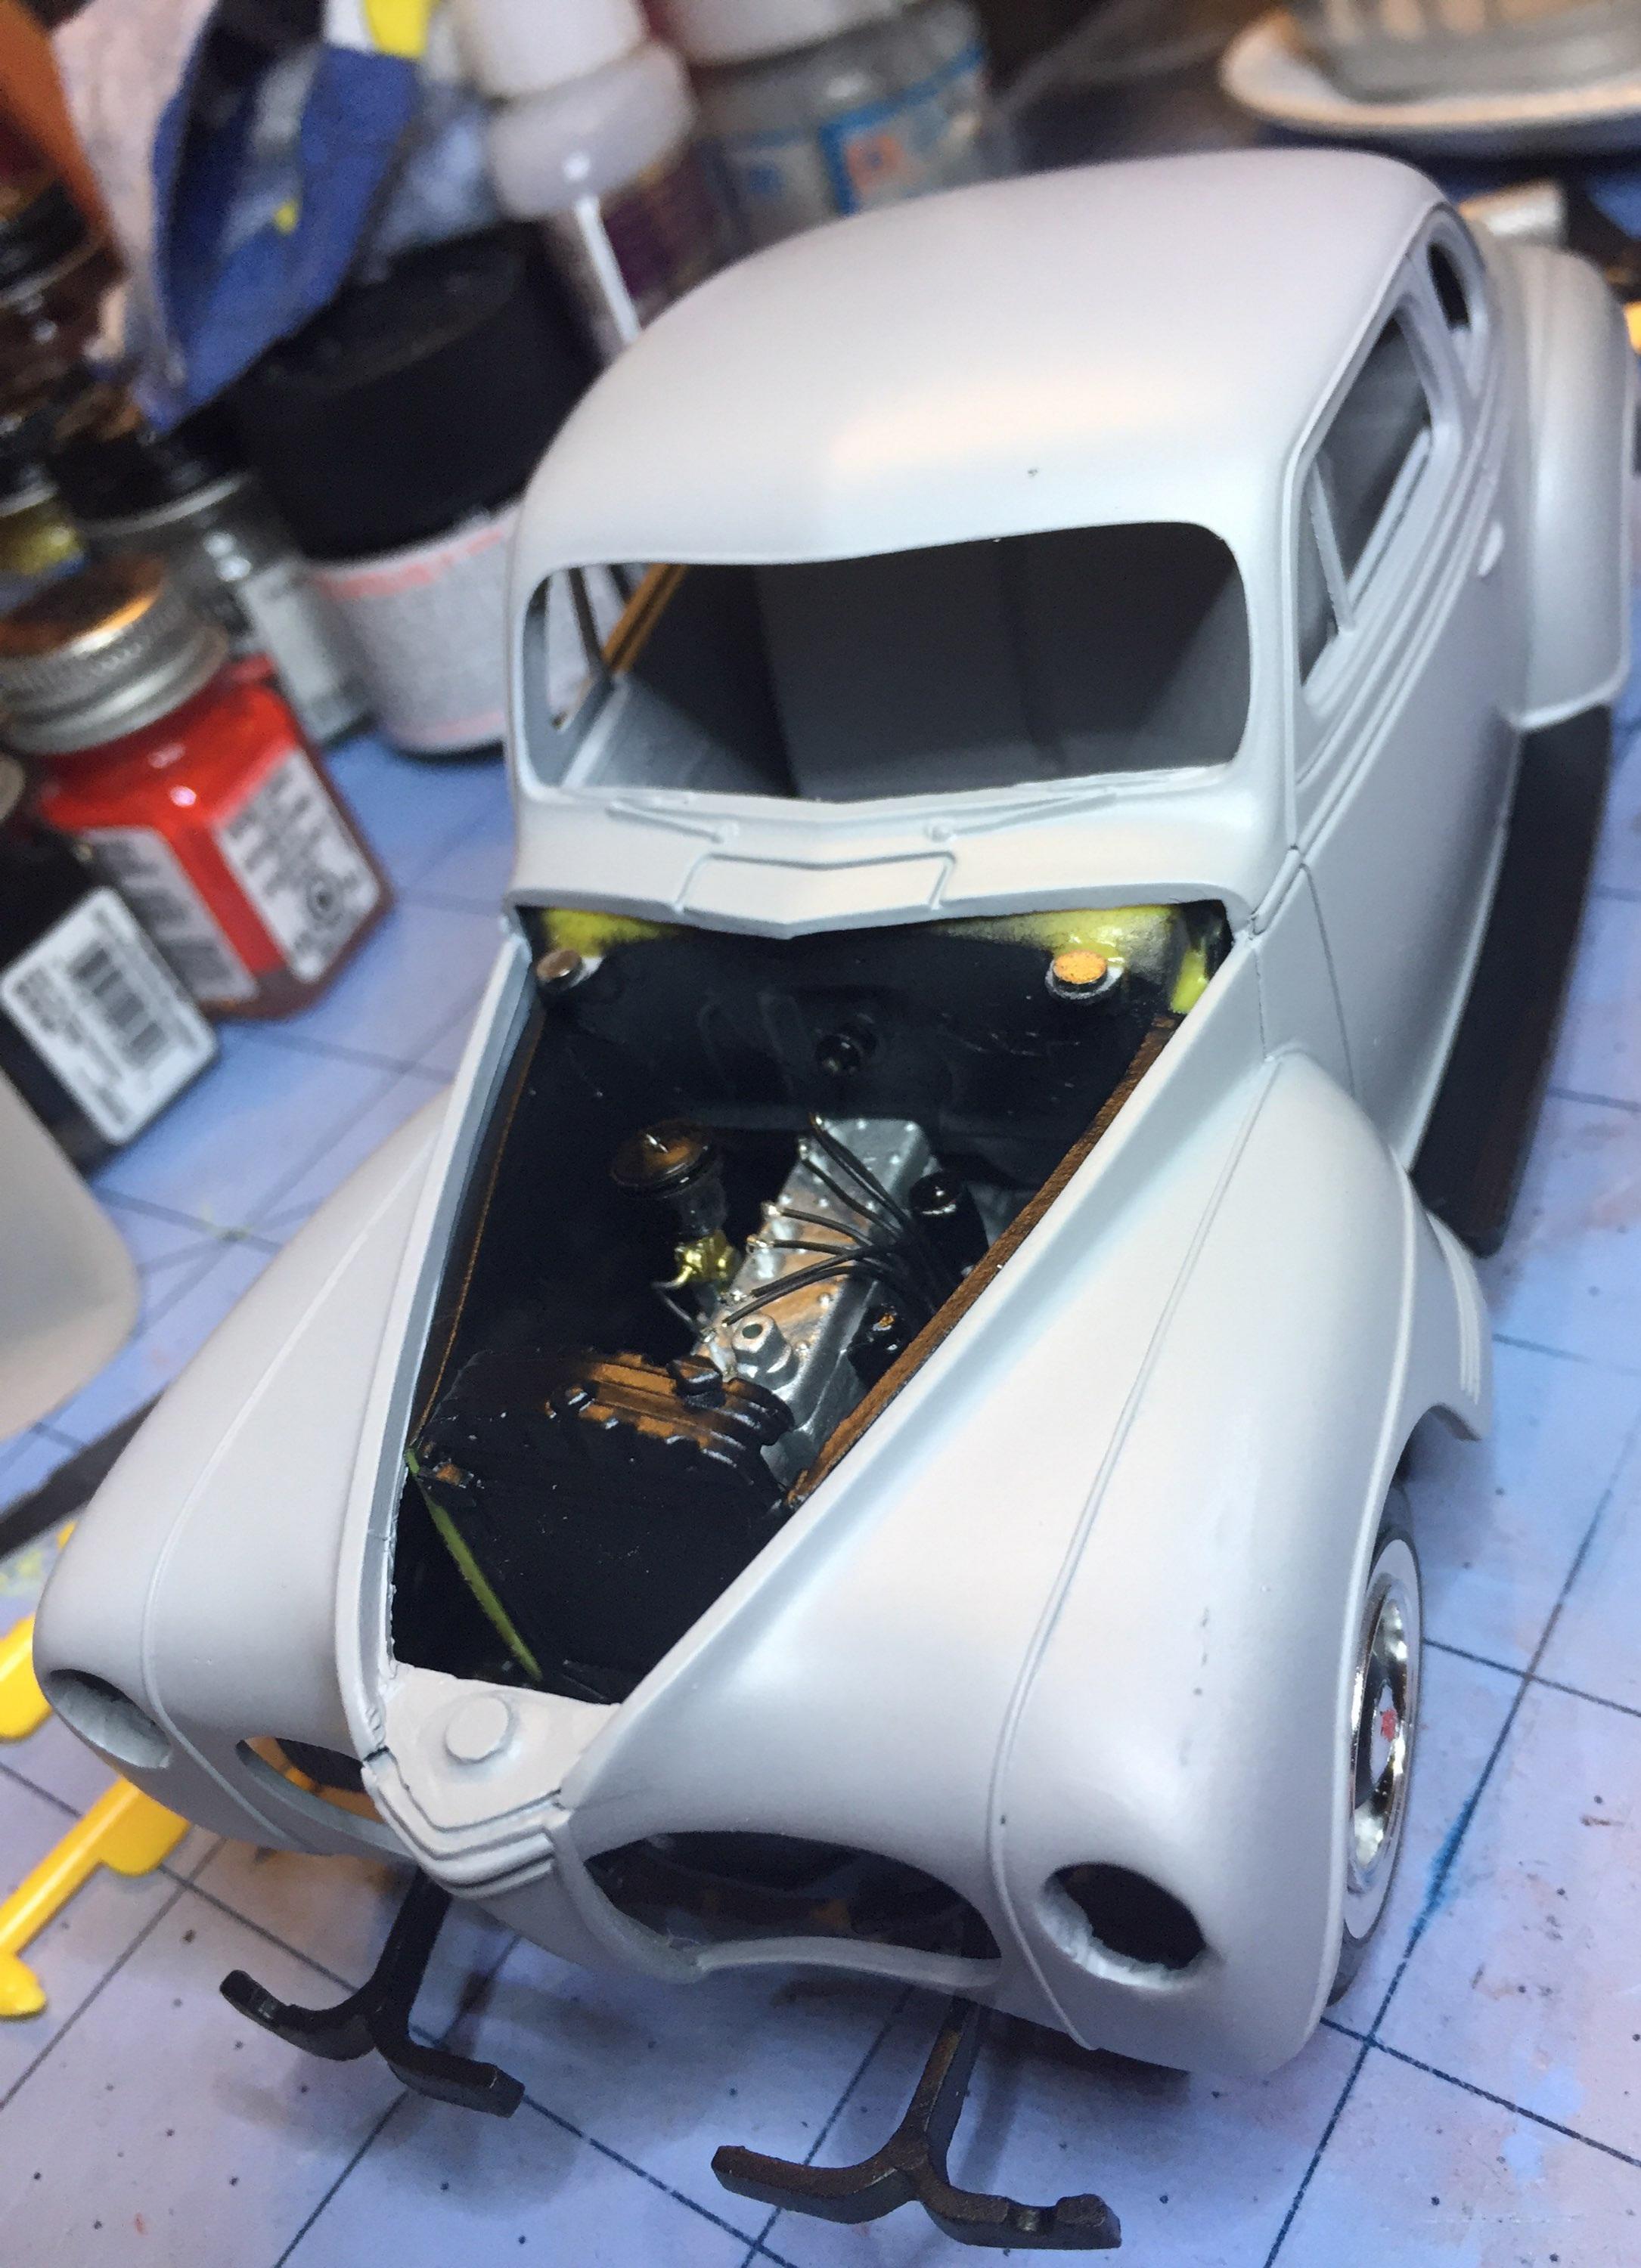
Lenny showed us a situation he encountered involving the inner fender panels. Taking his advice, I test fitted the panels with the radiator to see if I had the same problem. My problem was different. I had to tweak the locating pins at the bottom back end of the panels to get them to fit and it was just some minor trimming with a knife. Yours may be different so look them over well. What I found was my right (passenger) side was about 1/16 high based on the left side where it joins the radiator. I trimmed it with my #11 until it was consistent with the other side. Oops, too much. My bad ? The above is the "corrected" assembly. I figured I should join the 3 parts permanently in order to test fit the body/ interior/ chassis (and I wanted to paint it as an assembly, which I did). The left side doesn't quite mate with the fender so I will need to do something there. It will be posted when I figure it out but the important thing is for the body to end up in the correct place at the chassis. The bottom of the grille panel must contact the bumper brackets as shown. The kit is not a 2 as they say but (today....due to the molds being worn out ) a 3. Or maybe 4 or 5. You cannot throw this kit together. You must think of it as raw material. It has become, because of it's age, just a pile of plastic from which you must create what you envision. Maybe it's time to retire it or maybe re-tool it, I dunno, but I love it, so it's not easy. I have a few of them in my inventory still to be built. Just raw material as far as I'm concerned. I plan to paint her black, because it was probably the most popular color for this and many other cars of this era. And the fender welt would be black. Thanks for checking in ?
-
Bob, the rocker covers are not accurate. The hold-down studs are missing. The designer was apparently a Chevy man. ? The more I look at that Y-Block, the better I like it. I ran a '56 272 out of oil on I-95 one day back in '68. ?
-
AMT 1939 Ford tudor sedan chopped and sectioned
customline replied to Paul Payne's topic in WIP: Model Cars
That's a great photo, Bob. It looks like it was being driven while the bodywork was being done. Anyone you know? -
AMT 1939 Ford tudor sedan chopped and sectioned
customline replied to Paul Payne's topic in WIP: Model Cars
Looks fantastic! -
Rodded '32 Chevy delivery
customline replied to Can-Con's topic in WIP: Model Trucks: Pickups, Vans, SUVs, Light Commercial
This is fascinating. Who made this kit? What scale? -
Looks fantastic, Bob! Cool headlight work. Great idea! The Y-block is a neat-o choice, too.
-
Nice work on the engine, Greg. Now I feel lazy ?.....but I thought about doing all that.....no I didn't ?. That thing with the wire and drilling the holes is pure genius. The way you made the wire loom is clearly outside-the-box-thinking. Very impressive.
-
AMT 1939 Ford tudor sedan chopped and sectioned
customline replied to Paul Payne's topic in WIP: Model Cars
Paul, I think adding some length to the doors is a great idea and leaning the windshield back is a good look for this car if it's not too severe. Cool project! -
I could write a book, Len ?.
-
YES! Great idea! I love a good Ranchero. And nah, it's not that bad but I have to protect it from bumping it or getting it wet. Don't want it to start bleeding again ?. Just an inconvenience until it gets some "closing" of the hole I created on the tip. ?
-
I firmly endorse Bondo Professional spot putty, the one you mix with hardener. you can get a lot done with it because you can sand it in 15 minutes or, in most cases, less. Sand plastic with 320 before application for a good bond. Shape it with the same. I am happy to see this, Dave, I just got a tube of this stuff but have not used it yet.
-
AMT 1939 Ford tudor sedan chopped and sectioned
customline replied to Paul Payne's topic in WIP: Model Cars
https://www.customcarchronicle.com/custom-cars/30-40-fomoco-sedan-customs/ Paul, have you seen this? -
AMT 1939 Ford tudor sedan chopped and sectioned
customline replied to Paul Payne's topic in WIP: Model Cars
My first reaction to the last question is "no rake-back" but I believe the 1:1 looks good that way. I have not done it but would consider it for this type of job. I noticed also the gutters are shaved and you should do that if only to make the subsequent work on the back easier. You can always add them back after the chop if you prefer. I would not chop the backlights but cut them out as a unit and work it into the new contours, as is. You picked a tough one to chop, Paul. You don't see many chopped tudors. You have my attention! -
To be different, I think you should go with the Fairlane 500.....wagon ☺️
.jpg.bc88b70eb7d96f80c9d8e2818d5fb3a7.jpg)