'70 Grande
-
Posts
1,583 -
Joined
-
Last visited
1 Follower

Recent Profile Visitors
17,147 profile views


'70 Grande's Achievements
MCM Ohana (6/6)
-
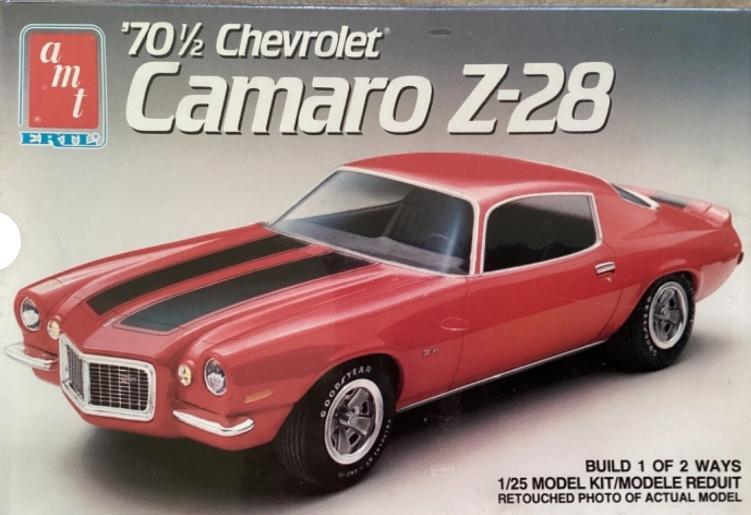
Thanks, but I have several of that more recent '70 Camaro release, looking for the older kit in my pic that's famous for having a "goofy" front end on it!
-
As I kind of expected, there appears to be no interest in my Trading Post request from 11/9/25, so I'm trying a different approach. Does anyone have this specific 1/25 AMT '70 Camaro kit that they might be willing to trade? I have a good selection of kits to trade from; message me if you have this kit; doesn't have to be sealed and could even be missing some parts. I'm in Illinois. Thanks.

-
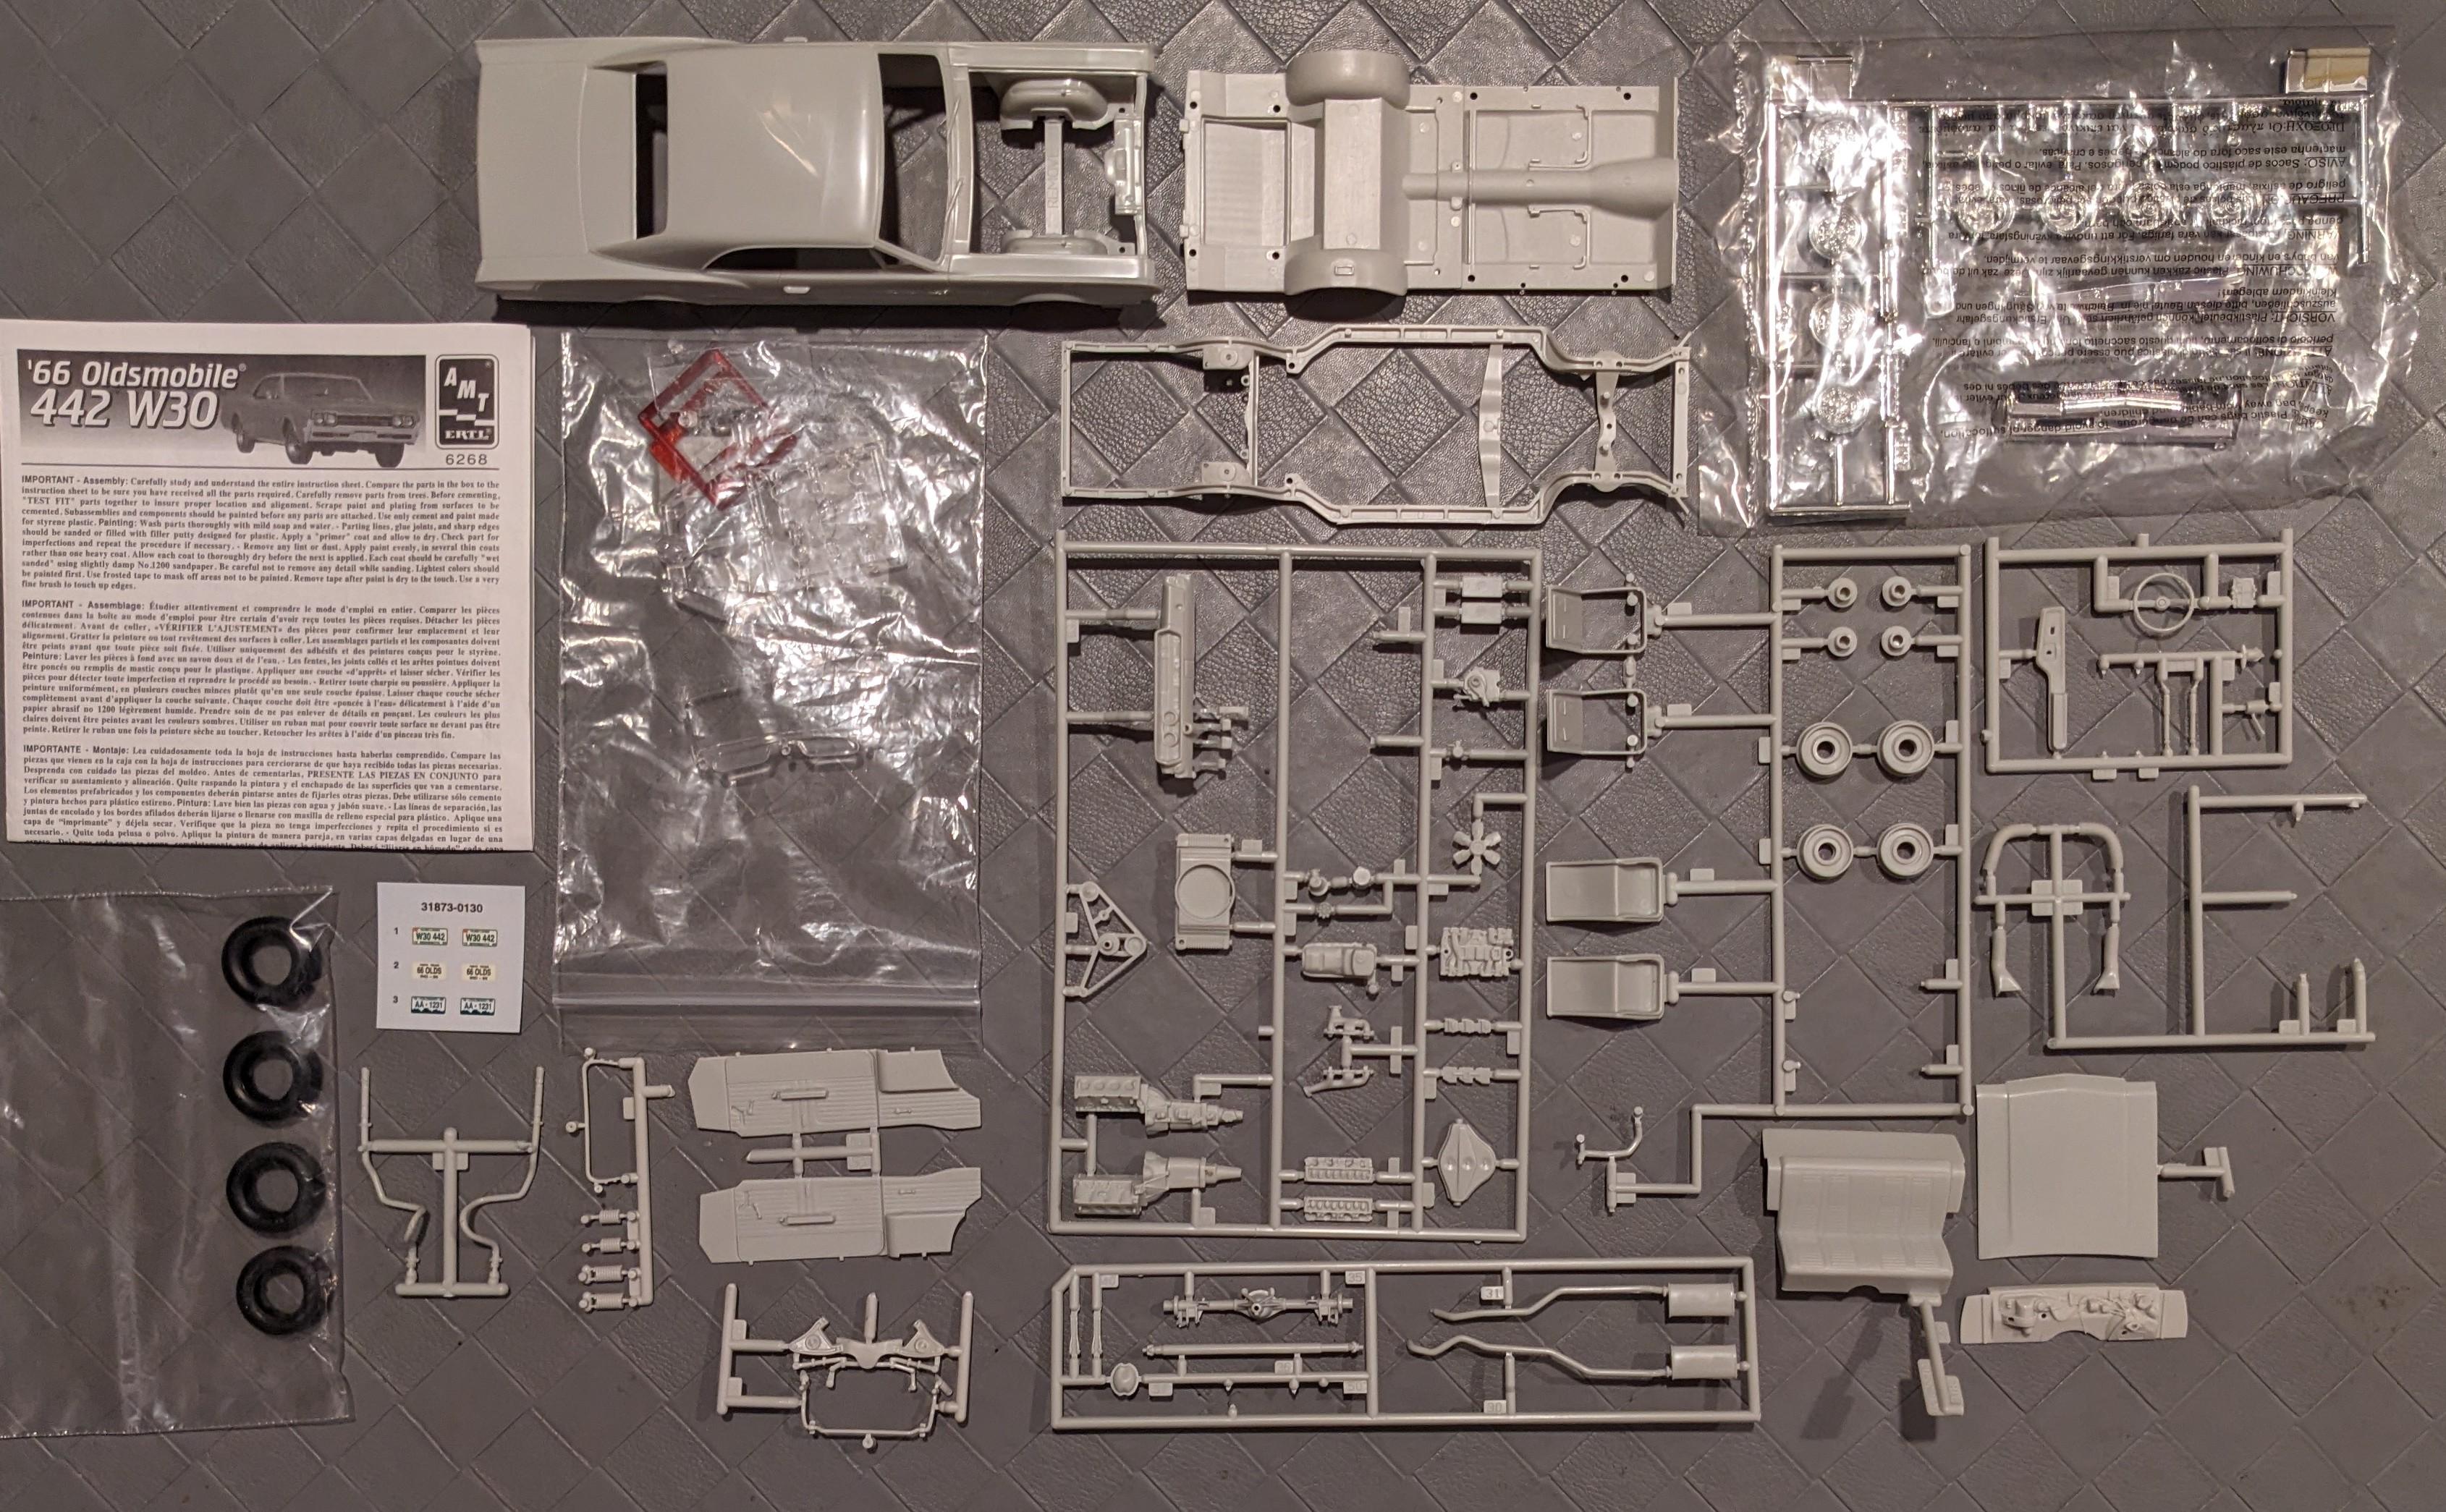
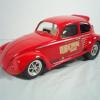
I have a complete/unstarted 1/25 AMT 1966 Oldsmobile 442 W30 kit that I'd like to trade for a complete/unstarted 1/25 AMT 1970 Chevrolet Camaro kit as shown in the pics. I am in Illinois; please PM me if you have any questions or if interested in making this trade with me... thanks! 1970 Camaro kit I'm seeking: 1966 Olds 442 kit I'm trading:
-
I'm looking for just the two decals shown in the pic; I believe they're from the 1/25 AMT/Round2 1965 Chevy El Camino kit... anyone have an extra set of these in their decals box? I'm in Illinois... thanks!
-
Fantastic build! Where did you source those tires from? They're perfect for this build!
-
 I bet it would be fascinating to many of us to hear the back story of how this new Mack truck kit "came-to-be"! Has it been on the list of possible newly tooled kits for a long time? What made the new product development team decide to move ahead with this one? Where did they gather the 1:1 input to start the kit's development? How is this kit being designed for production? How many reissue variations (beyond just decal sheet changes), are planned? (...think Long-frame with the existing Mercury sleeper). Is there potential for companion kits like vintage trailers to go hand-in-hand with this new Mack tractor? Good surprises like this bring so many questions to my mind!
 -
Moebius AWB Mopar Assembly Line - Strickler's Car
'70 Grande replied to papajohn97's topic in Drag Racing
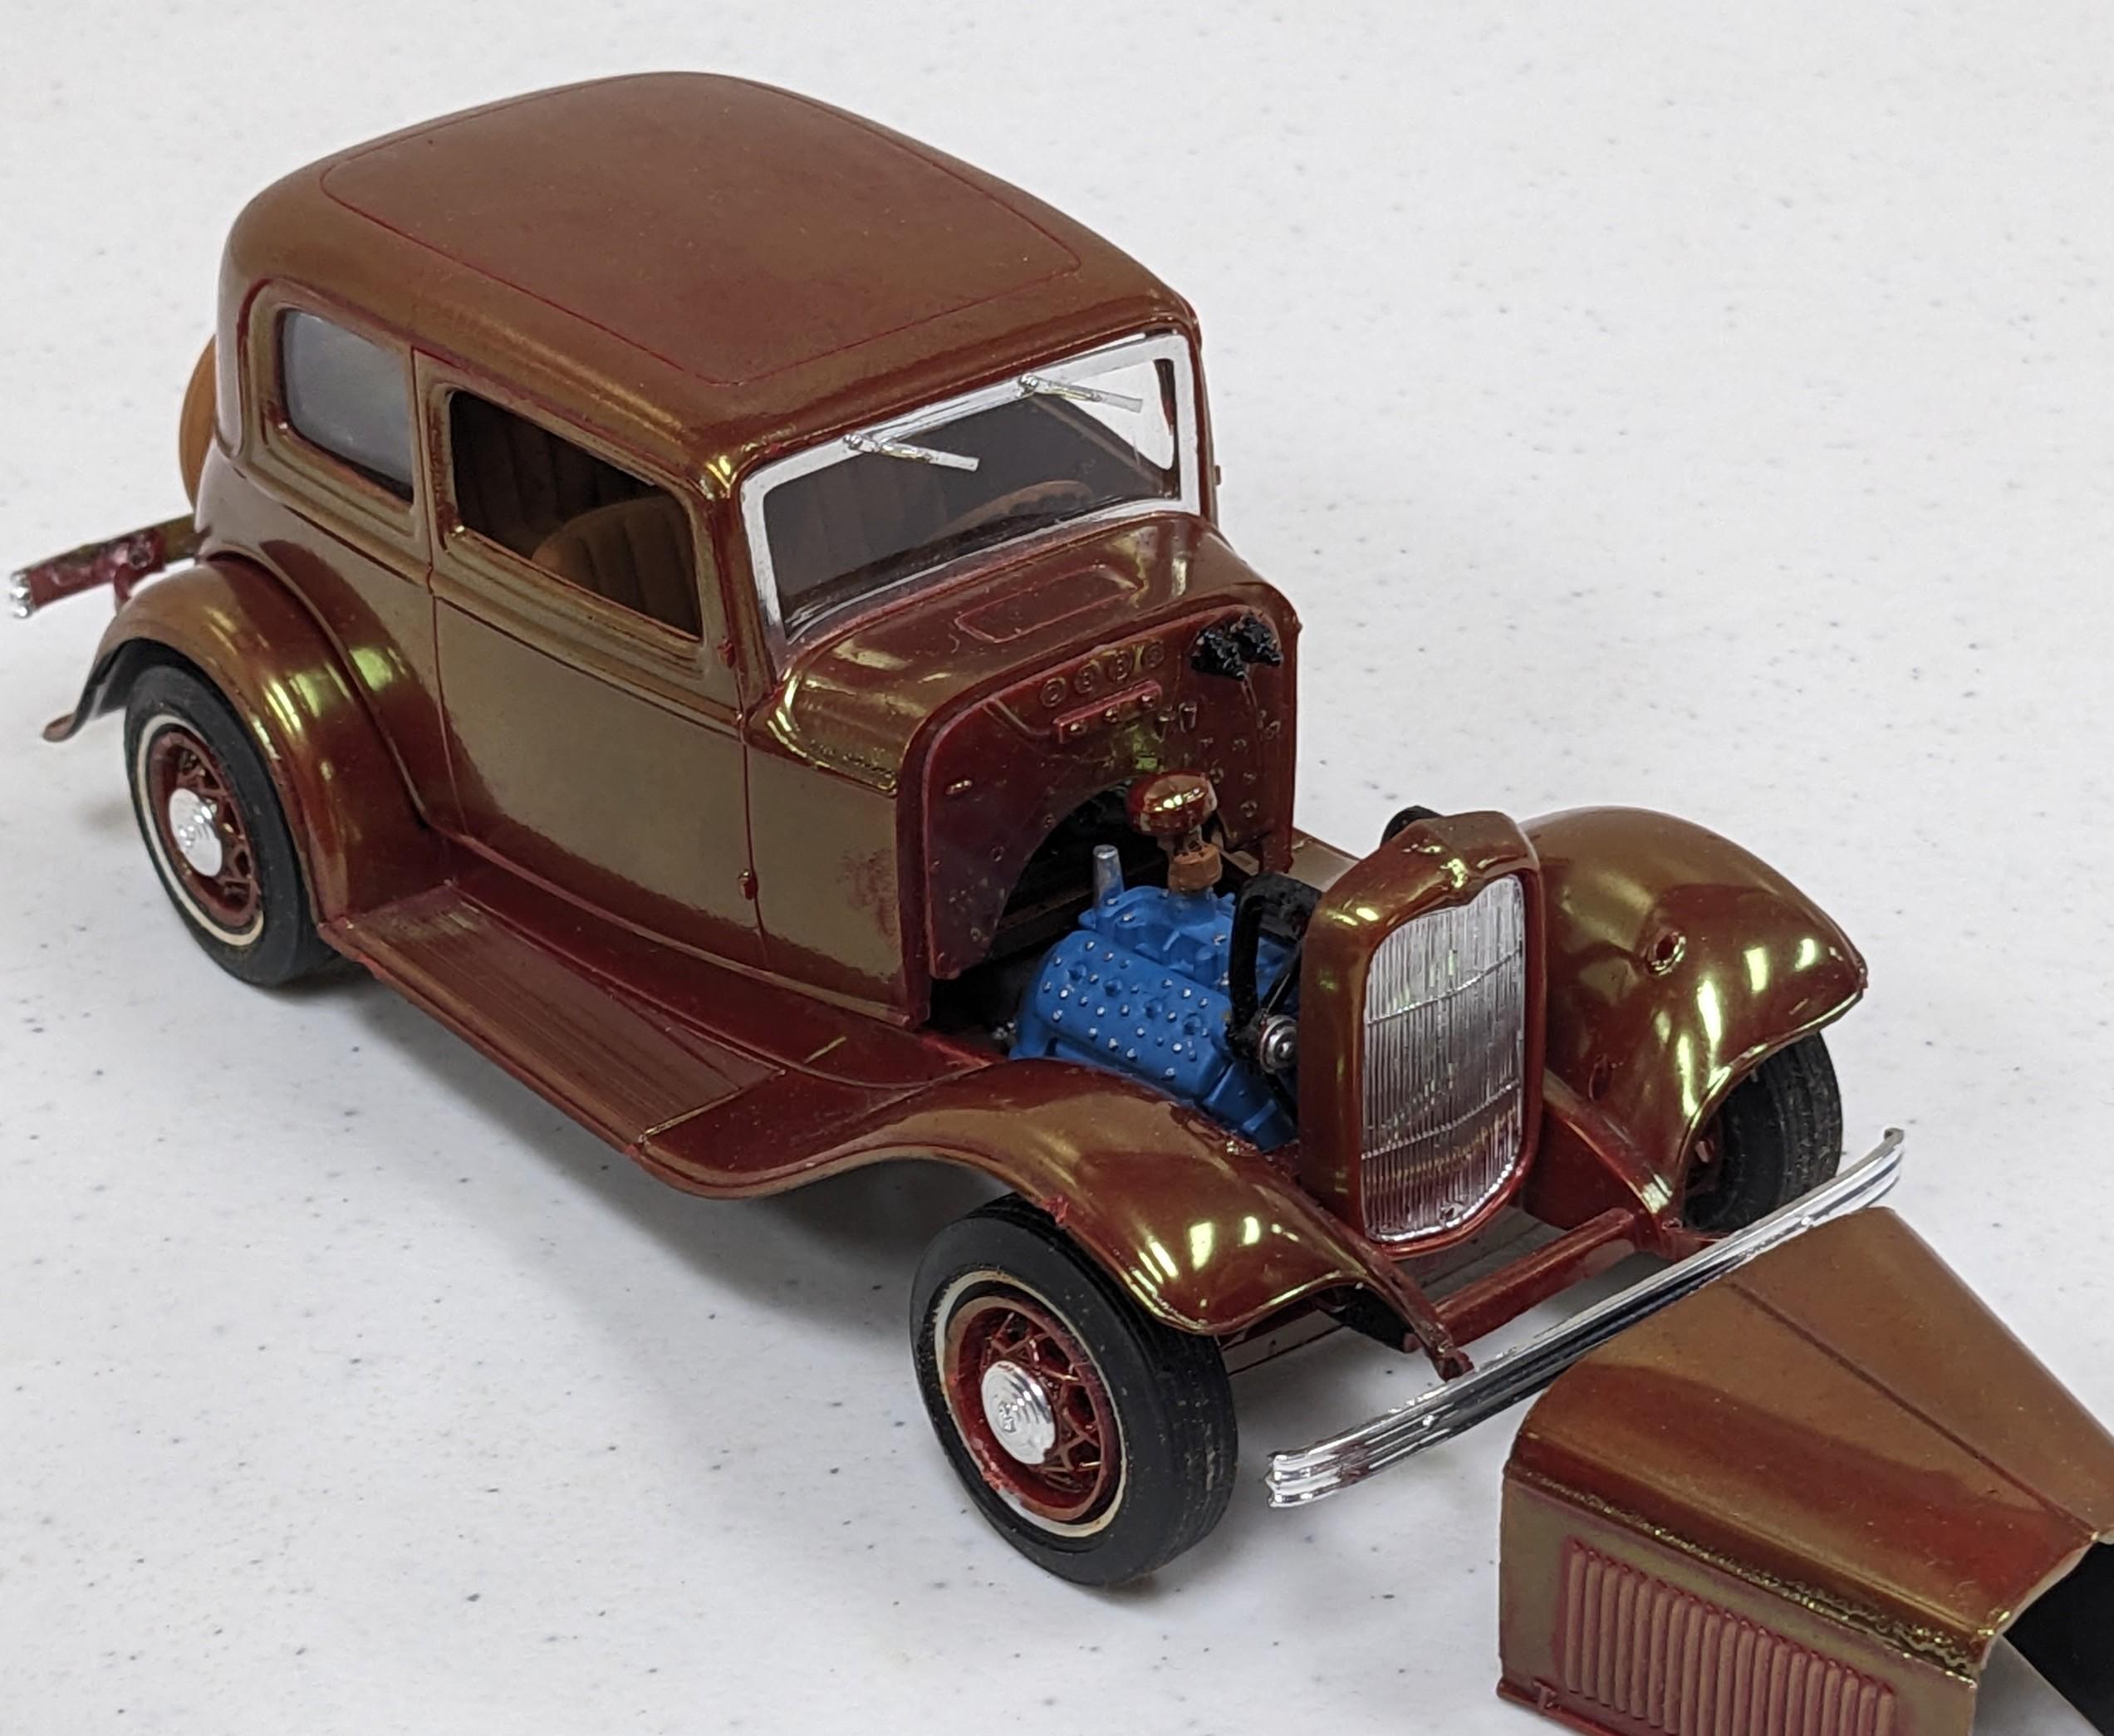
This is a stunning build! Super clean and everything looks so "right"! It never occurred to me that this car had the large openings cut into the engine compartment's inner side panels... was that done for reducing the weight or for some other reason? -
Really like what you did here; excellent looking body and swapping in the wagon's chassis and engine makes for a stunning combination... it nails the look of a 1:1 perfectly! (but this never existed as a 1:1... correct?)
-
Central Illinois Plastic Modelers Fall Contest - 21 Sep 2025
'70 Grande replied to Leica007's topic in Contests and Shows
Lei, Thought I'd add a few photos that I took of some other excellent builds at this event!
-
I really like your build of this vintage kit! I've also read many comments from those that dislike this kit, but I always thought it captured the look of the 1:1s very well! Your build has an excellent sleeper-vibe to it, and encourages me to pull the kit I have in progress out of the kit vault and get it finished! Great work!
-
Round 2 Announcements as of 9/12/25 from Stevens Intl.
'70 Grande replied to Justin Porter's topic in Car Kit News & Reviews
Bil-e-boy: Just so I understand you correctly, when you said, "...the infamous wedge section is all to evident.", you're referring to the firewall being shorter than it would be on a 1:1 and that shorter firewall is the reason the bottom edge of the body sides kicks-upward from mid-door forward to the firewall edge... (the bottom edge of the doors is incorrectly curved), right? -
Ford c600 Shelby Hauler
'70 Grande replied to 65slotcar's topic in Model Trucks: Big Rigs and Heavy Equipment
These additional pics mean I've got additional questions about this fantastic build! How did you create the textured ramps the cars are parked on? Are those ramps 3D printed? What did you do underneath the deck to extend the frame out all the way to the very back, (I'm assuming you have some support pieces working with the extended main frame's 2 pieces)? I assume the large White toolboxes underneath the deck were scratch built? -
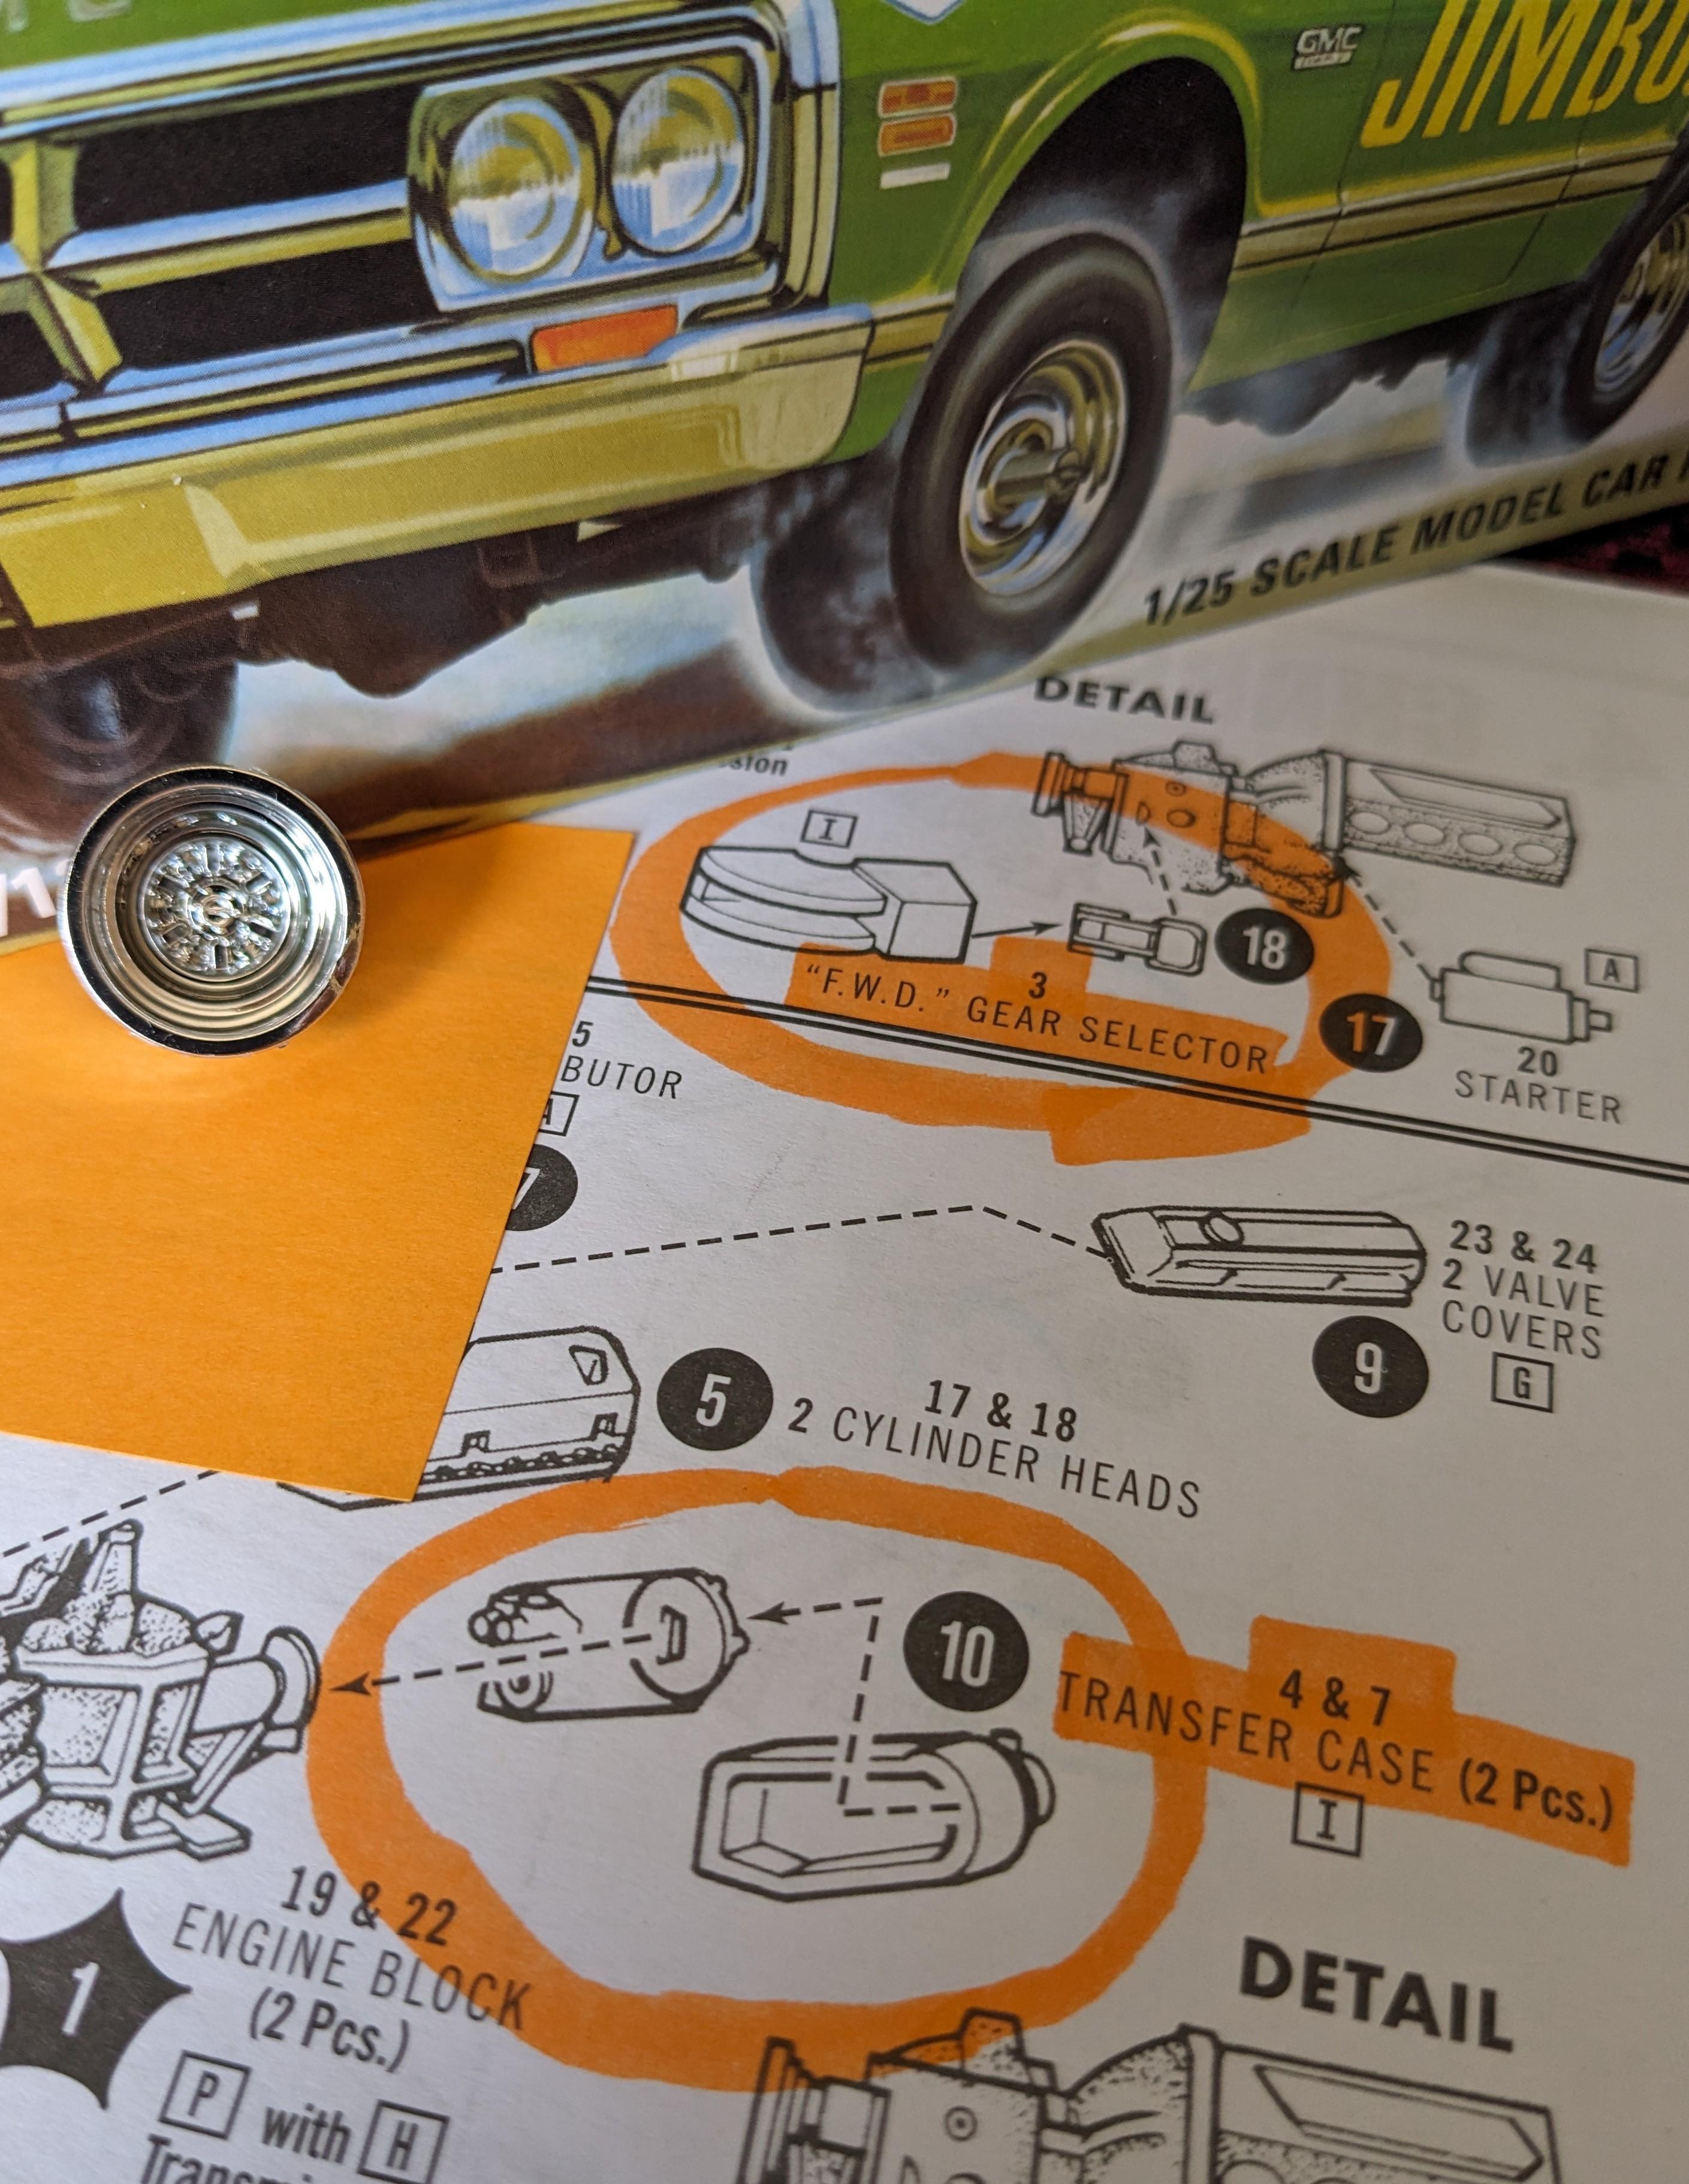
I am looking to trade for the following parts from the 1/25 AMT Jimmy GMC kit: (2) of the Chrome 6-lug deep dish front wheels The (2) parts that make-up the 4WD transfer case The (2) parts that make-up the 4WD Gear Selector These parts can be fresh-from-the-tree or from a built-up if in good, restorable condition. I am not interested in a complete kit. I am in Illinois. Thanks
- 1 reply
-
- 1
-

-
Ford c600 Shelby Hauler
'70 Grande replied to 65slotcar's topic in Model Trucks: Big Rigs and Heavy Equipment
Fantastic build! I'd bet that I'm not the only one who'd like to see more pictures of this excellent build! -
Atlantis roll out ex Revell 55 Chevy Bel Air.
'70 Grande replied to John M.'s topic in Car Kit News & Reviews
I like the looks of the front wheel in that box art... is that wheel from a previous release of any of these vintage Revell tri-5 Chevy kits is it from some other vintage Revell kit?