ModelcarJR
-
Posts
1,648 -
Joined
-
Last visited
Content Type
Profiles
Forums
Events
Gallery
Everything posted by ModelcarJR
-
Thanks, David, Mario, and Carl! I appreciate your comments! ?
-
Thanks, Gerald, Jeremy, and Scott! I appreciate your comments! Gerald, yes those are the kit wheels and tires. I painted the inner centers with Revell steel and the exterior part of the steel wheel with Tamiya aluminum.
-
MPC Olsonite Eagle
ModelcarJR replied to Gustavo Reis's topic in Other Racing: Road Racing, Salt Flat Racers
Looks good, Gustavo! These old Indy cars take some work to get right. Nice work on yours! ?? -
Thanks, All! I appreciate all the nice comments!
-
1975 Jorgensen Eagle - Bobby Unser
ModelcarJR replied to ModelcarJR's topic in Other Racing: Road Racing, Salt Flat Racers
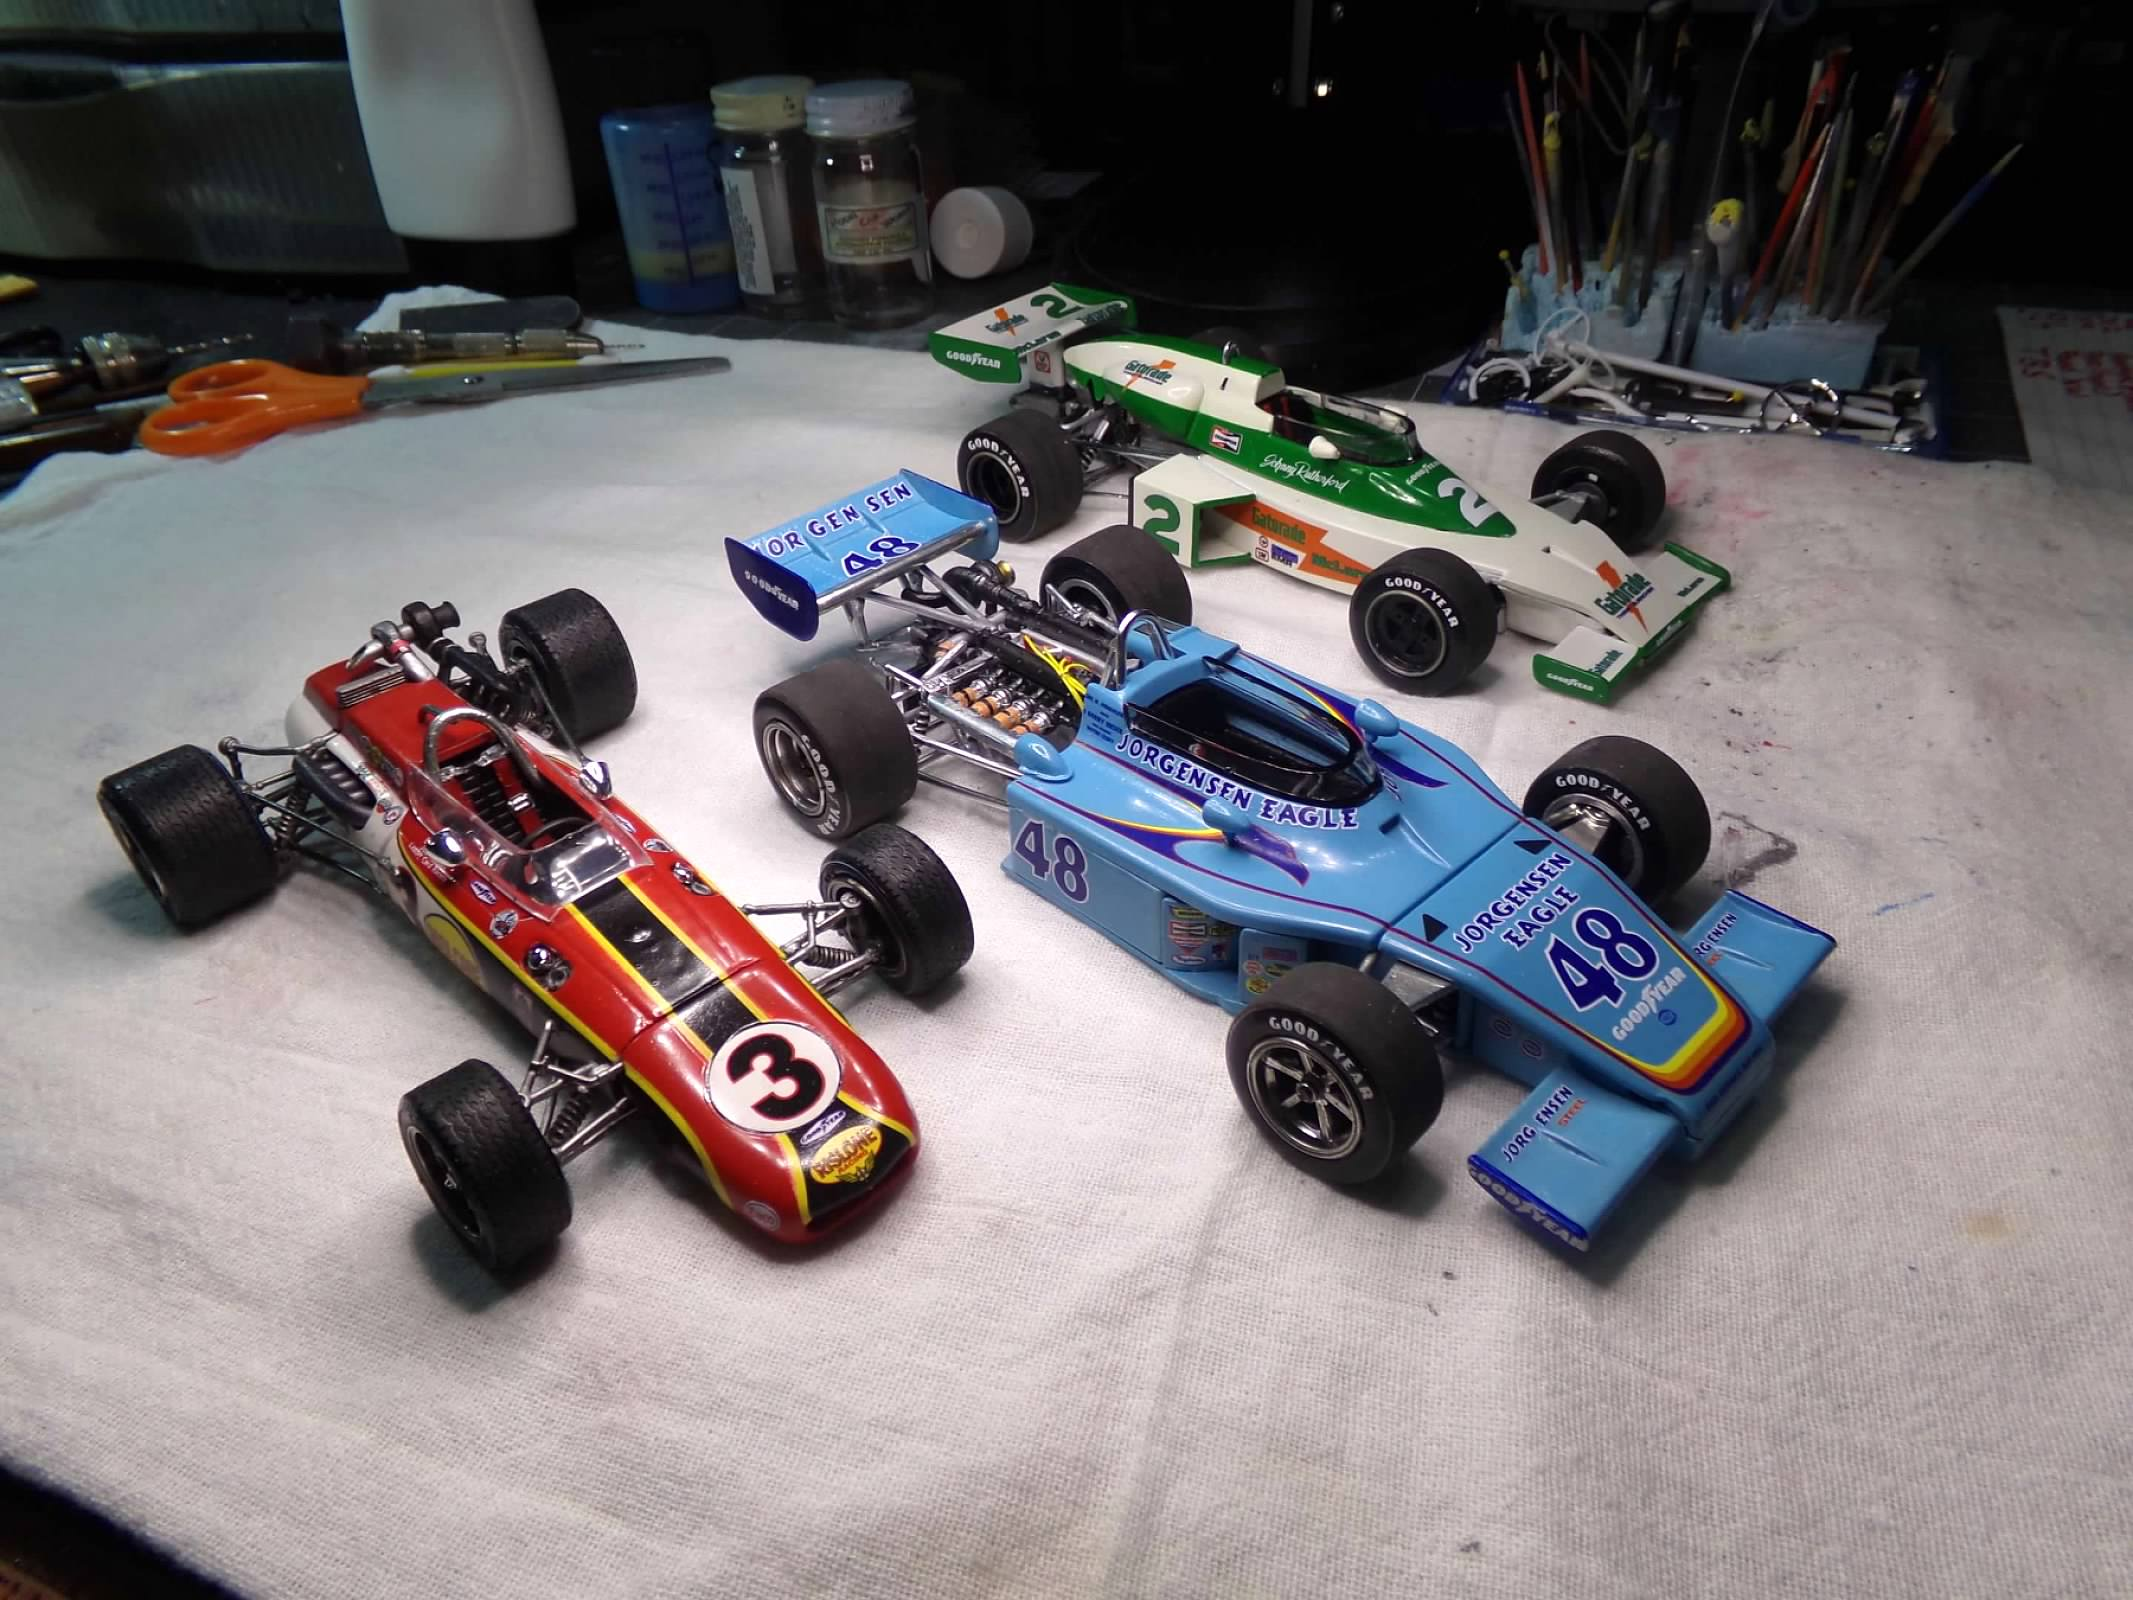
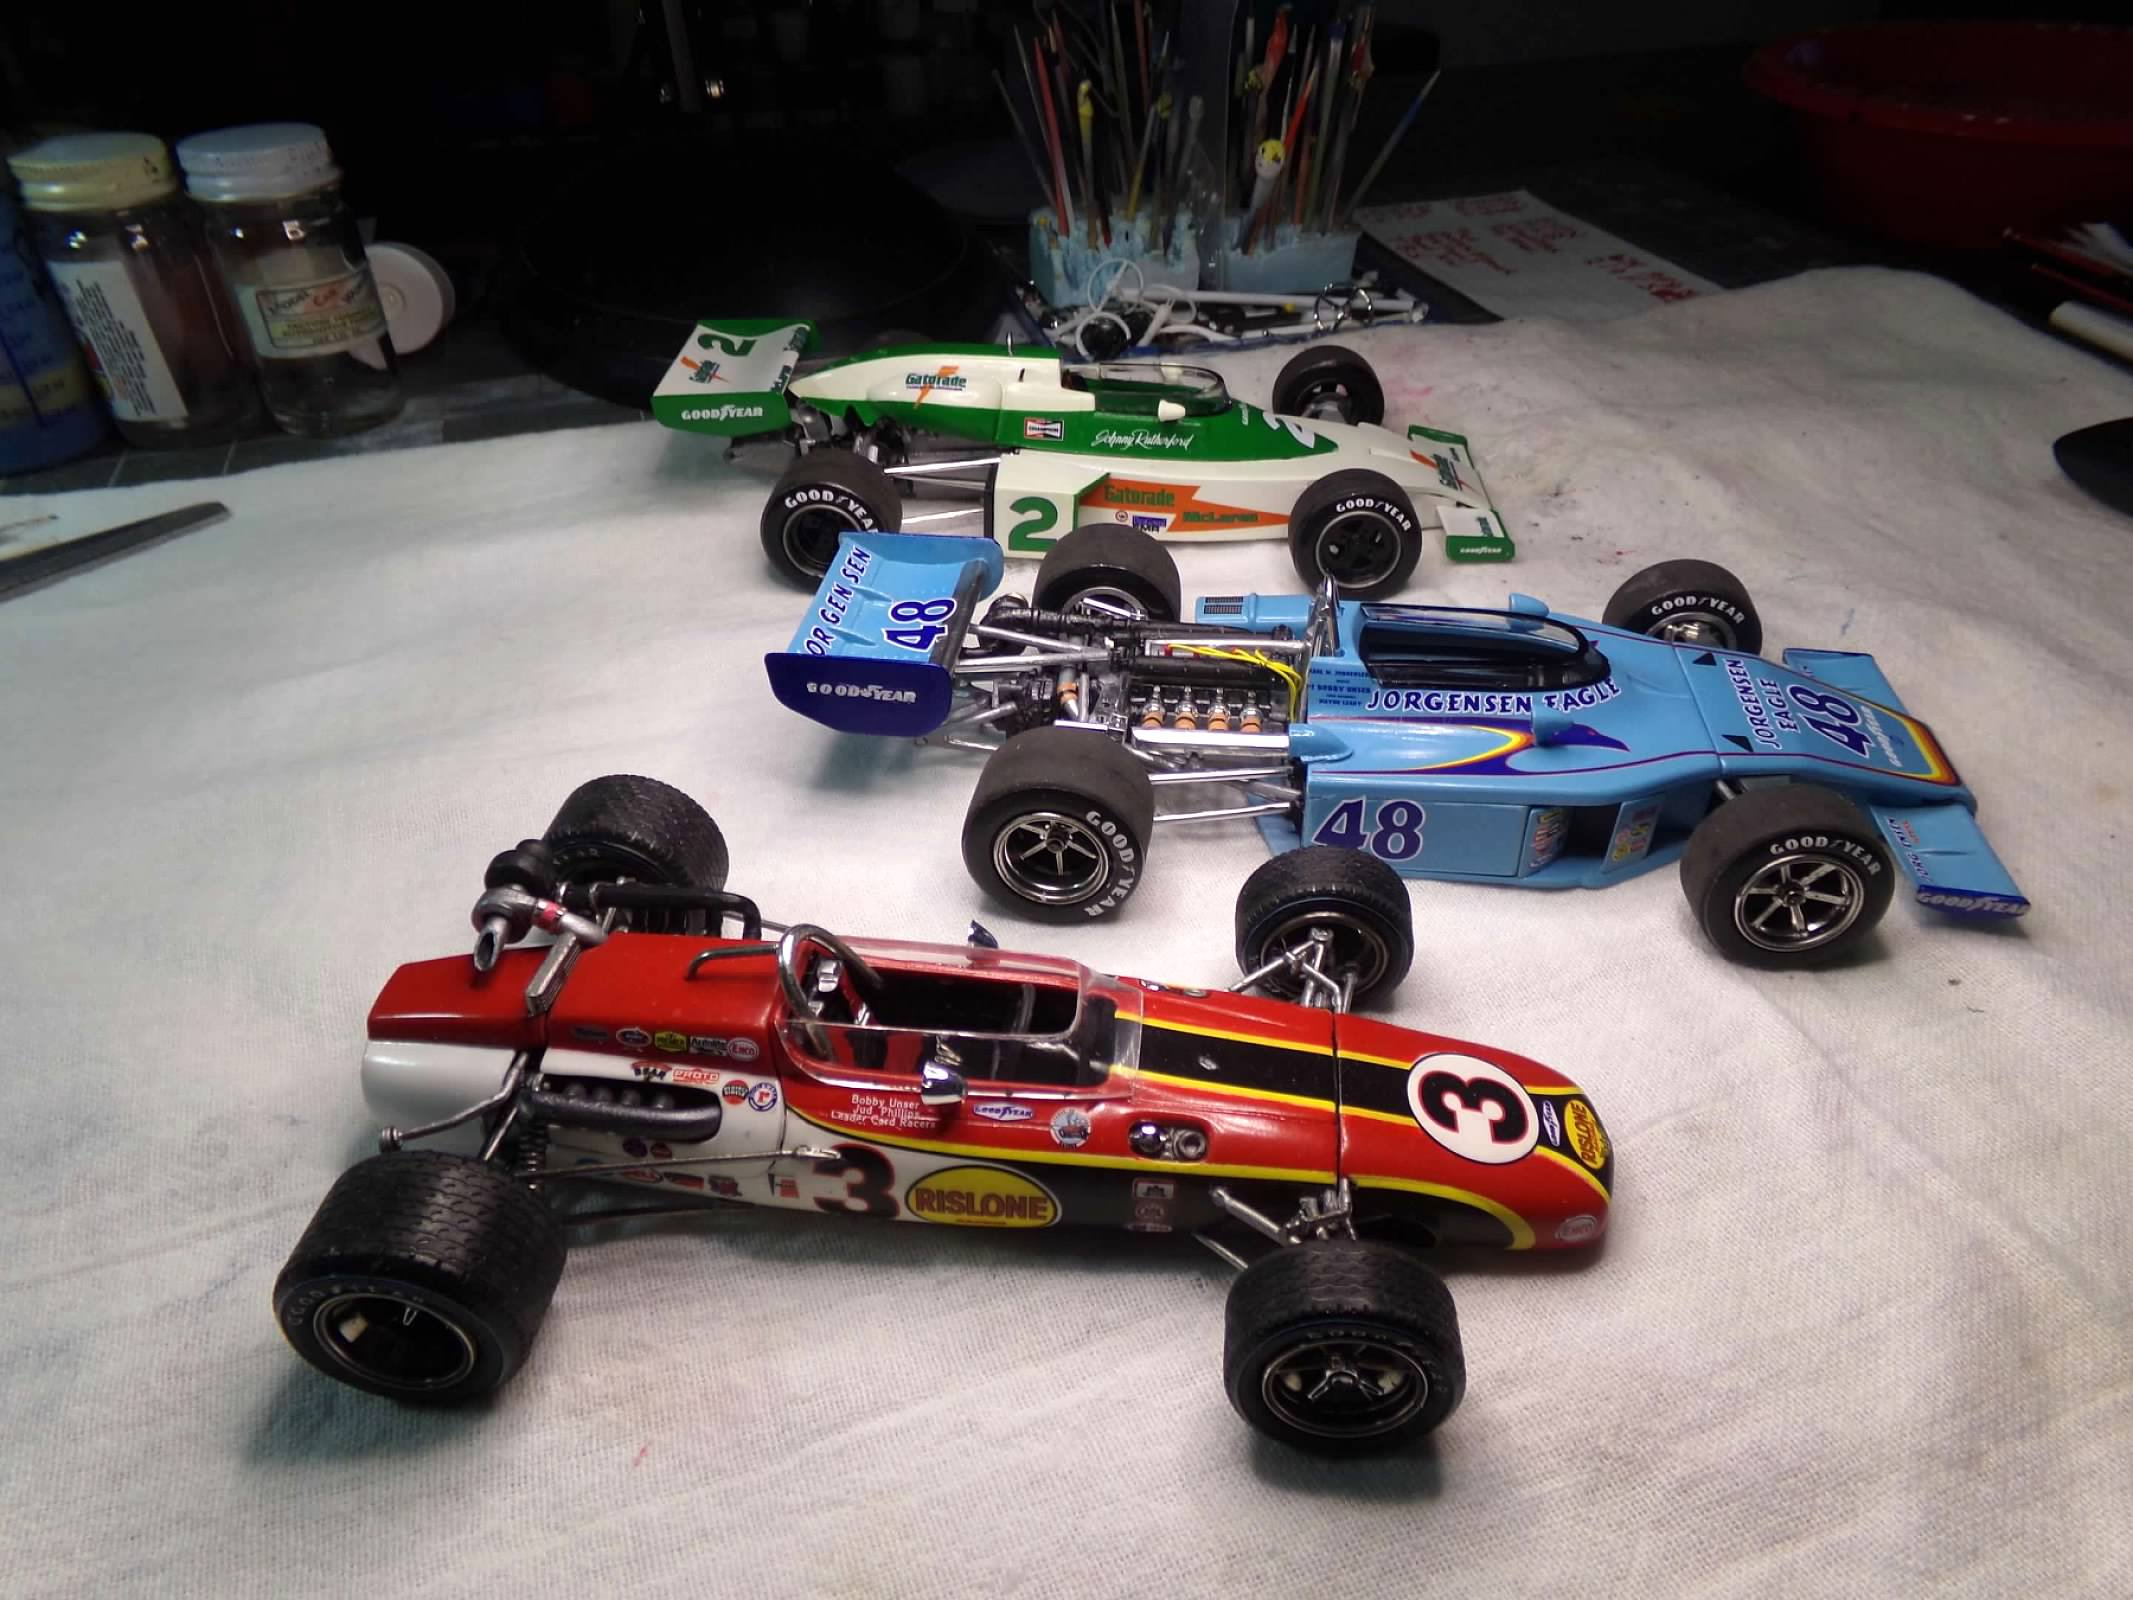
As promised, maybe not timely, here are the other builds I mentioned earlier. The Jorgensen Eagle, Indy 500 winner in 1975 driven by Bobby Unser, the second place finisher in the Indy 500 driven by Johnny Rutherford and the 1968 winner of the Indy 500 sponsored by Rislone driven by Bobby Unser. The turbo for the 68 car was borrowed from another kit (I forget which one) based on an article I read to make the turbo correctly positioned outside the rear body. All were fun builds! Thanks for looking! ?
-
Thanks, Steve, David, tony and Jim! I appreciate your comments! ?
-
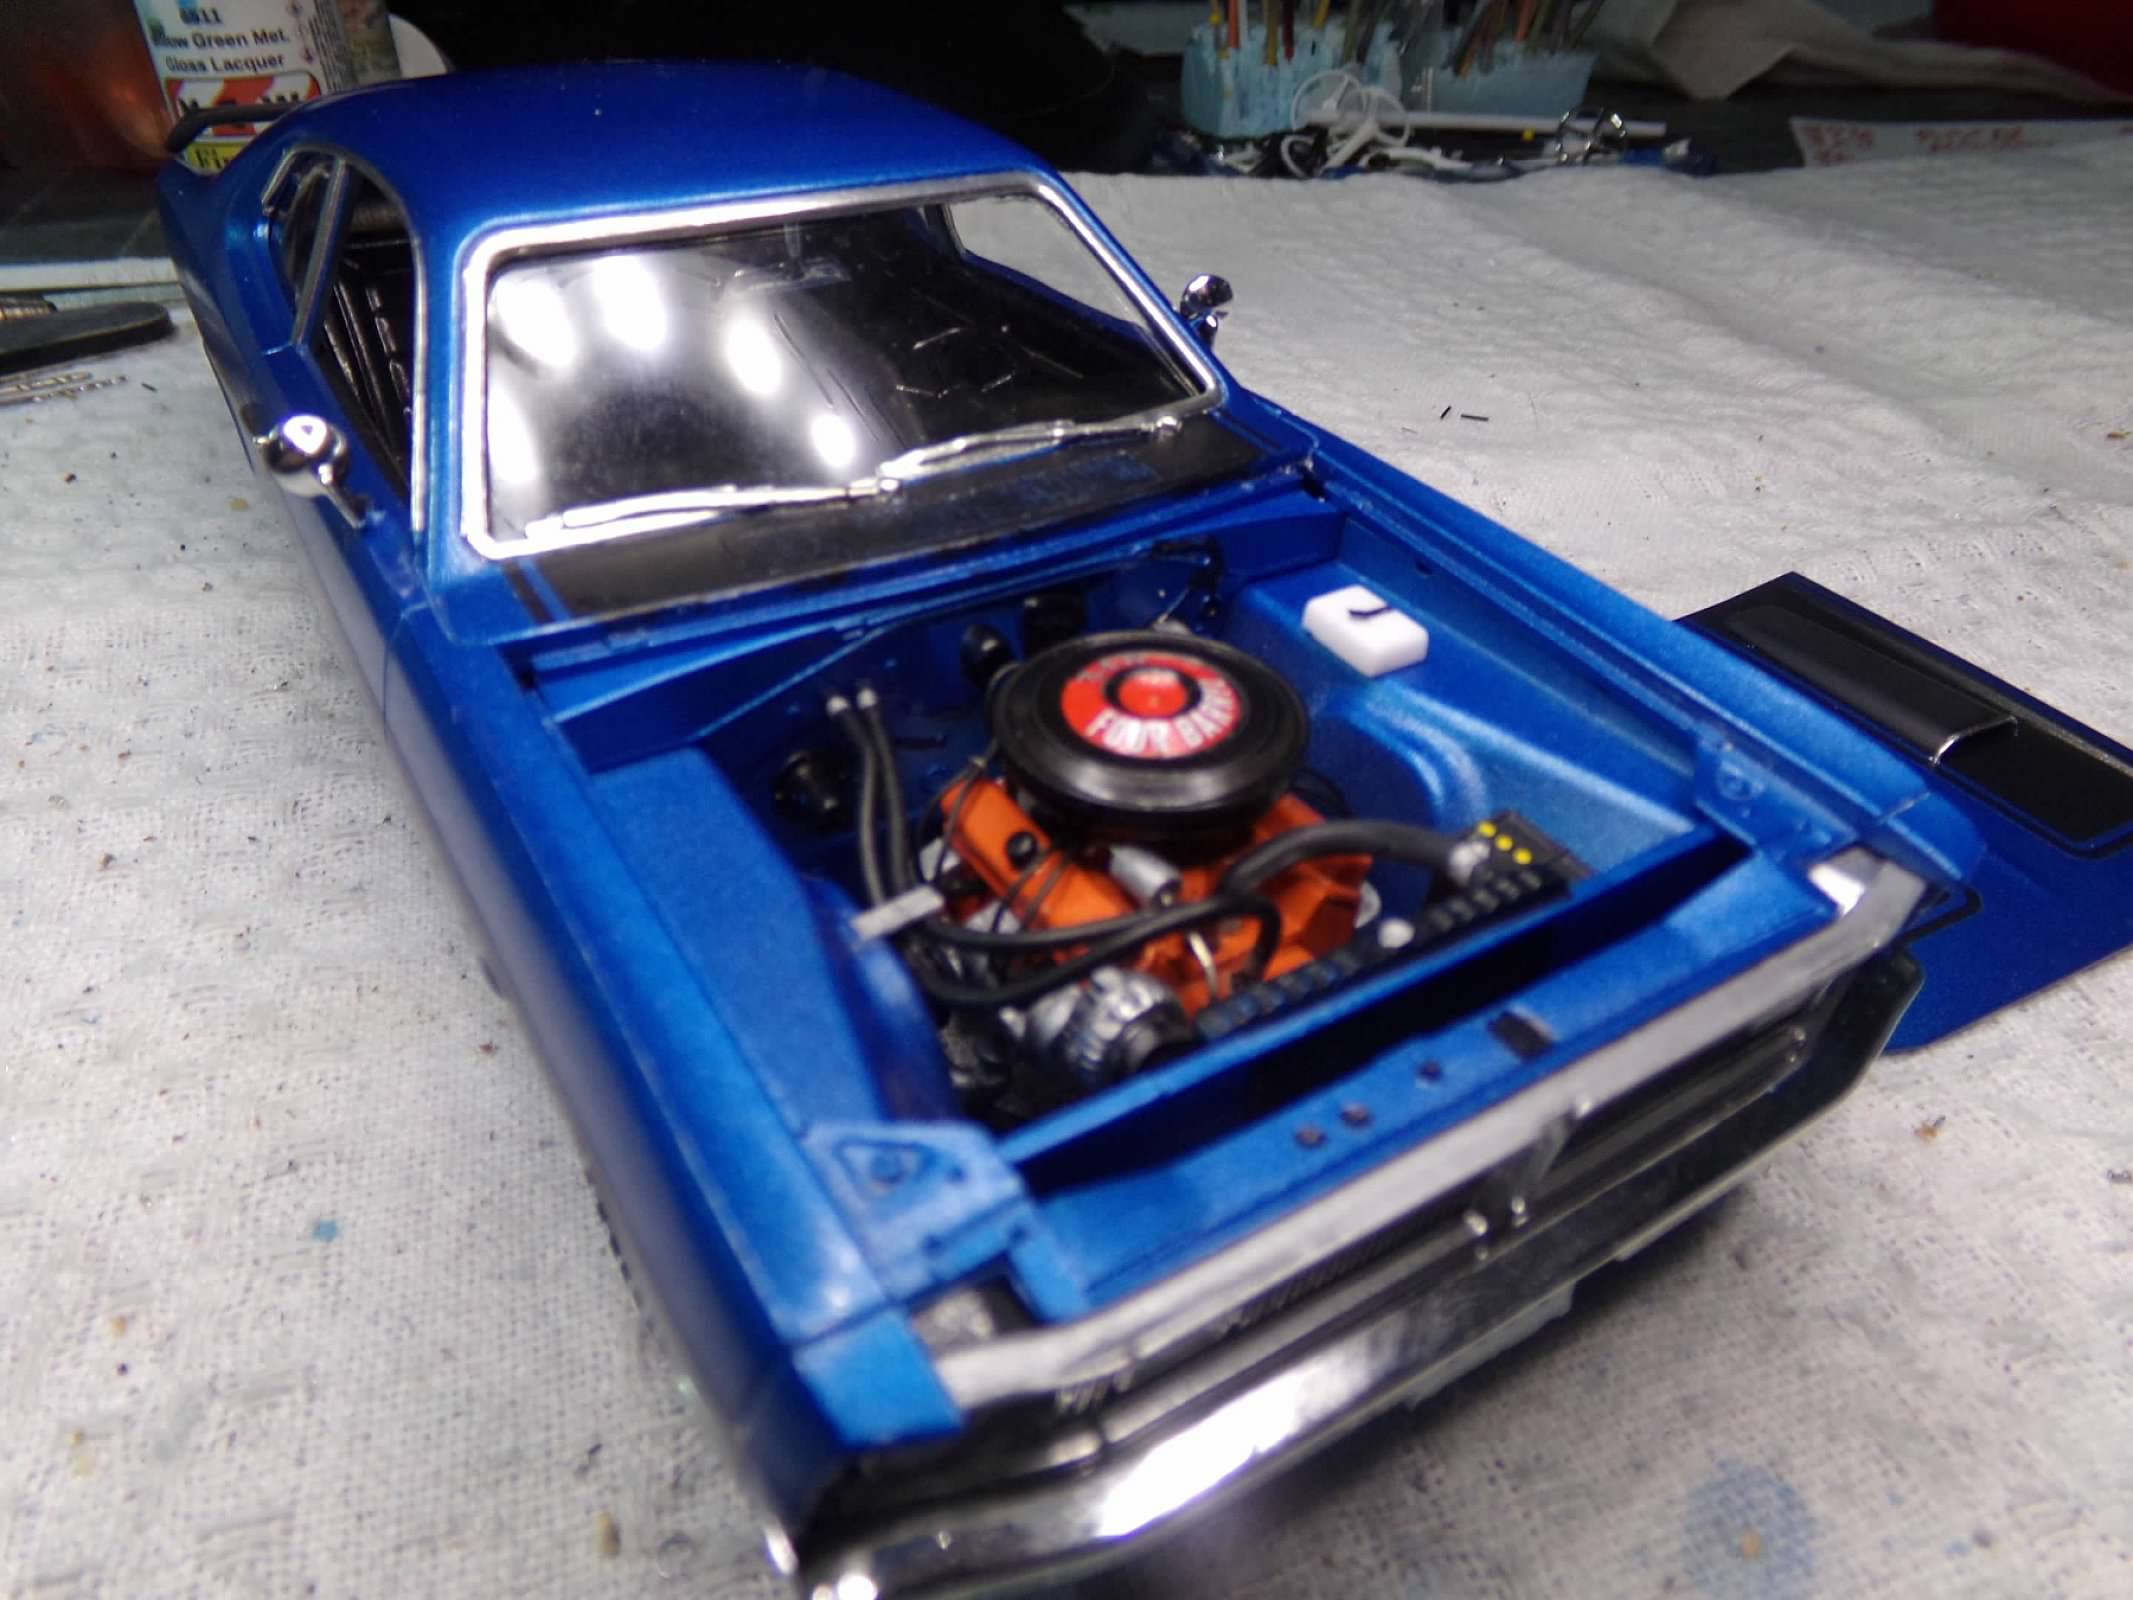
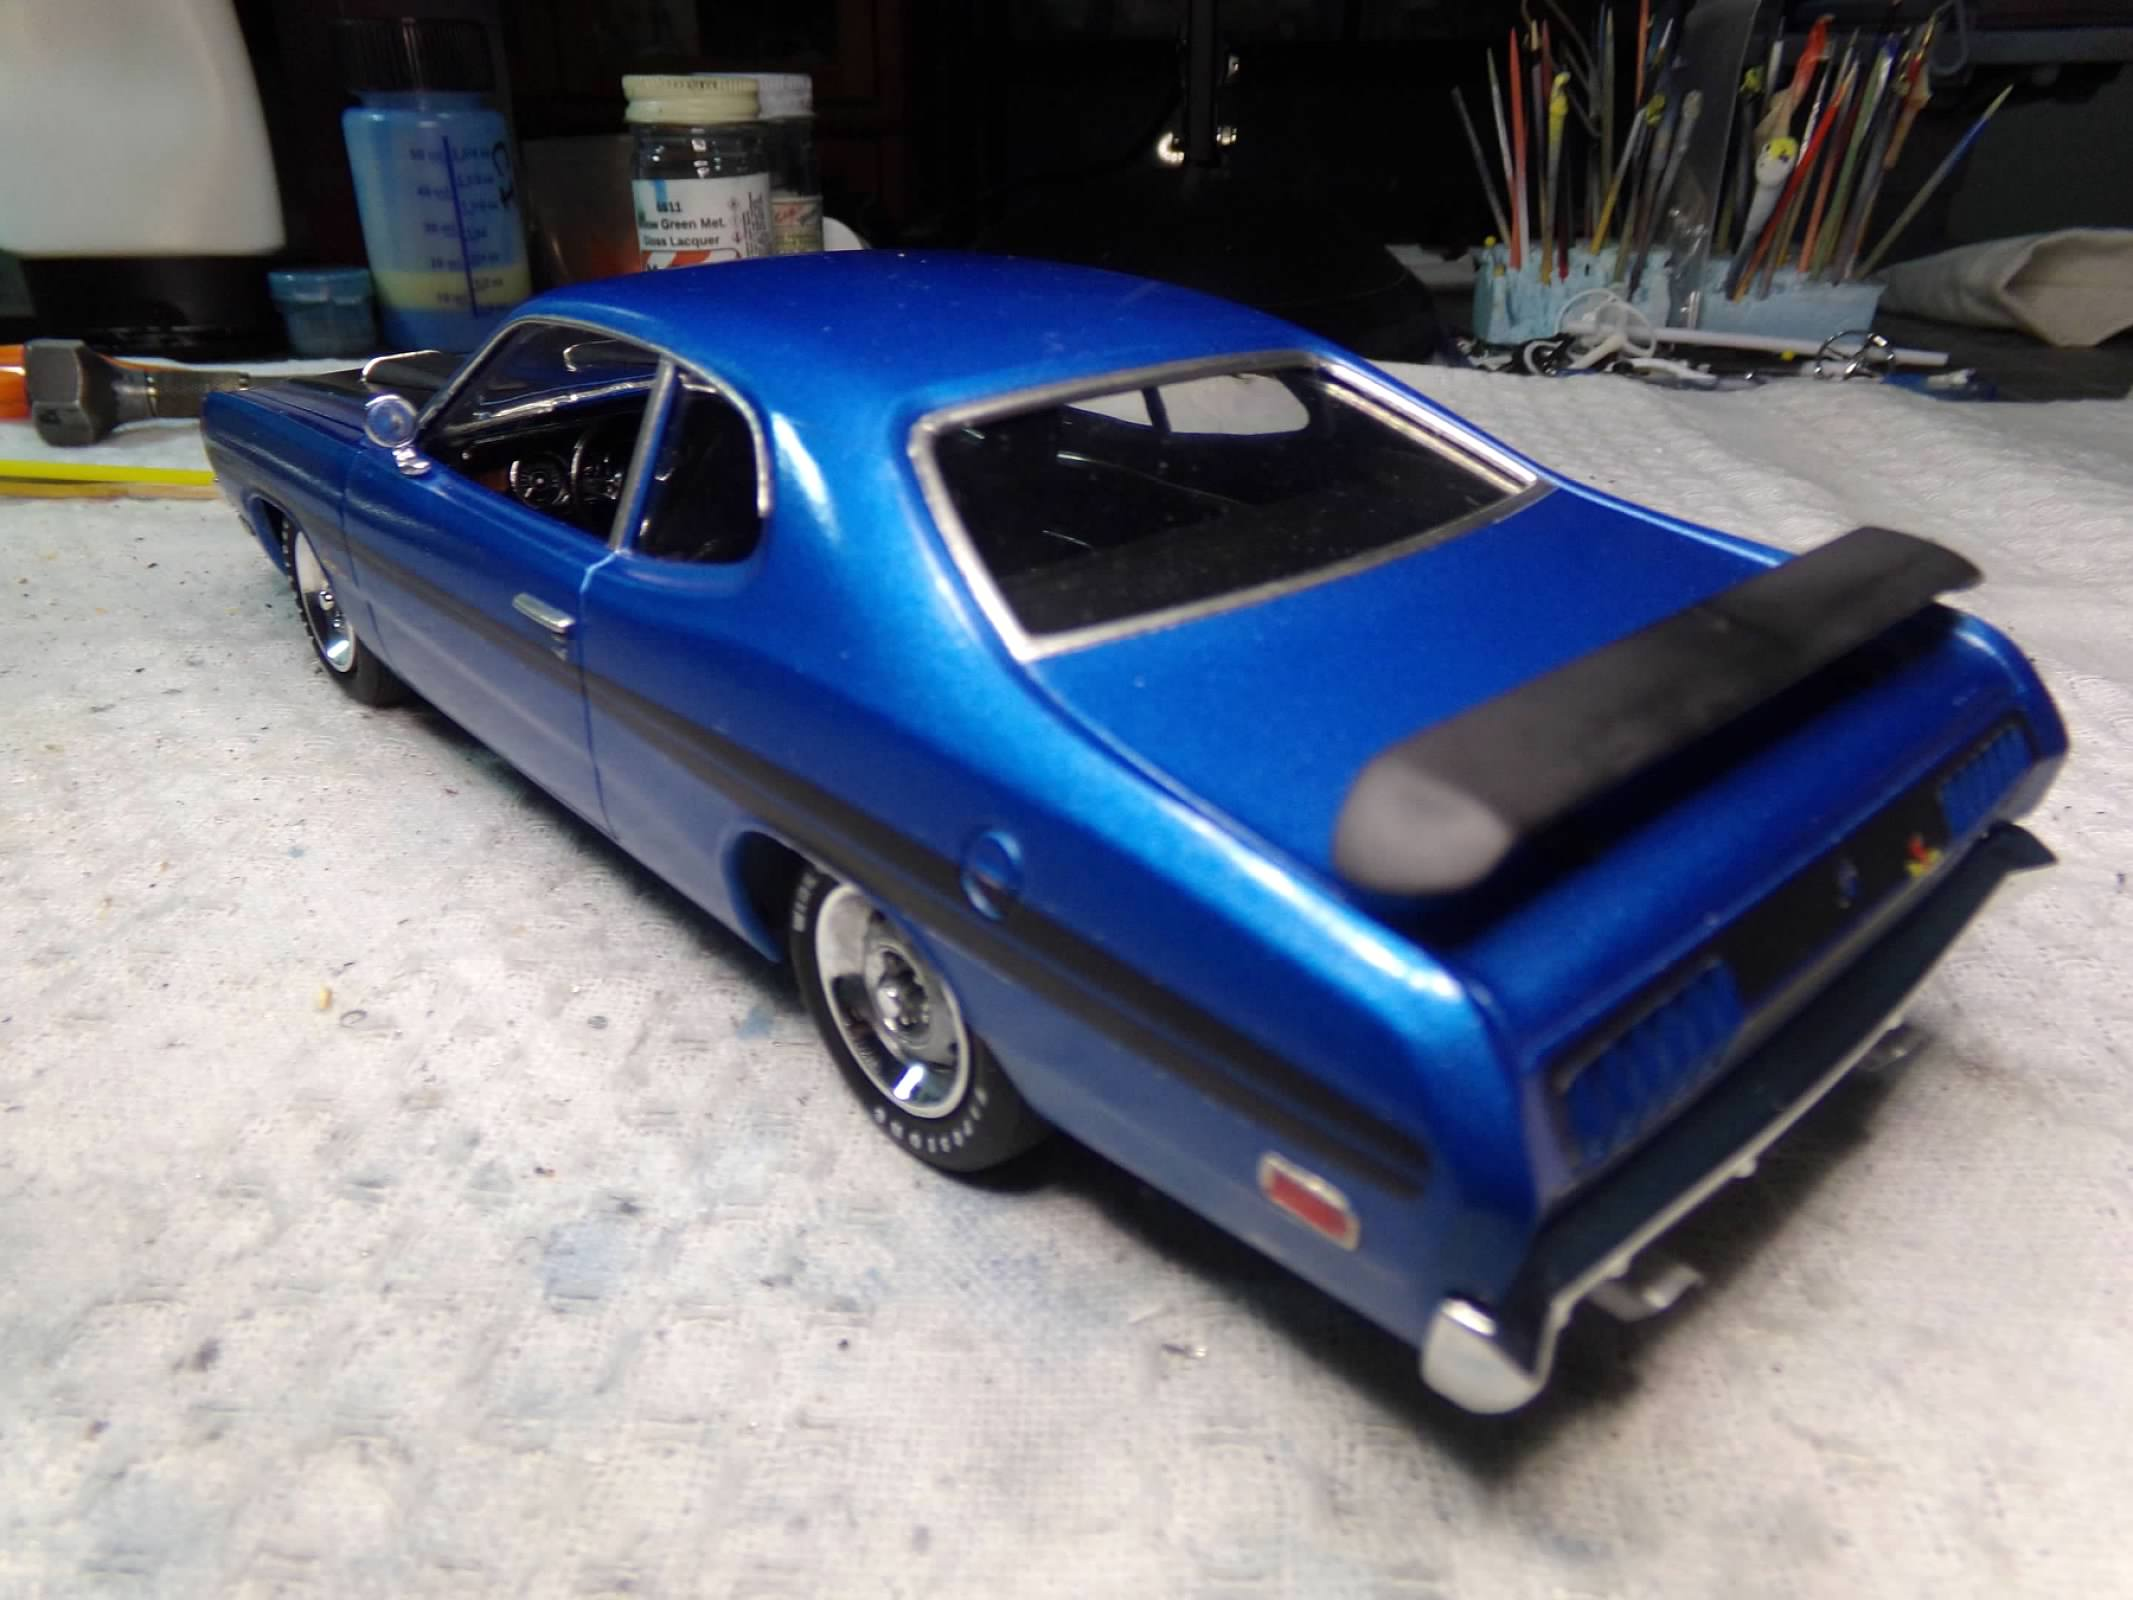
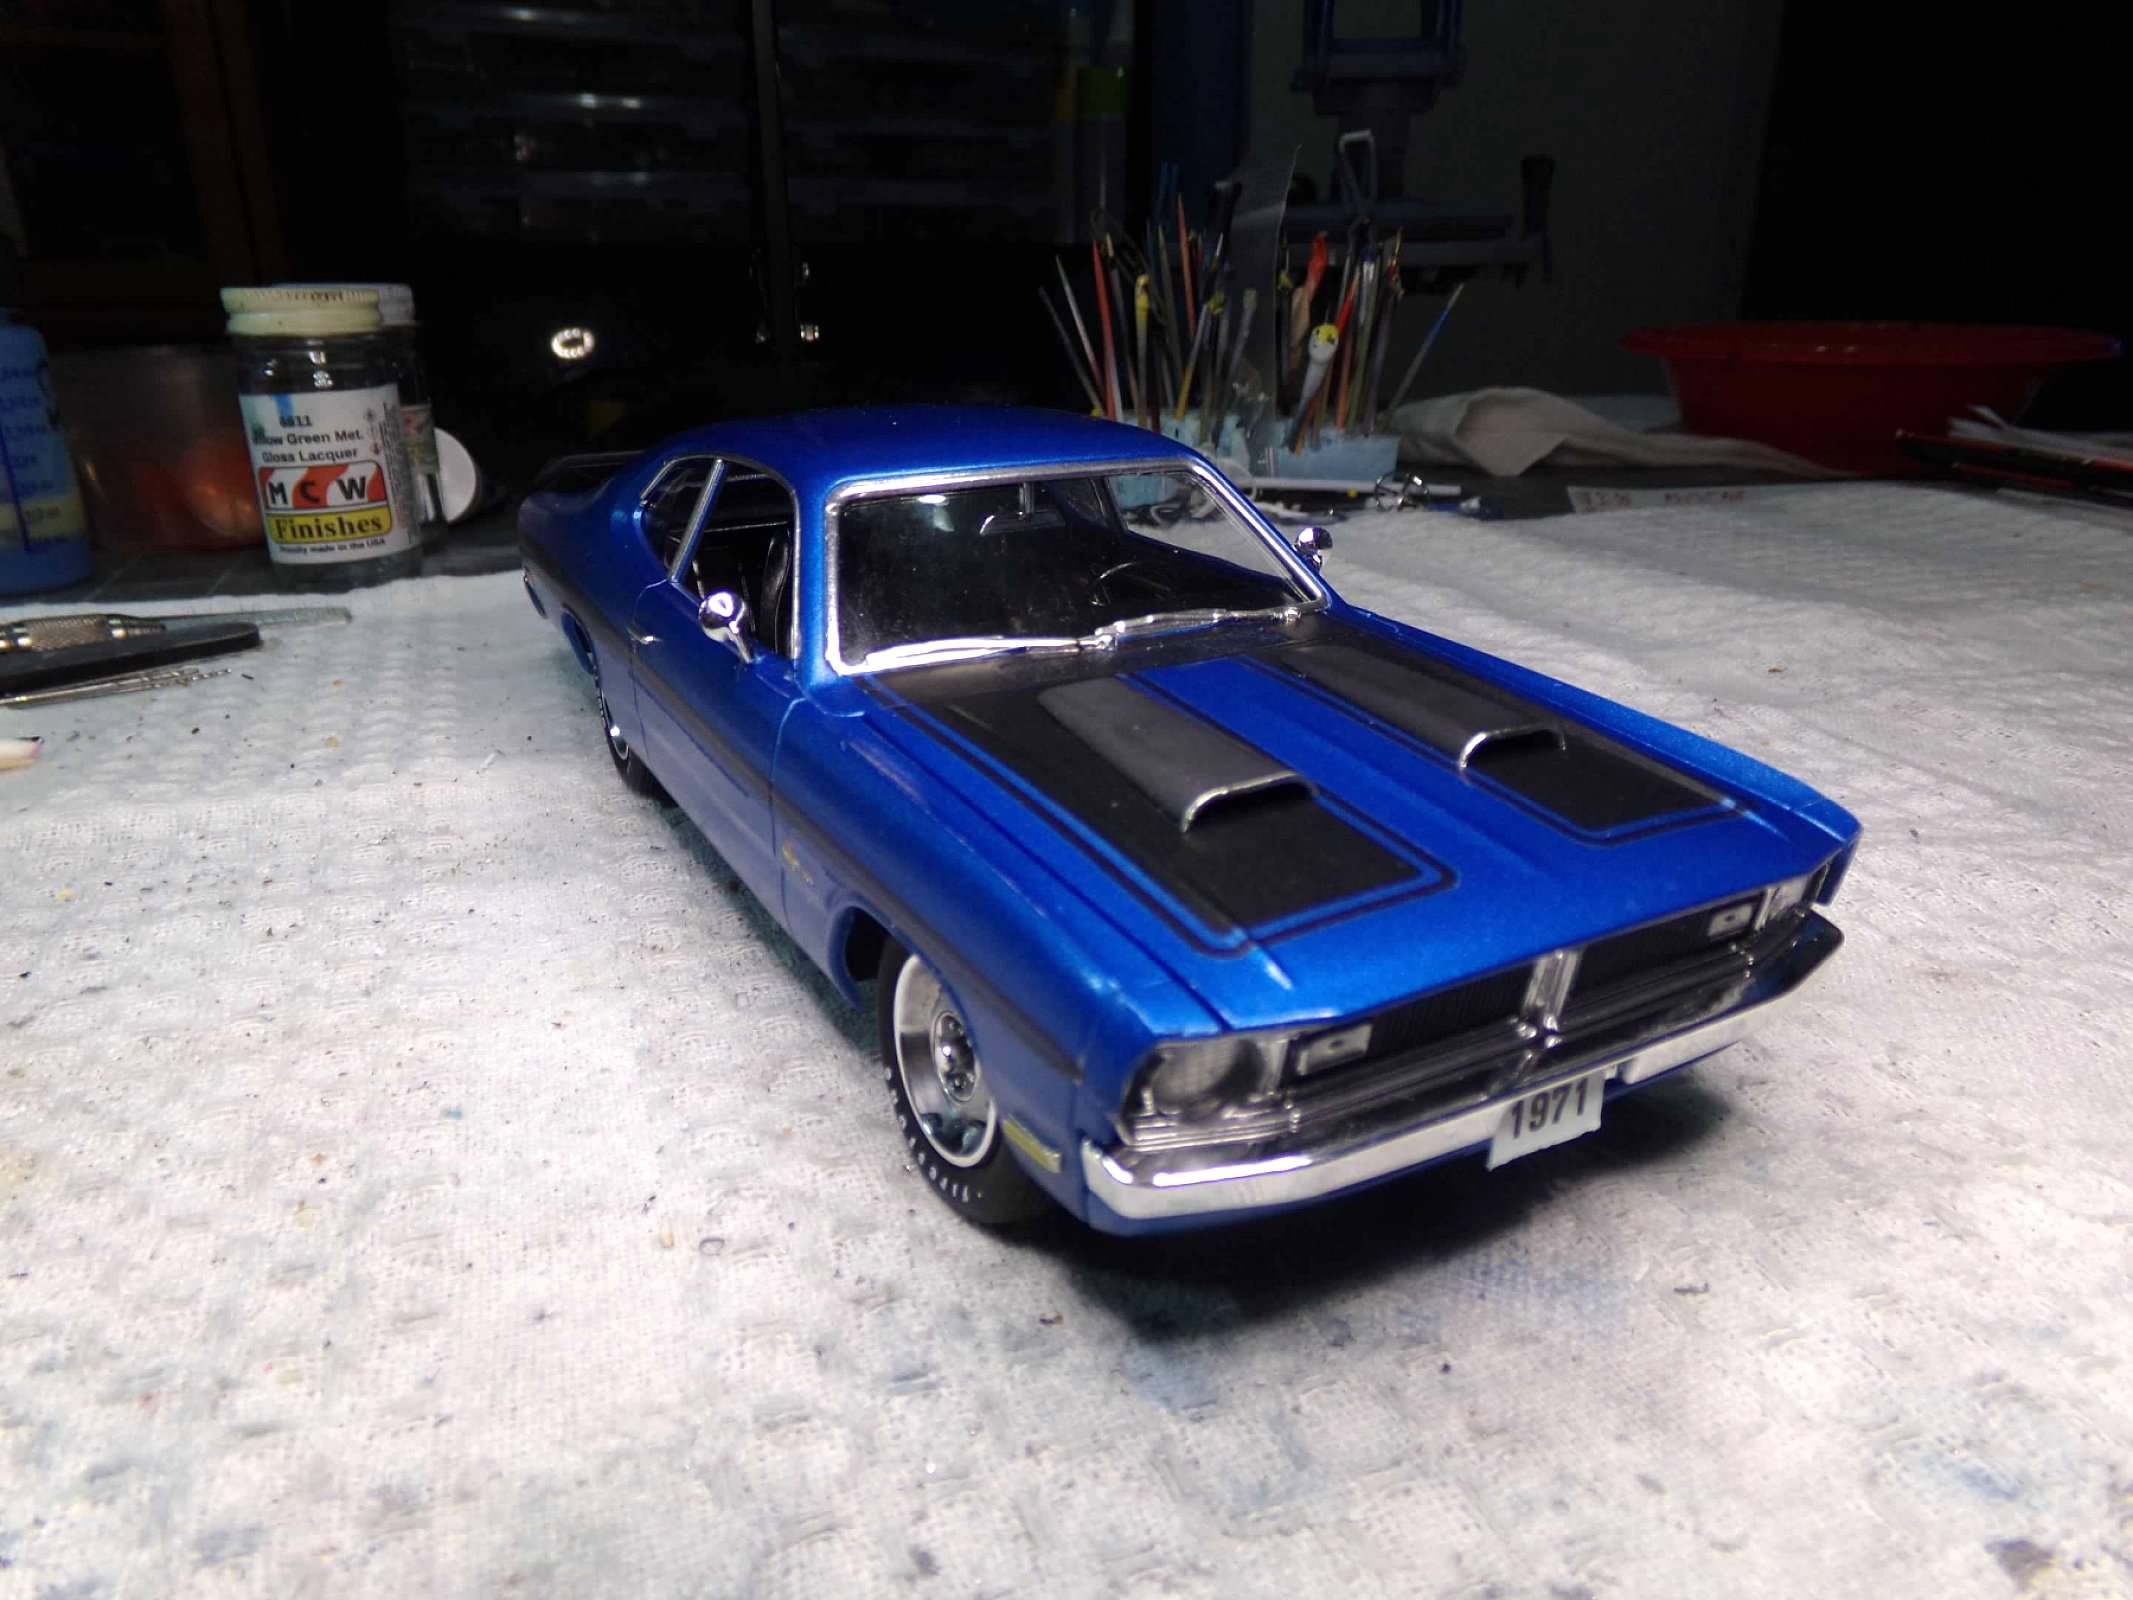
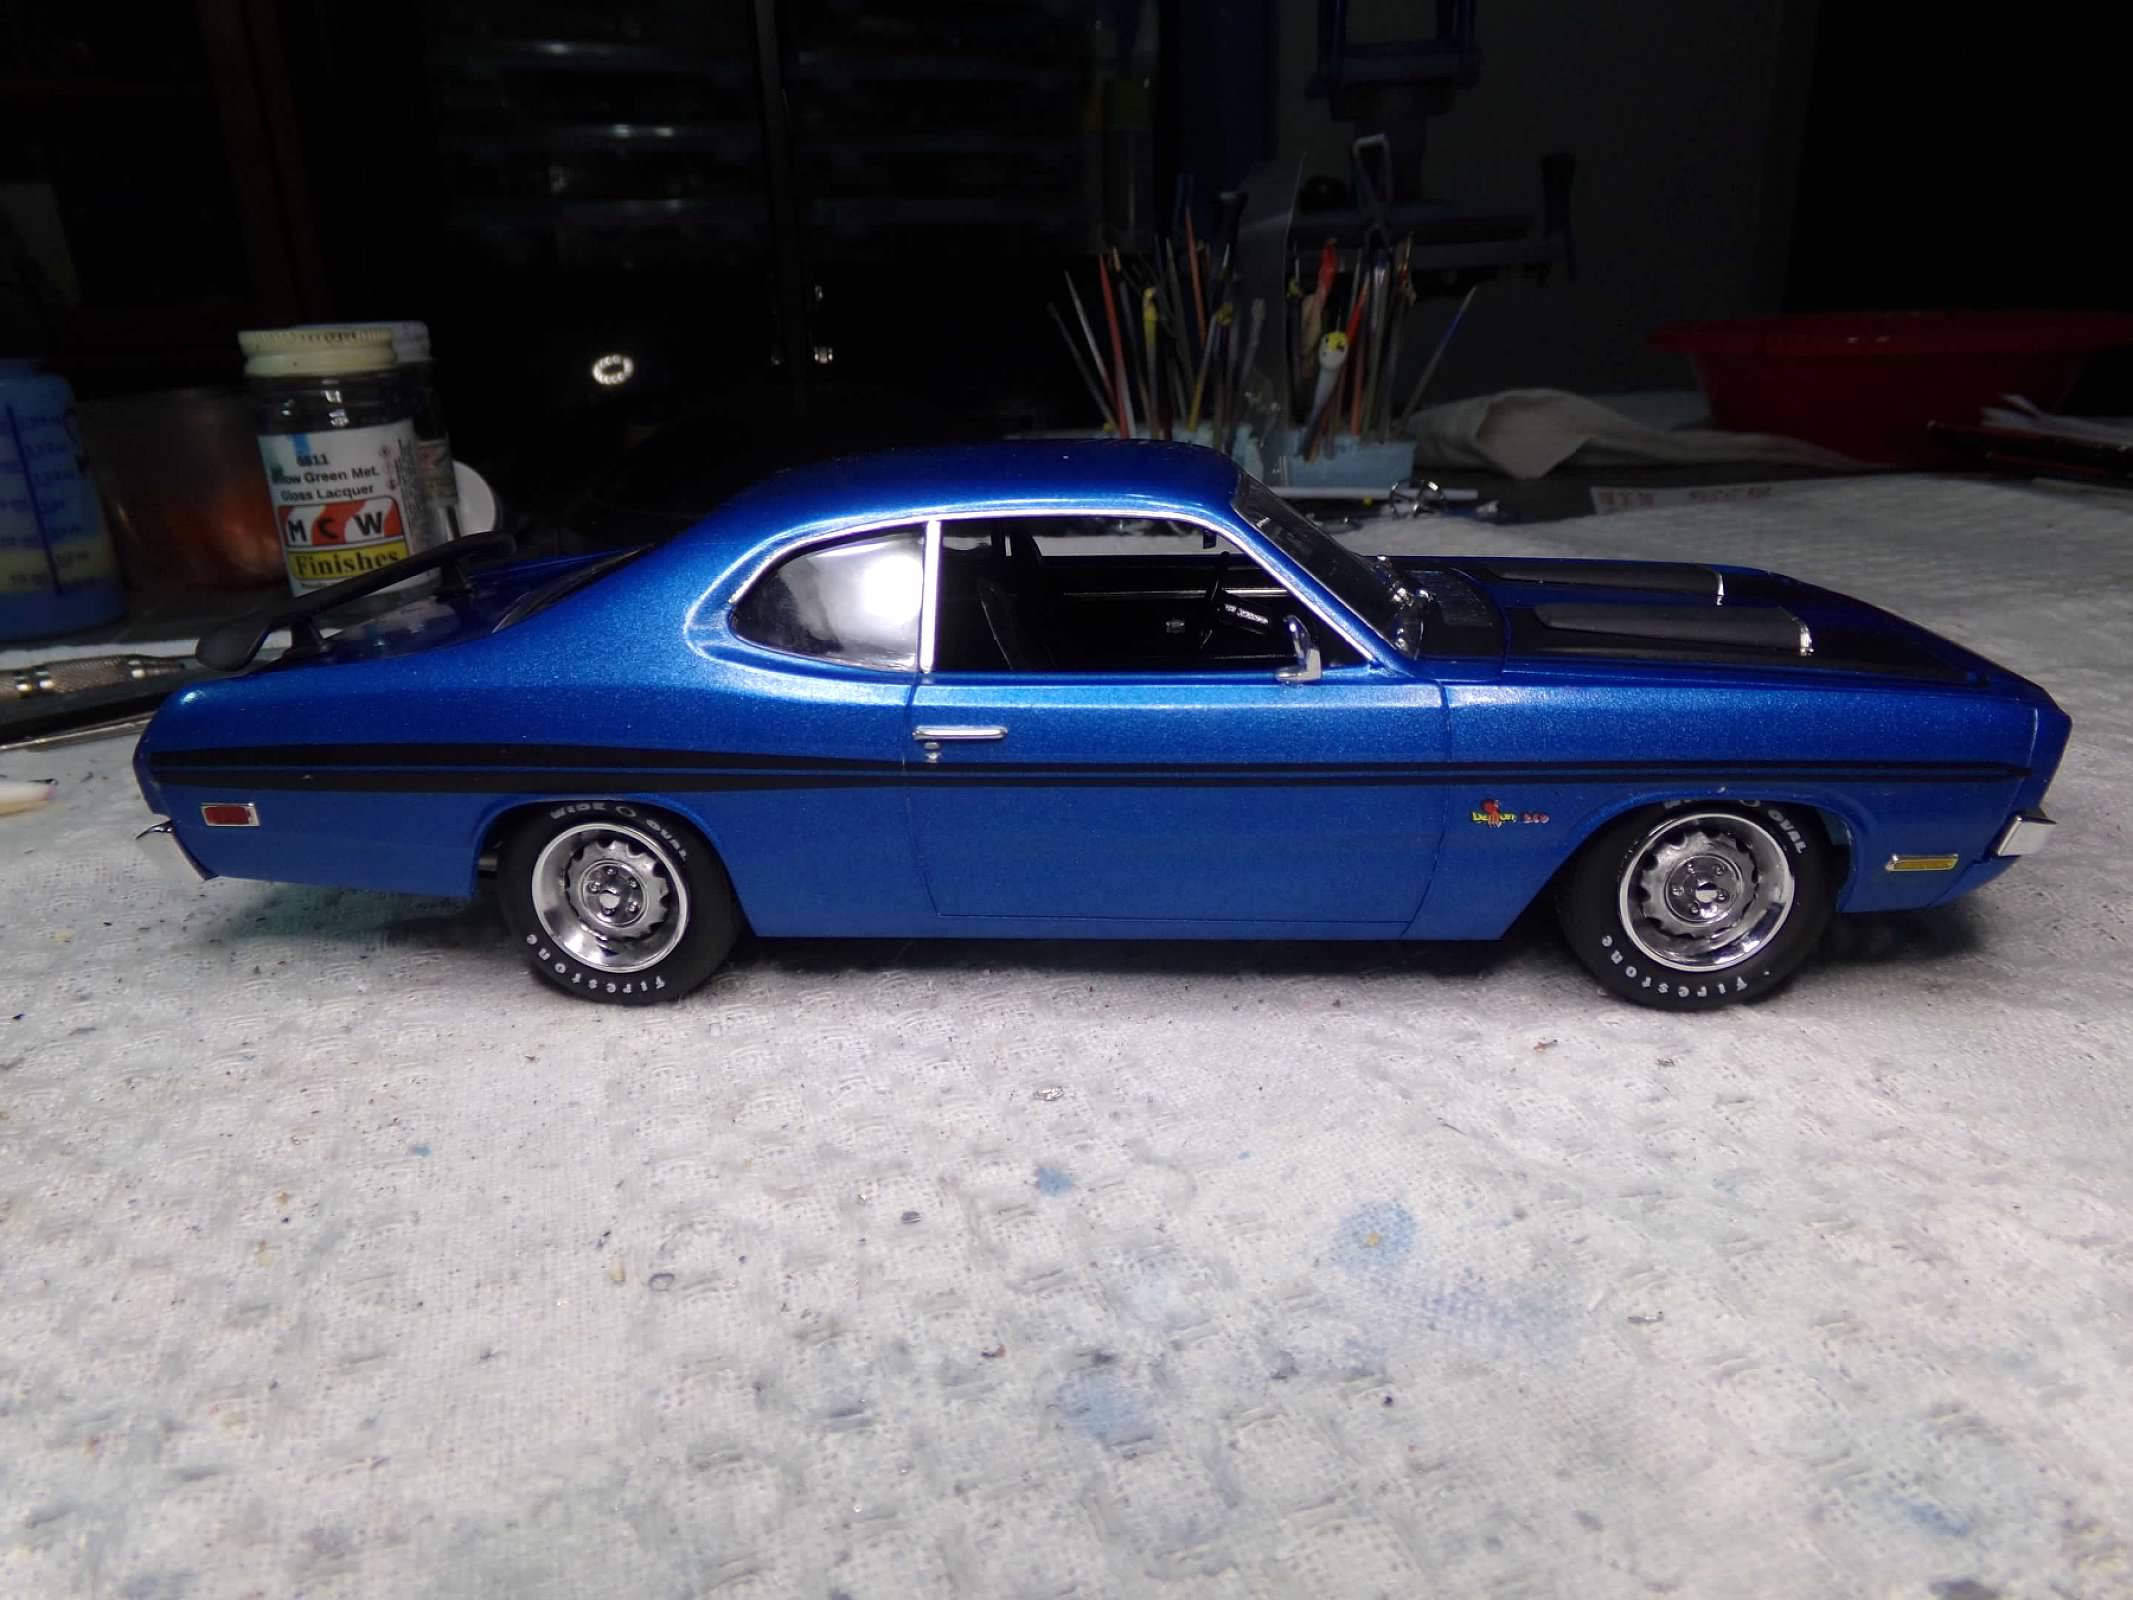
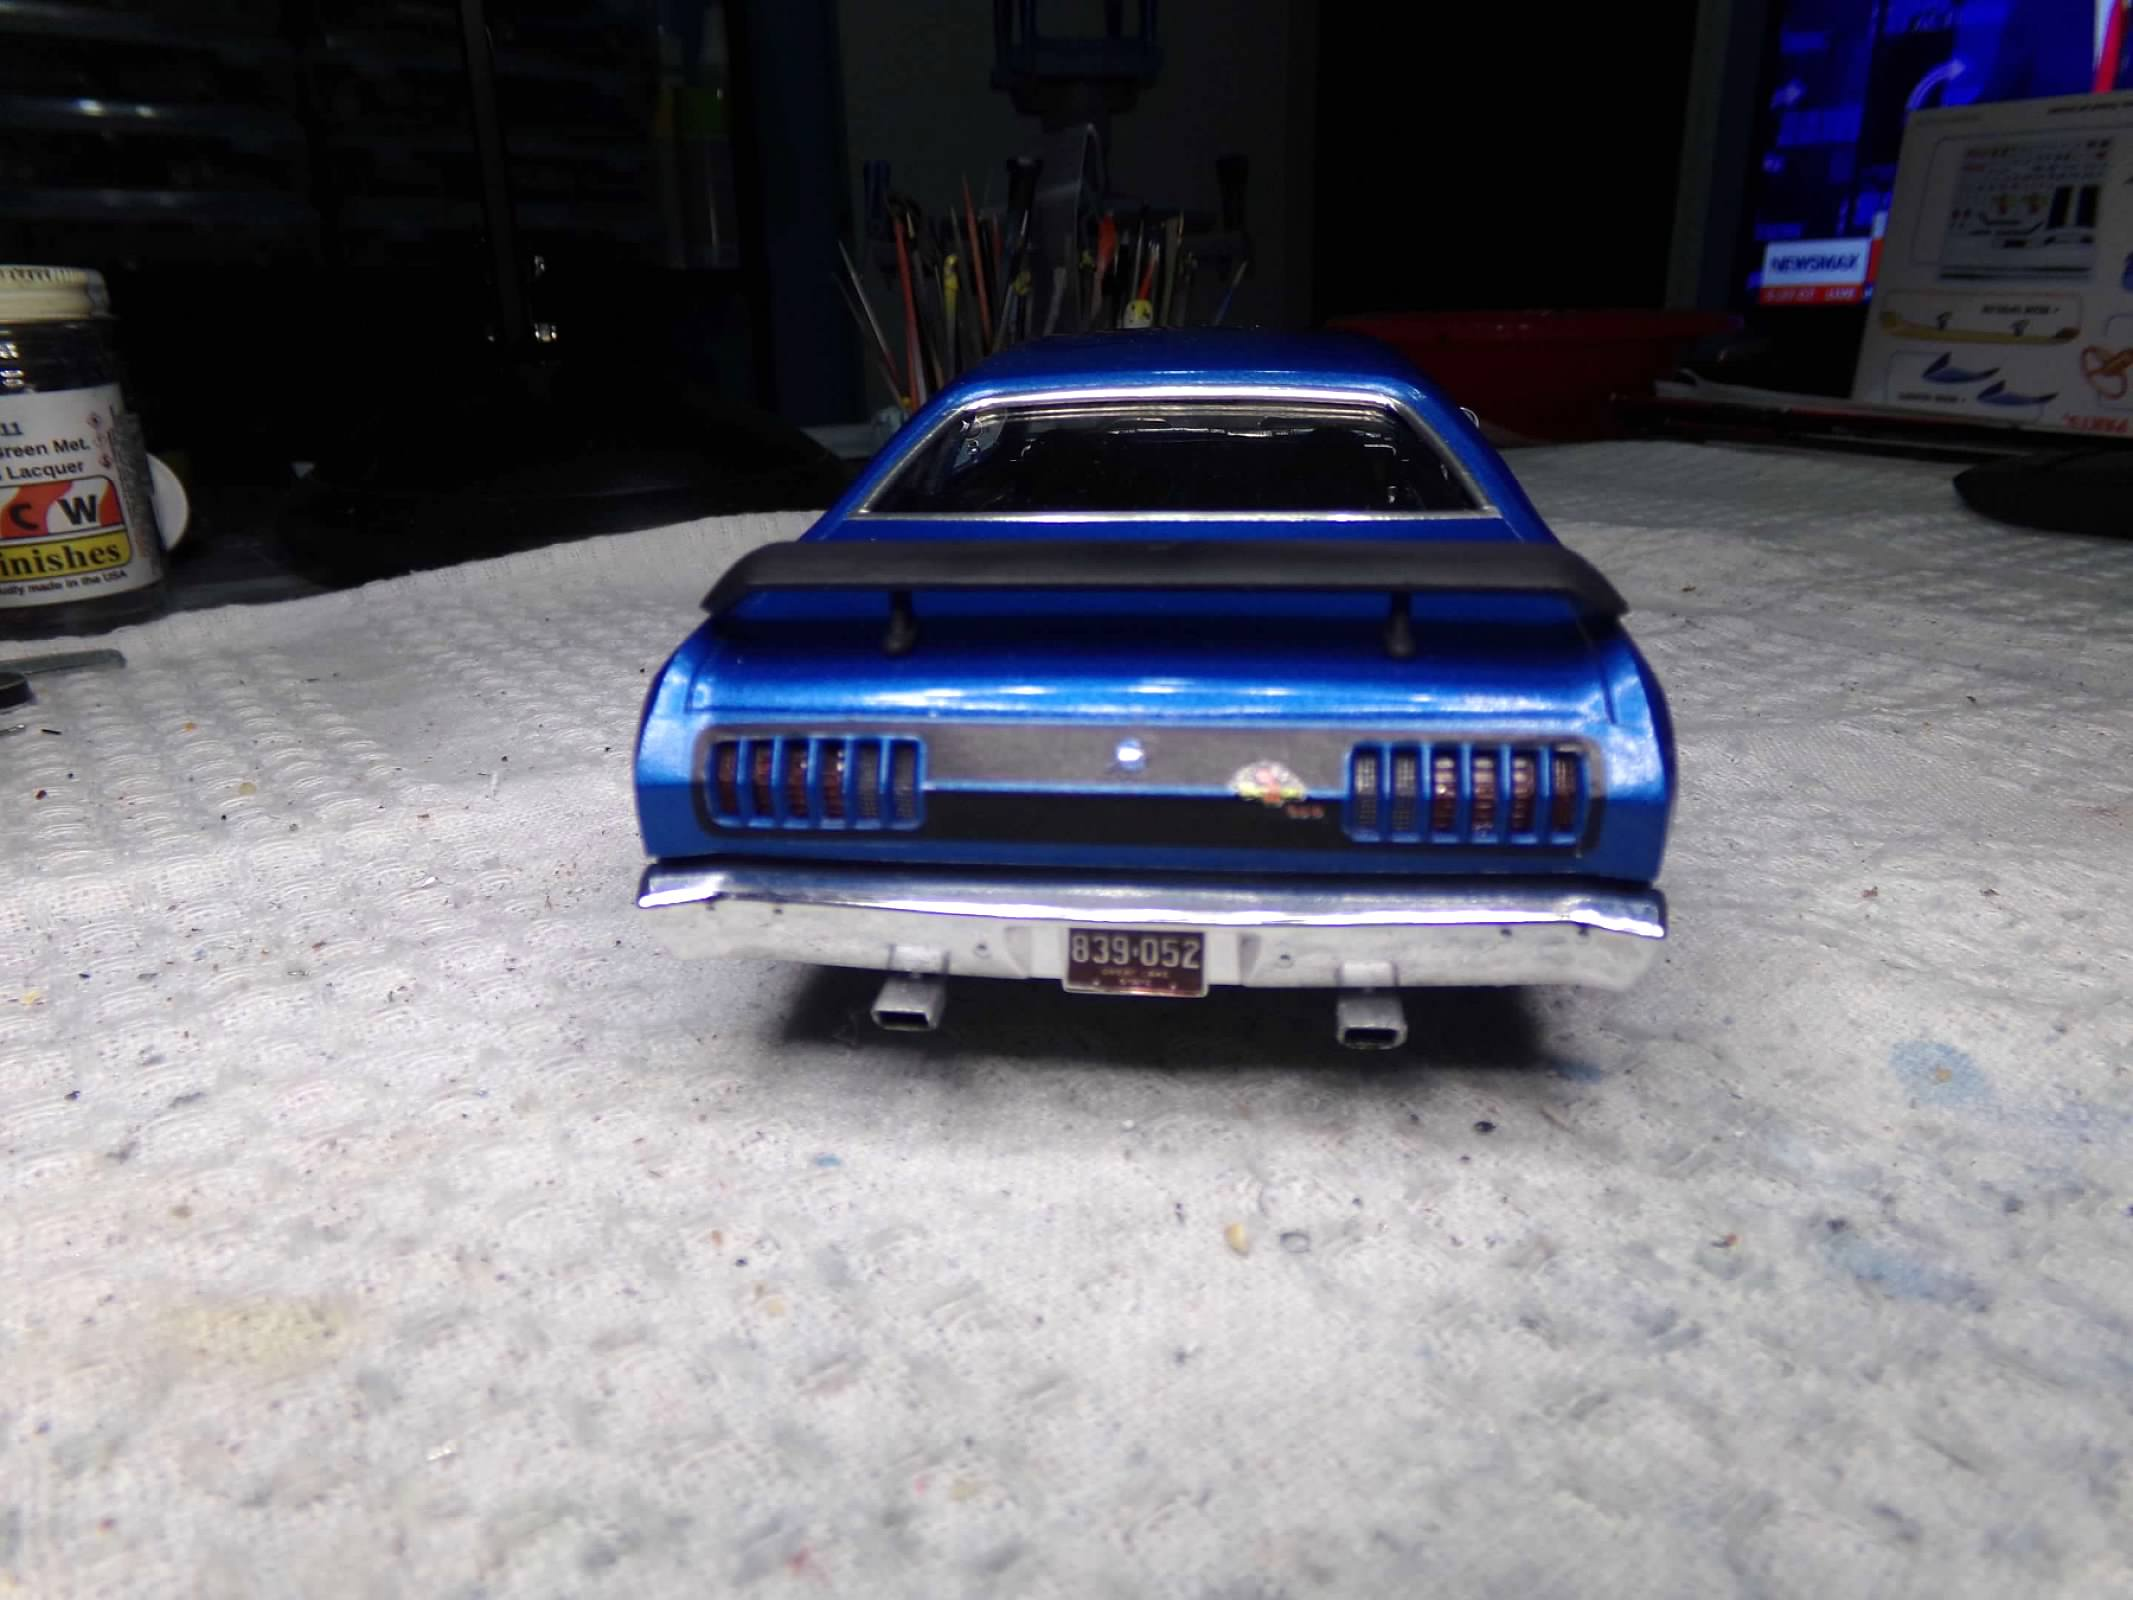
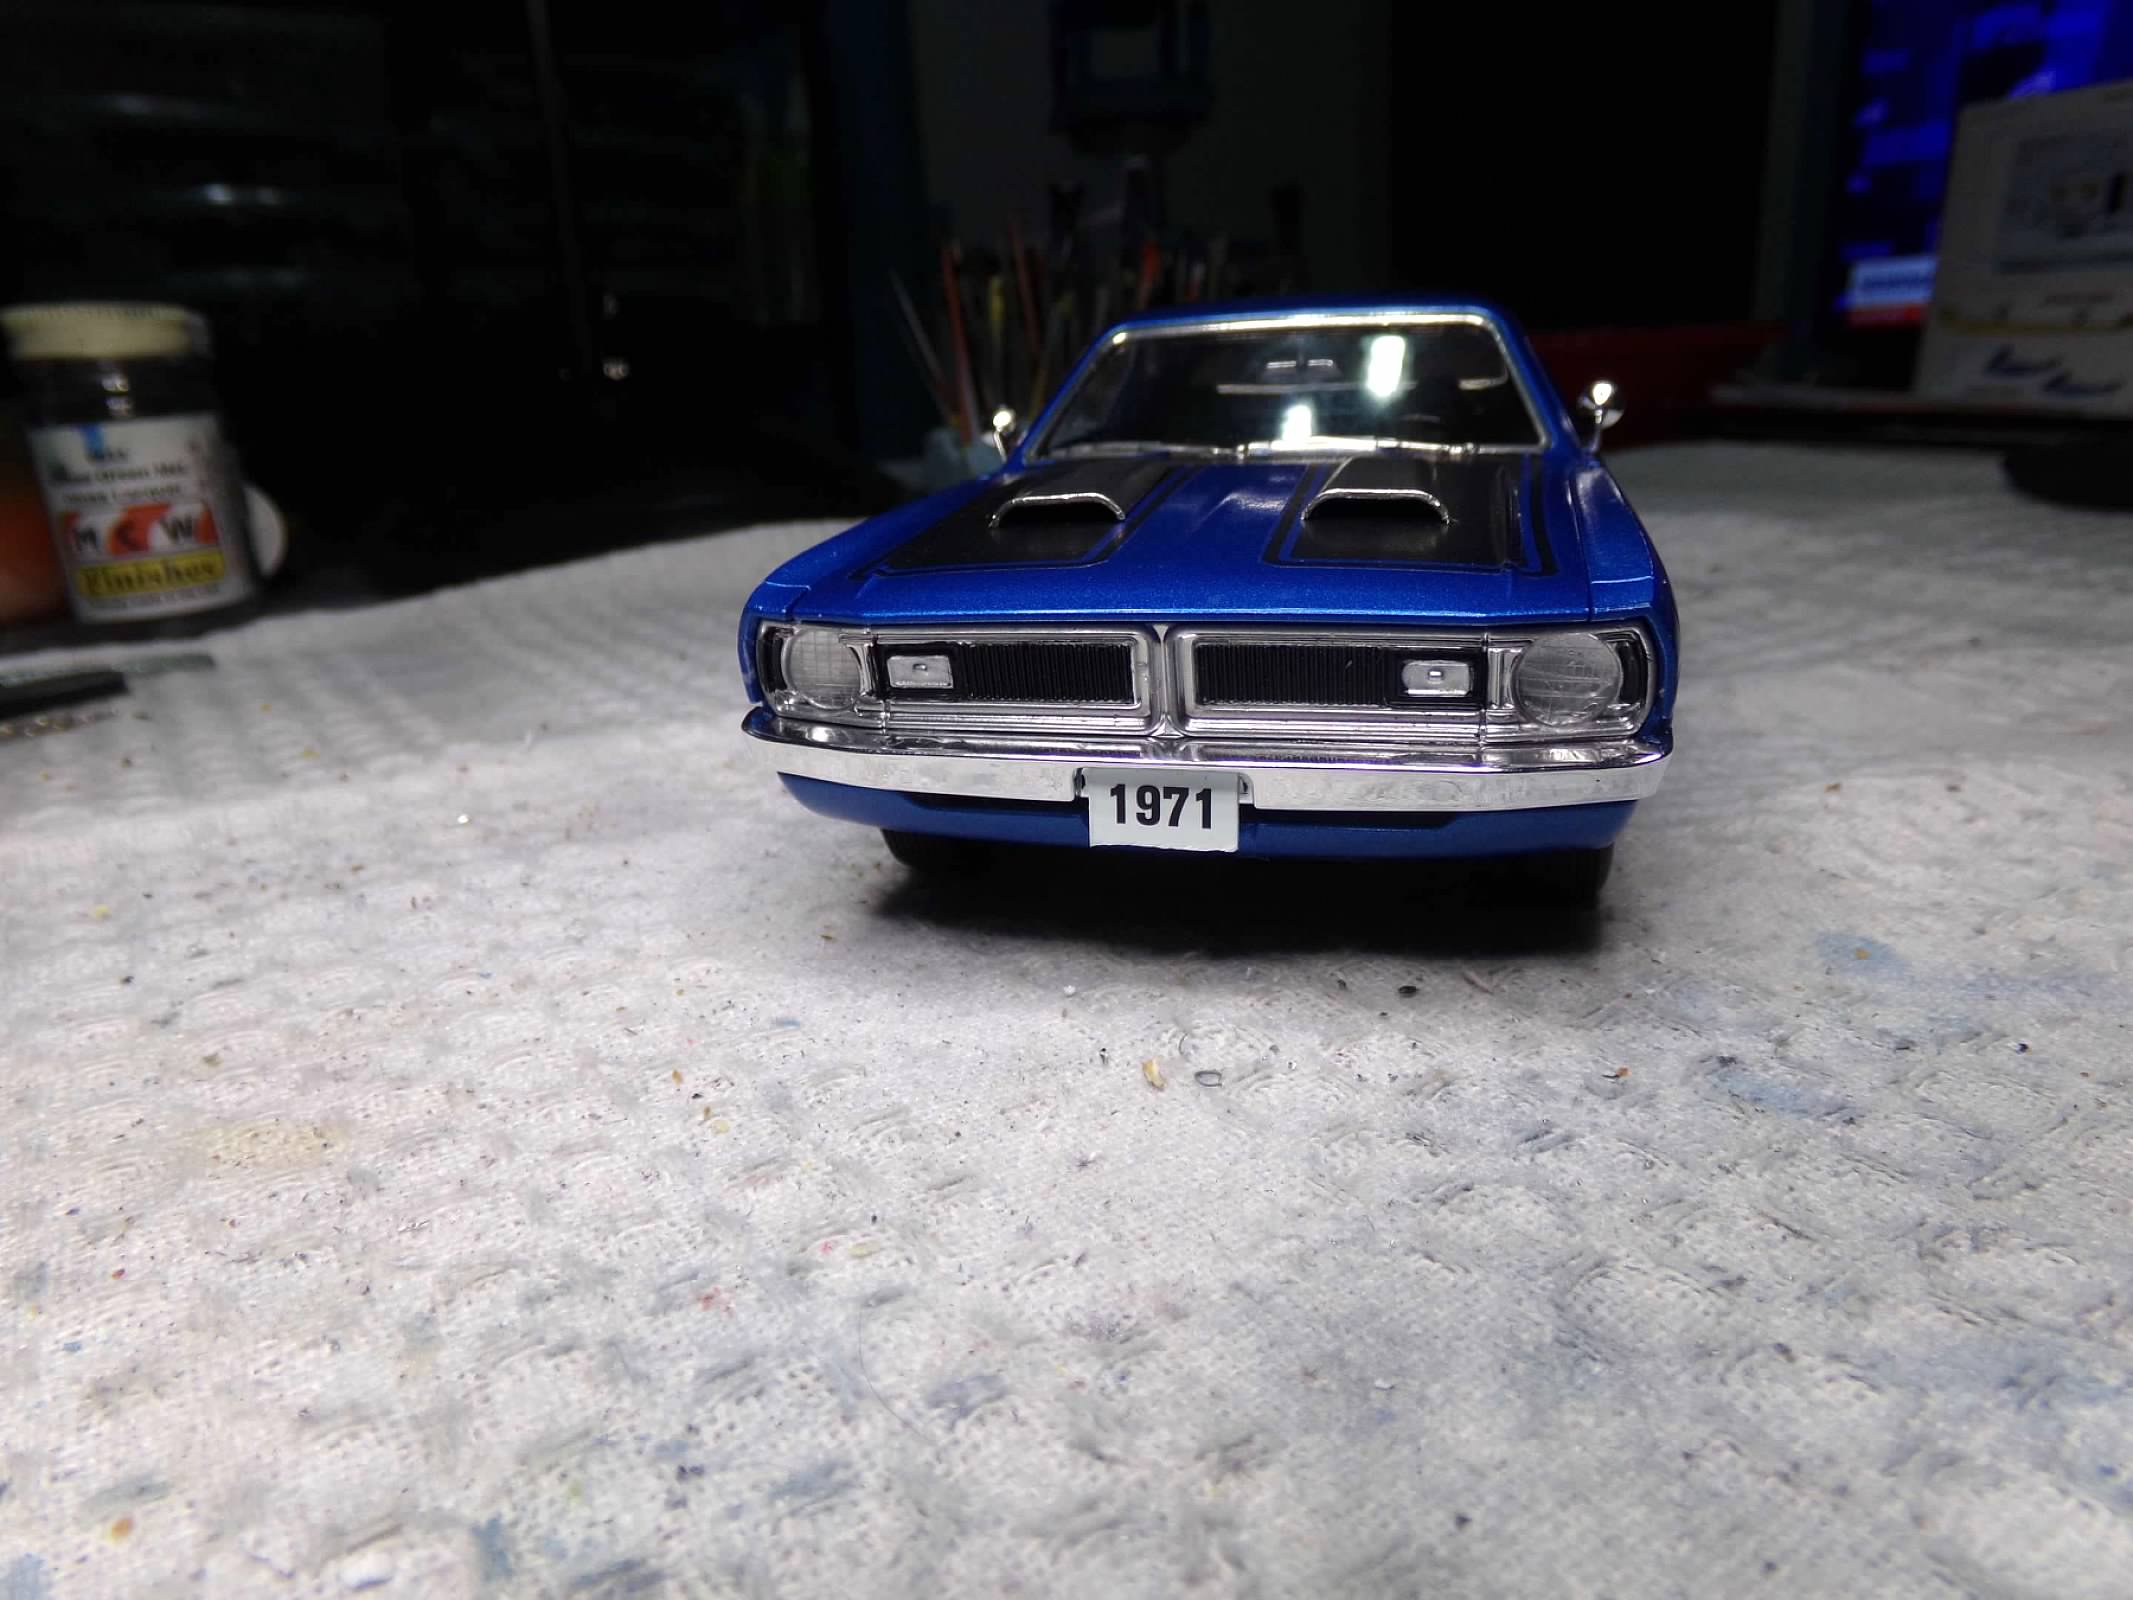
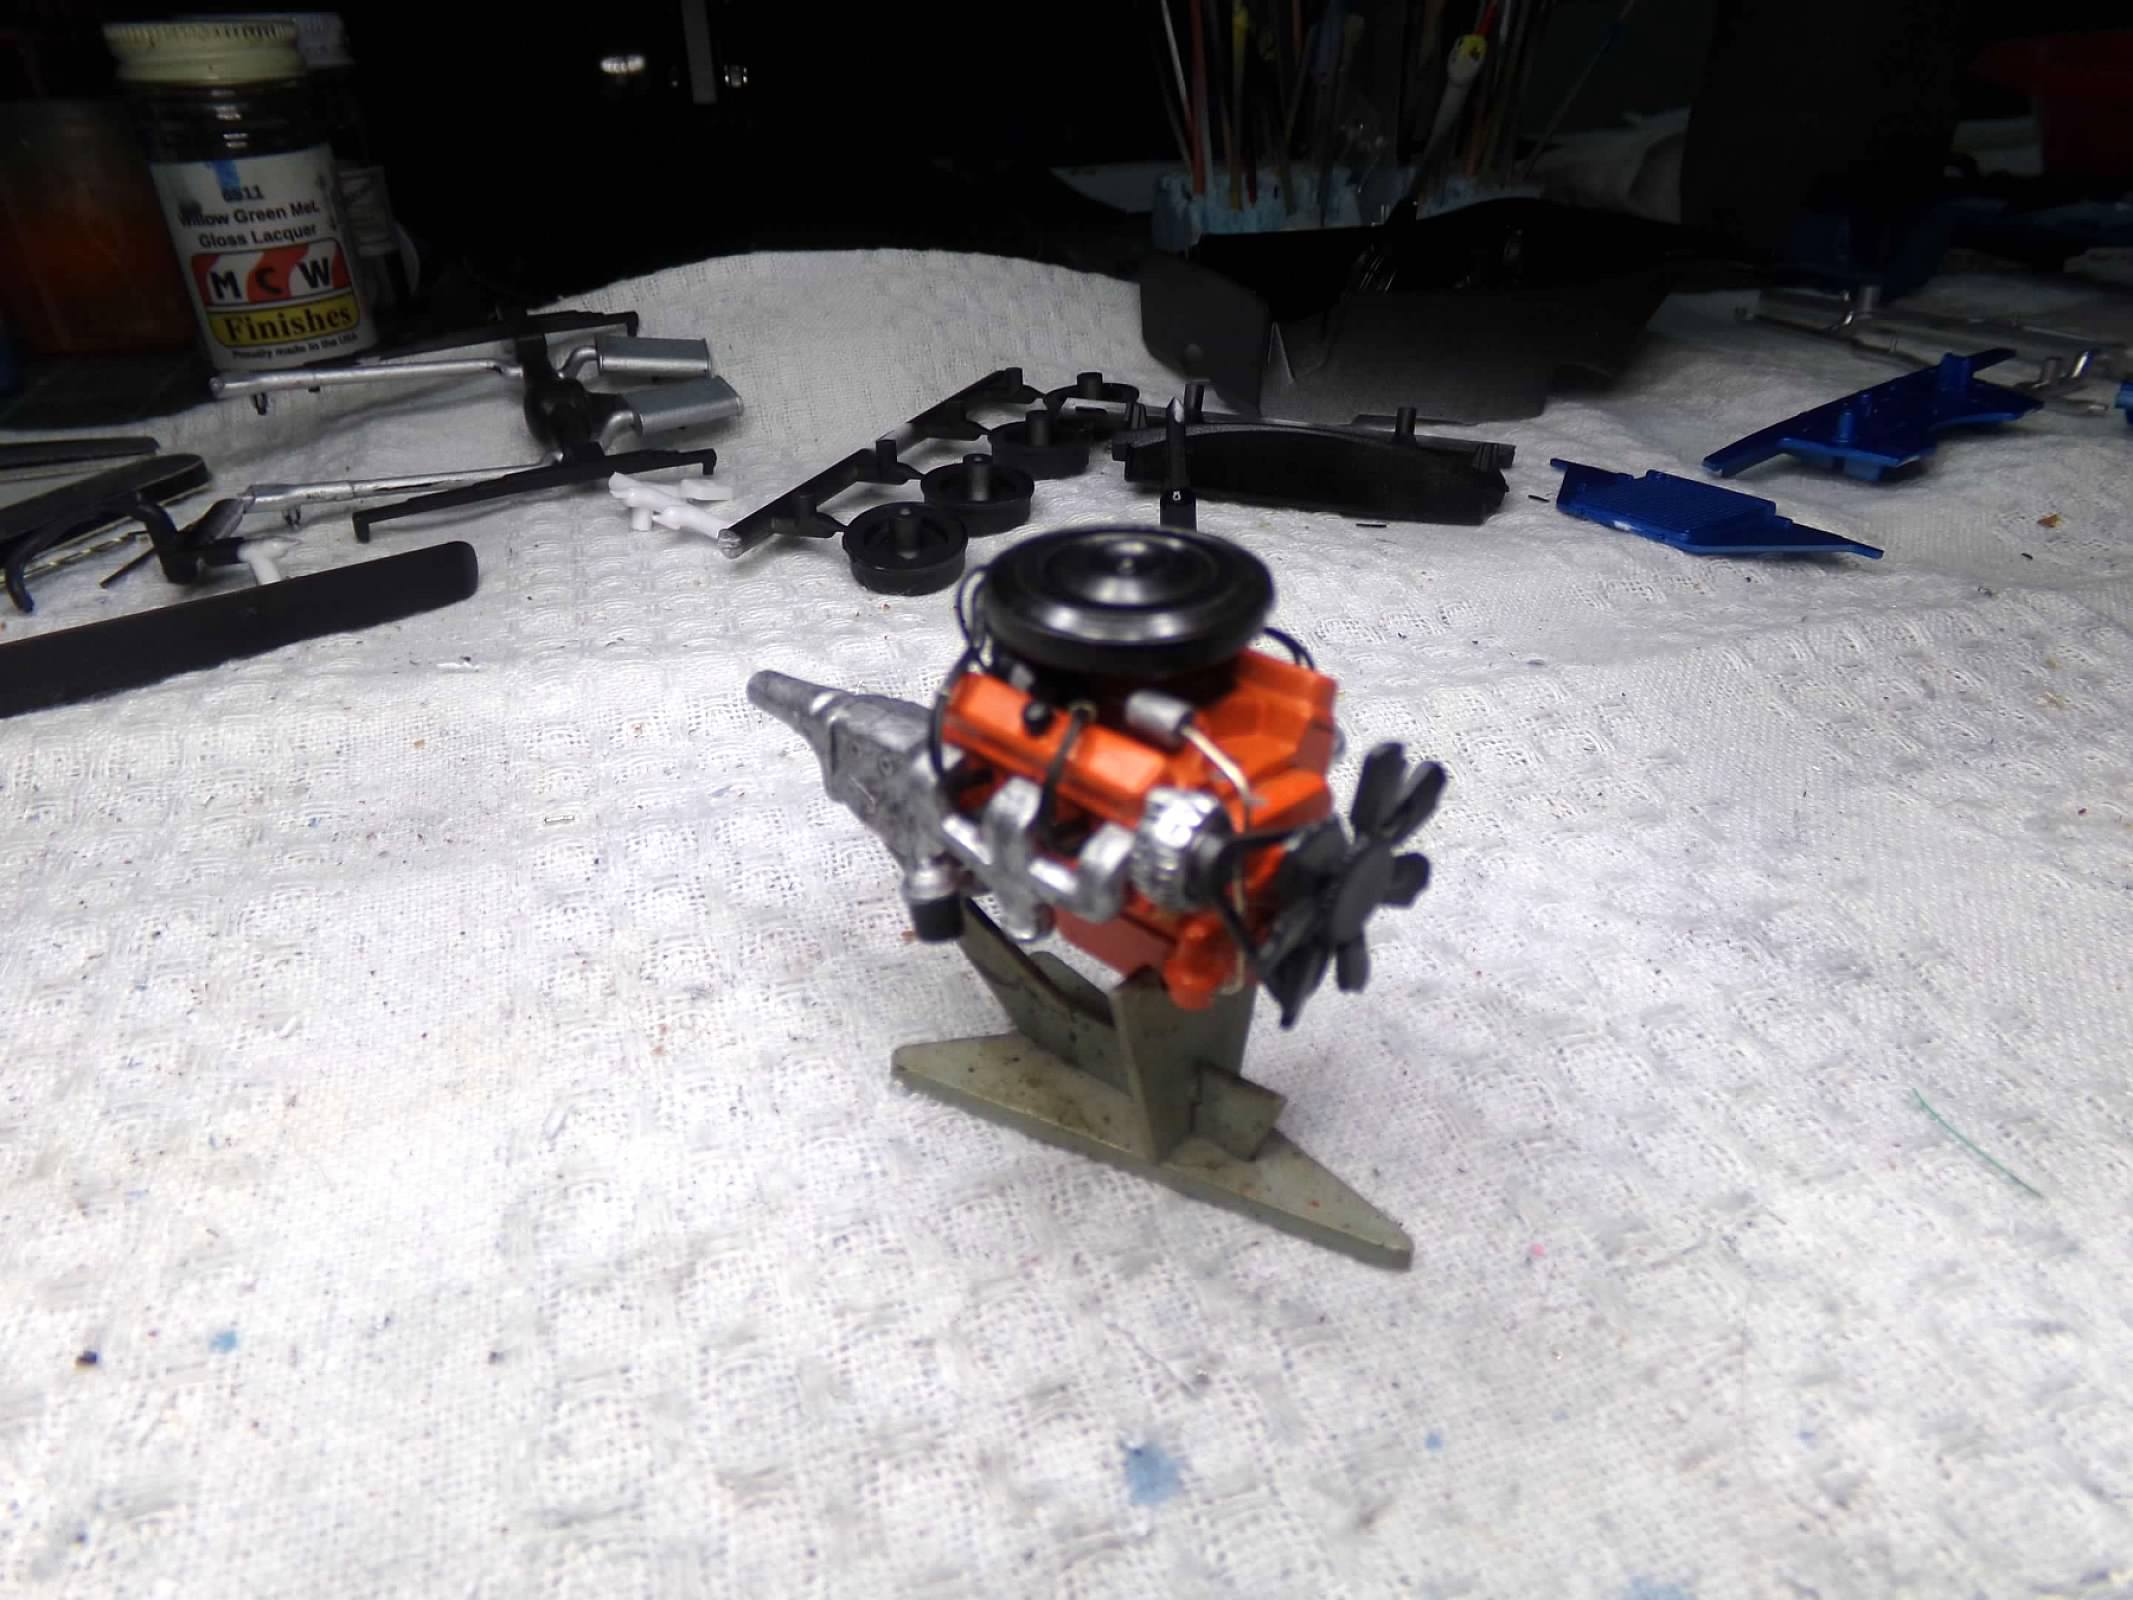
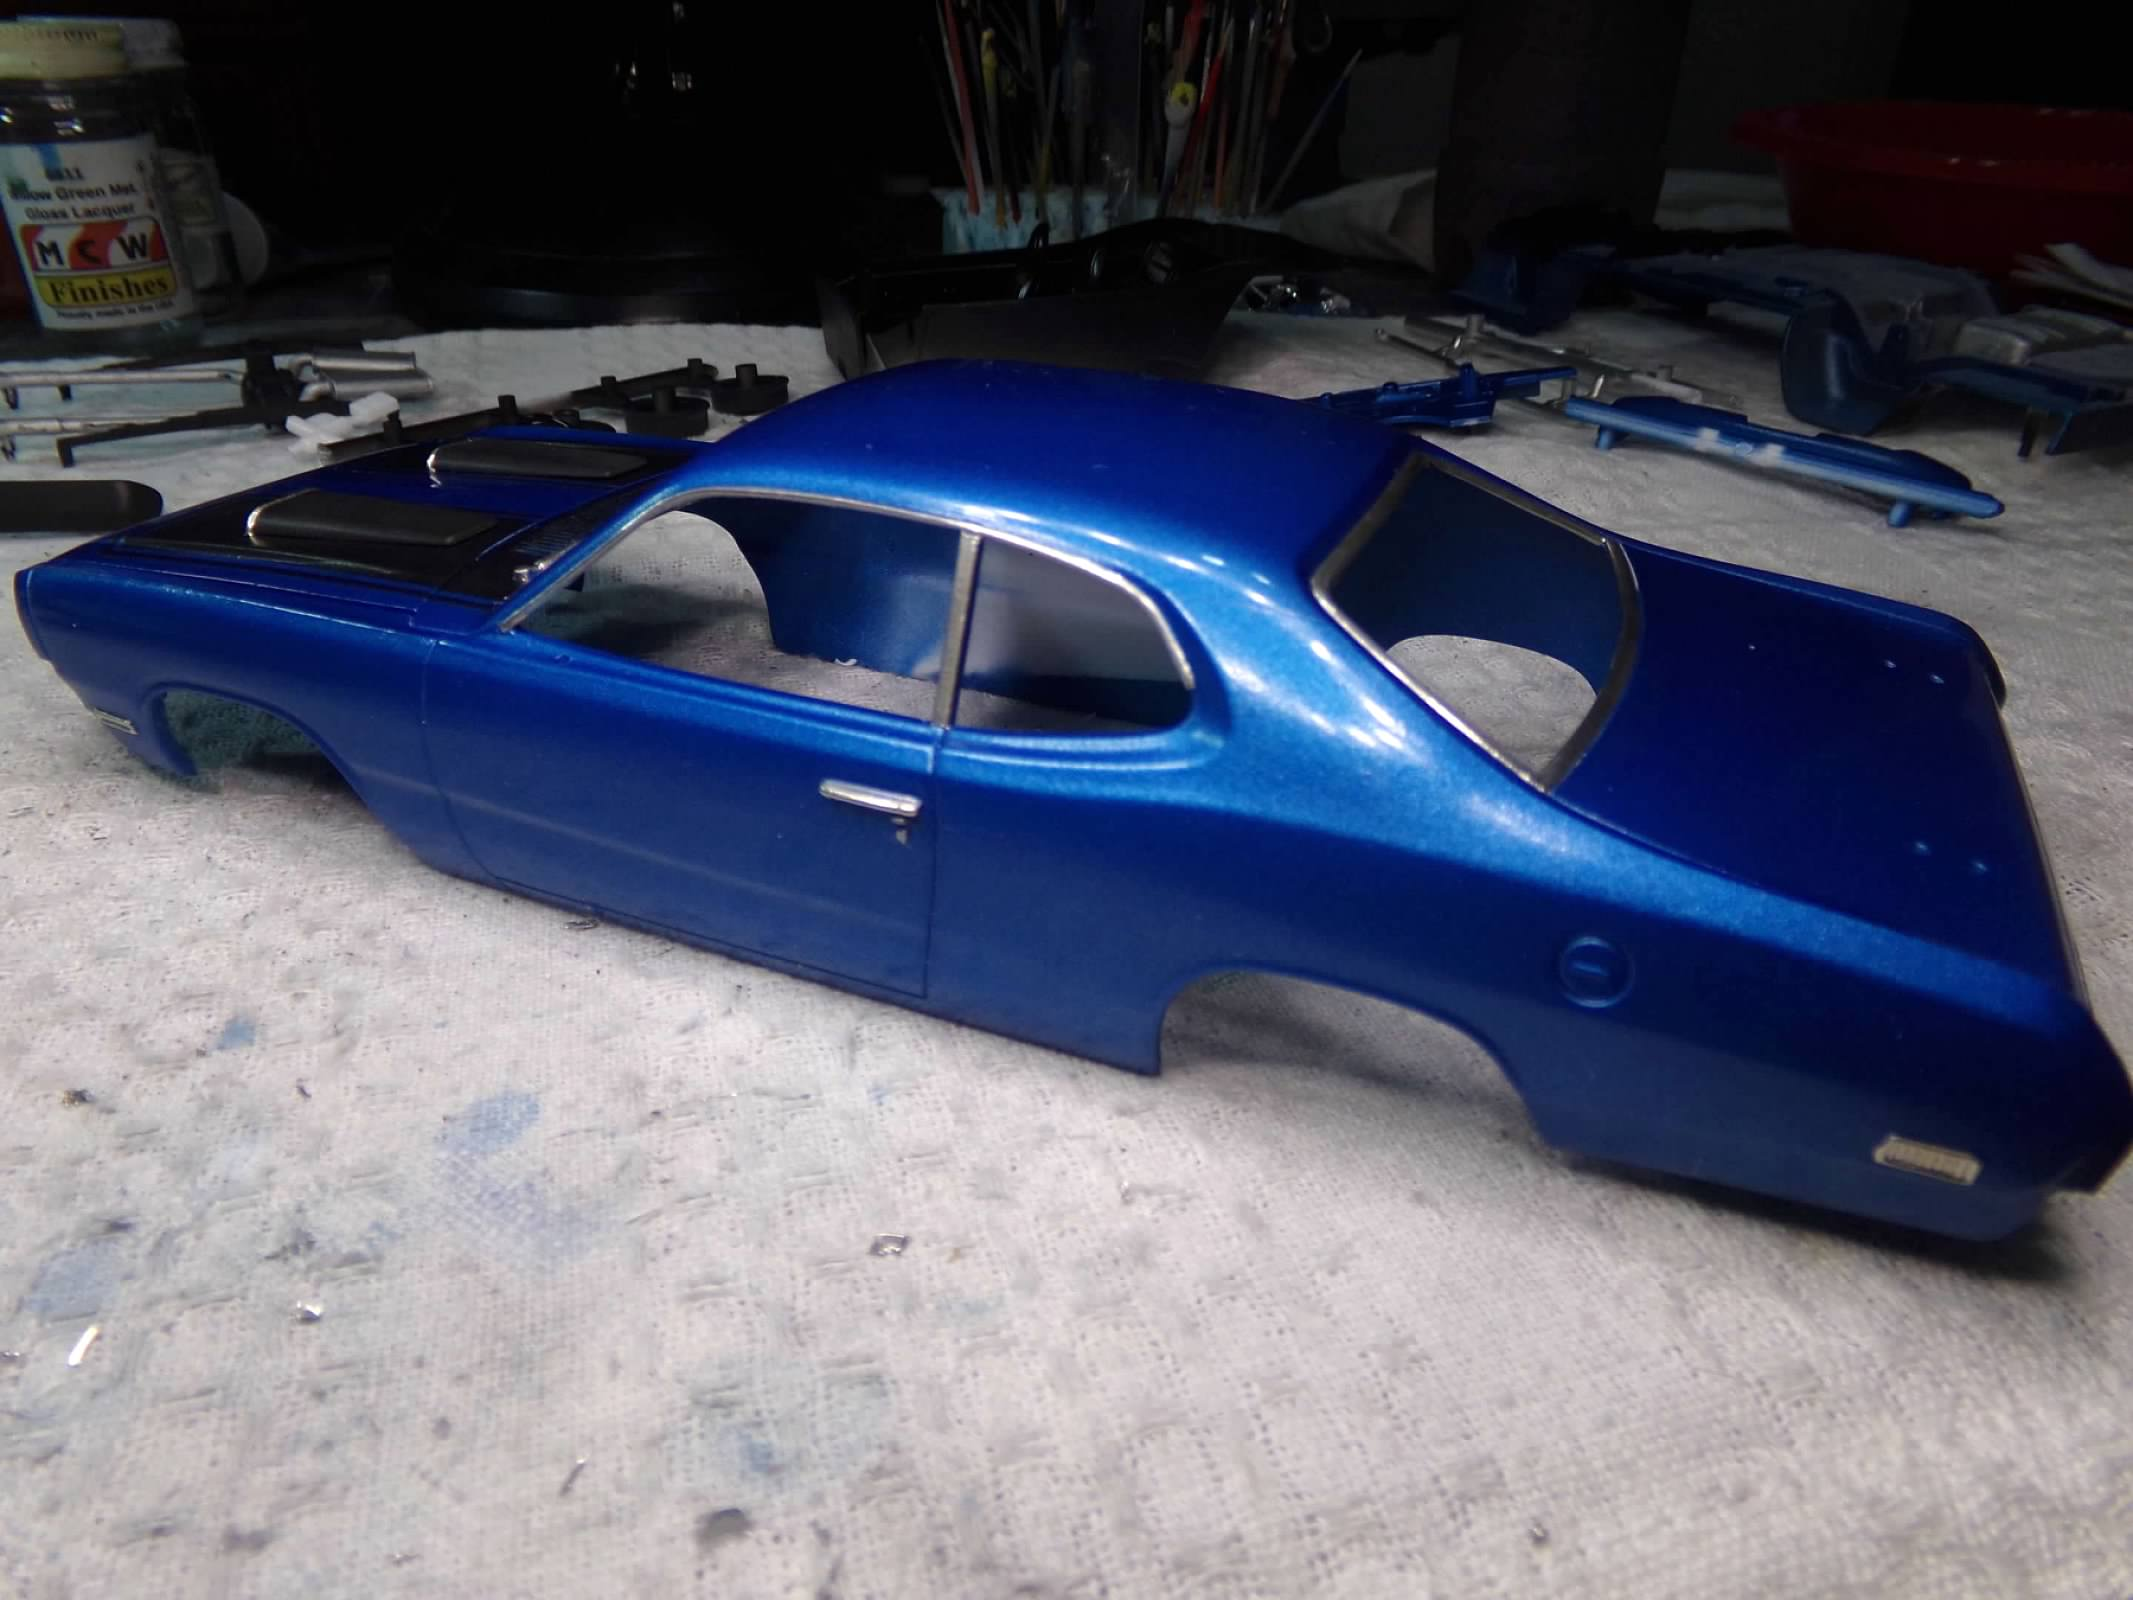
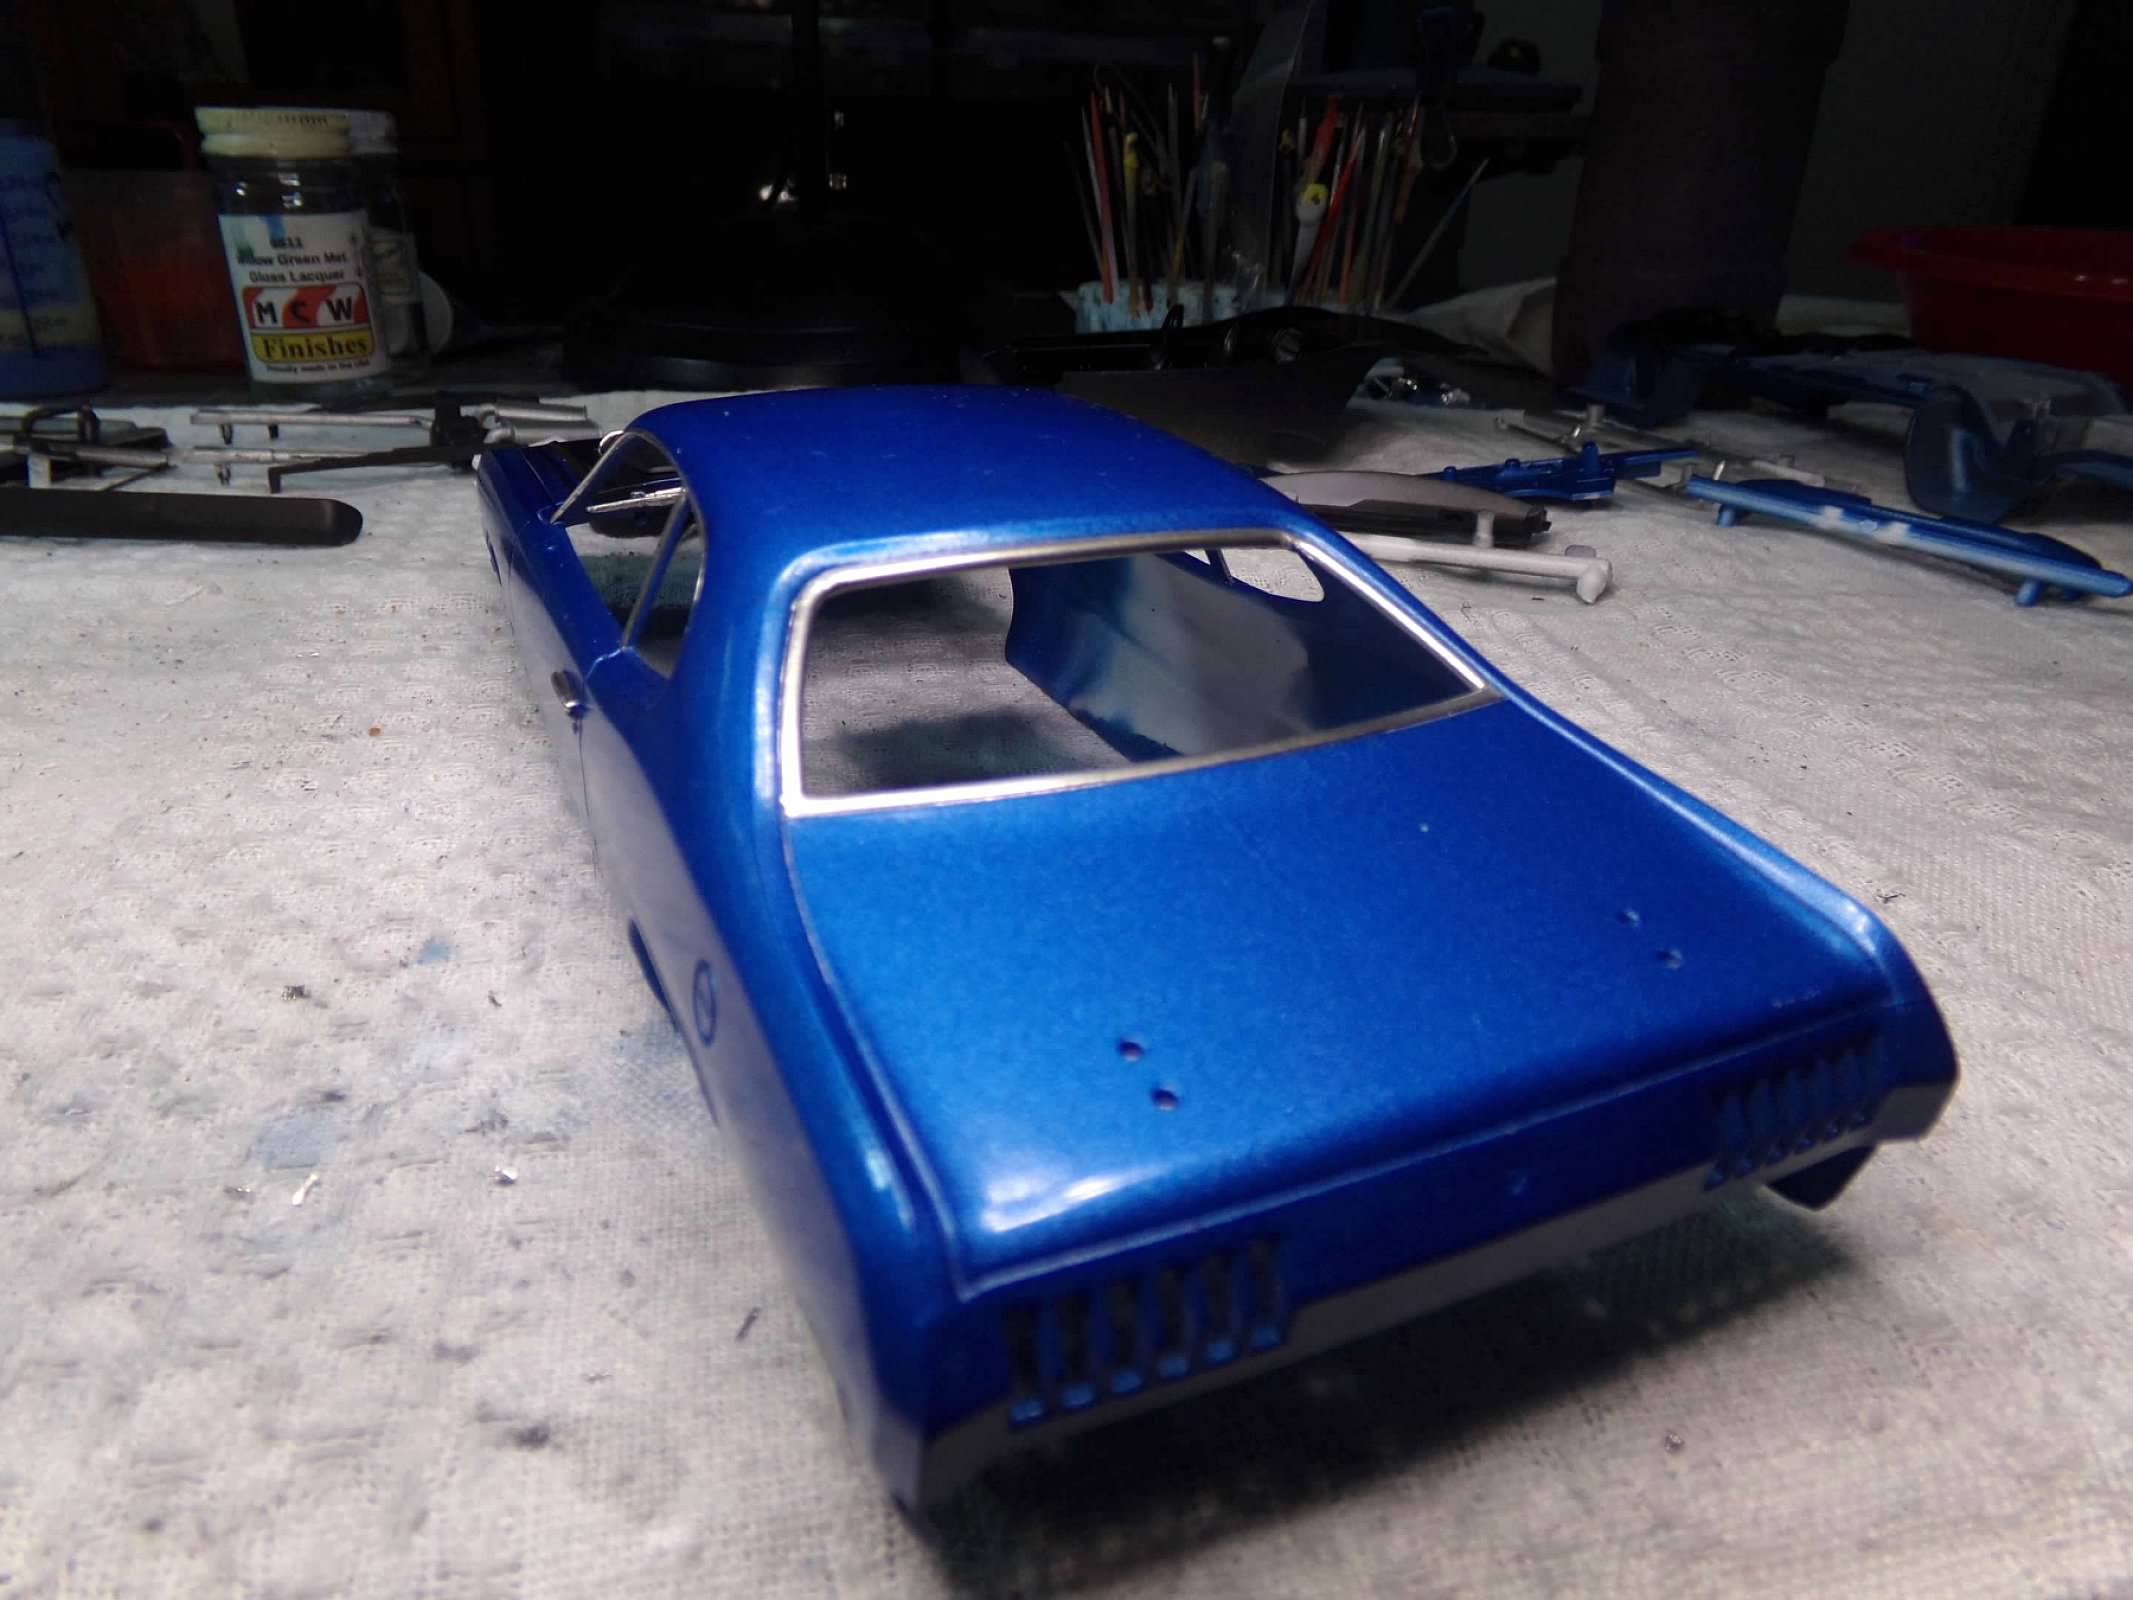
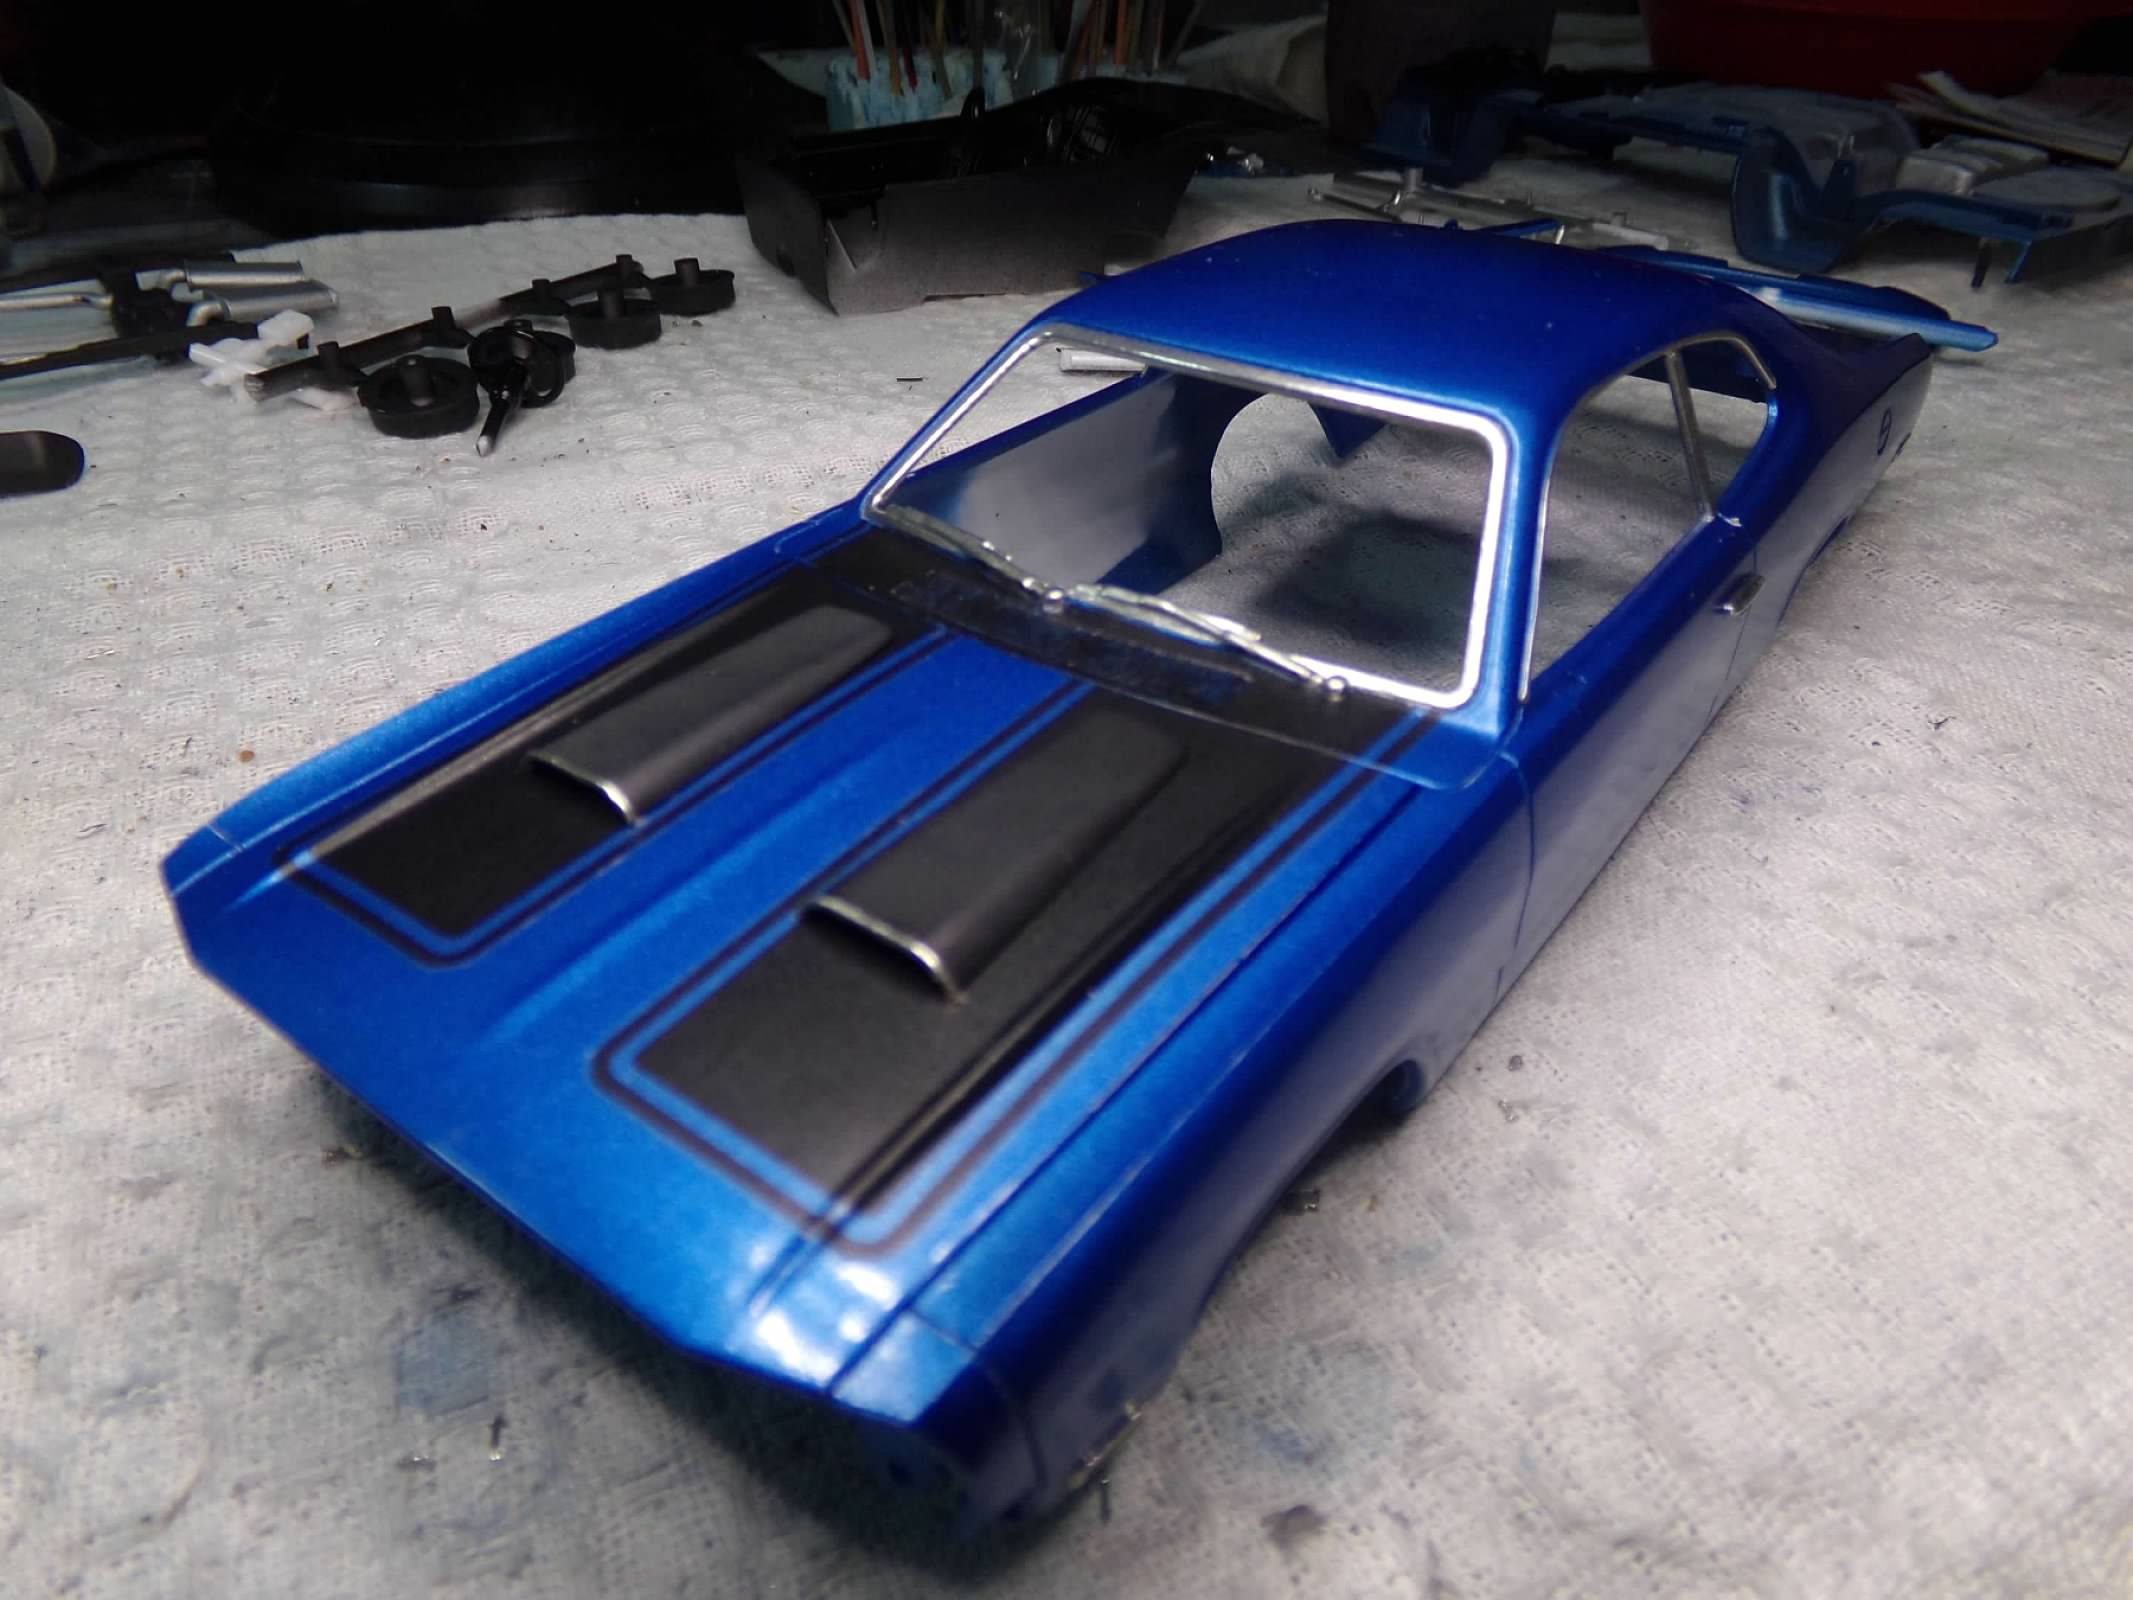
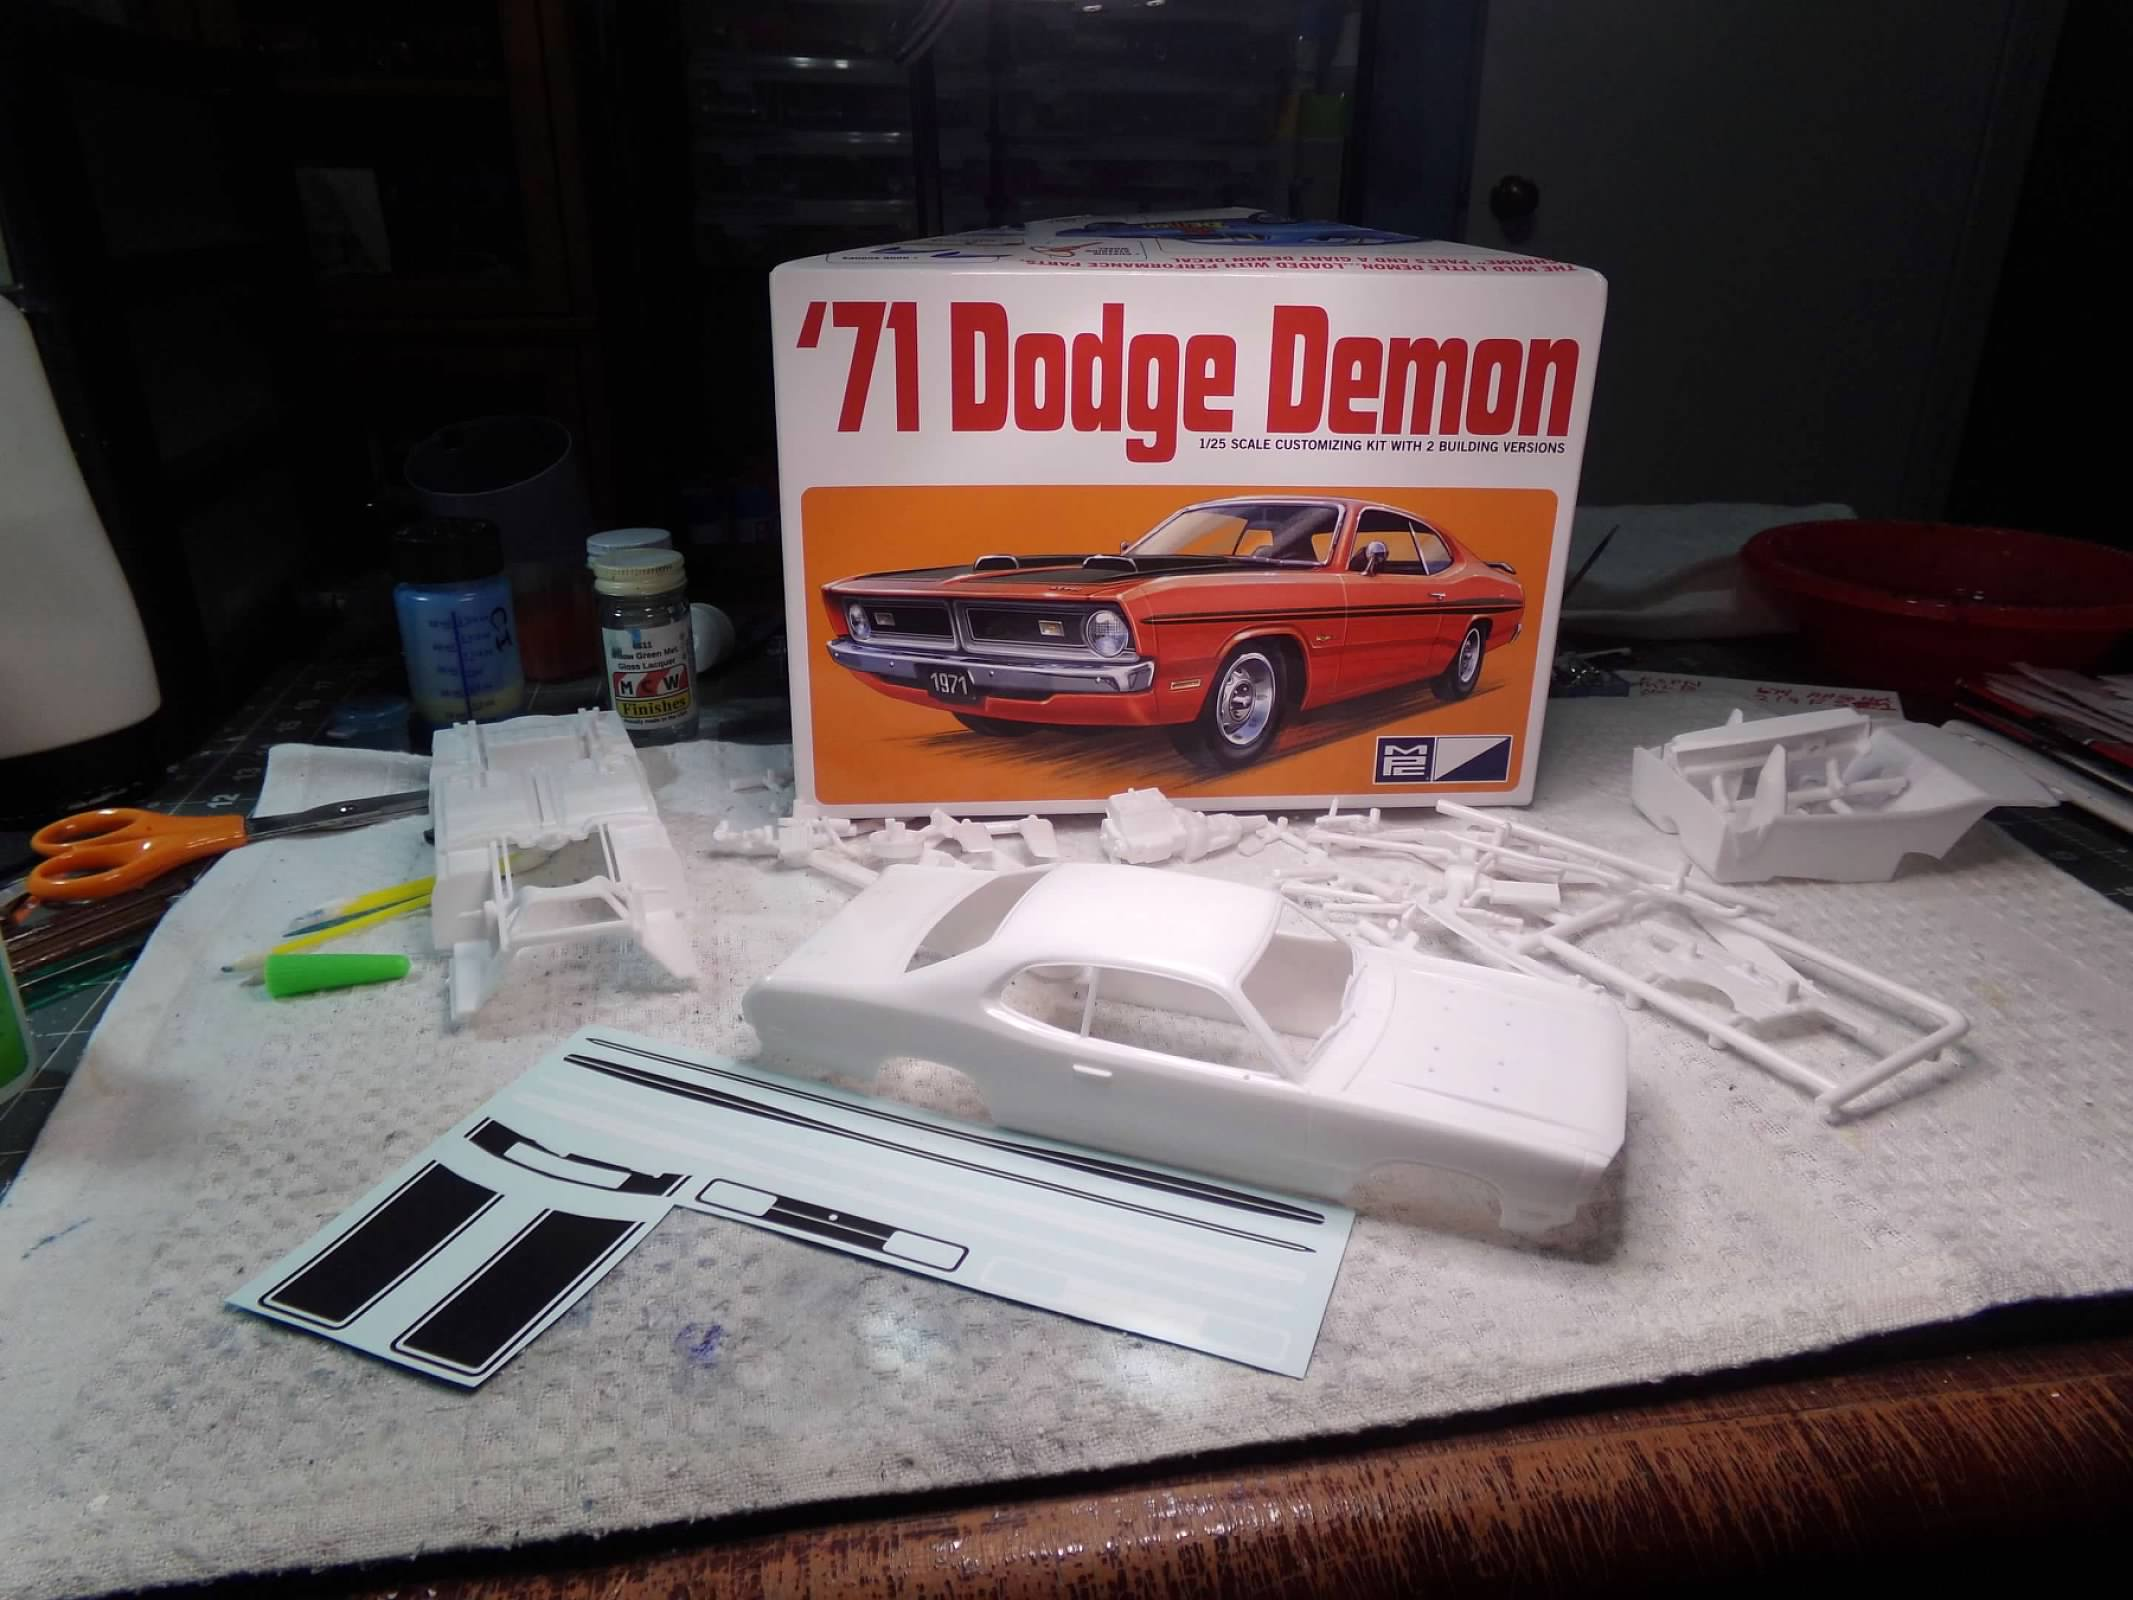
This is a re-tooled or new tool, No. 2 skill level, MPC kit that is very nicely done. All the parts have positive pin placements and some parts like the interior snaps right into the body. The decals are OK but the carrier is a little heavy. I dullcoted the hood and cowl decals to match the hood scoops that are painted flat black. I also dullcoted the other body decals. The body is painted Tamiya Light Blue Metallic and the interior is Krylon Satin black. I added plug wires, a fuel line and heater hoses to the engine. BMF inside and out. The kit is a very nice quick builder and would be an excellent kit for beginners as well! Thanks for looking! ?
- 23 replies
-
- 13
-

-
Thanks, Donato! I appreciate your comment! This one is done! final photos in the "Under Glass" section. Thanks for looking! ?
-
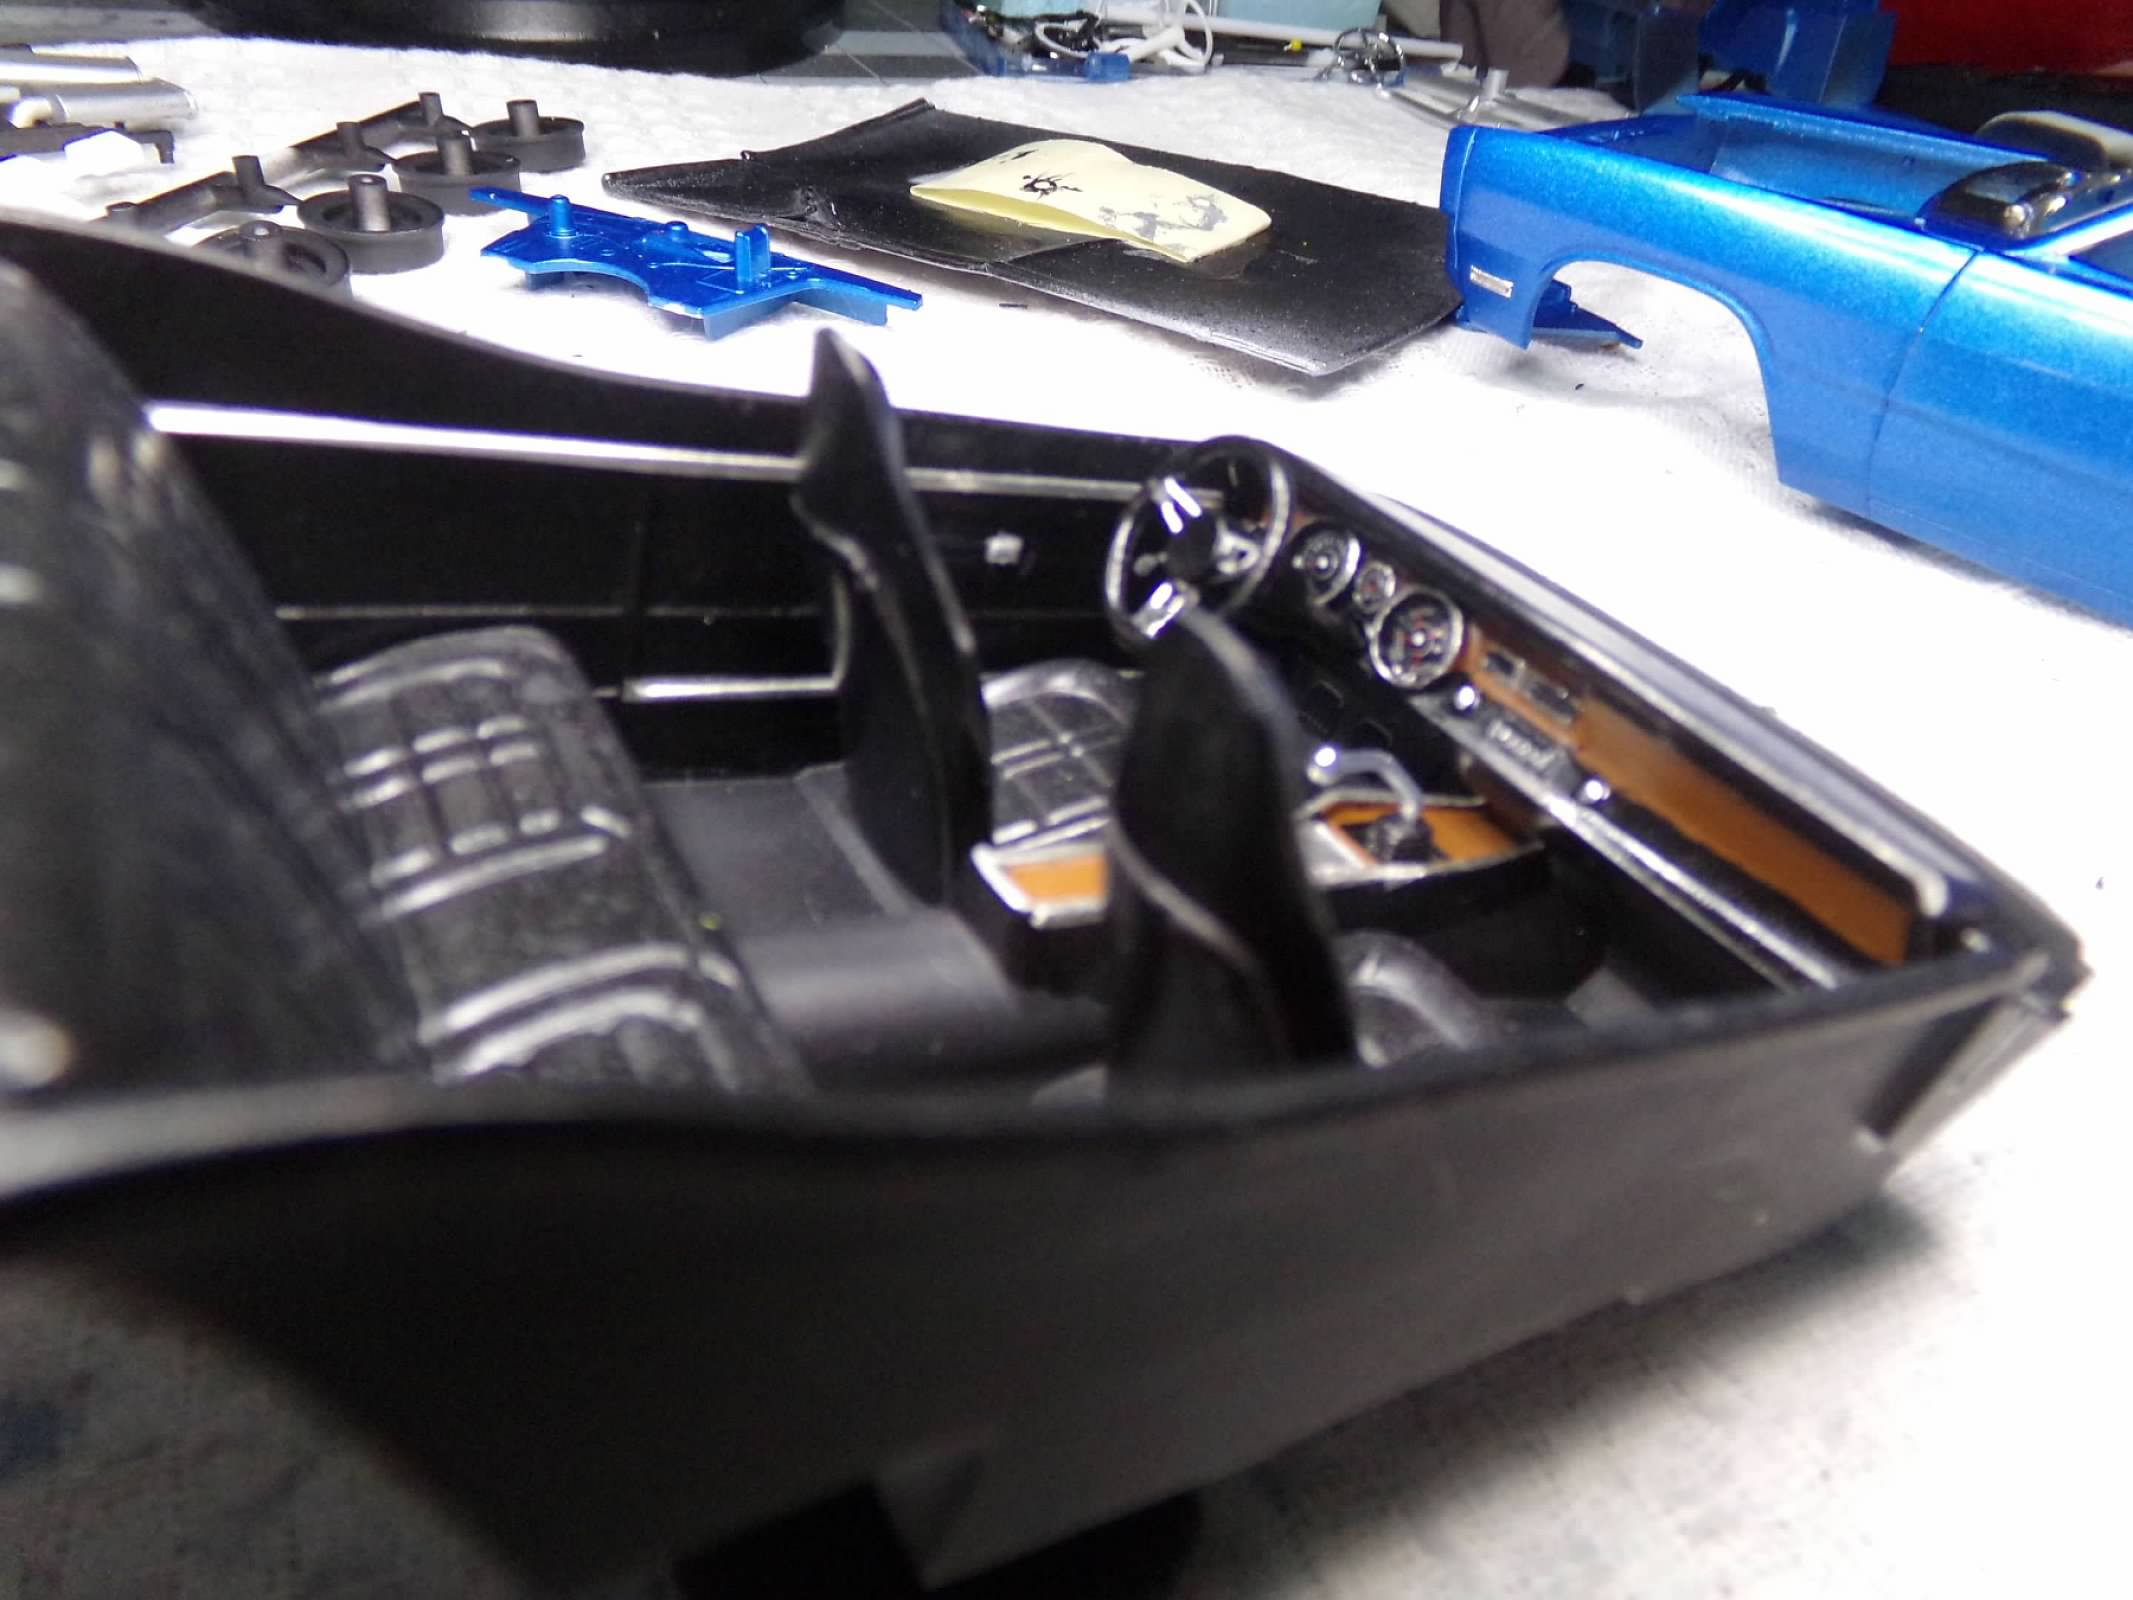
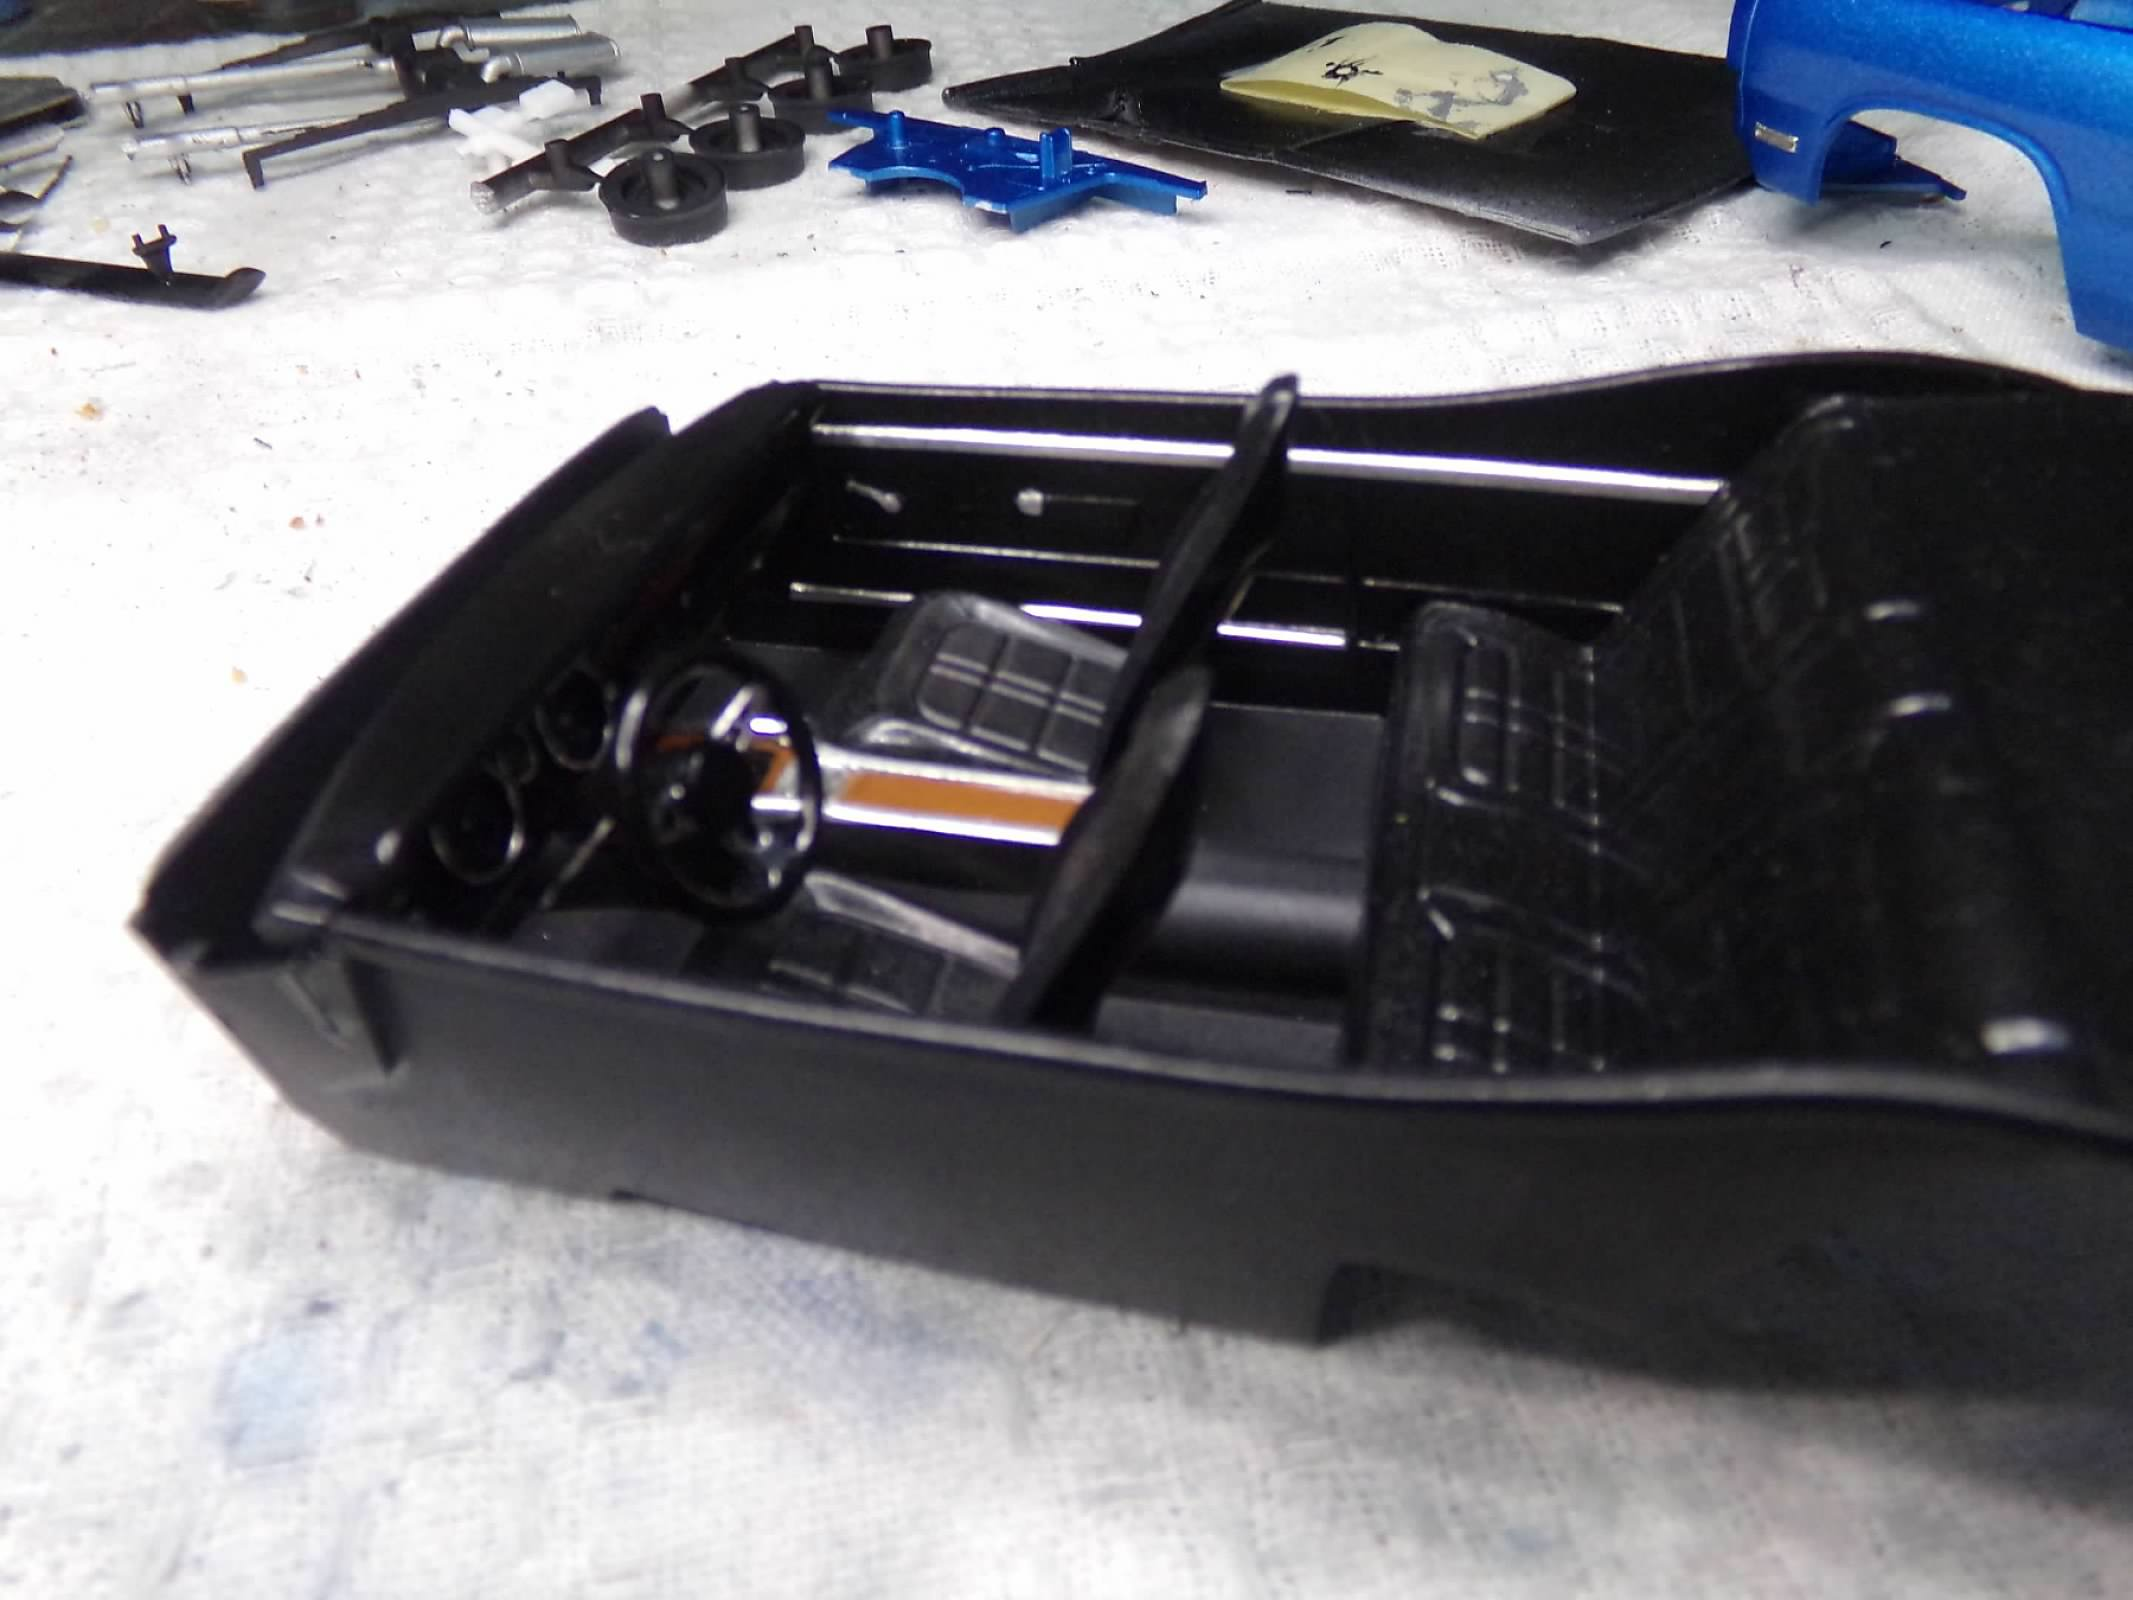
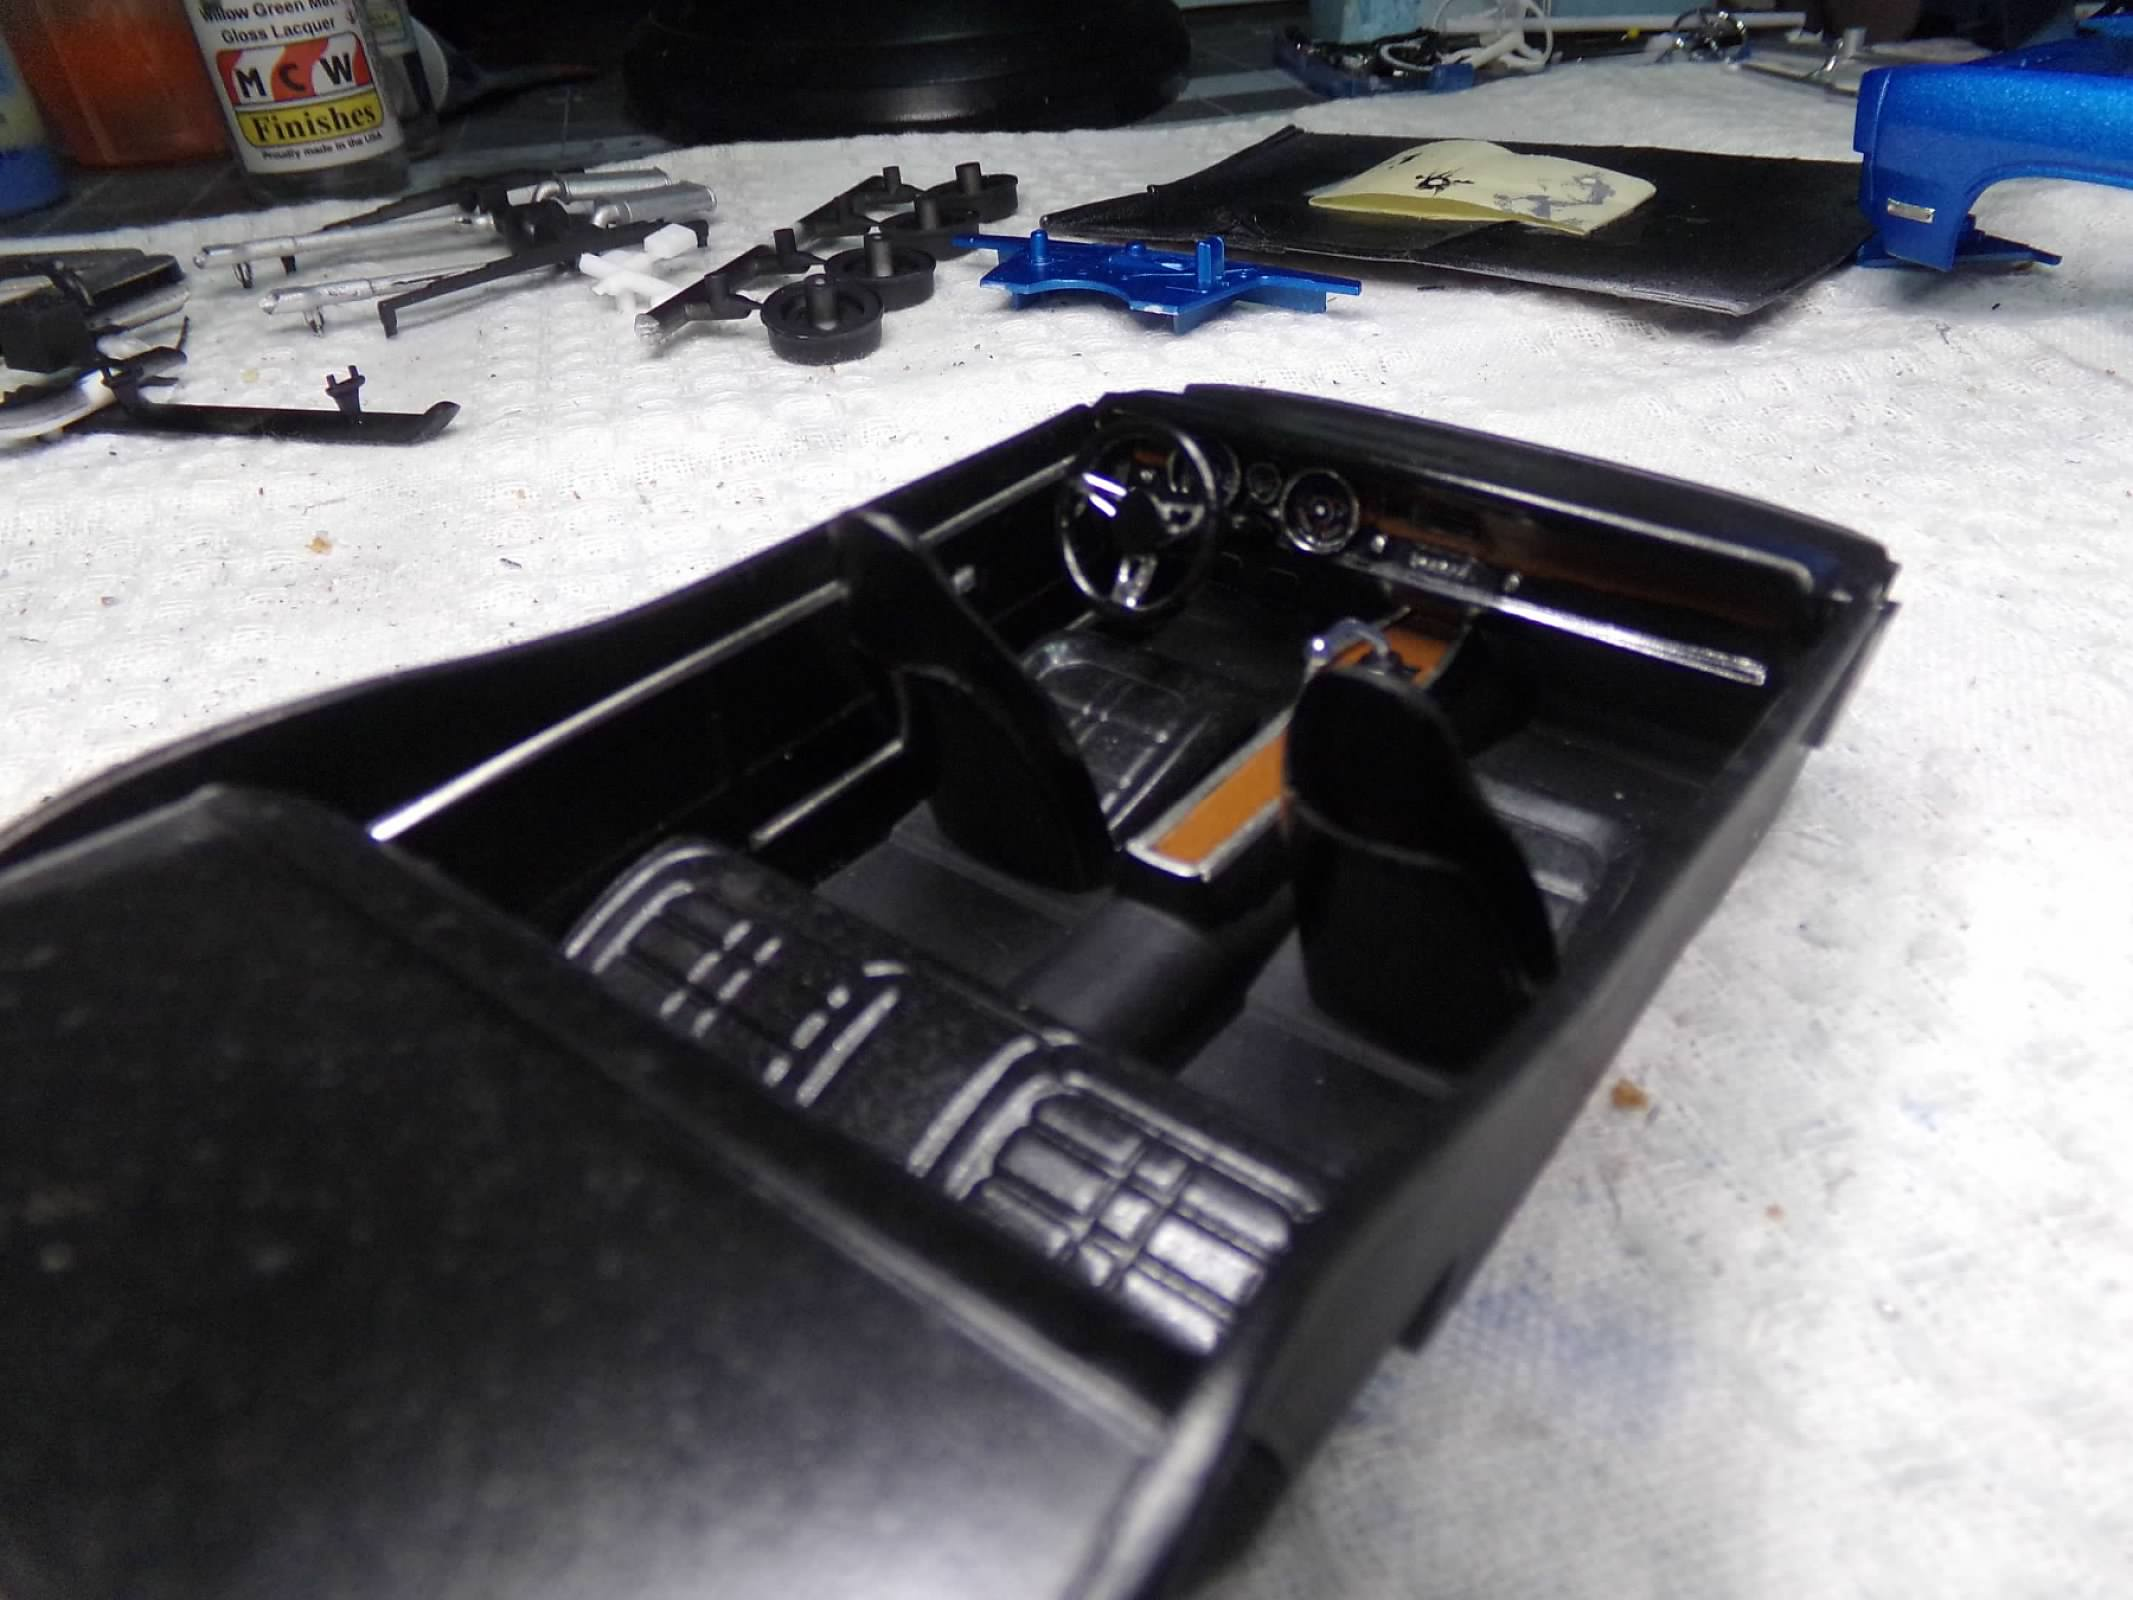
Thanks, everyone! I appreciate your comments! I would recommend this kit to anyone. As a matter of fact, this kit would be a good glue starter kit for anyone who is a beginner. The instructions are a bit lacking but there are positive pins glue joints on almost everything, bumpers, front roll pan, even the body and interior have positive glue joints and everything kinda snaps in place. So here are a few photos of the interior, positive glue pin joint for the front fenders, and the completed engine bay and model without mirrors (also pinned). I add the side and rear decals and then add the mirrors and this one will be done! Thanks for looking! ?
-
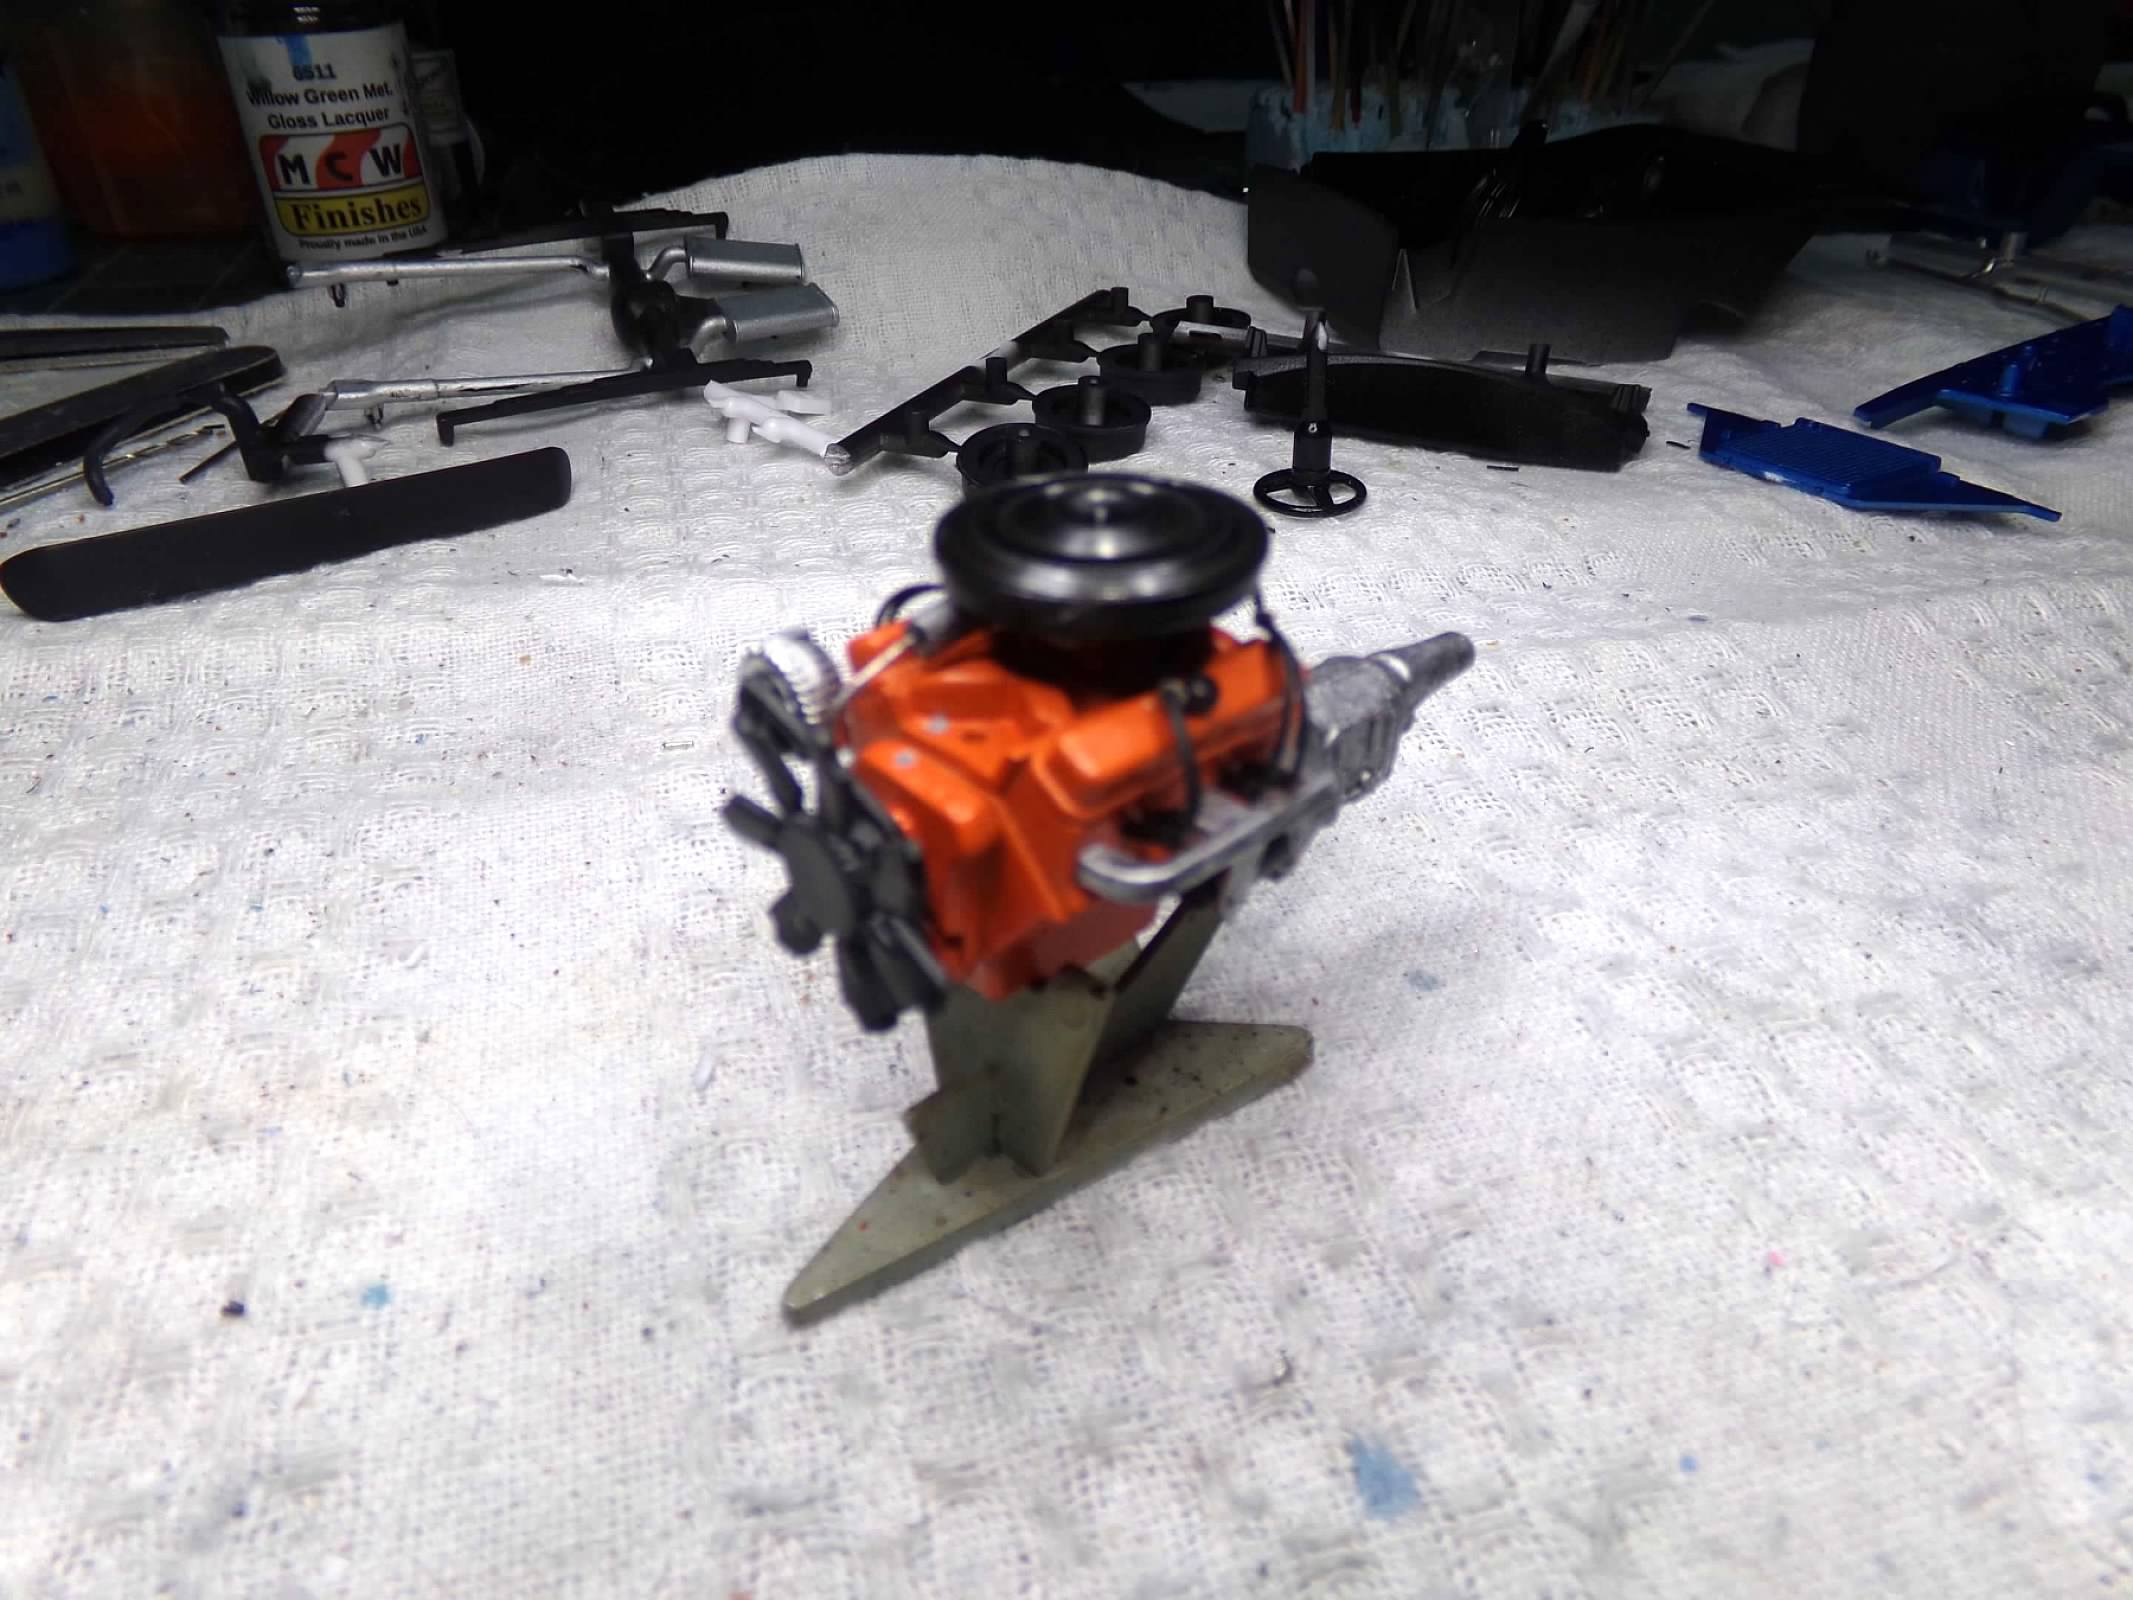
Thanks, David and MrMike! I appreciate your comments! I finished the foil, the hood scoops, and the engine. I have used clear coat on decals many times, especially on old ones to keep them from disintegrating. So the Dullcote doesn't surprise me that it worked as I have used it many times as well but only on paint to flat it out. But I must confess that I got the idea from watching a video on this kit from the HPI Guys. That was the one thing that was pointed out at the end that he didn't do and wish he had. I think it worked! Tomorrow, I'll work on the interior and this one will be ready for final assembly! Thanks for looking! ?
-
Thanks, Anthony, David and Tim! I appreciate your comments! I've rubbed out the body and hood. I thought I would do the hood and cowl decals to see how they will look. I usually save decals for last but I wanted to see how the dullcote looks on the decals and if the hood scoops will match. I have drilled holes in the hood before paint but I am letting the decals dry some more before I pierce them for the scoops. But I think the dullcoted decals are a close match for the scoops and will look better once they are on. Thanks for looking! ?
-
1975 Jorgensen Eagle - Bobby Unser
ModelcarJR replied to ModelcarJR's topic in Other Racing: Road Racing, Salt Flat Racers
Thanks, All! I appreciate your comments! ? In the early to mid-90s when a lot of Indy car kits were issued, primarily by AMT, I built and entered a lot of Indy cars in model contests. It was the only category that I could really compete in. I had a little knowledge about Indy cars since I grew up in Indianapolis and had a lot of photos from the Museum. There wasn't a strong internet at that time and you couldn't just pull up photos from the internet. So I got pretty good at Indy cars. Tomorrow, I'll post a couple I've built recently, the 75 Gatorade car and the 68 Bobby Unser winner. Thanks for looking! -
Picked this one up the other day at HL while the 40% off sale was in effect. Its an MPC kit but its been retooled. Looks pretty nice and its a low parts, No 2 skill level kit. Should go together pretty easily, pretty quickly. Prepped it yesterday and painted everything today while the humidity was between 40 and 50%. The body is painted Tamiya Light Blue Metallic and the interior is black painted with Krylon Satin Black. Two coats of color on the exterior pieces and three coats of clear. I also dullcoted the body decals so that they will match the two hood scoops that are painted flat black. Tomorrow, I rub the body out and get it foiled. I'll add some plug wires and heater hoses in the engine compartment. Only 91 pieces and if you eliminate the drag pieces, there are only about 84 pieces. Thanks for looking! ?
-
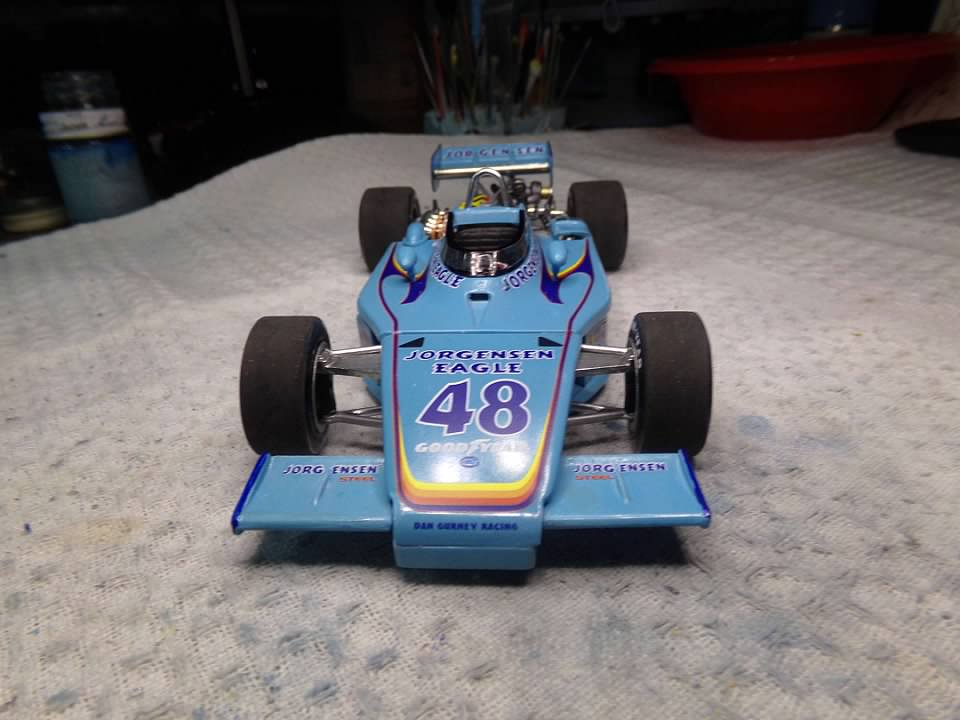
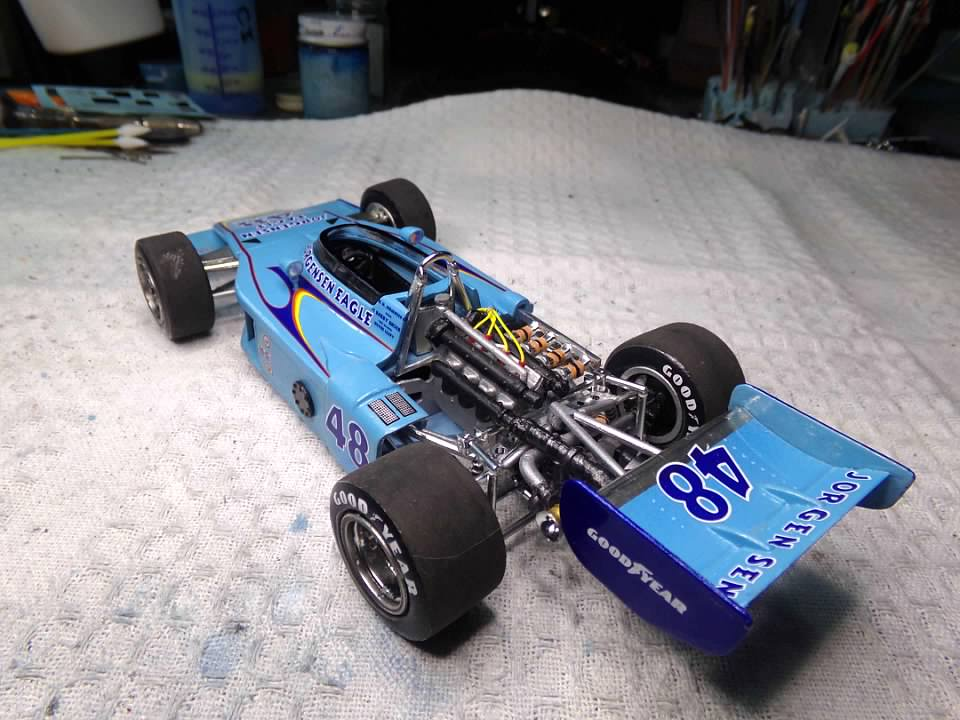
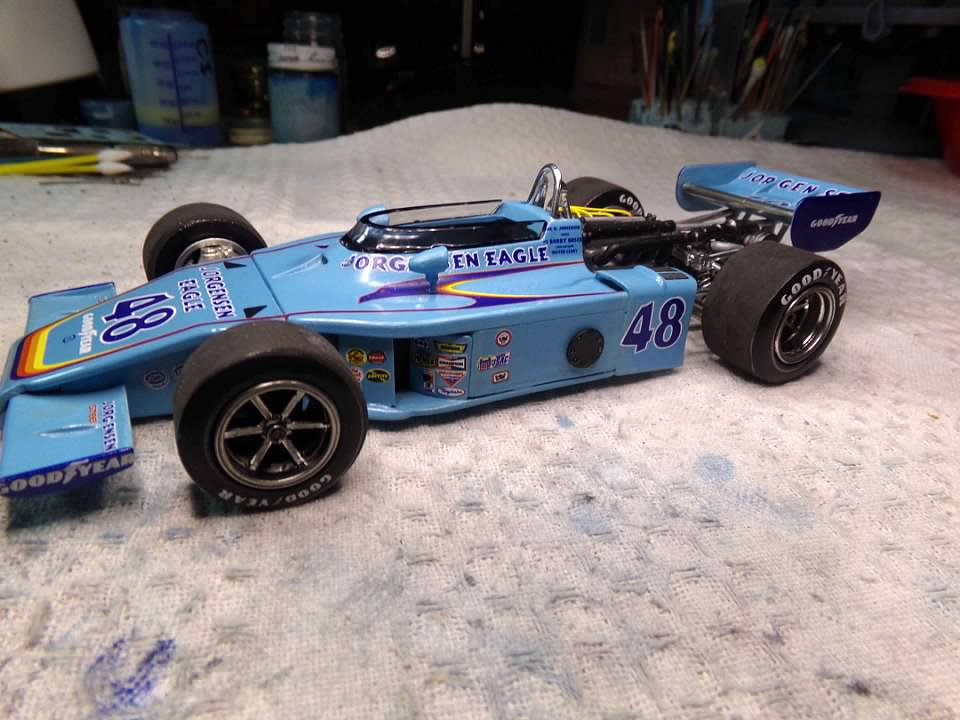
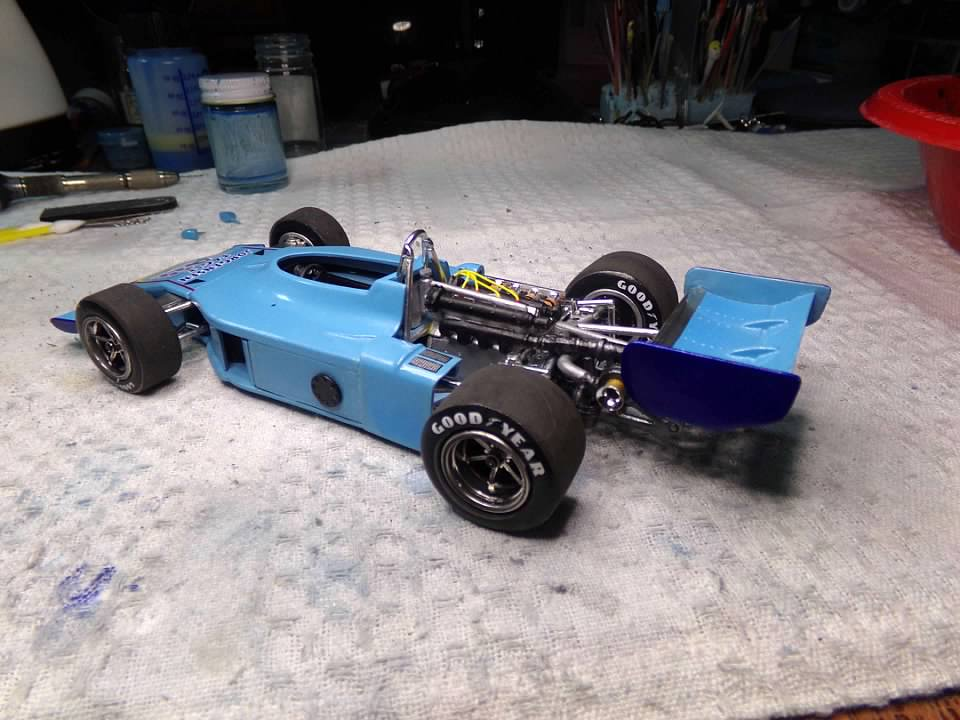
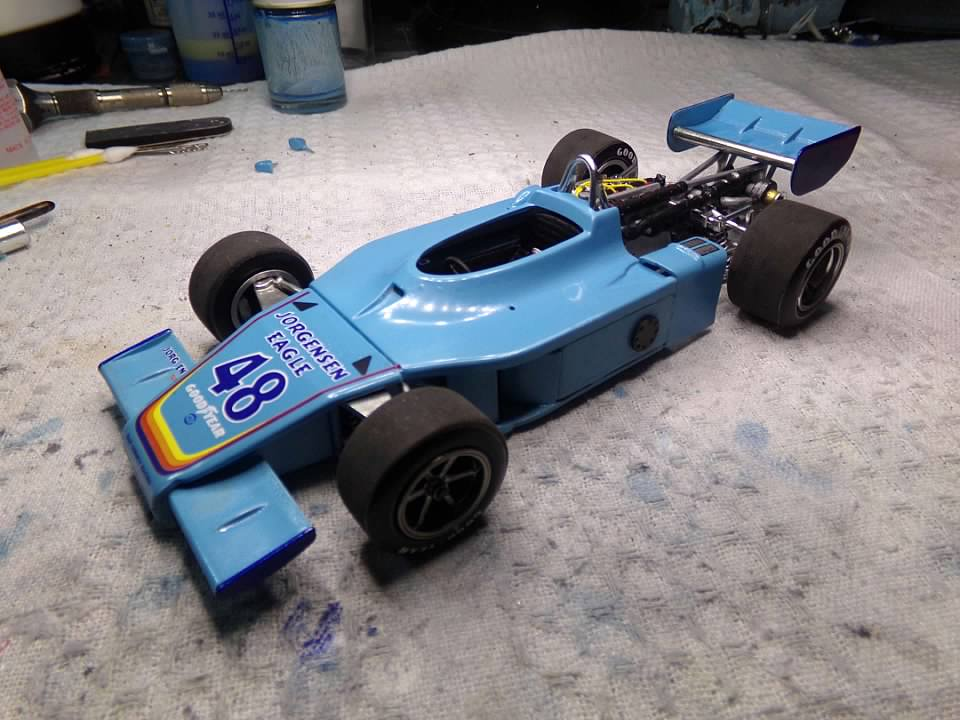
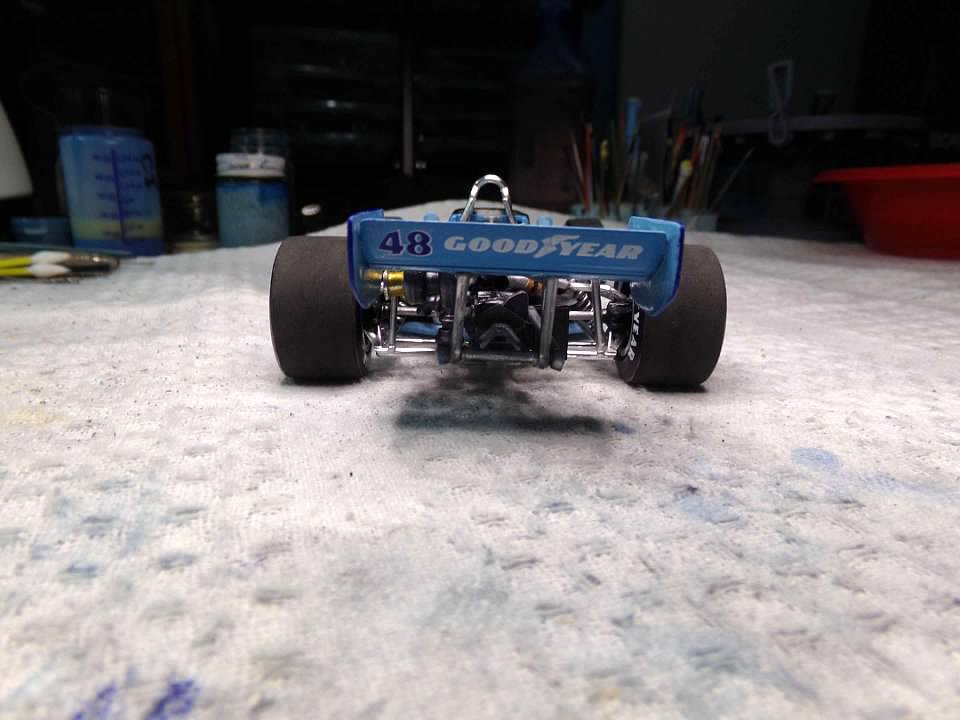
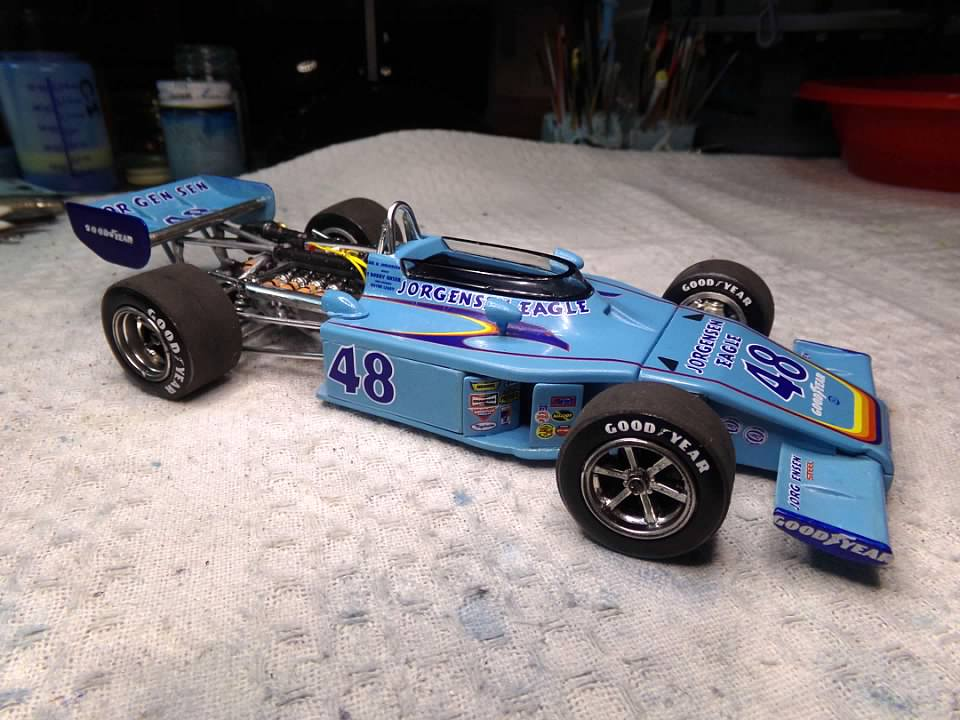
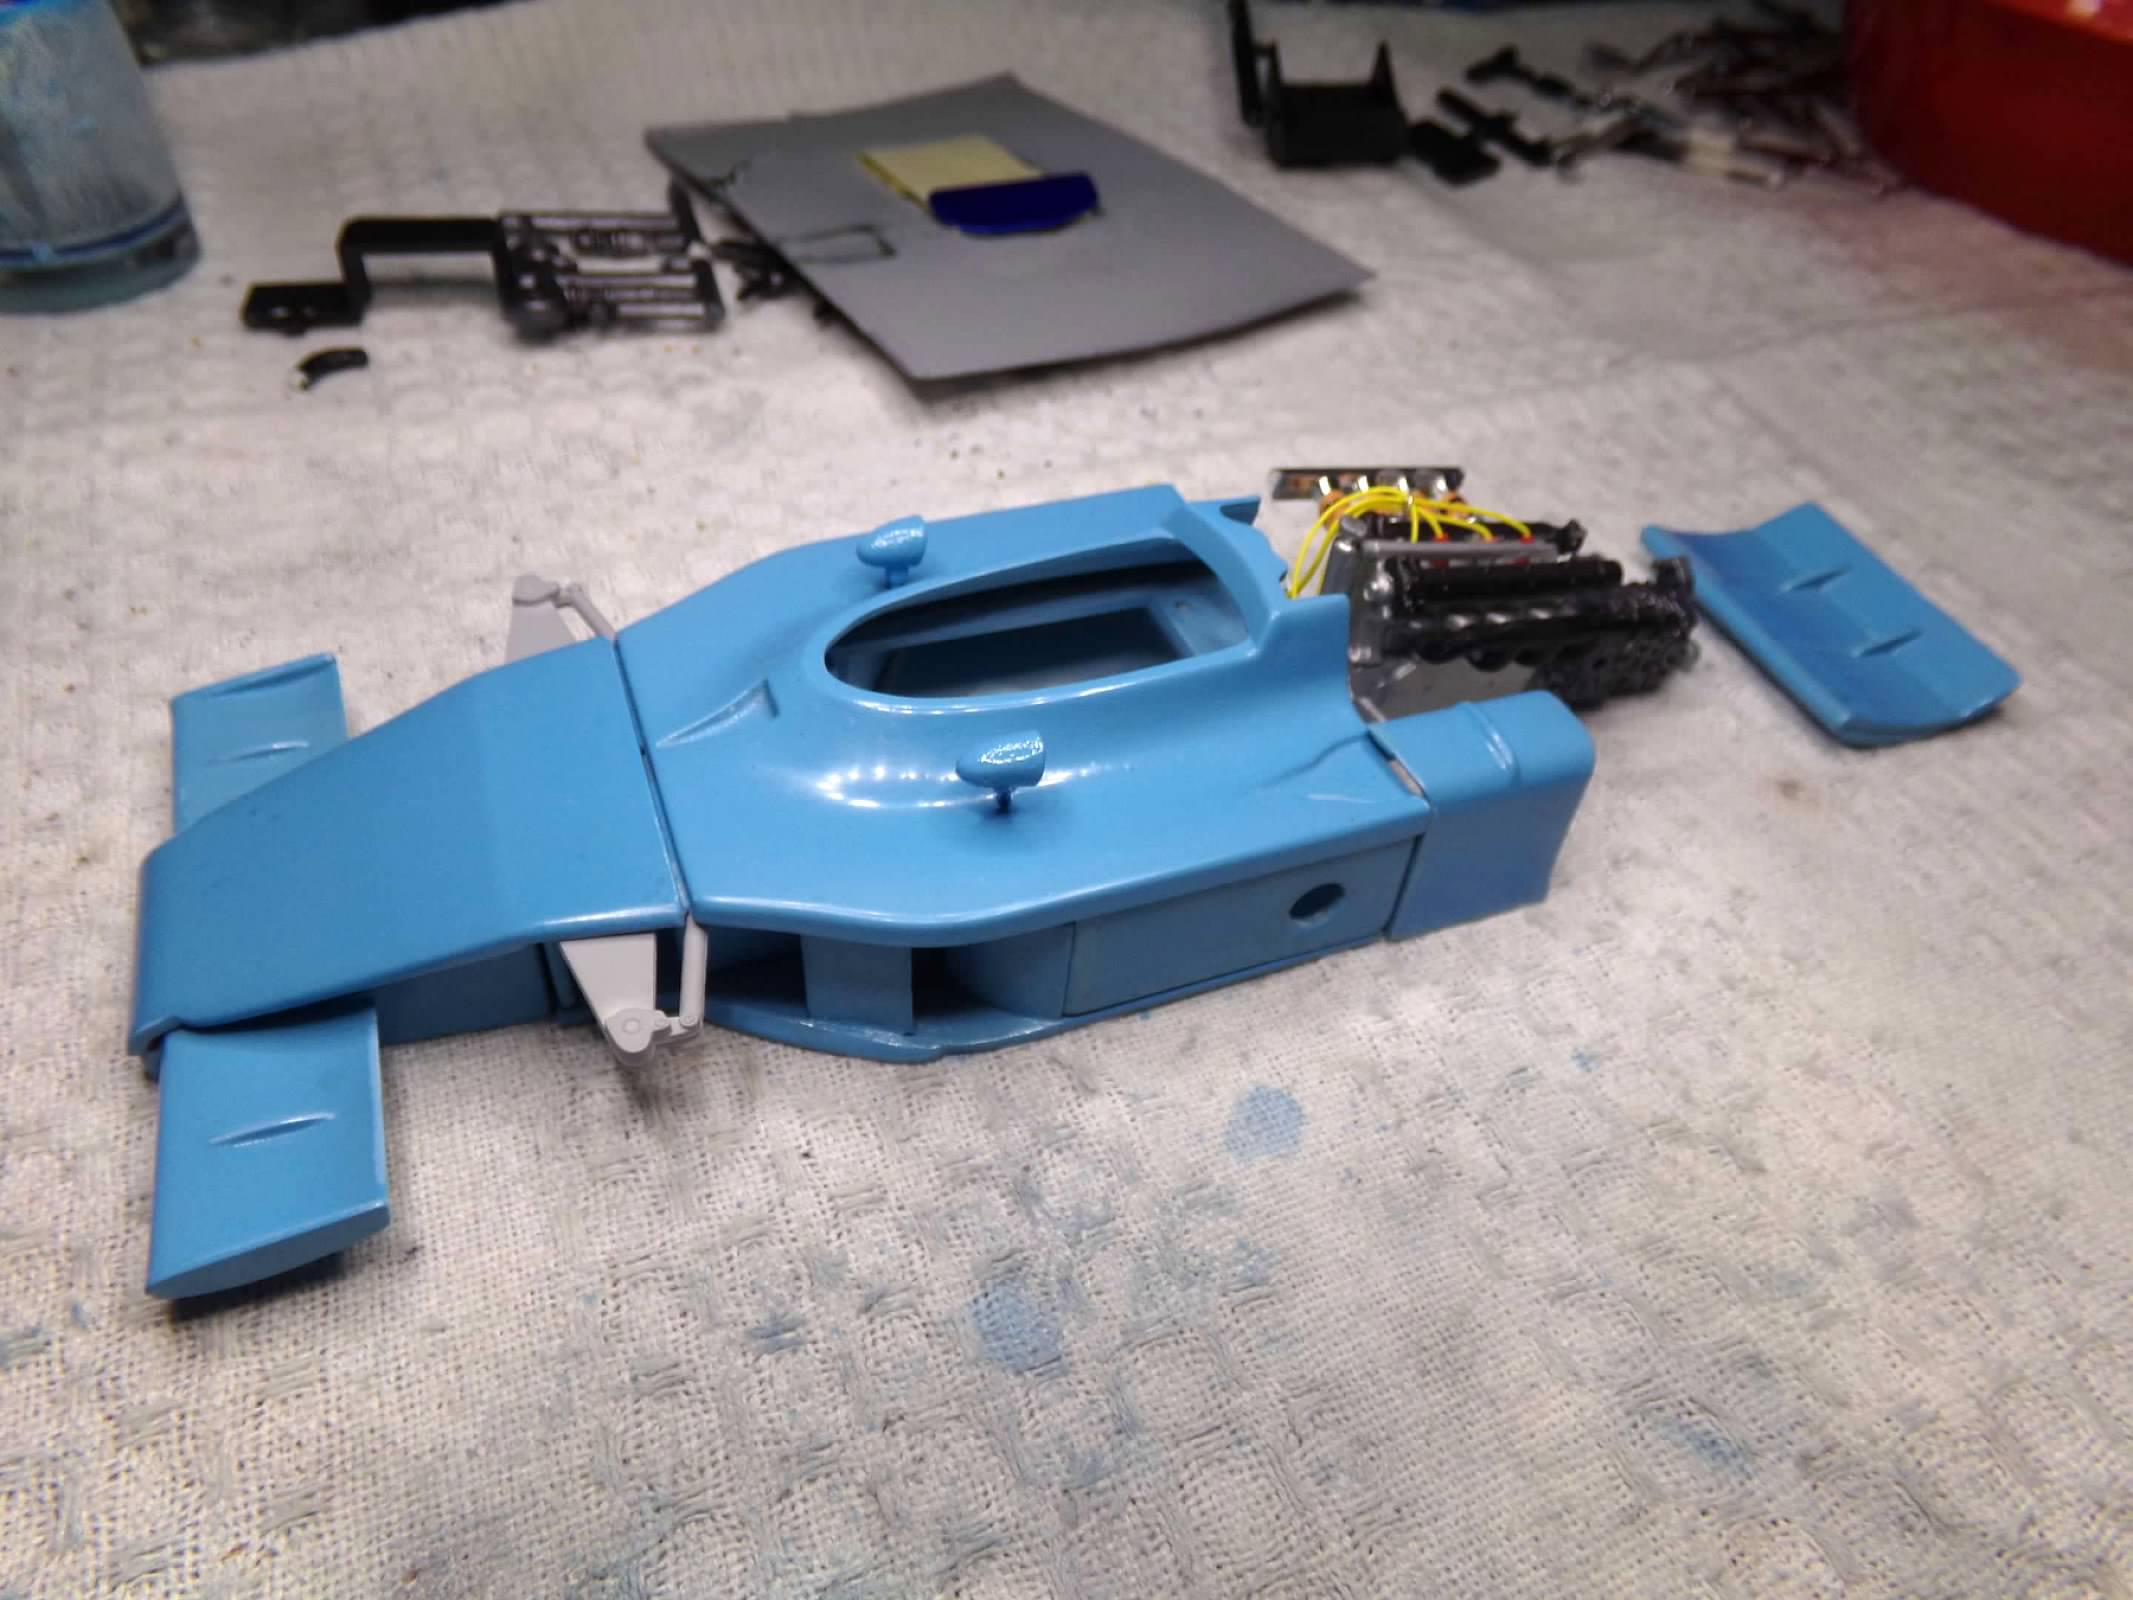
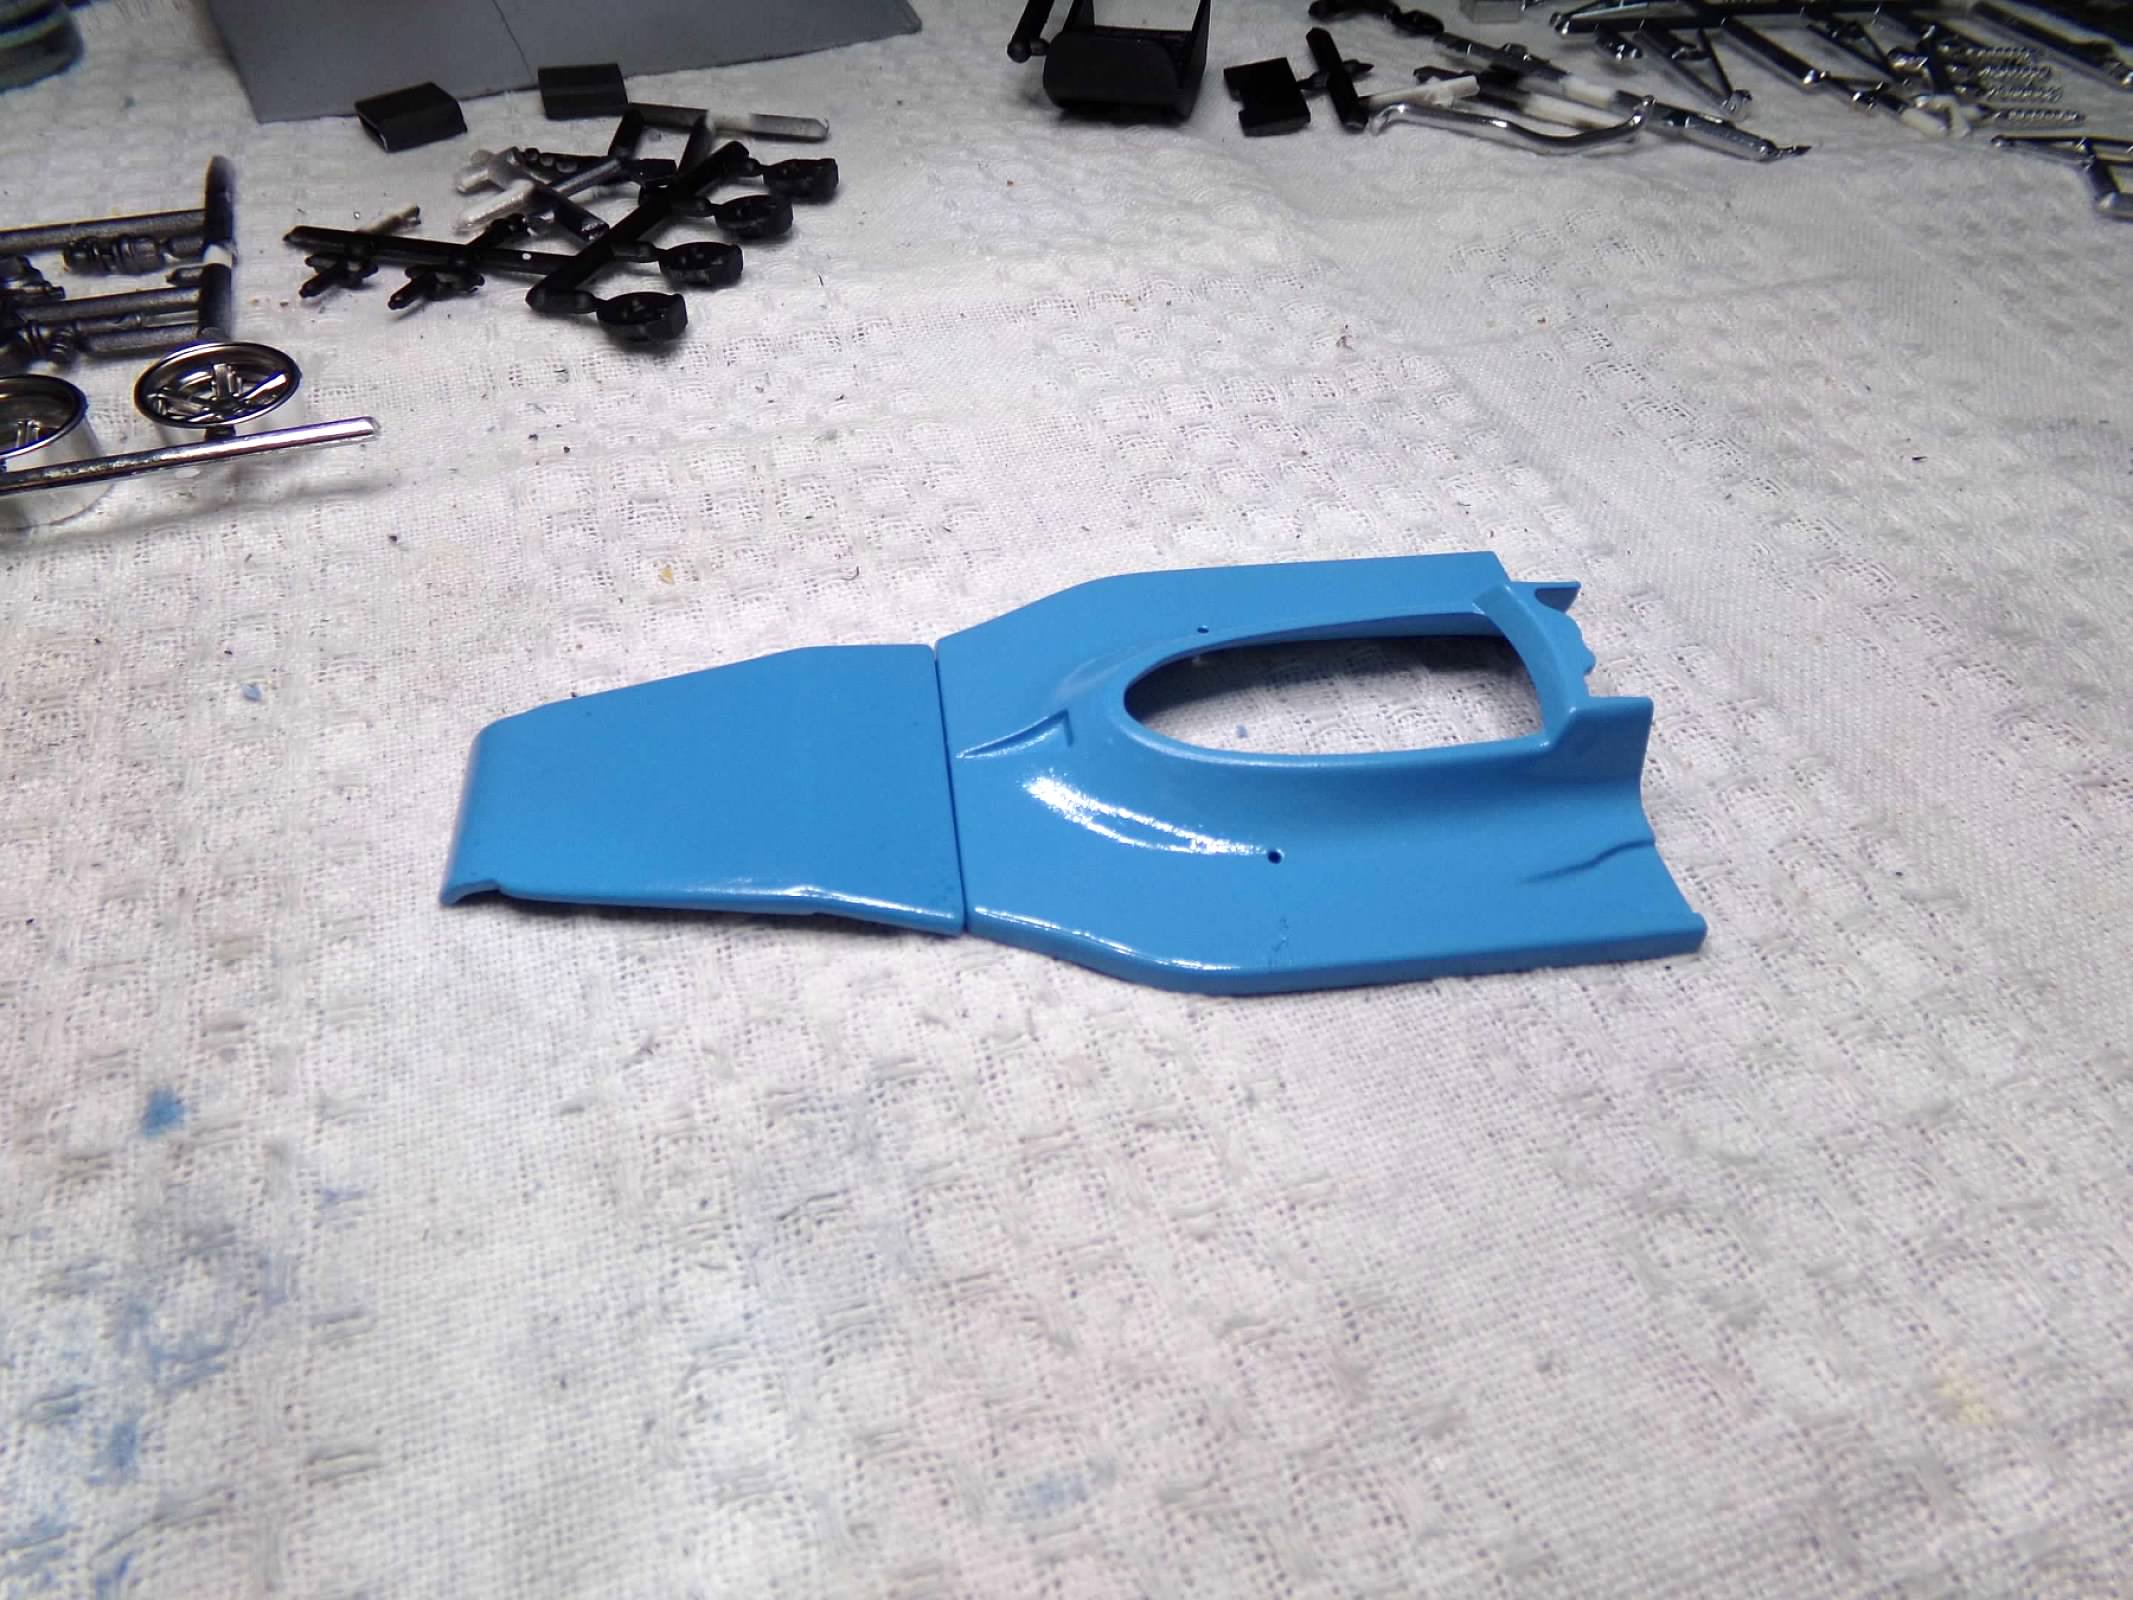
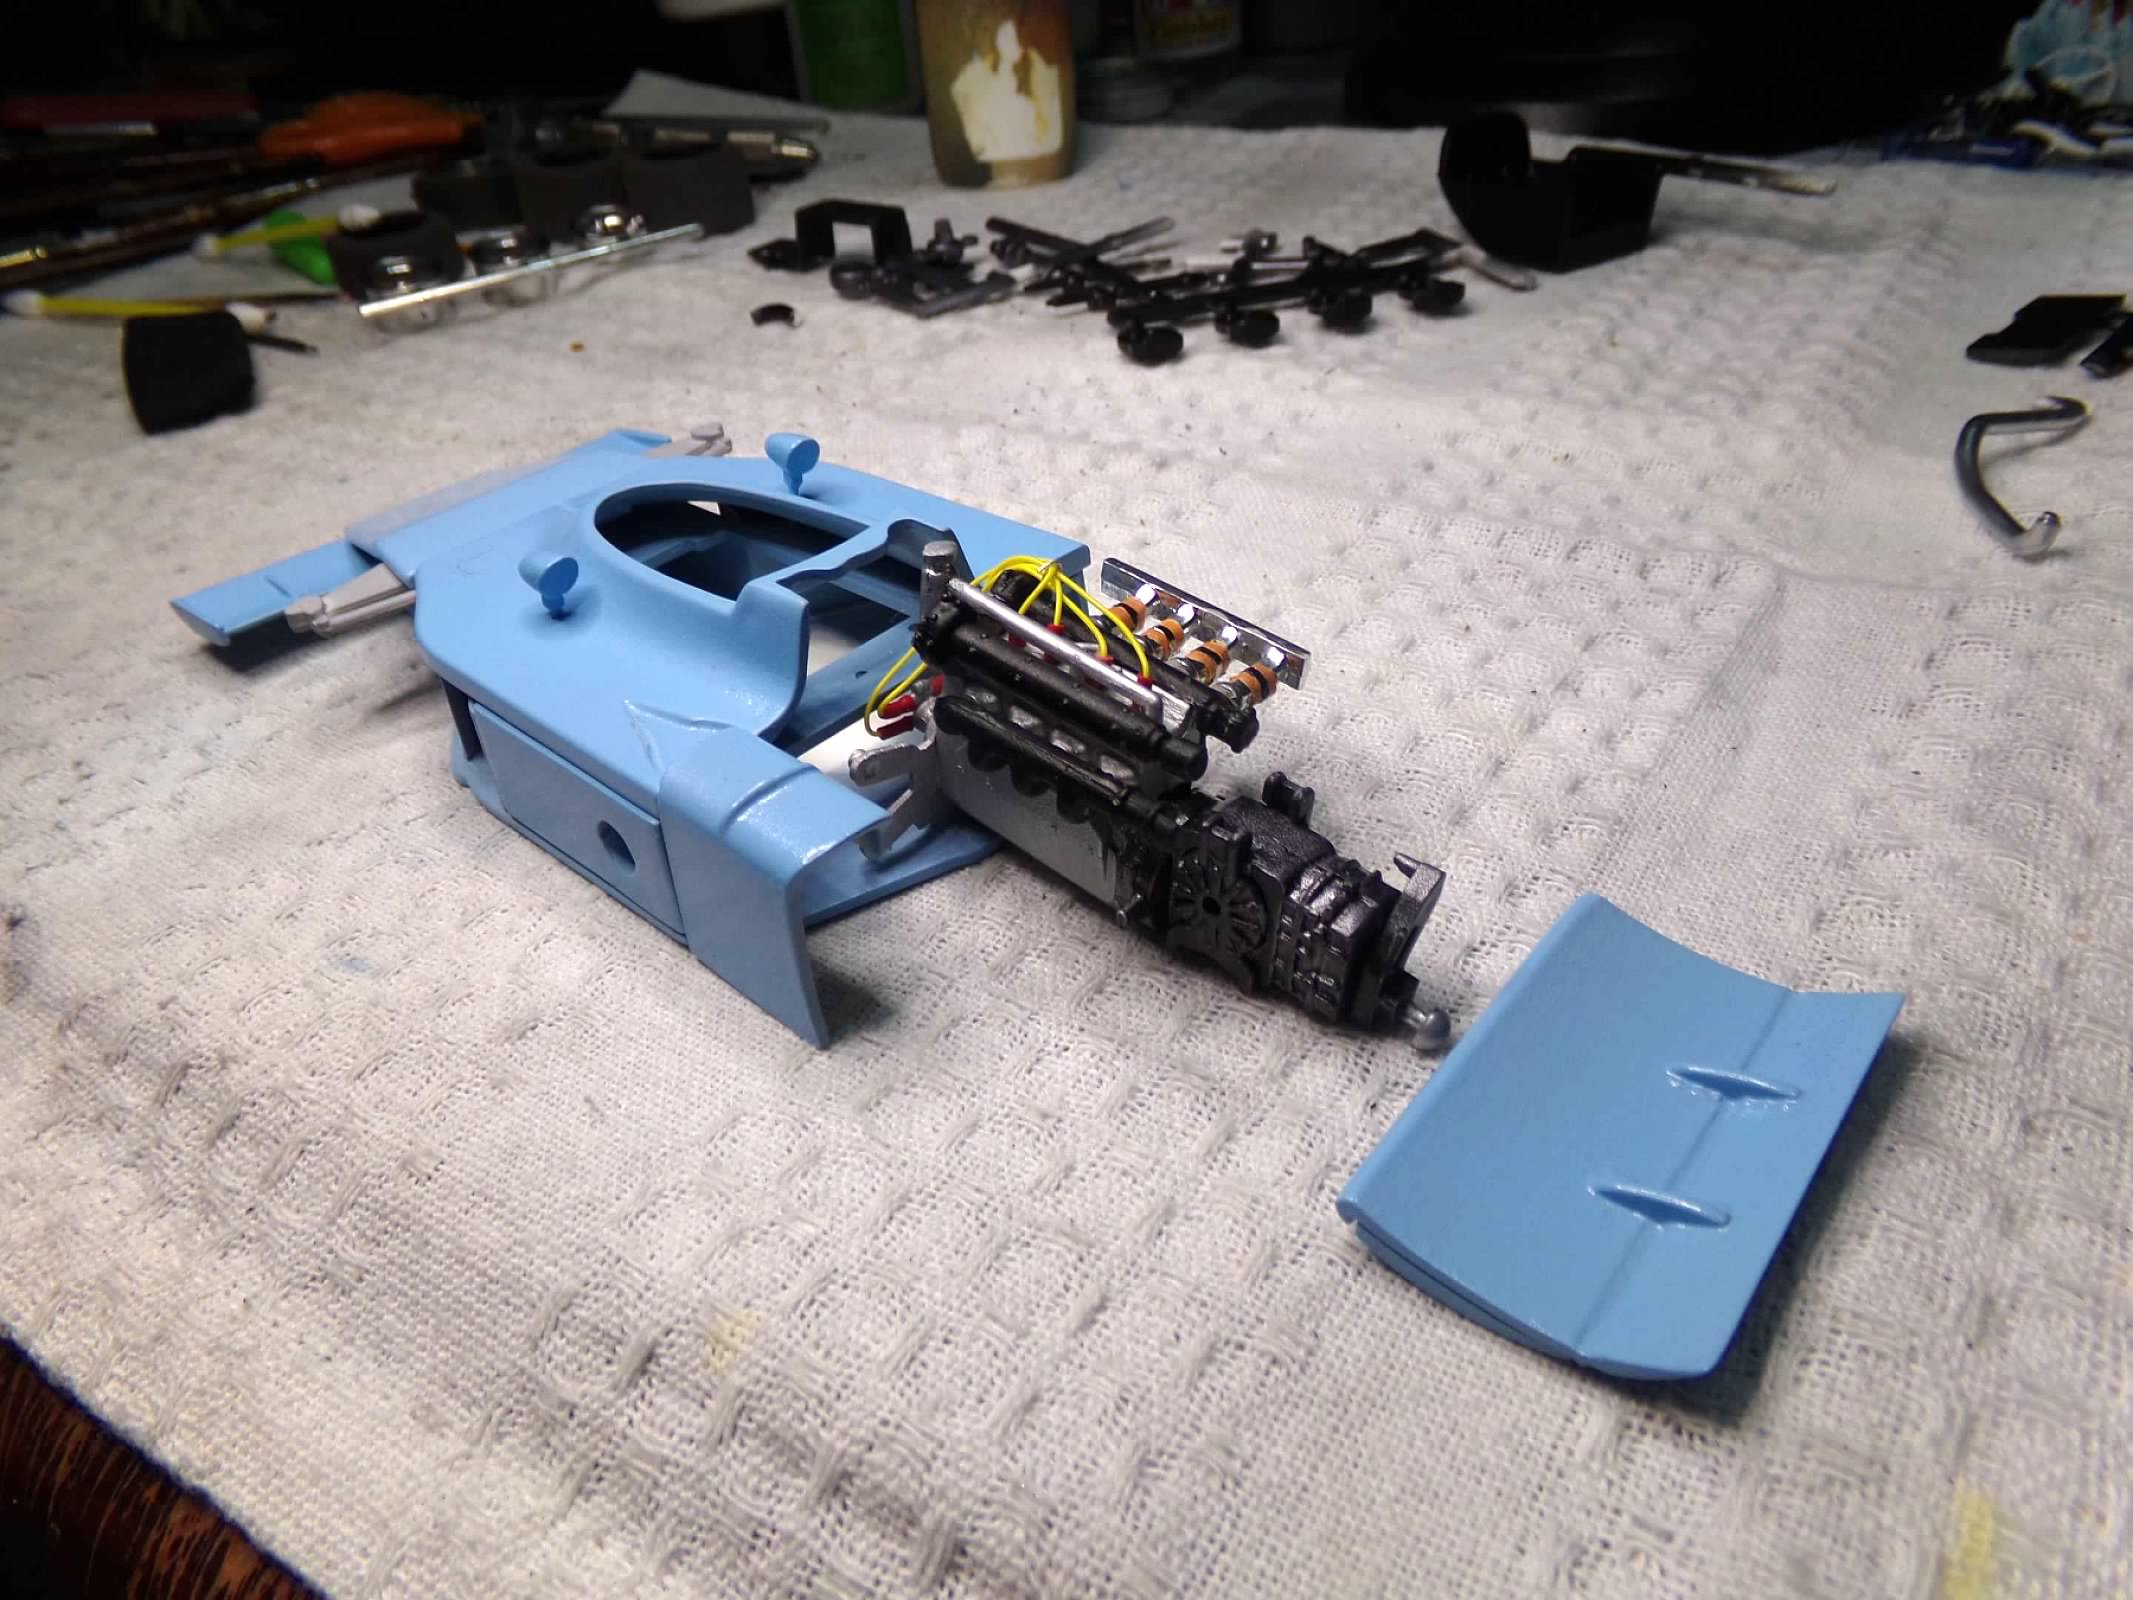
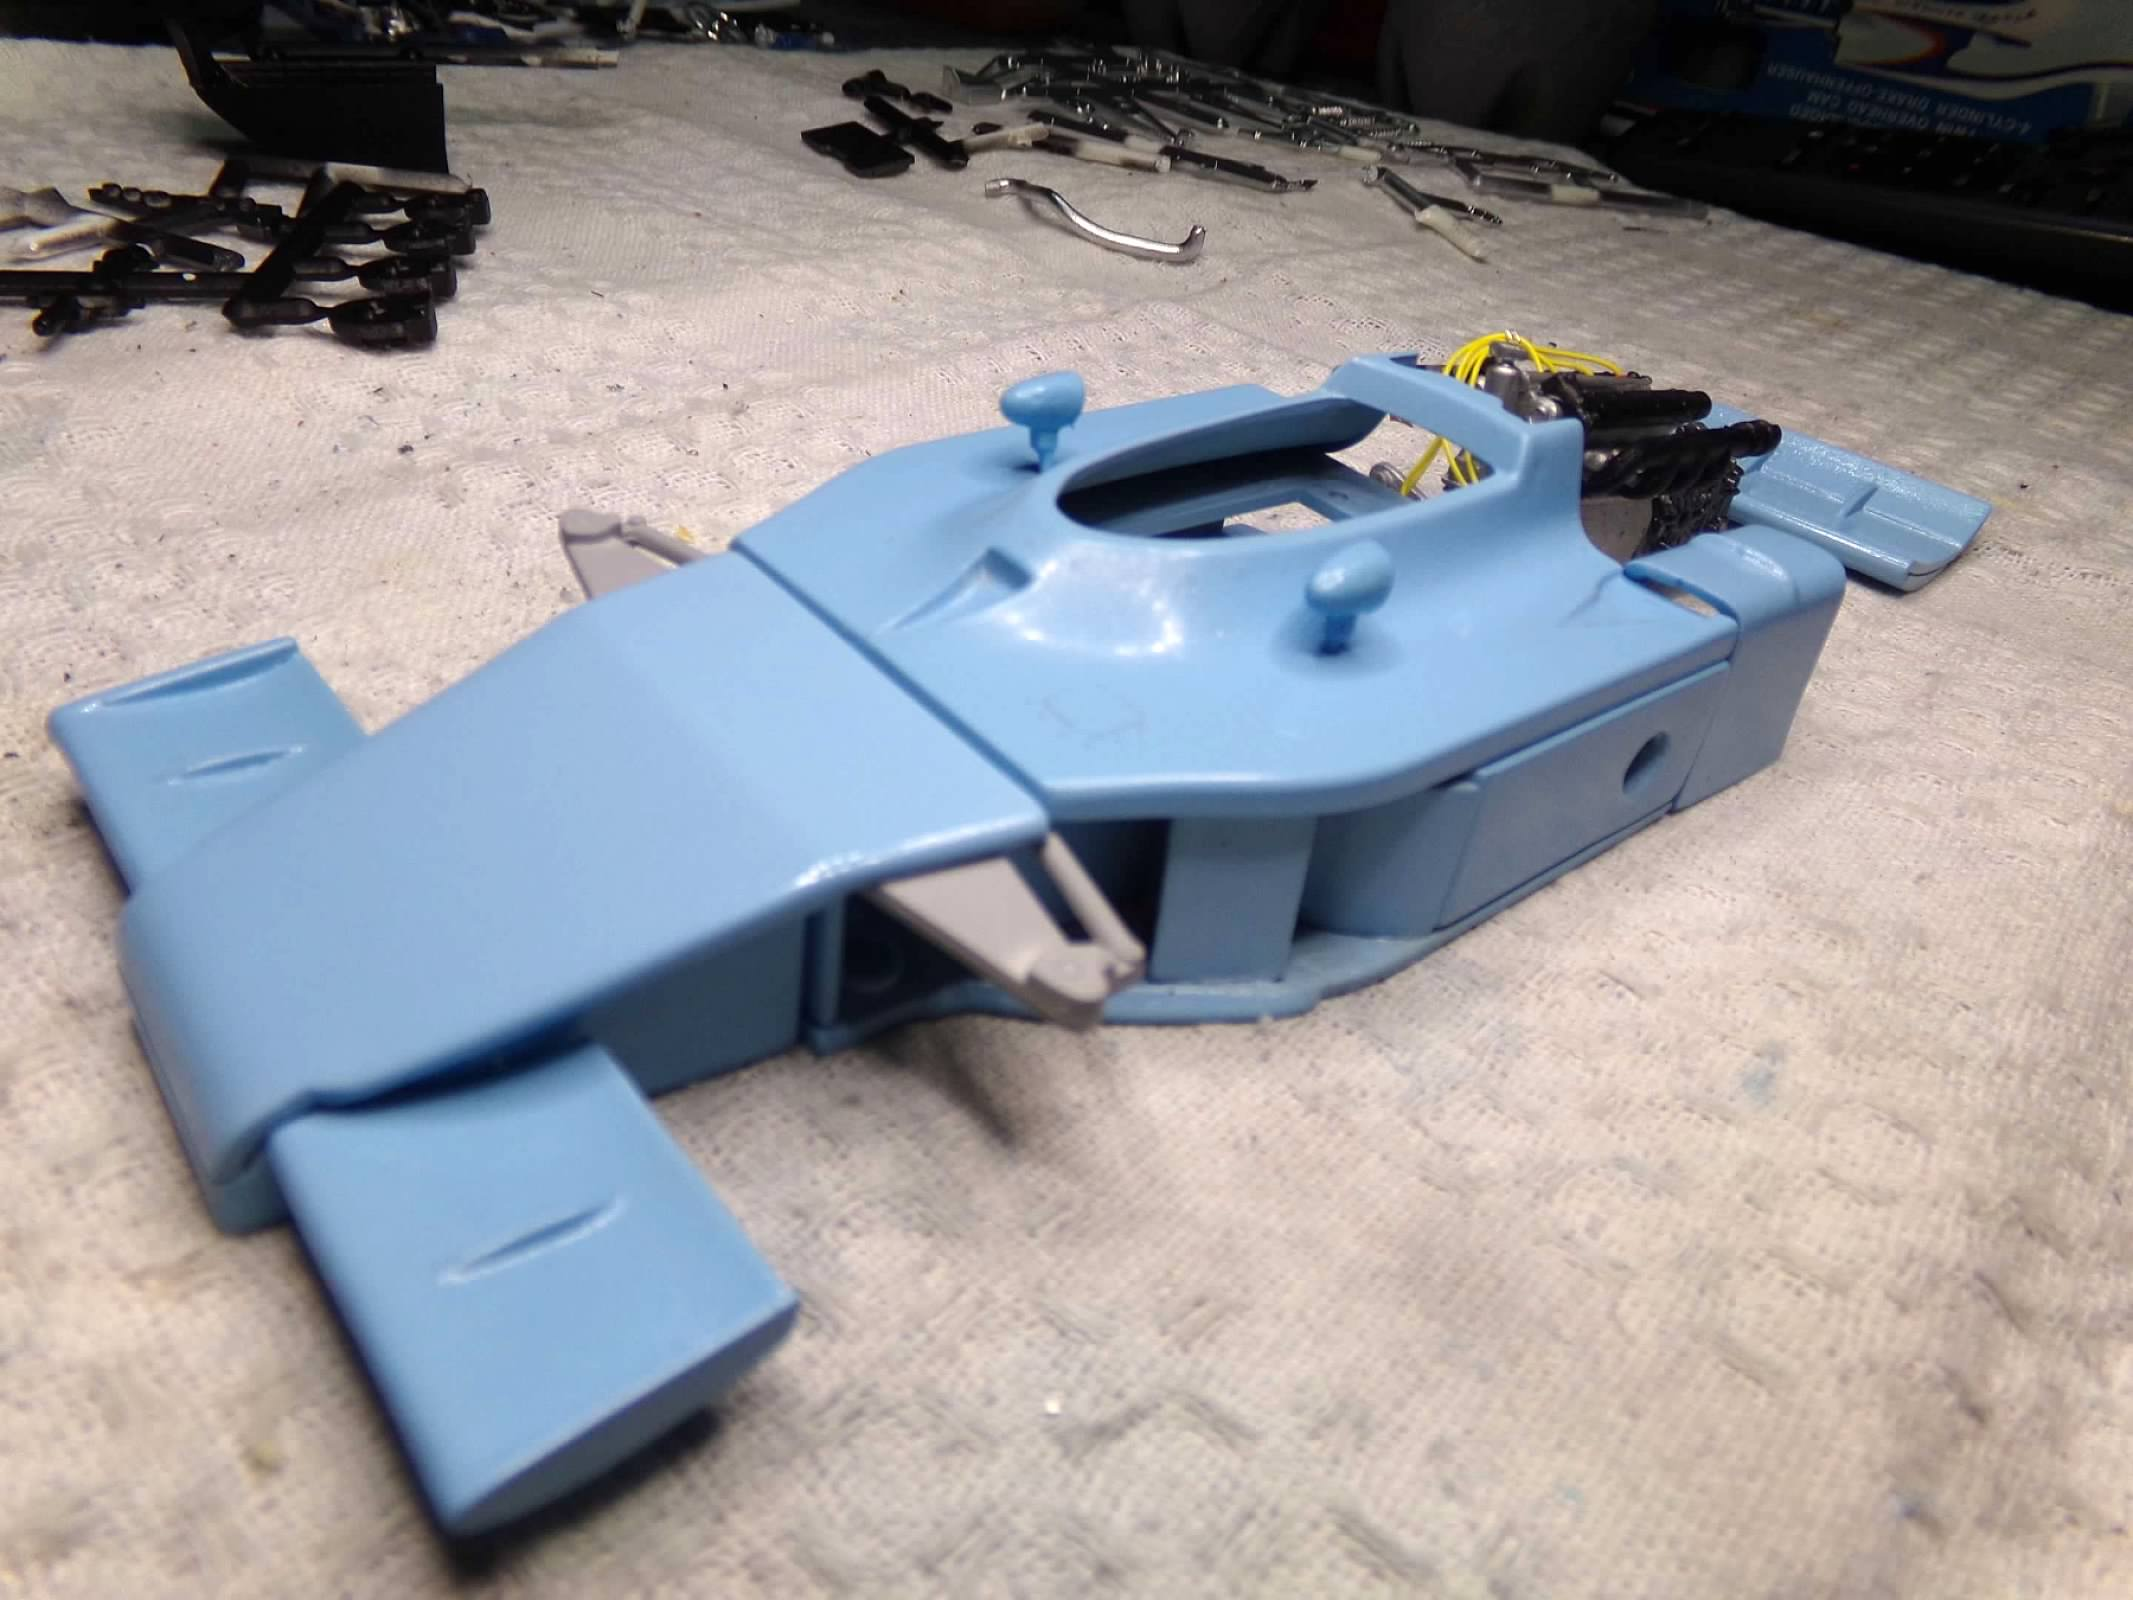
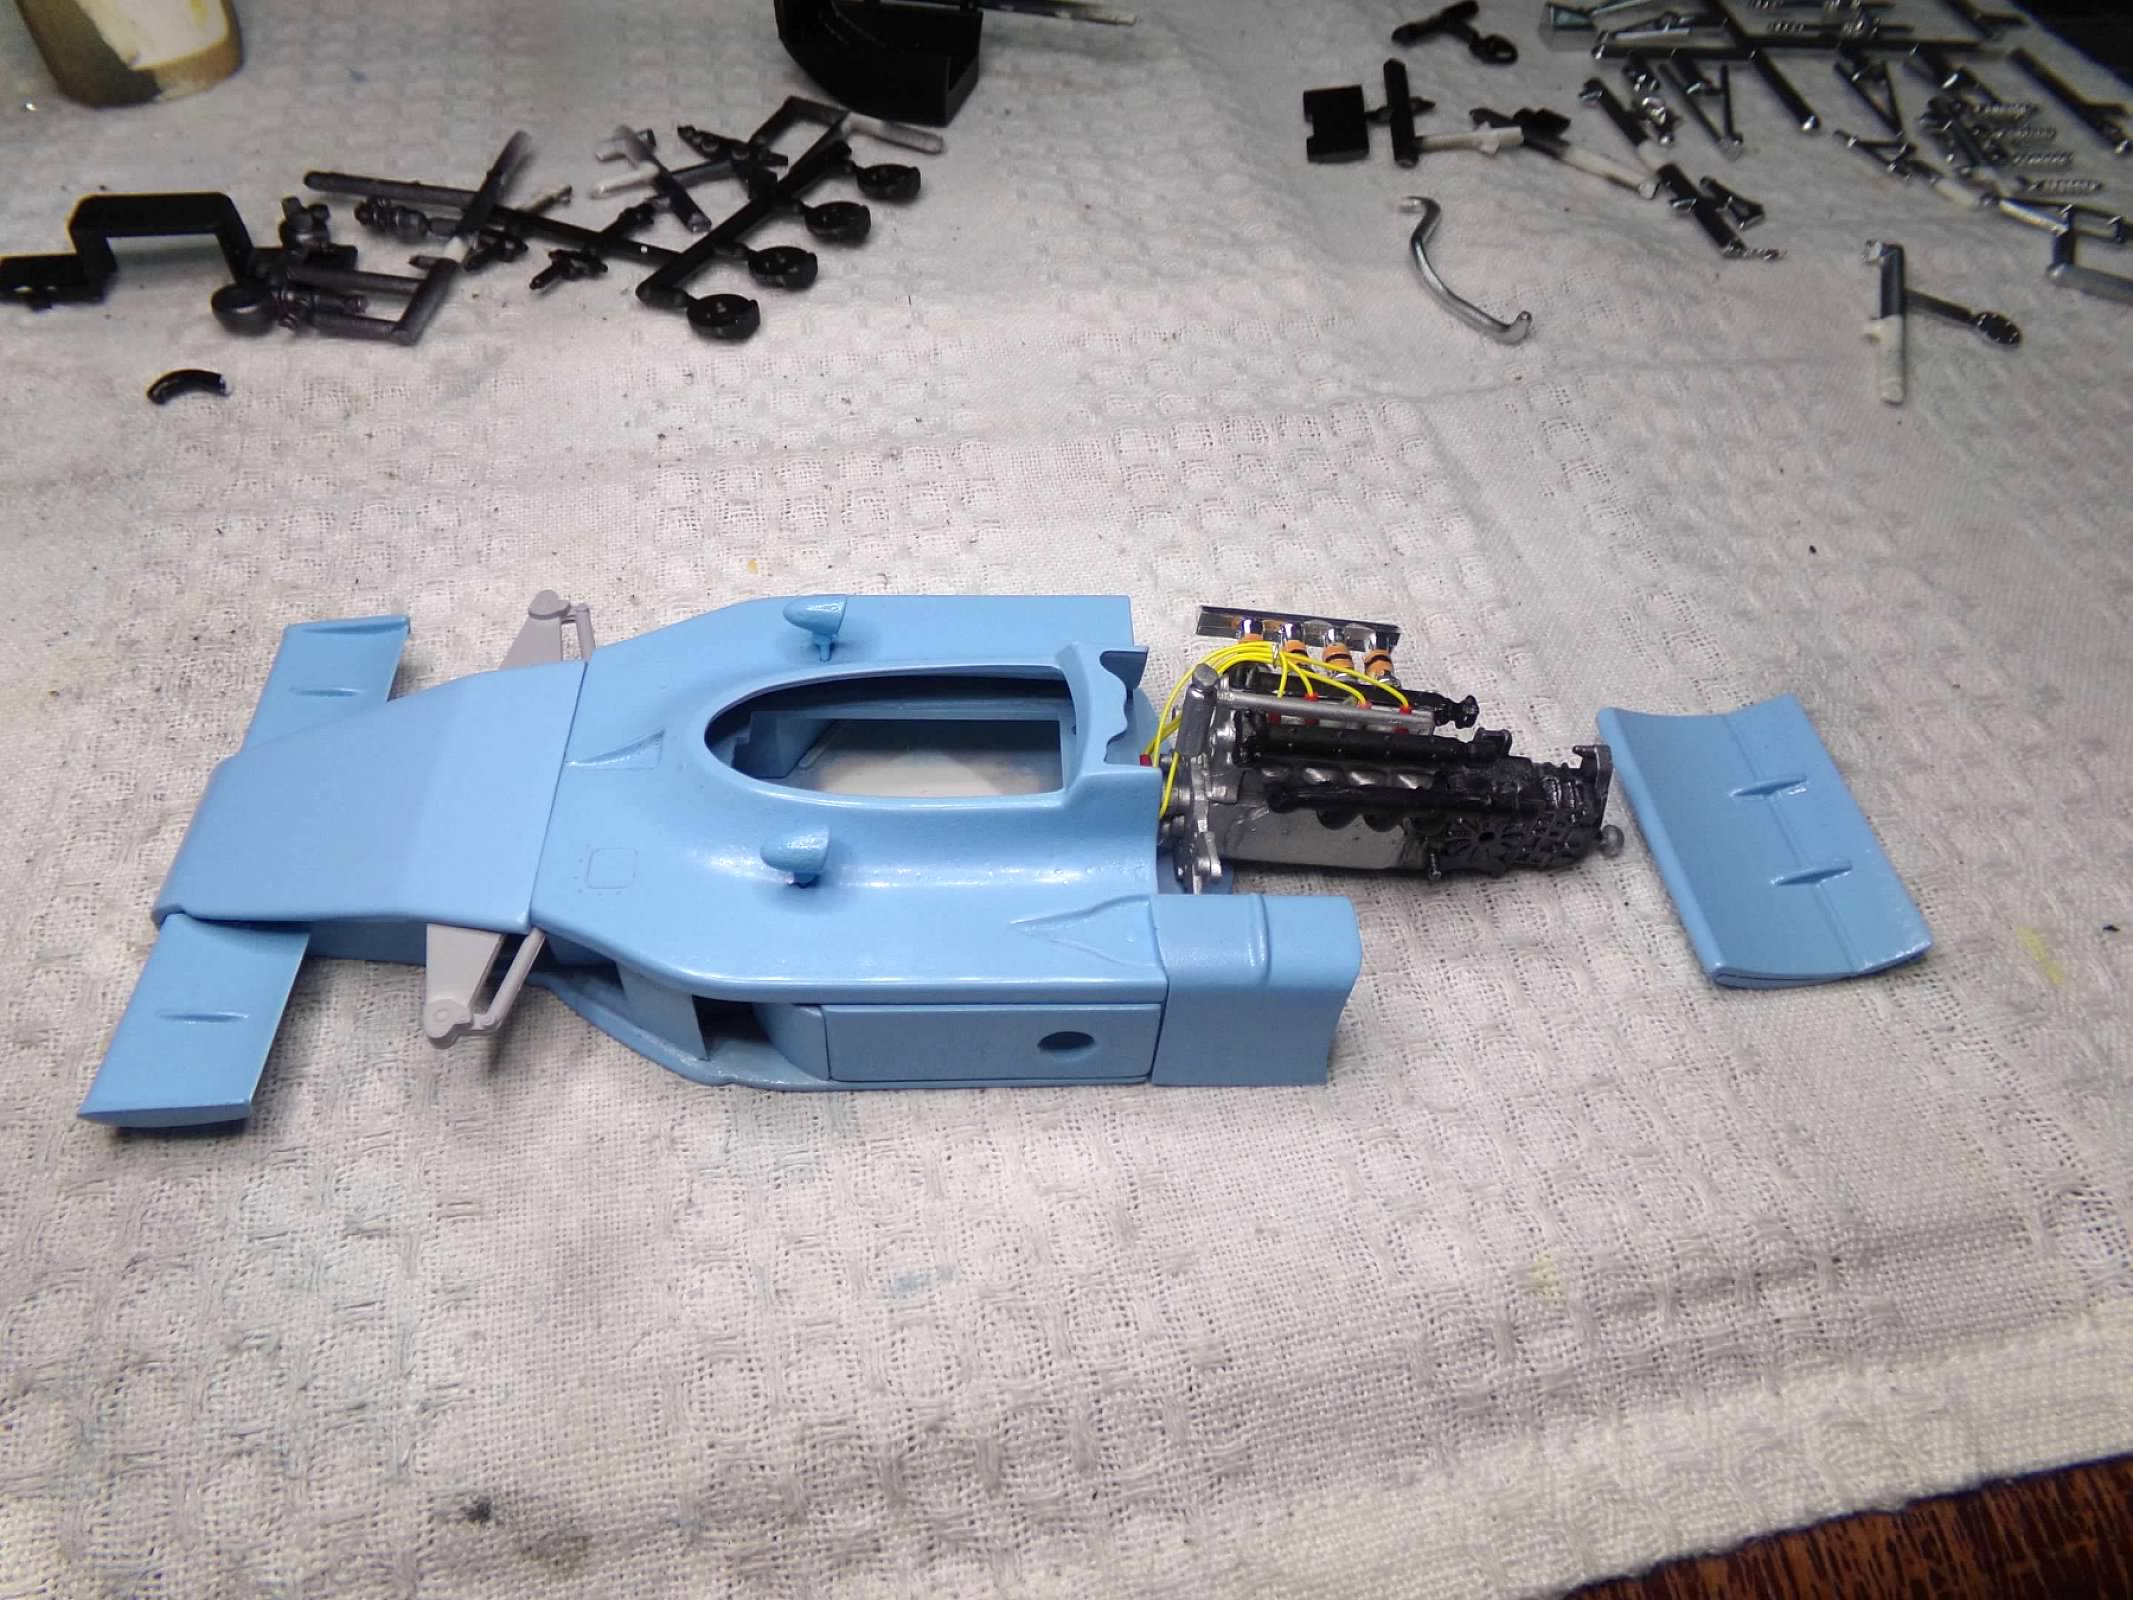
This is the 1974 AMT kit that I chose to build as the 1975 Indy 500 winner. There may have been a few changes by AMT between years because the IndyCals decal on the front wing fairings did not fit well and the owner, driver, mechanic info on the bulkhead area did not fit well. I also substituted rear wing fairings from a PC-6 for the kit fairings as they more closely resemble the actual car. I didn't make any changes to the oil cooler shroud but just added a couple of decal vents from my decal stash. I also added spark plug wires and some painted tape to the injectors for more detail. The paint is Testors Gloss Light Blue in the square bottle, thinned and airbrushed. No clear, just rubbed out. Wheels are from the kit tires are from the parts box. IndyCal decals on both the car and tires. The first photos are from yesterday when I began the decal process. The rest are finished photos. Thanks for looking! ?
-
This one is done. The rear wing is certainly a challenge to assemble but I think I have it in place correctly and it looks straight. Indy Cal decals went on well except for the font wing Goodyear decals and the Owner, driver, mechanic info on the bulkhead area. The decals were a little too big which may indicate that AMT made some changes between the 1974 and 1975 models. That has not been my experience in the past, but they may have made a few changes instead of just changing the decals and instructions and re-packaging the prior year into a new box. Final photos are in the "Under Glass" section. Thanks for looking! ?
-
1975 Jorgensen Eagle
ModelcarJR replied to mgbdriver's topic in WIP: Other Racing: Road Racing, Land Speed Racers
Nice work, Mike! I'm working on the 74 kit and doing it as a 75. I guess there were a couple of changes because my Goodyear decals on the front fairings don't fit as well as yours. The front wing must be wider. I did substitute rear wing fairings from a PC-6 kit on the rear. I didn't make any changes to the oil cooler shroud as you have but probably should have. Nice work on yours and it looks great! ?? -
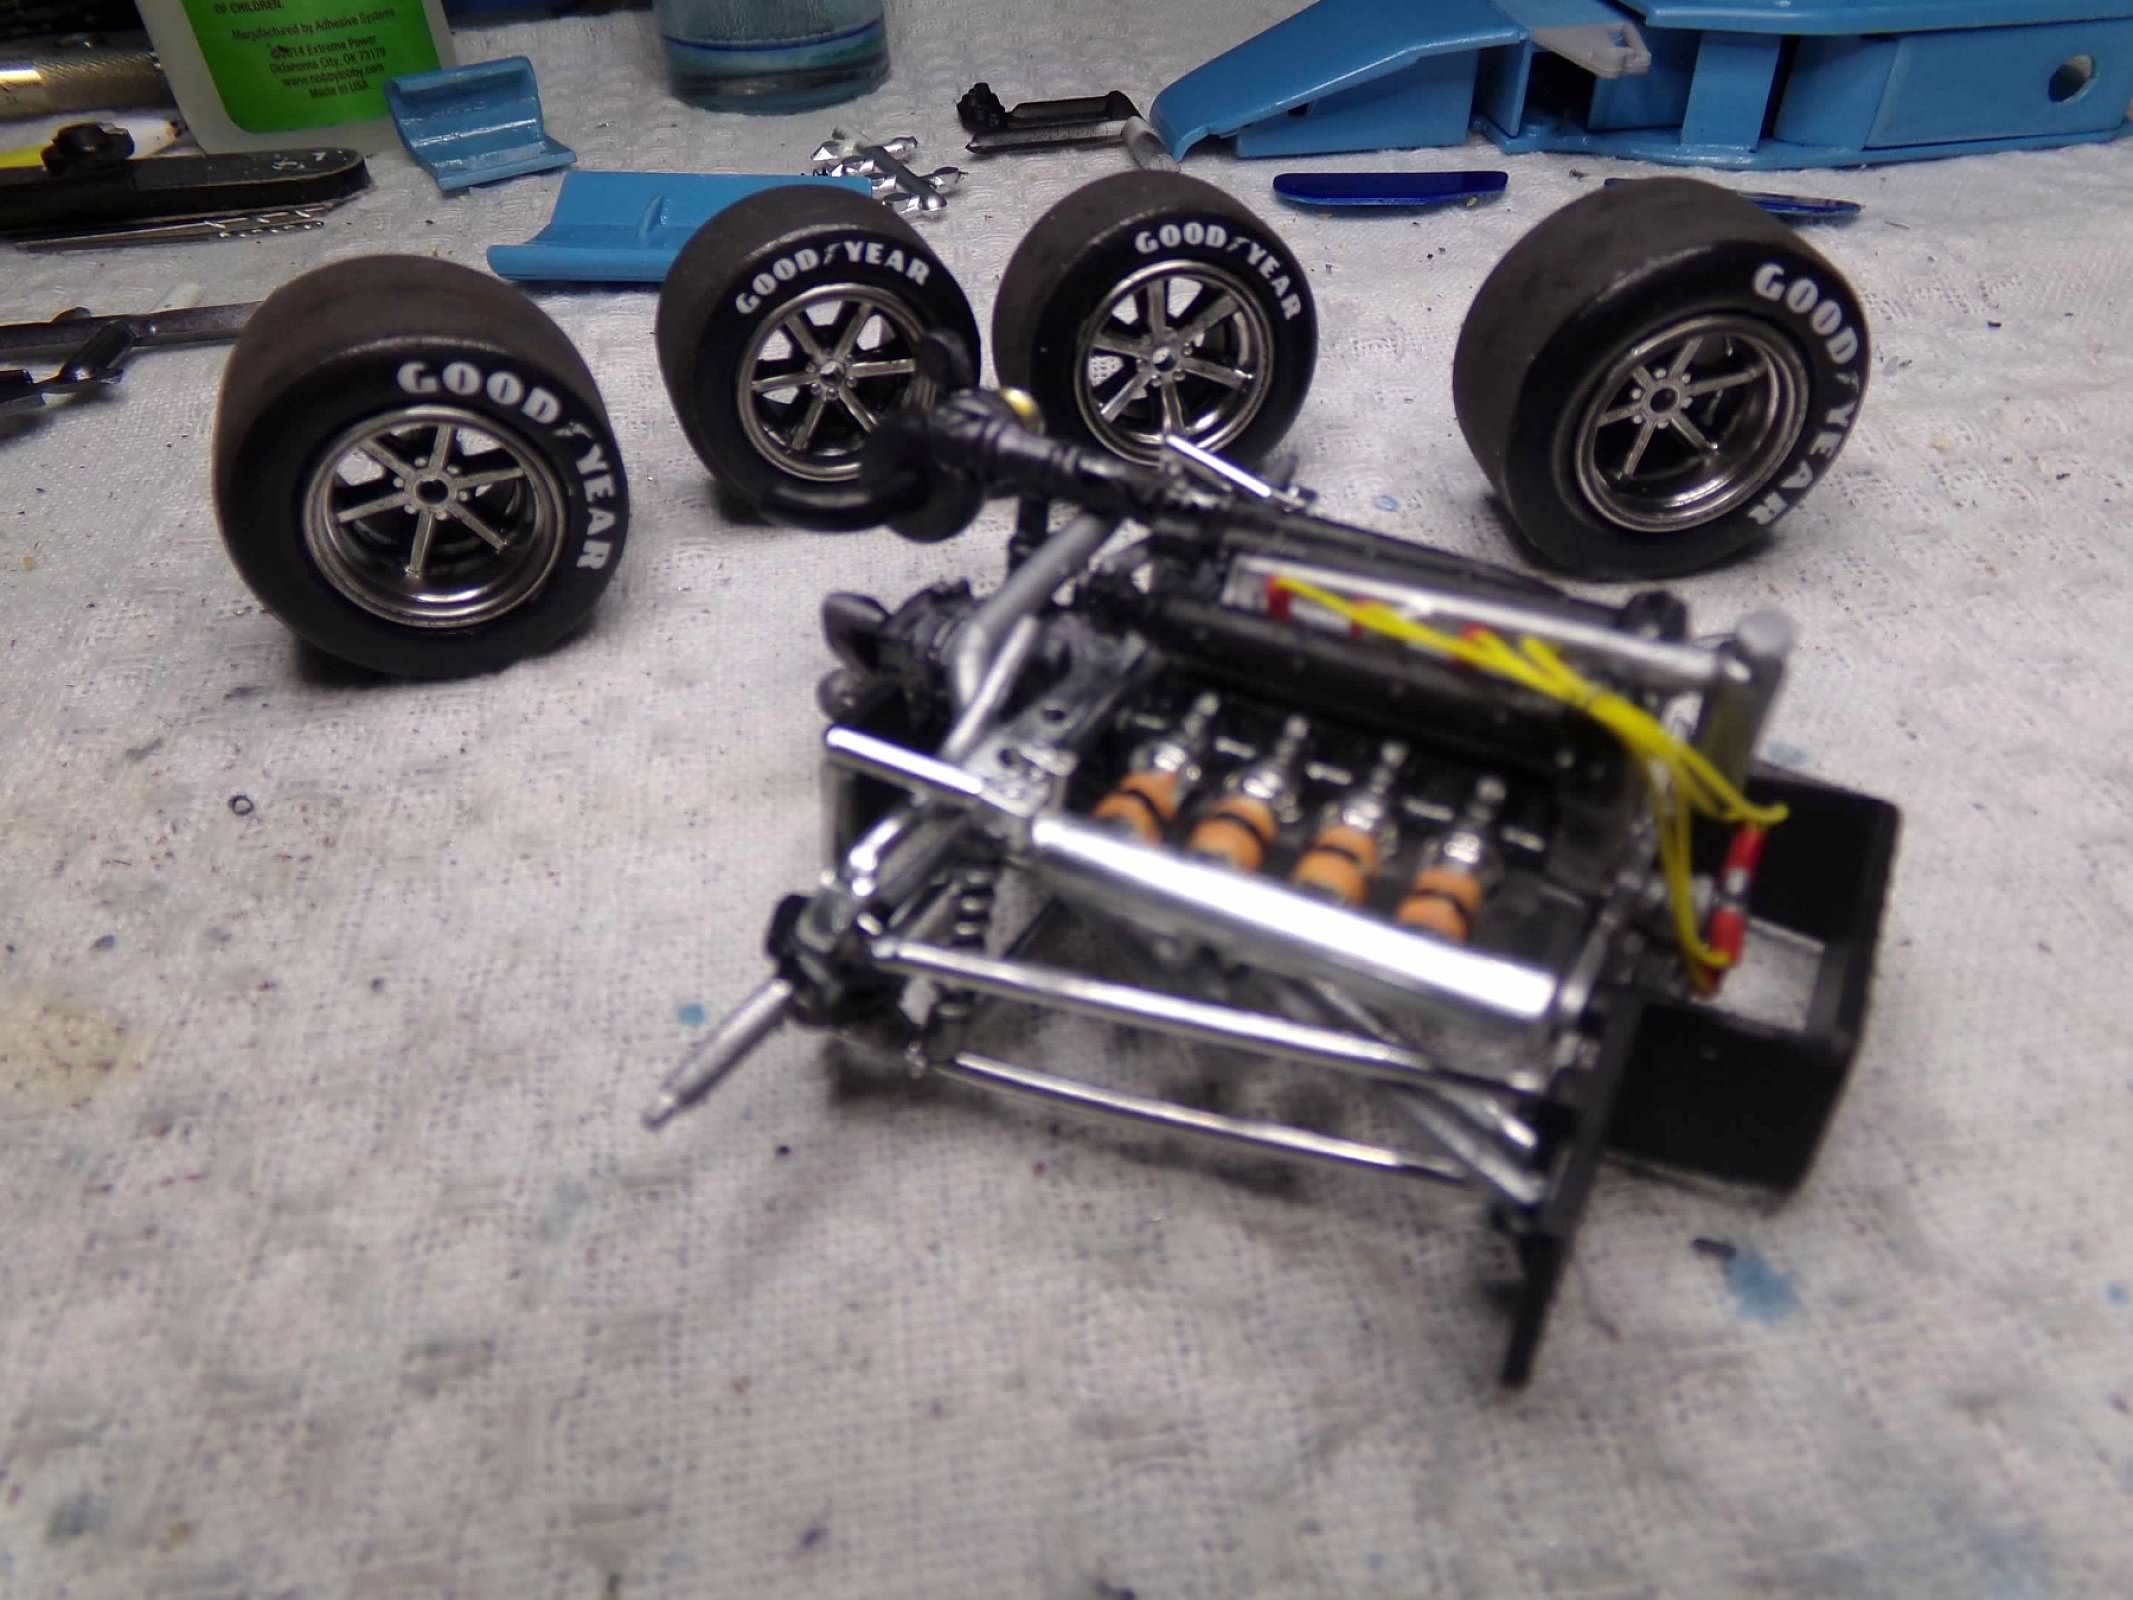
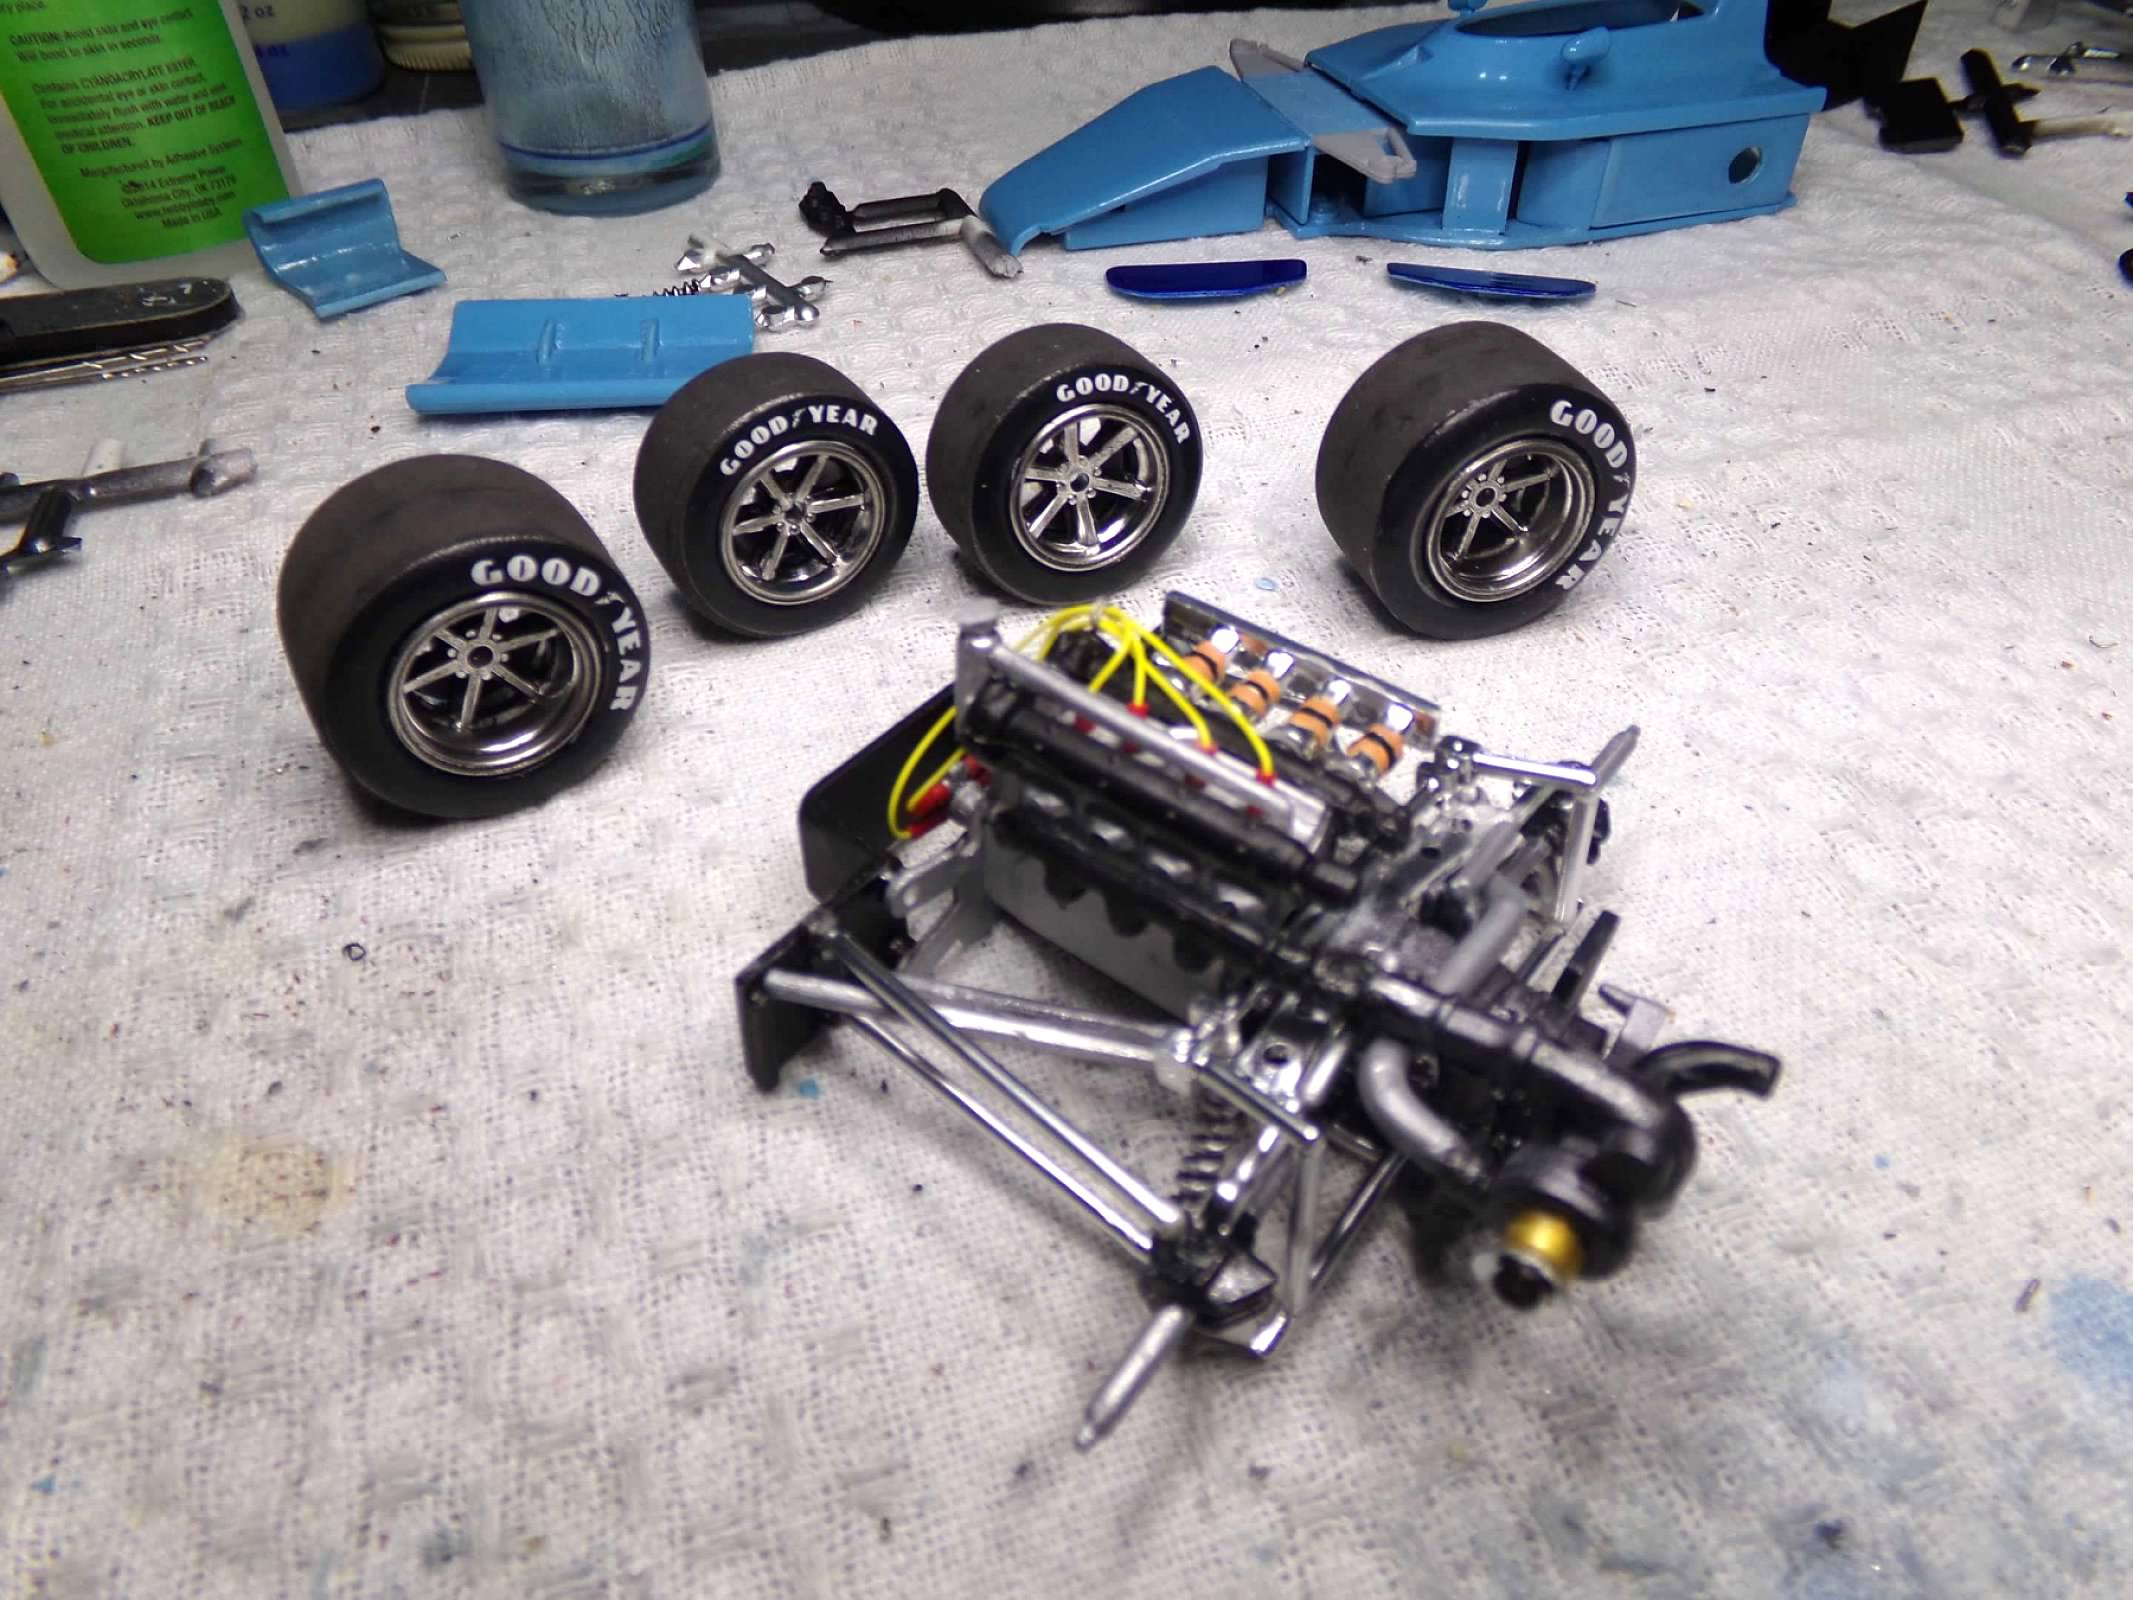
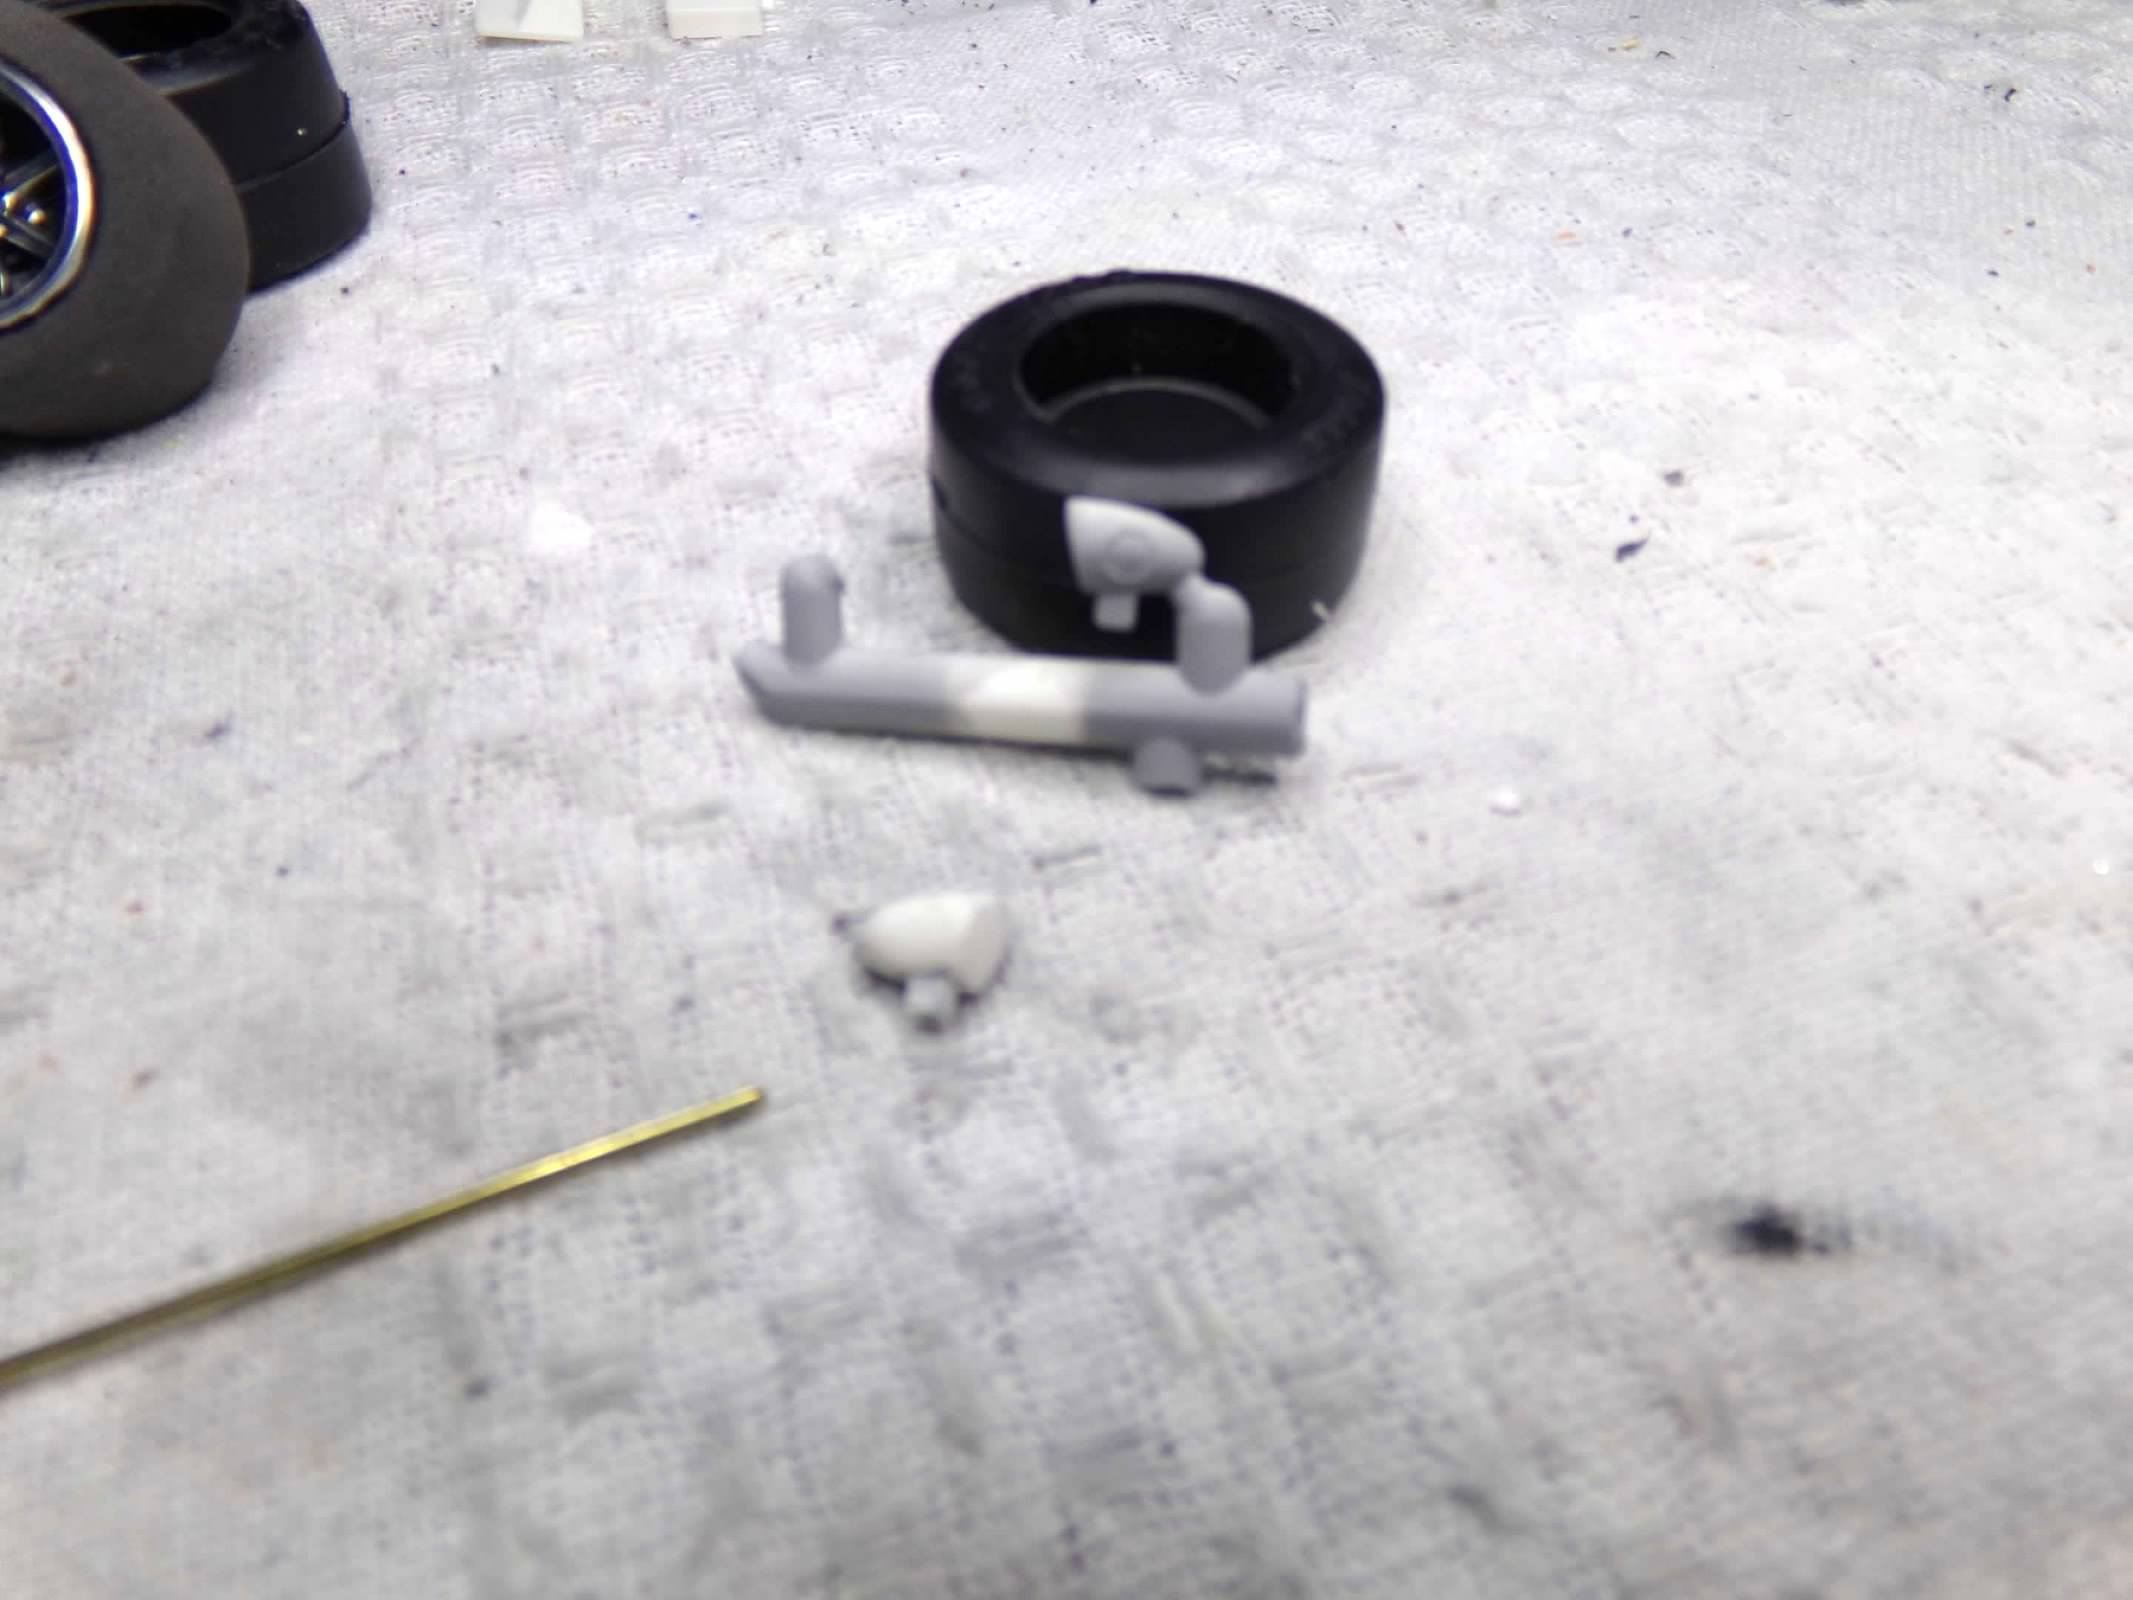
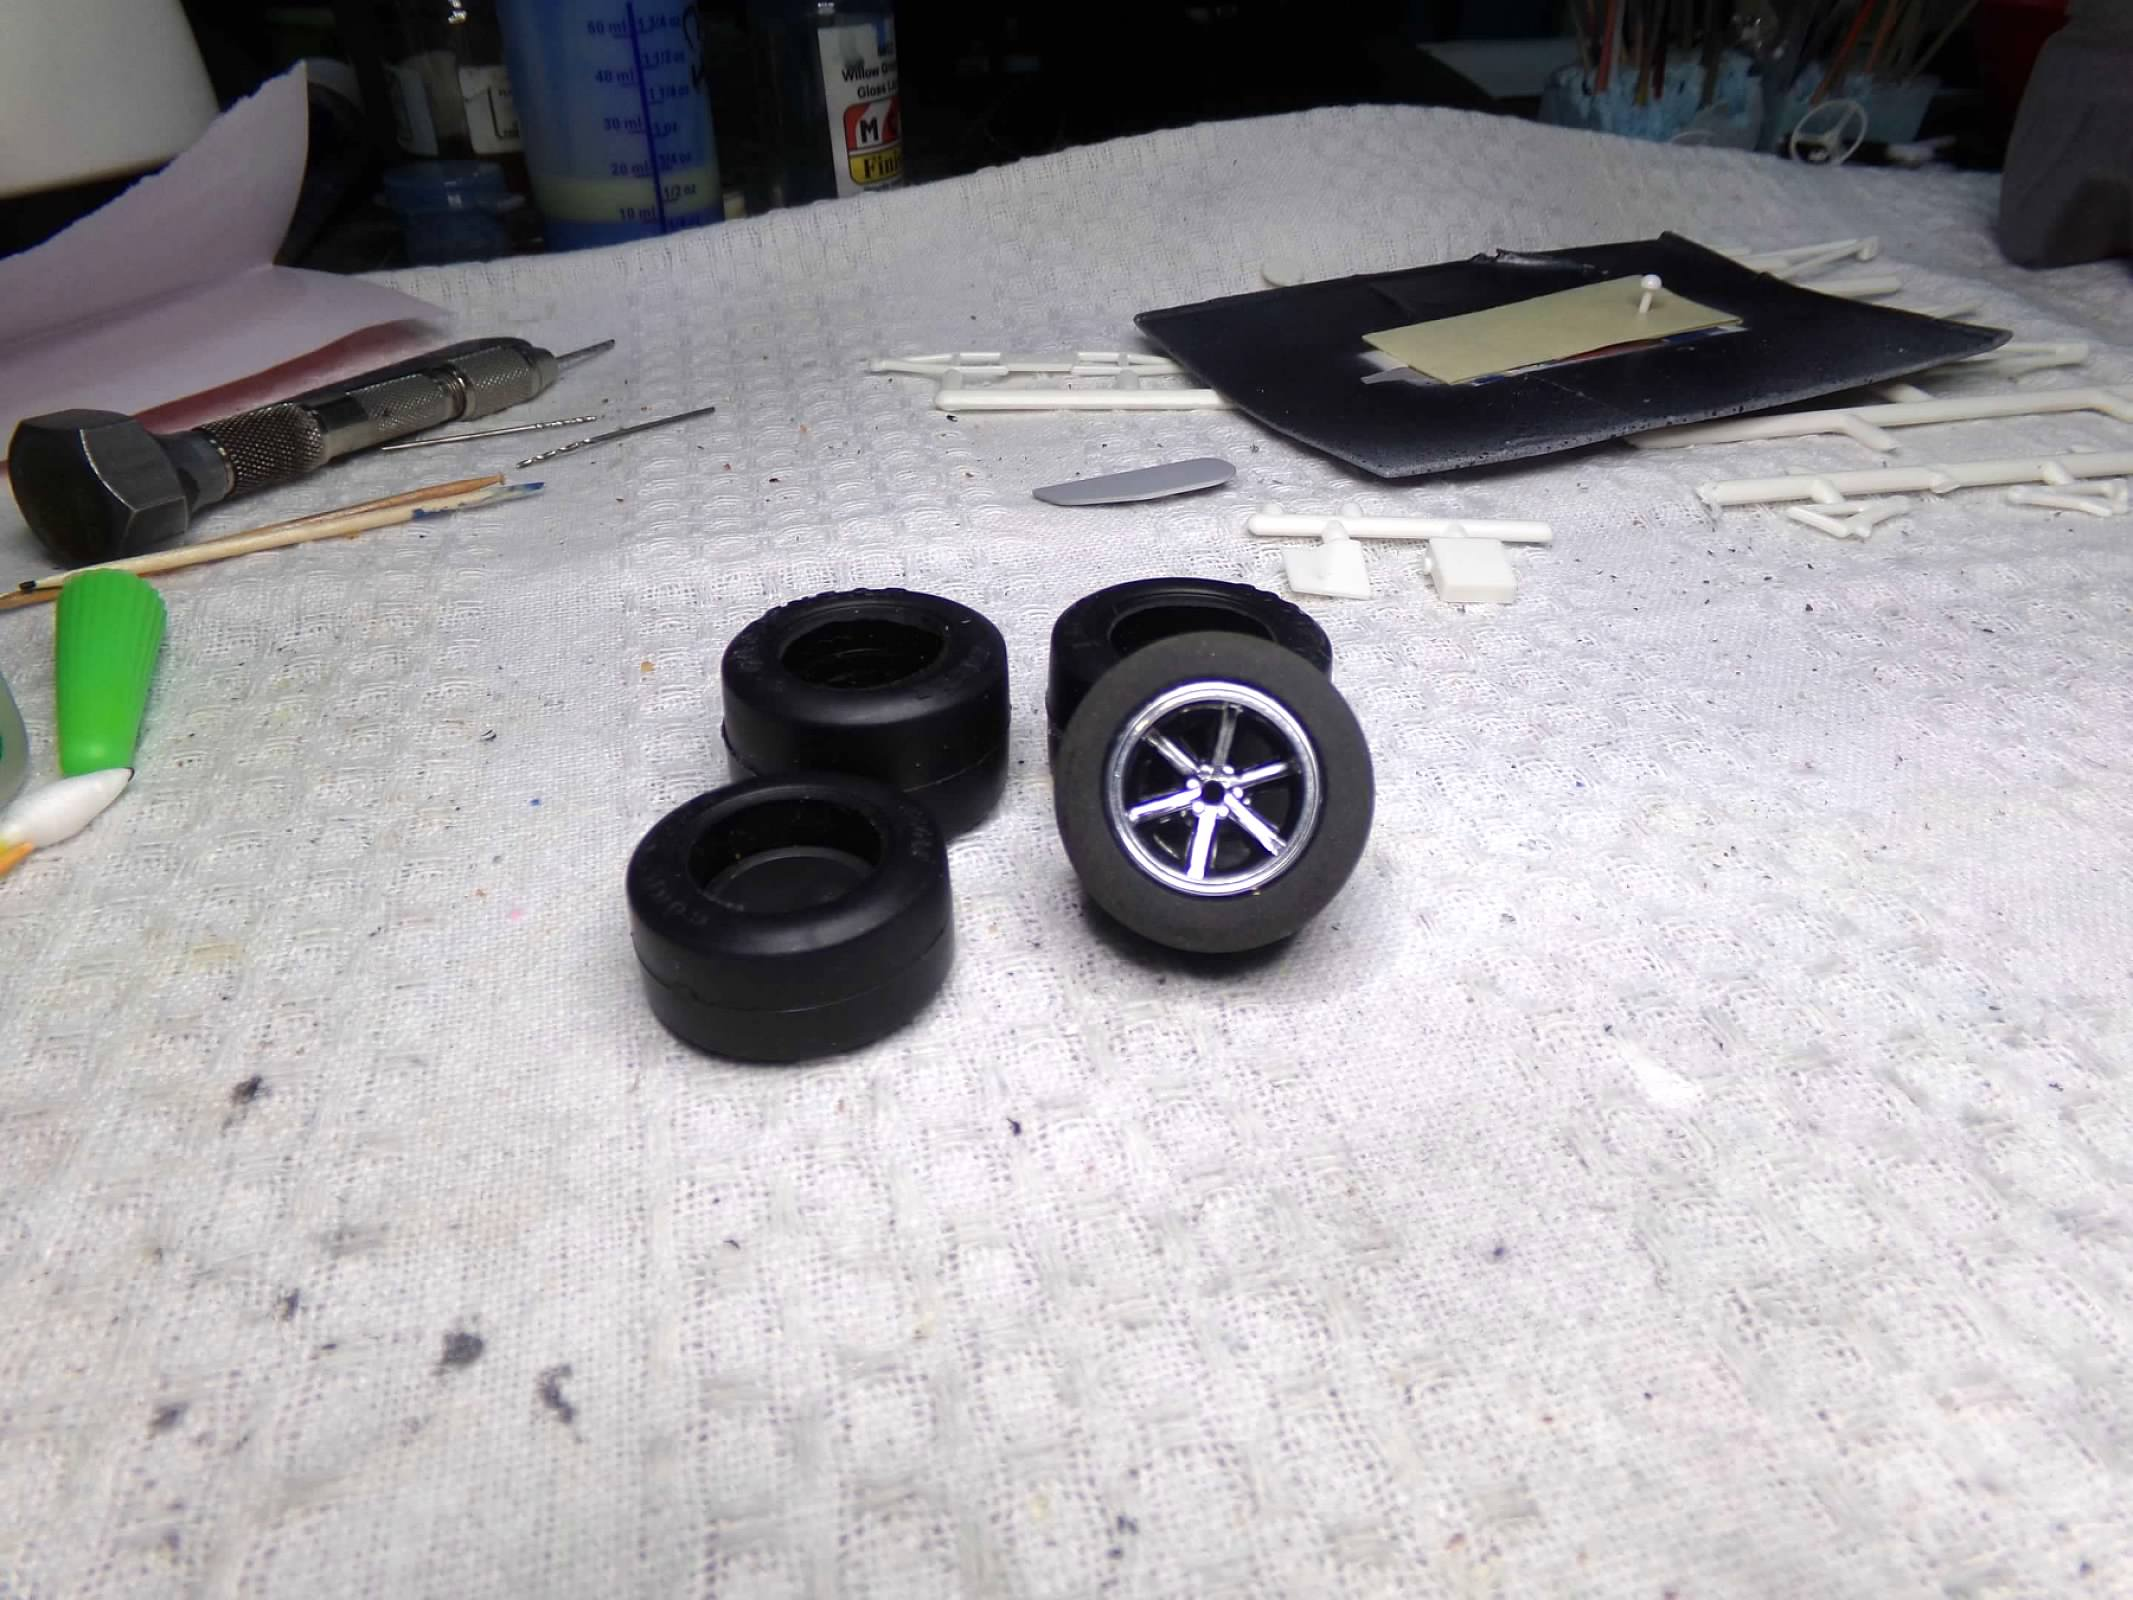
I finished the engine assembly and rear suspension. I only have to attach the rear wheel hubs and it will be done. I also finished the wheels and tires. The tires are from the parts box, the wheels are from the kit and the decals are from IndyCals. I smoked the wheels for a darker more race car-like appearance. I may add some more painted tape that I think are pressure sensors. I know there are wires running to them in photos but not being a mechanic I am not sure. Thanks for looking! ?
-
Thanks, Stephen! I agree! Now that I have it repainted and rubbed out I am much happier with the gloss and finish. It took a good part of the day to rub everything out again. I still have the wing fairings to finish but I can move on to the suspension assemblies and tires and finish the tires and wheels. Thanks for looking! ?
-
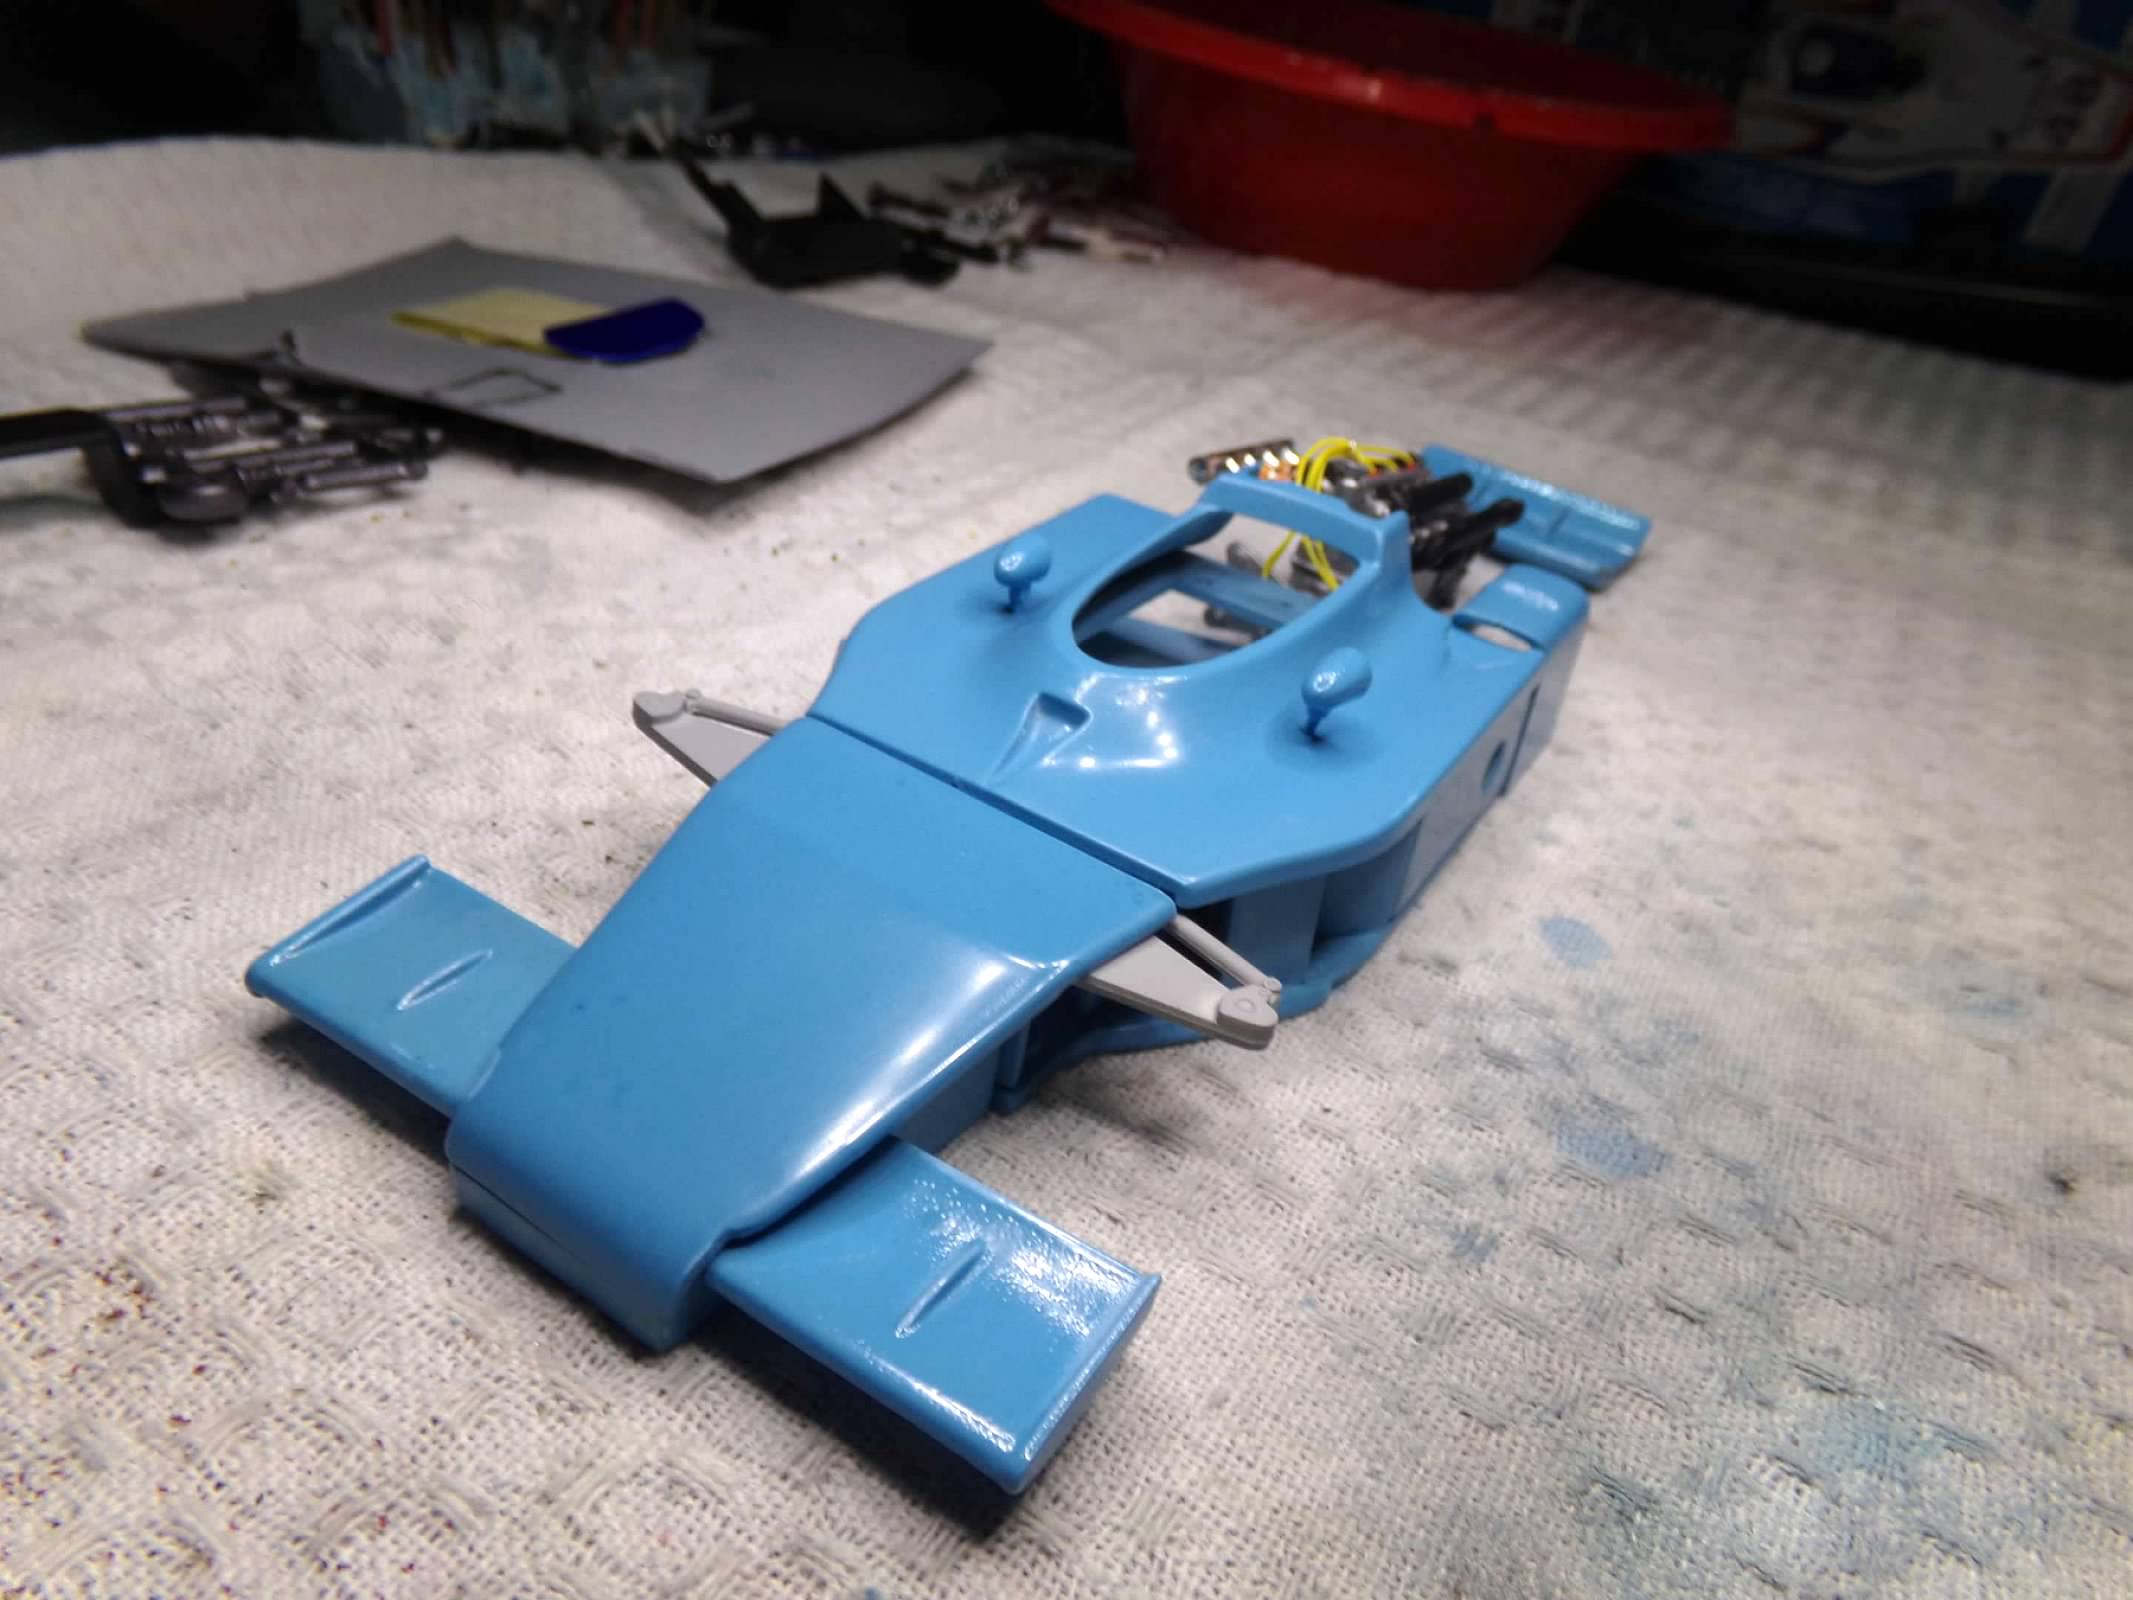
I wasn't happy about the color of the Short Cuts paint and the finish. It wasn't really a gloss. So I thought about it and I orignally bought a bottle of Testors Gloss Light Blue. So I thinned it and broke the airbrush out and repainted everything. Its been two days for most of it and the rest was sprayed with a lacquer clear so I figured I was safe from the 48 hour rule. And I was right! So now I have a somewhat darker, richer, and glossy finish! I'll have to rub it out again but won't need a clear and I think this will look much better. Thanks for looking! ?
-
I've been fighting the plastic, the paint and the weather for days but I think I finally have all the light blue painted. I only need to rub out a few pieces yet and I can't seem to get a good gloss but pastel colors are hard to get glossy. The Krylon Short Cuts used to be better paint but they must have changed the formula and now its just crappy paint. I've also assembled the engine and added spark plug wires. Hopefully, this will start moving a little faster from here. Thanks for looking! ?
-
Thanks, Mike, Bruce and Andrew! I appreciate your comments! I sat in the Grandstands and had a good view of the 4th turn. It was quite a race on the last lap! First, I had to sand out the pin marks on the sides of both mirrors. Then I drilled a couple of holes in the top of the body cowling for the mirrors. I have also pinned the mirrors on some 1/32" brass rod about 1/4" long using a 69 and 65 drill bit in my pin vise. Unless the mirrors are raised the driver won't be able to see behind. I also figured out how the radiator and radiator shrouds should be positioned. So I glued in the shrouds for painting and I can slip in the radiators for assembly later. So I found a can of Krylon Short Cuts Light Blue to use although I hate to use Krylon on a body but there isn't any light blue model lacquer out there and I don't like to use enamel because I would have to use clear enamel over it and that always yellows so quickly. I hope to get paint on it today but it will be iffy because rain is on its way. Thanks for looking! ?
-
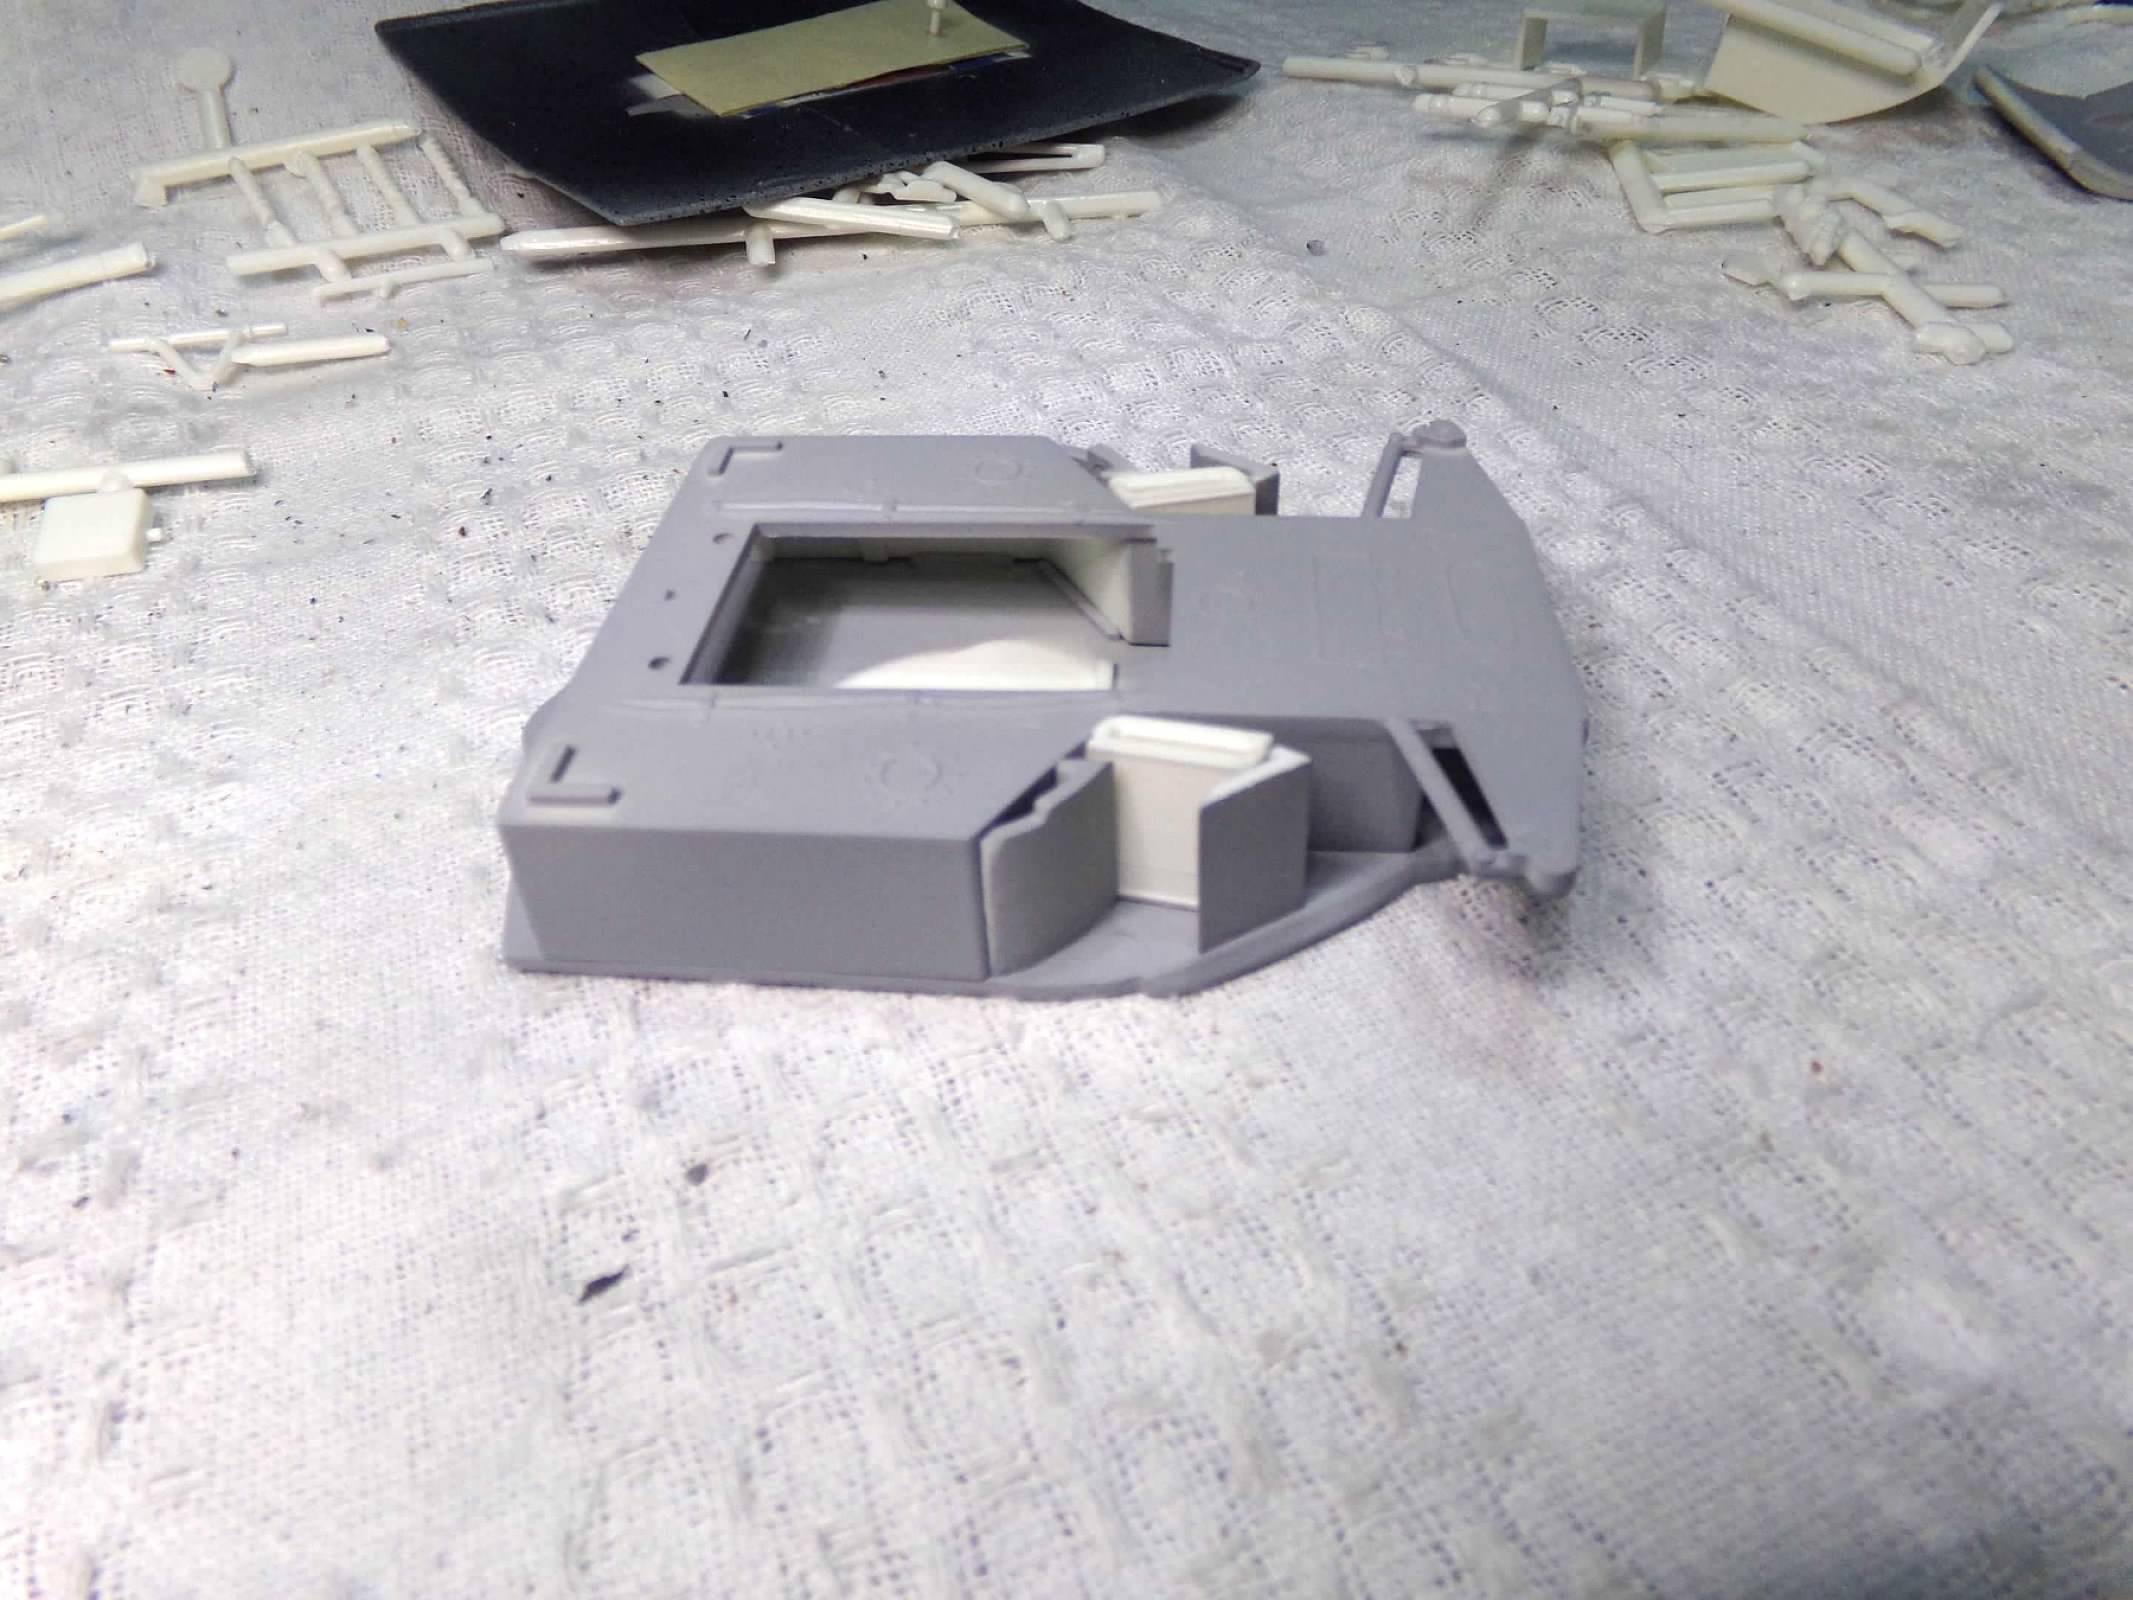
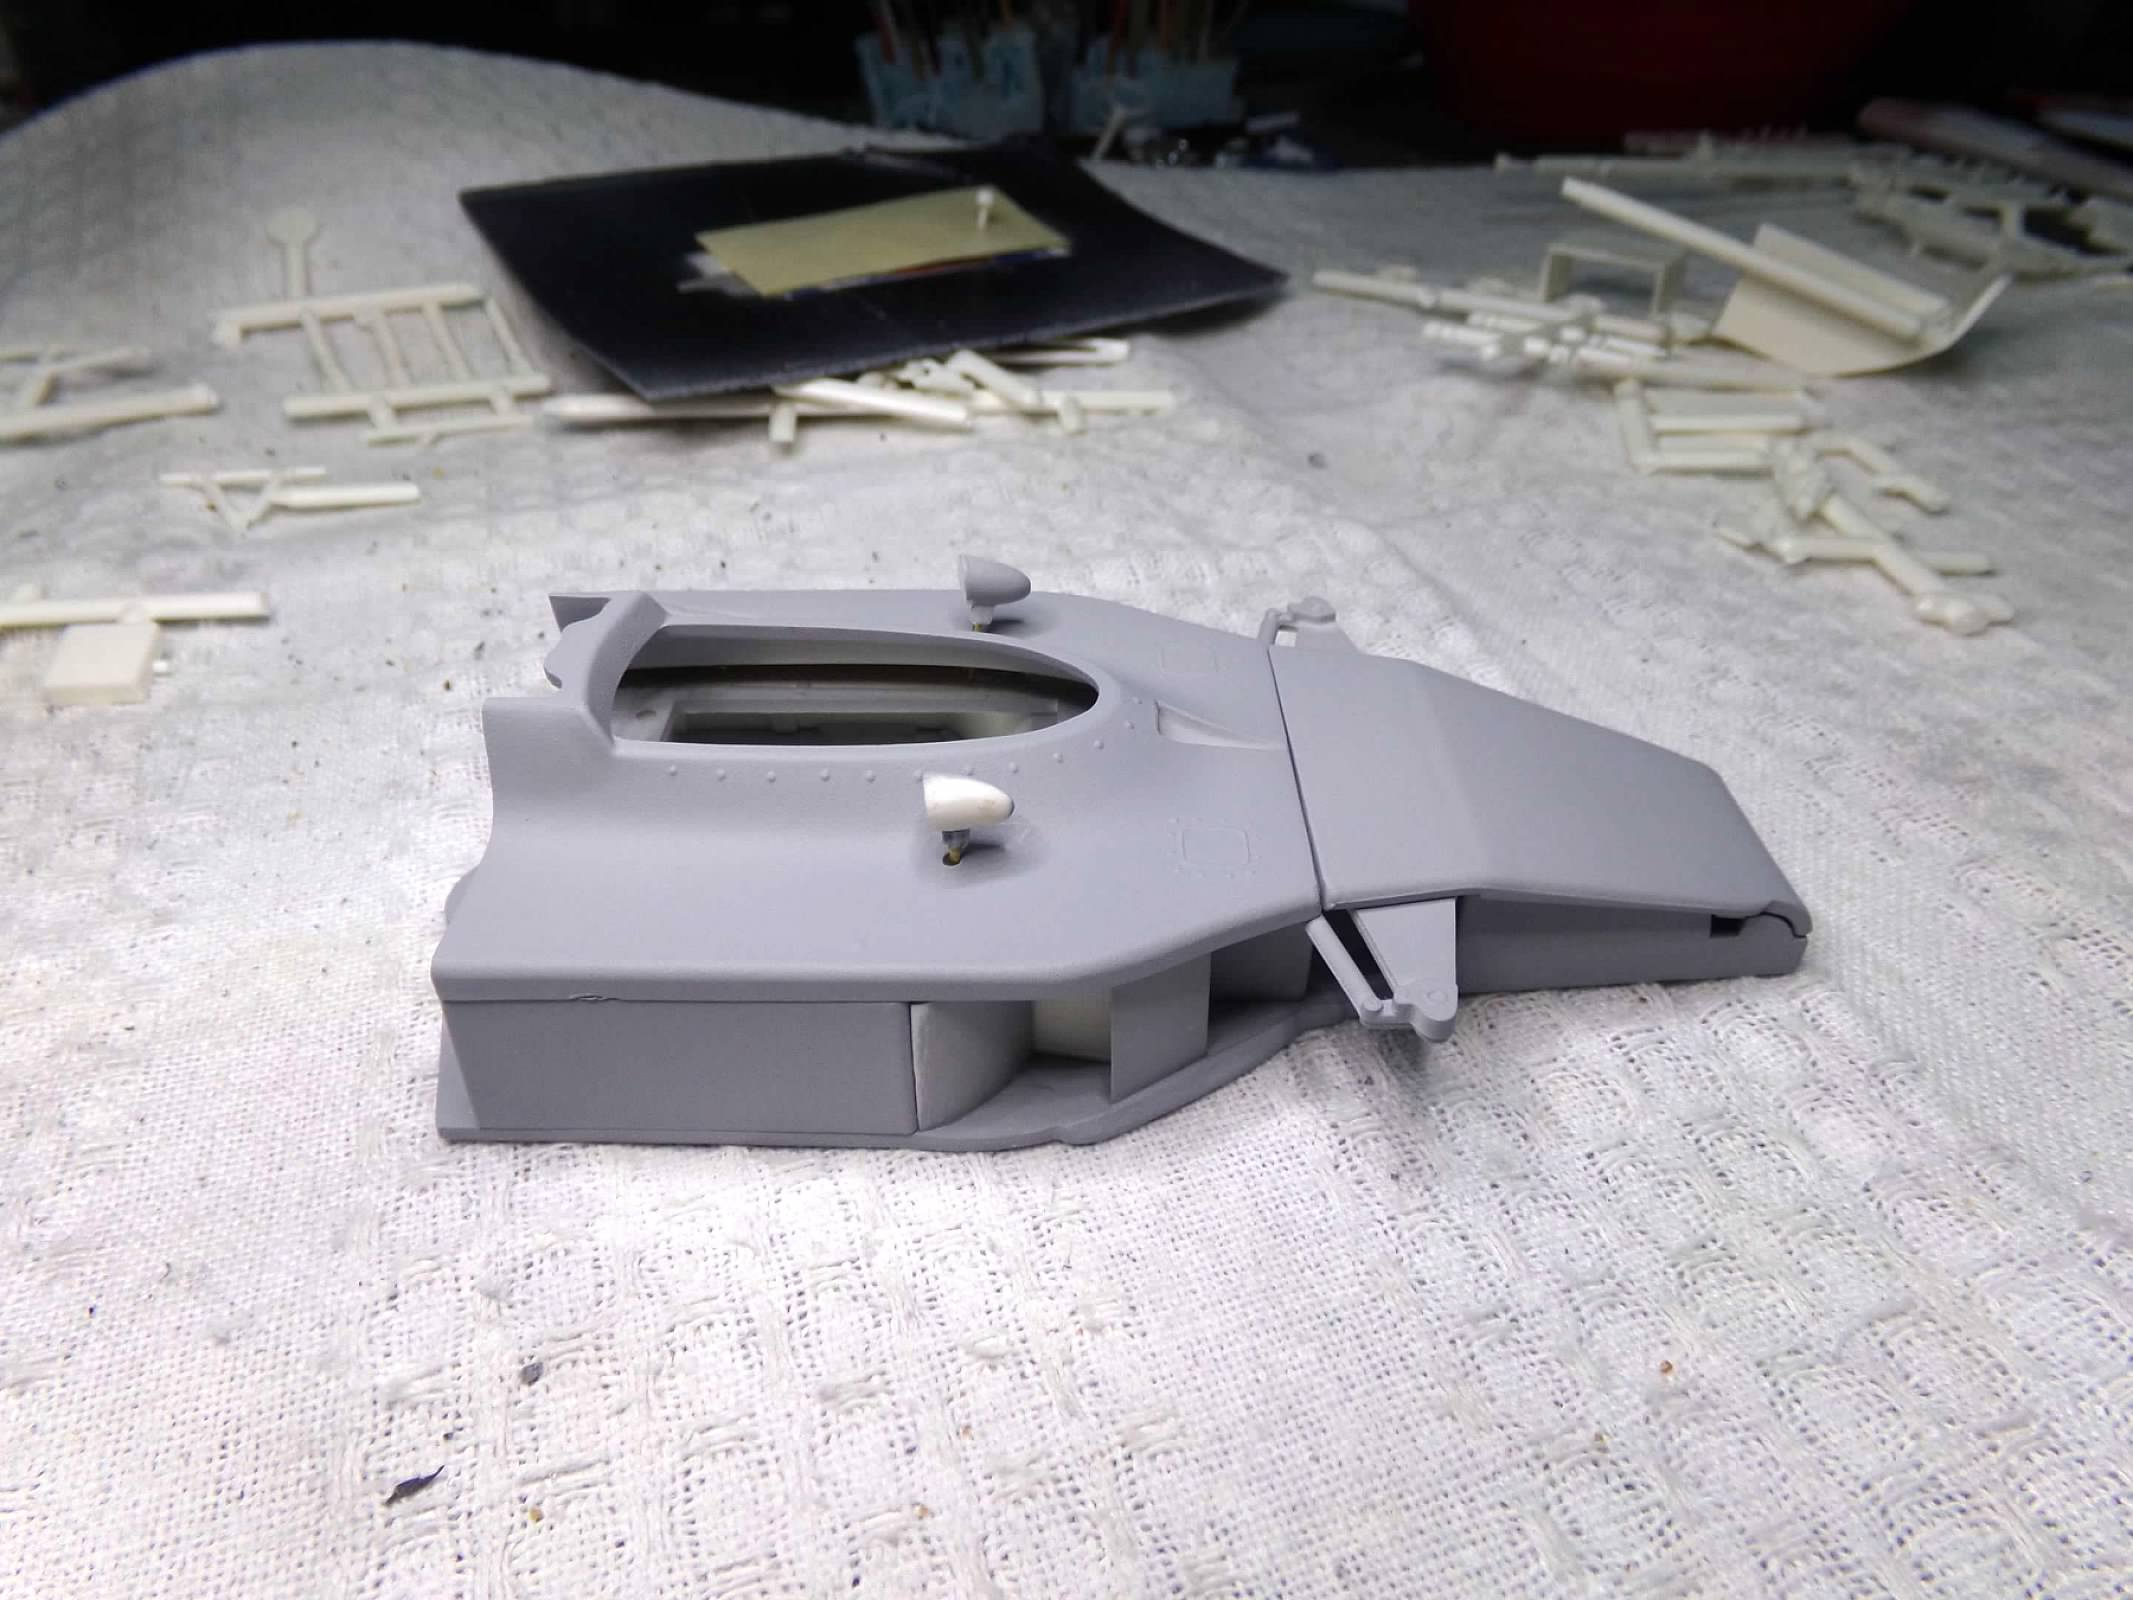
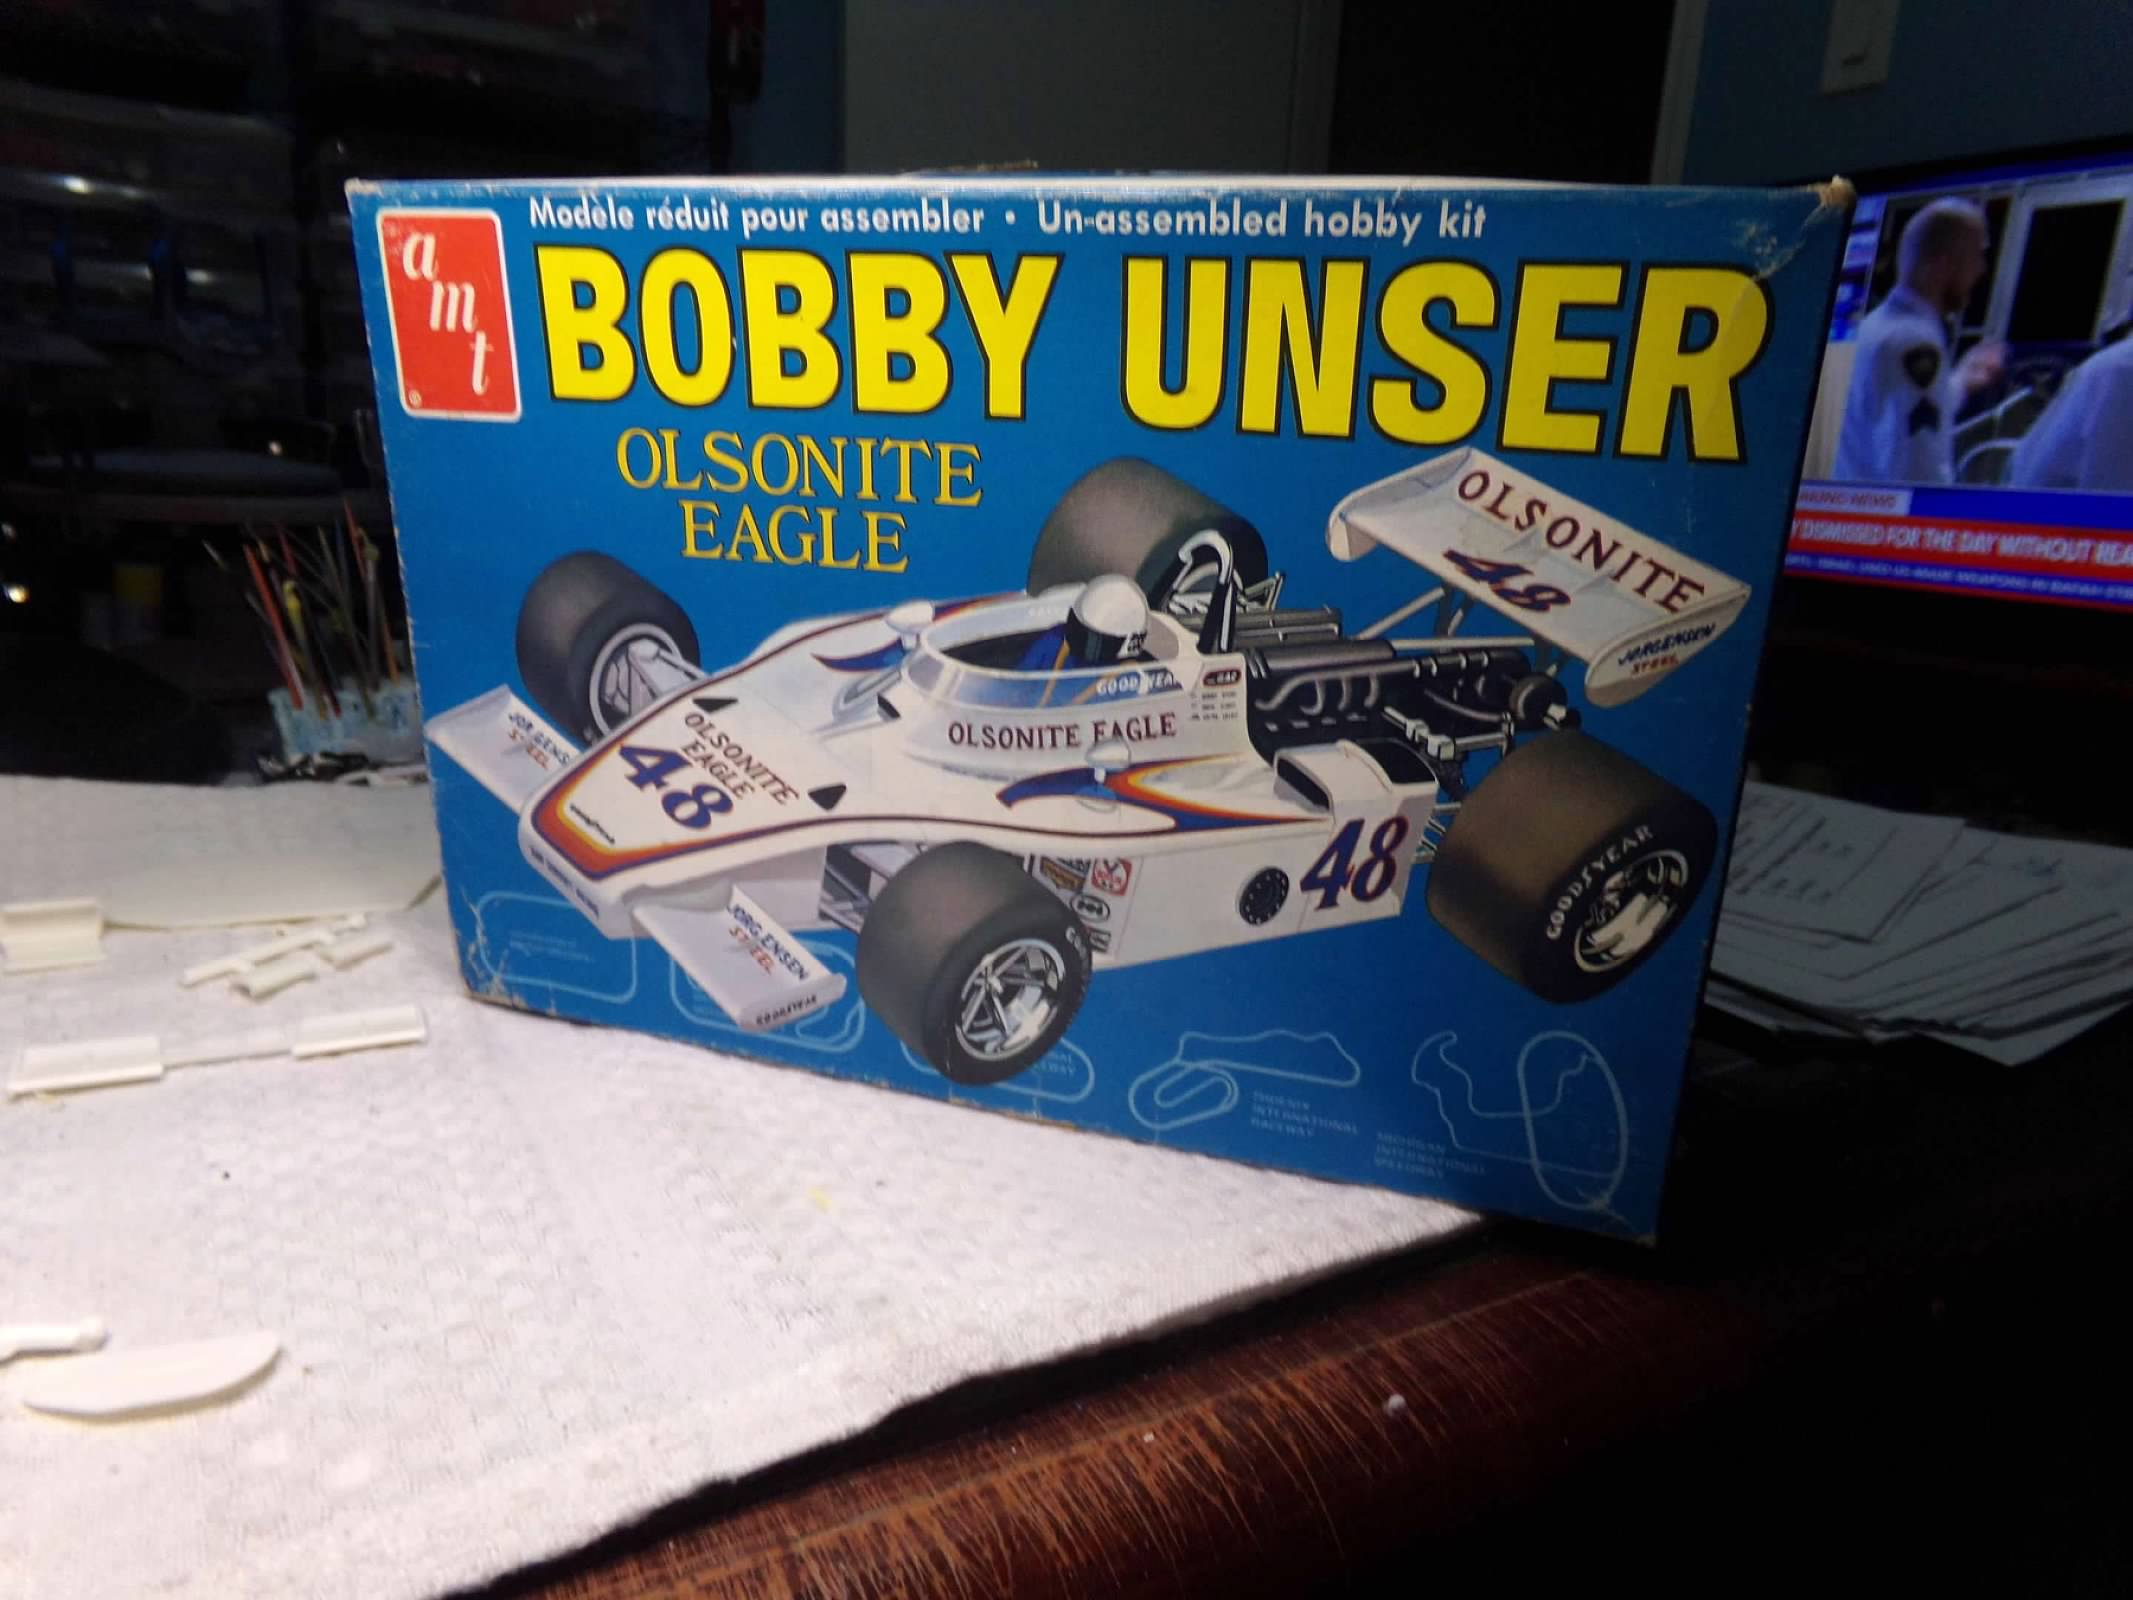
I'm back from Indy so I thought I would start a new Indy race car. Actually, I started it before I left. I found another set of Indy race tires that are not two piece tires like the ones in this old kit. I also ordered decals from IndyCals and they are here already after I got back. I am using the 1974 kit but the 1975 Eagle that won the race in 1975 is the same car it looks like to me or is close enough. So this one will get a light blue color. I found this kit at the last model car show and probably paid too much for it at $40, but as they say, they ain't making no more of them. There are a lot of little circle thingys in the plastic and most are not visible but the one that are I am filing and sanding. There are a couple of sink marks in the wing fairings that I borrowed from a Penske PC-6 that fit the shape of the fairing for the 1975 Eagle. I also filled and sanded them. I have sanded down 1 tire so far and painted the inside of the wheel black. I will do the same for the other 3 wheels. I am in the process of painting the body parts with primer. I think I will have to paint all the parts before I can assemble many as it will be too difficult to assemble with white glue and paint the body and then pull it apart to assemble, only to try to match everything up again. I'll have to try to make sure the paint and glue play nice as I assemble the painted pieces of the body. Here are a few photos. Thanks for looking! ?
-
Thanks again, everyone! I appreciate your comments! ?
-
Thanks, everyone! I really appreciate all of your comments! ?
-
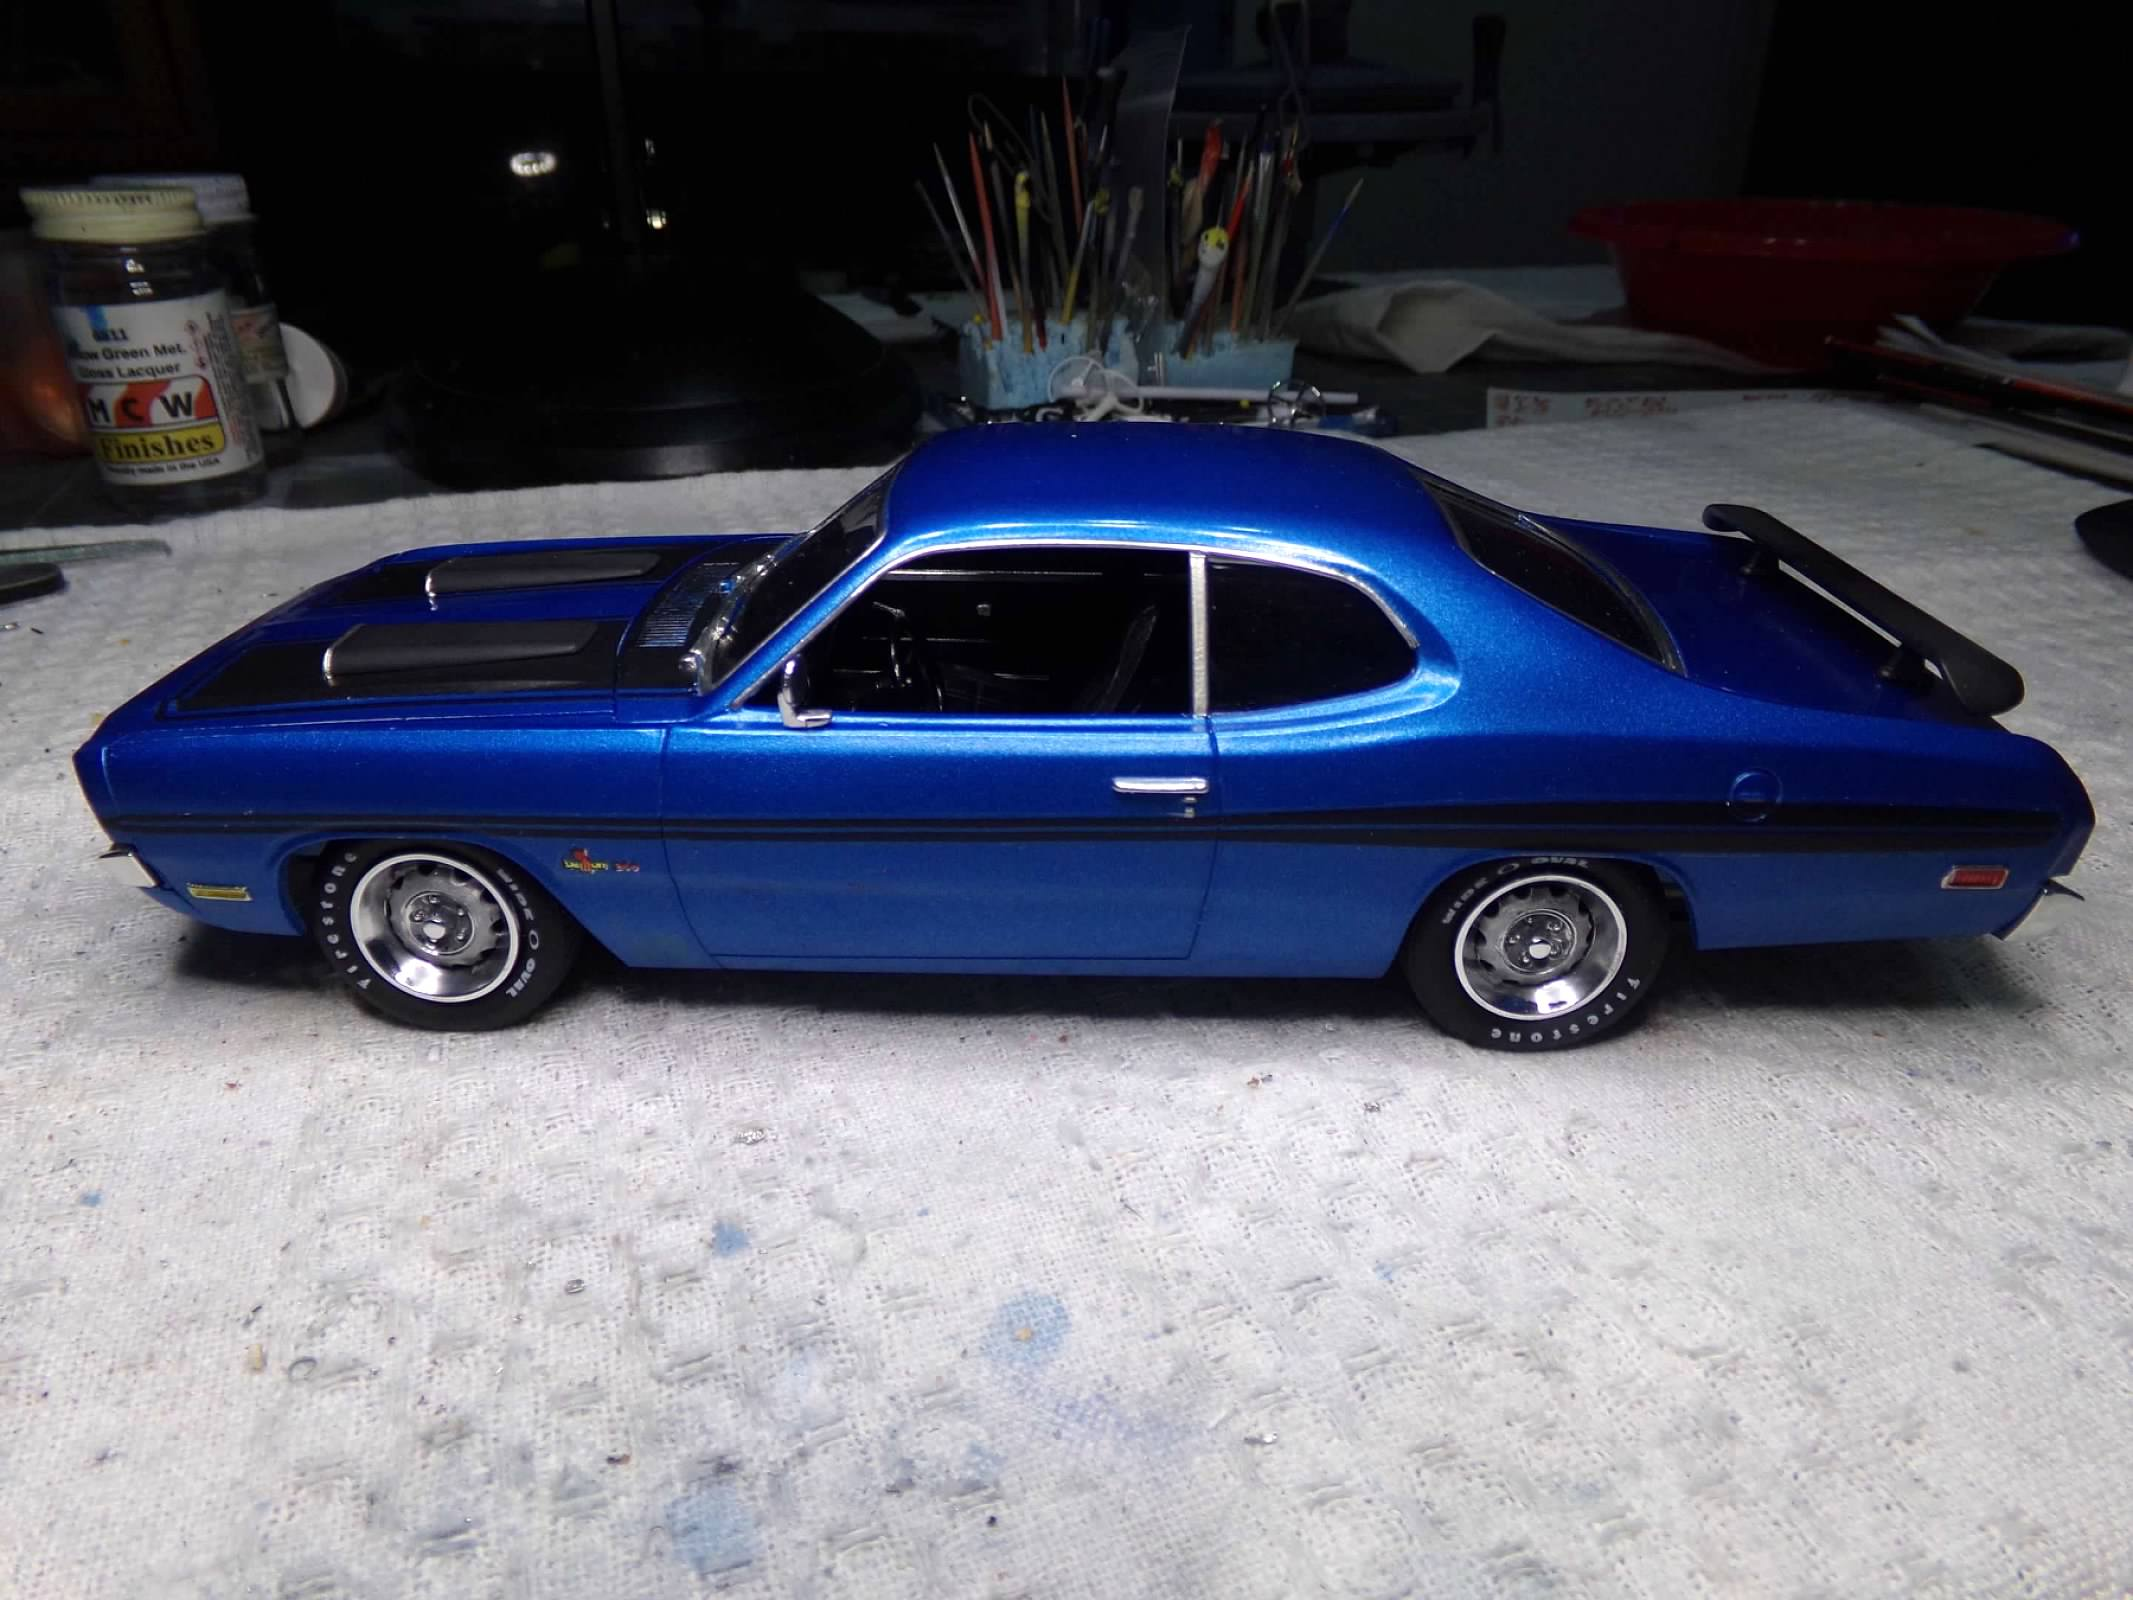
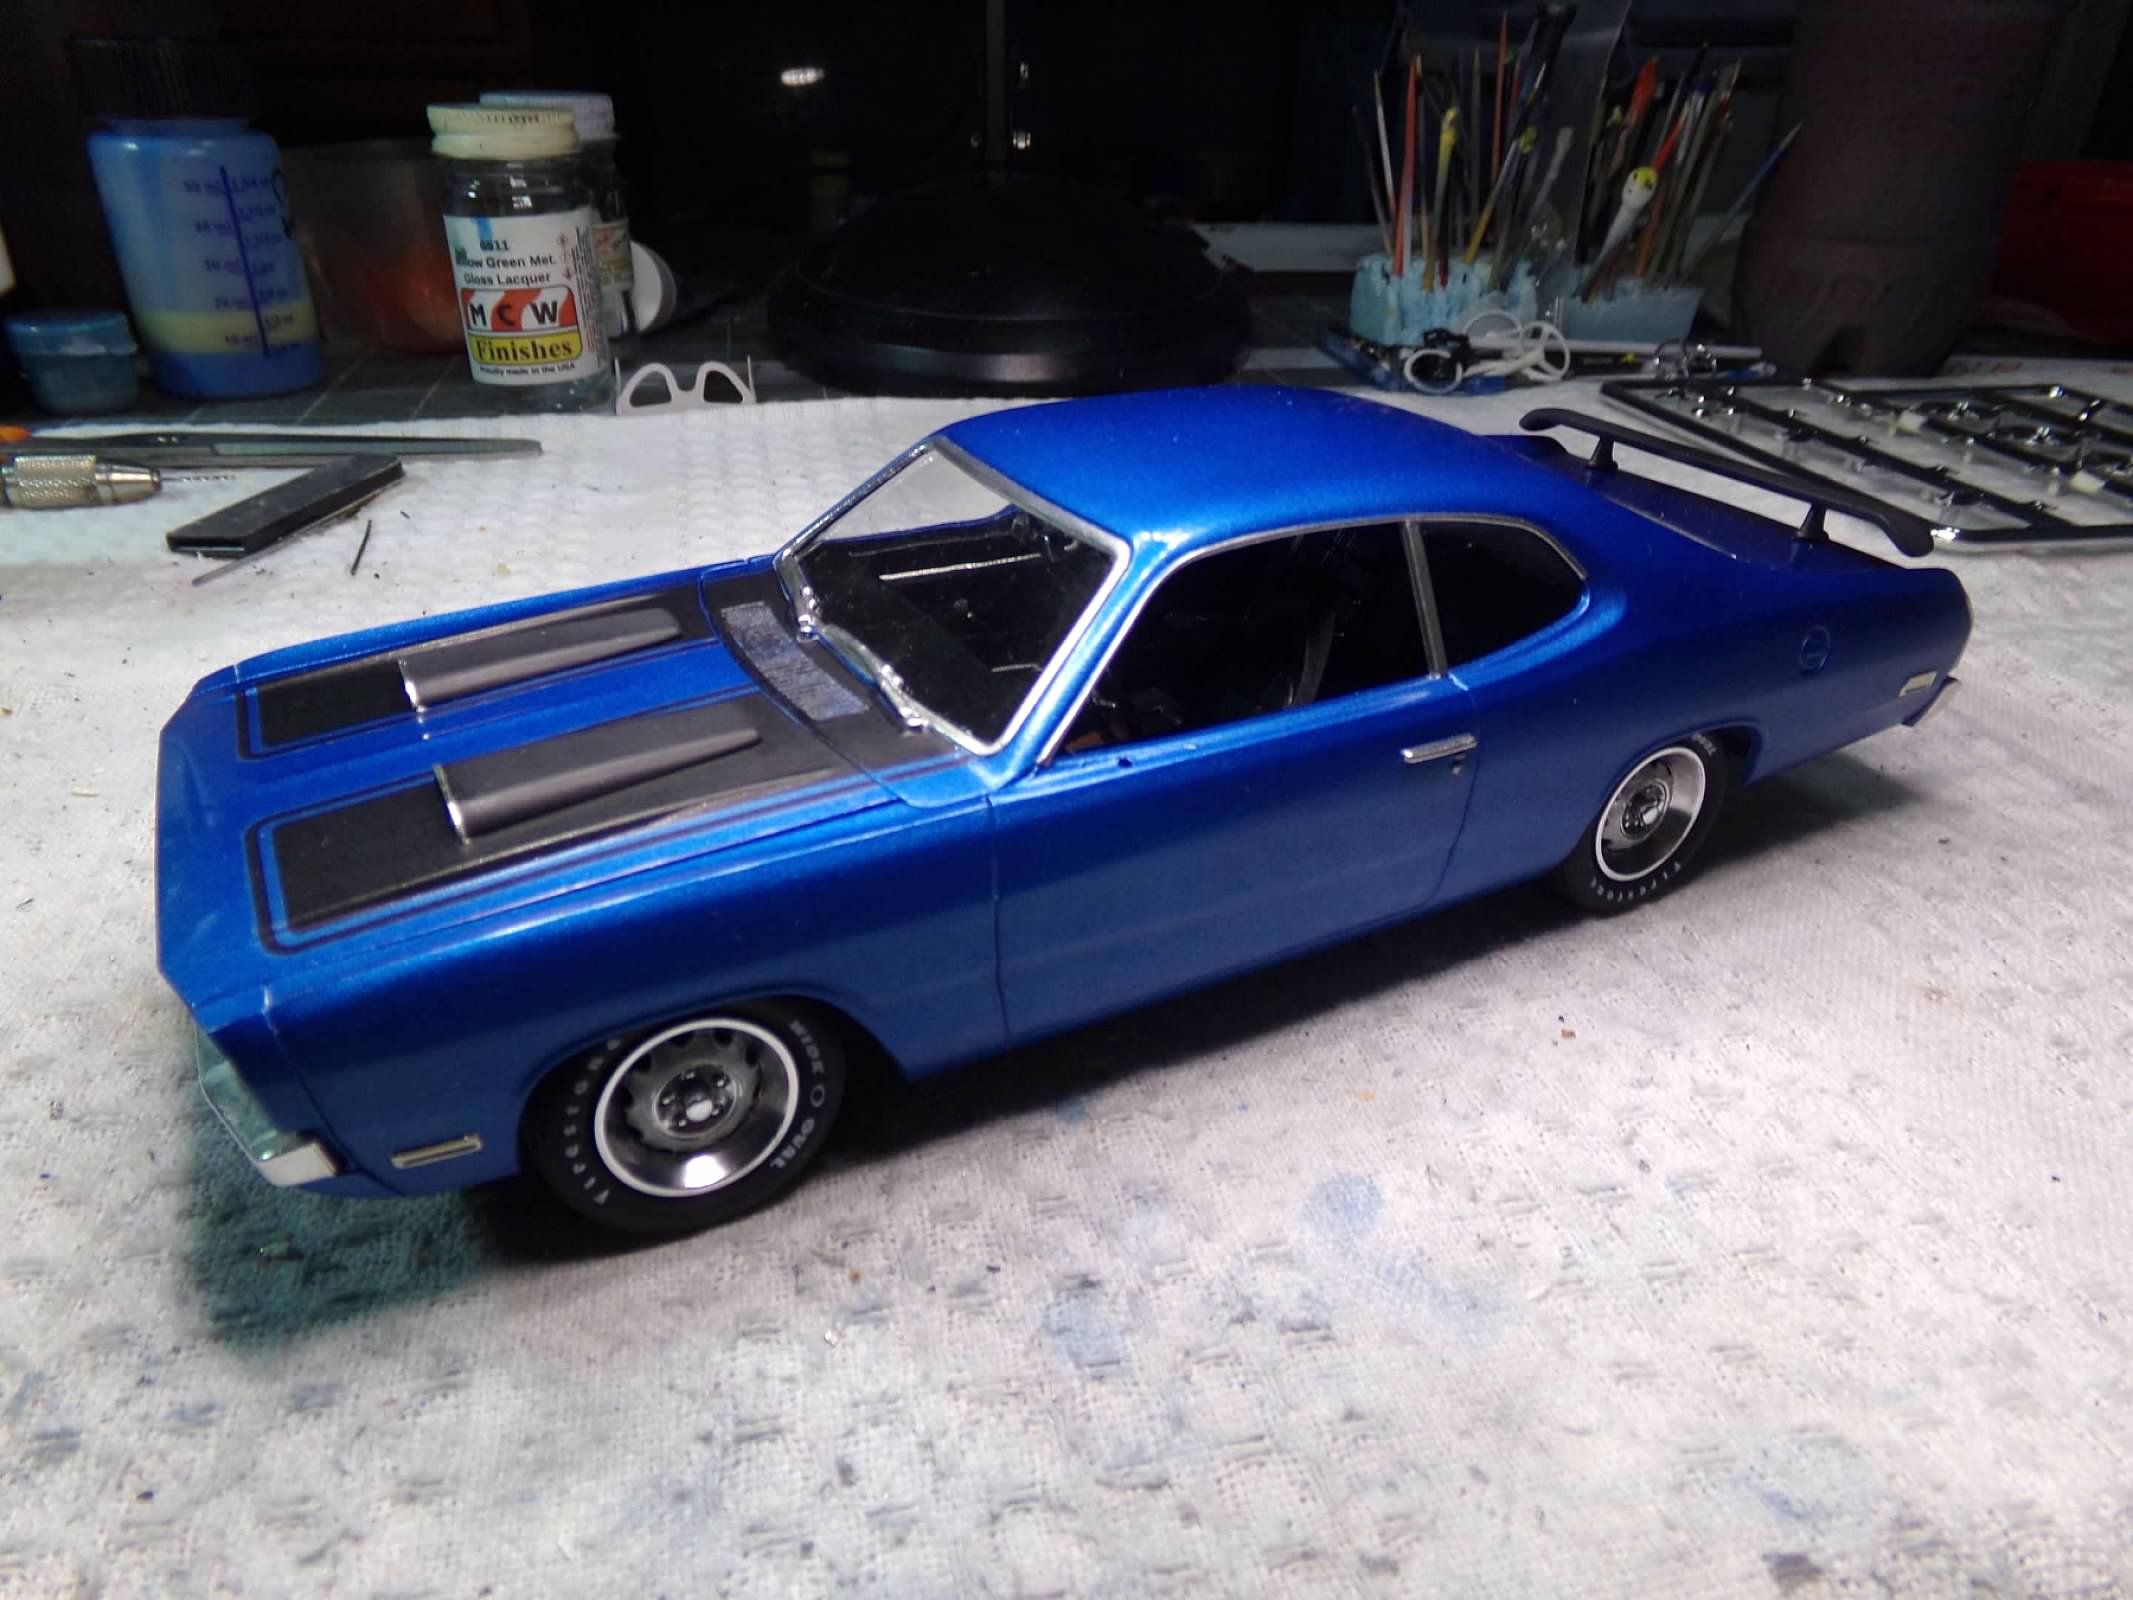
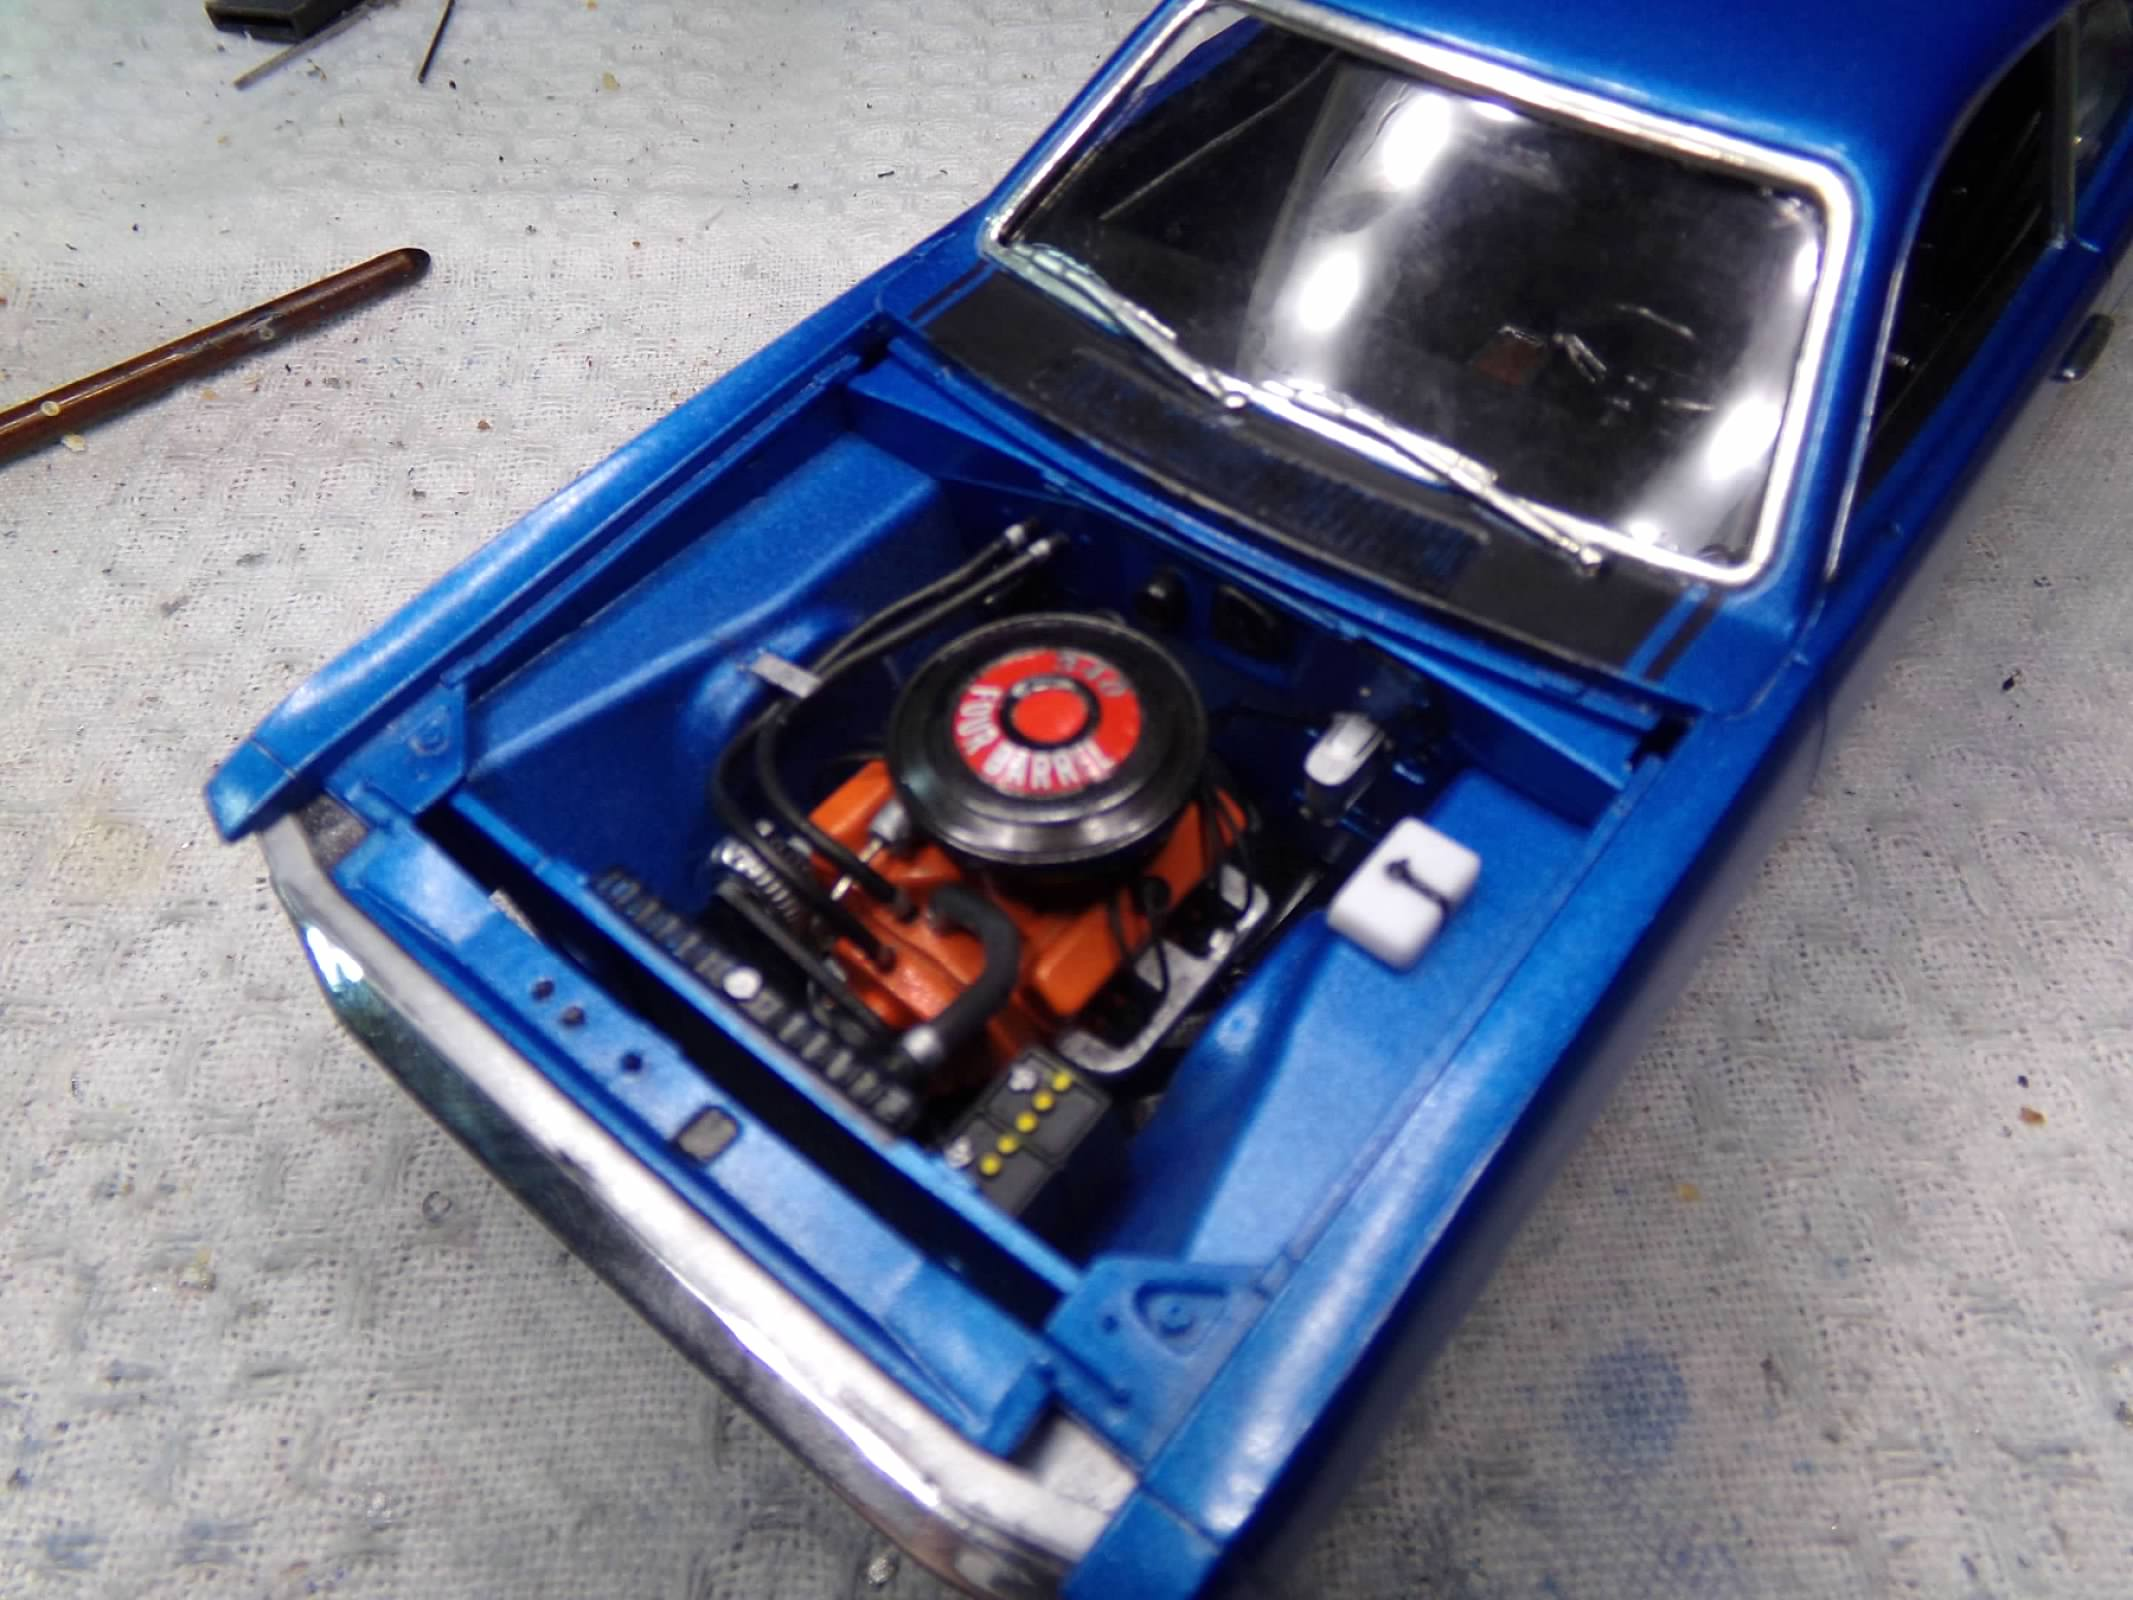
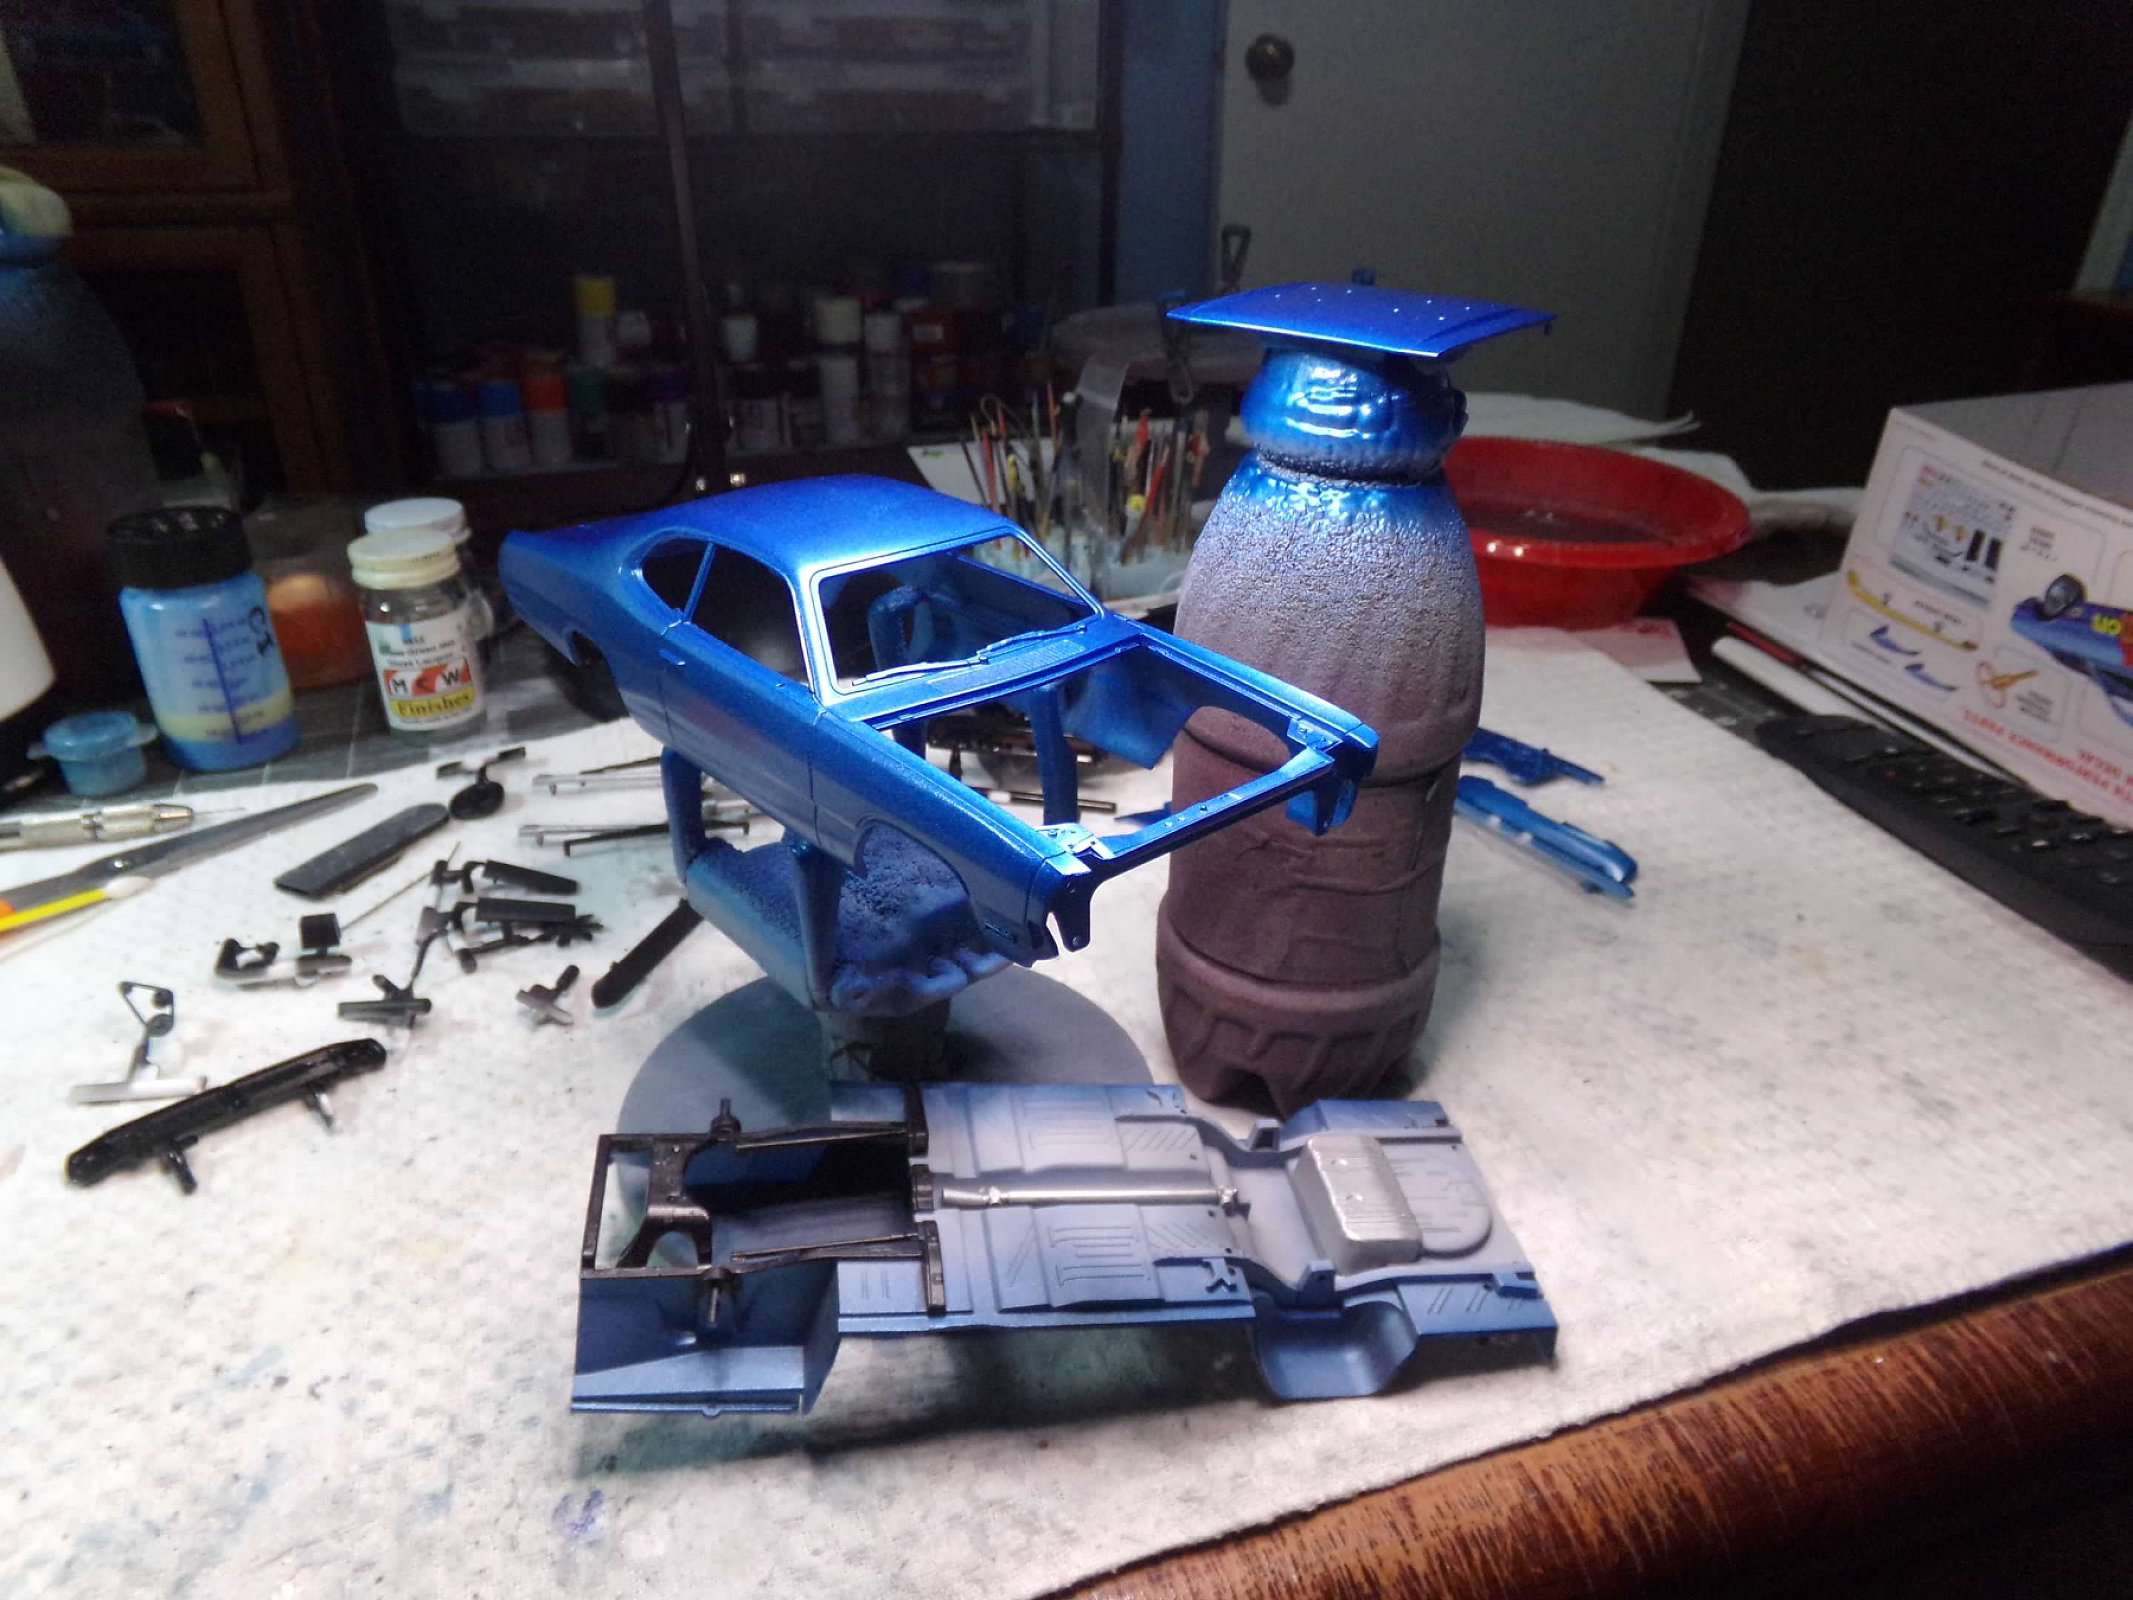
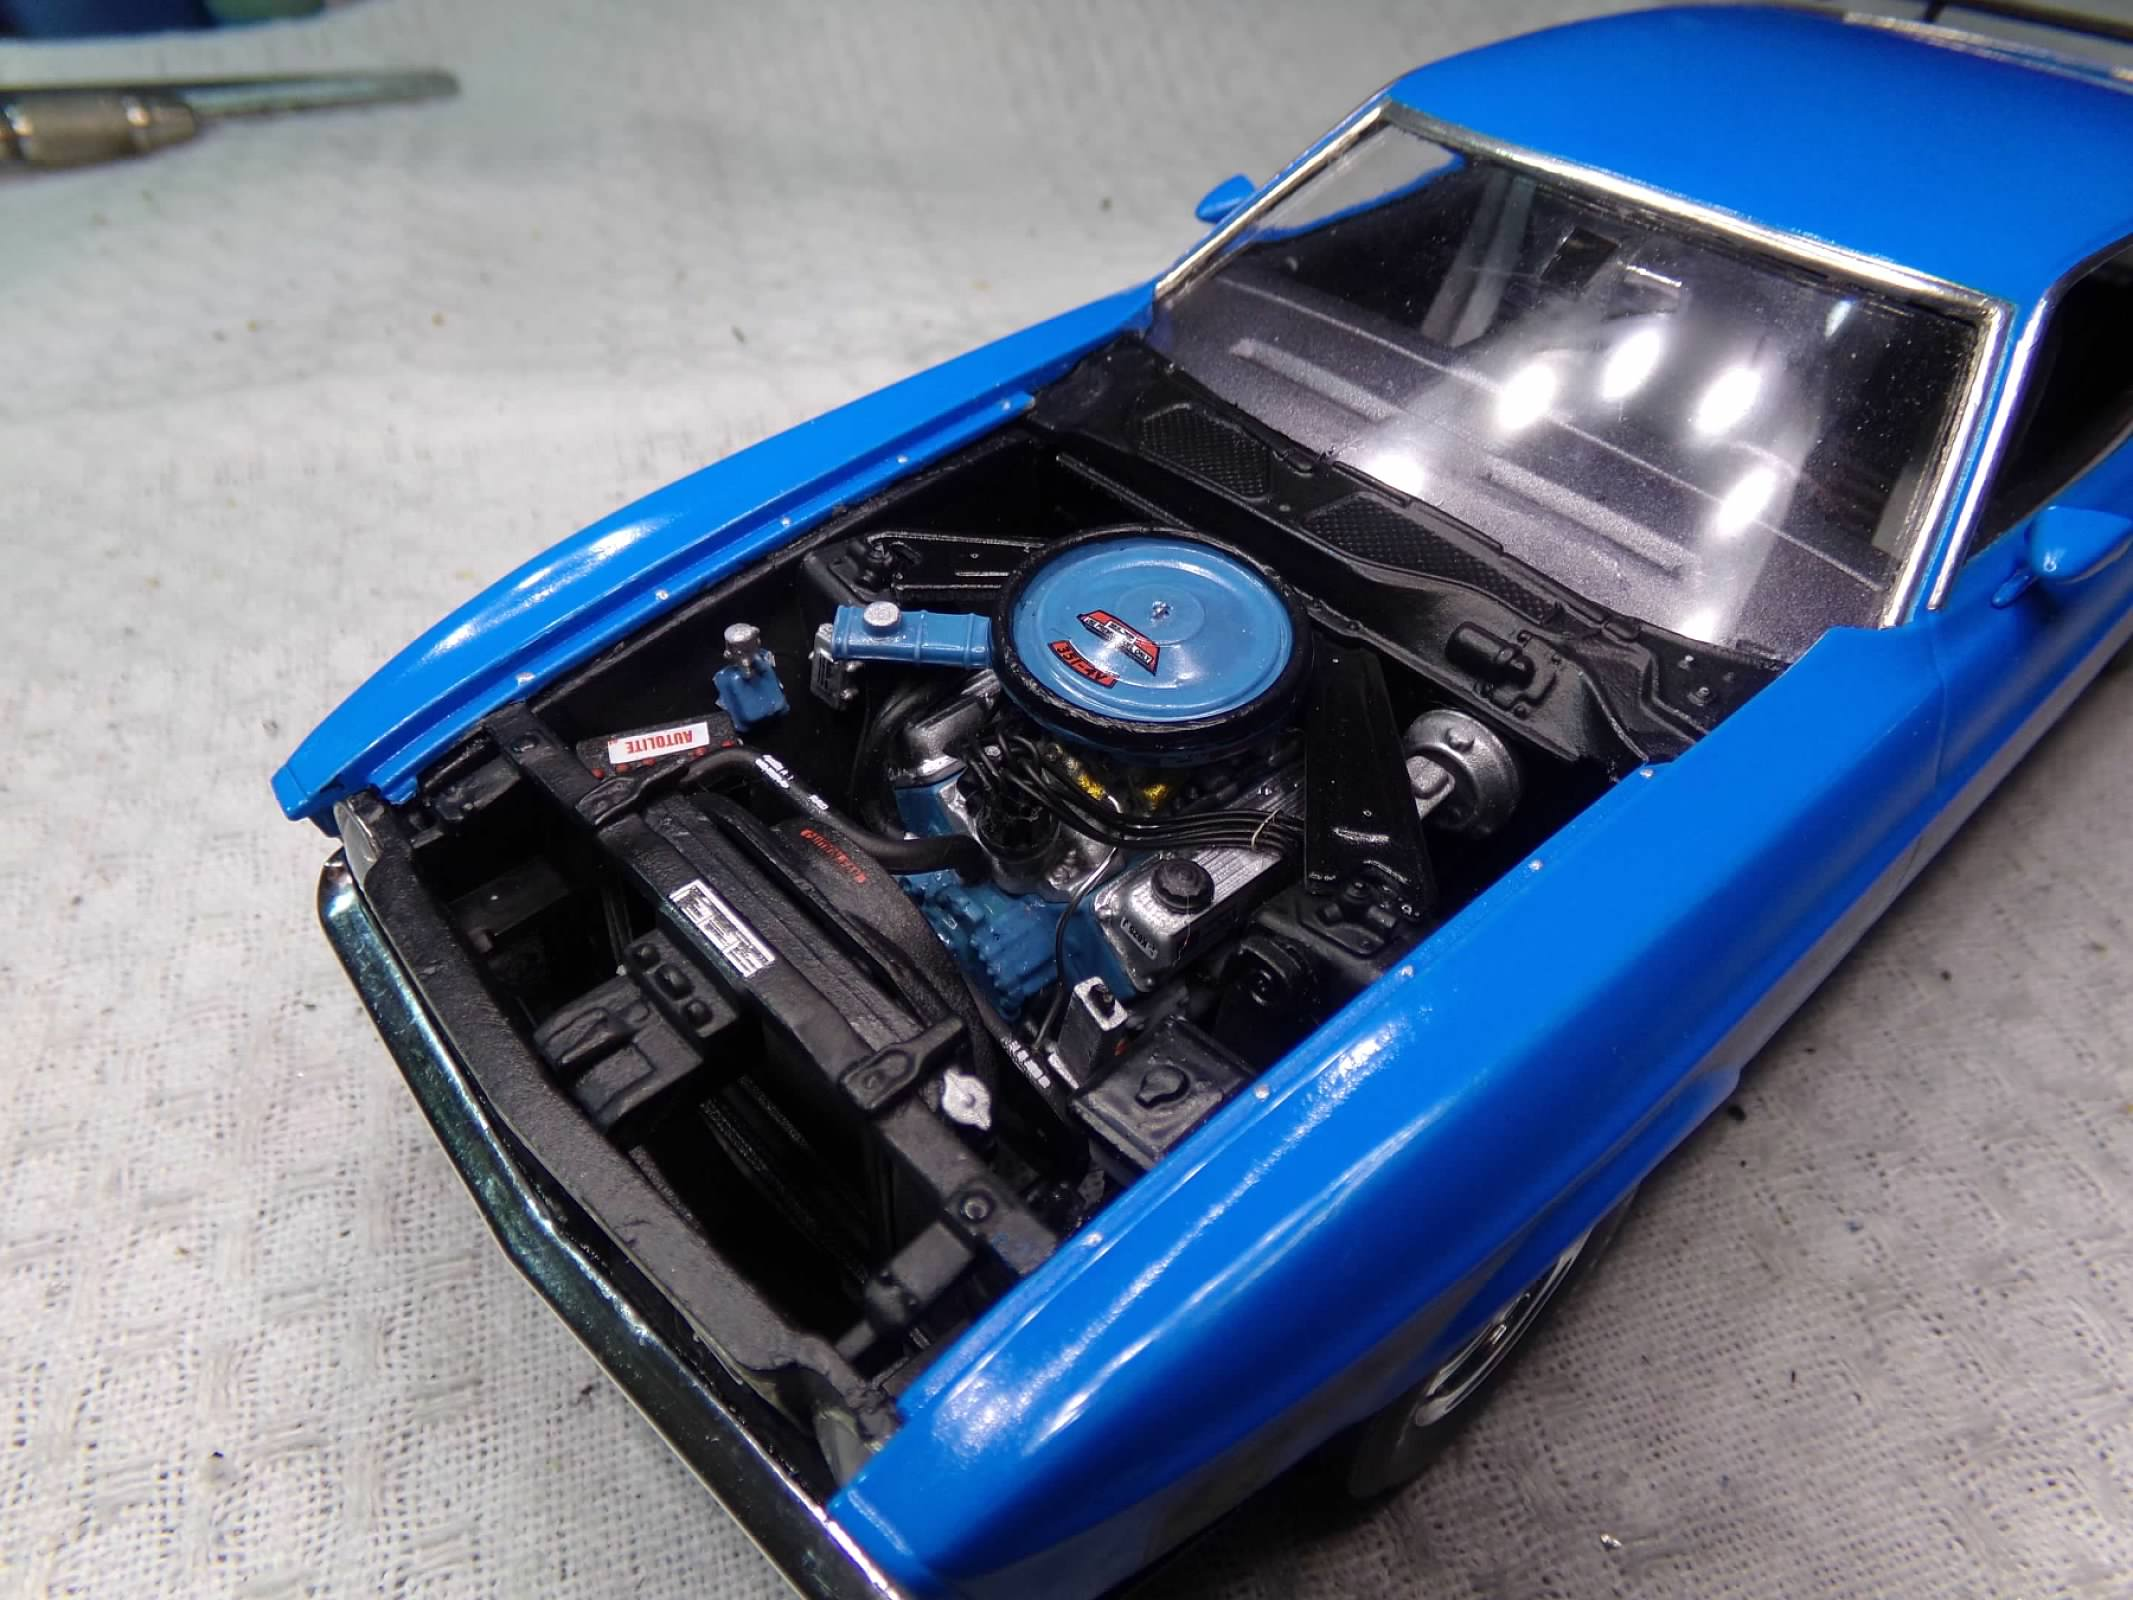
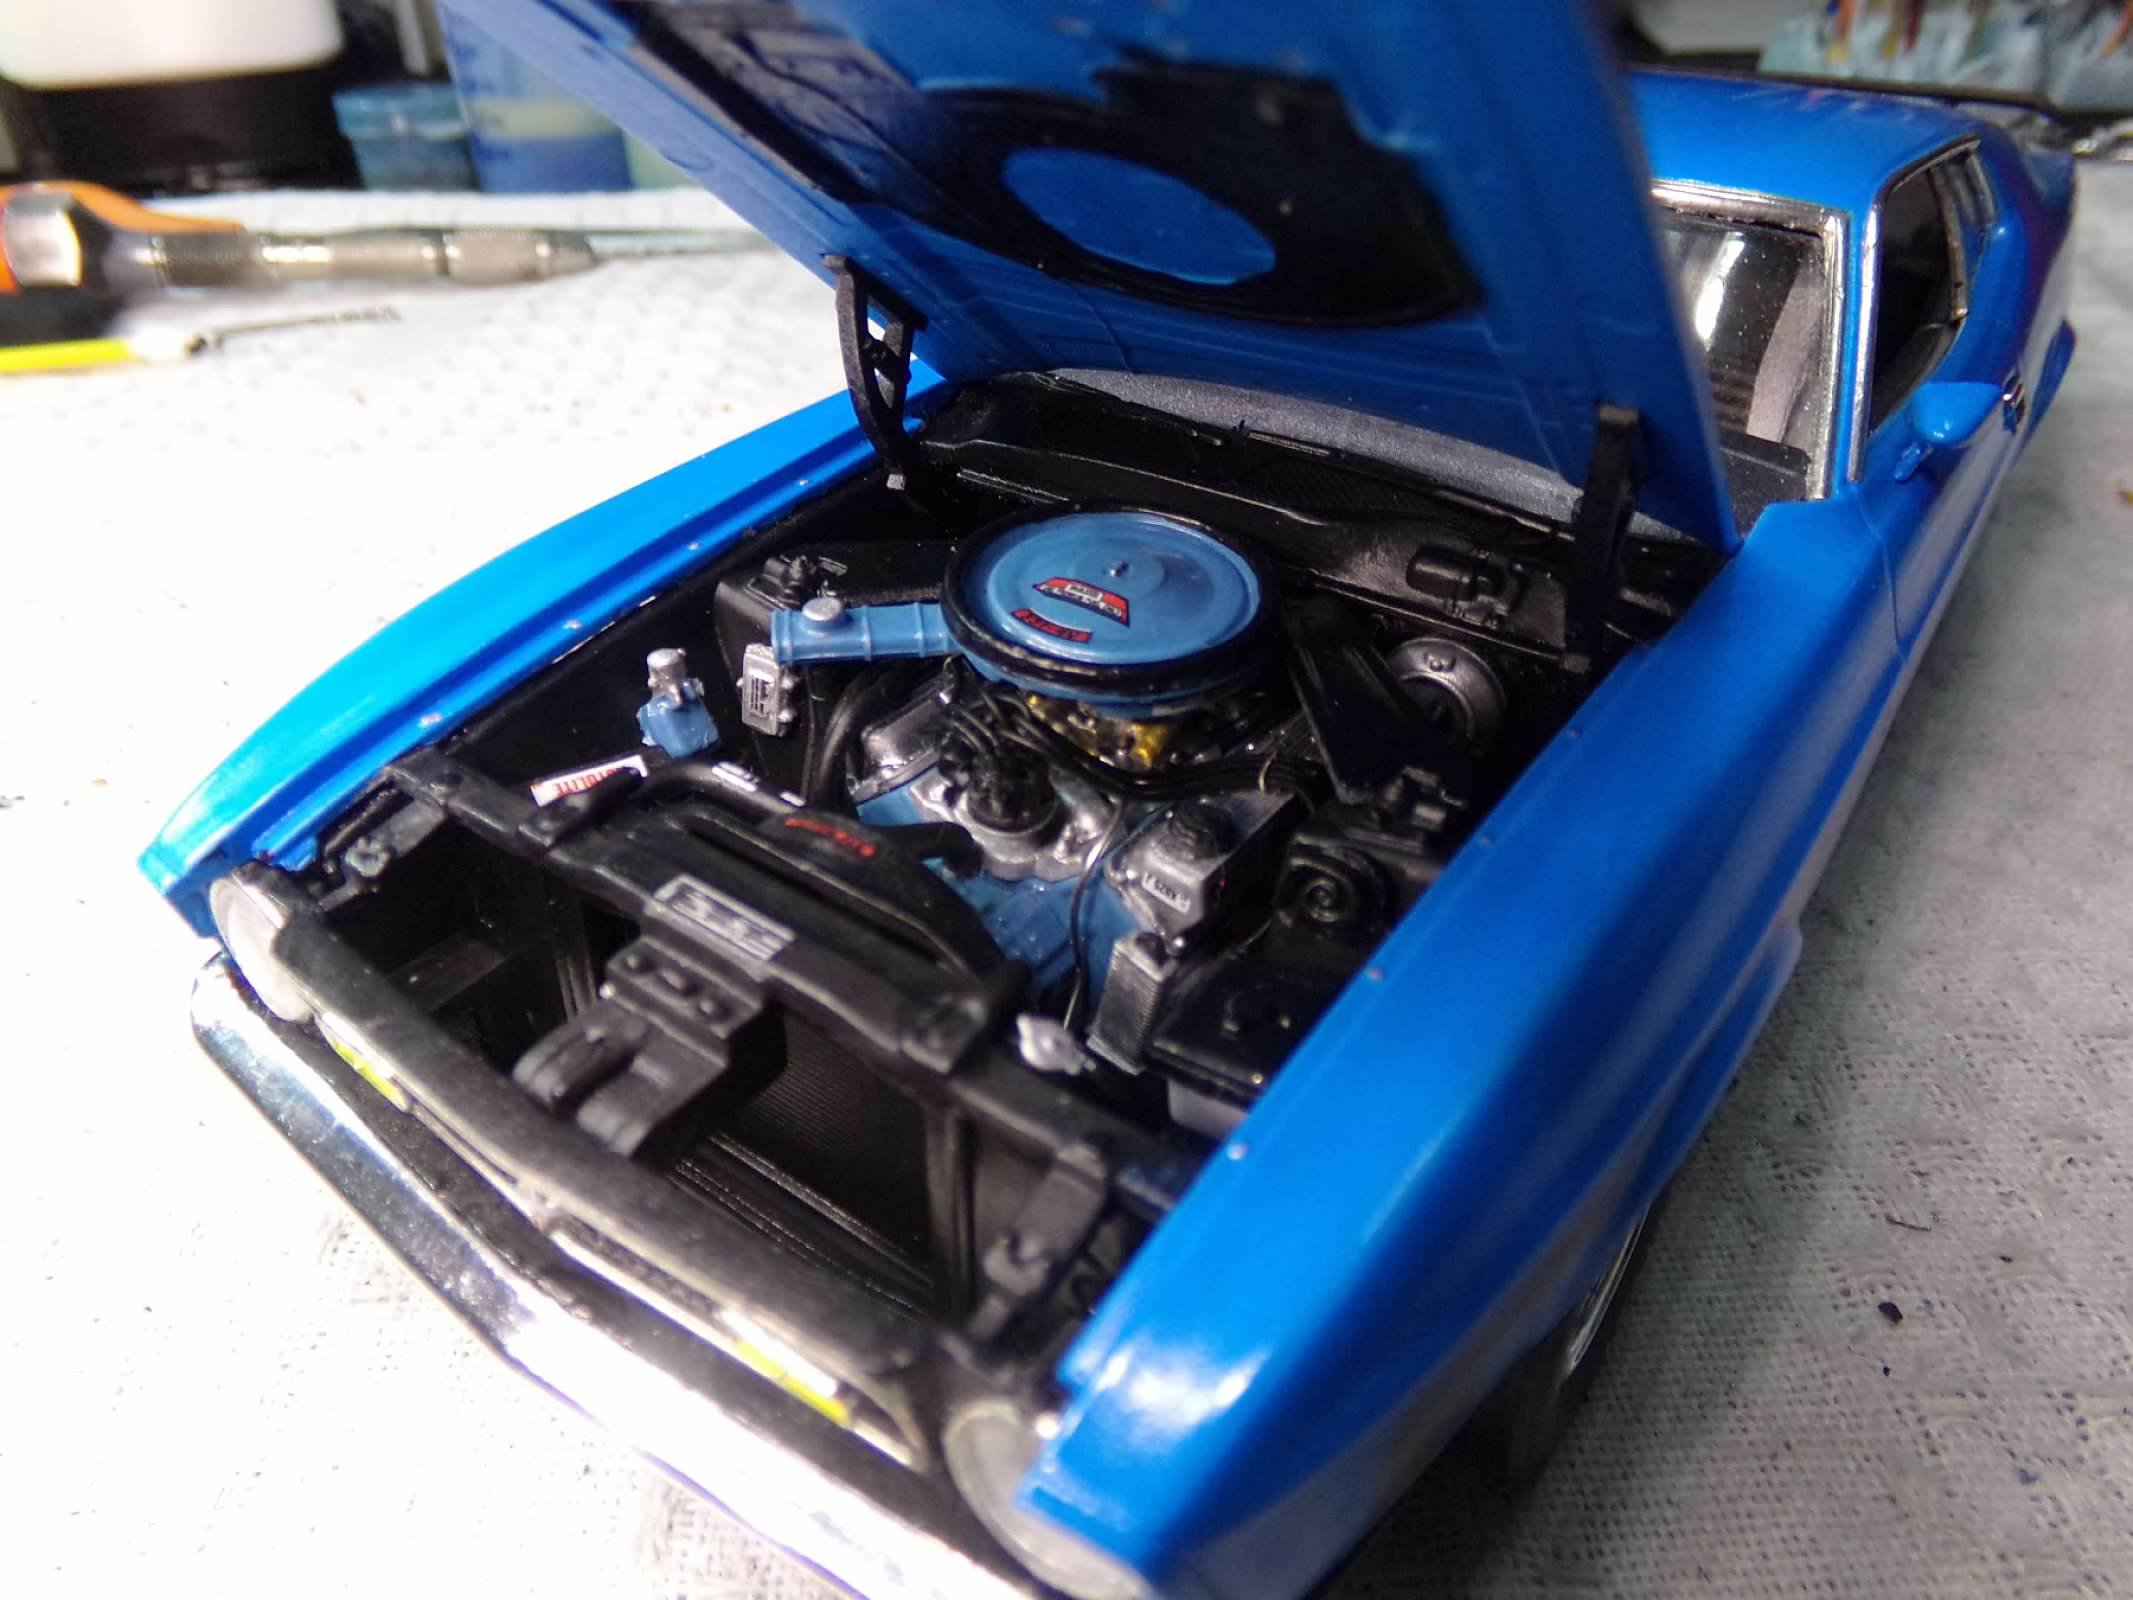
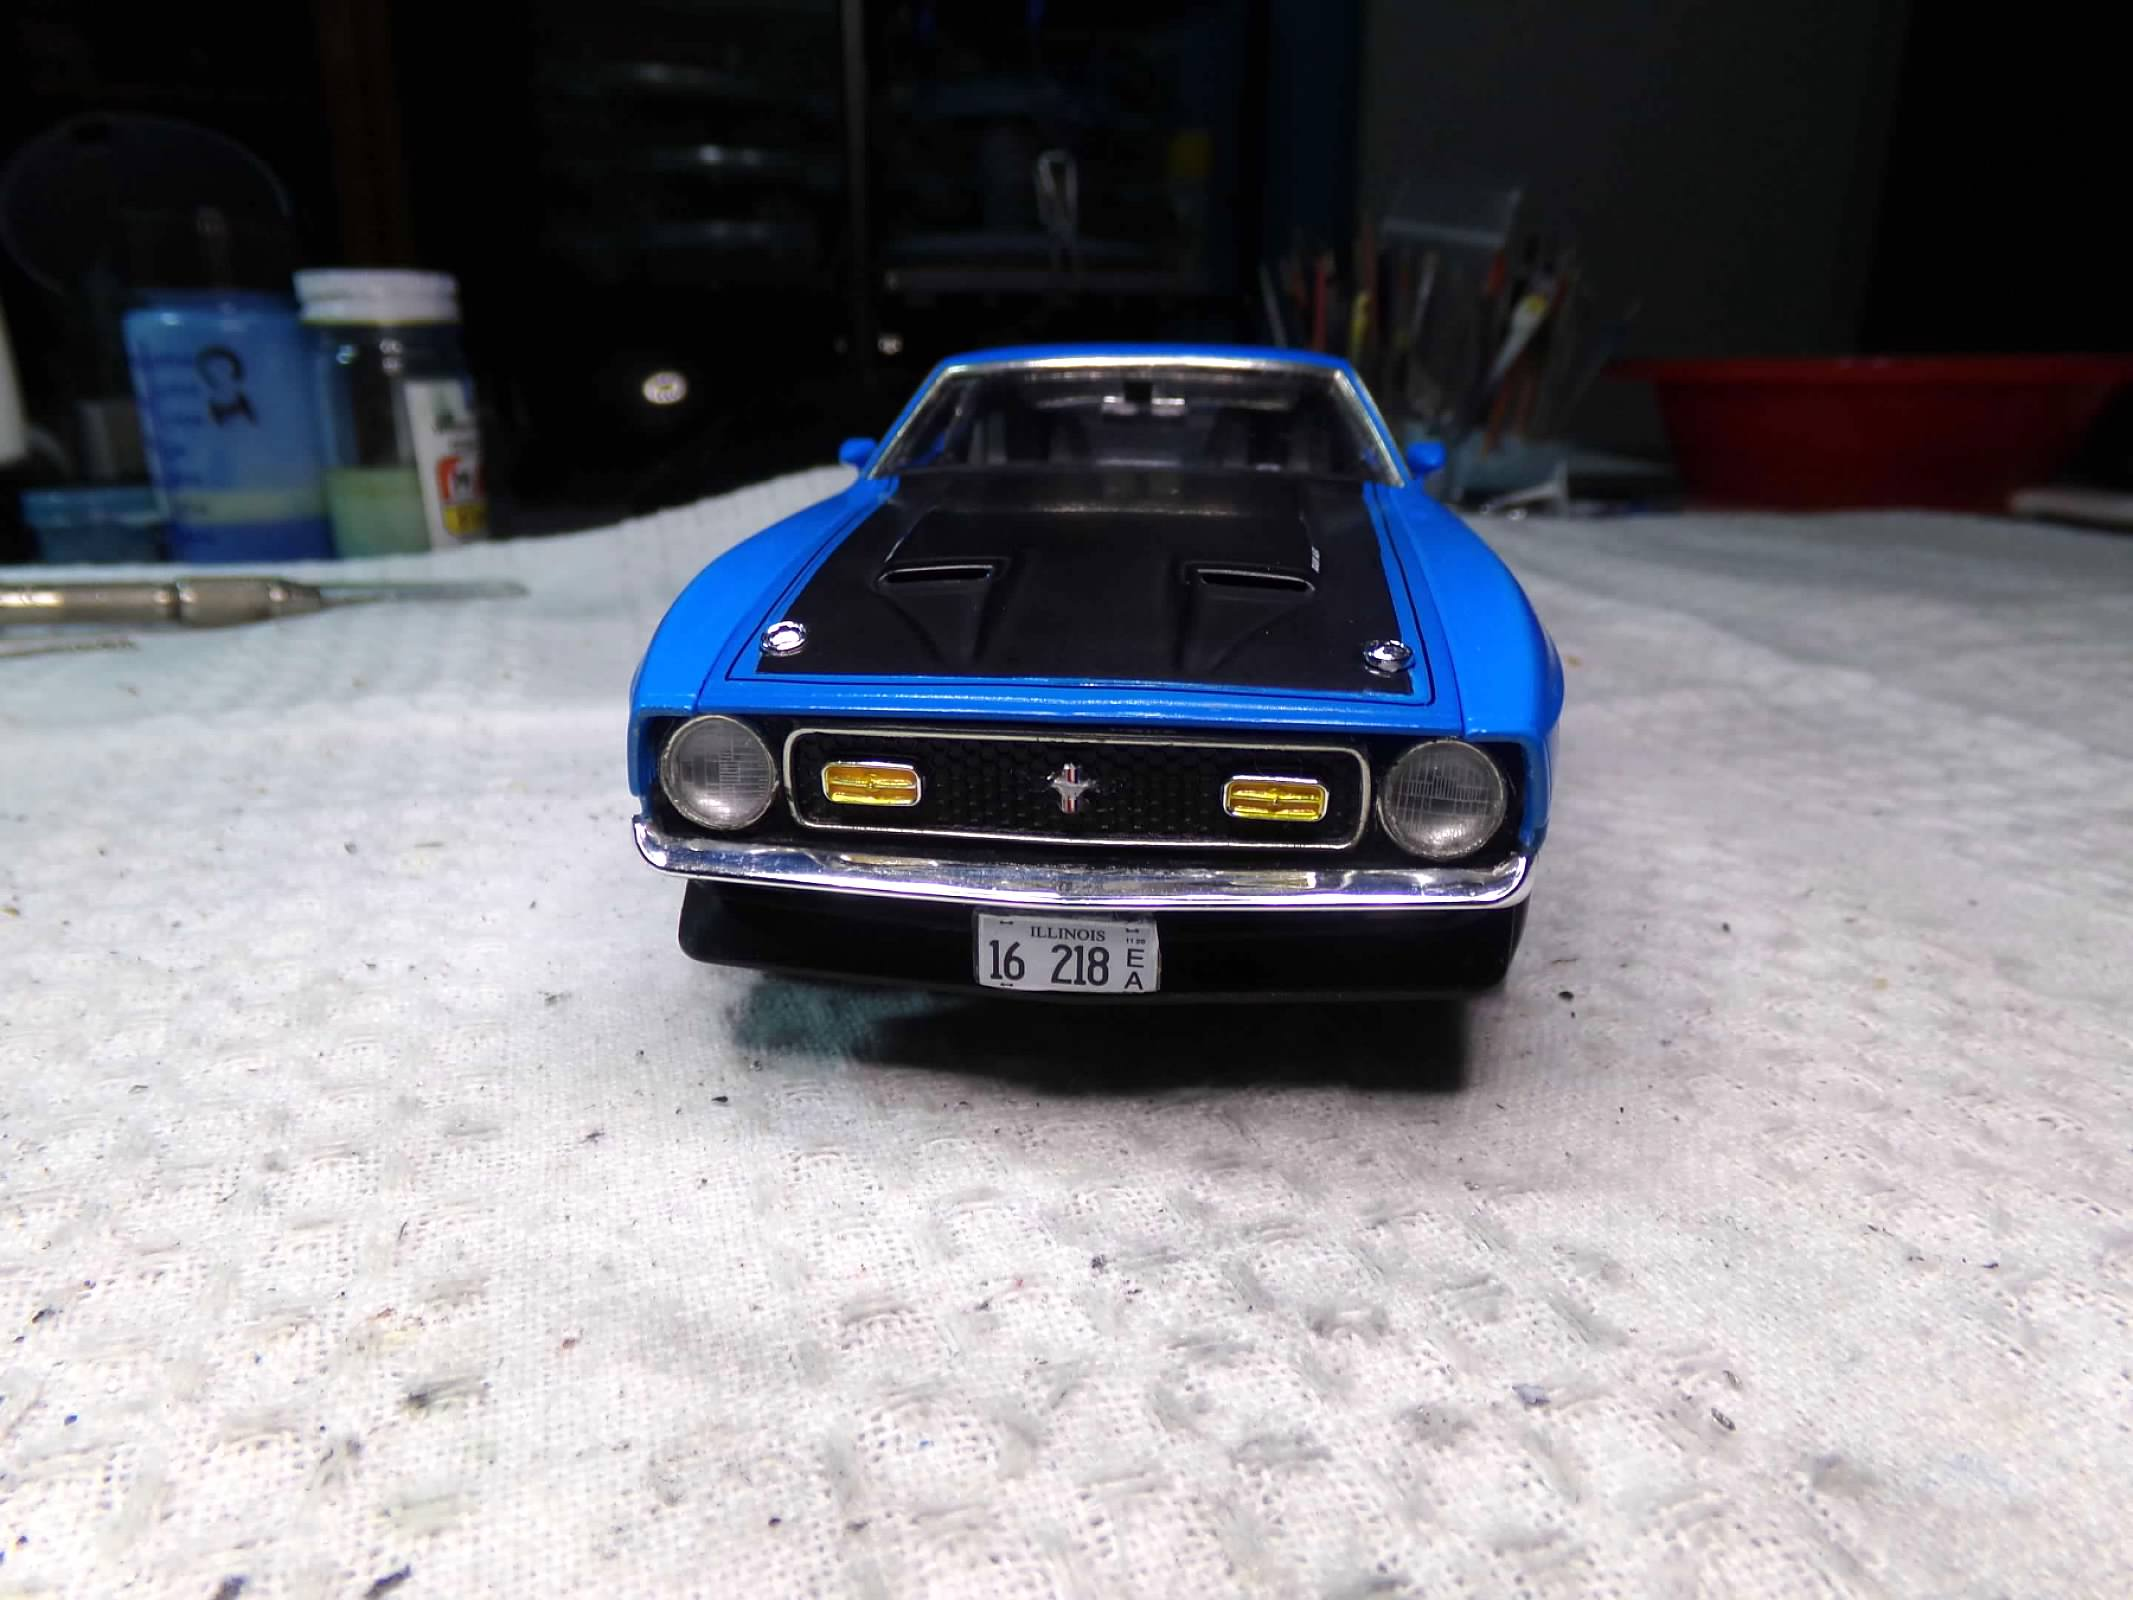
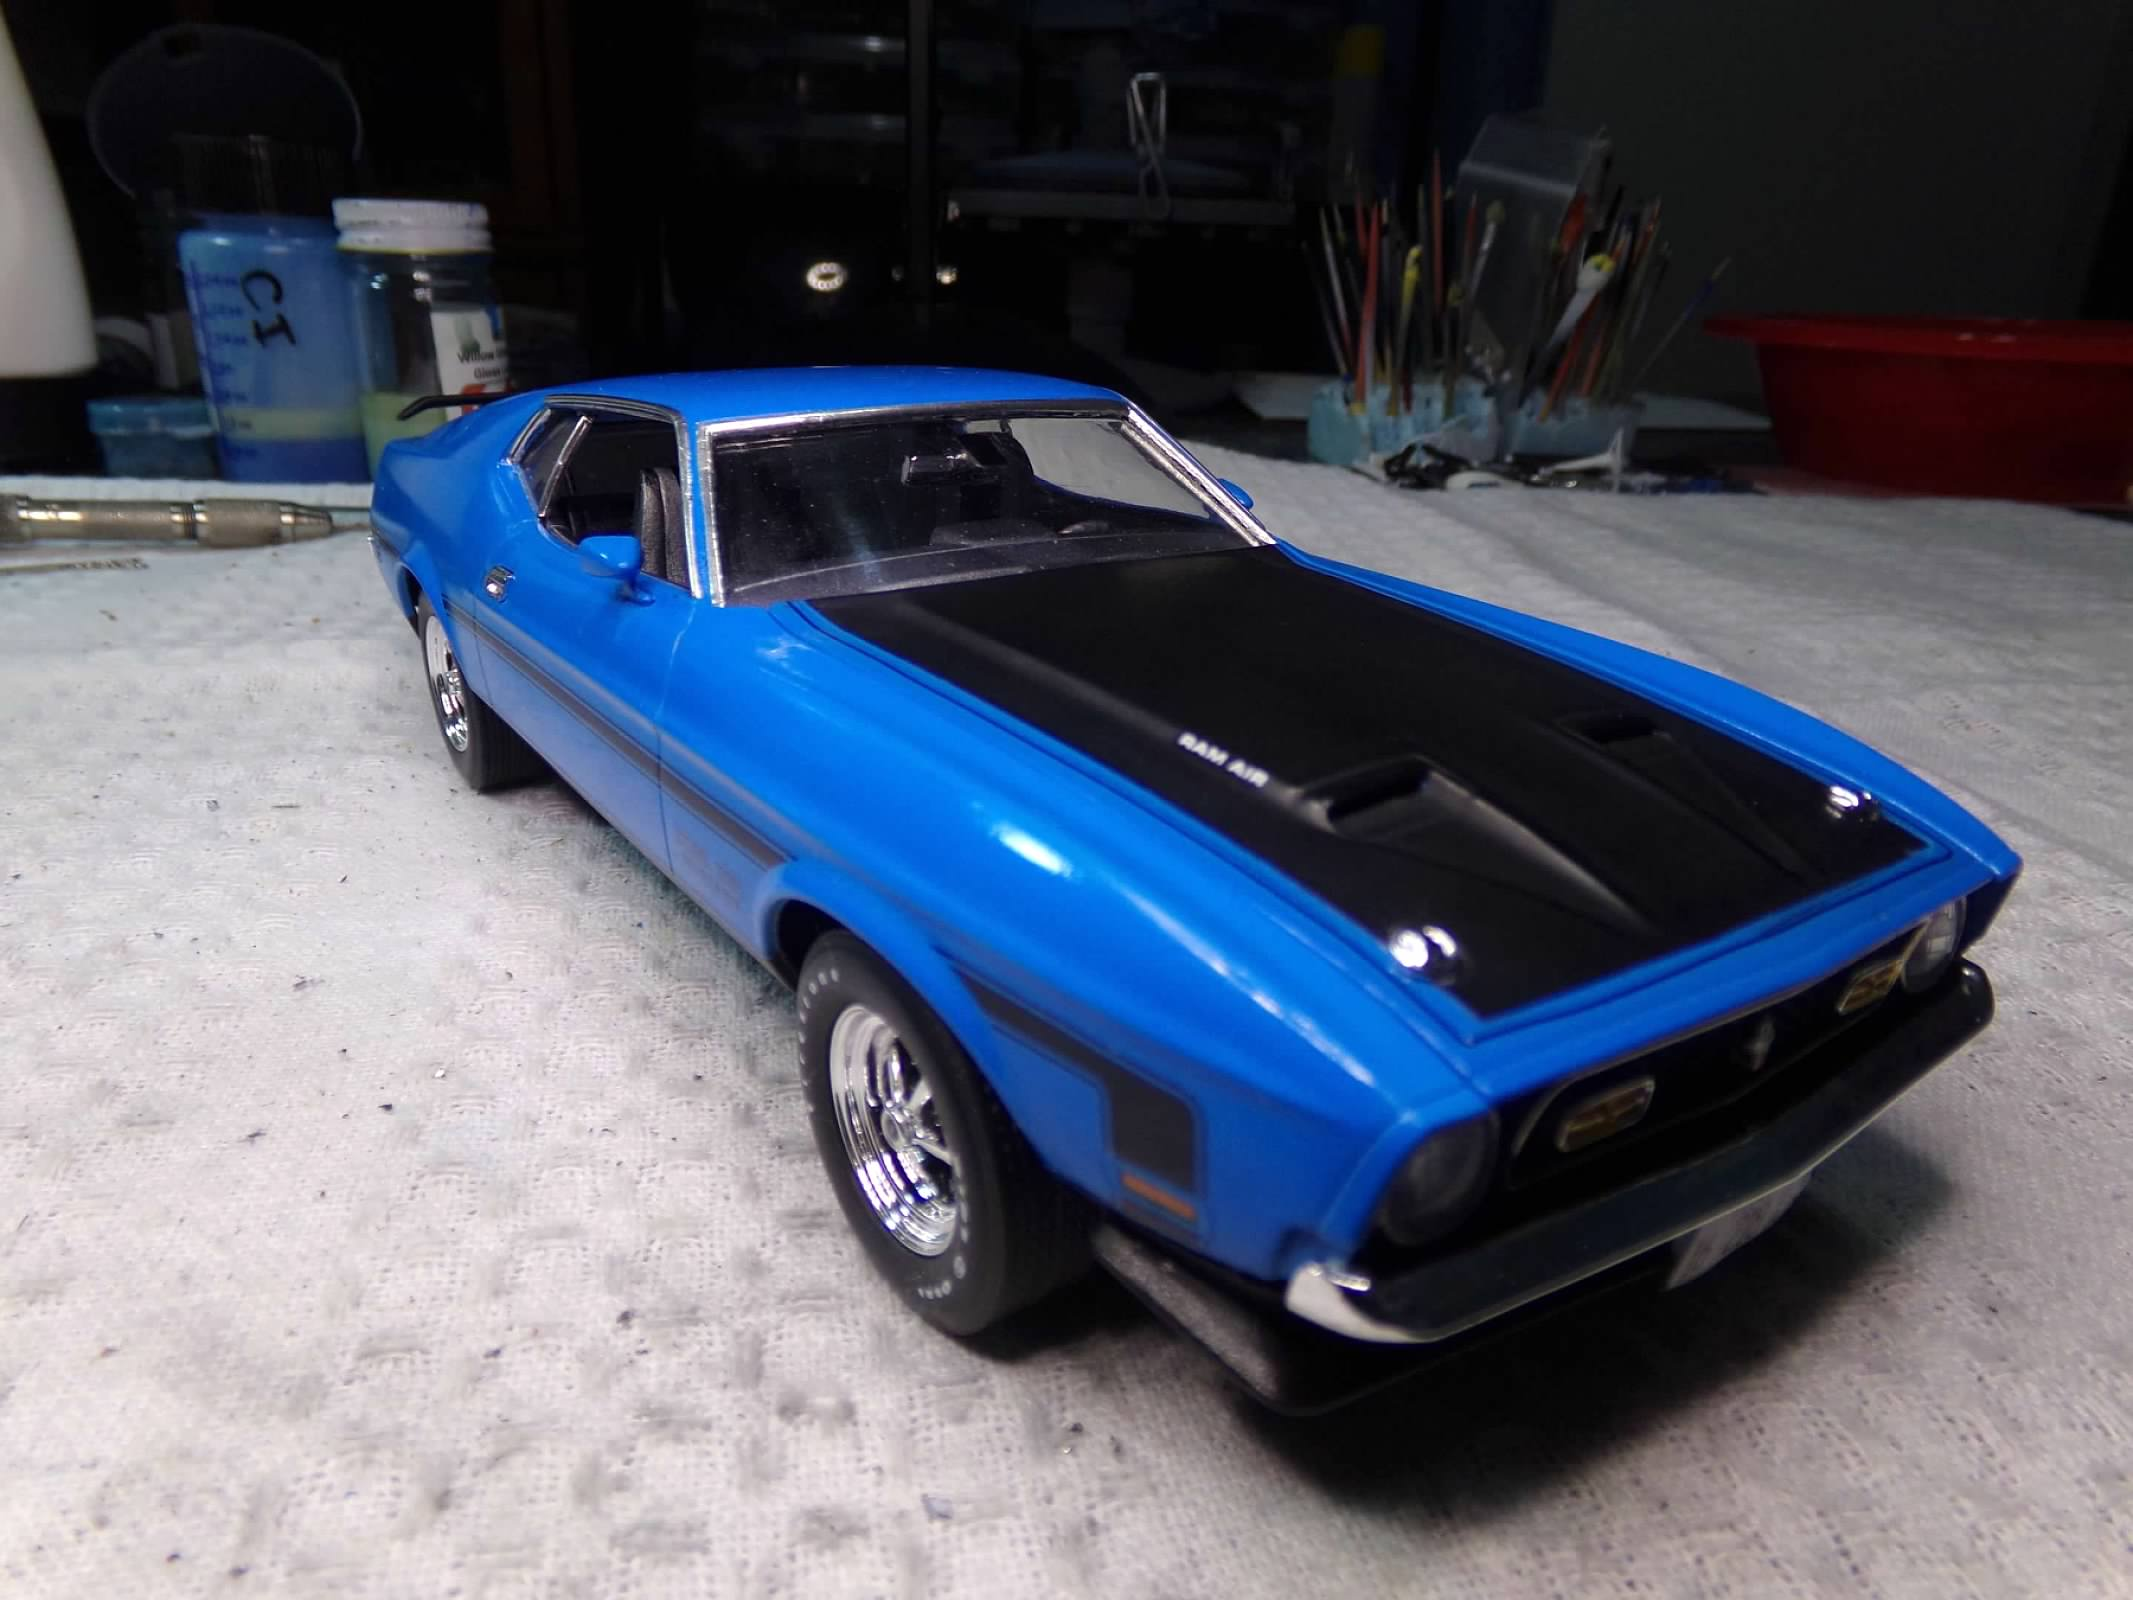
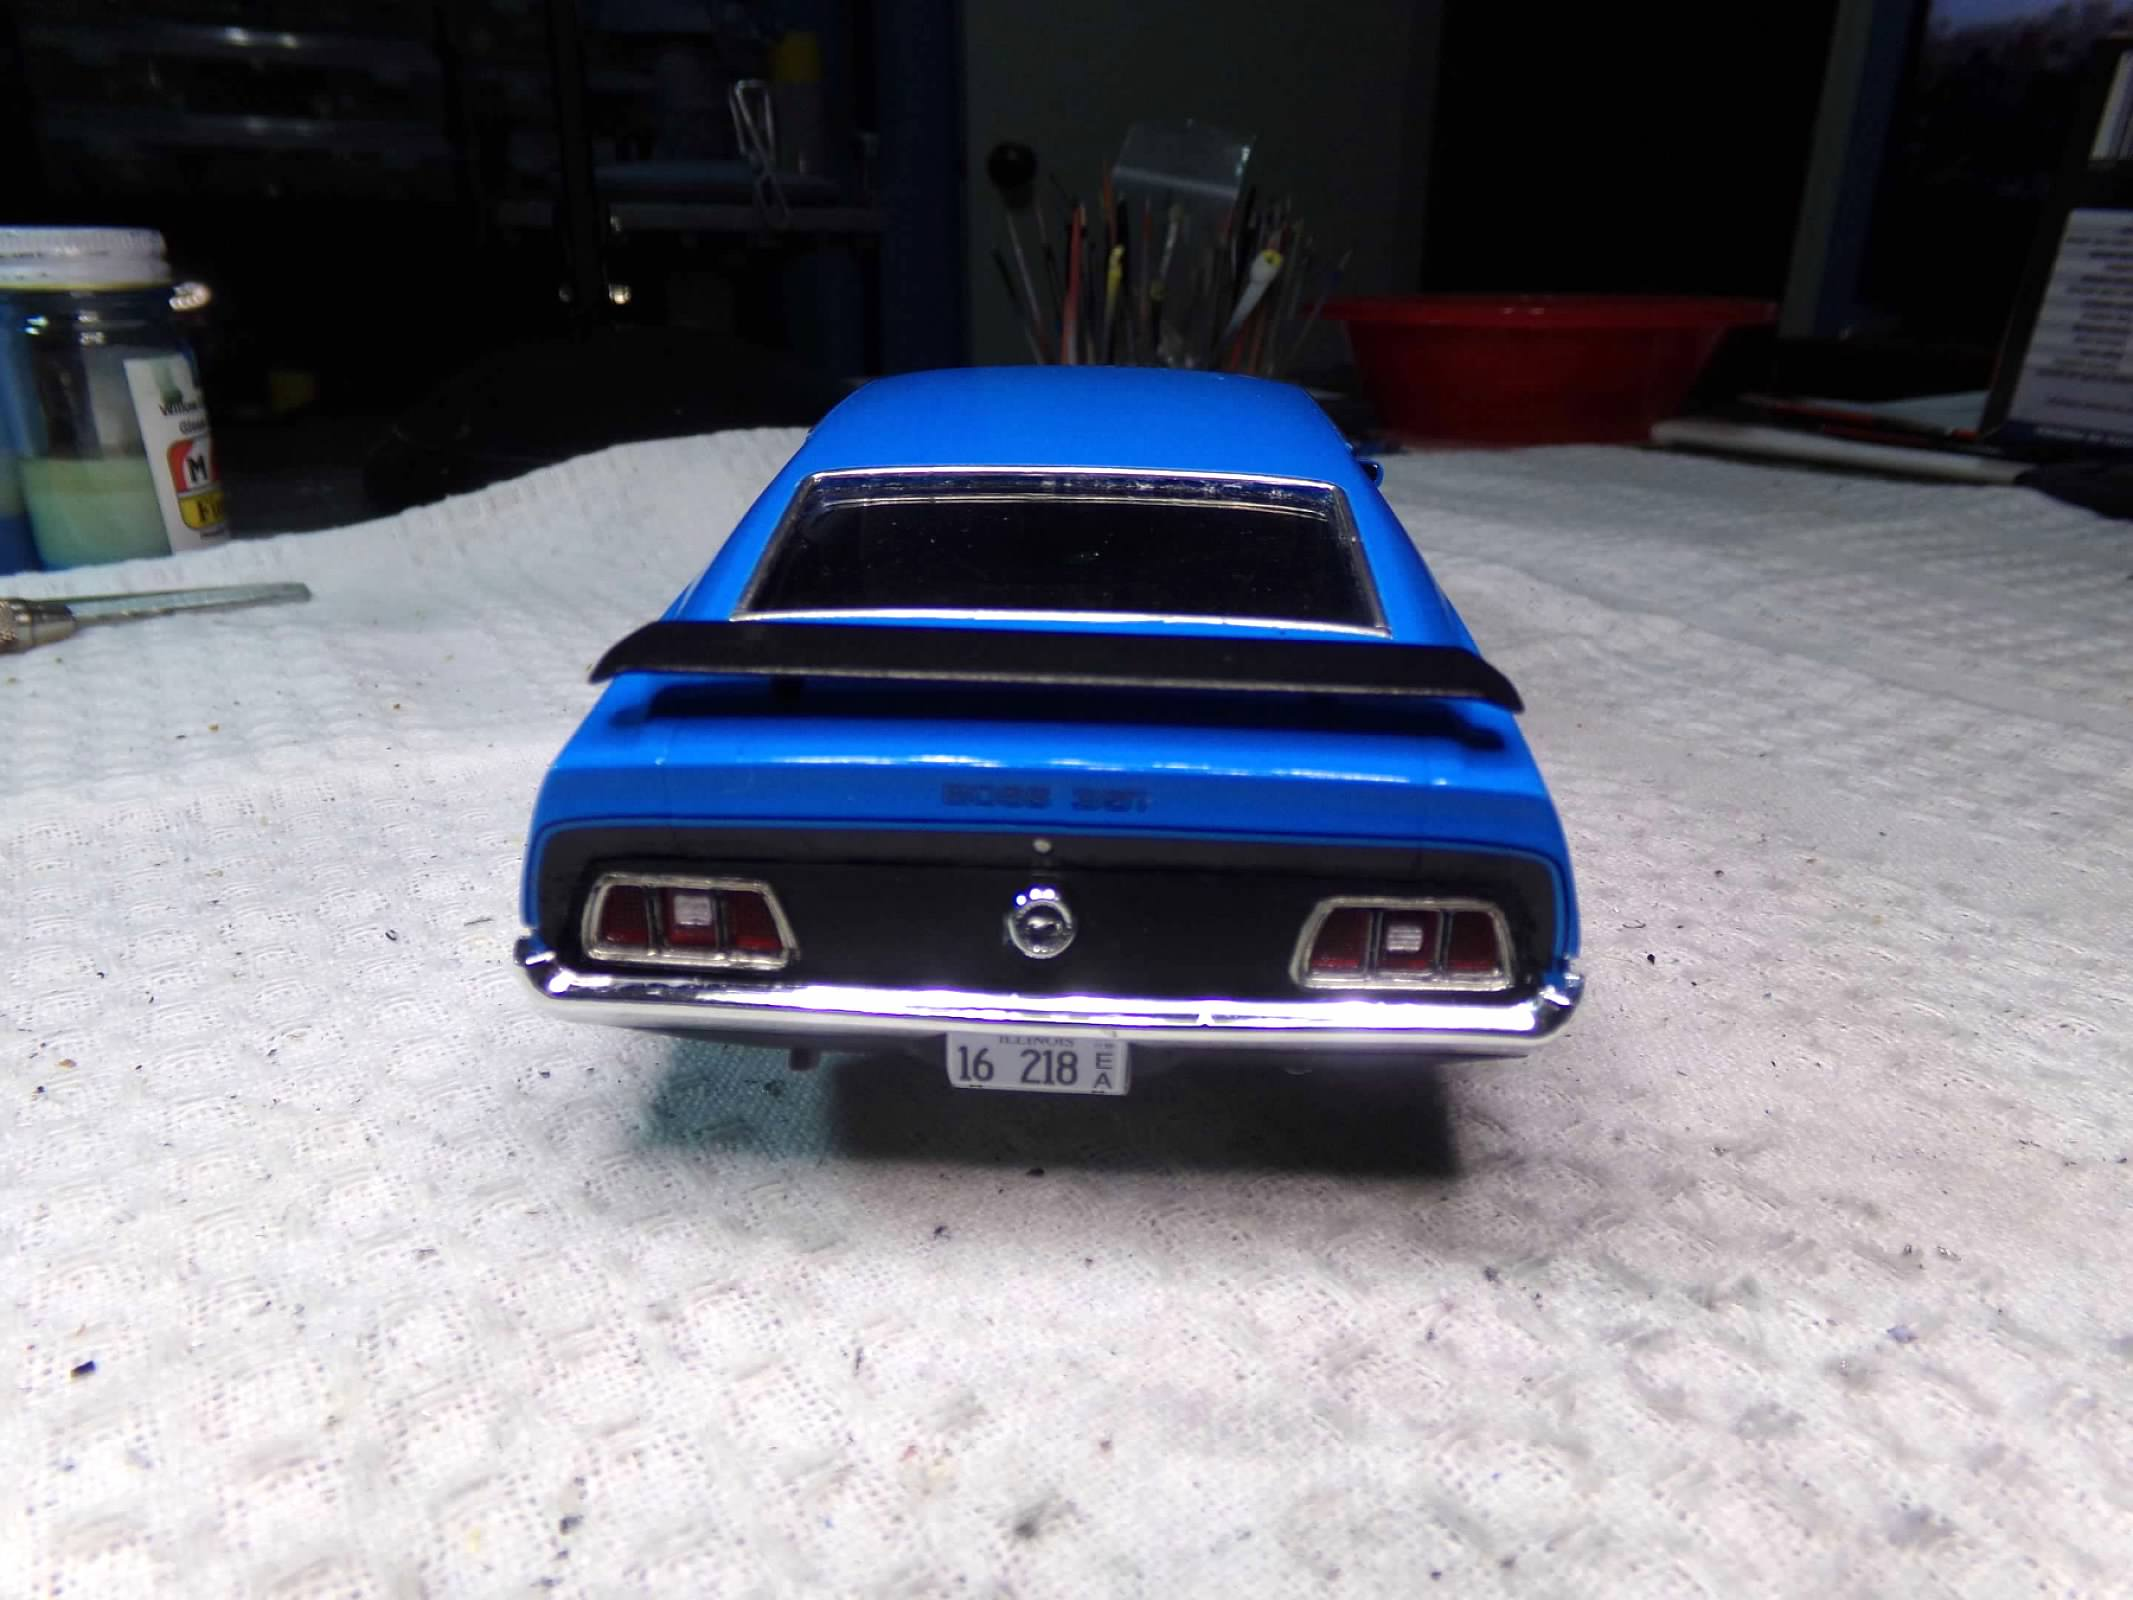
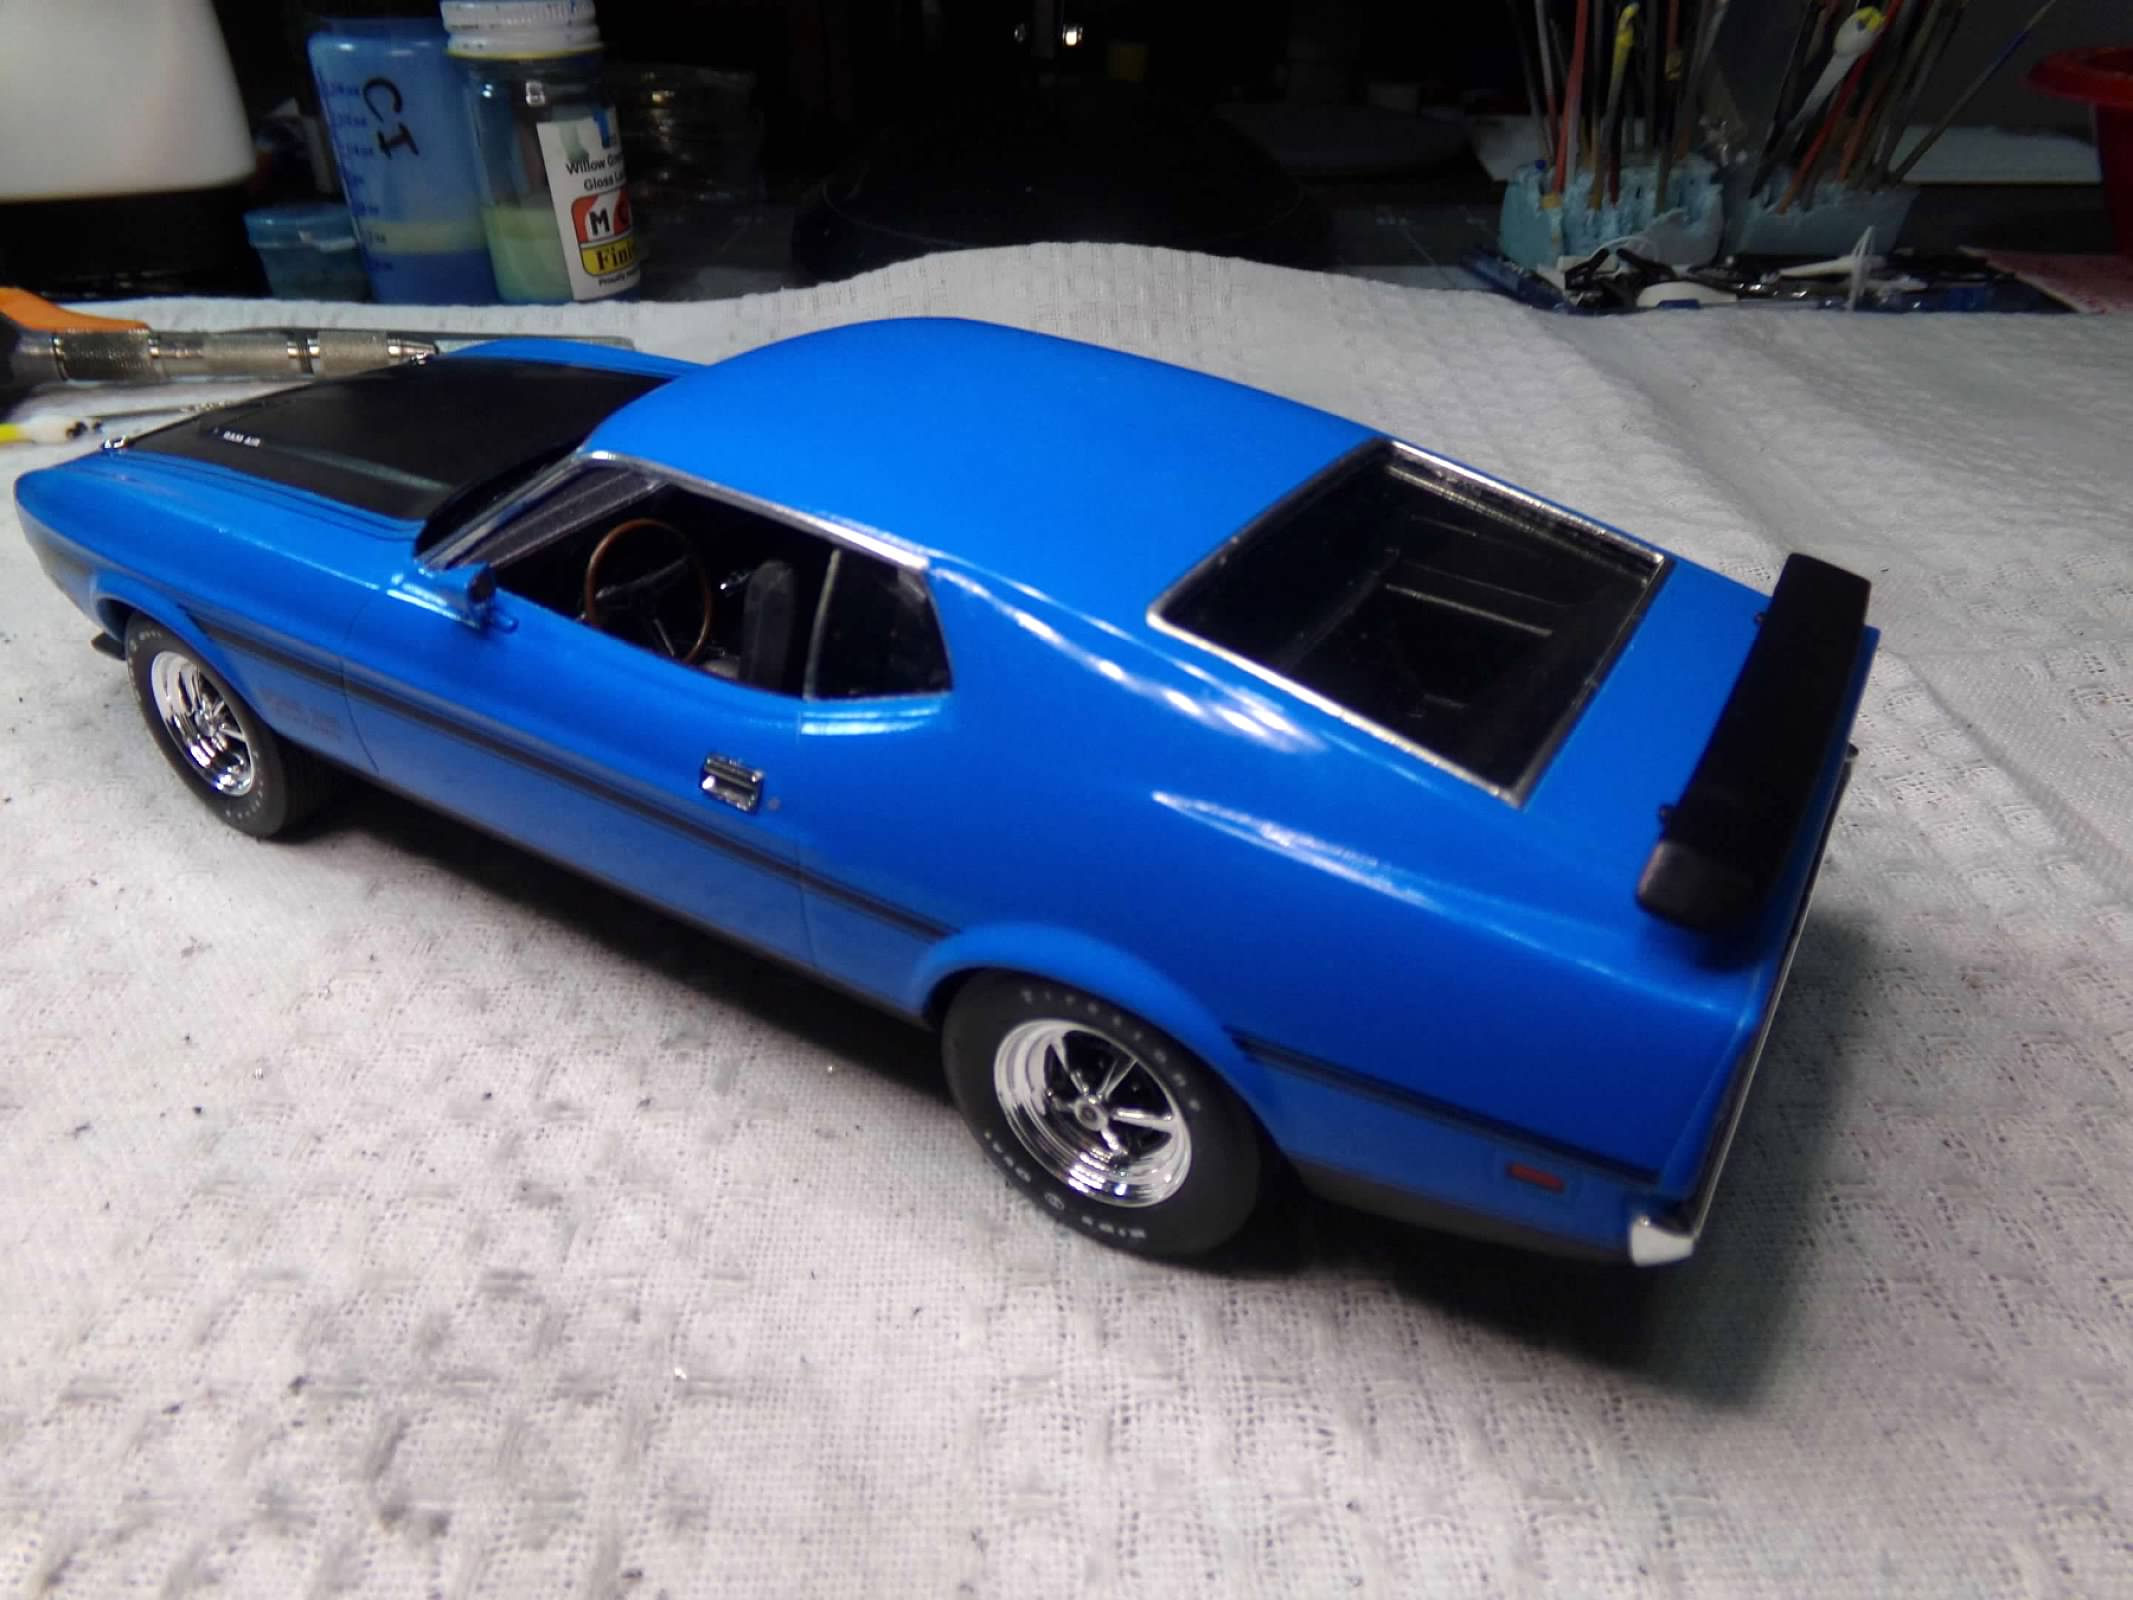
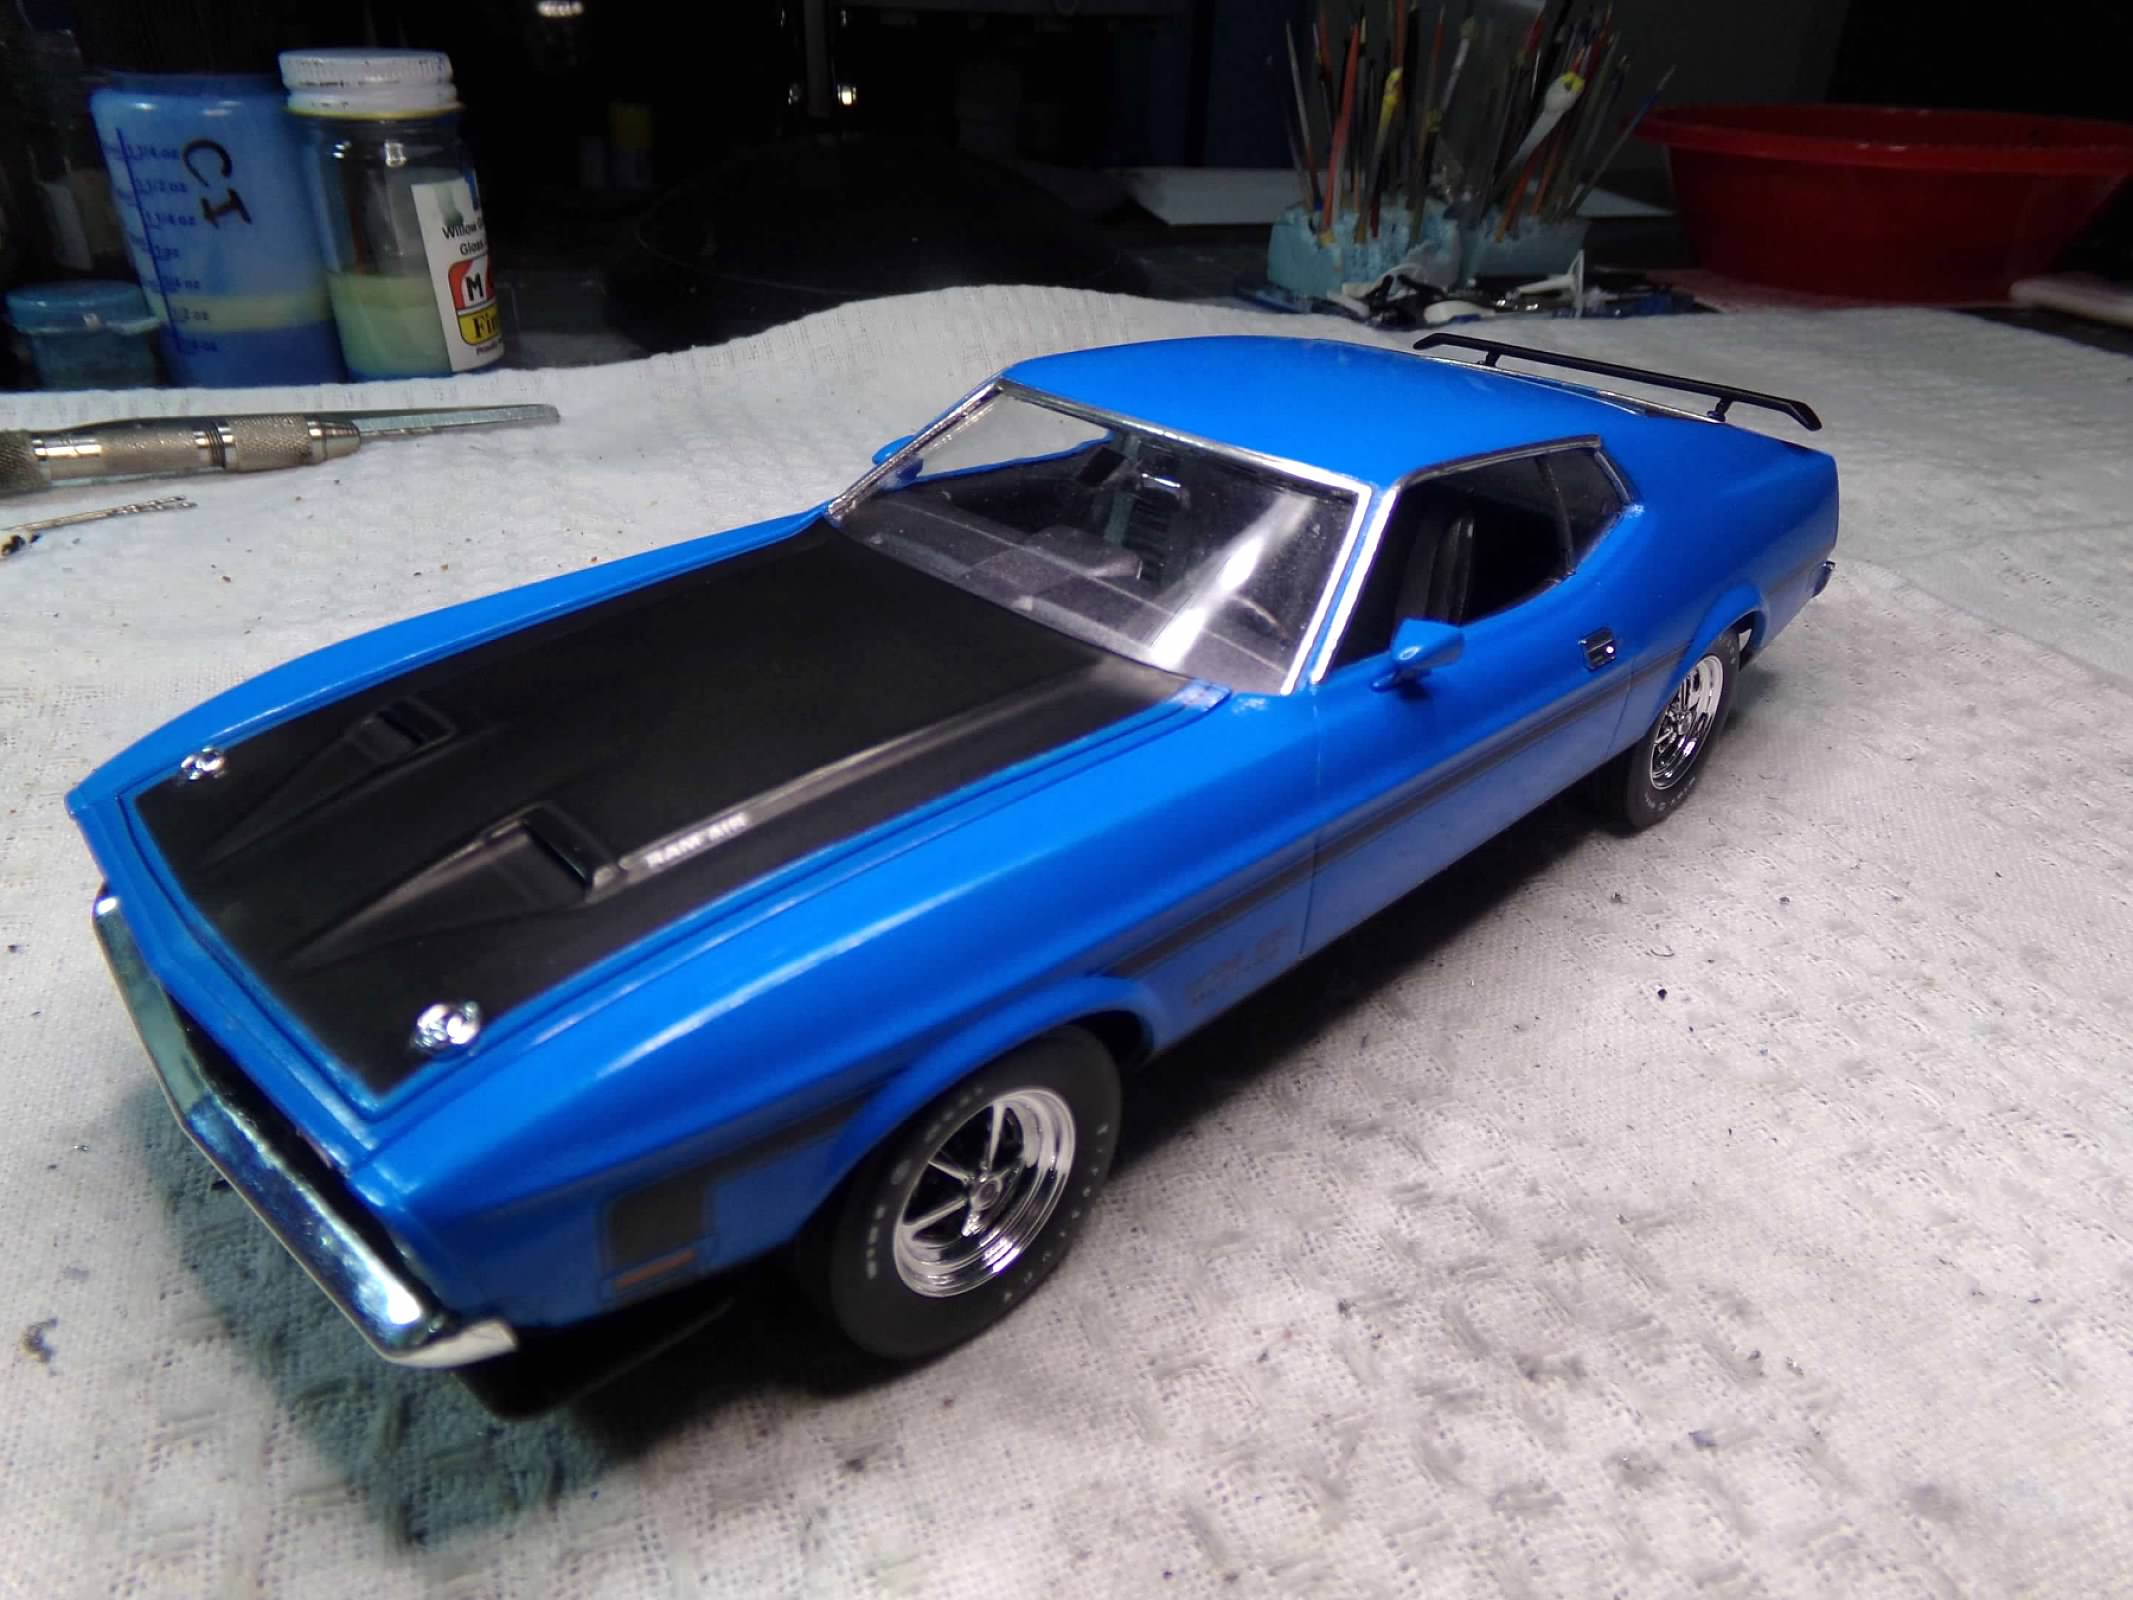
This new Revell kit is painted with Tamiya Light Blue as a substitute for Grabber Blue. I think it is very close. The interior is black, flatted out gunmetal with silver and wood trim. I painted all the black areas with black primer and buffed it out so that it would shine a bit. I added the pinstripes from the decal sheet that I cut away from the larger decal. That way I didn't have to try to blend a decal with black paint which would leave a seam. I think it turned out well. I added plug wires, heater hoses and a fuel line to the engine. The only issue I had was gluing in the rear rocker panel under the taillight panel. I had to cut away the top of the license plate surround on the rocker panel in order to get a flush mount onto the rear taillight panel. I would suggest completing the rear of the car once the body is mounted instead of the front of the car as indicated in the instructions. That will save pulling the front grill, chin spoiler and bumper to reattach the taillight panel, if necessary as it was in my case. Overall, its is a nice kit. I used most of the decal and they went on very smoothly. The engine and chassis are very well done and went together better than most. Thanks for looking and I hope everyone has a happy Memorial Day! ?