ModelcarJR
-
Posts
1,648 -
Joined
-
Last visited
Content Type
Profiles
Forums
Events
Gallery
Everything posted by ModelcarJR
-
Everything looks wonderful, Greg! The interior, the wheels, the engine, the paint - All look great! And your engineering work is really well done! ??
-
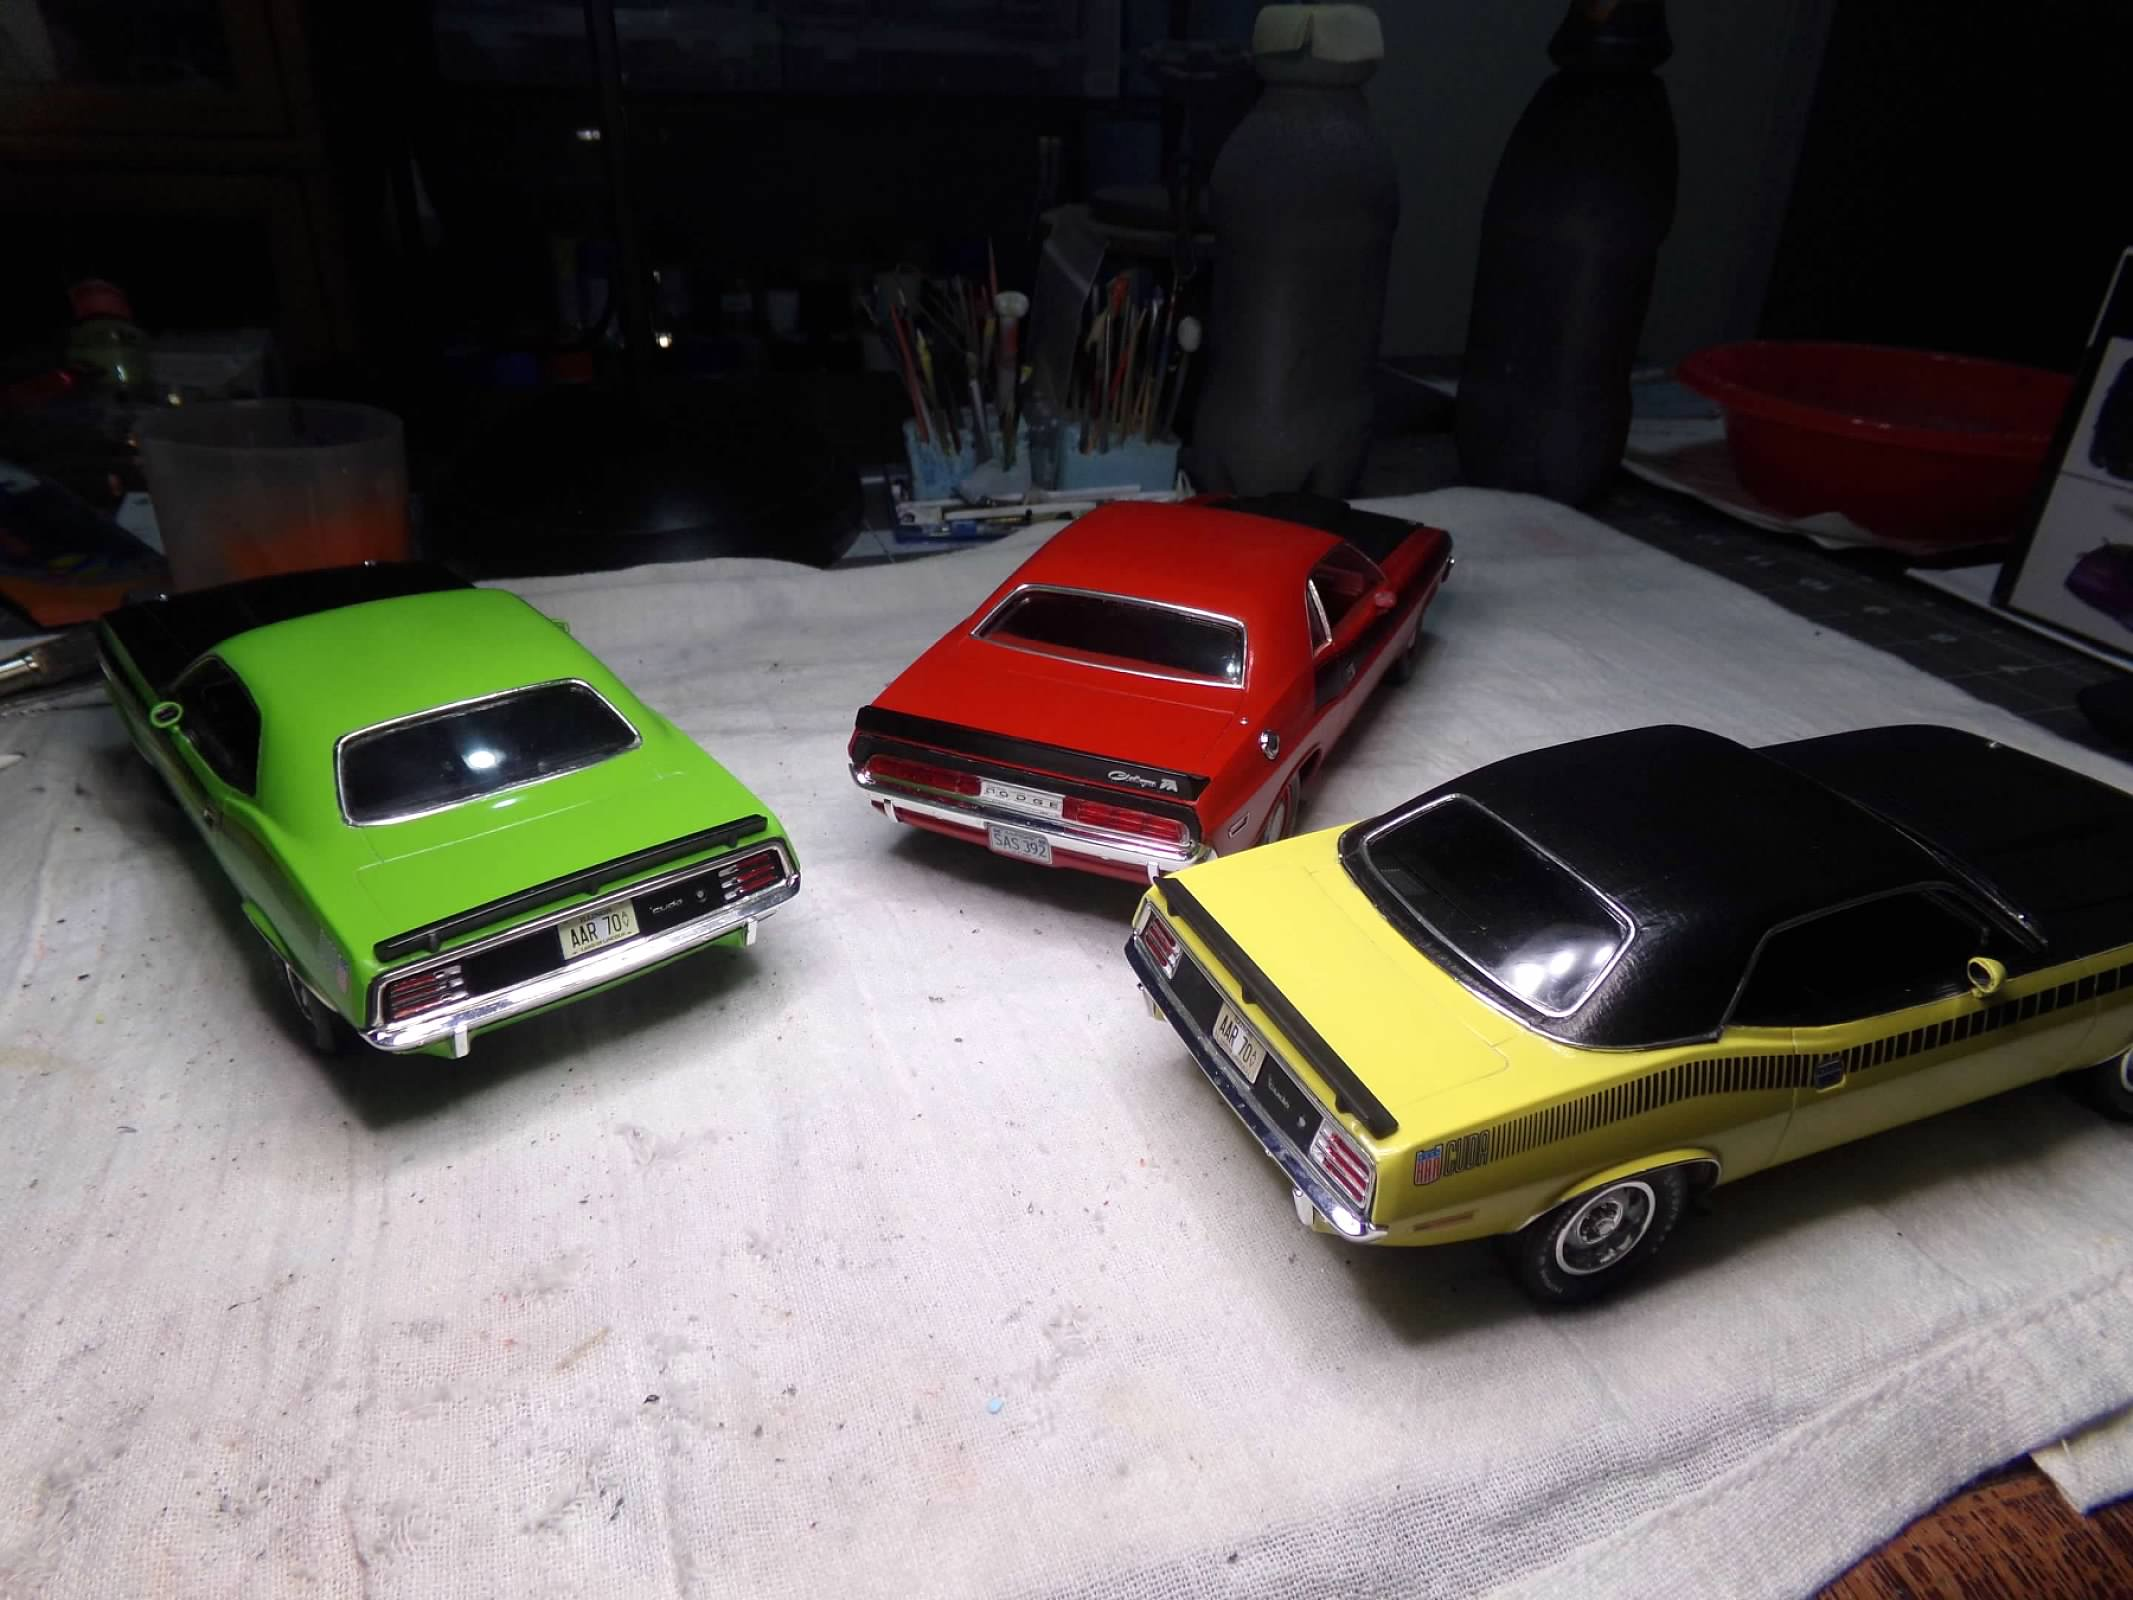
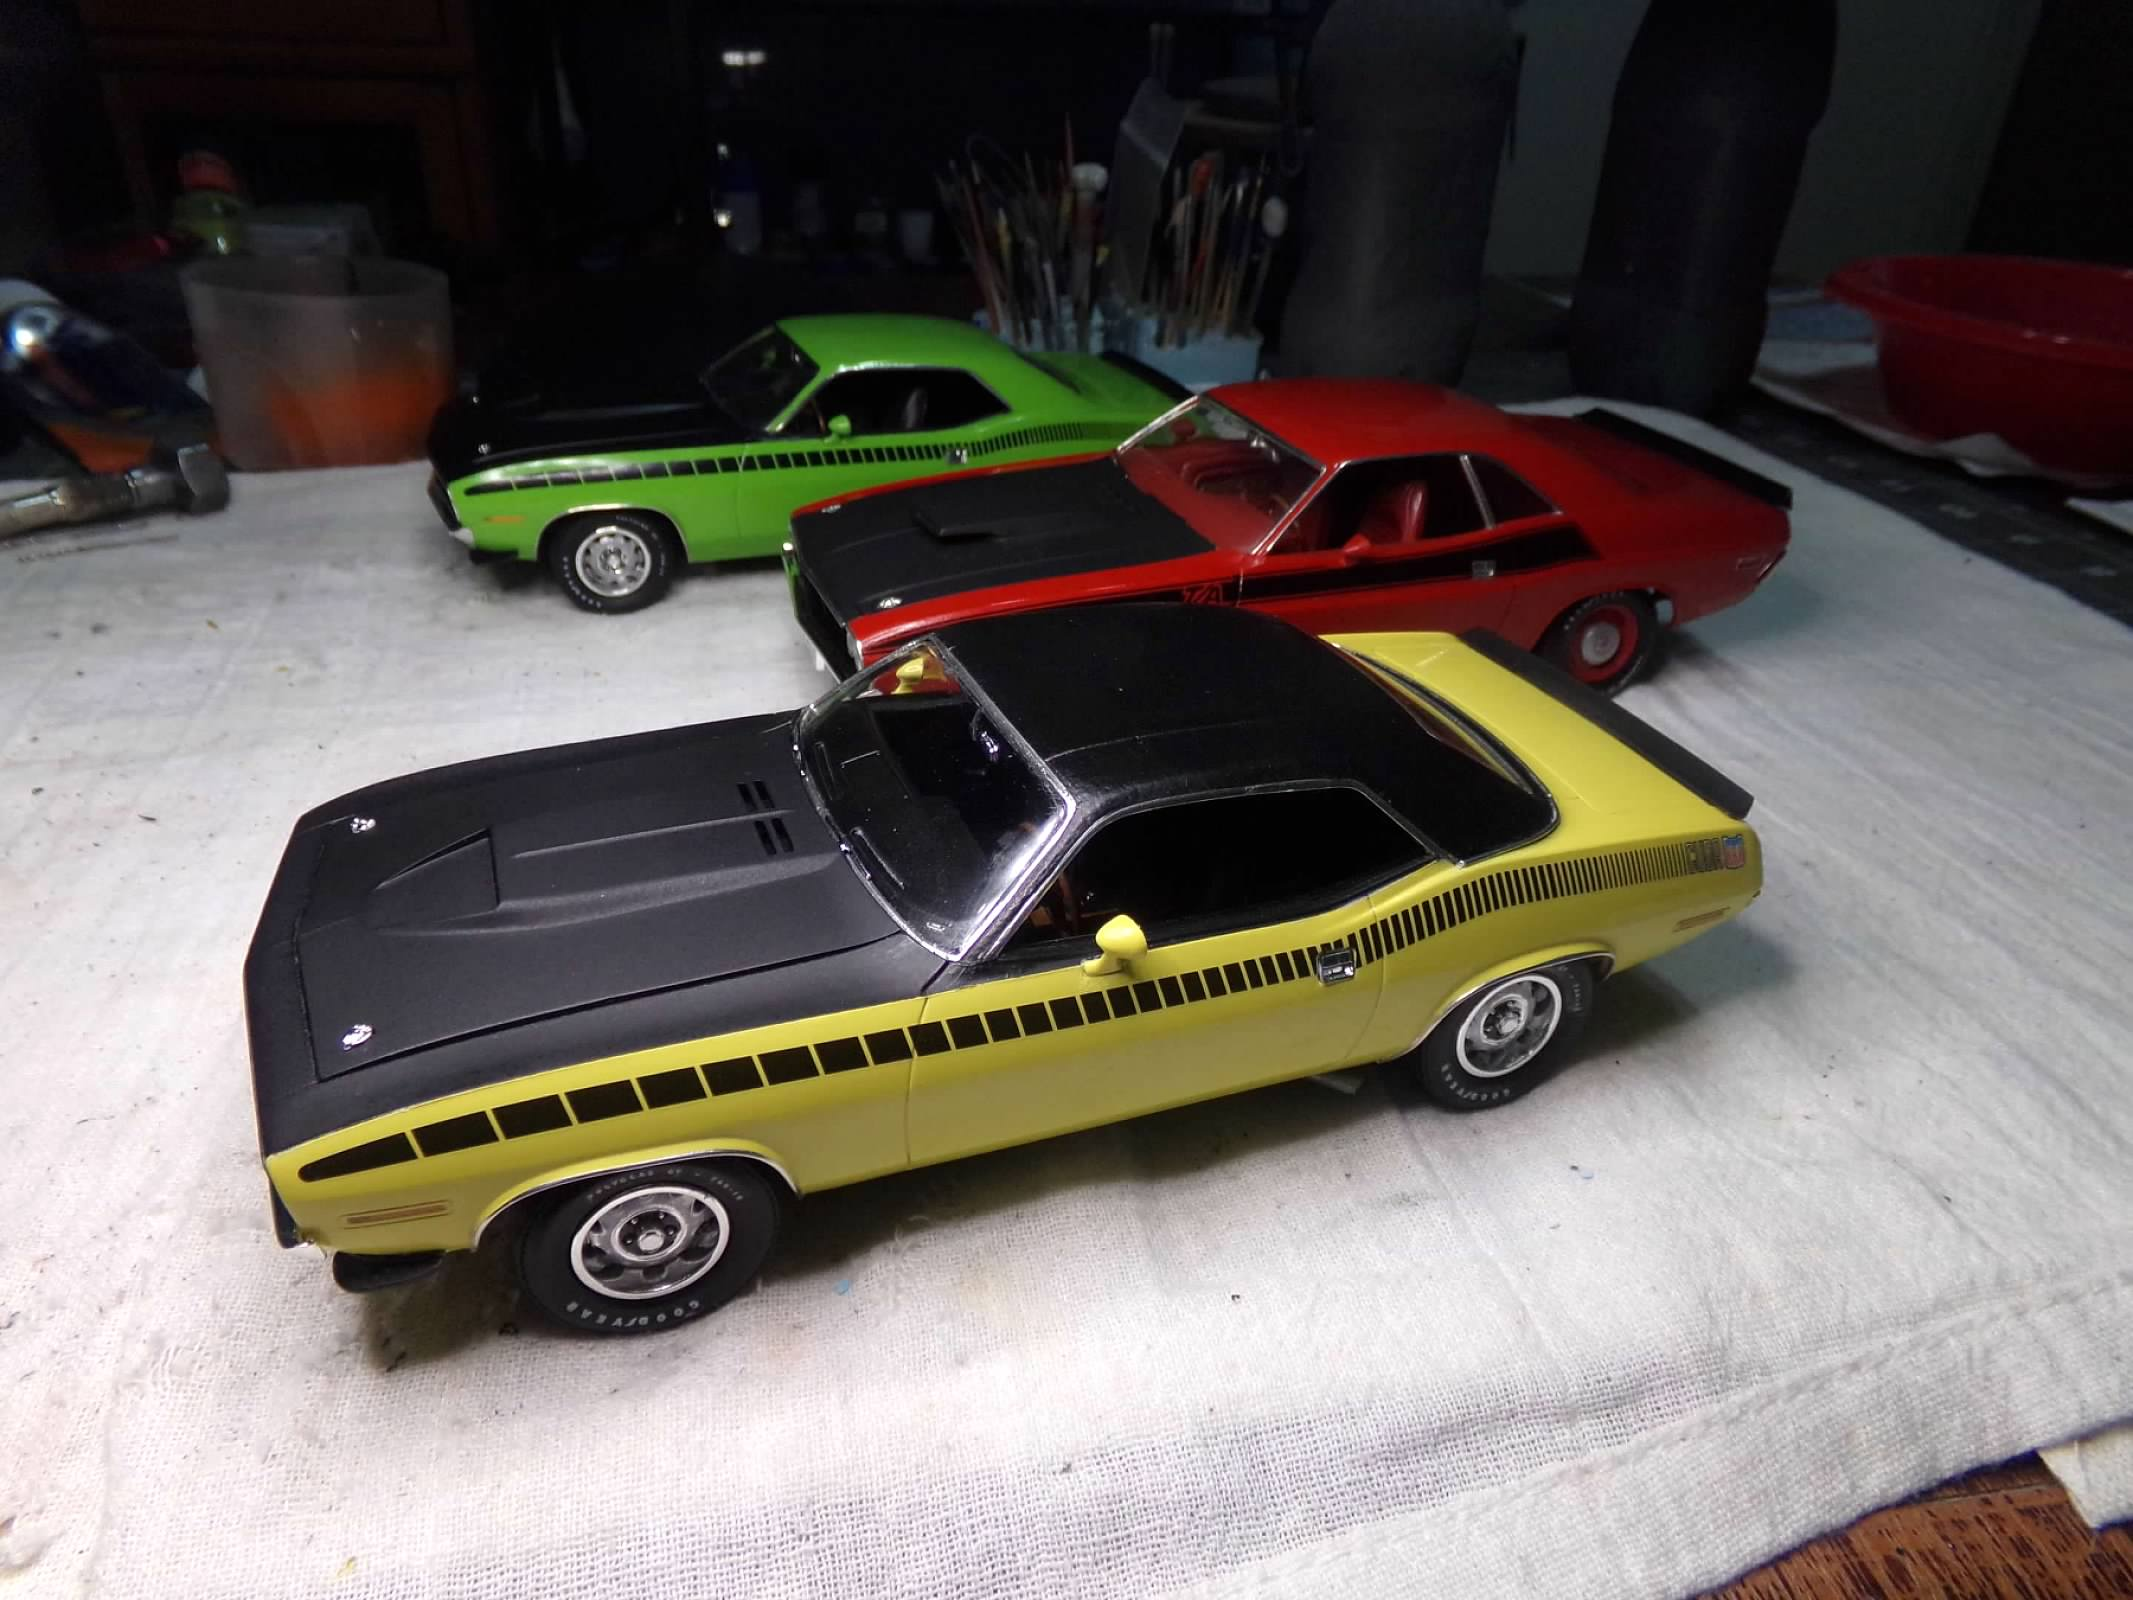
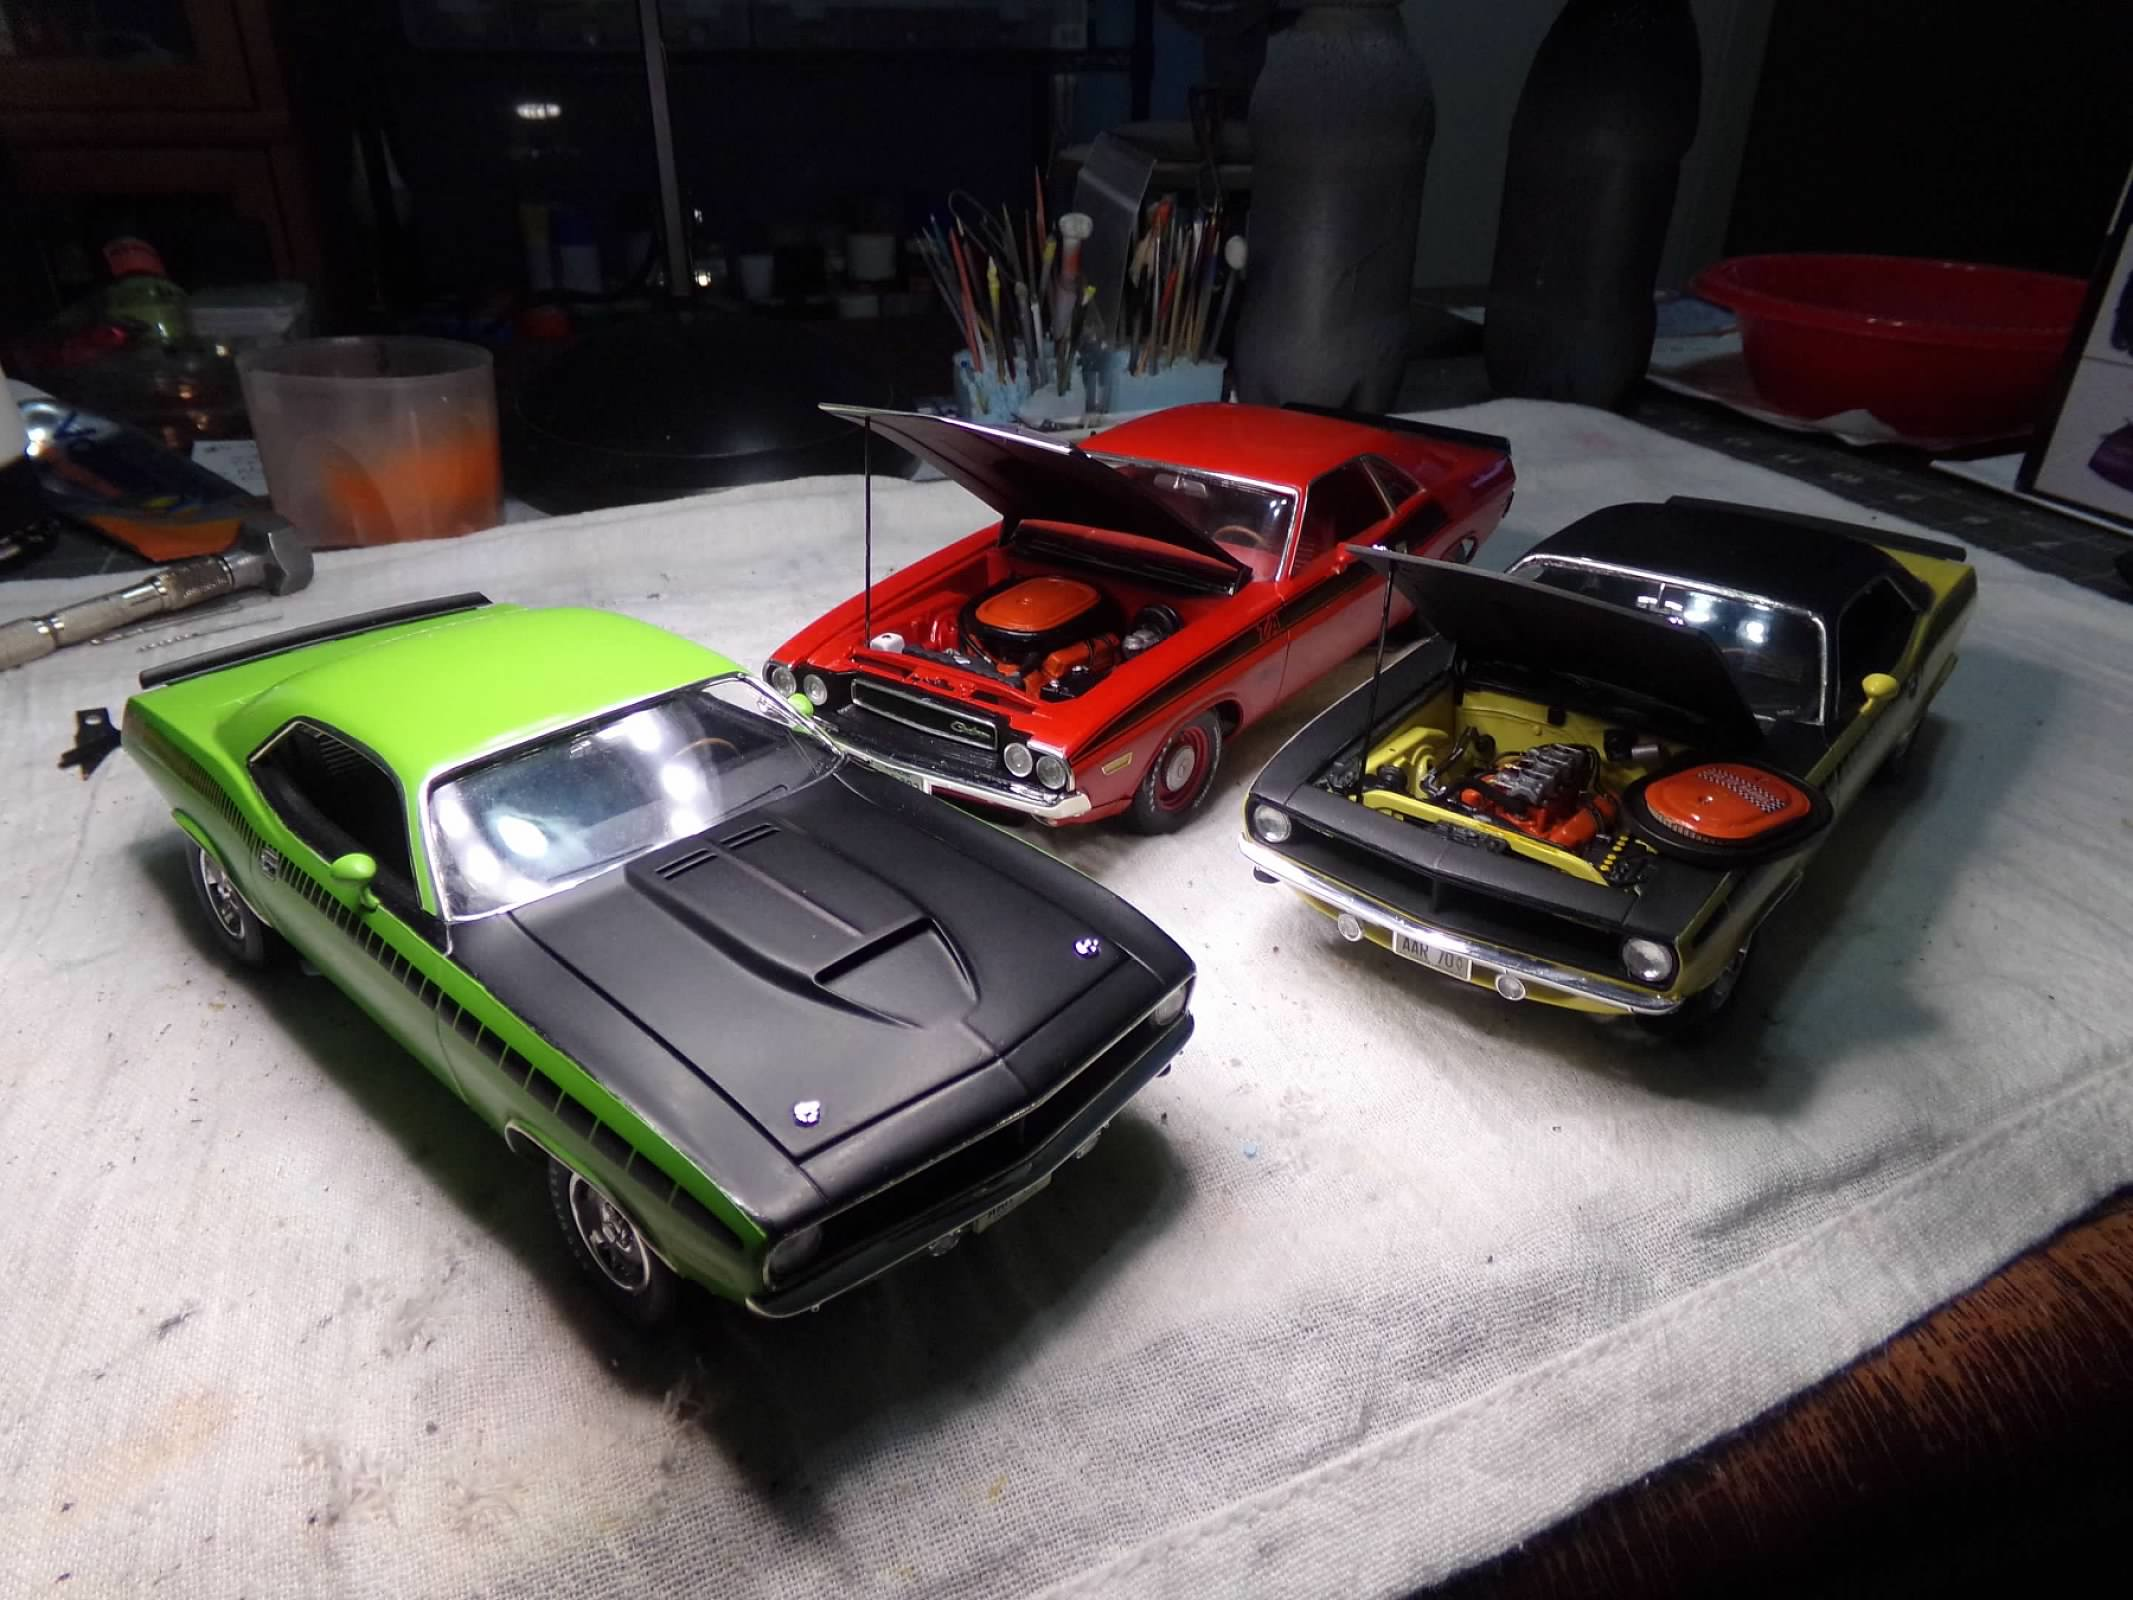
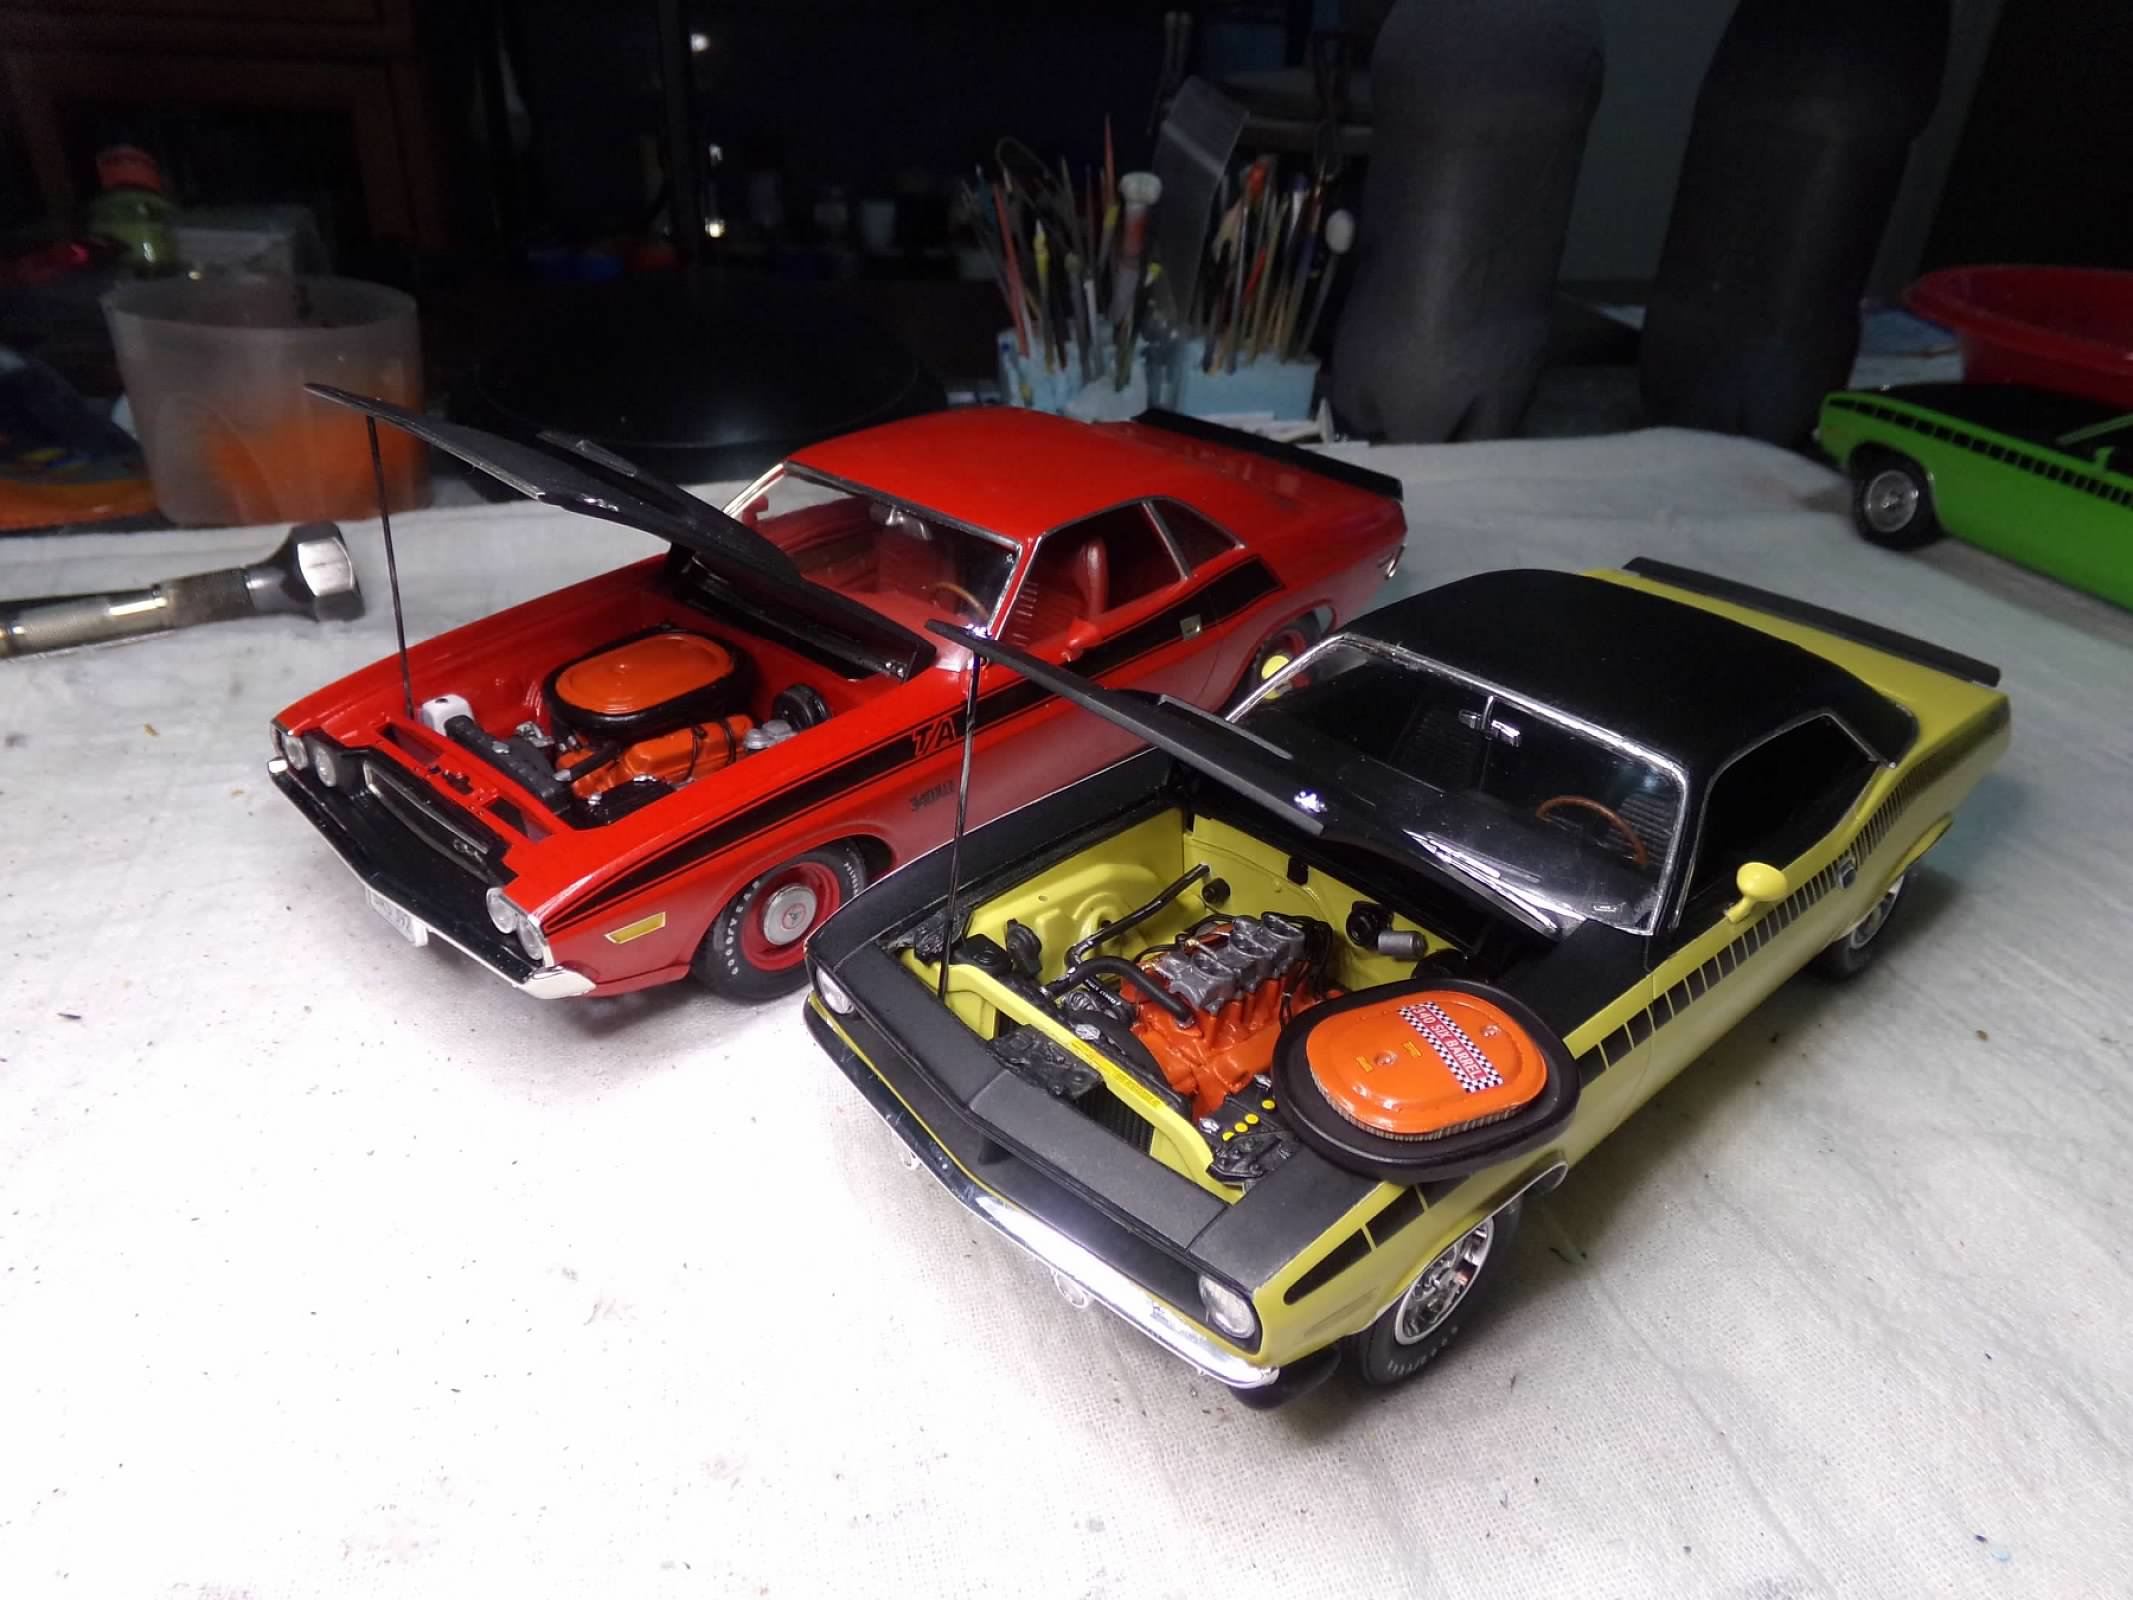
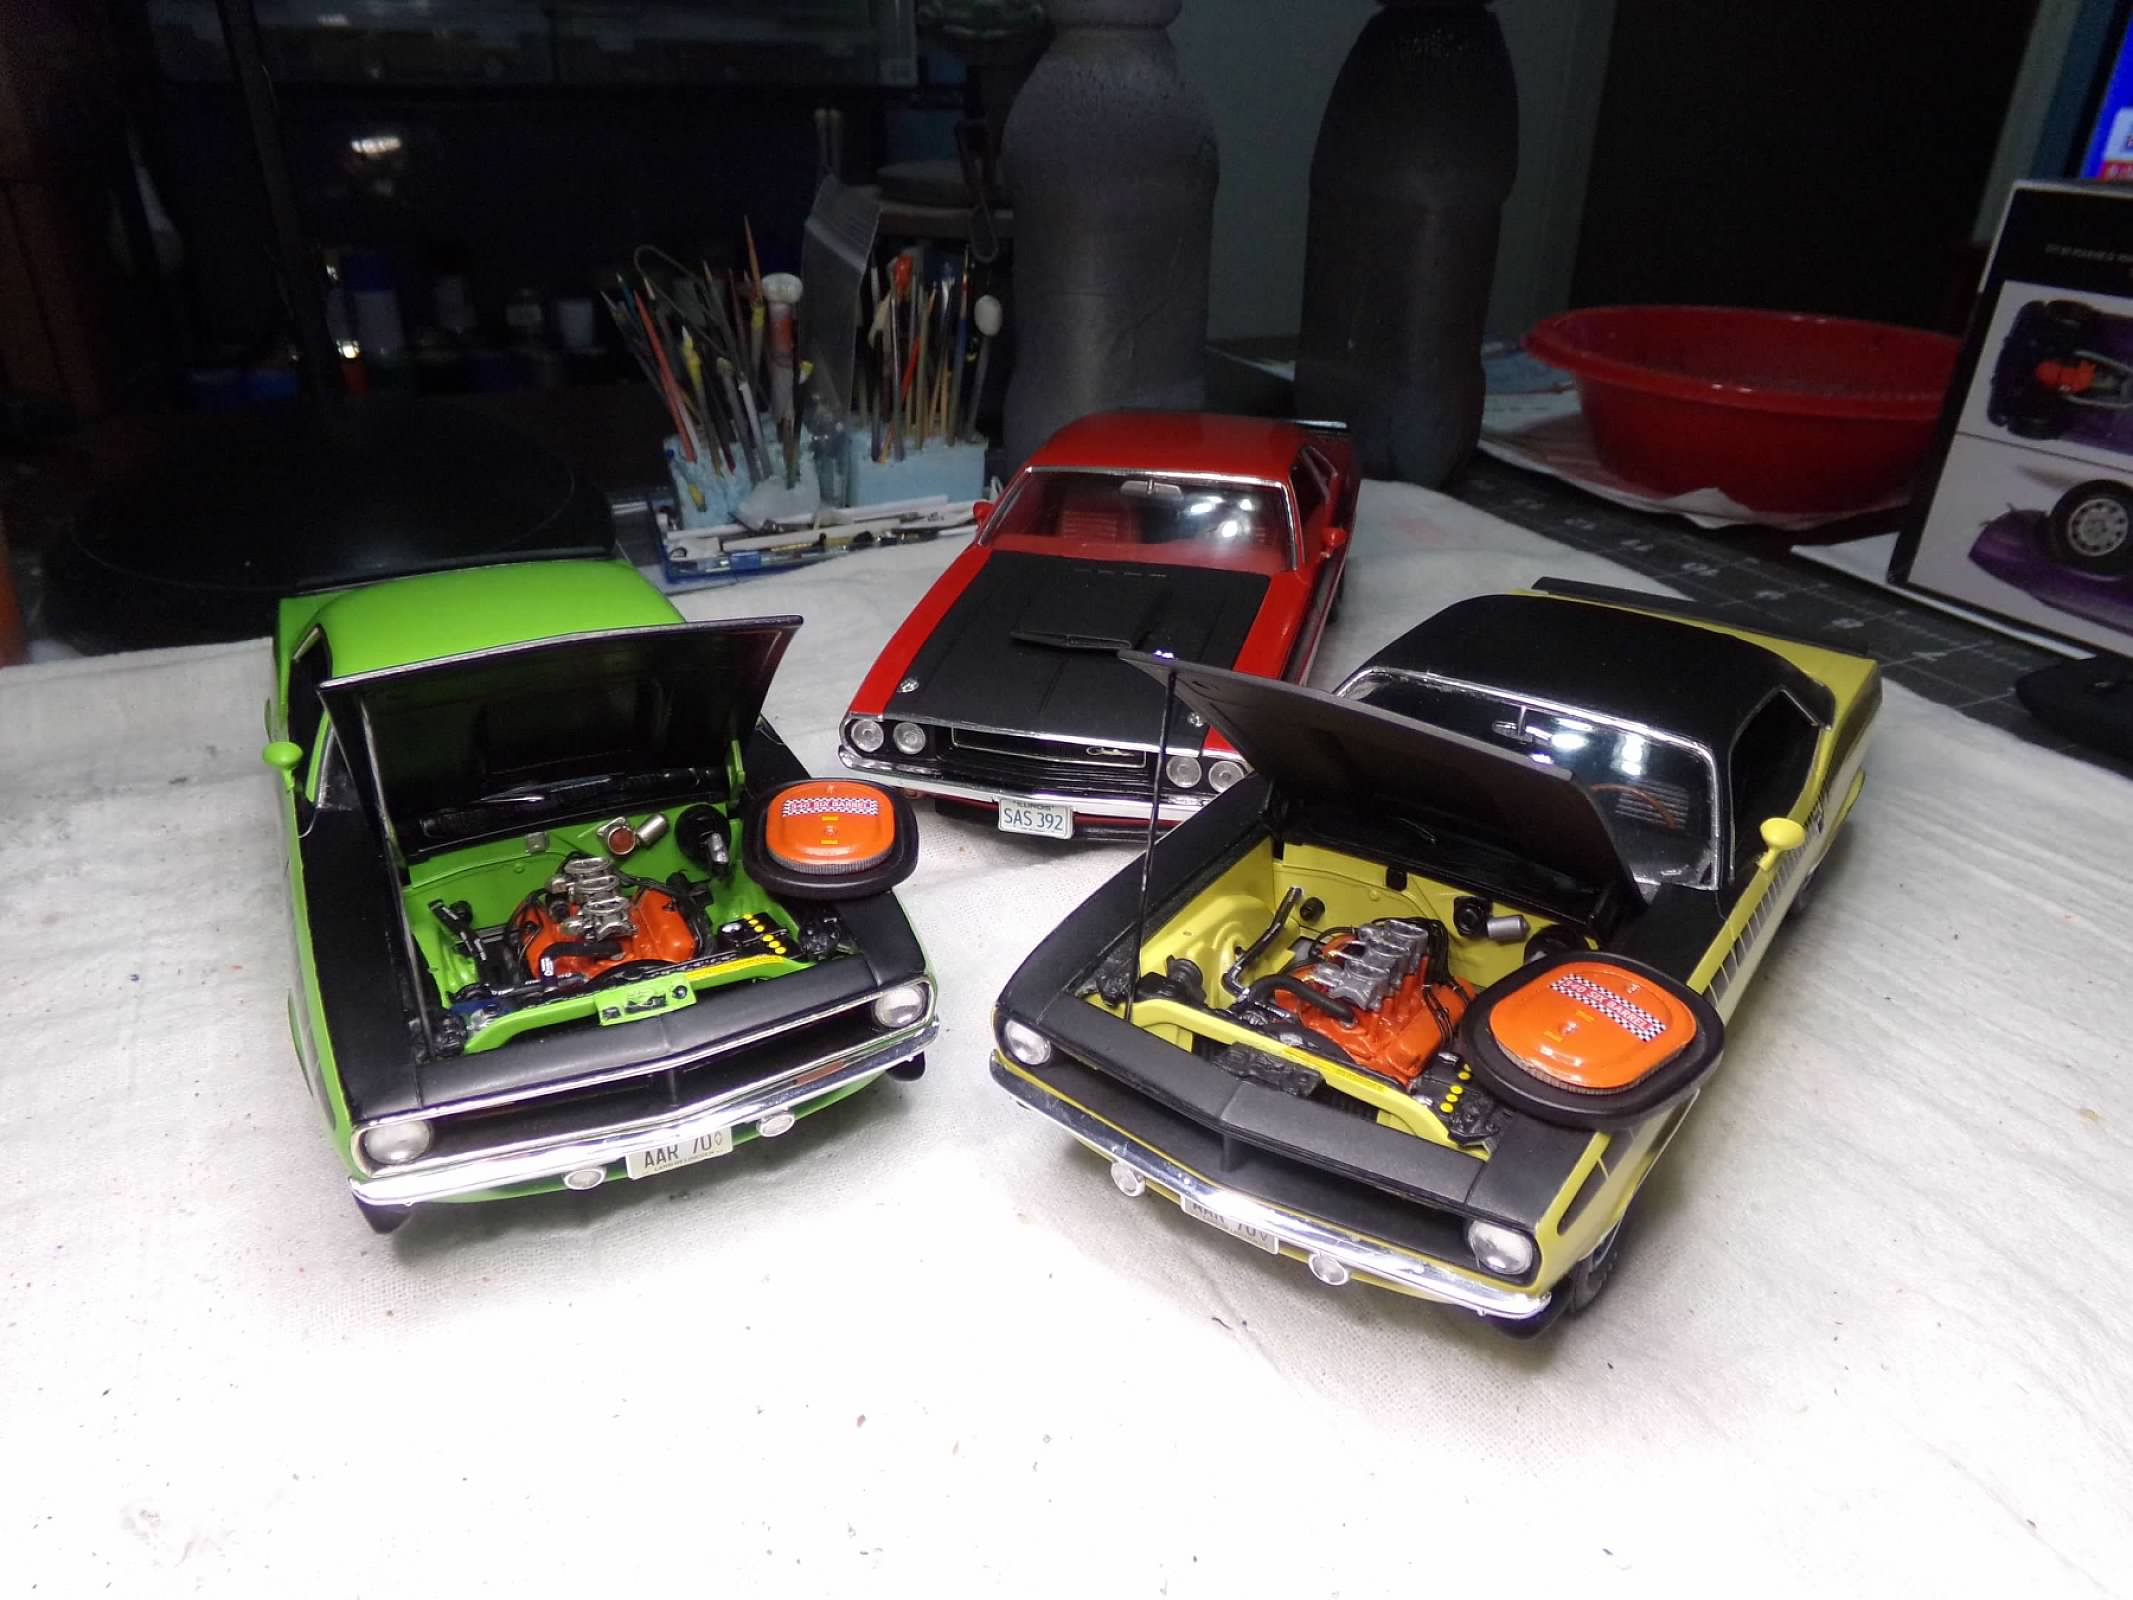
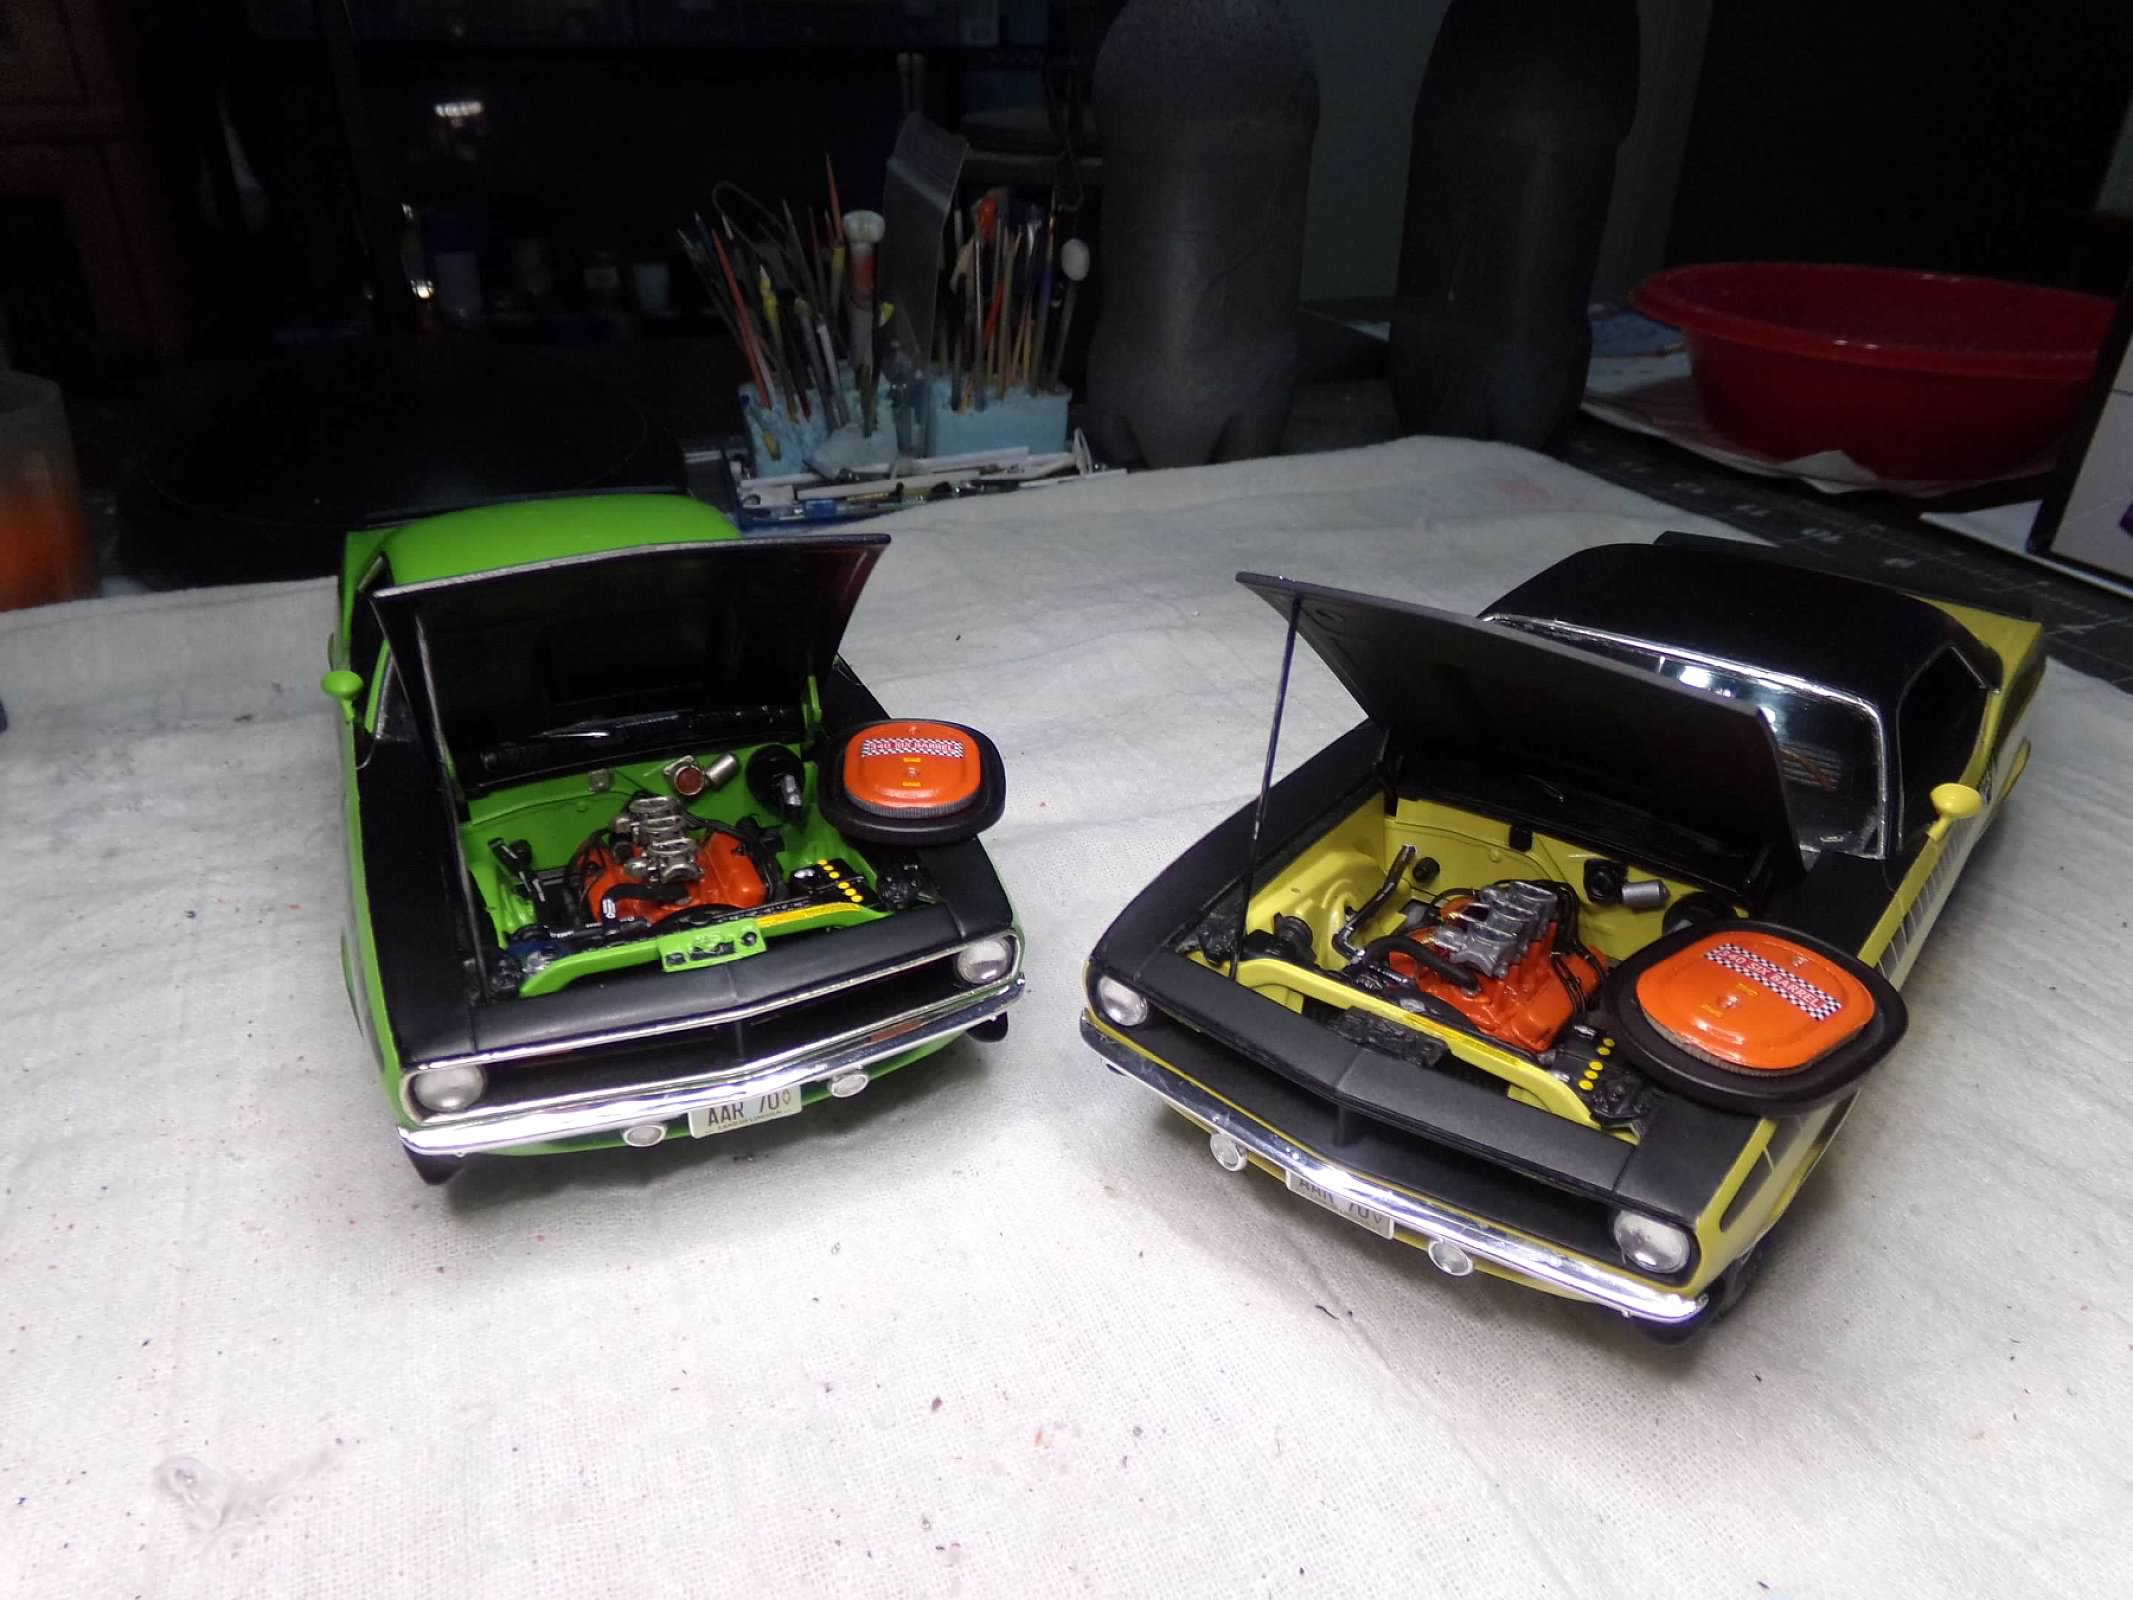
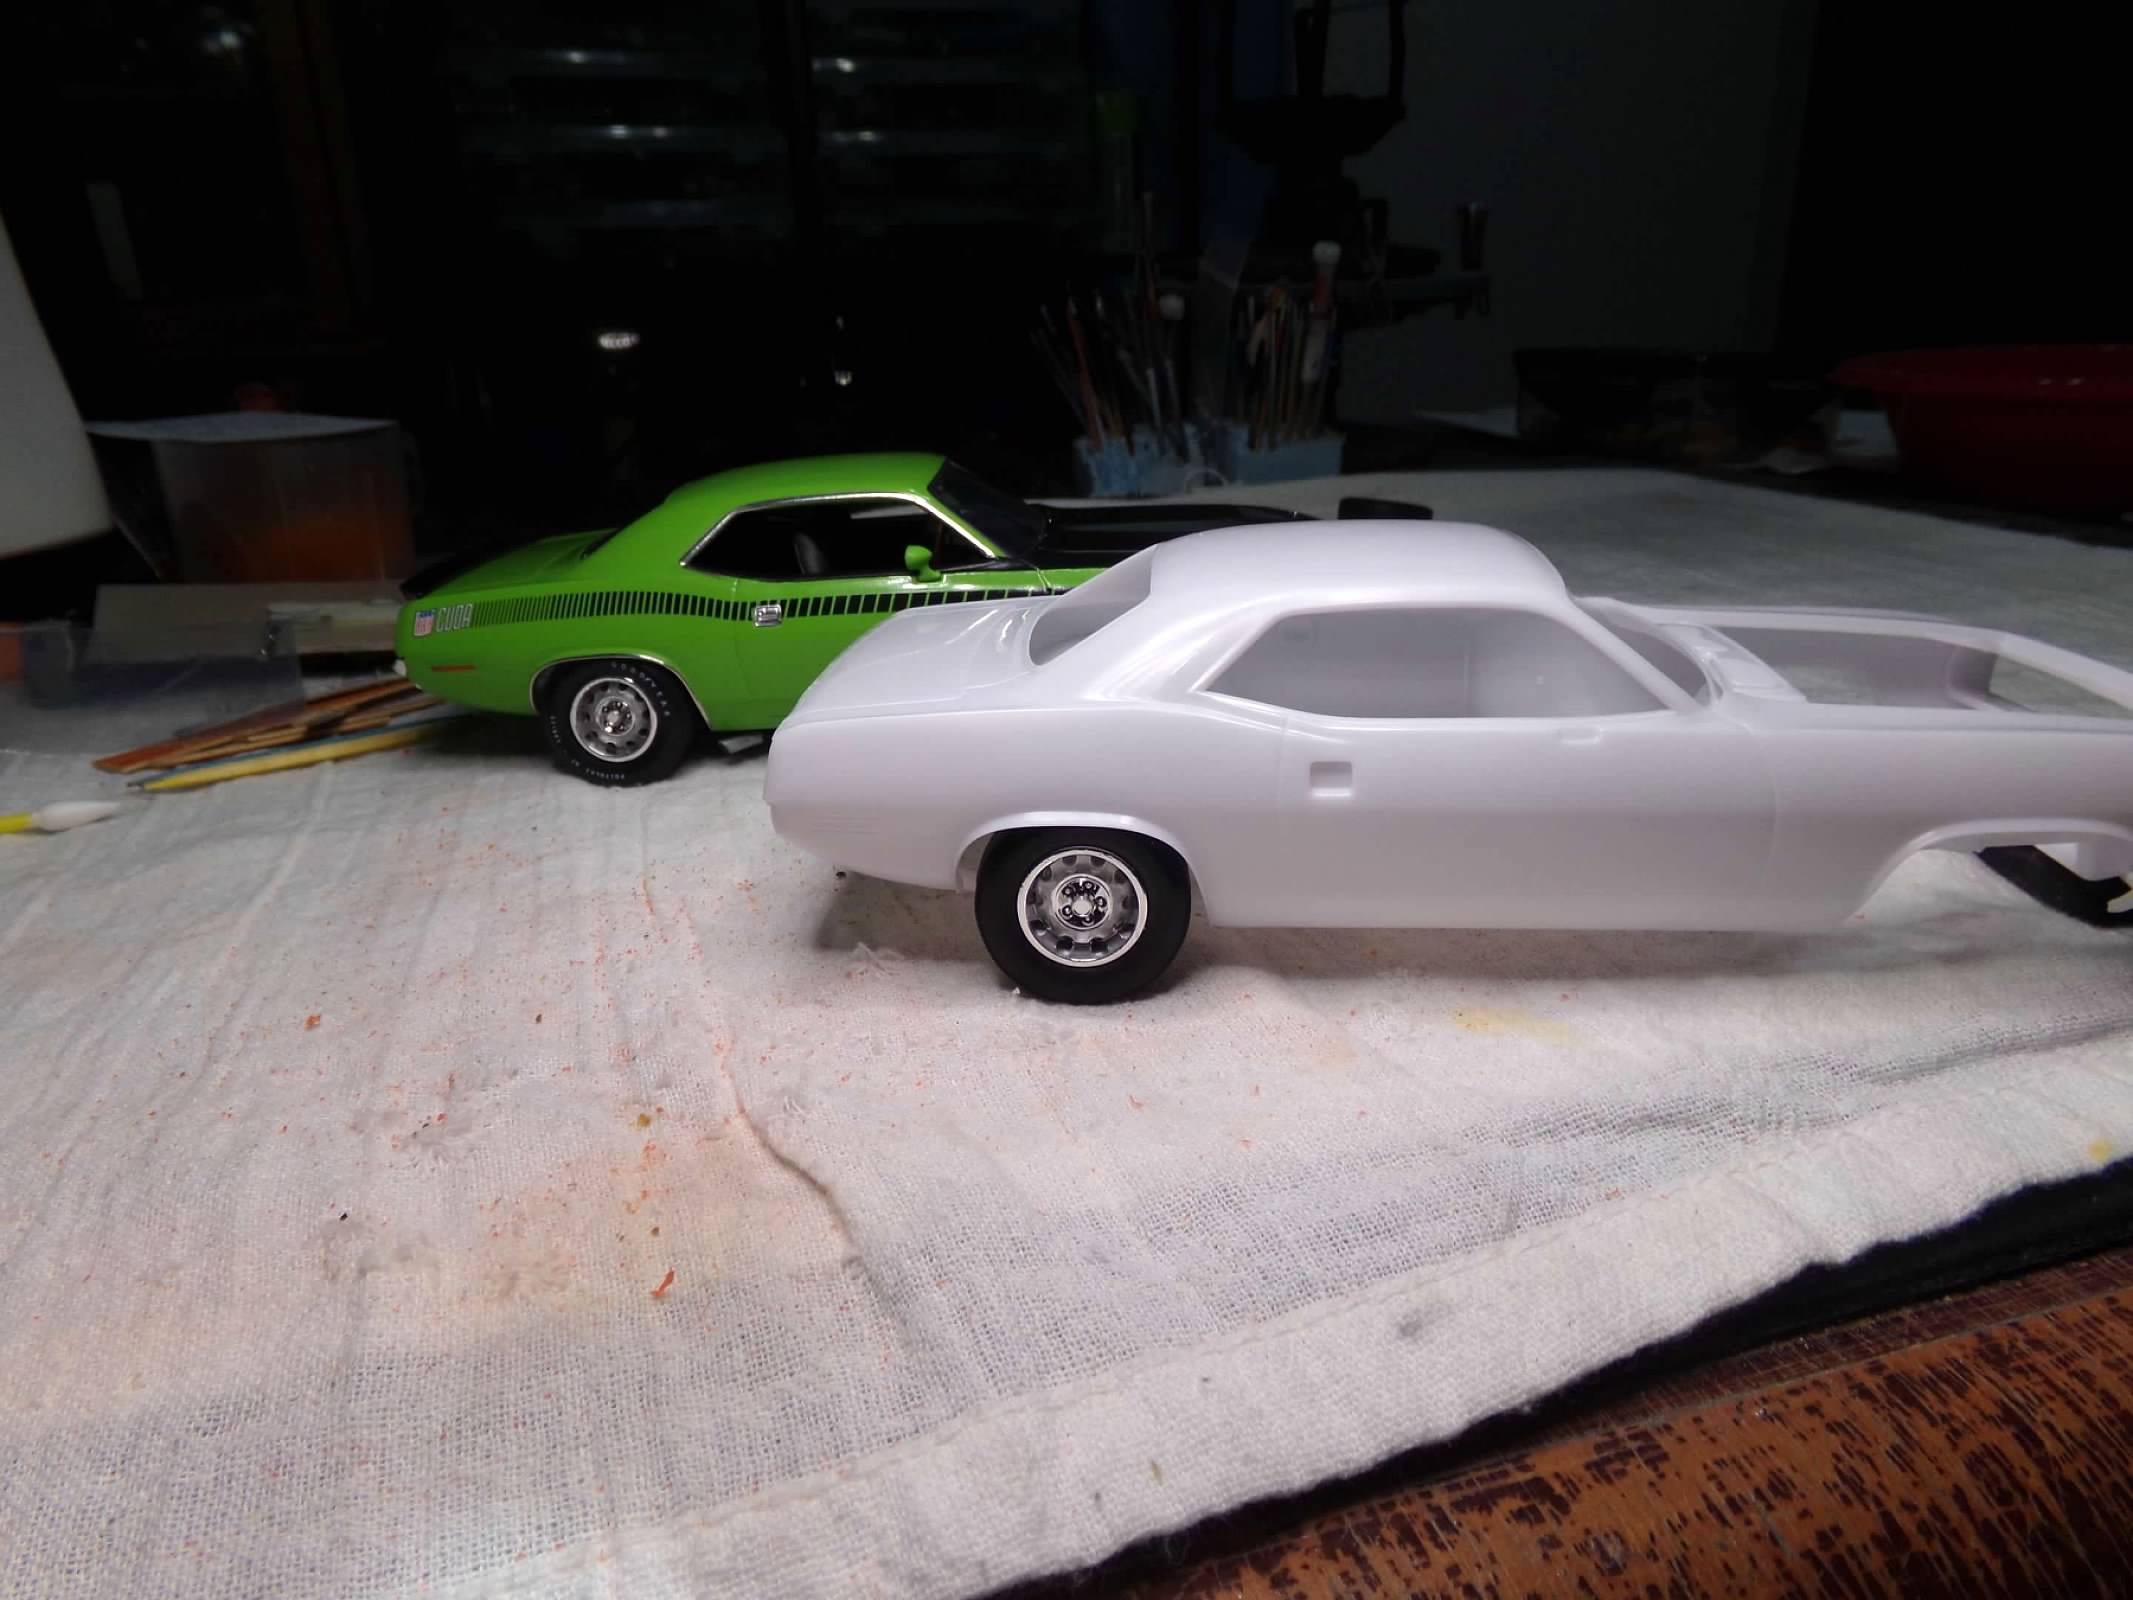
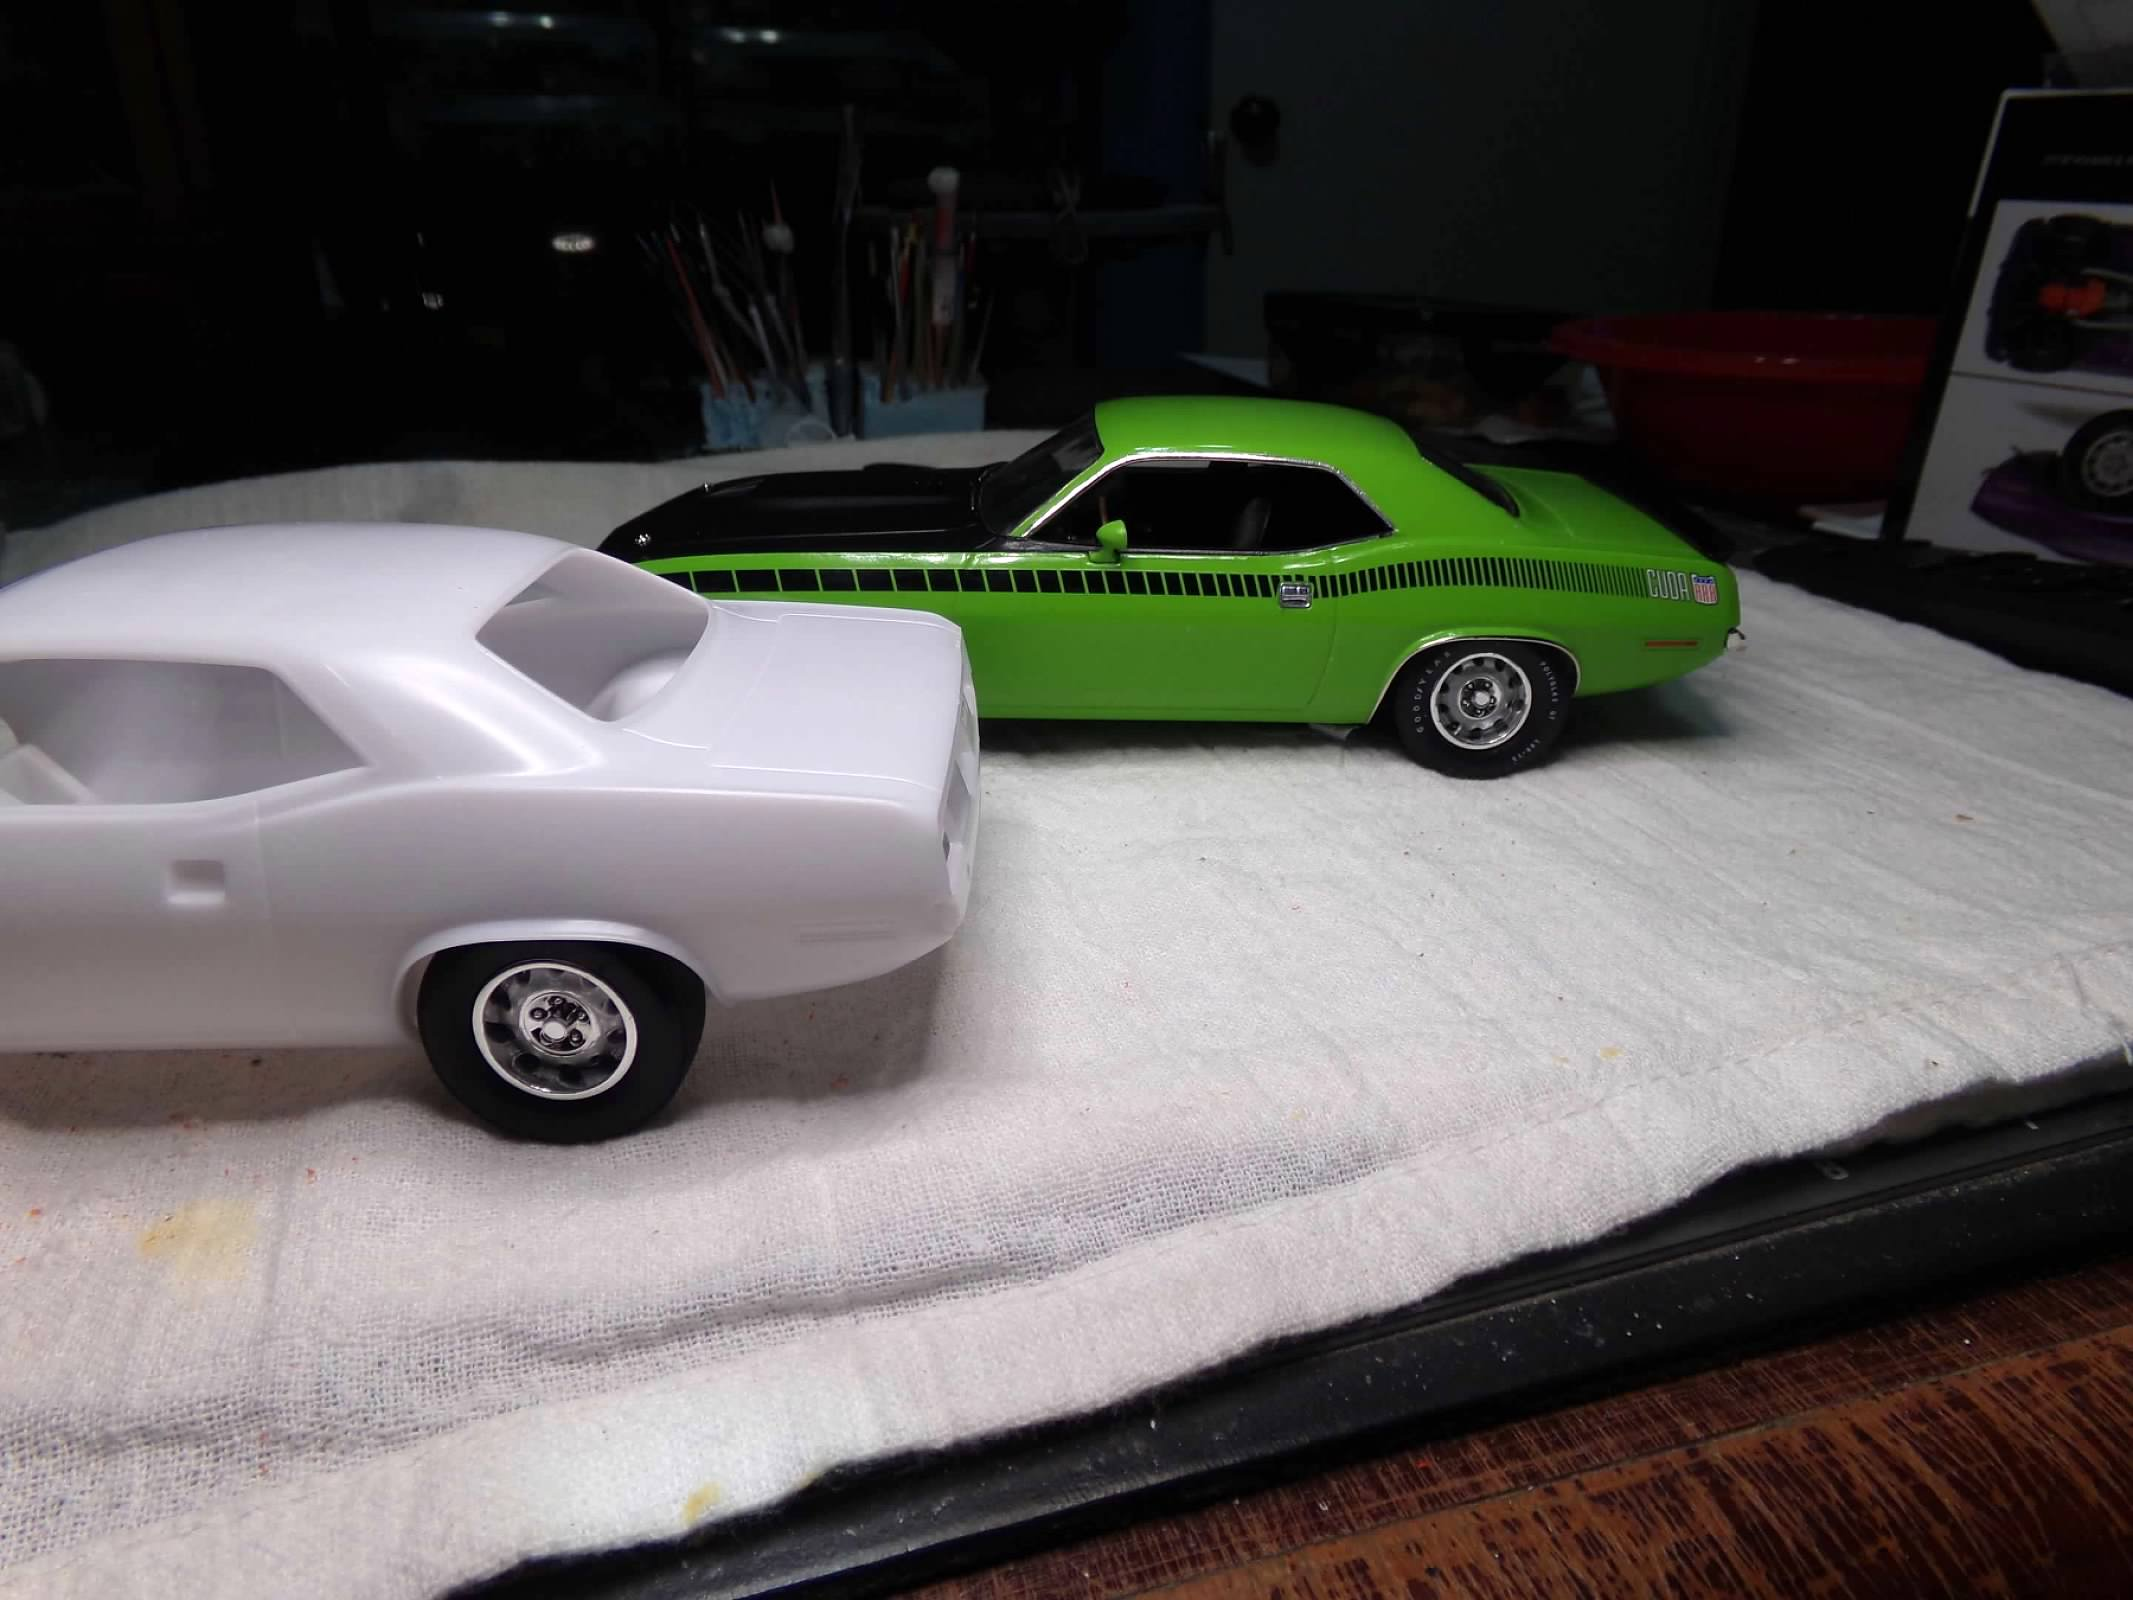
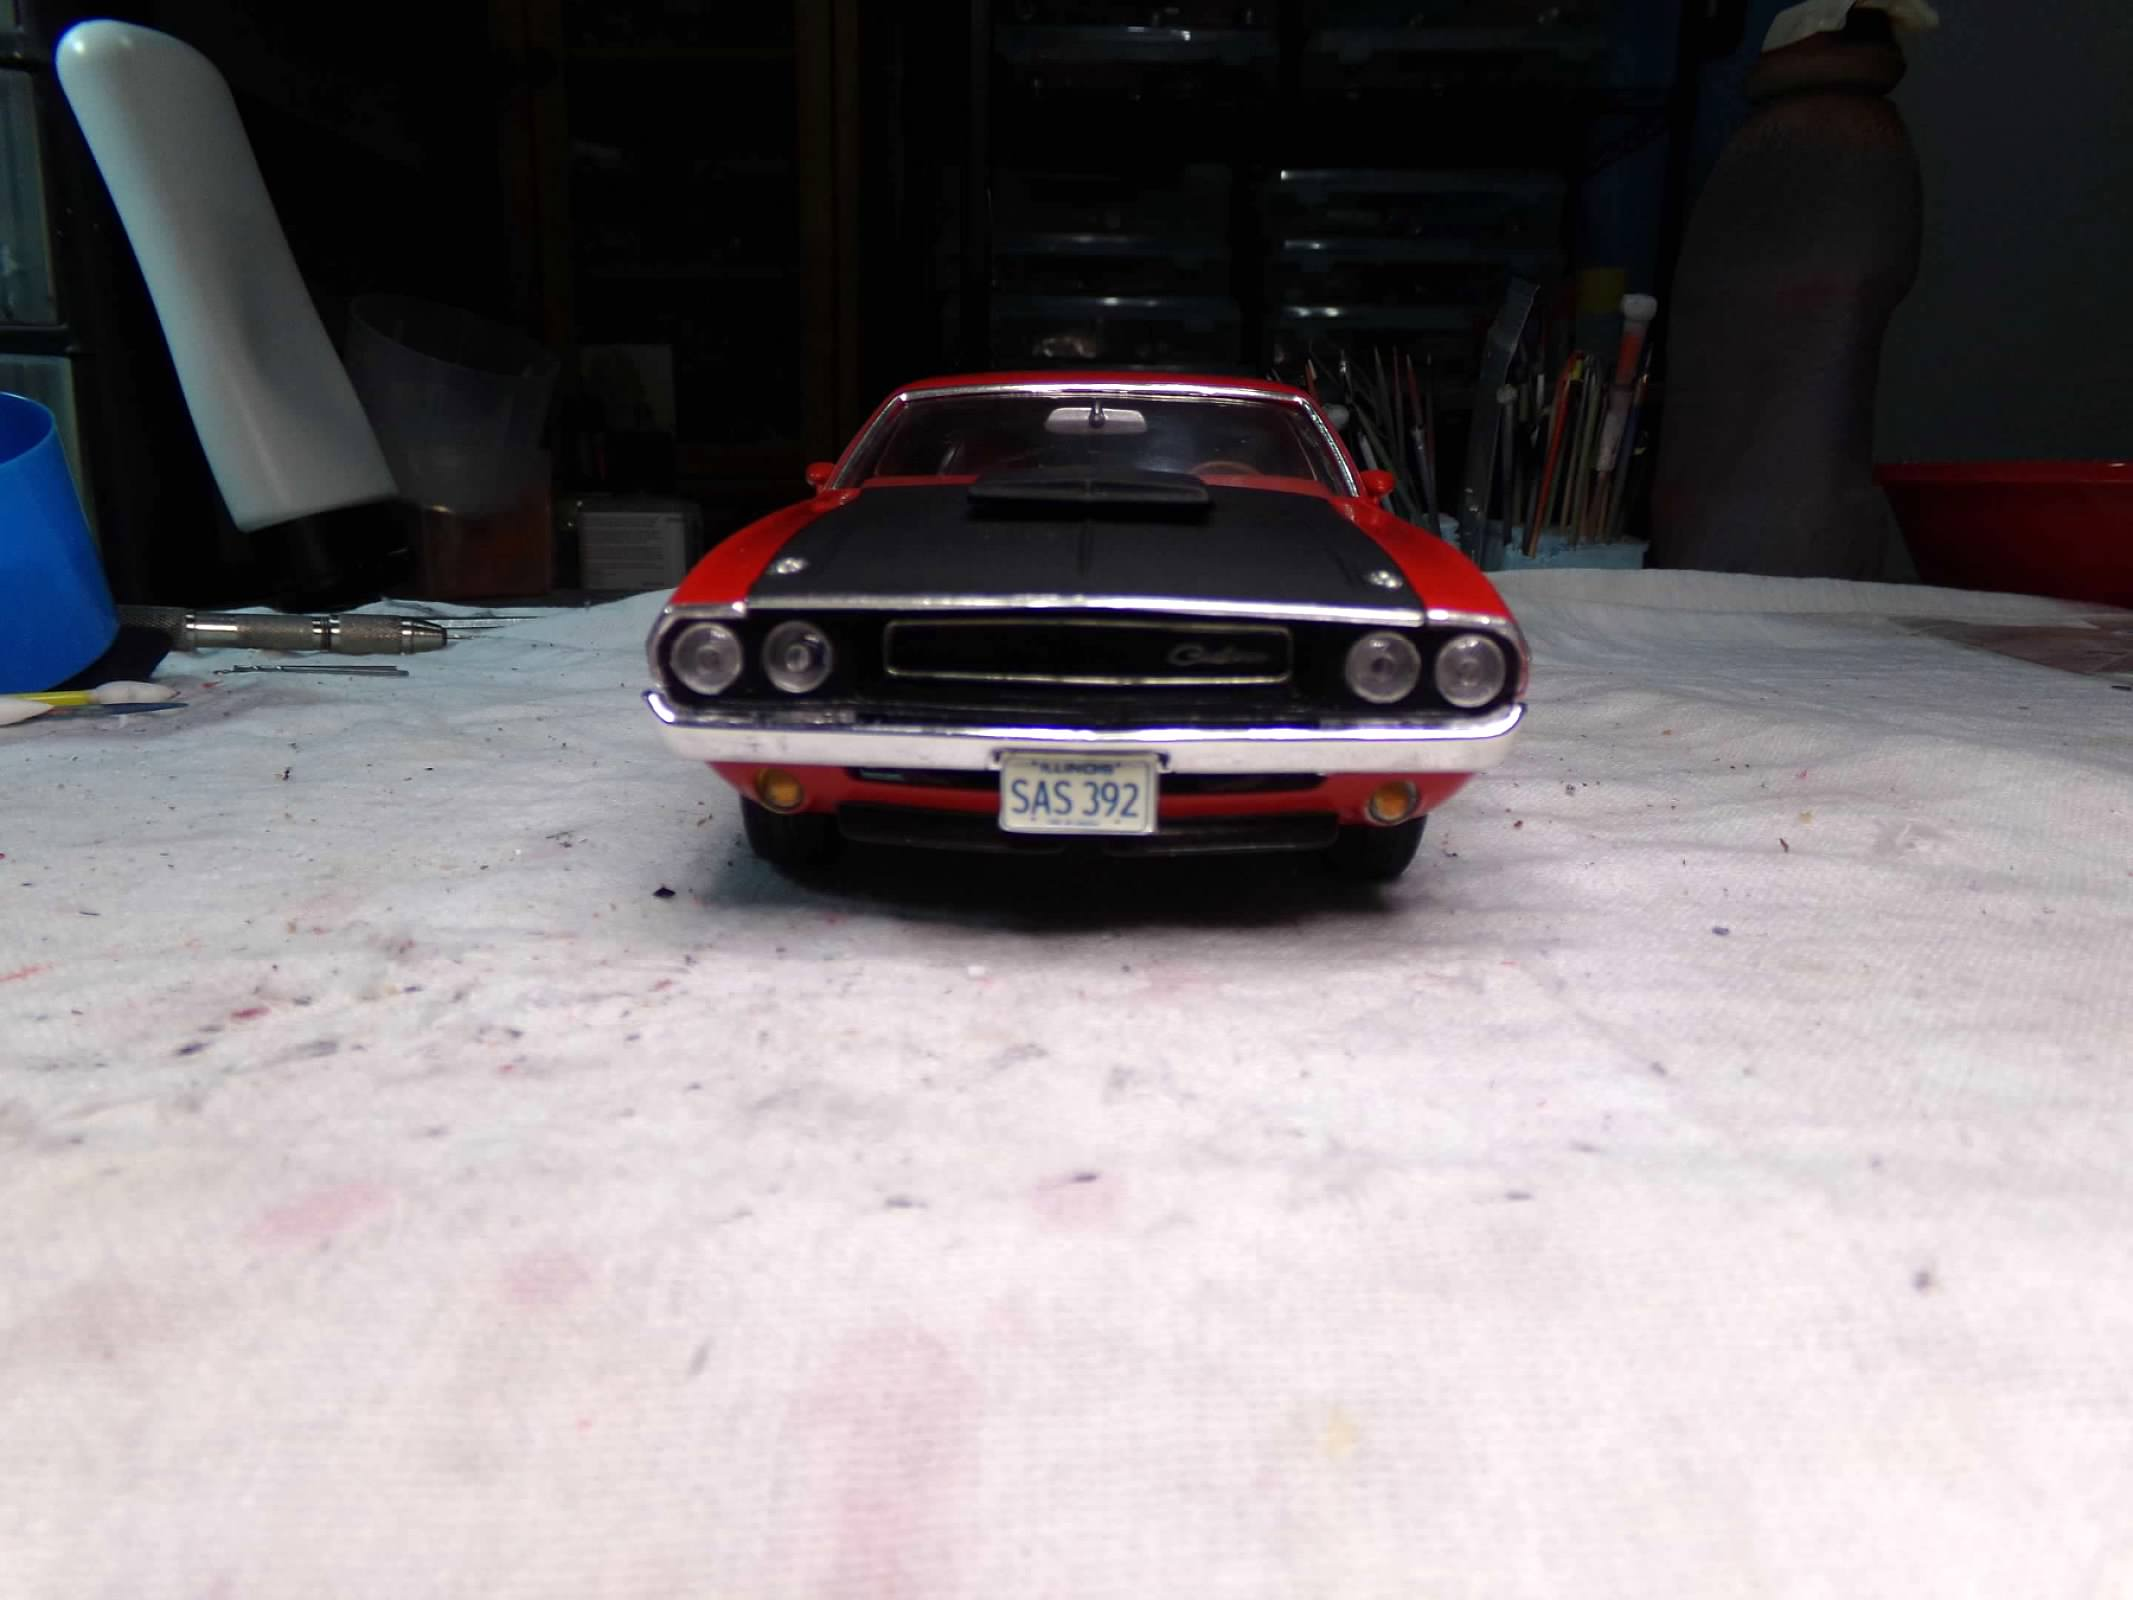
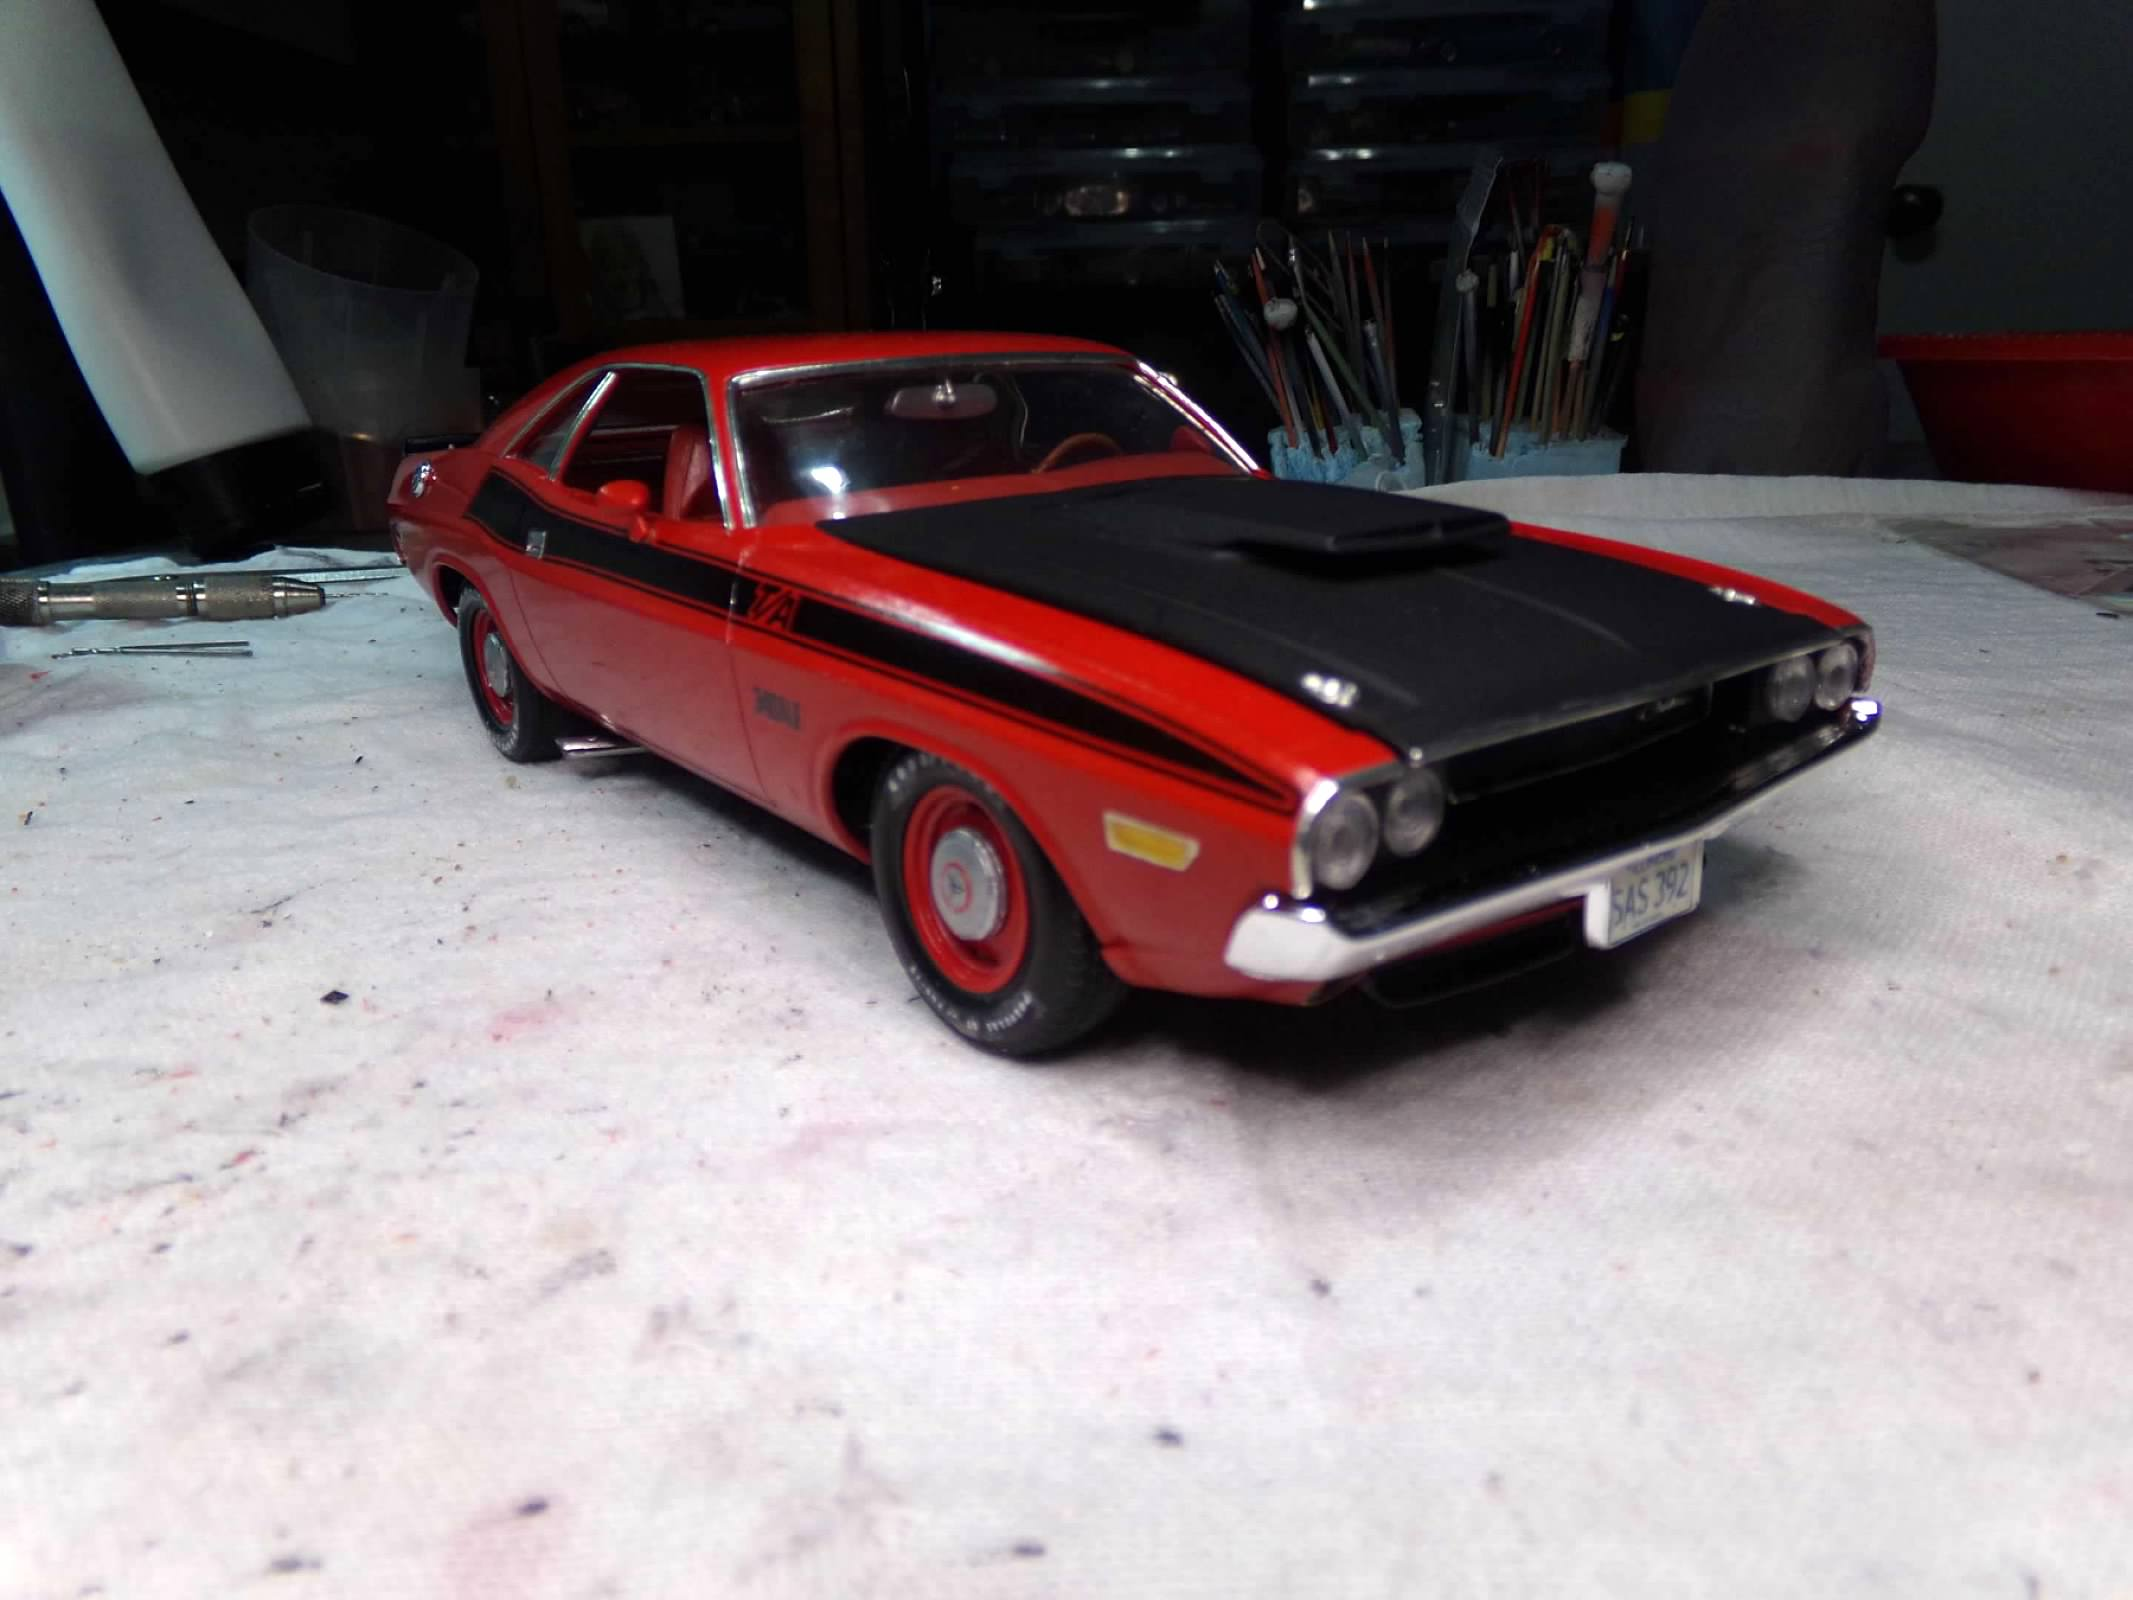
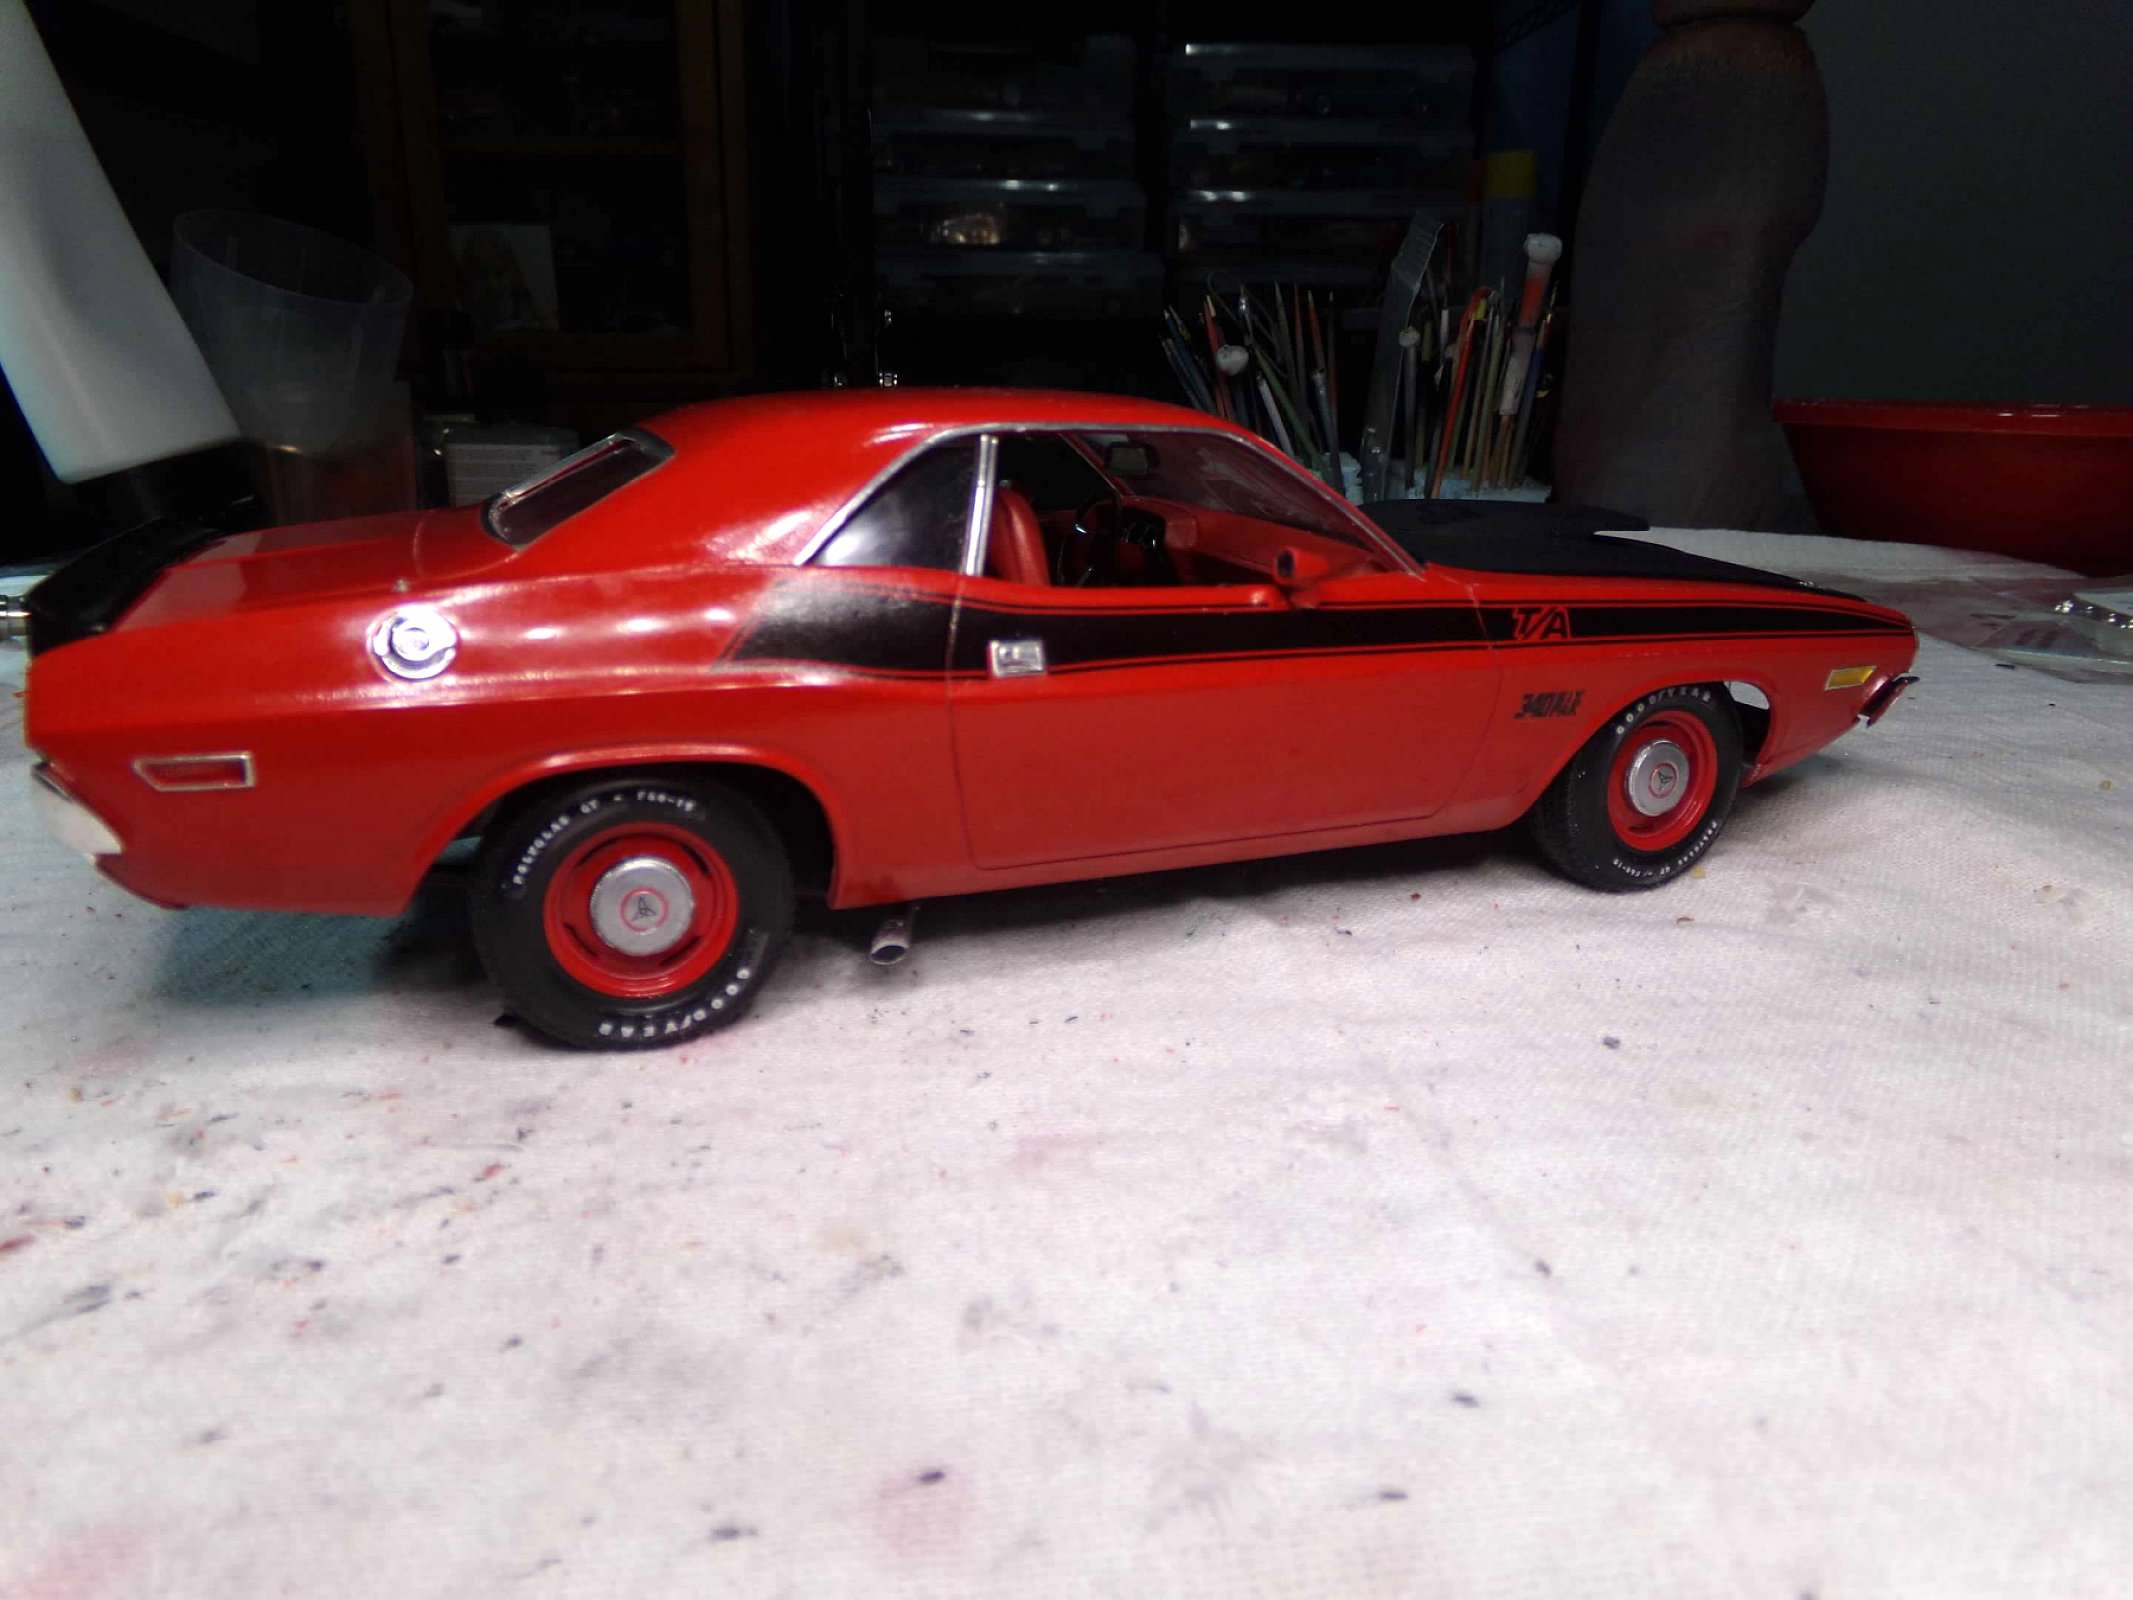
Thanks, Eric, David, Chris, Ian, and Larry! I appreciate your comments! I thought I would post a few other pics of this same subject, two brothers and then the two are joined by a cousin. Or maybe its a brother/sister combo joined by a step-brother. In any event, here are two Revell AAR 'Cudas, one just built and one built a couple of years ago. I have also included a Monogram Dodge Challenger T/A that was my last build. All three have 340 six packs with side exhausts. Very similar yet somewhat different. Thanks for looking! ?

-
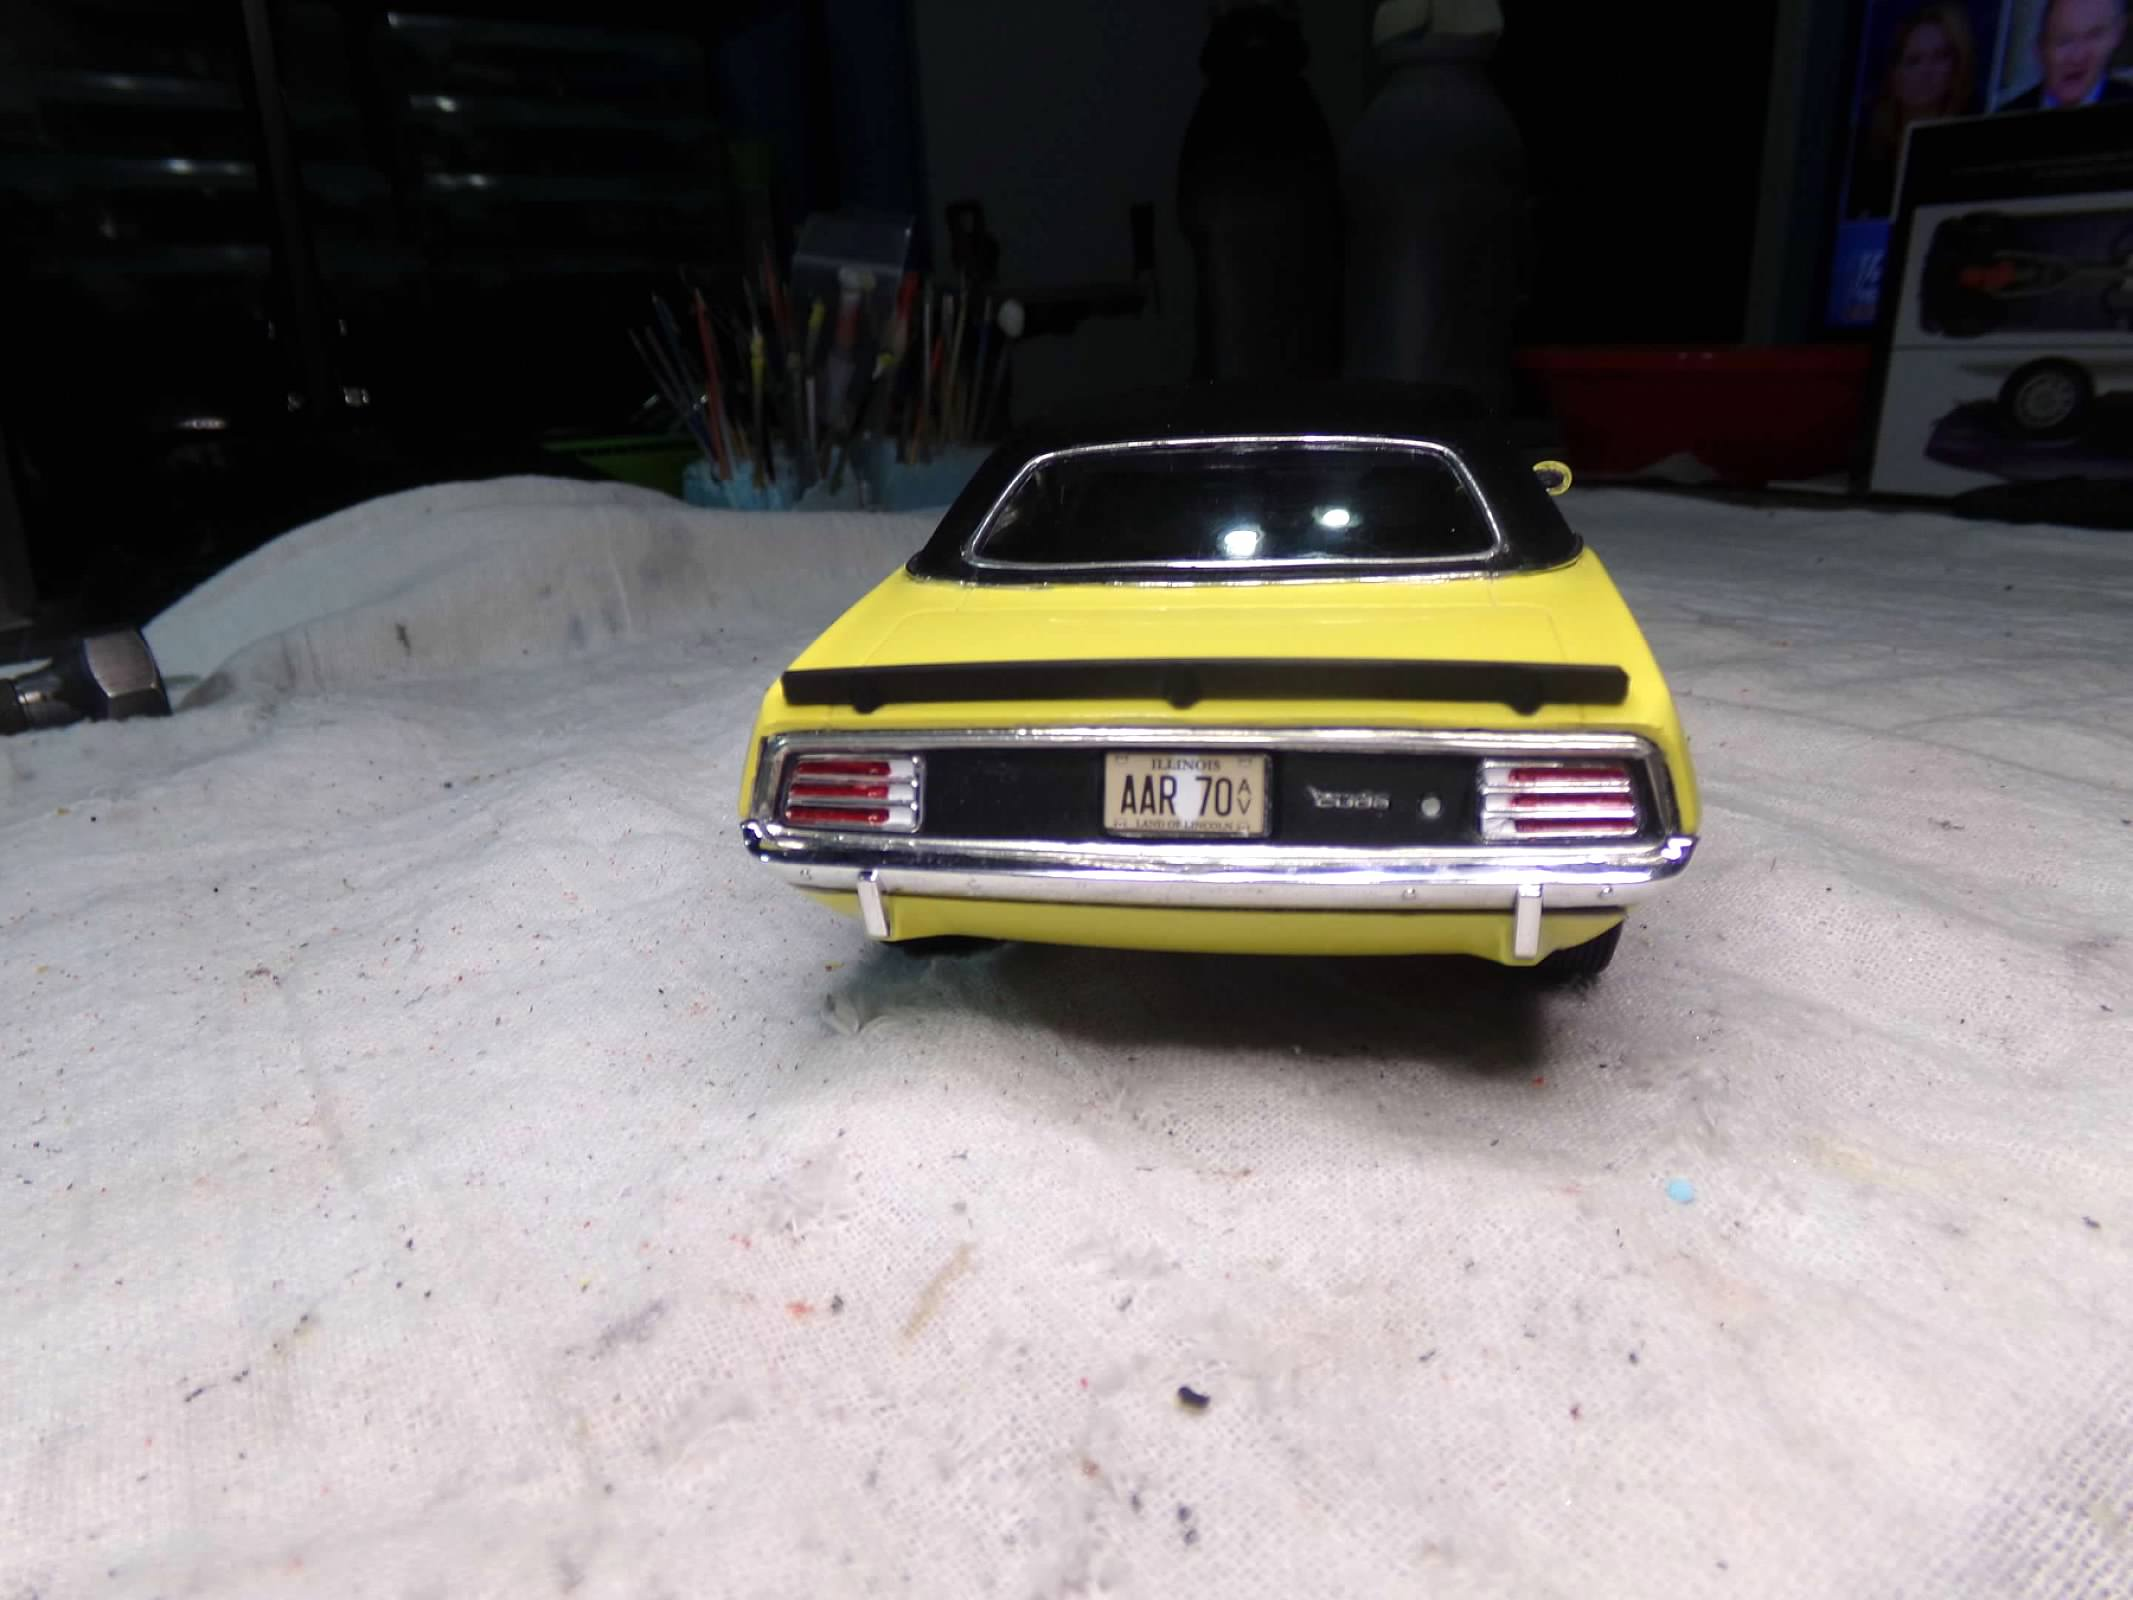
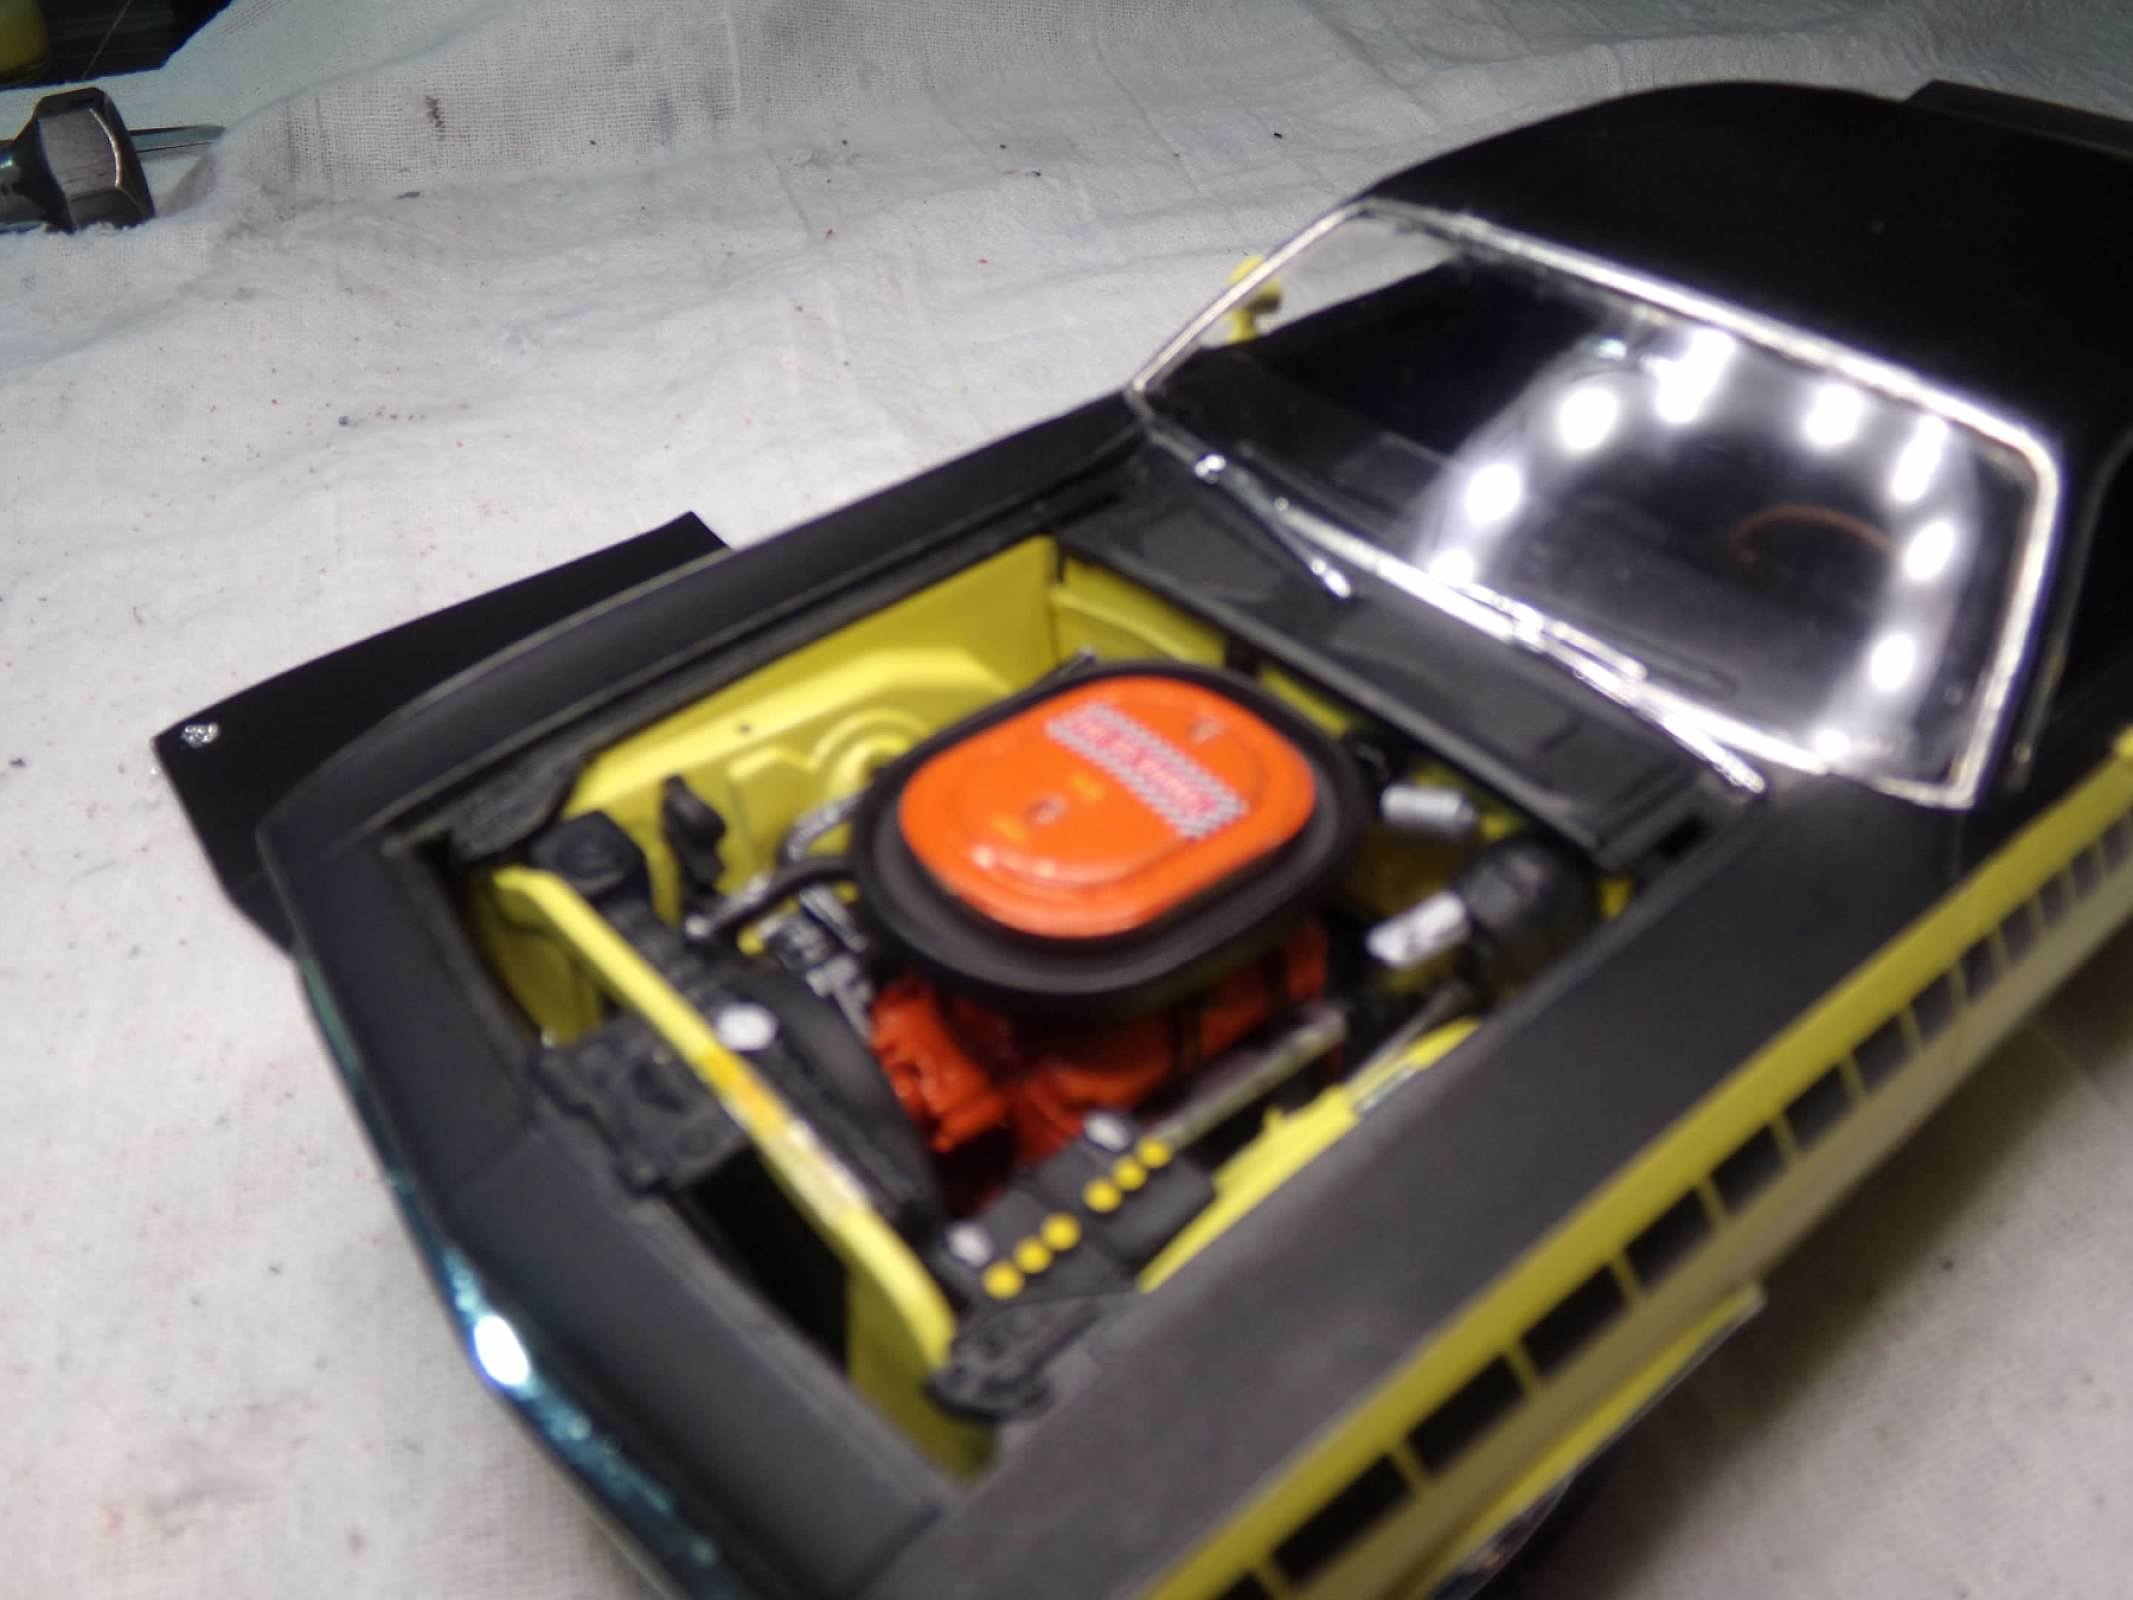
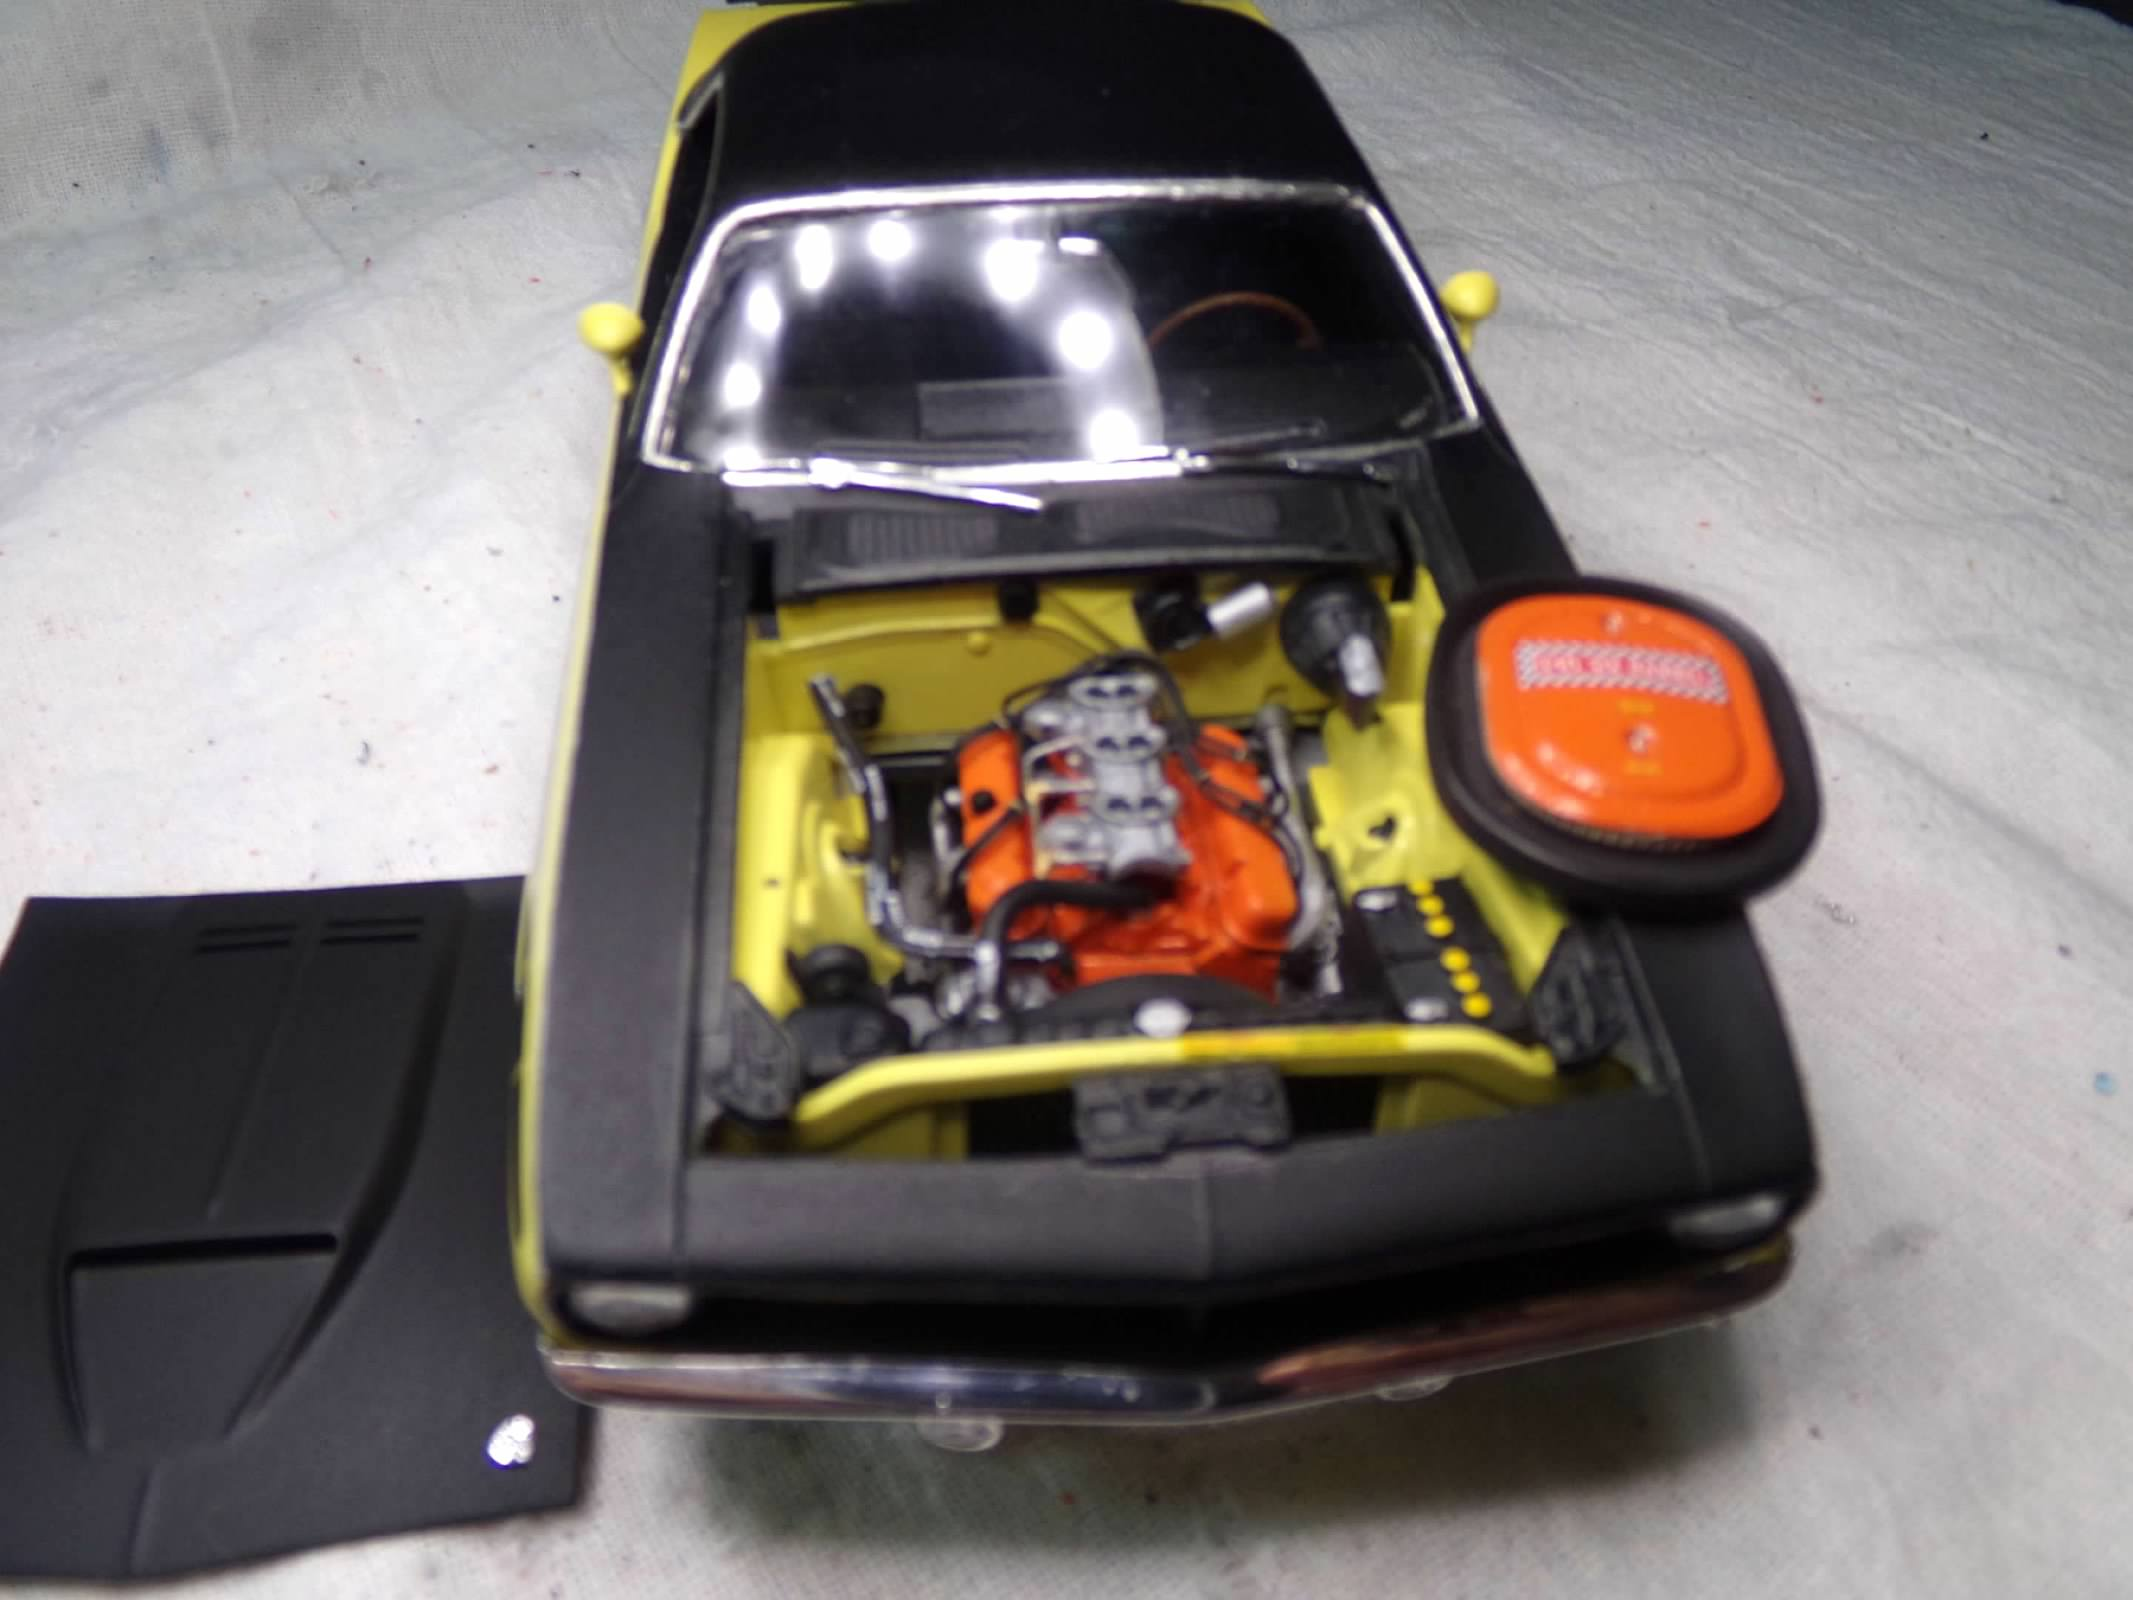
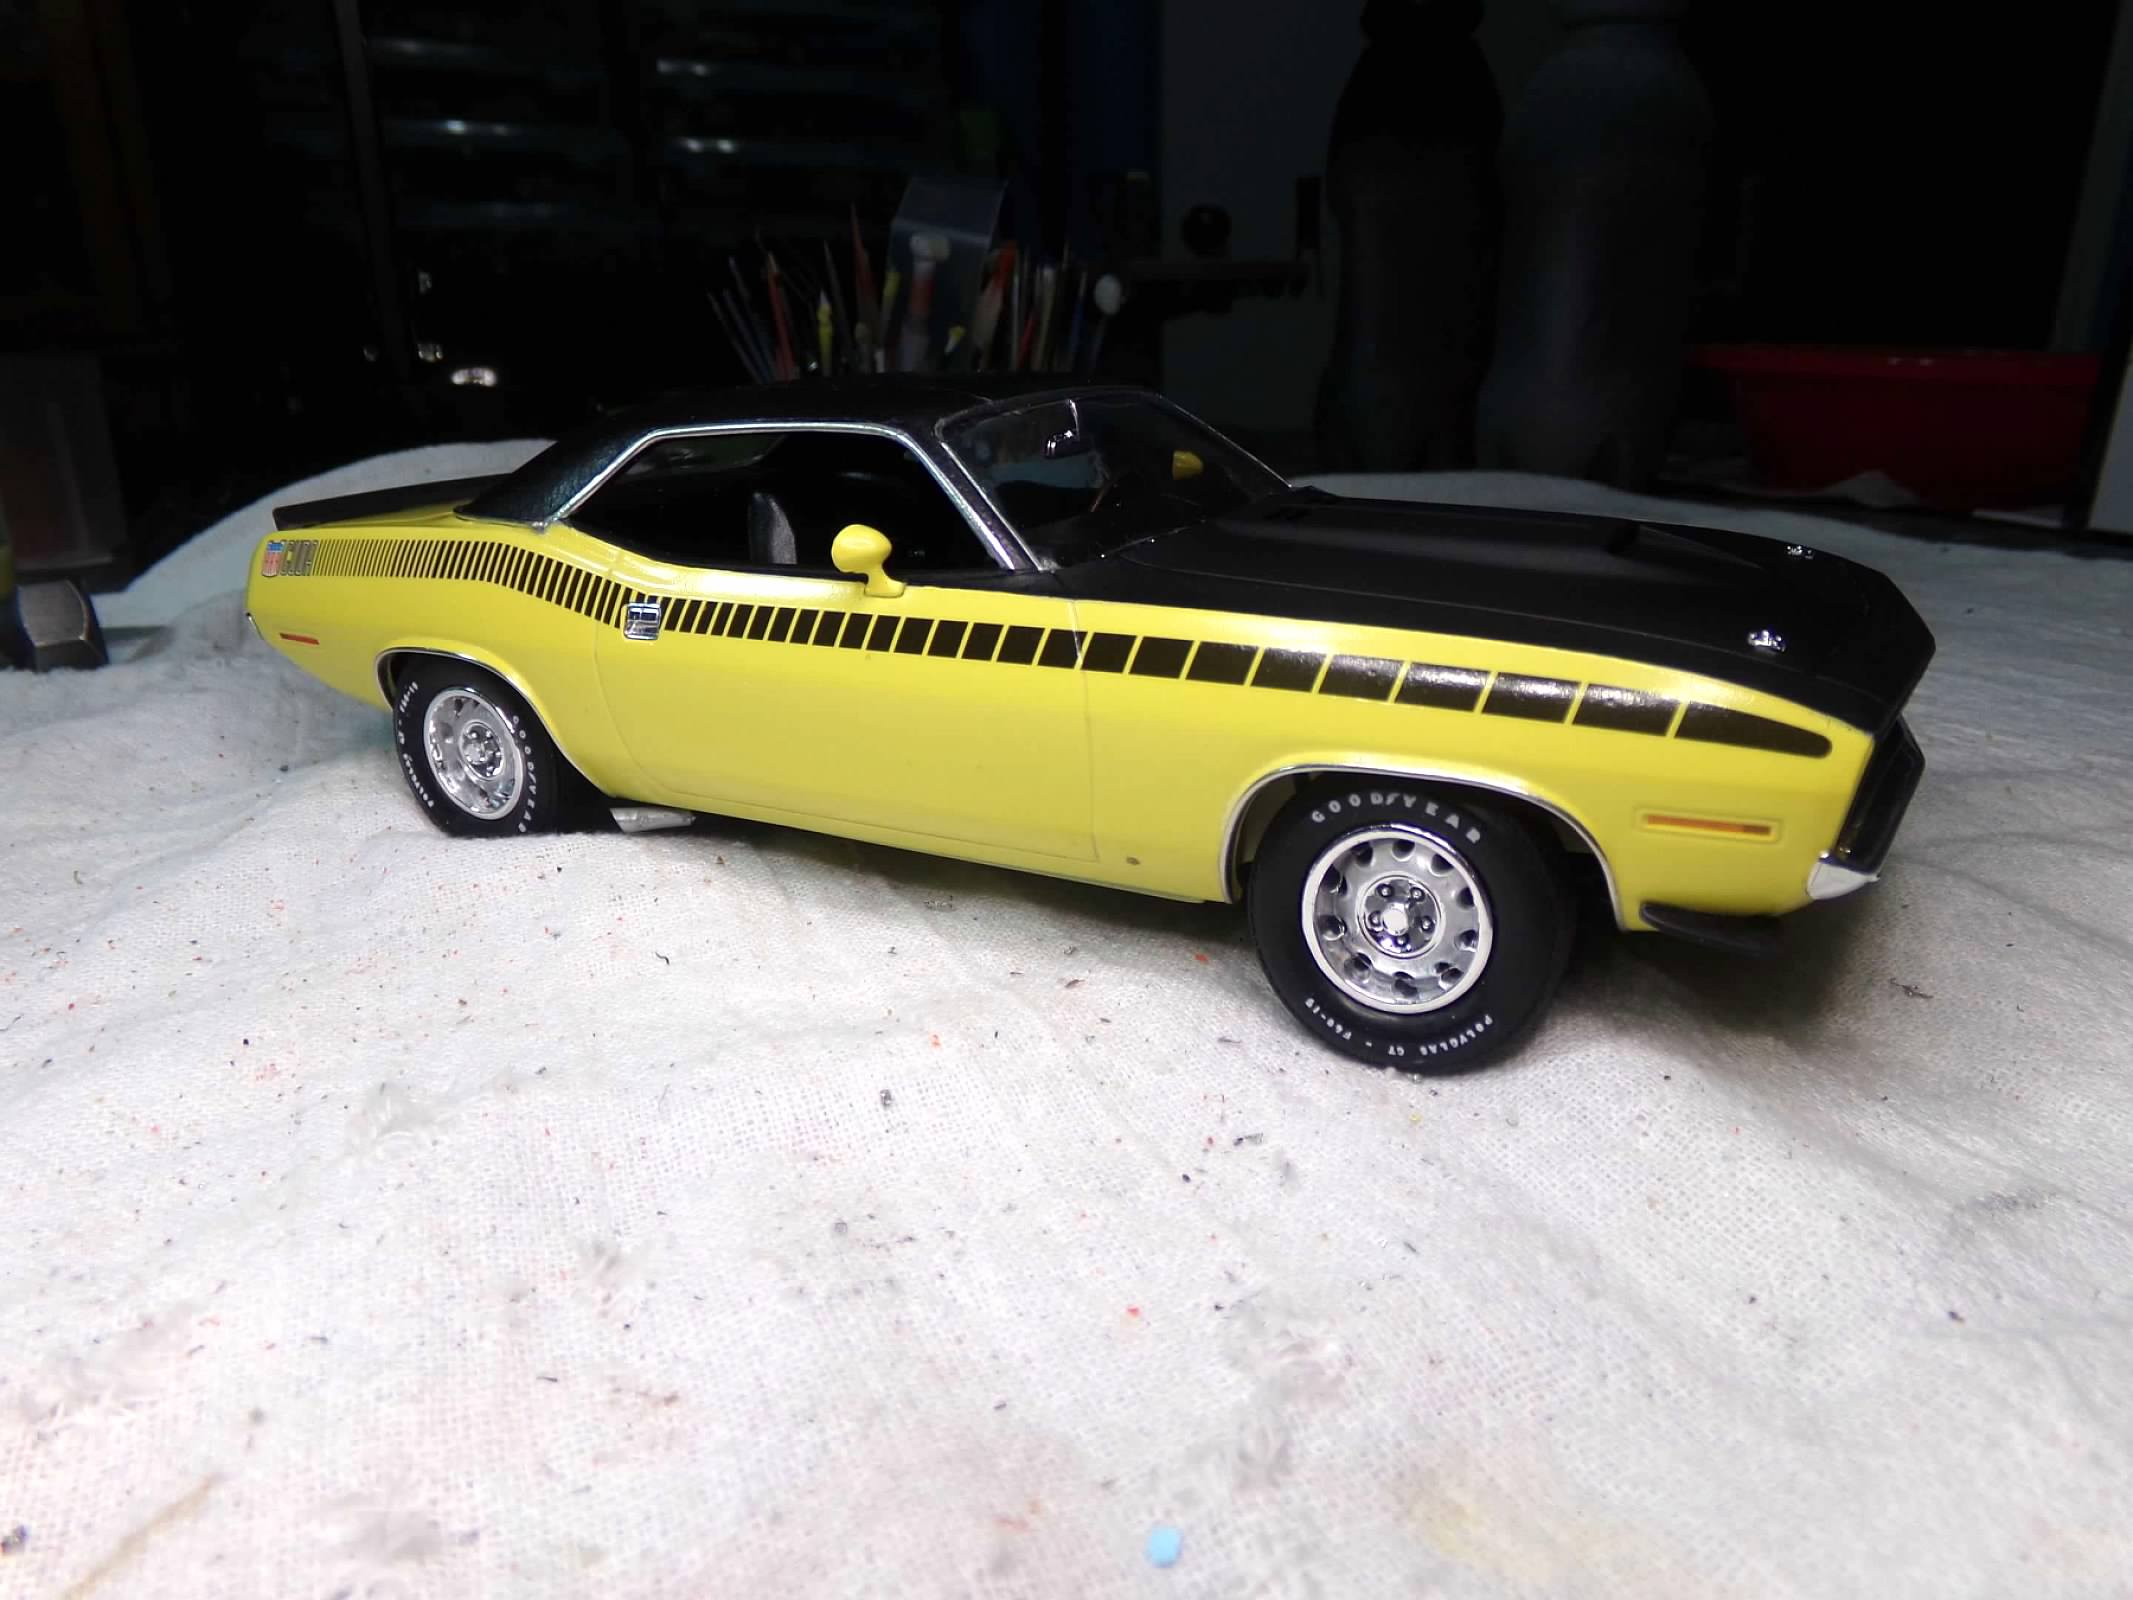
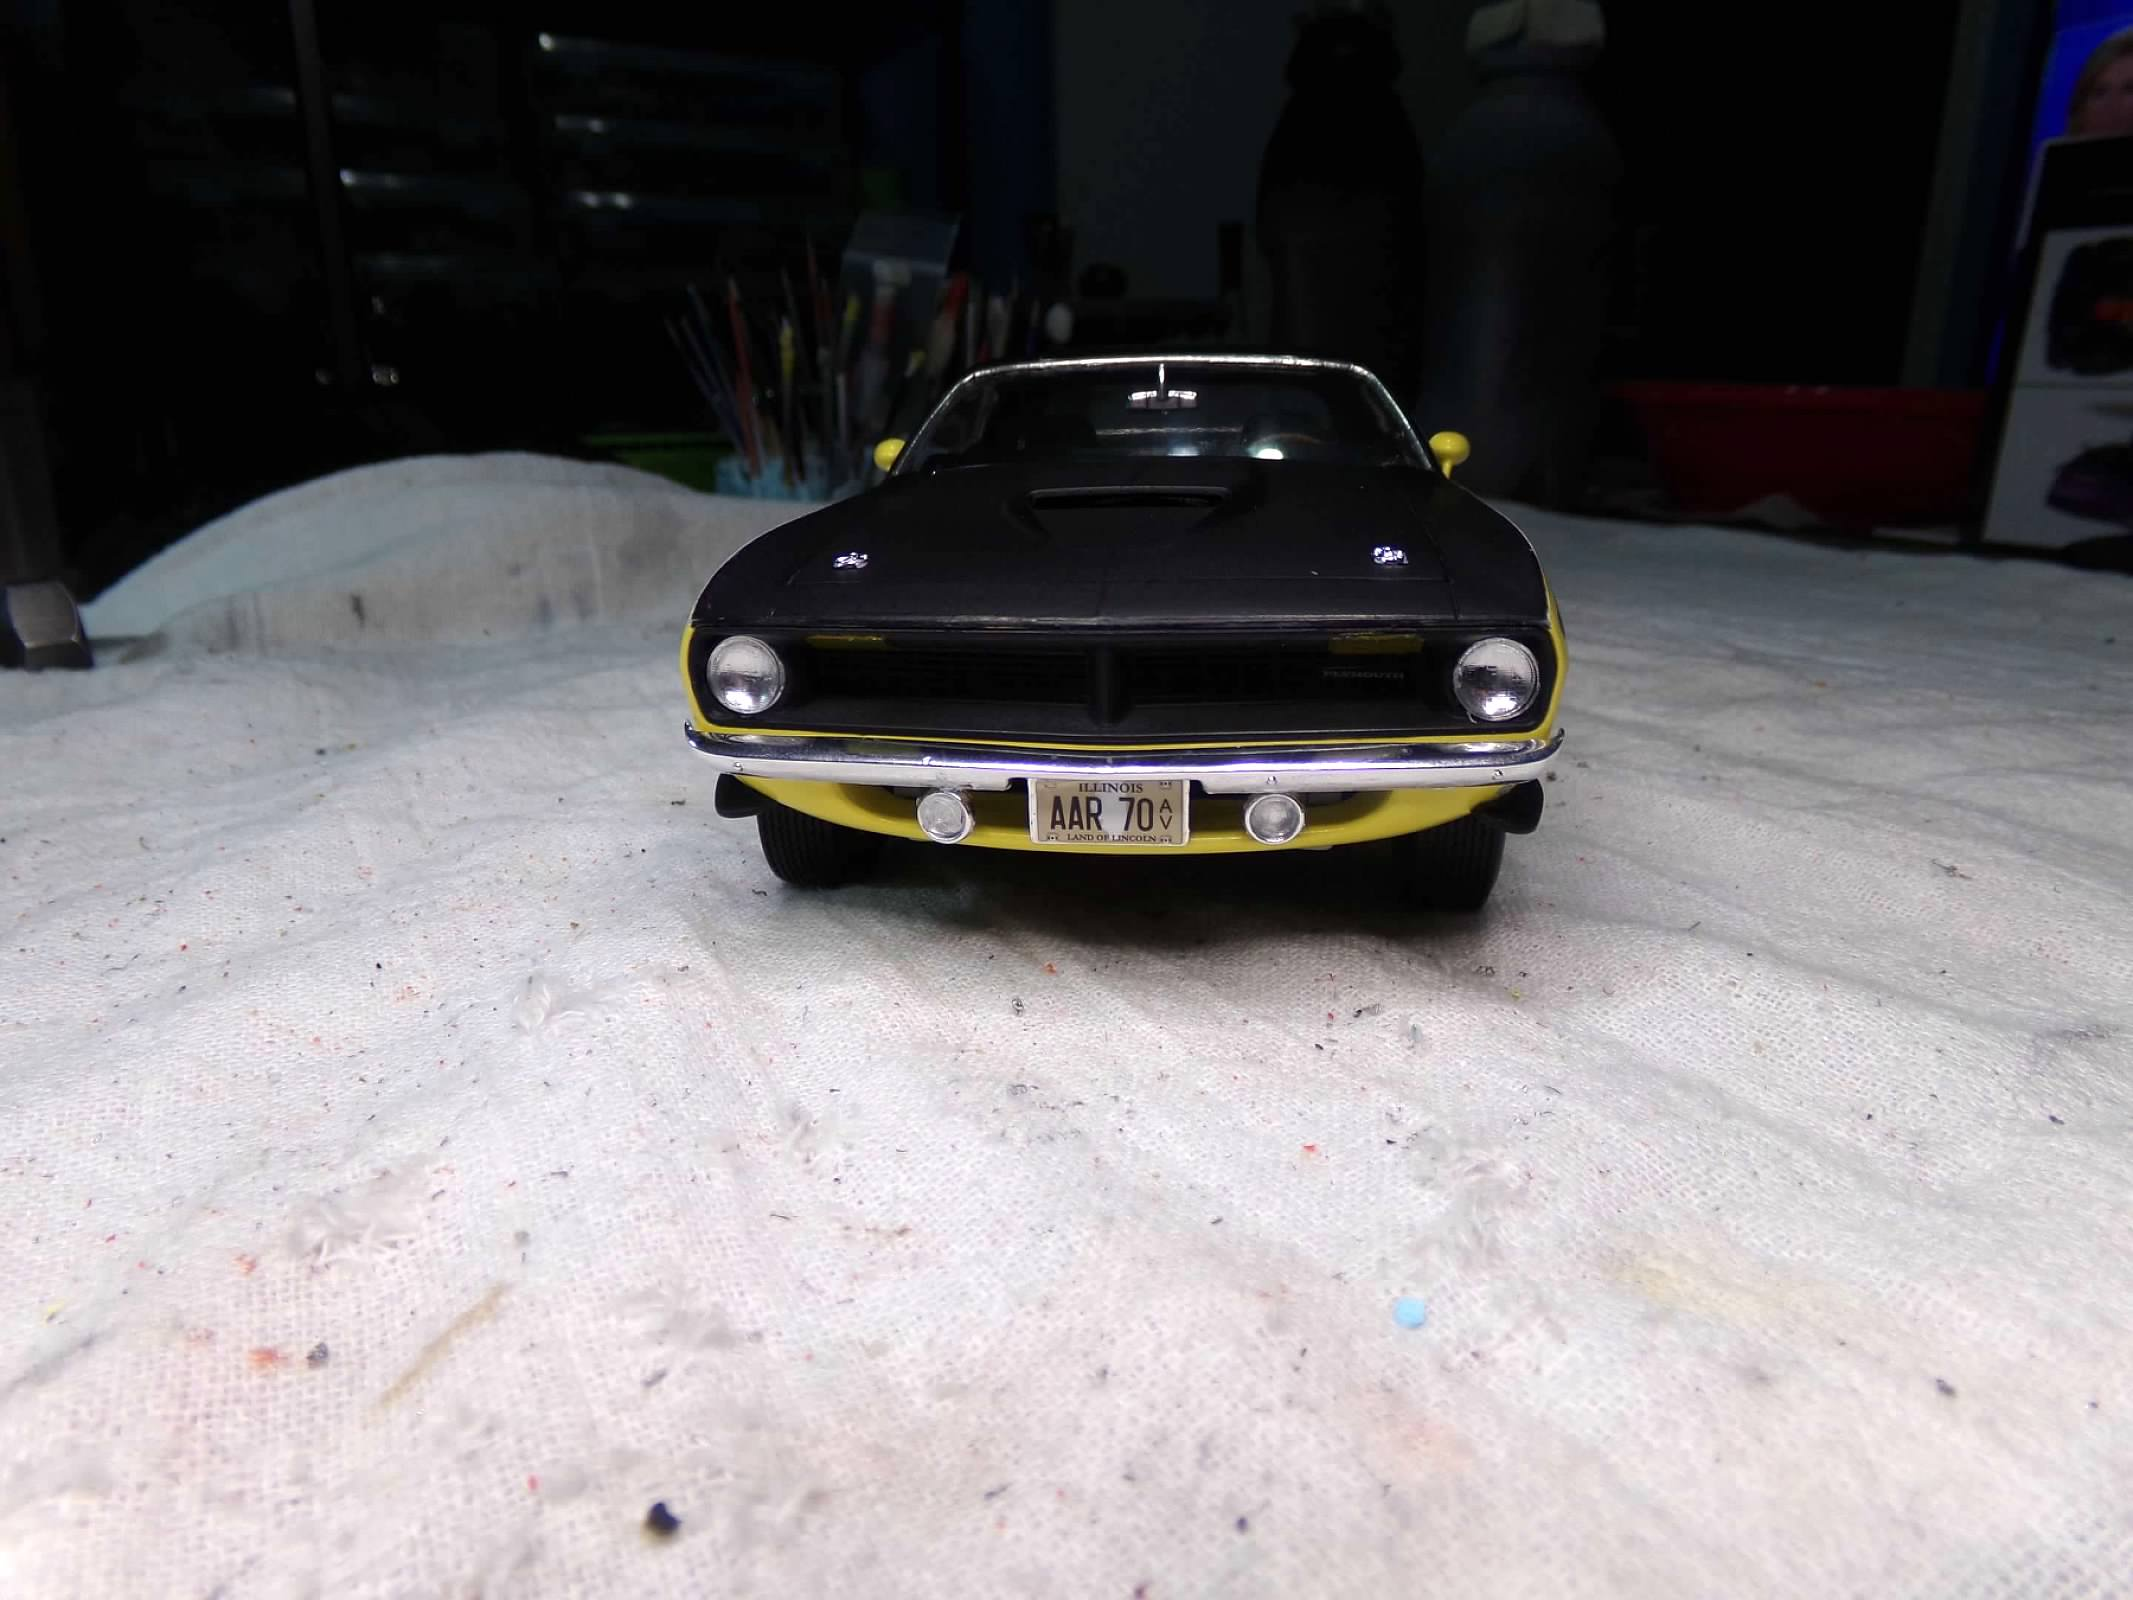
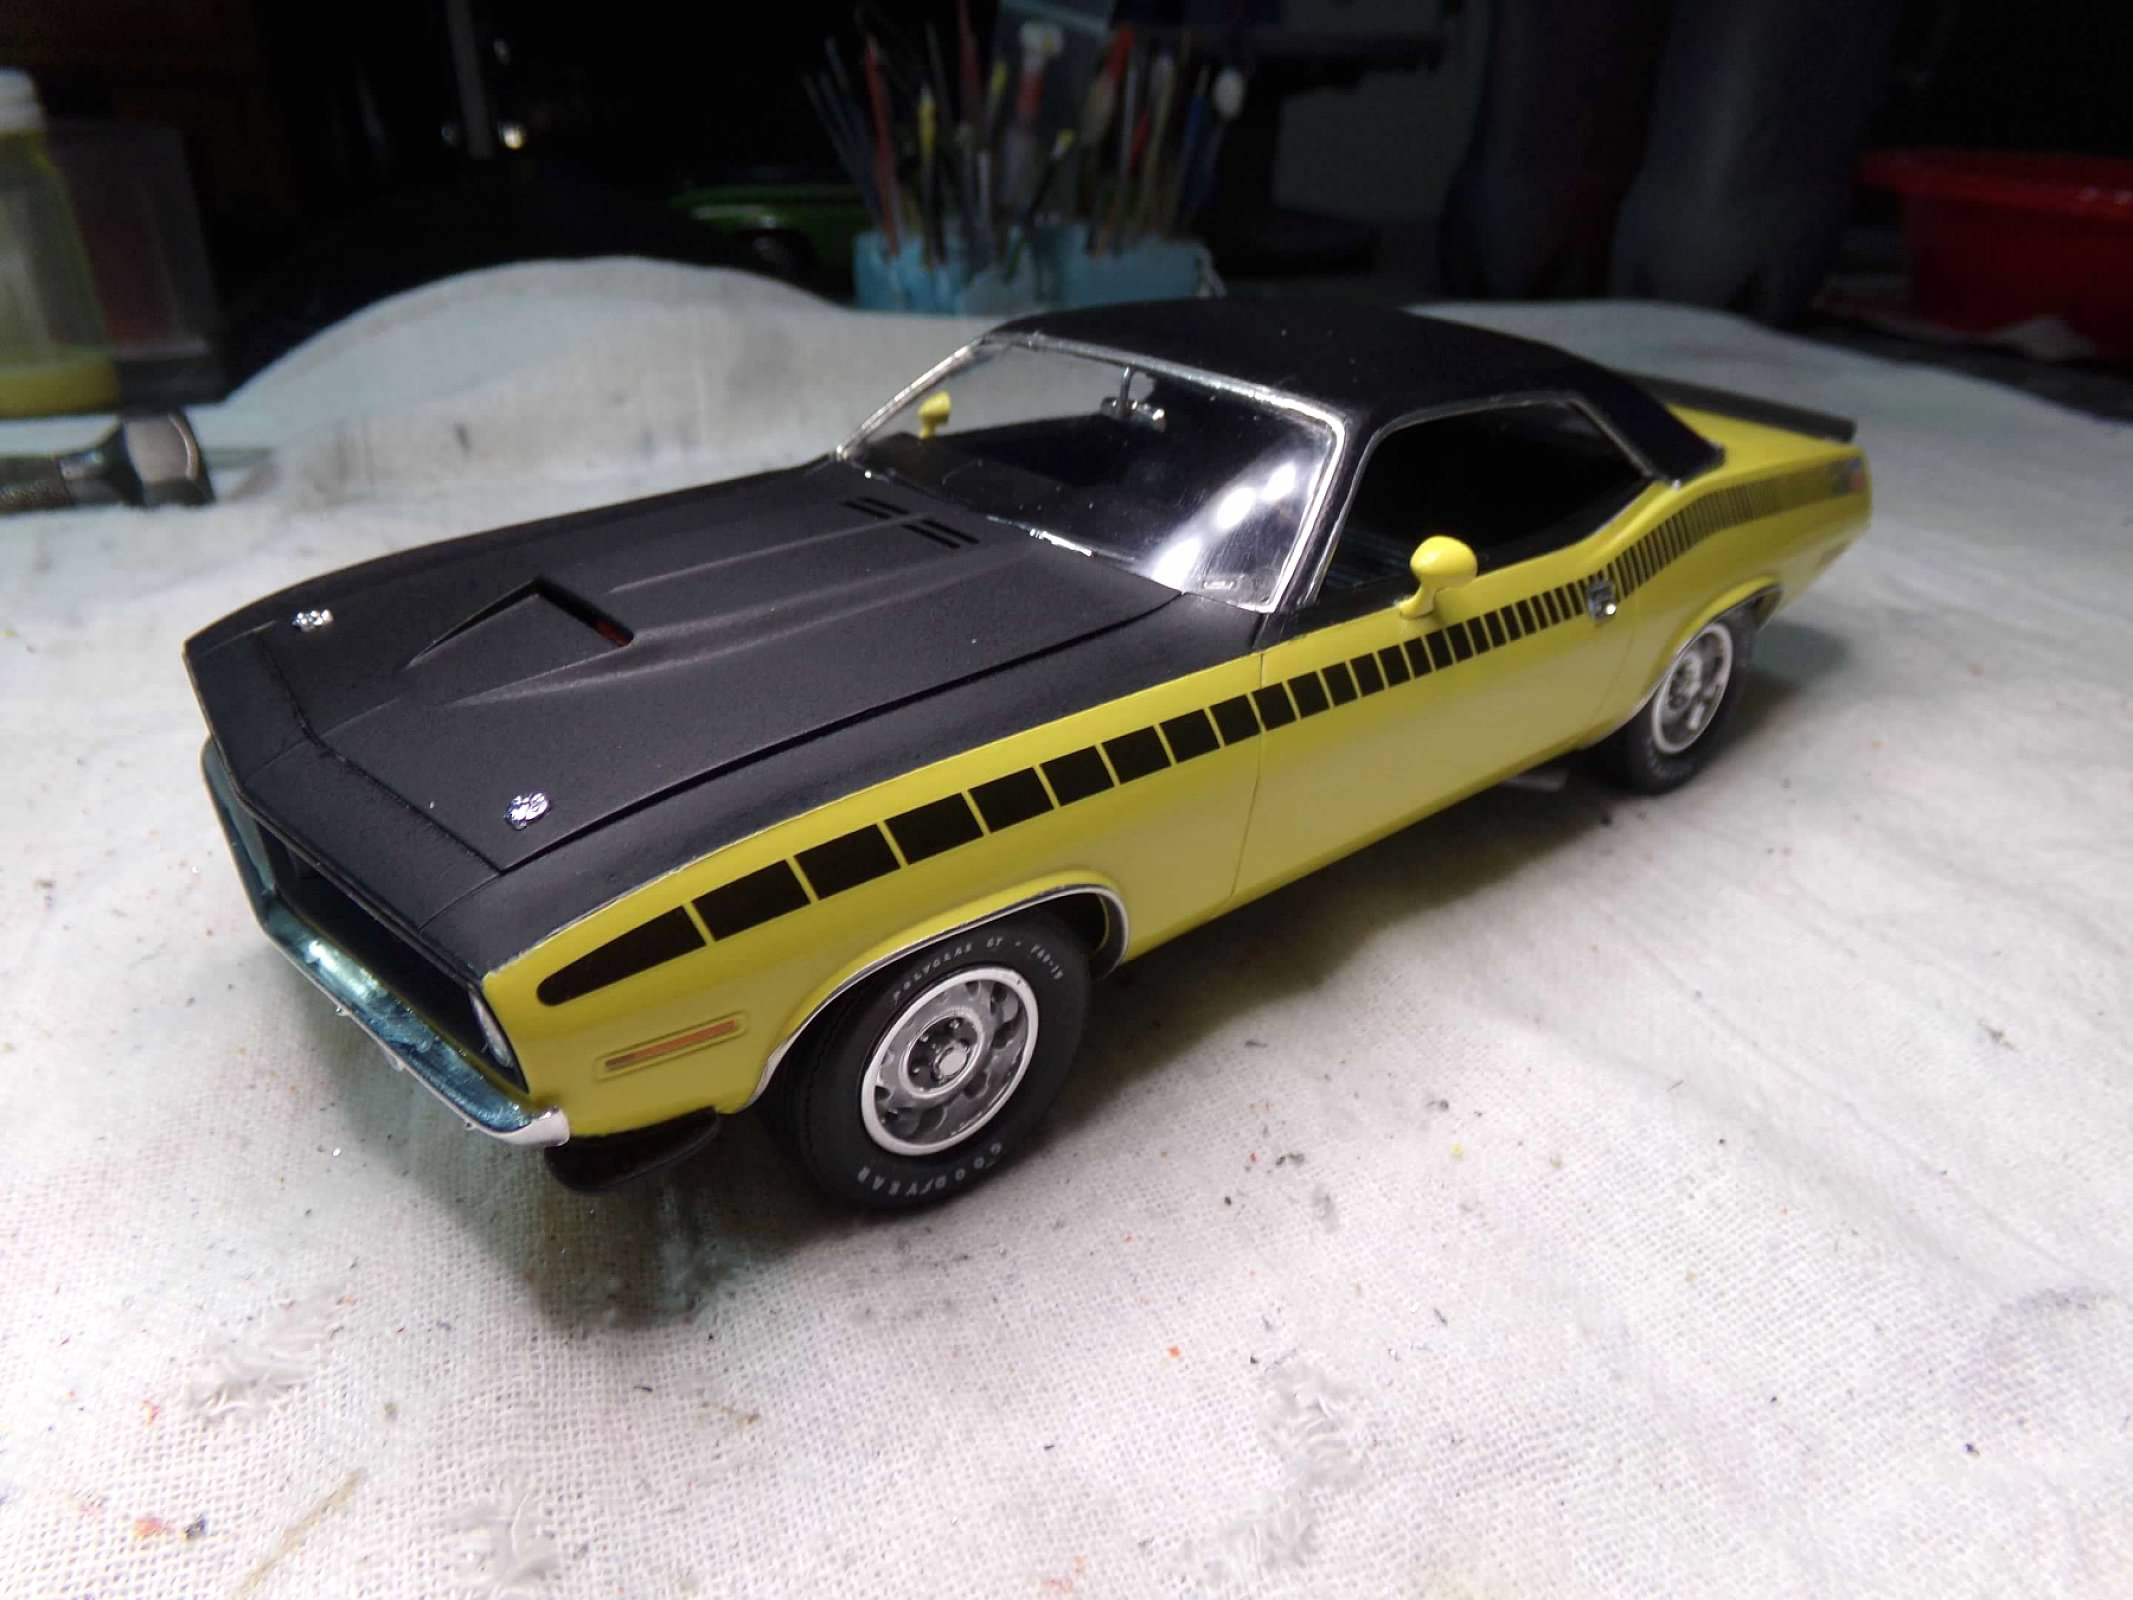
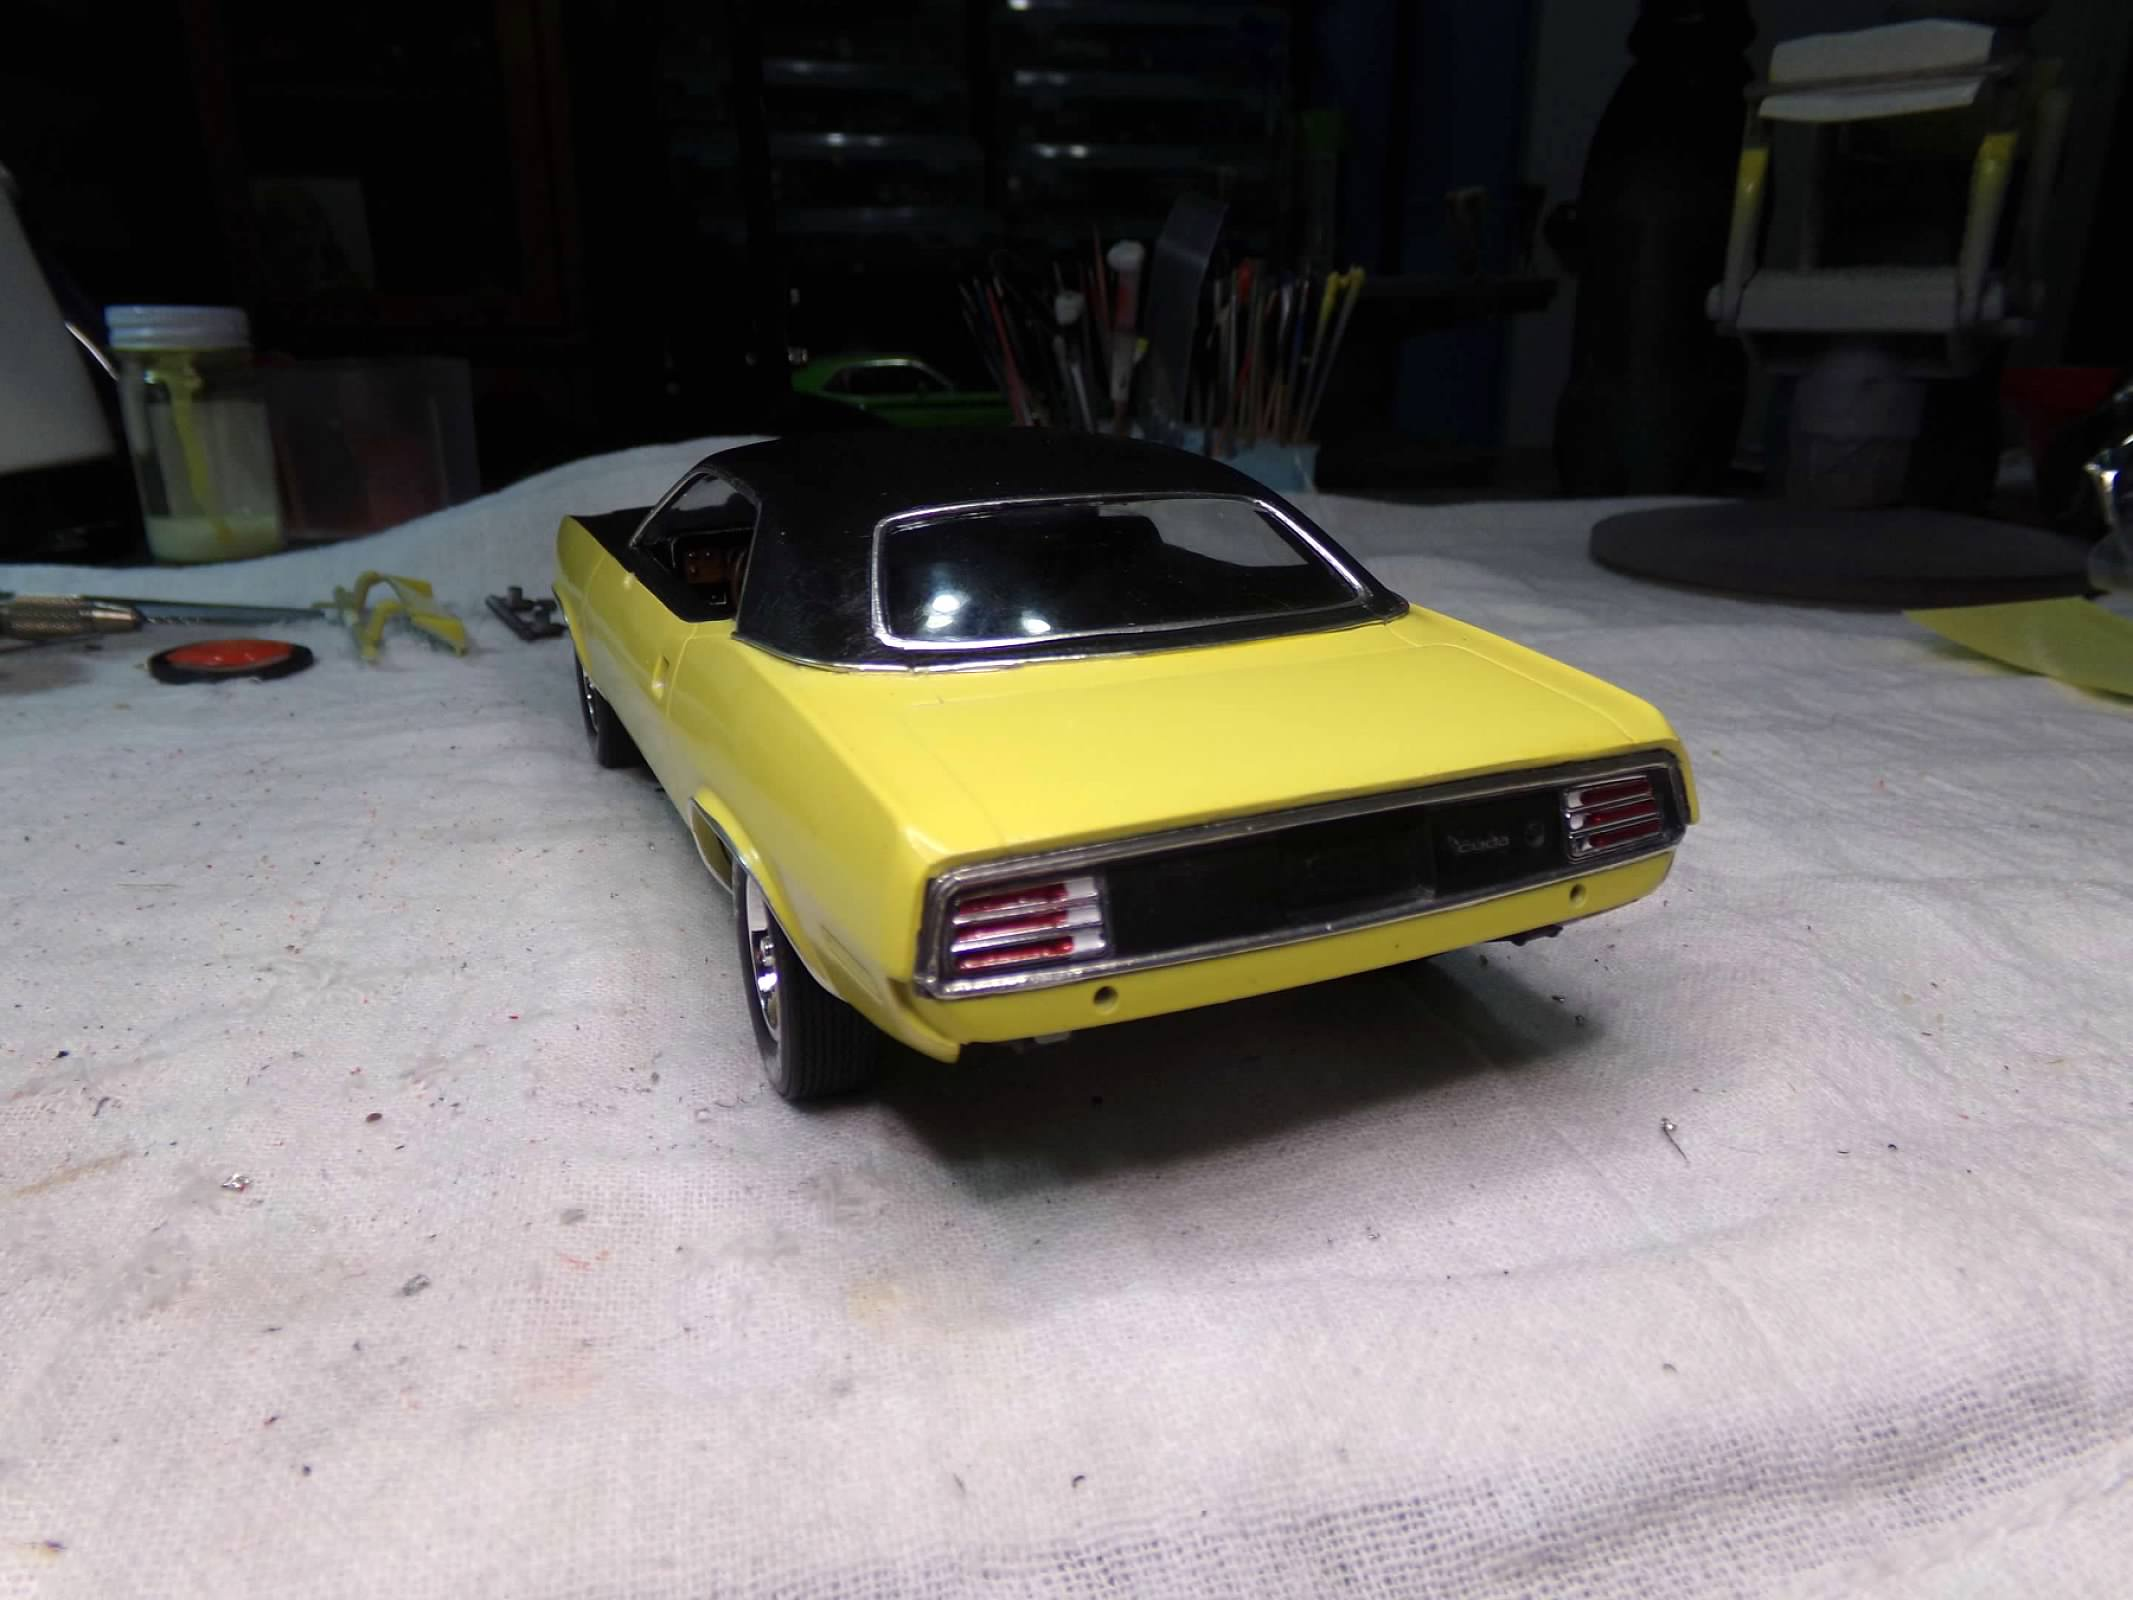
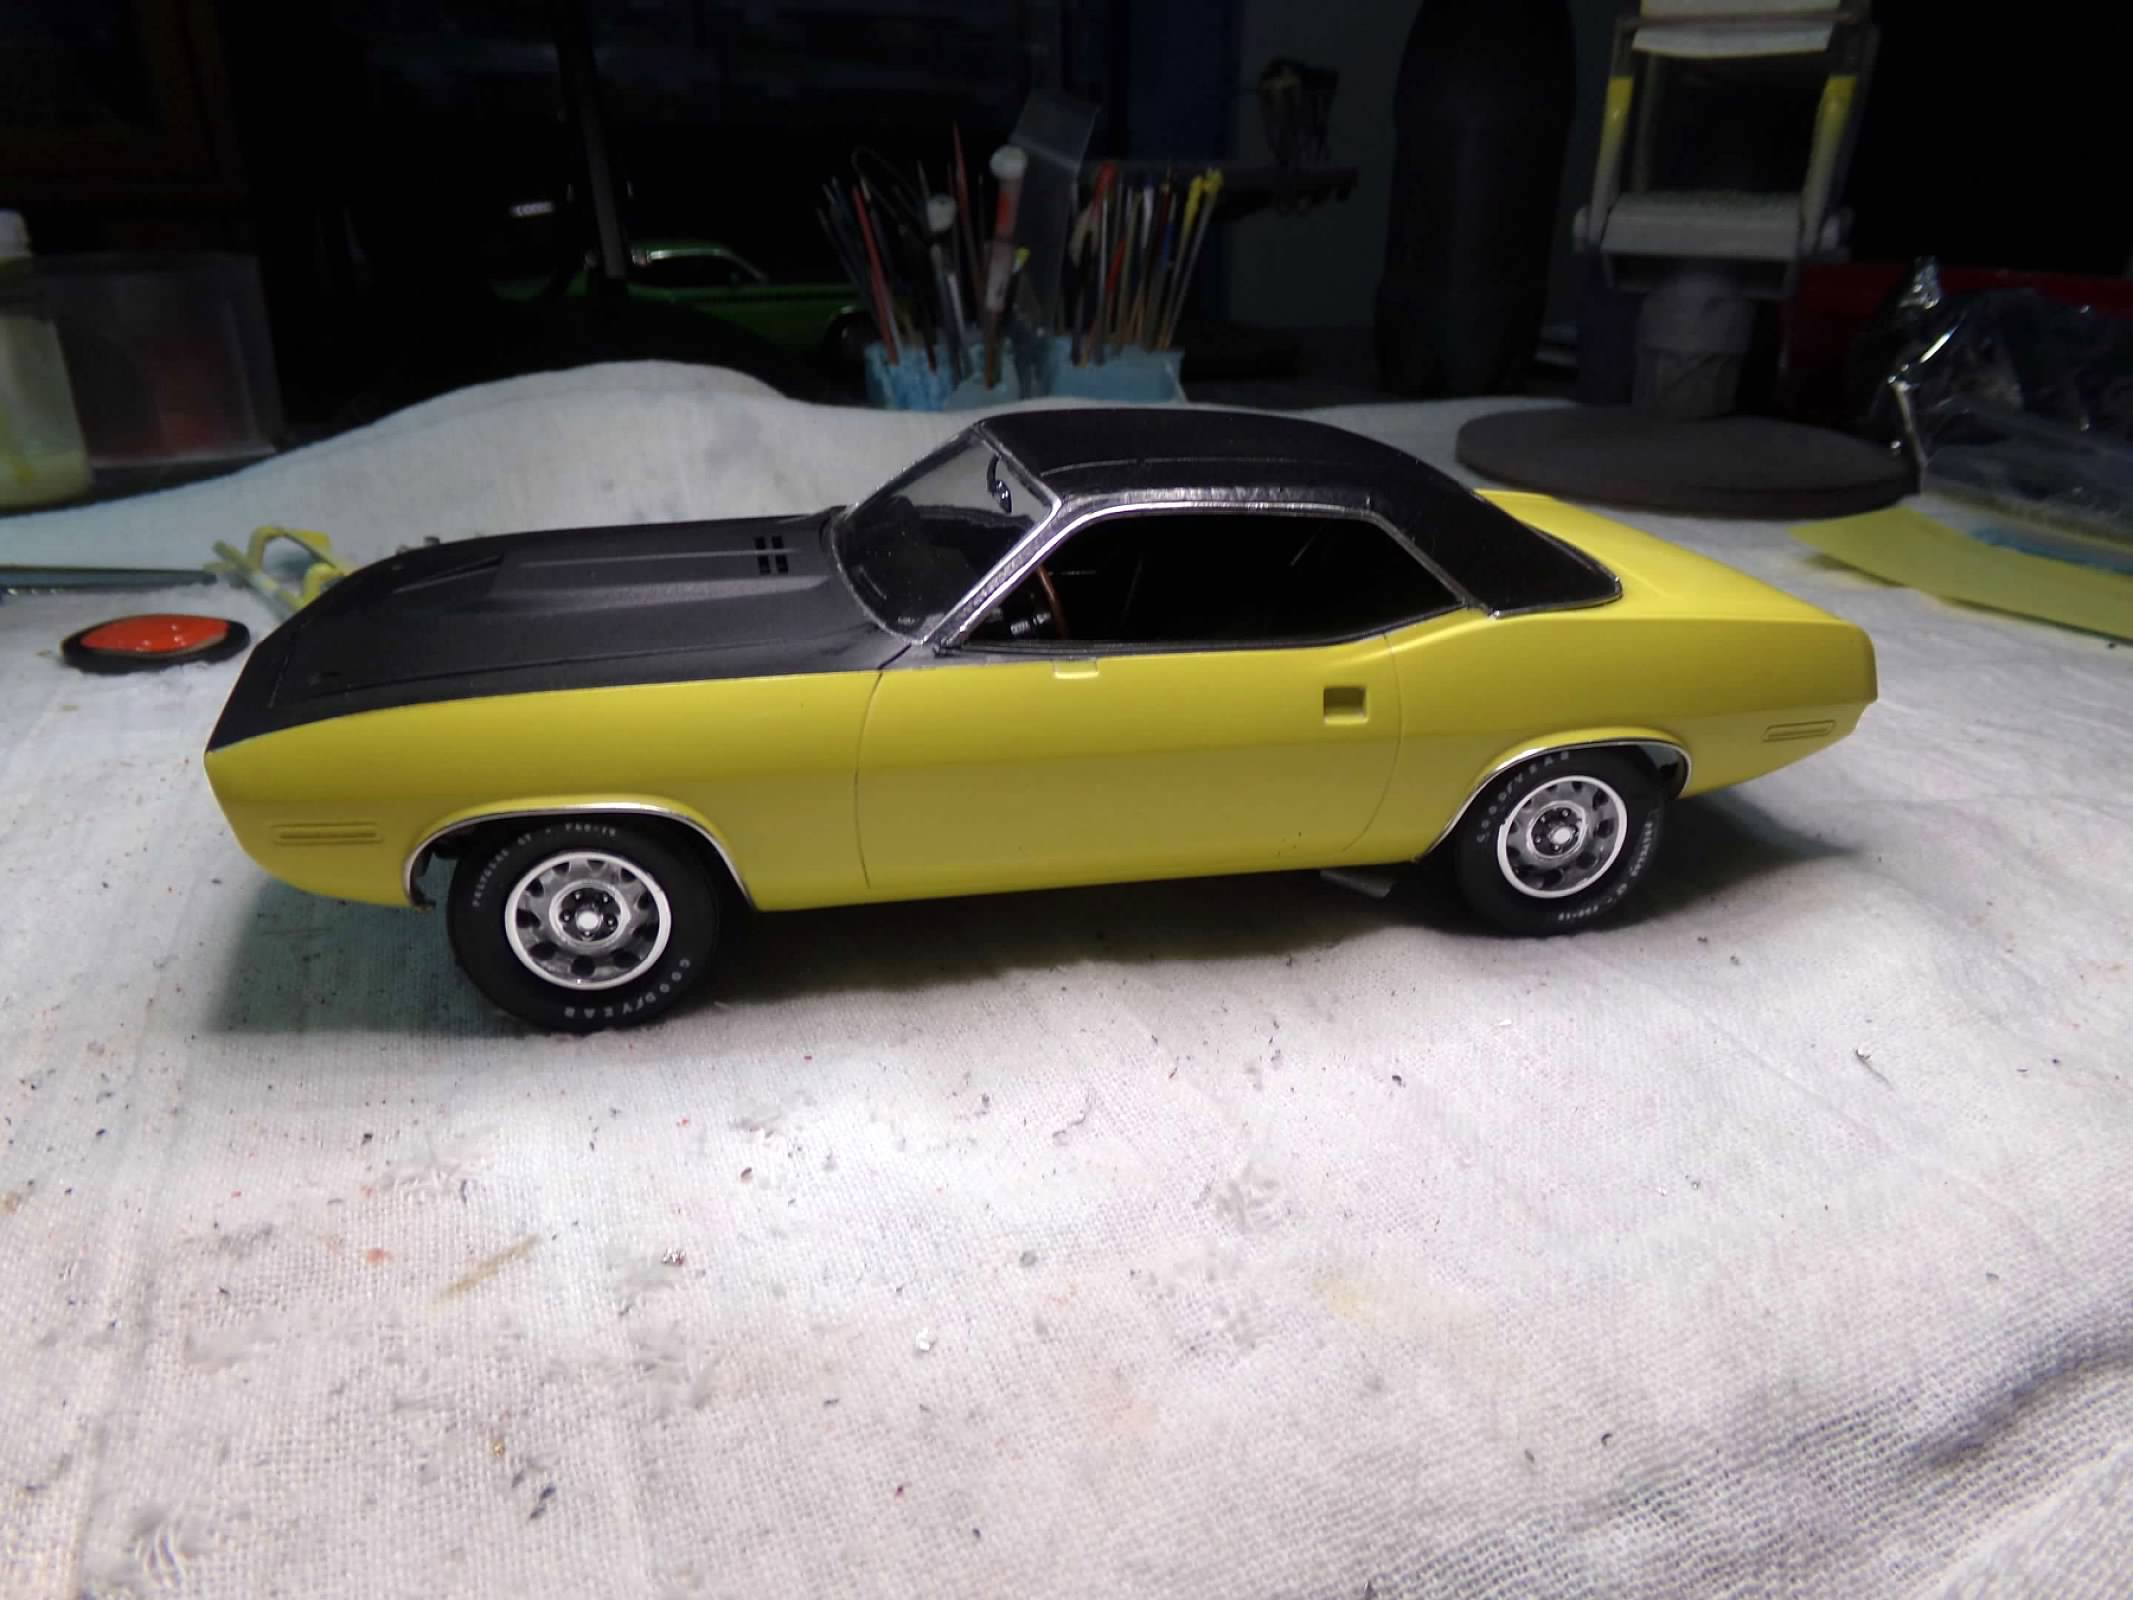
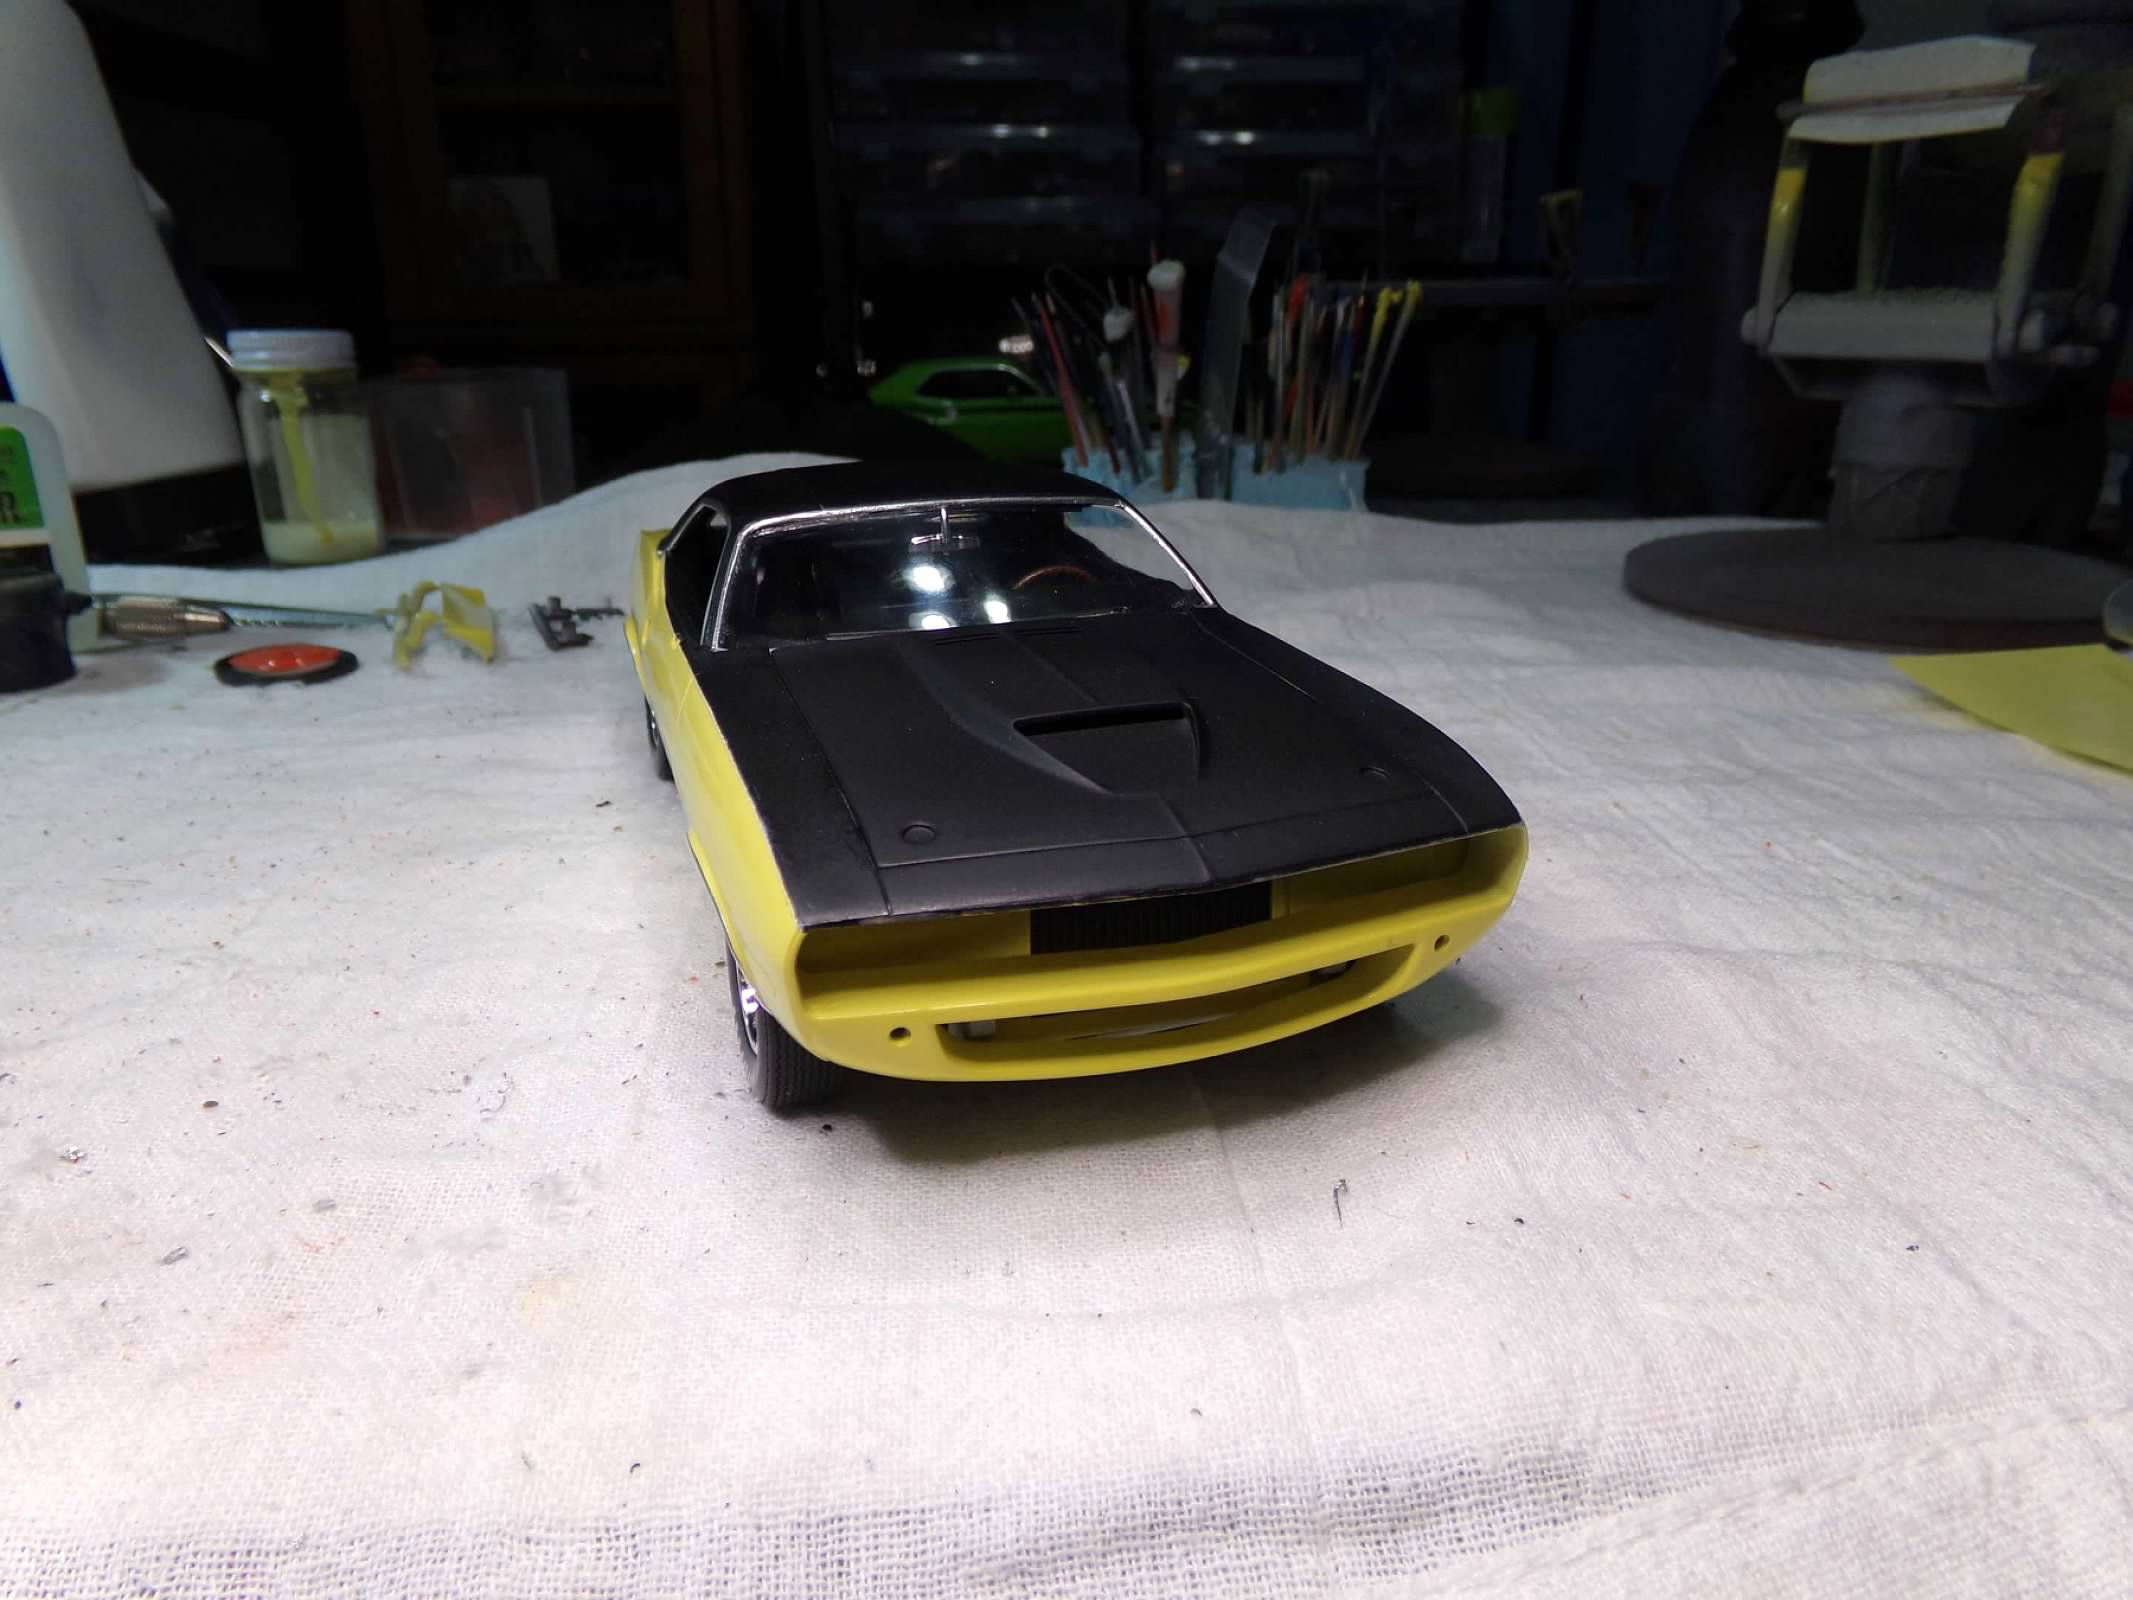
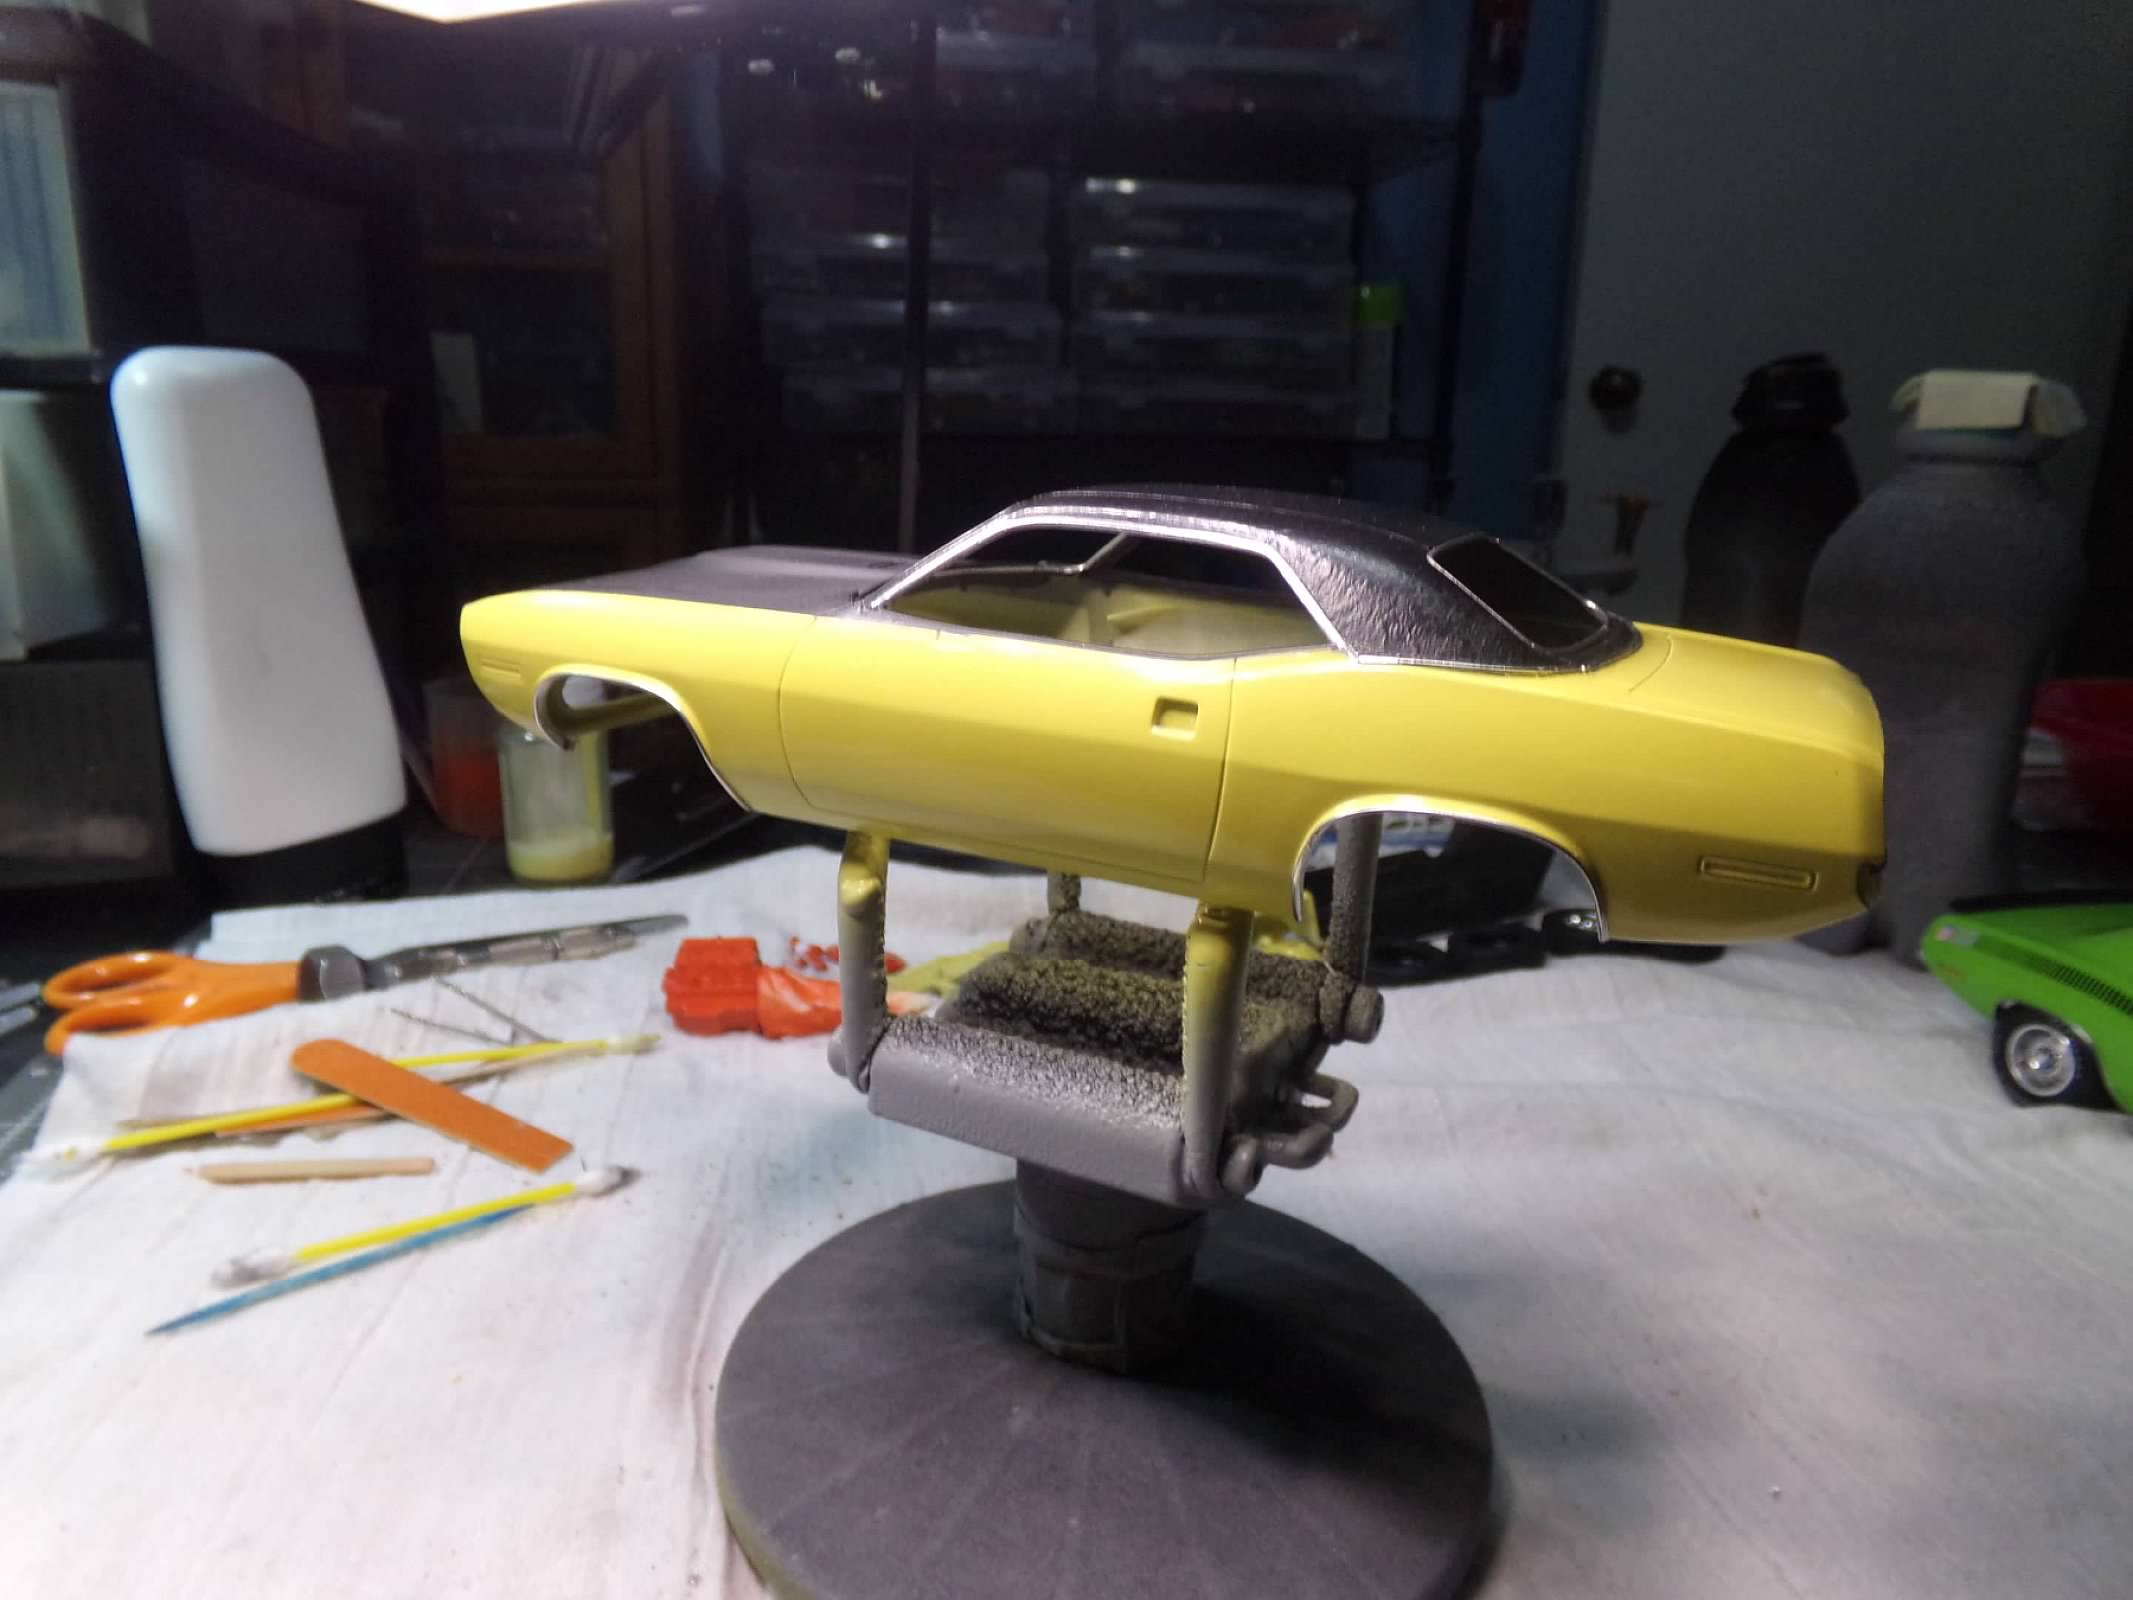
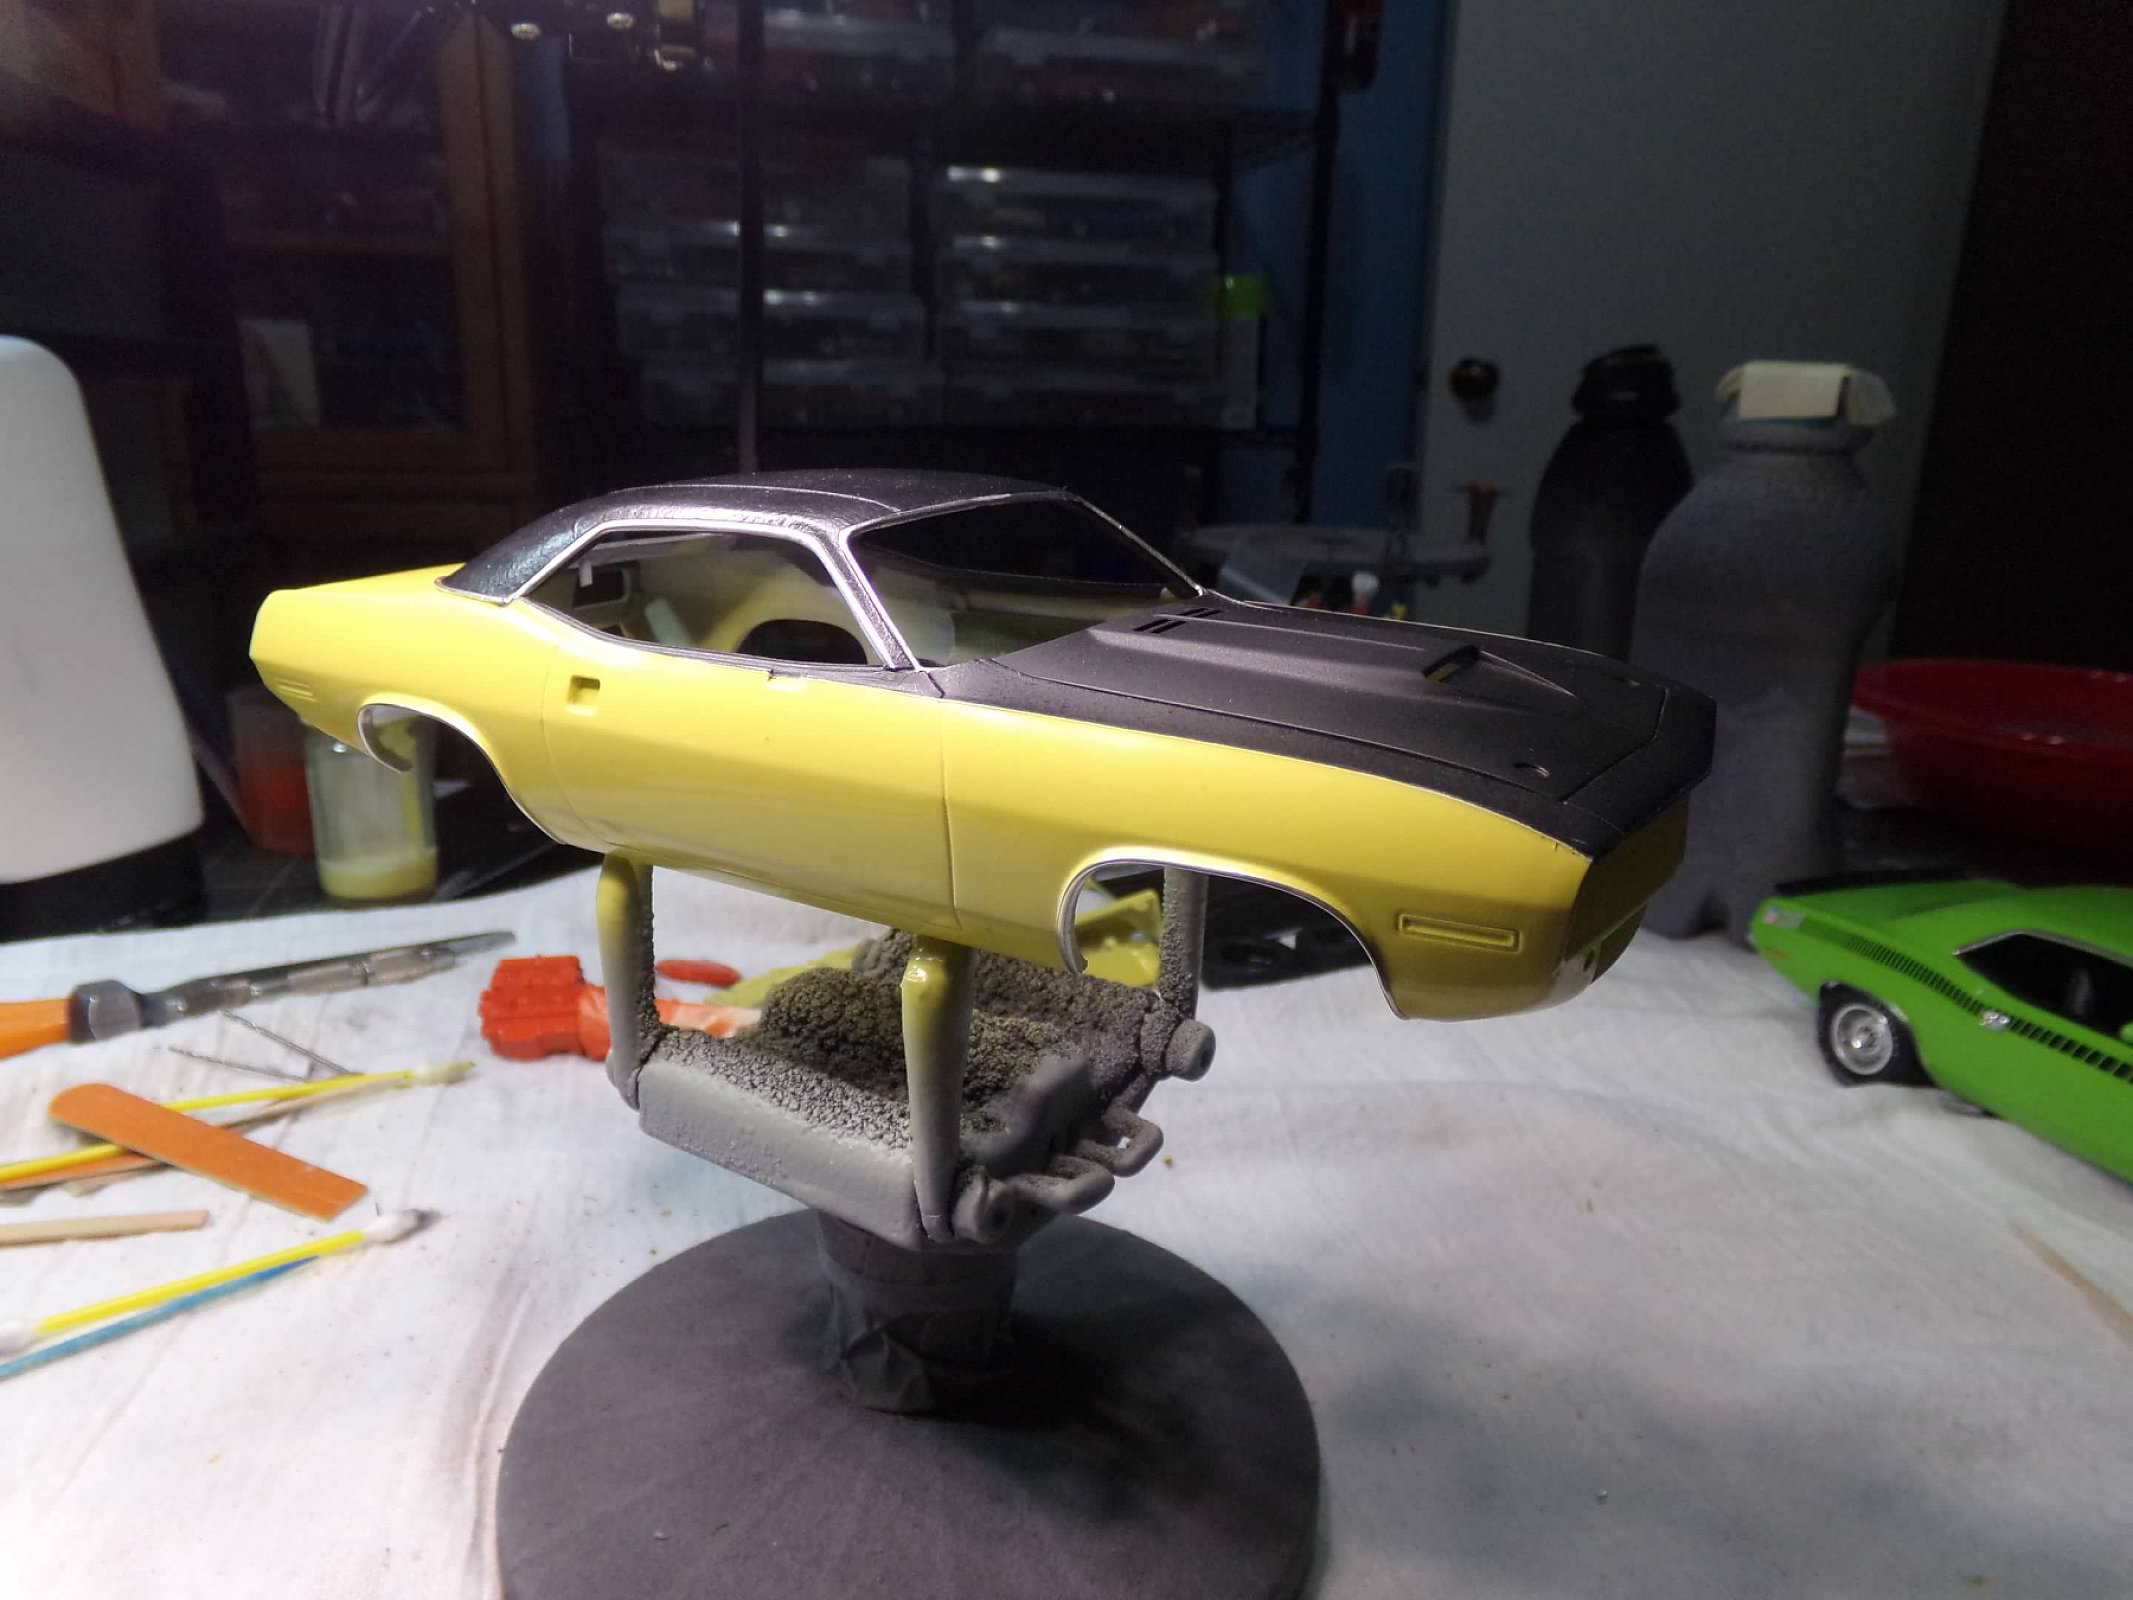
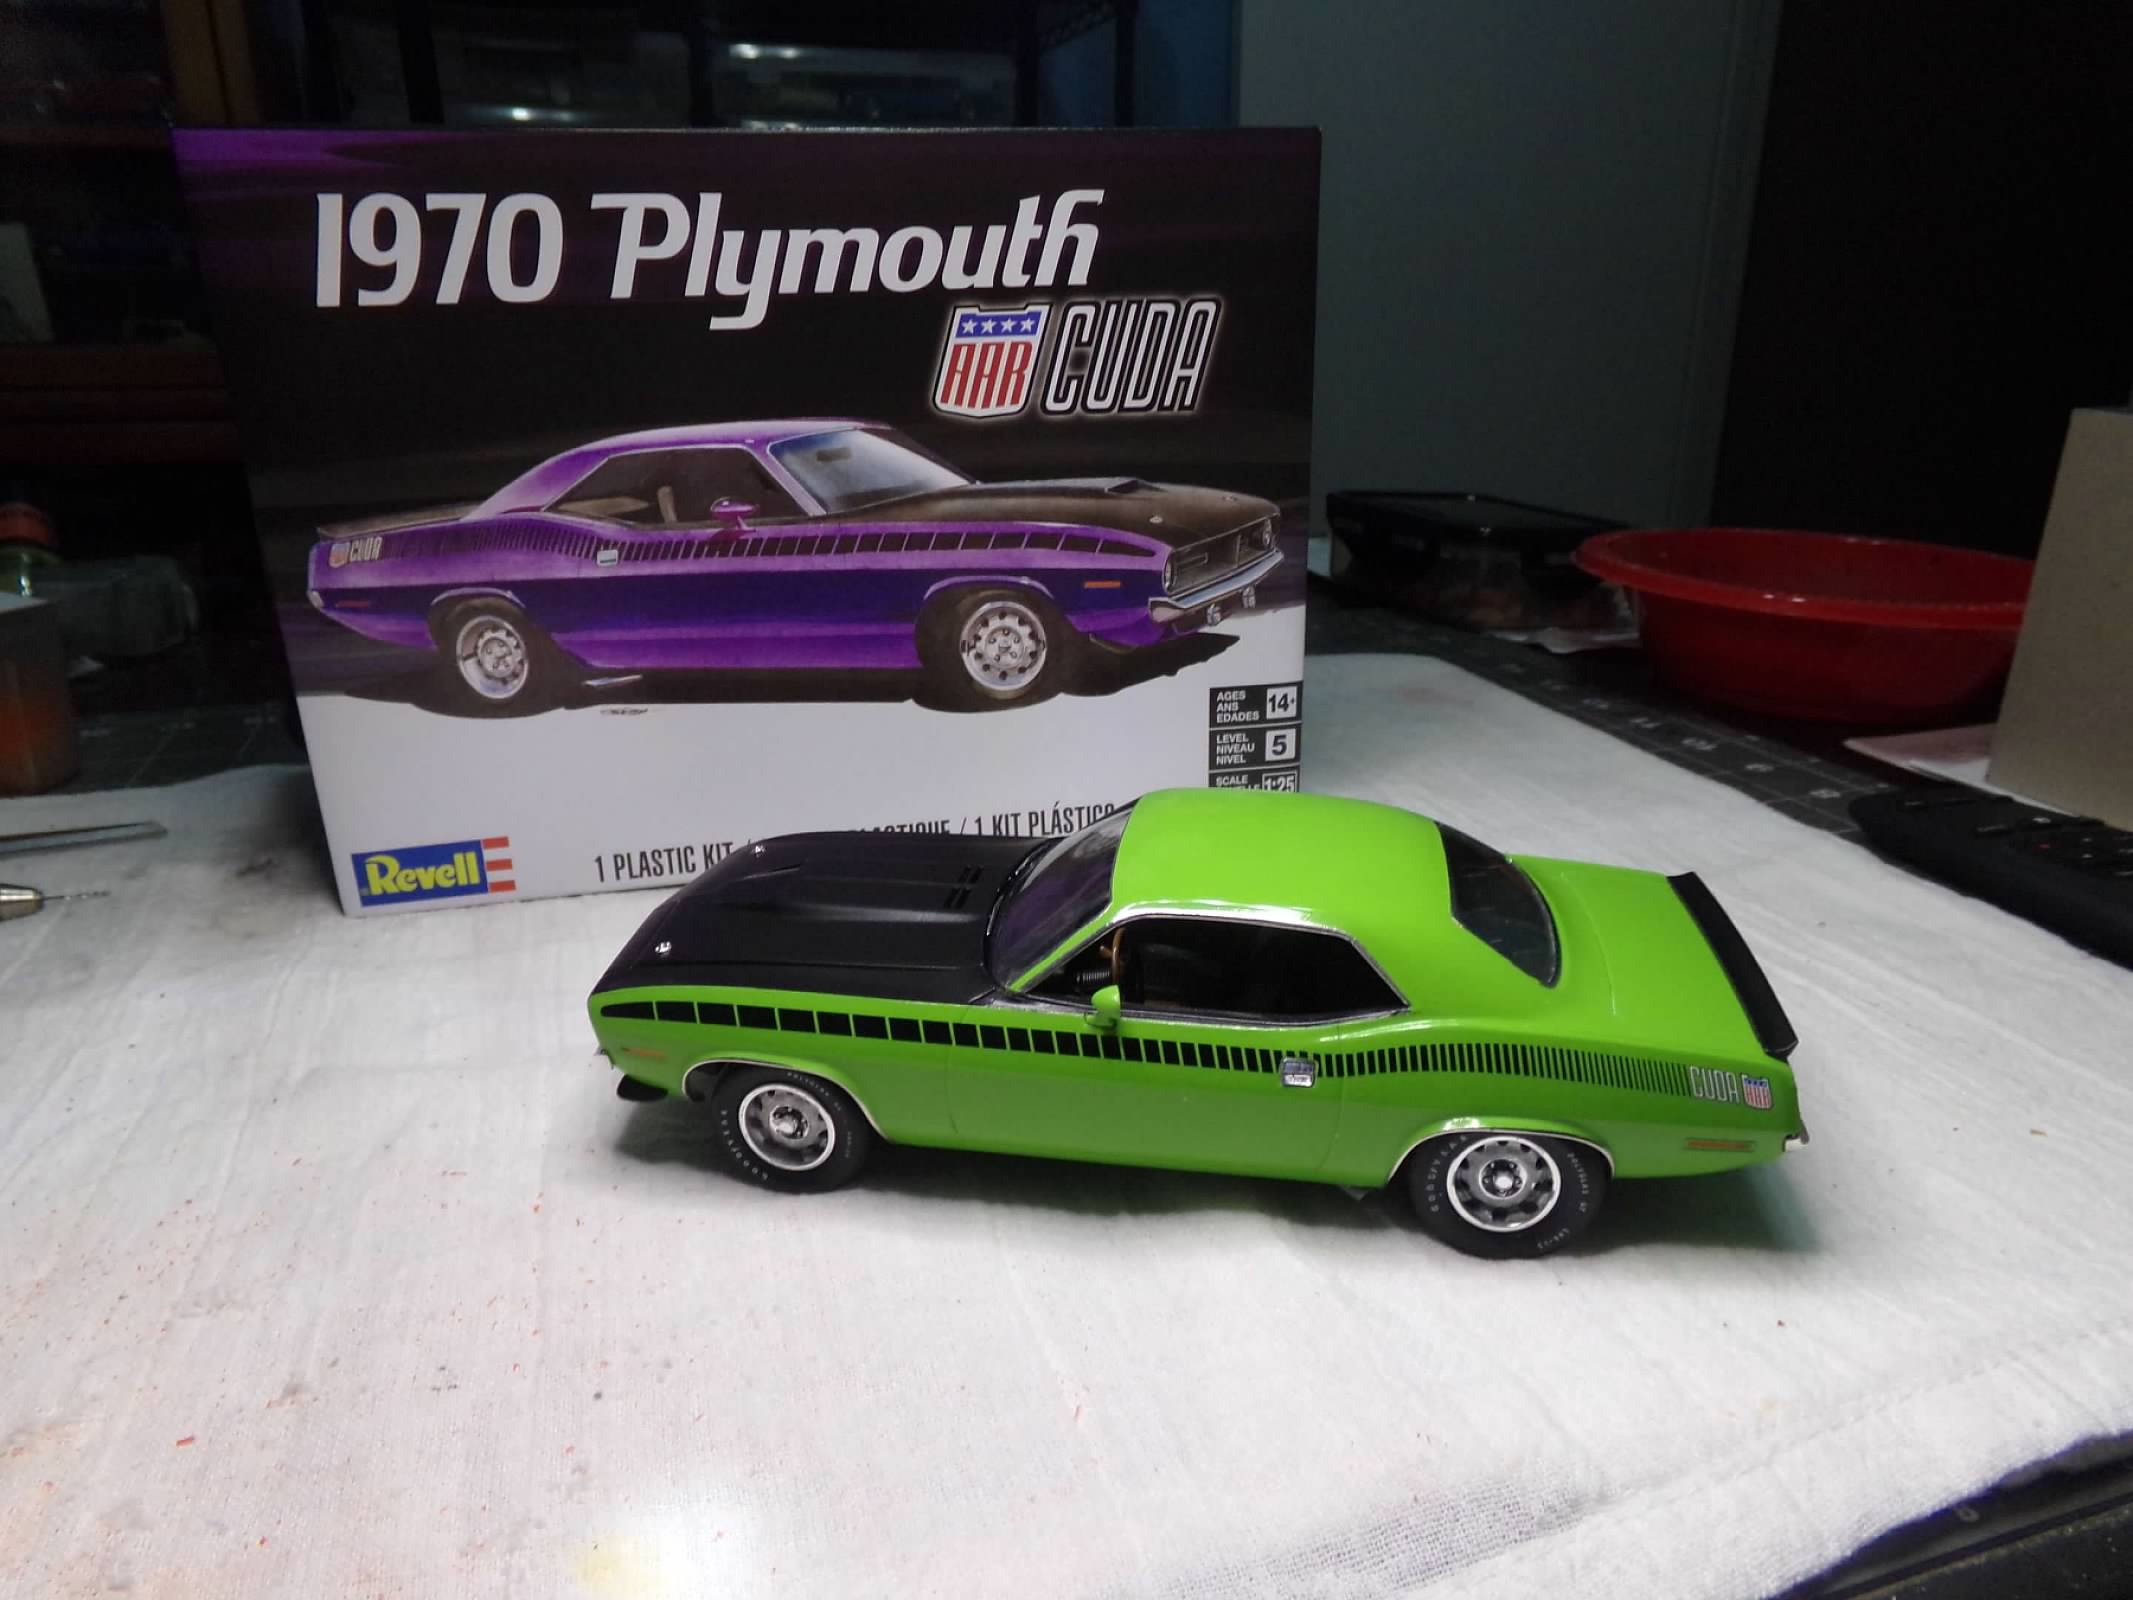
This Revell kit is painted with MCW Lemon Twist with a generic black primer on hood and fenders and Krylon Semi-Gloss Black on the vinyl roof and interior. The vinyl roof was done with 2" masking tape and painted. Plug wires and carb plumbing were added. Goodyear tire decals are from Fireball Modelworks. This kit is a modification of the Hemi Cuda with a 340 engine, side exhausts, a different hood and decals. It went together well! Here are a few photos. Thanks for looking! ?
- 23 replies
-
- 11
-

-
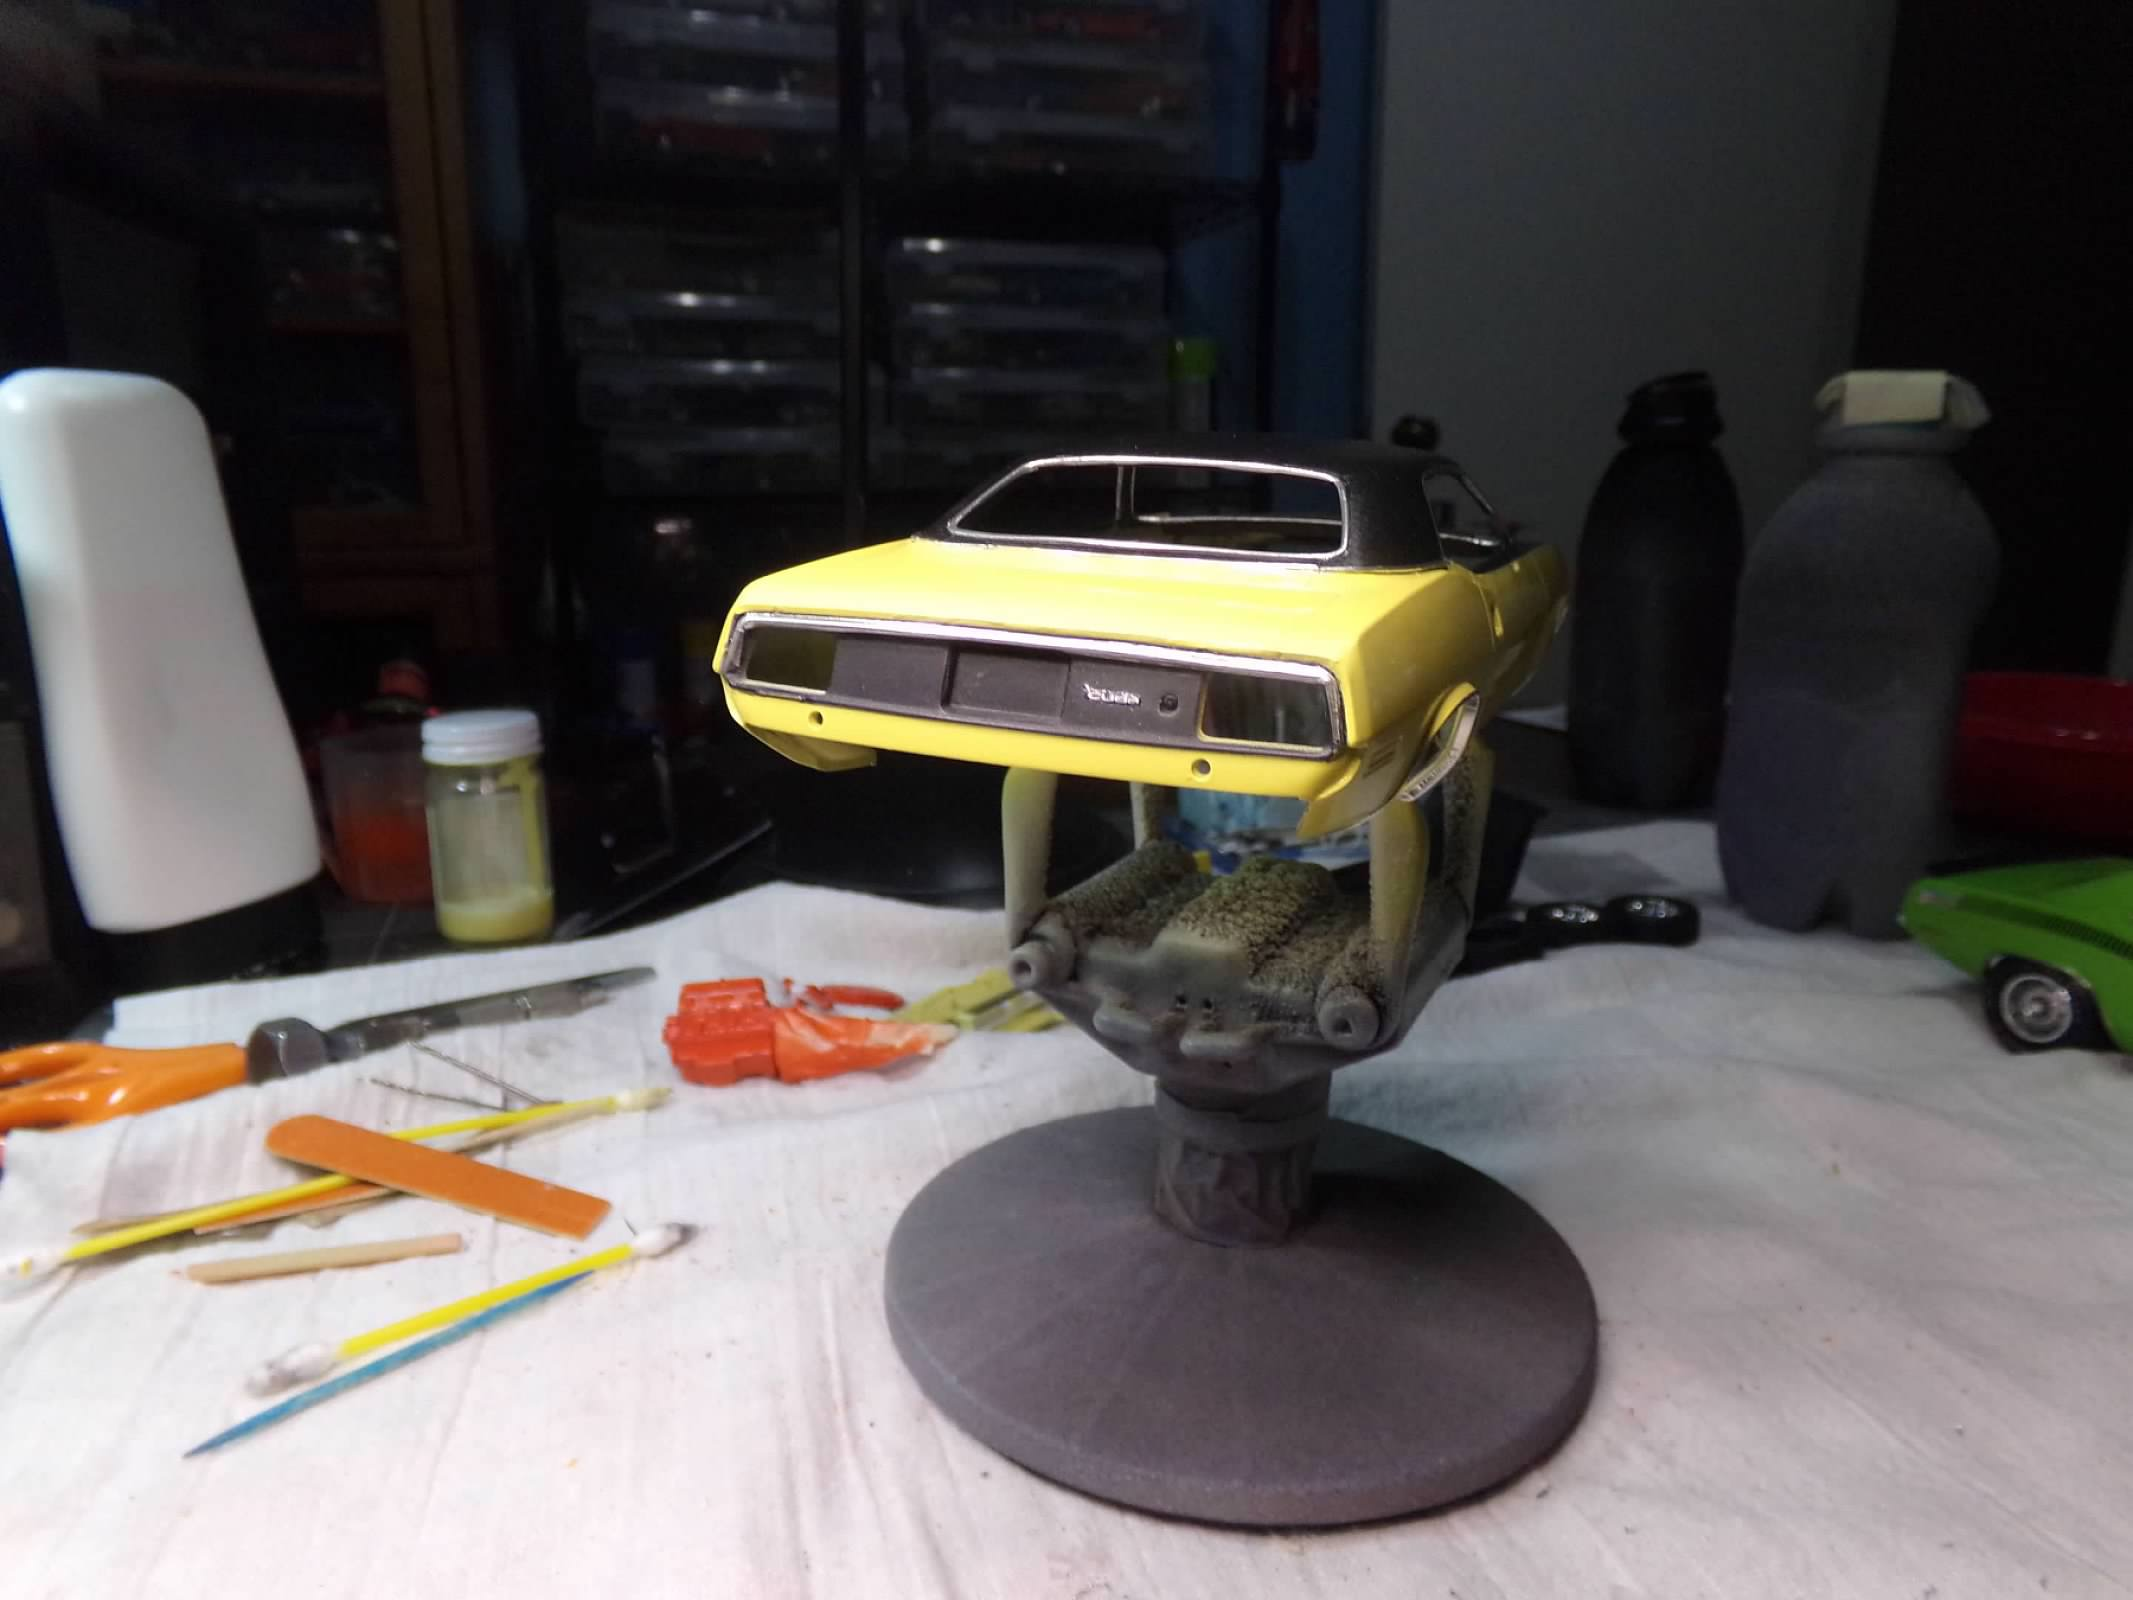
Thanks, Guido! I appreciate your comment! This one is done! I haven't gotten the hood hinges to stay on but I'll try it again and let the glue dry overnight and see if I can open the hood with a prop to display the engine with the air cleaner on the fender. More photos in Under Glass. Thanks for looking! ?
-
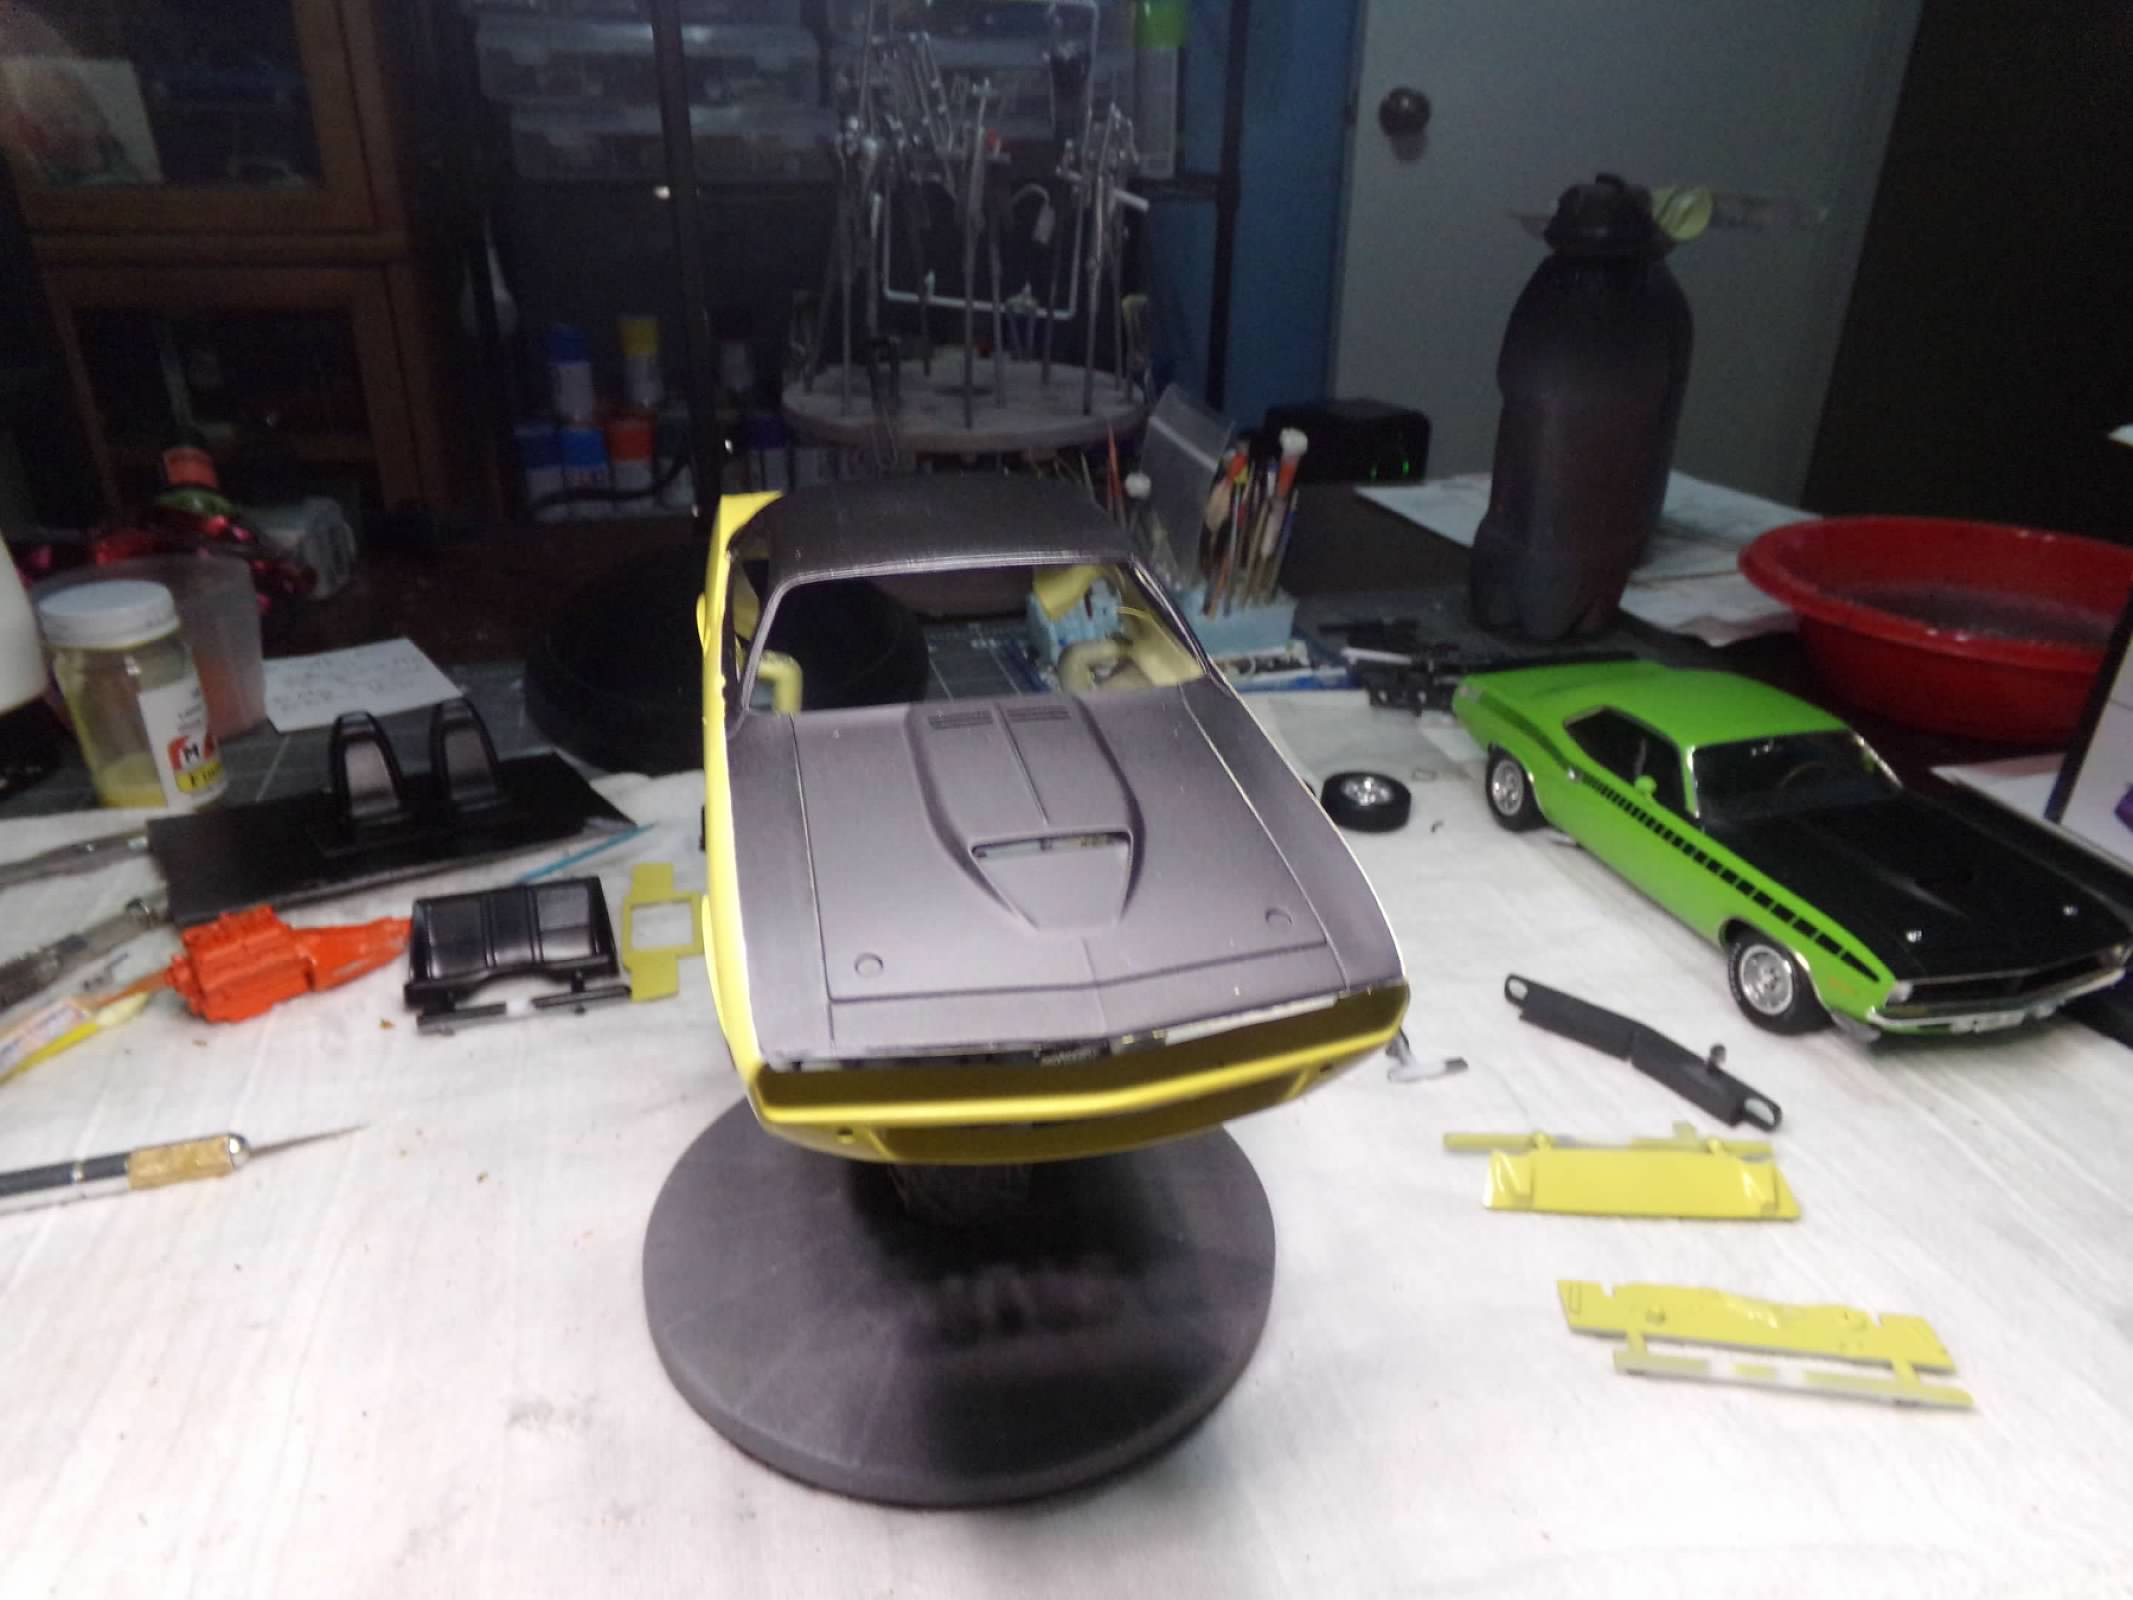
Its on wheels! Only a few more pieces and some decals and this one will be done. Everything went together smoothly so far. Thanks for looking!
-
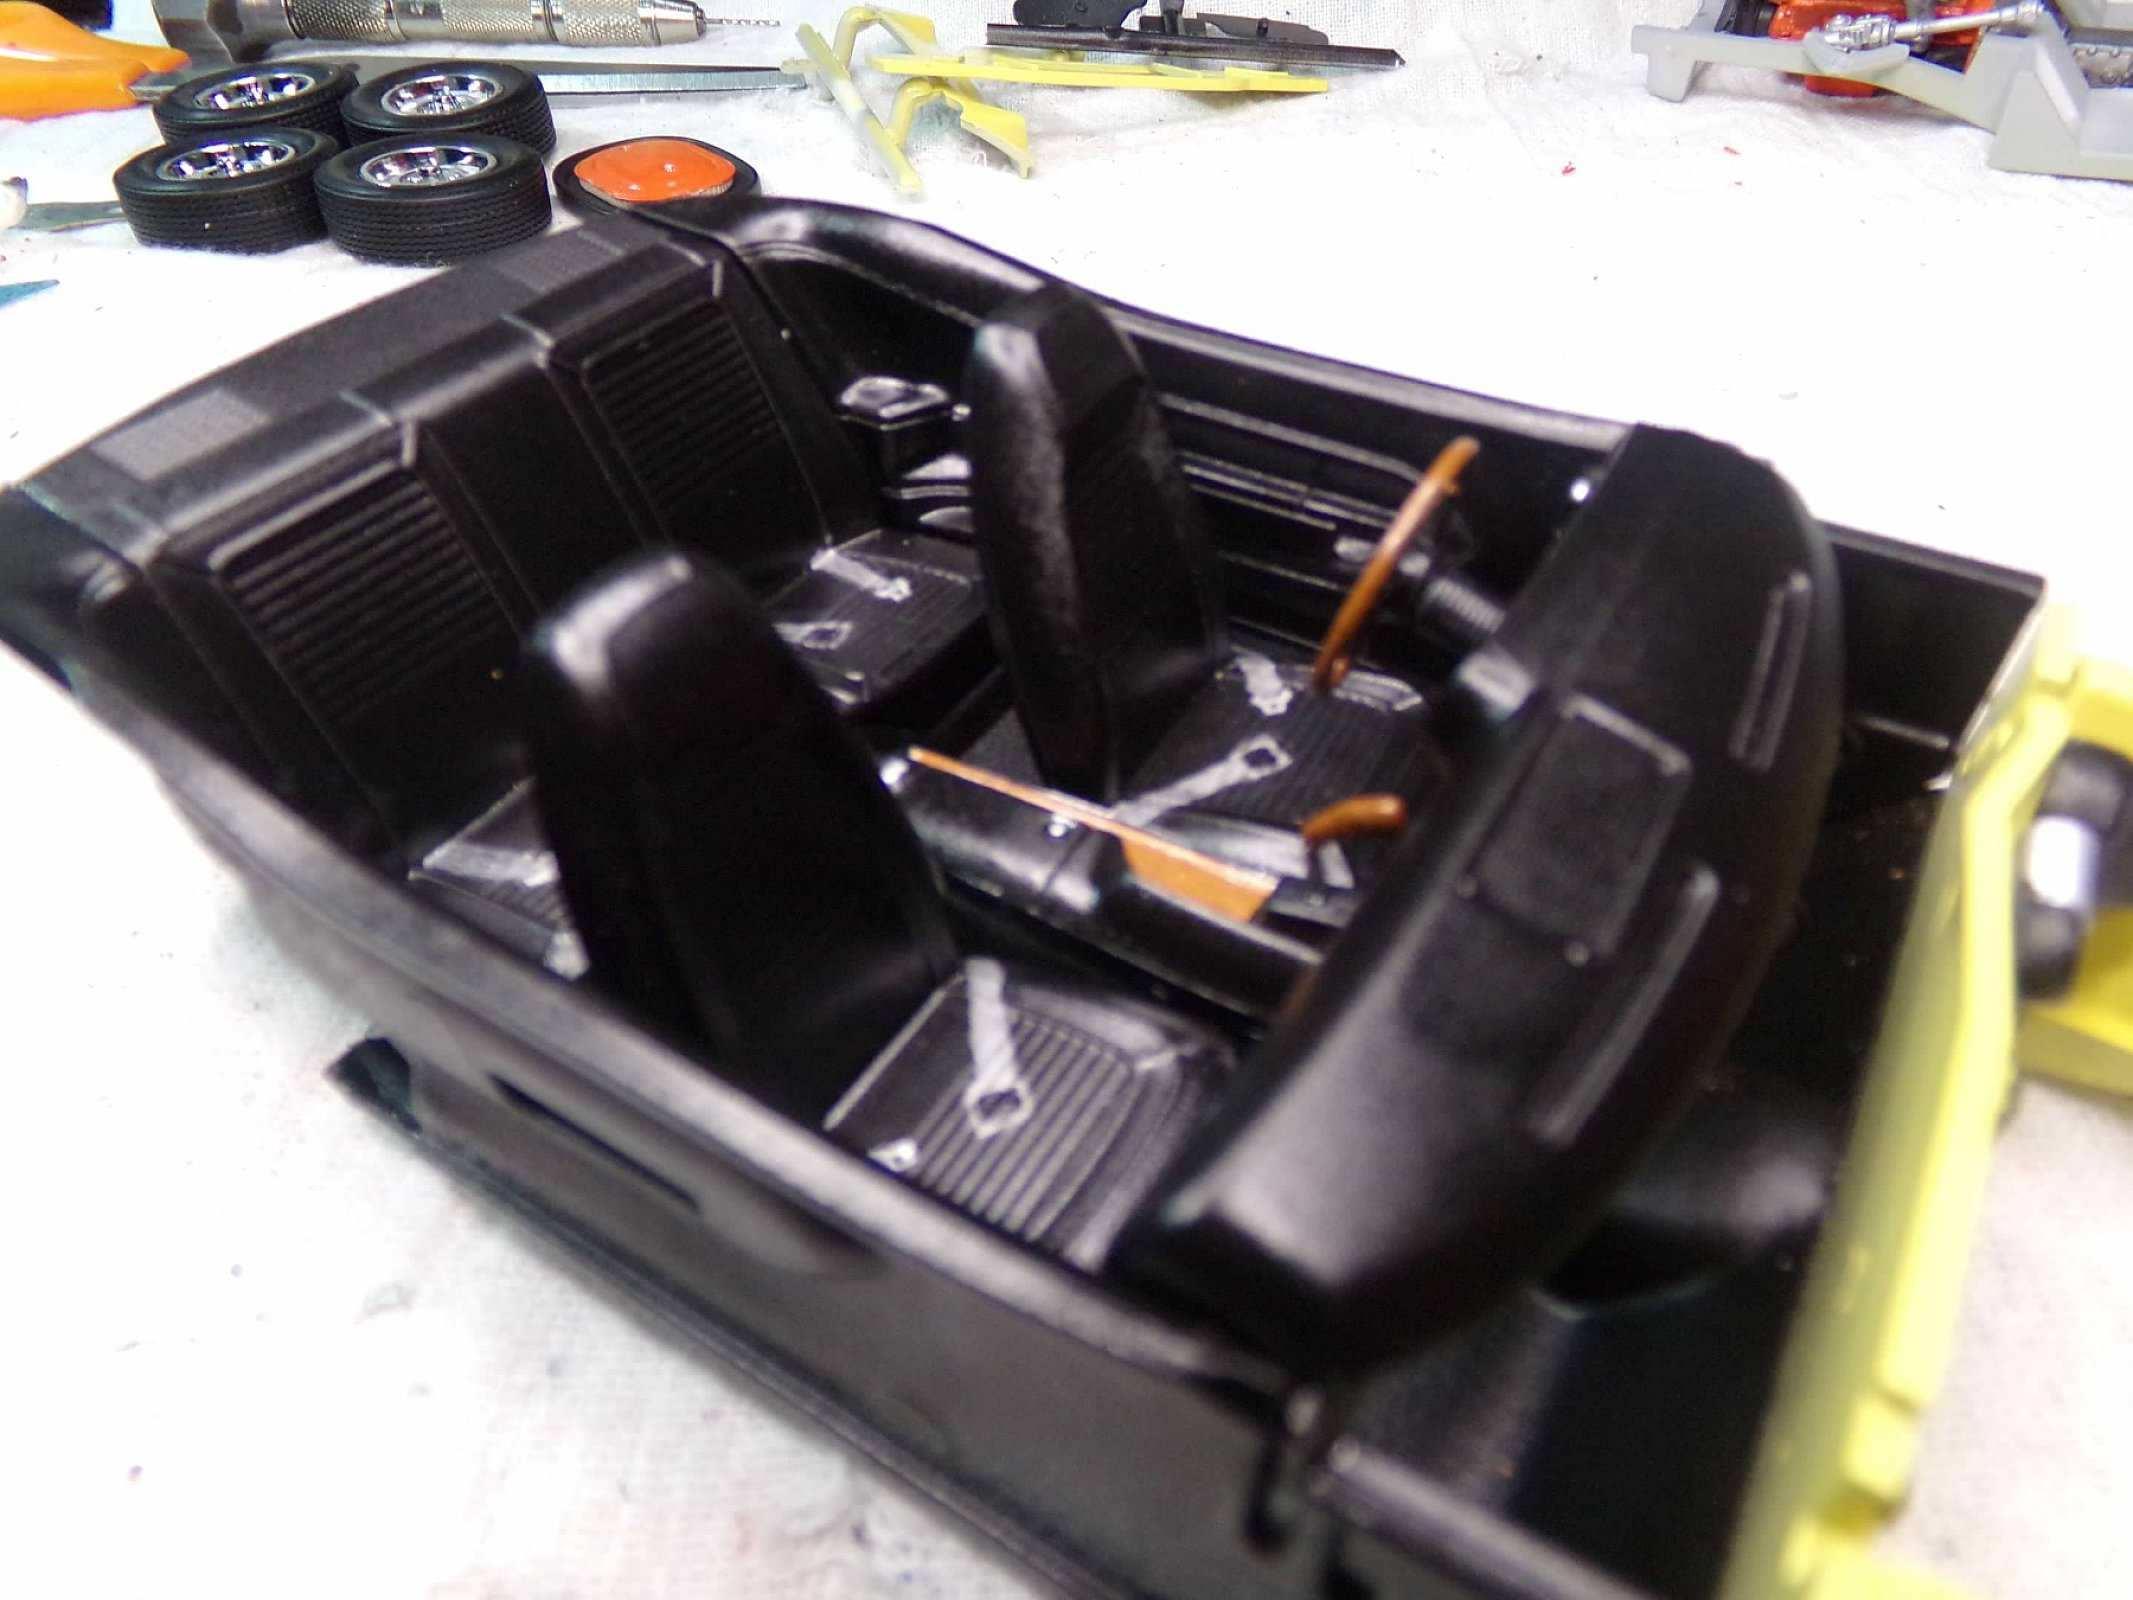
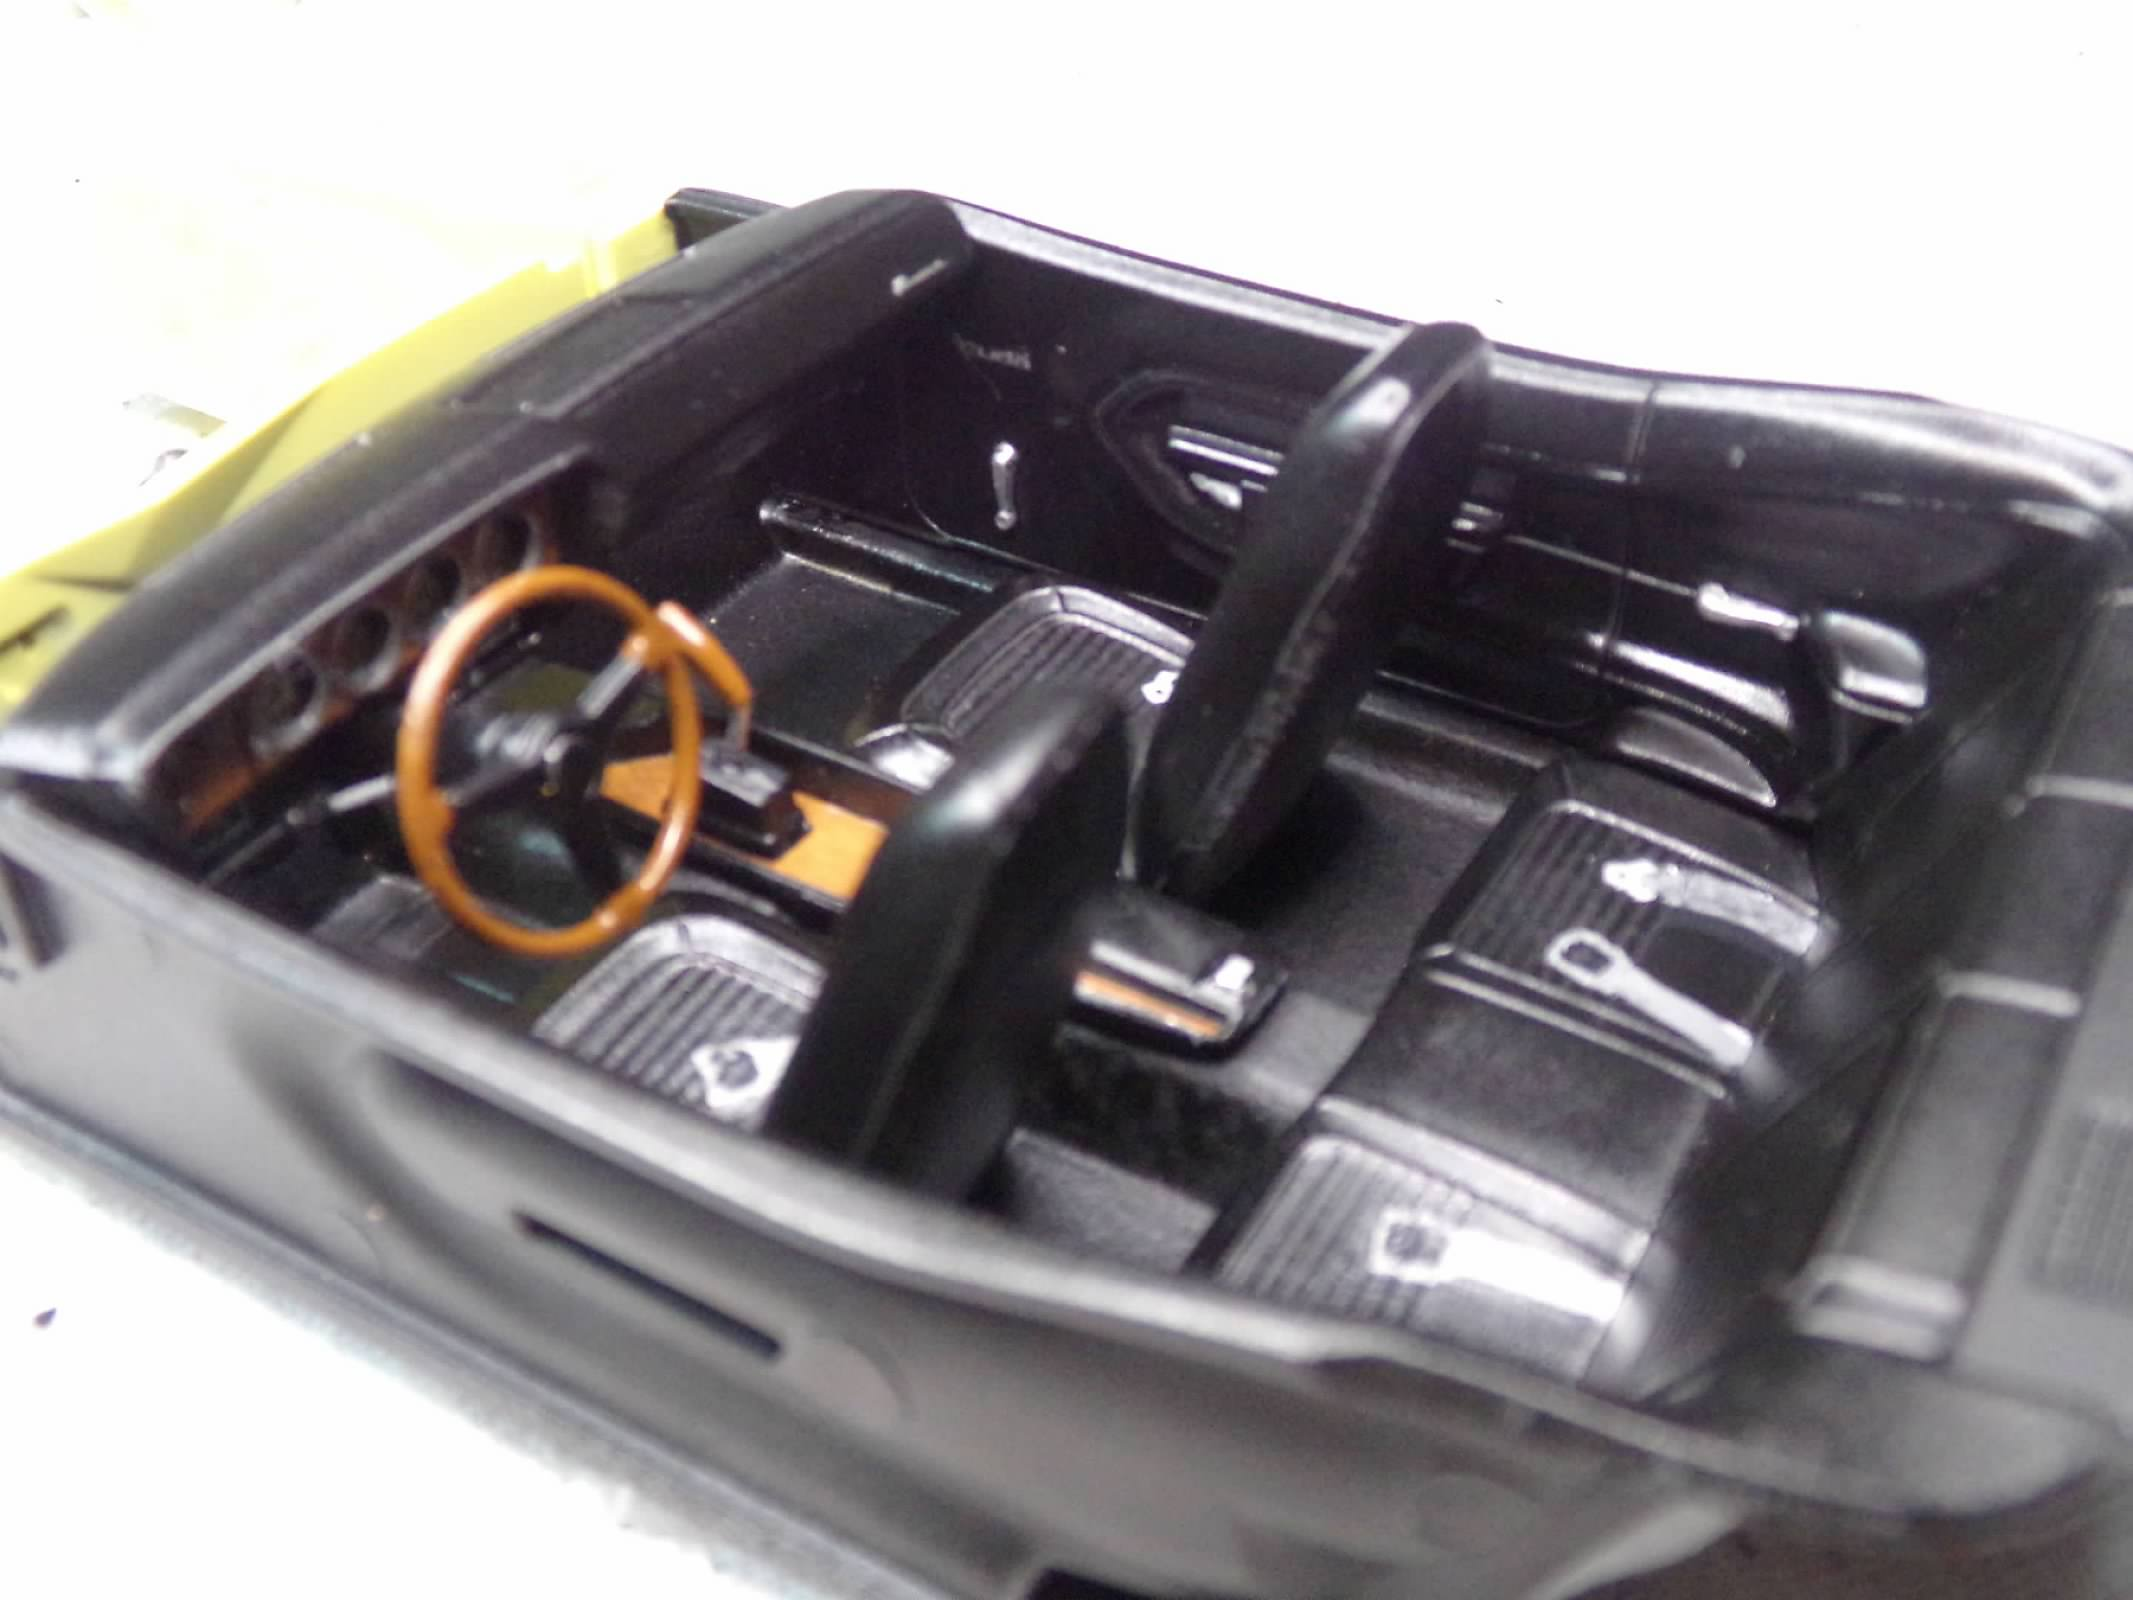
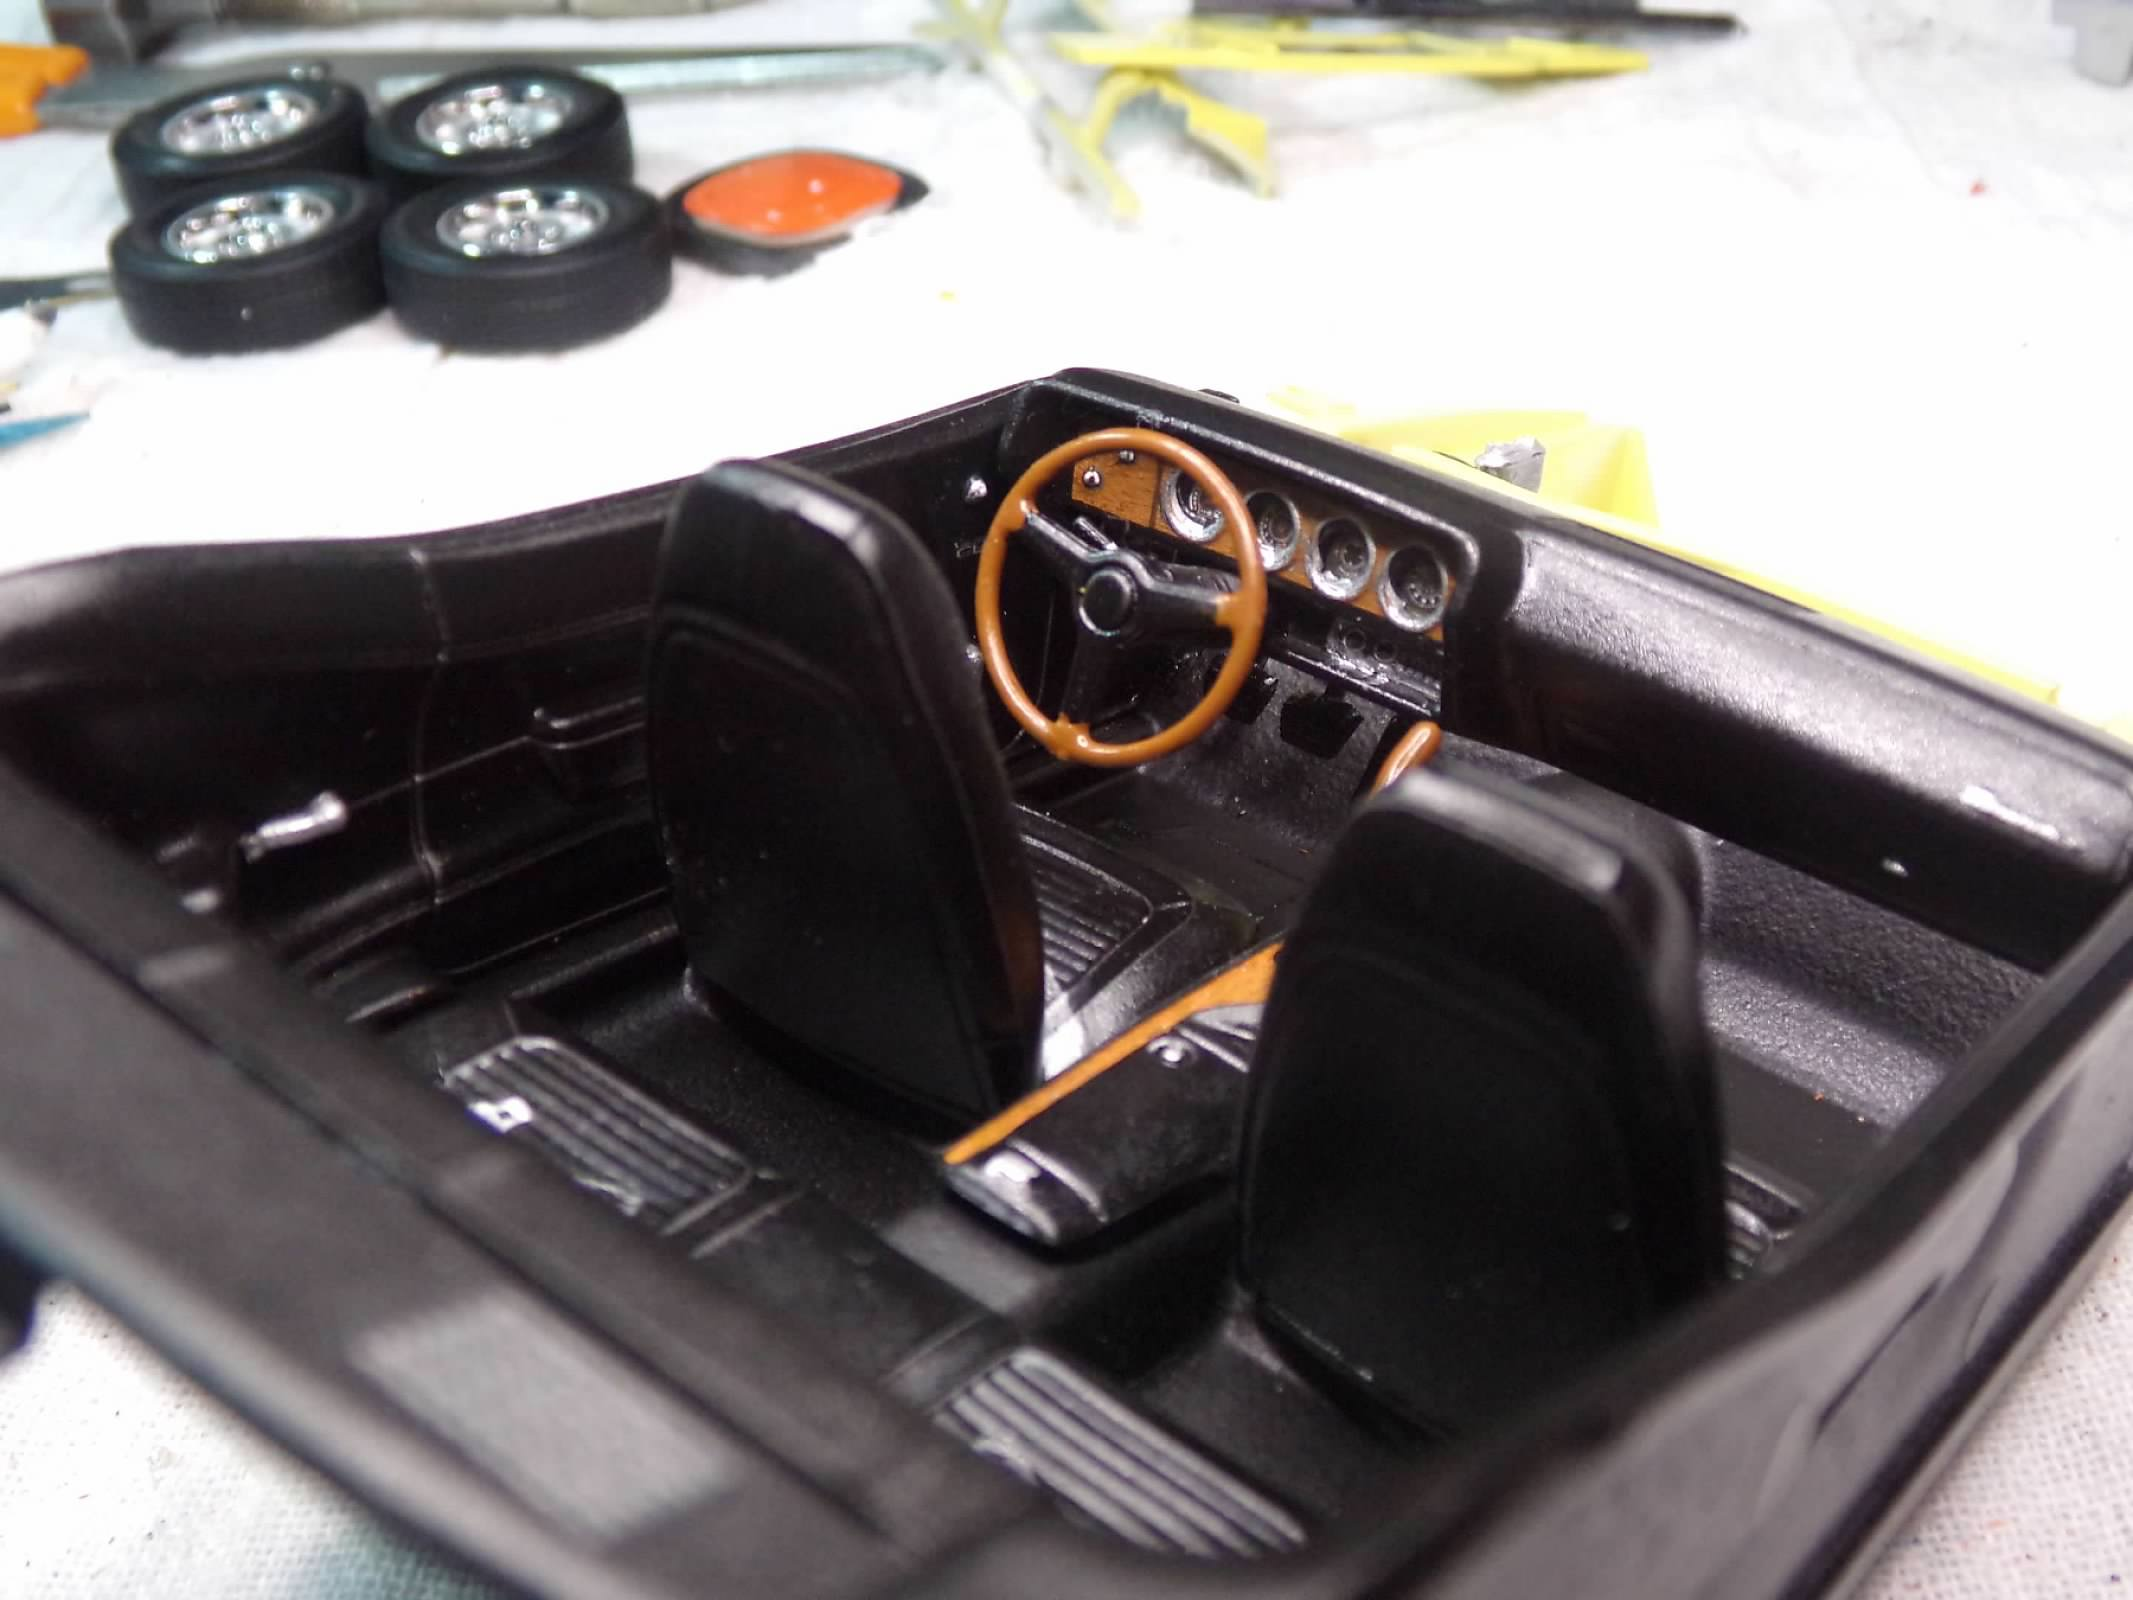
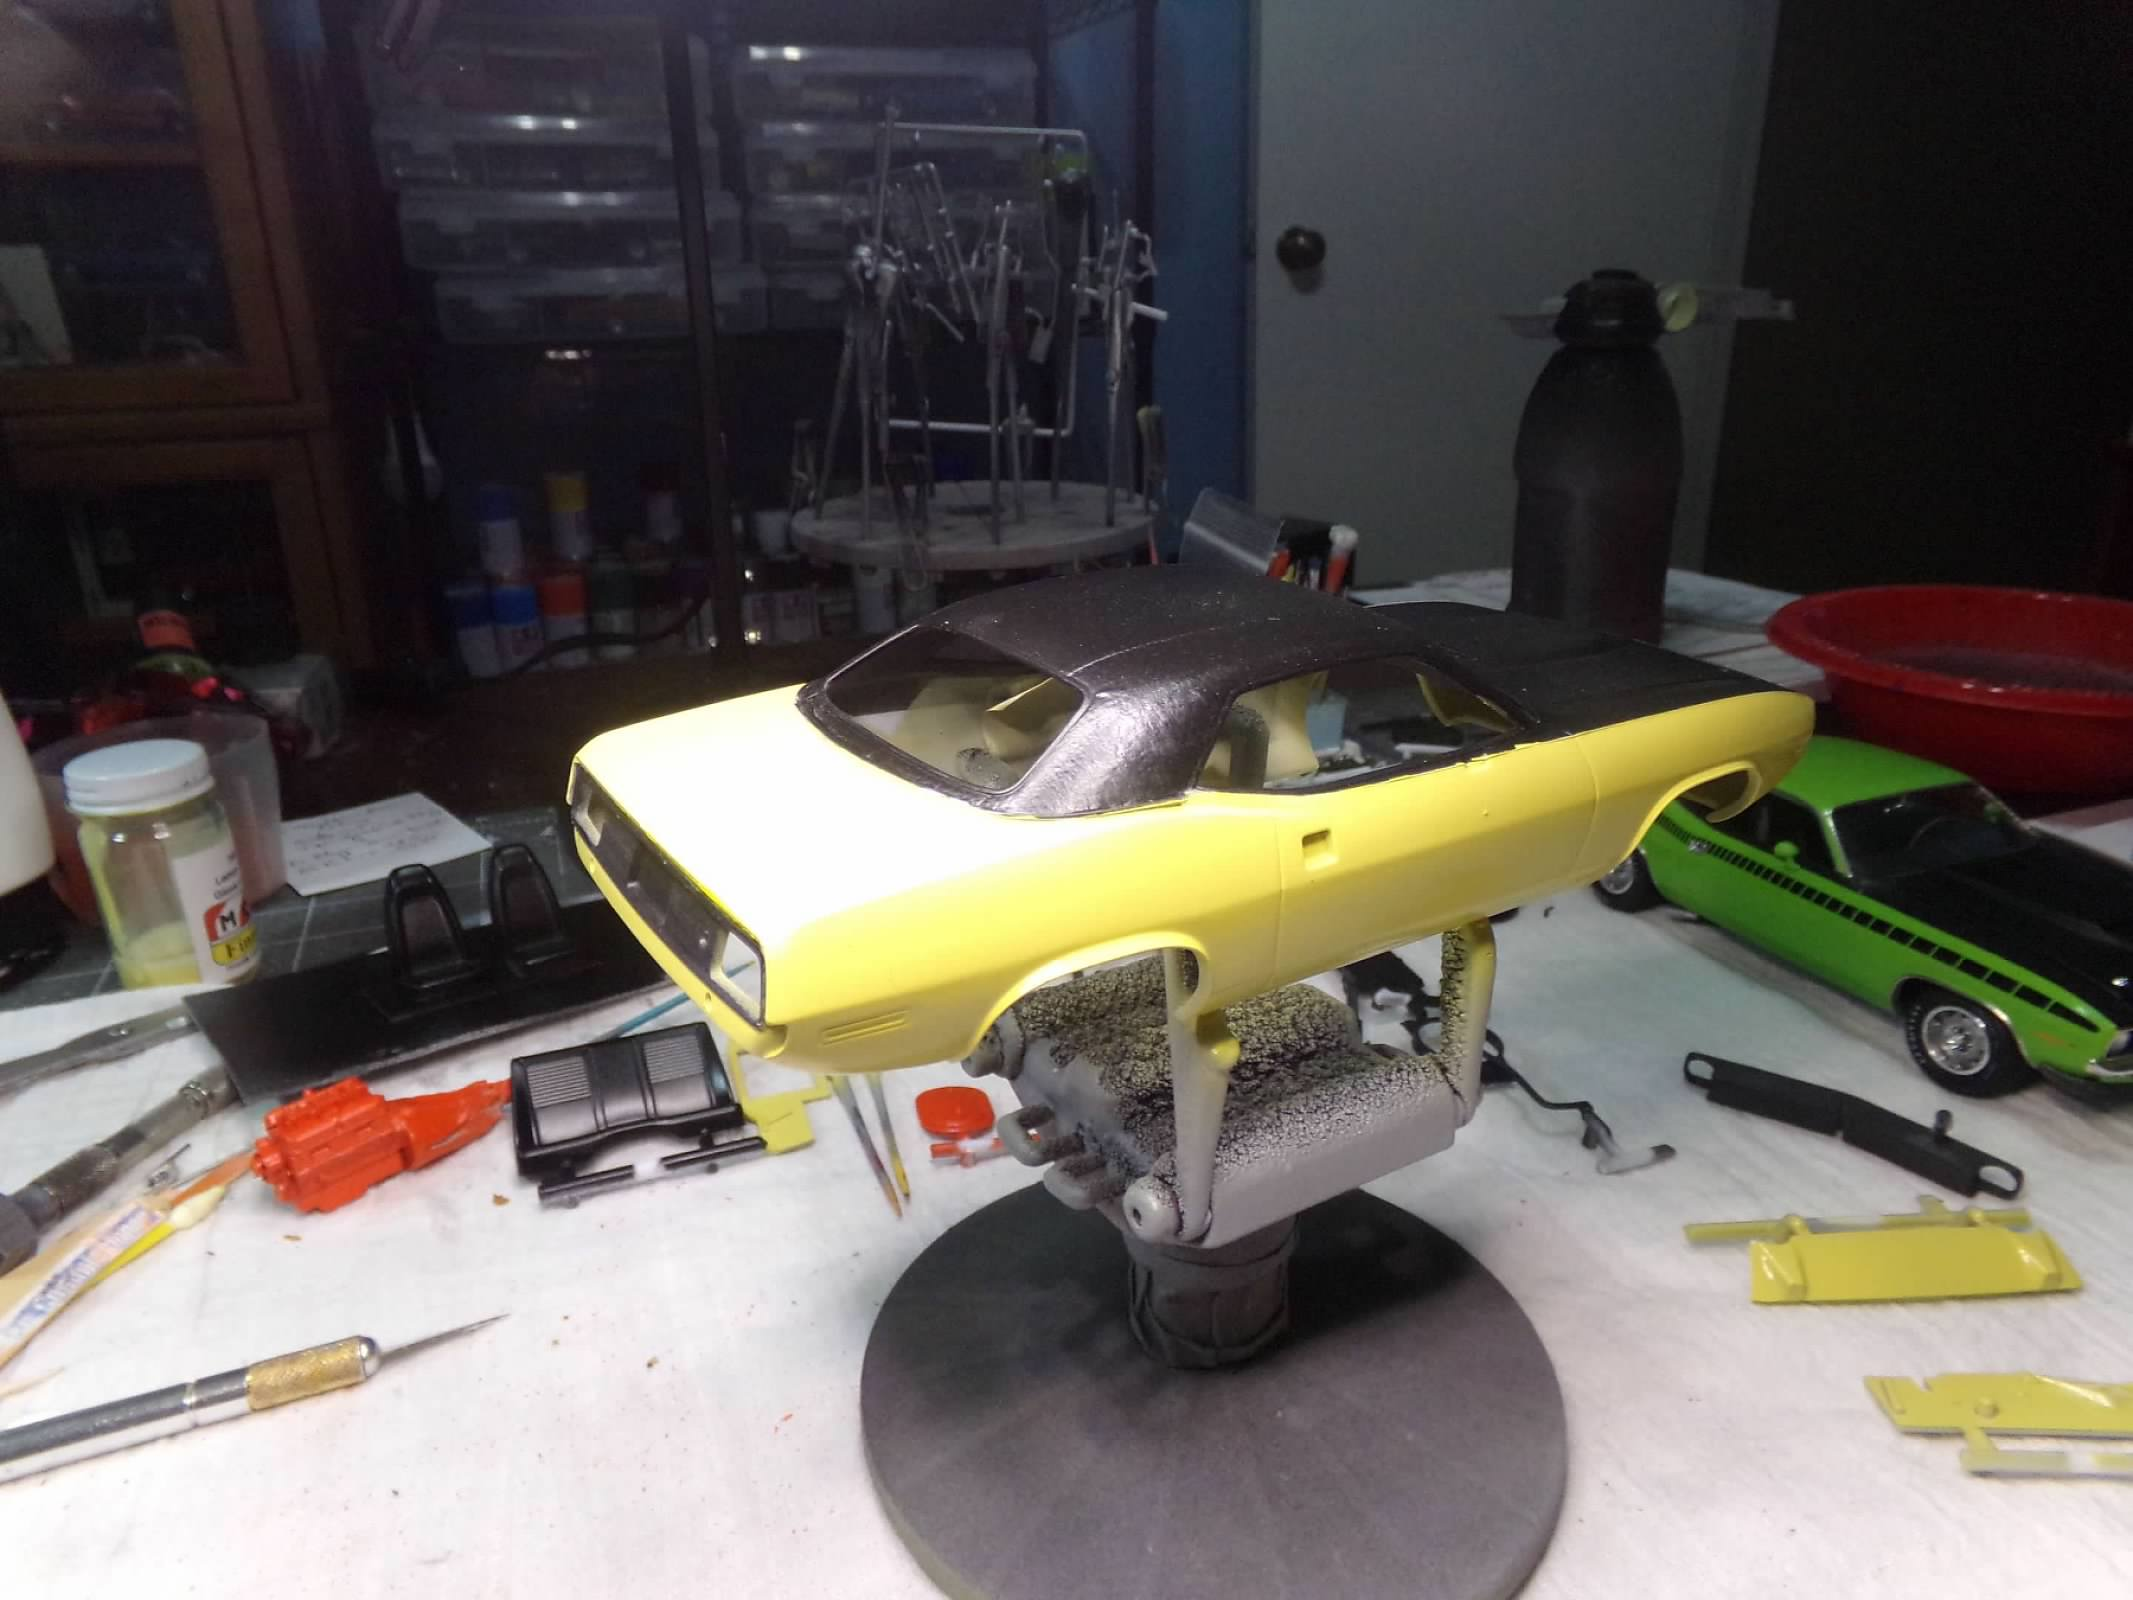
Thanks for your comment, Shawn! I use 2" masking tape that you can buy at any hardware or big box store. It requires some measuring, careful application to avoid wrinkles, and cutting with a new No. 11 blade. It goes on in three parts; a piece on each side and one in the middle that overlaps the other two to create the seam. It also requires a piece of .020" inch plastic Evergreen rod around the trunk-side edge of the bottom of the top. Once that is done it is simply painted with semi-gloss black. Thanks for your question! I finished the interior today and the decals for the woodgrain dash panel, the console and the gauge decals all went on fine. I painted the wood on the steering wheel and shifter using Testors Leather. The seat belts were black decals which you couldn't see so I painted over them with some matte steel since I don't have a good gray. They only look shiny in the photos. Chrome pen on the door handles and window cranks. I didn't add chrome trim to the steering wheel because I can't get it small enough to look good. Moving on to the windows and wheels. Thanks for looking! ?
-
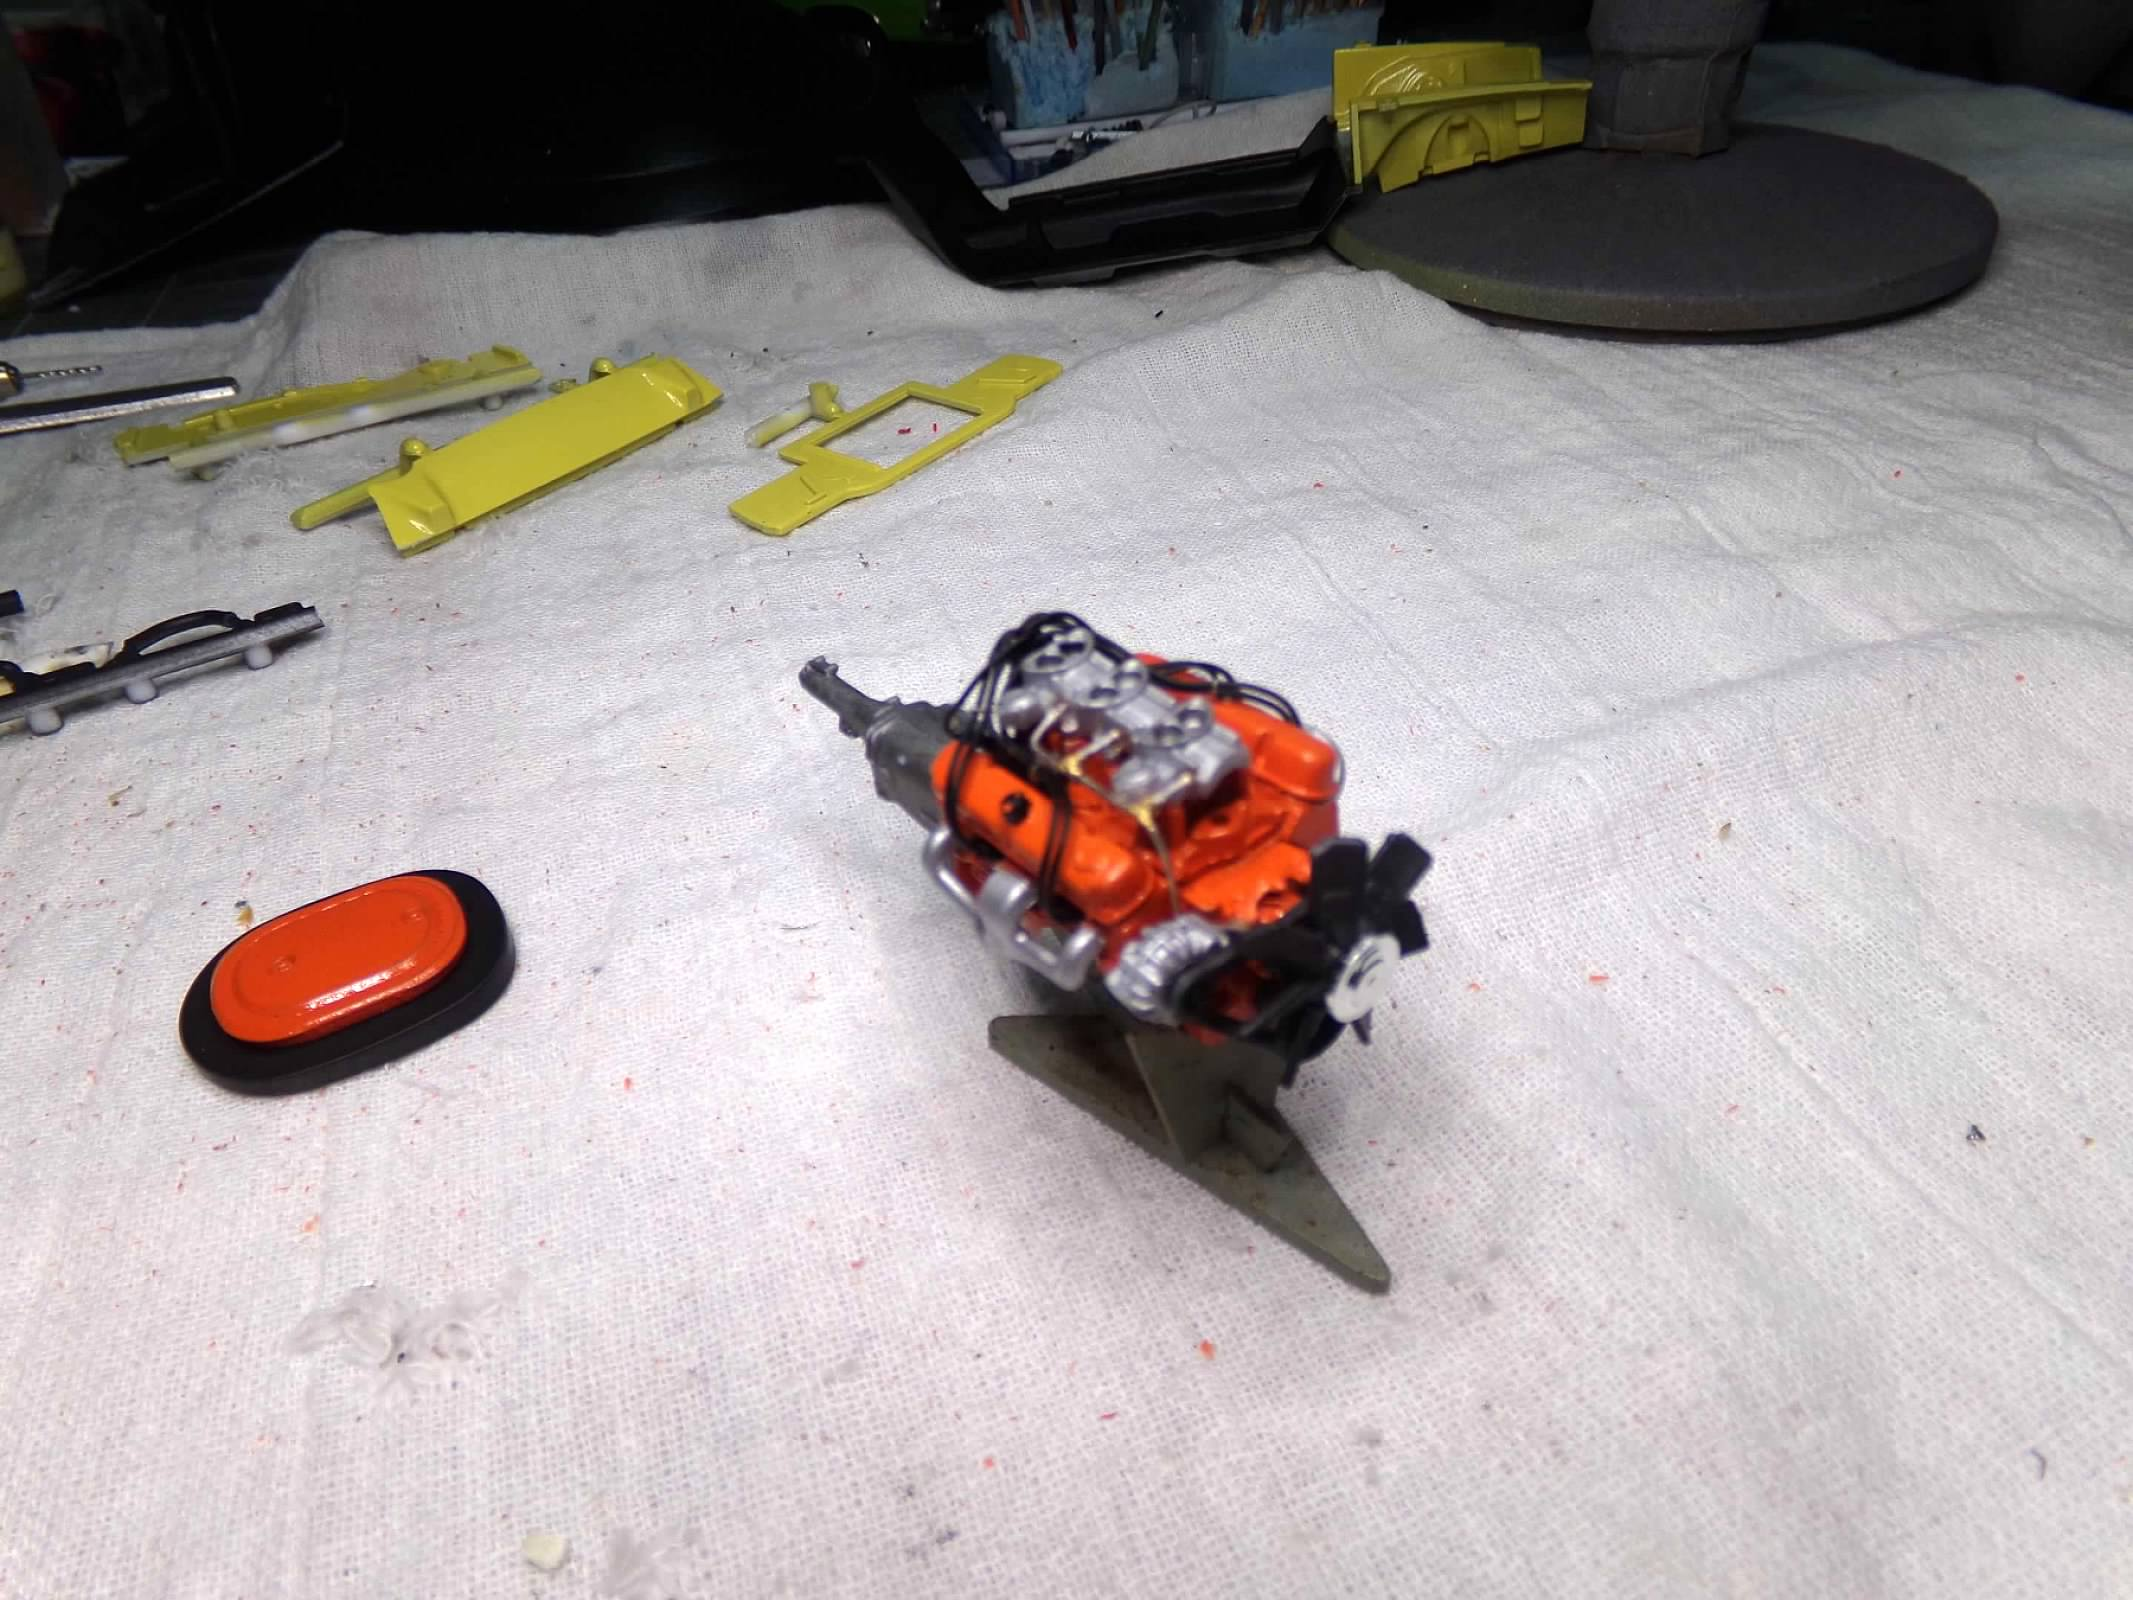
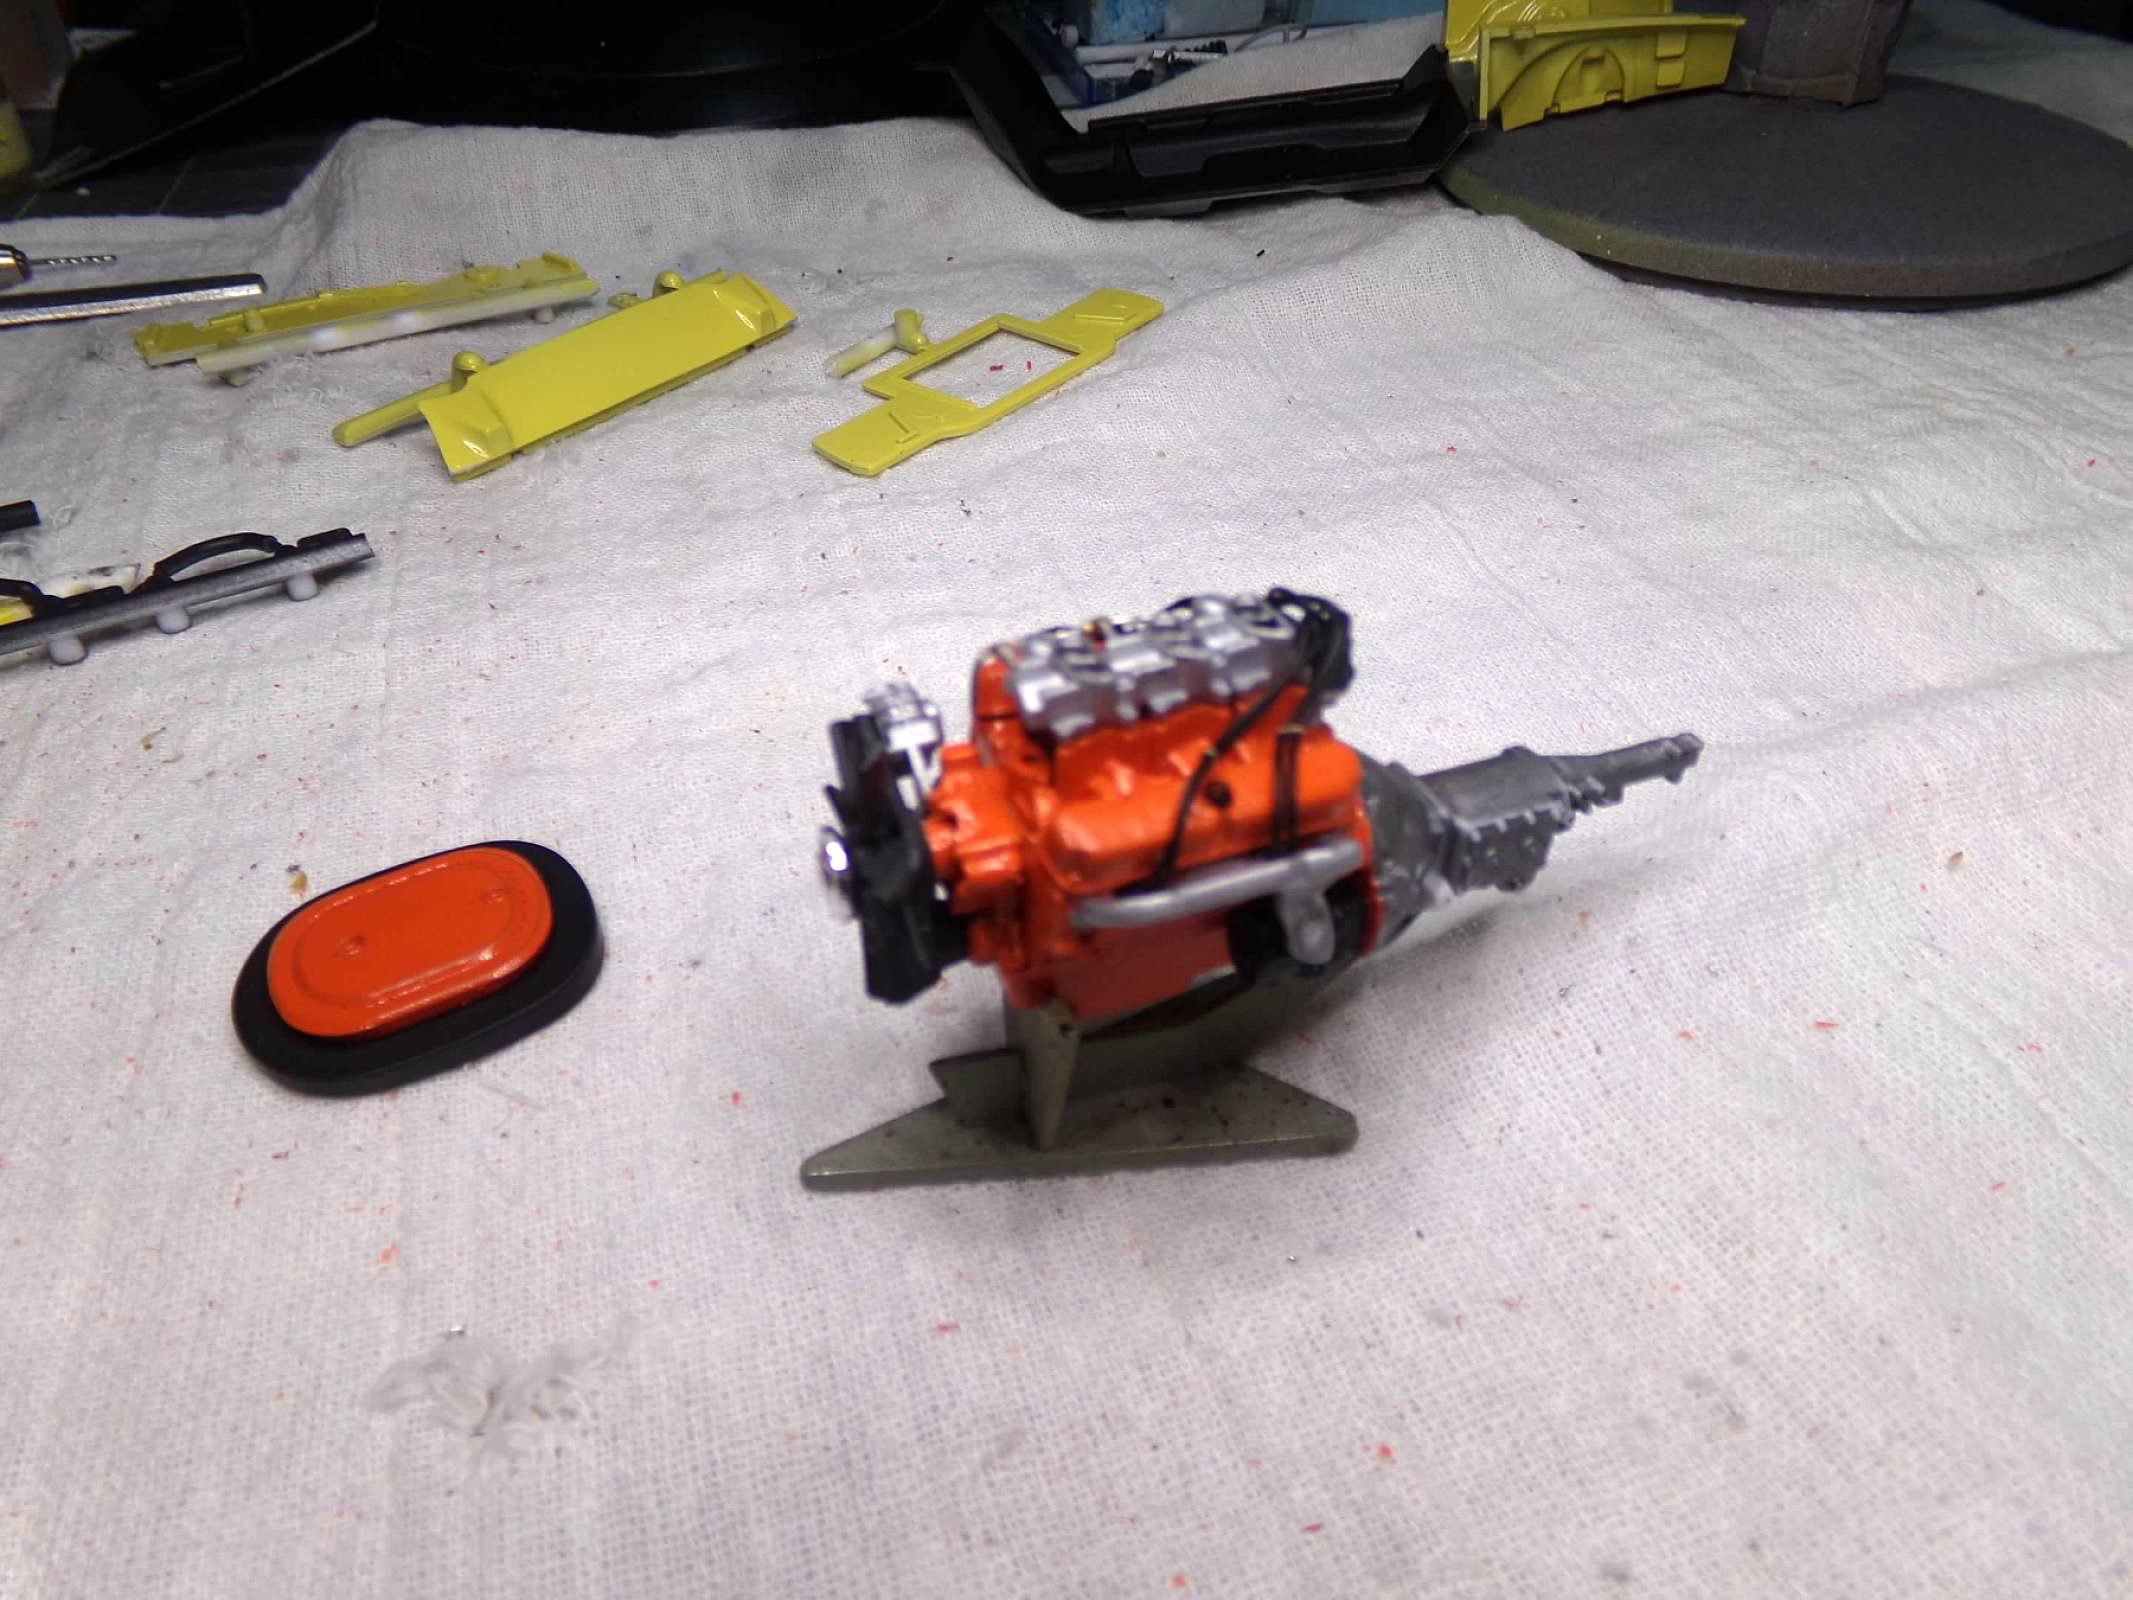
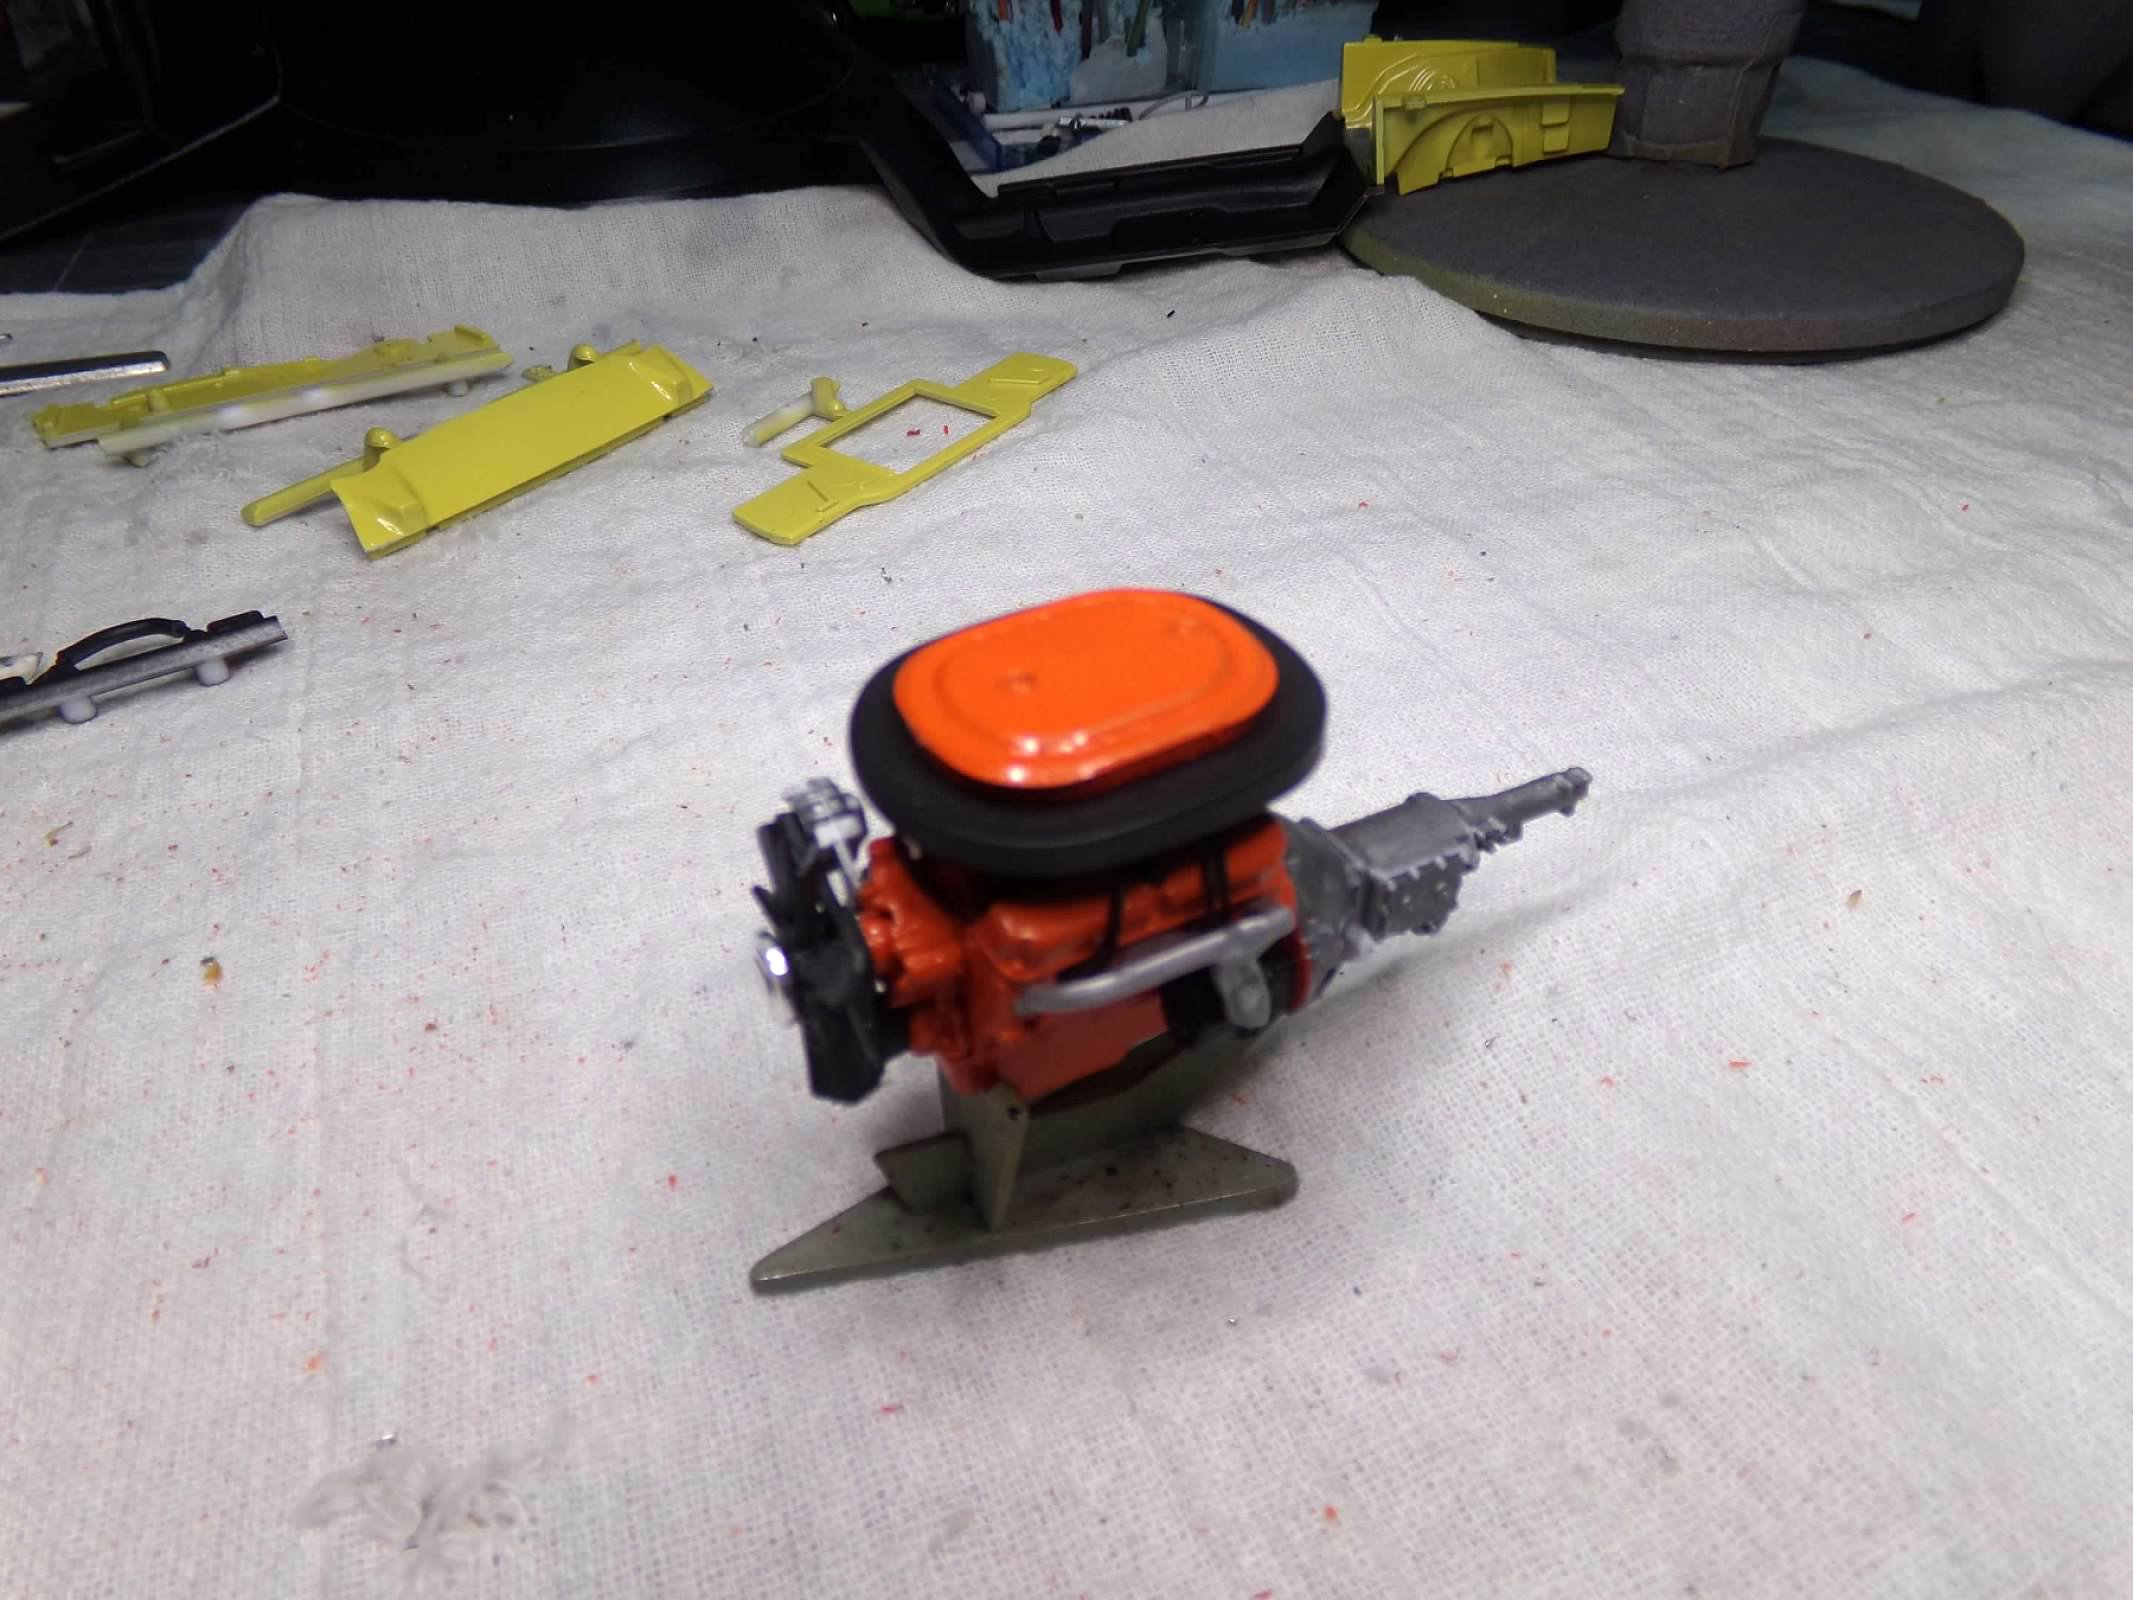
Thanks, Dominic, Carl, Steve, Keith and Greg! I appreciate your comments! I added plug wires and a fuel line for the three carbs under the big hat. So I intend on leaving the air cleaner loose so I can display the engine with the air cleaner on the fender with the hood up. I still have to paint the filter element and add the six pack decal. Thanks for looking! ?
-
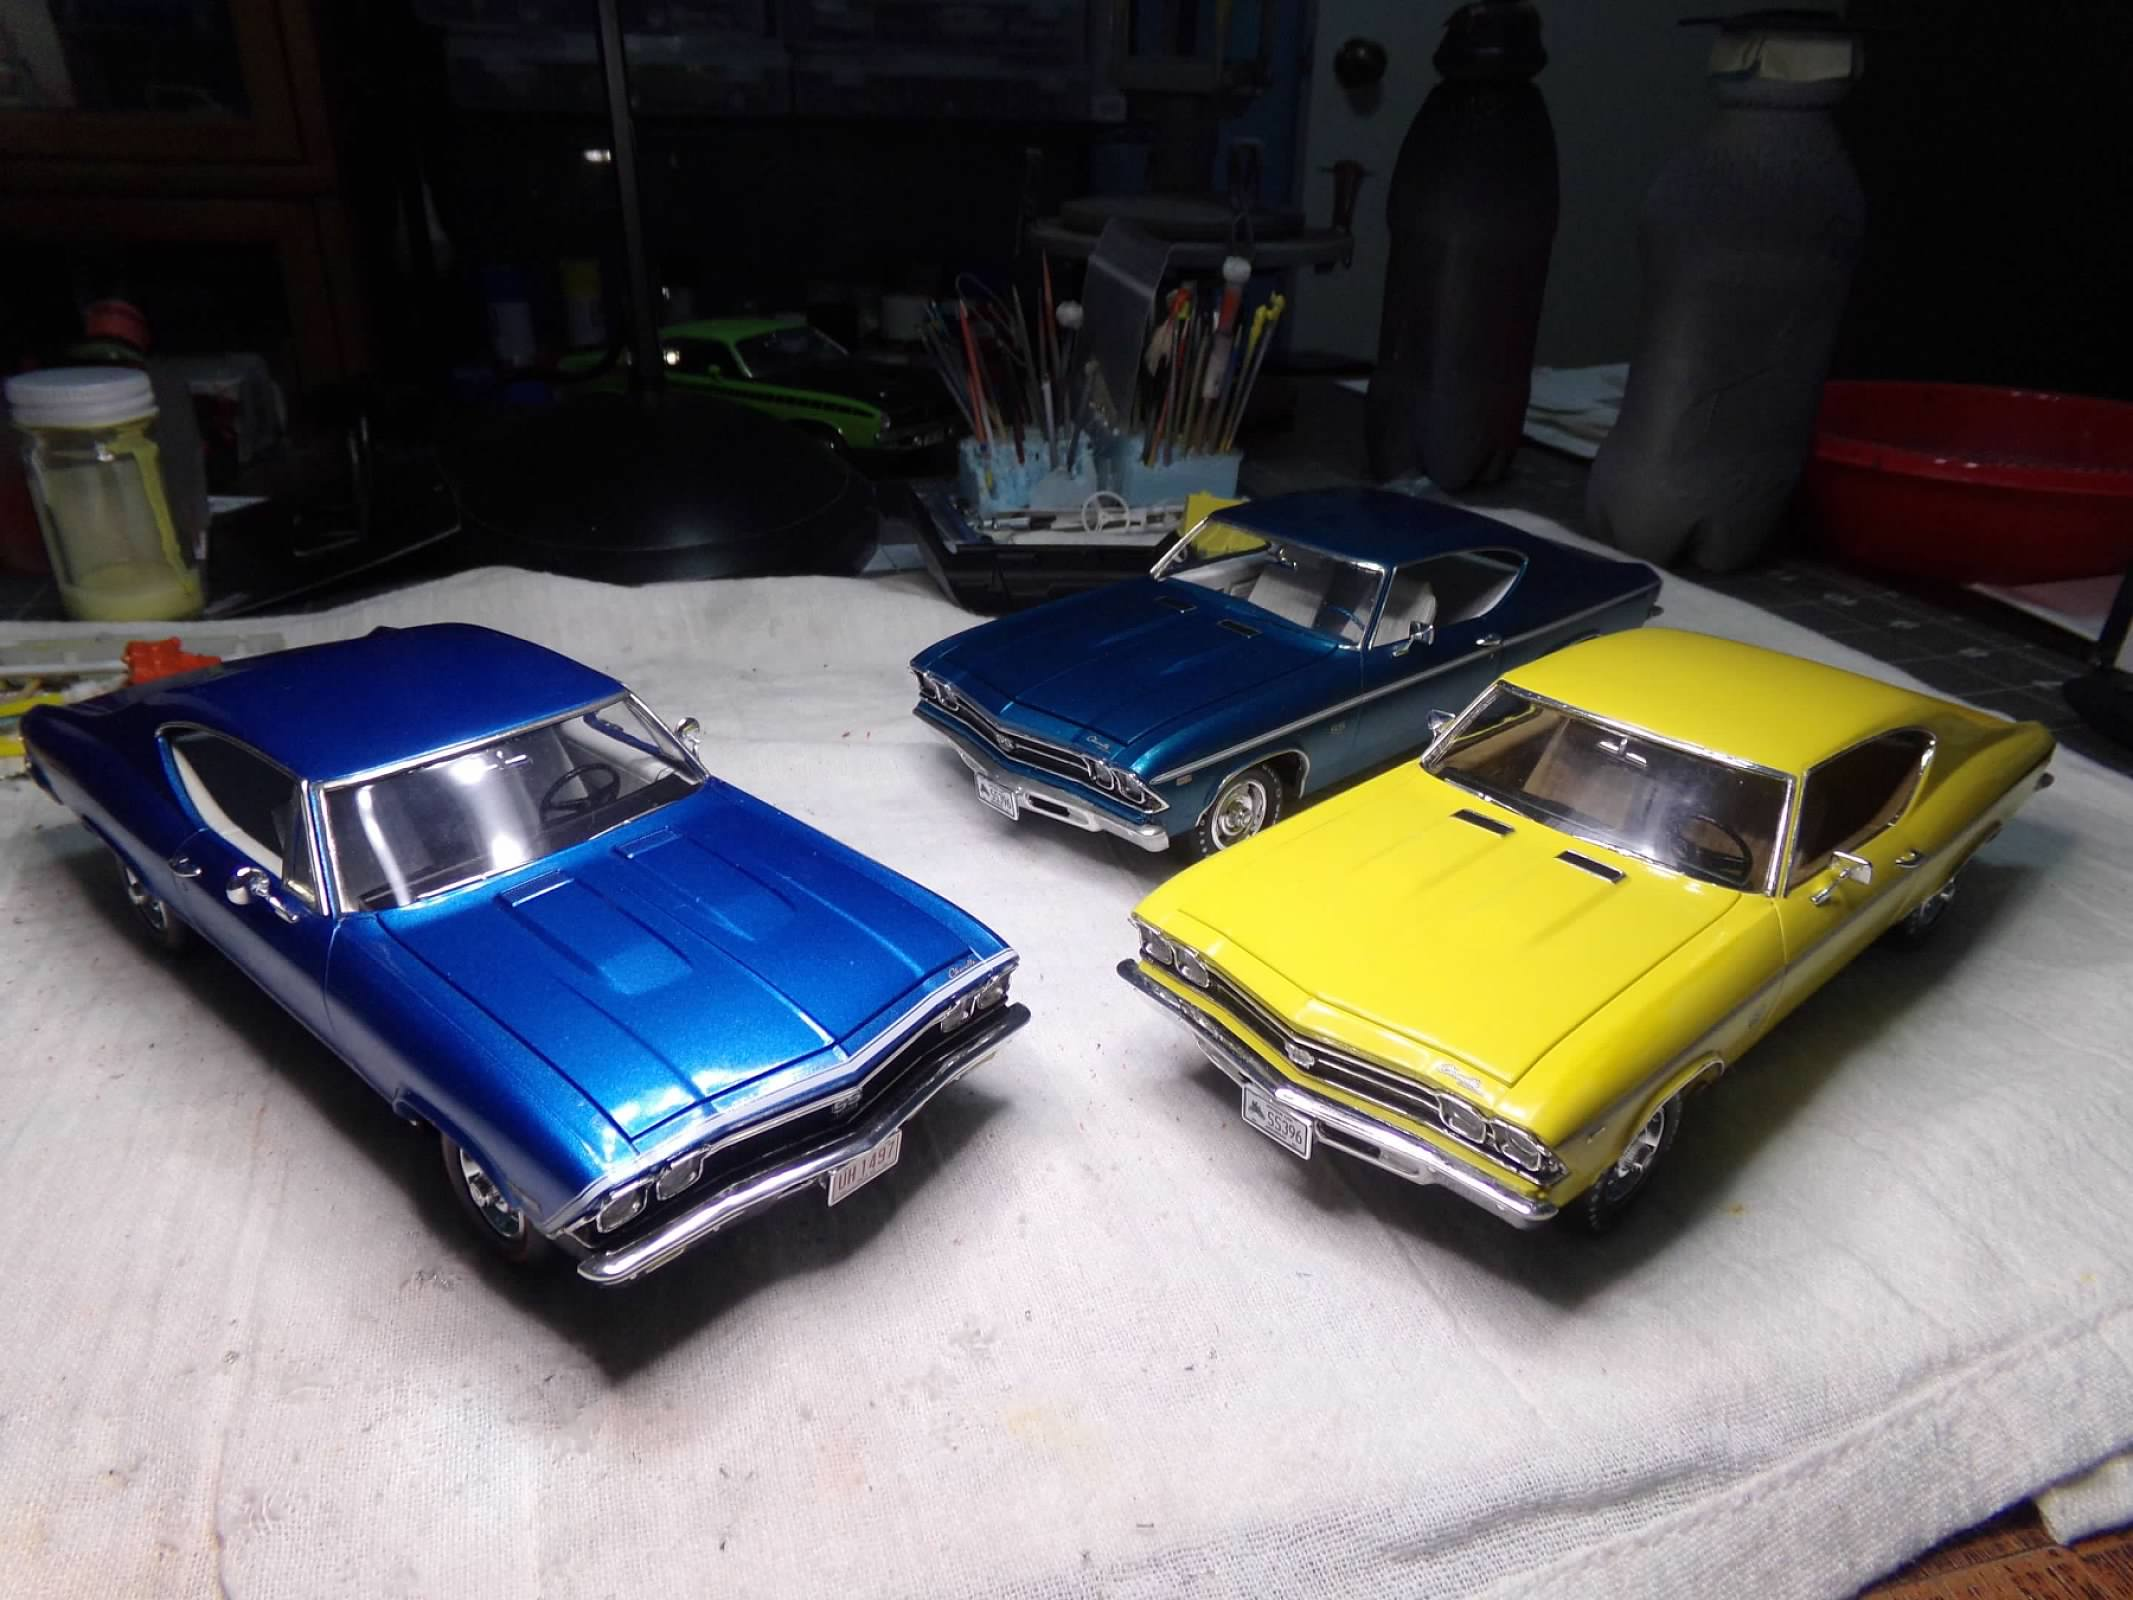
James, the Revell 69 Chevelle is an excellent kit. I have built it and the 68 Chevelle twice now and still have one of each in the closet. The 68 below in light blue metallic took a 2nd place in Factory Stock at a contest and the 69 in Daytona Yellow took a 1st place in Factory Stock in another. I'm thinking of buying one more of each before they are gone from the shelves! ?
-
Finished rubbing the body out and foiled it. I normally don't add decals until the end but I added the 'Cuda decal on the taillight panel just for fun. Paint looks pretty good so its on to the engine and interior! Thanks for looking! ?
-
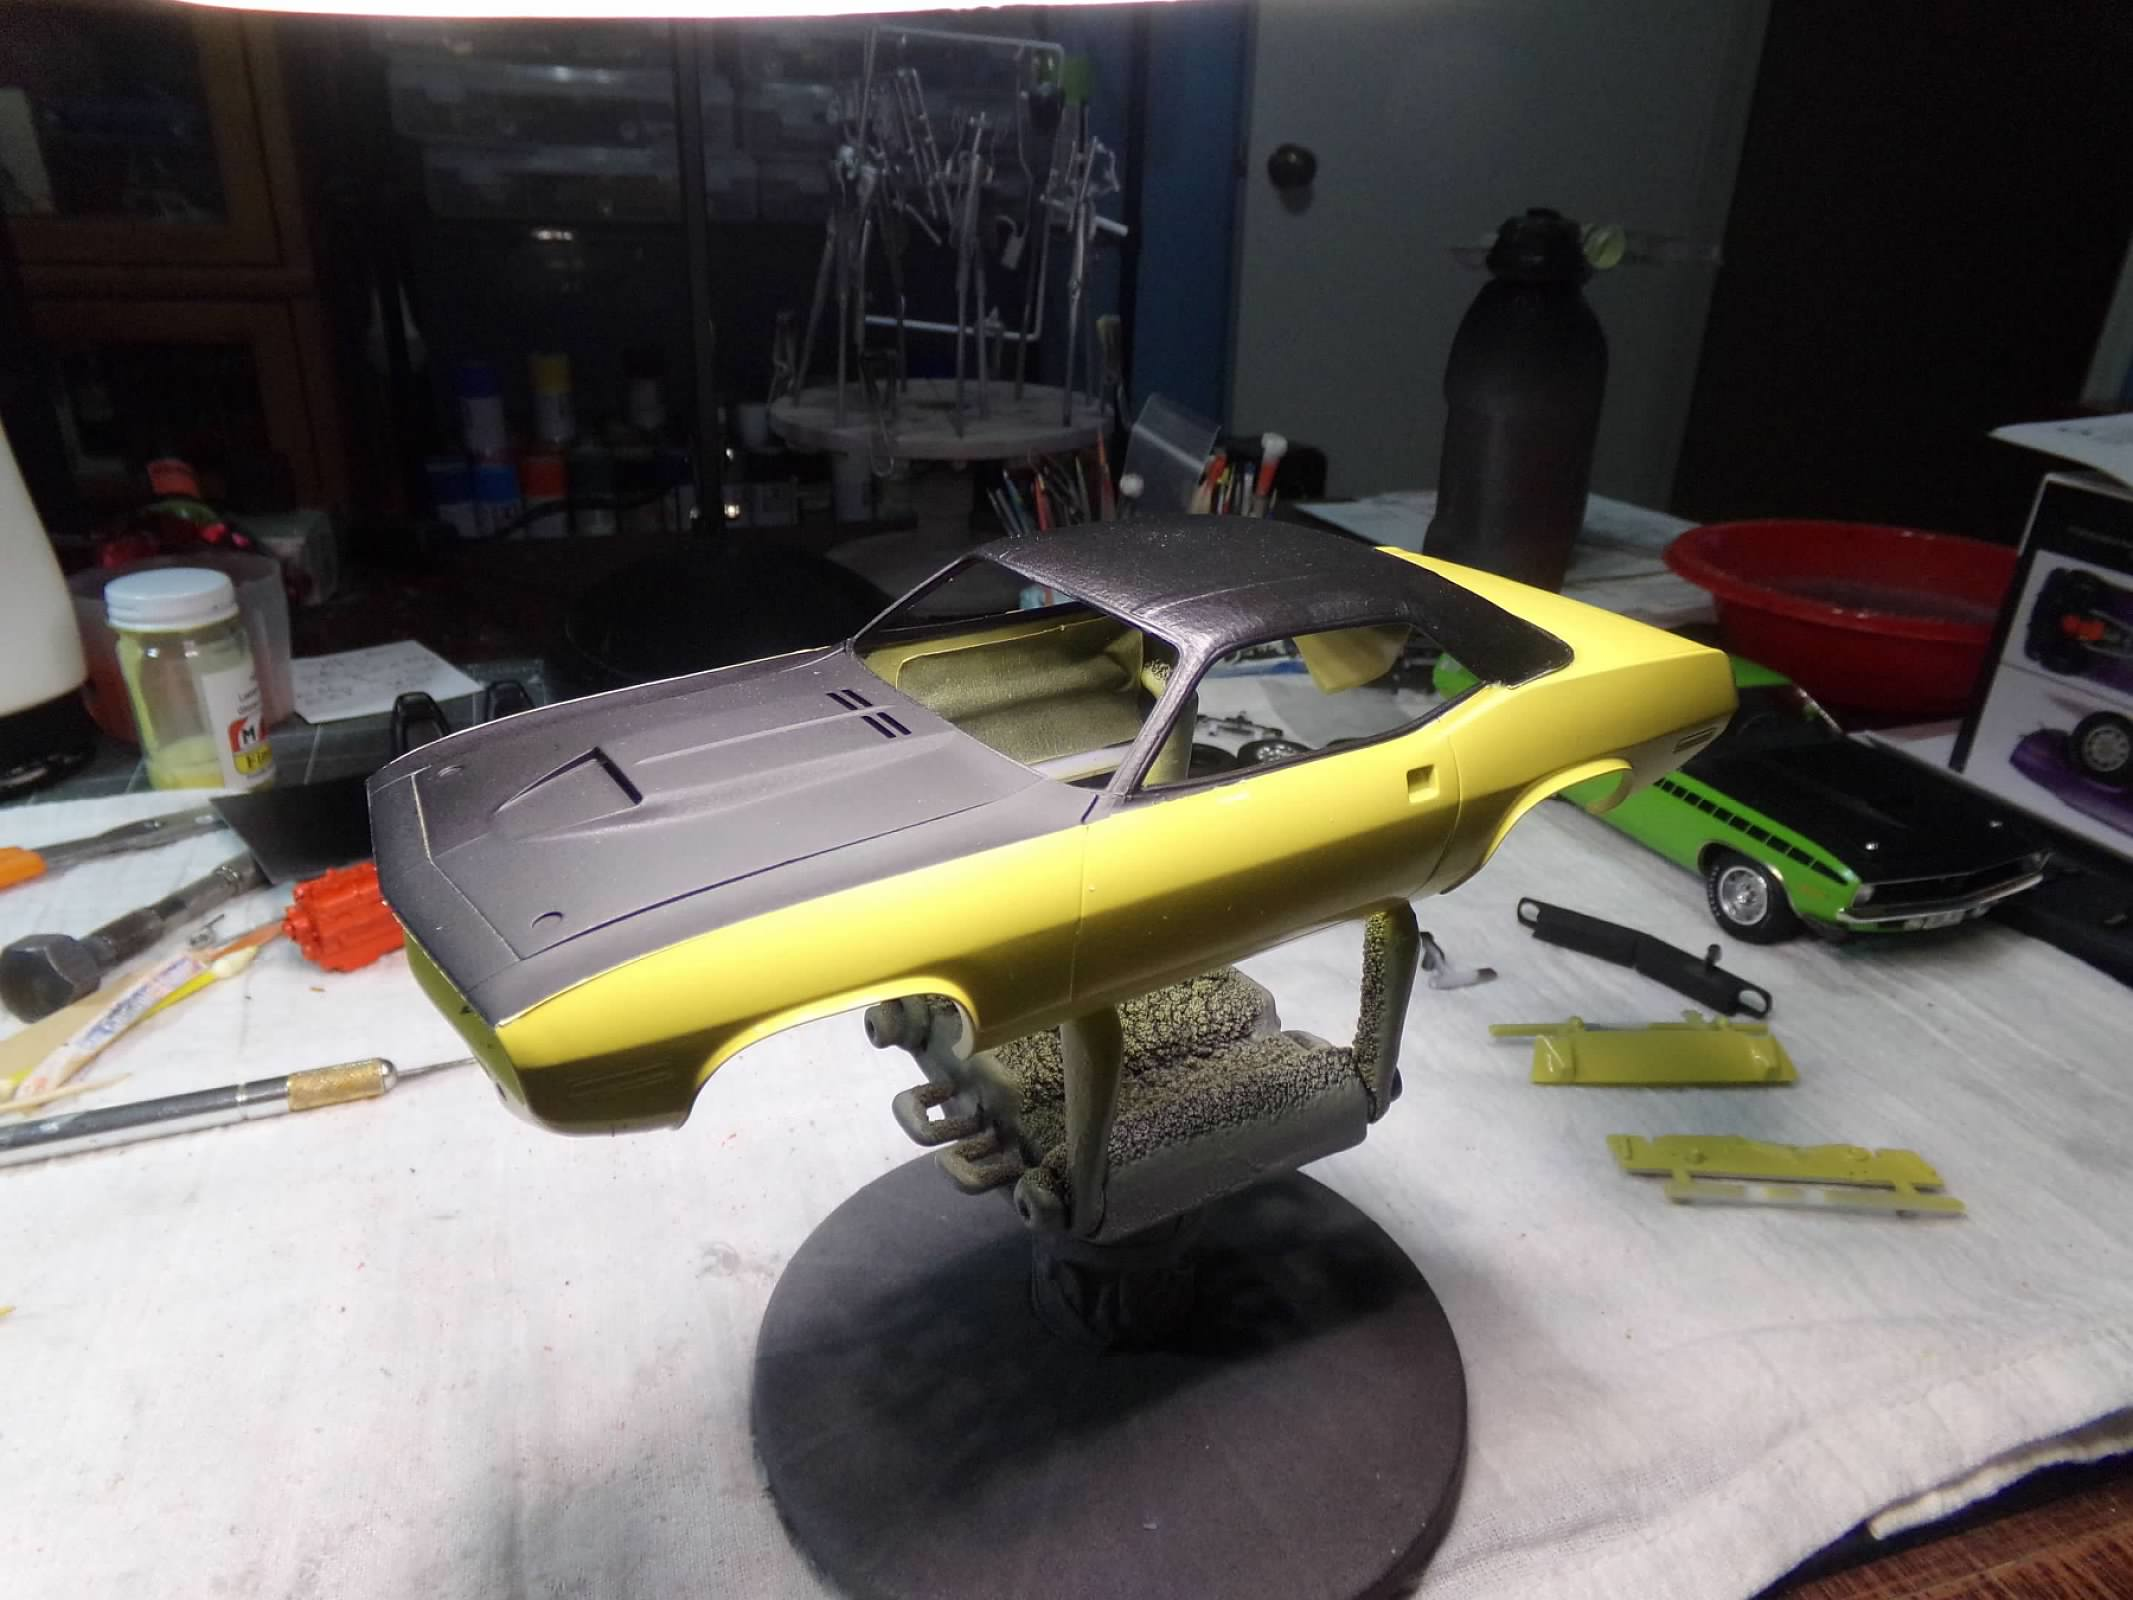
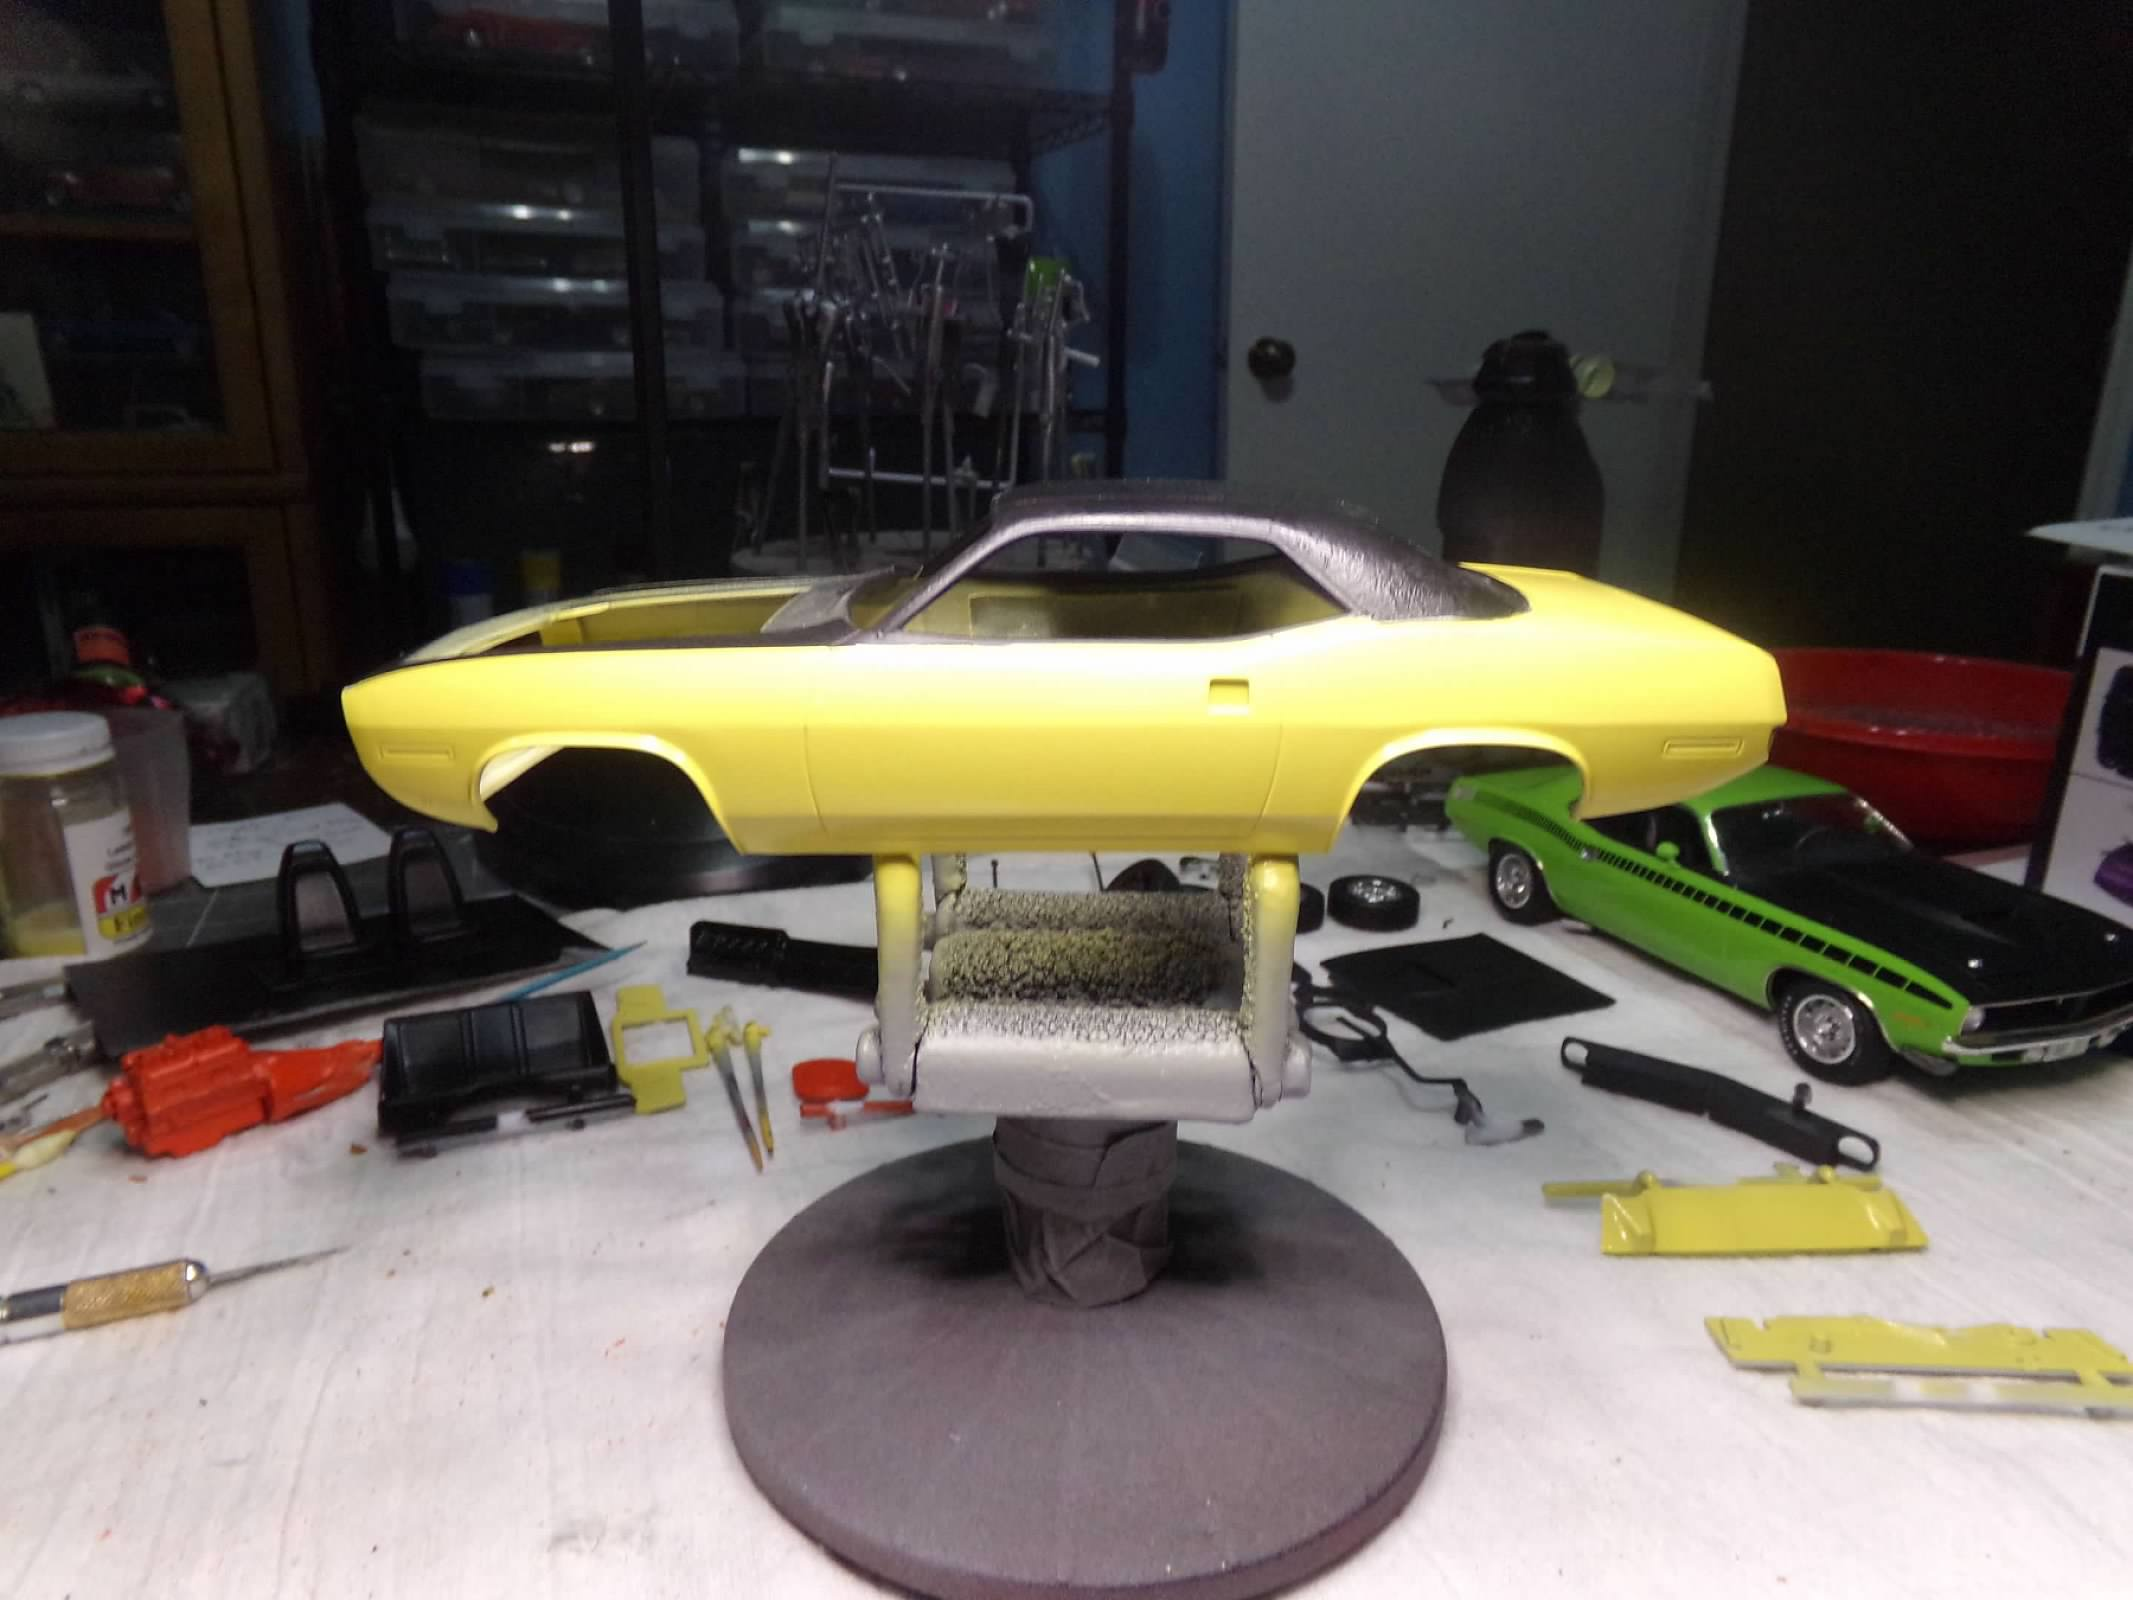
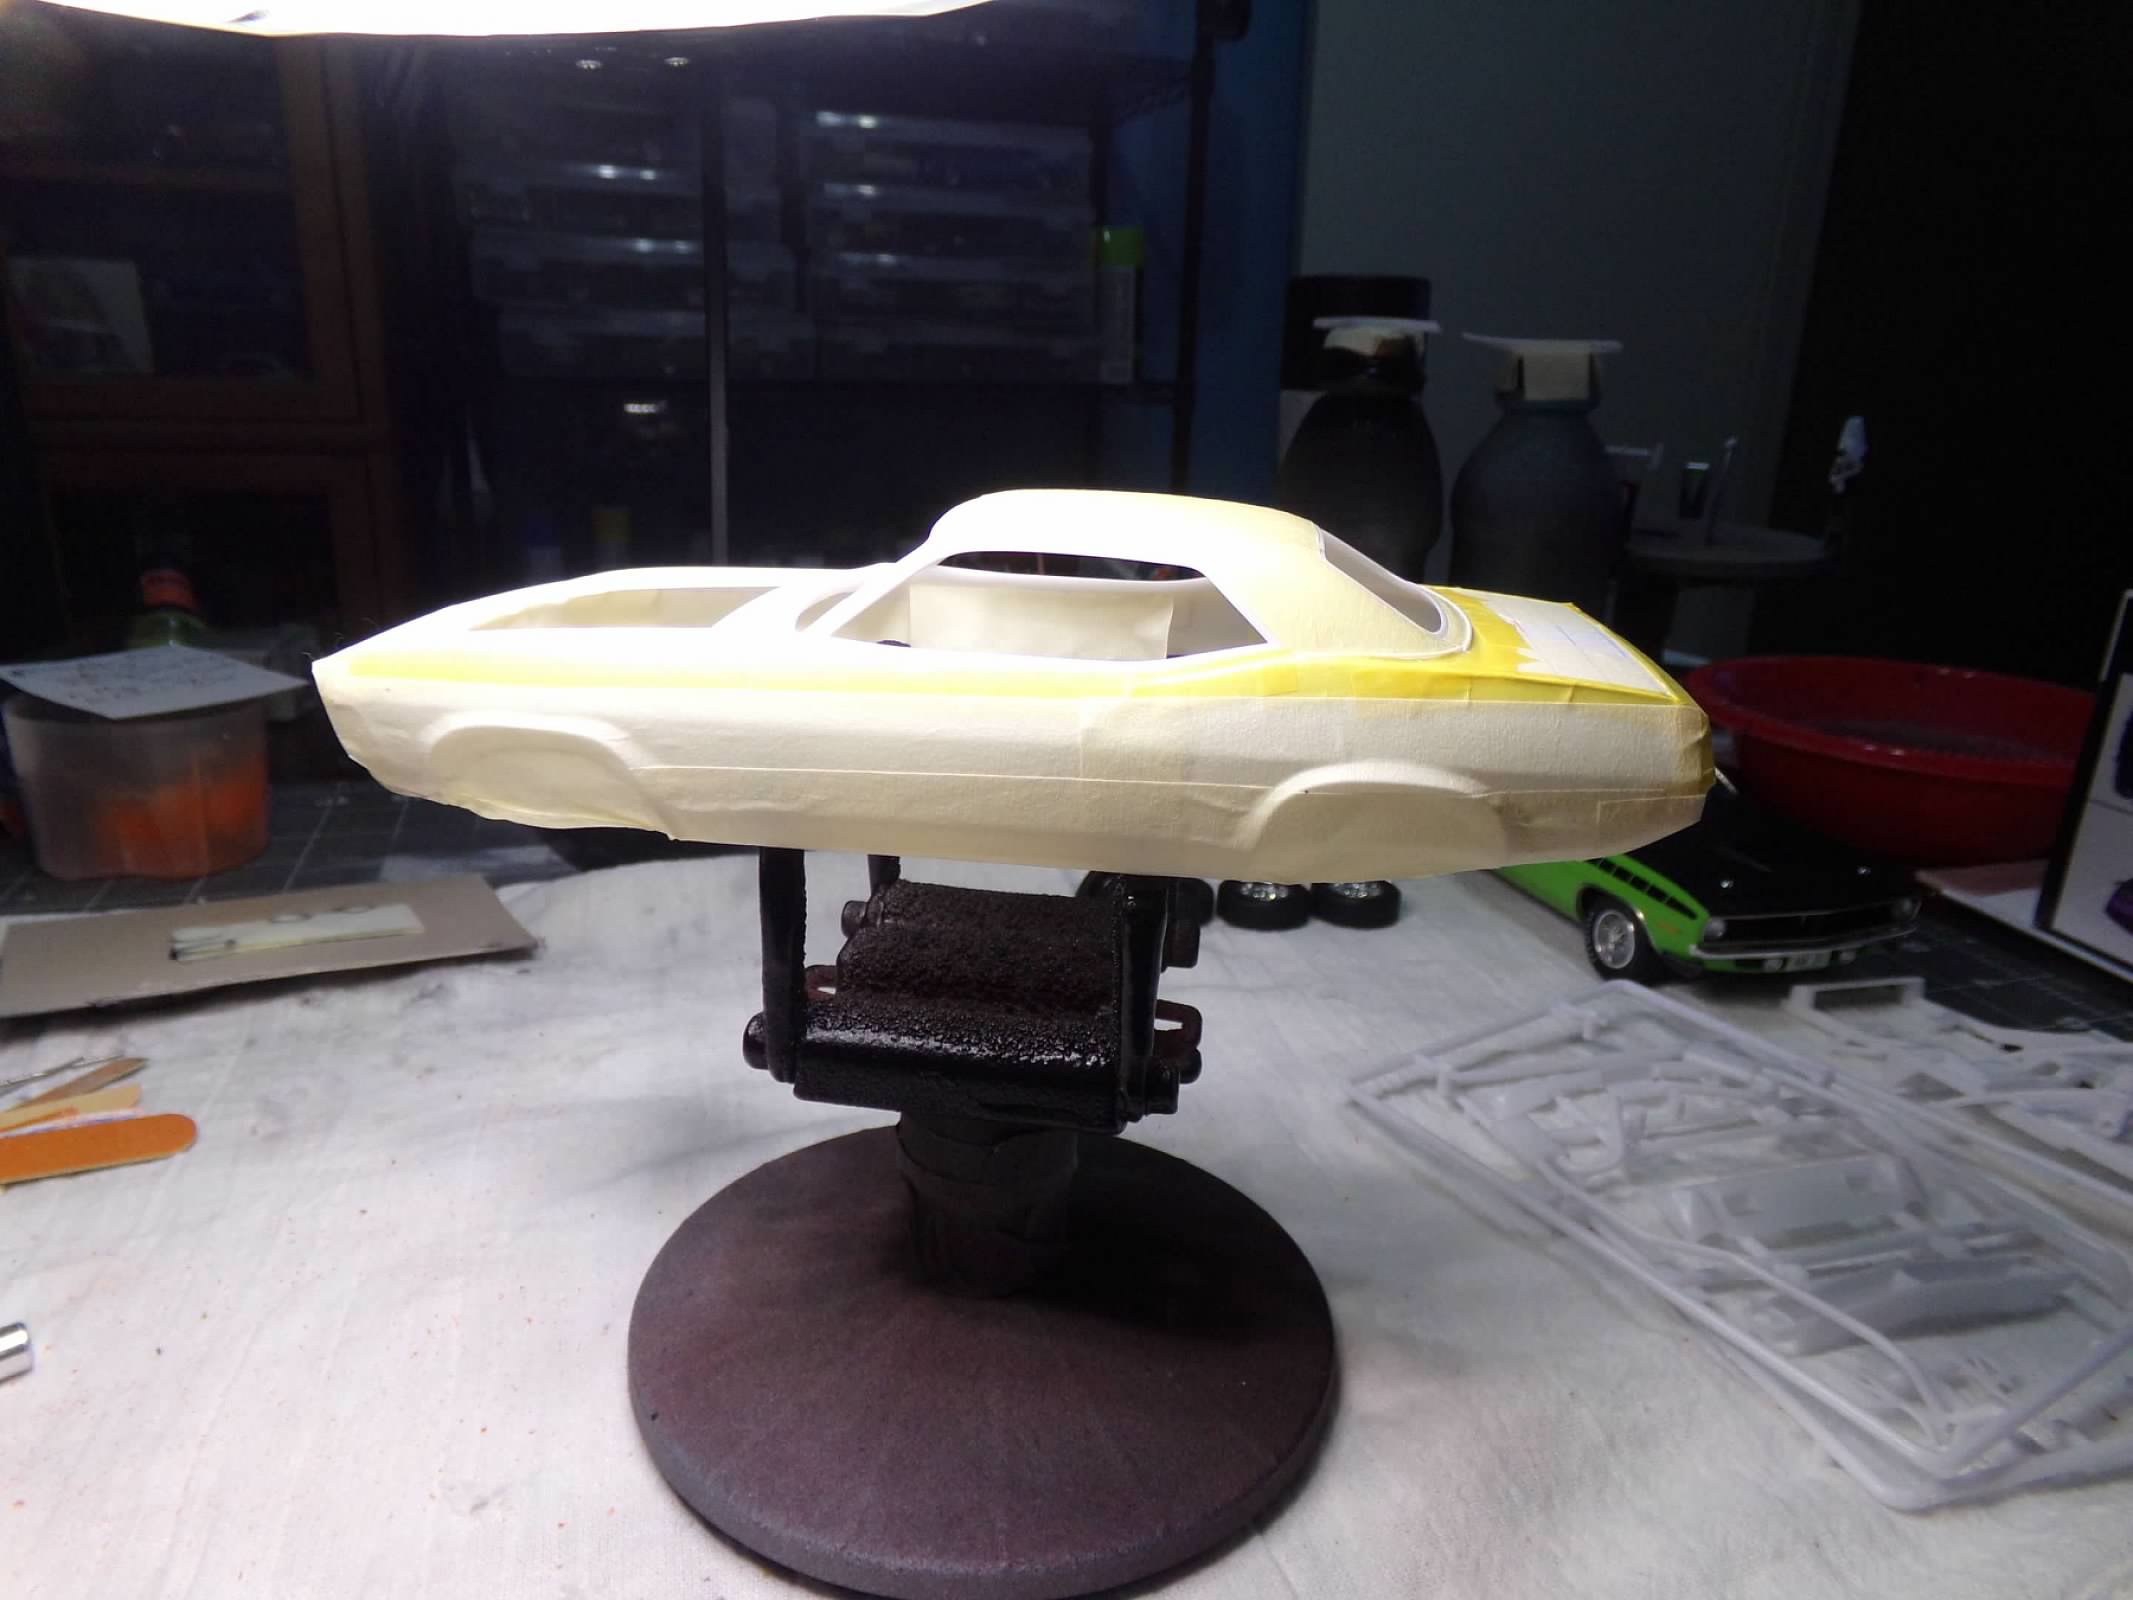
Thanks, Ken! I appreciate your comment! This kit and the Hemi Cuda are essentially the same kit. This one has the 340 six pack, different hood and exhaust. Both are great kits and I have built several of them. Finished all the painting today! Airbrush worked like a charm and the body and other parts turned out well. Only a couple of very small touch-ups to do under the hood, on the right side and around the taillight panel. I think some of it can be carefully rubbed out. So tomorrow, I'll rub it out and start getting some foil on it. Almost done! Thanks for looking! ? Kinda looks like a banana doesn't it!
-
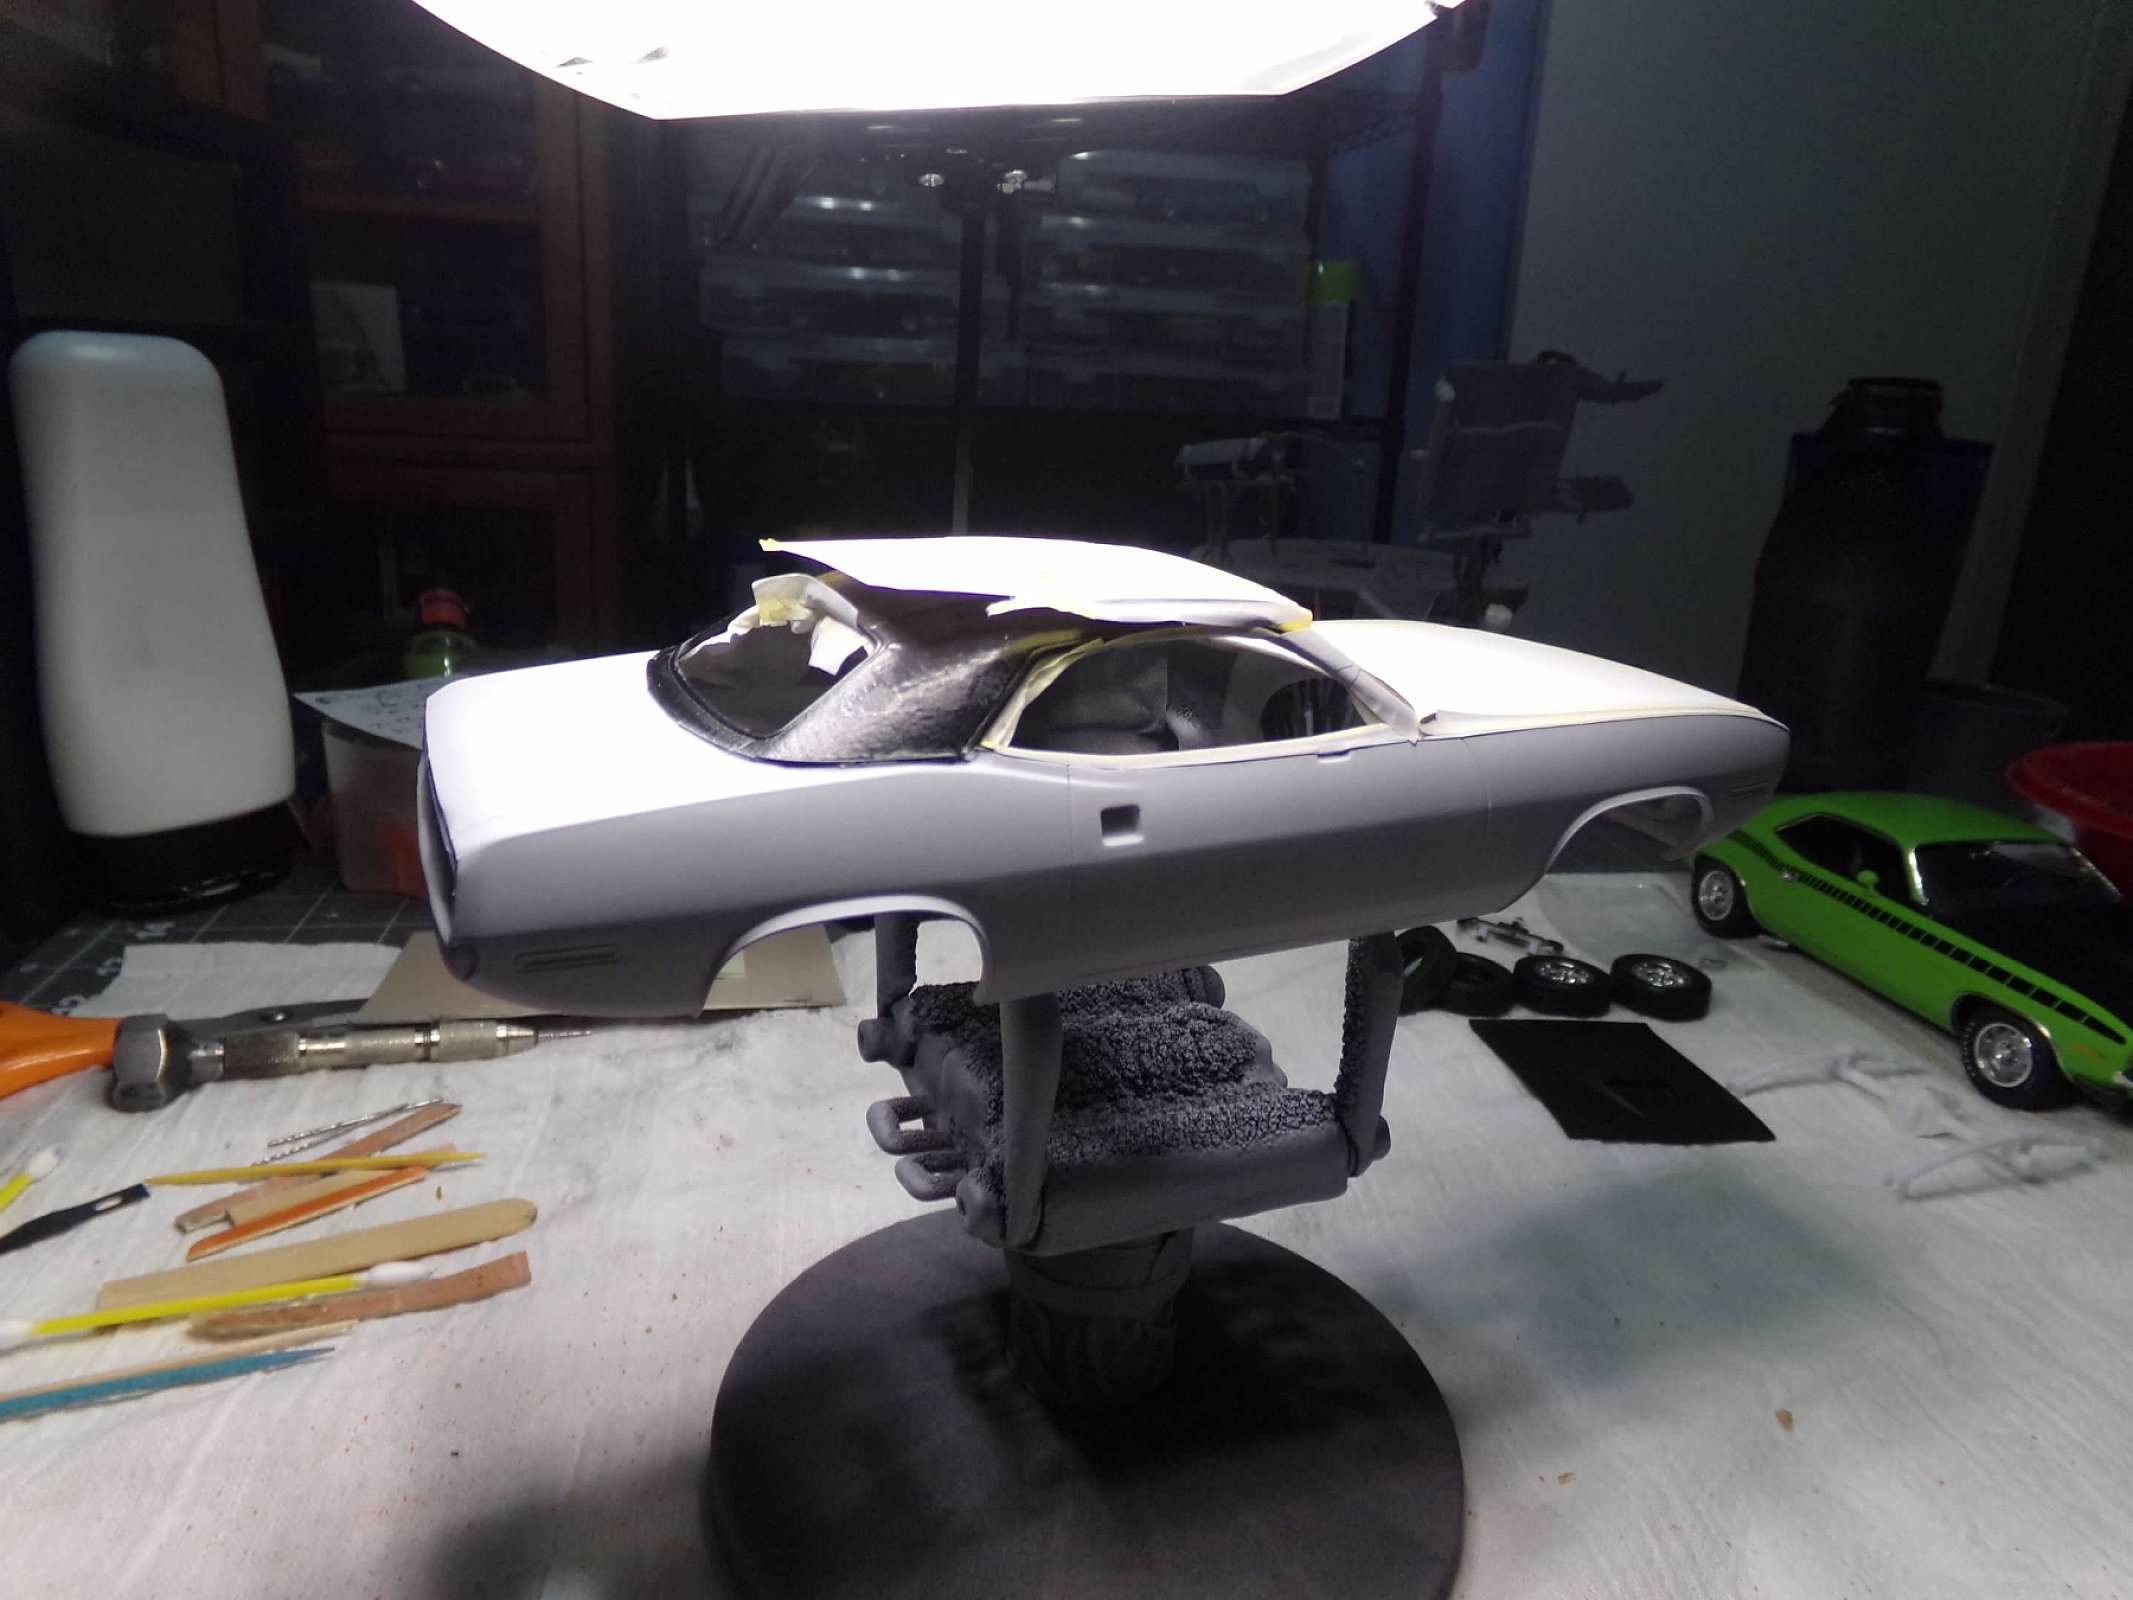
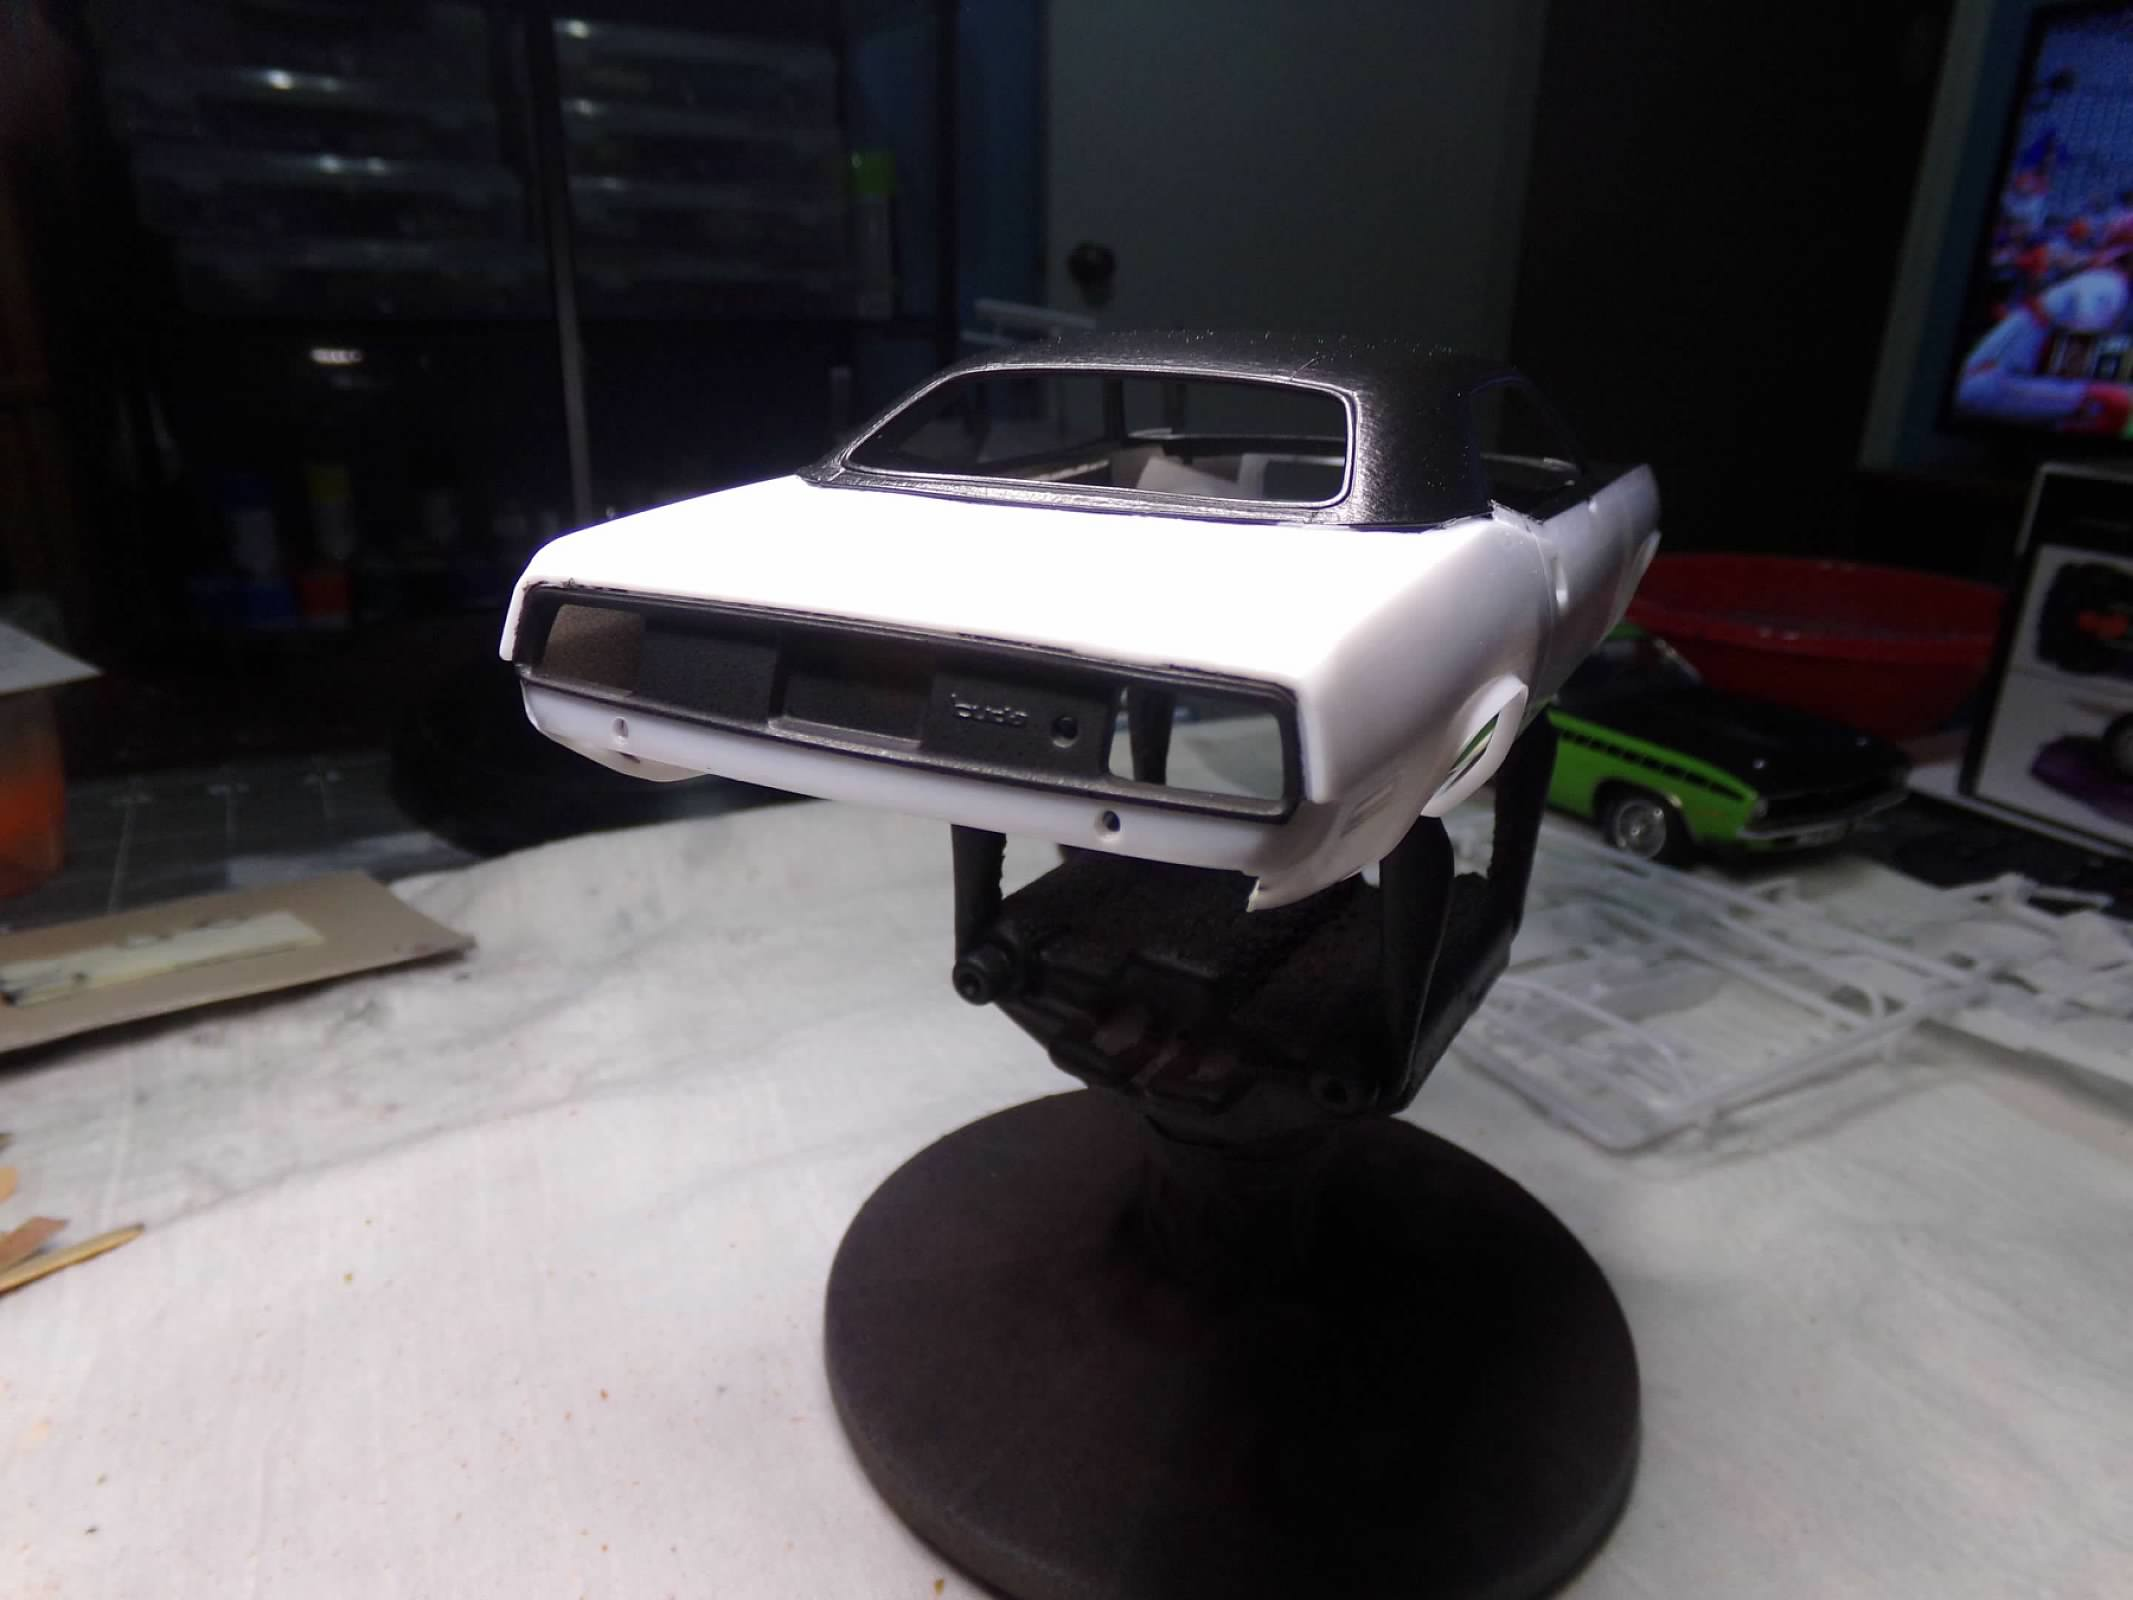
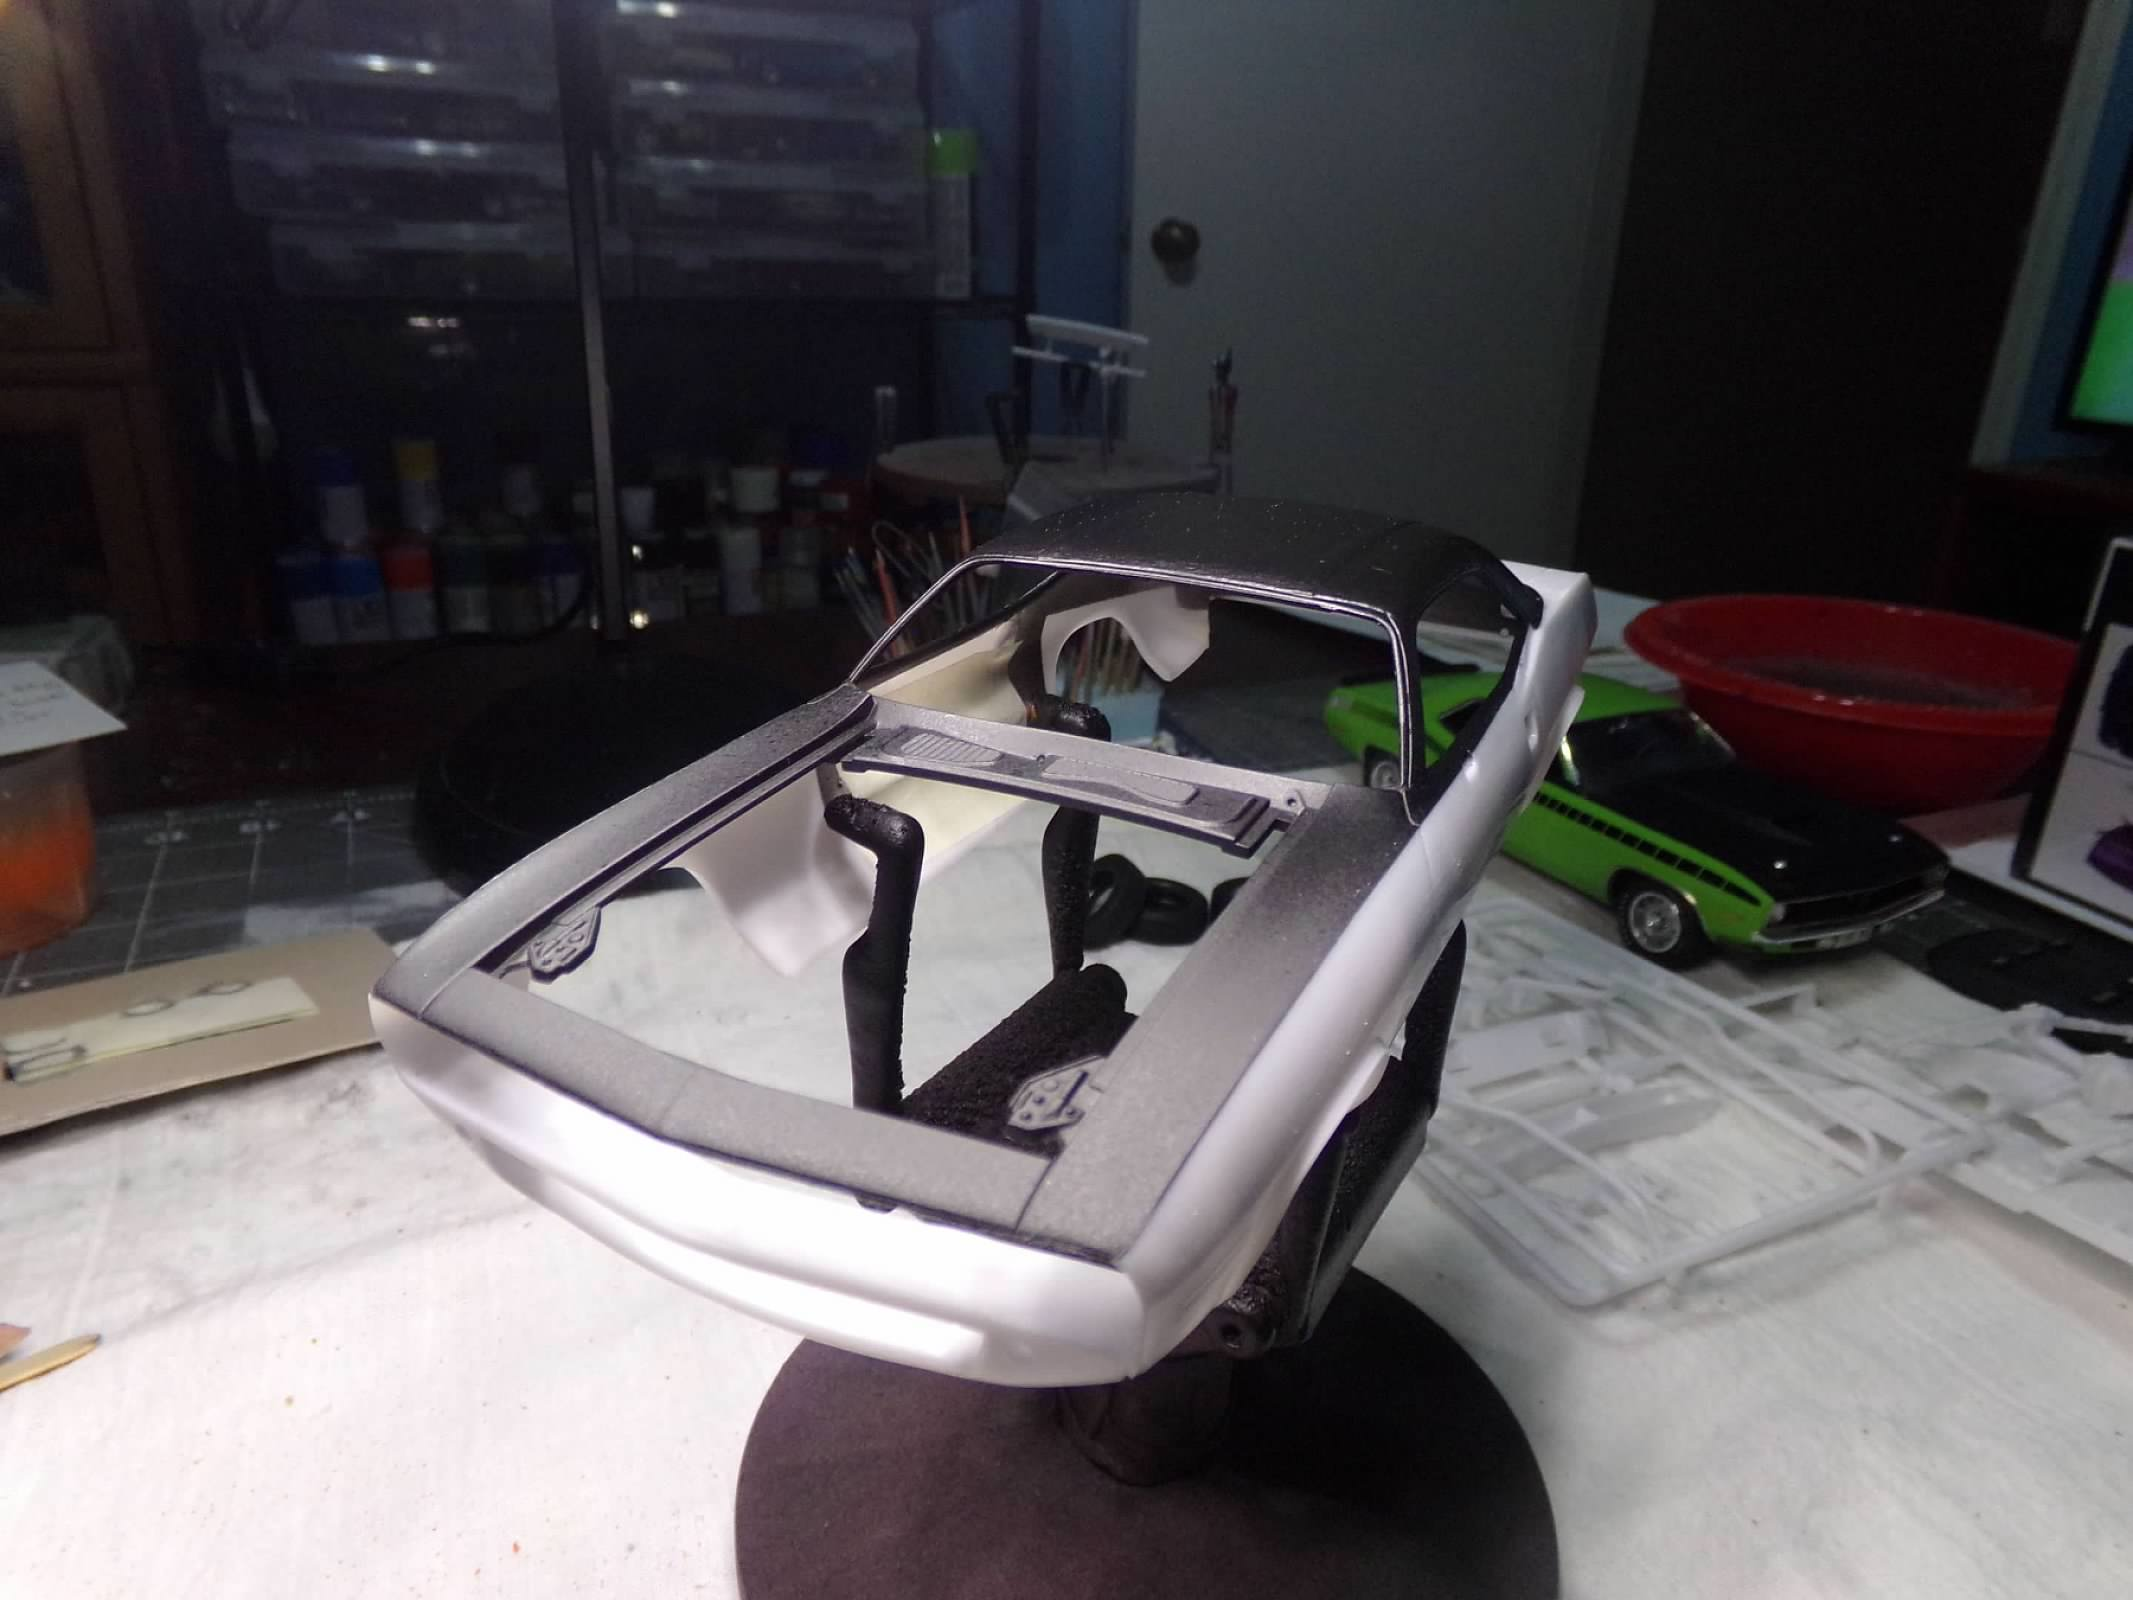
Thanks, David! I did the same thing with a Hemi Cuda and it took a 1st place in a contest. I should go back and re-read that article and use some of the tips from Tim Boyd on this one. I got about 2/3rds done on the painting of the body. Luckily, the weatherman was wrong! No rain and humidity got down to 50% so I went for it on the black portions of this build. I slept on it last night and thought this morning I should tape it off so I could paint all the black at one time, the front, top, underside of the top and the rear taillight panel. So that is what I did. Then, I painted everything with a black primer. Once dry, I painted flat black on the hood area, rear panel, hood, and rear spoiler. I painted the top with Satin Black. Then I added a light coat of DullCote to the front fender area, hood, rear spoiler and rear panel to protect the finish from fingerprints and other building smudges. After the paint had dried for a few hours, I taped off the black with some help from index card and primered the areas that will be painted yellow tomorrow. I pulled the tape on the top along the B pillar so as not to prevent tape from sticking to painted tape and cause a tear or pull off paint. Tomorrow I will retape the top and paint 2 coats of Lemon Twist with an air brush and then 2 coats of clear. Thanks for looking! ?
-
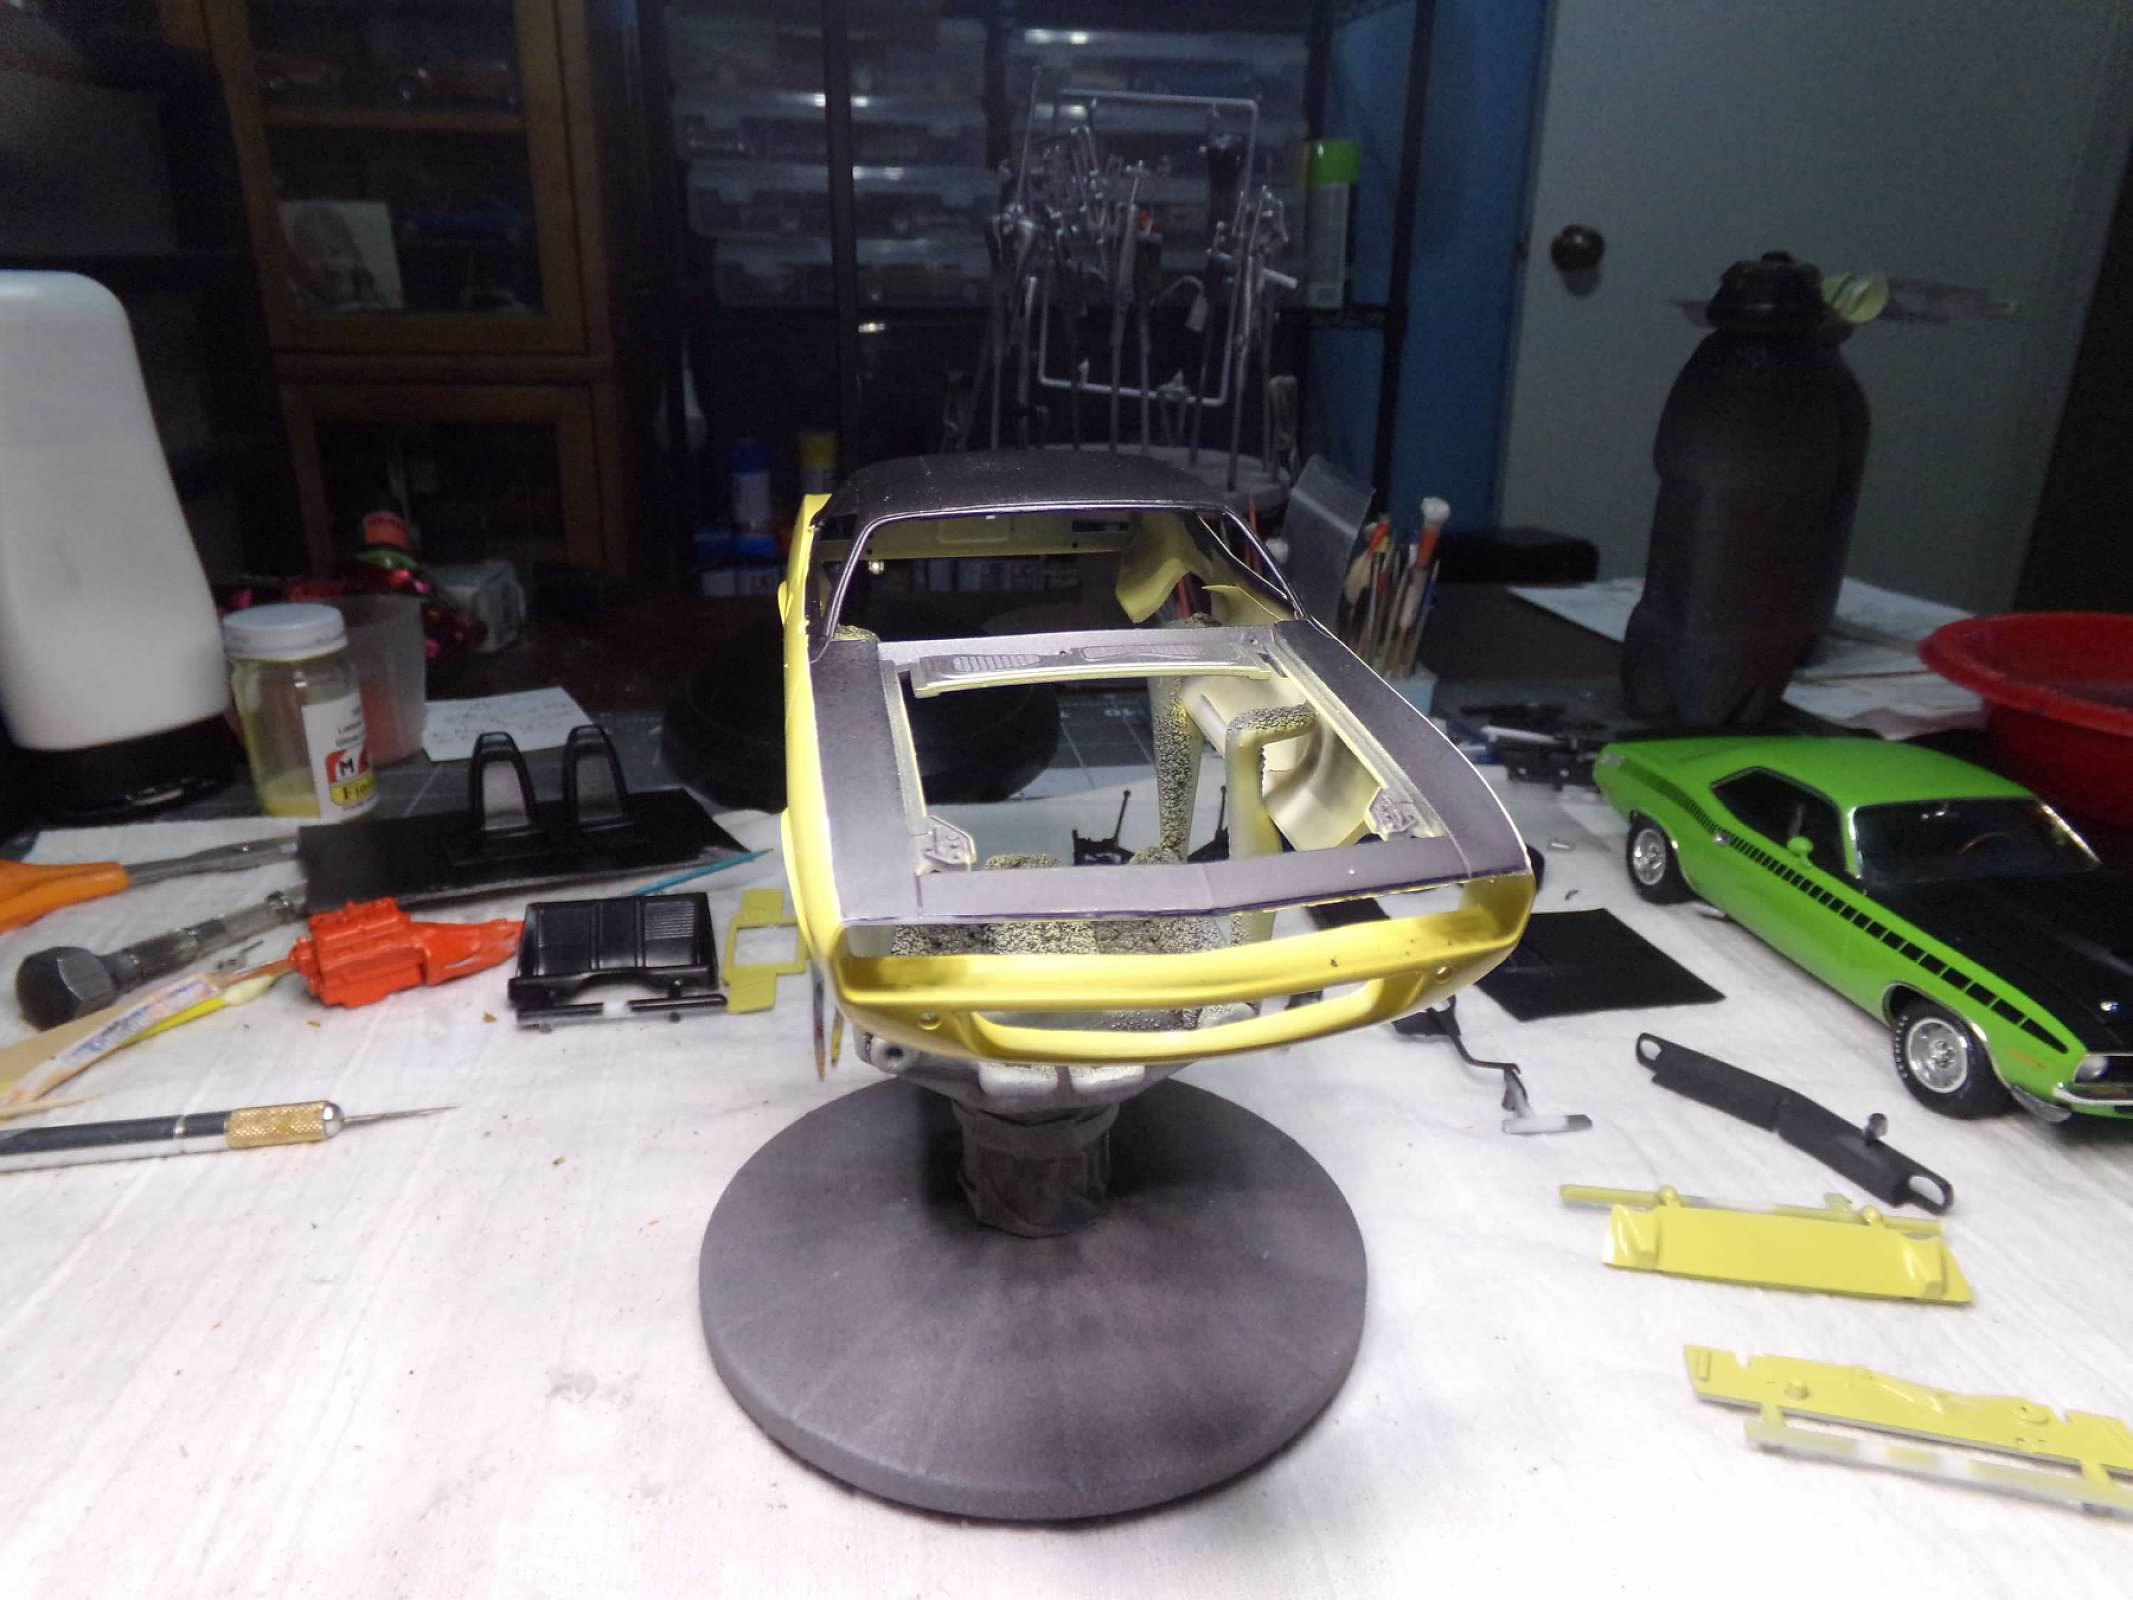
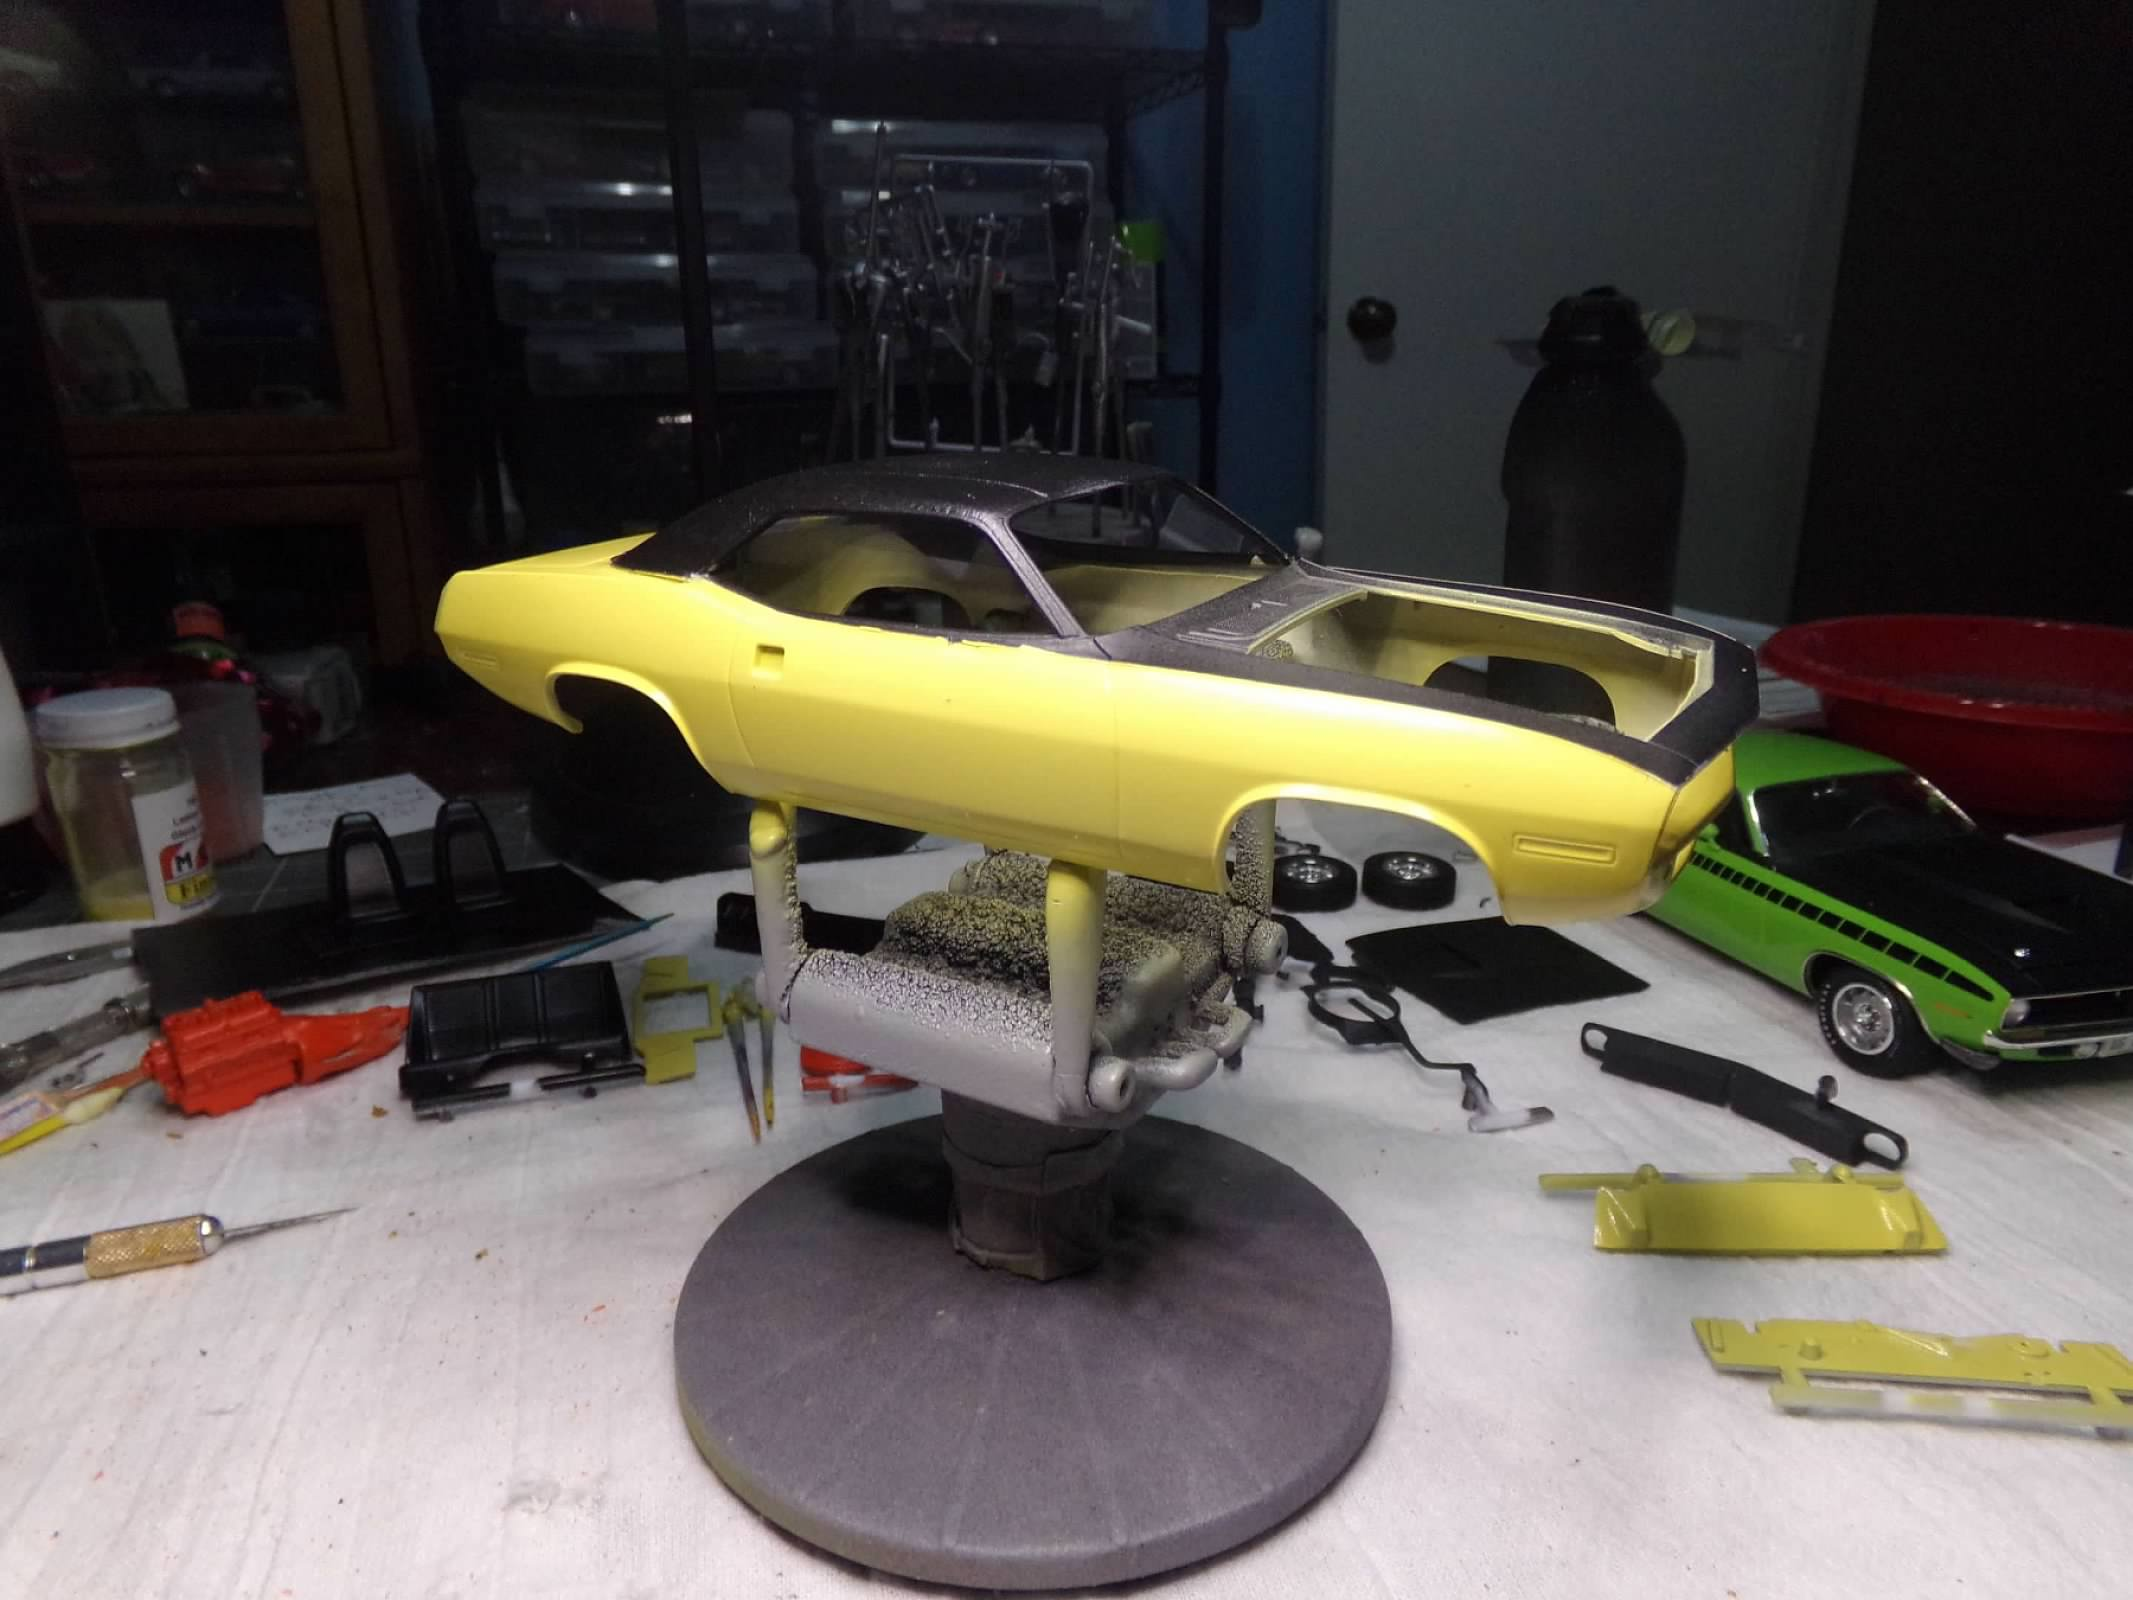
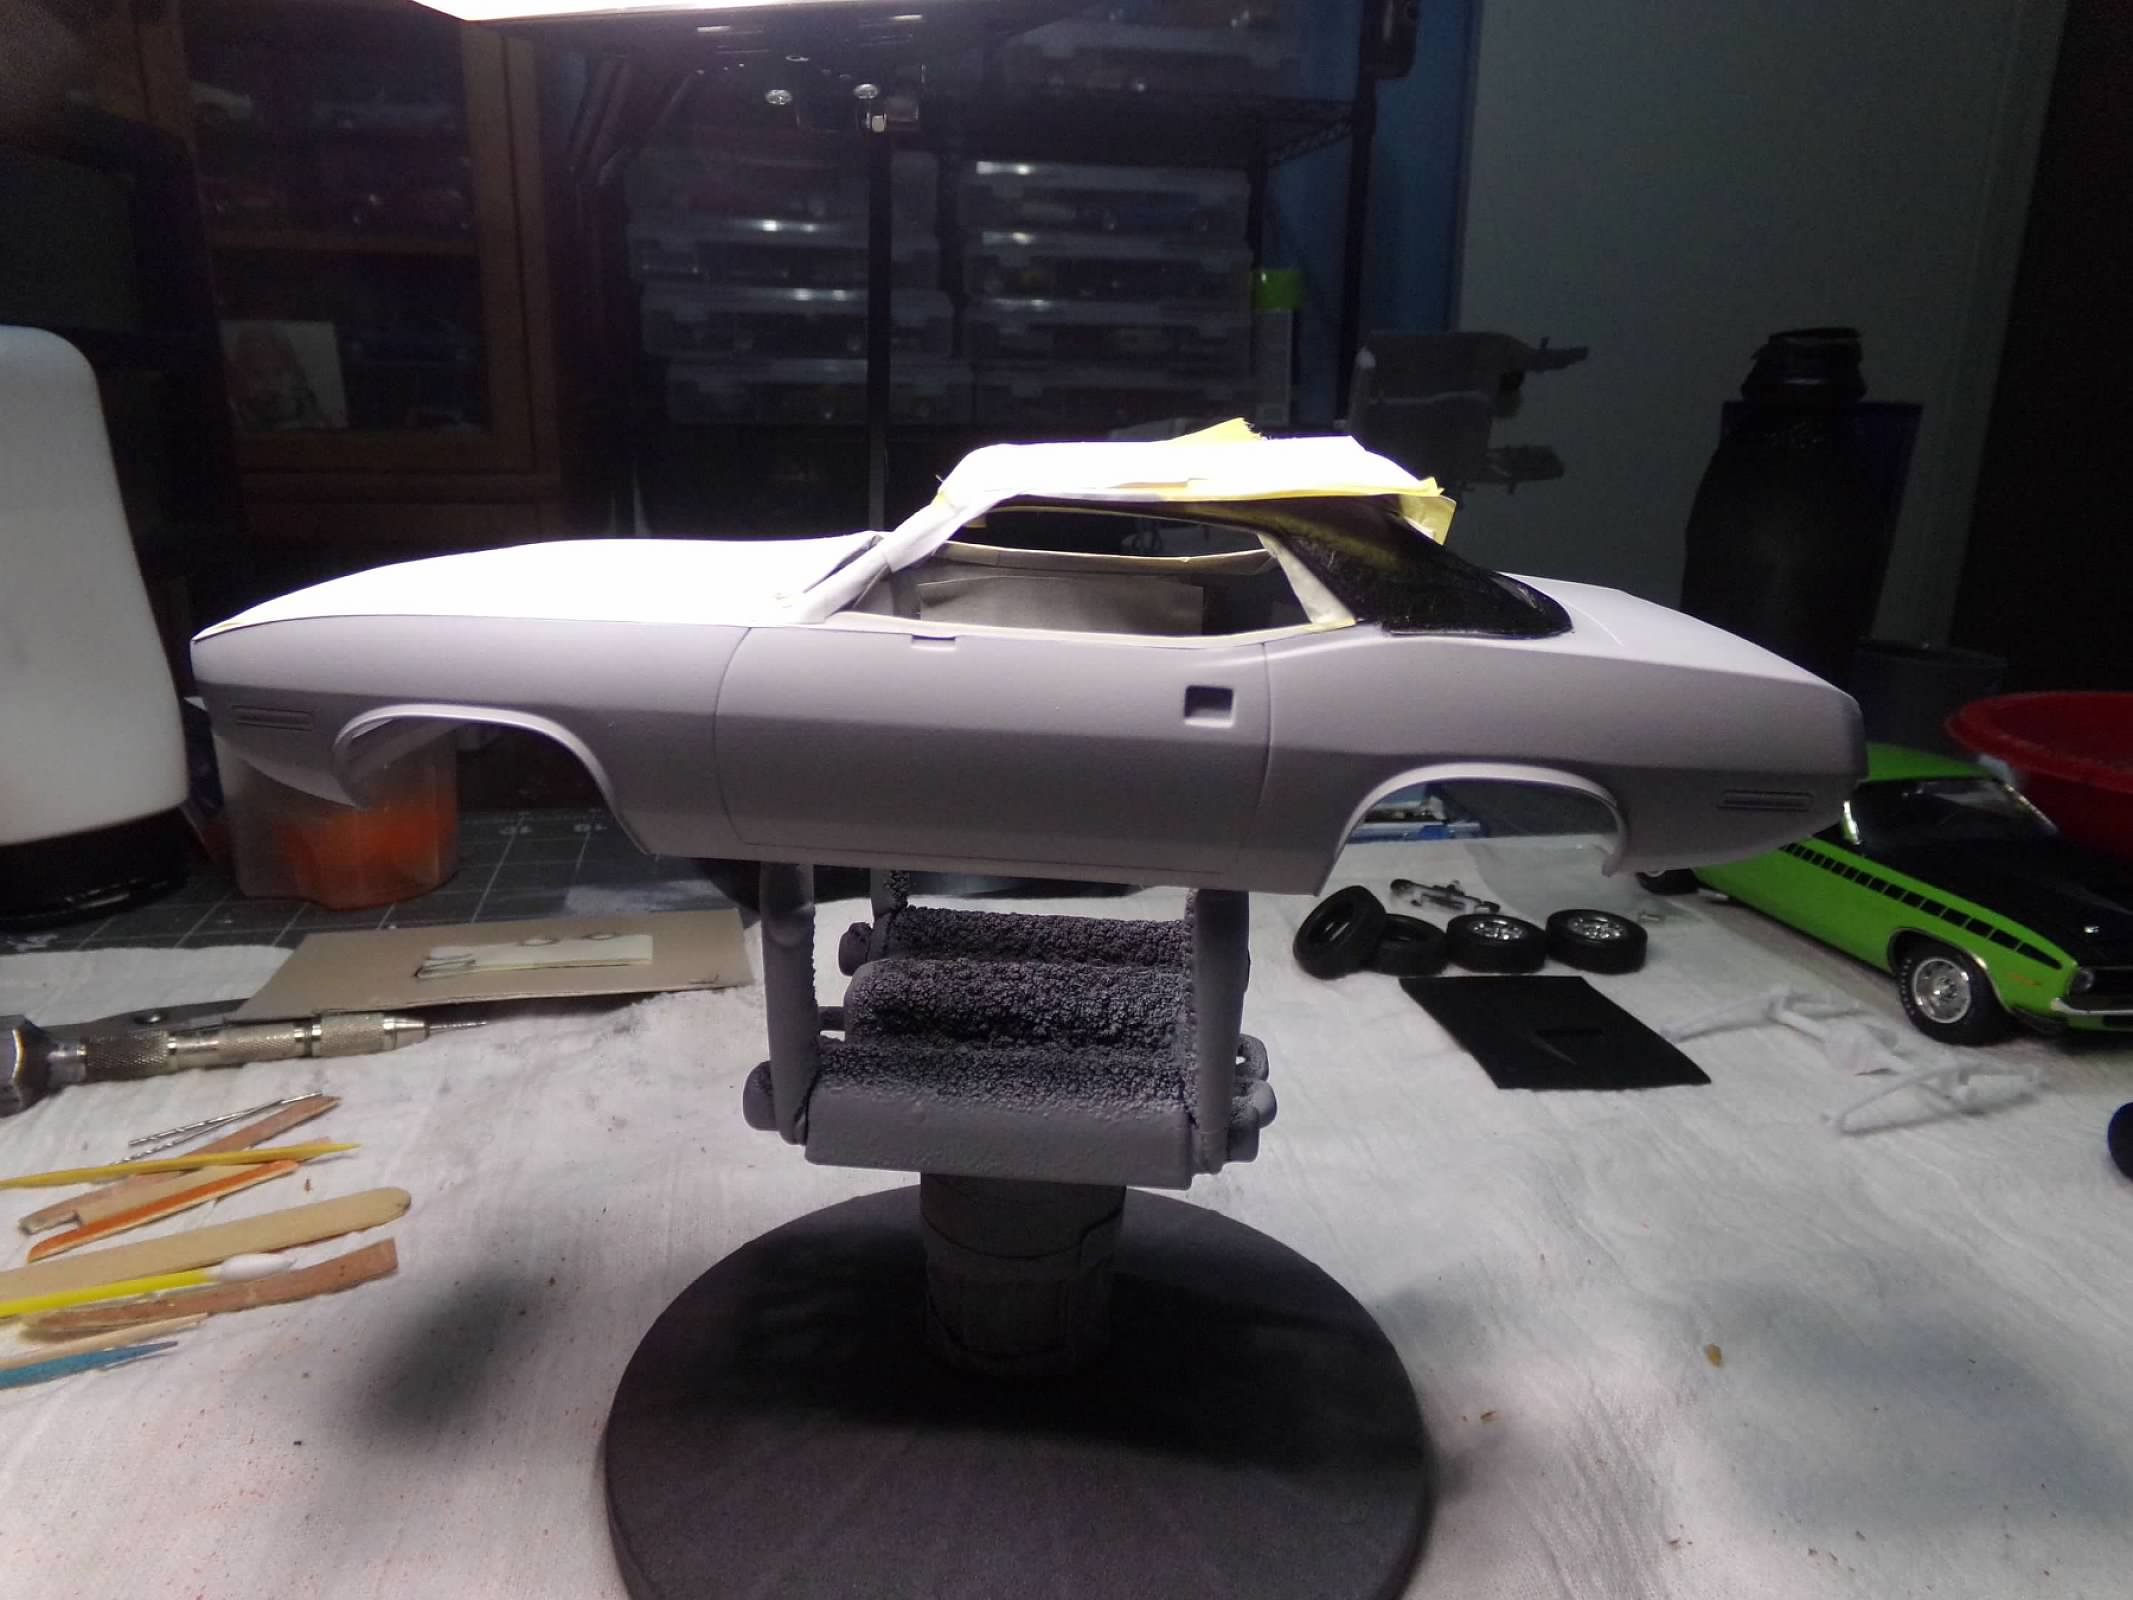
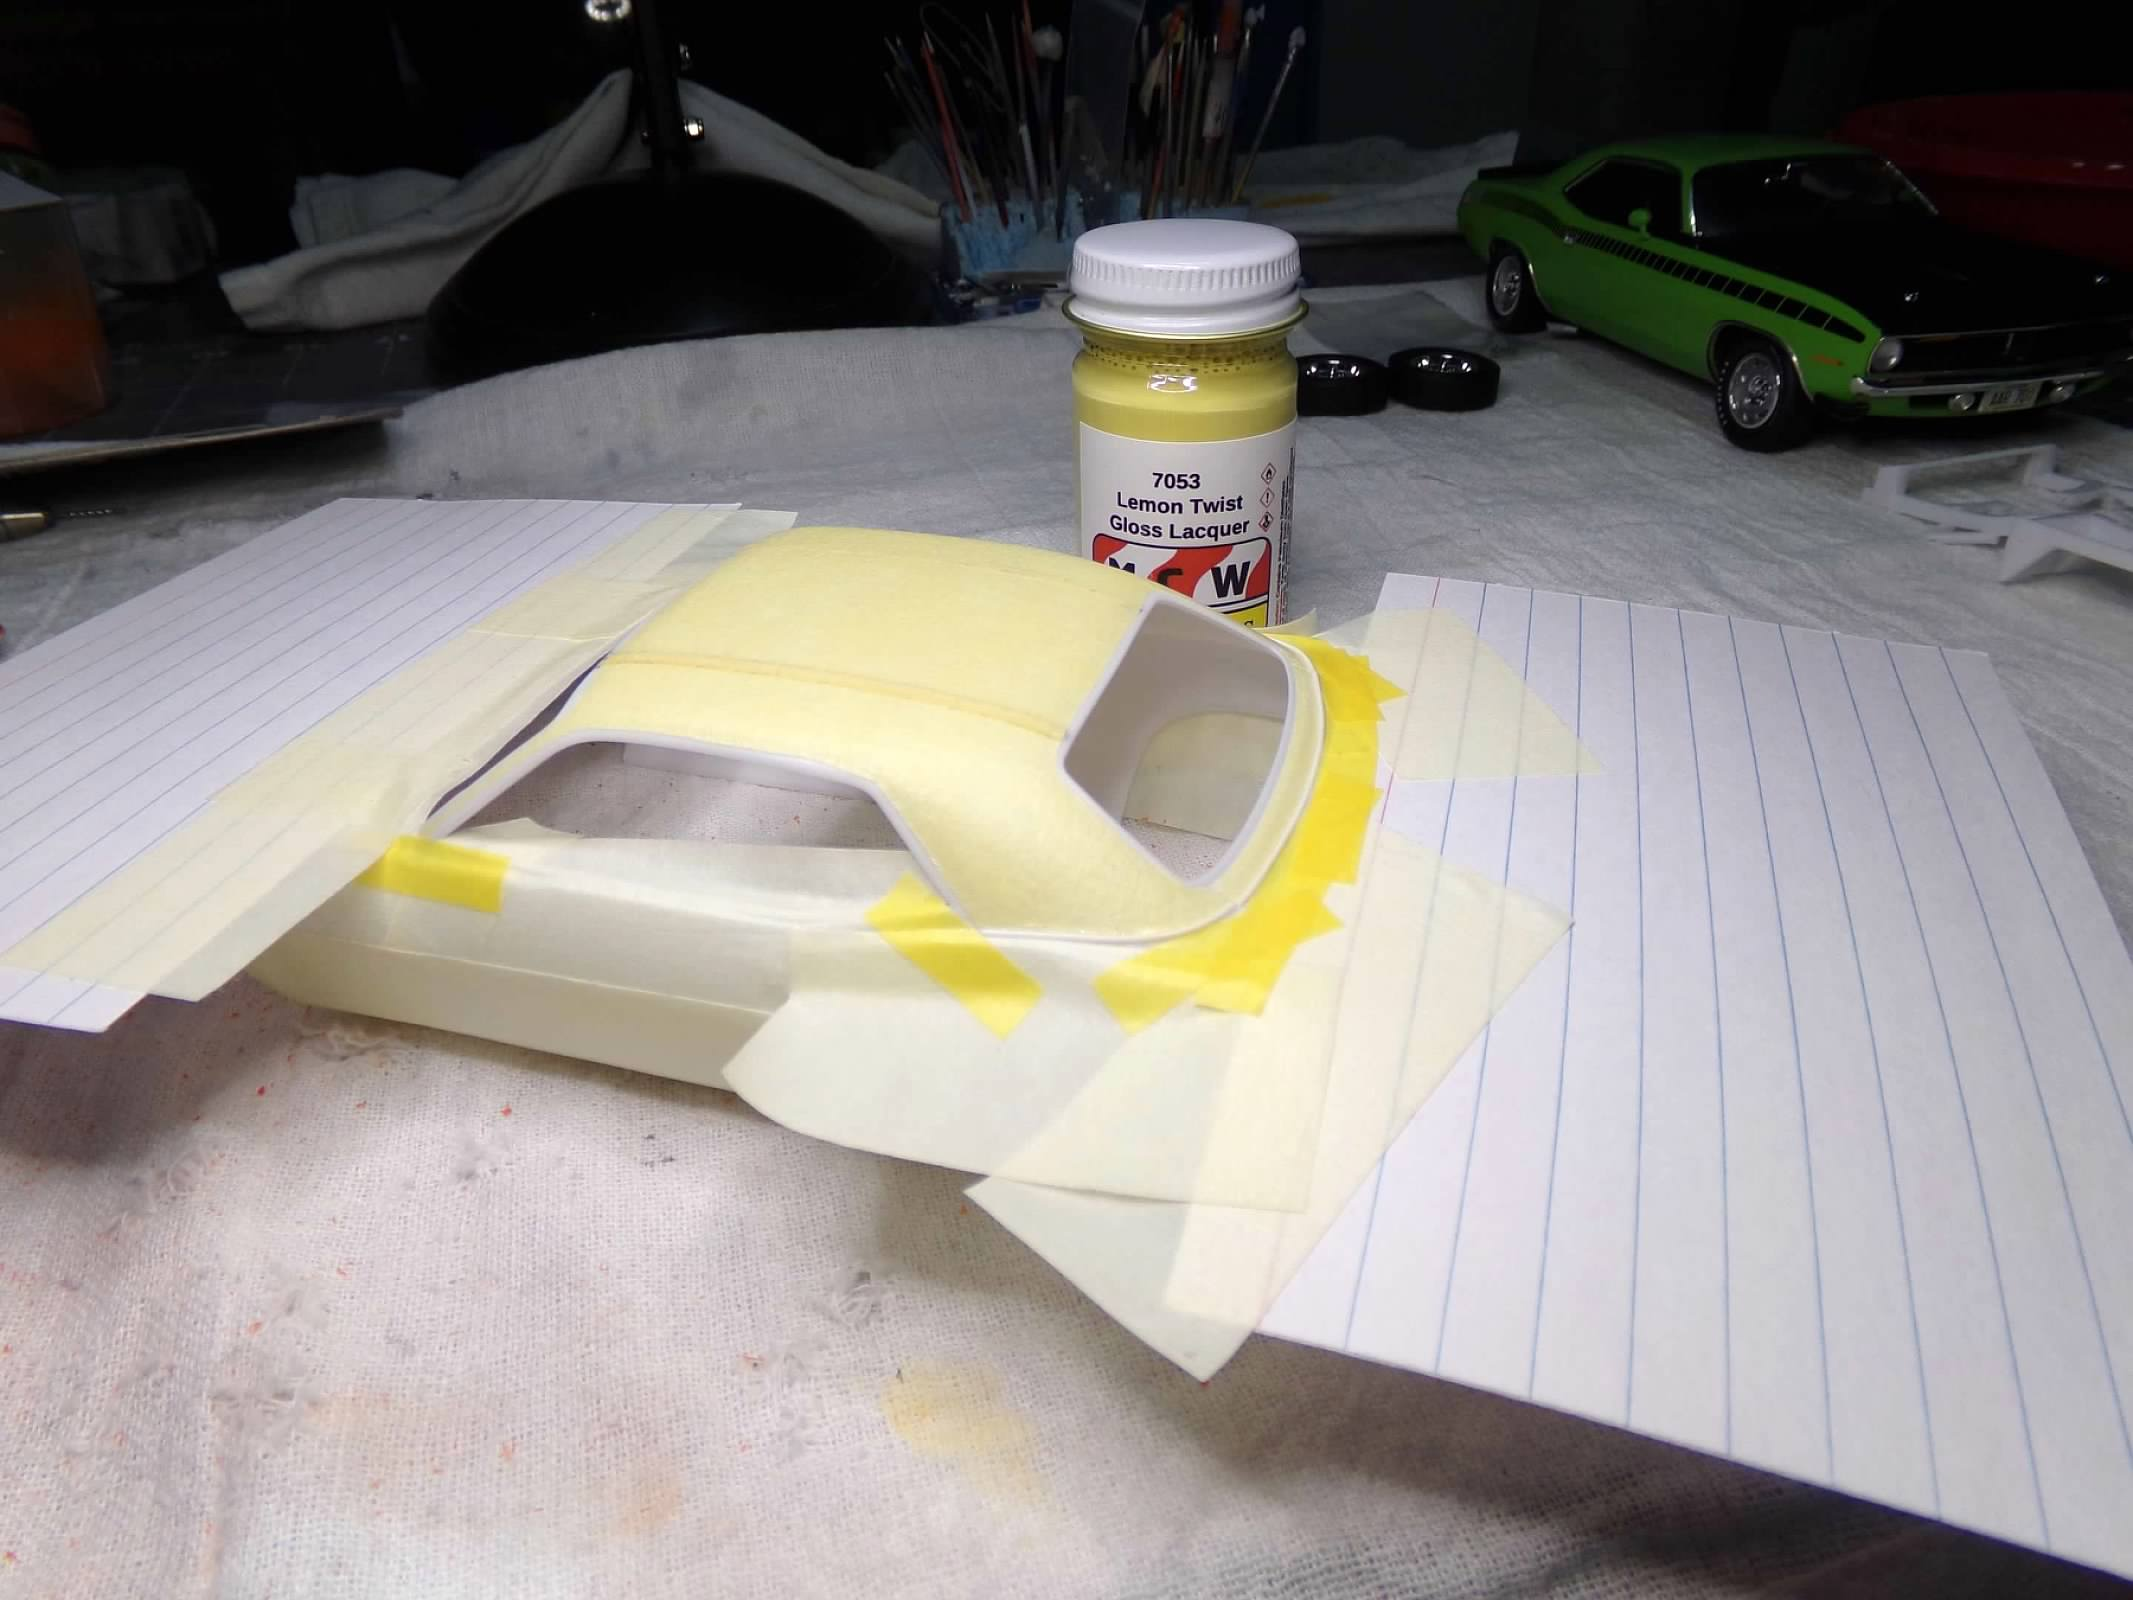
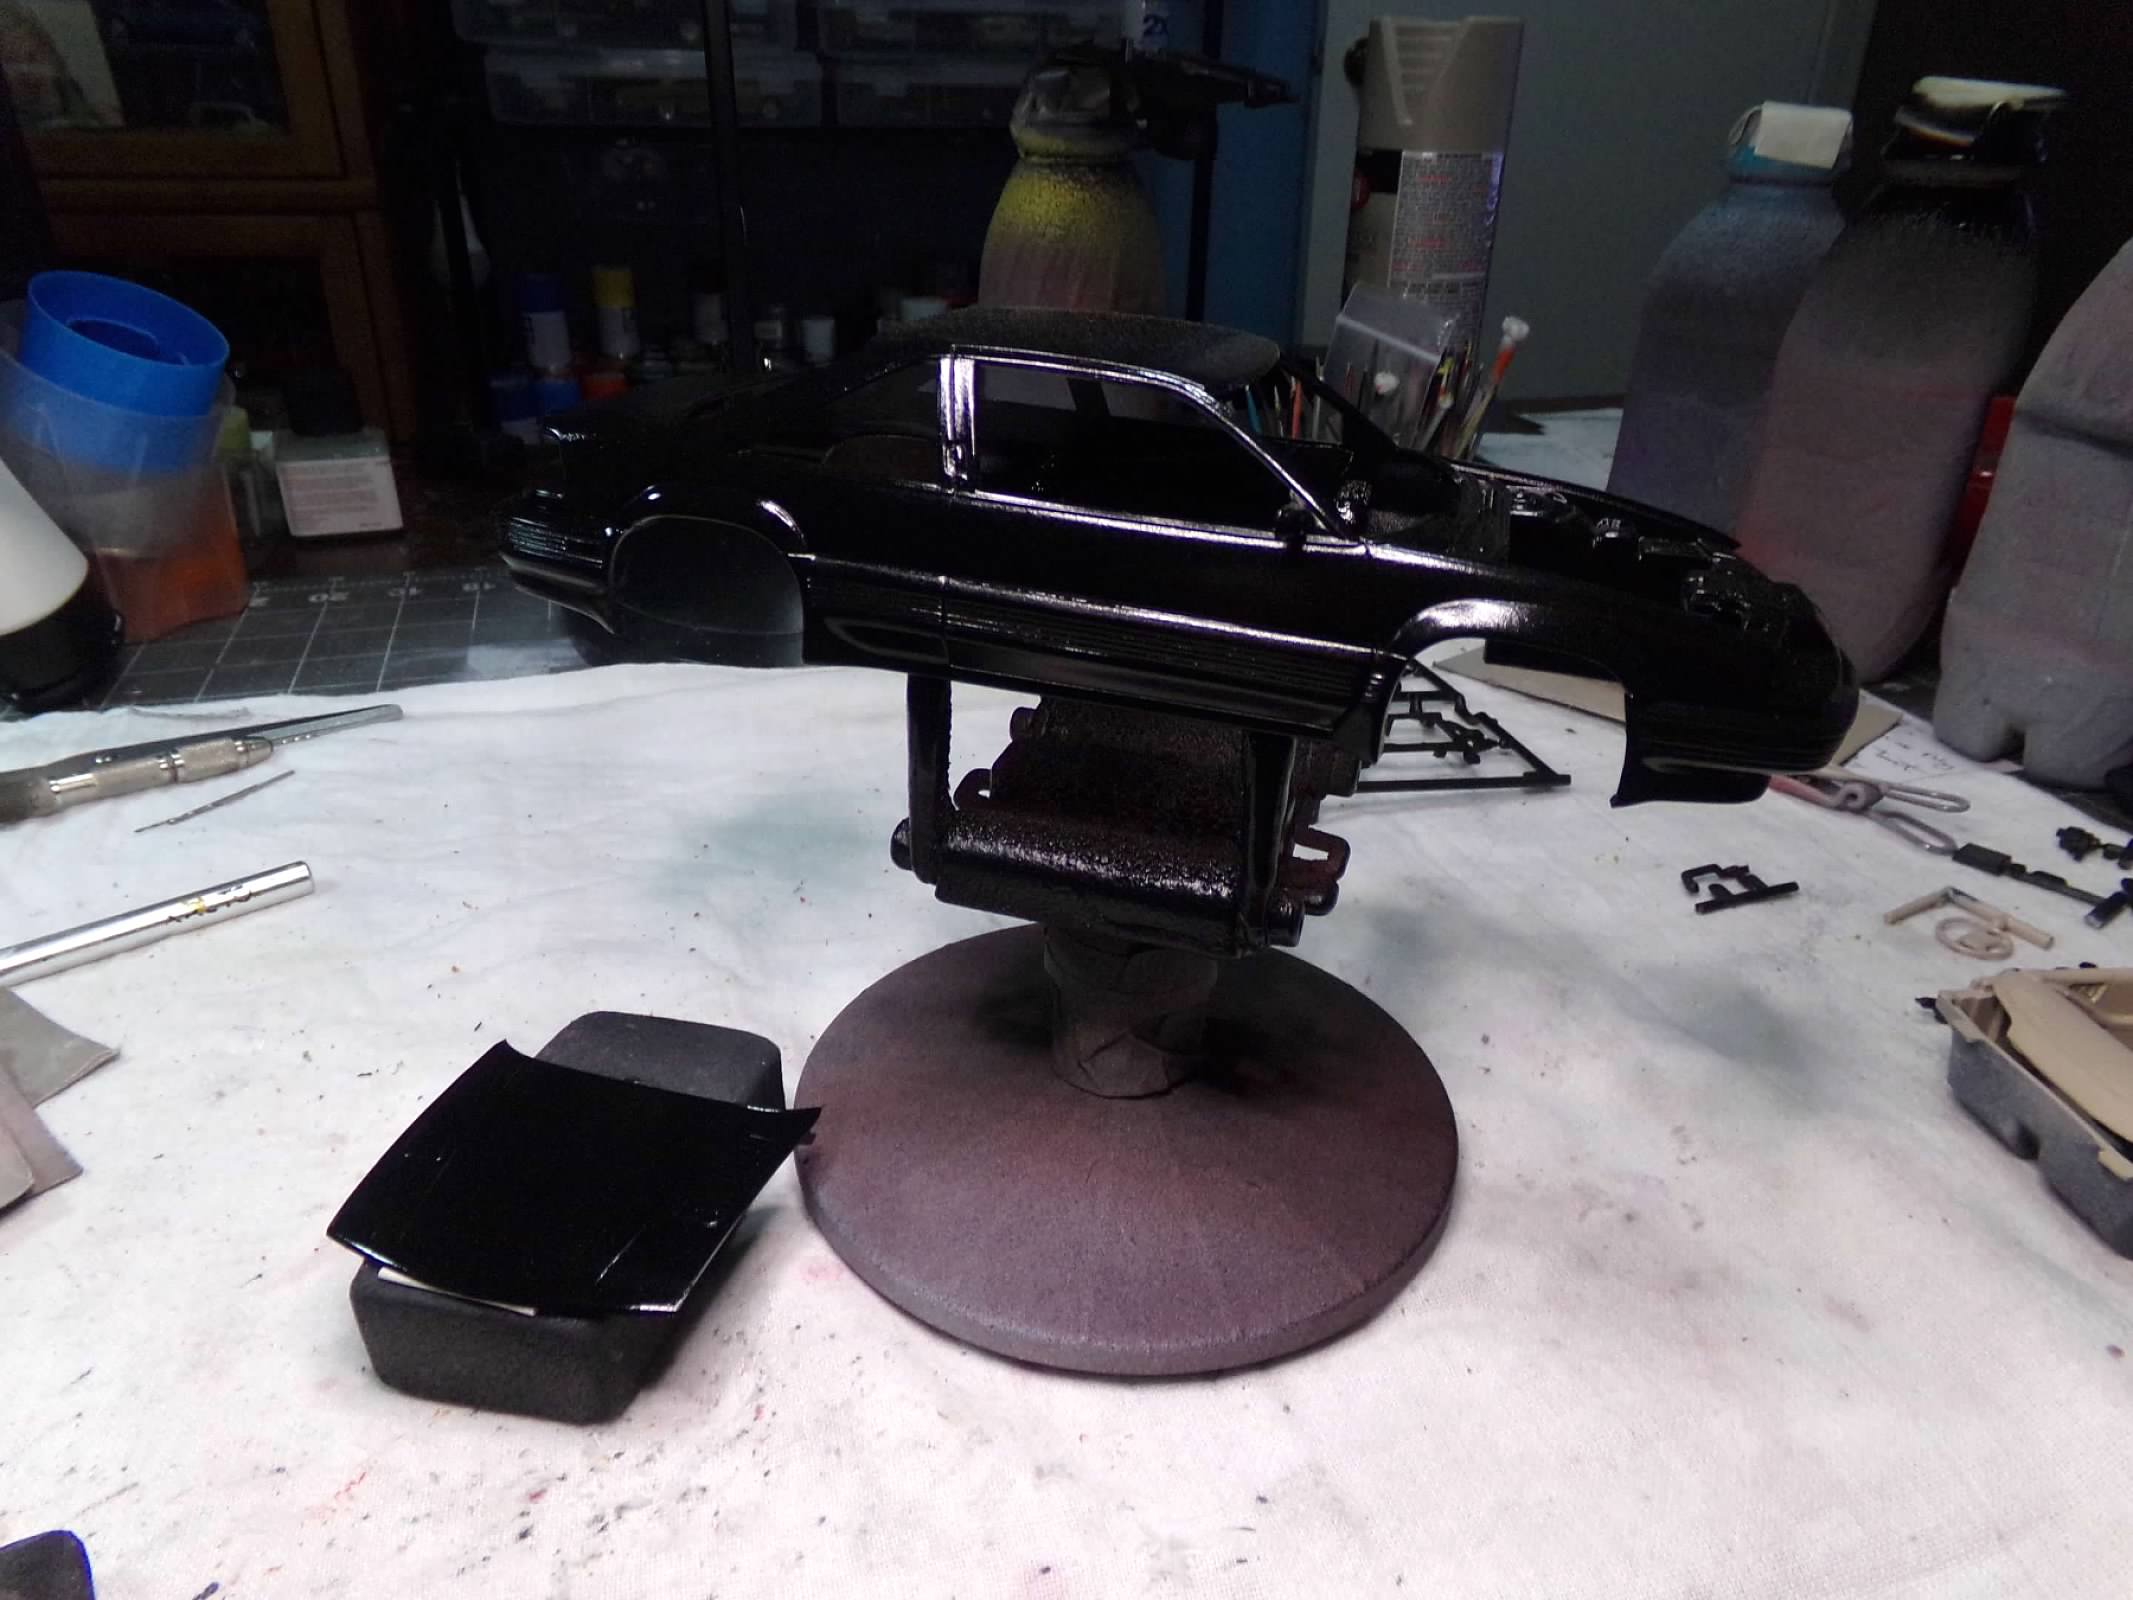
I built this one a about 2 years ago in Sublime Green, I was disappointed that I didn't get the rear wheels forward in the right position and I haven't fixed it. So instead, I am going to build another one. This time I am going to get the rear wheels right. I also bought some paint from MCW and I am going to paint this one in Lemon Twist with a black vinyl top and black interior. I usually don't go with a black and yellow combination but it feels right for this one. I have started by getting the wheels in the right postion and I have also applied 2" tape to the top so that I can paint the vinyl roof. Its suppose to be raining right now and in the morning so I don't know when I'll get it painted but I am hoping for good weather over the weekend. Thanks for looking! ?
-
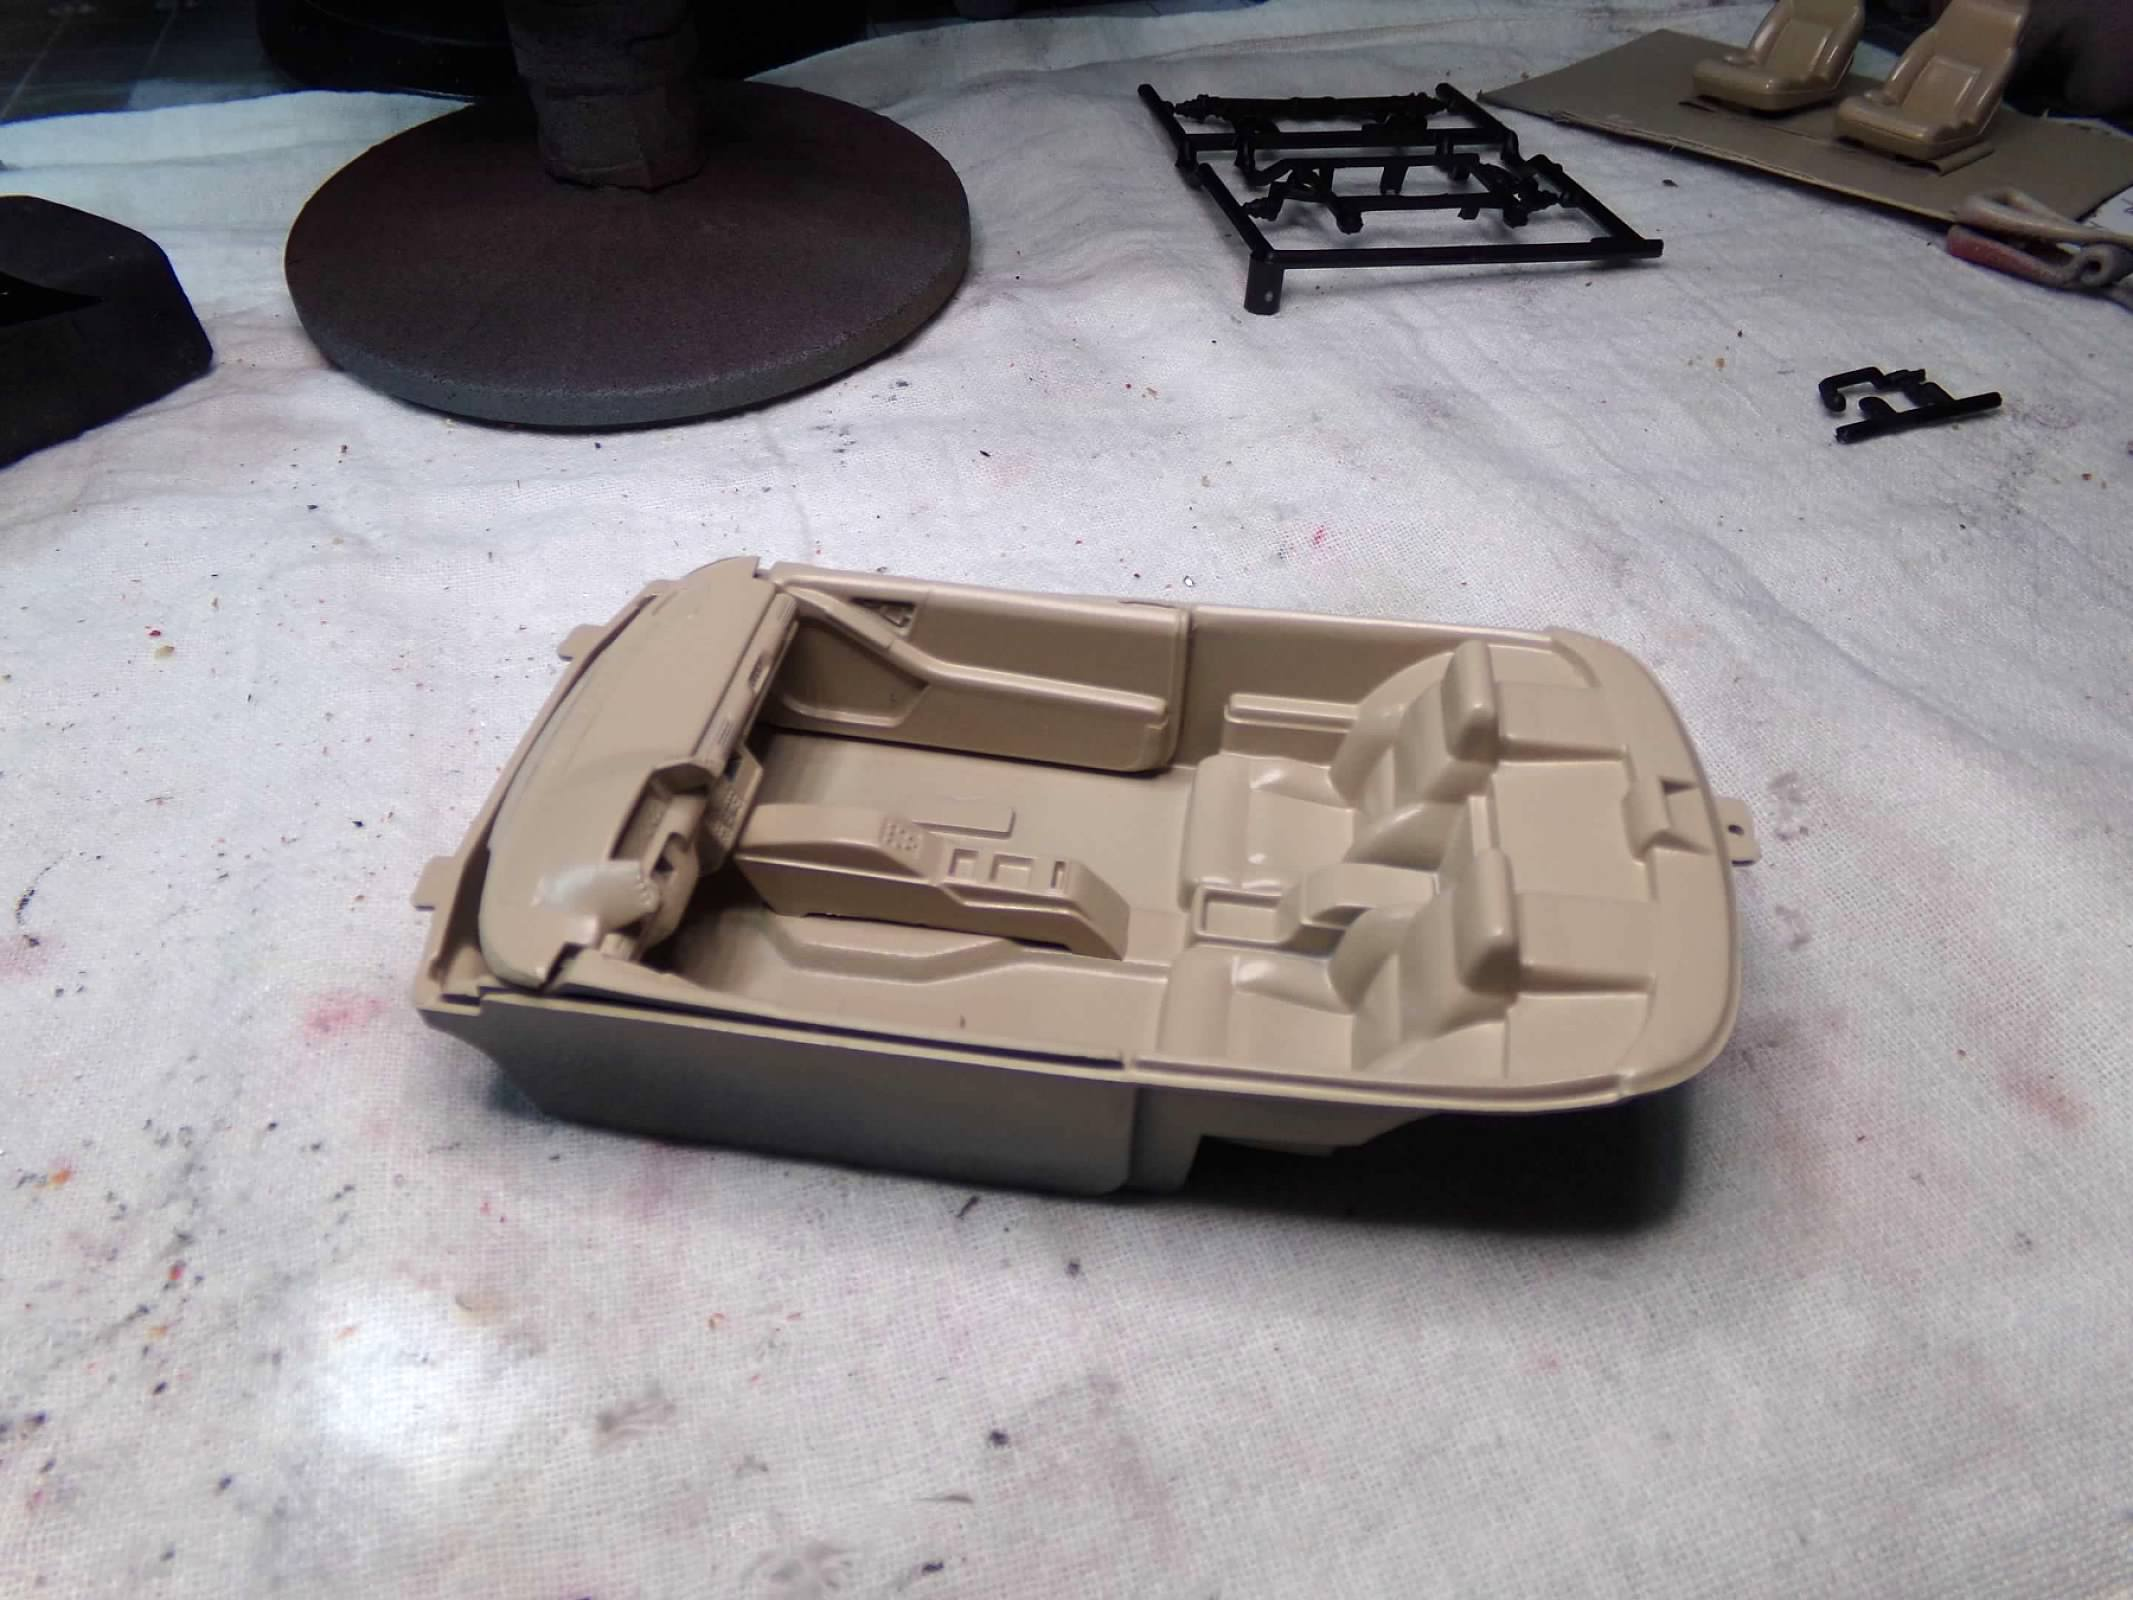
Thanks, Carl! The base color is Krylon Sand Dollar satin. The accent color is Testors Leather mixed with some Testors sand. Thanks for your comment and question!
-
Thanks, Steve and Shawn! Shawn, I am going box stock all the way! Its finished! The engine braces gave me fits but I modified them and got them in there a little bit cock-eyed. It went together OK, except for the engine braces, but its out of the closet! Thanks for looking! ?
-
Yours looks great, Curtis! Paint finish looks flawless! I doubt mine will turn out as nice. I did it in black so I wouldn't have to do all the trim in black. Thanks for your comment!
-
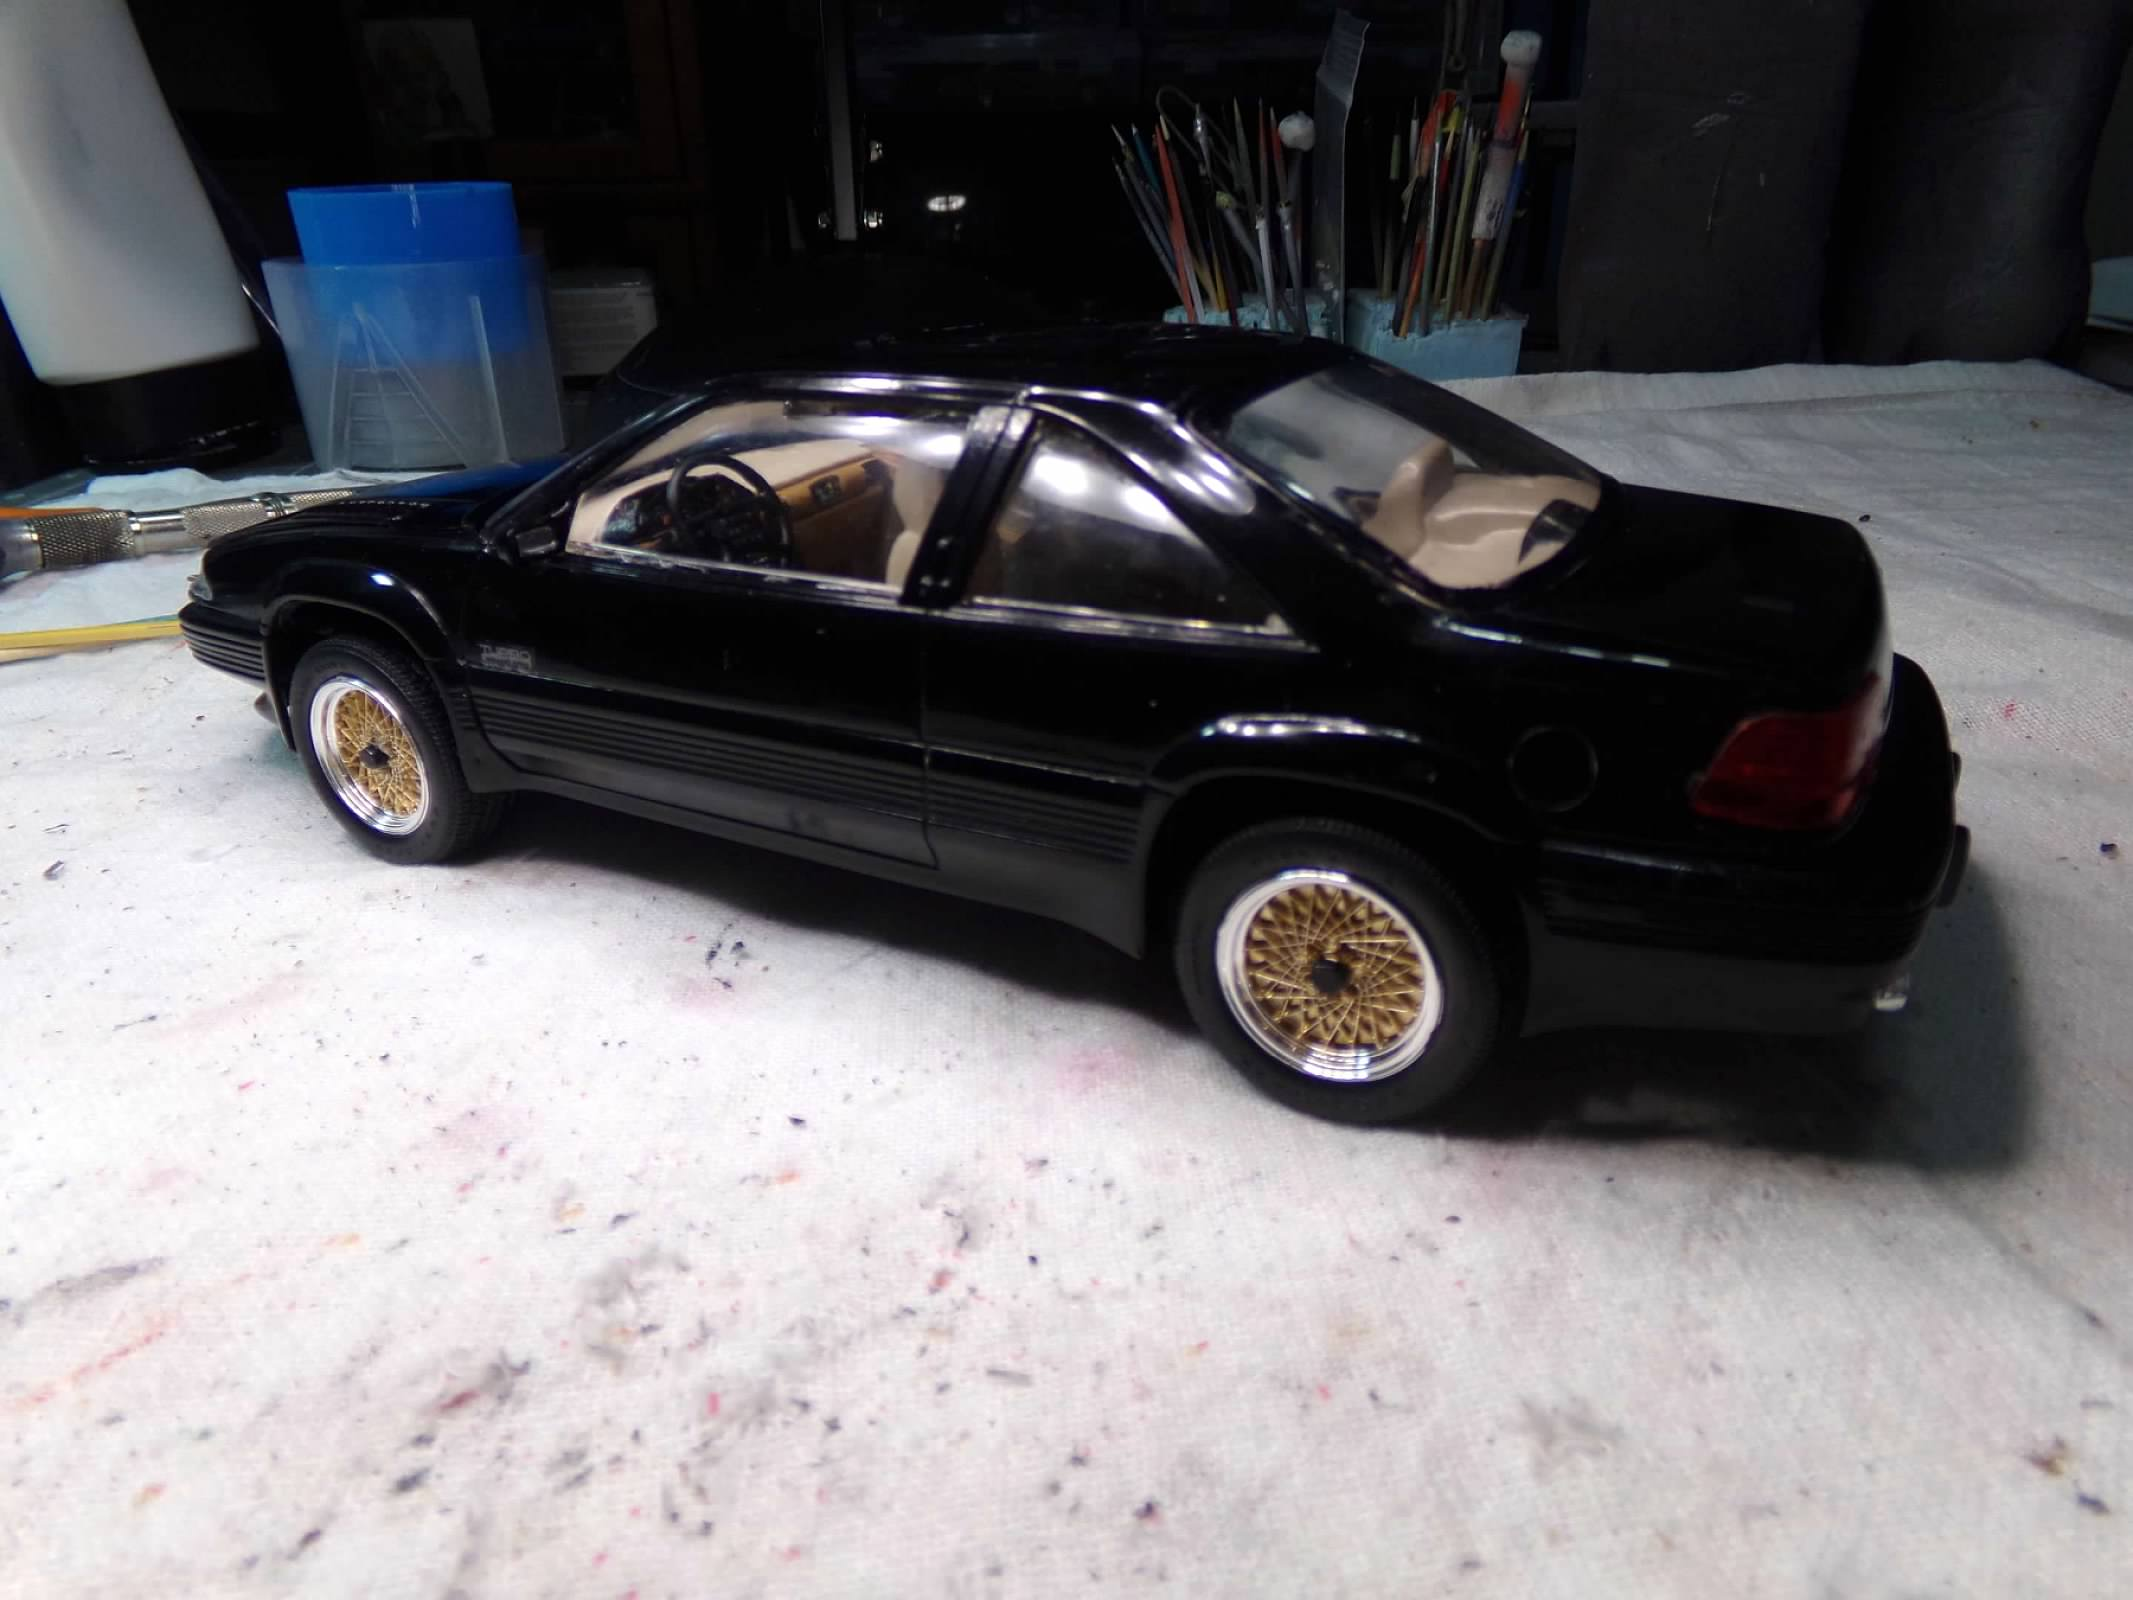
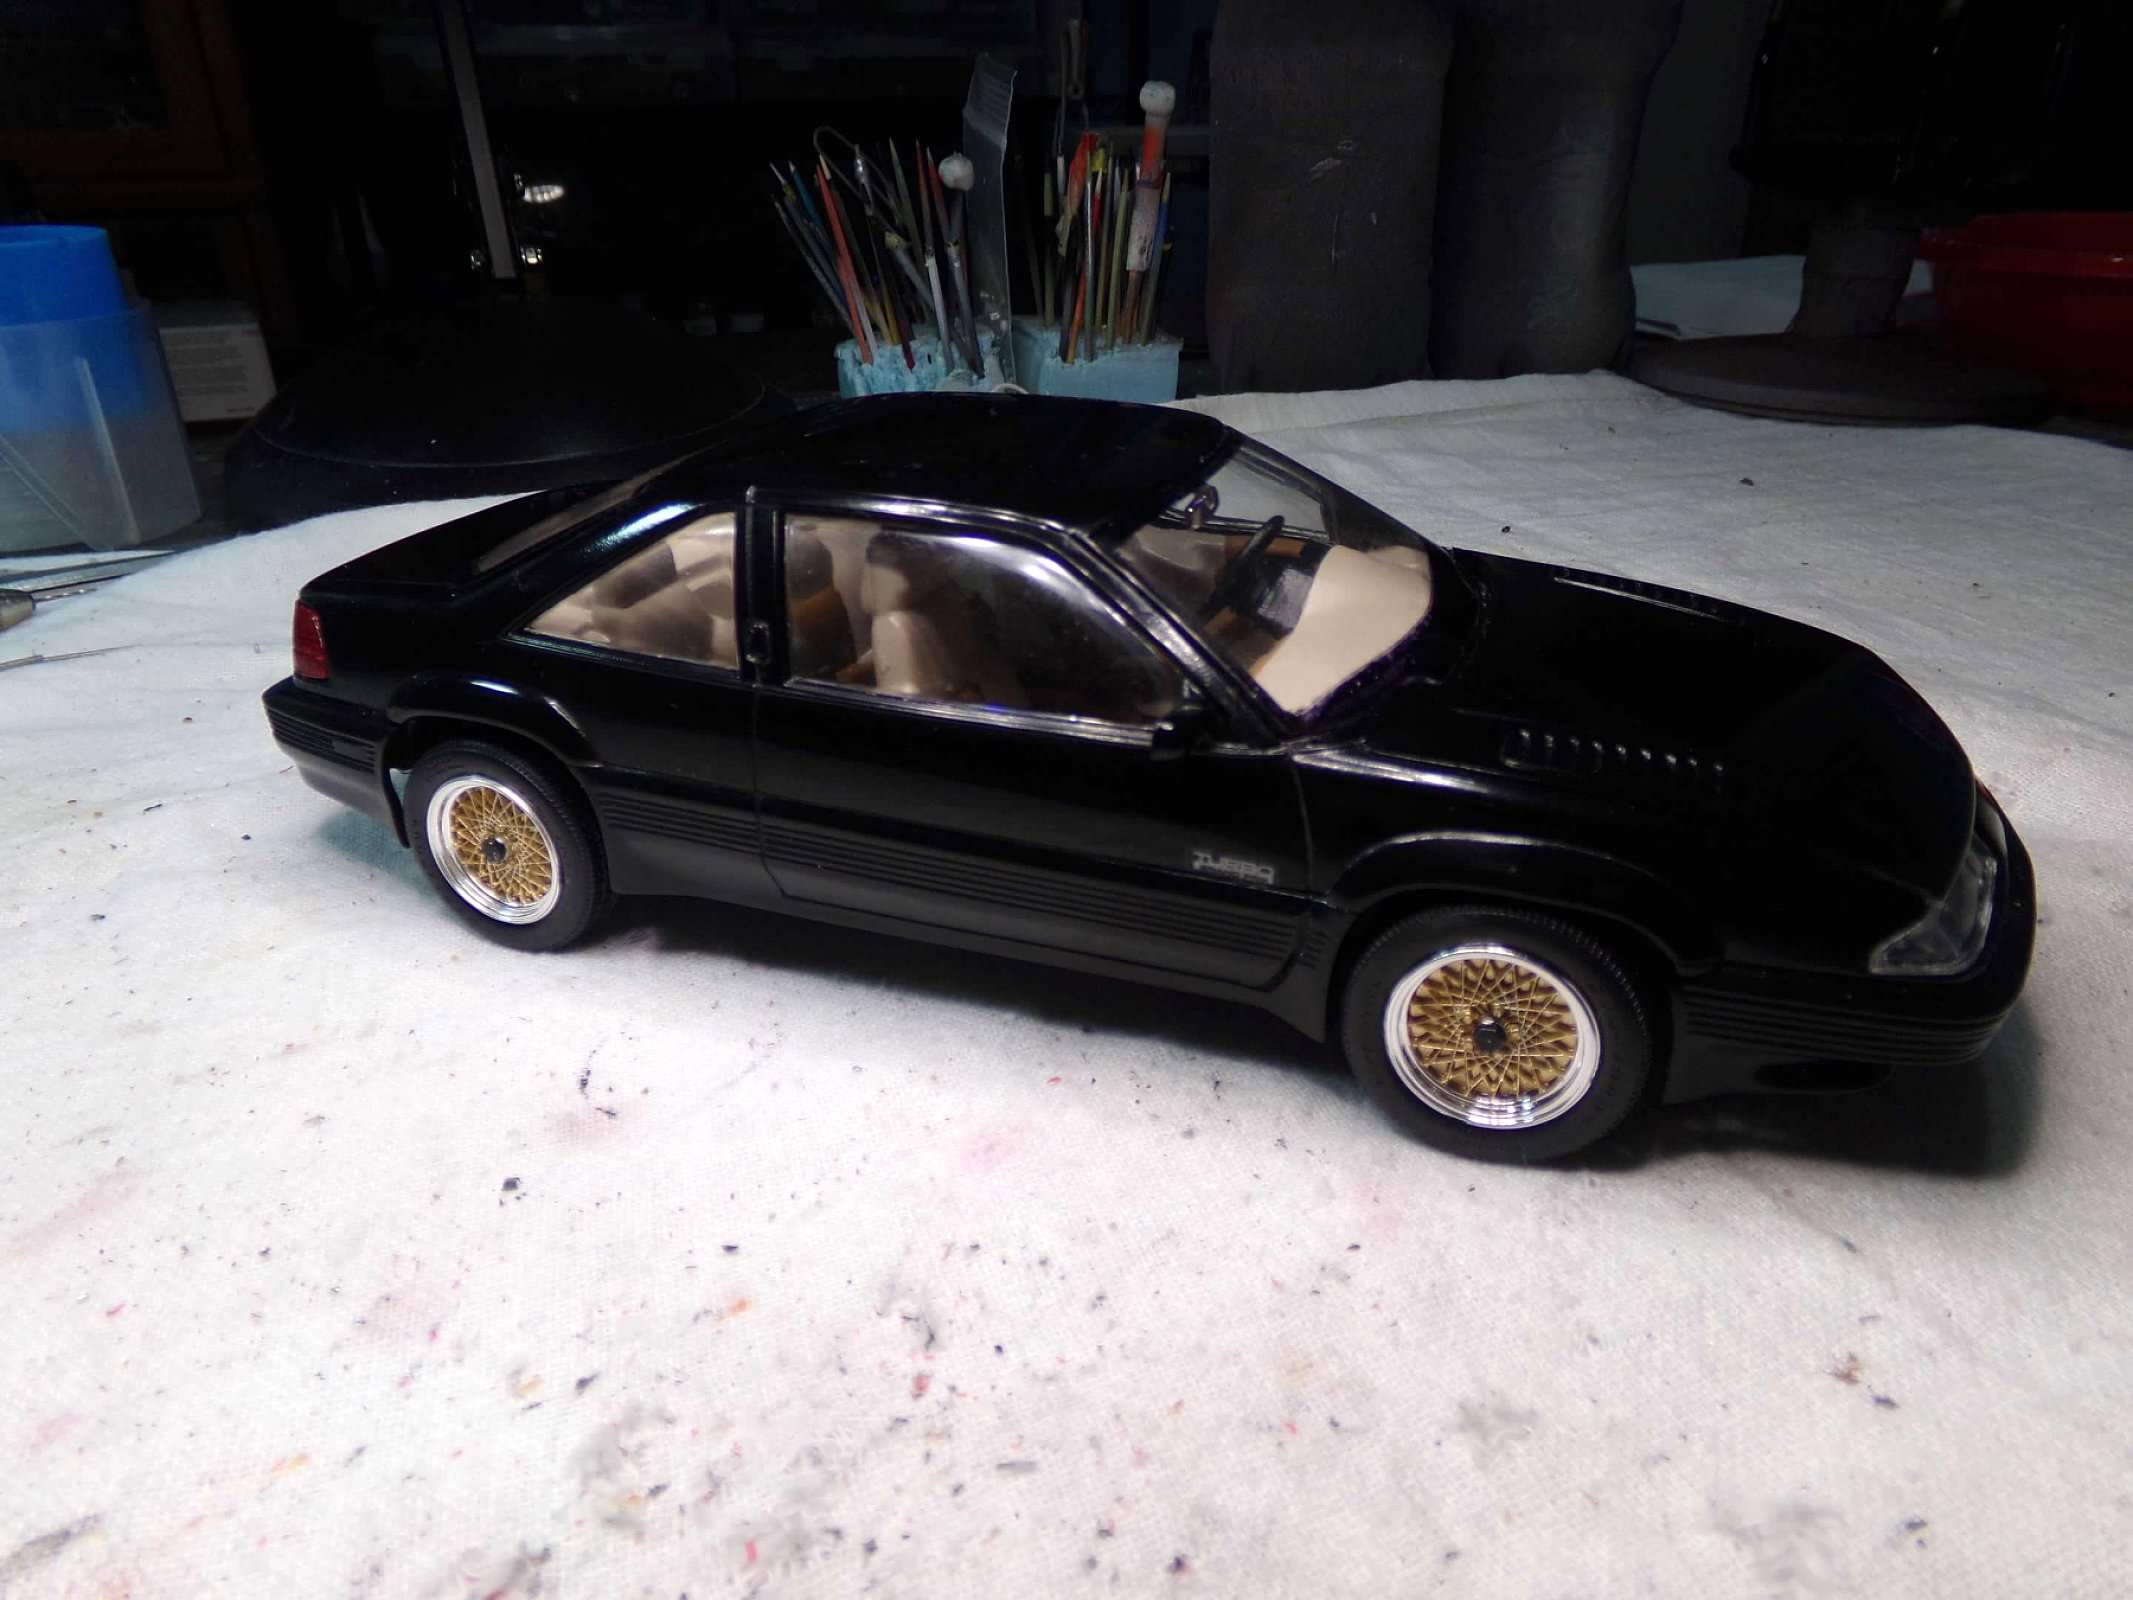
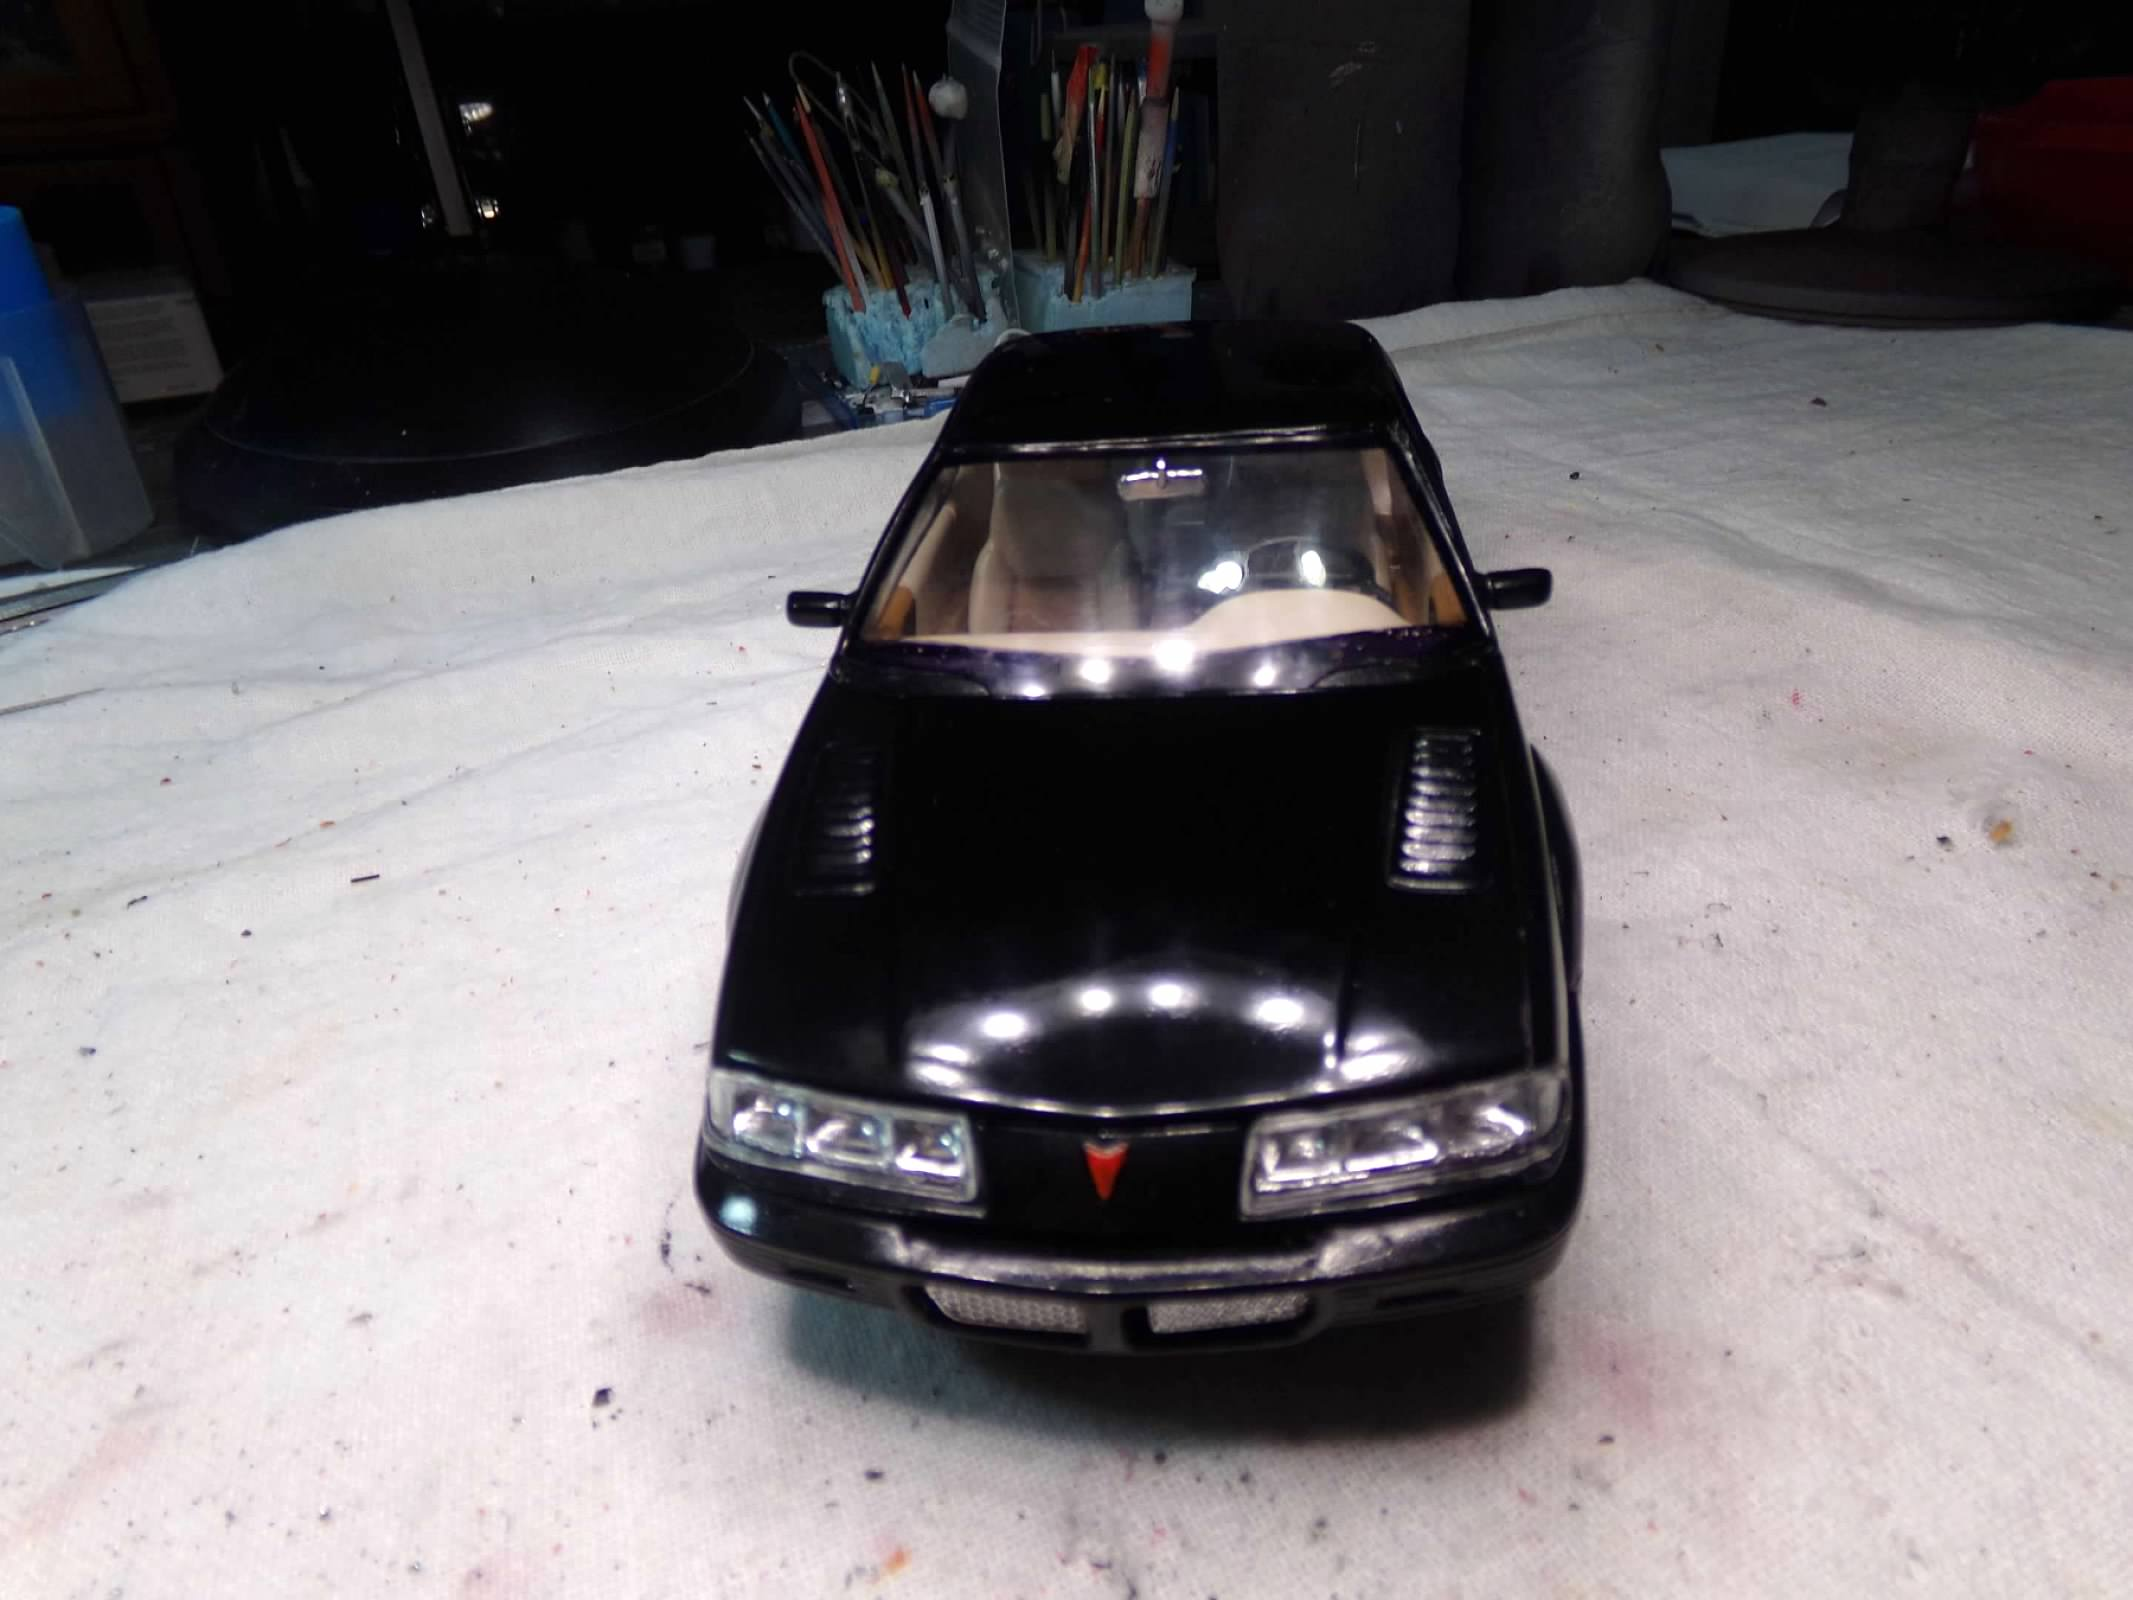
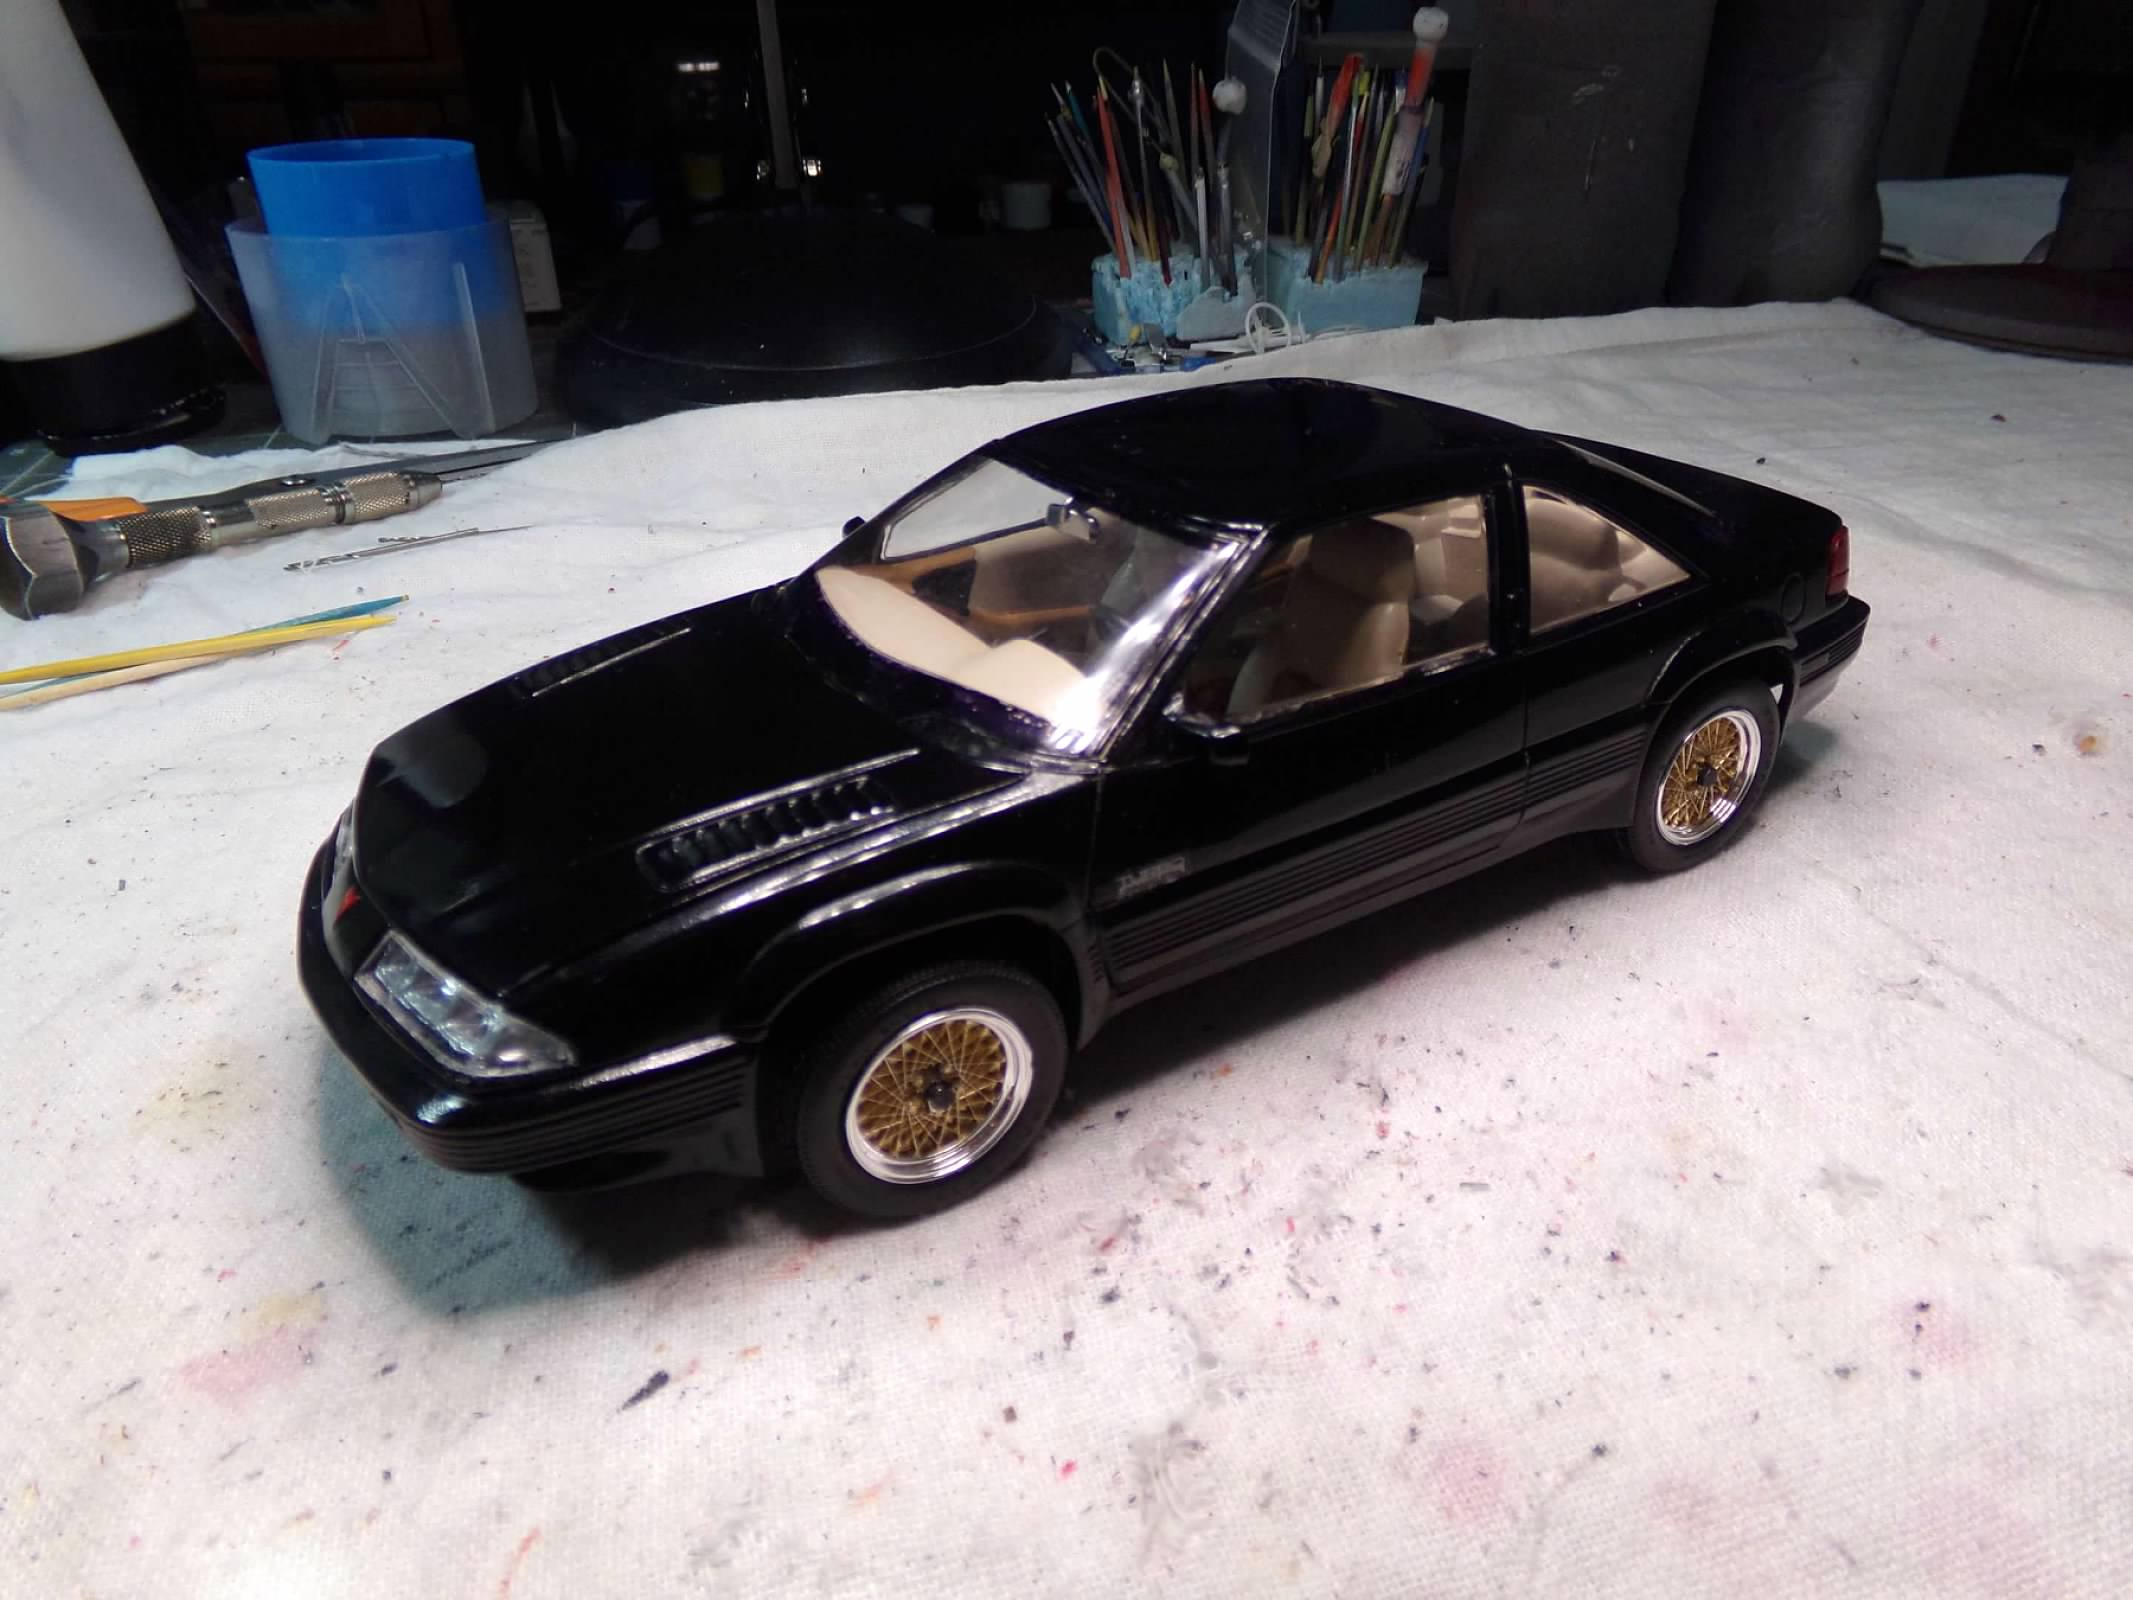
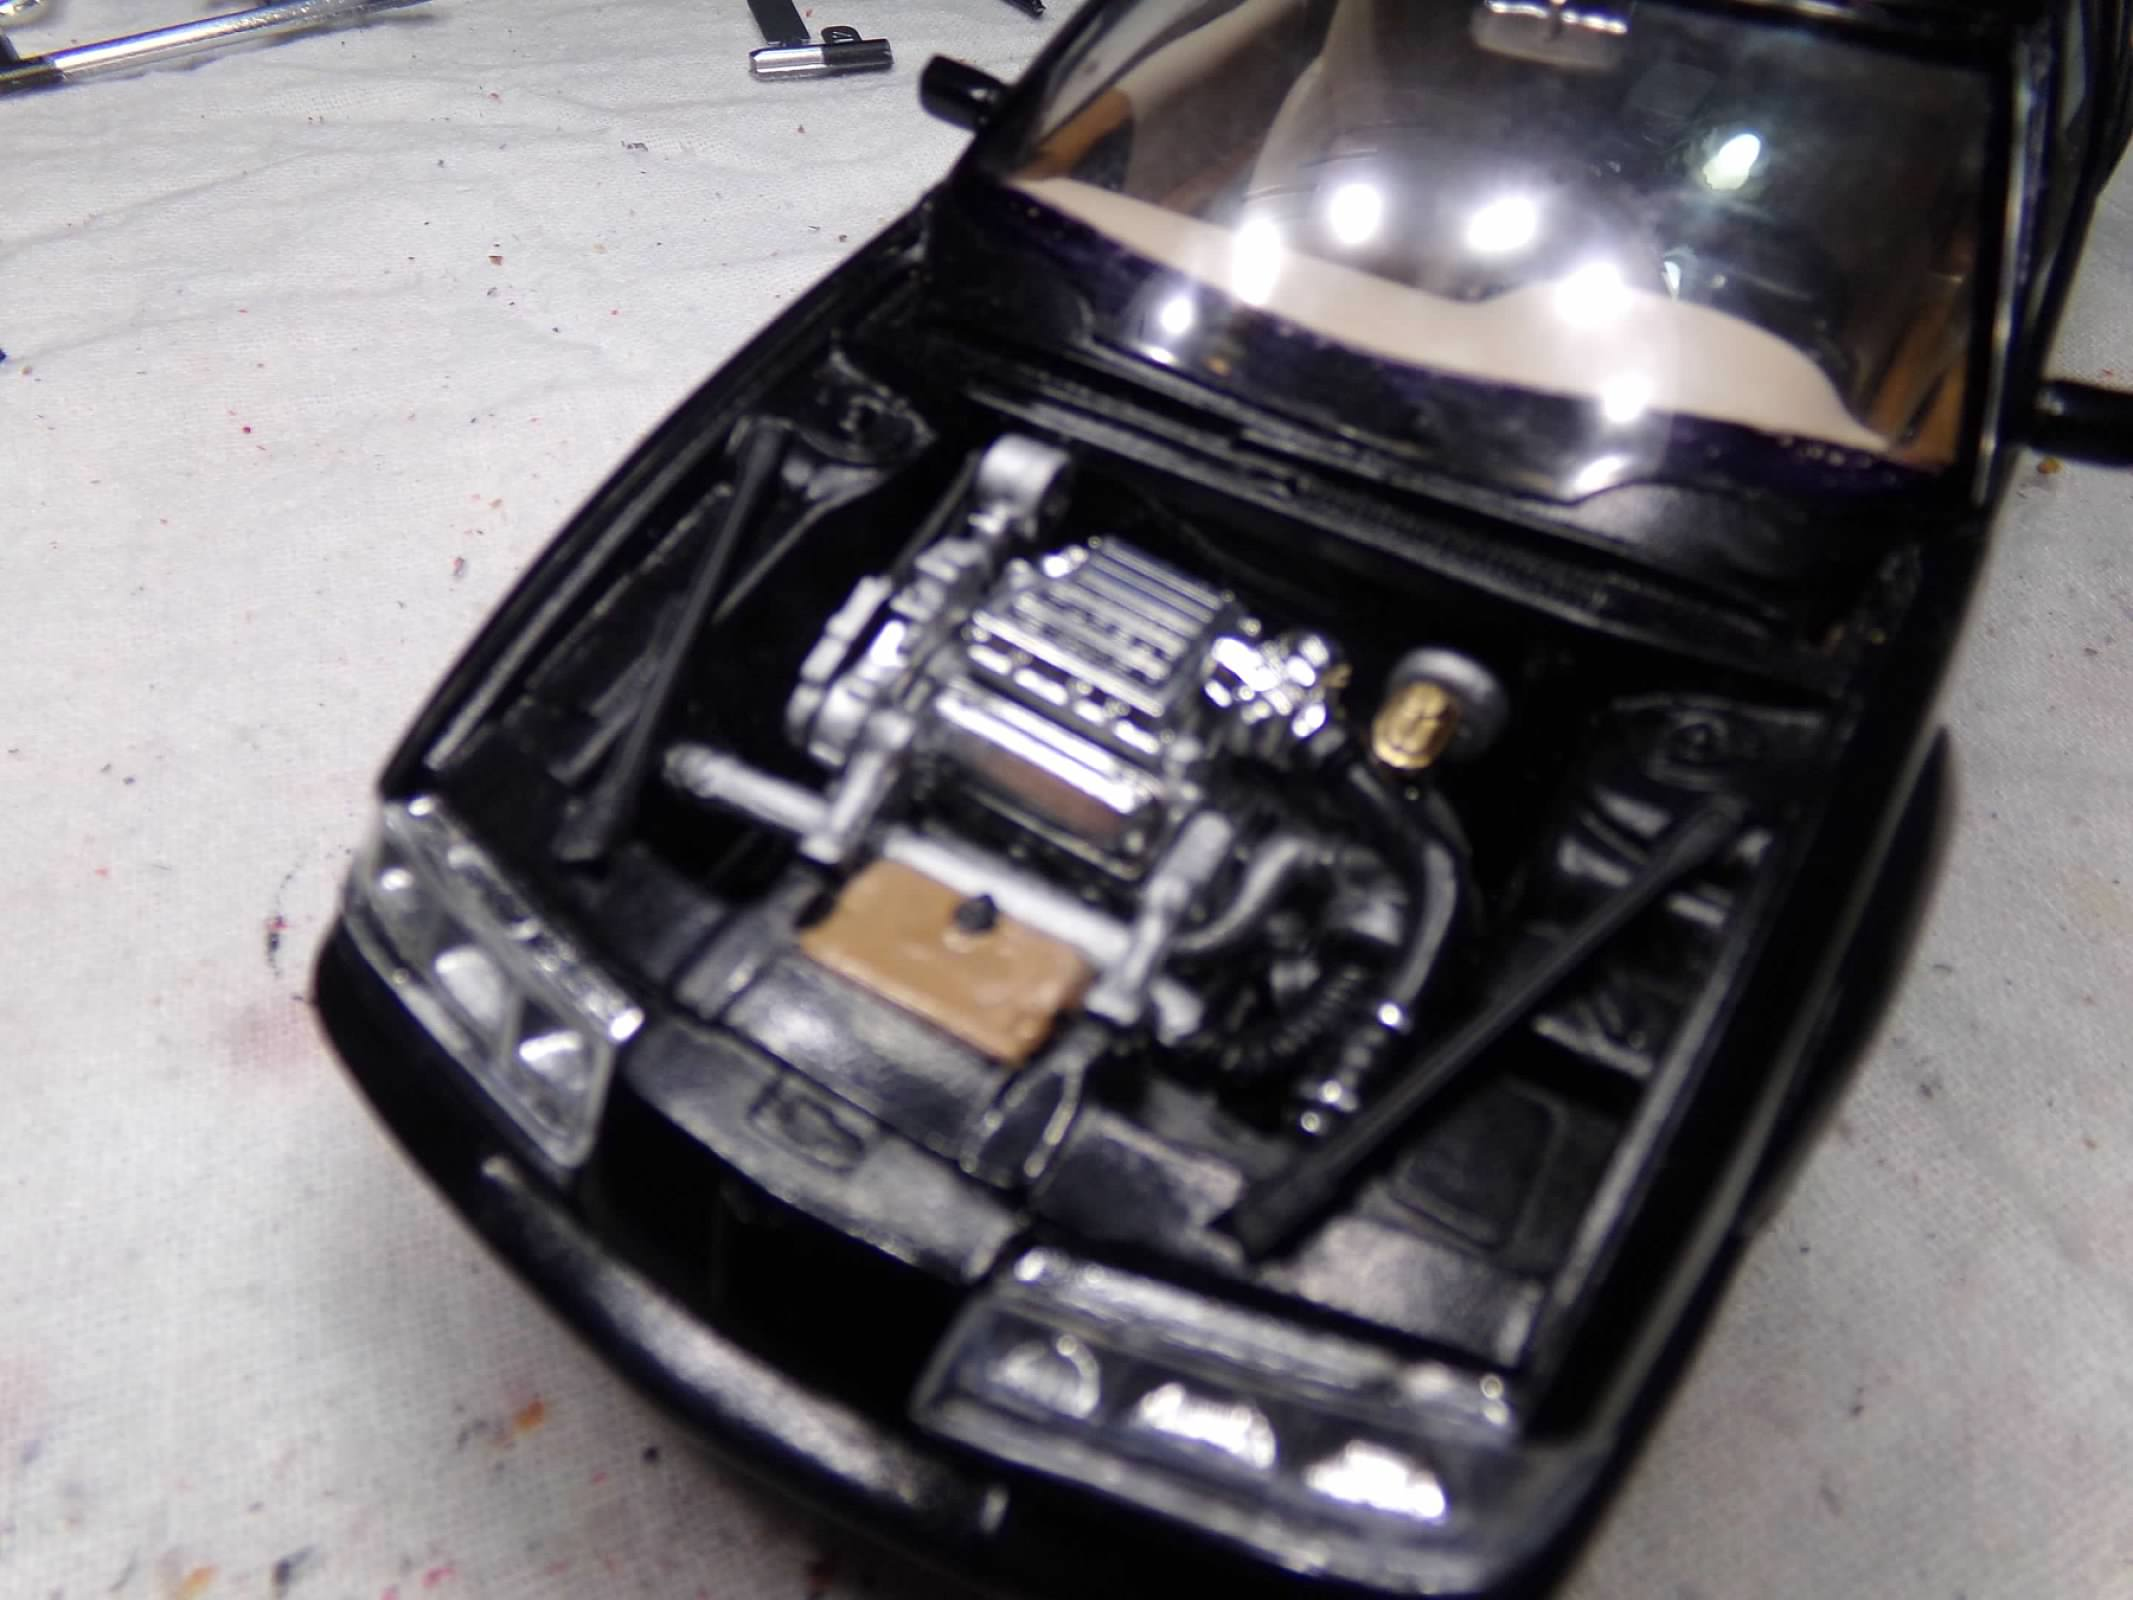
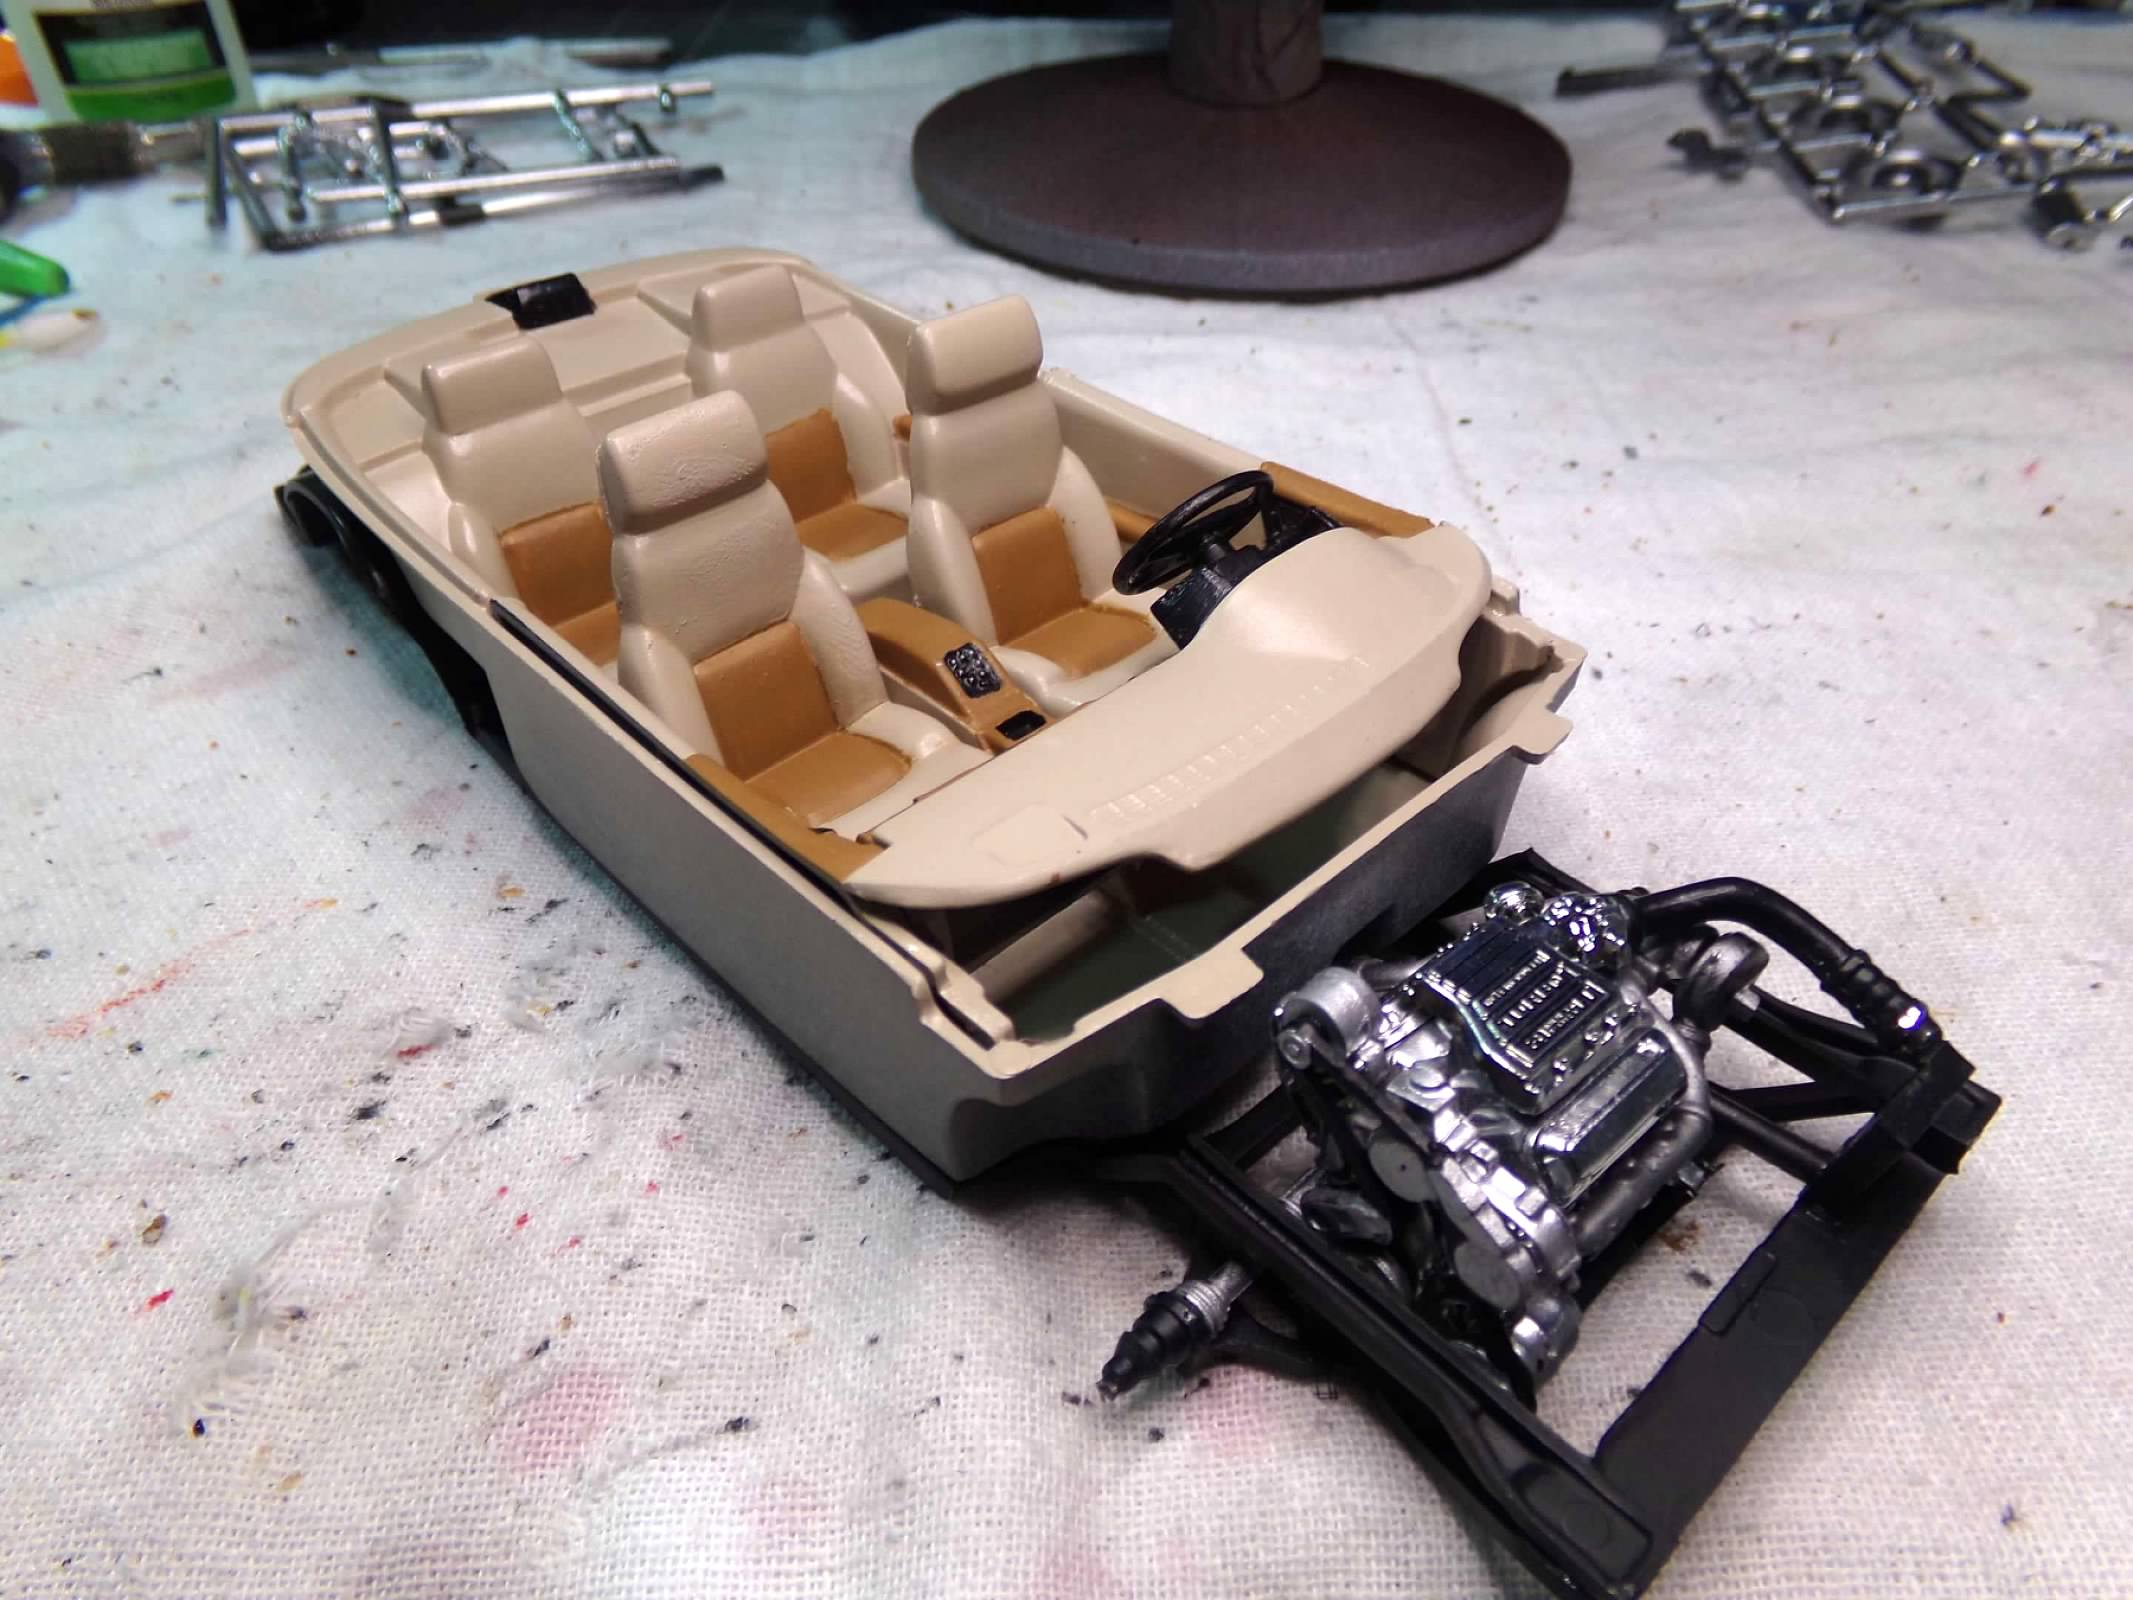
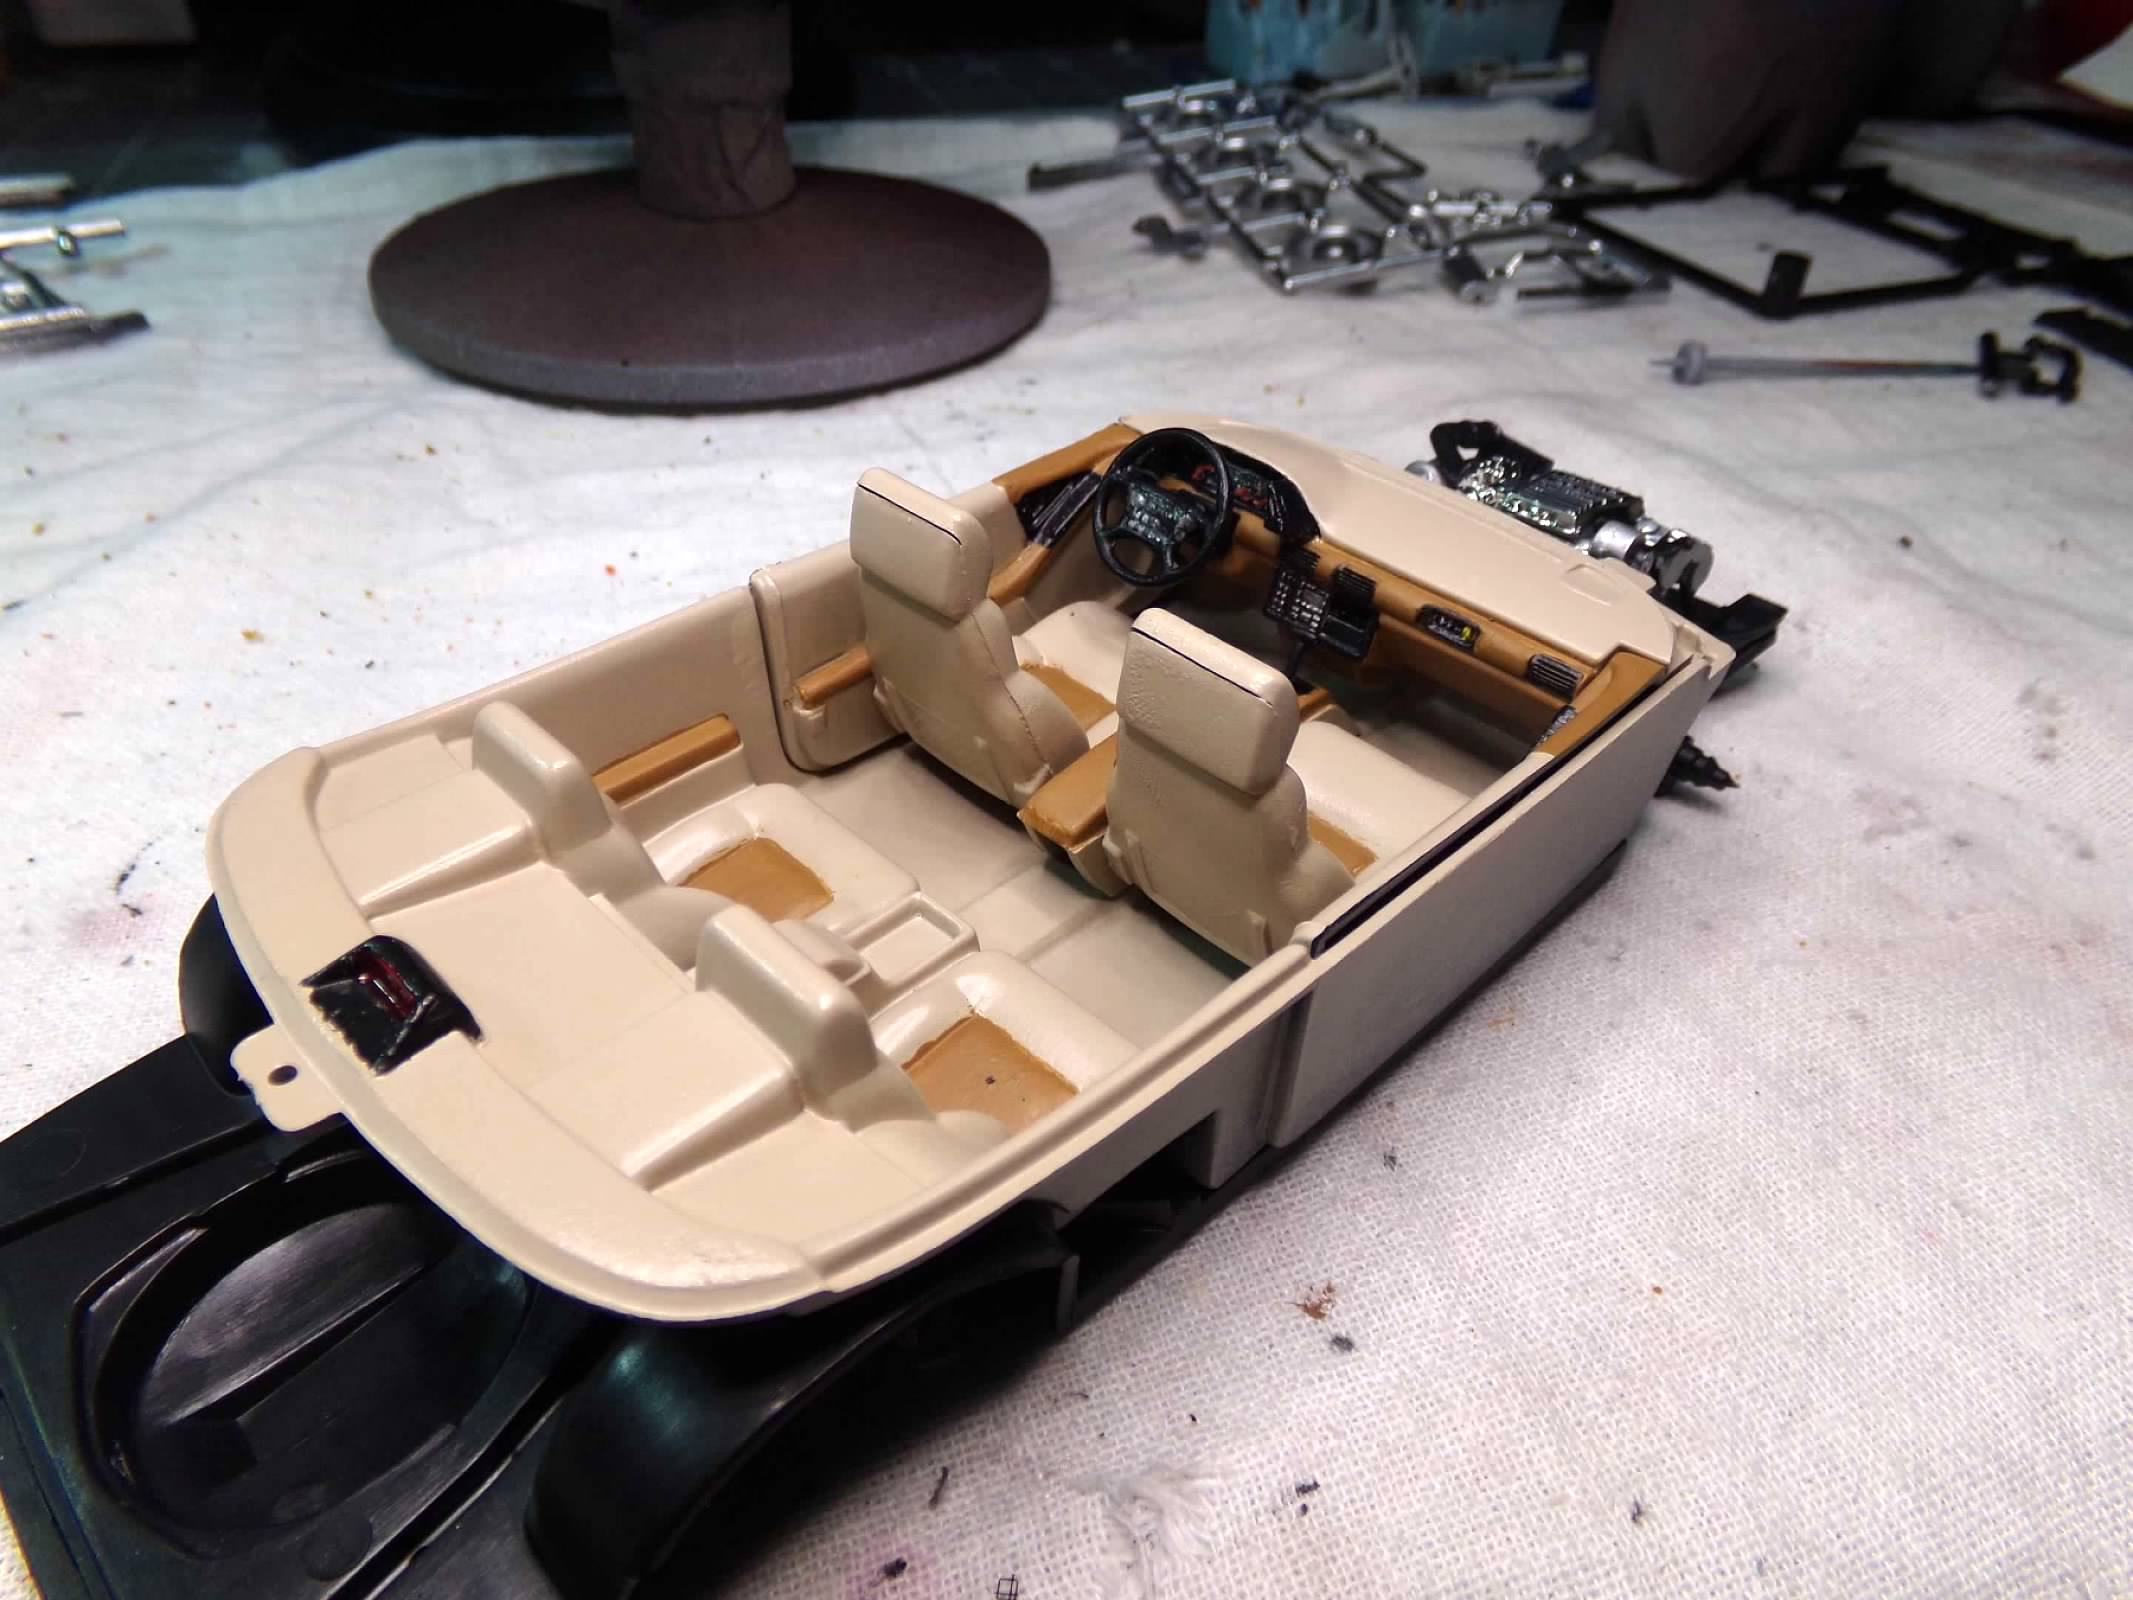
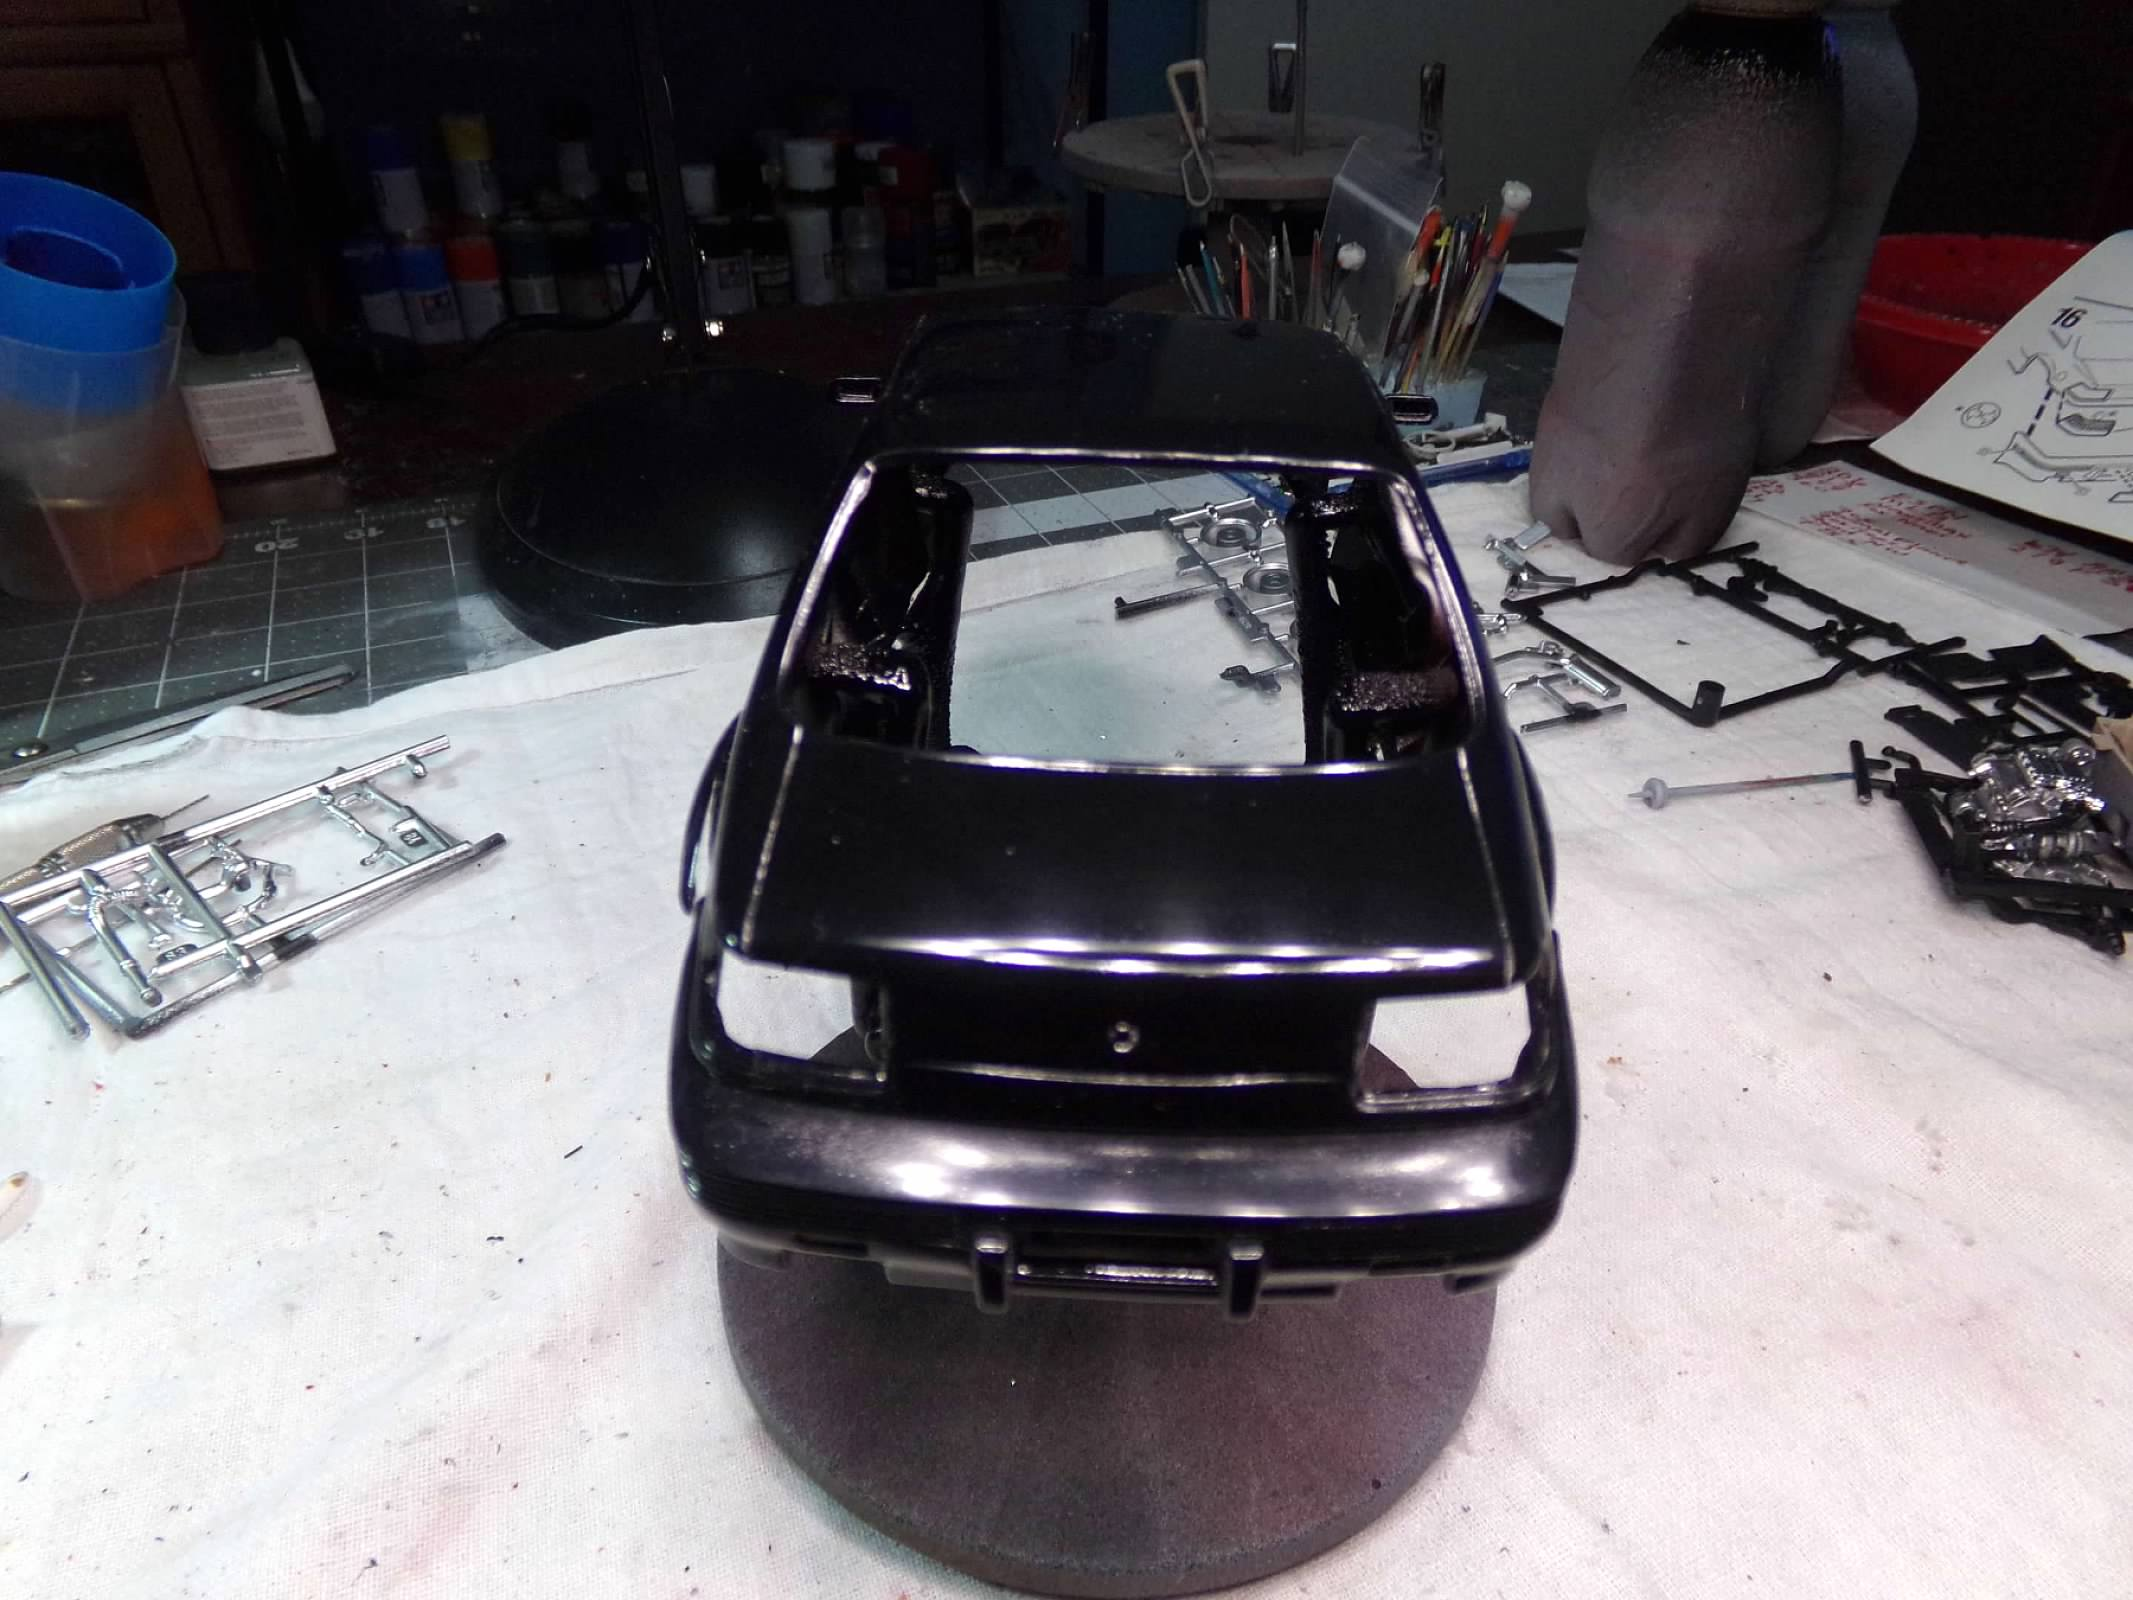
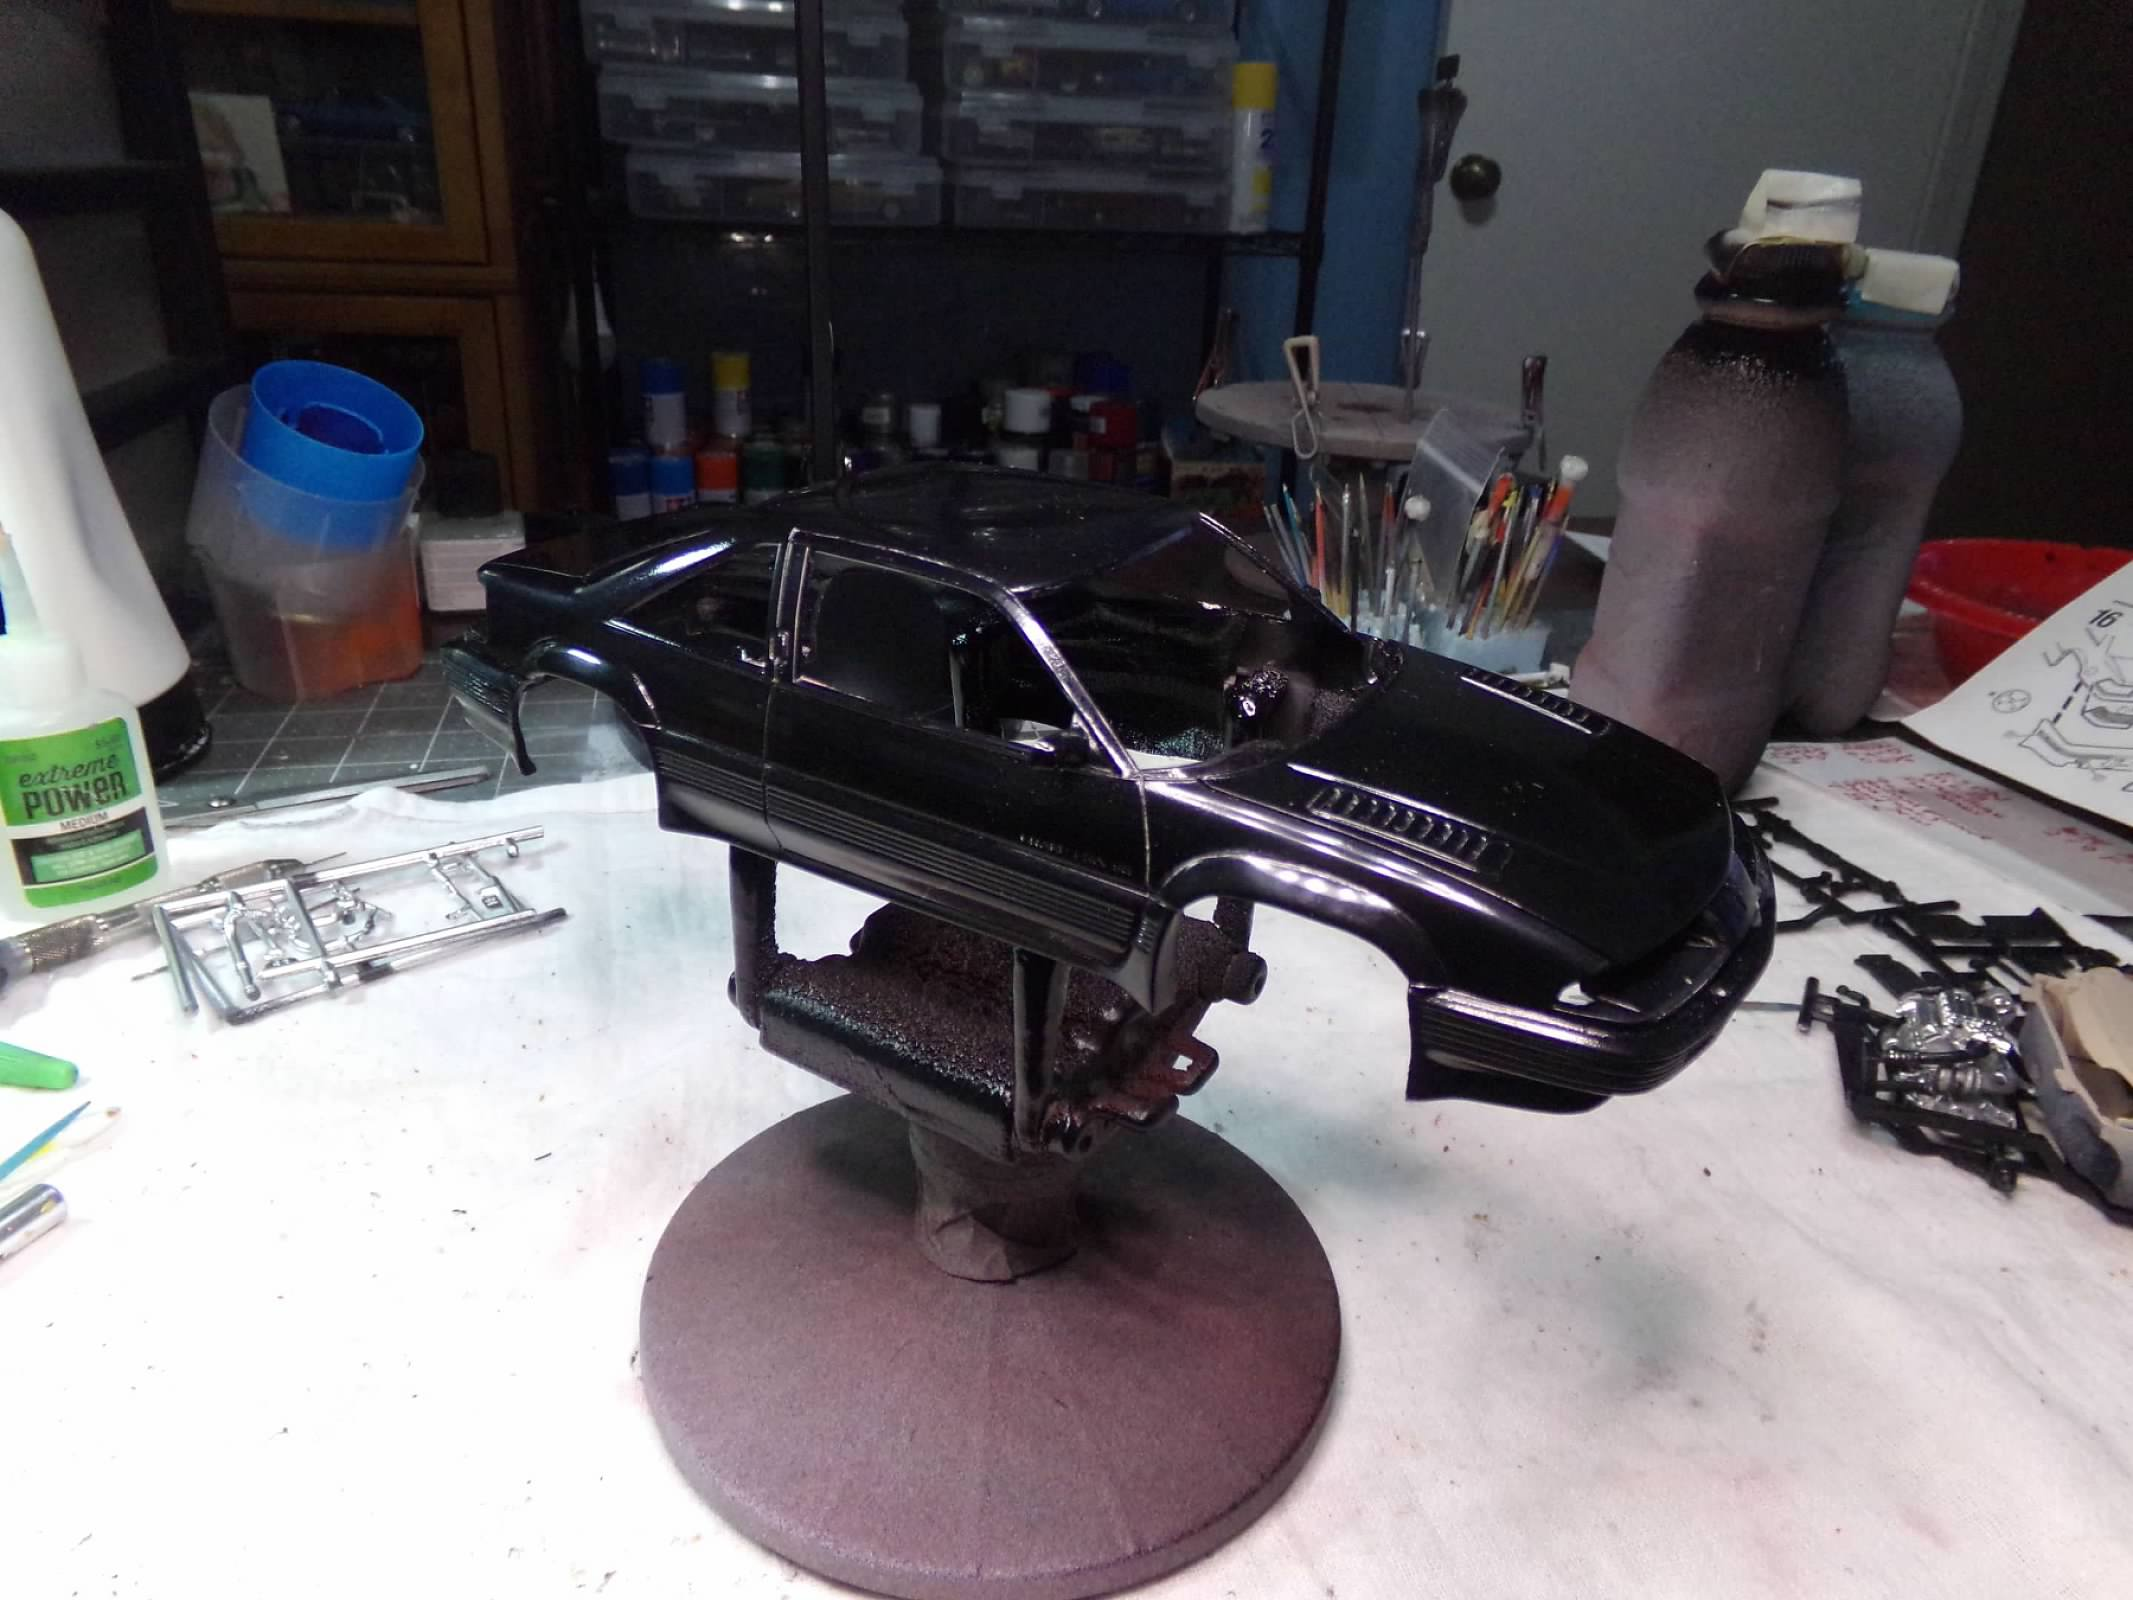
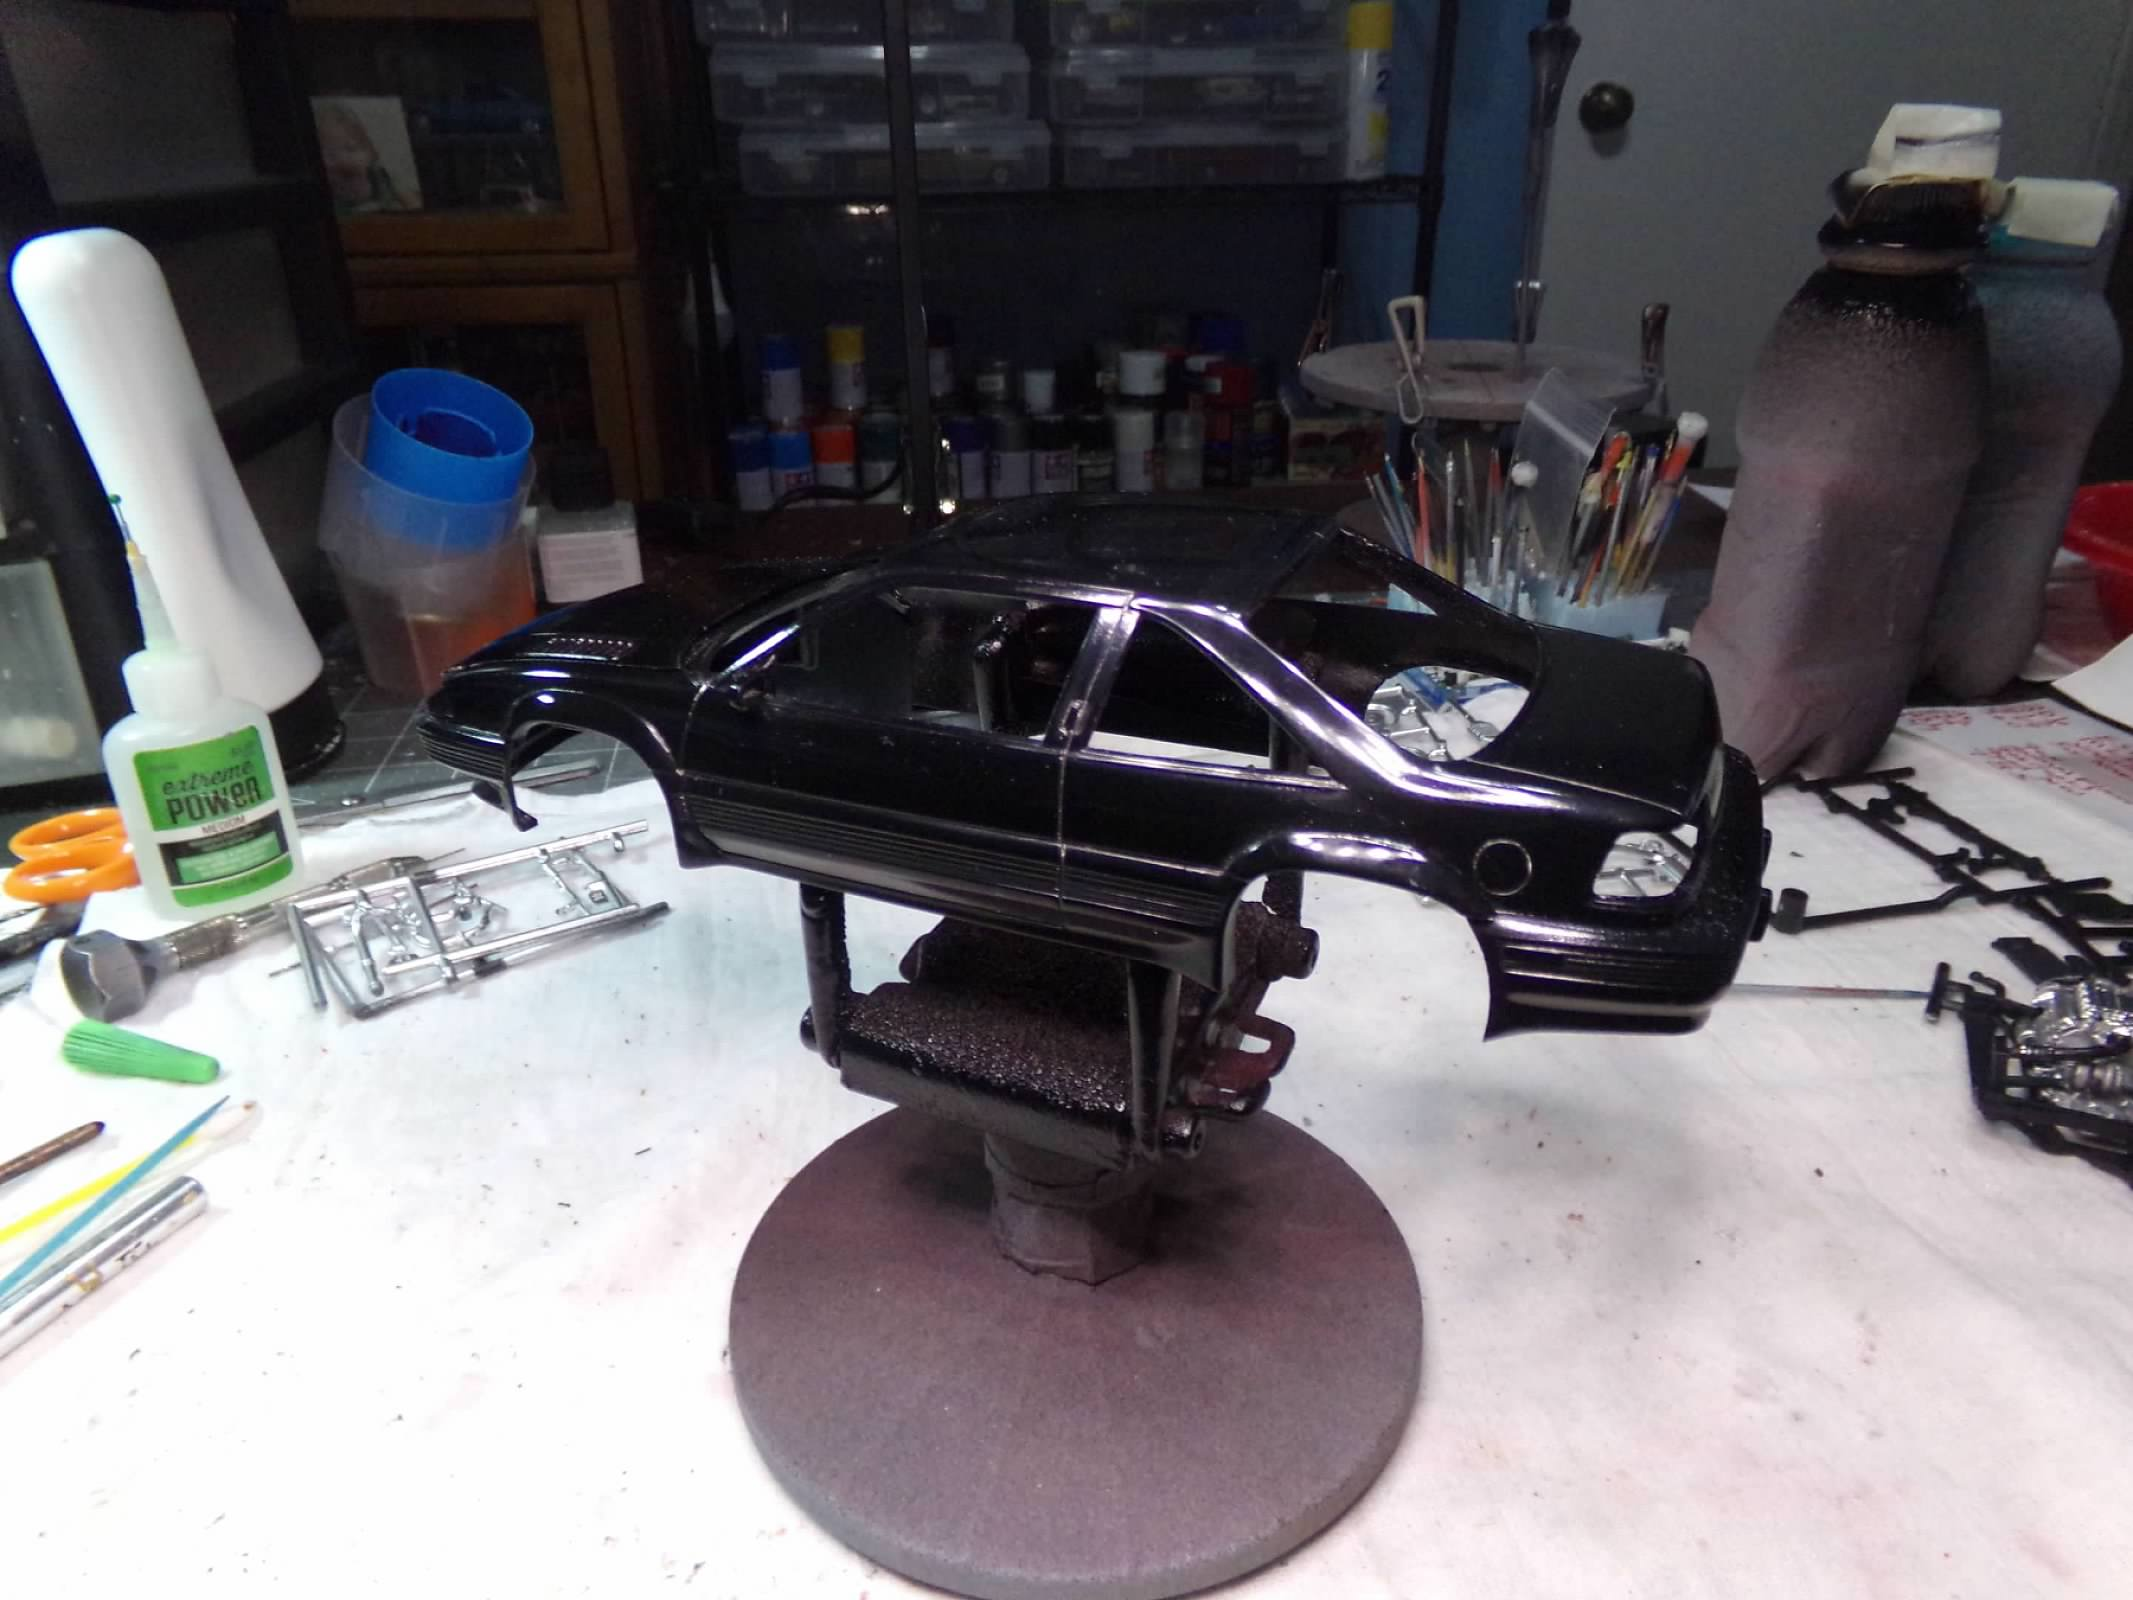
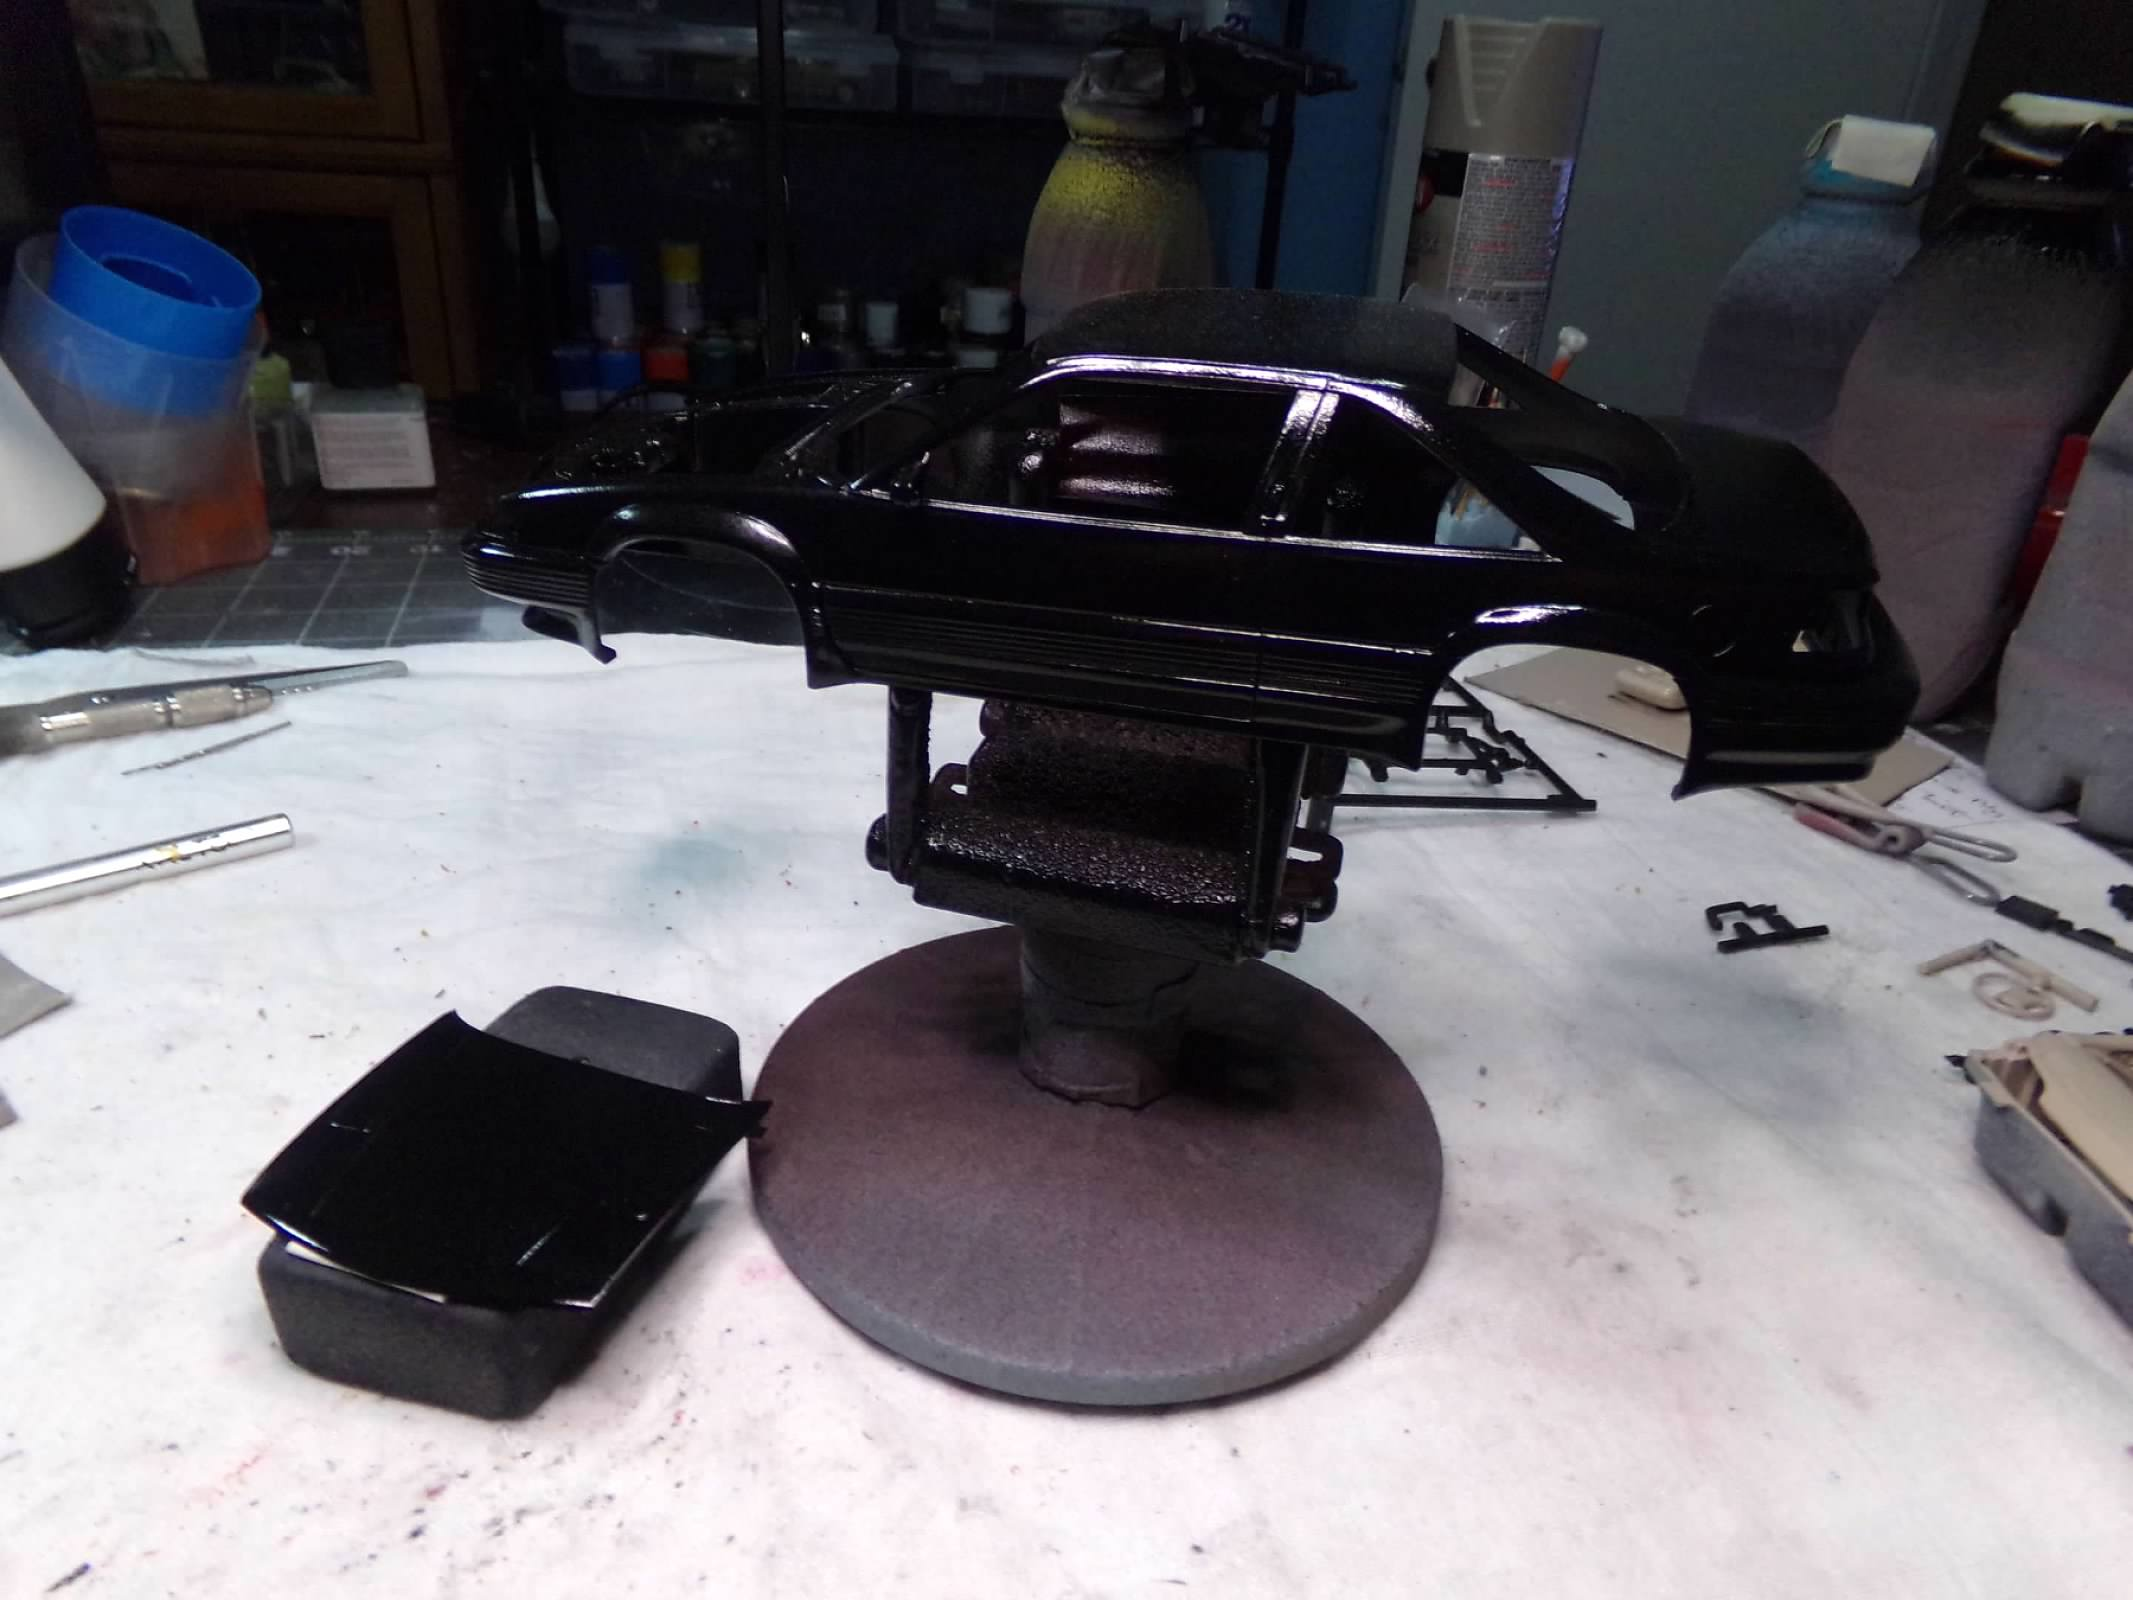
This is an old Revell kit that I got at a Model Contest raffle. It was donated by the Tri-City Modelers. I was unfamiliar with this group and so I googled it and apparently they are an R/C Aviation Group. I am not sure still what three cities they are from but I want to thank them for their donation that I am going to build. I started by painting everything on Friday, then rubbed out the body, built the engine and detail painted the interior with a brush. No decals in this kit other than license plates and three turbo markings so I had to do some dry brushing, etc. in the interior. So now all I have to do is wheels, windows, chassis and finish. Pretty simple No. 2 kit but it will be out of the closet! Thanks for looking! ? Initial box and painting Rubbed out body Finished interior (engine finished too)
-
Thanks, again, everyone! I appreciate your comments! ?
-
Thanks, All! I appreciate your comments! ?
-
Looks good, Mike! ??
-
Really turned out nicely, Bob! The paint is beautiful! Nice work all the way around! ??
-
Nice looking GTO! I like the color and the wheels. Nice work! ??
-
Looks good, Mike! I've built that one too and I thought it was an excellent kit. I still have one in my stash. I have used Tamiya metallic orange on a hardtop to simulate that color and it is very close. Nice work on your soft top! ??
- 28 replies
-
- 1
-
-
- convertible
- 1957
- (and 1 more)
-
Looks great, David! I also really like your garage scene. I'm going to have to build one of those. Nice work on your Mustang! ??
-
Looks good, MrMike! I like the color! ??
-
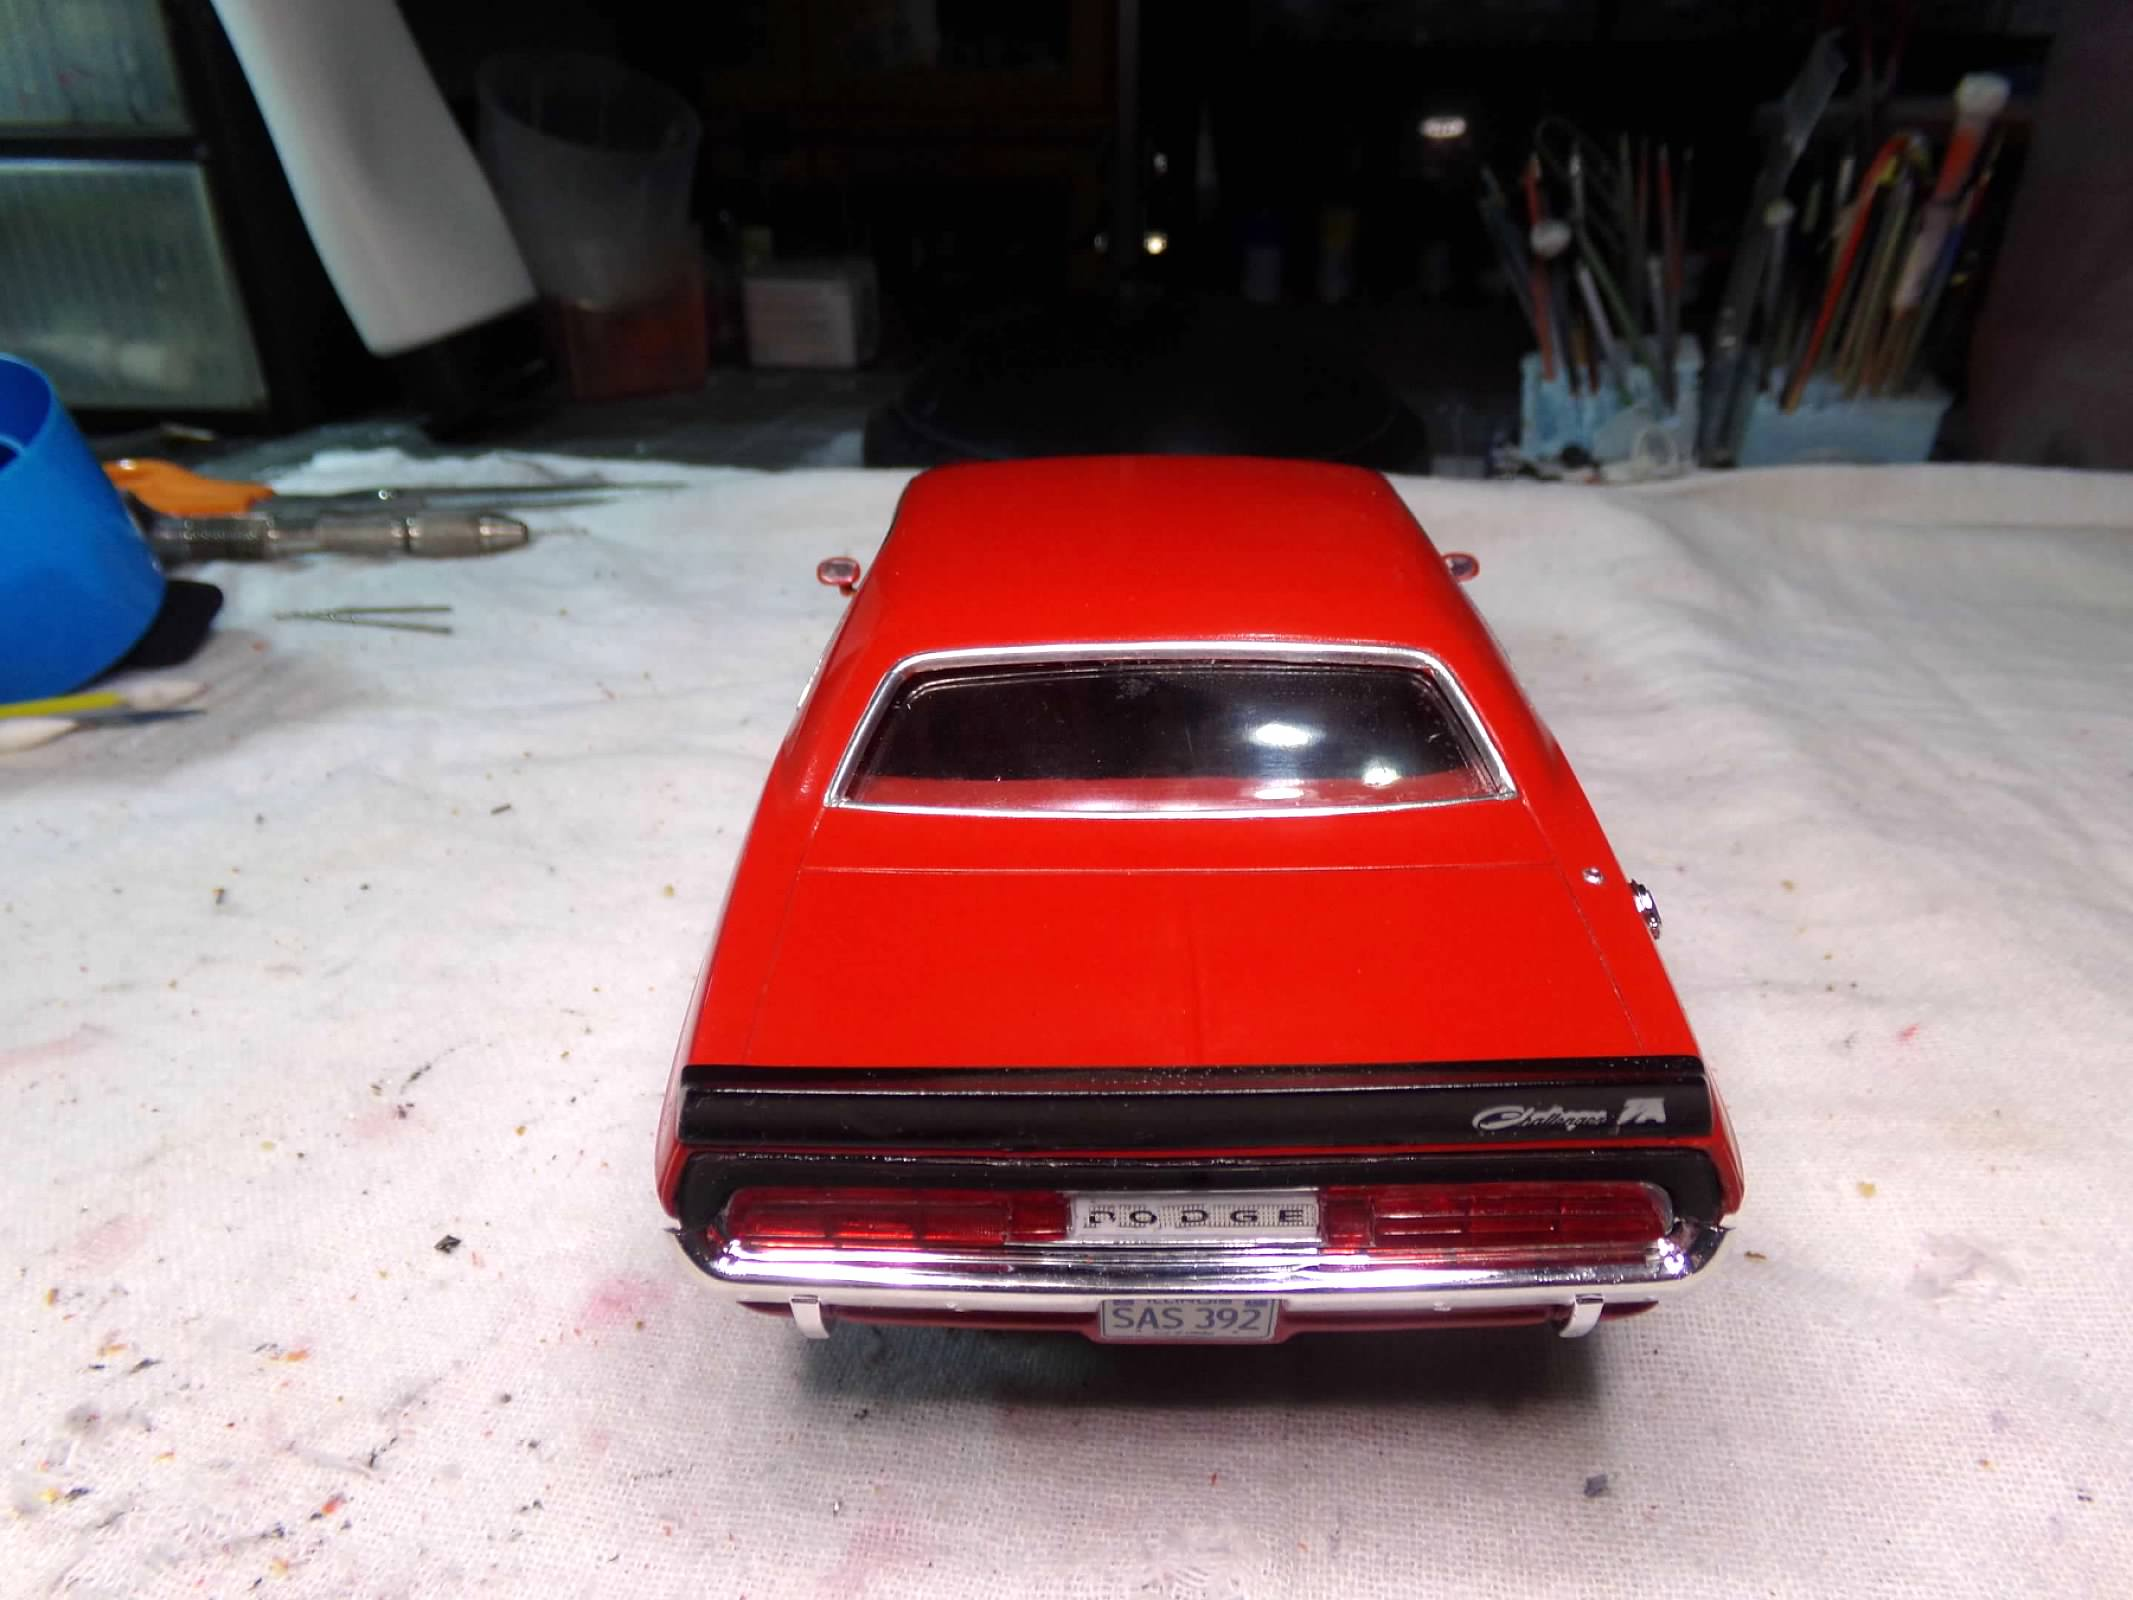
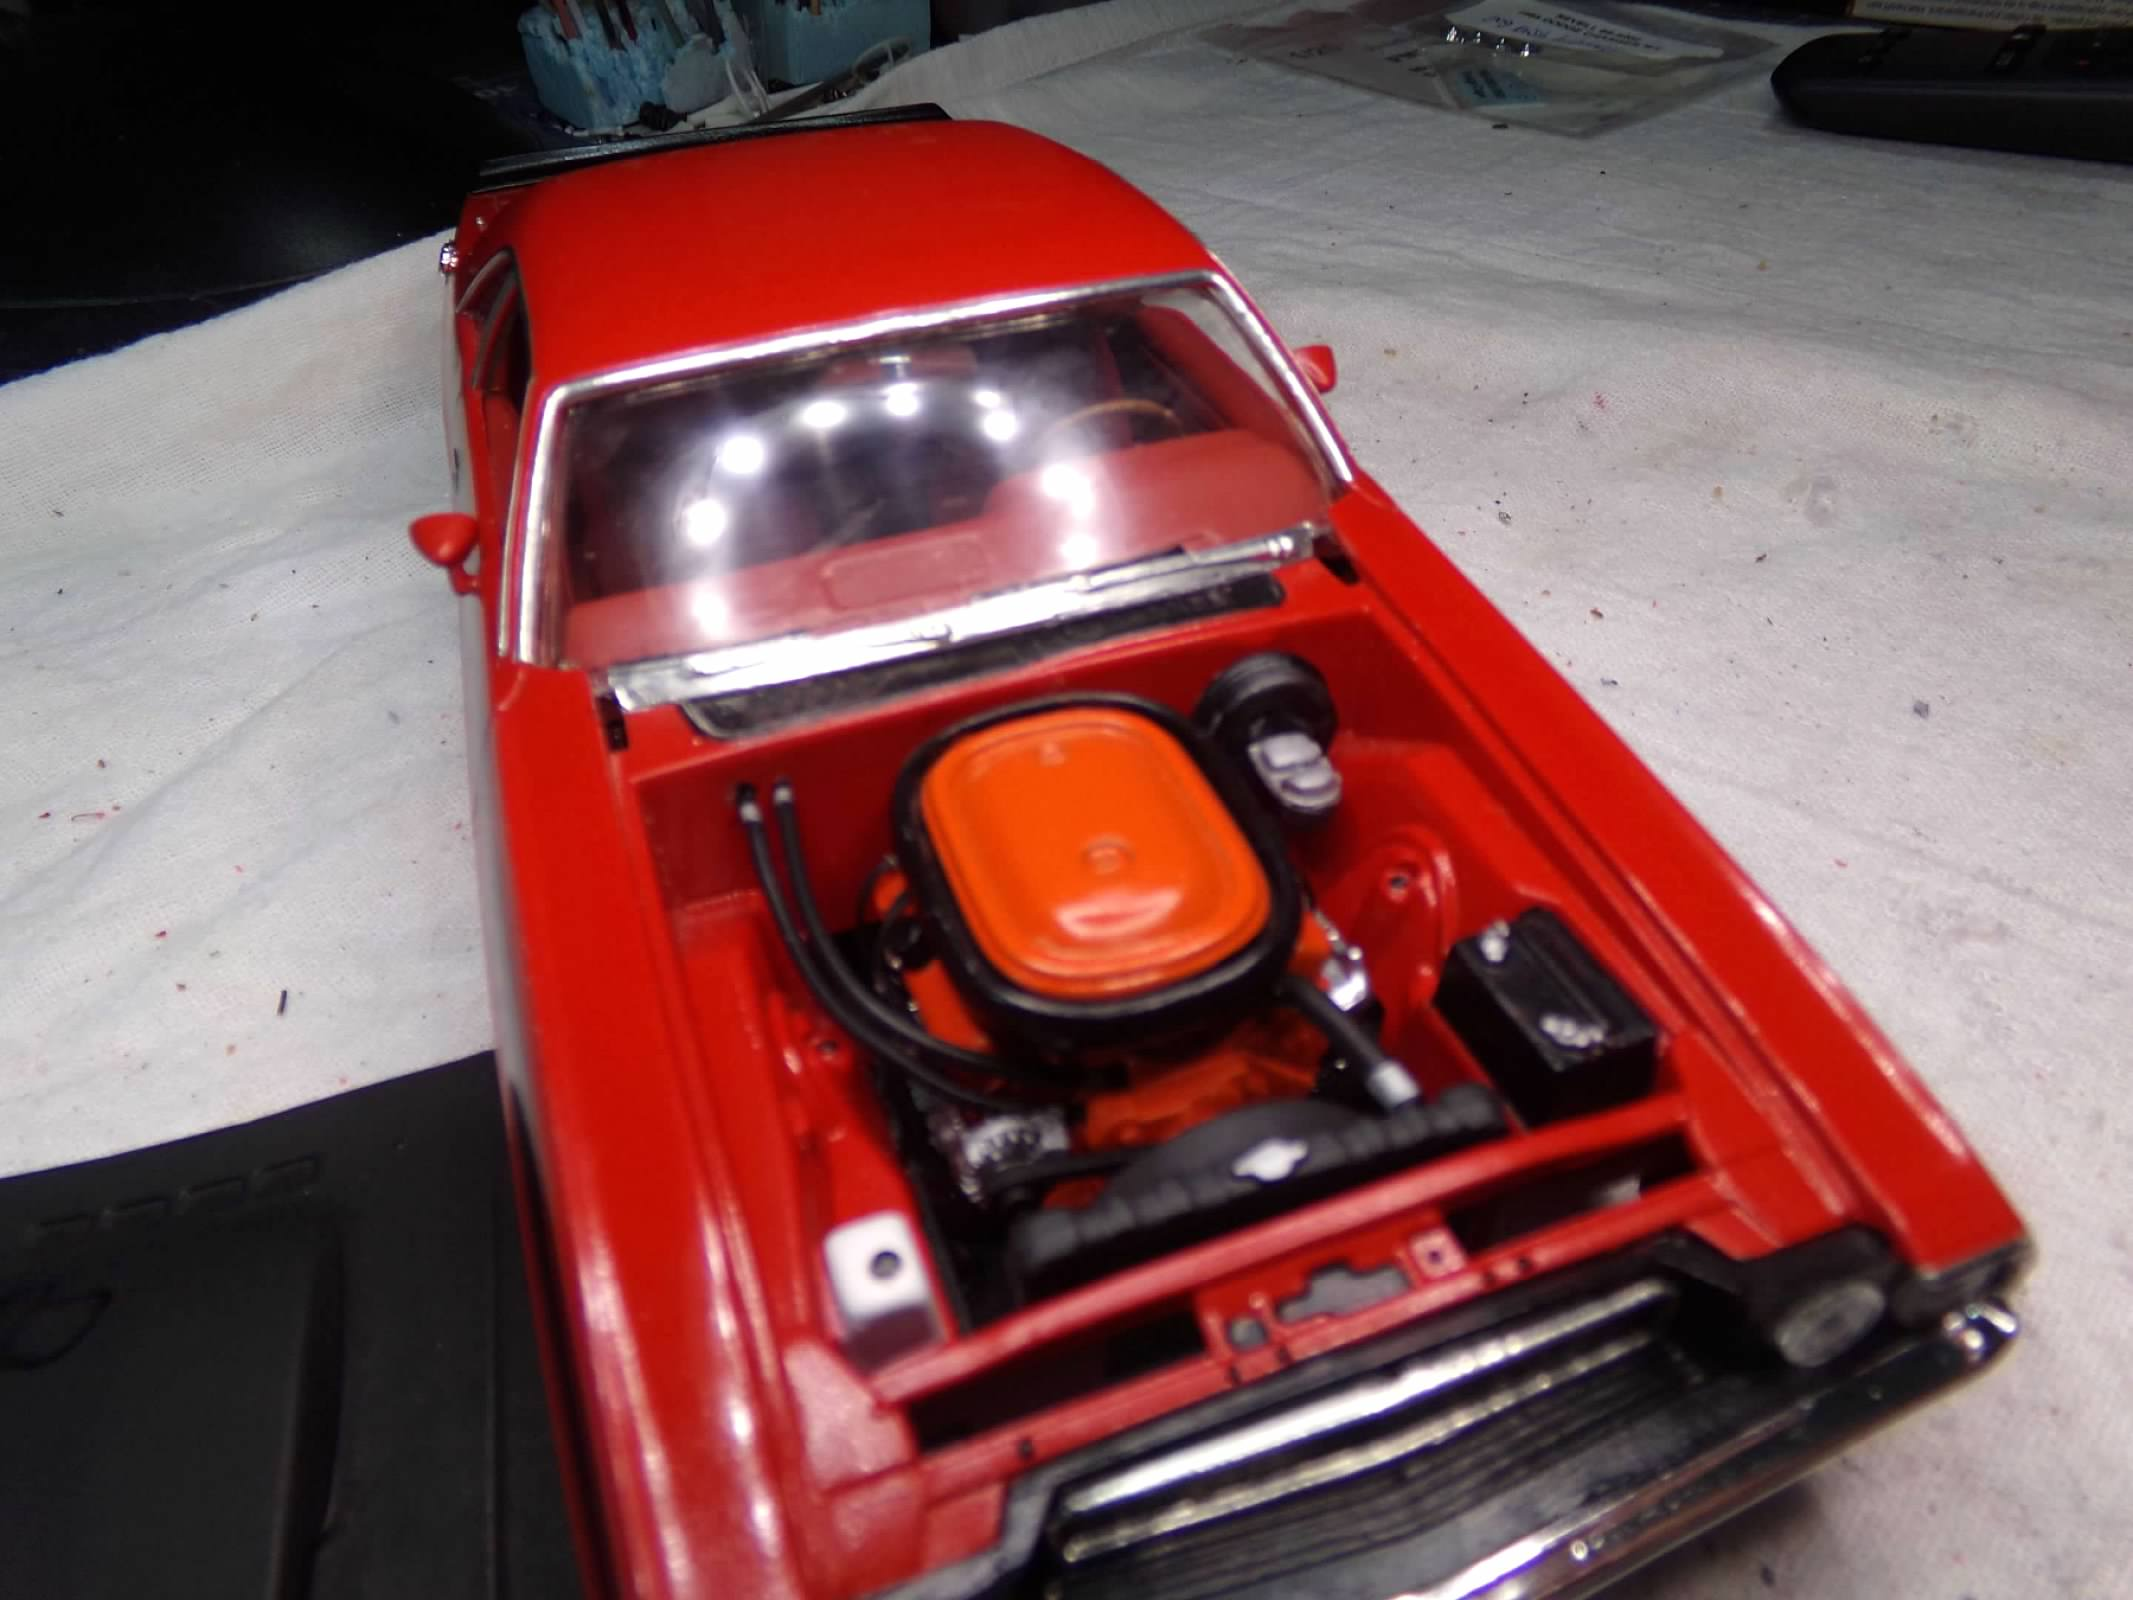
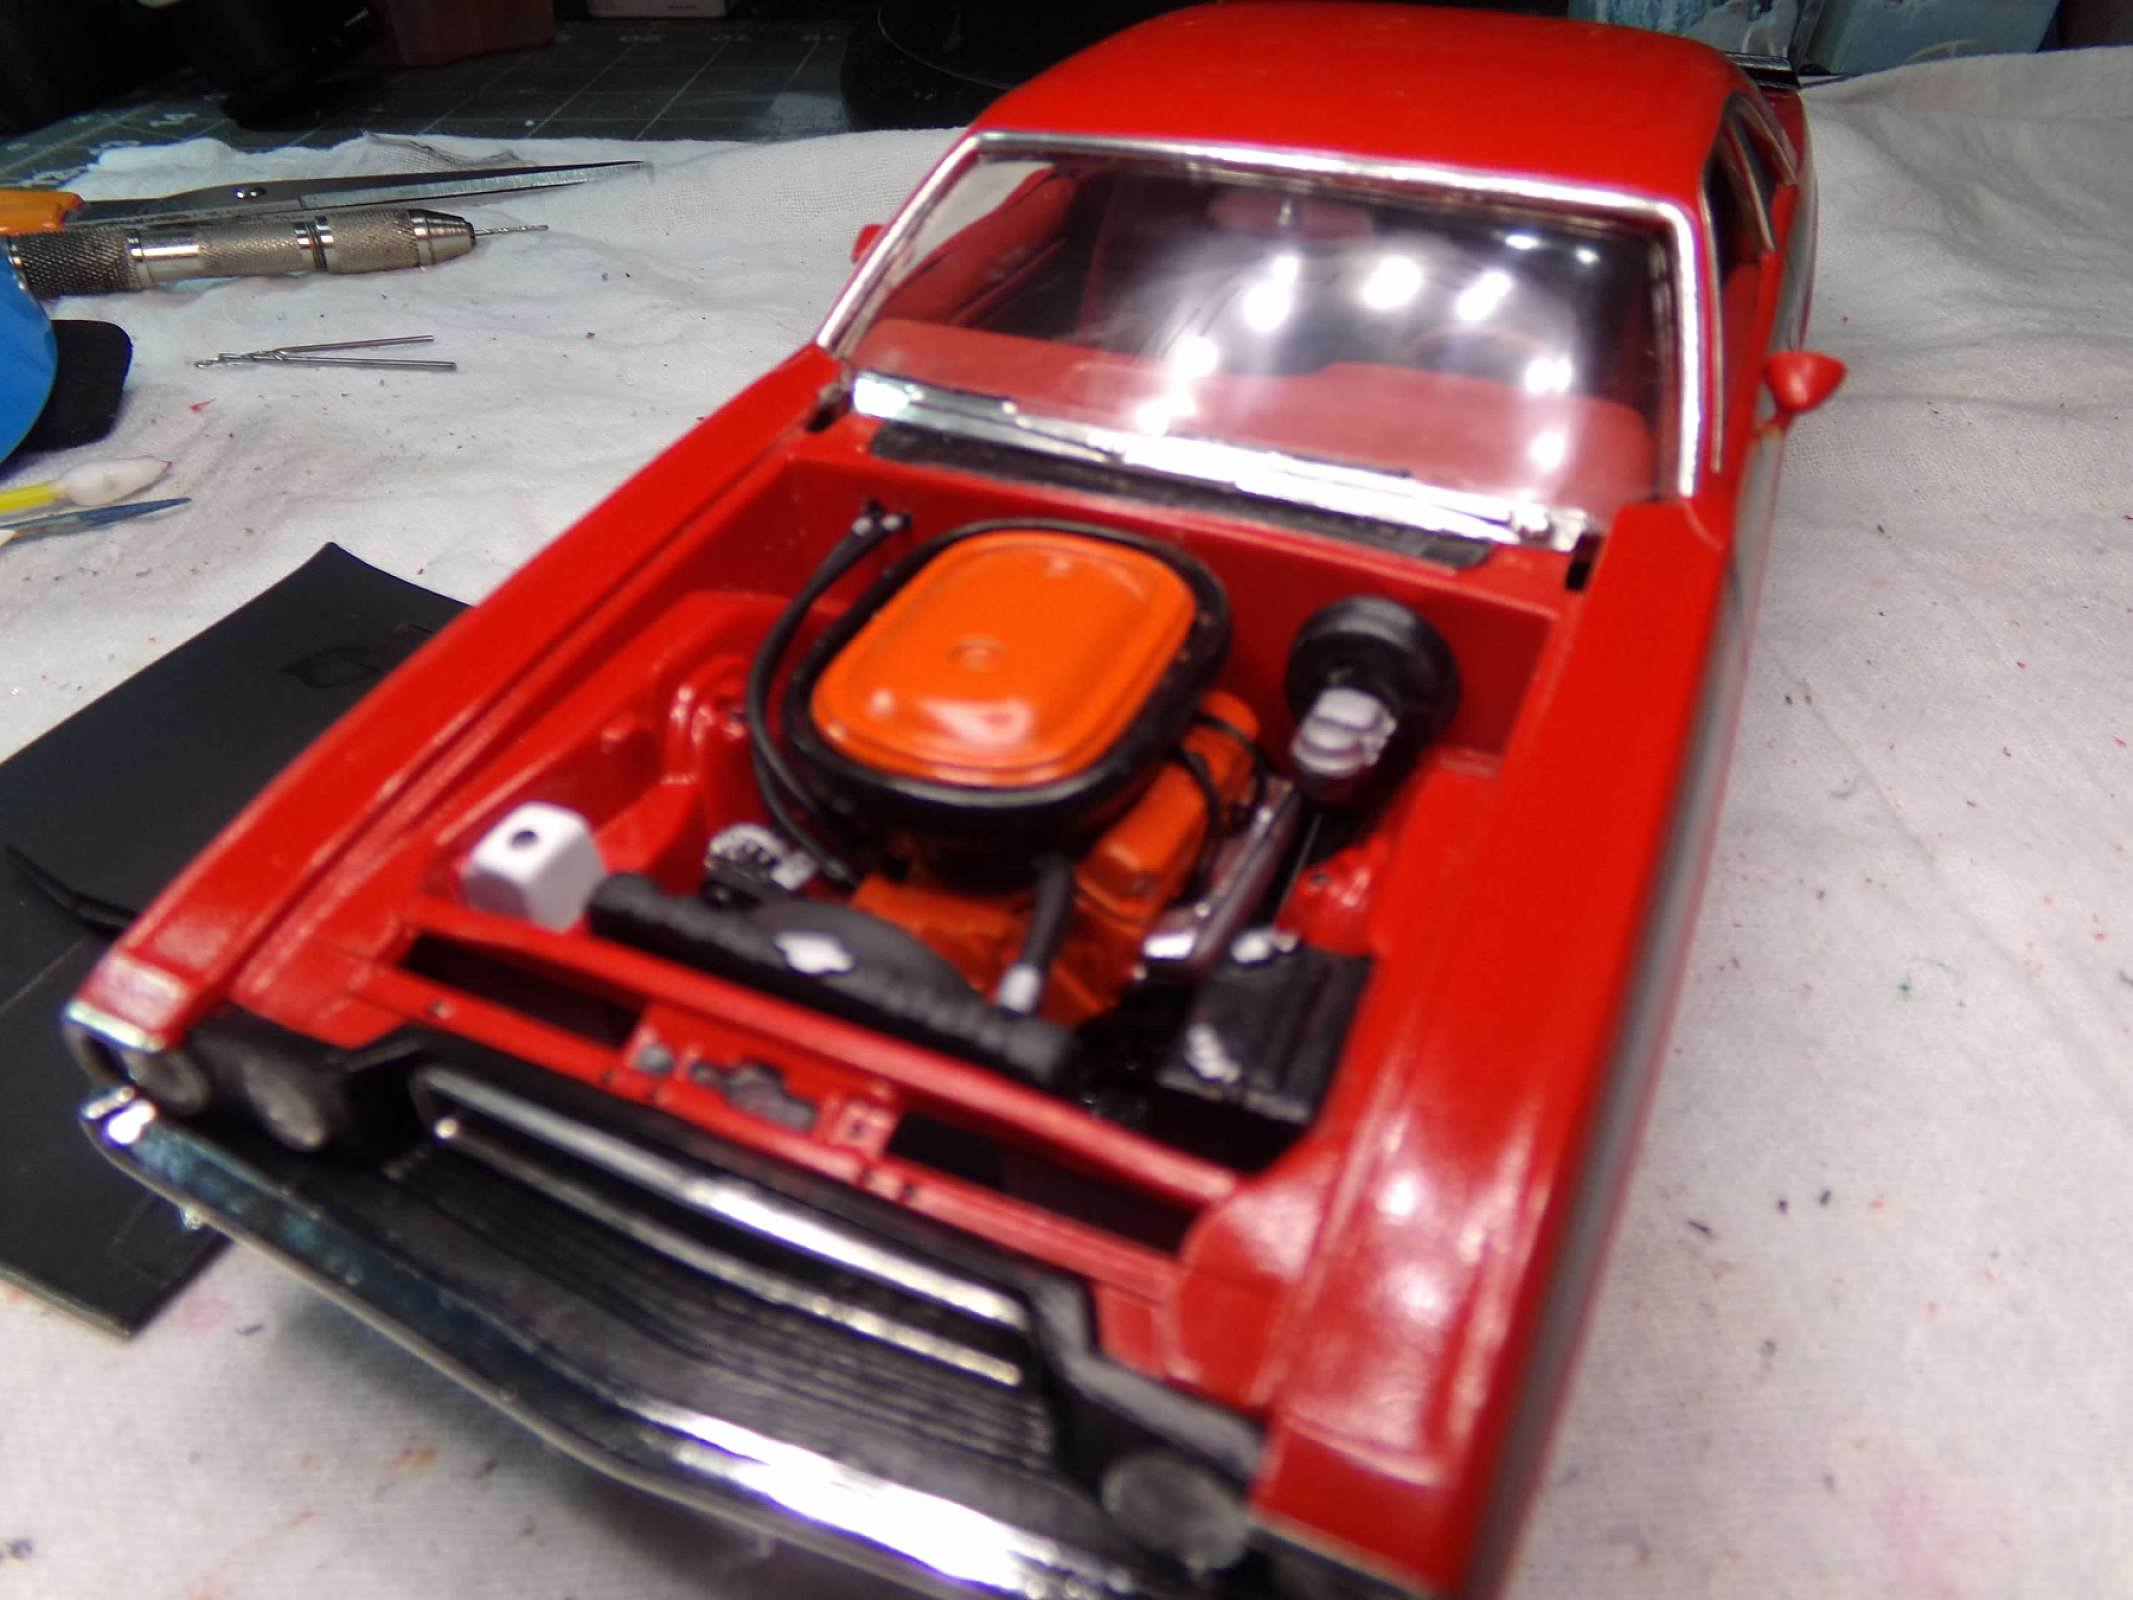
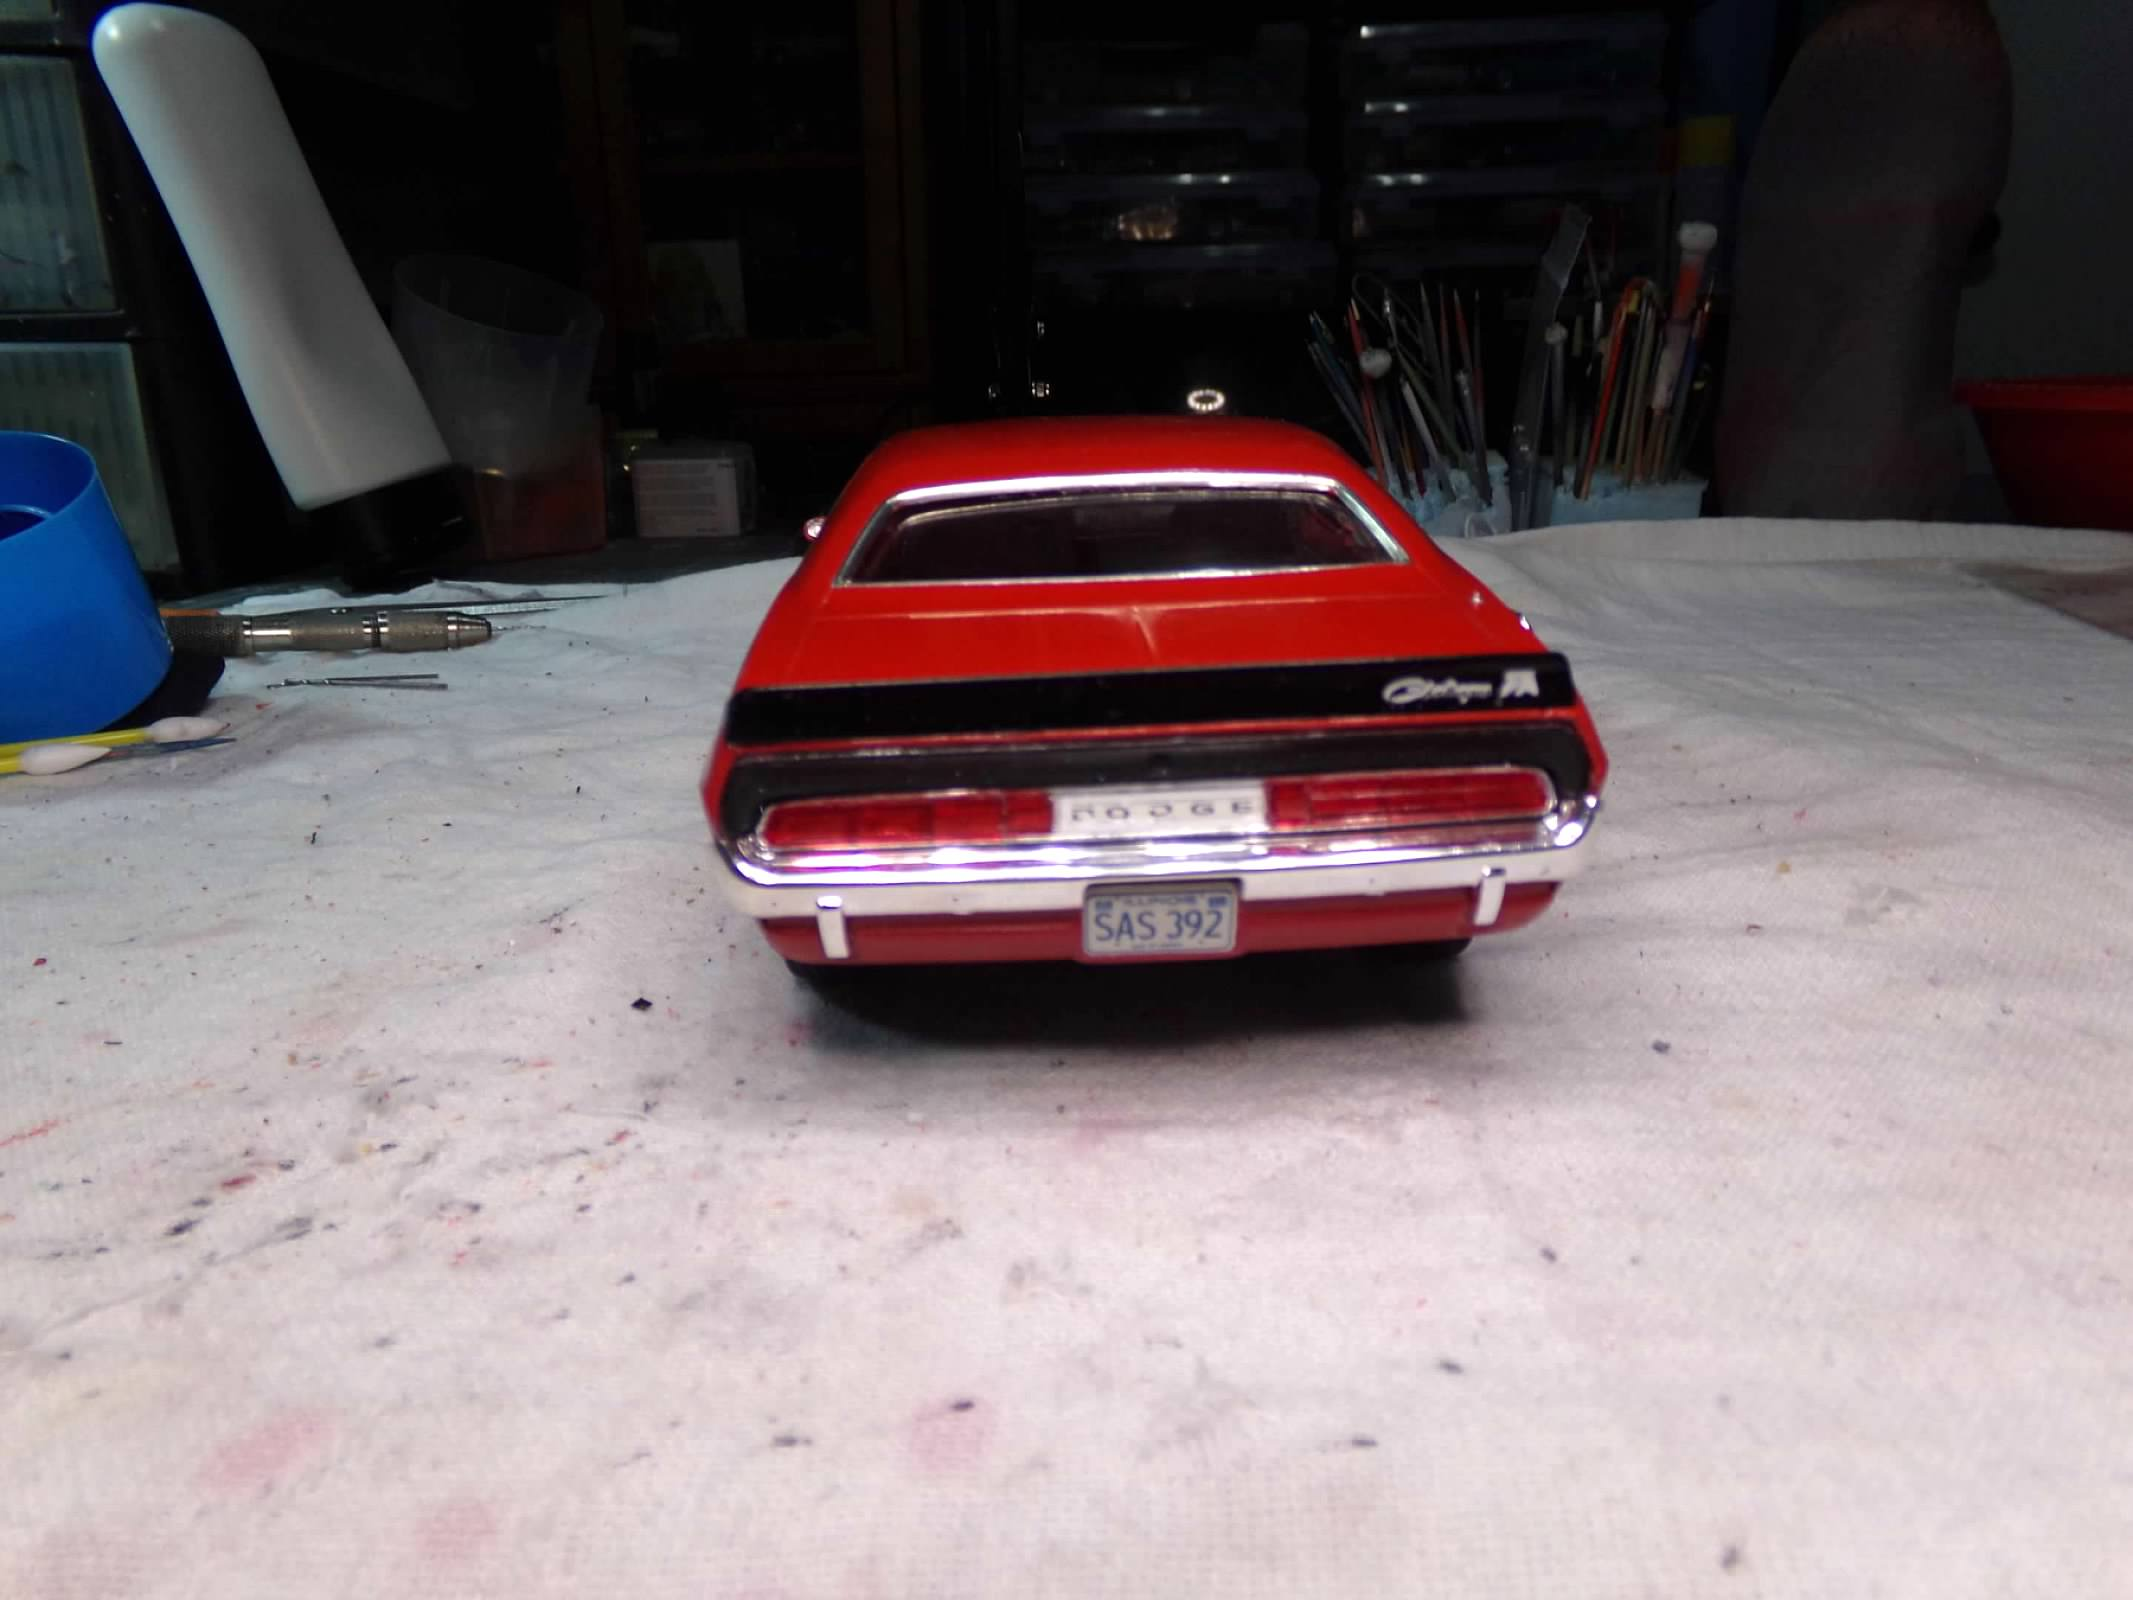
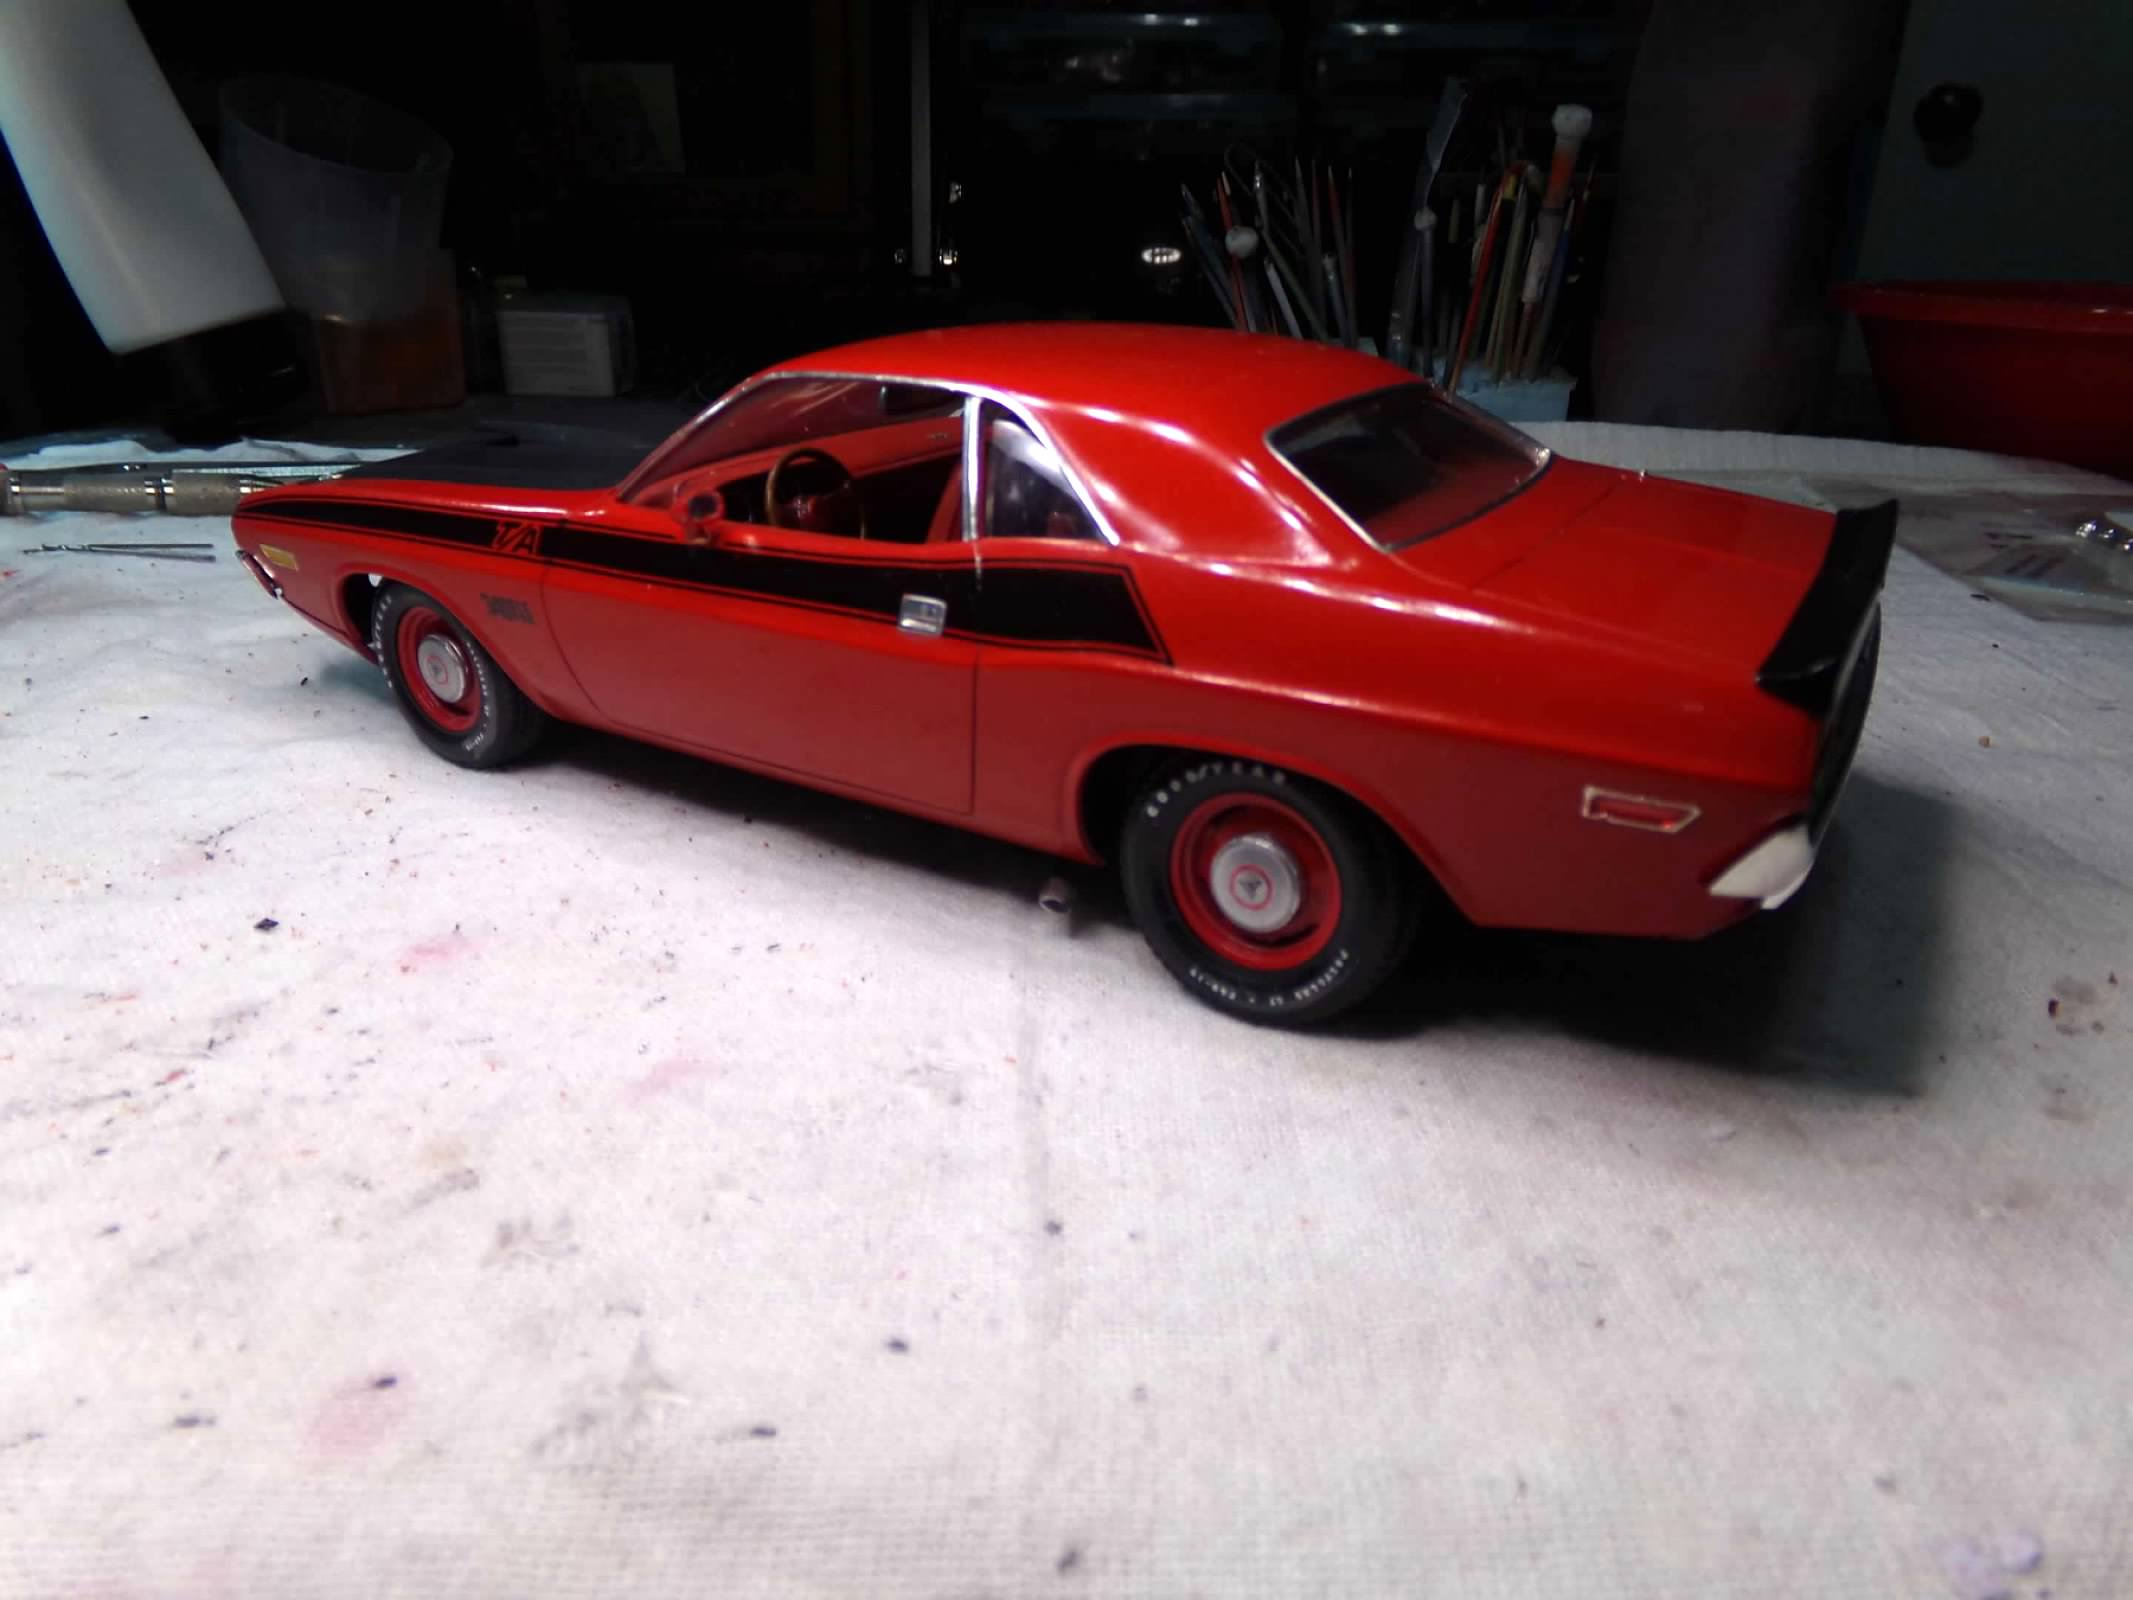
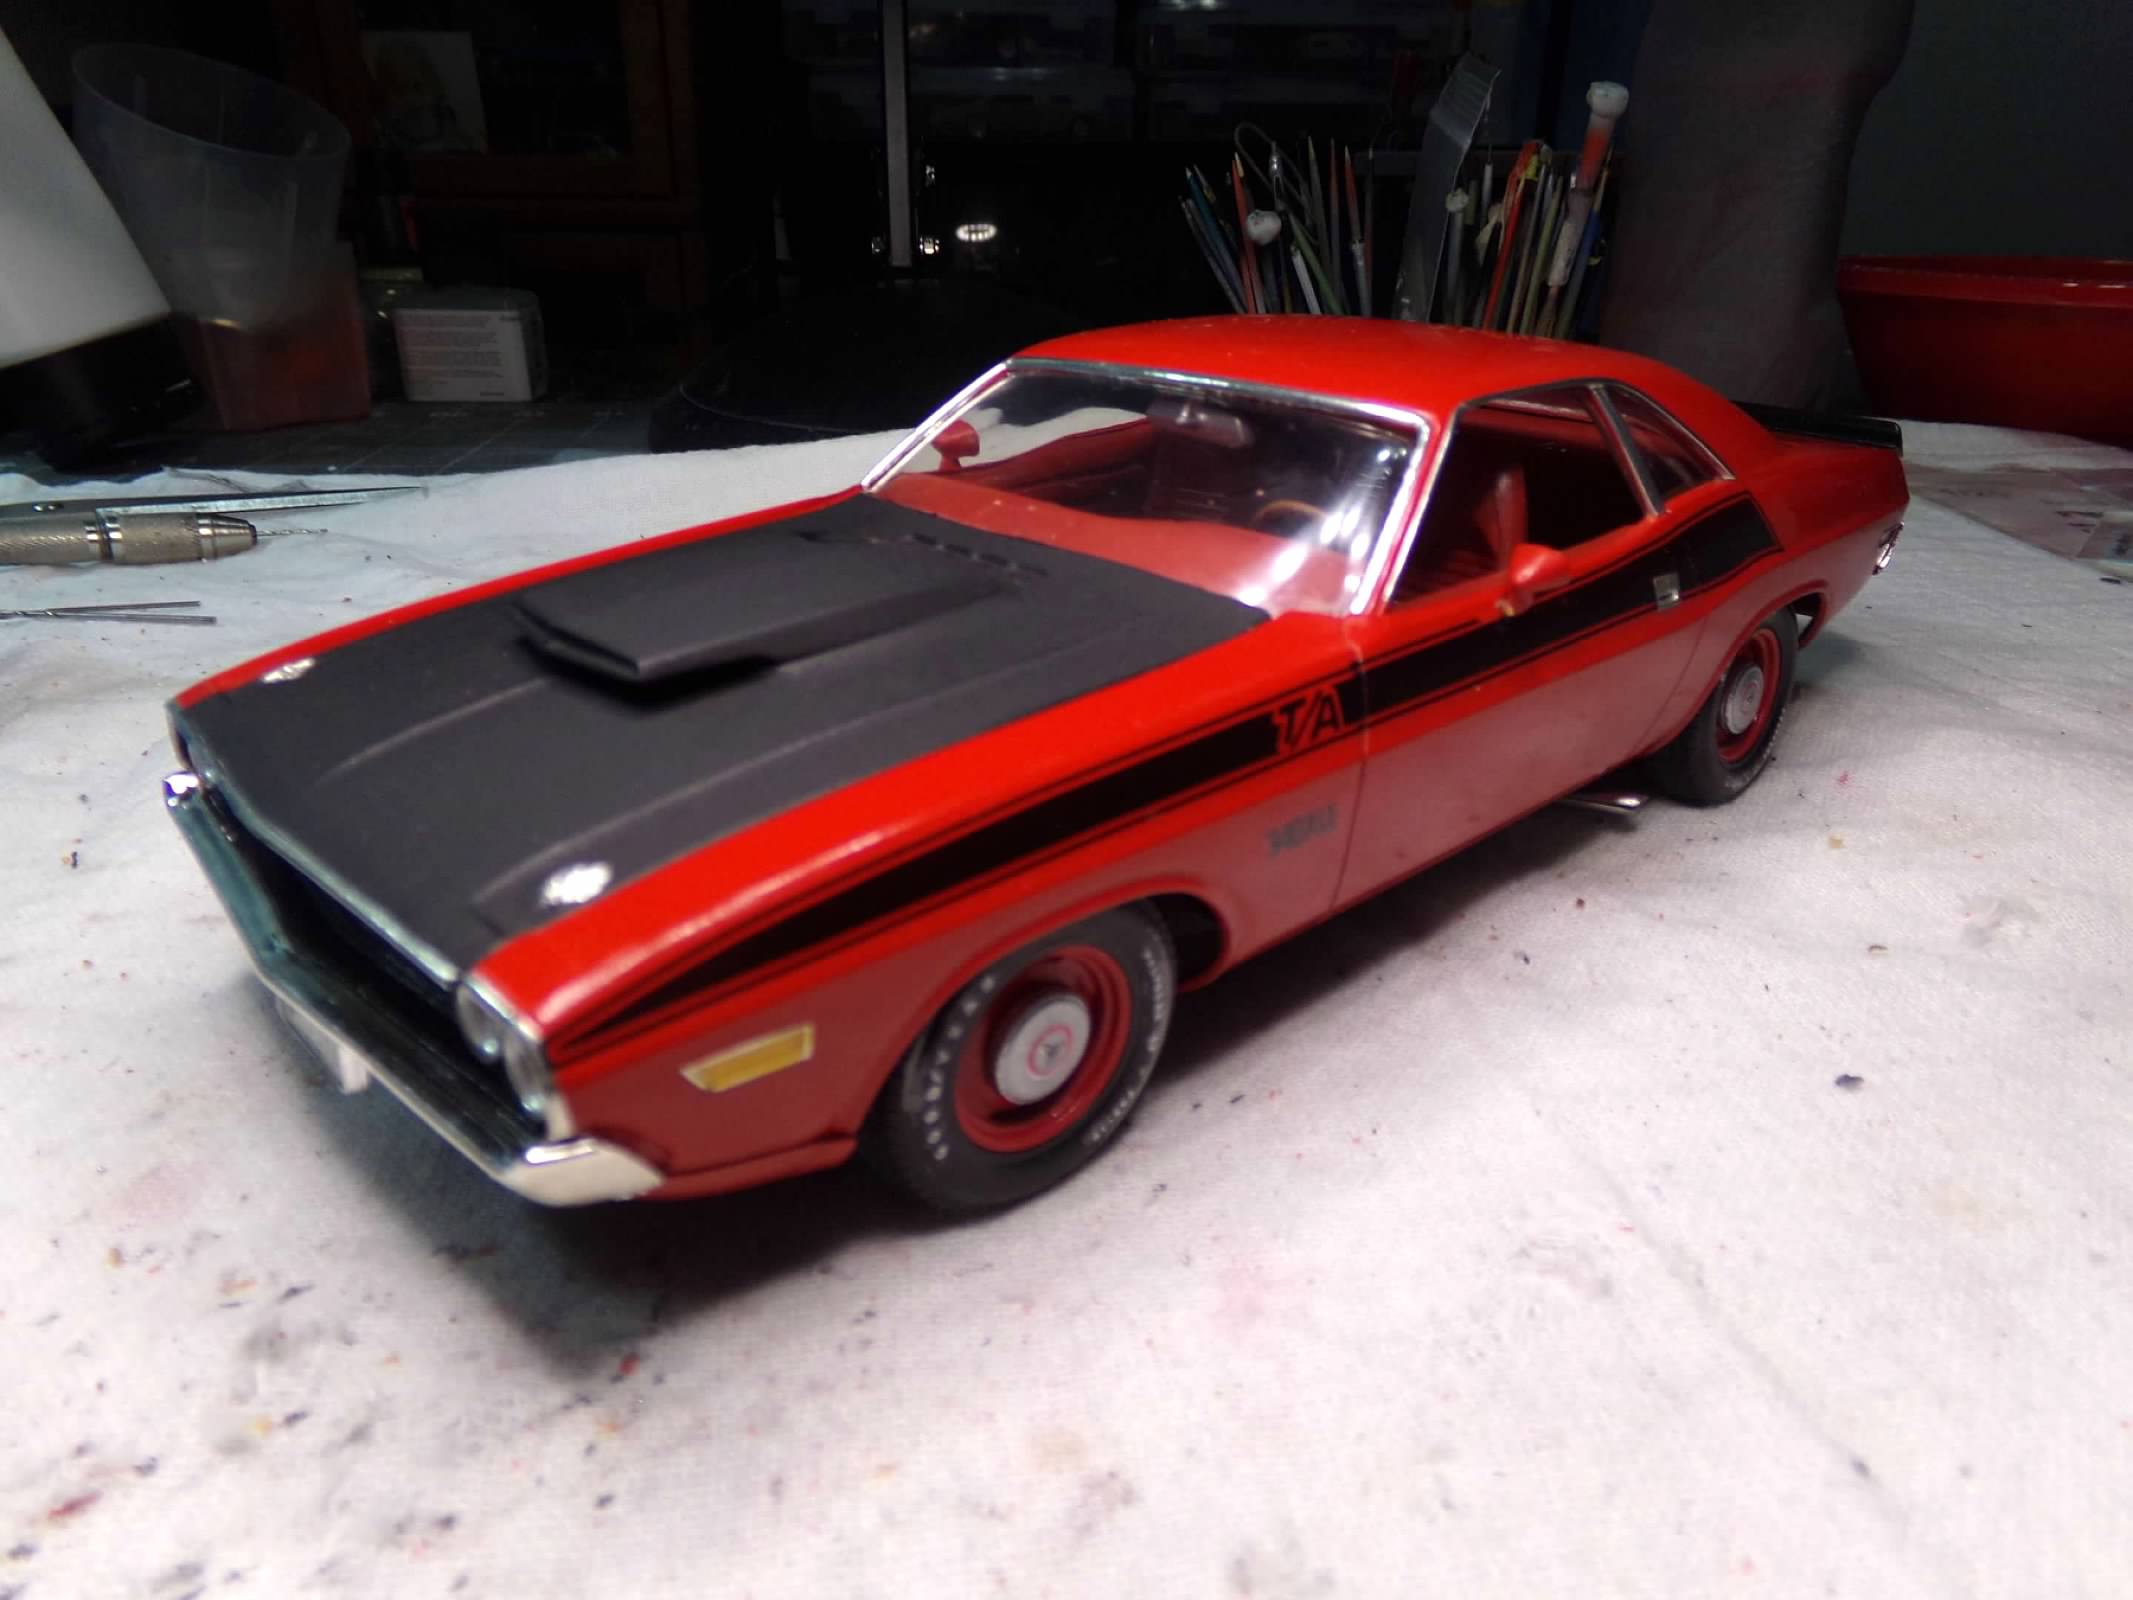
This is an old Monogram kit that has been rolling around in the closet for years. I finally got it out and finished it although It had some missing parts that I must have borrowed over the years. I painted it Dupli-Color Flash Red and the interior was painted with an old can of WalMart Fire Red, a little darker color red. I added a horn button to the steering wheel and a turn signal indicator lever to the column. The taillight panel was scratched from parts box 69 Camaro taillights. Plastic strip was added in the middle for the Dodge decal. Added plug wires and heater hoses to the 340 six pack engine. Wheels, hubcaps with decals, and decals for the tires are from Fireball Modelworks. the exterior decals are from the kit and were hard to apply and wanted to fold under since they have been in an unwrapped box for years. Everything went together well although the hubs had to be added to fit the wheelbacks and the taillights took a little bit of thought and work too. All in all, I think it came out pretty well. Thanks for looking! ?