ModelcarJR
-
Posts
1,648 -
Joined
-
Last visited
Content Type
Profiles
Forums
Events
Gallery
Everything posted by ModelcarJR
-
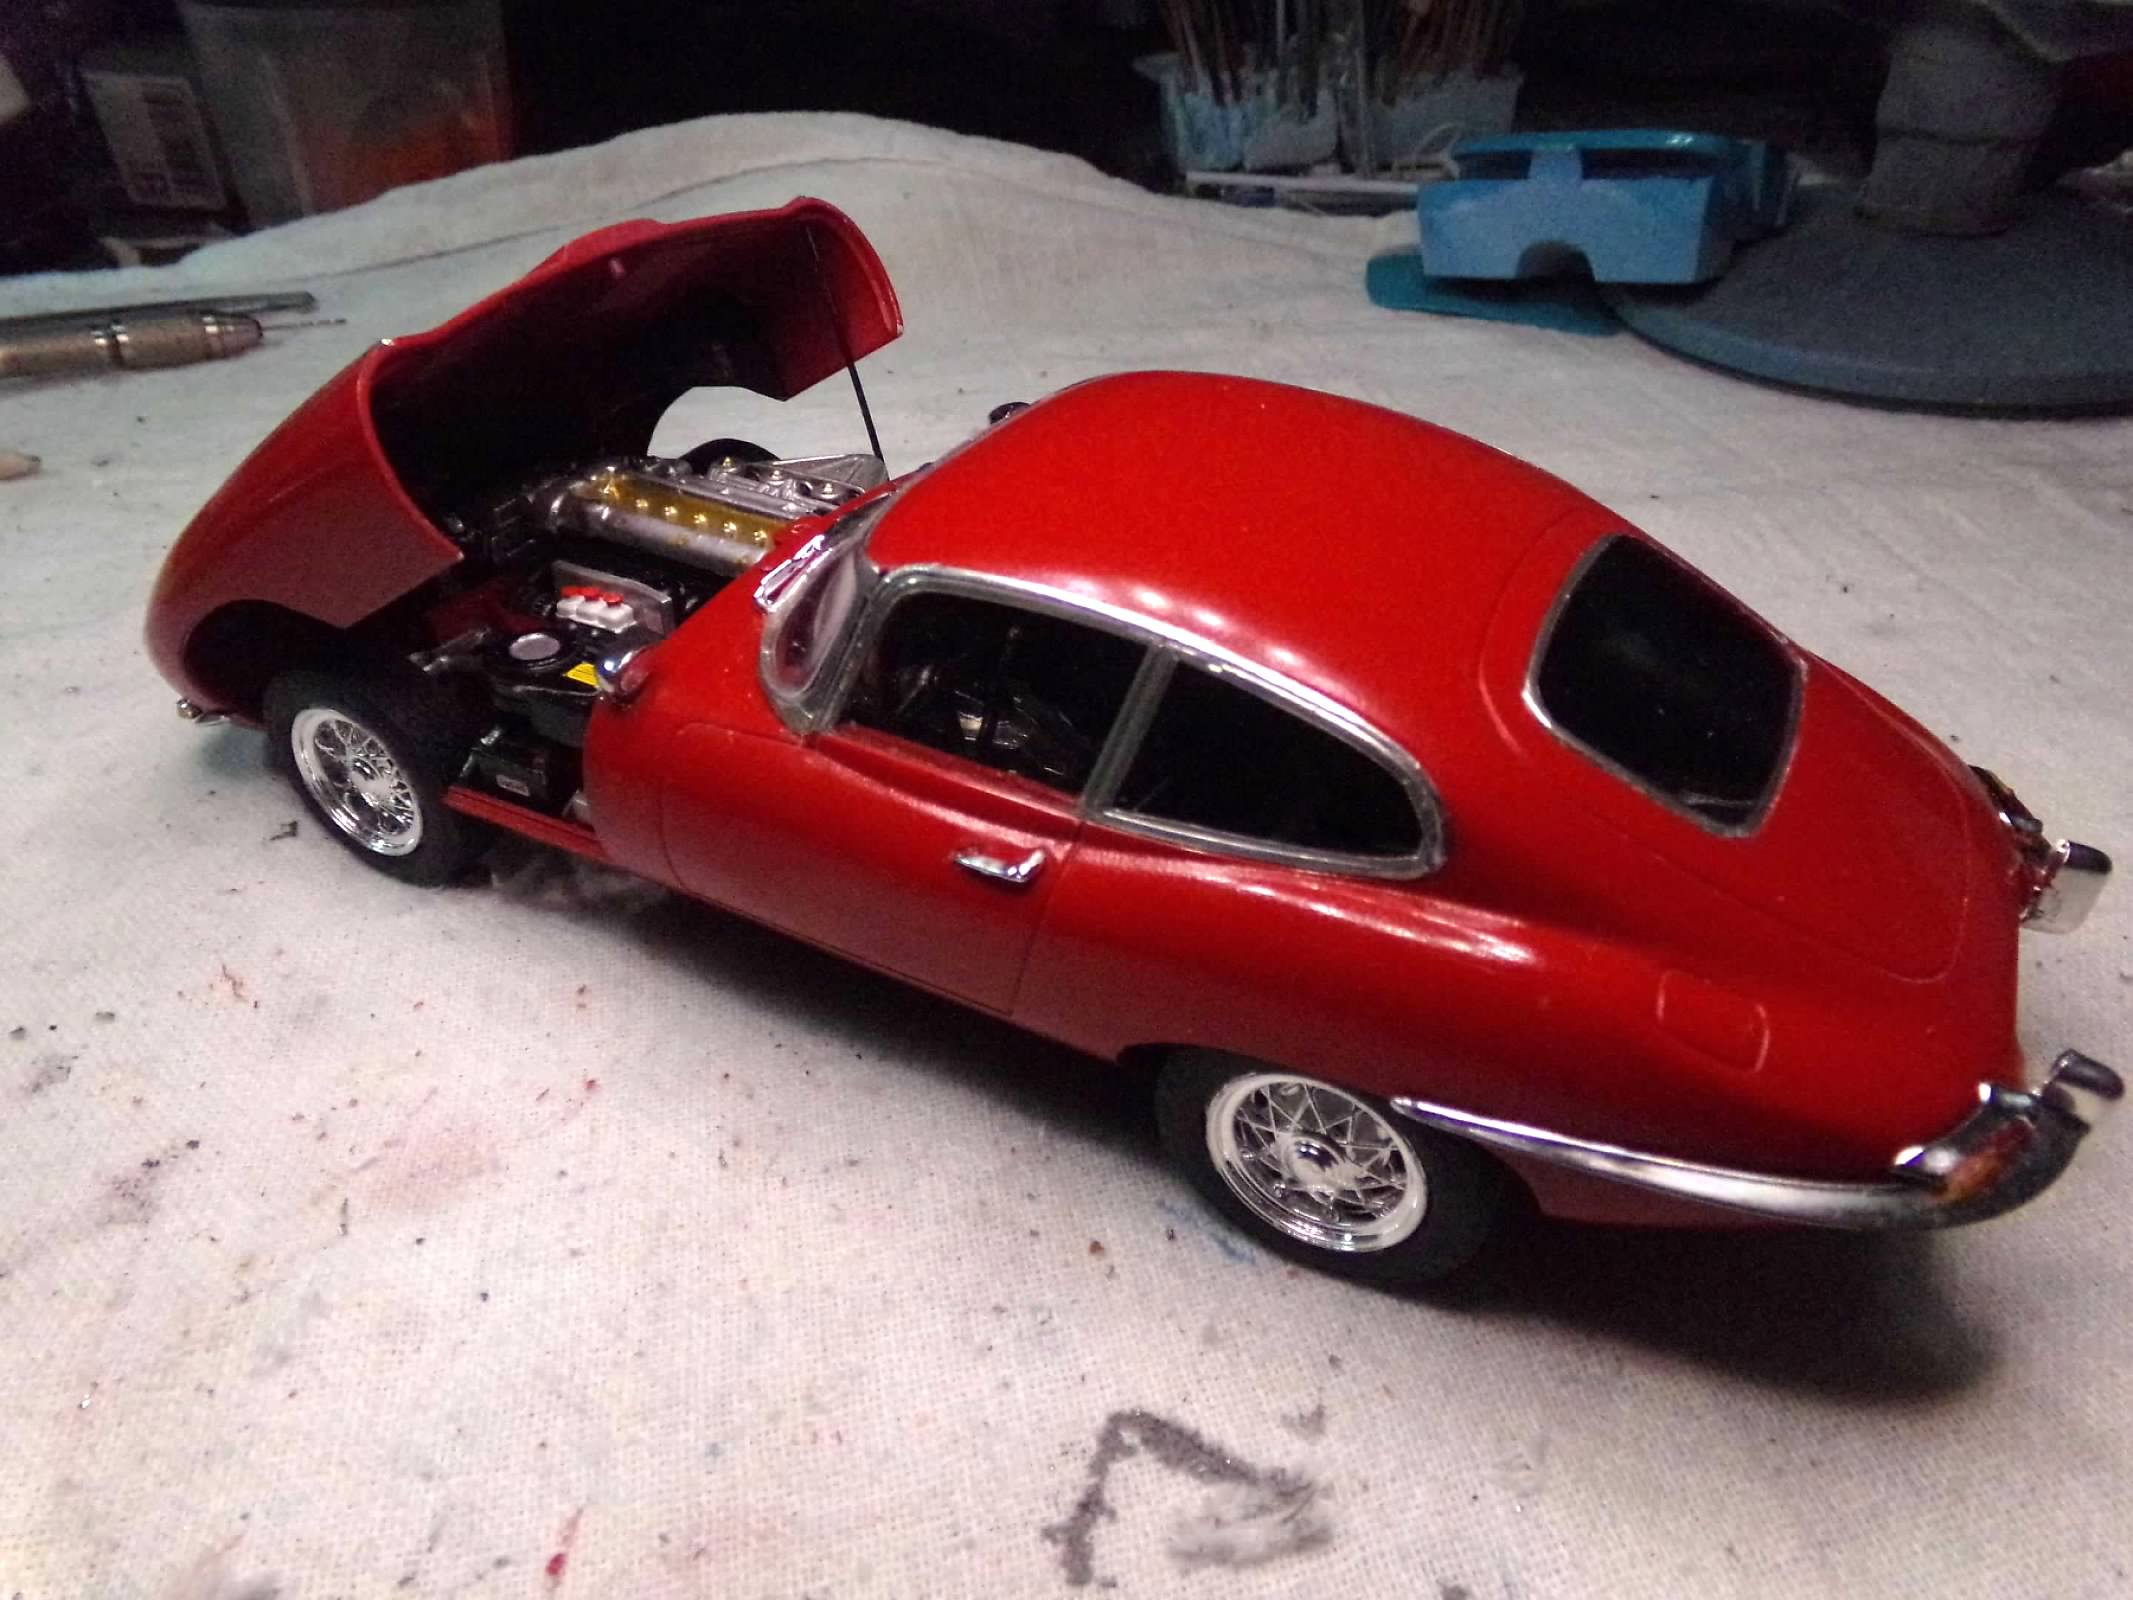
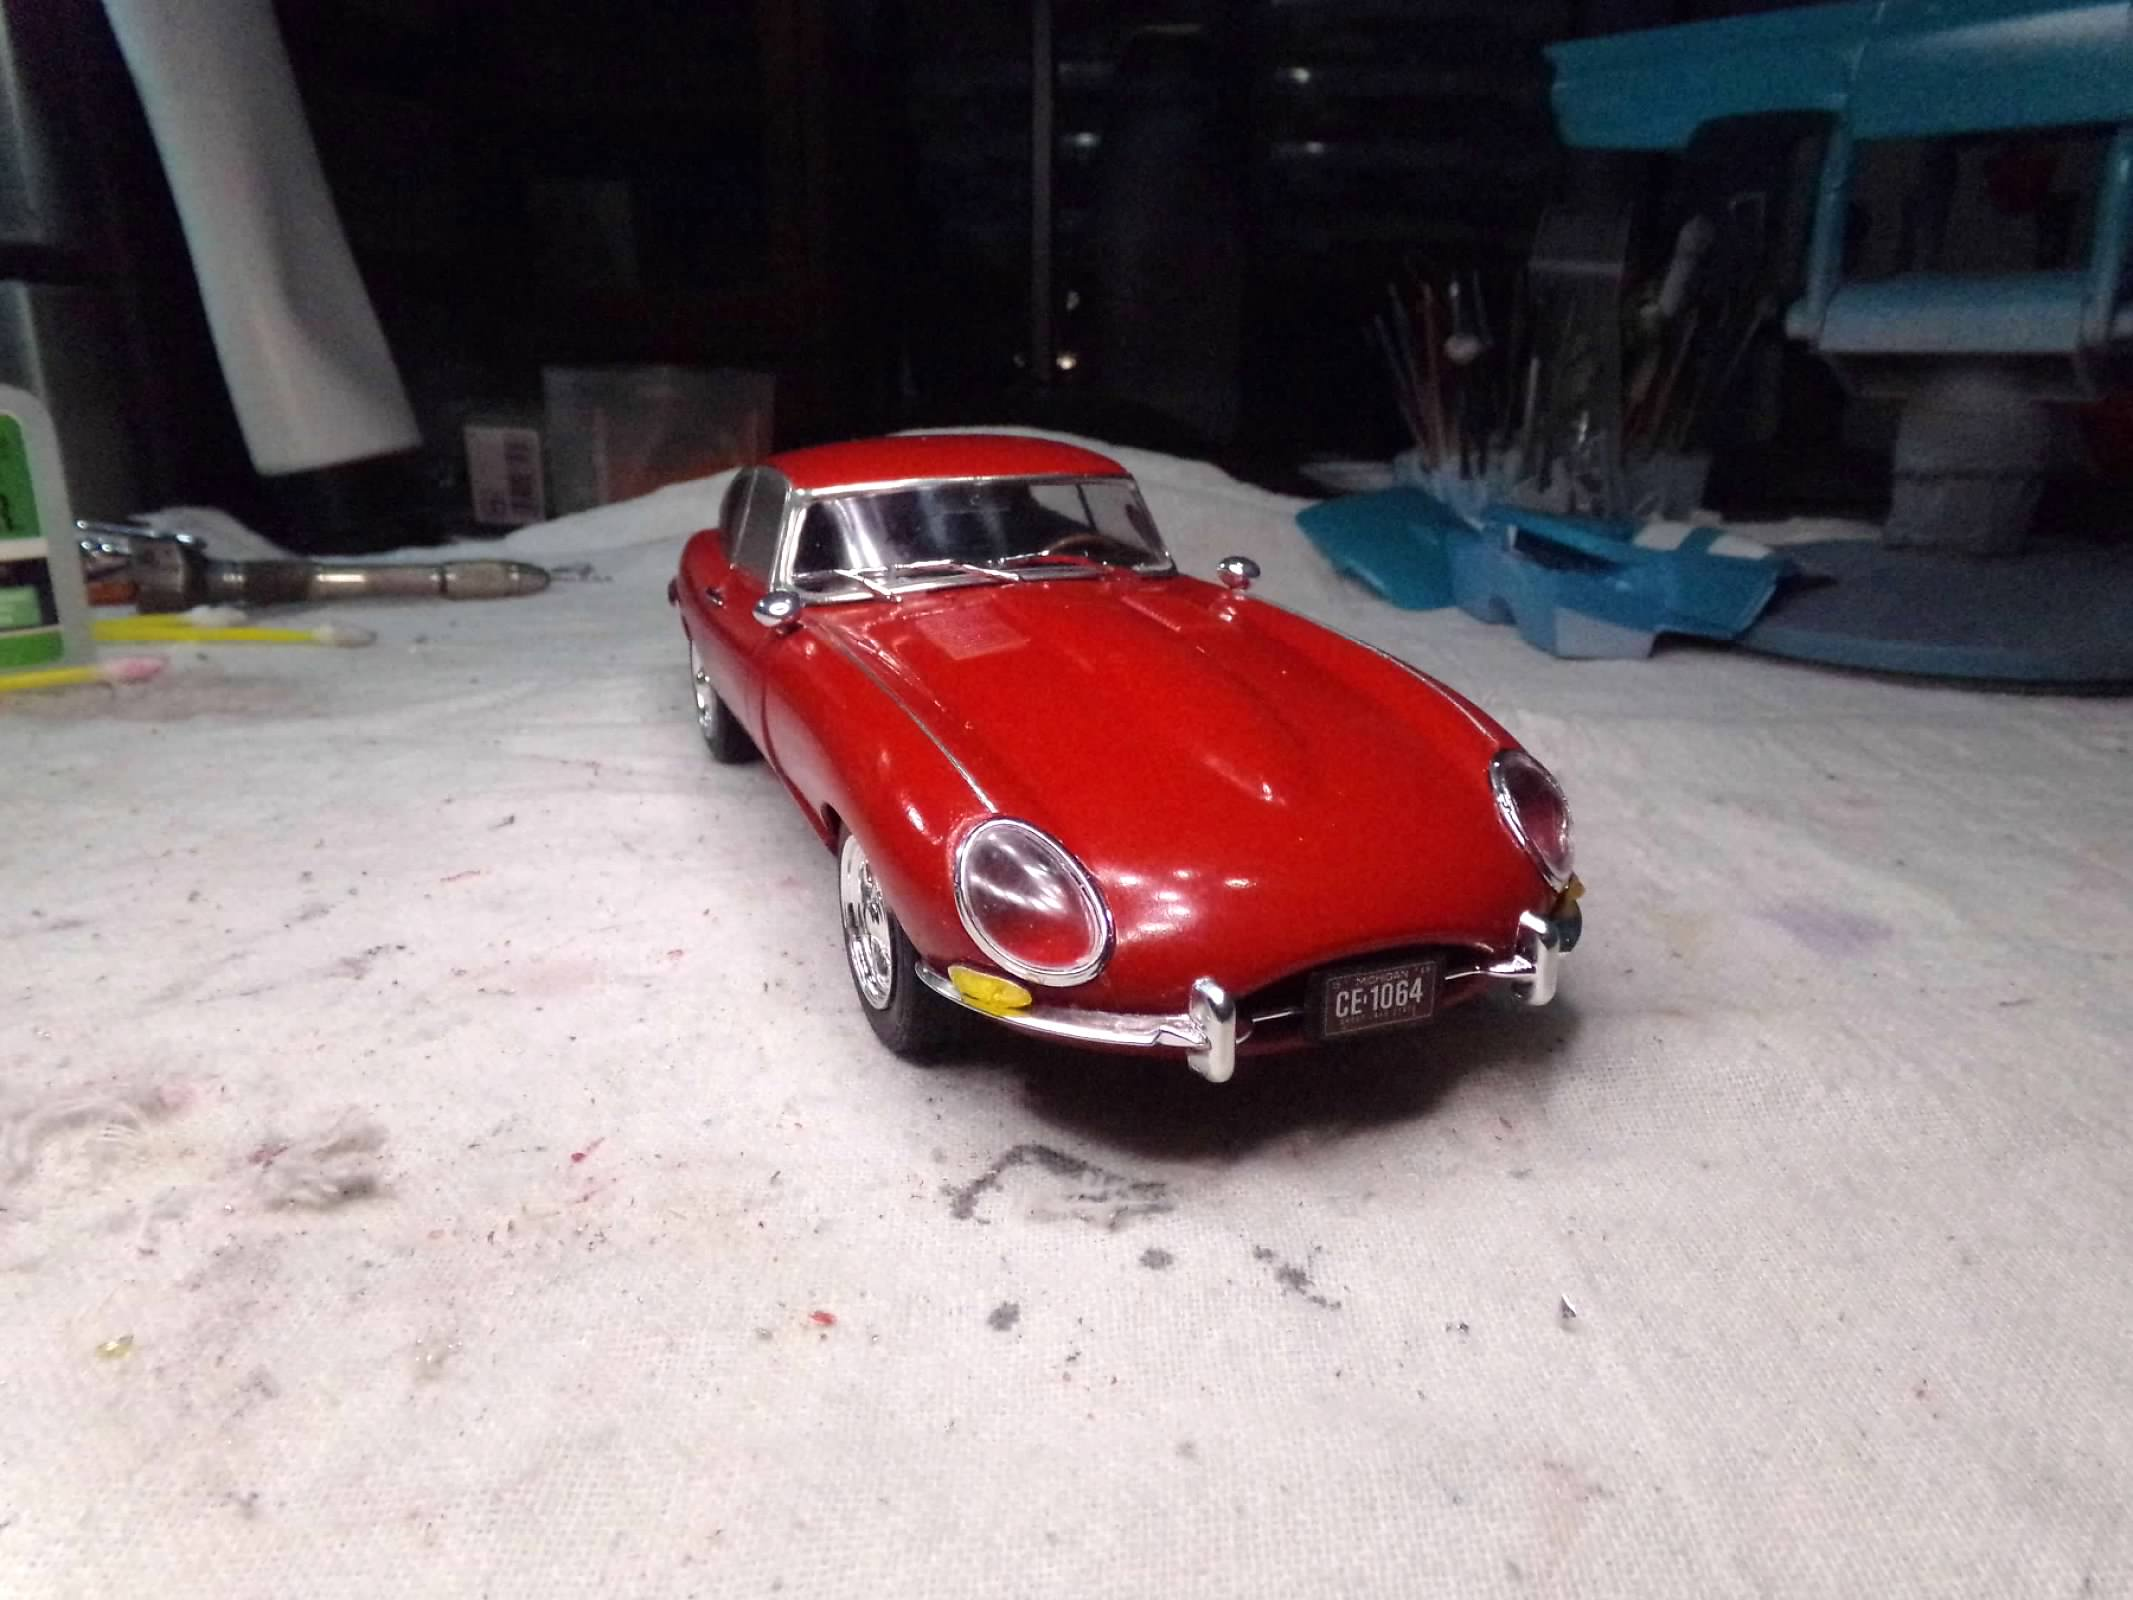
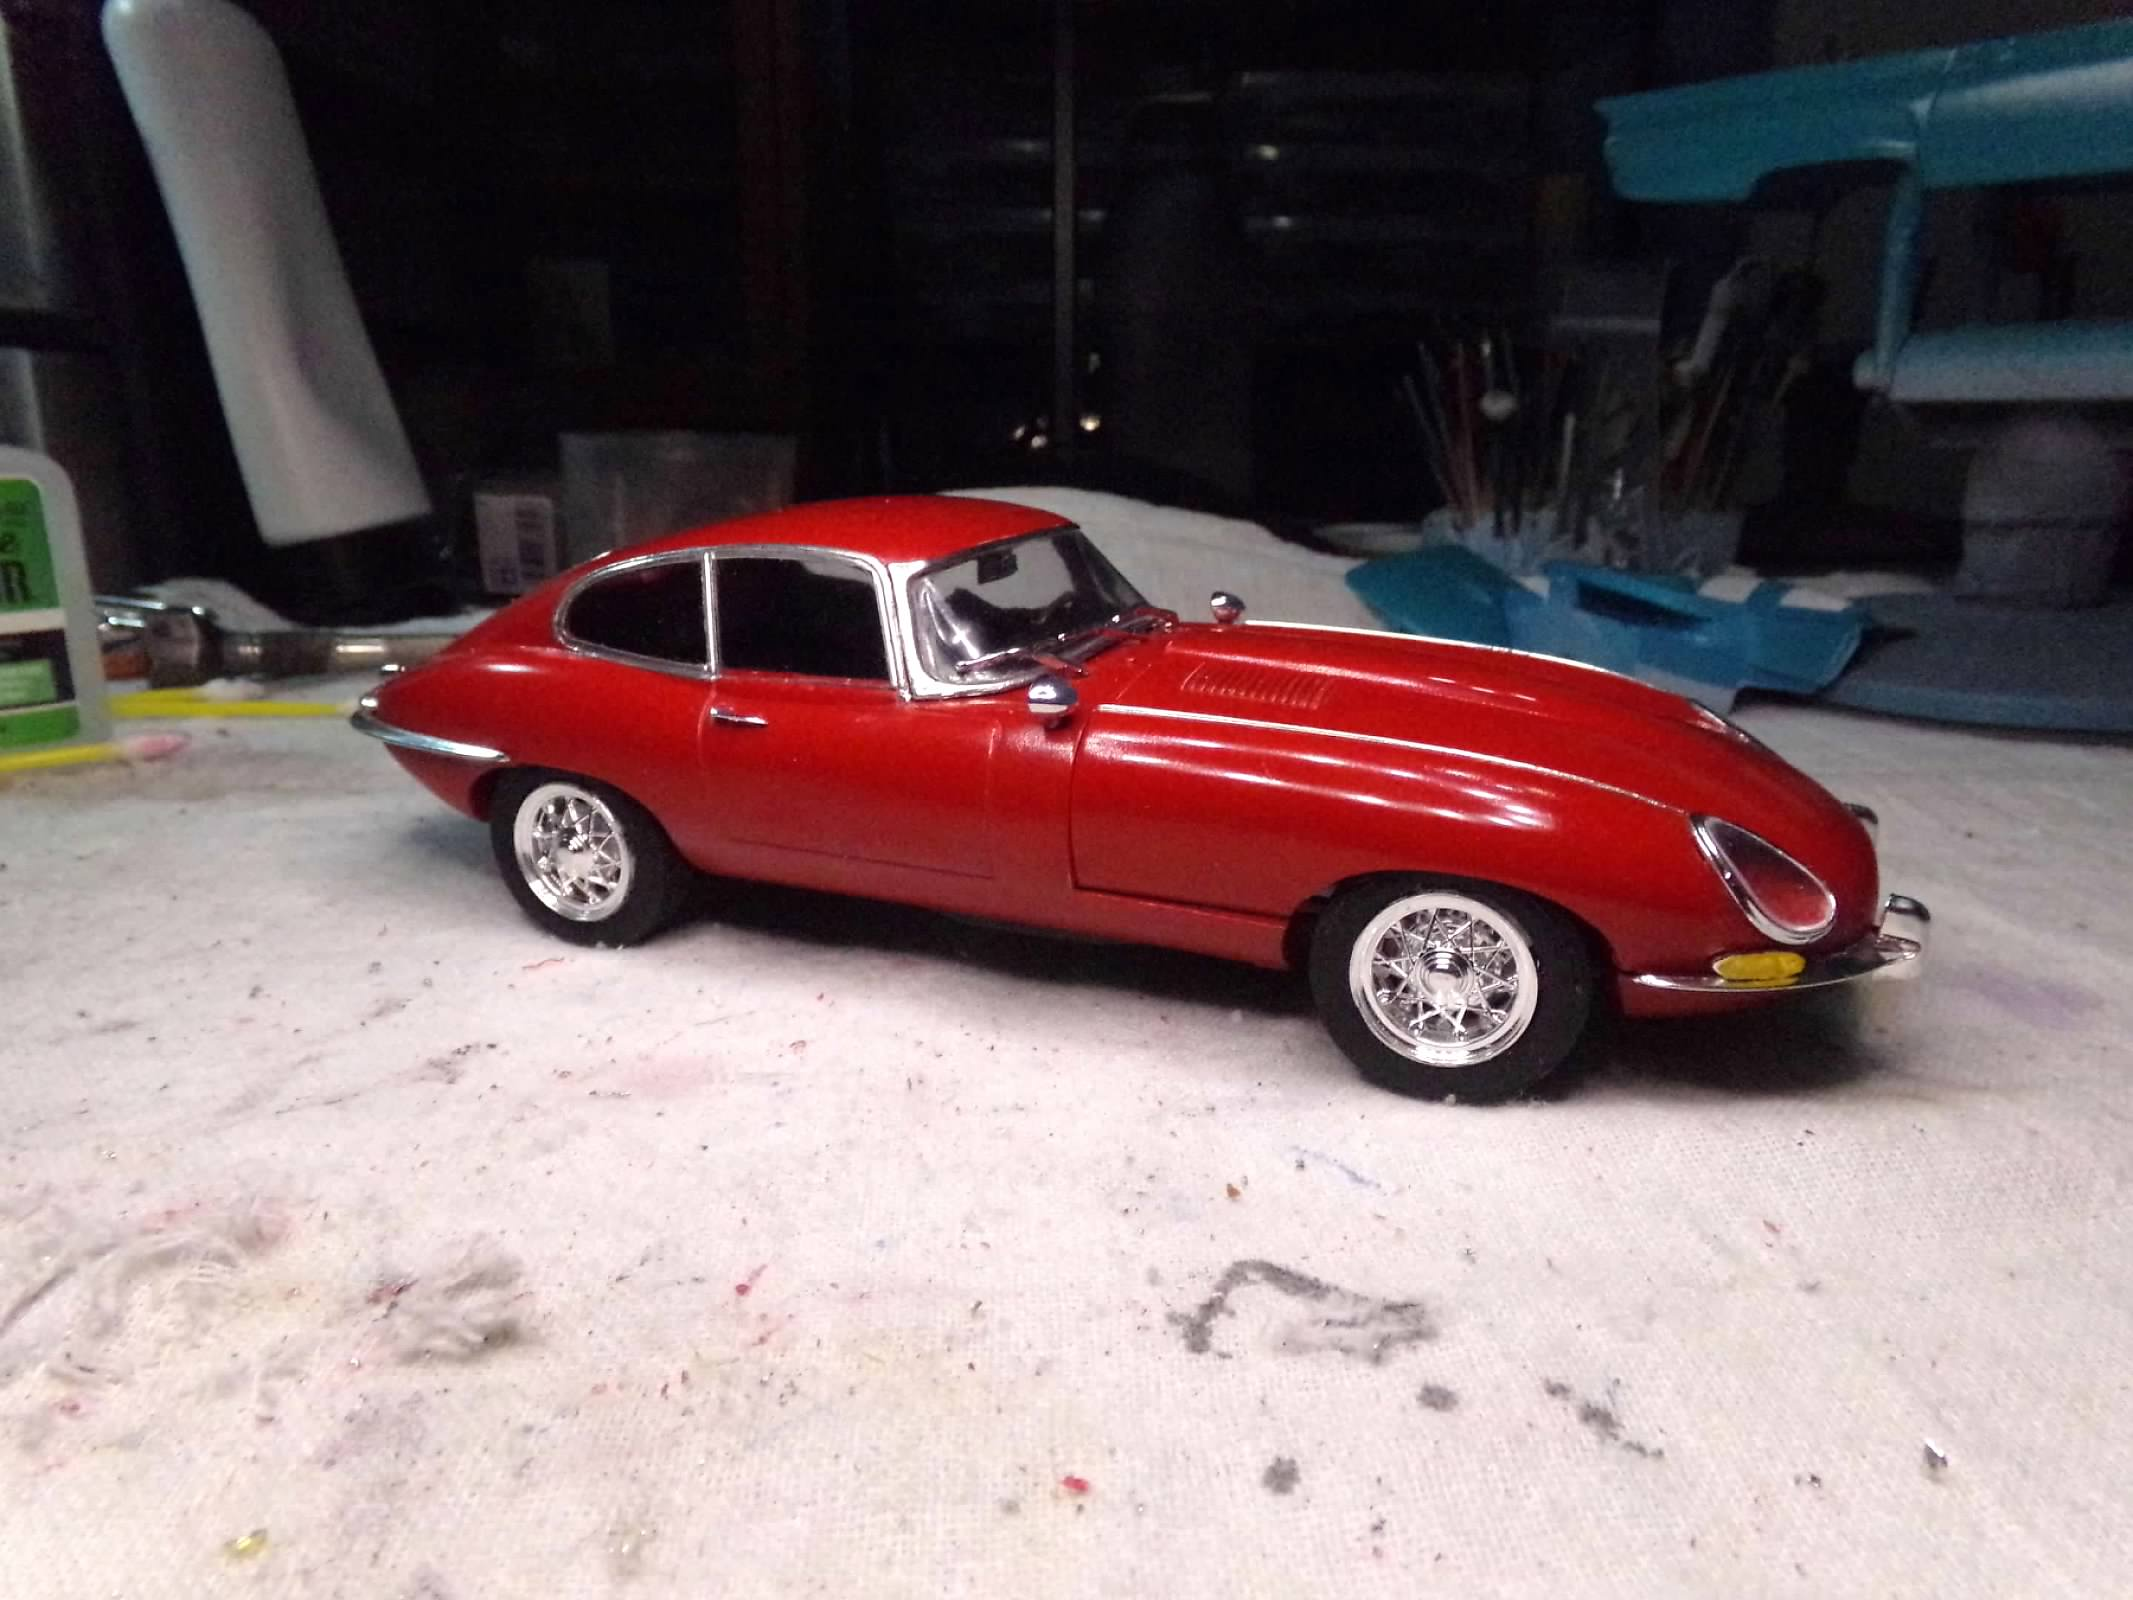
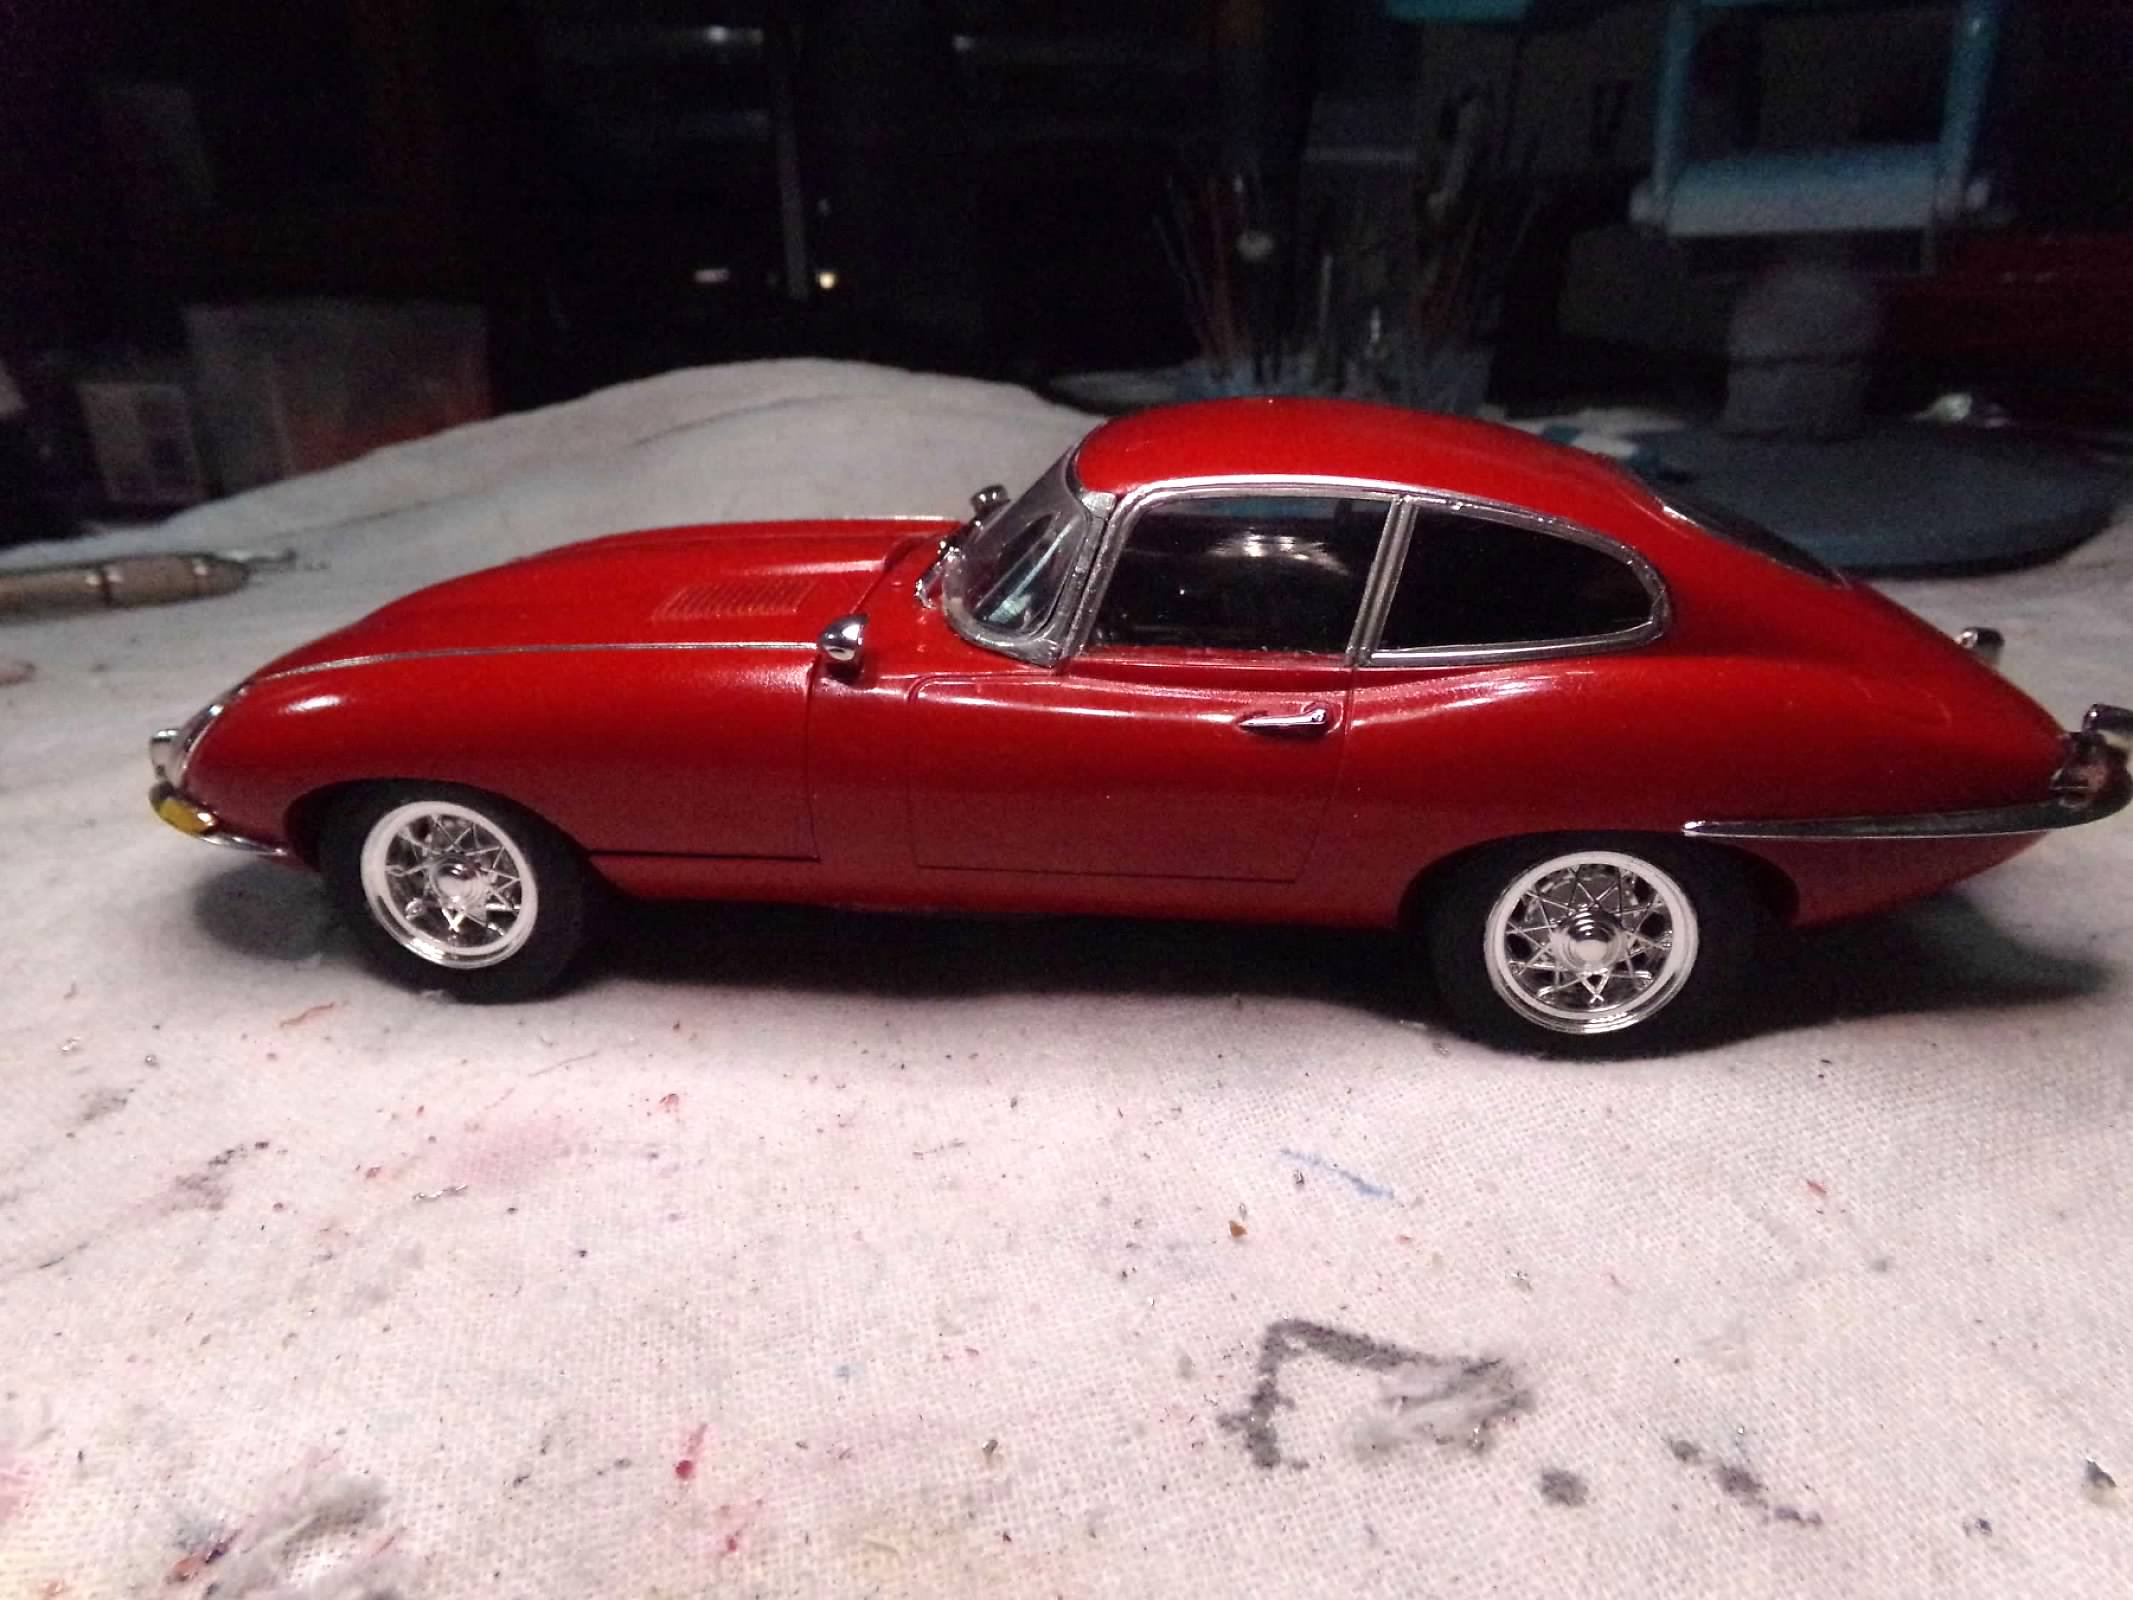
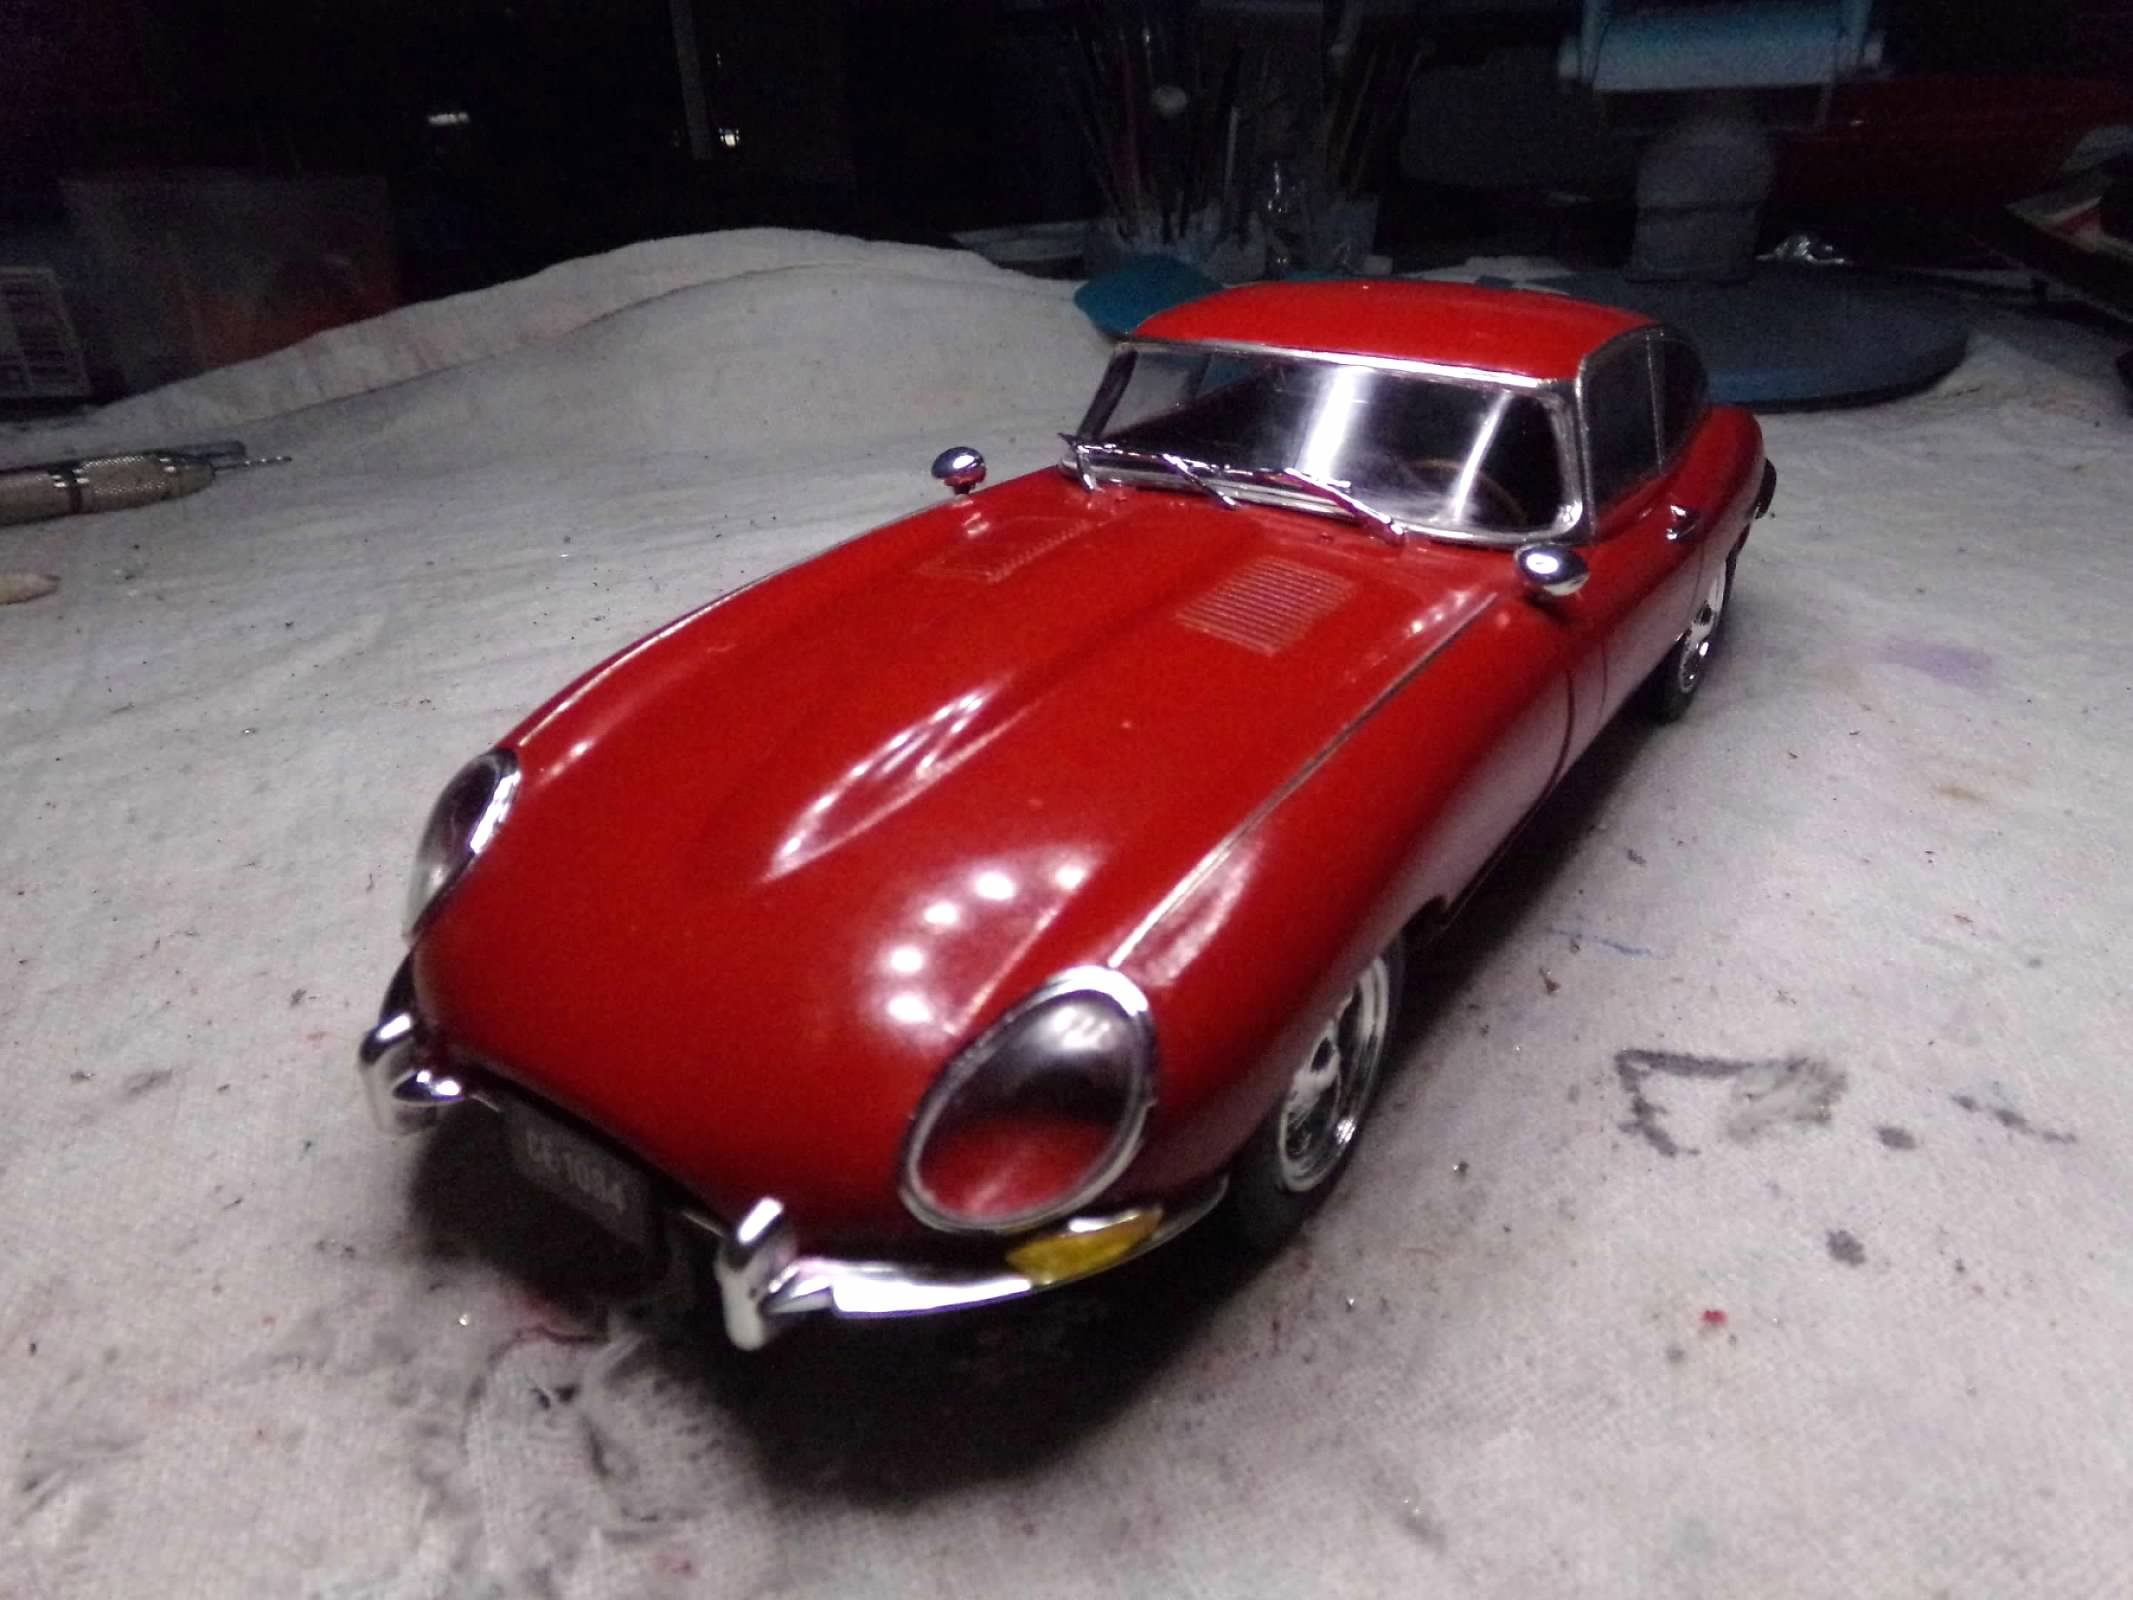
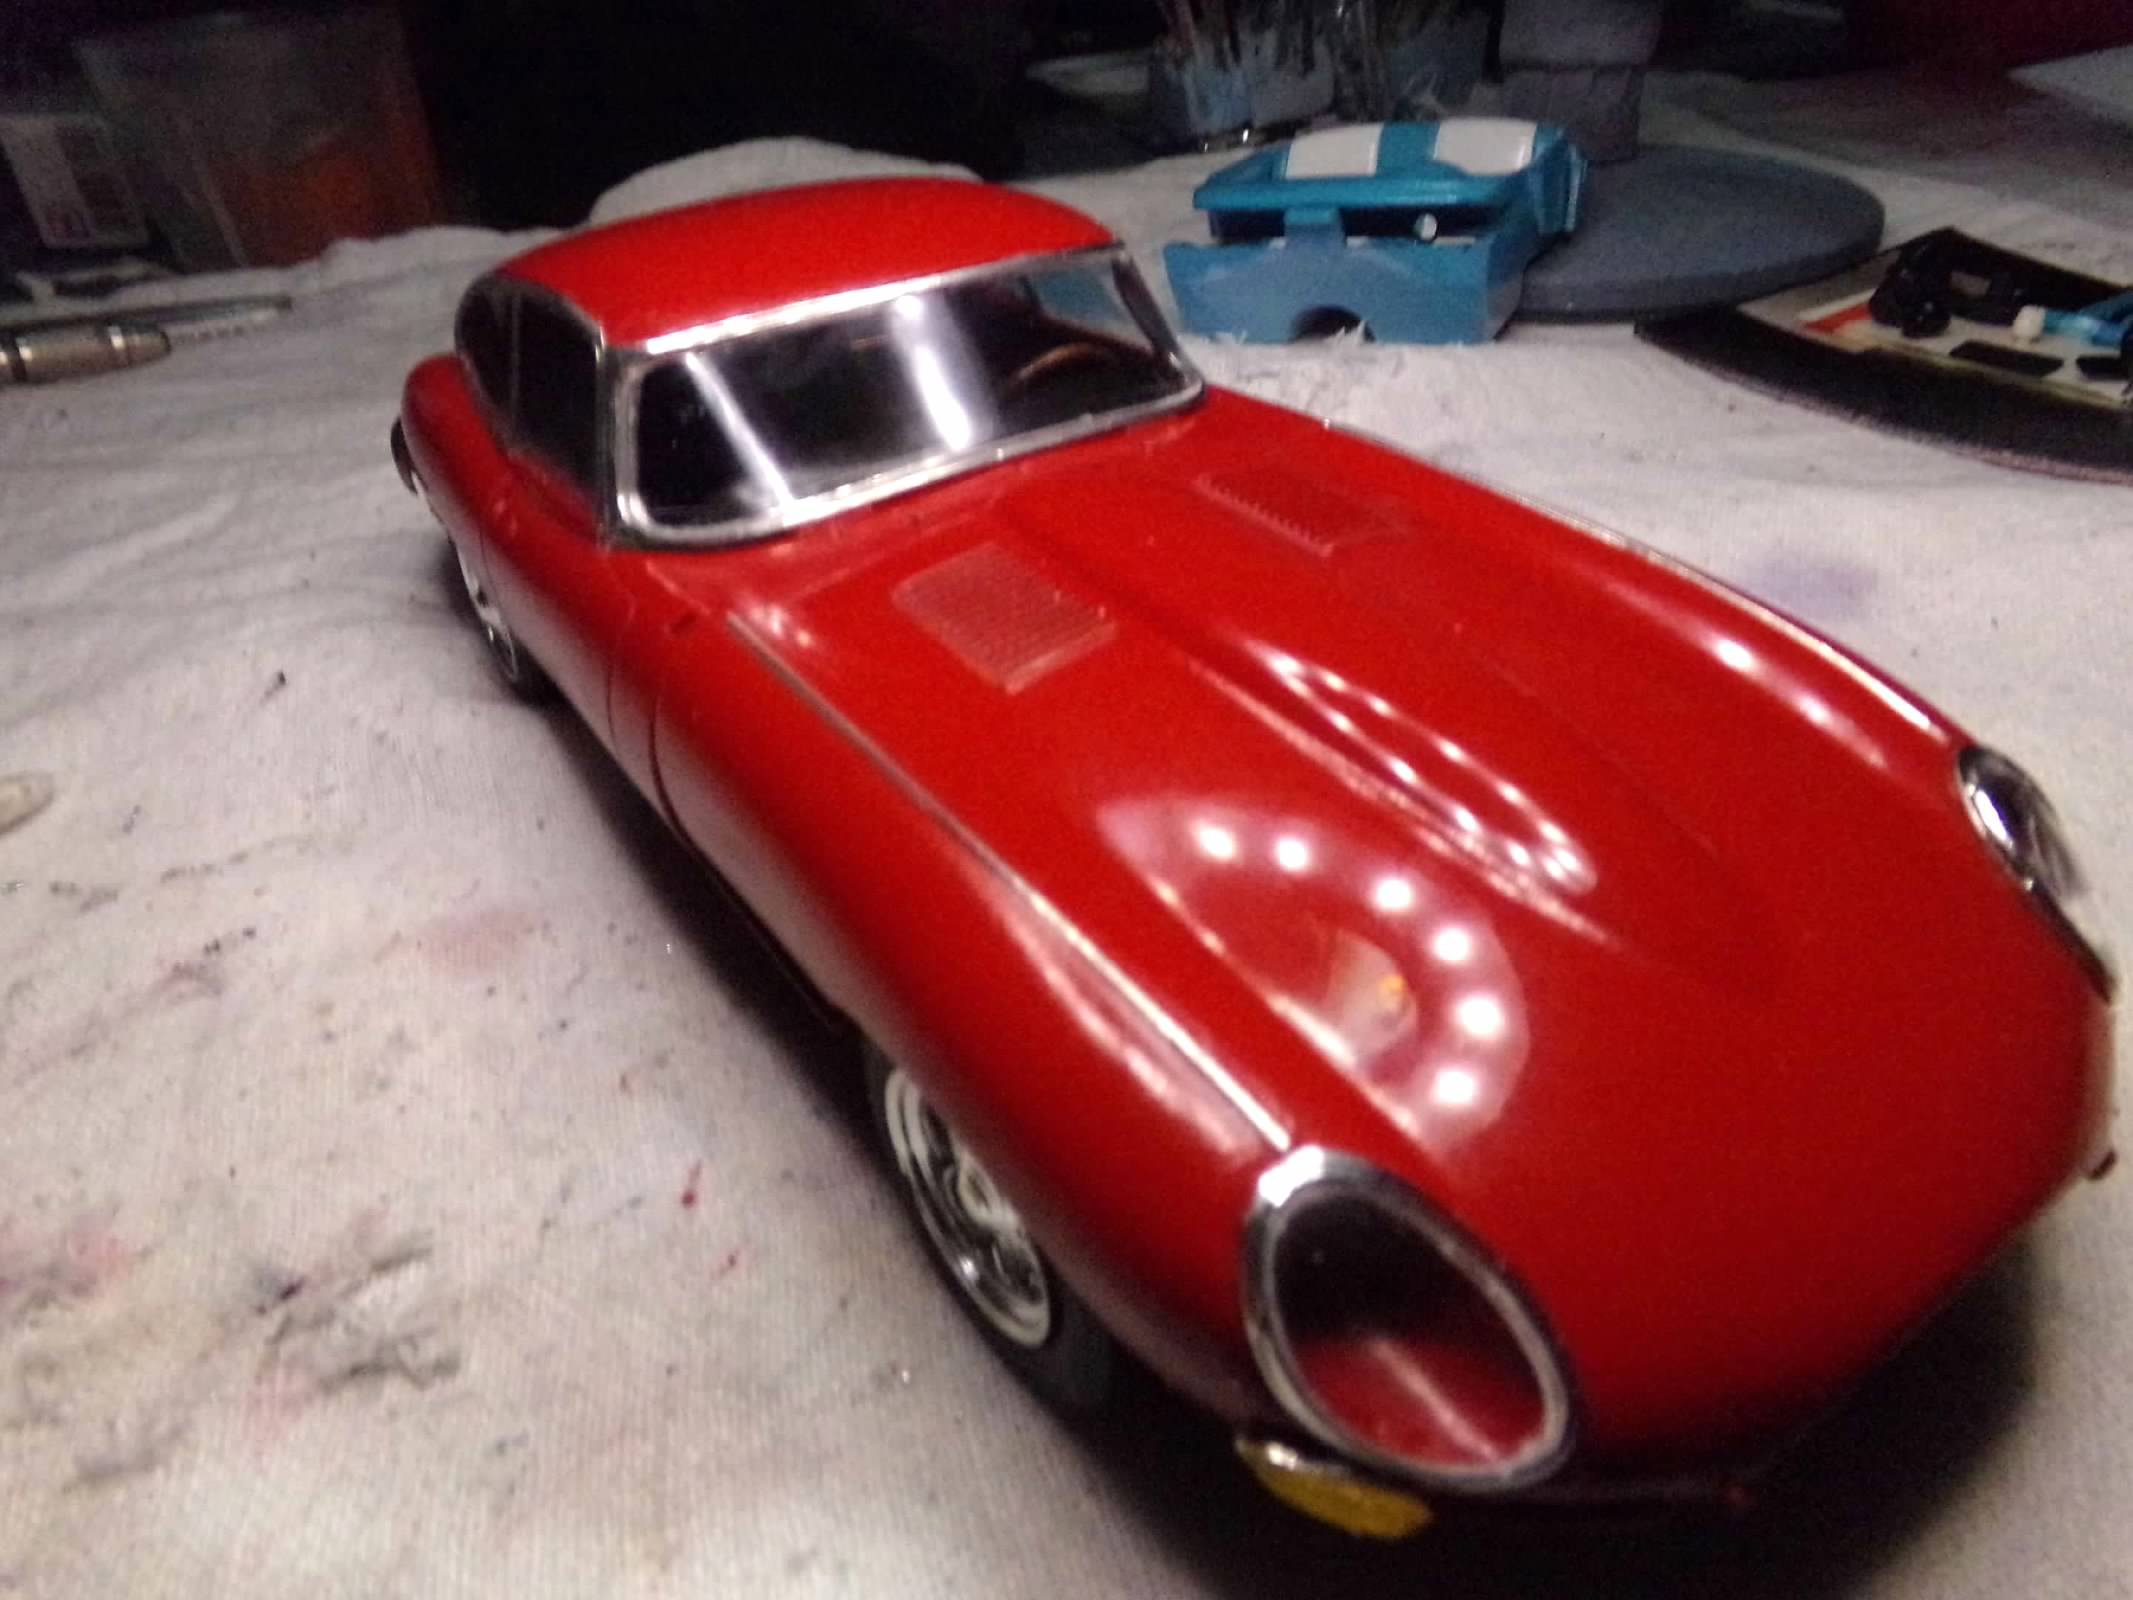
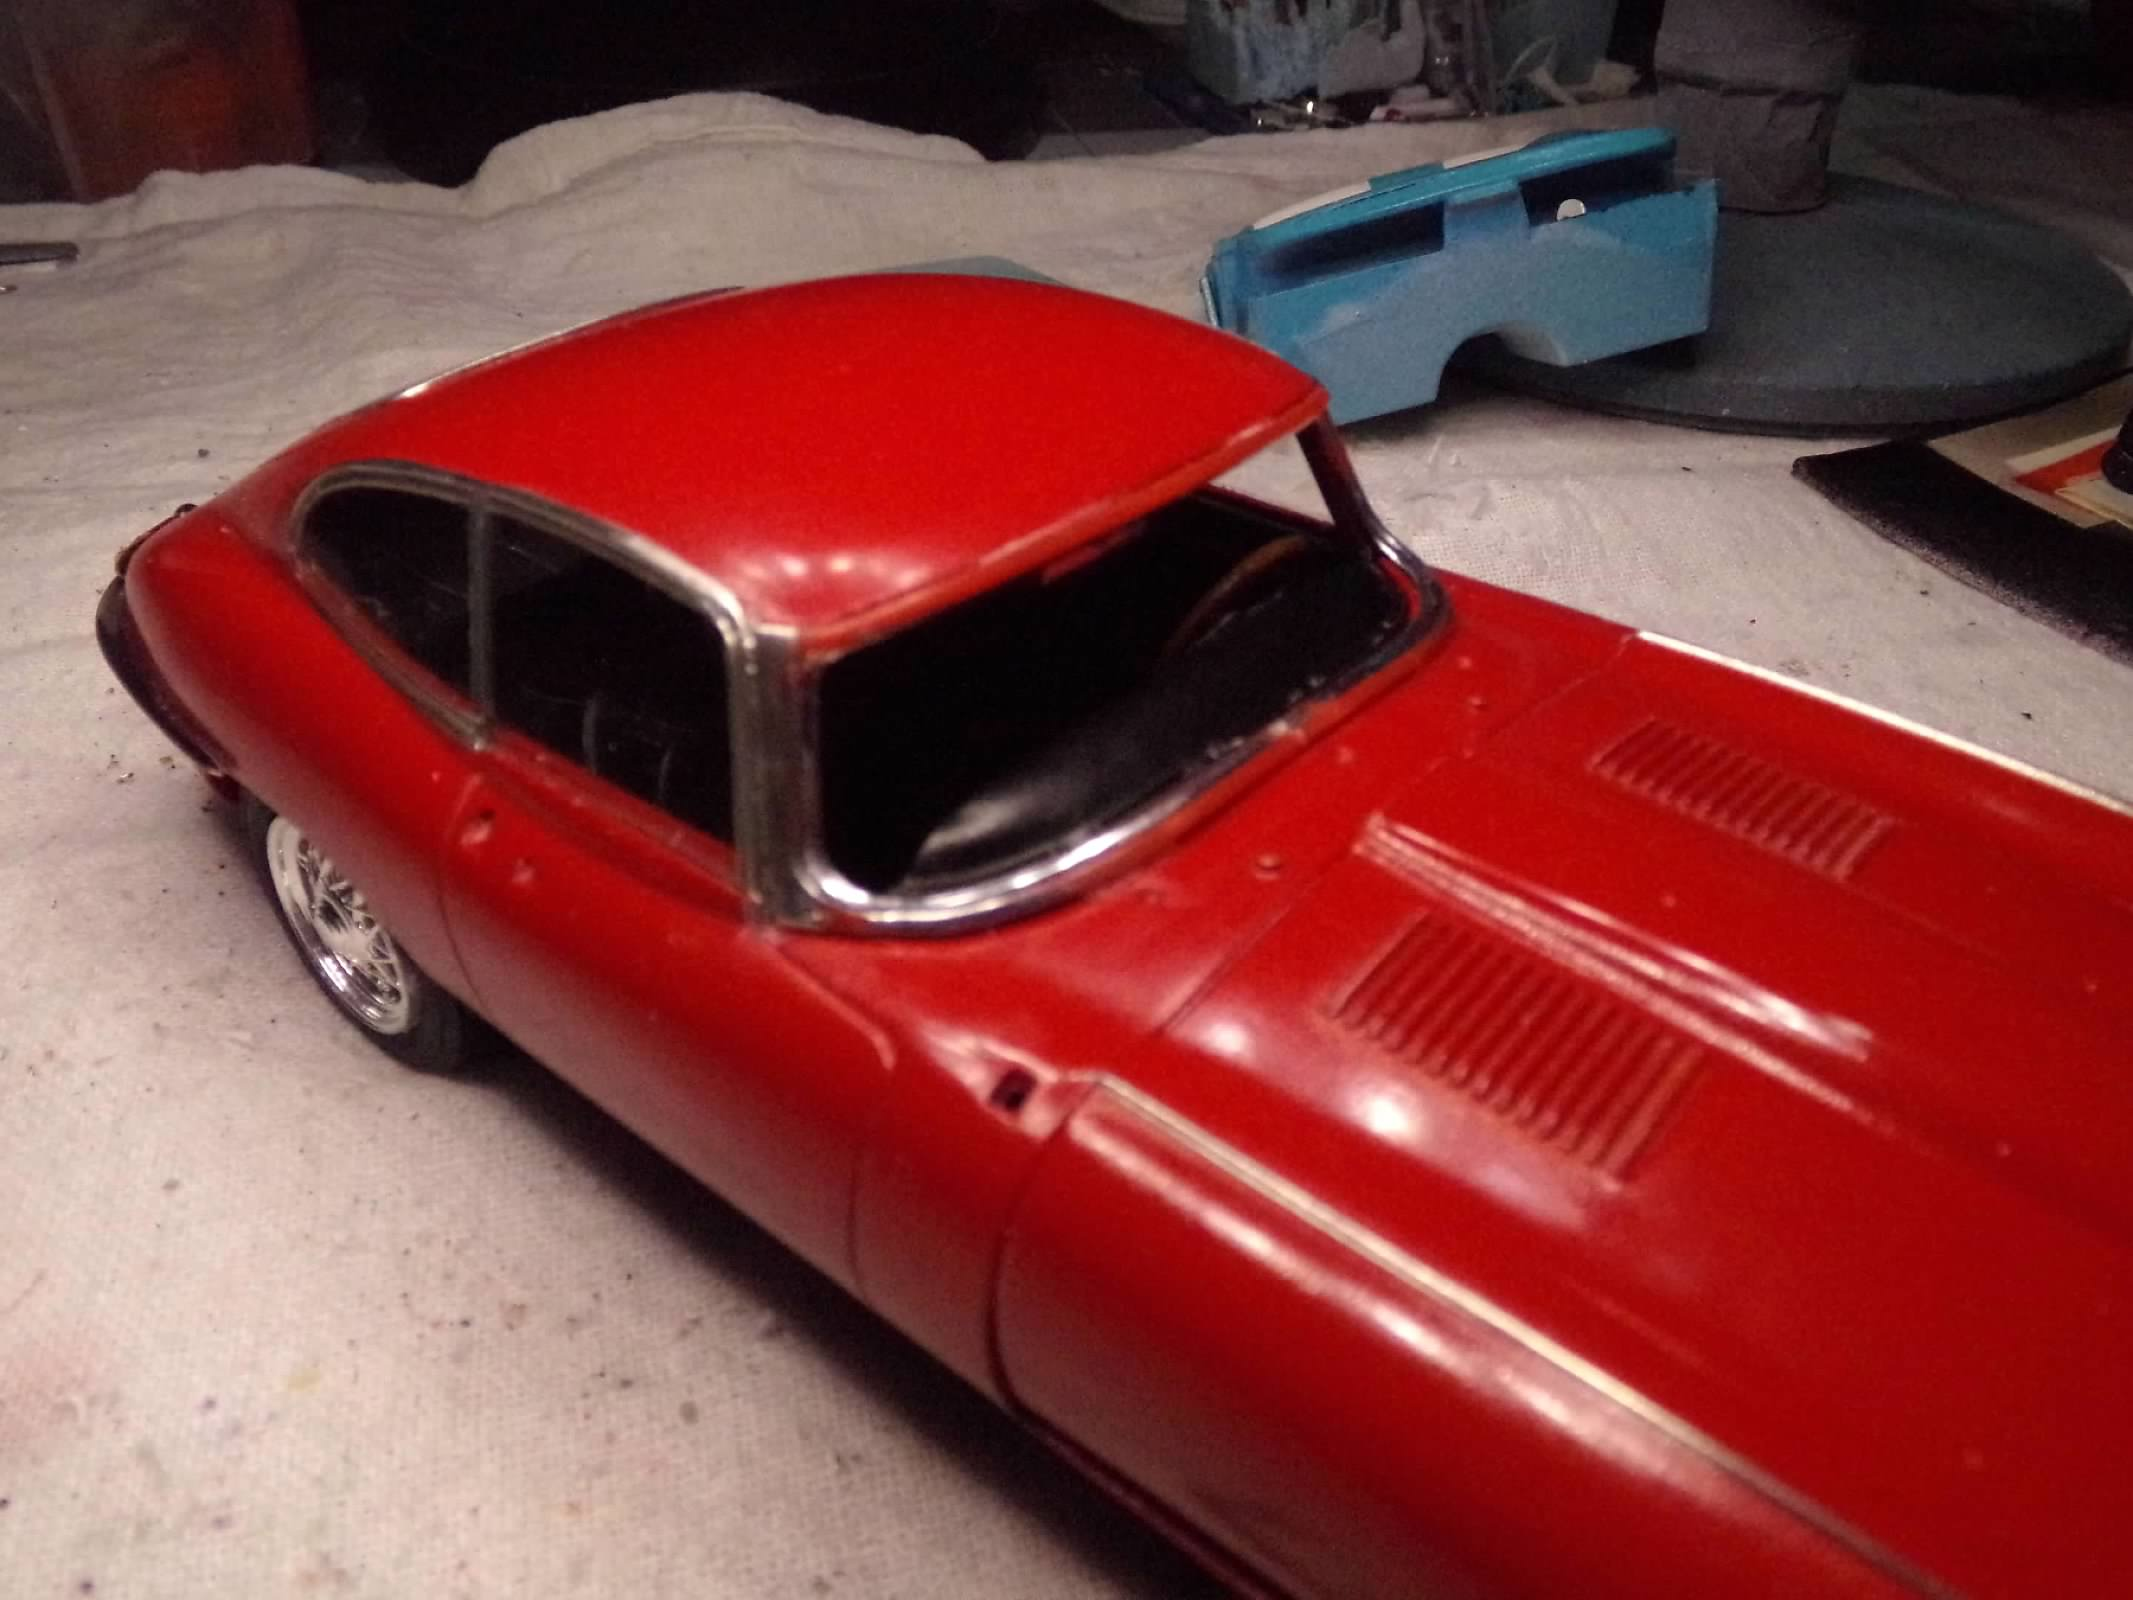
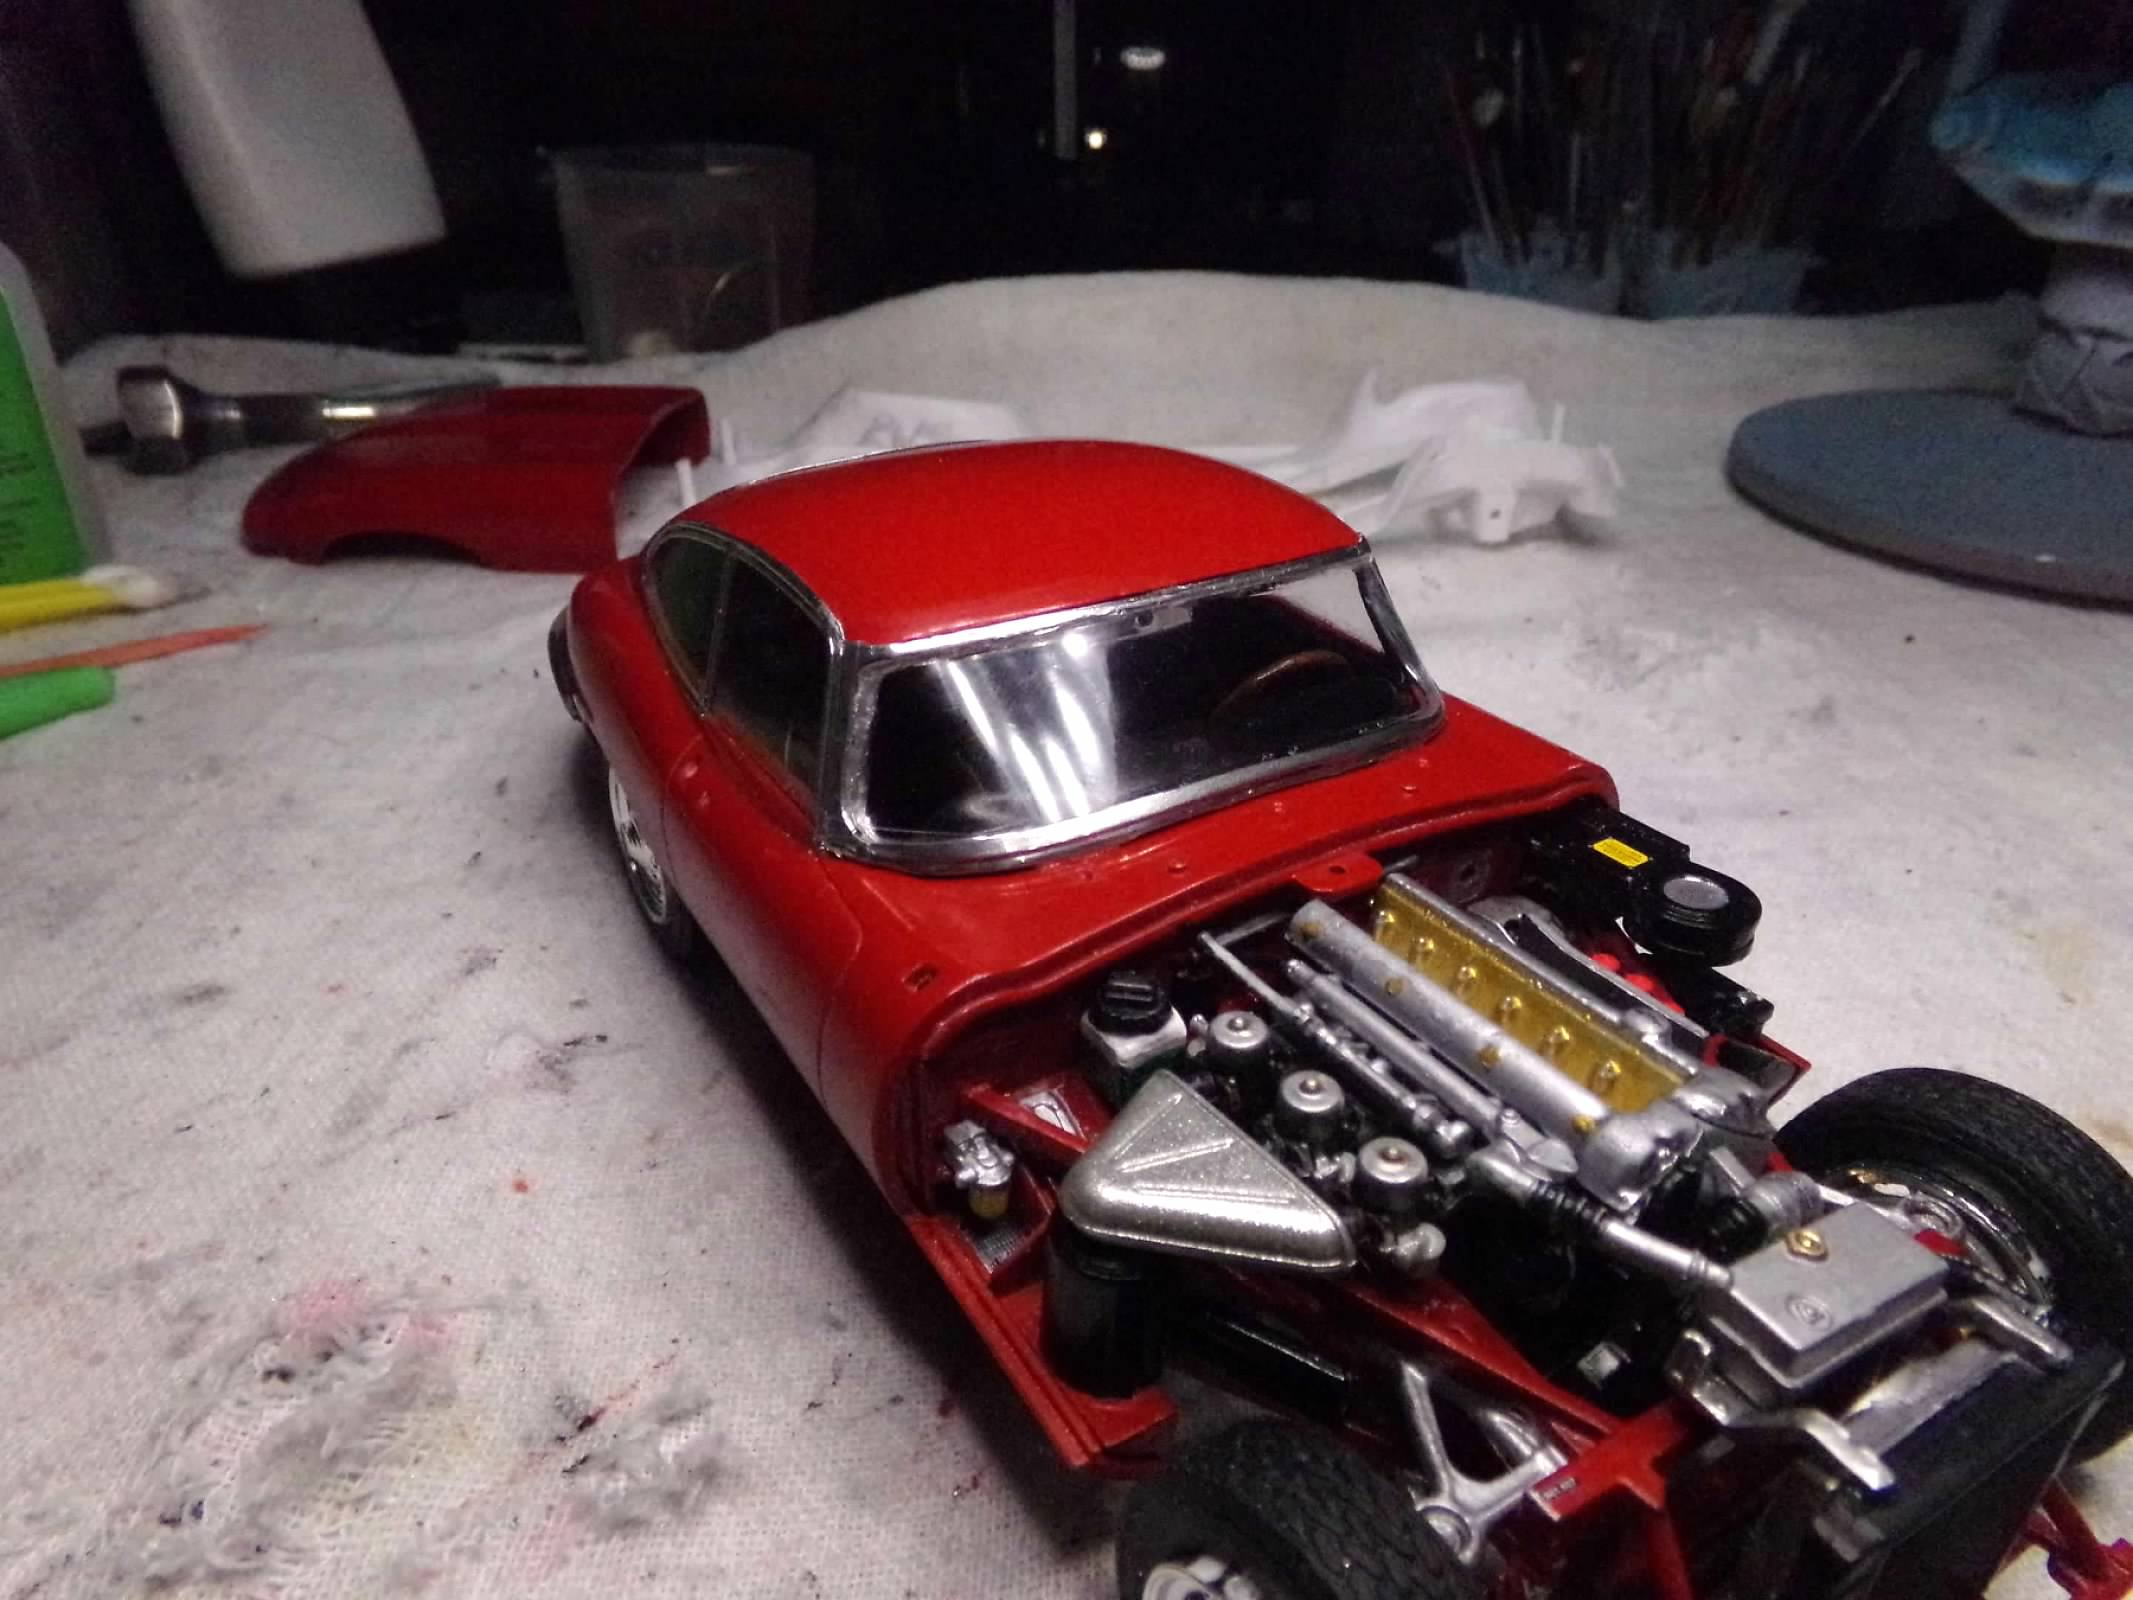
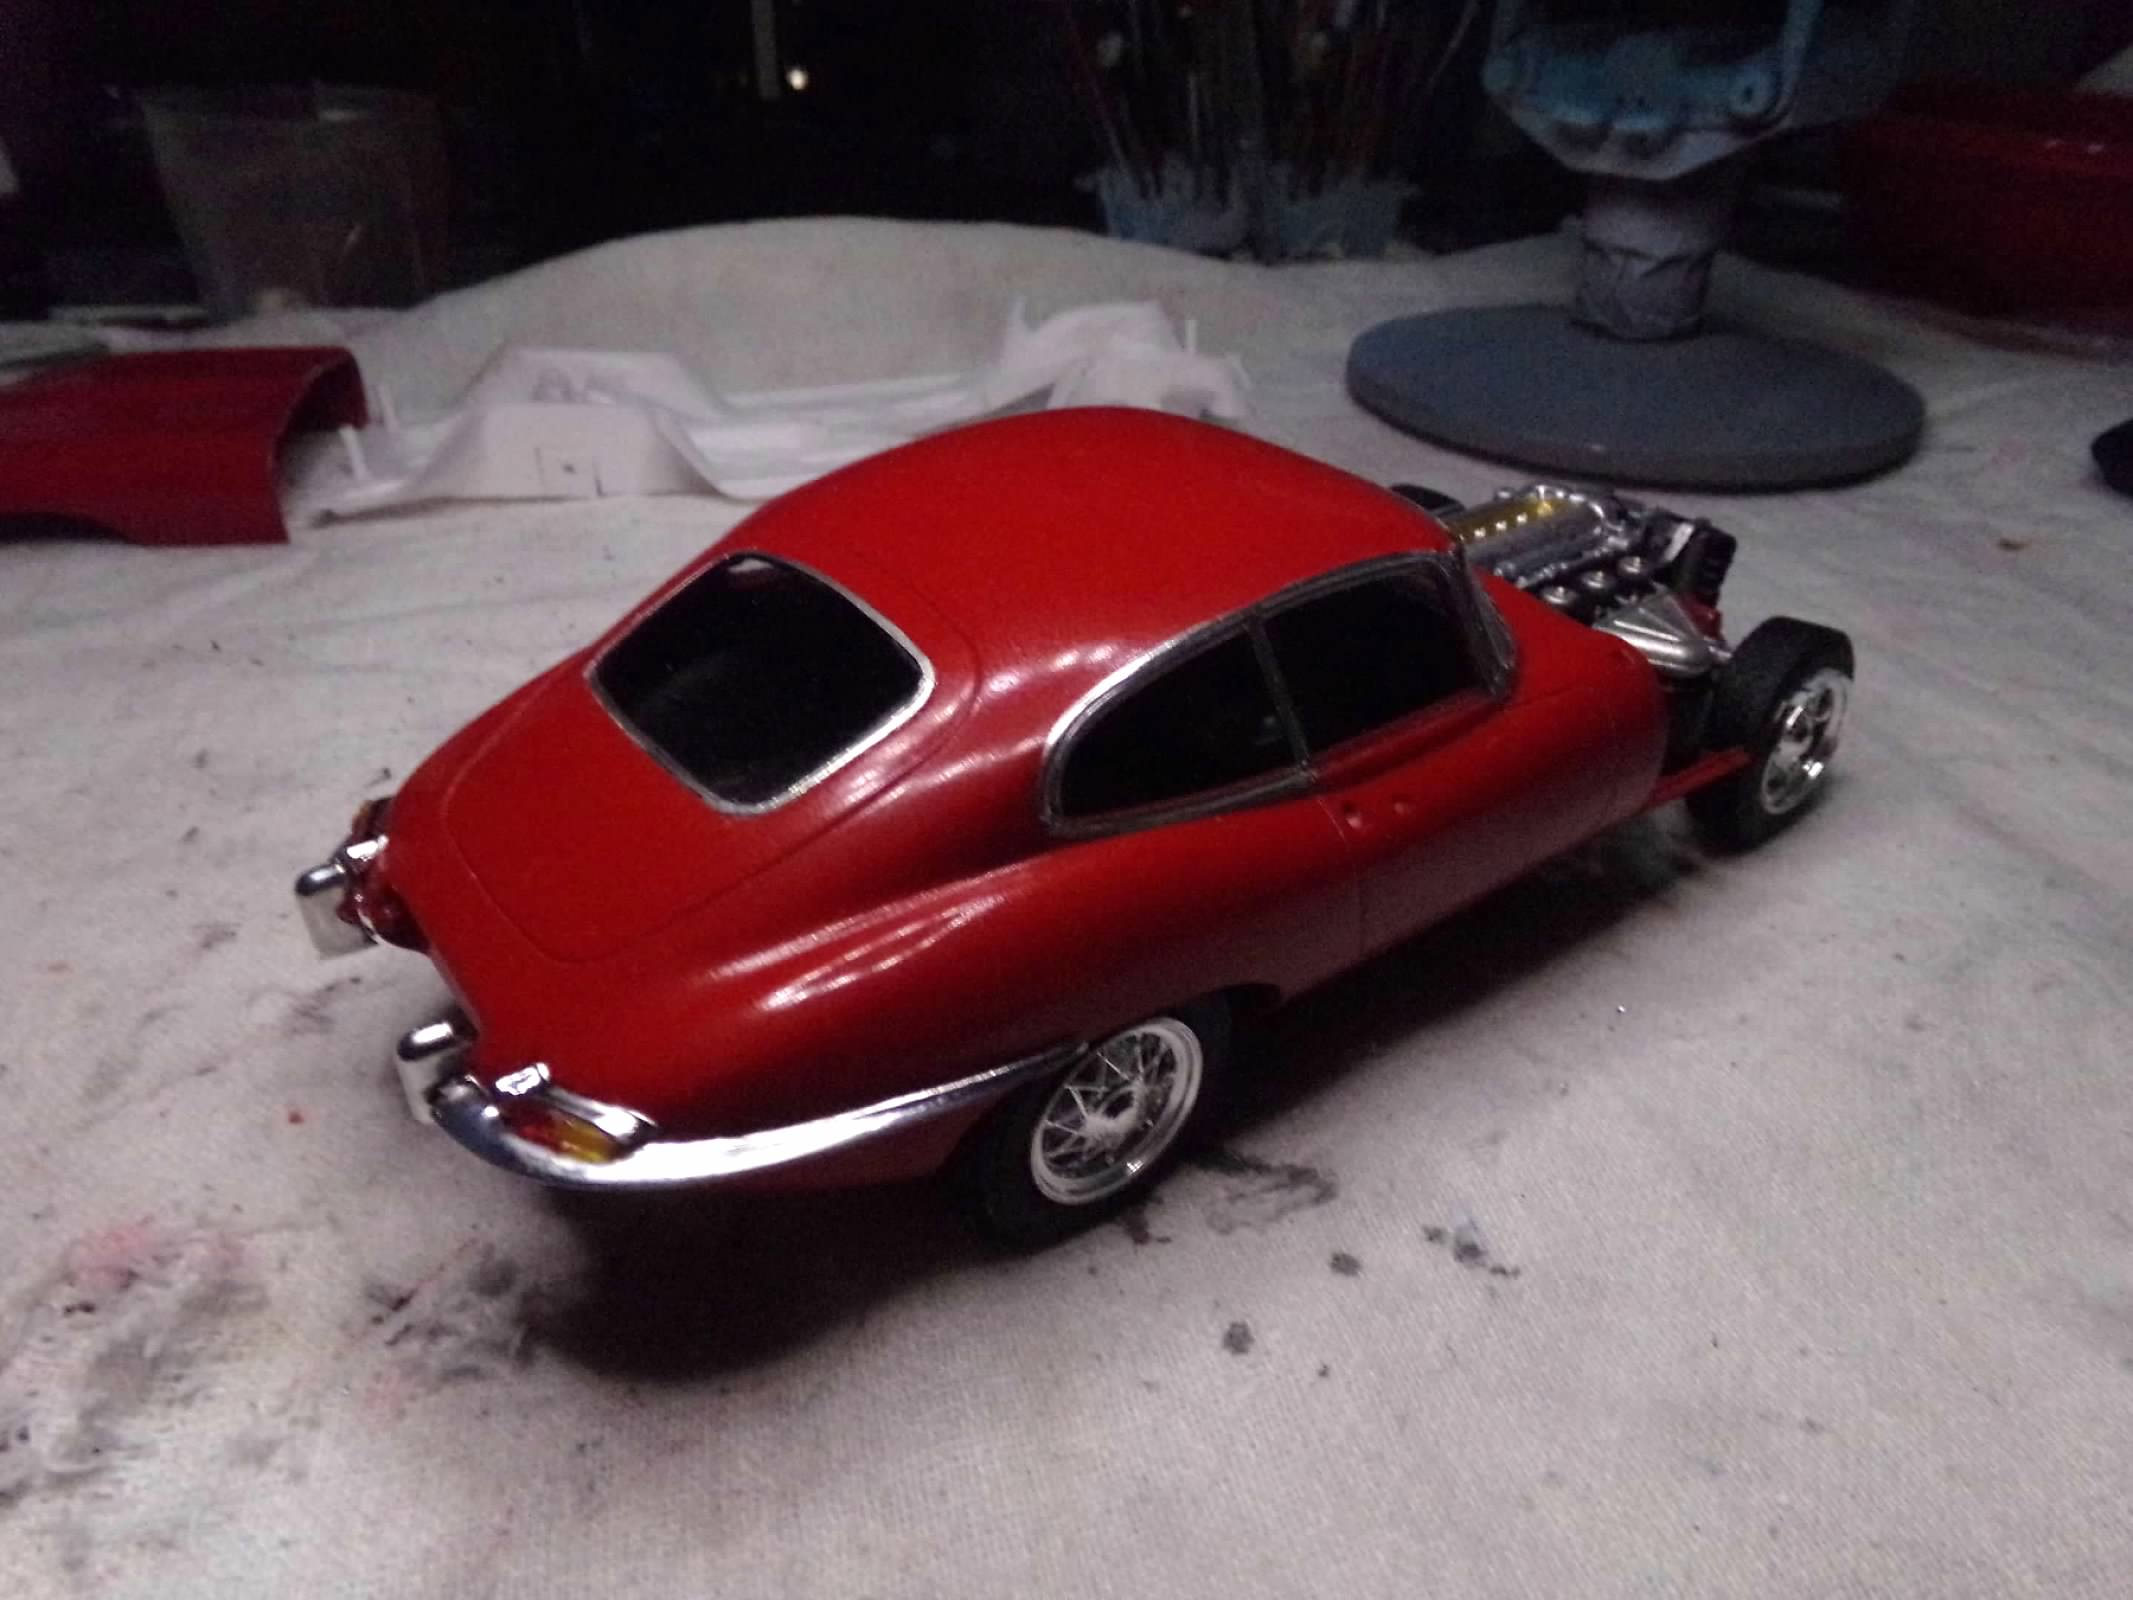
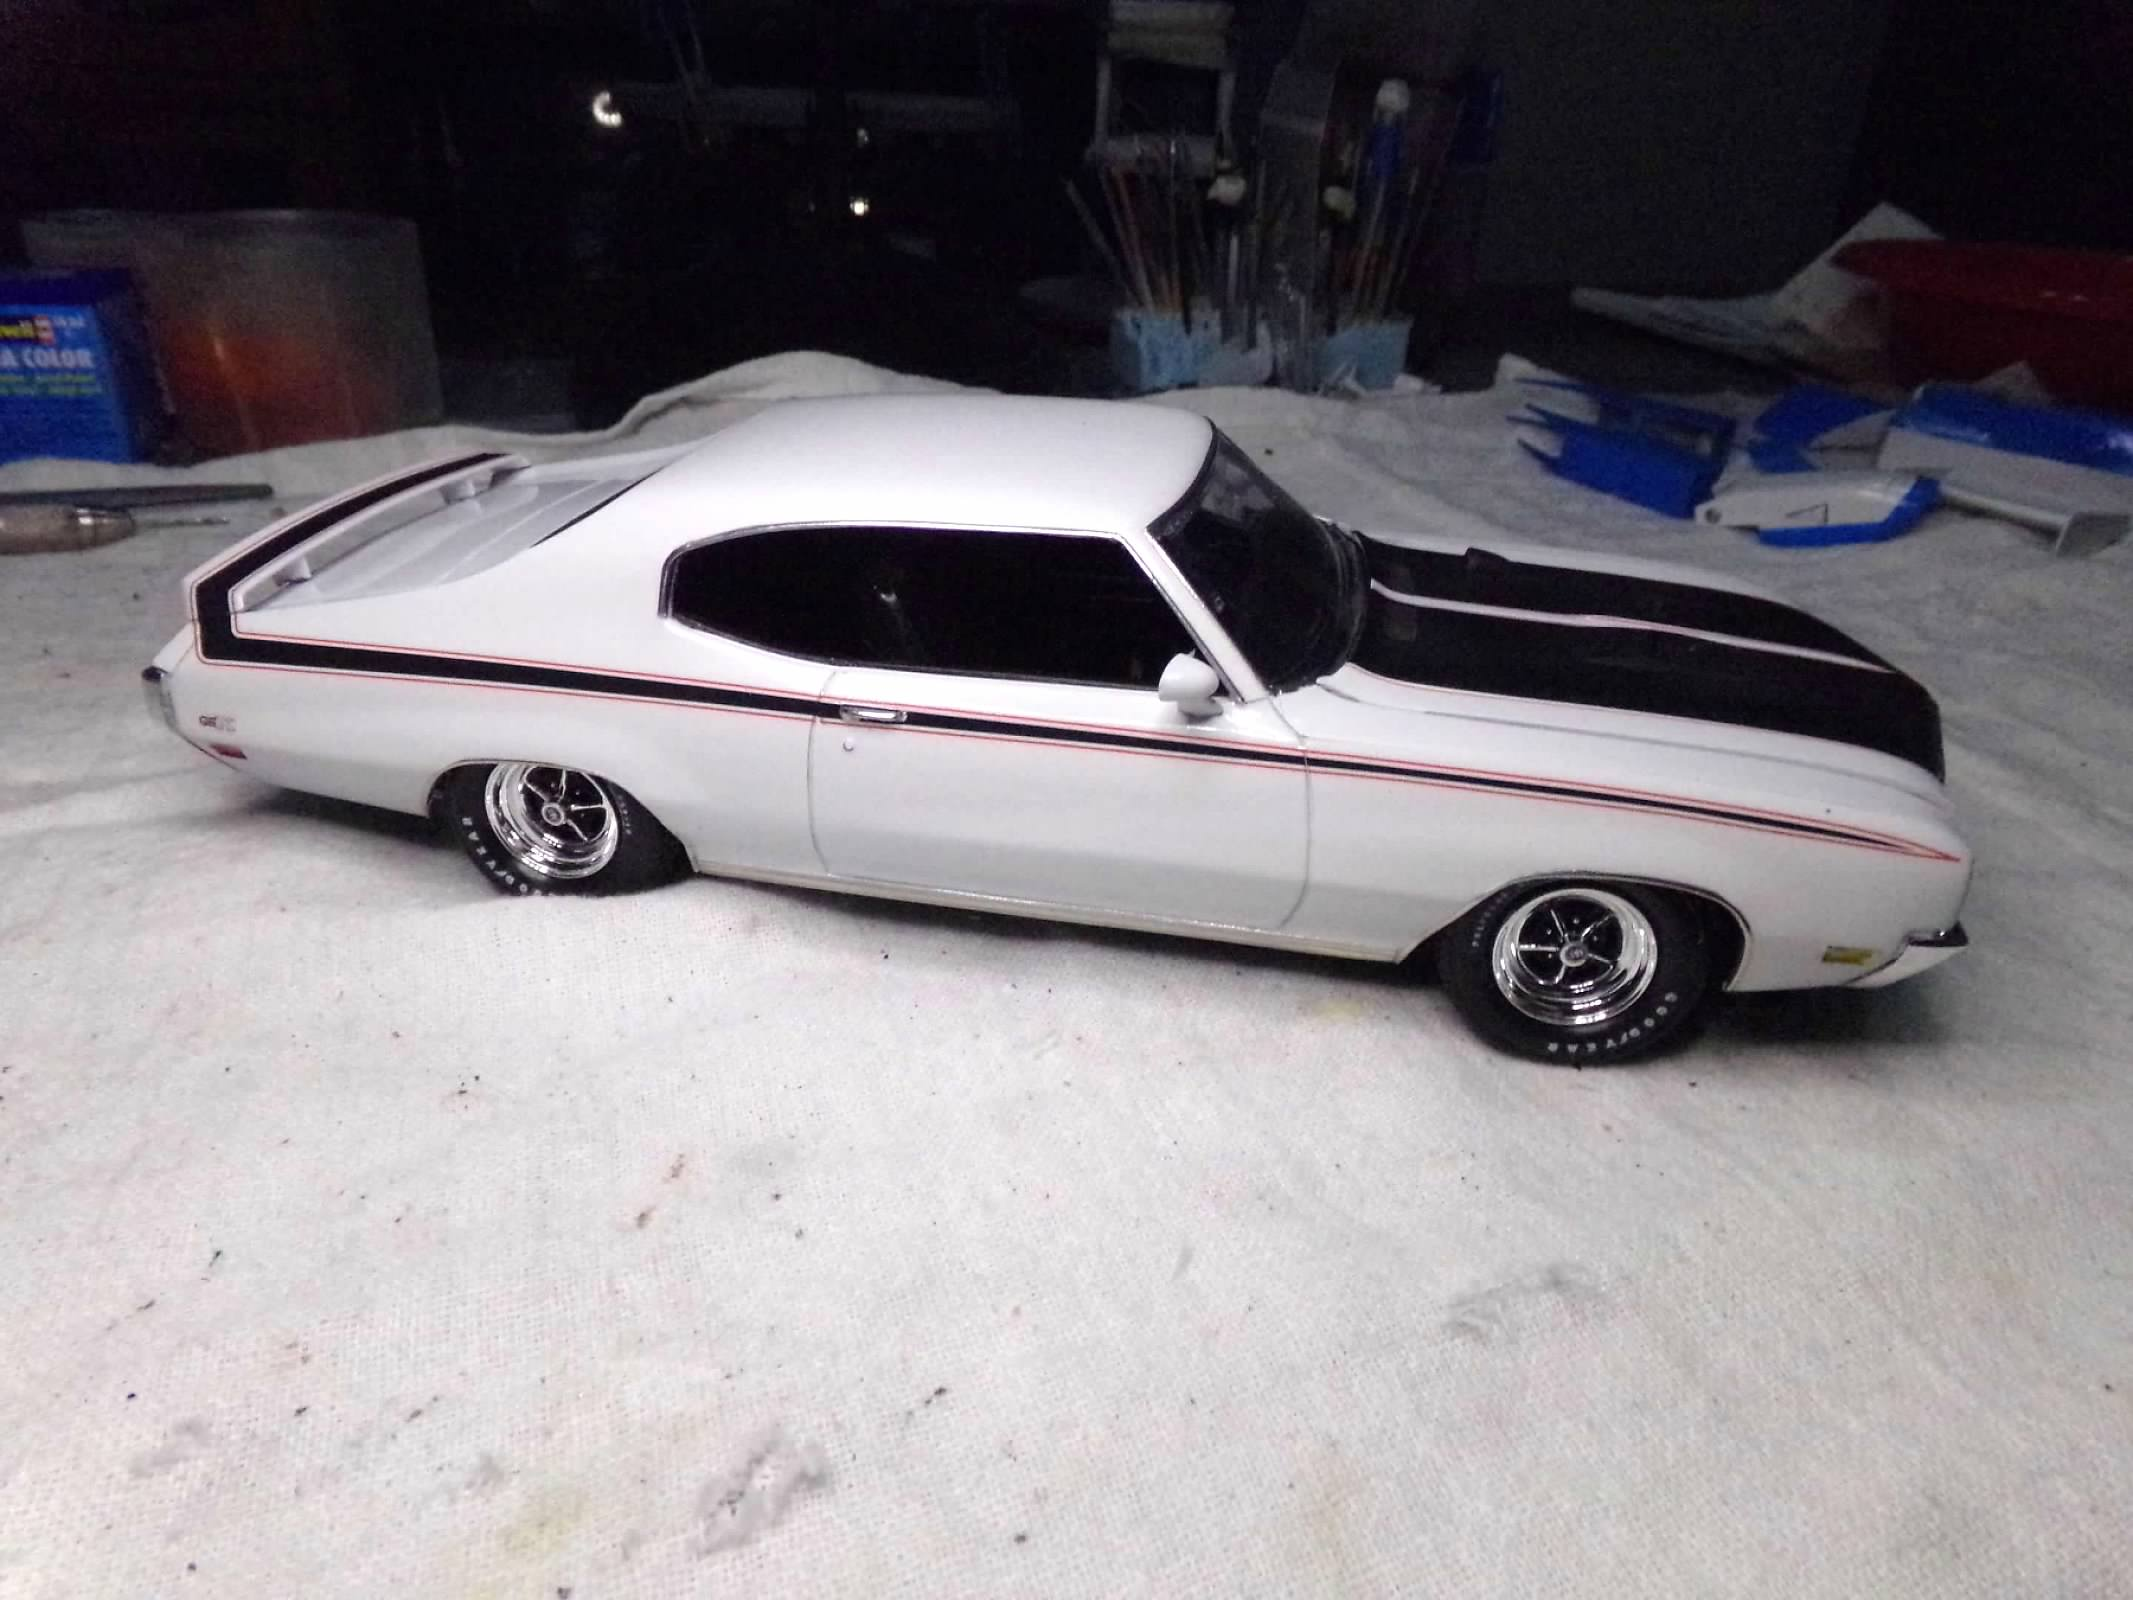
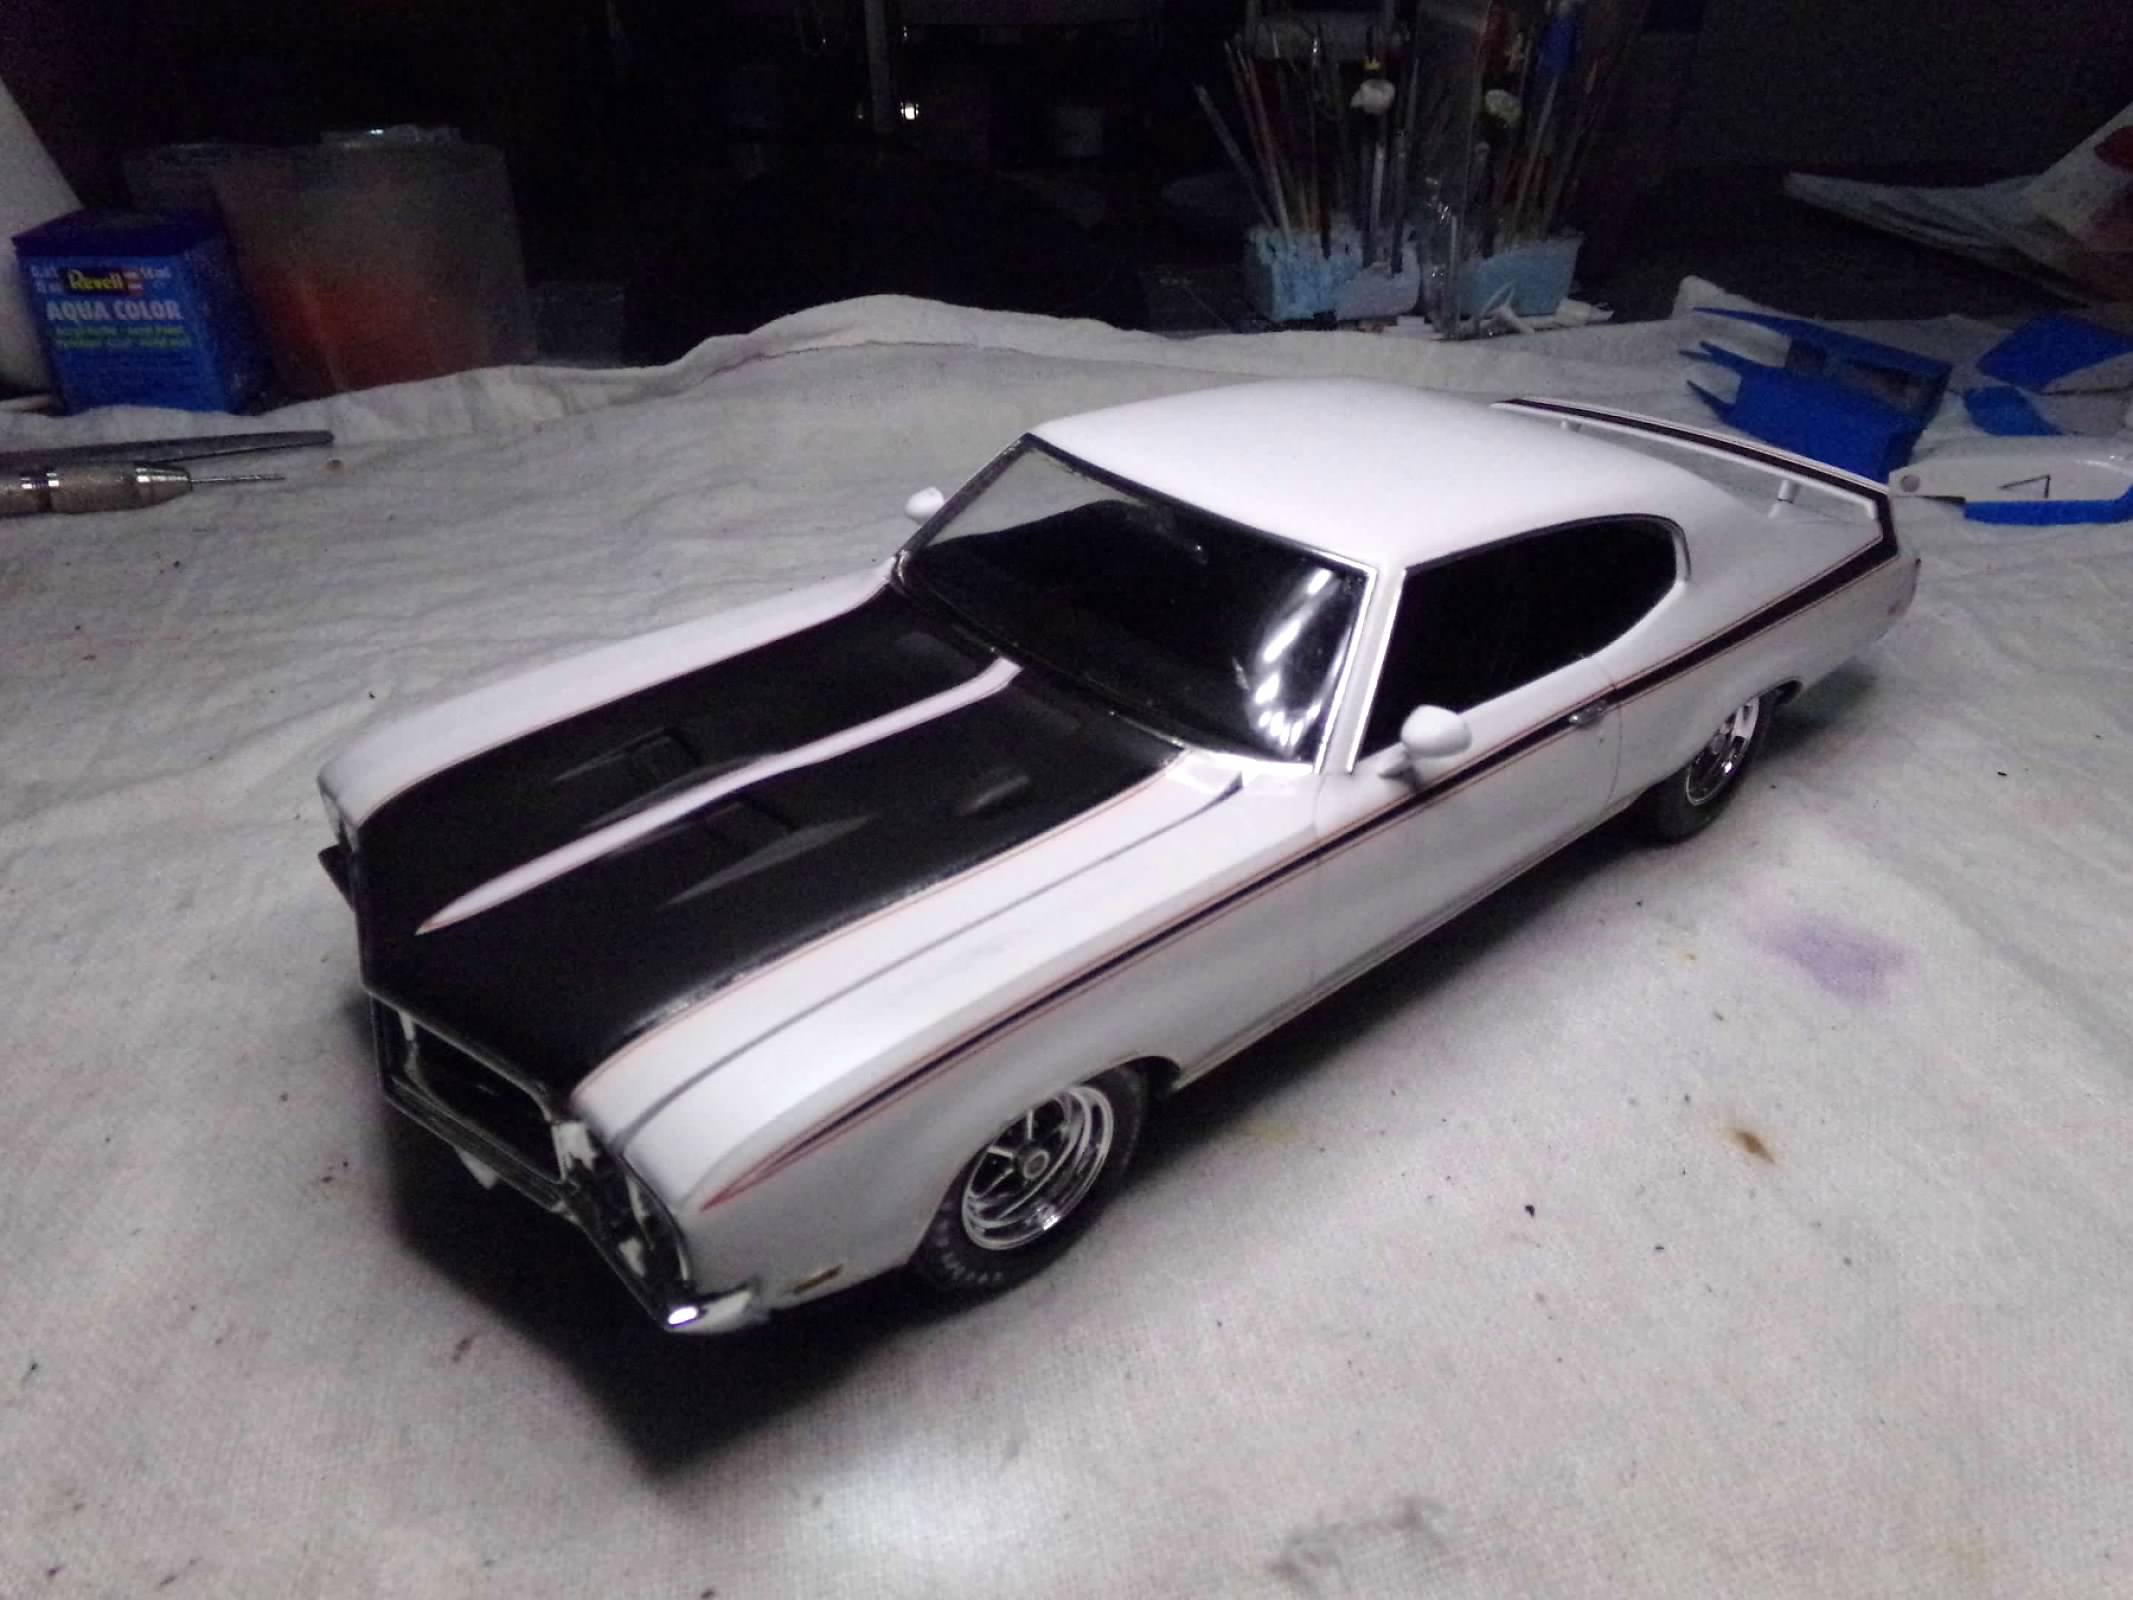
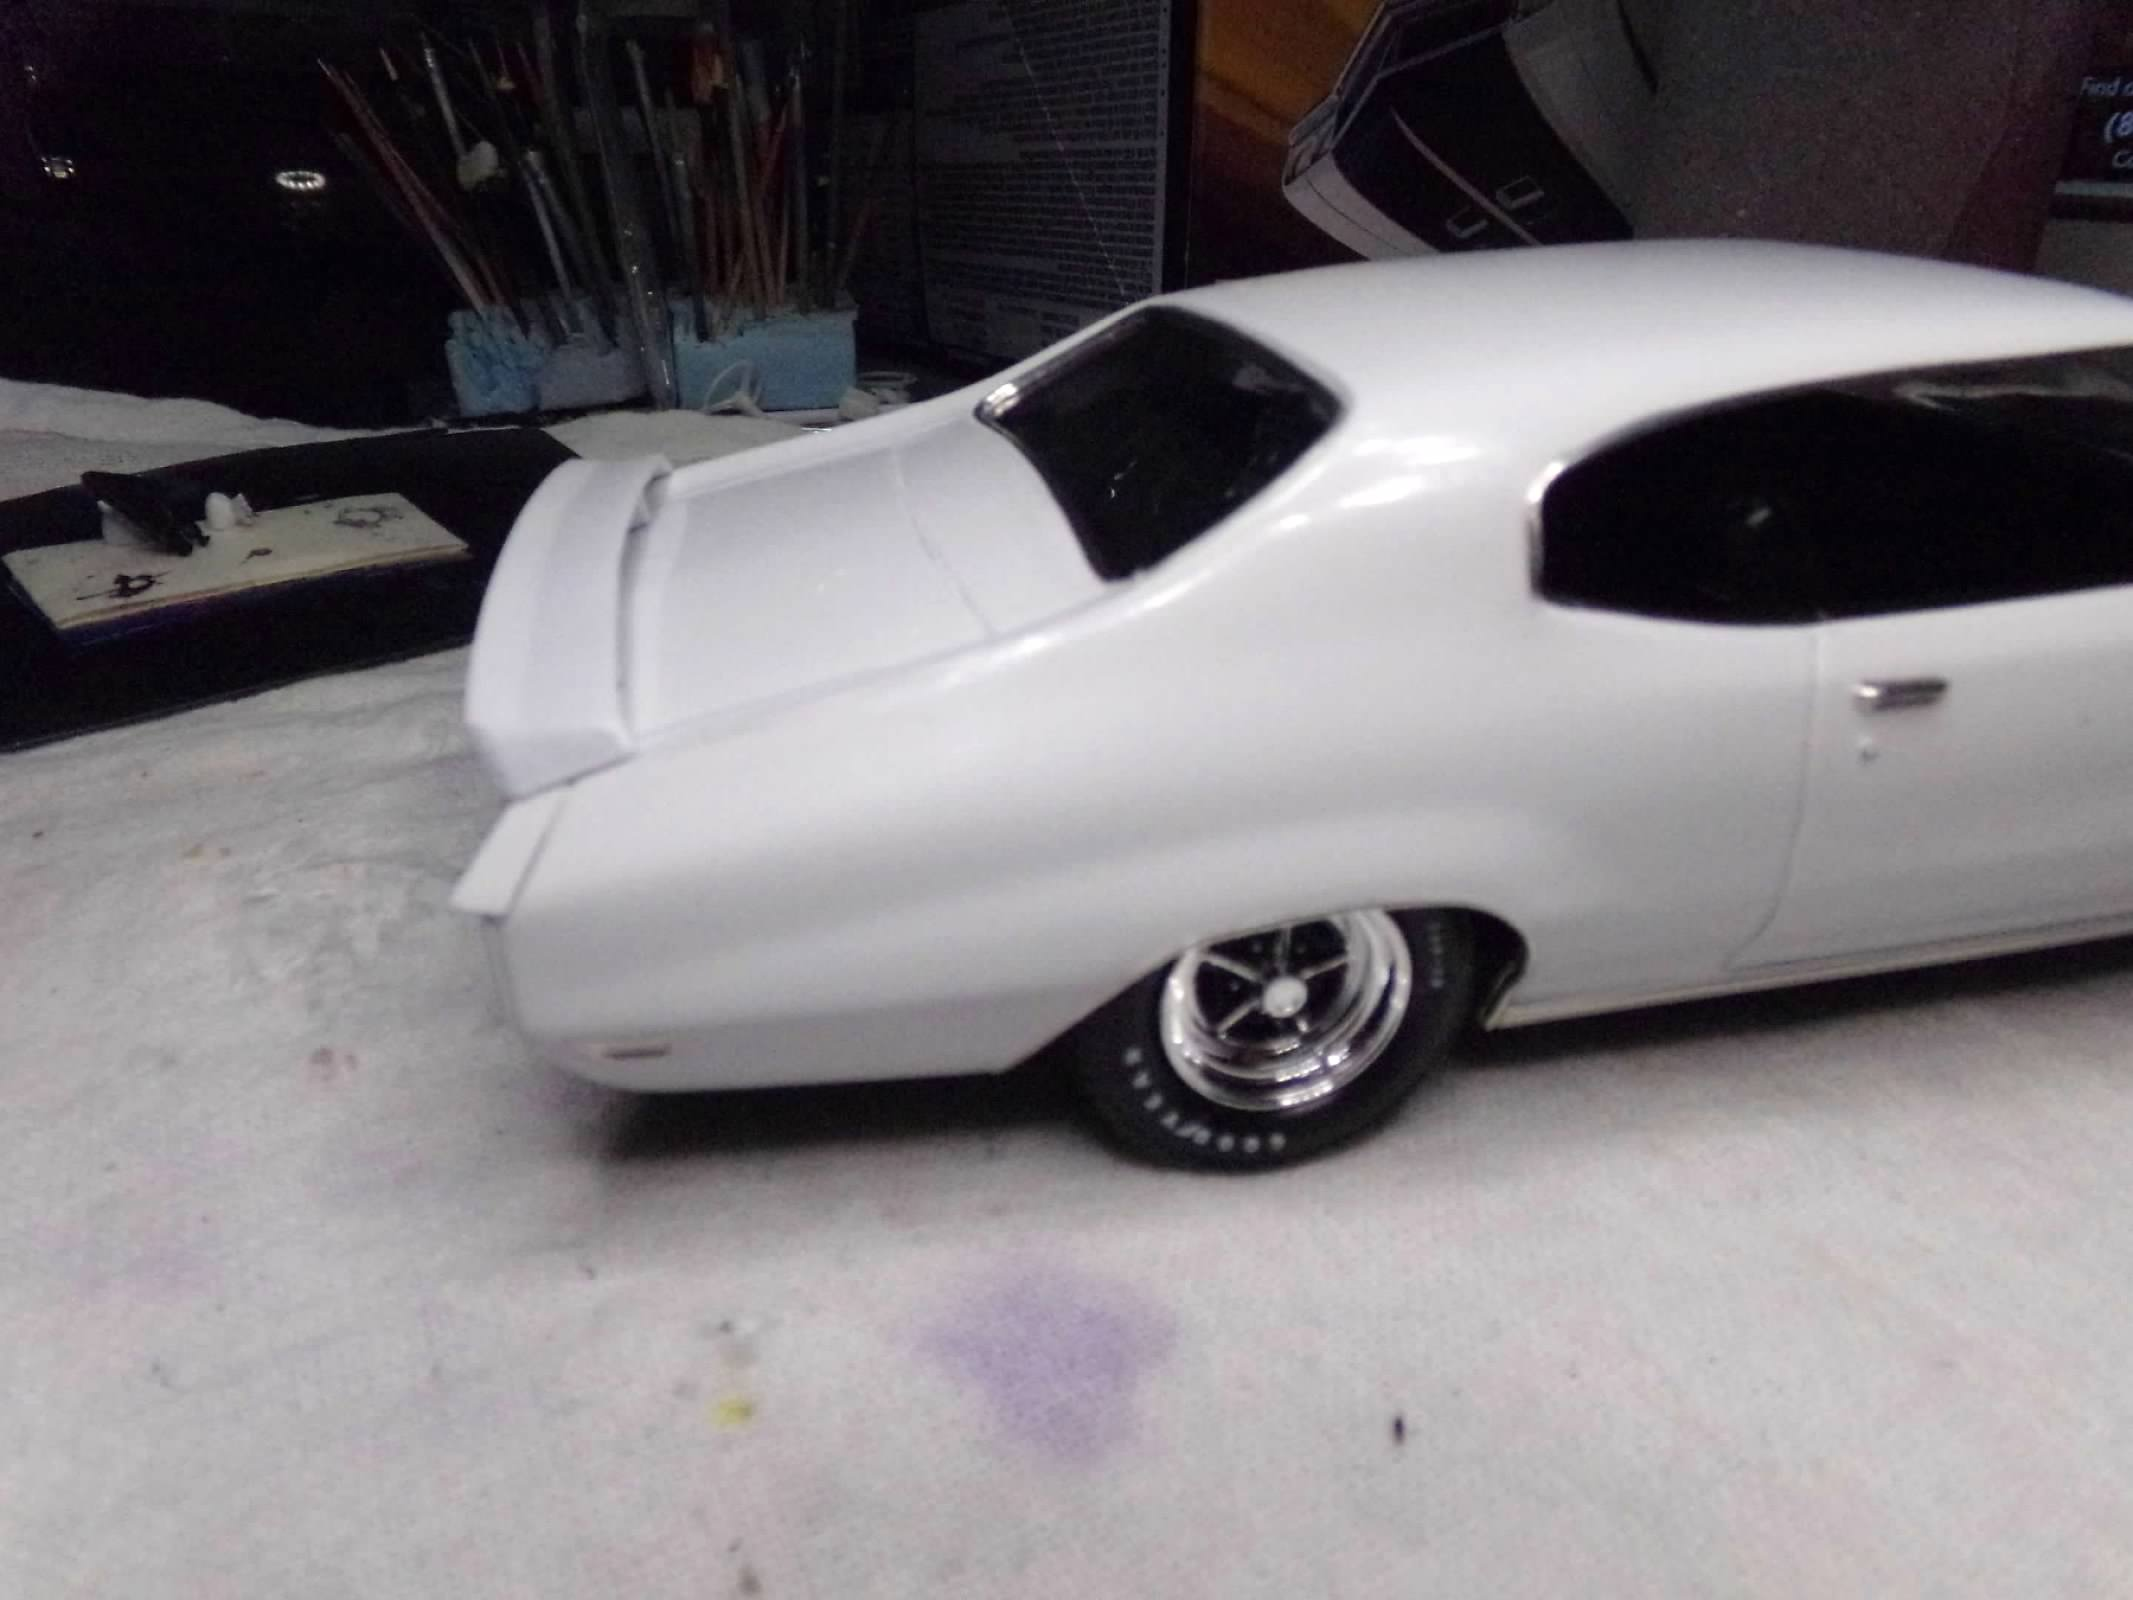
Thanks, Carl! I appreciate your comments! I had some issues with the foil on the windshield frame. I had added too many pieces of foil and it looked bad. So I peeled everything off and sanded it down a bit and then re-foiled the frame and it looks much better now. There are still some flat spots on the "A" pillar part of the windshield frame where I removed some lumps in the plastic, but they are harder to see now. So I worked through the rest of the final steps and this one is done! Some of the small parts are fiddly and hard to attach. Three windshield wipers are certainly strange and wipers usually aren't made to attach easily, the mirror faces need some work and one needed mirror foil, and the hood needs a support to stay up. But it all worked out in the end. So this one is done! Thanks for looking! ?

-
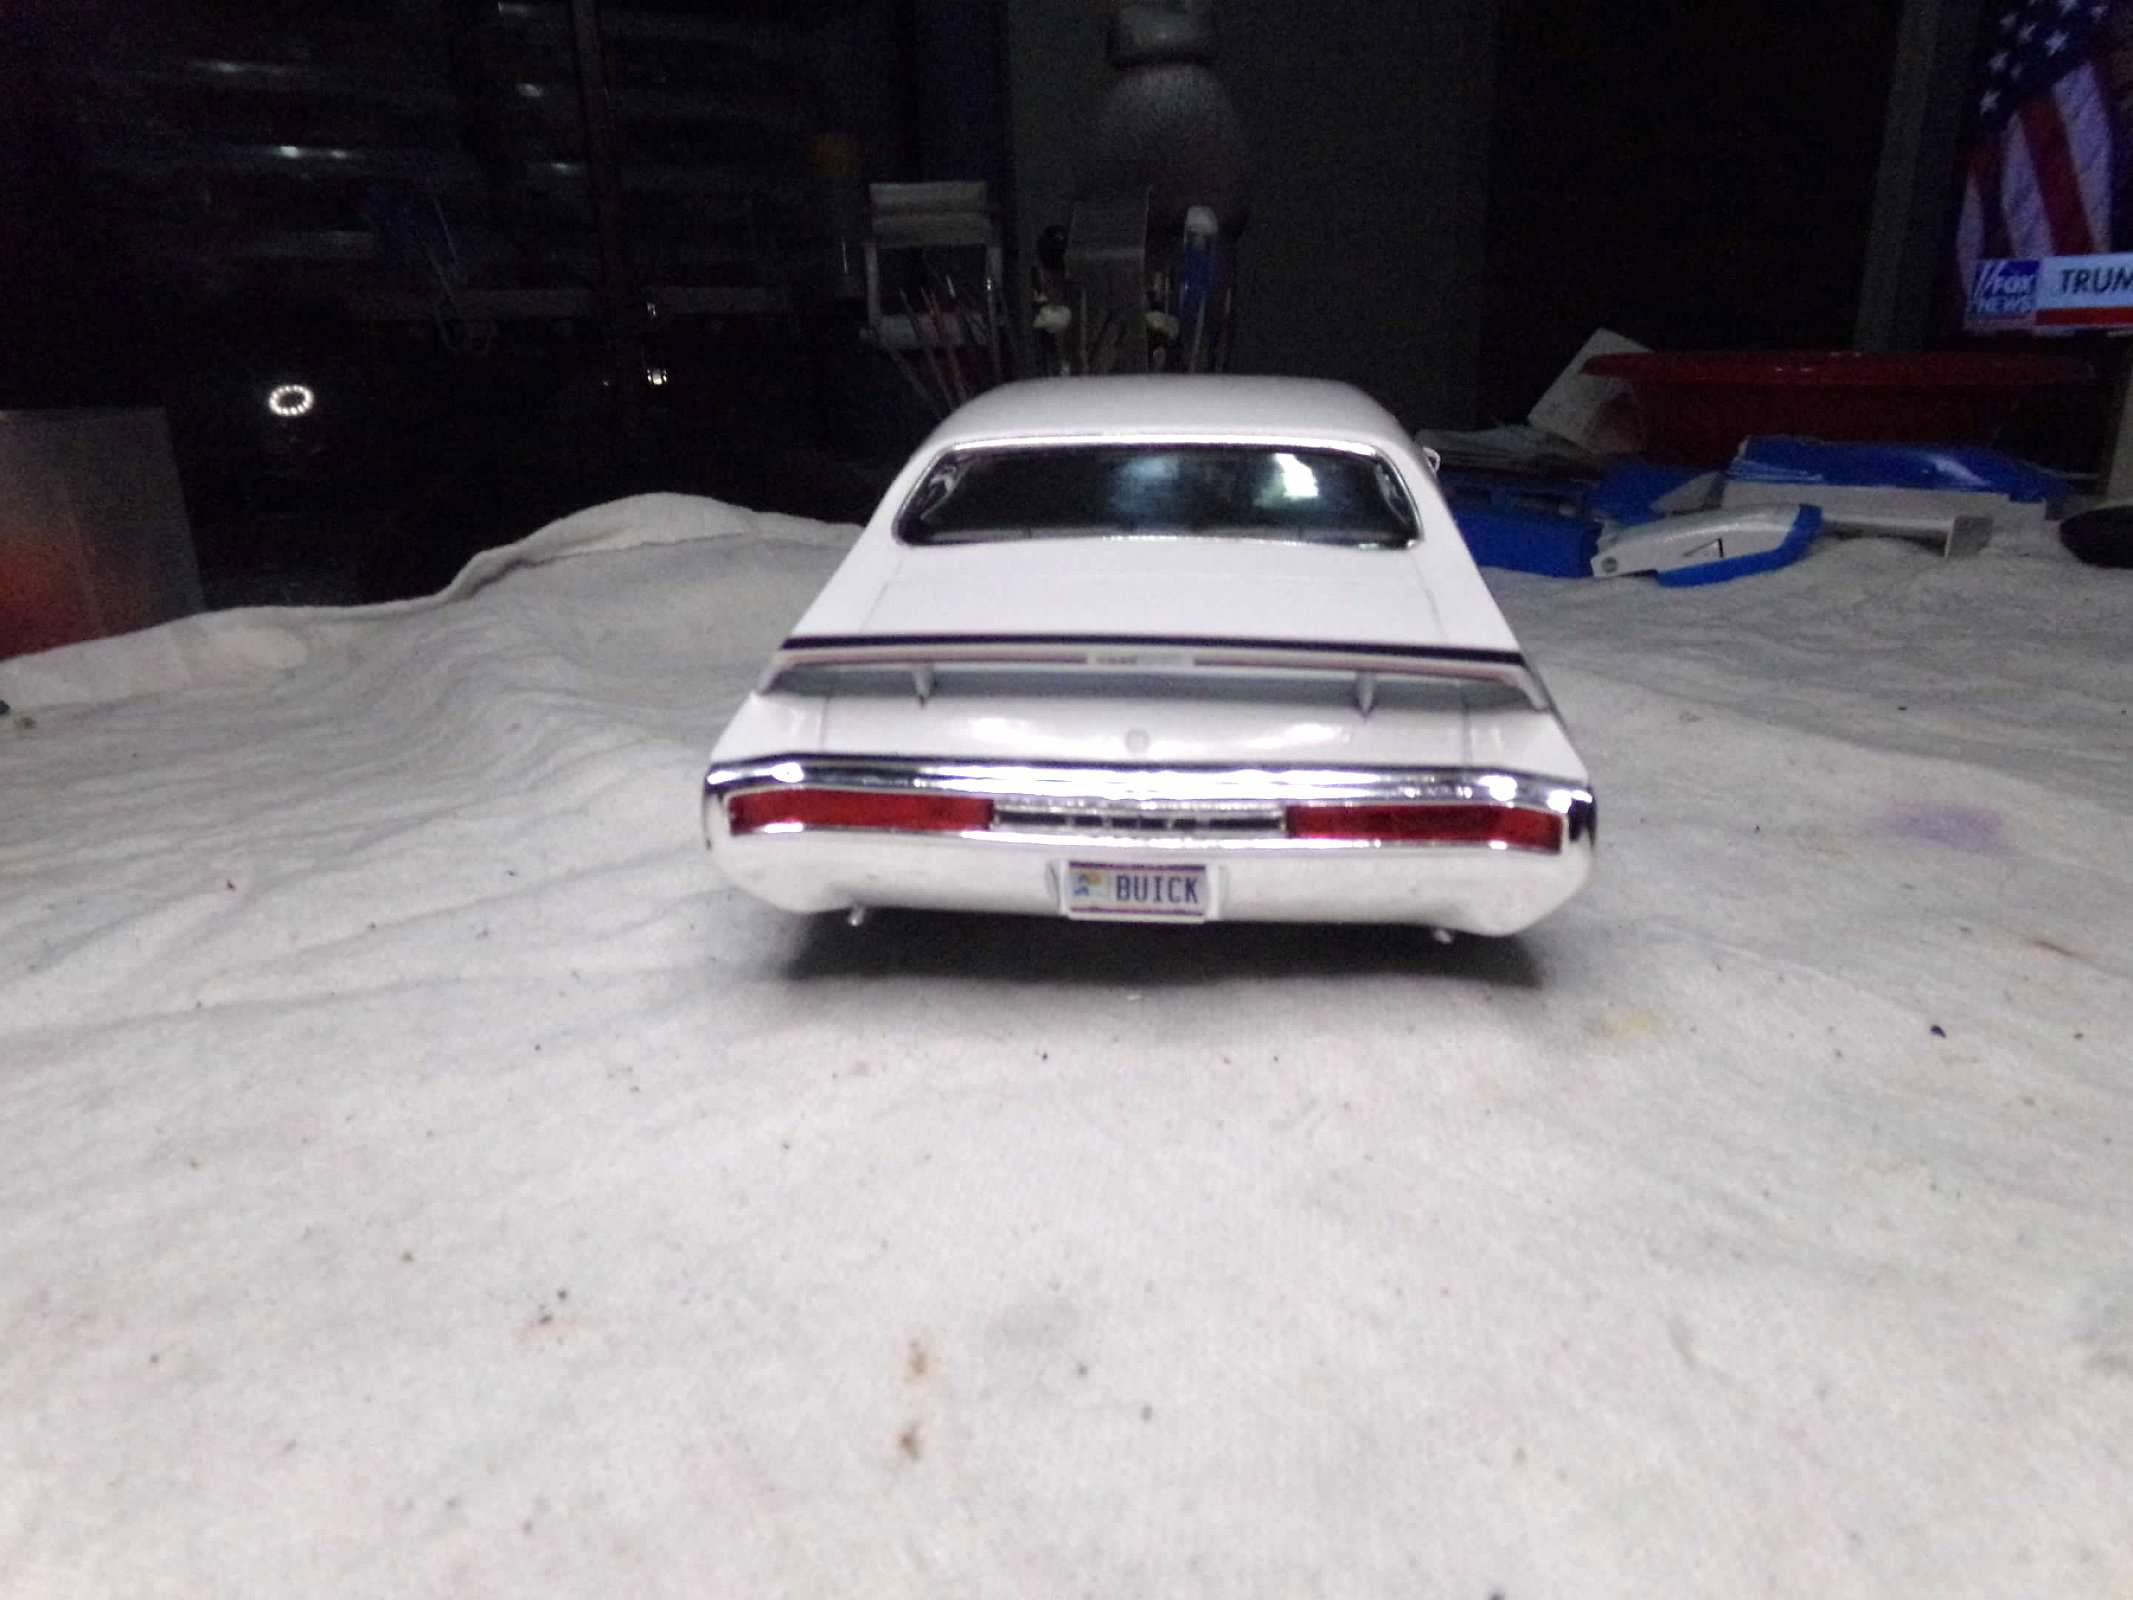
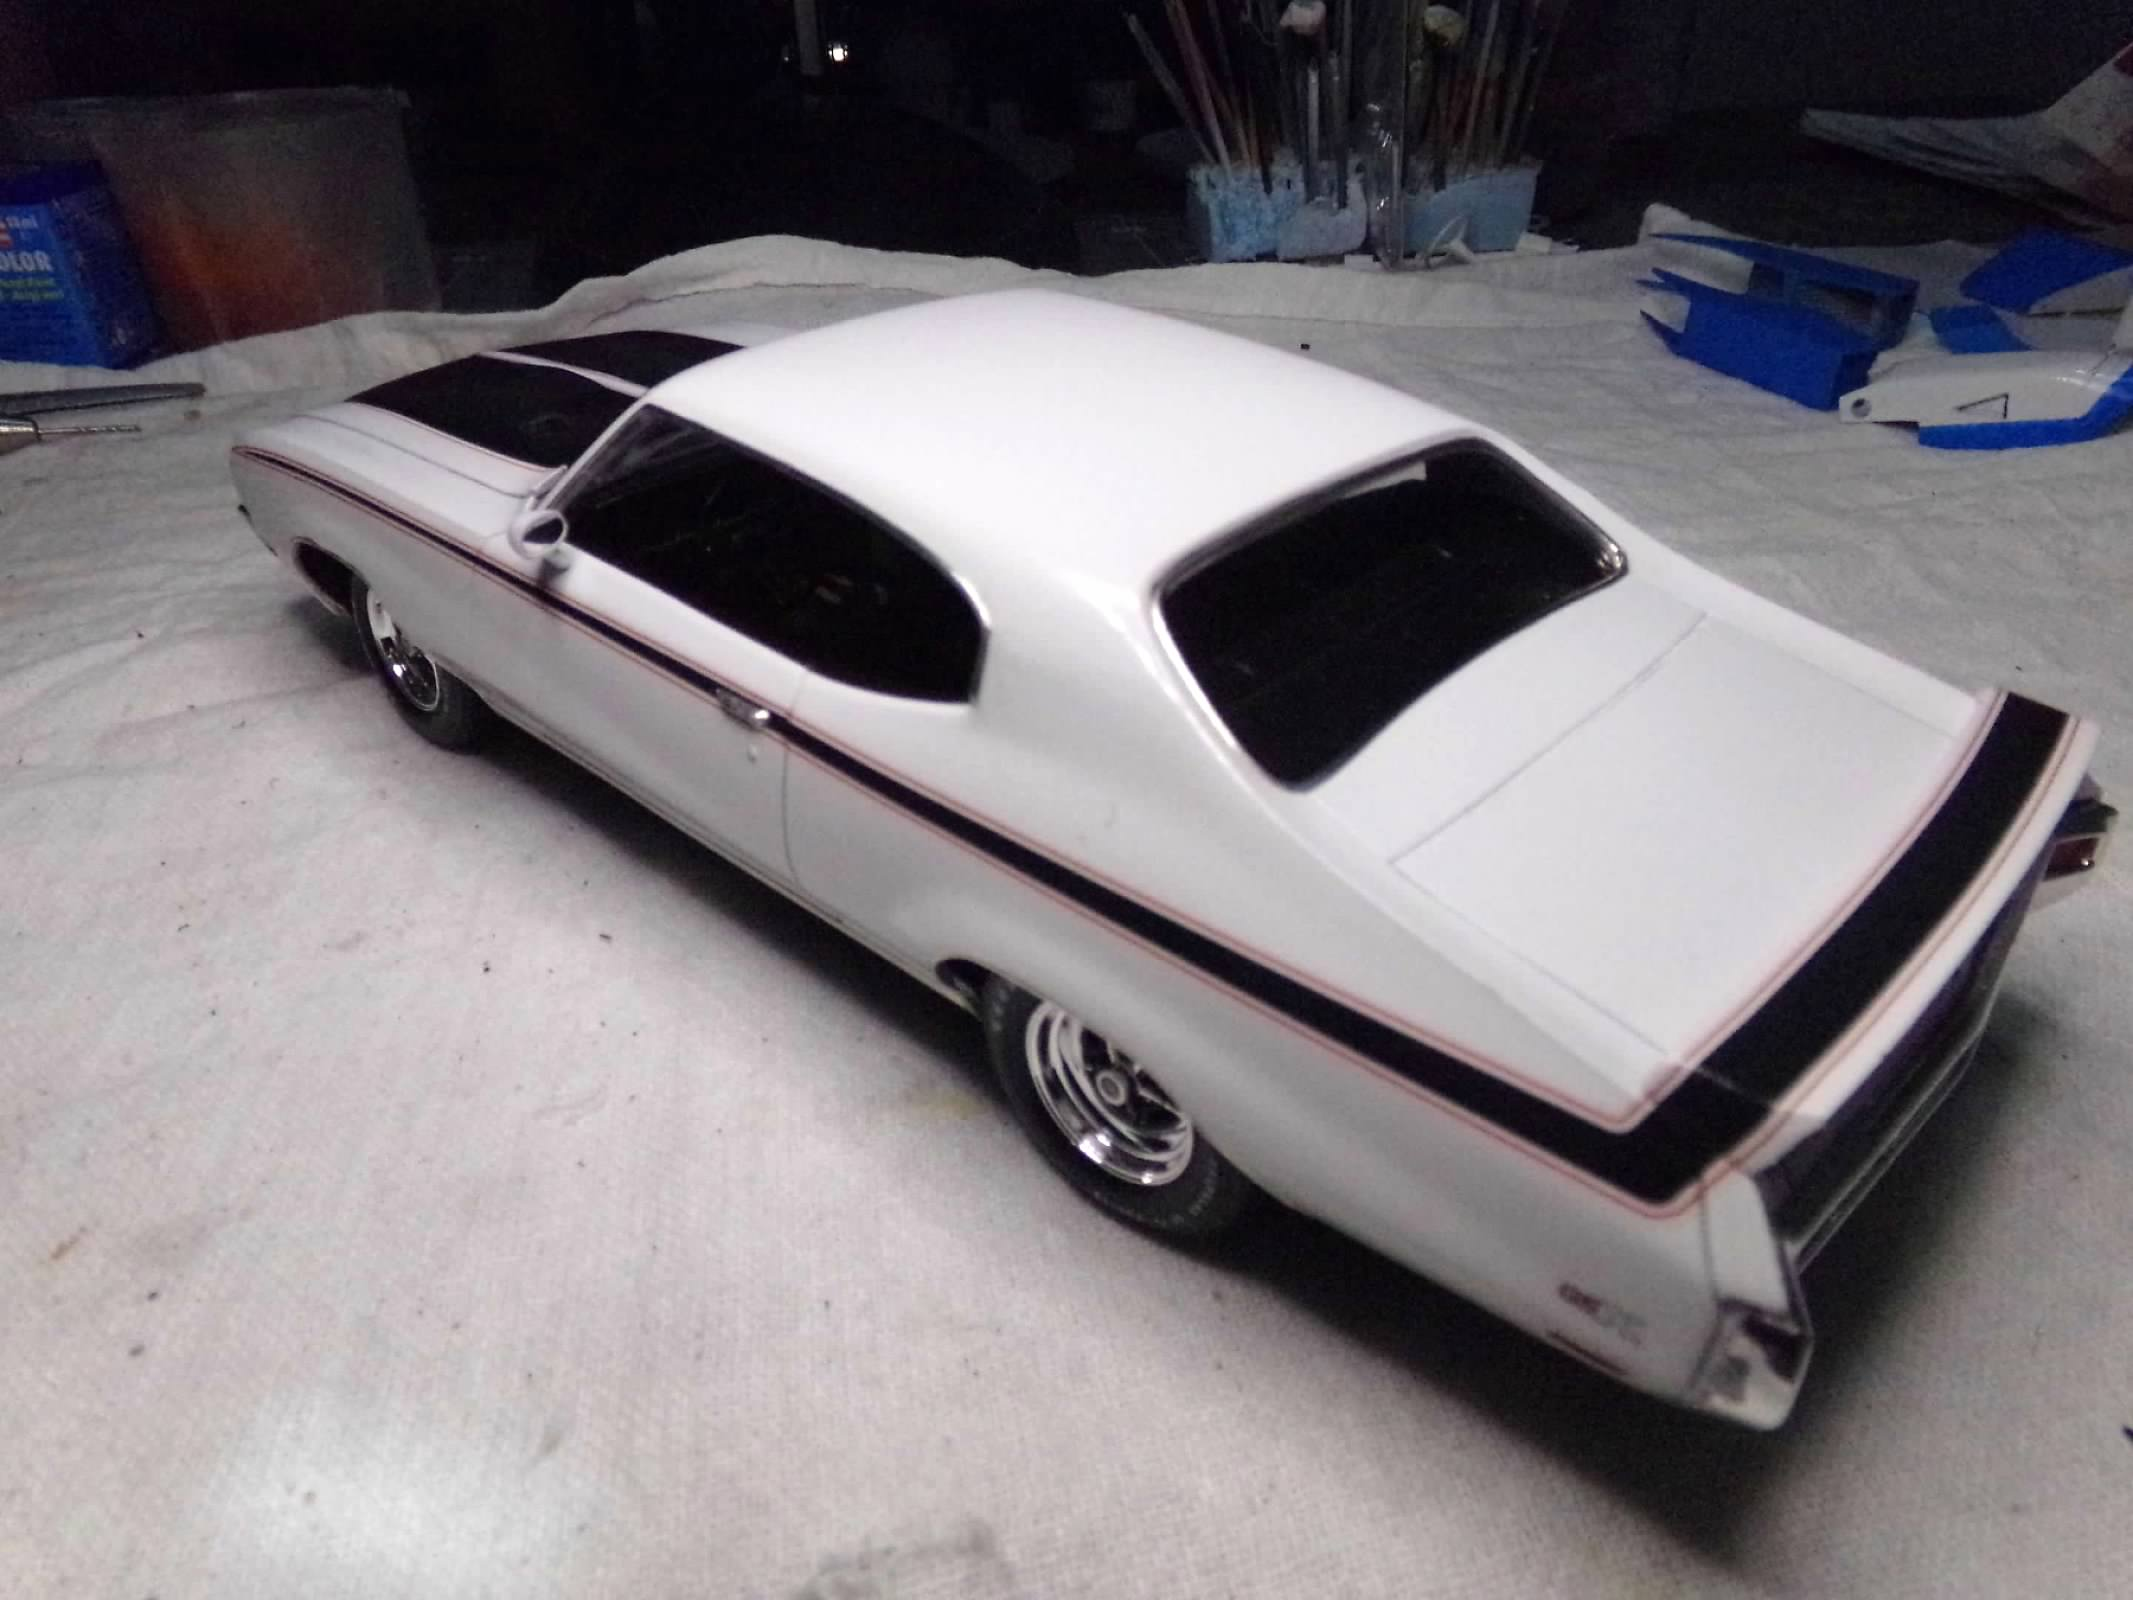
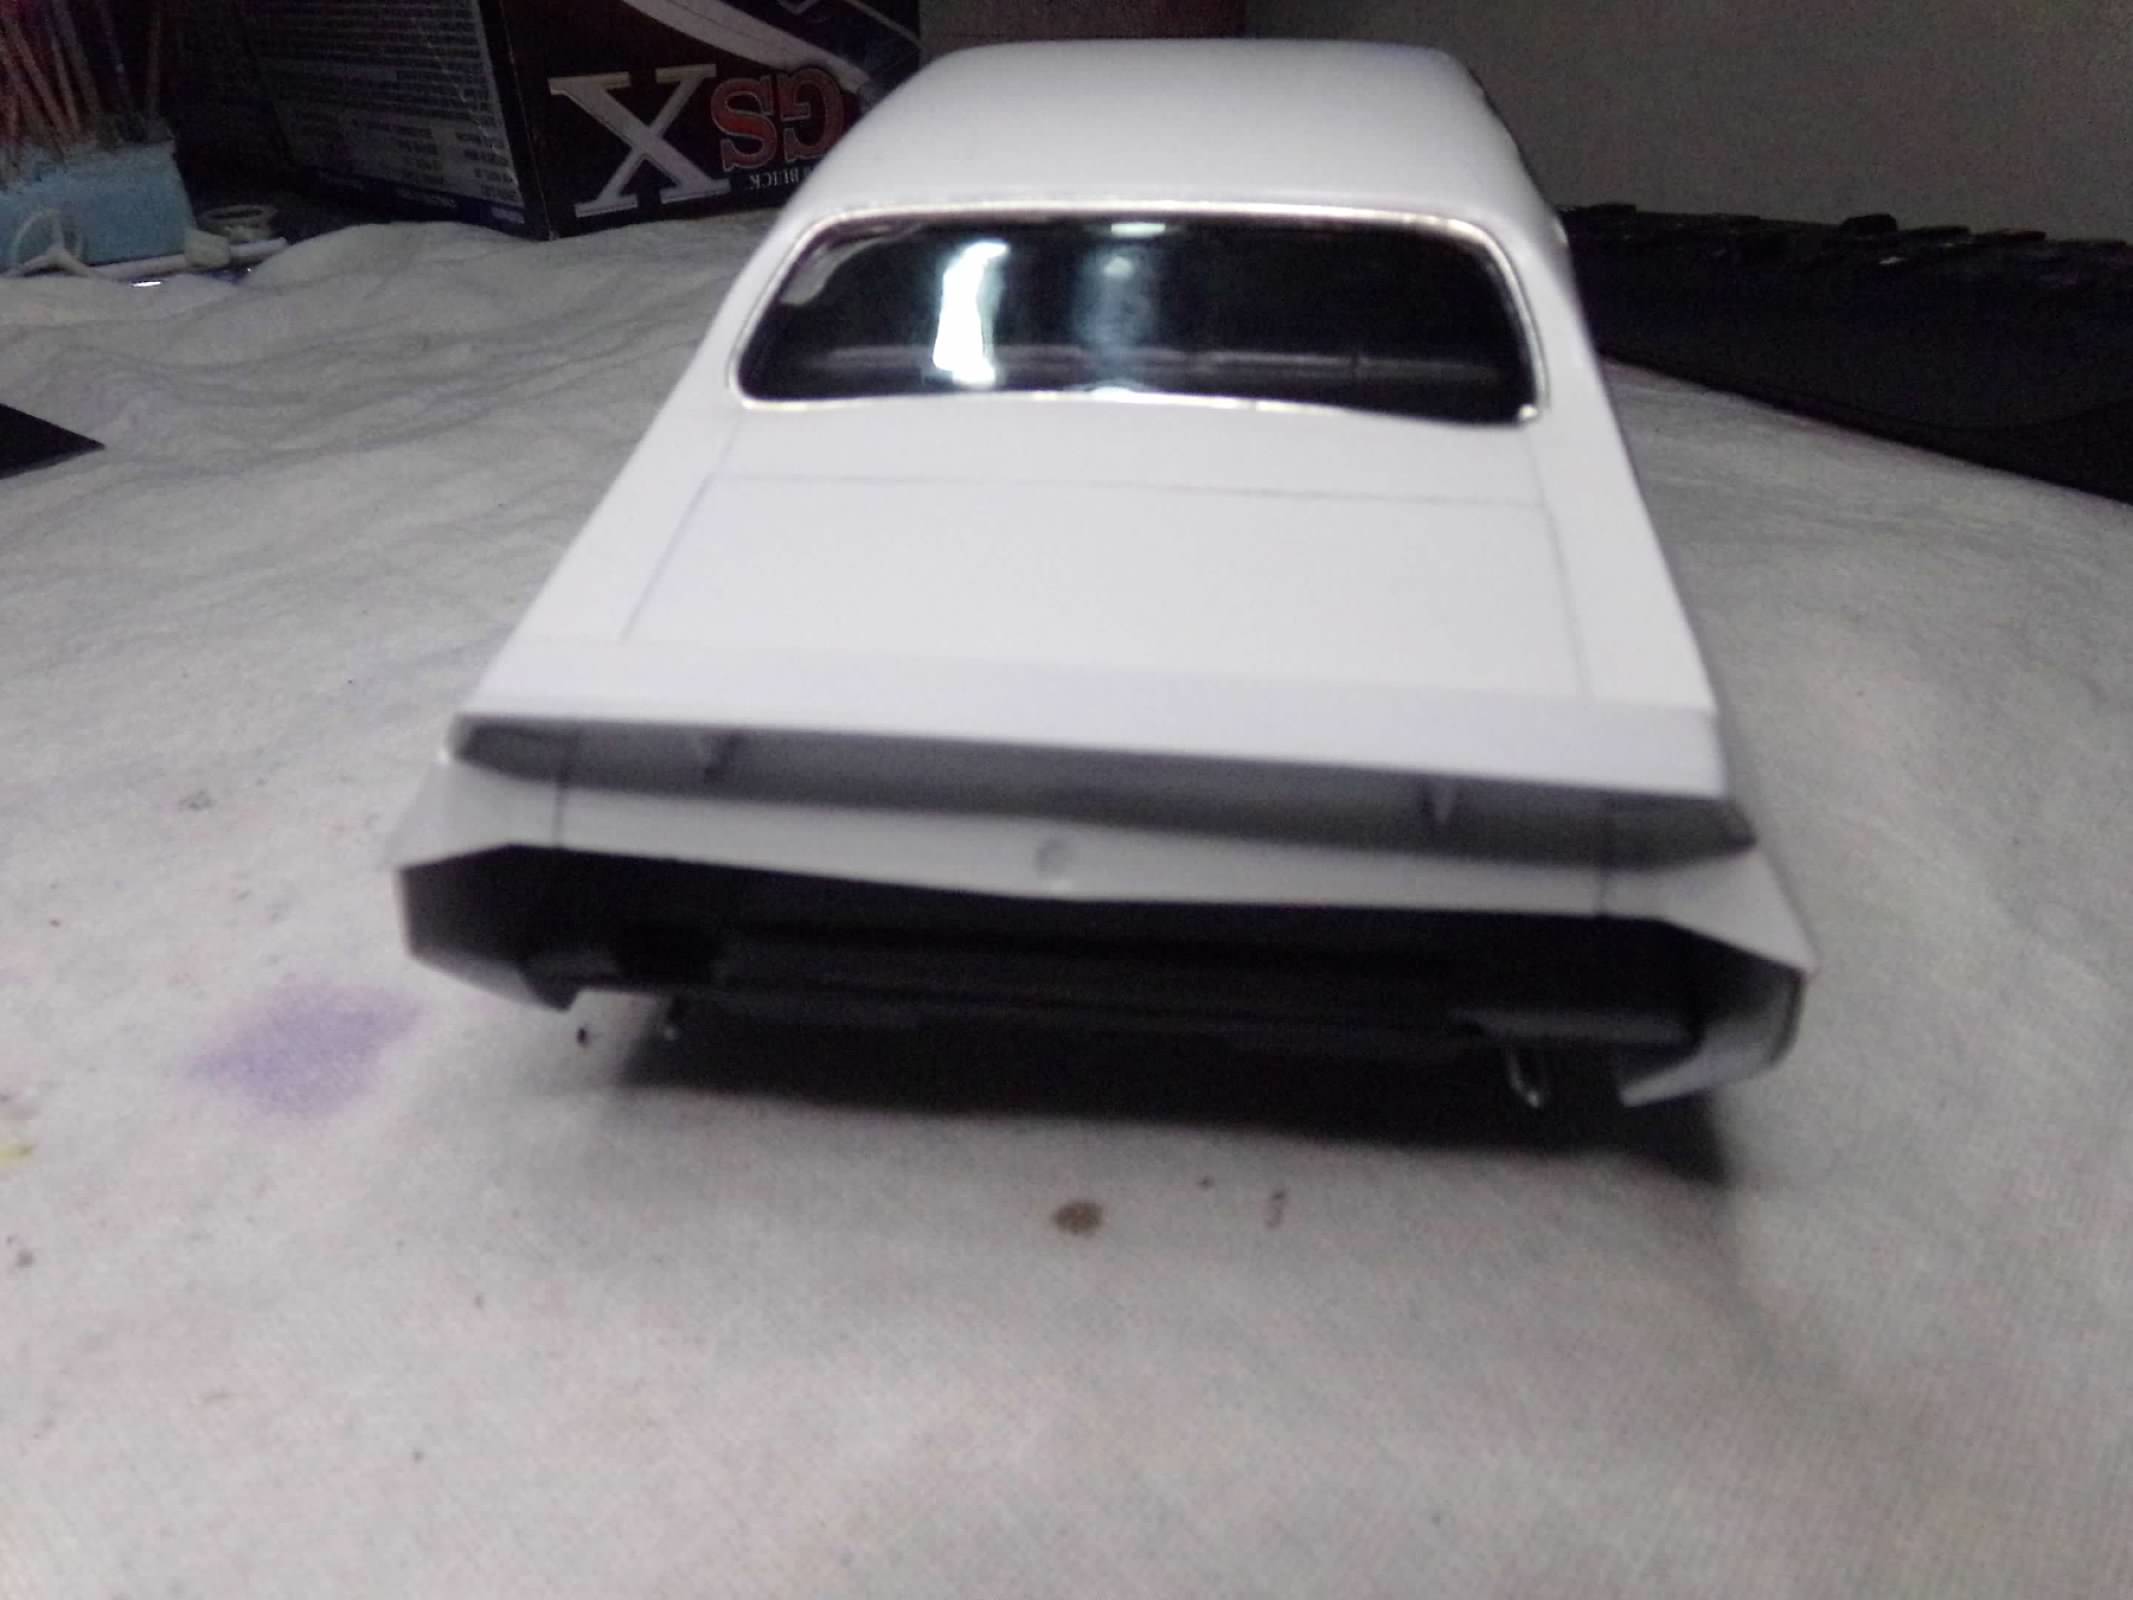
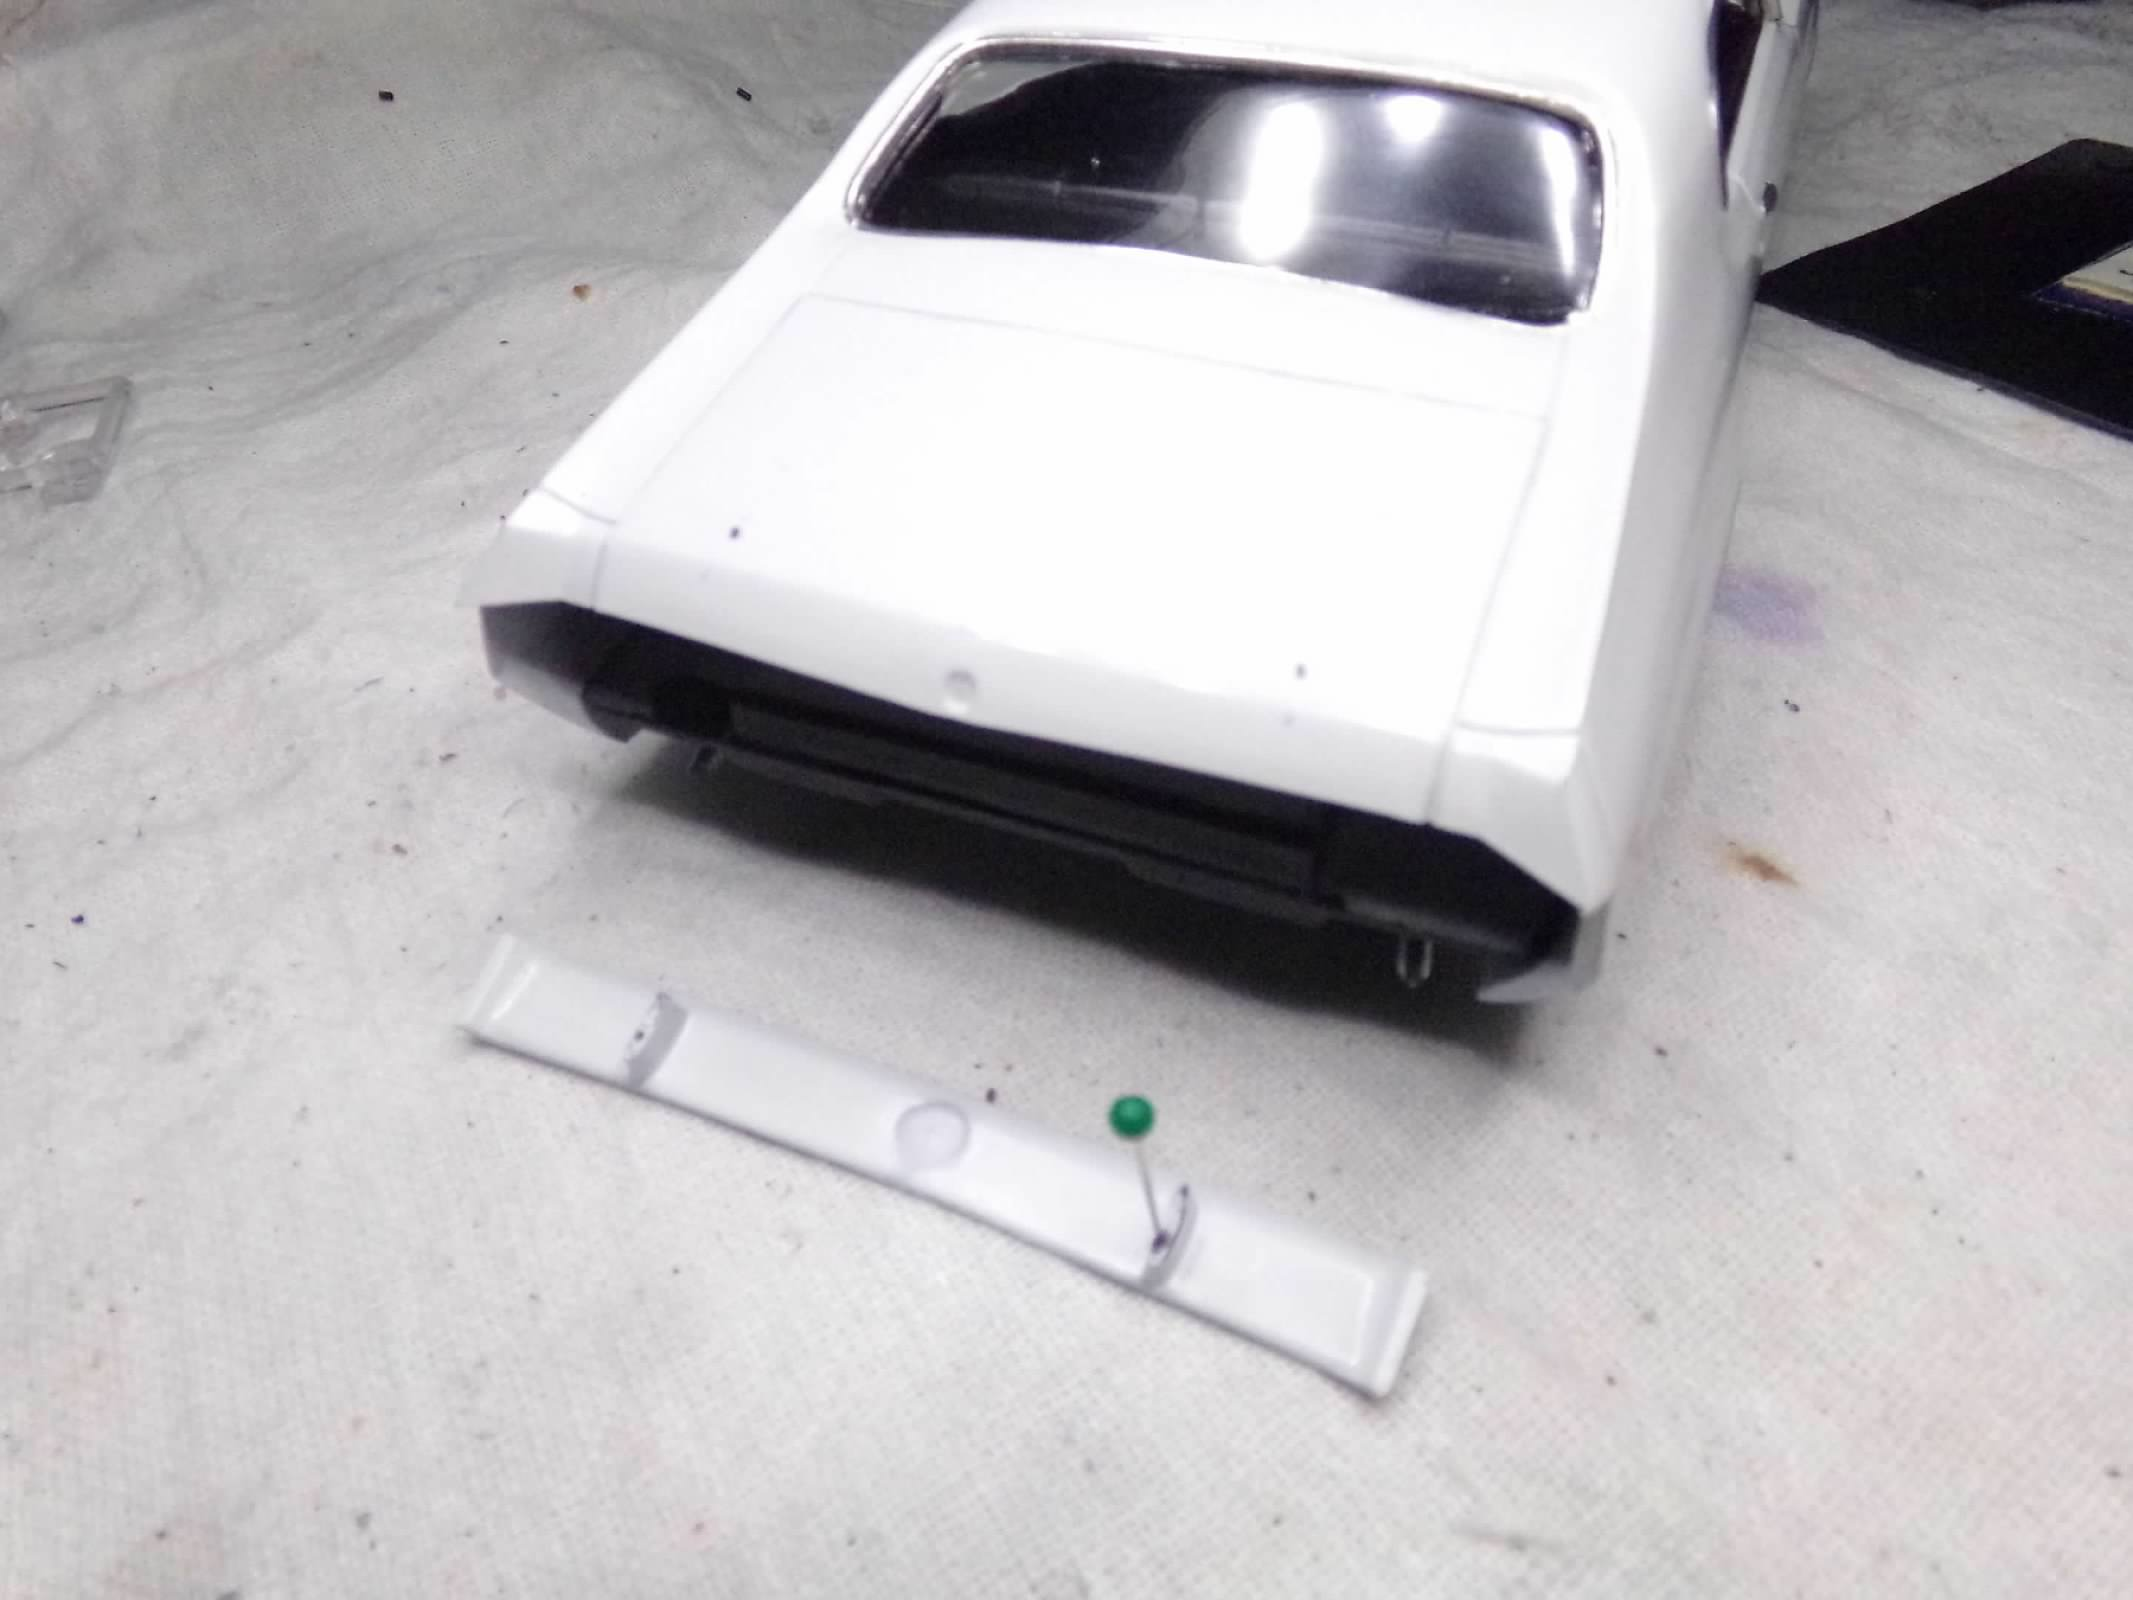
The windows and foil are done and the rear end is done except for the license plate. I had to foil the chrome windshield frame because there were some lumps in the plastic frame that had to be scraped off so I foiled it. Taillights and bumpers were pretty straight-forward. Next is the hood area. I have also been working painting my next project so this is slowing down a bit. Thanks for looking! ?
-
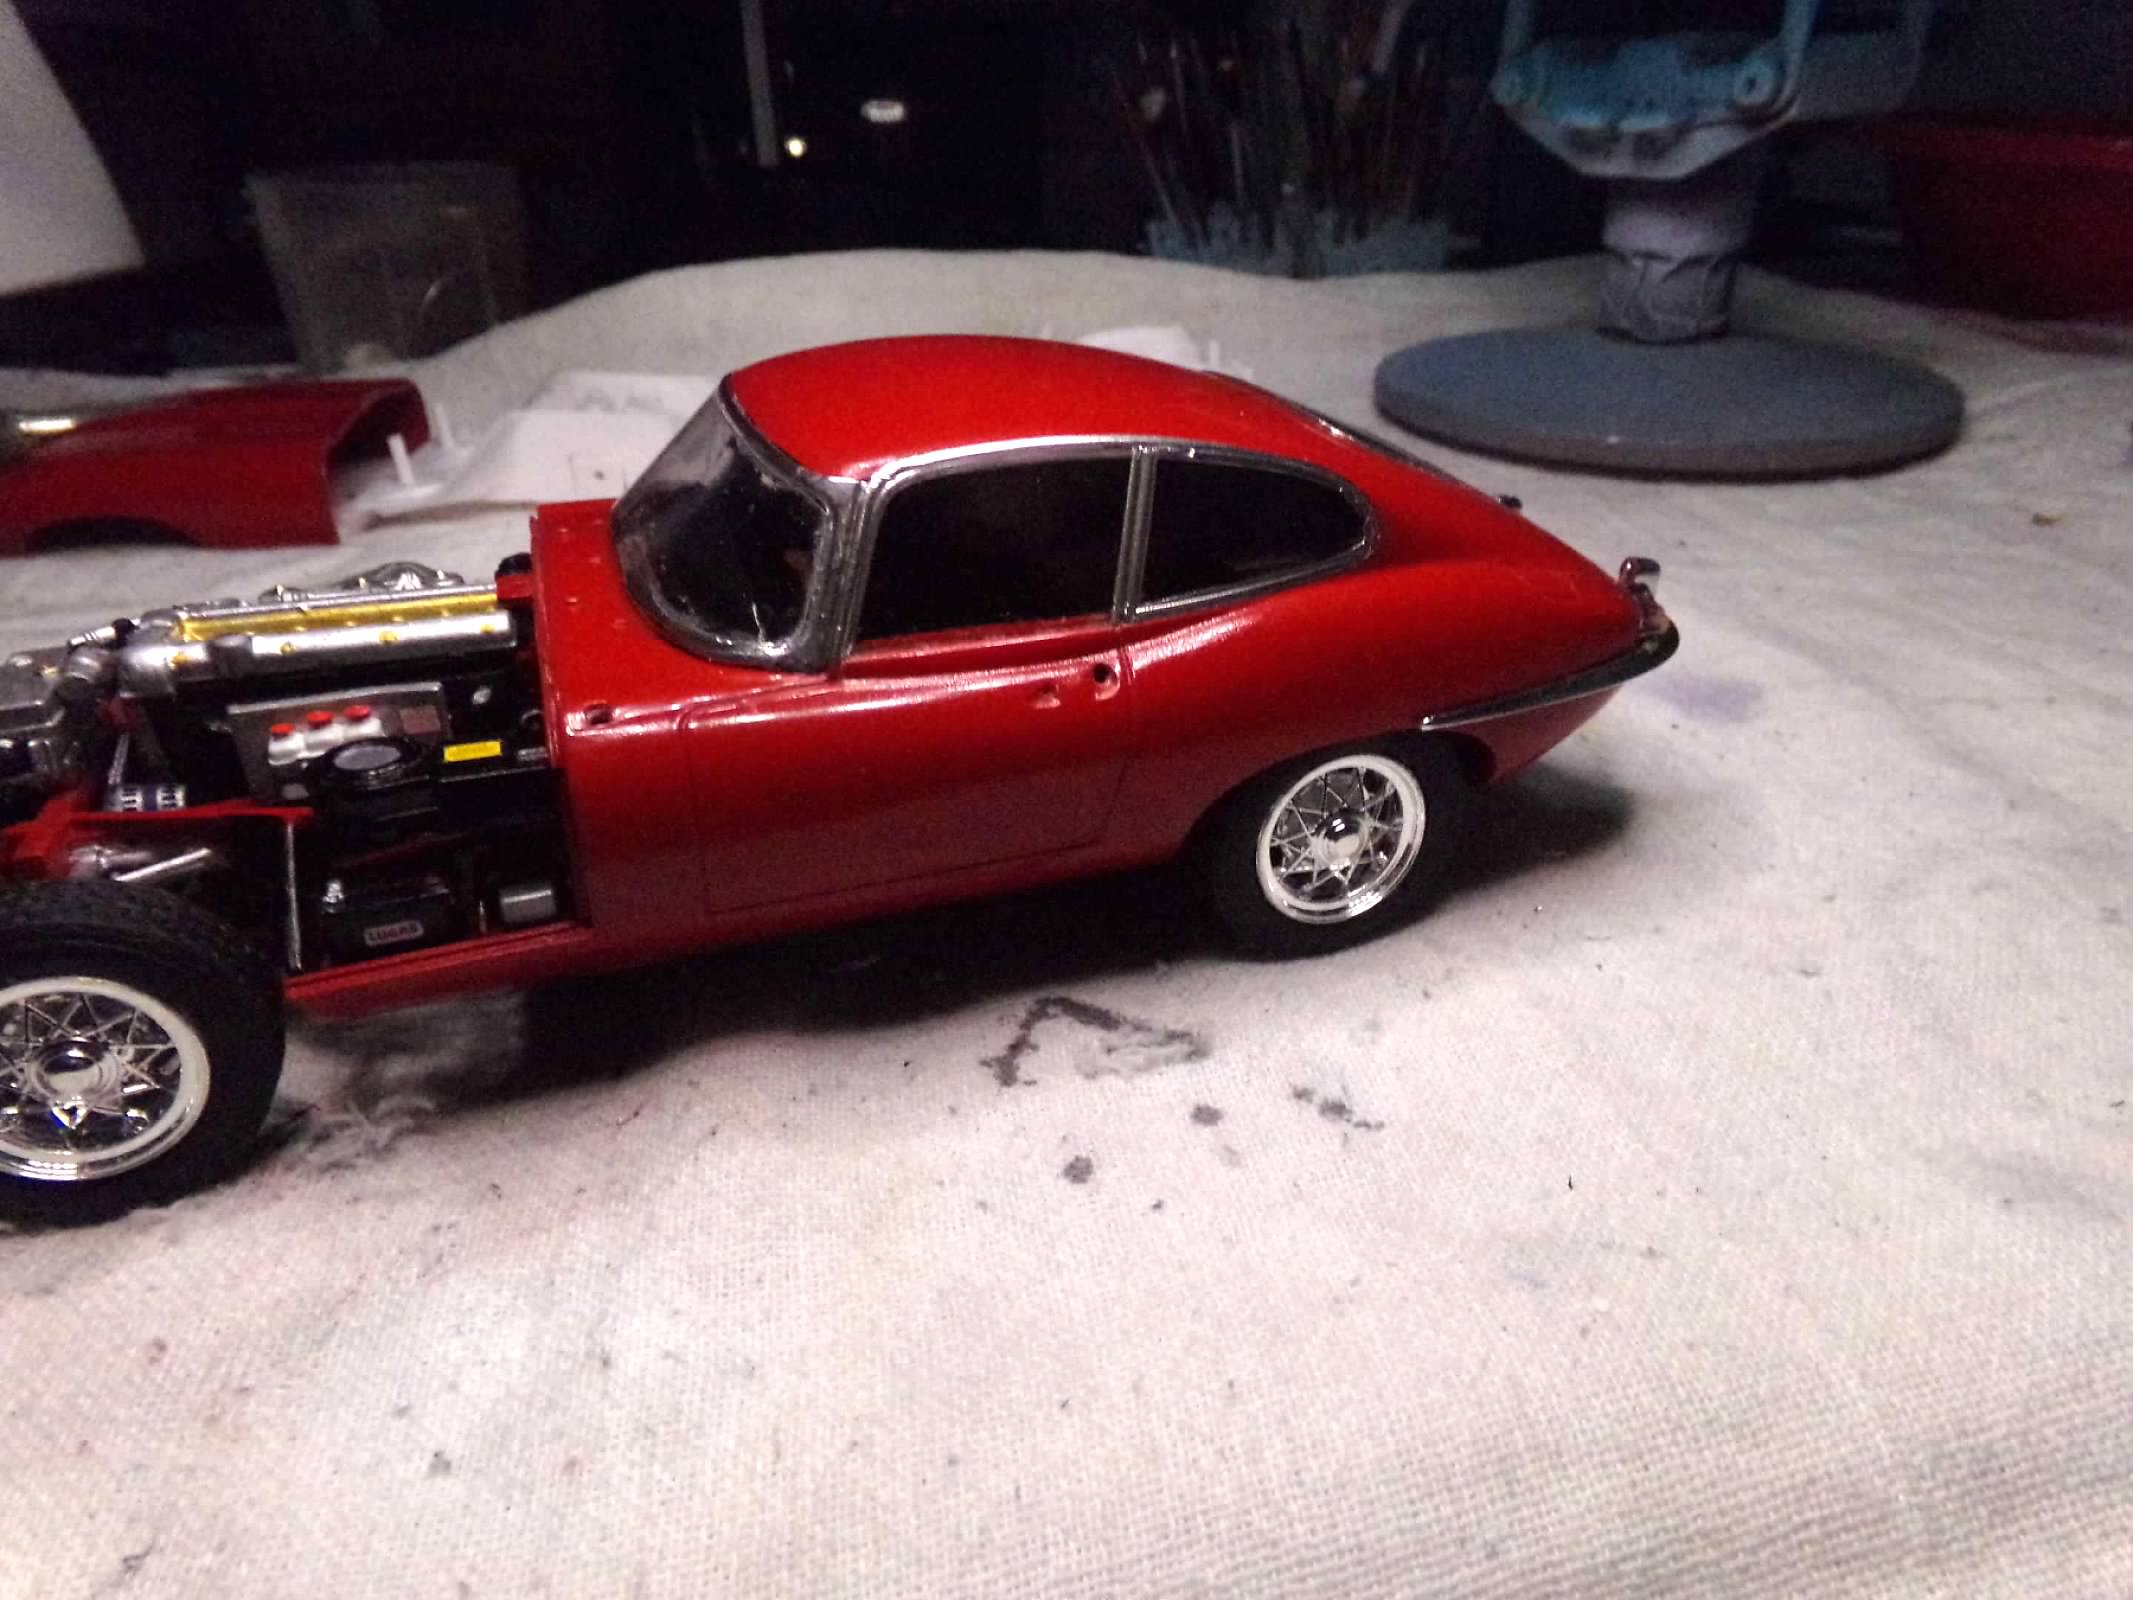
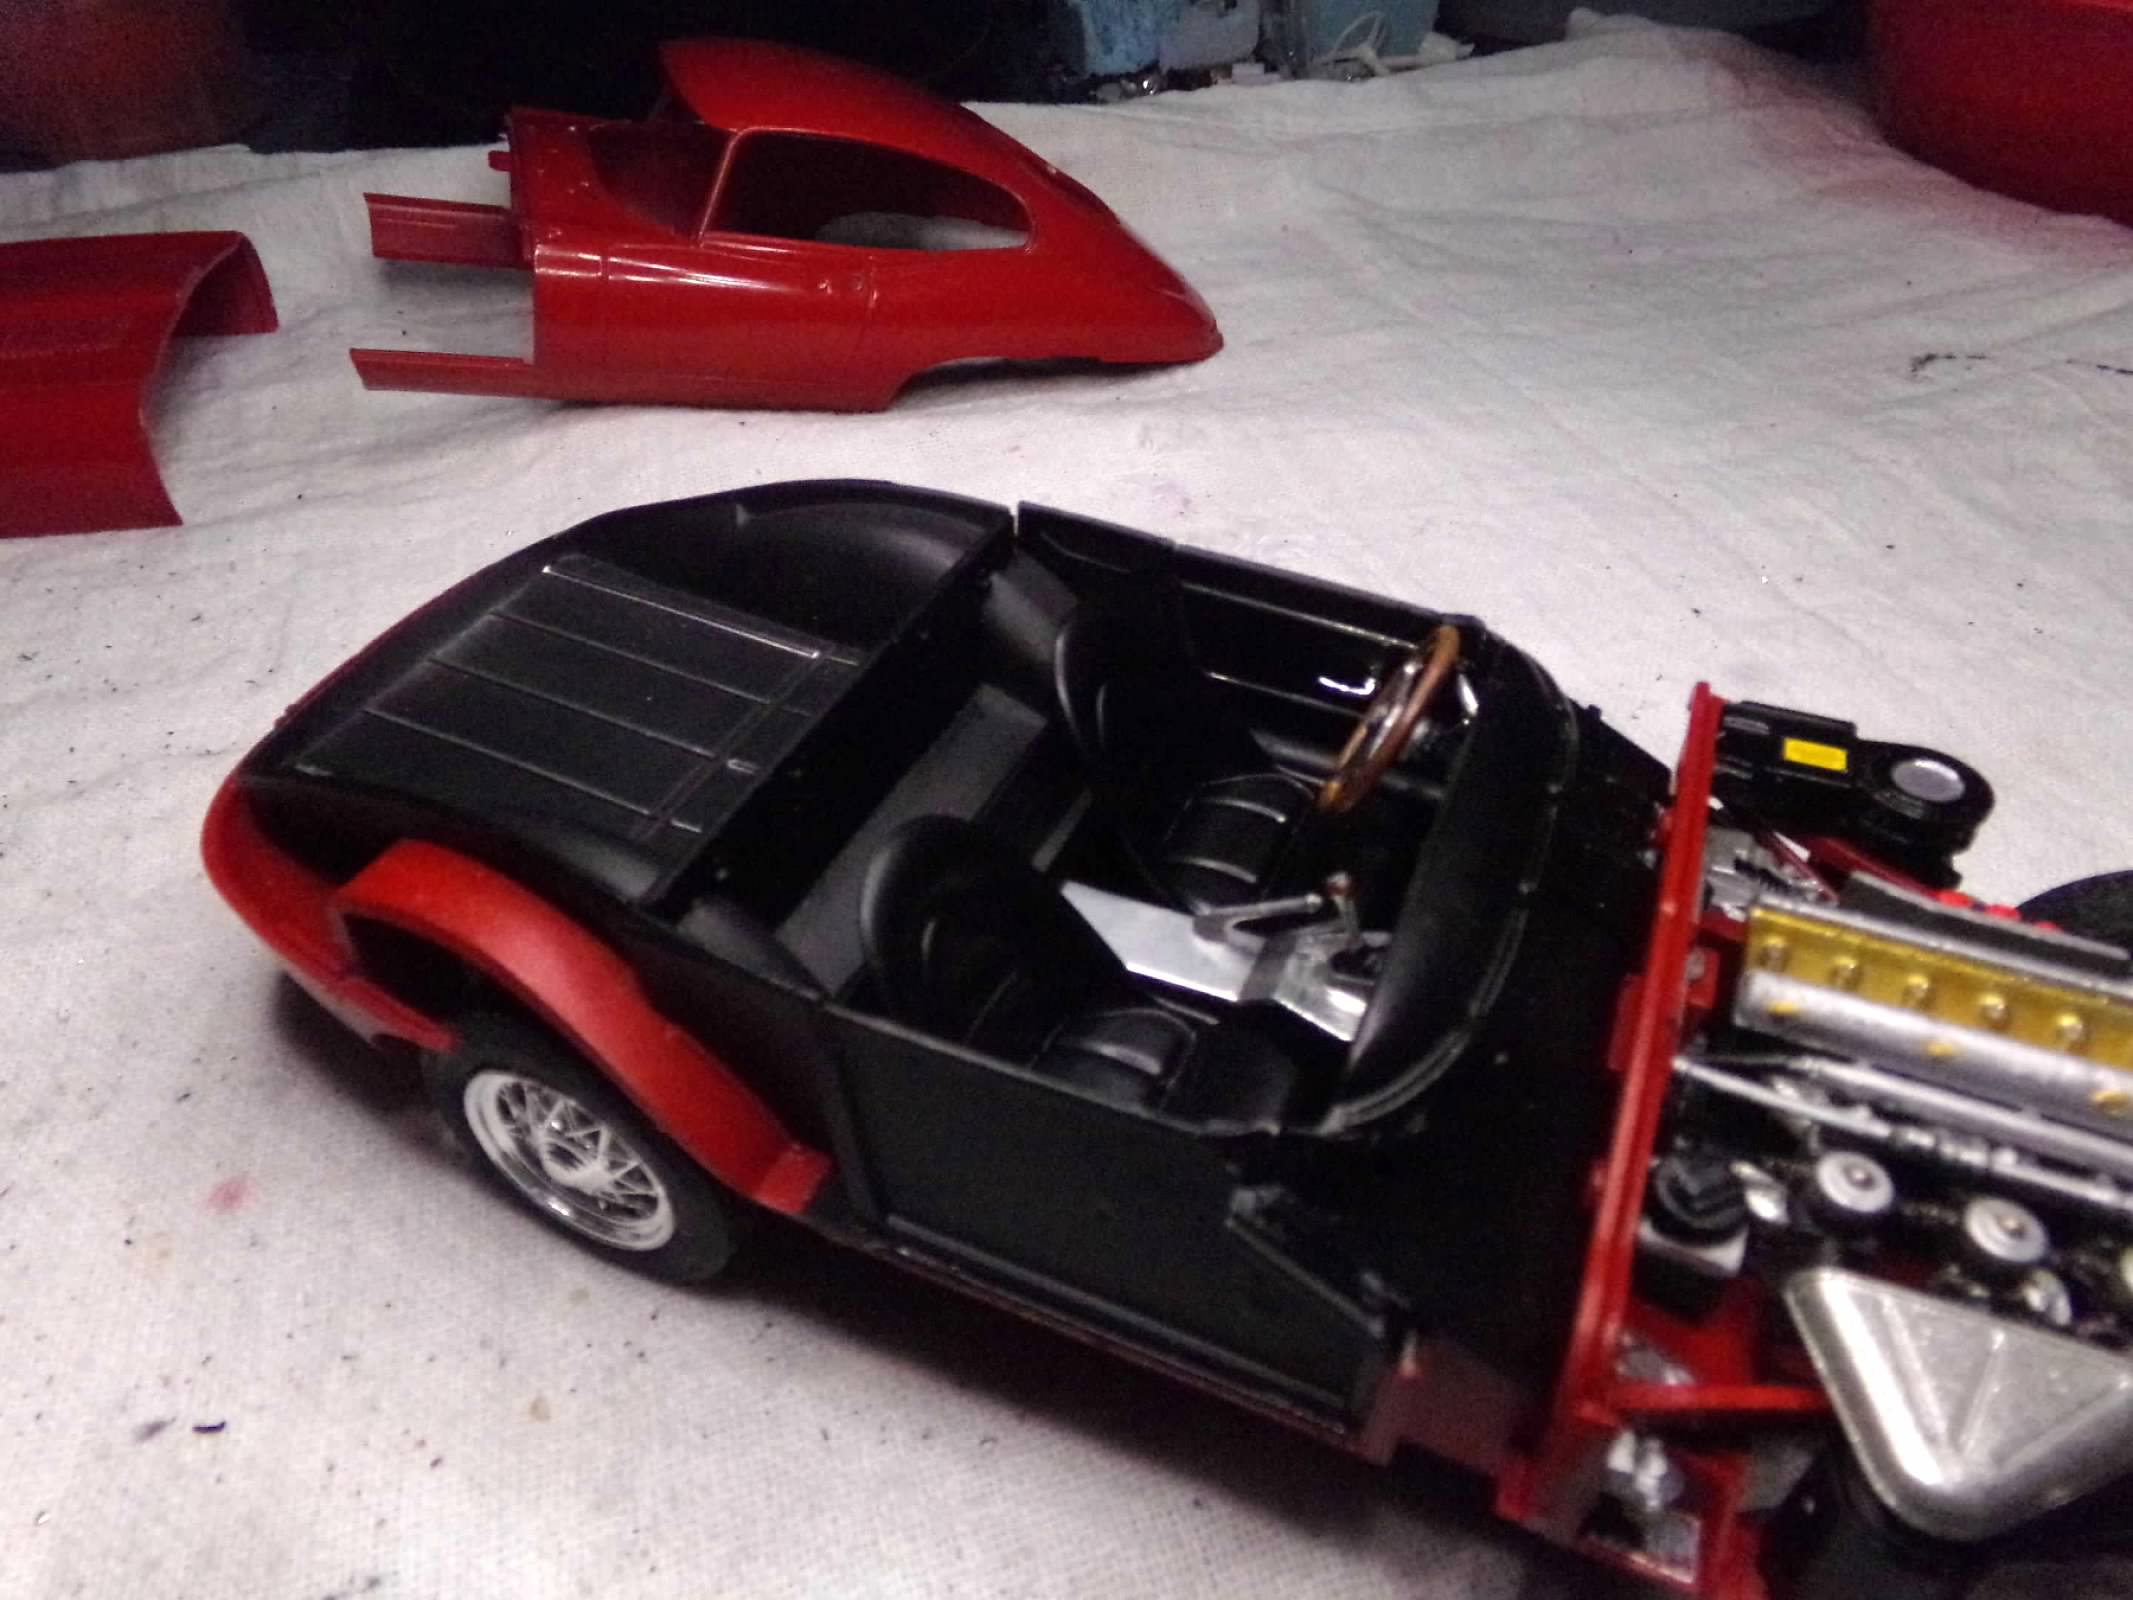
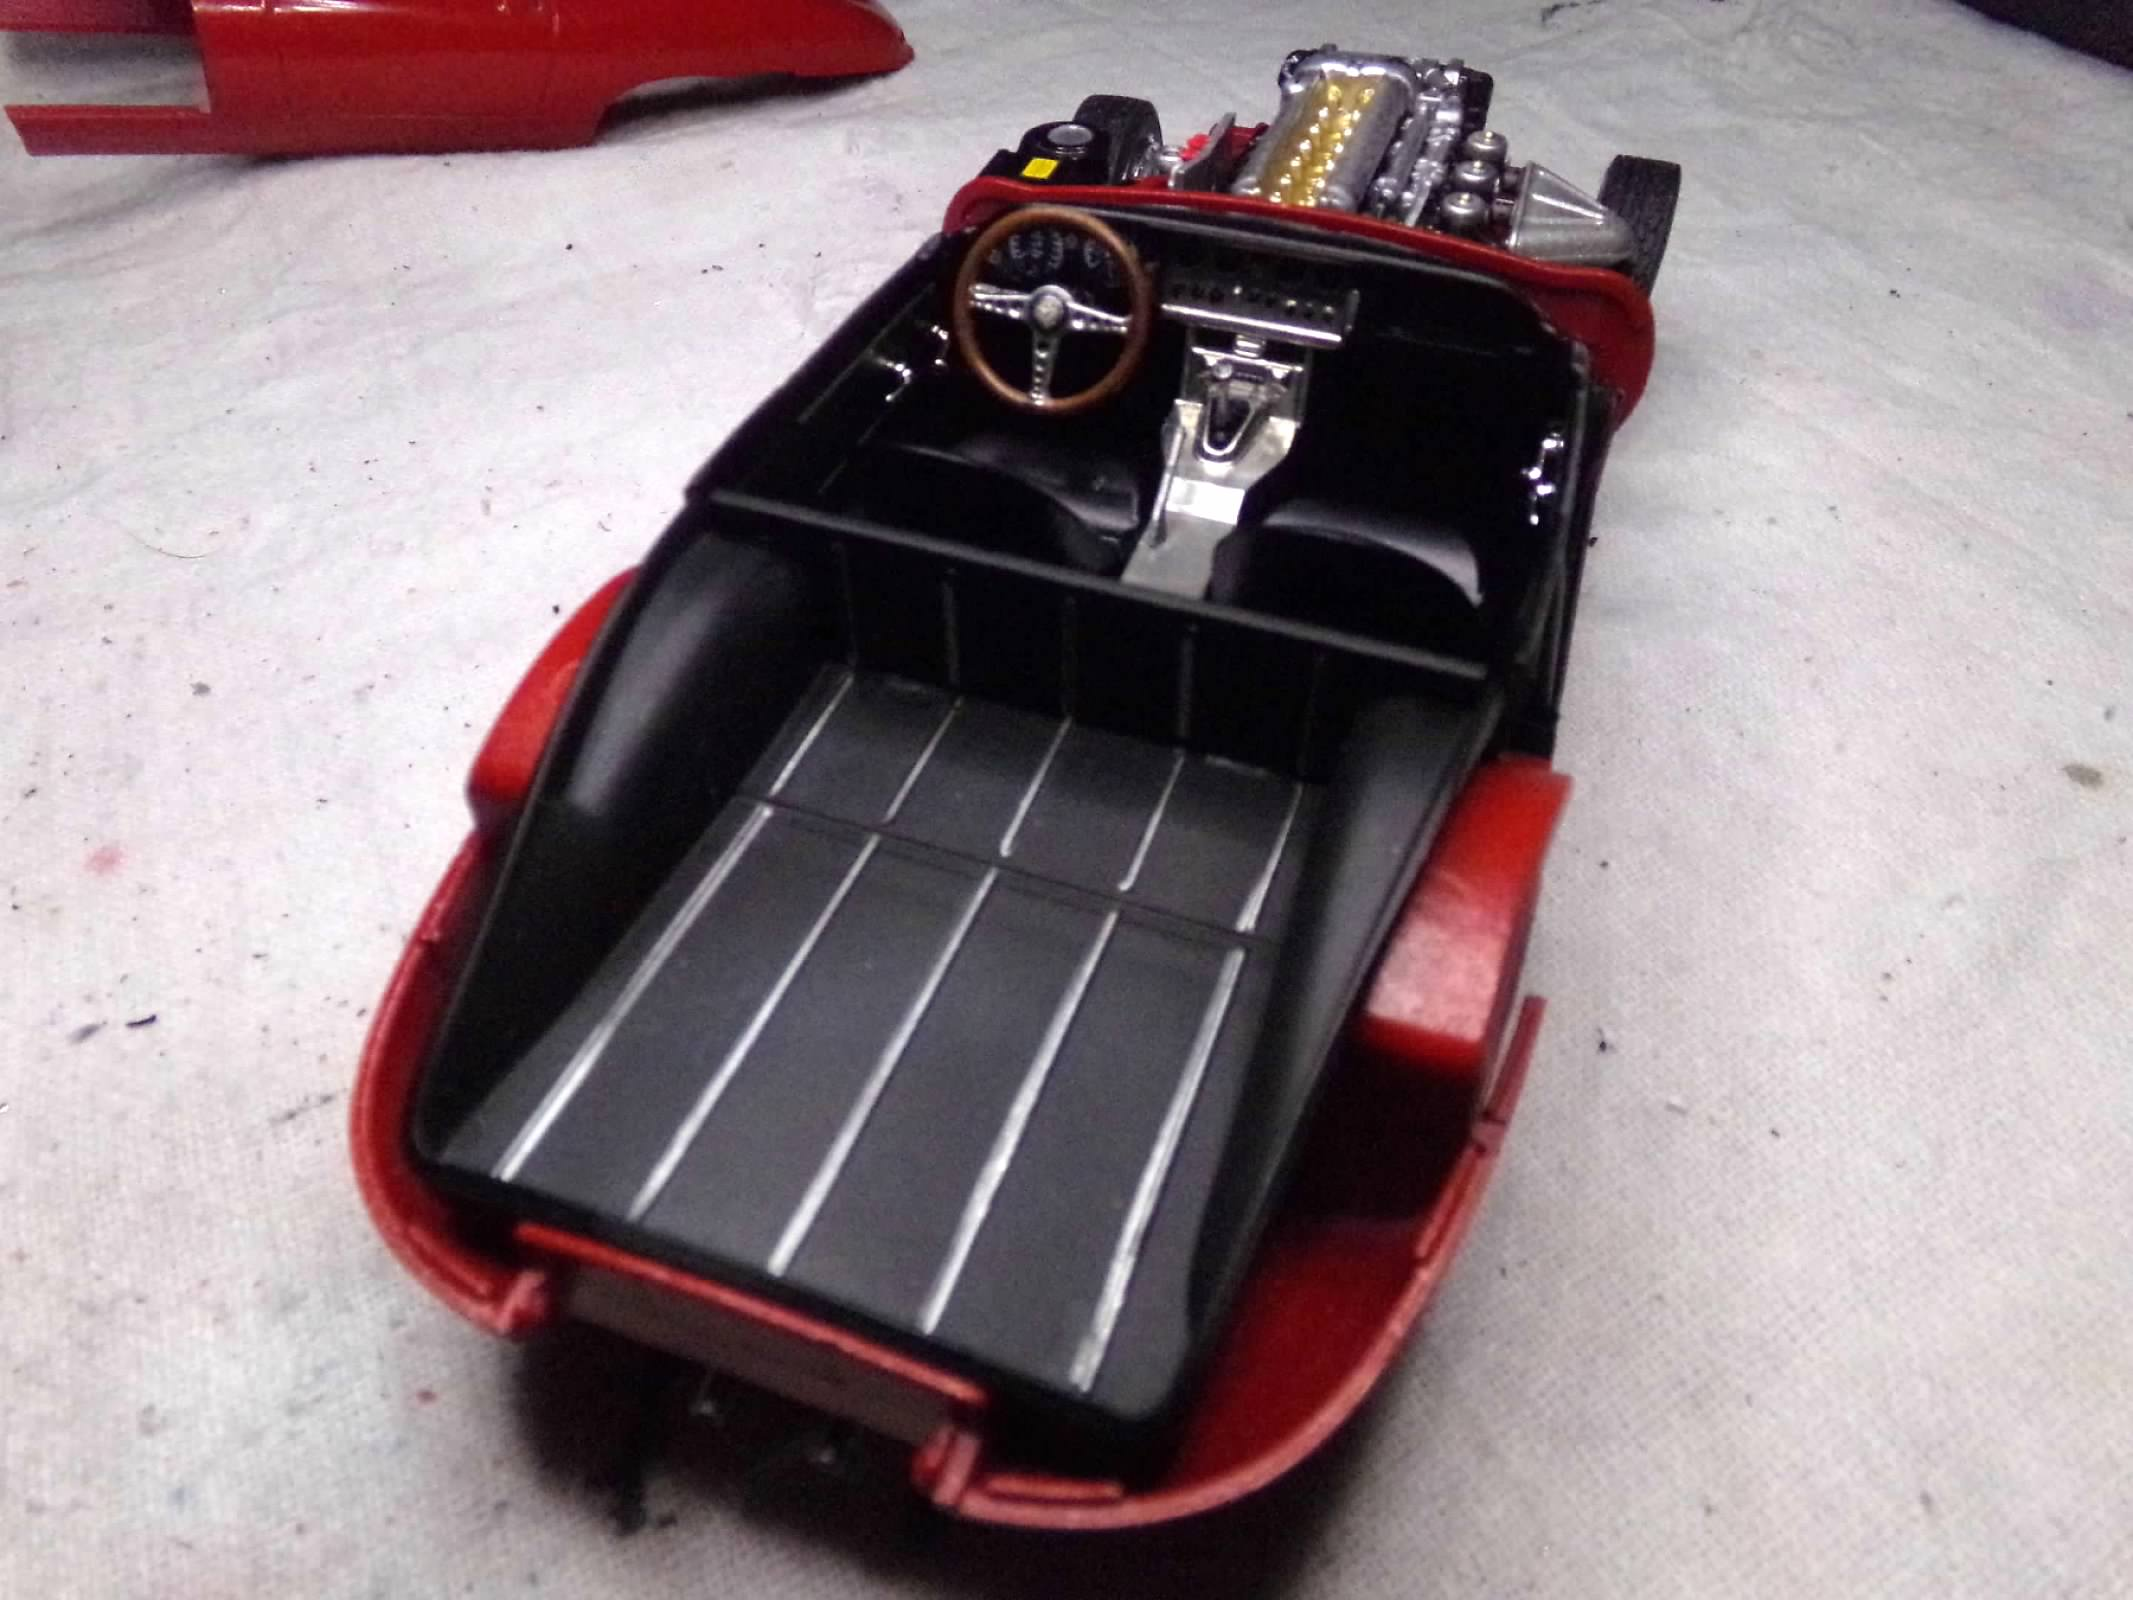
I finished the interior and also mounted a different set of wire wheels. The chrome decal for the middle of the dash crumbled on me when I applied some Micro Sol. So I foiled it instead and used the extra set of gauge faces supplied in the kit (see previous post). I also foiled the console and the doors. It was easy and looks good to me. I used the decals in the trunk area but it weas difficult to line up the decal on those runners in the trunk floor. I should have just foiled them too. The steering wheel and turn signal indicator lever are also foiled. I did manage to get the shifter pattern decal to stay on the stick shift (maybe for the first time ever). For the wheels, I decided to use some wheels from the parts box that came from the 32 Ford Sedan. They were a little tricky since they are big and littles. You can't really tell it very easily in the diameter but because the rear wheels were meant for a wider tire, they are also wider than the Jaguar kit tires that I am using. So with some whittling and sanding I was able to make them fit the tires approximately and since the tires are a bit spongy with some white glue they cling pretty well to the tire. I like them better than the kit wheel because they are quite so busy and the kit wheel looks a little big to me. I can still modify the two-pronged spinner and glue to the center of the wheel. I'll take a vote - attach the spinners or not? Thanks for looking and thanks for any suggestions! ?
-
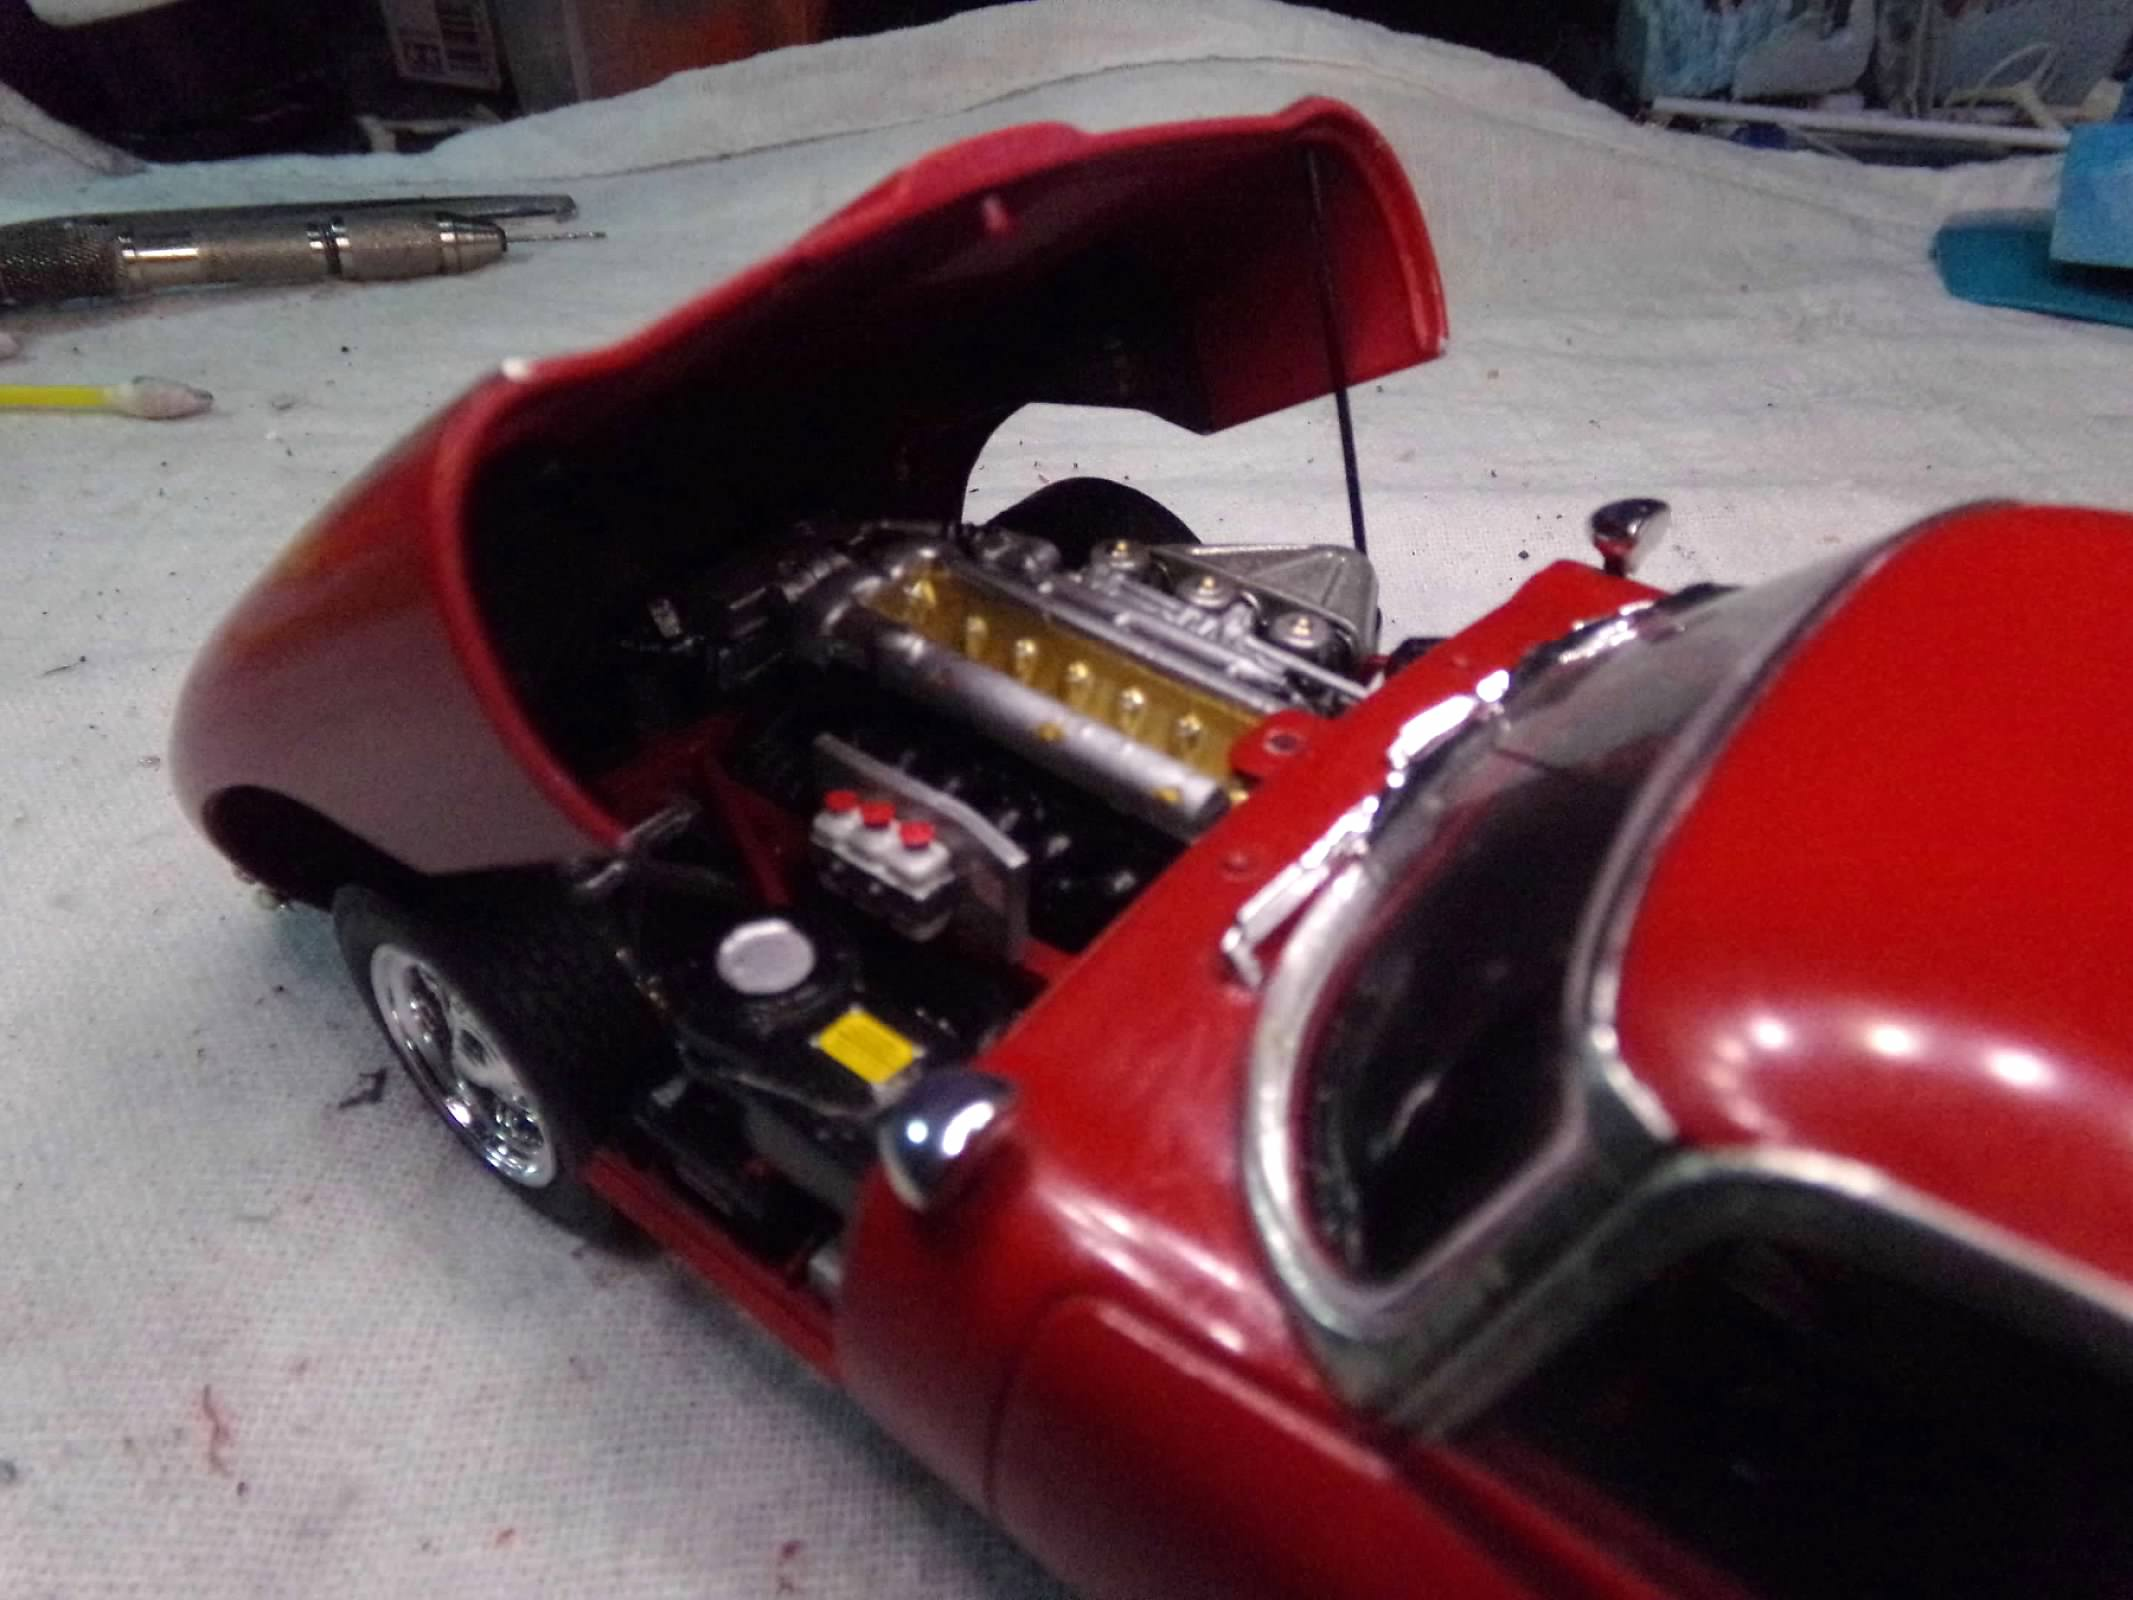
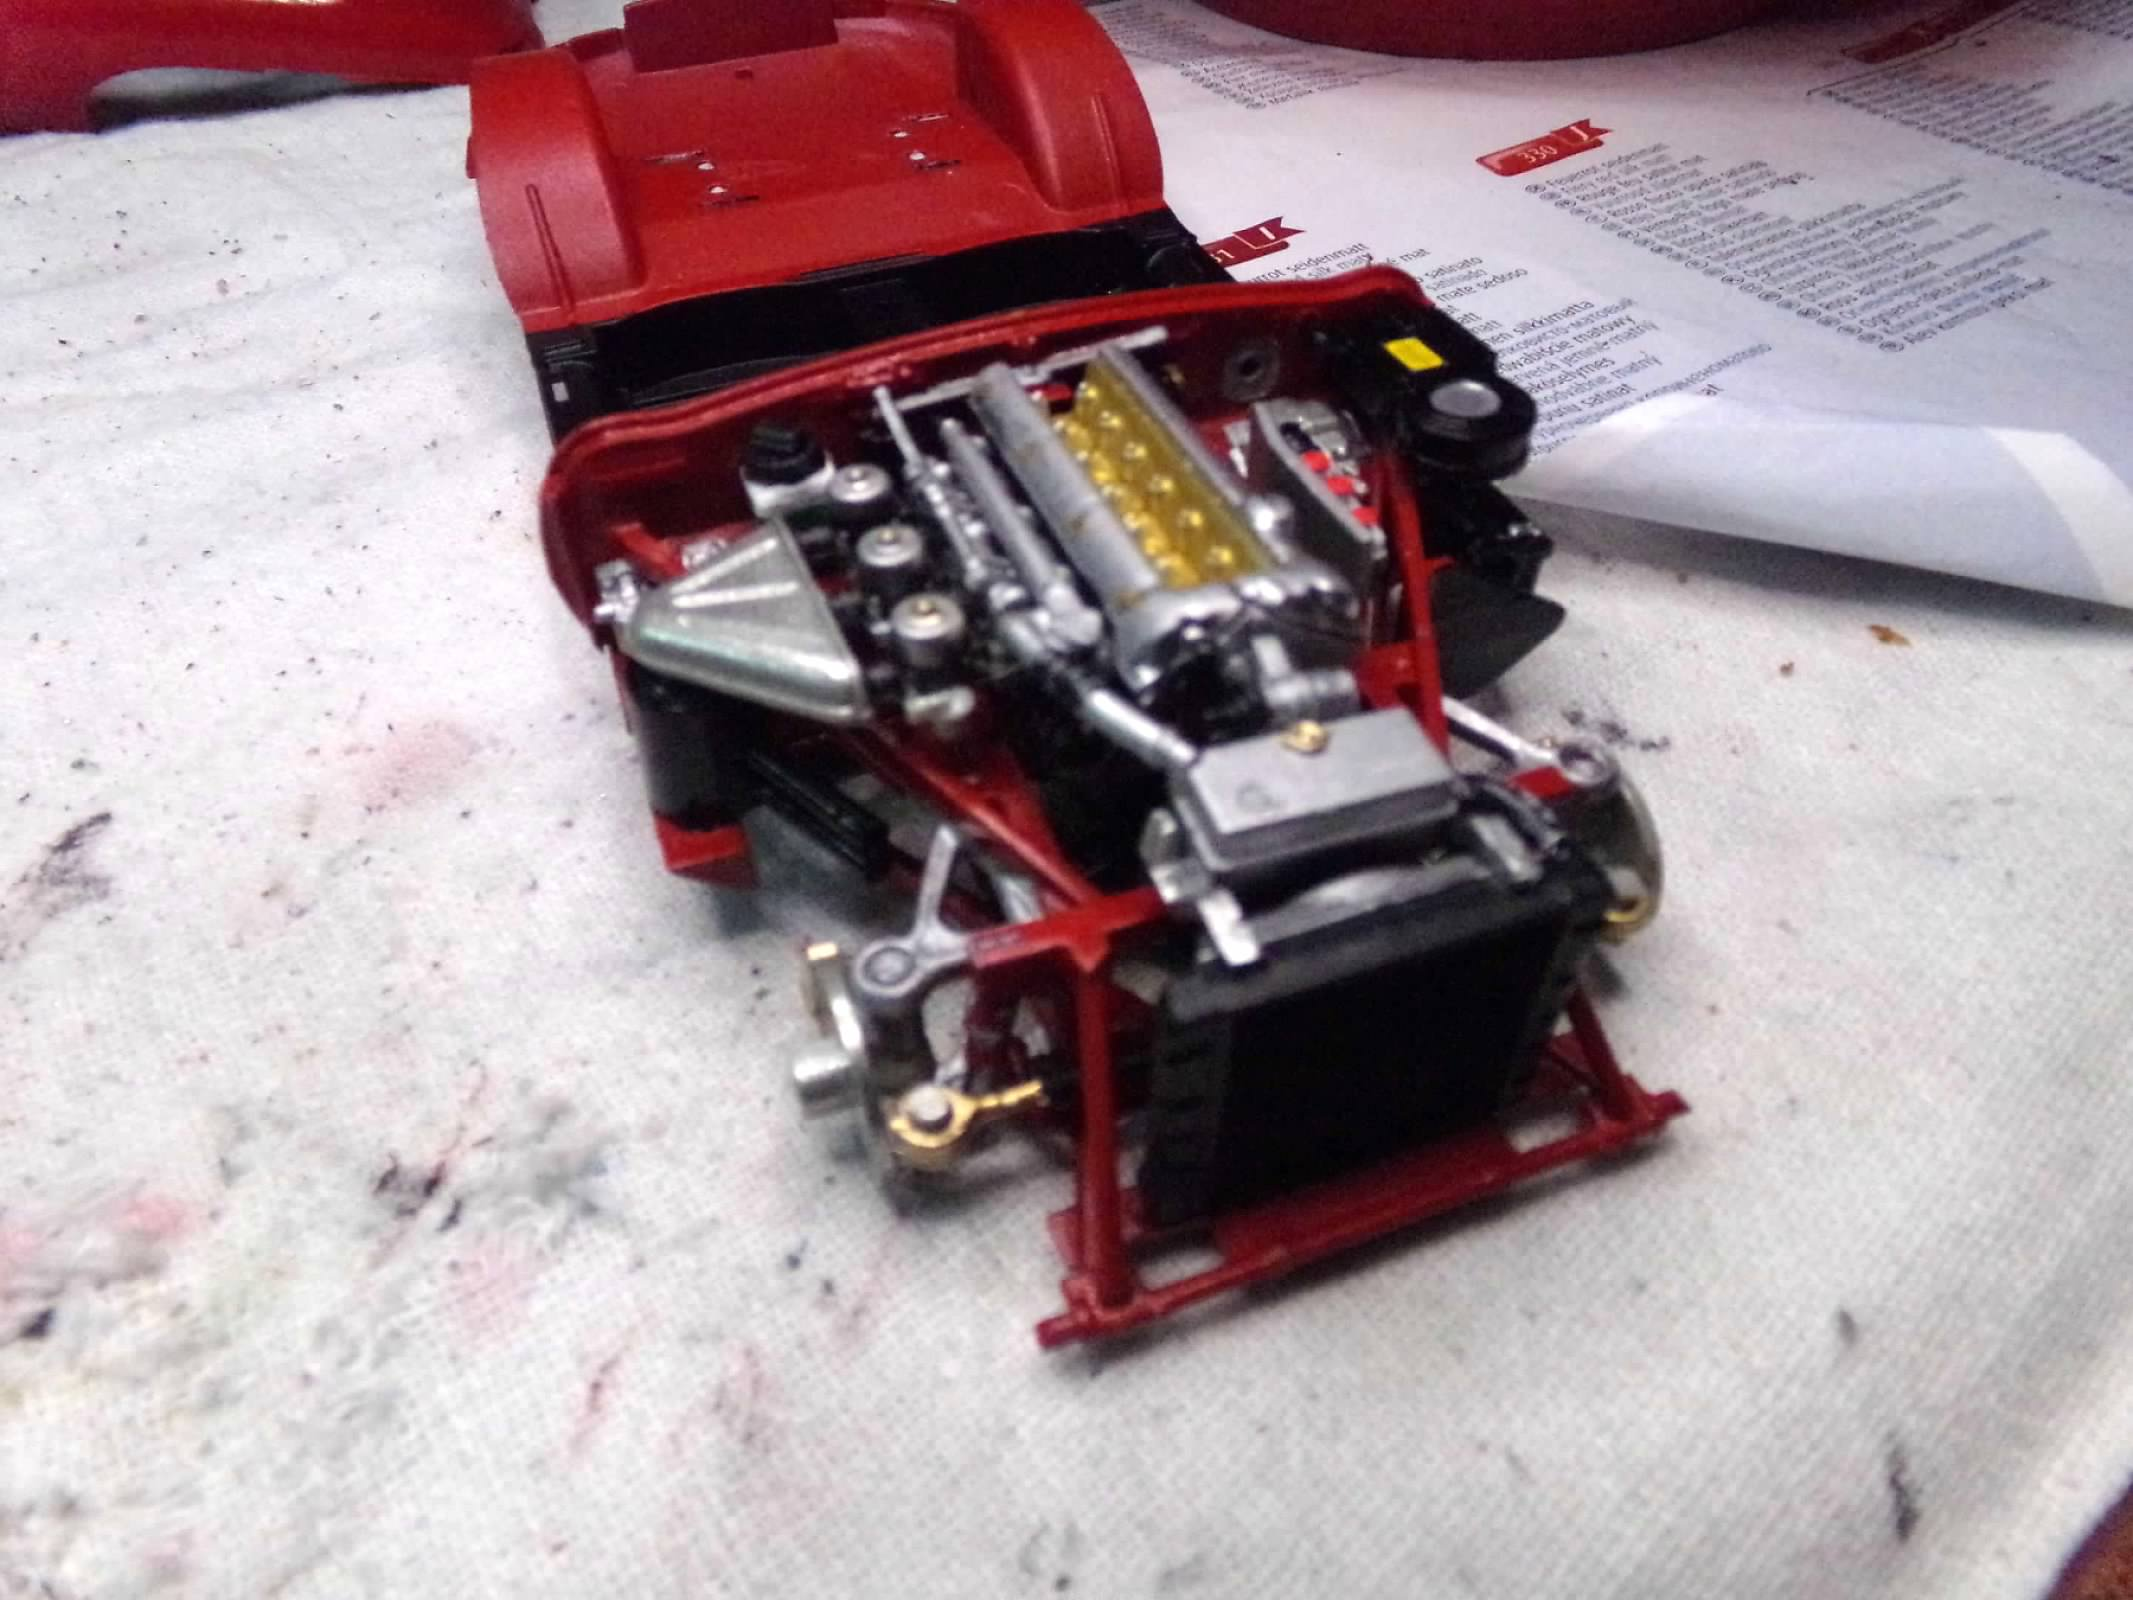
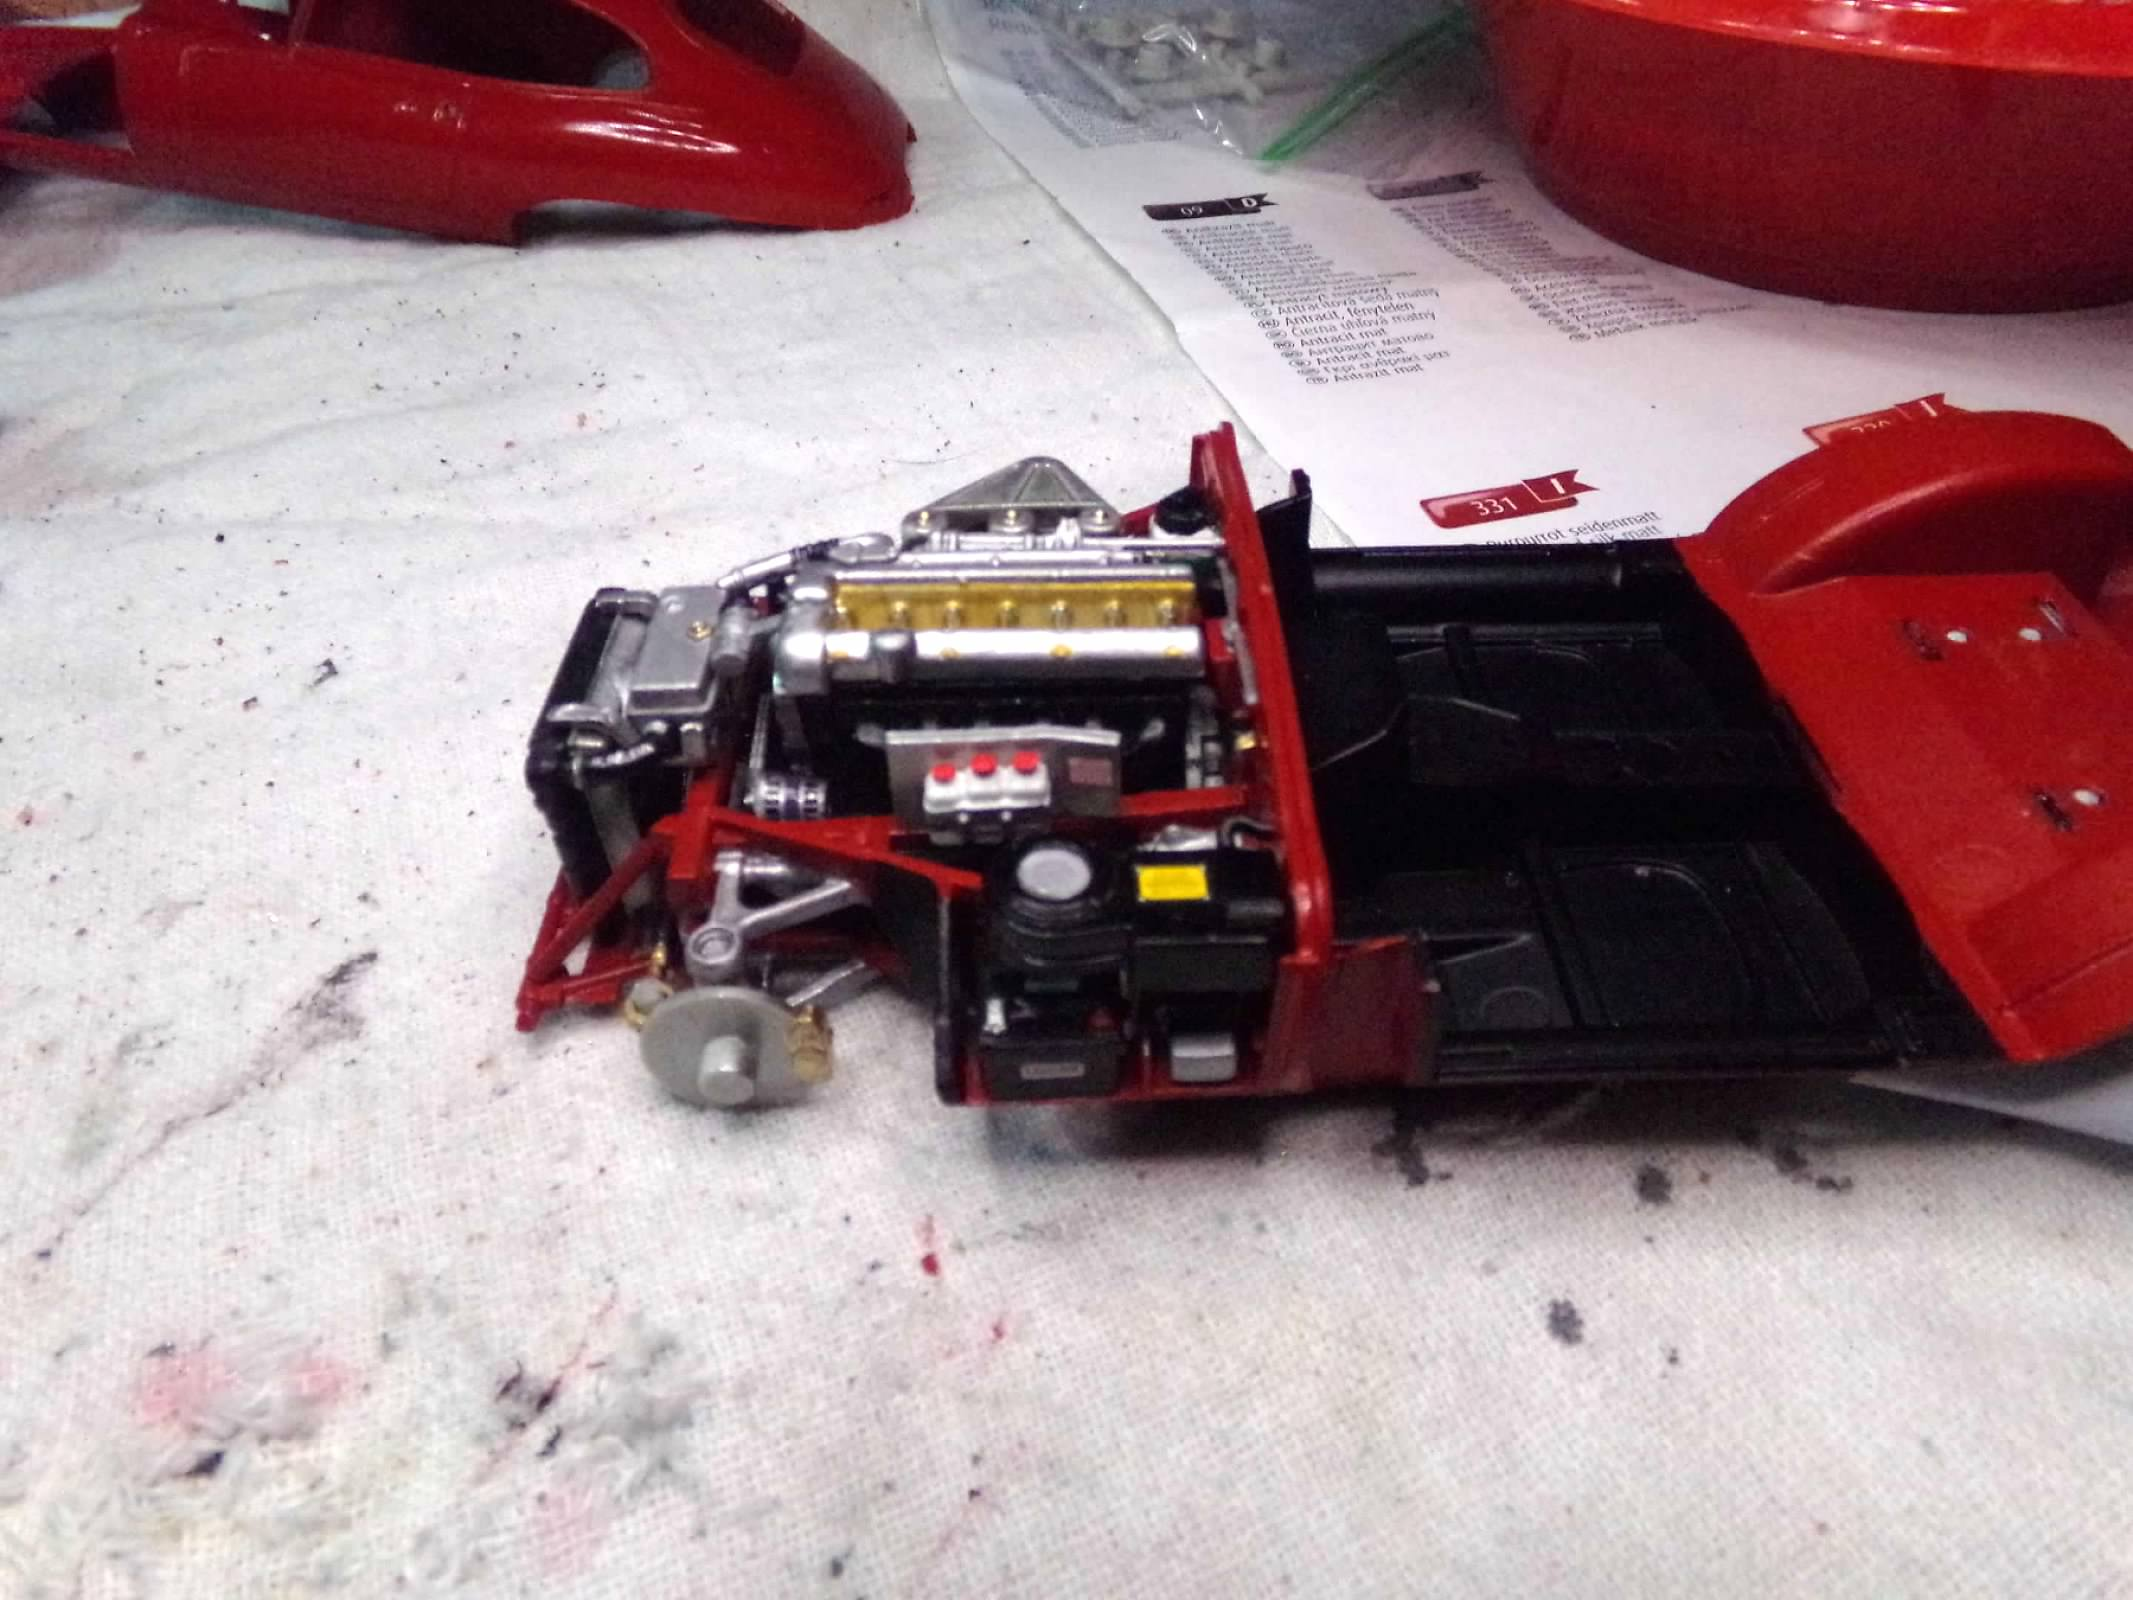
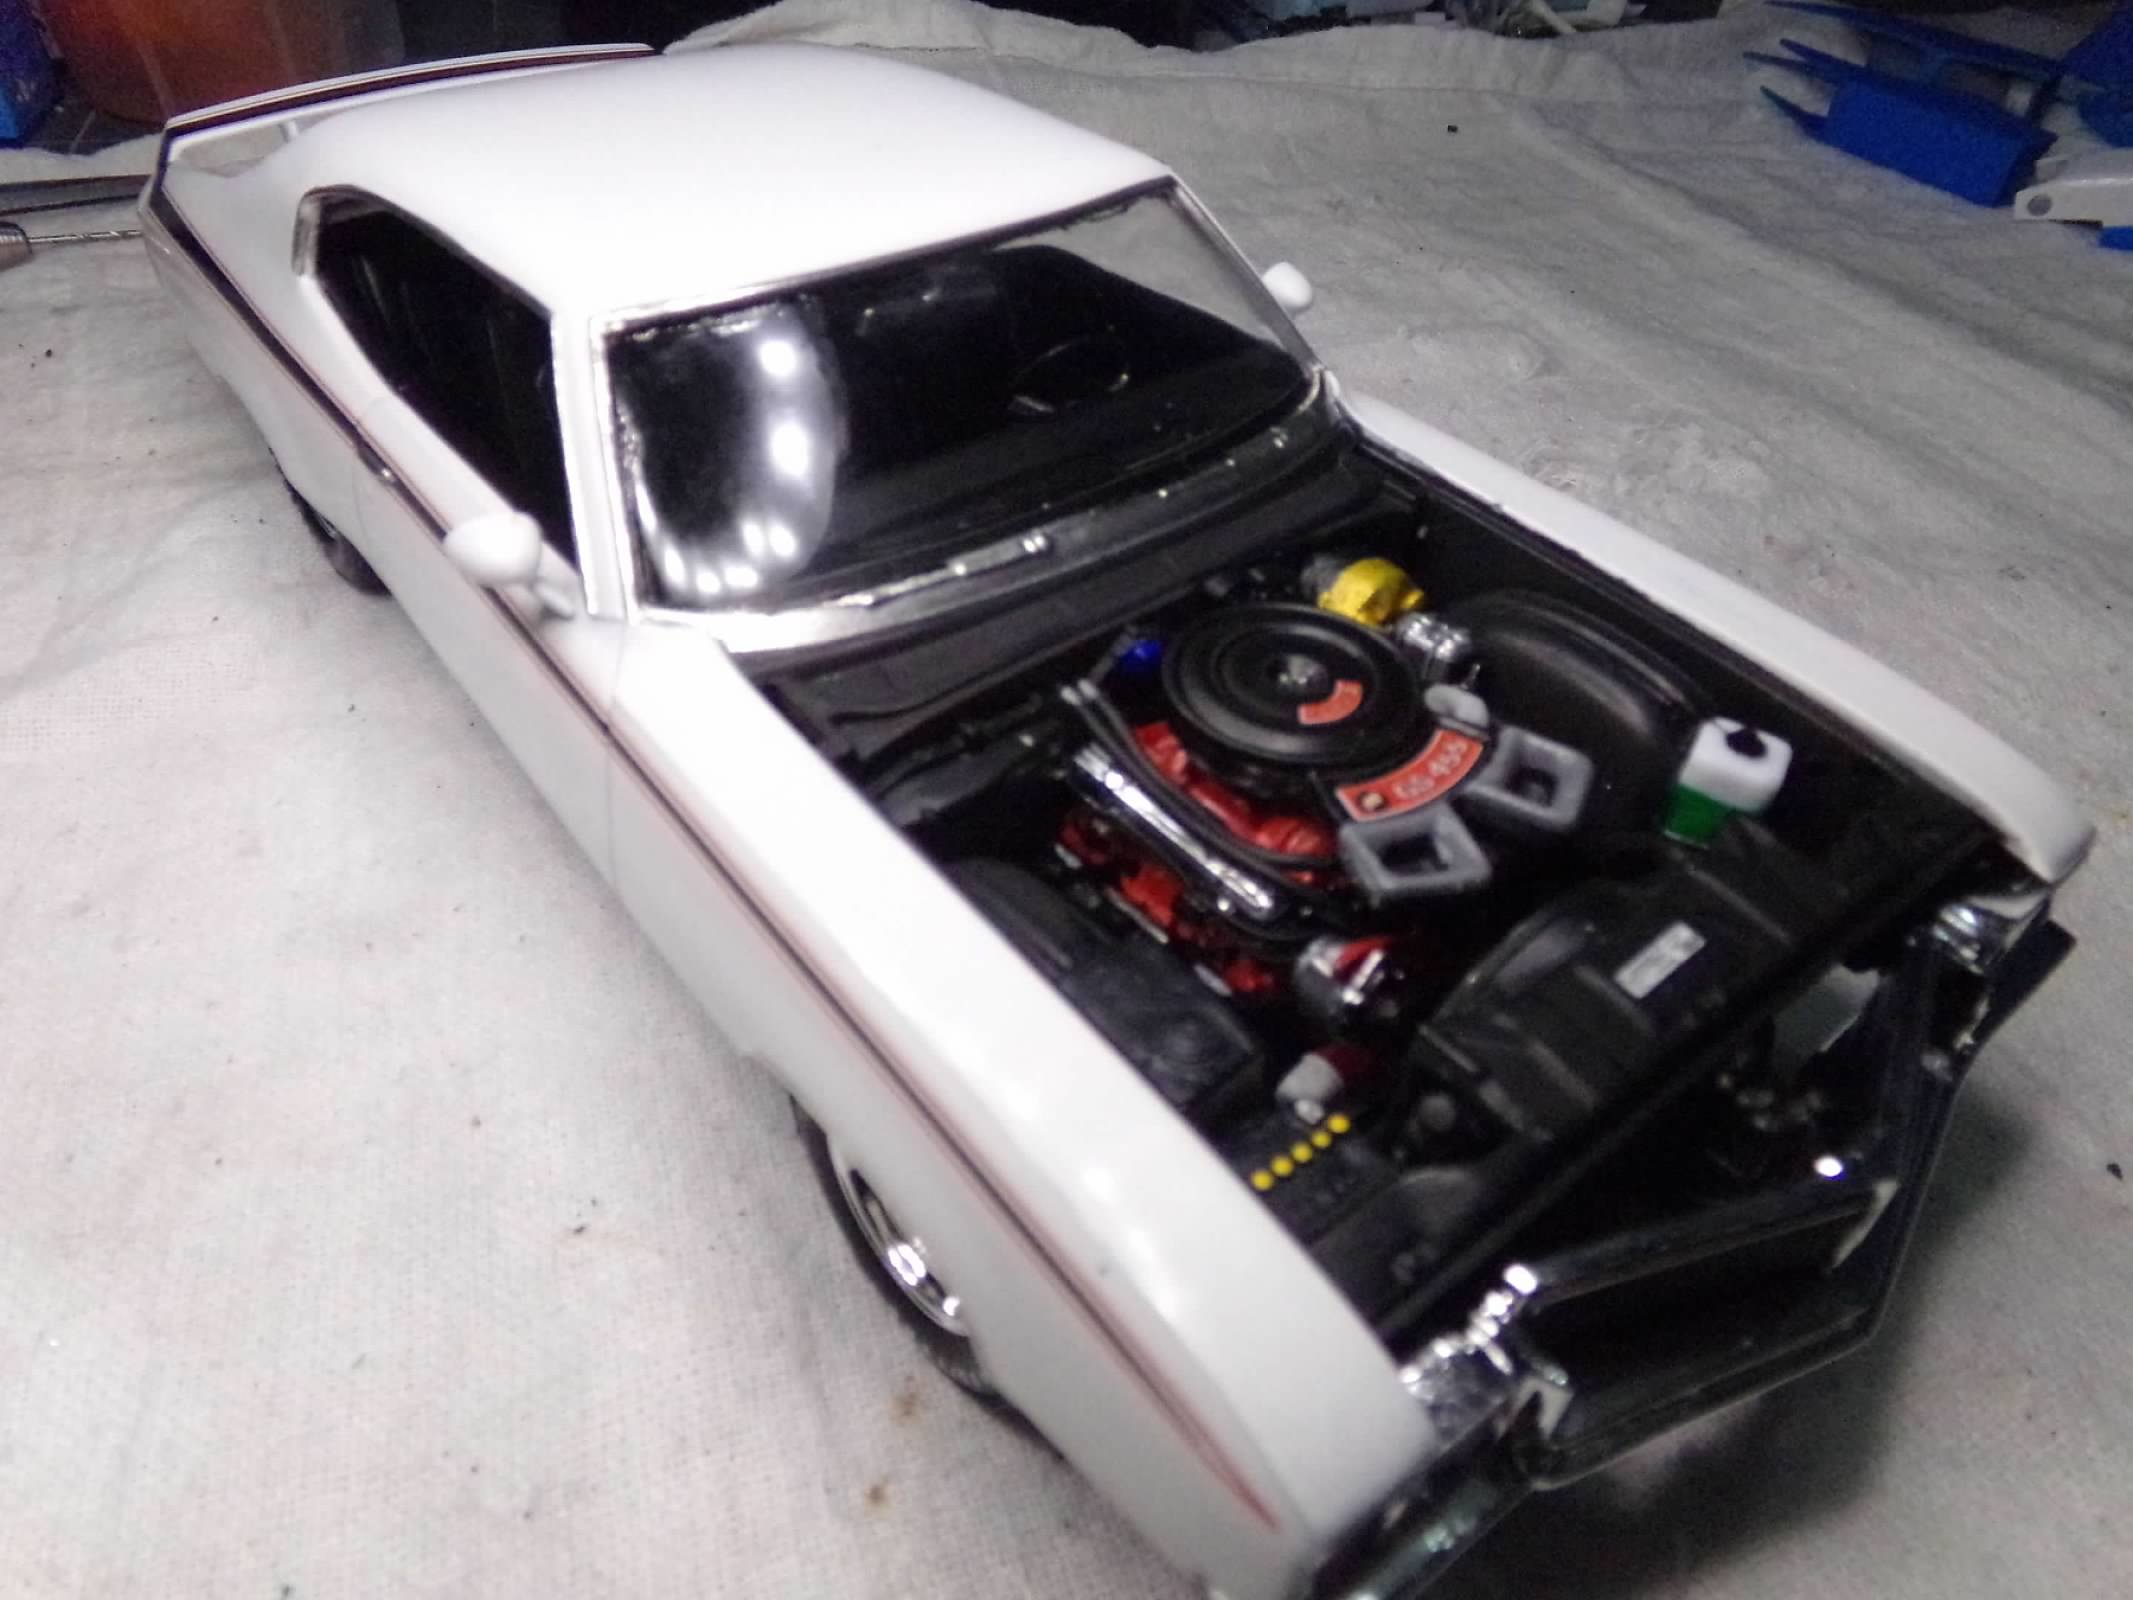
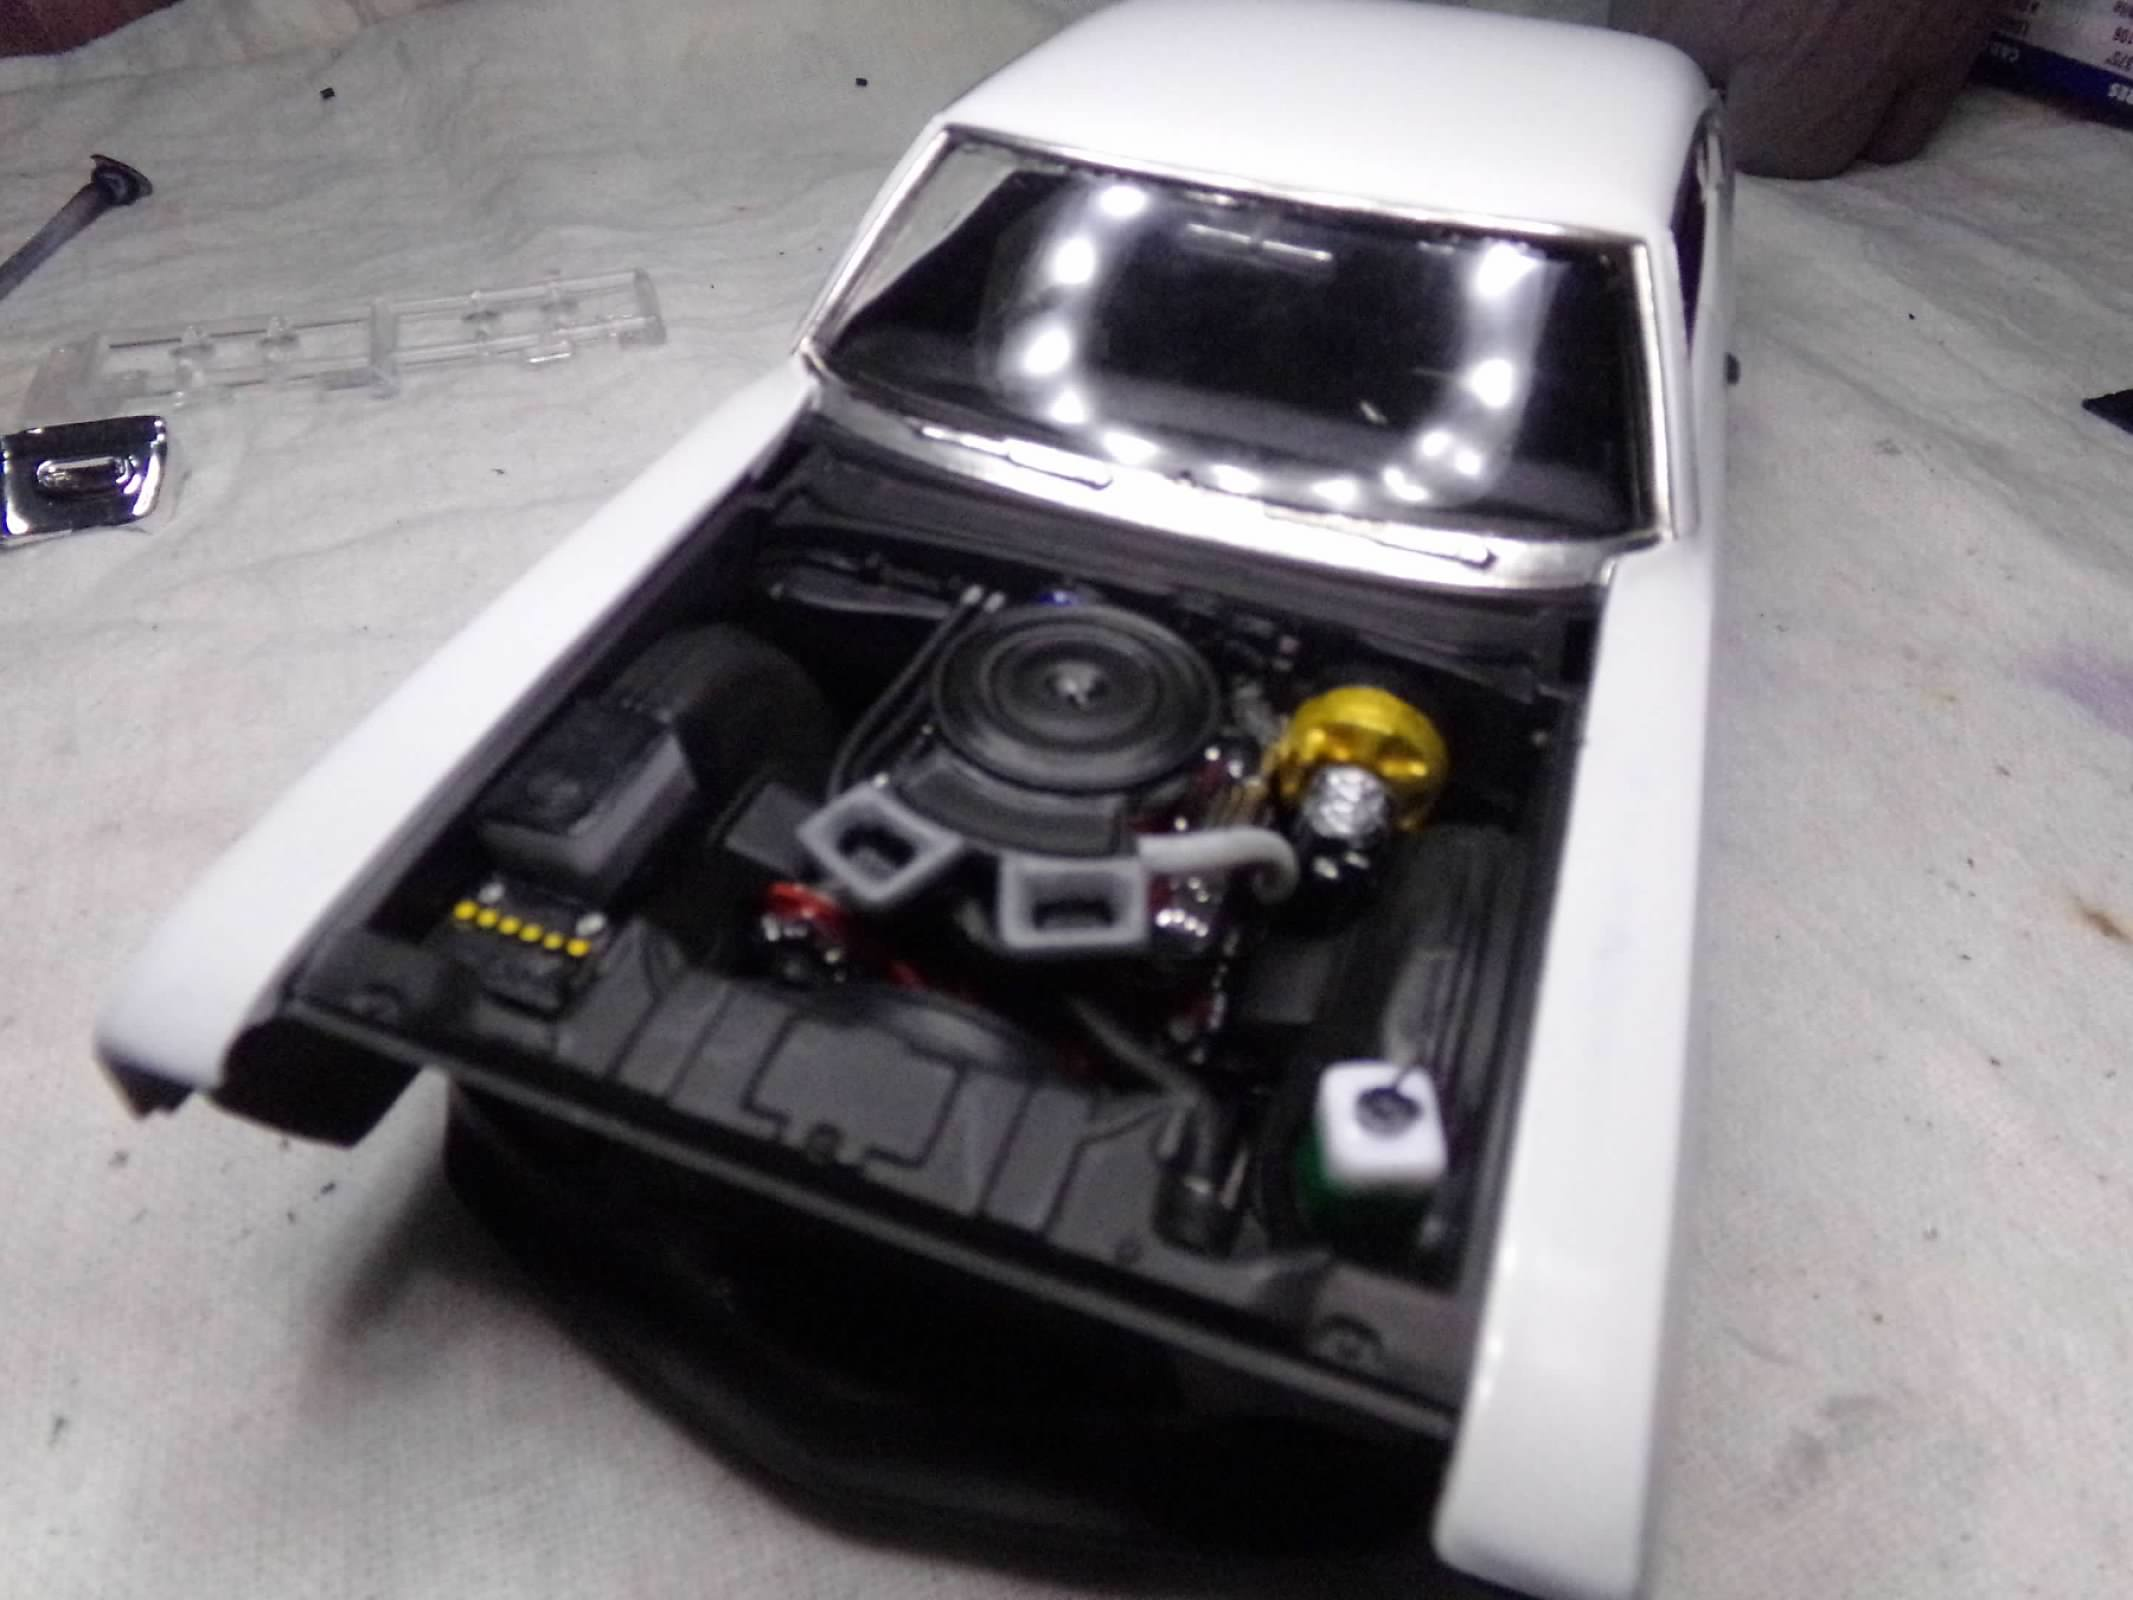
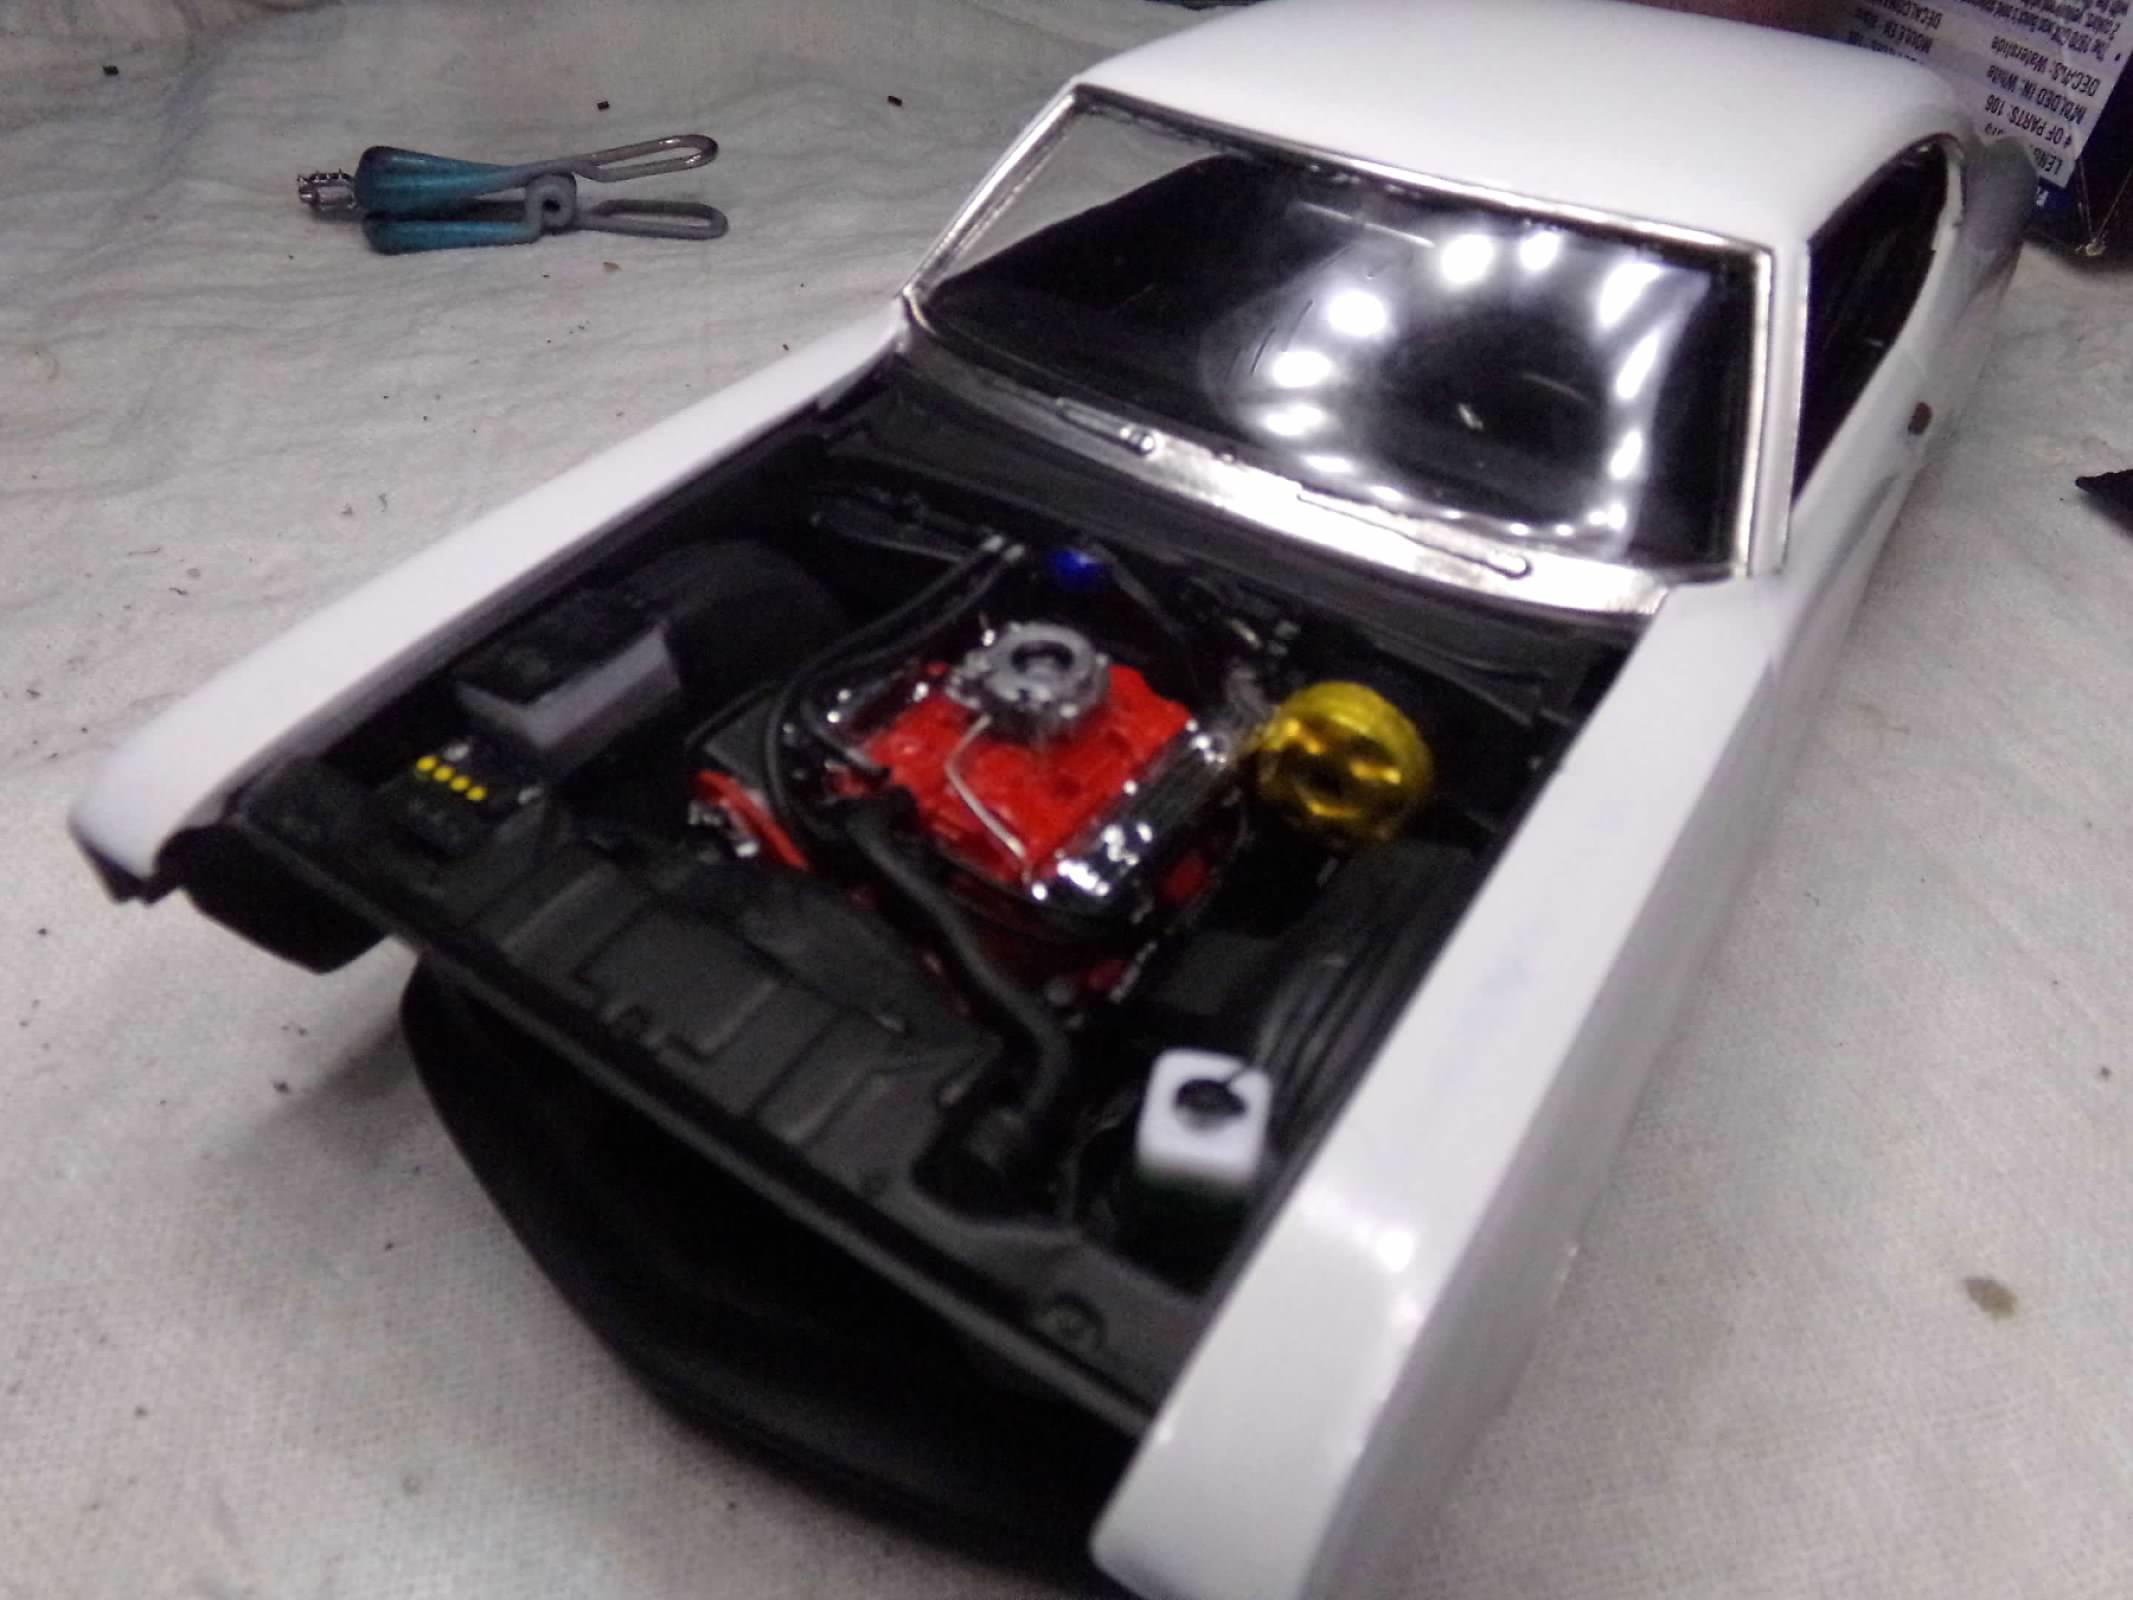
Engine compartment is done for the most part and detailed and decaled the dash today. Trying to adjust this camera but this is about as good as I can get it for now. Thanks for looking!
-
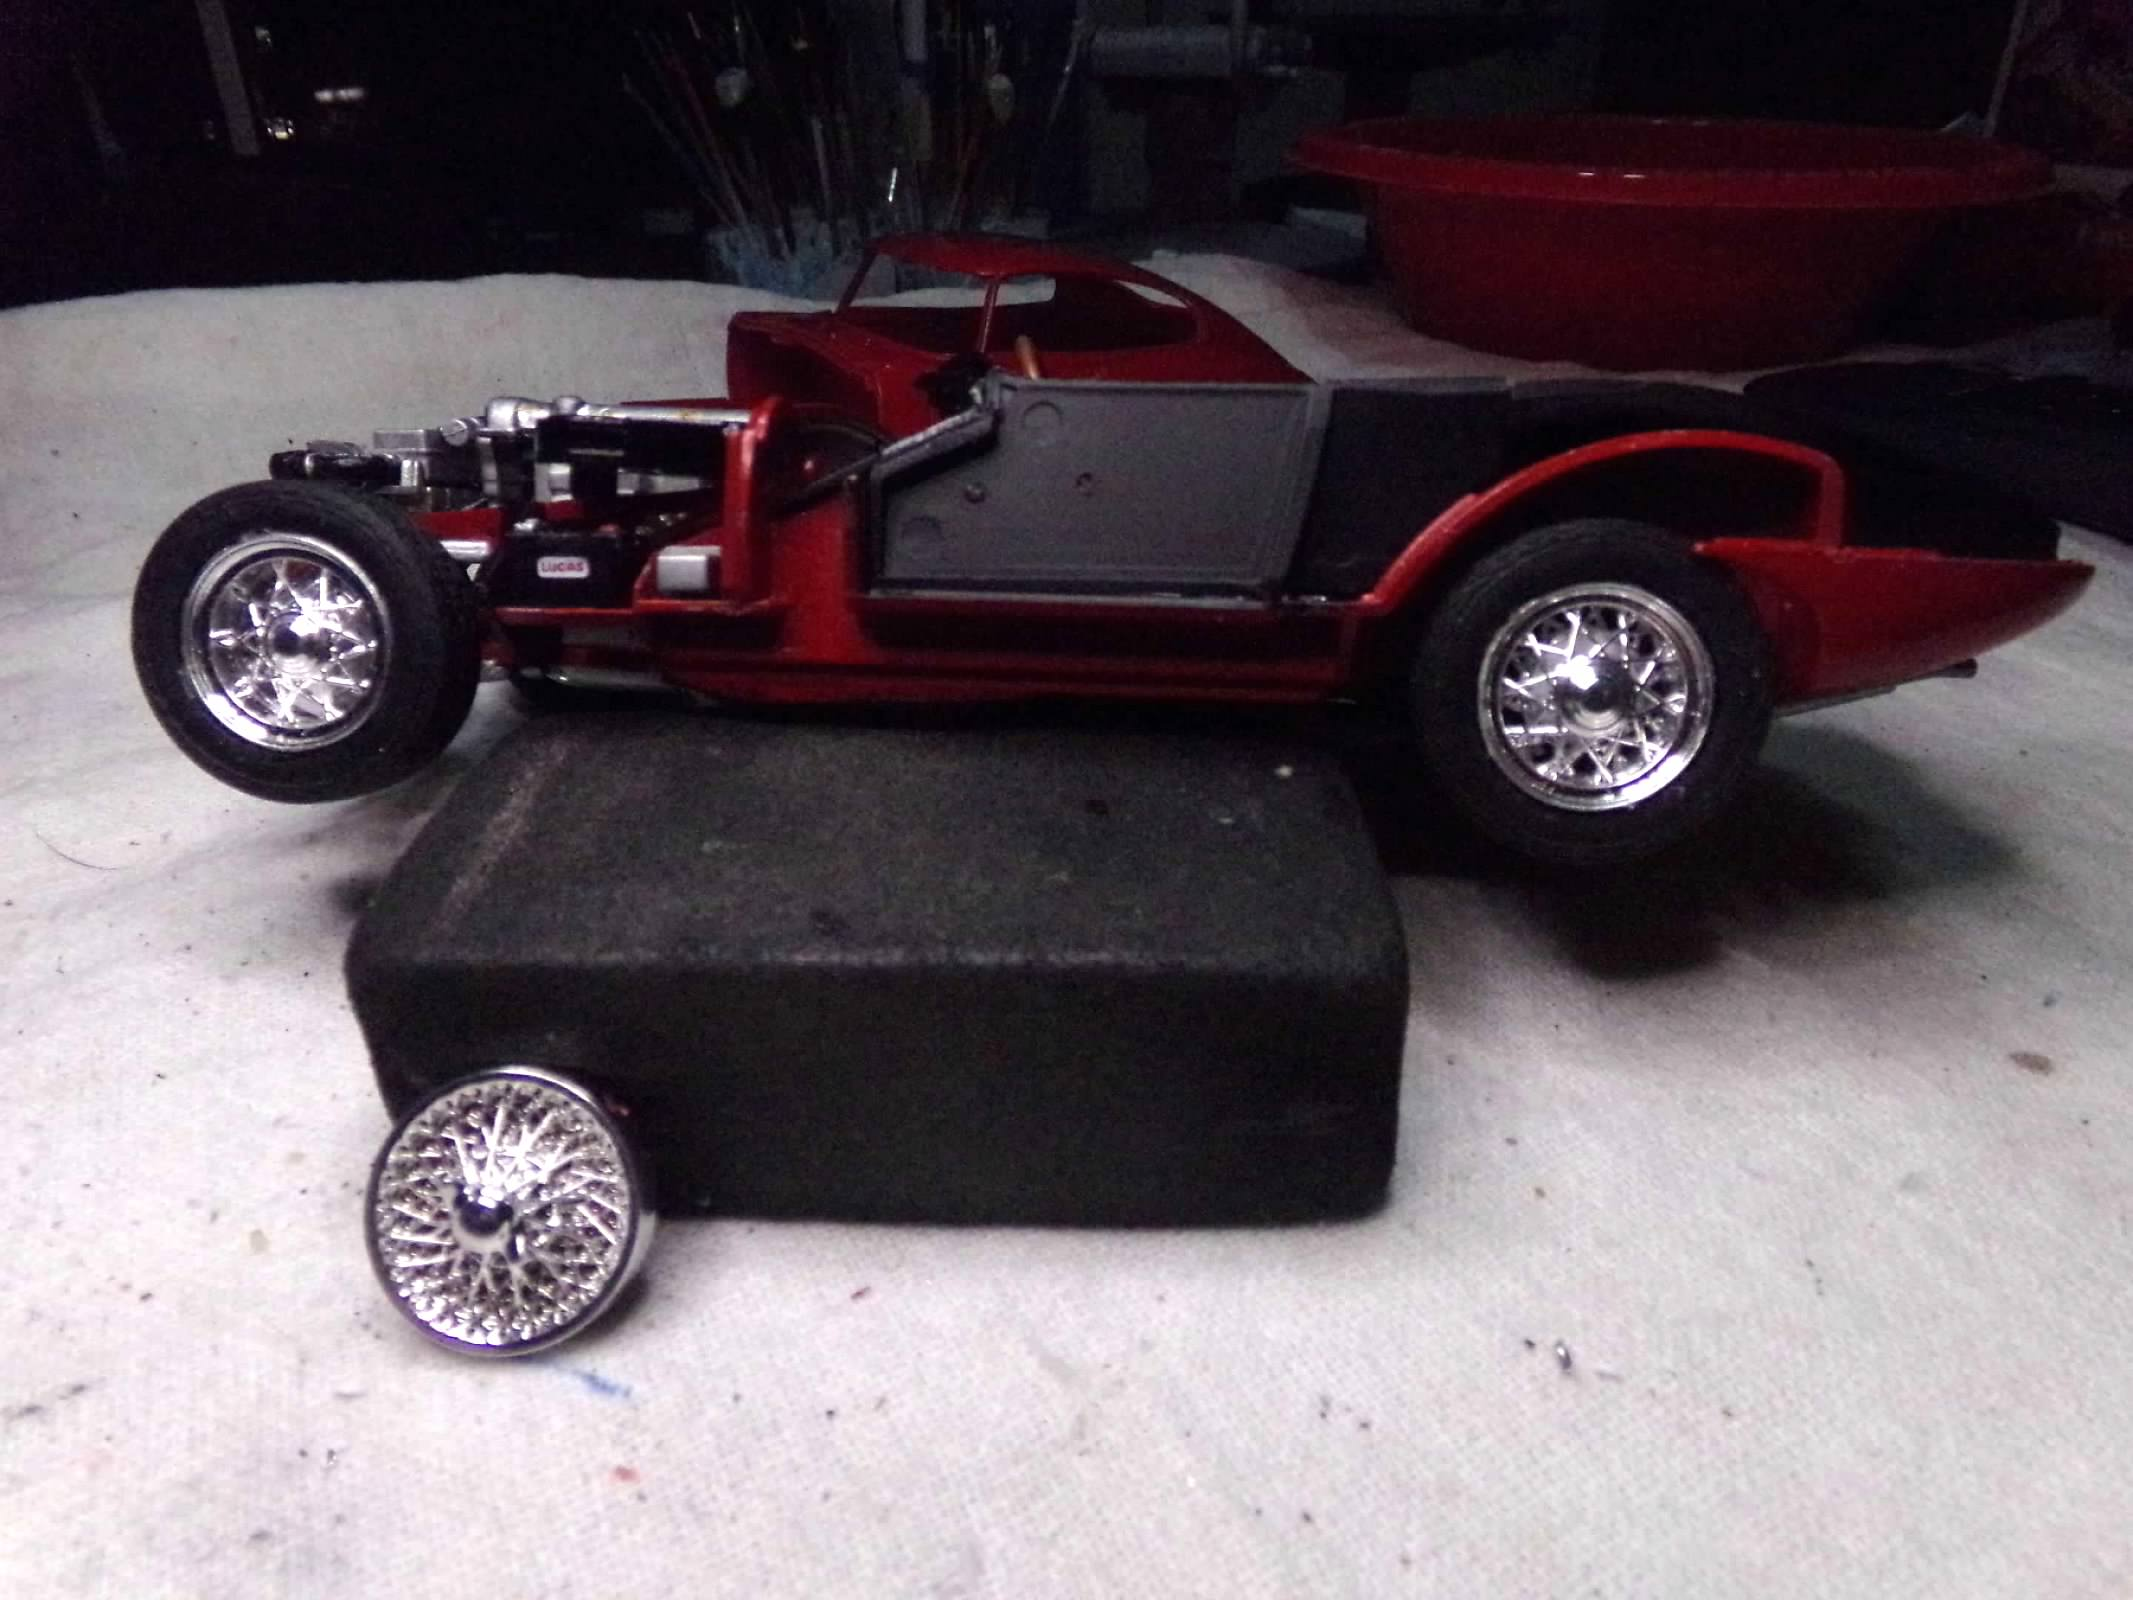
Thanks, Carl! I appreciate your comment! The engine compartment and chassis are coming along. About 25 steps completed with lots of detail painting its slow. But its raining so I can't paint anything outside anyway. More progress tomorrow. Thanks for looking!
-
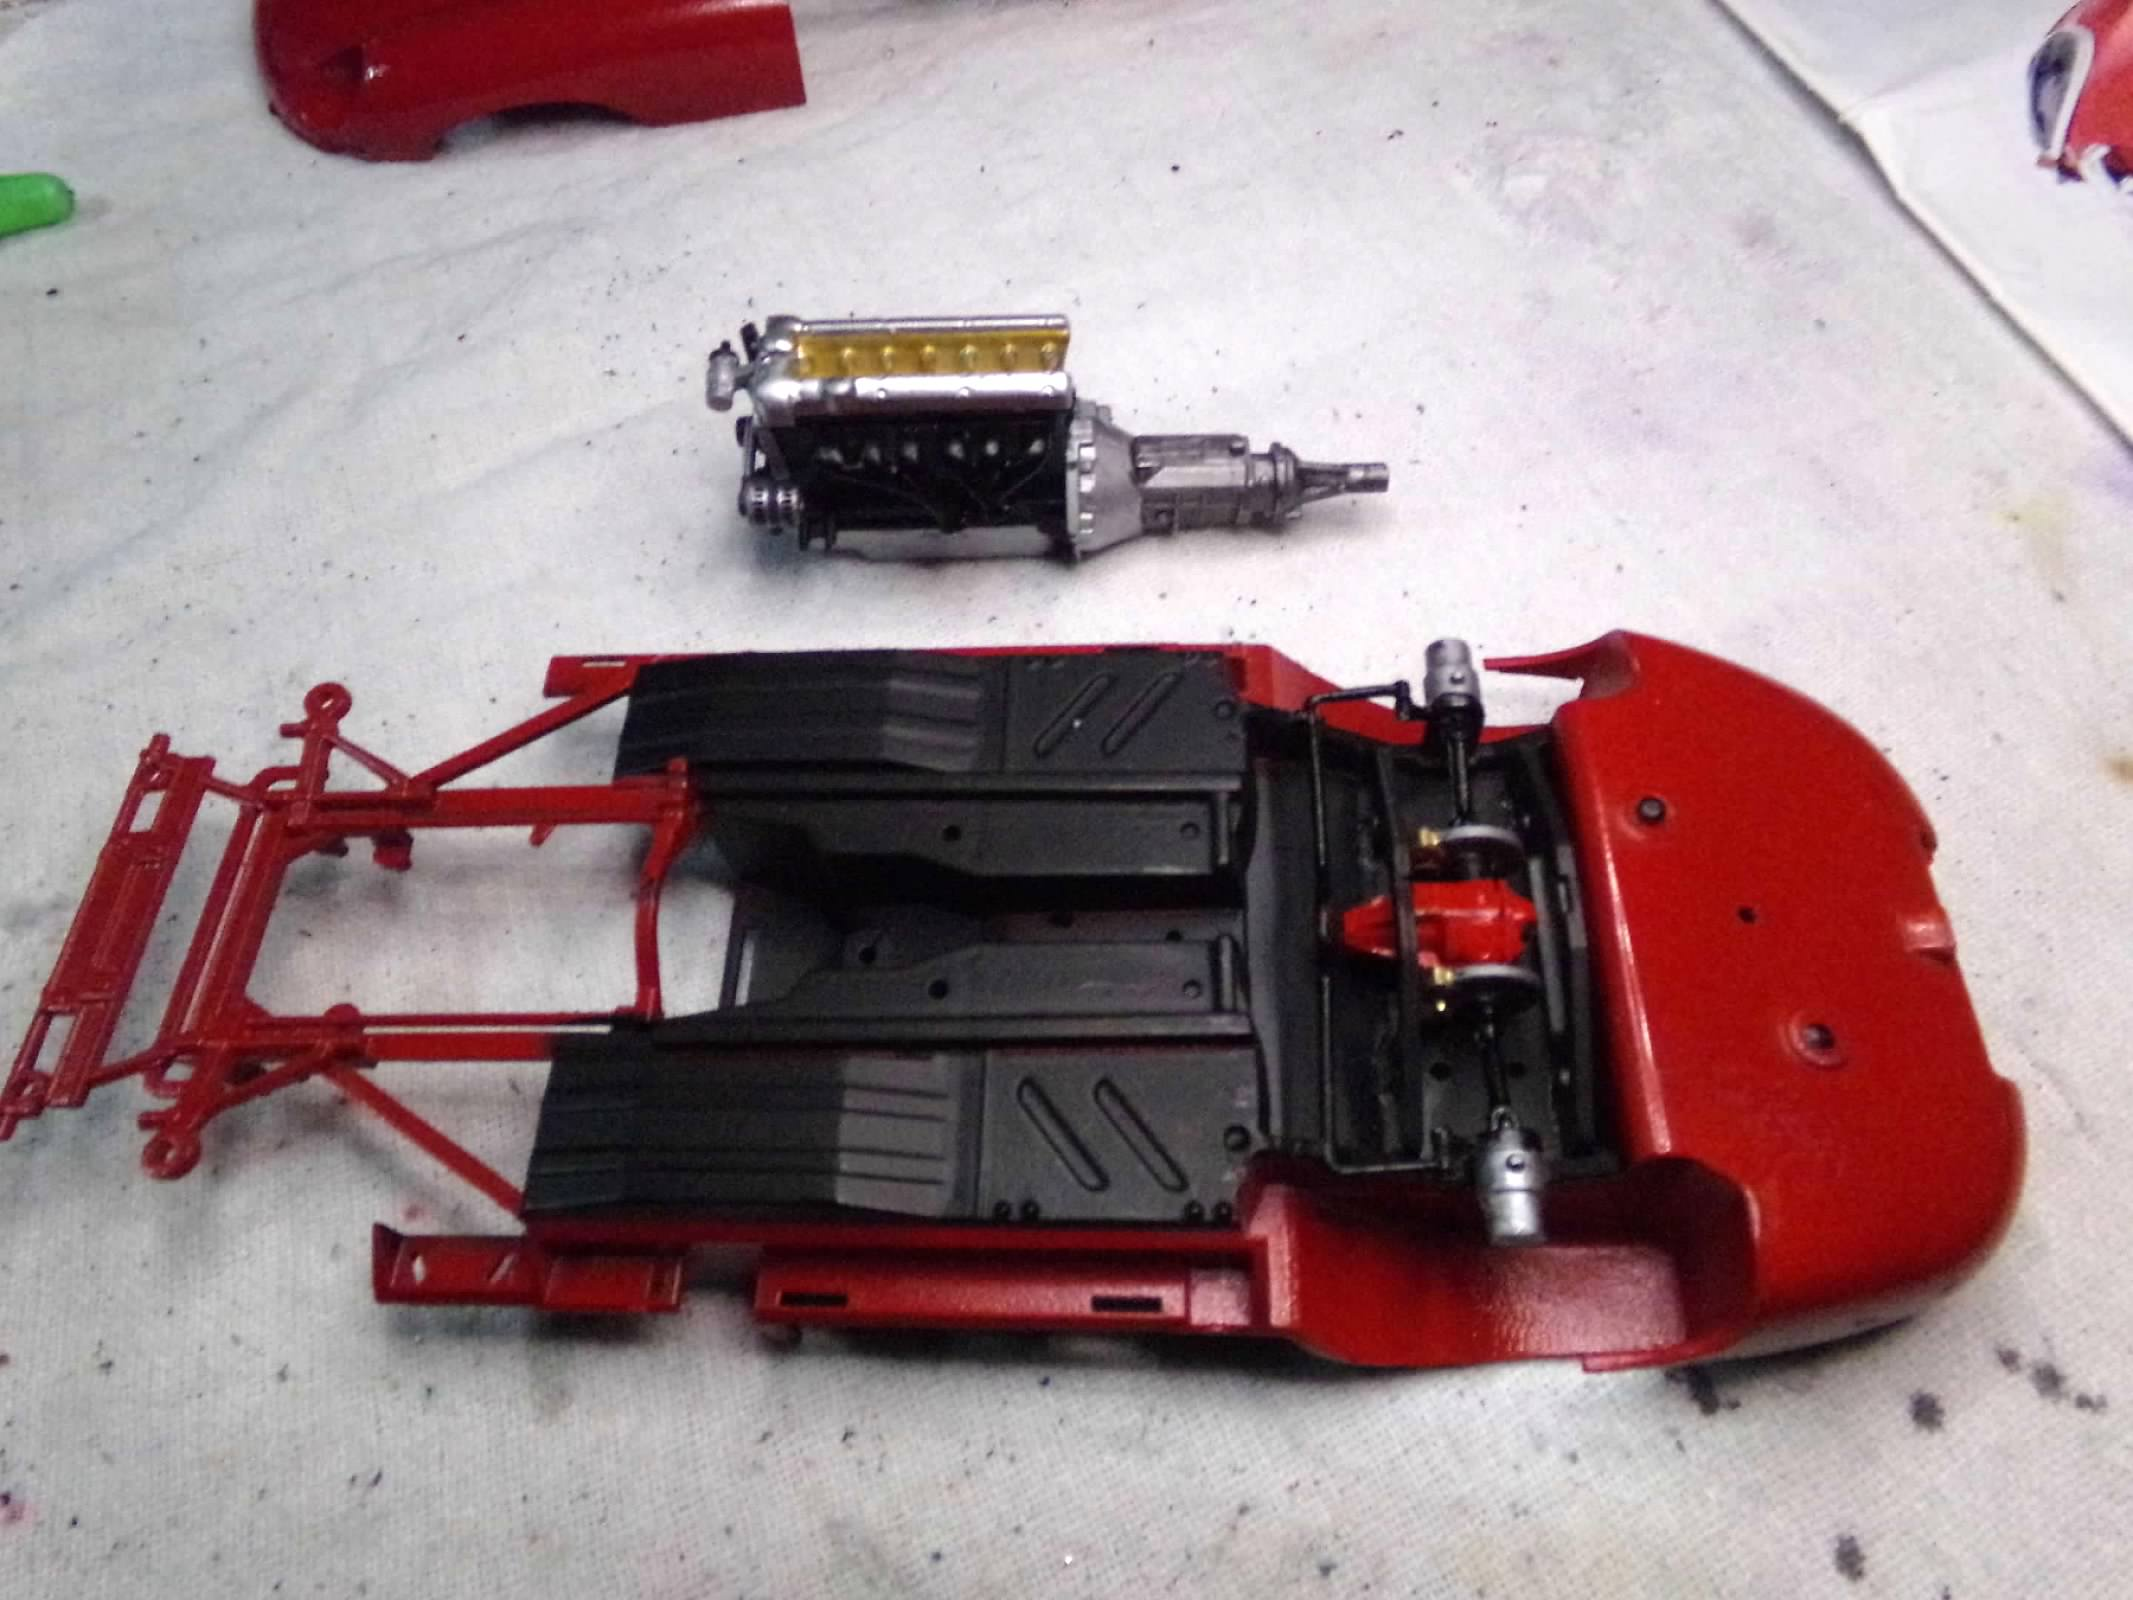
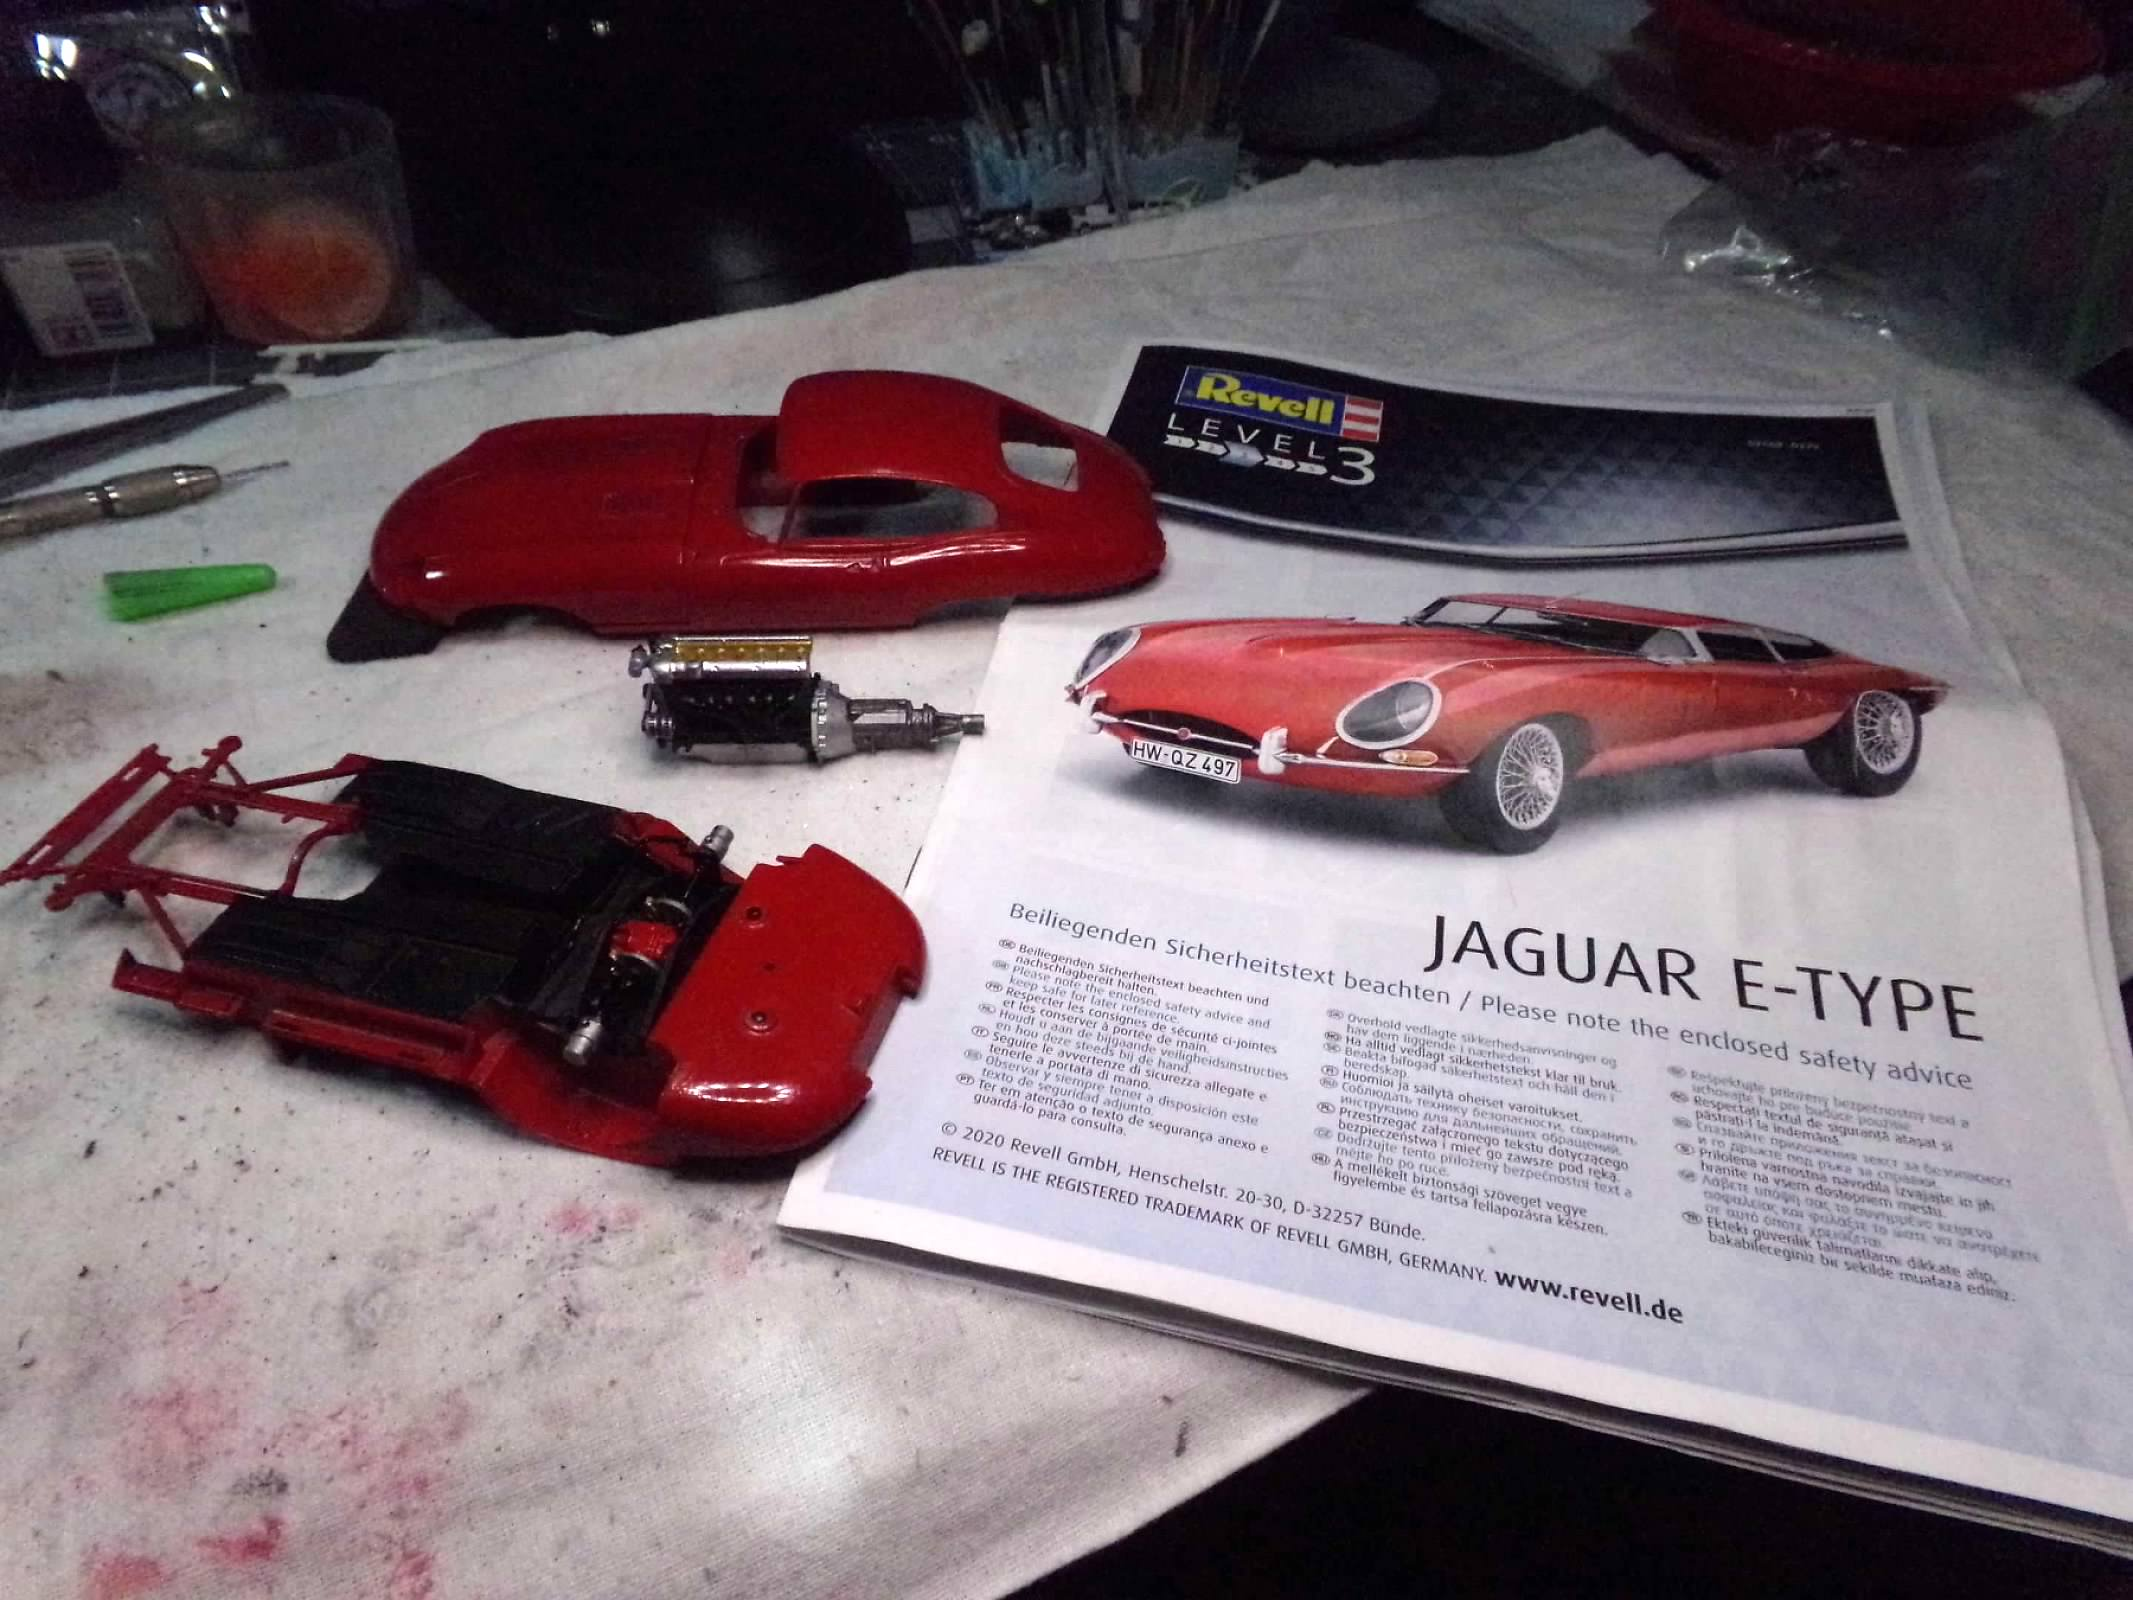
I'm back on this one finally. I got distracted by a couple of other builds and this one got shoved into the closet. I had previously painted and rubbed out the body and painted a few of the larger parts. Now I am starting to assemble everything and detail painting the parts with a brush as I go. So far I have partially assembled the engine and the rear suspension which is the first page of instructions. Lots of detail painting and lots of decals. I am just going to build this box stock. More progress tomorrow! Thanks for looking! ?
-
1977 McLaren M24 - Tom Sneva
ModelcarJR replied to ModelcarJR's topic in WIP: Other Racing: Road Racing, Land Speed Racers
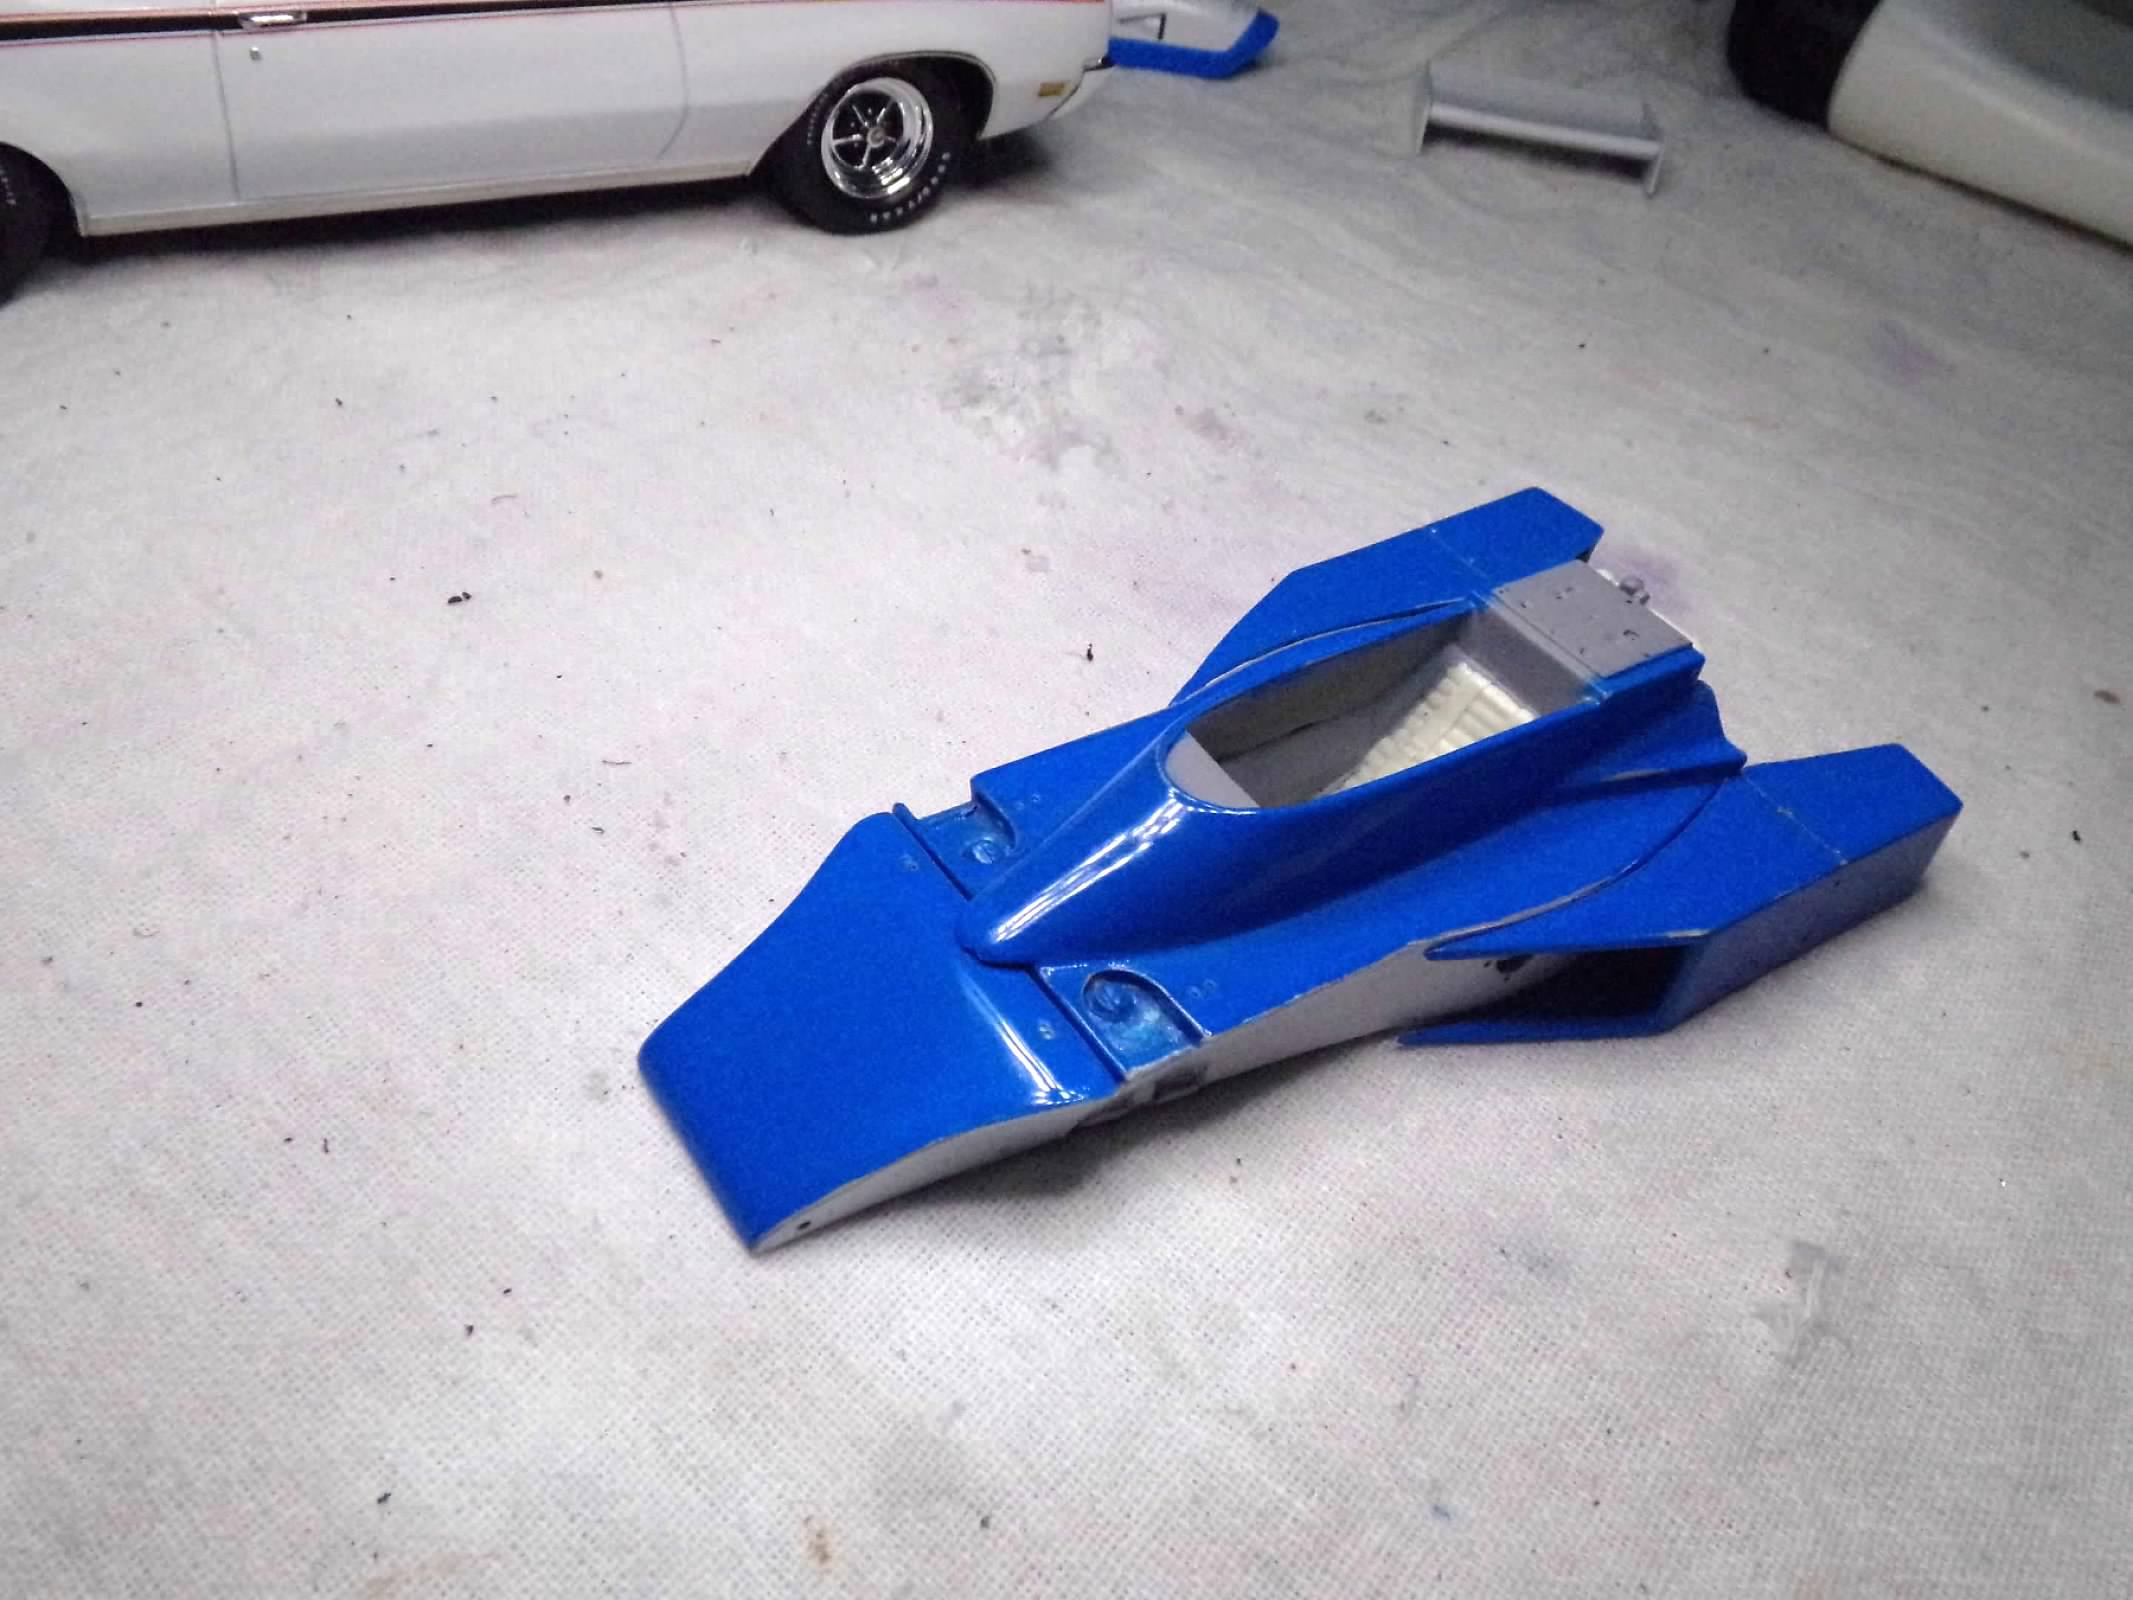
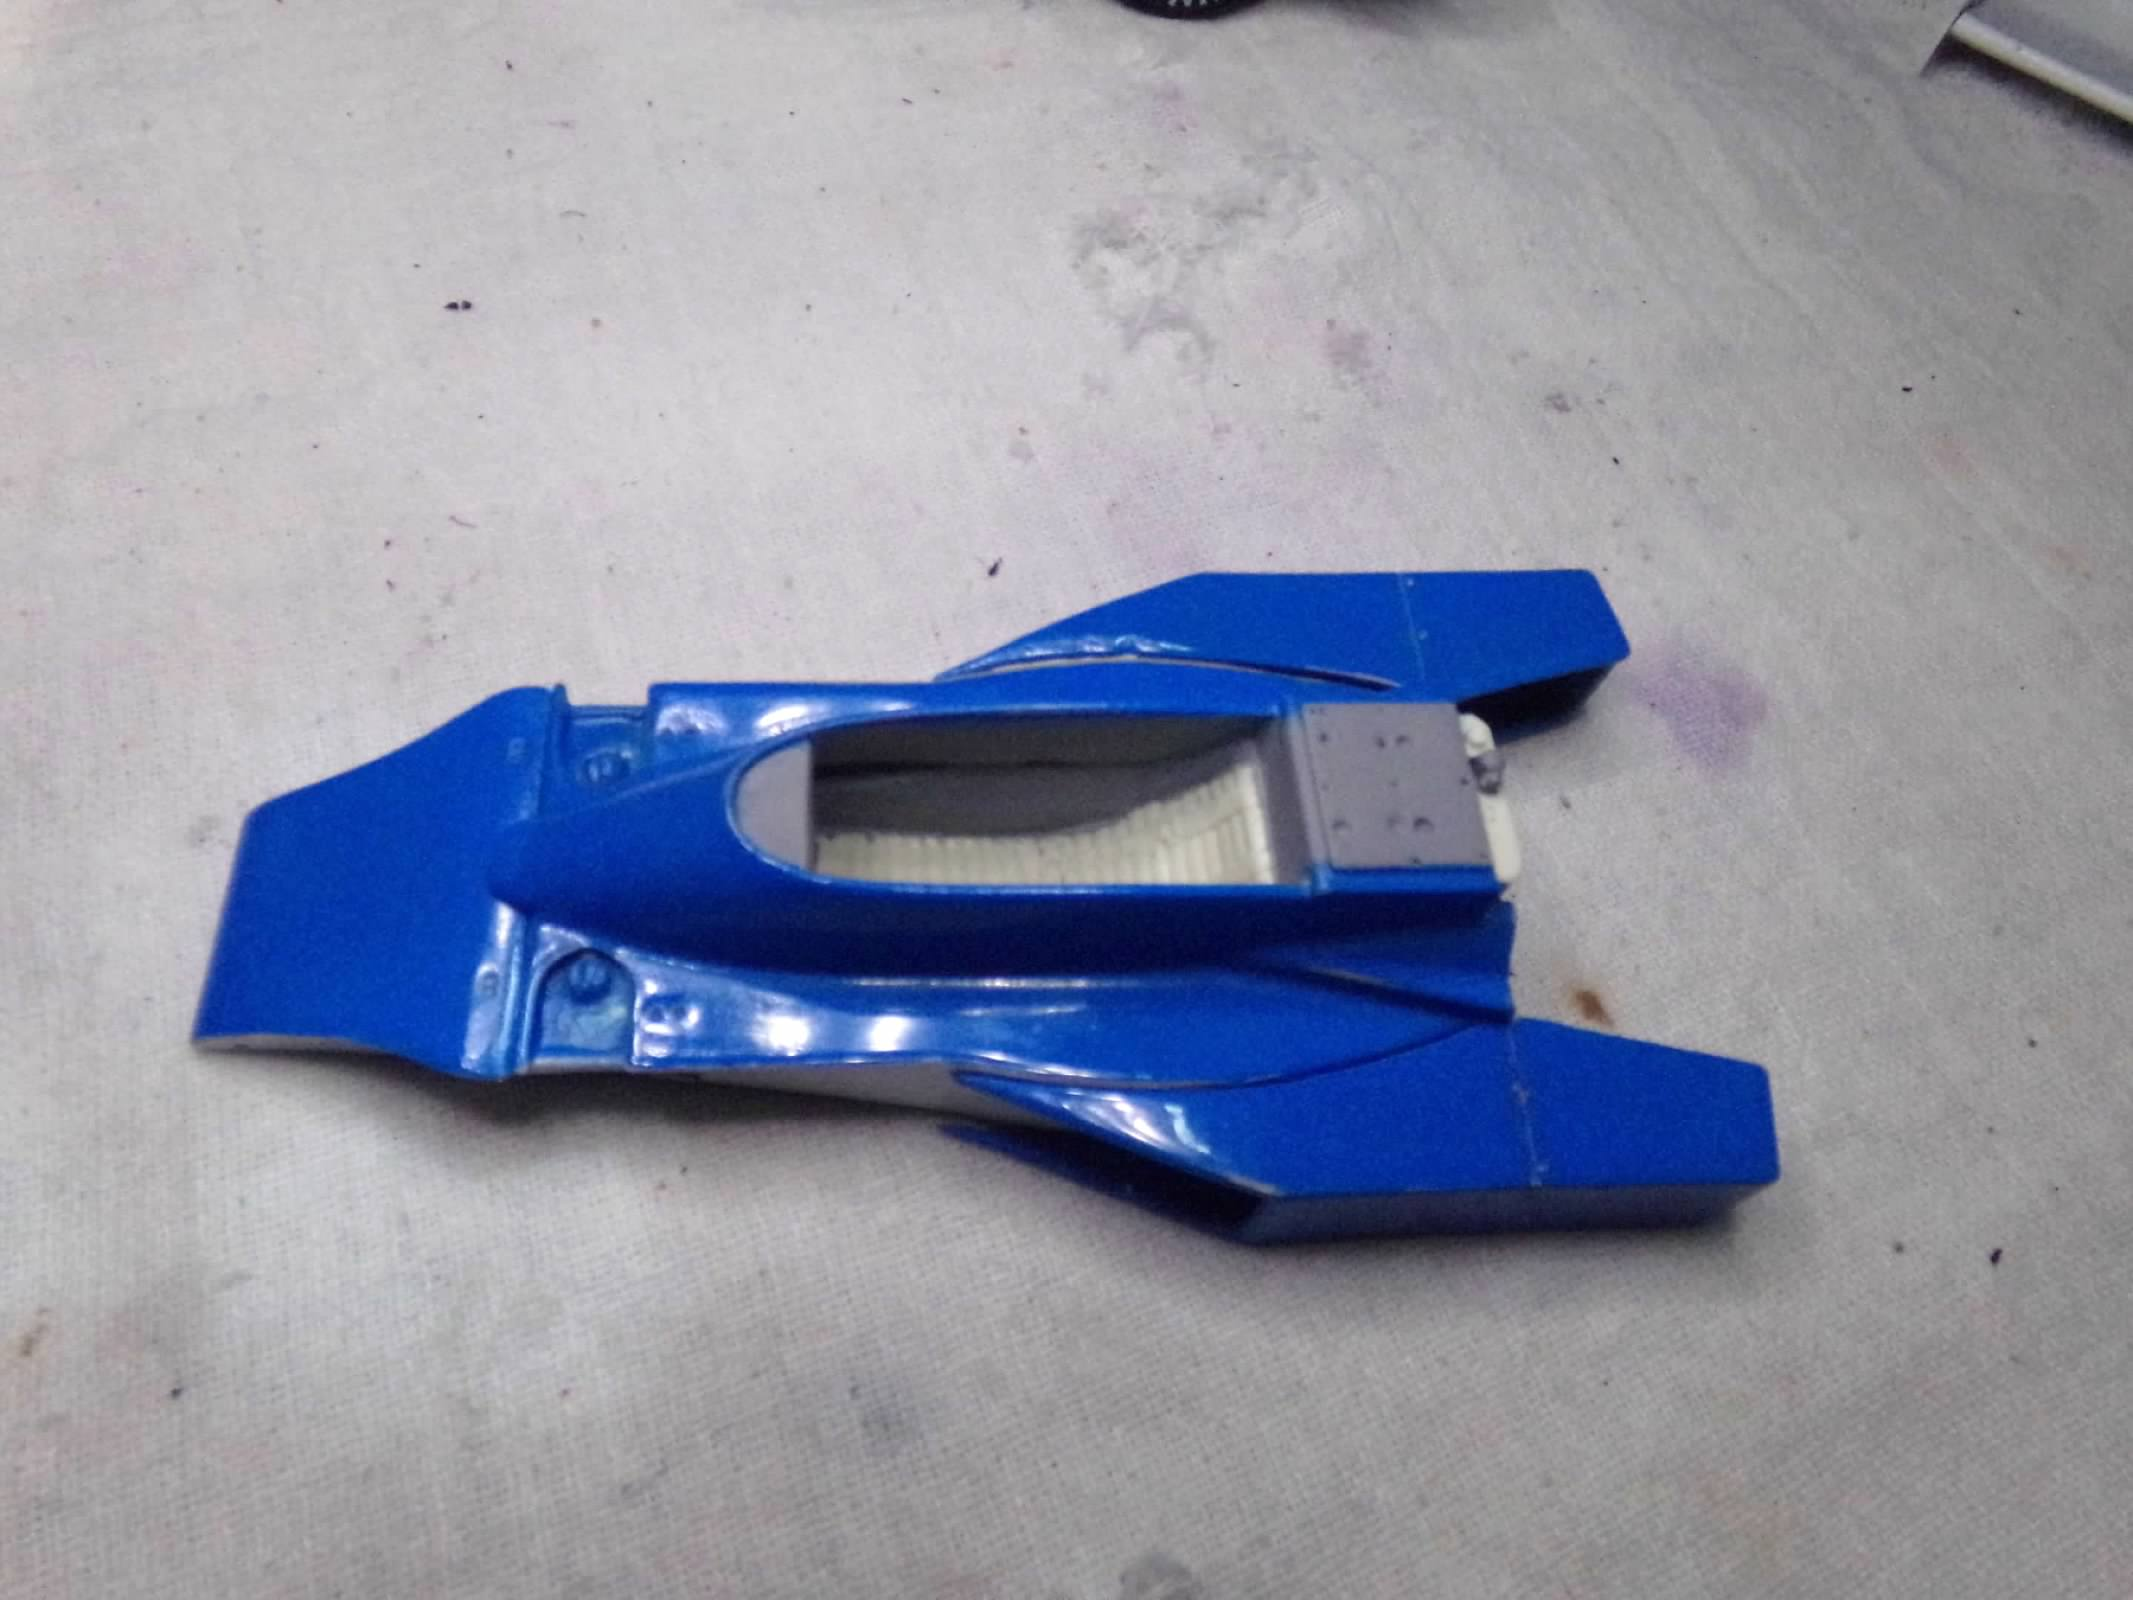
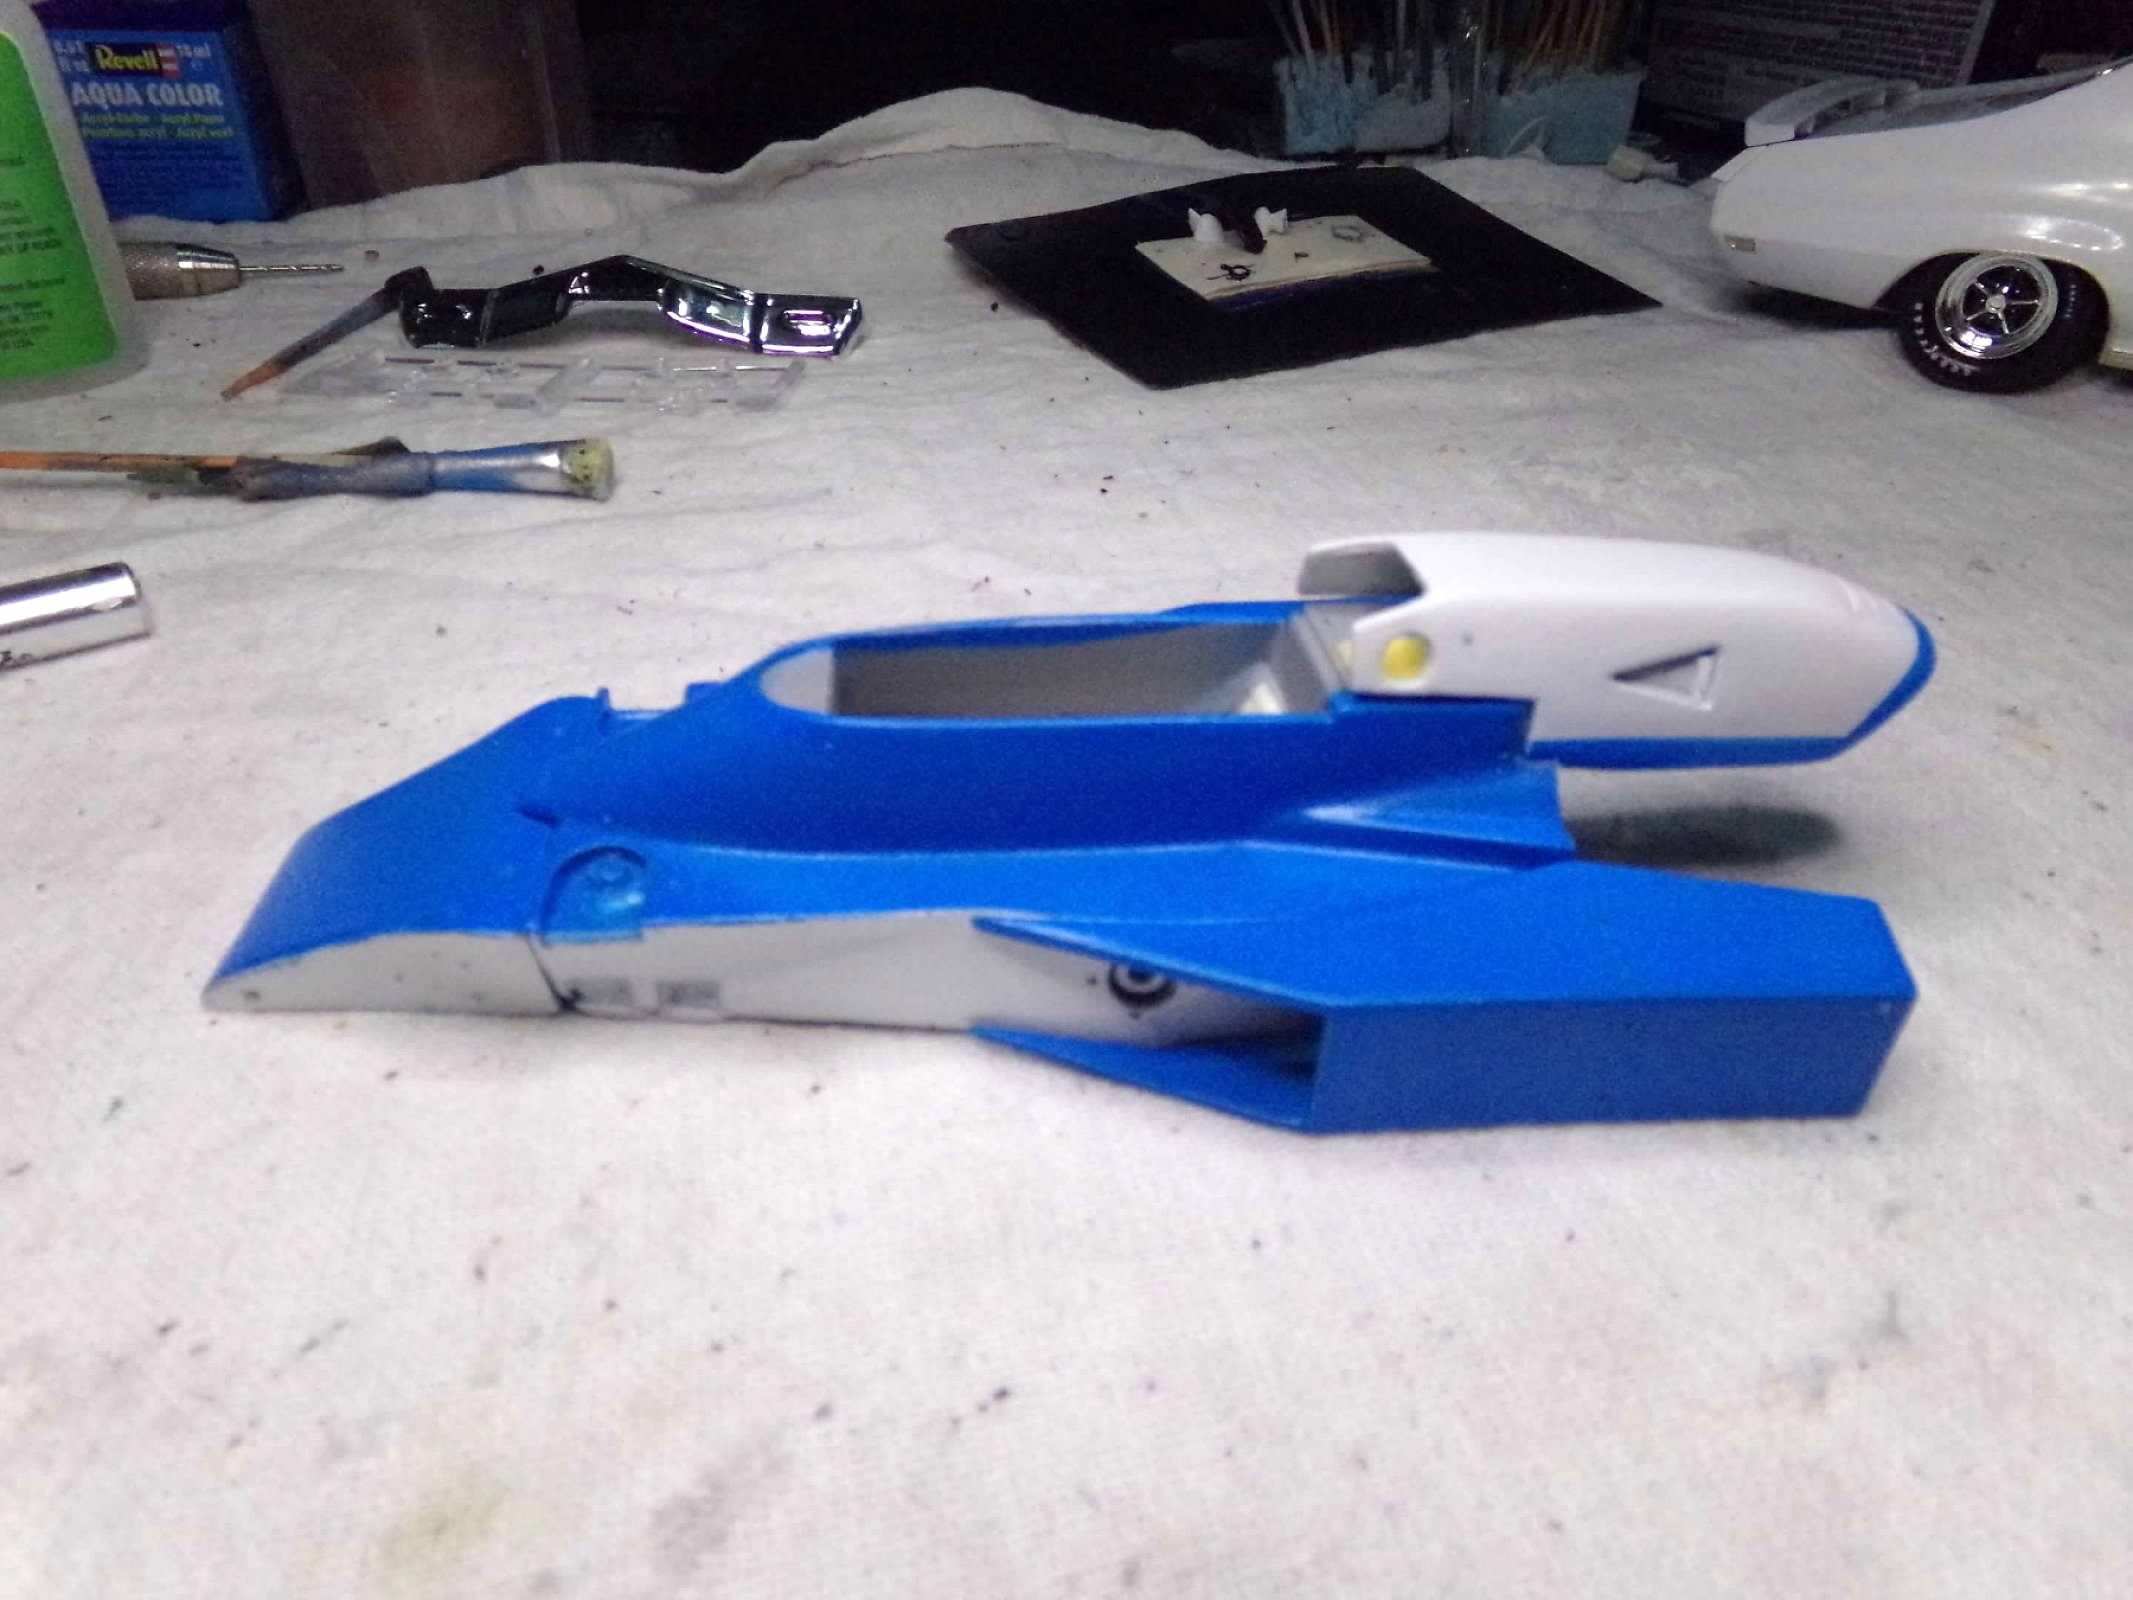
Thanks, Cameron! I decided to go with Tamiya TS-23 Light Blue which looks like a dead match for the color of the decals from IndyCals. Here are a few tips that I learned from building this Model: 1. Lay out the white metal parts just like in the instructions to make sure you have them all. That's how I found out that I didn't have the plenum for the engine and Kevin at Silver City was happy to send it to me. He also sent some other parts that were missing which were plastic rods for the suspension supports. 2. I ditched the wheels and tires from the kit as the wheels weren't correct in my kit, they were more a star pattern instead of a straight bar pattern. I used some wheels from an old AMT kit, the Mario Andretti and Rick Mears PC-6 kits. The Gaterade McLaren also has the right wheels. I used a nice solid set of rubber tires from the later AMT kits to avoid anything not fitting and avoid all the clean-up of the resin wheels and tires. 3. If you use the kit tires, I guess you have to glue the flat back of the tire to the hub of the rotors and maybe the tire fits the circumference of the rotors well. Its not so much of a problem in the back as there is plenty of supporting white metal there, but in the front the thin white metal axle coming out of the kingpin is a problem because it will break easily. i would suggest drilling out the kingpin and replacing the axle with 1/16" brass or plastic rod. 4. The supports for the rear wing should be in the middle of the wing wide enough for Norton decal that goes there. I misinterpreted the instructions and put the supports on the inside of the endplates for the wing. My mistake but I am not going to fix it now. 5. The resin drilled out pretty easily so I shouldn't have replaced the engine with a plastic piece to add the spark plug wires. I should have stayed with the original engine and just drilled out the plug holes a bit. 6. My engine cover was not the same as the one pictured in the instructions so the decals don't fit exactly like they are photographed on the real car. It also cause some issues with painting and the putting the red/yellow stripes around the cockpit and engine cover. I had to do some splicing and patching with those stripes. 7. the windscreen is just a vacu-formed piece of clear acetate that was not long enough for my cockpit and there was no slope to the front of it. You might ask Kevin at Silver City if he has a better windscreen for the kit. Same with the engine cover above if you want to make a more accurate replica. 8. Finally, it was my first time working with white metal so I found it very brittle and you really don't want to try to bend it much. I didn't polish many pieces I just painted them. I think that covers my issues pretty well. I hope it helps. -
Thanks again All! I appreciate your comments! ?
-
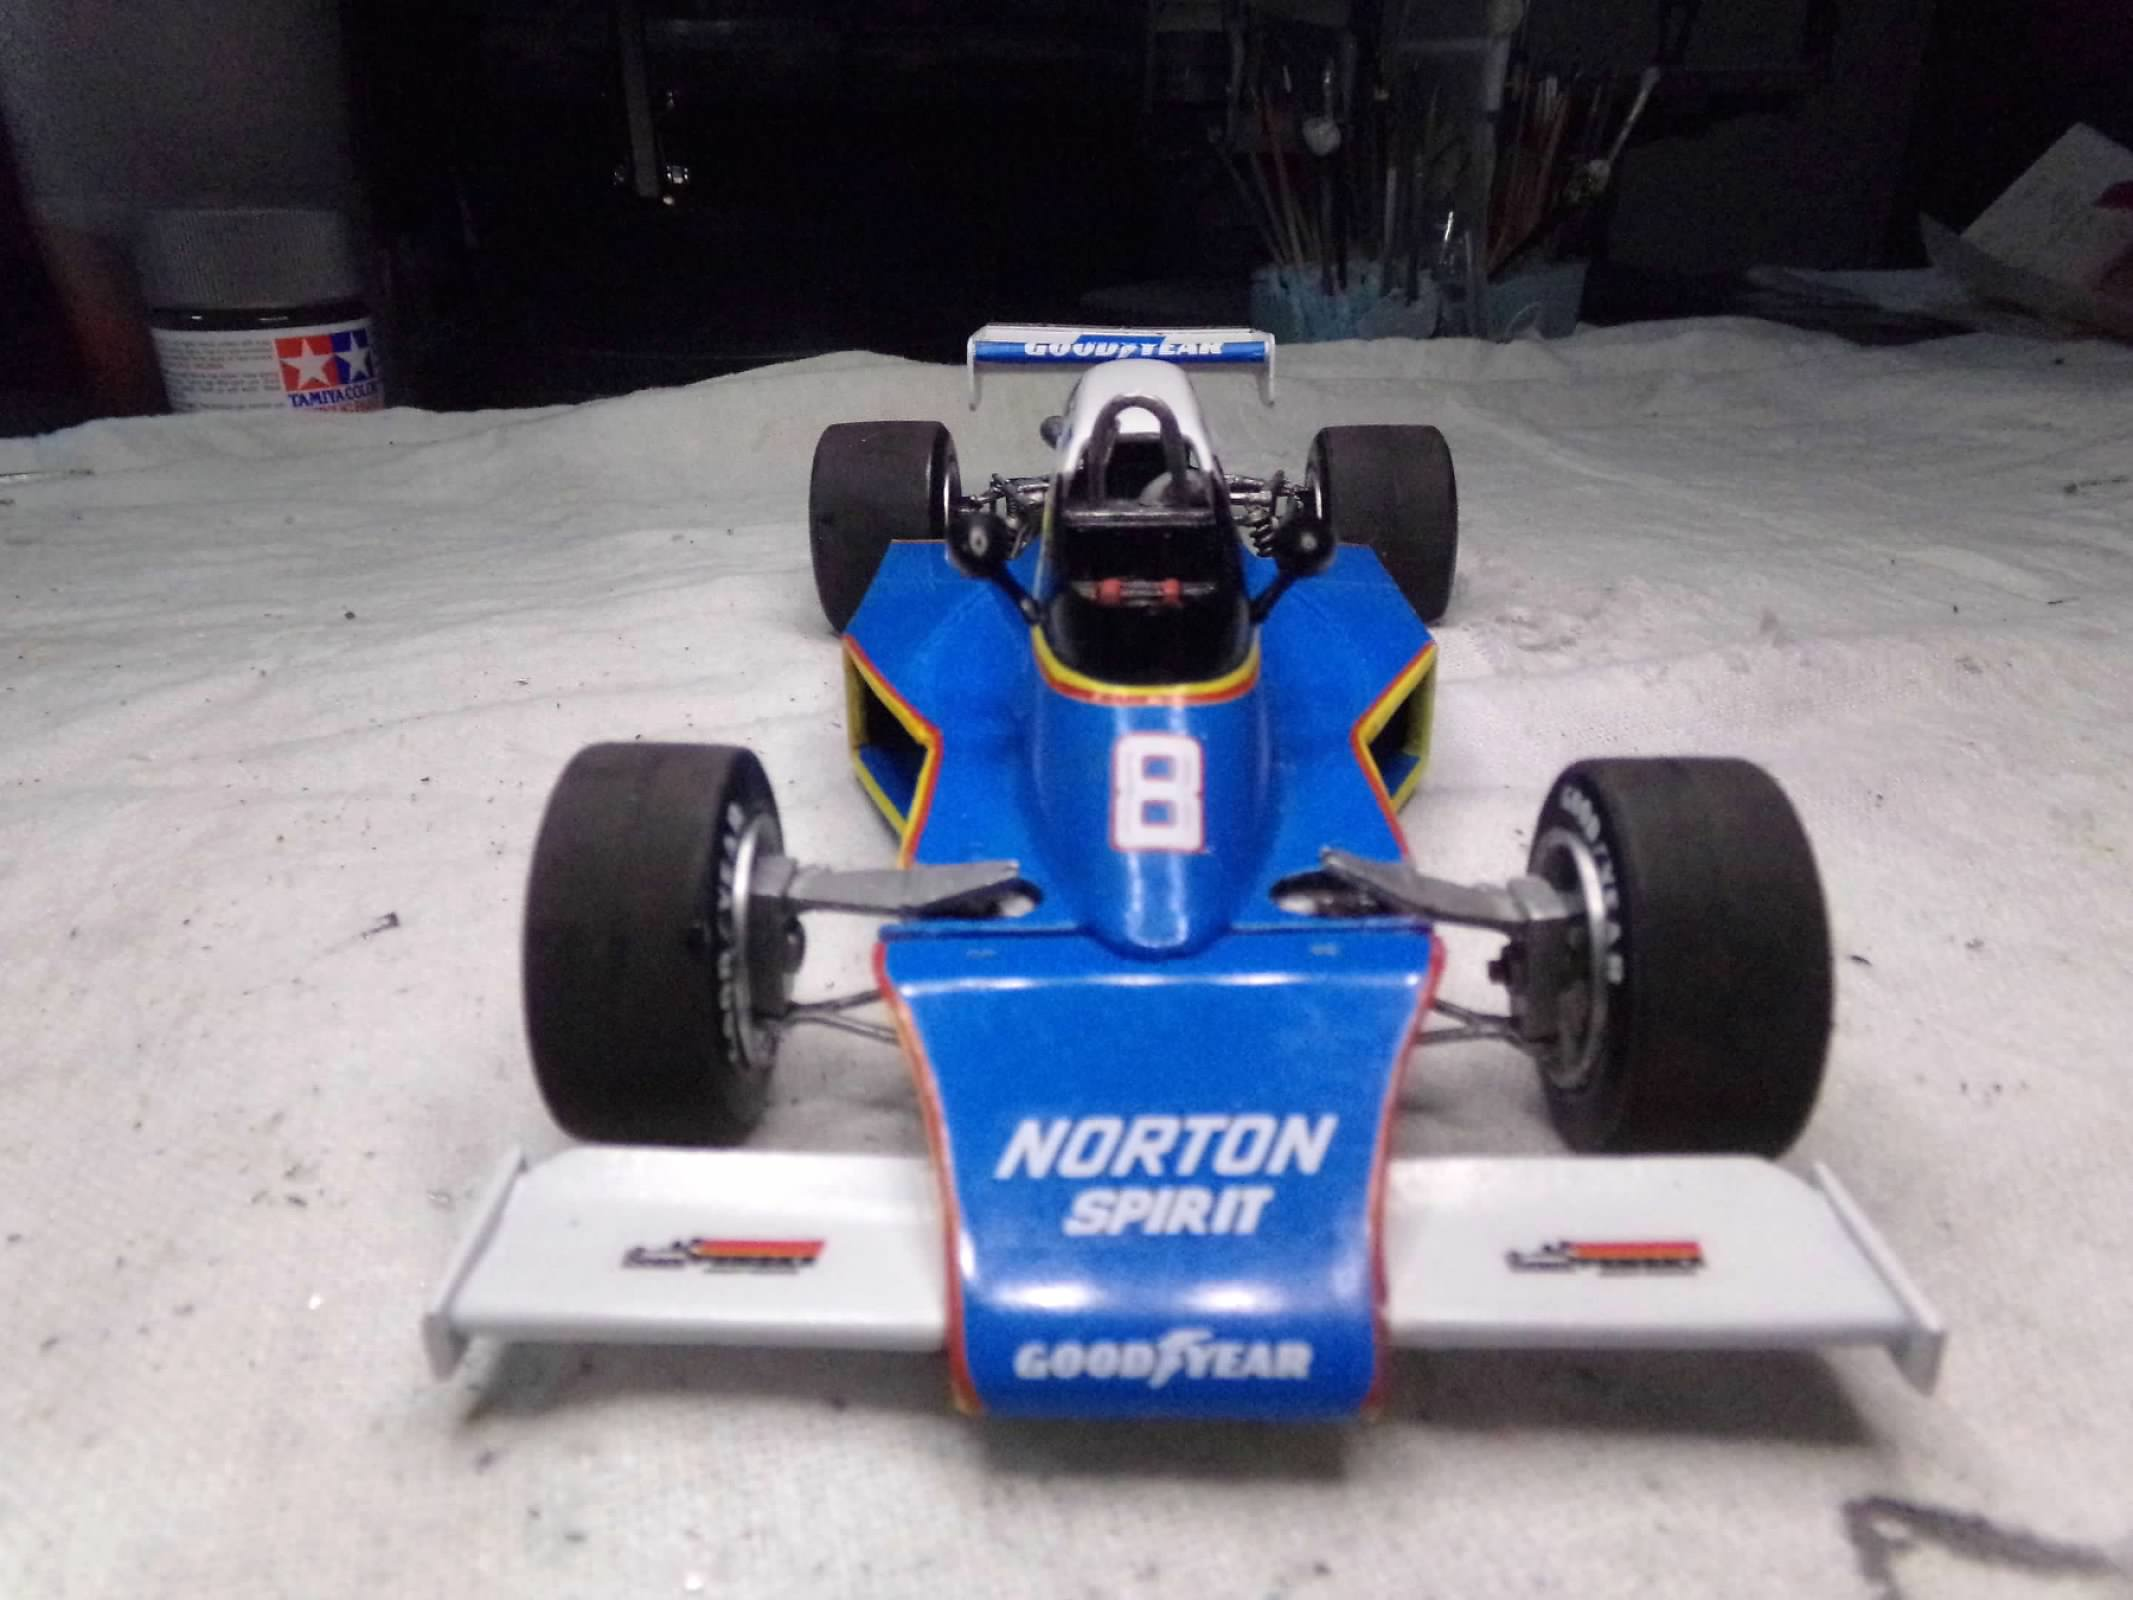
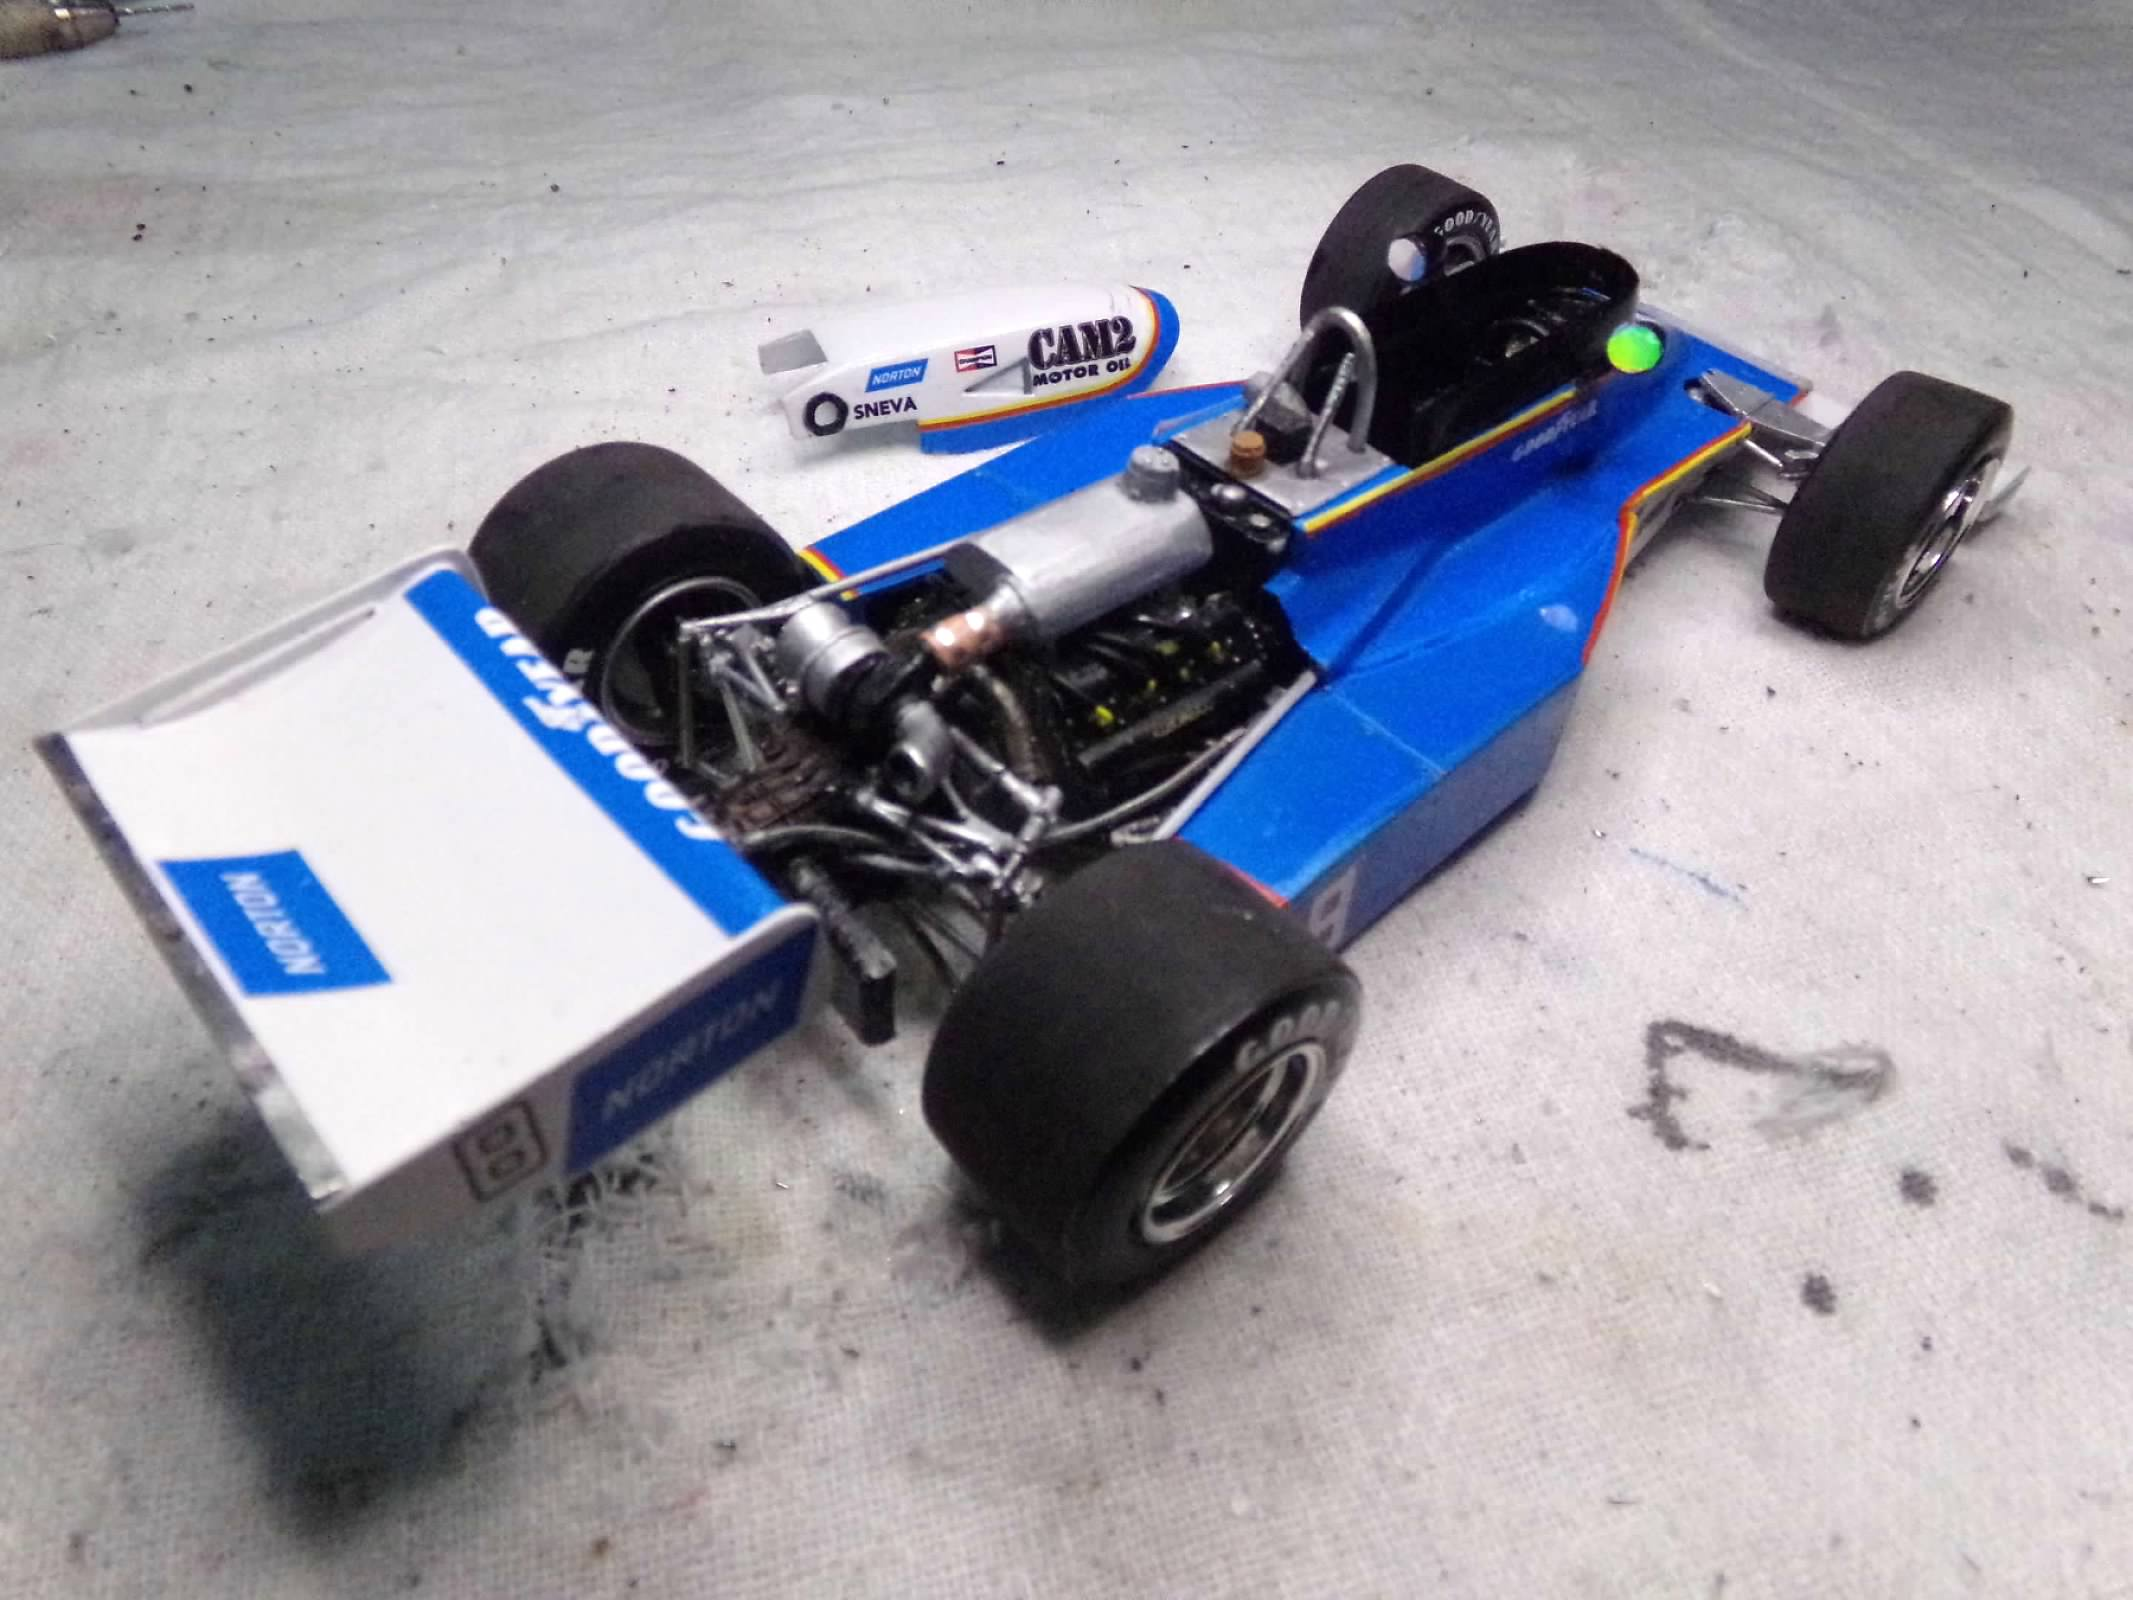
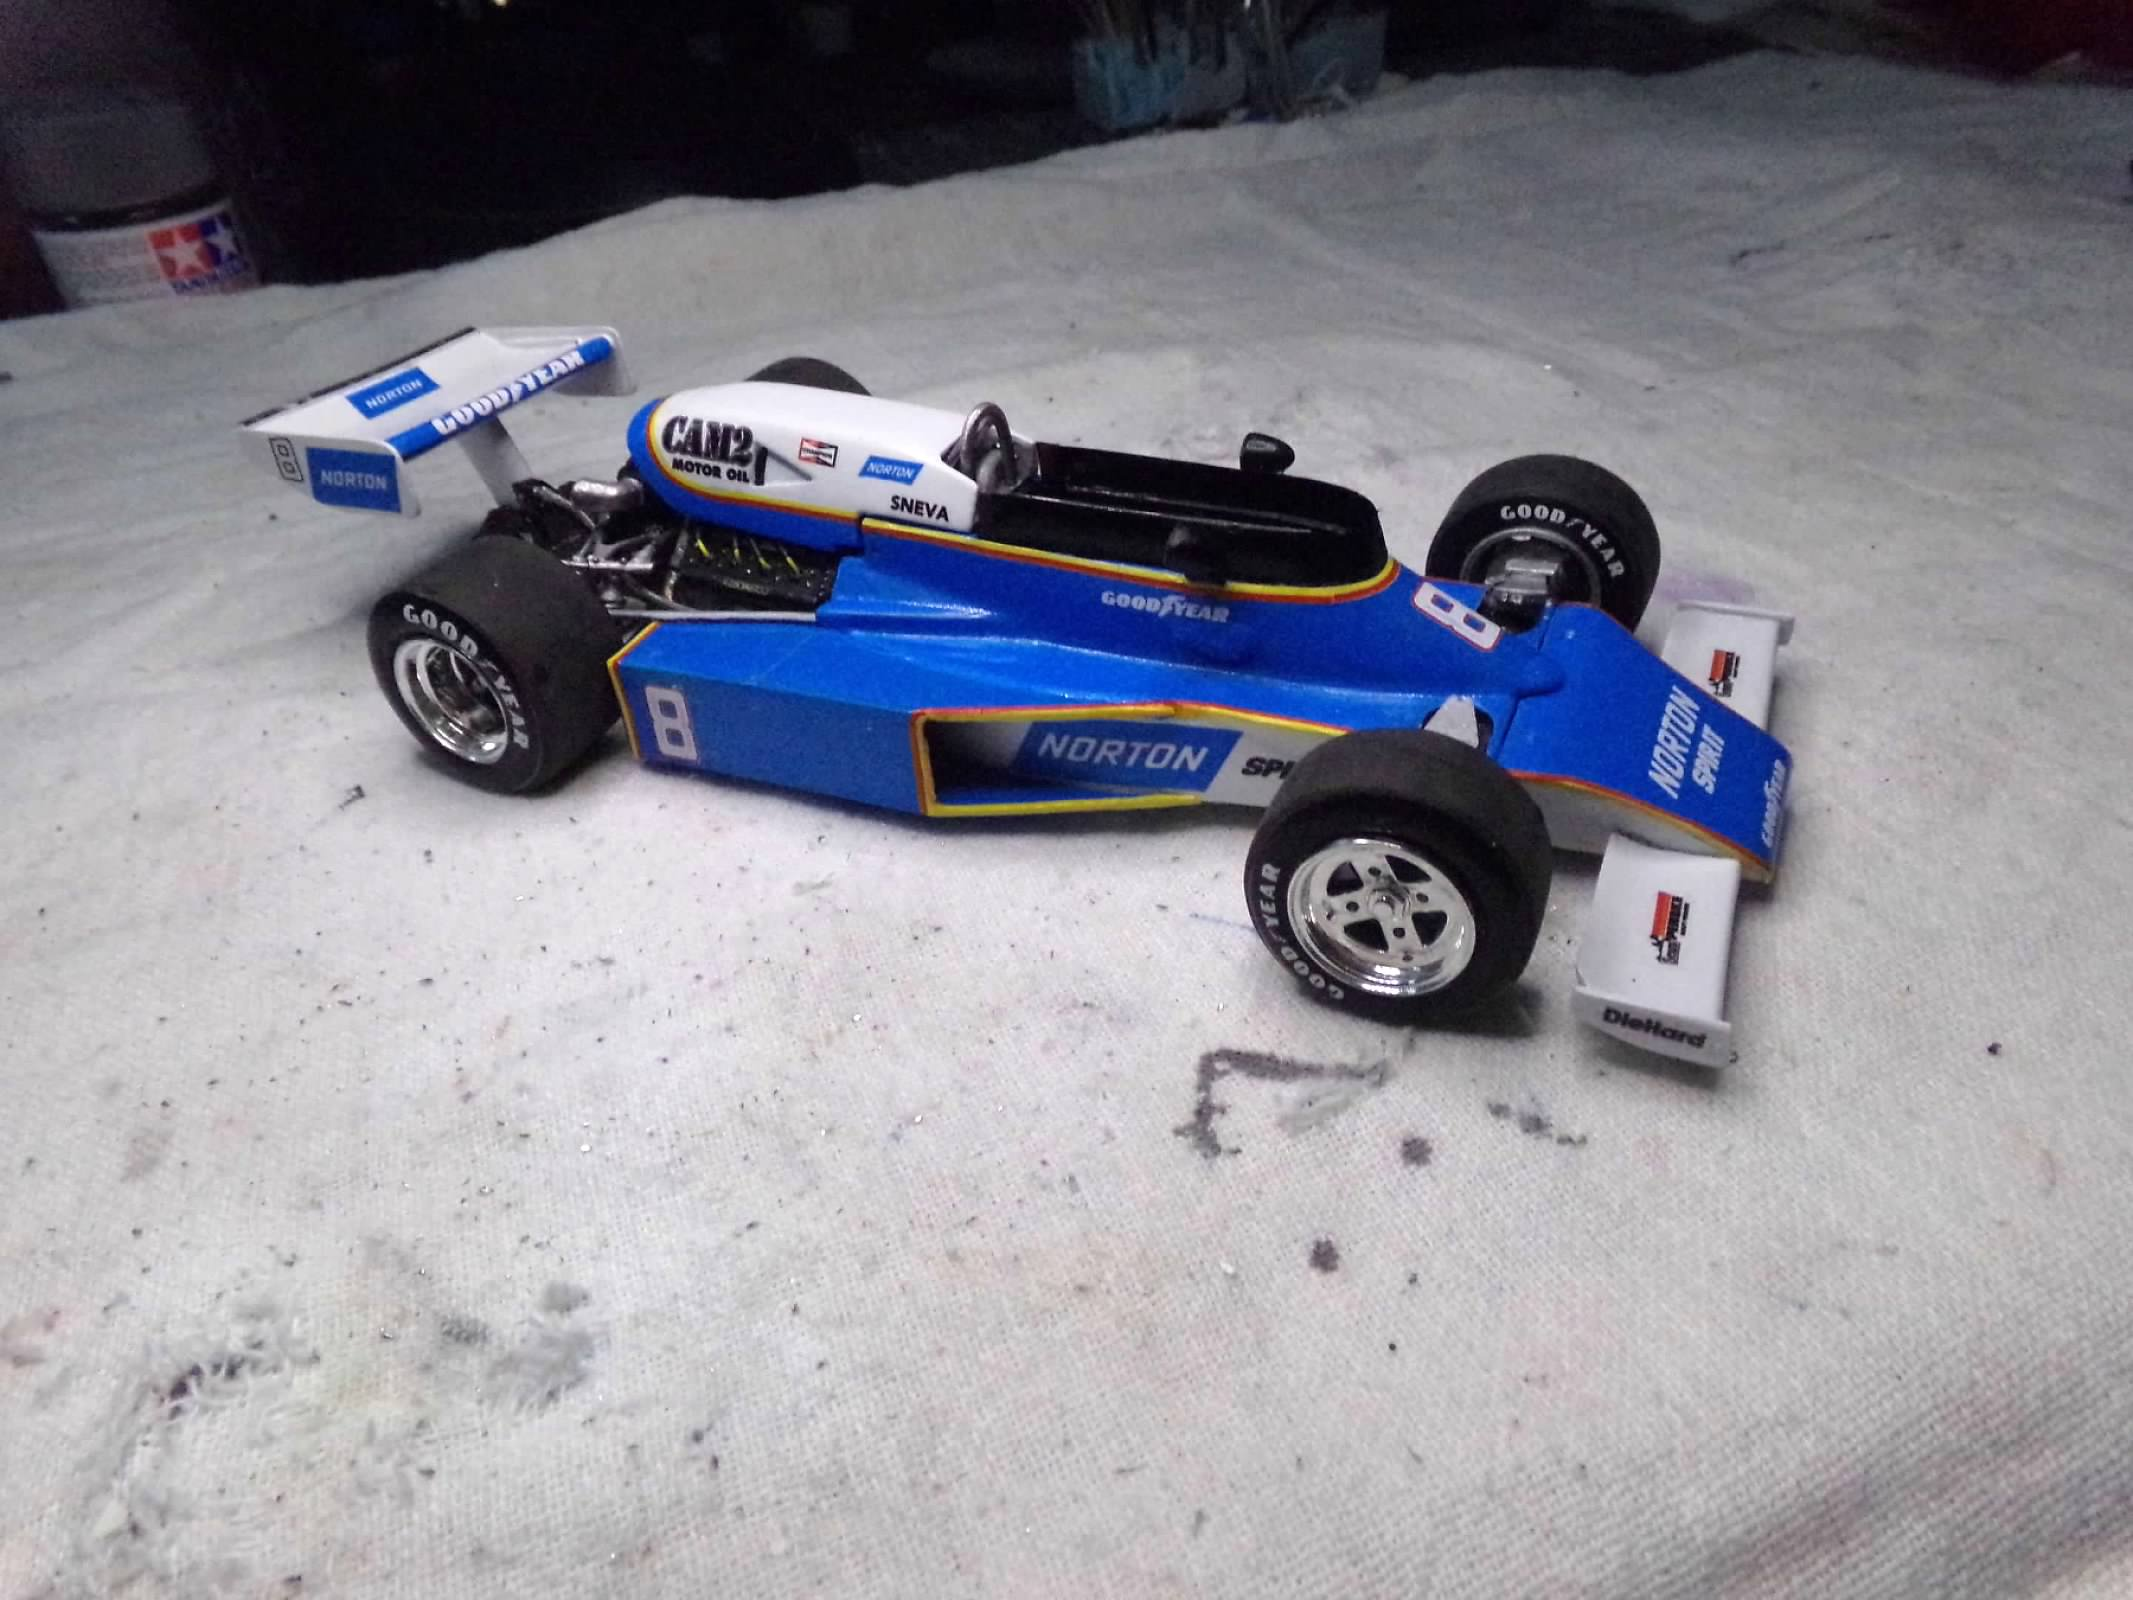
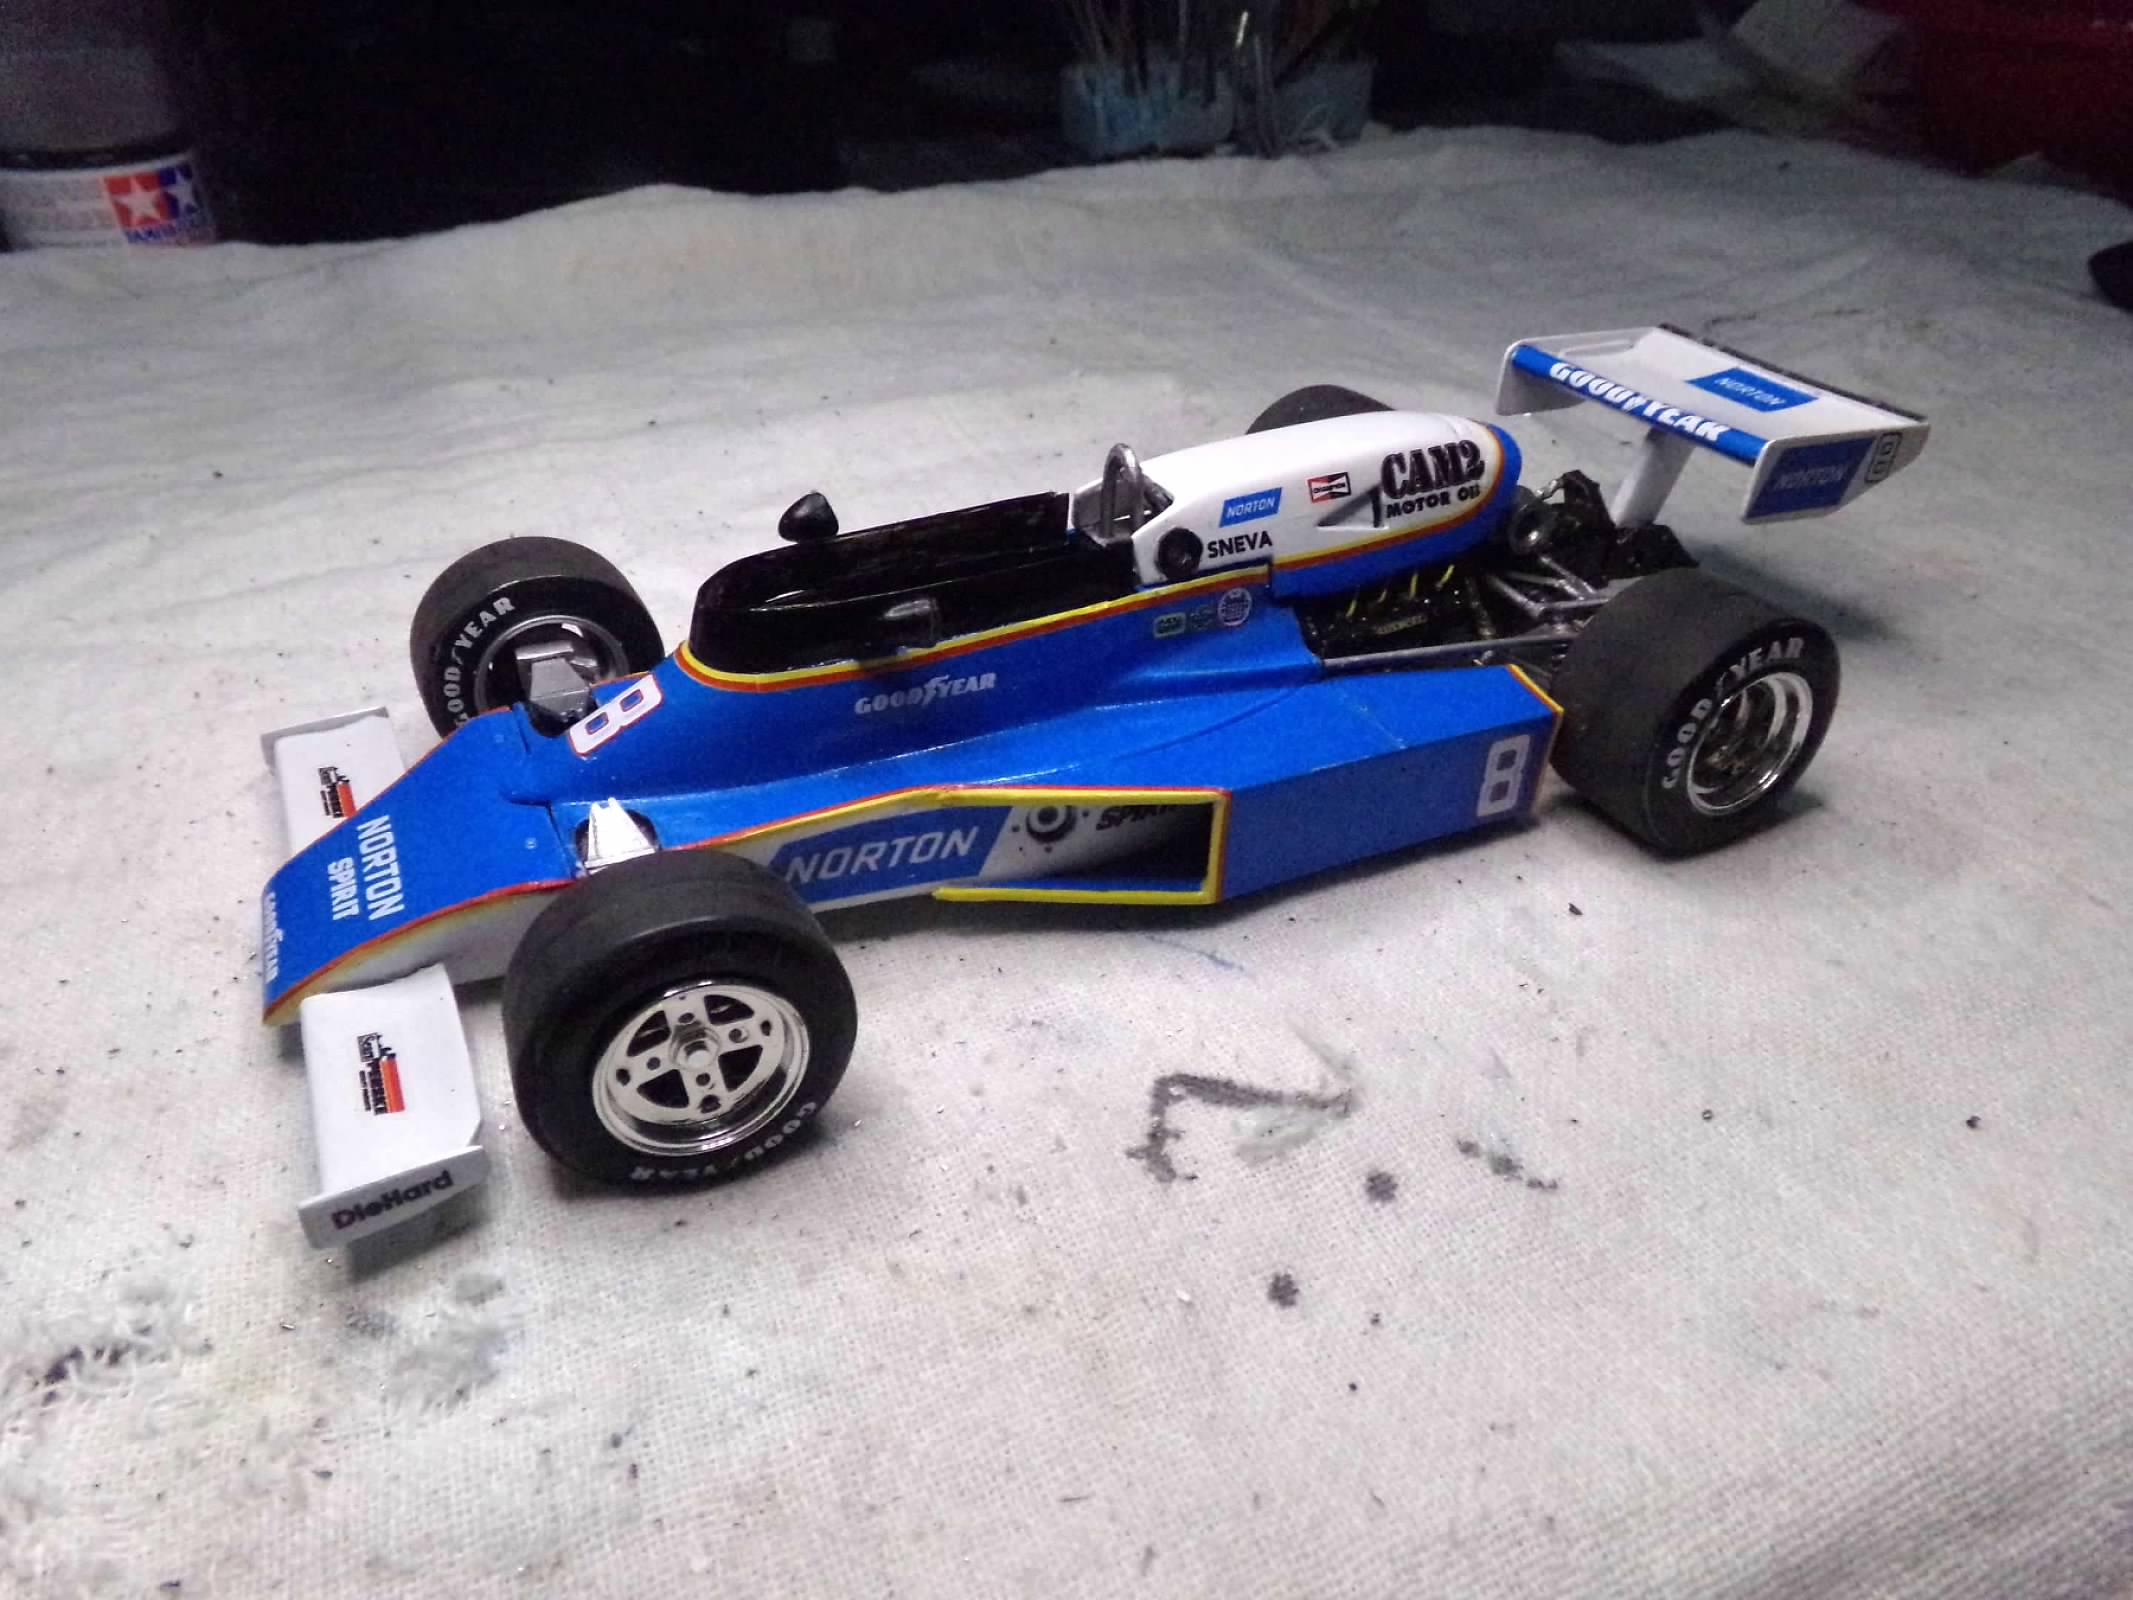
This is a resin and white metal kit from Silver City Models. Its a replica of the Indy car that Tom Sneva broke the 200 MPH barrier at IMS in May, 1977. Its painted with Tamiya TS-23 Light Blue and Dupli-Color Pure White. I added AMT wheels and tires, plug wires, a wickerbill on the rear wing, mirror foil on the mirror faces, and IndyCal decals for the body and tires. I'll polish it a little more after I'm sure the decals are good and dry. It proved to be challenging but it builds up to a very nice replica. I'll write up some pros and cons in my WIP in the next few days! Thanks for looking! ?
-
'68 GURNEY McLAREN M6B "McLEAGLE"
ModelcarJR replied to Mothersworry's topic in Other Racing: Road Racing, Salt Flat Racers
Looks great! Paint and photography make it look almost real! And I wouldn't guess its 1/32. Nice work! ?? -
1977 McLaren M24 - Tom Sneva
ModelcarJR replied to ModelcarJR's topic in WIP: Other Racing: Road Racing, Land Speed Racers
This one is done! See Under Glass for completed photos. Thanks for looking! ?
-
1977 McLaren M24 - Tom Sneva
ModelcarJR replied to ModelcarJR's topic in WIP: Other Racing: Road Racing, Land Speed Racers
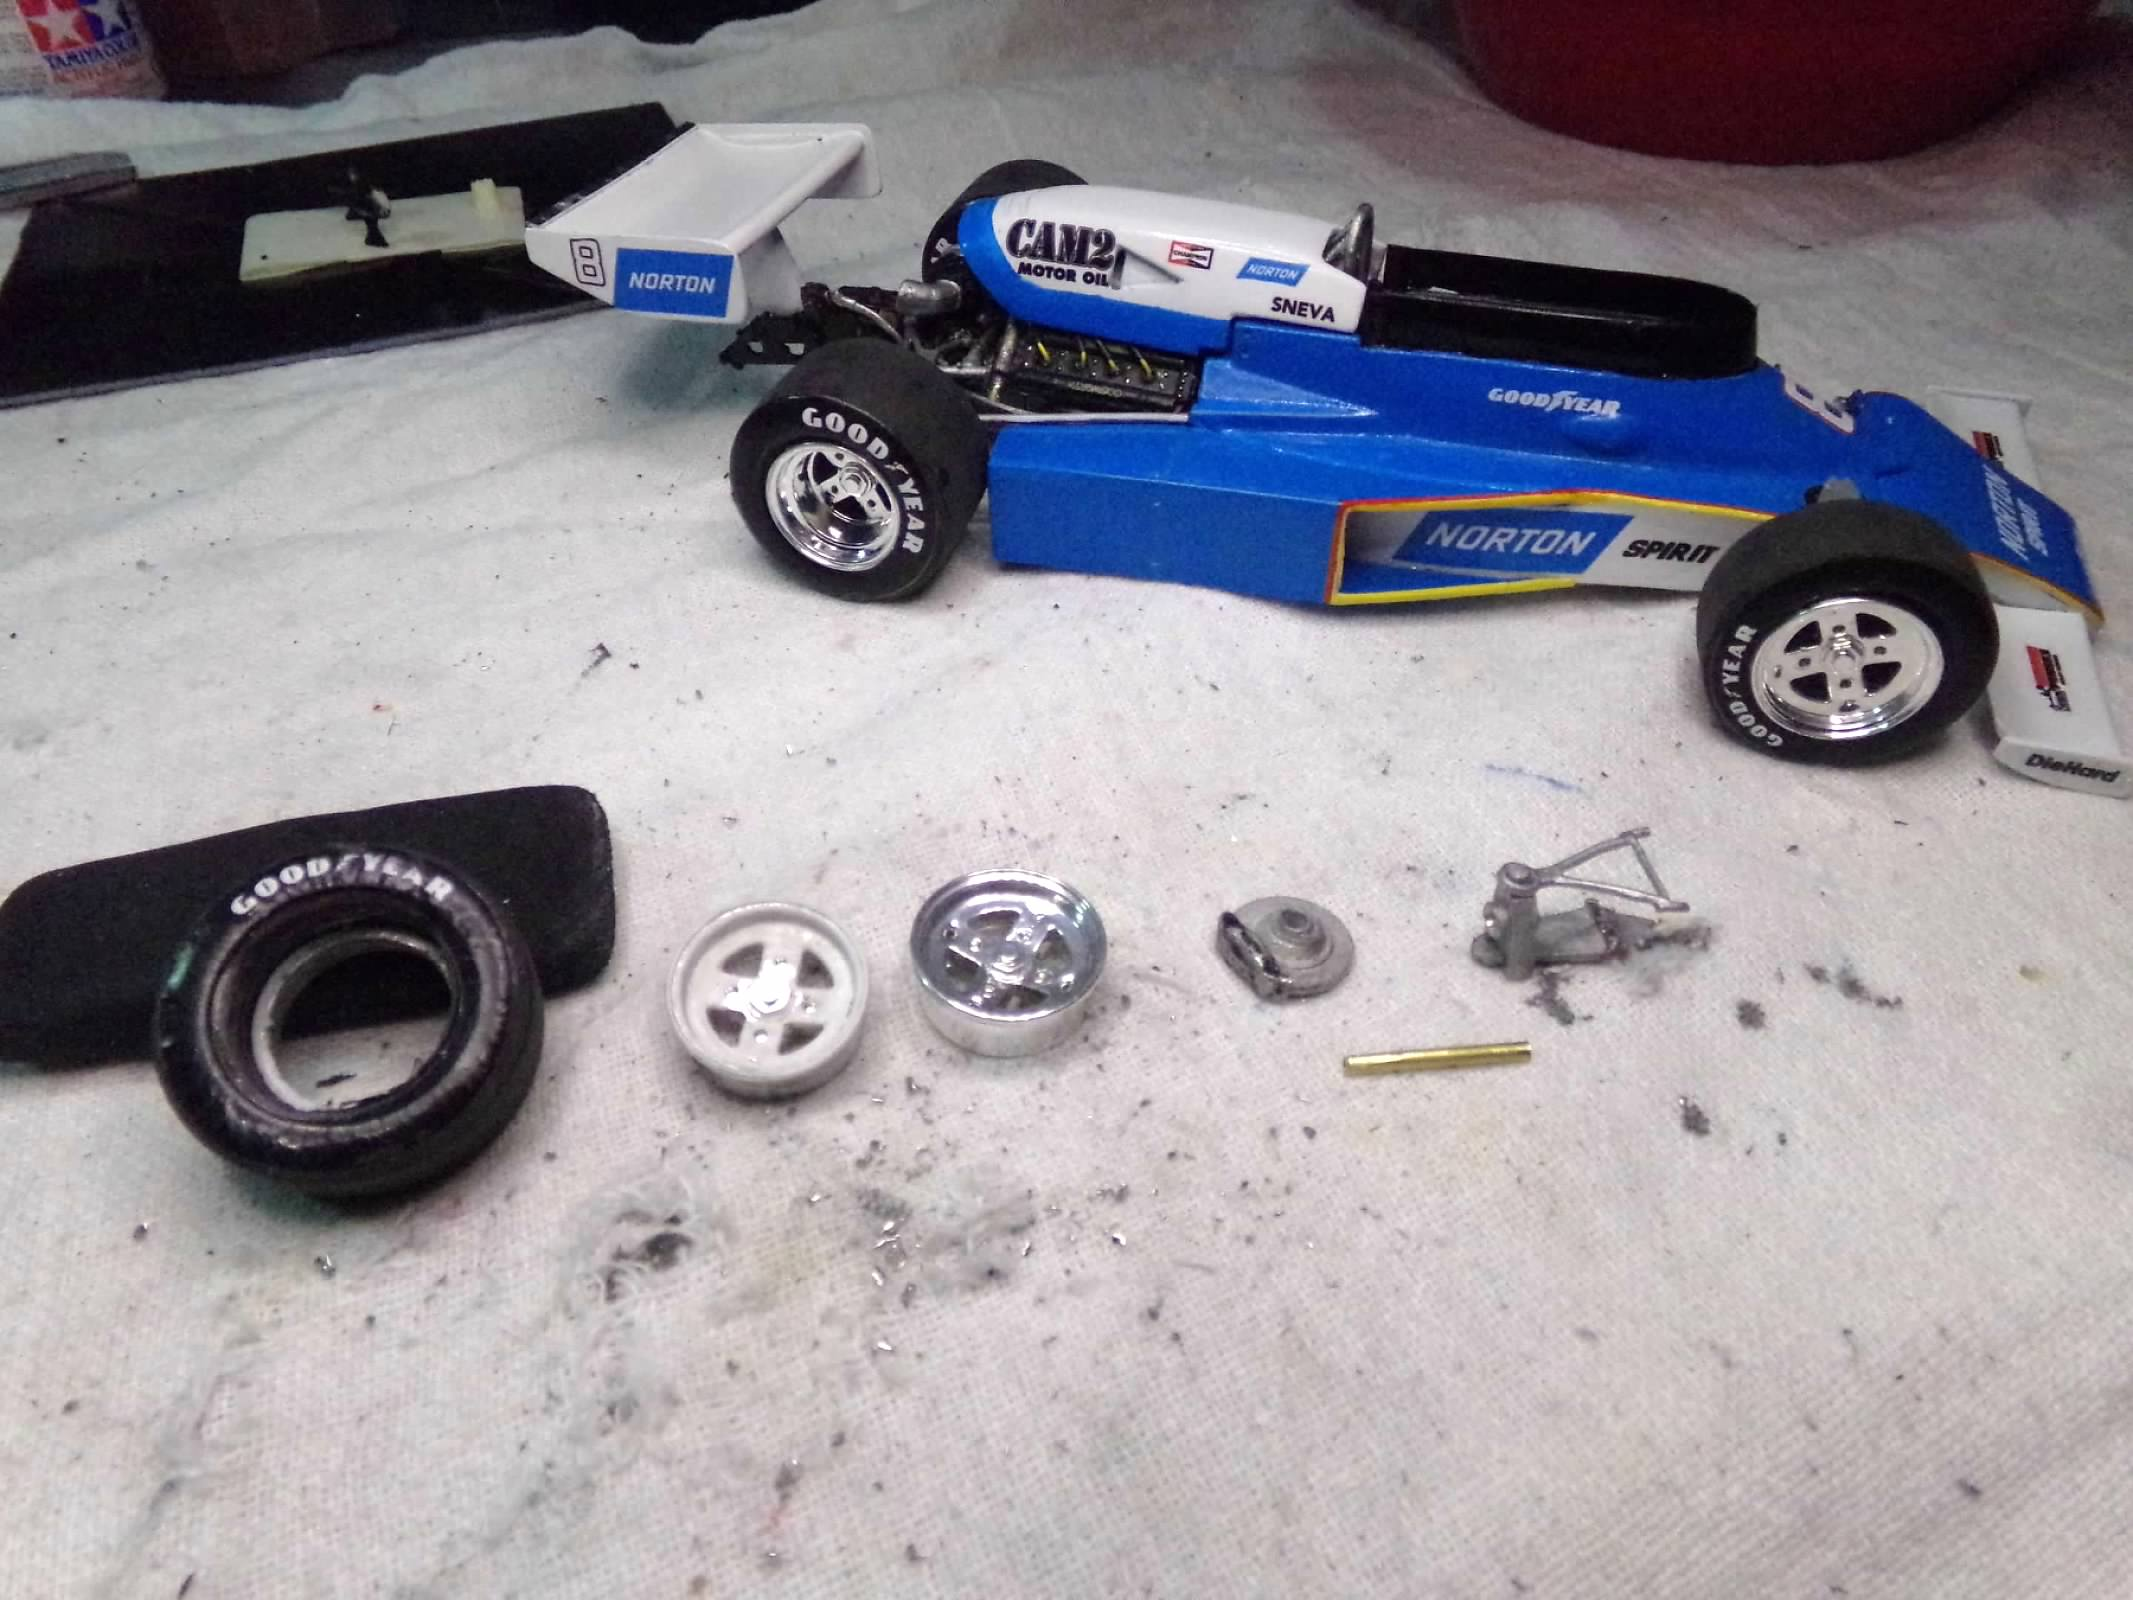
I was moving along happily getting all the decals on and i noticed that the front left wheel was askew. I went to straightened it out and it was loose. I lifted the wheel and realized that the white metal axle in the kingpin was broken. Soooooo, now I had to figure out how to get the axle and rotor that was glue into the wheel out without ruining the tire decal. So I tried some Z-7 debonder on the axle and rotor but it wouldn't come loose. So I had to get the wheel off without damaging the tire decals so I could pull the axle out. I put some debonder on the joint between the inner and outer wheel and the wheel finally came off. I ruined the wheel because the debonder took off the chrome but I have anohter one although it has some sink marks in it. it will have to do I didn't damage the tire decals too badly. I next drilled out the white metal rotor and kingpin to install a piece of brass tube to serve as an axle. So now all I have to do is put everything together and remount the wheel and suspension on the body. 4 or 5 hours later I'll be back to where I left off with finishing the decals. It will have to be tomorrow since I am warn out now! Thanks for looking! ?
-
1977 McLaren M24 - Tom Sneva
ModelcarJR replied to ModelcarJR's topic in WIP: Other Racing: Road Racing, Land Speed Racers
I had hoped to have all the decals on by now but after I completed the tires I attached the wheels and it wasn't sitting on all fours properly. So OI couldn't figure out what was wrong and decided to give it a little tweak. Wrong! I cratered the left rear suspension including breaking a few white metal parts. So after much weeping I started rebuilding the rear suspension including substituting some brass rod for parts I had broken and finally got it all back together. It still wouldn't sit on all fours so I started adjusting the front suspensions and finally it just fell into place on all fours. So at this point I am just glad its finally together! Decals will have to wait until tomorrow! Thanks for looking! ?
-
1977 McLaren M24 - Tom Sneva
ModelcarJR replied to ModelcarJR's topic in WIP: Other Racing: Road Racing, Land Speed Racers
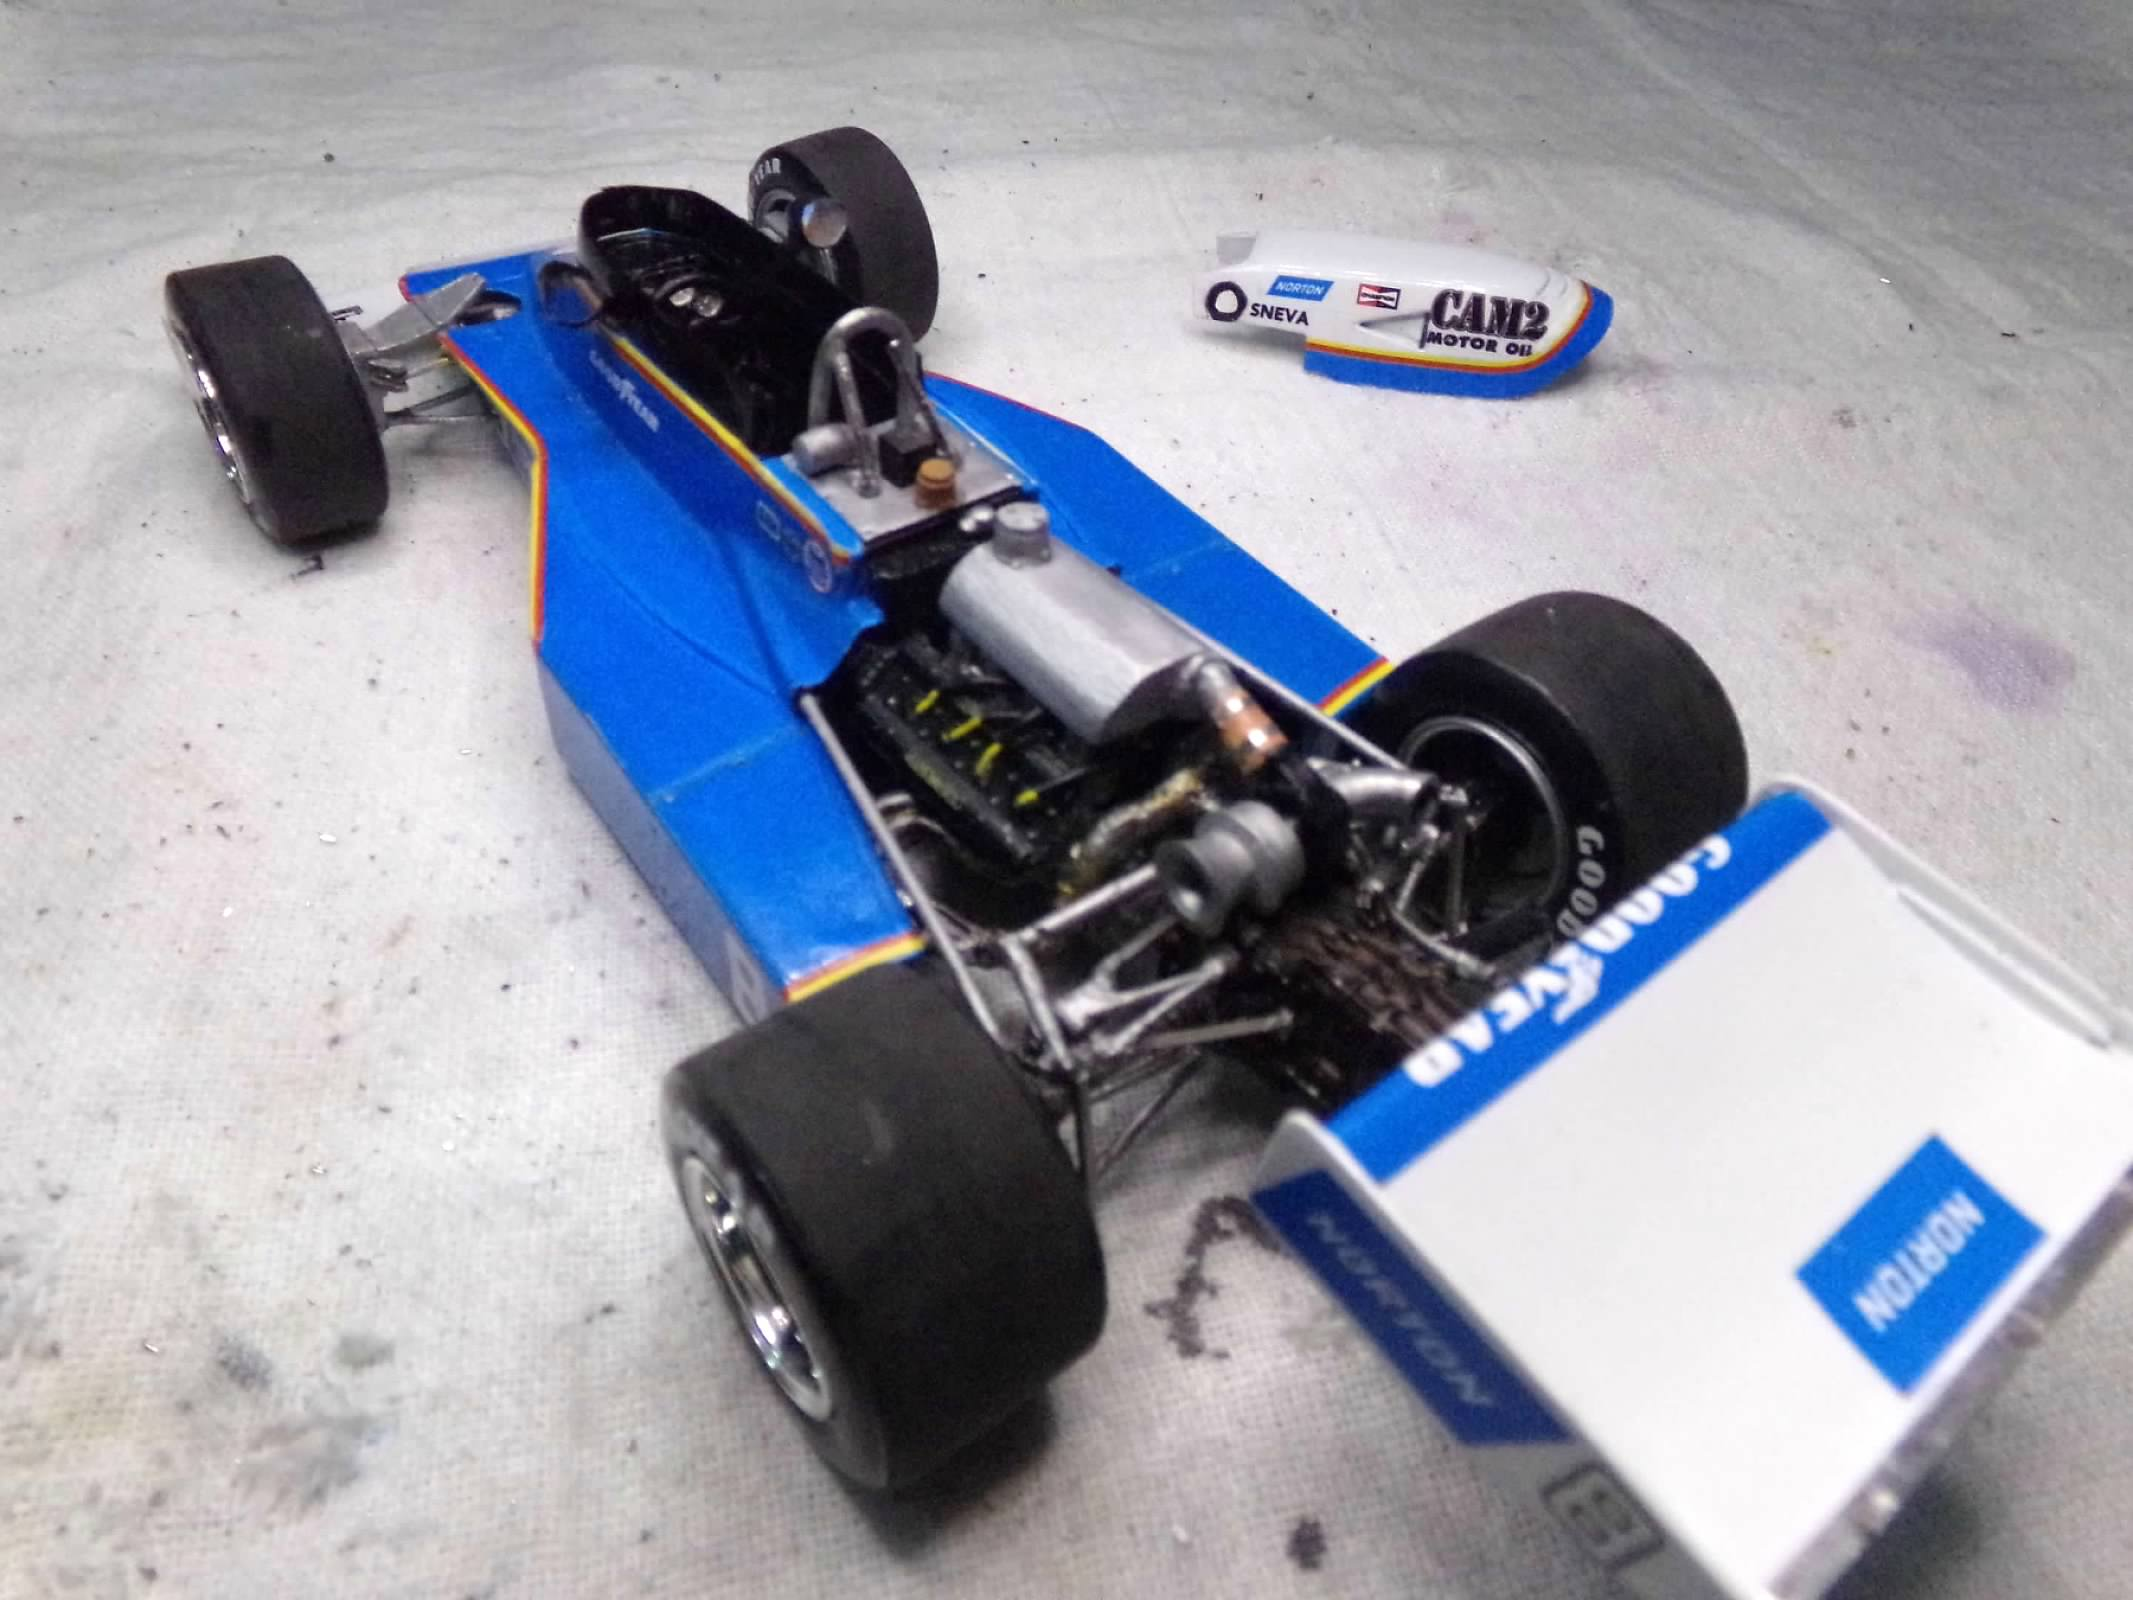
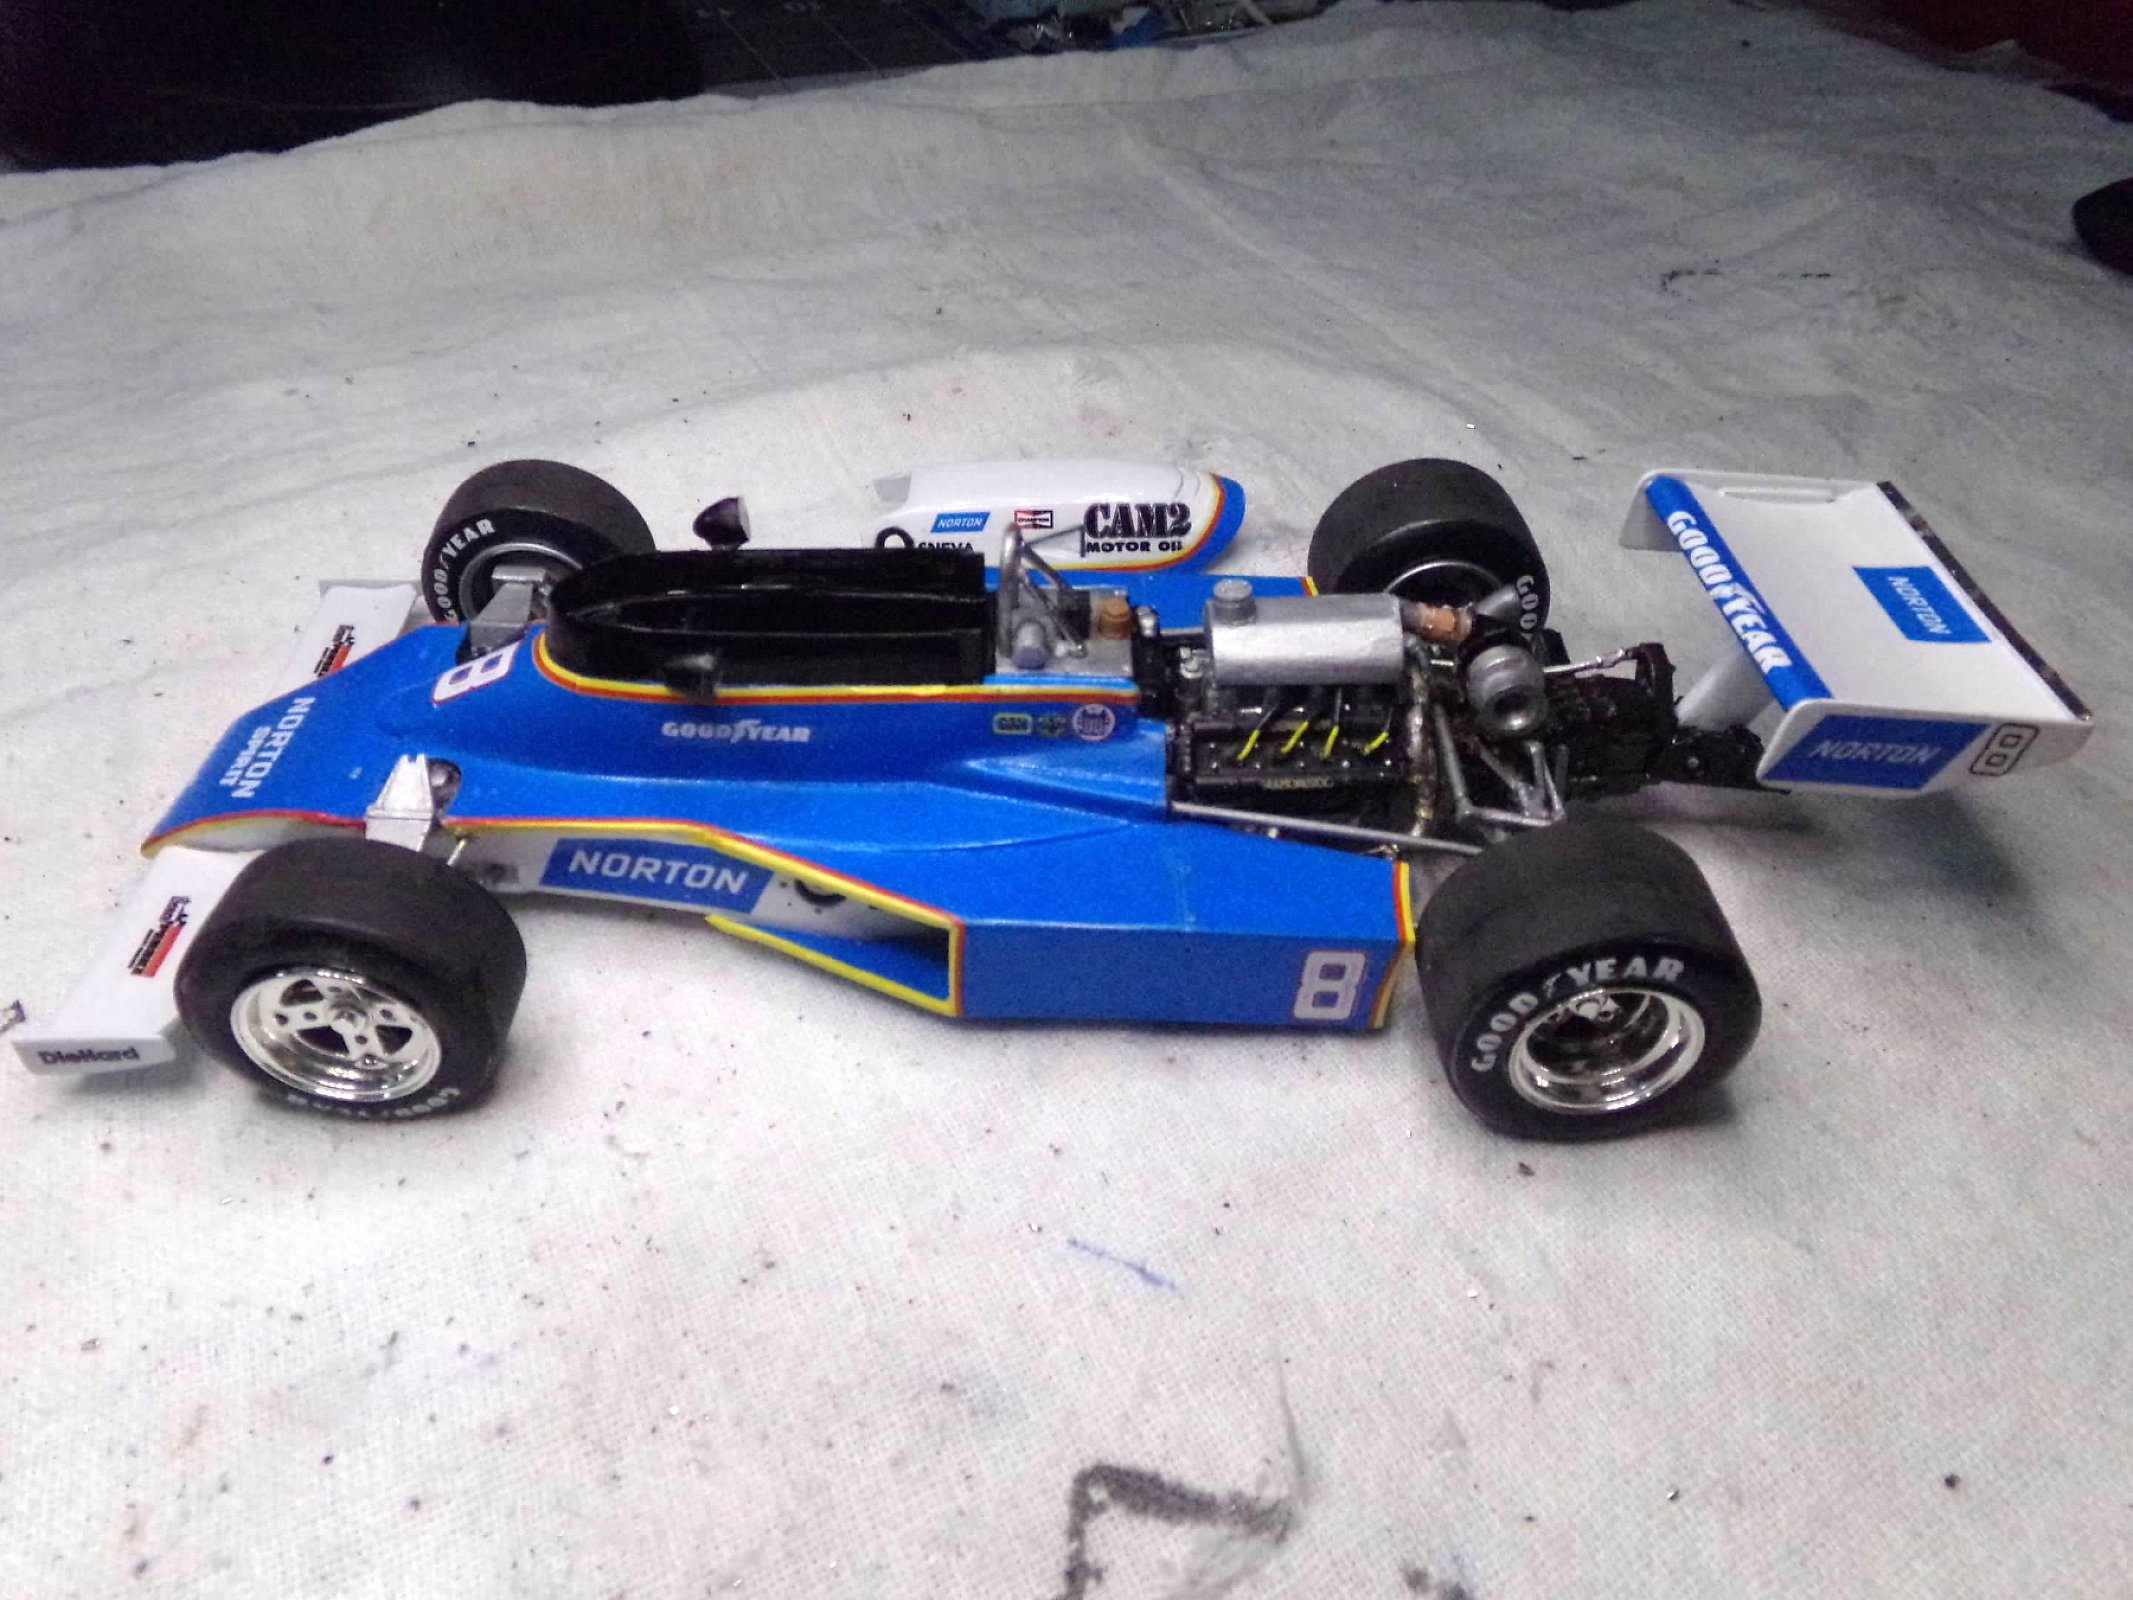
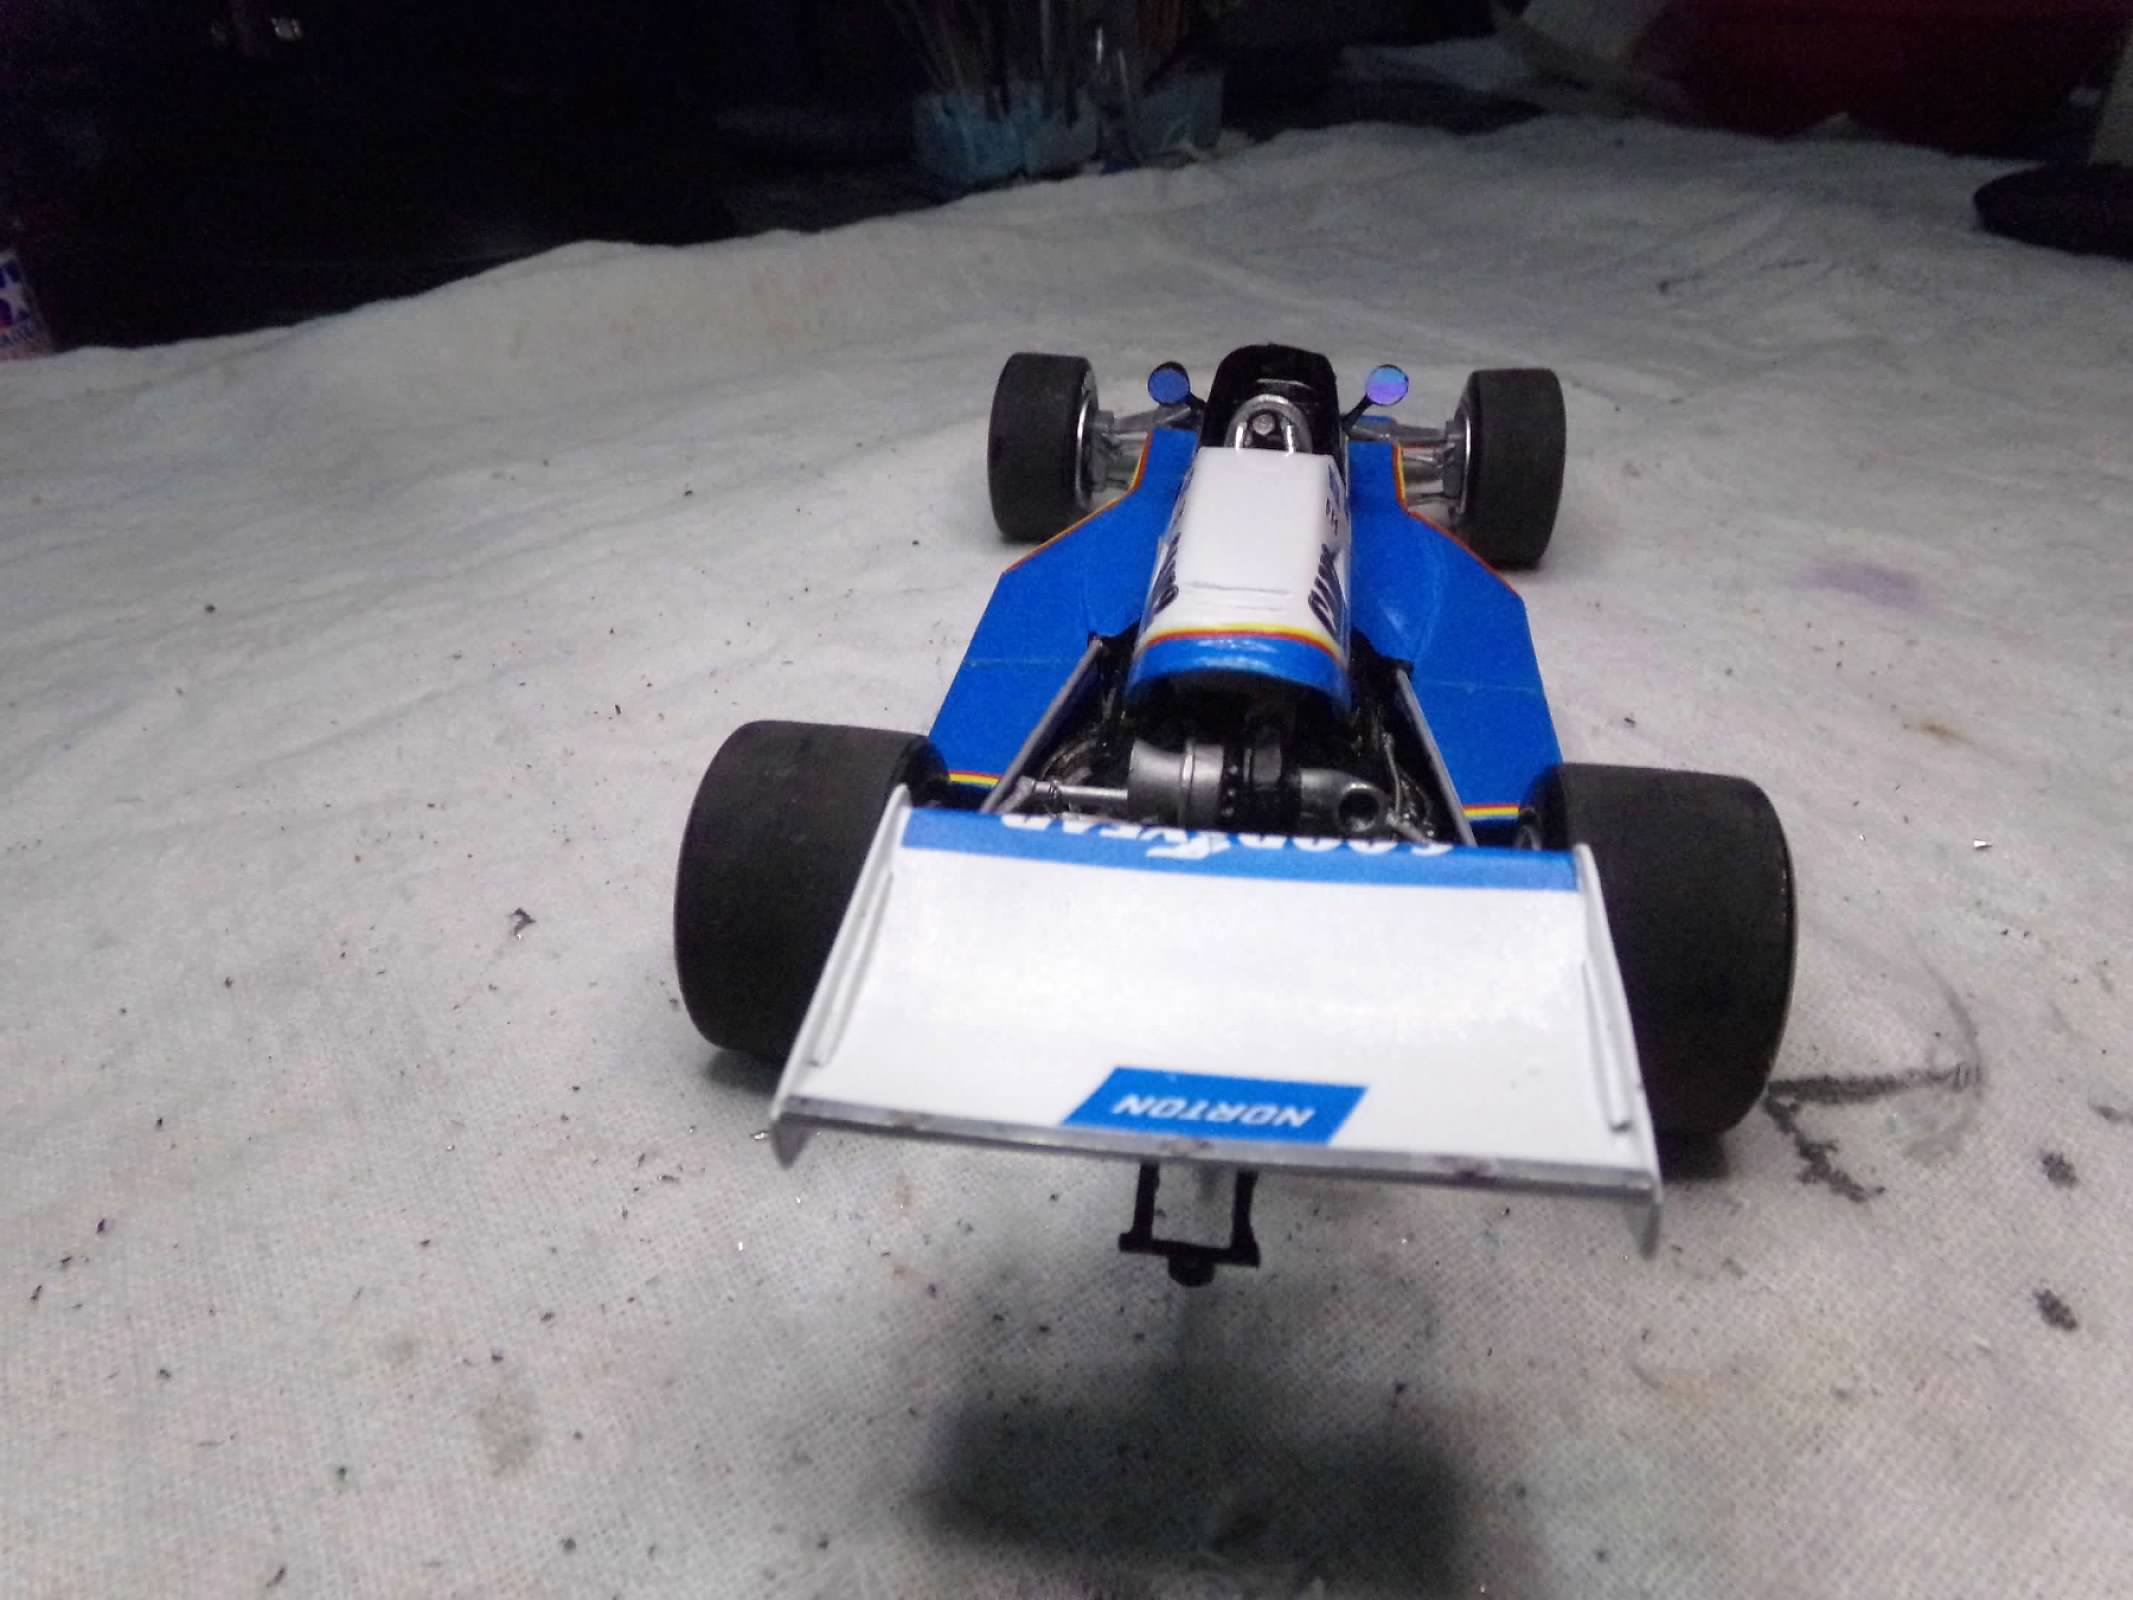
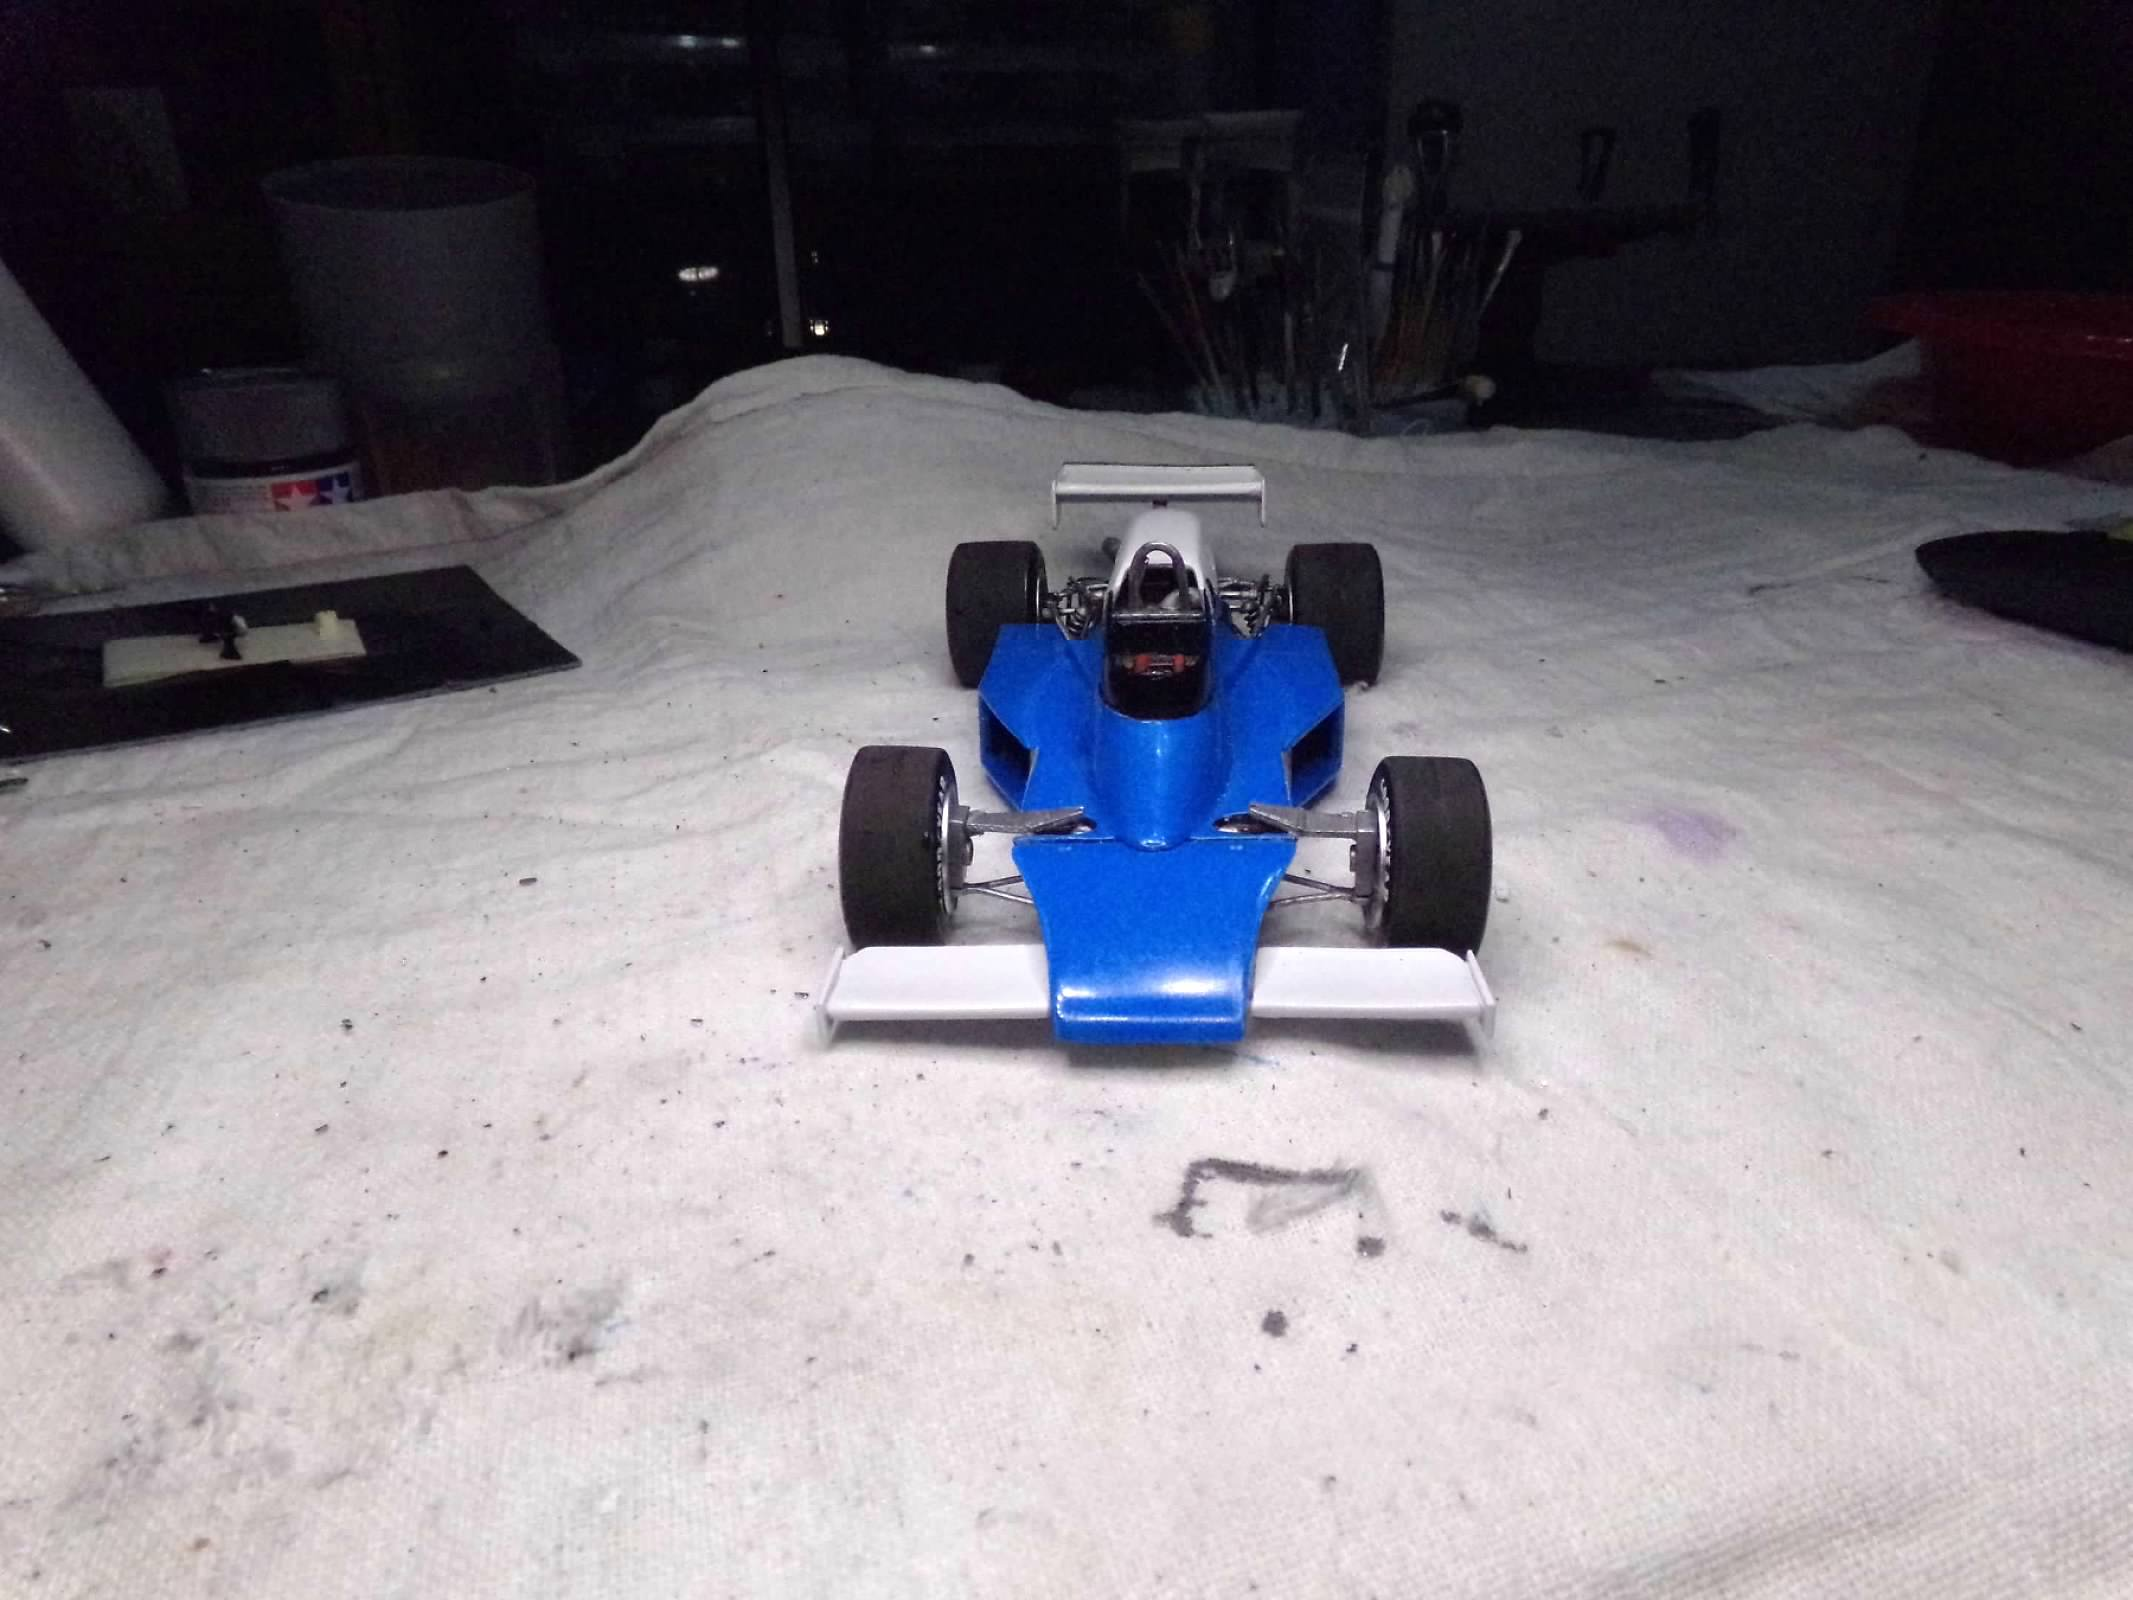
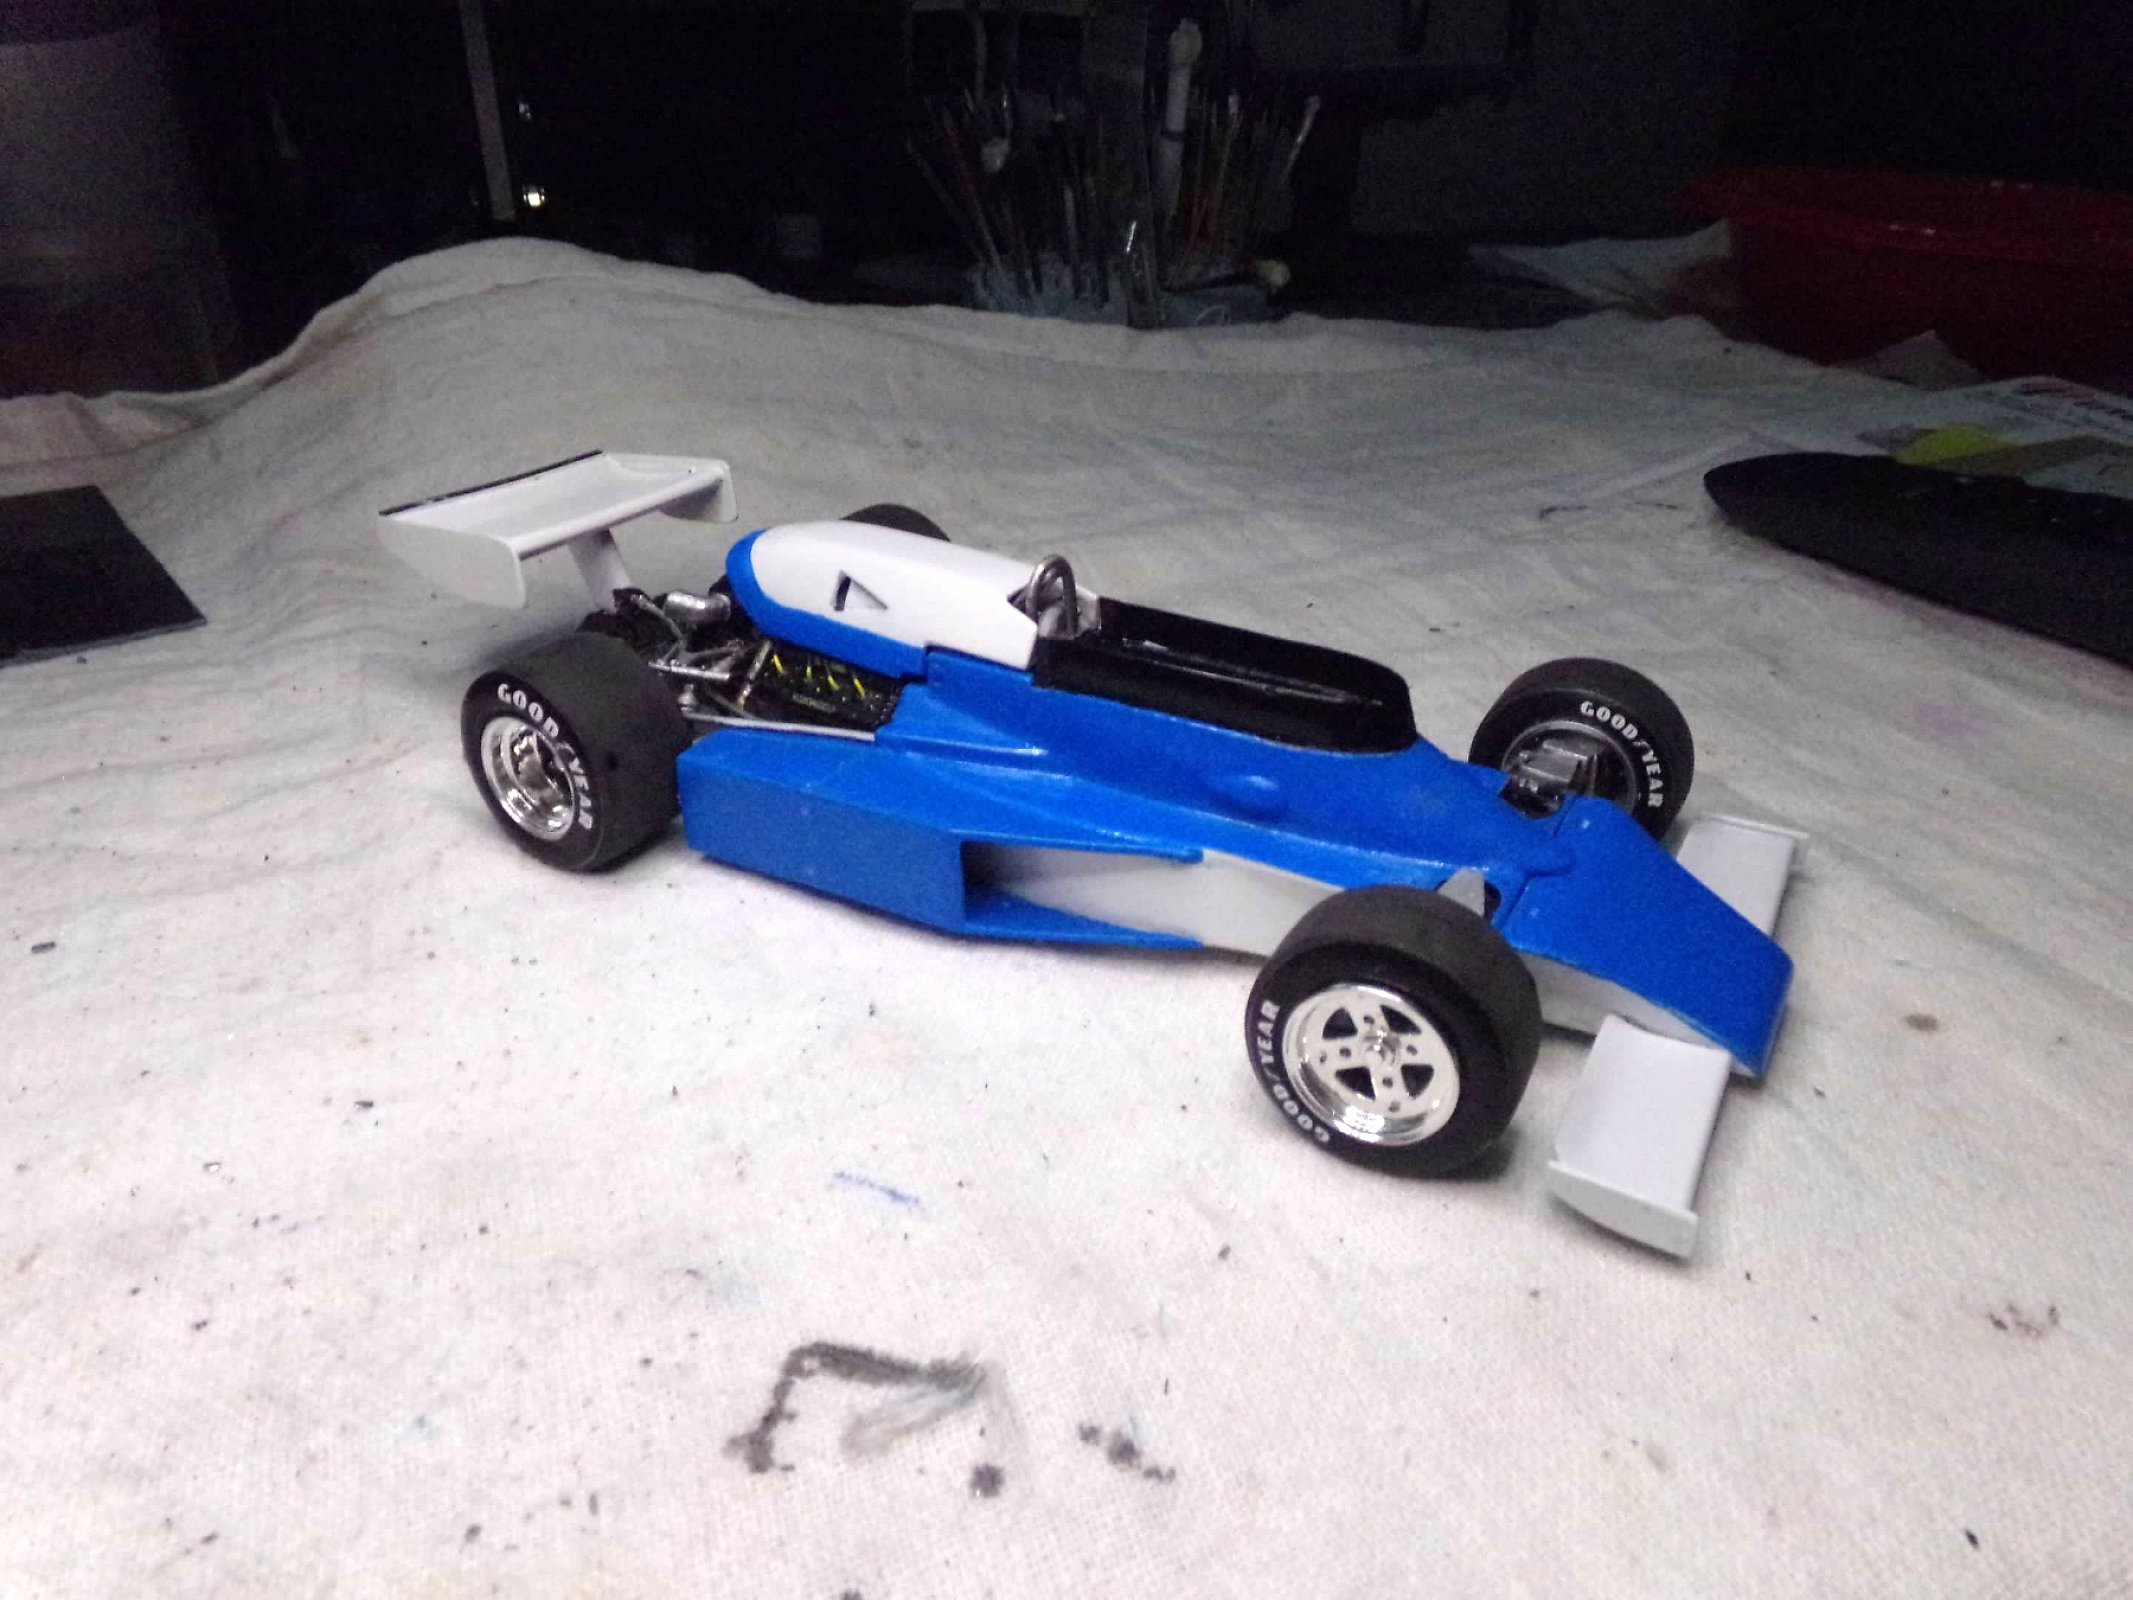
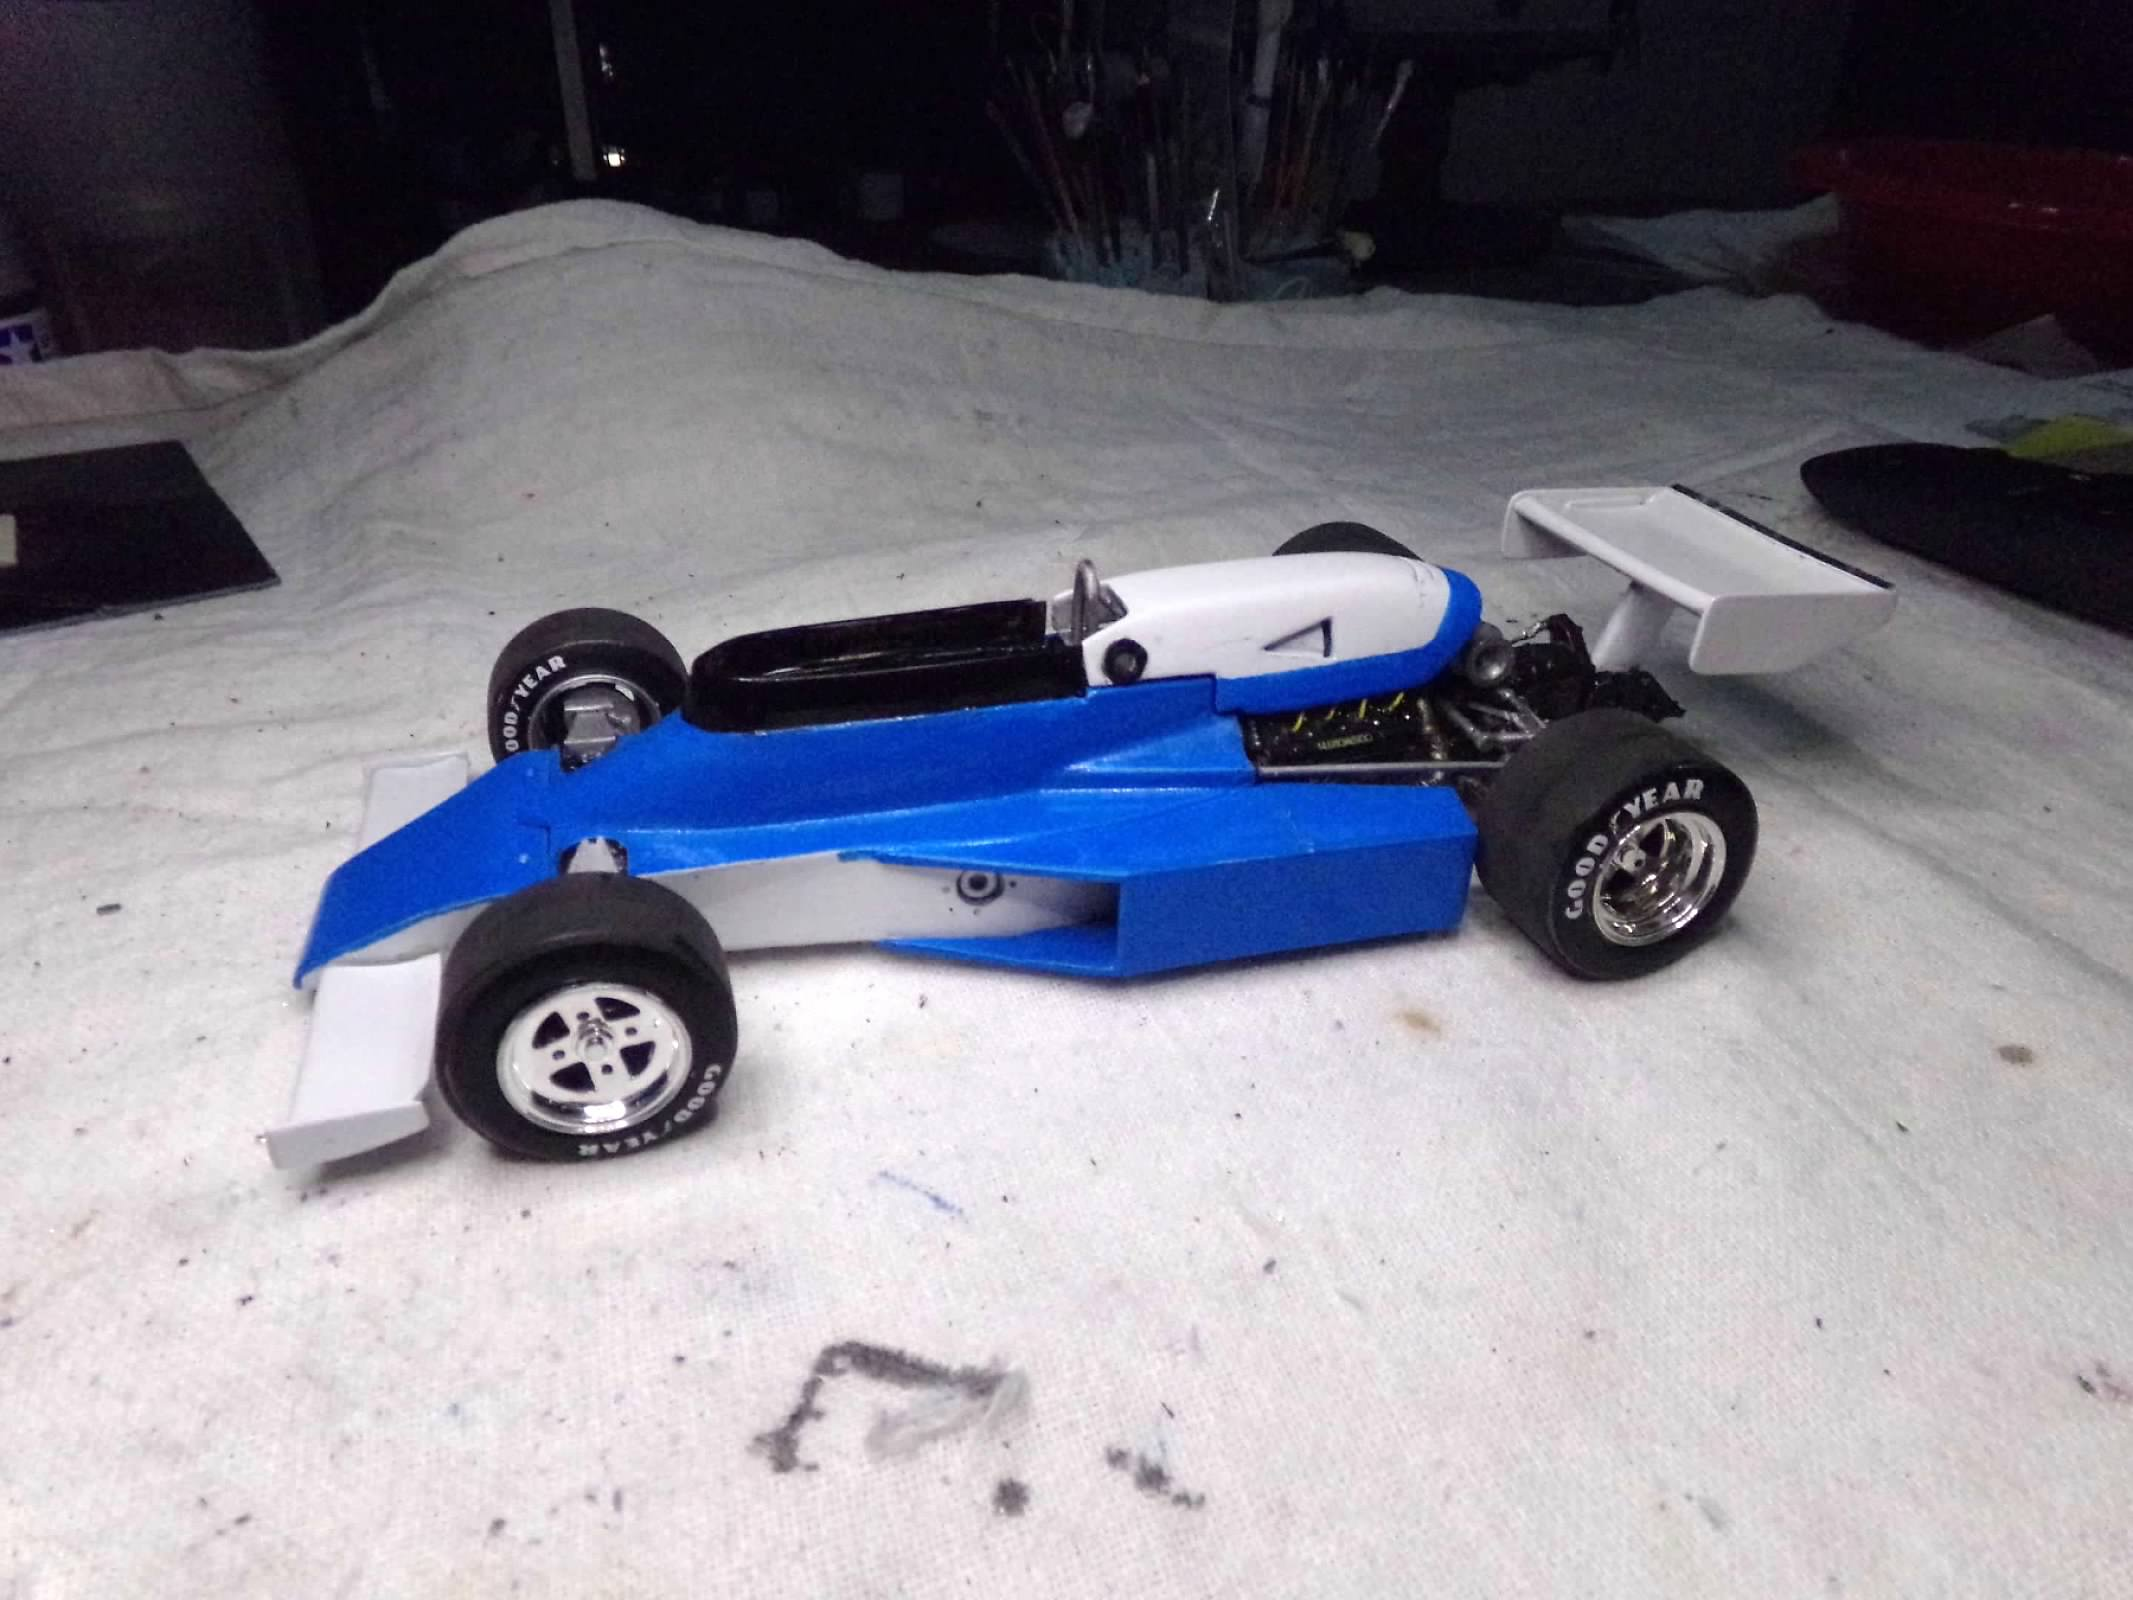
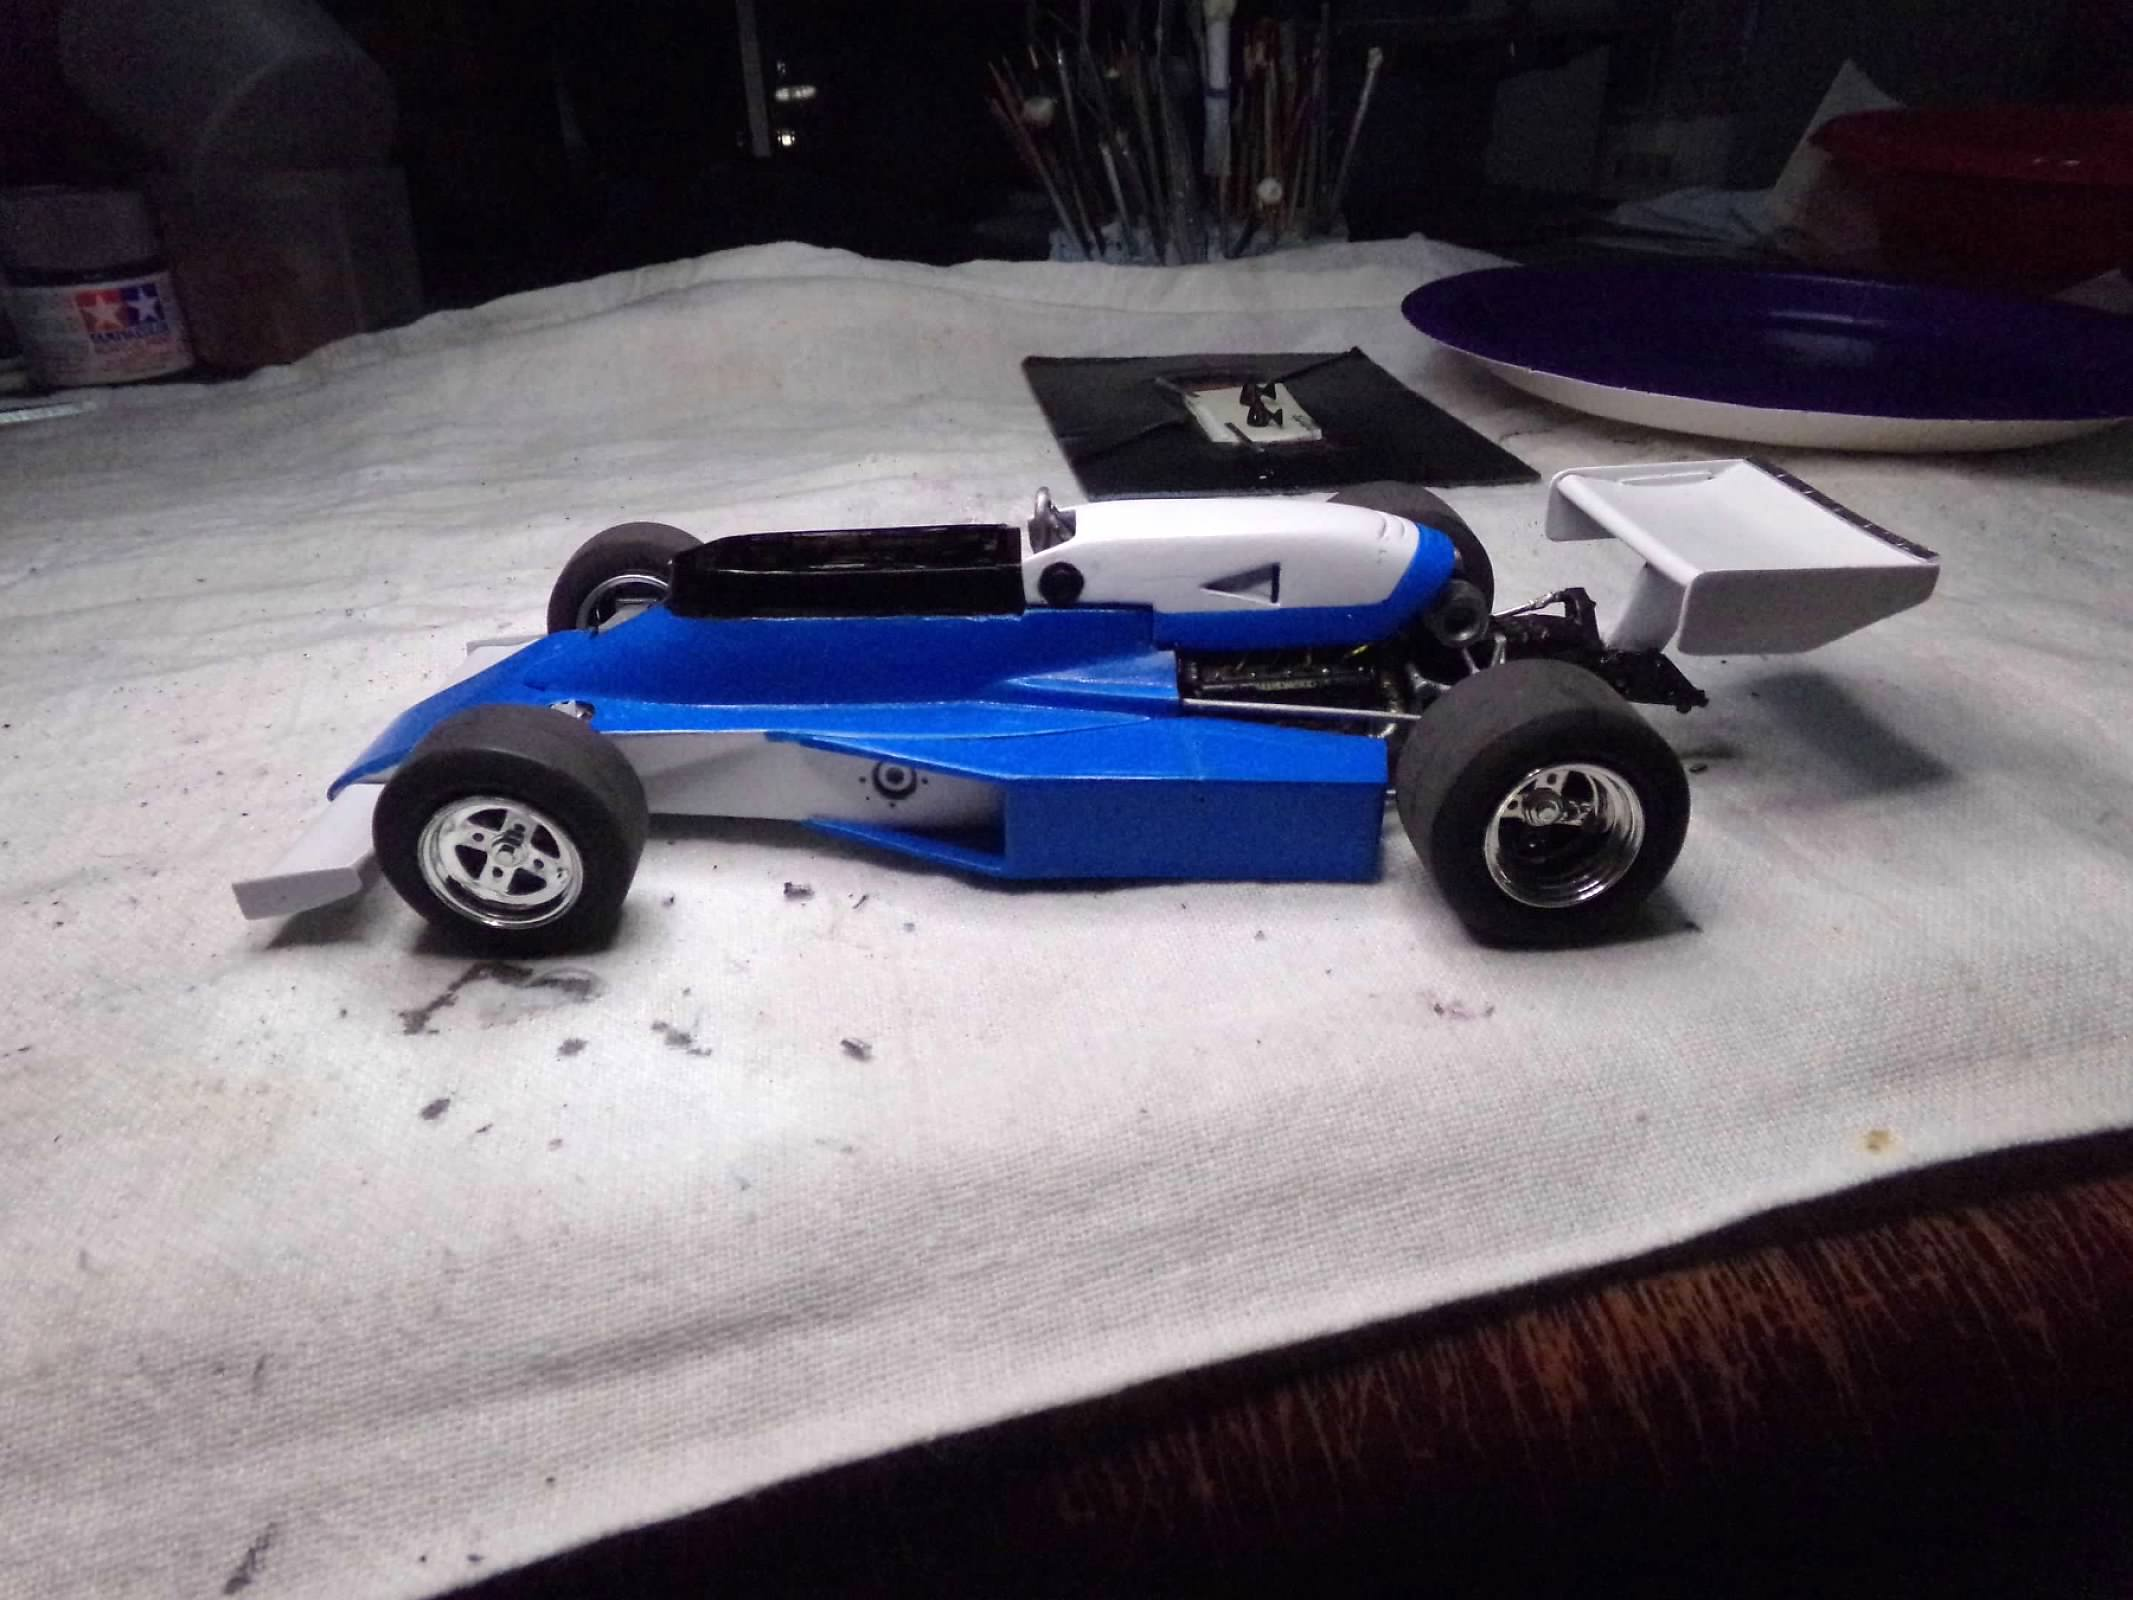
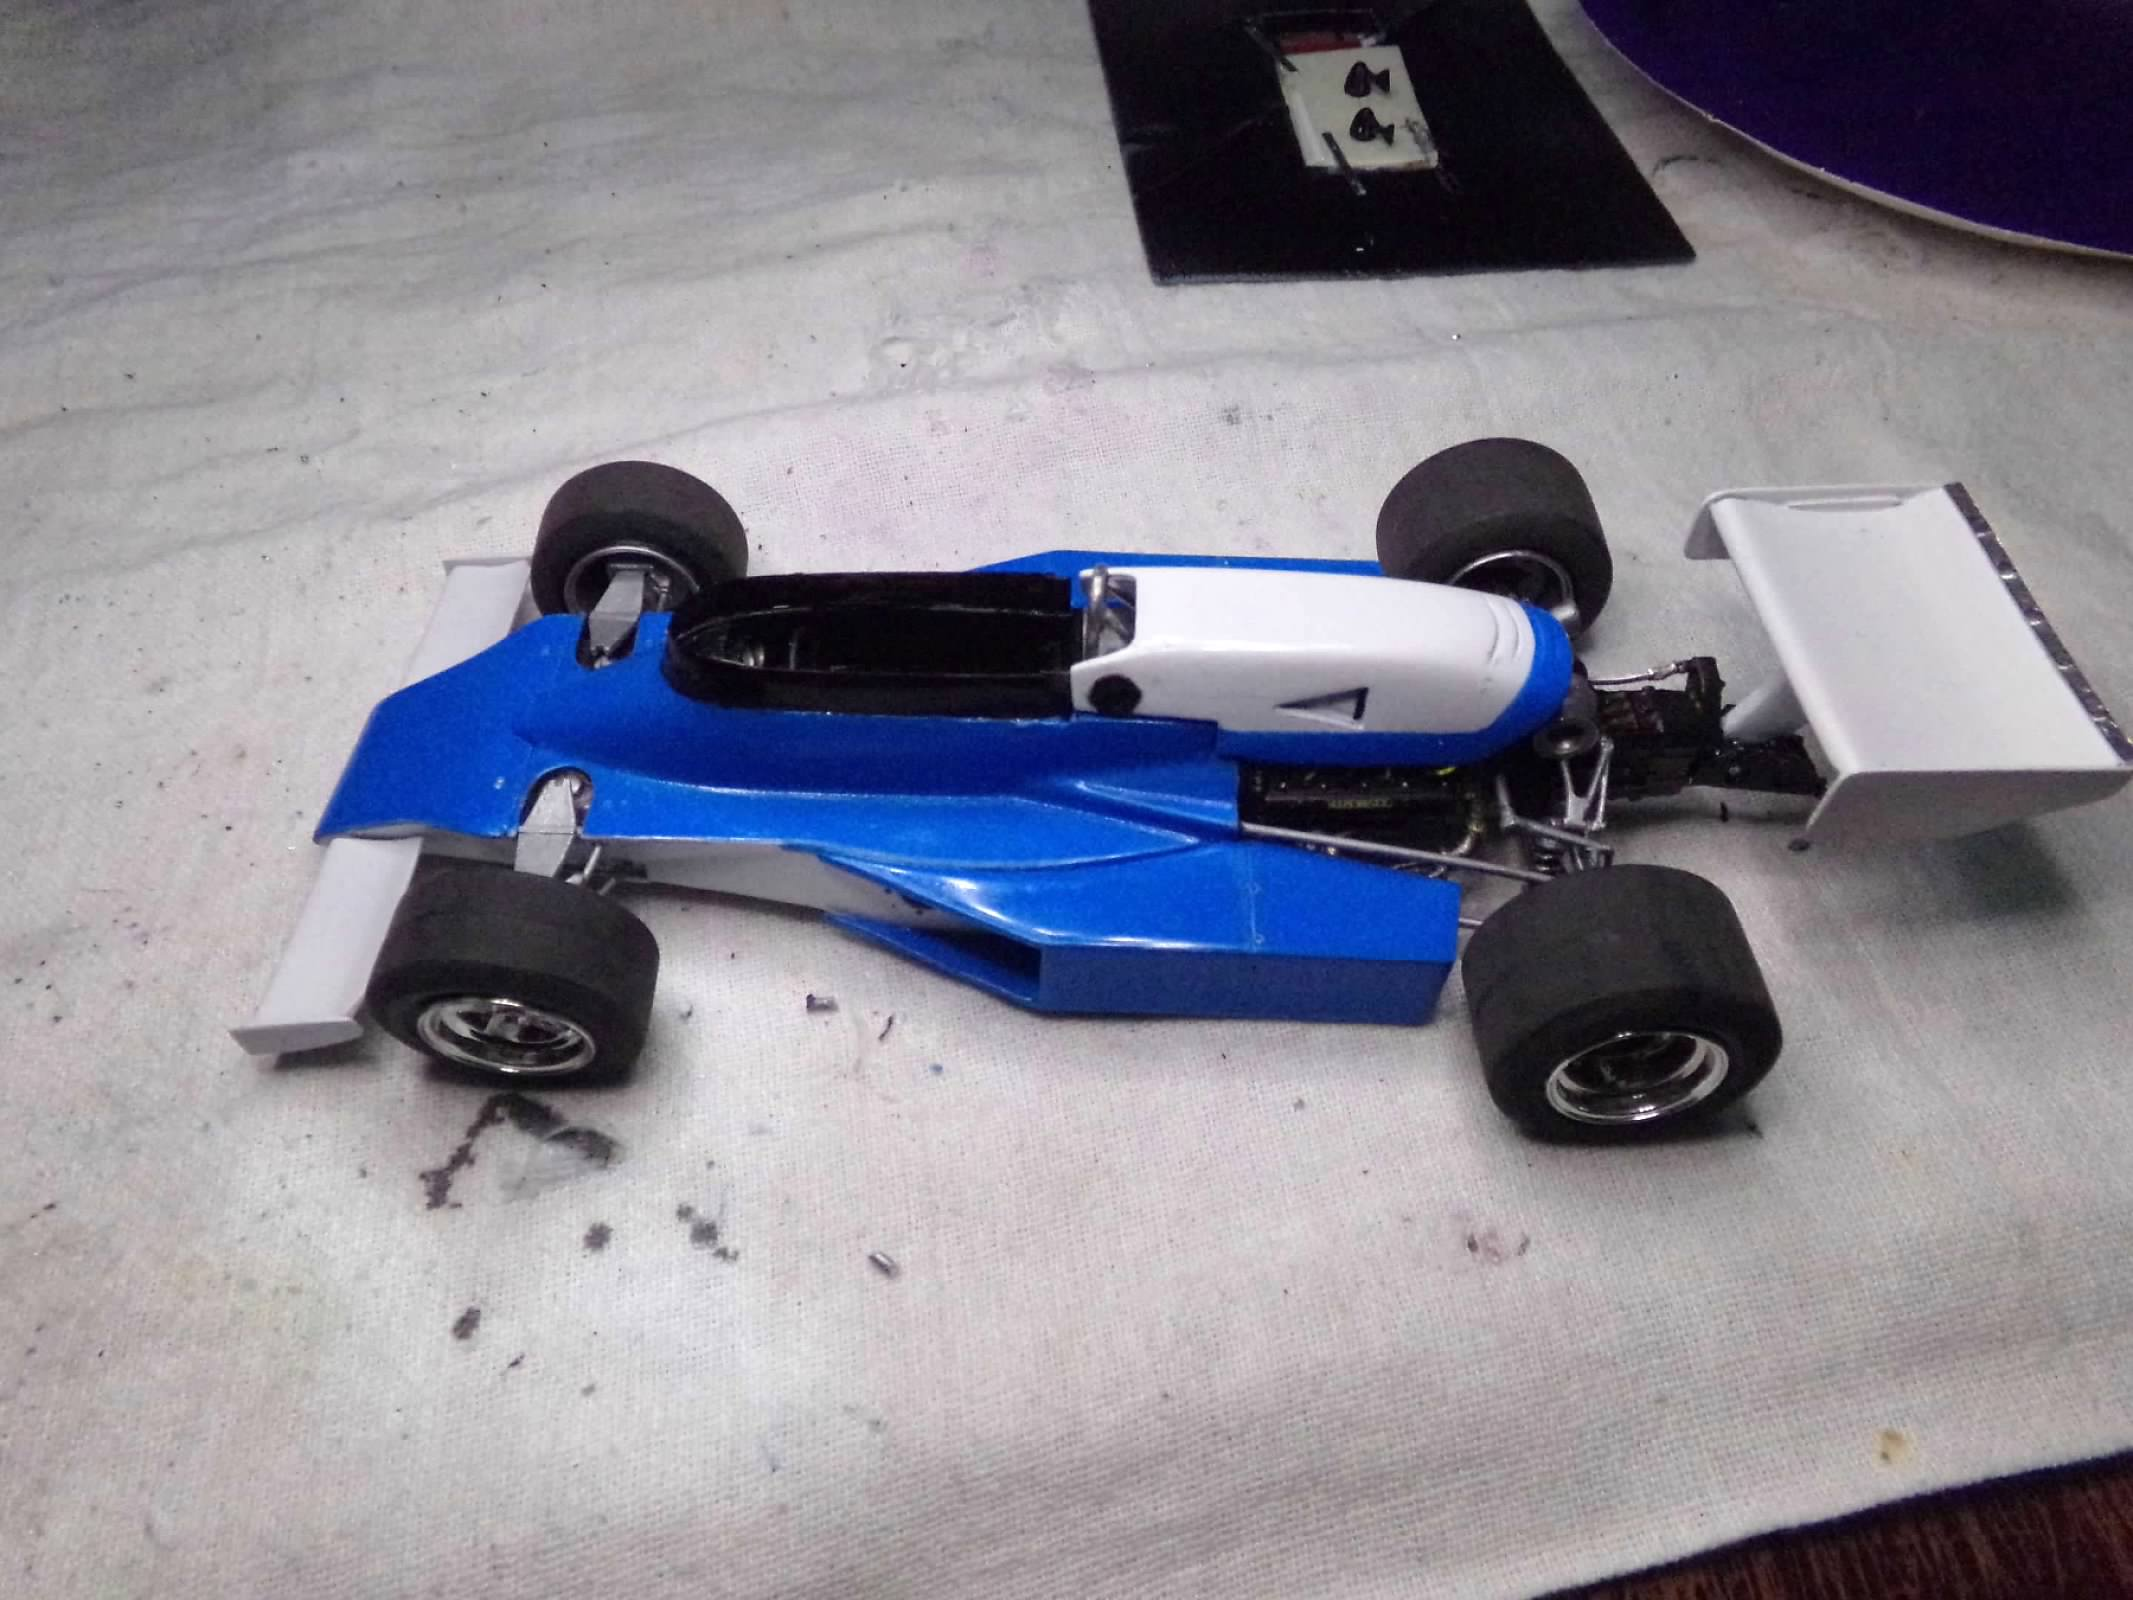
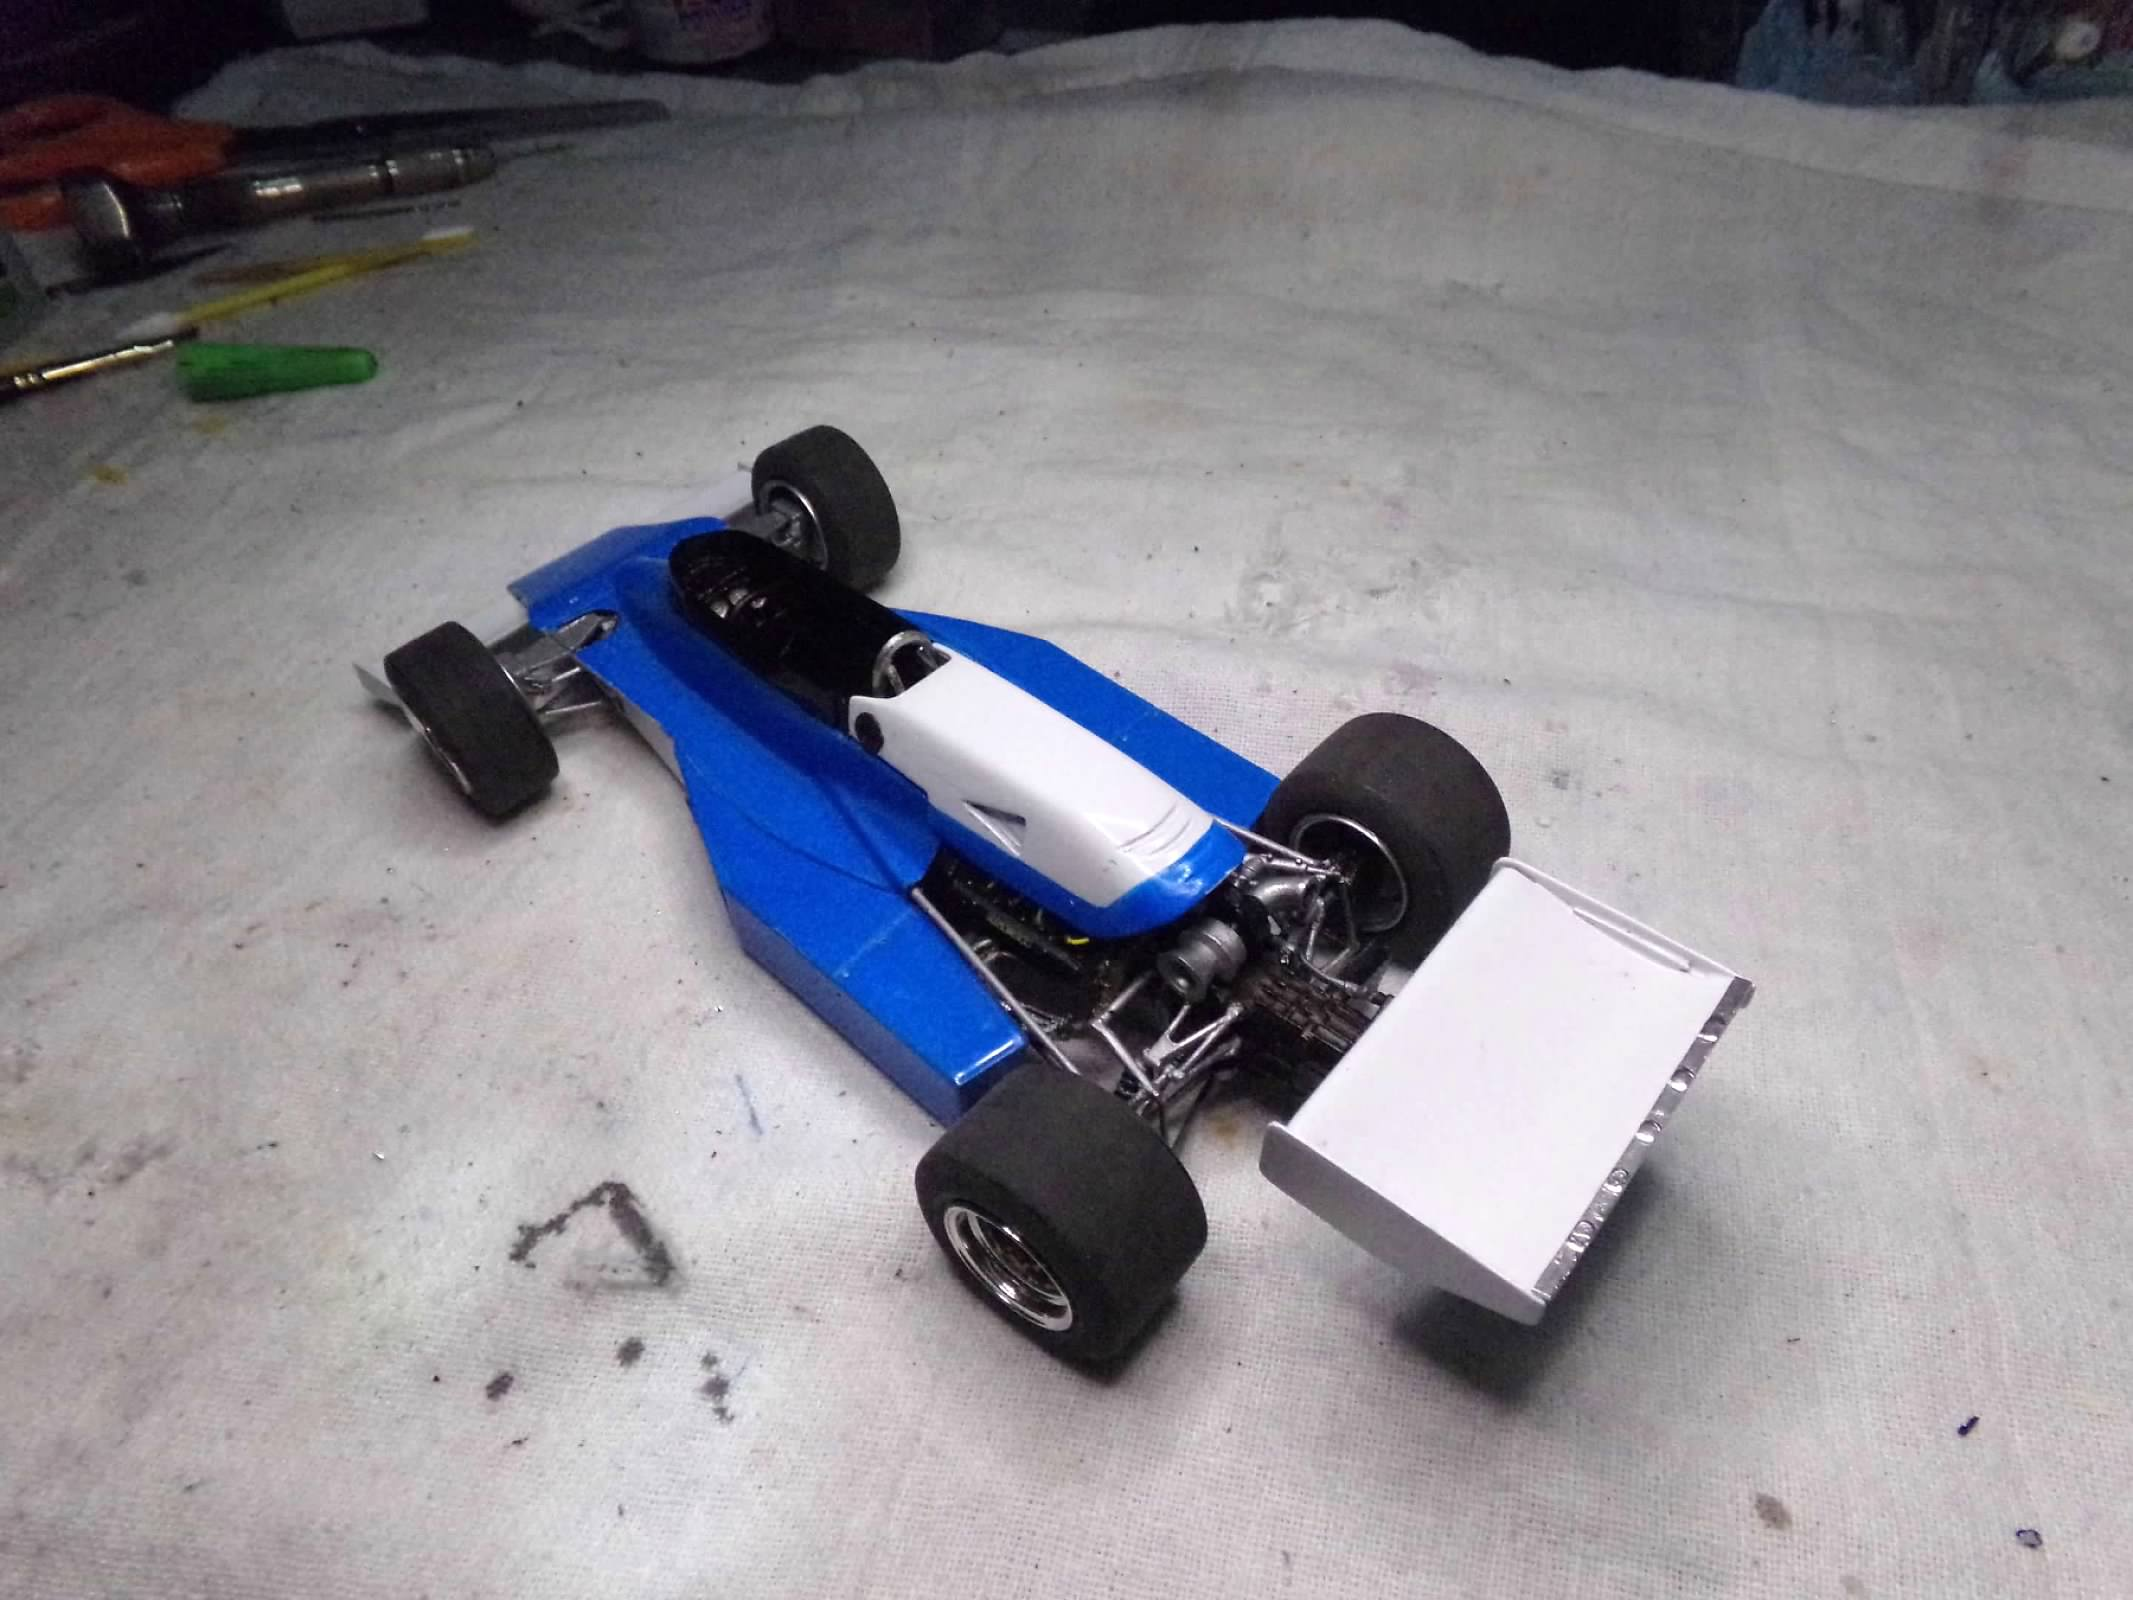
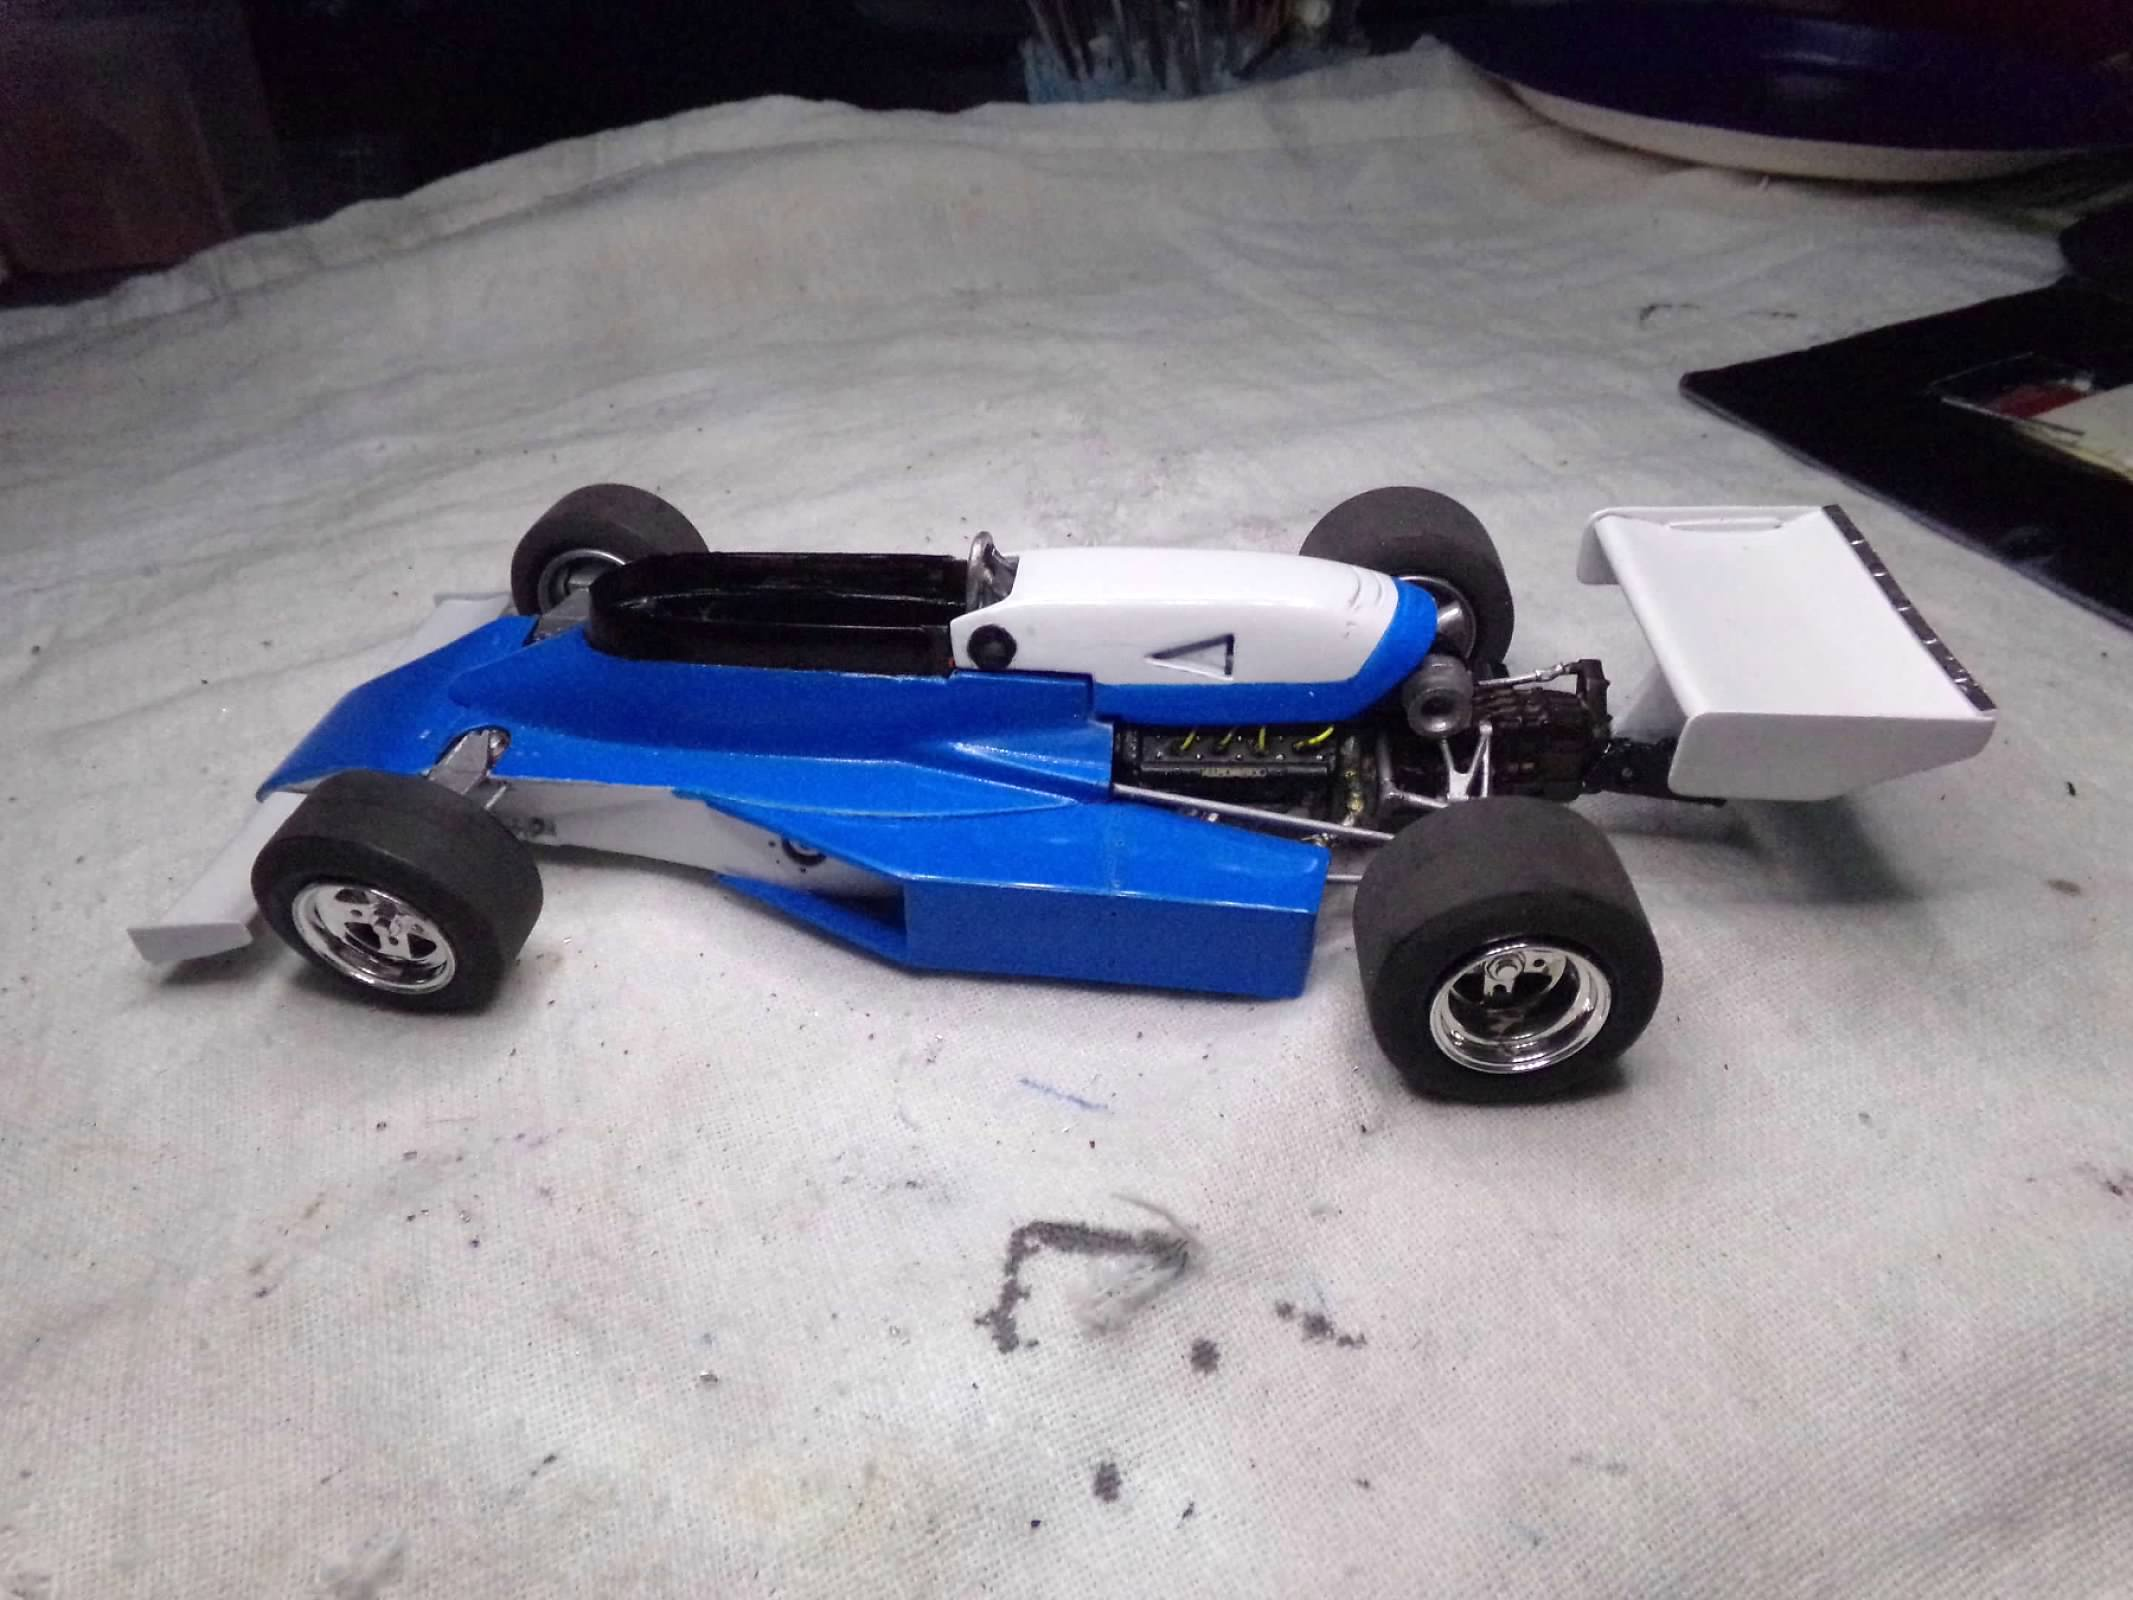
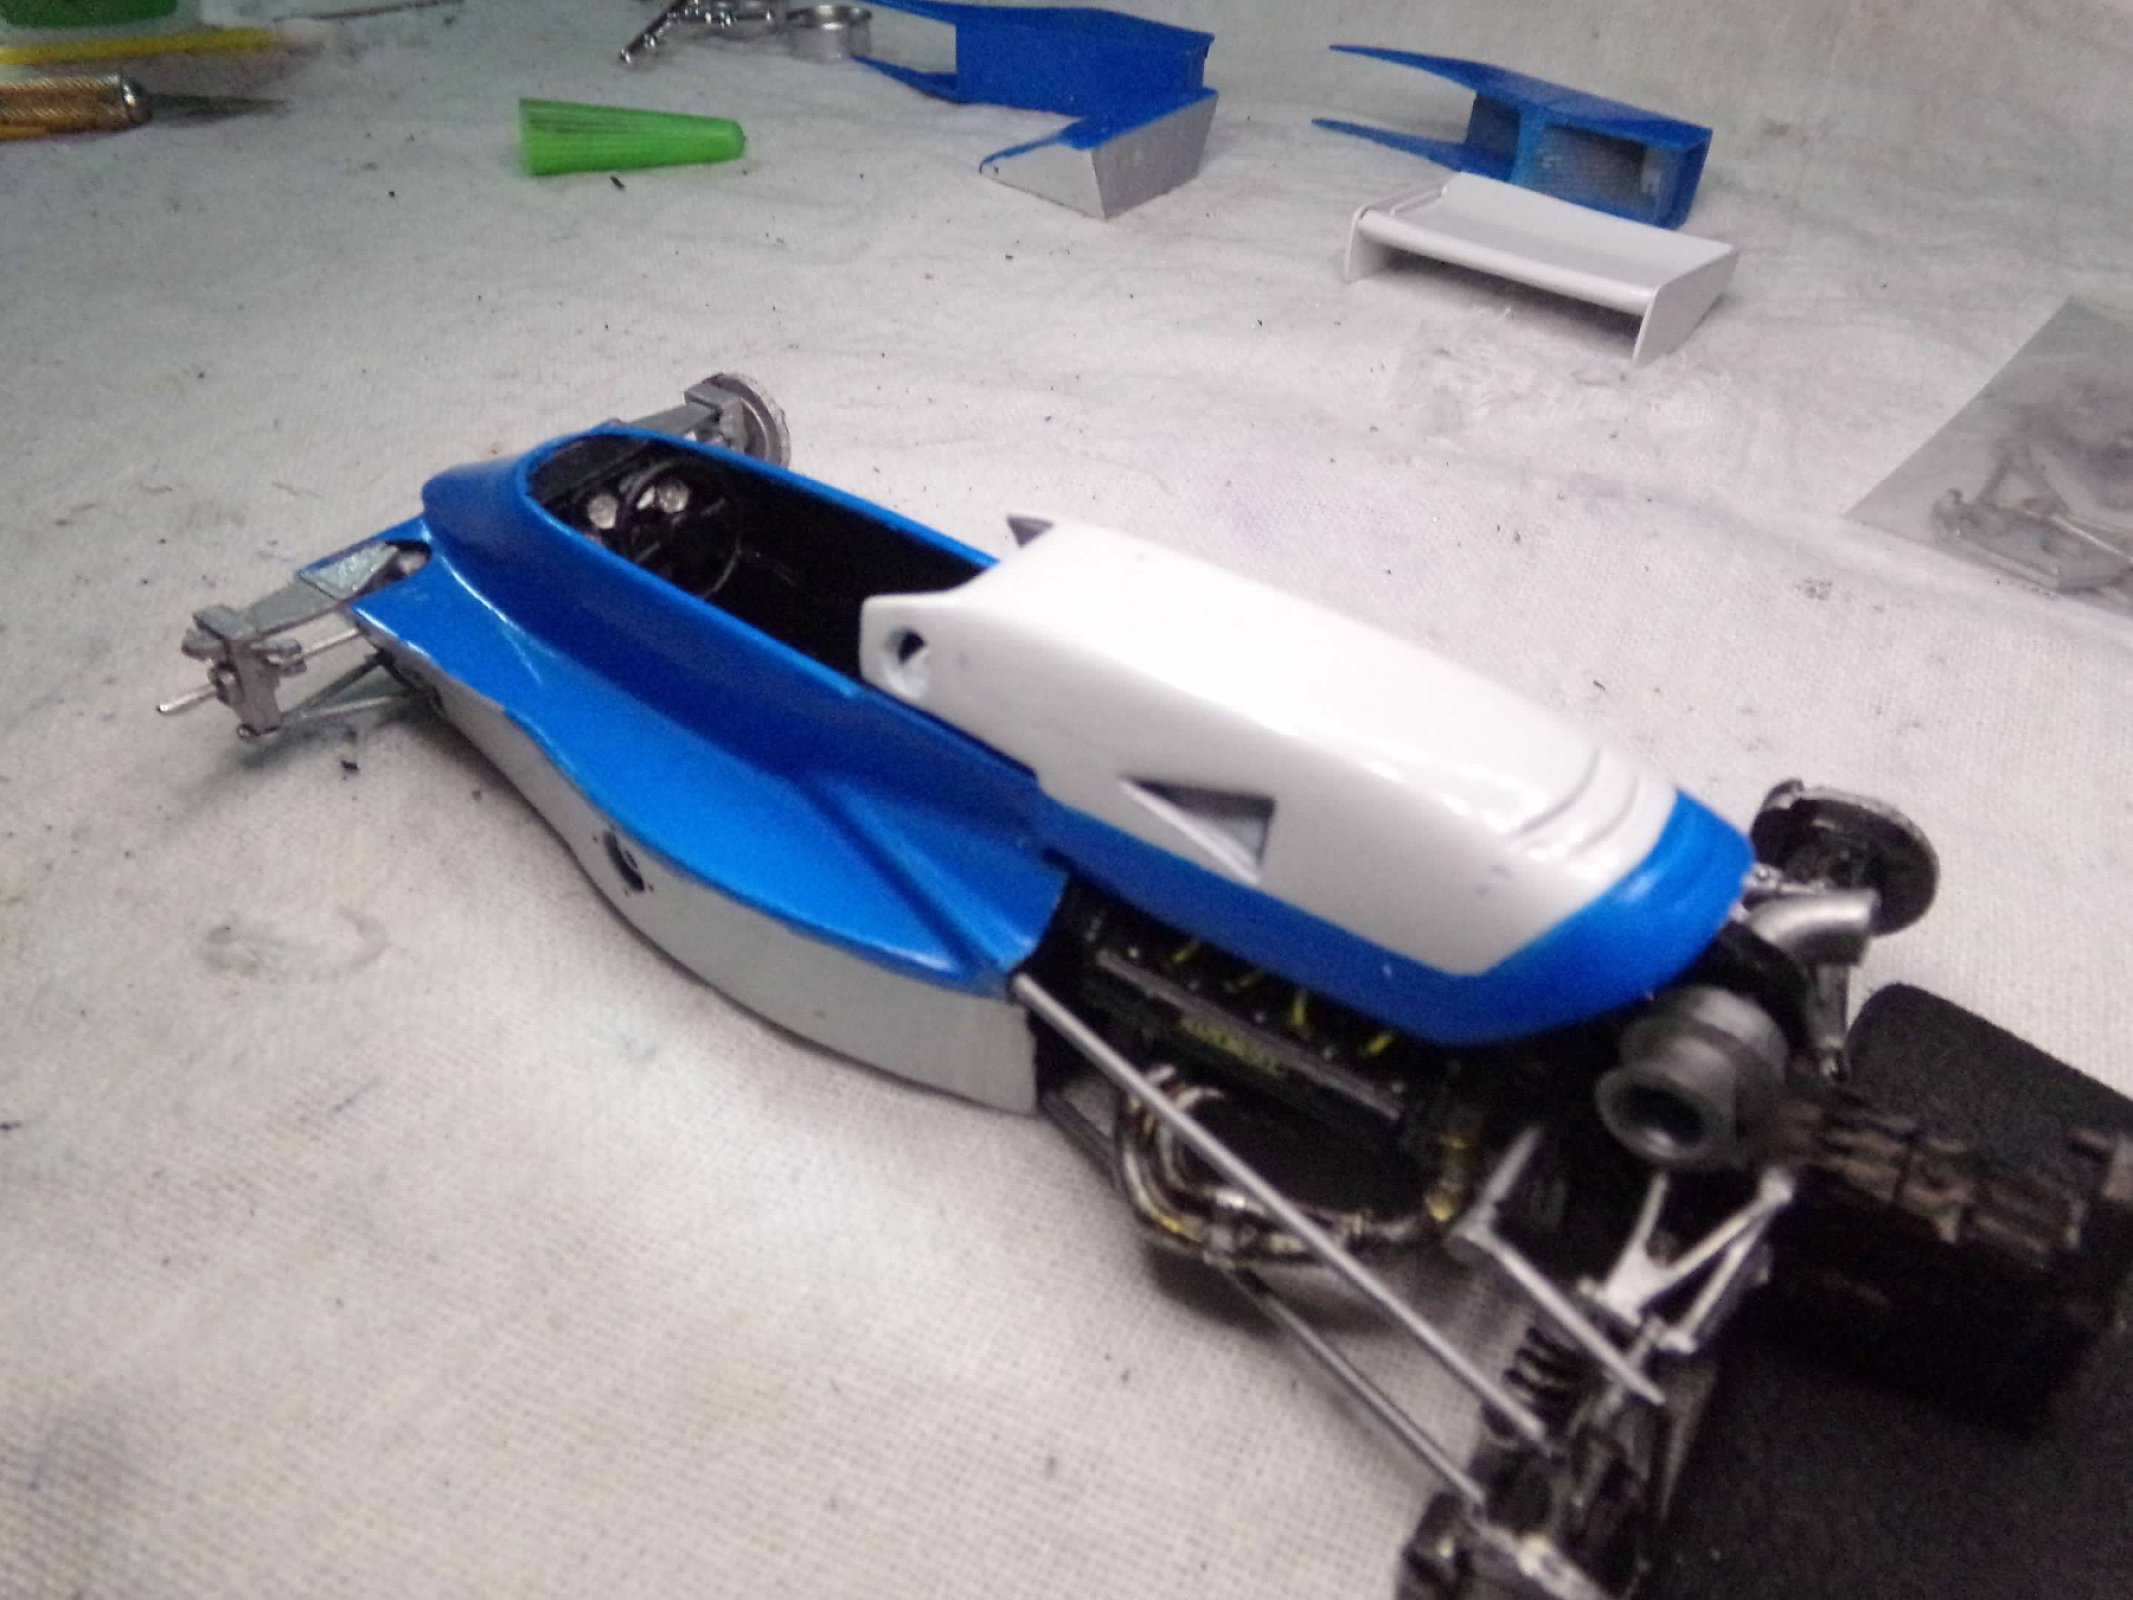
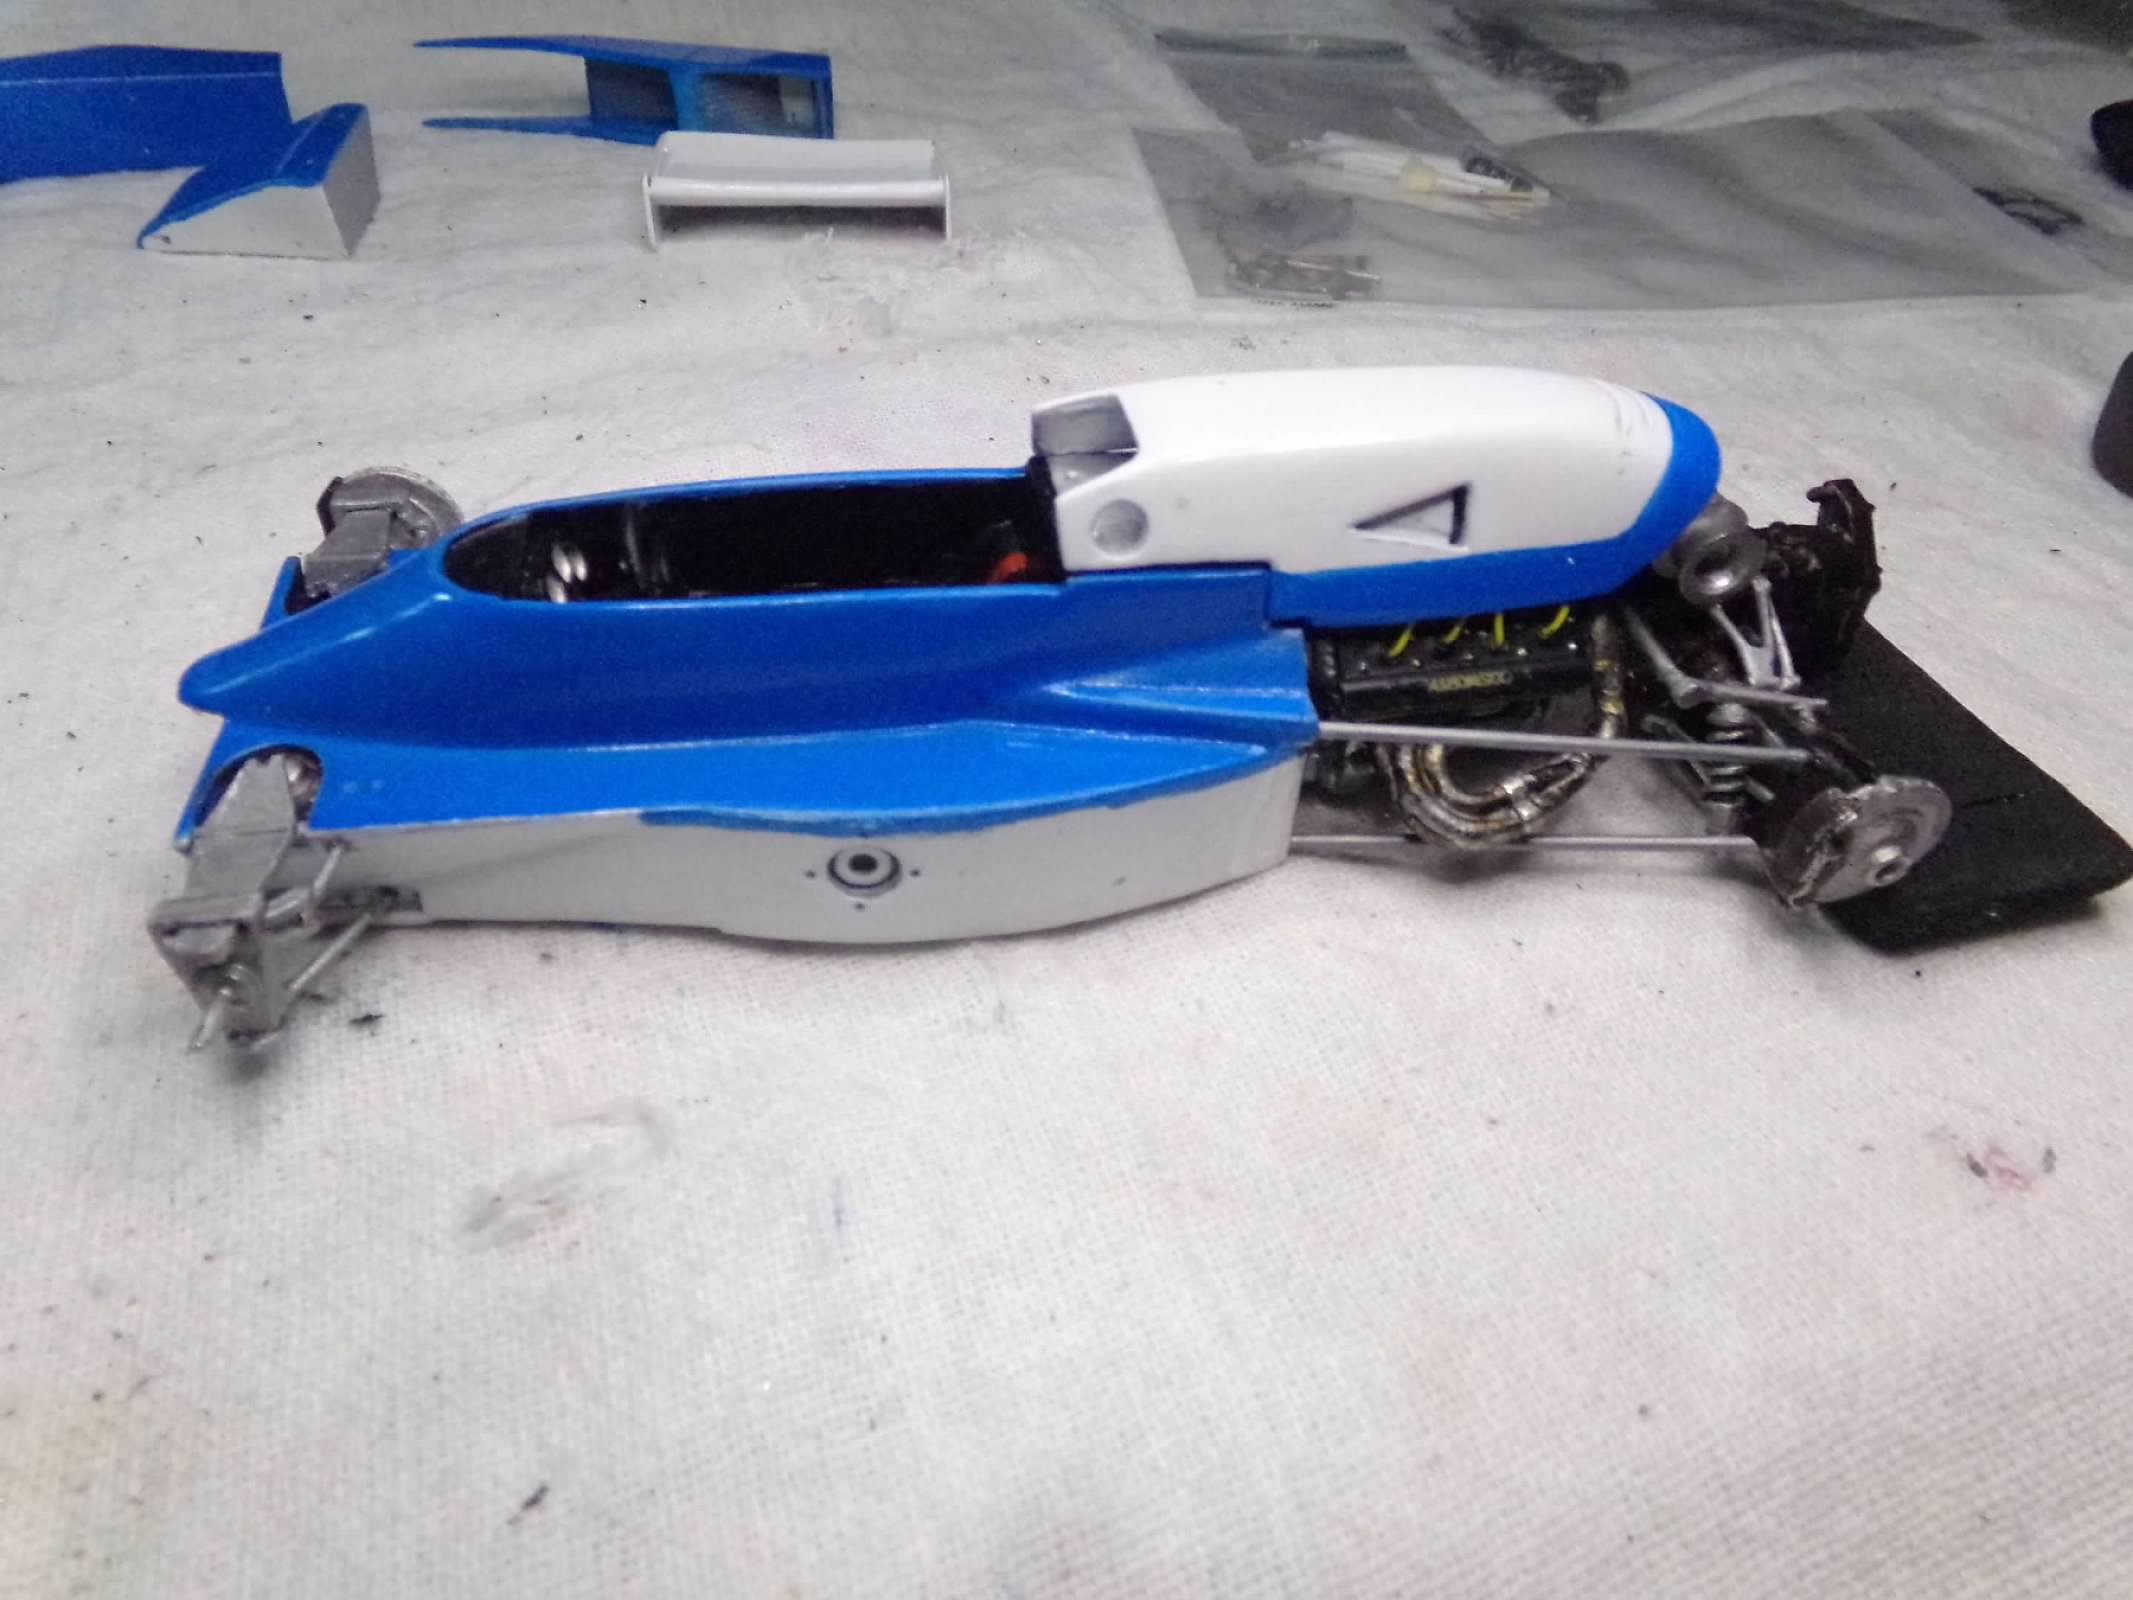
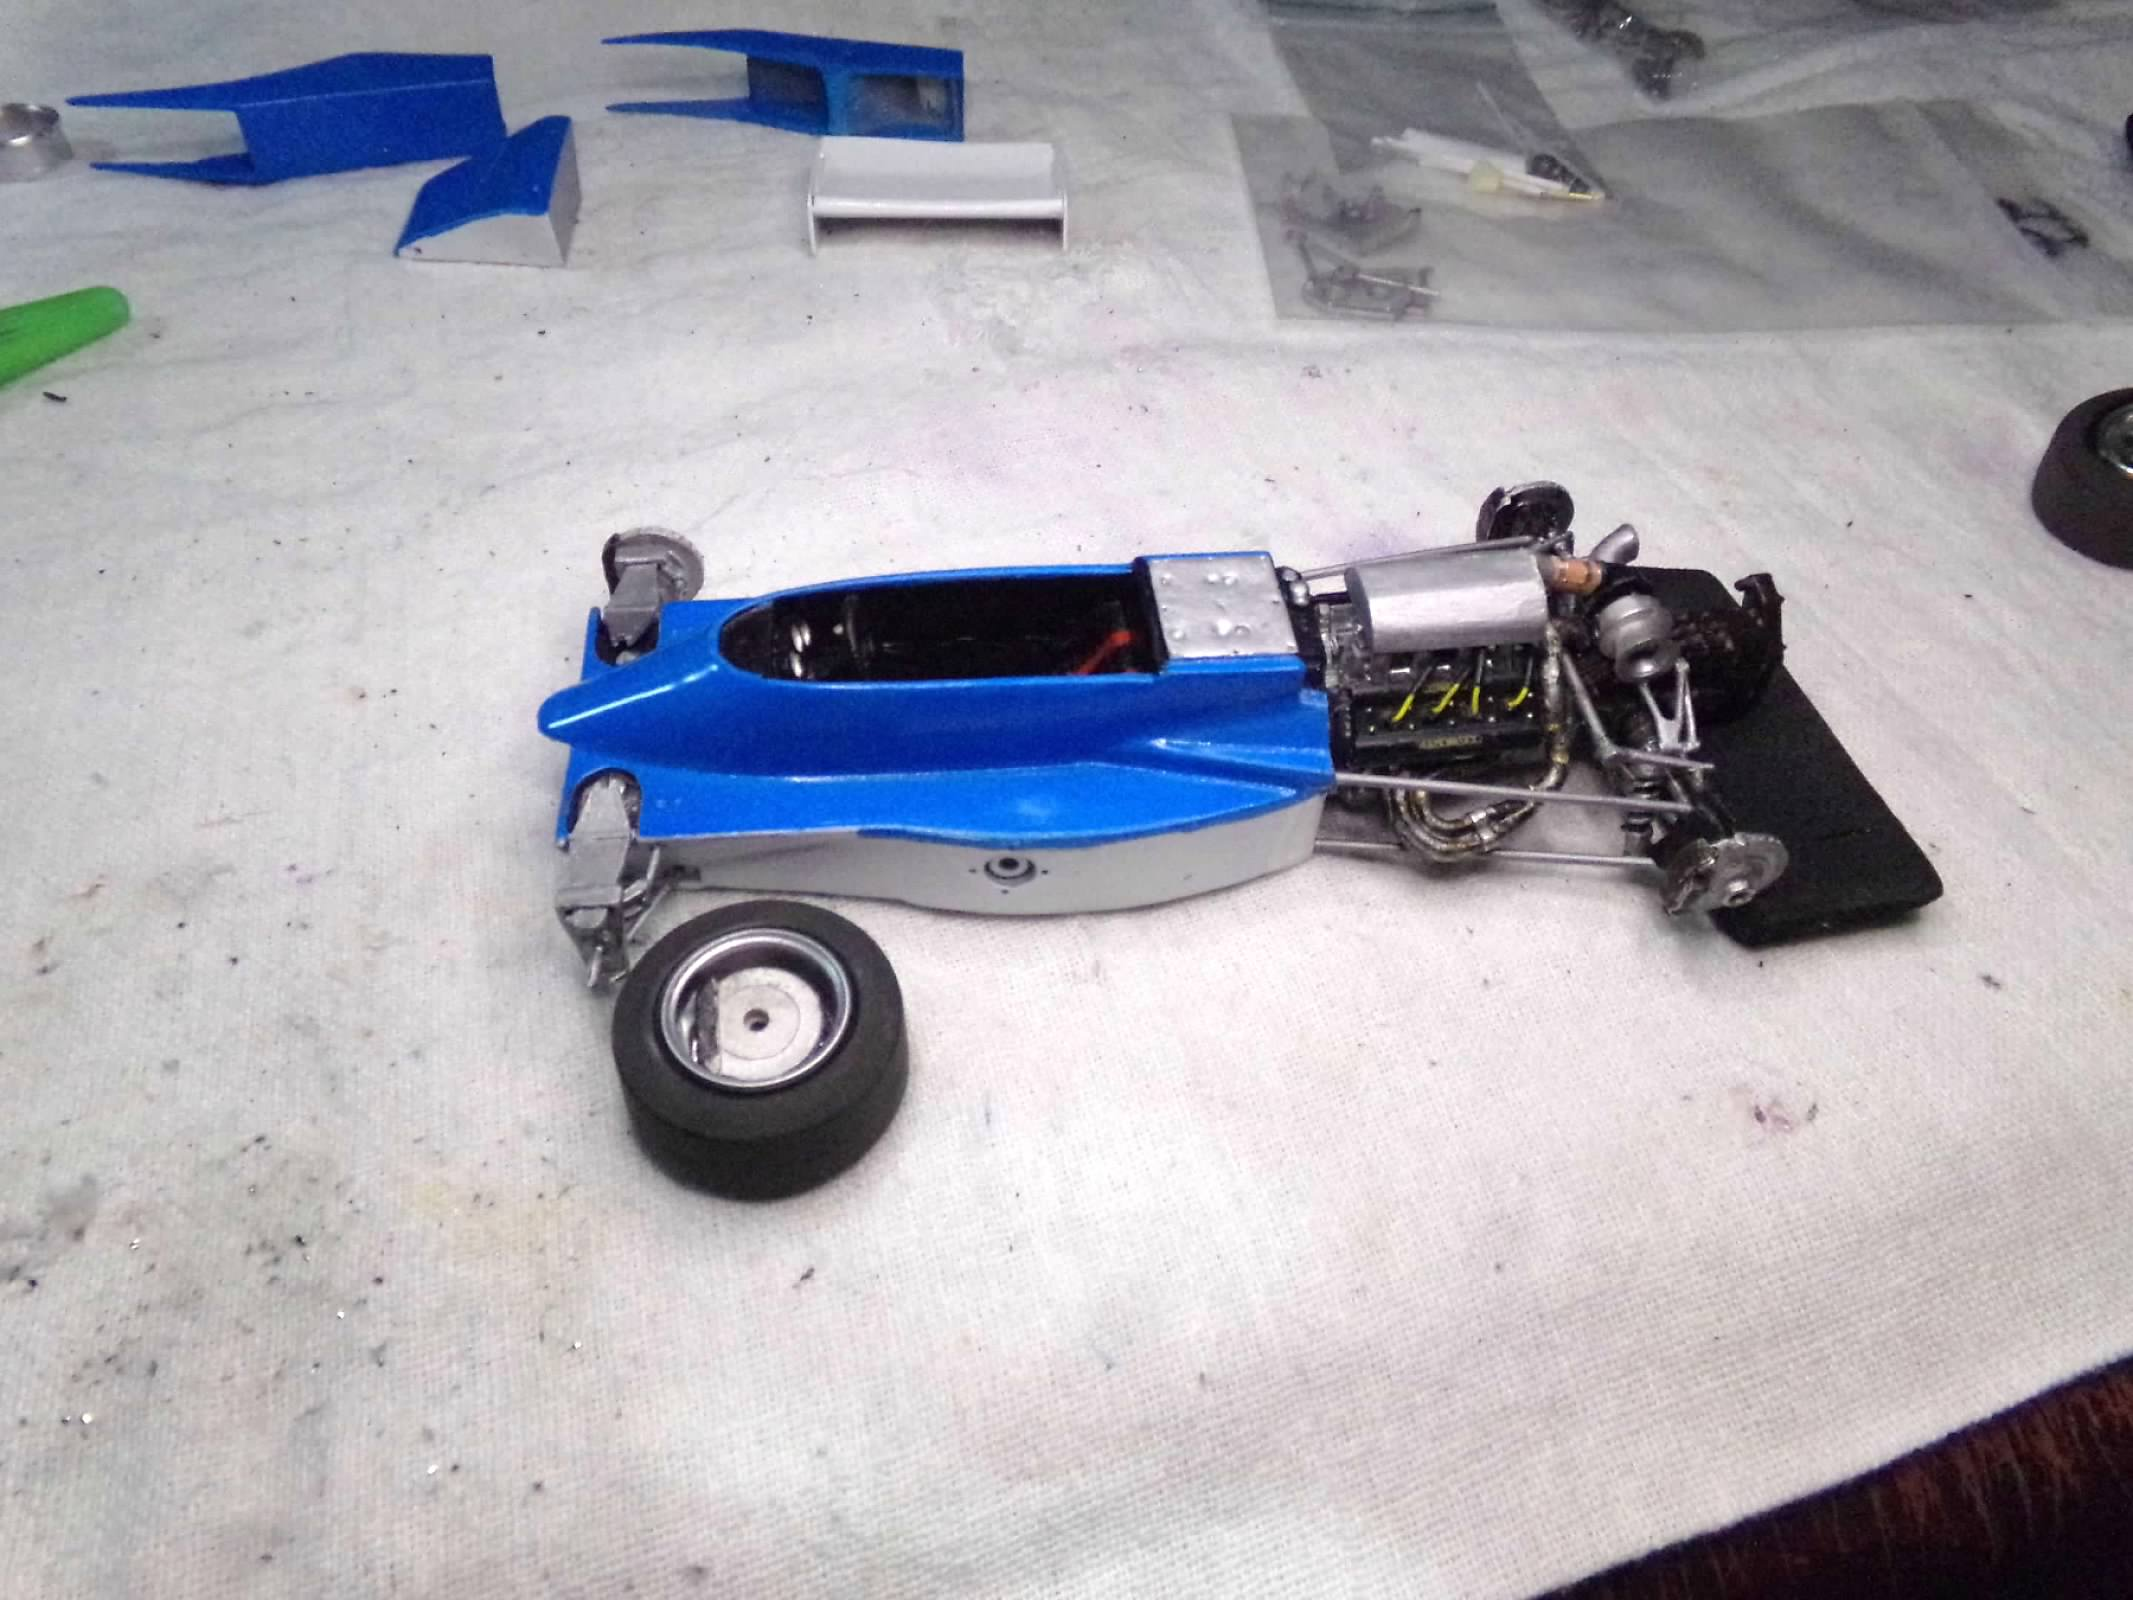
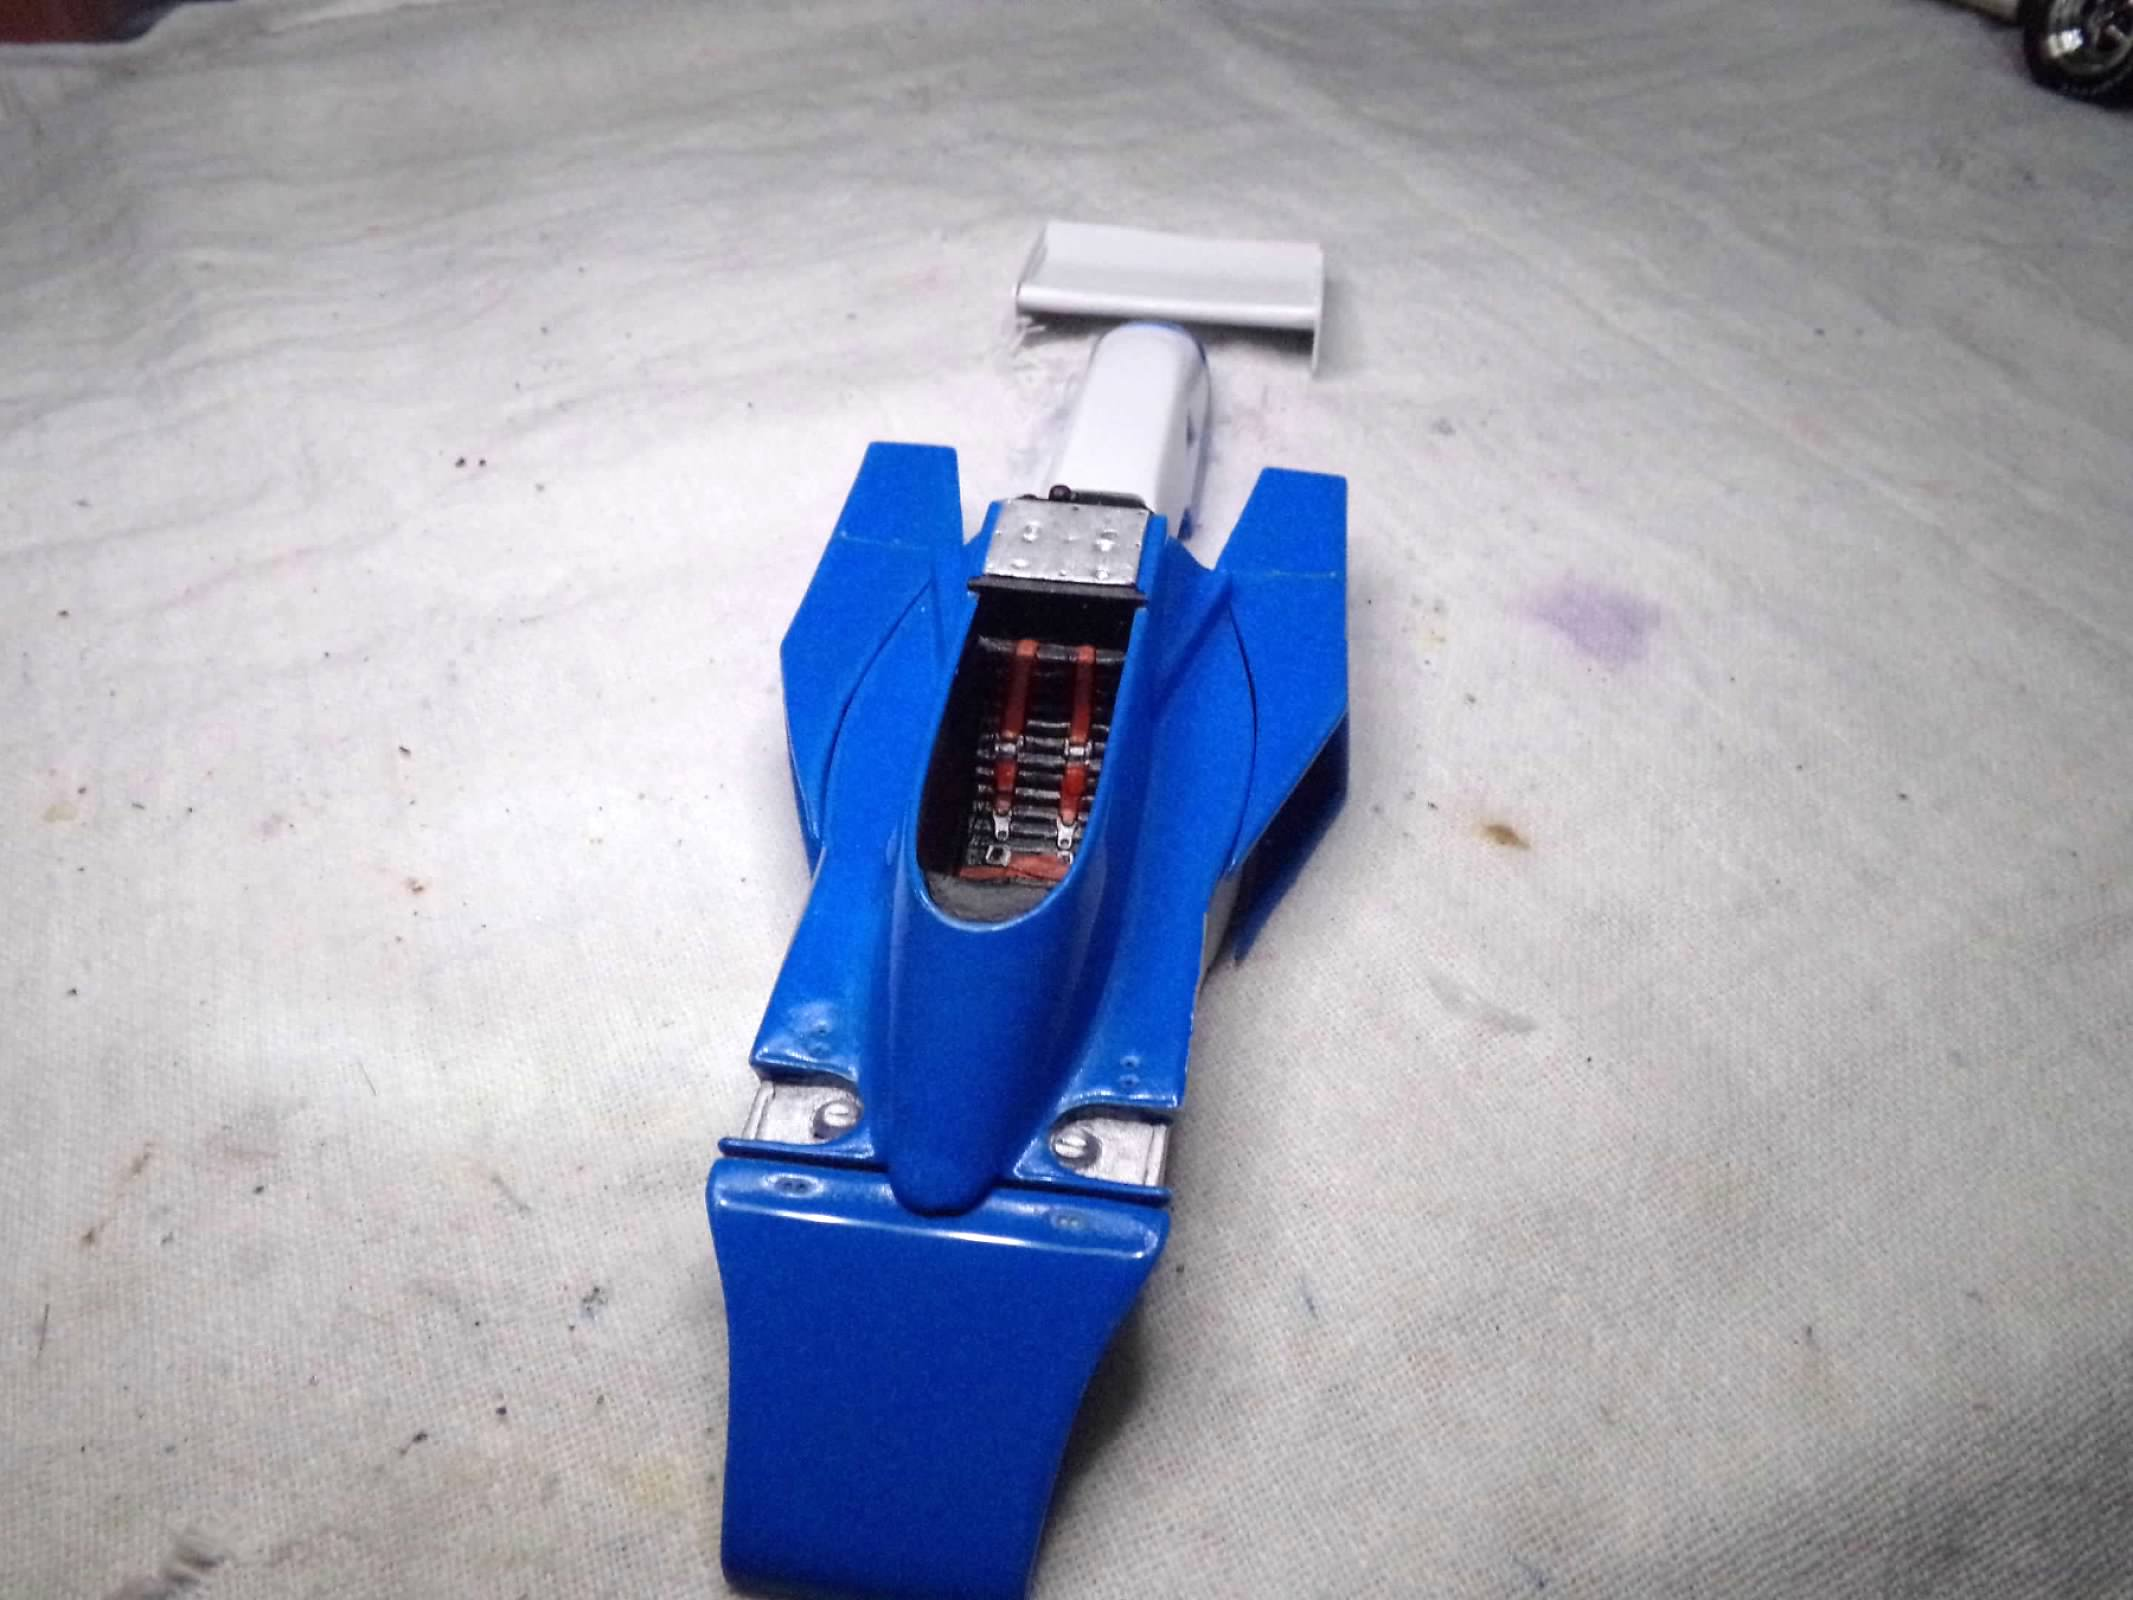
Thanks, Pierre! i appreciate your comment! My goal for today was to have all the construction done so I could apply decals tomorrow and finish this one up. I now have all the construction done. I had a surprise when I test-fitted wheels and tires as one side on the rear was close to the sidepod and the other was not. The first two photos shows the before and the last two are the after shots. The problem was that the wishbone under the transmission has come unglued and the suspension had gone caddy-wampus, that is, closer on one side than on the other. I should have noticed this when I cut the supporting rods for the suspension and I noticed a little difference from side to side but didn't think anything about it. So I straightened it out, reglued the wishbone on the bottom of the transmission and shortened the supporting rods on the left side and now everything is square! Thanks for looking! ? BEFORE AFTER
-
1977 McLaren M24 - Tom Sneva
ModelcarJR replied to ModelcarJR's topic in WIP: Other Racing: Road Racing, Land Speed Racers
Making some progress as construction is moving right along. The engine has been glued to the bulkhead and the suspension supporting rods have been attached. Finished the front suspensions too. I attached the left brake rotor to the wheel because the axle on the kingpin is not long enough to attach the rotor there to mount the wheel later. So after I decal the tires I can mount both wheels but I don't want to do that until last. I made sure that the engine cover would fit before doing anything else and did have to remove the engine initially to lower it a bit so the engine cover would fit. Finally, the cockpit detail have also been added; pedals, shifter, dash and steering wheel. No decals for the gauges so I just painted the white metal black and left the gauges in white metal. Thanks for looking! ?
-
1975 Jorgensen Eagle
ModelcarJR replied to mgbdriver's topic in WIP: Other Racing: Road Racing, Land Speed Racers
IndyCals decals are great! Your Eagle is looking good! I missed that race that Bobby Unser won. I spent three days in the mud, the blood, and the beer in 1973 and they still didn't finish that race. I didn't go back until 1977 and then 43 years straight. 1975 and 1976 were shortened due to rain also. Nice work on your racer! -
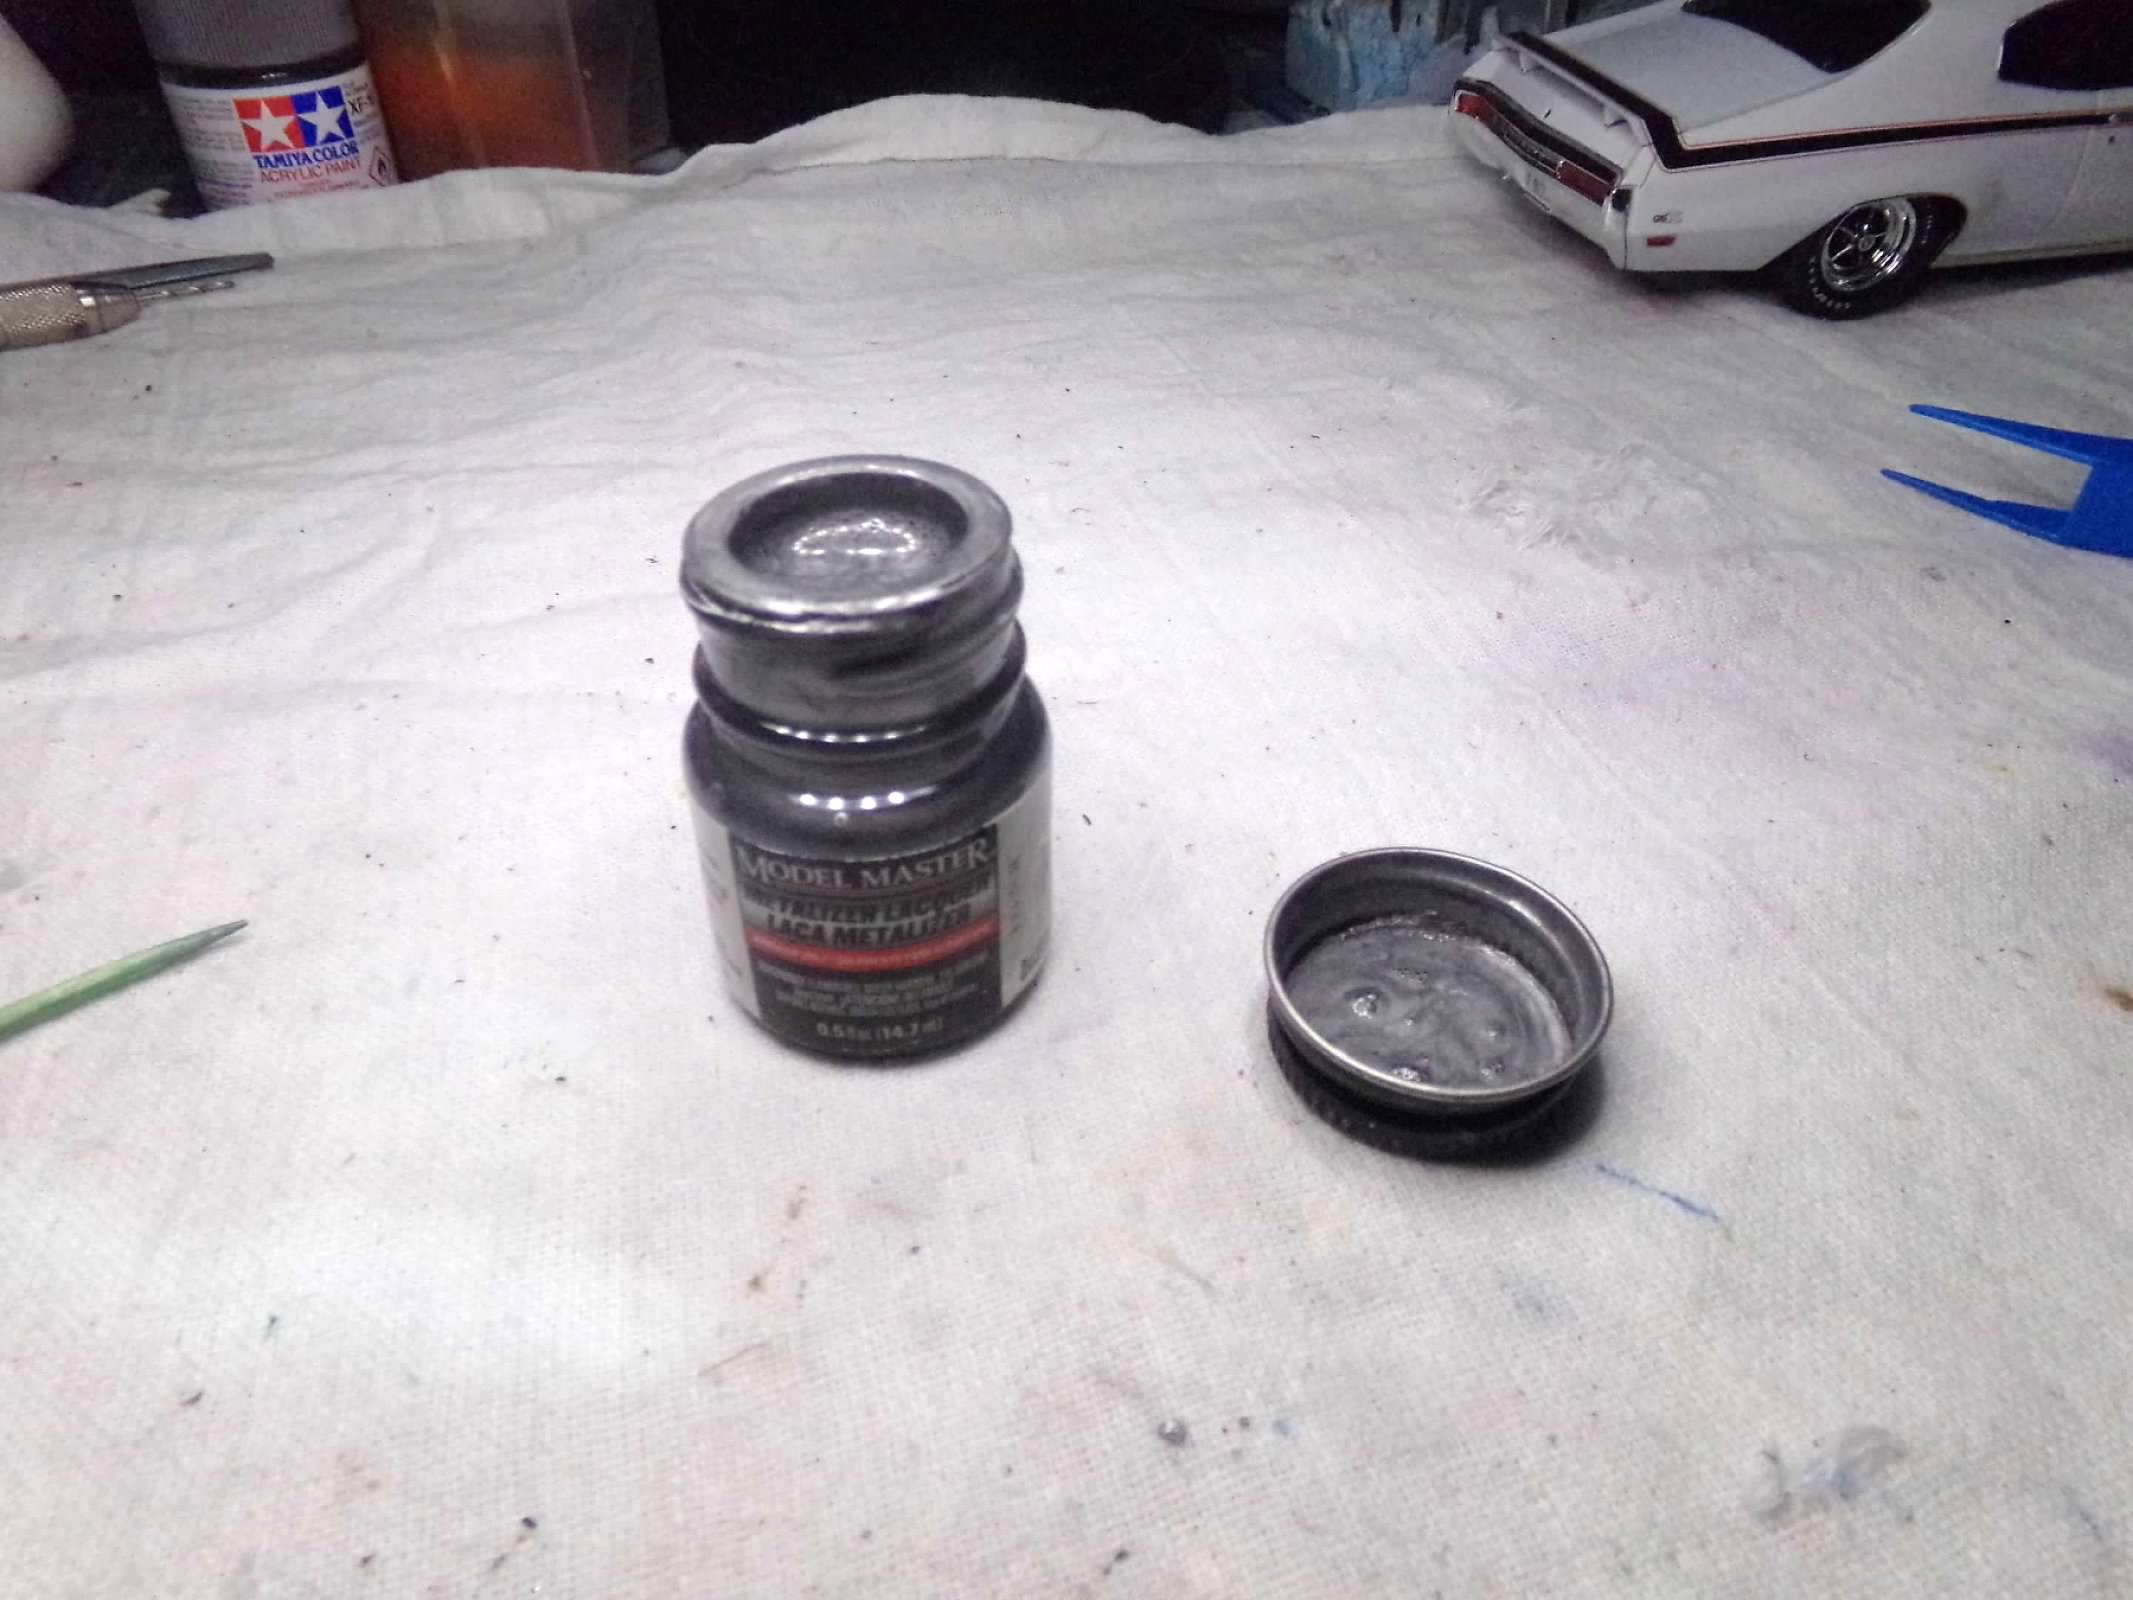
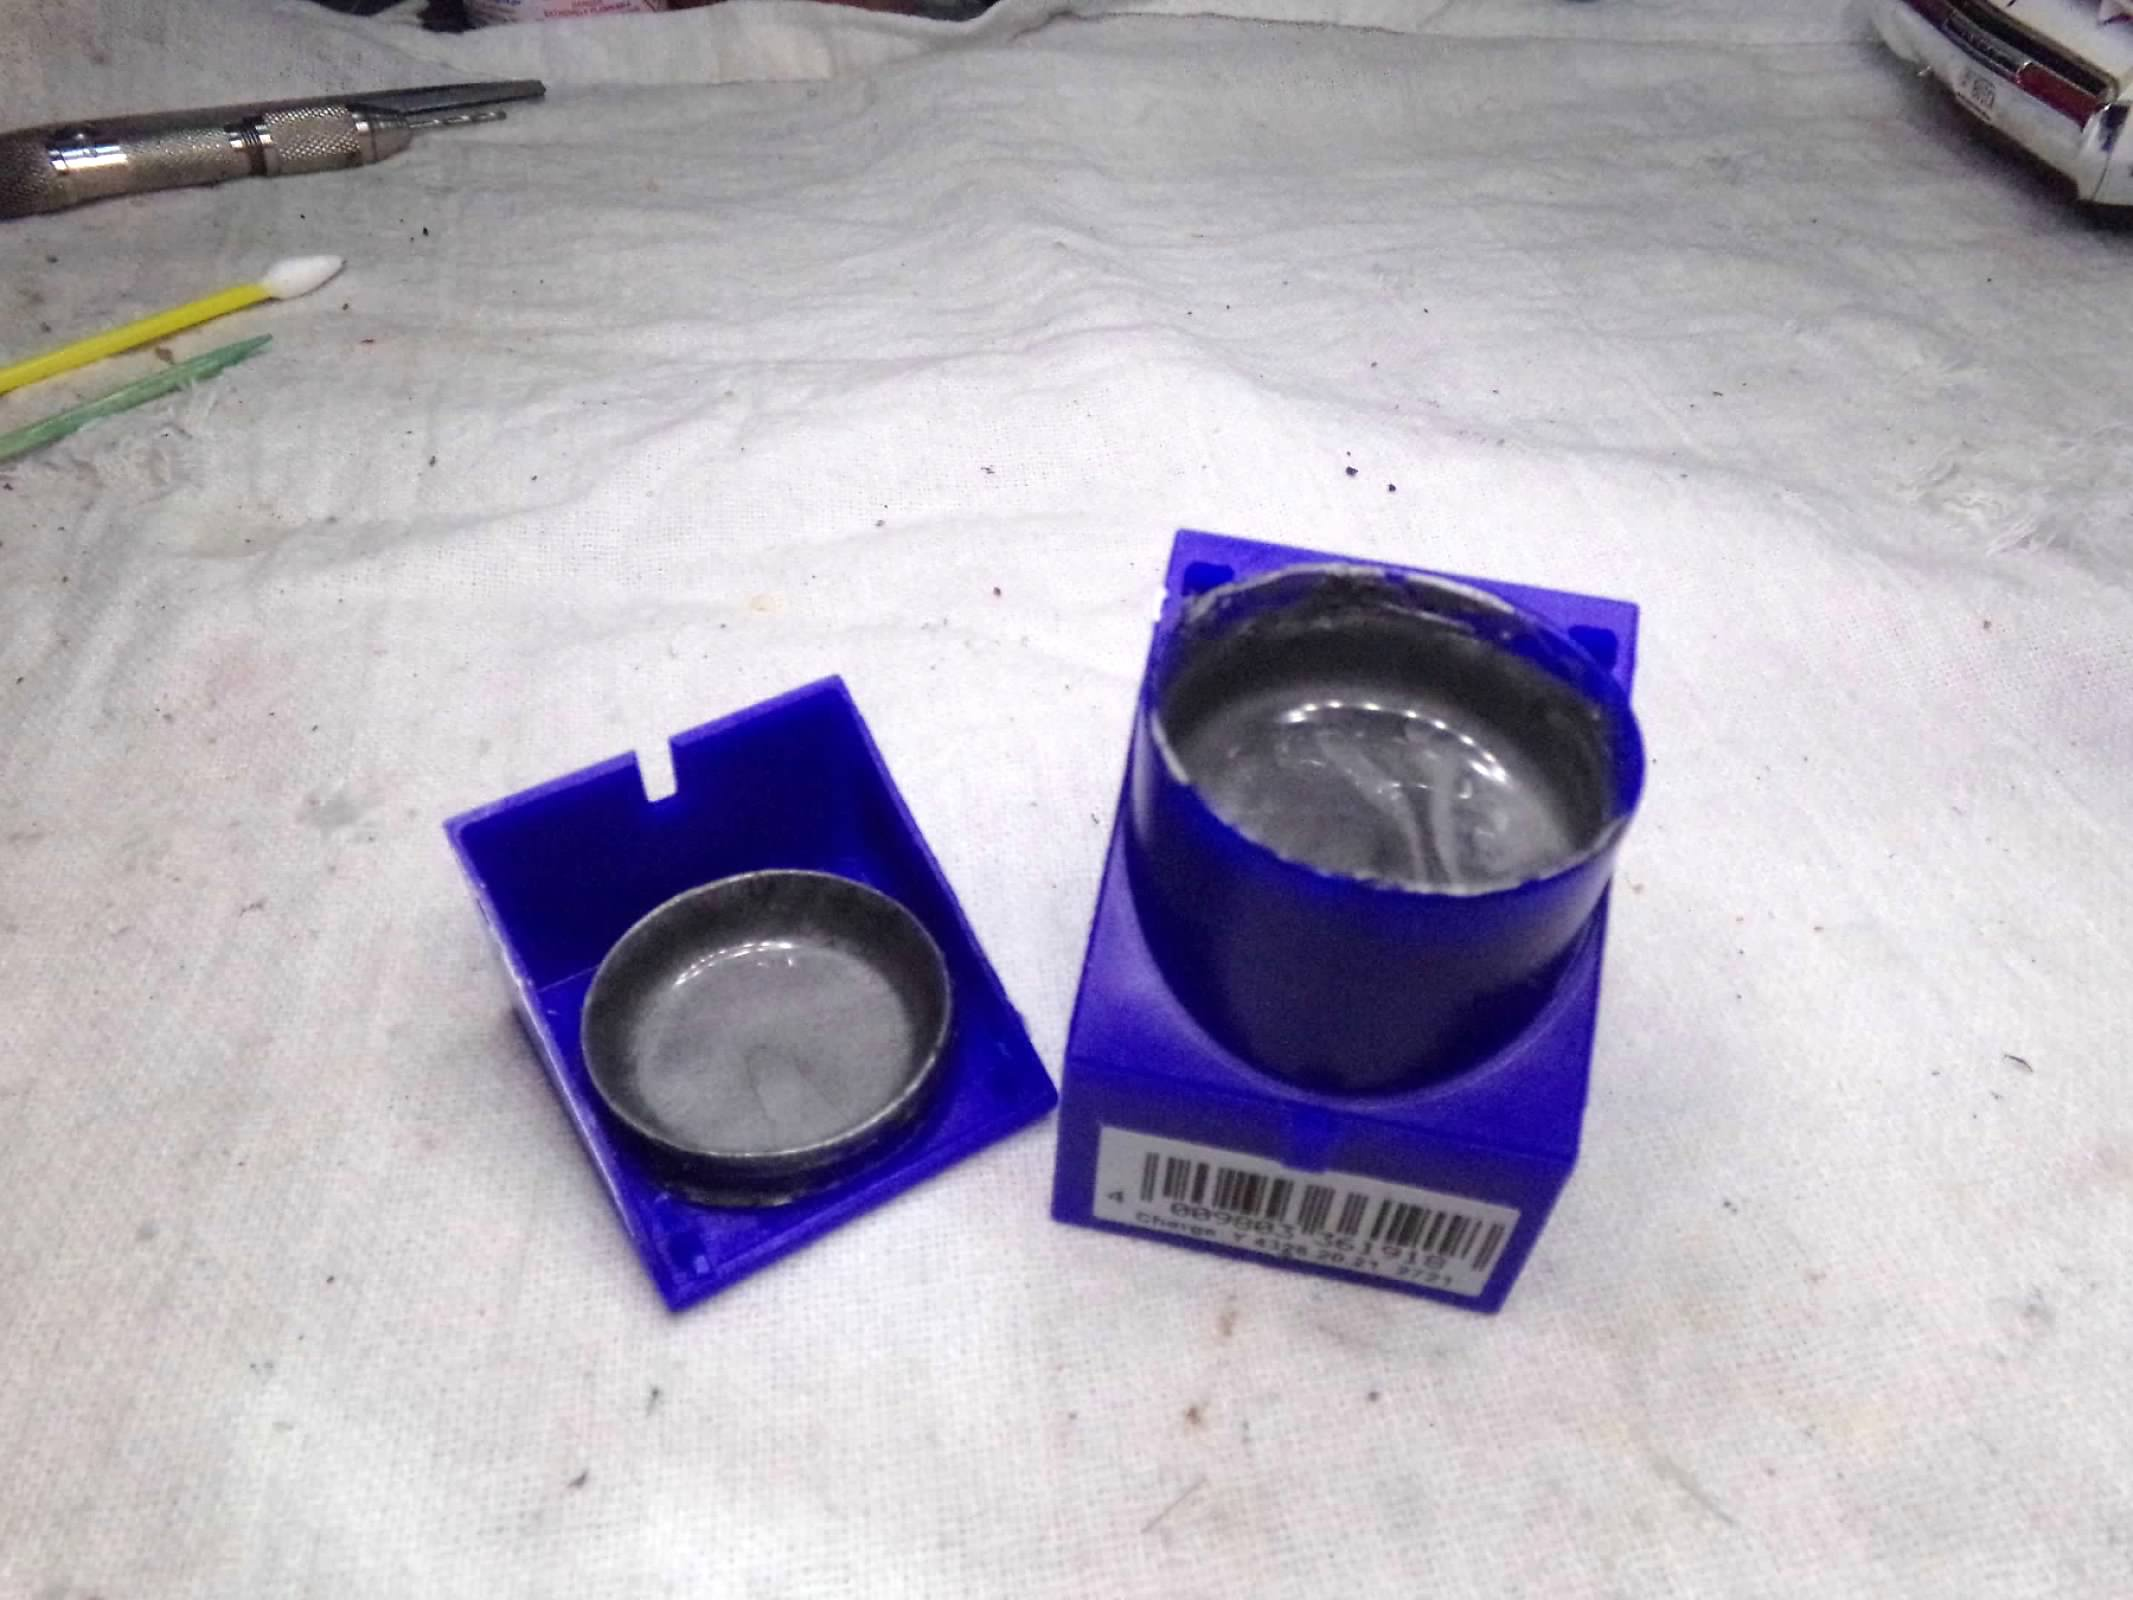
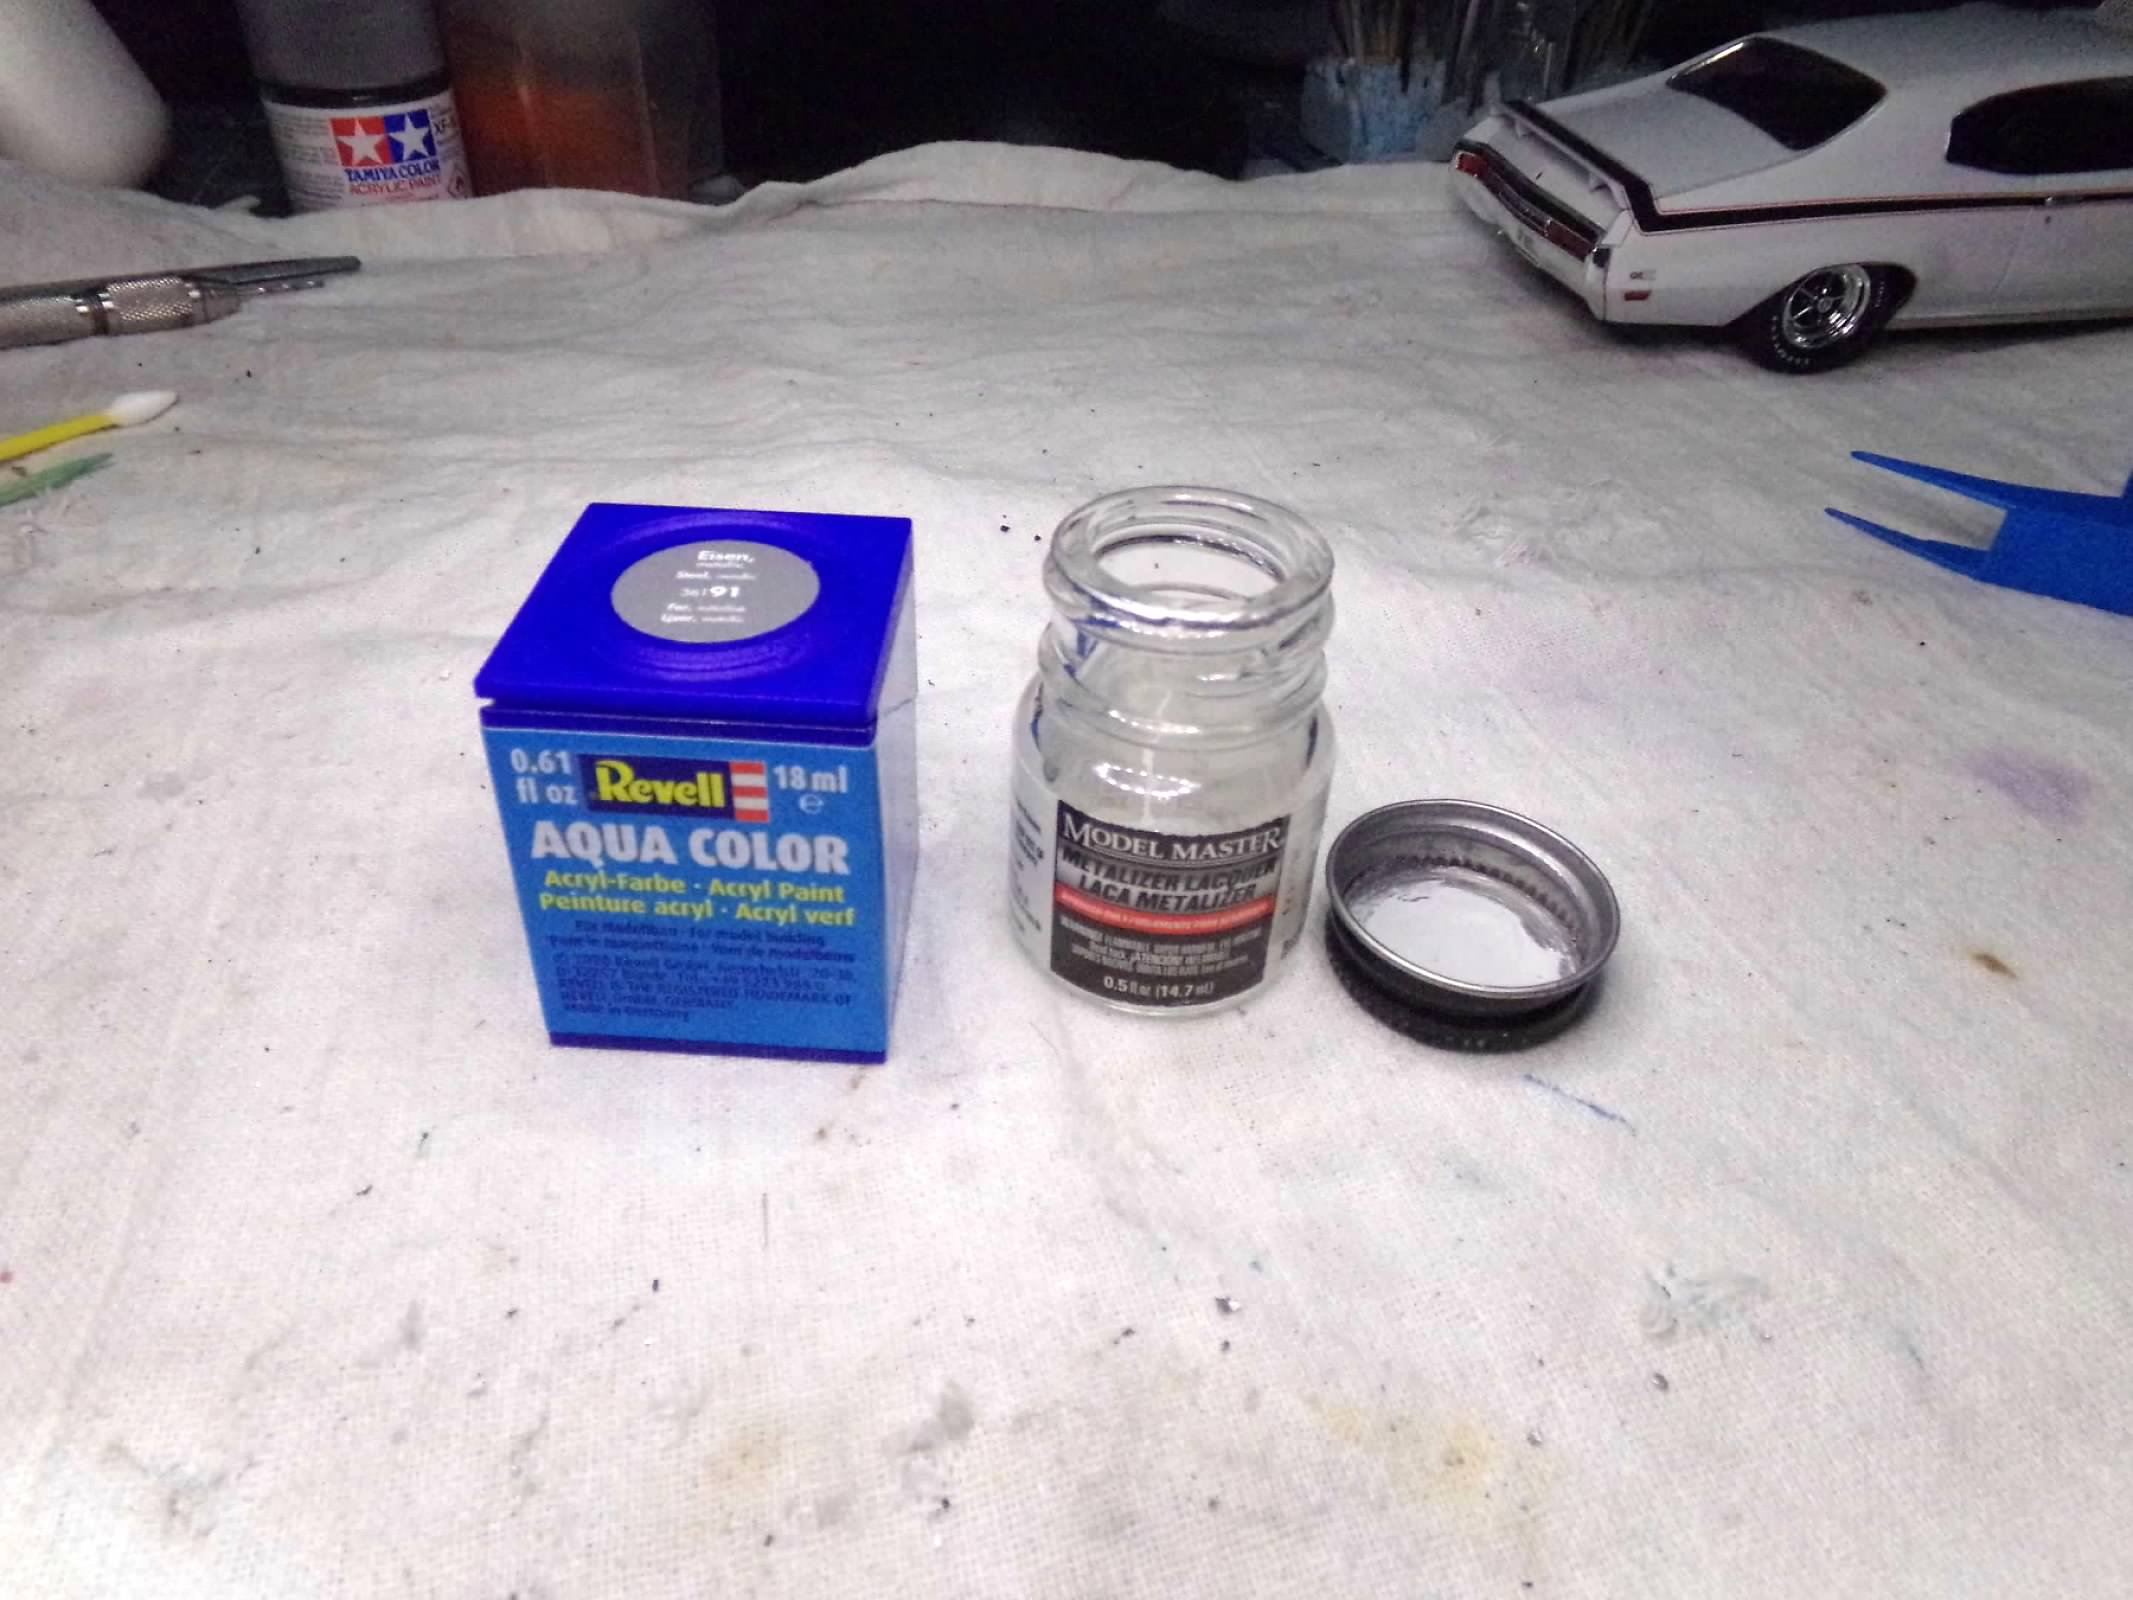
Has anyone used these new cubes of acrylic paint? My thought is that the plastic container may not last long or I might twist the top to oblivion so I transferred it to a glass bottle after cleaning it. Its mostly goo but the 18 ml. did fit into a 15 ml. bottles and a little room for some acrylic thinner. I haven't used it yet. I'll report back.
-
1977 McLaren M24 - Tom Sneva
ModelcarJR replied to ModelcarJR's topic in WIP: Other Racing: Road Racing, Land Speed Racers
Finished rubbing out the body and other parts (after 3 coats of clear yesterday) and then painted the interior and bulkhead with a brush. Touched up the edges with a brush. I also picked out the seat harness. Nothing I can do about the ripples in the resin. Maybe I should have sanded it more smoothly with sandpaper and a file but I didn't really see it. The first photo is a before and after rubbing out the sidepods. A few other photos of progress. Thanks for looking! ?
-
Thanks, All! I appreciate your comments! I think I'll go grab another one of these while they are still on the shelves to stash away to build later. Its a great kit, comparable to some of the new tools like the 68 and 69 Chevelles but I know its an old Monogram kit since it it 1/24th scale and has older features like the interior bucket. Thanks for looking! ?
-
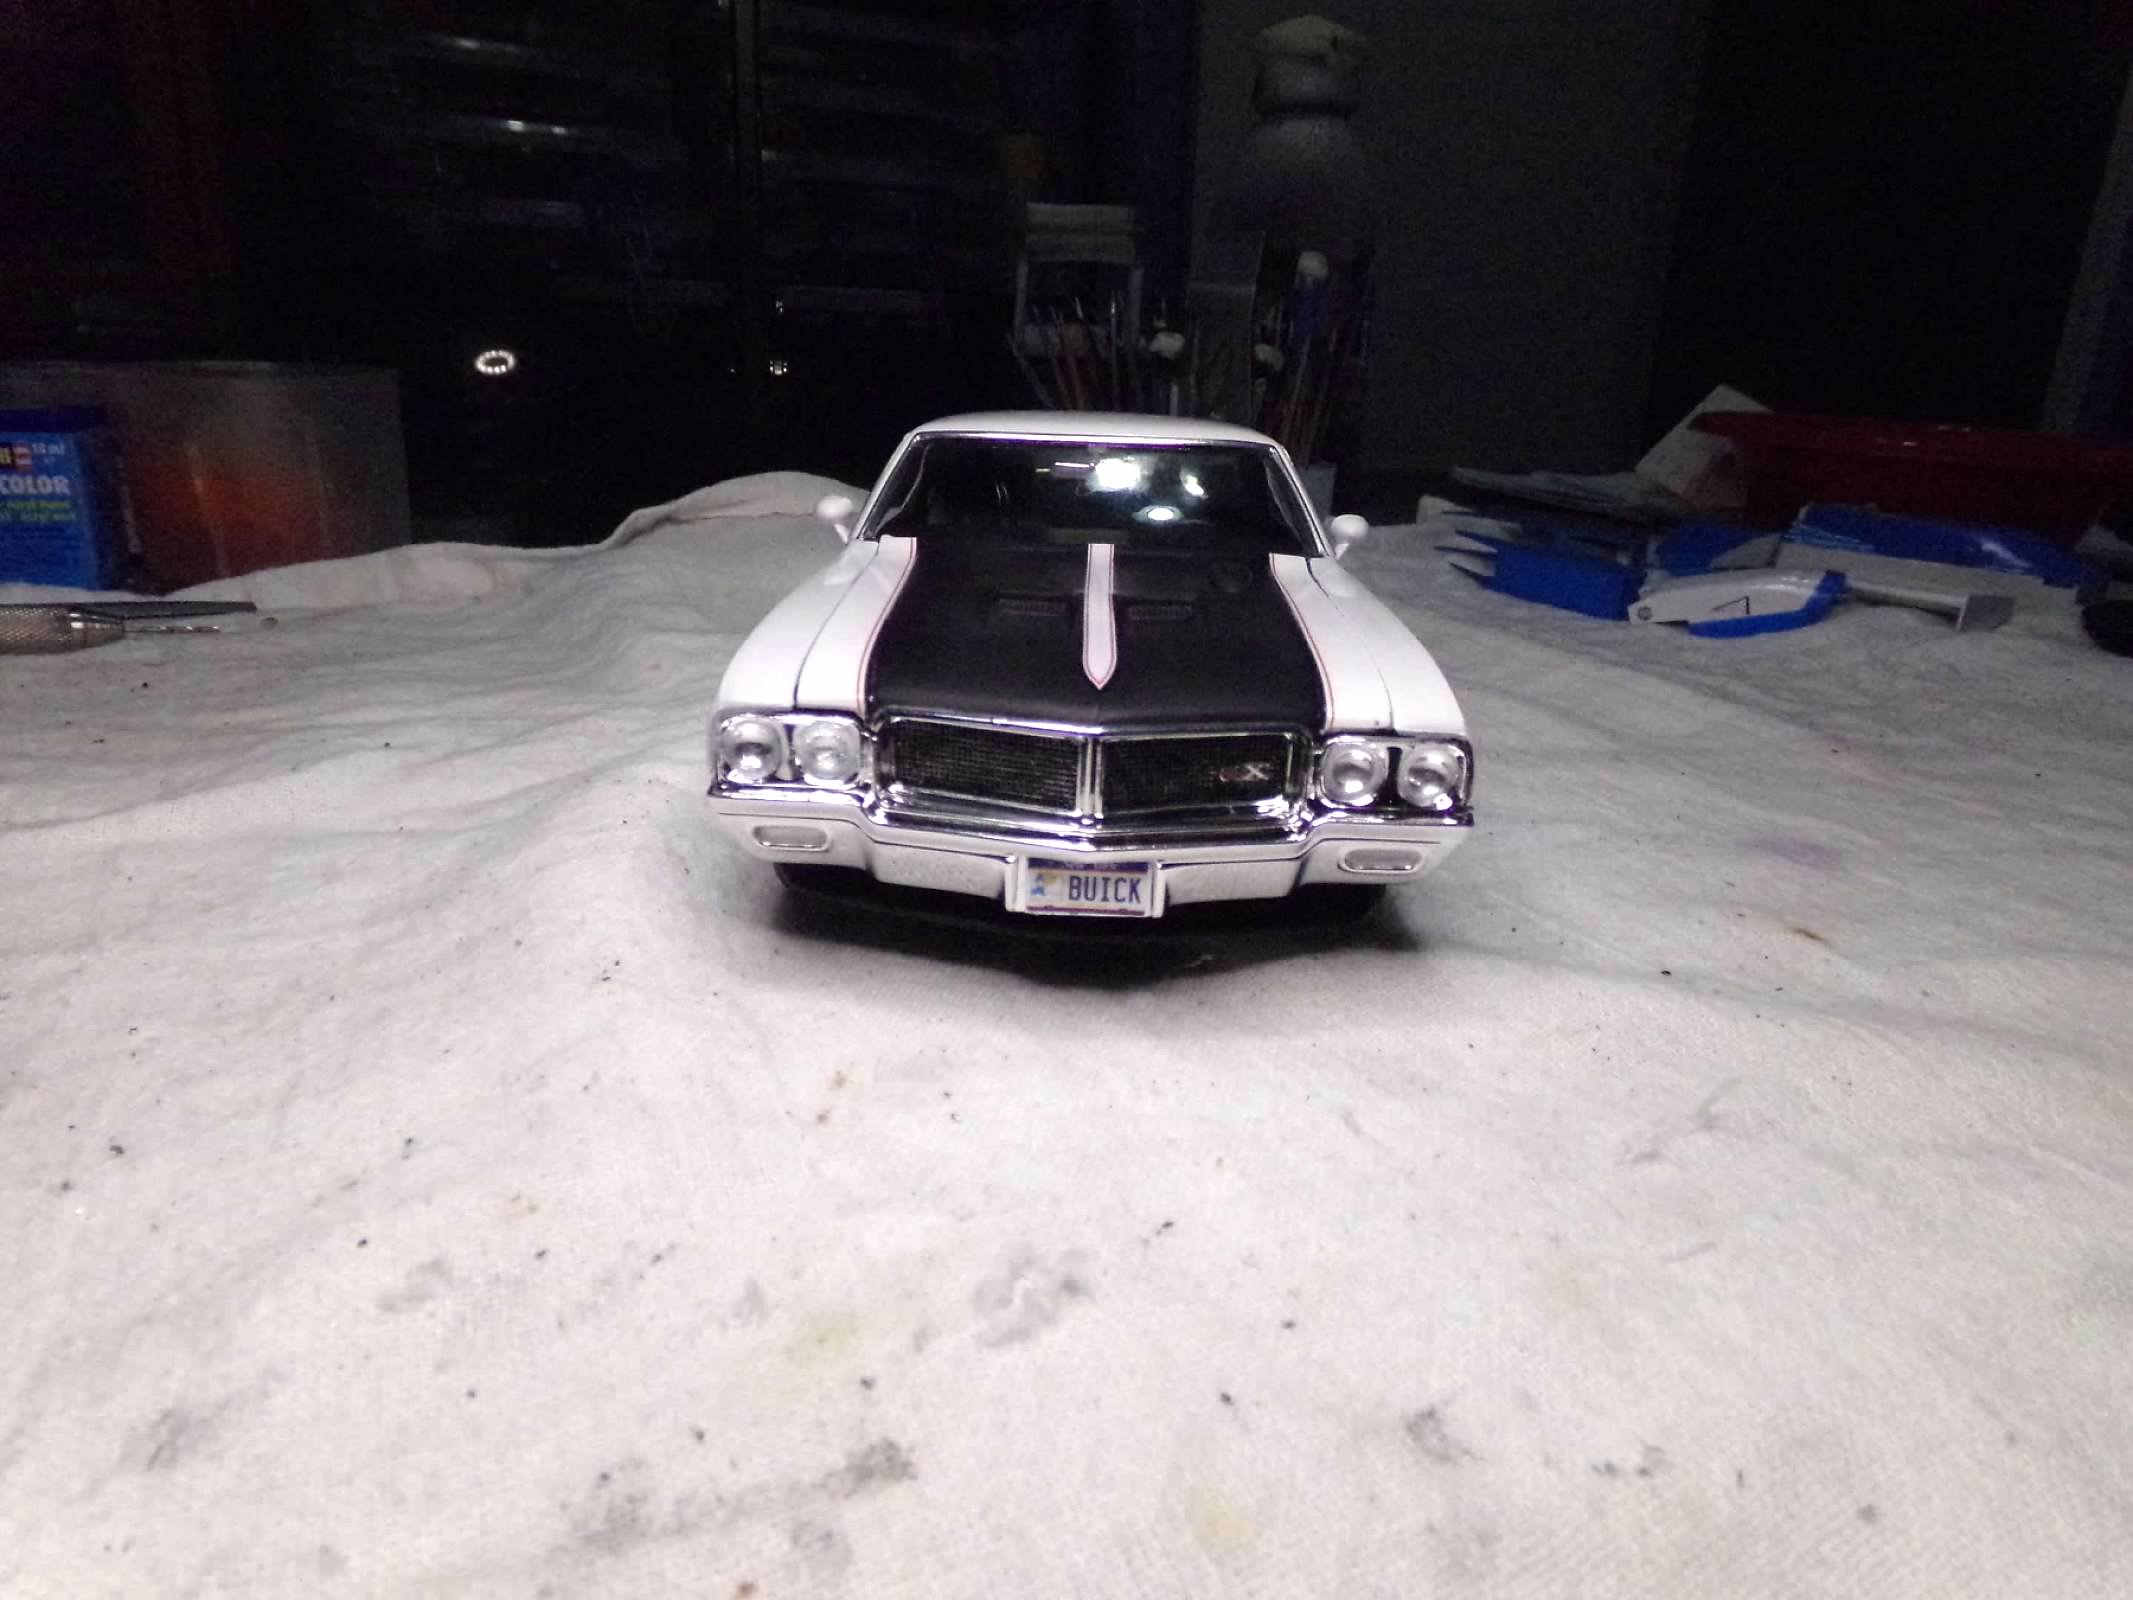
This is a Revell 1/24th scale kit and went together very well. Paint is Dupli-Color Pure White and Krylon Satin Black interior. I added plug wires, fuel line, and heater hoses to the engine. Mirrors and rear spoiler were pinned and I also added Fireball Modelworks Goodyear decals to the tires. Excellent kit! I just noticed that I forgot to chrome pen the door and trunk locks but I'll do that now! Thanks for looking! ?
- 23 replies
-
- 15
-

-
This one is done! Decals went on fine and its an excellent kit! See "Under Glass" for final photos!
-
Thanks, Carl! Weather a little better today so I got some painting done on the Indy Car I am building! So I'll have something else to work on when I finish this one!
-
This is a great kit for you to kick the modeler's block! I'm sure it will look good when you're done, MrMike! ?
-
This one coming together. Chassis and body are together, wheels glued on and the business end is plenty busy! Added heater hoses and then connected the heat riser and added the master brake cylinder. I added Fireball Modelworks Goodyear decals to the tires and used the kit Keystone wheels. I didn't want a glue mess on the trunk while attaching the spoiler so I pinned the supports. It took a little measuring, a little guessing, a little bending and a little gritting teeth but it worked! A nicely pinned rear spoiler! I am also going to pin the mirrors and already have the pins in the mirrors. I just have to drill holes in each side of the body and it should be good. Just a few more pieces and decals and this one will be done! Thanks for looking! ?
-
1977 McLaren M24 - Tom Sneva
ModelcarJR replied to ModelcarJR's topic in WIP: Other Racing: Road Racing, Land Speed Racers
Got the paint yesterday and today it finally warmed up enough for me to paint! Looks pretty good and I just need to raise the blue outline on the engine cover which I already have done but don't have a photo. The resin doesn't like paint so I hope I can rub this out without chipping or peeling any paint. I did soak it in Bleche White, washed with soap and water, and scratched it up with some sandpaper but that may not have been enough. But so far so good - only a couple spots that I'll have to touch up with a brush but they are not easily visible anyway. Thanks for looking! ?