Ridge Rider
-
Posts
641 -
Joined
-
Last visited
Content Type
Profiles
Forums
Events
Gallery
Everything posted by Ridge Rider
-
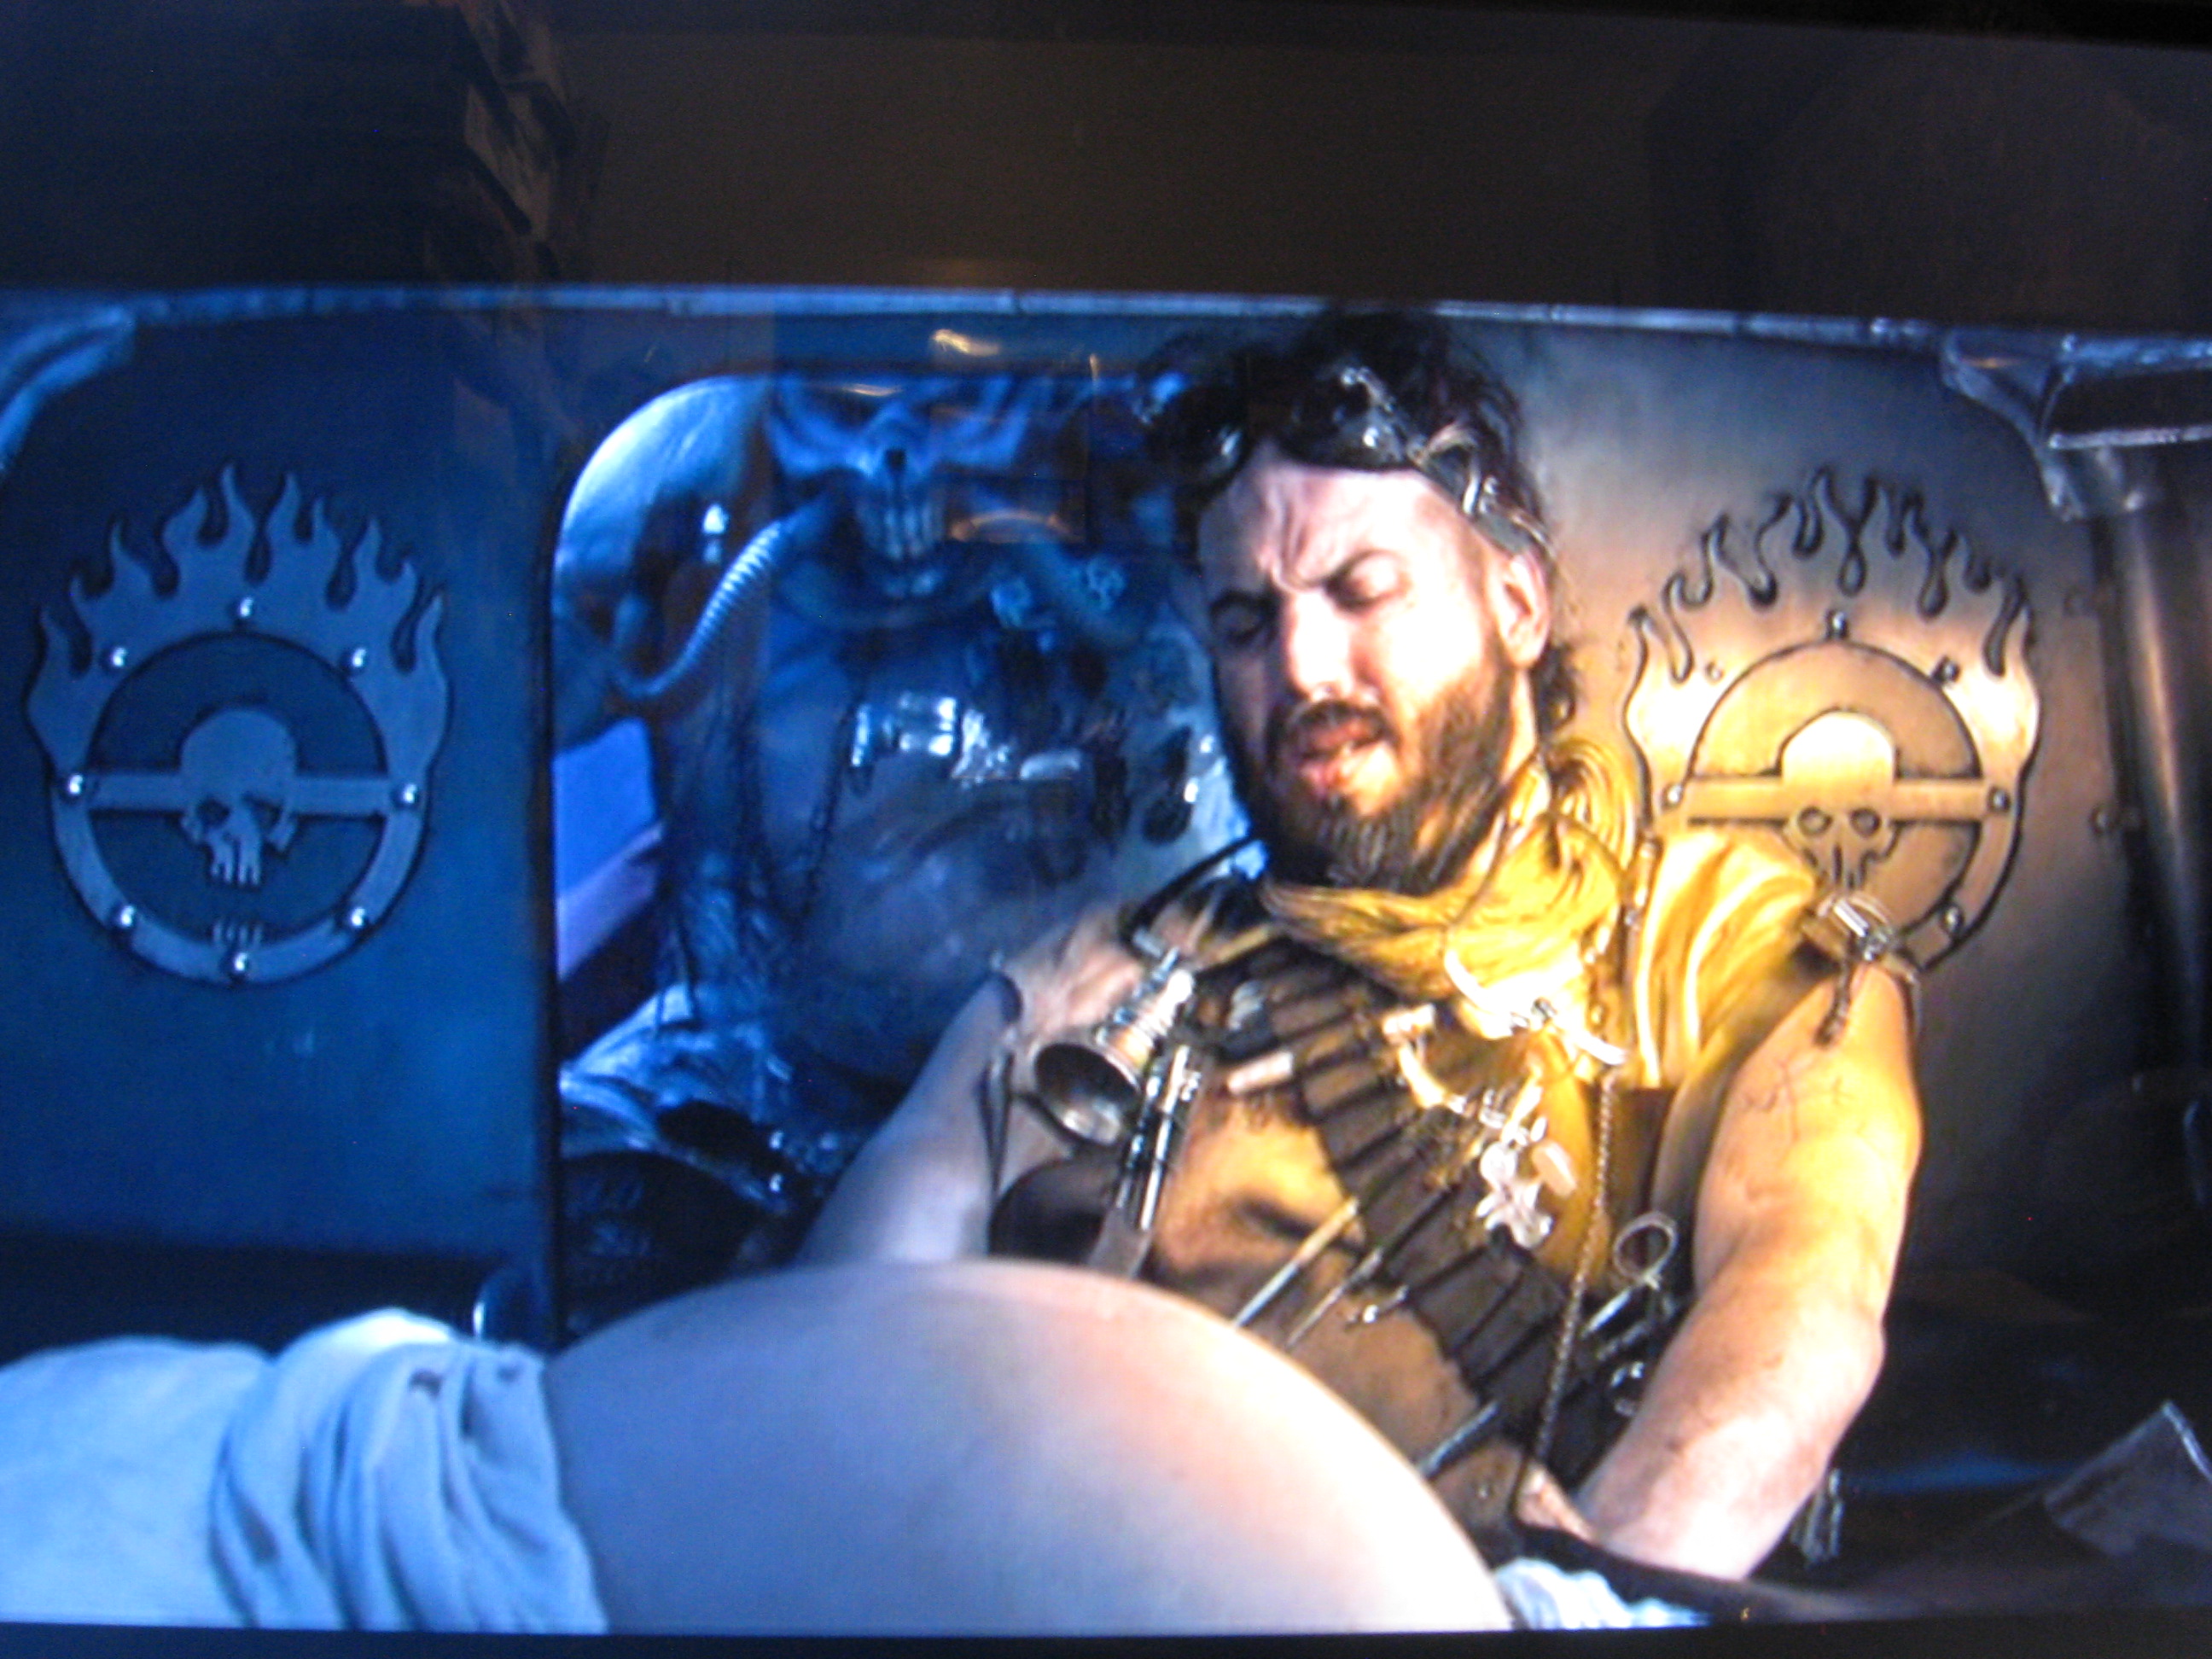
Thanks for the compliments. I managed to get a couple of the flaming skull details done. While not perfect they should work fine. The small interior pieces were drawn on .015" styrene, cut out, painted and will be glued to the bulkhead during interior assembly. This thing is still fun and challenging and I'm liking how it's turning out despite all the problems and complications. I hope to get it plumbed this weekend if all goes well. Thanks for looking. Steve

-
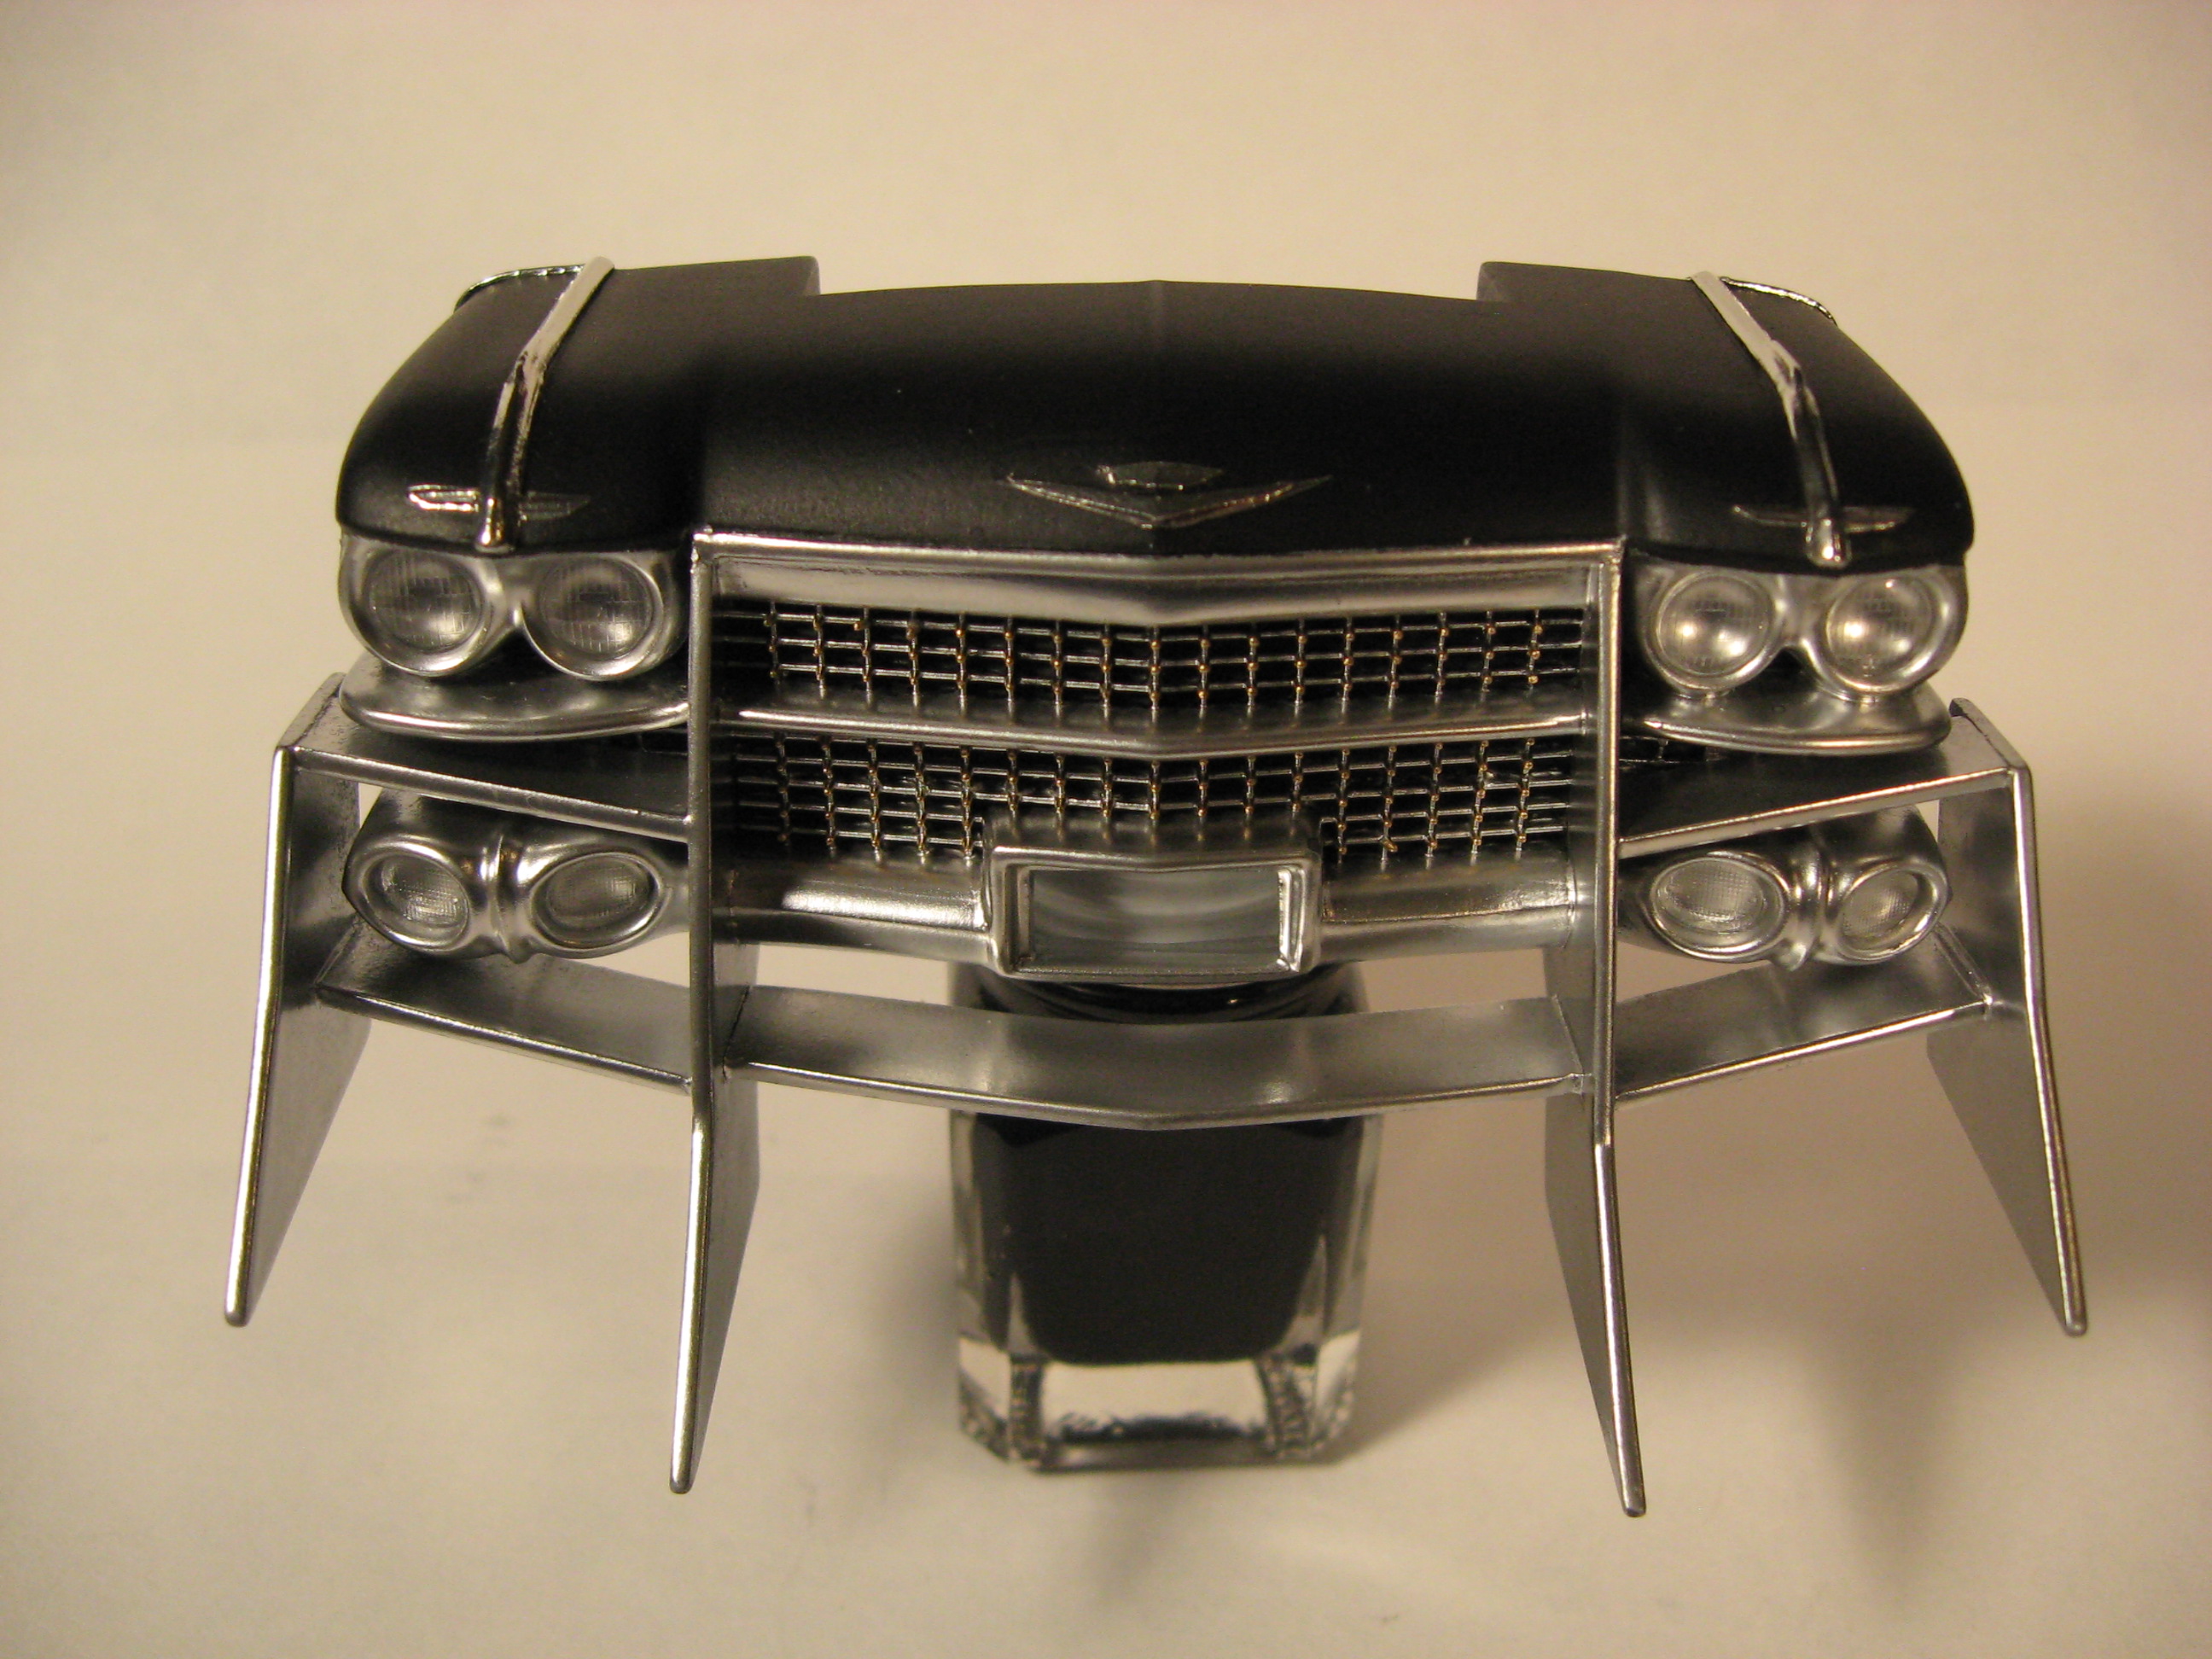
Time for another update. The front end is done, it was a challenge to paint but turned out as well as I had hoped. The engines are close to being dropped in and plumbed and interior detail is coming along. Thanks for the support. Steve
-
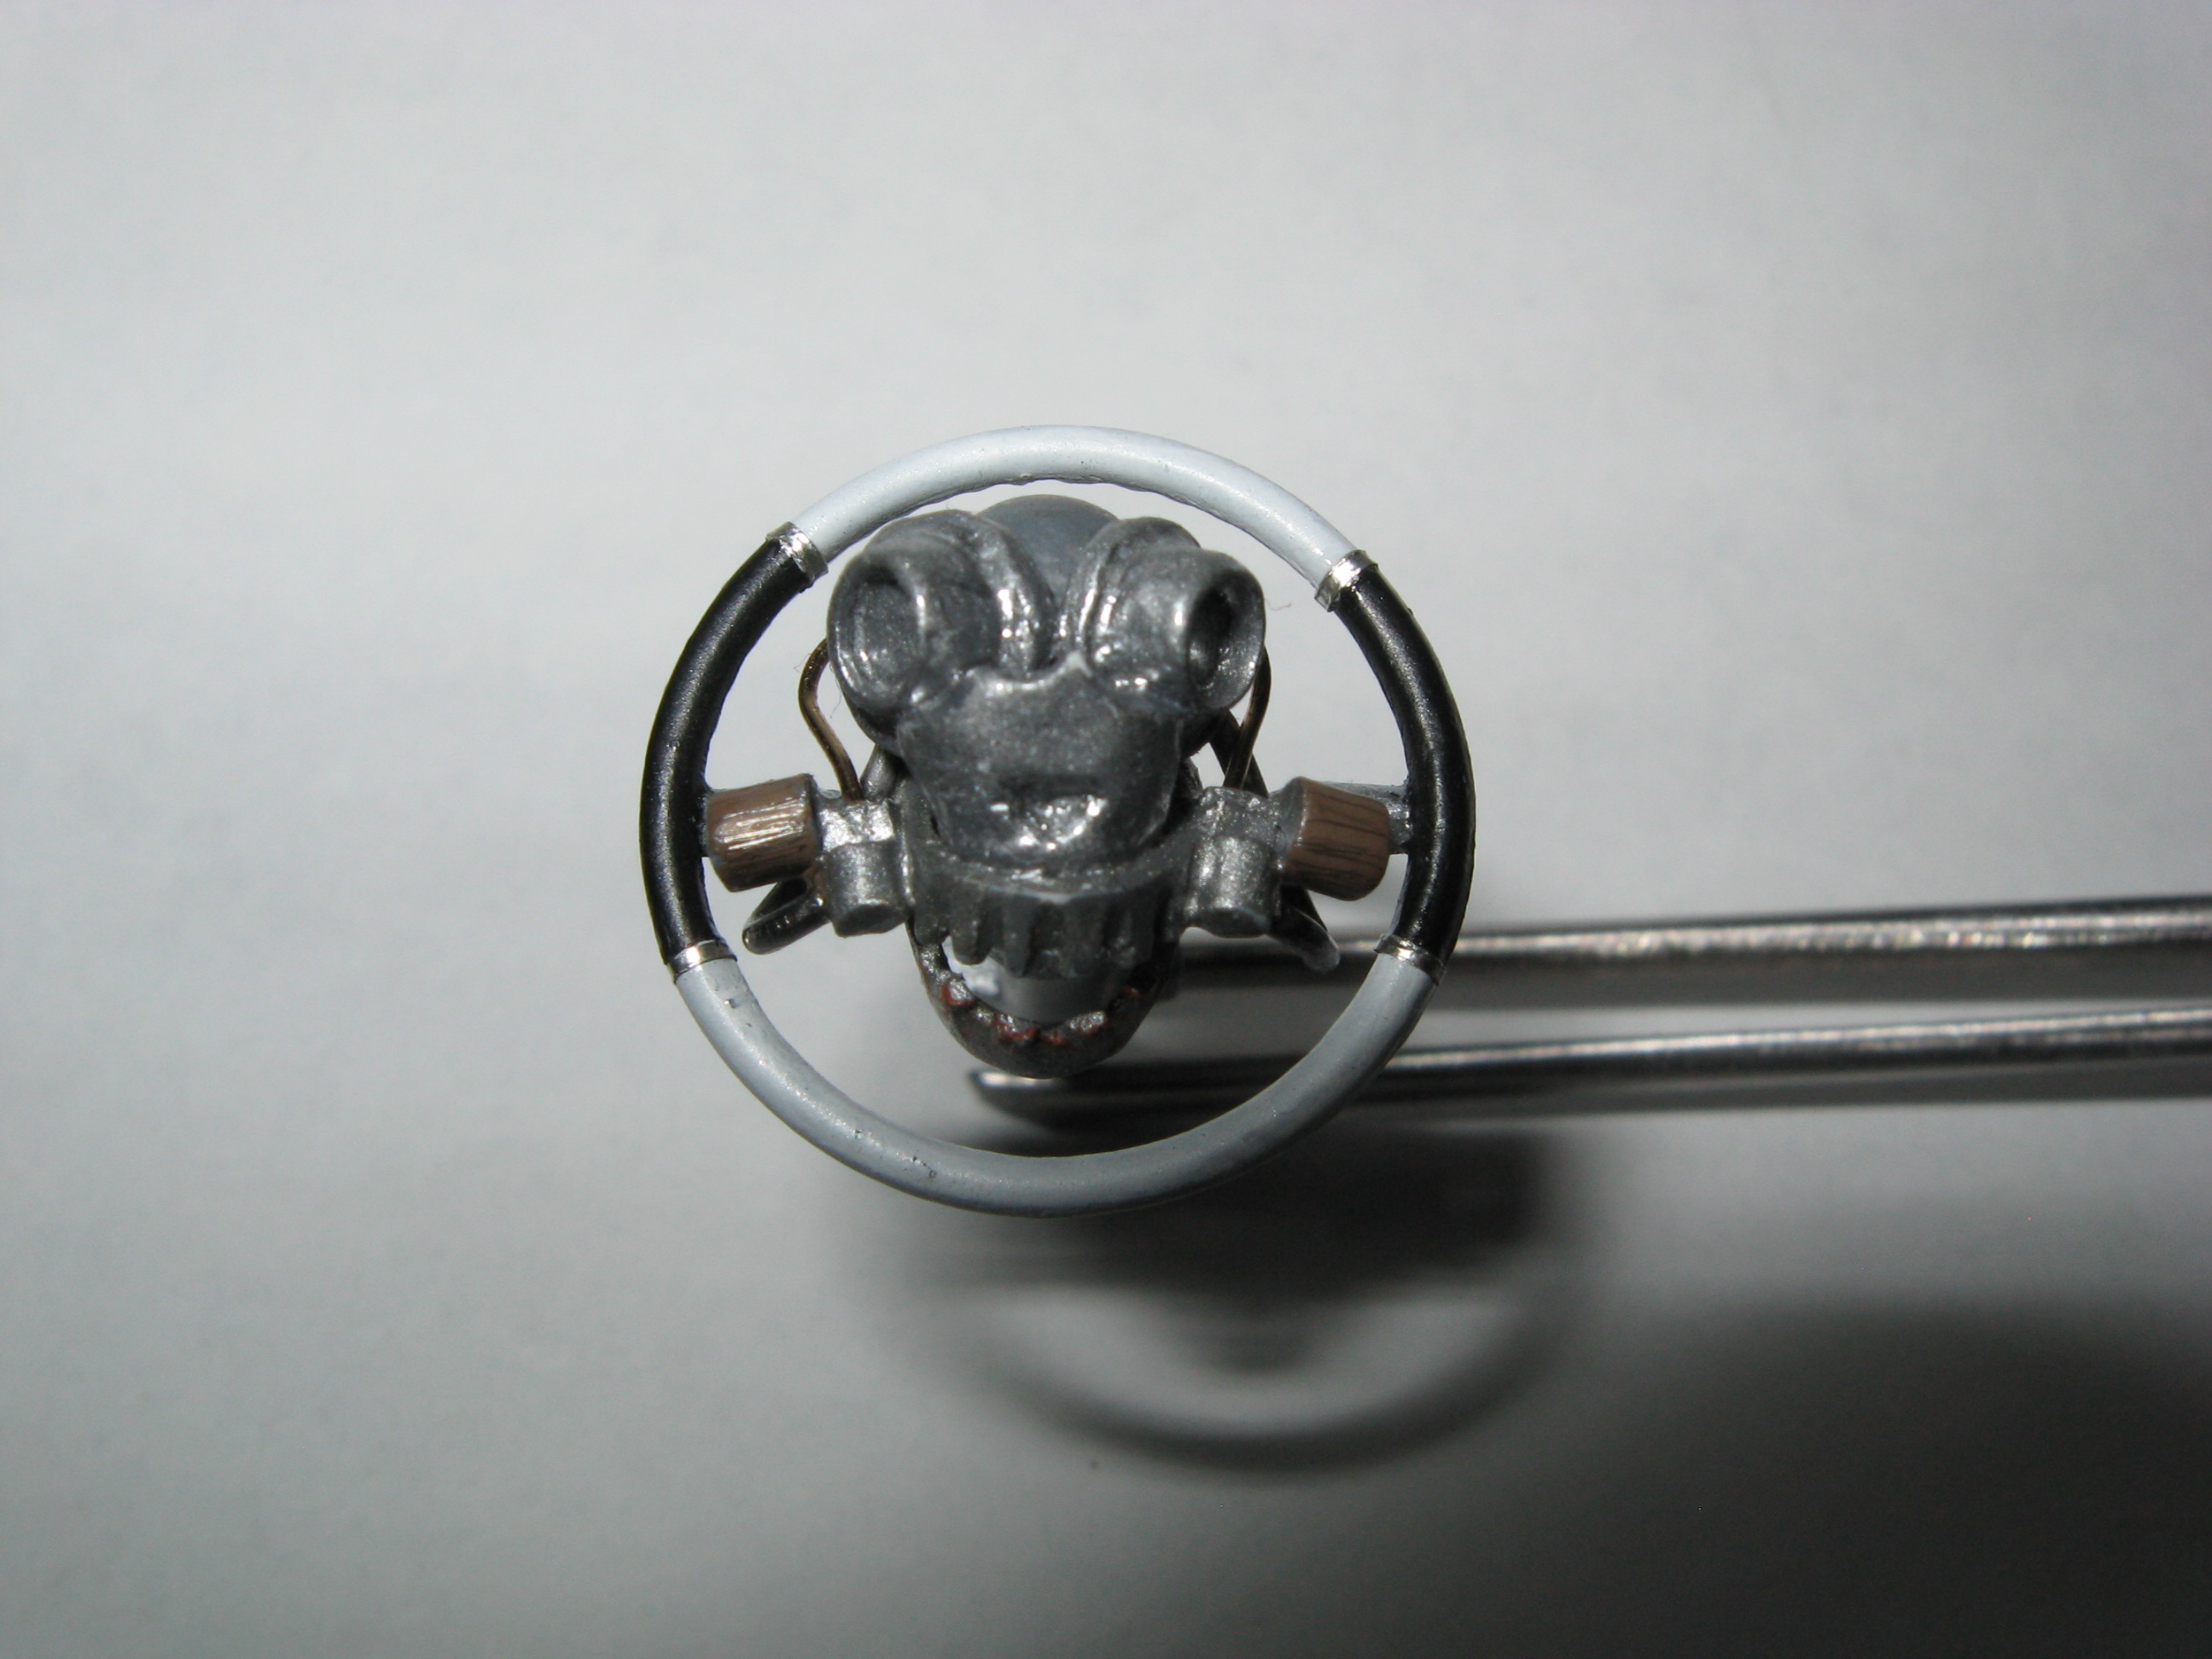
Nice Ploughboy Dave and I have yet to mess with the dash pad. It will be a challenge. I did get the steering wheel done this week. It is a little fuller looking than the reference but looks good in person. I just can't get a good closeup picture that shows what it looks like to the naked eye. Thanks for looking. Steve
-
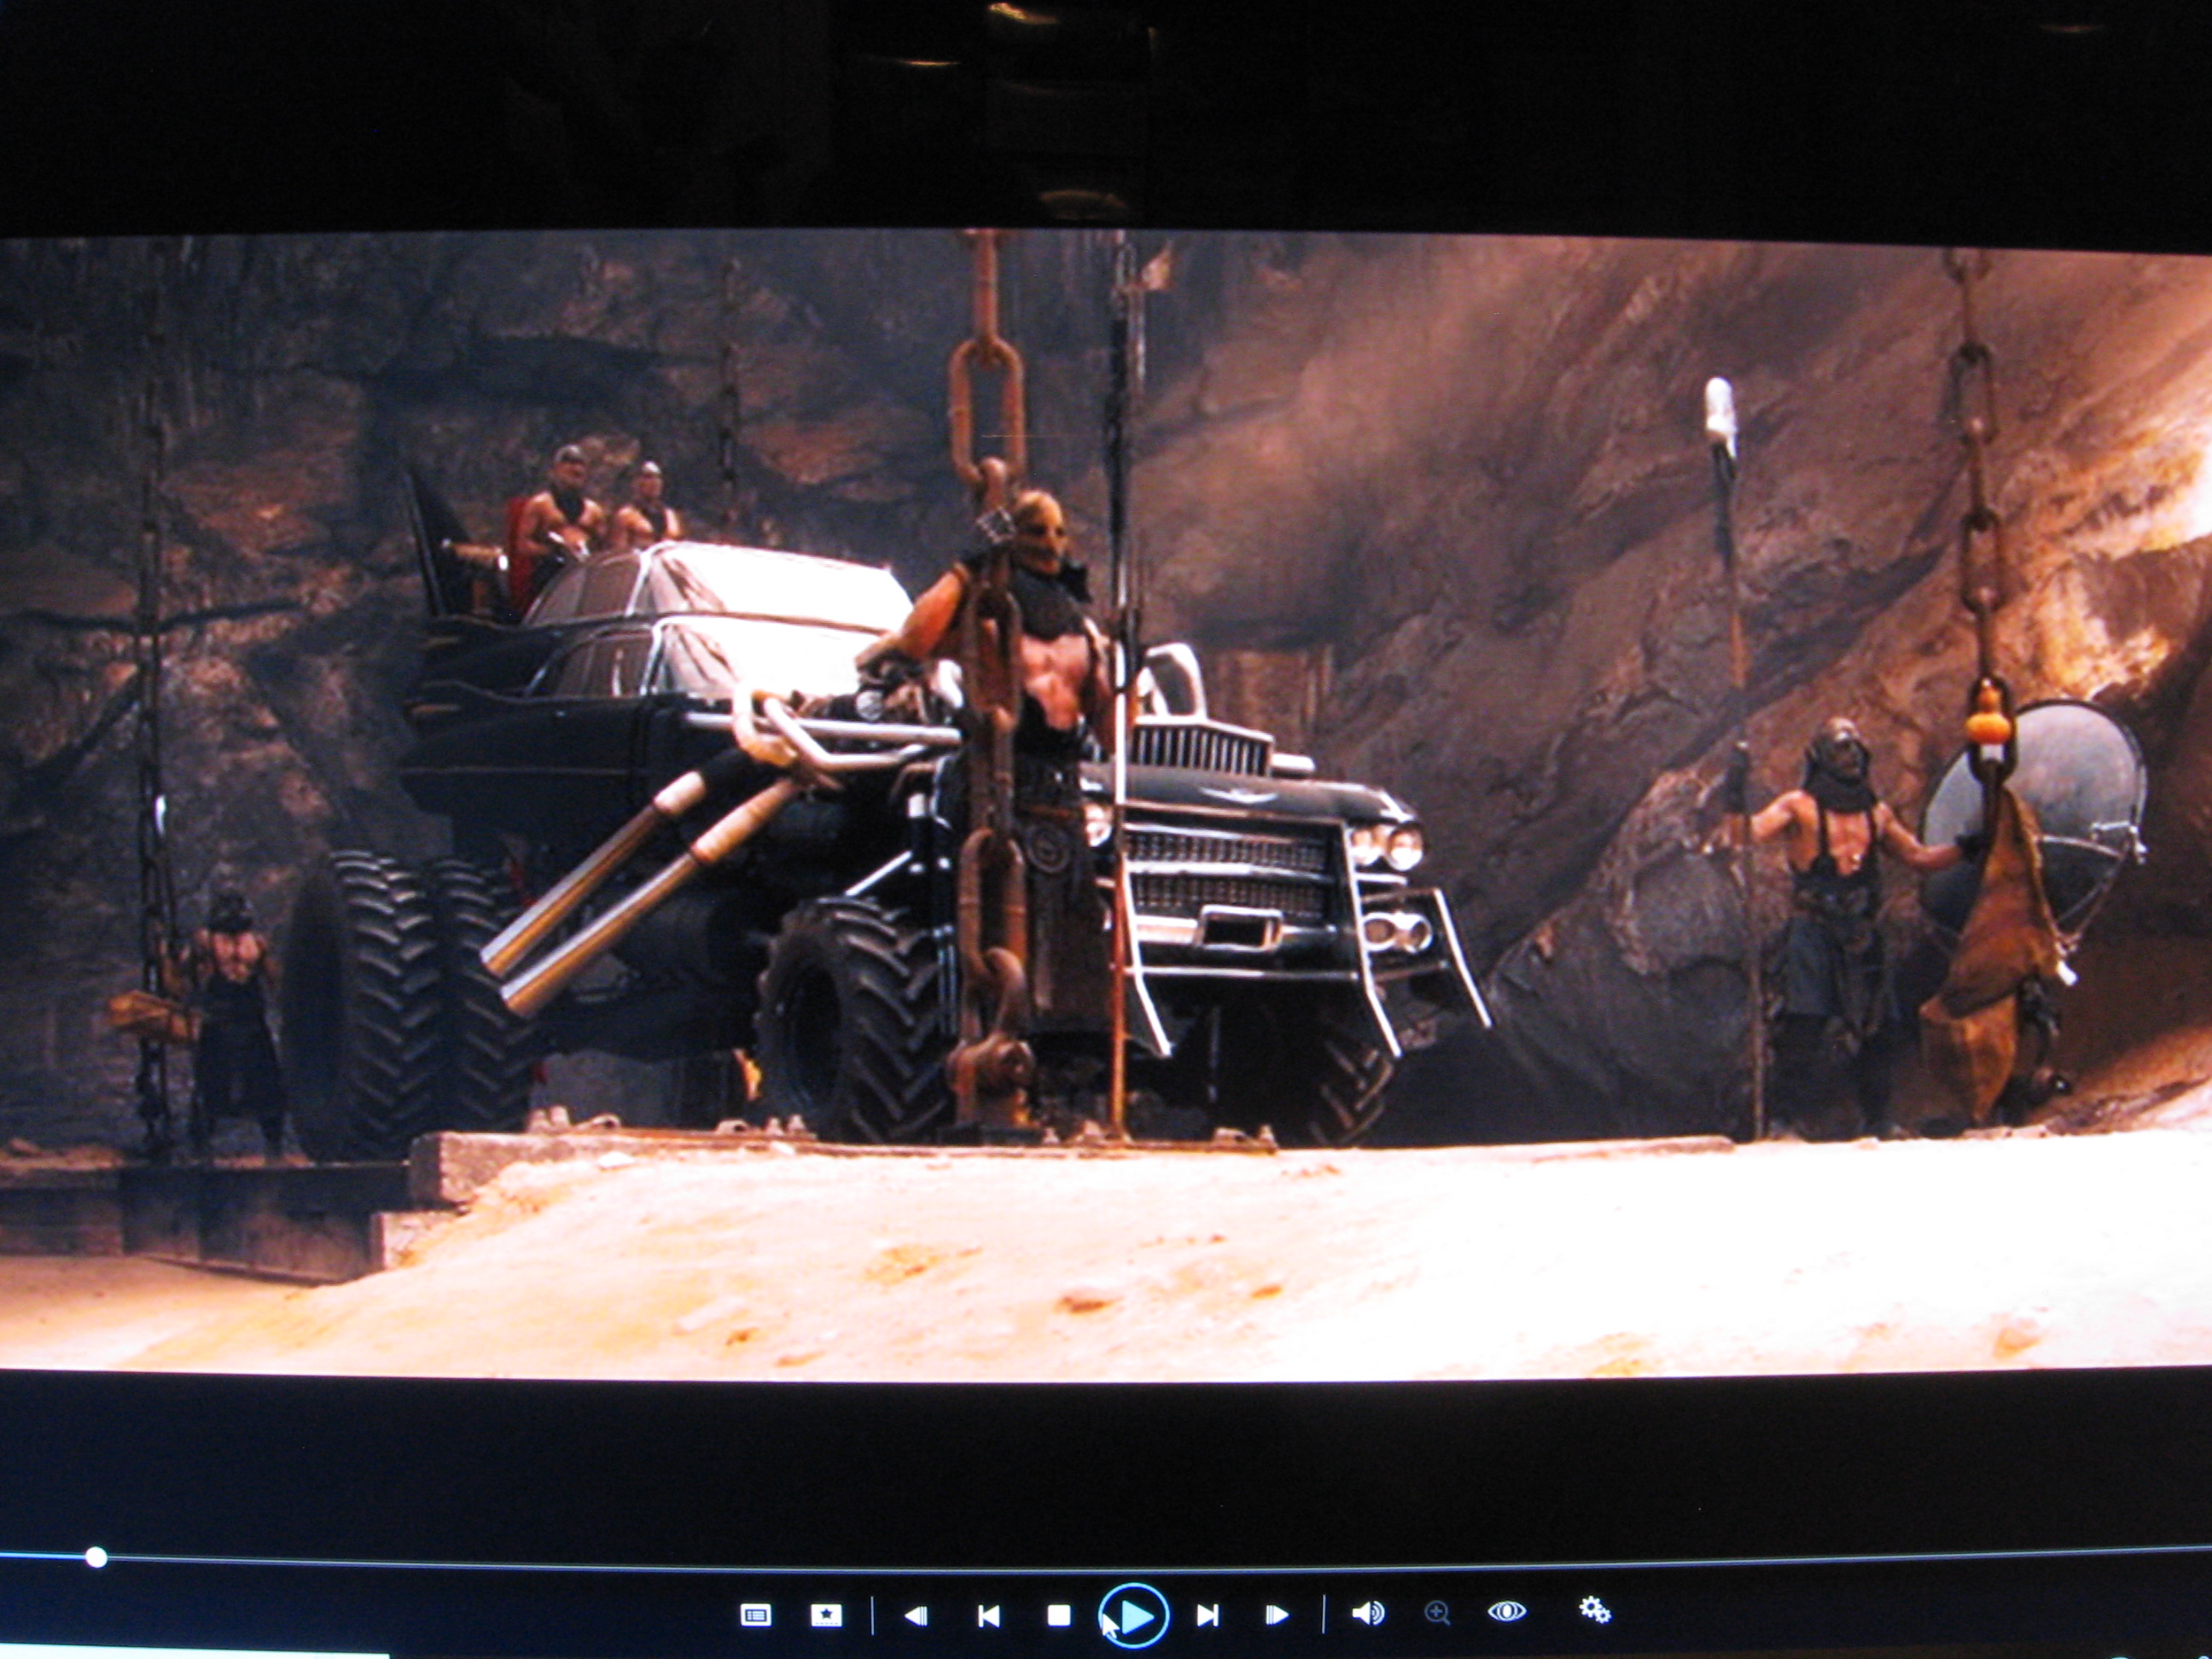
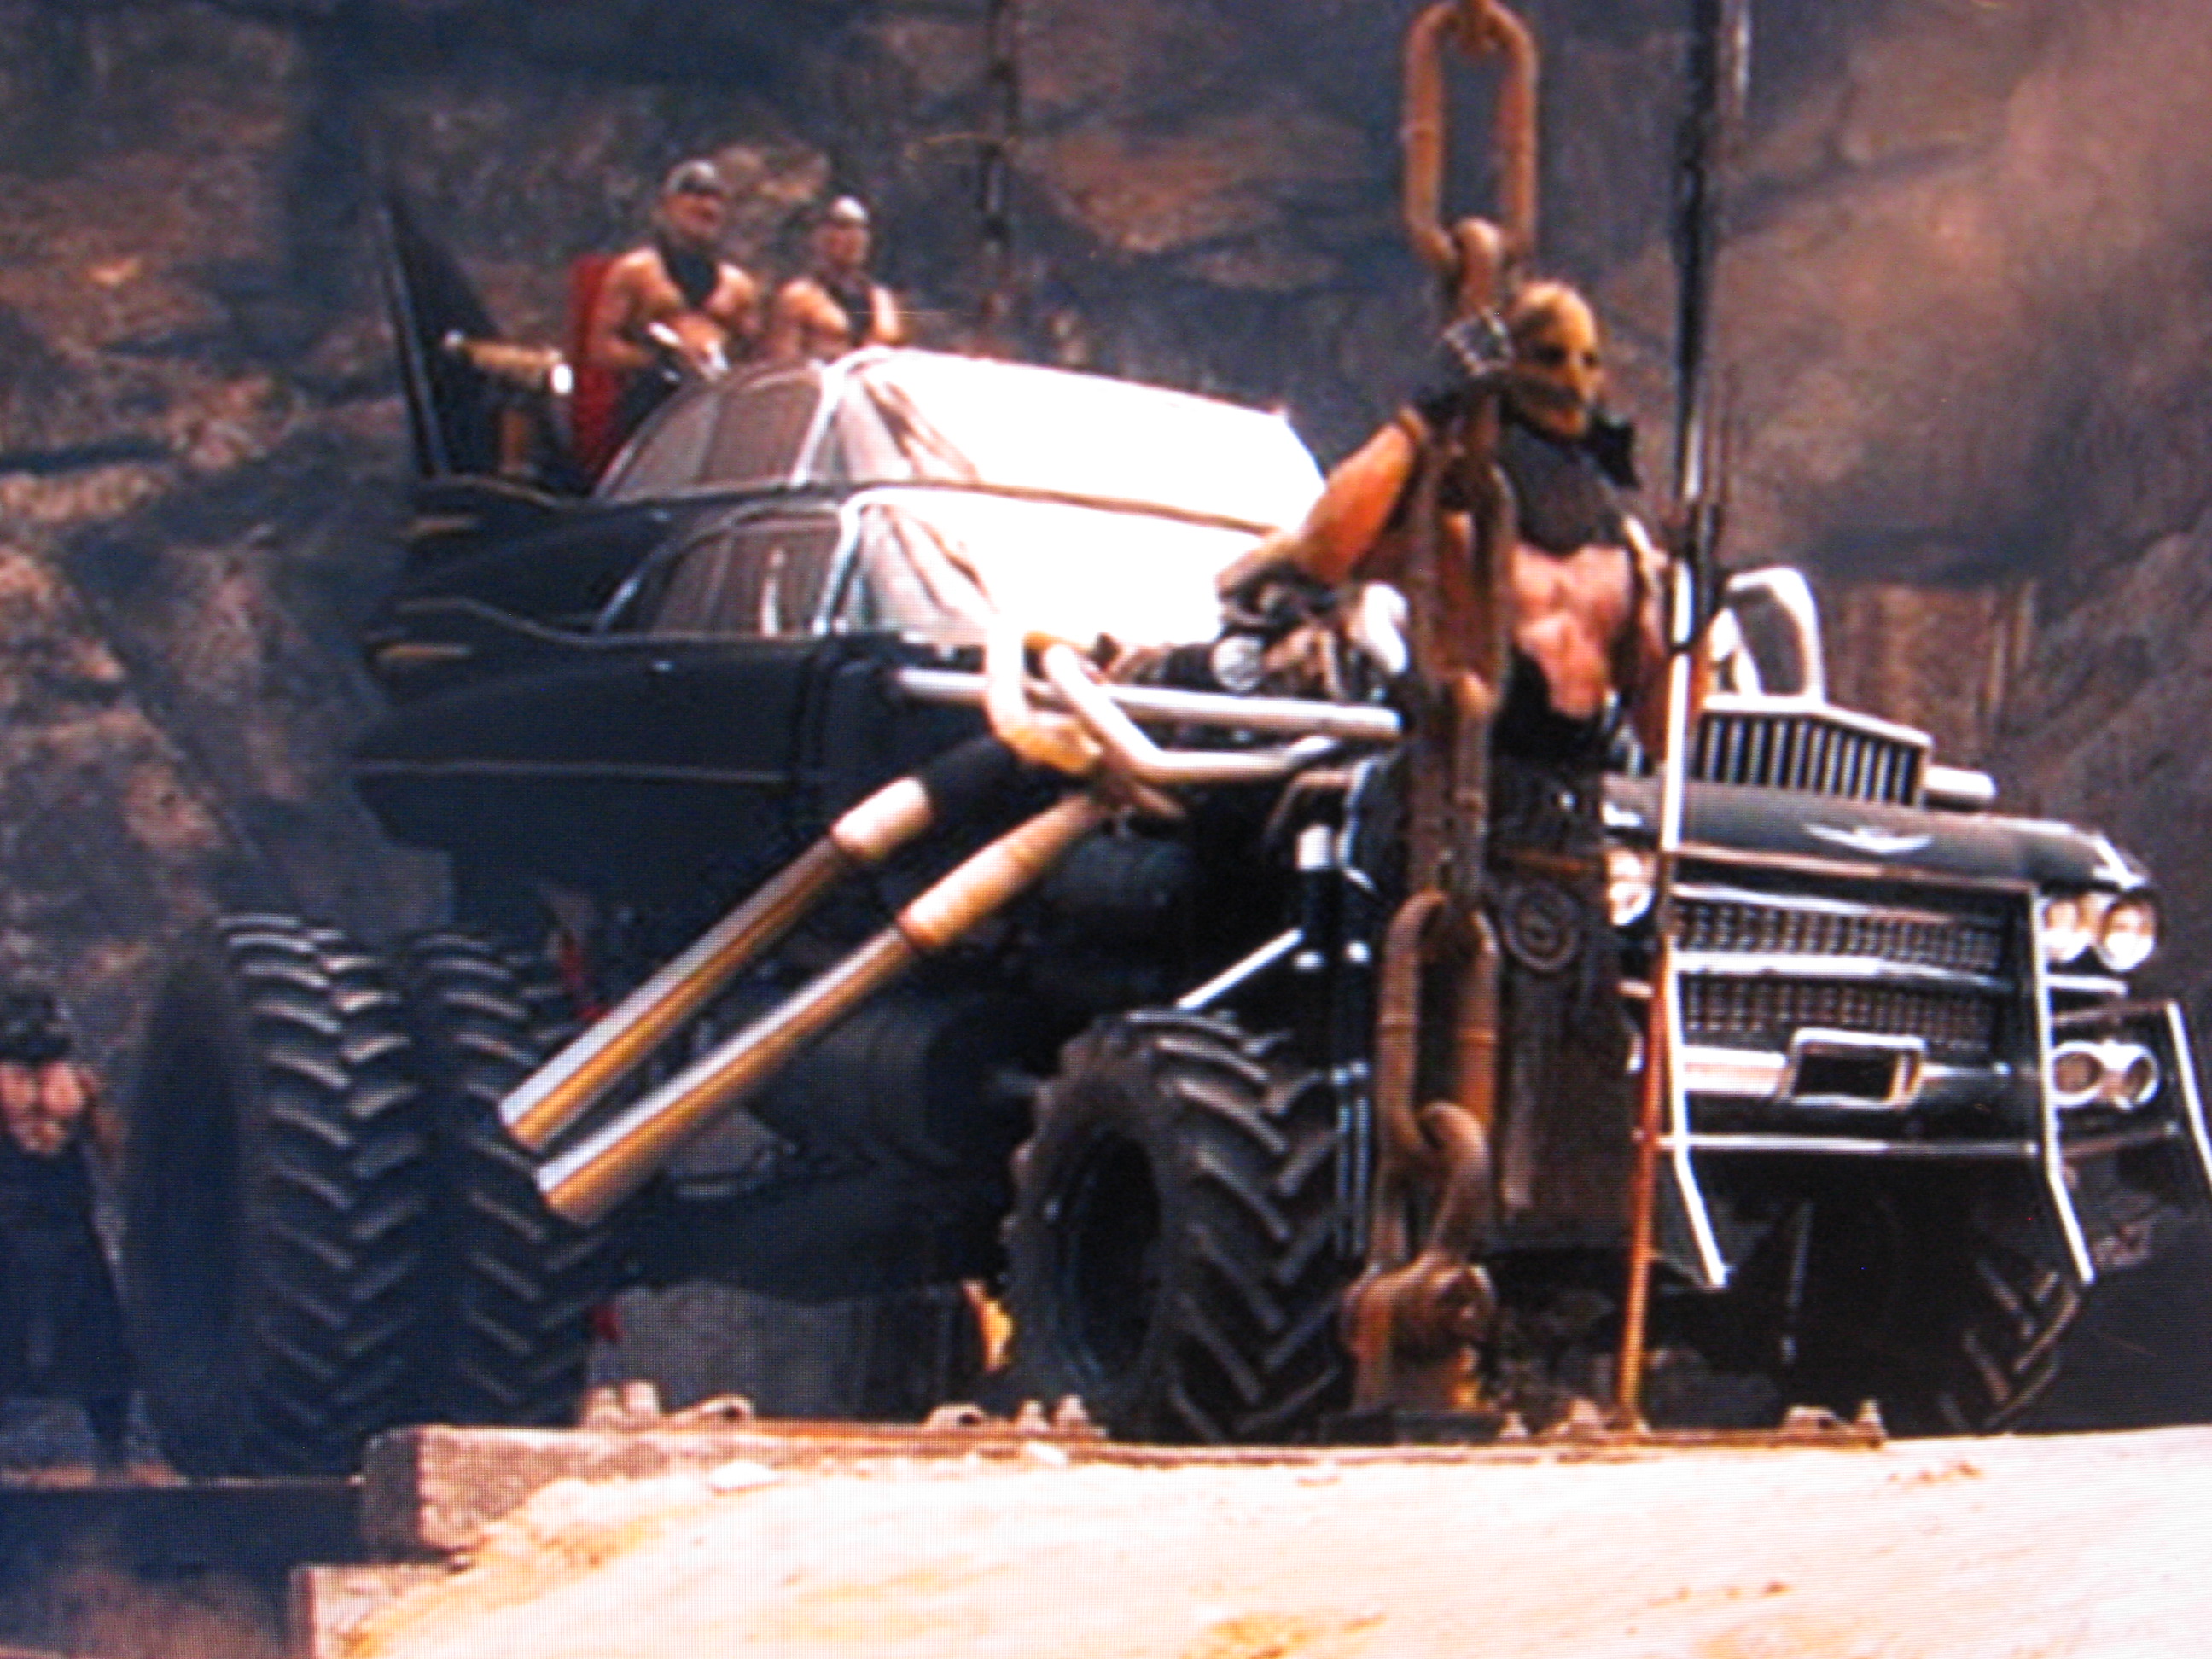
Sorry to disappoint but the weathering is going to be little to none. I am building the kings mobile throne as it first appeared in the movie-shiny and chrome. I hope in the future to replicate this descending platform to display it on. In my opinion it was a big mistake to weather it as heavy as they did. A quick race and chase in the desert would not produce the rust and staining that shows up on the gigahorse considering the condition it started in. I hope you'll still enjoy the build-I think it's coming along nicely. Steve
-
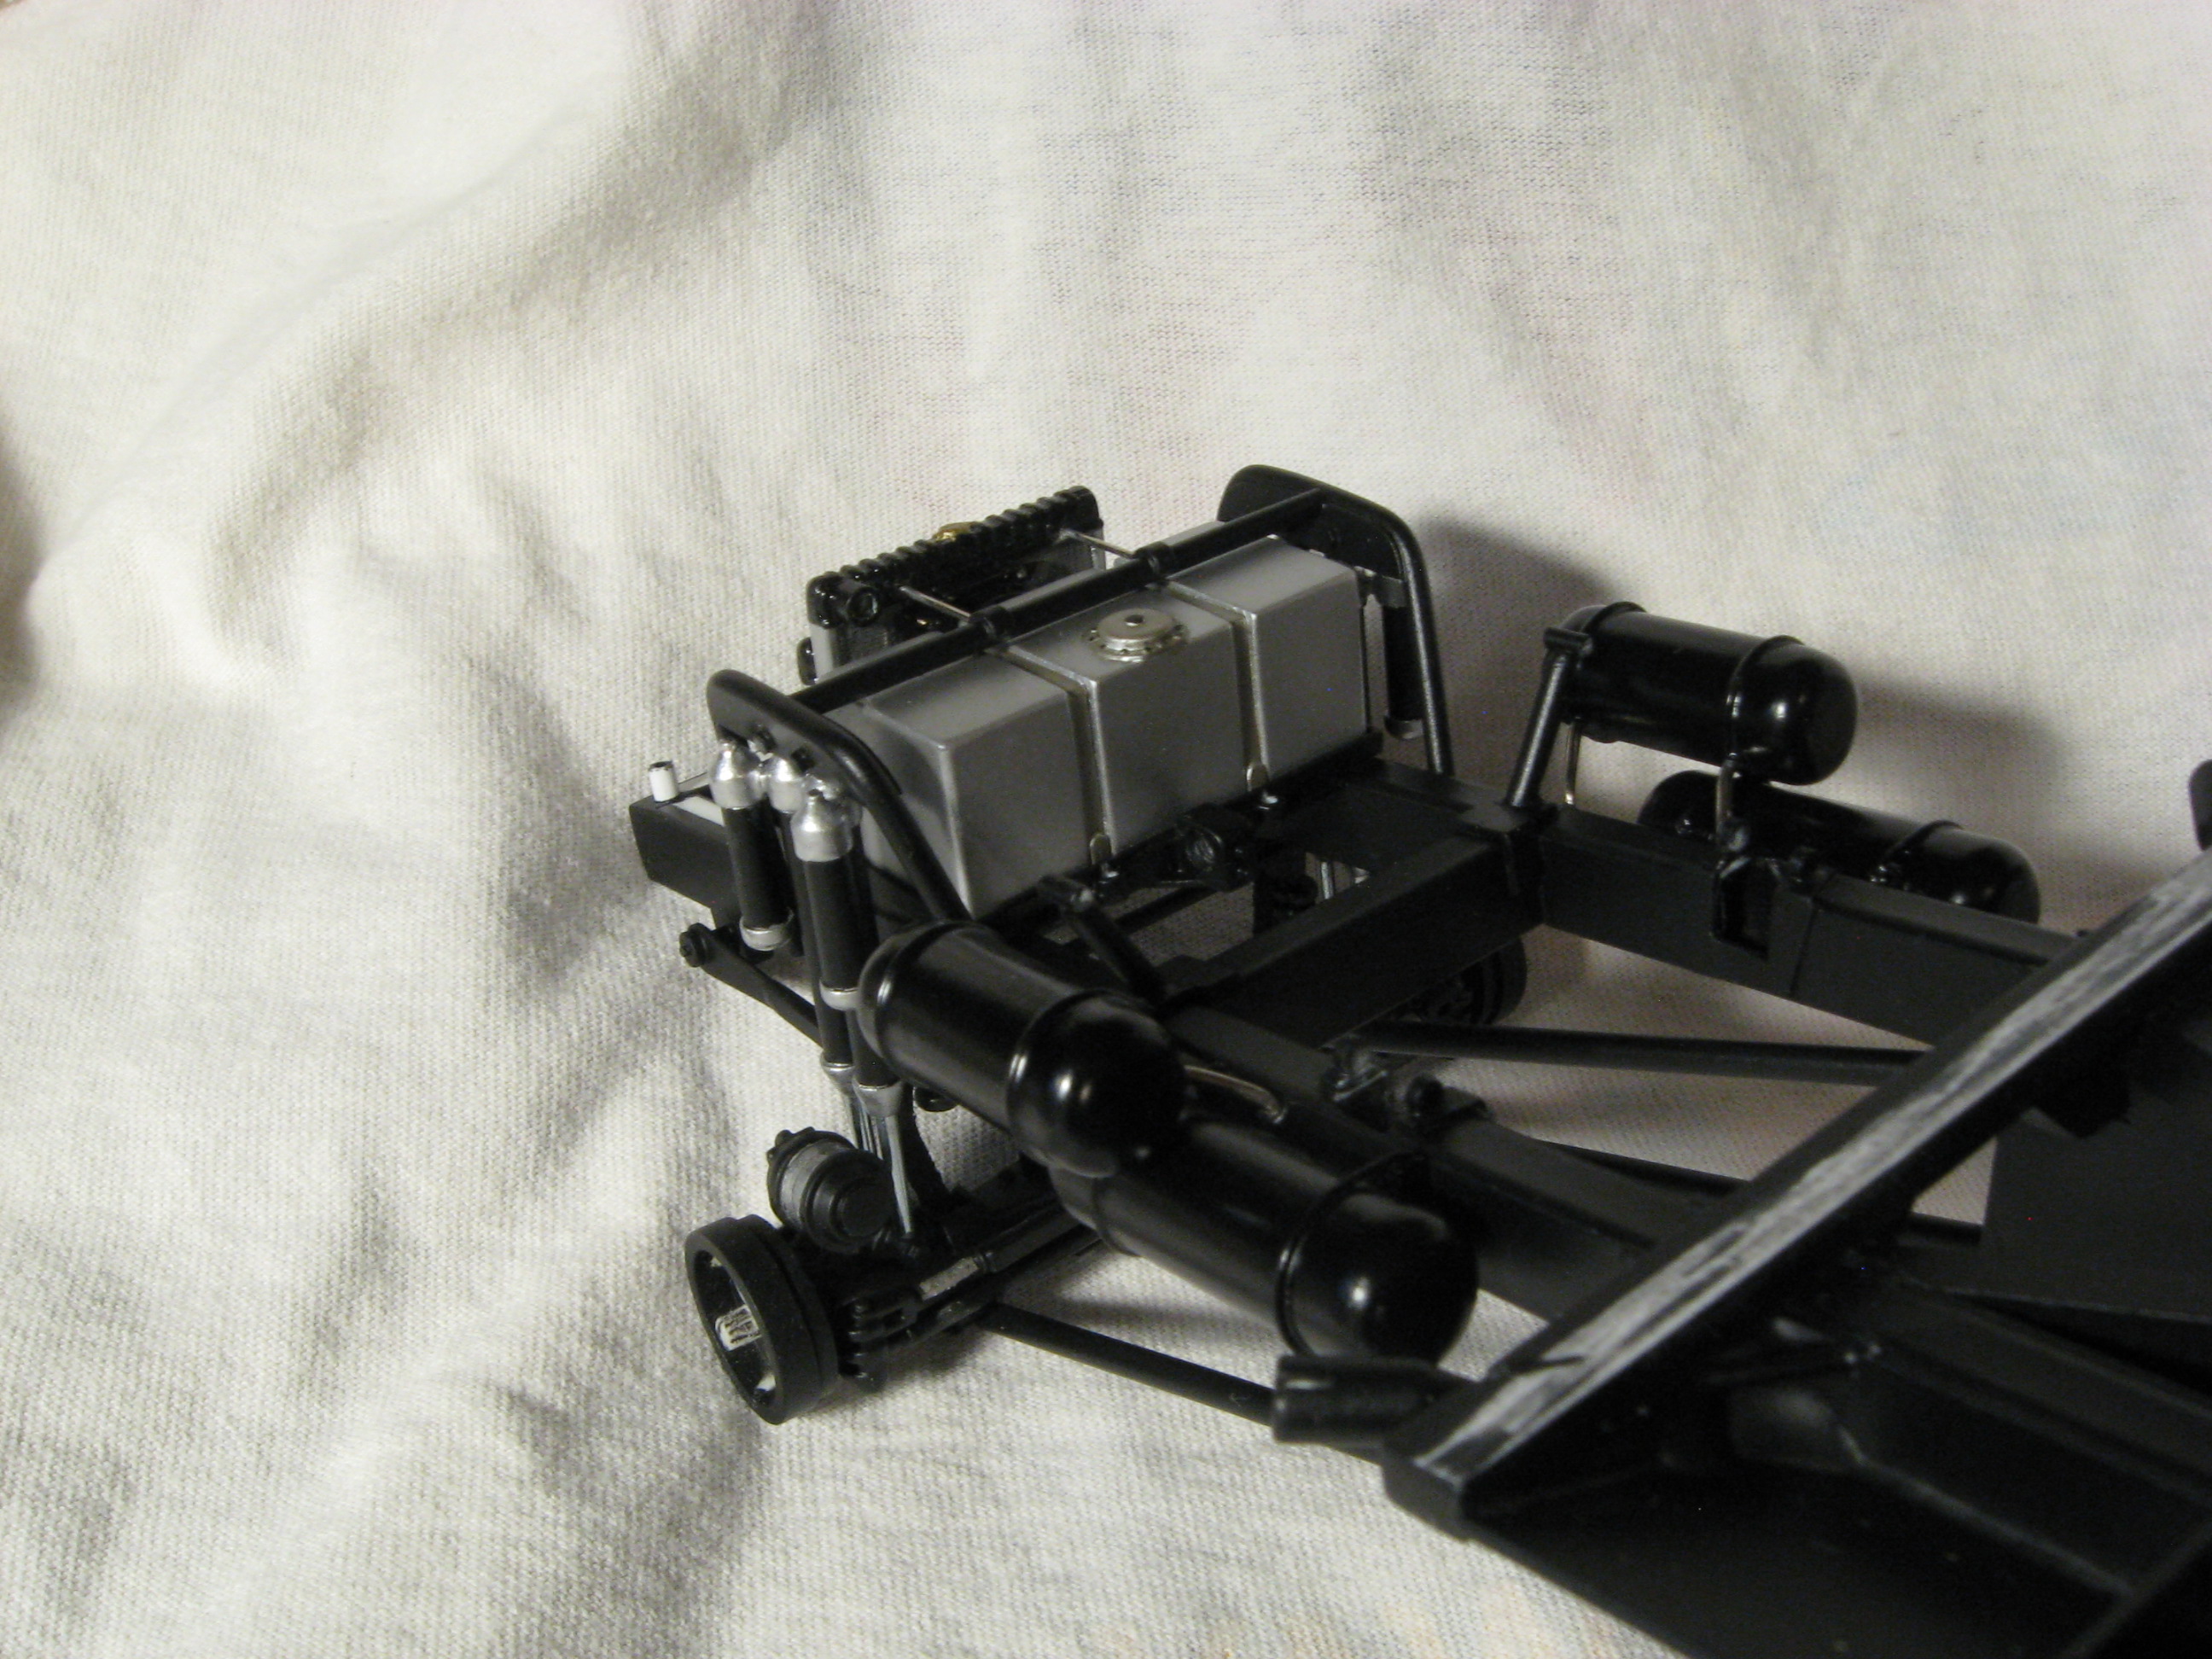
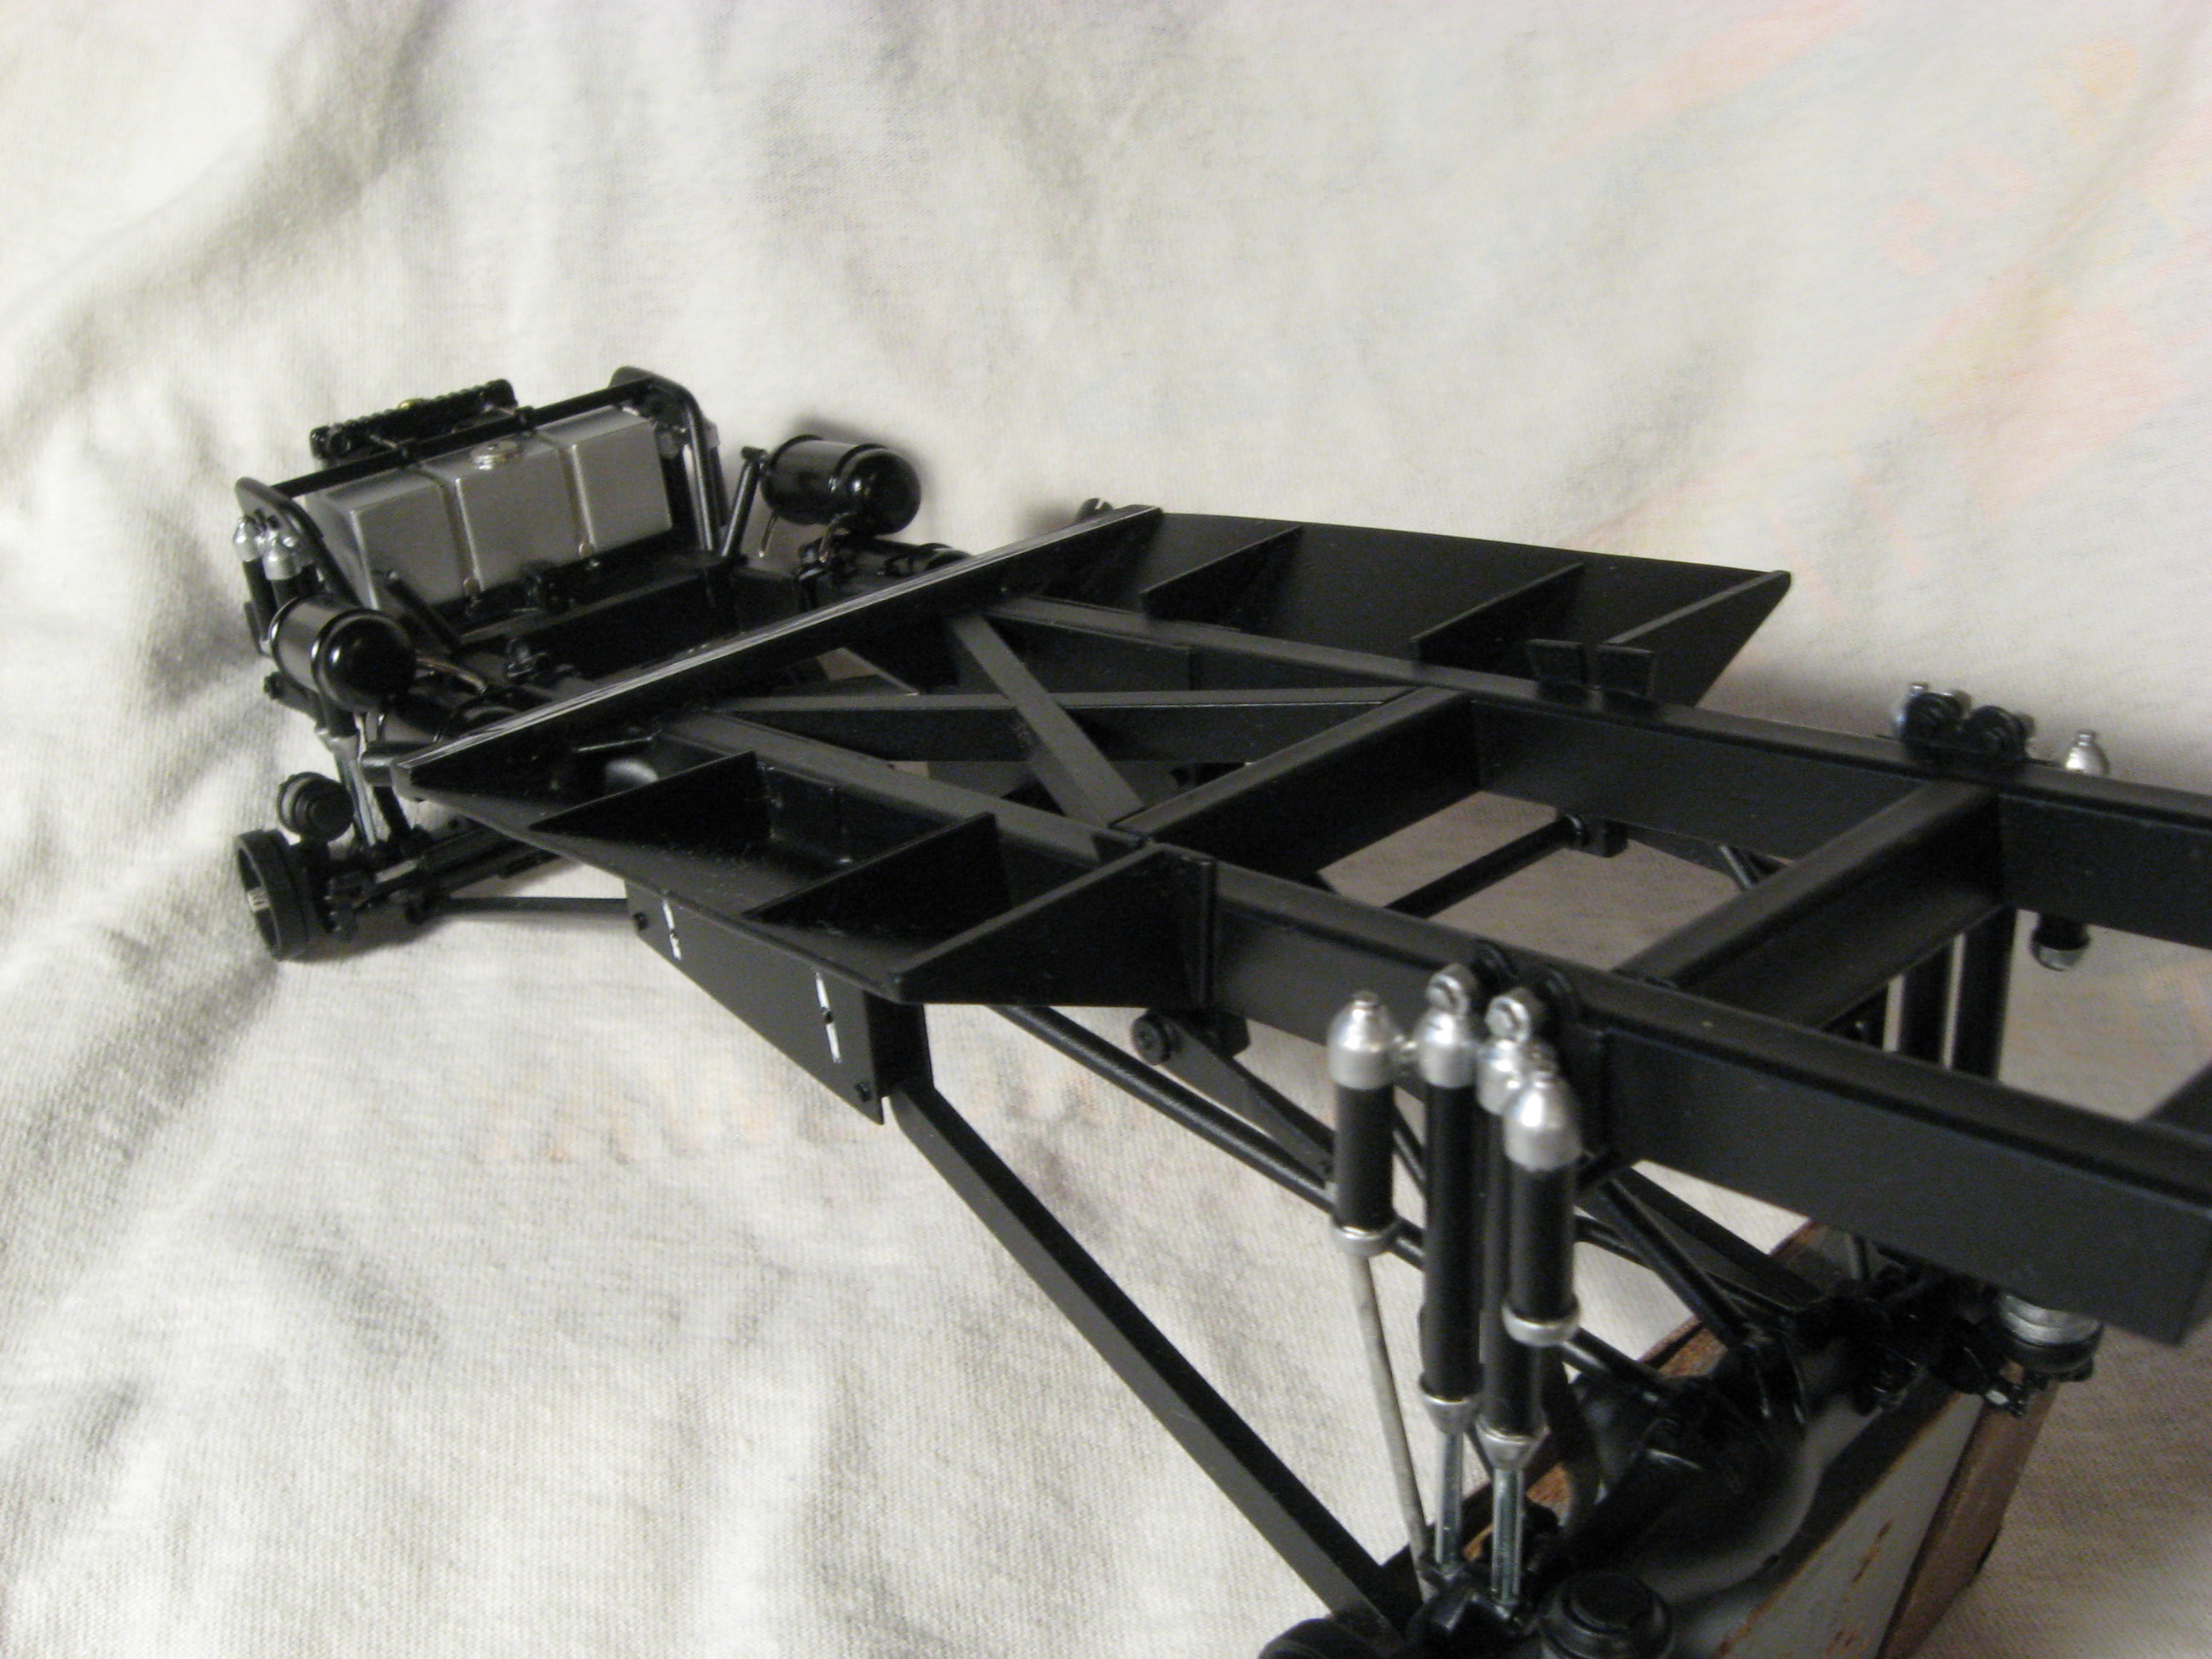
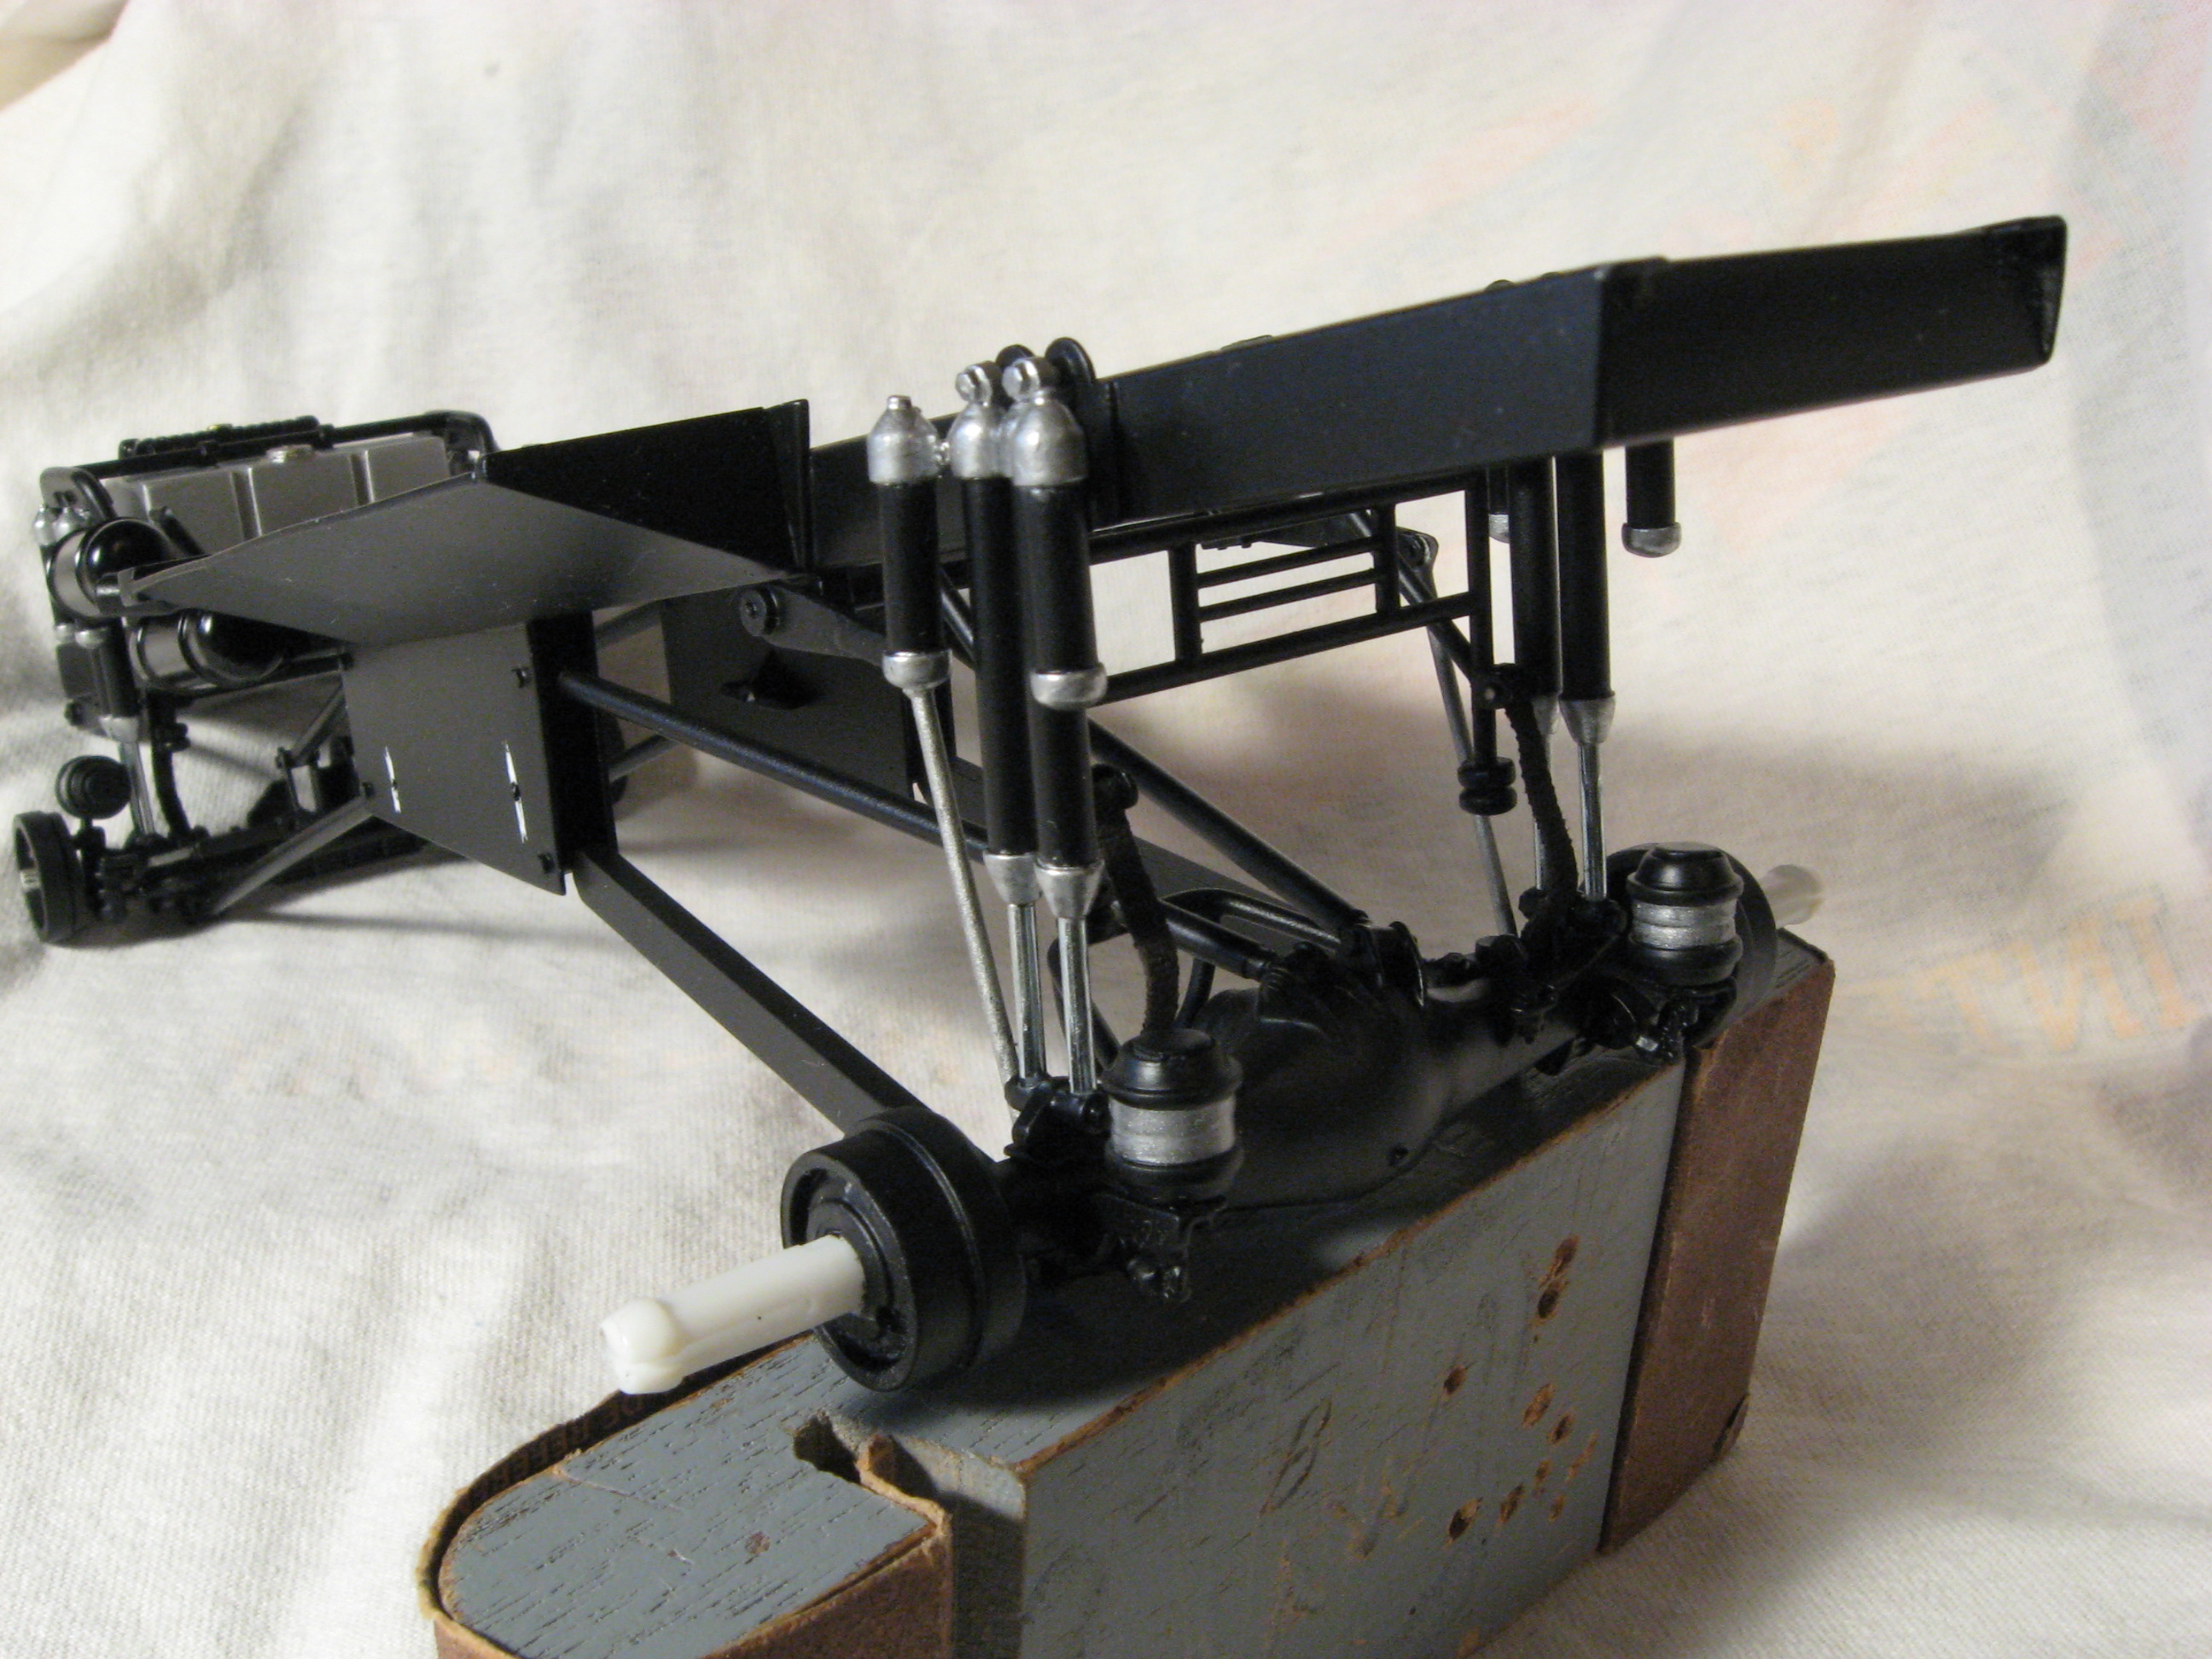
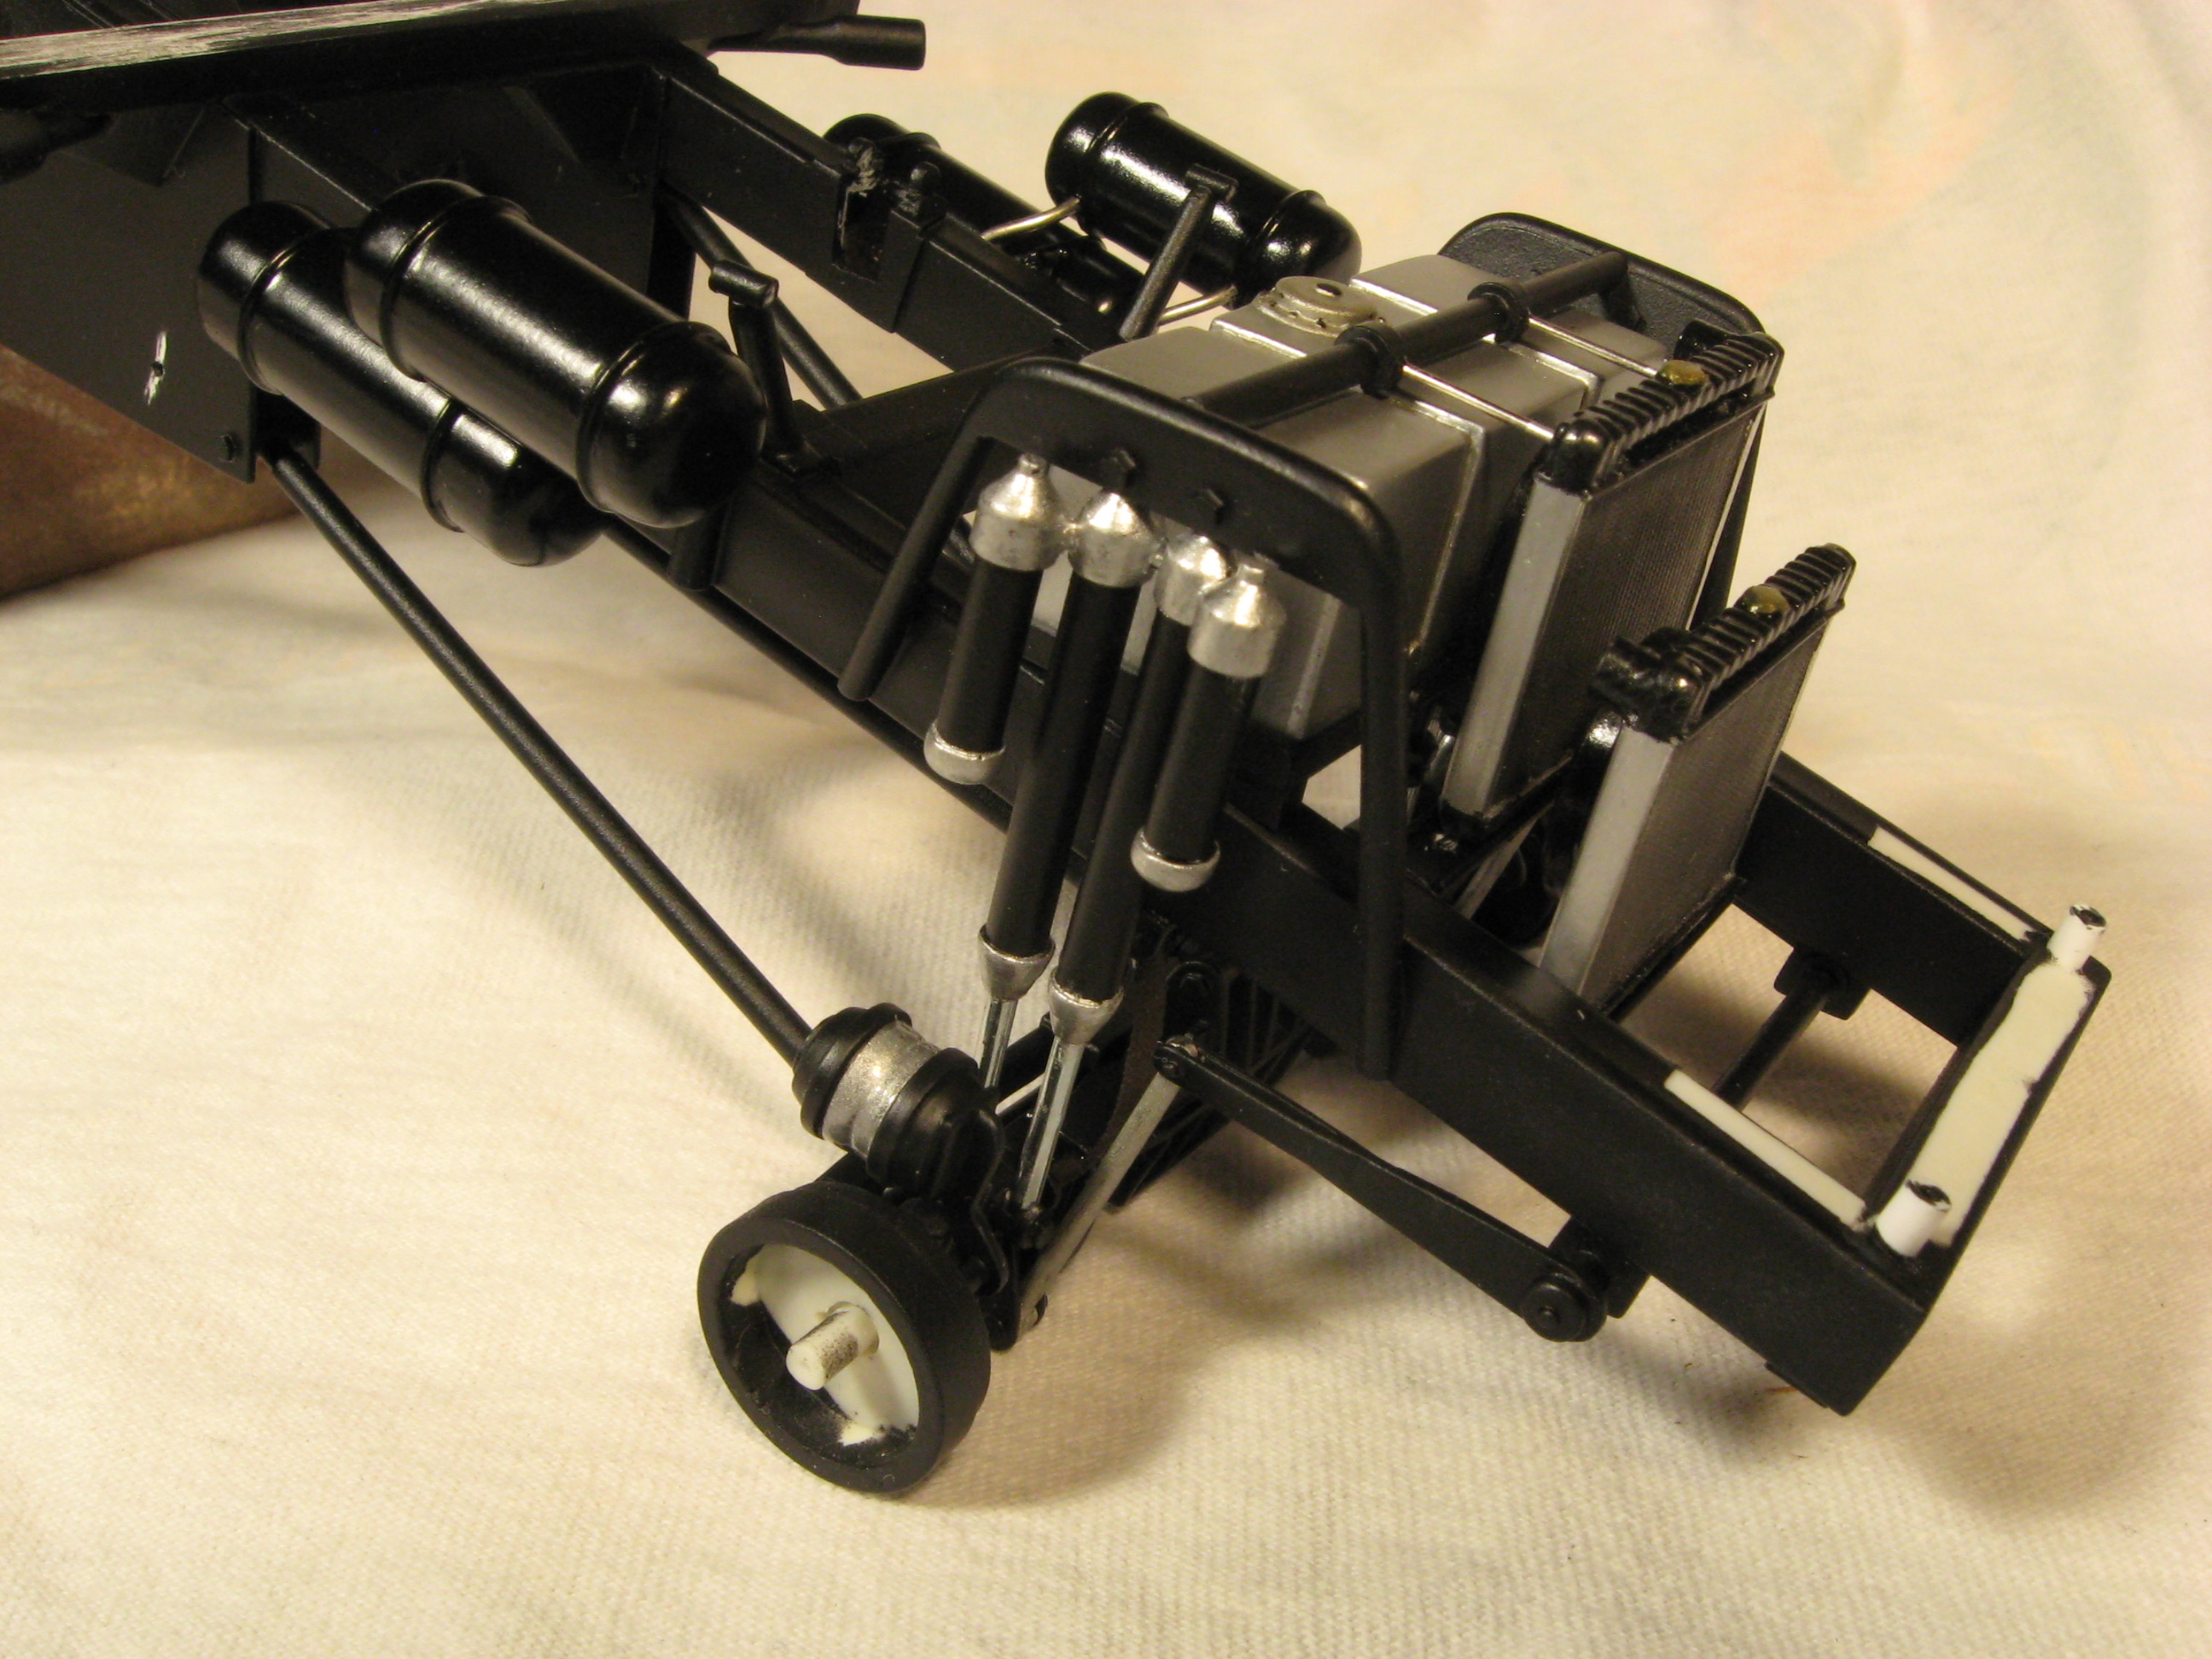
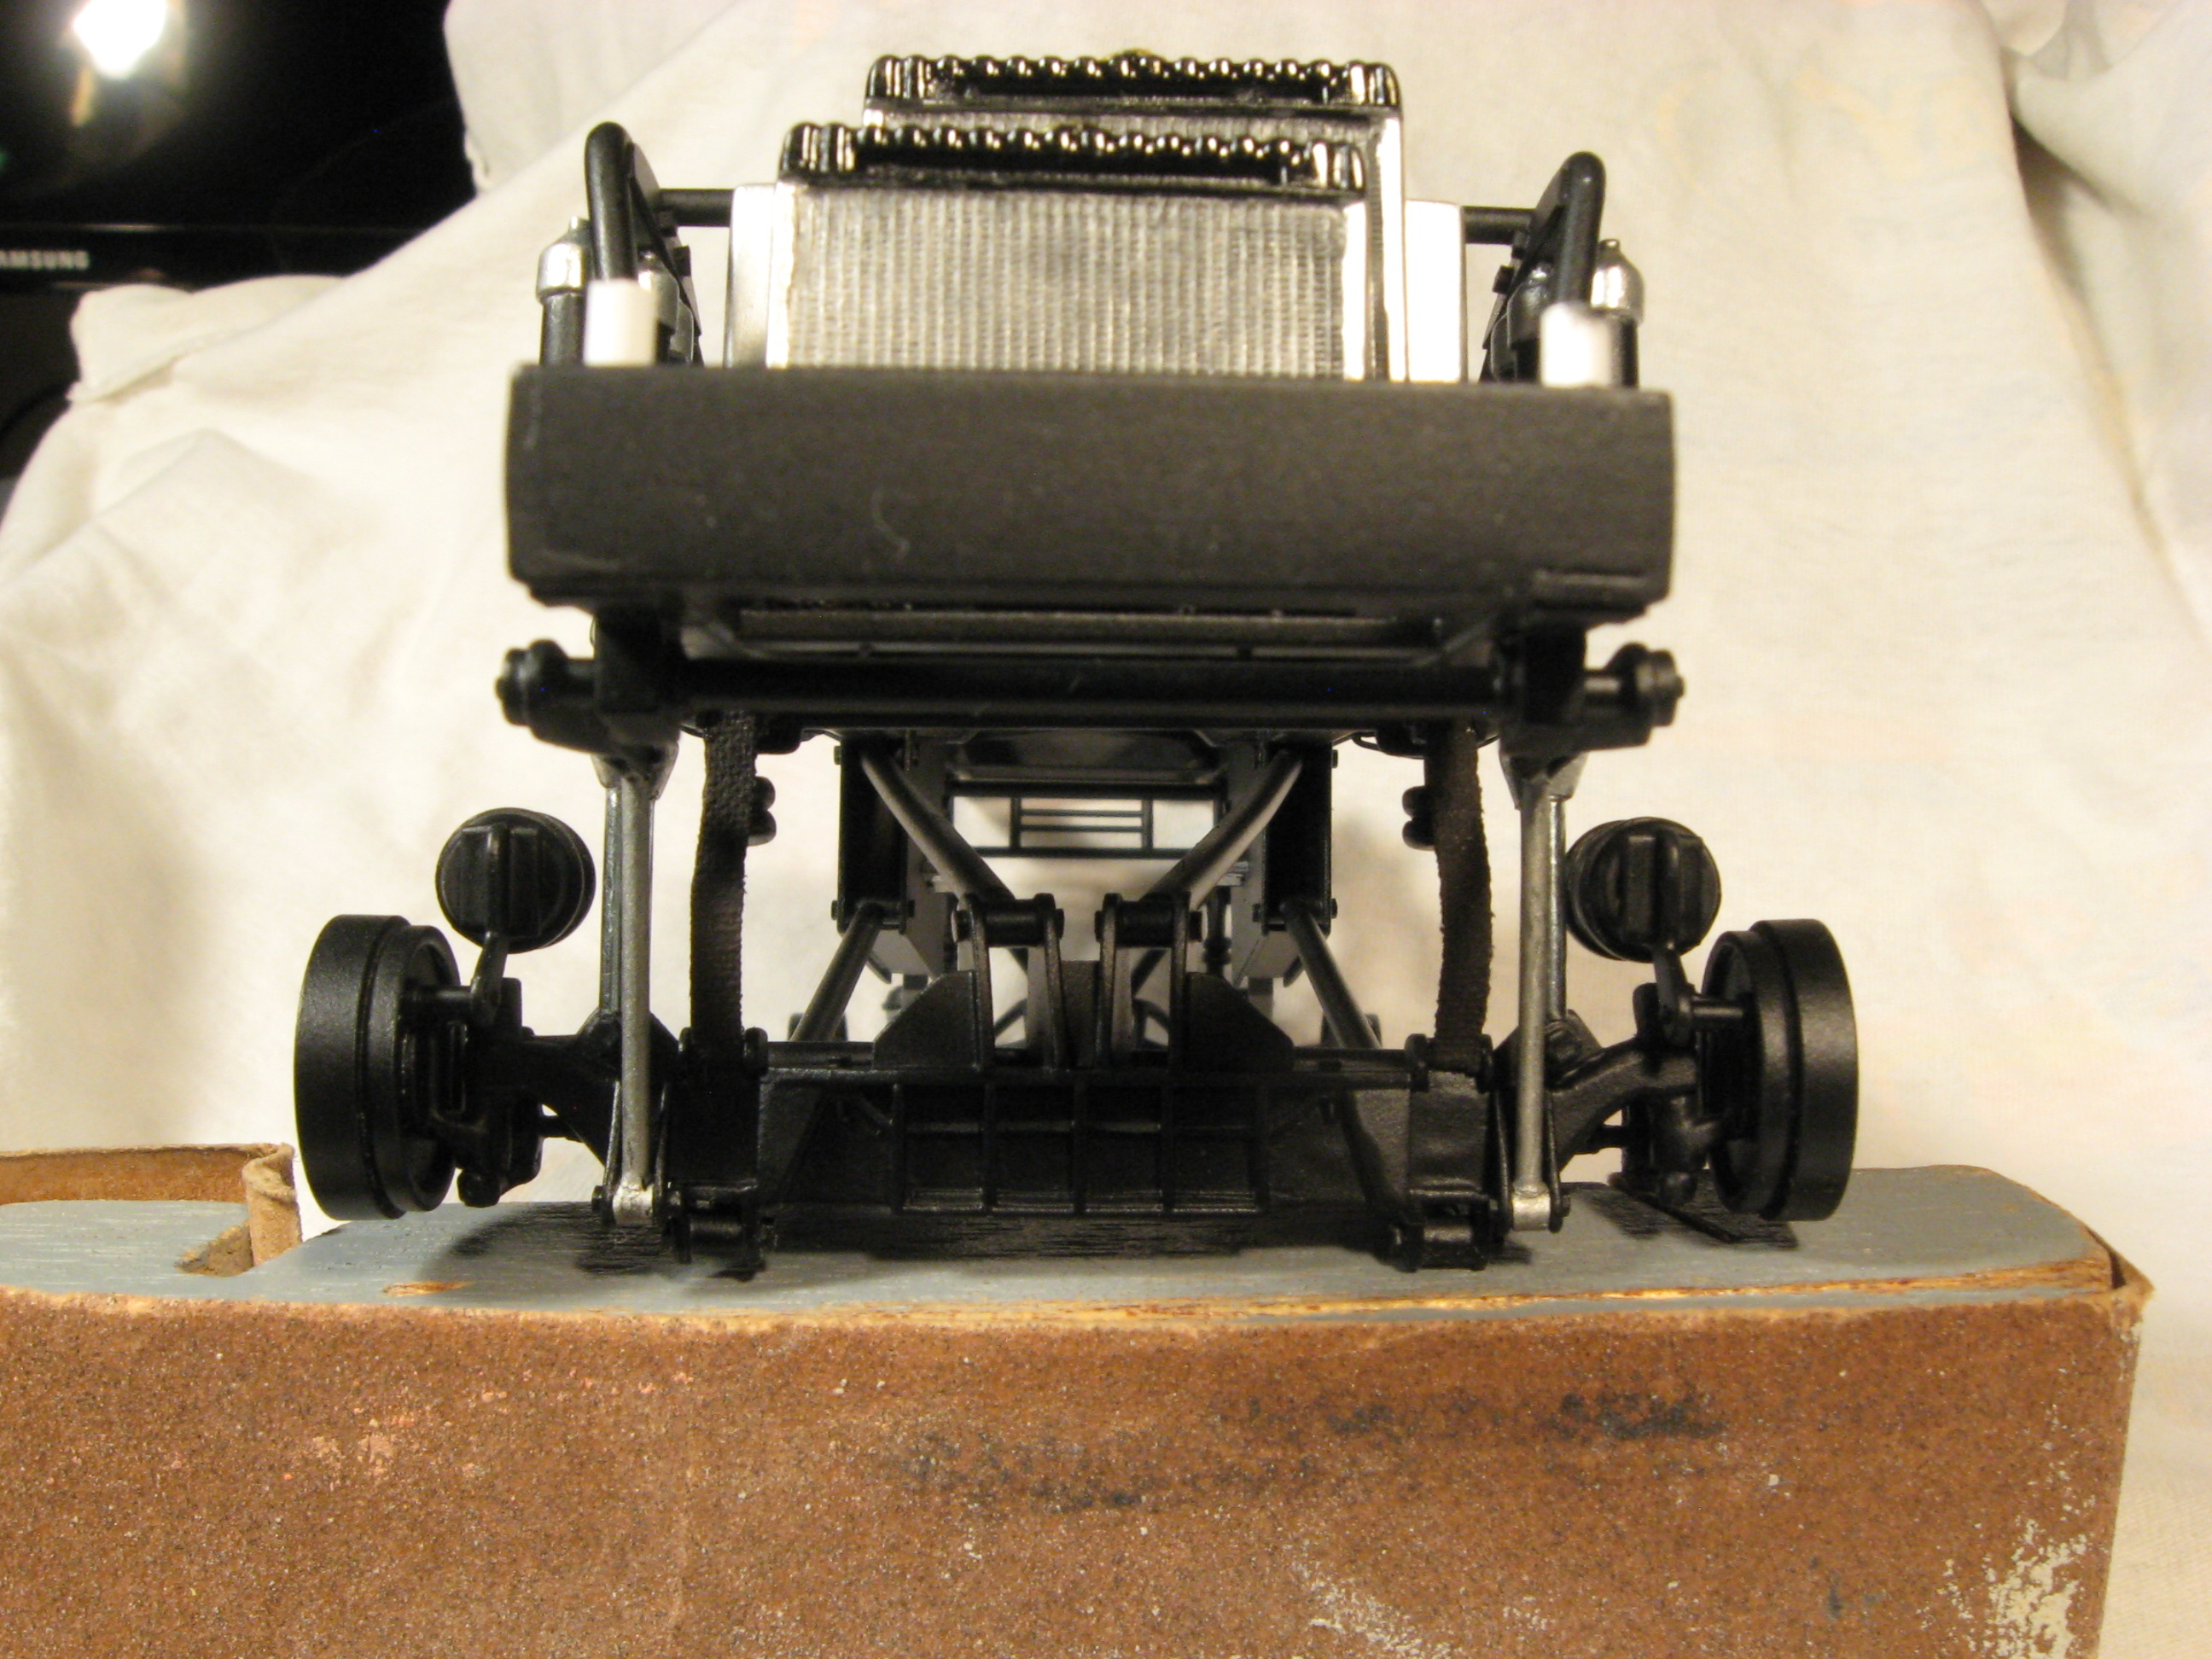
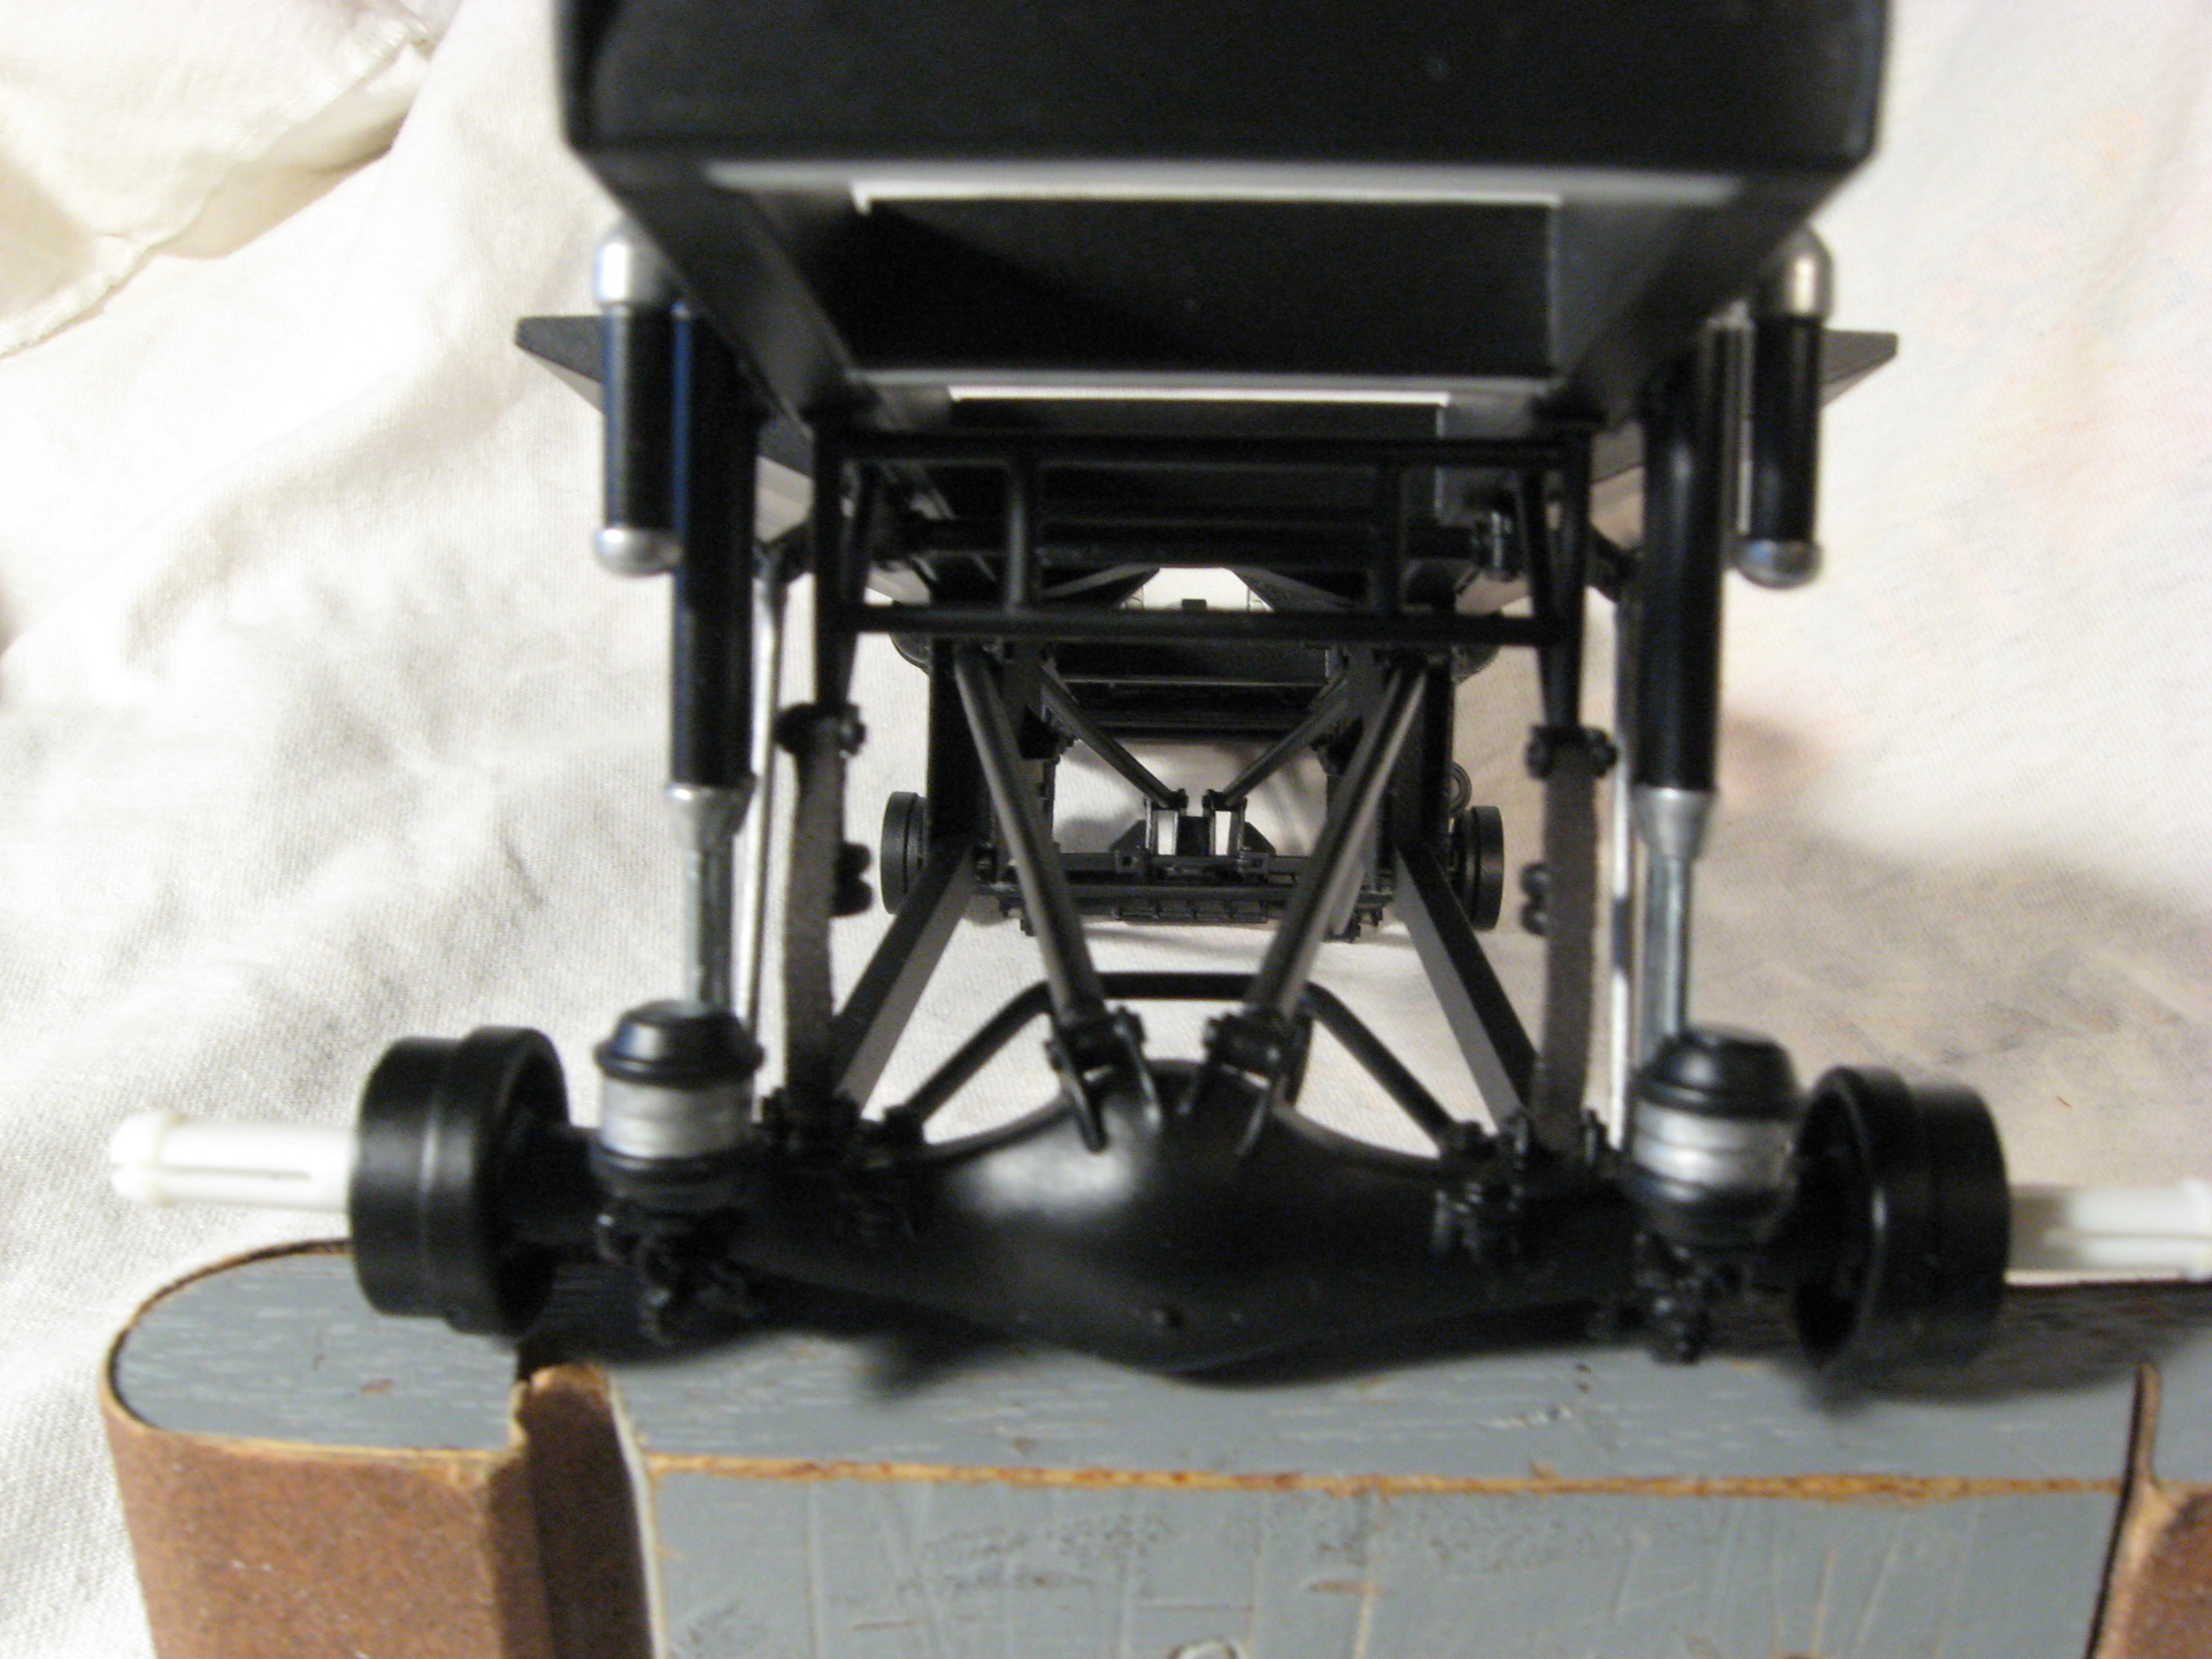
Thanks for the continued support it is appreciated and helps with the motivation to get this finished. It is time to give an update- I have had paint problems but hope to be moving past most of them The chassis is very close to finish and major painting is done. I will share lots of photos of this stage as reference for anyone who wants to or is building this. It's getting there, thanks for following. Steve
-

News of Revell molding preparing in US
Ridge Rider replied to Jon Cole's topic in Car Kit News & Reviews
Hopefully this and some others. From the Tom Daniel website http://www.tomdaniel.com/TD_sez/td_message.html Fans & collectors of Tom Daniel/Monogram Models hobby kits will be happy to know an American Company - ATLANTIS Models - of Deer Park, New York, has purchased all but five of the tooling - from the German Company that bought all of the Revell-Monogram assets, including the tooling for TD kits. Future re releases of Monogram/Tom Daniel model kits will once again be made in the U.S.A., which means starting in 2019, my model kit designs will again be available in the TD Store! STAY TUNED! -
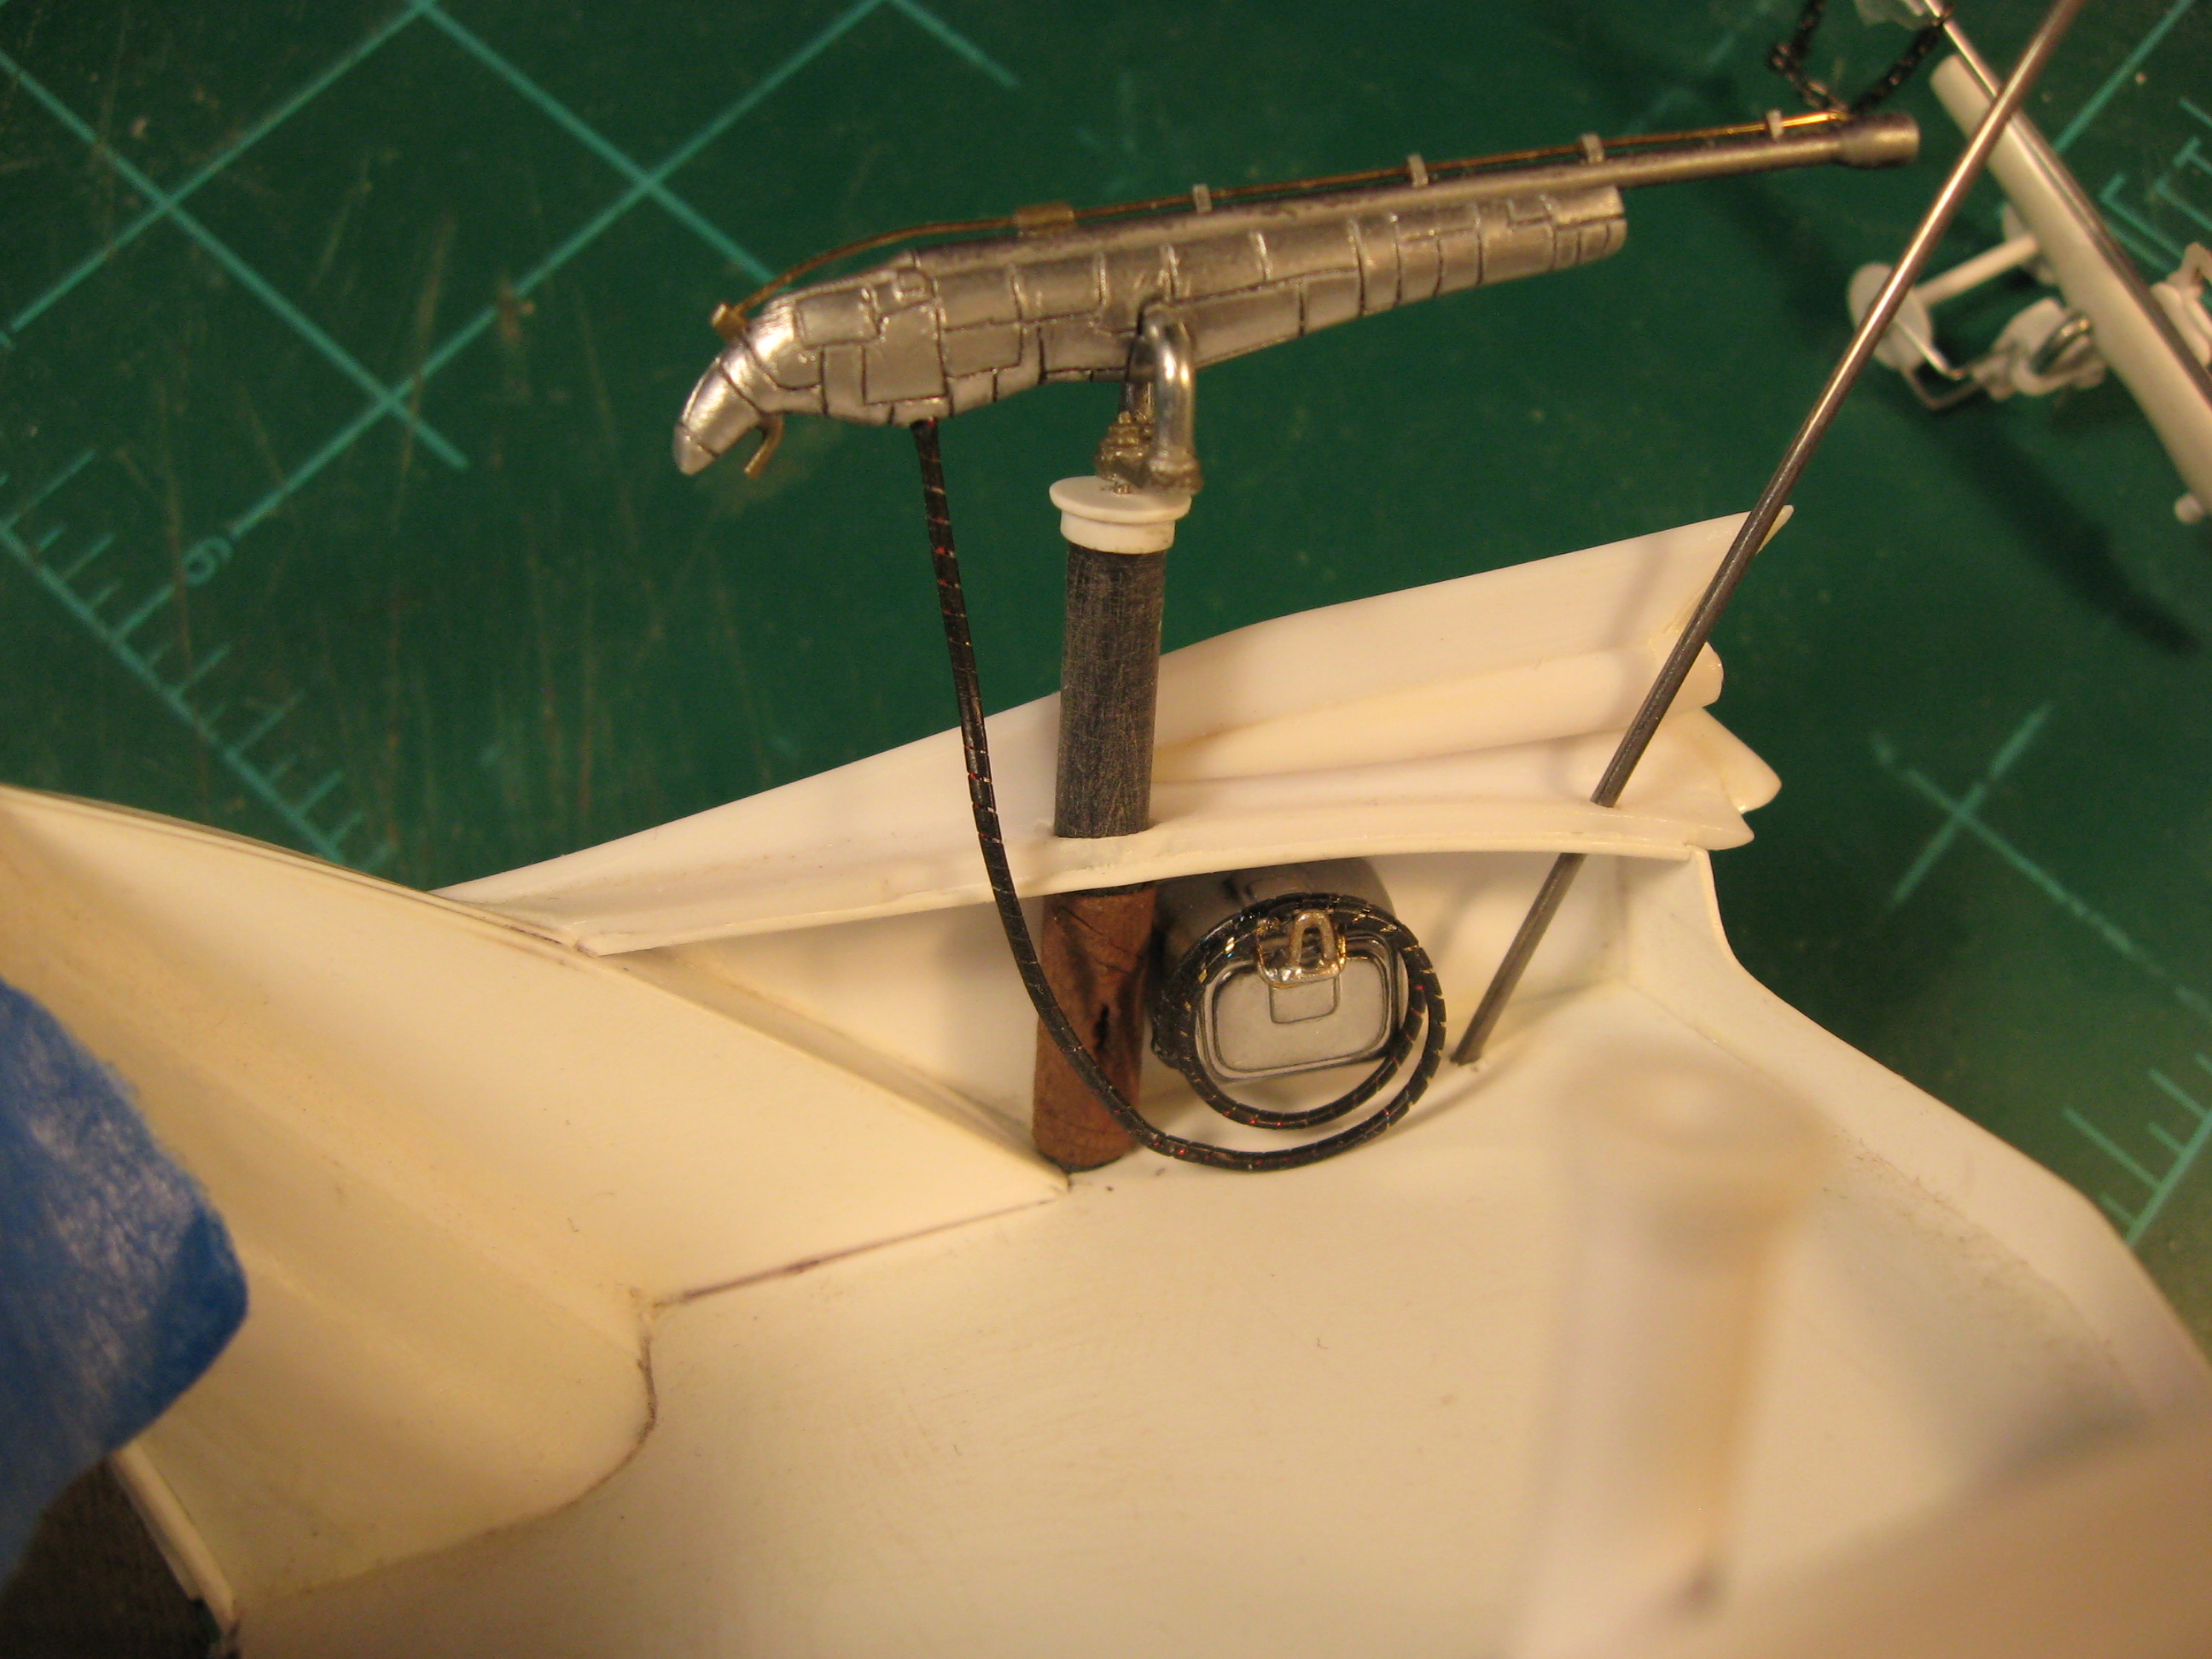
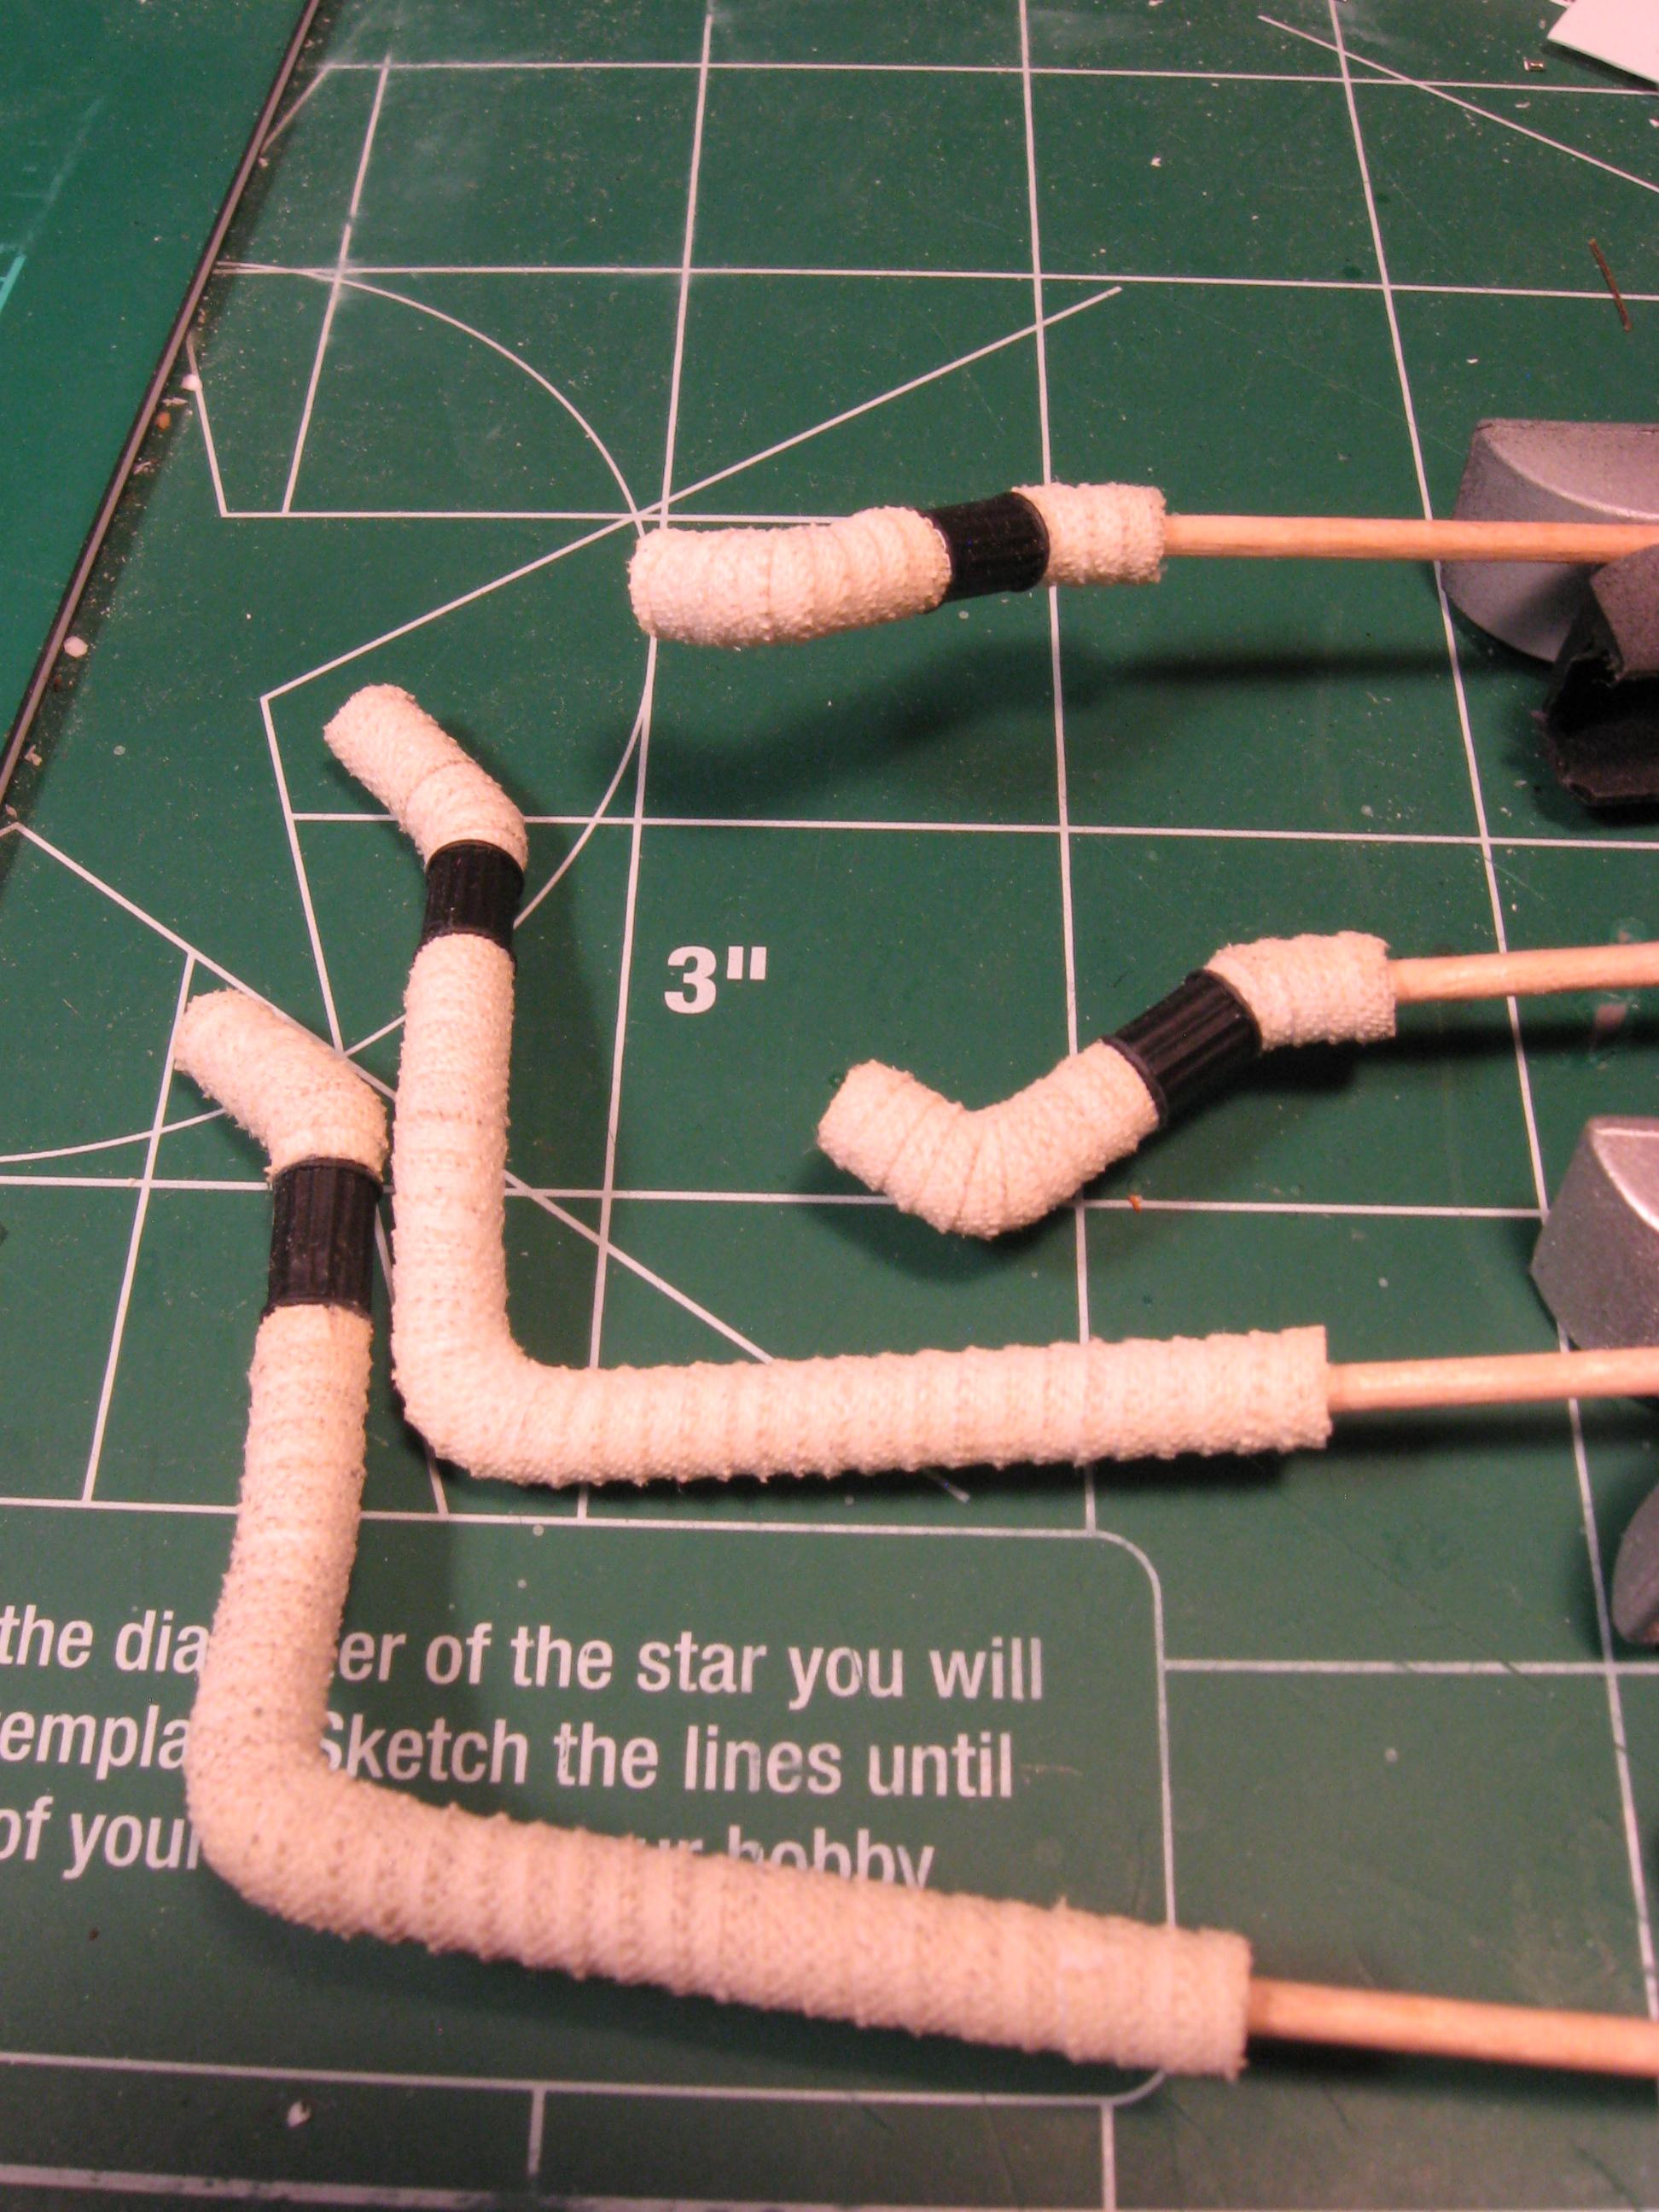
Hi everyone, thanks for the continued support. I'm still making progress so it's time for an update. I got the flamethrower done and I'm pleased with how it turned out. I still need to paint and detail the wood posts the the armaments sit on but it's looking right. These parts are not glued together yet, just staged for the pics. I have all the plumbing done, not going to try to stage that pic. I found this solder to be close to the right size and easy to work with-it's almost an 1/8". I made patterns of my bends in light gauge wire but still ended up making about a half dozen each to get it right. Yes it tried my patience. I'm working on the glass using this technique, Thank you Tulio. I used two windshields to make the pattern for the wider glass and decided to do the stock one as well. Like a few things on this build it's taking several attempts to please me but it's getting closer. Fabrication is very close to being done and primer should be on the way. Thanks for looking, Steve
-
A few staged pics with the exhaust. It will fit better when glued. Thanks for looking-Steve
-
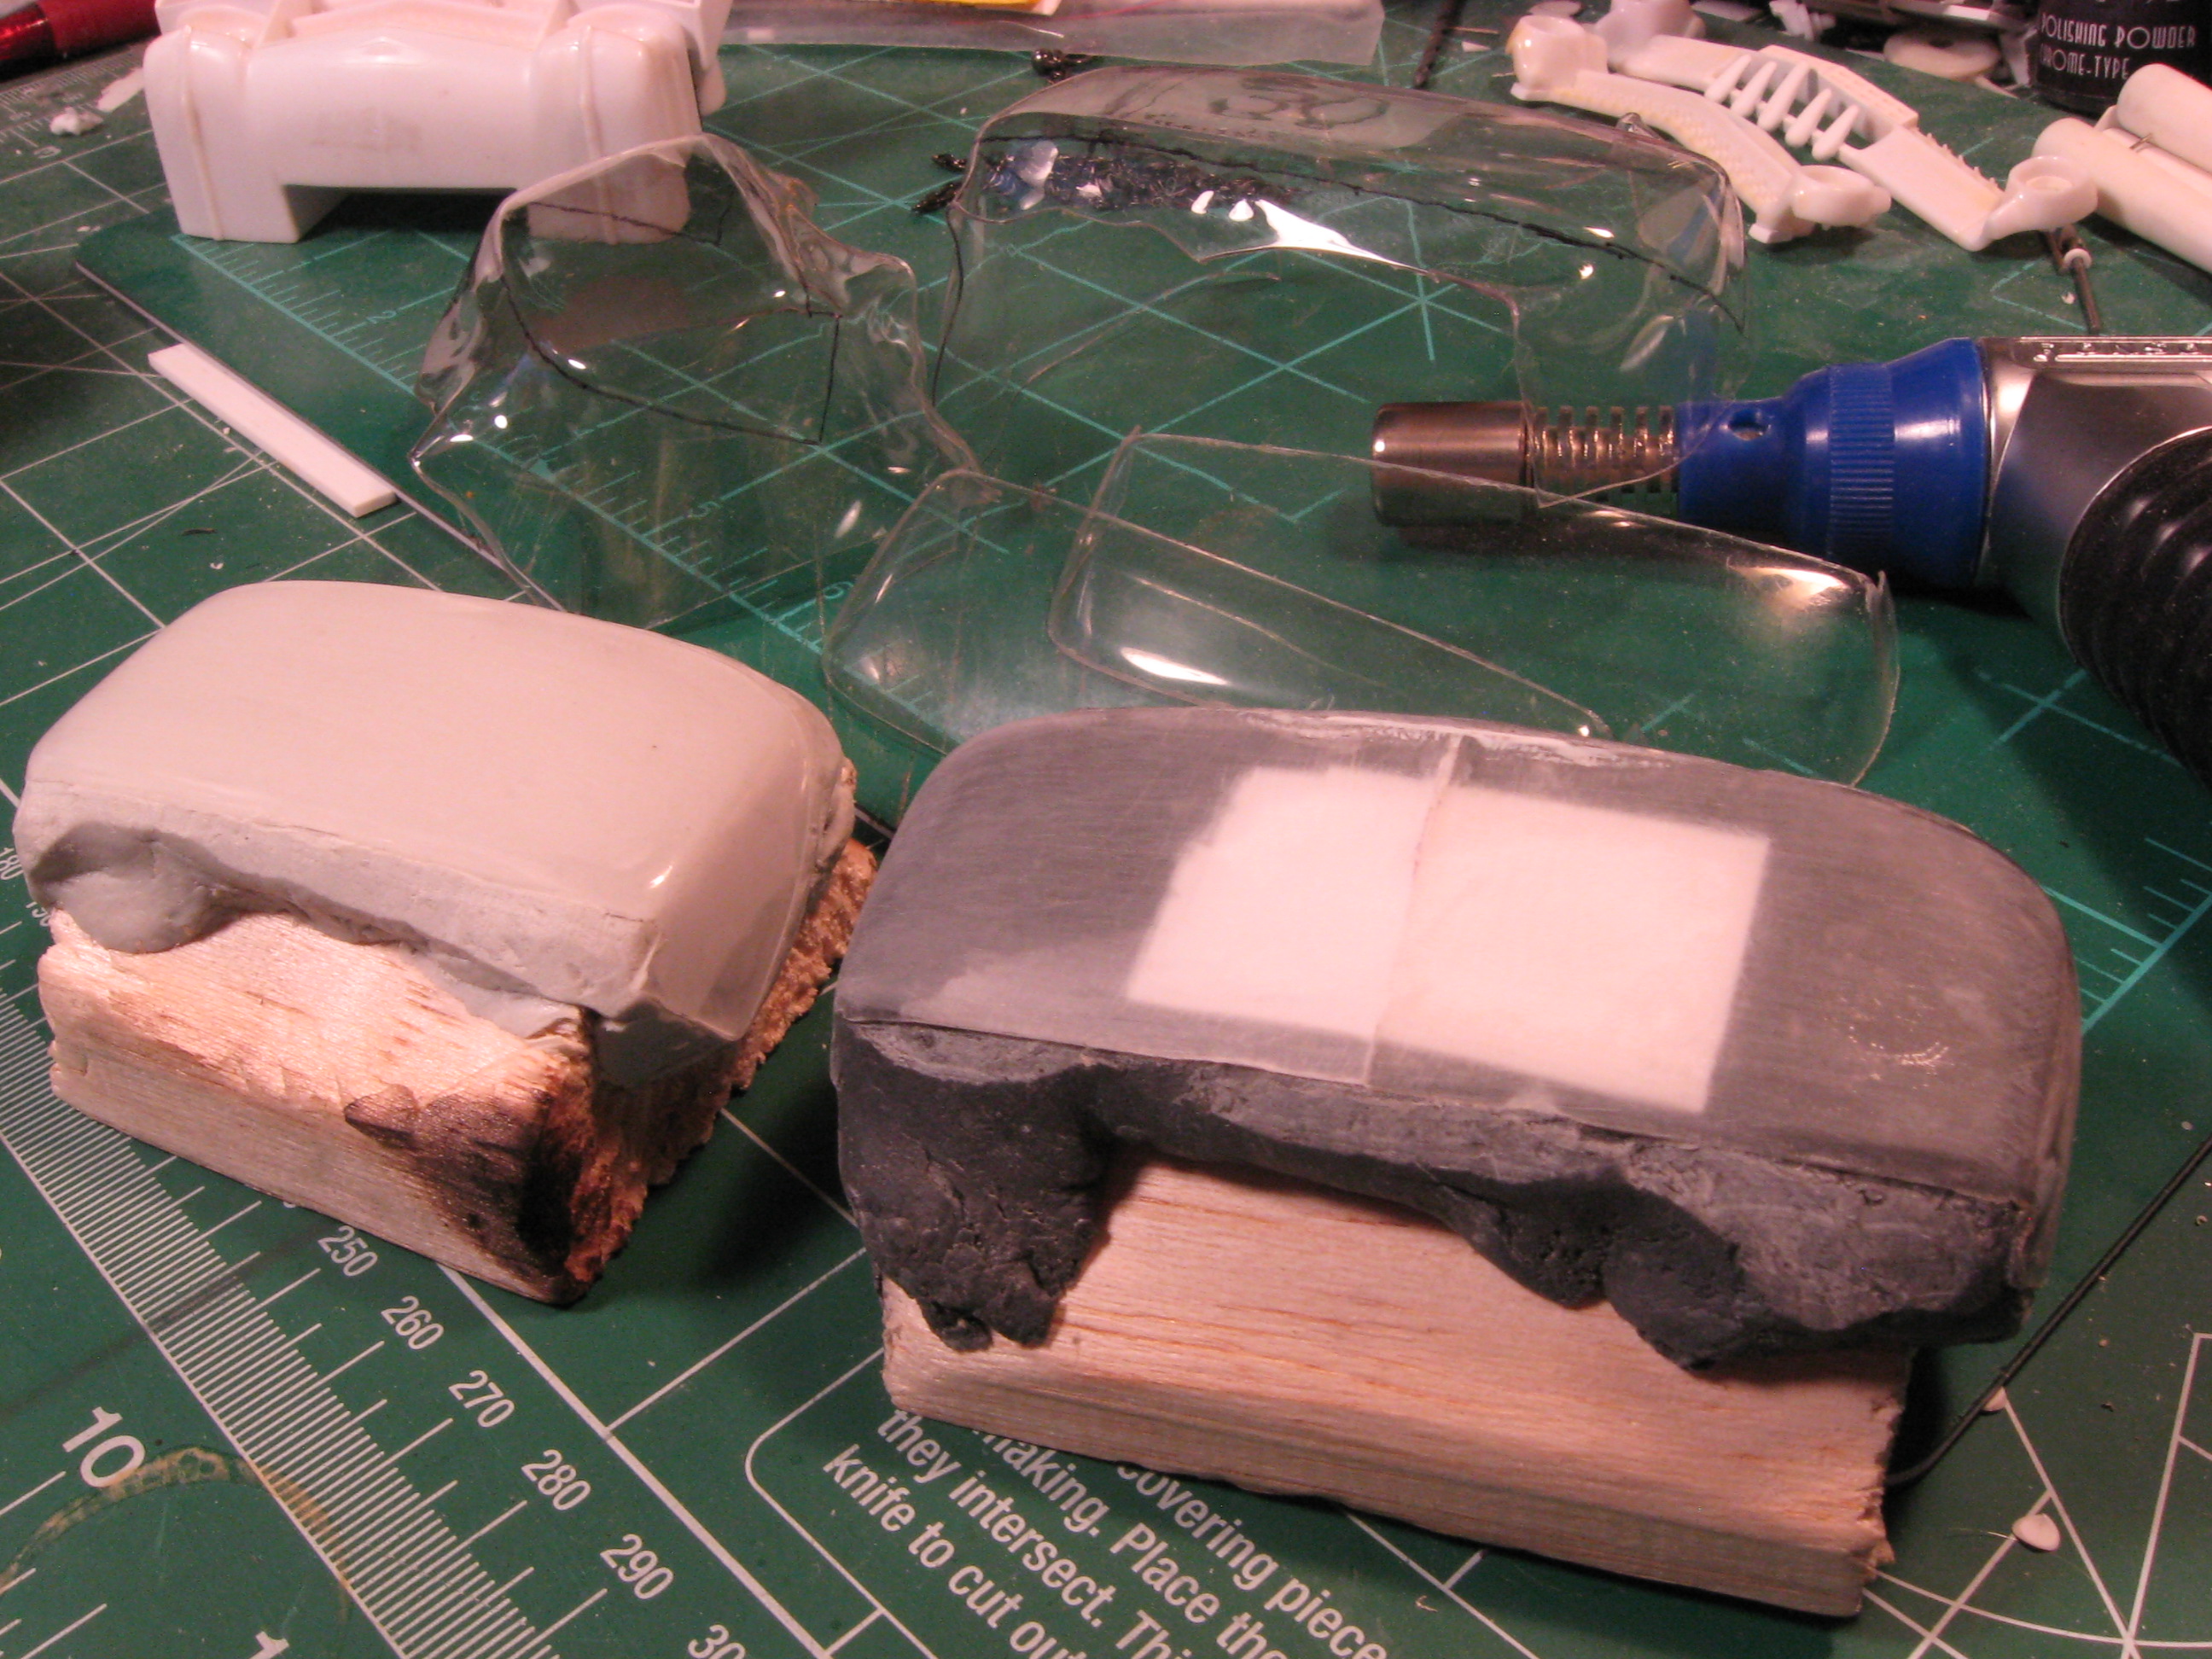
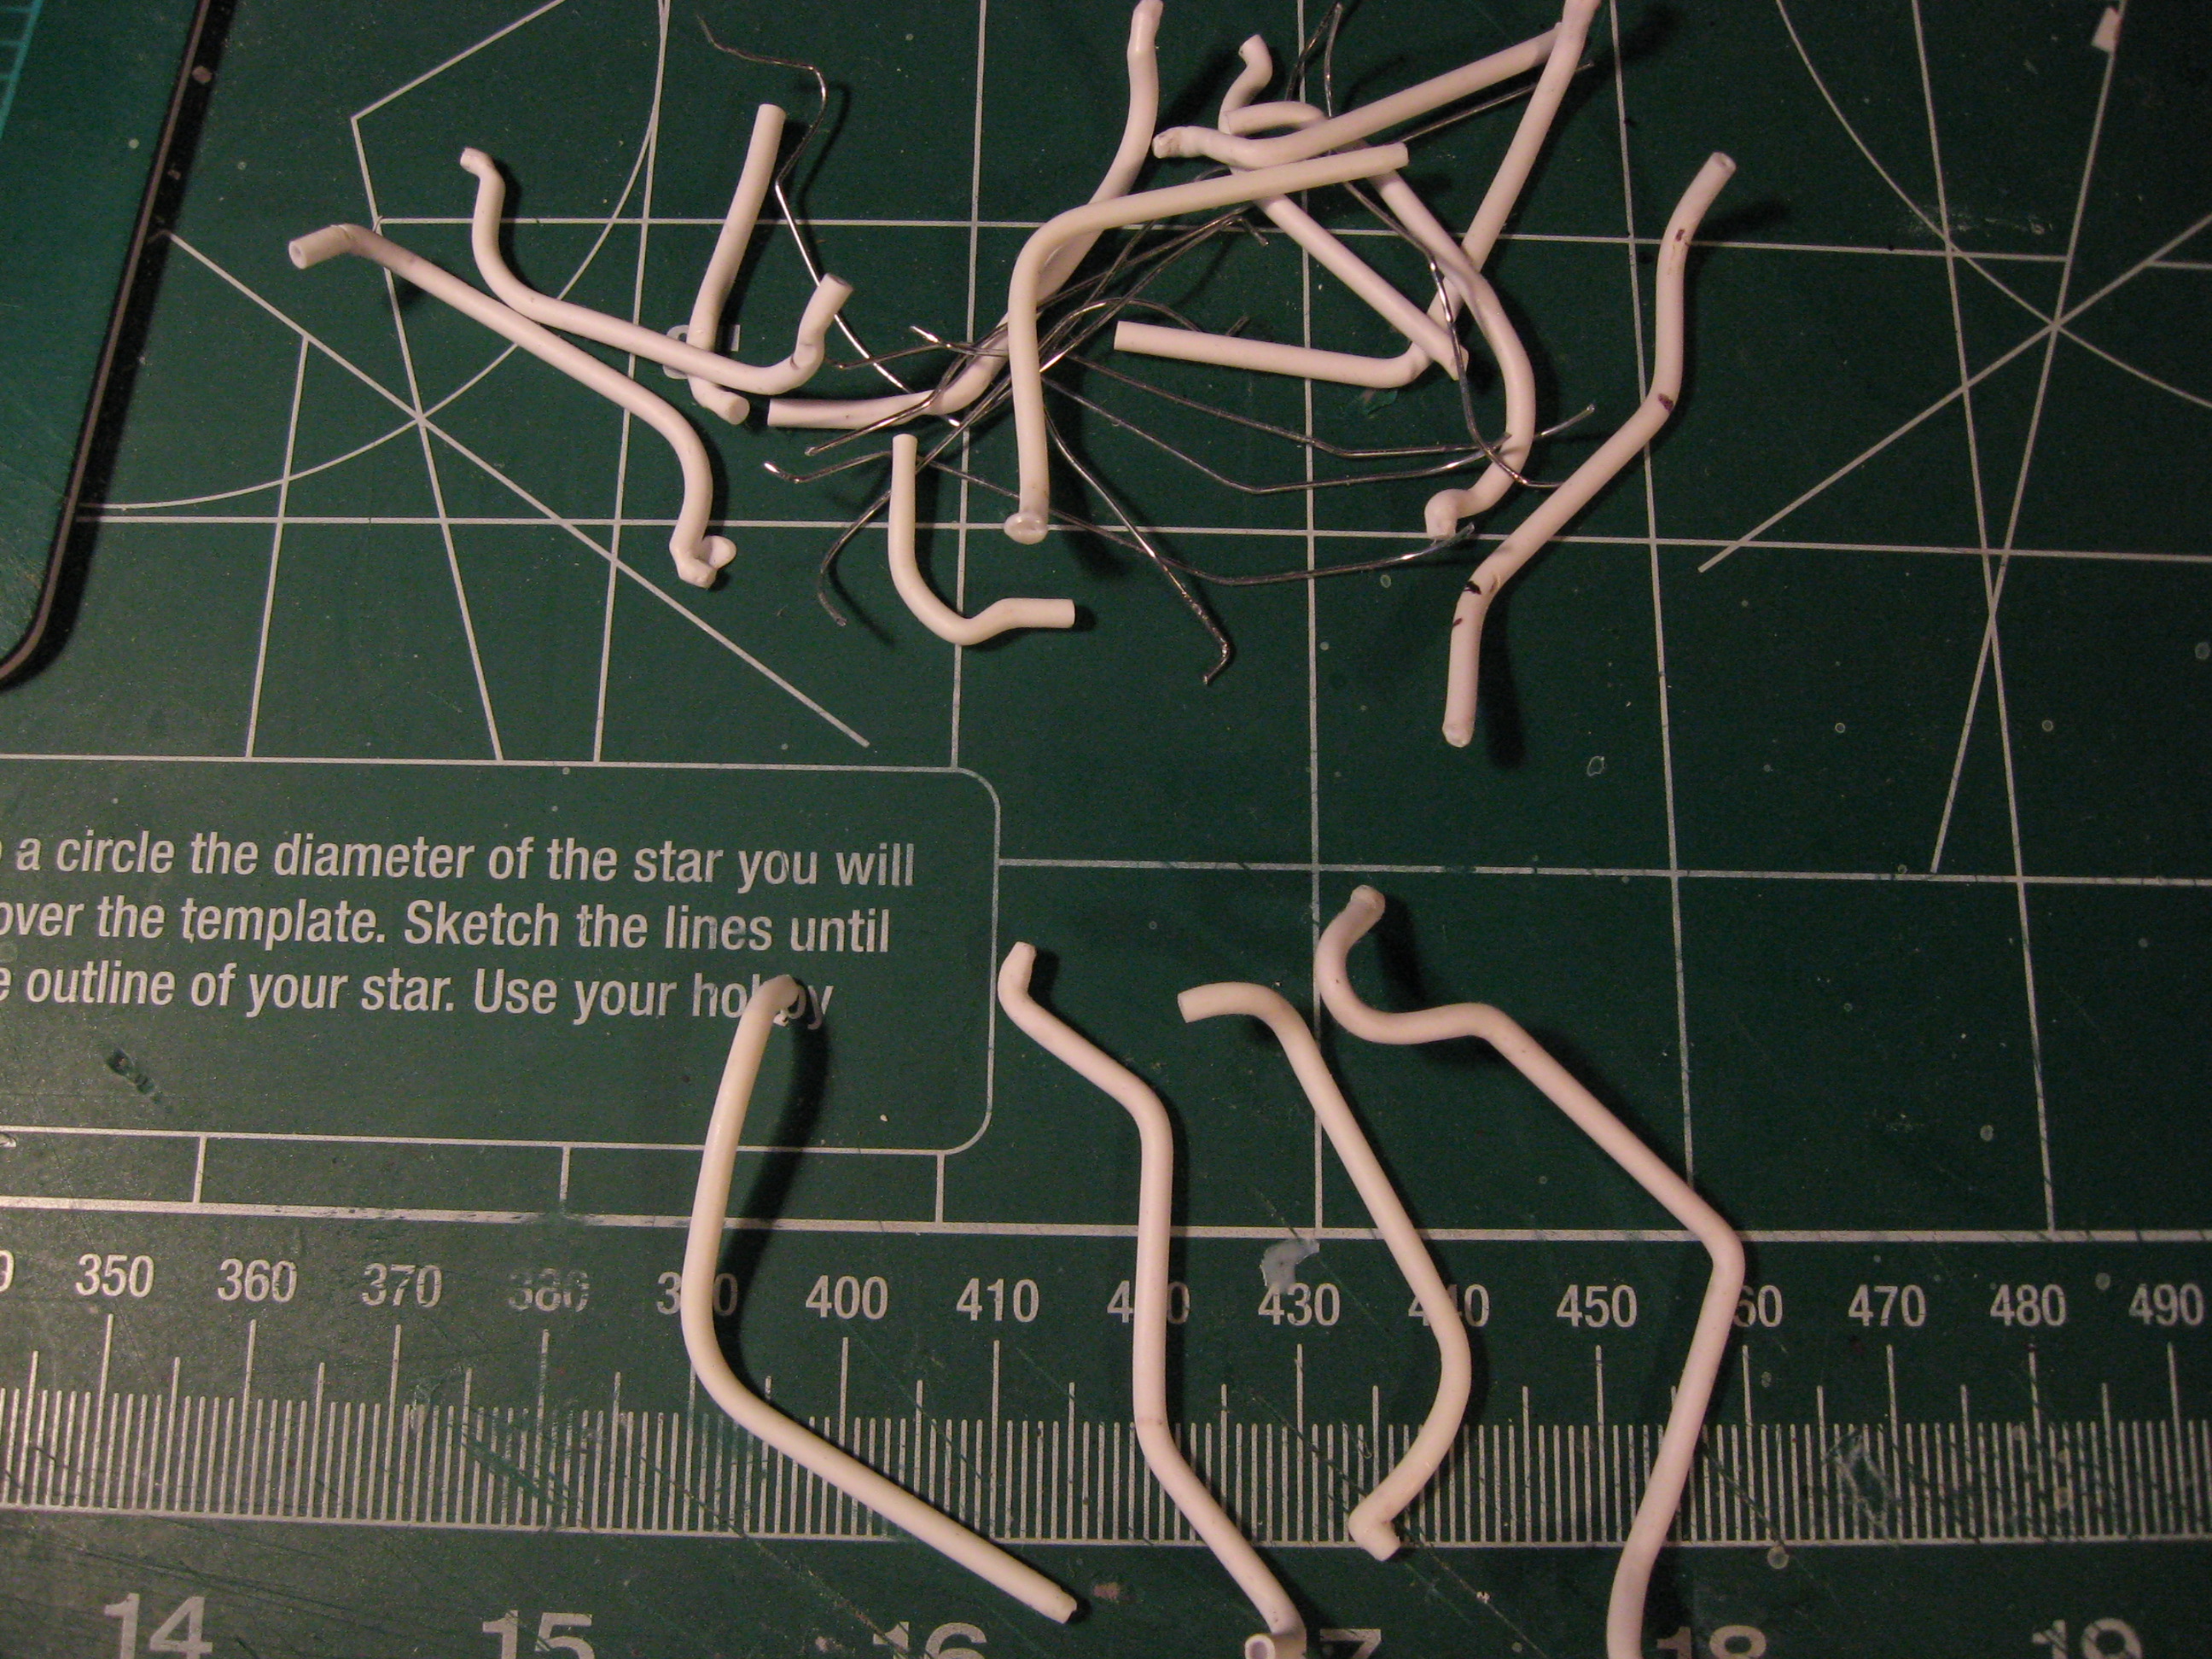
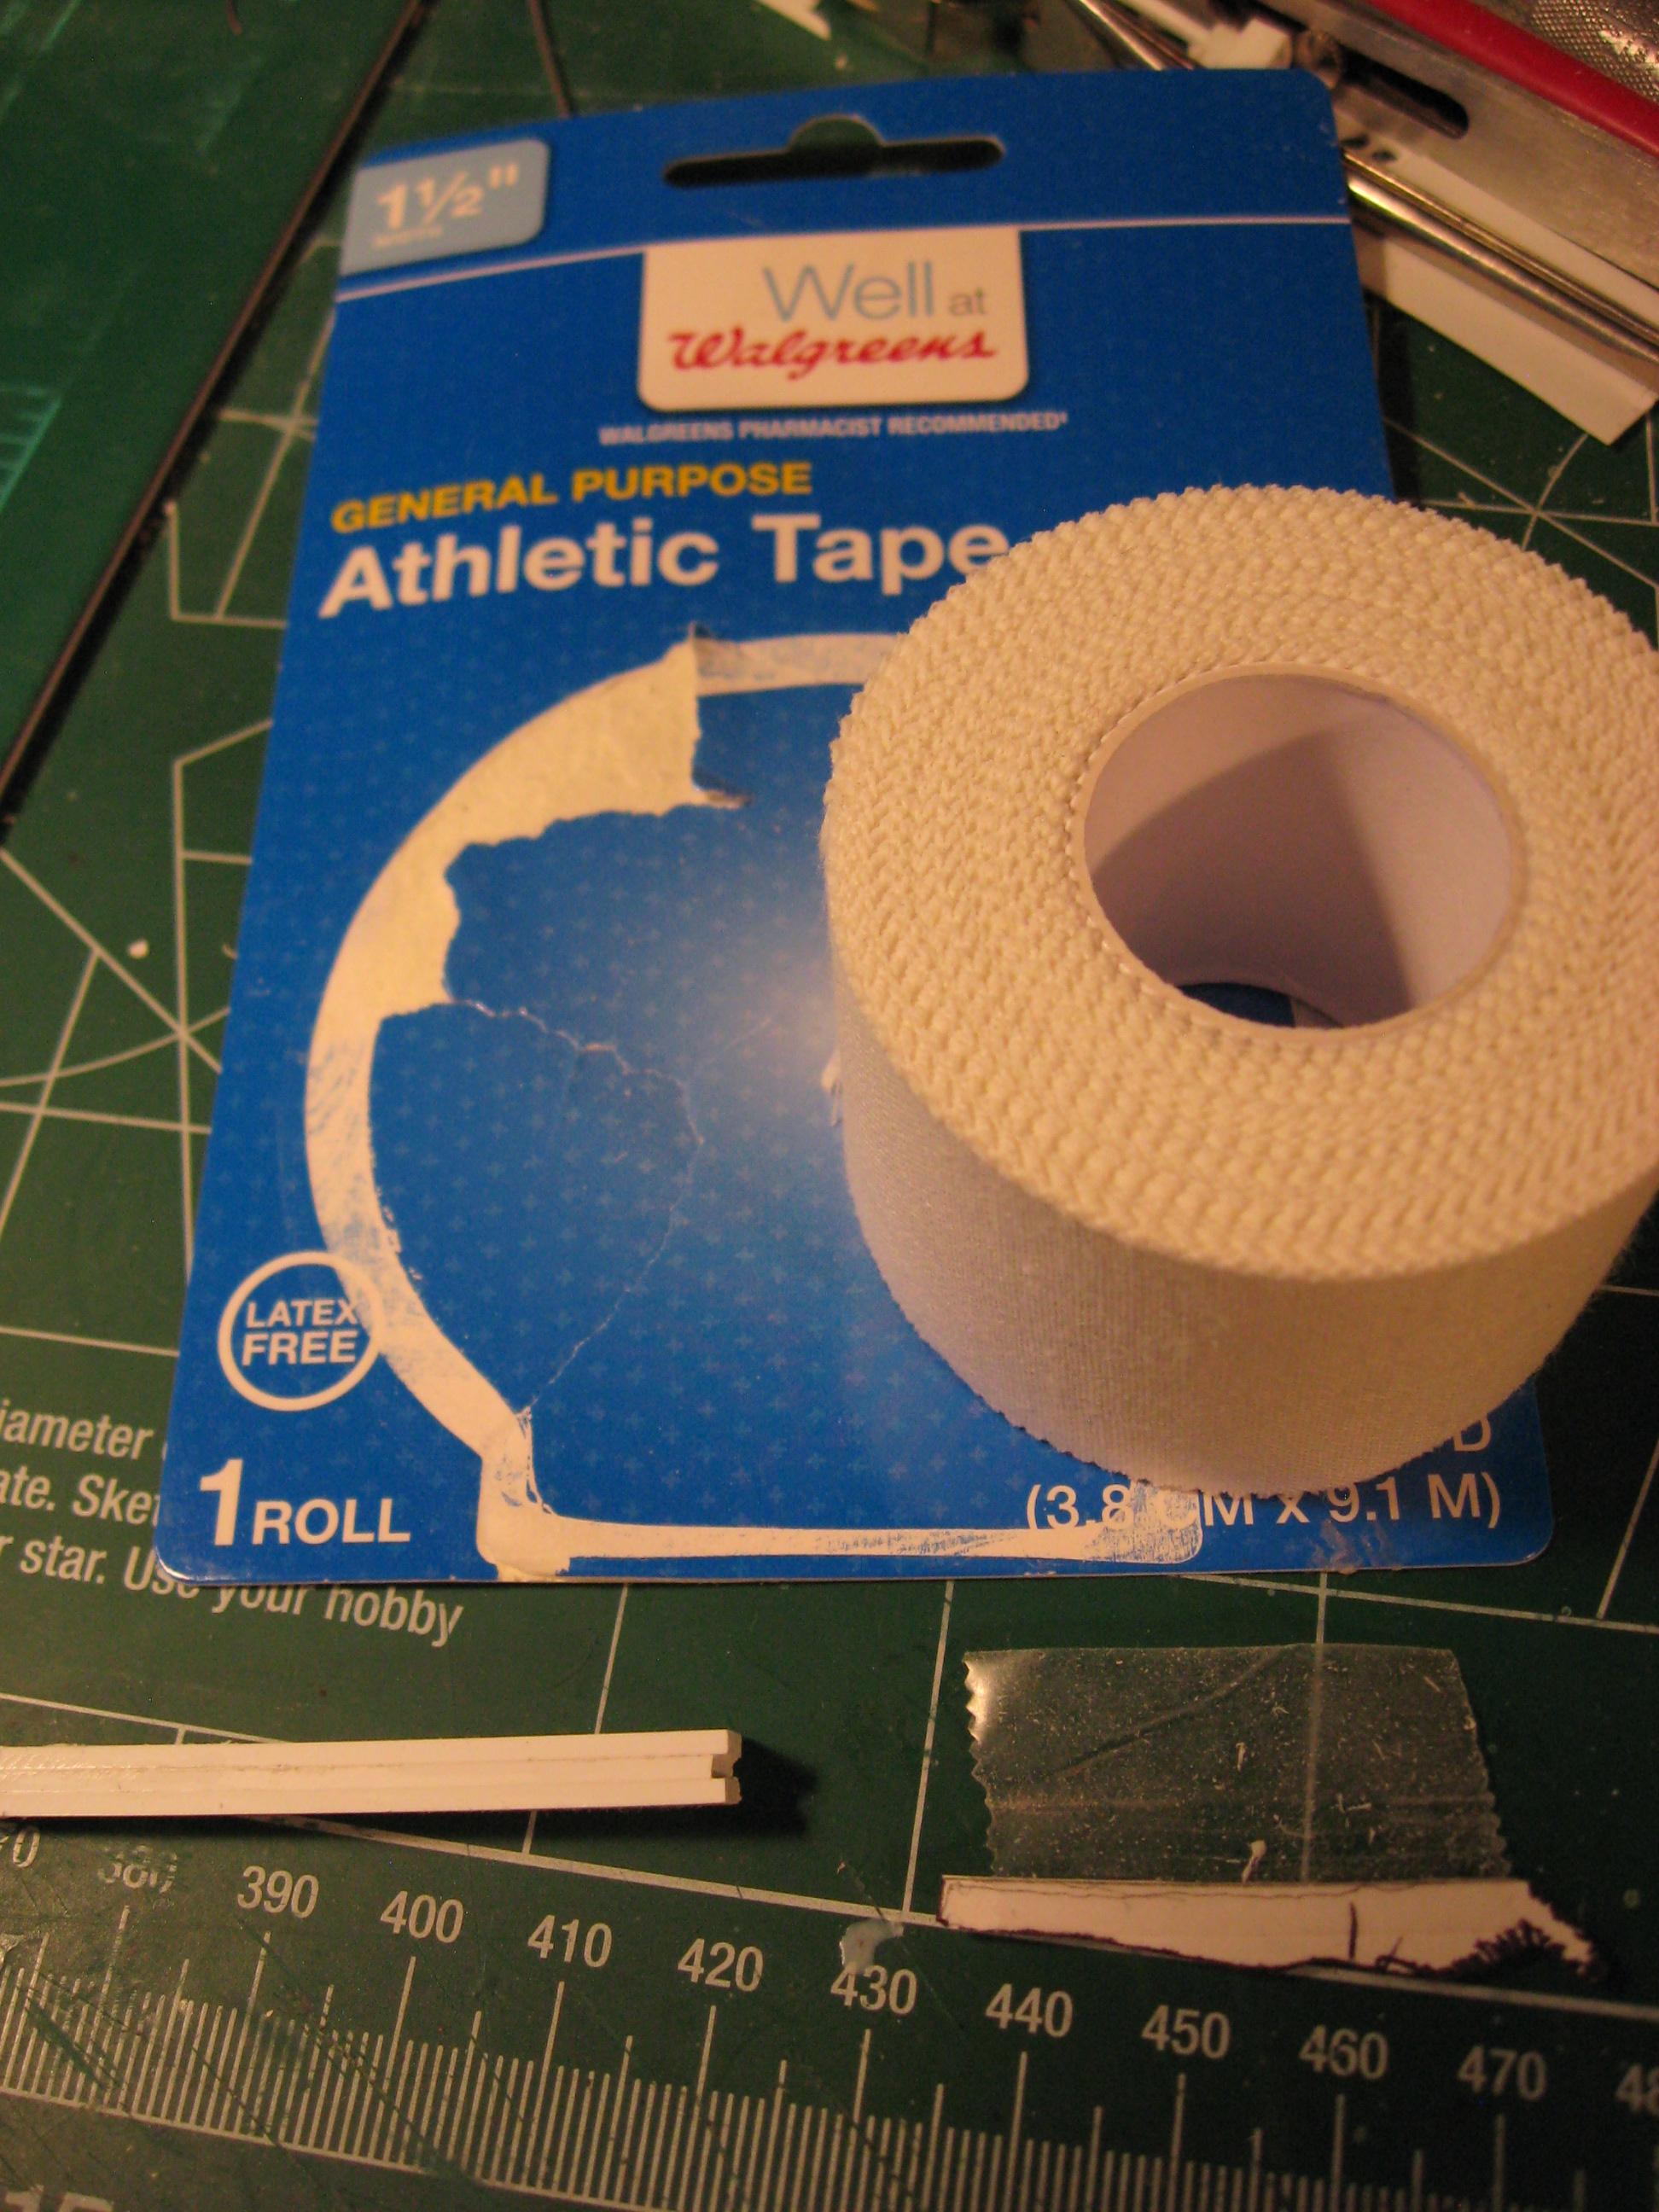
Hello everyone, thanks for your continued support. I am still working on this and have some progress to share. After many patterns with wire and many more with .080" rod (the mess above)I think I have workable radiator hoses. I finished the exhaust. I used this tape, which is self adhesive, cut to 1/8" wide. I applied it and then colored it with watered down acrylic paint. It slightly curls the leading edge but the adhesive seams to hold fairly well. I also made a paper pattern for the flame thrower and laminated three .060" thick styrene to carve the flame thrower. After attempting panel lines and some color I think it works and I can move forward with it.
-
What a cool combo-well done.
-
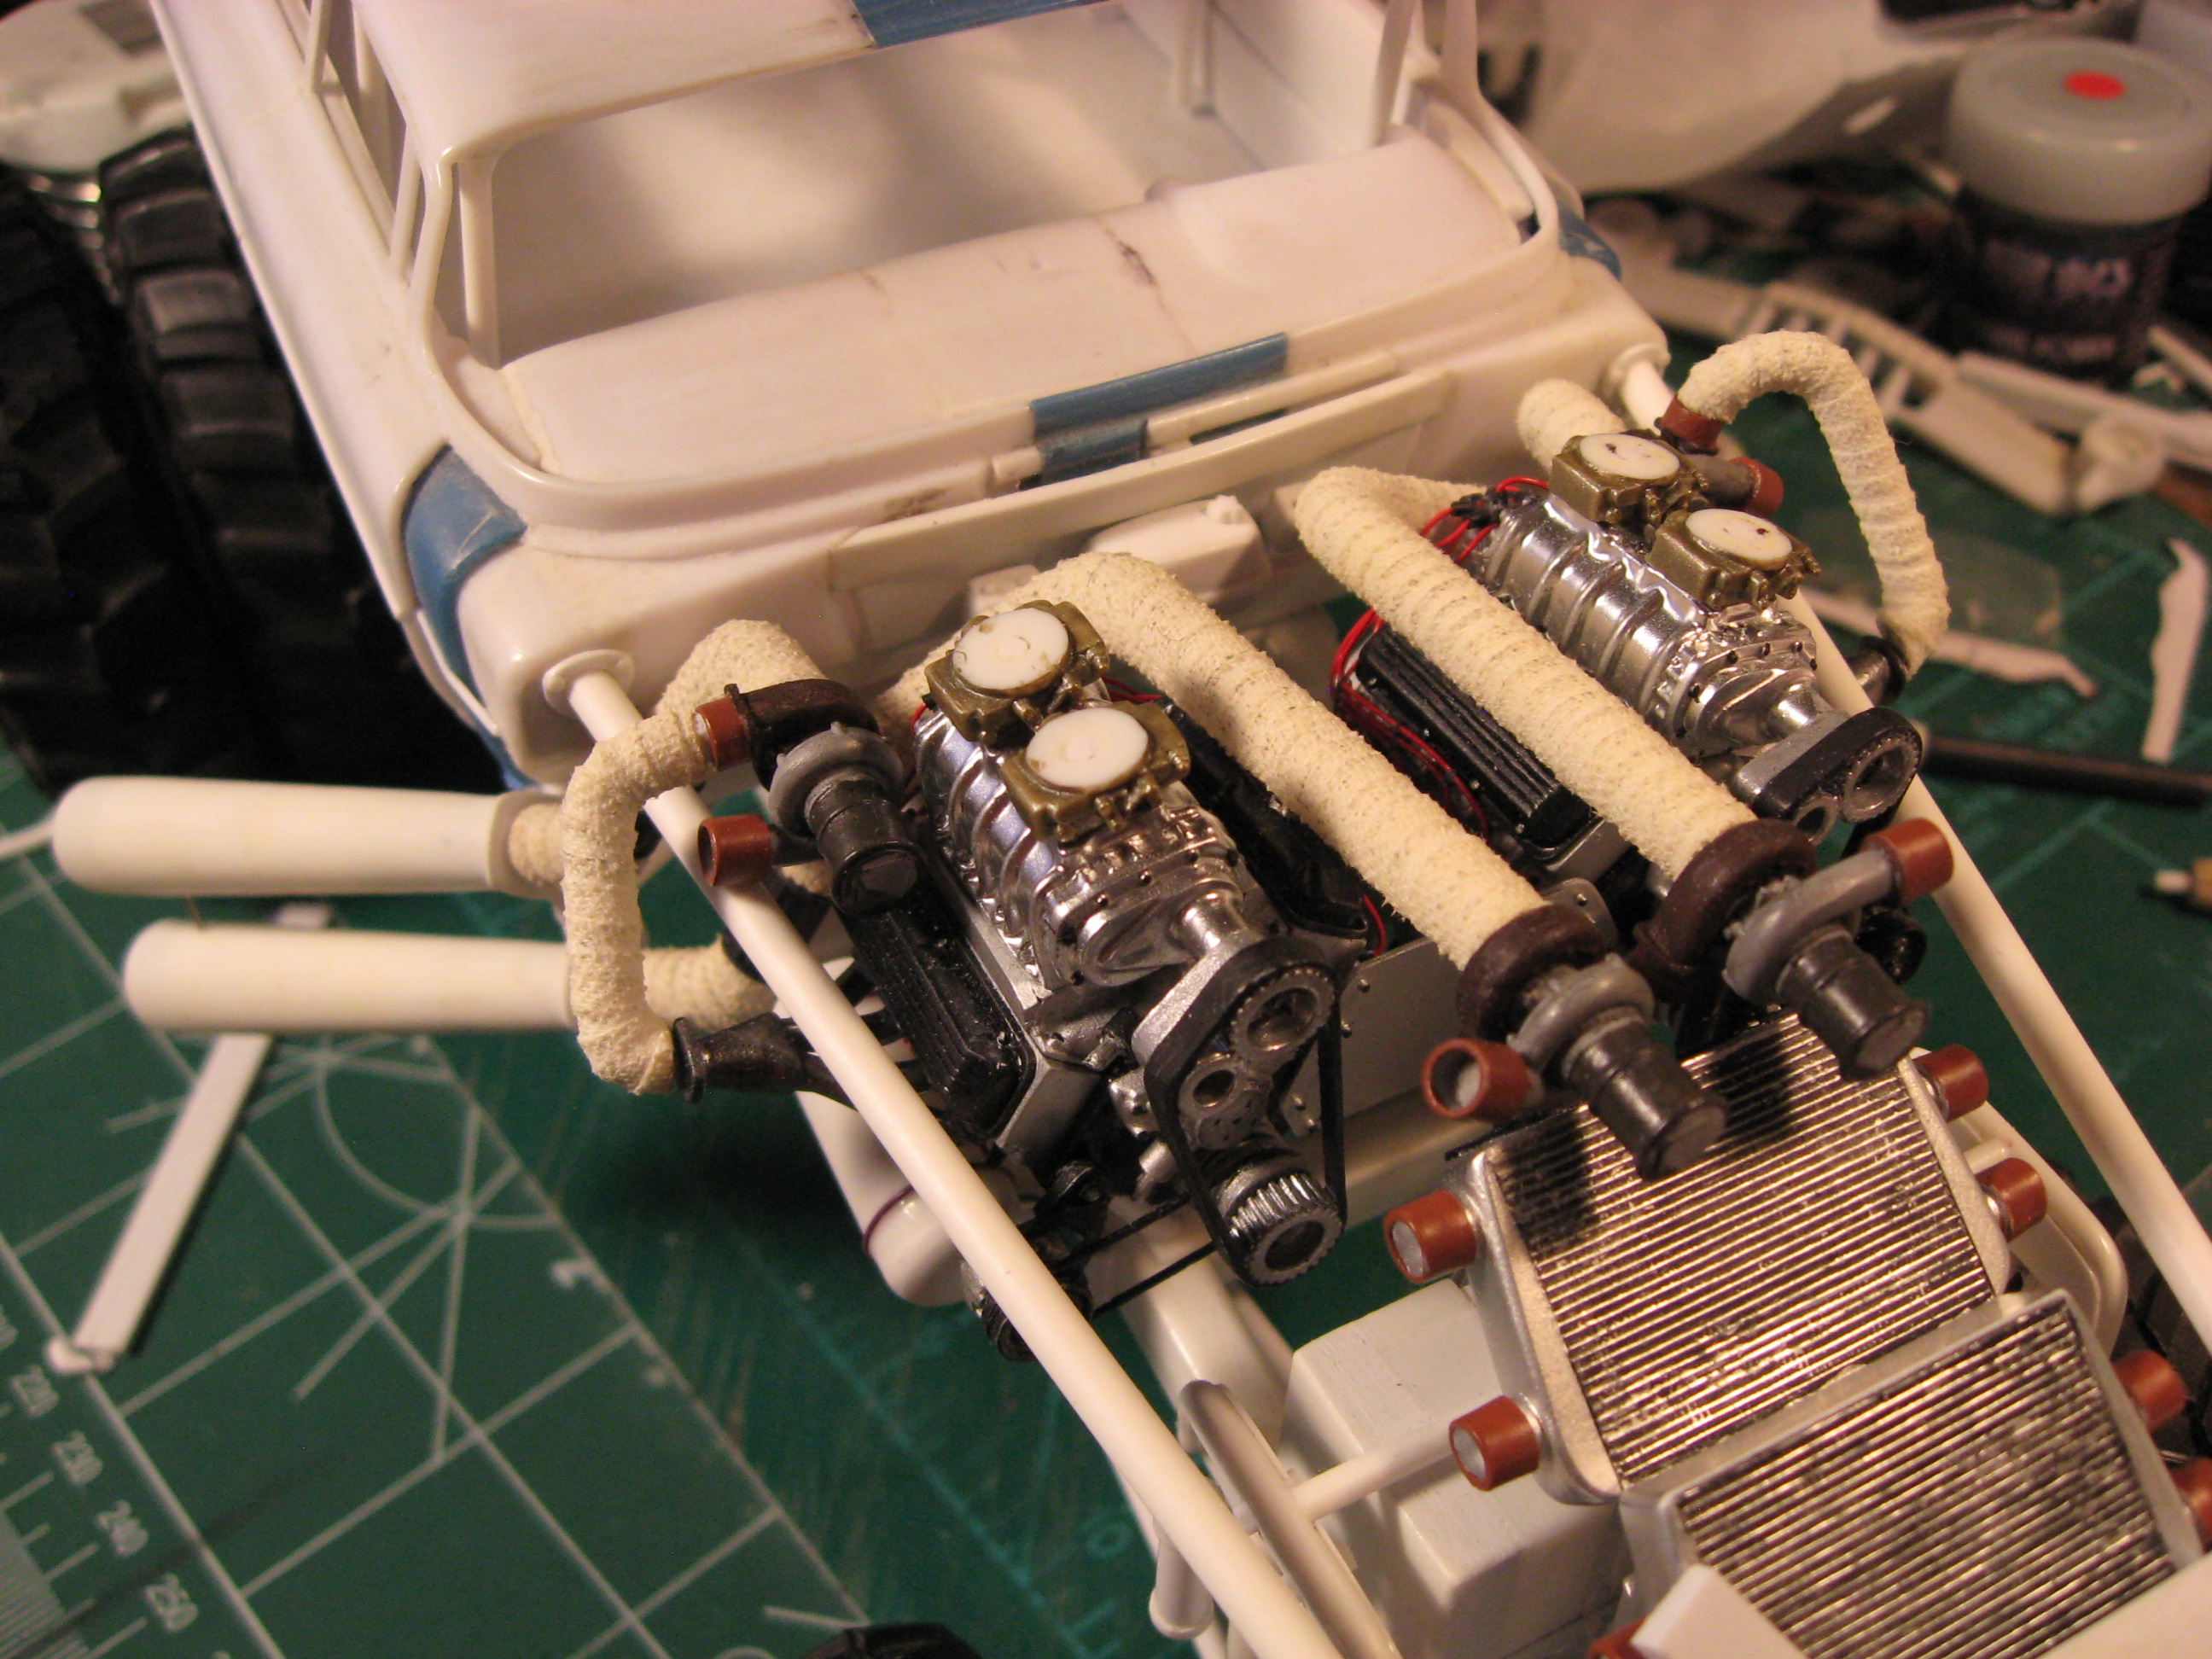
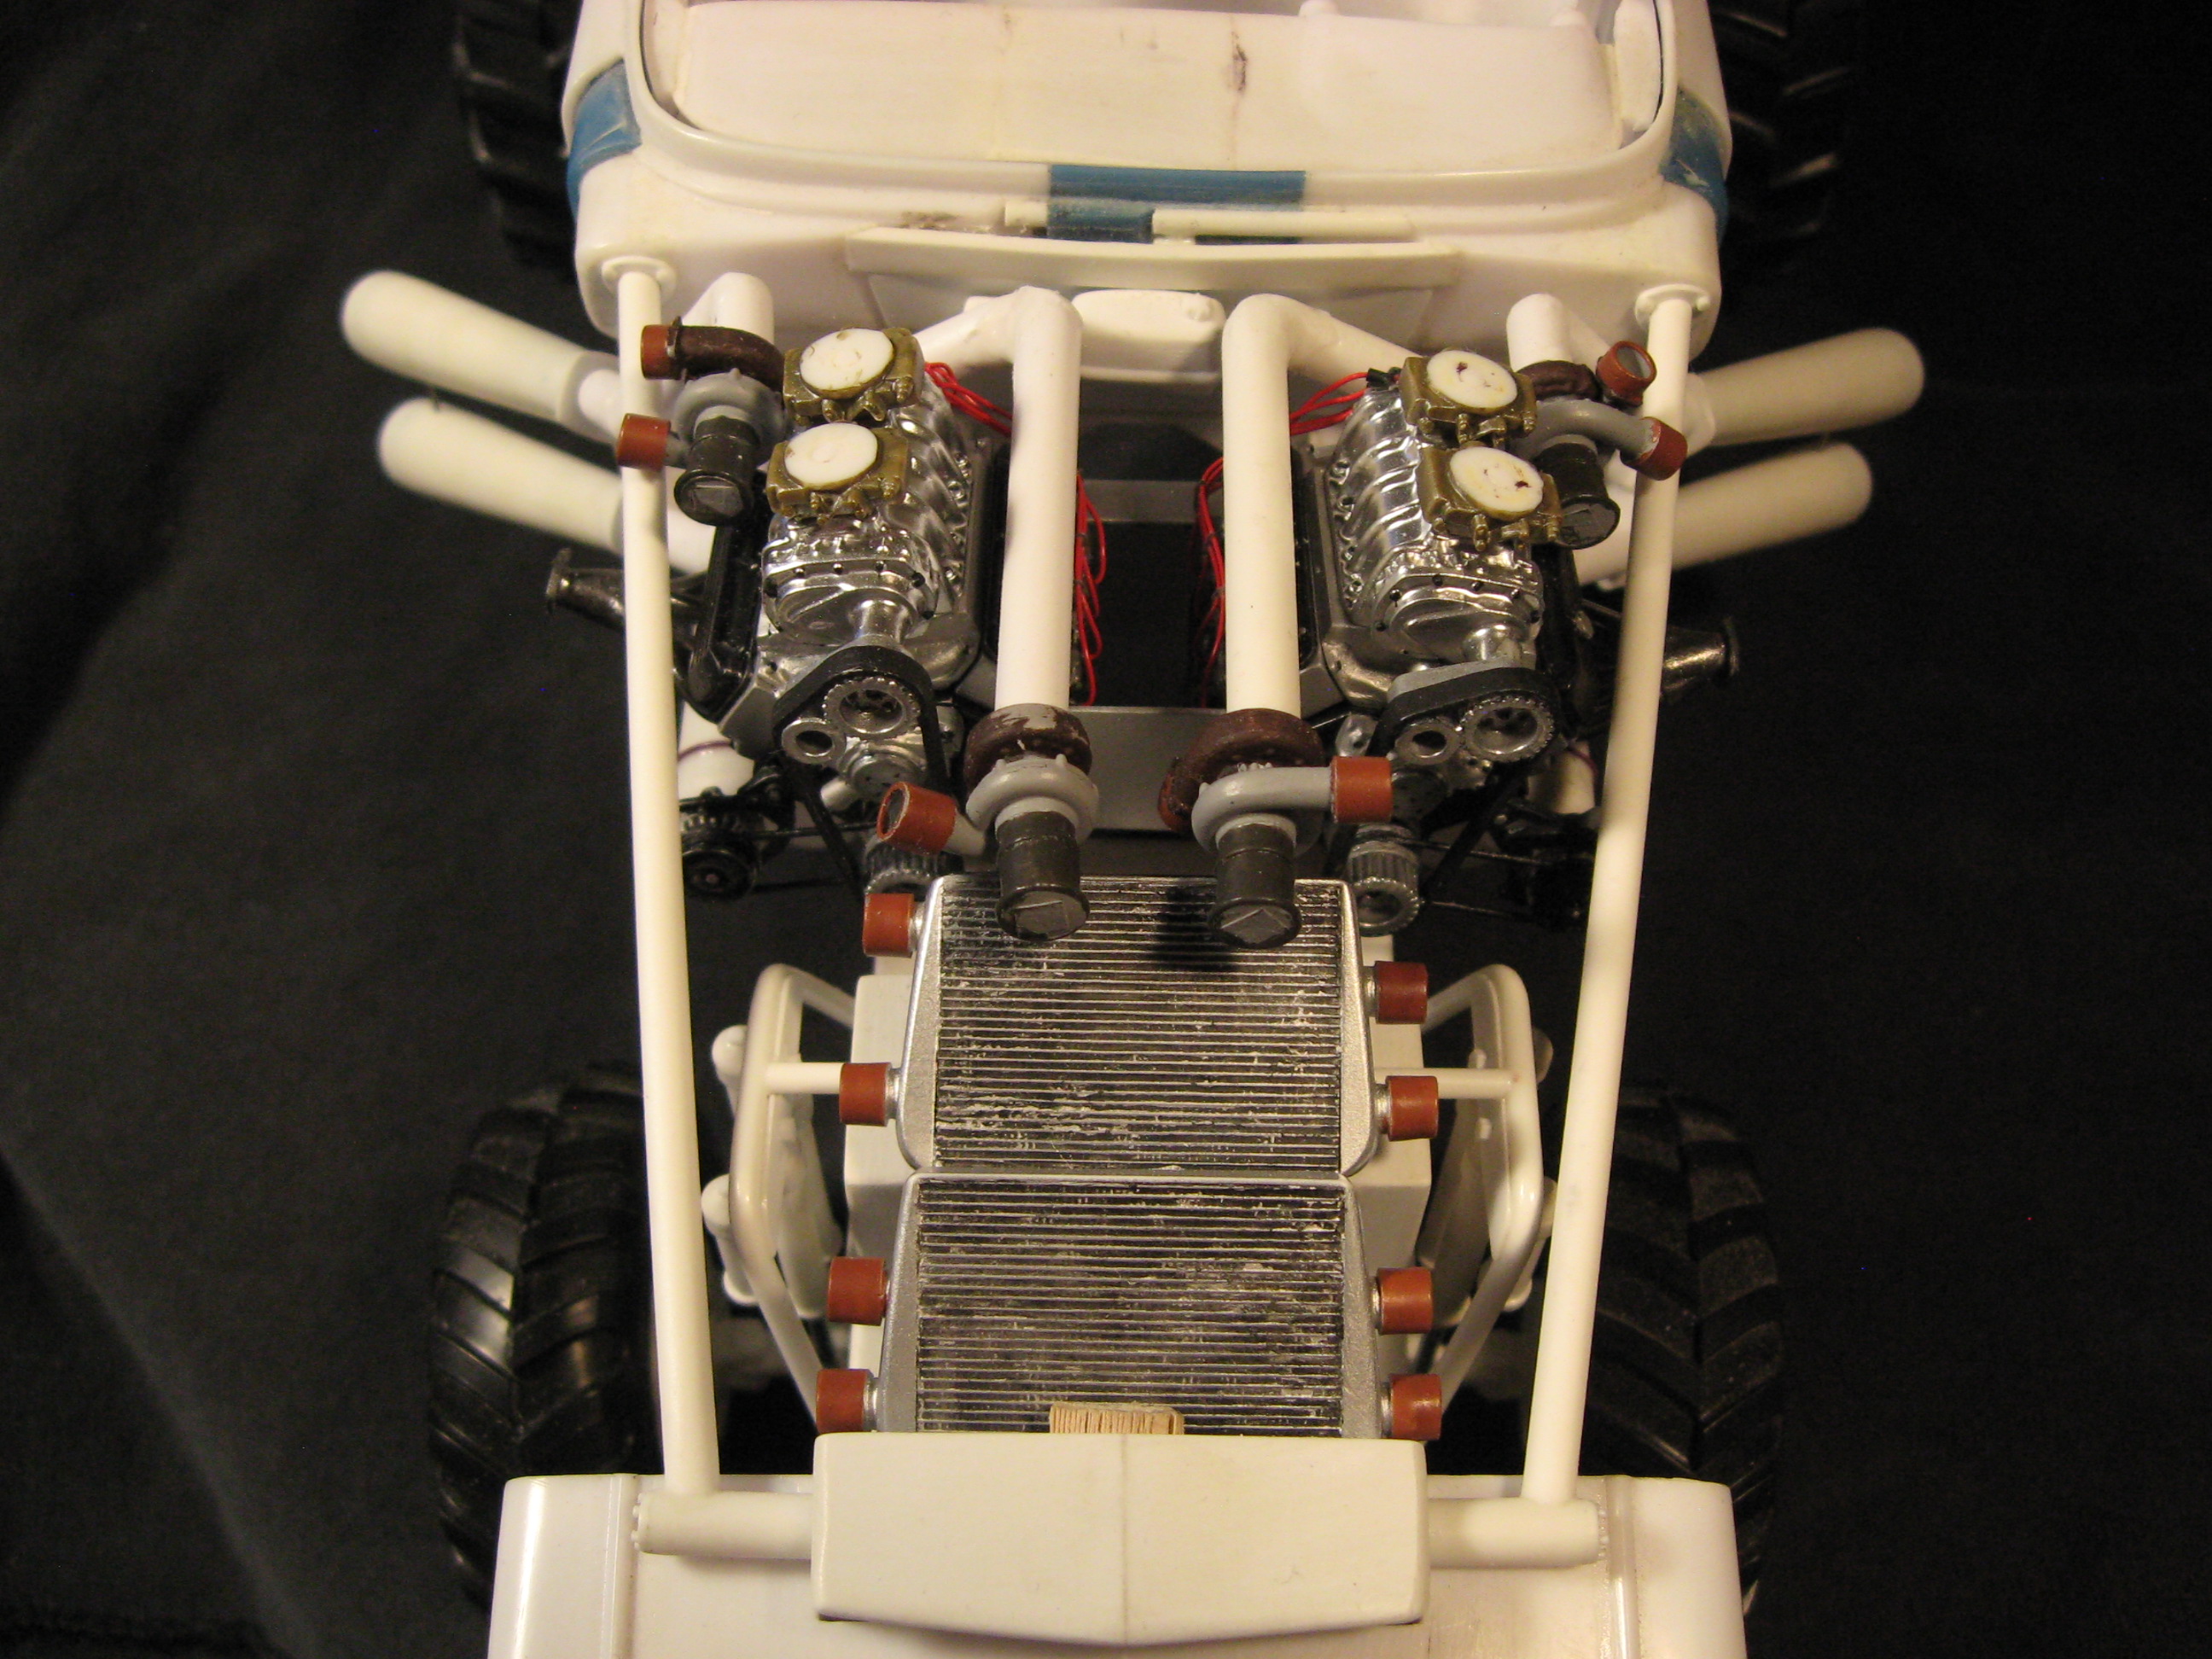
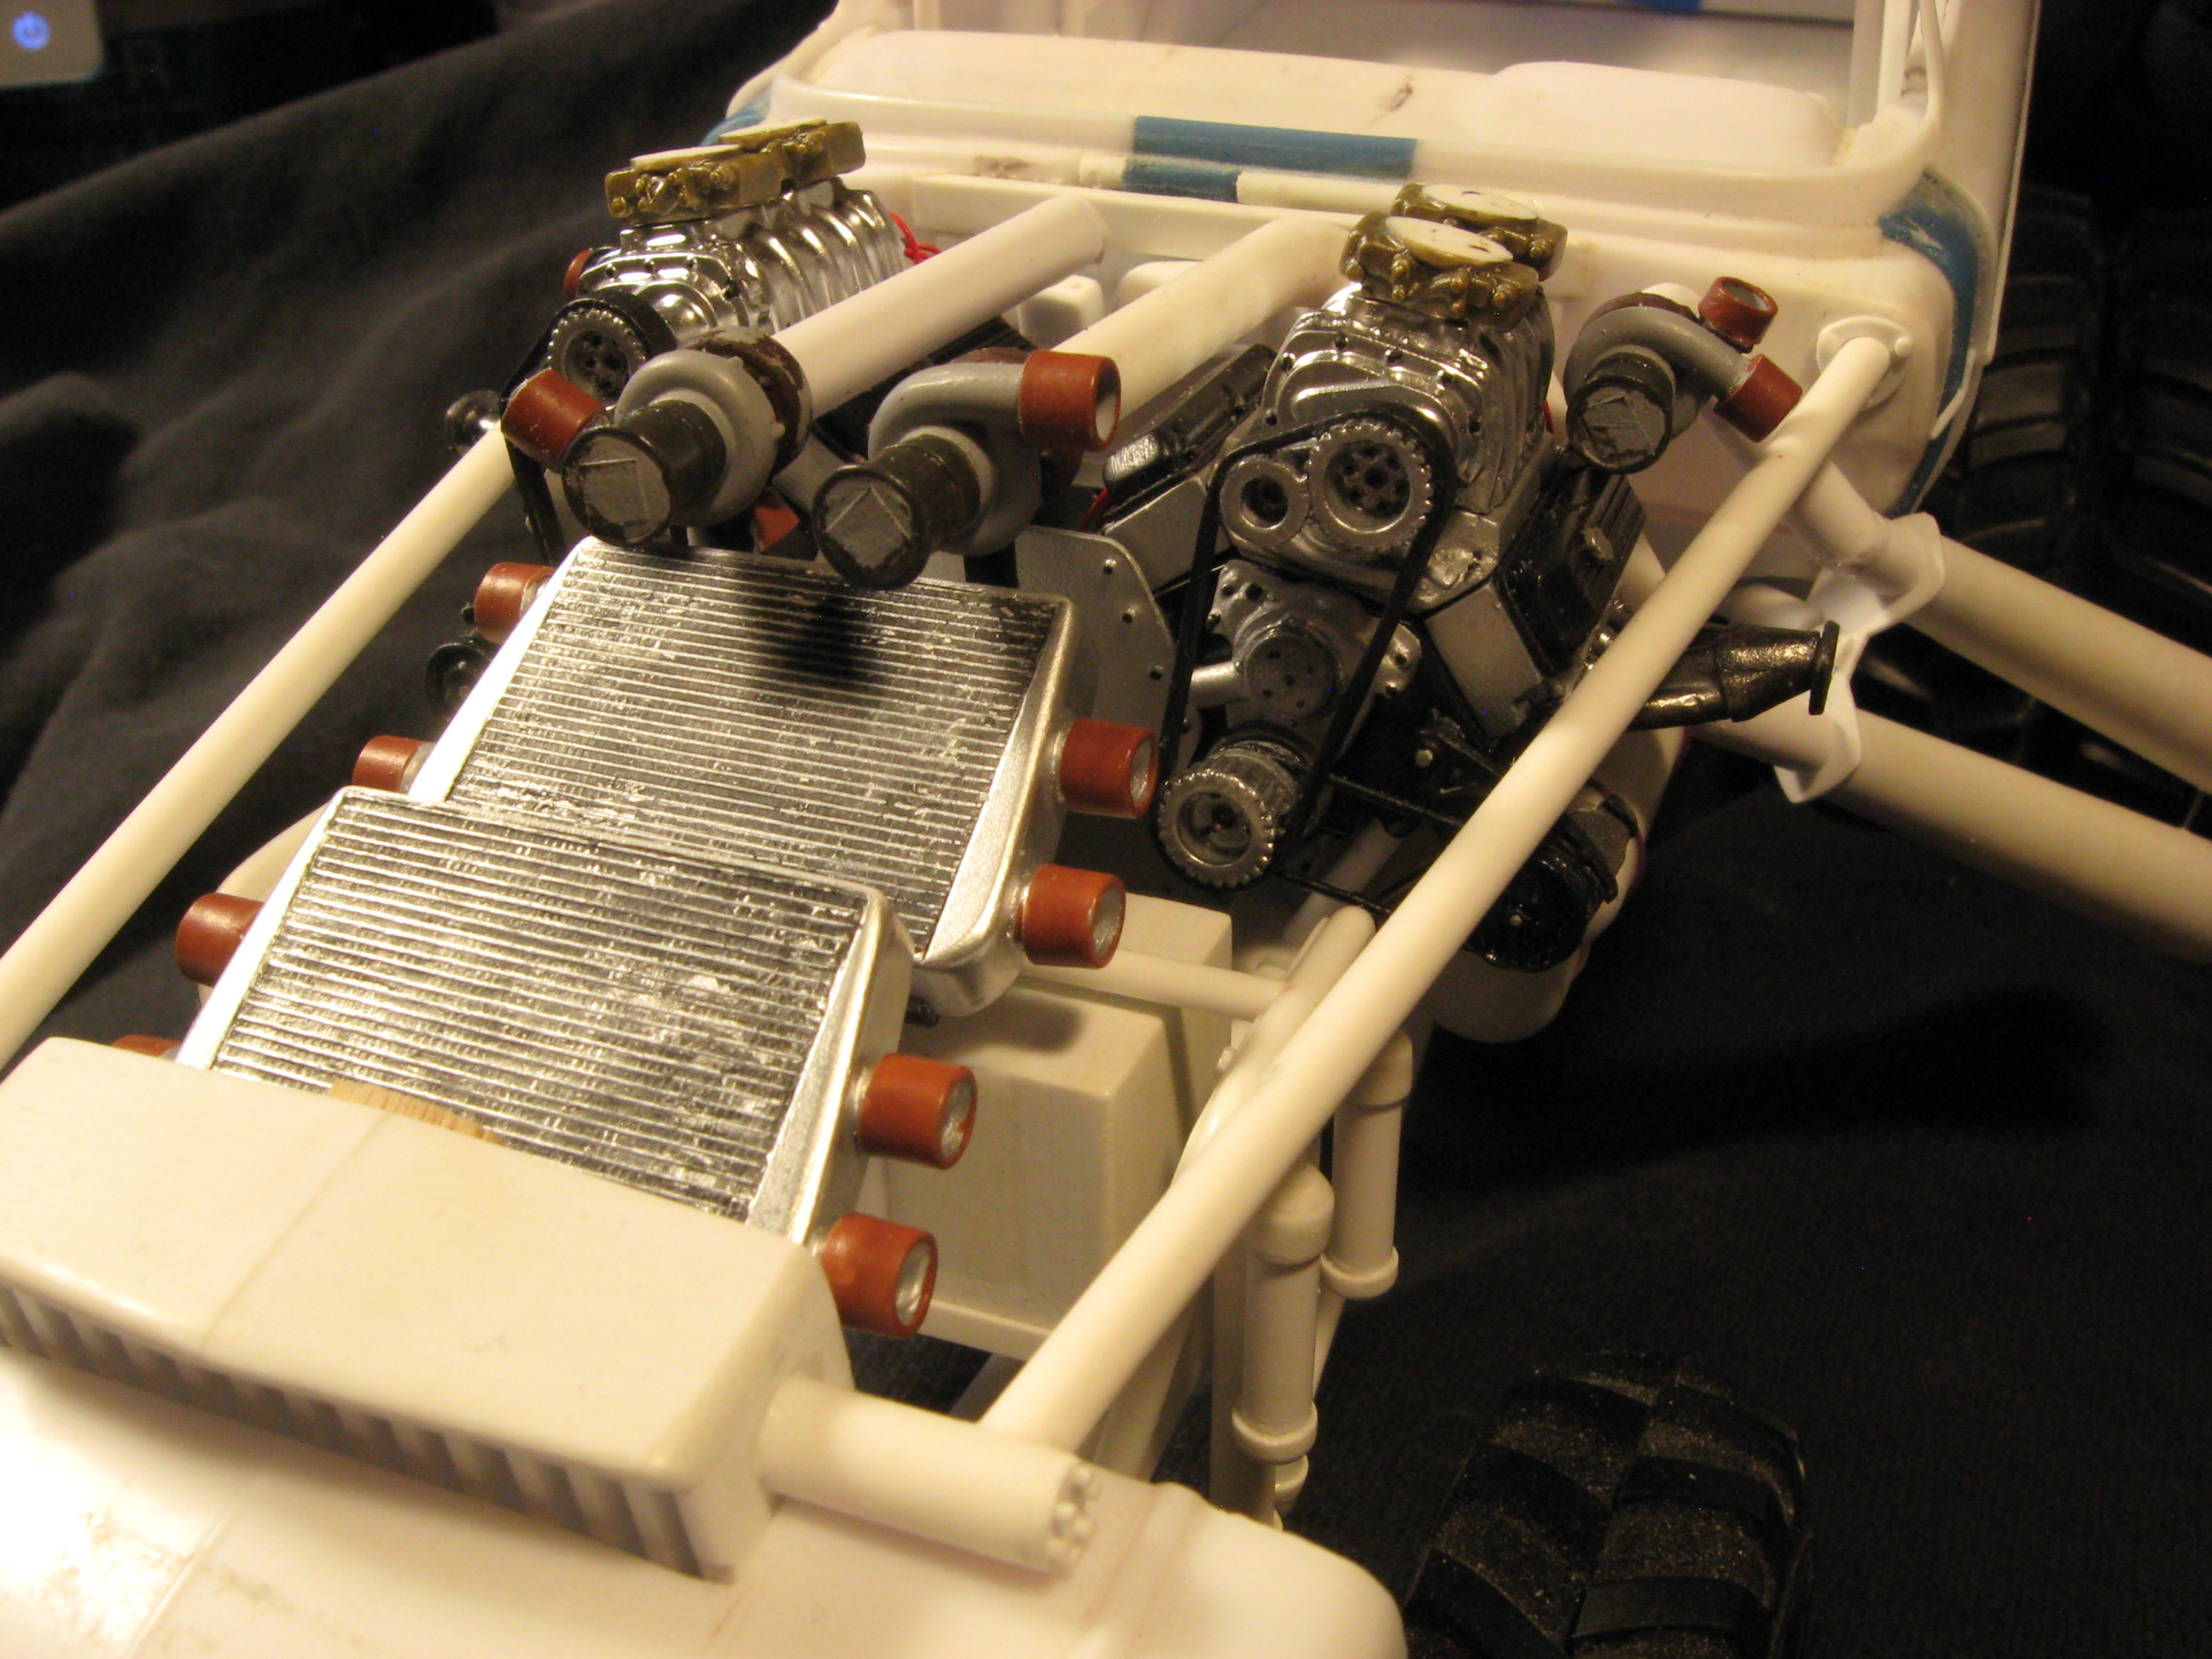
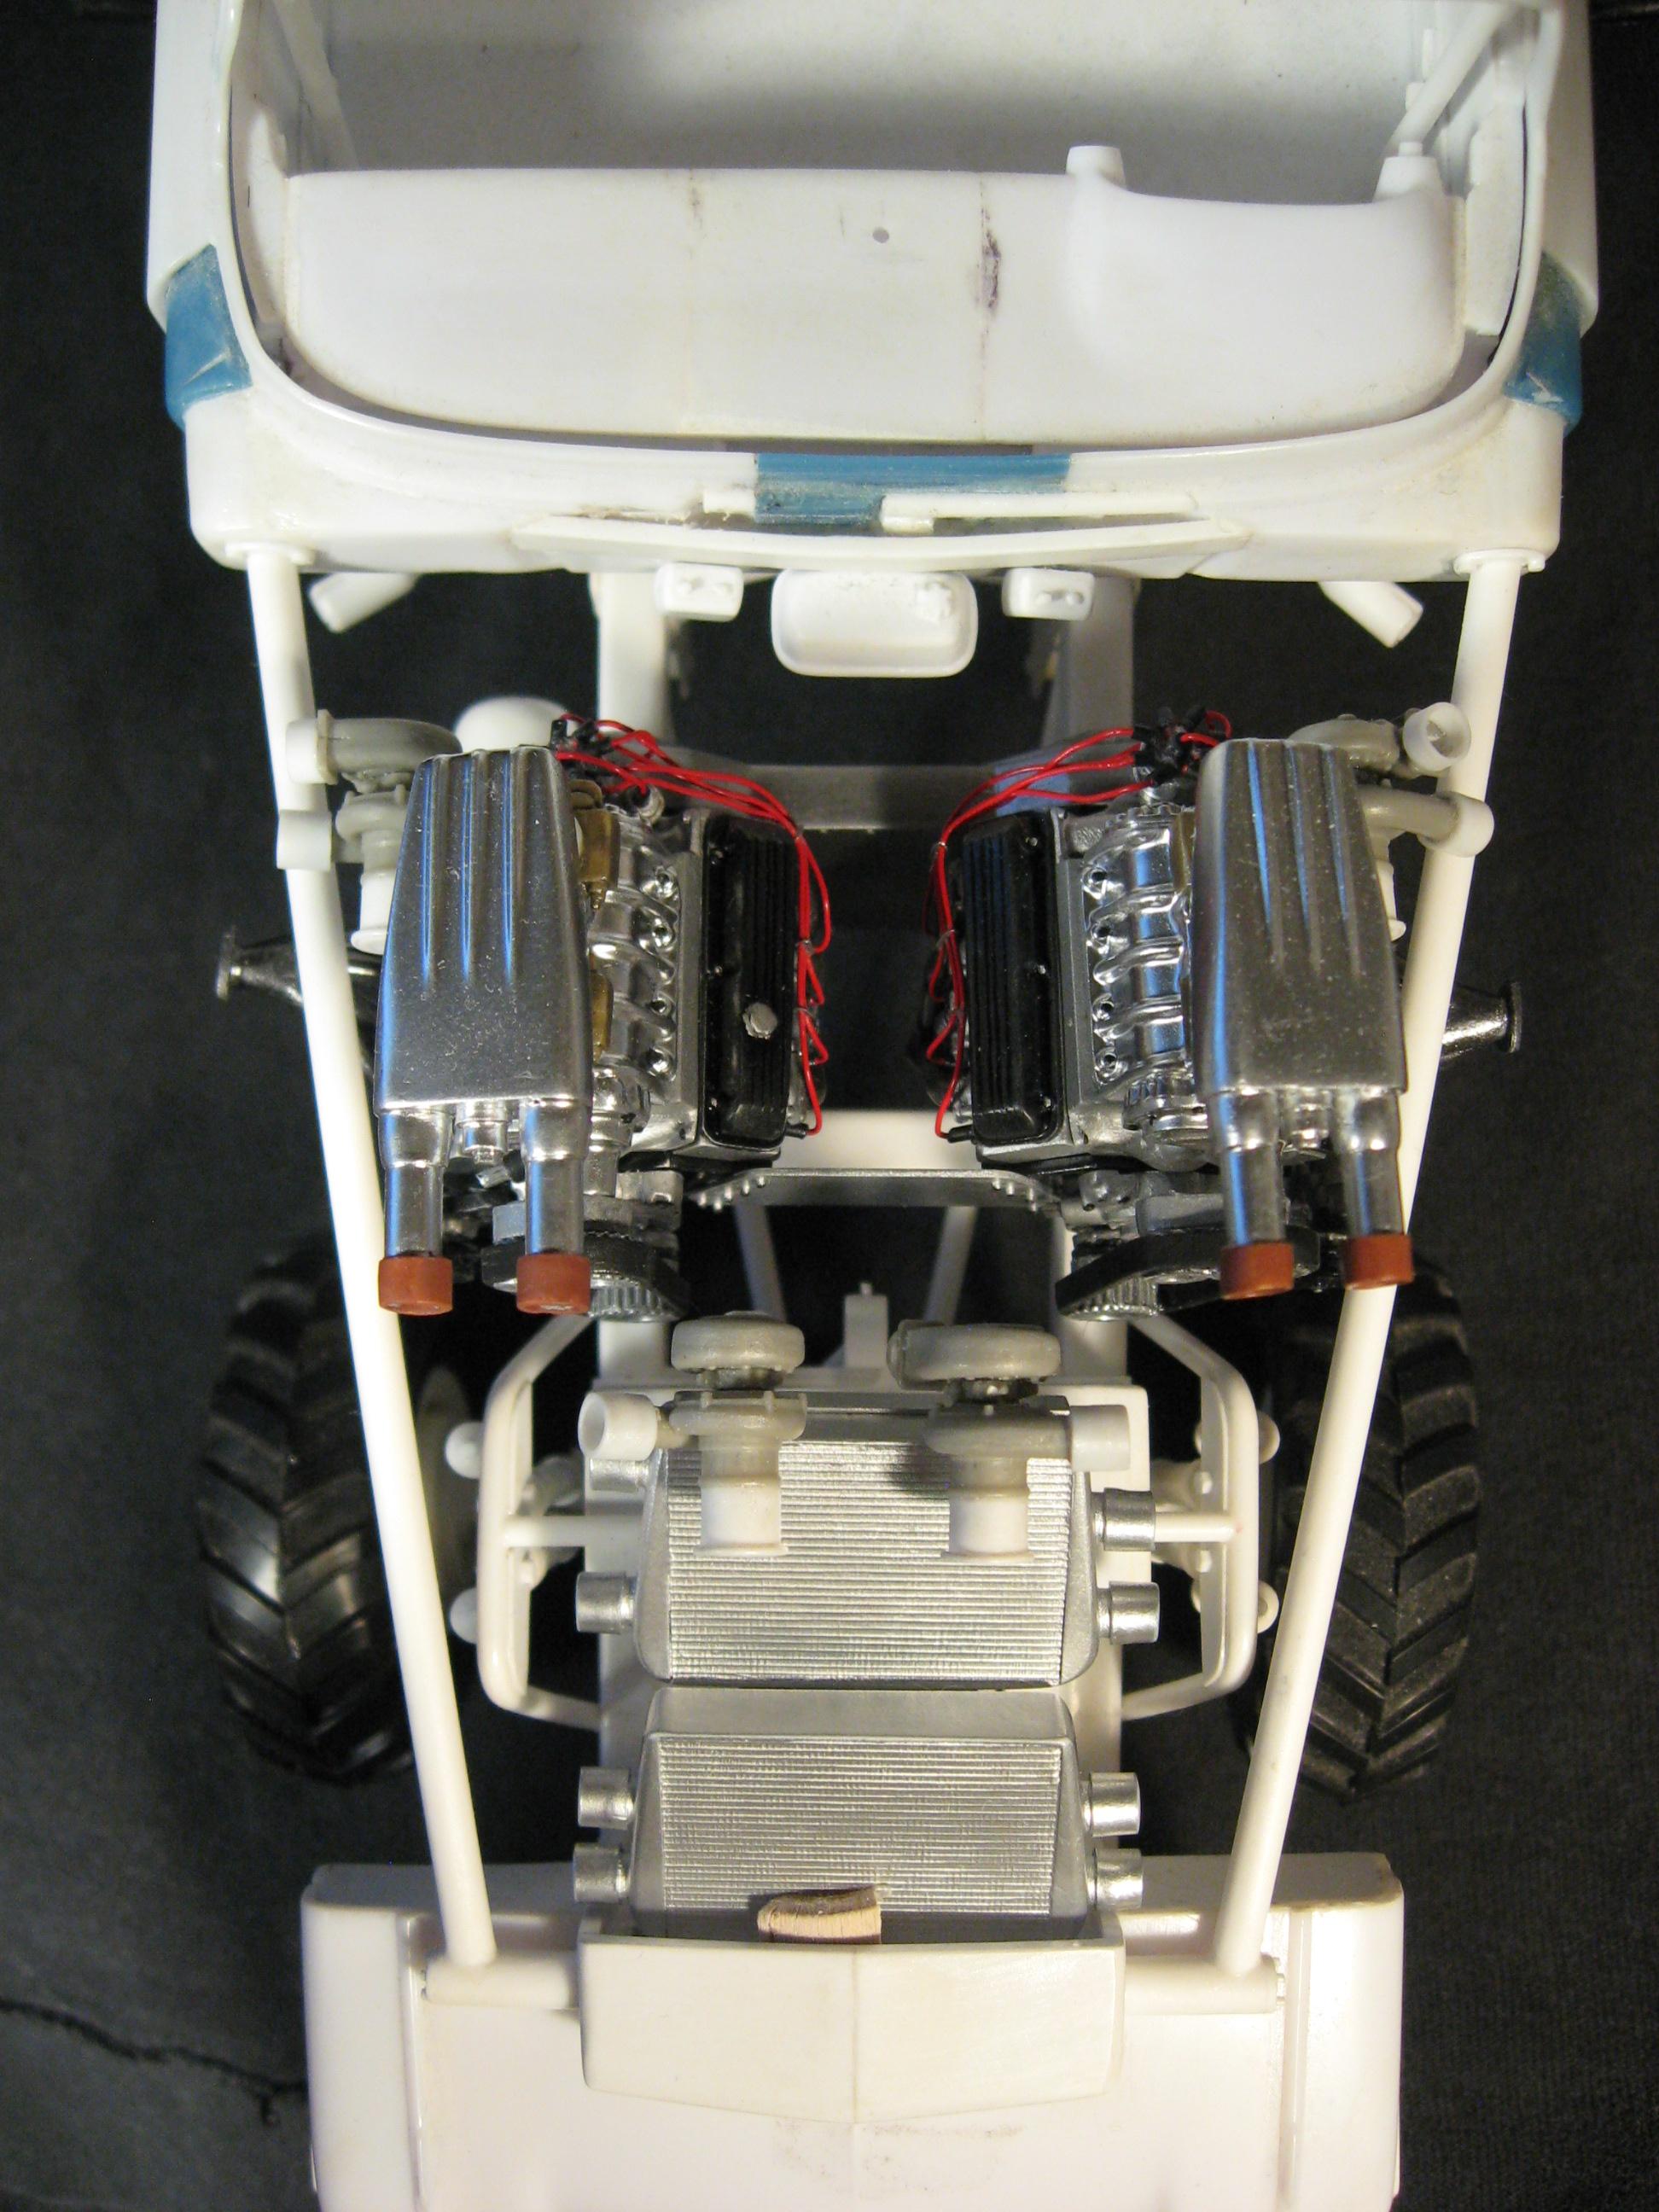
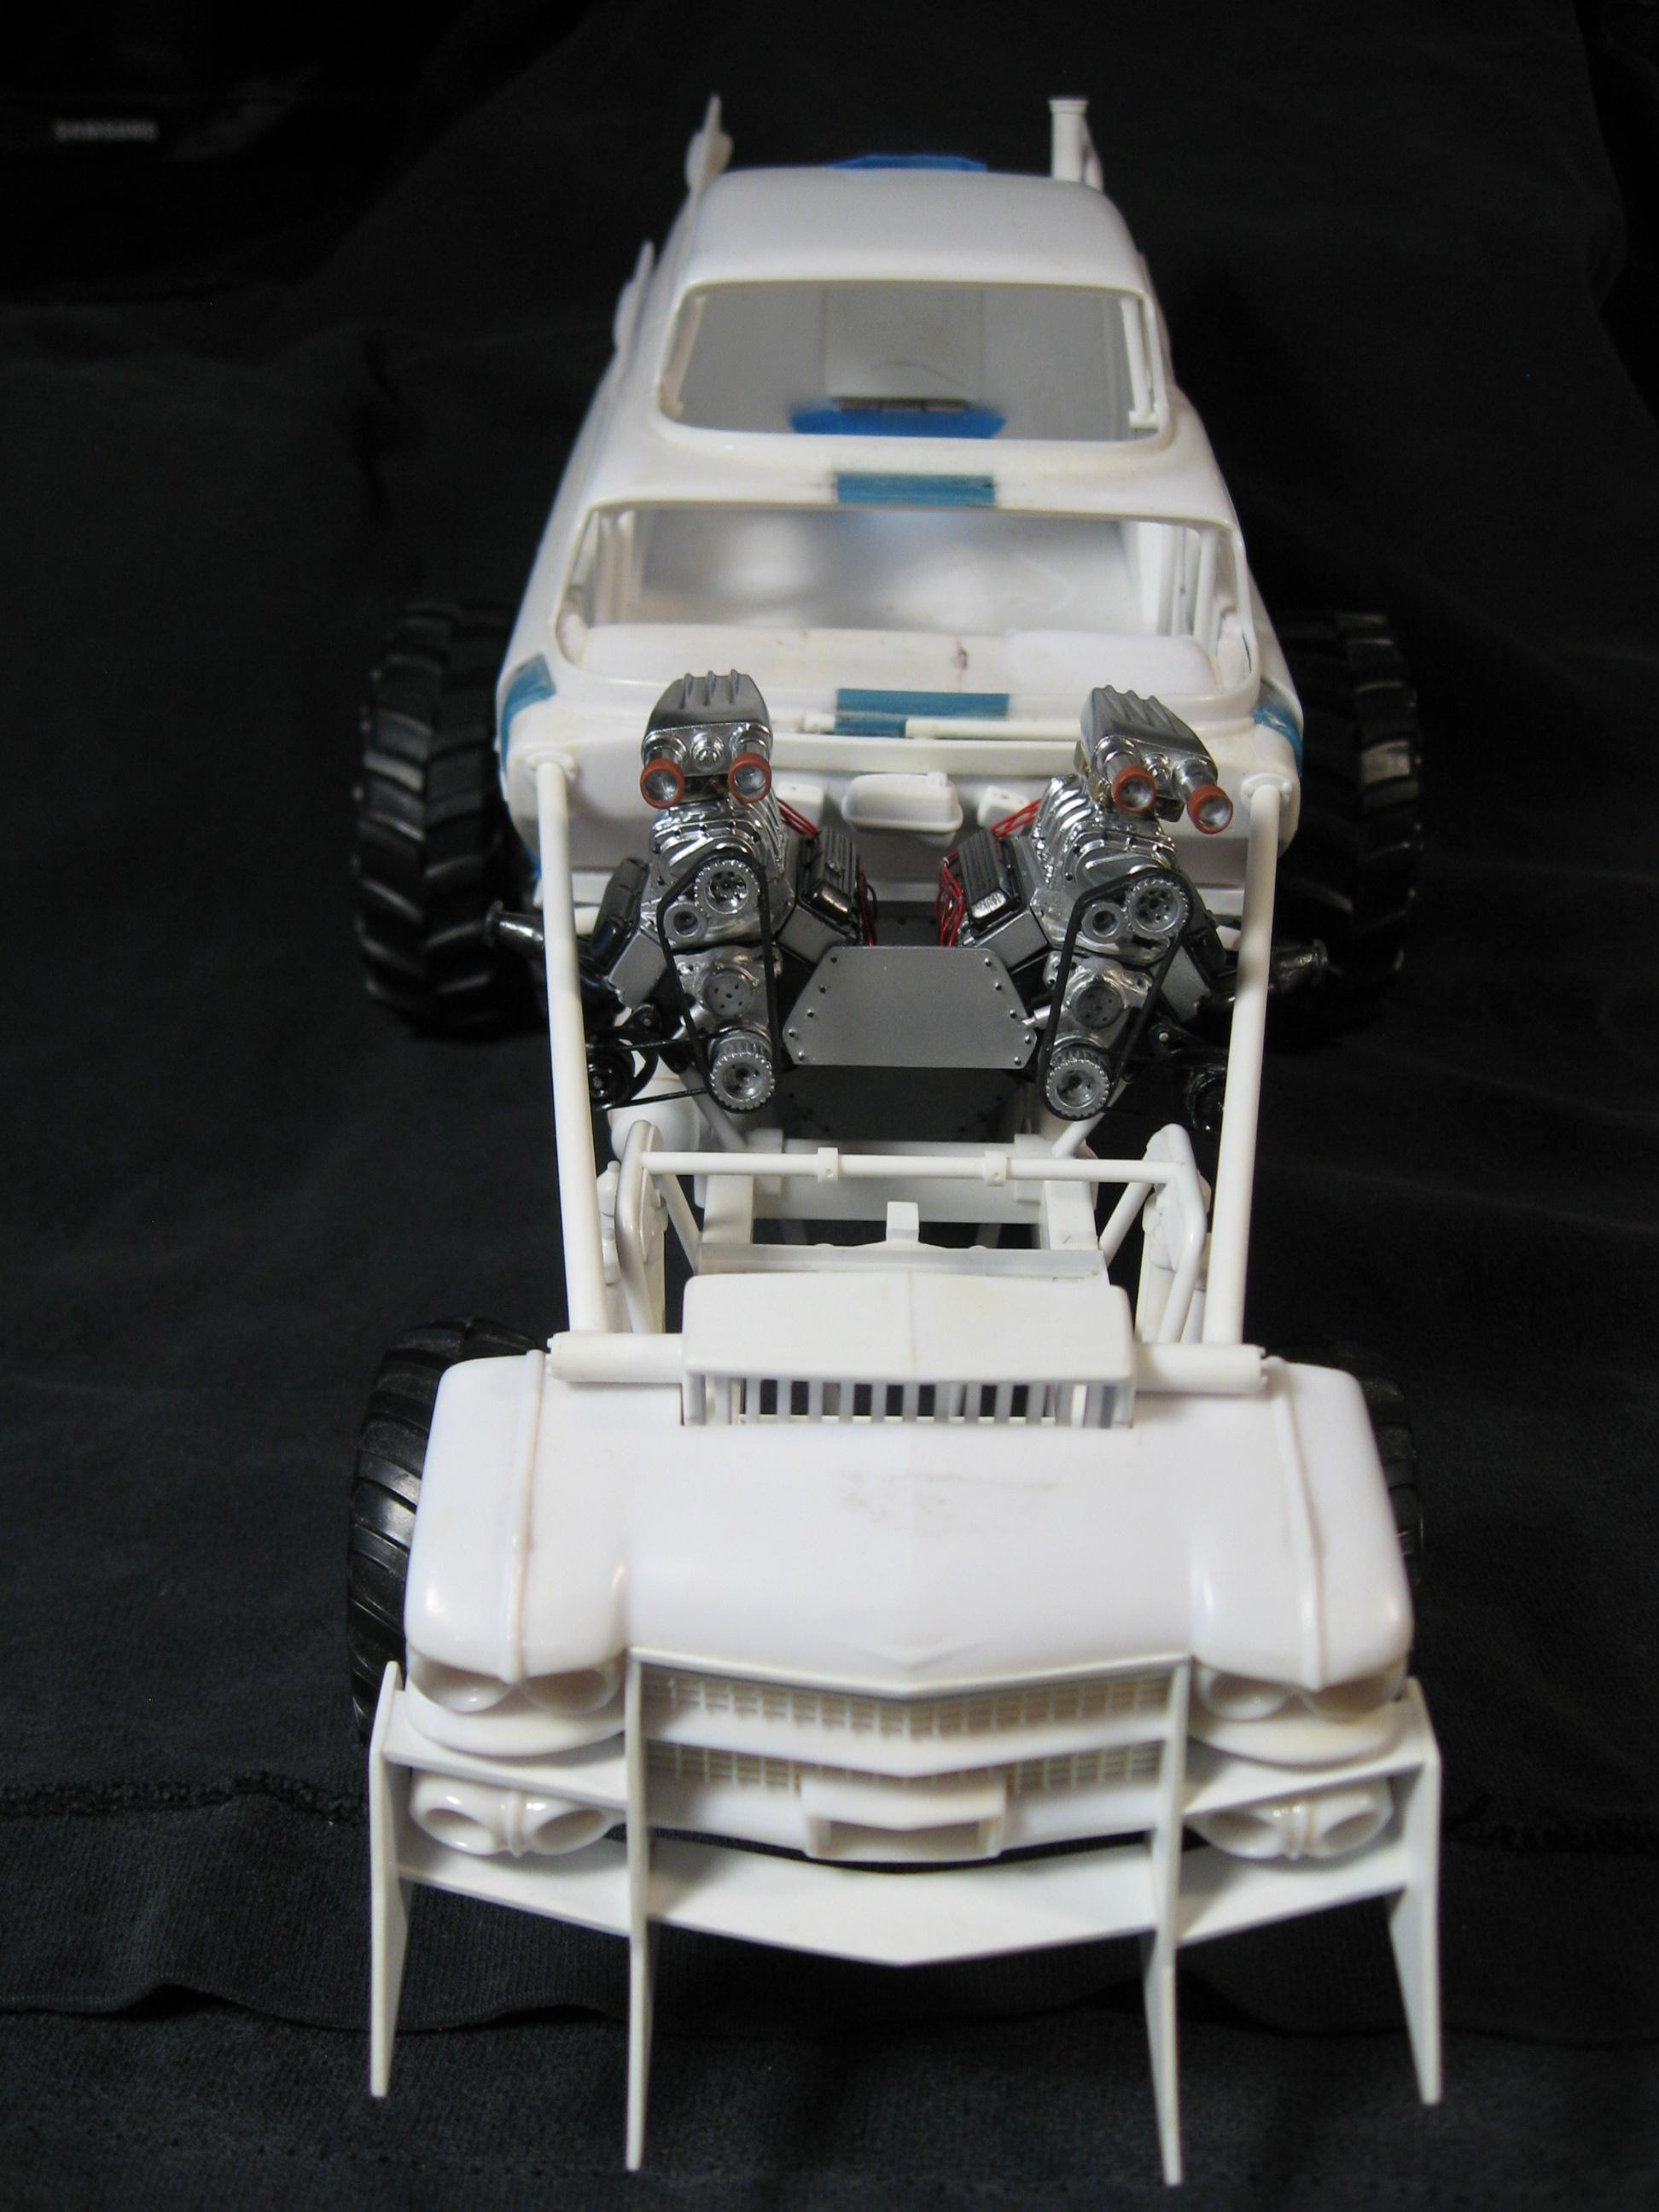
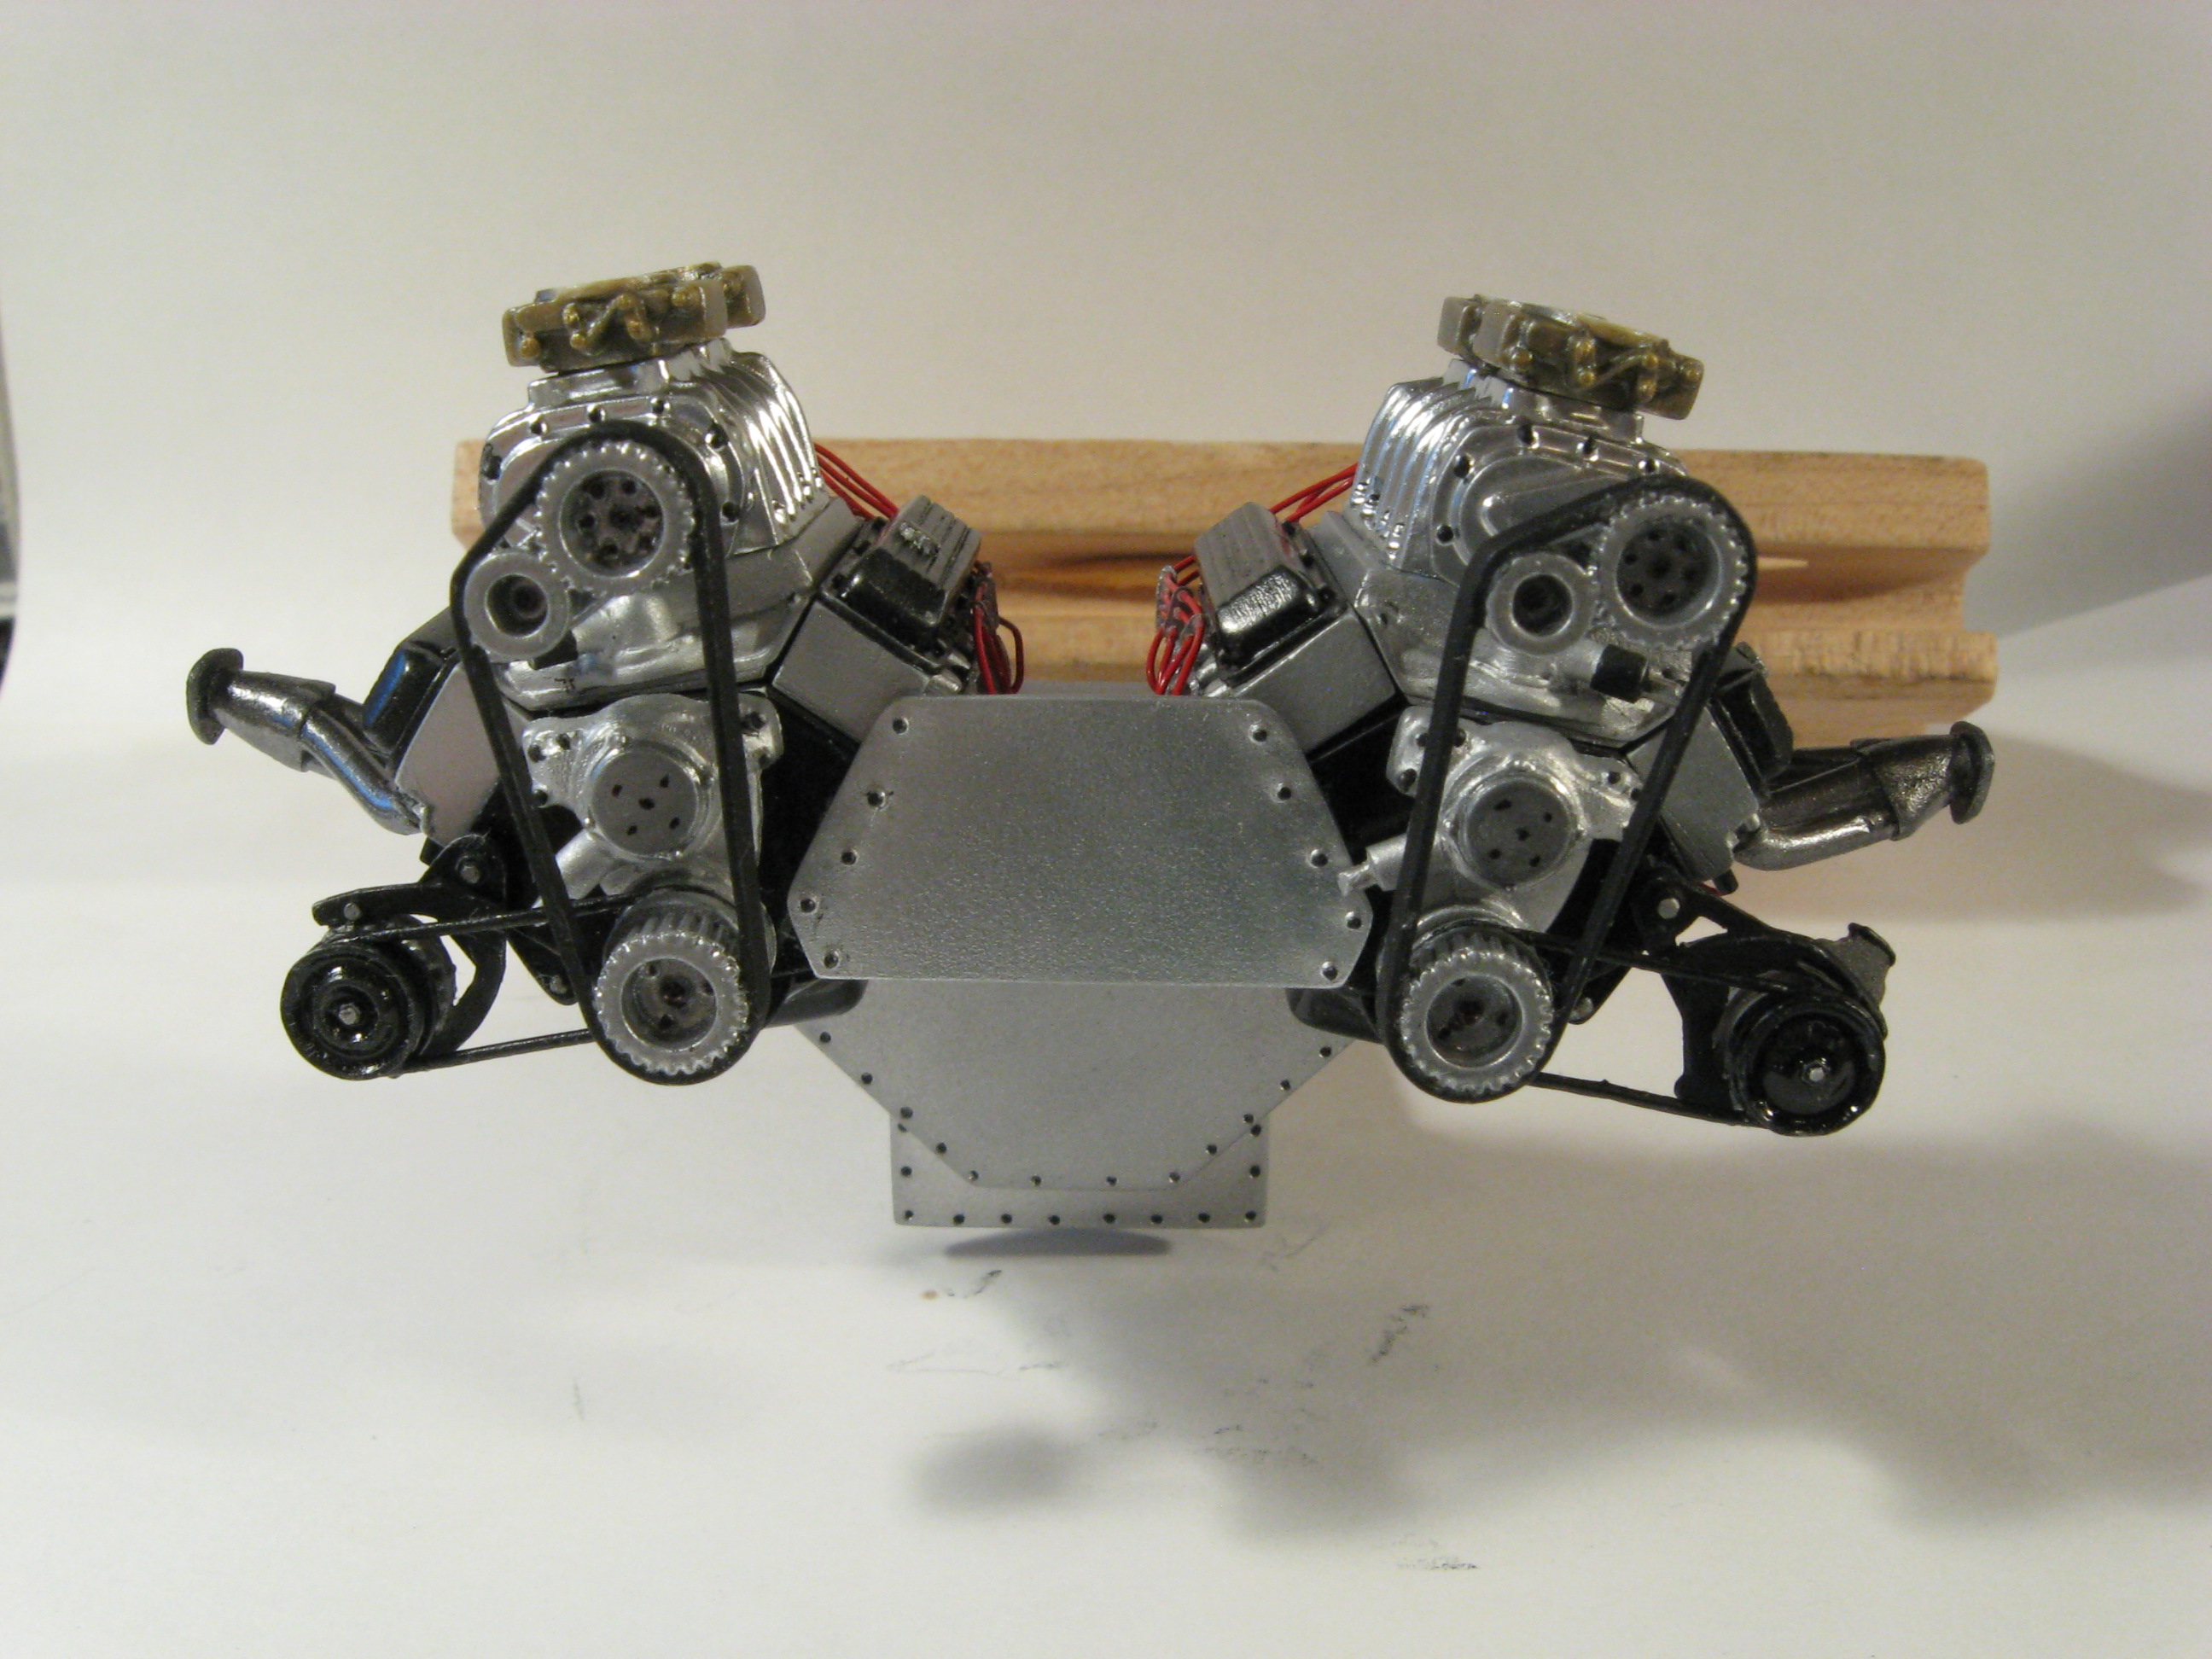
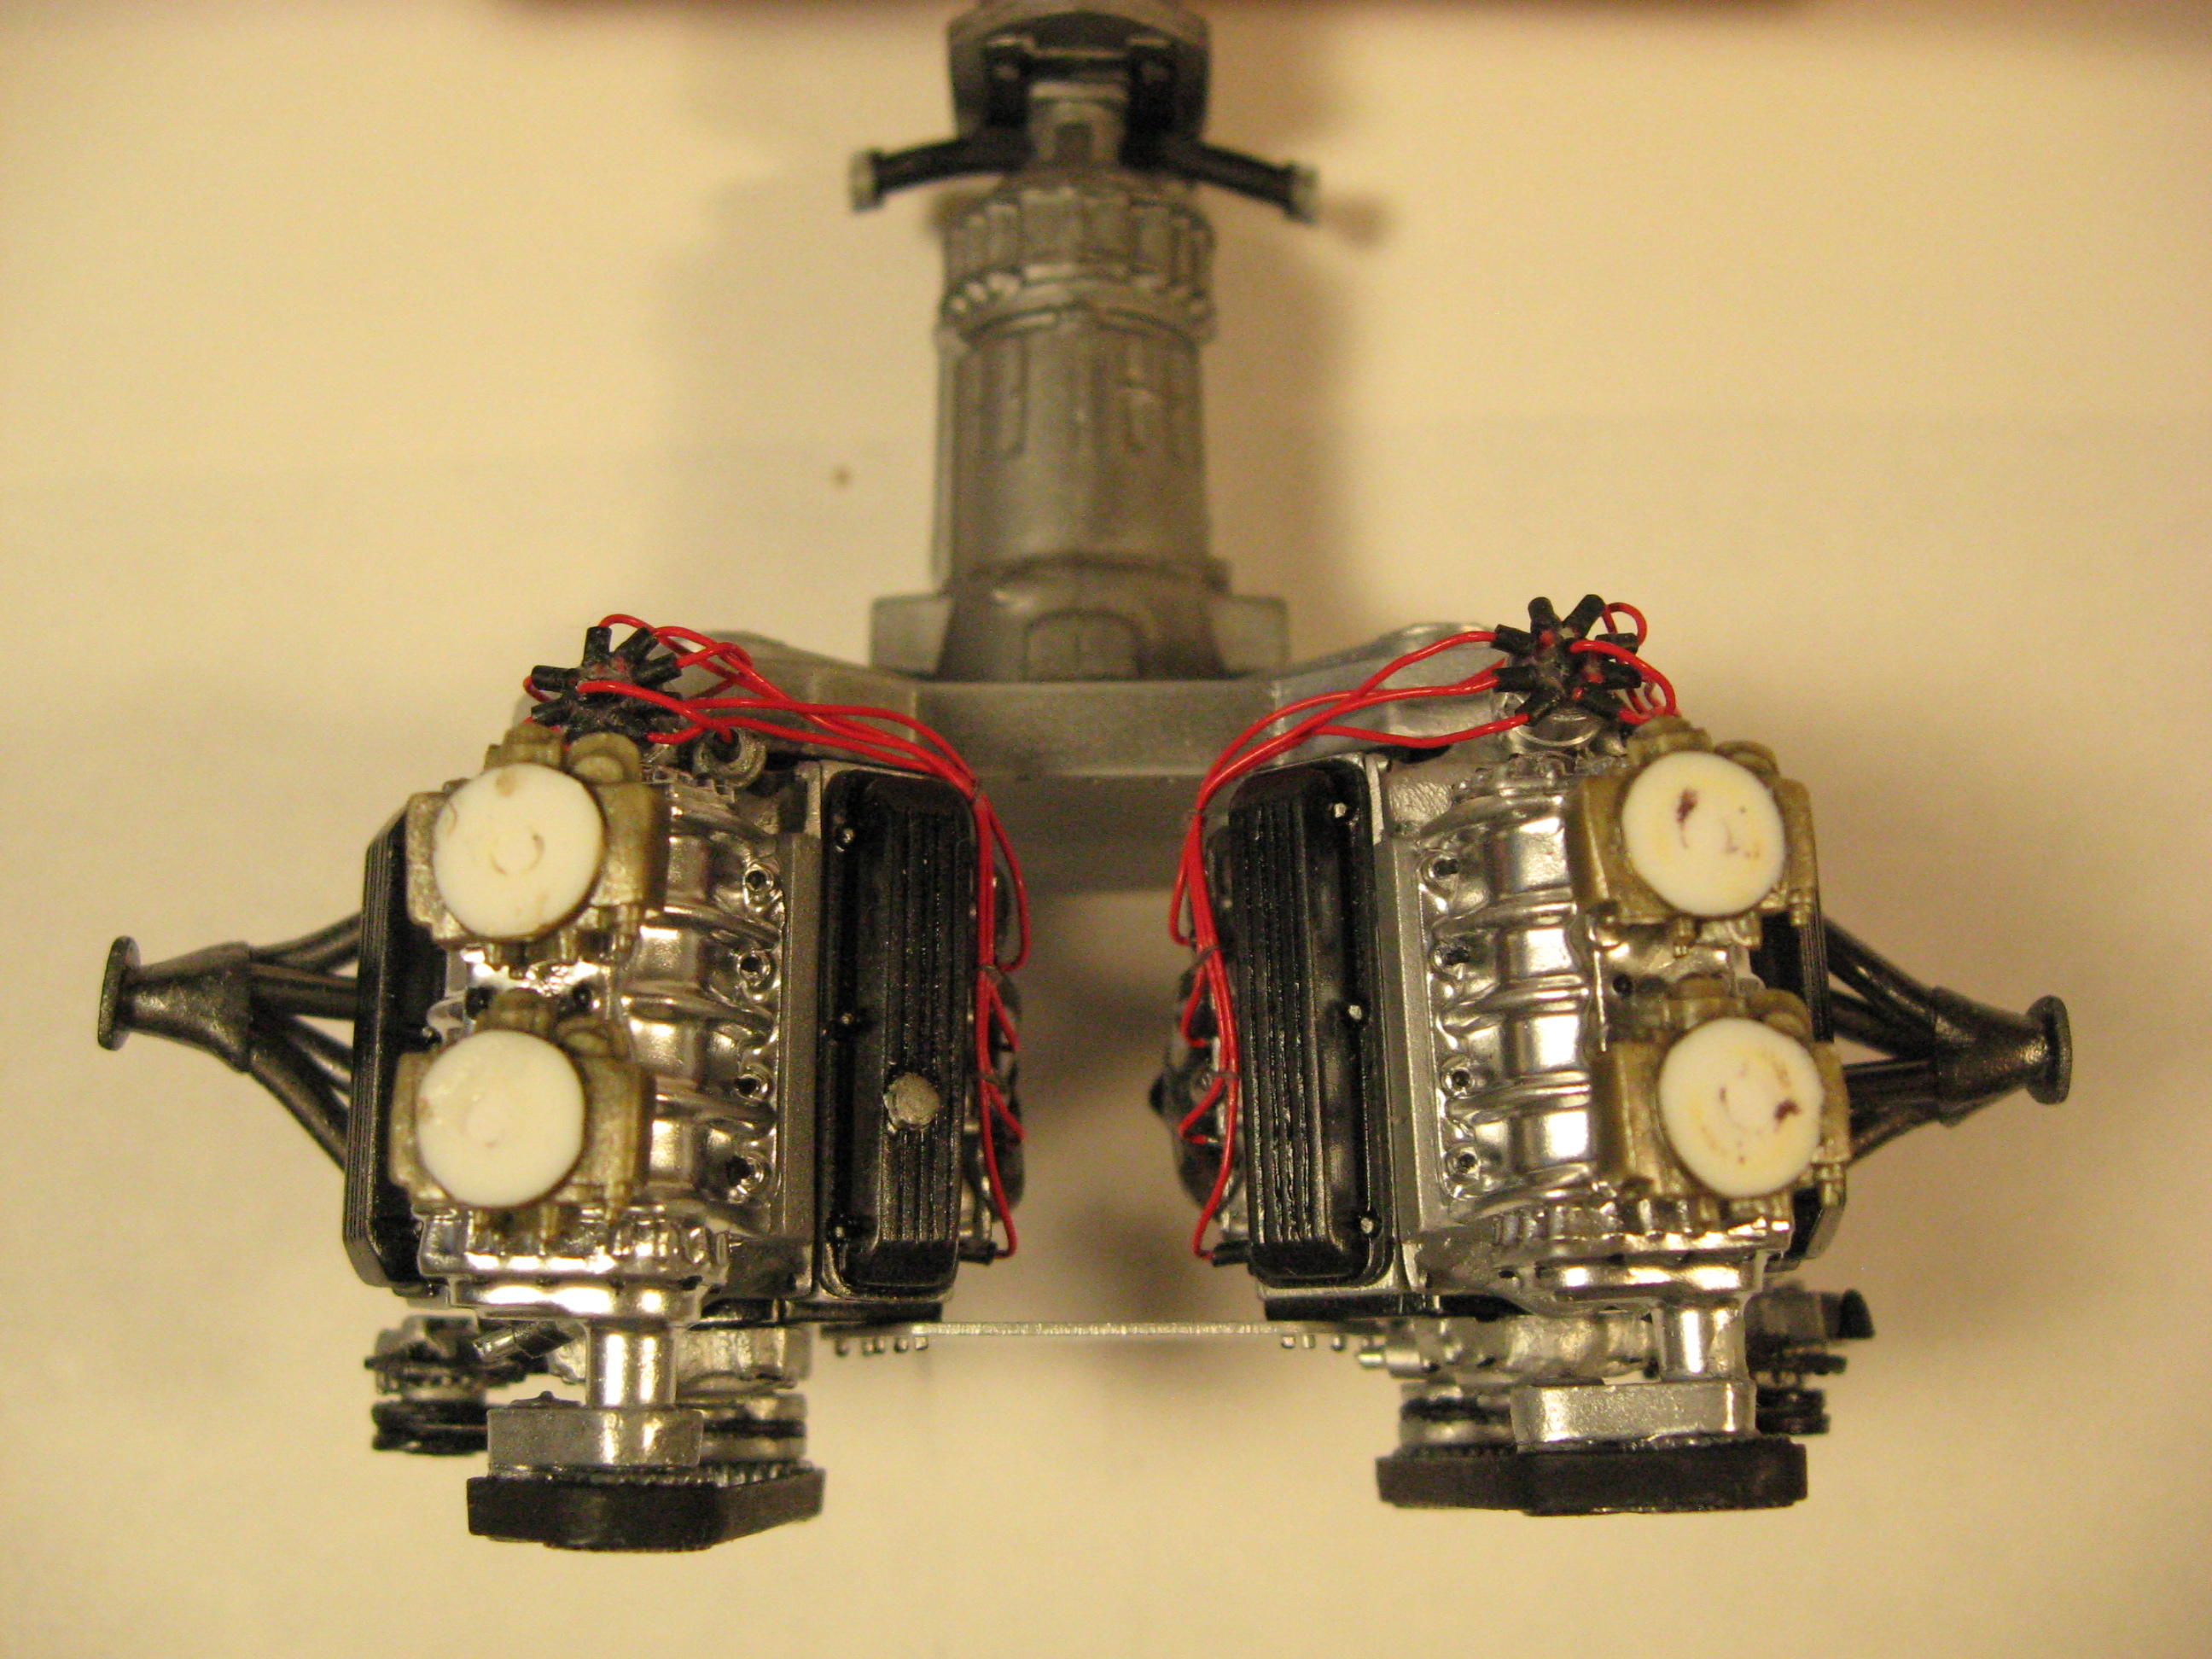
Thanks everyone for the encouragement and compliments. I got sidetracked from the flamethrower with the exhaust after establishing the turbos. They turned out a little different than the 1:1 with their spacing and angles, and are the second set I built, but it is what it is. I debated sharing this progress because they need cleaned up and detailed but it is the most uncluttered look before other components are added. I am working on it, it just doesn't really show it. Thanks for looking.
-
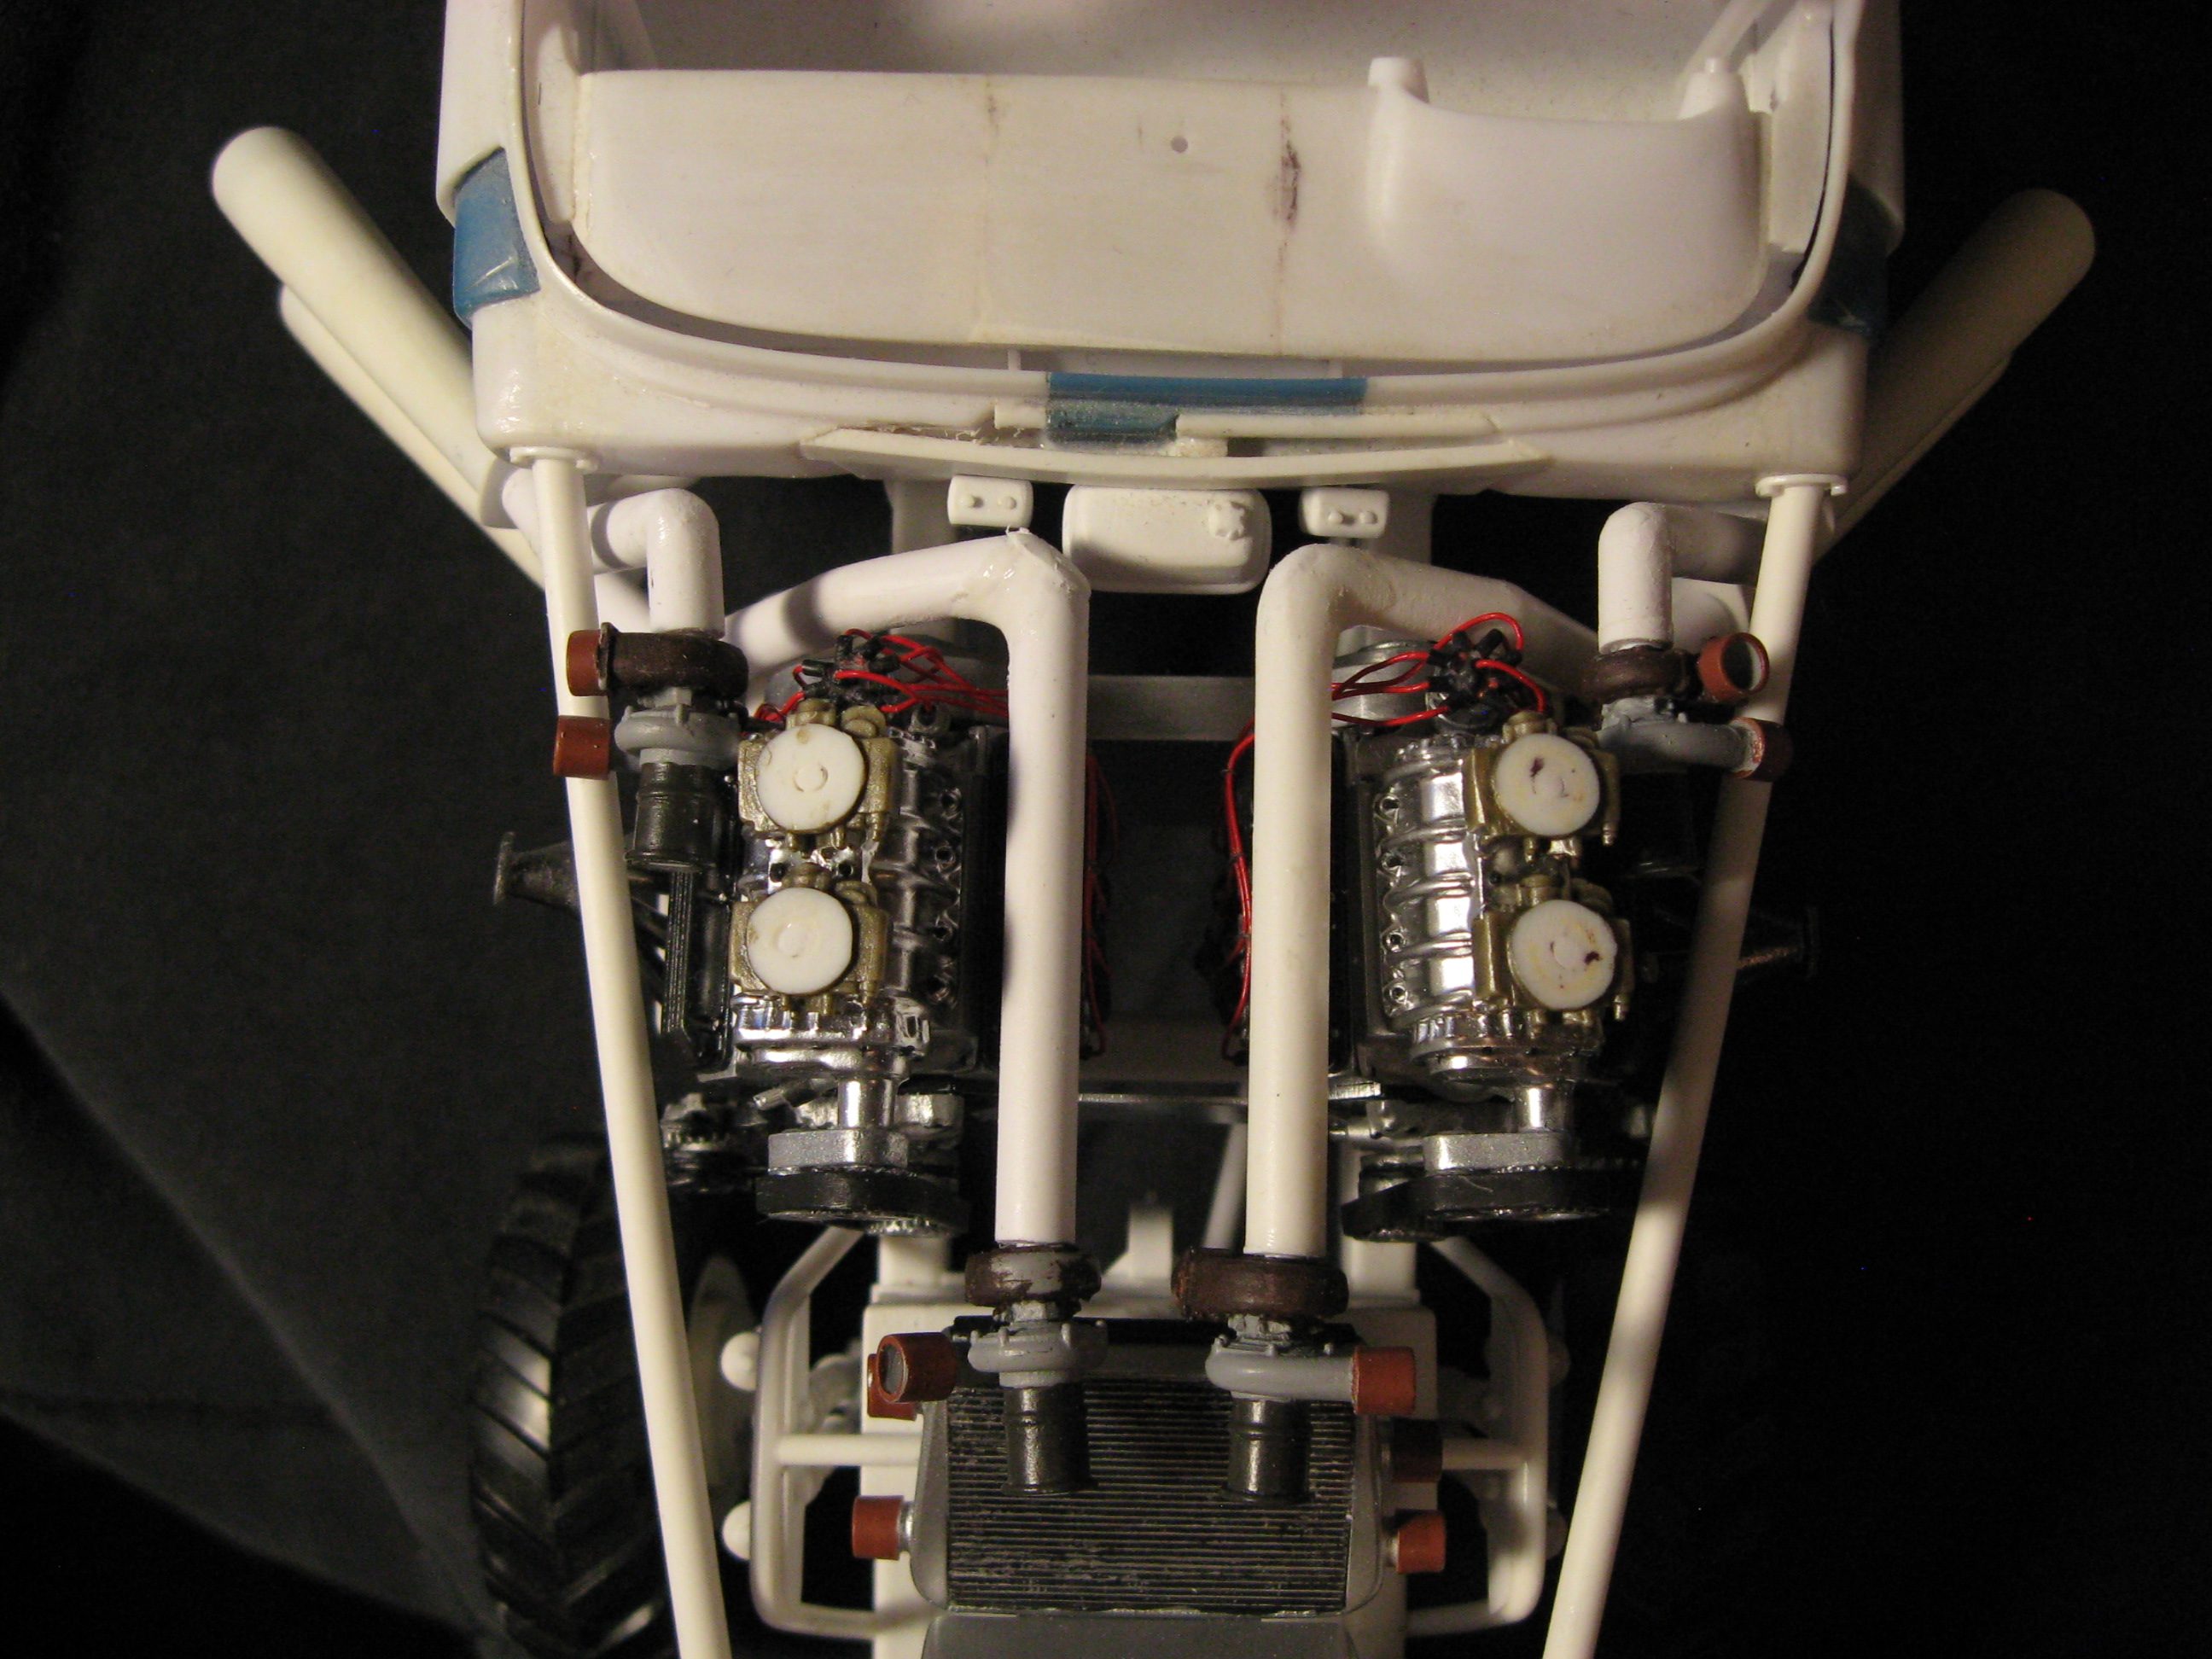
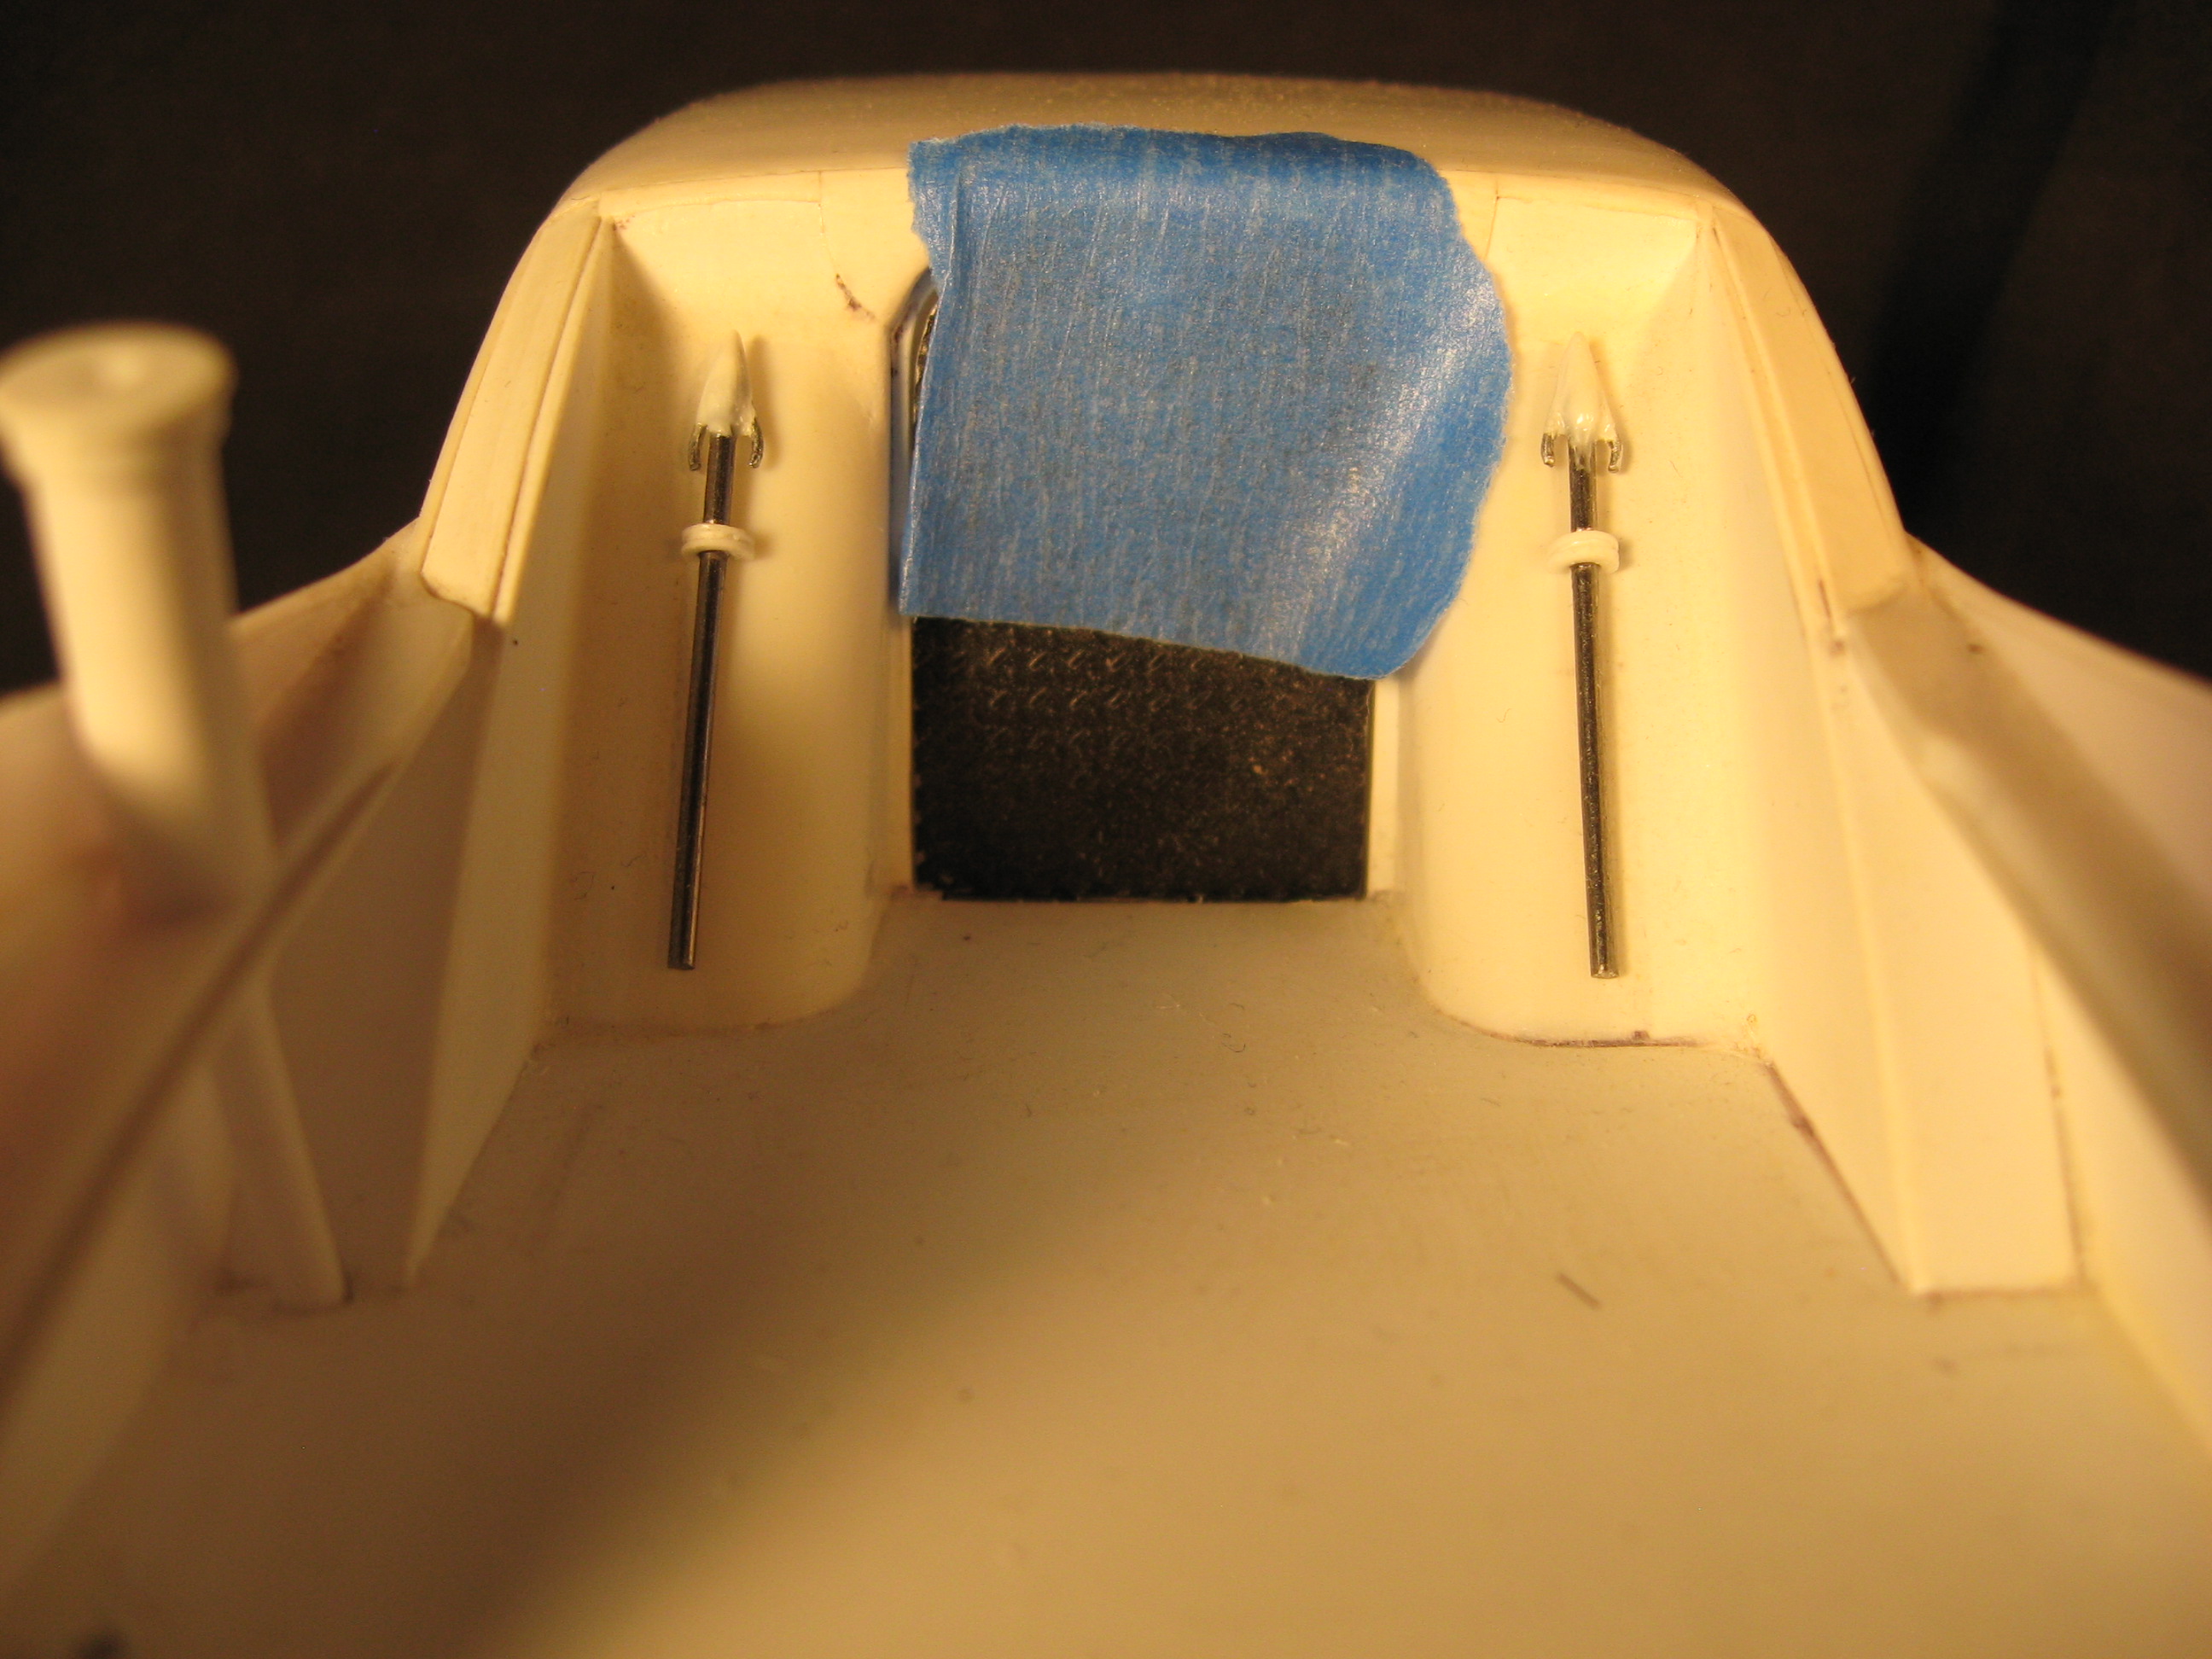
Hello everyone, thanks for the continued interest in this build. I have yet to start the flamethrower but did get the harpoons finished that attach to the rear bulkhead. It took me a surprising amount of time to figure the turbos orientation and mounting positions. I do believe the engines should be moved about an 1/8 inch each closer together to be more similar to the 1:1. I'm not to sure in all the scaling and test fitting how I missed it by that much but I will make it work as is. To those who aren't to familiar, in 1/25 scale it is not quite so noticeable but on the real Gigahorse this would be about six inches closer together than I'm representing. Yes it bothers me but not enough to redo the gearbox or motor mounts-at least not yet. These are staged reference pictures and all these components are yet to be glued if something looks weird. Thanks for looking.
-
I am not too sure why because it was some time ago. I would guess that the way it was cut up and reinforced while building it, I probably didn't think it was worth the risk to destroy it and buy more kits. It is going to be one of the painting problems I see happening and if I'm not happy with the look I might have to try.
-
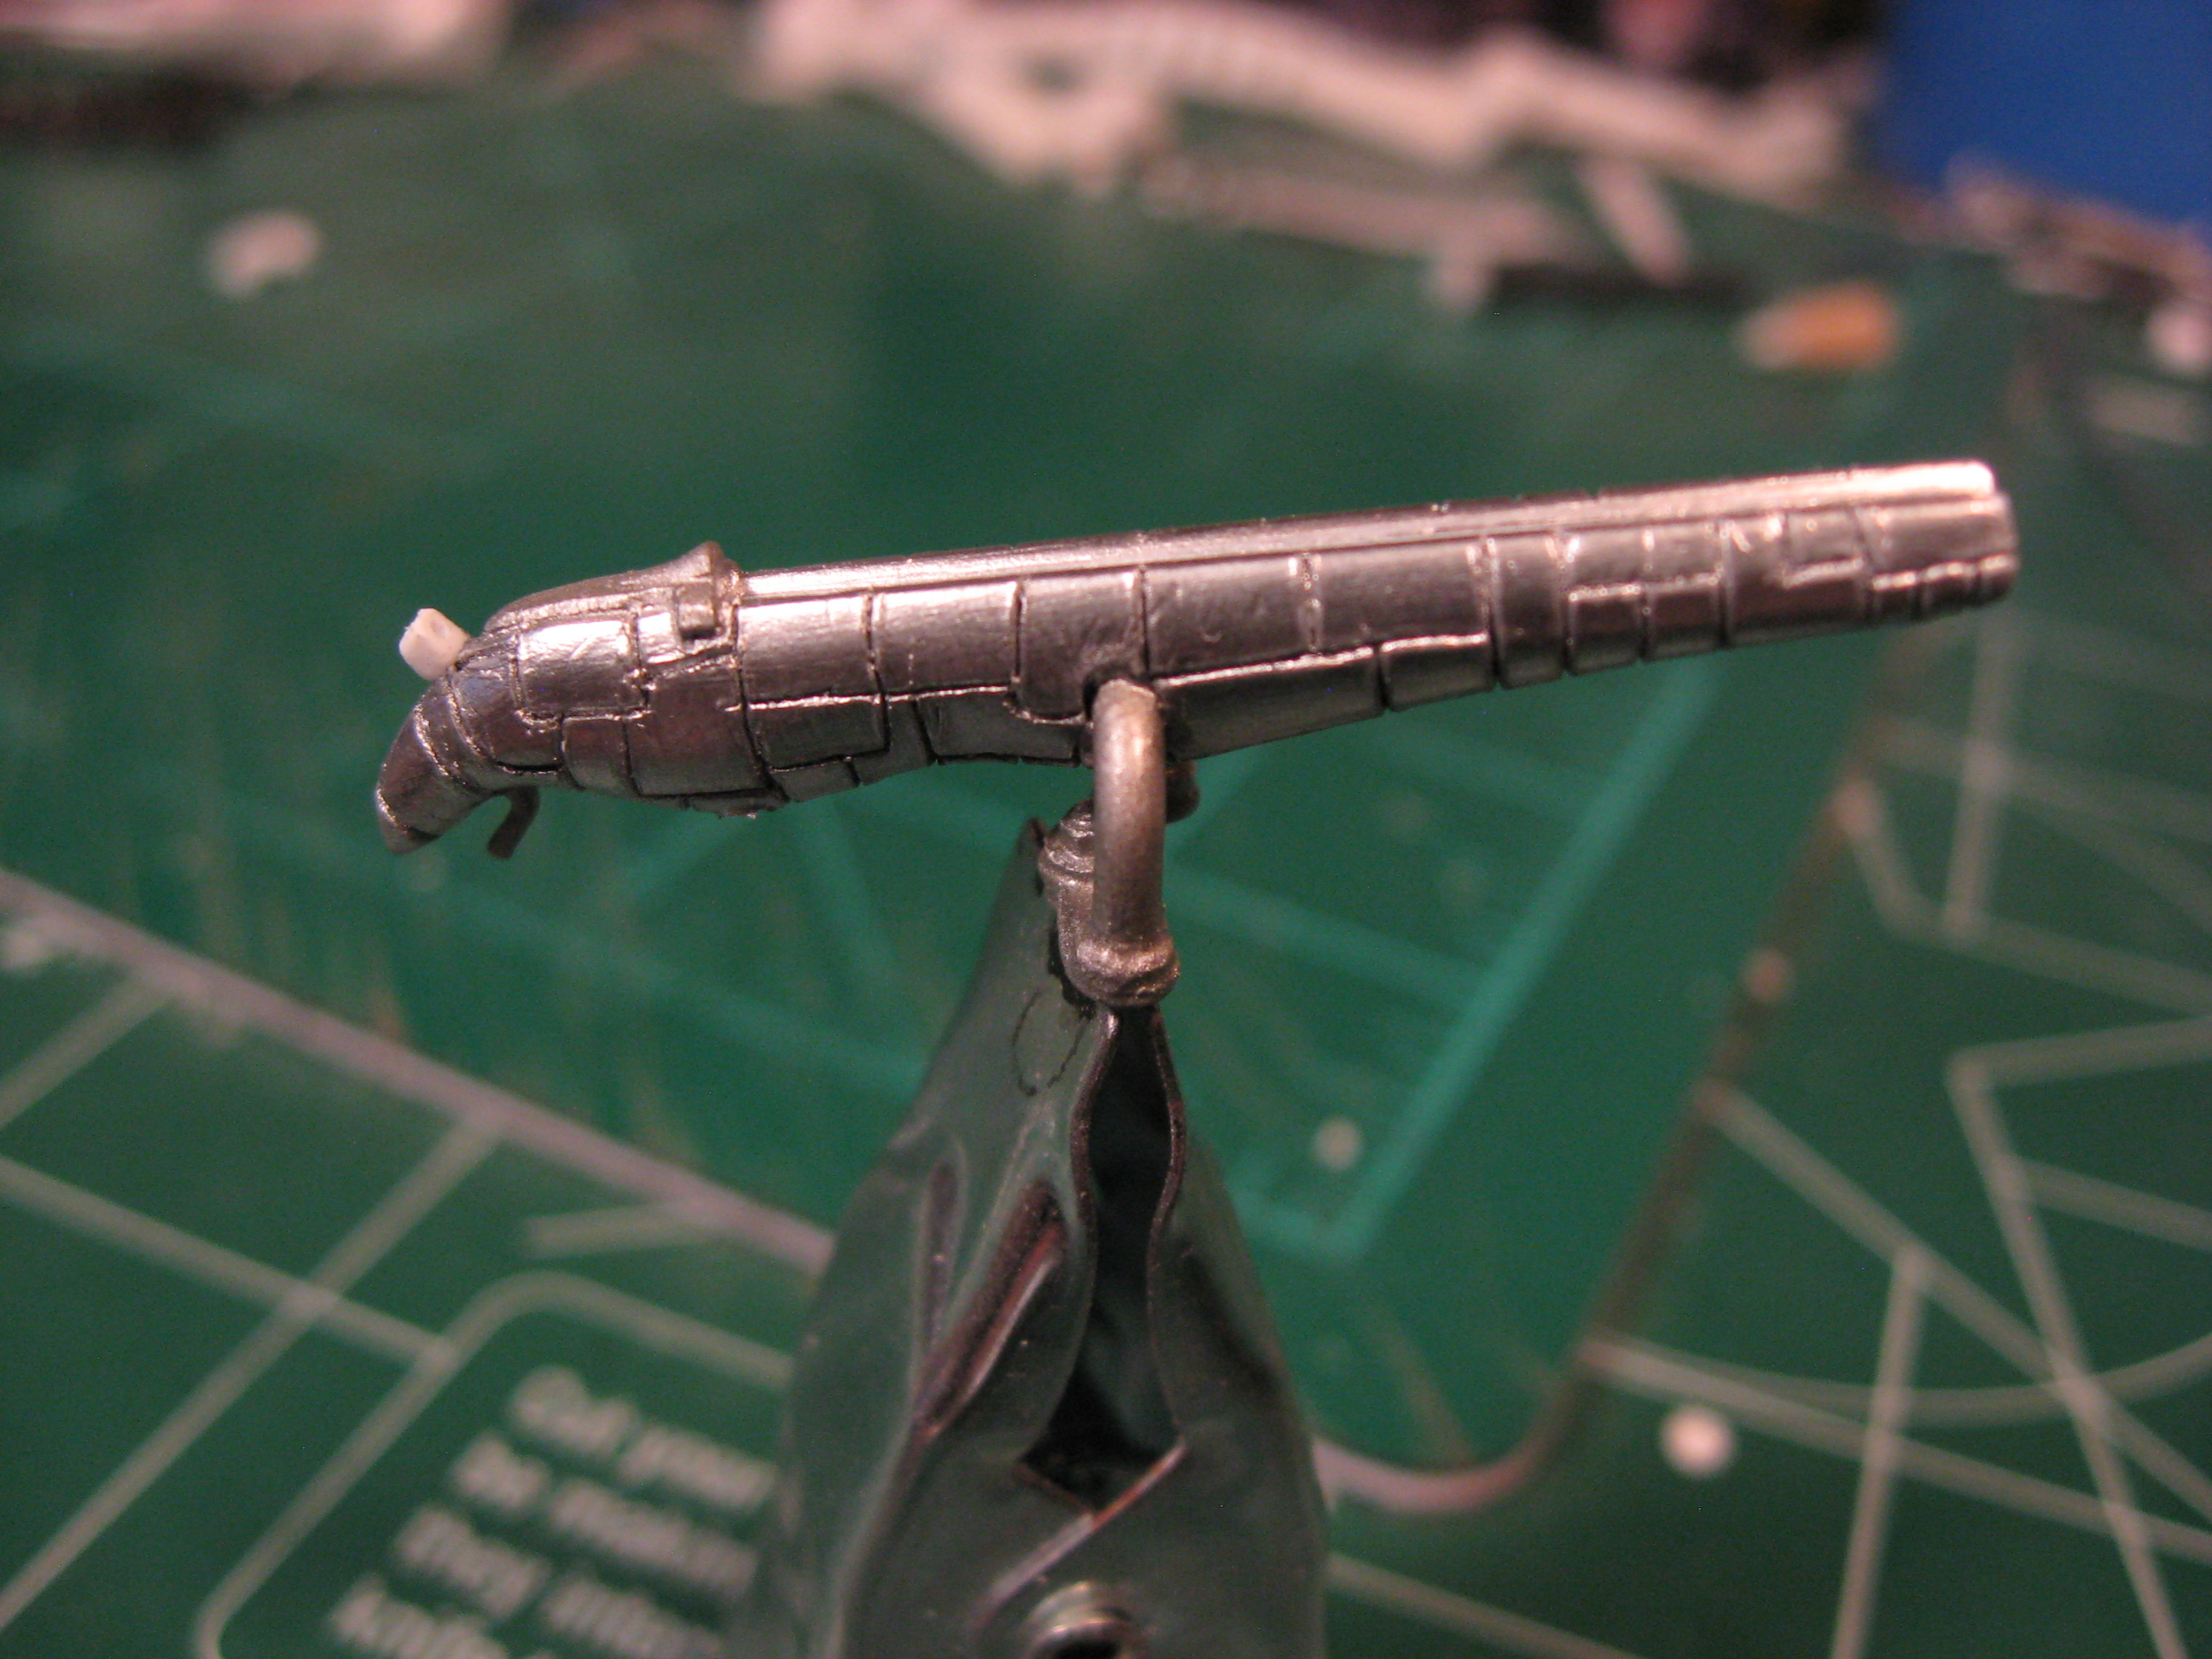
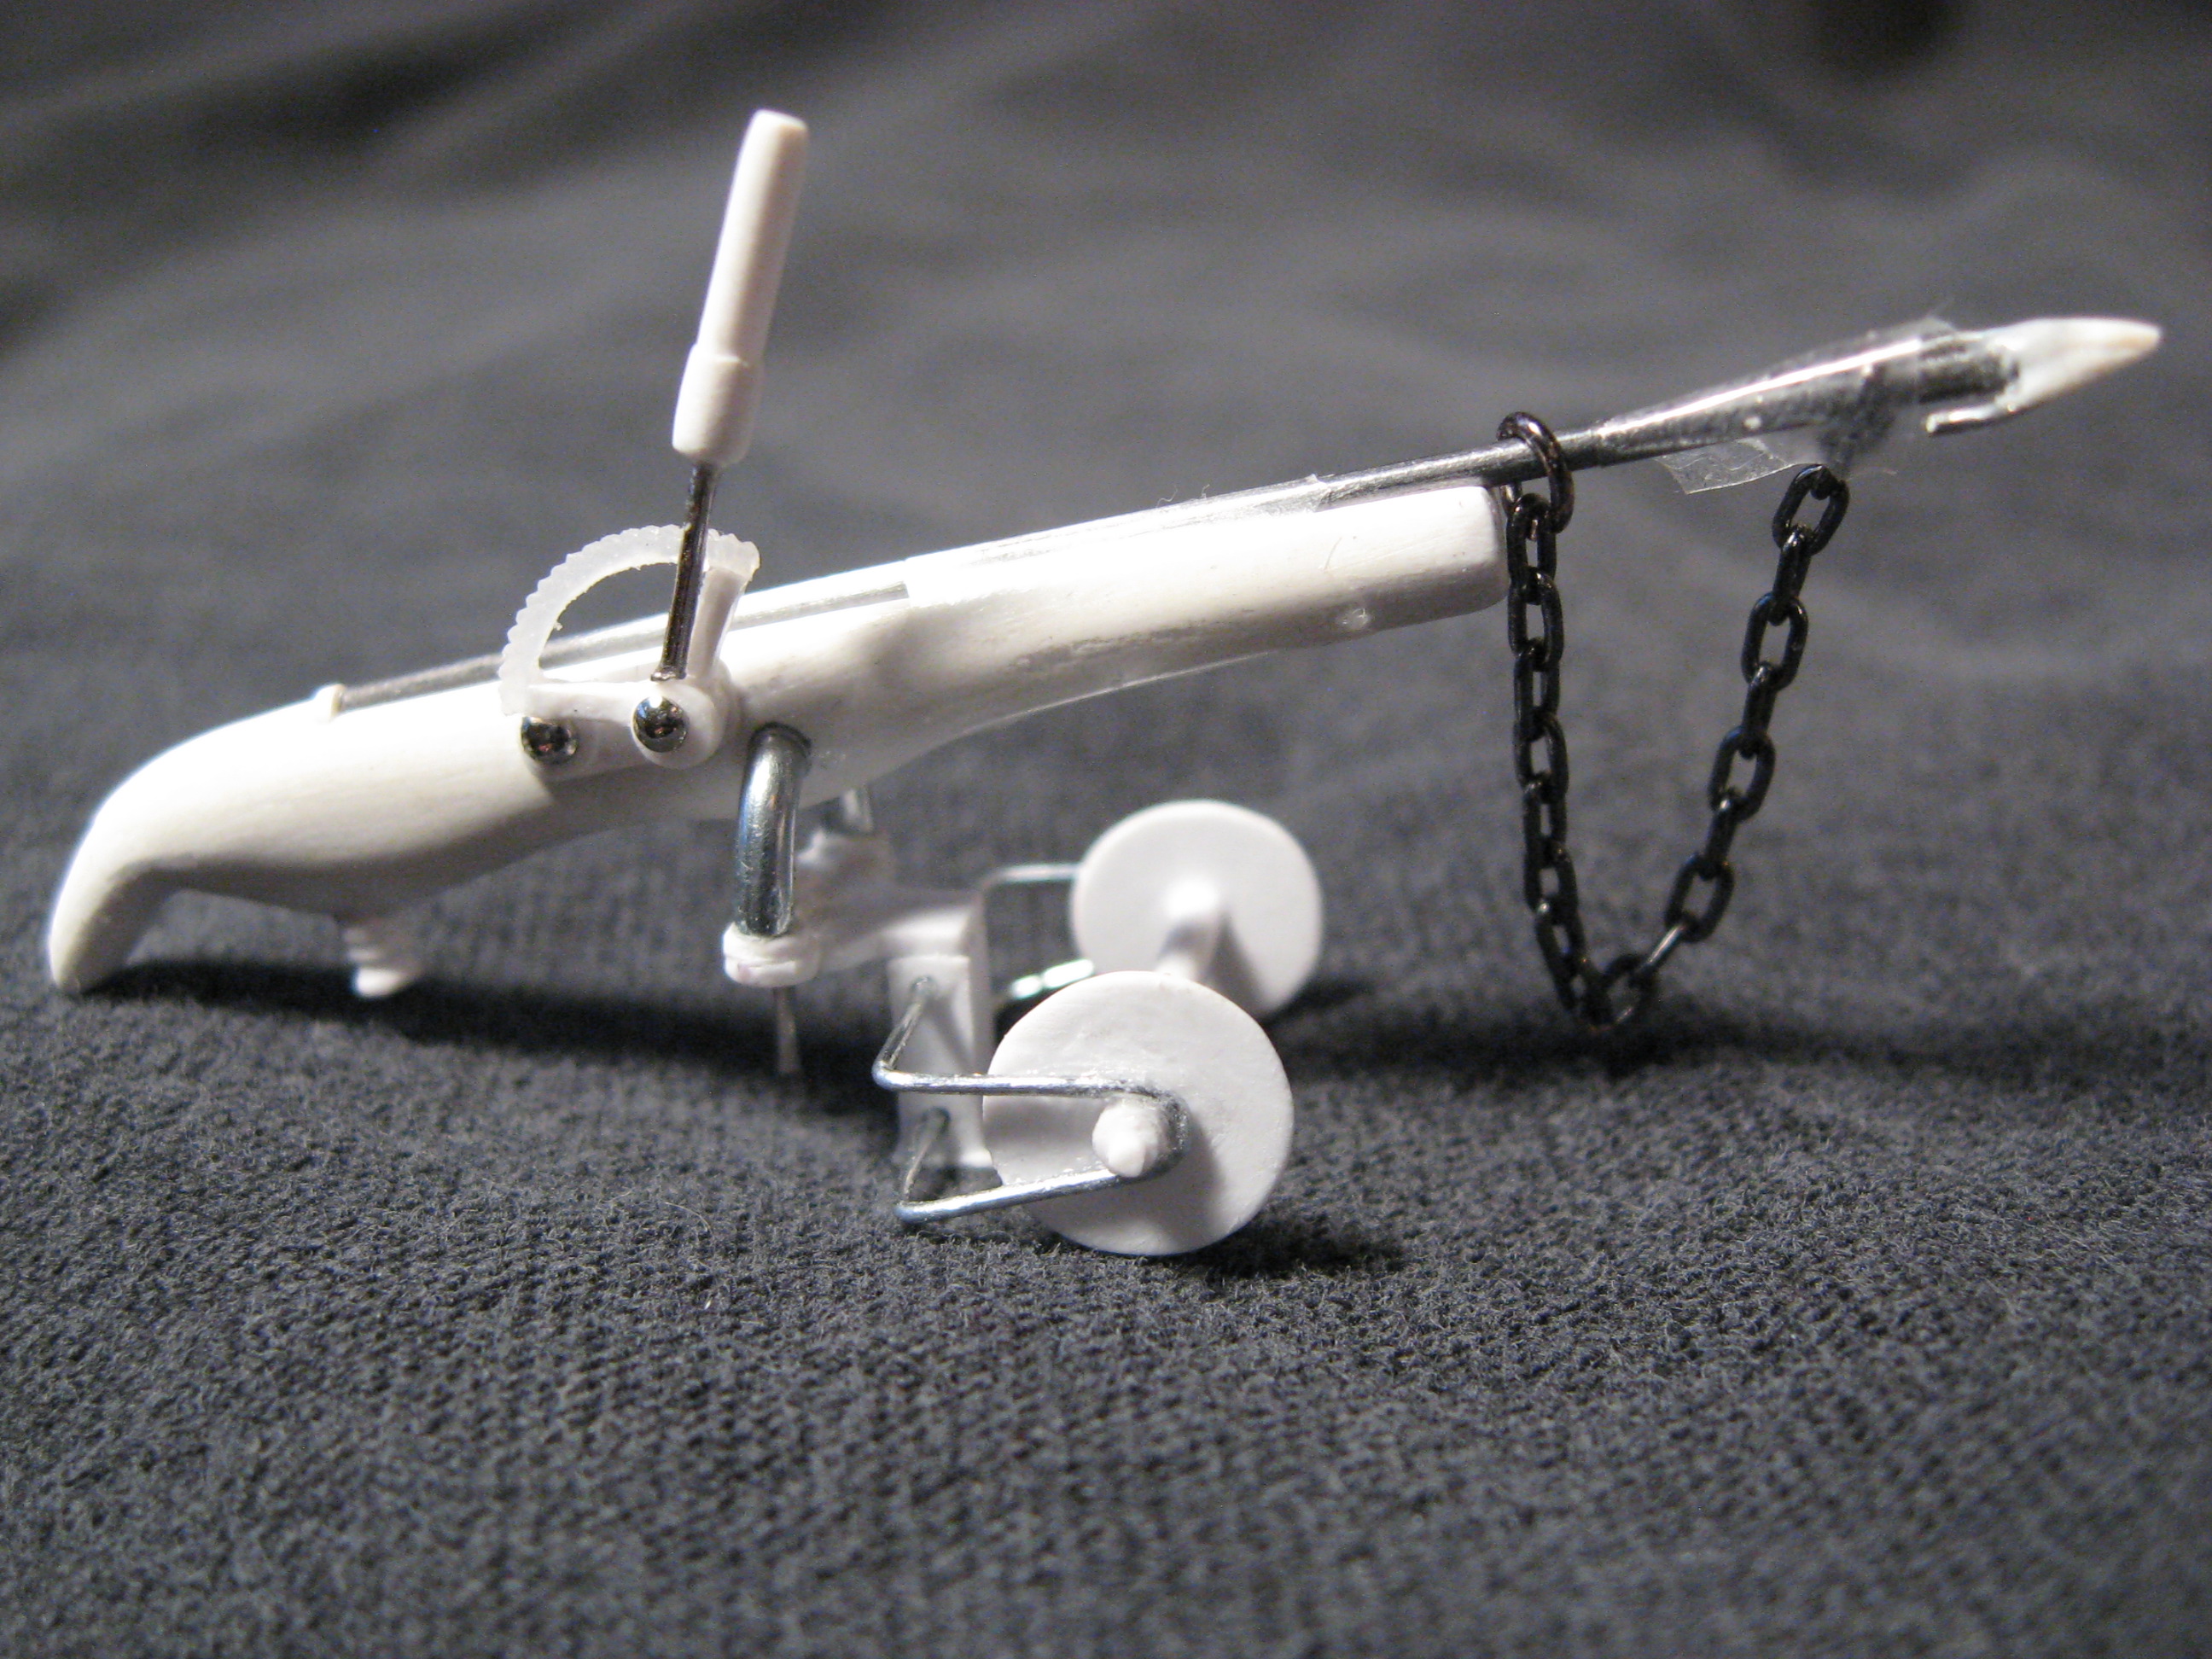
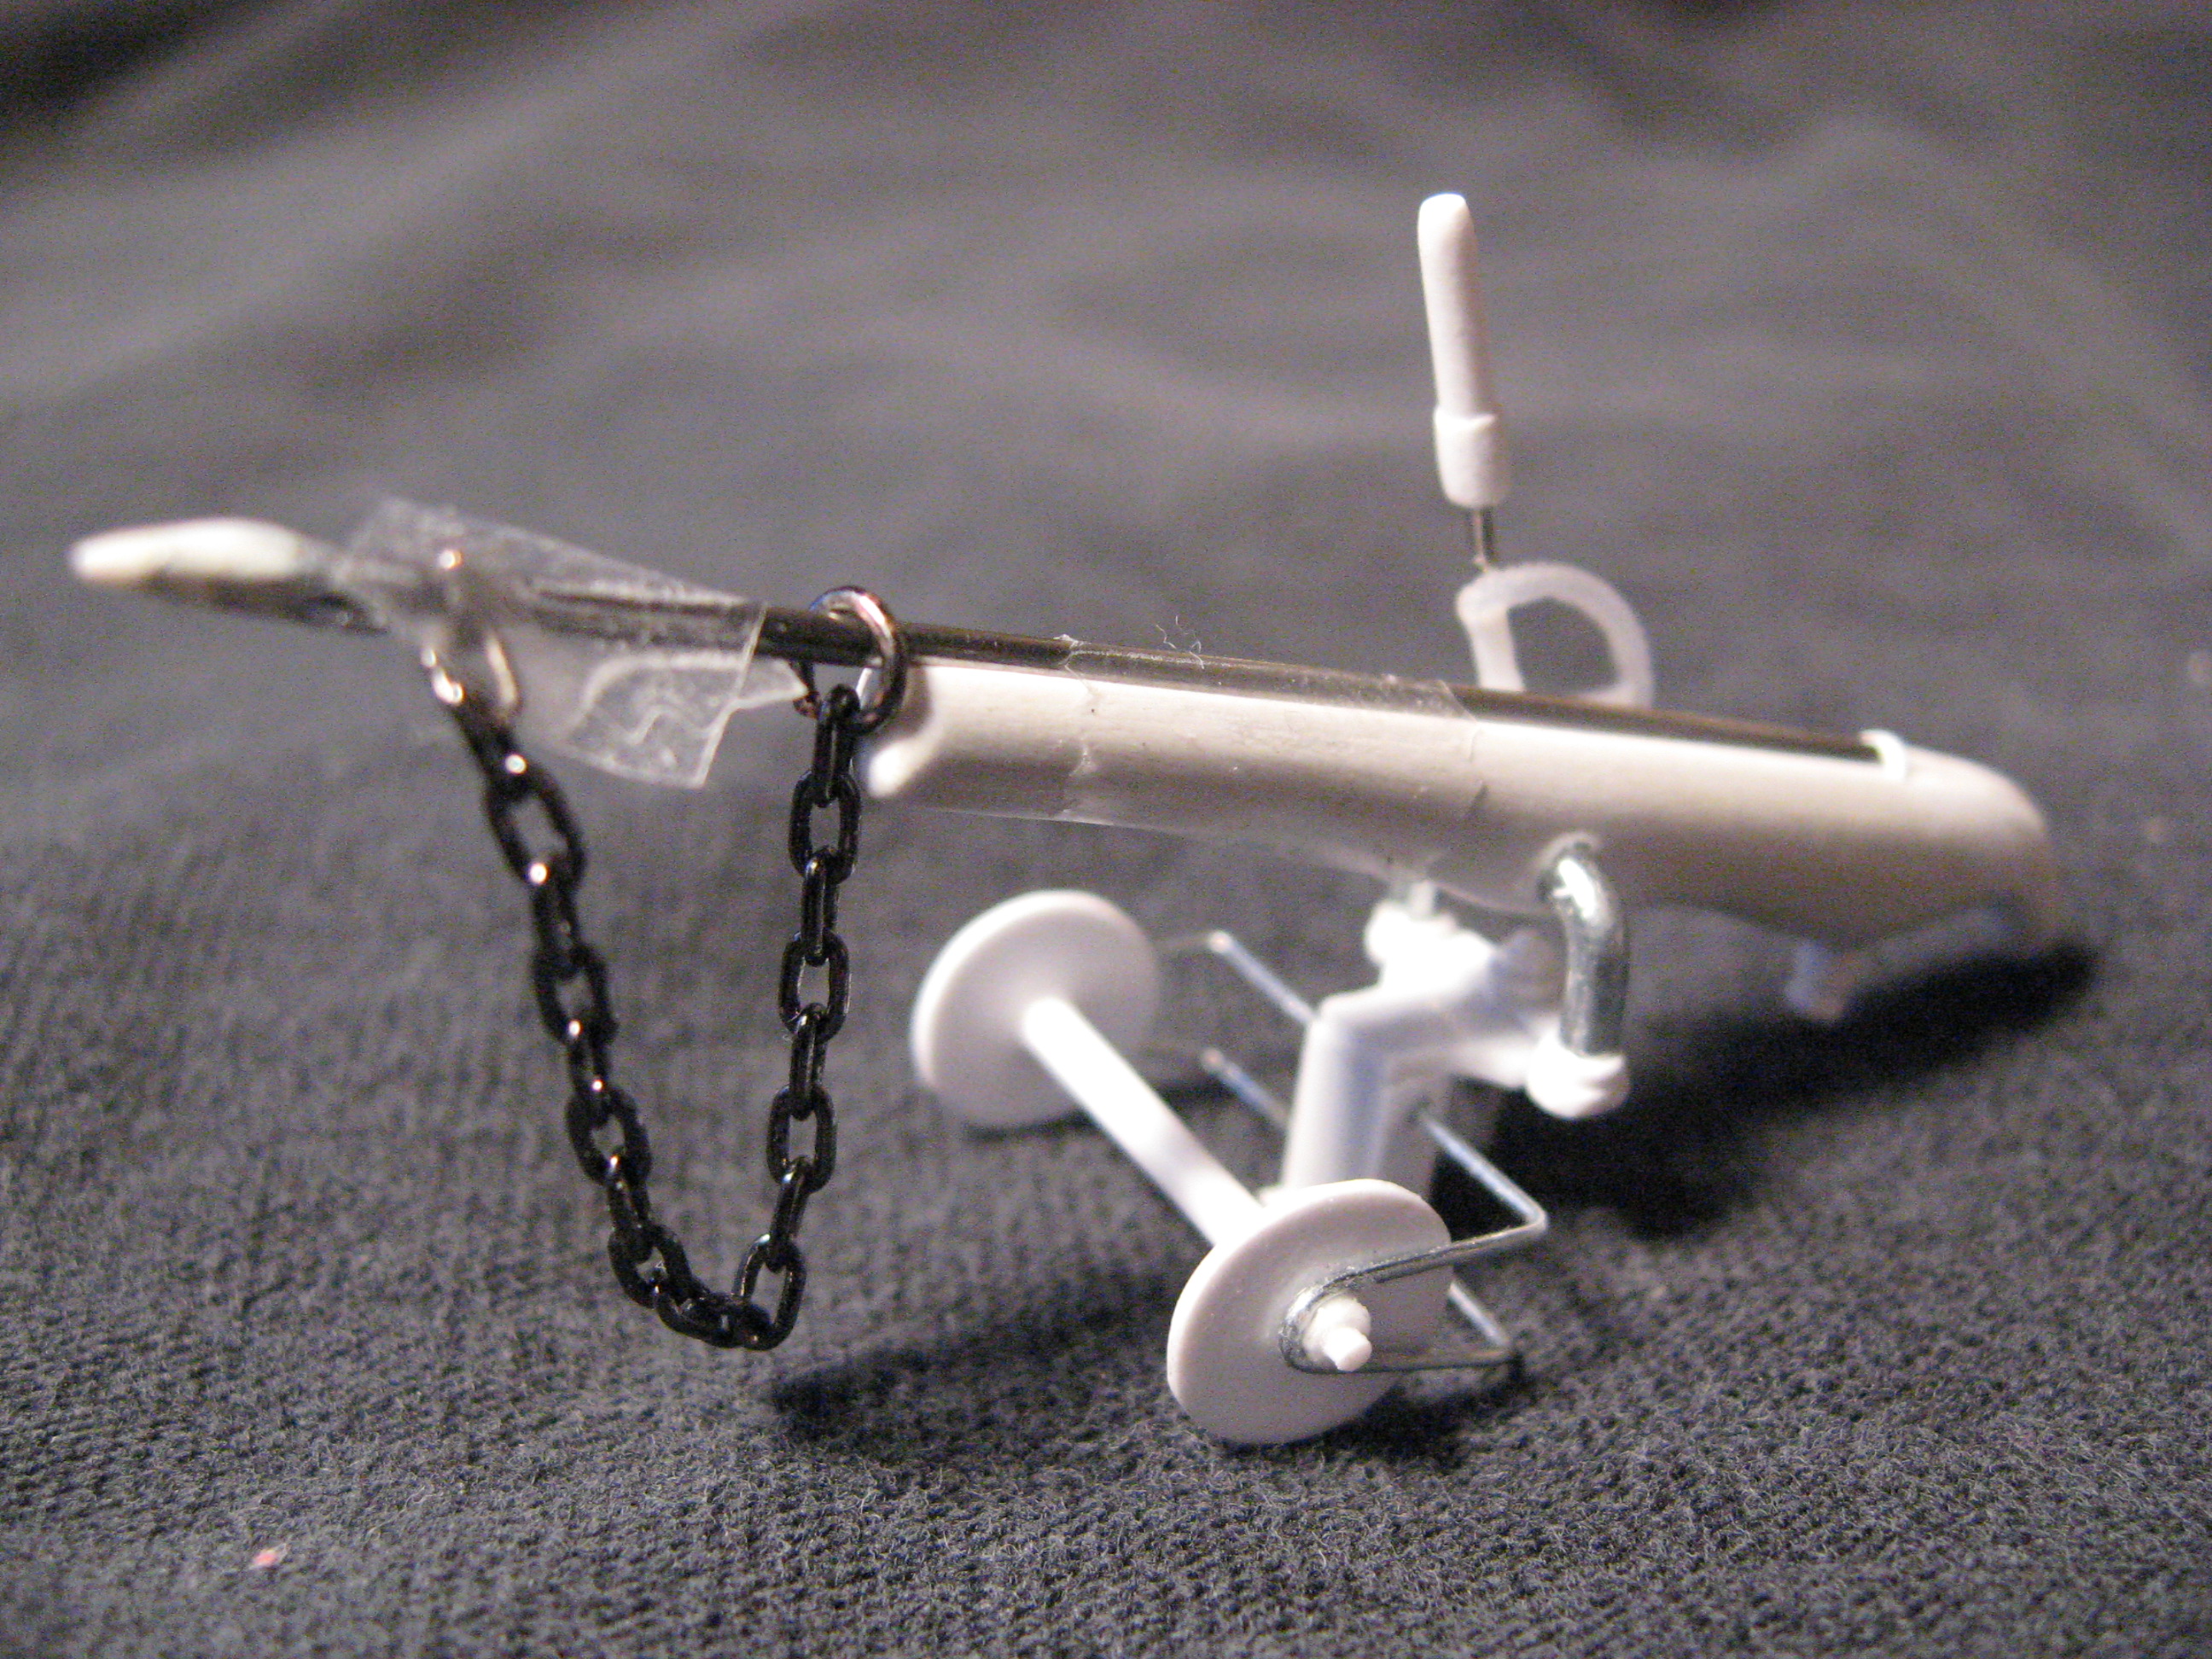
The spear gun is done! It's very delicate but looks good, forgive the scotch tape in the mock-up. Now to tackle the flame thrower. Thanks for looking
-
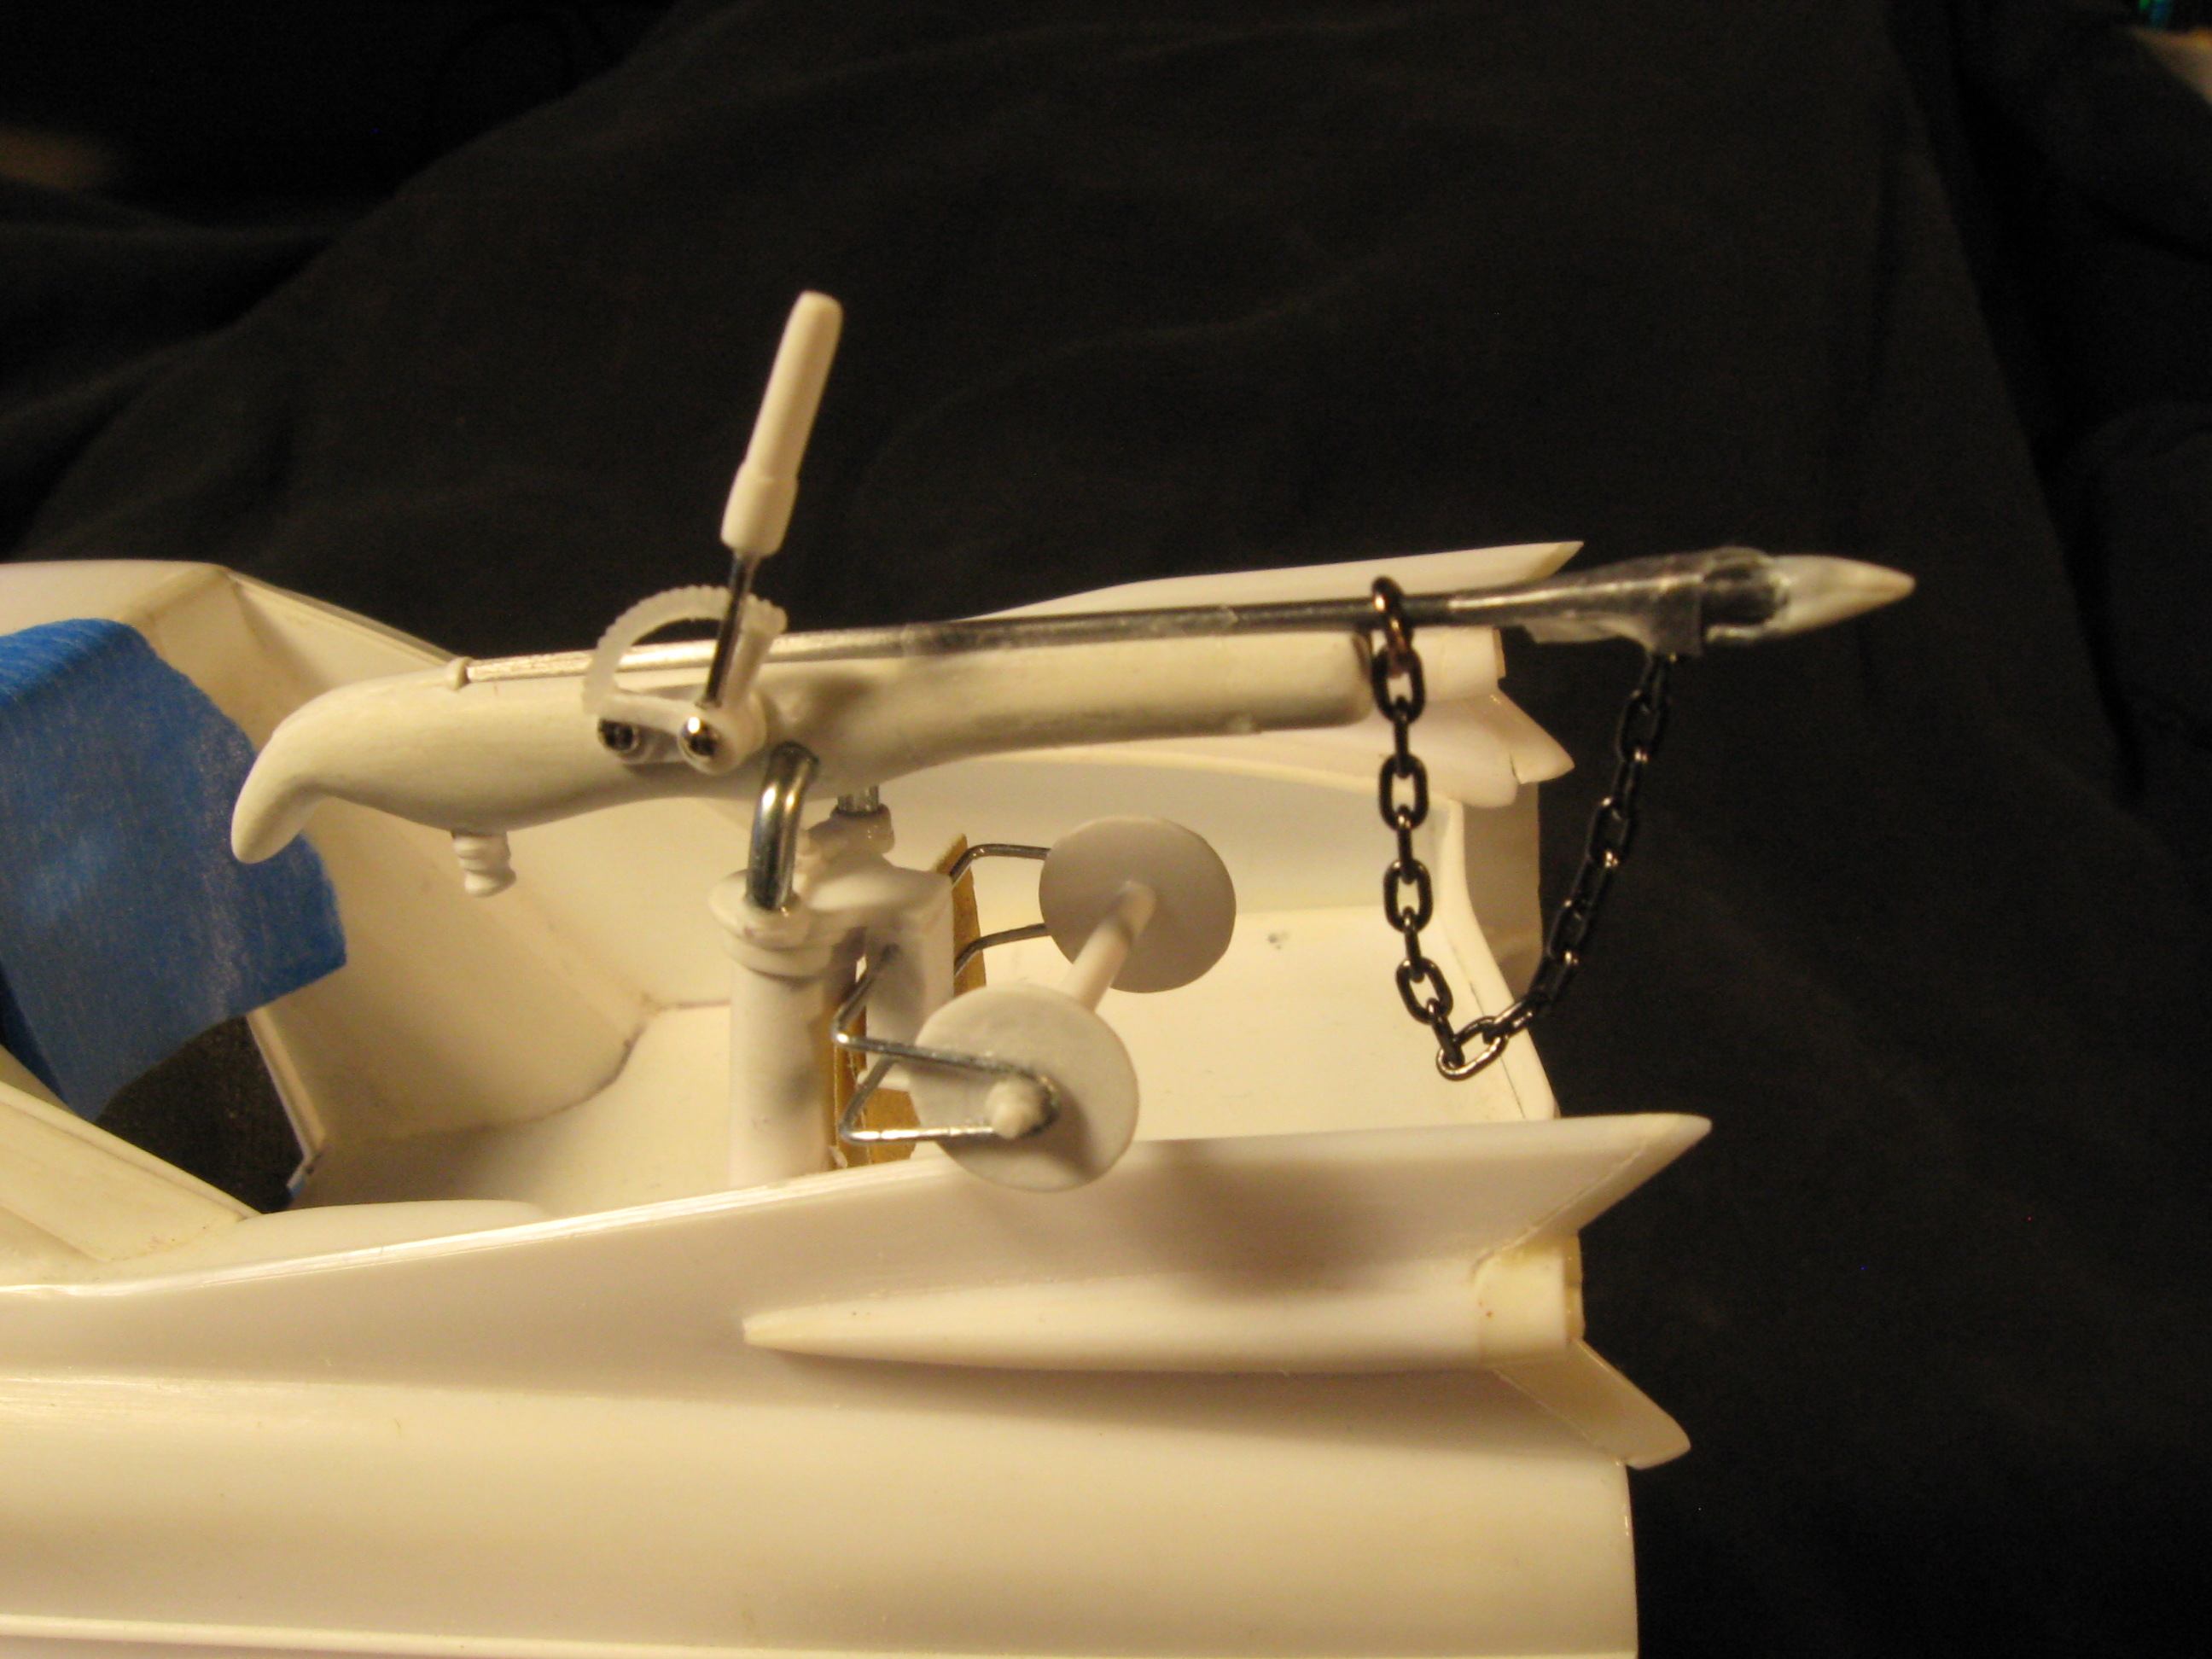
Thank you gentlemen for the encouragement. I am inspired to keep working on this hopefully to completion. I will share a photo of this in the model- I like it.
-
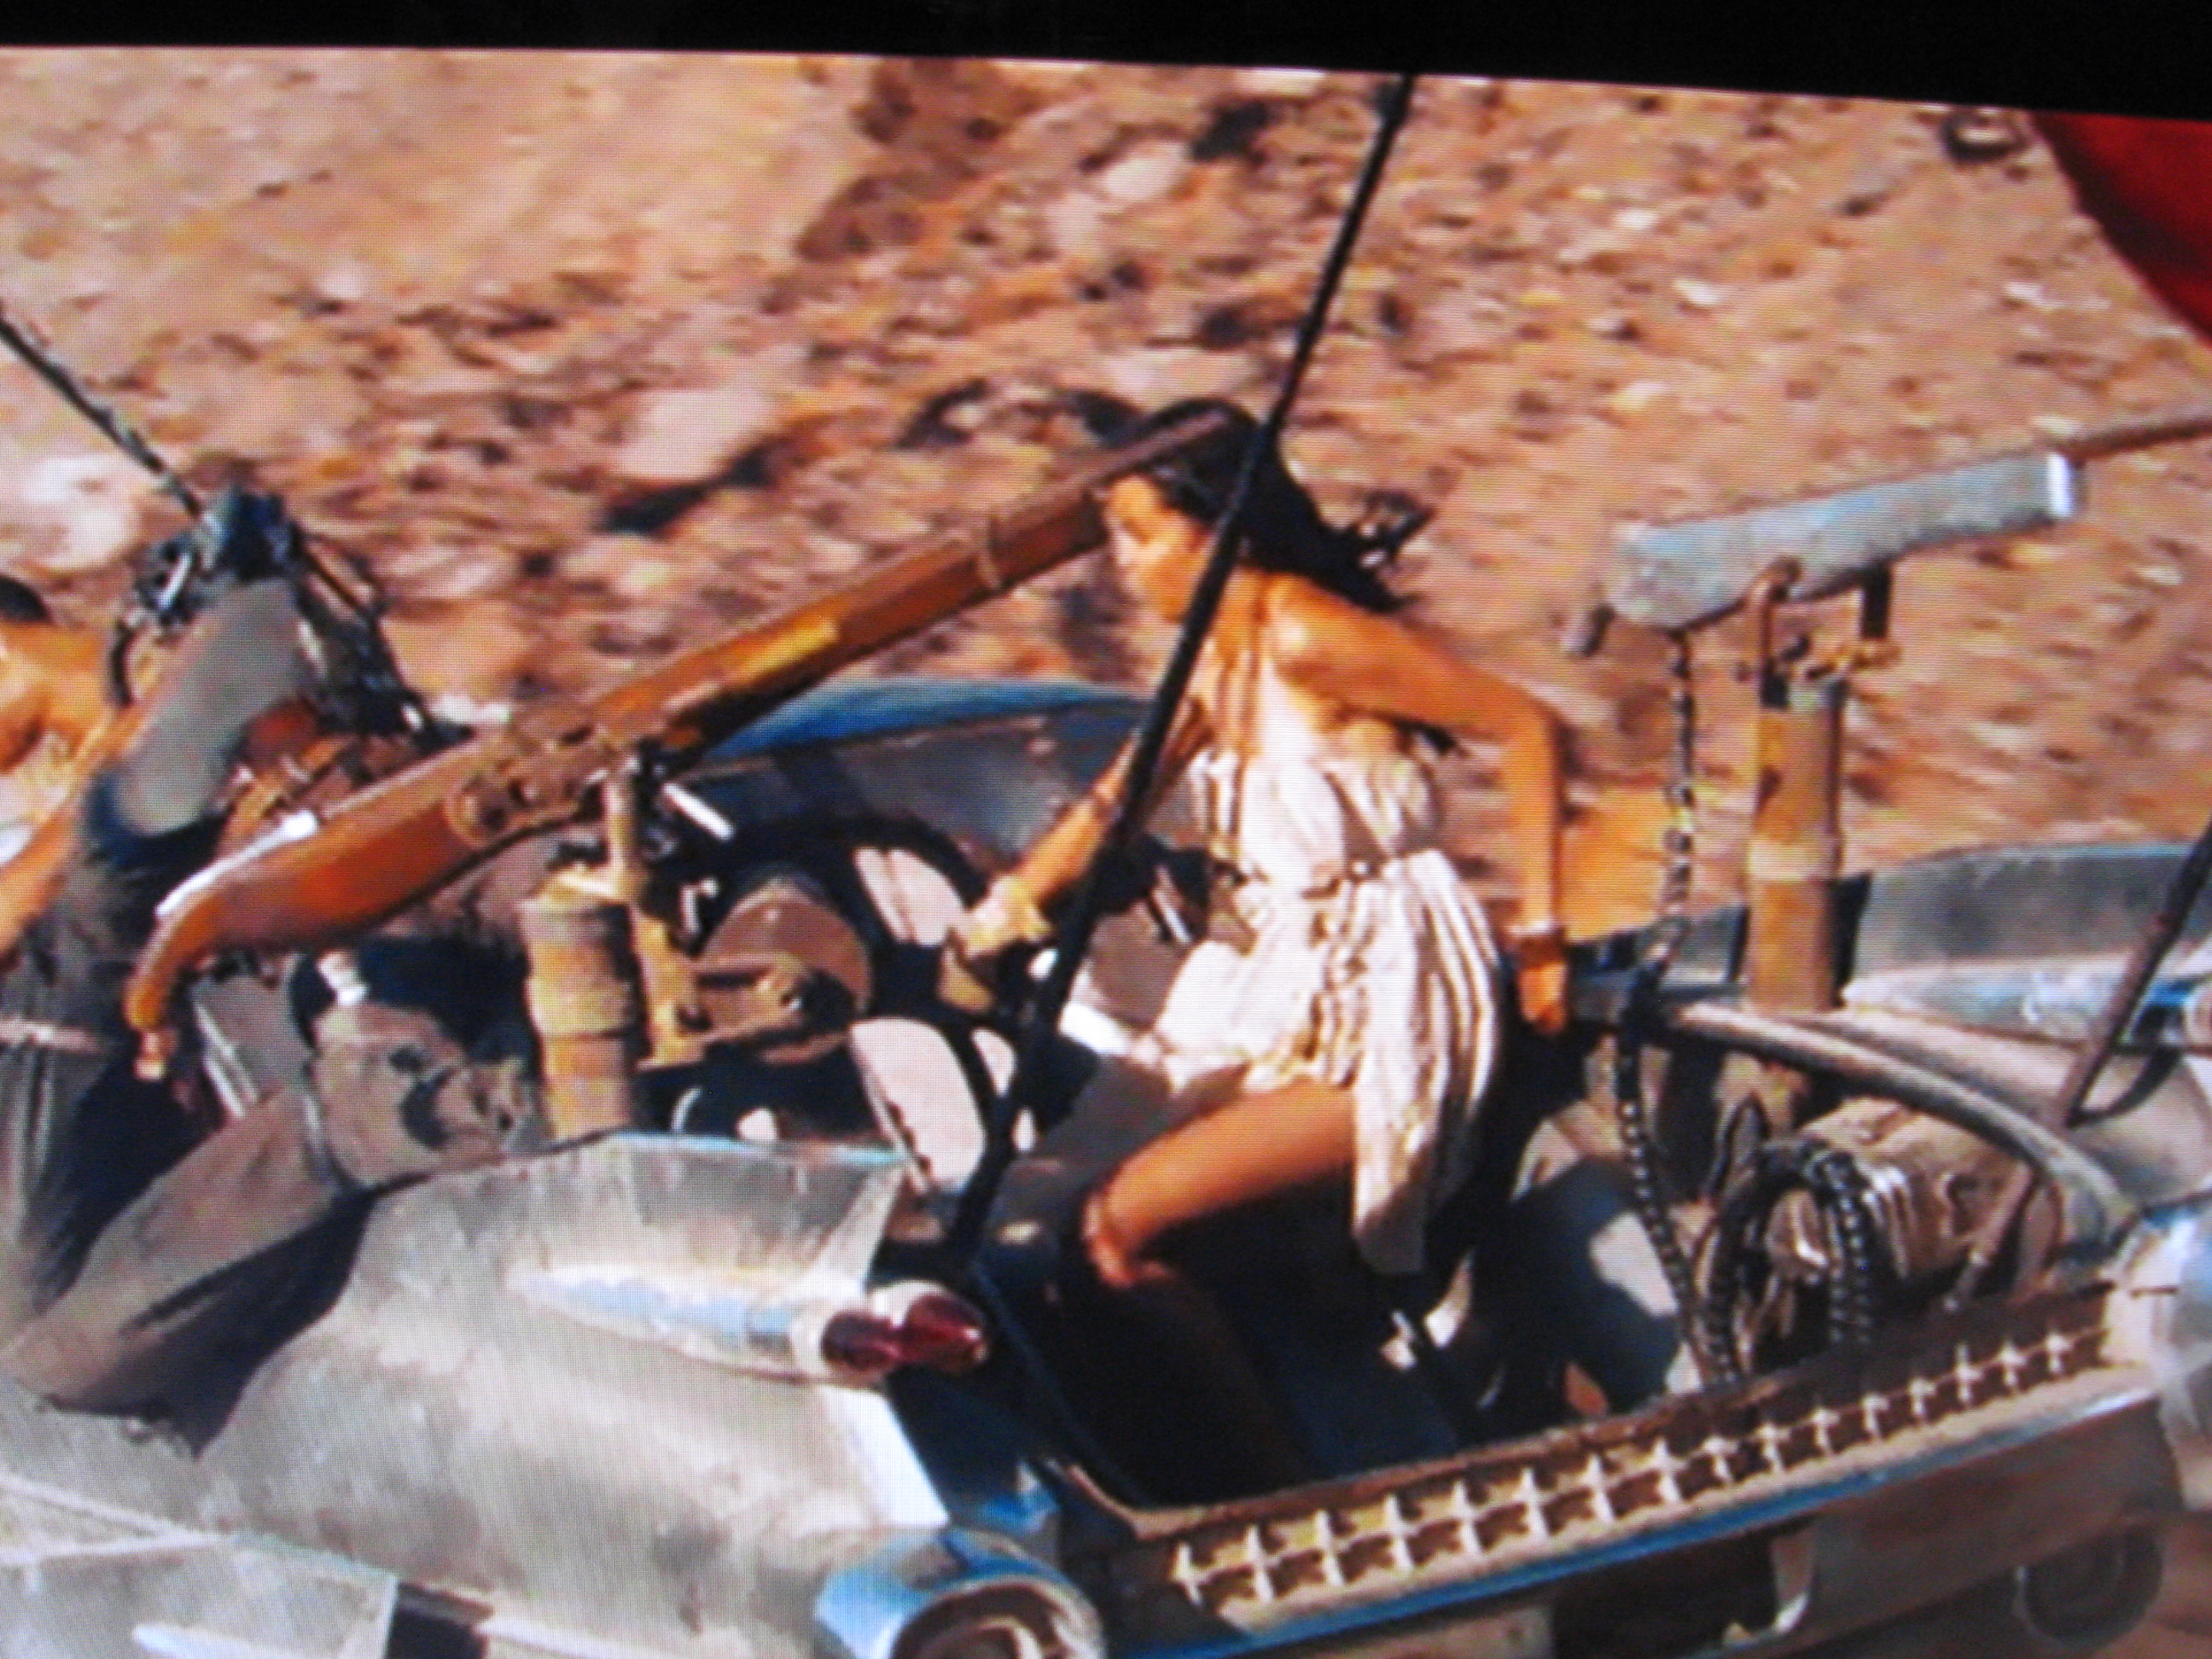
Forgot a reference photo with some interesting info.
-
Thanks for the continued interest everyone. I got tired of all these little engine pieces lying on my bench waiting to get lost. So I finished the engine assembly to get the creative juices flowing. Hopefully more to come soon, I'm liking the progress. Thanks for looking.
-
I'm liking the color and your graphics. I love mopars and have bought several of these for future projects. Wish I could find a 1:1 low mile Srt8 locally and reasonable.
-
Fully detailed Pagani Huayra..Under Glass
Ridge Rider replied to Dann Tier's topic in WIP: Model Cars
Nice start-your attention to detail is looking goooood. -
Nice work, I'm really digging that Camaro. Look forward to more.
-
I did like the Heathers but Farrah was on my wall.
-
I just pulled the plastic off and am quite excited by the cover to delve into this issue. It will be bittersweet to see some of Harrys last contributions to this hobby. Thanks Gregg
-
Everything you need to know
-
Cool story-thanks for sharing.
-
Potatoes-----and being mistaken for Iowa. These are are fine with me as the population is growing to fast already.