Johnt671
-
Posts
920 -
Joined
-
Last visited
Content Type
Profiles
Forums
Events
Gallery
Everything posted by Johnt671
-
Building Lindburgs Color Me Gone as the Hemi Honker done
Johnt671 replied to Johnt671's topic in WIP: Drag Racing Models
Thanks. The decals are from SMP Decals -
Building Lindburgs Color Me Gone as the Hemi Honker done
Johnt671 replied to Johnt671's topic in WIP: Drag Racing Models
Good suggestion. Thanks. -
Building Lindburgs Color Me Gone as the Hemi Honker done
Johnt671 replied to Johnt671's topic in WIP: Drag Racing Models
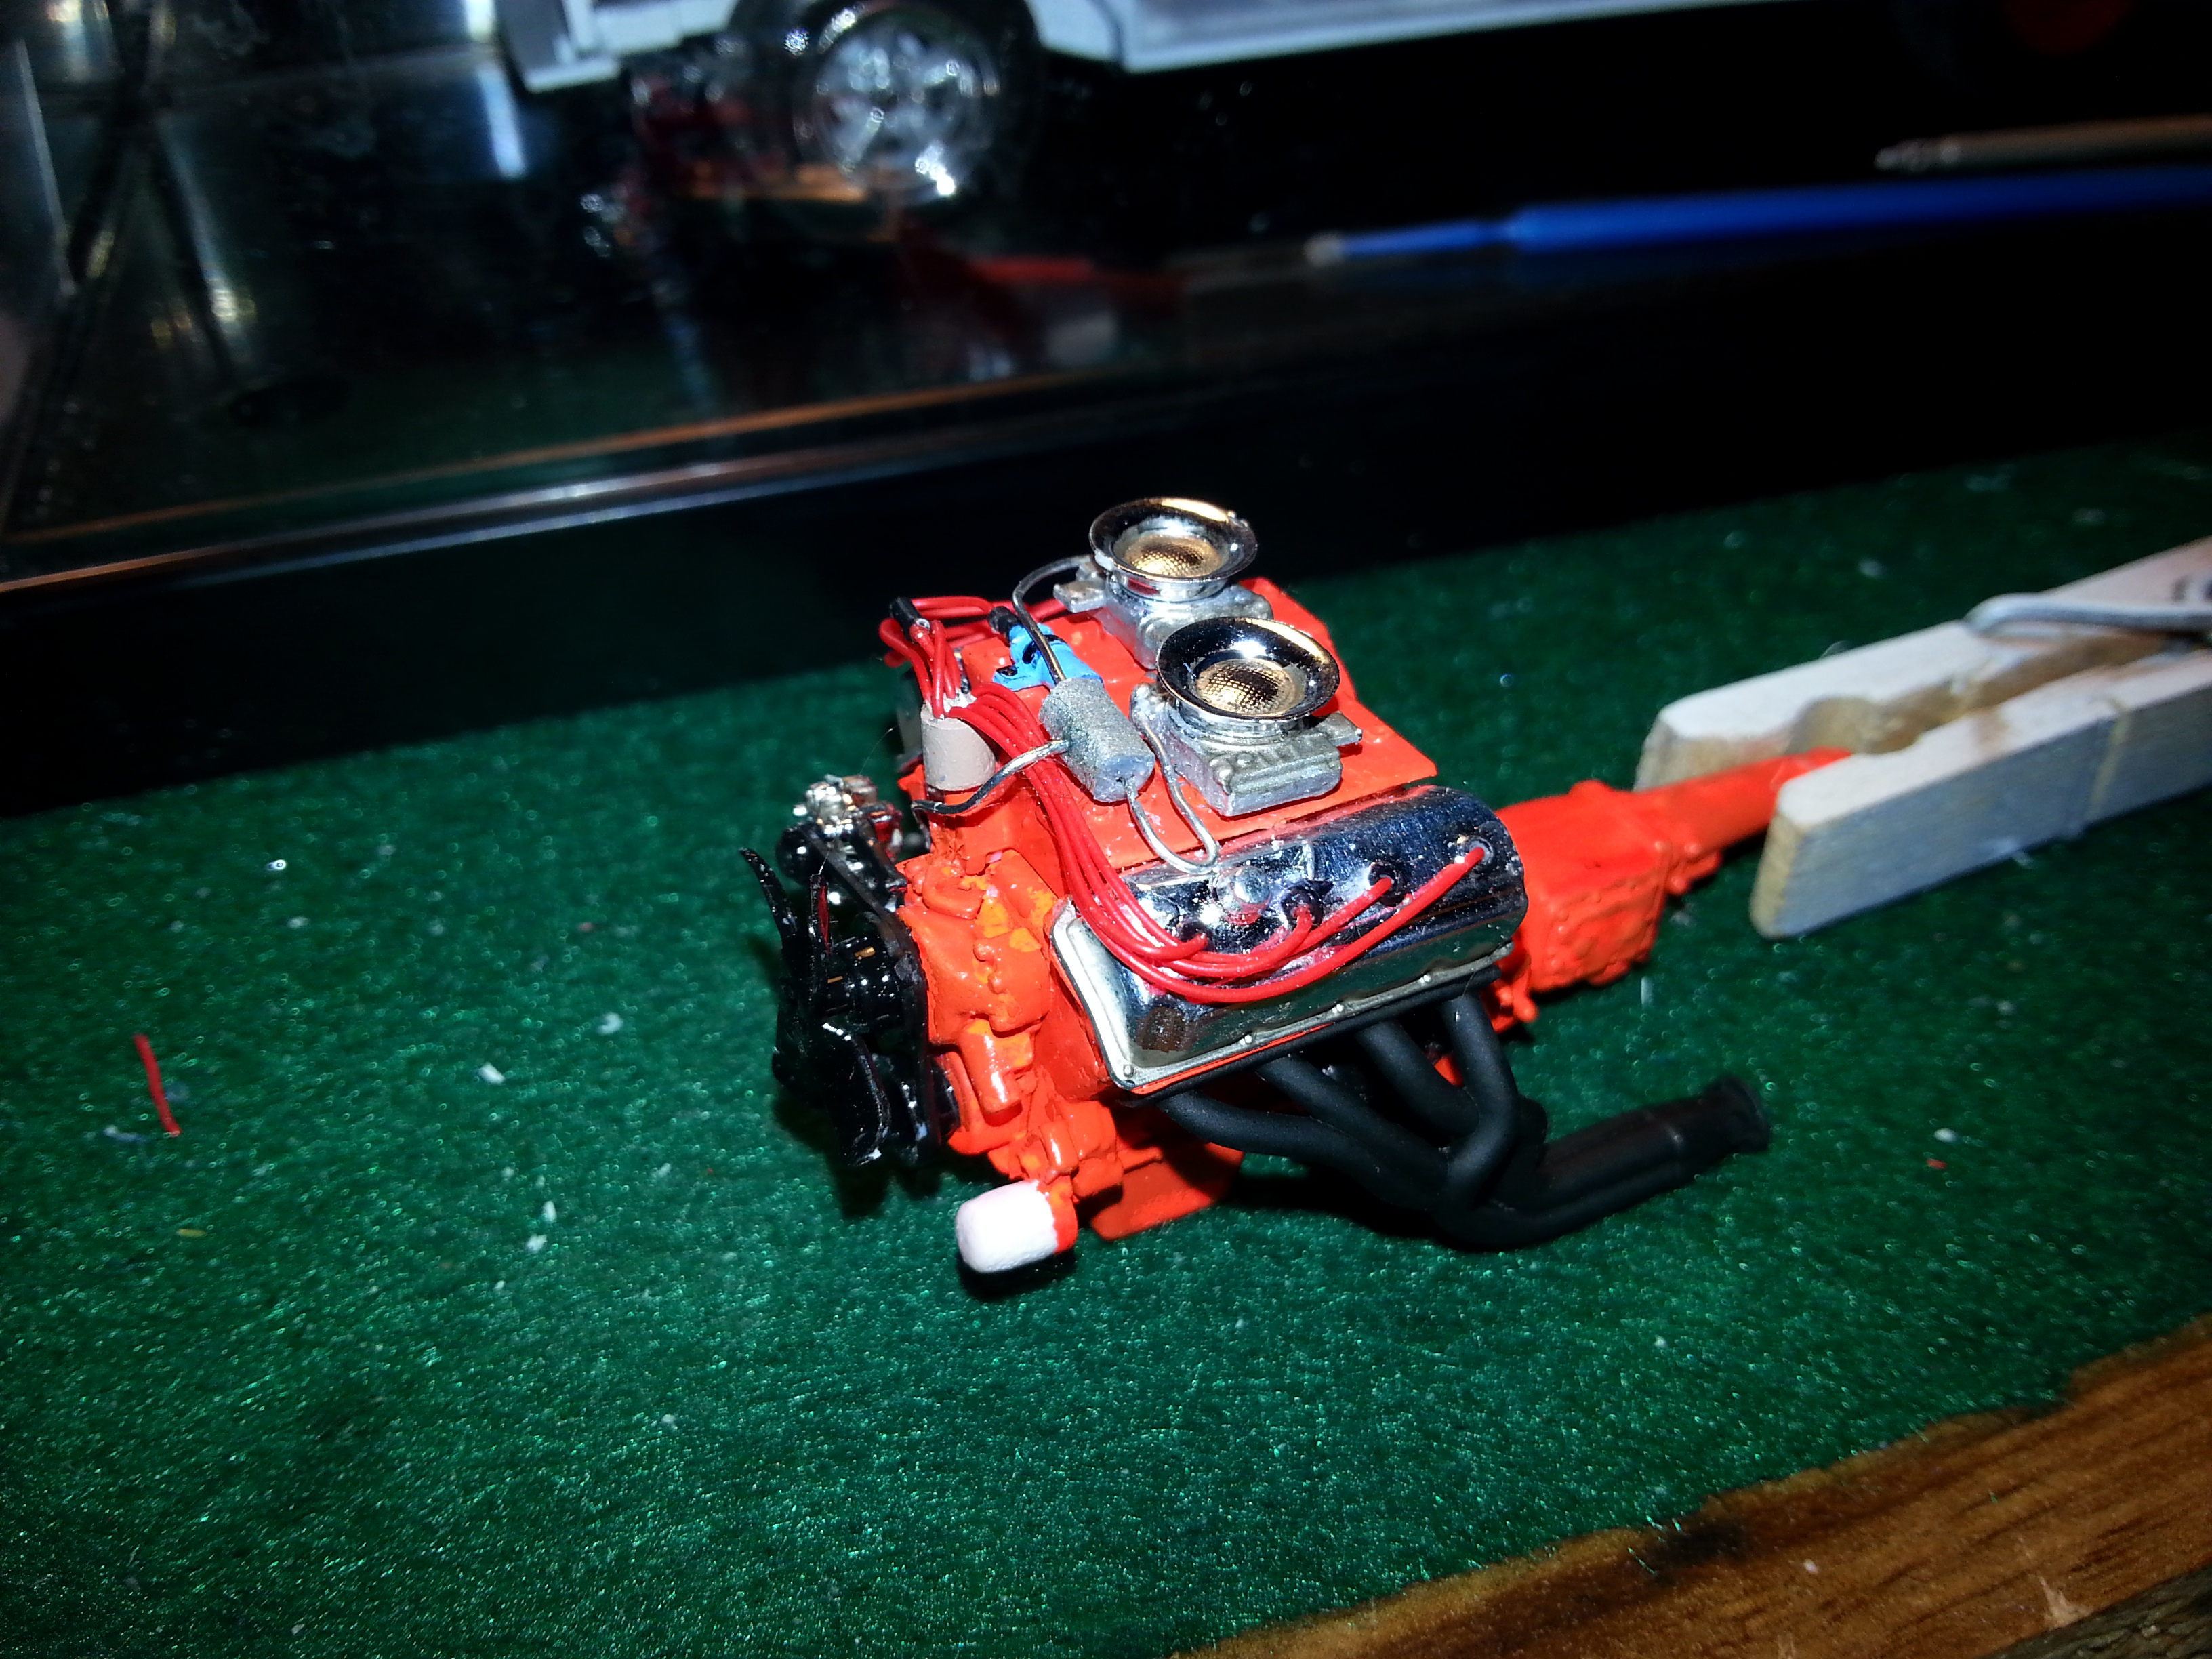
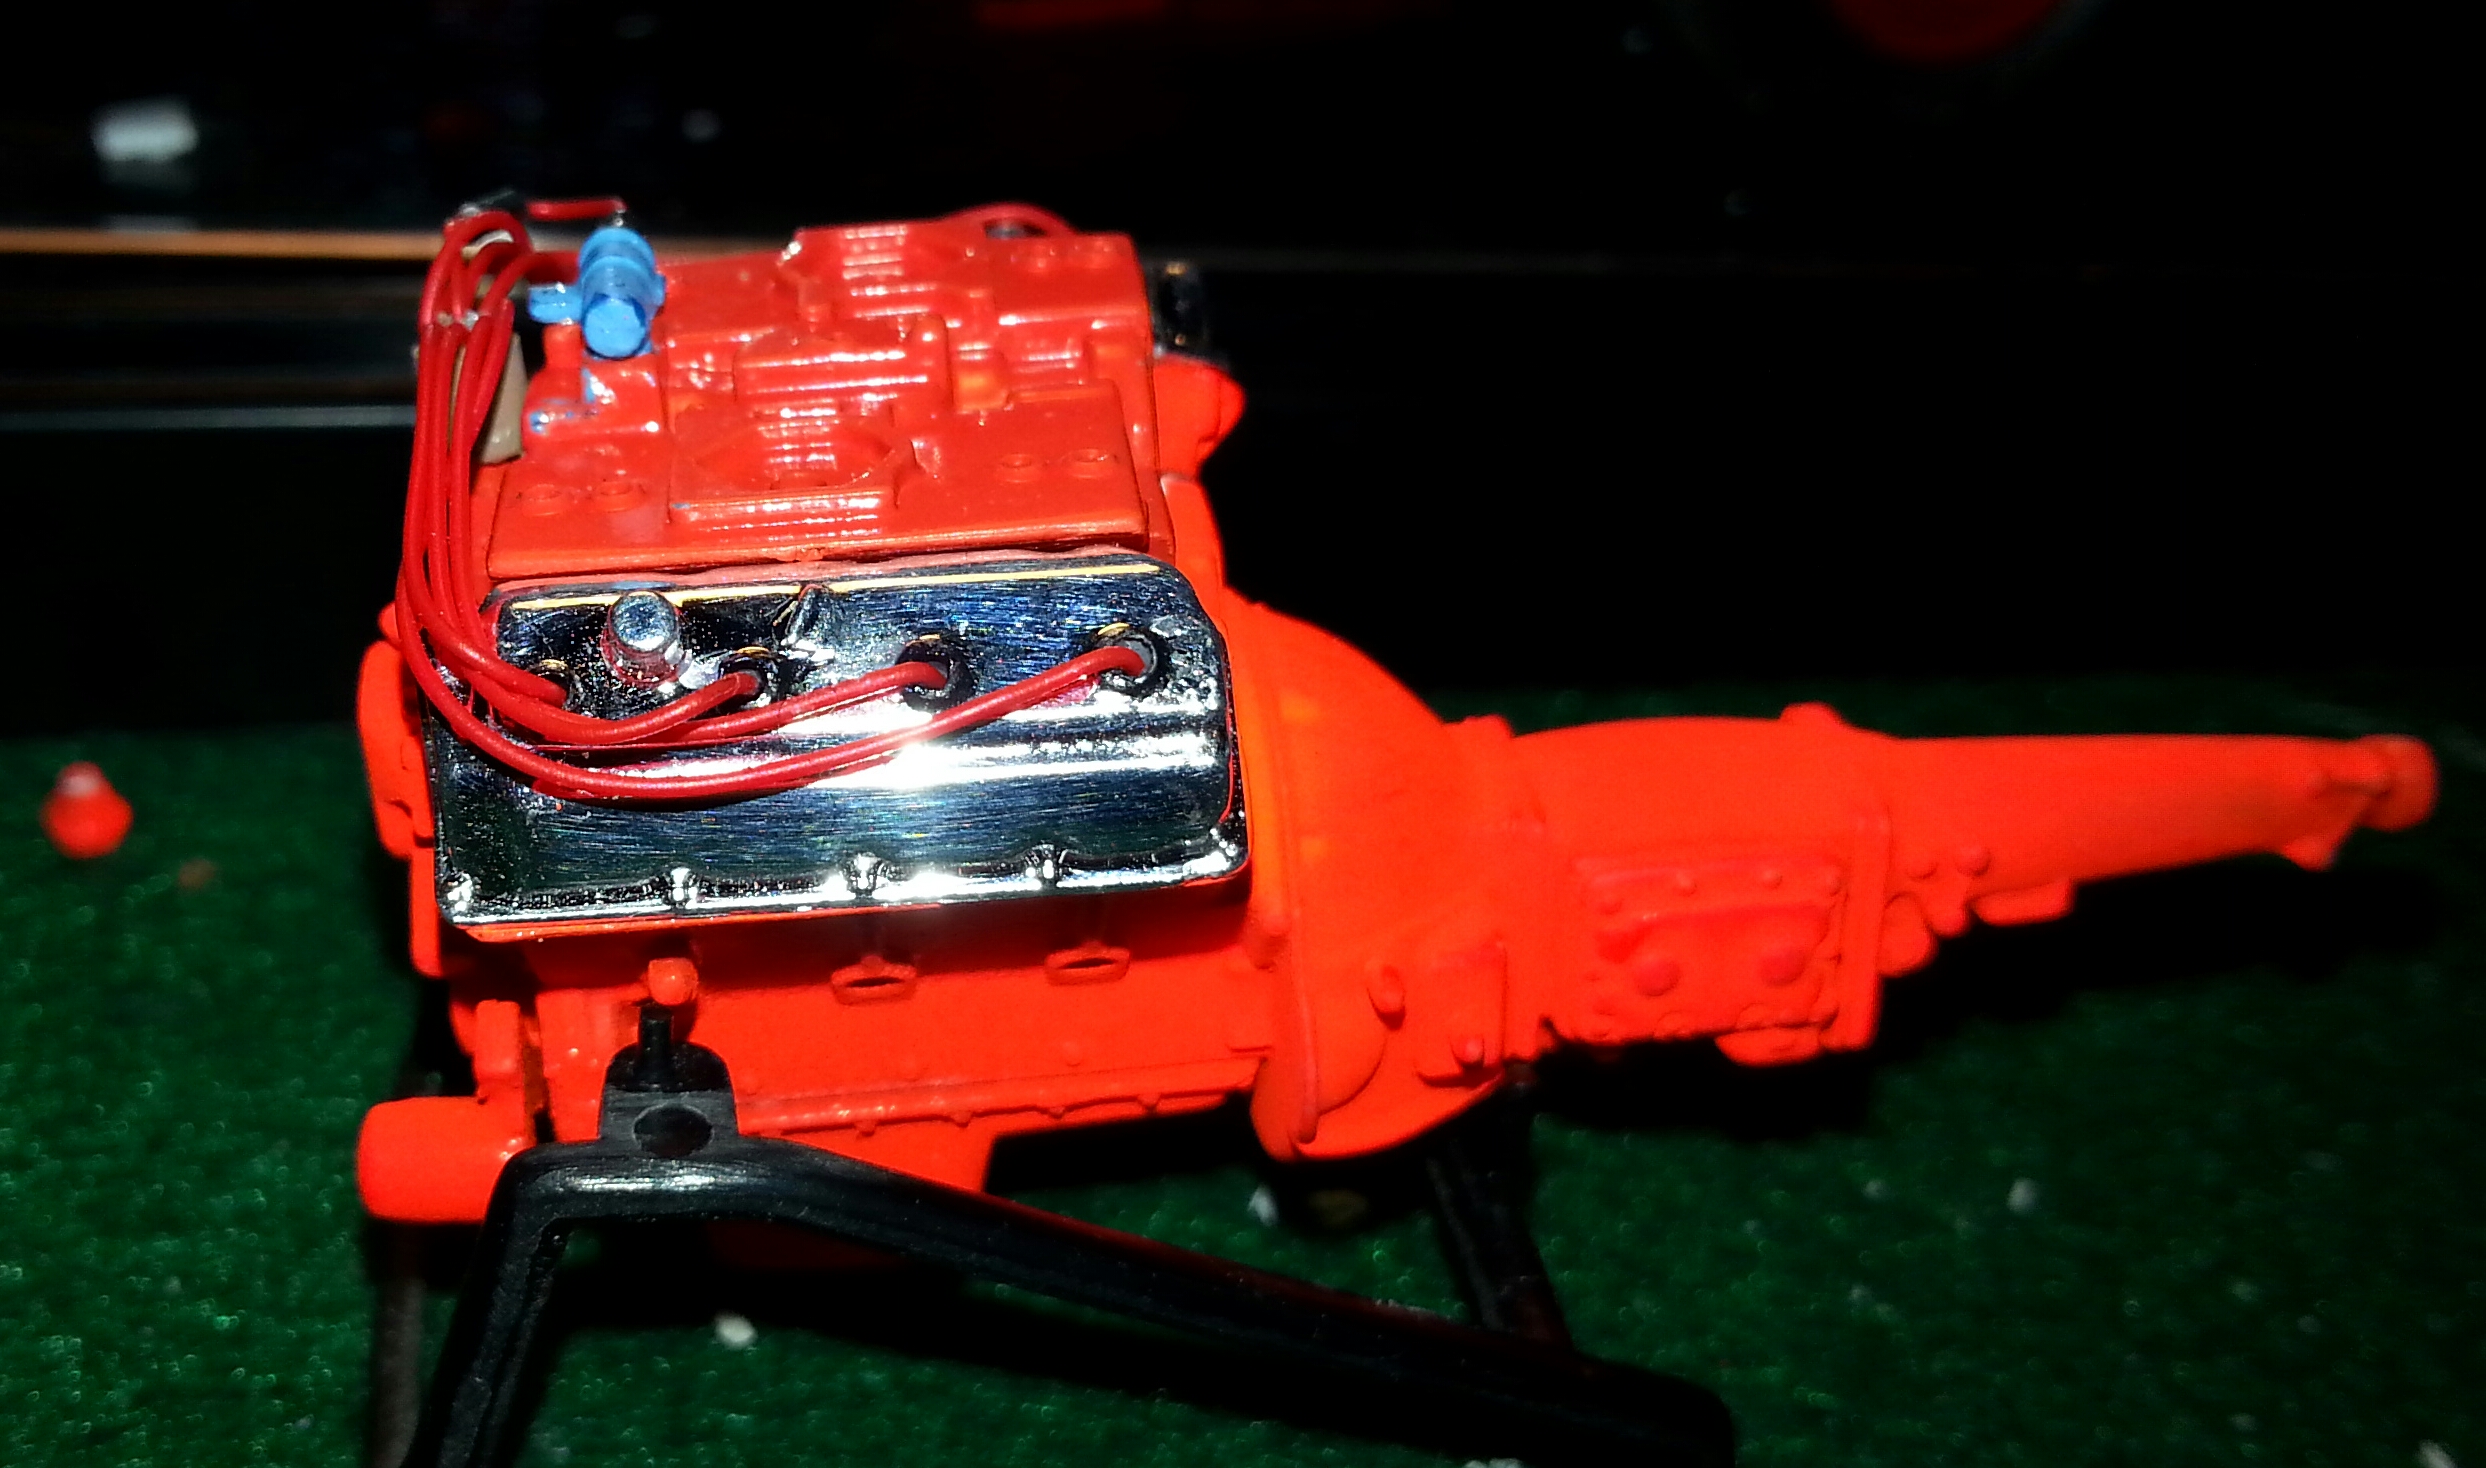
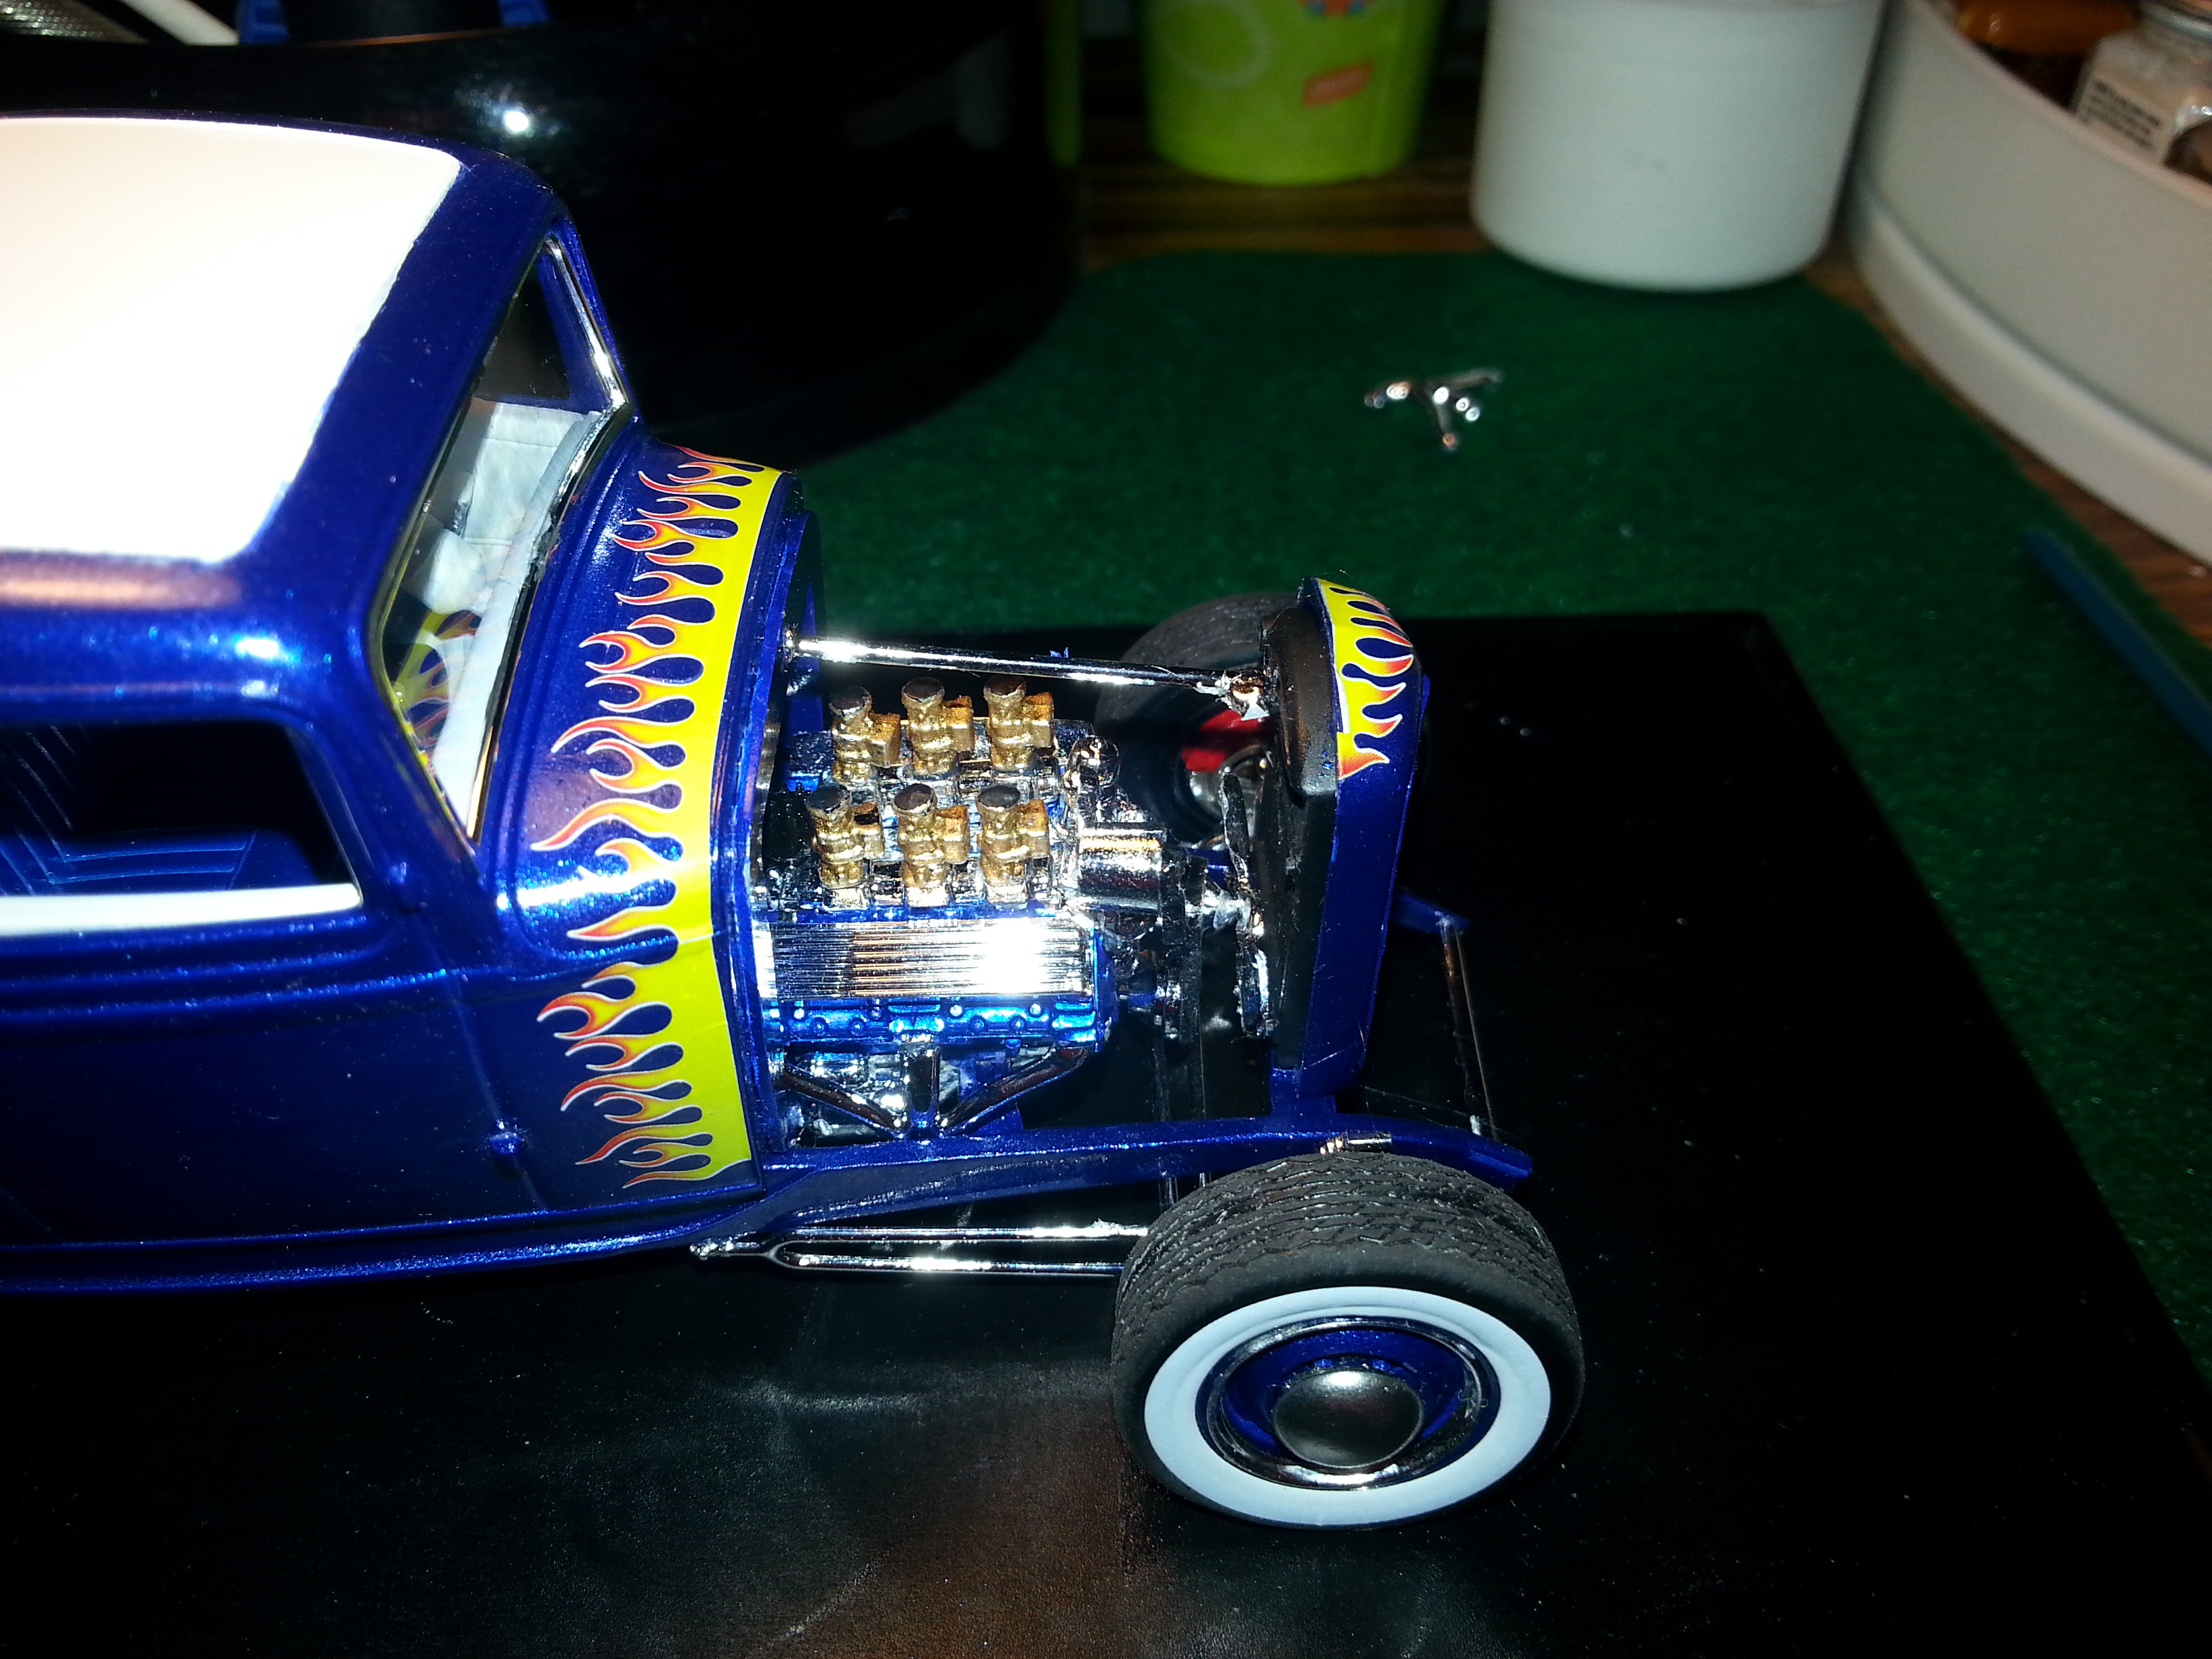
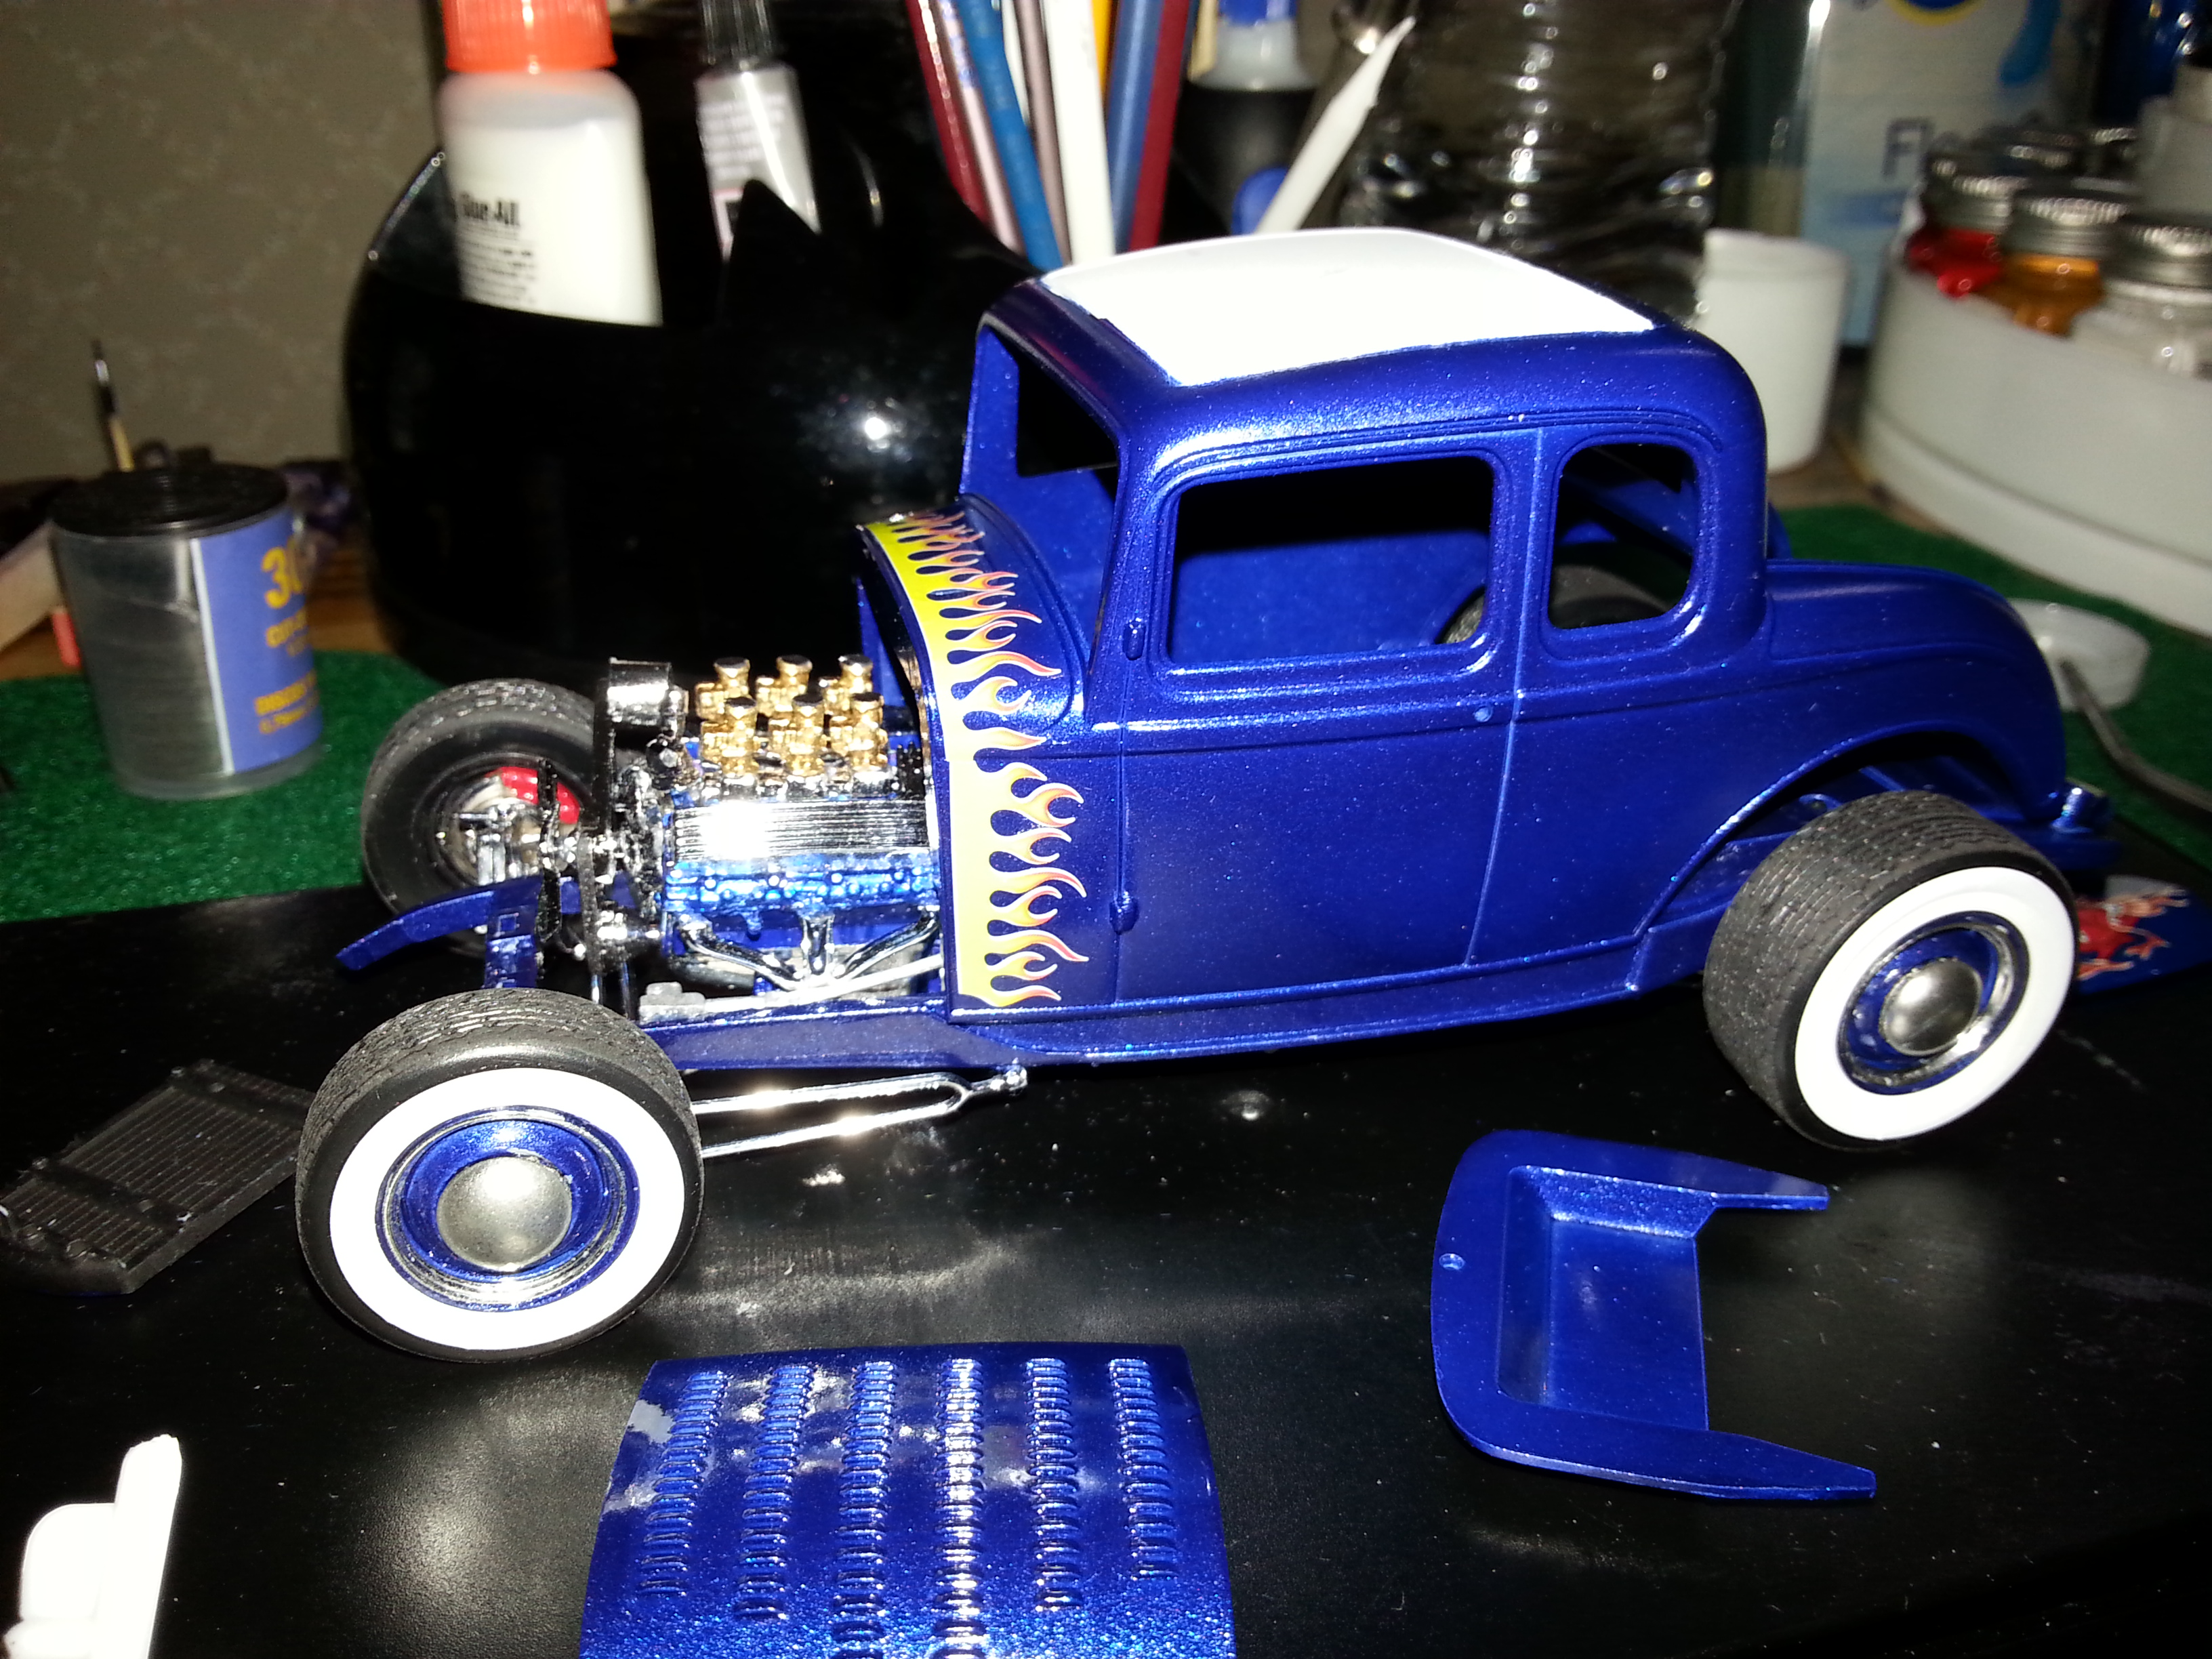
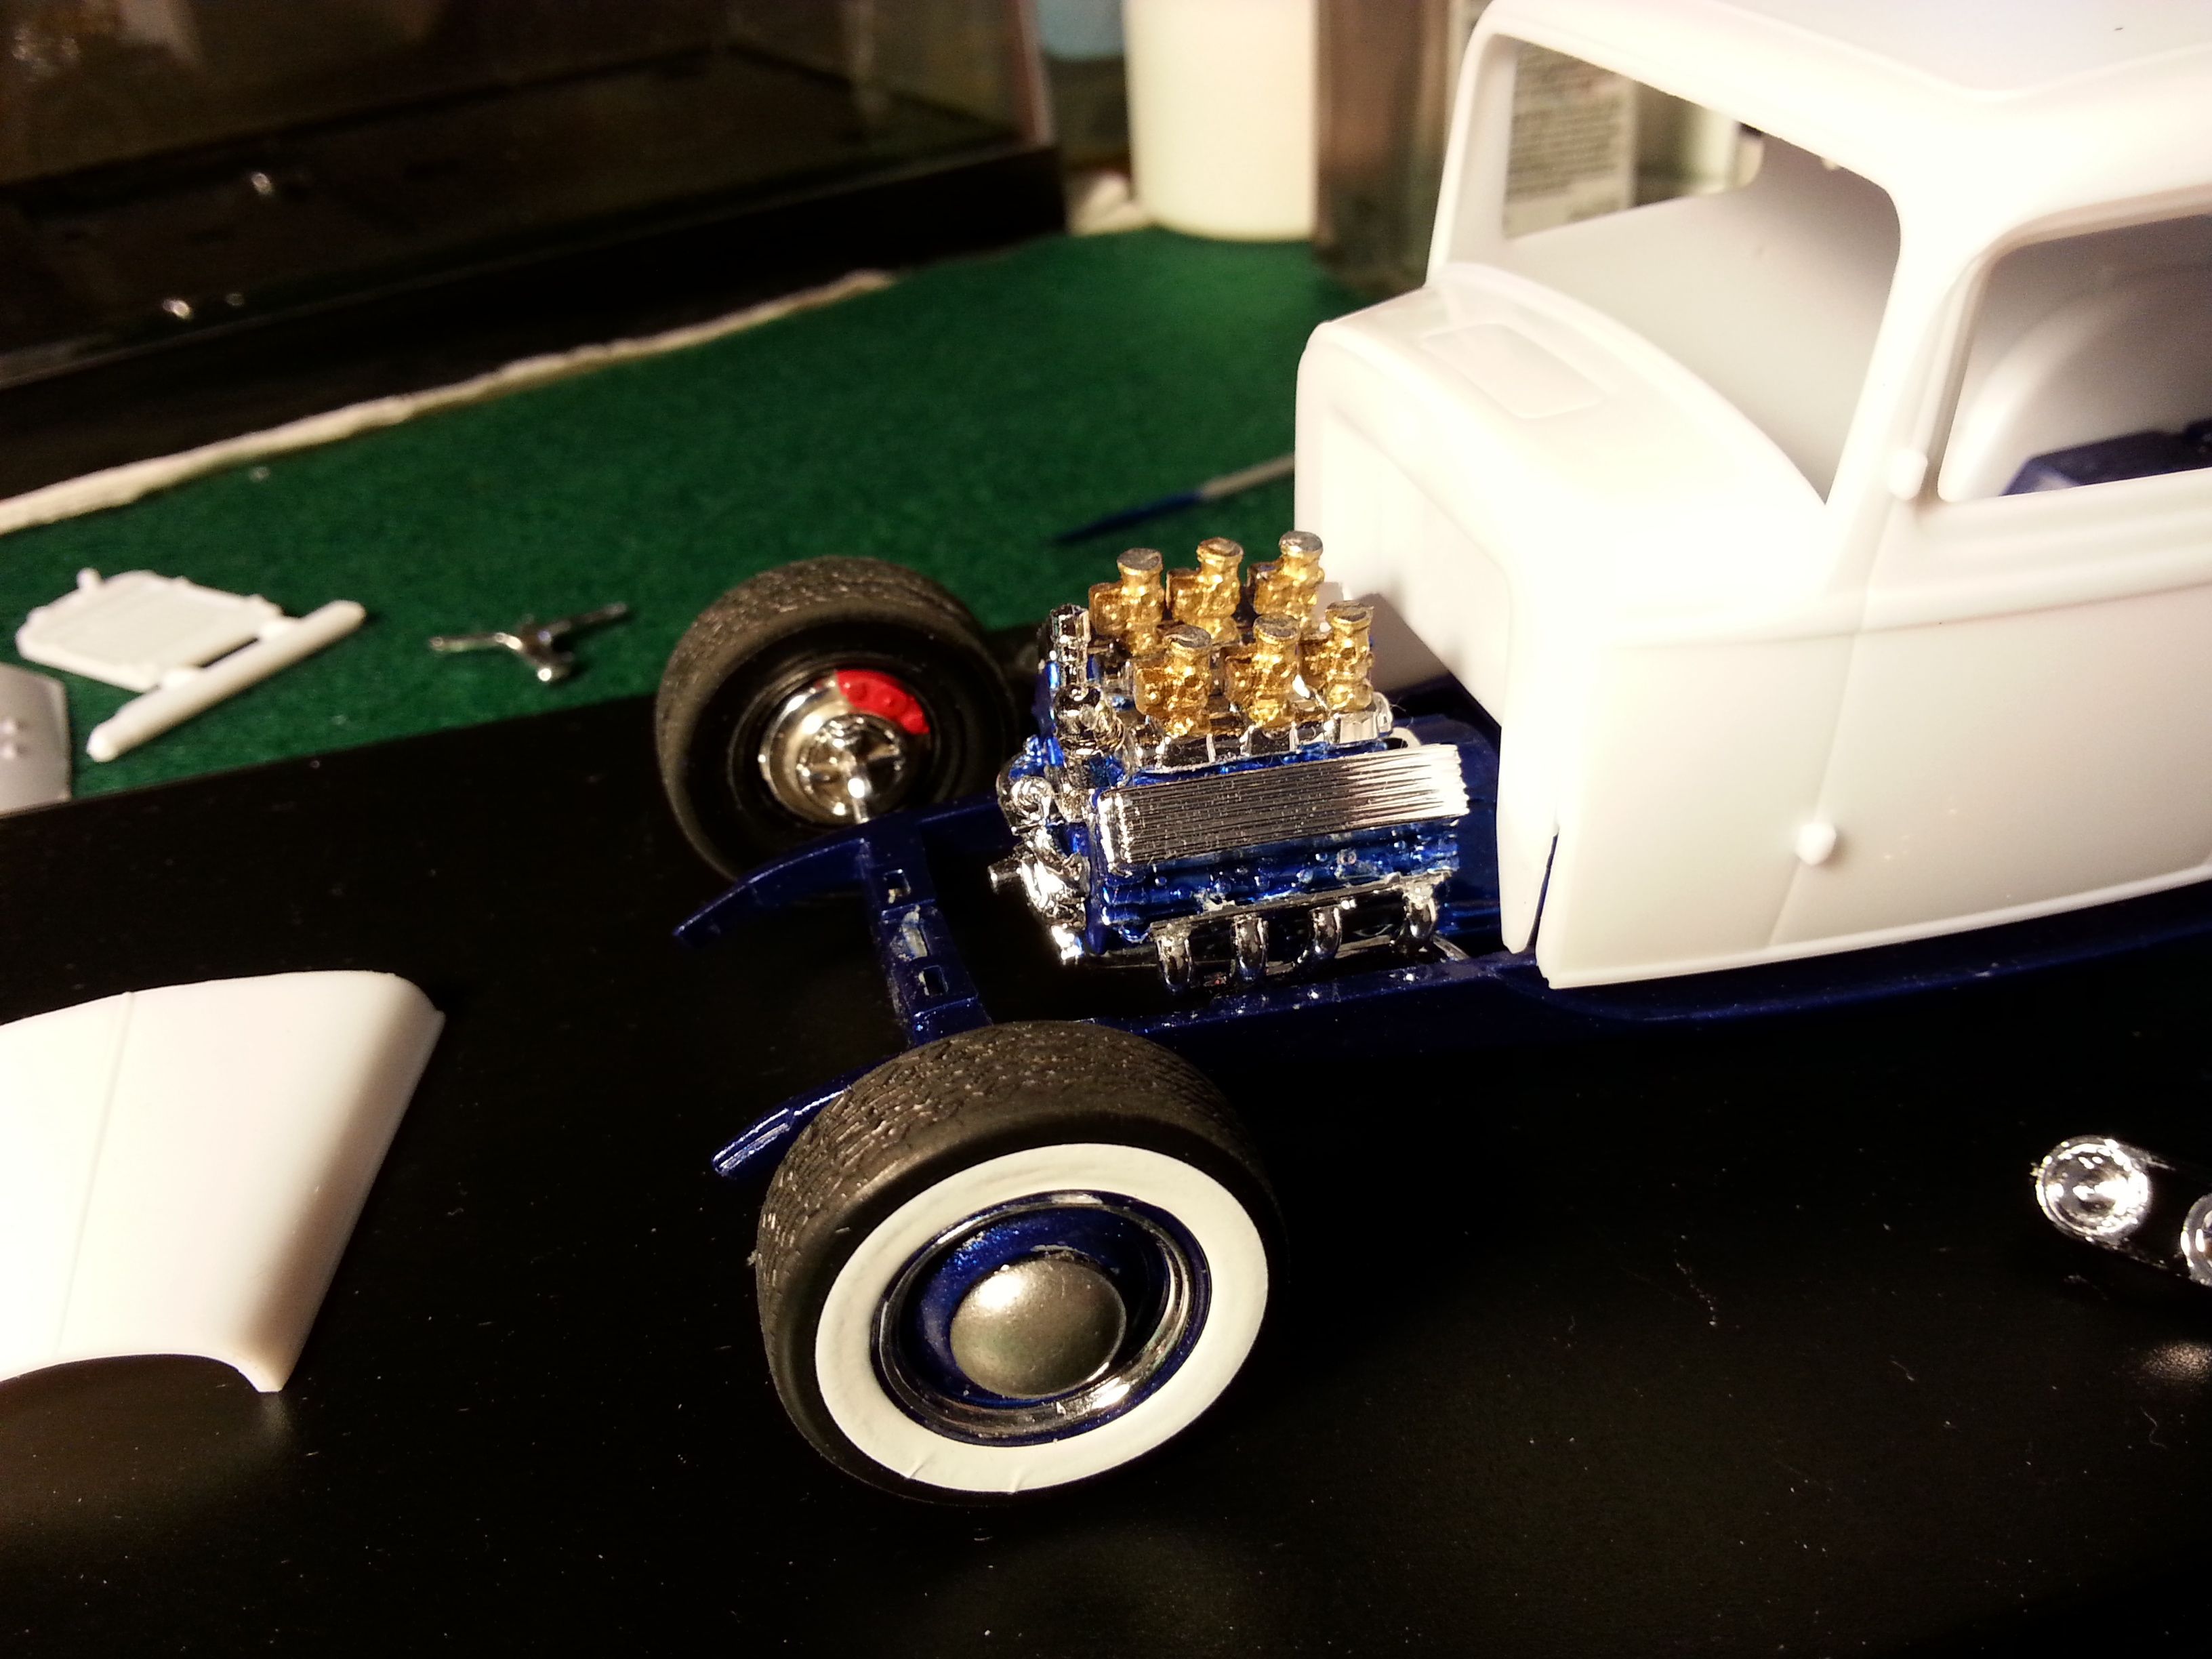
The Hemi is done and ready to go in. The fuel splitter is way to big. but considering I made it from the piece of sprue in the earlier picture and my fat fingers, it's OK. I should have left the stance alone because by changing the front kingpins the front came up too far. I had to raise the rear up to make it a little better.
-
Building Lindburgs Color Me Gone as the Hemi Honker done
Johnt671 replied to Johnt671's topic in WIP: Drag Racing Models
I never had one, but saw some a stop lights in My 66 Impala SS 396 four speed and it never worked out well for me. I started making the fuel block out of a scrap piece. I drilled through a scrap piece of sprue then sanded it somewhat square. I can't get a good picture of the finished piece, but it will show up when I put on the motor. It's a little too big but it's the smallest I could do with my fingers. I also found a pair of seats close to the real cars seat and I'm making mounts to get them a little higher.
-
Building Lindburgs Color Me Gone as the Hemi Honker done
Johnt671 replied to Johnt671's topic in WIP: Drag Racing Models
Some more work on the Hemi. I corrected the heads. and I'm working on the fuel lines. Now I need to find something to make a fuel block.
-
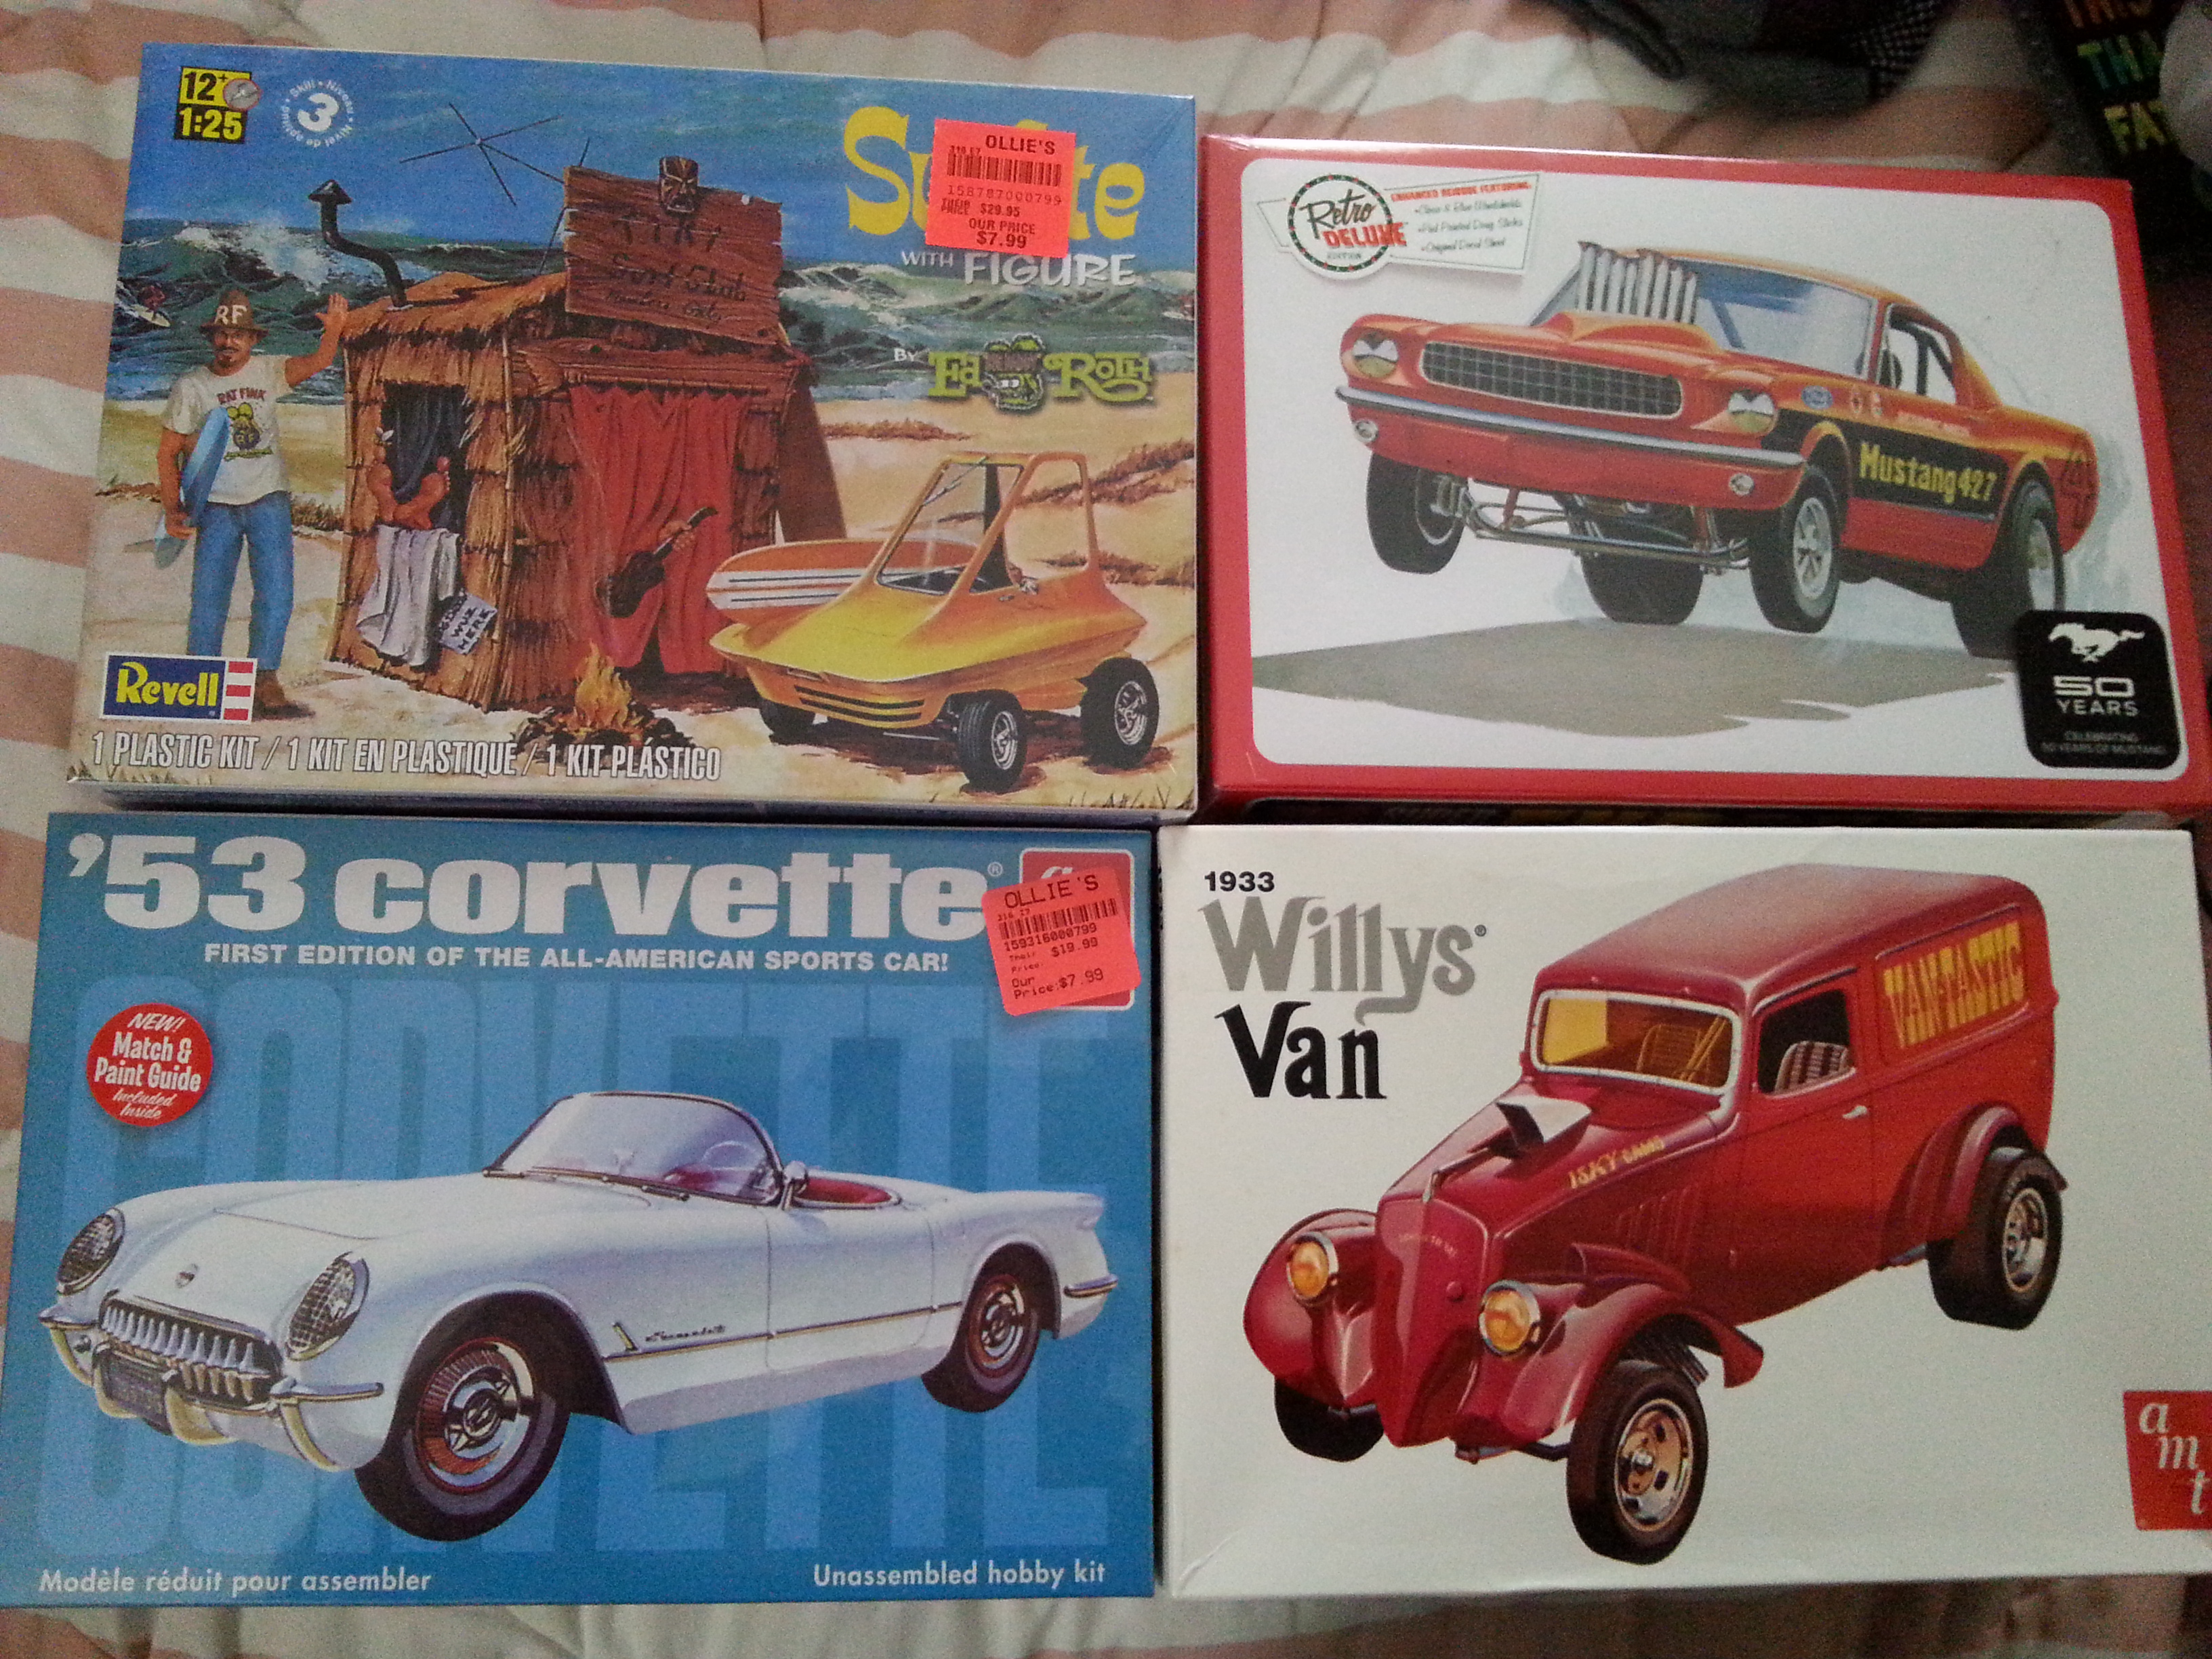
I picked the Surfite up at Ollies a couple of weeks ago, and the 53 Corrvette there last week. The Mustang funny car and 33 Willys van are recent E-Bay buys
-
Building Lindburgs Color Me Gone as the Hemi Honker done
Johnt671 replied to Johnt671's topic in WIP: Drag Racing Models
It is a nice kit. I also have the Ramchargers version of it. So far it's going together great. Yours came out nice. -
Building Lindburgs Color Me Gone as the Hemi Honker done
Johnt671 replied to Johnt671's topic in WIP: Drag Racing Models
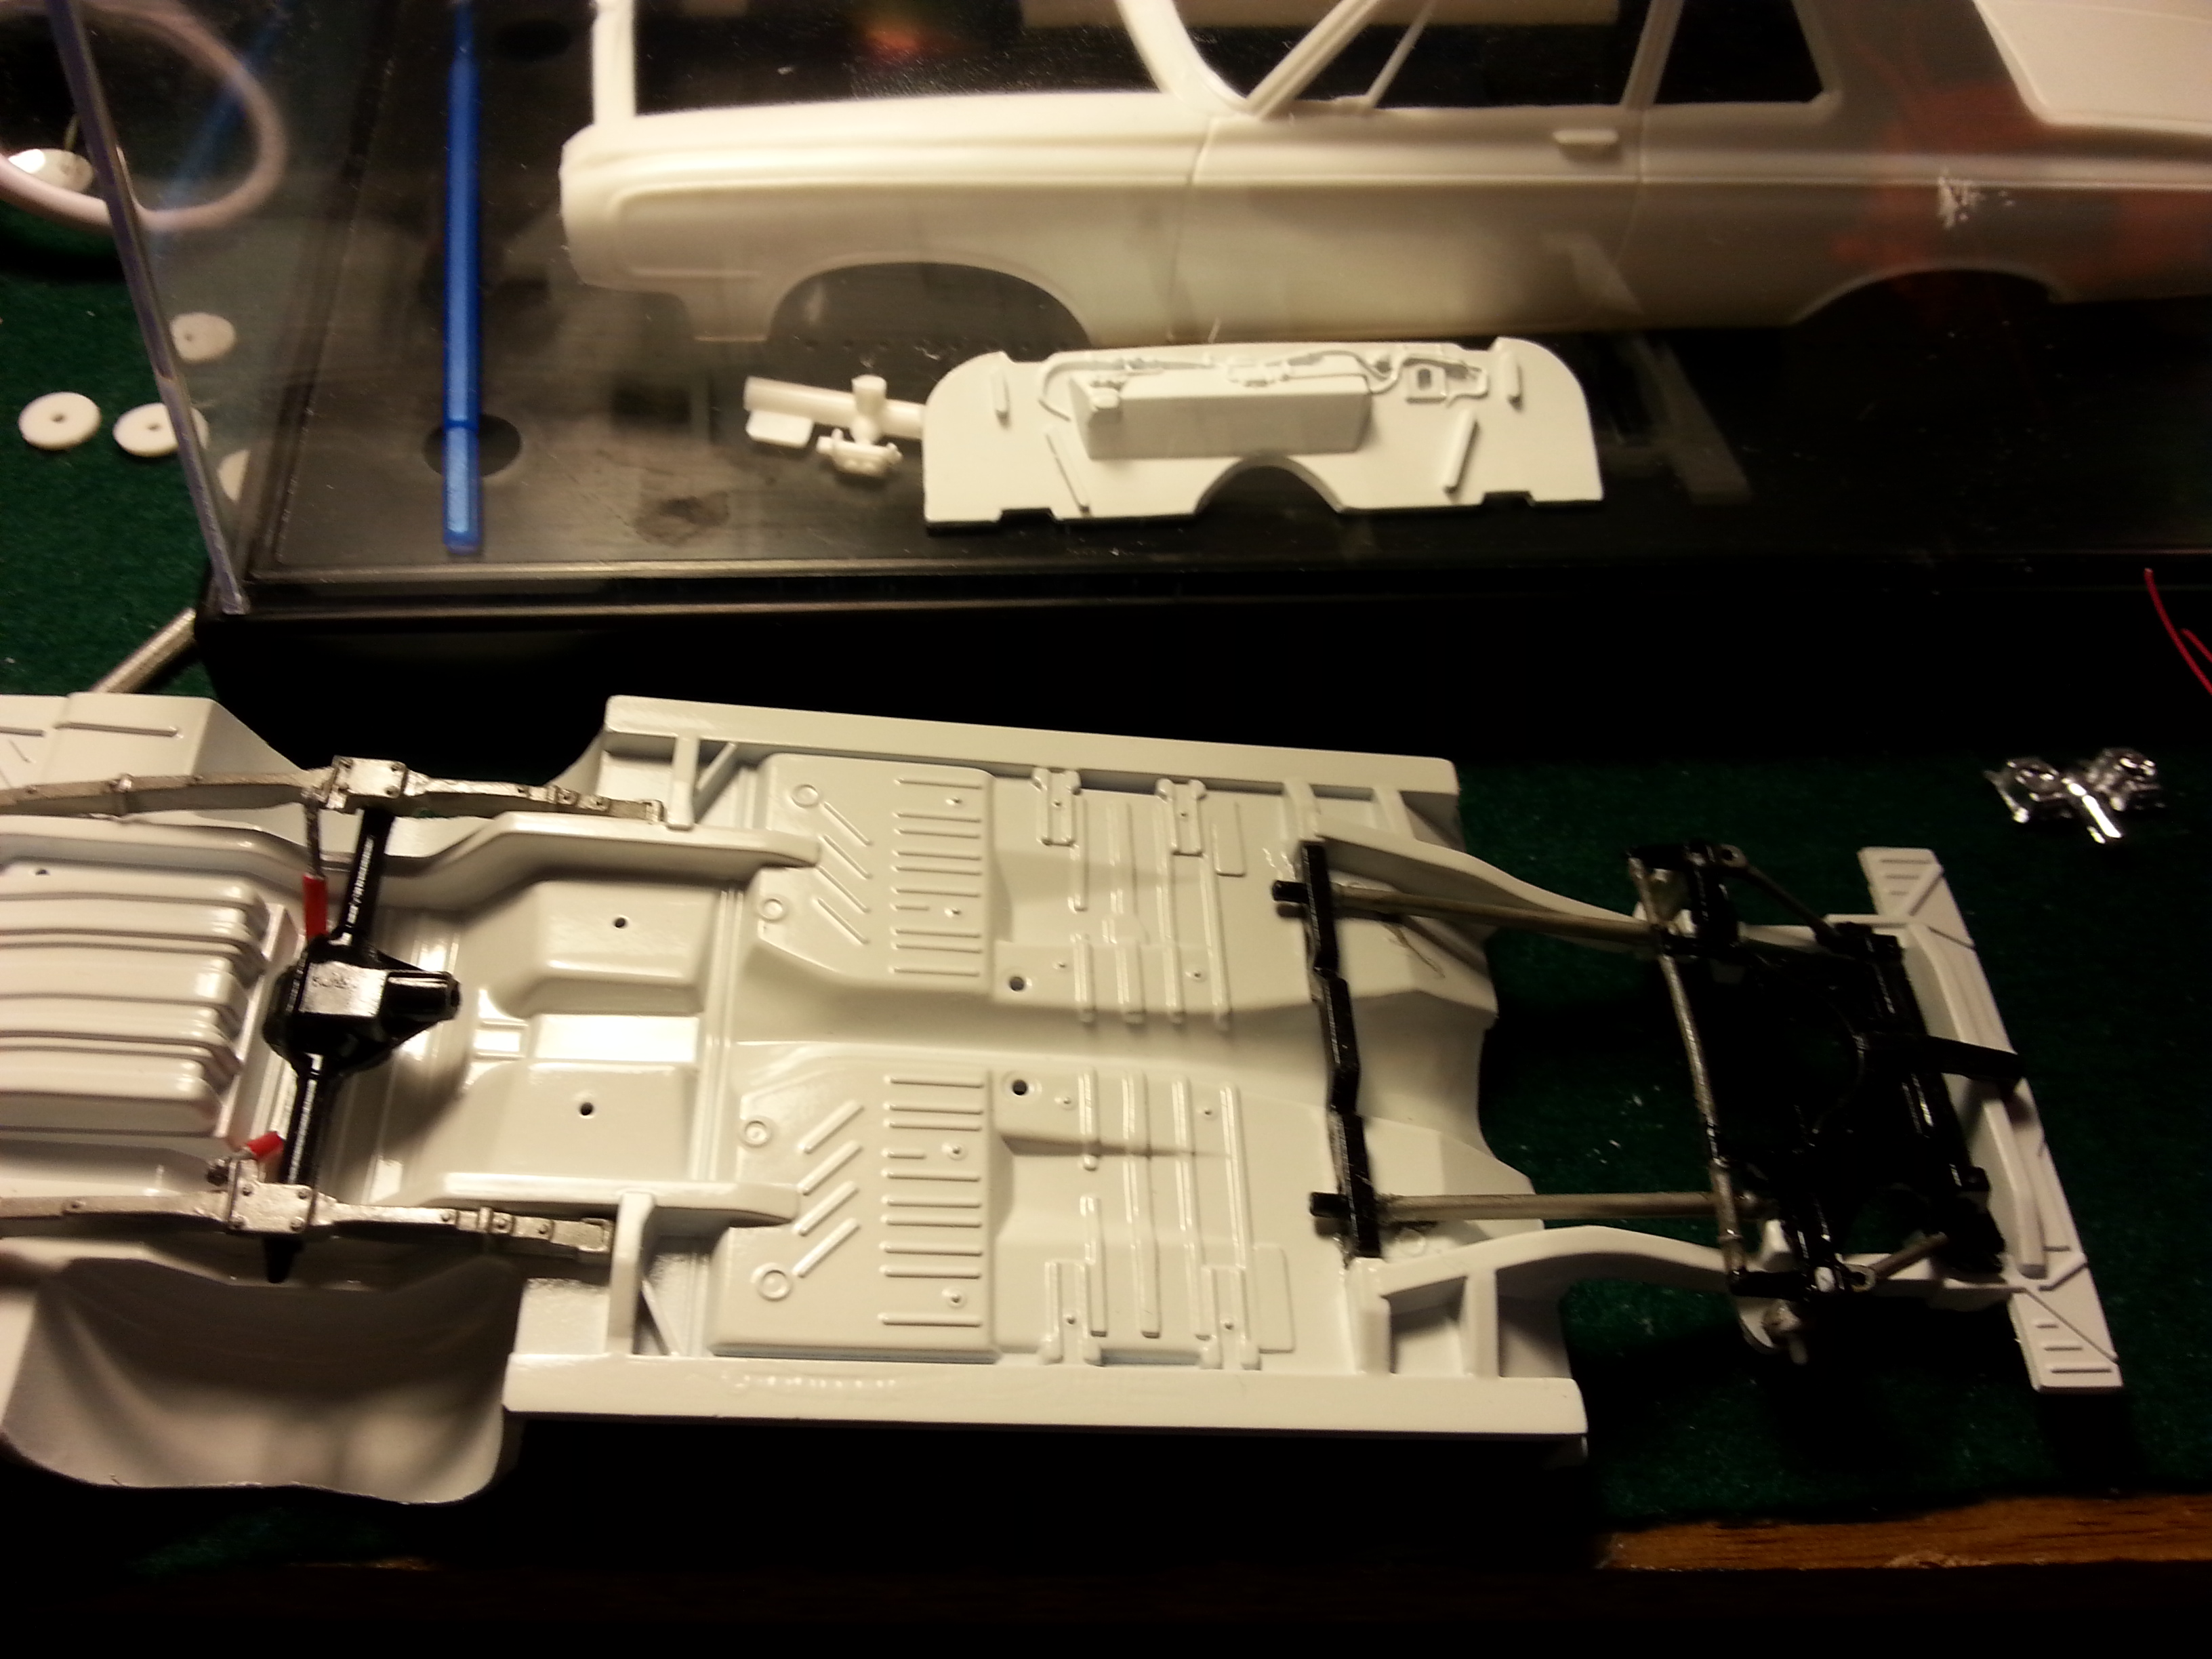
Thanks for the comments and advise. I'm changing the heads around now. It's one of the few times the glue really stuck for some reason. I haven't had the chance to work on it much. My wife went in the hospital for surgery last week. I did have to change the stance some because the front was to low looking at the real car pictures. When I reversed the front wheels it was to high, so I started raising the back up some to balance it out. Here's a picture.
-
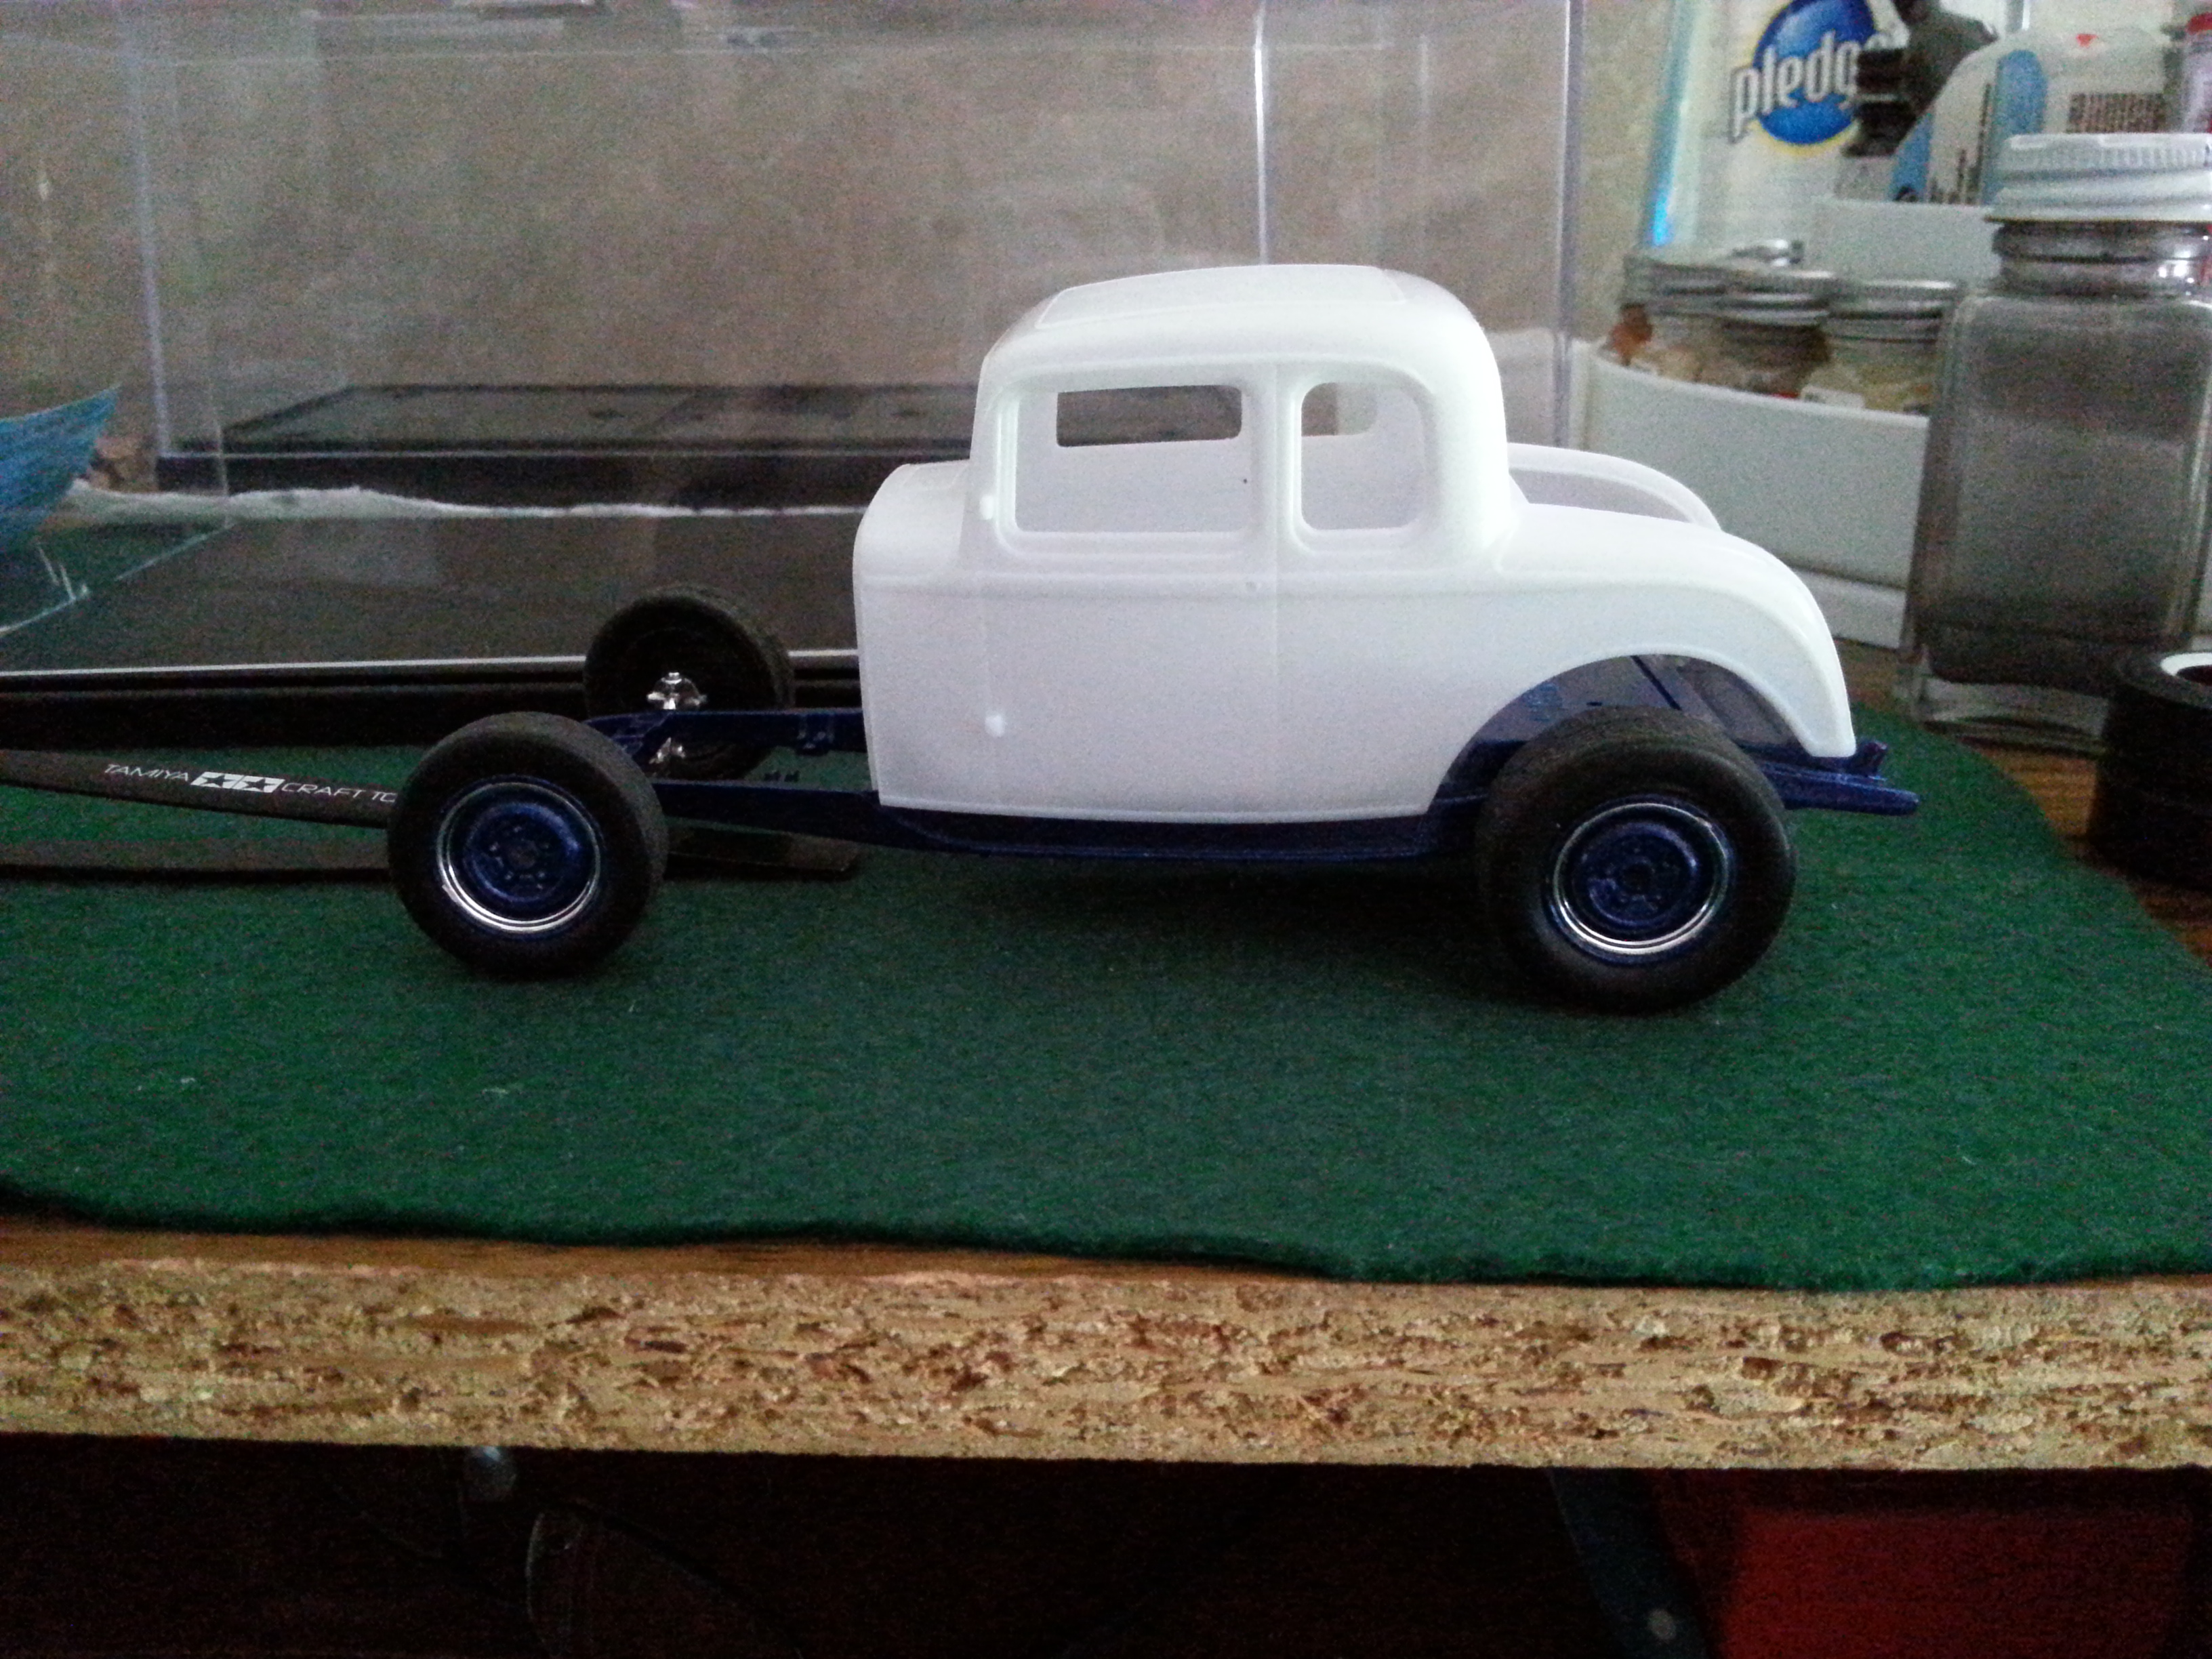
This is the real car in the second picture. Started the Hemi. I like them because they are so easy to wire. I may even try doing the fuel lines maybe. The chassis is almost done. The last picture is my first look at the stance.
-
Thanks. I'm very happy with the motor, and maybe I'll take a shot at wiring the next one.
-
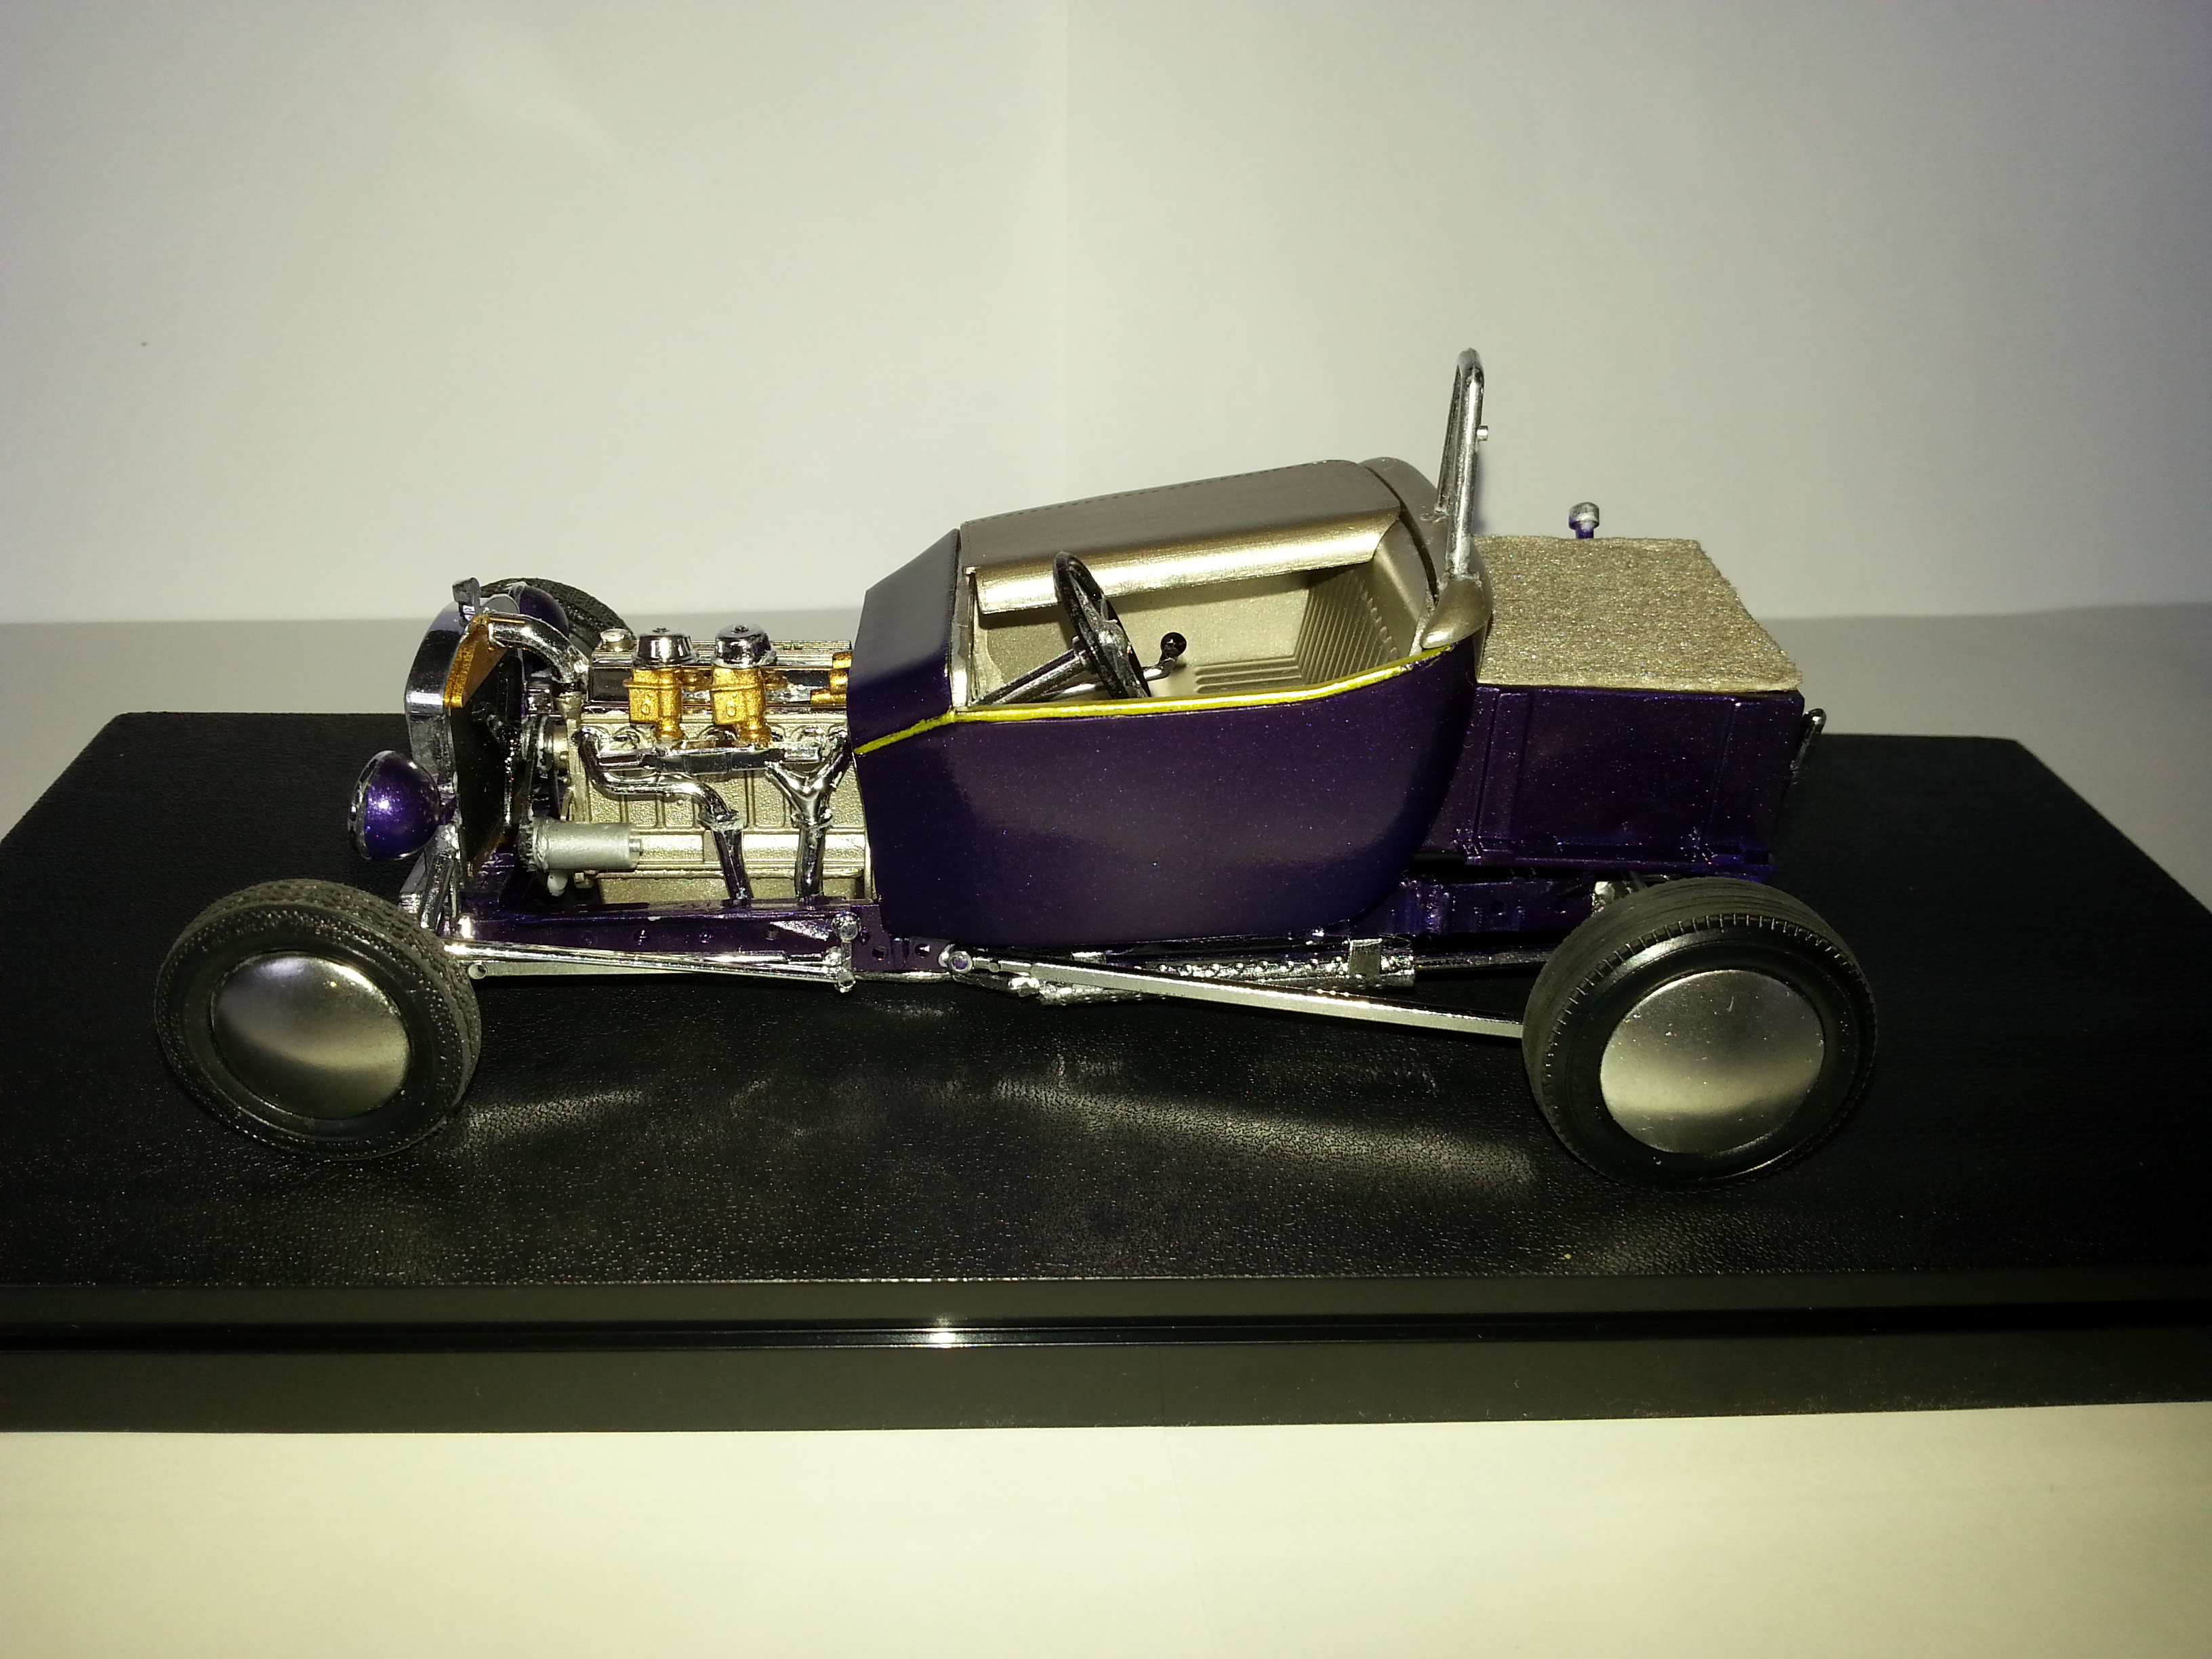
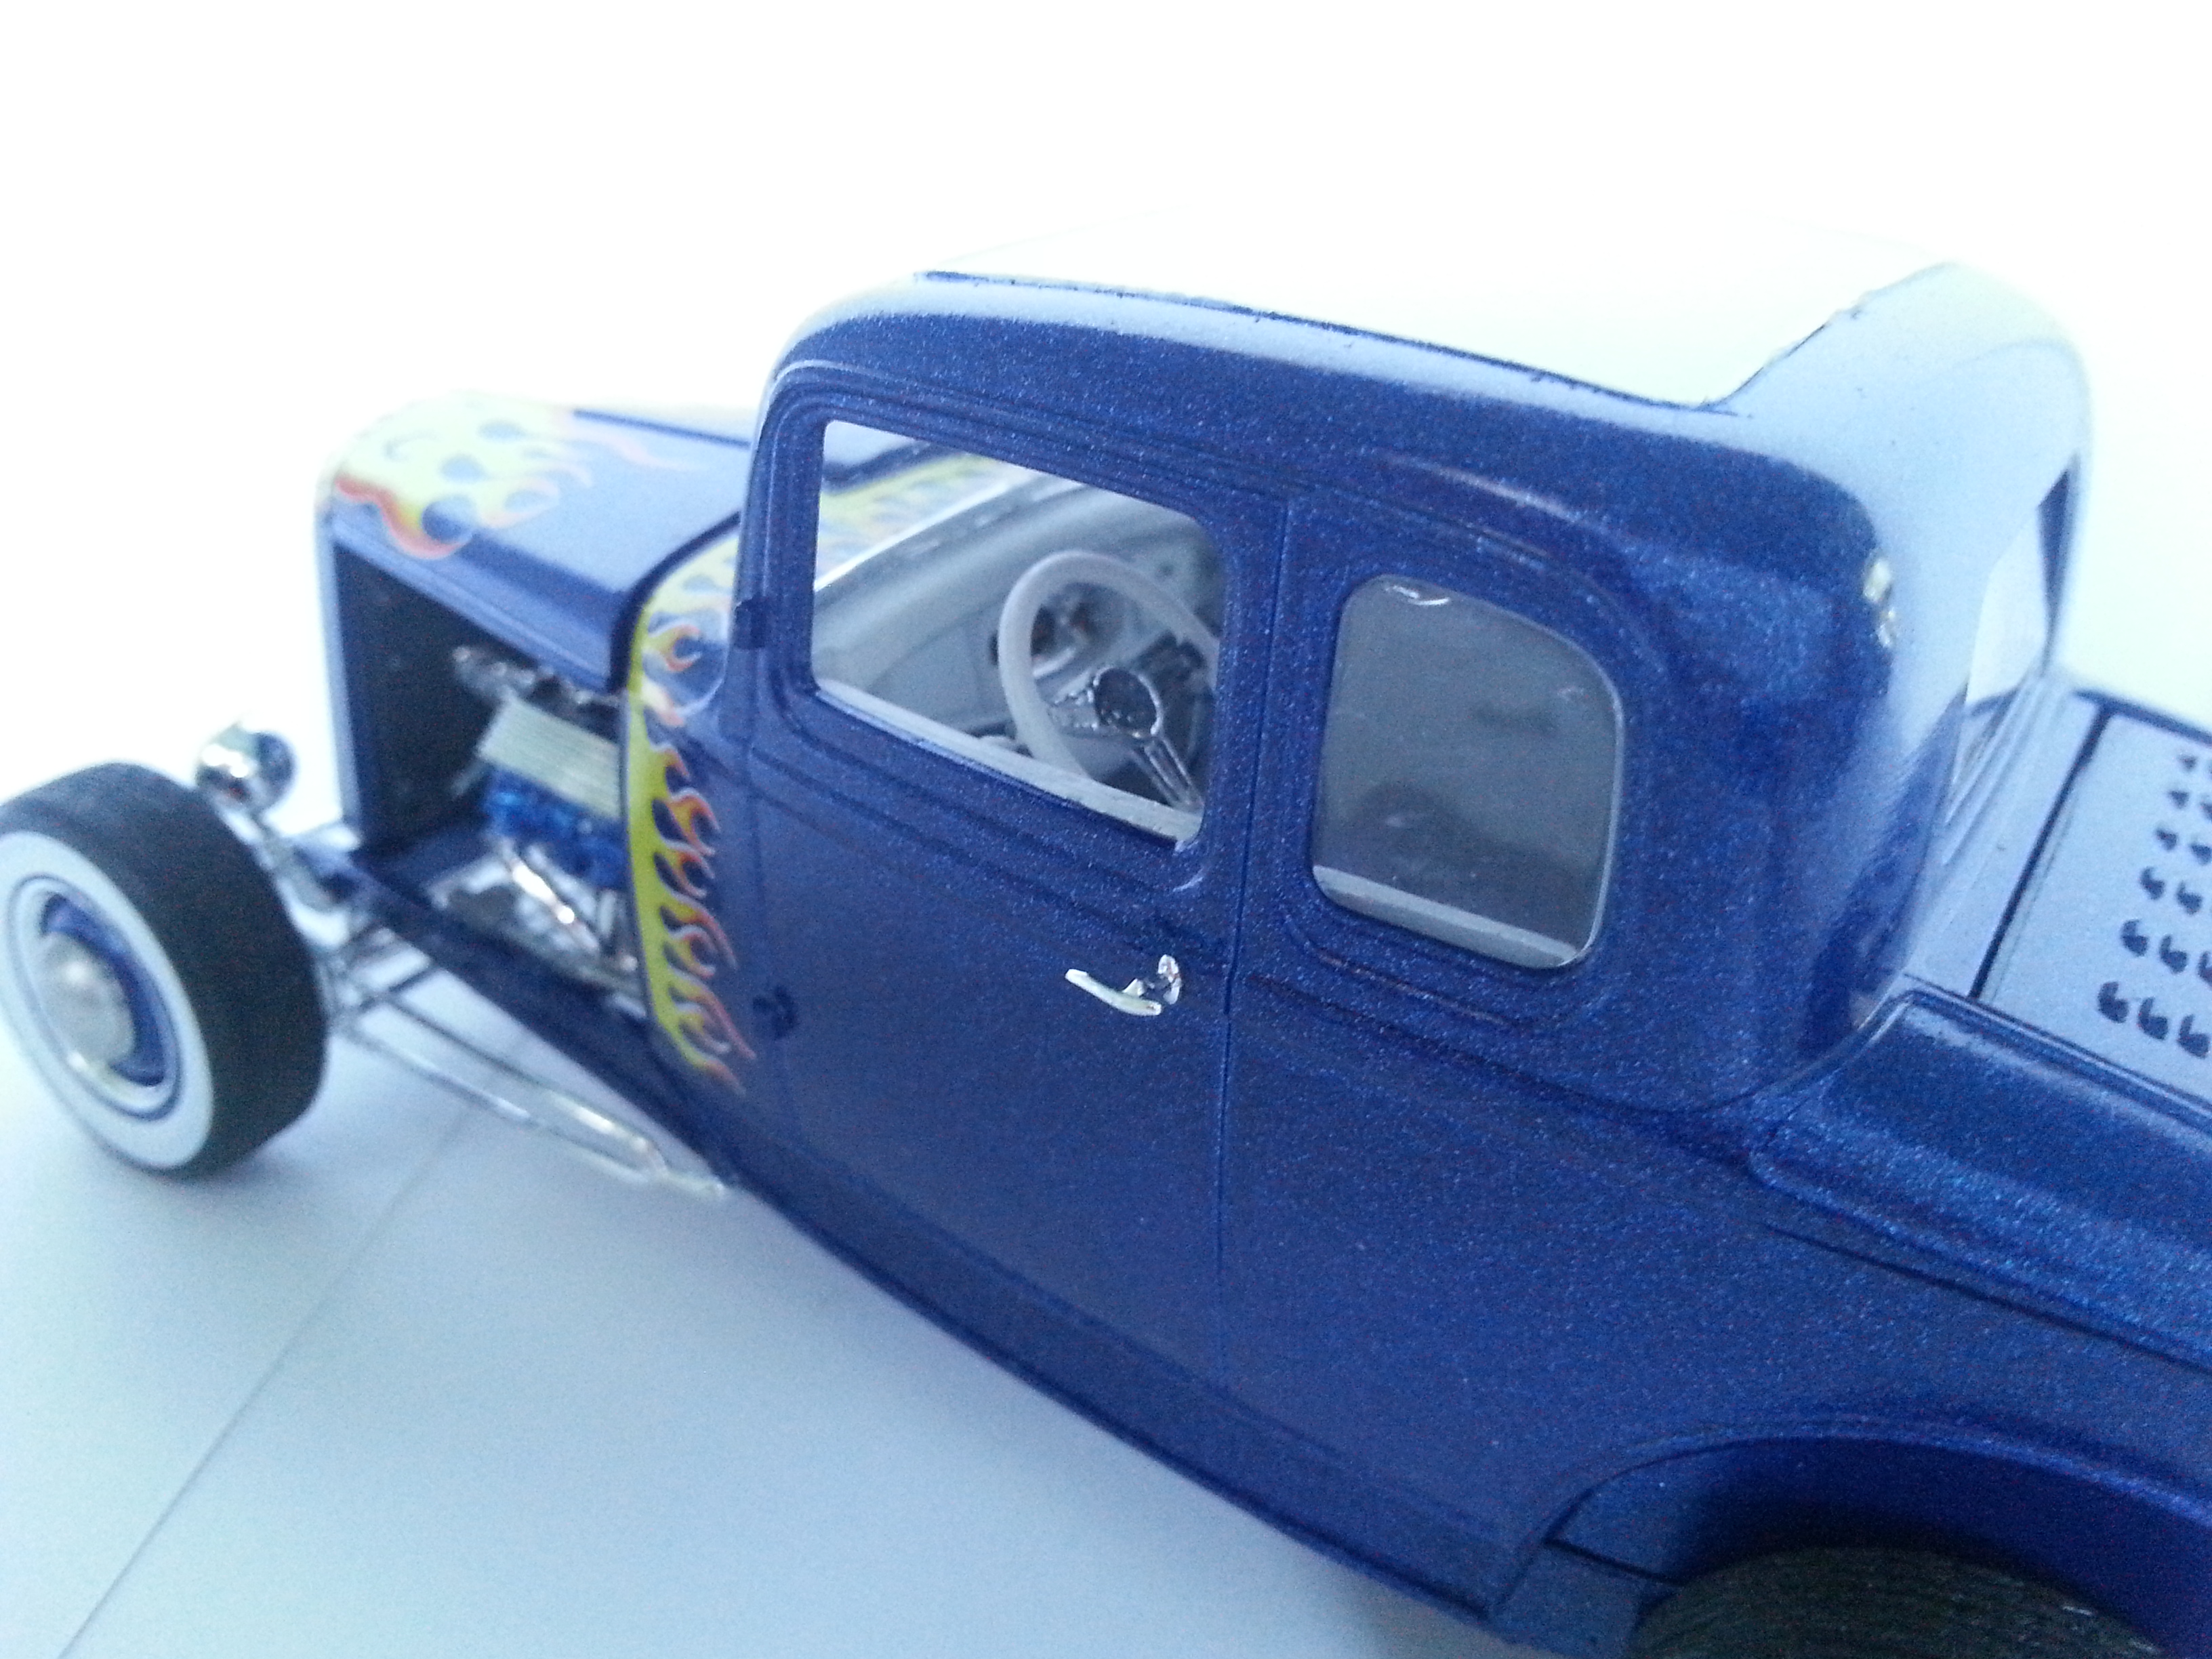
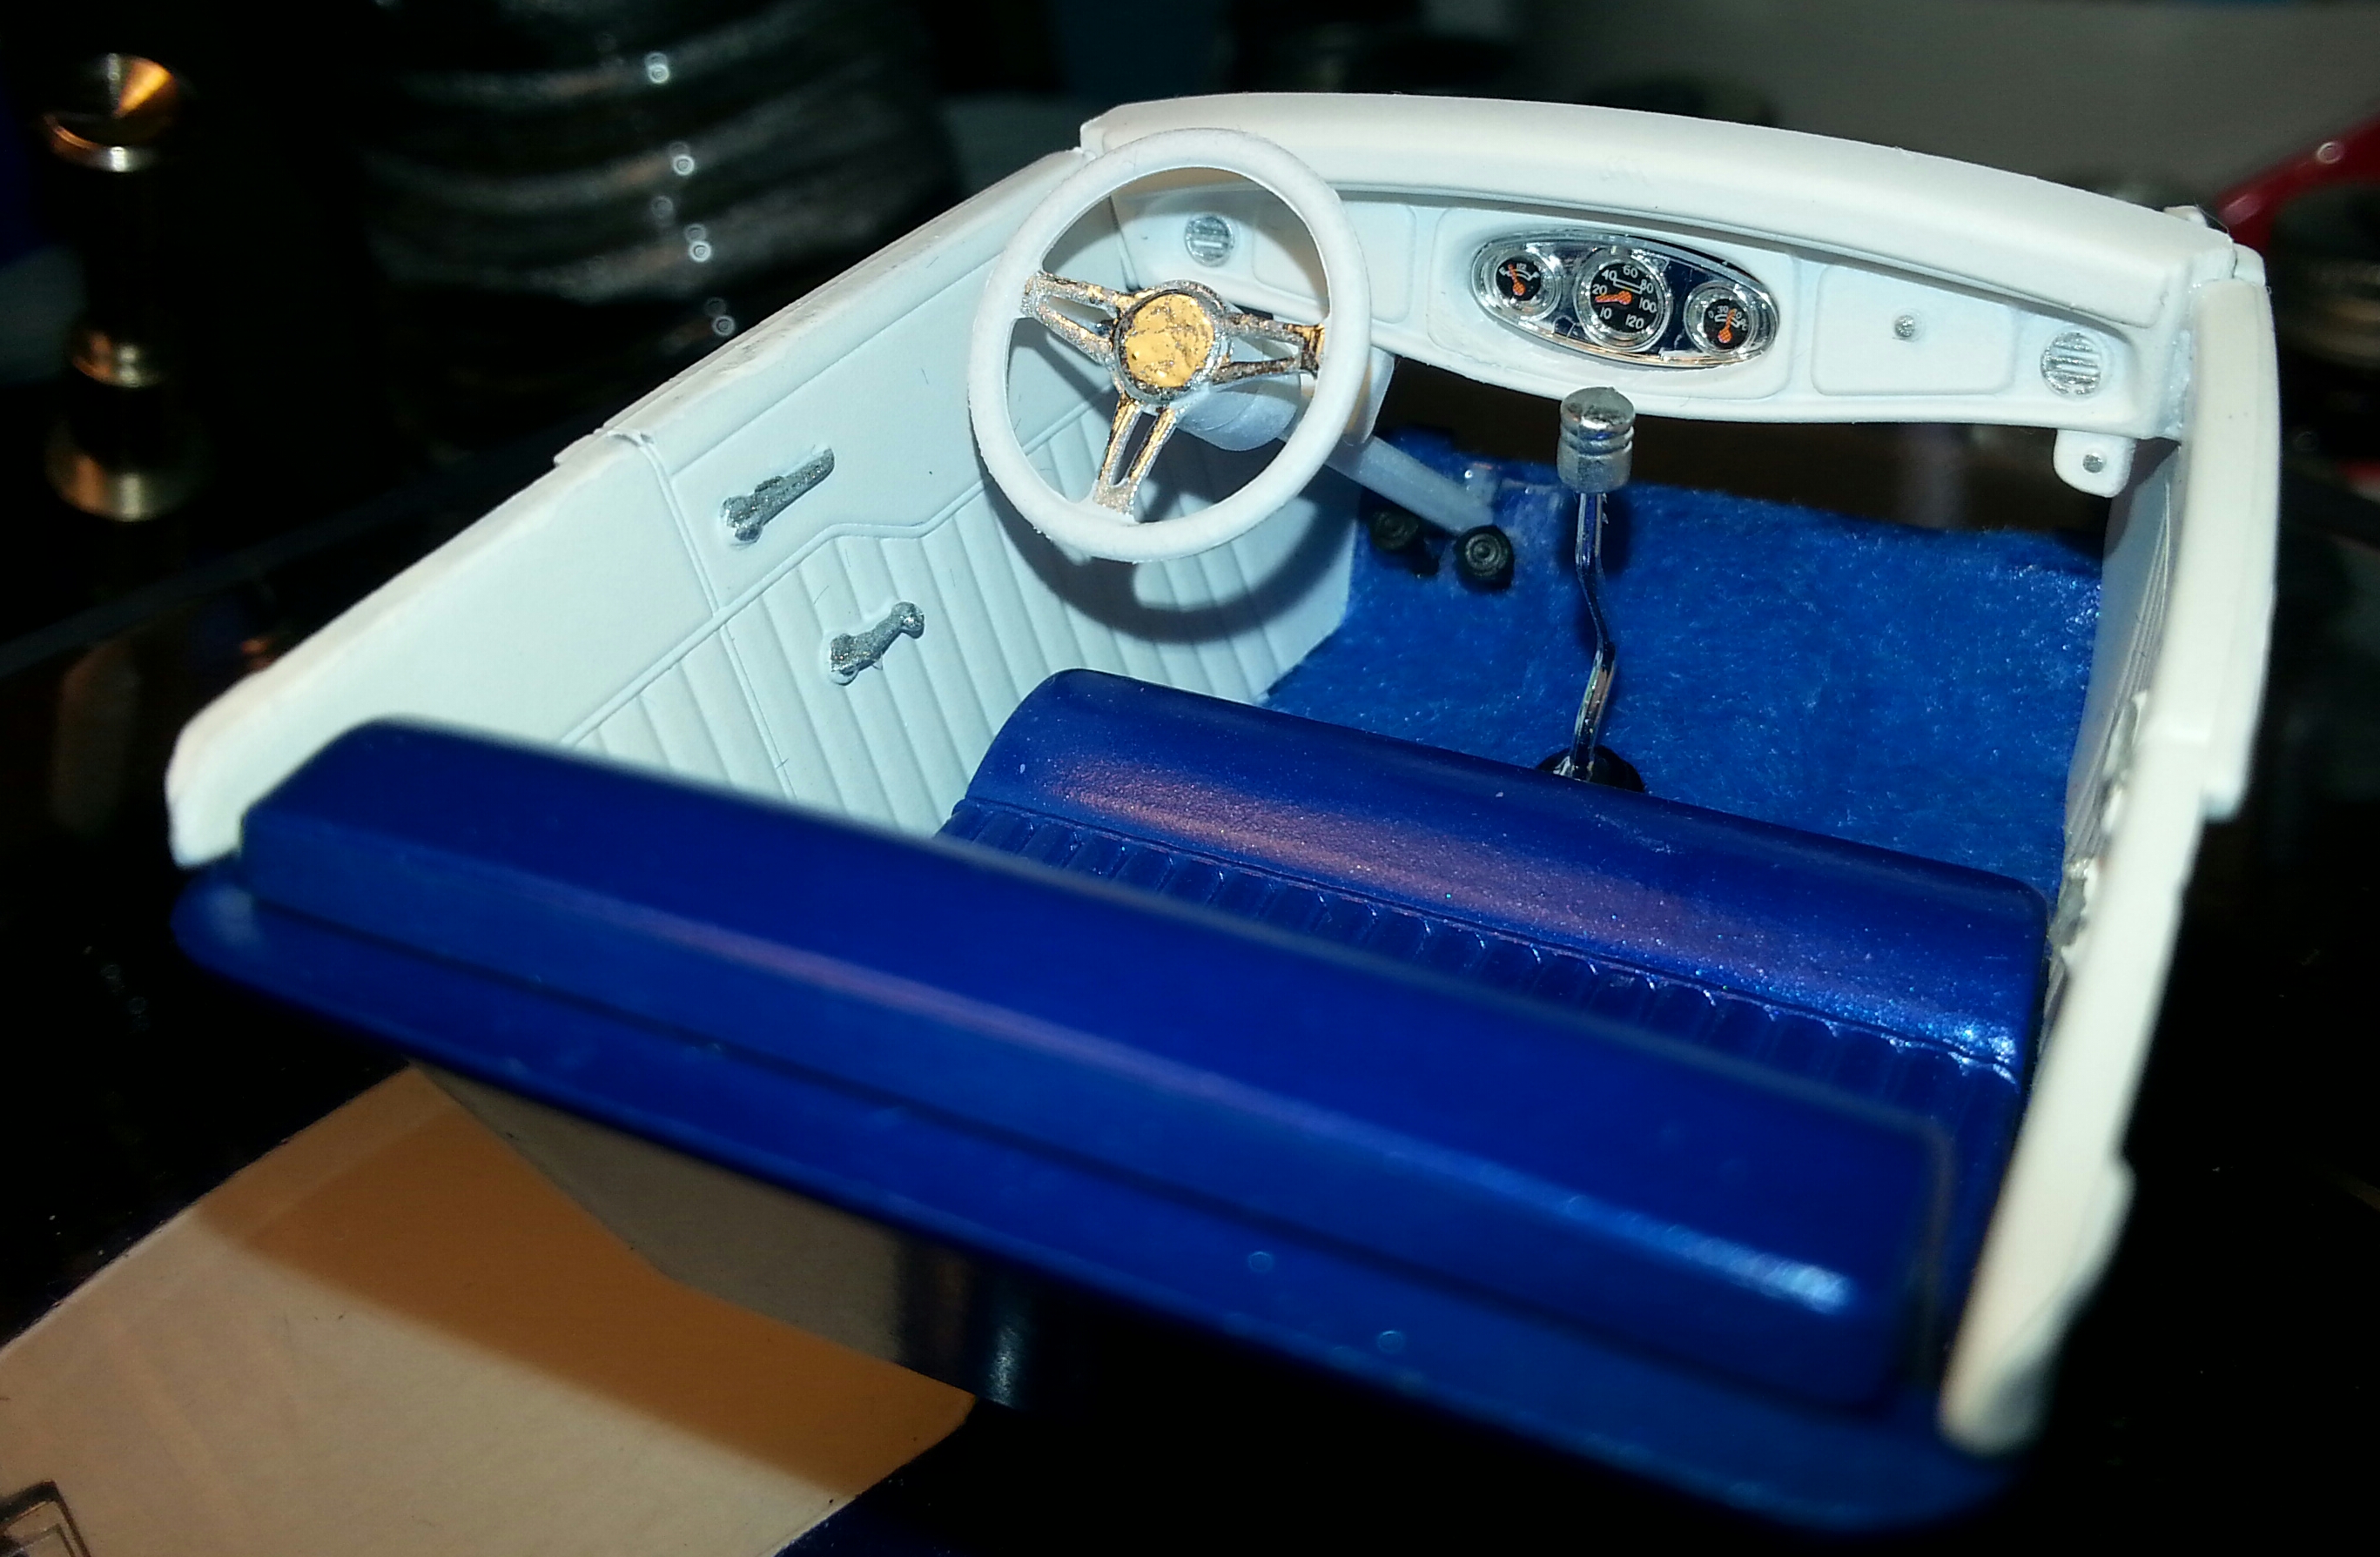
Thanks. I see I left the radiator hose off so I need to fix that. You wouldn't believe how often I do that. Here's a good picture of the interior for those who might not look at the build thread.
-
Here's a link to the build thread with the details. Finished pictures. I really like the Caddy motor. I made the build a little different.
-
It's done. Here's a couple teaser pictures. More will be posted in the Under Glass section.
-
I do like this build! Great work.
-
Close to done. Maybe tomorrow.
-
New pictures.
-
Thanks.
-
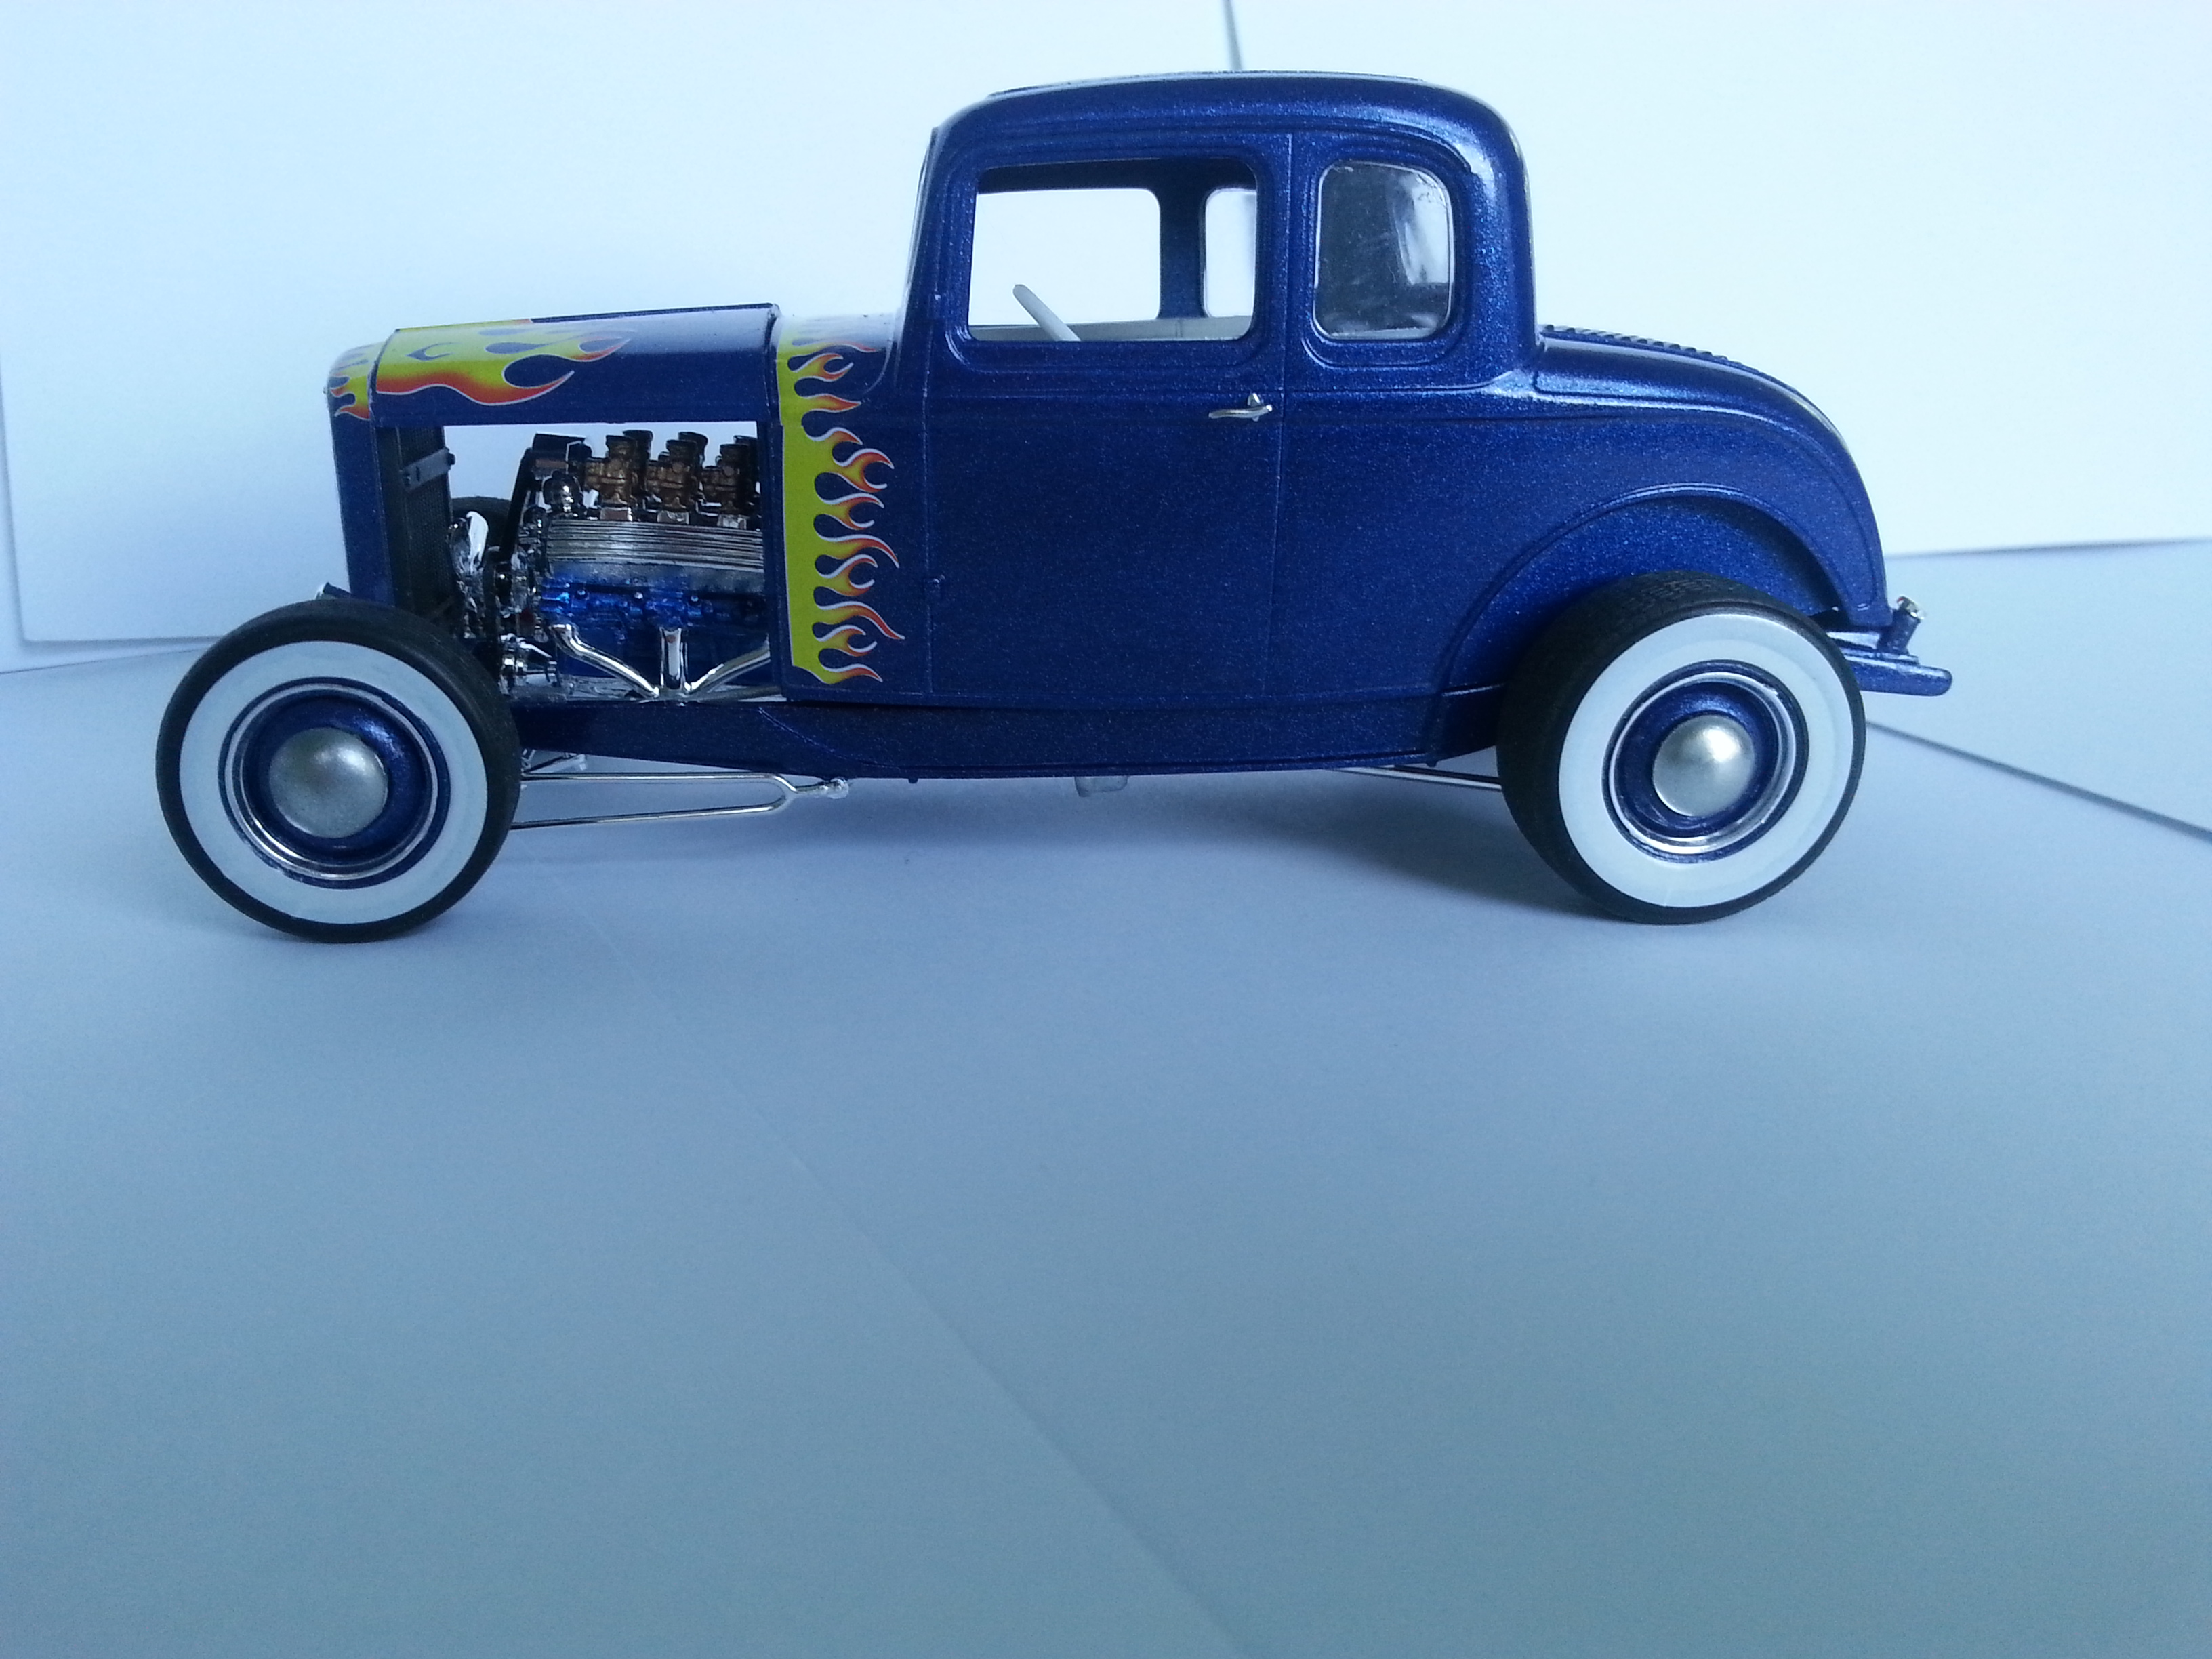
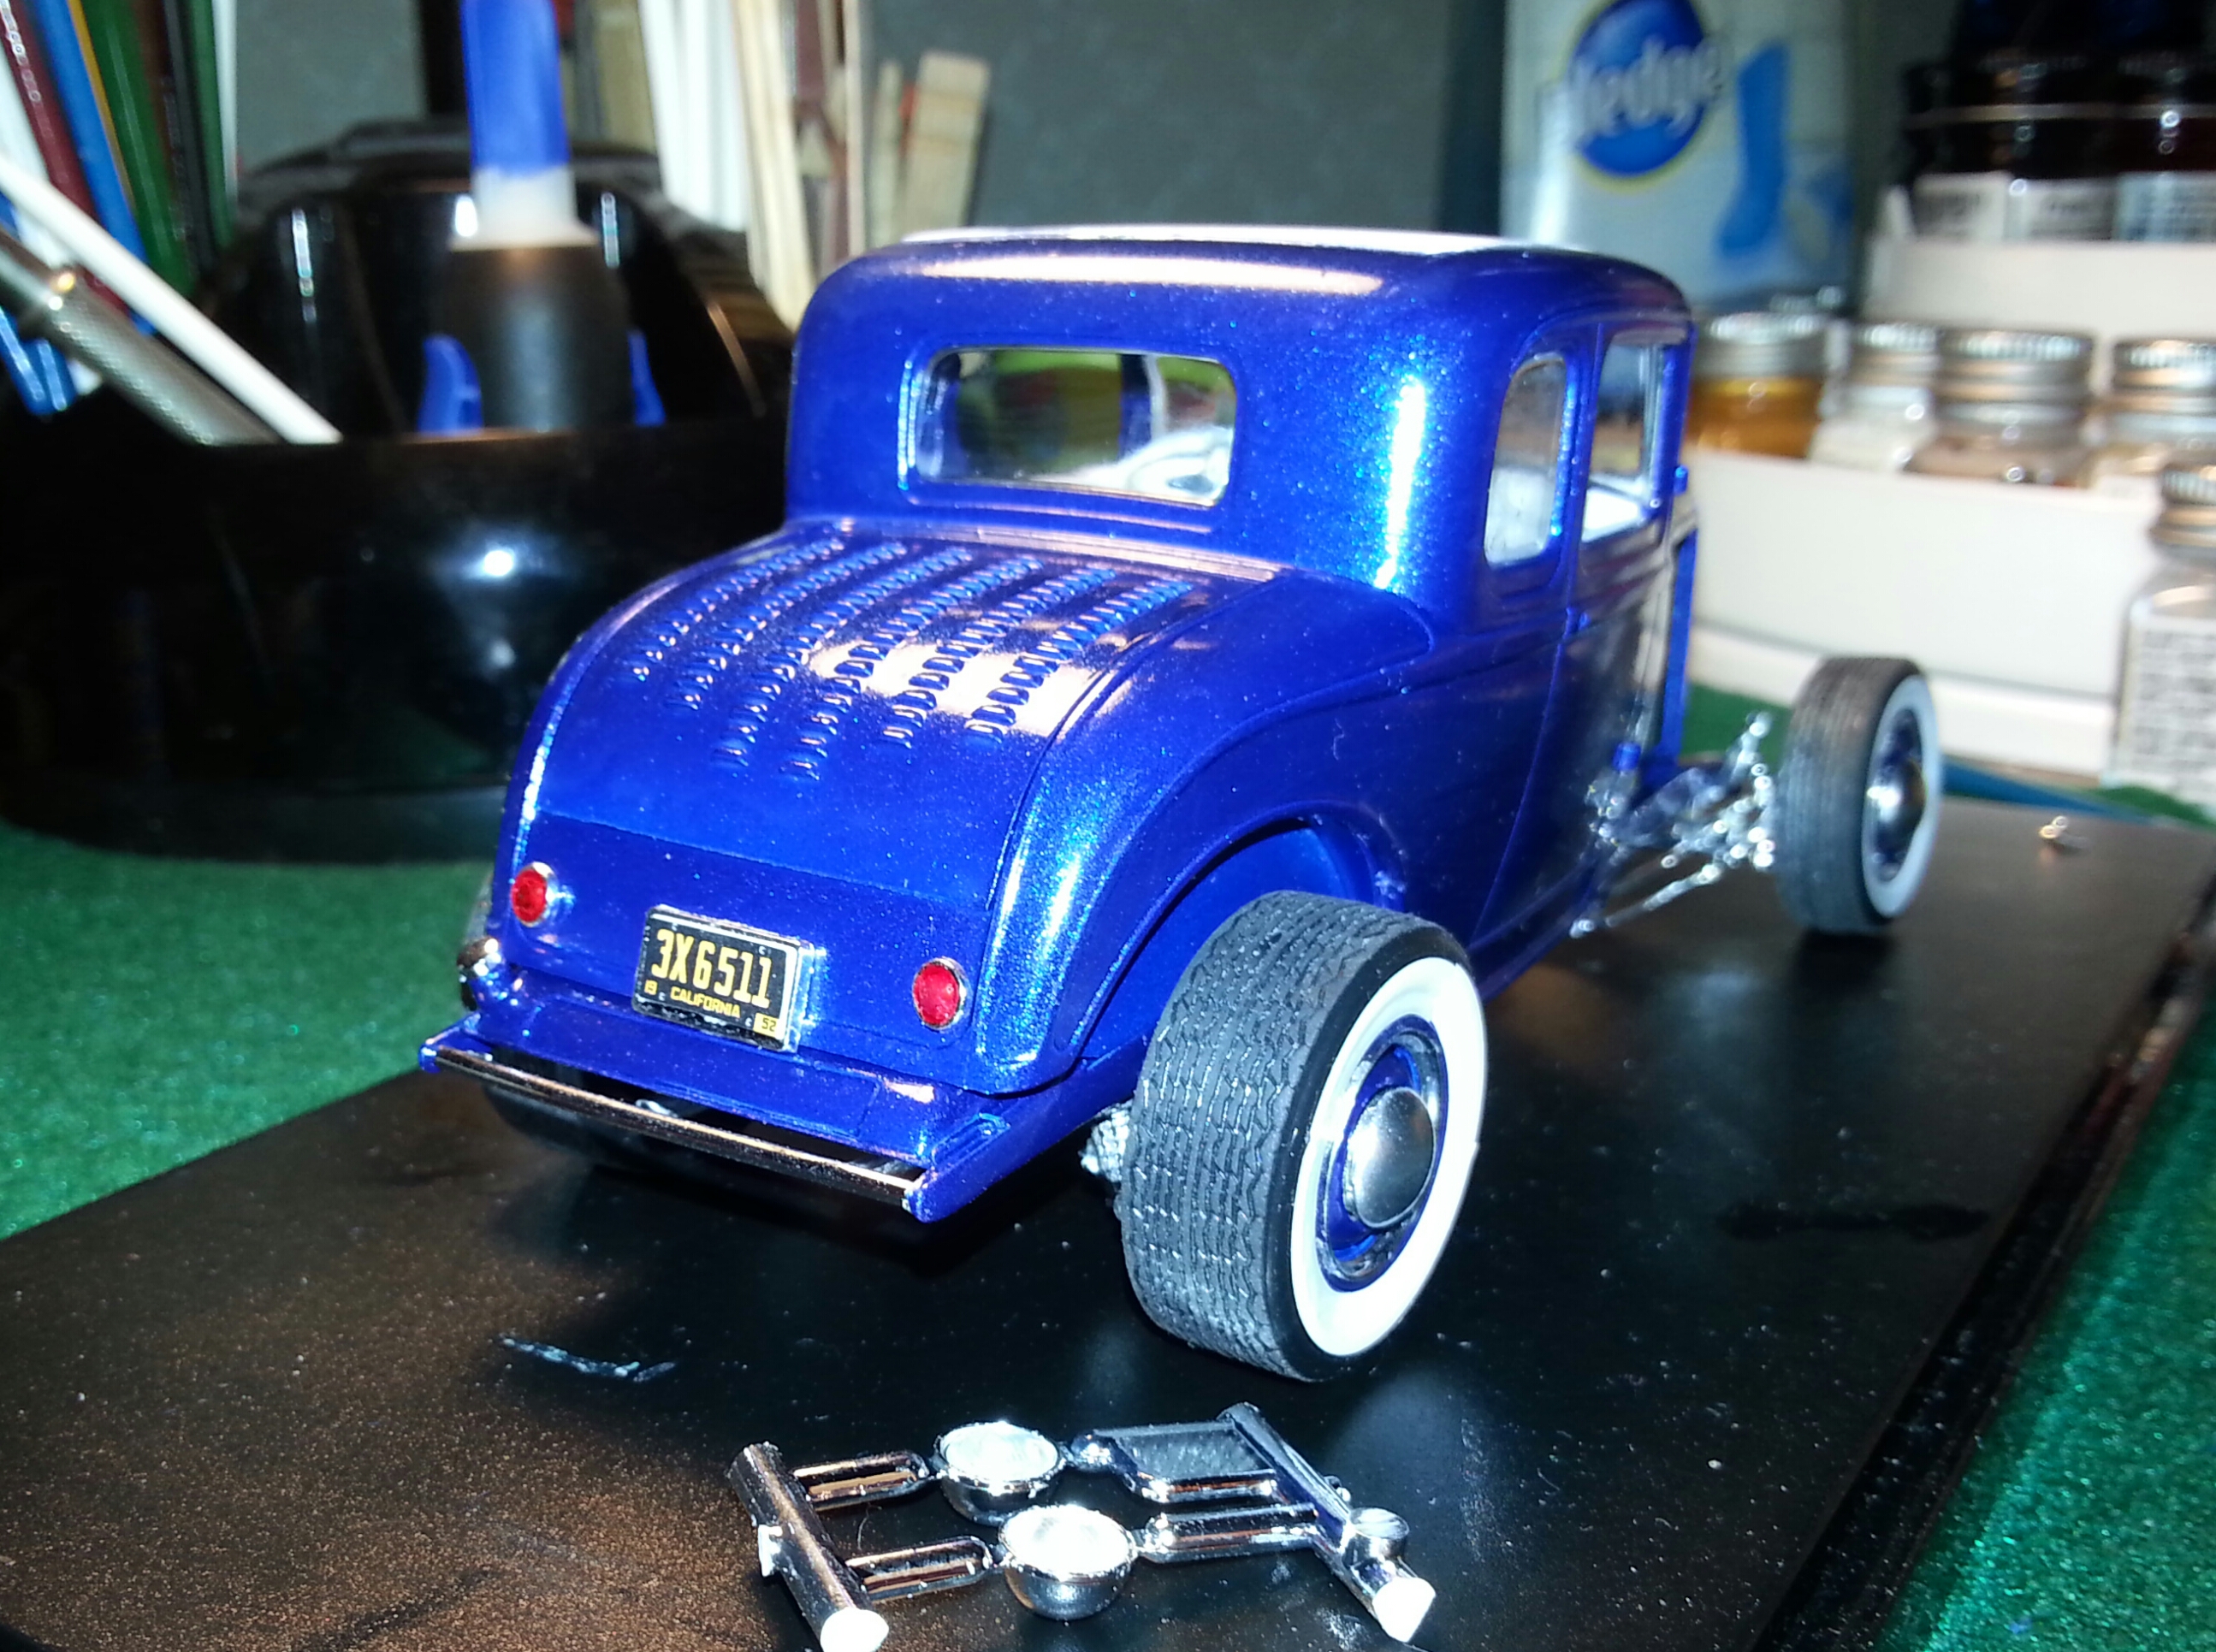
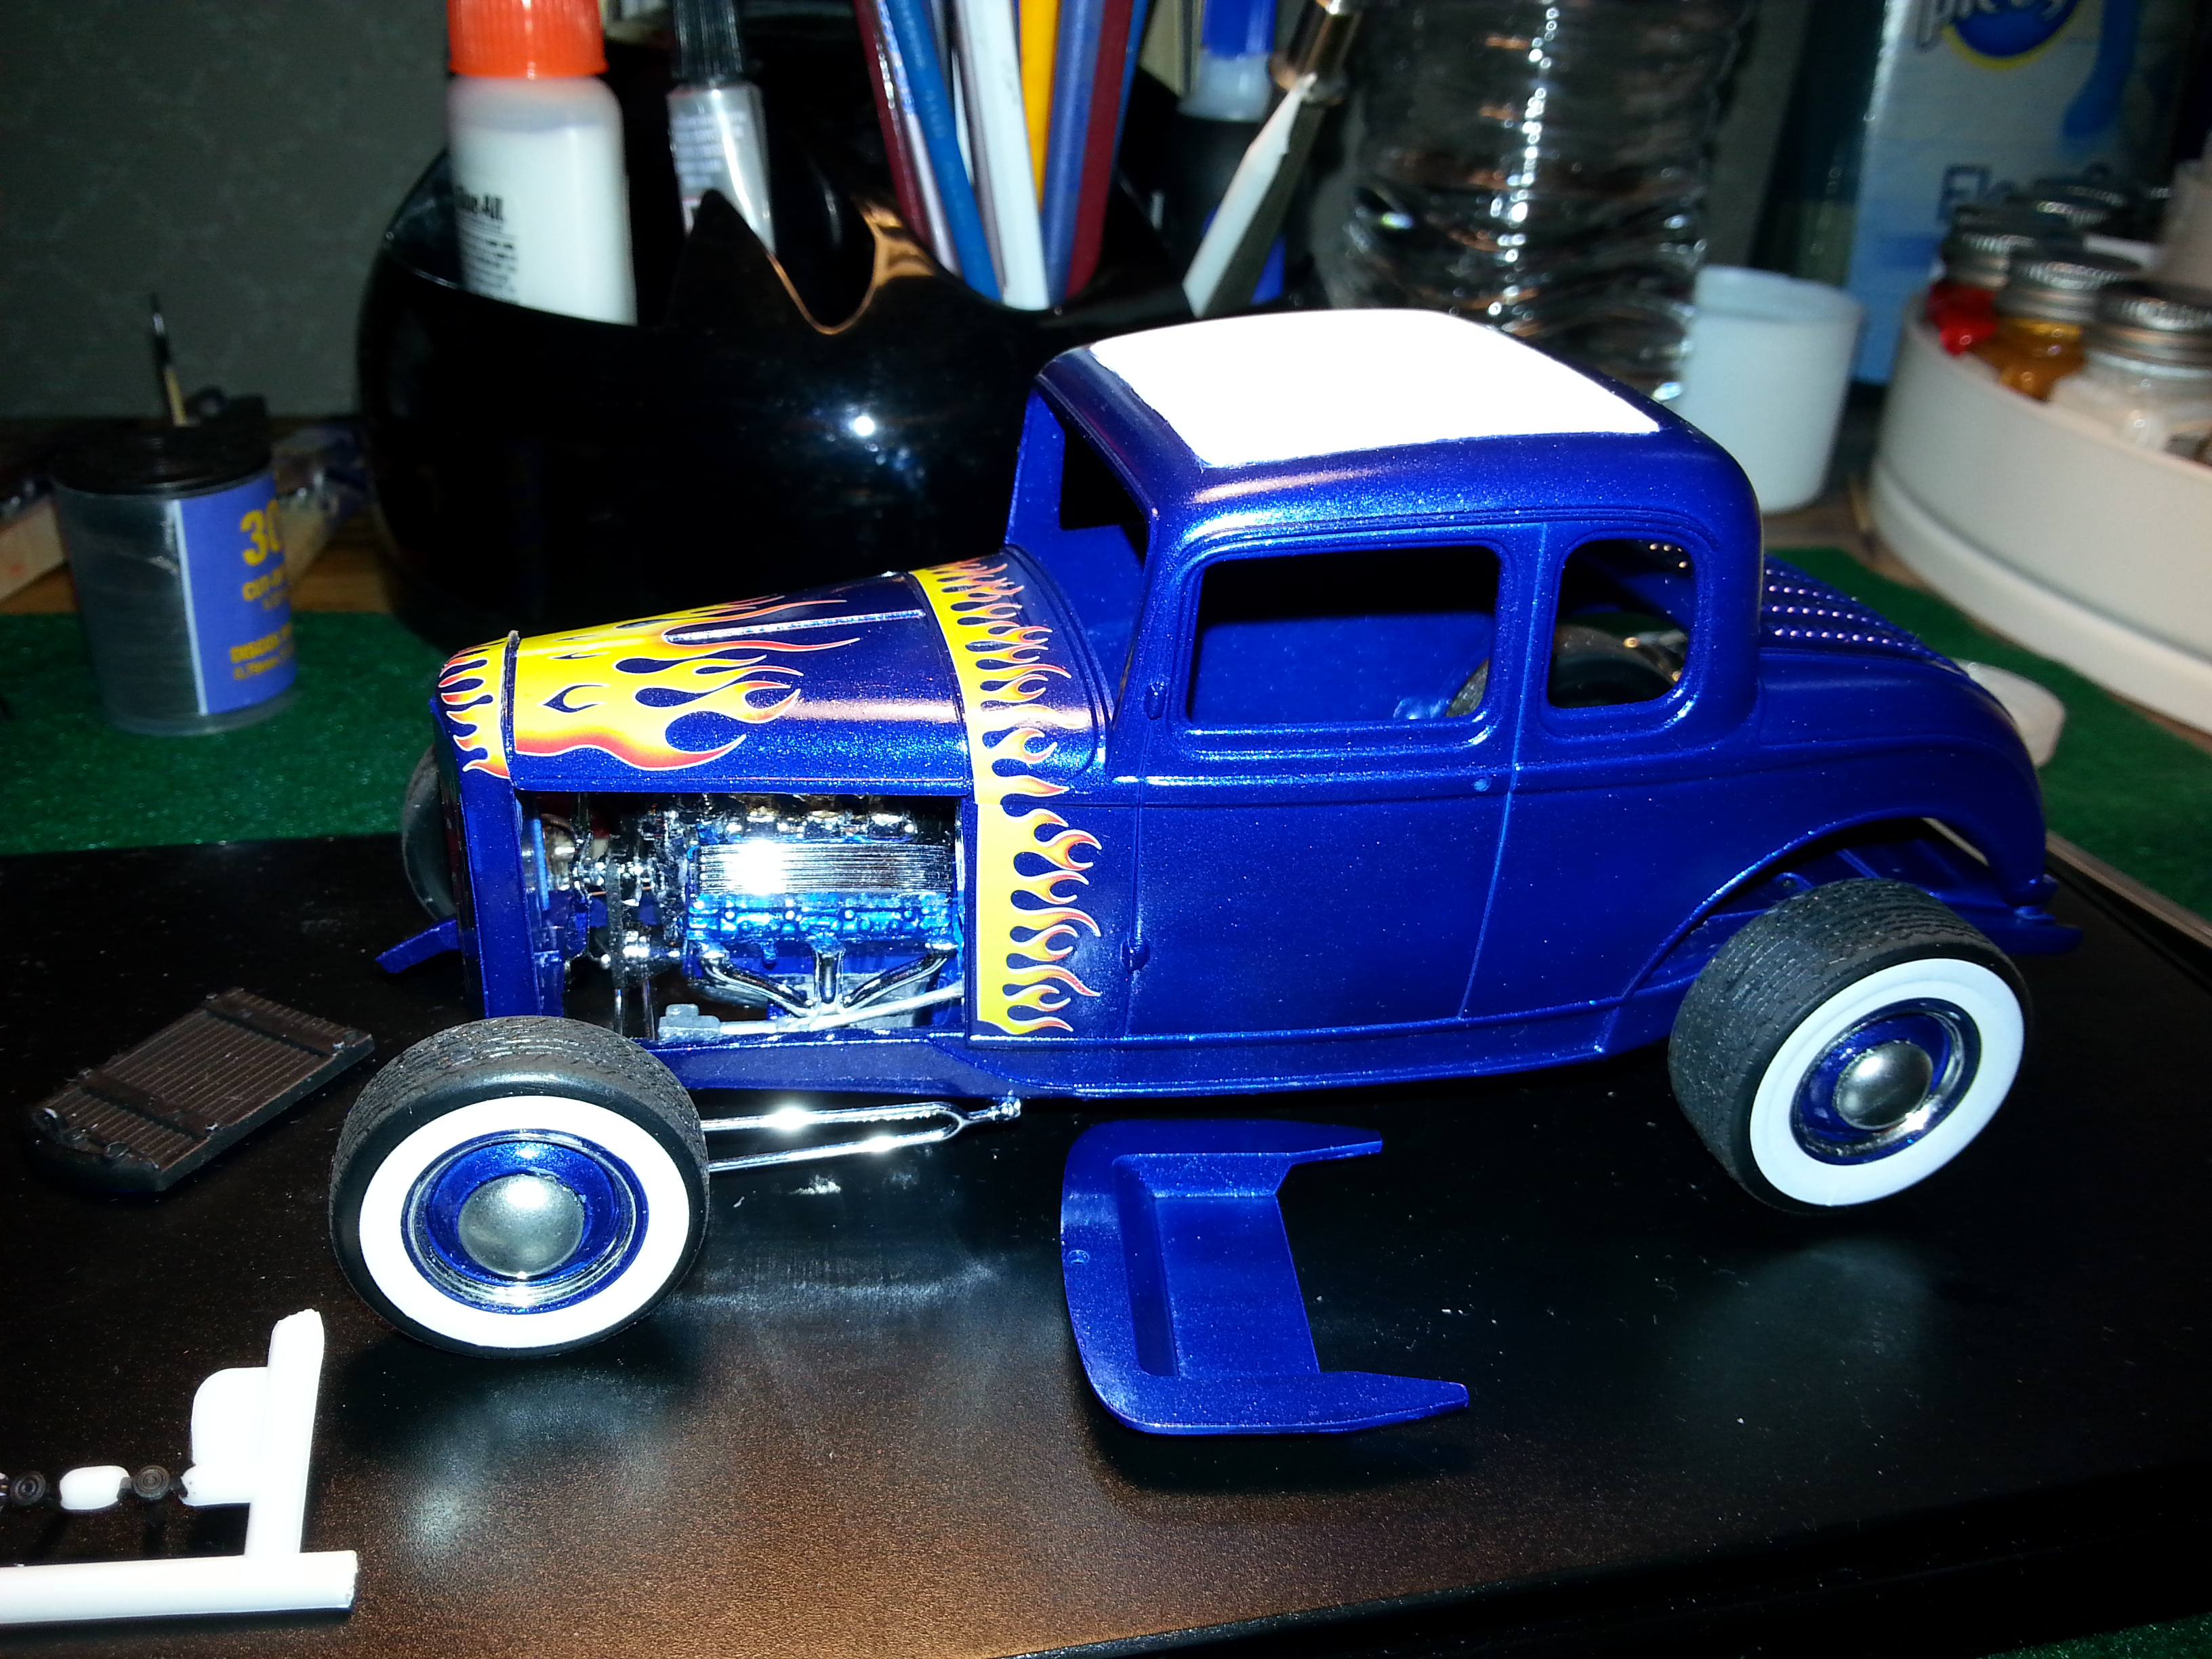
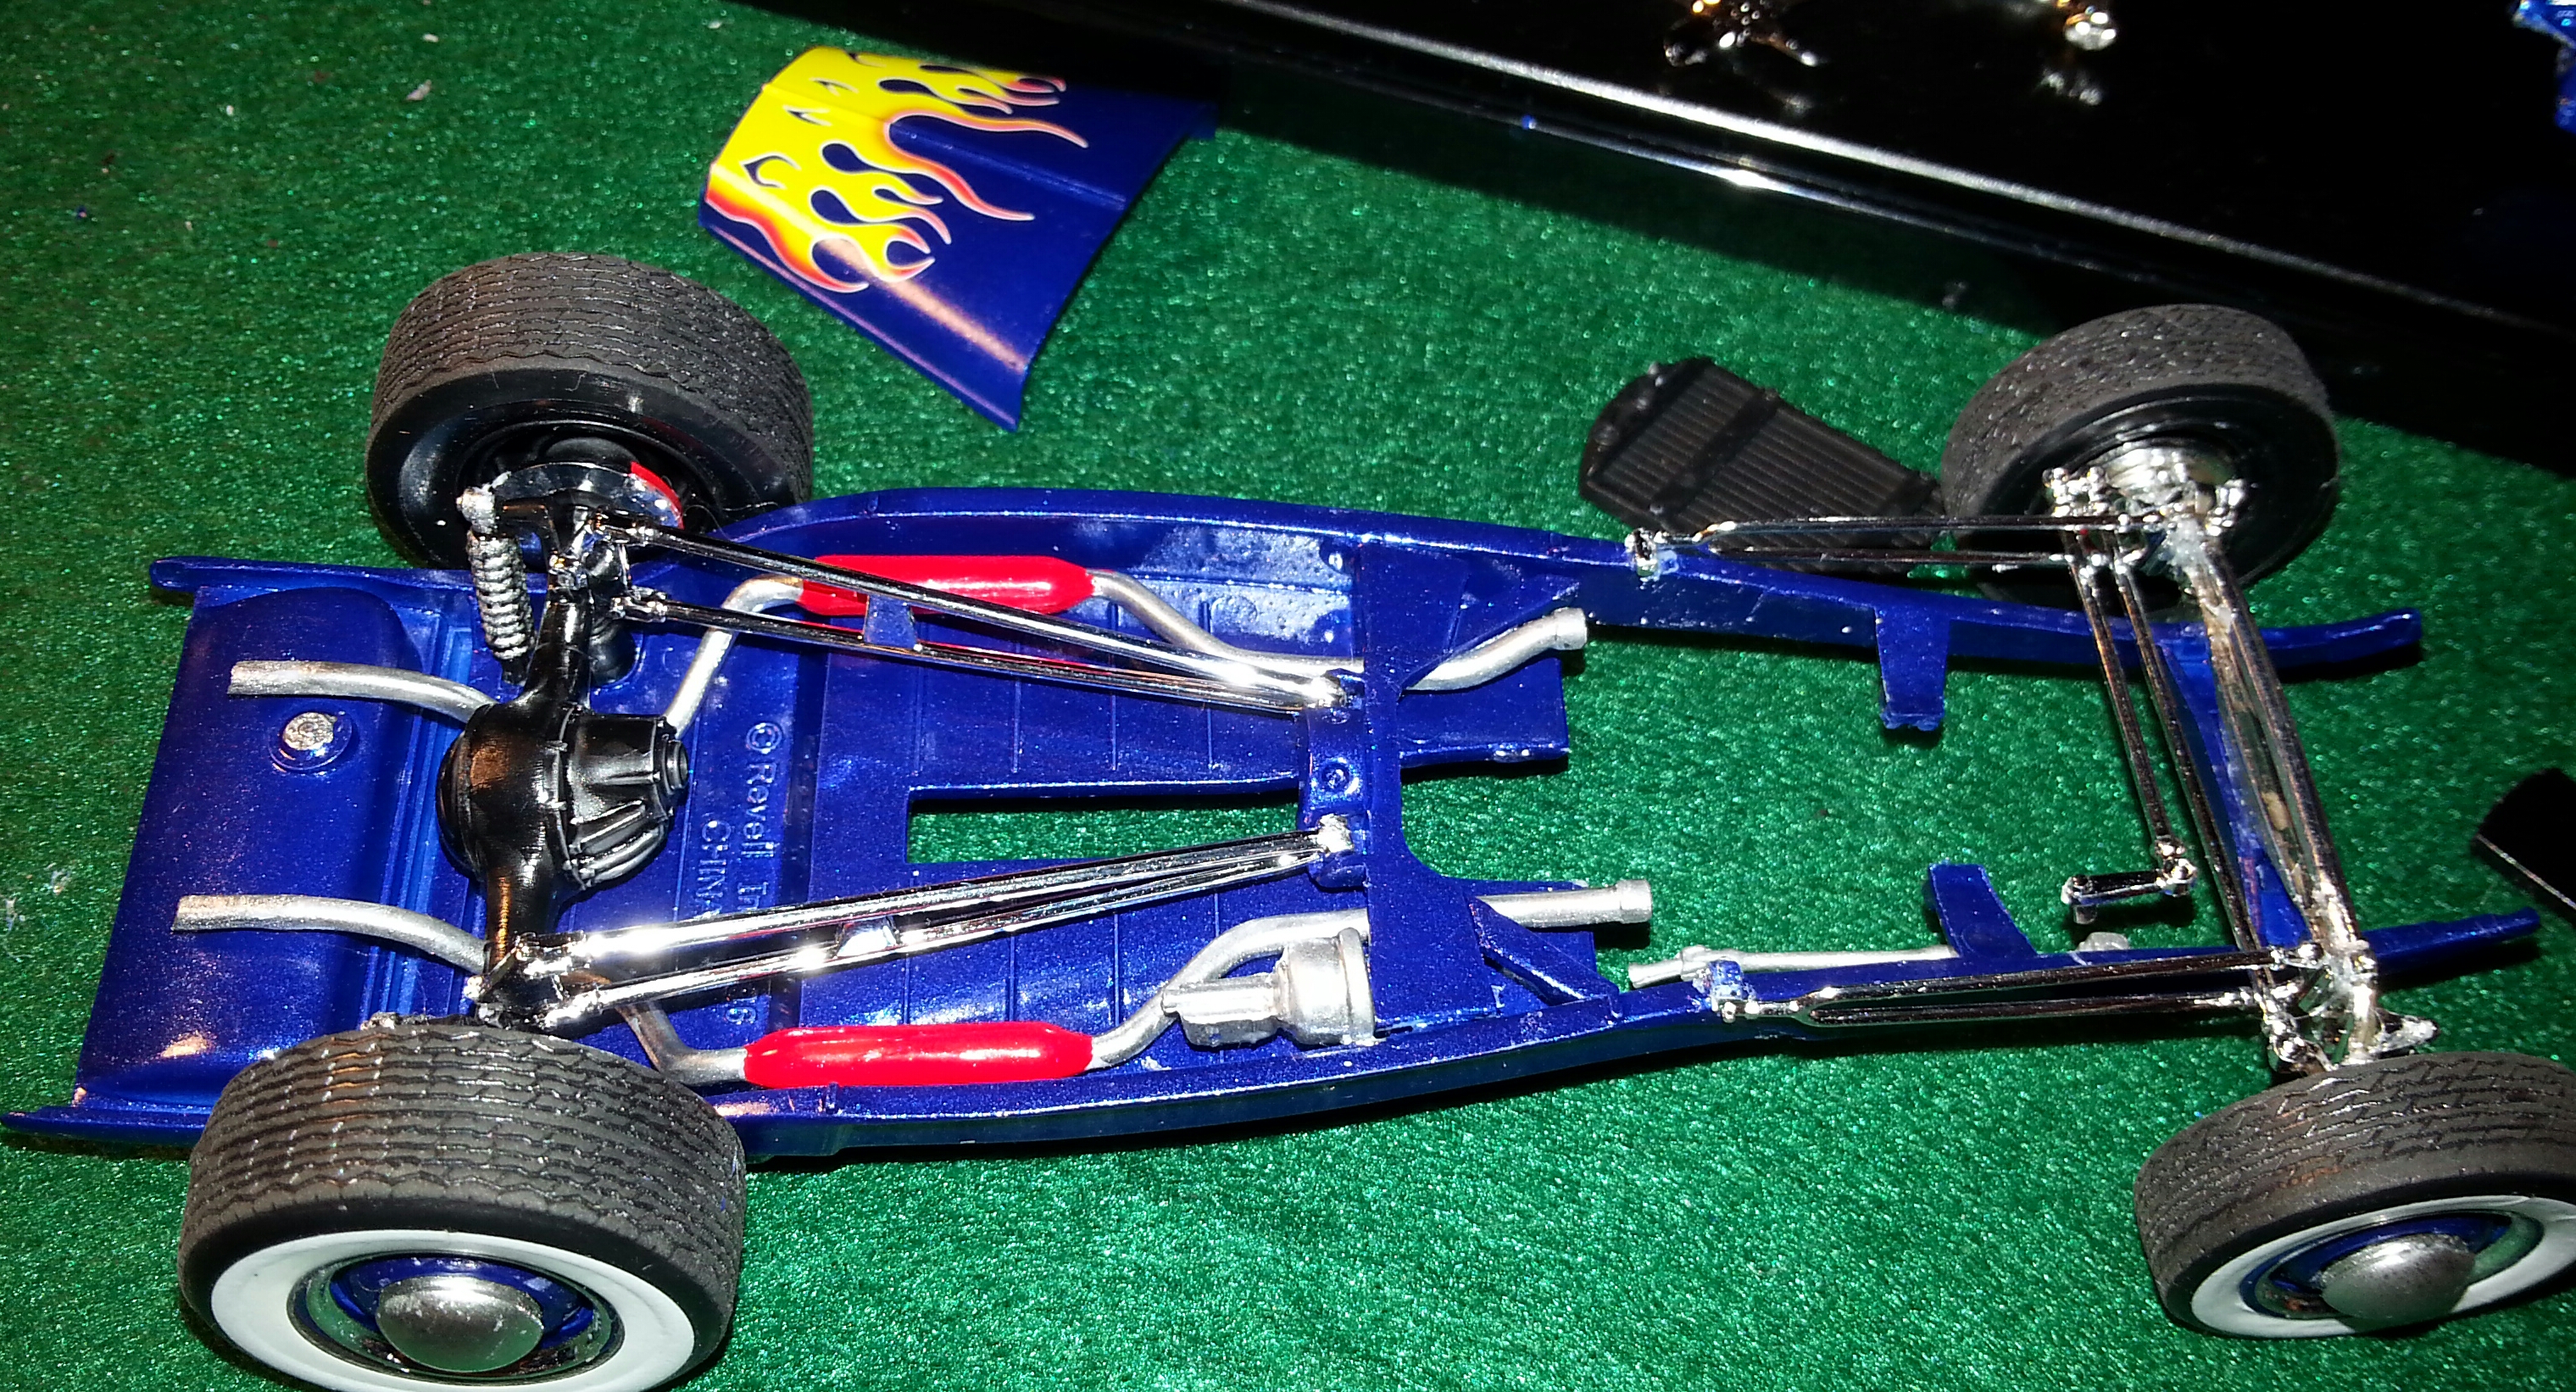
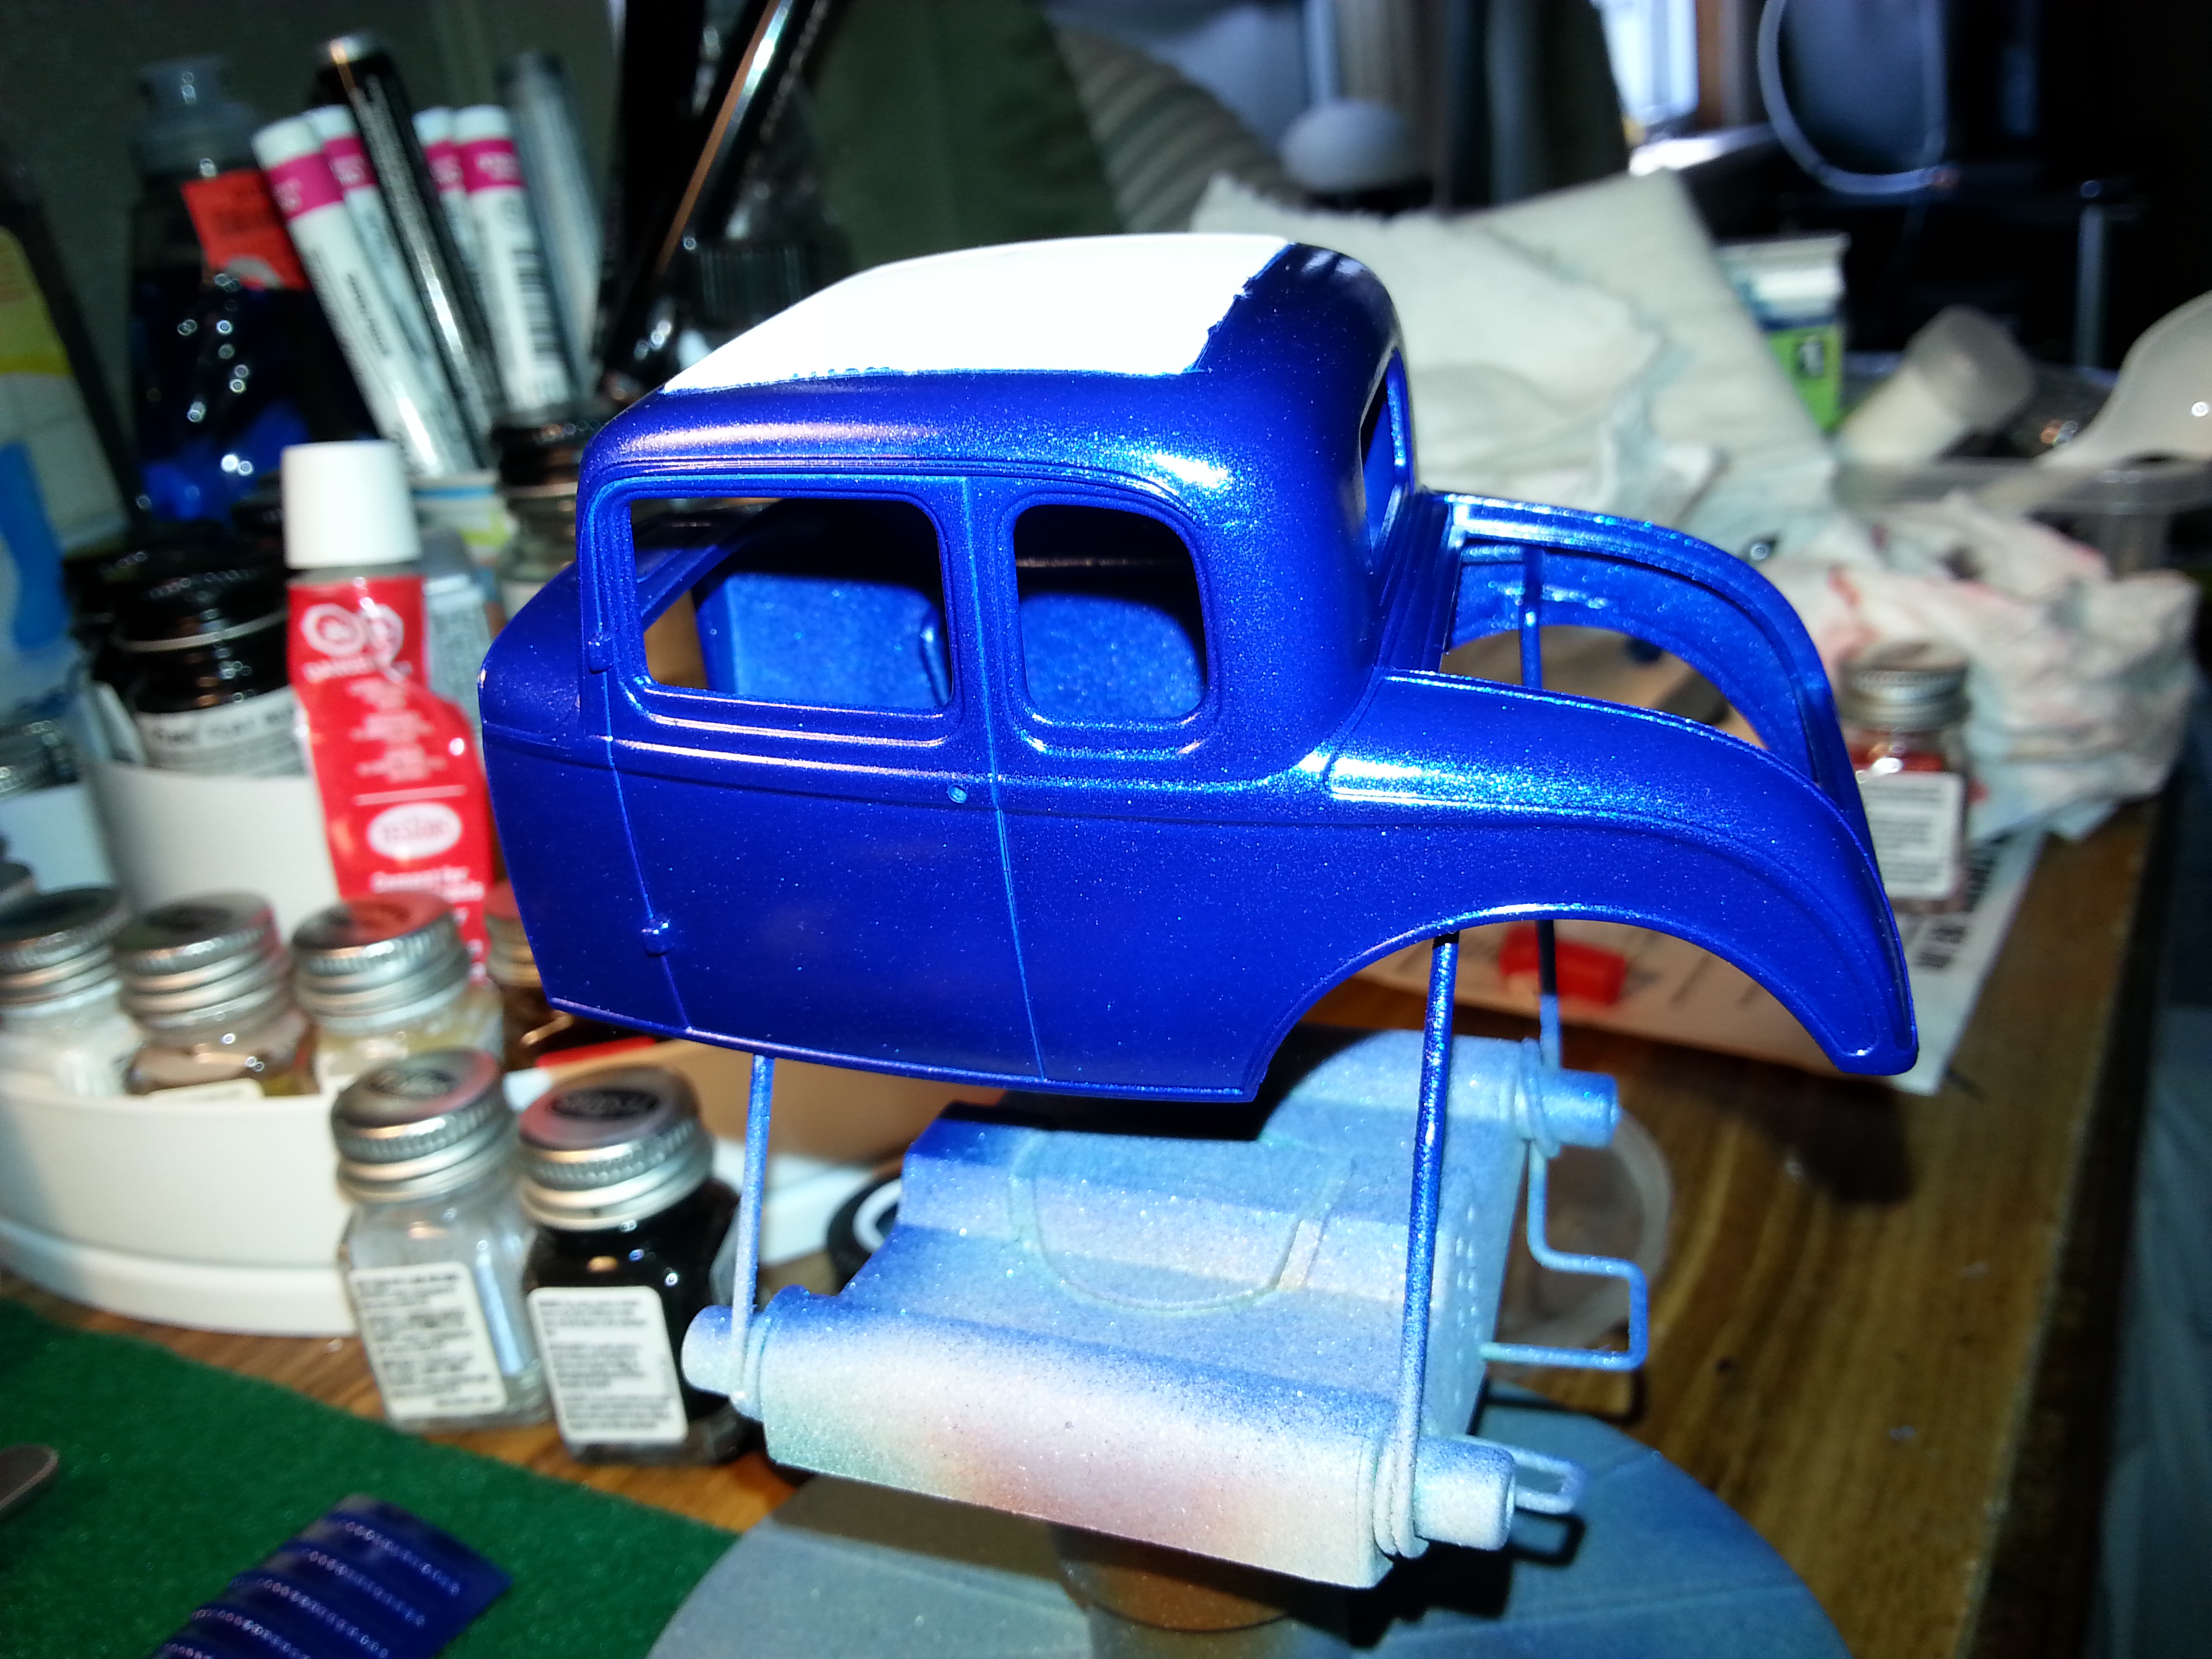
It stopped raining for awhile so I got paint on the body, and the flame decal on the body also. Chassis is pretty much done.
-
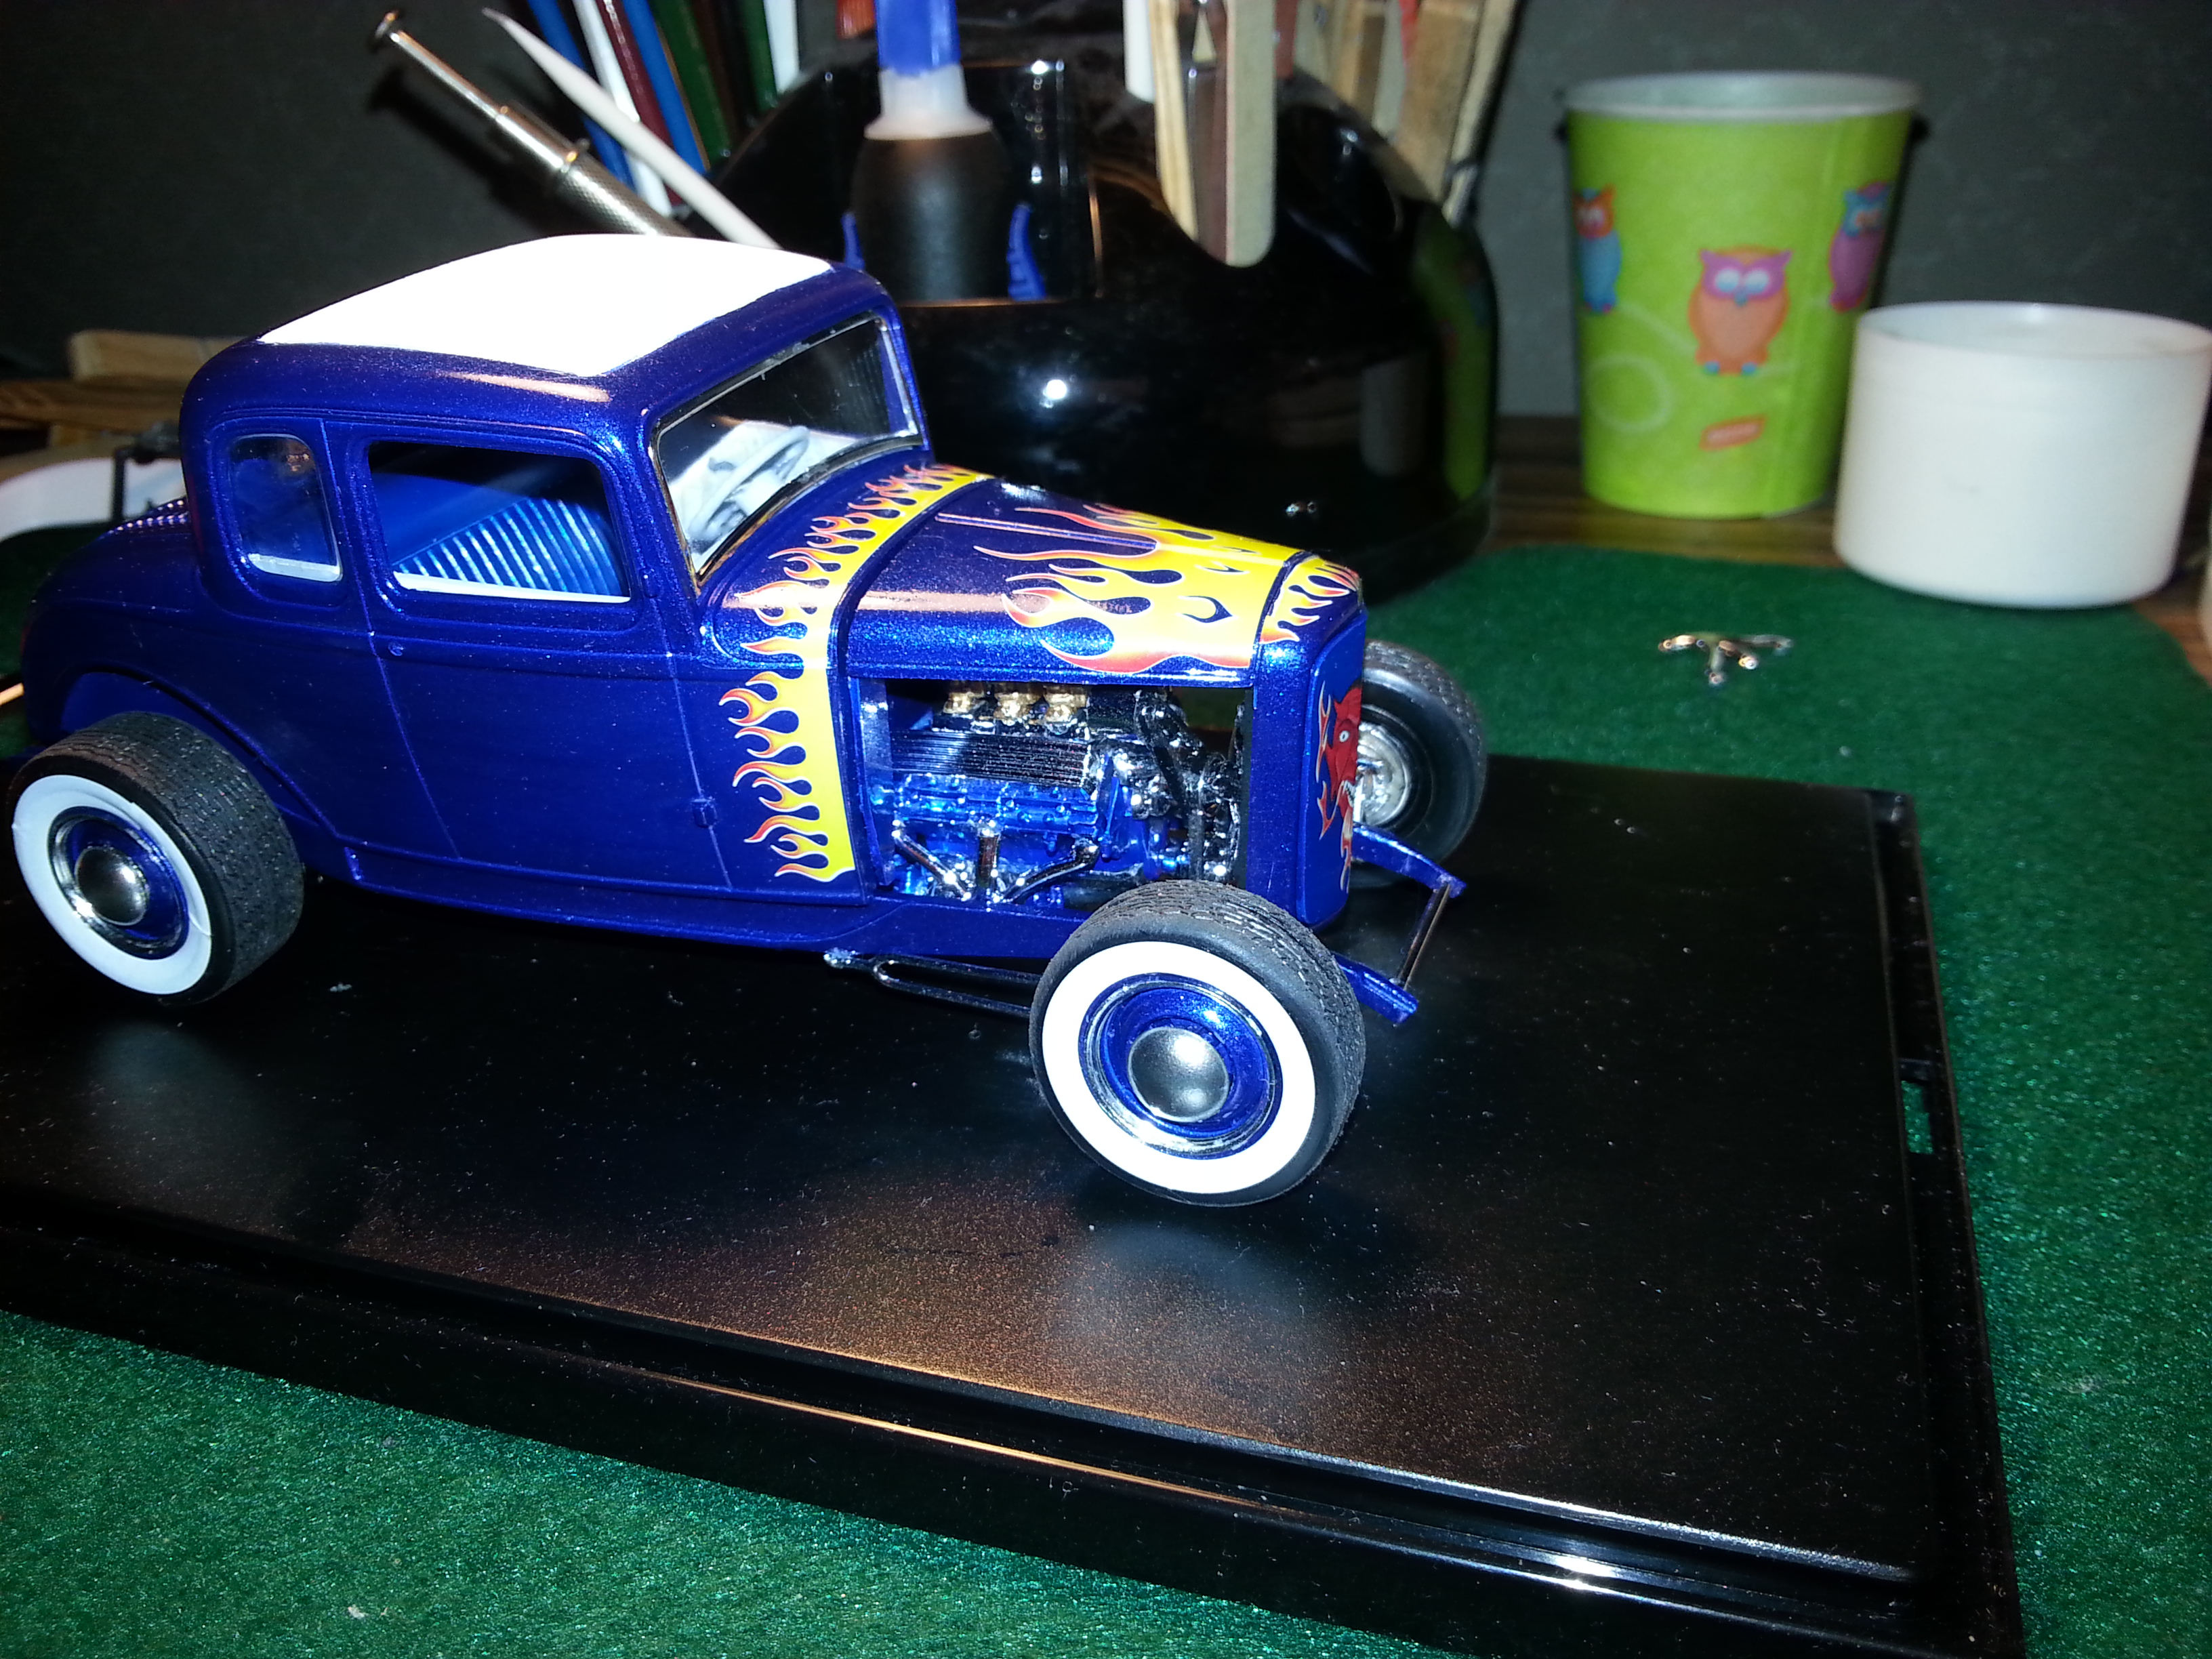
A little touch up and the motor goes in. I finally stopped raining so I got to do more painting. Some on the body ind the bigger interior parts so I can start on that.
-
Thanks. I may try to find a resin racing style windshield and a Moon tank and 6 volt battery to mount in the bed.
-
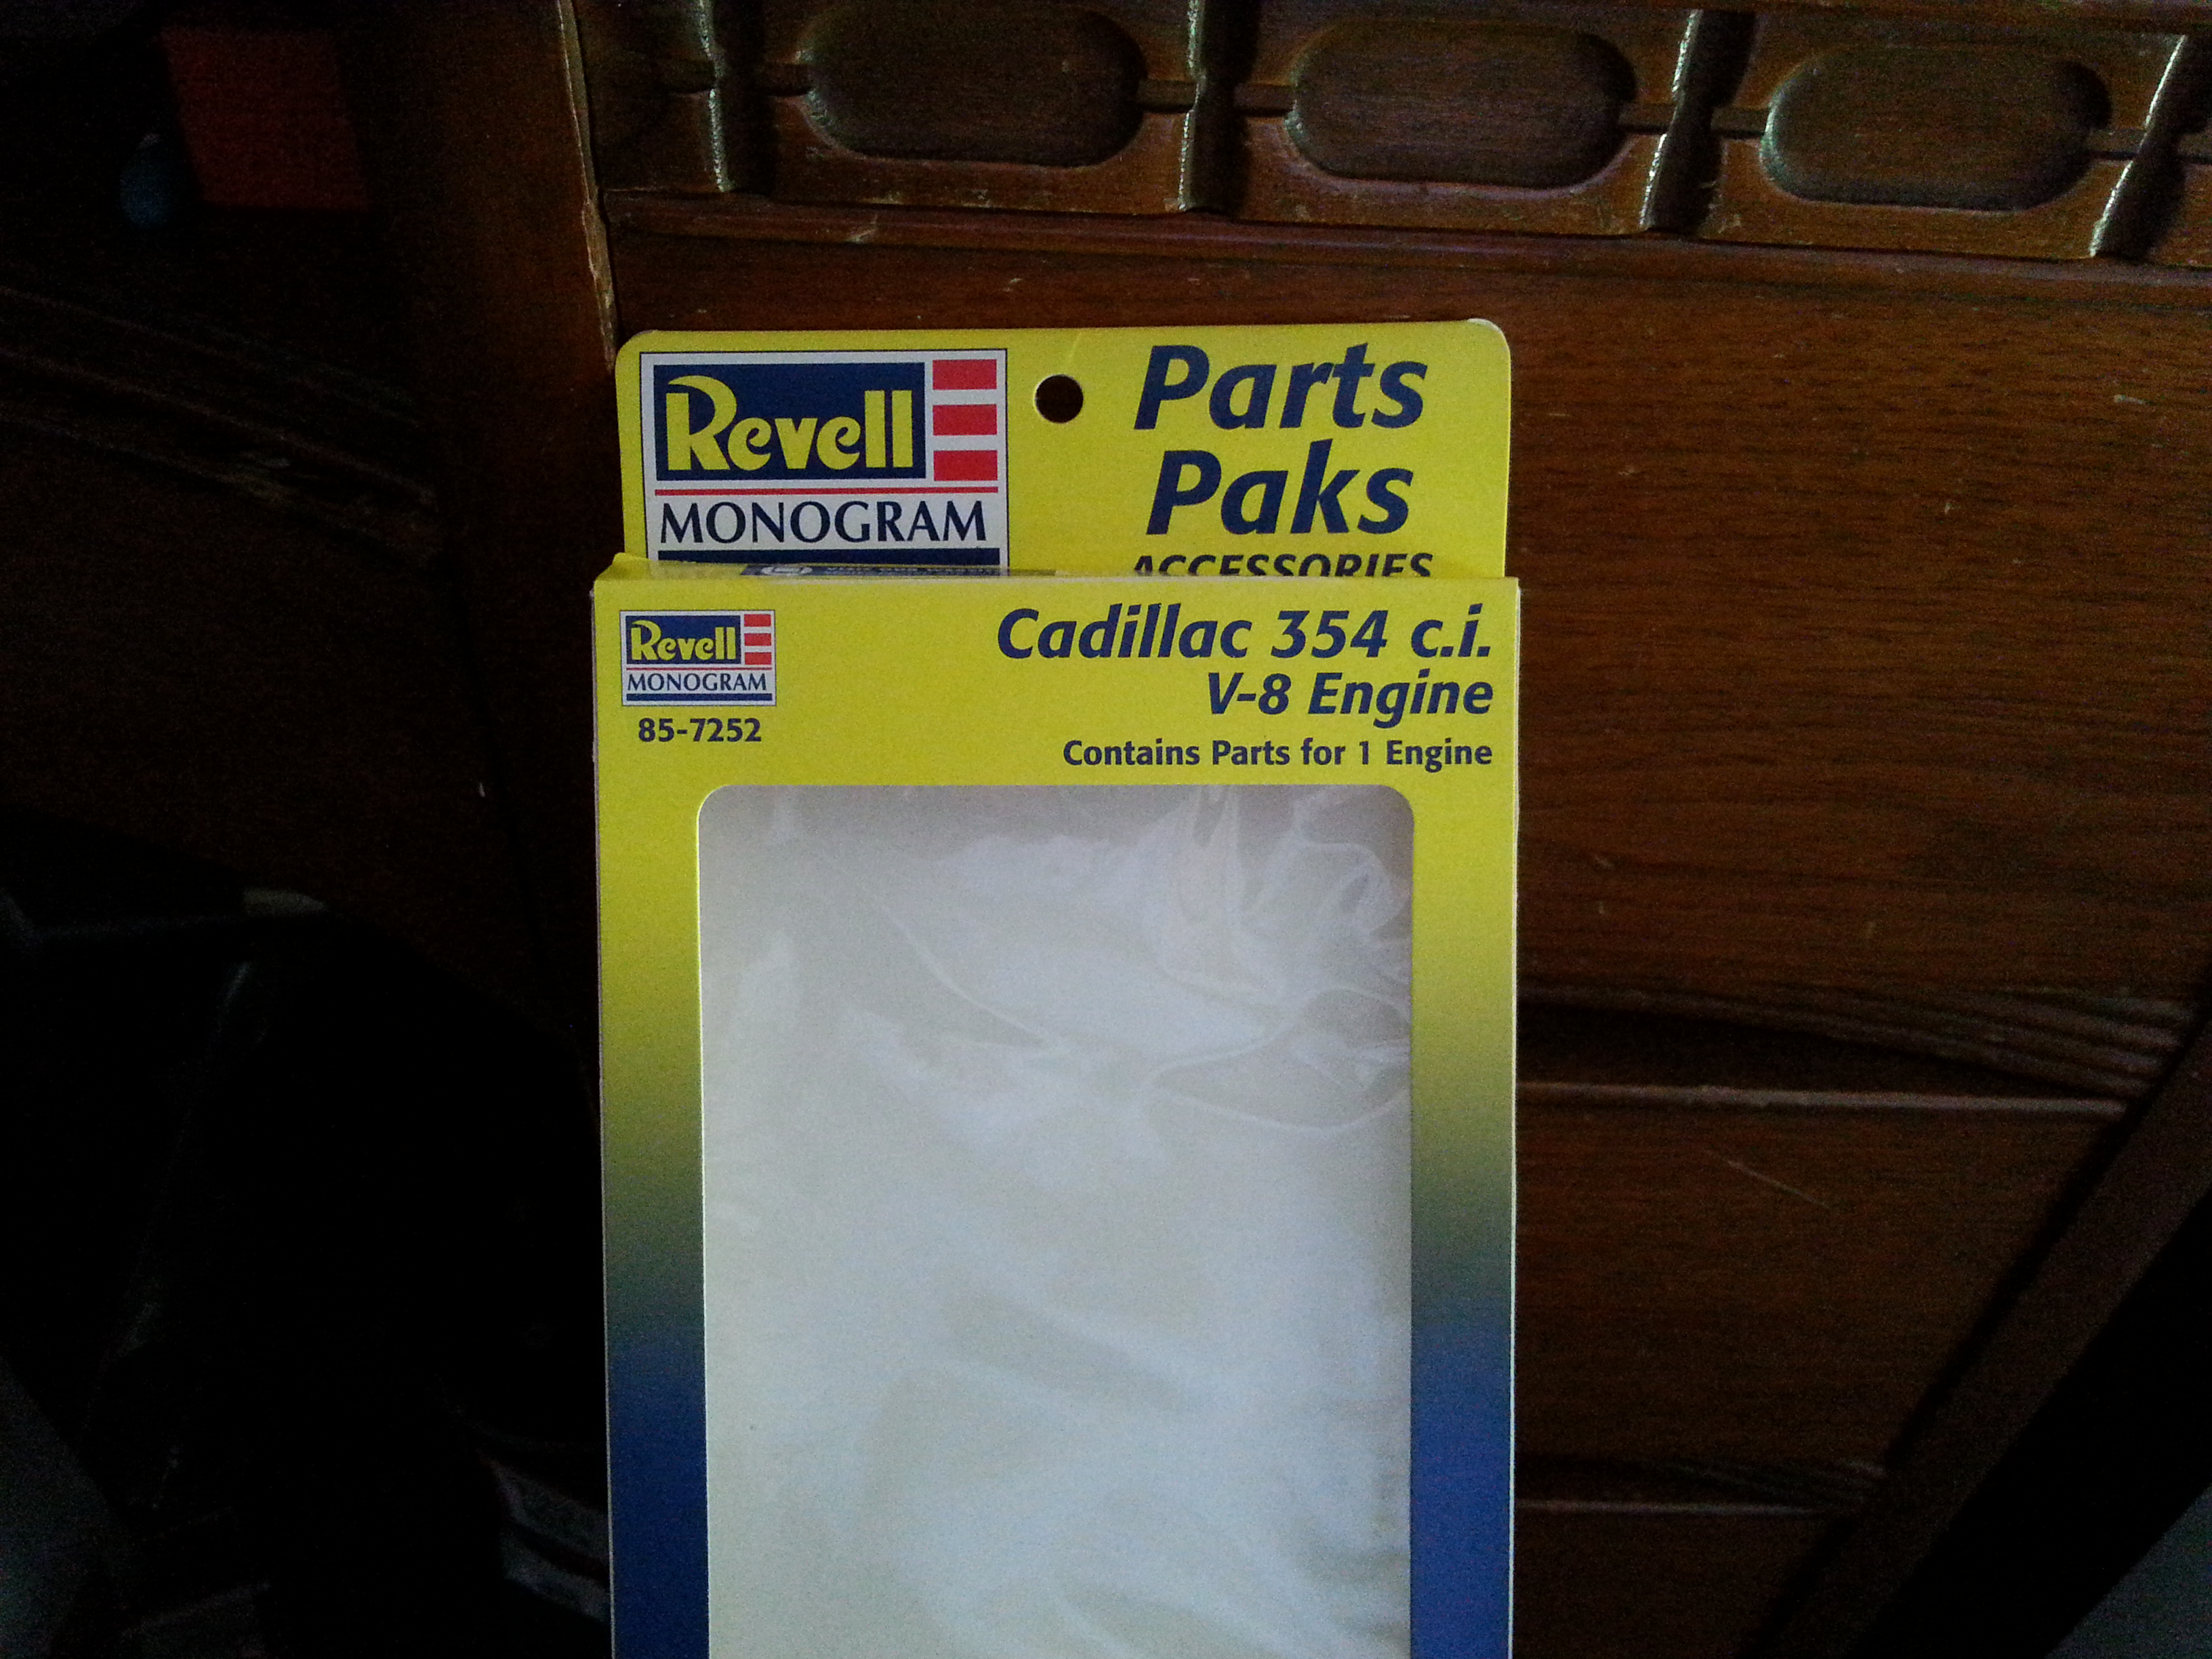
I found this one at Ollies today. It was the last one on the shelf. A good buy for eight bucks.
-
This looks like an interesting build.
-
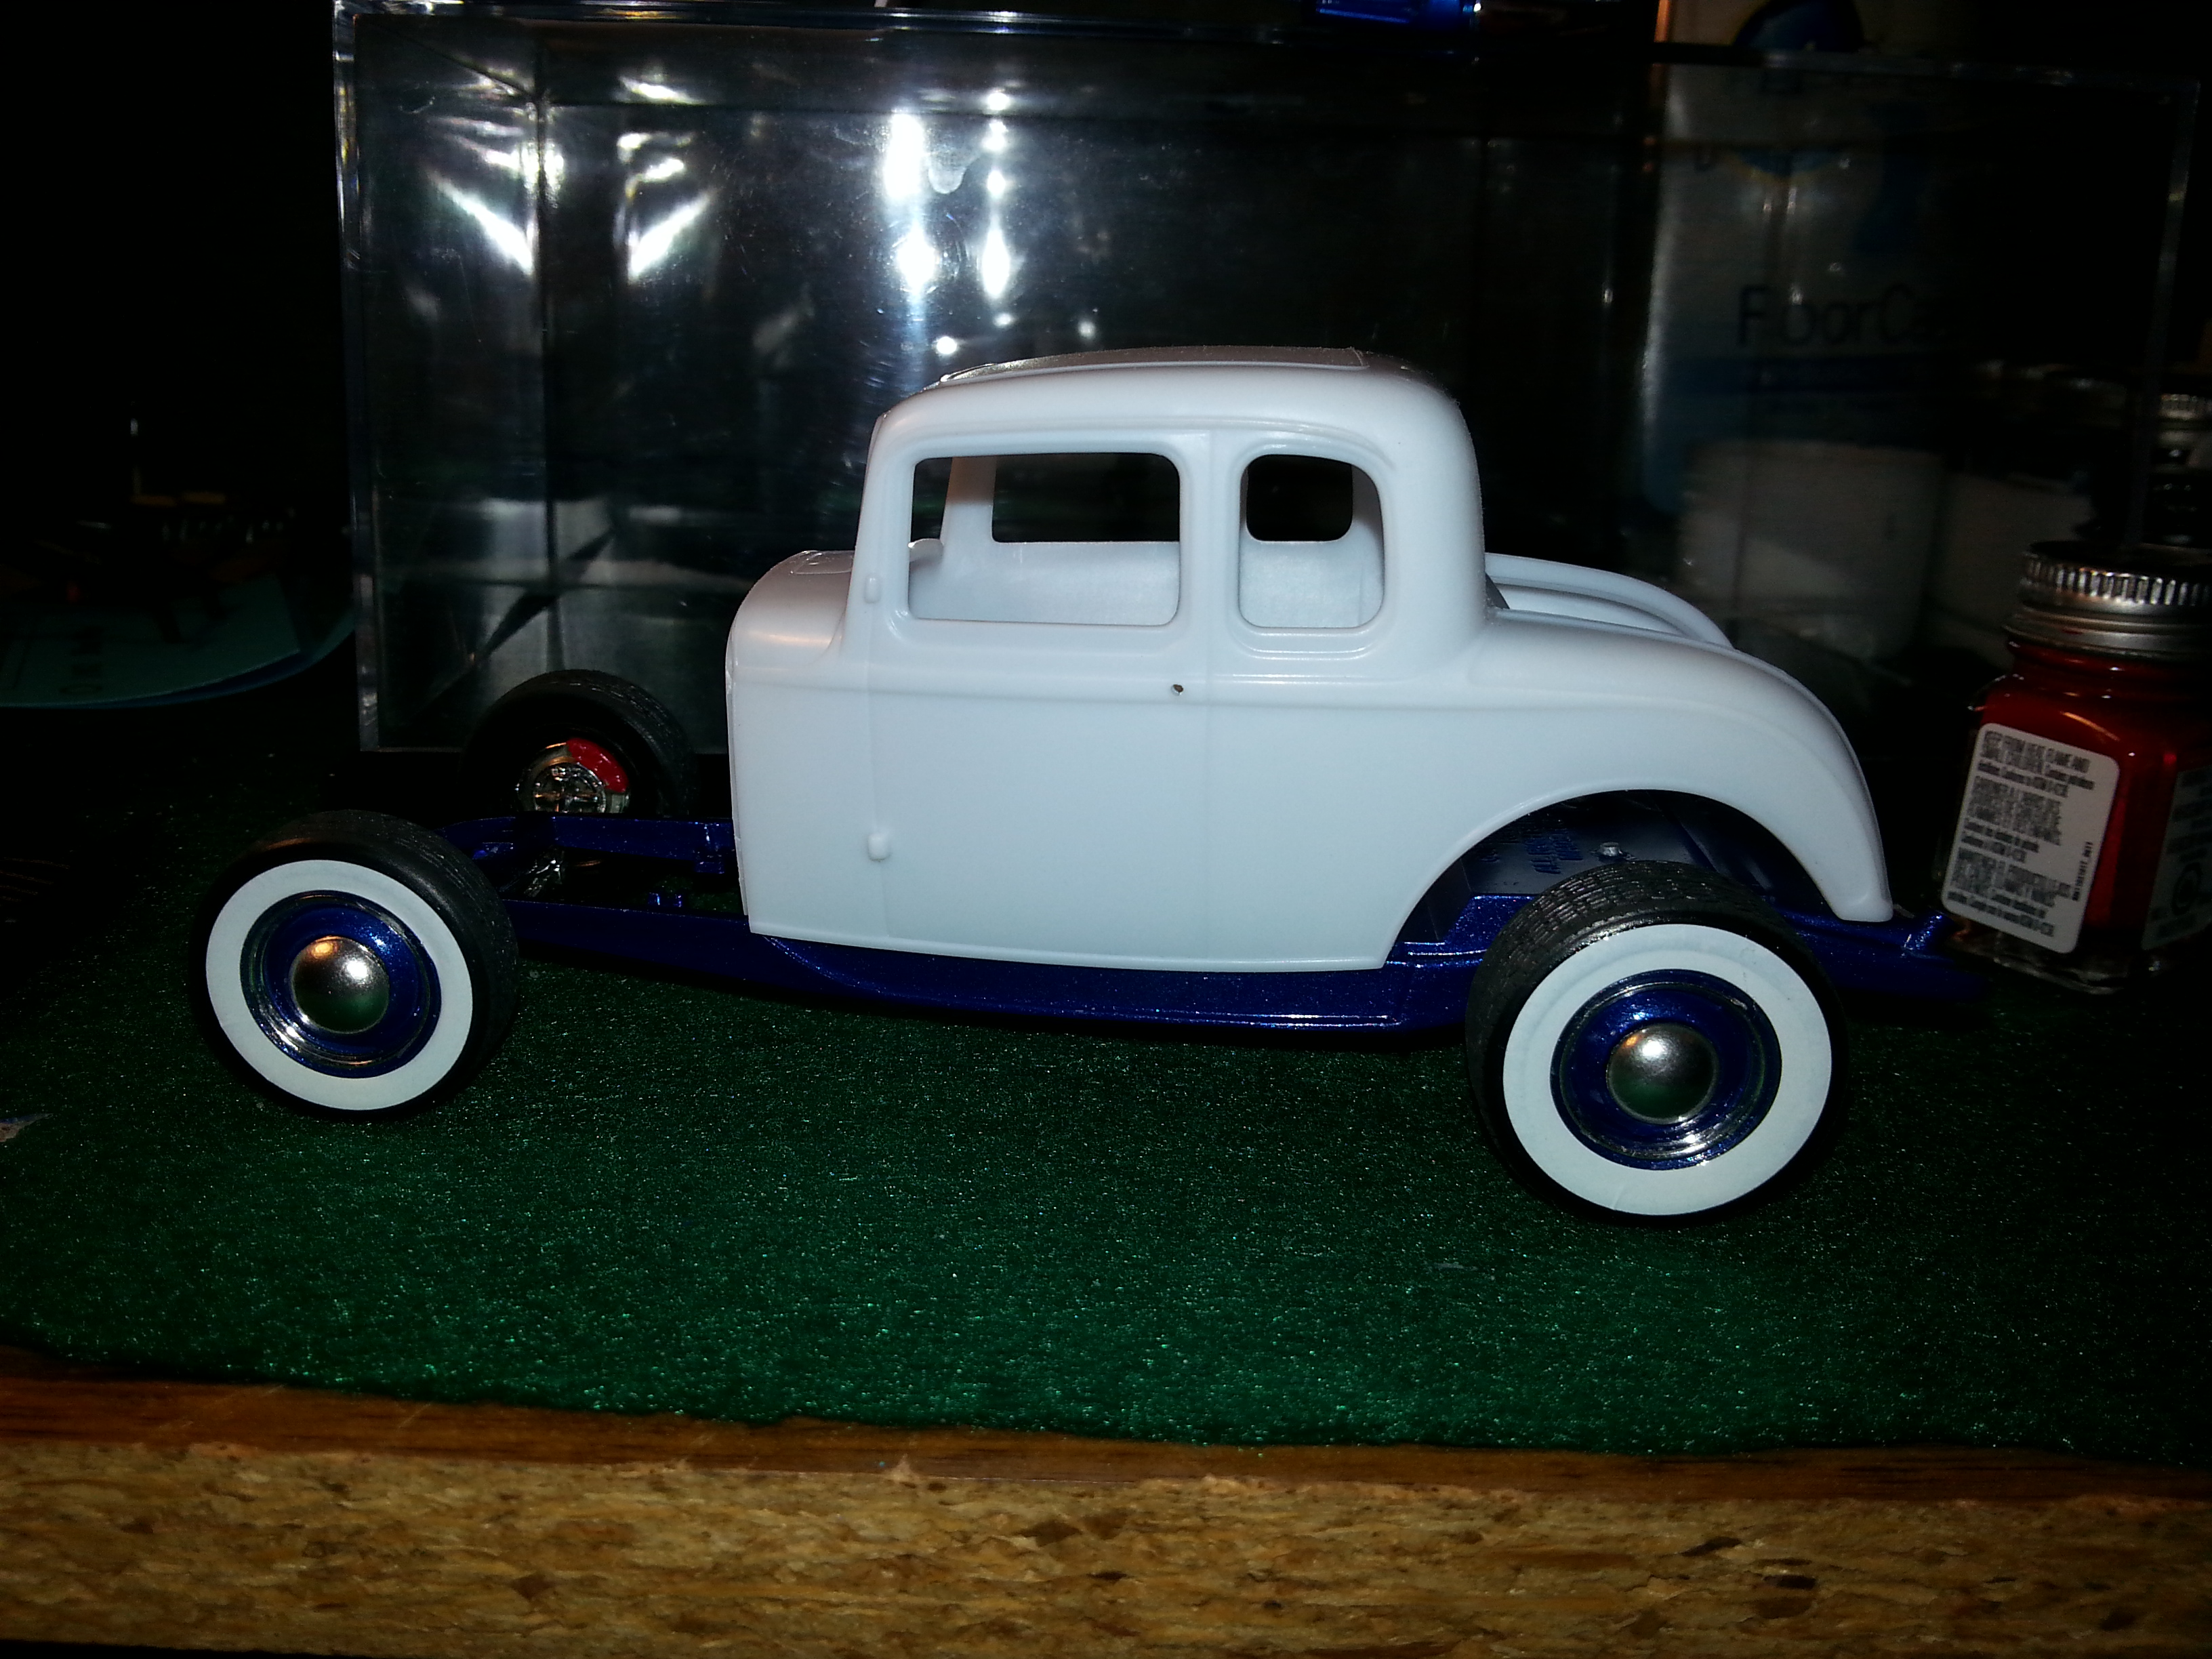
Some progress. Mod3l Lover, I'll sent you a PM later. I had another one of this kit so I used the white walls from that kit.
-
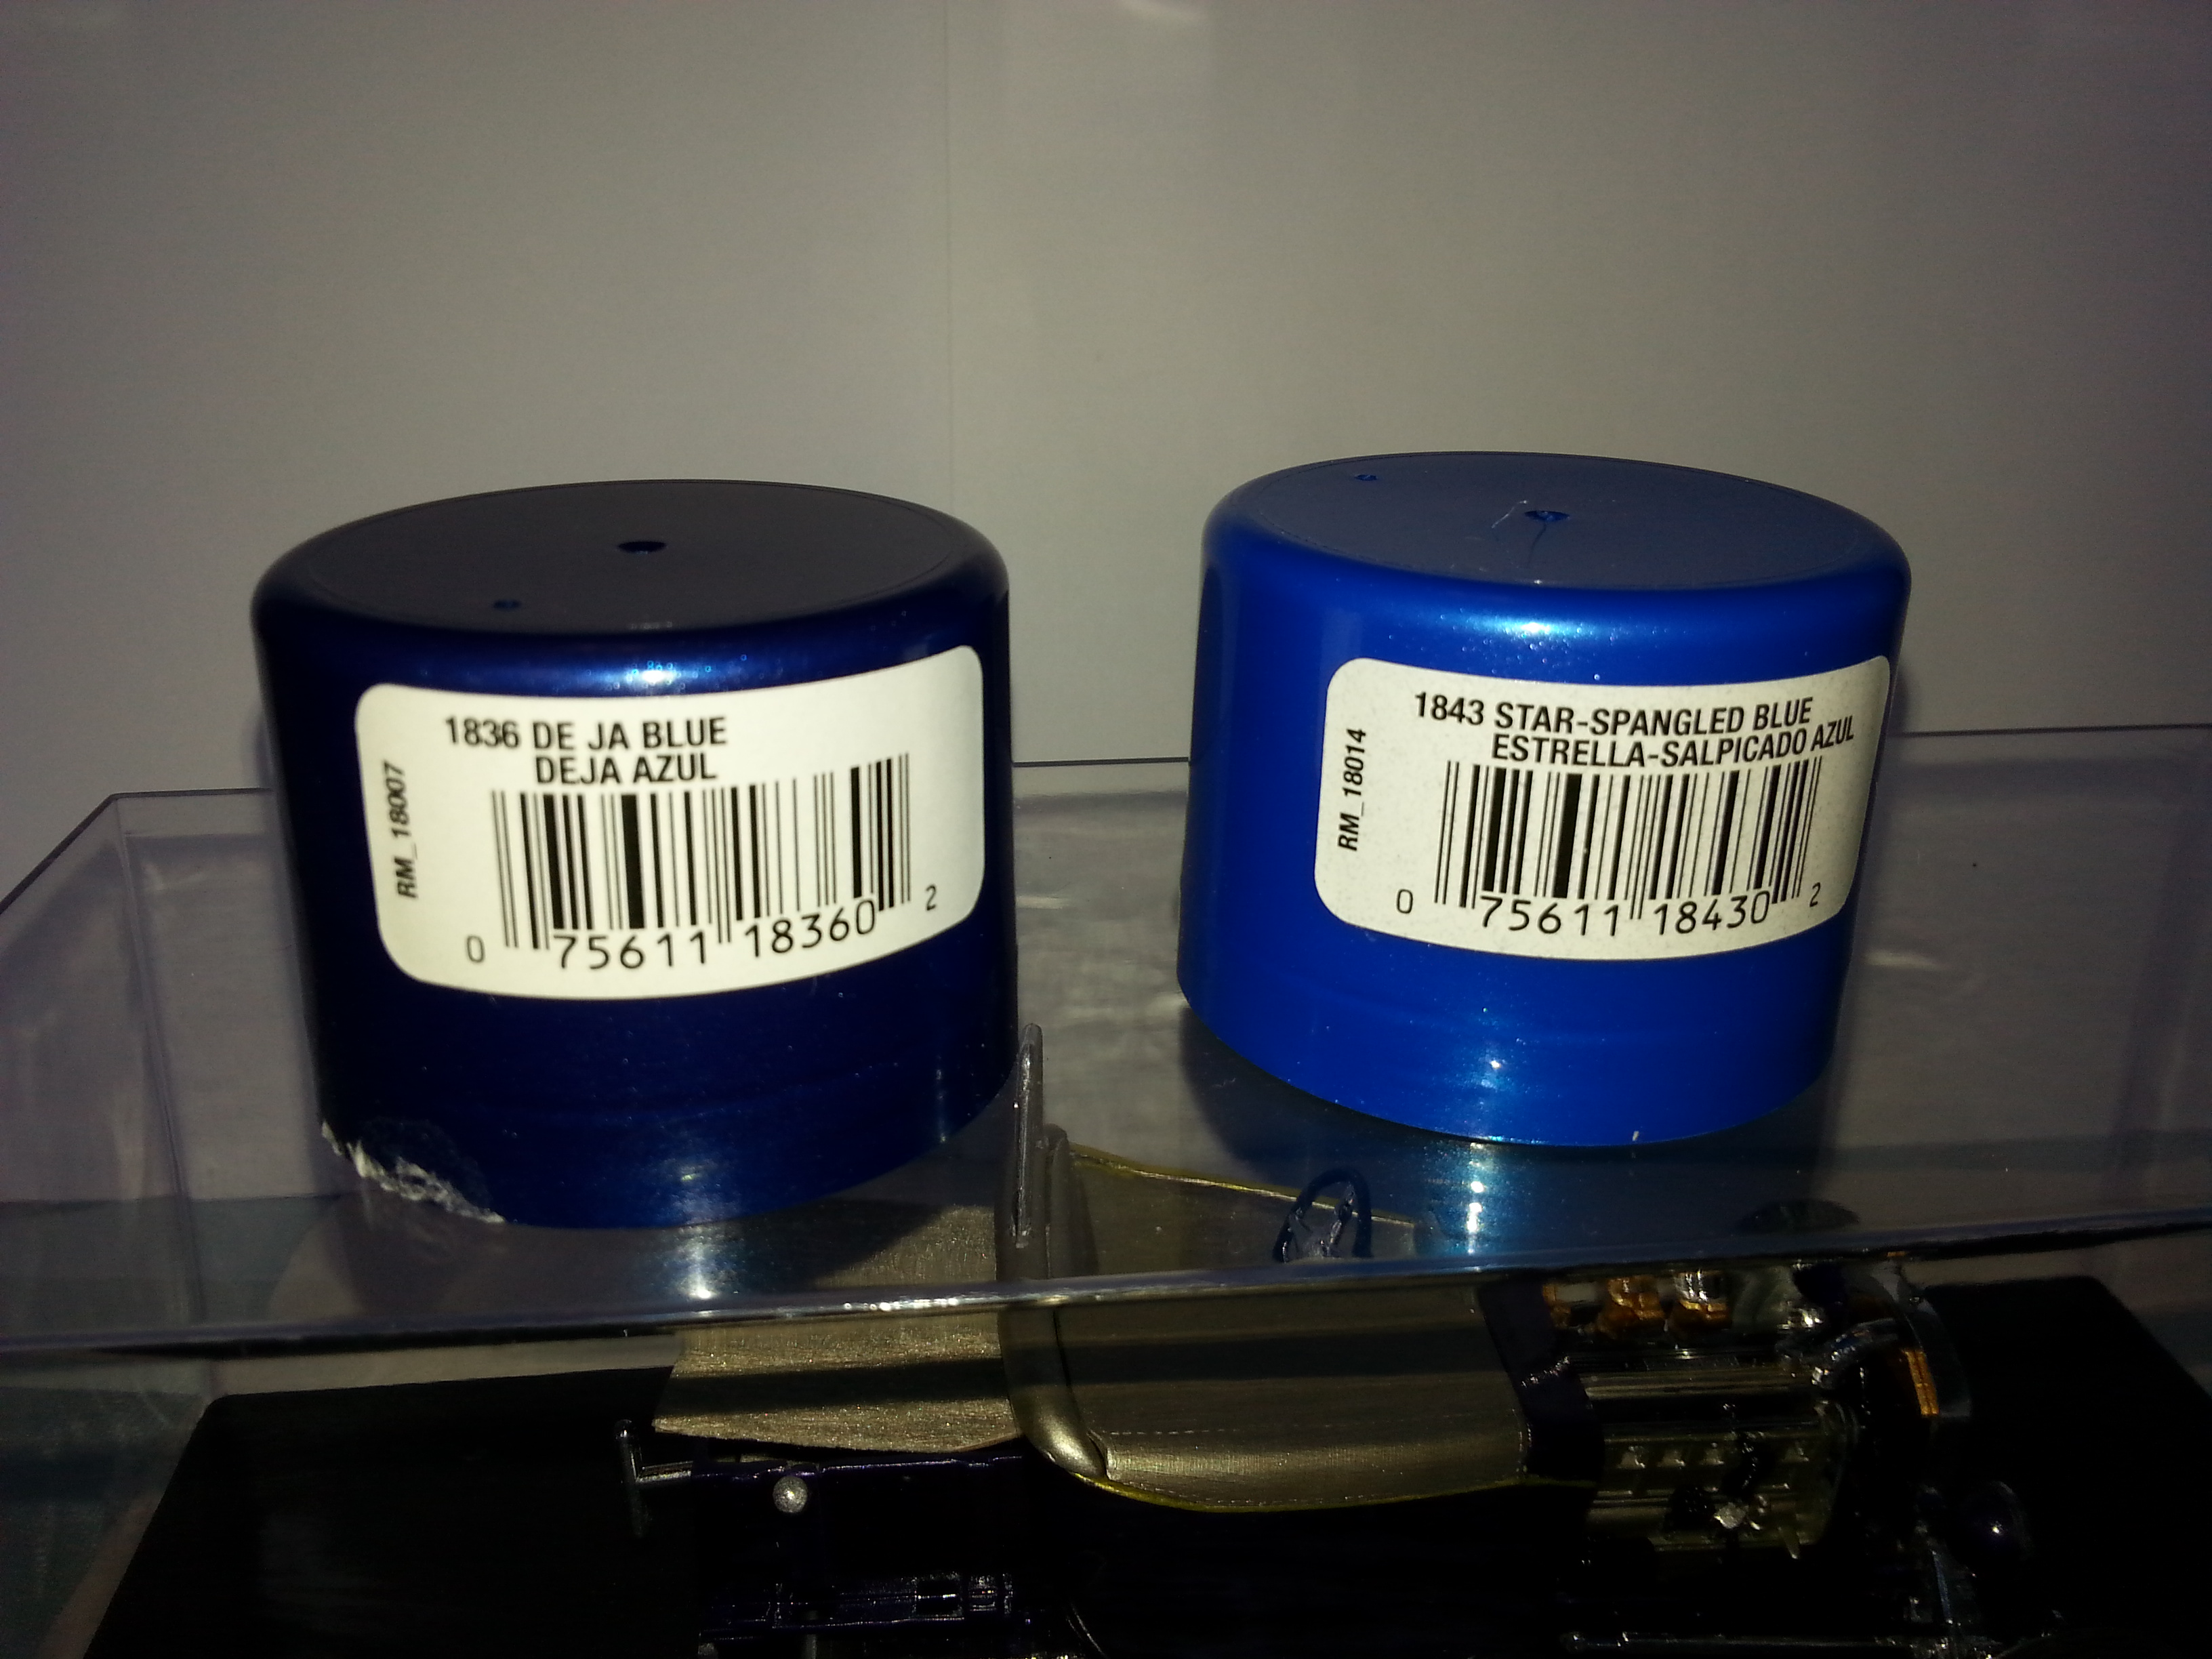
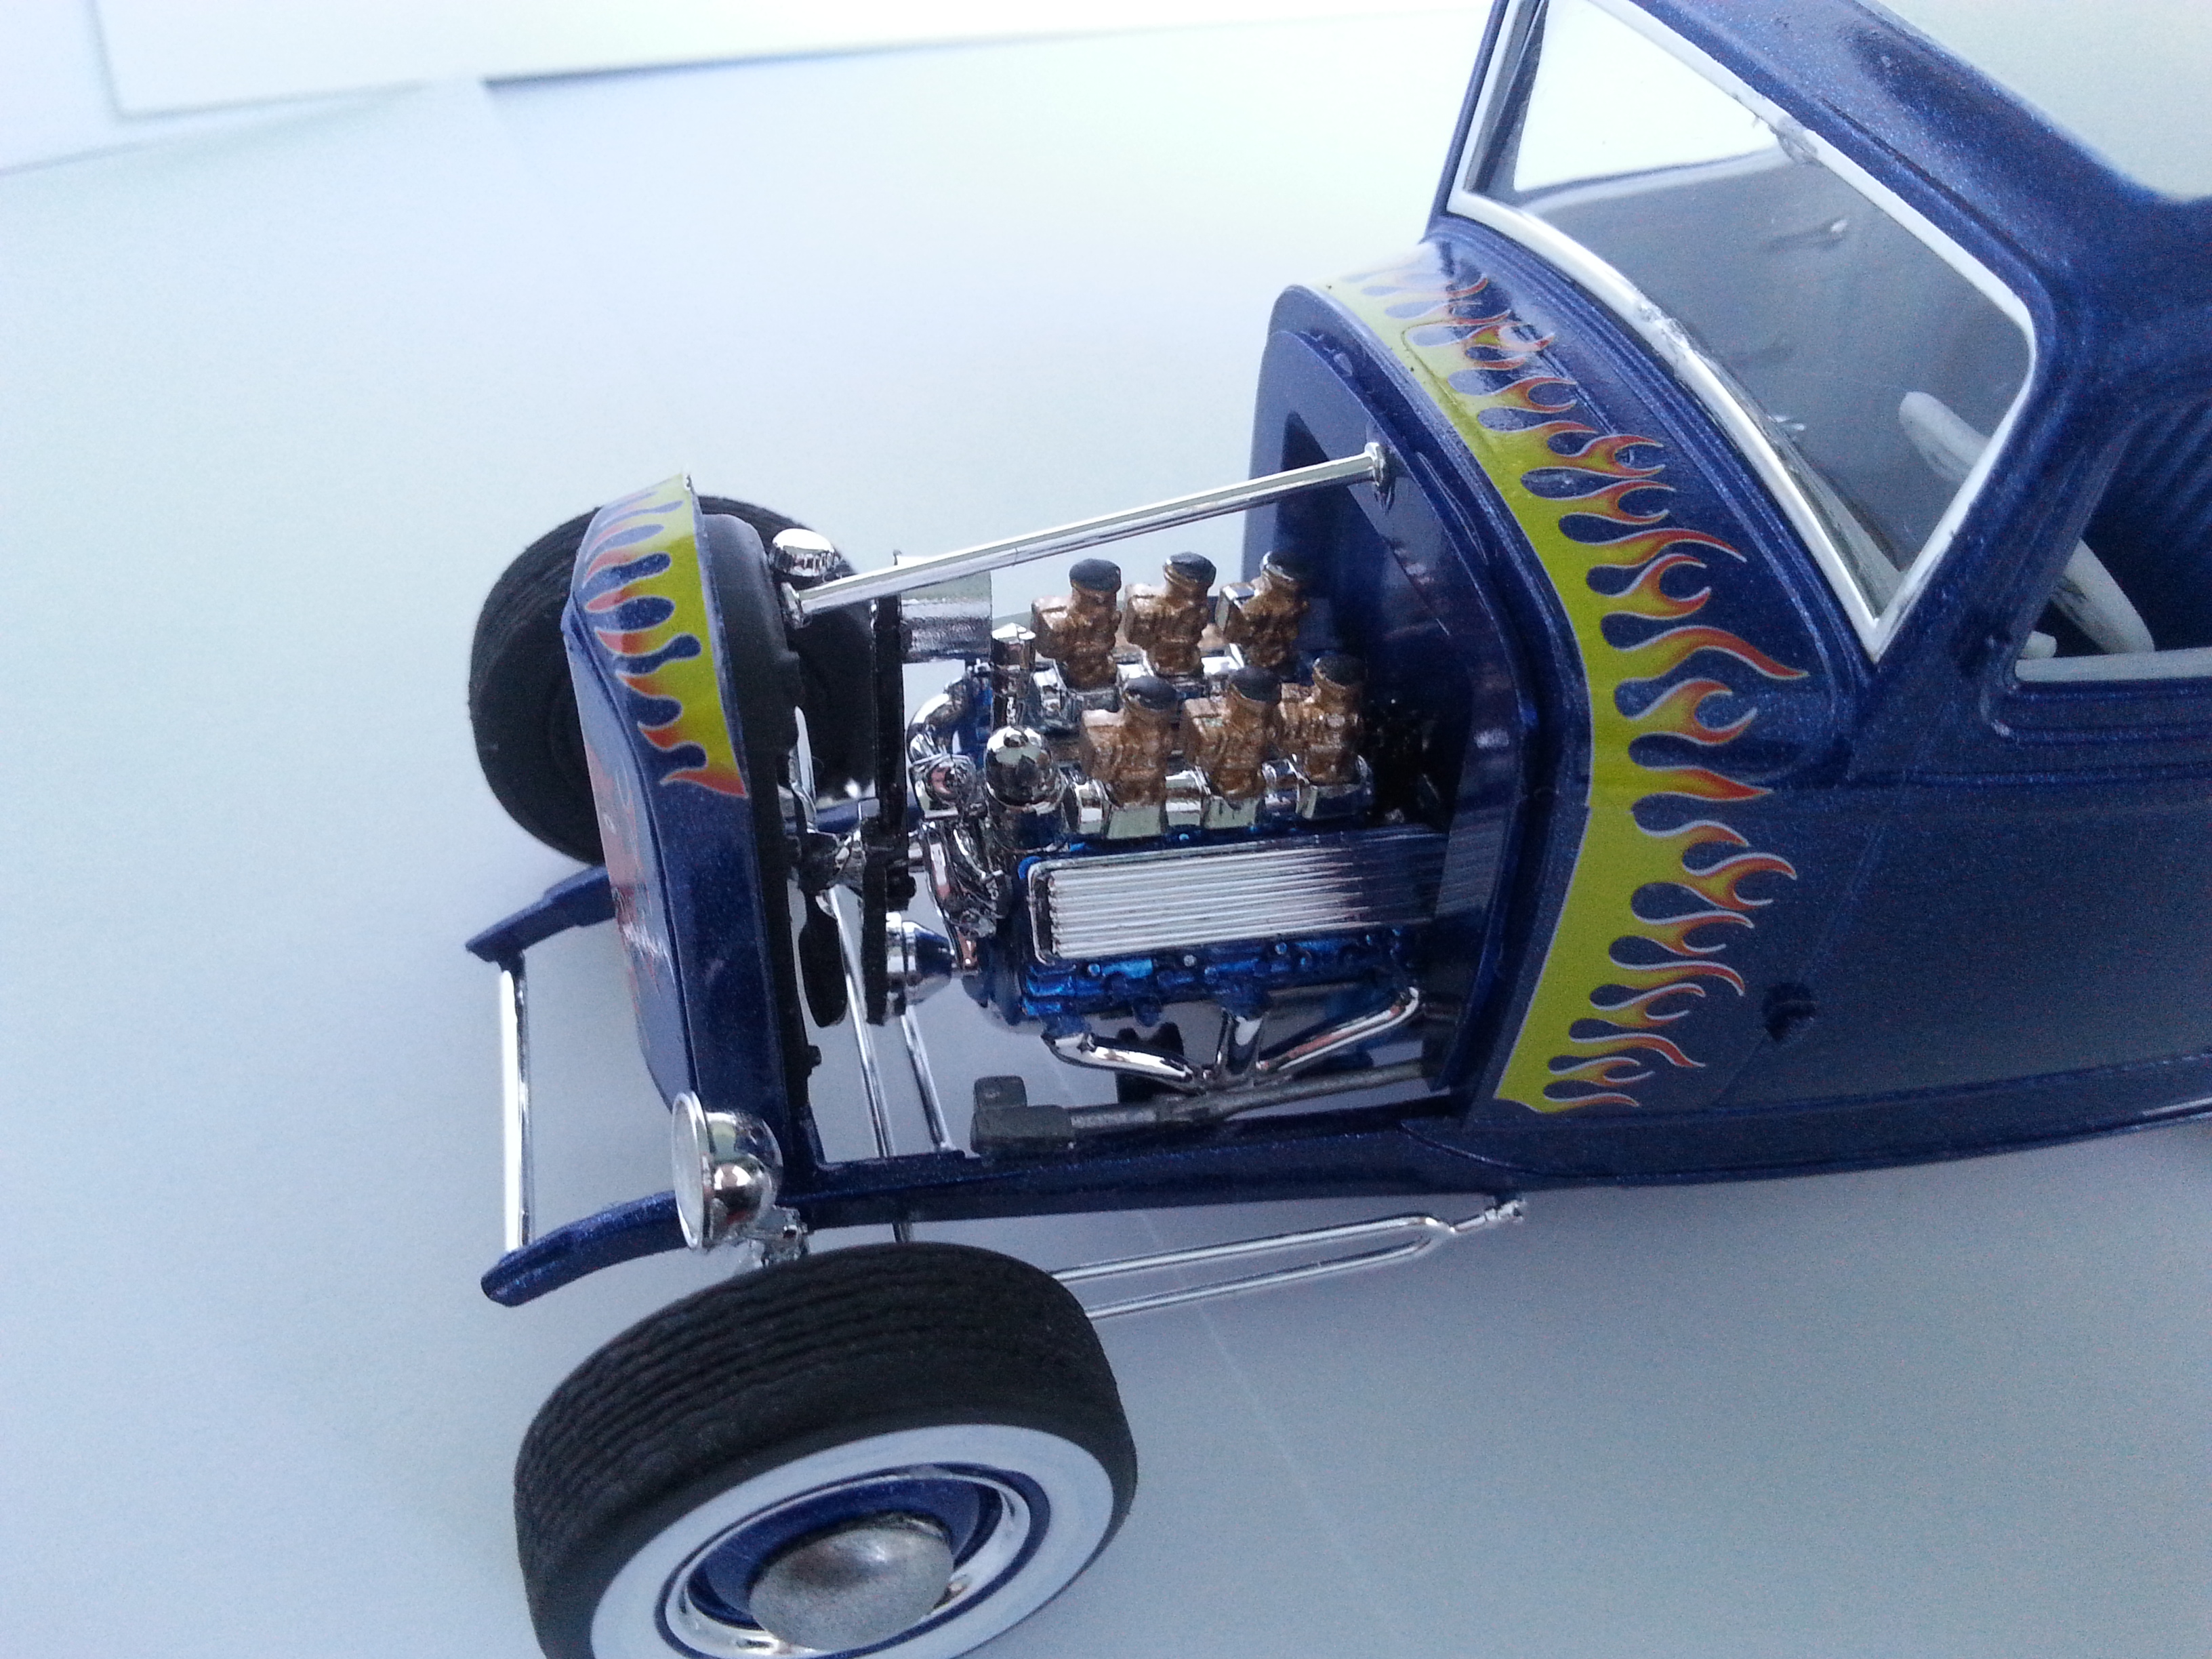
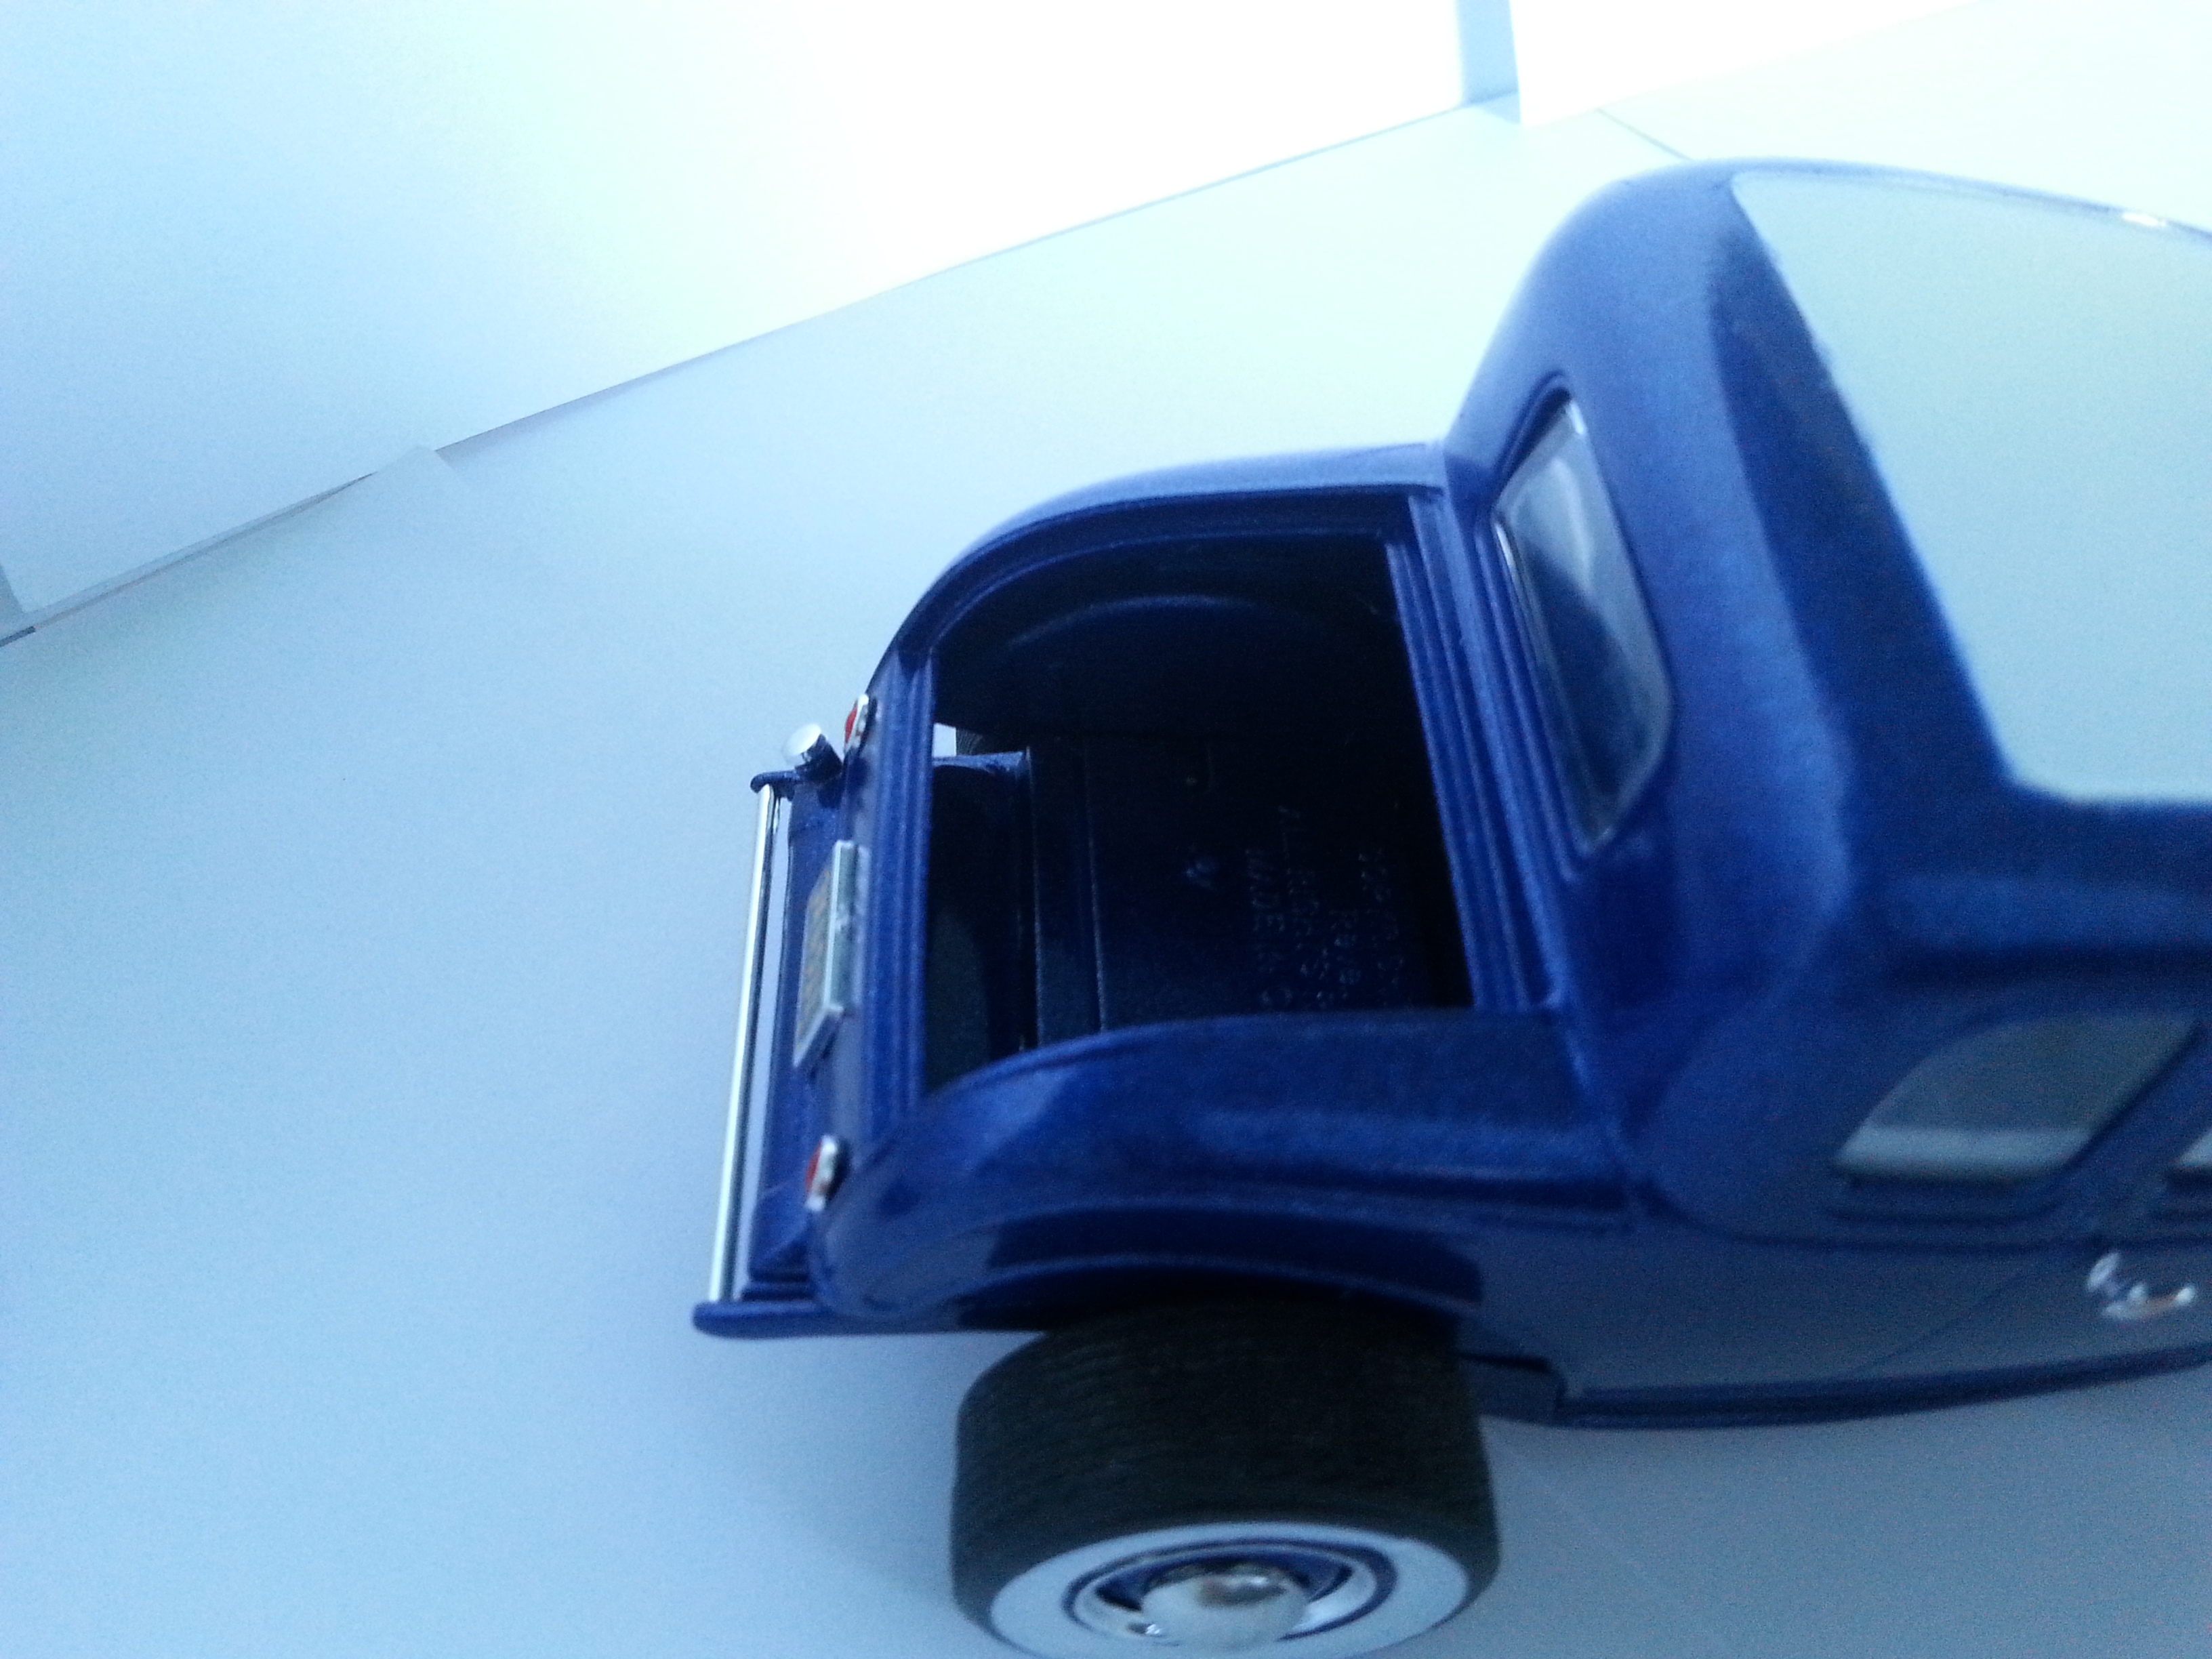
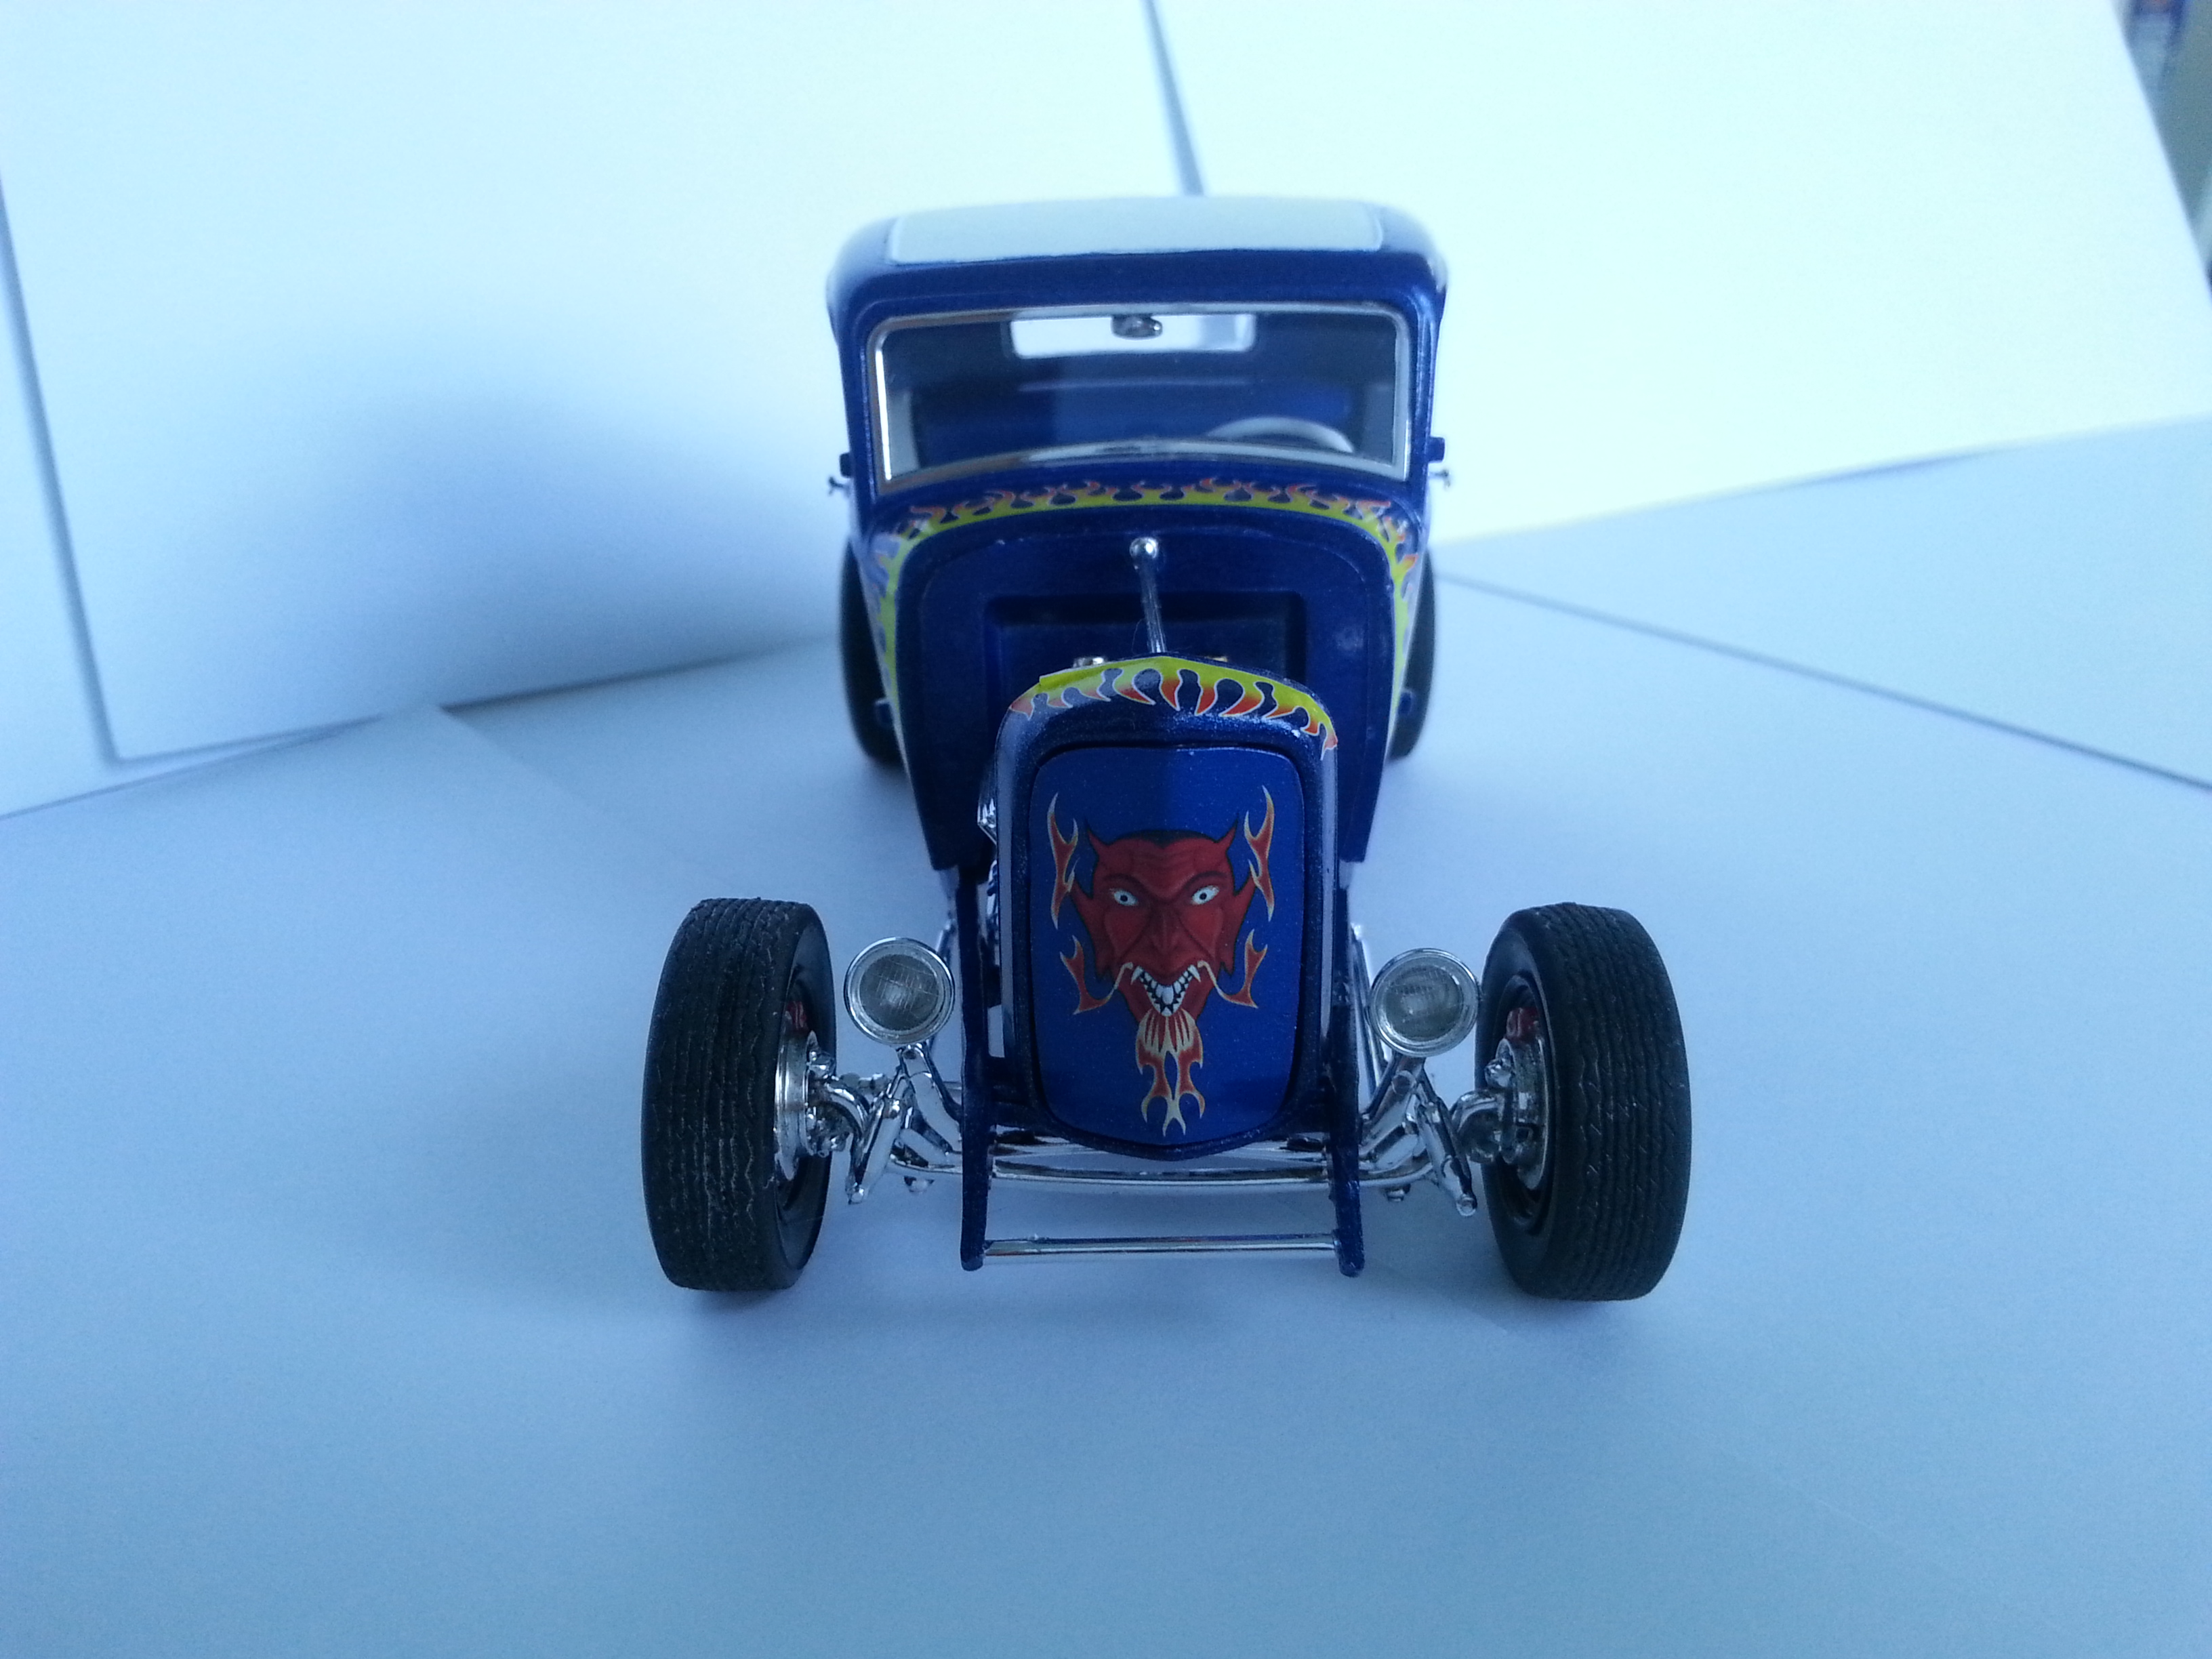
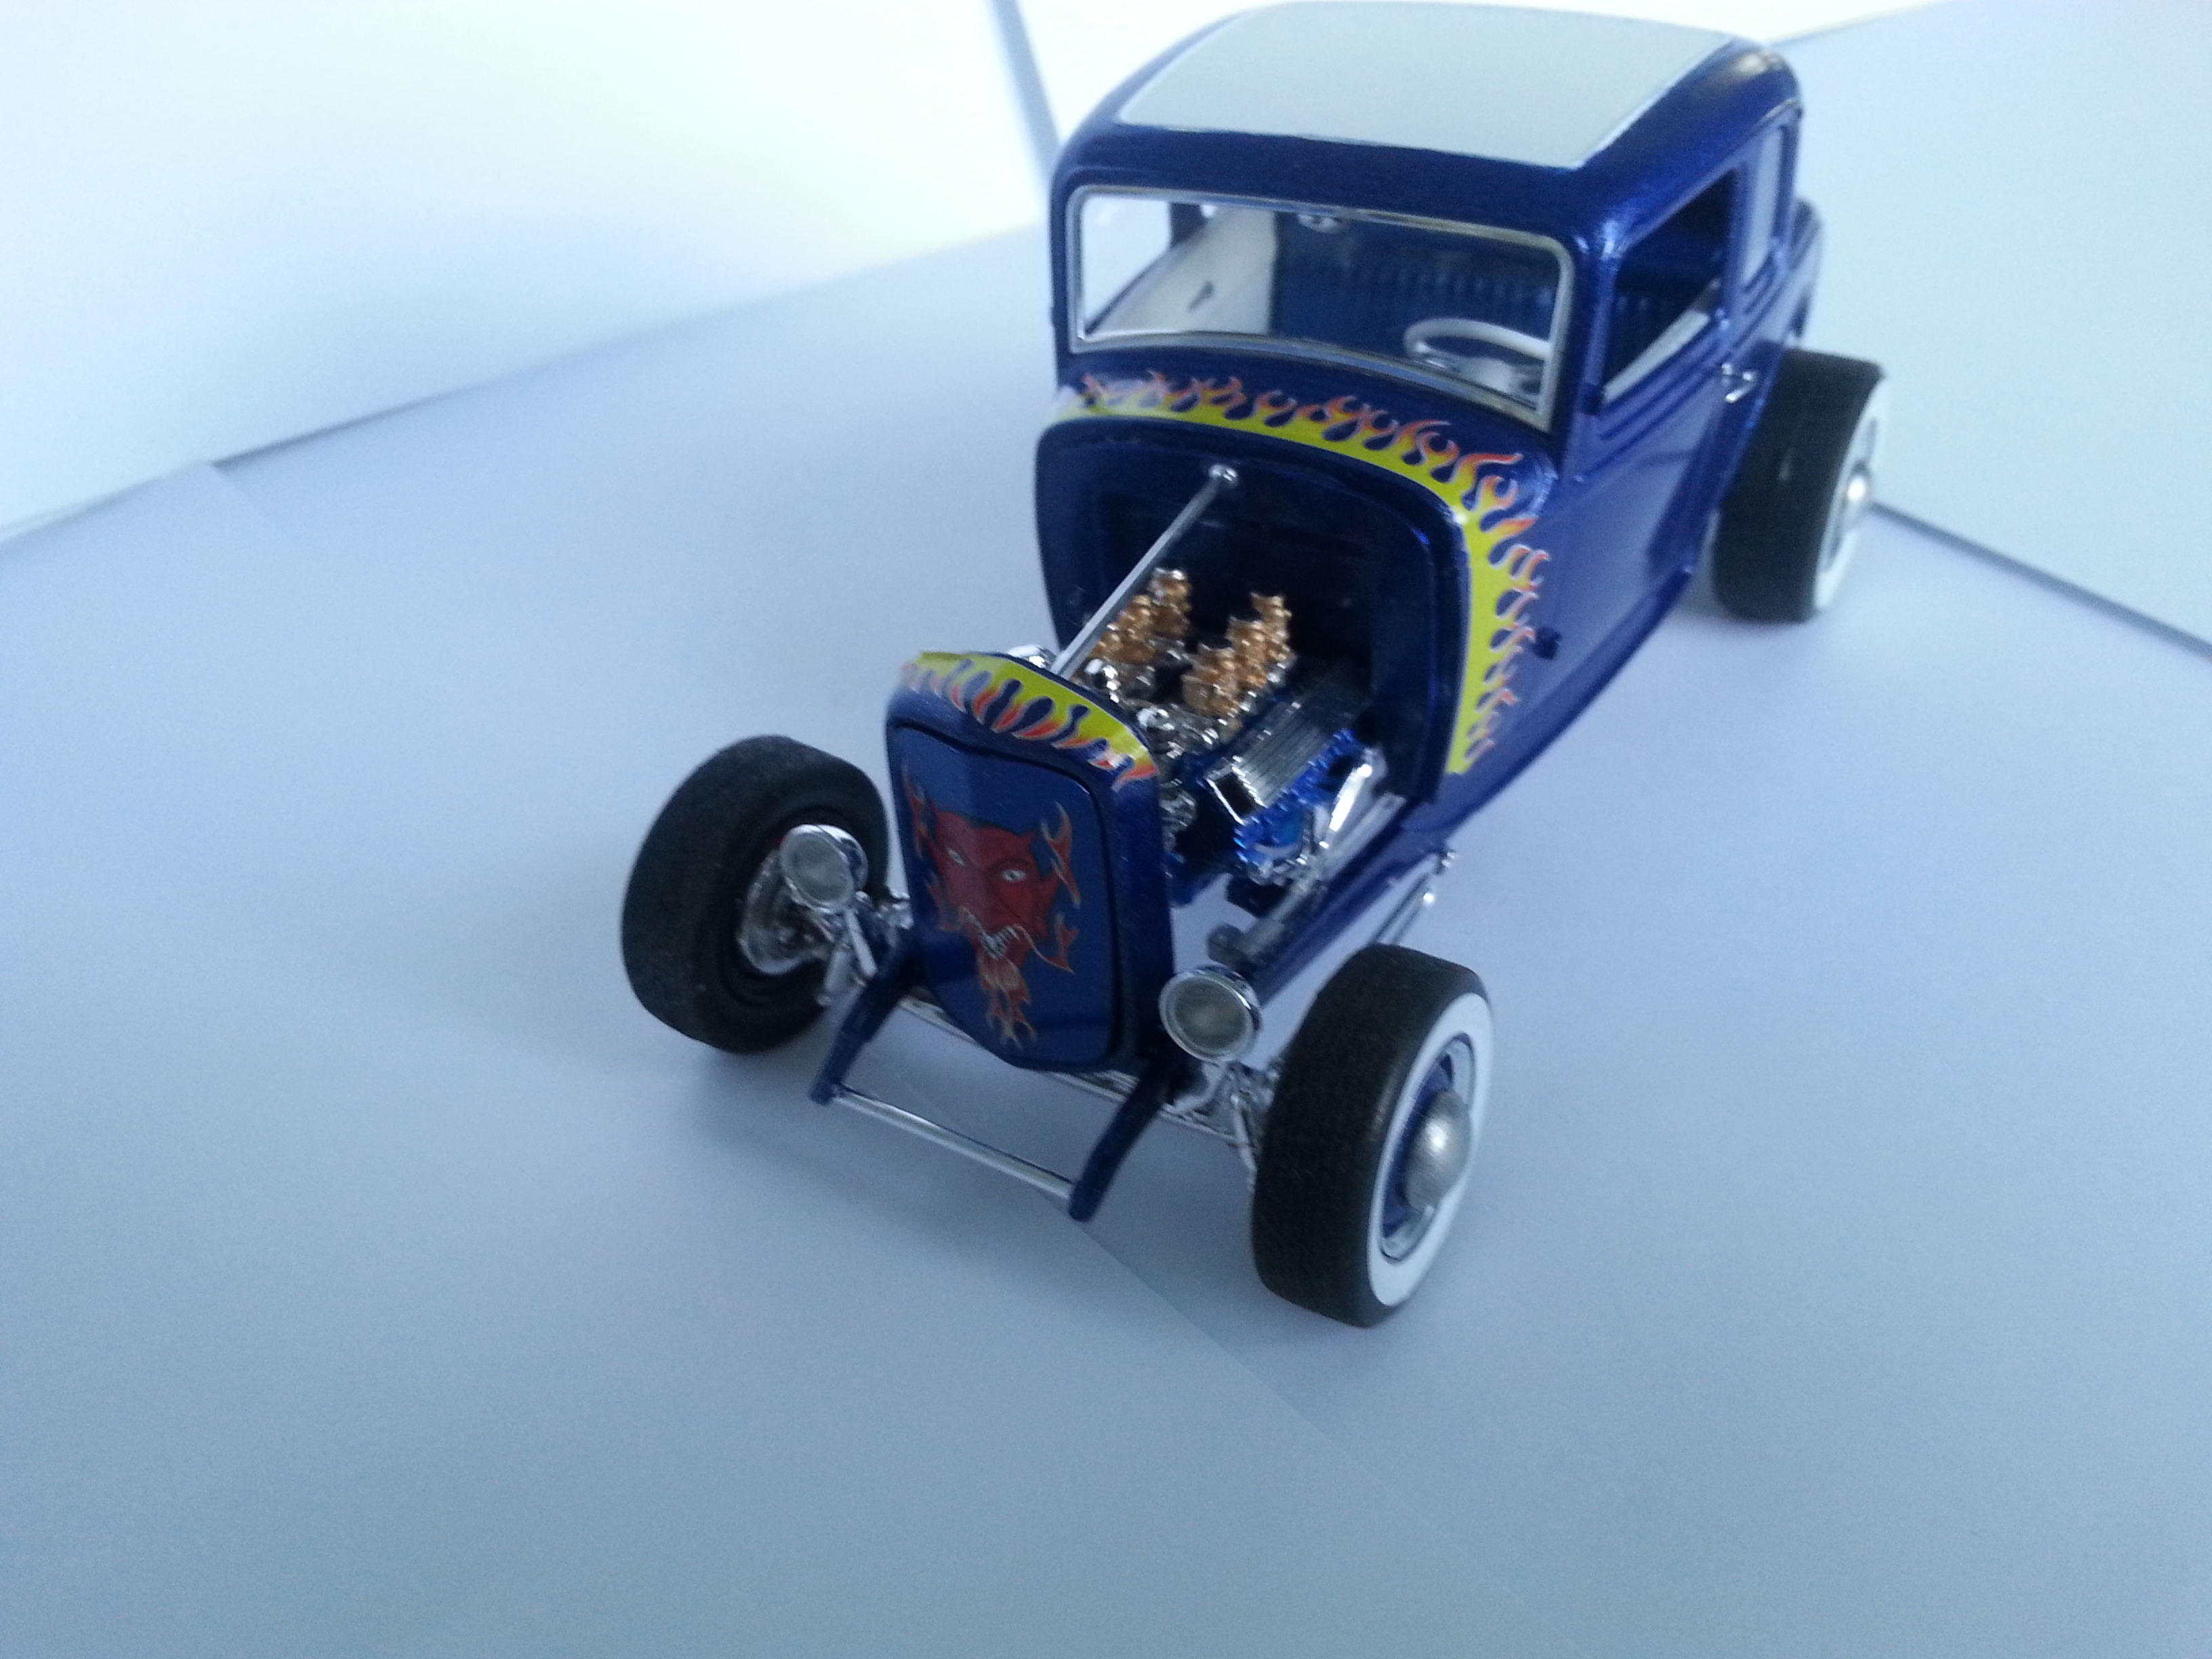
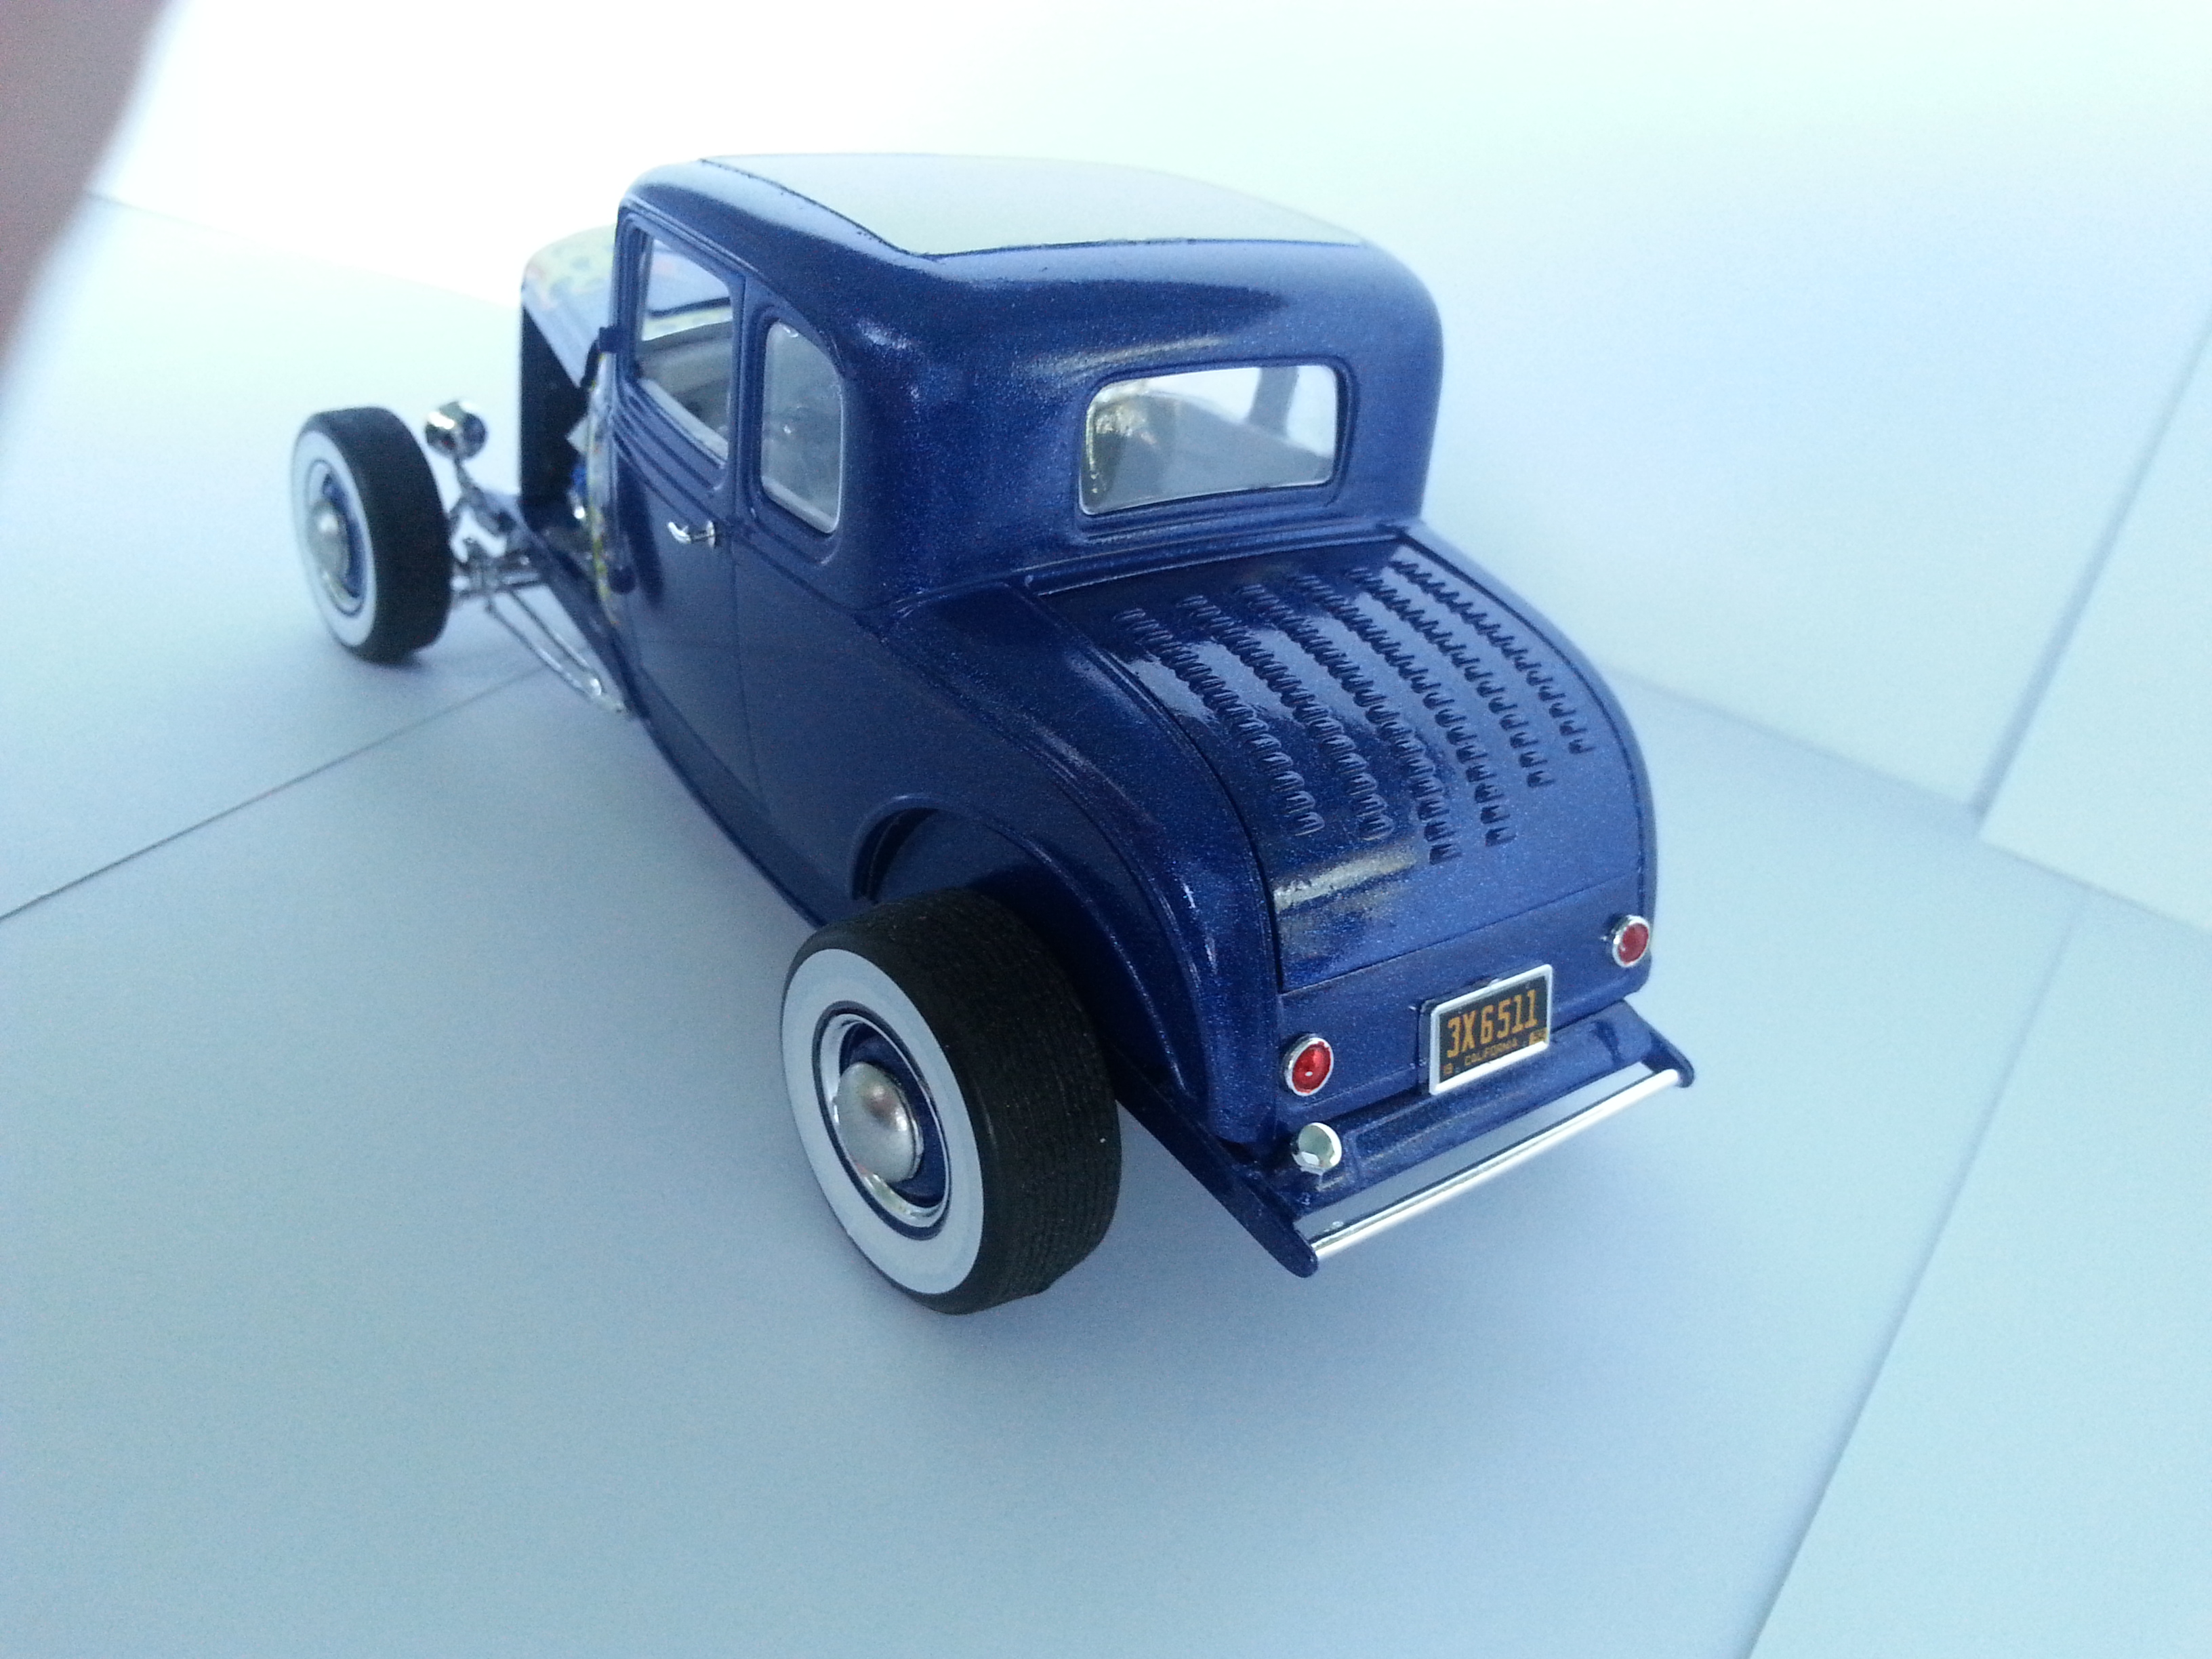
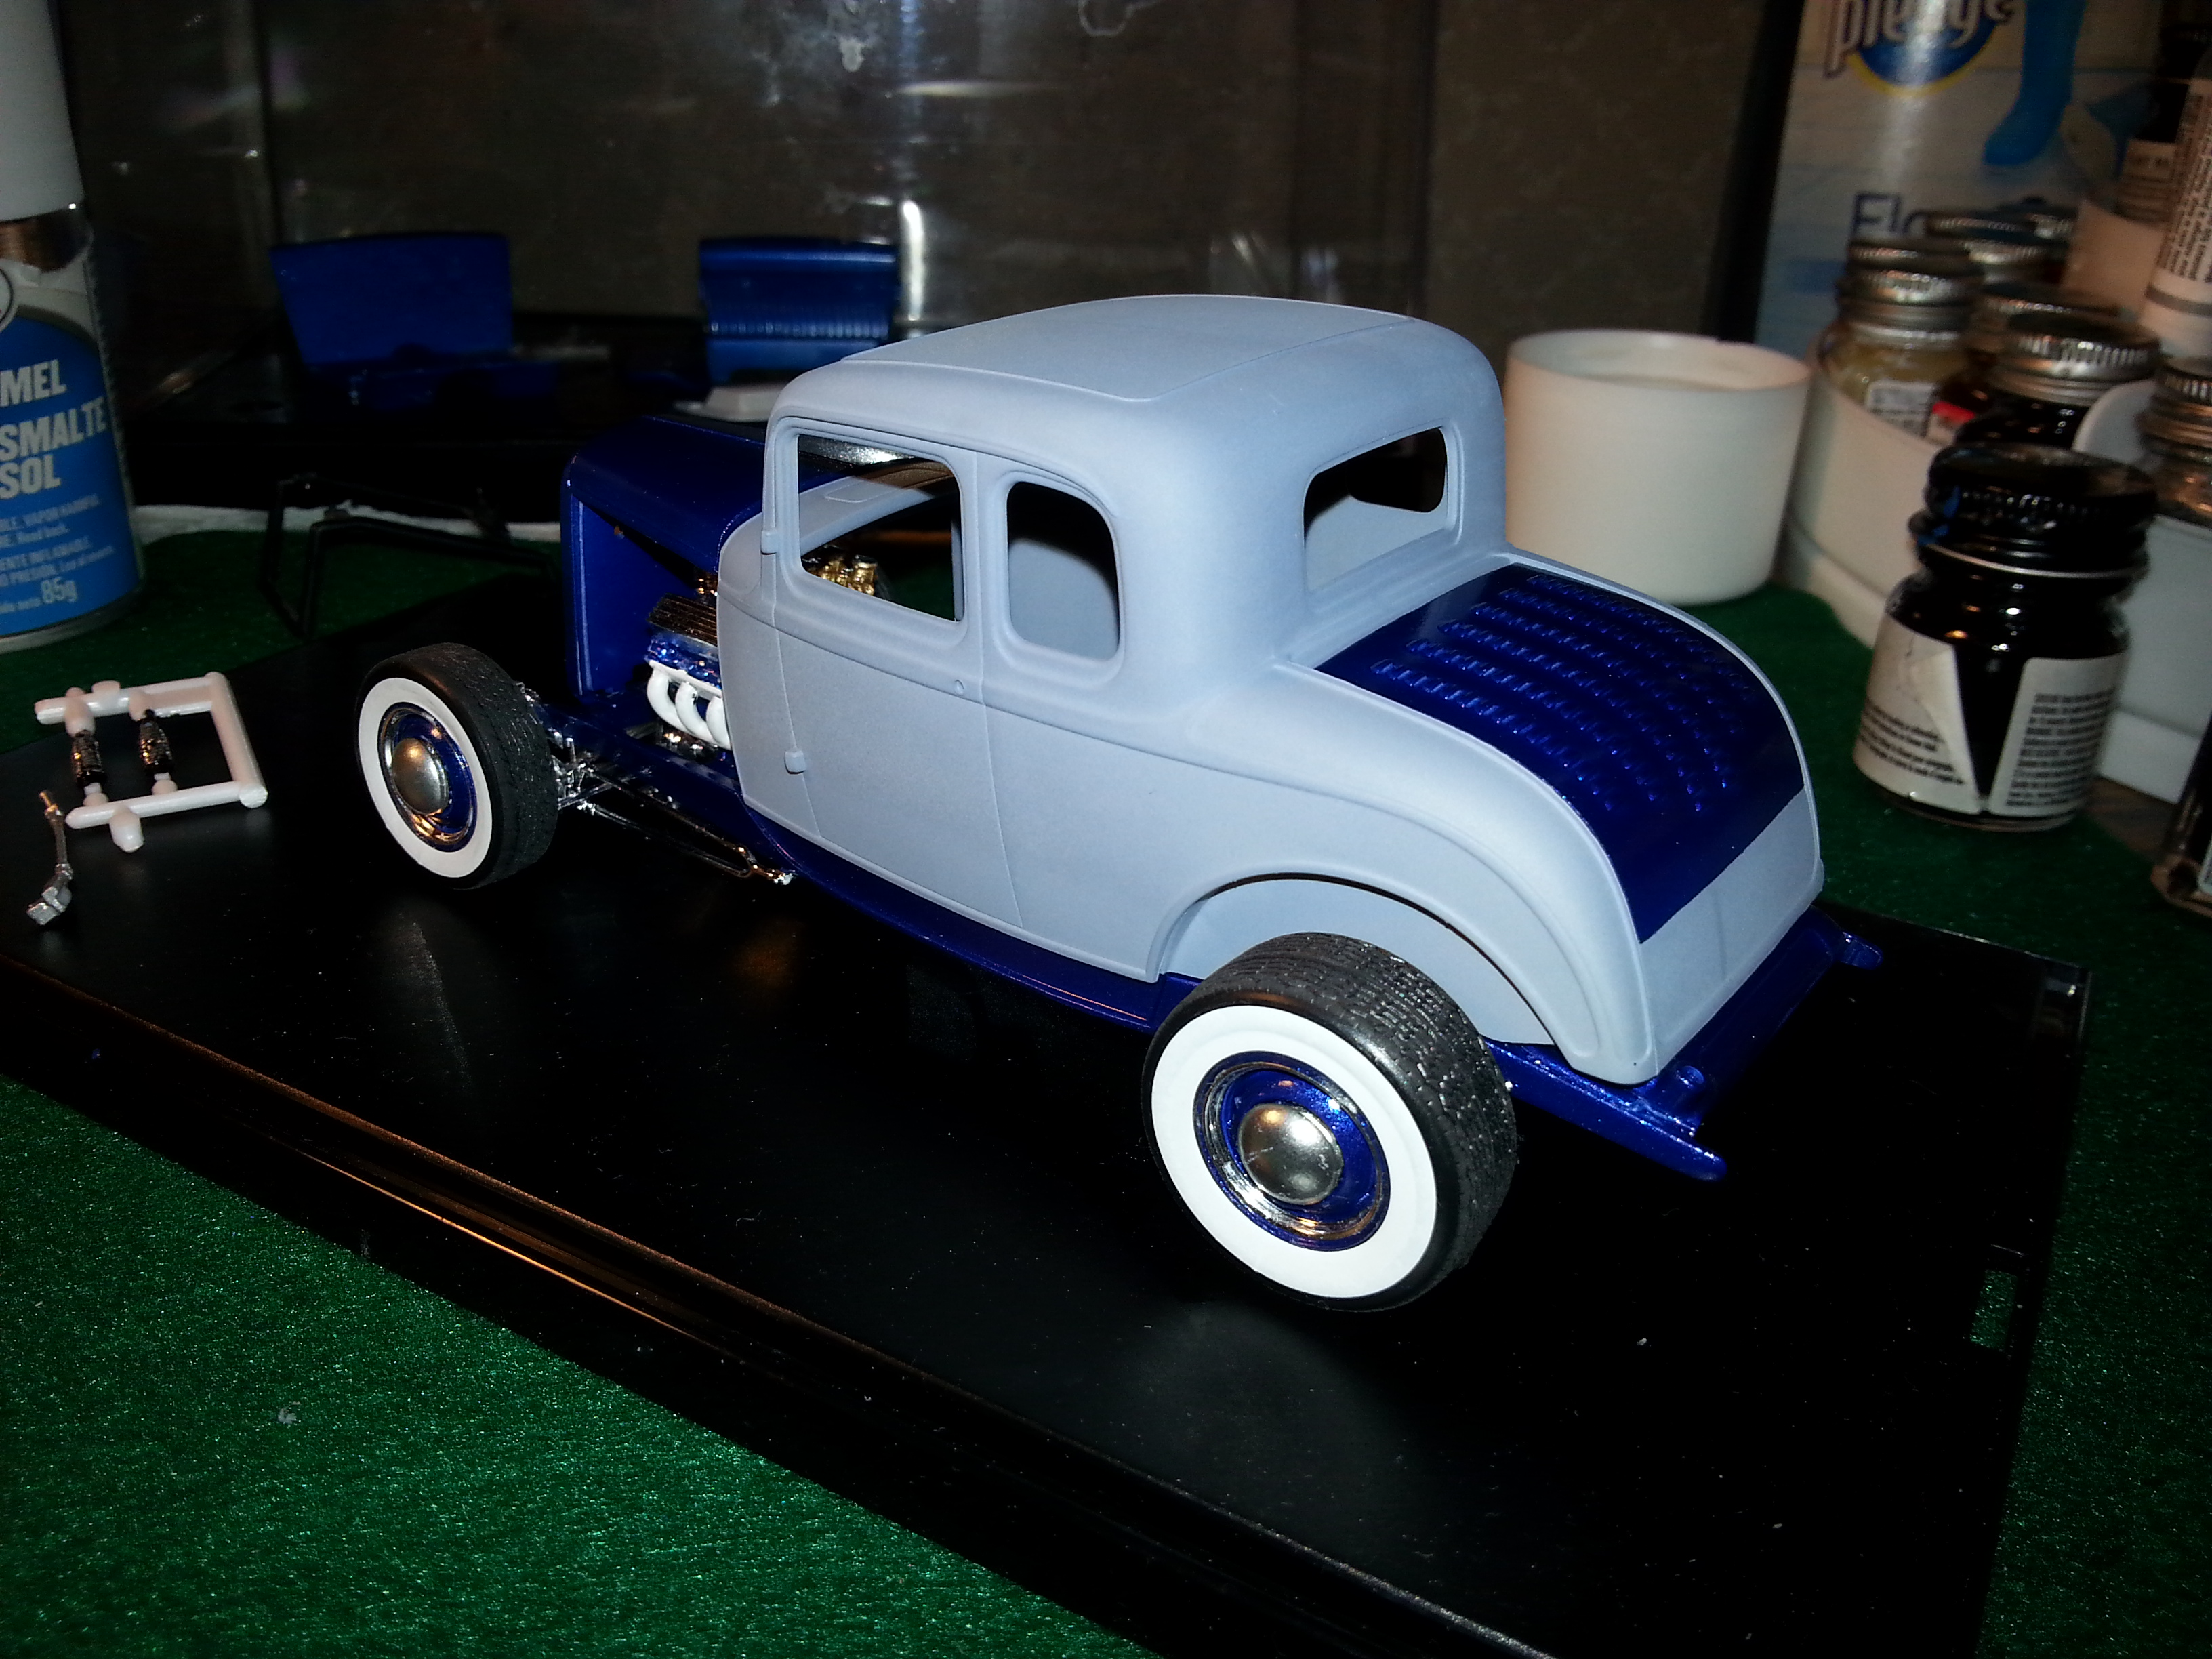
Just started. I'm planning on using a Caddy motor in it. I really wanted to use the wide white wall decals that came with the kit bu that didn't work out for me. It will be Testors dark blue outside with the lighter blue inside along with some white in the interior ( maybe ) to brighten it up a little.
-
This one is done for now. Here's the build thread.


1.jpg.6981cd9600f881aed9ed164bdf63ef57.jpg)