gotnitro?
-
Posts
4,500 -
Joined
-
Last visited
Content Type
Profiles
Forums
Events
Gallery
Everything posted by gotnitro?
-

List of big rig truck engines in kits
gotnitro? replied to Bgrgbldr's topic in General Automotive Talk (Trucks and Cars)
Gary had the 6 71 last time we spoke, about 2 days ago it's nicely detailed -
KW aerodyne wrecker finished !!
gotnitro? replied to gotnitro?'s topic in WIP: Model Trucks: Big Rigs and Heavy Equipment
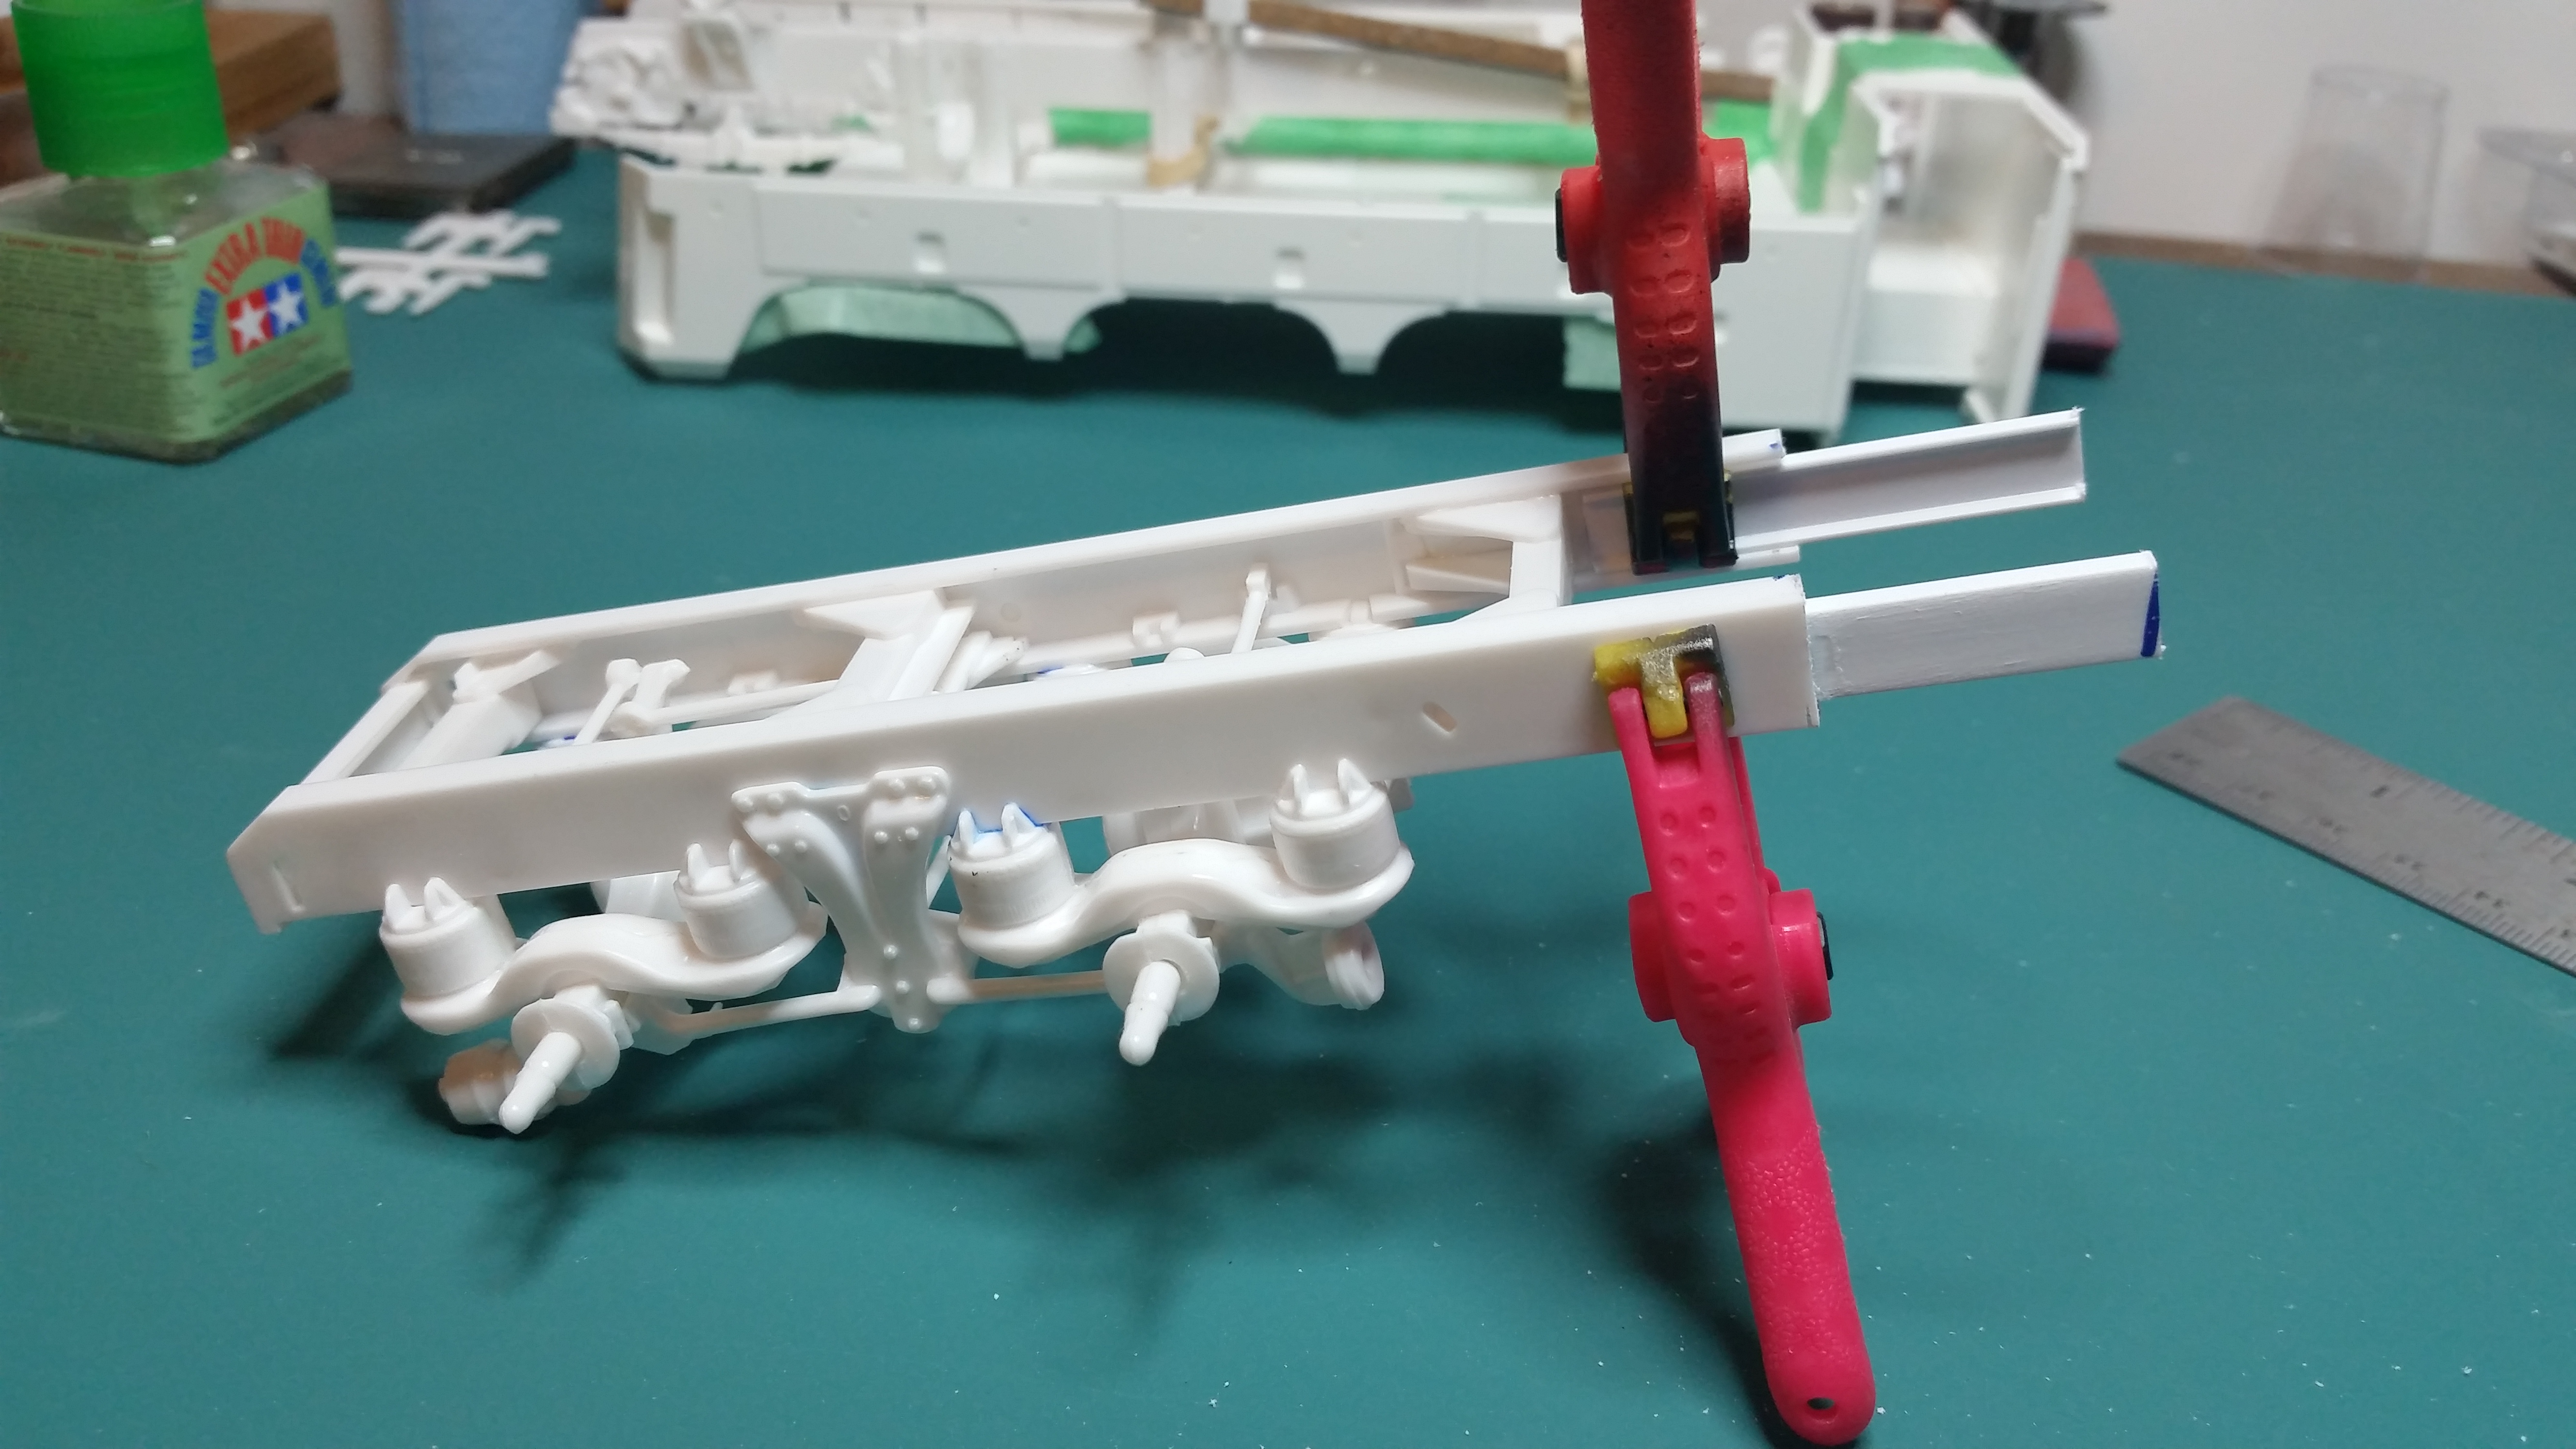
easy peezy ! Cut , add channel for bracing , add correct size piece glue heavy ..admire work -
KW aerodyne wrecker finished !!
gotnitro? replied to gotnitro?'s topic in WIP: Model Trucks: Big Rigs and Heavy Equipment
Kerry I was shocked it wasn't long enough..but the stretch is out patient surgery anymore lol no pain meds needed Here's the pete frame next to the kw..for size comparison not adding all the length. .1/2 inch sets the wheels nicely in the wells
-
KW aerodyne wrecker finished !!
gotnitro? replied to gotnitro?'s topic in WIP: Model Trucks: Big Rigs and Heavy Equipment
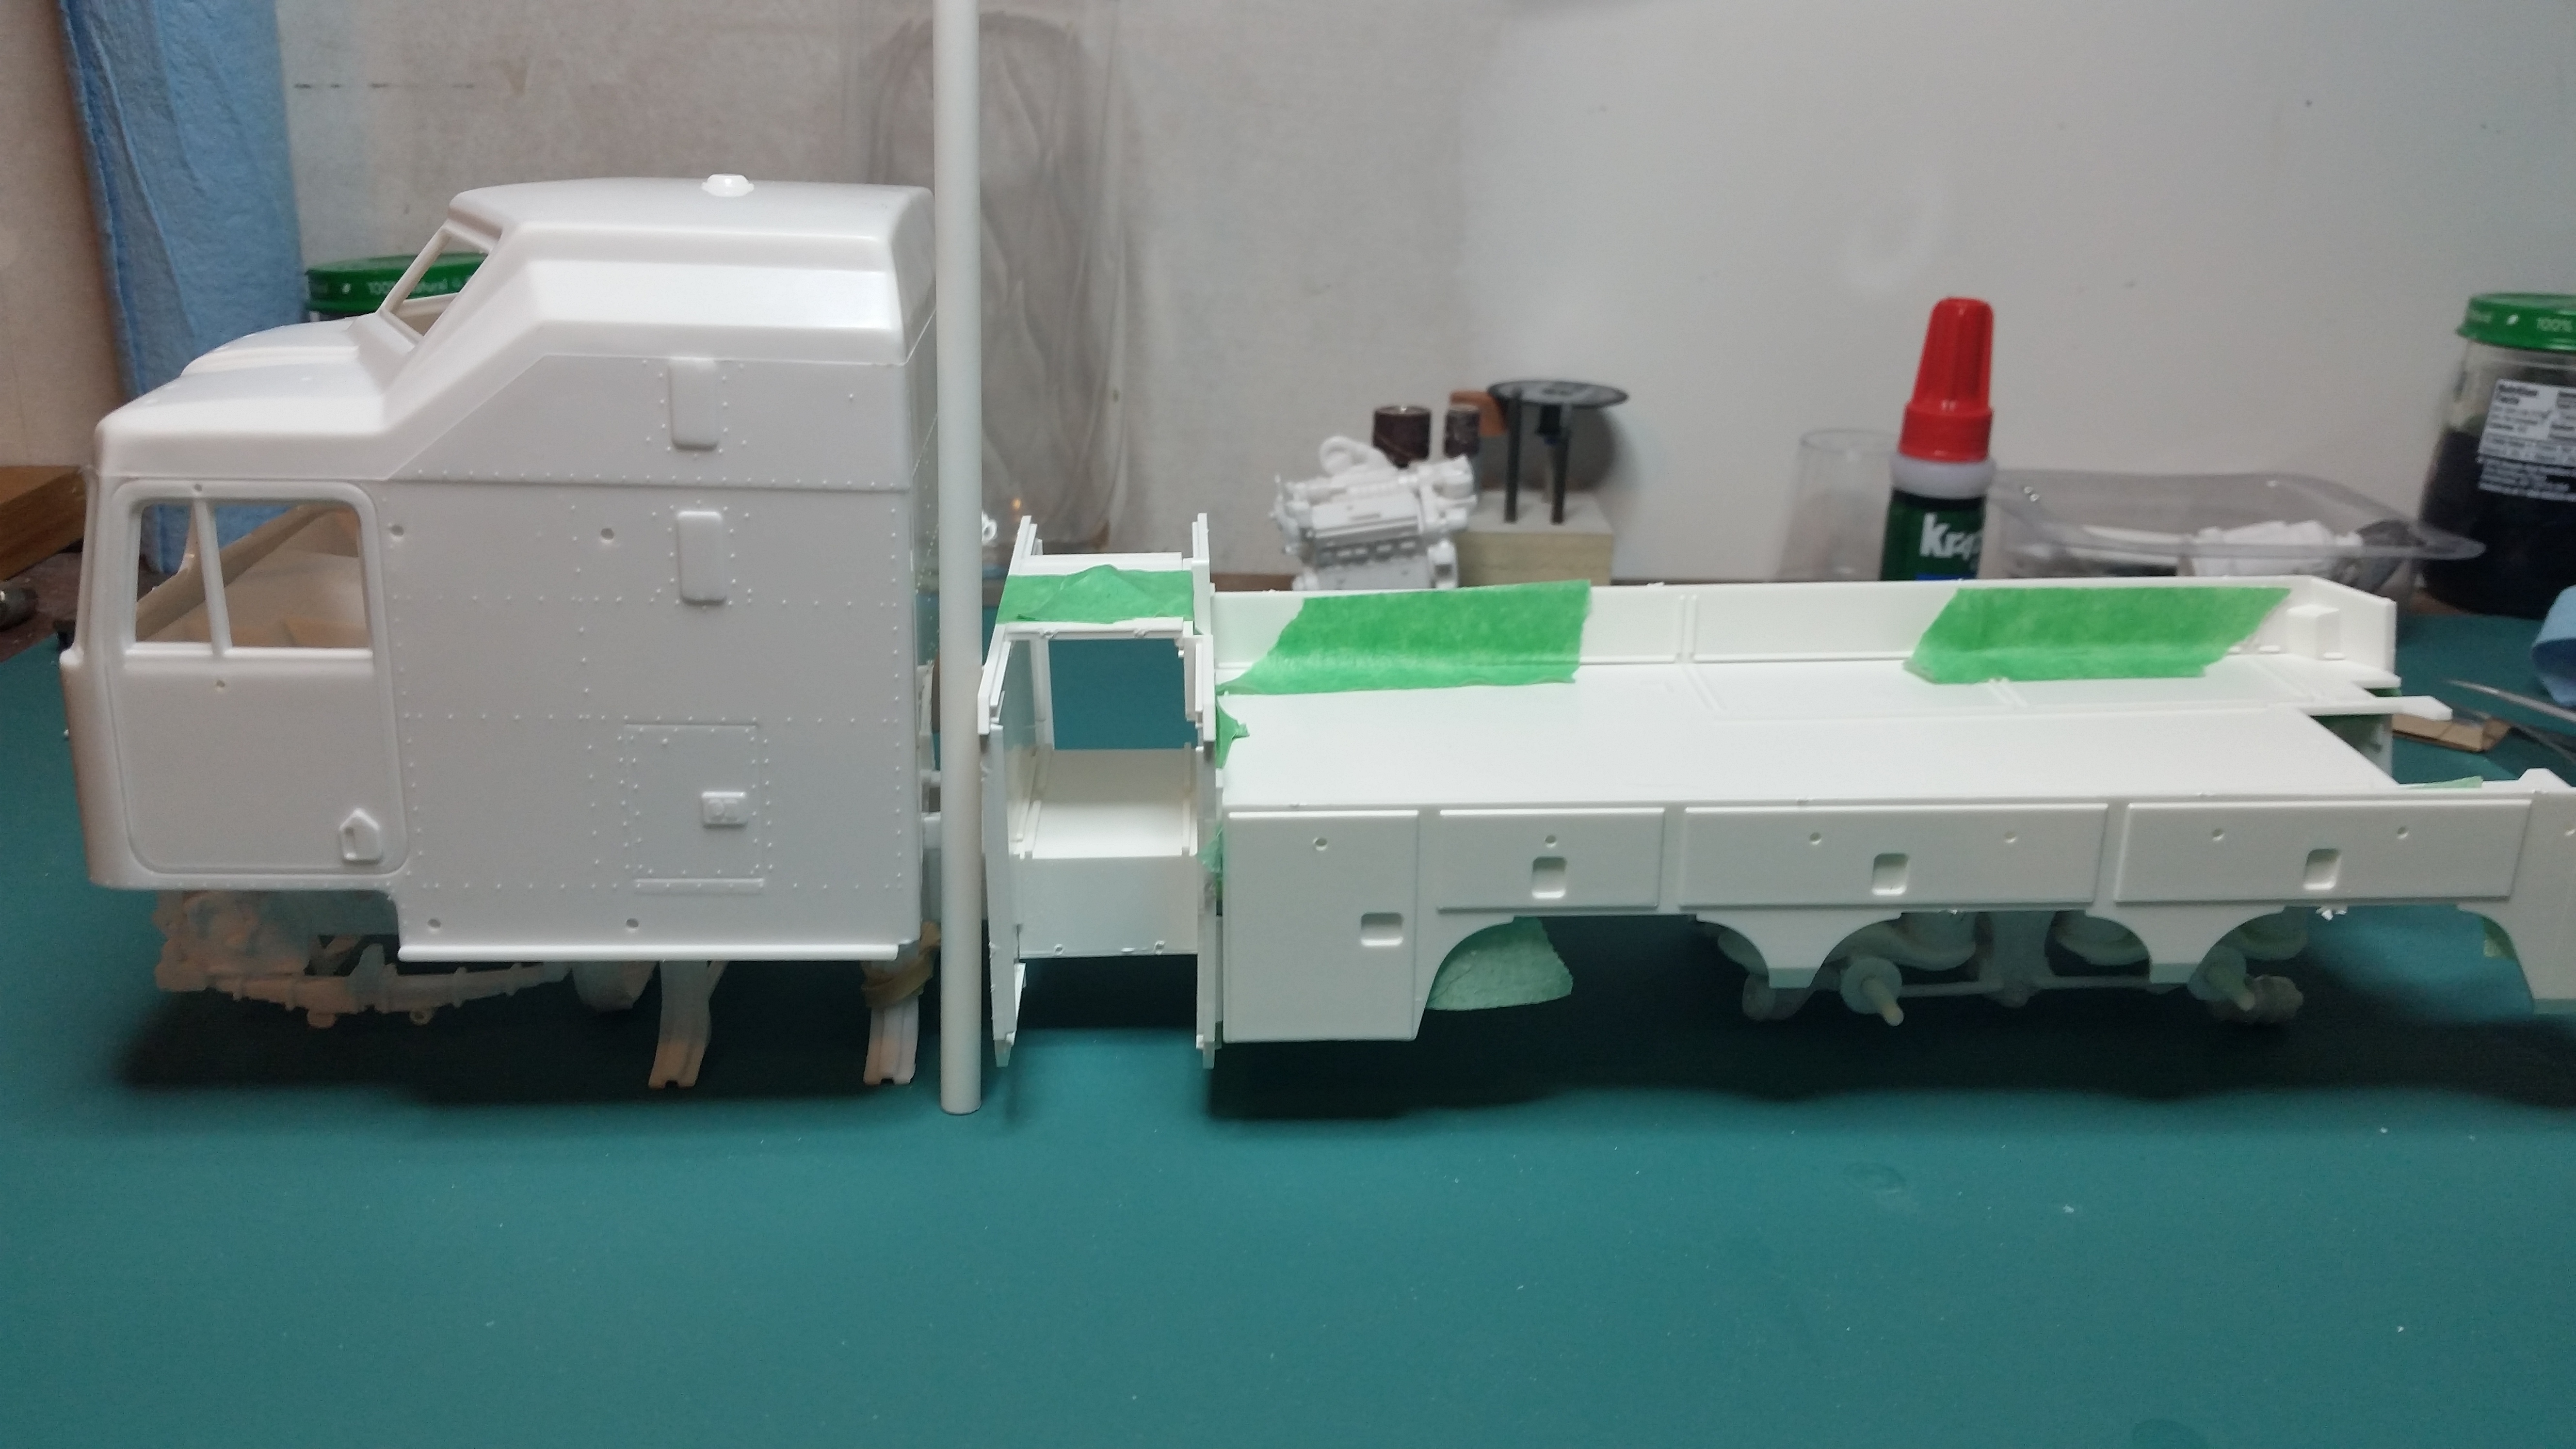
Last night I started laying out the major parts, planning ahead that I'd need to stretch the frame . Here's the mockup of the cab and bed found a good spot to add the stretch keeping the strength. I epoxies some channel inside the rails where I'm adding about 1/2 inch. My lonester wrecker always feels flimsy so I'll add more strips along the frame on this one . Here's the frame cut and reinforcing strips installed that's it for now
-
KW aerodyne wrecker finished !!
gotnitro? replied to gotnitro?'s topic in WIP: Model Trucks: Big Rigs and Heavy Equipment
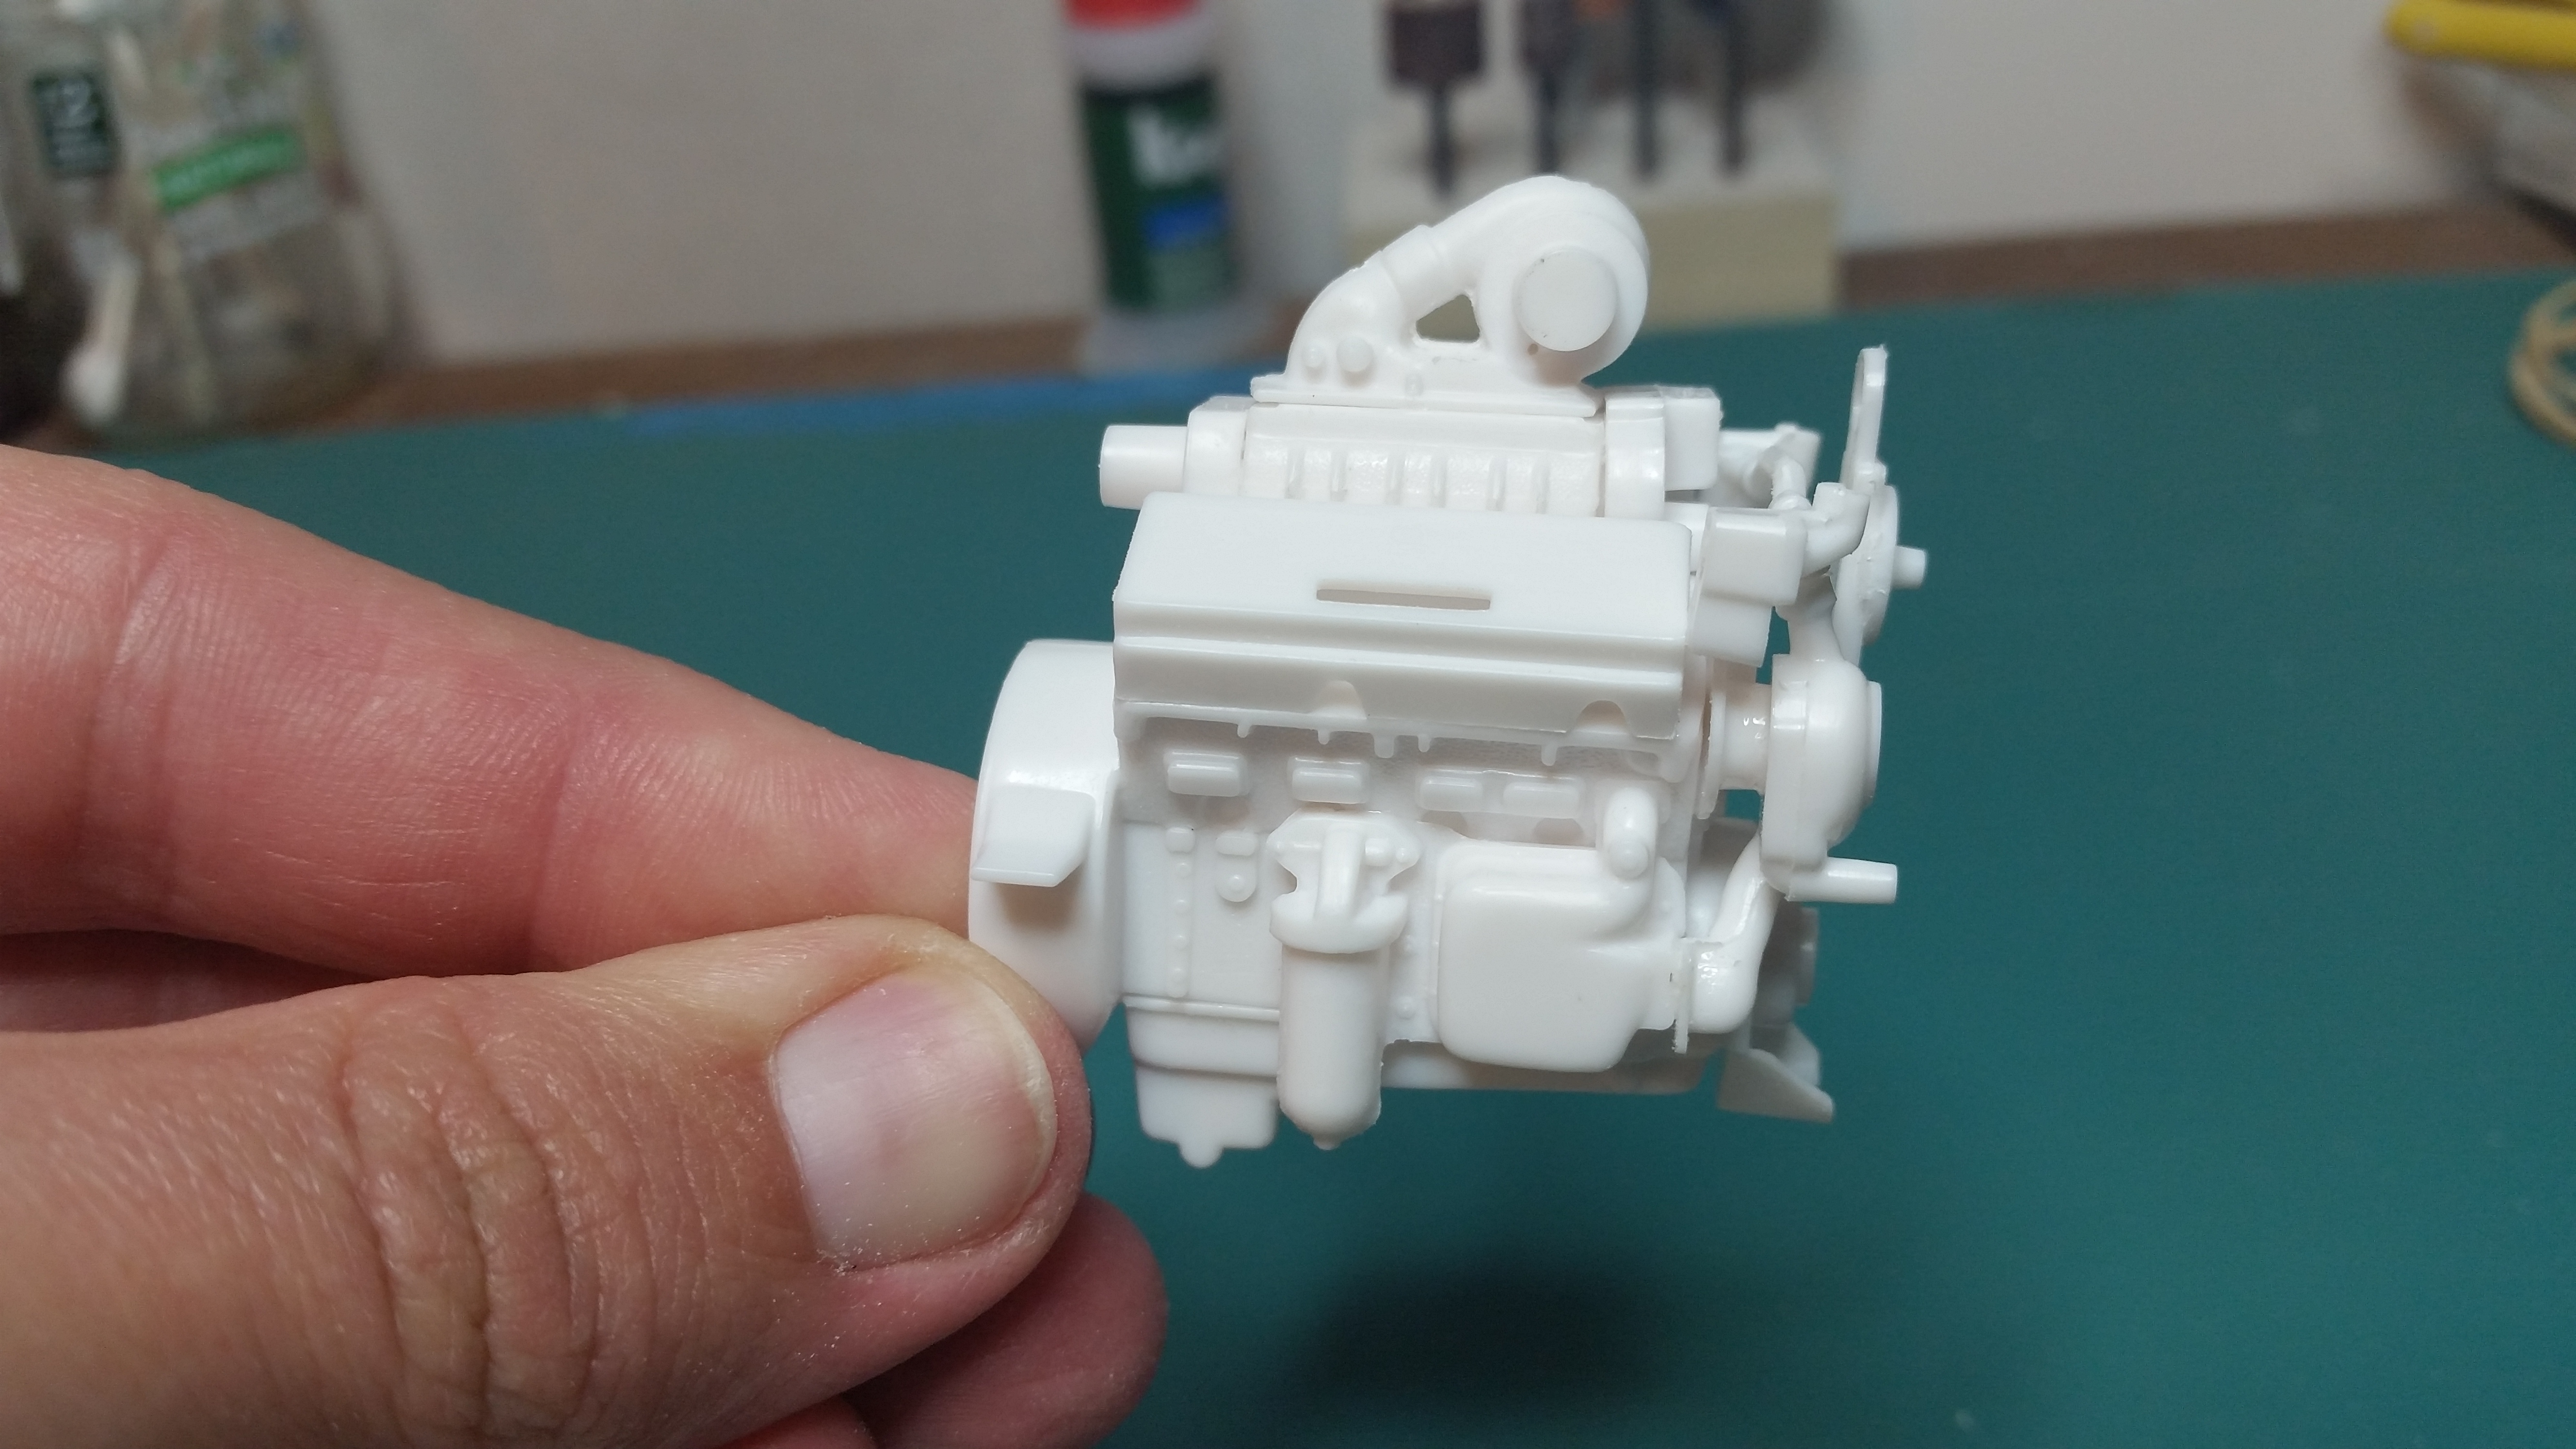
thanks! ! I'm cheating using the kit provided 8v92 T , first time not dropping in a -71 lol guess it's adds that modern touch -
List of big rig truck engines in kits
gotnitro? replied to Bgrgbldr's topic in General Automotive Talk (Trucks and Cars)
thats a great idea kerry, I'll definitely make a note -
KW aerodyne wrecker finished !!
gotnitro? replied to gotnitro?'s topic in WIP: Model Trucks: Big Rigs and Heavy Equipment
Towman -Rescued again !! Thanks I found the police car site had exactly the type needed. Now to get bashing -
Rat Rod Pete 359
gotnitro? replied to Darren B's topic in WIP: Model Trucks: Big Rigs and Heavy Equipment
Is that a gear from a wind up watch for the radiator cap Nice -
KW aerodyne wrecker finished !!
gotnitro? replied to gotnitro?'s topic in WIP: Model Trucks: Big Rigs and Heavy Equipment
Tow man - thank you for info !! Even have the squarish oblong headlights I gotta add -
List of big rig truck engines in kits
gotnitro? replied to Bgrgbldr's topic in General Automotive Talk (Trucks and Cars)
Bump Too bad the mods can't sticky this post..I always gotta dig to find it -
KW aerodyne wrecker finished !!
gotnitro? replied to gotnitro?'s topic in WIP: Model Trucks: Big Rigs and Heavy Equipment
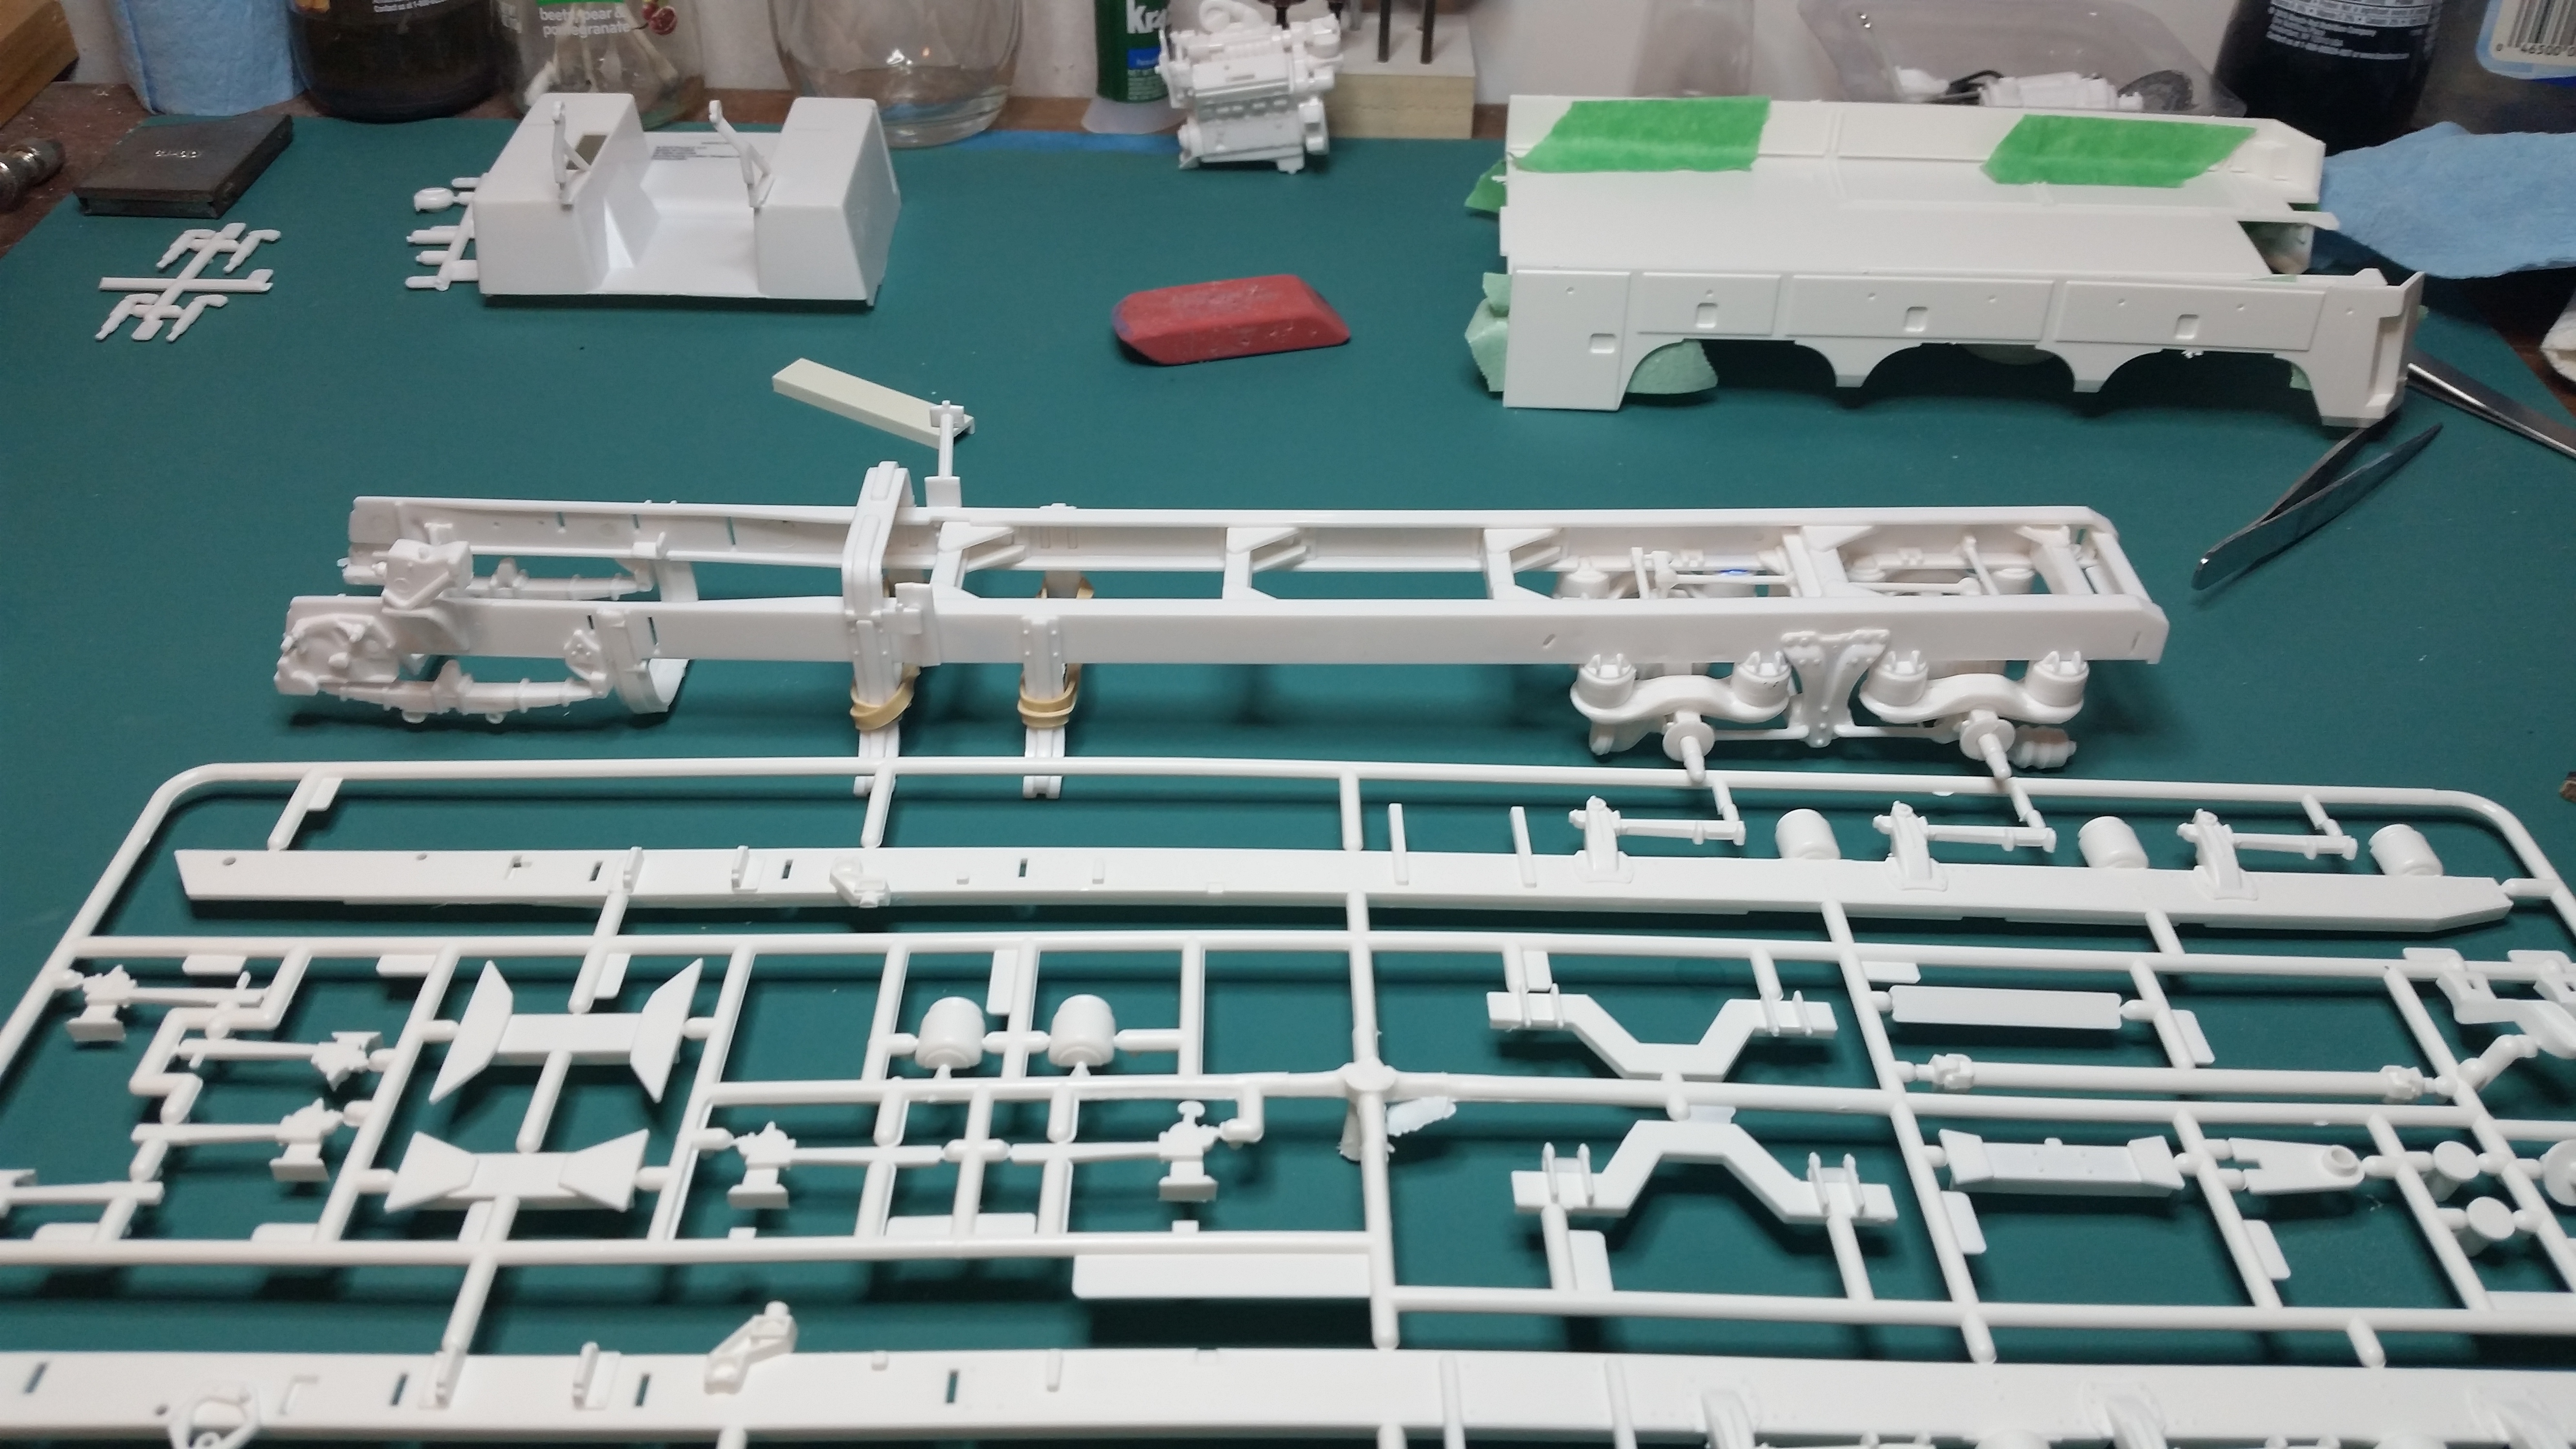
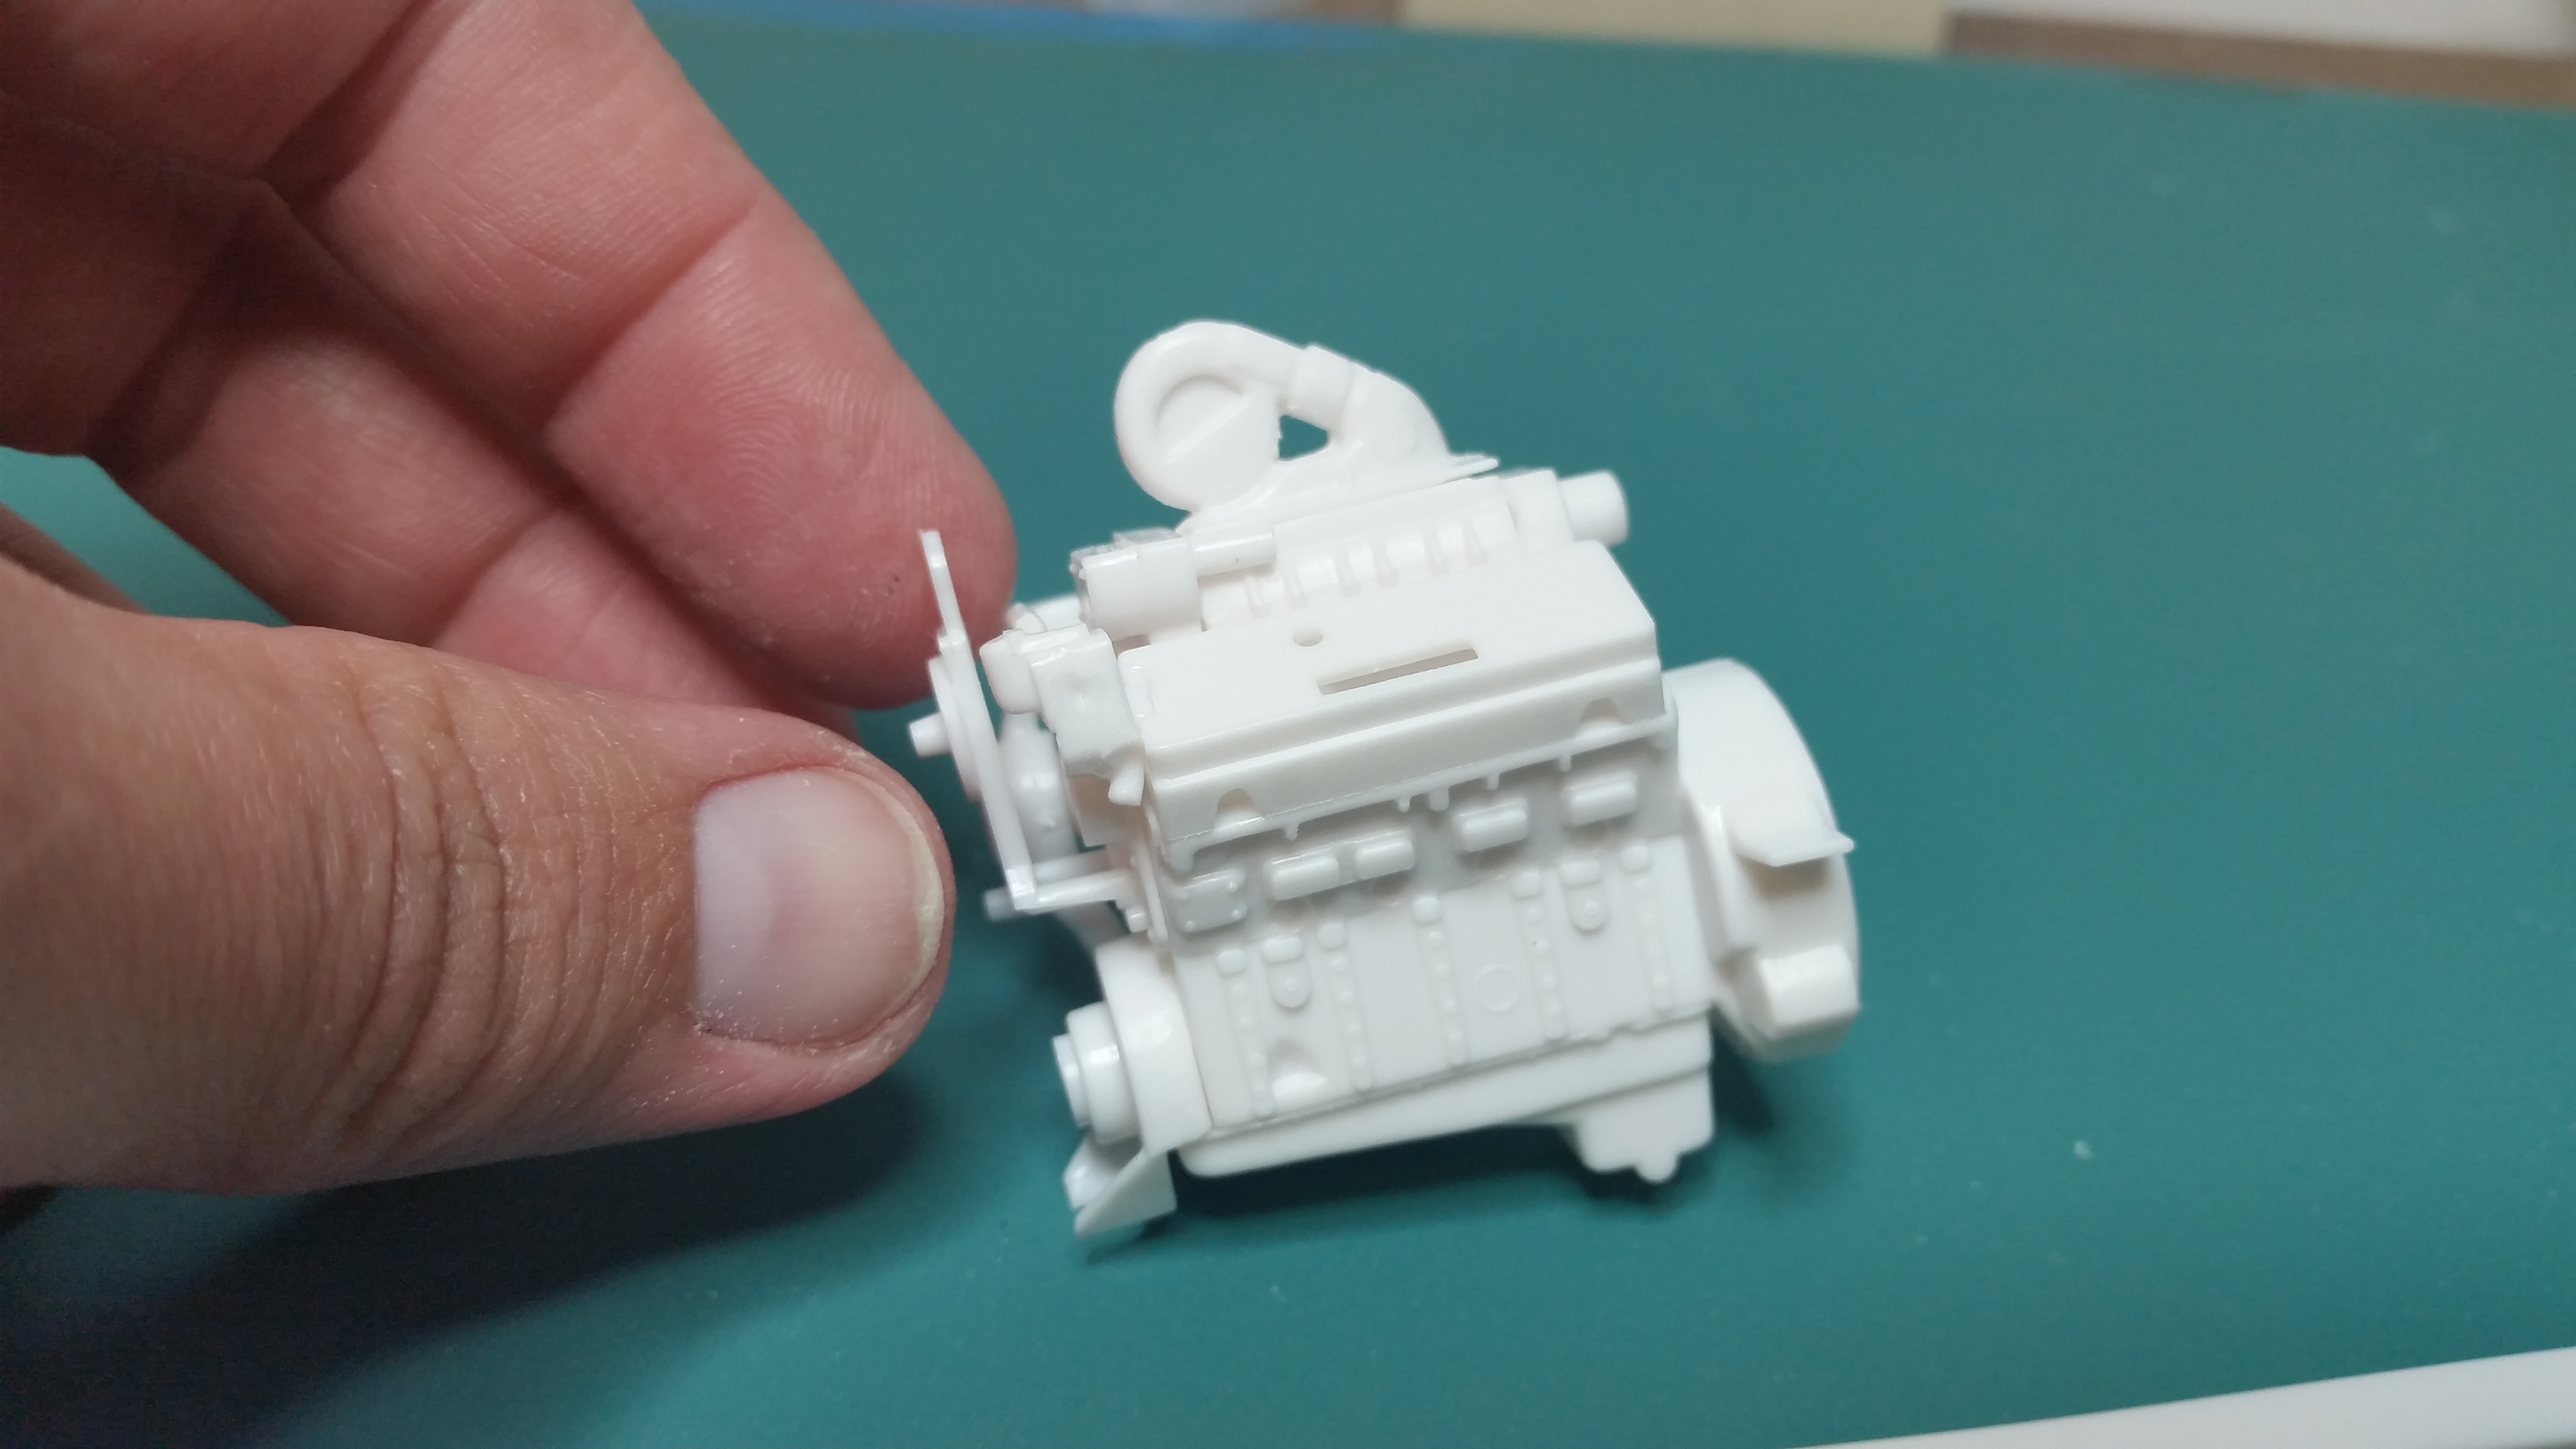
Enough teasing let's open the kits and get whacking plastic !! The unwilling donors waiting on the bench I wanted to start the chassis to get a feel for how everything would work. I absolutely love how nicely the parts fit and the chassis seems pretty straight after drying ! sharp eyed modelers will notice the engine lurking in the background too..another favorite of mine is a good Ole green leaker ! I drilled out the flash under the turbo just for a touch of detail I'll add the stock suspension , then mock the kit wrecker body to verify the wheel openings, then commence the major work Any advice, comments or just truck chat feel free to comment I'm happy to chatter along the build lol
-
KW aerodyne wrecker finished !!
gotnitro? replied to gotnitro?'s topic in WIP: Model Trucks: Big Rigs and Heavy Equipment
Thanks vincen47 ! Man you pointed out a major part I'd completely overlooked..those square headlights. I was studying the rotator and ignored the truck details thanks I'll address those . Wish cmt website was up and running again..says 2016 for new site. Hope their still open for business. -
KW aerodyne wrecker finished !!
gotnitro? replied to gotnitro?'s topic in WIP: Model Trucks: Big Rigs and Heavy Equipment
Planning on having a pig roast lol doors won't be open but the main equipment will be present I found a few very helpful images of the 1140 being installed on the chassis before paint, and of the truck out working. Does anyone know of a source for modern marker lights ? Czech models had pe type, but their site is being upgraded . Refering to the type seen along the wrecker body . The clear light bar I'm still searching for also -
KW aerodyne wrecker finished !!
gotnitro? replied to gotnitro?'s topic in WIP: Model Trucks: Big Rigs and Heavy Equipment
I hope so ! thanks Dan ive wanted to try to scratch a more modern wrecker , planning making patterns for another later -
Rat Rod Pete 359
gotnitro? replied to Darren B's topic in WIP: Model Trucks: Big Rigs and Heavy Equipment
Awesome work ! Love the skull shifter knob -
KW aerodyne wrecker finished !!
gotnitro? replied to gotnitro?'s topic in WIP: Model Trucks: Big Rigs and Heavy Equipment
thanks I've wanted to build another cool wrecker for awhile.. -
KW aerodyne wrecker finished !!
gotnitro? replied to gotnitro?'s topic in WIP: Model Trucks: Big Rigs and Heavy Equipment
I'm using the recently reissued KW aerodyne papa truck from amt, the pete is the revell tri axle" will do" kit -
KW aerodyne wrecker finished !!
gotnitro? replied to gotnitro?'s topic in WIP: Model Trucks: Big Rigs and Heavy Equipment
hmm..you have a crystal ball ? Lol -
KW aerodyne wrecker finished !!
gotnitro? replied to gotnitro?'s topic in WIP: Model Trucks: Big Rigs and Heavy Equipment
Thanks everyone for the interest ! I recently found out jerry redder (sp ?) sells the bj and bear decals perfect for this build..just needs the NYR logos . I found a train shop in syracuse that sells lettering I think will work The plan so far..the recent re issued KW papa truck for majority of the build. The rotator is a century 1140 40 ton unit . I'm using parts from the challenger found on the tri axle pete, just modified. The fun part is scratchbuilding a MODERN wrecker body w the rear under reach, which I believe NYR used a Zeke manufacturered unit. The stabilizers found in the pete kit are sad...very very sad. I'll have to fab those too. All the tires will be am items , and I'll add the lift axle sold thru gw trucks..along with tons of scratched details I can't rob from kits lol. Grab a tasty beer or favorite beverage and bowl of popcorn the fun starts soon.. -
Gone forever
gotnitro? replied to dieseldawg142's topic in General Automotive Talk (Trucks and Cars)
Heartbreaking As an owner of a classic car this really hits home how fast trajedy can strike -
A picture of my next project ! Stay tuned coming VERY soon.....
-
ok..I just noticed the 1;1 car had Texas plates..and I cheated and used California ones oops lol
-
TAT 2017-- 2010 Moebius LoneStar
gotnitro? replied to Jhedir6's topic in WIP: Model Trucks: Big Rigs and Heavy Equipment
nice kit !! I had to use the instructions from the ROG lonestar to build mine, don't care for the itemized type sheets..I'm old school like pictures lol just a heads up watch the cowl to hood fit, the hood tend to sit high..usually sanding down the cowl helps -
fantastic work so far Dave ! The LEDs in the hood look cool, cant wait to see what else ya have in store for us
-
well, its officially finished !! I wrapped up the engine bay with a very basic wiring job, using a pre wired cap from gopher racing. A few extra wires were added from the battery going to starter and neg to block. I added plug boots from tiny tubes of wire insulation, and drilled the heads. I planned going detail heavy, but have a few kits I'm dying to start..Im my own worst critic, and see 100 things Id done over, but sure I'm being picky lol. a huge thanks to Dr. Kerry for trading me a spoiler from the mustang for the build, it fit / looks perfect ! how about pics ..grab the popcorn and enjoy ! last but not least.. thanks for the feedback along the way ! Jeff