-
Posts
6,398 -
Joined
-
Last visited
Content Type
Profiles
Forums
Events
Gallery
Posts posted by mustang1989
-
-
I hear you on that one with the break from the detailed build and all! lol . Looking forward to the pics of the kits Chris!
-
It would be a pleasure to have you in here Chris! This build goes until the end of January 2015 so jump in any time. Between all the guys that are in here I'm sure we can come up with somebody to help with the weathering. I'm learning alot watching Agent G!!! Whenever youre ready to jump and have a kit in mind lemme know!

-
We'll be looking forward to your return Mark. And you were just getting to the good part too!!!! We've got till next Feb pal so come on back when you get your stuff ironed out.
-
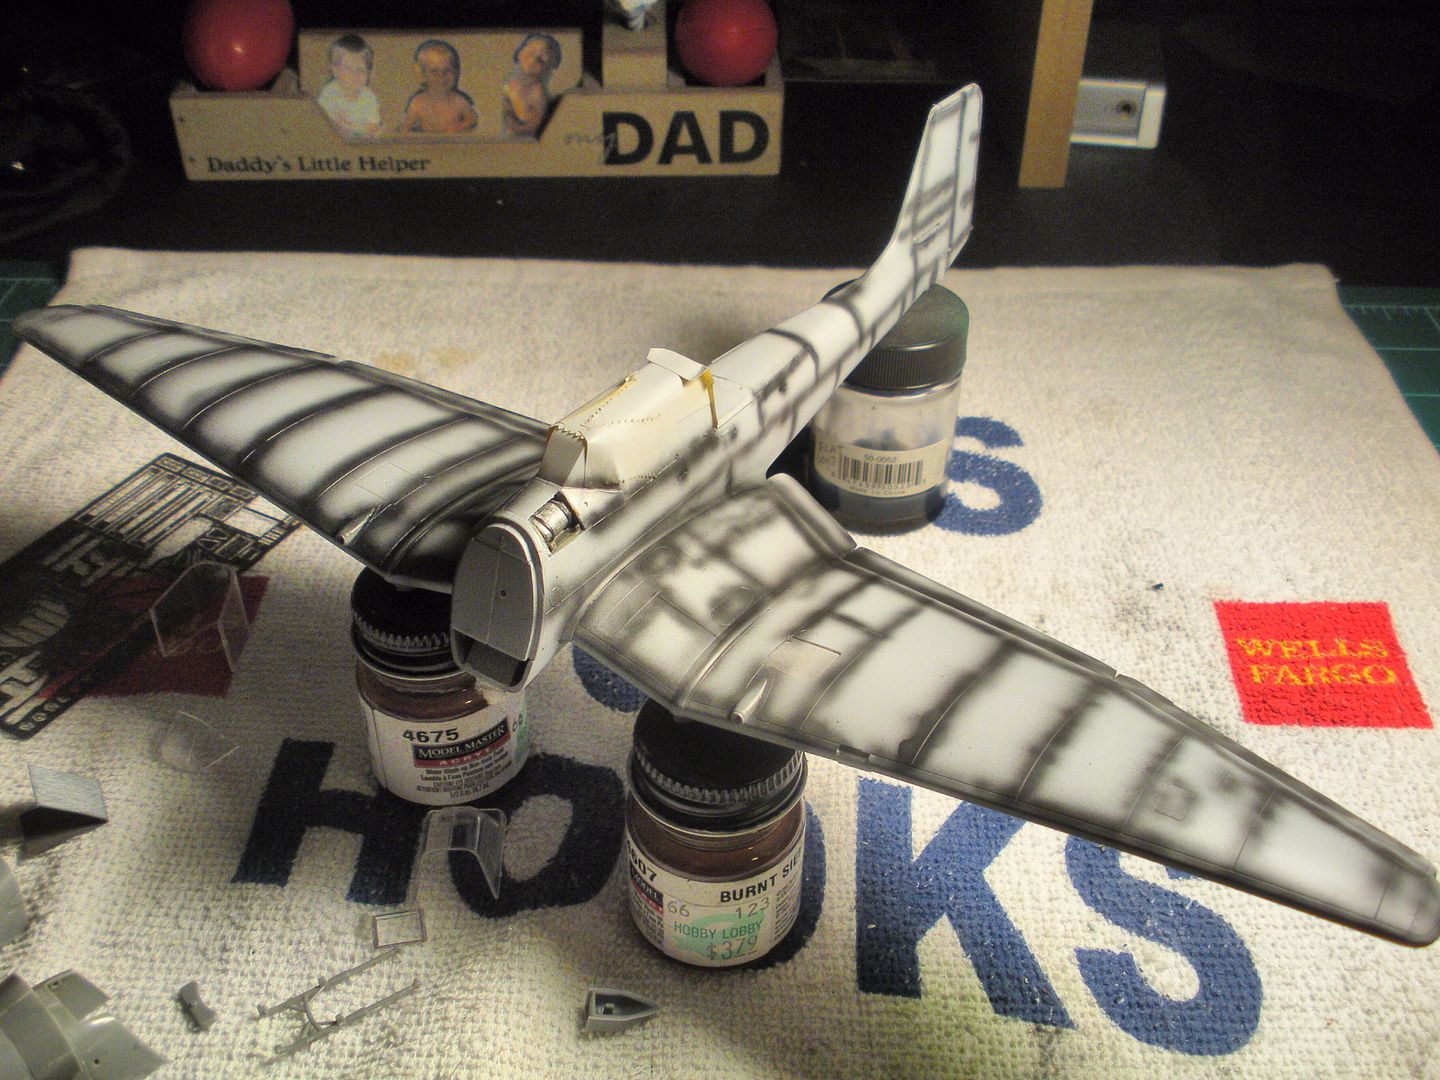
LOL!!! It's coming along so far.Got the other wing done now and some of the fuselage areas....................

-
Welcome aboard Mike!
-
We're slingin' paint!!! RLM70 dark green and RLM 71 light green in a splinter camo first. Then after I paint the whole plane in the factory camo scheme I'll apply the field camo over it with RLM 79 tan. First things first though, here we are starting with the port wing......

-
Thanks for the tips Wayne. Just like knowing some of the hidden sciences behind the armor builds. I've got a few more aircraft builds to go before I'm going to have the guts to take an armor project on! lol
-
Man that's looking good Wayne. Can you explain the painting process for somtthing like the turret?
-
I simply loved watching this one come together Wayne! Another knockout build man!
-
Now THATS a smooth finish! I just picked up some sandpaper/ polishing squares yesterday by chance and I saw this post afterwards. Man am I glad I did!! Good job on this Mark!
-
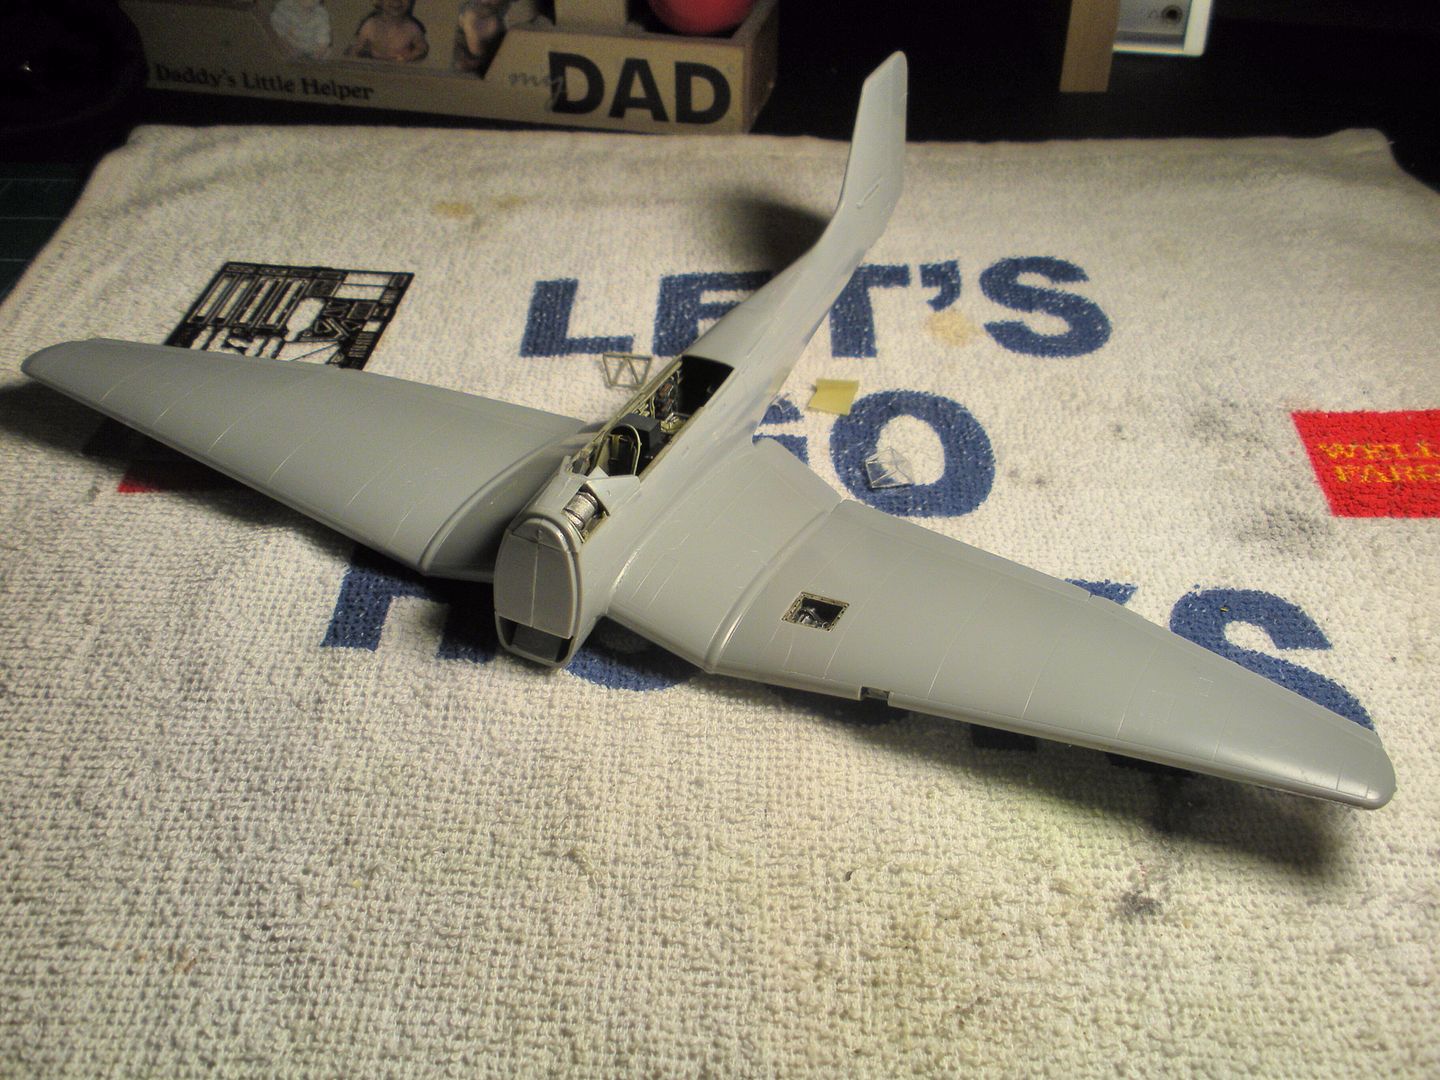
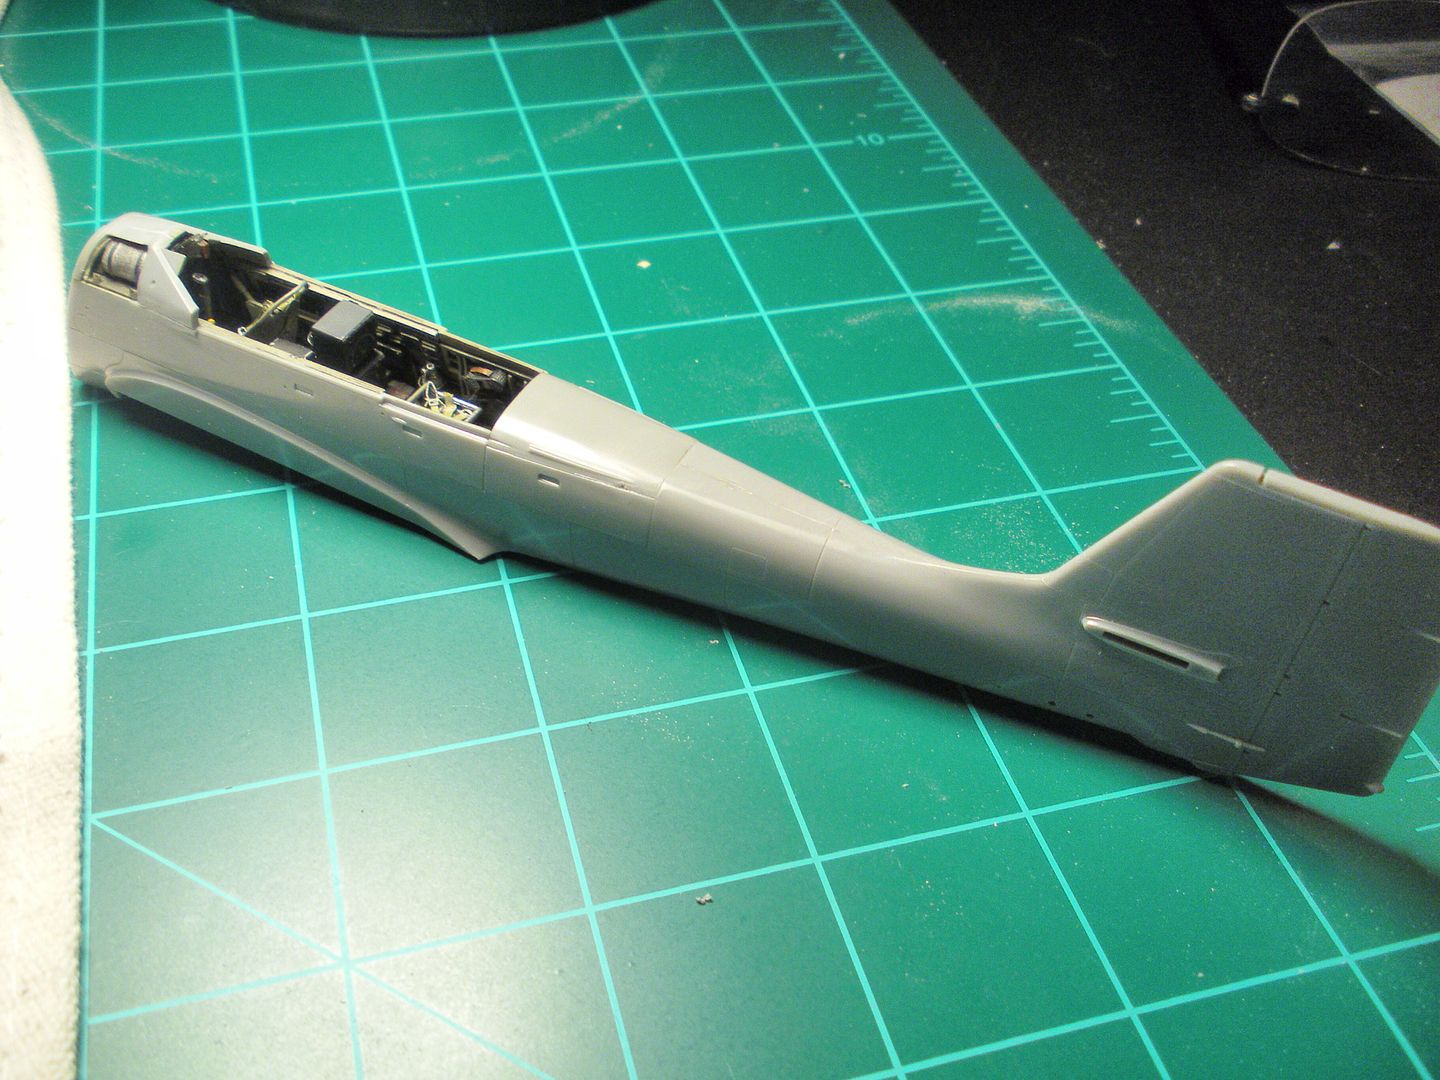
Well here we are mostly together save for the elevators:

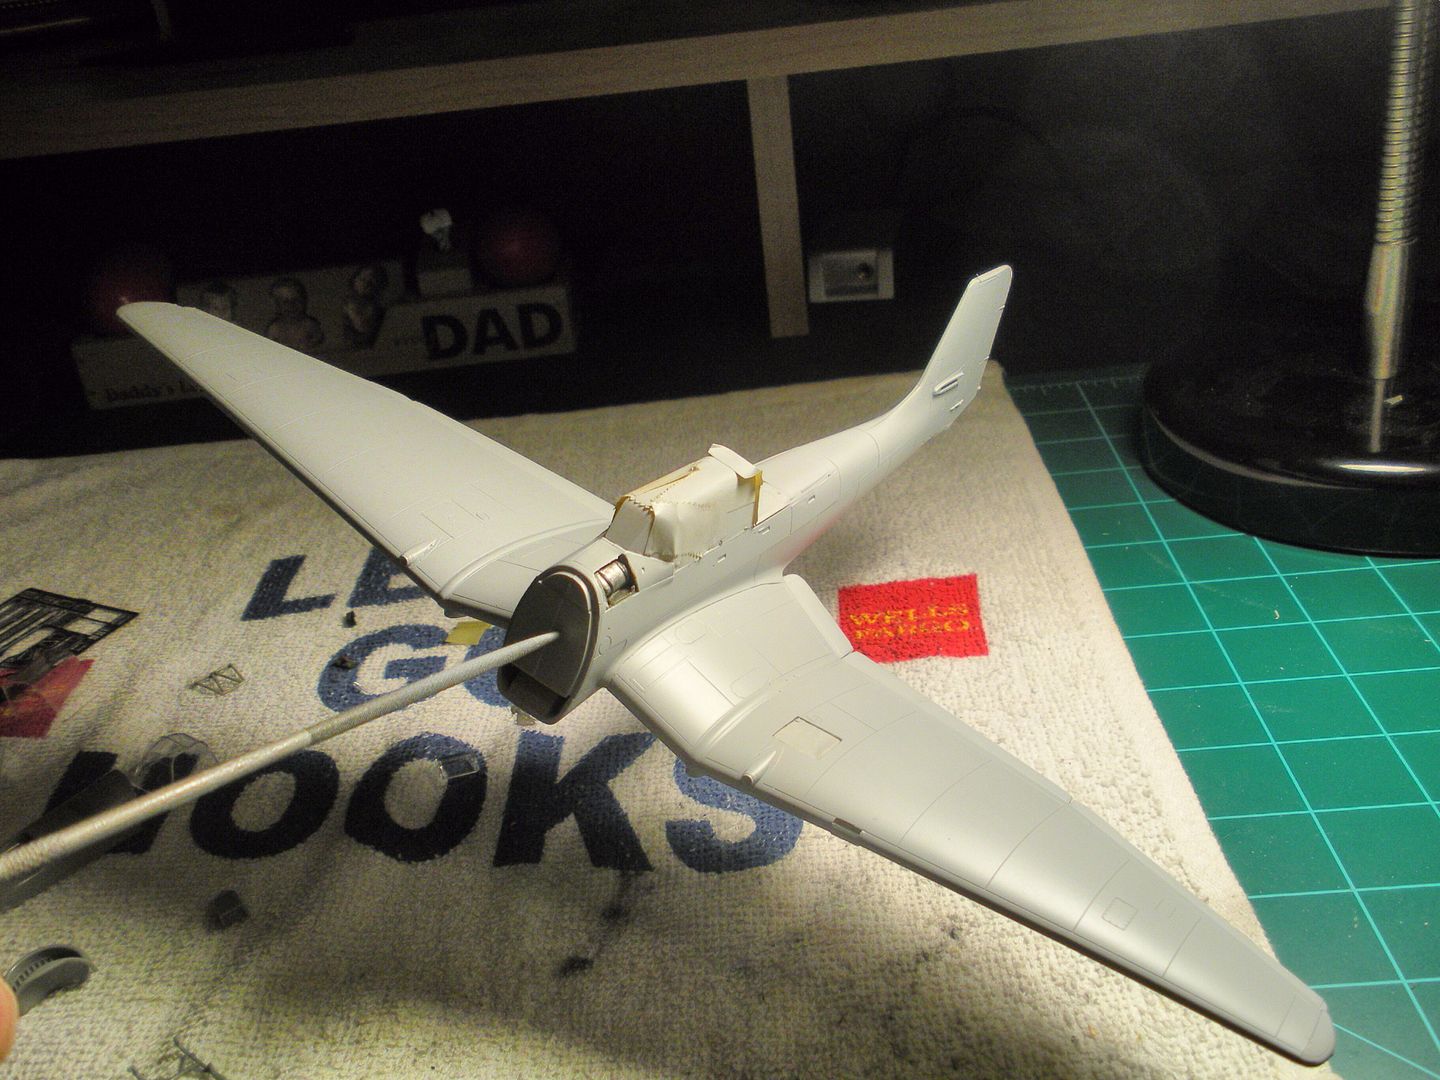
and primed and ready to go for the preshading.........

and ..................preshaded!

I've gotta say what I did skip over in pictures and won't in the text here is the 4-5 hours of freekin' sanding that I had to do to correct the HORRIBLE fit between the fuselage halves at the bottom of this birdie! Simply couldn't believe it after all the test fits but hey, that's modeling. I got it ironed out.
-
It had to hurt to have to do that but am really looking forward to what youre going to do next.
-
Hey Ben I didn't get that last pic. It didn't melt the plastic did it?????????????????????????

-
You see guys! There he goes again building that real bike in his living room floor on that sheet of plywood!! lol
Man that's really looking good Mark!!! Awesome paint and detail on this one!!!
-
Ben:Whew! Bet you're glad you spotted that in this stage of the build!! Lookin' forward to see how it all blends together. Fingers crossed!!!!

Wayne:Glad you're back buddy!!!! This outta be just awesome to watch you build!

I'll get you in the intro post!! Edit (just a few minutes later) You're added!!
-
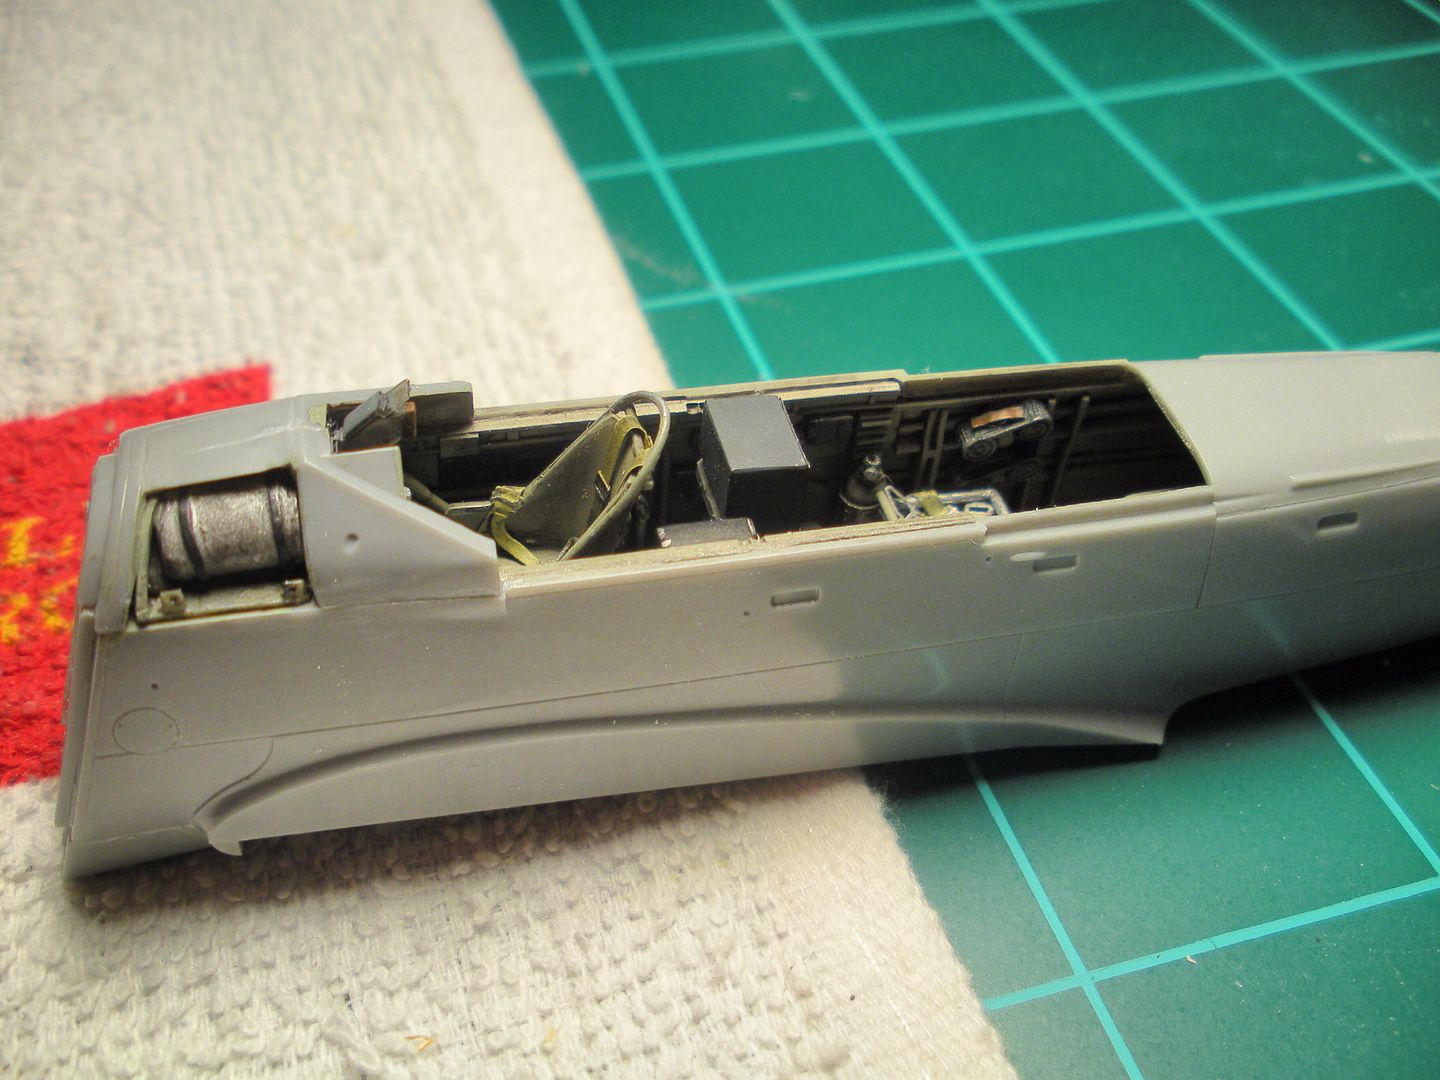
Well guys I've got the cowl compartment/ piece put on and most of the body work completed on the fuselage. So far so good. Just need a little "clean up" on the oil reservoir compartment and I'll call that done:


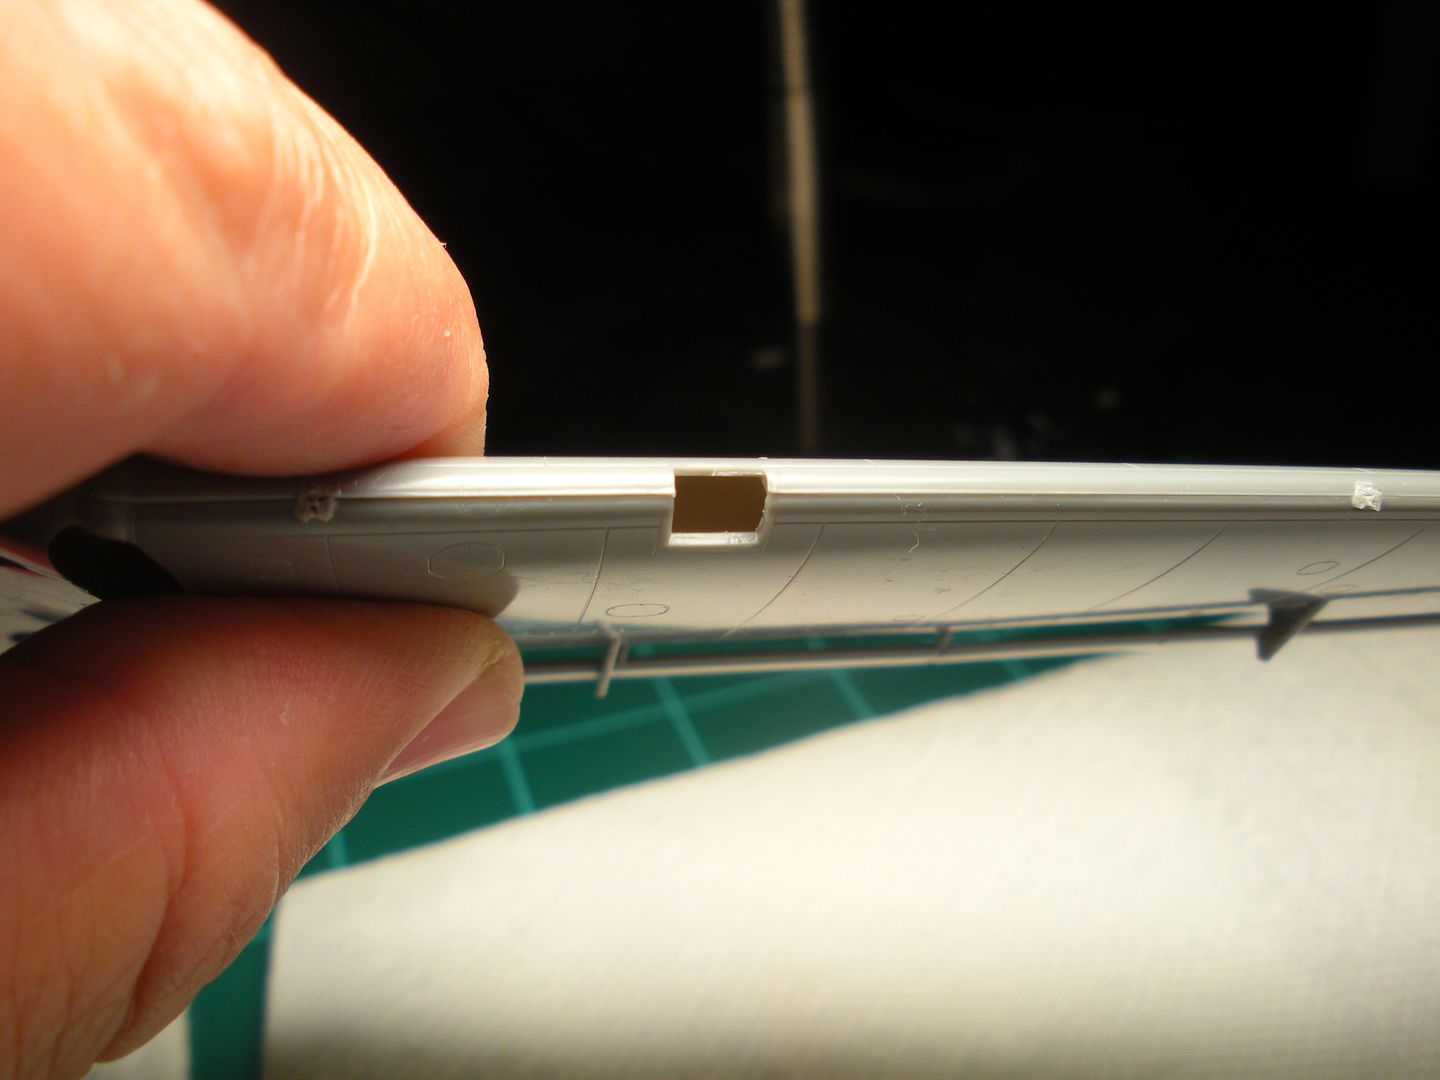
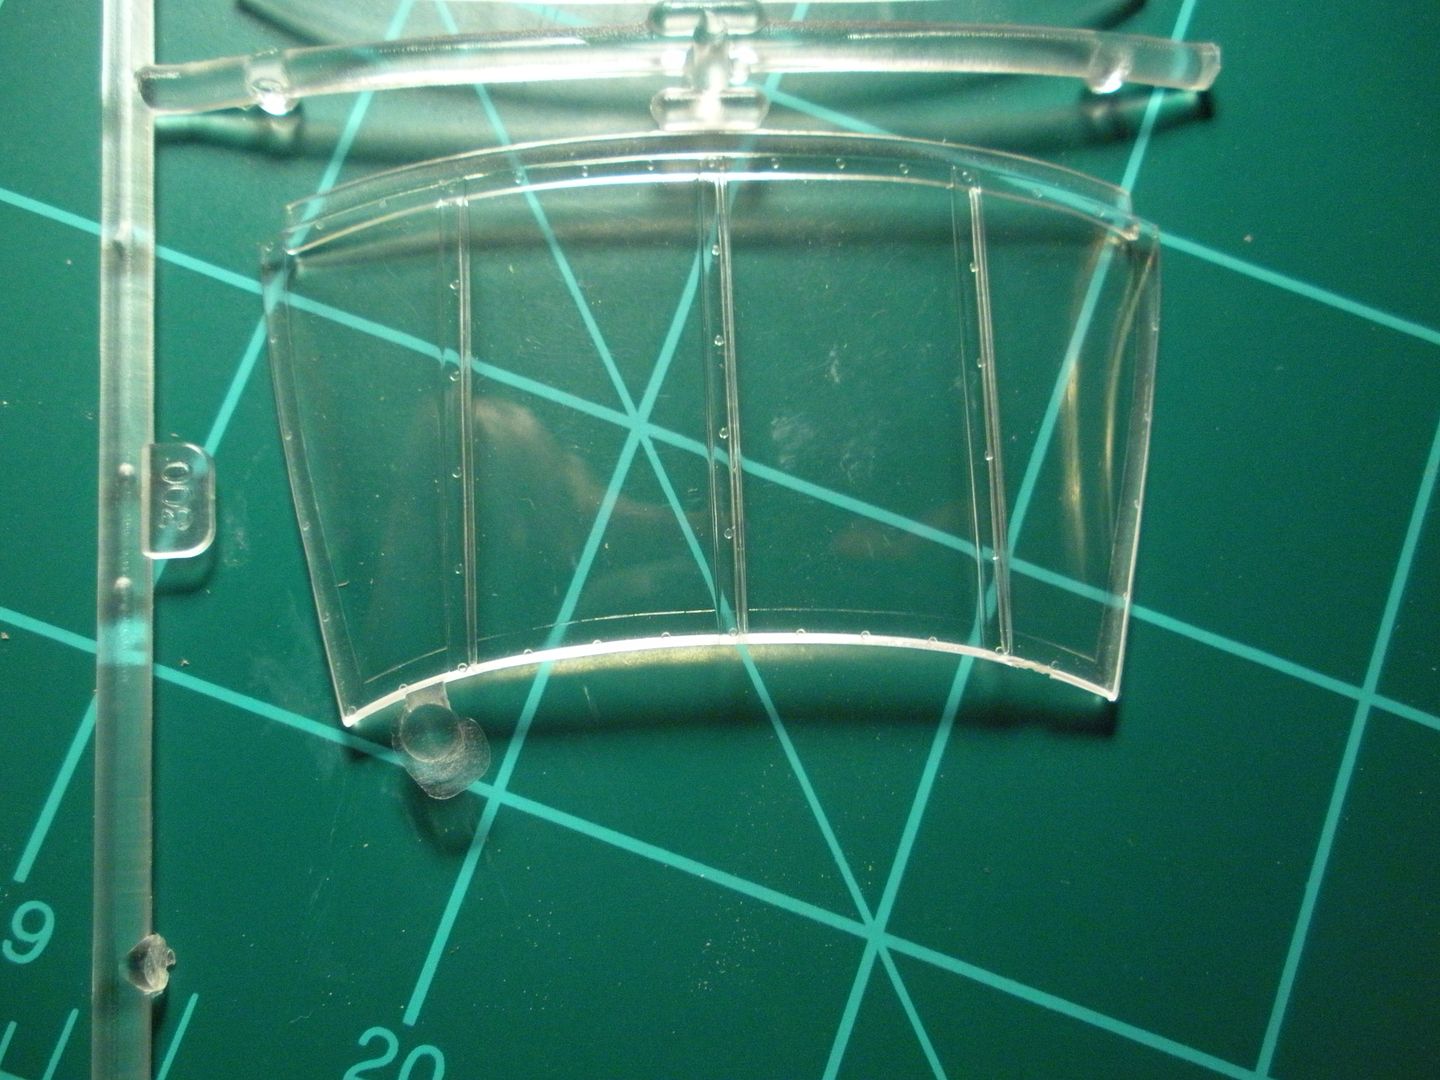
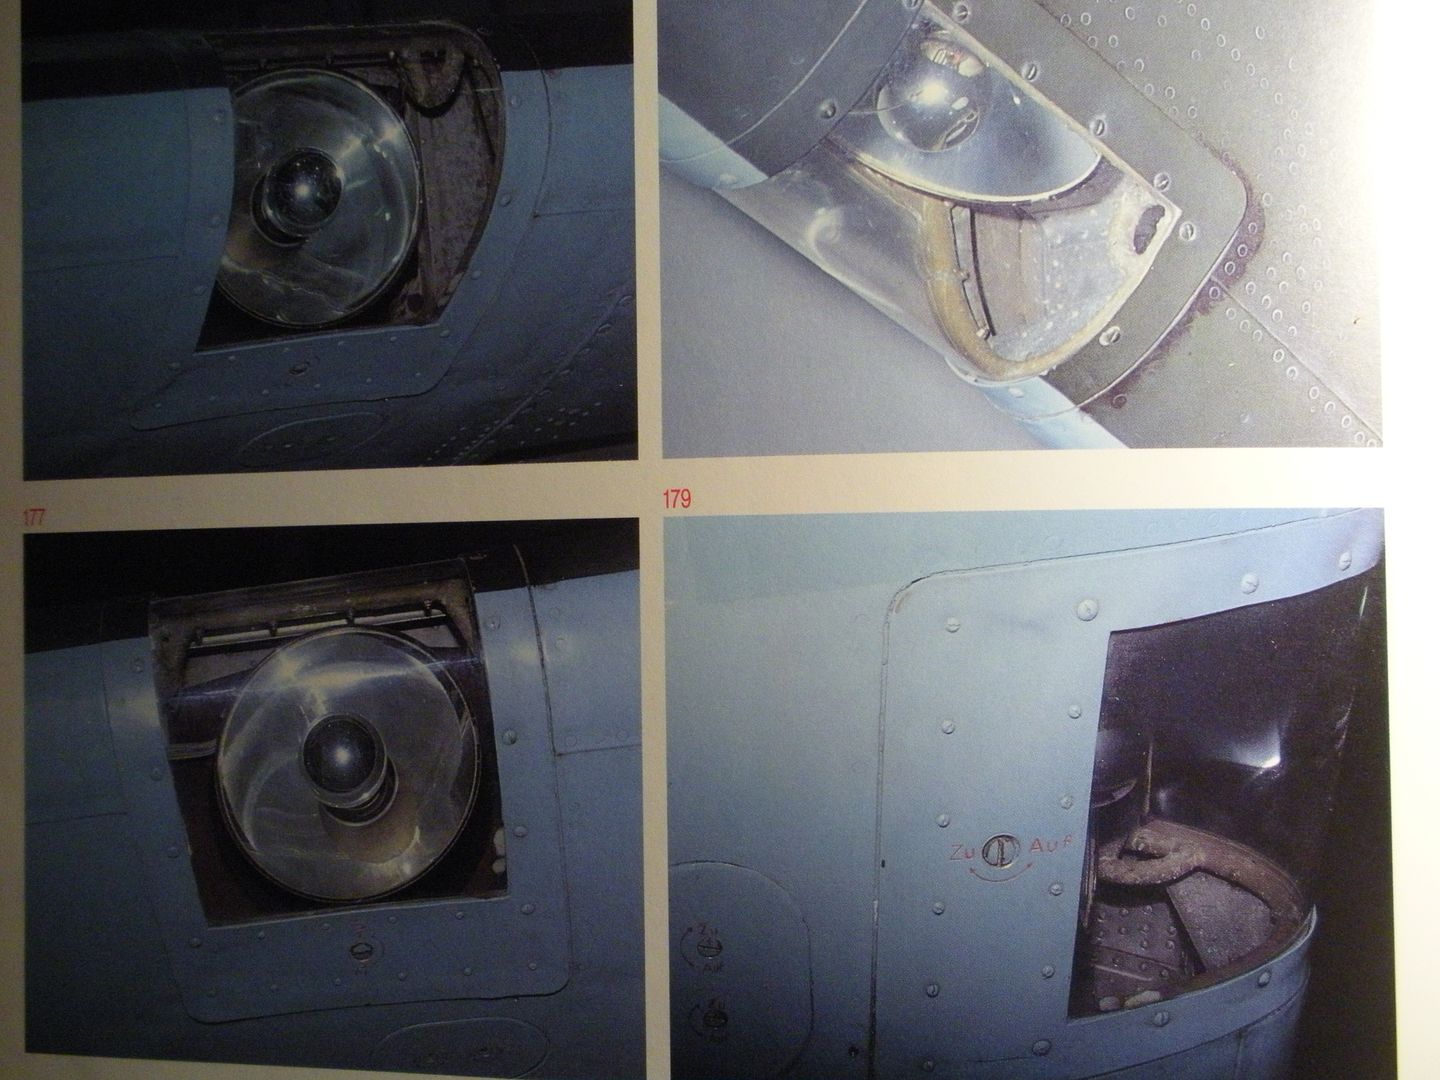
and for the real cool development (at least I'd like to think so) is the addition of a landing light to this sucker. I have yet to figure out why a model manufacterer would put a "hole" in the leading edge of a wing to install a lens over..............absolutely nothing! But that's what they did! Here's what we normally would have:

You see, I just can't let this slide, so....................
I went to work making a scratchbuilt landing light. I do have car models in my stash (don't worry, I'm not going to hack up anything-I want to build this kit one day) I have Mark Martins 1994 Thunderbird in the stash and used one of those "cutaway" tabs you always see on the windshields:

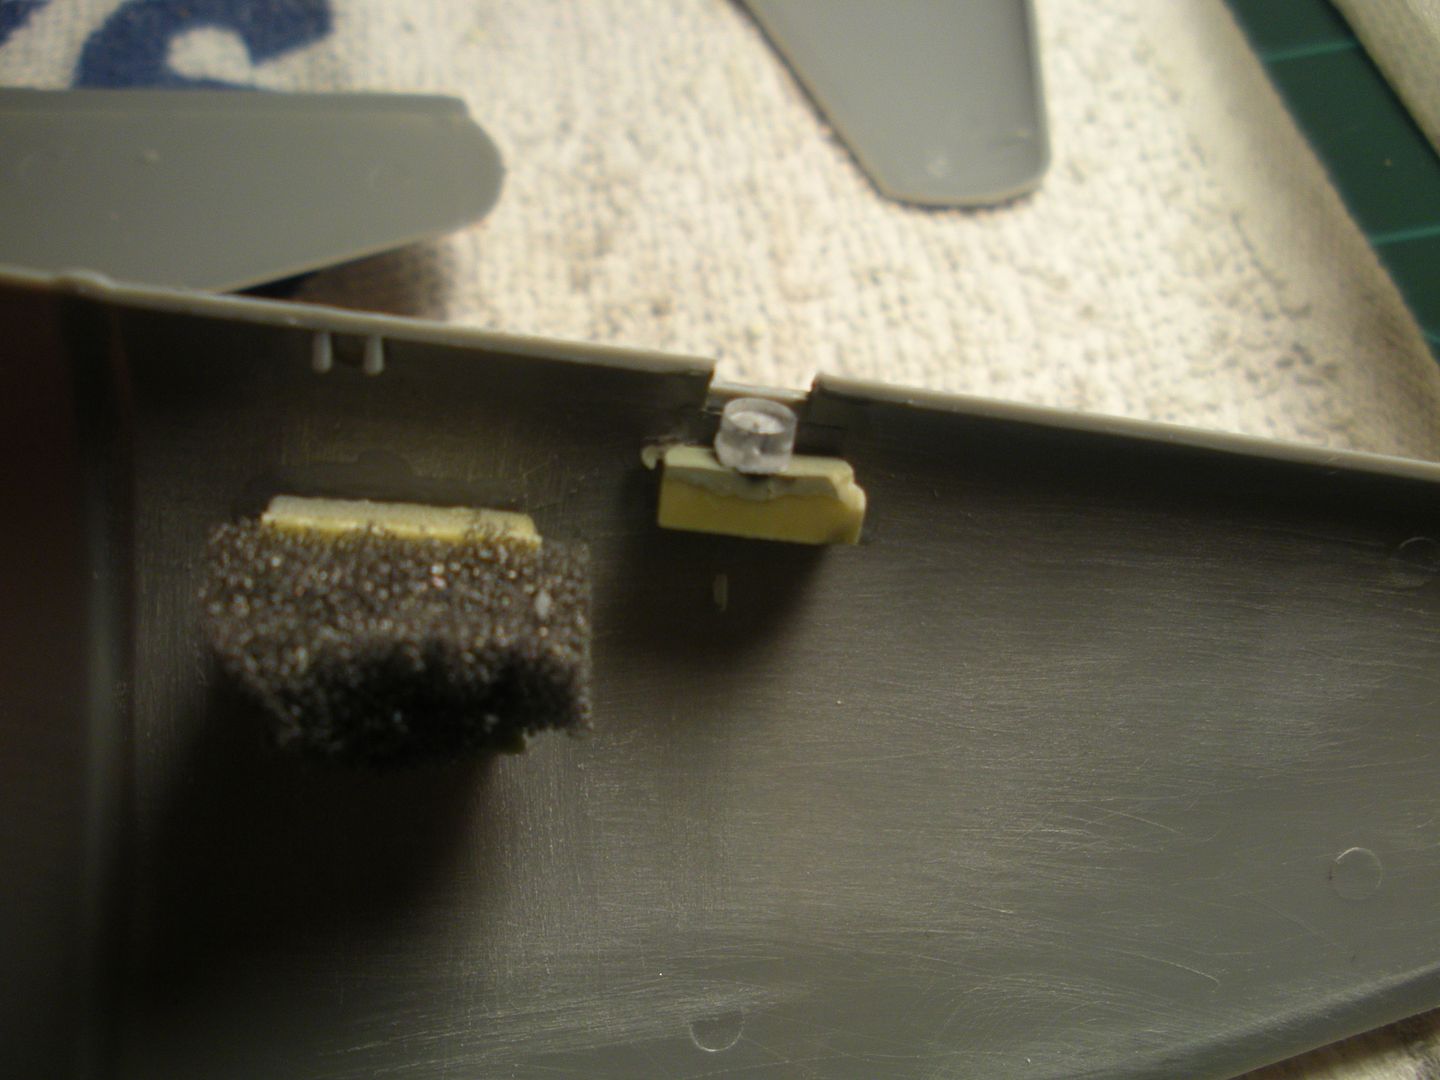
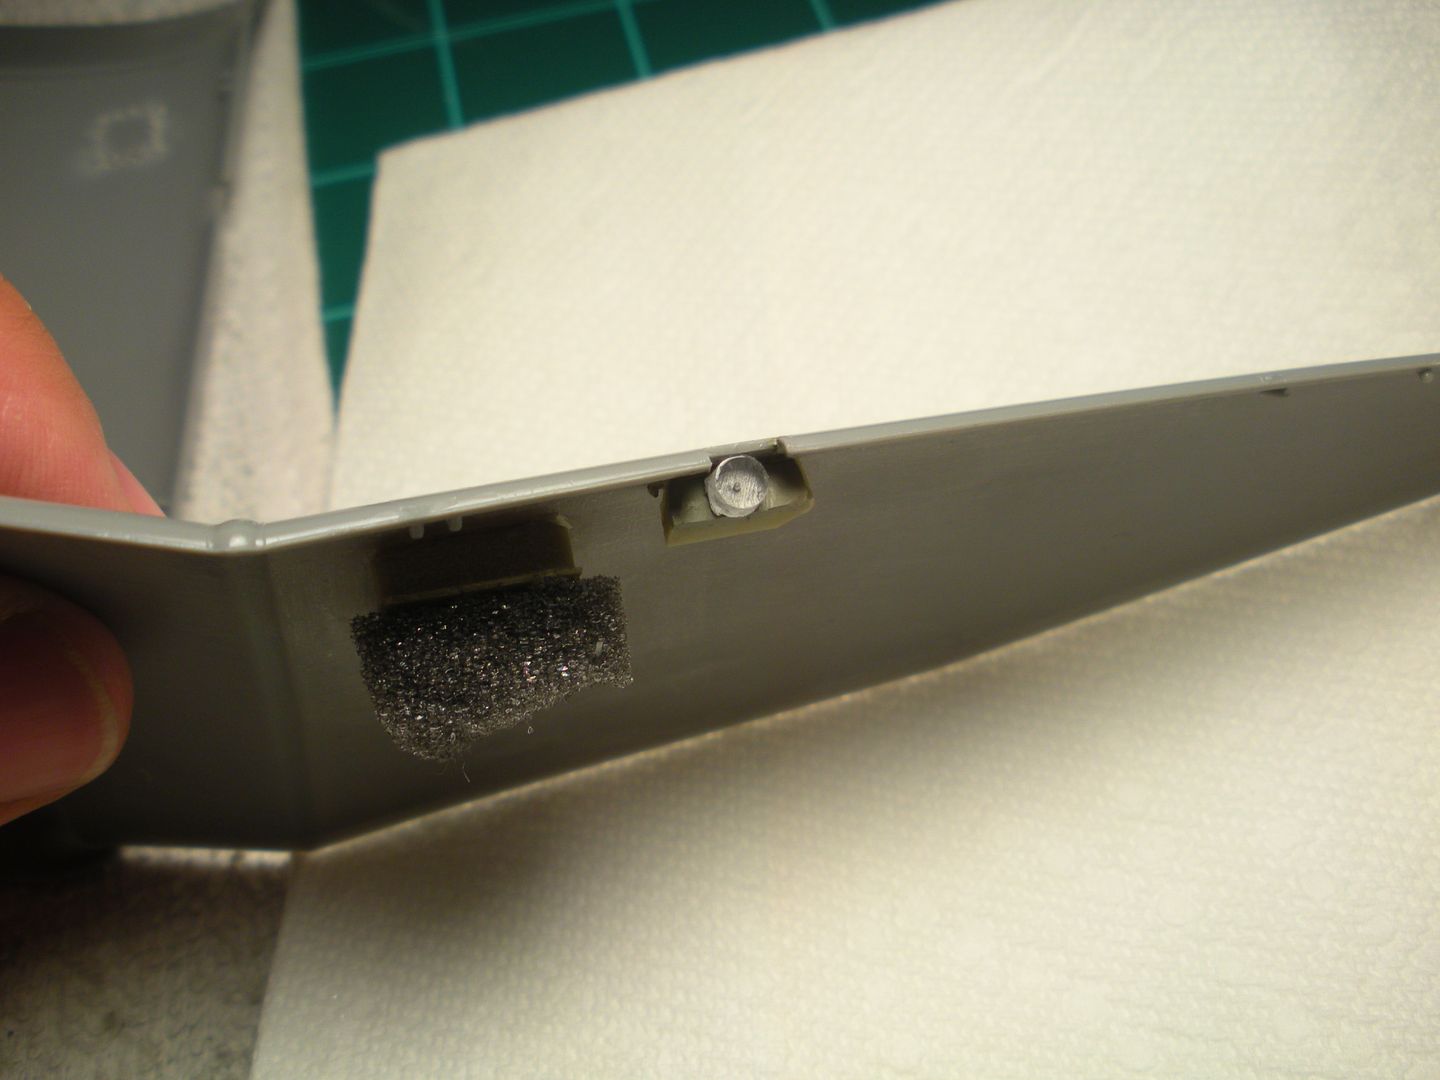
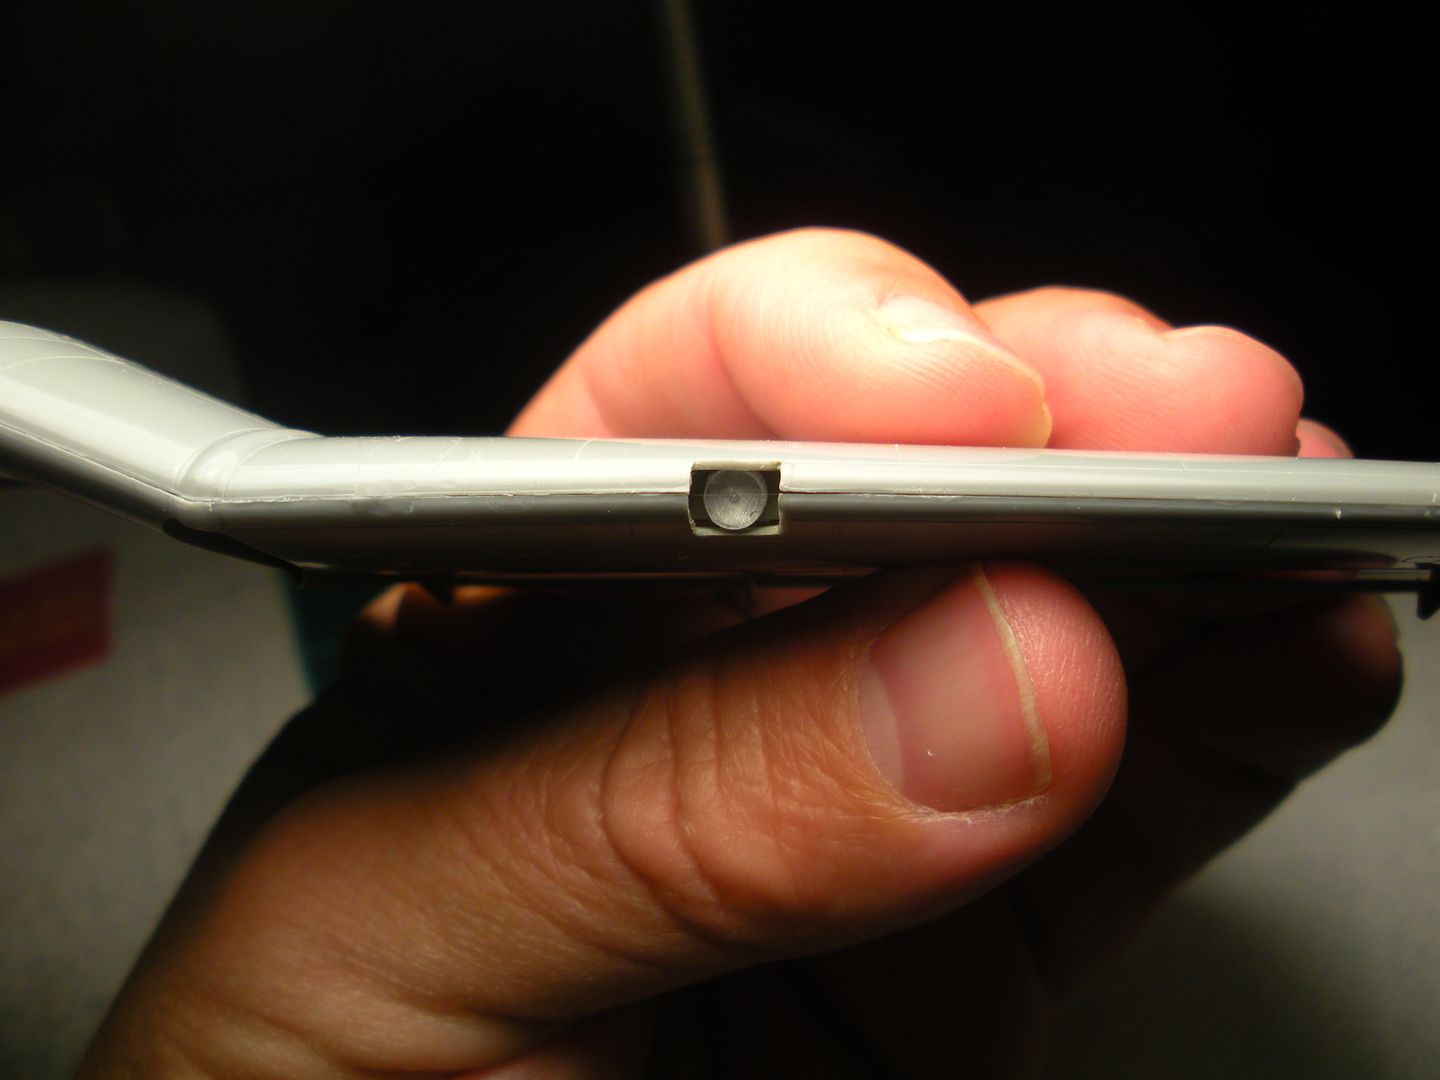
The right hand one is gone and is being used here. I trimmed the clear part up quite making it just a hair smaller and not as thick. I painted the back of the "light" silver and added one drop of future to the face making it concave in appearance and giving it a true glass shine. I had a piece of resin stock from all these add on resin kits I accrue and cut that down so that it would fit between the wings halves and painted it RLM 02 gray, then stuck the landing light to the base and put it in the wing.............


The foam below the wing MG17 gun compartment is for a "push" from the bottom when the wing halves are assembled. Ever have something like that looking really cool and later on in the years or with just the right jarring the whole thing falls inside? Aint gonna happen folks! Just a little insurance is all.
Anyways this is what the whole thiing looks like now instead of a "hole":

and it comes fairly close to my references
 :
:
-
Man that just looks freakin' cool Mark! You really brought that motor out dude. If I didn't know anybetter I'd say that you had a beat up 4x8' sheet of plywood in your garage and was building a real bike! I'm all eyes here watchin' the show...........

-
Thanks Wayne. For the longest time it seemed like he was the only one indeed. I'm going to be finding out this year how the Eduard brassin stuff stacks up when I build Eduards new Bf109G-6. There's alot of hype over that kit and I've seen an article review of it already. Hell I've already got my decal sheet for that build and the particular kit I want is months away from release. Supposed to be really killer kits from what's going around and from what I've seen in the bulld pics.
-
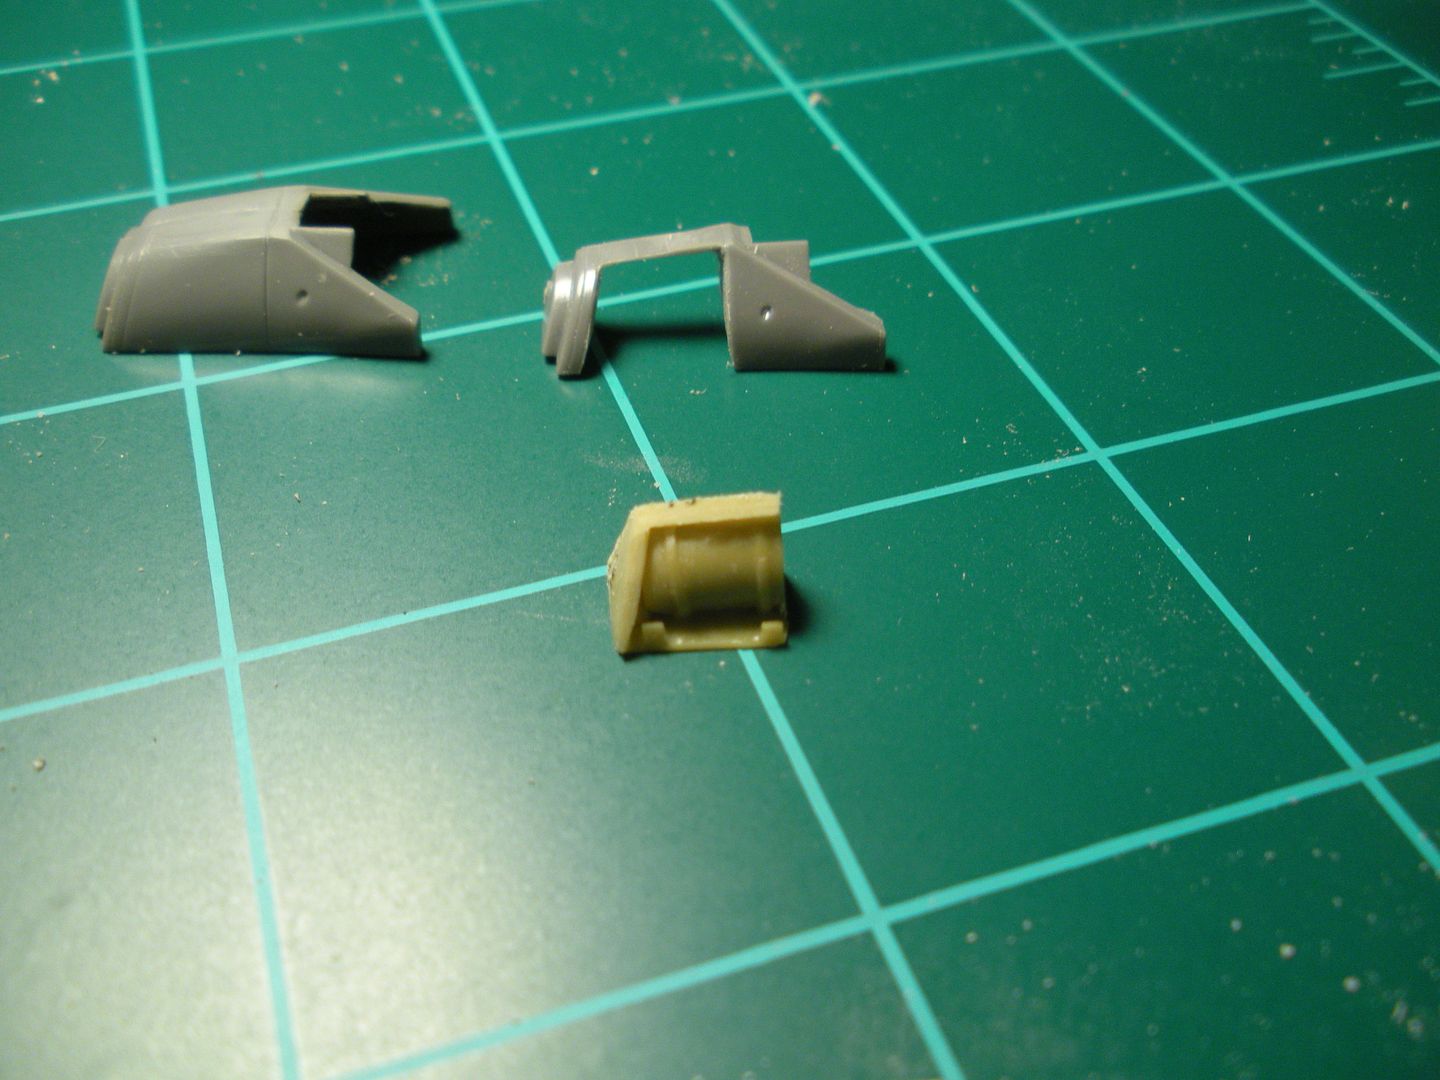
Next up is the cowl oil tank reservoir. This is another Verlinden piece from WAAAAY back when! Back when Verlinden was one of the only suppliers for resin that I knew of. This and the wing mounted MG17 machine gun internals were all I felt like using out of that set! I guess a decent build could be had out of the rest of it but it would be ALOT of work. Here's what I started with:

Well this didn't exactly line up with the fuselage too good. Go figure! It's time to start integrating the resin detail with the kit supplied stuff again!!
Pictured below on the left is the OOB part with both halves glued together. On the right is a OOB part from my spare Stuka kit with the L/H side panel cut out:

Now I had to cut the "compartment" out of the resin block and get it ready to install under the assembled cowl halves:

and here we are with the oil reservoir compartment tucked away under the cowl piece. Still some minor clean up and trimming to do.

This is it installed onto the fuselage with the compartment and oil reservoir painted up and weathered. Still have some clean up to do but it'll turn out ok.............

-
I've got you down in the intro Mark!! Looking forward to the build here.
-
You're on Mark! I'll get you entered in on the intro post dude!
-
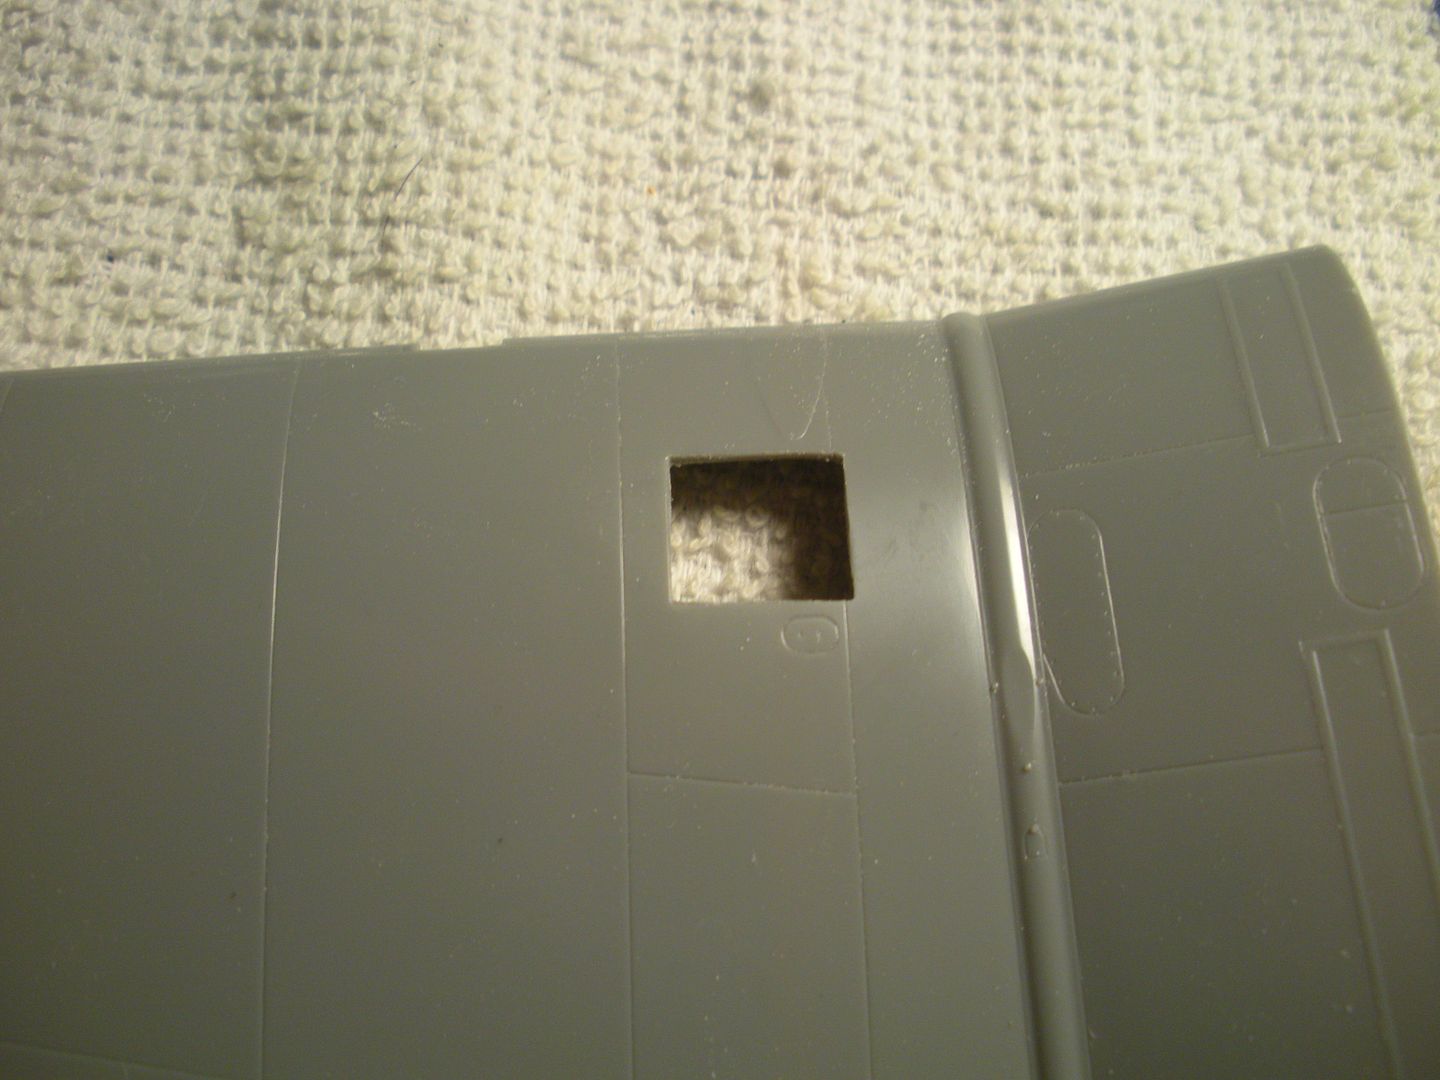
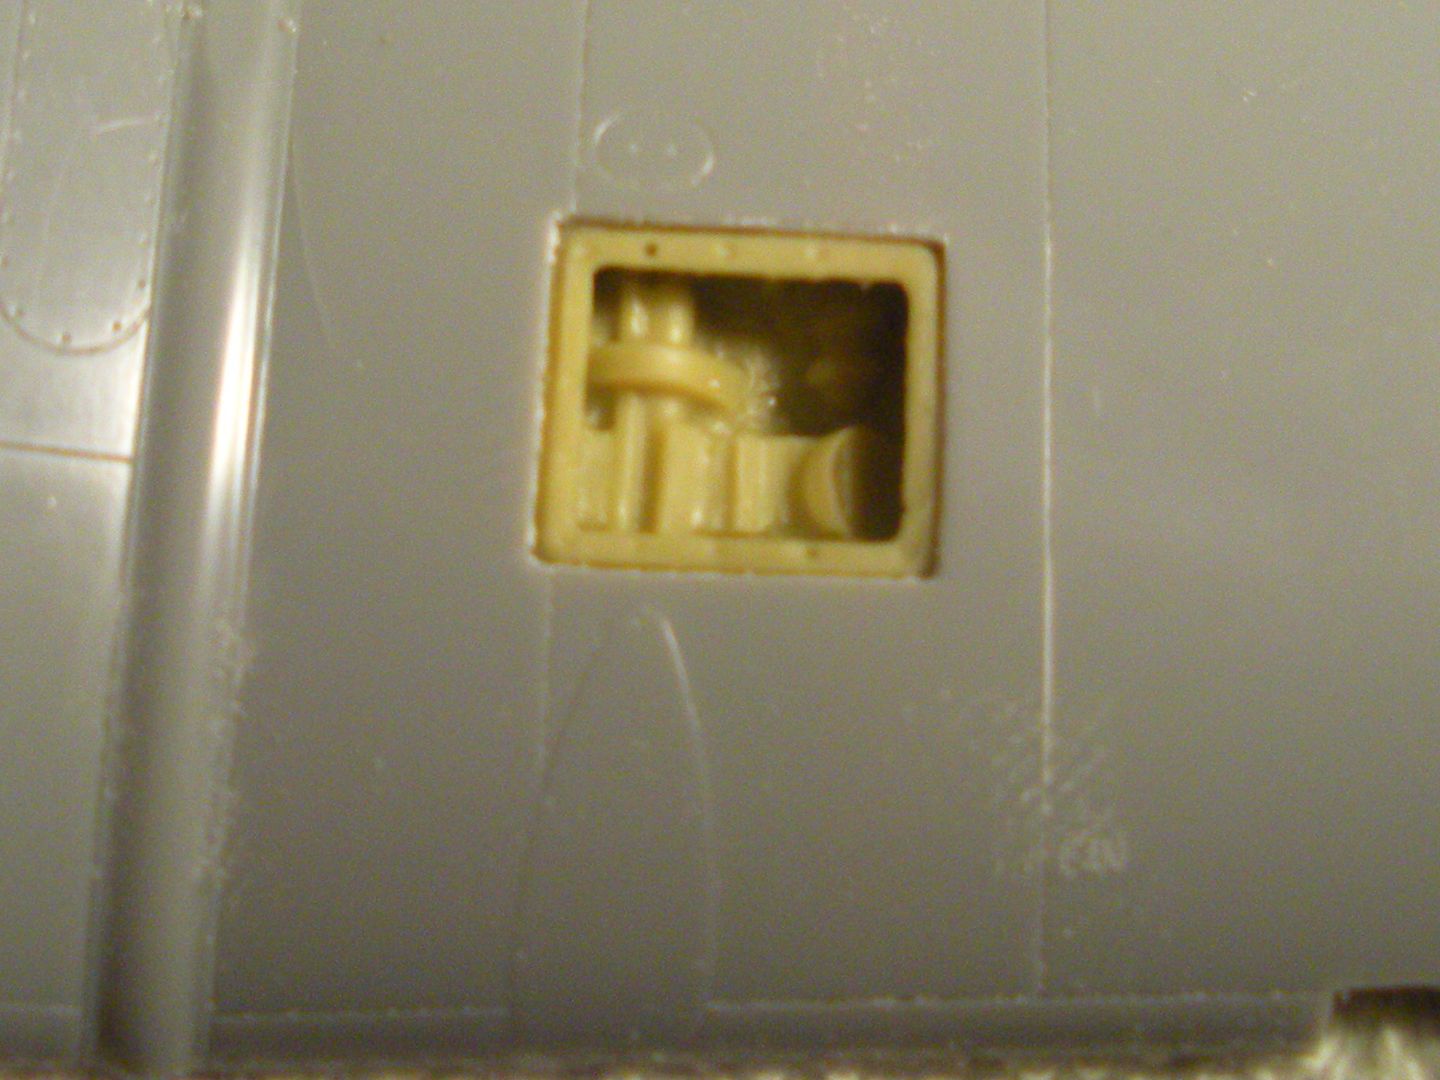
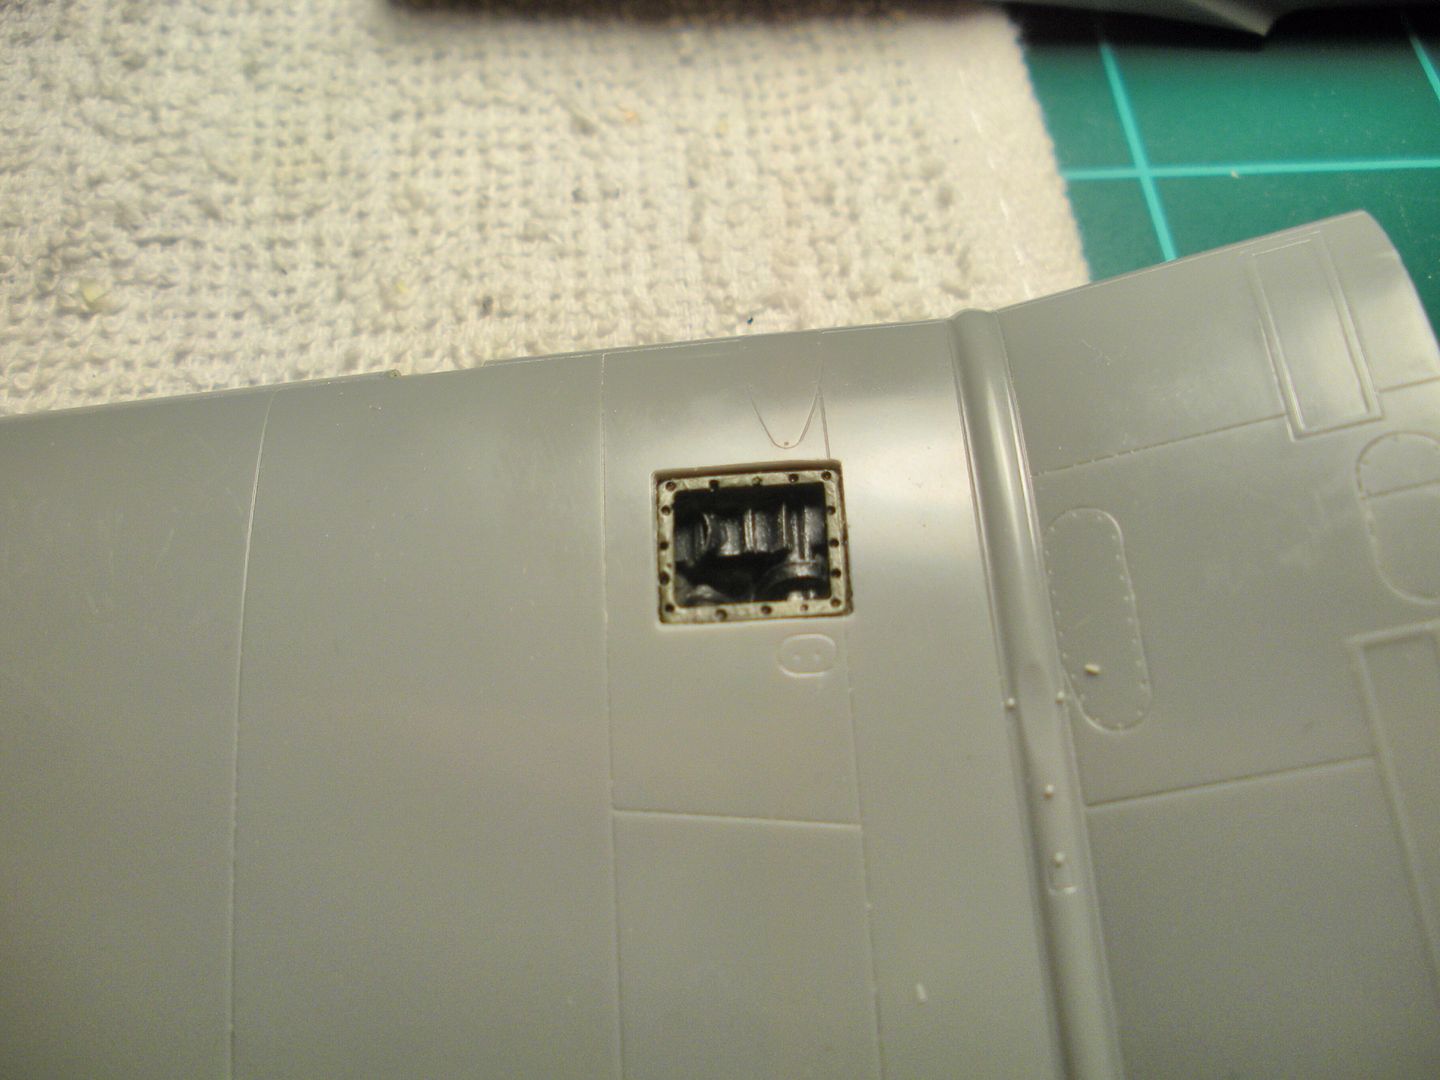
It's been about a week here since we've posted last so I'll post an update to get it started. I cut out the port wing machine gun access panel opening and test fit the machine gun receiver in the wing here.

and here's the guts of that operation,

and here it is all painted and weathered up:

-
Go for it Greg!!! lol
-
Wow!! That sounds like quite the build there at 1/14!!! Lemme know when you decide to biuld that one!!! I'll be watchin that for sure!!







The Official 2014 "All the Rest" Community Build-Extended to April 31st
in Community Builds
Posted
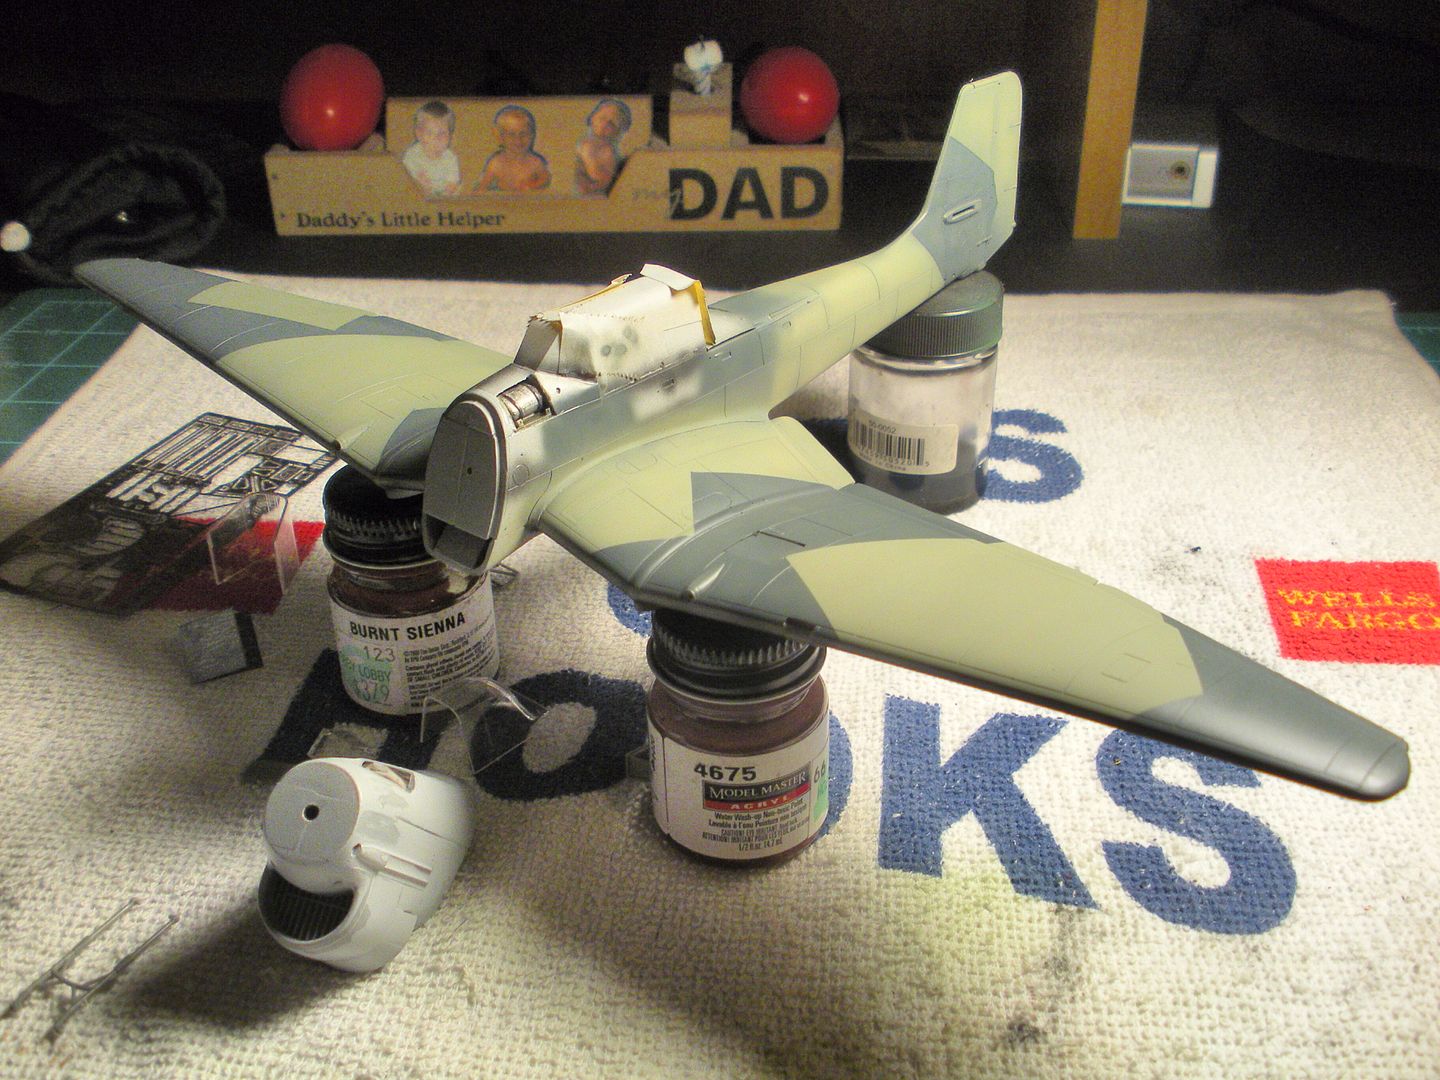
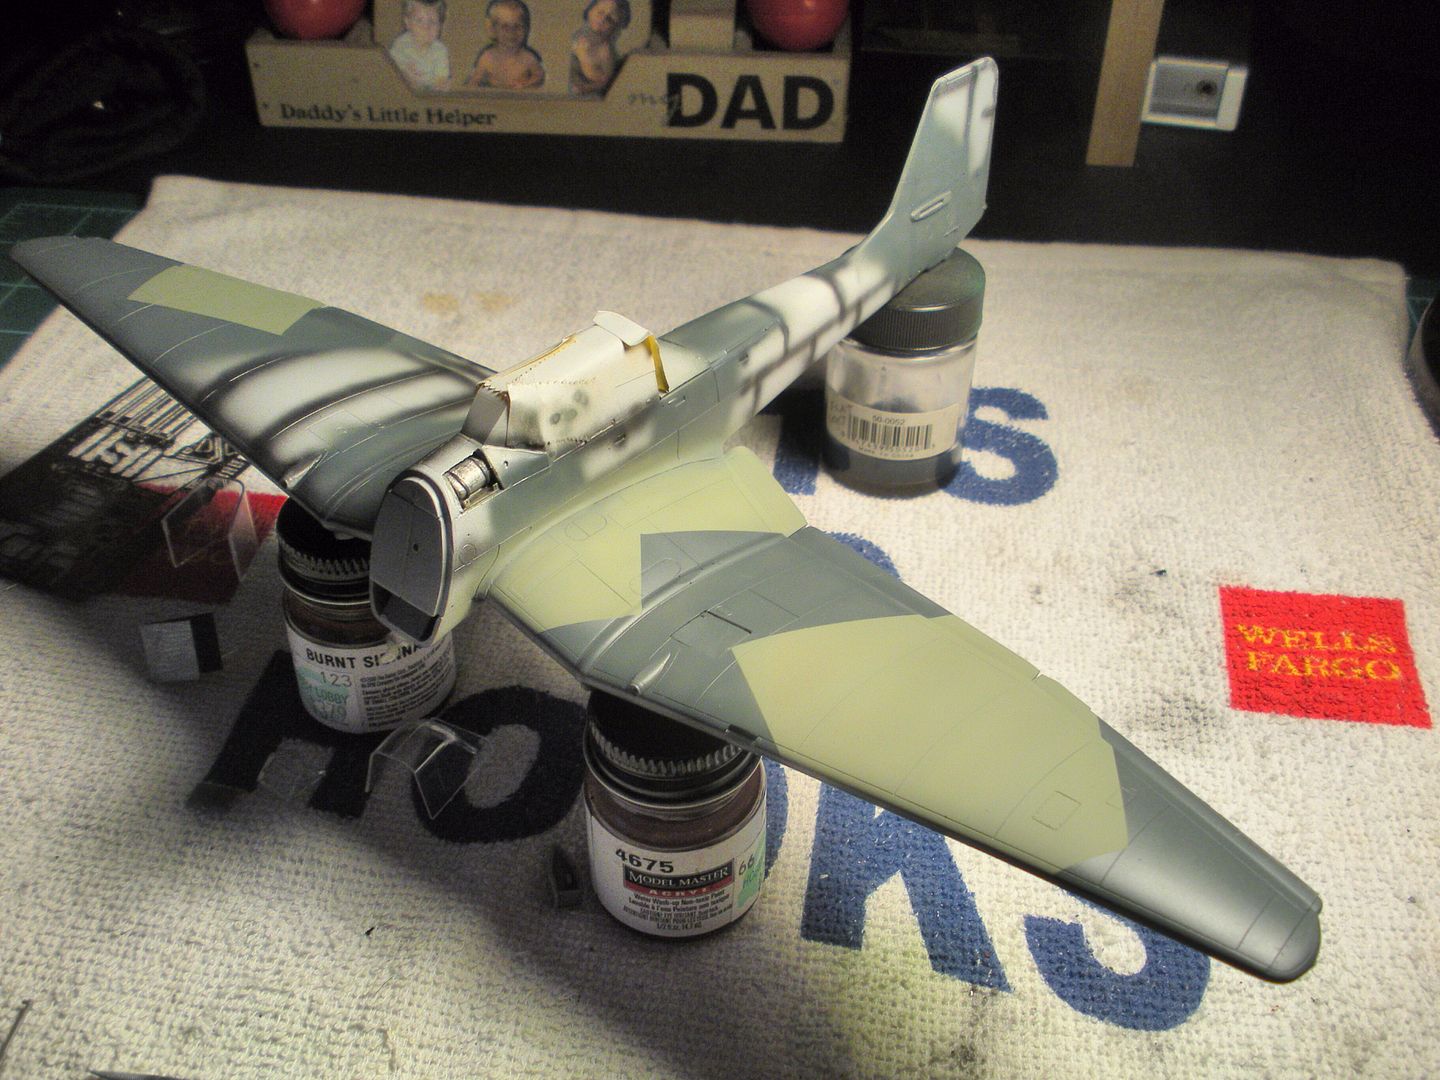
Ok fellas! I've got the factory applied splinter camo applied to the basic fuselage on both sides now. There are parts where the pattern seems to fade away or is incomplete. This is due to the fact that the field applied camo pattern will overlay those incomplete looking areas. In short , no worries! More coming...........
and the starboard side.........