-
Posts
6,398 -
Joined
-
Last visited
Content Type
Profiles
Forums
Events
Gallery
Posts posted by mustang1989
-
-
Here we are after the test fit:

and after the gun installation, fit and painting: We're getting there!

-
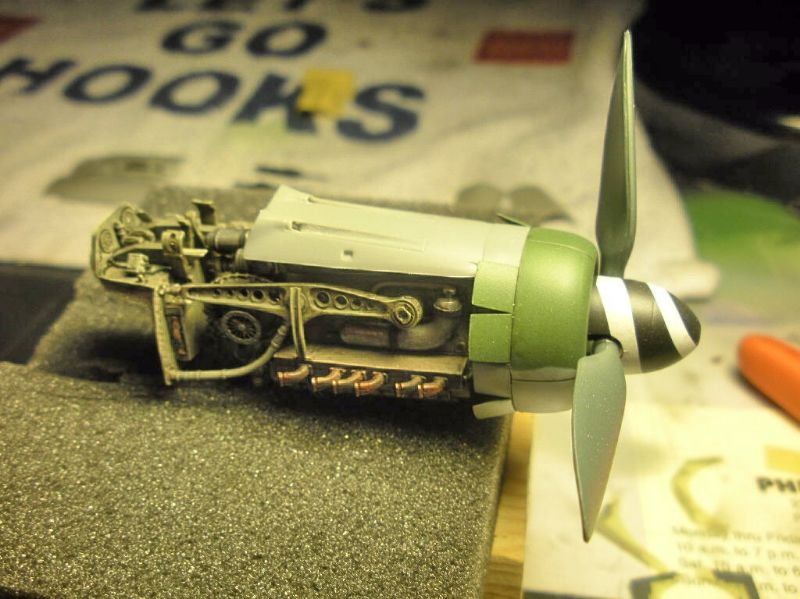
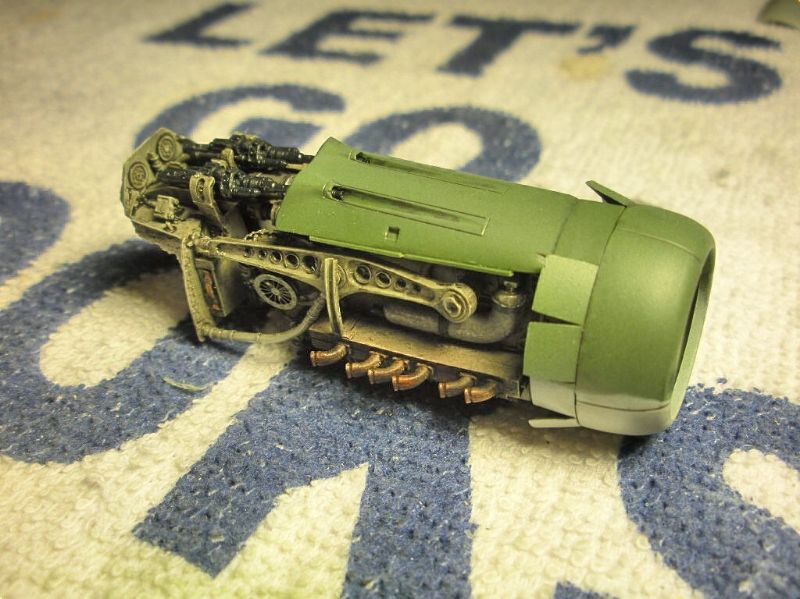
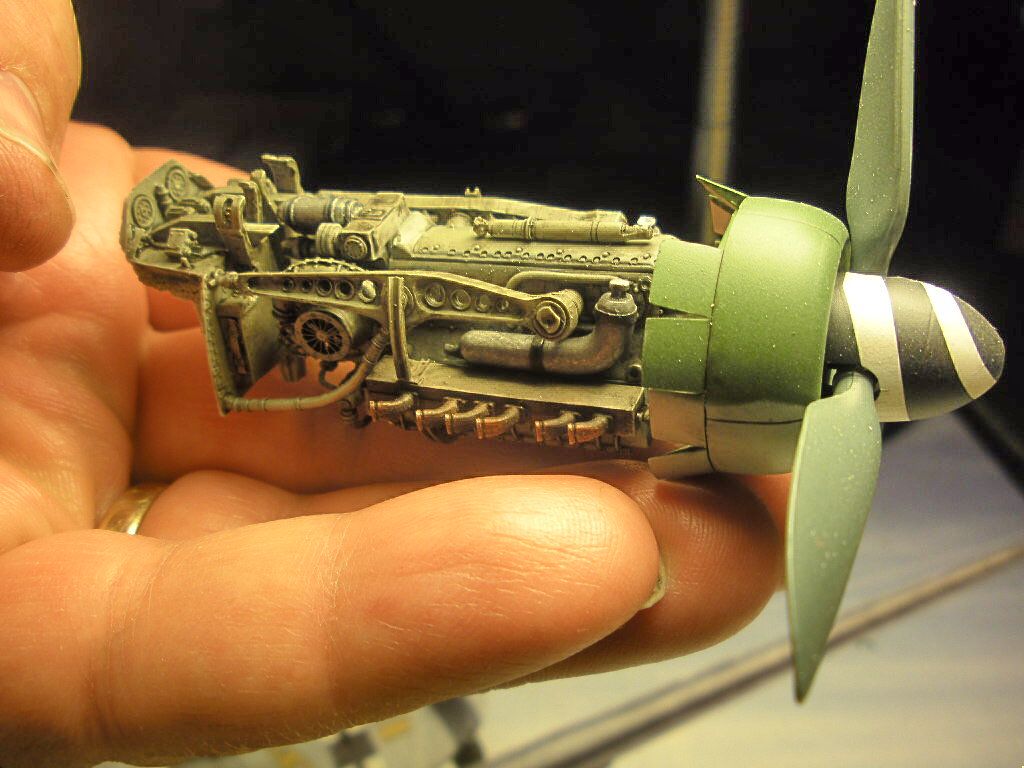
Ok guys. Section 1 is finished and now its on to the build up of Section 2( a.k.a. the engine /nose module). I start with the engine panels and cowl gun panel. For those of you just tuning in, this is Section 2 as it is right now:

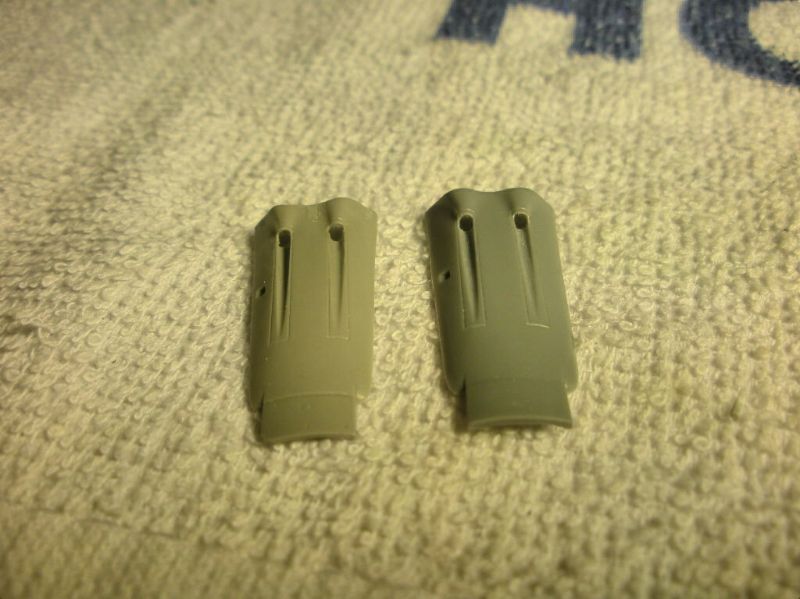
The next step is to fit the cowl gun cover/ trough on the top of the engine and have the cowl gun barrel openings coincide with the location of the gun barrels when installed.This is trickier than it sounds especially when the gun trough cover supplied in the Aires "double throw down" update set is too dang short!!! I used the cowl piece supplied in the Tamiya boxing and cut the machine gun access cover from the gun trough, then removed the molded in machine gun barrels and then drilled out the gun barrel openings.
The incorrect Aires part is on the right and the modified and correct length Tamiya part is on the left:

-
Bob:Those kits look they'll test the limits of painting and weathering. I'll be watching............close!

Wayne:One of these days, I say, I say, one of these days I'm going to tackle an armor build! These builds you are doing are definitely inspiring me!
-
Ben:Got your latest build added man! I didn't know that AMT had a stakebed Ford like that. I'll say this for AMT, they offer alot of selection. Don't feel guilty.....just build it!

Wayne:Let the good times roll!! Looking forward to seeing the Tank Workshop items you received.
Well I got home from work tonight and my son wanted a word in private with me. It seems he was poking around dads models that were completed and knocked the aerial antenna off and one of the hinged engine access panels was broken free of the glued joint of my Fw190 A8/R2 I completed last year. He felt so bad about it that I didn't want to make him feel worse. I just asked him what we could do to prevent it from happening again, he came up with a good answer and I let it go. So no D-9 progress tonight. The A8 gets the attention/ repairs. lol
-
Will do Ben!! This is going to be killer!
-
Ray;Man that build came out terrific. Good weathering and paint.....and quick!!!
Bob:Come on in and welcome to the CB. I'll get you in the intro bud!! That's an interesting looking kit!
-
Looks like you're off to a good start Danny!
-
This has to beat it all! Name, avatar, the whole works, and like was already said it's good to see a fellow modeler with an open sense of humor. Welcome to the forum Ed!!
-
You're in Danny! Got you in the intro post so let's see them pics dude!
-
Sure you can join Danny! I'll get you jotted down in the intro post. Welcome to the CB!!
-
Ok guys its update time! First off thanks Wayne for the thumbs up on the NMF. It was the first one I've pulled off and I didn't have too much trouble out of it other than learning how to use bare metal foil.
I managed to get the wheels intalled and the sacrificial canopy removed. I used the Tamiya windscreen and an Eduard Galland hood sliding canopy instead of the Tamiya one. There were too many extra goodies to the Eduard sliding canopy section to NOT use it. Plus, Eduard offers a PE "Achtung" panel for the head rest instead of a stupid decal. It just stands out a little better. I also installed the vertical fin and wing root cannon access panels in the open position and weathered those.
Current progress:

and a rear view of what I like to call "section 1". Section 2 which is the nose module is about to get attention in the way of engine panels and machine guns.
Section 1:

-
Excellent use of imagination and creativeness on this build Wayne!! I like envisioning potential parts that are hanging in the unsuspecting isles at hobby shops. Really liking the build and the history info here!!!
-
Thats a beaut of a build Wayne!
-
And here we are with the "Tyson chicken legs" installed. Landing gear is all Eduard to include strut actuators and brake lines. I had to adapt the top of the strut to the gear mounts in the Tamiya wing but it wasn't that big of a deal. Most of the paint masking has come off except for the sacrificial Tamiya canopy. That'll get trashed too in favor of a , you guessed it, Eduard sliding canopy section. Tamiya's detail was certainly lacking in the sliding canopy section. Thank God for spare Fw190 A8 "Weekend Edition" kits is all I've gotta say!

and another view.

-
And now for this Tamiya kits biggest failing, the landing gear! Every review I've read and every conversation I've had with other builders warns of the landing gear on their 1/48 Fw190 D-9 being too short, and not just a little bit either.Pictured below are landing gear doors from Eduard and Tamiya. The Eduard is on the left and is the correct length and proportions and the Tamiya is on the right. Look and you can see there is a significant difference. Needless to say , the Tamiya pieces found thier way into file 13 along with the Tamiya gear struts!

-
roadkill2525: Got you entered in on the intro post. I've never seen one of these built so I'll be watching this and looking forward to it.
formula1129:I've got you in on the intro post as well. Another one I haven't seen built. I've seen just about every other Camaro being built but never a 70 ish one. I'll be following close on this as well.
-
Well as I see it this group build is for anything not mentioned in any other category on the forum. Planes, trains, ships, figures, tanks etc. In other woords something other than a model car.
That's my 2 cents, everybody else can chime in as needed.
G
...........and I'll add my 2 cents in there as well. Get it on in here Ben and welcome to the Group Build!!! I'll get you entered on the intro post.
-
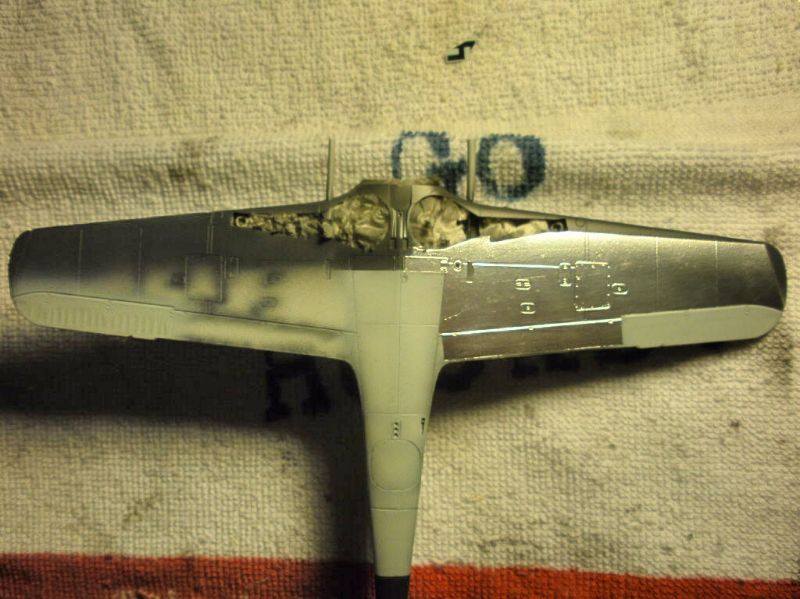
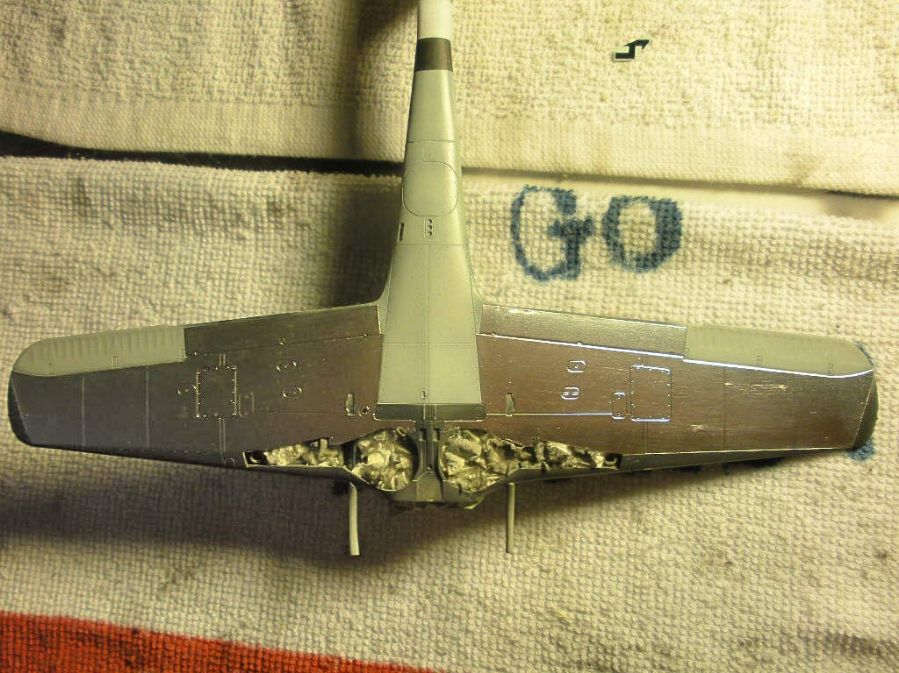
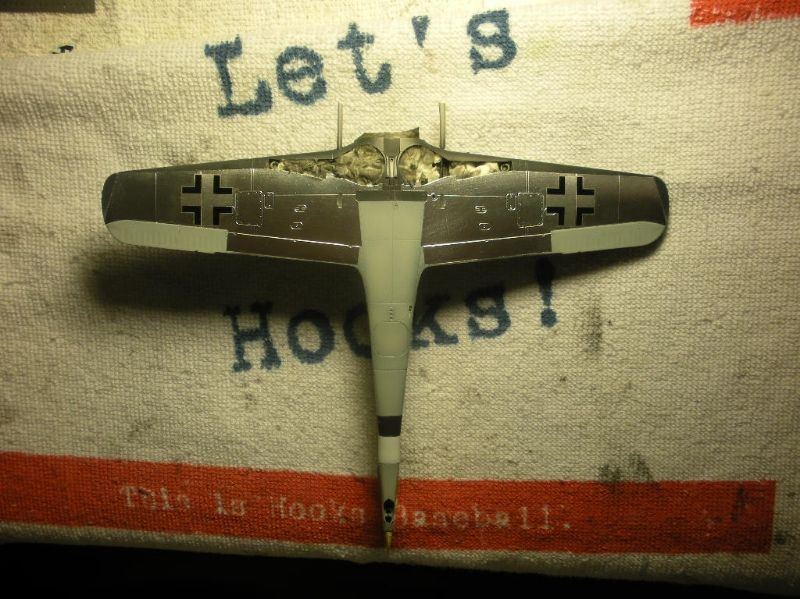
................and the build continues! On with the matte bare metal foil we go. The port wing first,

followed by the starboard wing and center section

and then some decal action. ( don't worry about that nasty film. This'll clean right up and you won't notice a thing!)

more tomorrow folks!
-
BTW Ray, your build is now entered in on the intro post. Let the building begin!!
-
Cobraman says:"I should also add that I am not one of those who are a stickler for exact detail. I don't care if the trees I may use were in the areas where my models actually were or if something was never painted that color of gray. I do try and be close but I am just happy if the finished product is pleasing to the eye.
First off I will be getting you posted in the intro post and glad to see you in here. Secondly...............you aint gotta worry bout no rivet countin', color correctin', gotta be exact as history doofus's here. I get it as close as I can to replicate history but I don't run away with it either and I know the type you are talking about. Just get in here and have some fun at this and don't worry about the "rivet counters". Lookin forward to your build bud, Joe
-
Lookin' good Wayne!! Learning more every day here.

-
Man you've definitely found your nitch in armor building Wayne. I'm looking forward to more of that build.
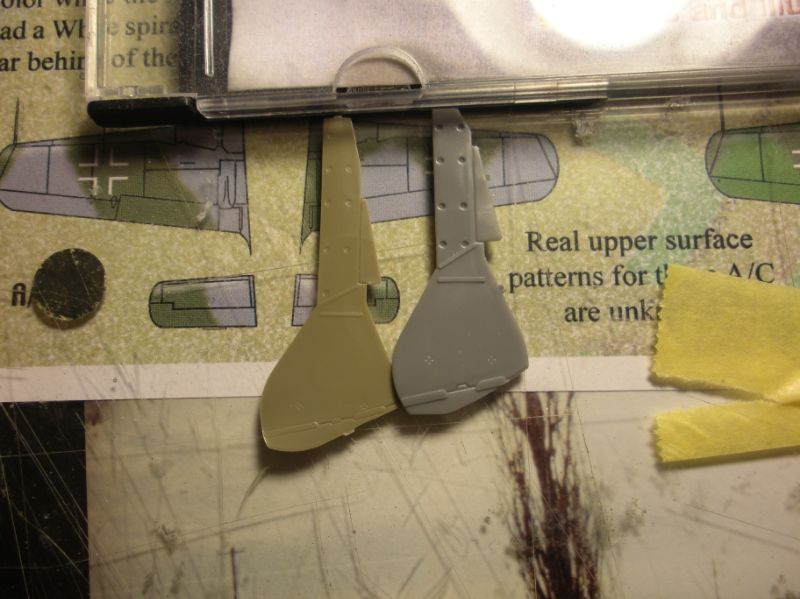
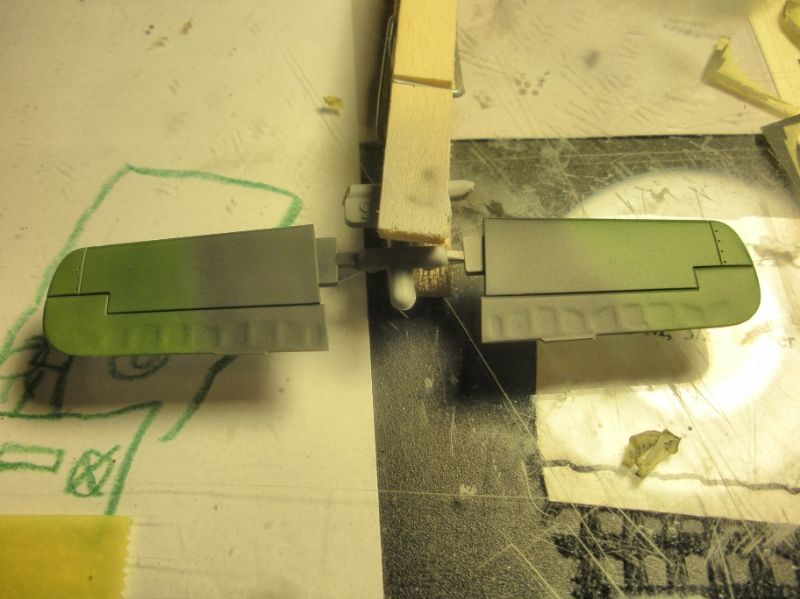
Got the elevators painted which almost turned into a boo boo. I had marked the camo demarcation lines with a pencil on the already primed surface which initially I thought was a good idea until I painted the elevators. After I thought I was done I took a closer look and saw the drawn lines through my "finish coat" of paint. Sheesh!! Out the AB comes again and I finished it off! That would have been cool to overlook that and see it AFTER I had finished the whole thing! Any how here's a pic of the elevators:

and now to what I consider to be a cool part of the build. The first pic is after I had applied all decals onto the main fuselage/ wing assy BEFORE the flat/ sunbleached coat.

This is the AFTER pic with the wash and all flat coat/ sunbleaching coats applied:

Whadda difference that makes. The crudely field oversray on the Gruppe numeral on the fuselage is clearly visible in the pic as well. Now we are off to other stuff like the bottomside bare metal surfaces and landing gear fellas................
-
Amen to that brother!
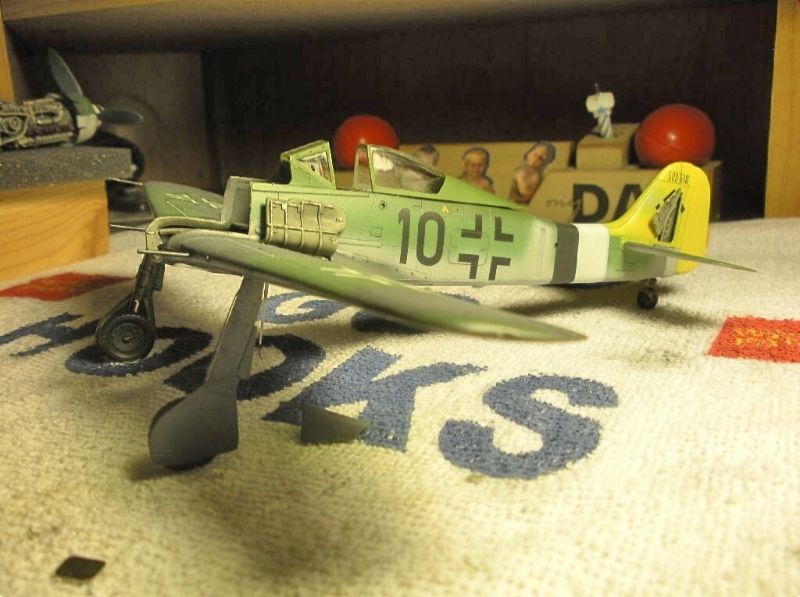
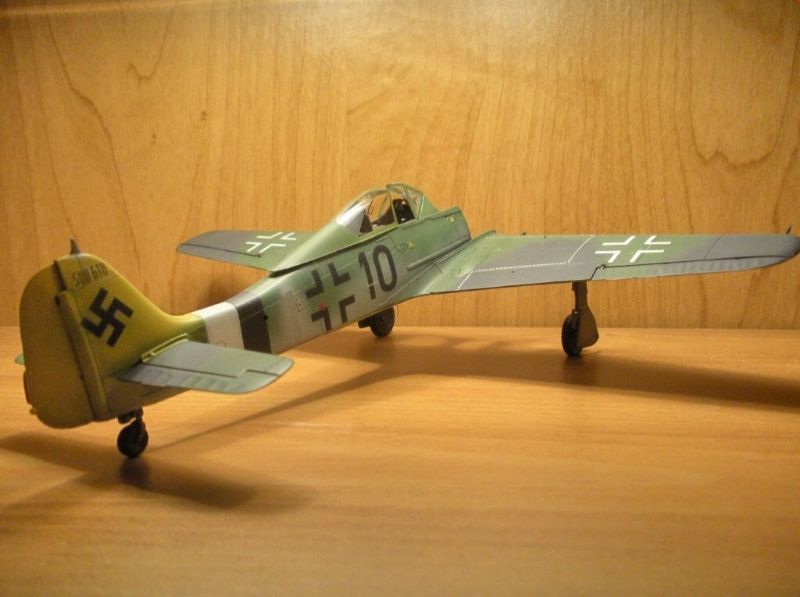
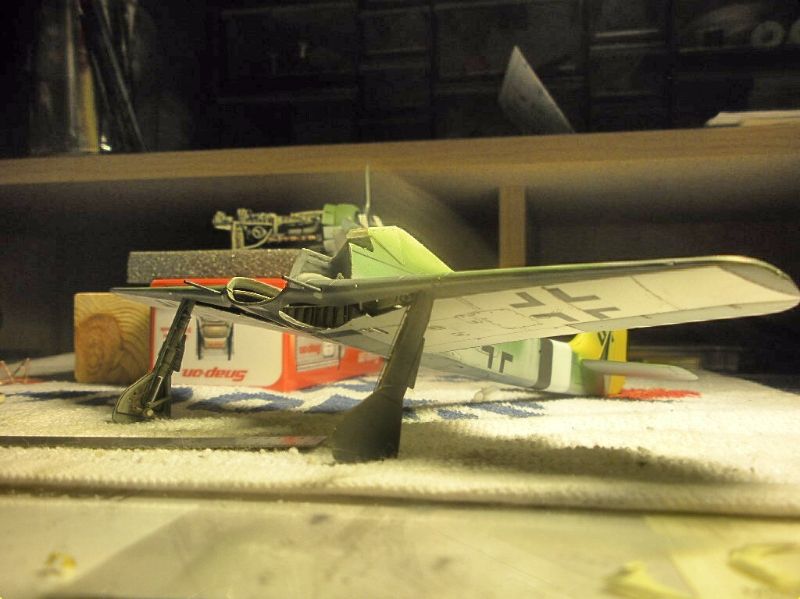
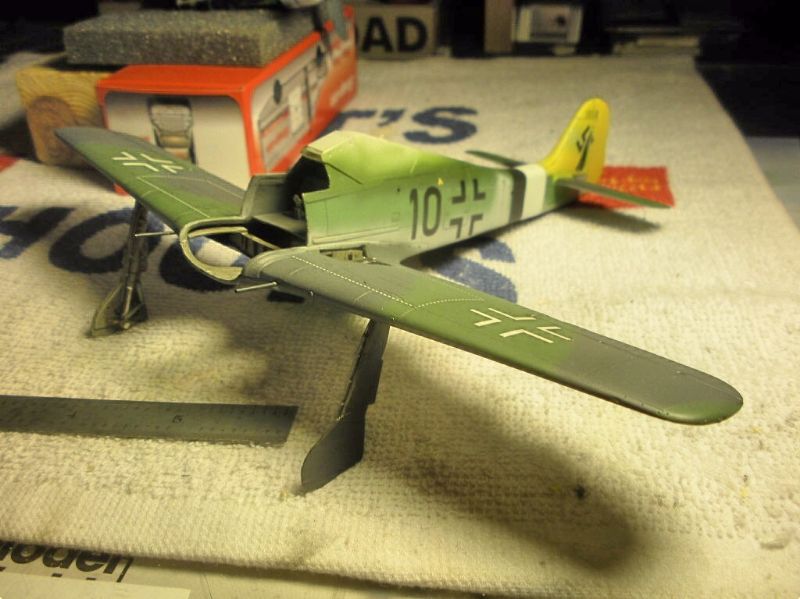
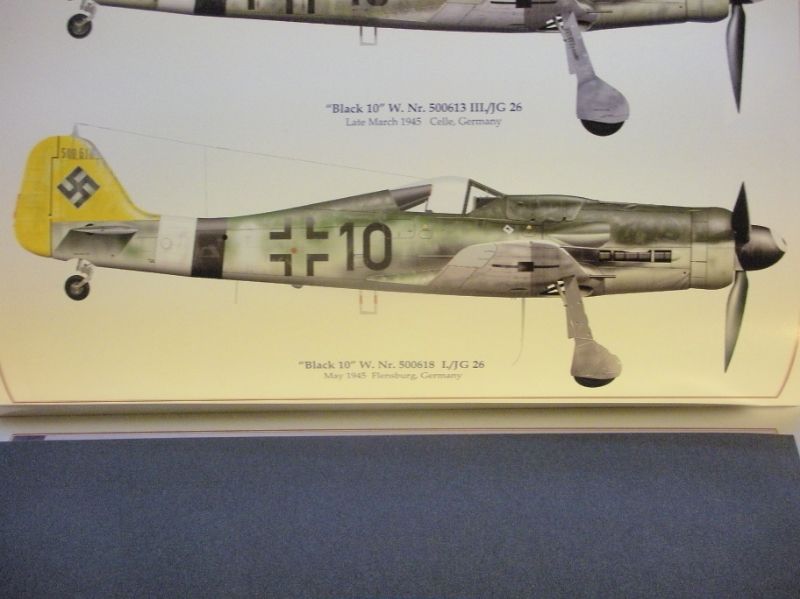
A quick recap of the color scheme that I'll be going with here. It's gonna be "Black 10" of JG26 as it was just before capture in May 1945.

For some reason the greens aren't quite as bright and colorful in these photos out of Jerry Crandalls book! Anyways...on to where we are now..........
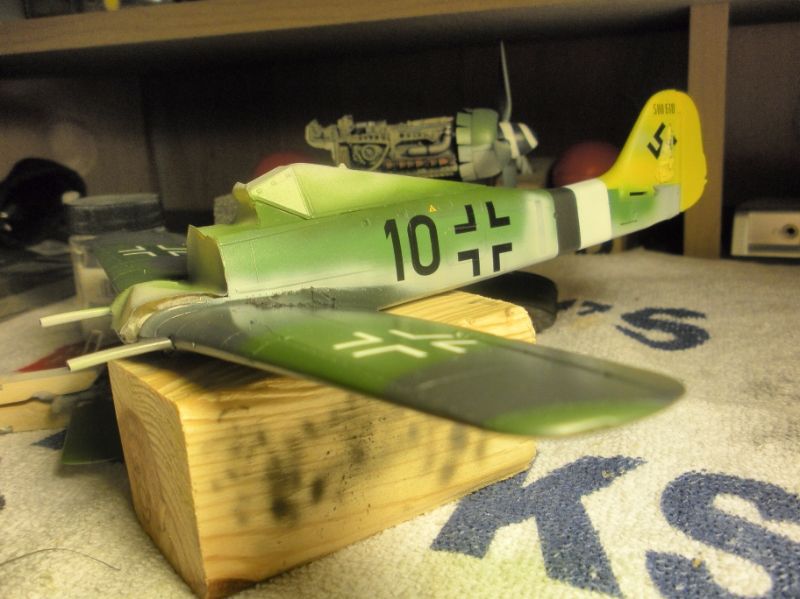
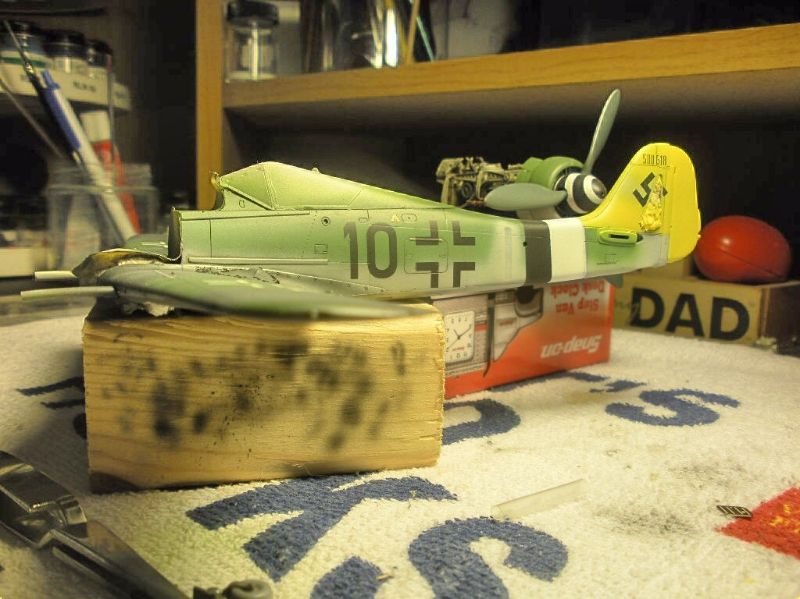
Managed to get the Defense of the Reich bands, a gloss and decals for this photo. She's starting to take shape as a plane I think!!!

-
Thanks Wayne!! At first the colors were kind of gross to me but they ended up growing on me. As far as the acrylic paints go I've gotten used to the downside of using them but the upside is that I get to paint indoors in the comfort of the spare room and the A/C.


The Official 2014 "All the Rest" Community Build-Extended to April 31st
in Community Builds
Posted
Thanks Bob! I'm using a mix of Model Master and Vallejo acrylics with a touch of Model Master enamels for some of the details. I used a Mig Productions dark wash and some ground up black pastel to complete the weathering process. The exhausts are a project of their own paint wise.