

mustang1989
-
Posts
6,398 -
Joined
-
Last visited
Content Type
Profiles
Forums
Events
Gallery
Posts posted by mustang1989
-
-
I have the same problem with storage space. I got back into the hobby full swing in Jan of 2012 and haven't stopped yet. My small storage space is running out quick. The only thing that may save me is the fact that I can donate a couple of my builds to the U.S.S. Lexington museum here in the bay. They have a really nice model display room. Even if I emptied it out I couldn't display a 32nd scale B-17! I do, at some point, want to build the 1/48th scale Monogram B-17 I've had in my stash now for 24 friggin' years! lol
-
I like both of the Cessna's man. Nice BMF on the first one and on the 38. Man that 38 should be a biggun' in 32nd scale. HUGE!! HK models released a 32nd scale B-17 within the last year. Now THAT is HUGE!!!
-
Interesting build! In real life this thing would be one helluva ride!!!!
-
Man it looks like it should just roll on outta there Wayne! This is true model building at its finest here sir! The tank, the figures, hell everything! There's just so much right about this build that I don't even know where to begin!

-
Man those were the days right there! I was toolin' around in a little blue 67' Mustang coupe with Cragar SST wheels on it back then. That car was da bomb!! I drove that thing everywhere. Good to see a fellow Ft. Polk resident here.
-
Not to worry Jason. I think we've all had those times. Thank you for your encouraging words and look forward to seeing you in here pal, Joe
-
Thanks Eric! Would love to see pics of that 109! Eduard is to be releasing thier new 109 F,G, and K variants in May. These things look KILLER!! I'll be doing one of these this year as well in the G-6 variant.
-
First off James that's a very clean build! Secondly what unit were you with at Polk? I was there at that time frame with 36th Air Med as a Huey crewcheif out on the airfield. Small world we live in I'll tell ya! lol
-
Well guys we are starting to wind down on the cockpit here. I've got the rudder pedals in stalled. What a hoot that was if I would have done that the way the Aires instructions would have had me do it. Basically there are two PE arms that come off of the pedal bracket and are SUPPOSED to be glued one on the L/H fuselagea and the other on the R/H fuselage. I chose to make a styrene section and glue both of the pedal bracket mounting arms to that and then the whole styrene section to the L/H fuselage. Kind of like this:
one last shot of the interior before we move on here:
and now she's sewn up!
-
Watch out. They will sue you for copyright infringement.......LOL.
That thing is coming out Awesome!!!
Man you got that right. It a wonder that half of the reference pics we post on these forums havent' been the target of that kind of stuff.
-
That'll make two of us!!!! LOL
-
Wayne: You are not allowed to stop building here until the GB ends!!! WOW!!! I'm going to end up PMing you for tutorials on painting figures. I have some 1/48th scale mechanics that I would like to paint for my Stuka.
Ben: Man that color and those decals go together like peas in a pod man!! Nice. Did you use any setting solution on those decals?
-
Thanks for the vote of confidence on the progress so far Dave and Wayne!
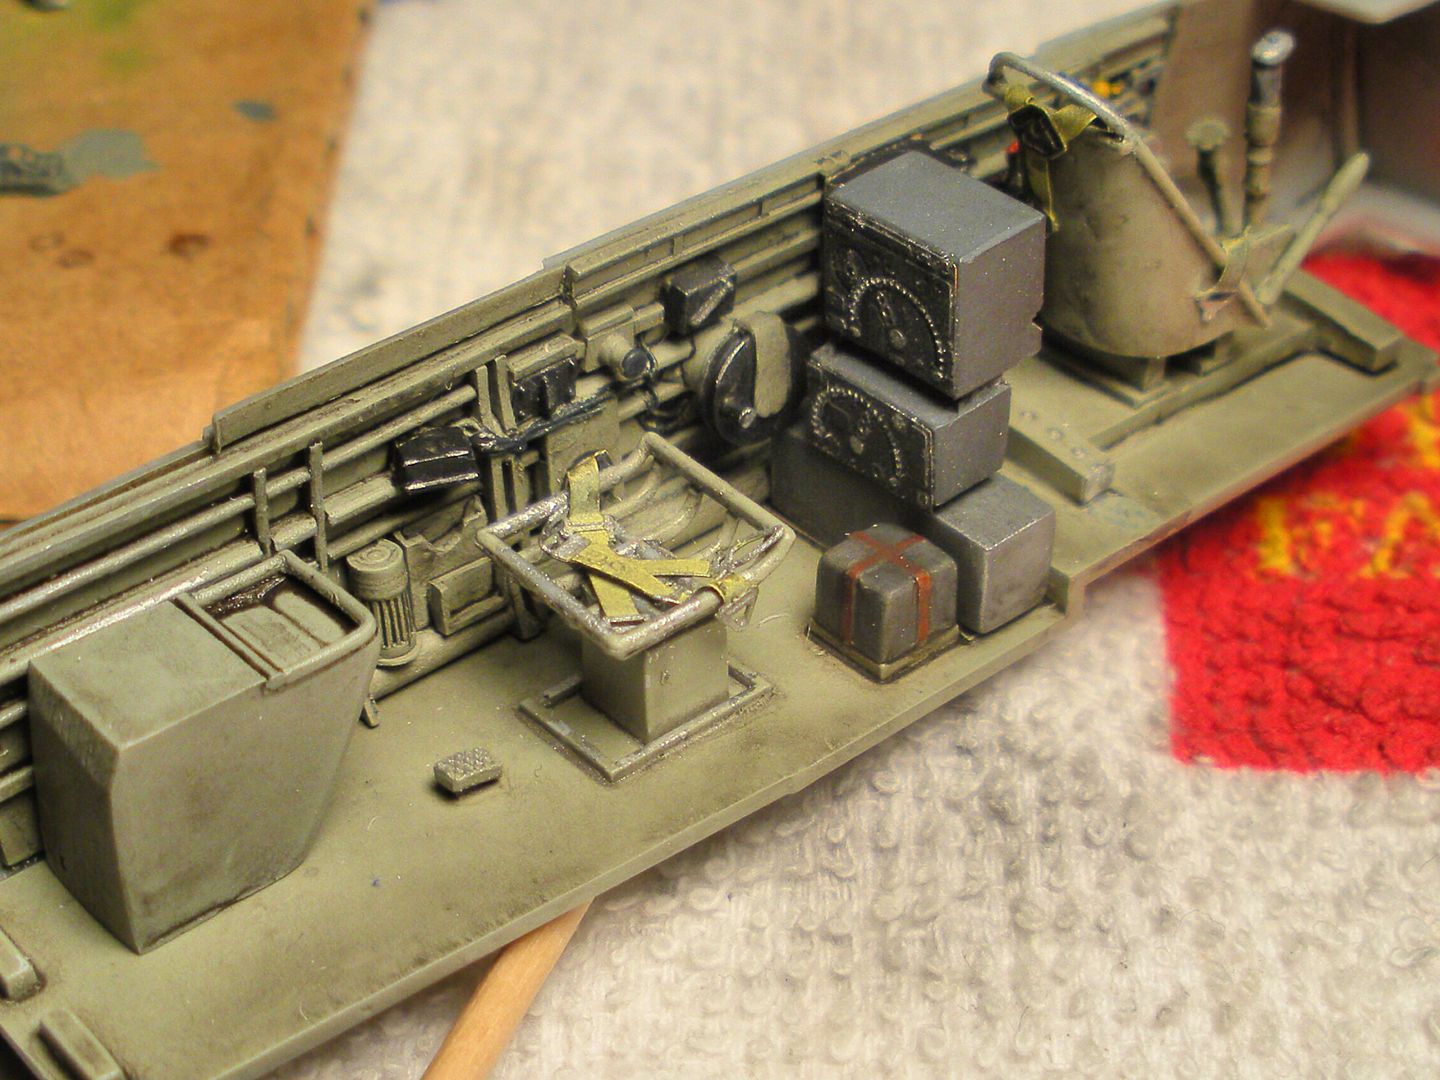
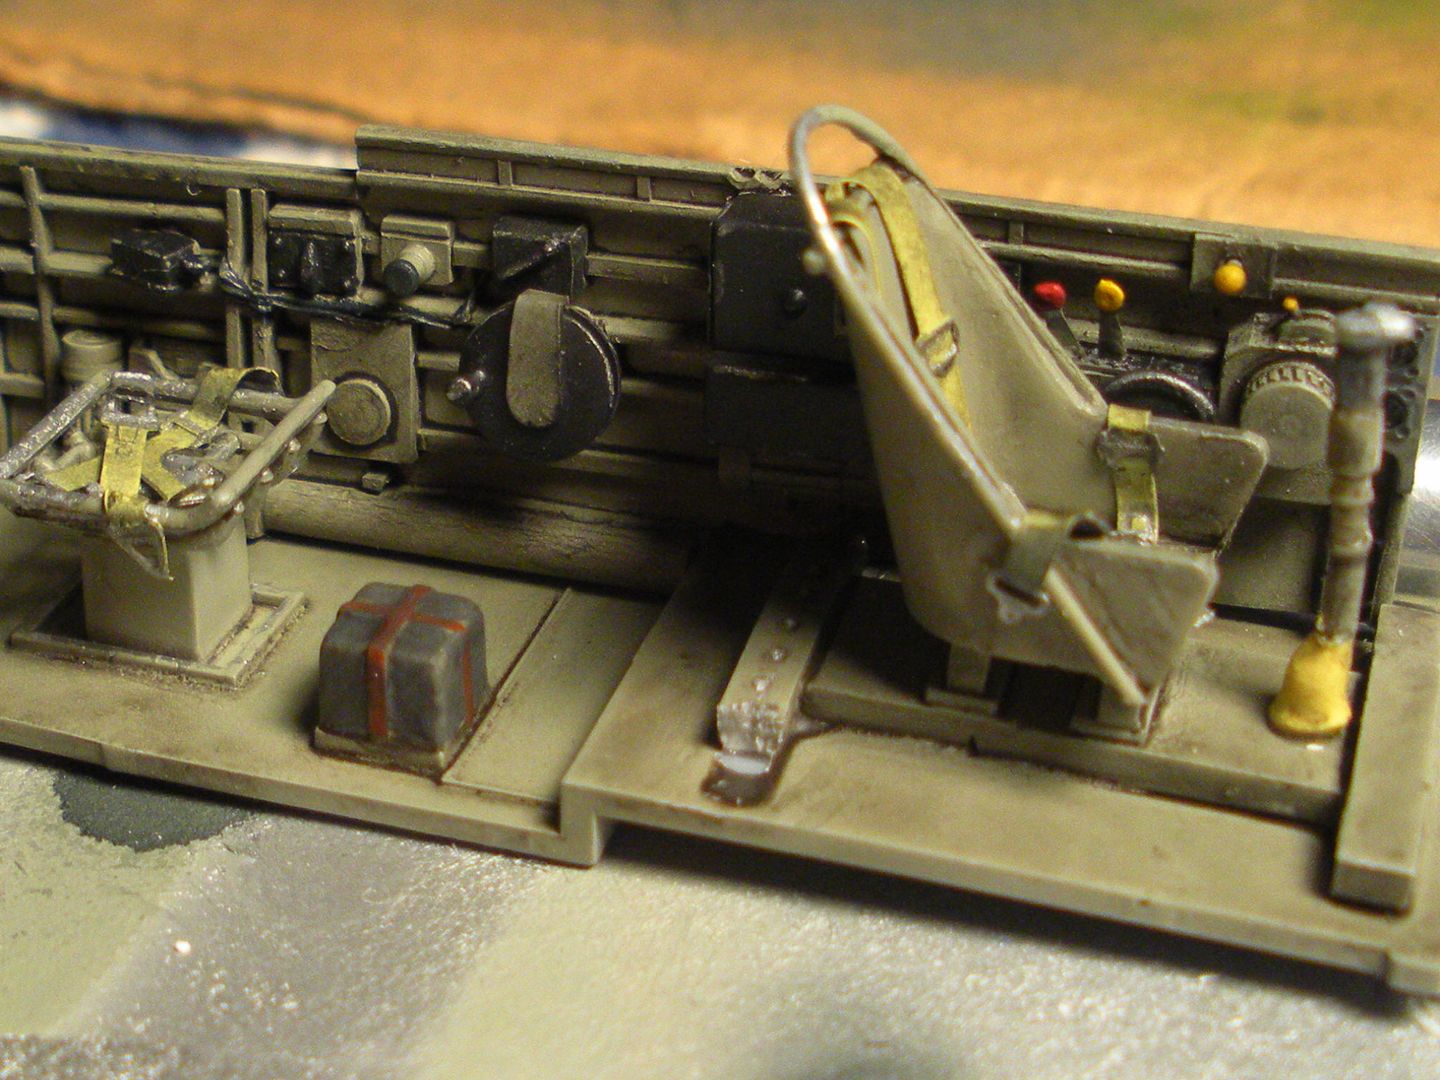
Well the updates for today are minor but I'm glad I found what I found now instead of later. It seemed that after I installed the S5b and F5a radio transmitter/ receiver boxes behind the pilots seat there that the overturn structure which mounts to the sides of the cockpit and then the radios mount to that, I had a problem. The radios sat too far down in the cockpit. Further research showed that there was a rectangular base that was supposed to be there that did not come with my update kit. I robbed the part that was molded to the OOB radios, cleaned it up, painted and weathered it and then installed the parts.
Here's the before pics:
and the after pics:
Coming up next will be the rudder pedals (which look like a real PIA) and the instrument panel. Also coming down the pipe line is the planning for cutting an access panel out of the L/H wing for displaying the wing 7.92mm machine gun and a panel for the cowl to display the oil reservoir.
-
I've done it especially when , only by coincidence another few members have posted the same time as I have and suddenly right after I post, my post slips down the ladder several posts. niteowl nailed it pretty good with his point.
-
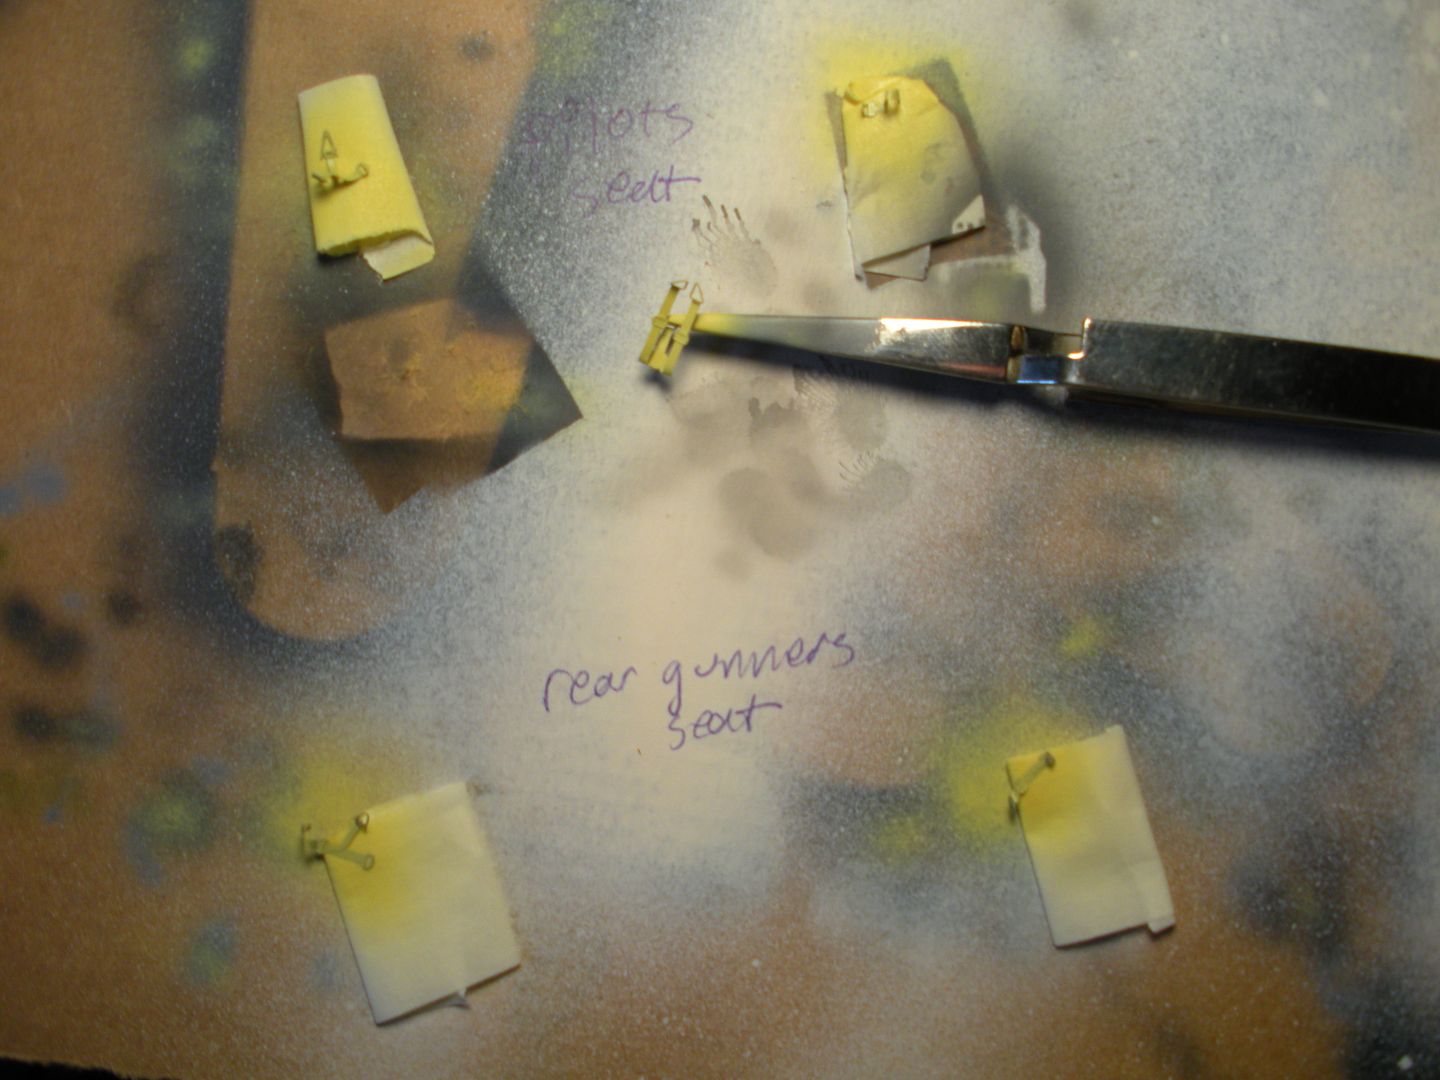
Seat belt painting under way with a coat of Humbrol Linen enamel a couple of days ago:
and then here we are with the pilots and gunners seat with the seat belts installed along with a couple more details:
and a top side view: I always pic the metal detail out with MM aluminum enamel paint and weather the belts to dirty them up a bit to give em that used look with ground up black pastel brushed onto the belts. What's interesting here is I had to cut away some of the floor detail (that will not be seen) to accomodate the oxygen bottles on the R/H side. AM stuff.............I'll tell ya!!
There's more coming. The Aires cockpit set has LOTS of stuff in there!!
-
Man I hear ya loud and clear on getting MM acrylics to behave when airbrushing!! Always gums up the needle tip...........and I mean bad. I have had to cut it with ISO and it yeilds only minor improvements.There seems to be a price for the color selection.
-
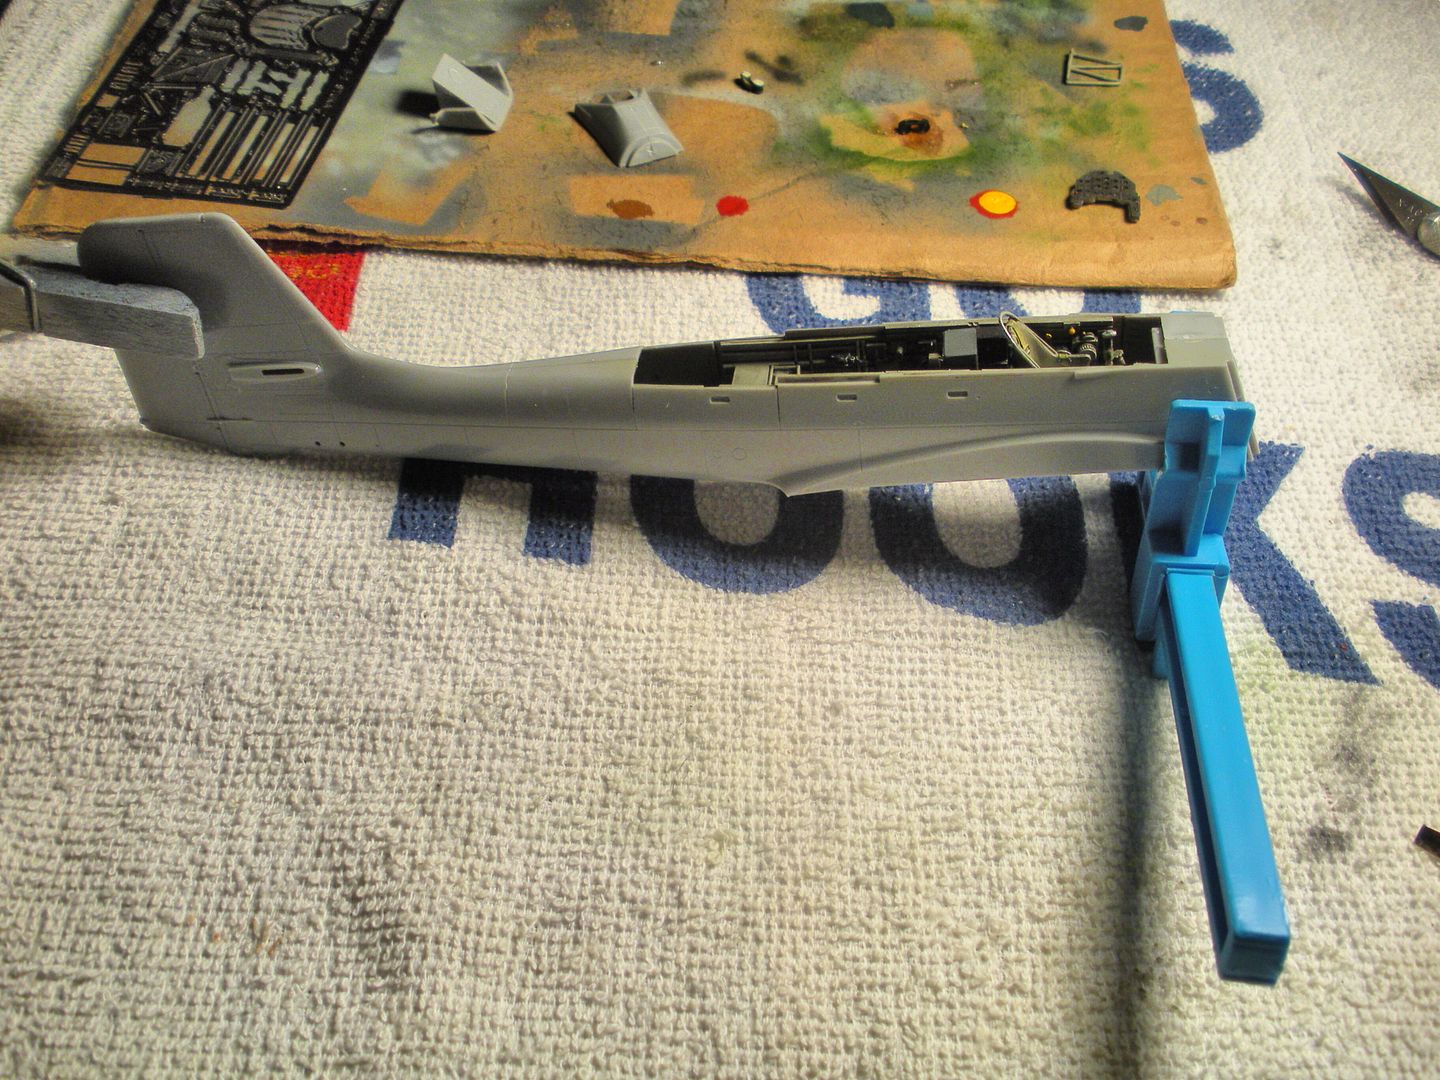
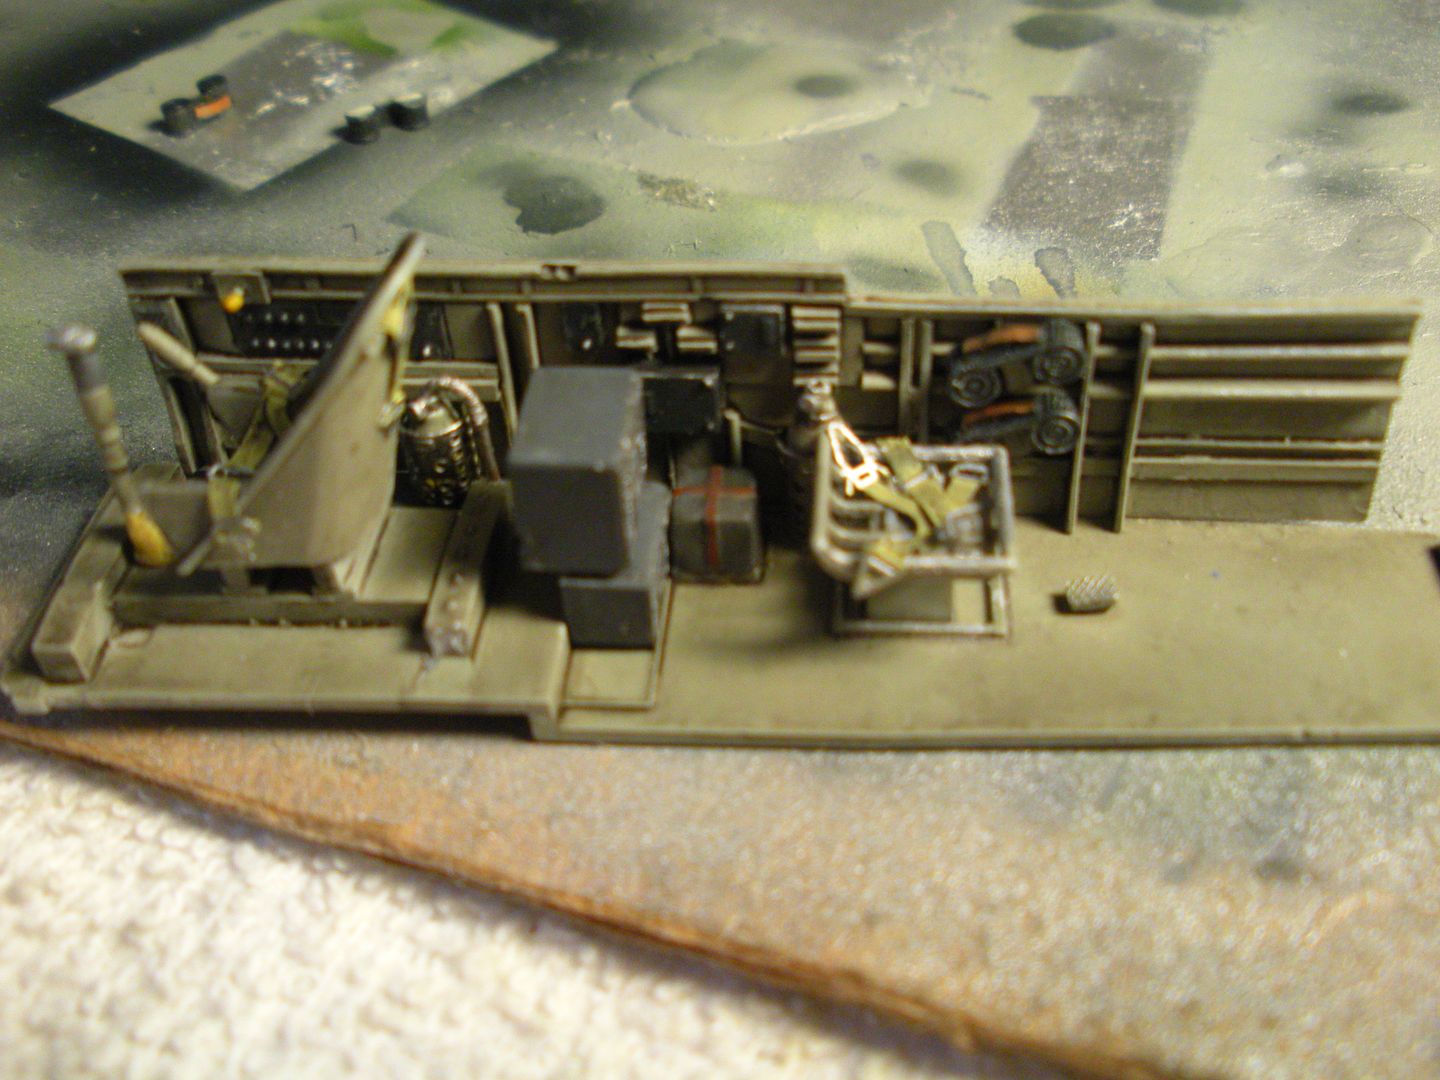
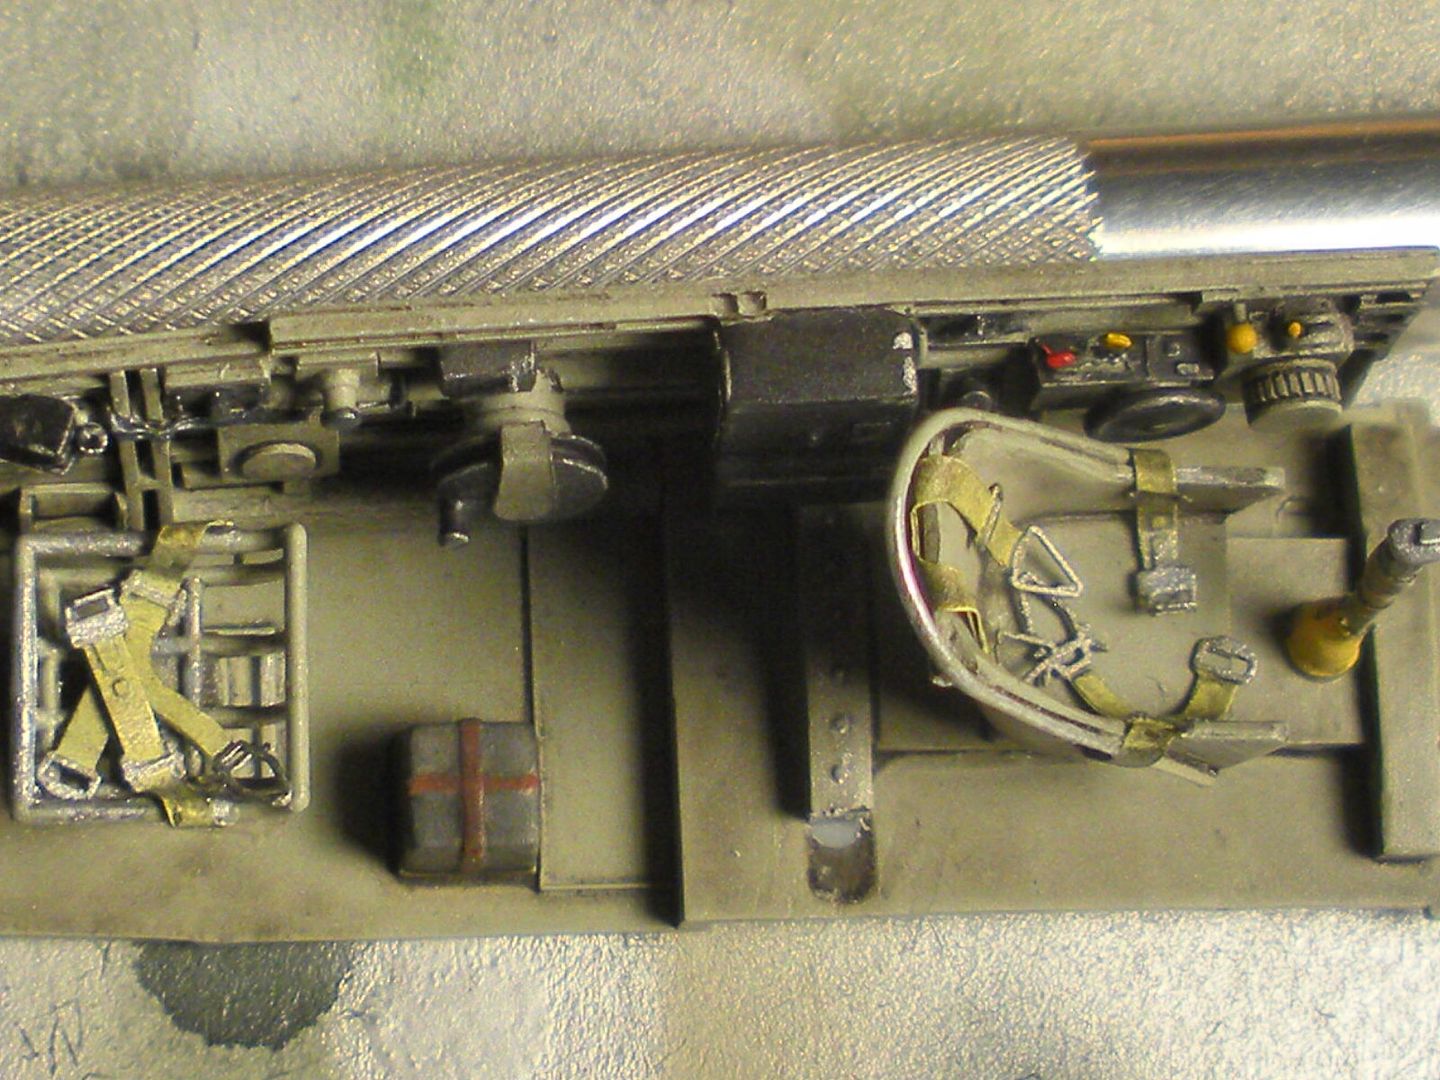
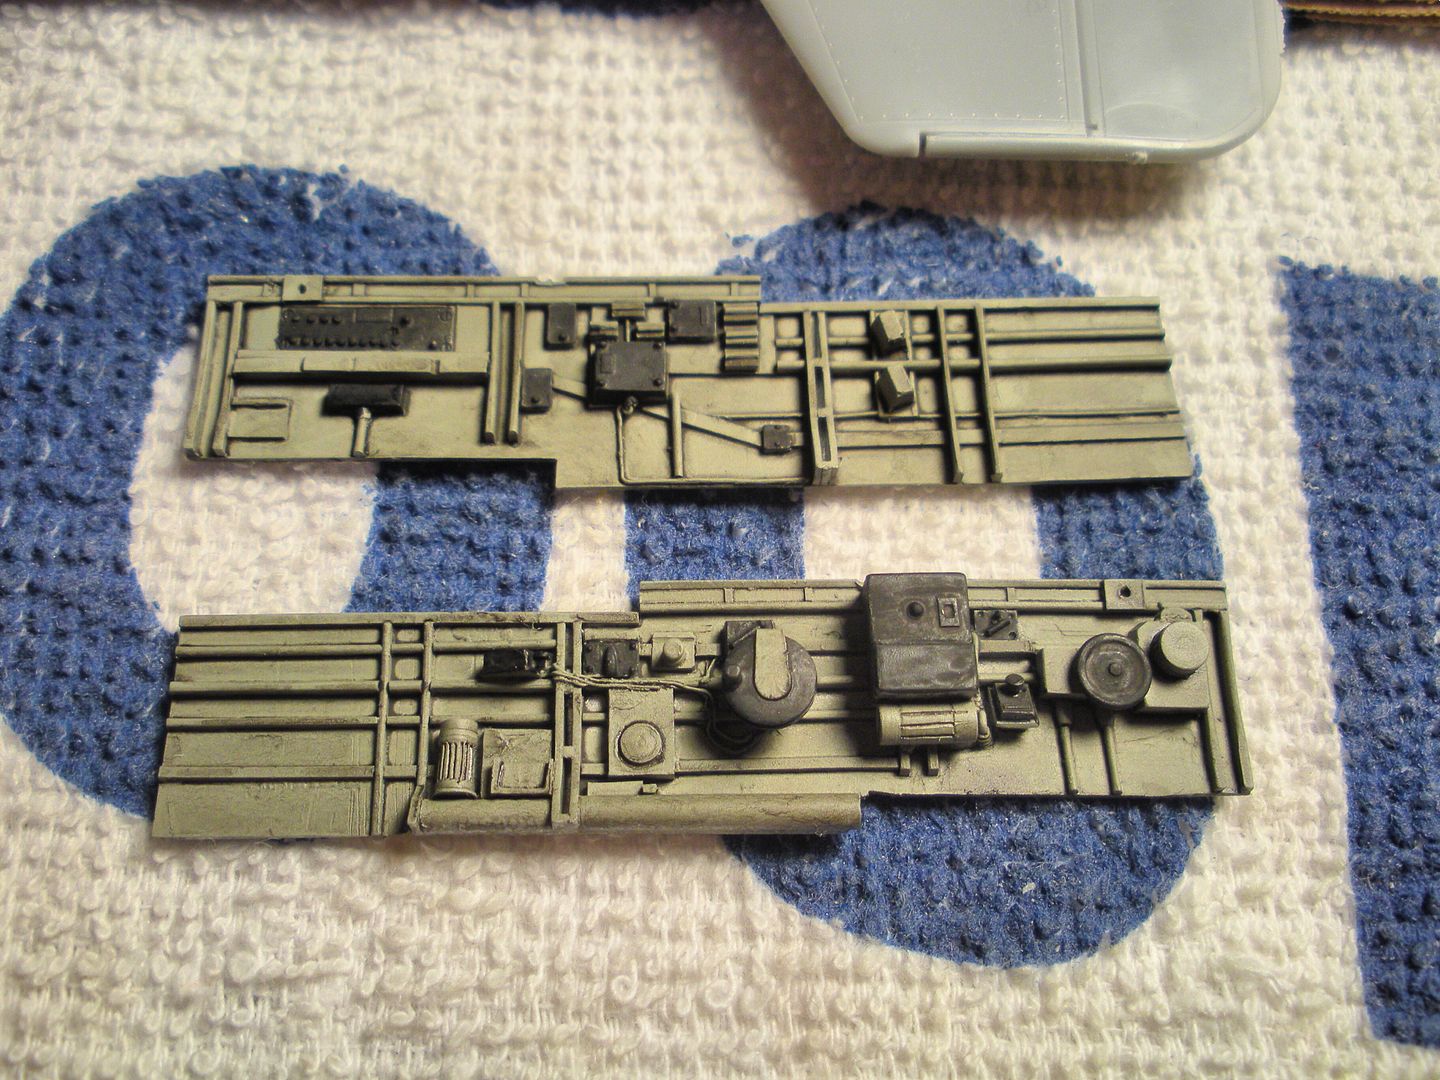
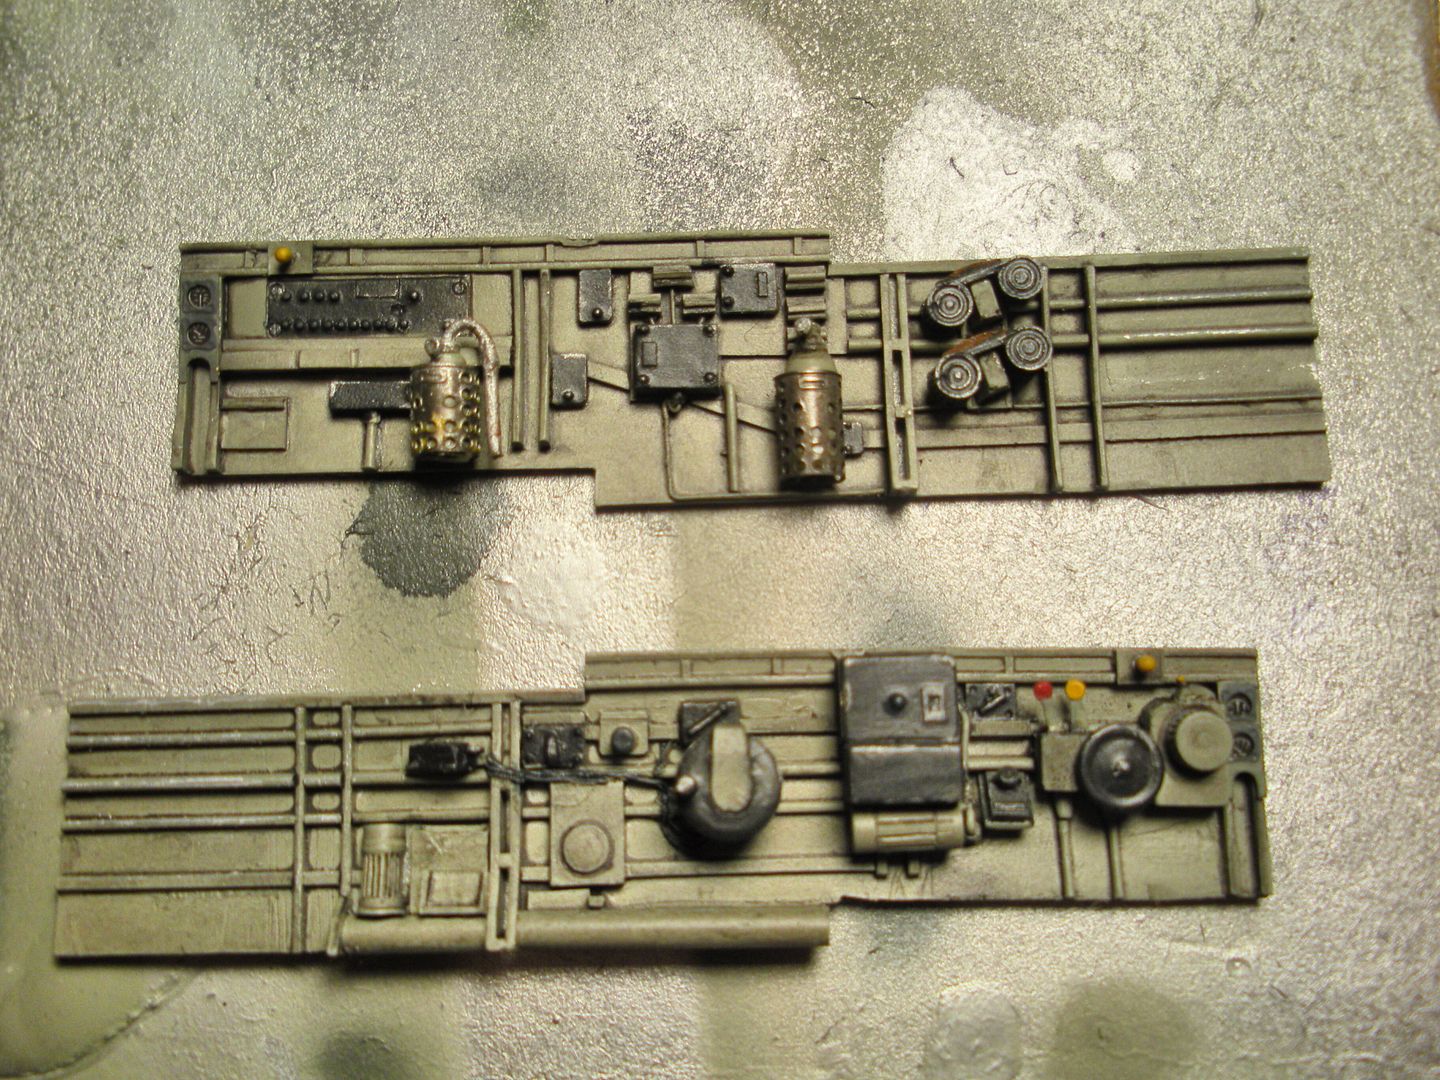
Progress report here guys. I started building the L/H and R/H walls of the cockpit. I shot a coat of enamel "rattle can " silver on and allowed to dry. I then followed up with a coat of acrylic RLM 02 light grey and let that dry. After that I carefully scraped away some of the gray with a toothpick to reveal the aluminum (silver) underneath to give the initial worn look. Then I picked out some of the details with a coat of flat black mixed with a little grey. After that came a coat of Mig Productions dark wash thinned down just a bit more to not over do on the wash. Here's before the details:
After this phase I installed the PE details you see here like the oxygen bottles, gauges, control levers and ammo drums. Then I picked out the highlights and corners with some dry brushing of aluminum and hit some of the other finer points with a silver lead pencil followed by a dulling with brushed on ground up black pastel.
-
Good progress on your Befehlswagen Wayne. What brand of acrylics do you use again?
-
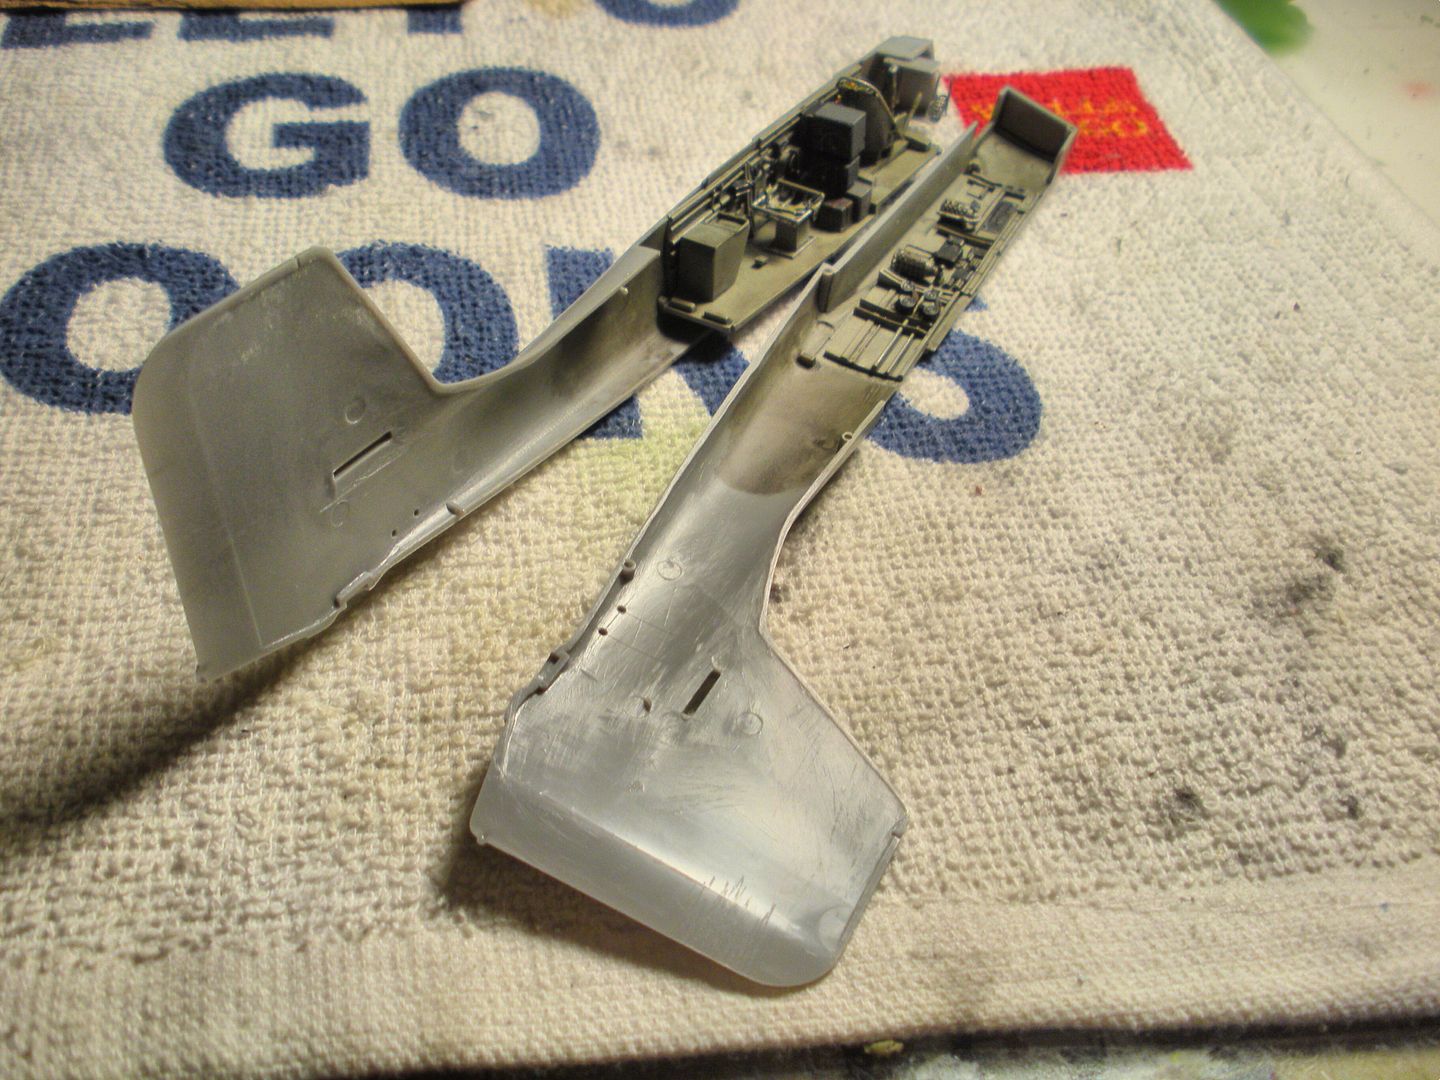
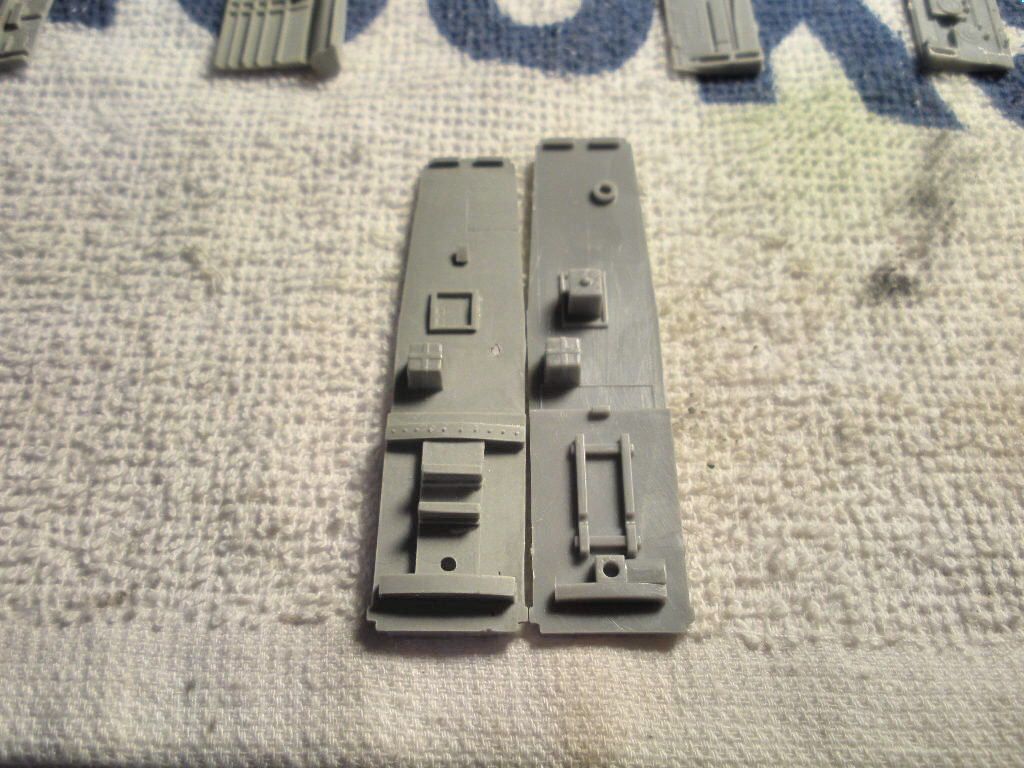
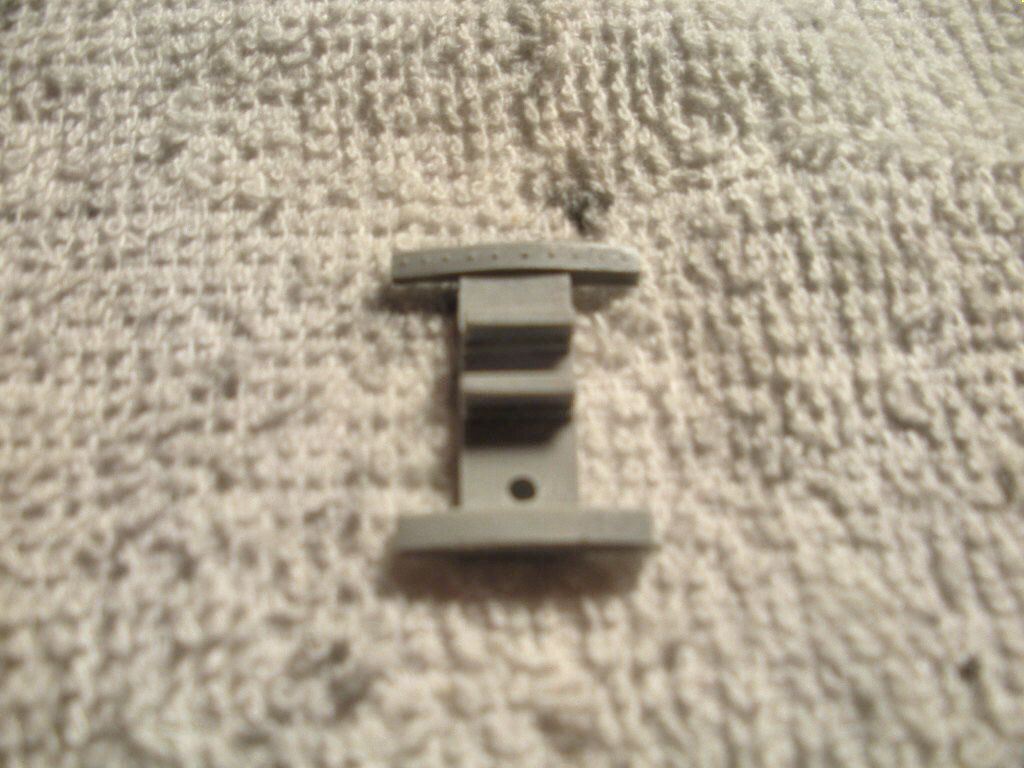
Well its Stuka time. I started off with the cockpit flooring. I have an Aires "double throw down " update kit for this aircraft as well. The Aires flooring has some fit issues that I definitely did NOT like. The length and width of it are way off so I'm going to do a little mod to correct the issue. In the picture below, the Aires part is on the left and the Hasegawa on the right:
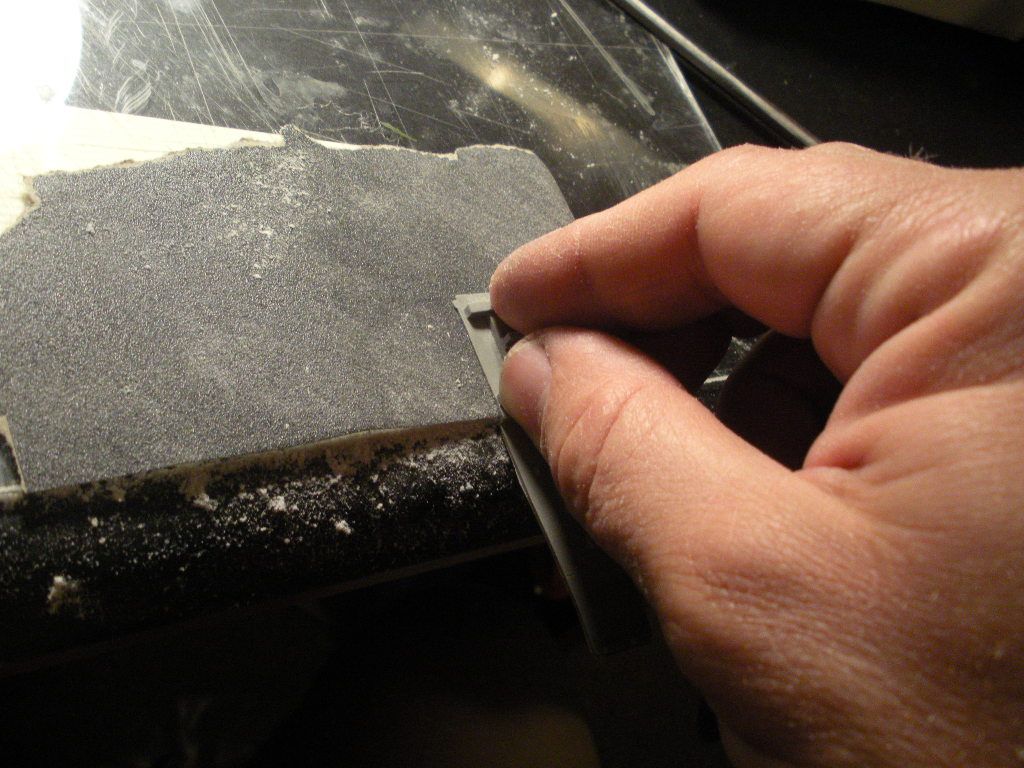
As you can see there are significant sizing issues that result in NO fit into the fuselage concerning the length. What is not readily visible is the WIDTH concern. It doesn't fit that way either. Oh well, time for a little surgery!!! My goal is to remove the raised detail from the Hasegawa flooring by sanding it all off :
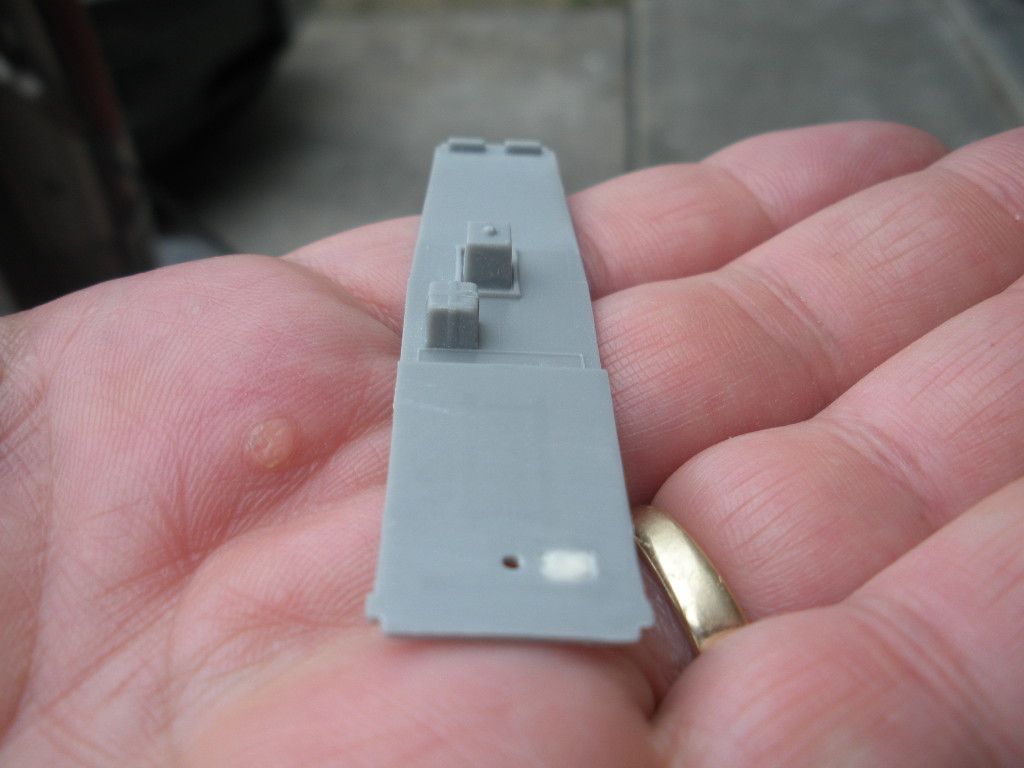
and then removing the detail from the Aires floor and transferring it over to the Hasegawa floor. Here we are at work on that...........
Here we are with the usable detail:
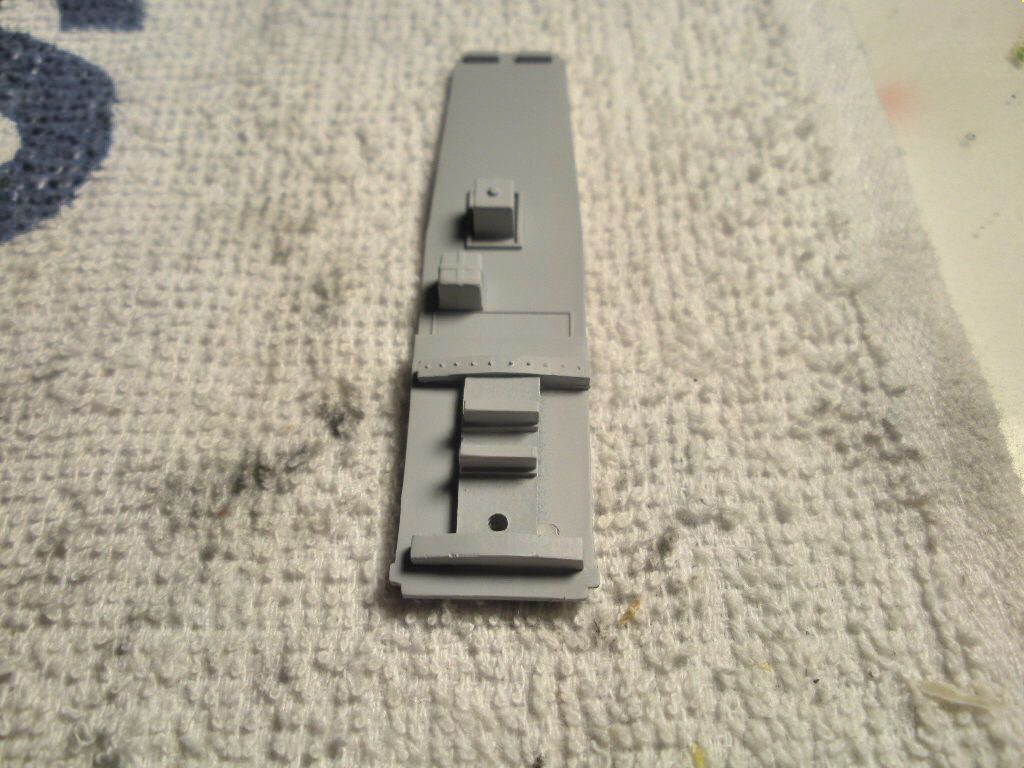
and here it is on the Hasegawa flooring:
The small imperfection at the L/H front of the flooring just behind the front "leg" of the raised detail is of no importance. I started to fix it but that area is going to be covered up by other detail coming up.
-
roadkill:I posted the update/ change in the intro post. Looking forward to the build
David G:Your B-9 pic is posted in the "Completed Builds " Section. Again feel free to grab another kit.
Wayne:Man that stencil is really coming in handy for you! Watching the progress...........
-
Now THAT is friggin' cool!! As the others have said, I aint seen that in years!! I'll get this in the intro pronto!! Dave, first off thank you for being in this CB. Secondly I'd like to extend a further invite to stick around and build something else if you feel like because you're certainly welcome here.
-
Nothin' but the details. Great work here Brad!
-
Heya Roadkill! Good to see you in here. I'll get you switched out in the intro.
-
Thanks to Carl, Bruce, Wayne, Harry P, Jim and Tony for the very encouraging comments. You know when I started this build I wanted to not only display a high level of detail but use the opportunity to display and pull off a paint scheme that beat all my past paint works. I built an SBD Dauntless that I shared with all of you a few months ago and that was the test bed for alot of the new techniques that I incorporated into this build. The engine area of this build here was fairly difficult and took me about a month to build and weather but the real work that was involved was in the paint and was by far the most time consuming and tedious of any I have attempted in the past. Again thank you all for your comments and for looking!


1/48 Tamiya Fw190 D-9--Her Last "Hoorah"
in WIP: All The Rest: Motorcycles, Aviation, Military, Sci-Fi, Figures
Posted
LOL! I agree! I was at a loss for trying to replicate that spring when I had the flash thought of using a guitar string!! It did do the trick for me and thanks for the good word Peter!