

mustang1989
-
Posts
6,398 -
Joined
-
Last visited
Content Type
Profiles
Forums
Events
Gallery
Posts posted by mustang1989
-
-
Mark: Good recovery on the drop man! Whew! I'm in a group build on another site and a guy dropped his plane after having the fuselage together. I'll say it here like it was said there, "Better to happen at this stage in the game". Like the build and progress.
Wayne:What can I say? Your work is astounding down to the base. Can't wait to see this and more builds here and abroad!
-
It felt good to actually put color on this thing finally. I'm using Vallejo Air acrylics and those DO NOT clog up the AB like MM does , thank God! Here she is so far:

and to the sides:
if anybody is wondering about the ridiculously large gun barrels in the wing, that's electrical heat shrink that I masked the metal gun barrels off with. lol
-
You know Wayne I have the same problem with MM acrylics clogging up the AB. Sometimes I'll cut it with 70% ISO and that helps out alot but its just something with that brand of paint. I'm constantly cleaning the AB but I guess that's the price I pay to be able to paint indoors in the A/C. LOL
-
Can't wait to see your build too Ray!! Wayne......................................looking good dude!!!
-
Prime coat on.................finally!!
and a little pre-shading to go with that!!
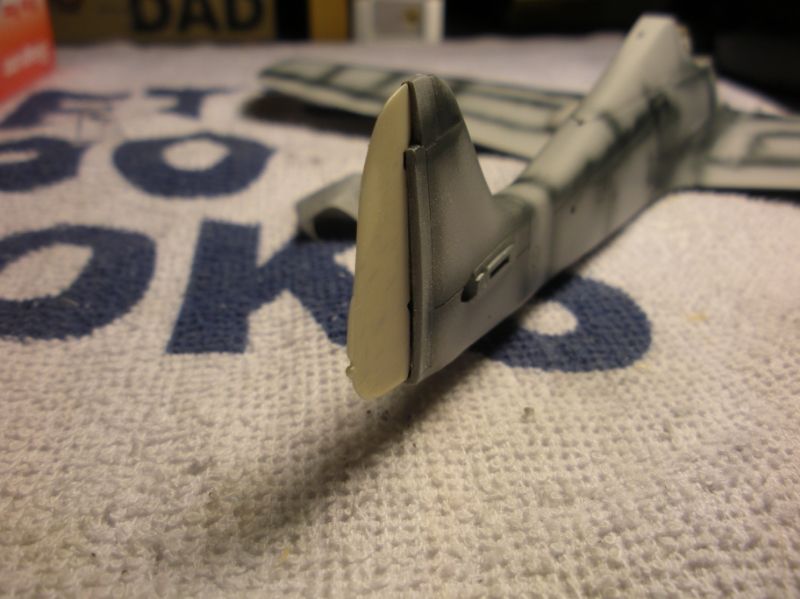
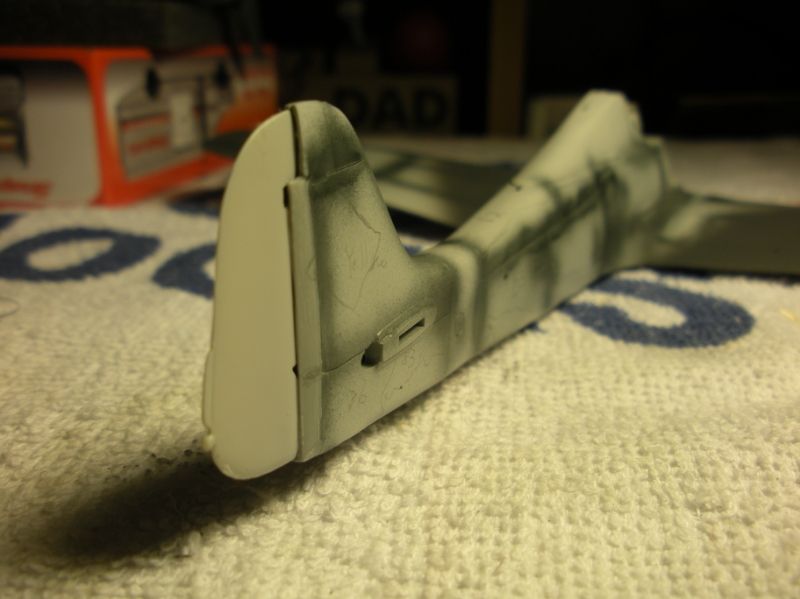
Now this here next is what kicked my tail (no pun intended) for a while. The rudder to tail fit due to all the stuff that's inside of the tail. Starting pics are scary............
and the next one is after about an hour and a half of sanding, re-fitting and tidying up...........
Not ALL the way that I like it but dramatically better! Good ol' AM stuff sometimes.......................
-
It's looking good from every angle I can see Wayne!! Man you really know your way around an armor build. I've seen some folks that seem to take forever with a bulld like this.
-
Come on with it!!! lol
-
Pic's posted in the intro post Wayne!!
-
Like all that PE Wayne. This one's gonna look killer!!!!
-
Well this is just going to be alright Wayne! Can't wait to see this one come together as well.
-
Fellas.............it's time to start layin' primer n' paint!!!!
-
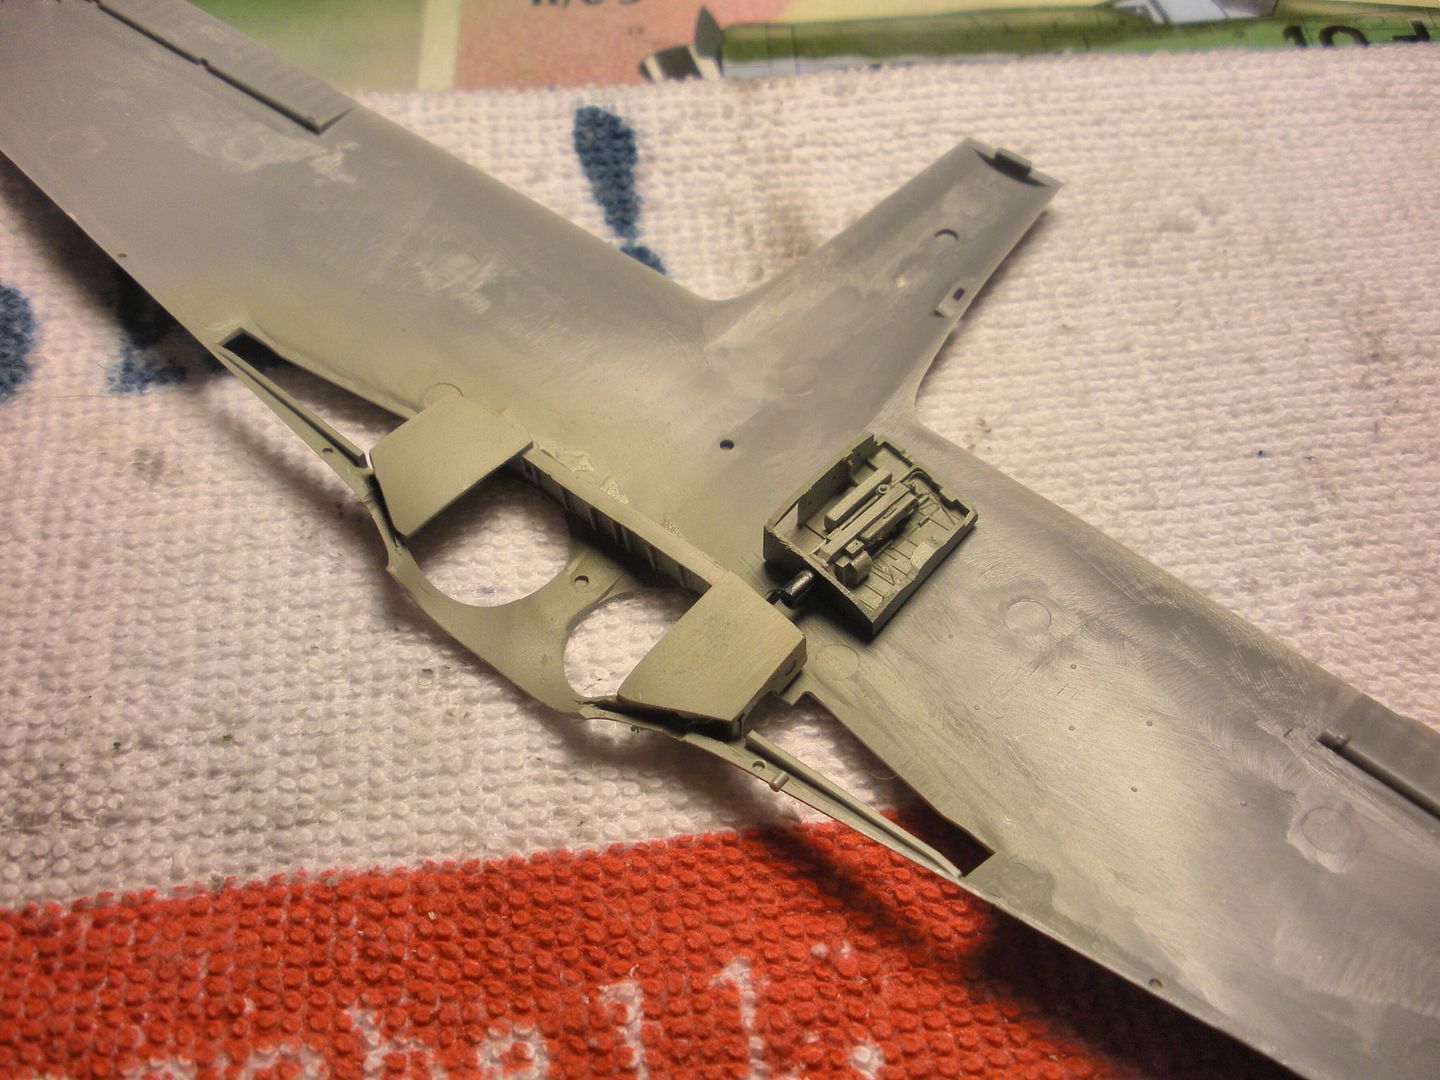
The latest pics of the port wing cannon assy in the works. I had to sand the upper and lower halves of the wings "potato chip" thin and carve some off of the thickness of the gun bay to get this sucker to fit between the wings!! Lotsa work but payin' off:
test fit after sanding the "you know what" out of it!
I thought it was never going to work at one point!!
a little gap at the front of the wing but I think we can manage....
...........aaaaaaaaand...........we got it!! Got everything masked off to include the gun barrels with electrical wire heat shrink.
-
That....Wayne sir.....is an excellent build. And that's what I was talking about about some of the armor stuff. It's one thing to build a model as it rolled off of the assy line ,wether its a car, boat, plane or armored vehicle. Its an entirely different approach to make a model look worn (by use and weather) such as this build here. It didn't seem to take you all that long either. Let me know which picture you would like to see in the intro post and I'll get it posted there bud. I look forward to the other build that you have in store for all of us here Wayne!
-
Thanks Wayne. You also have to remember that this thiing has the Aires update set ;for the added detail. Speaking of detail, yours is looking good. Sometimes I don't know how you armor guys do half of the stuff you all do. I've seen some pretty crazy stuff out of the armor section on FSM......and now here!
-
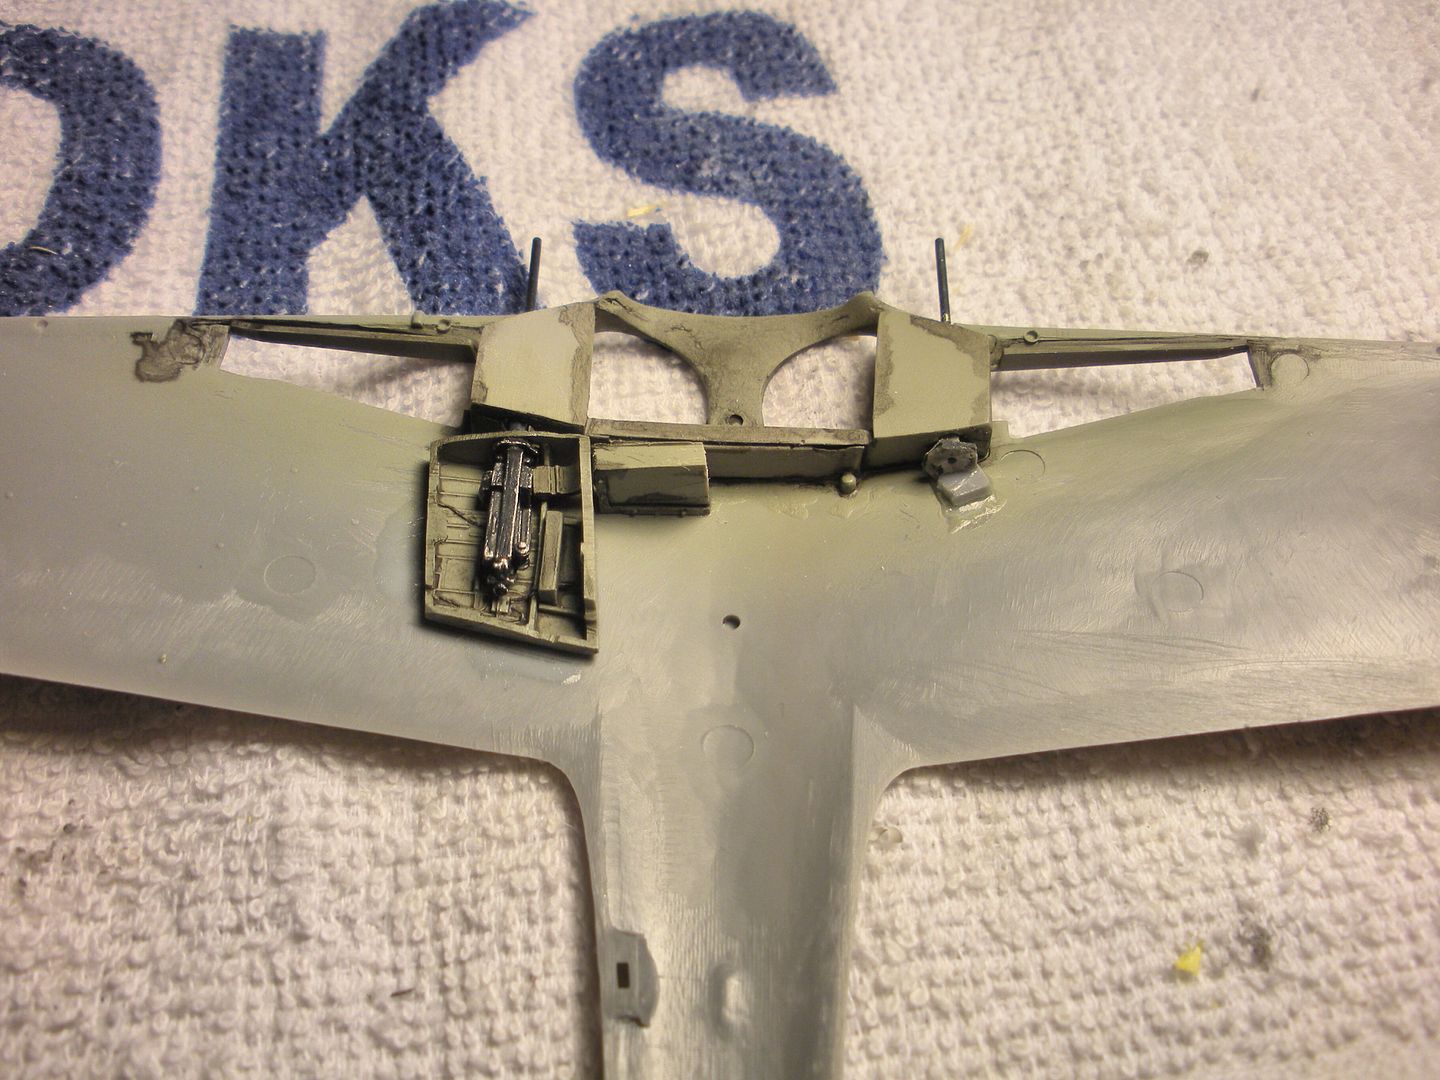
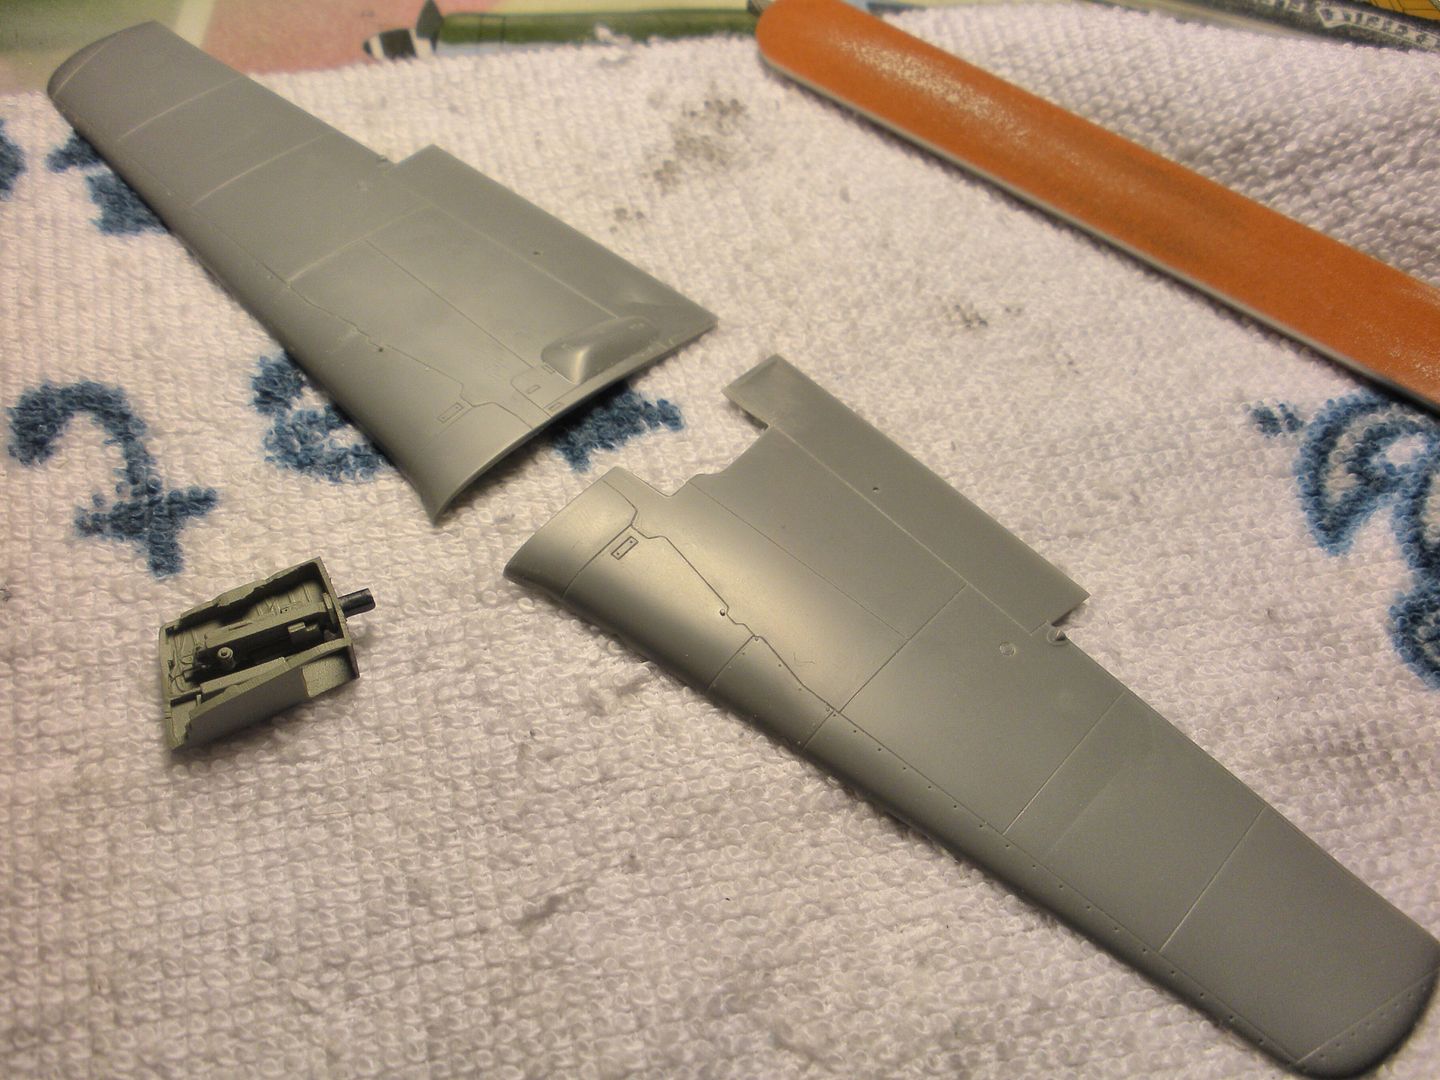
Well here's the Aires wing root 20mm cannon bay just after a base coat of RLM 02 and all nice and trimmed up to fit between the upper and lower wing halves:
and here it is after being painted, weathered and with the Master Models brass gun barrel installed. I'm going to display the port side cannon hatch in the open position. The starboard side will remain closed up.
-
That would be a small craft to turn into R/C!! Looking forward to more pics!
-
Looking good so far Mark. How big is this puppy gonna be? I'm seeing about 15 inches or so in length so far based off of your cutting board that the model is laying on top of.
-
This is good stuff Wayne! Can't wait to see this one come together!
-
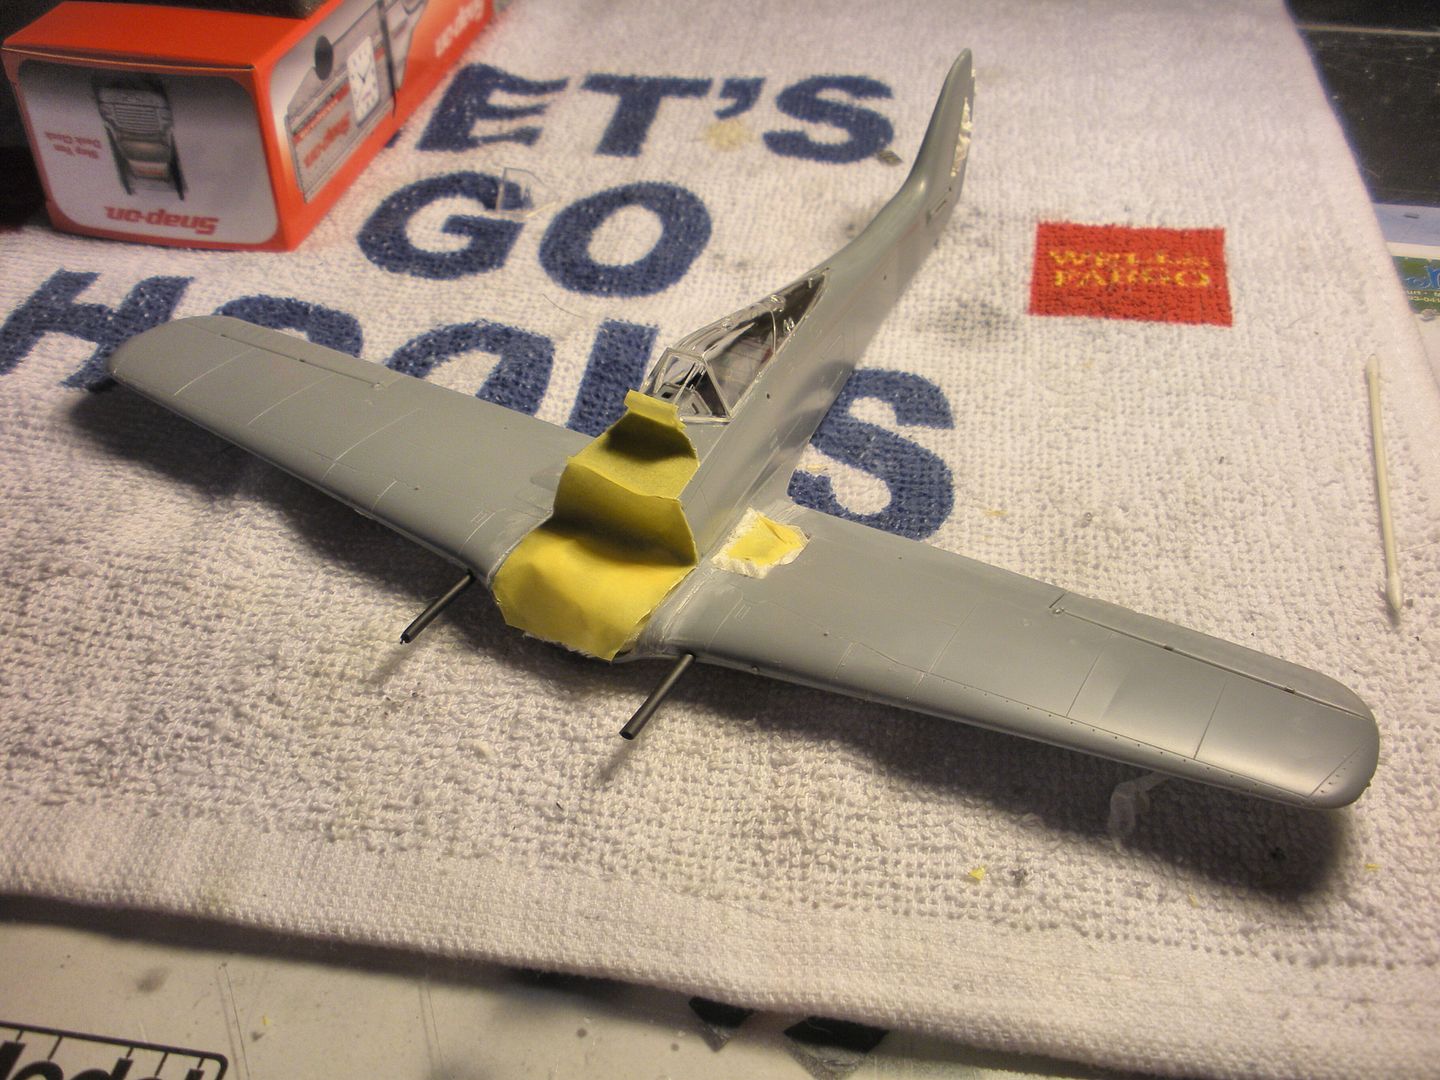
Almost forgot to post some pics of the cockpit. This is a mixture of Tamiya (the seat) Aires, the cockpit tub and Iinstrument panel base pieces and Eduard (all PE panels and knobs , pedals, belts and the control stick).
and a litte further along..........
and another. Actually its my least favorite because its a little out of focus.
-
No problemo Jim! Looking forward to both builds man.
-
Heya Jim...........changes posted!
-
Cool Jim! Looks like you ended up with a Luftwaffe bird after all!! LOL. Those 109s turn out pretty decent. There's a build of one of those going on right here by another friend of mine:http://spamodeler.proboards.com/thread/193/48-revell-bf-109g-10?page=6#page=1
I'll get your entry changed right away bud..
-
Progress is progress Mark!! Glad to see you building buddy!
-
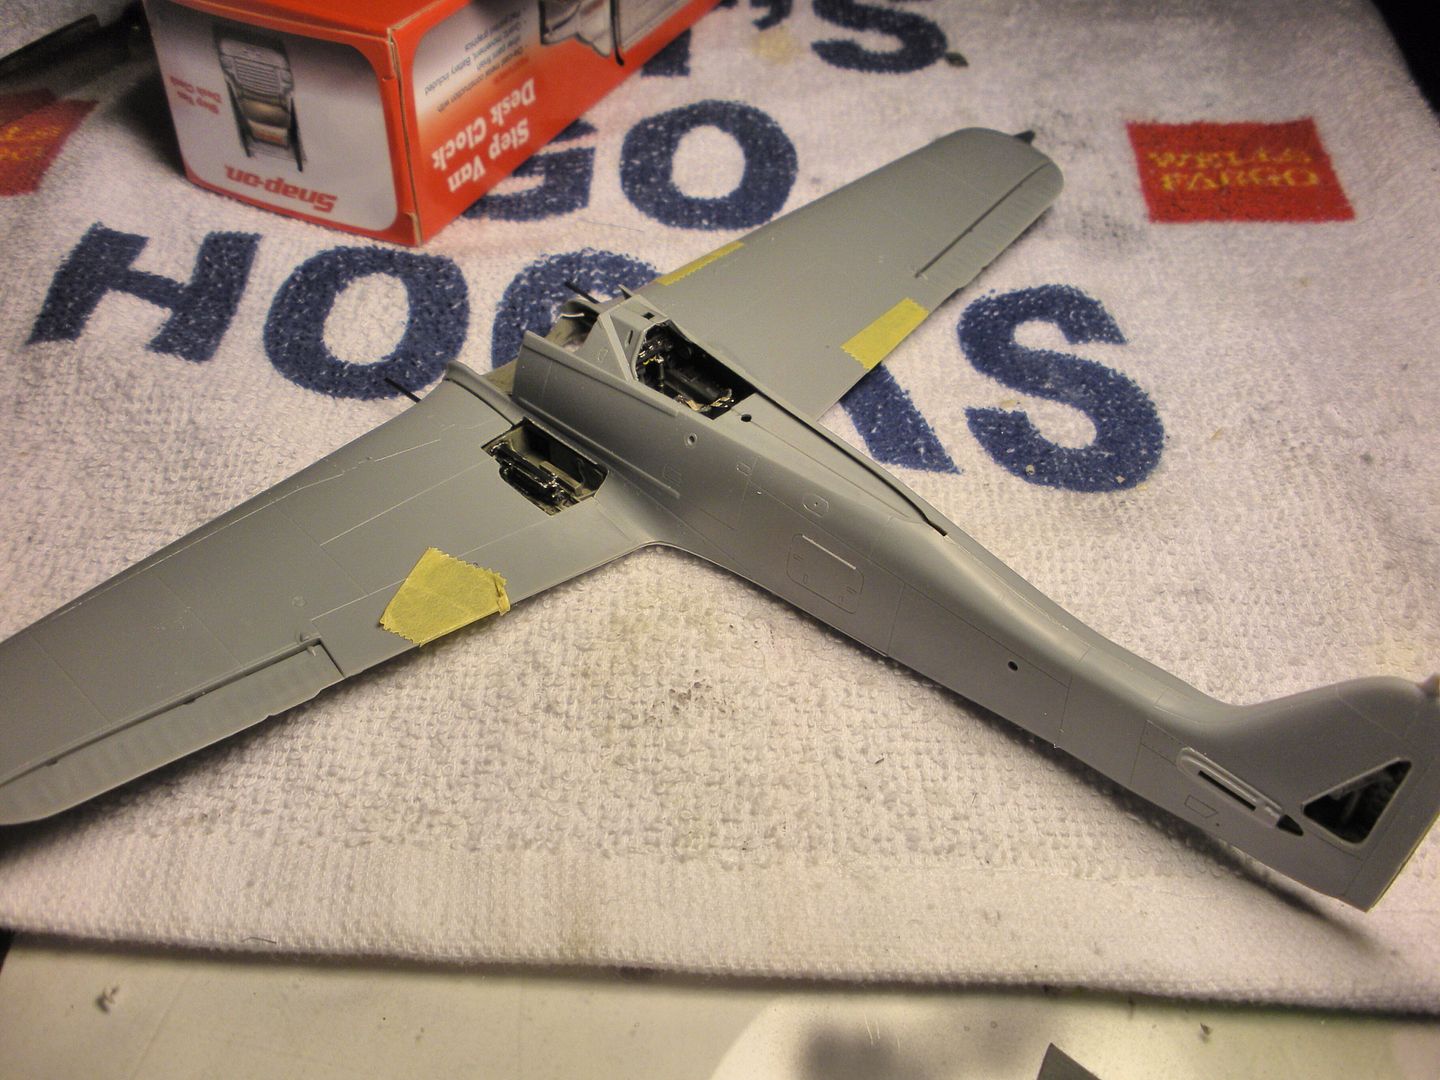
In pressing ahead with the build we now move on to the wing root cannons. I will be displaying the port side in the open position so the panel is cut out of the wing and the wing cannon bay/ tray is prepped for the task here:


The Official 2014 "All the Rest" Community Build-Extended to April 31st
in Community Builds
Posted
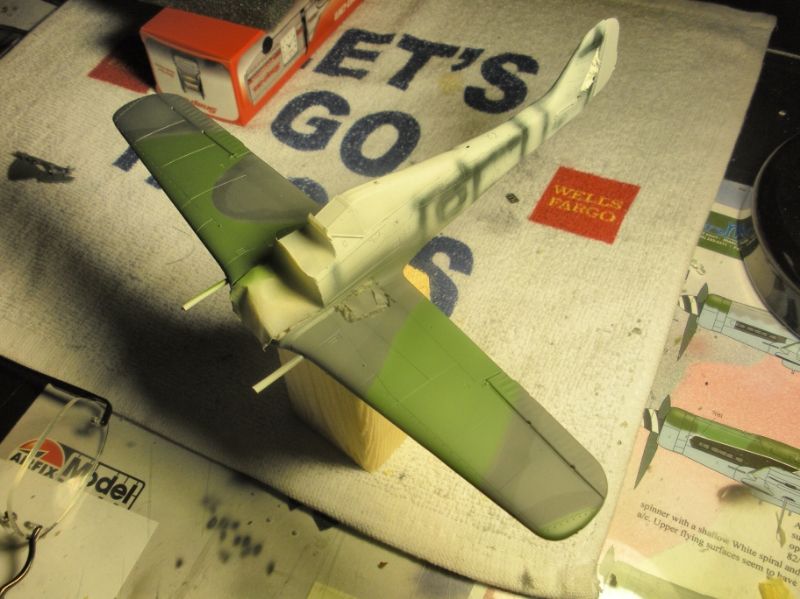
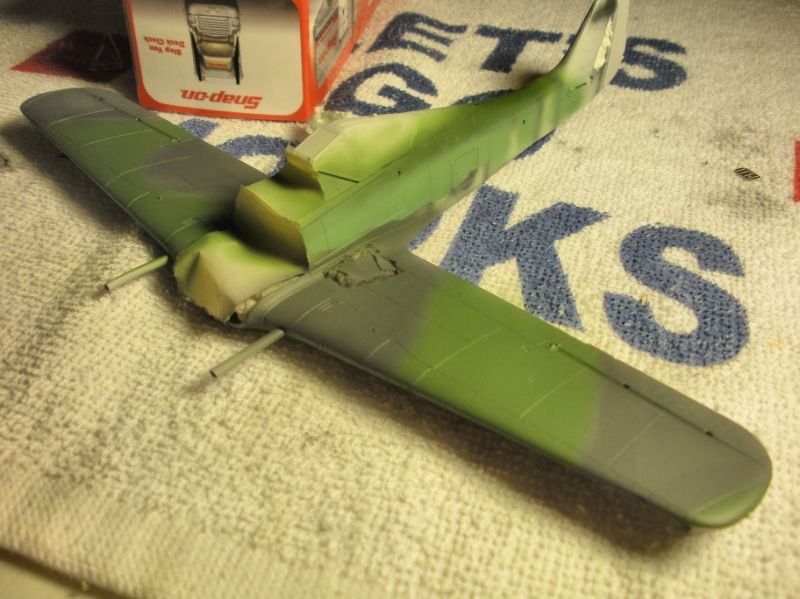
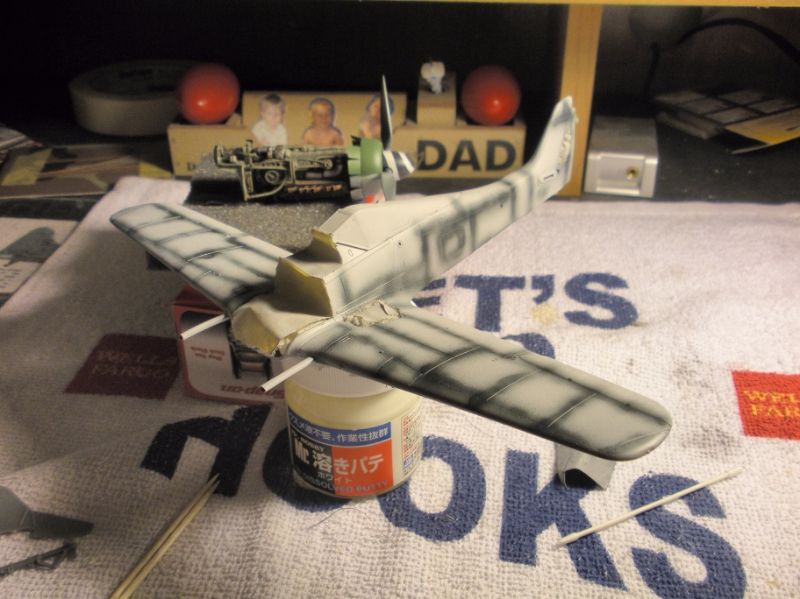
A little bit more progress here. I applied the border with the AB needle barely open at all and with the air pressure at around 30 psi. Using acrylics required constant cleaning of the tip throughout but overall I'm happy with the results. The "hump" in the middle of the paint is for the Gruppe numeral that will have a slight oversprayed condition. Stay tuned and I'll get to that.
and the yellow tail that's prevelant on Staffel leaders birds. Will be fine tuning all of this down the road but this is where its at.