Speedpro
-
Posts
854 -
Joined
-
Last visited
Content Type
Profiles
Forums
Events
Gallery
Everything posted by Speedpro
-
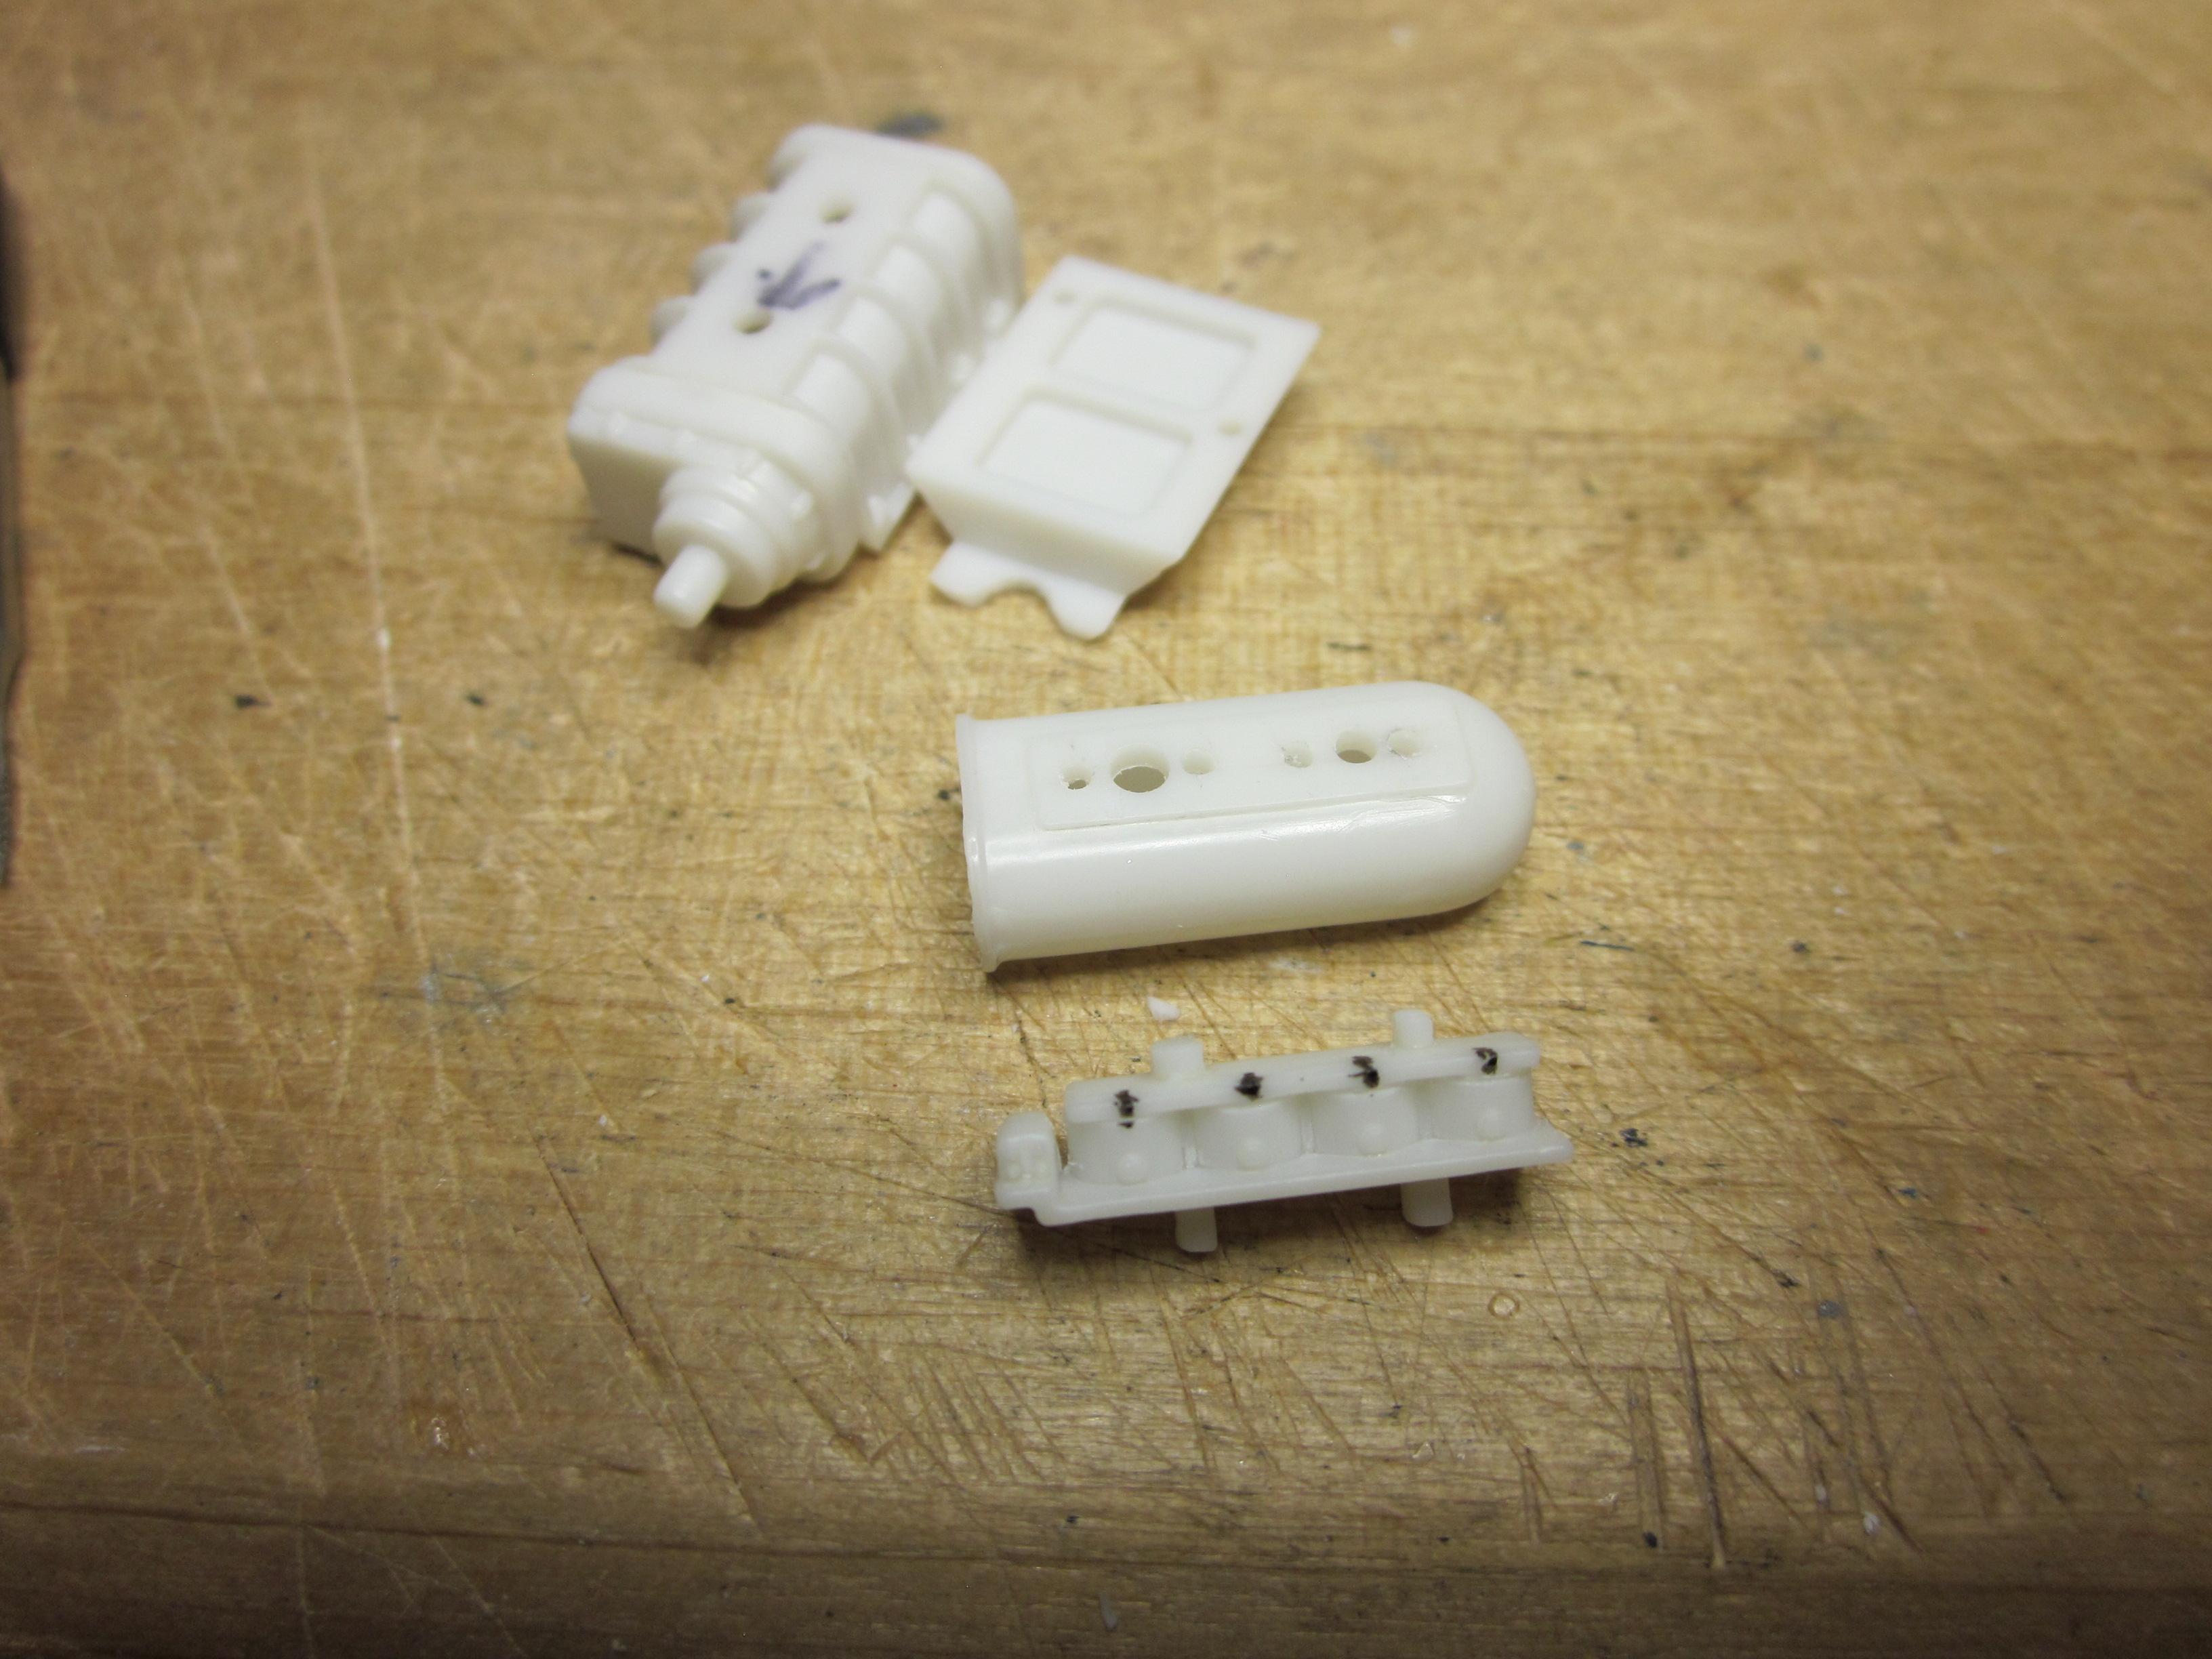
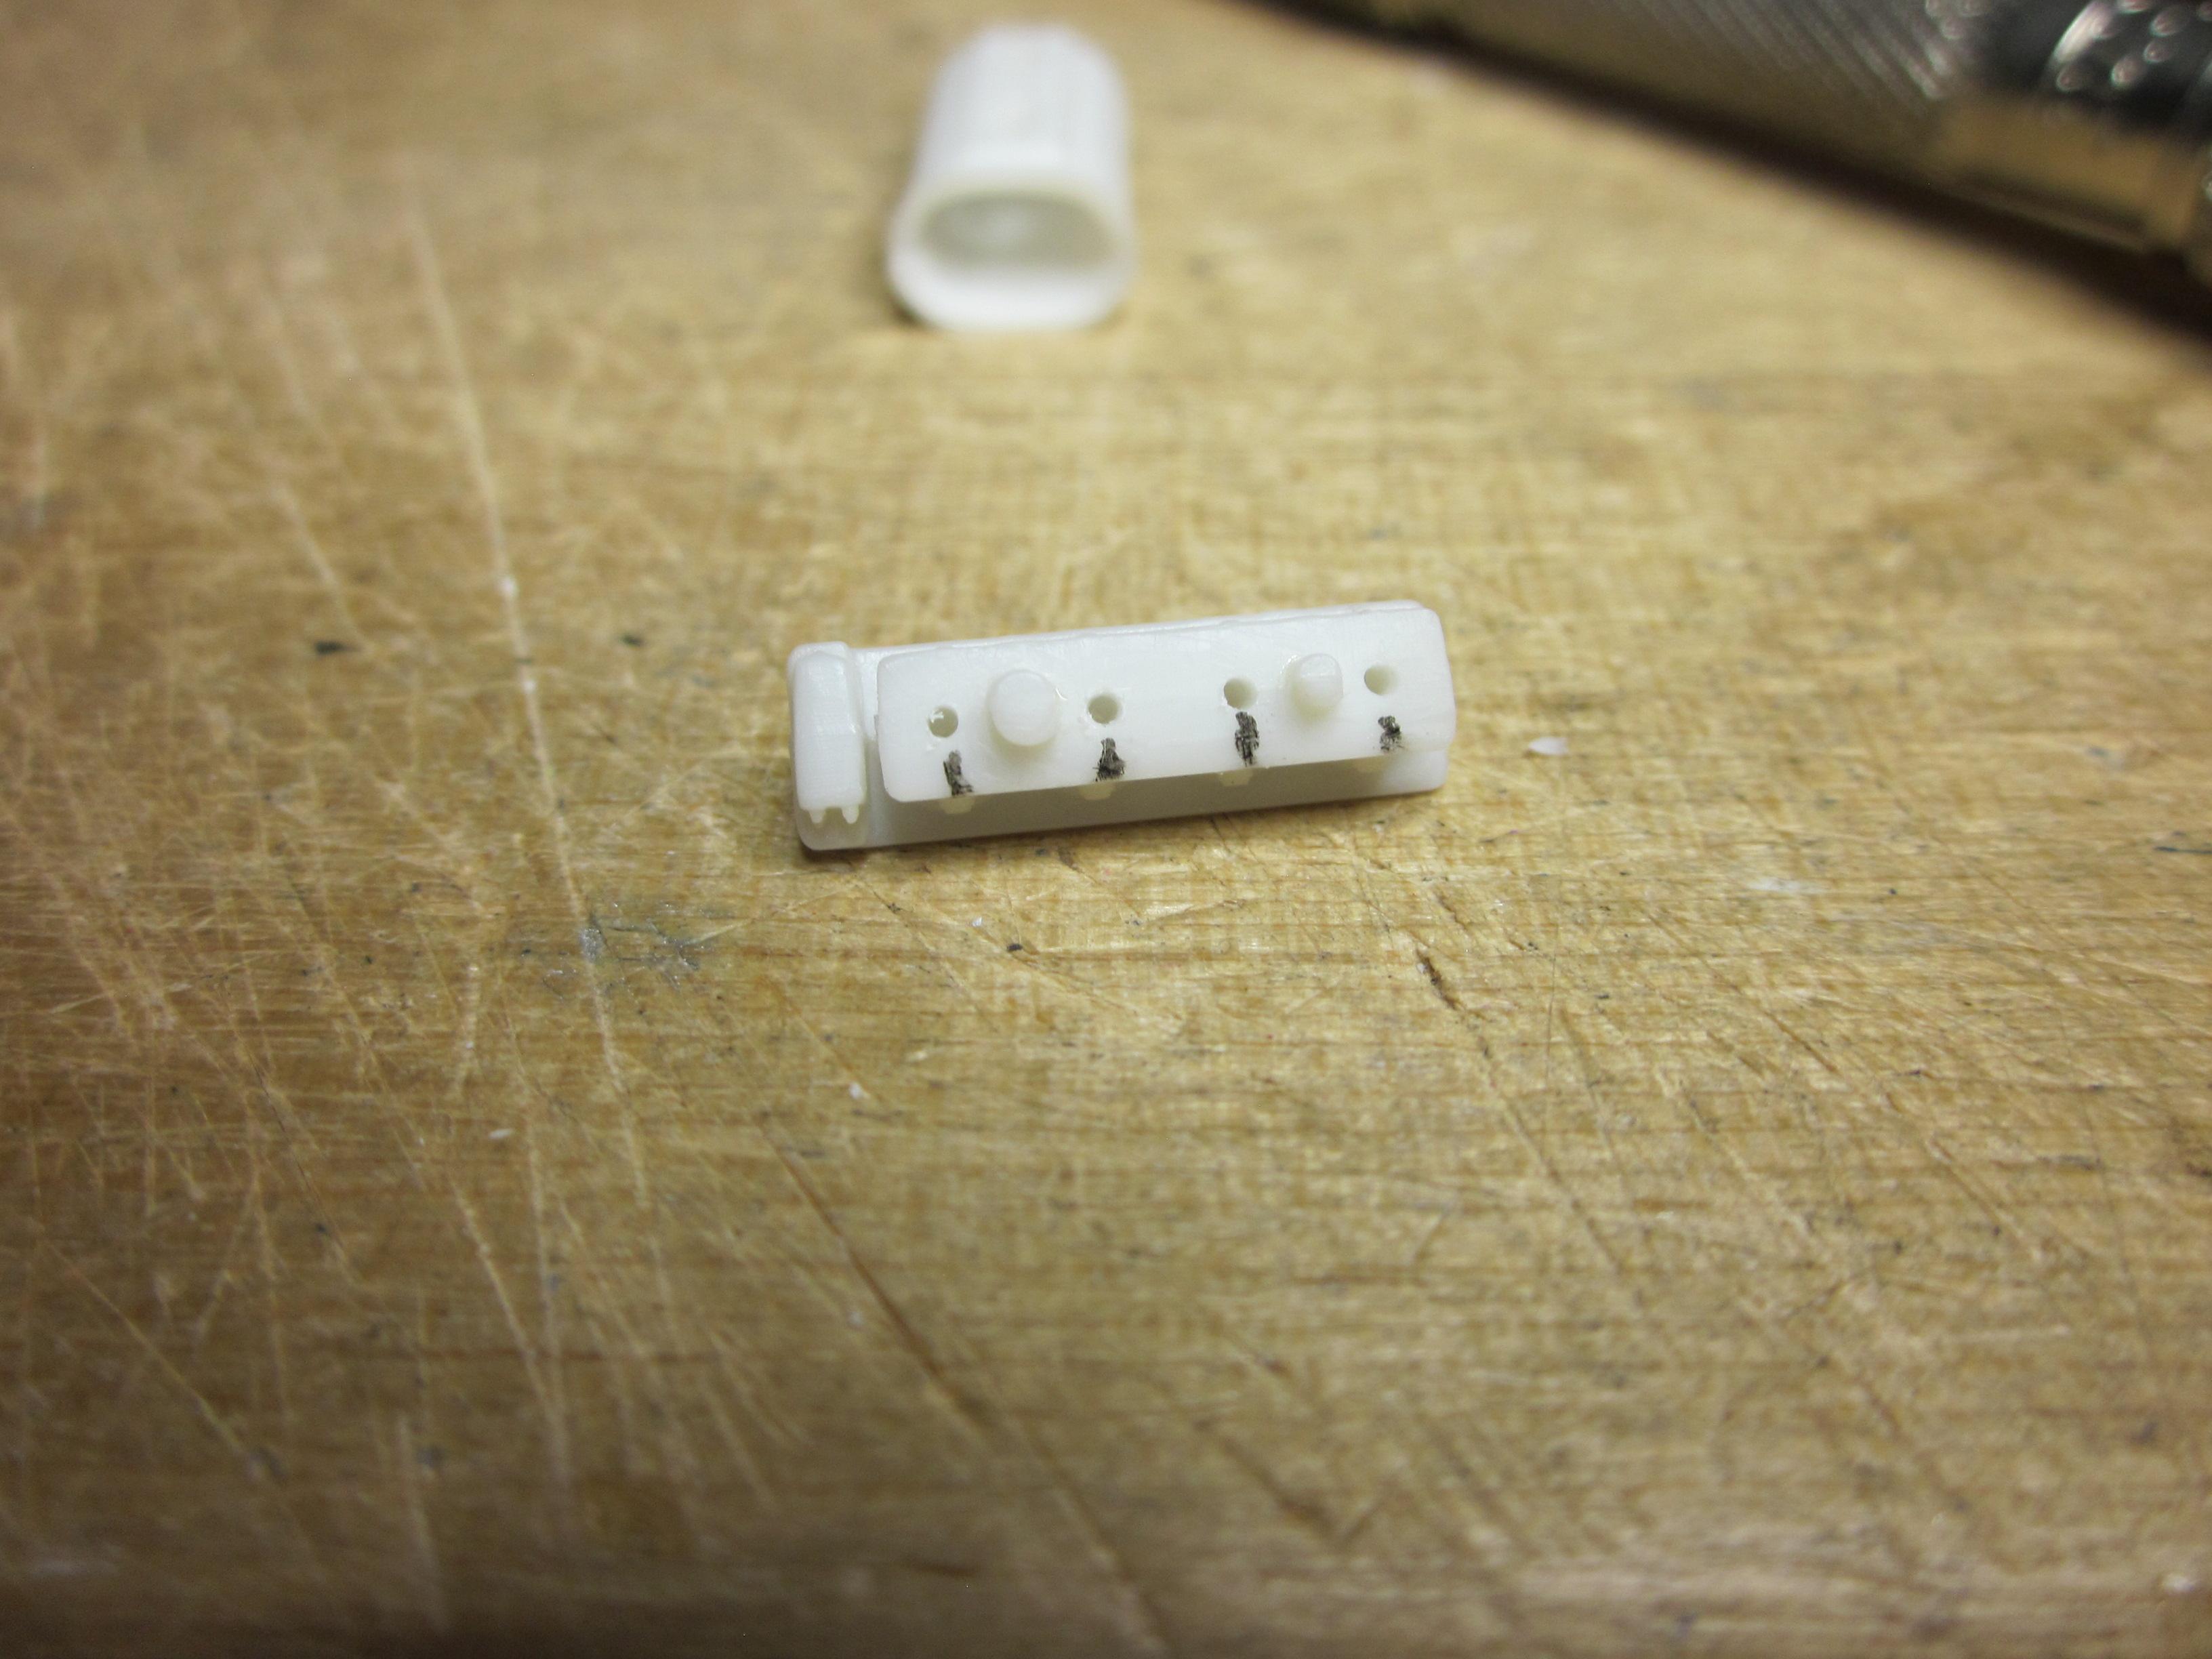
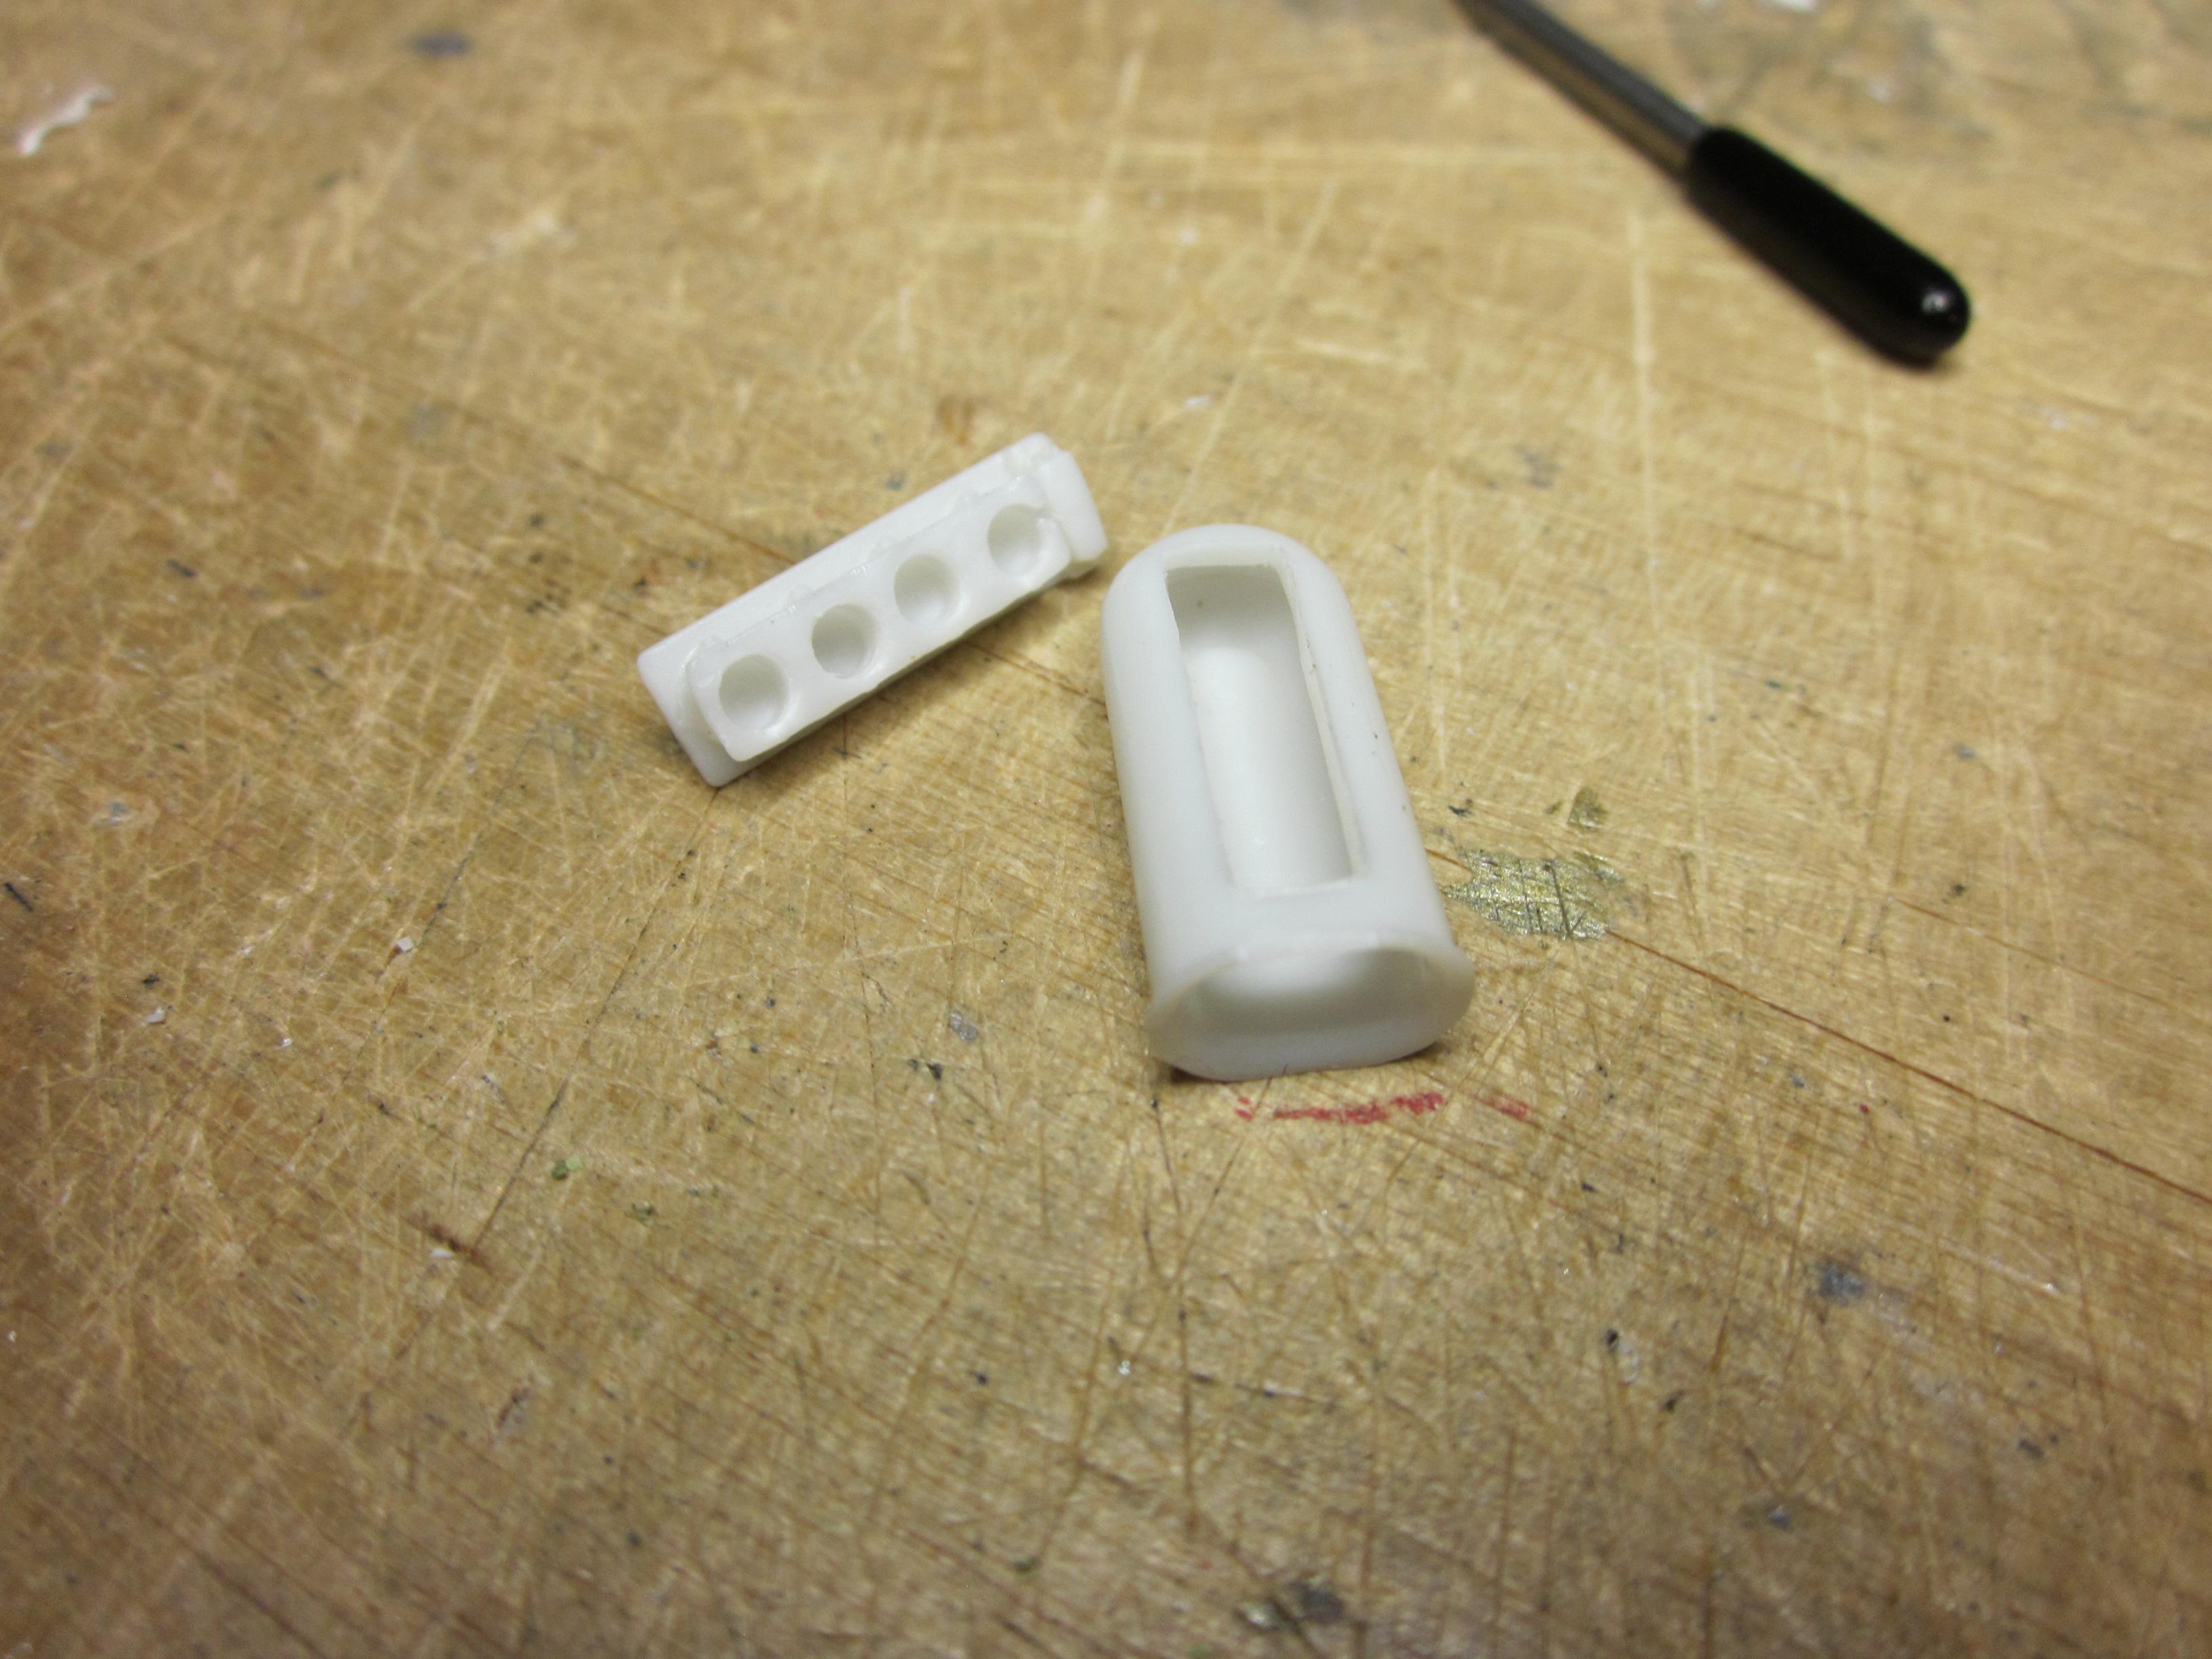
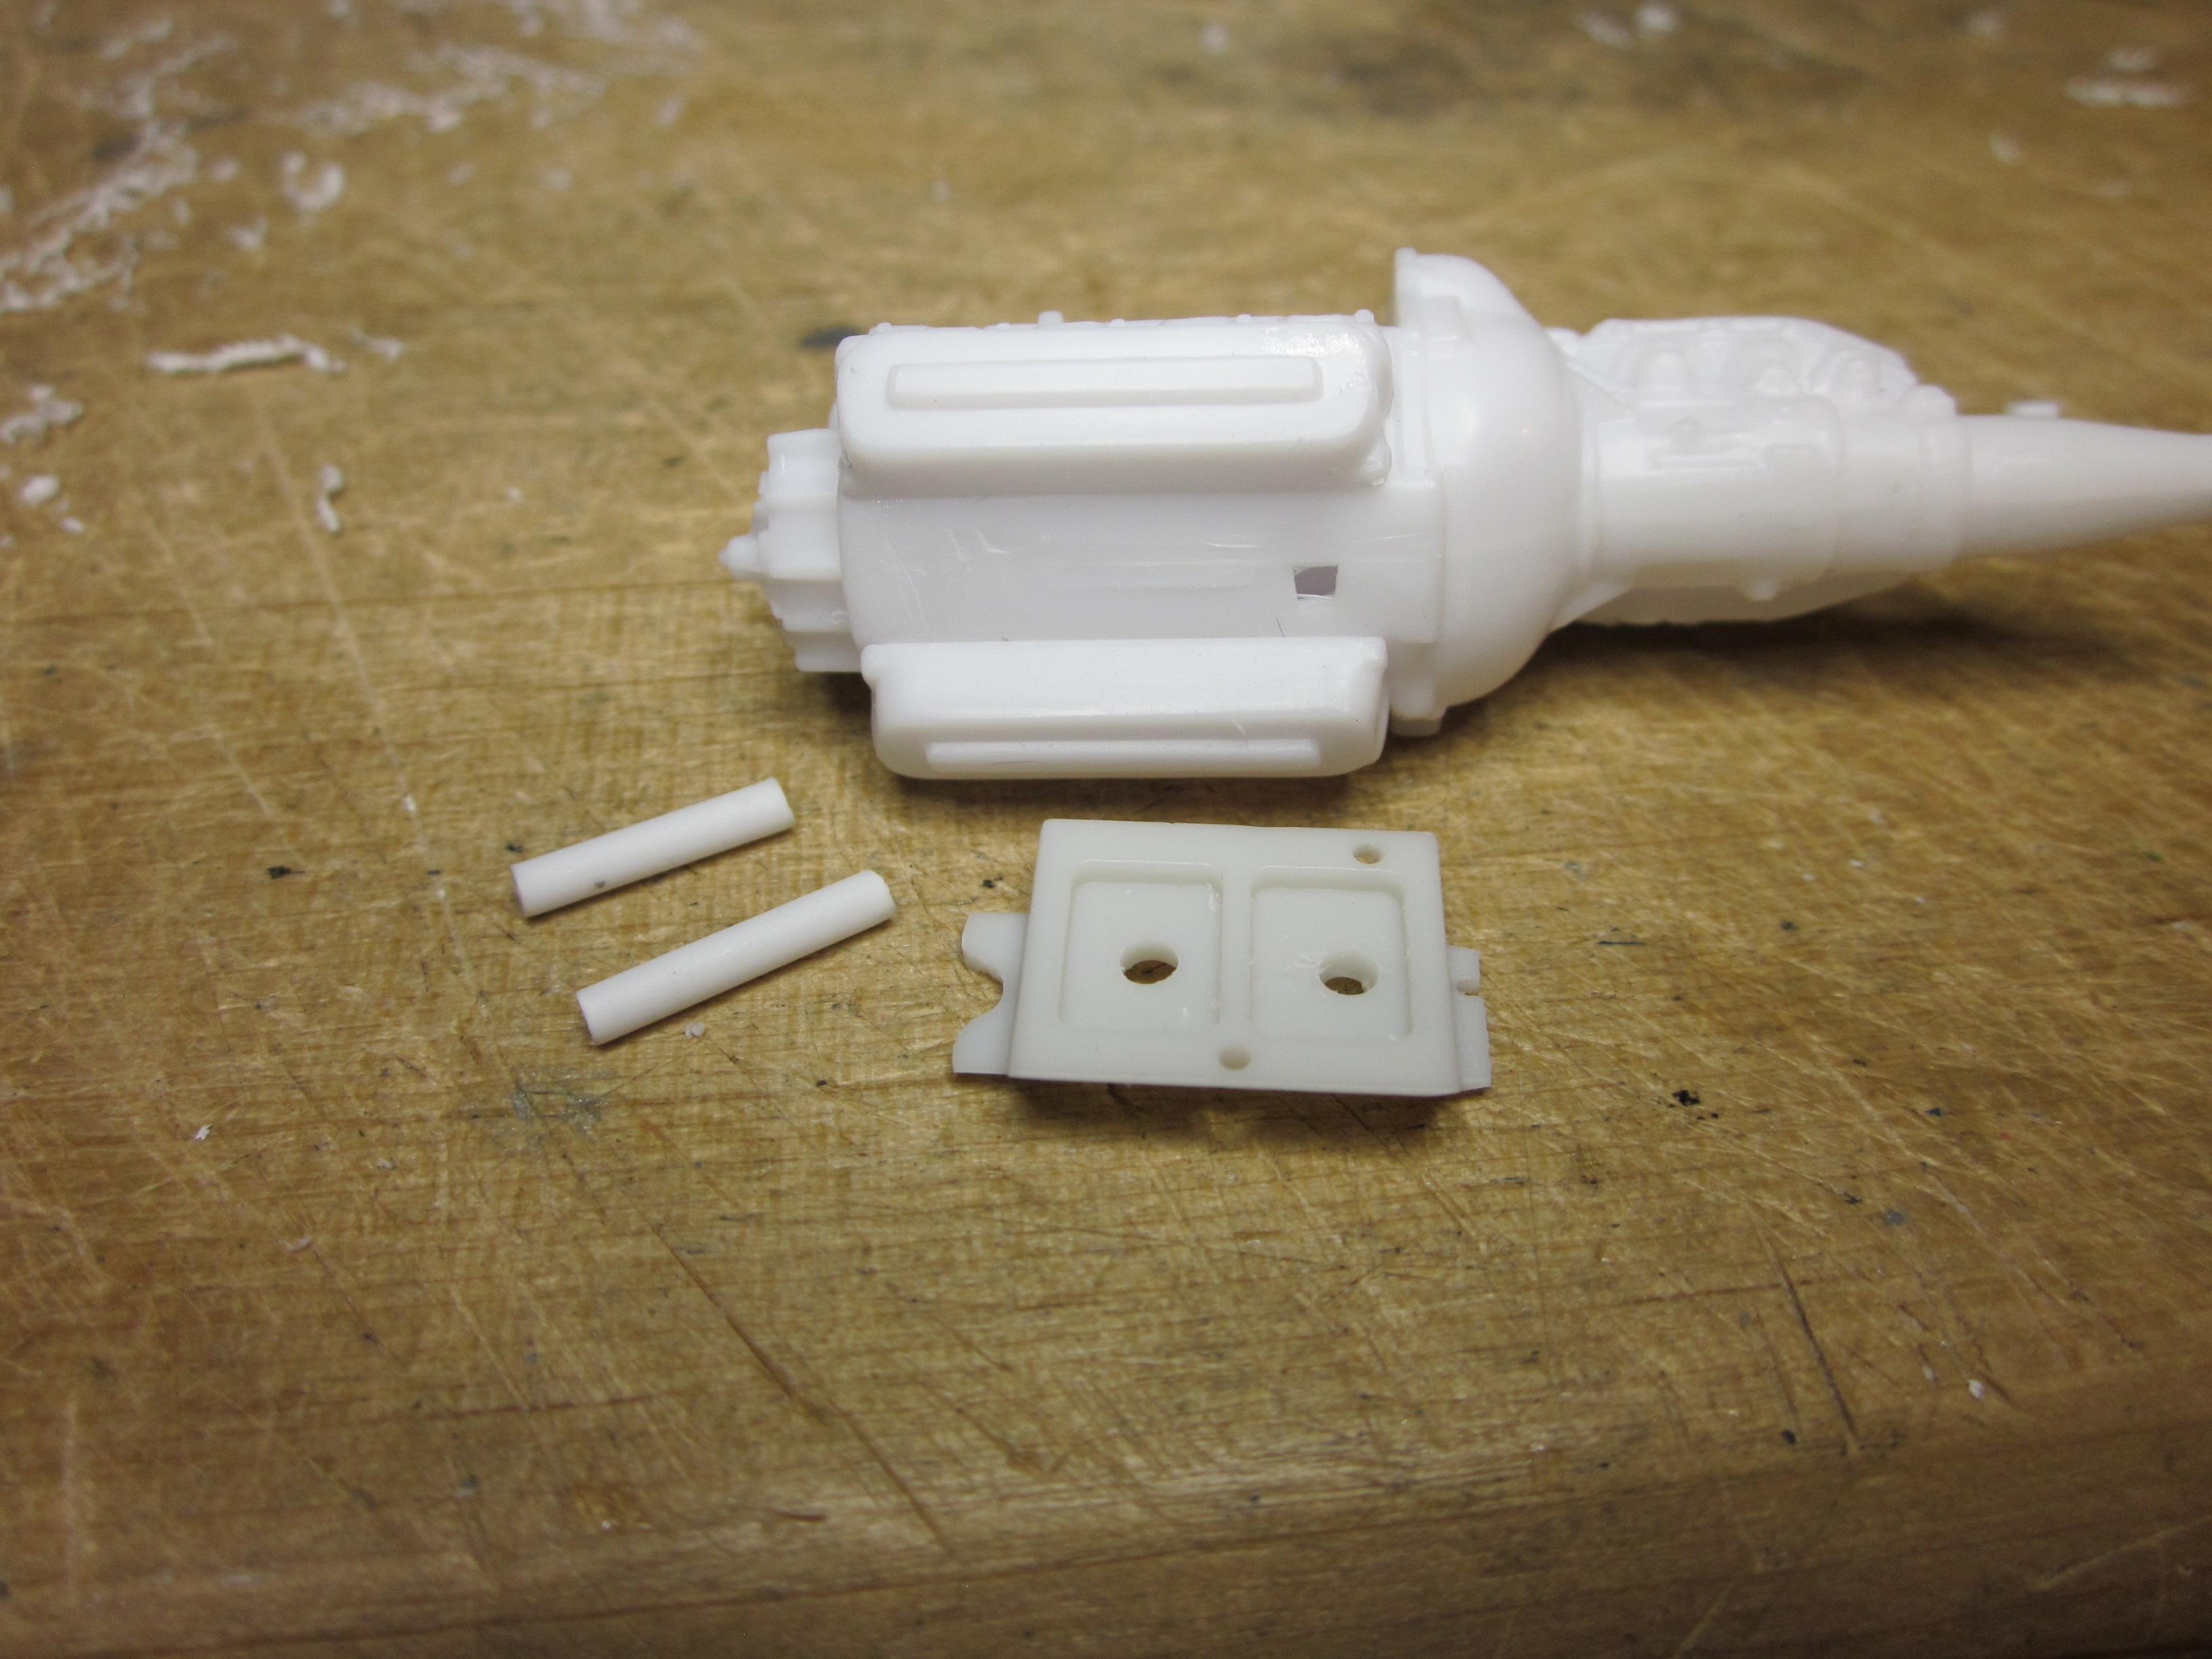
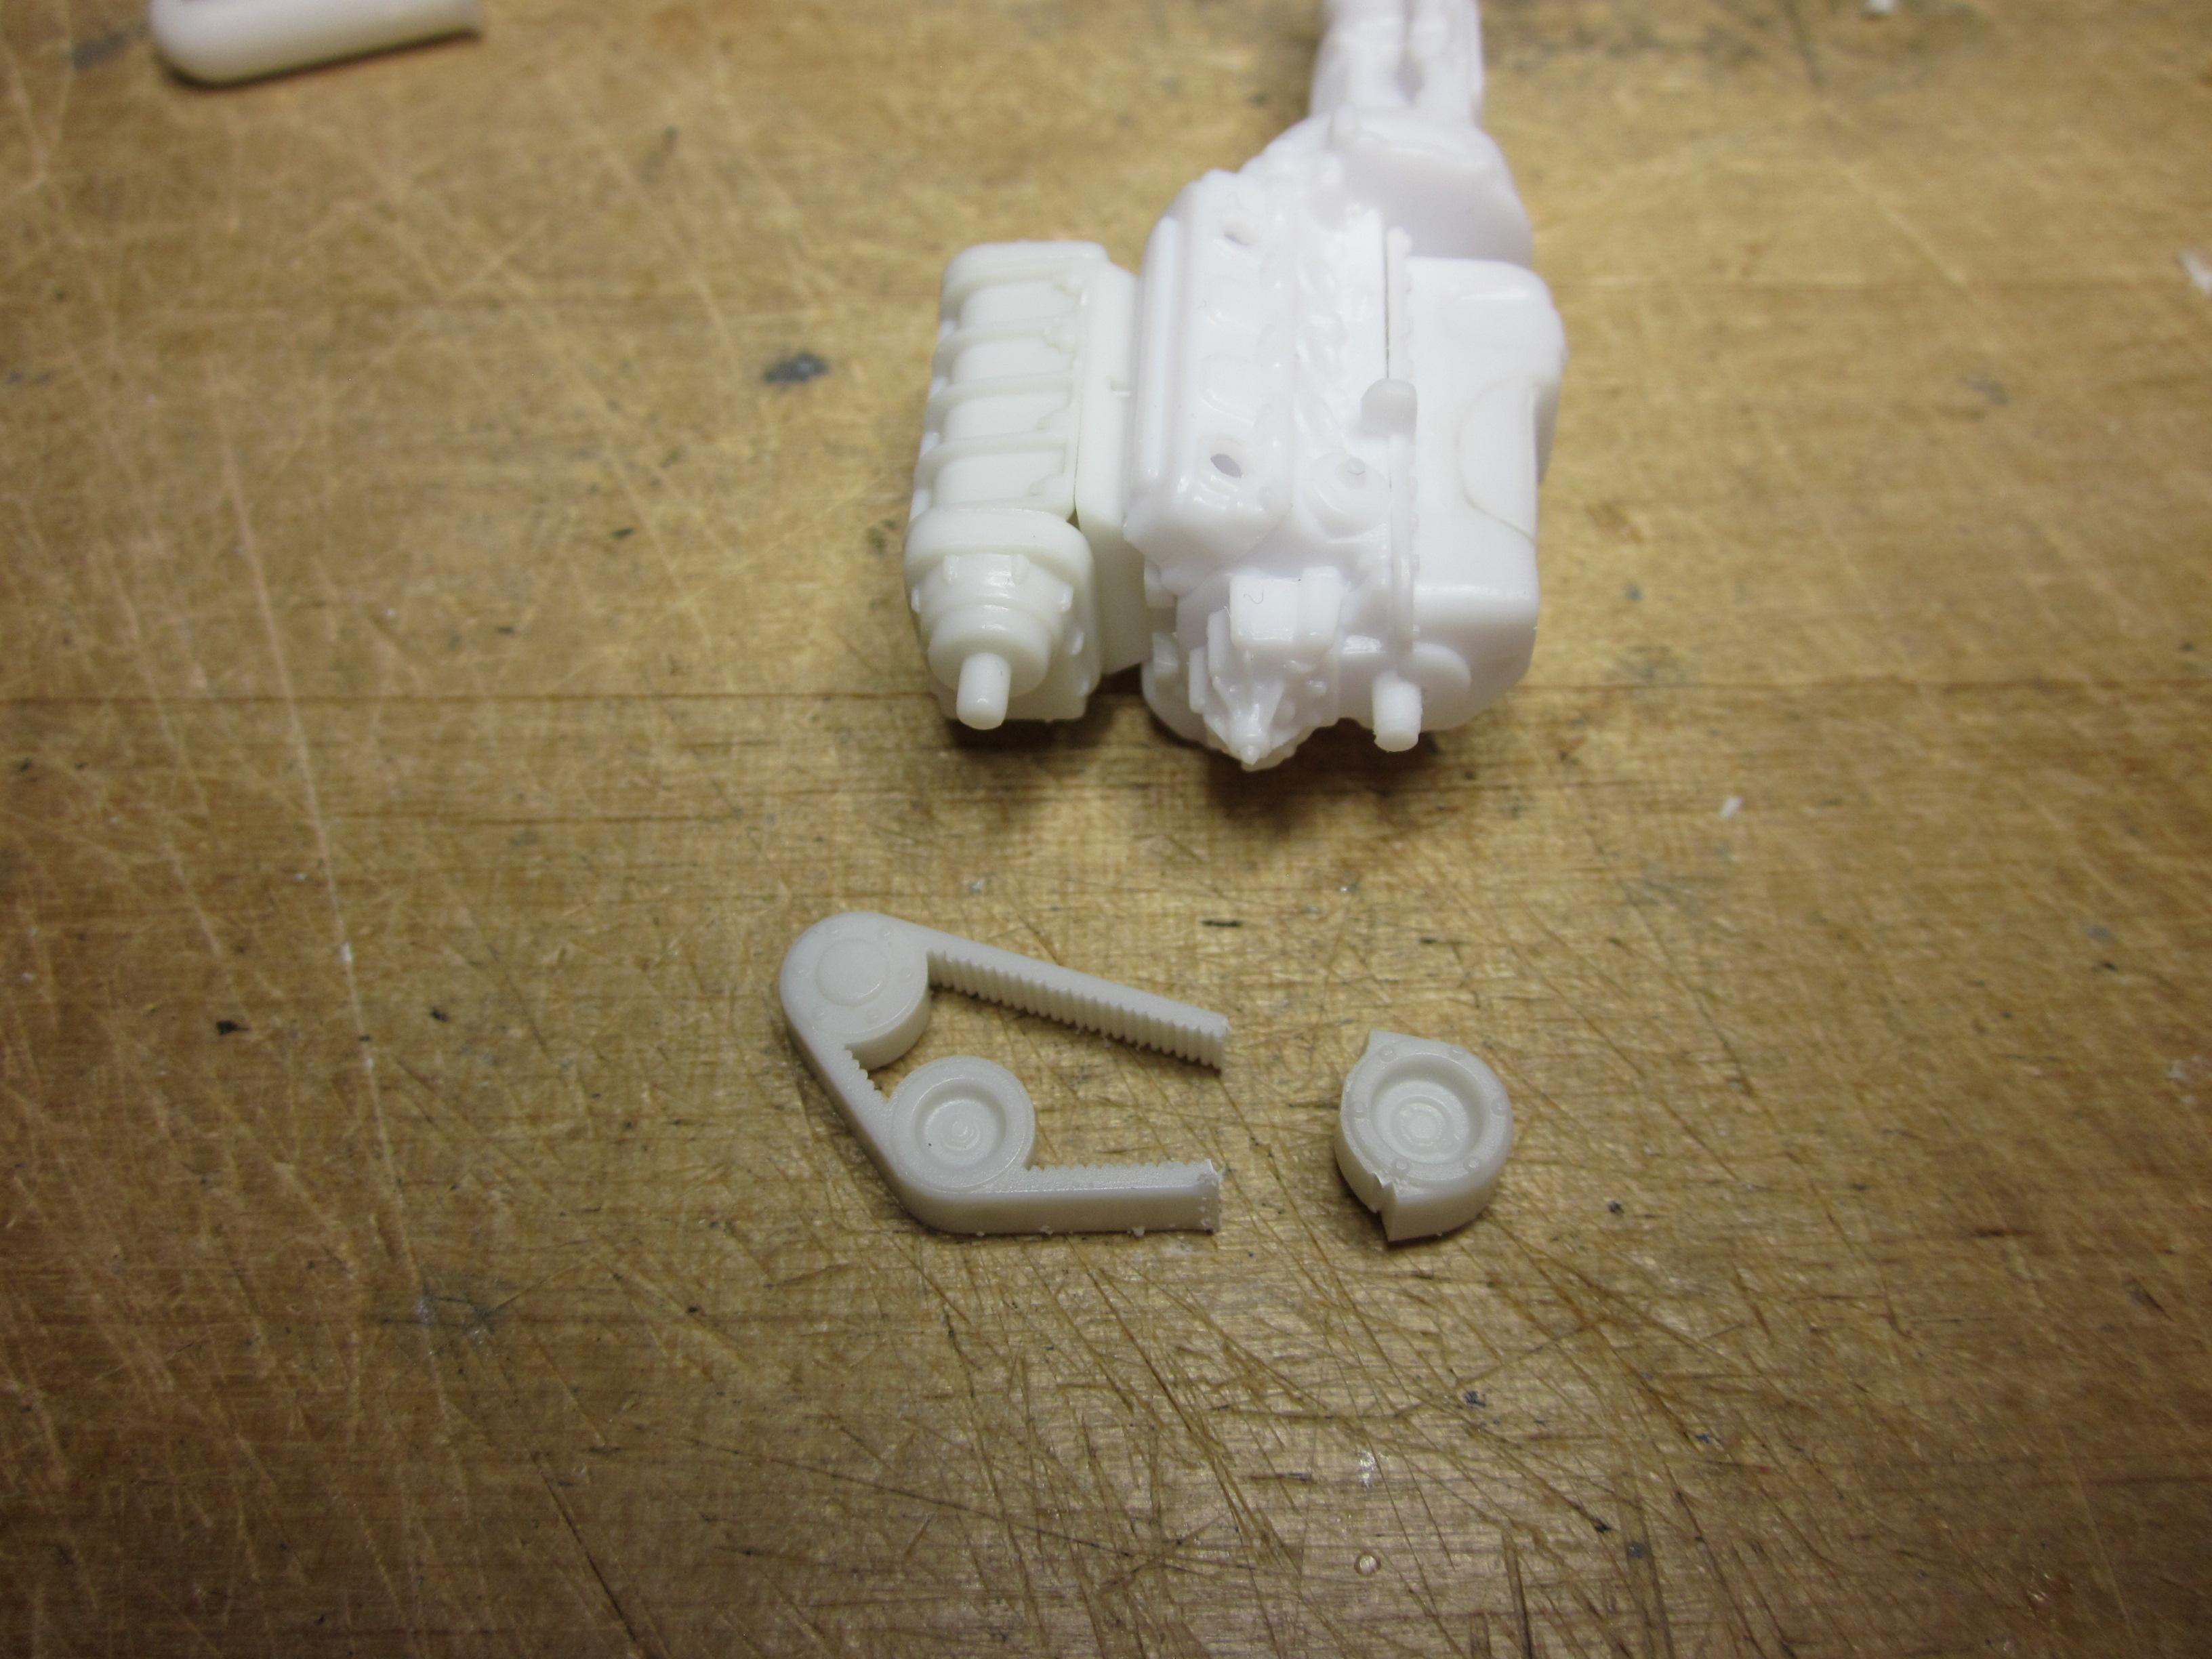
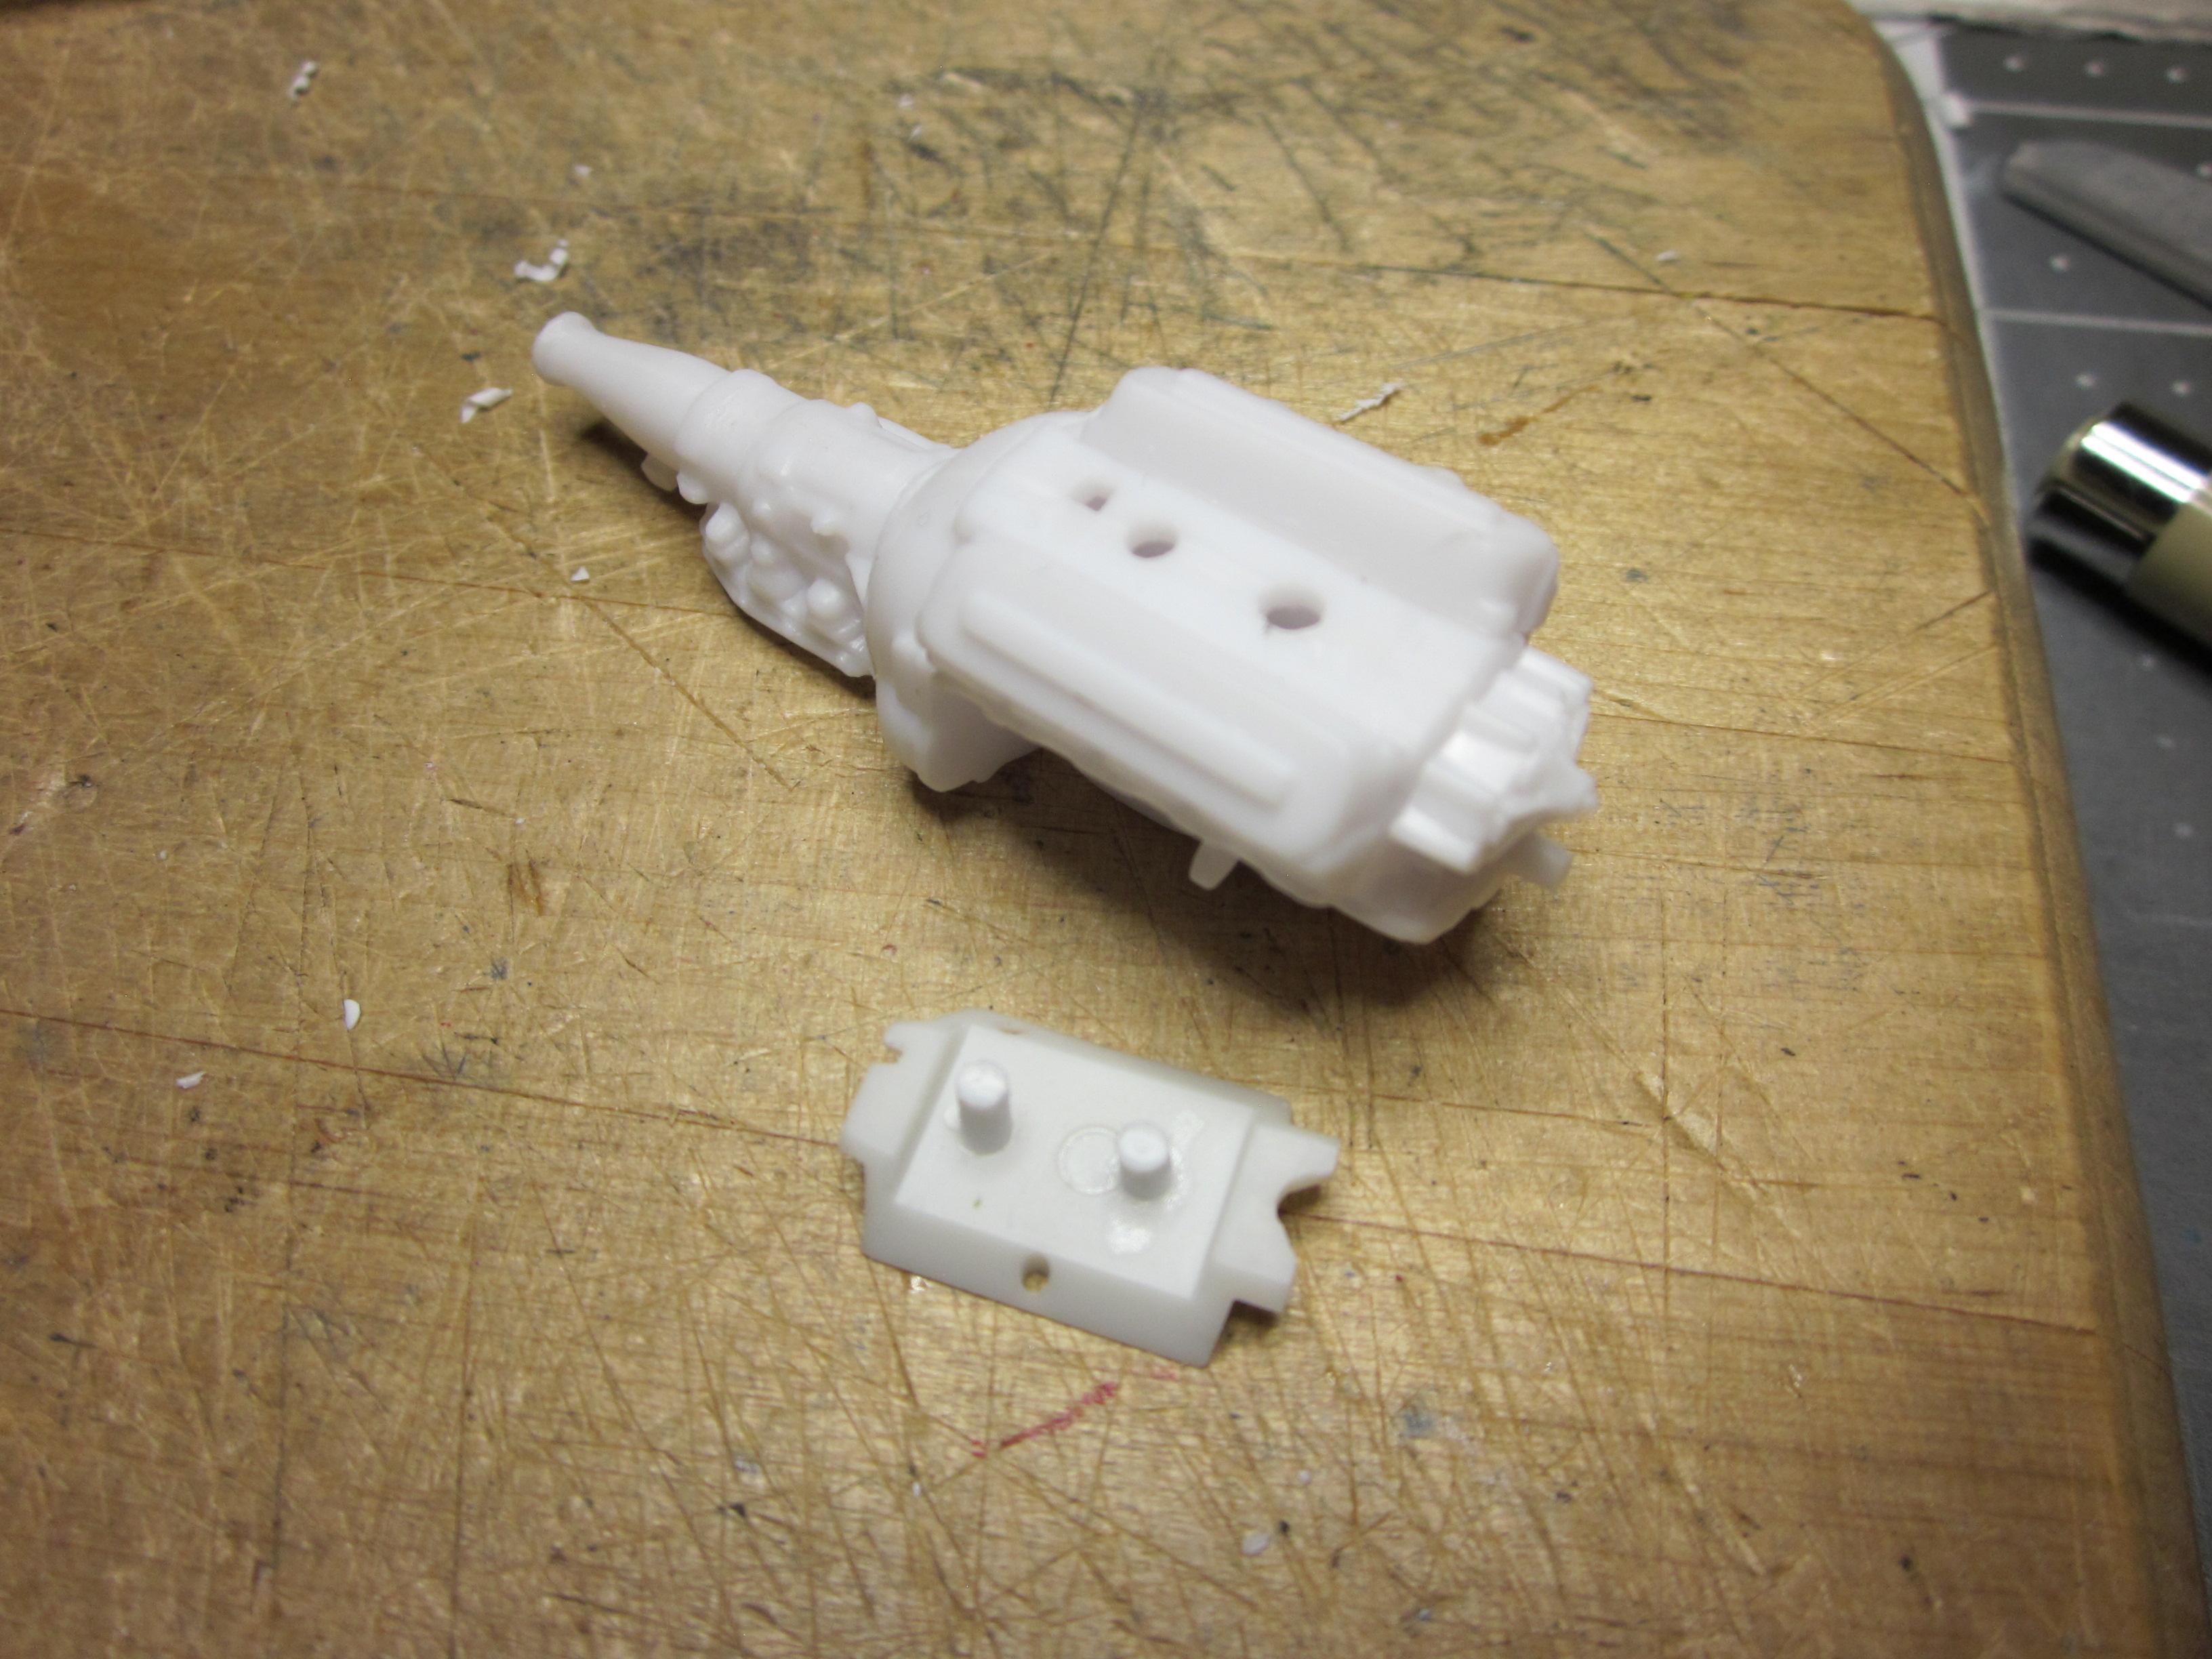
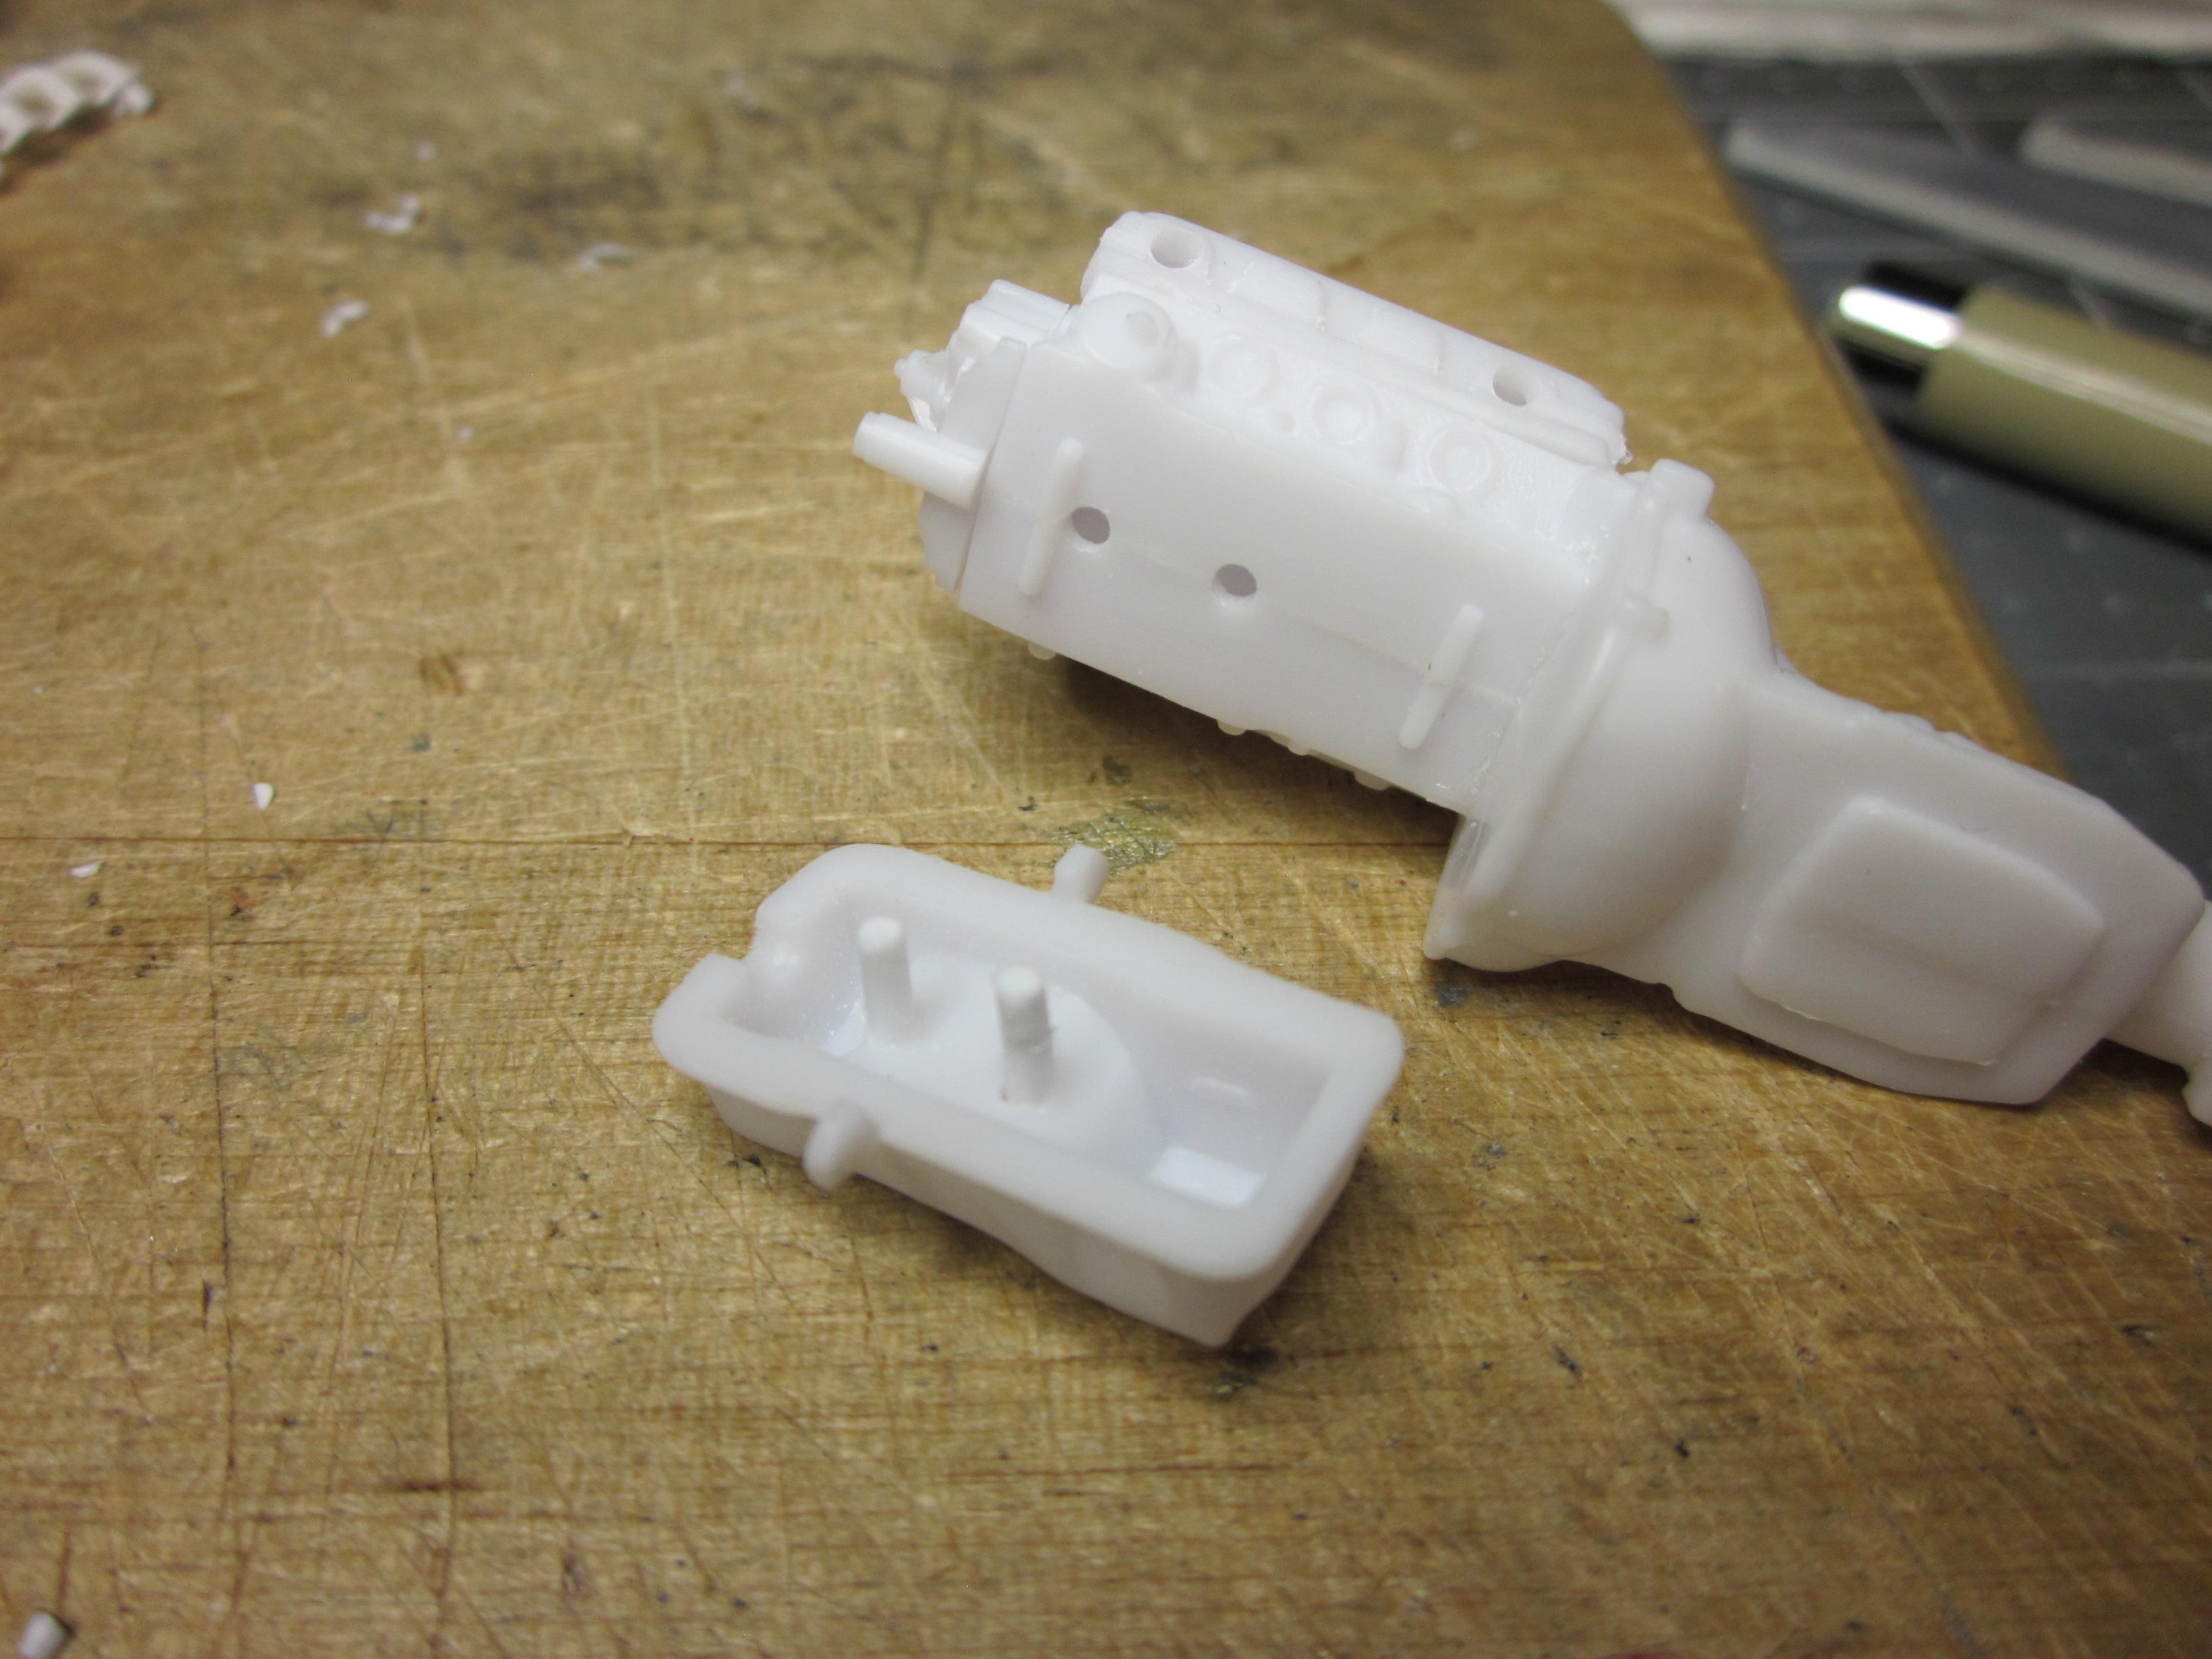
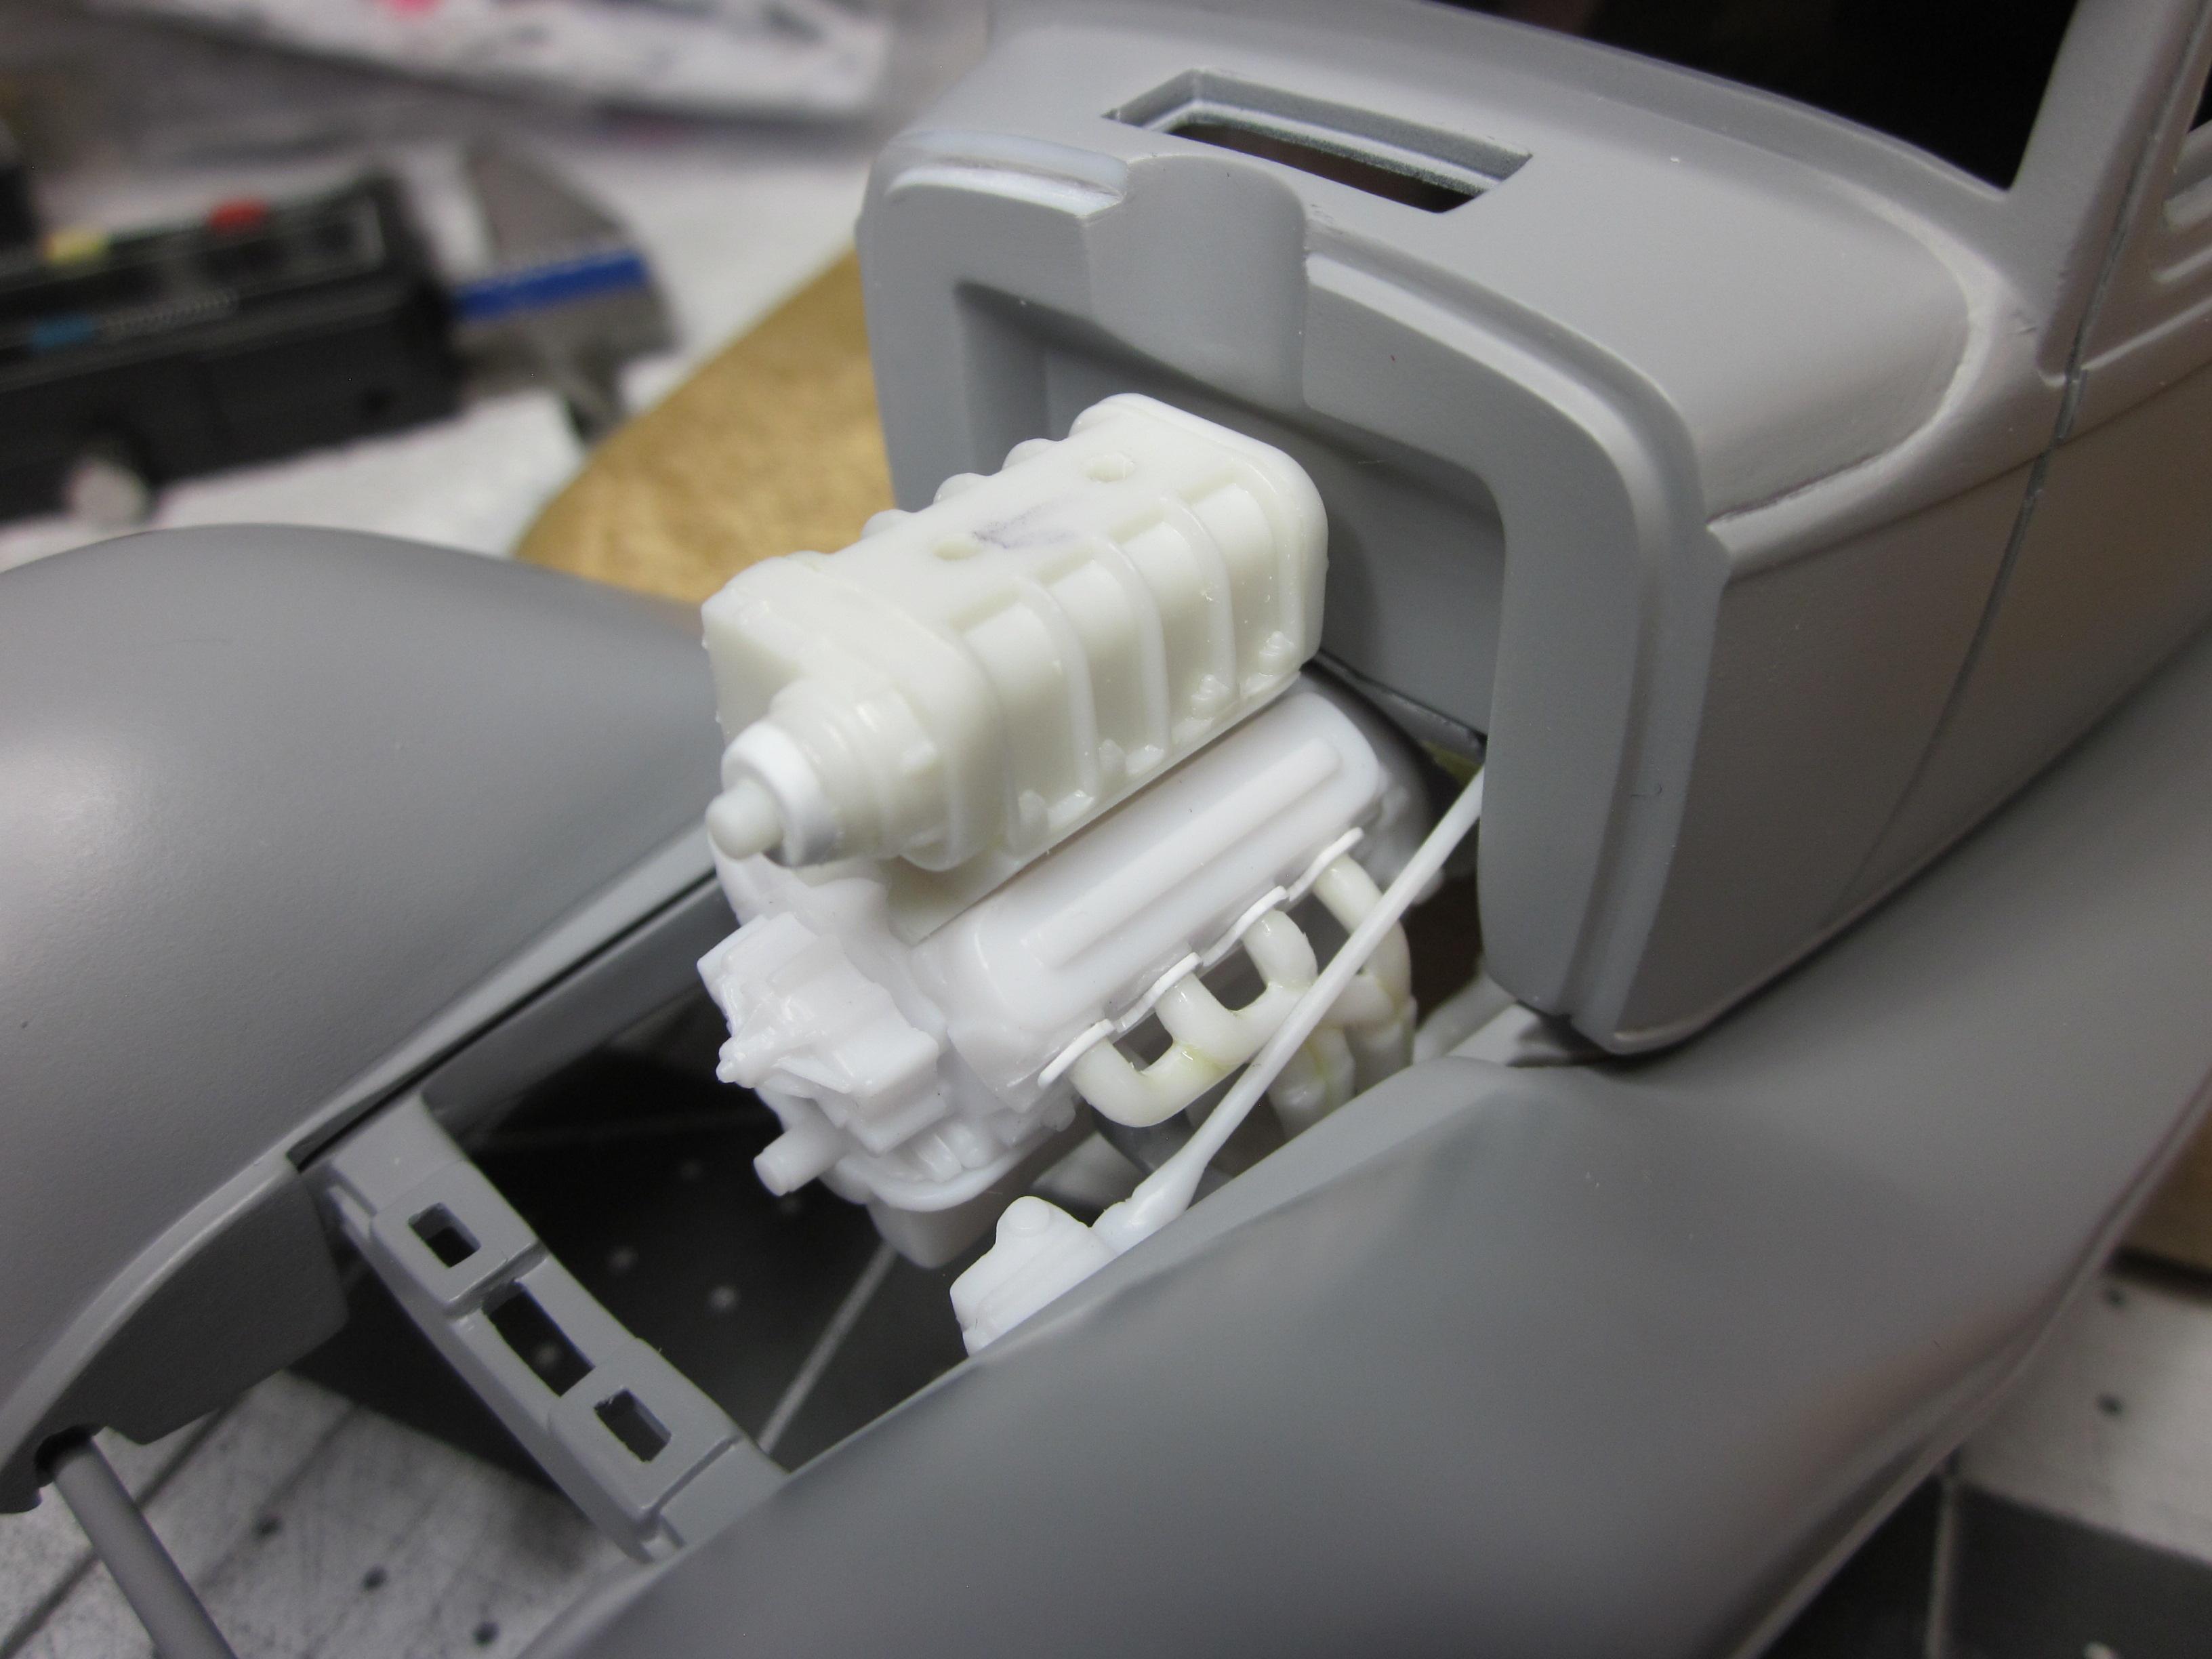
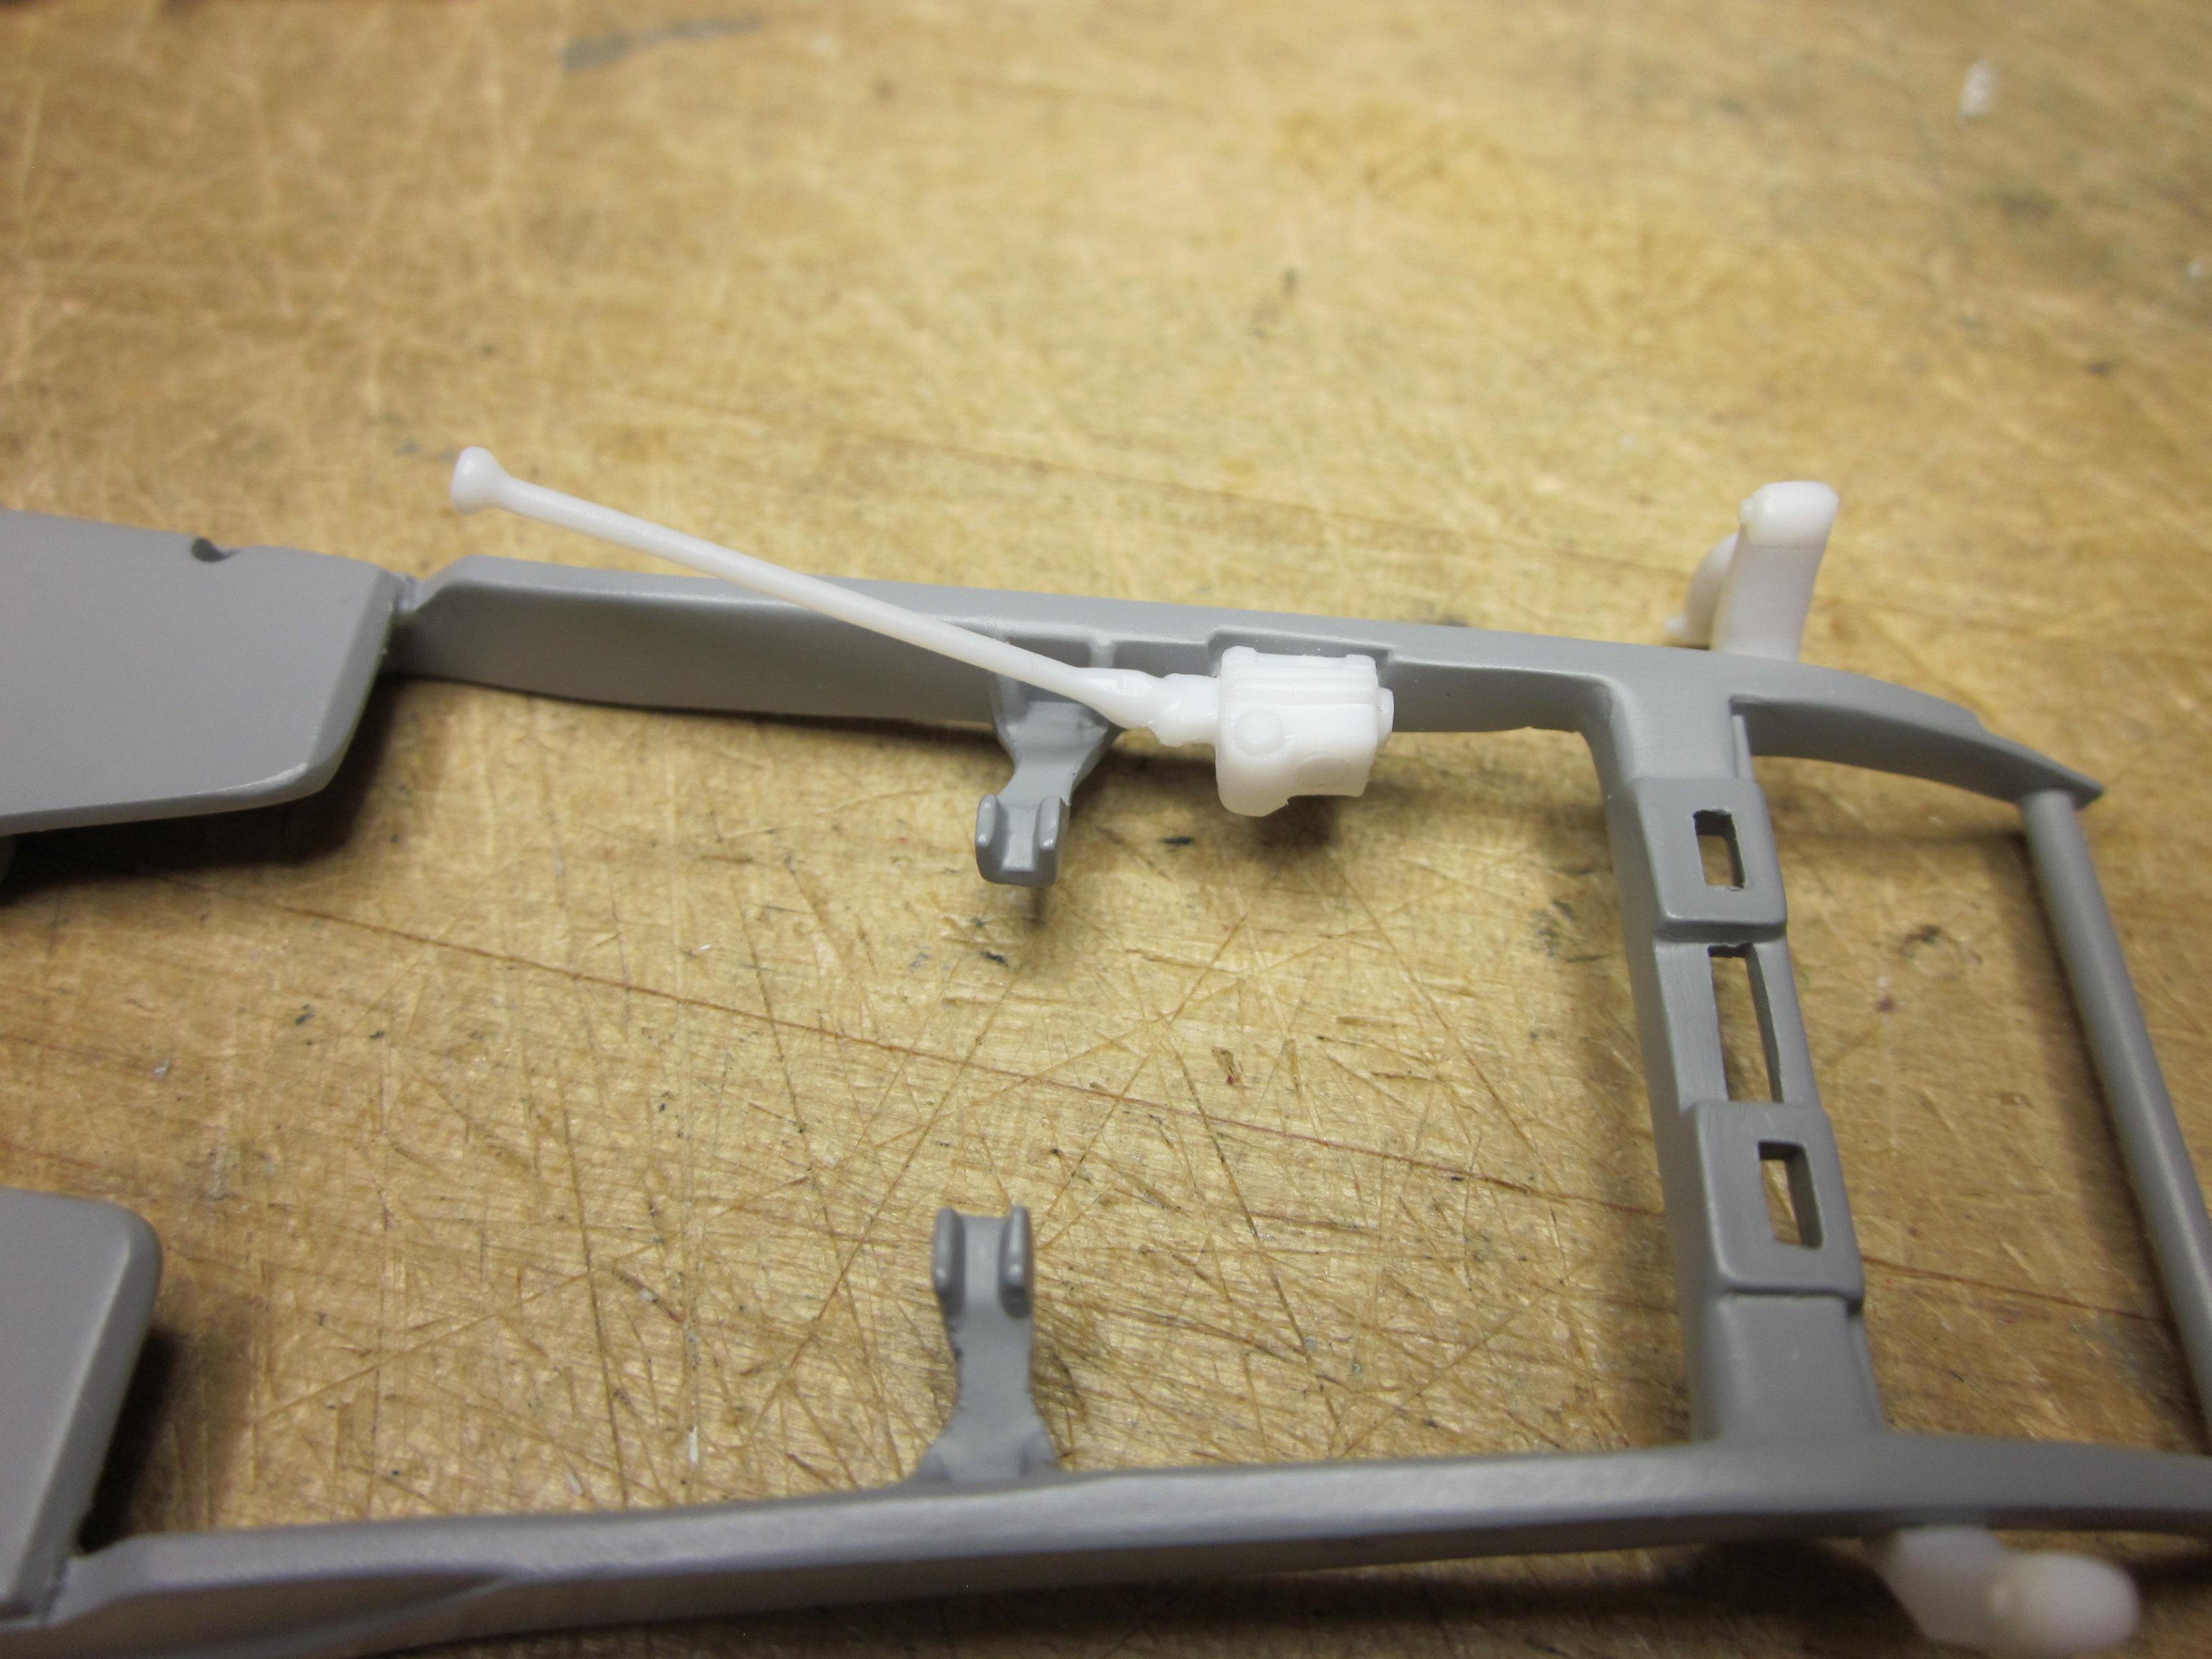
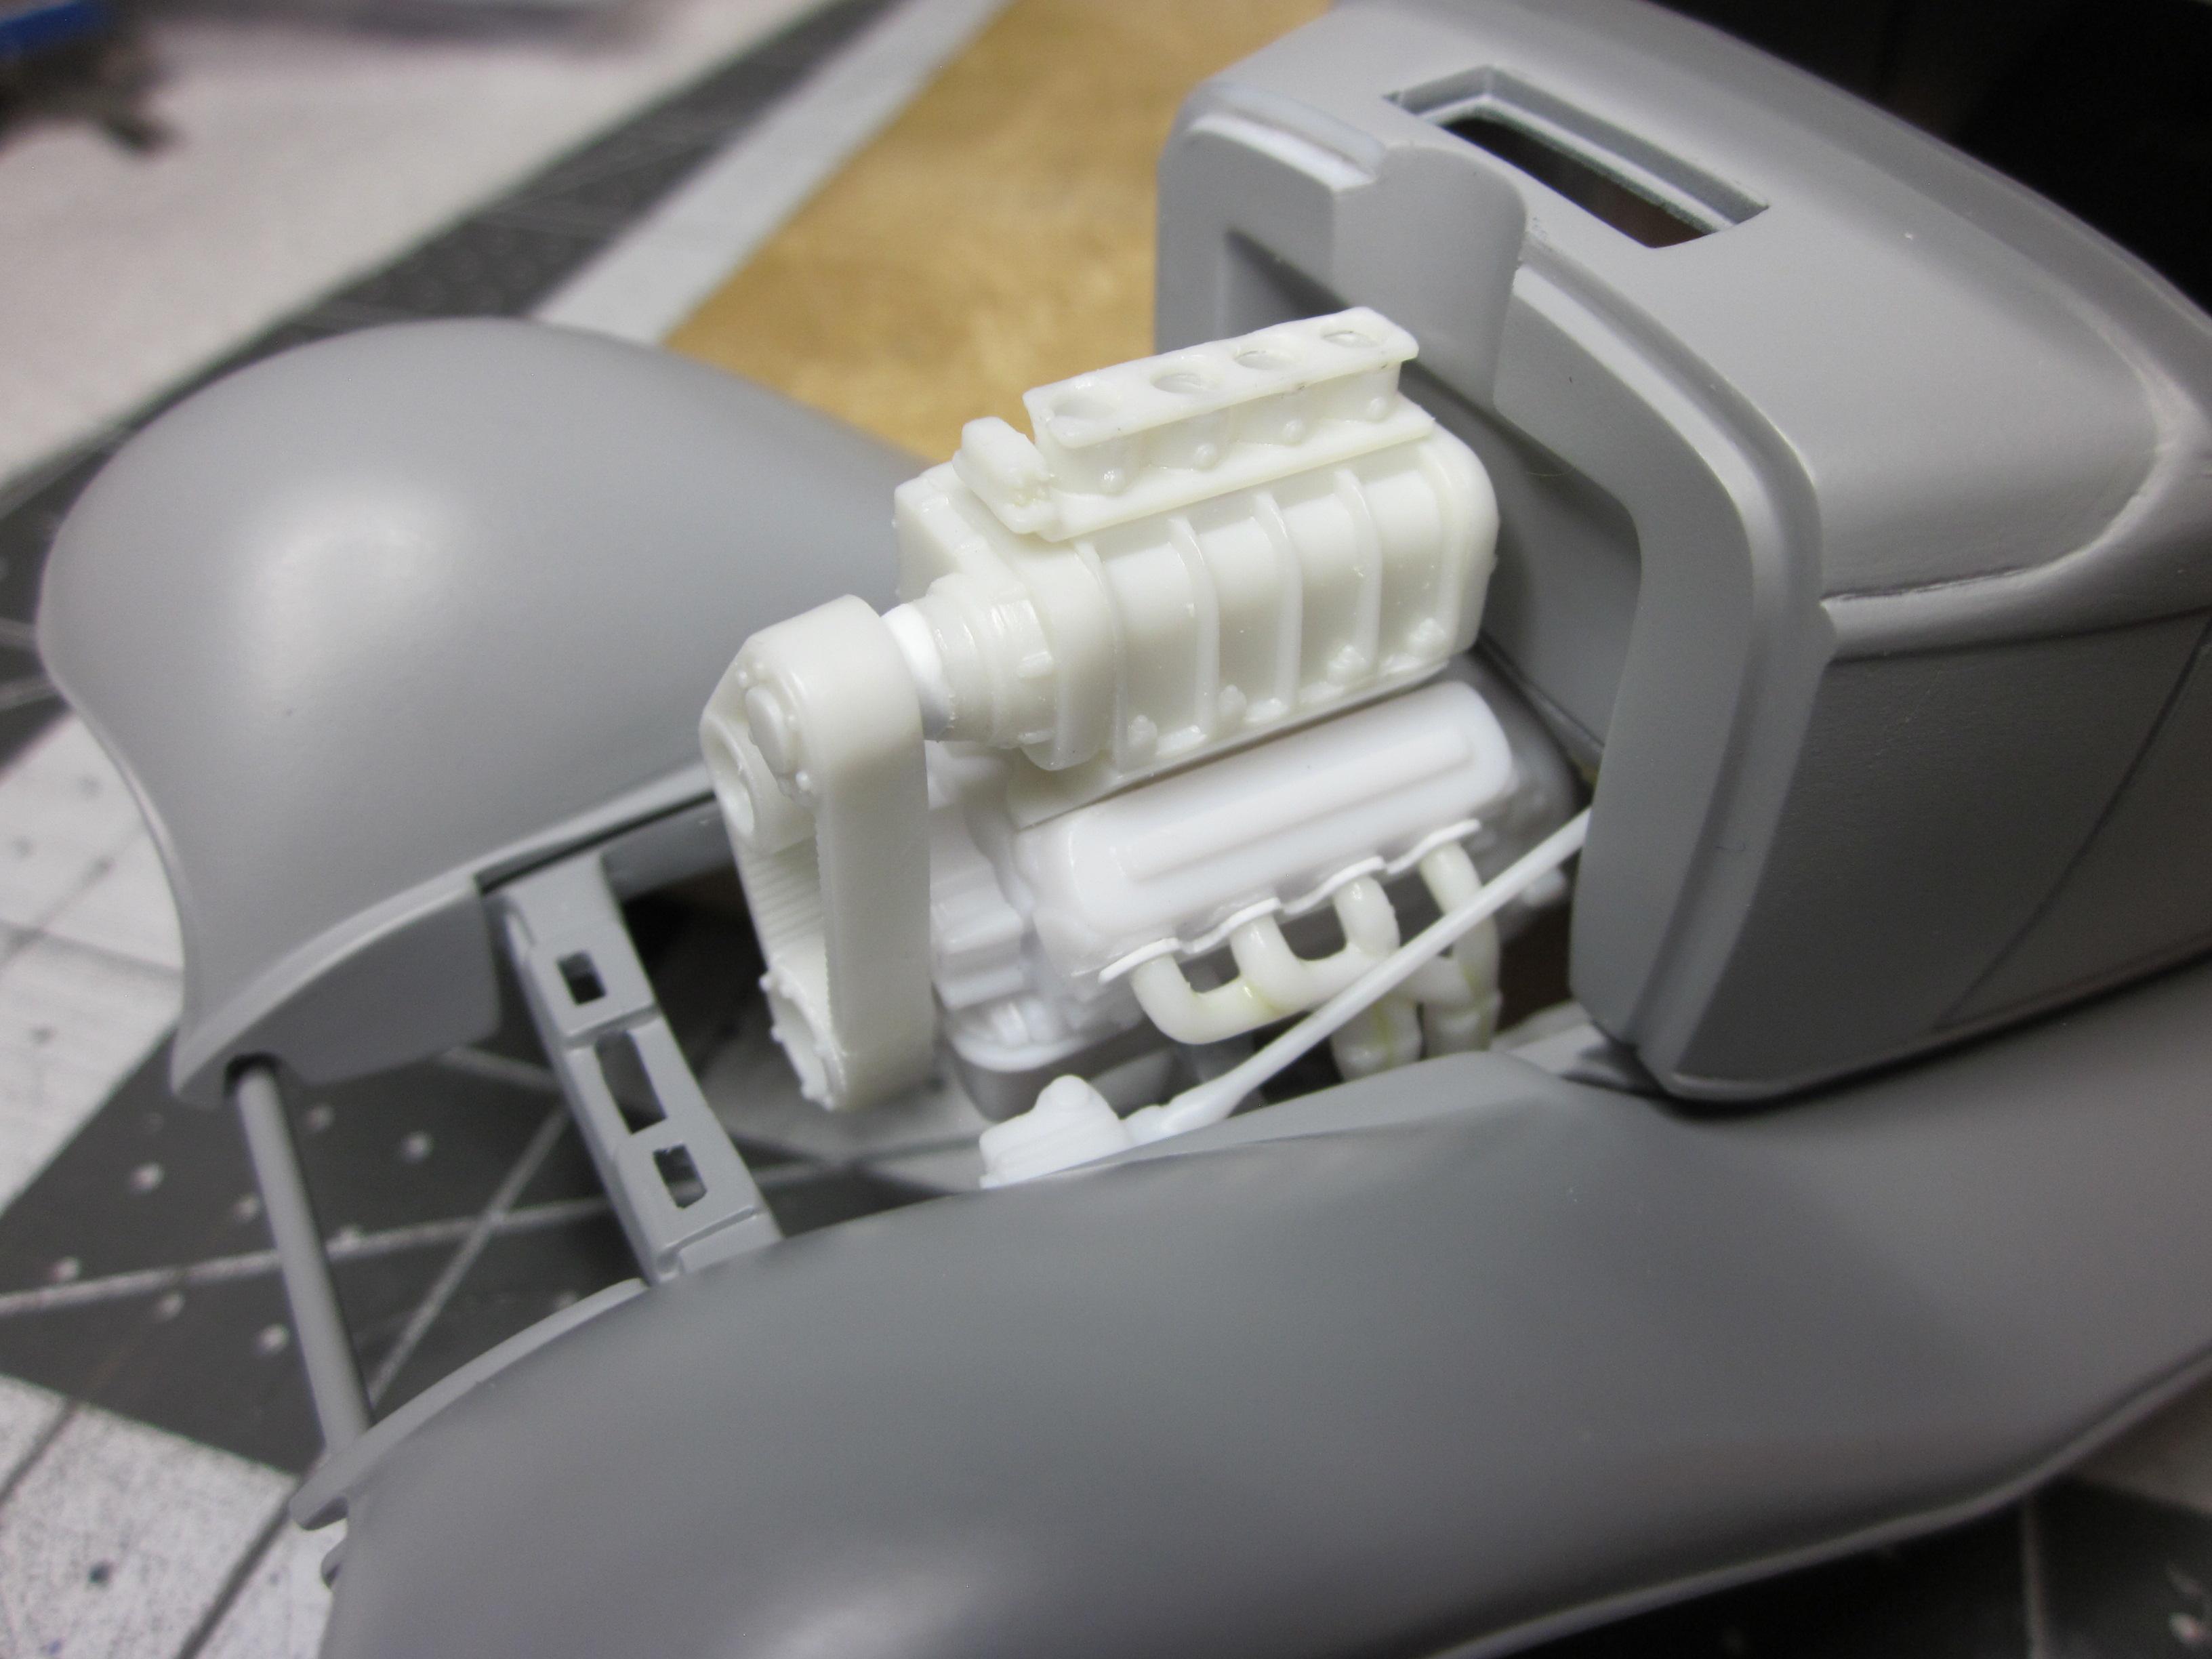
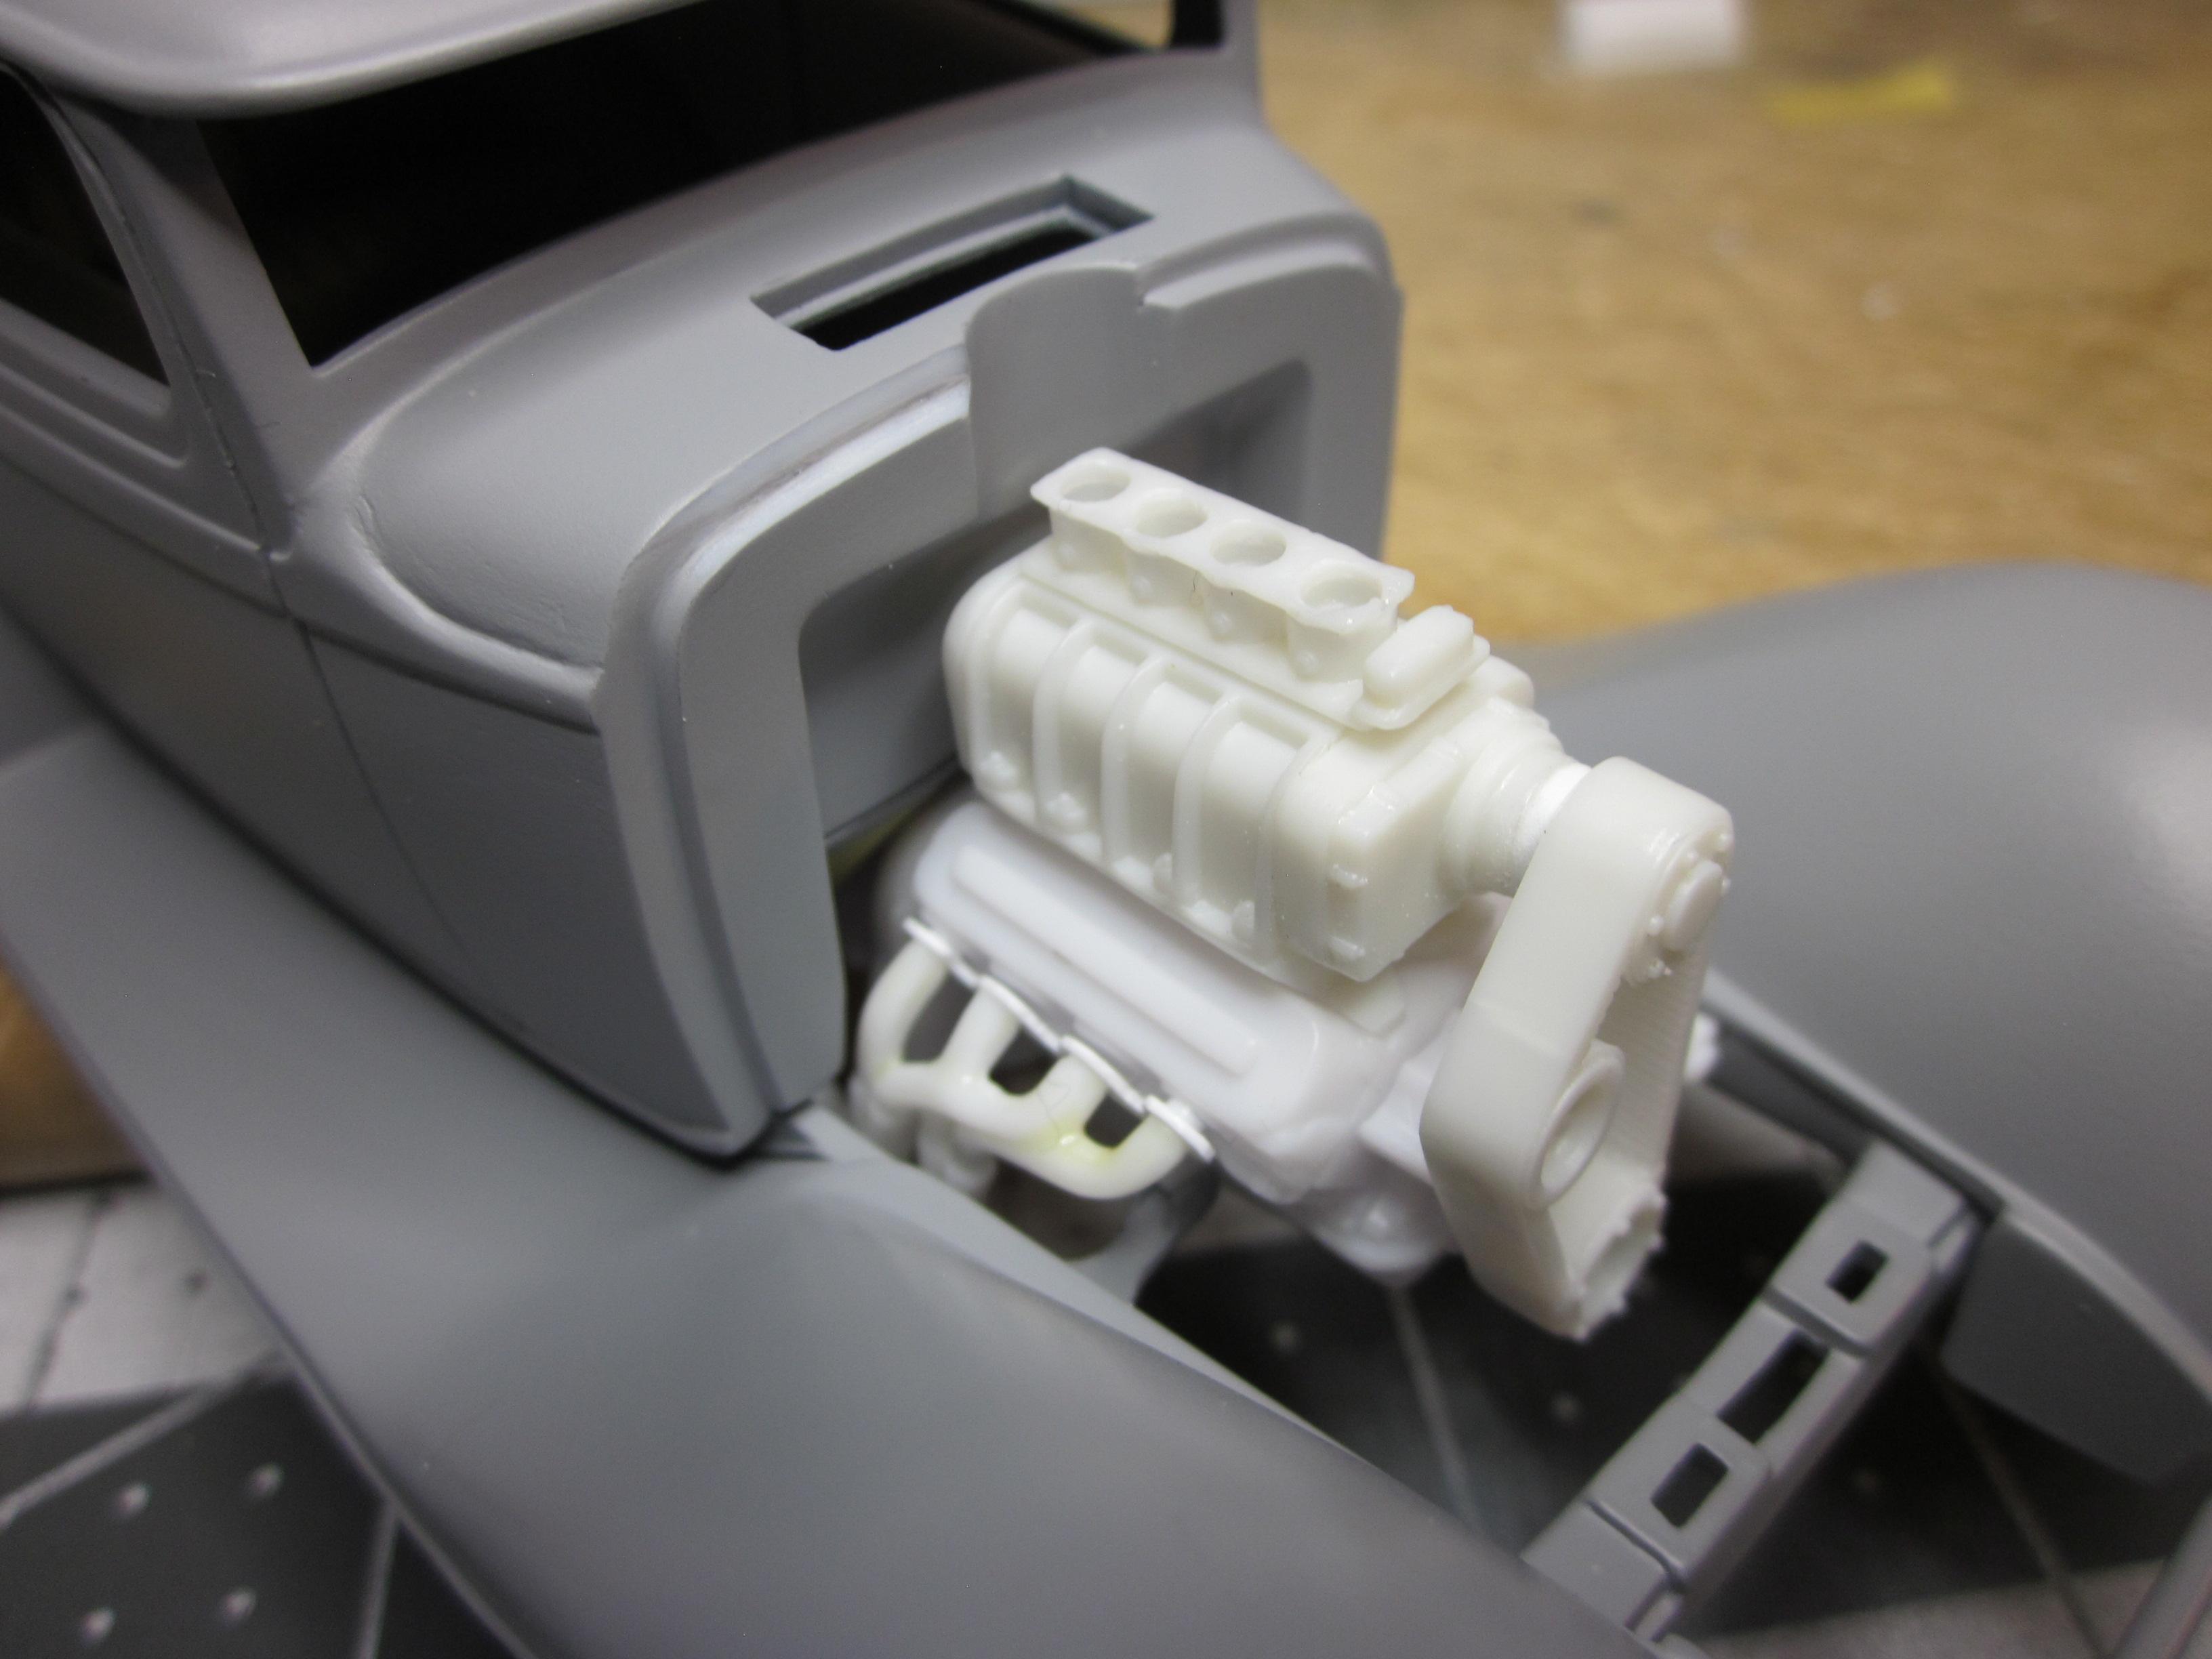
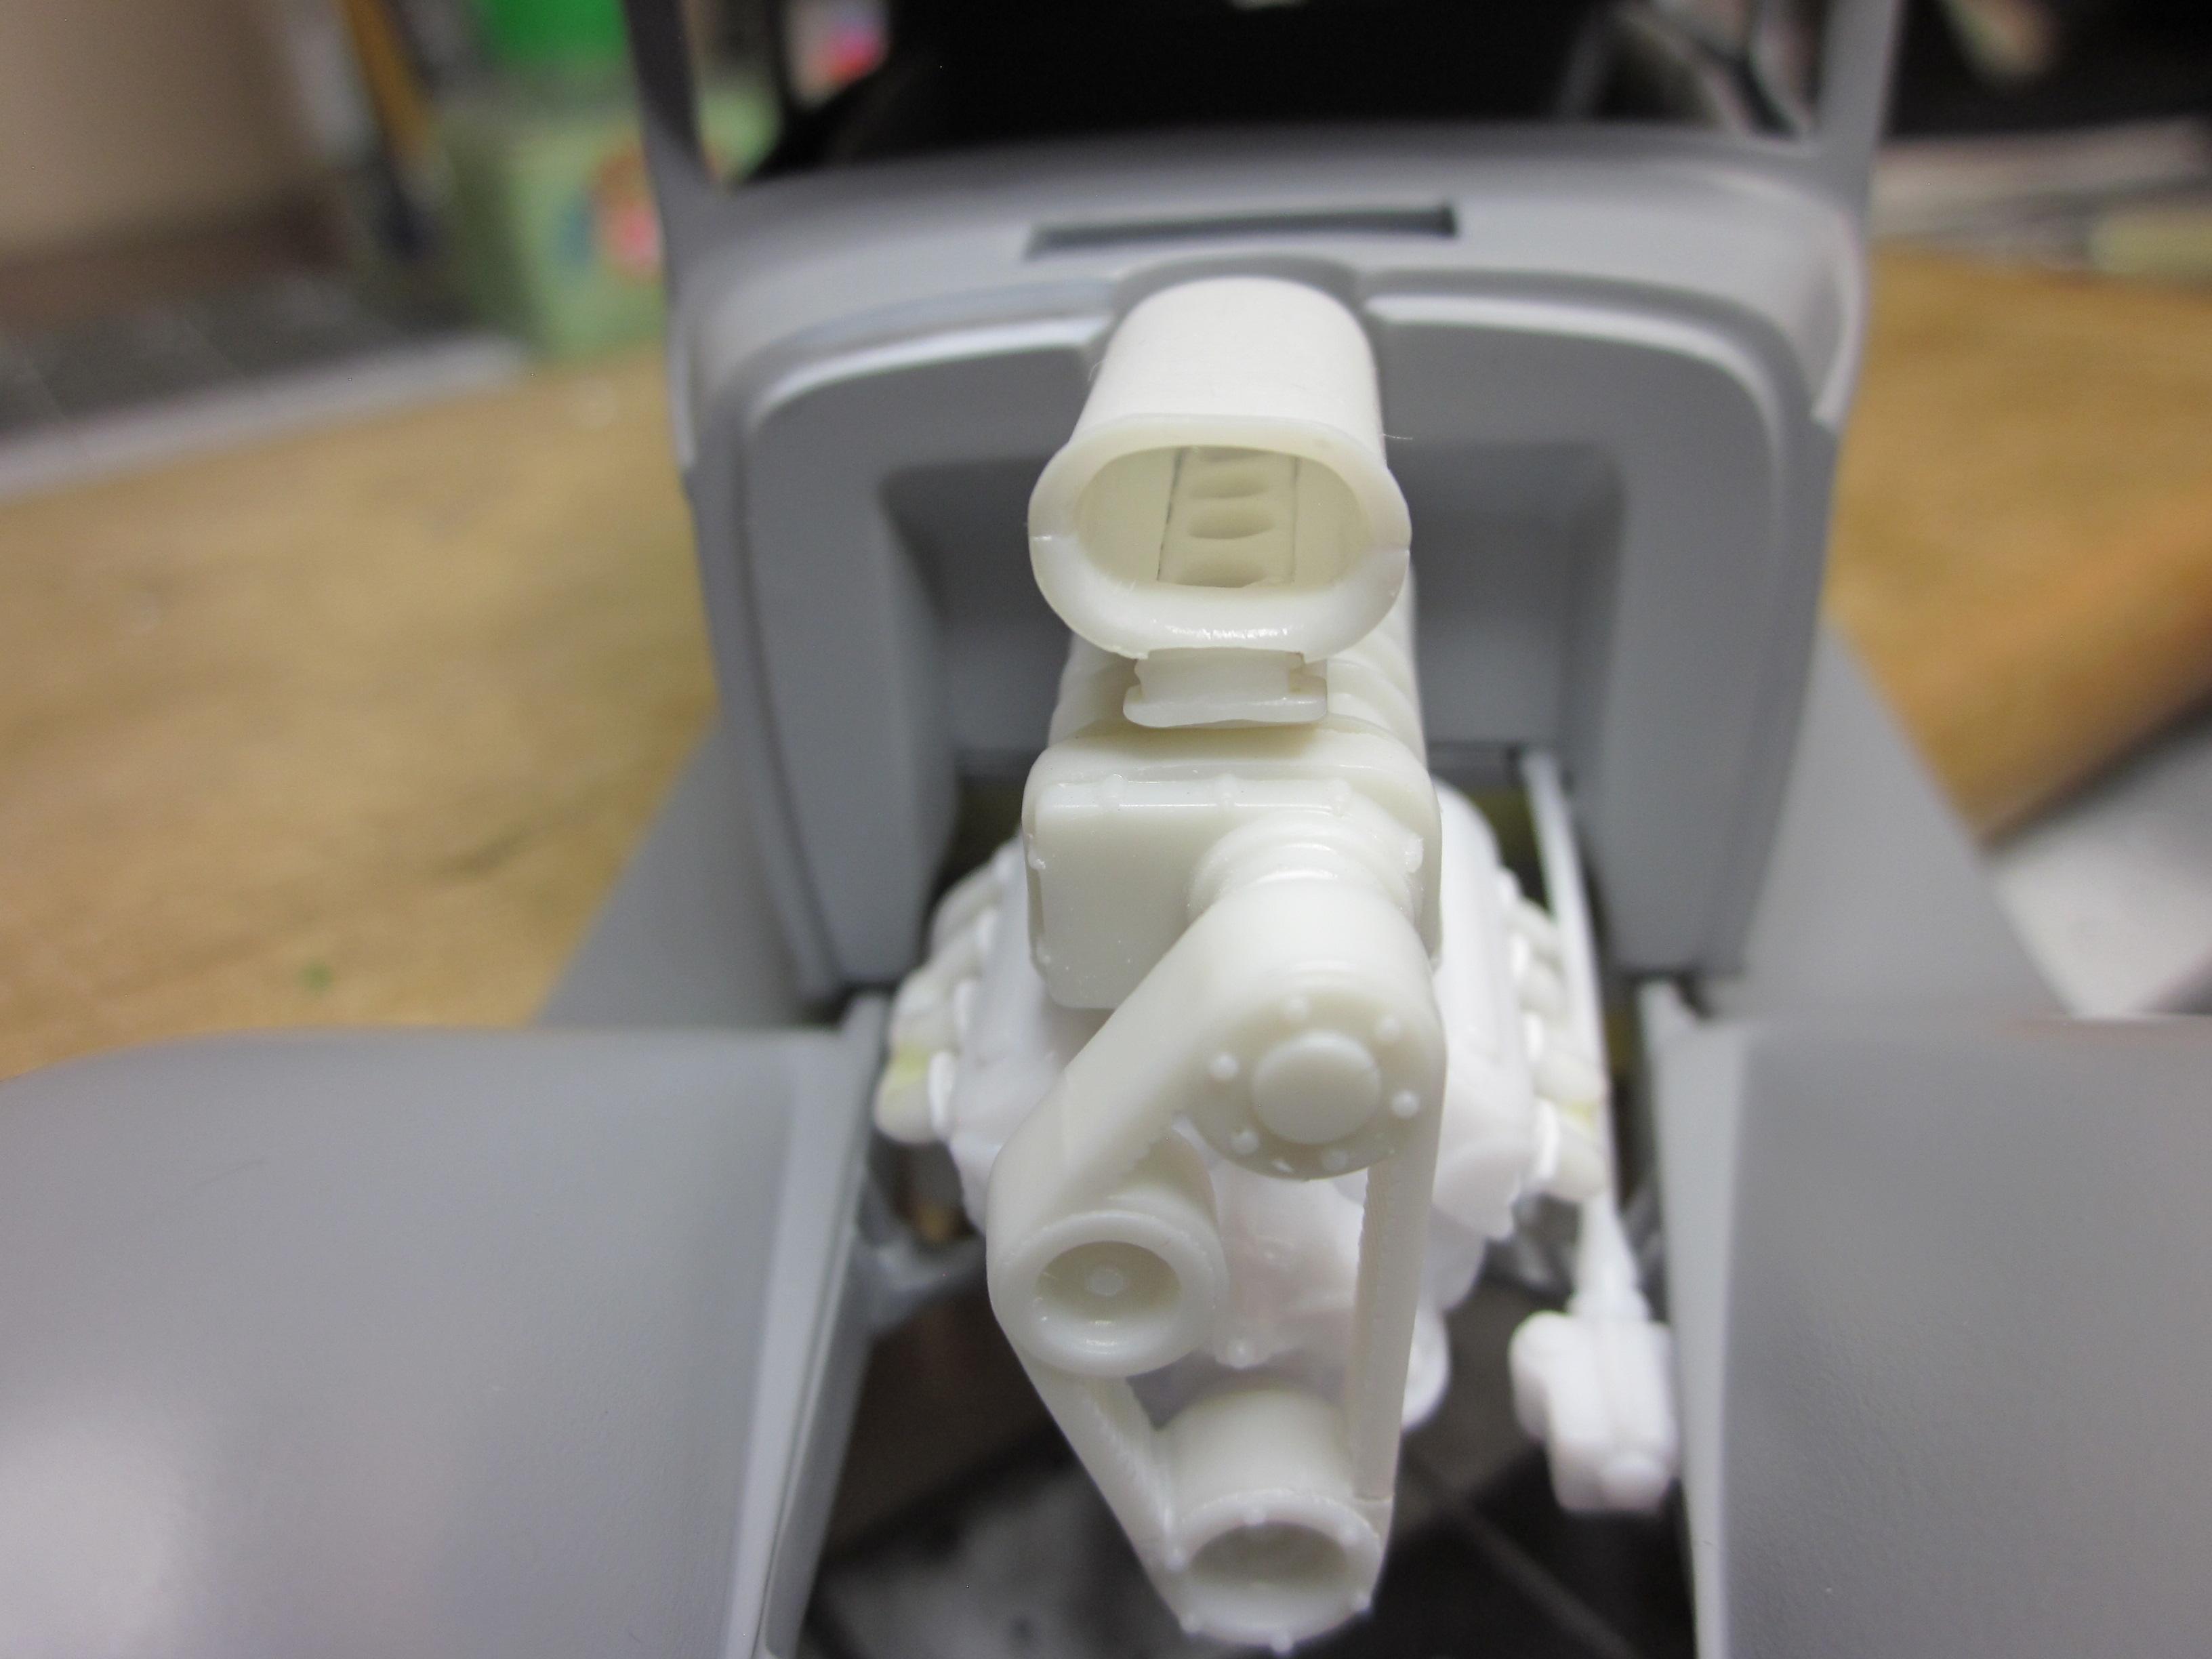
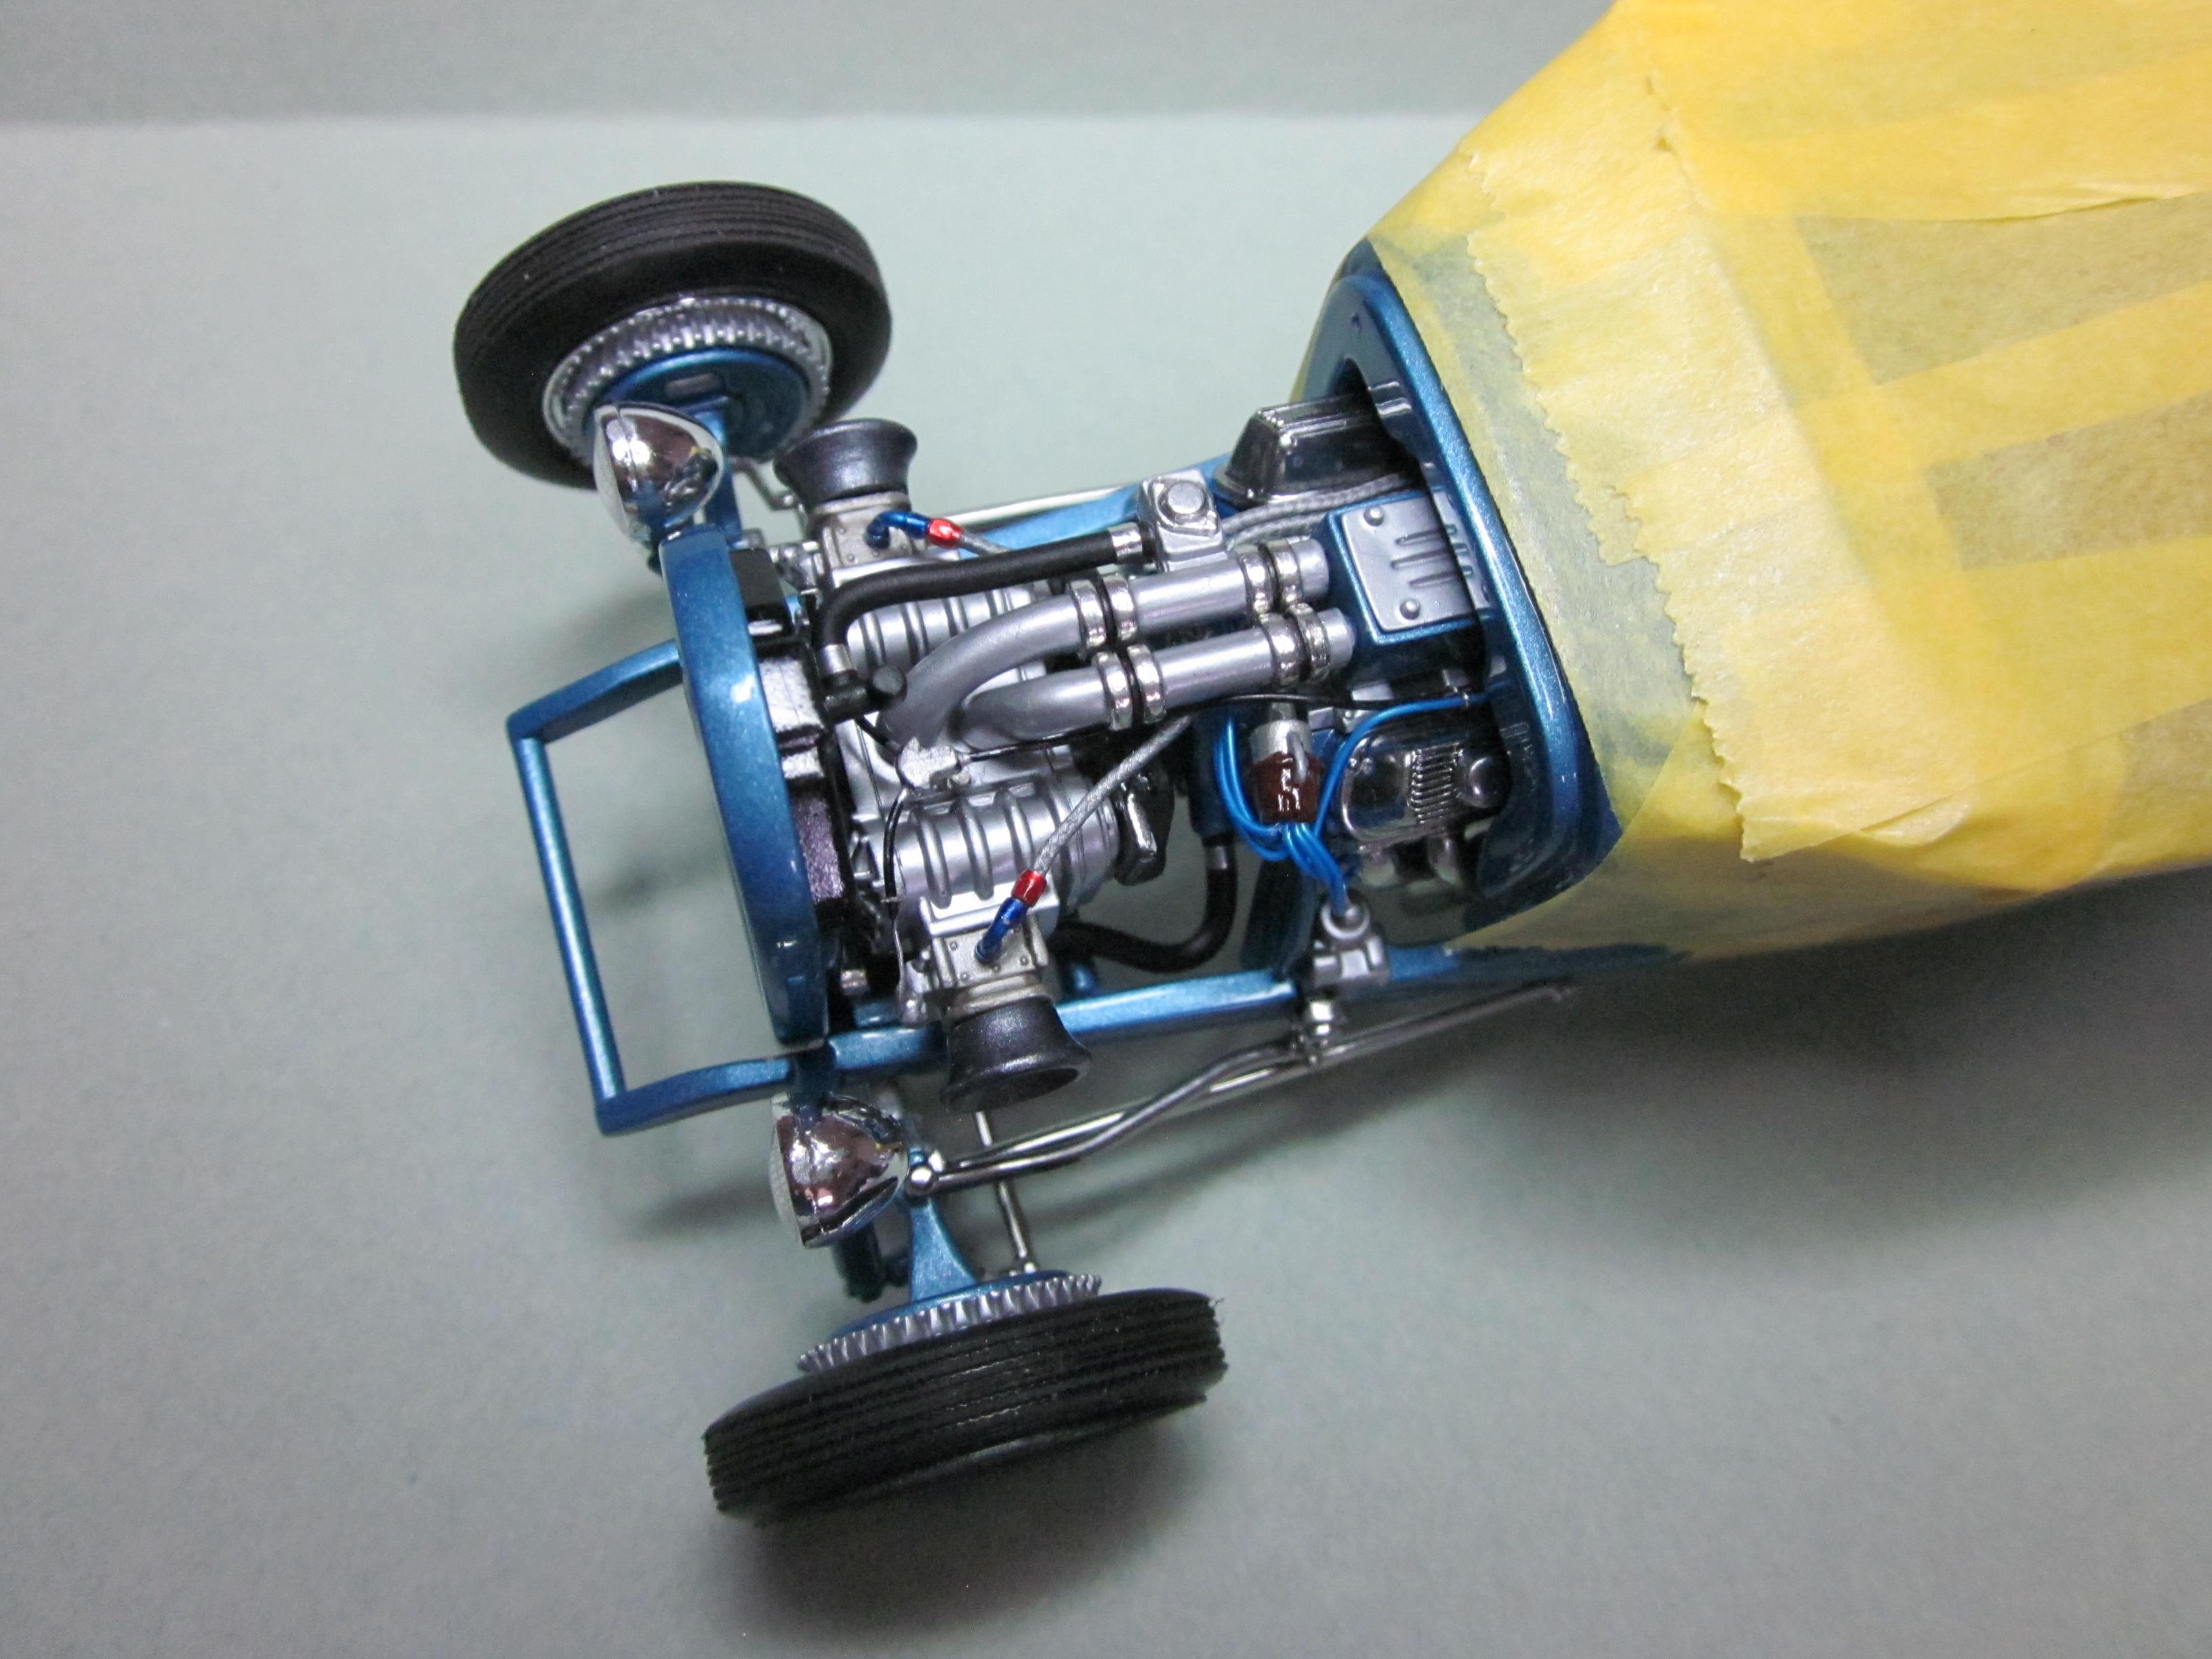
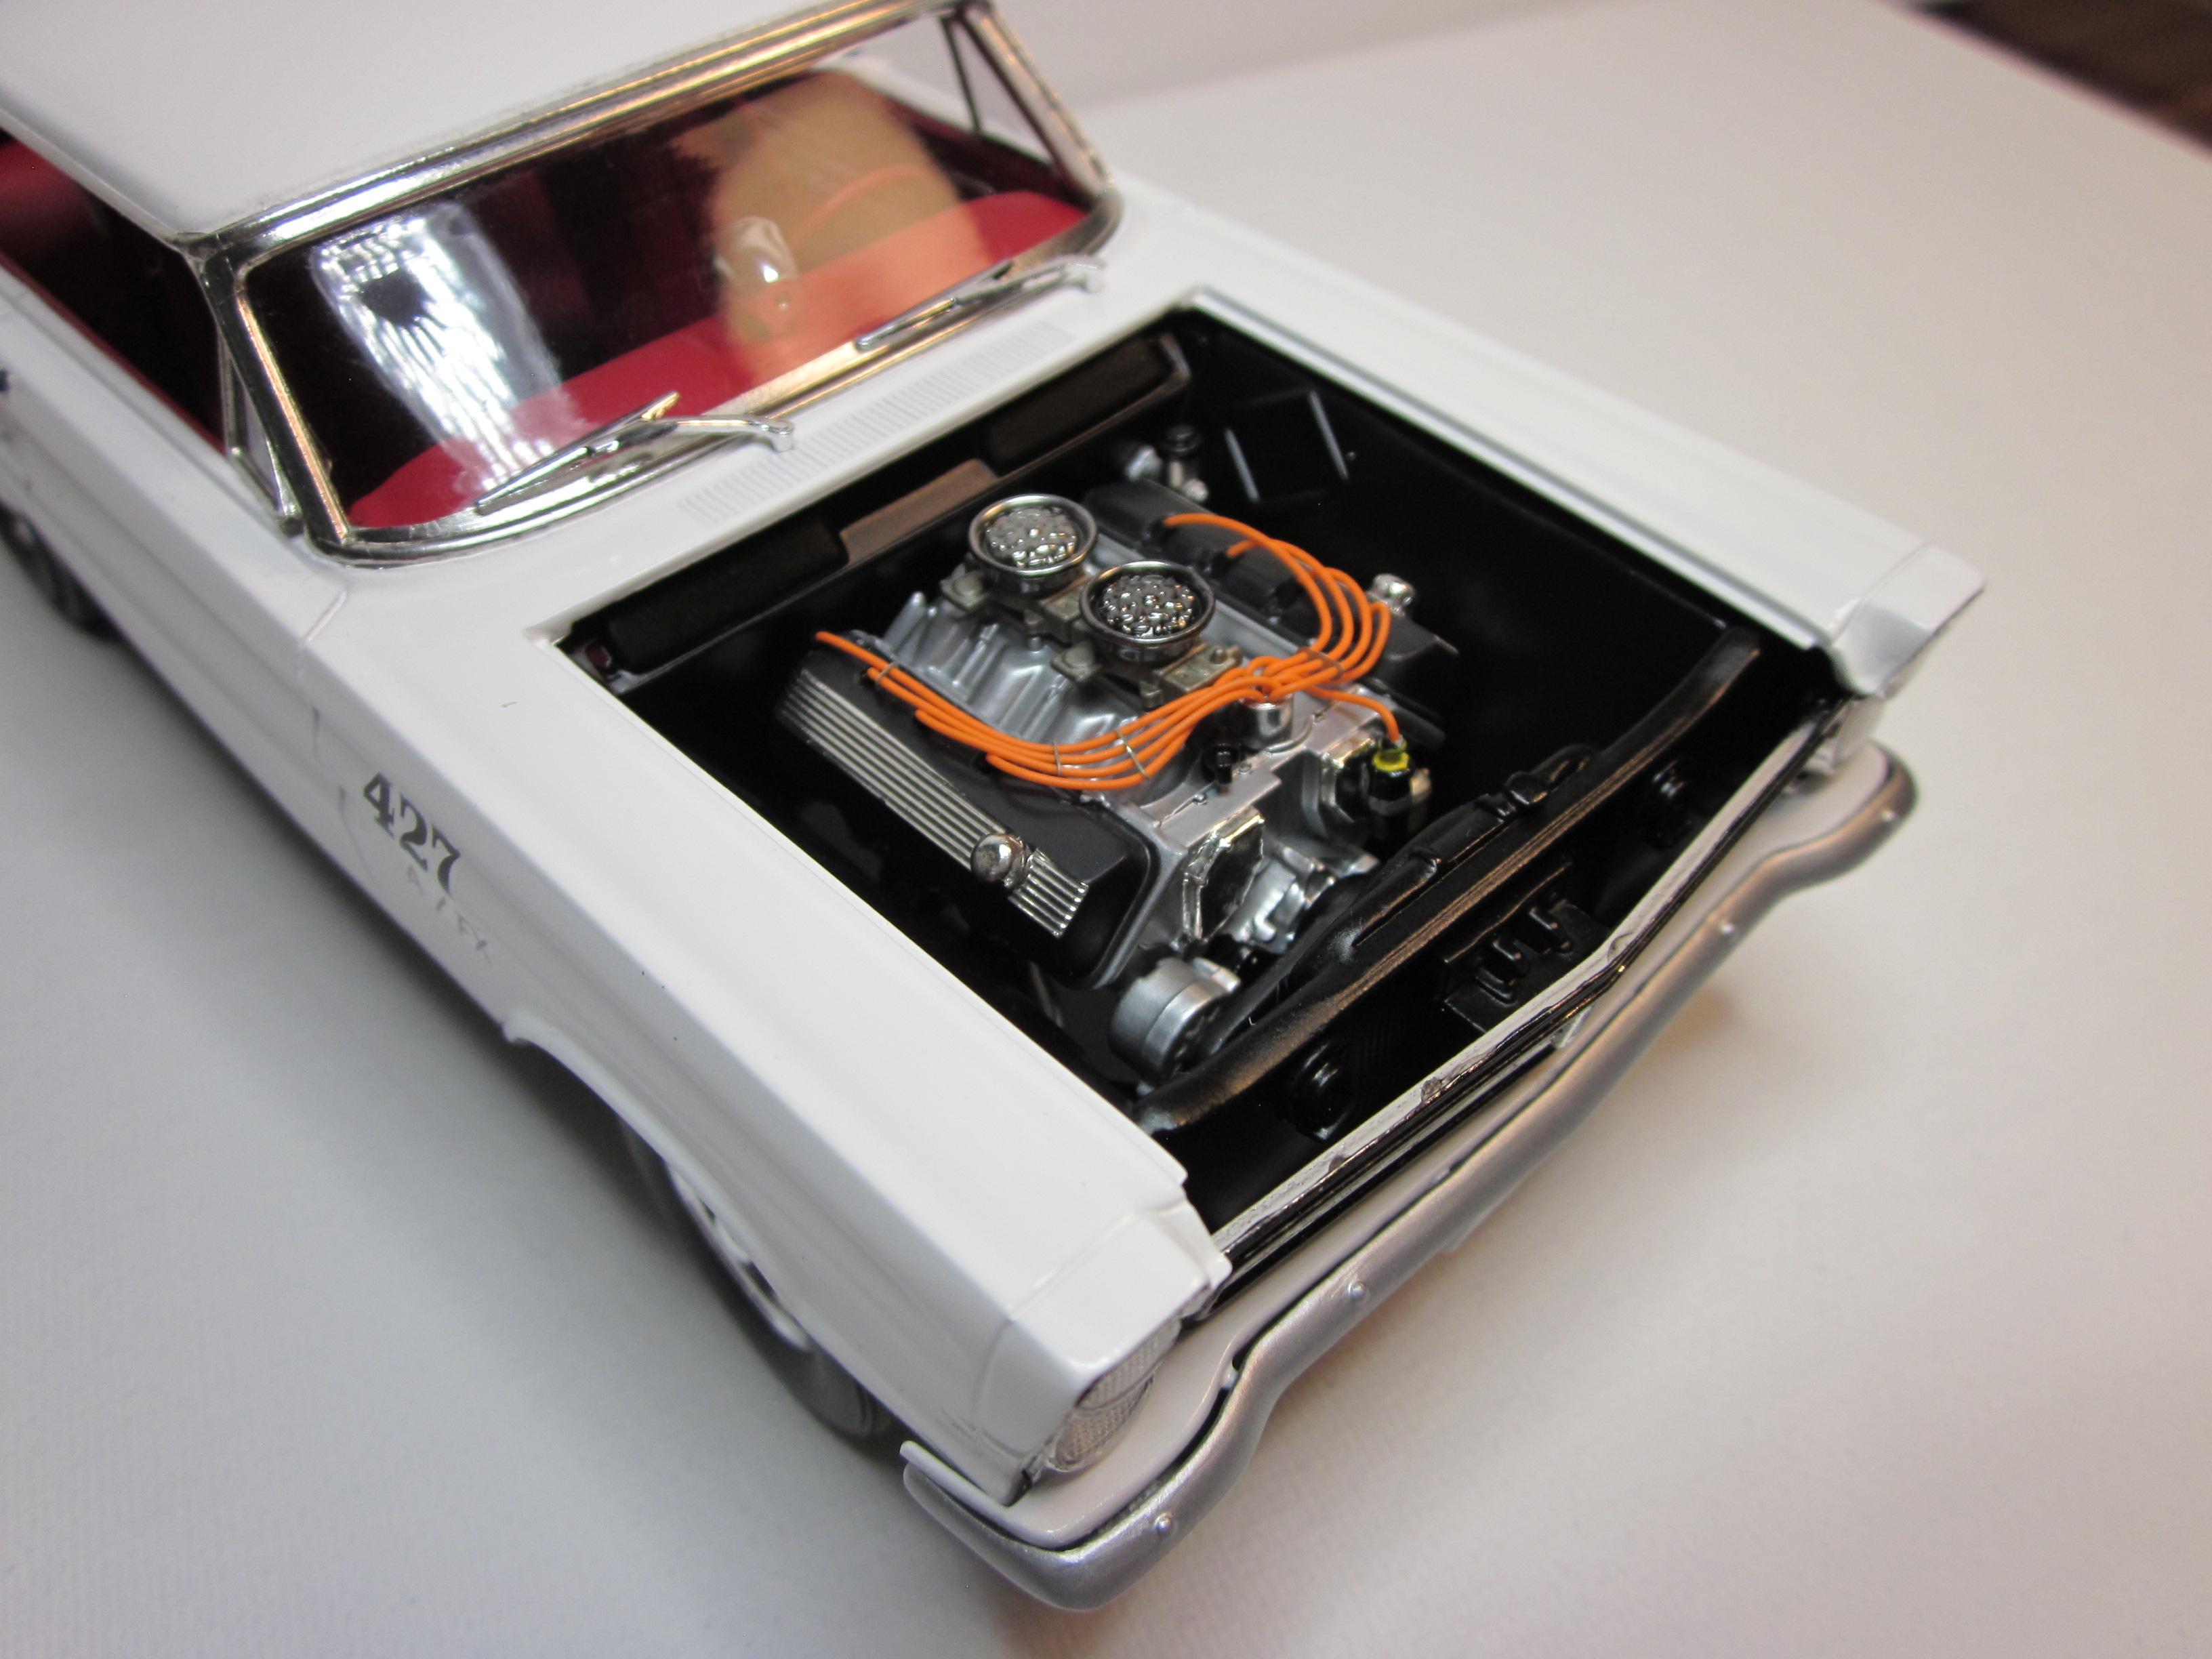
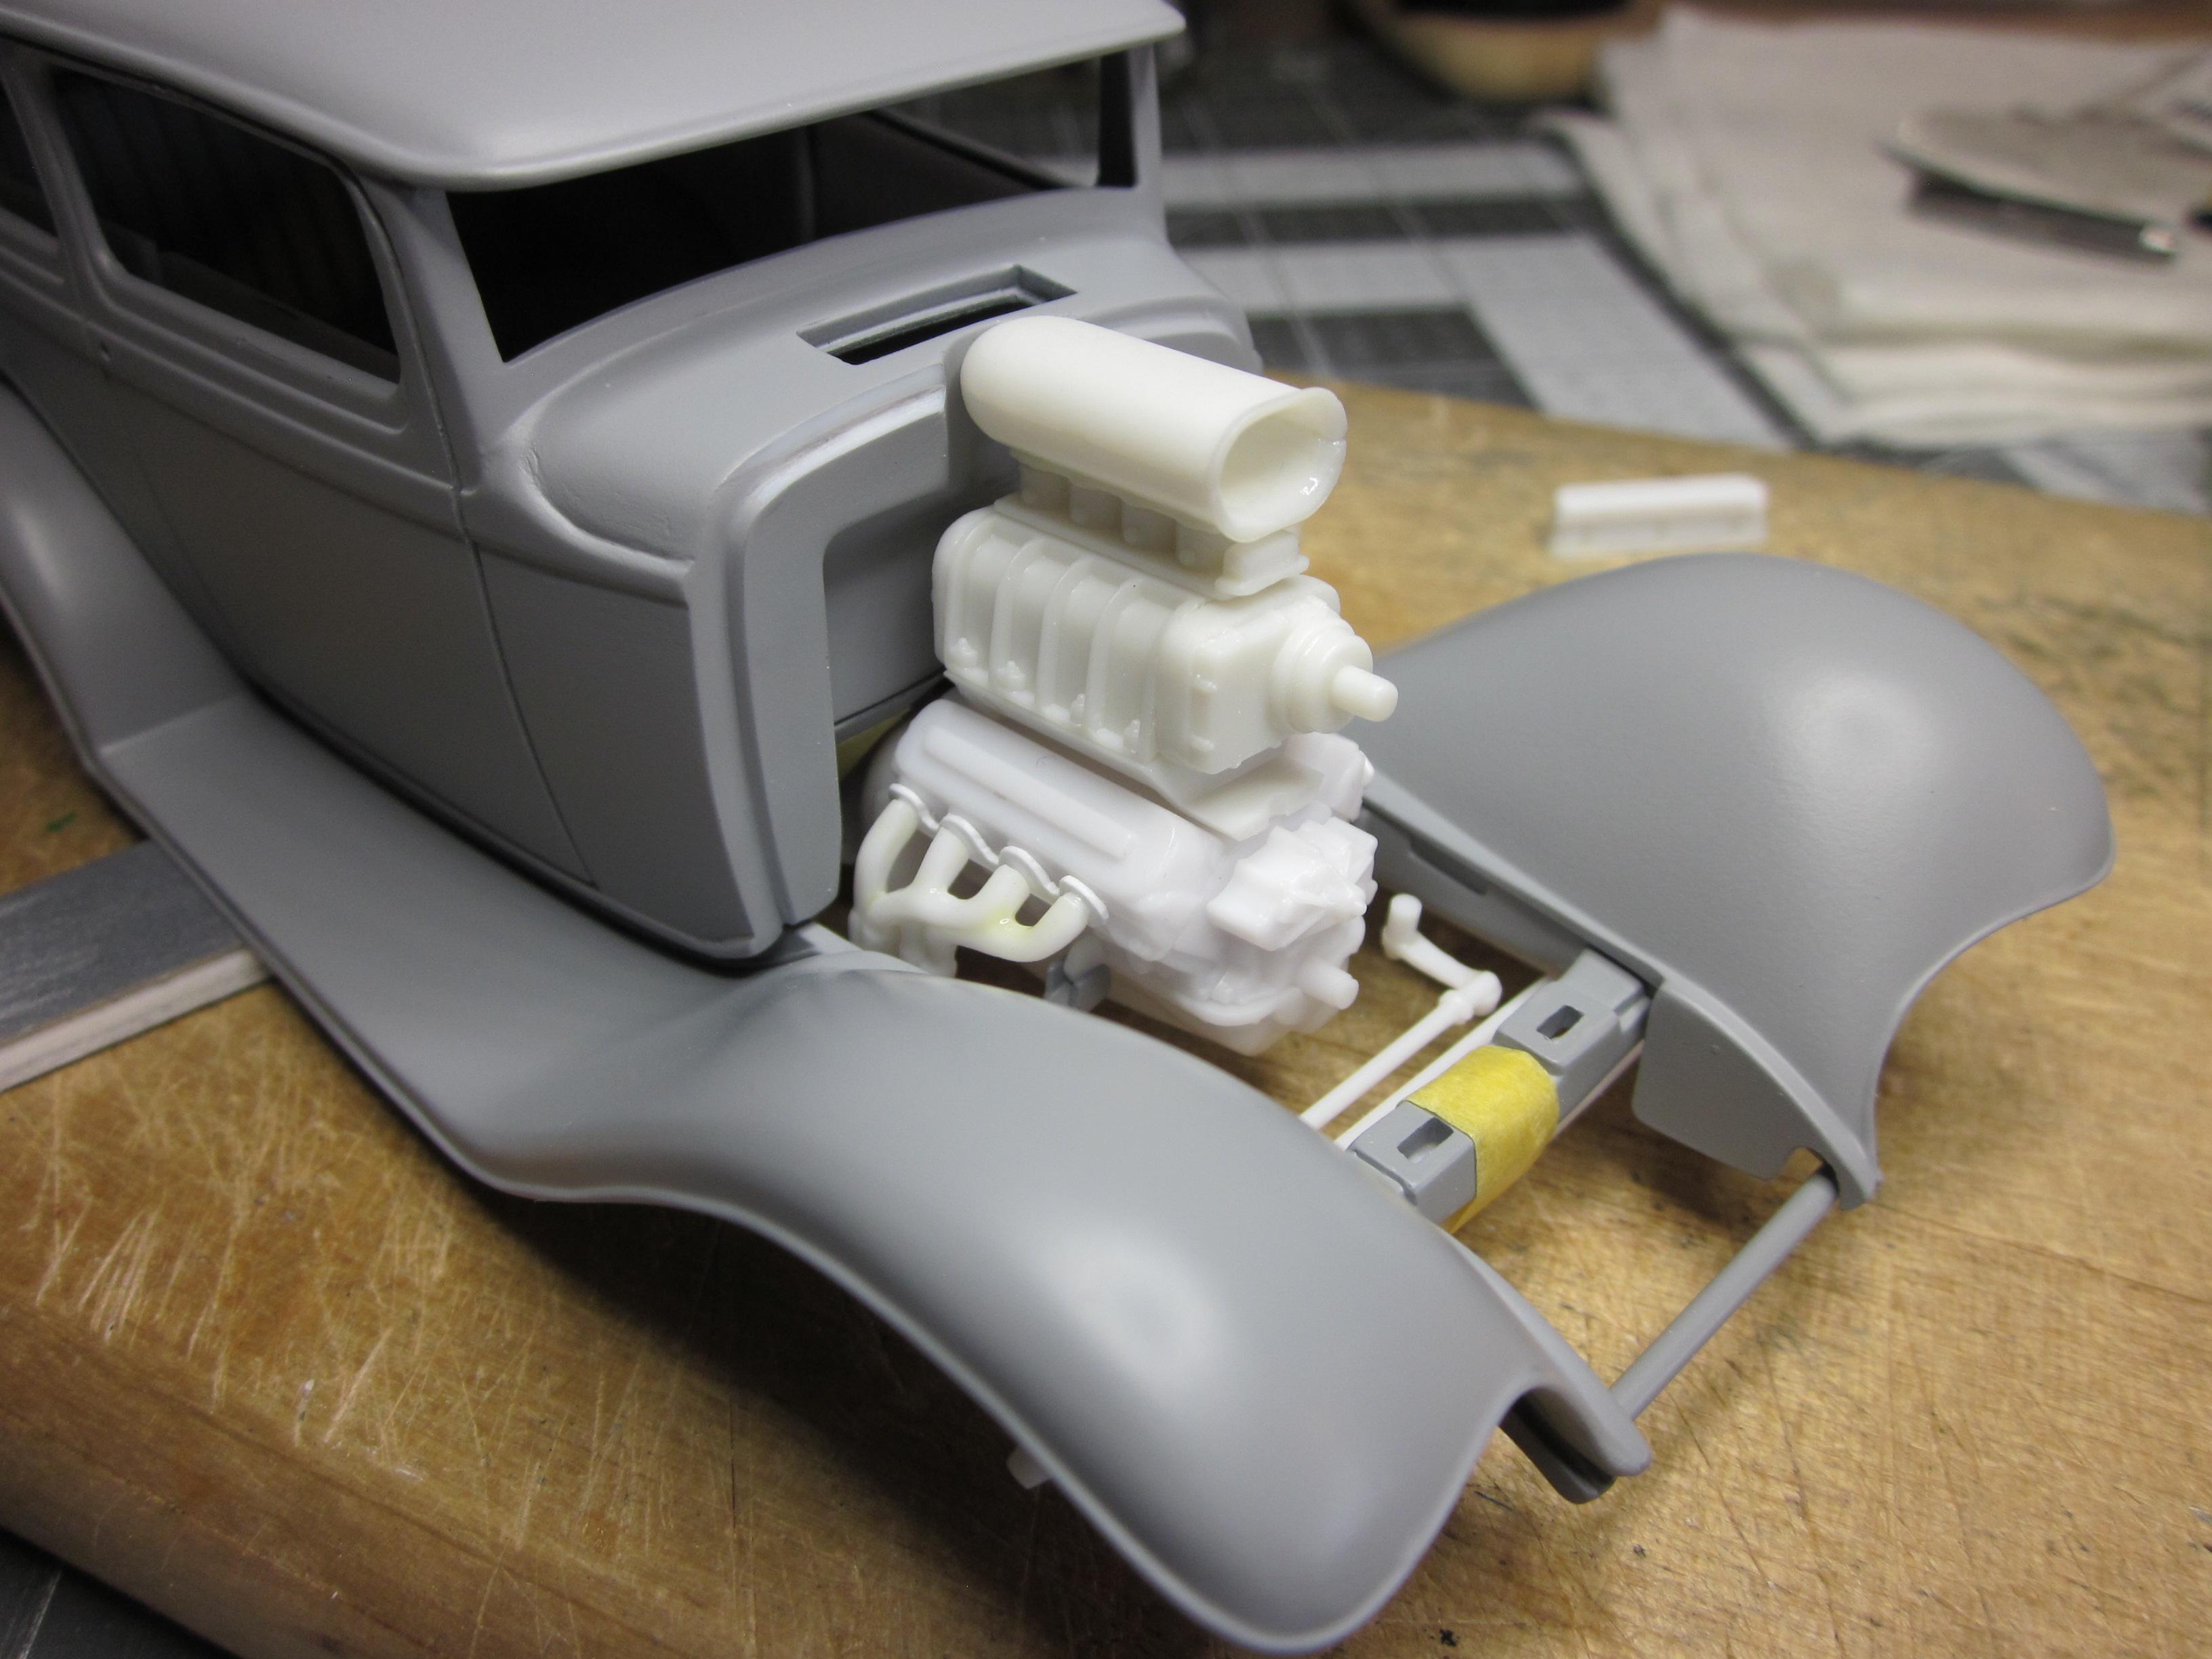
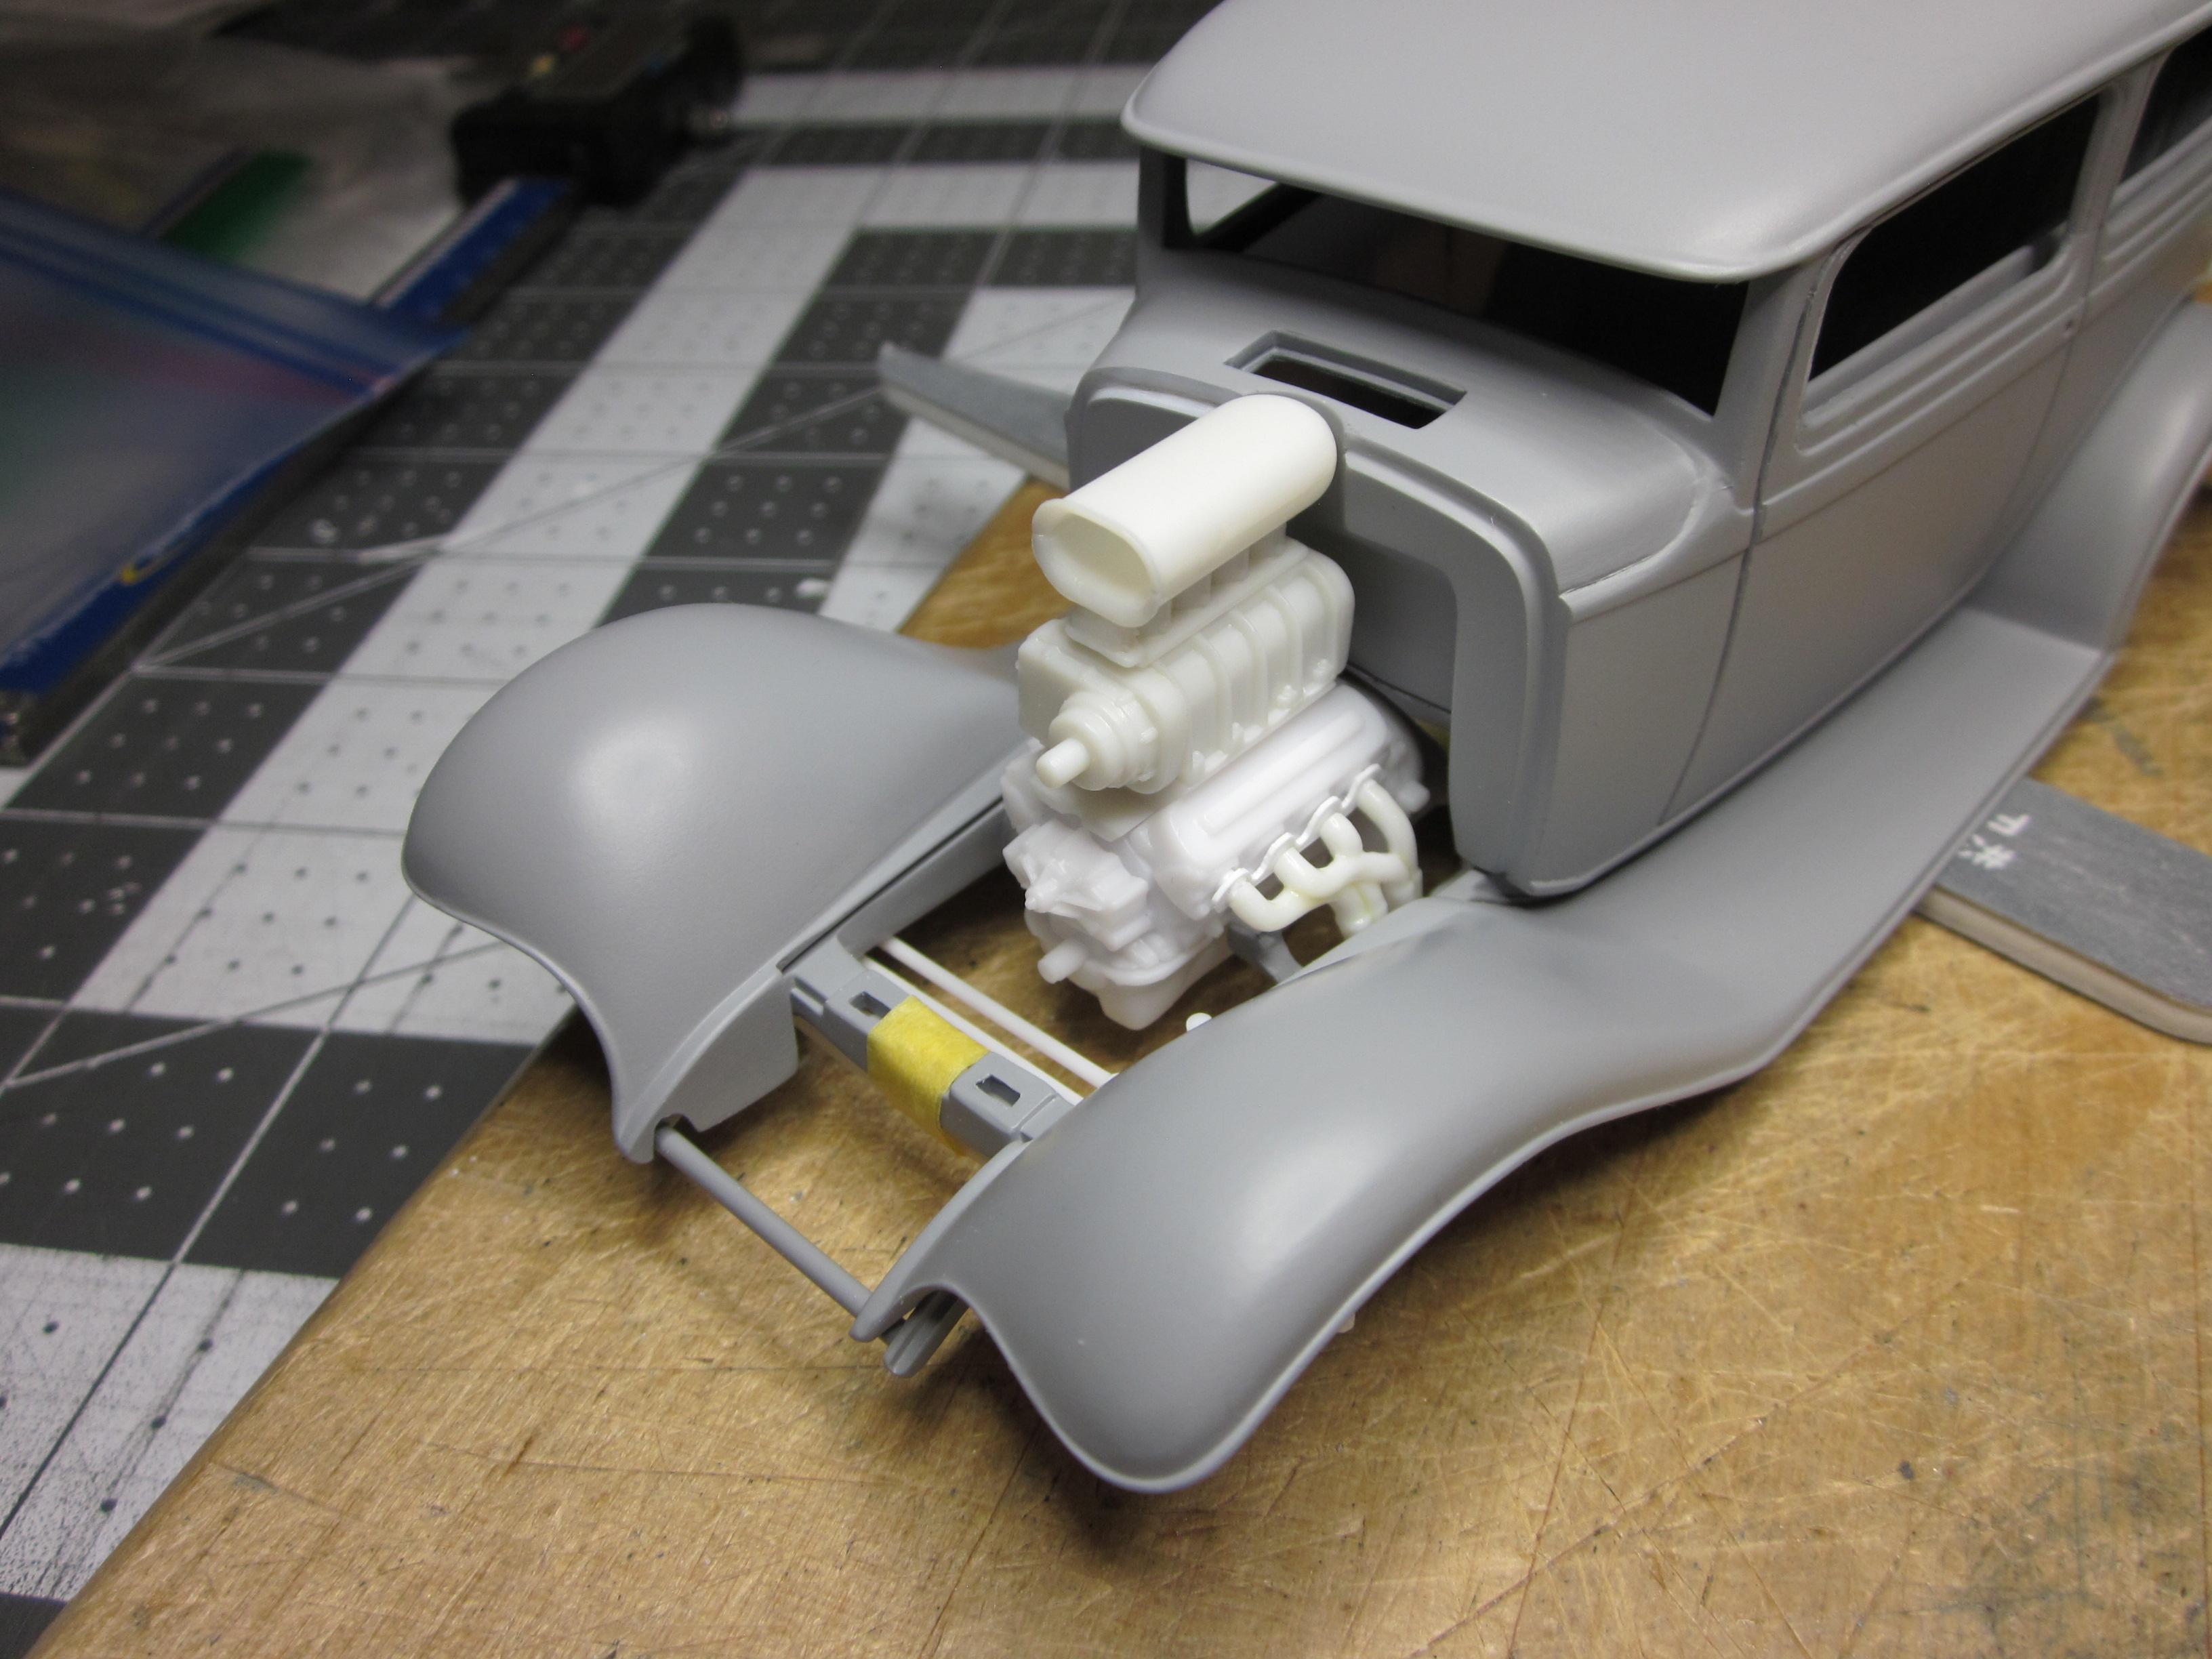
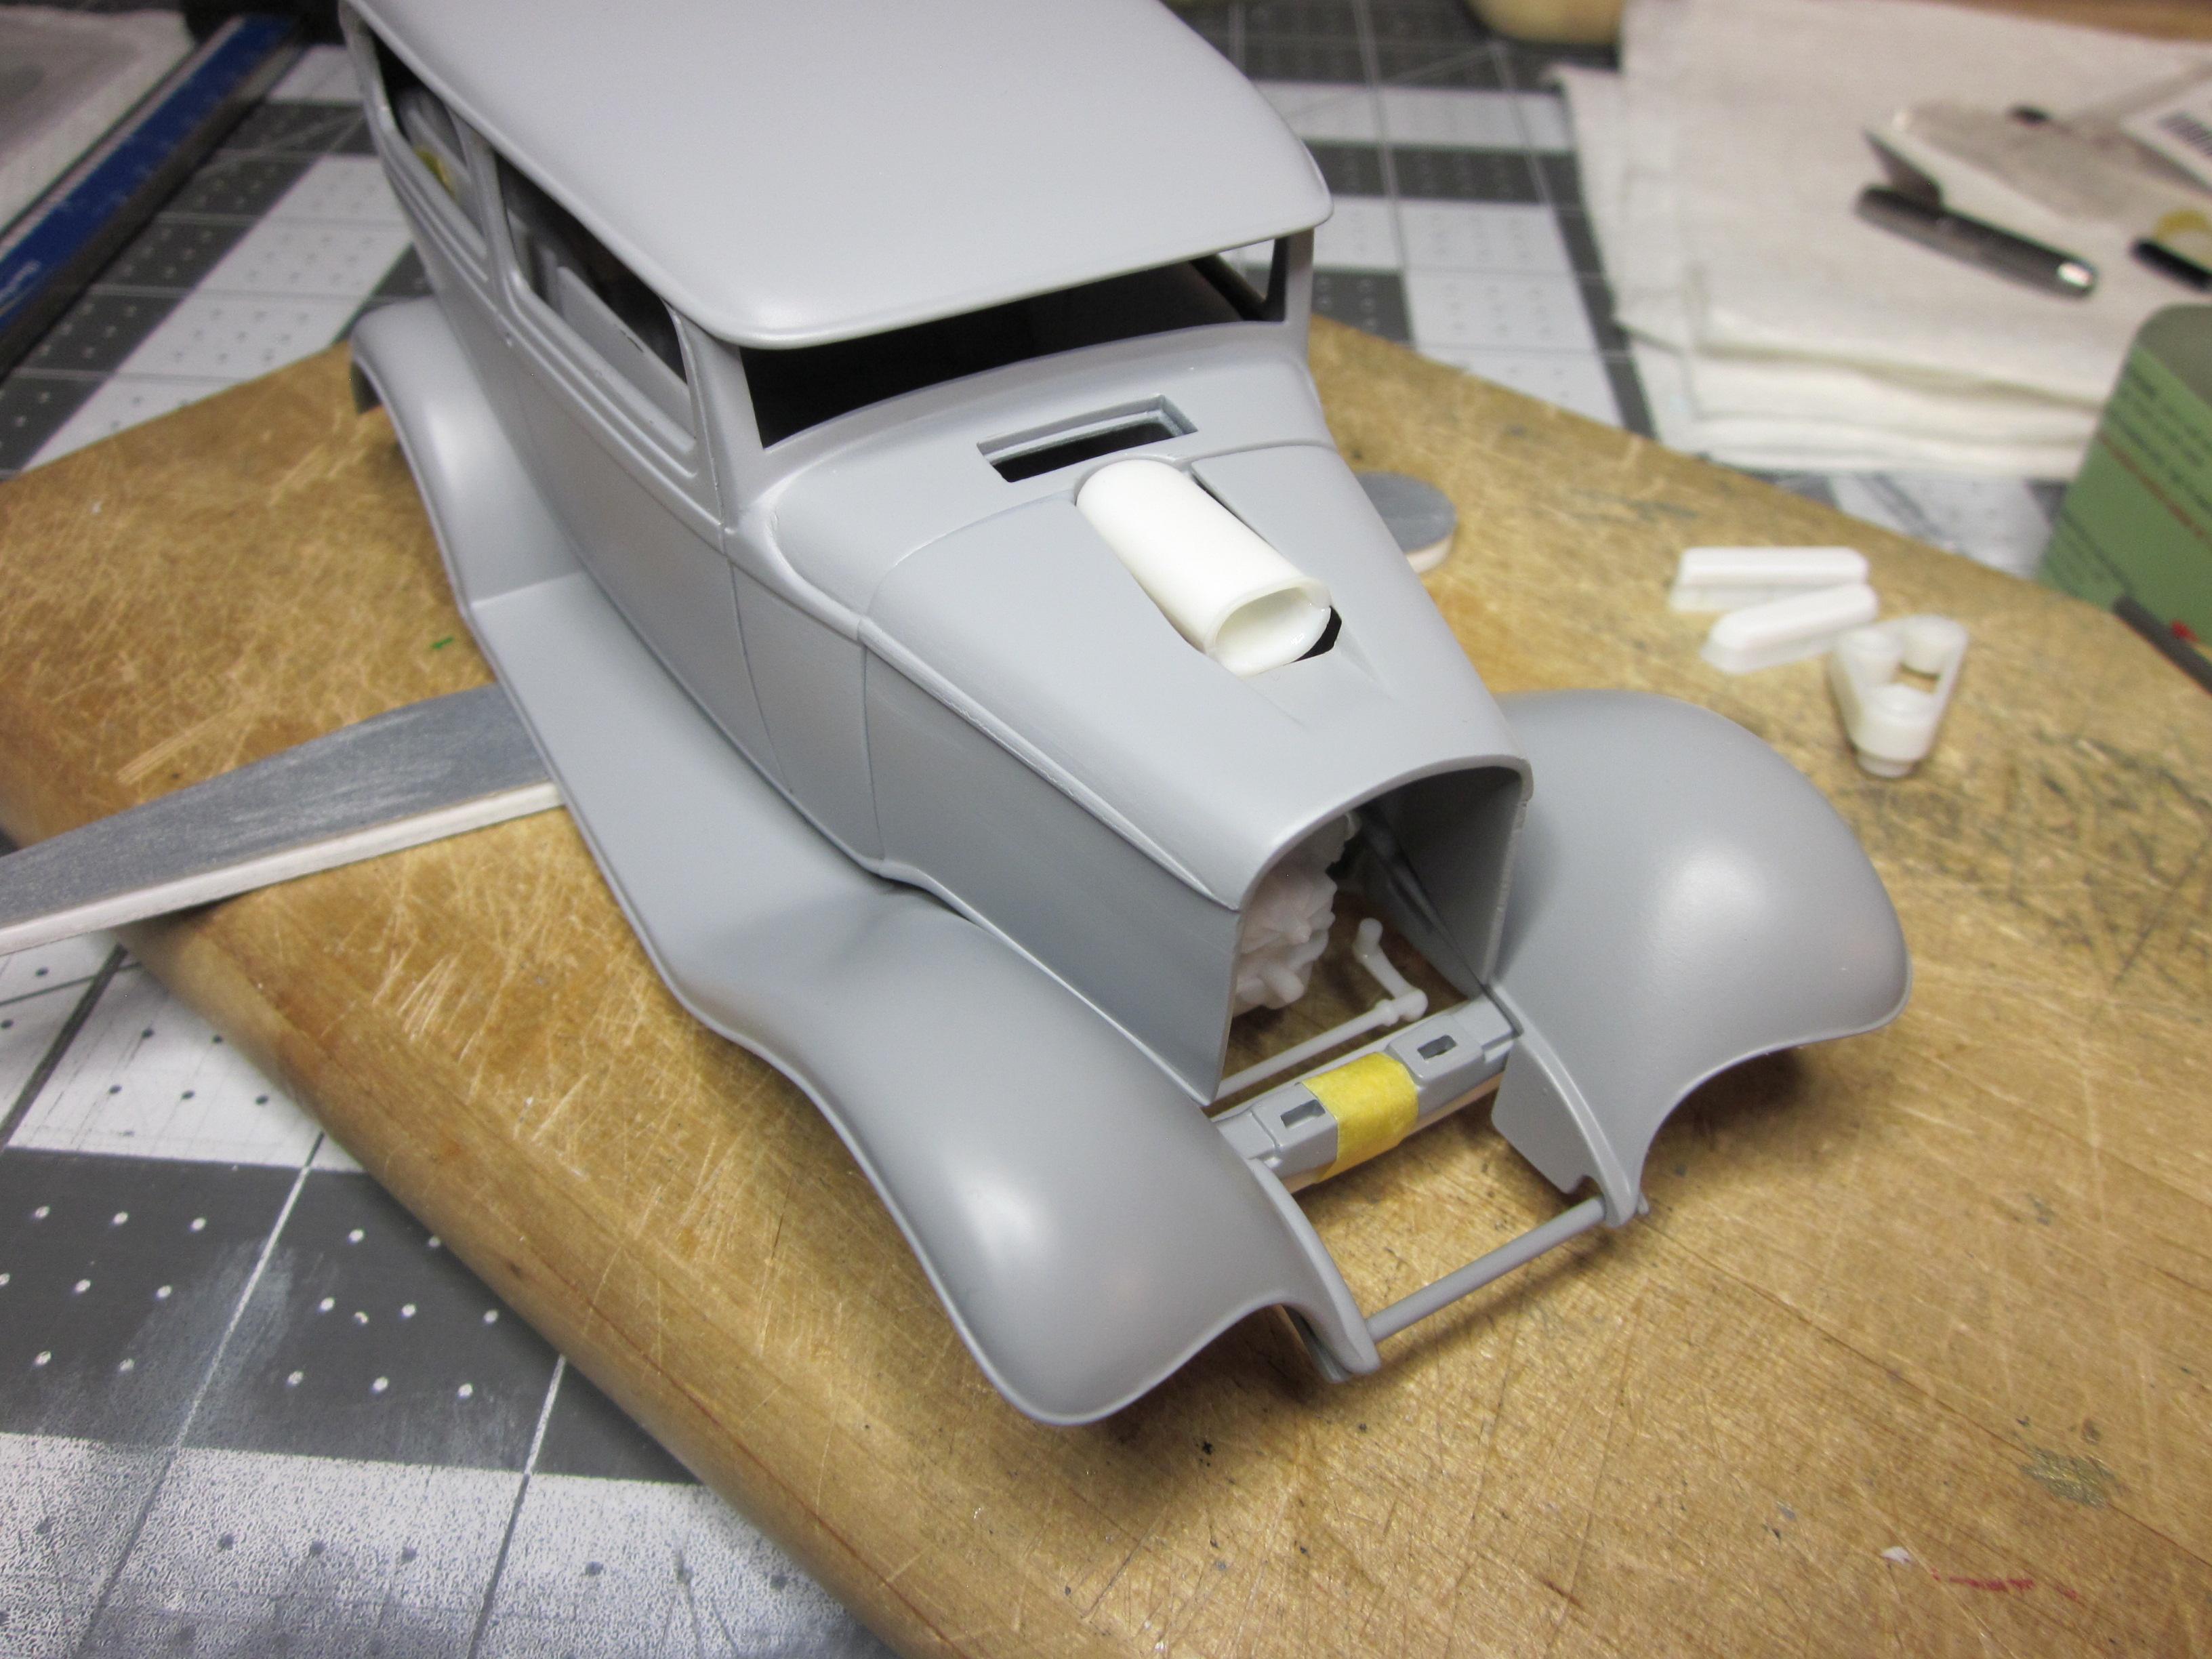
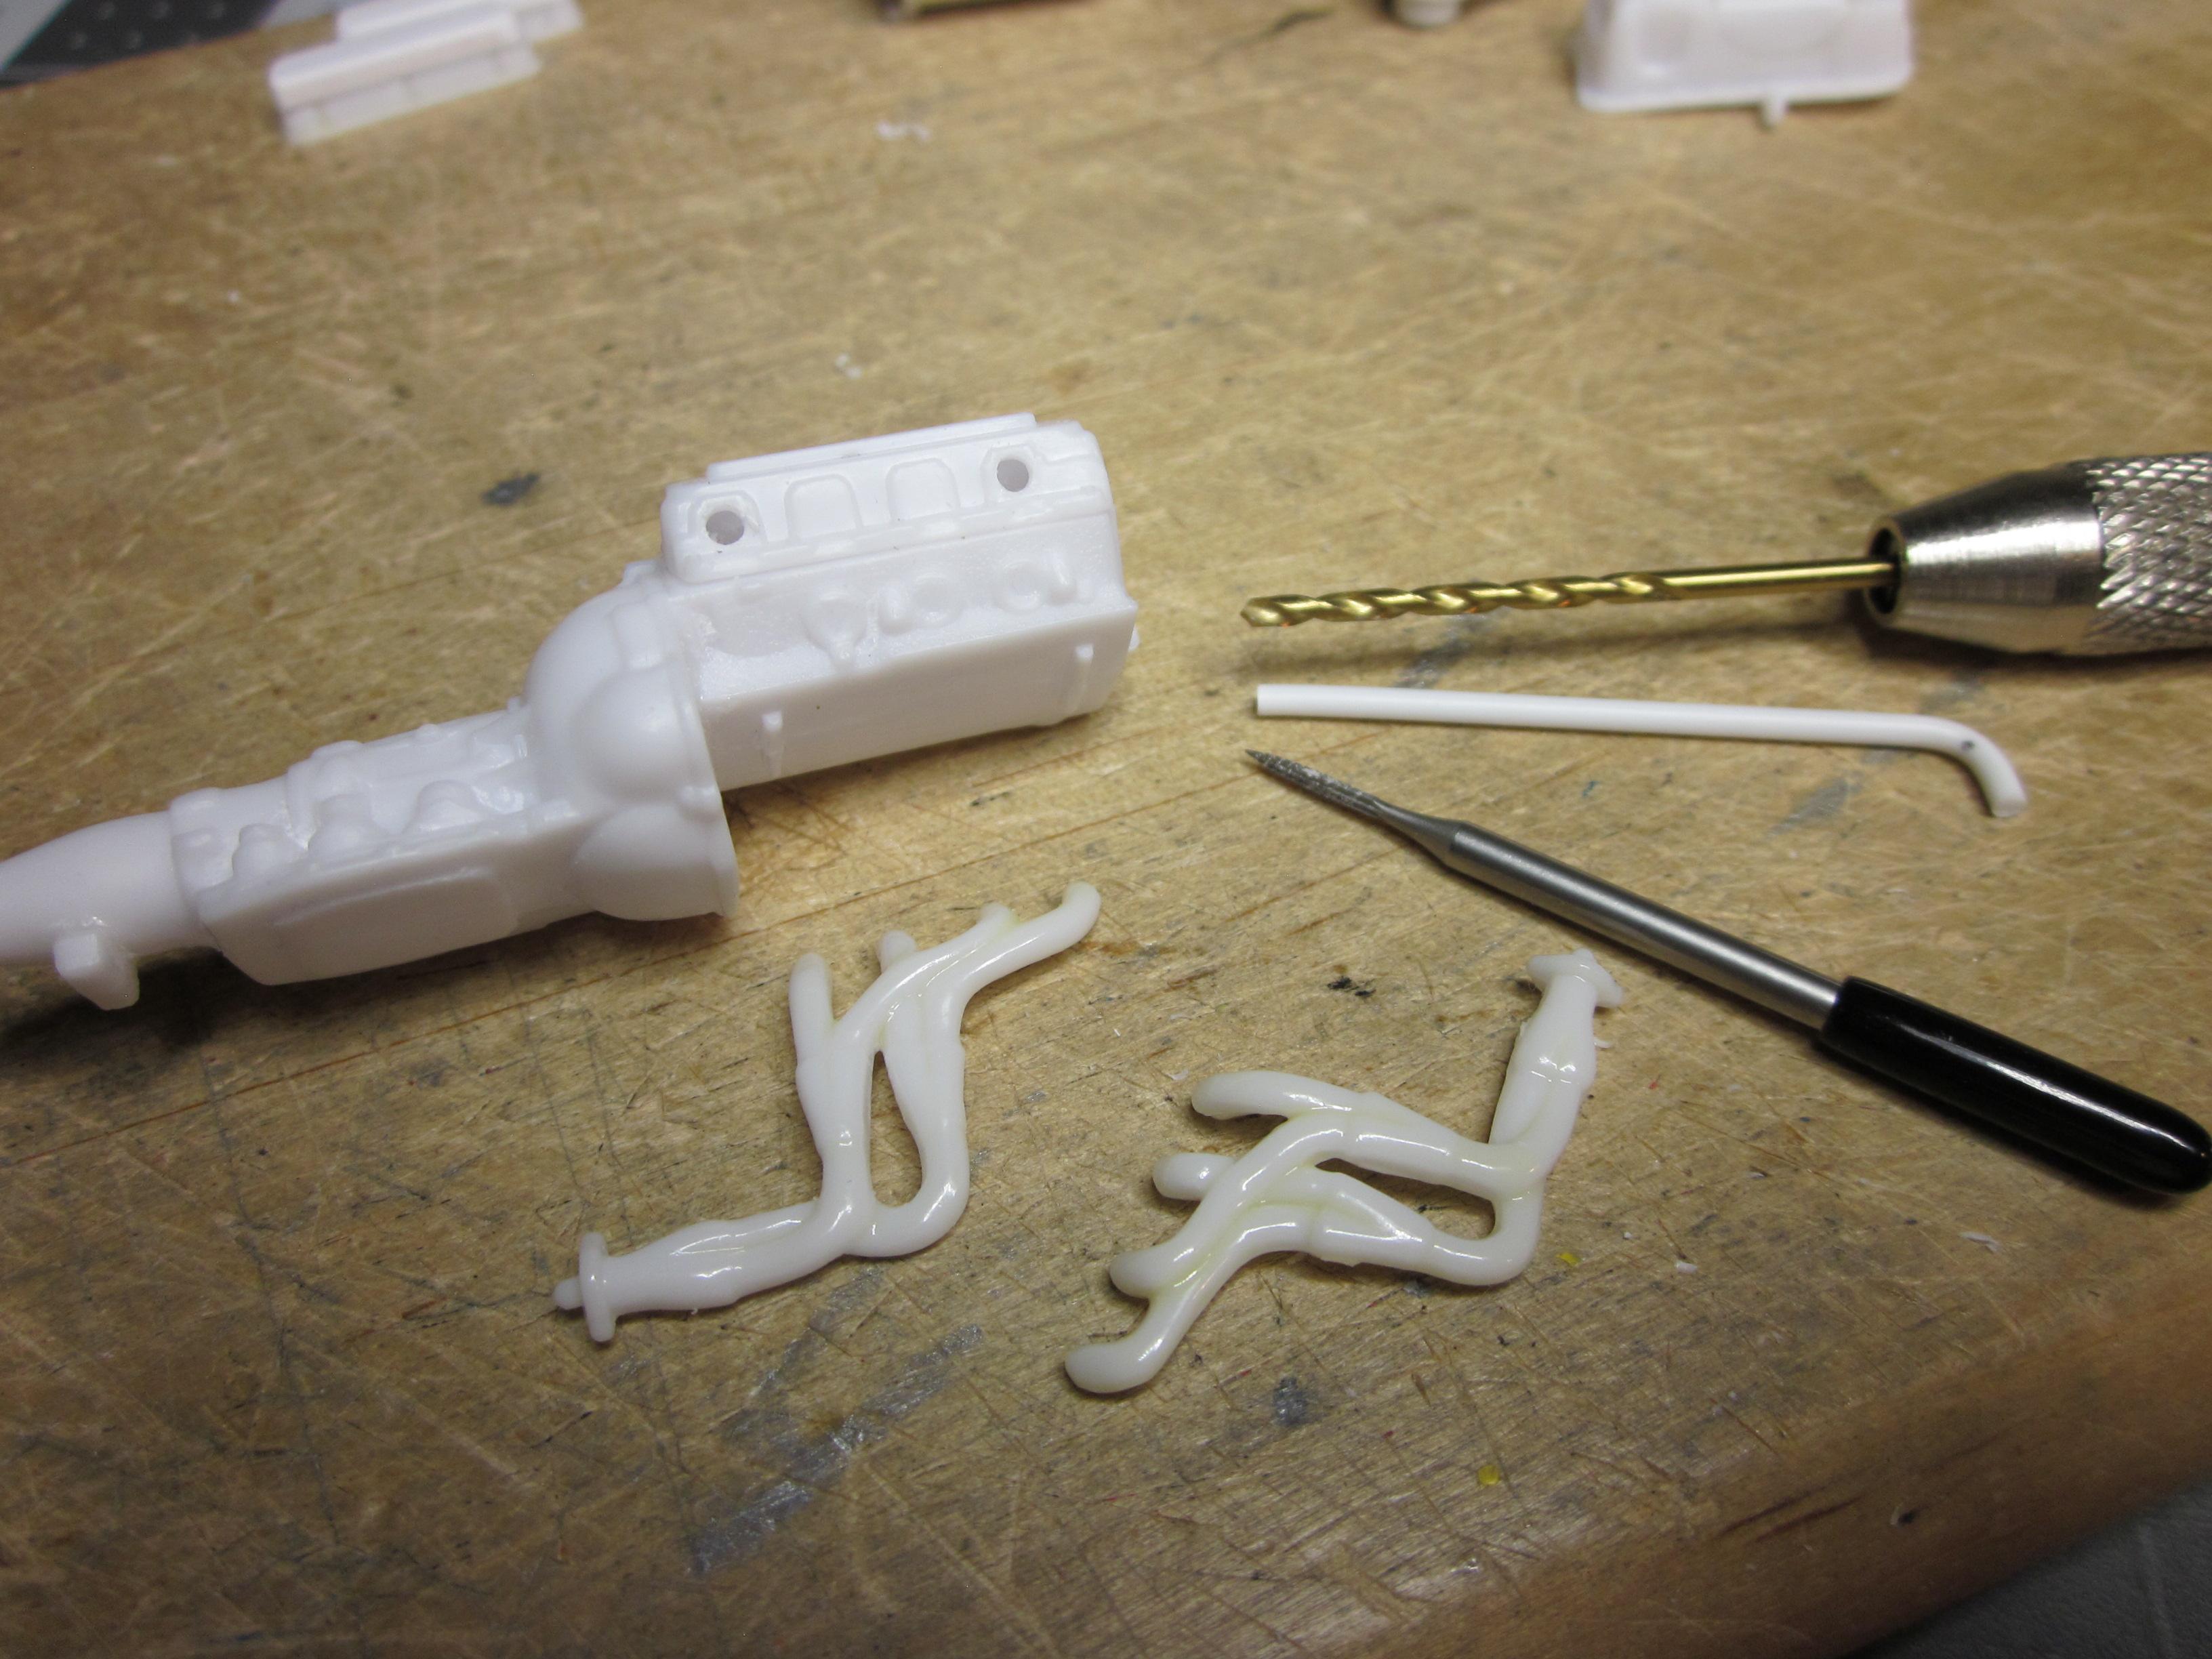
Seems every time I think about painting this thing, I find more to do. Some are things I knew still had to be done or added too the list. Others are things that just manifest due to modification's that have been made. The list is getting smaller. As far as paint color, today it's splash-paints ford Lucid Red 3 stage. Here are a few things that were worked on. First on the list was the blower scoop and the 4 port throttle body. The idea here is to drill out the 4 hole's on the throttle body, make new distribution block for the fuel lines, drill 16 holes for fuel lines, and open up the bottom of the scoop so you can see the 4 holes on the throttle body from the front looking in. Still more to do to finish. Before any more mock ups of the blower are done, the chevy intake manifold was pinned for its final position. It goes on backwards and is trimmed to fit the block. The blower belt does not kit and needed to be shortened. It took removing two teeth on the belt to correct this. The oil pan had a couple pins also. The steering box needed to be in place to check clearances around the header. Will need some work at the firewall to help the fit. Up next, finishing up doing some work on the transmission crossmember. Thanks for looking and appreciate the comments................

-

Show us your Engines - Post Dedicated to the Engine
Speedpro replied to TheCat's topic in Model Cars
-
Thanks Brian, I spent more time than probably needed on them. Between the cleanup, fitting, priming, application of the alclad polished stainless and getting them installed without ruining the alclad finish, I can say it was worth it. Thanks for looking.
-
Michael, It will test you patients at times, but as you can see, it is worth the it.
-
I'll have to look into that mike! Thanks for the idea.
-
Thanks Brother!
-
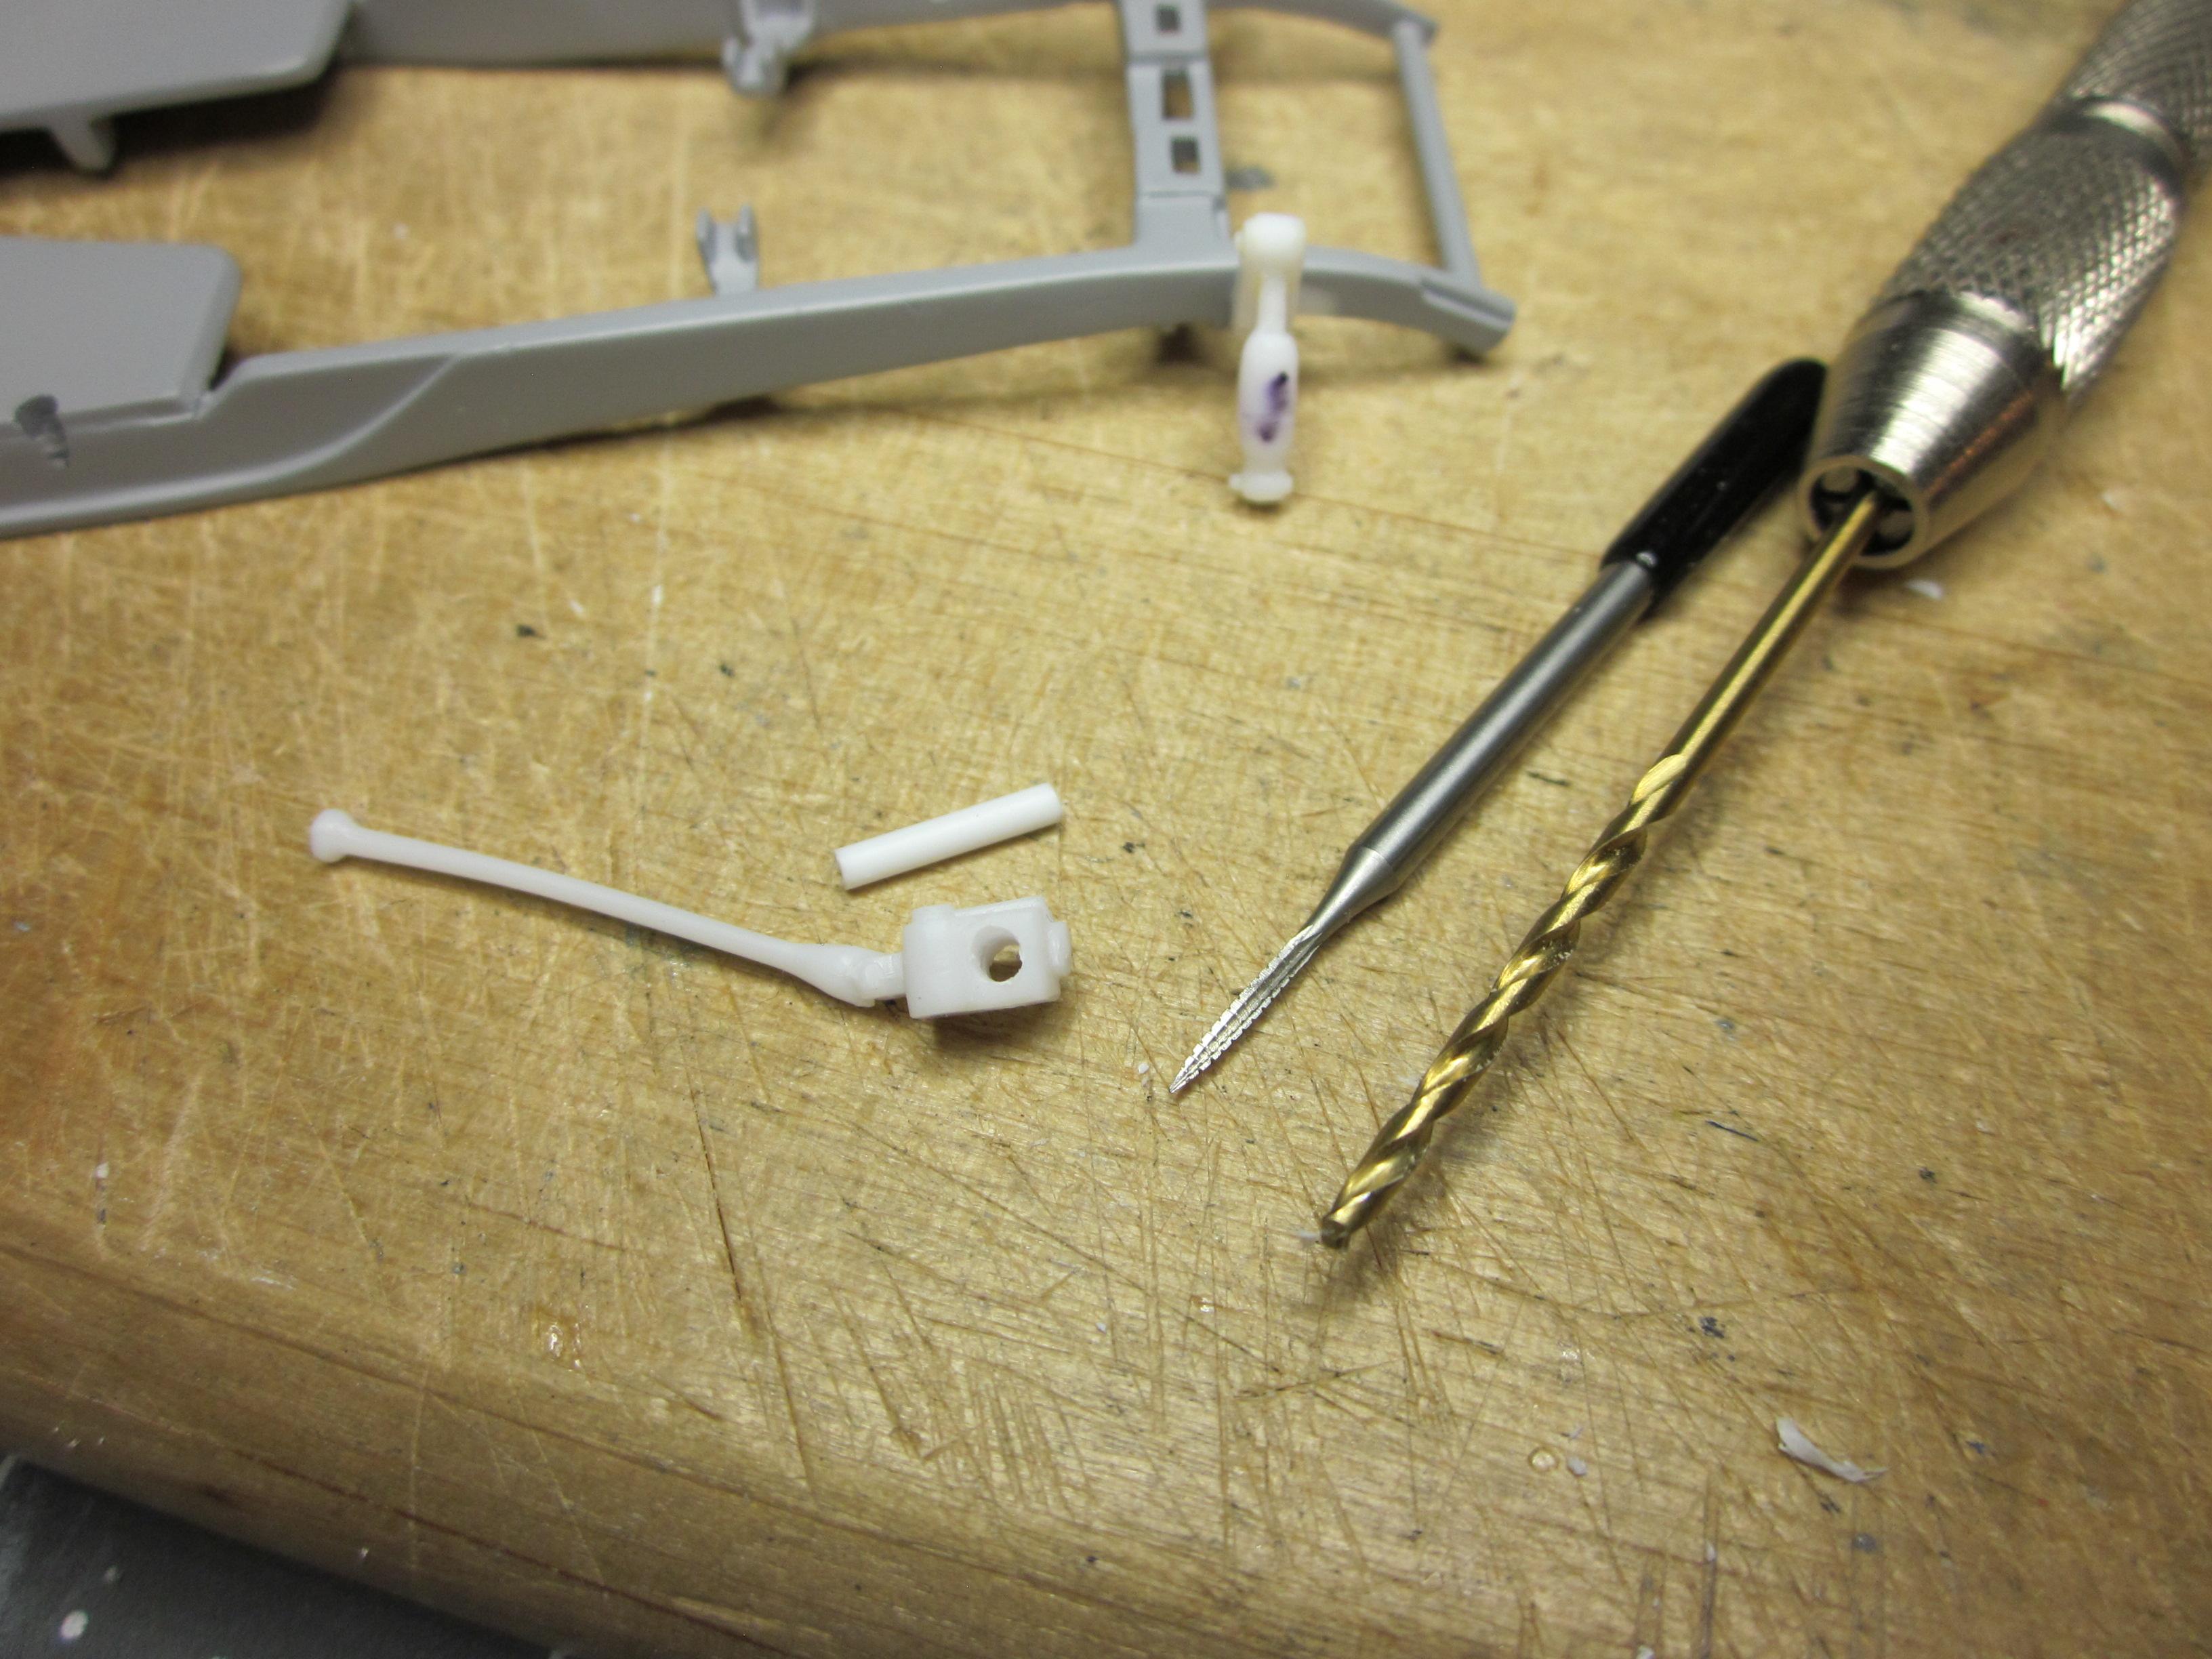
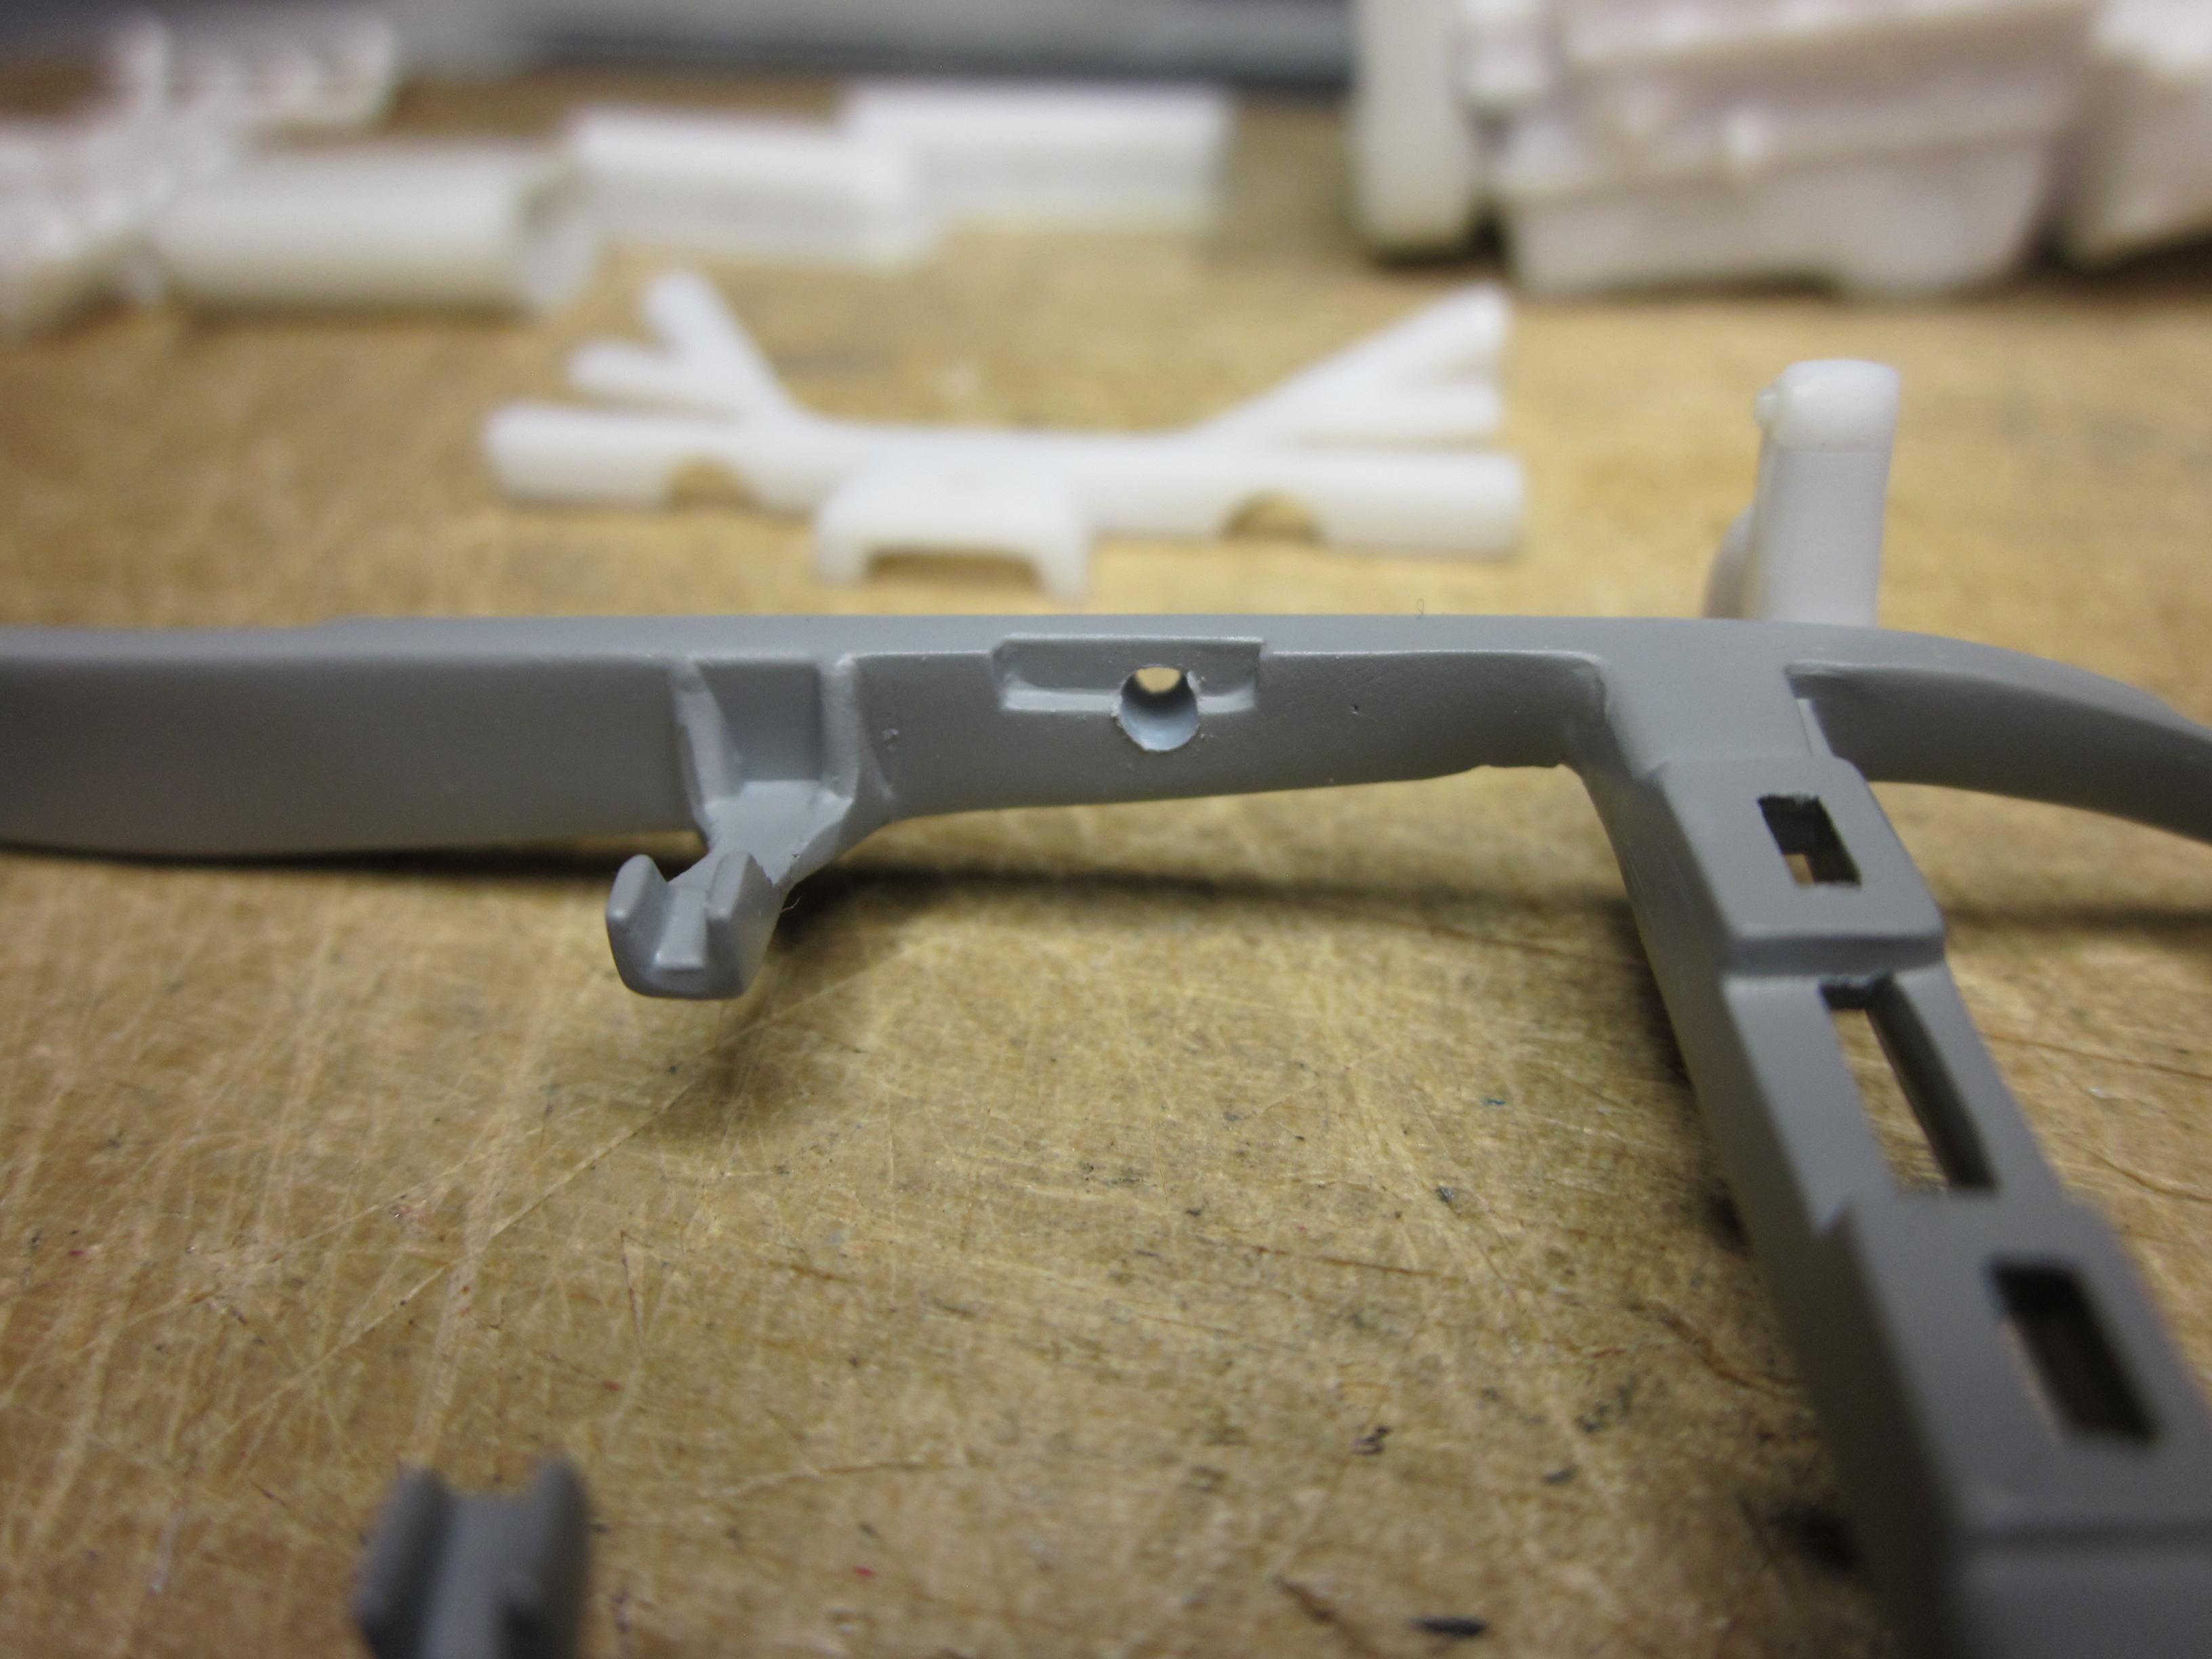
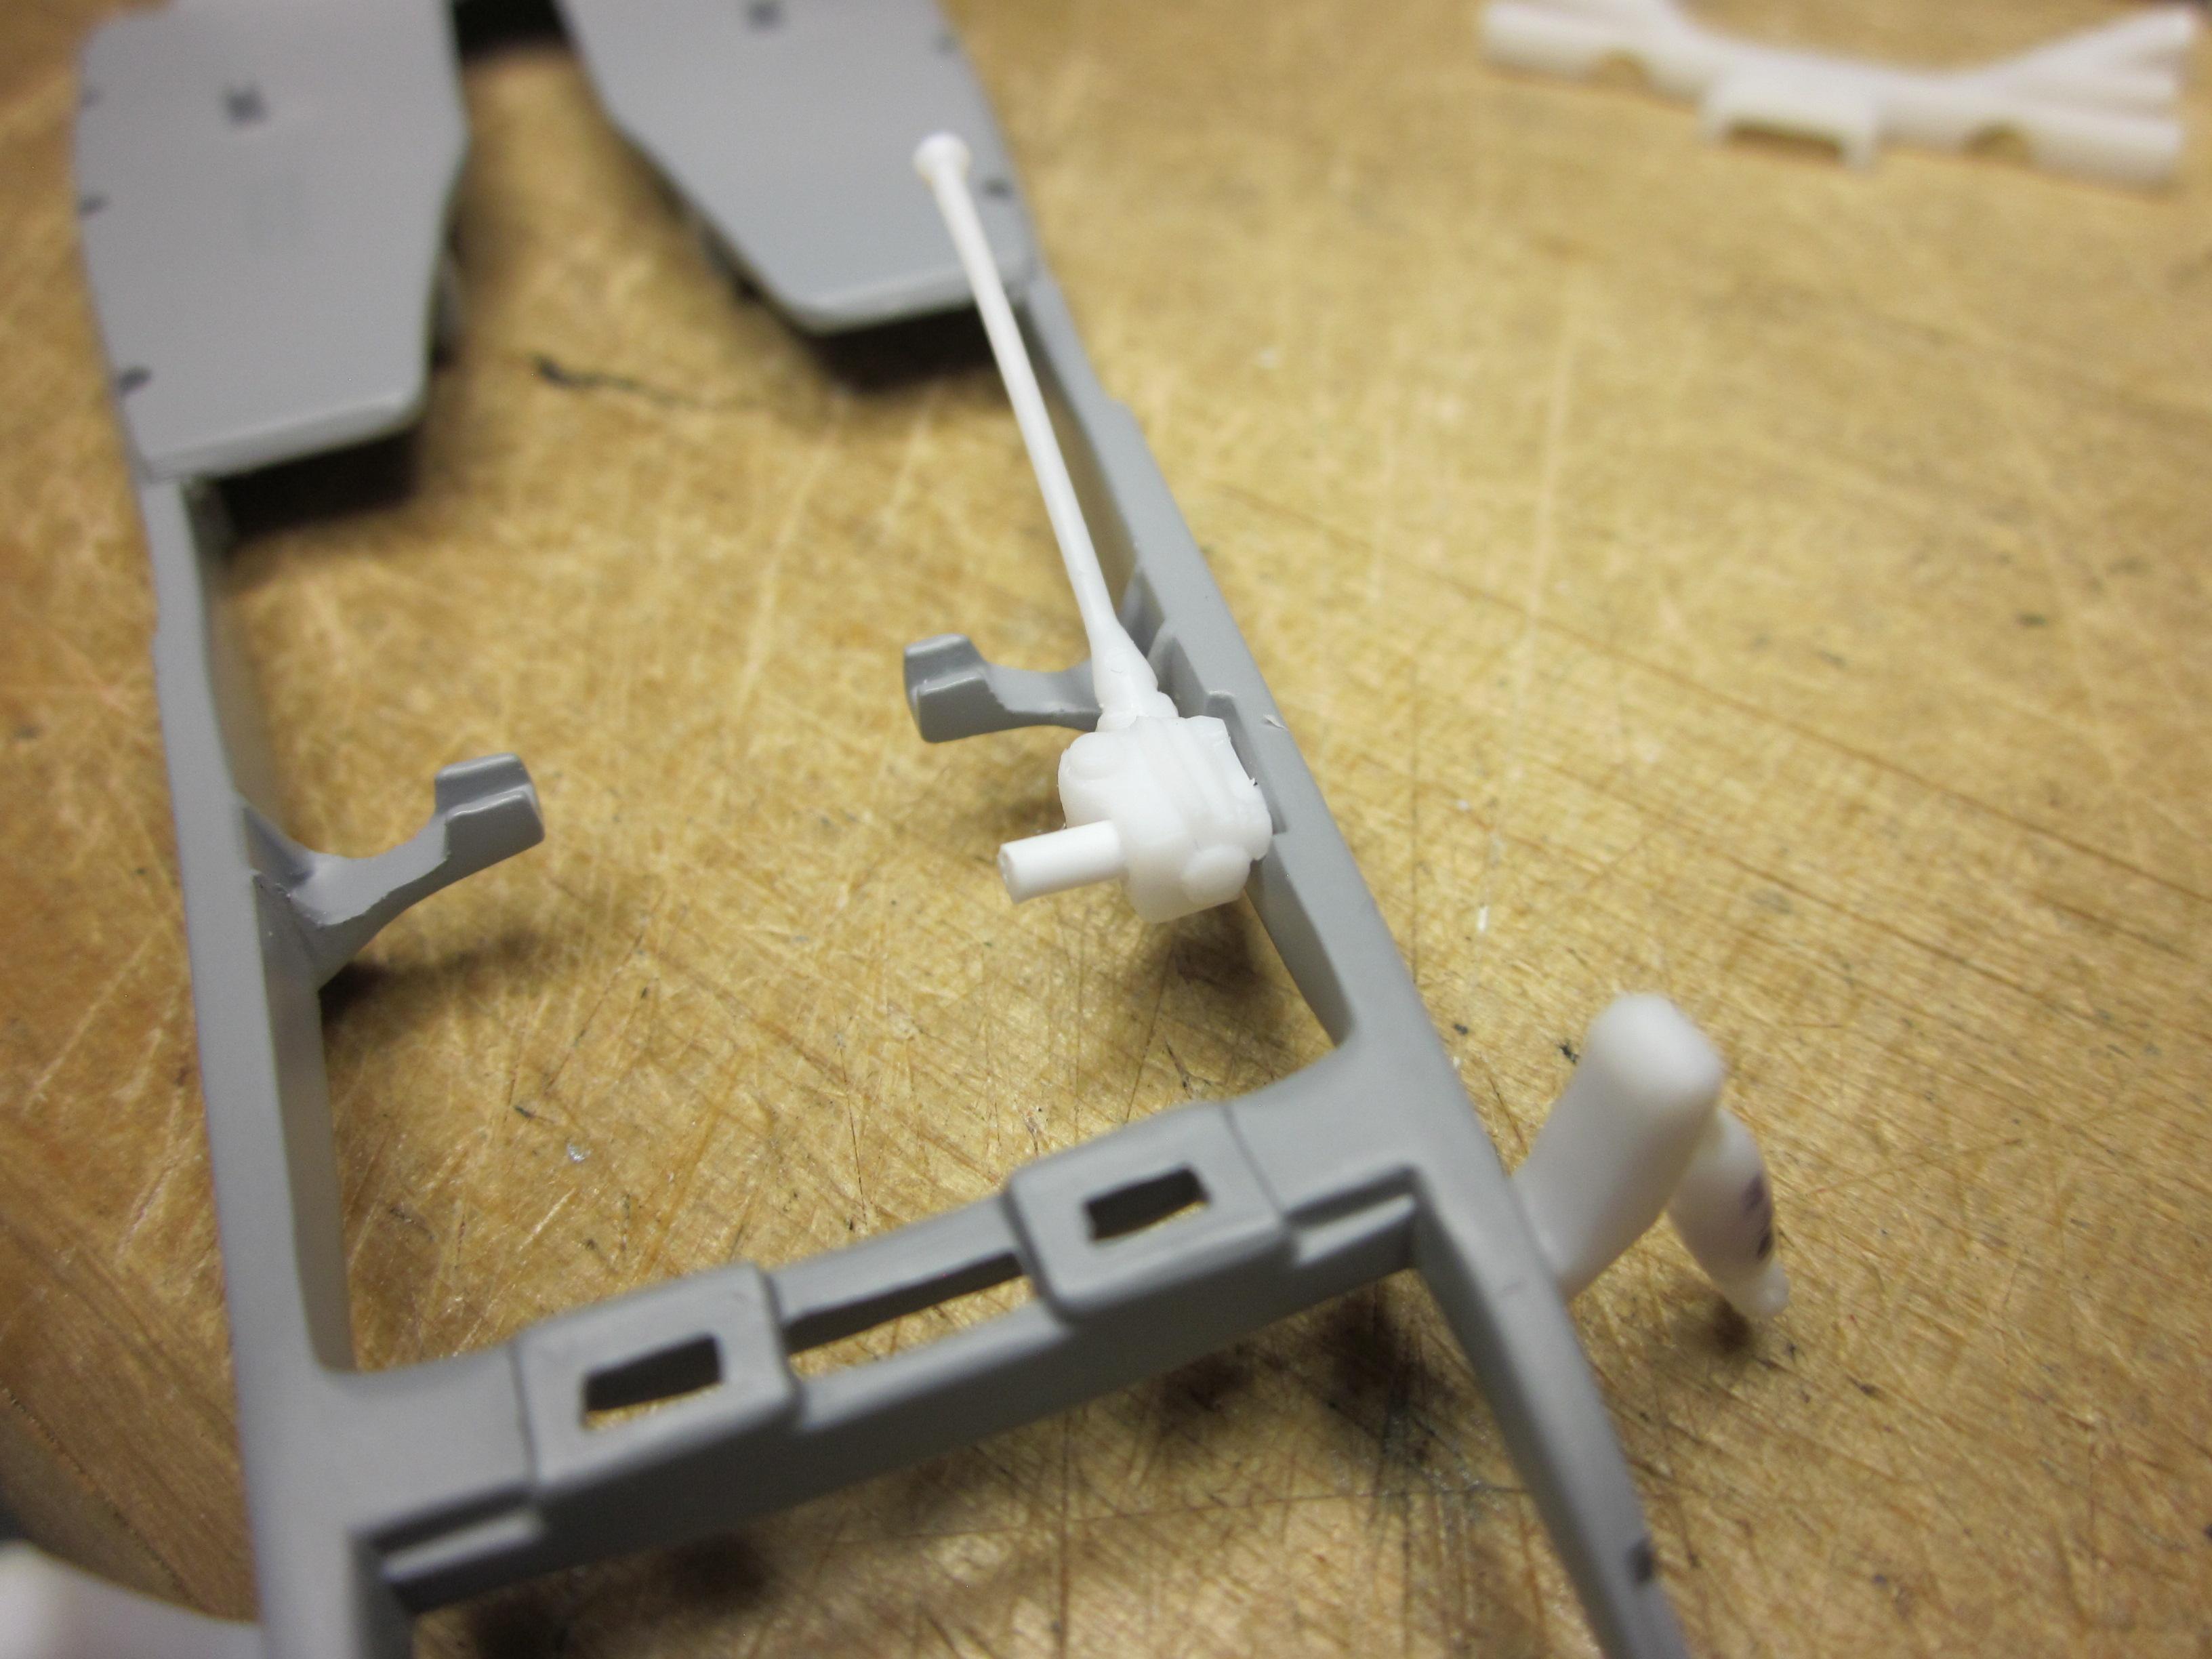
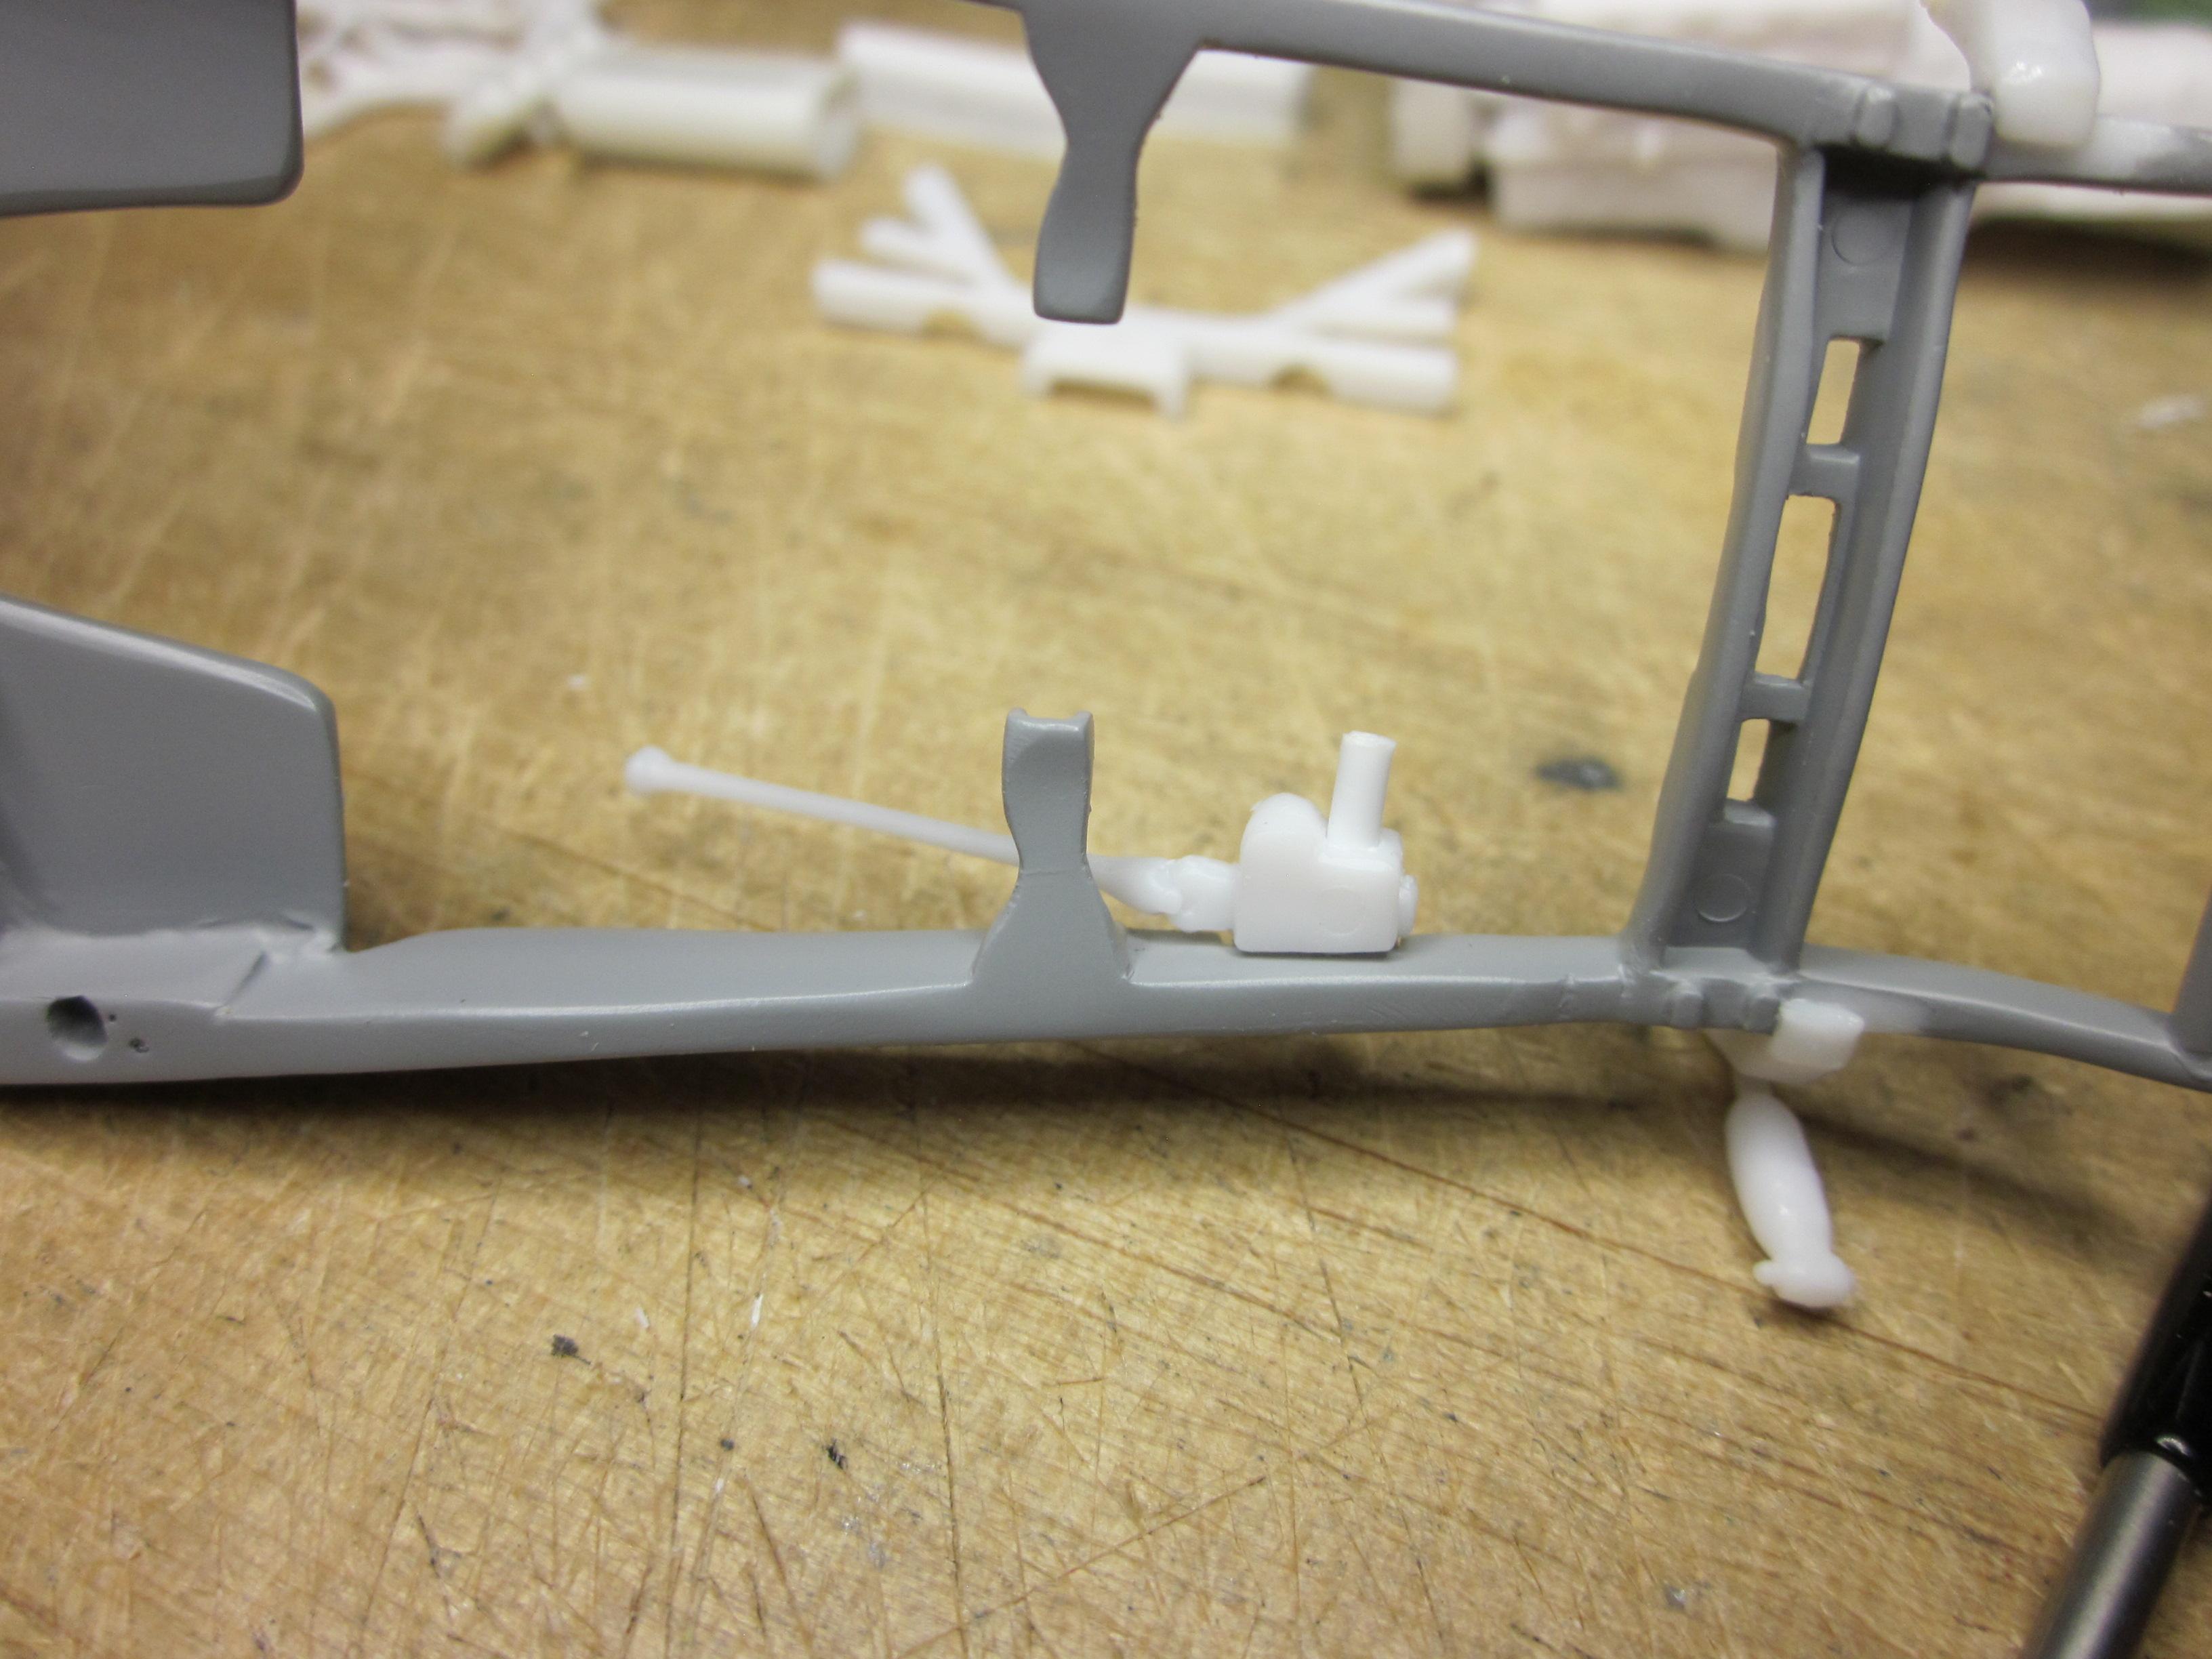
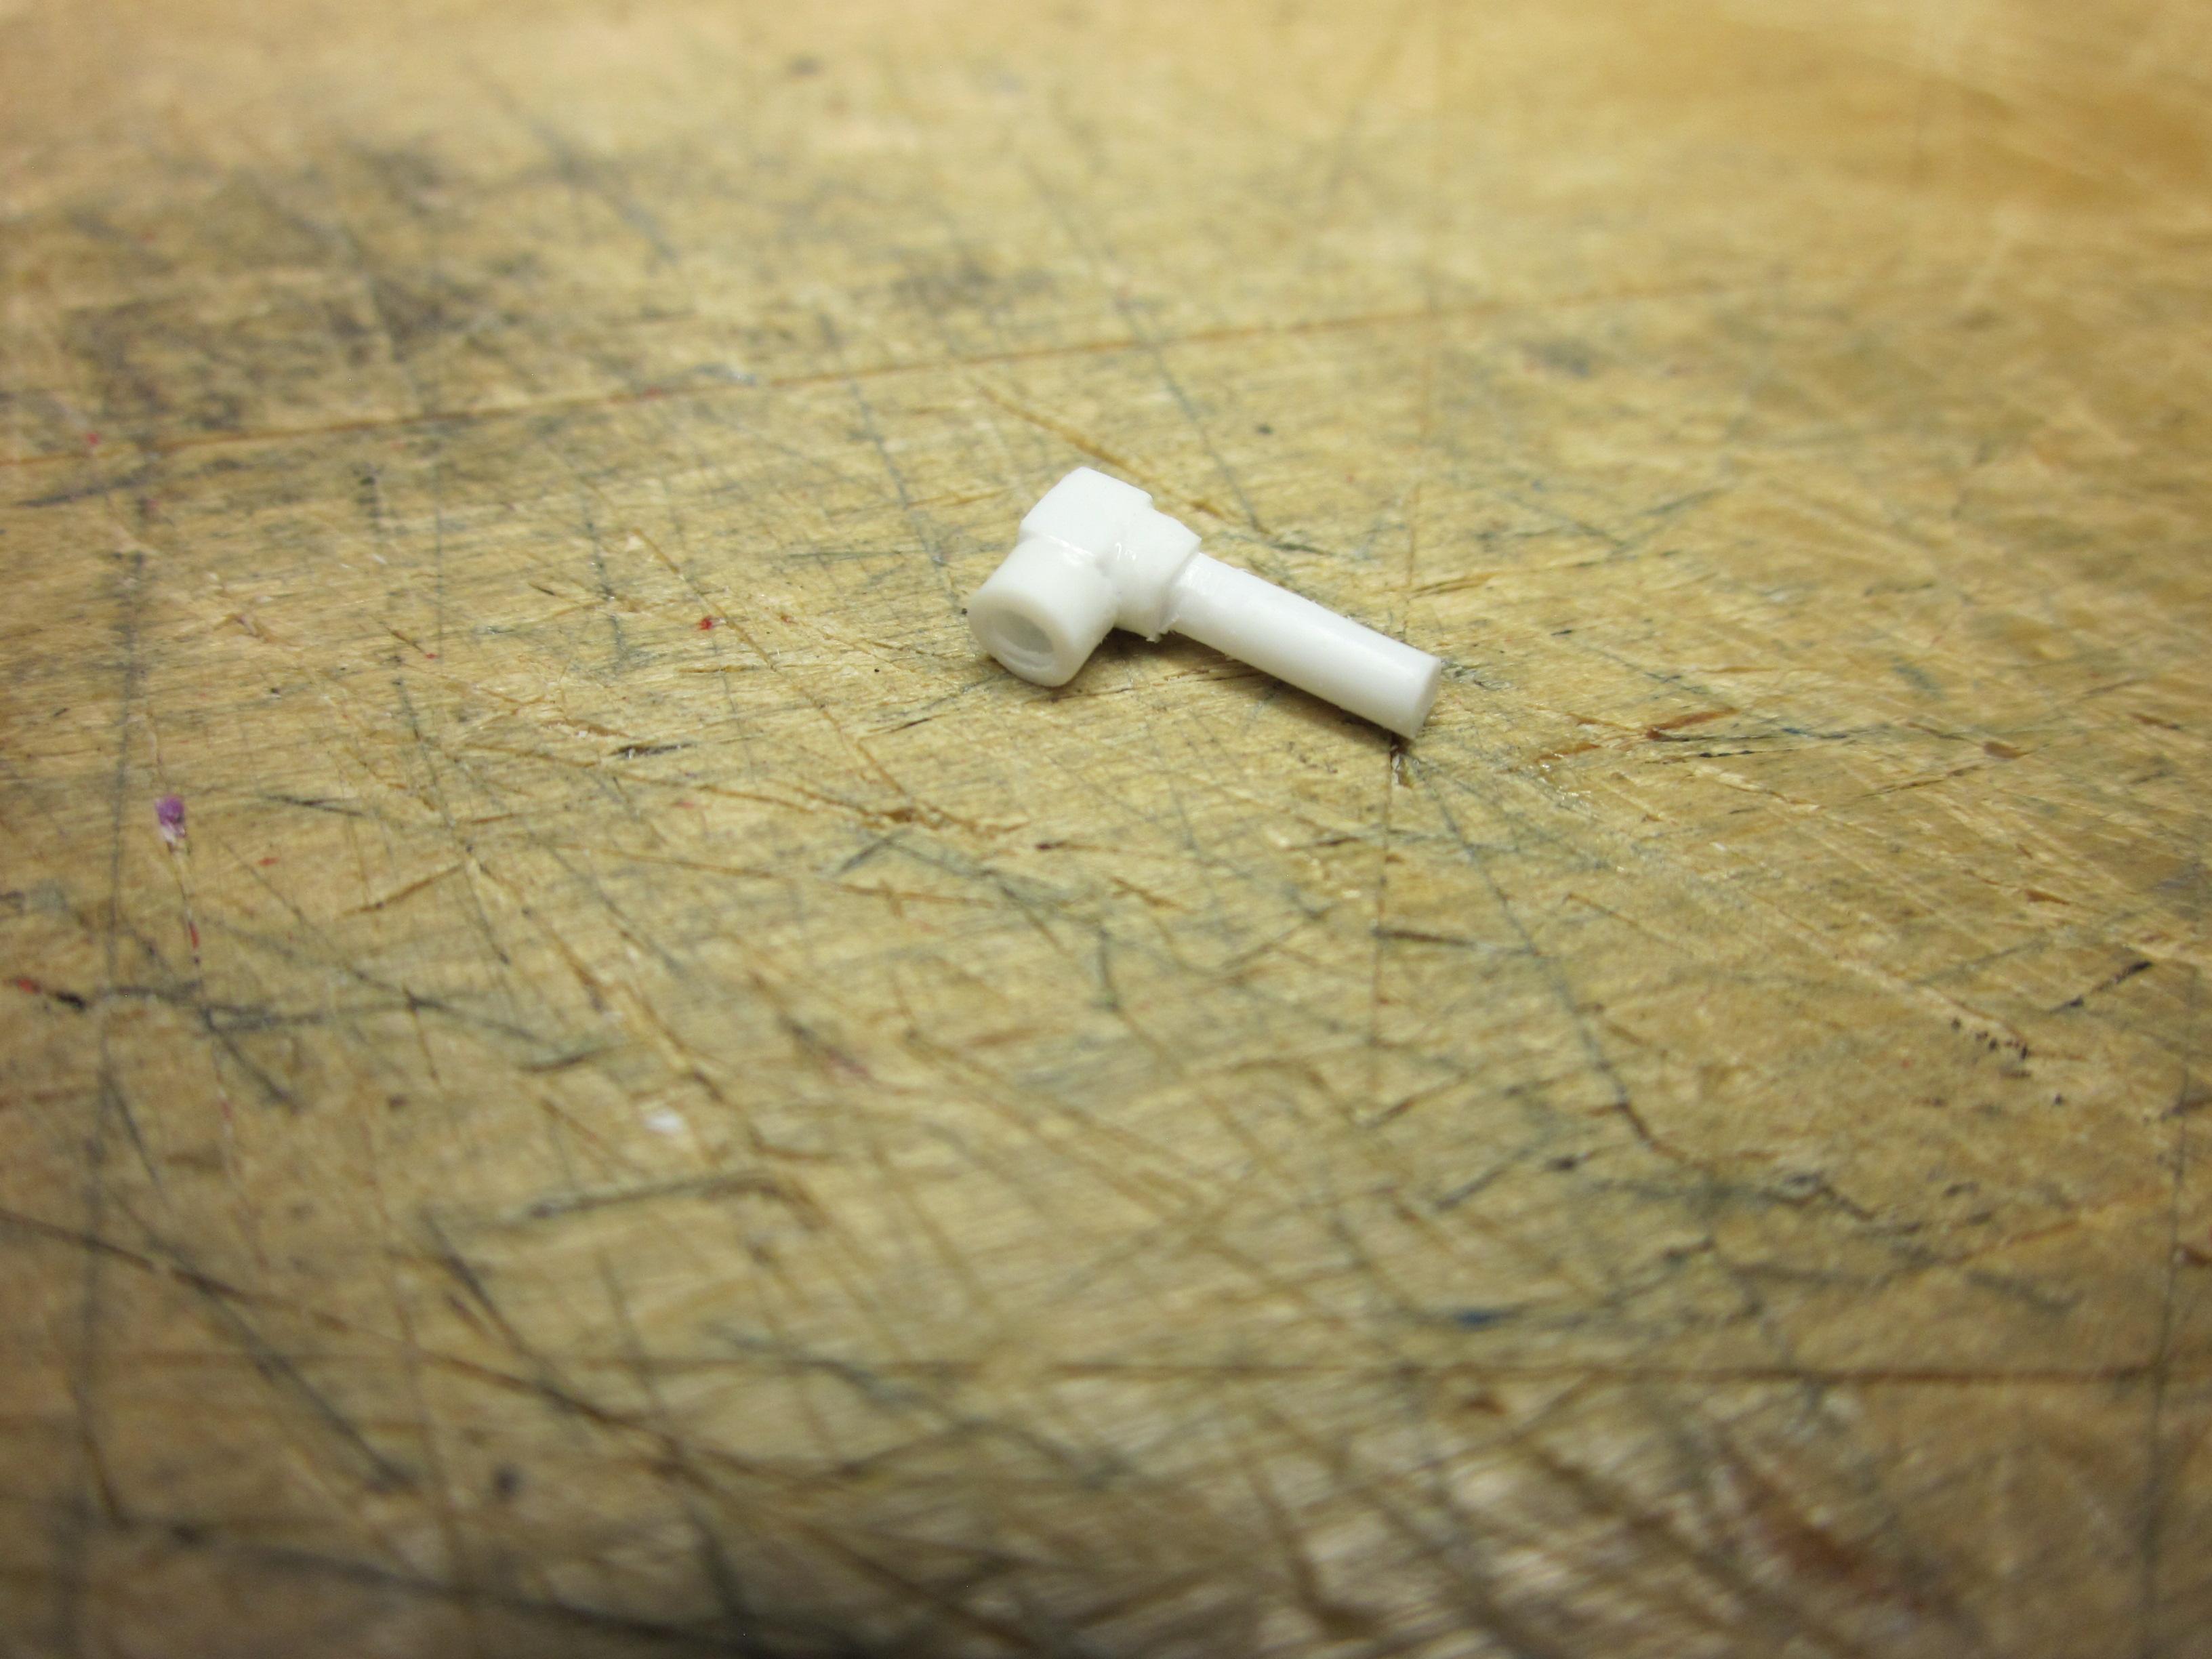
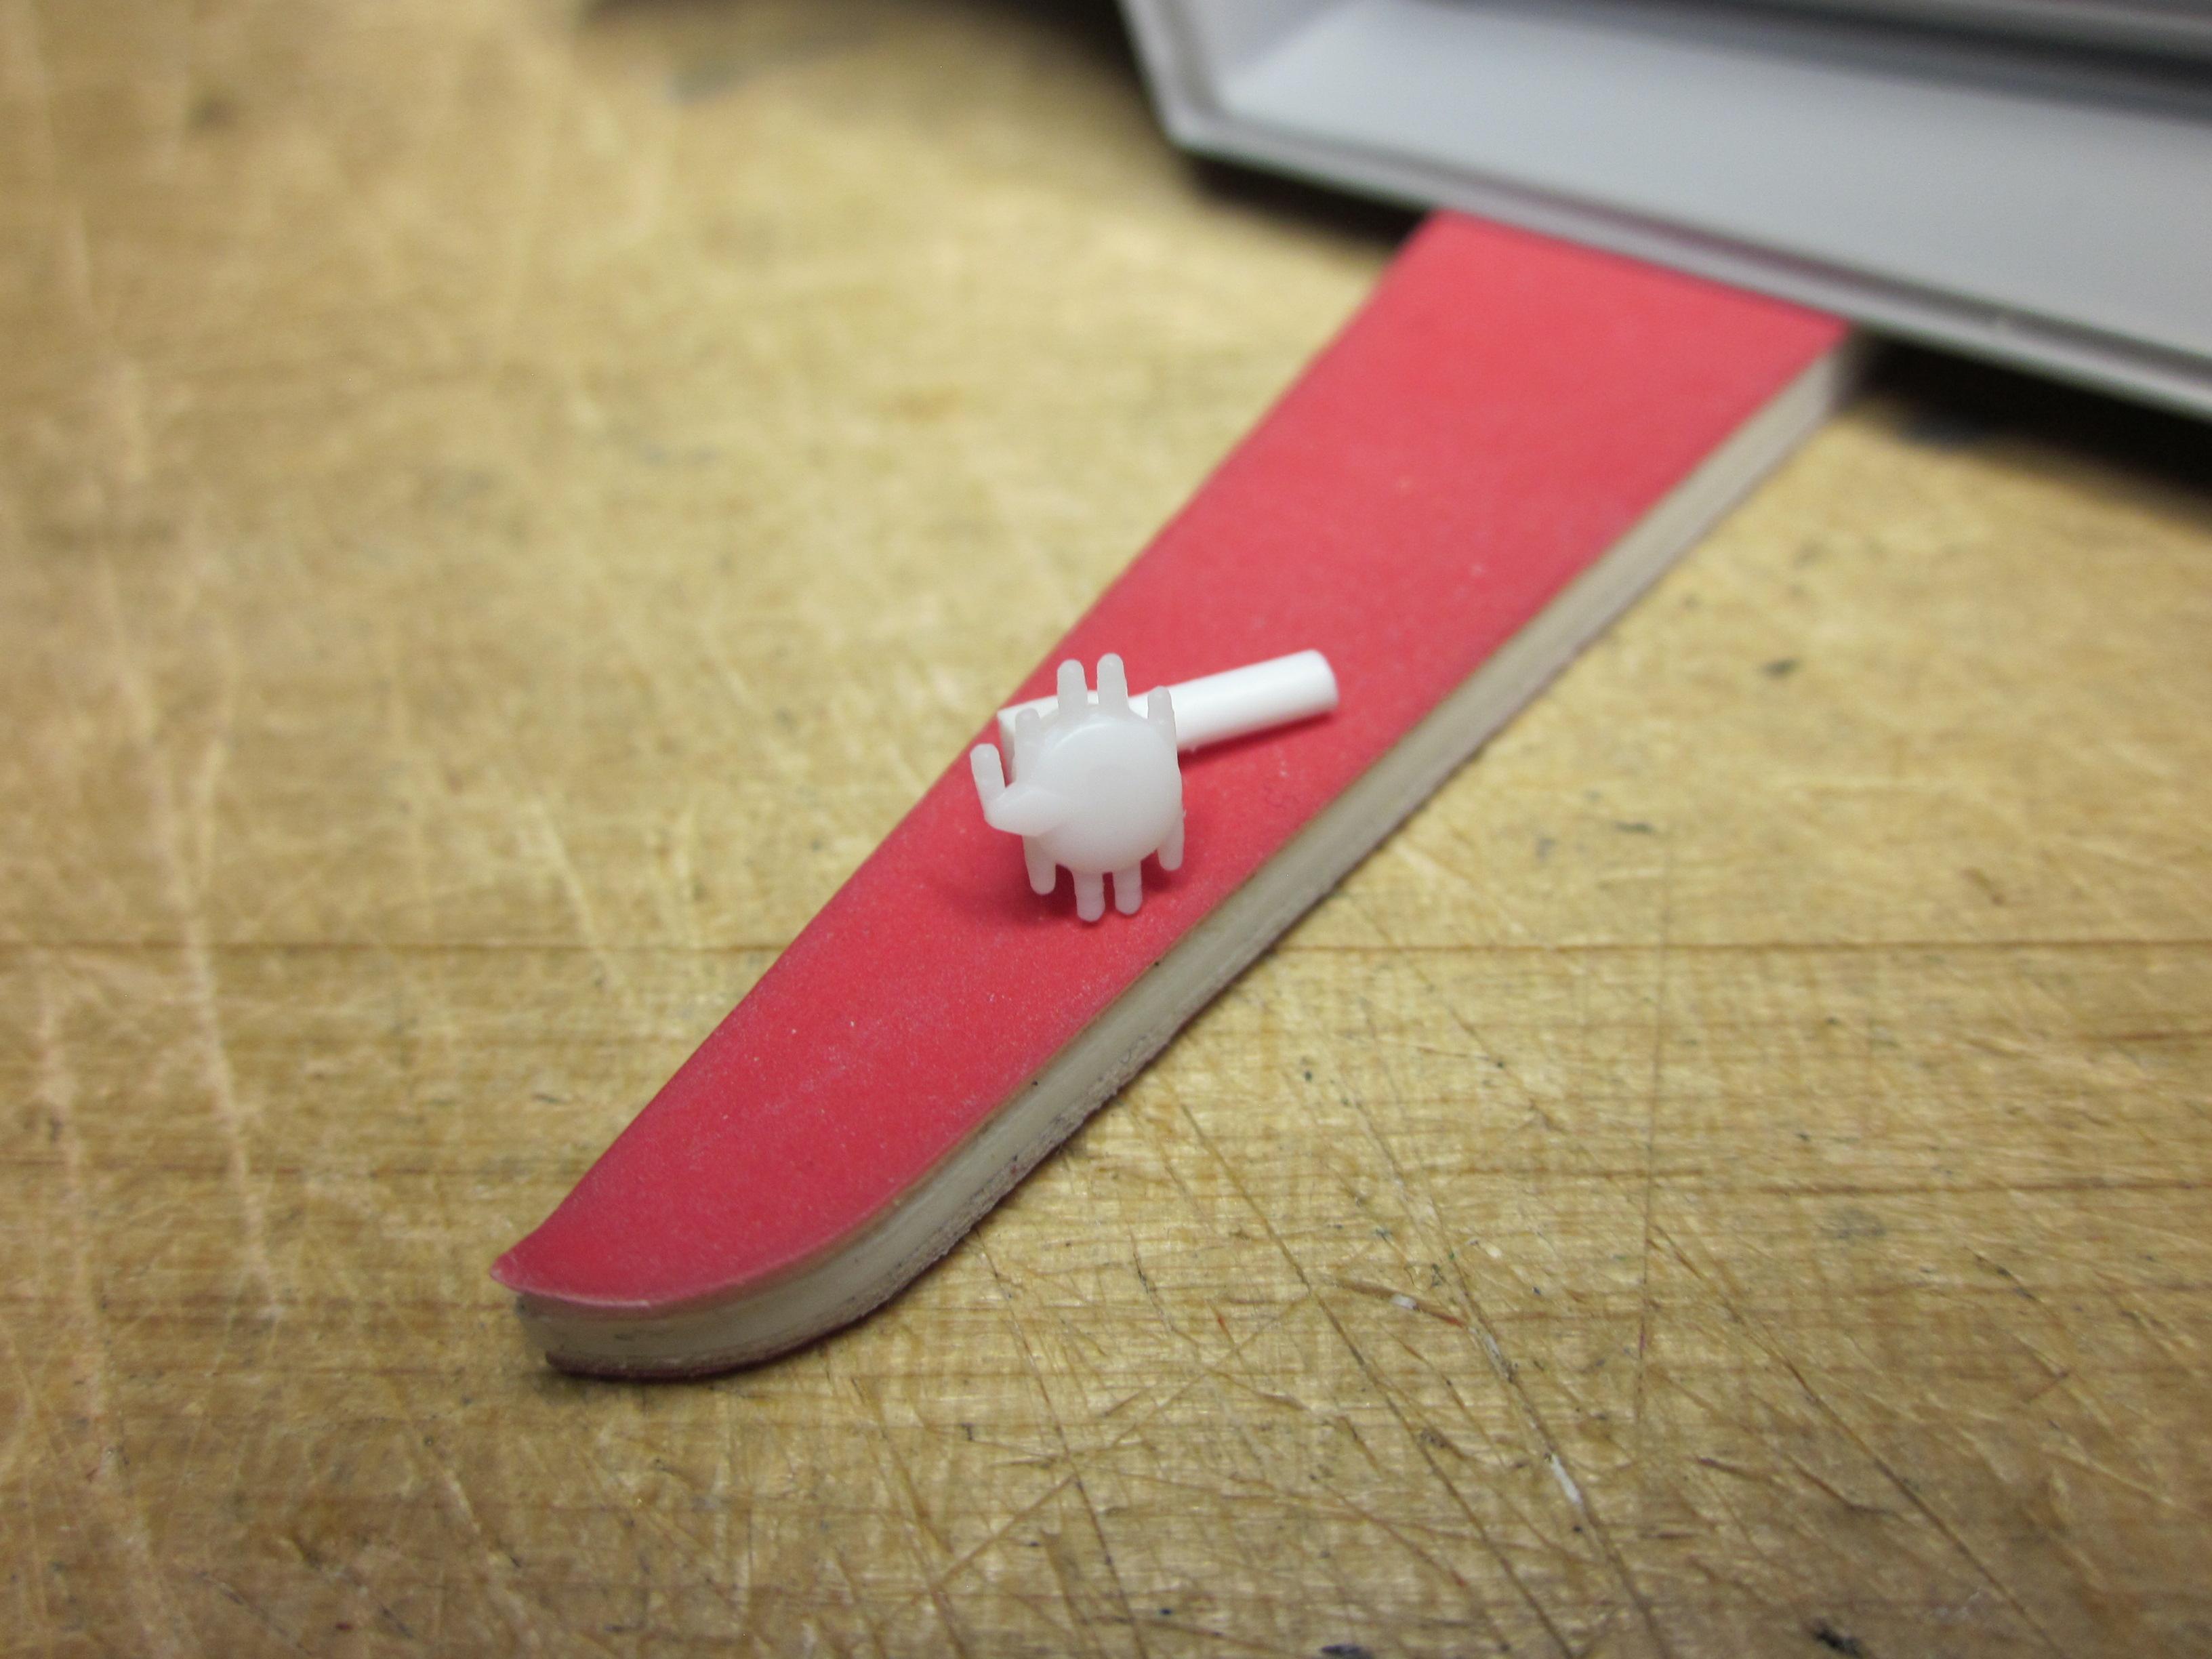
Good question Bill, there is a company called speedmaster that has a angle drive dizzy just for this situation. I Built one based on the picture. Only took three try's, but ended up with the one pictured. As you can see, it sit's under the blower and can be adjusted to any angle. For the cap, the one I am using is from the 32 sedan kit. It is for the flathead. Perfect for what is needed. I don't have a picture of the completed part, but the towers on the cap have been removed and a holes drilled for the plug wires. I try'd to post a pic from their website, but it was just too big. Being that it's more less hidden under the blower, you just don't see alot of it.
-
Thanks David and craig, Actually had a couple other ideas for induction as I wasn't sold on the 4 port throttle body. One of my other ideas was late model fuel injection using fuel rails and a hat. And this is because I didn't want to get into the cowl. But, It is what it is and I am glad two people thought it was cool. Thanks guy's
-
Thanks Brother, your comment means alot to me and your imput is part of the reason it's made it to this point so far.
-
Elliot, That's a great idea grafting that flathead tri-carb intake to that sbf. Looks like it came that way! Good looking engine. The valve covers just had to go taller. The engine looked too narrow is the best i can put it. Taller makes things seem wider, which is making the engine look more proportionate to its surroundings.
-
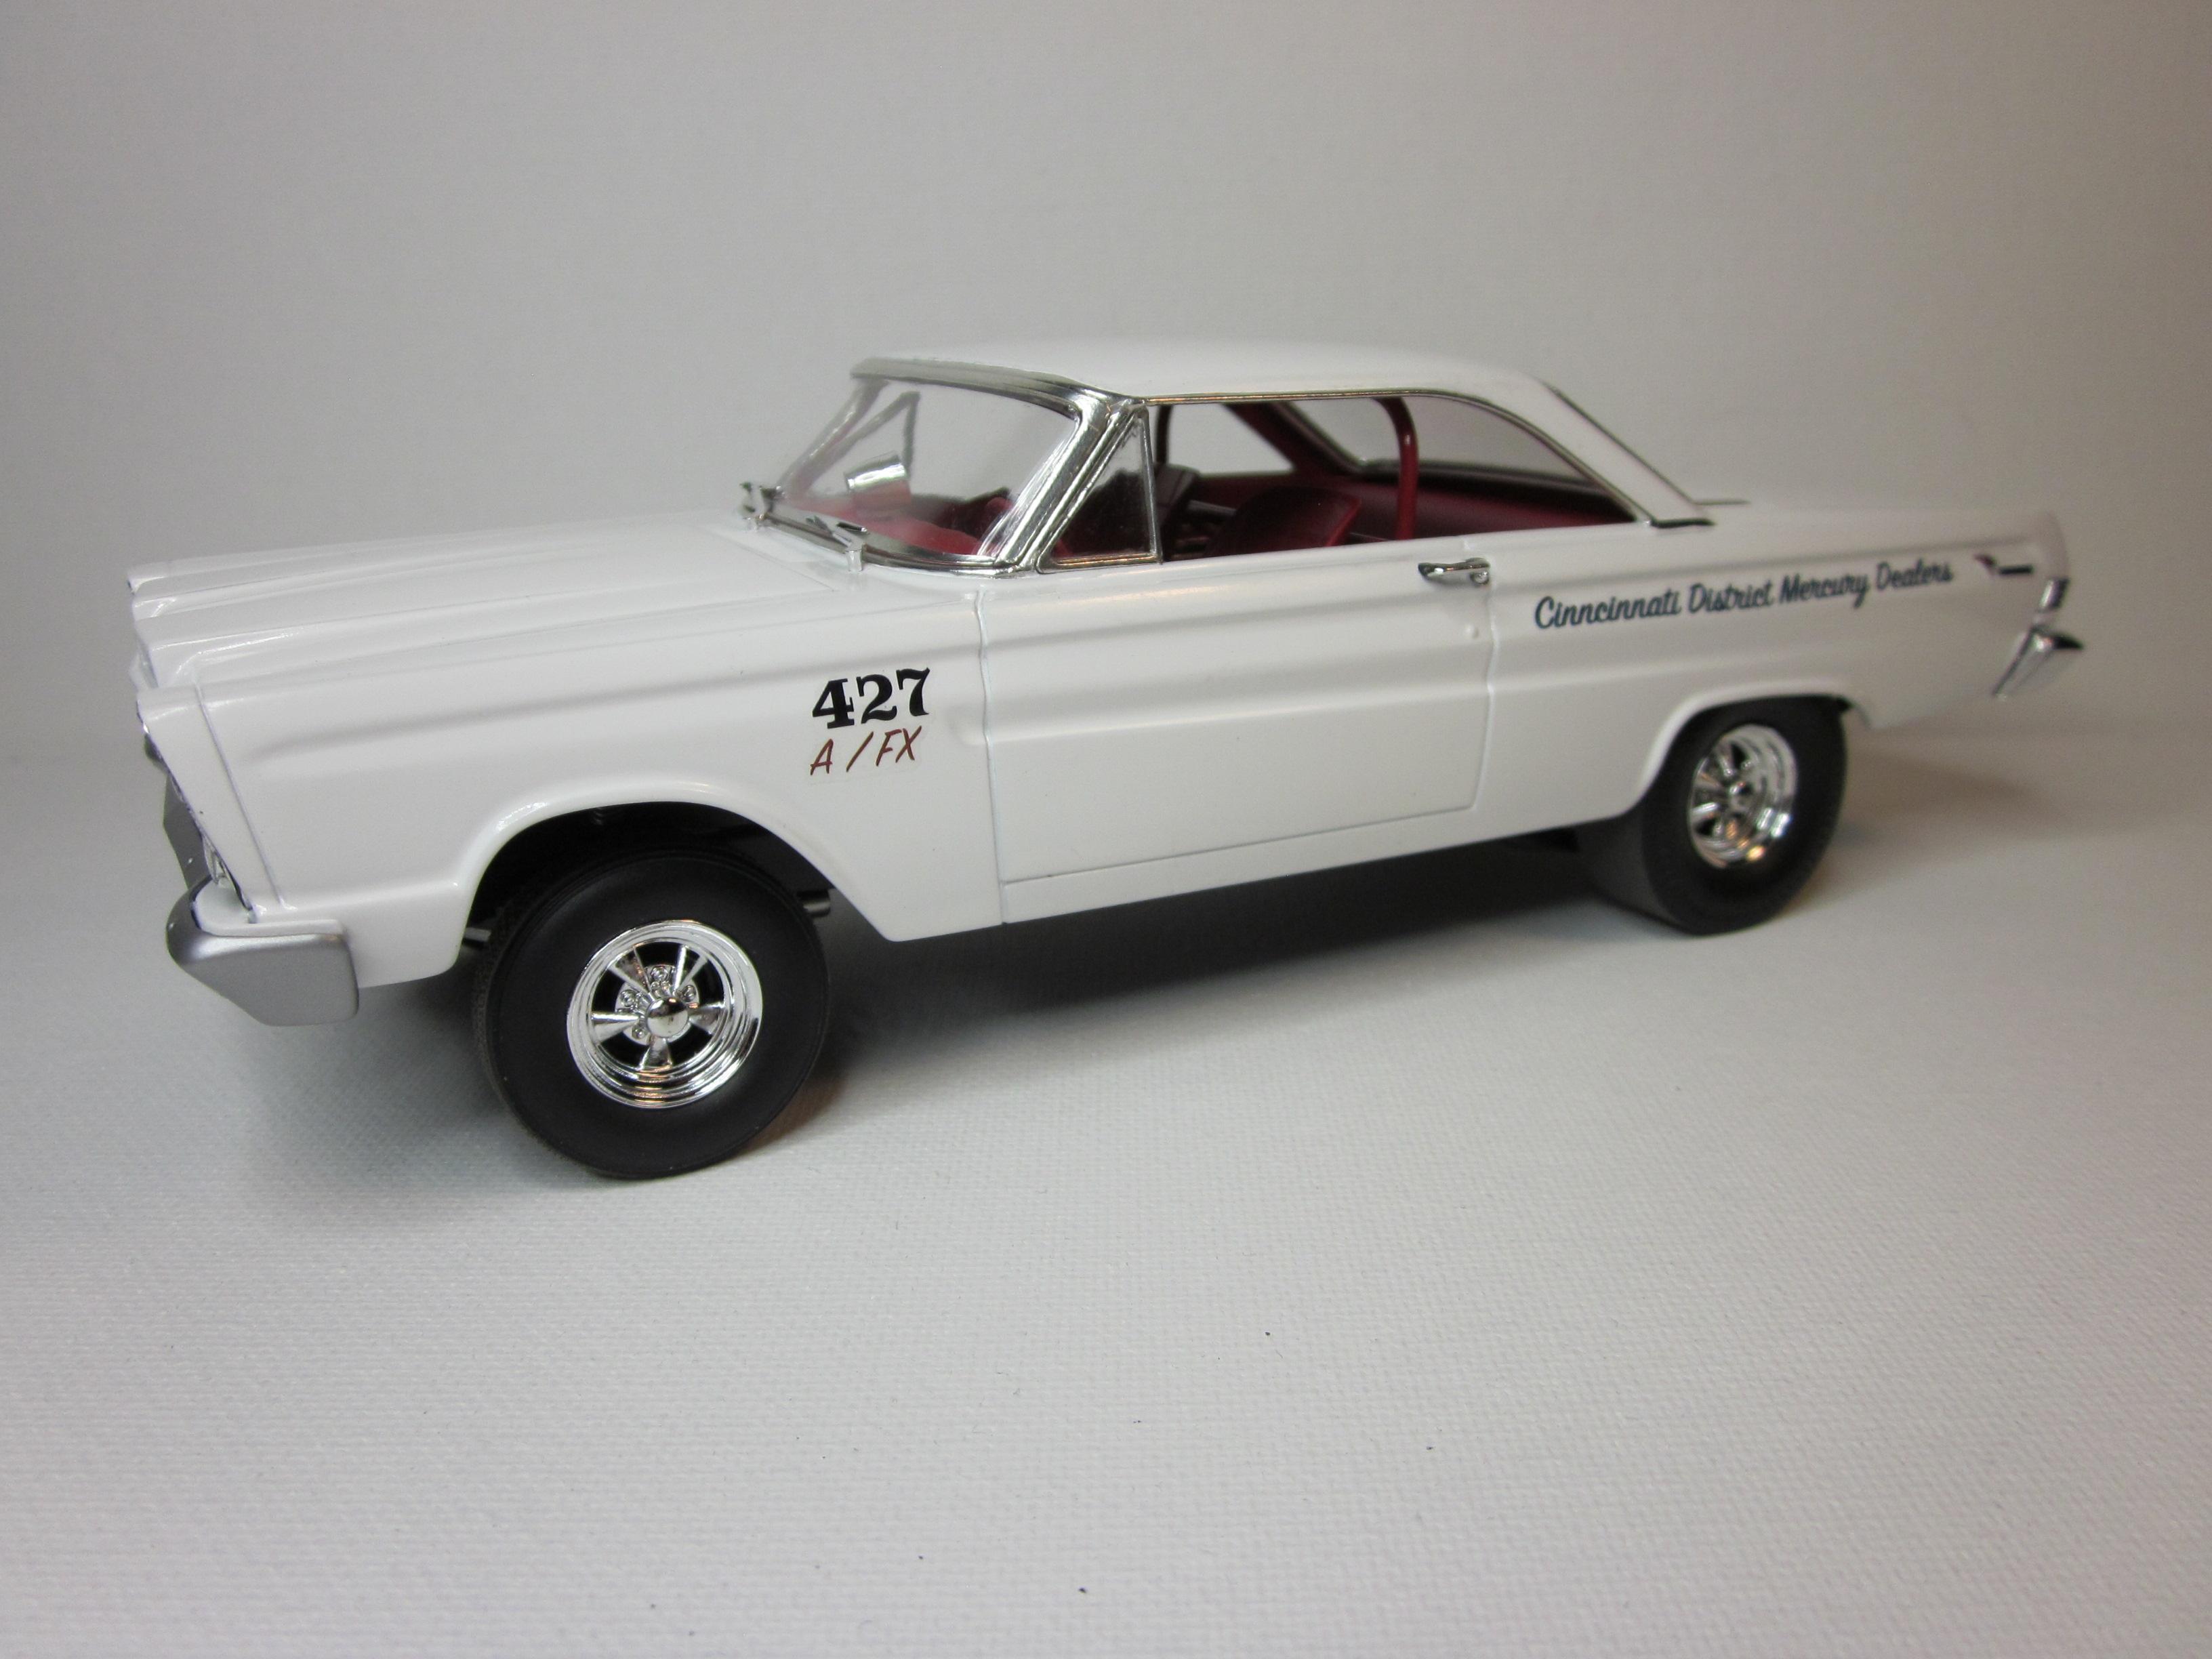
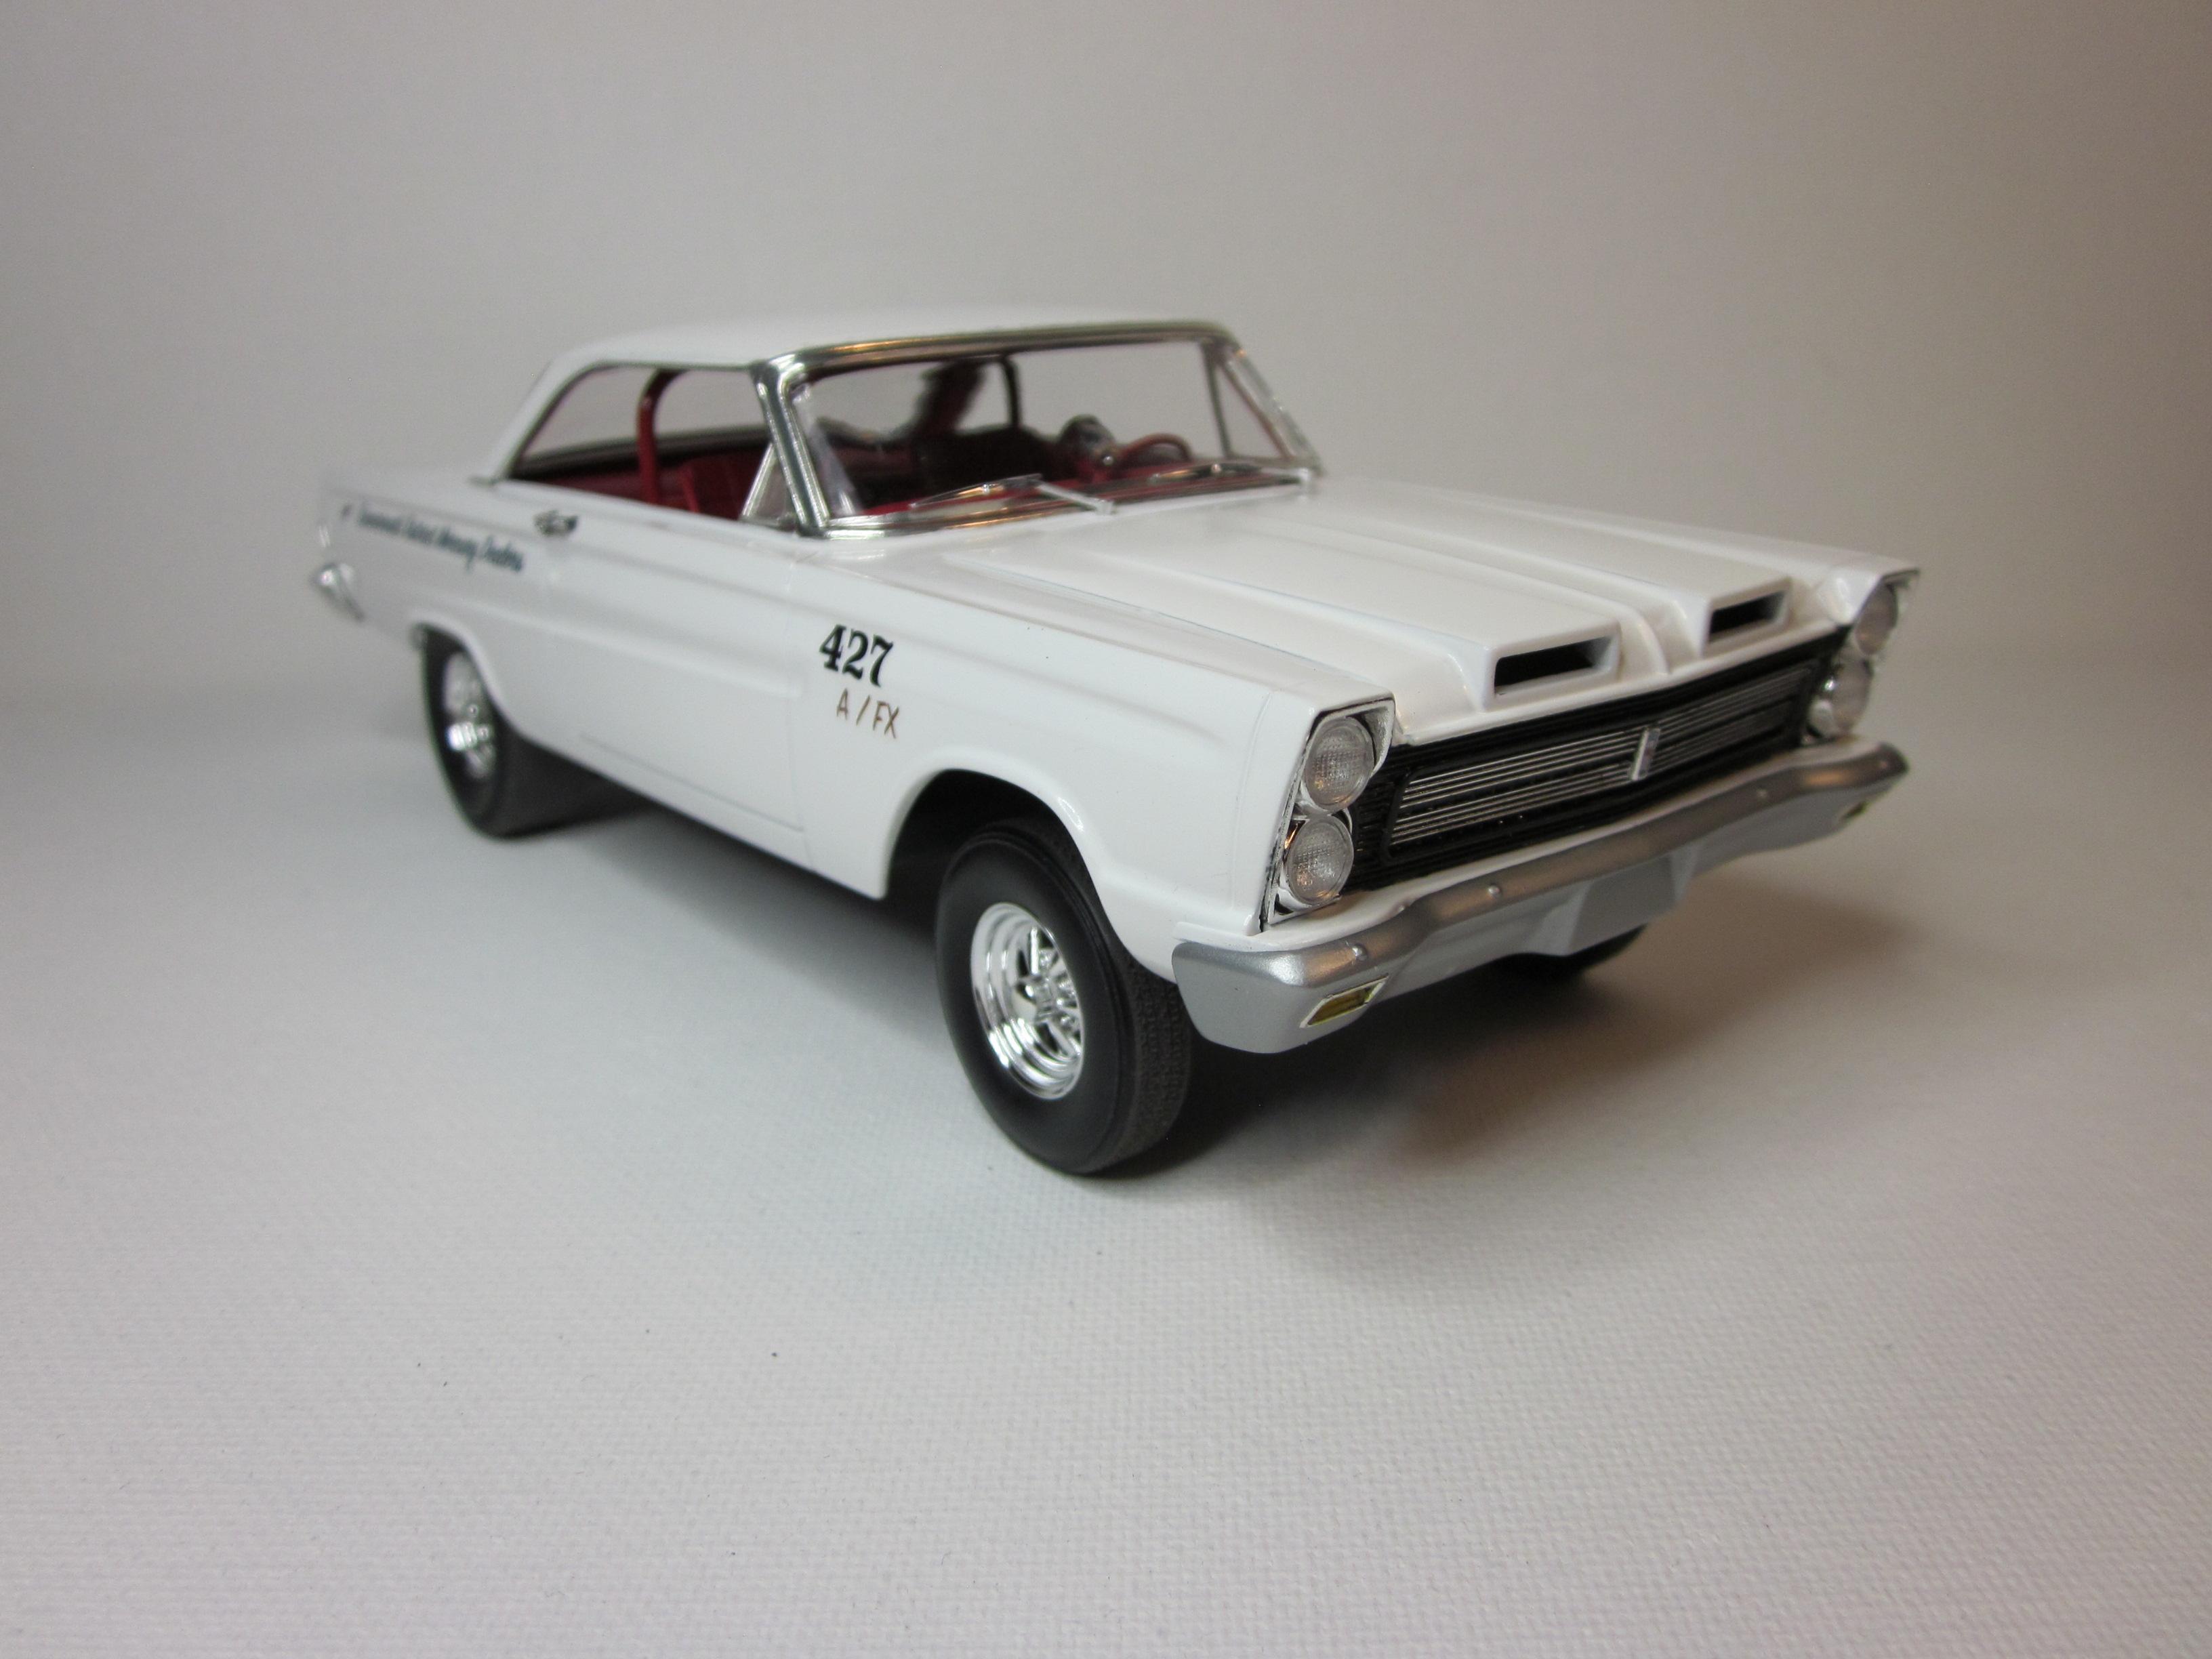
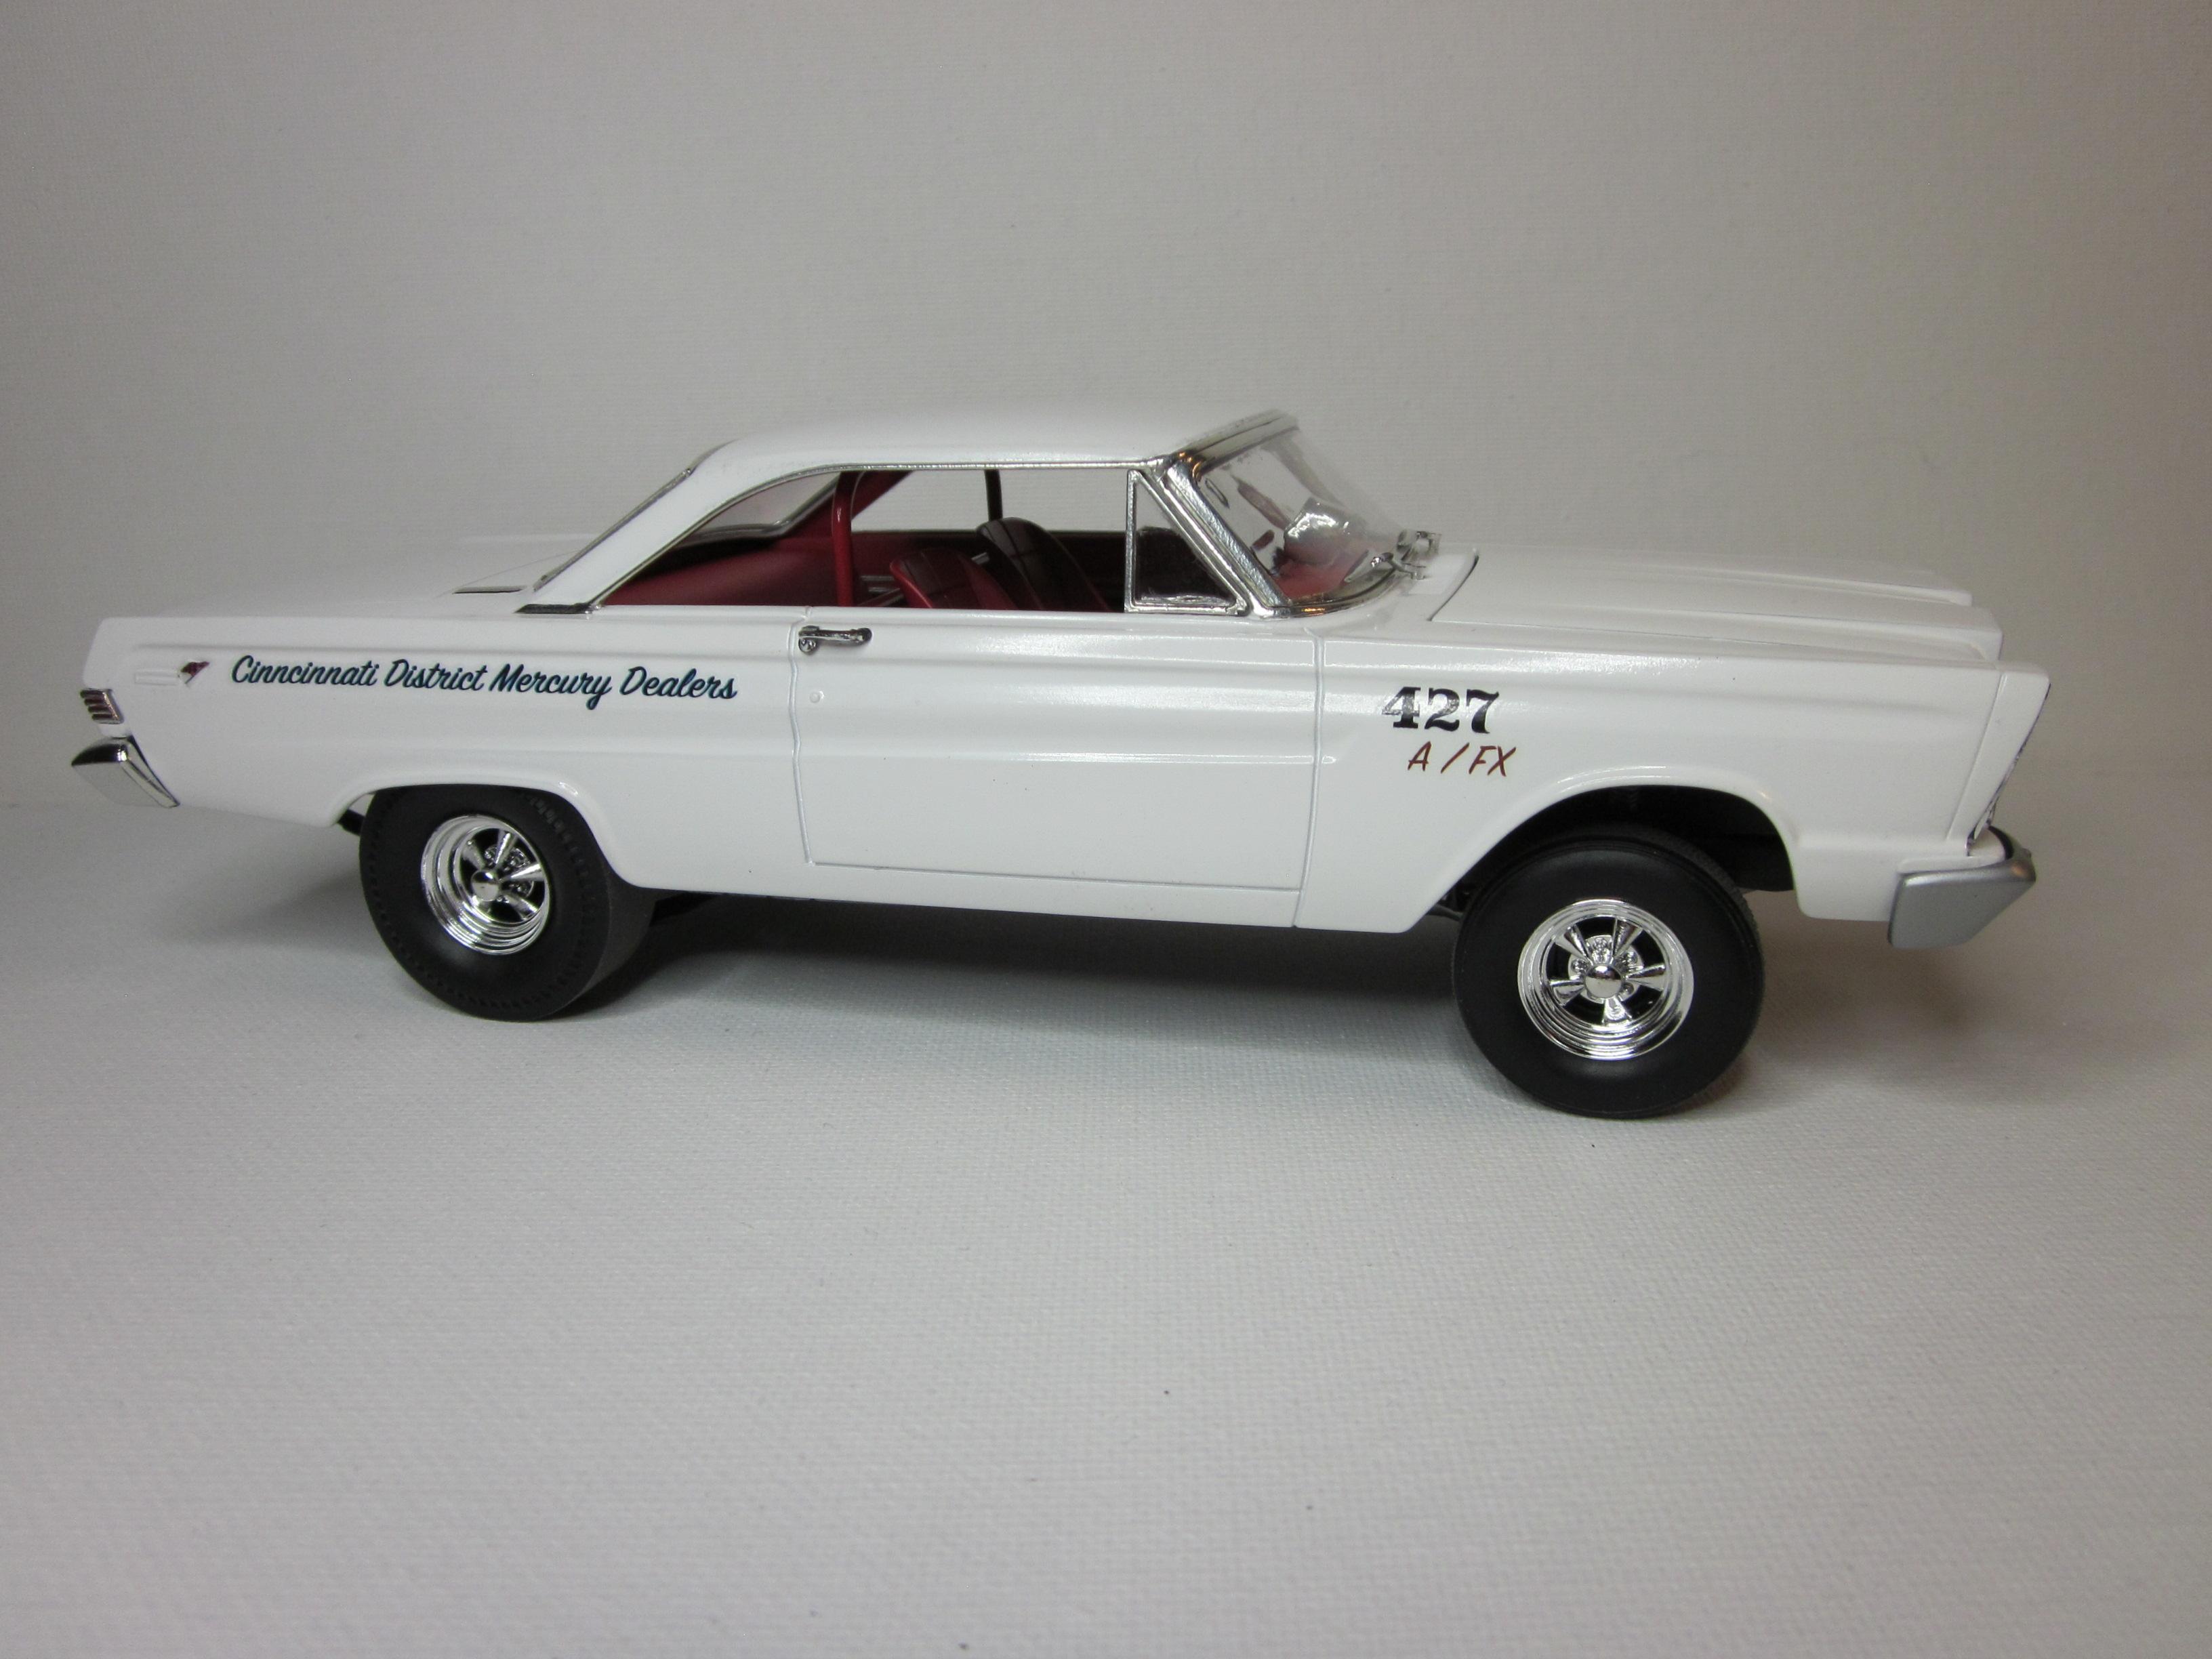
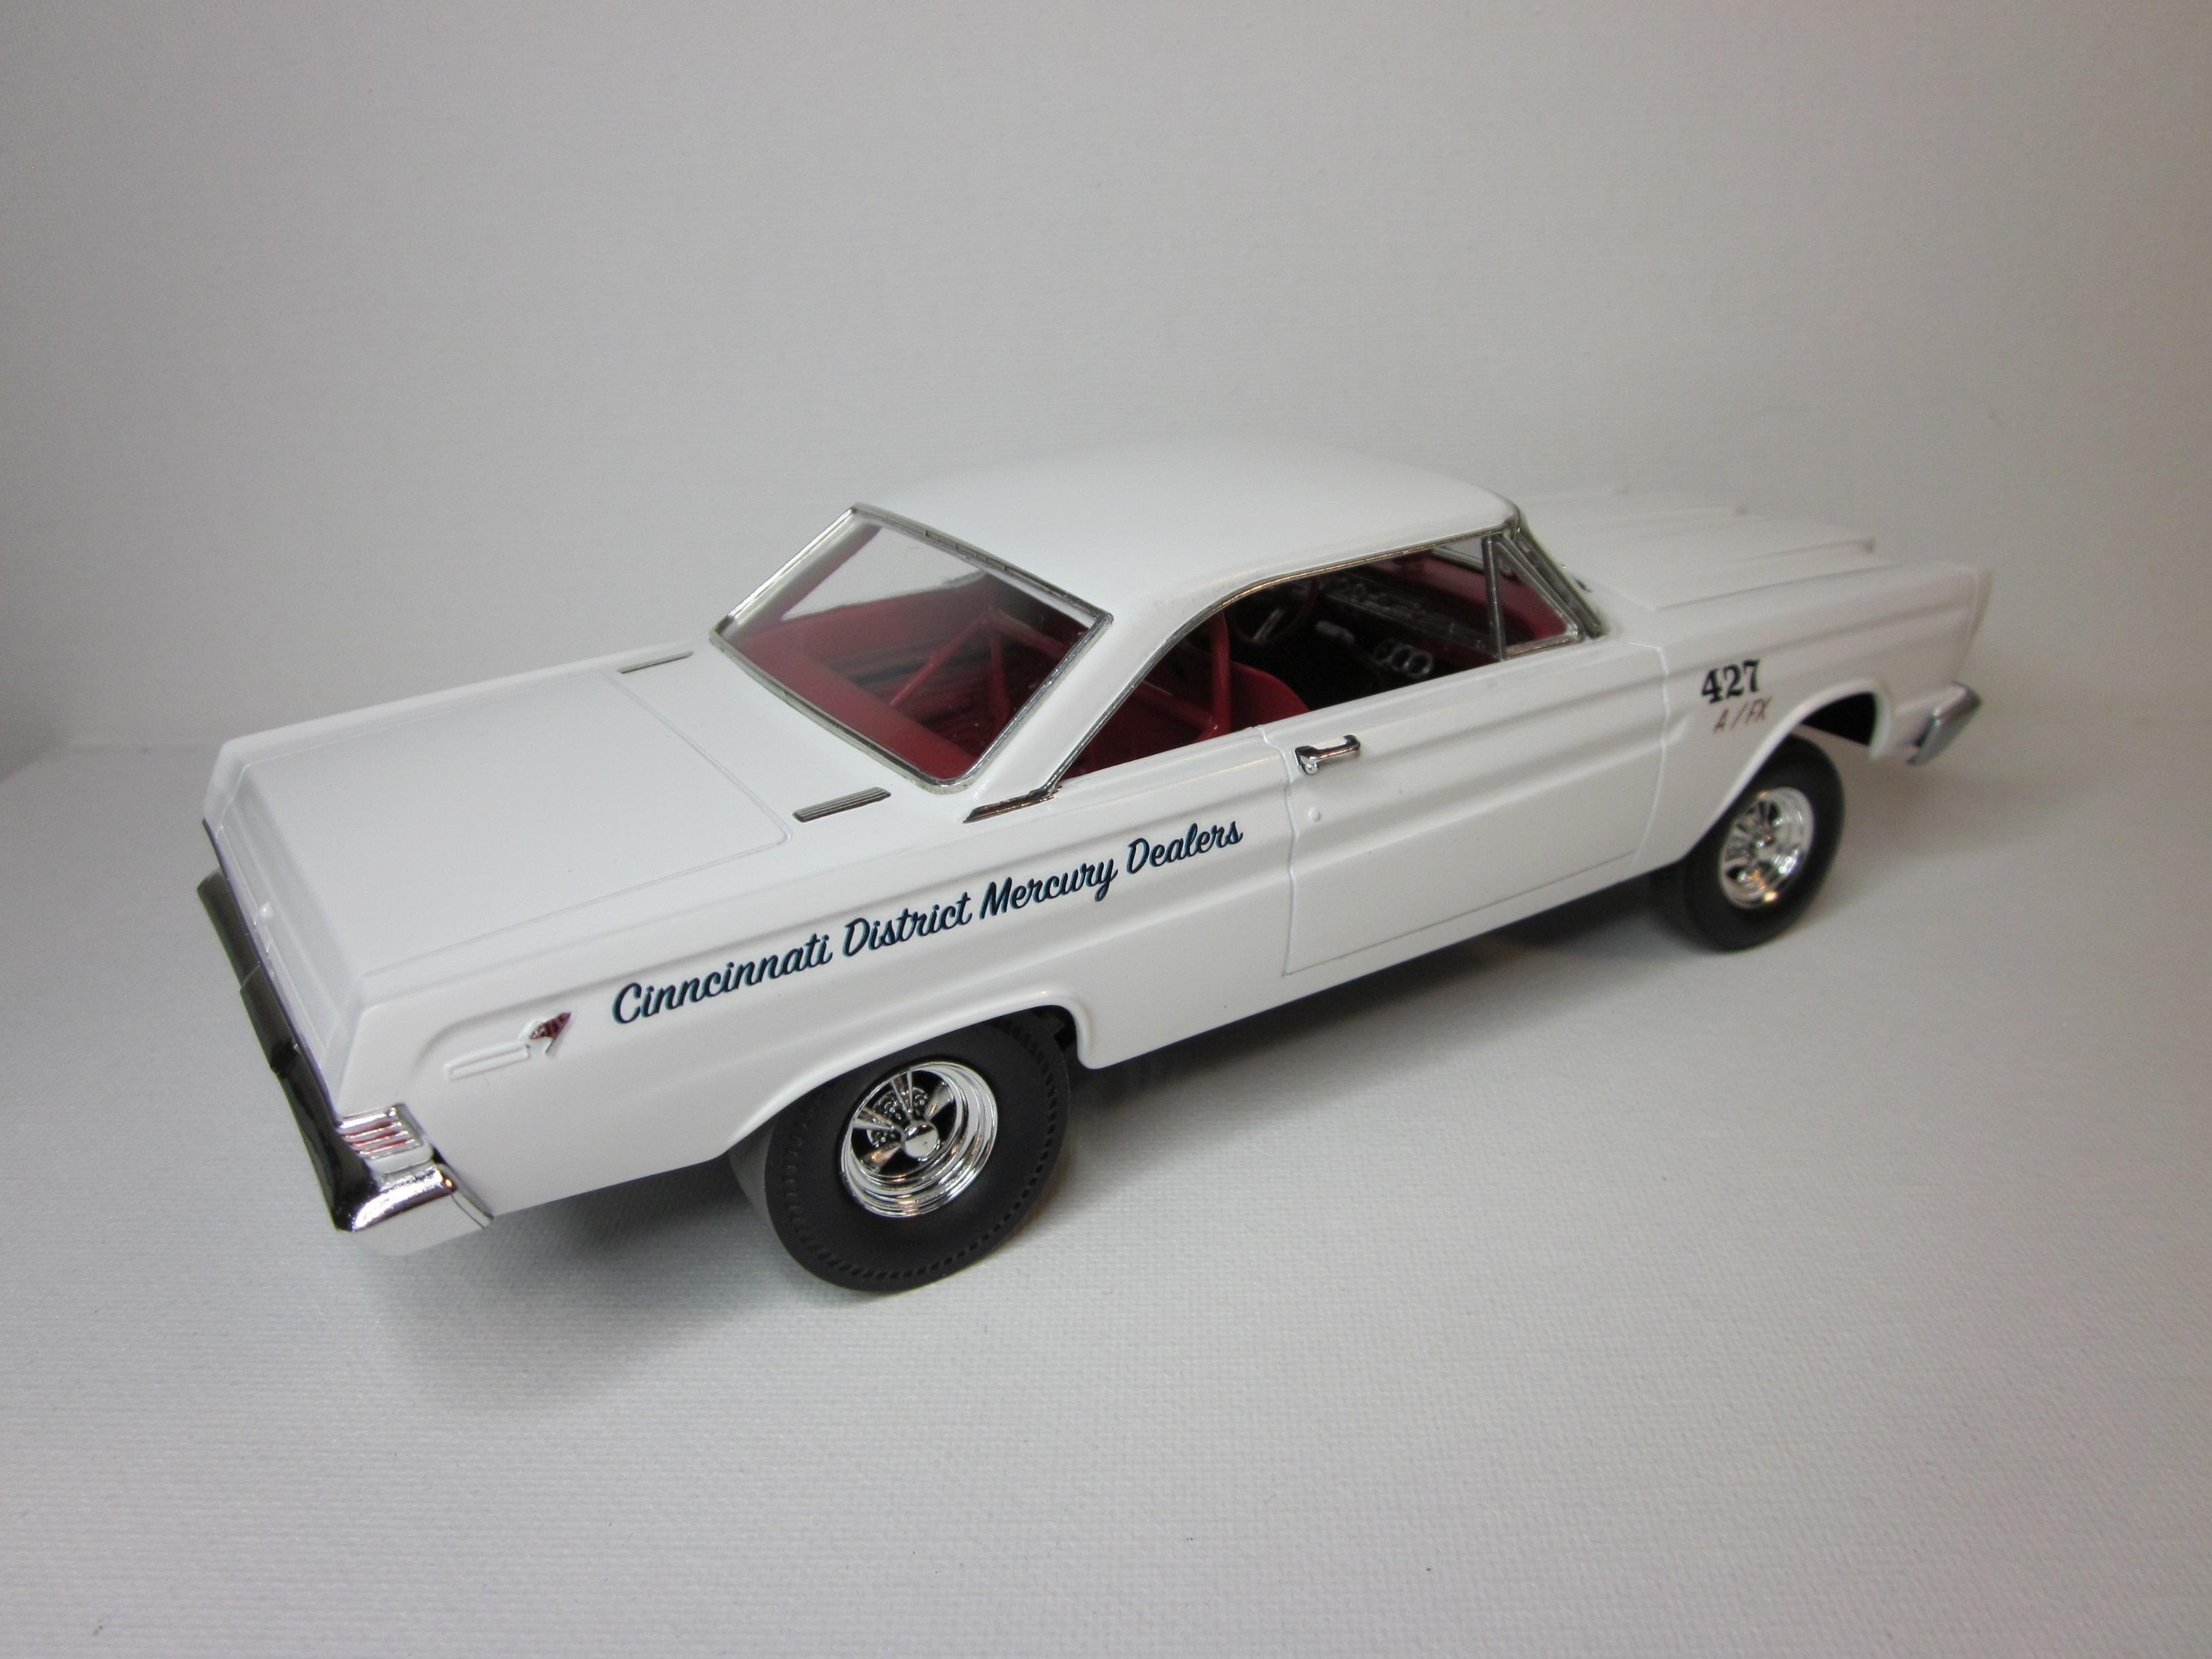
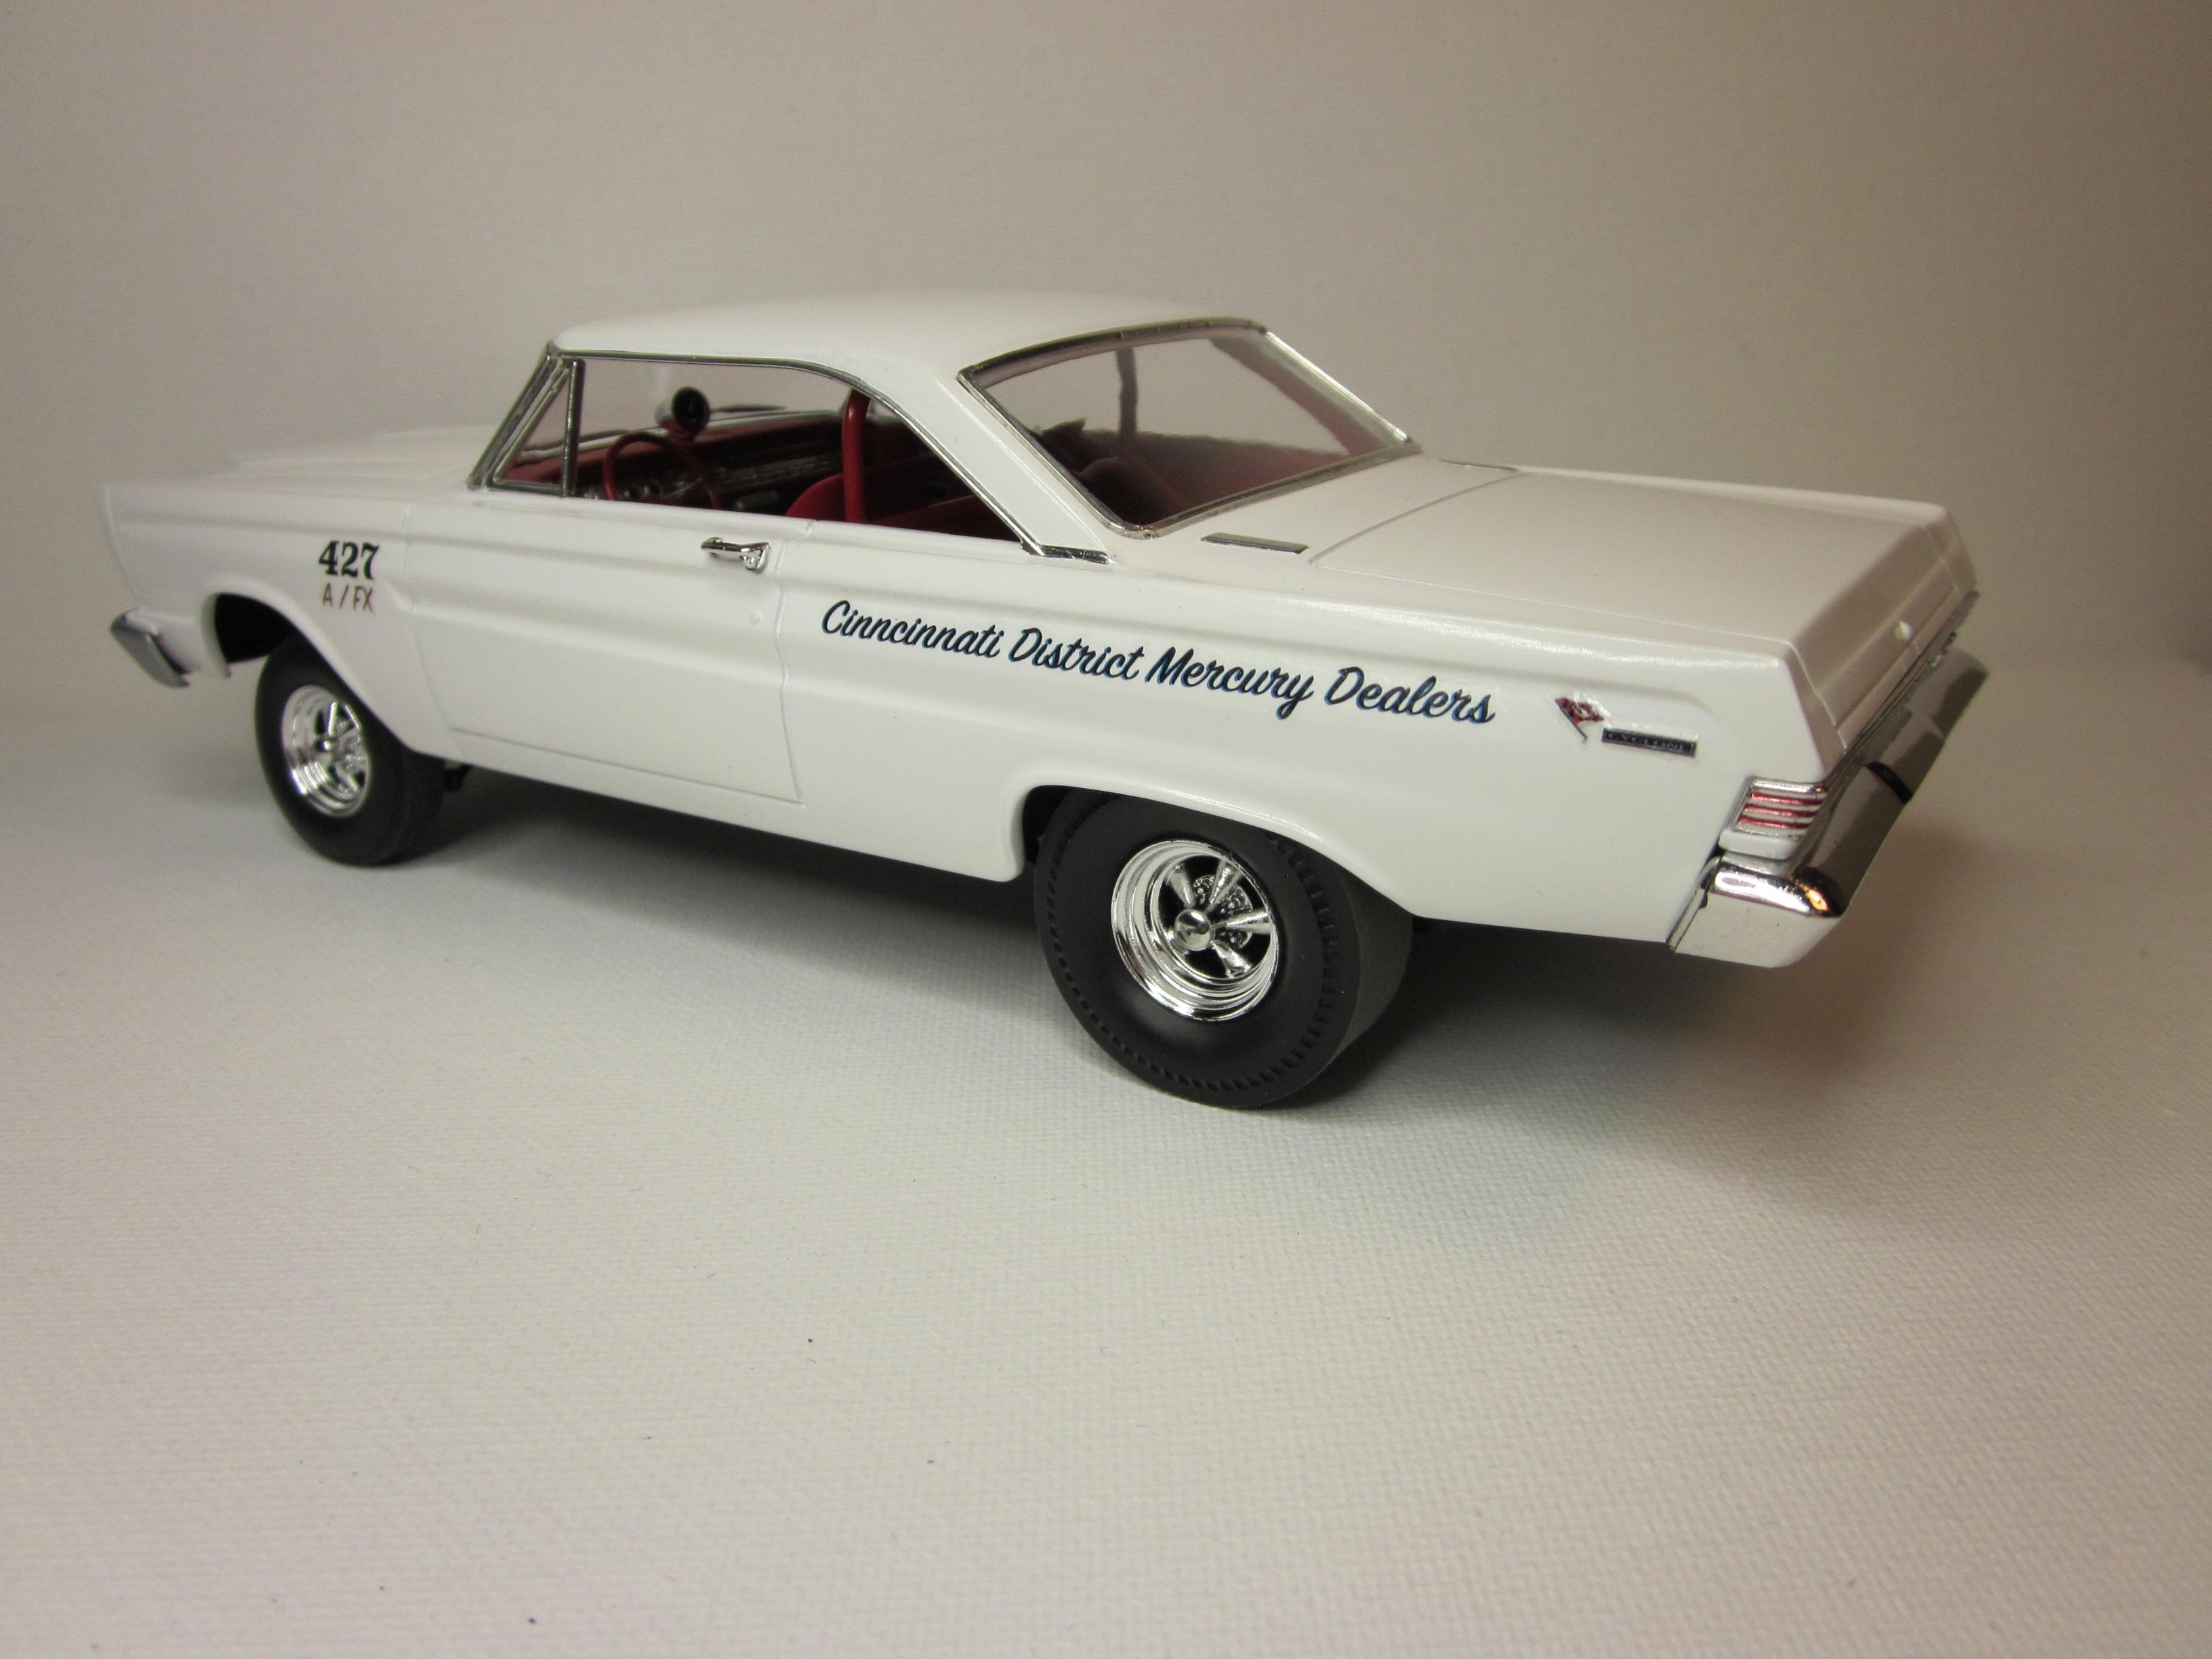
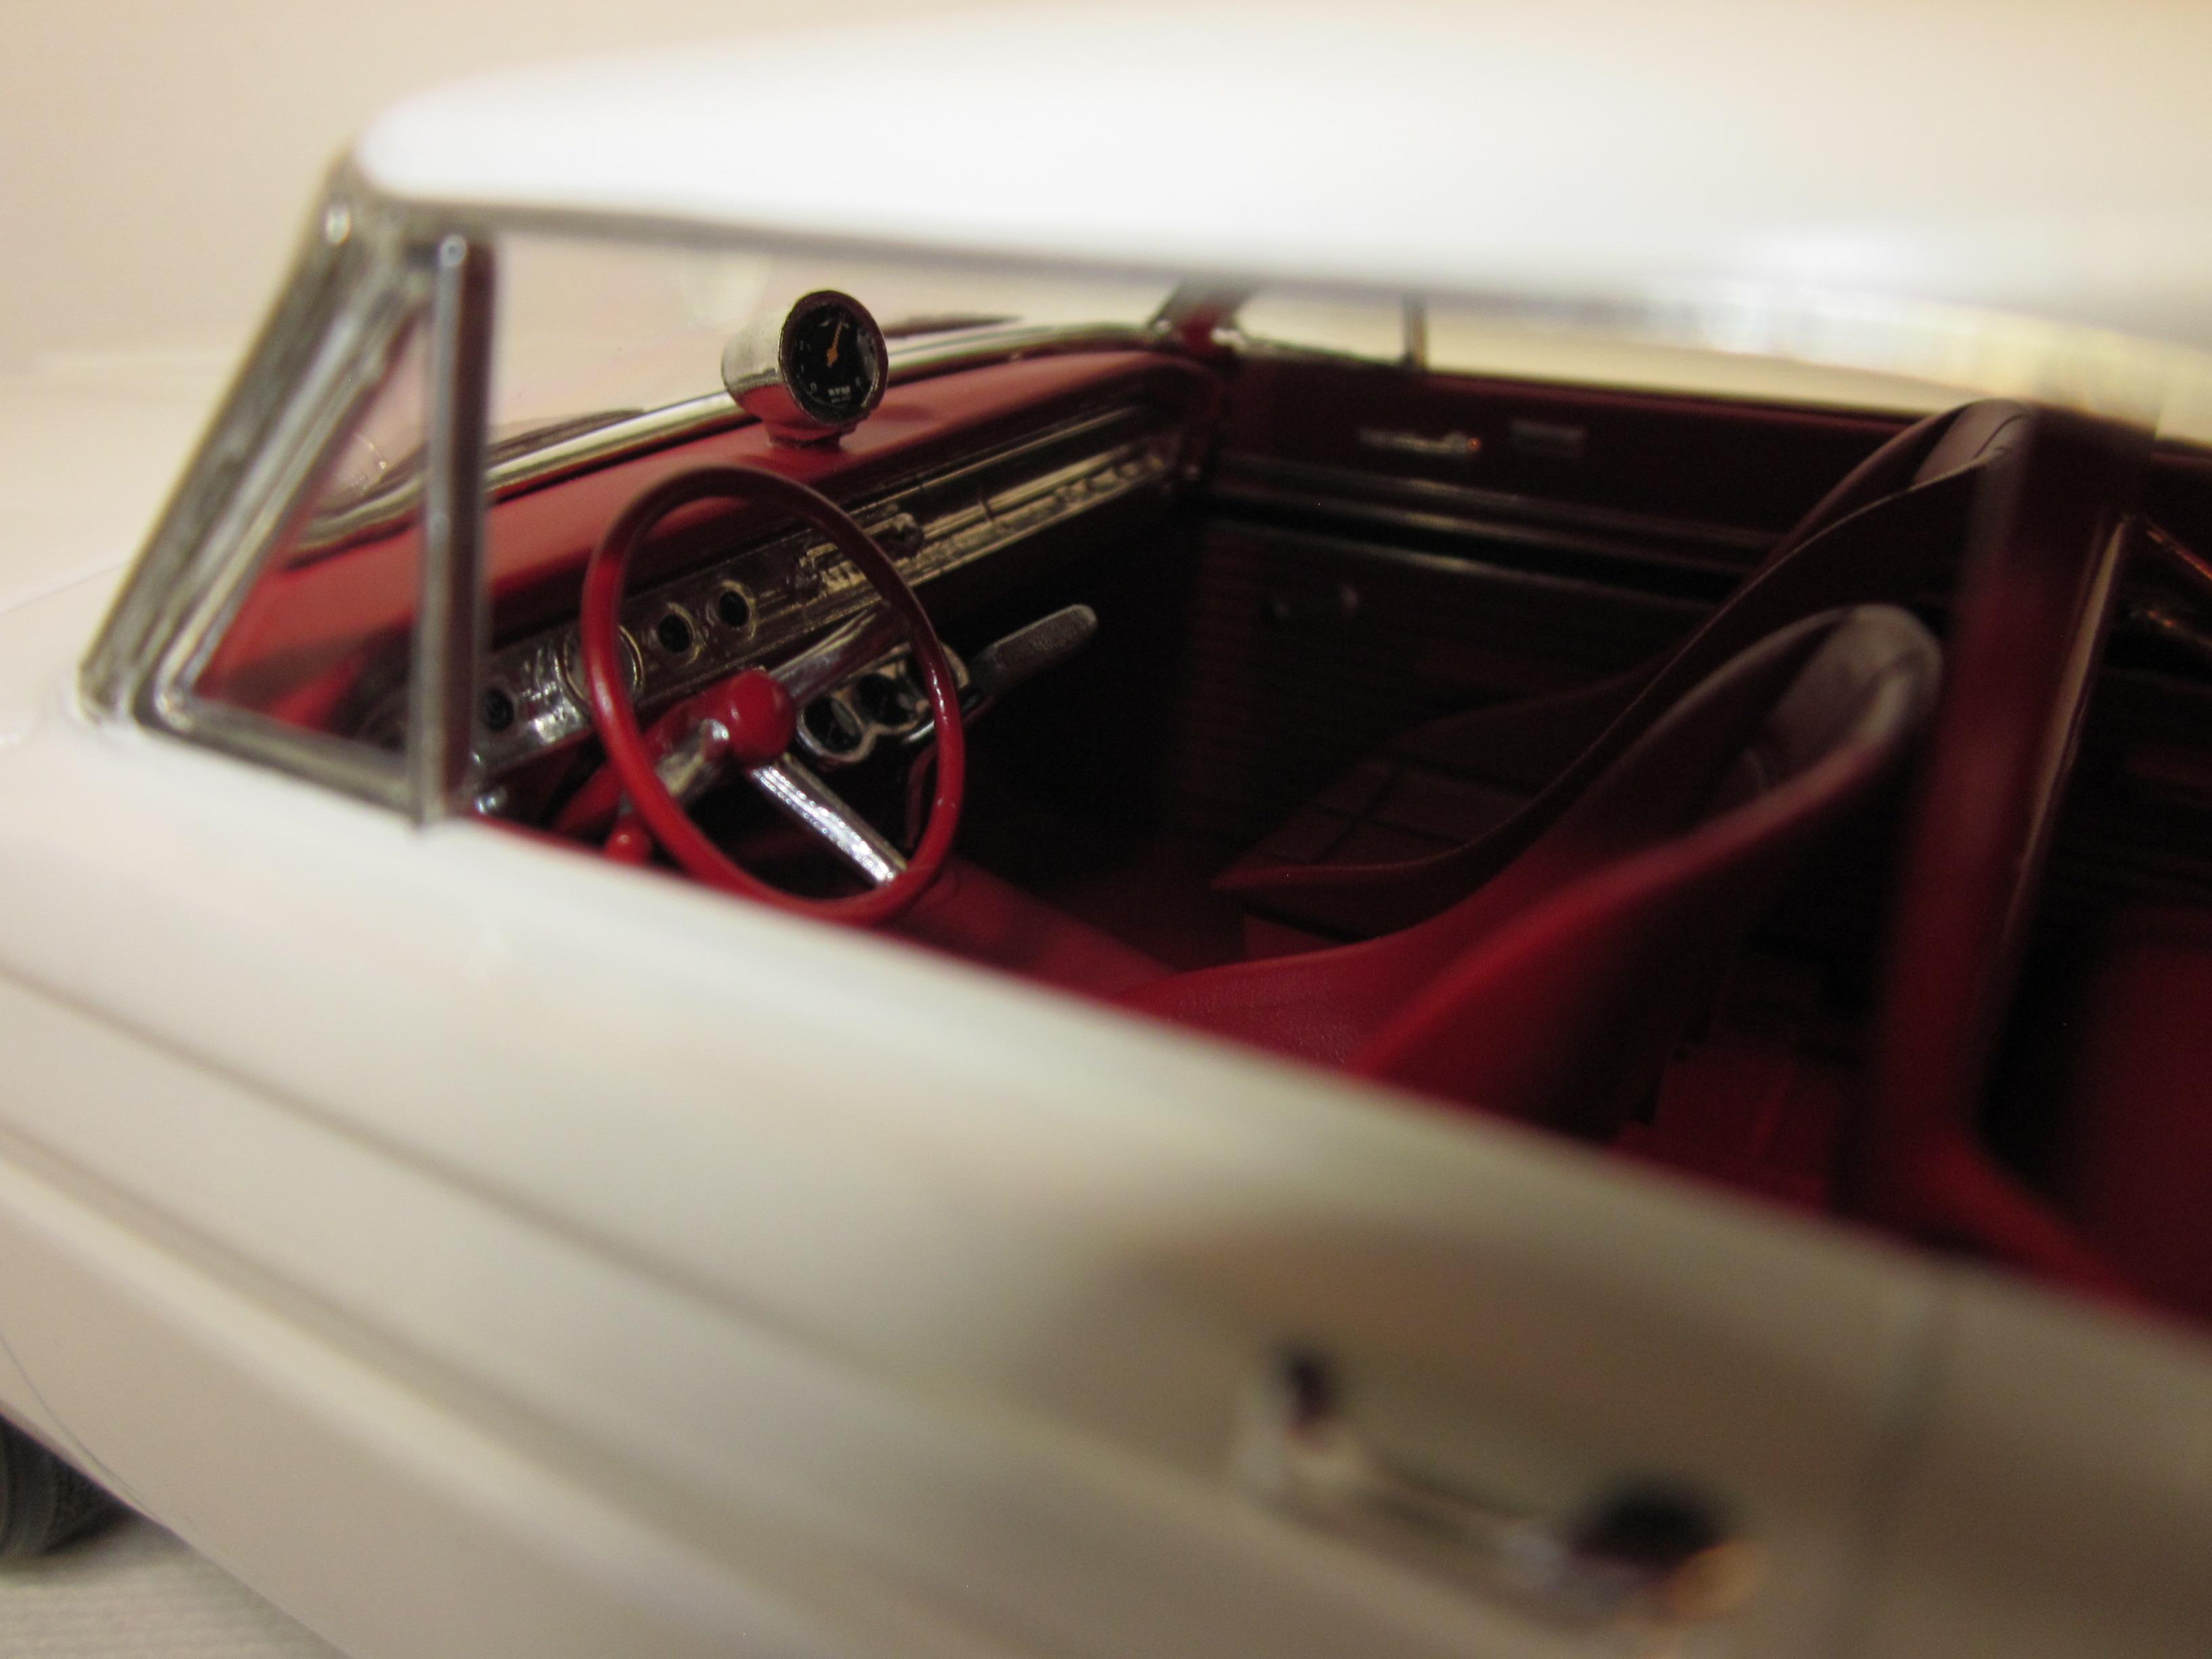
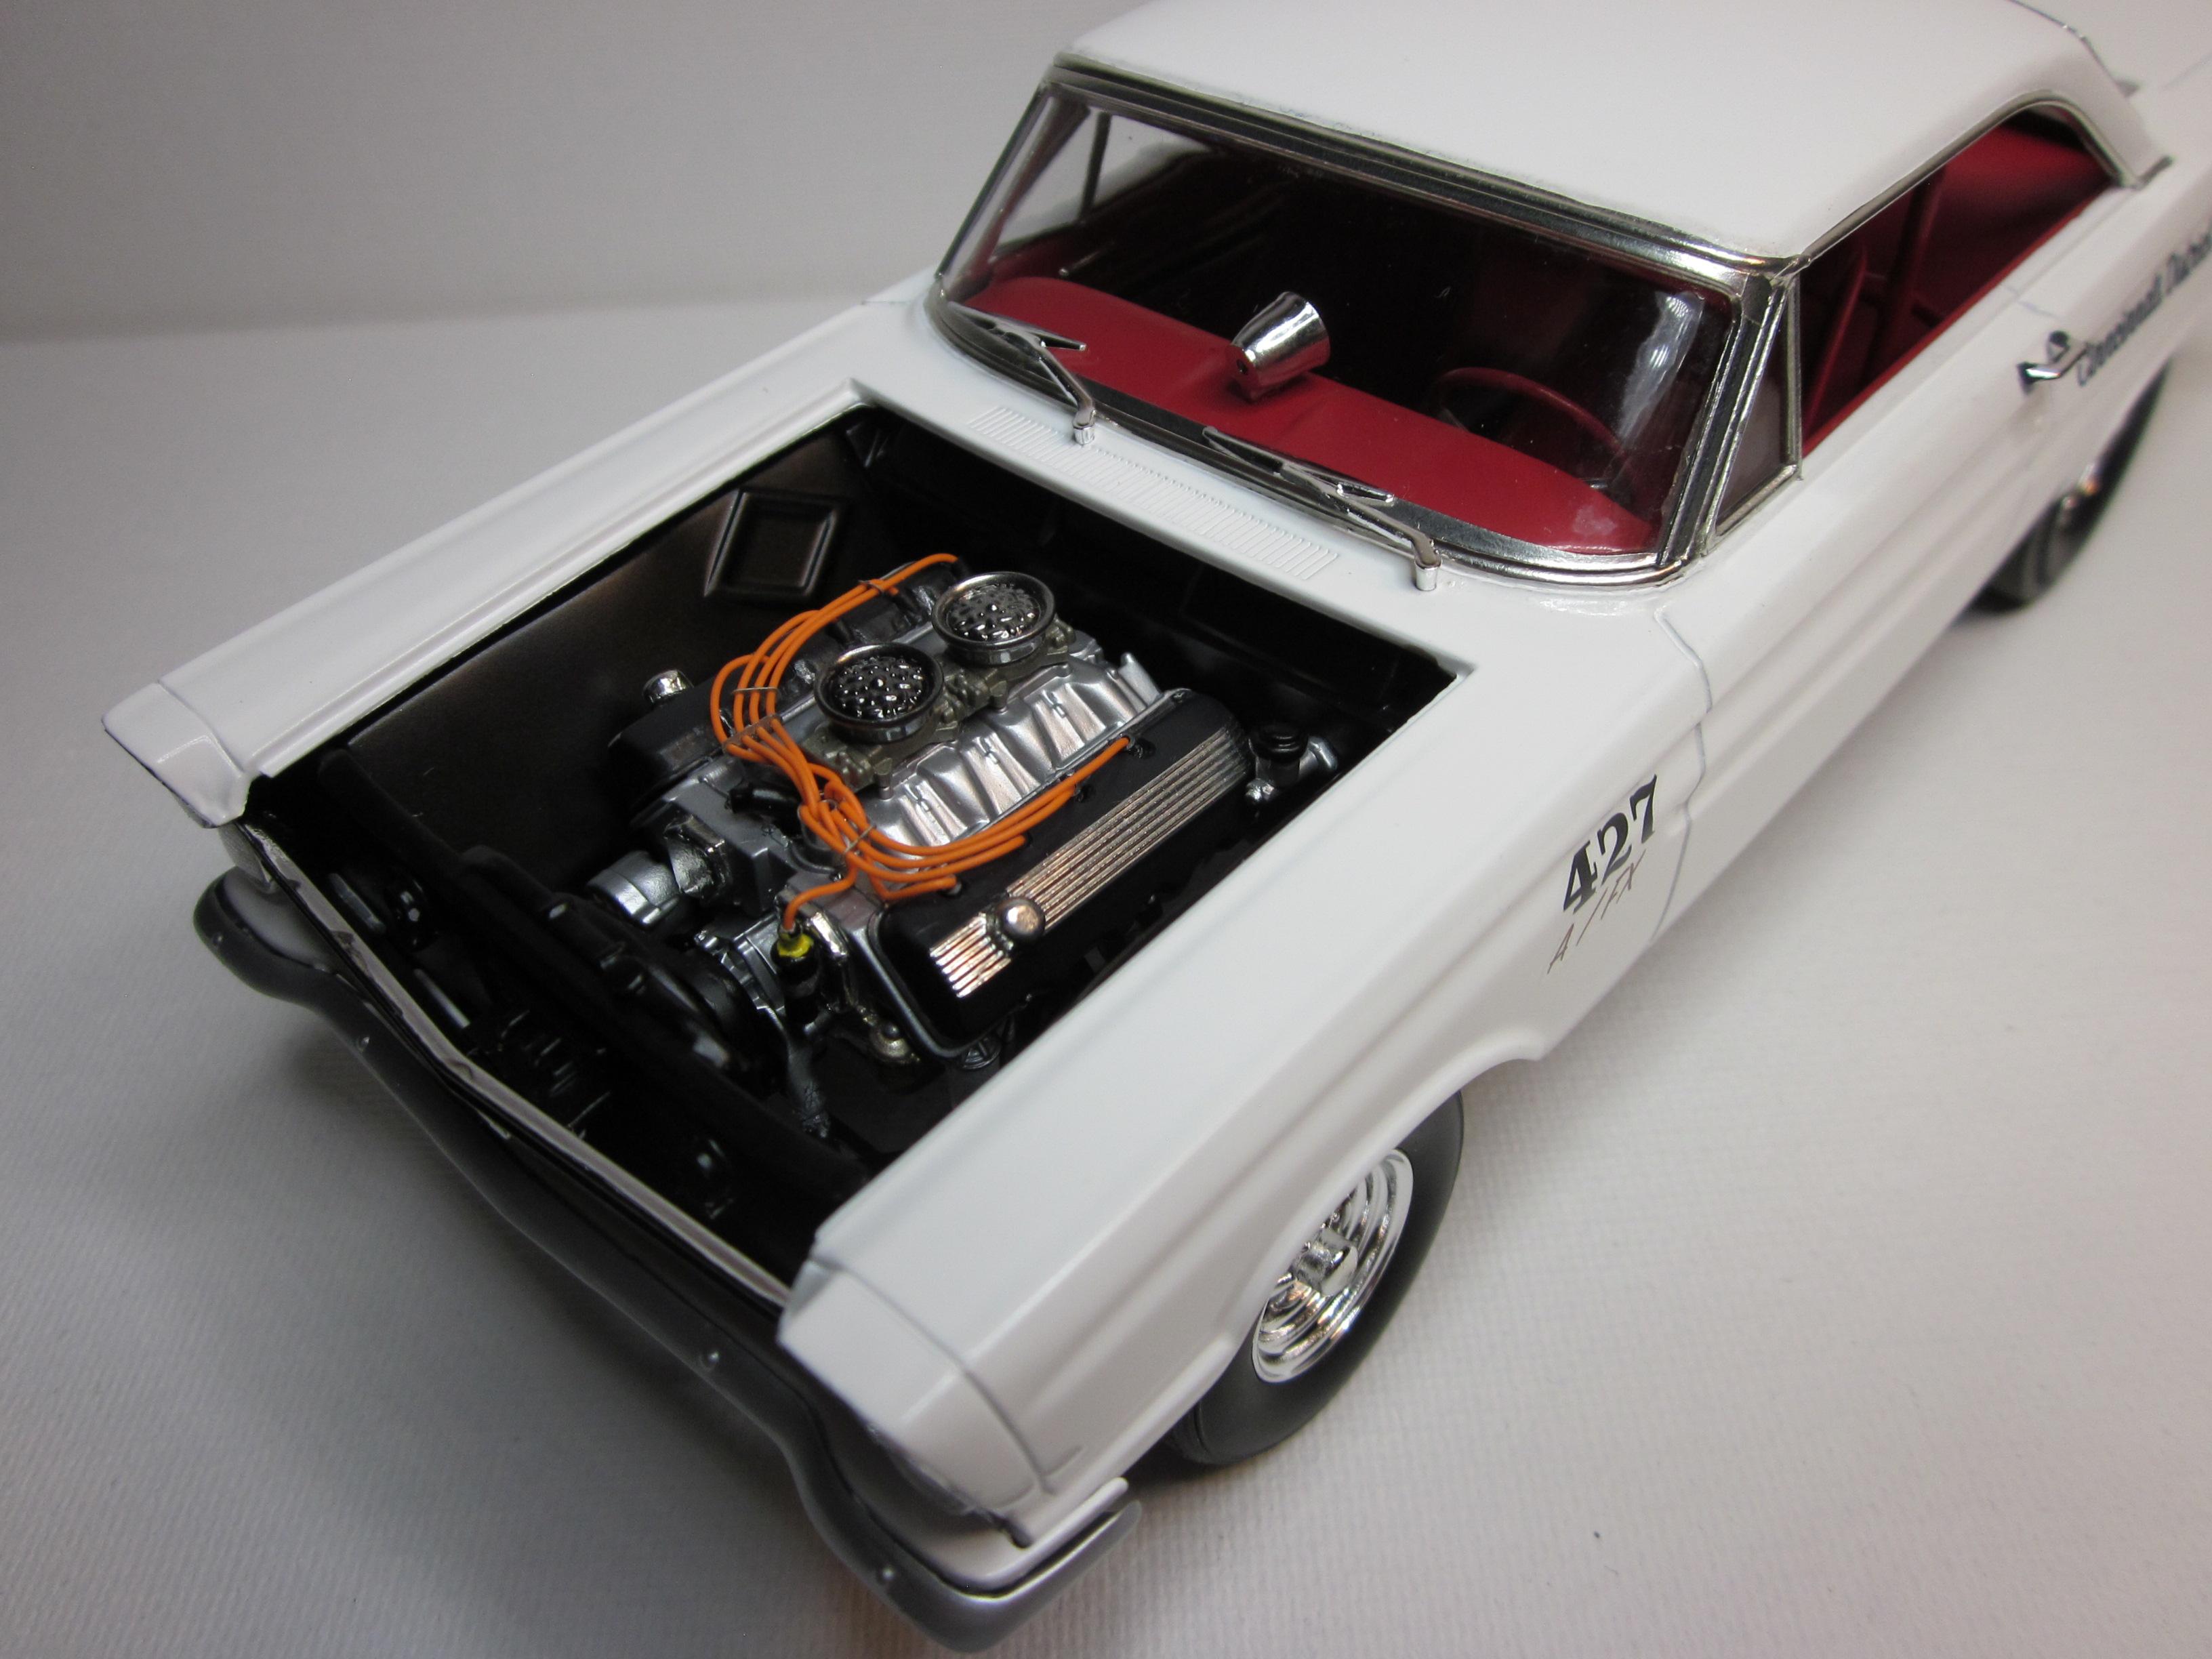
Here is a build I just completed of a 1965 Mercury Comet A/fX. This is built out of the box with plug wires being the only addition. It's painted with tamiya paints and some alclad on the front bumper, engine and headers. BMF was used for exterior trim. This is what I call a tune up build. Keeps my skills honed while working on long term builds. For a Quick build, It was fun and a challenge at times. Thanks for looking.
- 24 replies
-
- 15
-

-
Nce work so far!
-
Scott, that is one excellent build! So many cool details going on. Interesting engine, I like that! Radar wheels was the perfect choice. Very nice!
-
I find it interesting that you book ended the trim. Now that it's done, it really works well. The side view of the car is killer. I may have left the little horizontal wing off at the front to differentiate it from the rear, but still resembling each other. Just my opinion. Some great Ideas happening here, Jon!
-
Excellent build! I like the engine details and that interior is really well done.
-
Great looking camaro! Super clean workmanship.
-
Look's like a east coast pro street car I'v seen on you tube. Very nice!
-
Good looking build!
-
Super nice build!
-
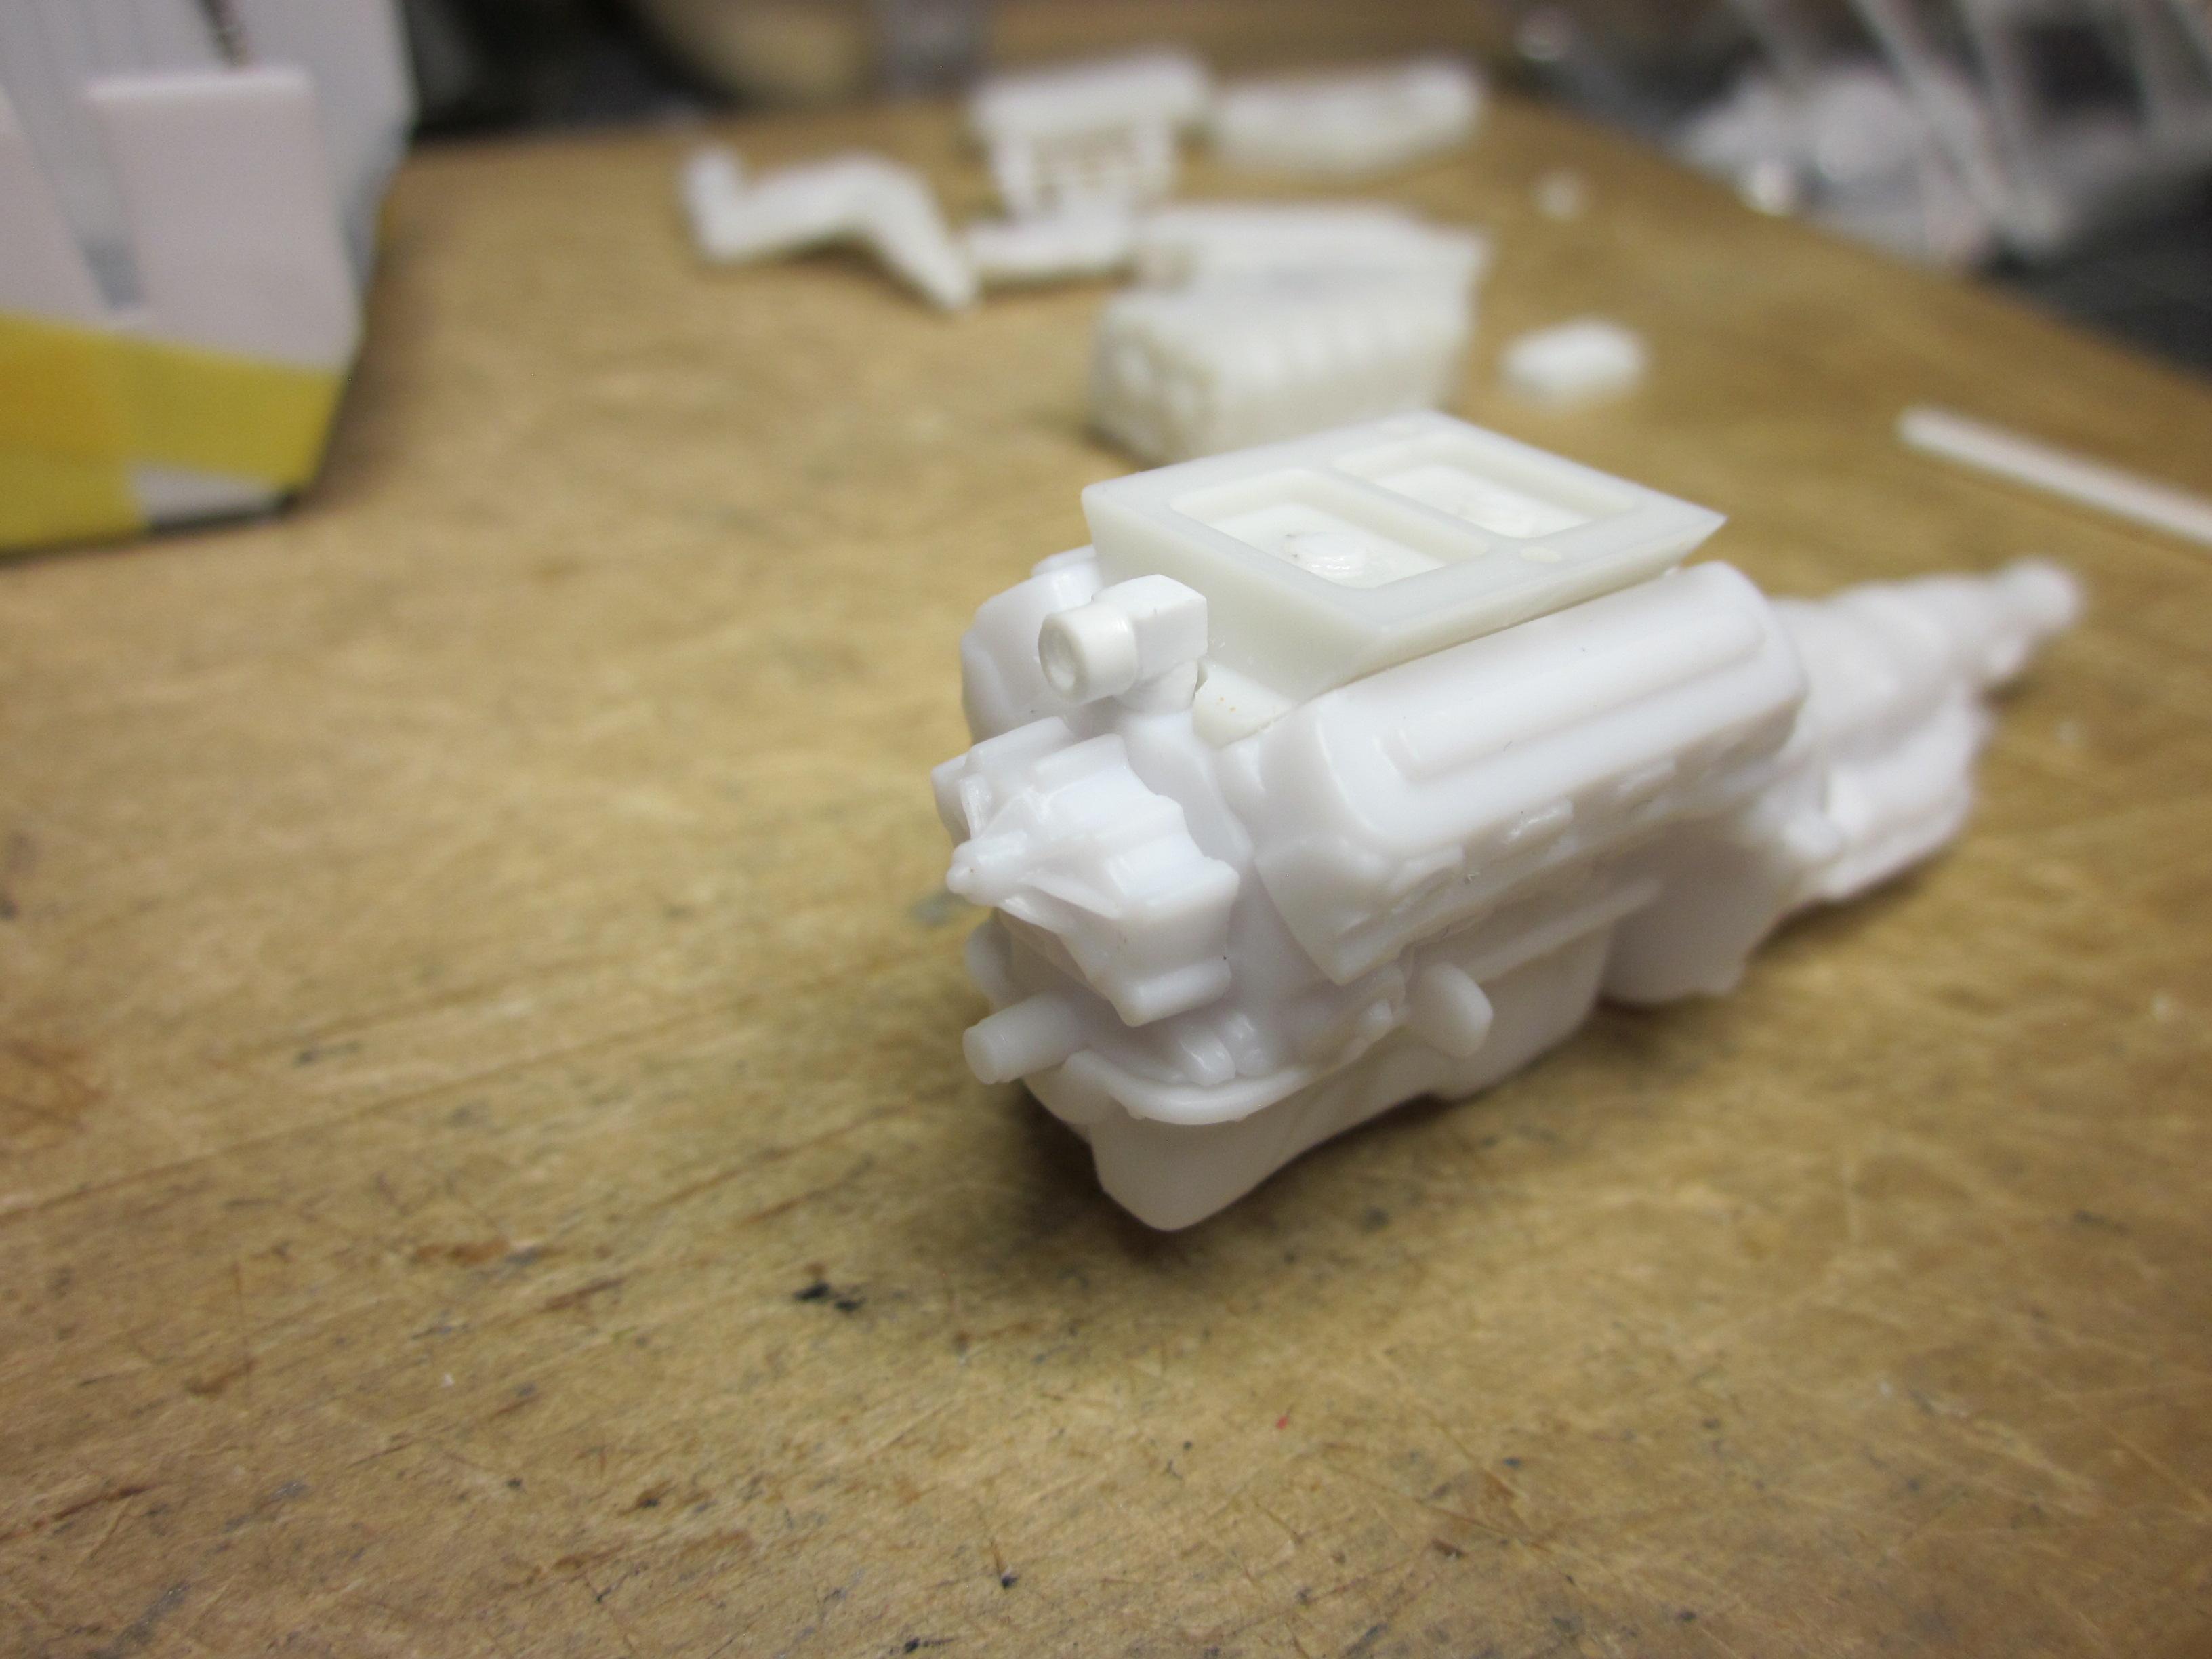
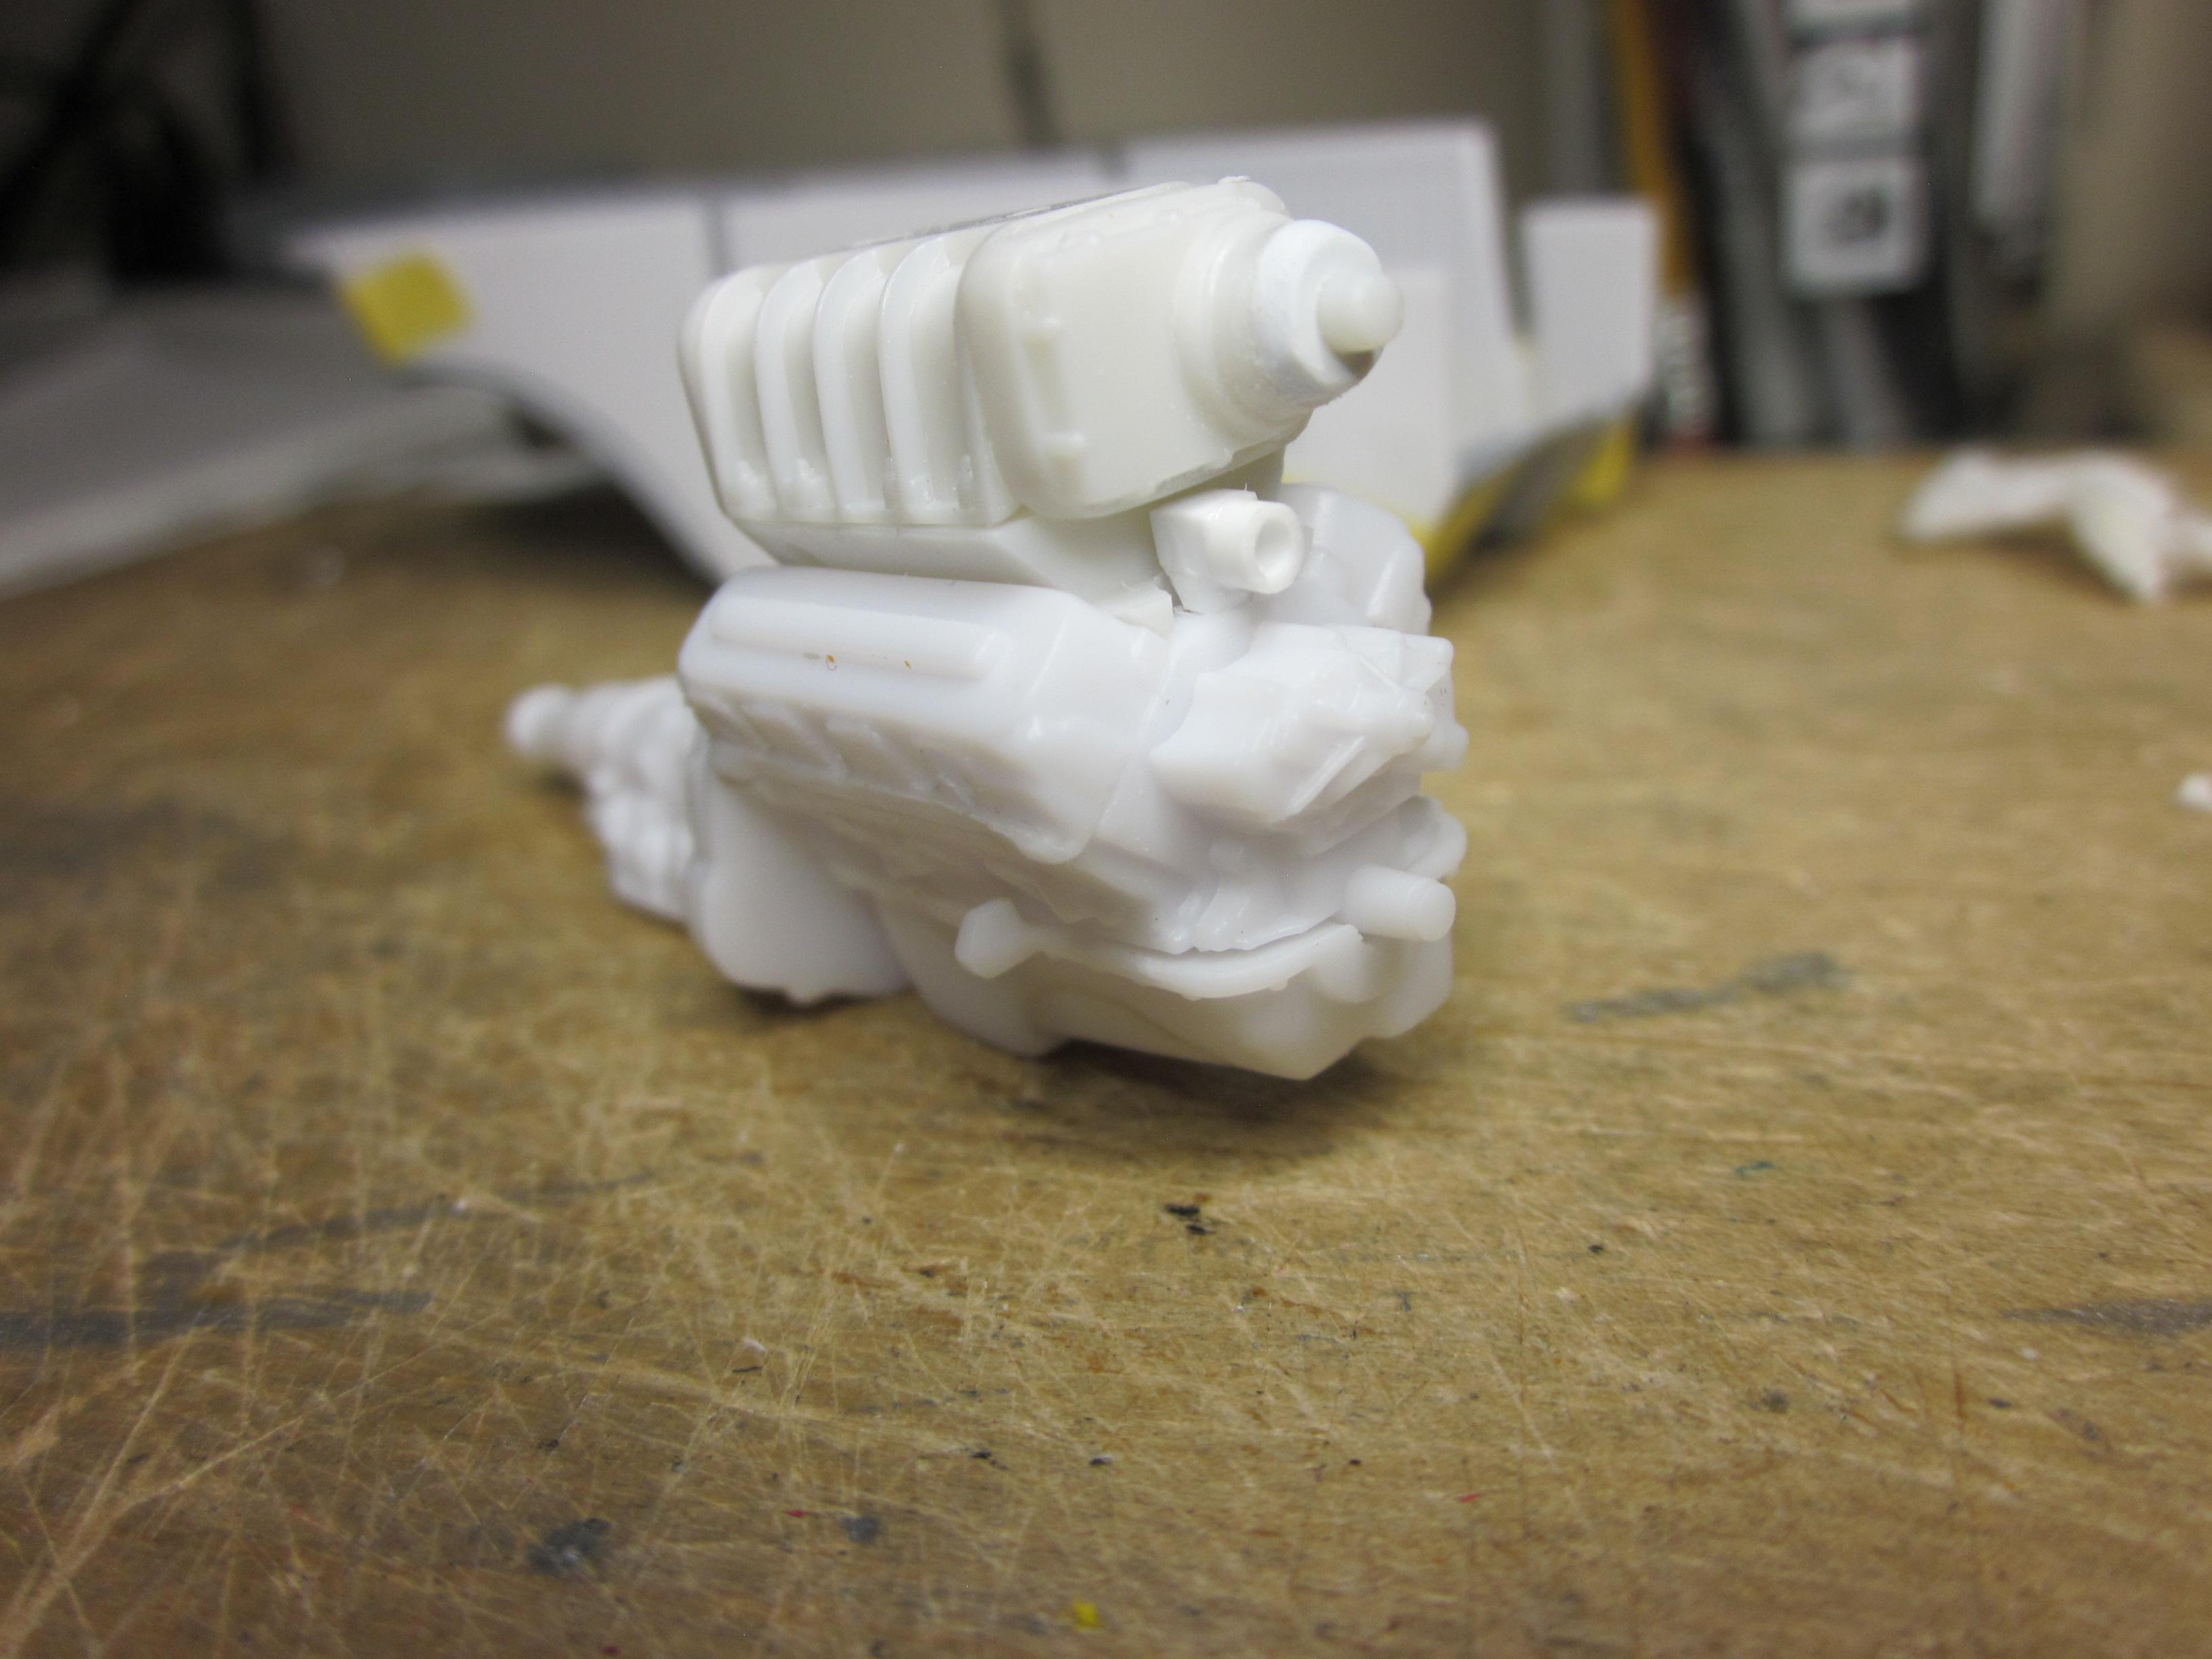
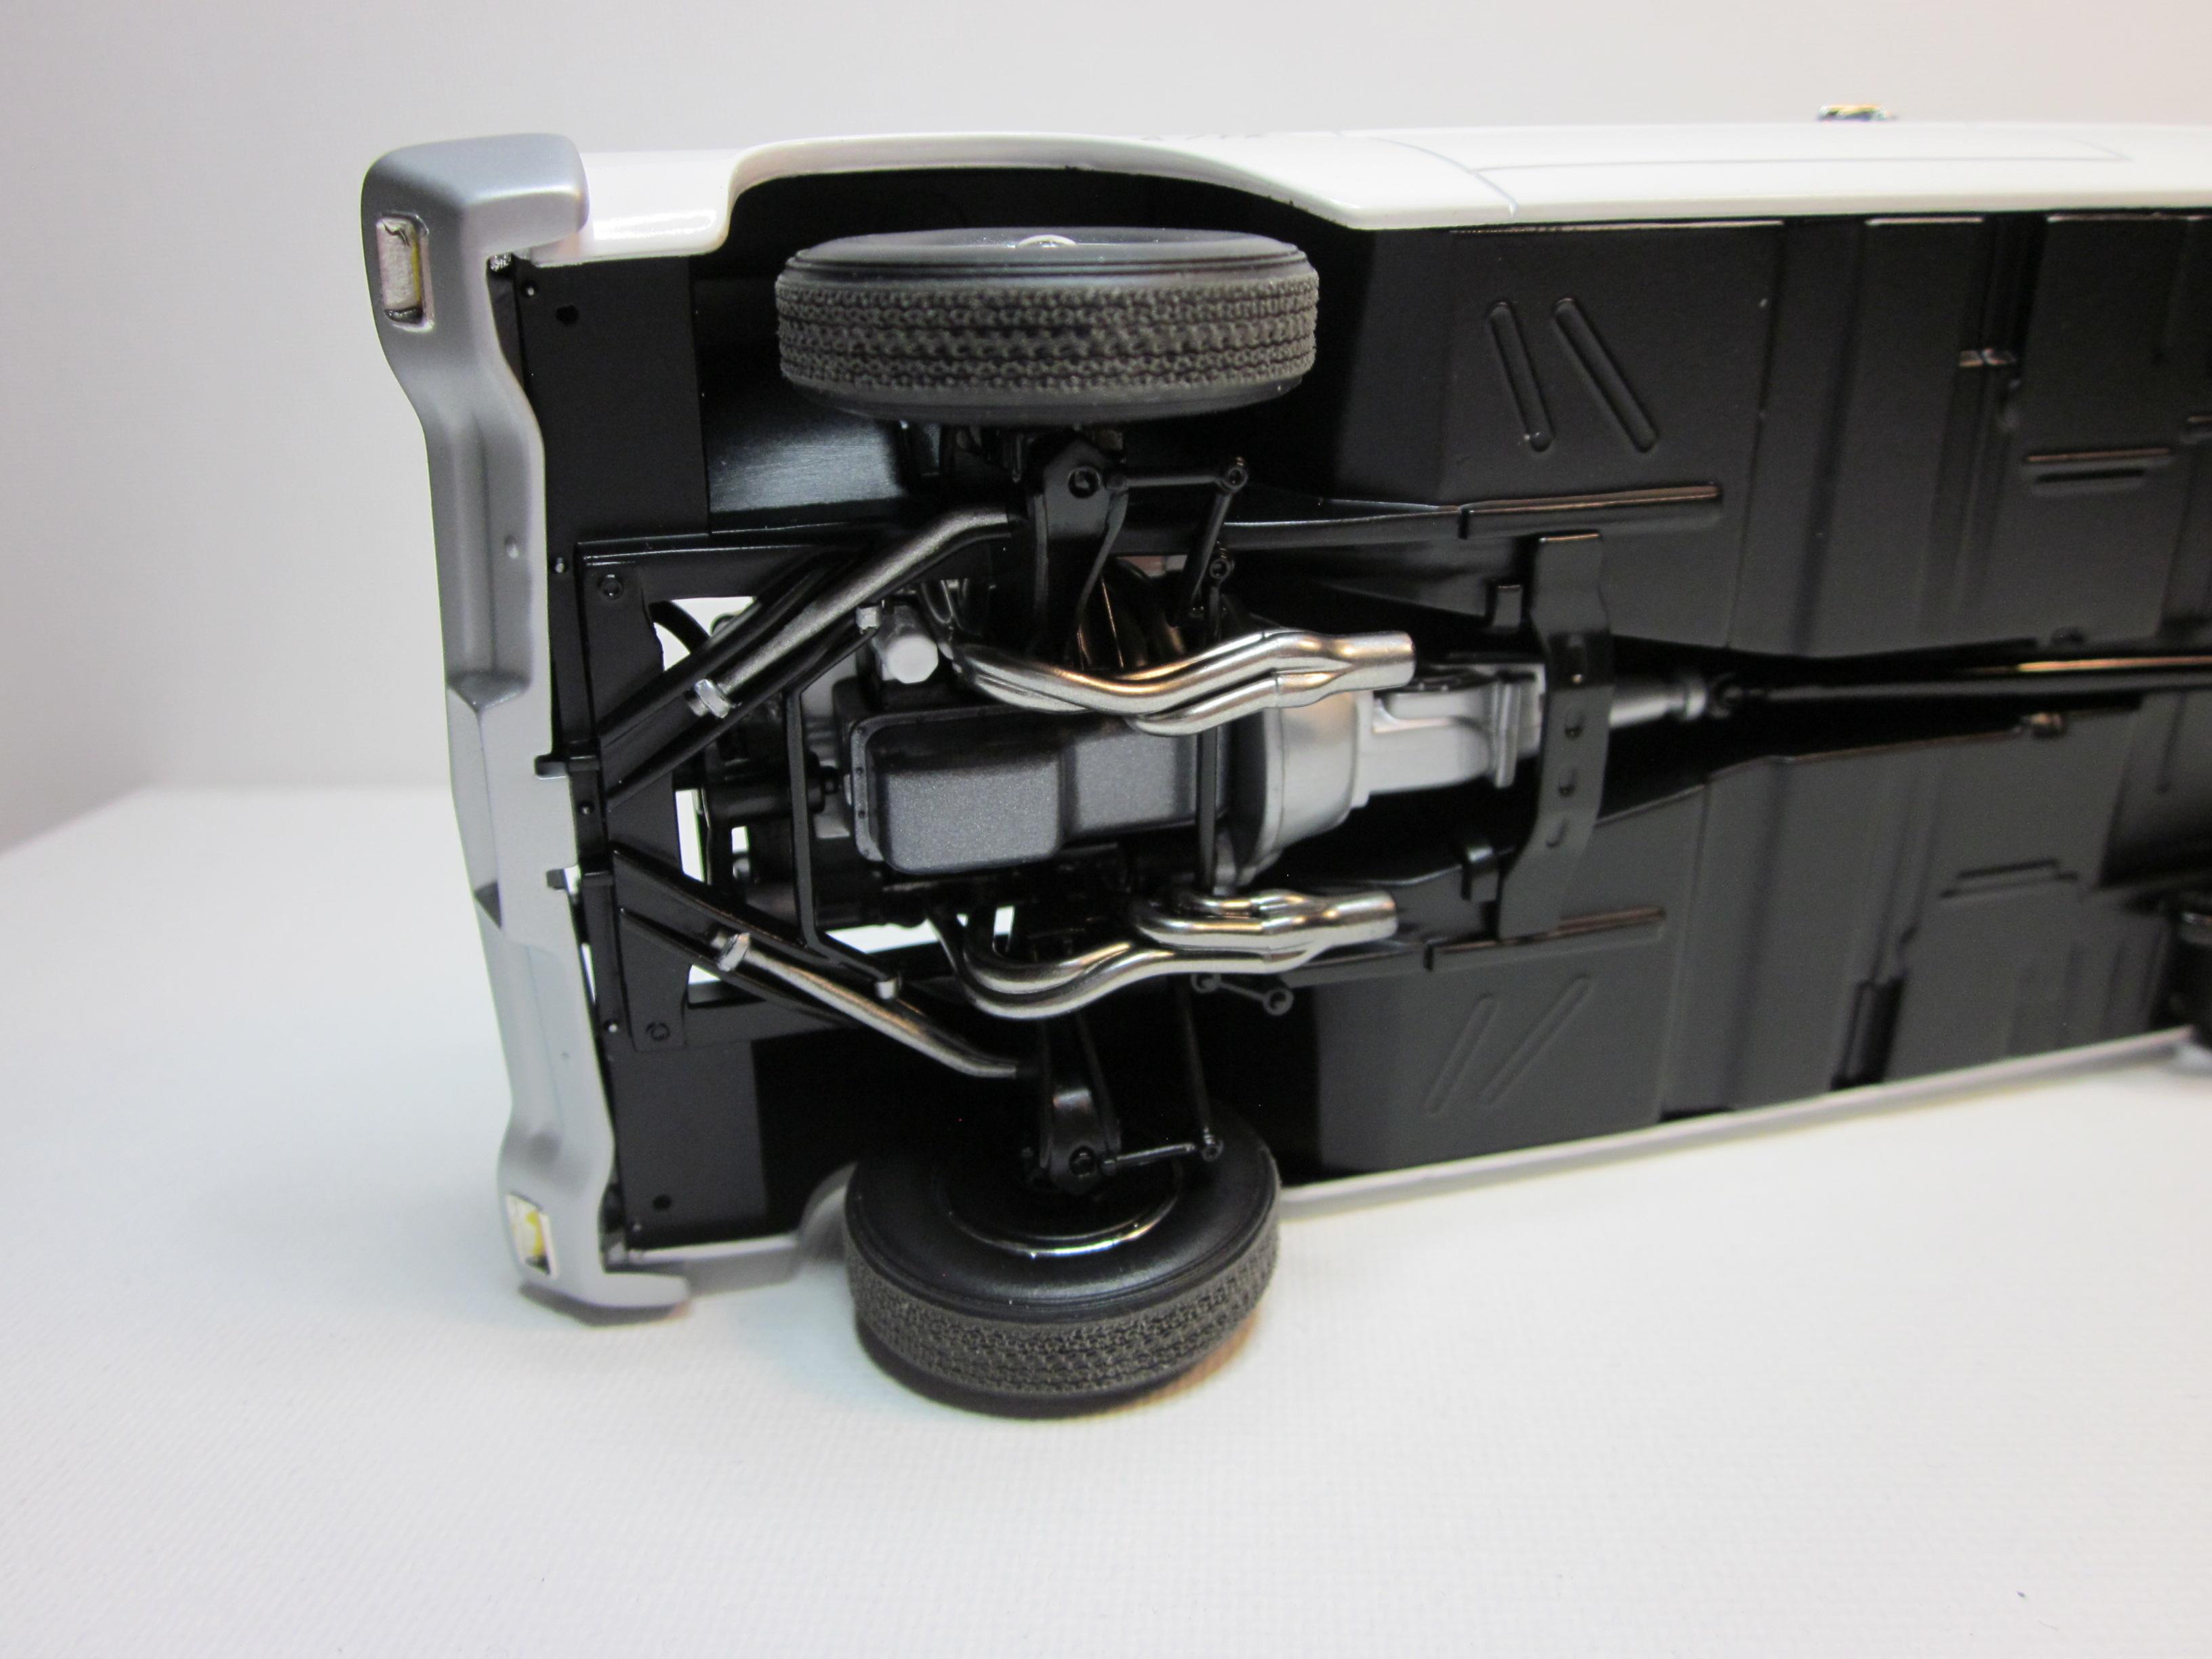
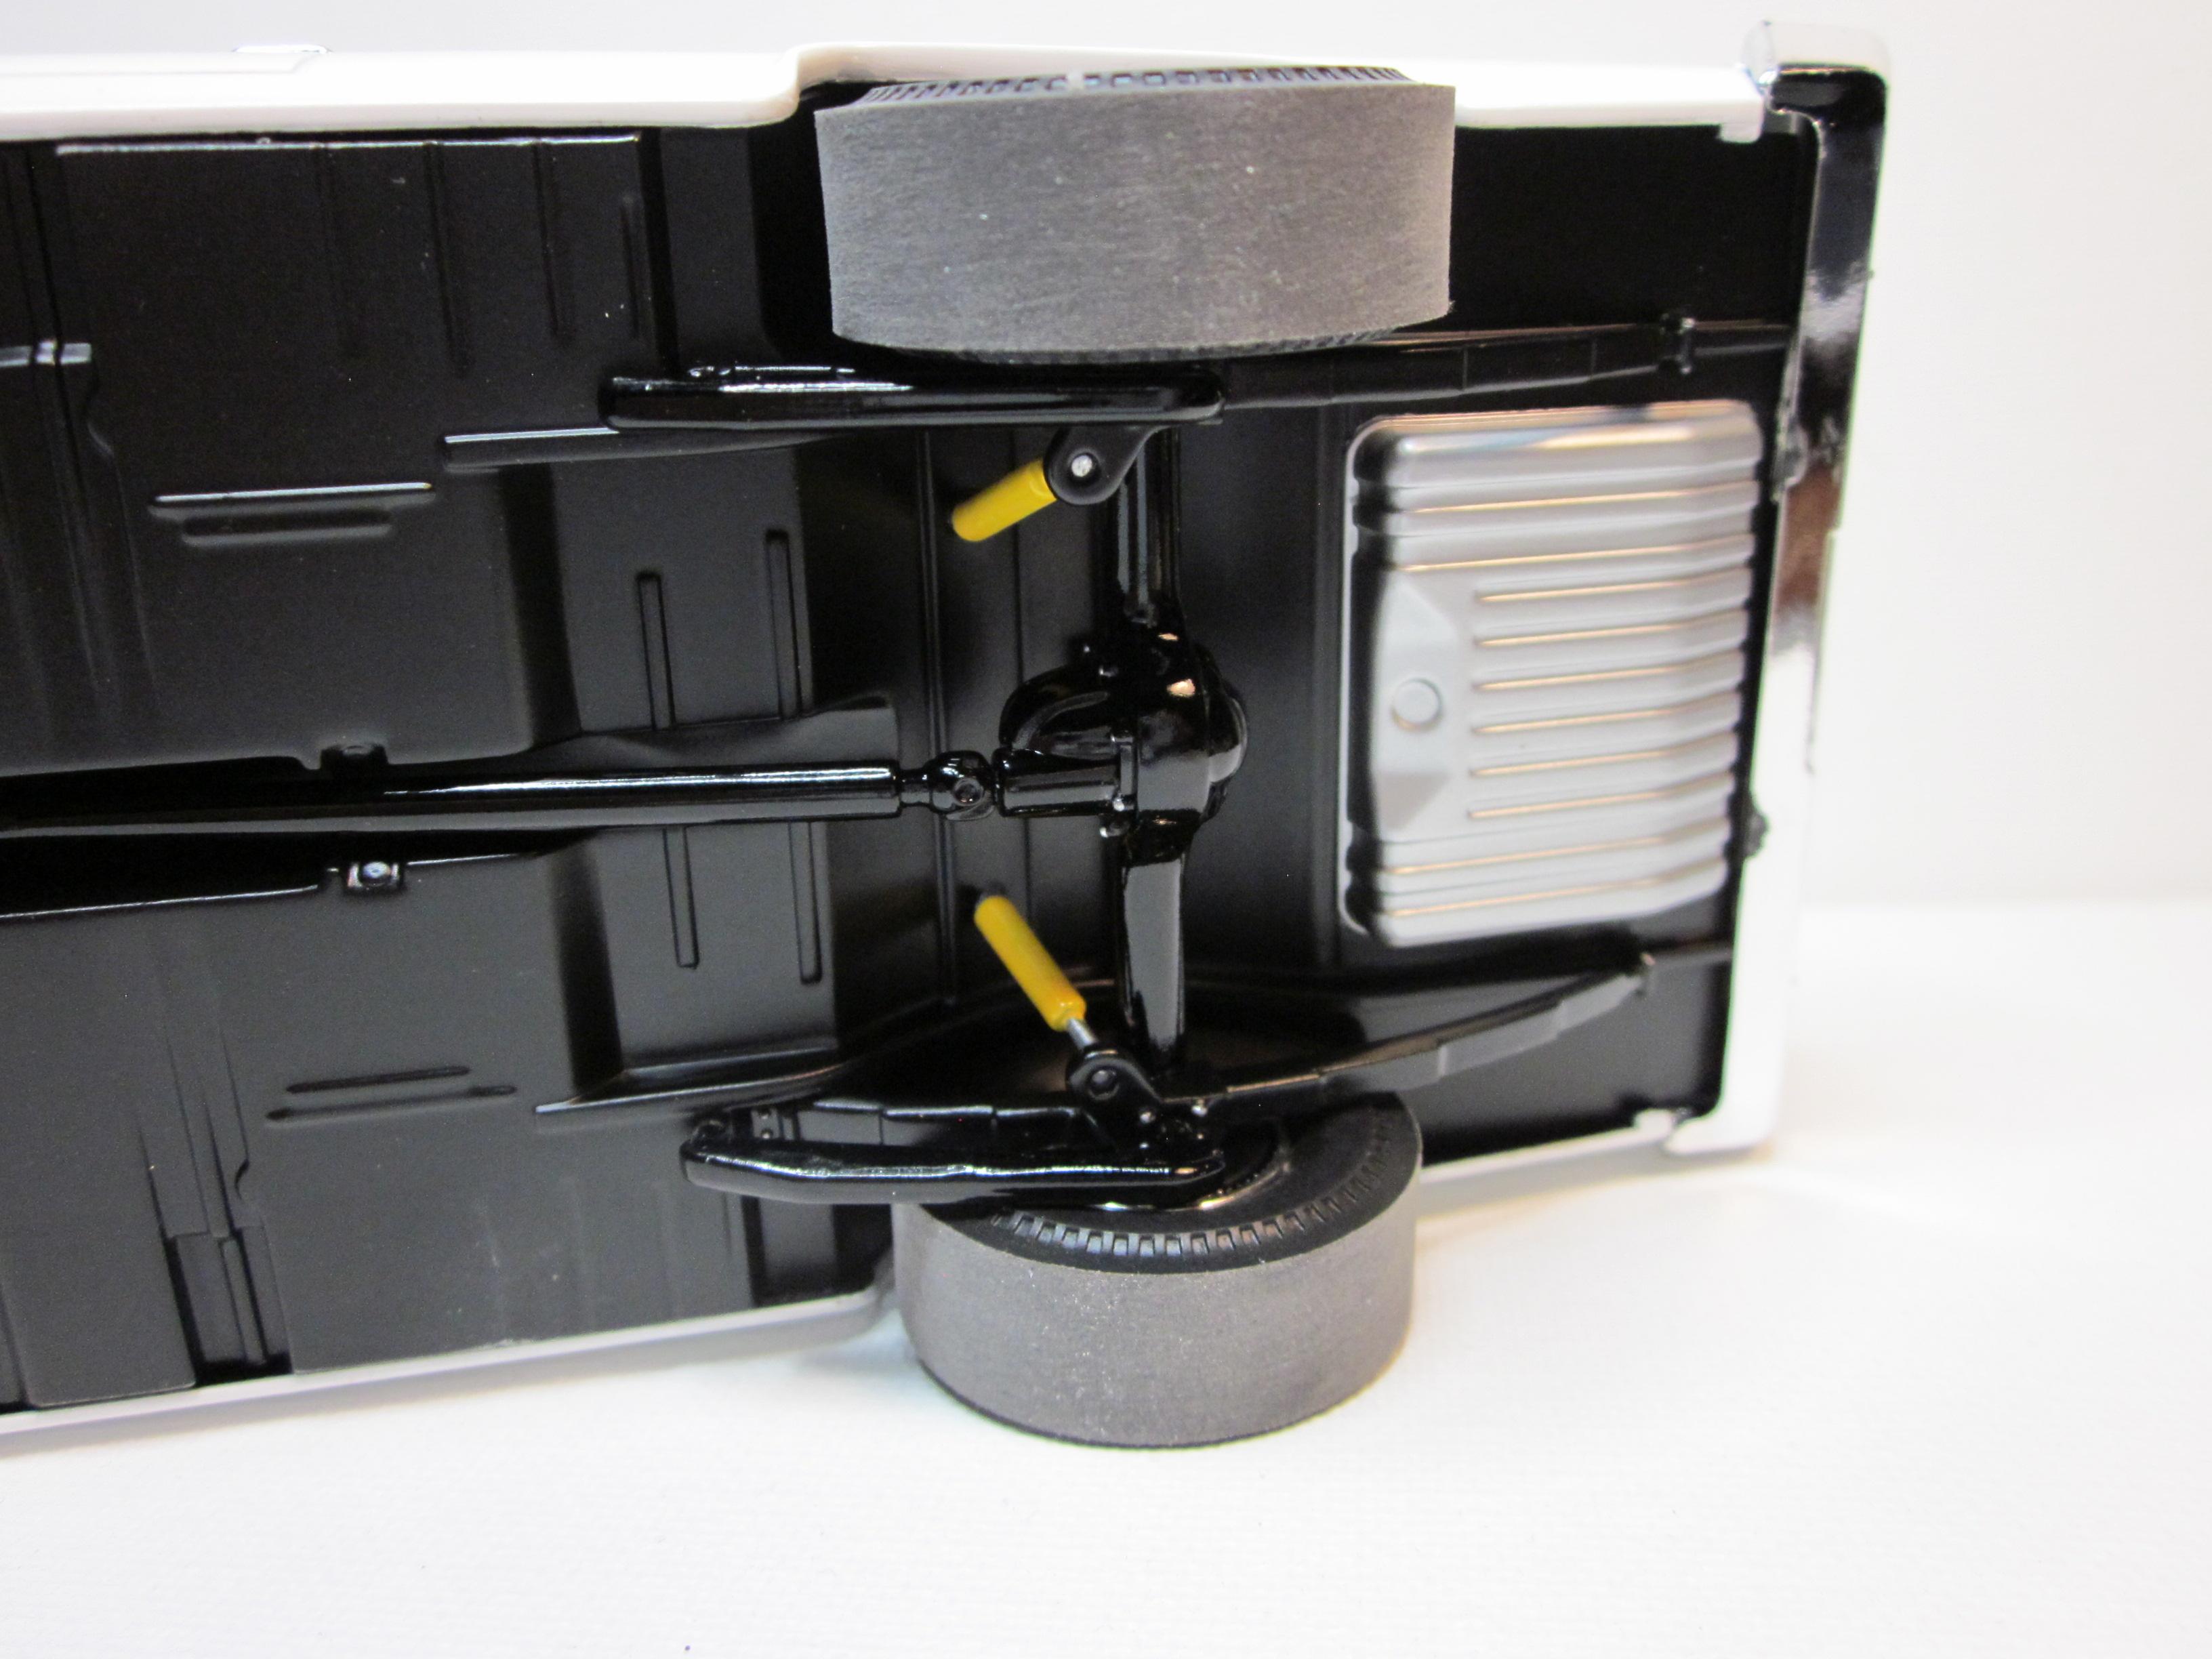
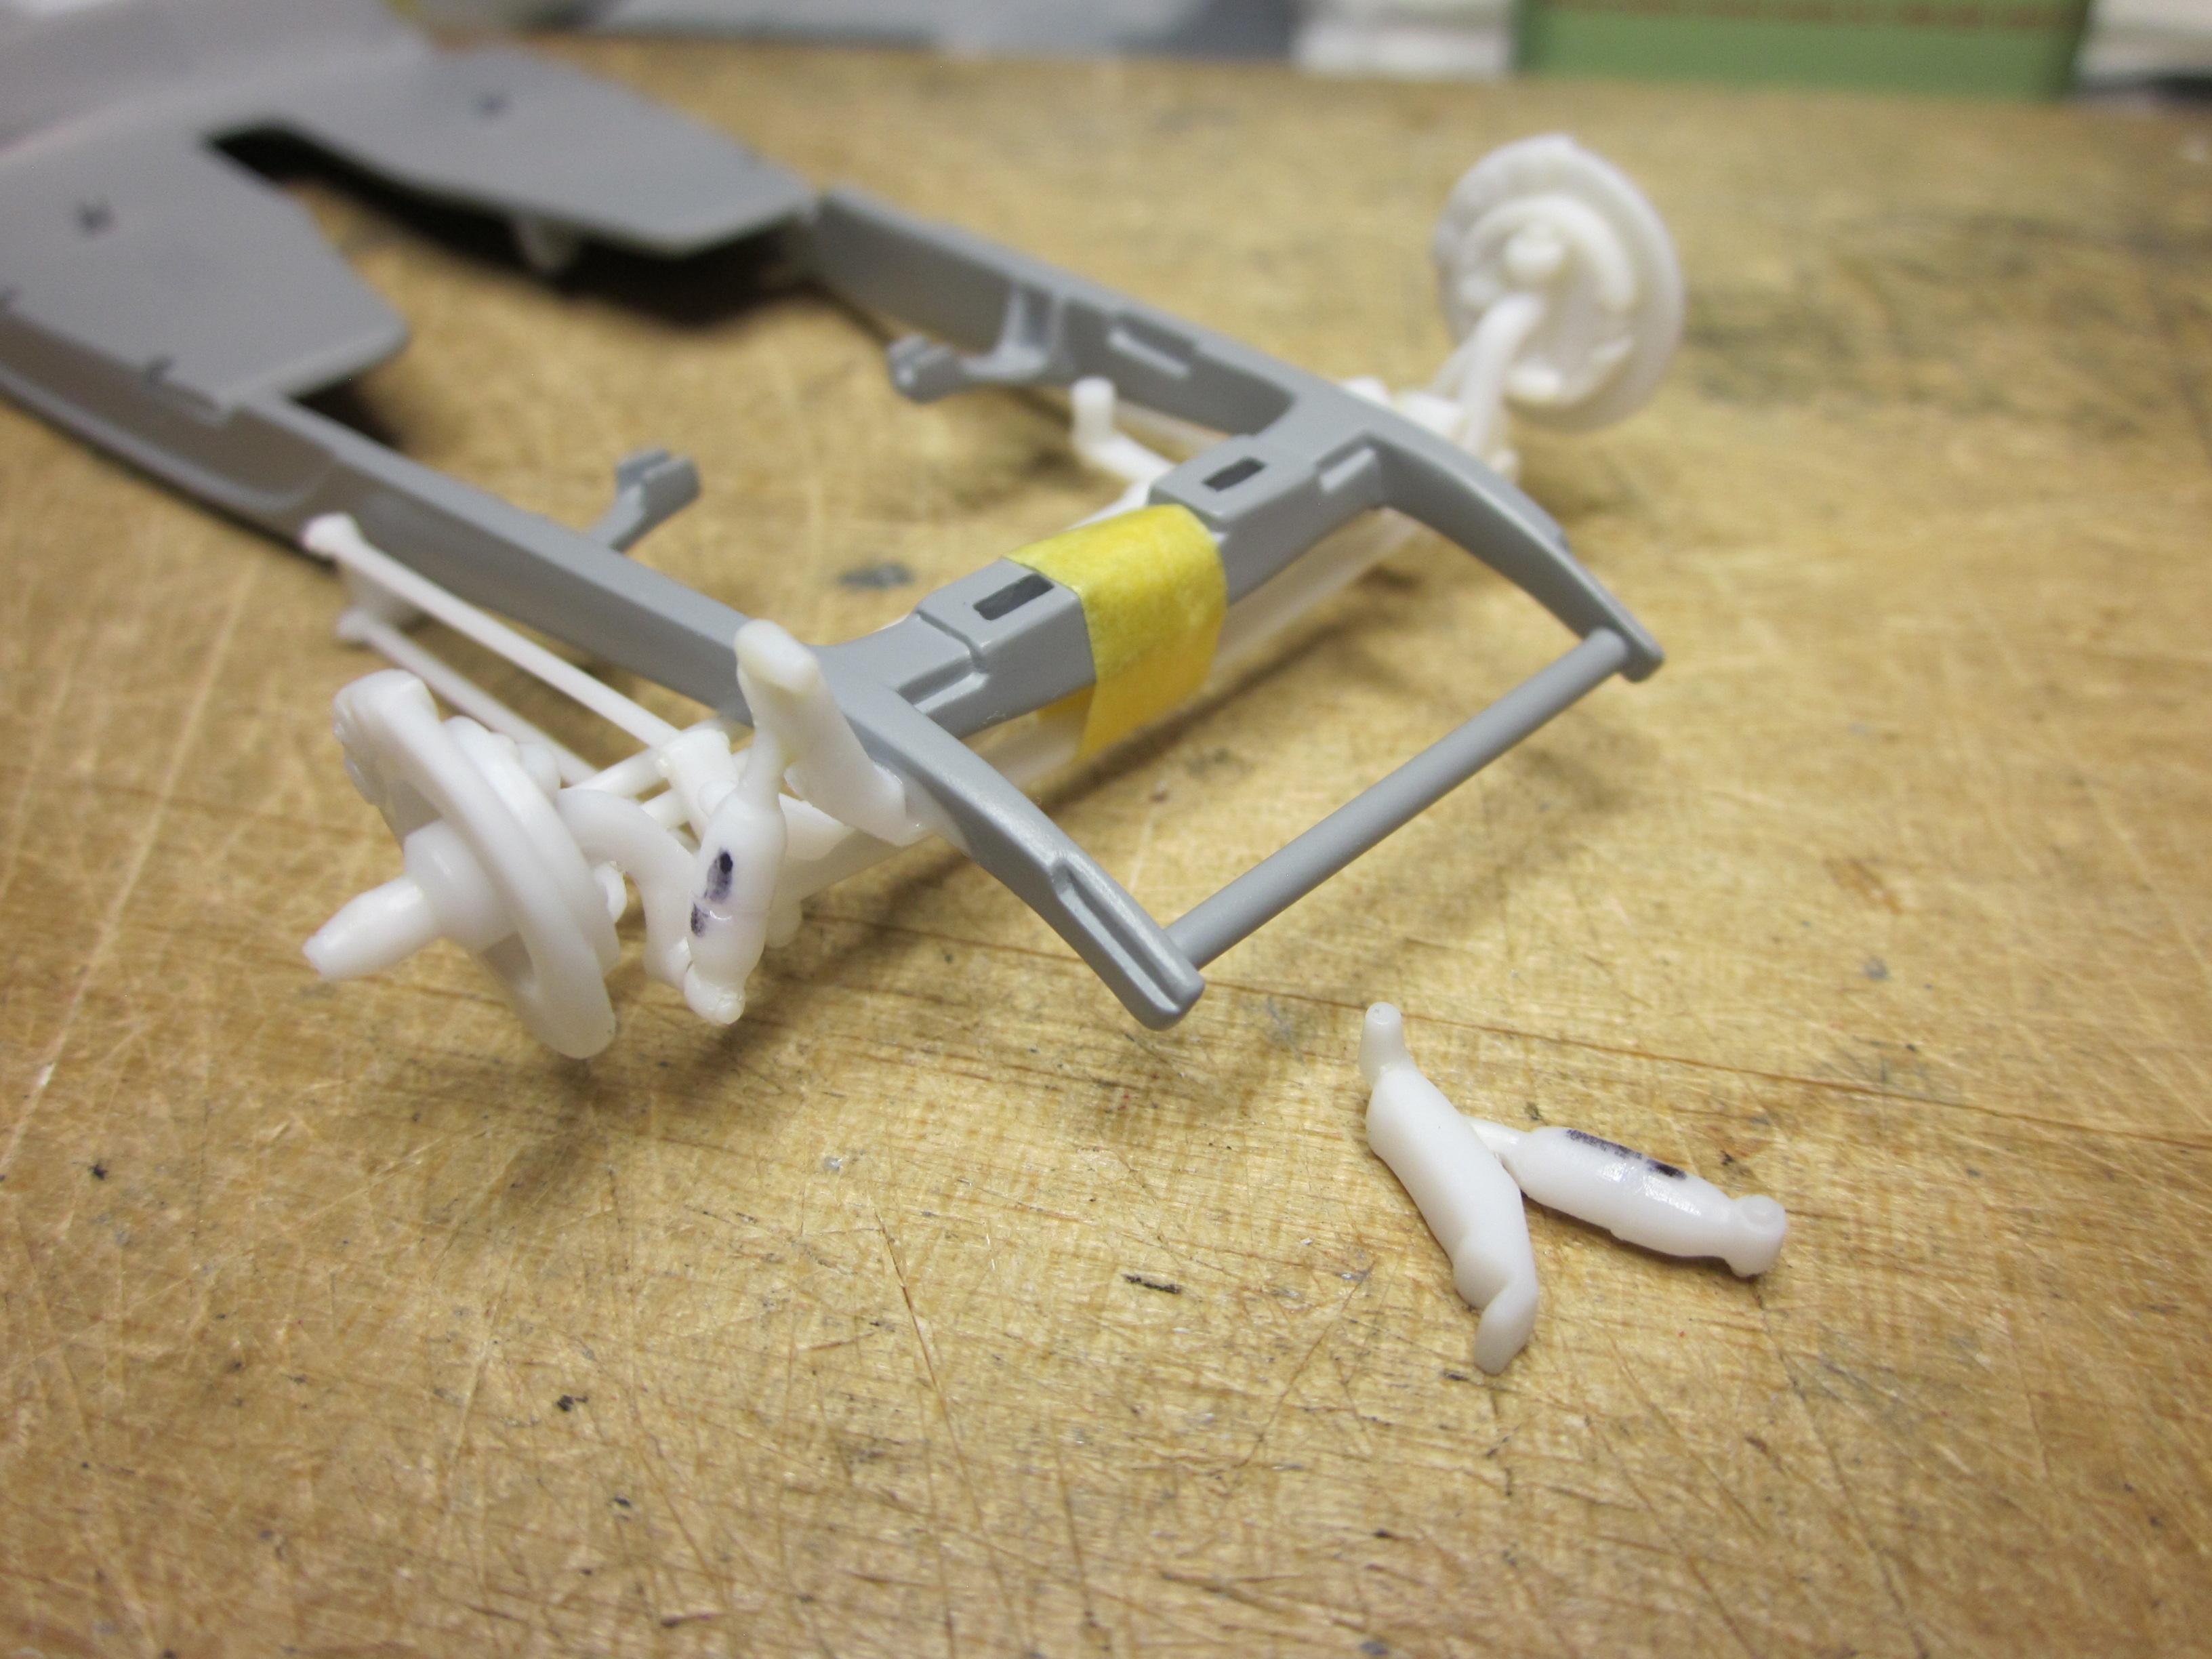
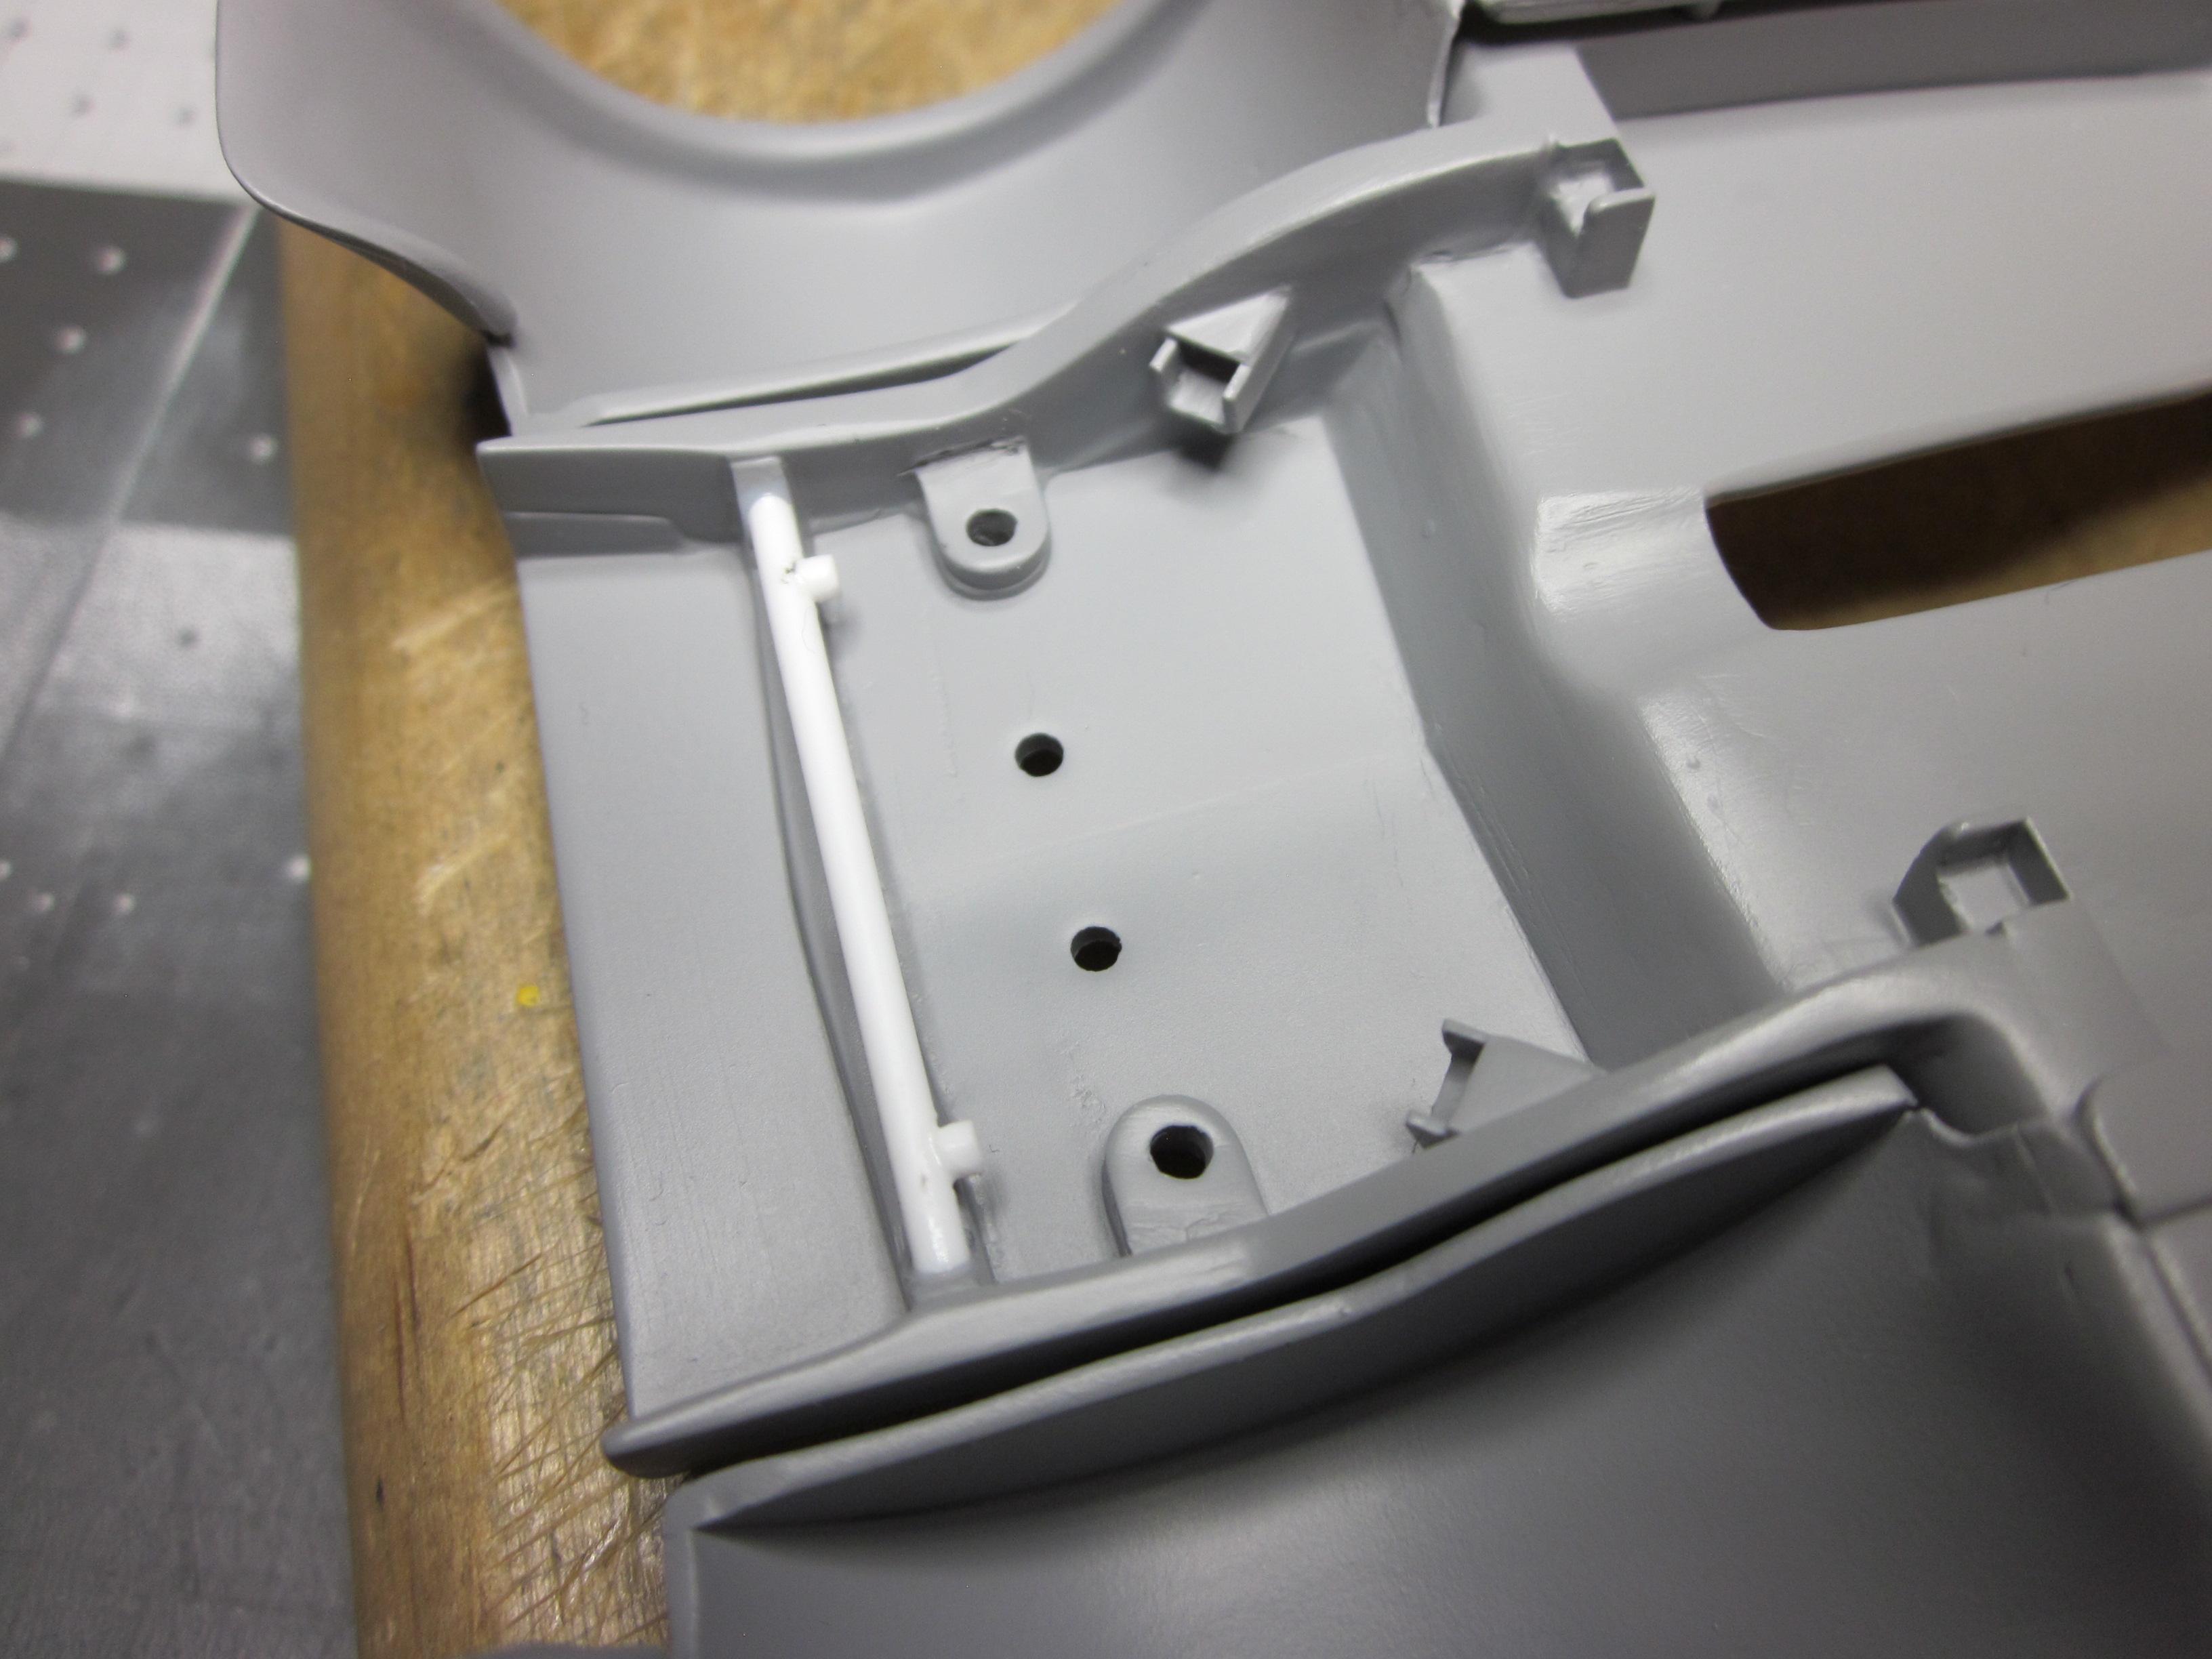
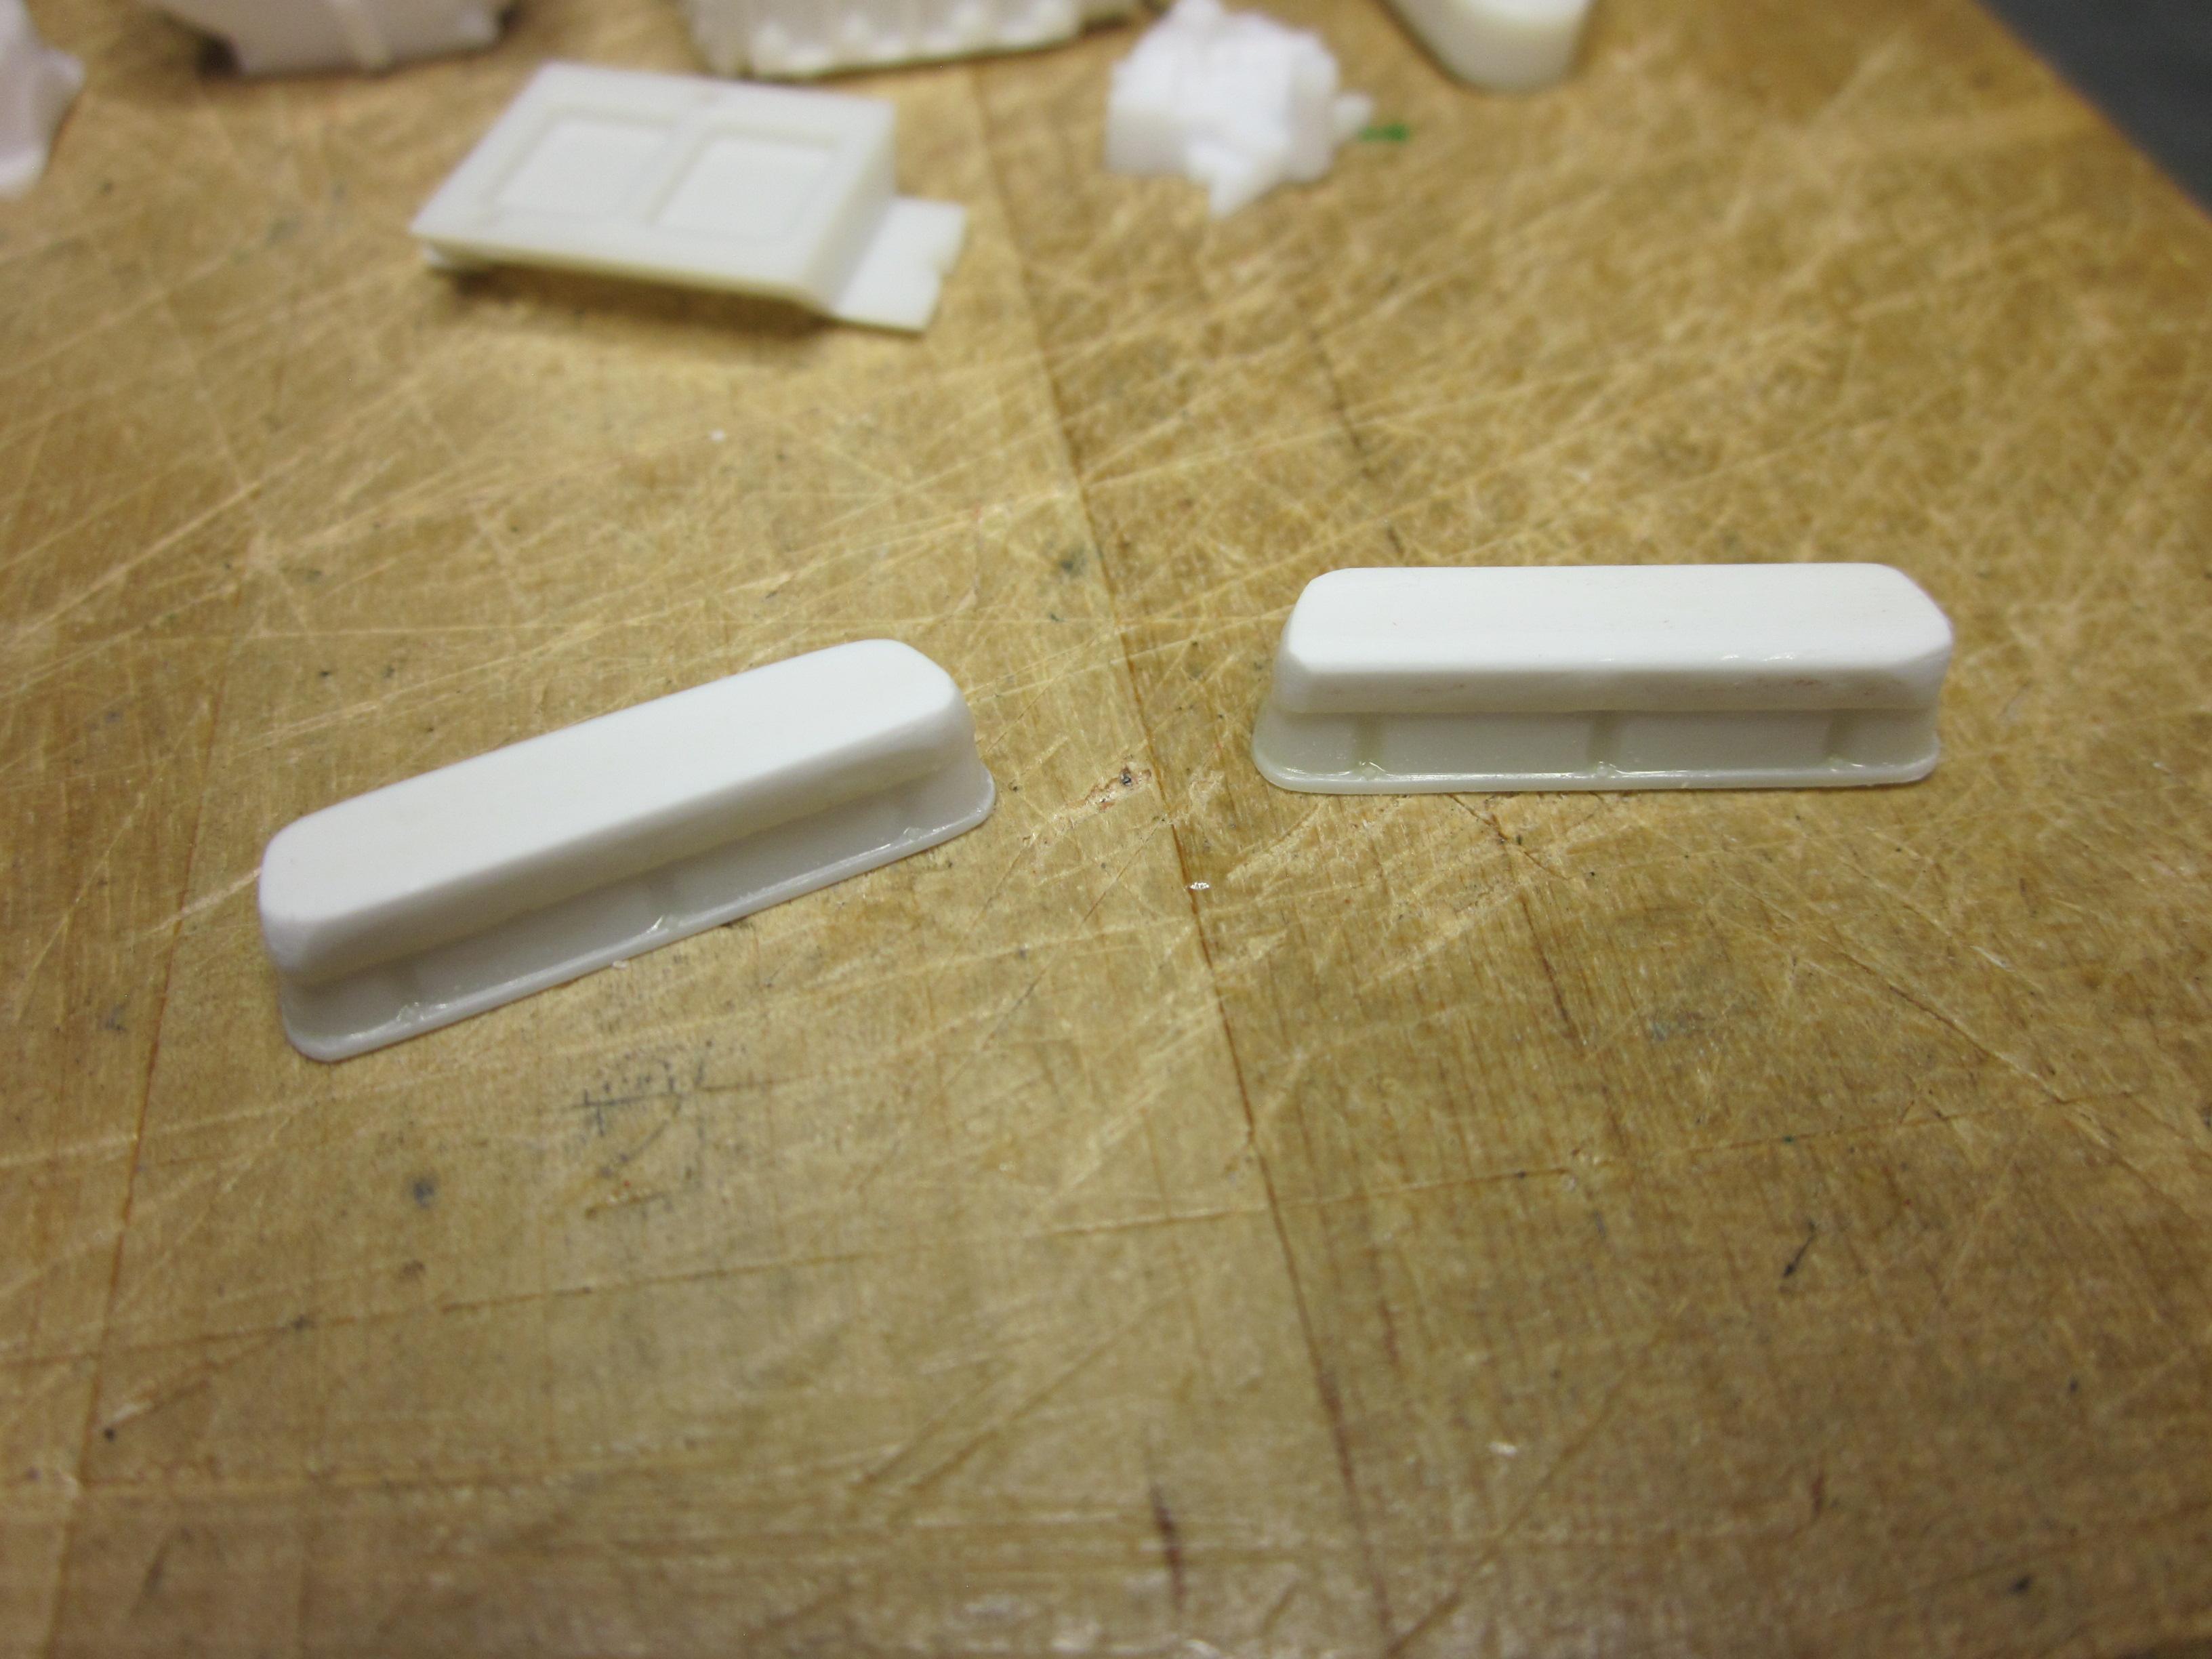
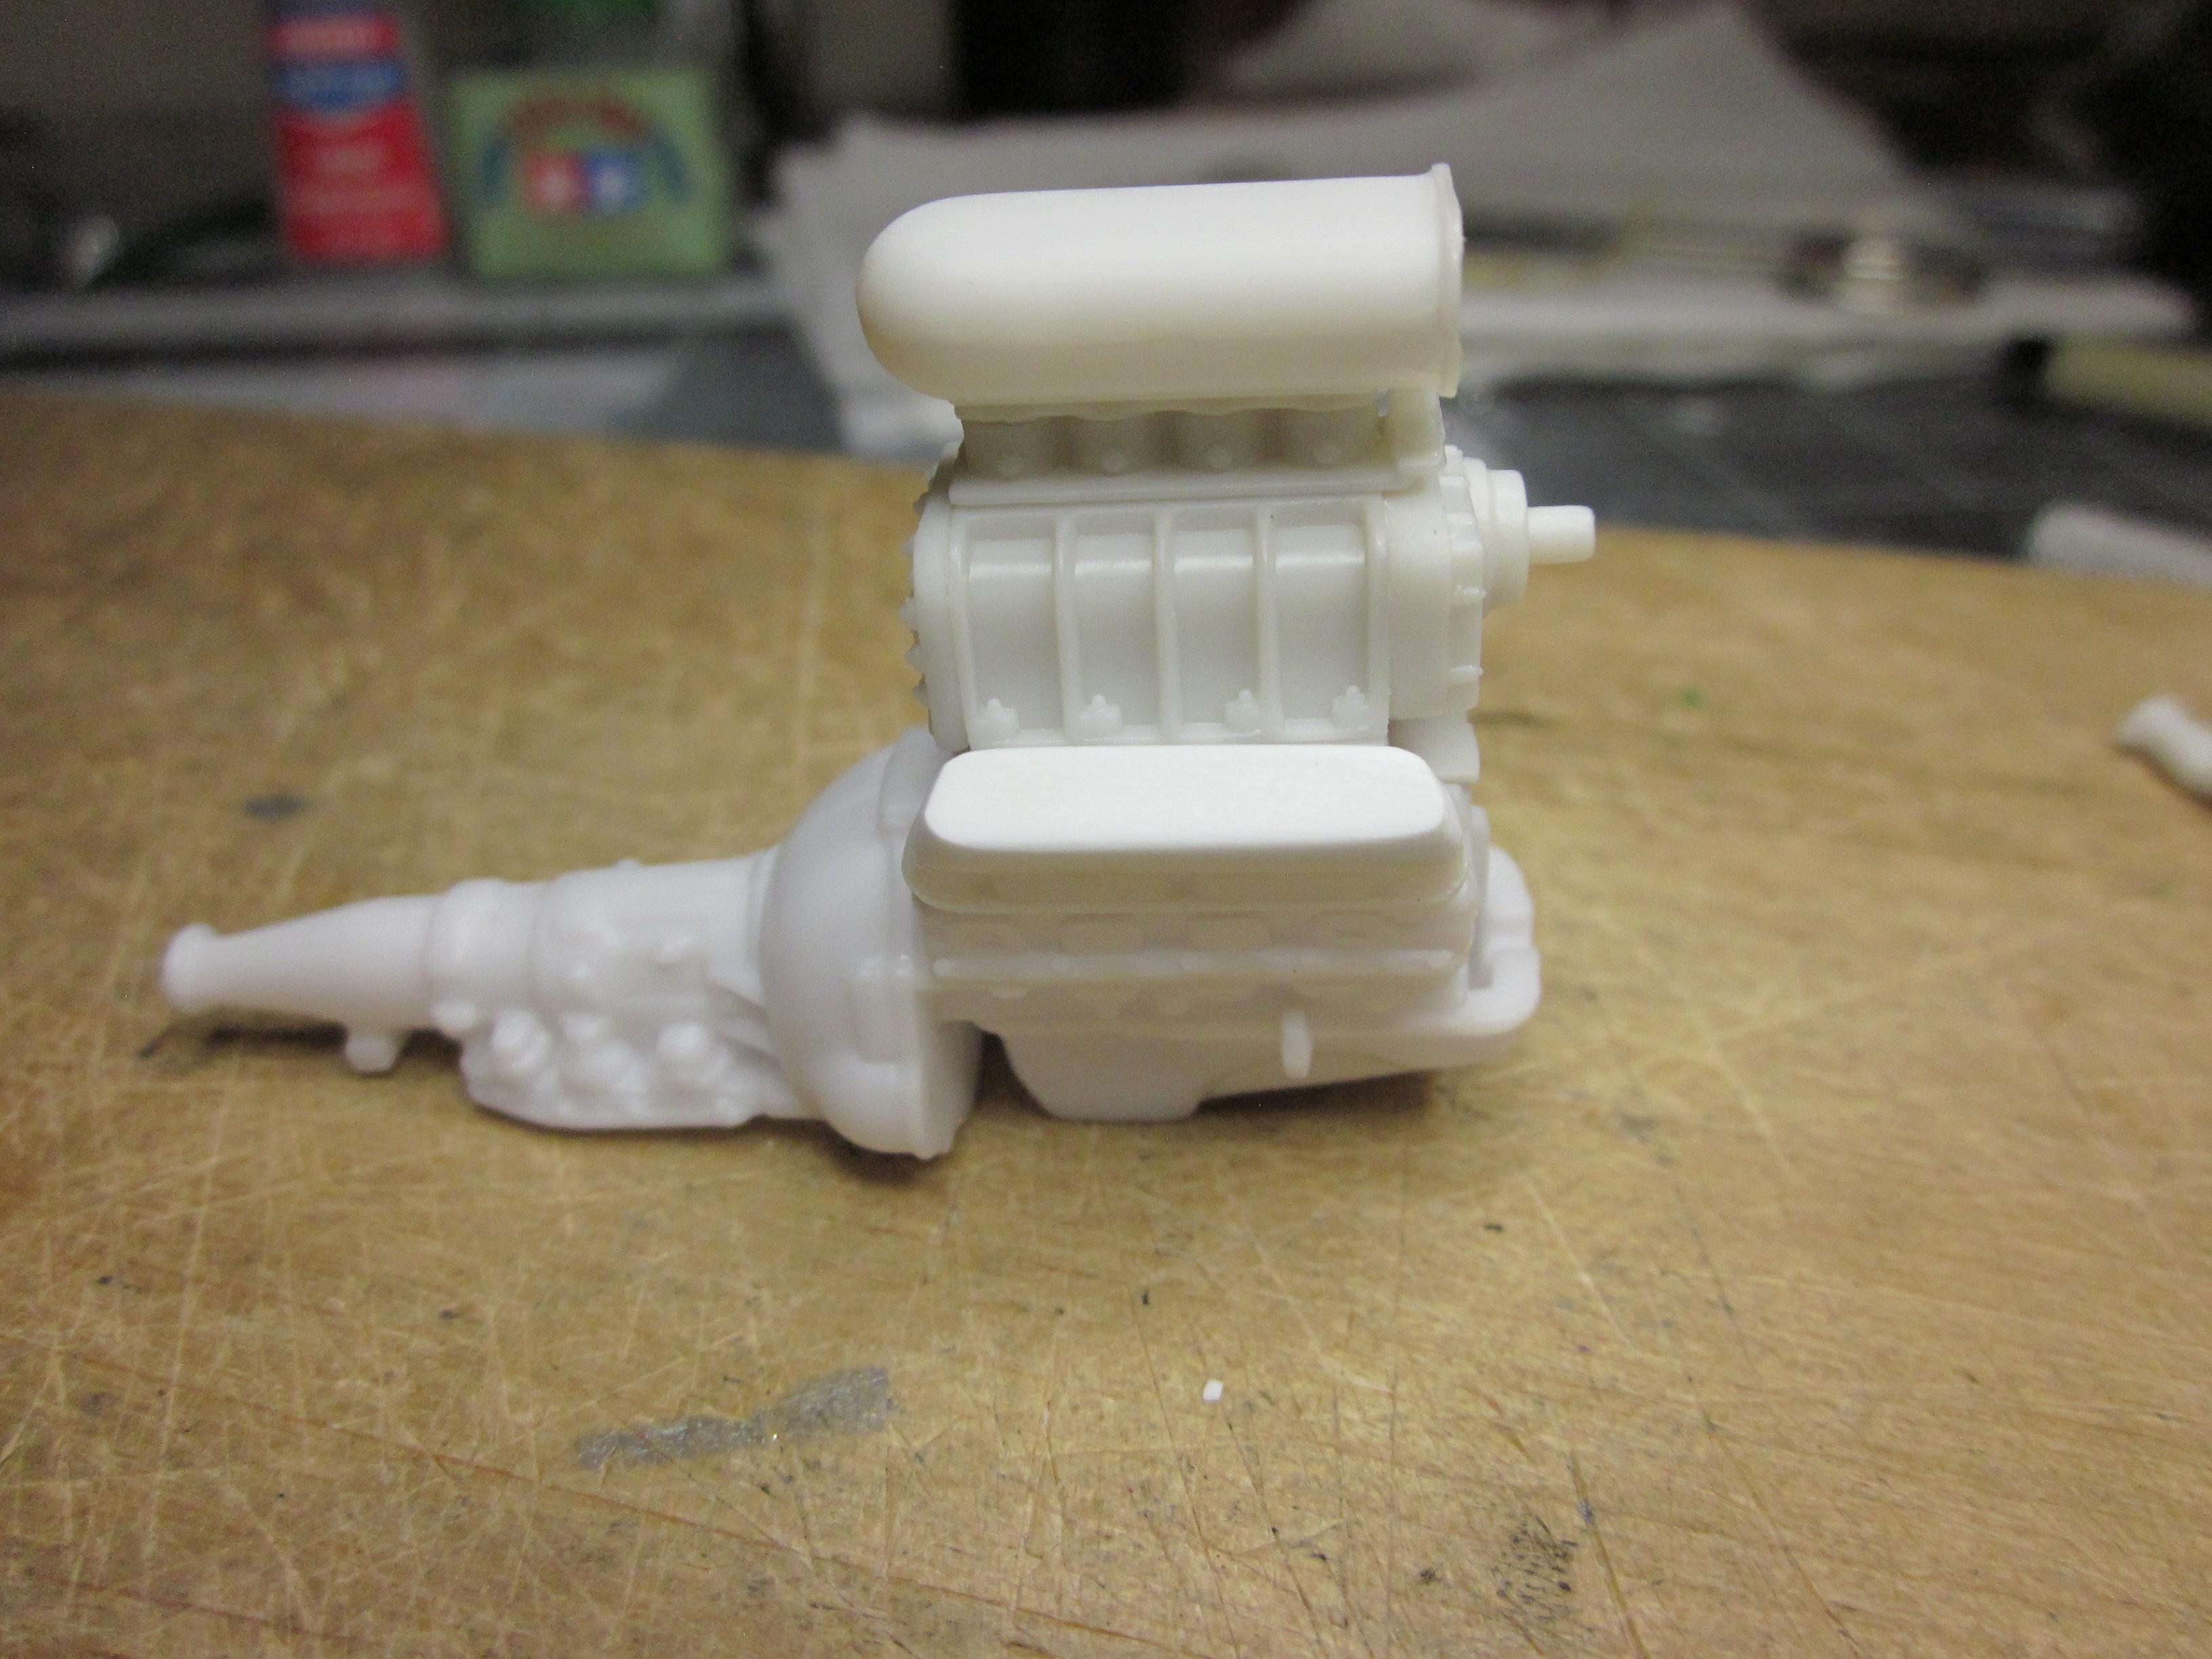
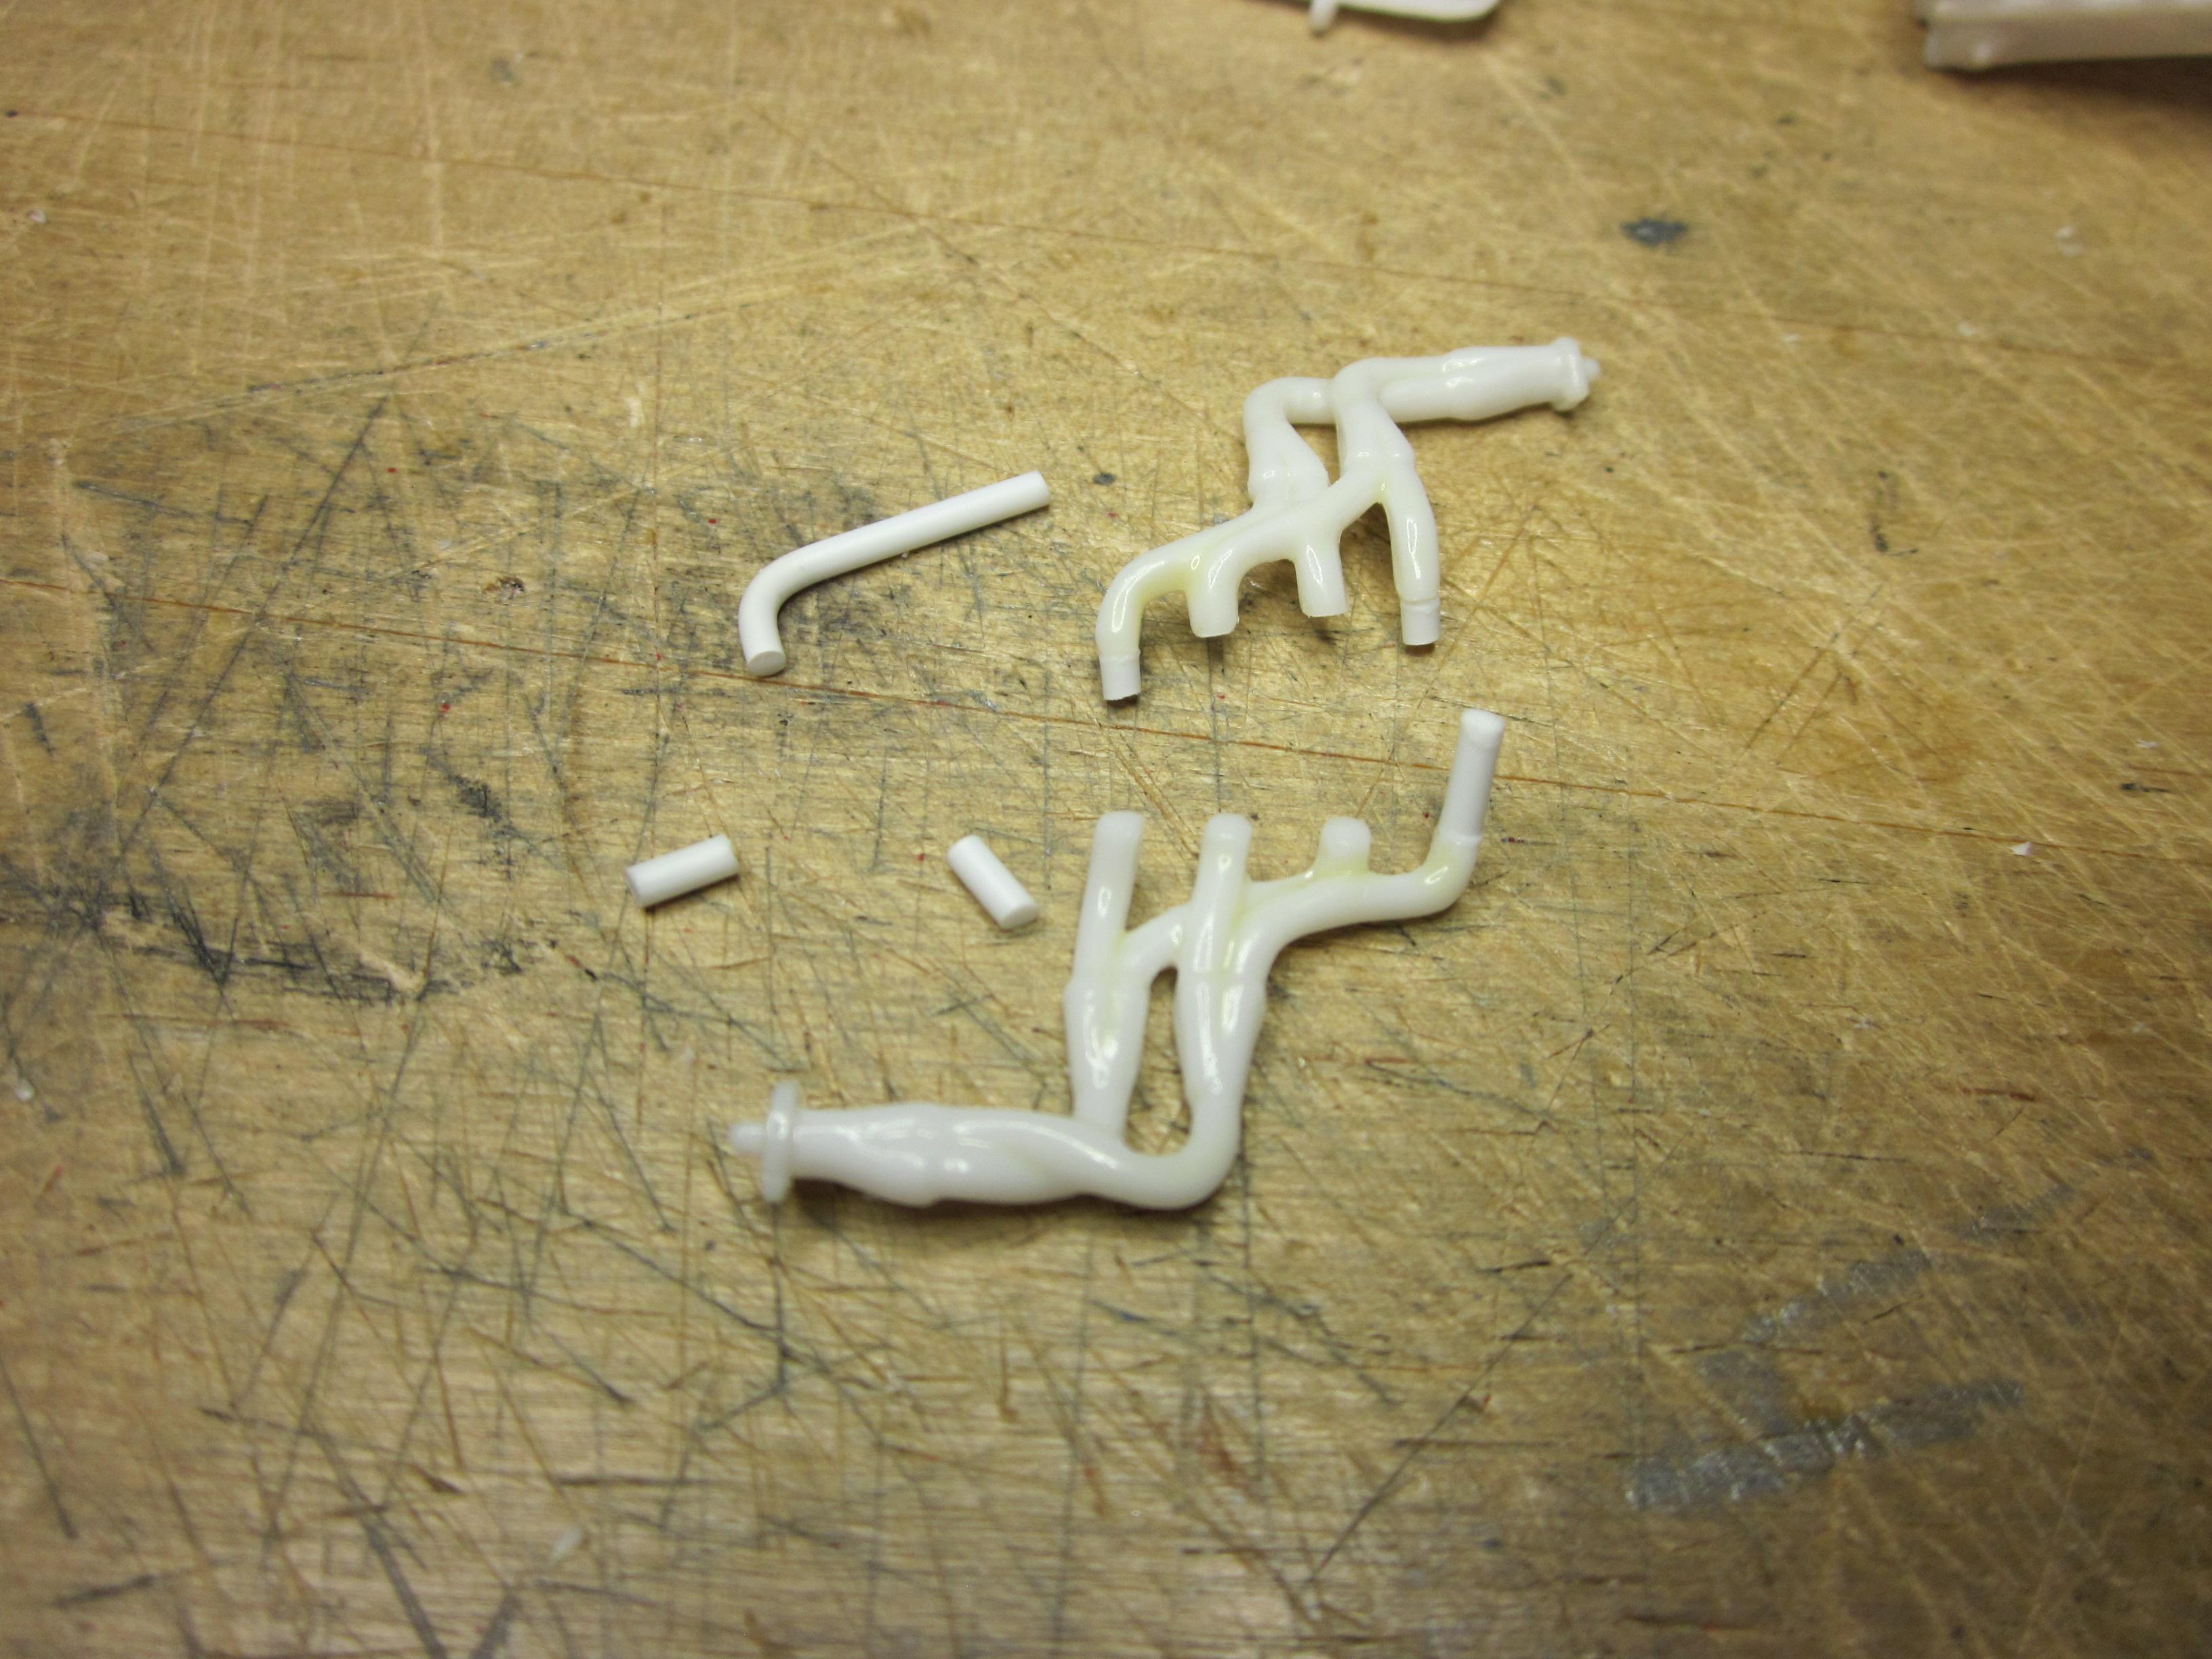
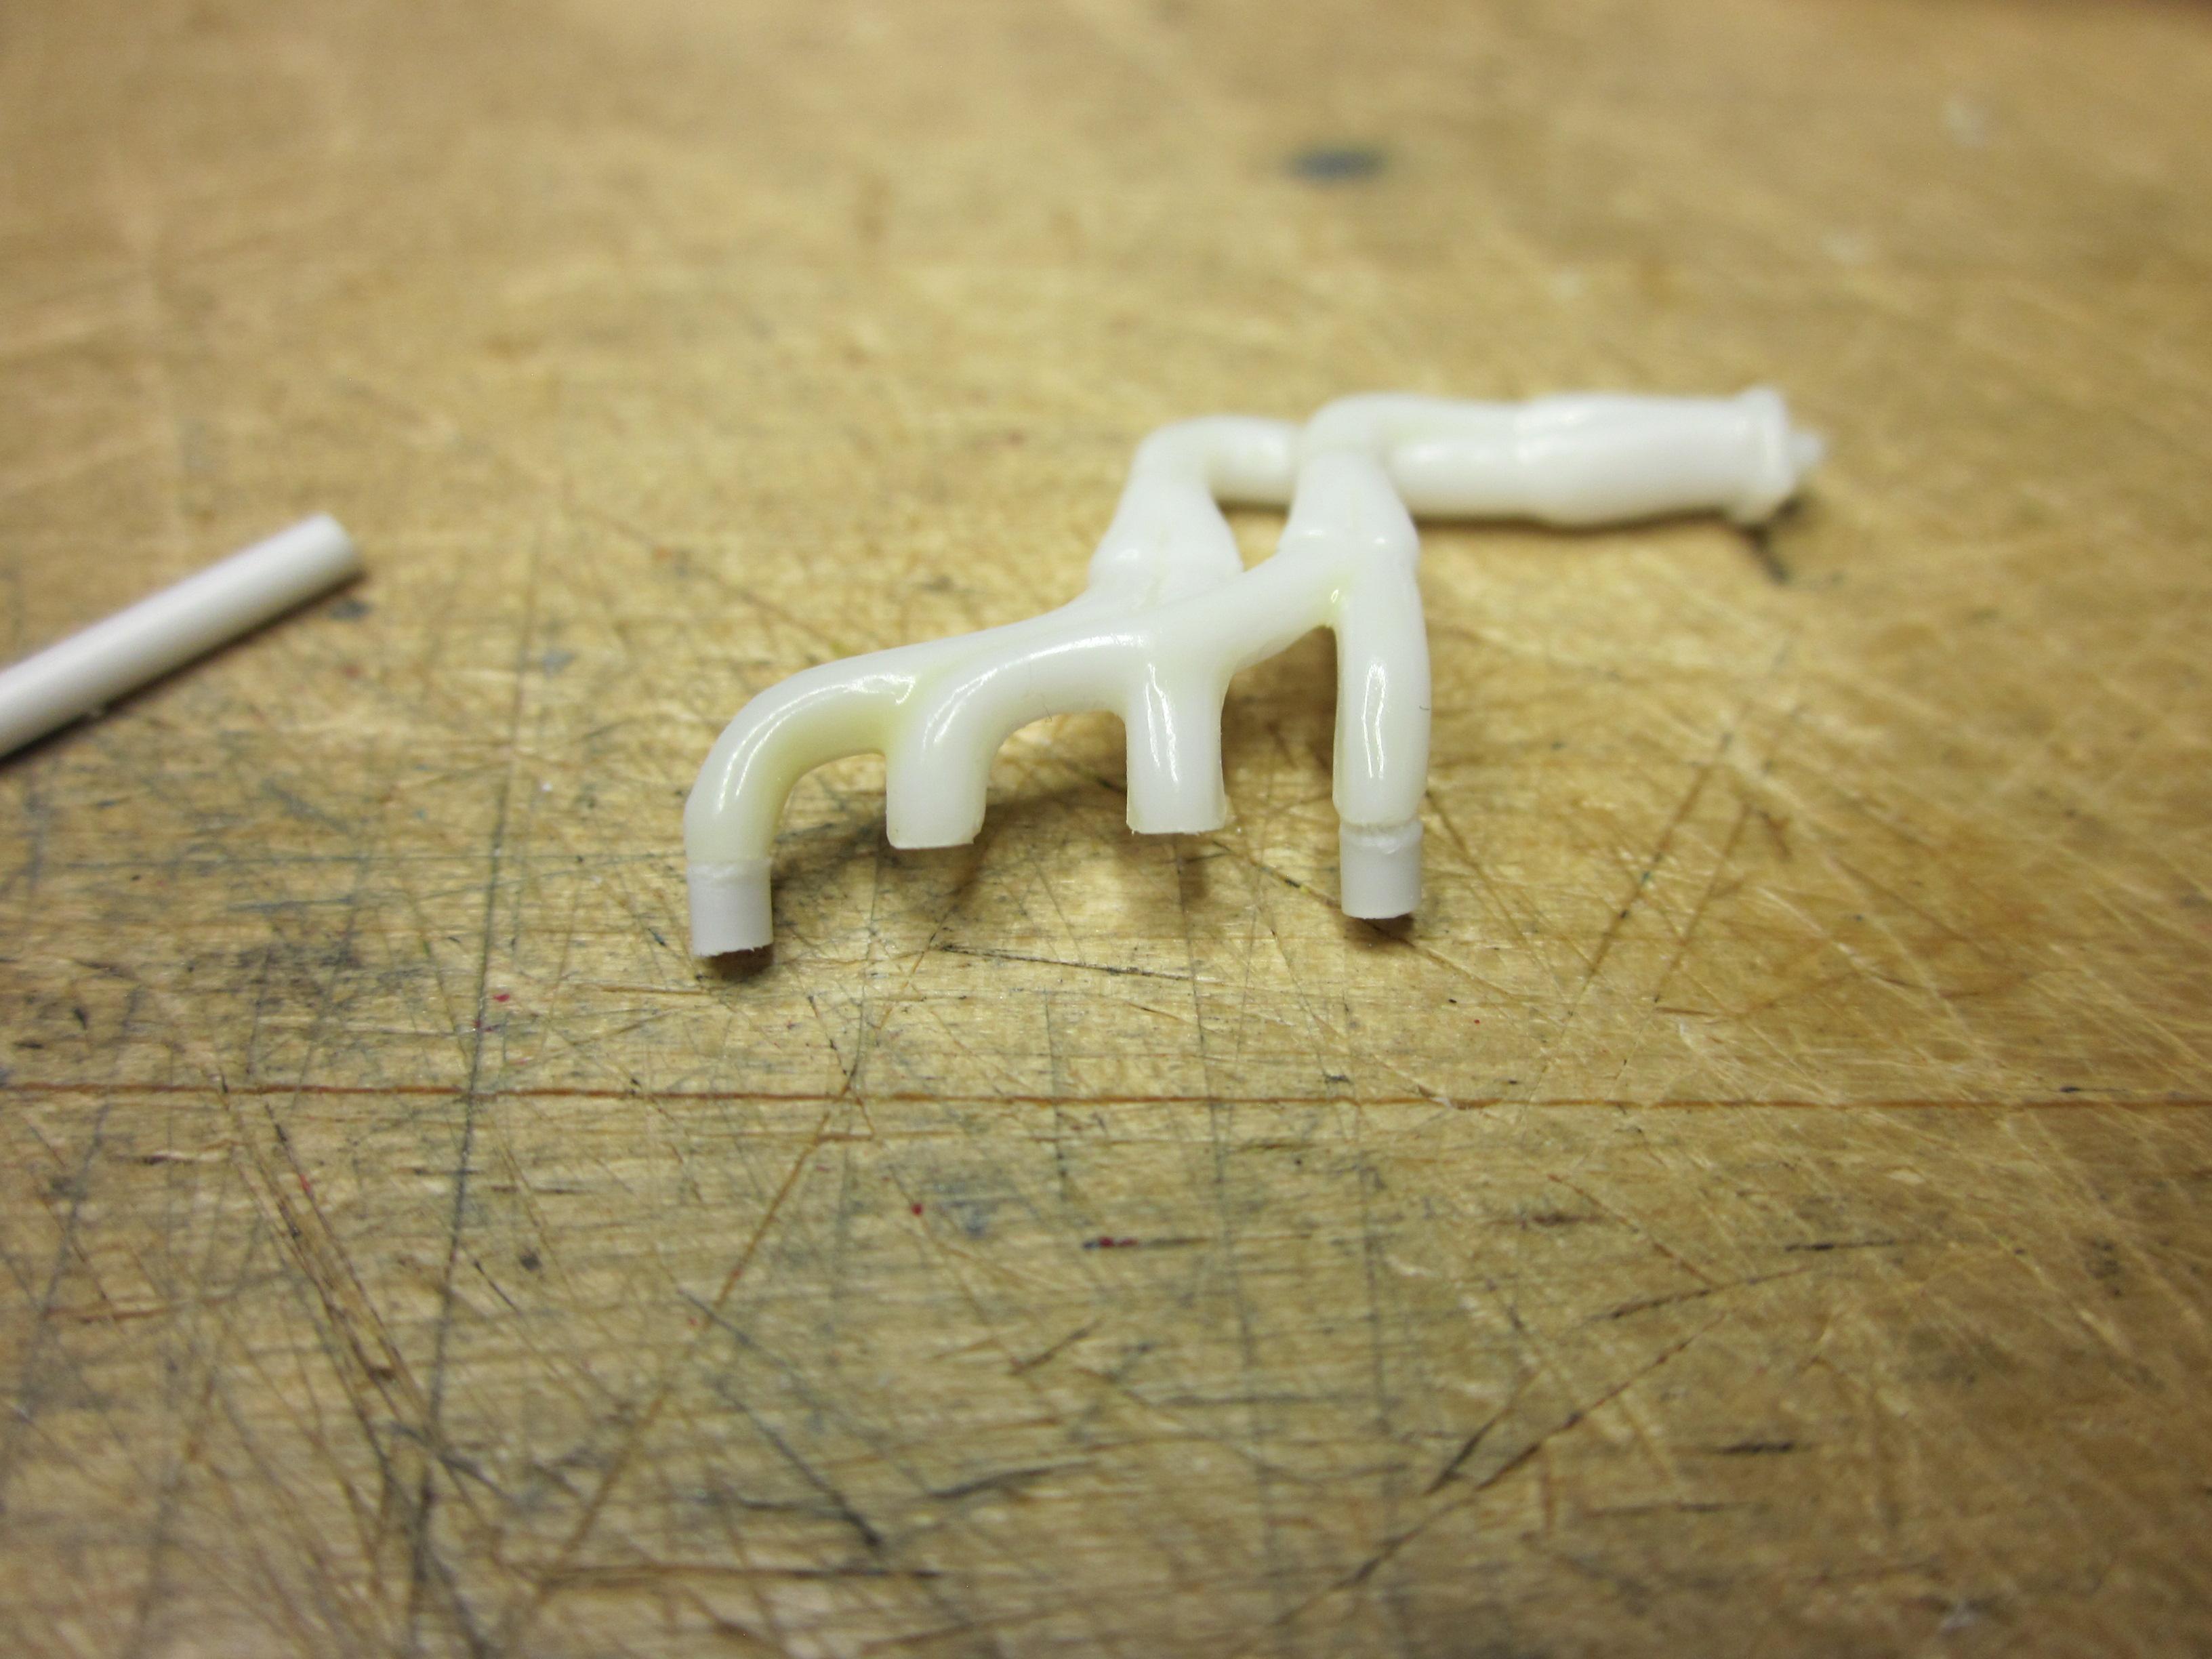
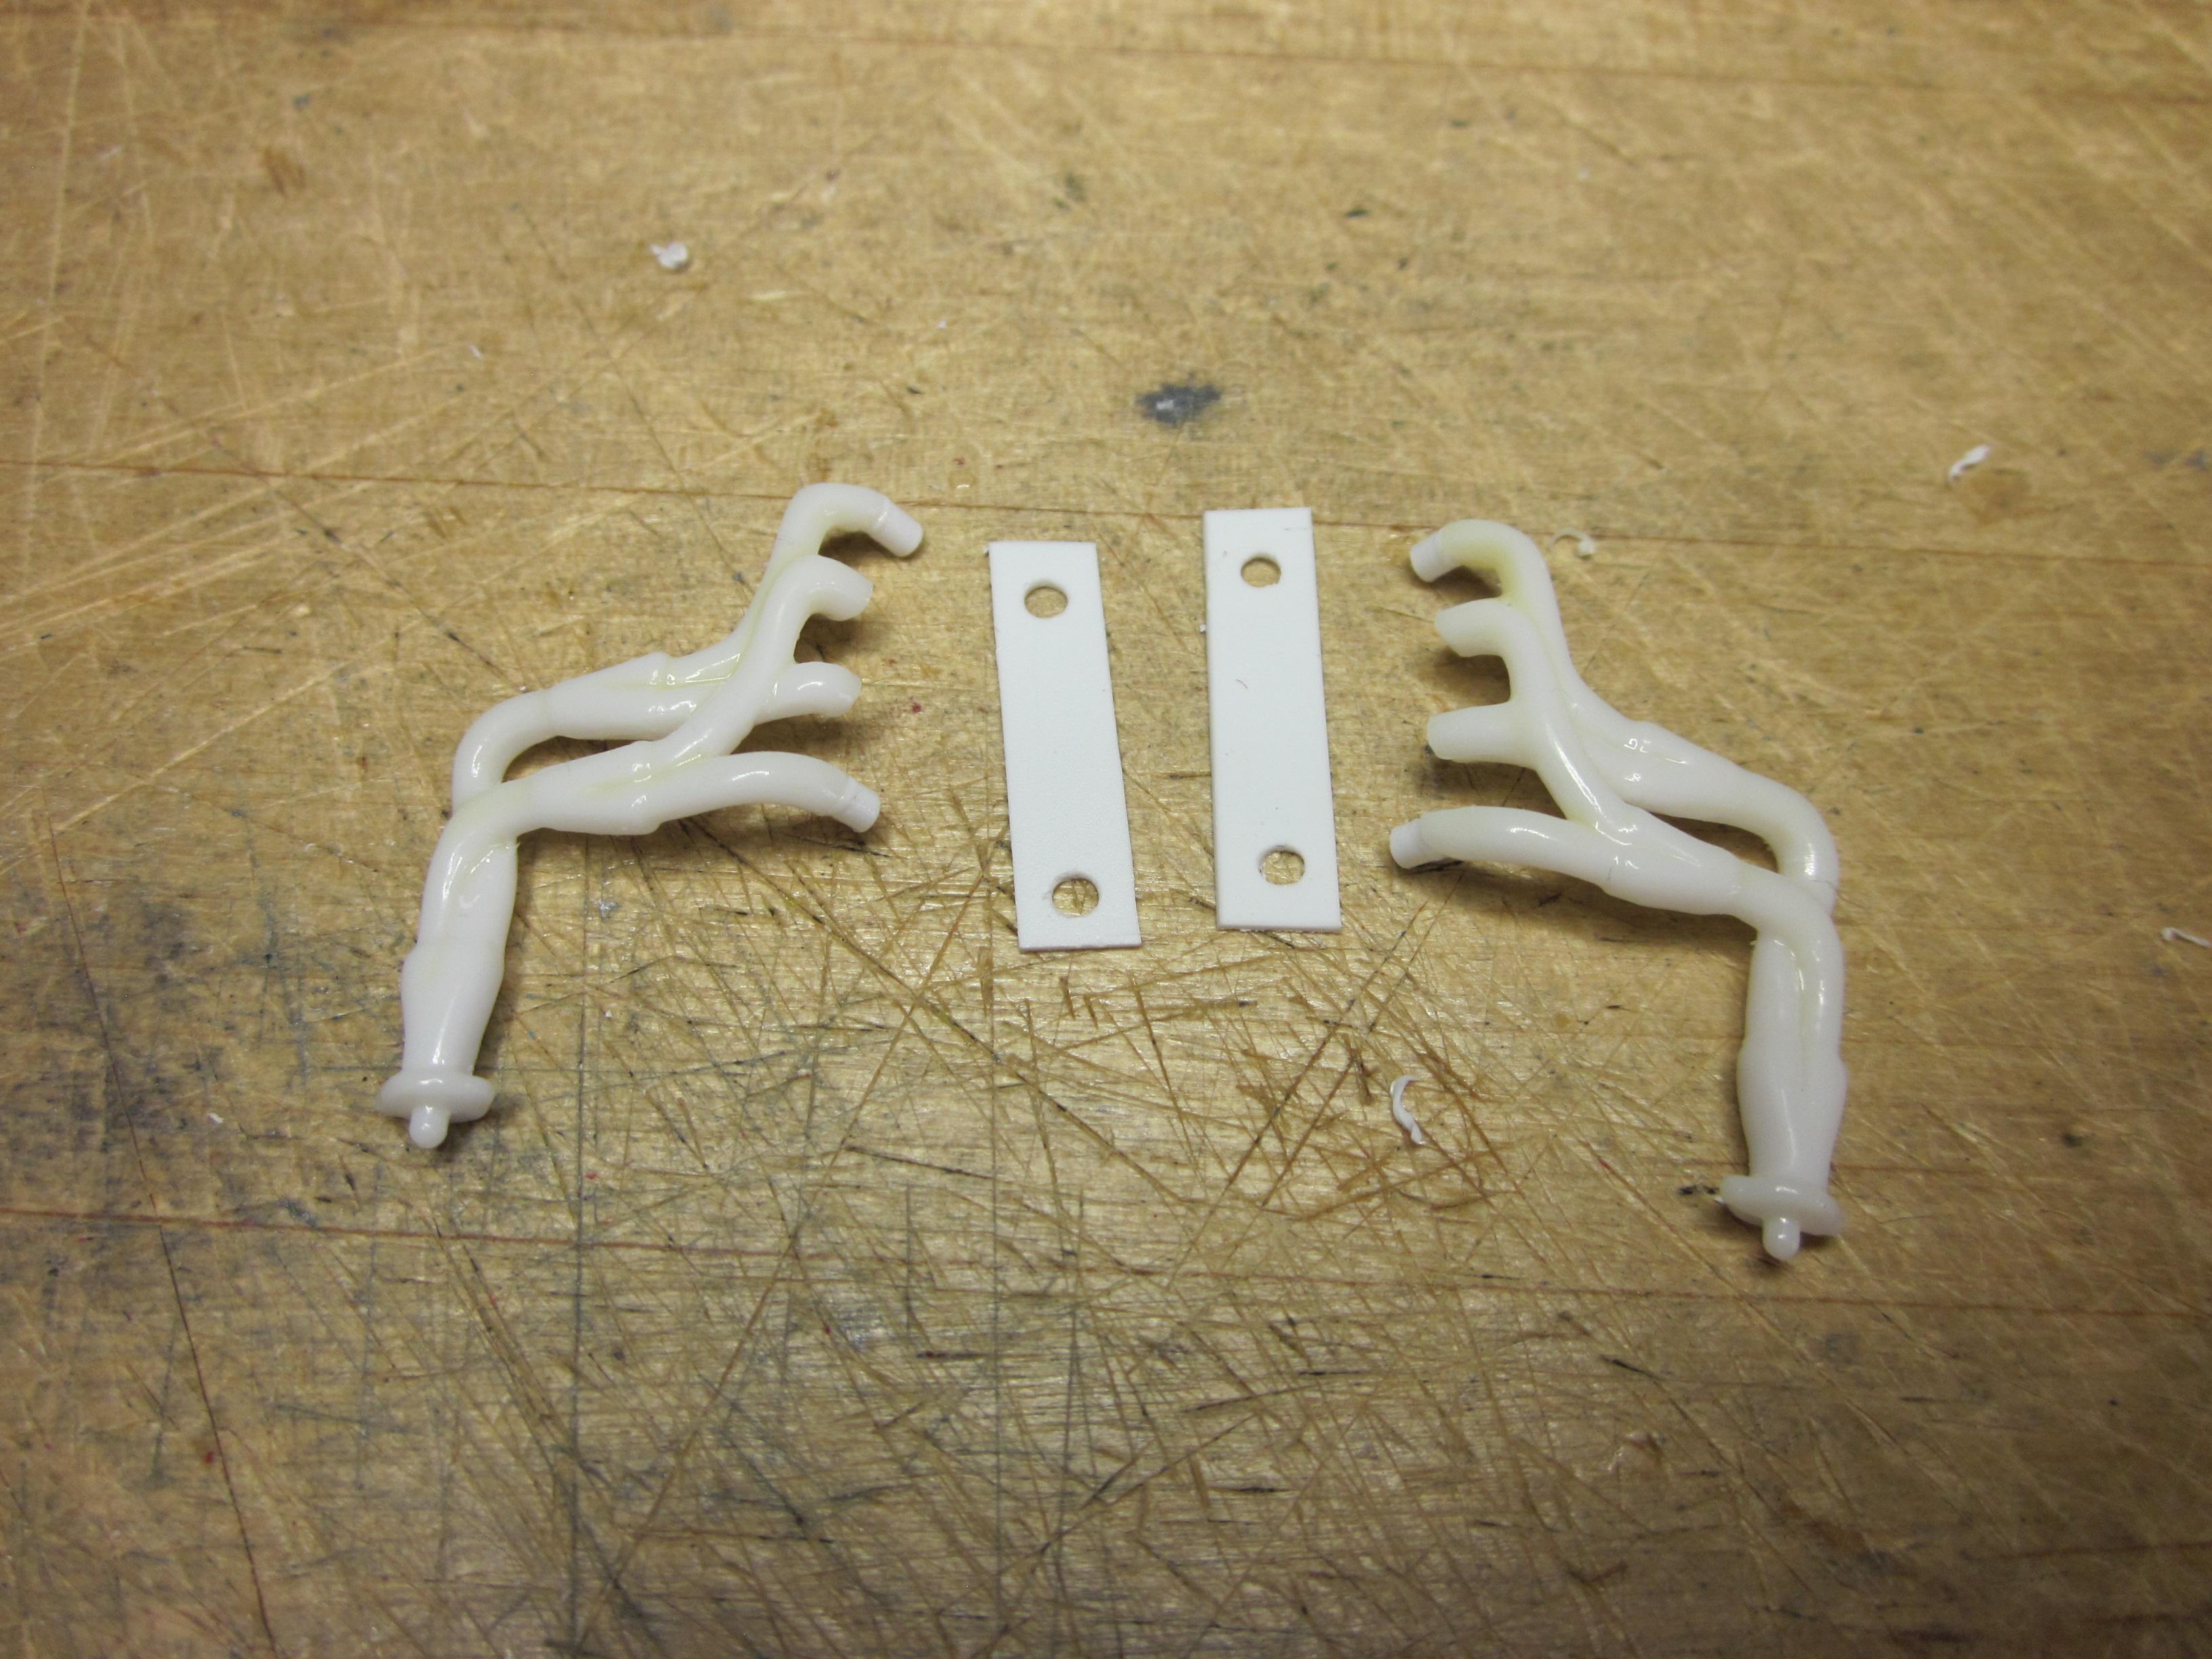
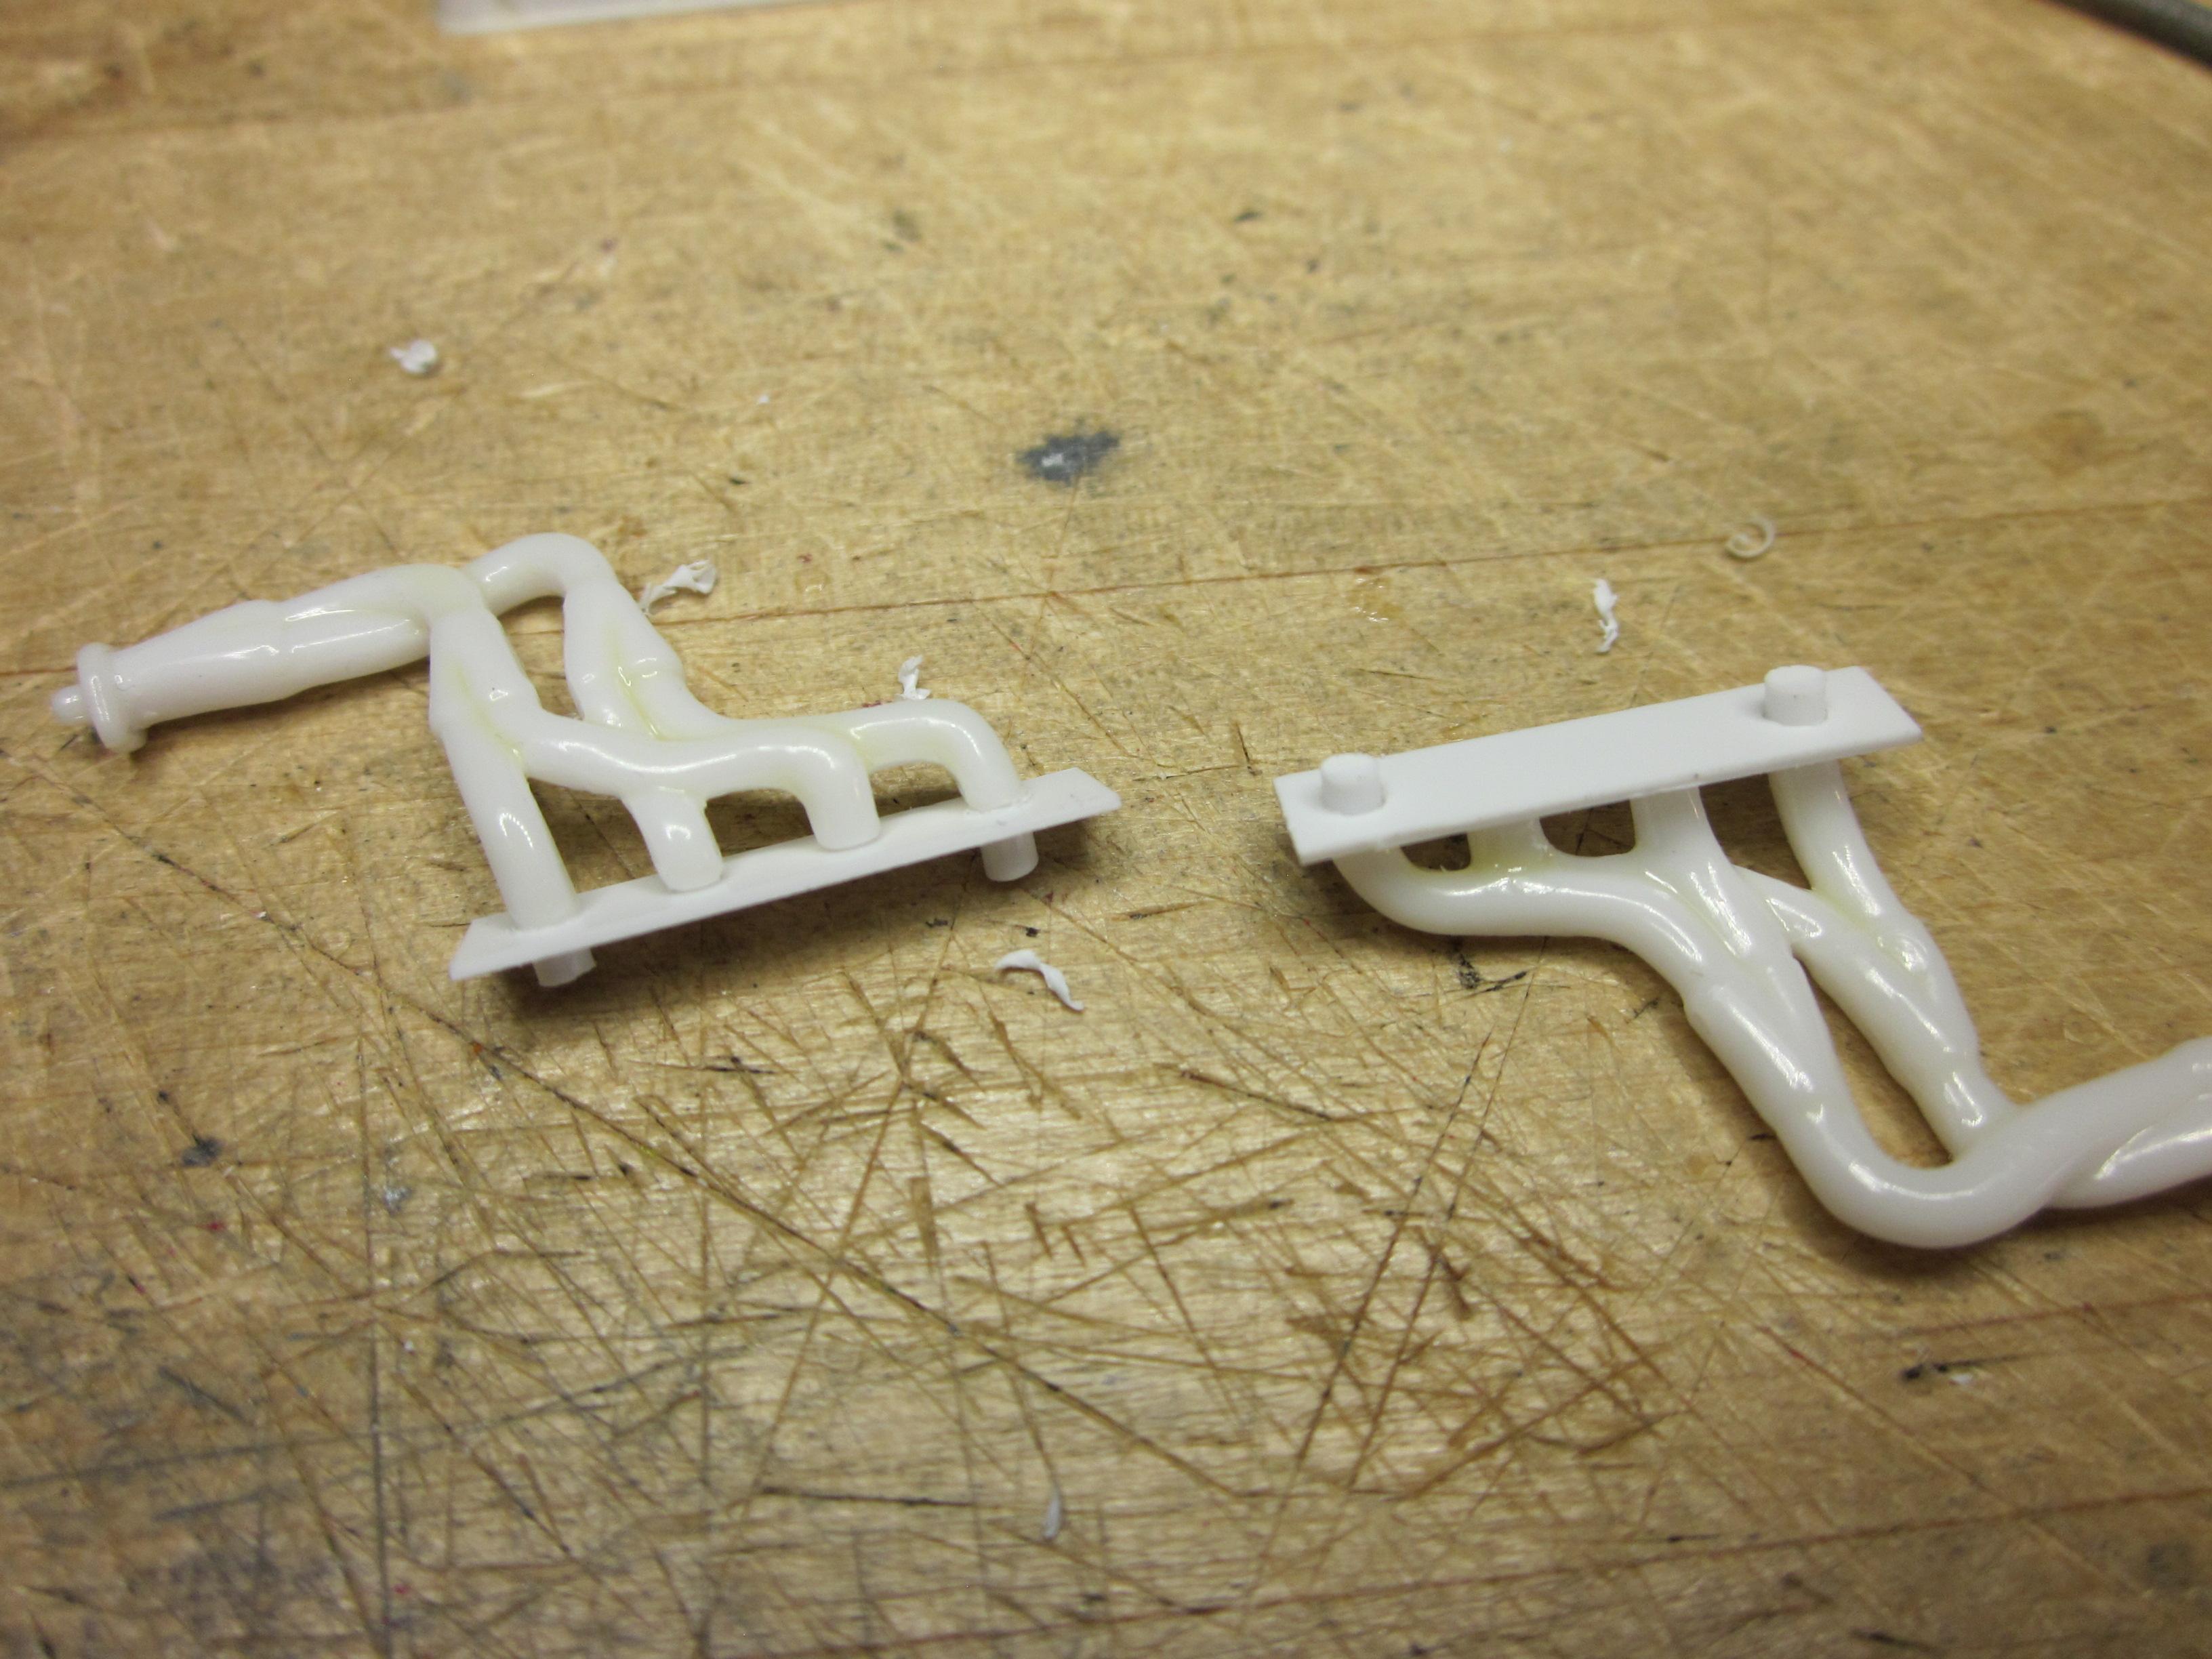
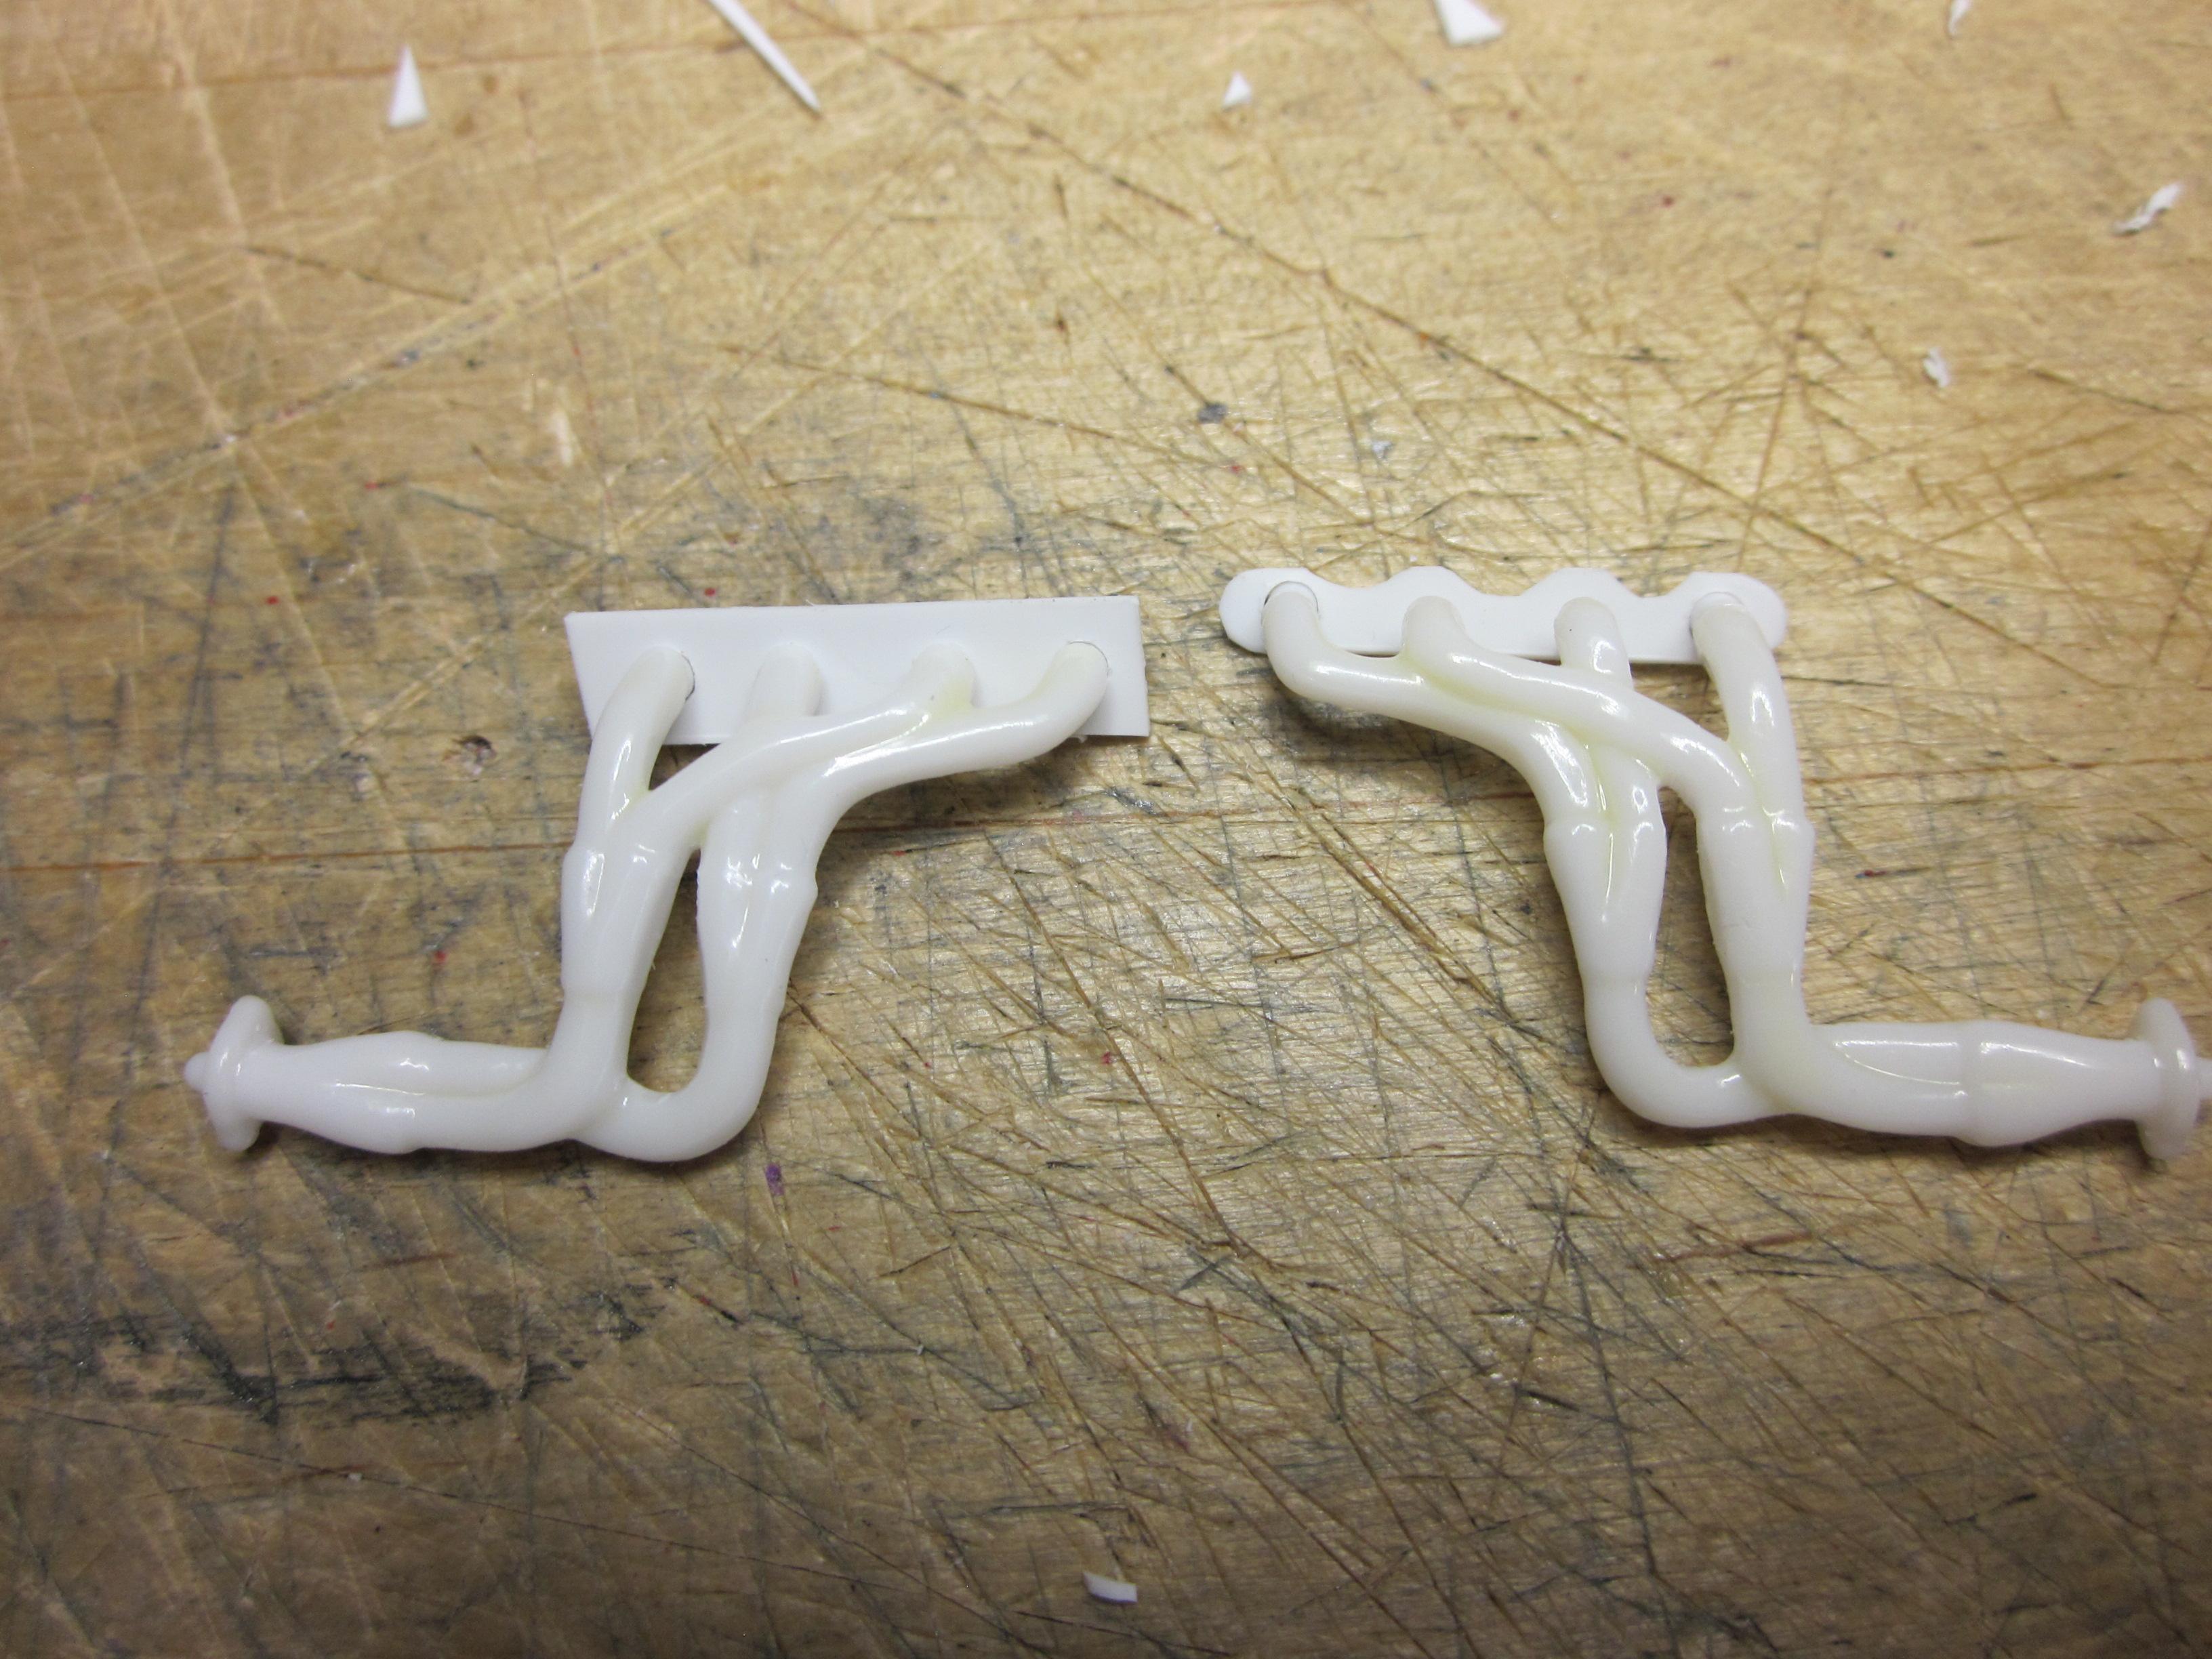
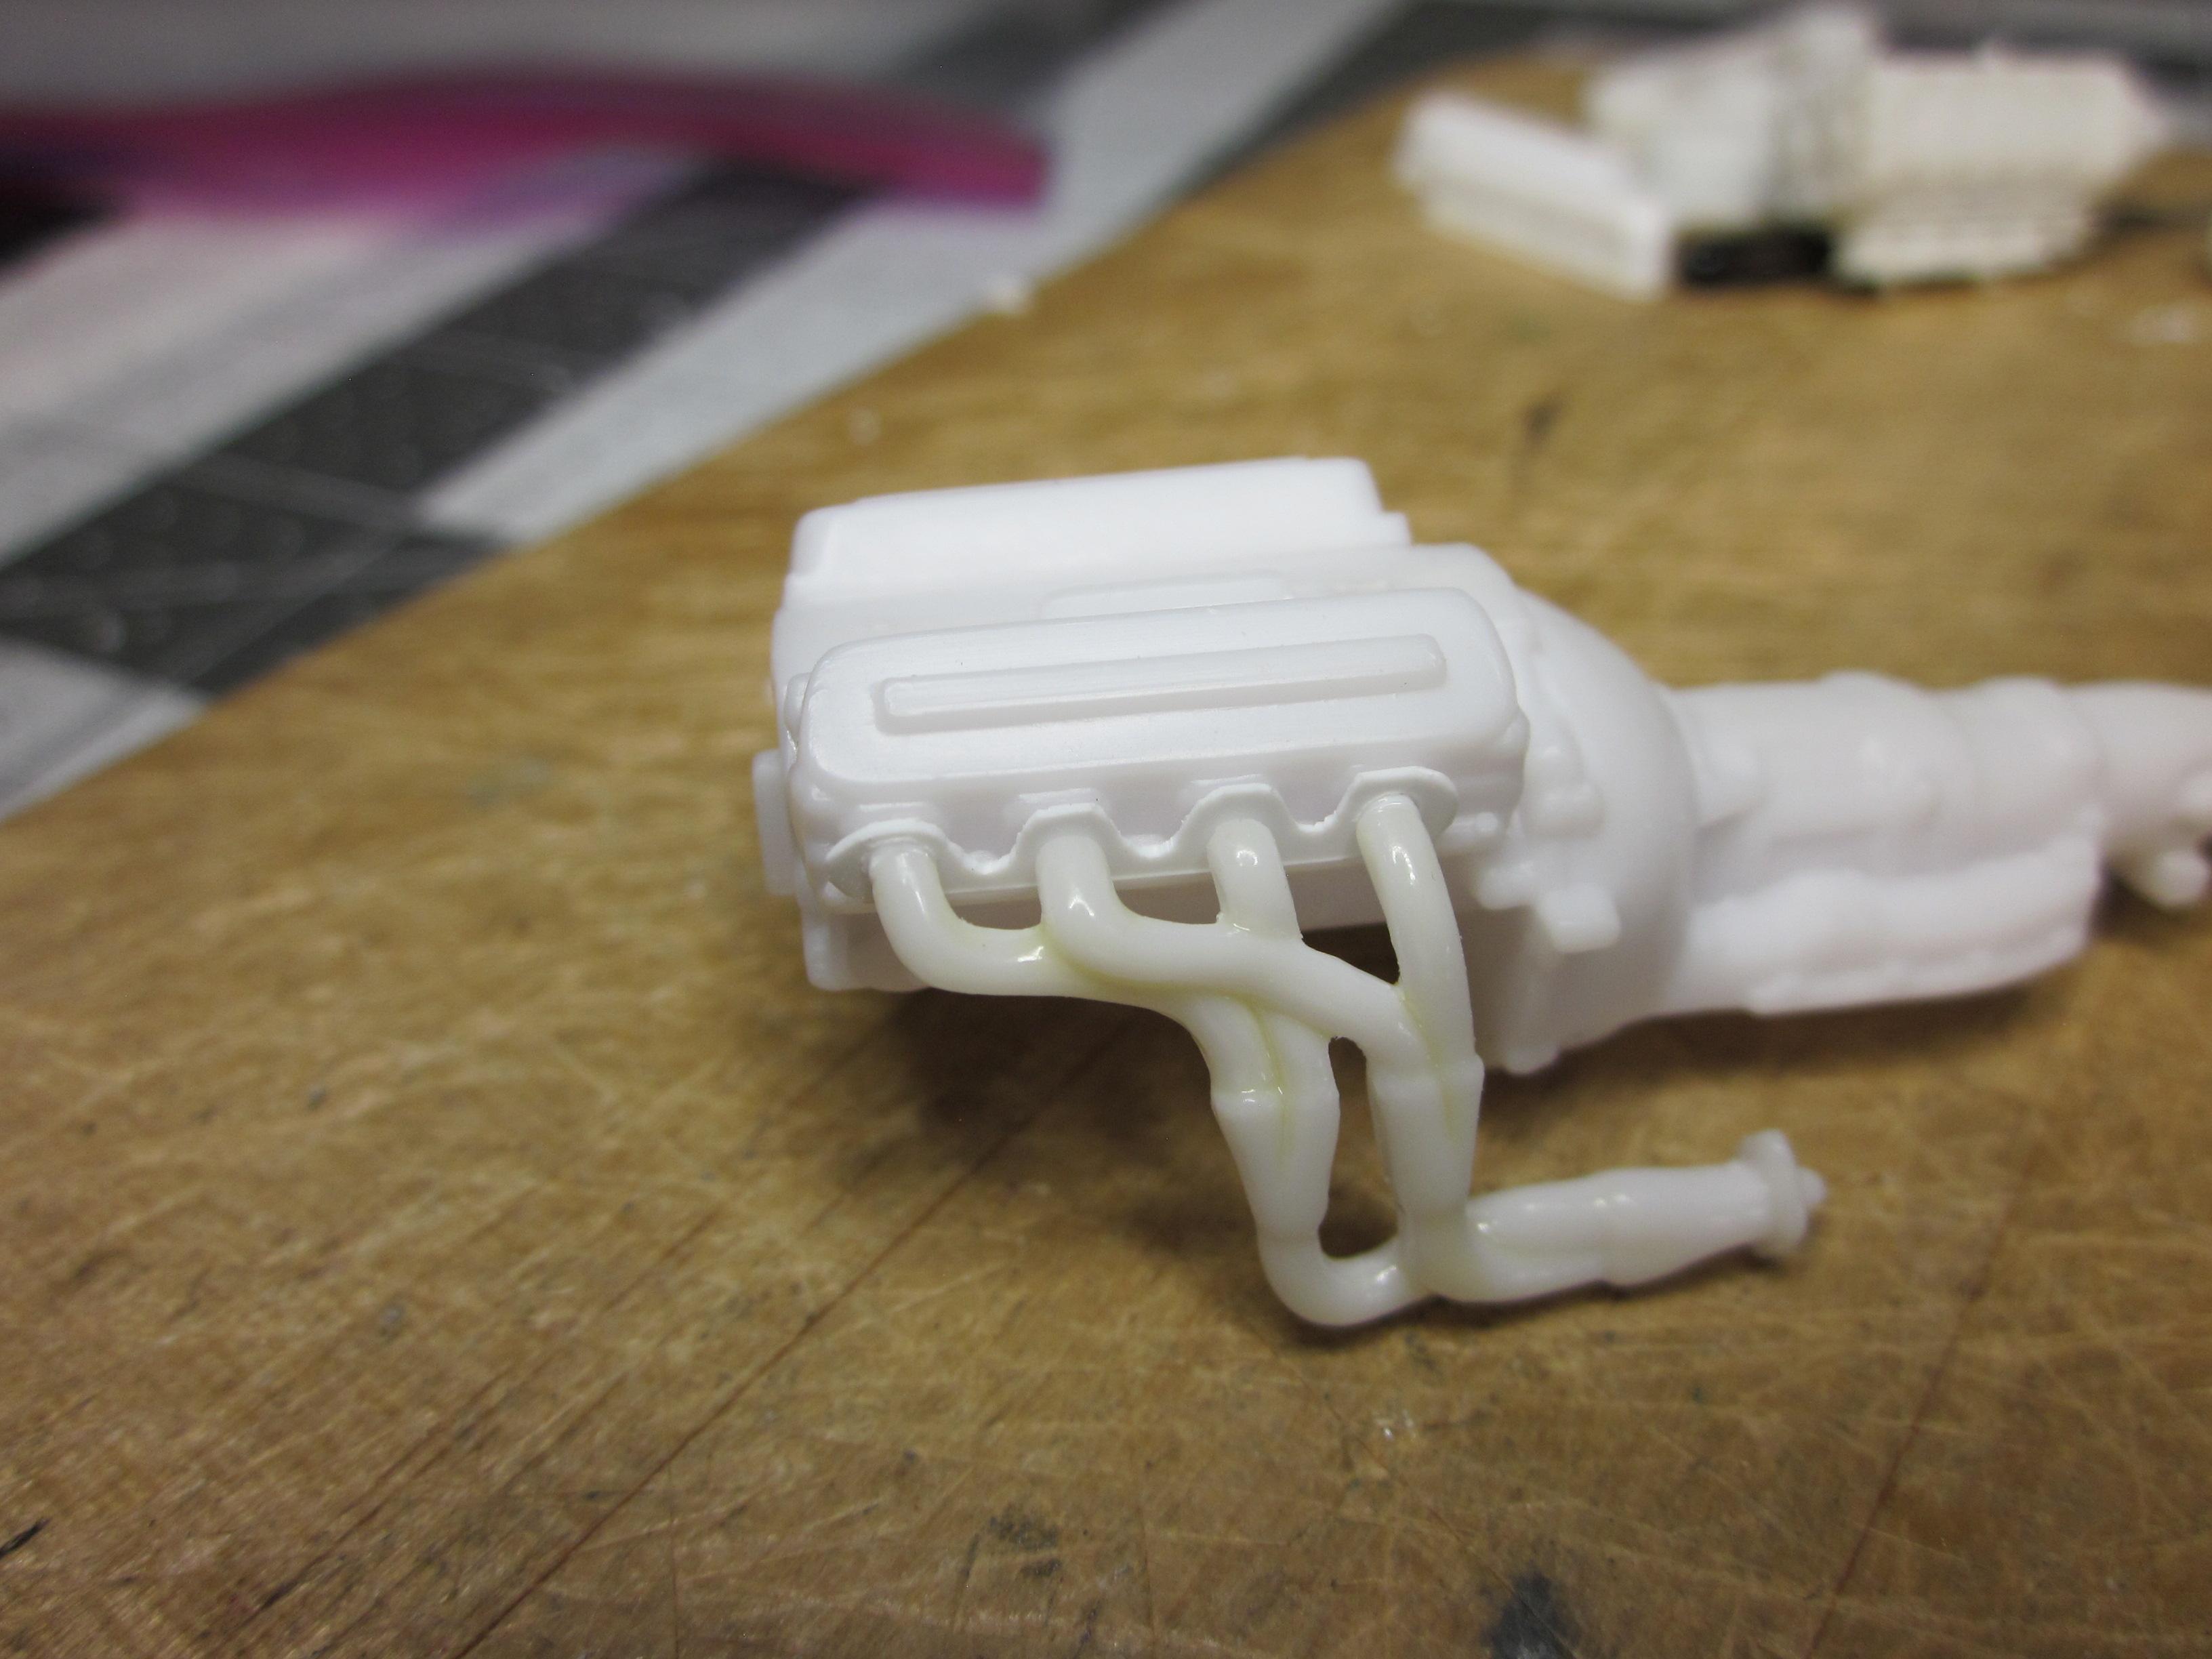
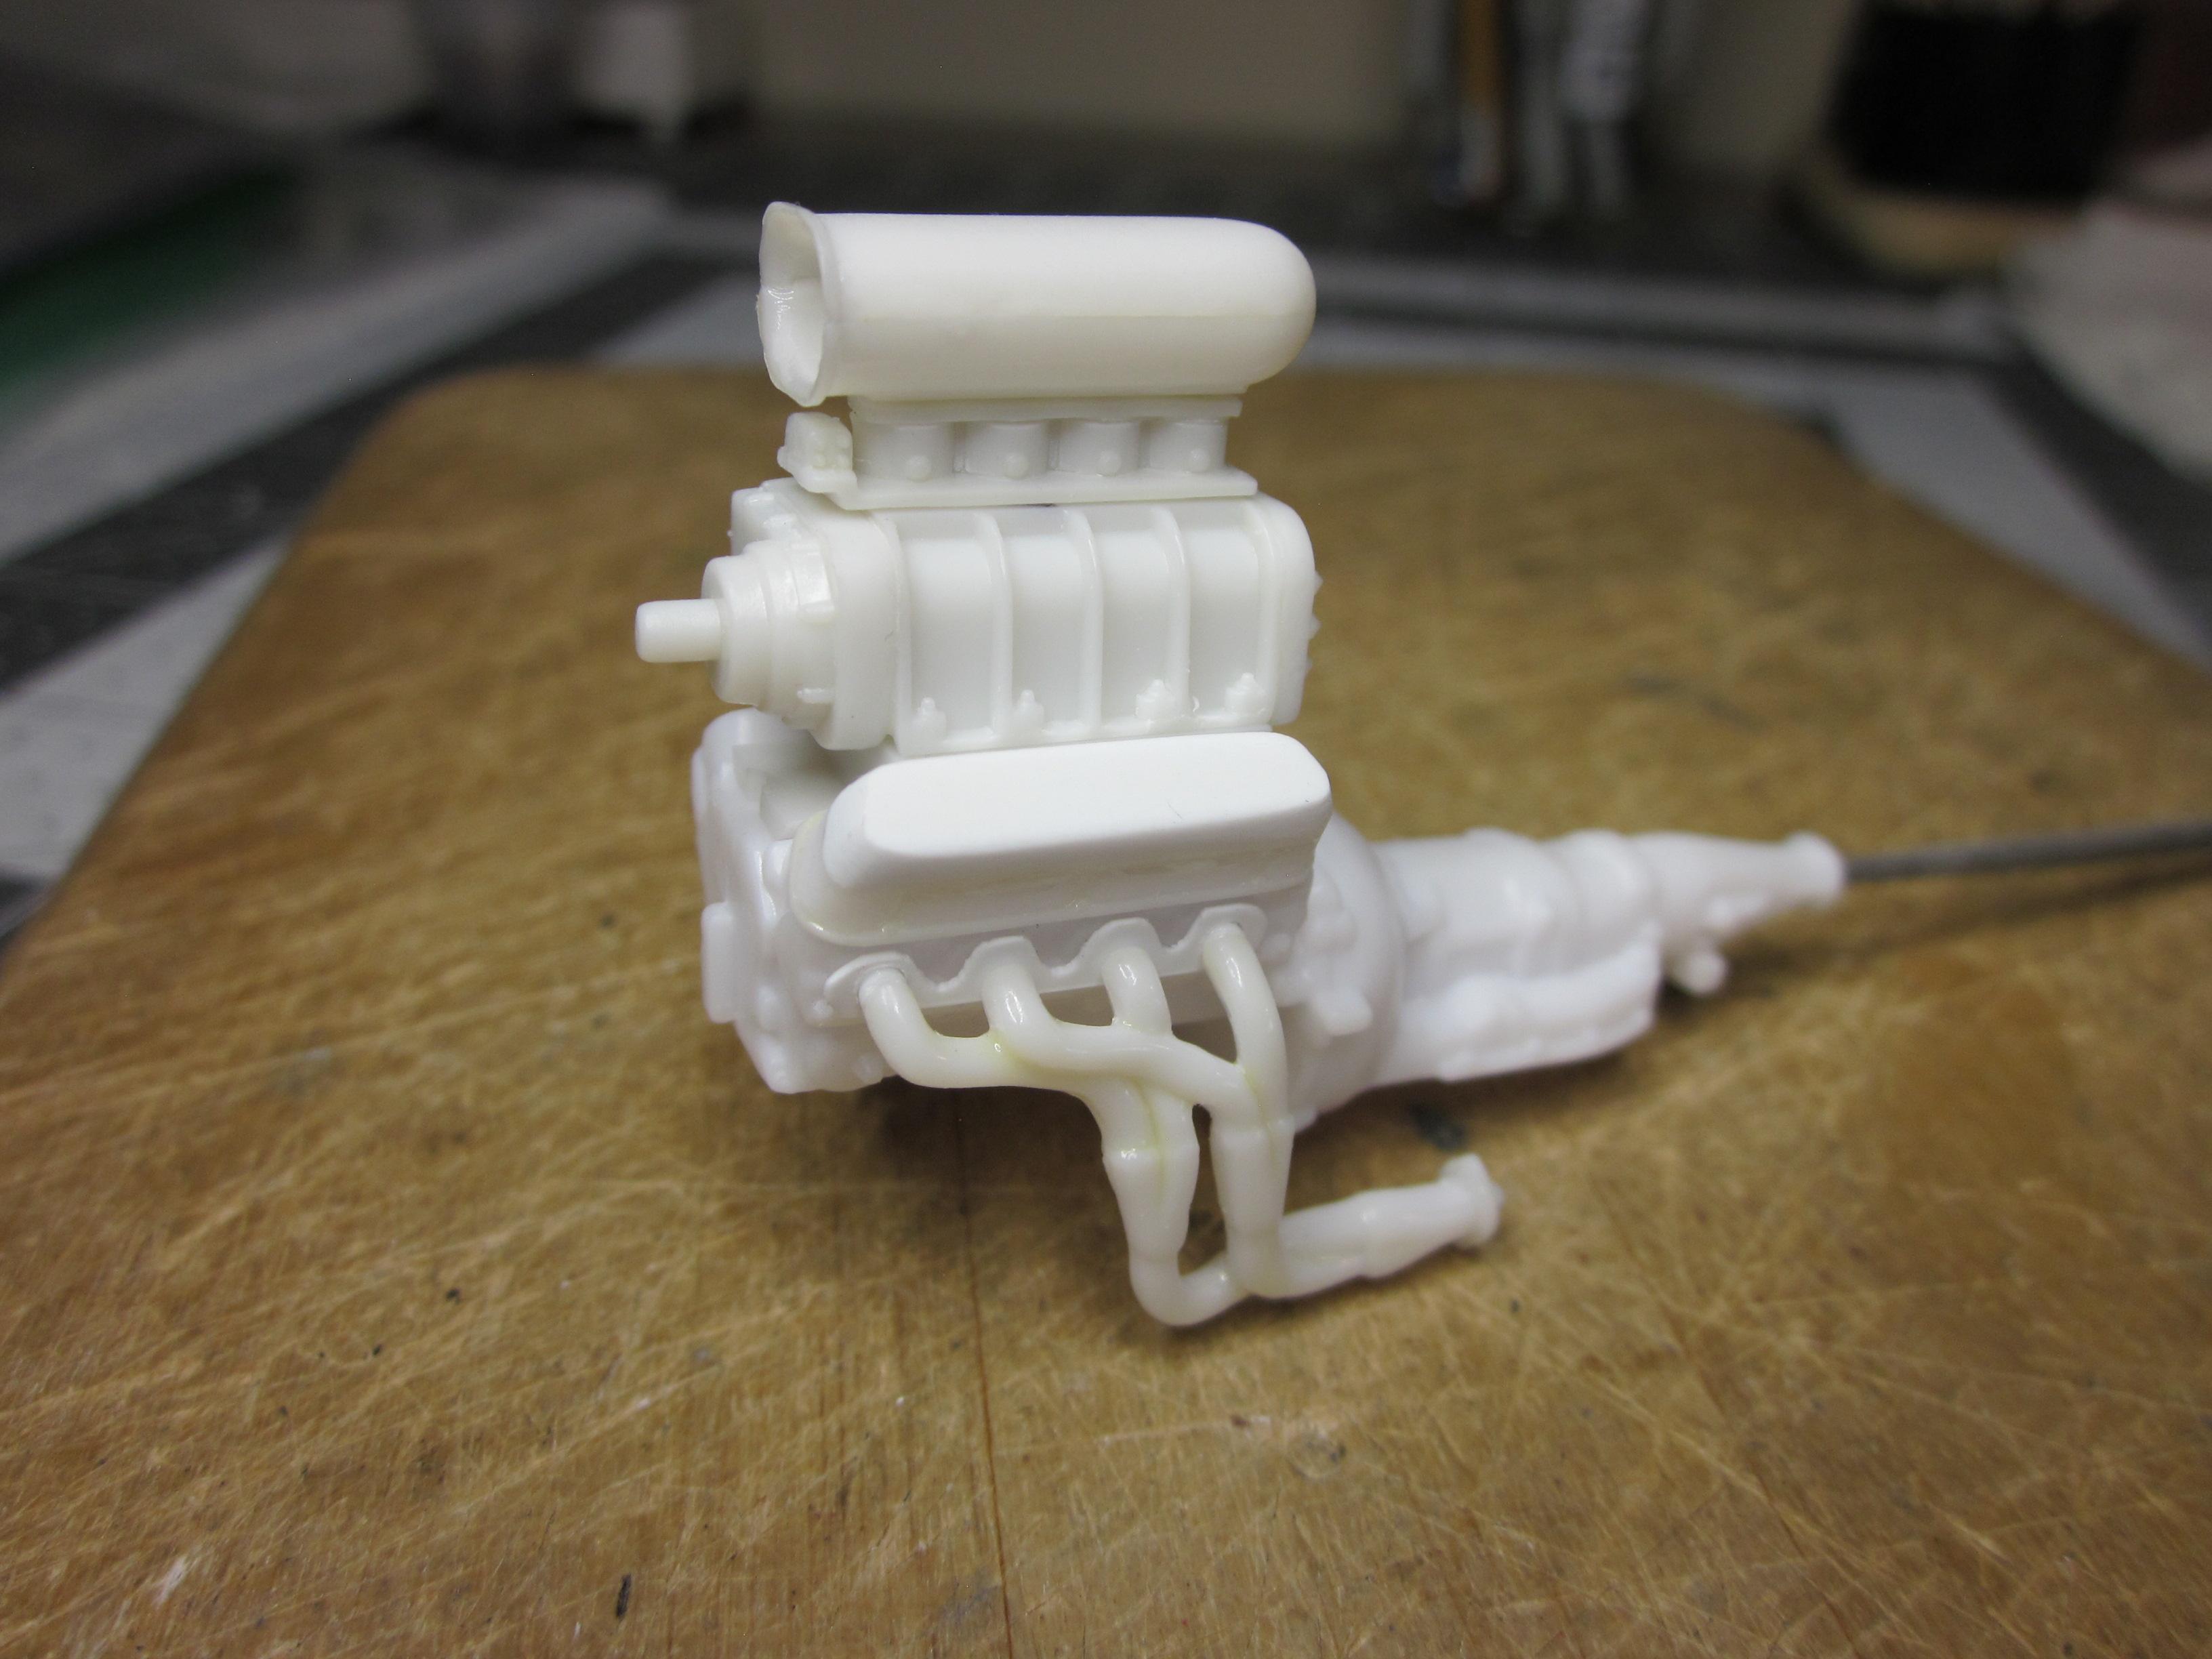
I thought I was heading too the paint booth. Of course that didn't happen. While inventorying the parts and what not, I found a few things that still needed to be worked on. On the chassis, the shocks needed to be put on. In the front, the shock mounts need to be installed too the frame. At this time the front shocks needed to be shortened a little also as the front was dropped some. At the rear, the upper shock mount was made up and installed. On too the engine as about the only thing I have done is to pick an induction system. A blower from the Nova Gasser was chosen. Being it is a chevy setup, the intake will be modifyed and the blower case parts are but on basakwards to work on the old ford engine. First thing I worked on was the valve covers. The top of the covers were smoothed out and a piece of evergreen stock was glued to the smoothed surface of the cover. The covers will be sanded and glue applied to fill were the two parts came together. To help retain the oil pan, It received two pins to hold it in place during mock ups. Next up, The headers. I will be using the kit headers. I want them to have a more positive way to mount them too the engine. My idea is to drill holes in the heads, add a small extension on them to go in the holes in the heads. This will be make sure the headers will stay in place during mockup stages. Don't want them falling off while trying to work around them doing the exhaust and such. To finish off the headers, A couple flanges were made up and things were mocked up. I'm happy with how things turned out More engine work to come as I need to figure out mounting the blower now. Till next time........................
-
I wasn't going to say anything. I was only wondering exactly how it was being held down. And to be Honest, I was too busy looking at everything else it didn't matter. But, If you where to do what you discribed, remove the hub cap and build the jack base, hold down rod and wing nut, that would be awsome. It will just be Iceing on the cake. Outstanding detail work Zackary! Even had to show it too my wife. She couldn't stop looking at it. She say's it's amazing.
-
Thanks Brother! Was looking at some color choices I have in stock yesterday. Haven't picked anything yet though.
-
Misha, appreciate you taking the time to read thru the w.i.p. of my '32.
-
Mephistopholese
Speedpro replied to Kingslug's topic in WIP: Other Racing: Road Racing, Land Speed Racers
Wow, that's really nice! Great detail work. Looking forward to seeing more of this build. -
Great choice of color. I used that on a build and I was really happy with it. I used gray primer under the paint and found it was perfect. And it was the enamel also. If you want to see what the color looks like, check out the cover of MCM #224. Nice start on your vette.