Speedpro
-
Posts
842 -
Joined
-
Last visited
Content Type
Profiles
Forums
Events
Gallery
Everything posted by Speedpro
-
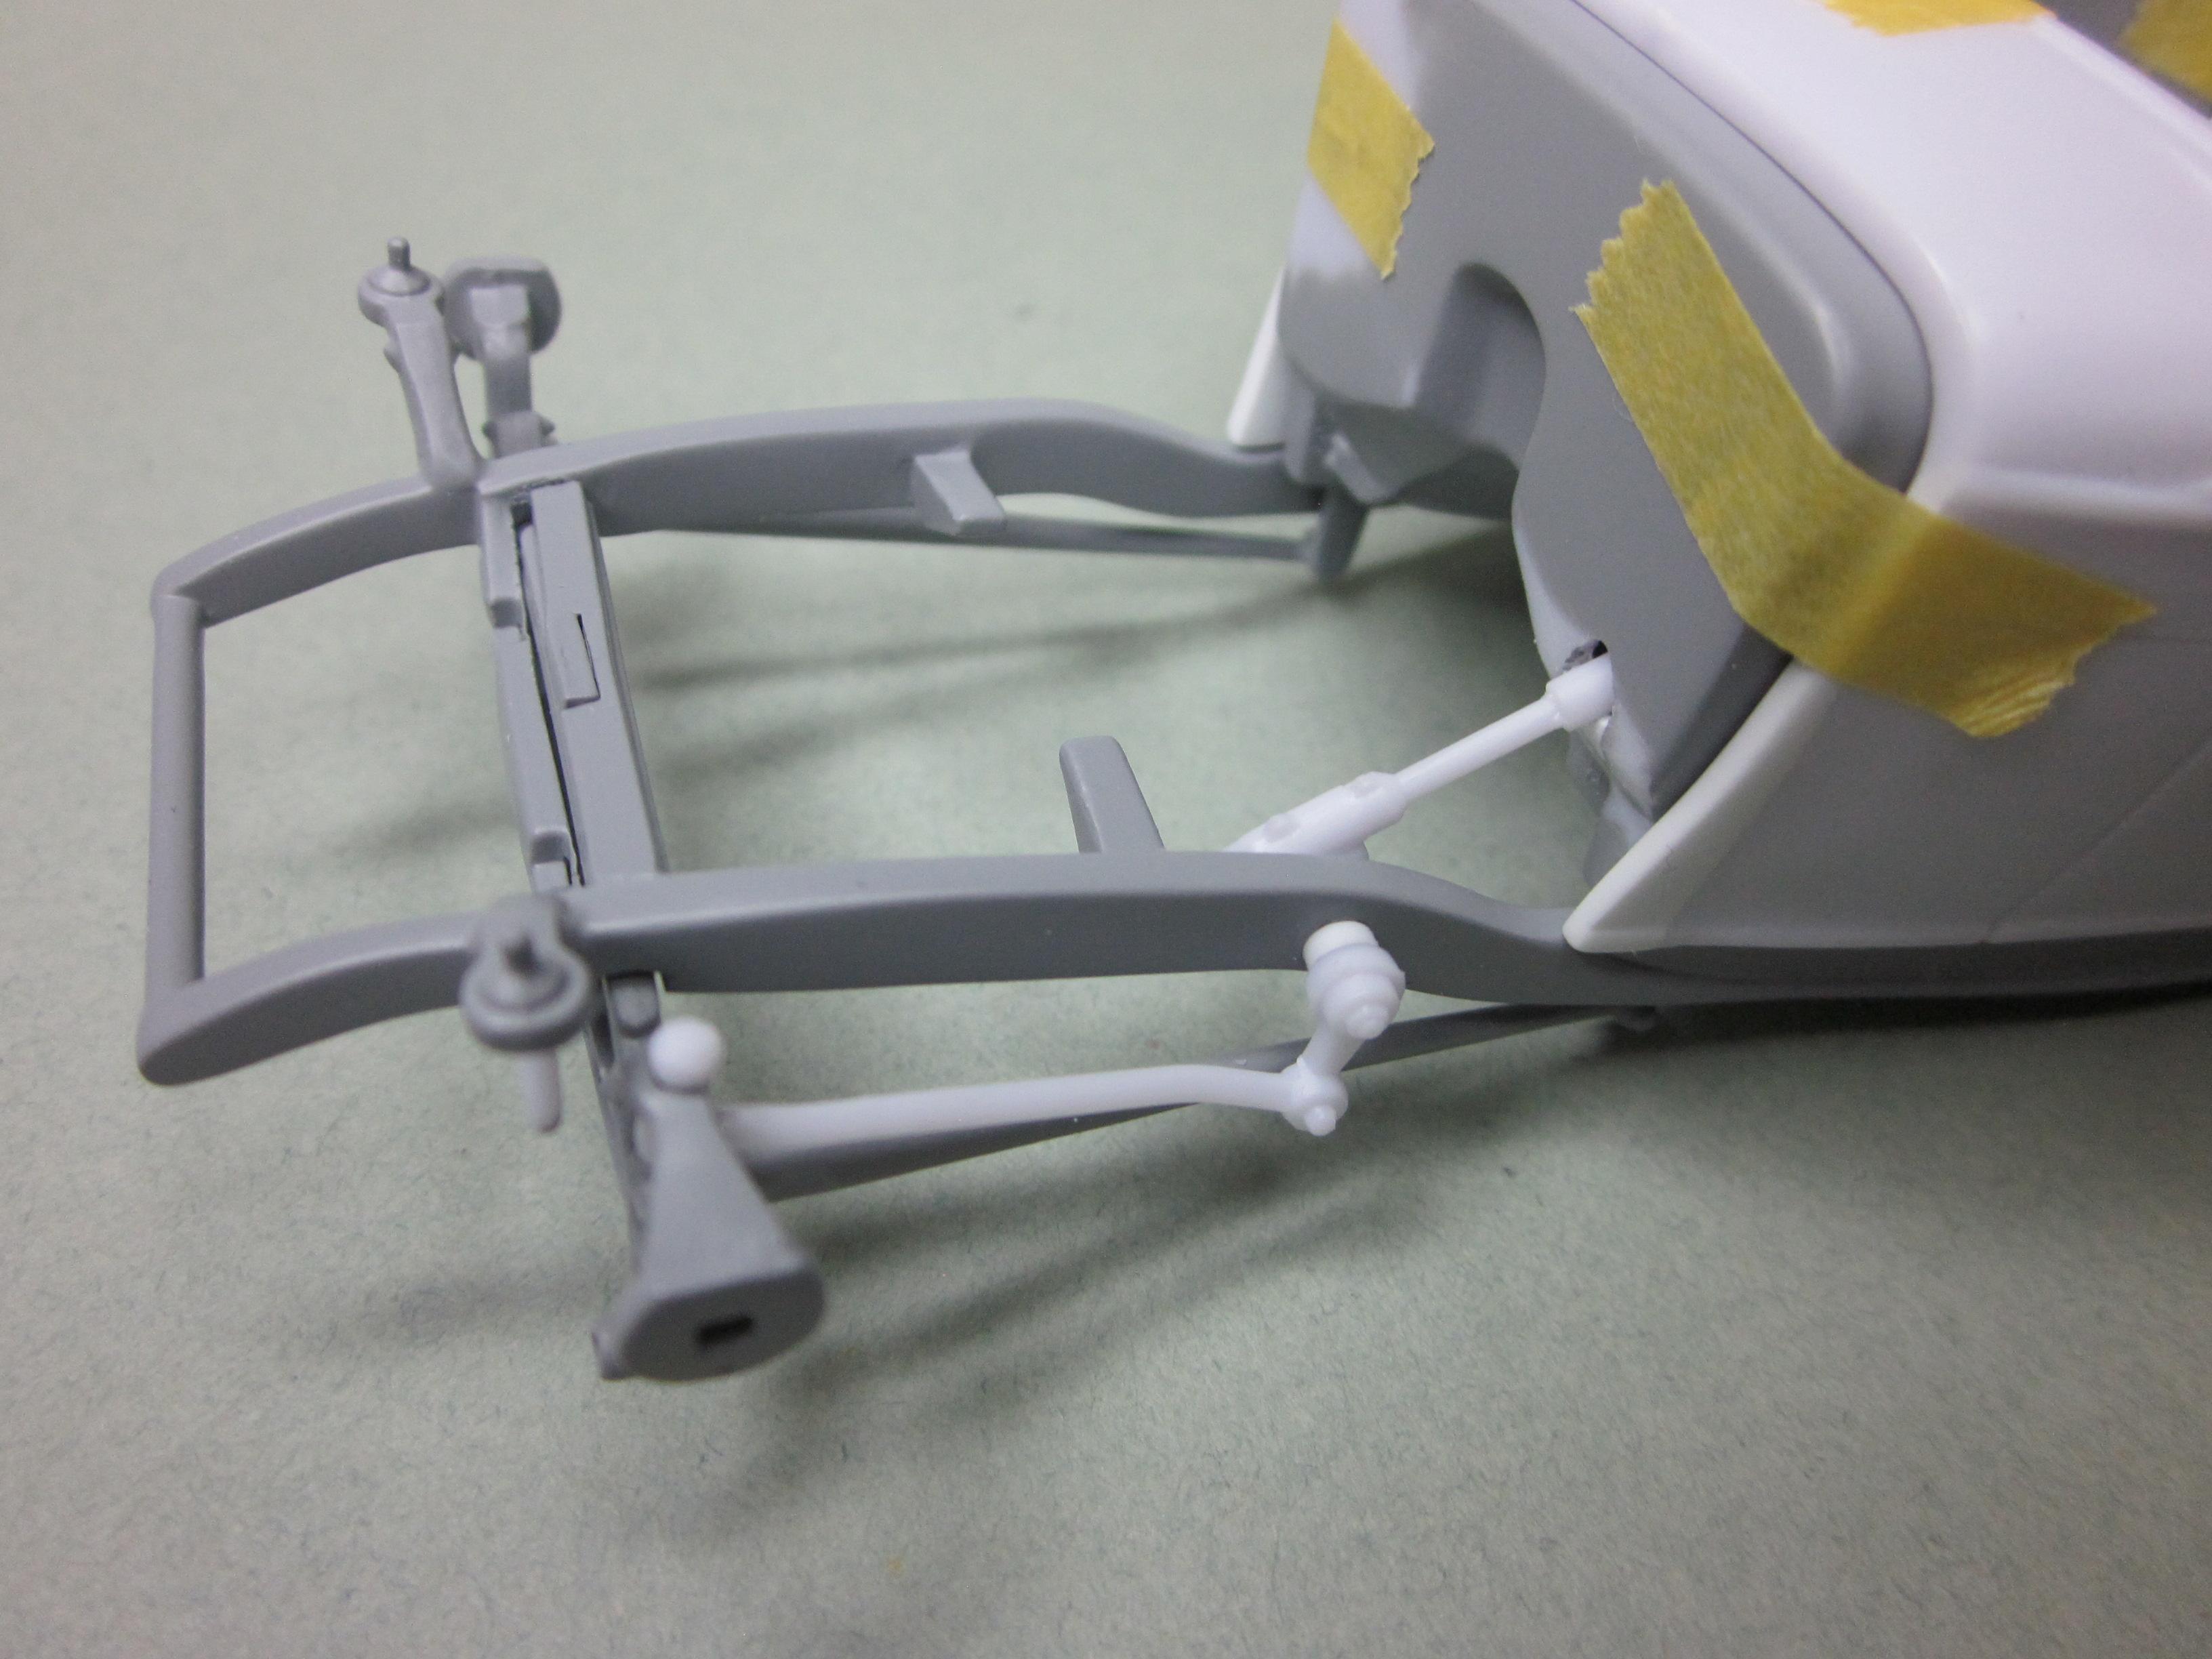
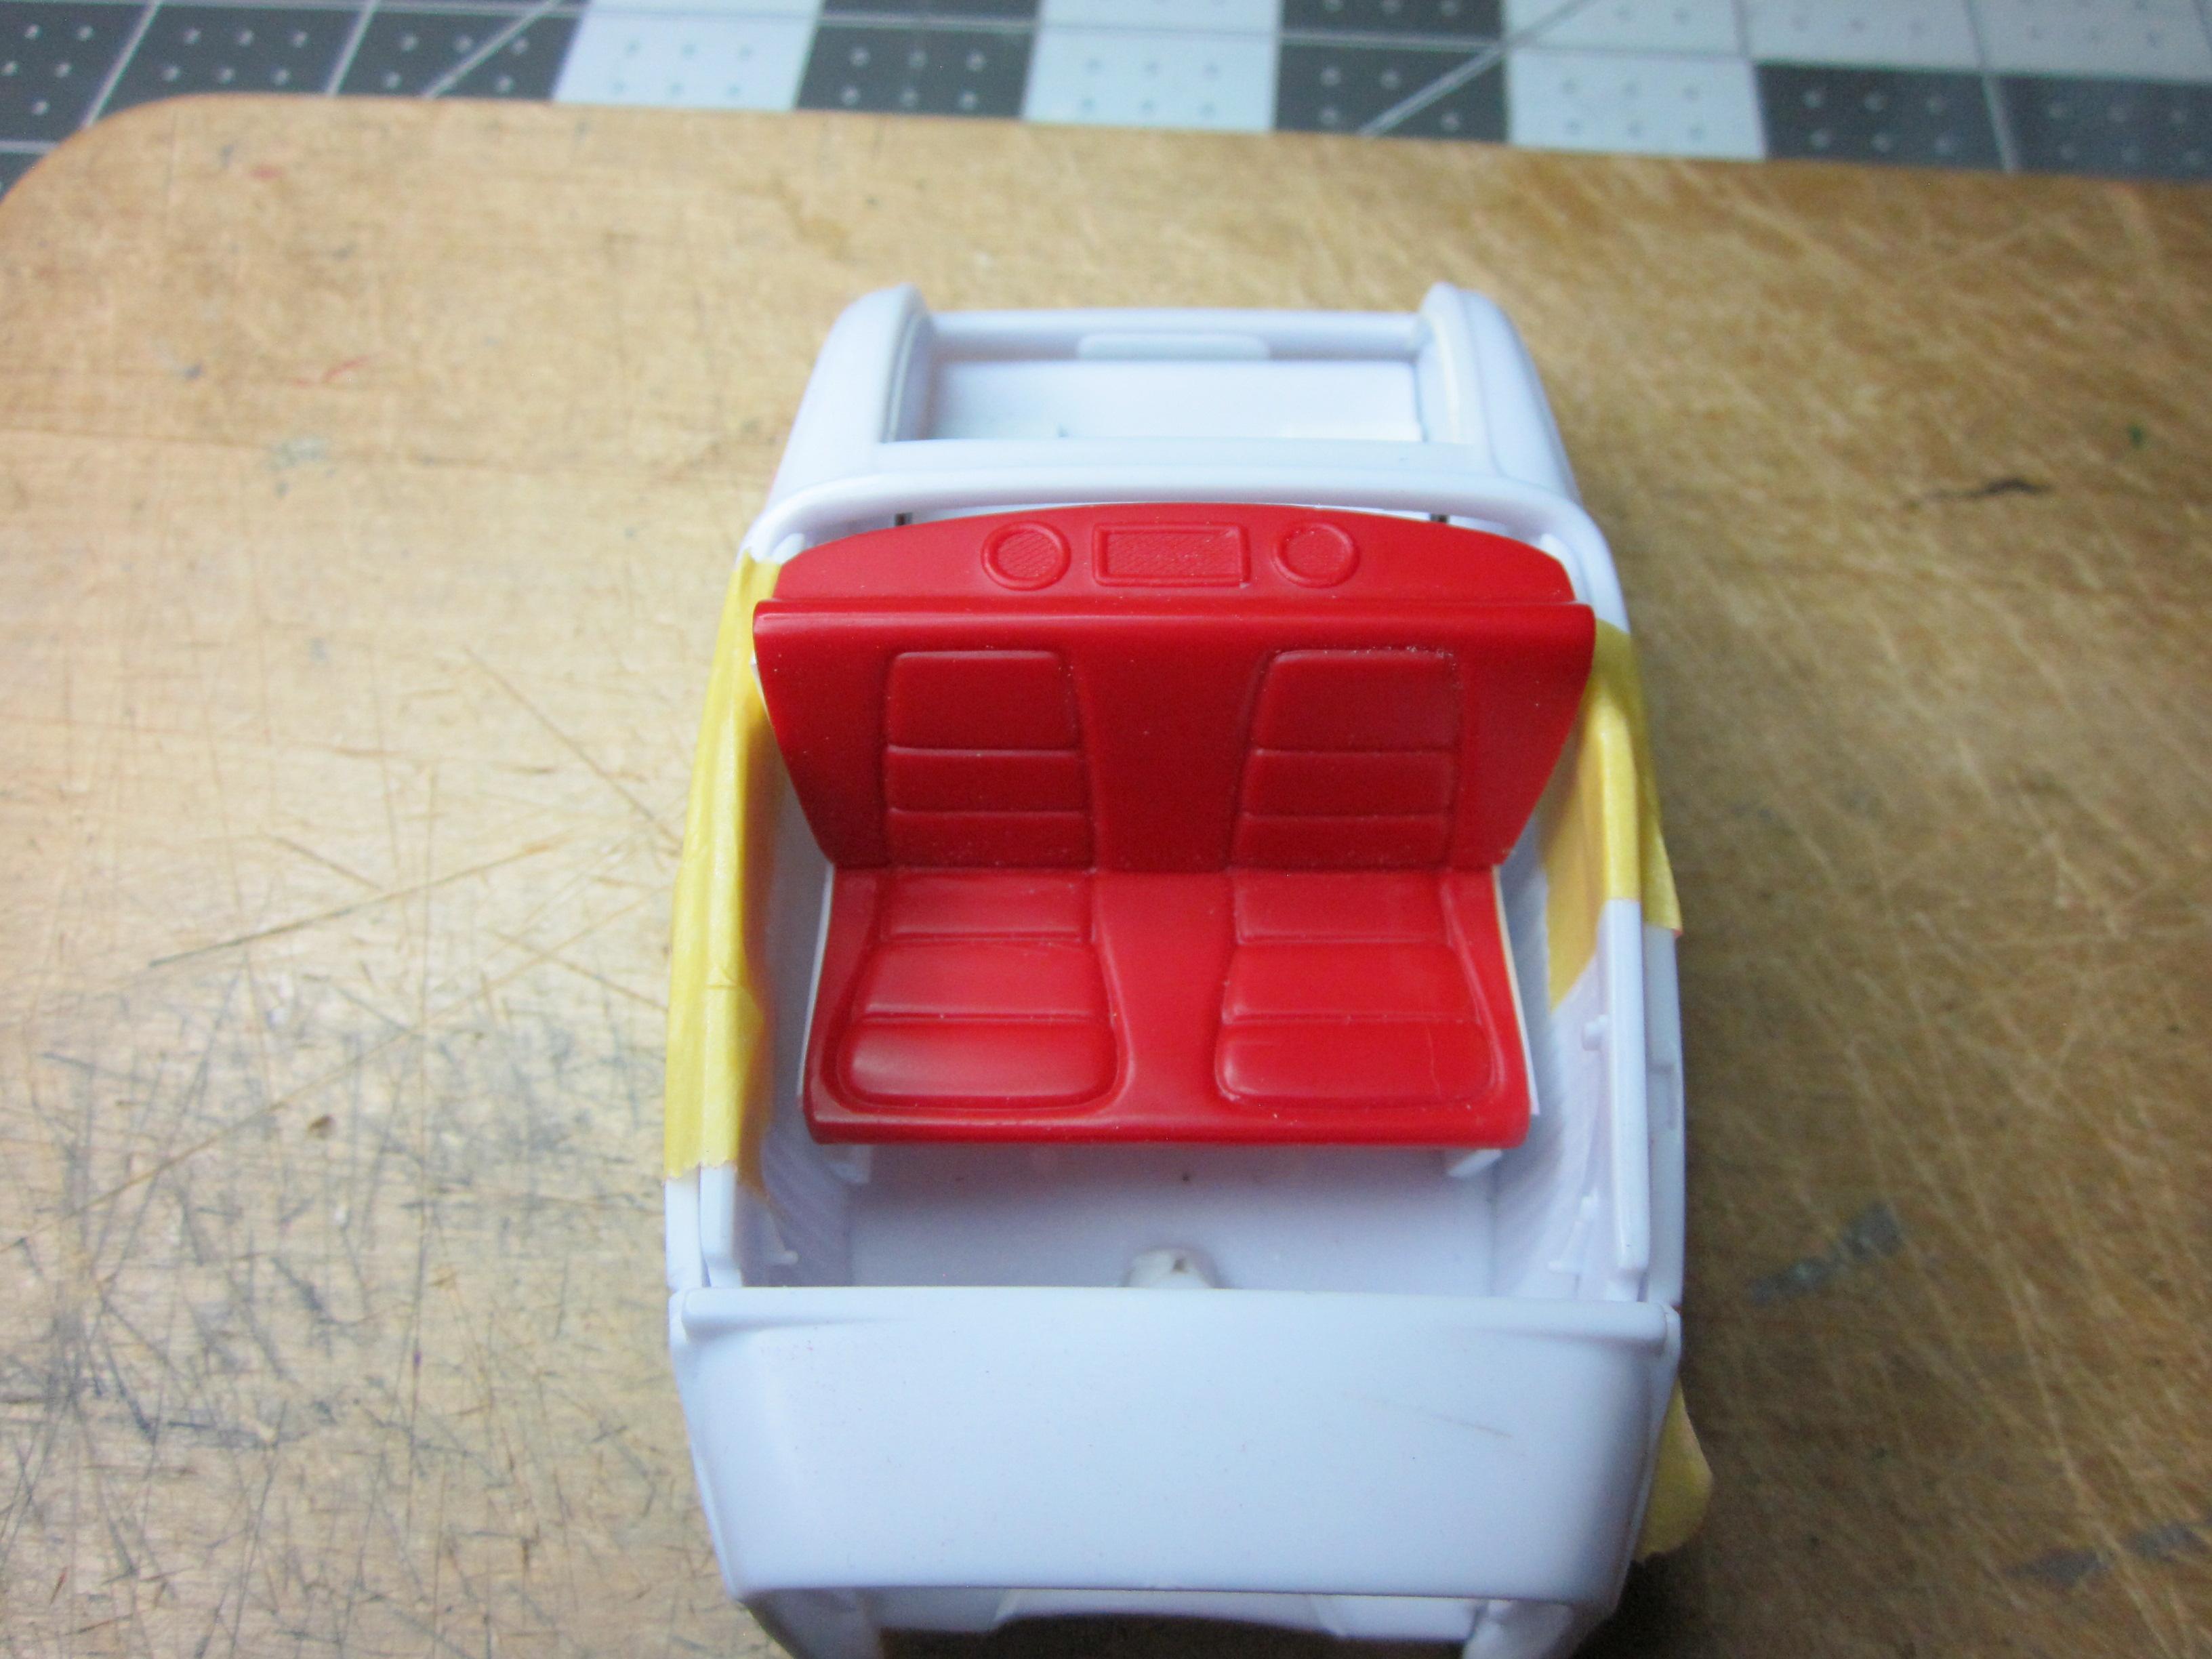
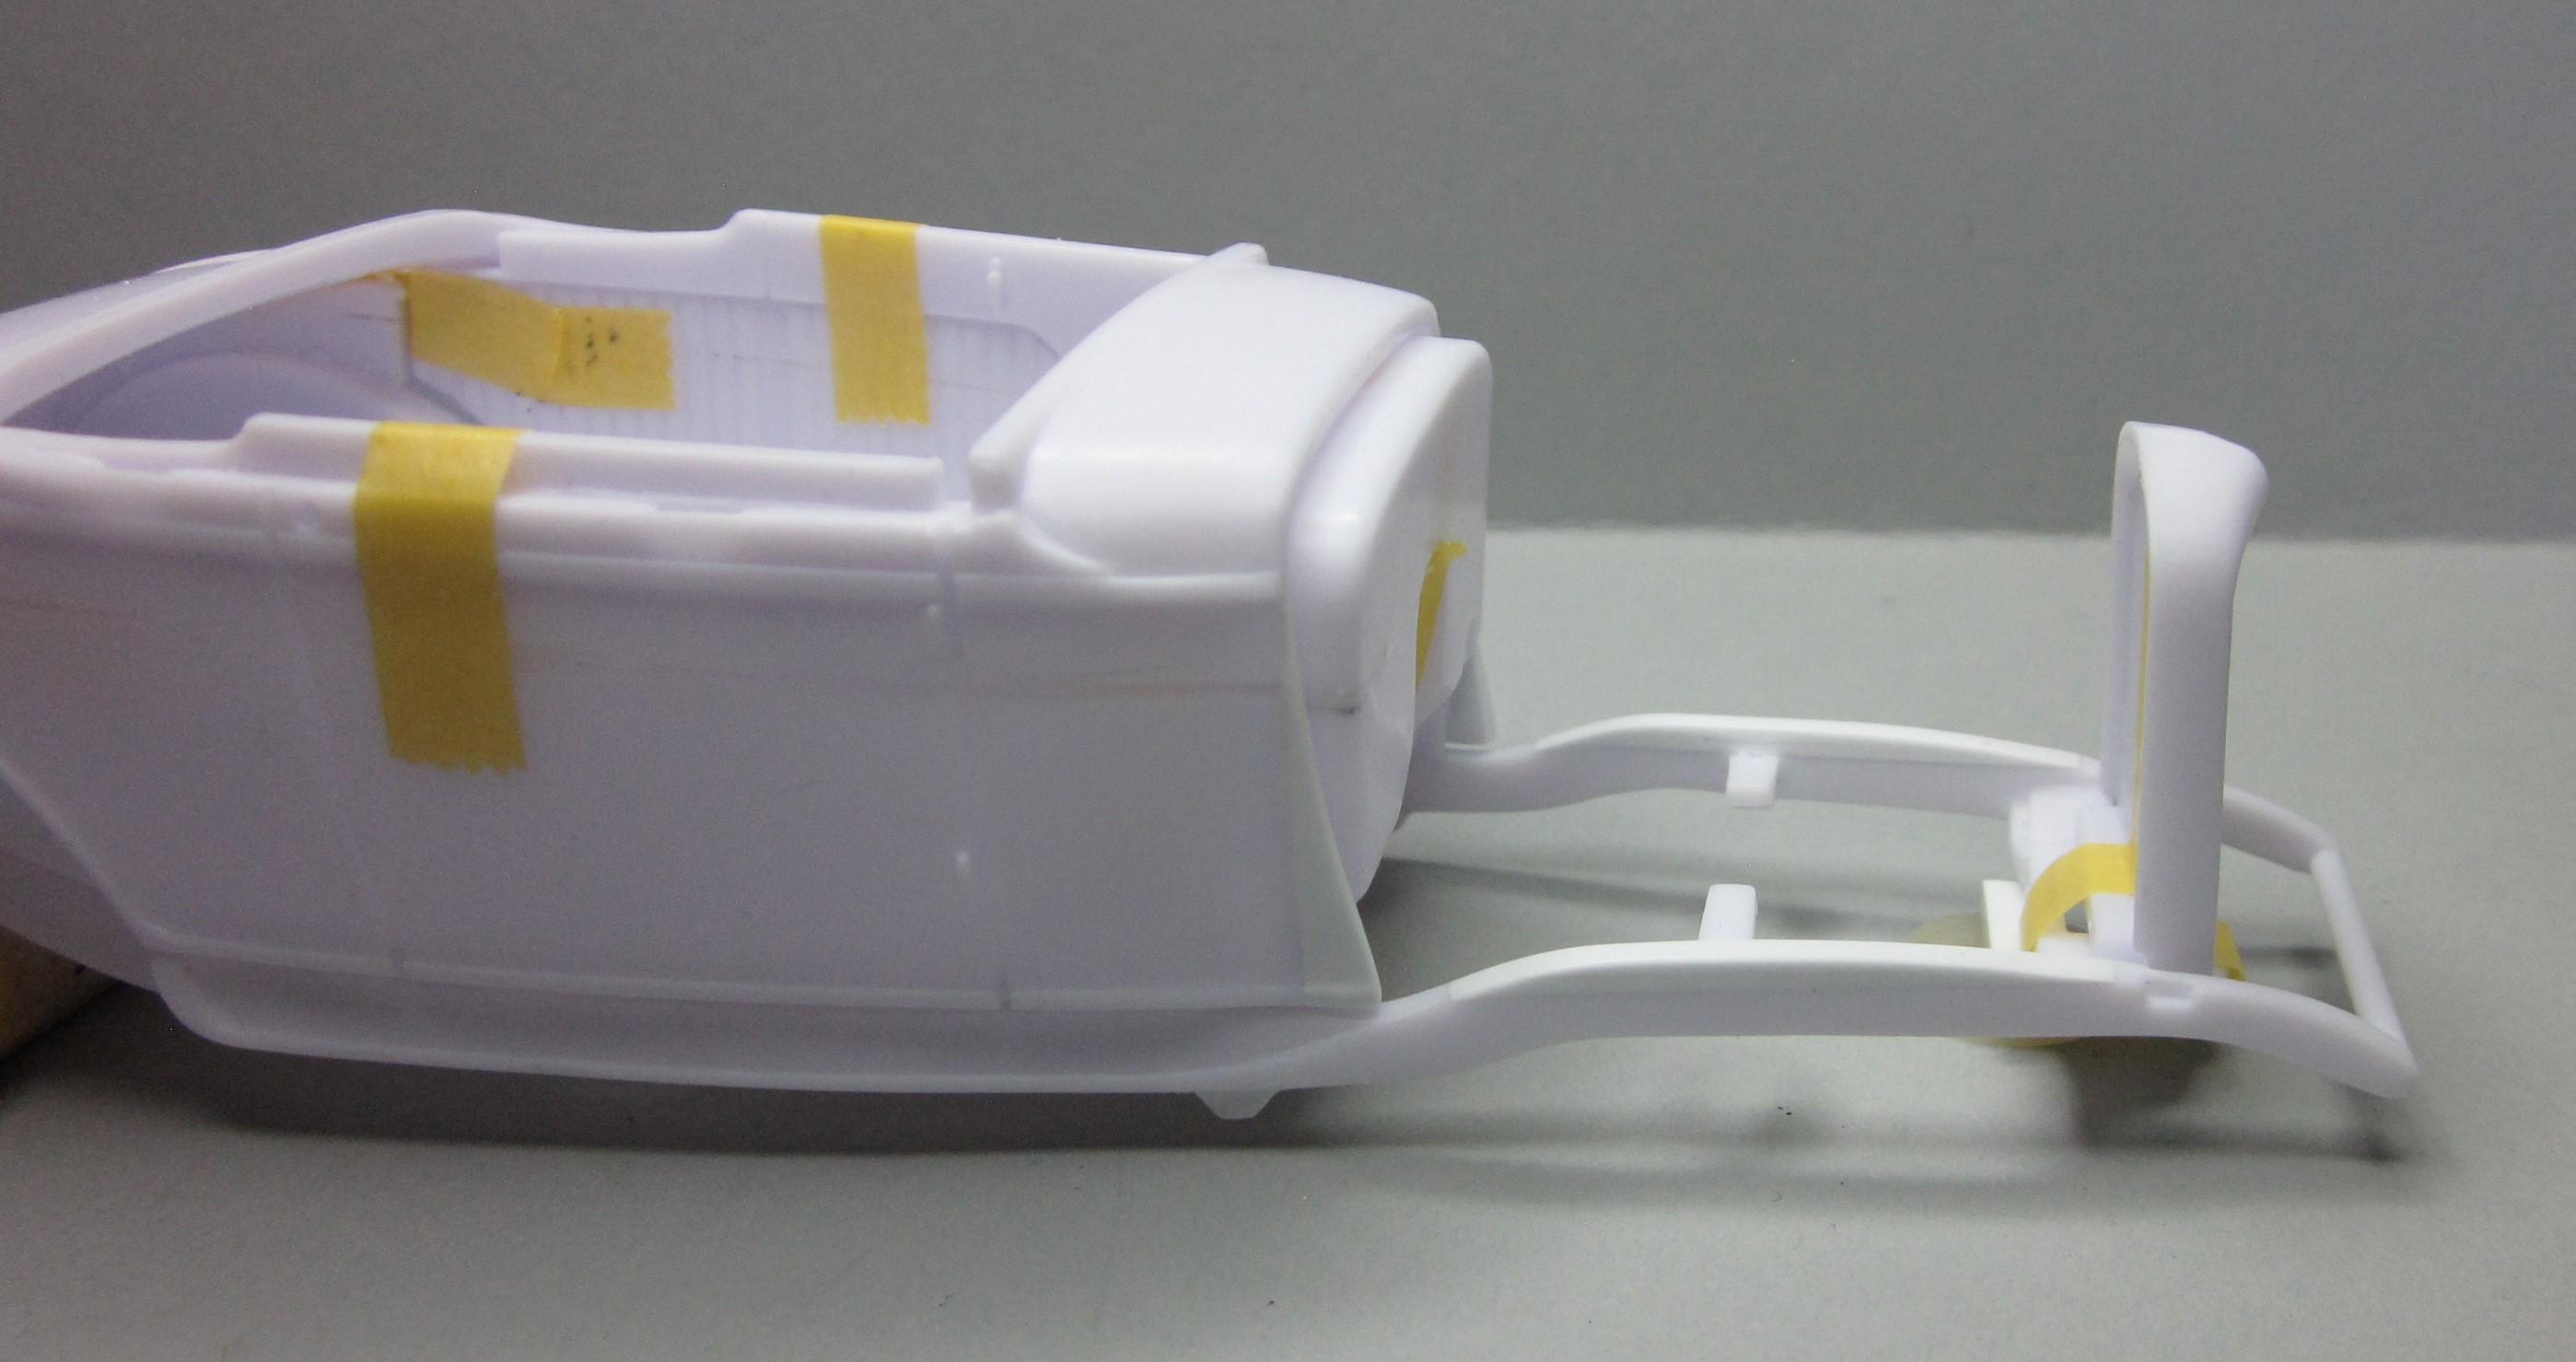
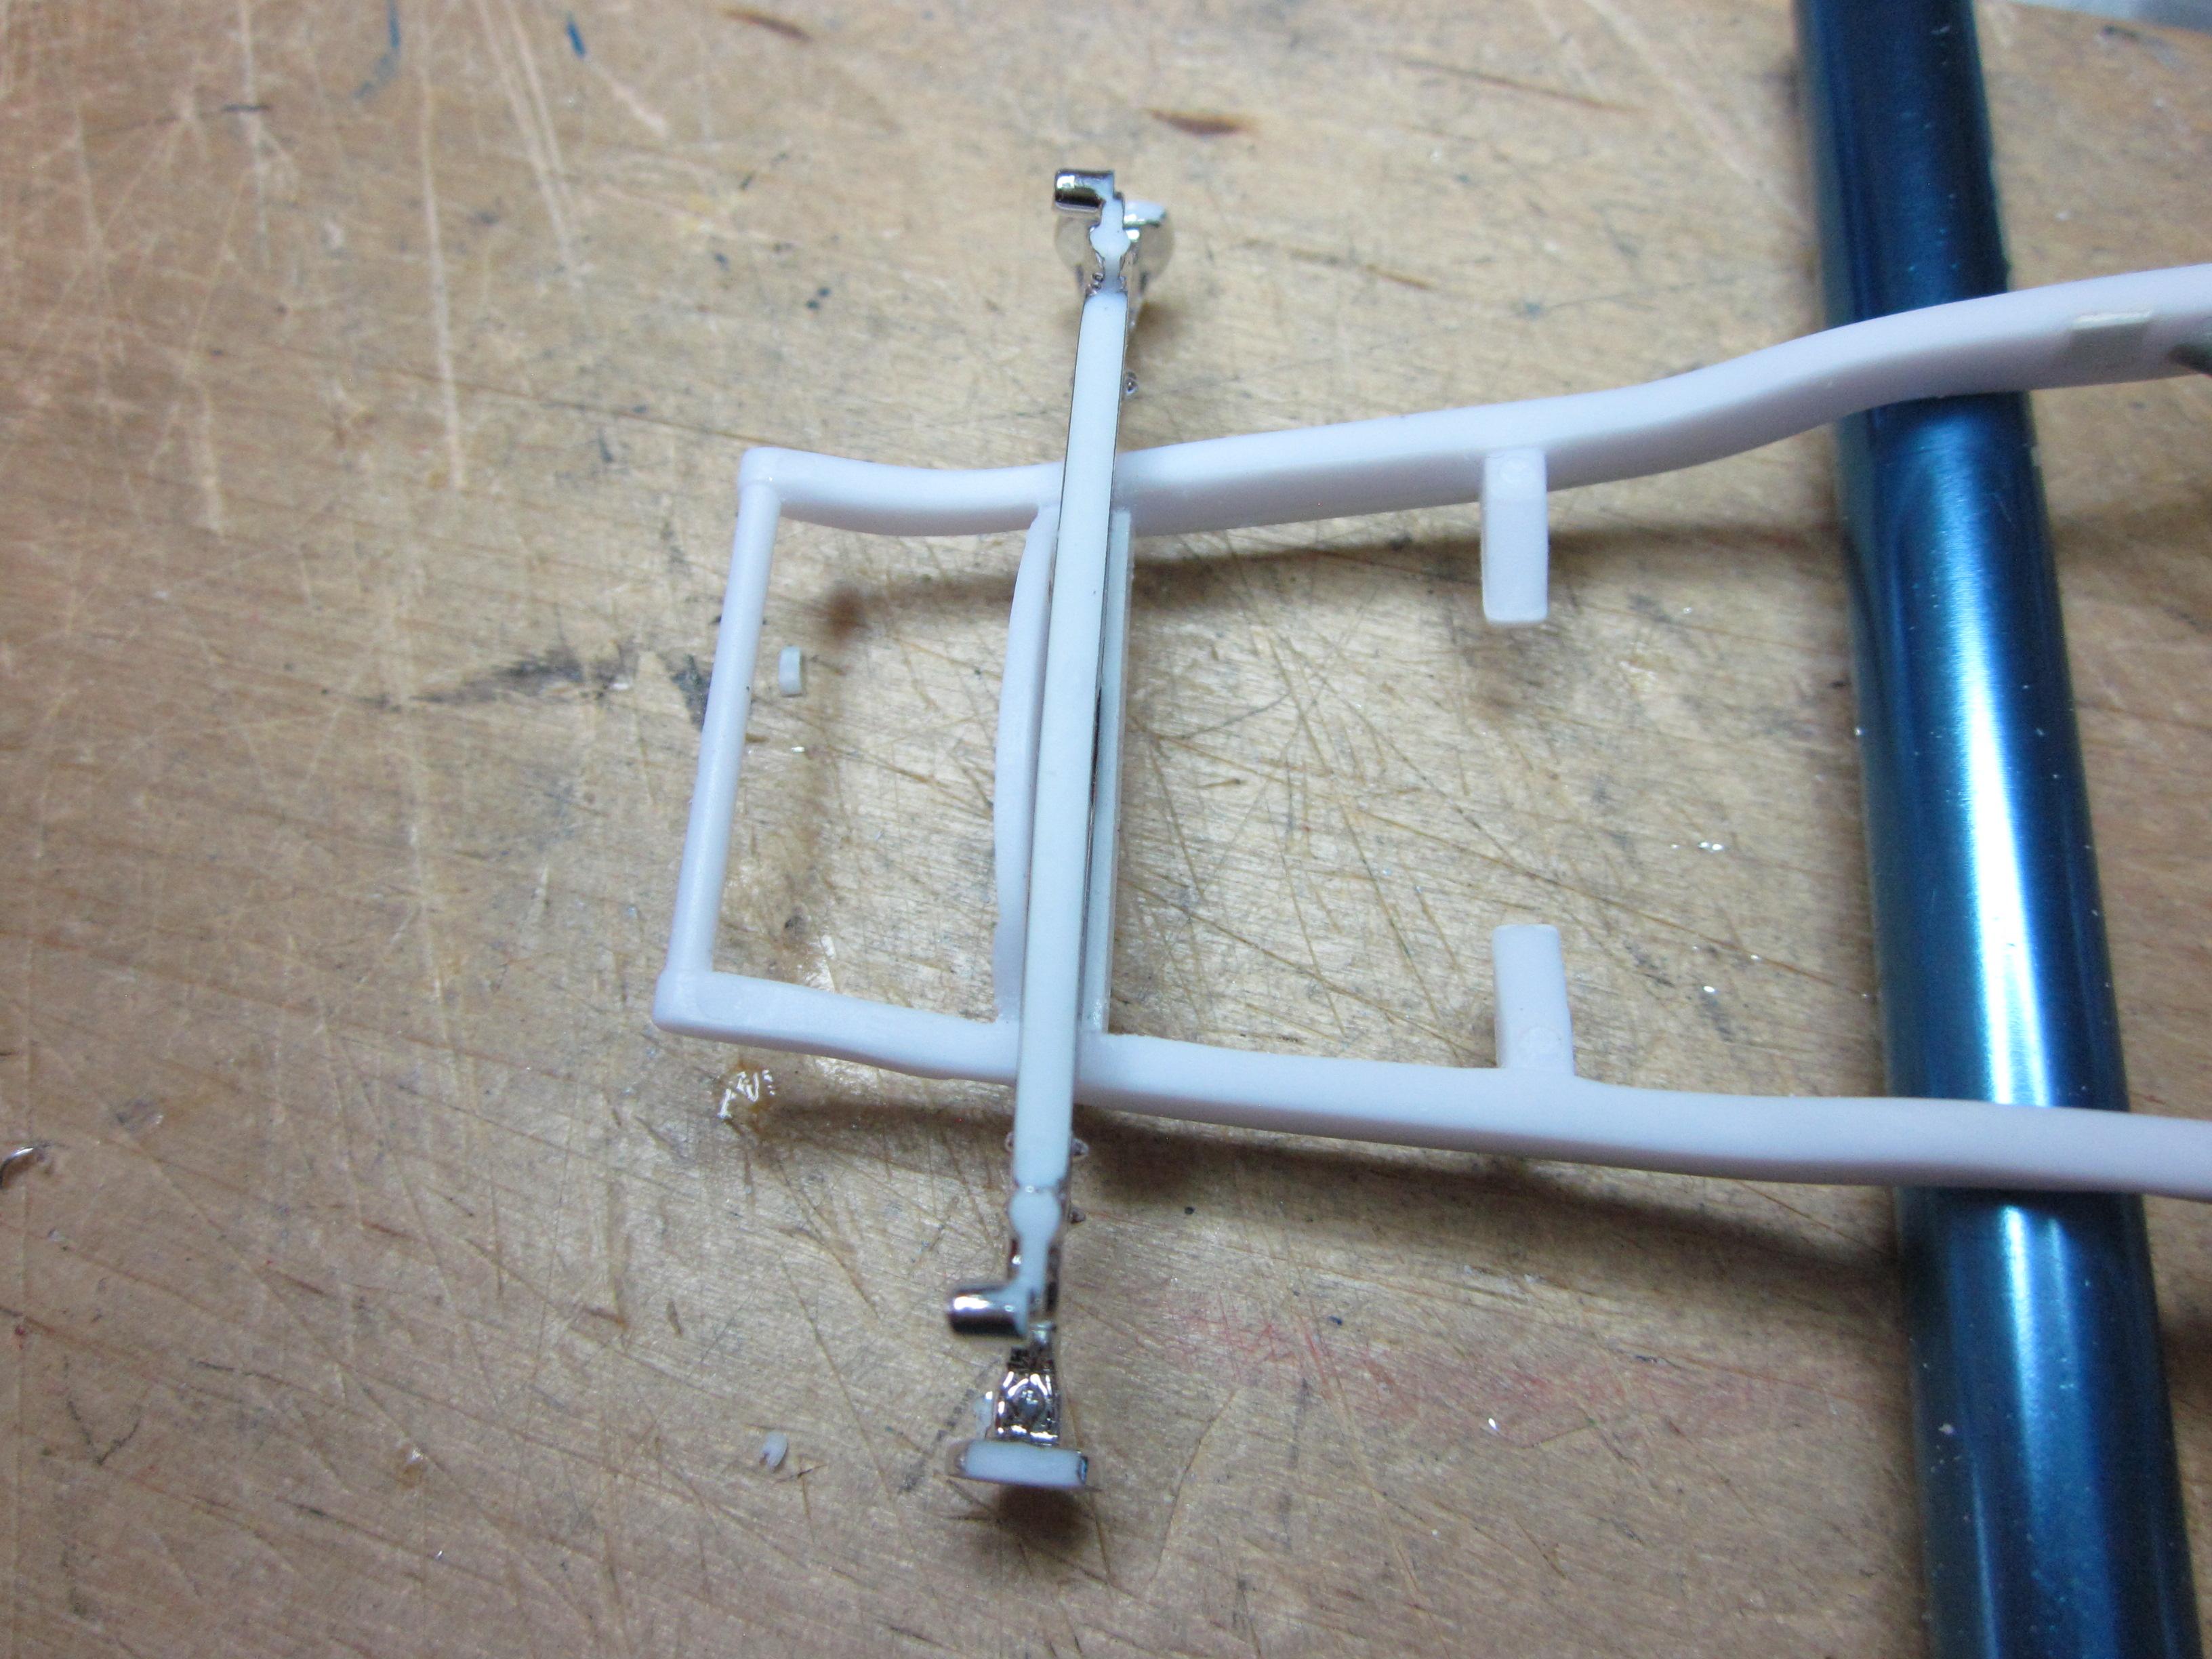
Thanks to everyone for taking a look and all the great comments. Very much appreciated. I have been working on the seat and trying to figure out exactly where it was going to be located. I found this hard to do, realizing that it would be a good idea to maybe have the steering column in place might help a little. To make things easy down the road, I decided to use a pin to help attach the column and drag link to the frame. When the frame was being cleaned up, the mount for the column on the inside of the frame was removed as it was not needed. A hole was drilled through the frame for the pin to mount the column too. Also drilled a hole in the bottom of the steering box. At the drop down on the dash, I decided to use a collar that was made using a piece of .100 solid rod drilled out to 1/16th that will slide onto the column. Had to file the drop down on the dash to fit the collar that will support the column. The drag link was a little more than just attach and be done. Ended up drilling into the link to fit the pin going through the frame, shorting the arm and since there is a slight interference with the radius rod, I made a longer pin and a sleeve to get the drag link to clear the radius rod. I know this is a small thing, but the hole in the firewall for the column was filed in and now fits the column much better. I think now the seat can be fit and be confident it's where it needs to be. That's it for now. Till next time......................

-
Nice start, for your color combo, carpet and console both would be same color as the rest of the interior. When the interior was lets say white, it would have black carpet, console, headliner, dash pad, half the door cards and such. But your's being red, all the same.
-
Very nice! Watched you build it, looked like alot of fun.
-
Outstanding build! The conversion from the chevelle to the beaumont is so well done it looks like it was a kit you built. Love the engine details are perfect right down to the yellow and blue wires for the wiper motor. I have owned chevelles my whole life, I have a '66 super sport that I have owned for 26 years, was a classic car tech for 35 years and would go up to vancouver to do the chevelle show. Seen these cars many times, and you nailed it. Whats always intreged me was the color options for these cars. Don't see these options here in the states. Black exterior with a green interior was not seen here. Had a customer with a 1969 Pontiac Parisienne 2+2 big block 4-speed that was black with painted white top and bright blue interior. Always thought that was interesting and wonder why they didn't do that in the states. Beautiful build and admire what you have done!
-
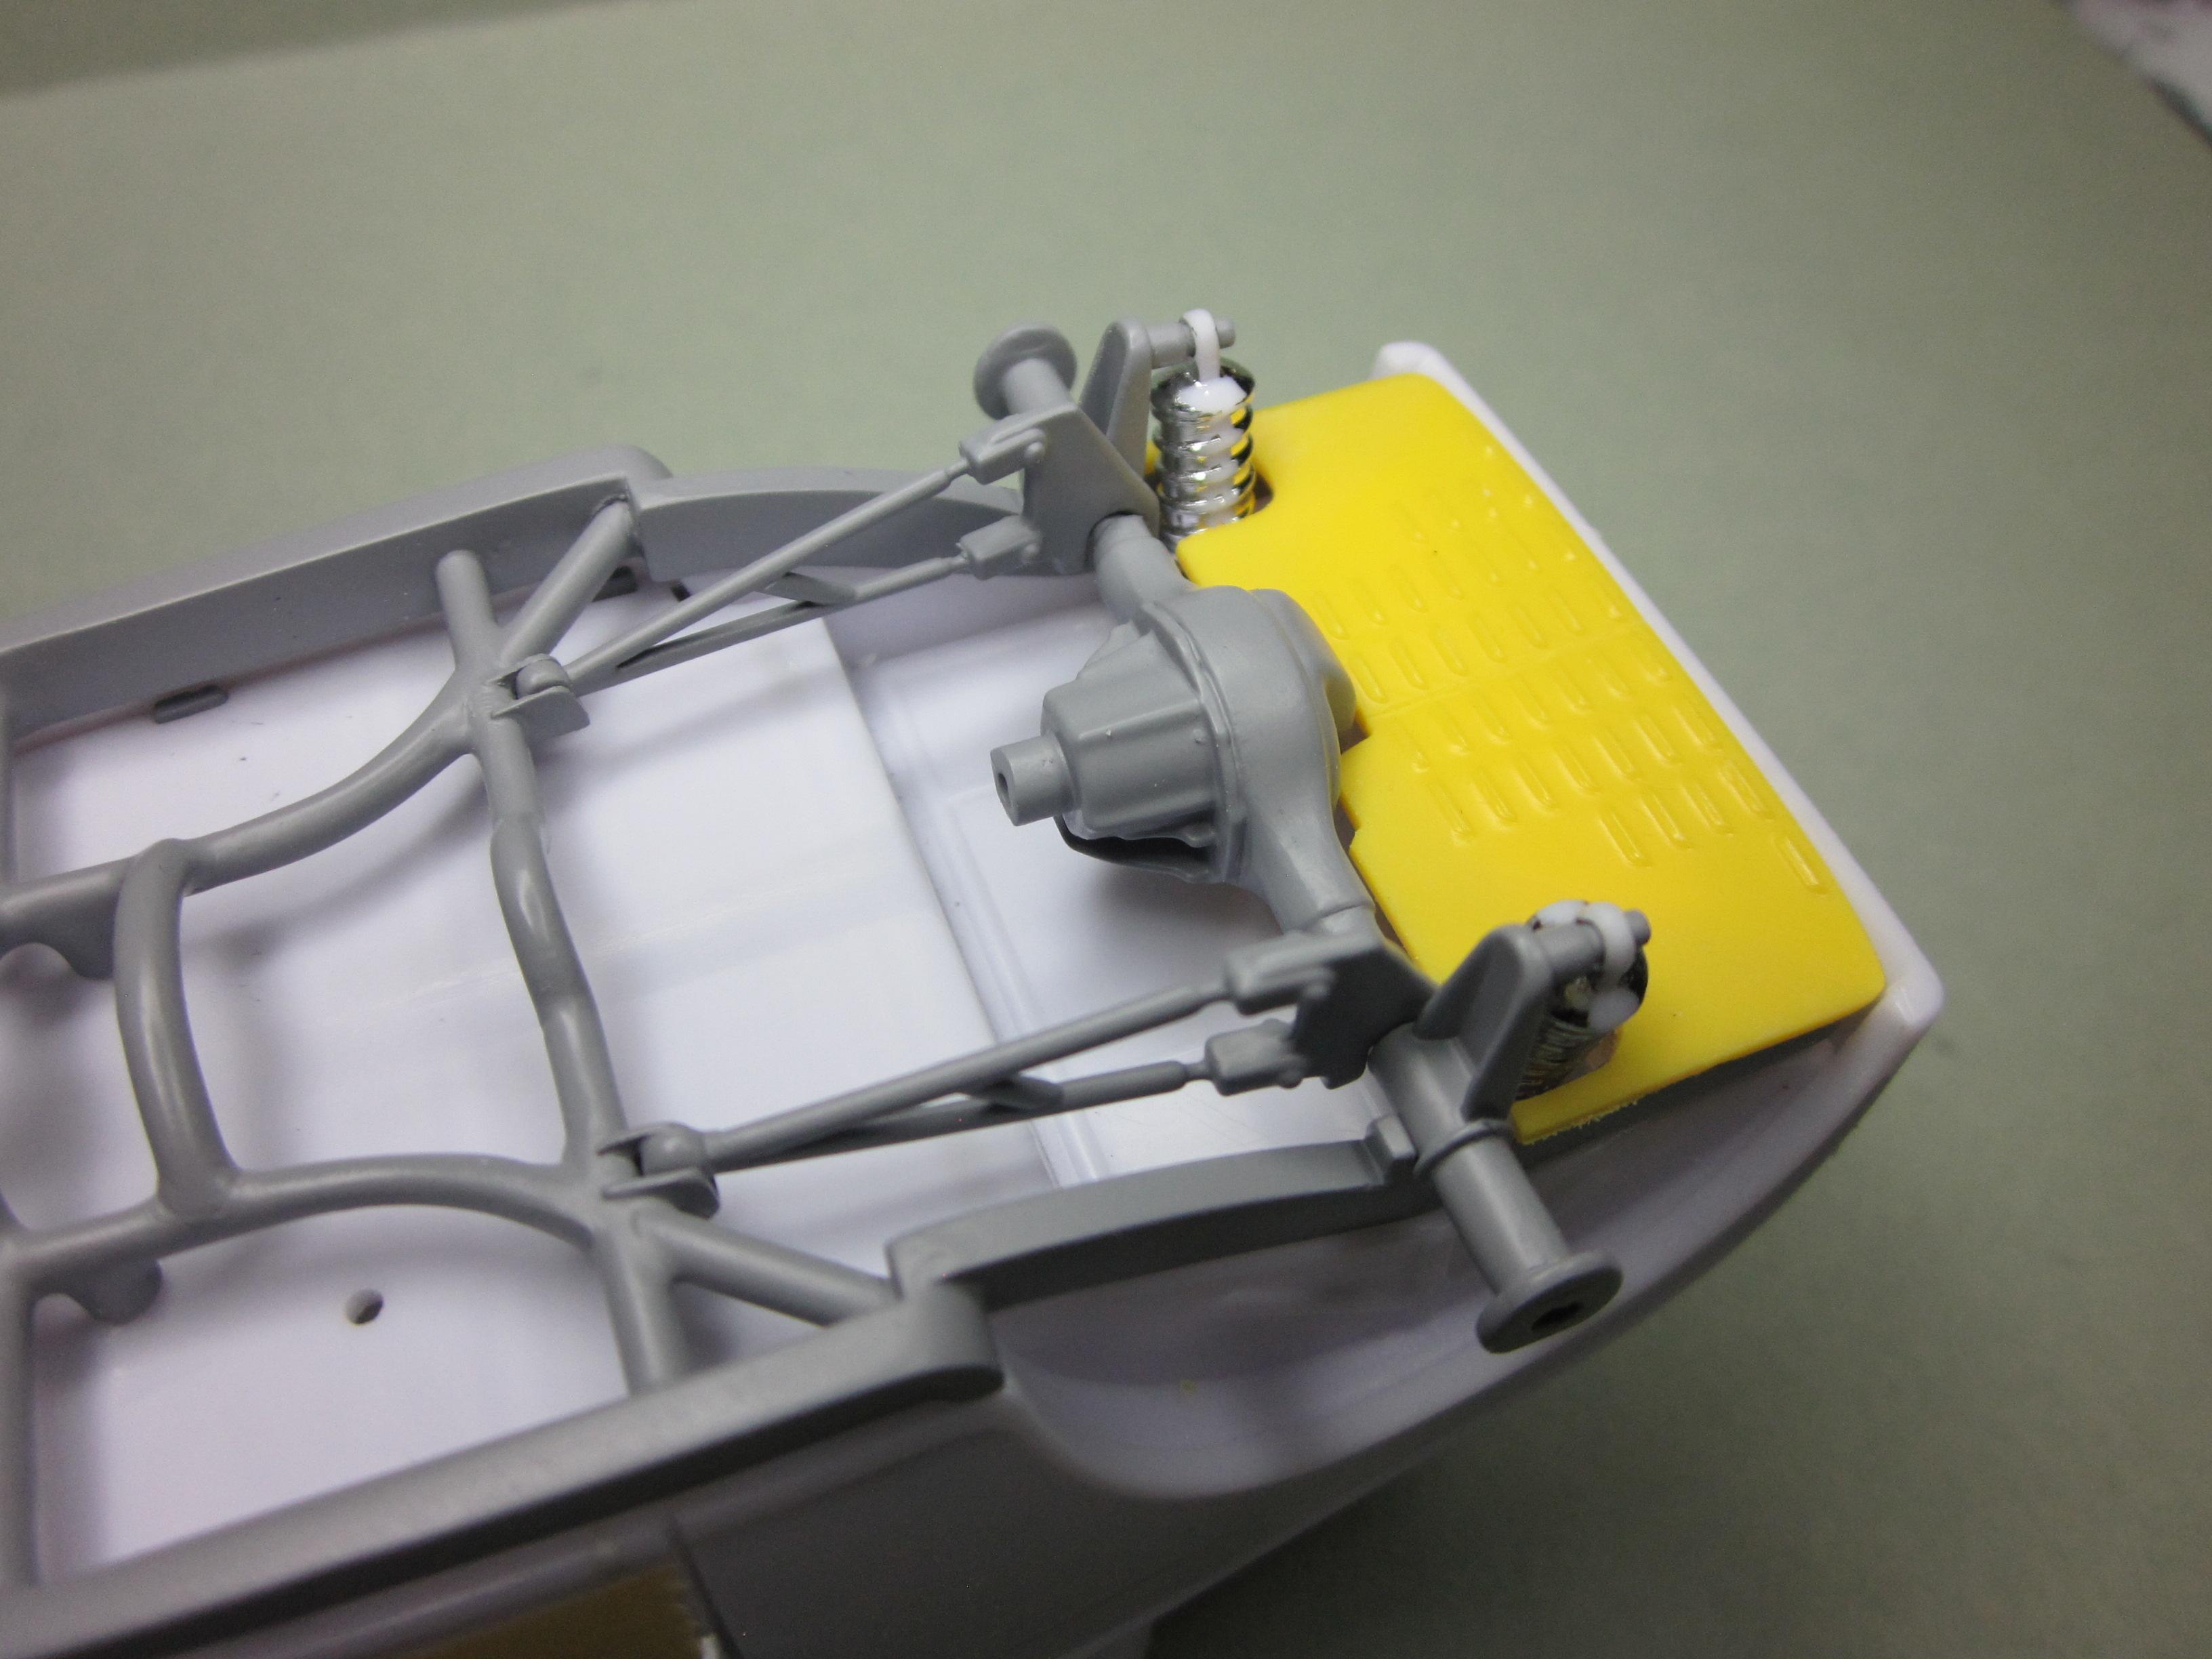
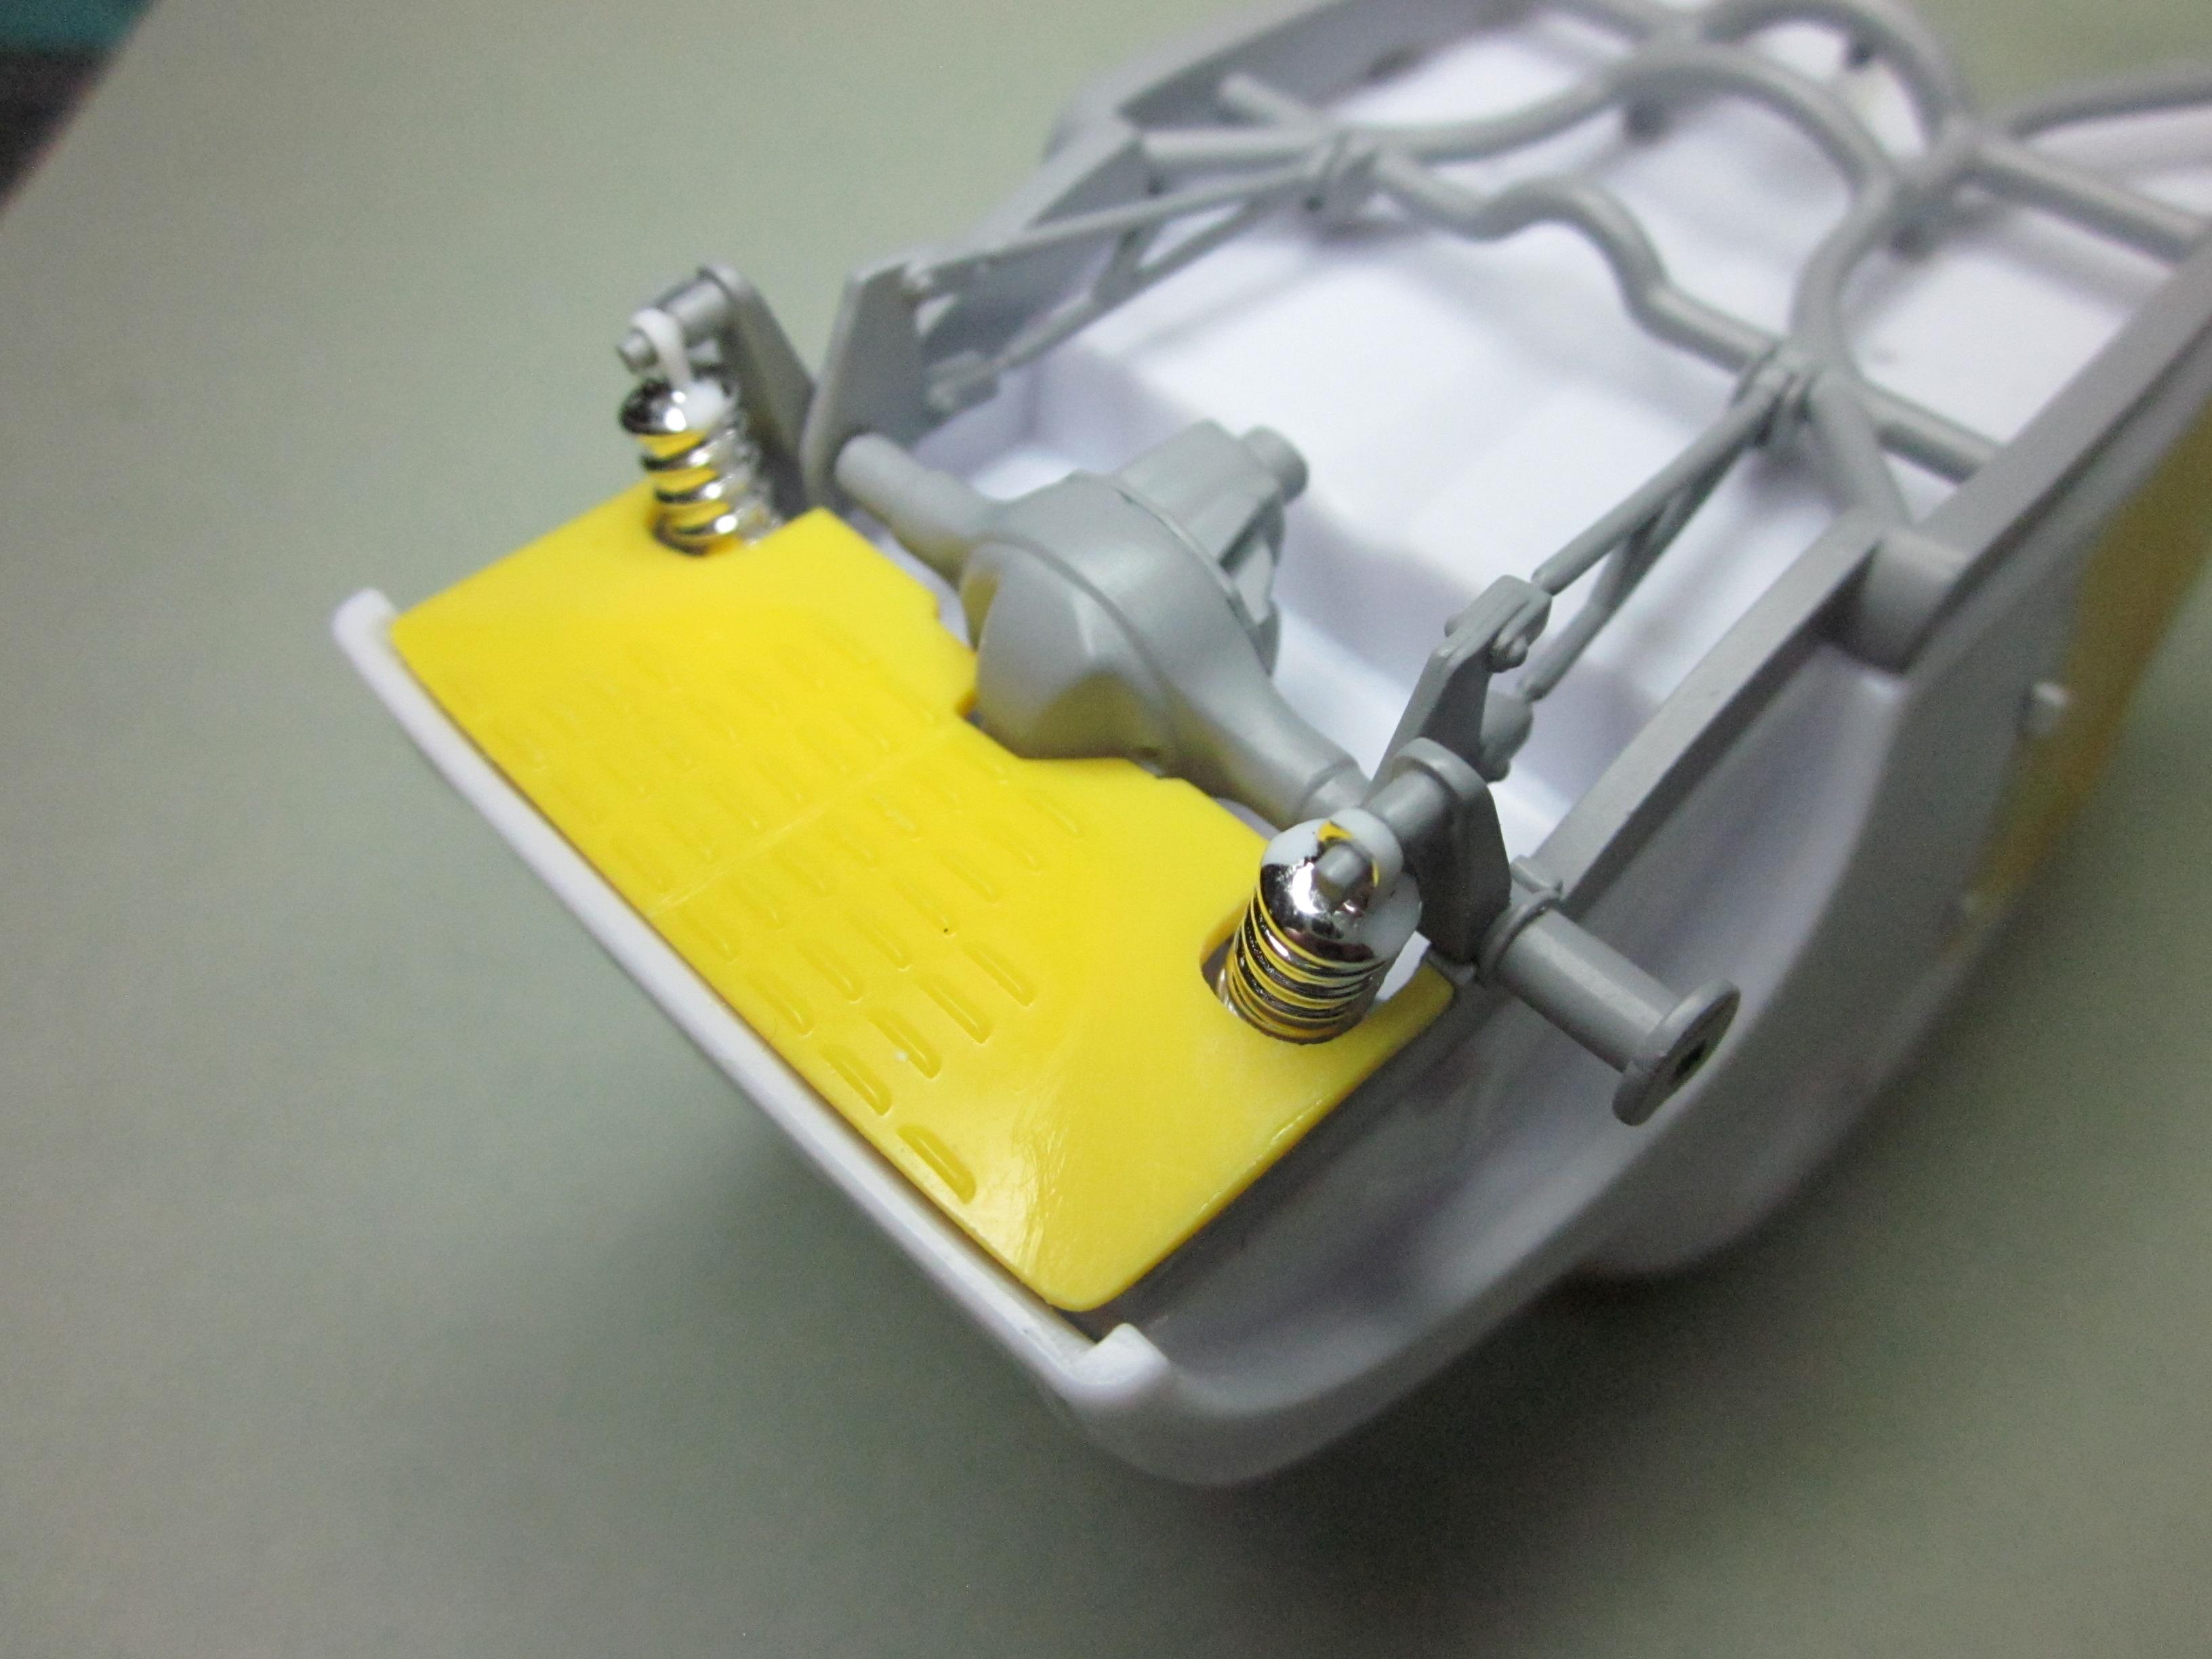
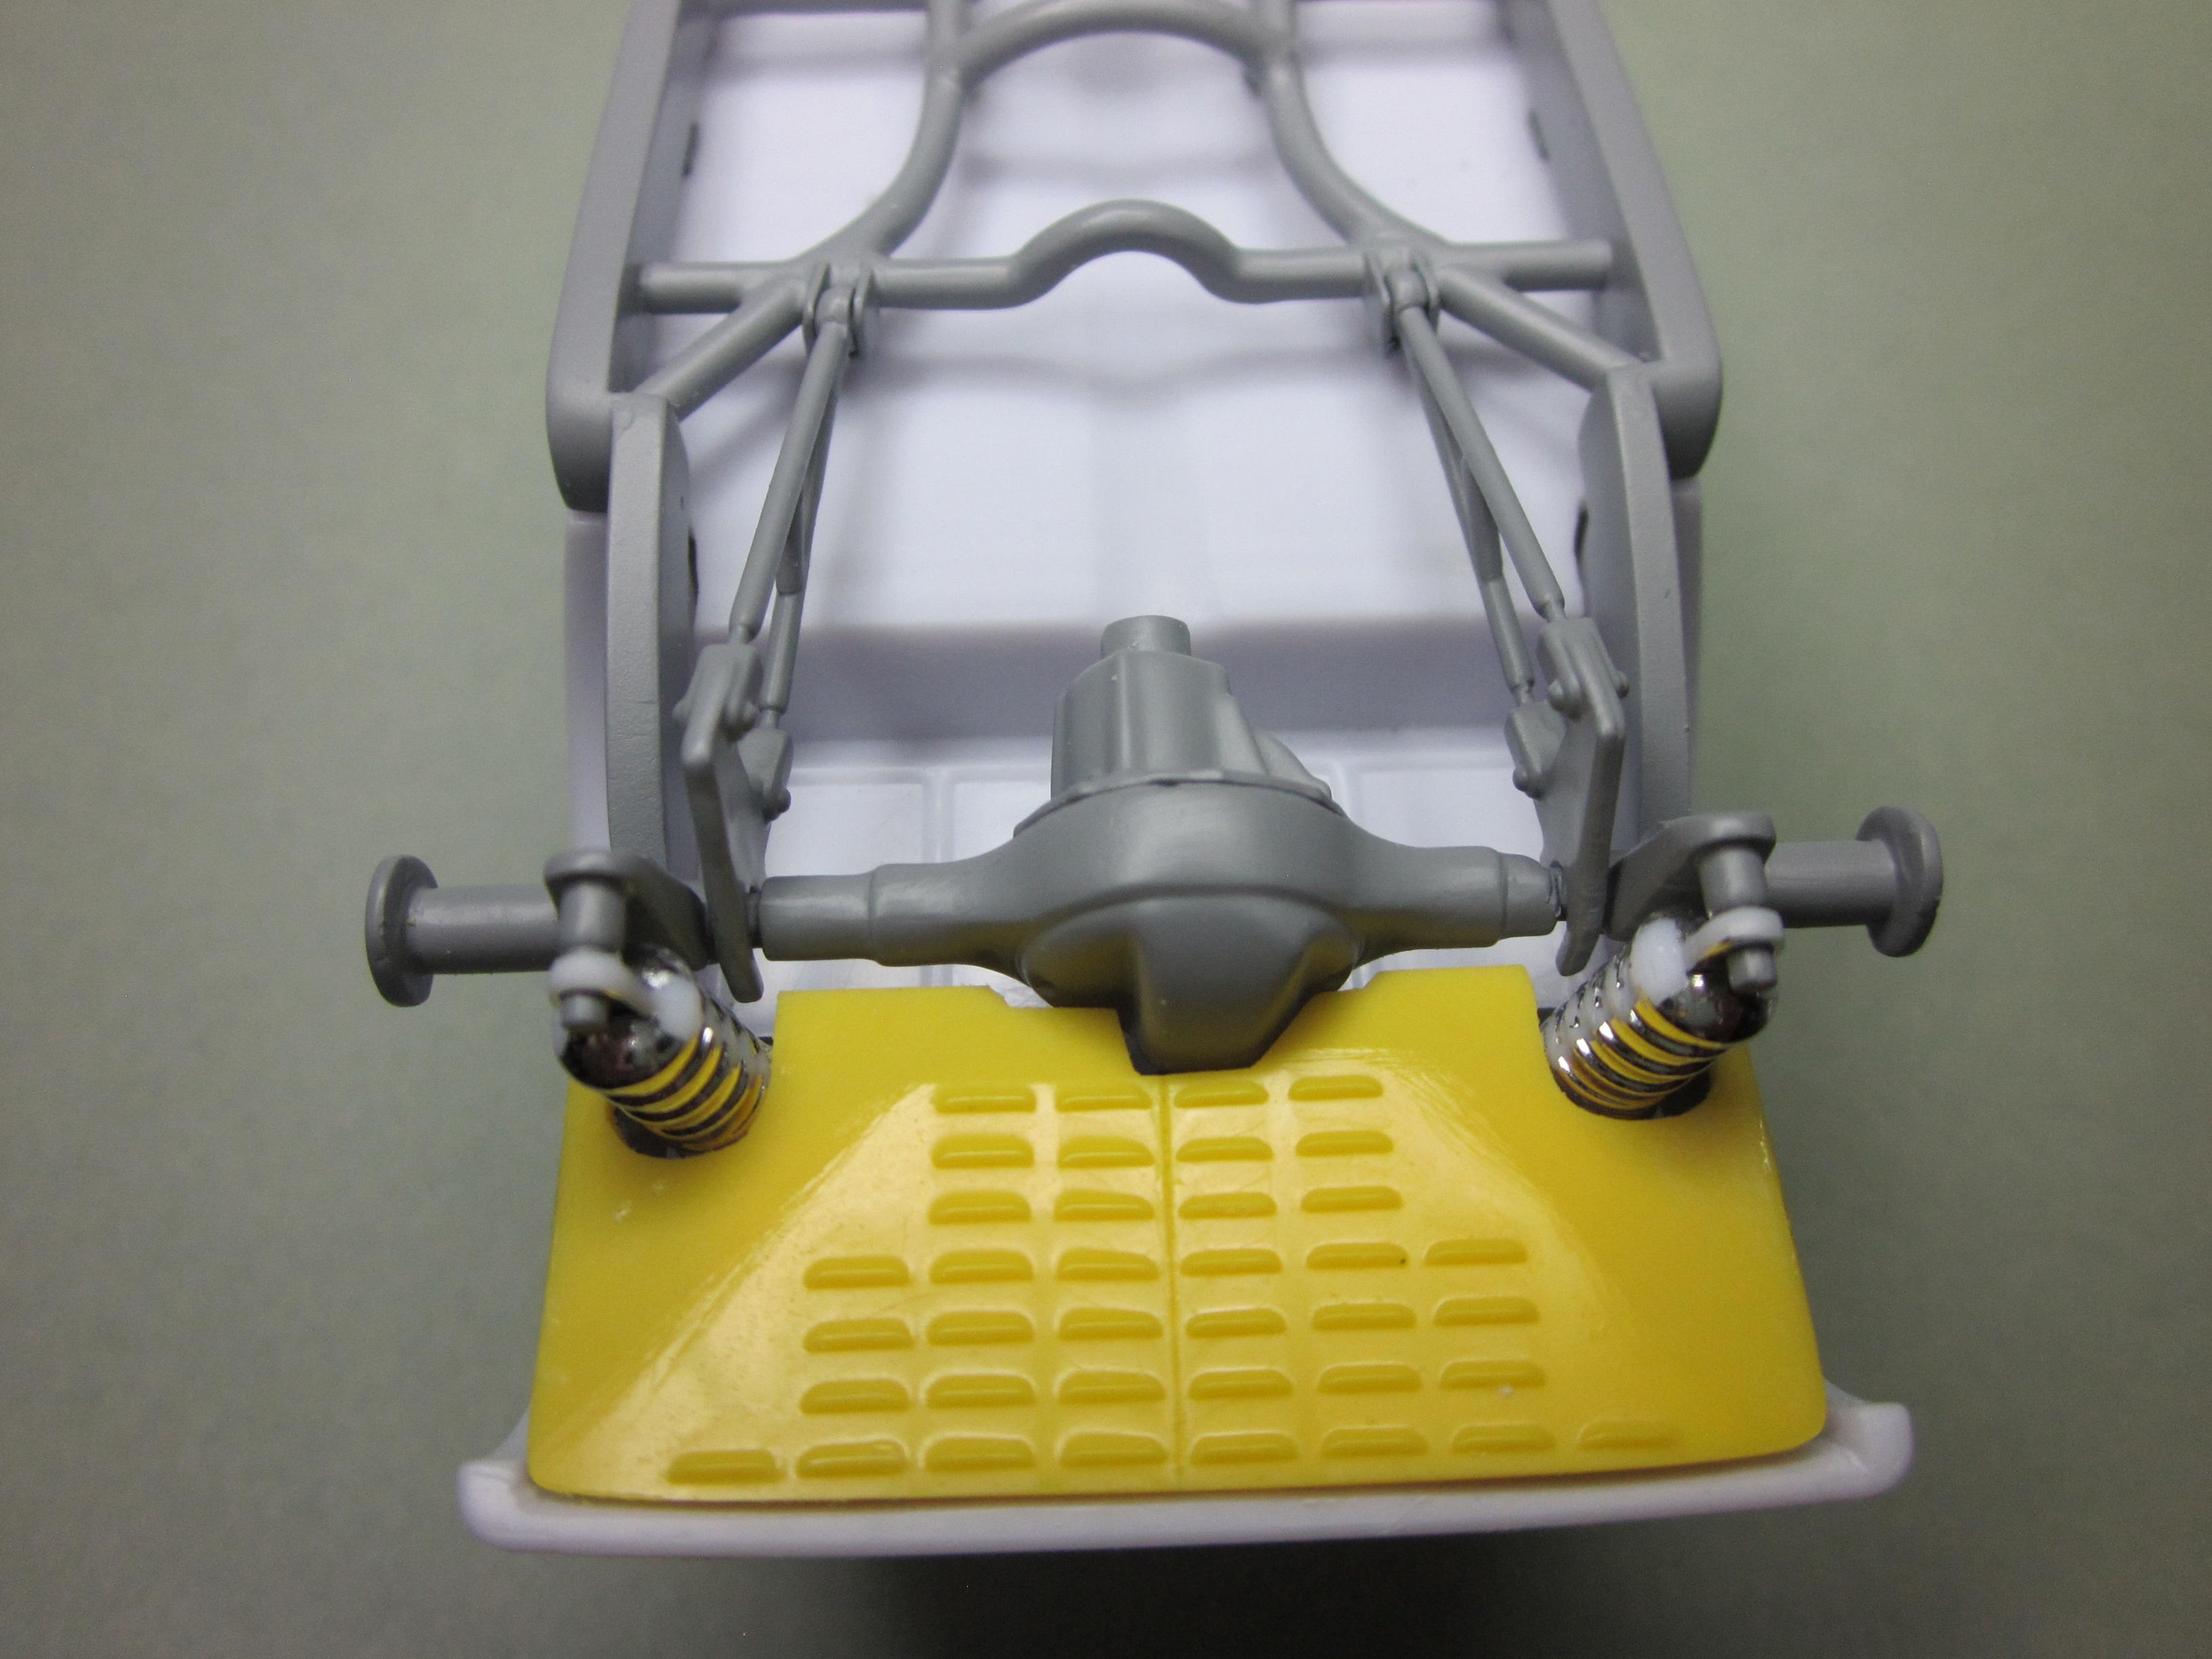
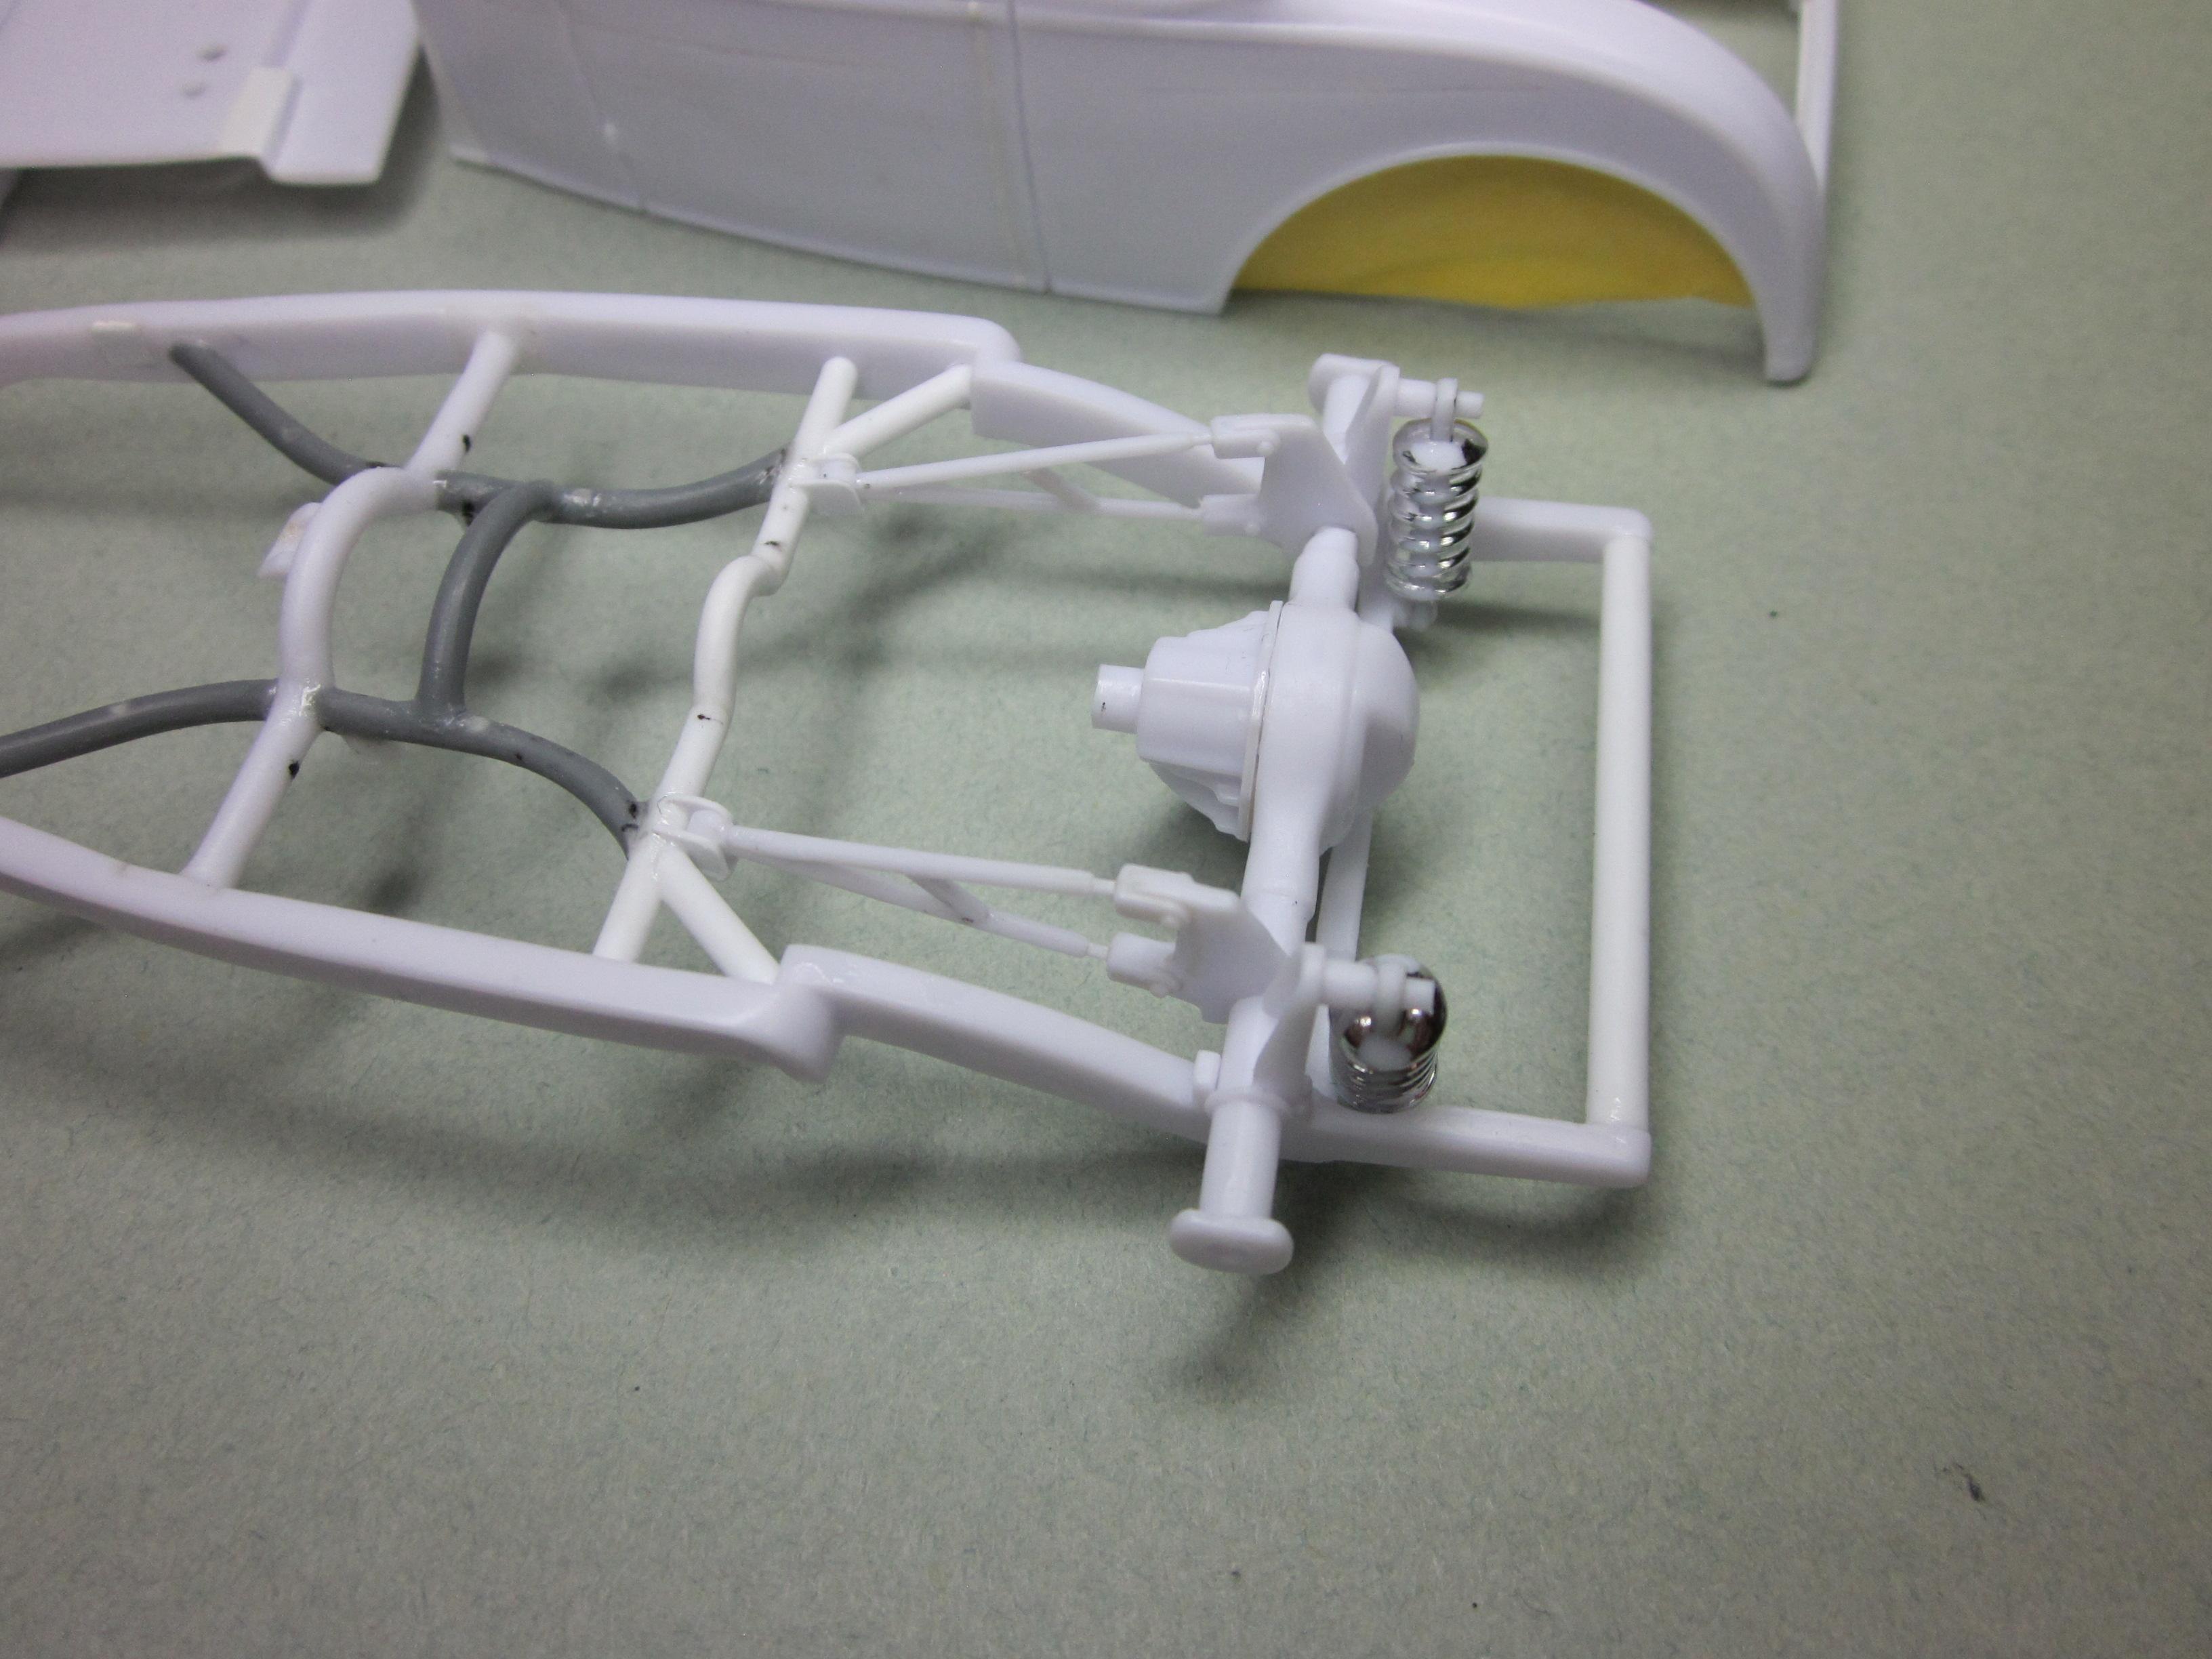
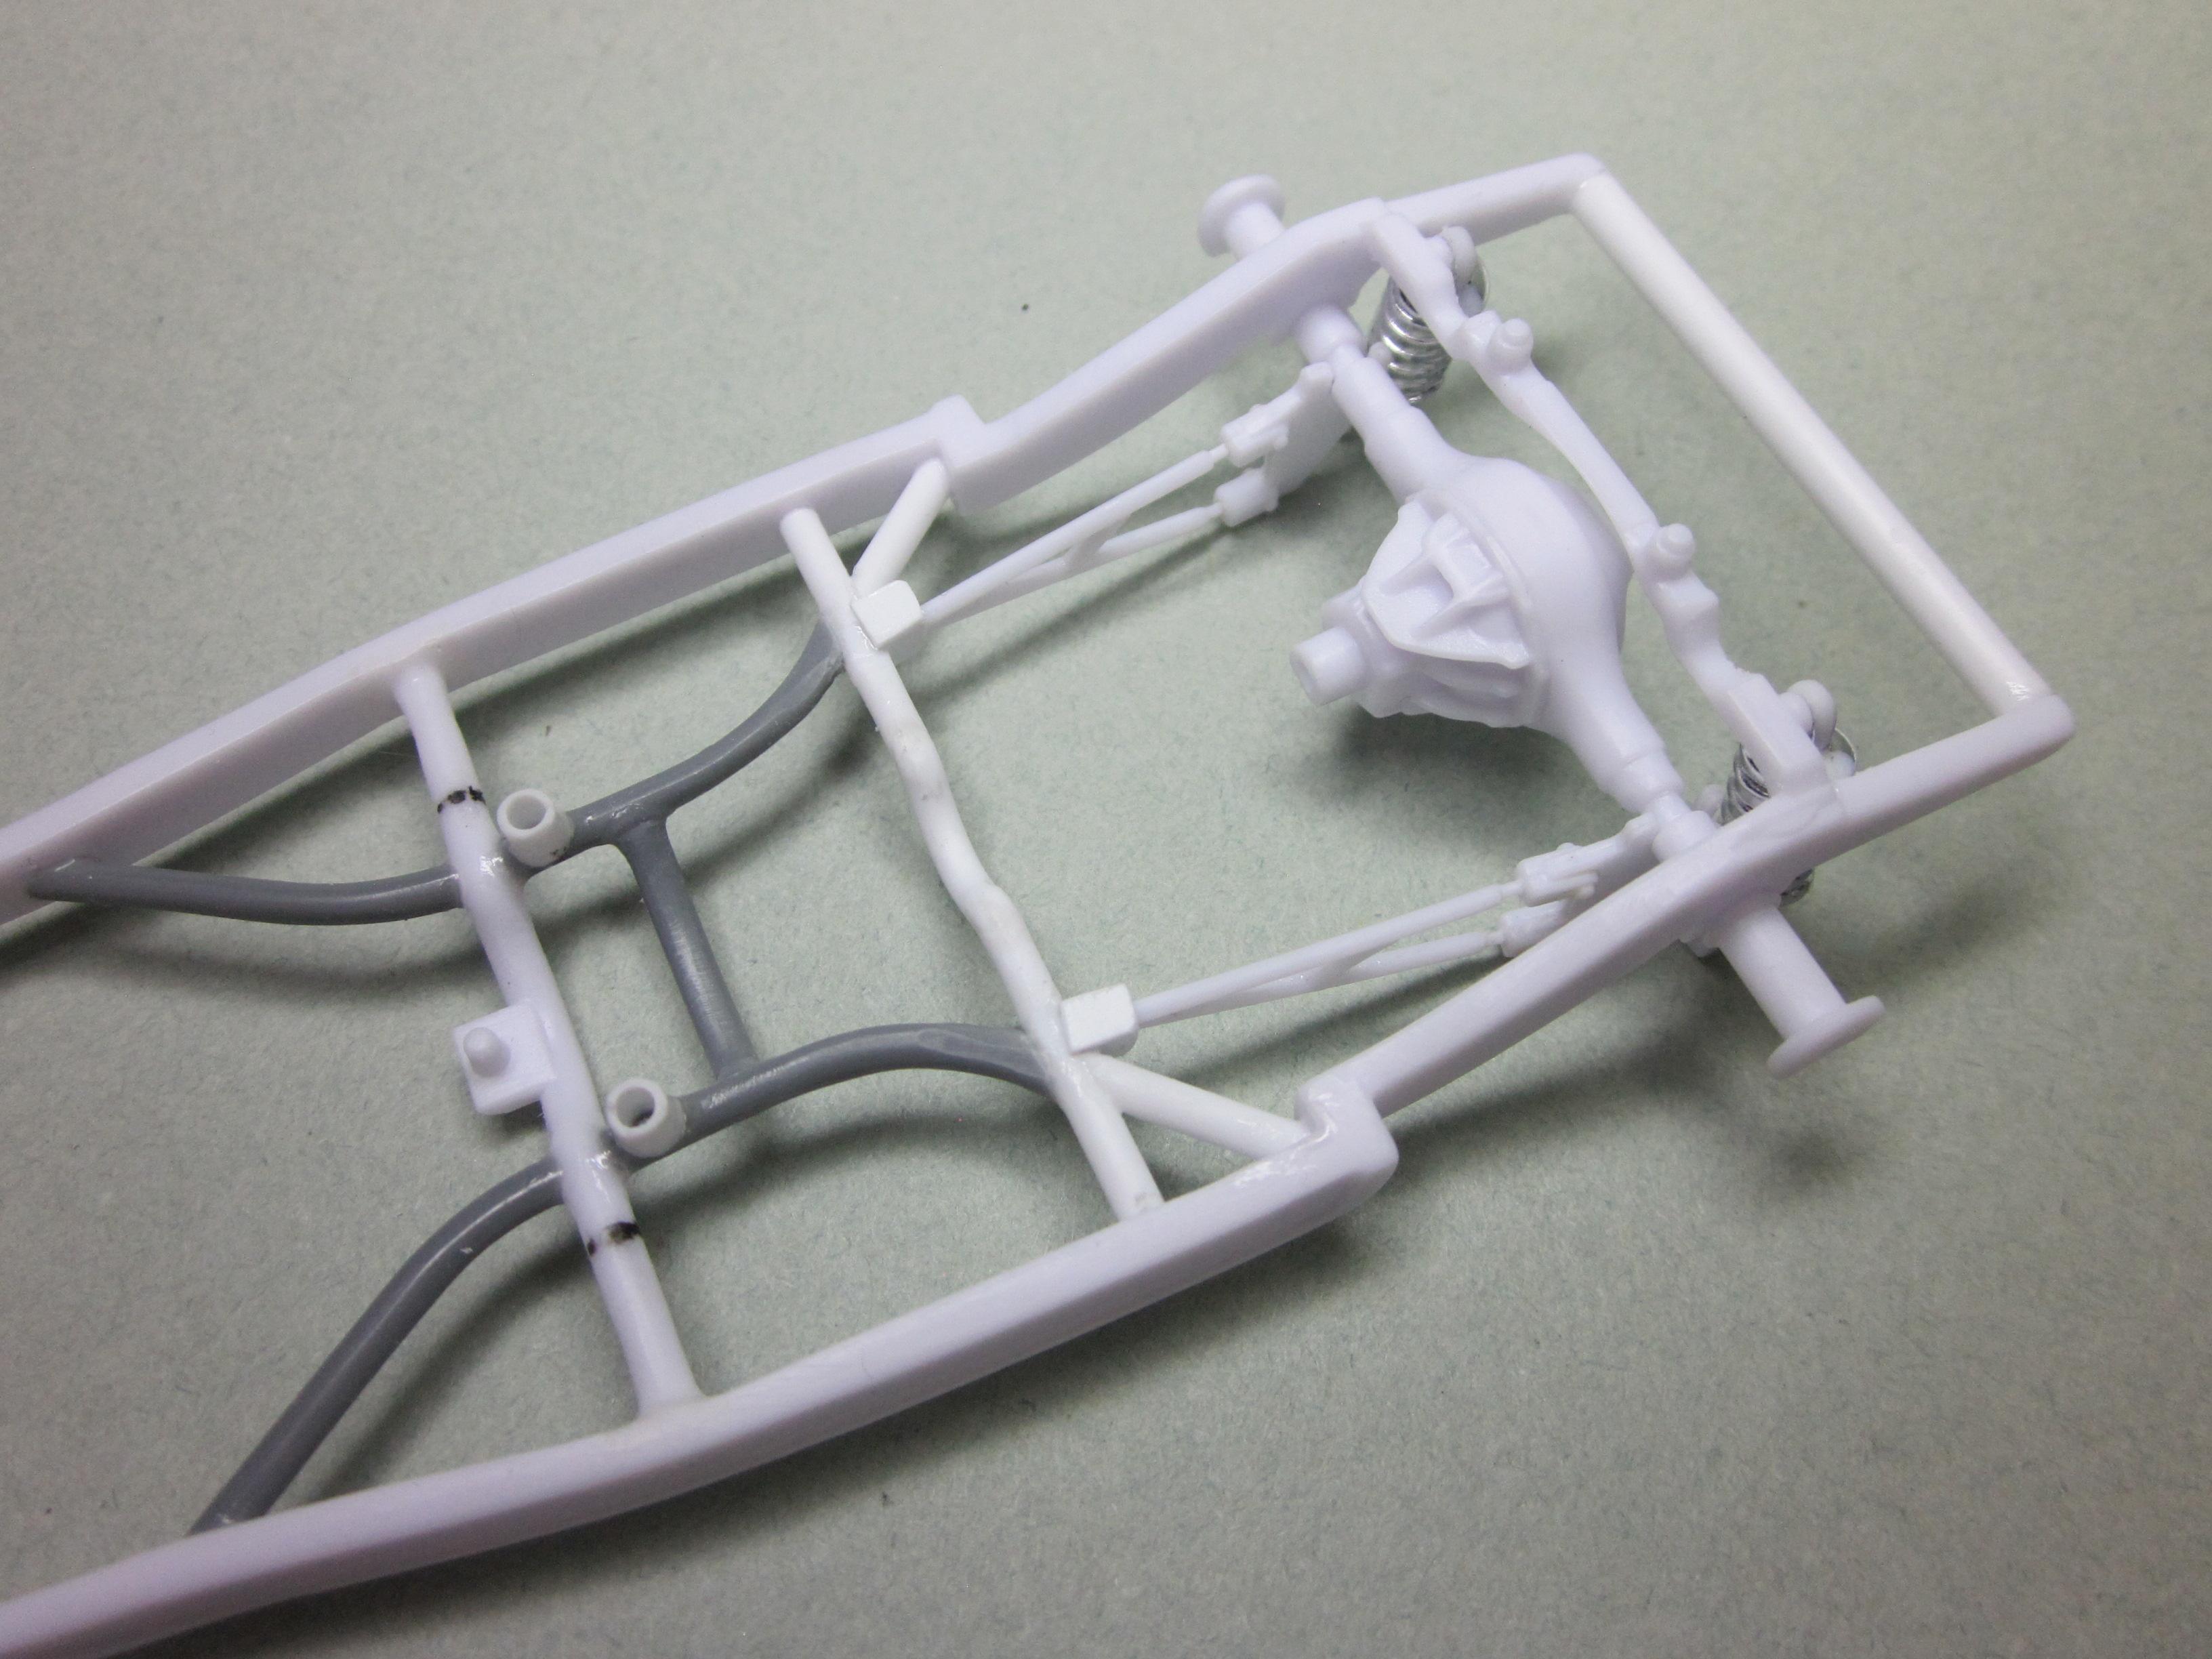
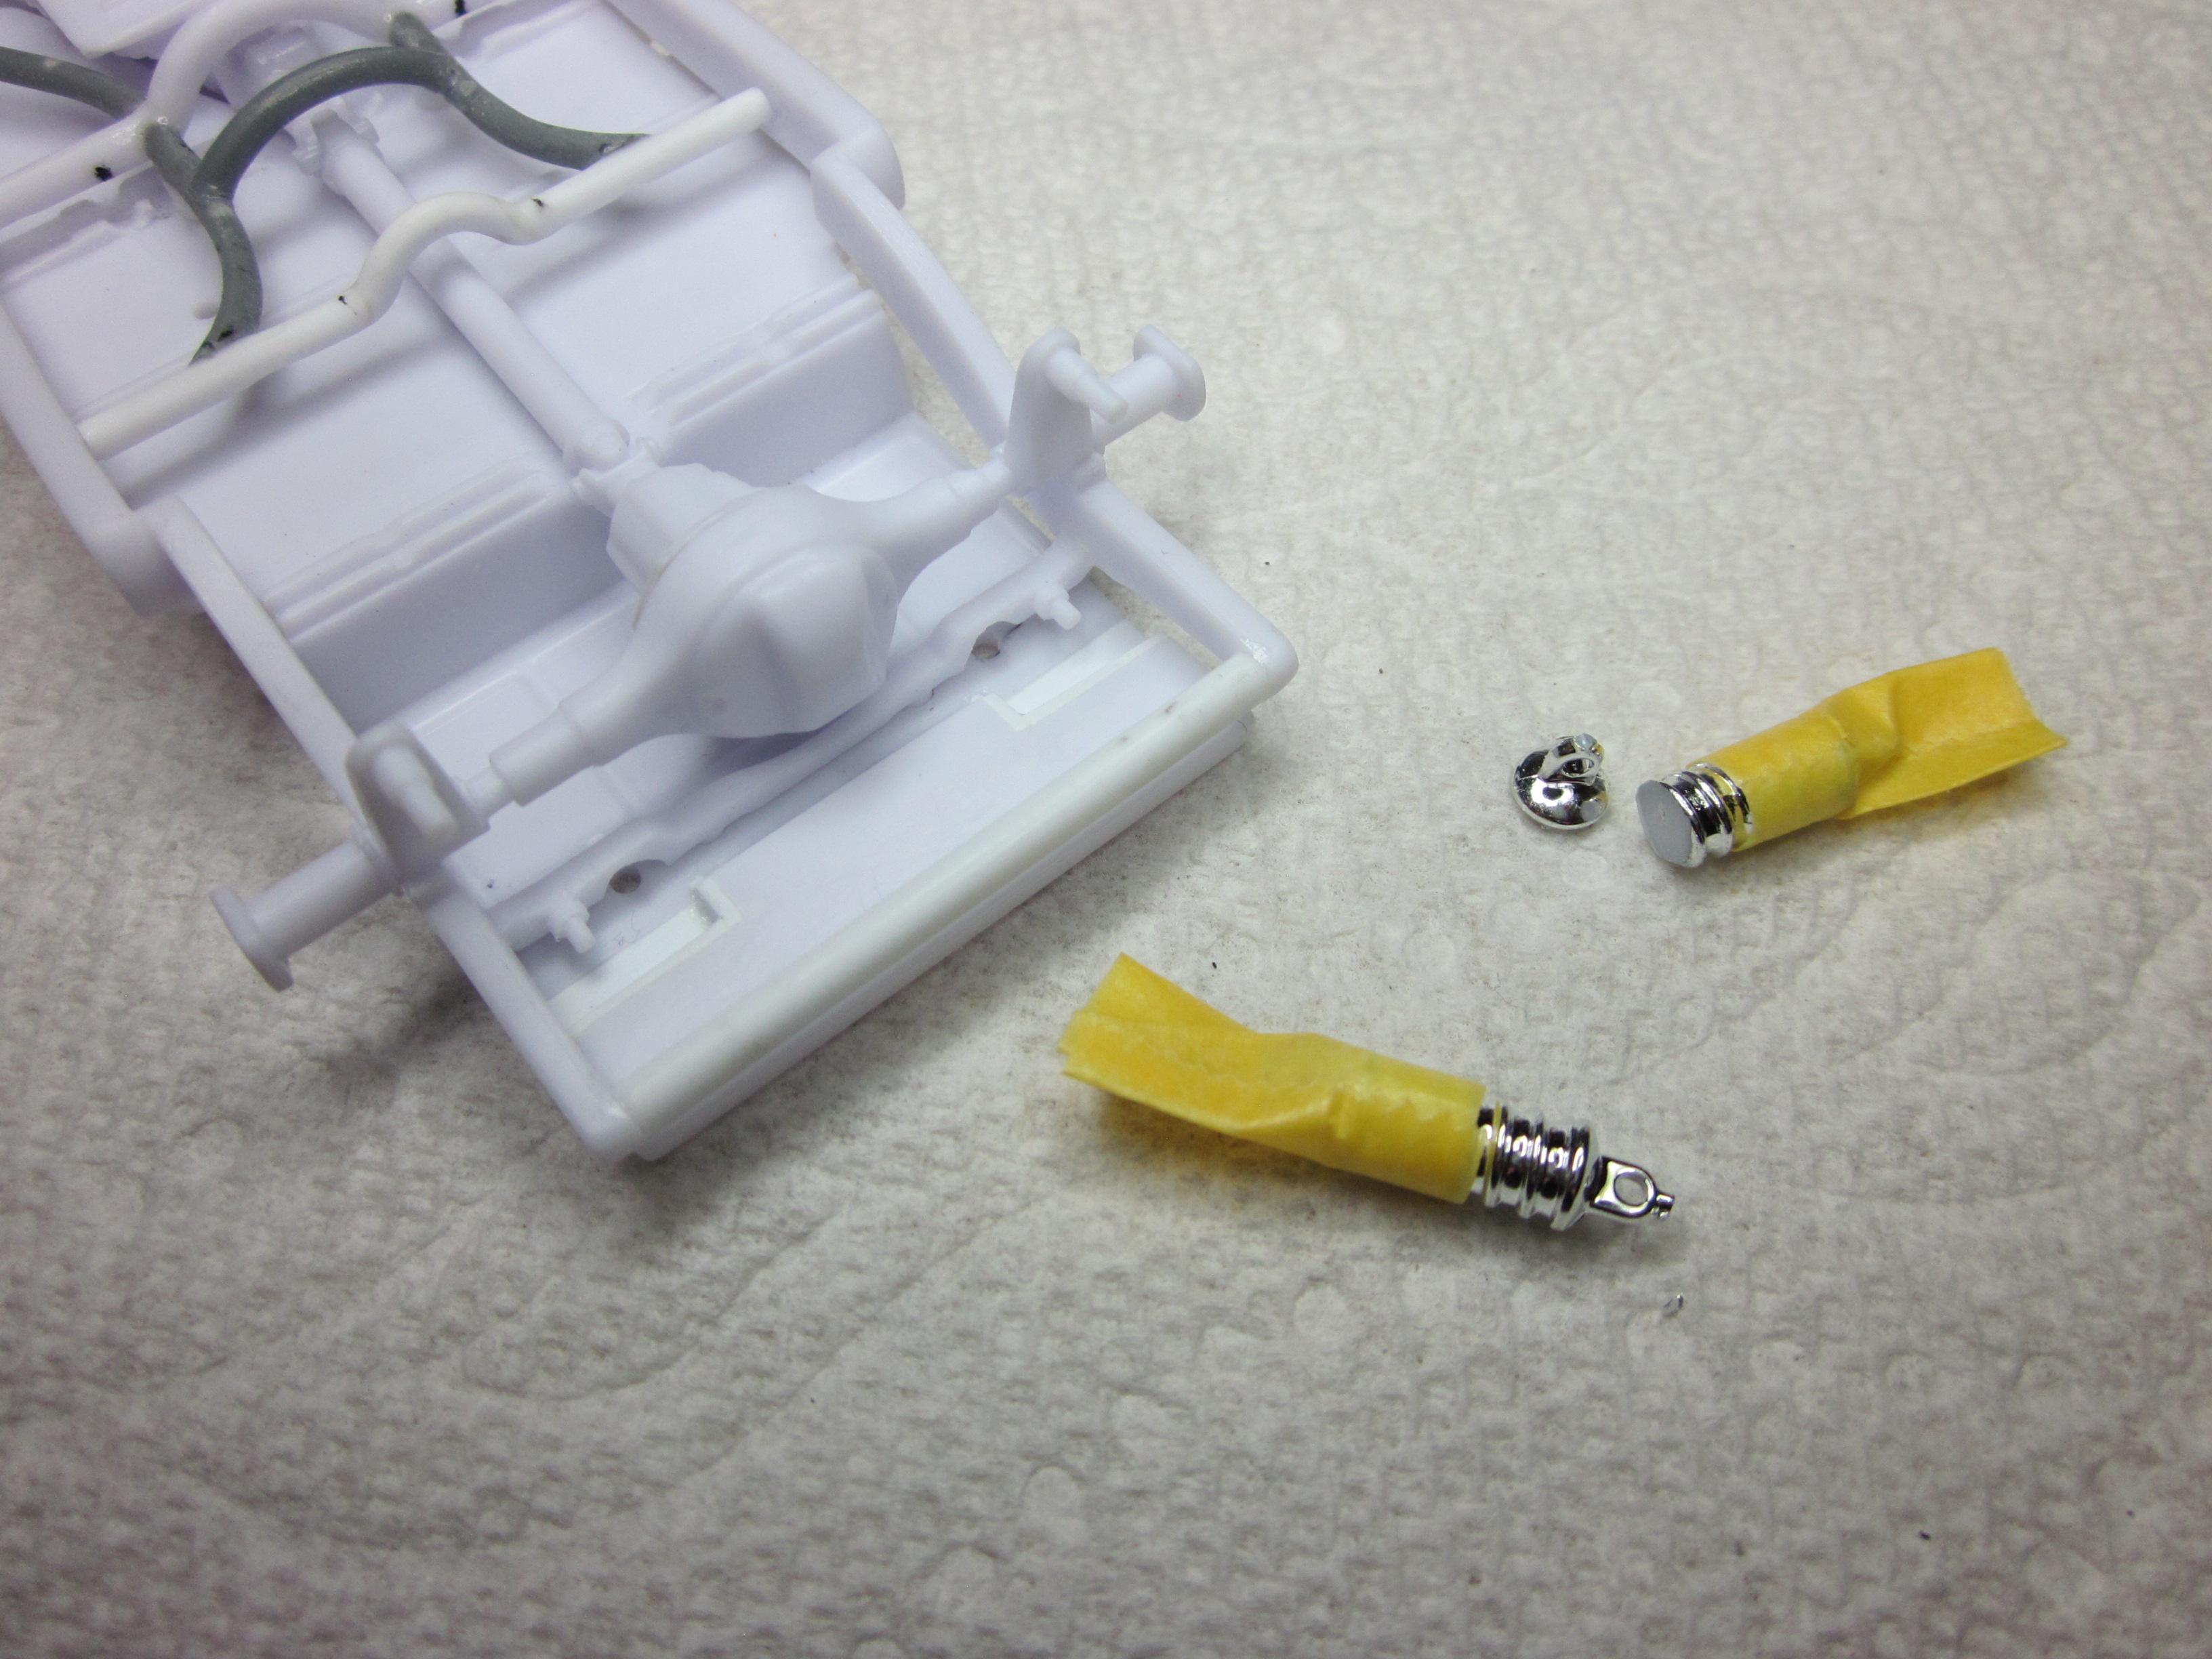
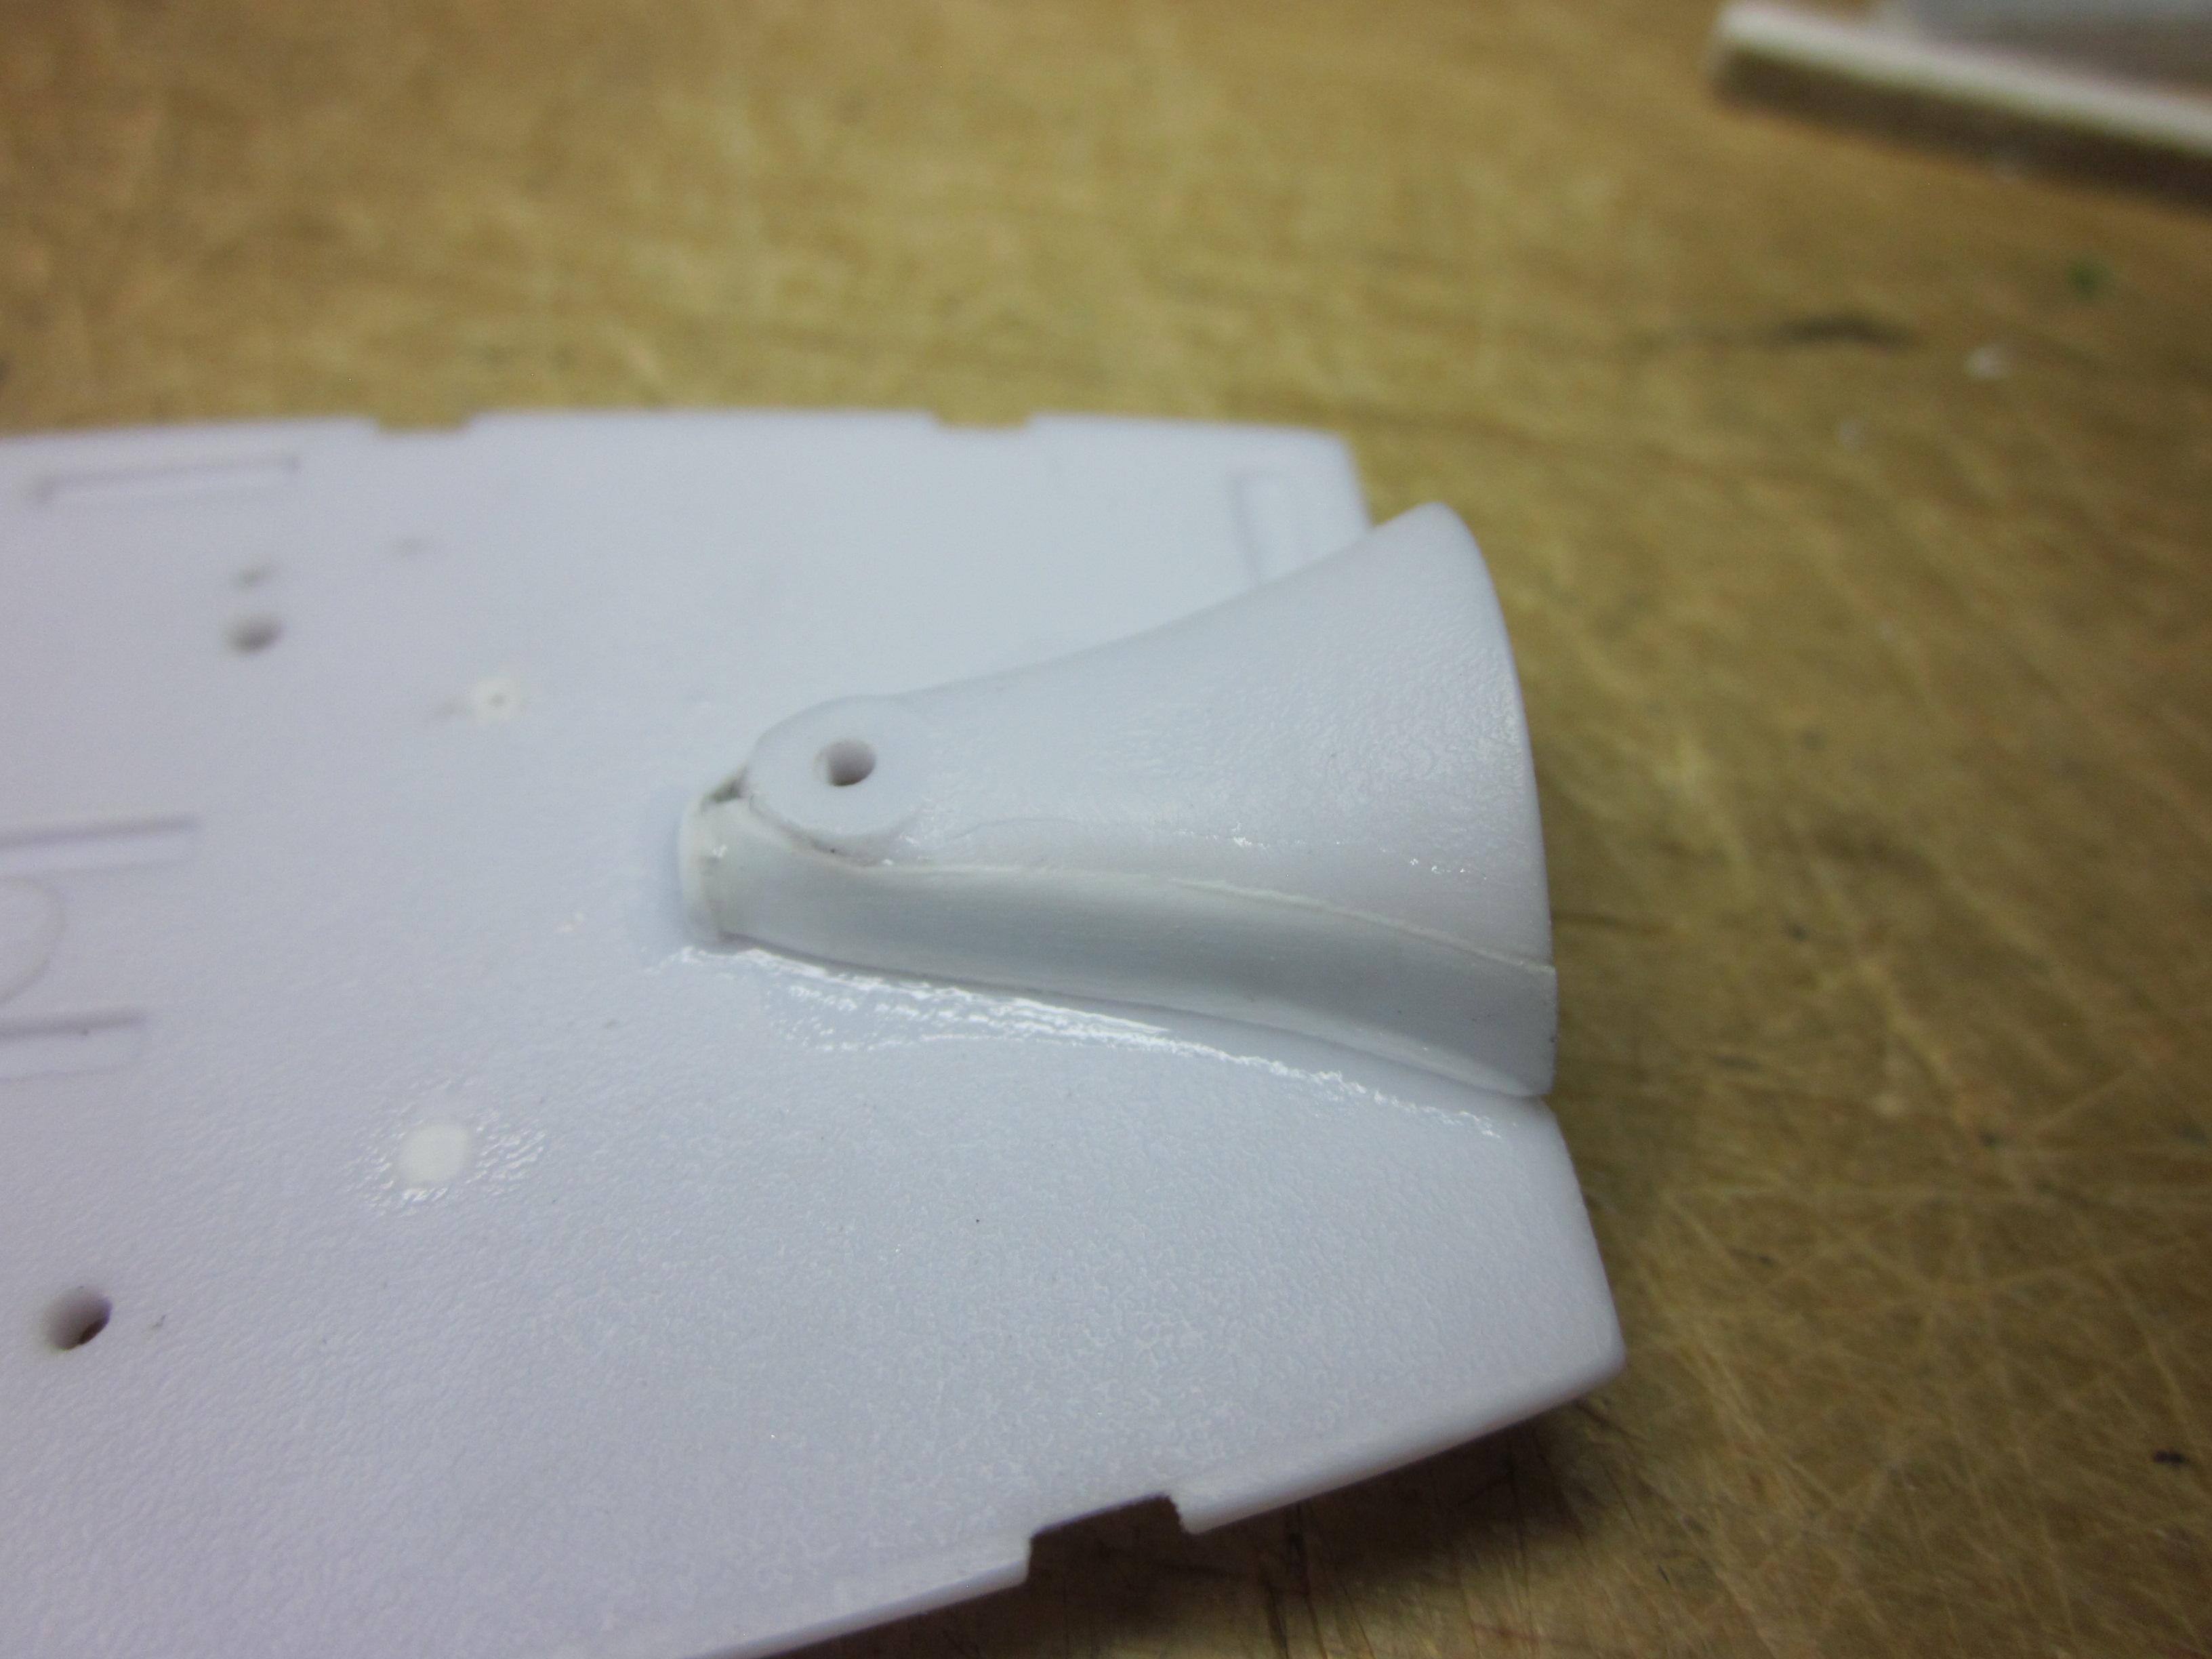
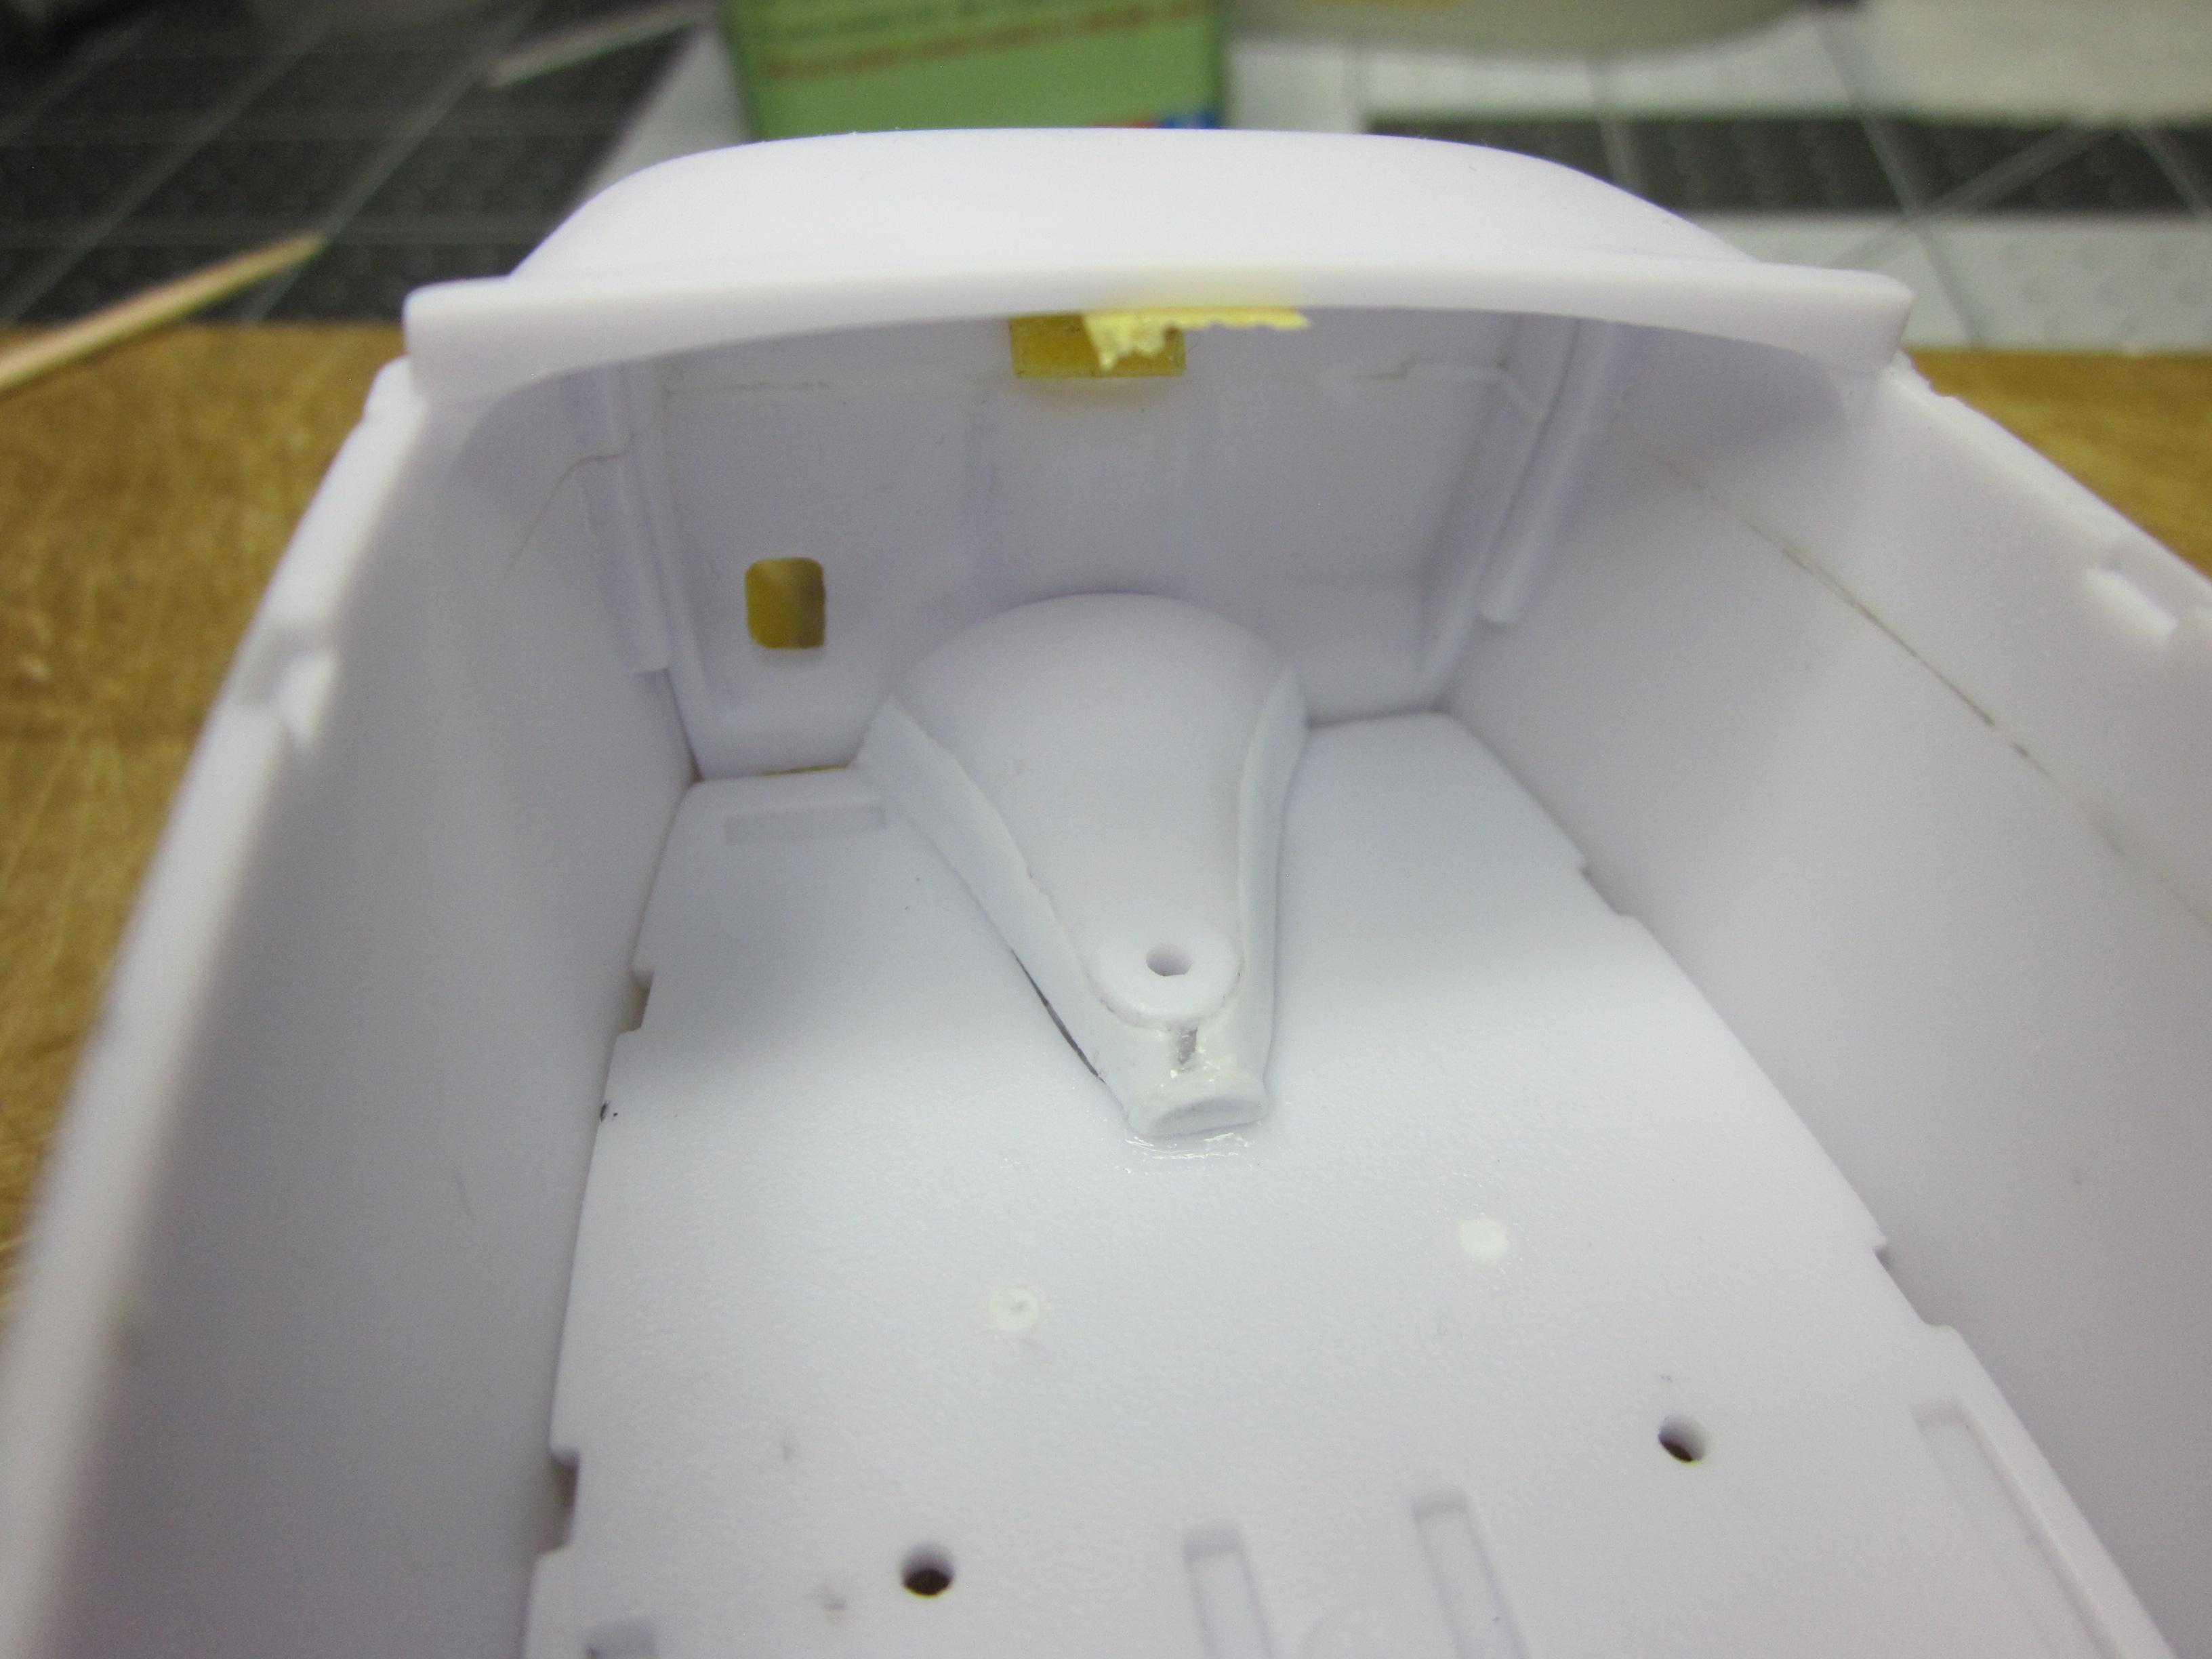
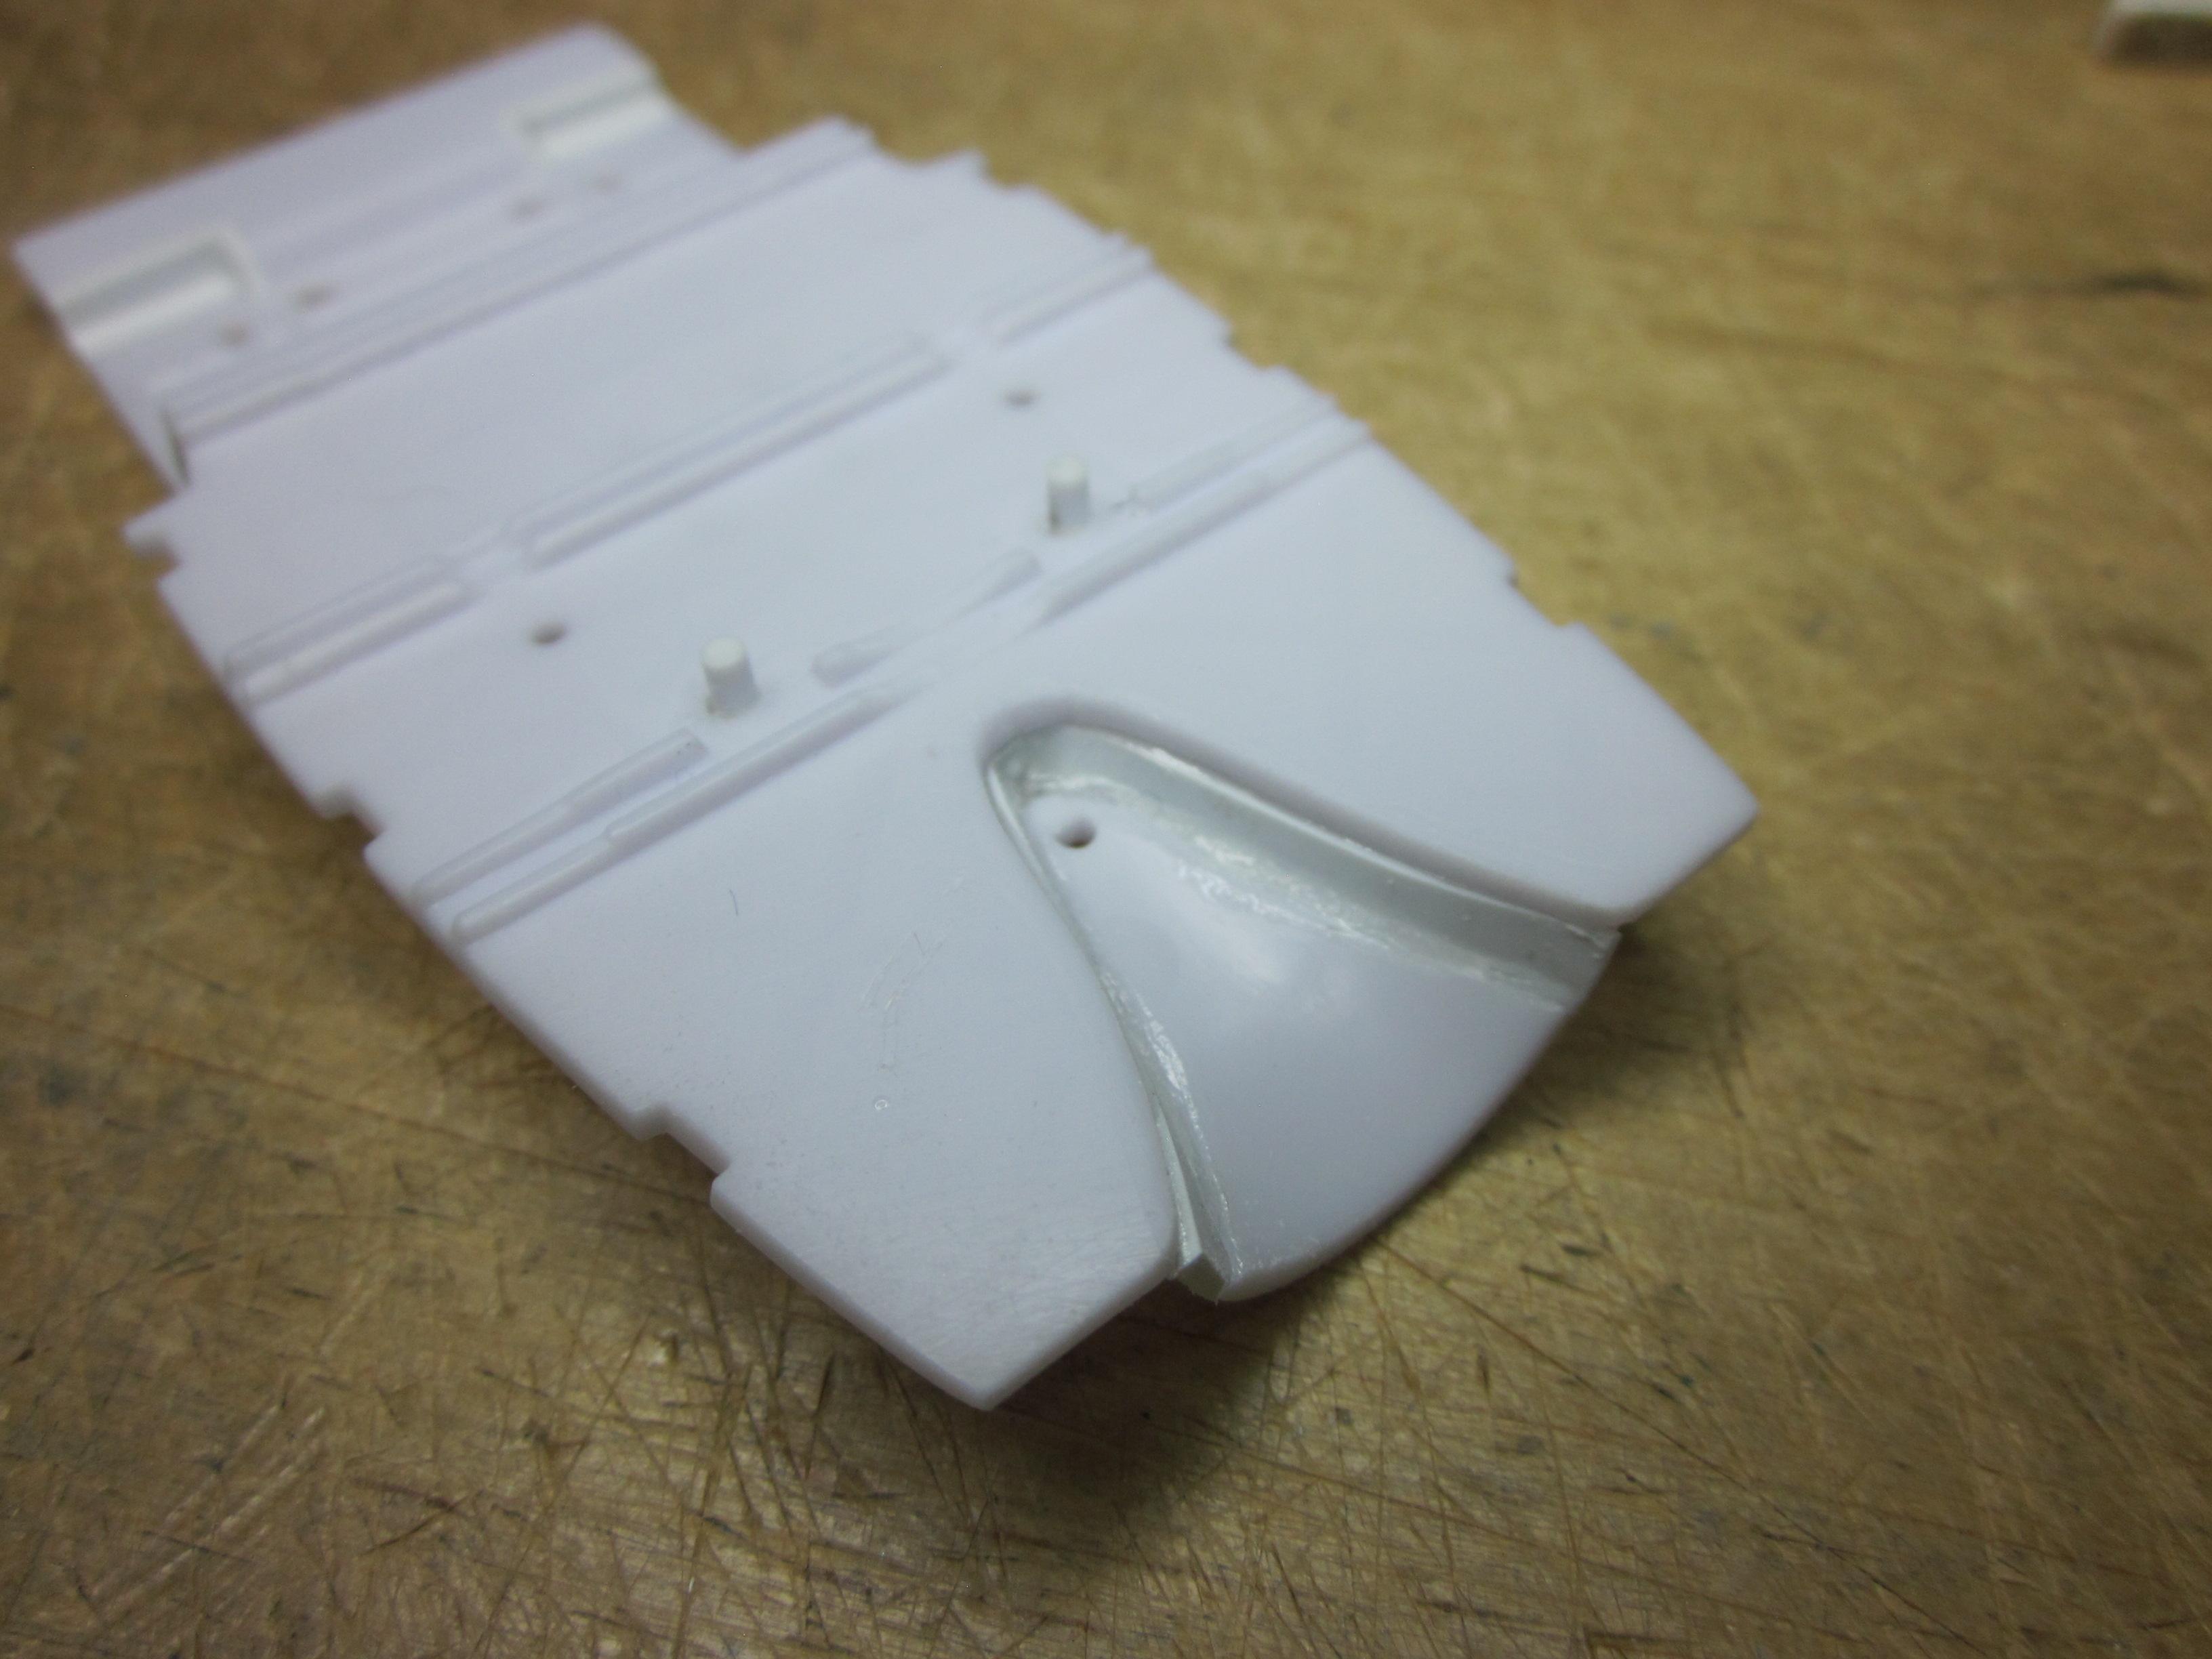
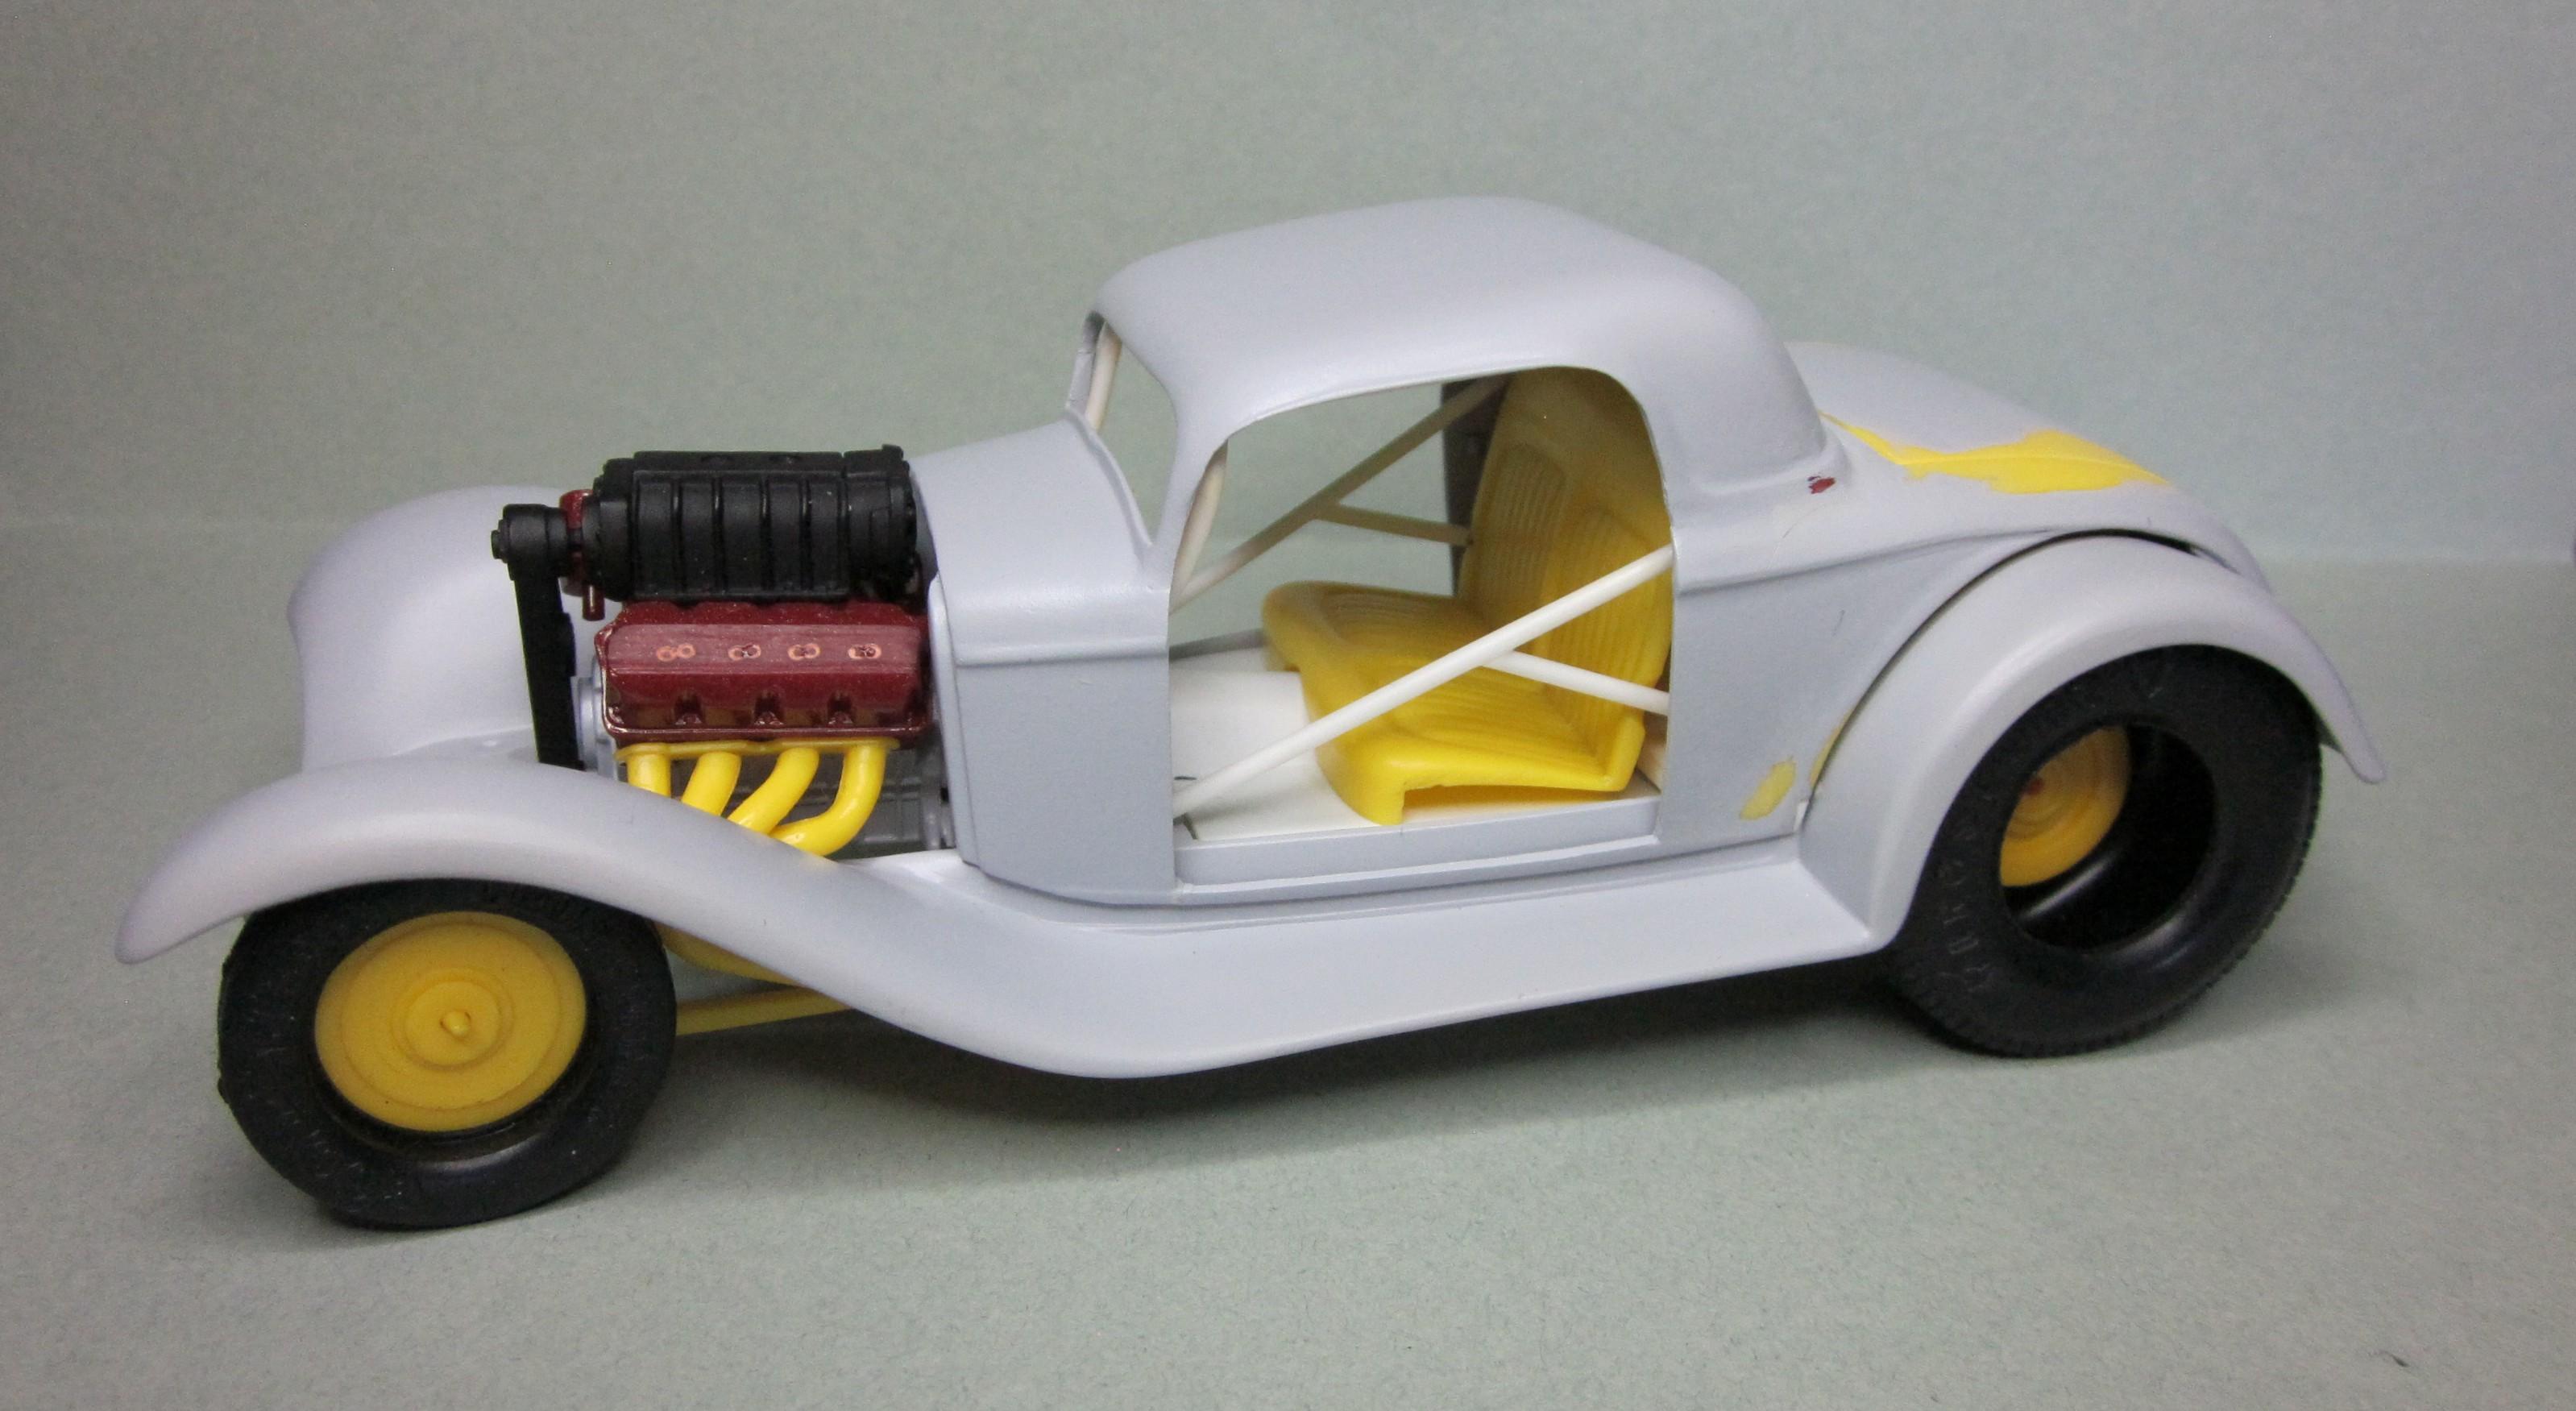
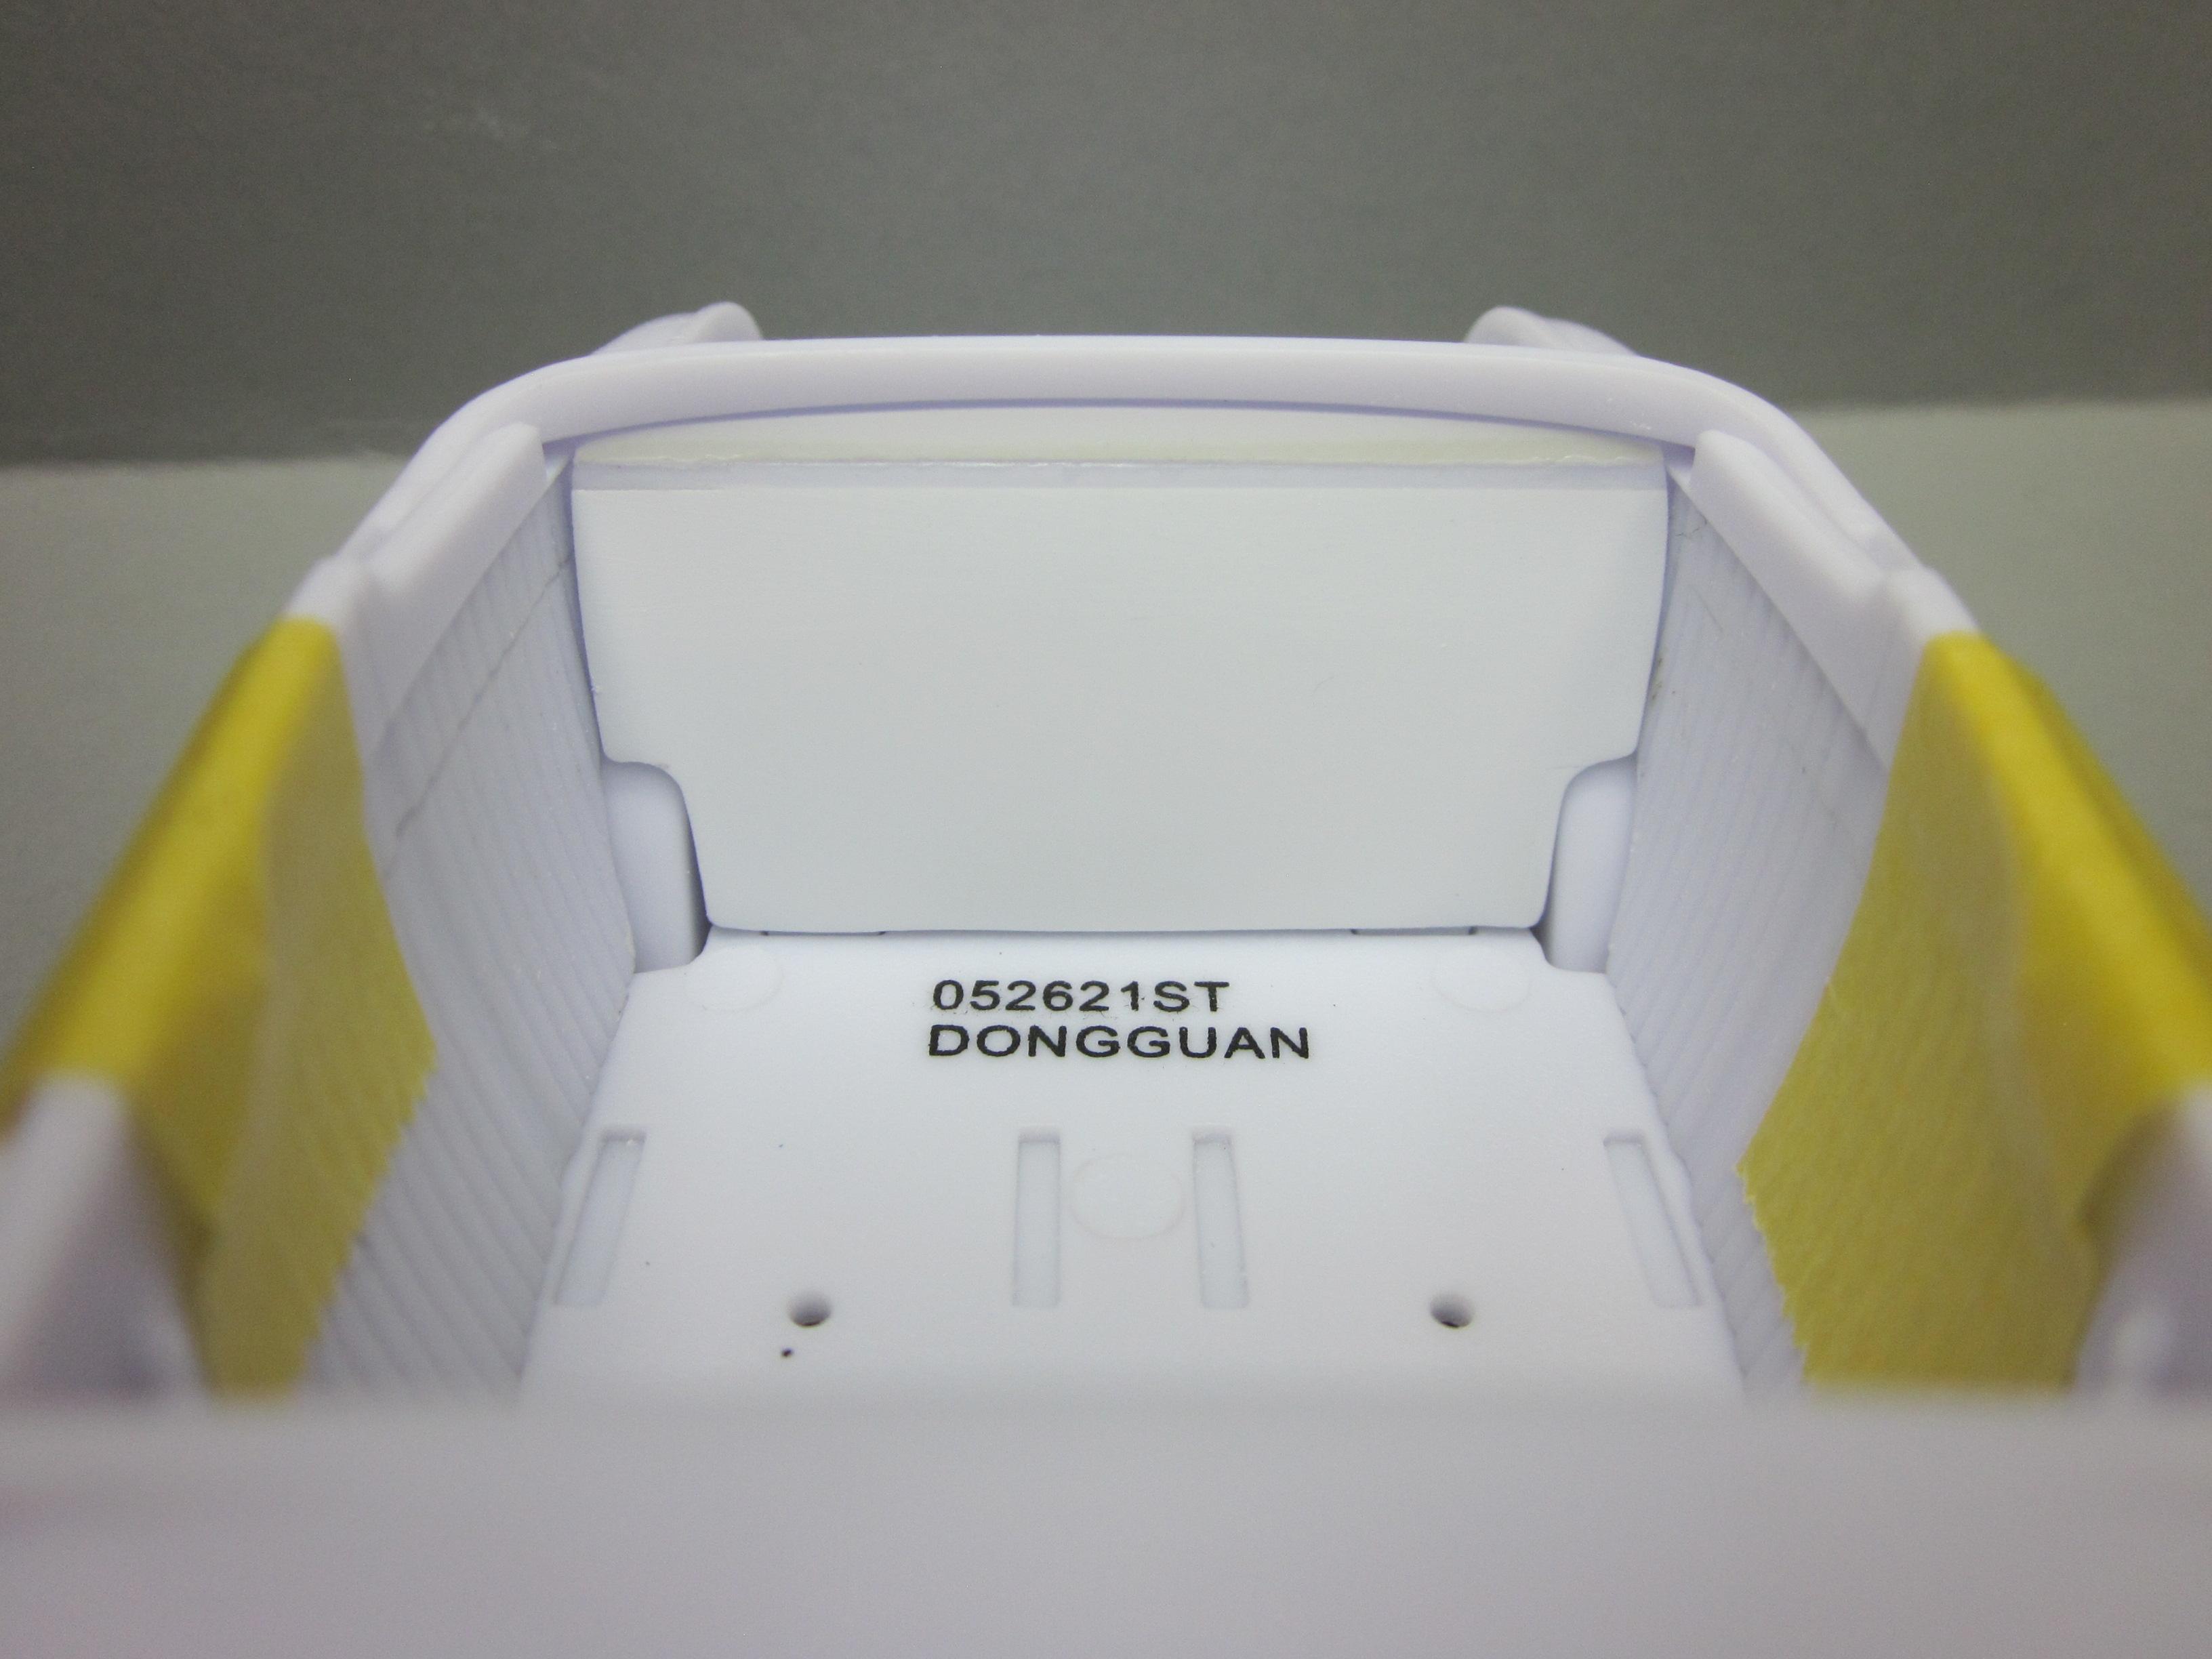
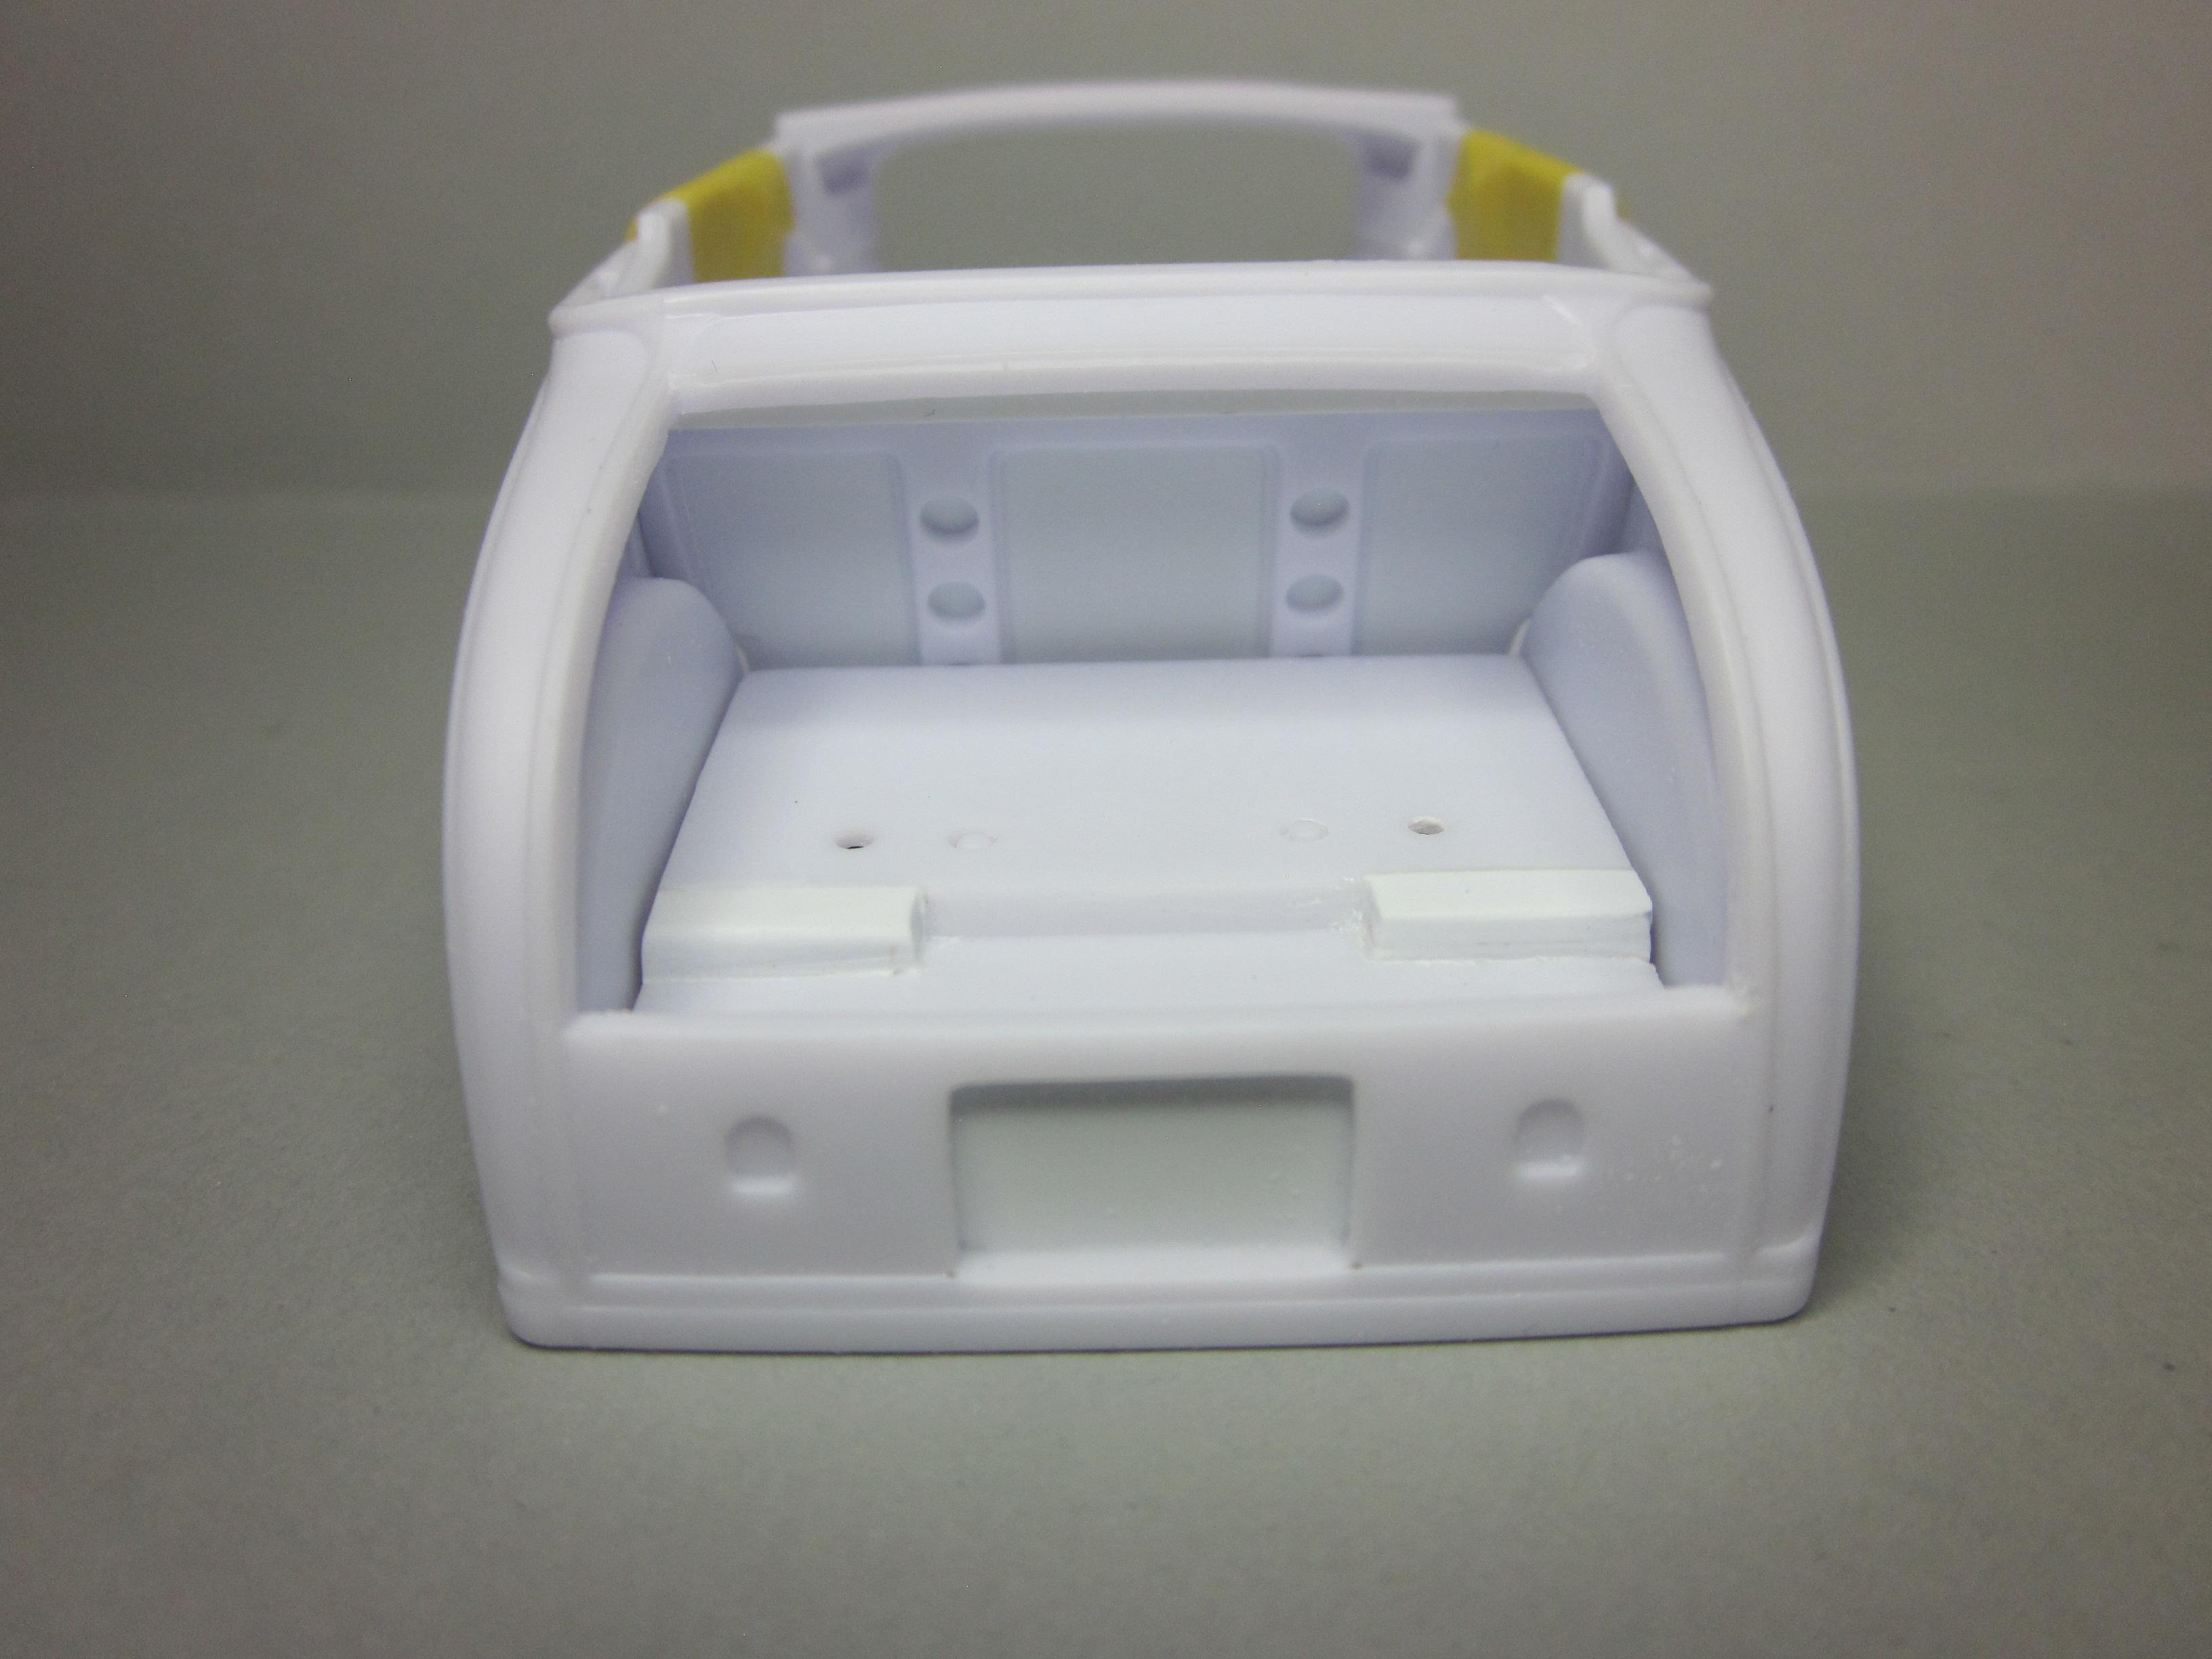
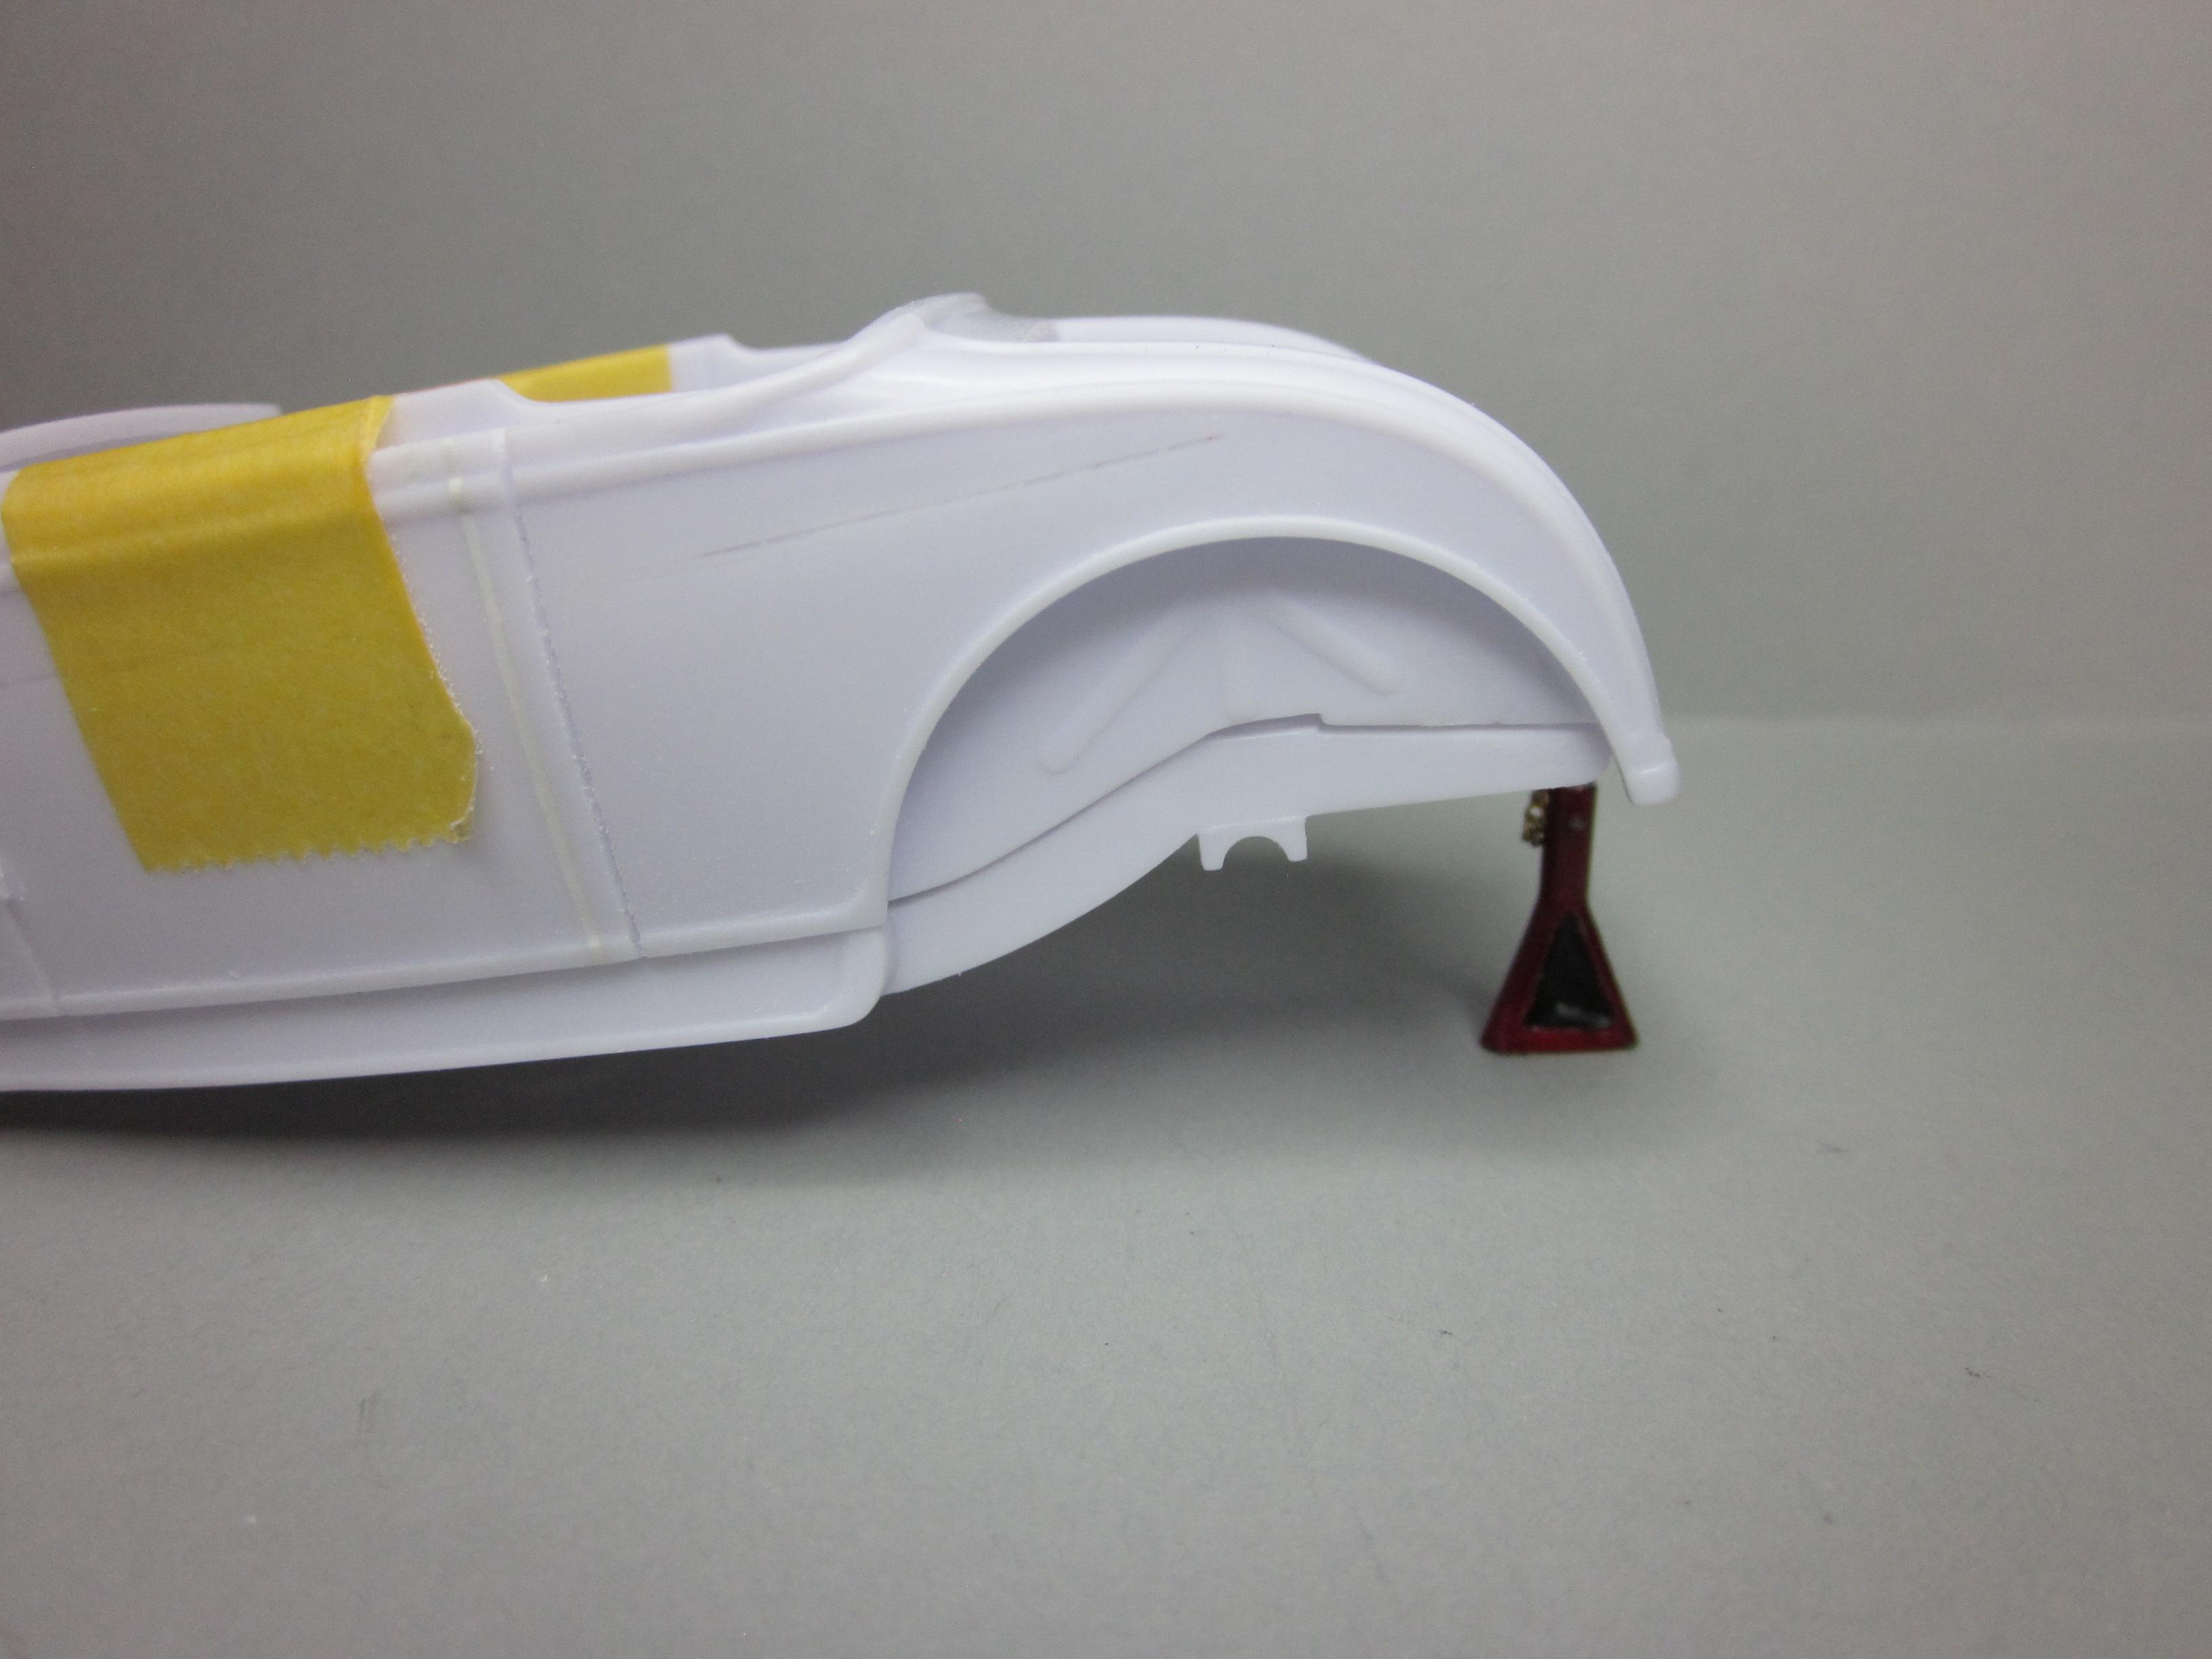
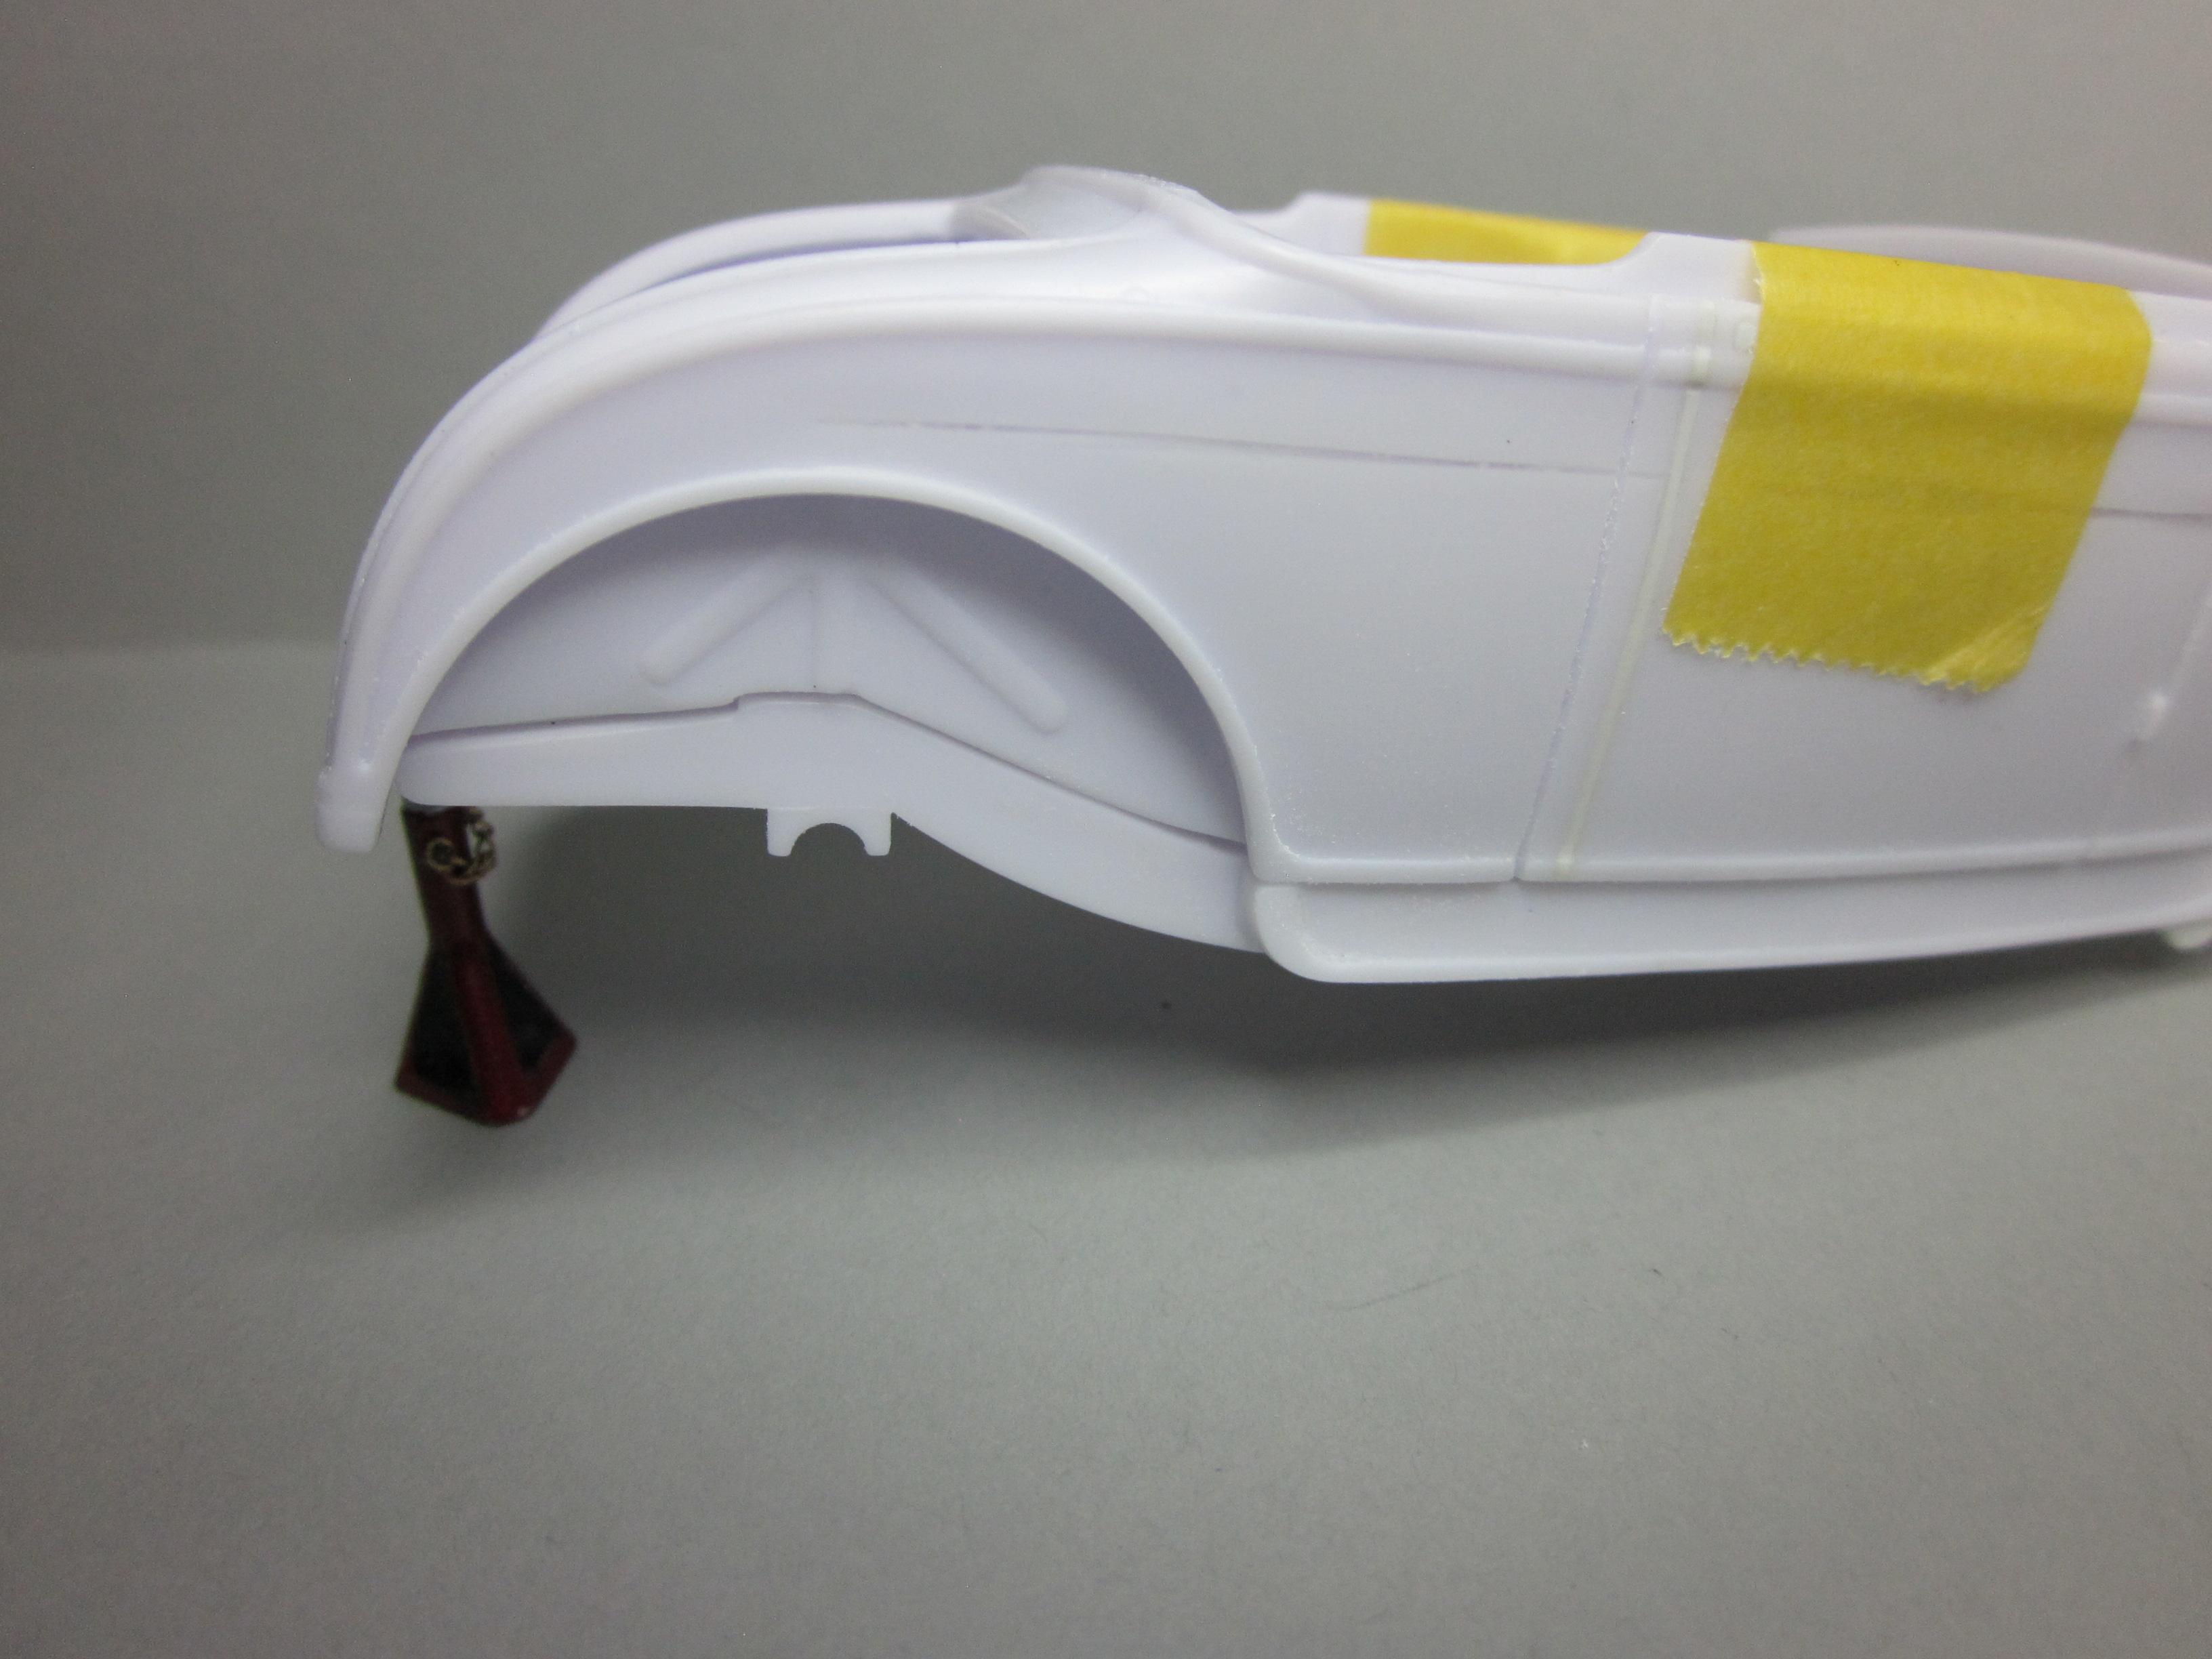
I pulled these hood sides from a used up monogram '32 ford roadster kit. I thought about trying to use these as they are intended, but just came to the conclusion that they will not work. So what could I do with these hood sides? And they do have louvers! After thinking about this for a while, I have come up with a idea. The idea I came up with is to build a rear splash or belly pan (call it what you want). I figure with the louvers it will make a nice pan. But it is the louvers that will make it a challenge to make it look right. It's going to be close! First things first, I welded the two parts together with tamiya extra thin cement and let it dry overnight. Then the cutting and sanding got the part to fit in its location. The front leading edge was trimmed to conform too the differential. At the rear, the body lost some of it's thickness so the pan would sit down on the frame rails. I had to do it this way so the pan can use the louvers I had planned on using. Like I said, It's tight. In the end, eveything worked out. Got the frame and some misc parts primered. It was slow going on the pan when it came to cutting the holes for the coil overs. In the end, this was well worth doing! The pan will be painted body color. As always, things happen! And yes, there was a stumble along the way! Was doing the final sanding and broke the part in half. It was glue back together and a strip of evergreen added to the back so that won't be happening again. What I don't like is, it's covering some other work that was done, but it is what it is. That's it for now, till next time..........................
-
Thanks Bob, some day I'll get her up on 4 wheels and really see what I'v been doing. Thanks David, I always like to build something a little different then what comes in the kit. I mean, who doesn't. But I use and modifing the parts that come in the kit for most of the build. And add some scratch building along the way.
-
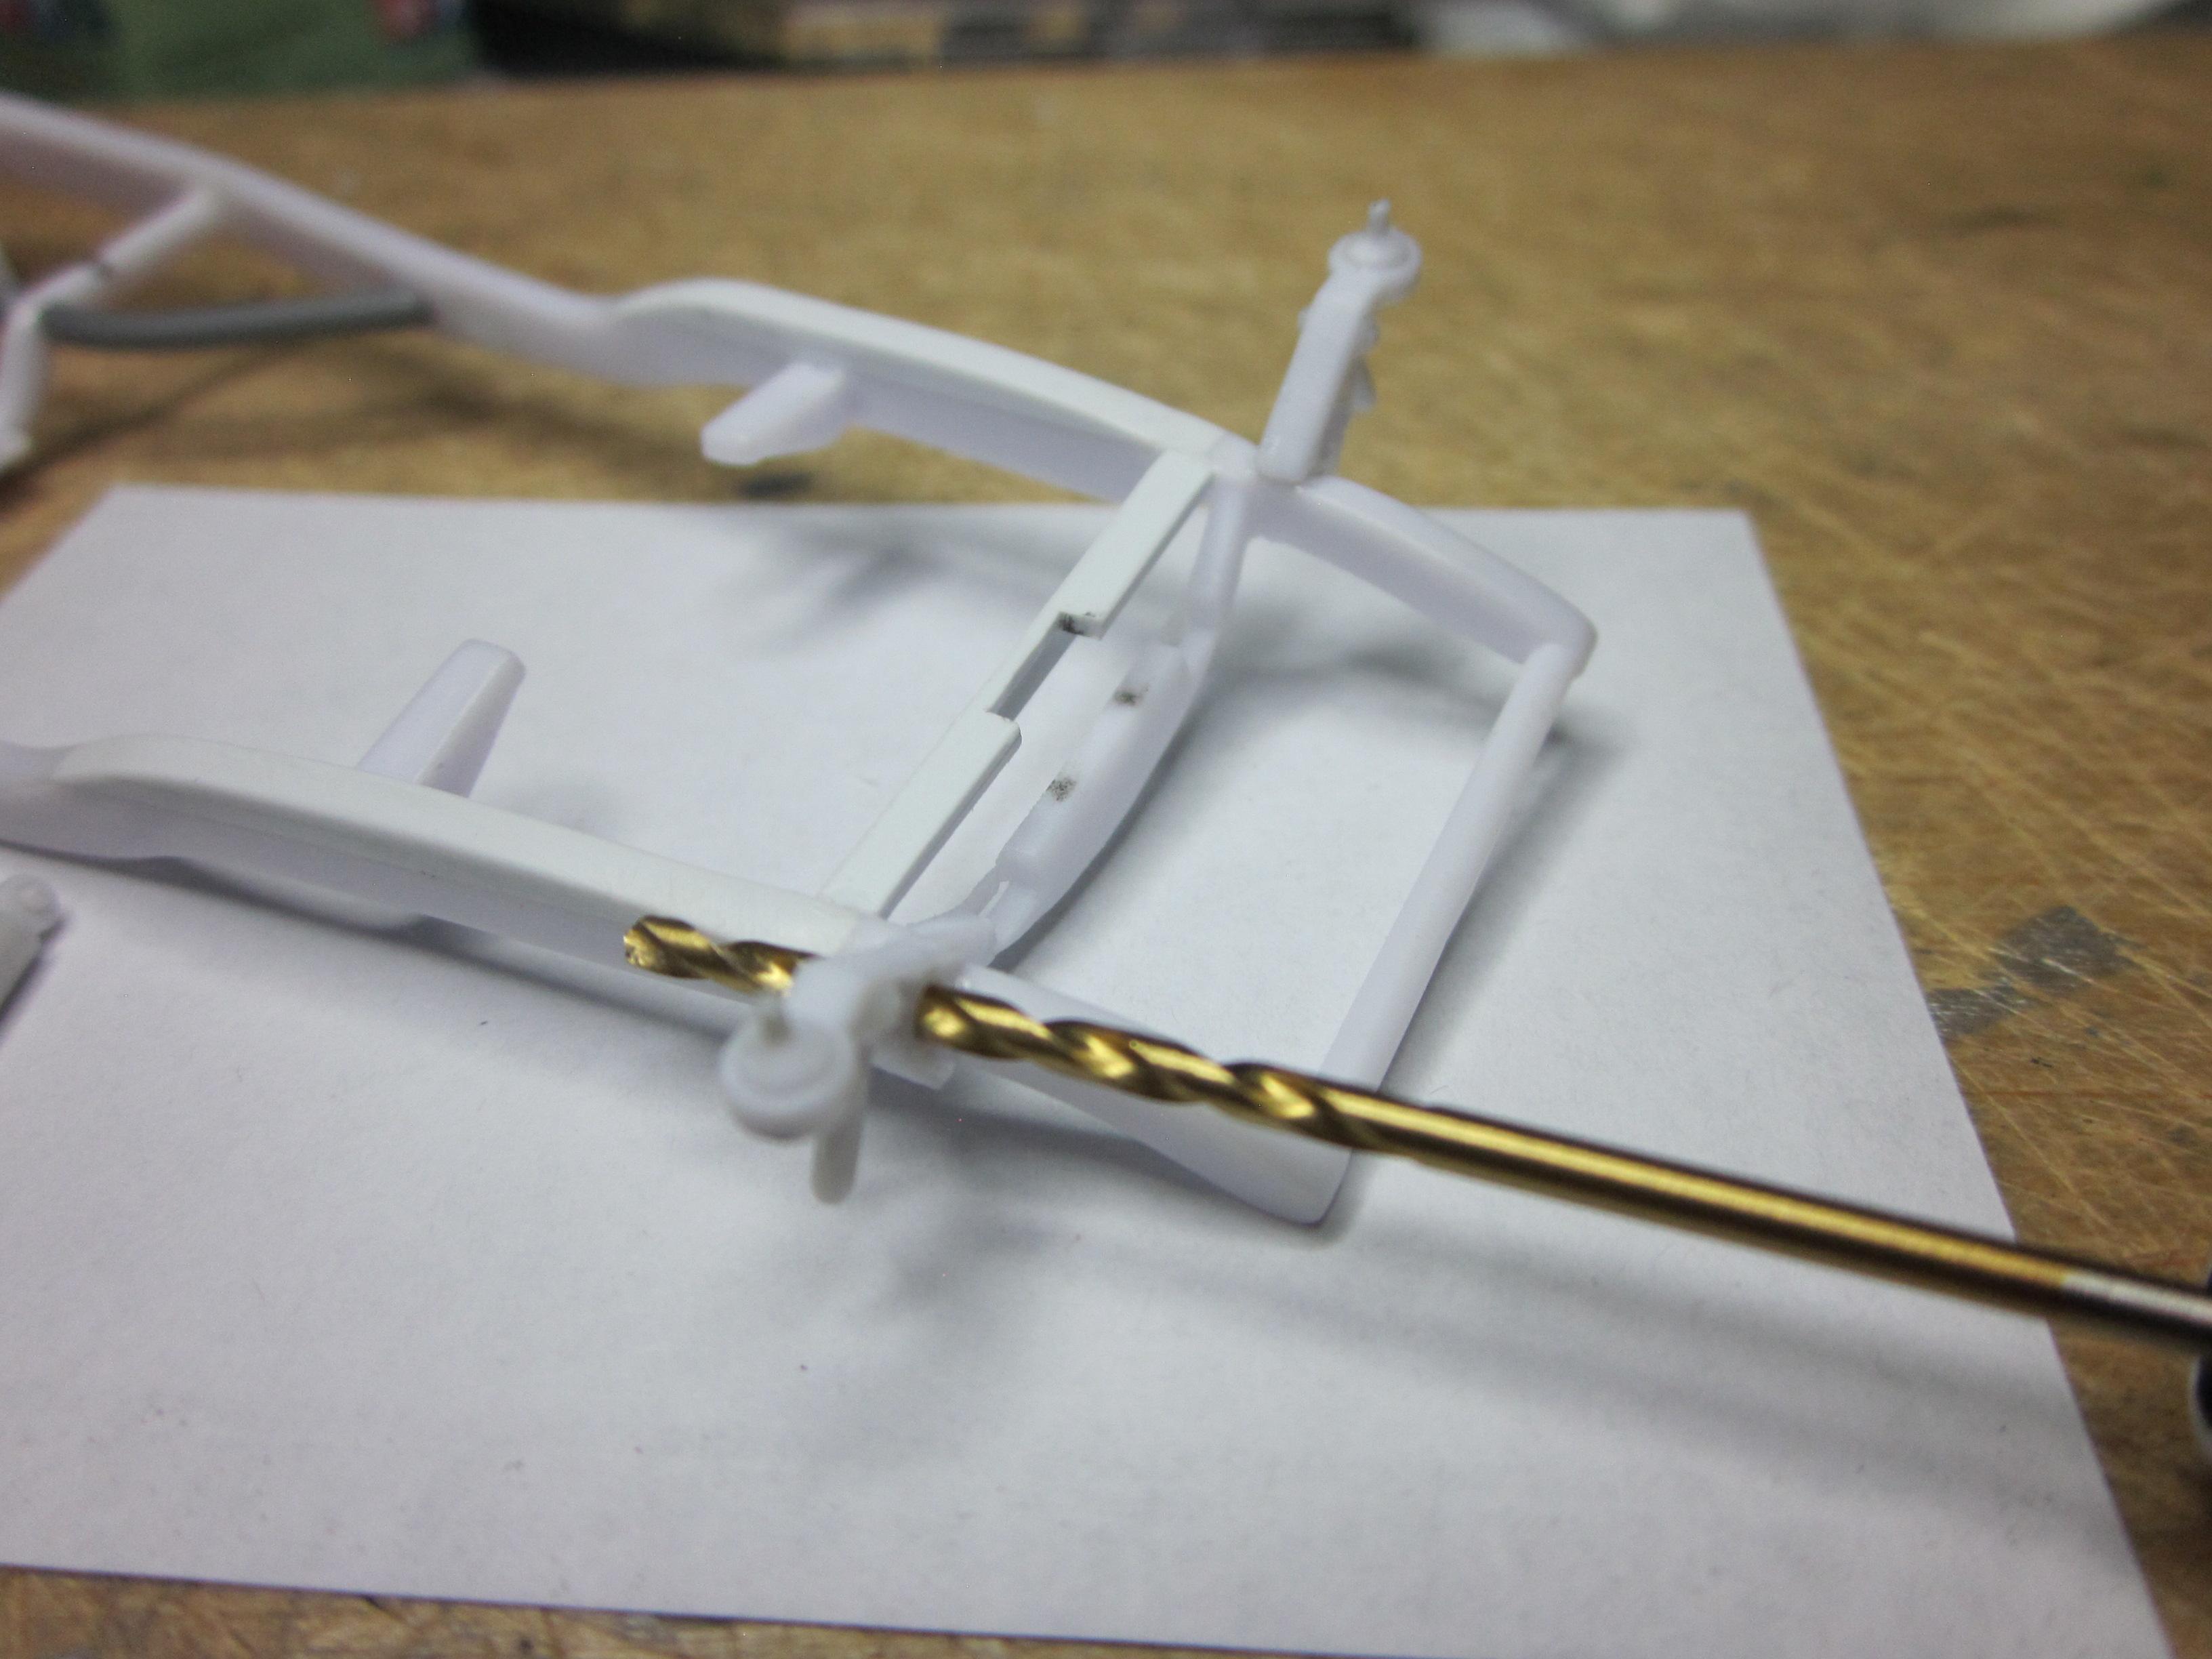
The build has been moving along, but still I am coming up with idea's and being feed suggestions while talking to friends. Pretty late in the game for any big changes or additions, but some small ones can happen. Lately, its about paint because its getting so close to that stage. Added a thing or two that more than likely didn't need to be added, but just had to do it. Update time on the model A. When I left off last time, the rear suspension was being worked on. The ladder bars were next to be fit. But first had to build a couple mounting points for the ladder bars to mount to. With the box's in place, the ladder bars were be built. Short and sweet, the kit bars were modified by shortening them and using the parts that were cut off to build the new pair. Nothing fancy. At this point, the only thing left to do is put a light coat of primer on the frame and see how much more work I get to do, Ya! Not as bad as I expected. There are some areas that need to be addessed. Get things squared away and a couple more coats of primer and it'll look good. Maybe even good enough for paint! This is what happens when you are digging through box's of kits. this came out of the AMT '33 Ford Sreet Rod kit. The kit has a real nice front bucket seat, but it was the back seat that grabbed my attension. I put it on the bench for further examination. 2 hrs later, I have the seat looking like its going into the car, but am not 100% sure on this yet. I'm still working on it. That's it for now. Things will be getting some MrSurfacer 1000 primer next couple days so things might have a different look the next time you see them.
-

Chopped 40 Ford Sedan Delivery Traditional Custom
Speedpro replied to Ferbz's topic in WIP: Model Cars
On mods like this, you gotta just make that first cut, thus throwing yourself into the "NO turning back now" zone. I think you did a great job! It really gives the front end what it was looking for. -
Nice! I like how the revell kits can be mashed together to create build's like this. I think the color combo works well together and makes the car stand out.
-
Cool wagon! Thats some great weathering. I respect guy's that can pull this off as well as you have. I myself have never tried doing it and probably never will as there are enough guy's doing it that I don't have to. Awsome build!
-
Thanks Greg, really hope this helps others building this kit.
-
Beautiful build Bob! Wheels and tires really compliment it. Very nice!
-
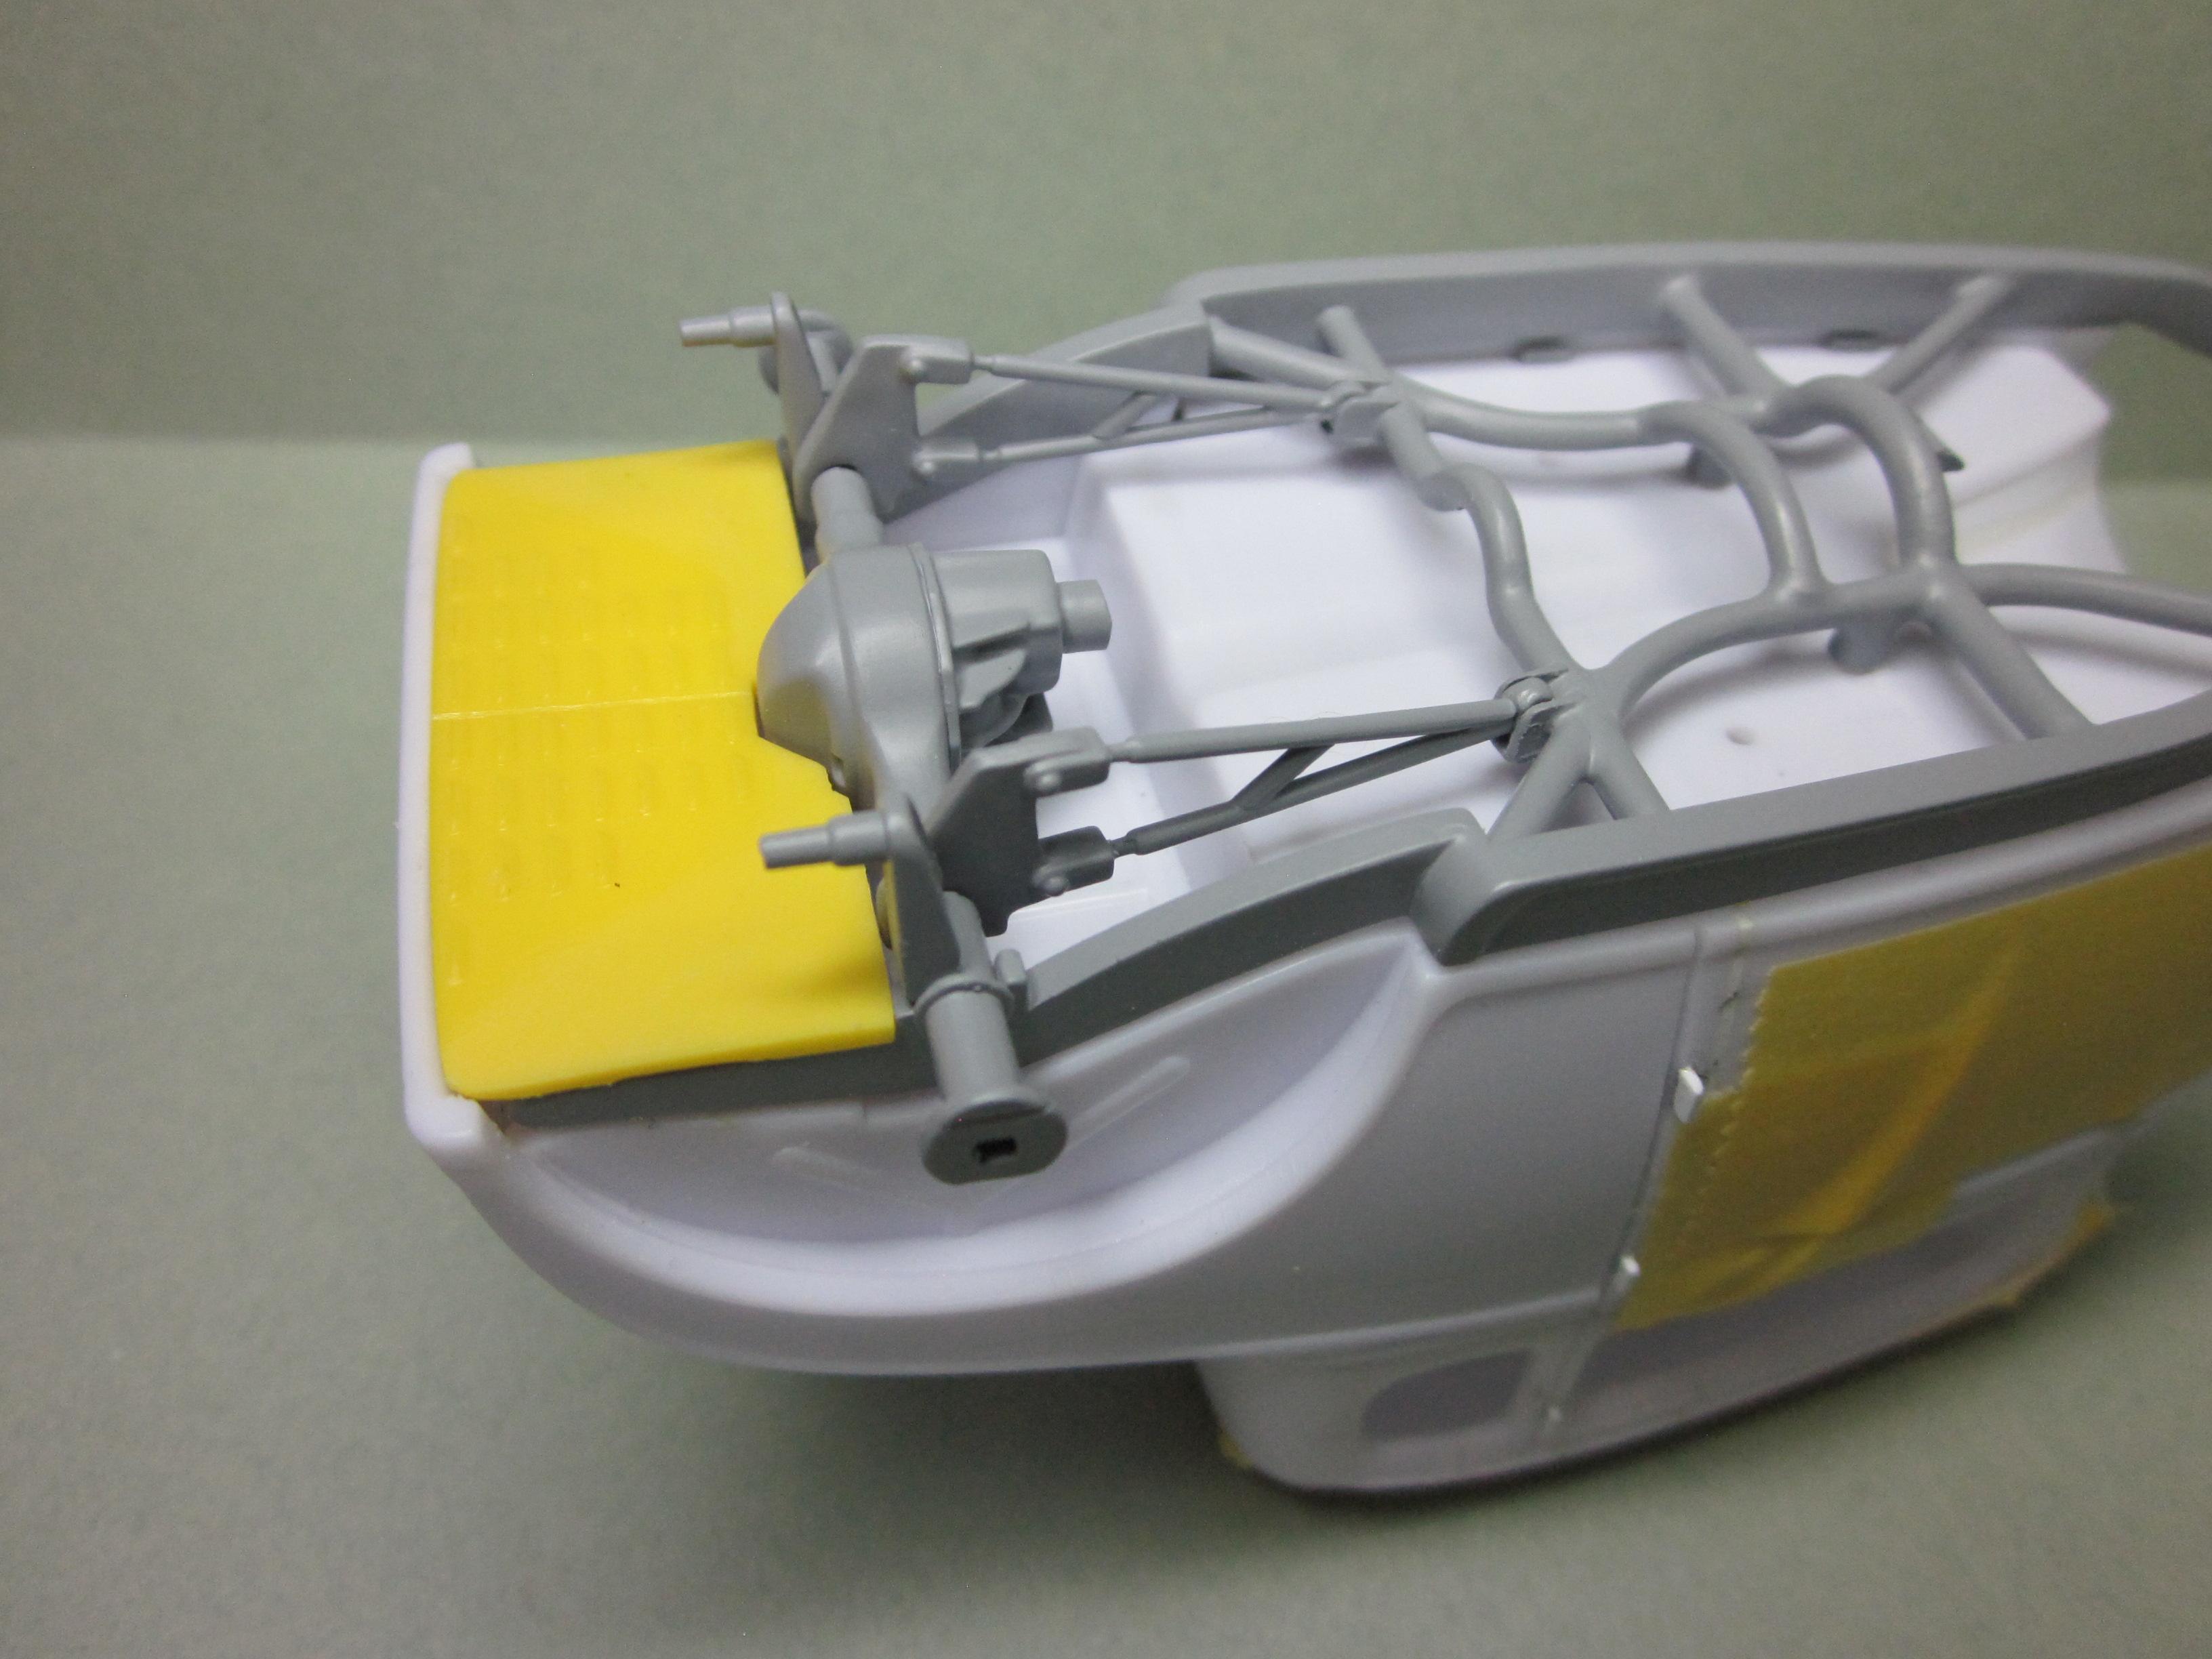
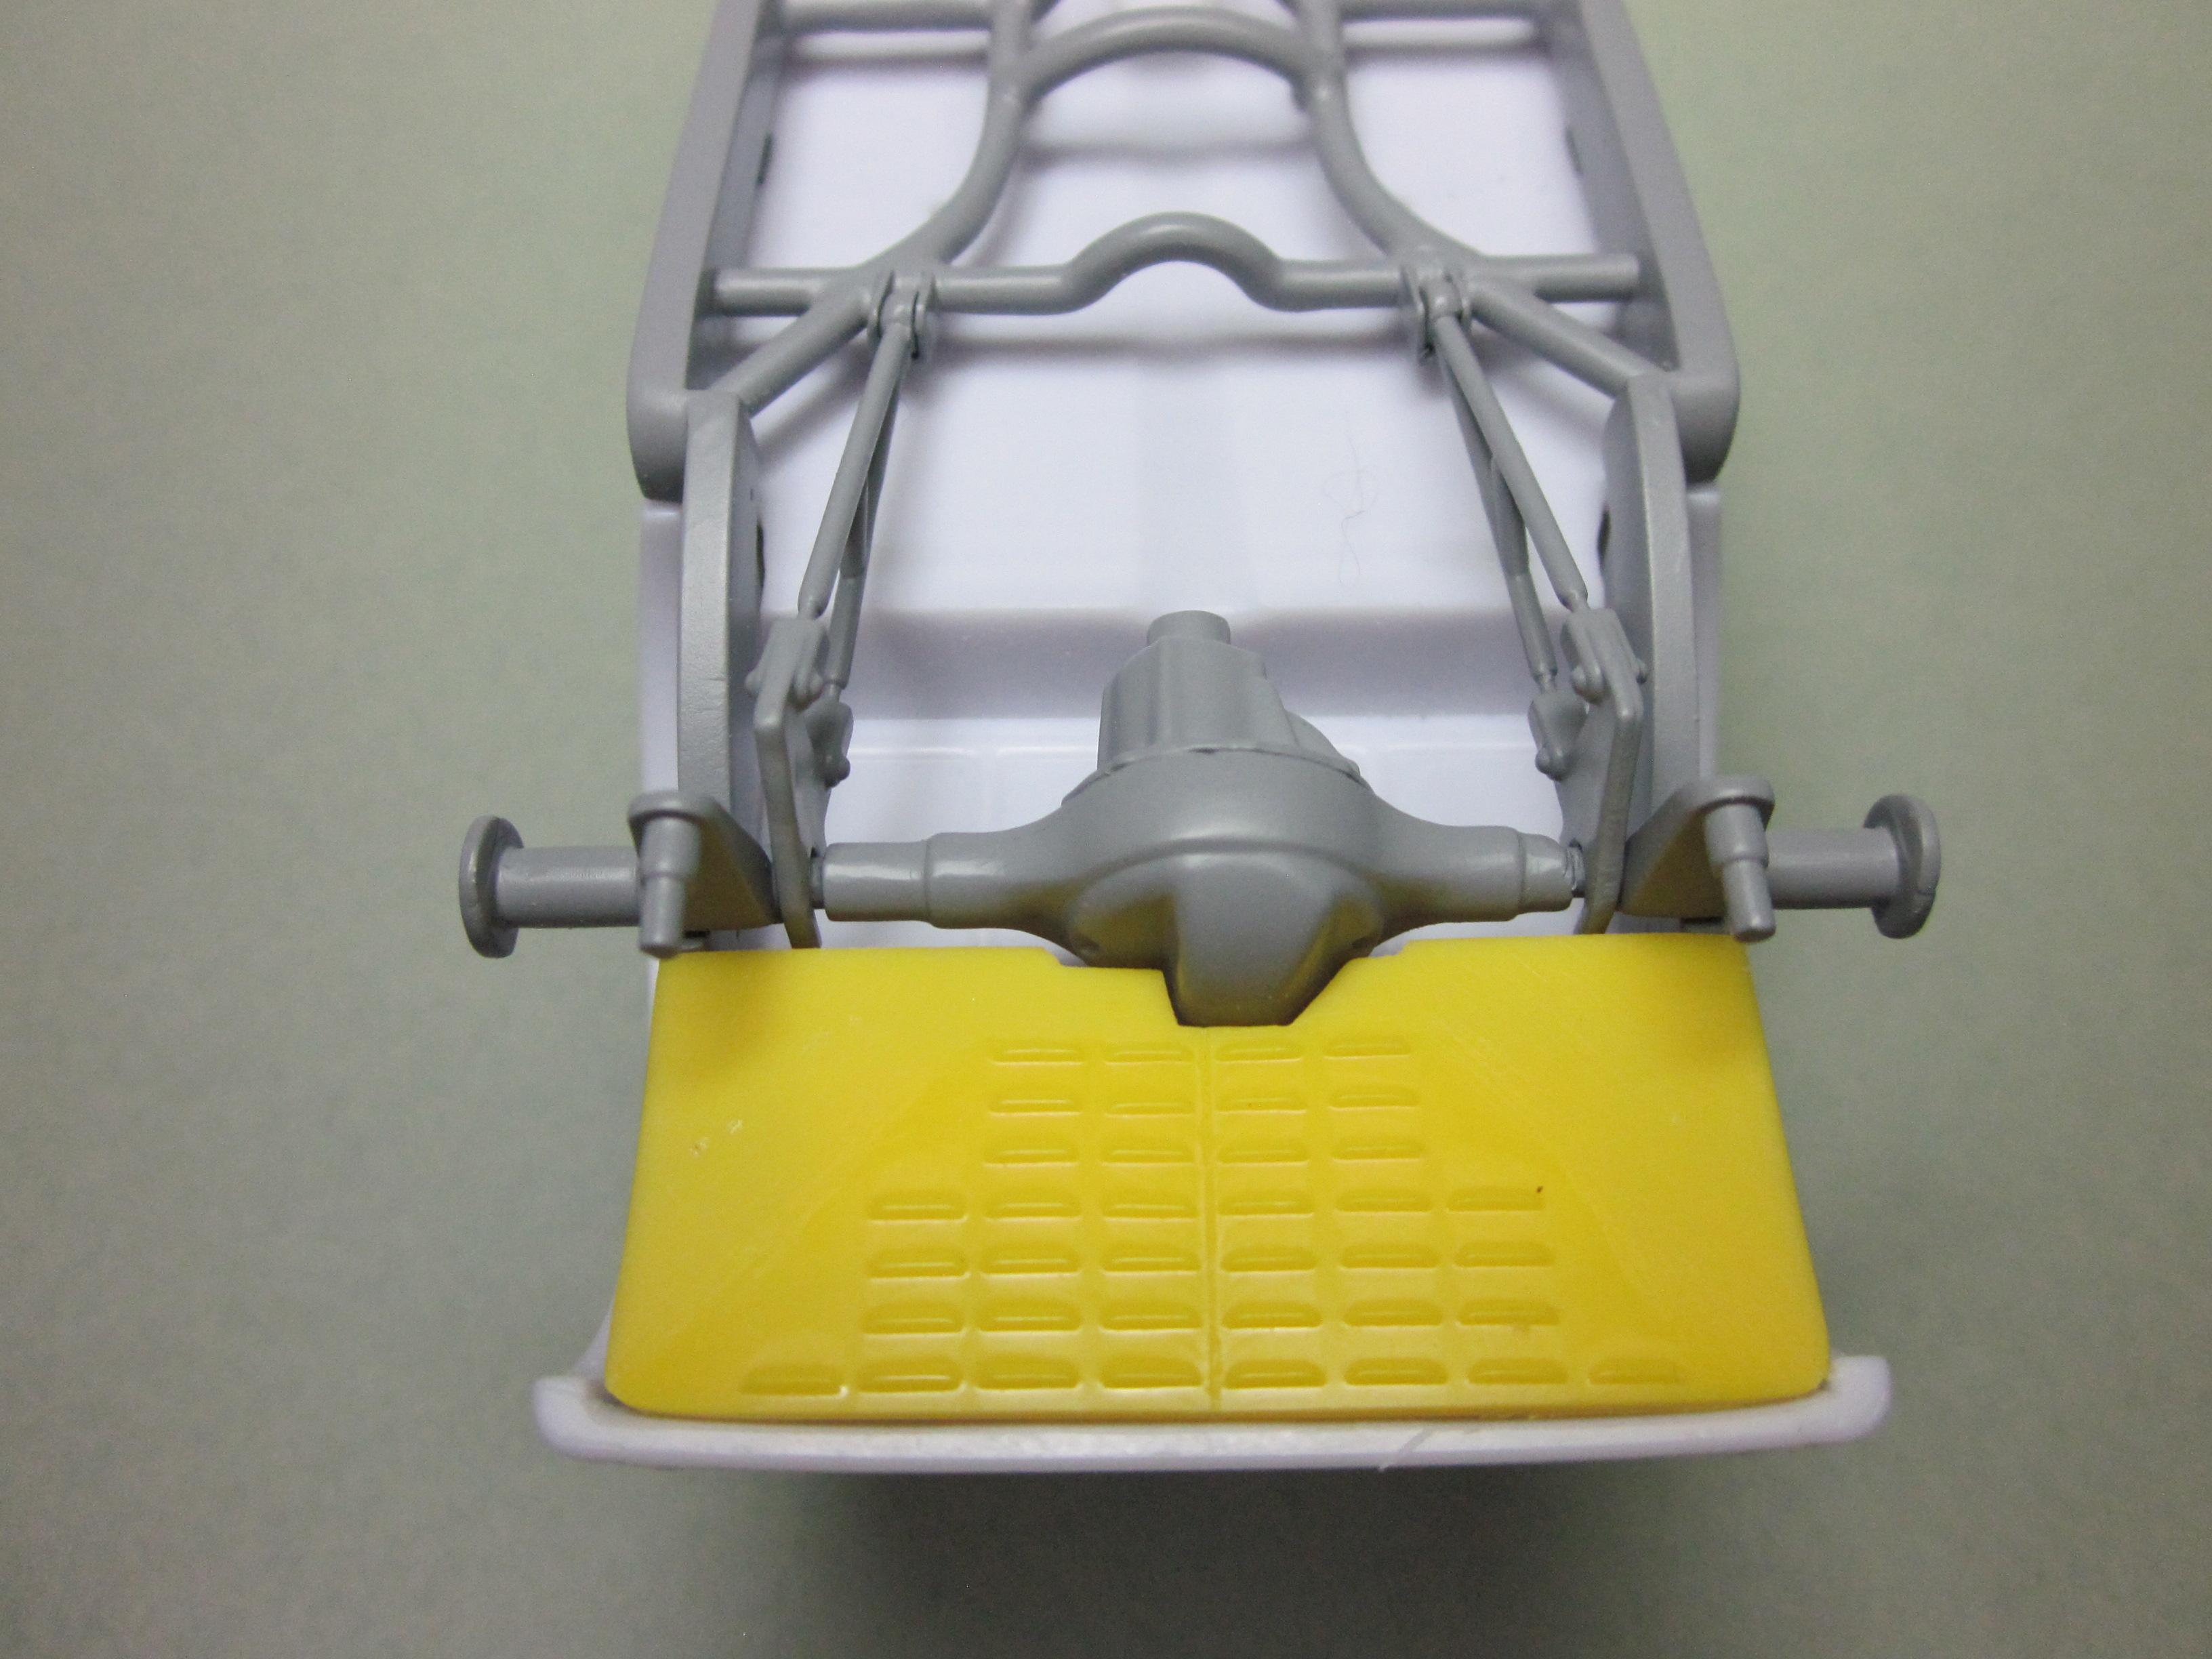
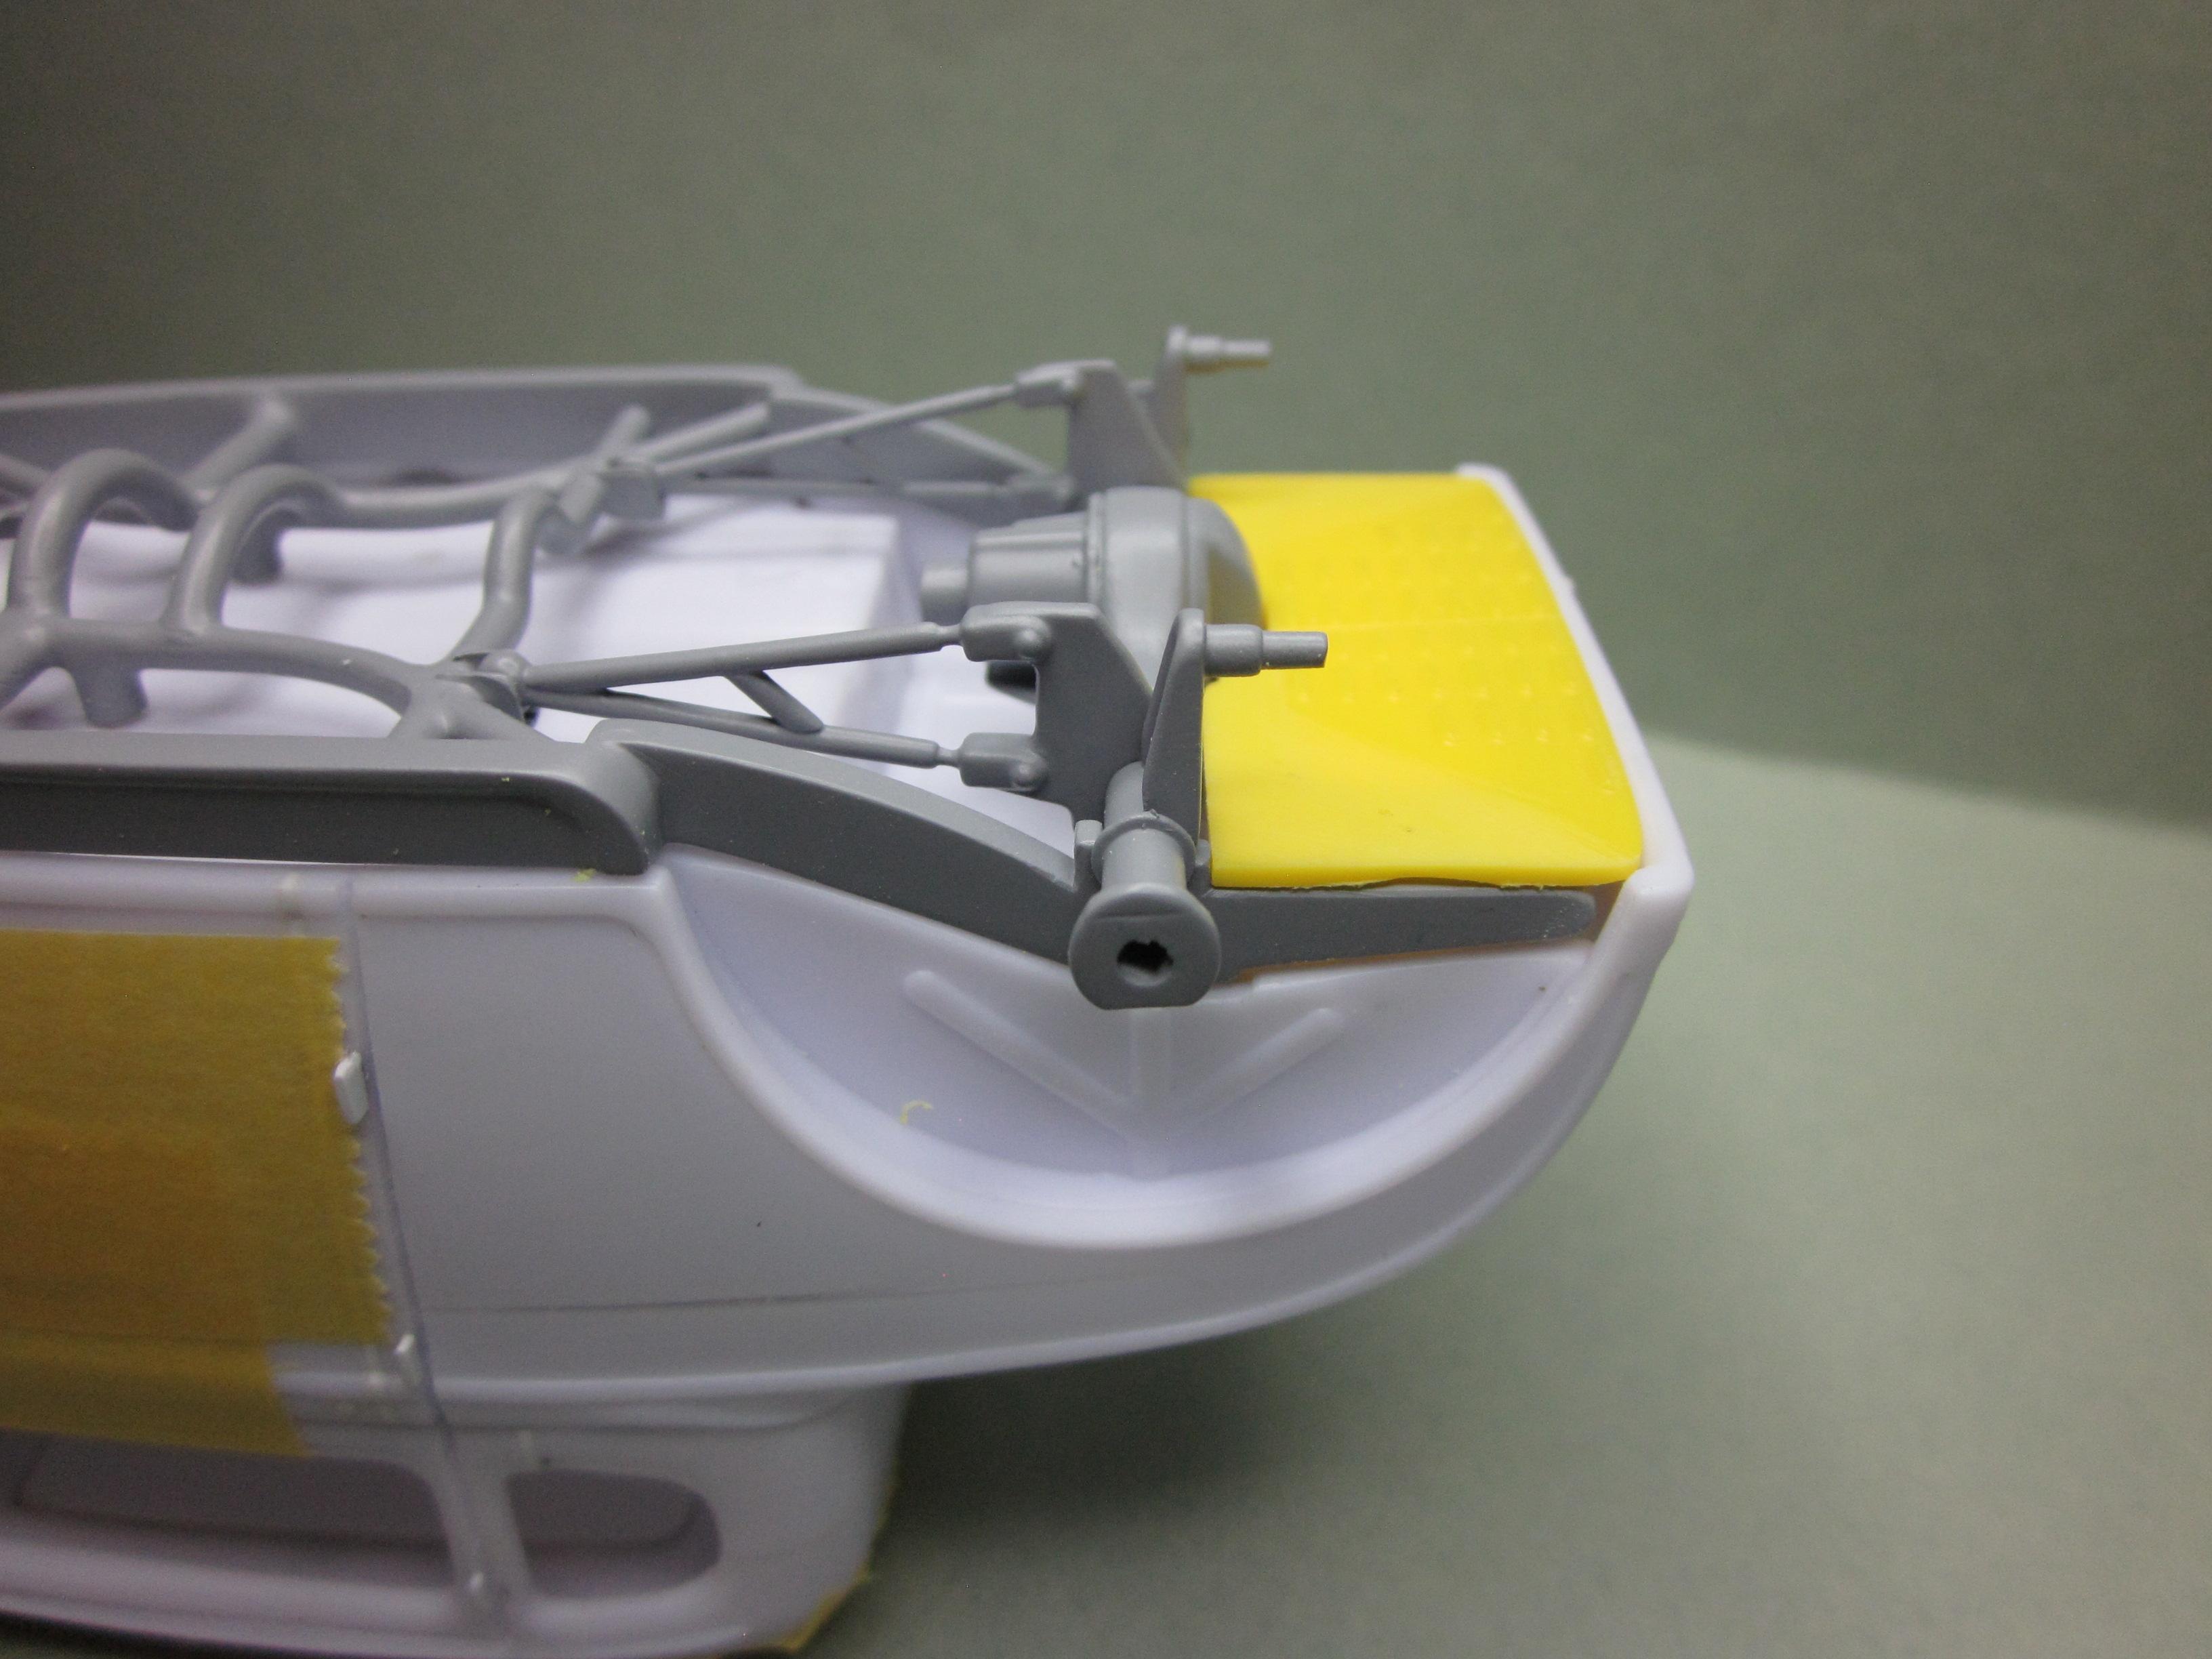
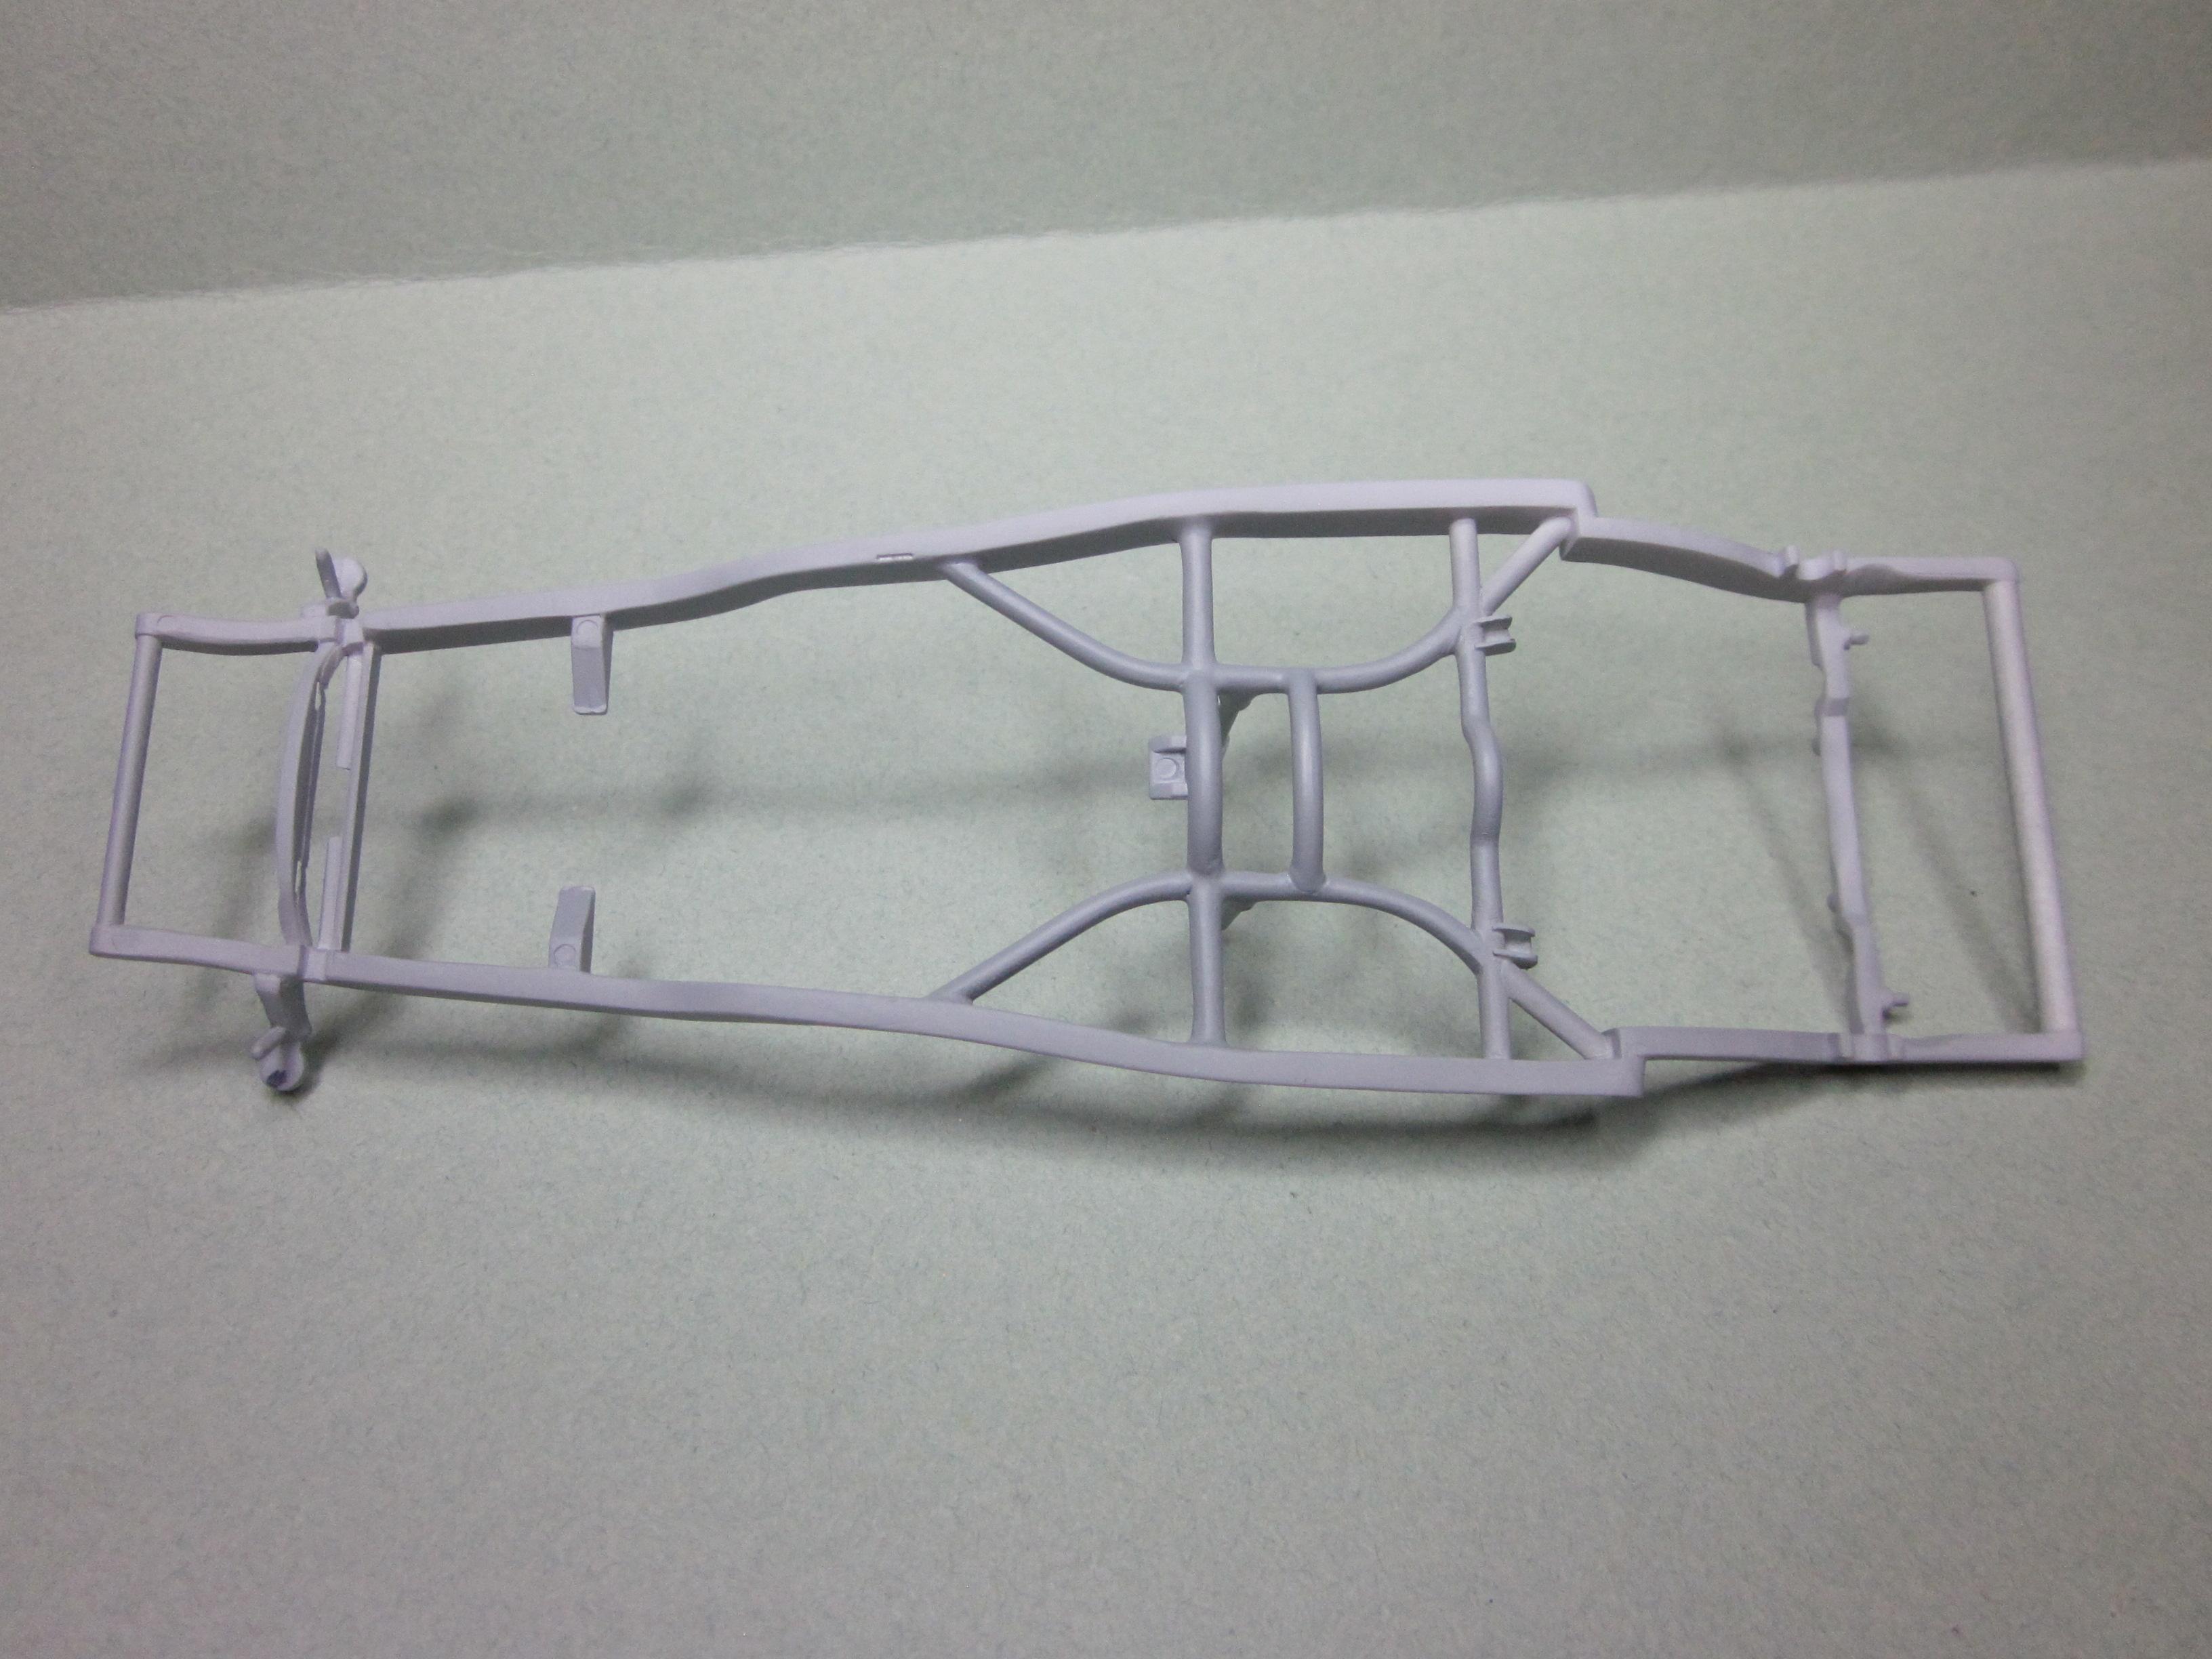
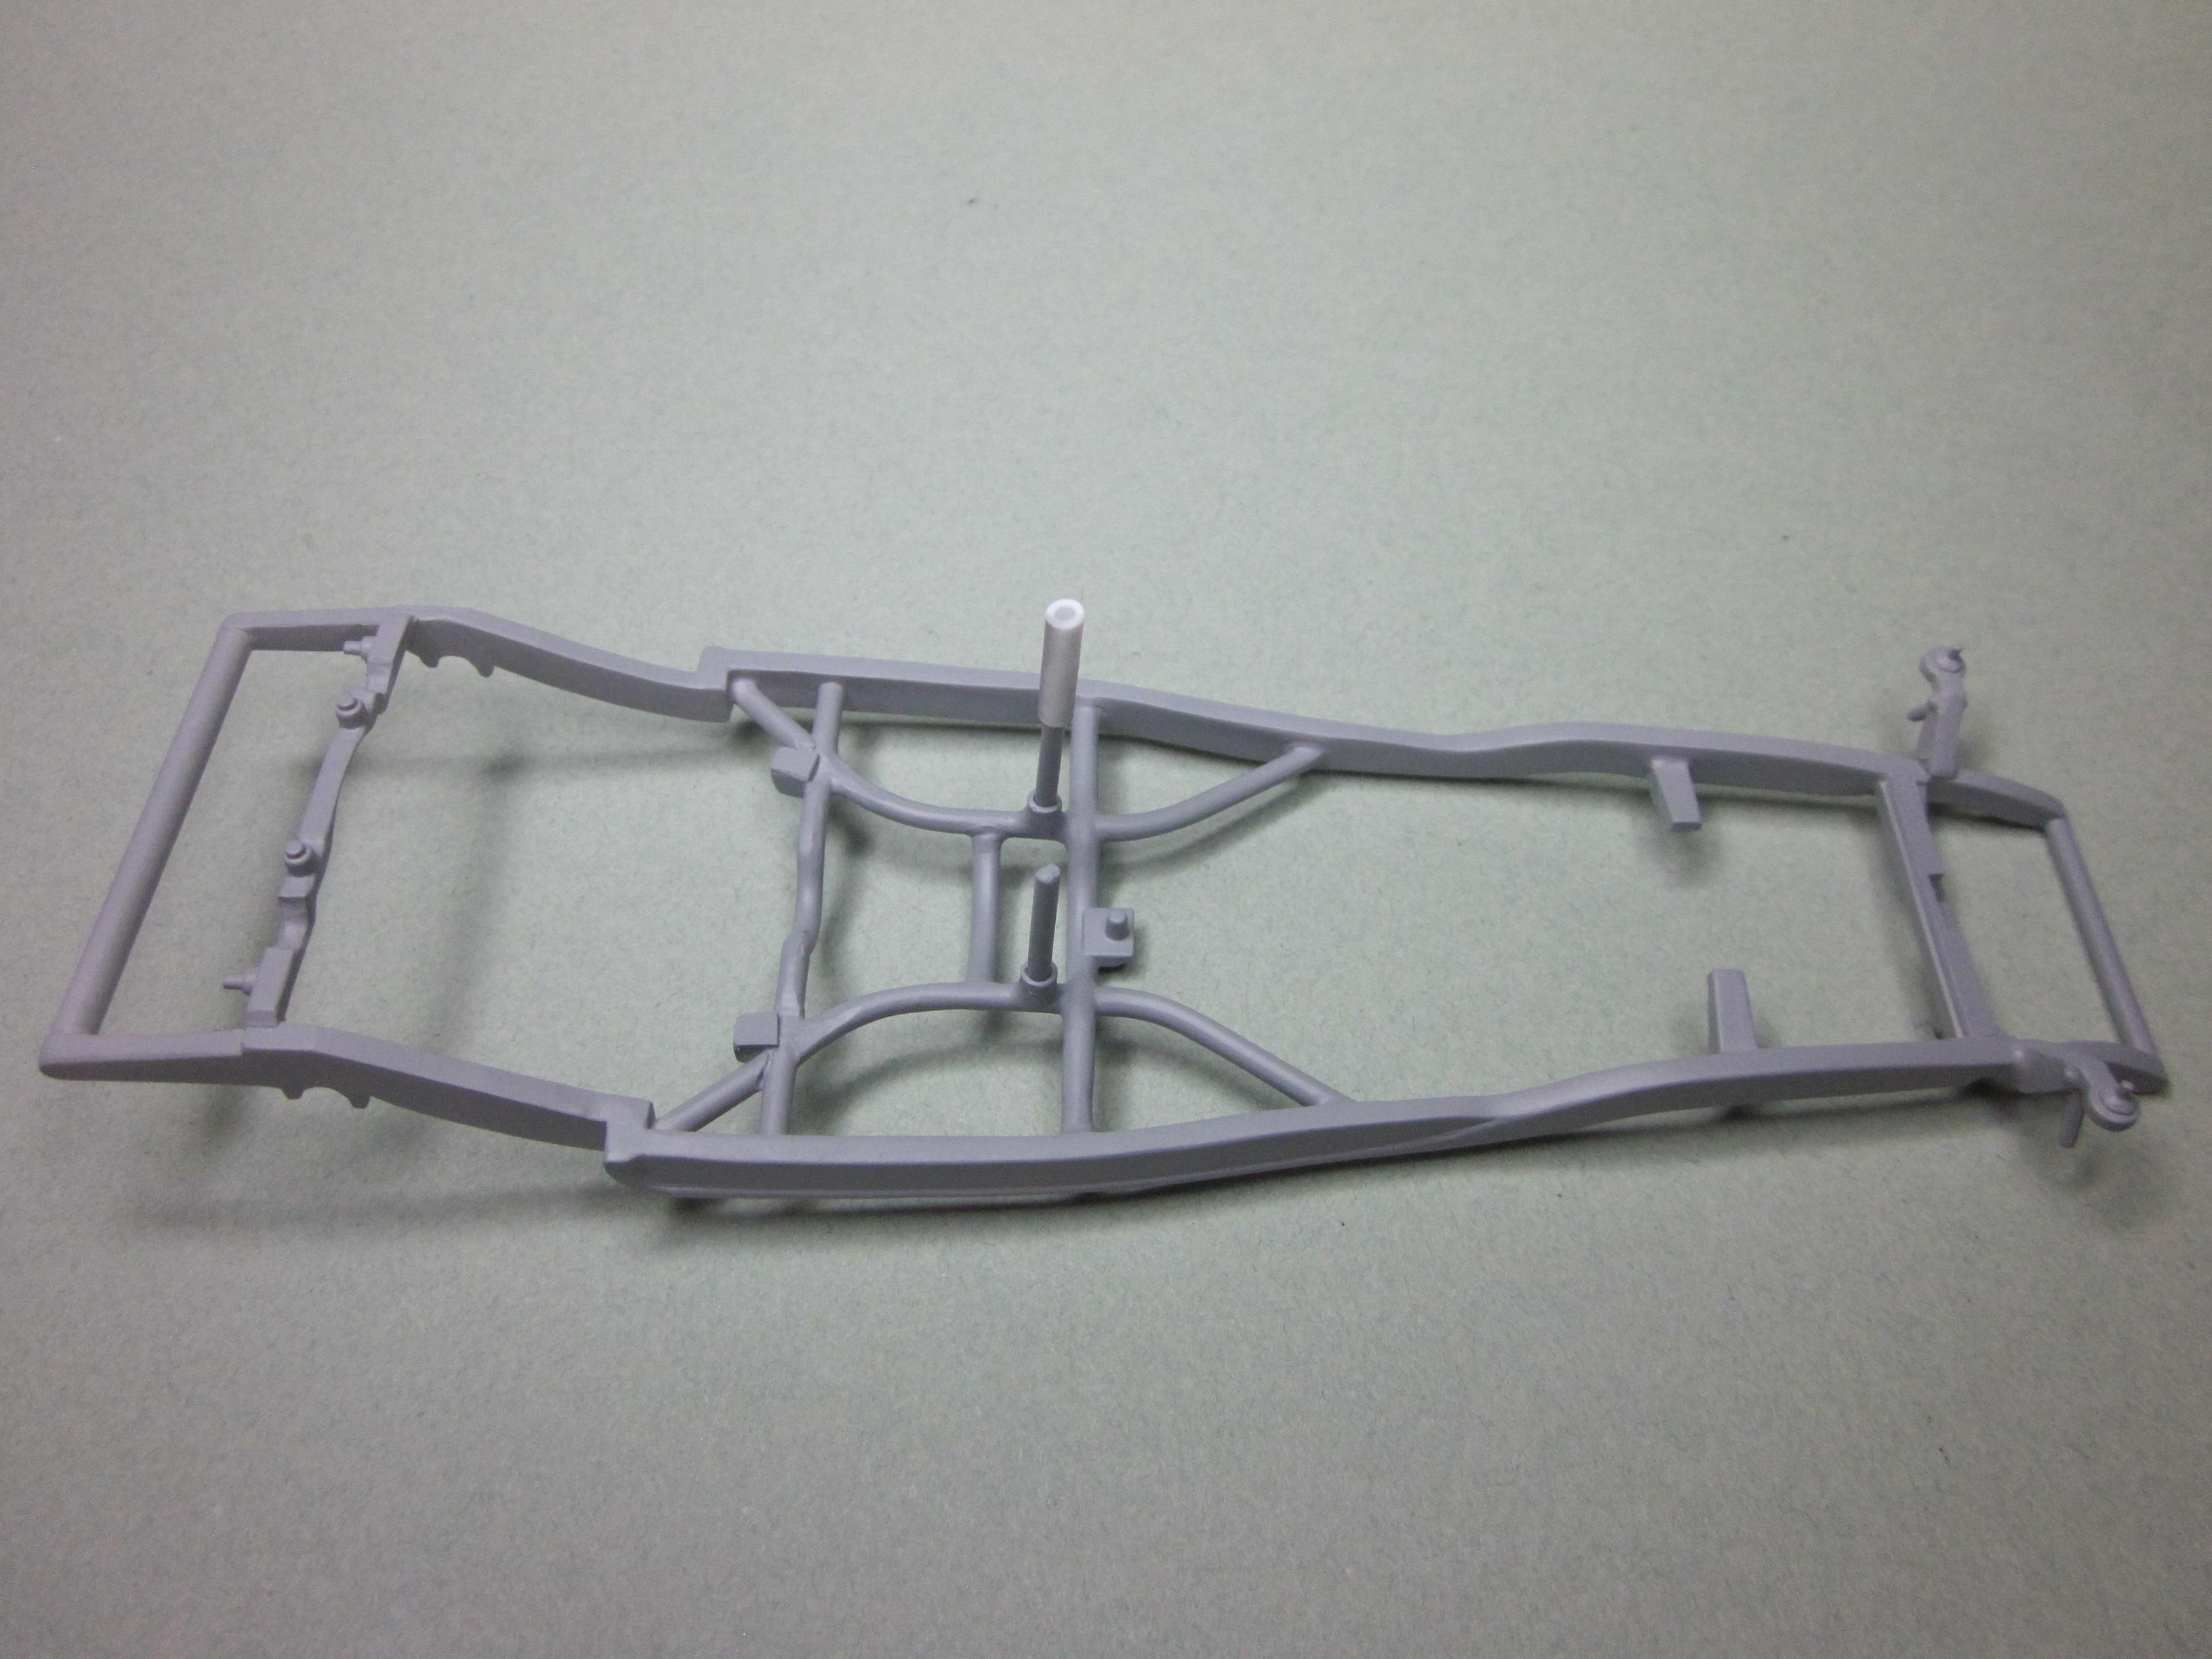
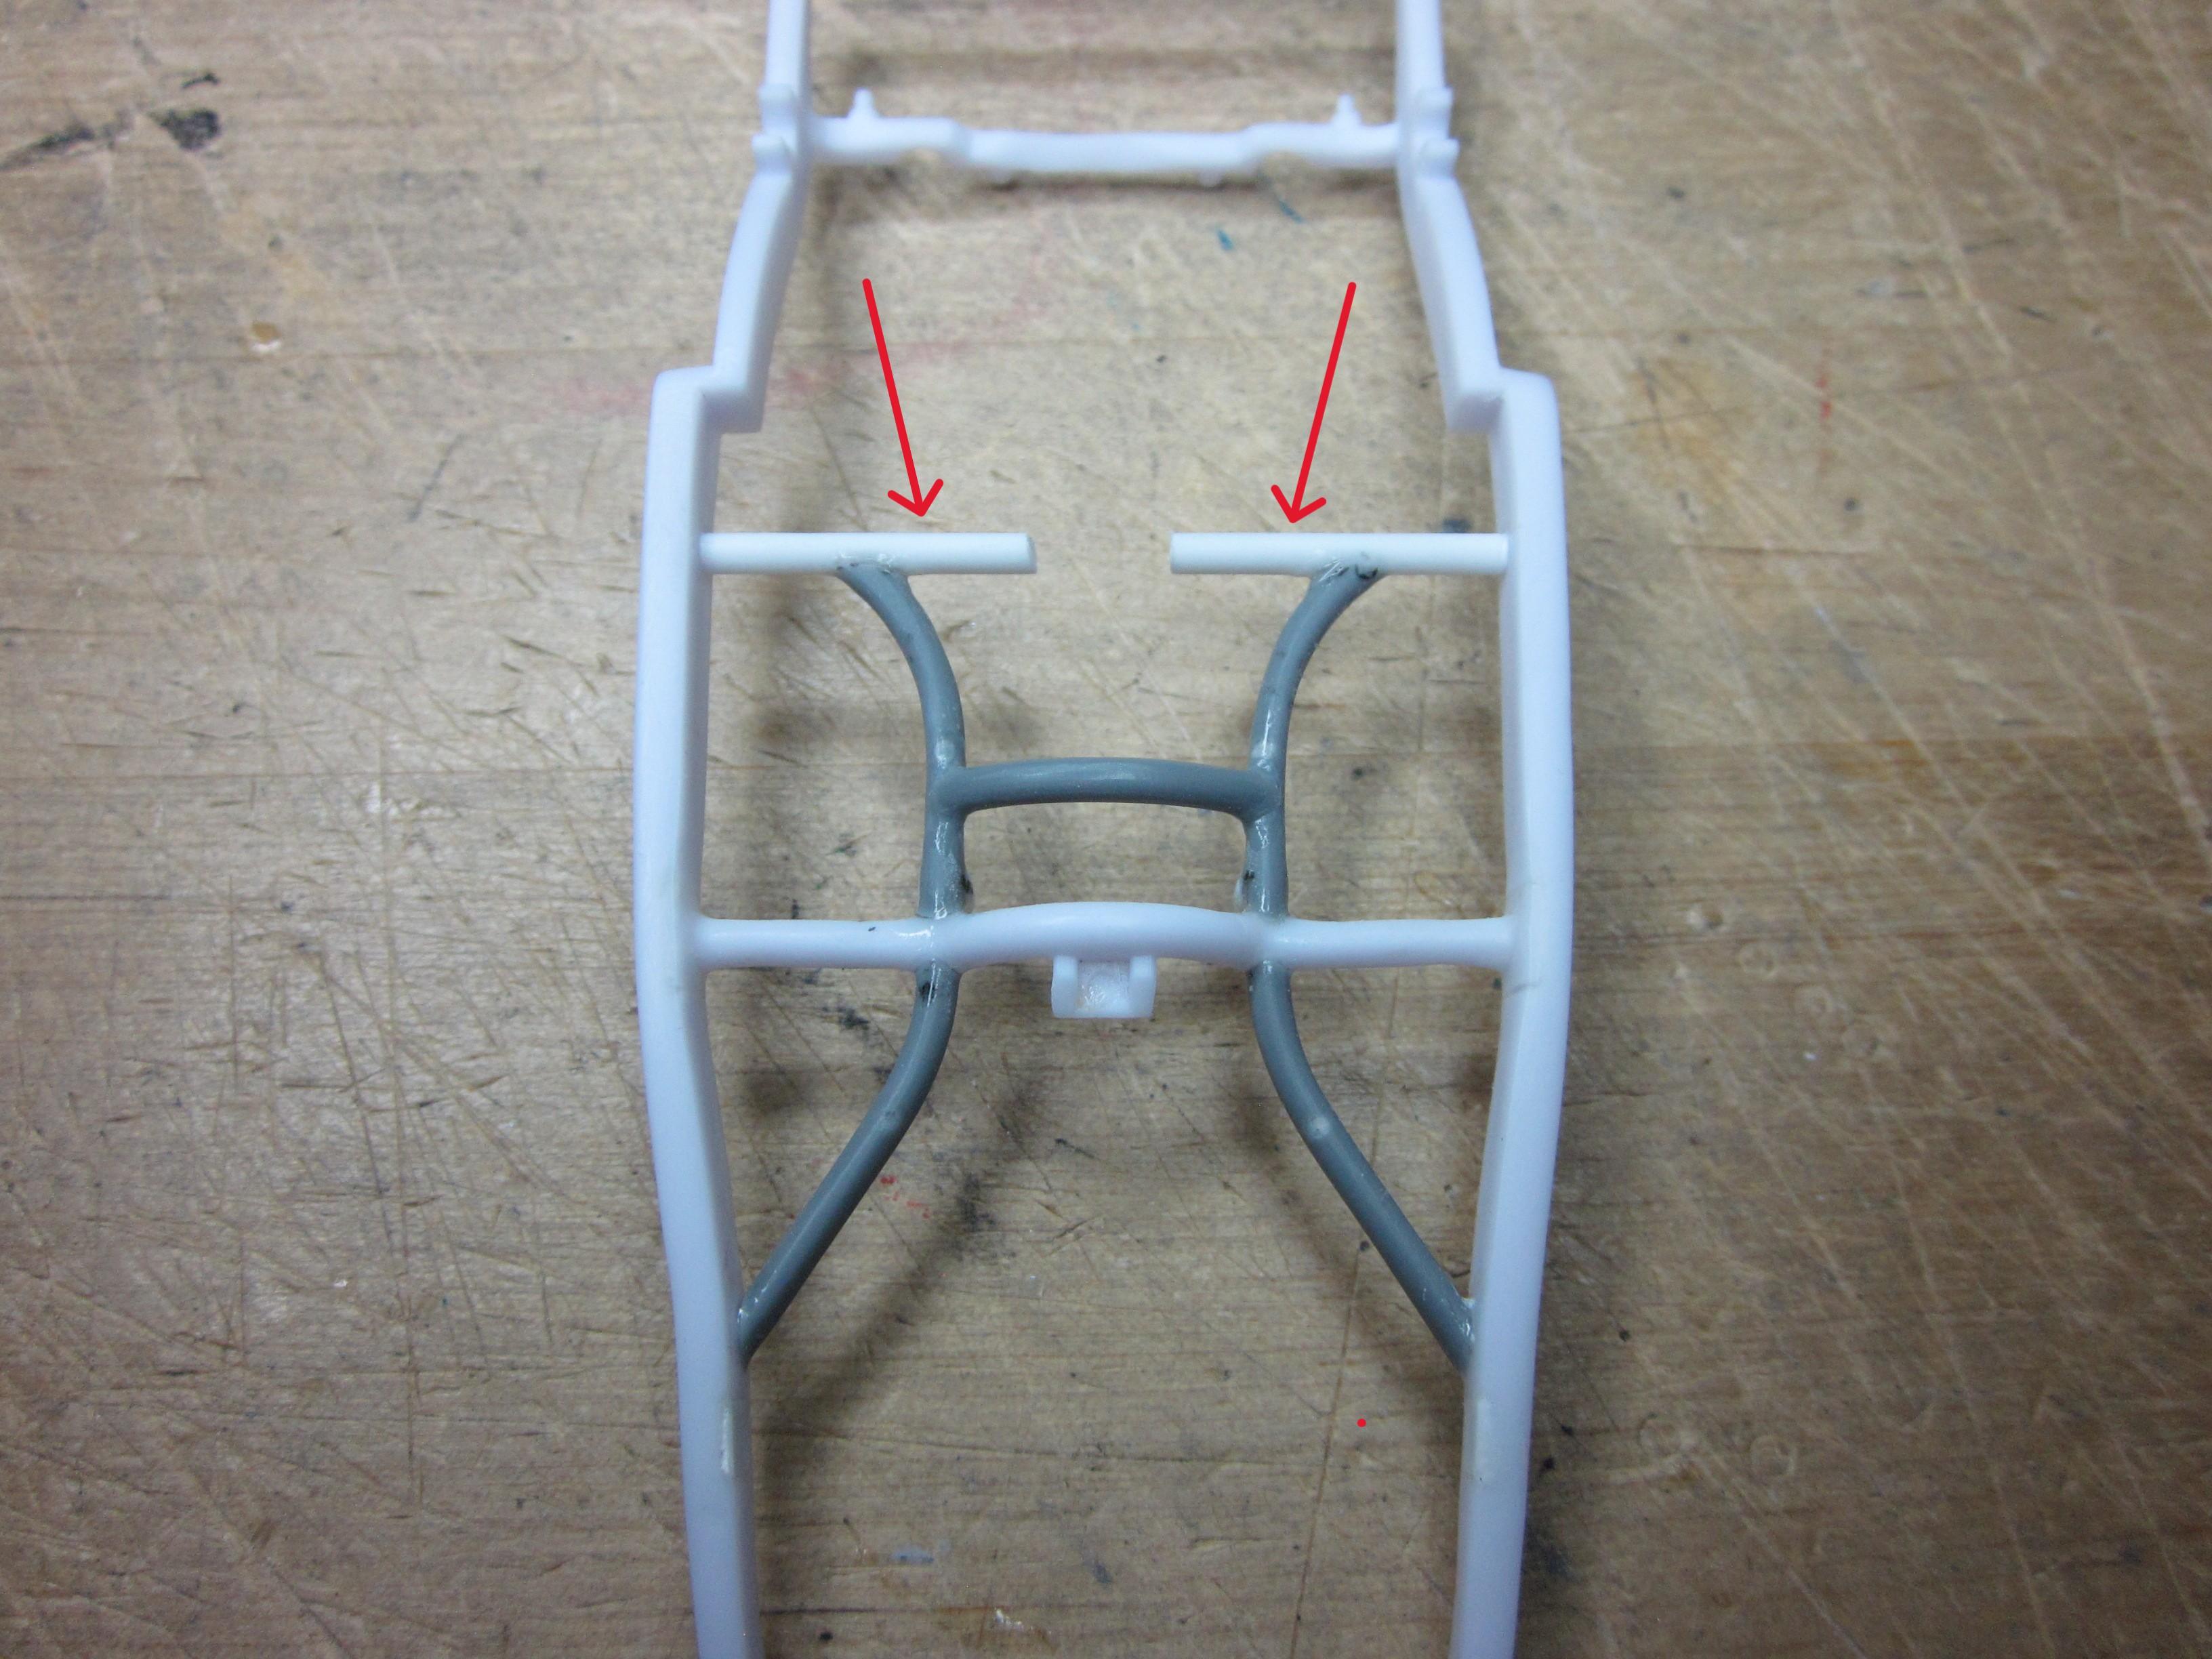
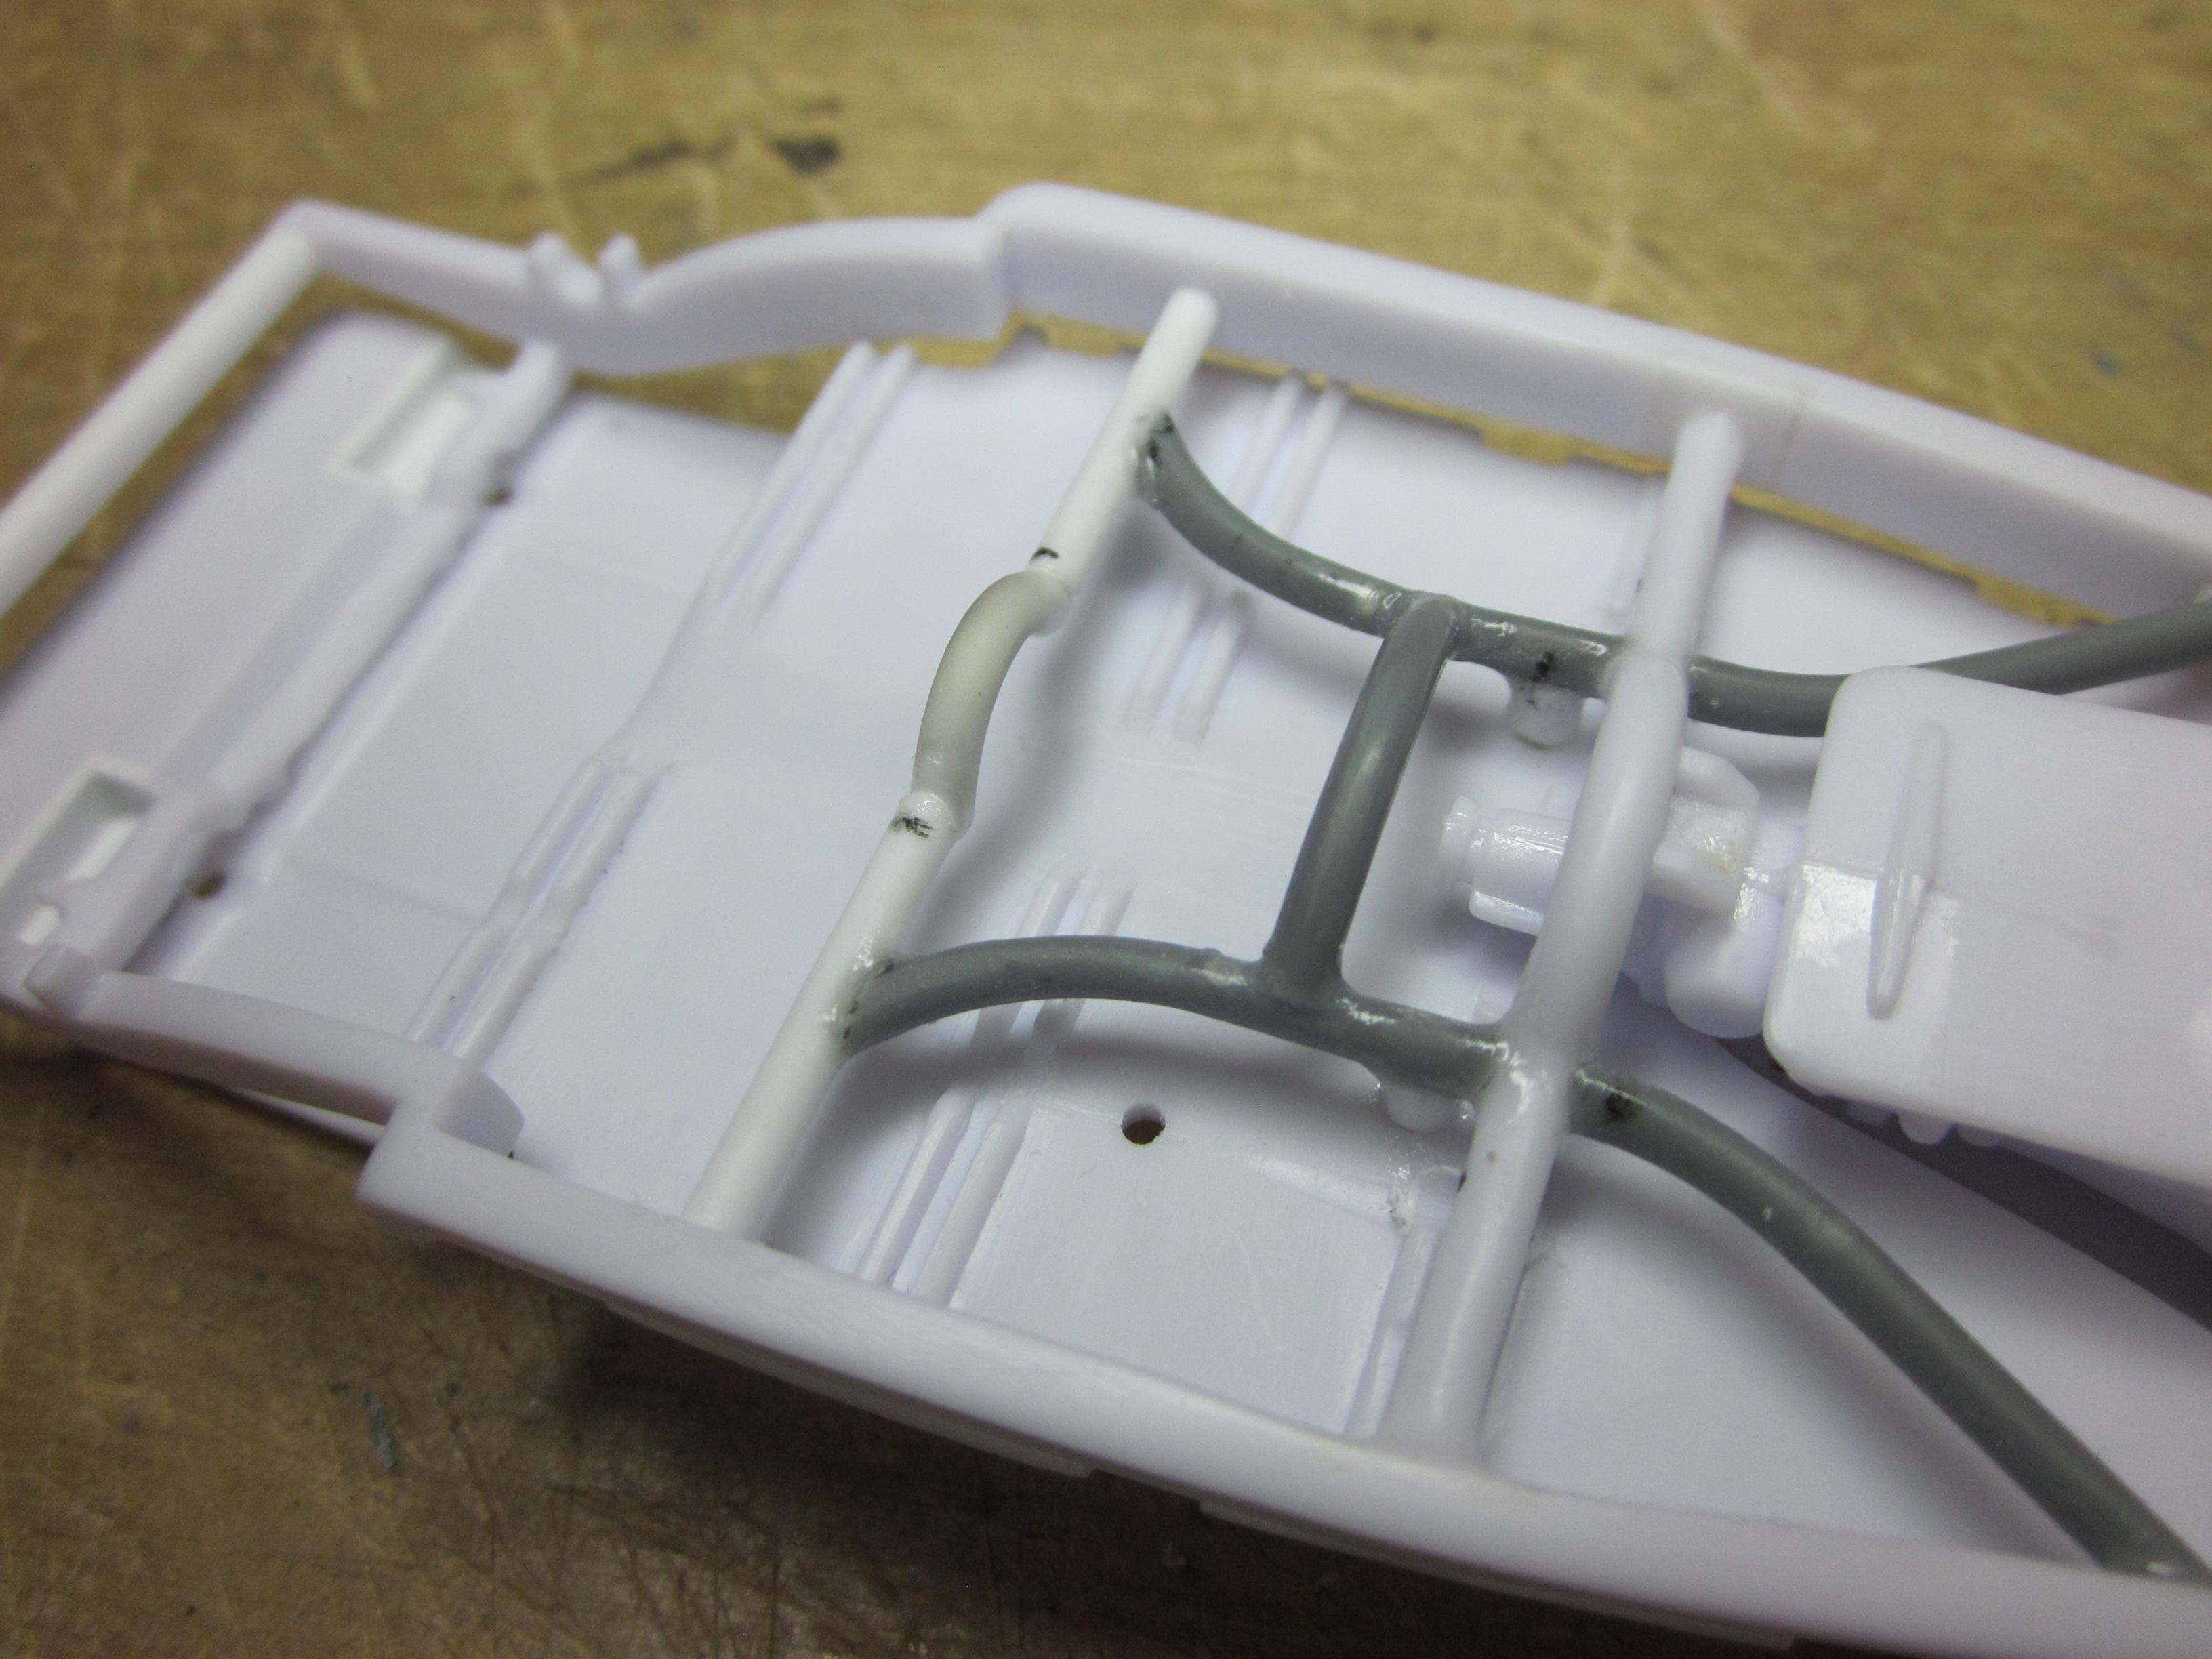
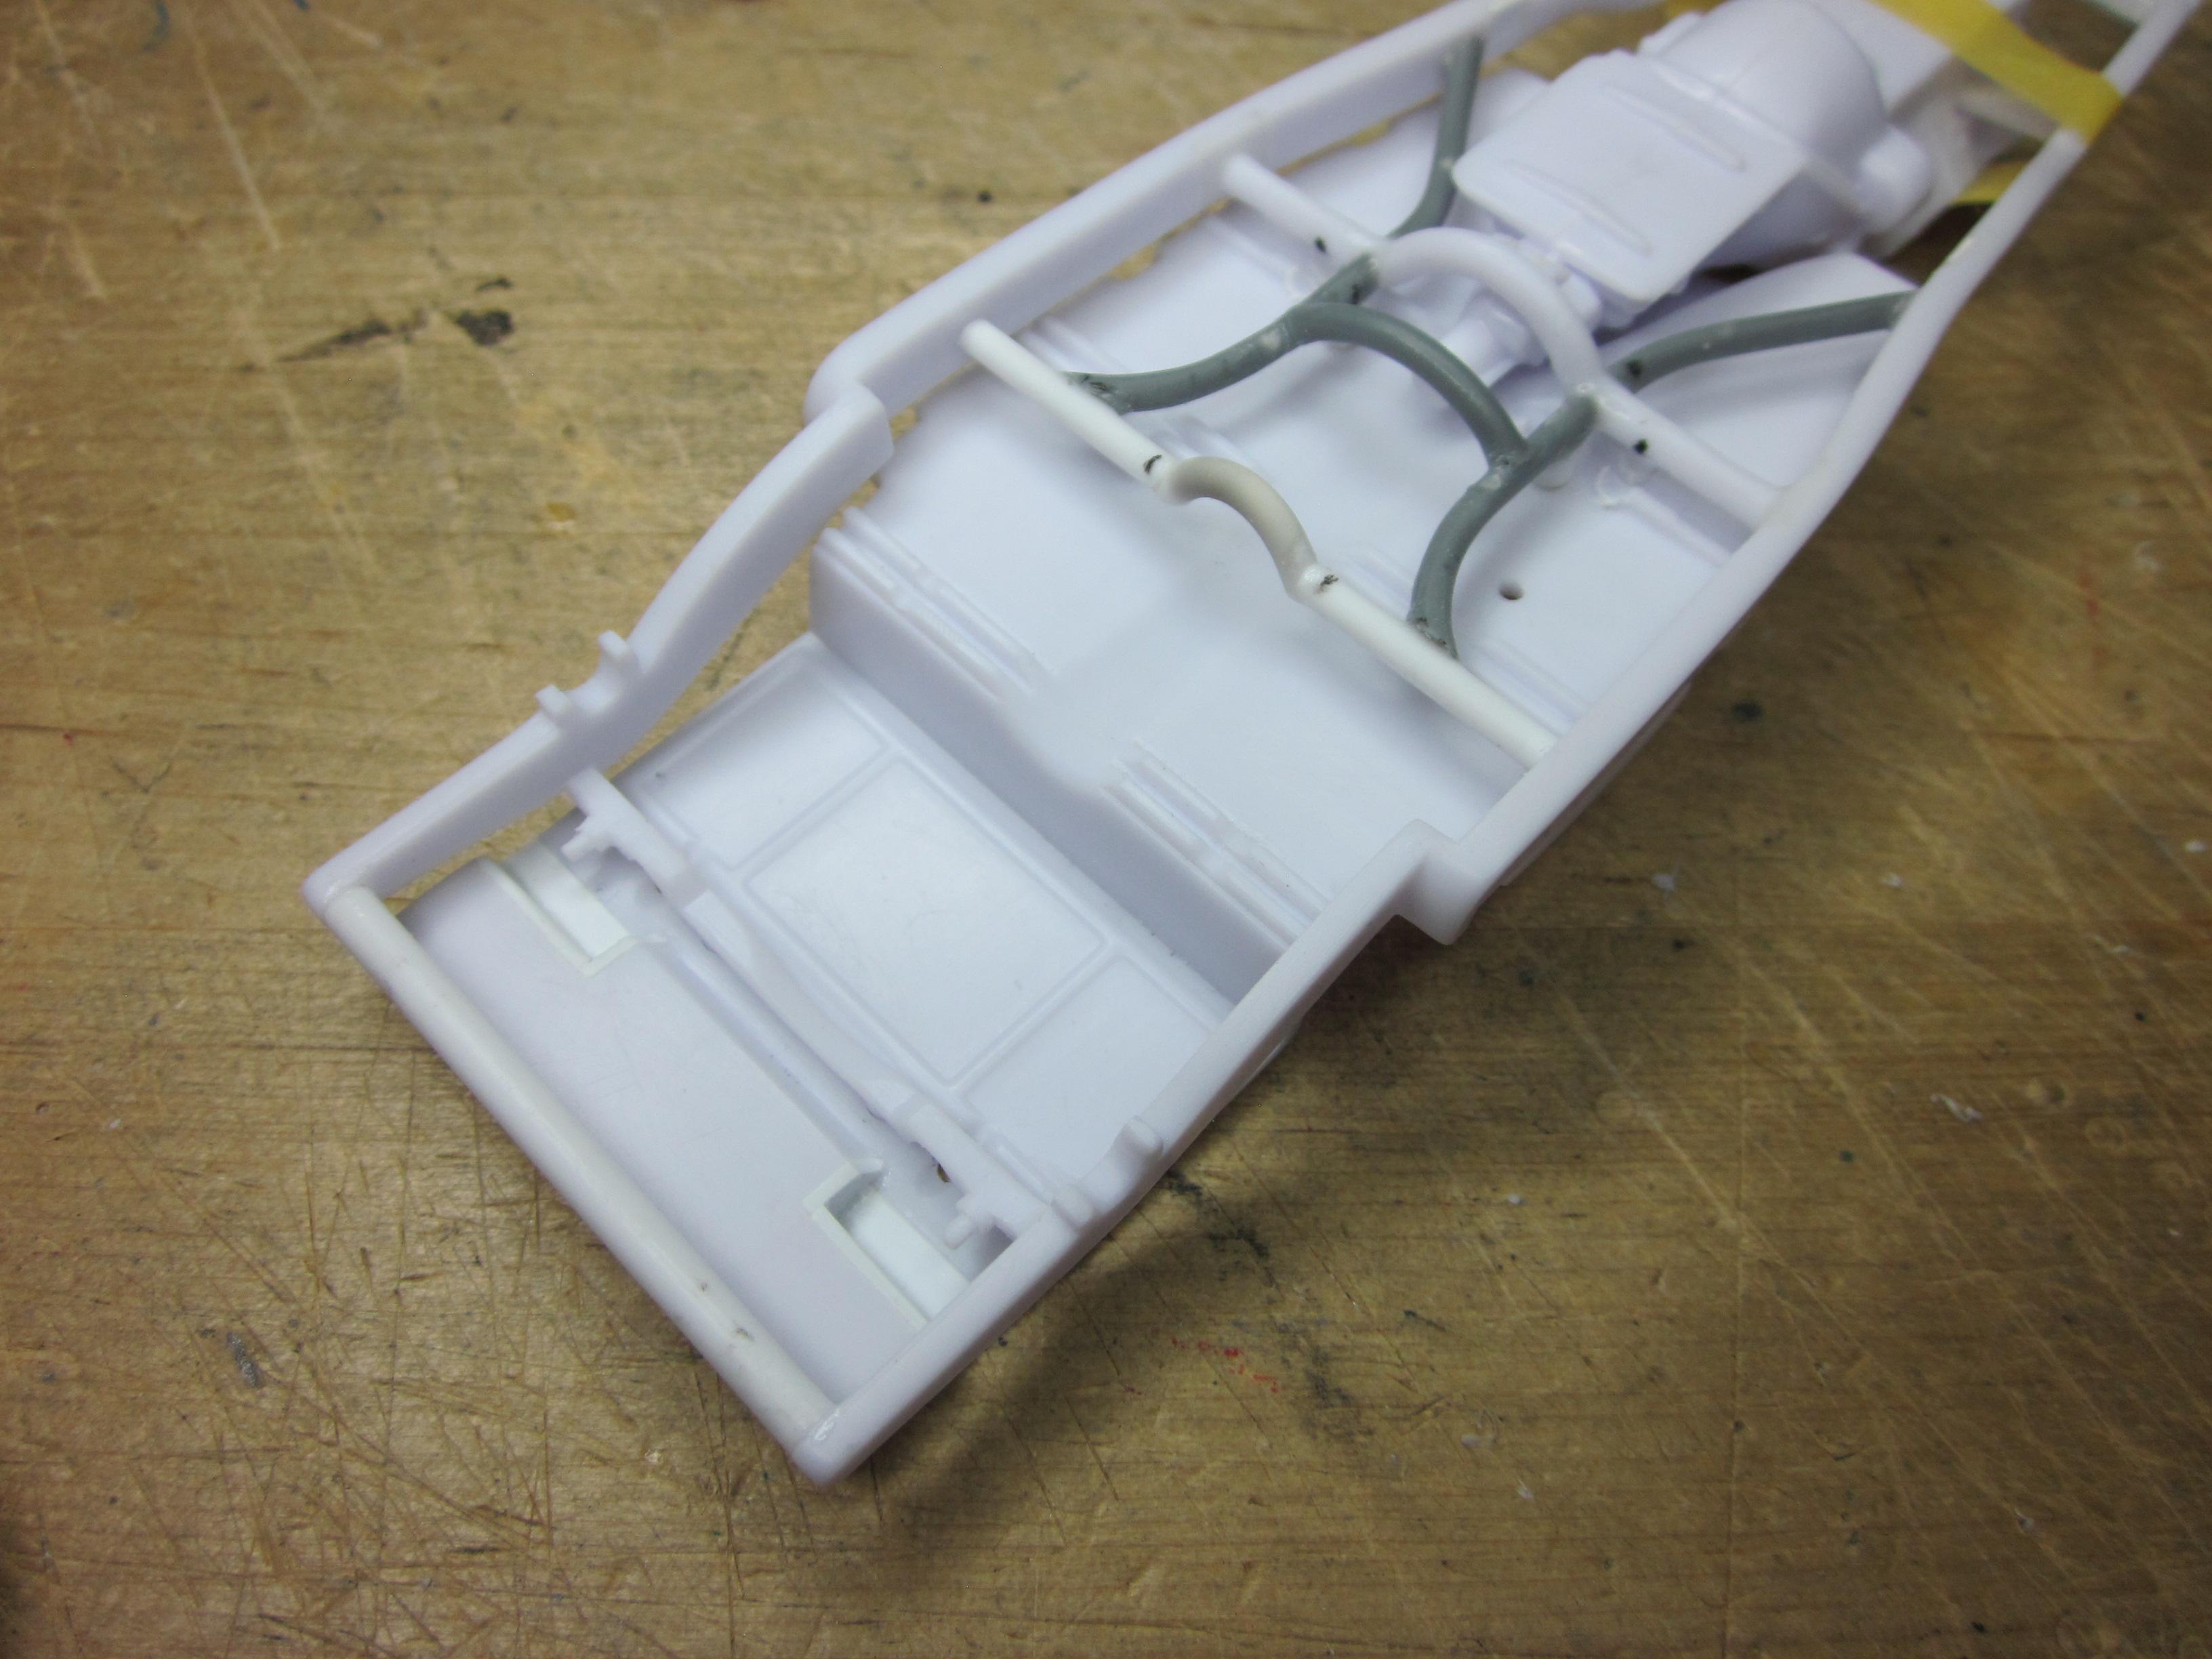
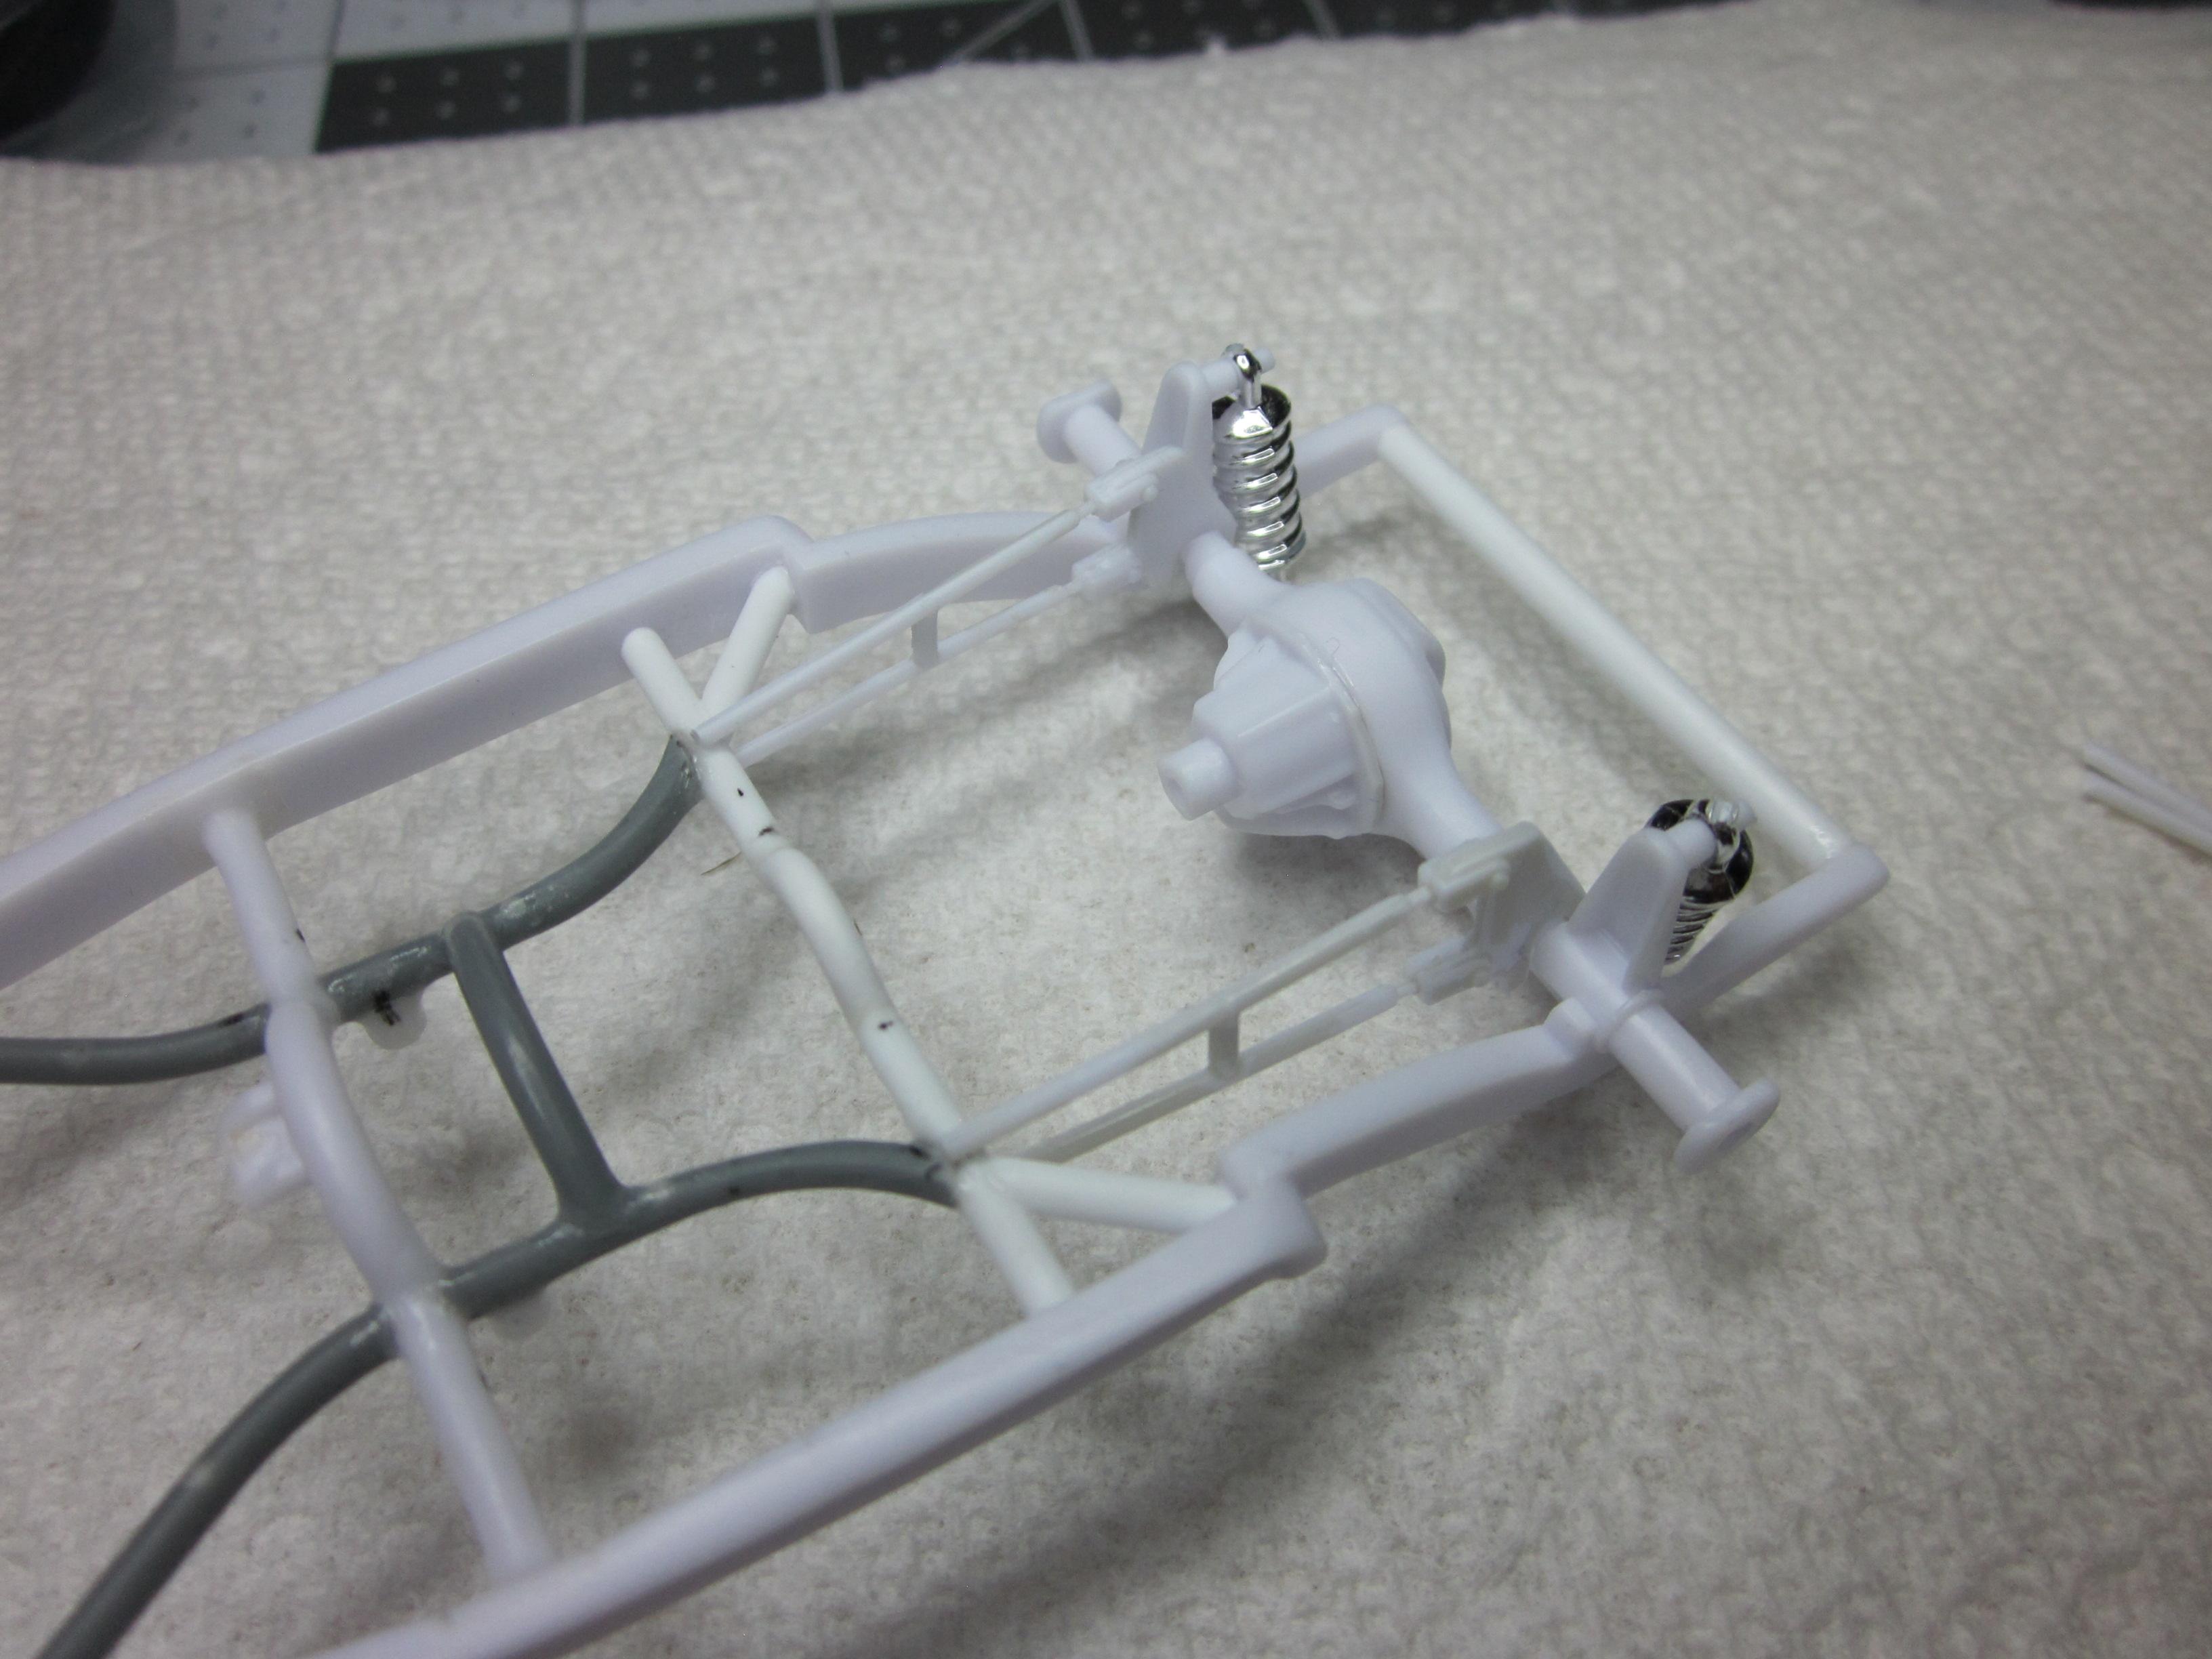
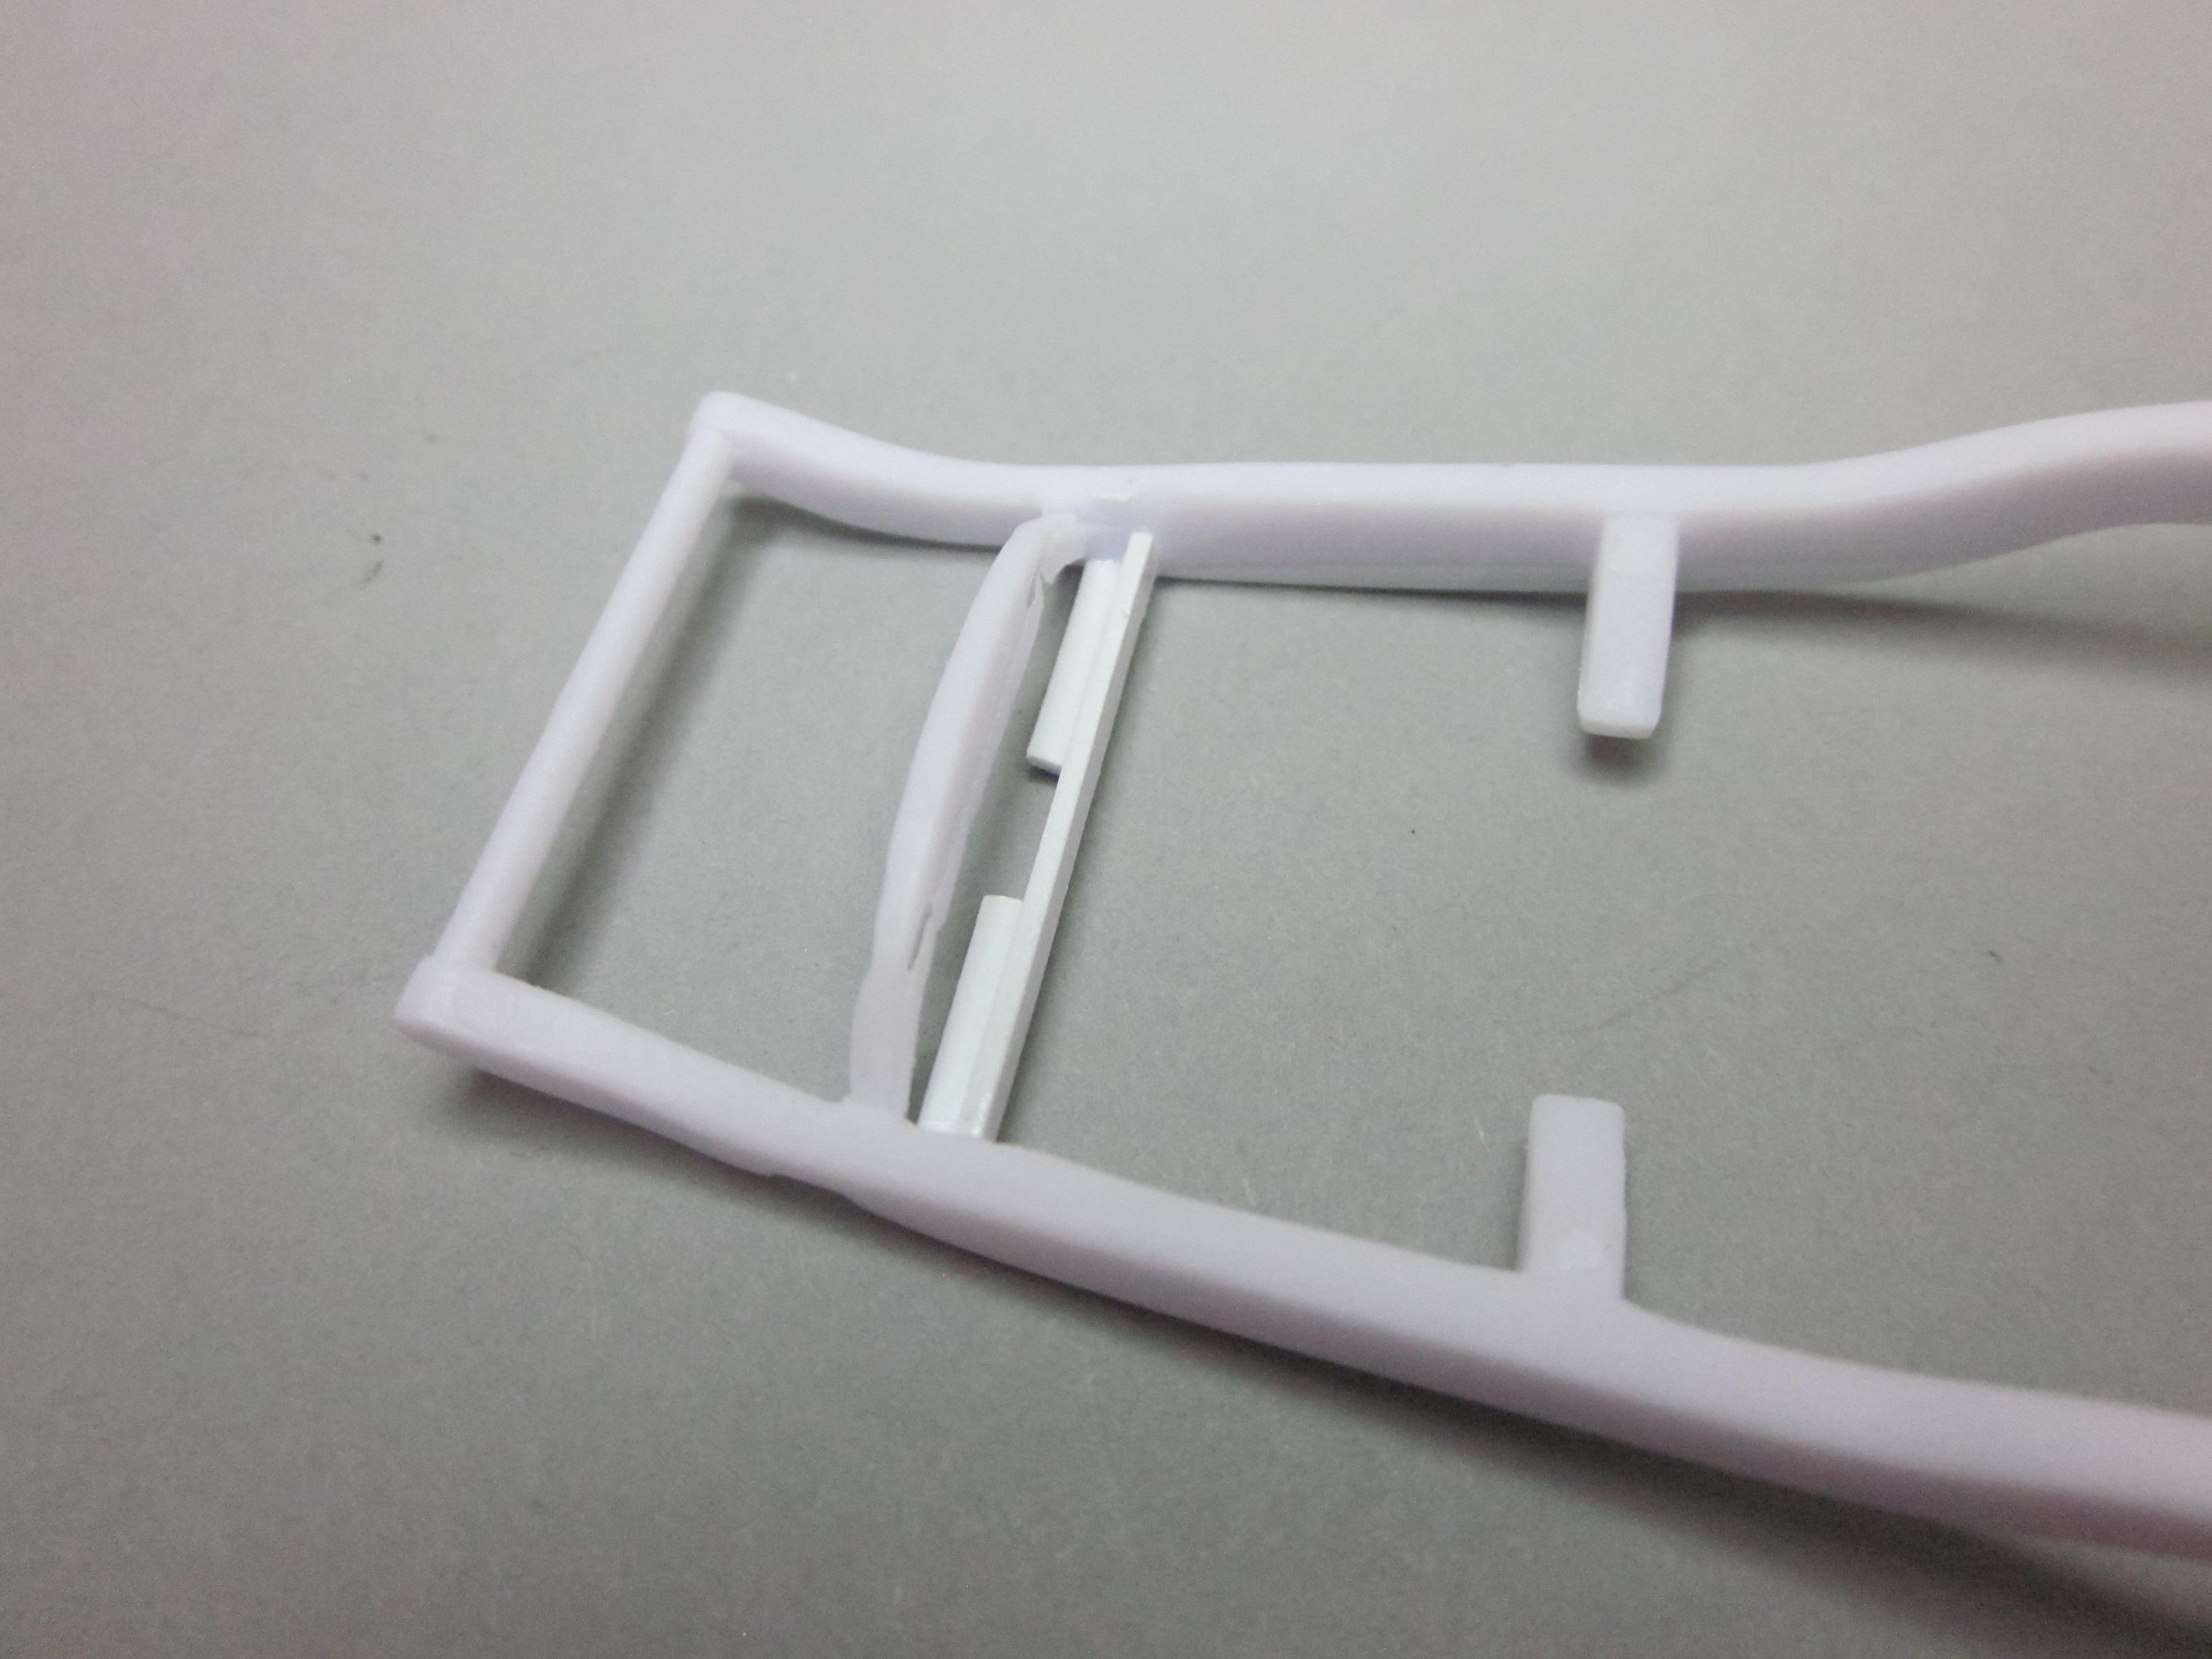
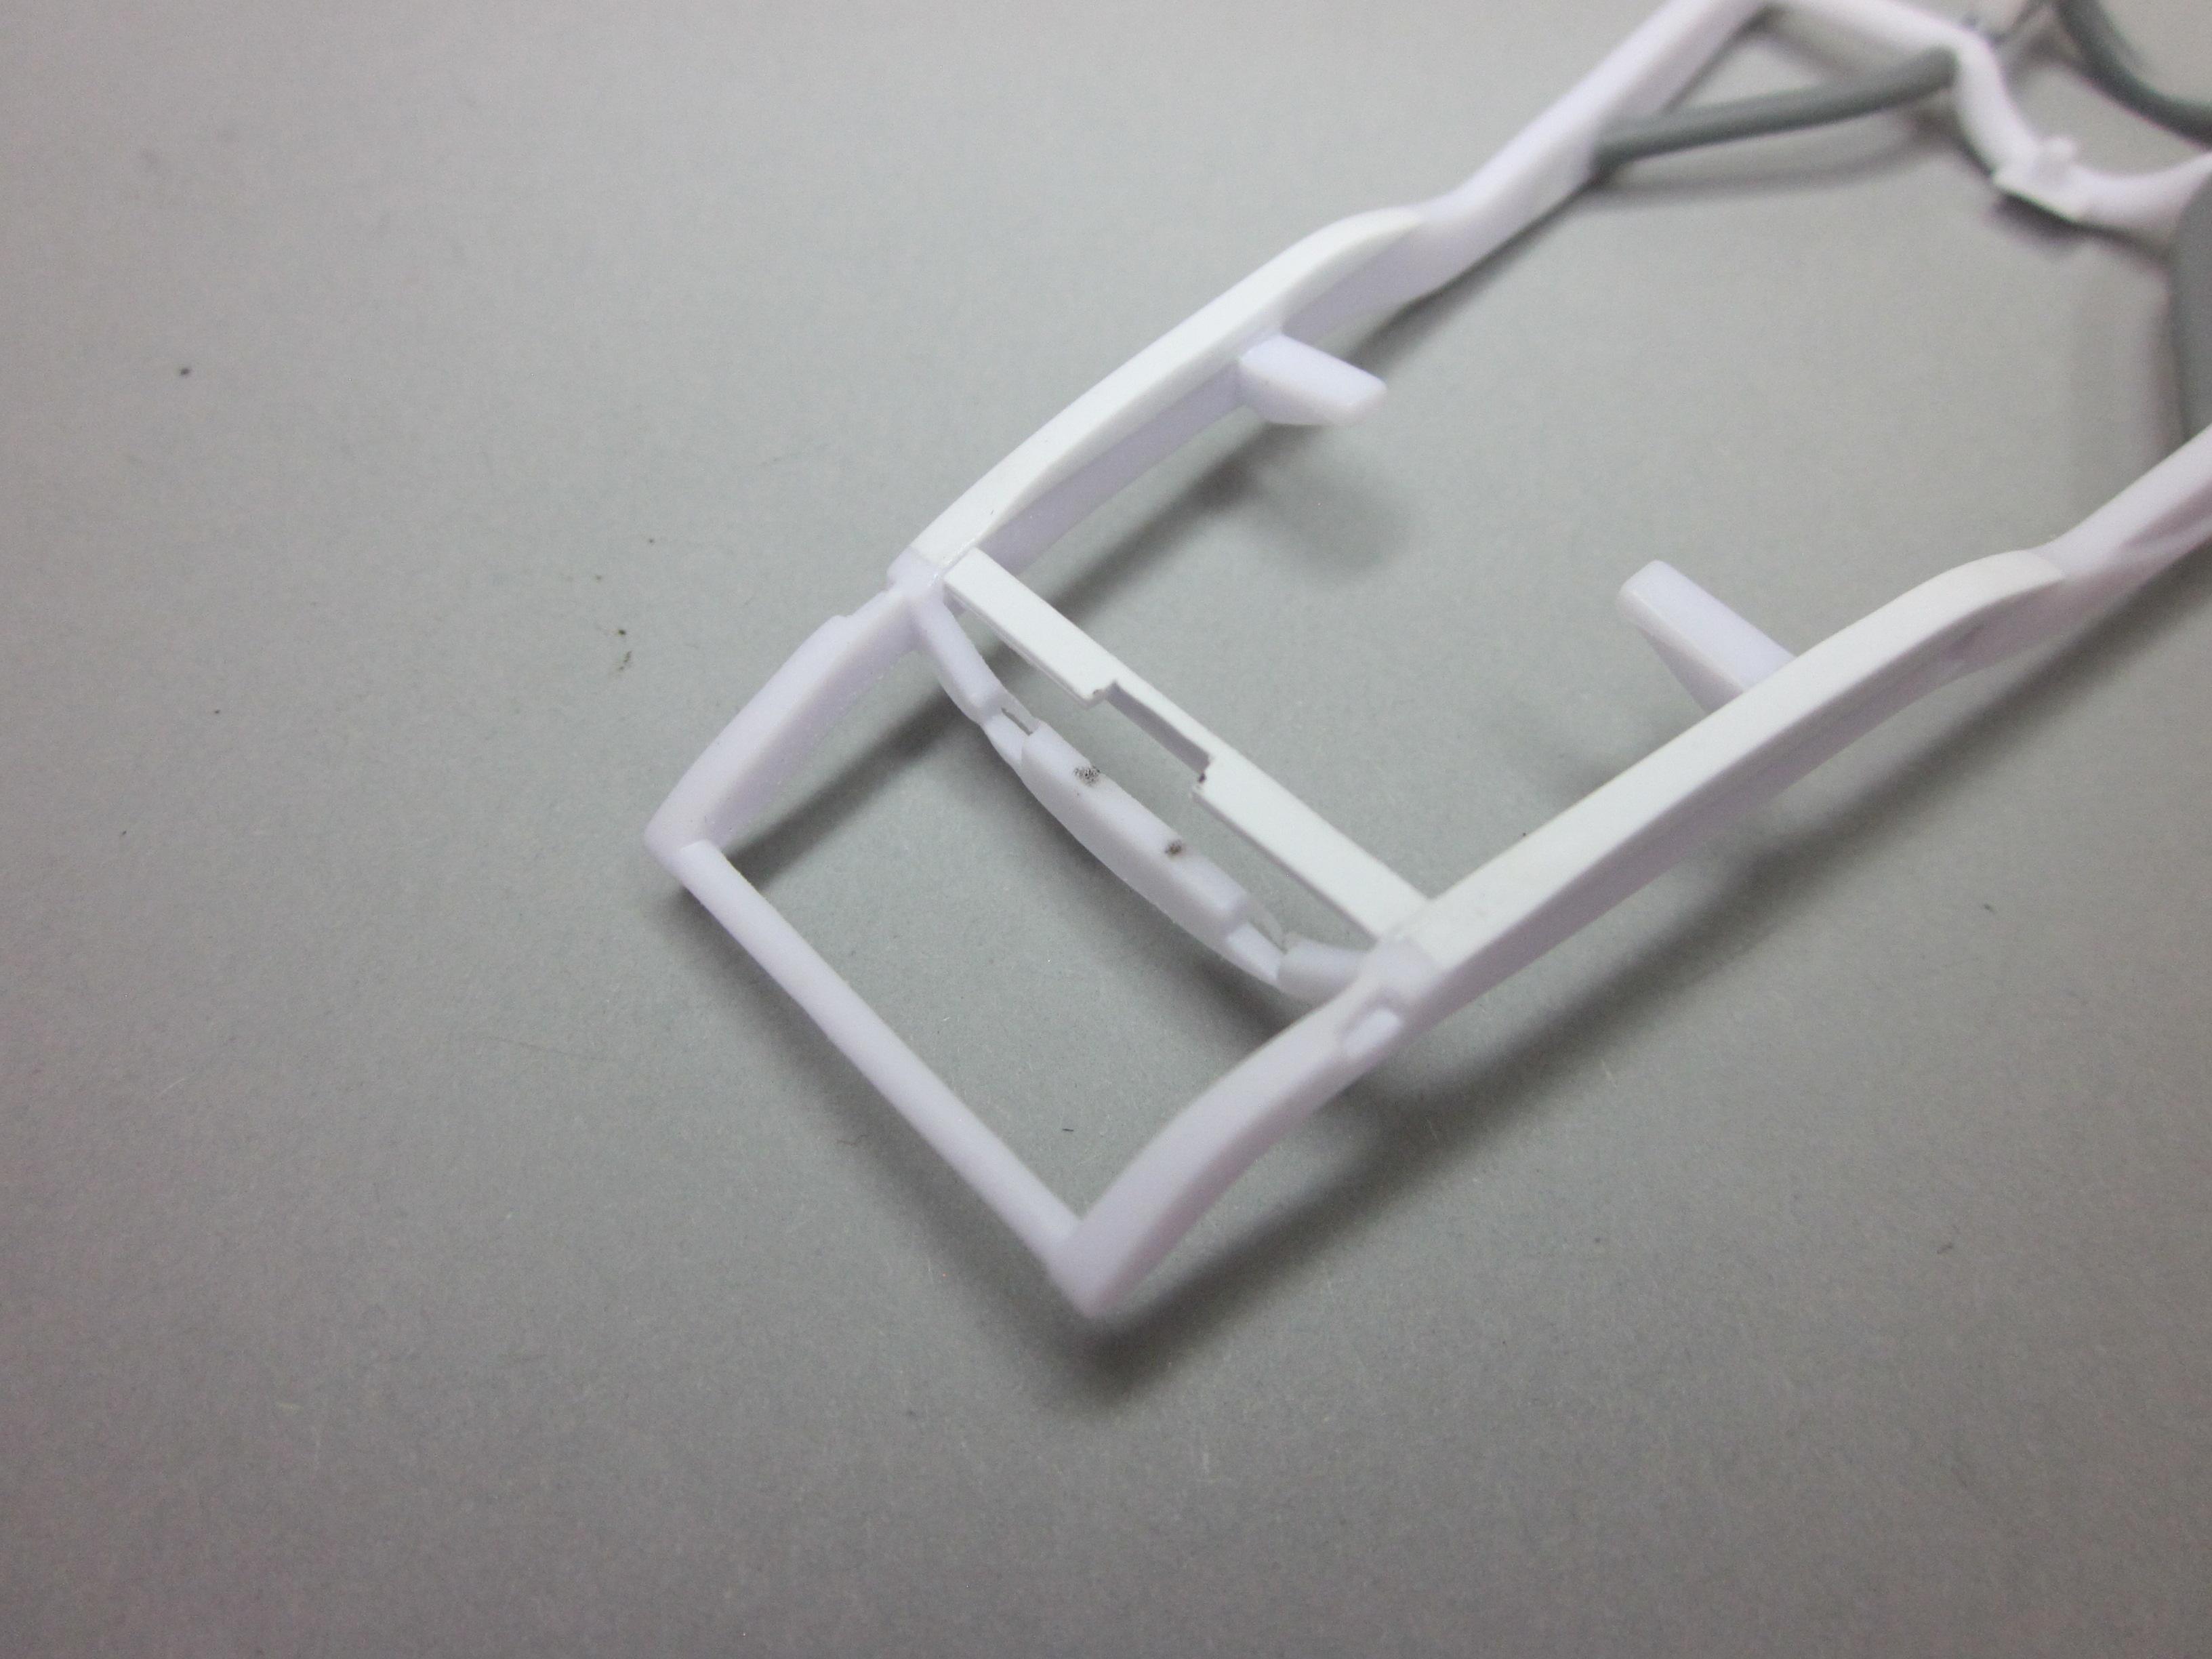
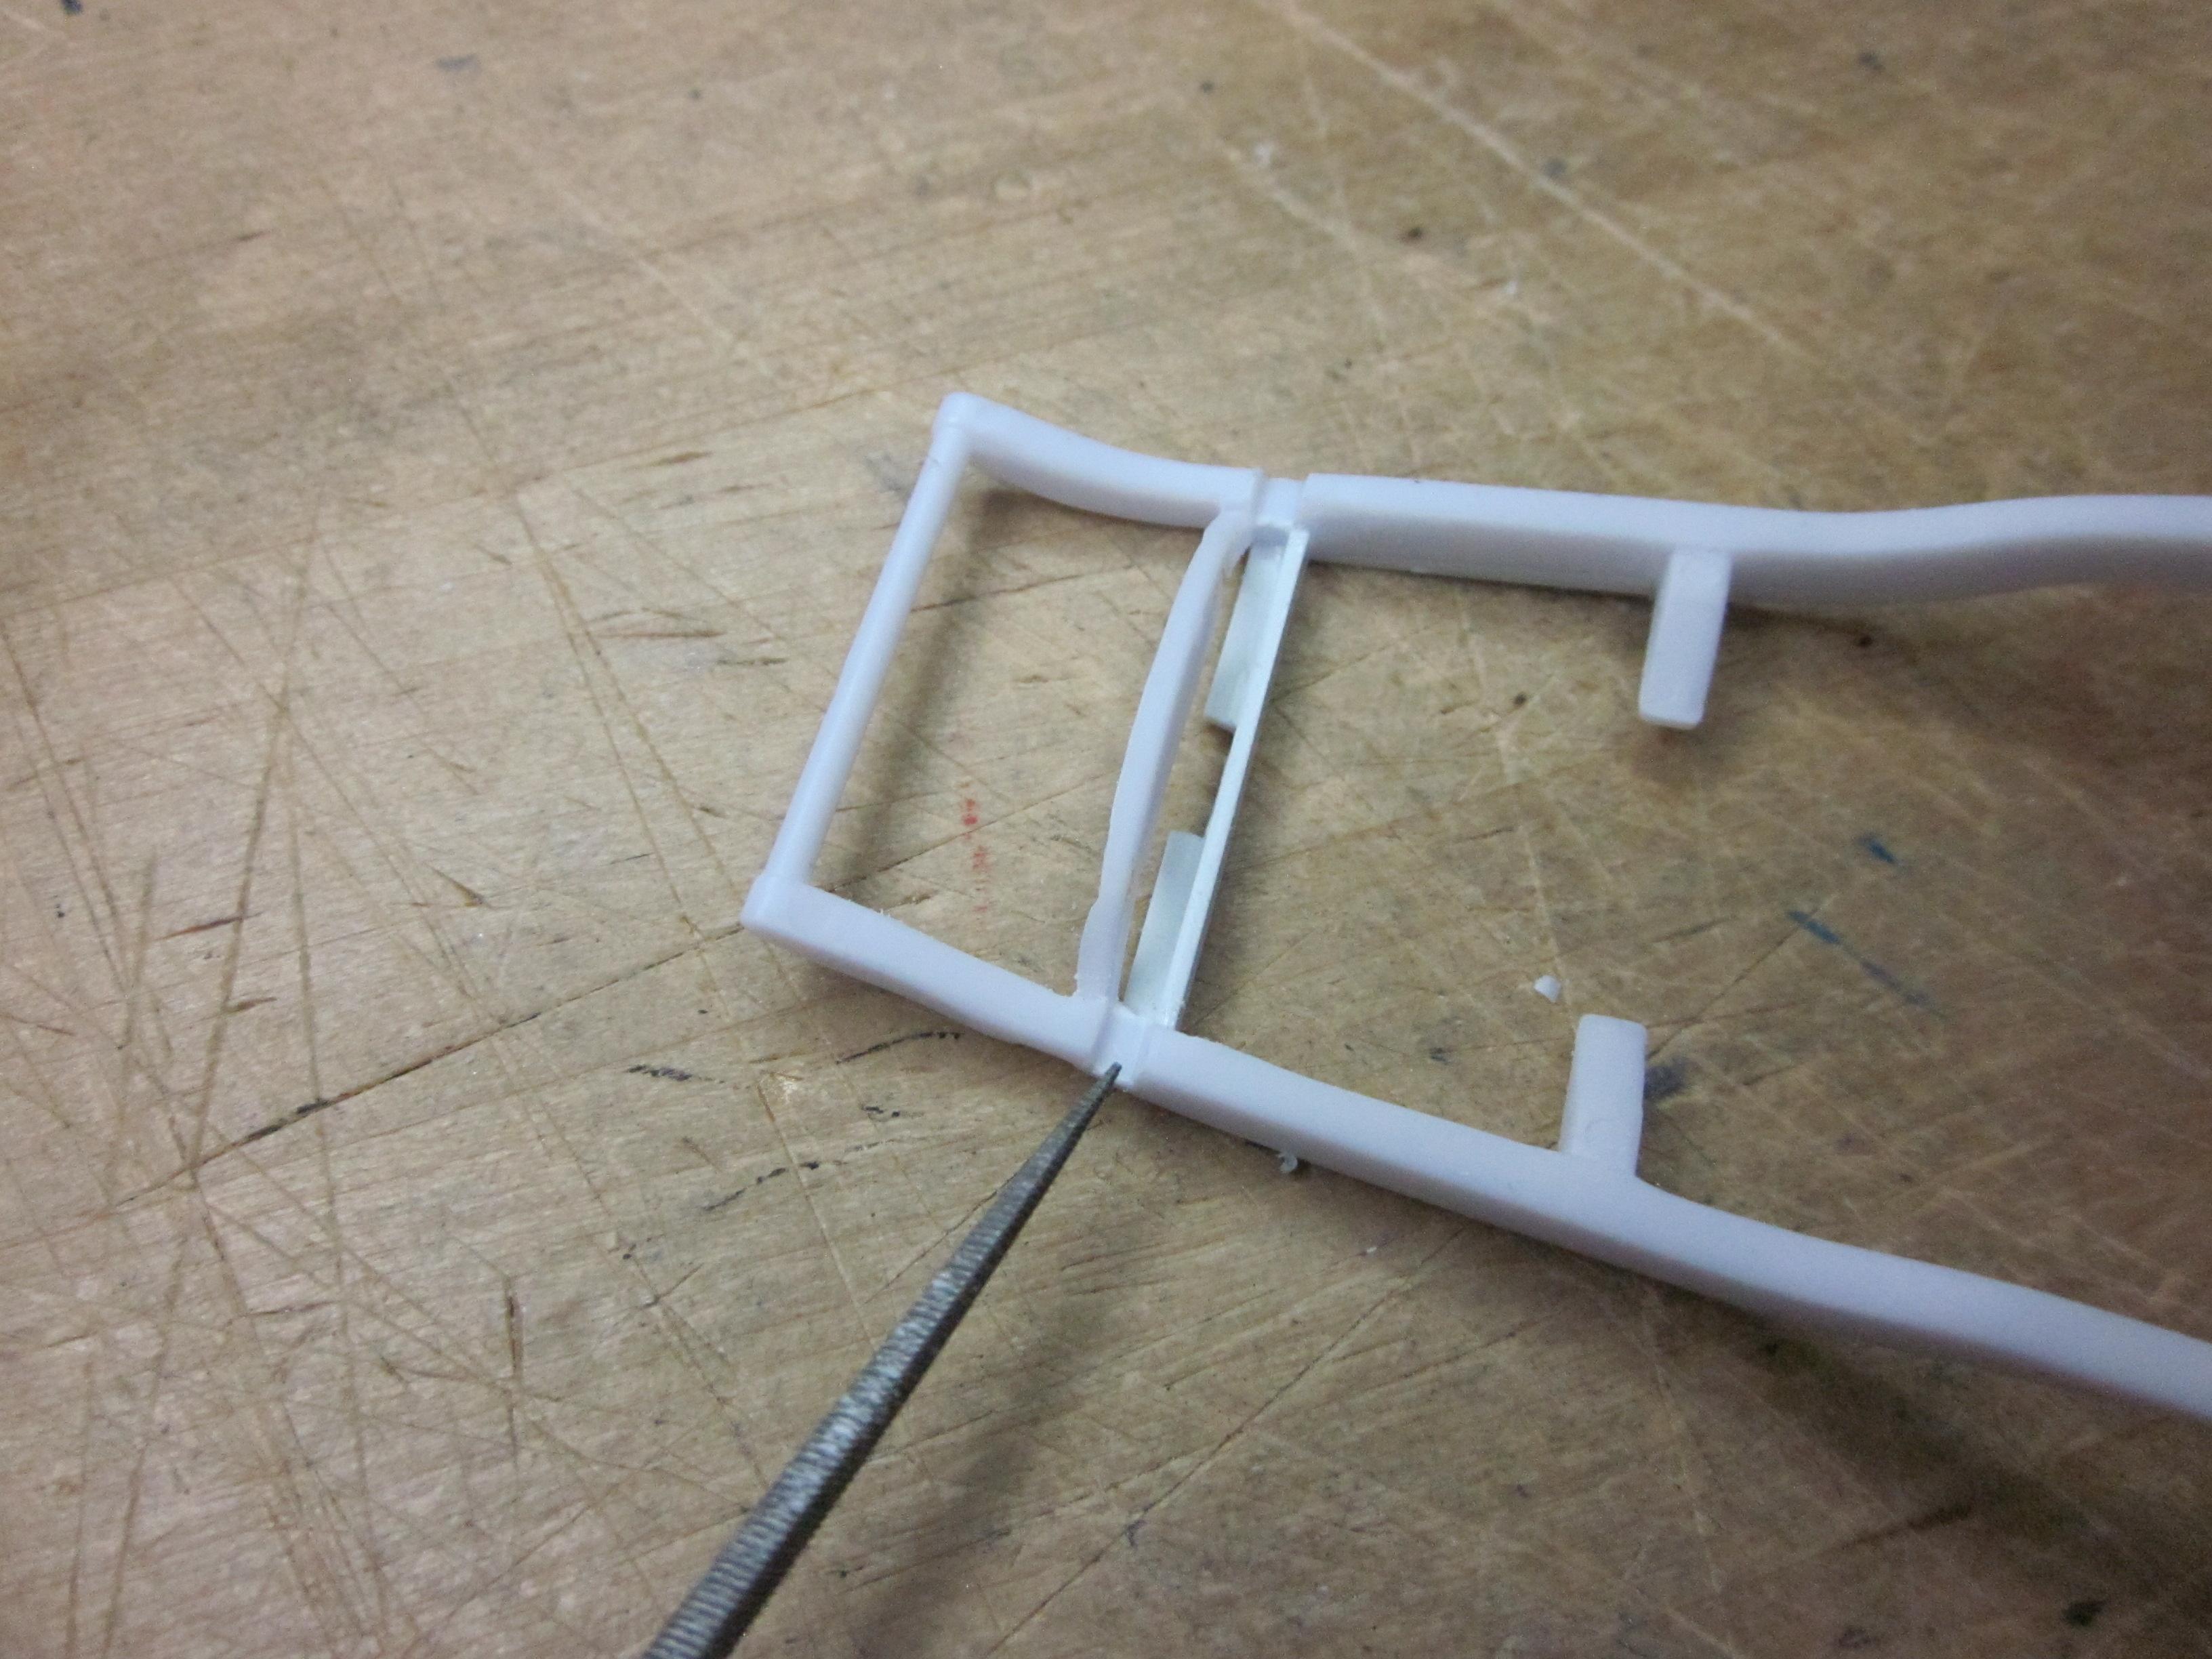
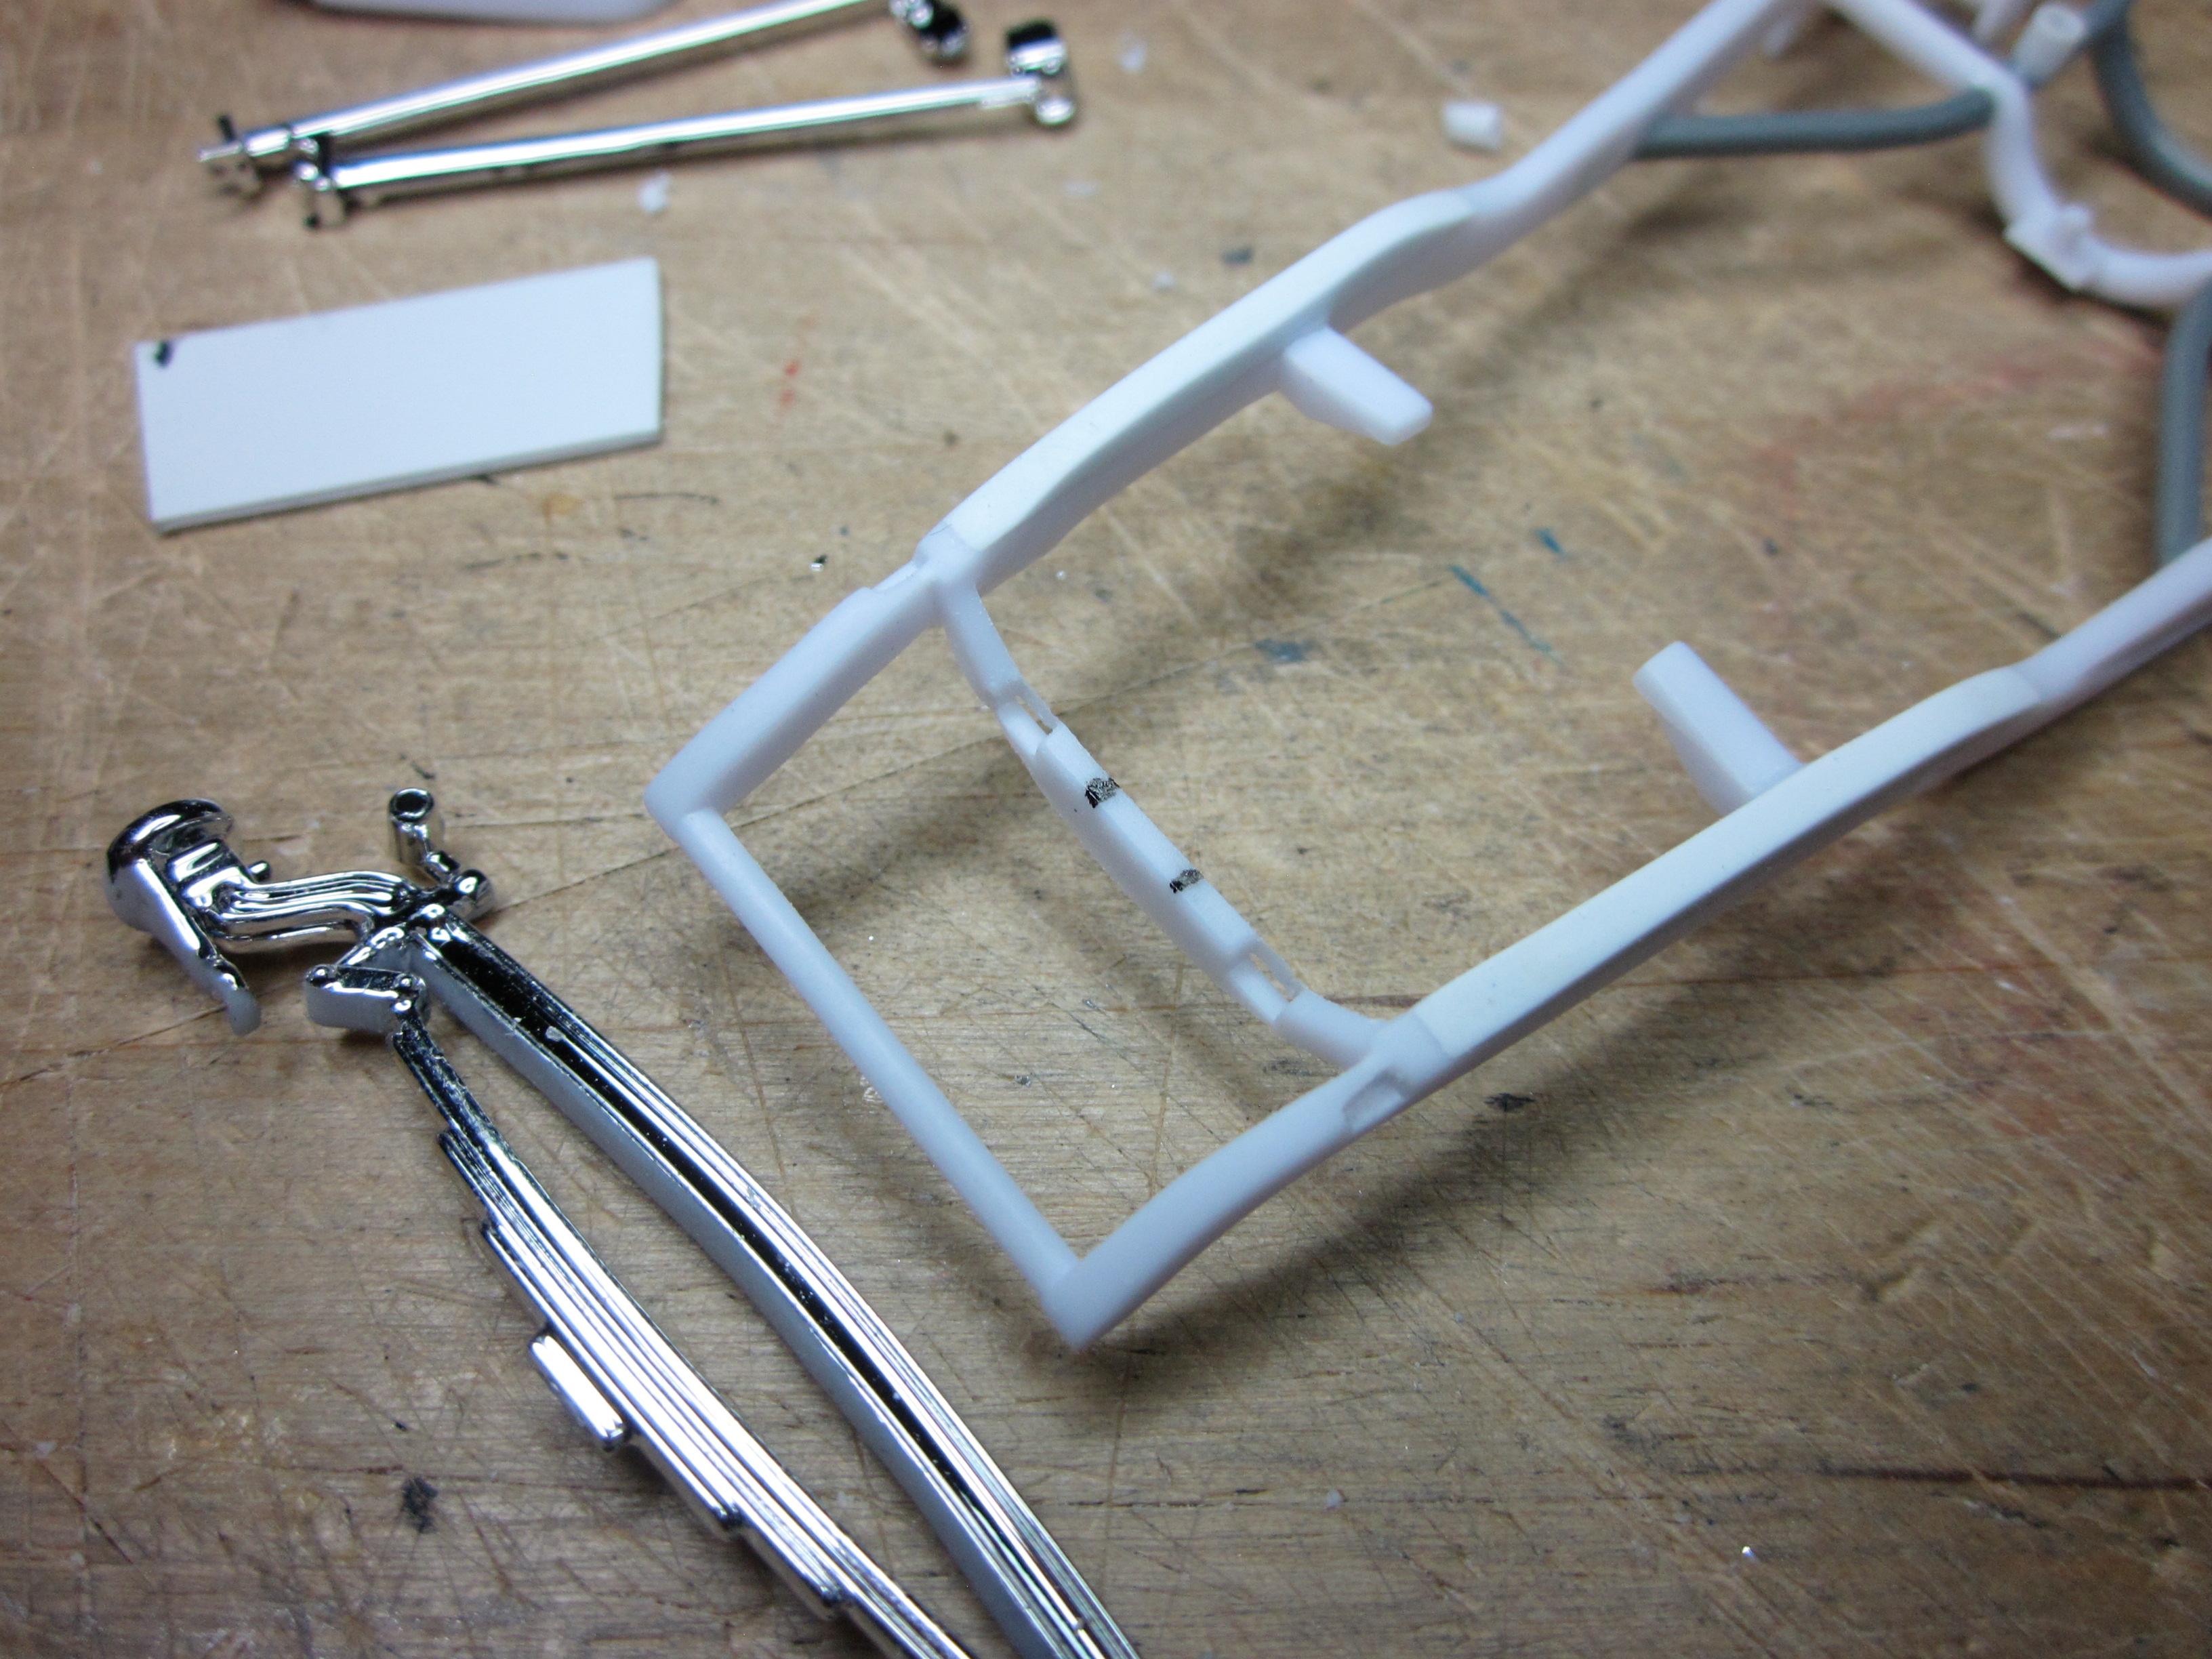
Soon my friend, soon................ Time to work on the chassis some more. My list isn't too long, but the skill level is up there. First on the list is adding another crossmember for the rear suspension to mount to. Found this alittle tricky. After cutting away some of the existing tubing to make way for the new crossmember, the appropriate size round rod was fit and ca glued in place. After it dried, the rod was cut away where I wanted to put the drop for the driveshaft clearence. A piece of rod was shaped and attached between the two rods and welded in place using tamiya extra thin cement. Next was to shorten the shocks as the rear has been lowered a bit. Figured I had to take out about a full coil. One end of the coil was cut off, then cut away one coil and glued it back together using the molding lines to put things back together so the eyes would still line up. Added some needed structure to the frame On the front, the shock mounts were installed to the frame. I cut the shock body off the shock rod. I then drilled the body so the rod slides in and out for adjustment. More on that at another time. I did not care for the hole in the shock mount, so it was drilled out and fit with a piece of rod to fill it in. Here's a mockup of the rear suspension. With the coils cut and the rear end housing at the correct angle for what I'm doing, the ladder bars from the kit are being fitted to their new position. Gotta come up with some mounting points for sure. Ah, fixing one of the biggest flaws of this kit, the upside down wheel cylinder trick! I'm sure everyone knows about this so here's a couple picks of what I did to correct this issue...........put a flat on other side, add material to original flat, sand to shape and you are now 180 degrees in the right direction and the wheel cylinders are doing the same. Thanks for looking and any comments!
-
Chopped 40 Ford Sedan Delivery Traditional Custom
Speedpro replied to Ferbz's topic in WIP: Model Cars
I see what you're doing there. Thank's for clarifying that. I'll be watching your updates to see how this works out. -
Sorry to hear about the repaint, that bites! Everthing else you've got done look's really nice.
-
Monogram ‘32 Ford Roadster - The Rebuild
Speedpro replied to atomicholiday's topic in WIP: Model Cars
That green color is perfect and look's so good with the black. Beautiful paint work. -
Chopped 40 Ford Sedan Delivery Traditional Custom
Speedpro replied to Ferbz's topic in WIP: Model Cars
Nice work so far Ferby! I like how its coming along. So, the grill in it right now is from a '39, and you're going to put a '41 in it? It looks as though you filled in the '39 to make it smooth, are you doing the same to the '41? -
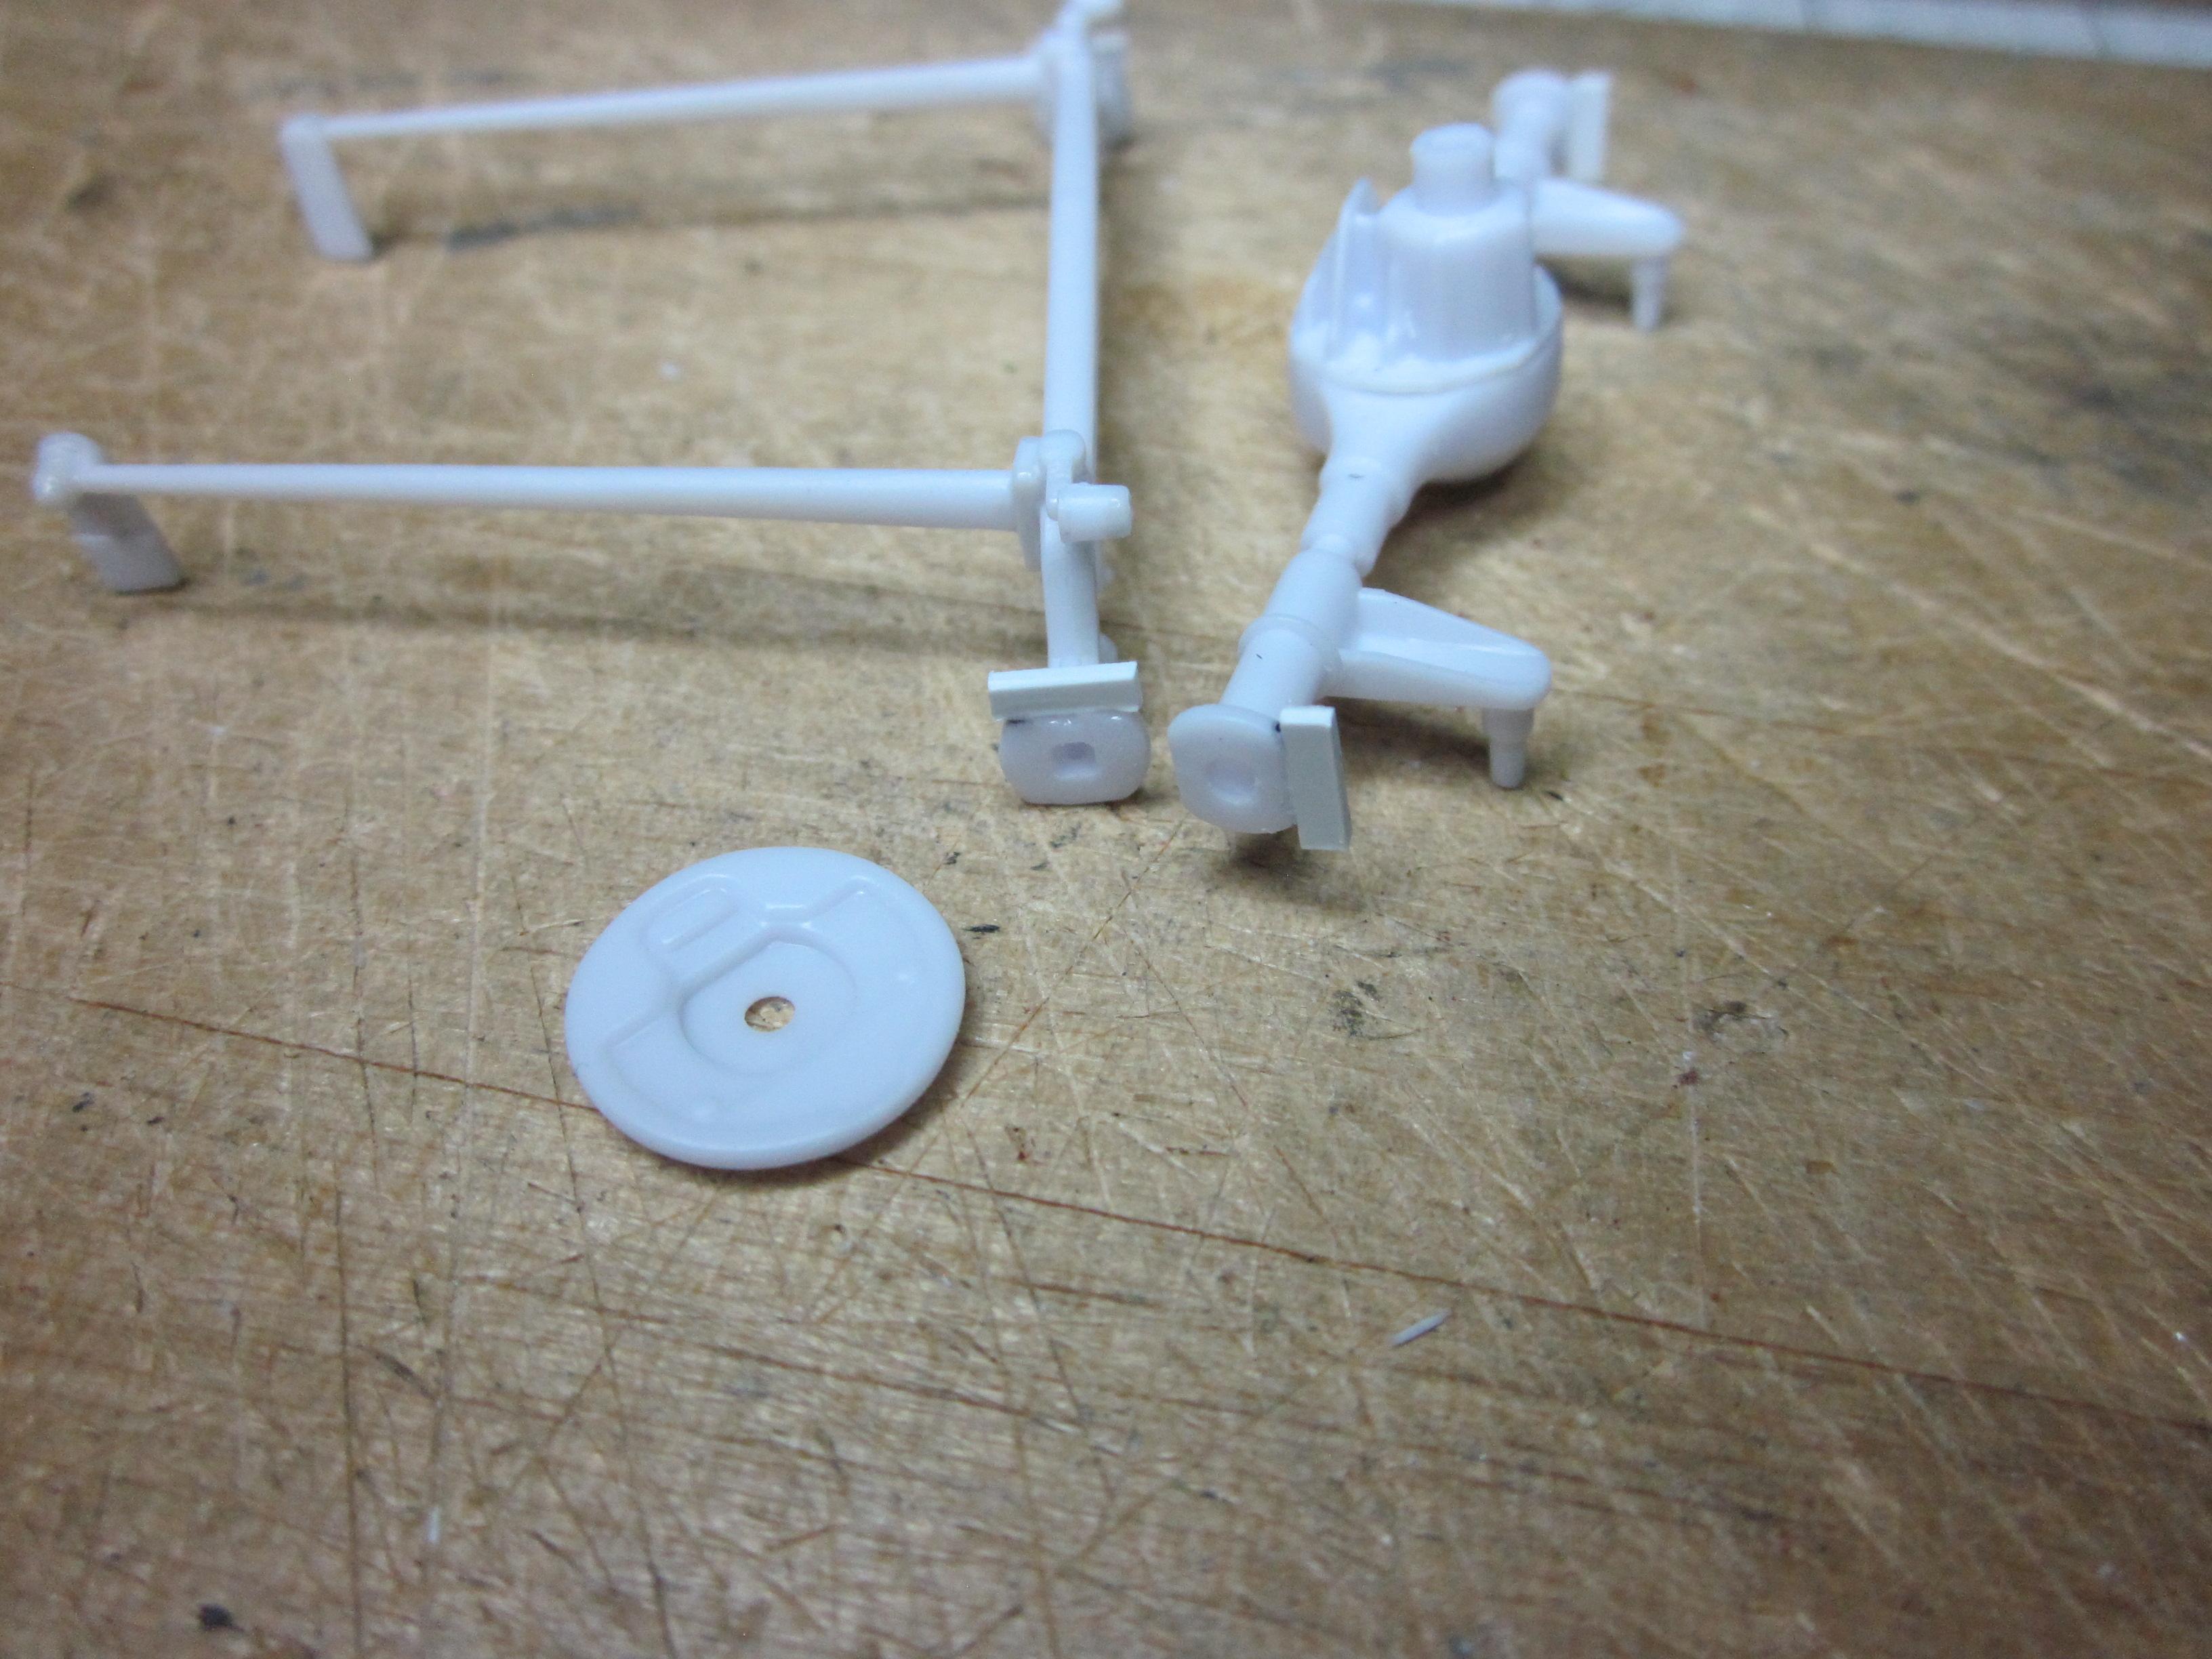
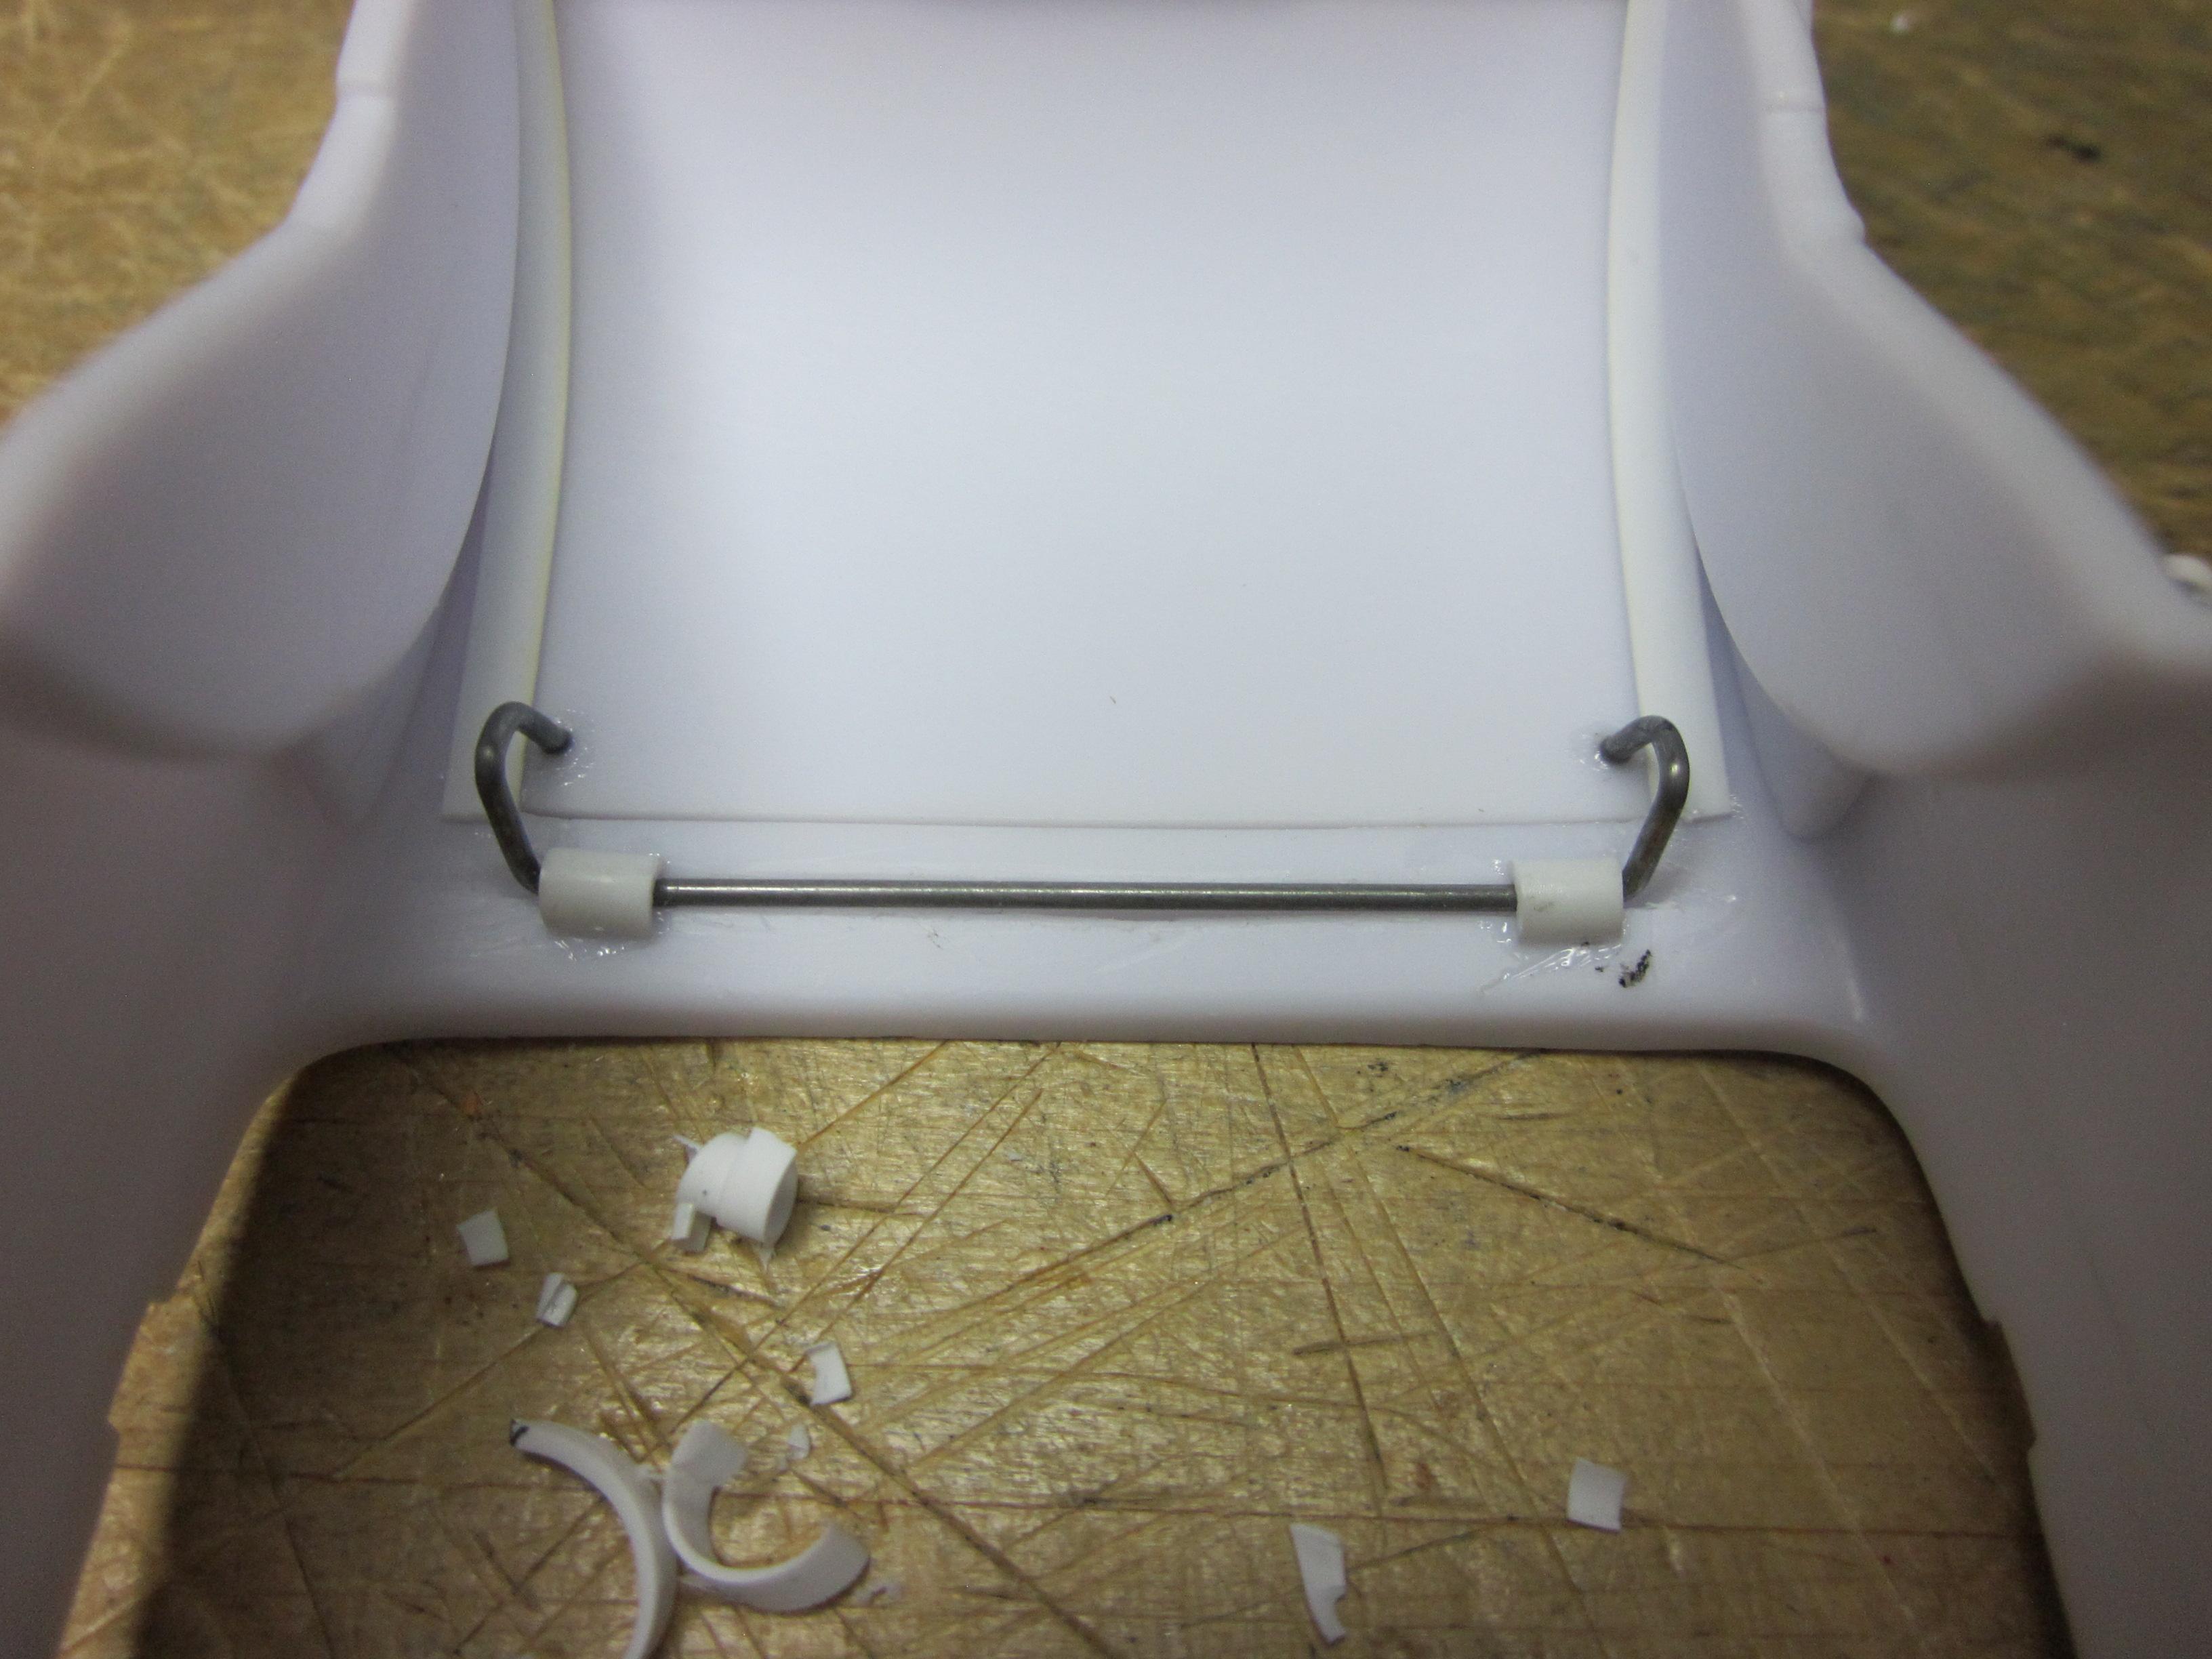
Still been working on this build. As you all know, life just seem's to get in the way this time of year, but I'm still getting alittle done here and there. Got around to fitting the engine. I knew there was trouble going into this. Things are tight. So tight that the trans tunnel required some surgery. Probably could have built a new one, but I just wanted to use the oe one. This area will be covered with carpet that will hide the goofs that may be noticable. I built a hinge for the trunk and mounted it under the deck lid using a couple pieces of round rod drilled to the dia. of the wire and cut in half. Still more work to do there. That's it for now. For the next update, I will be fixing the upside down wheelcylinders!
- 65 replies
-
- 11
-

-
If I were you, I would leave it as is. Don't look bad from here. Why throw yourself into a total repaint. I'm saying this because a touch up of such a big area almost always turn's into a repaint.
-
Your build is really coming along nicely. I see nothing but good things here! May i suggest trying a toothpic instead of a brush for touch up of a deep gouge in your paint. Brush holds alot of paint hence bigger chance of failure.
-
Who doesn't love a mock-up? Let's see yours!
Speedpro replied to Belairconvertable's topic in WIP: Model Cars
Monogram '32 Ford Roadster with a '34 Ford ZZ Top roof, suicide doors, frame, roll bar, fatties in the rear, and ya, it's got a hemi with a lenco trans.
-
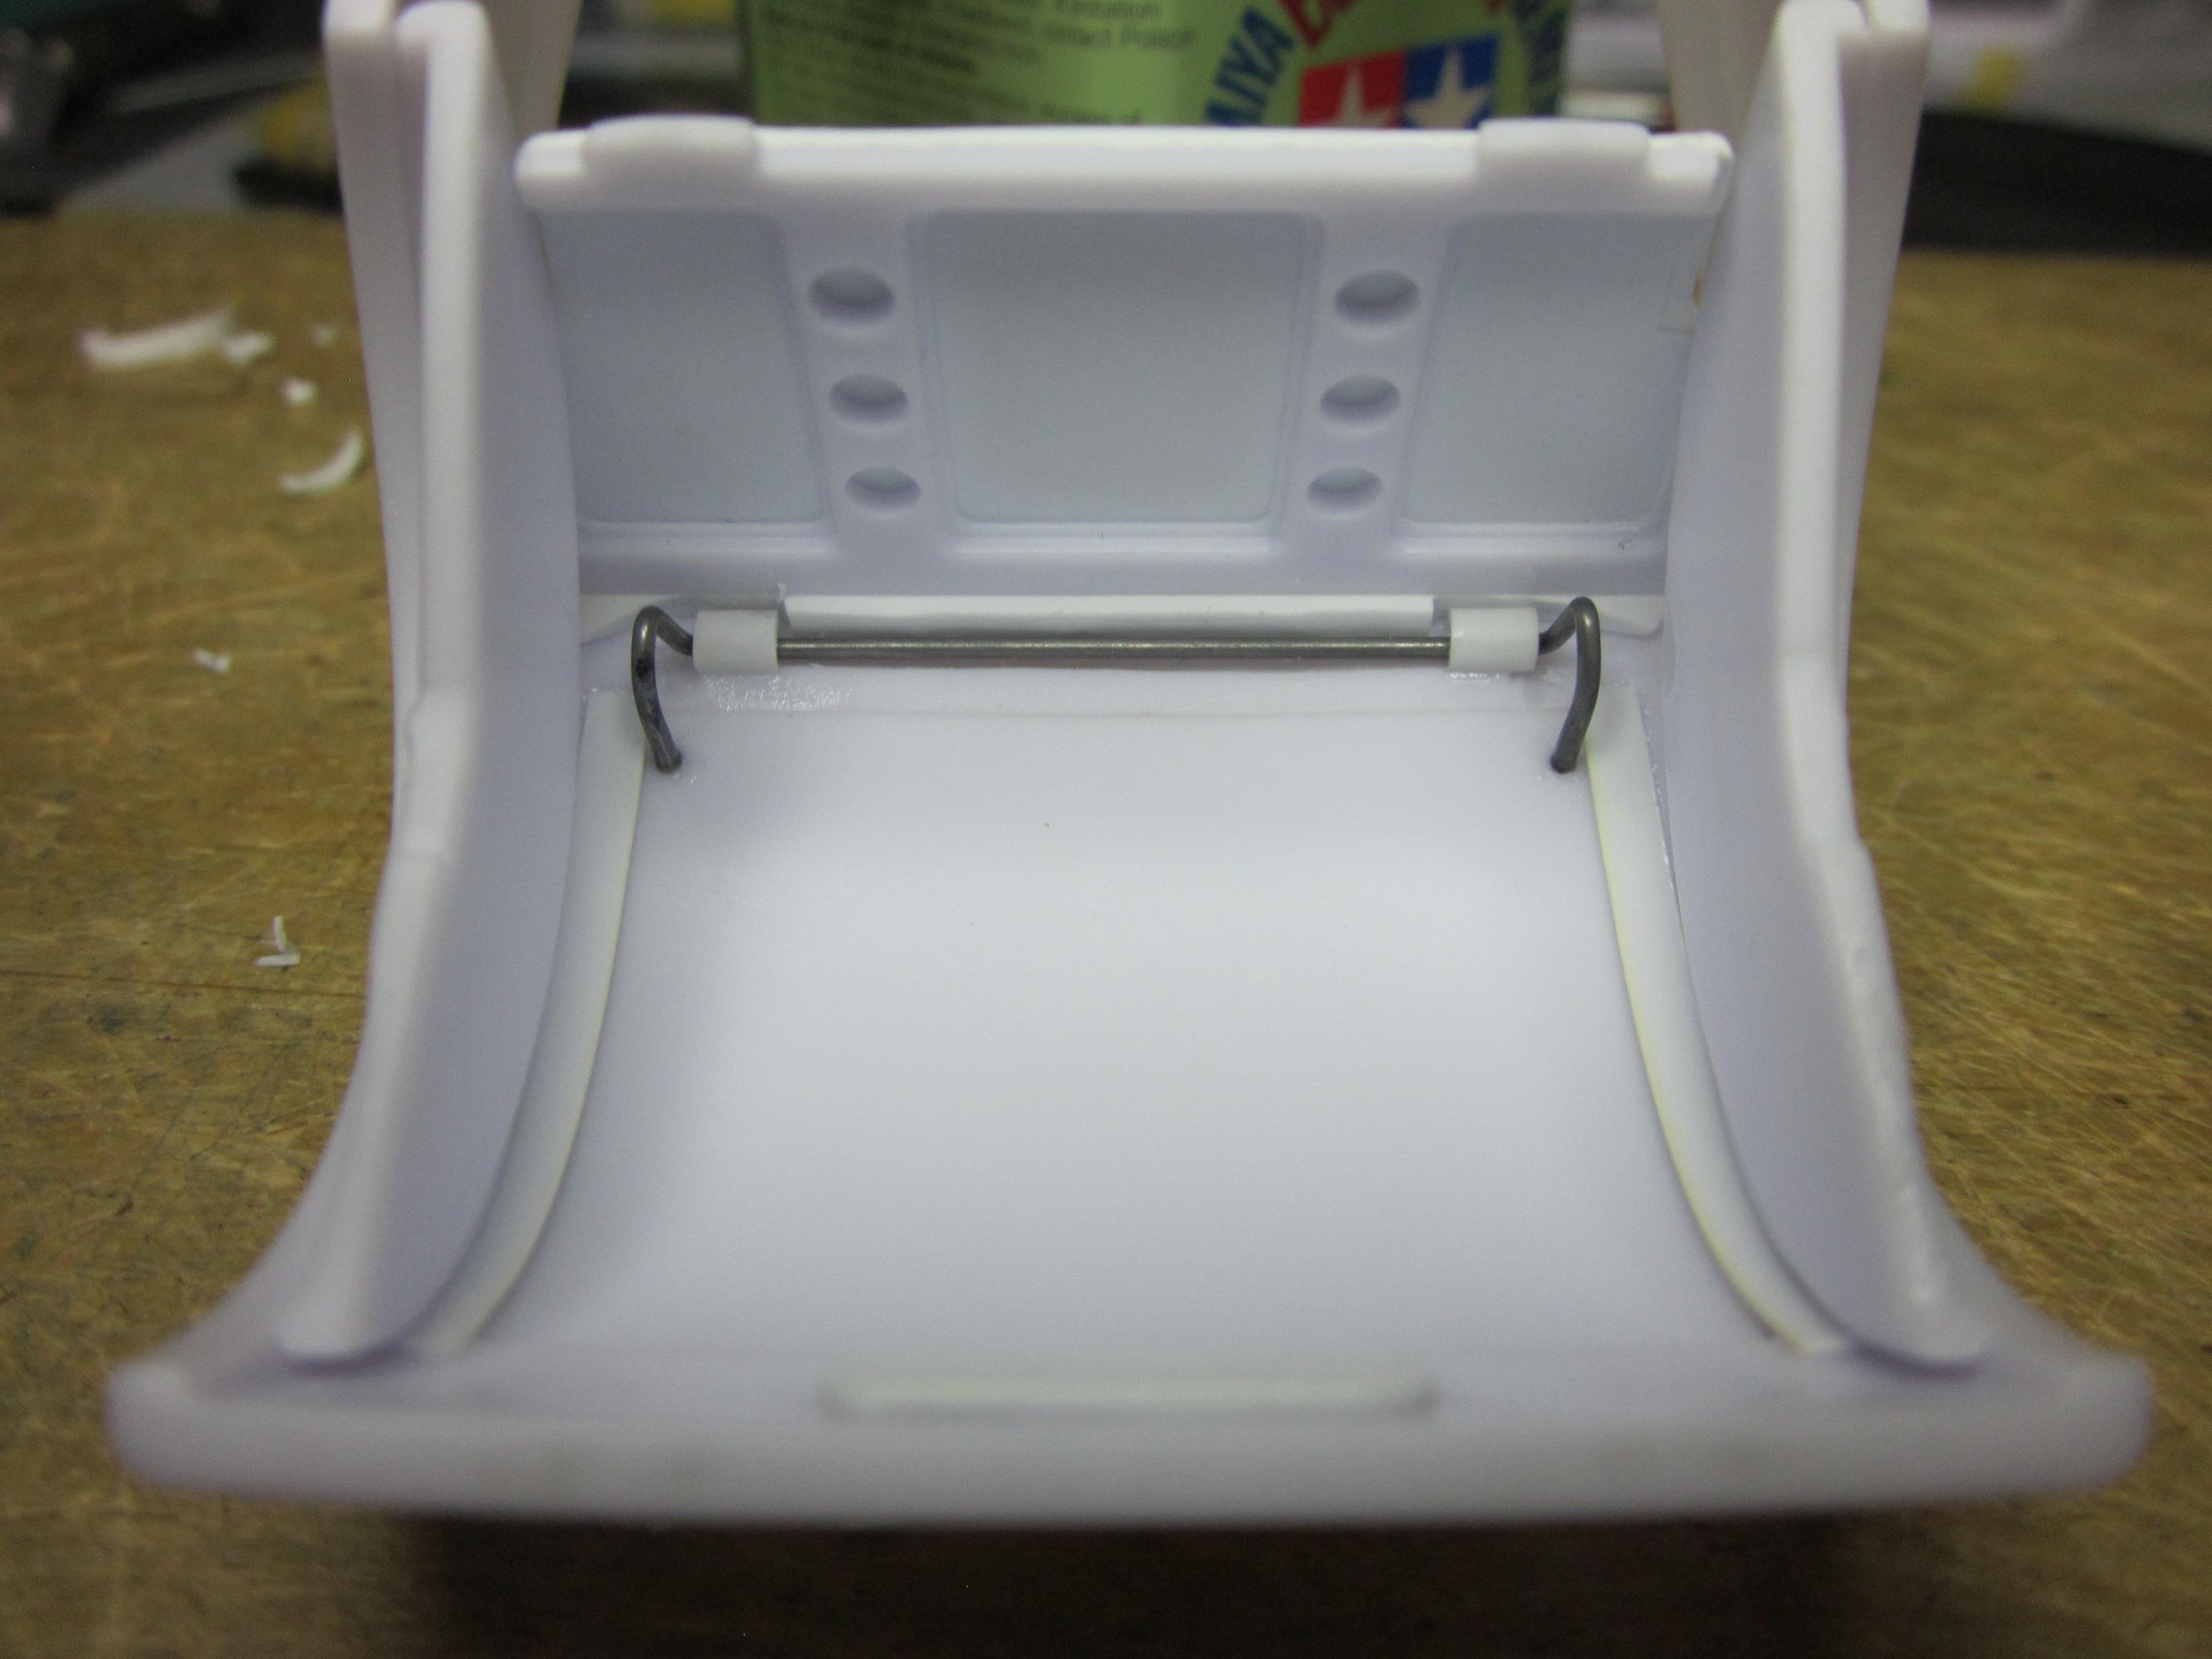
While going through the interior parts, I noticed the trunk divider and thinking, pretty cool part. Directions show that you can see it behind the aluminum seats and also can see the gas tank and battery through it. But I think I have another way to see this part when using it. And it's from the other side. Opening the trunk is the first. That was easy. Will be using a donor body for the new trunk lid. That will be later. The new trunk divider is next. My idea is to cover the back side of the divider with some sheet styrene and then turn it around so you are looking at the frame work from inside the trunk. Had to trim to fit and add a few scraps of evergreen to complete the now new divider. Finished some small this and that's and think about what i'll do next.....................................
-
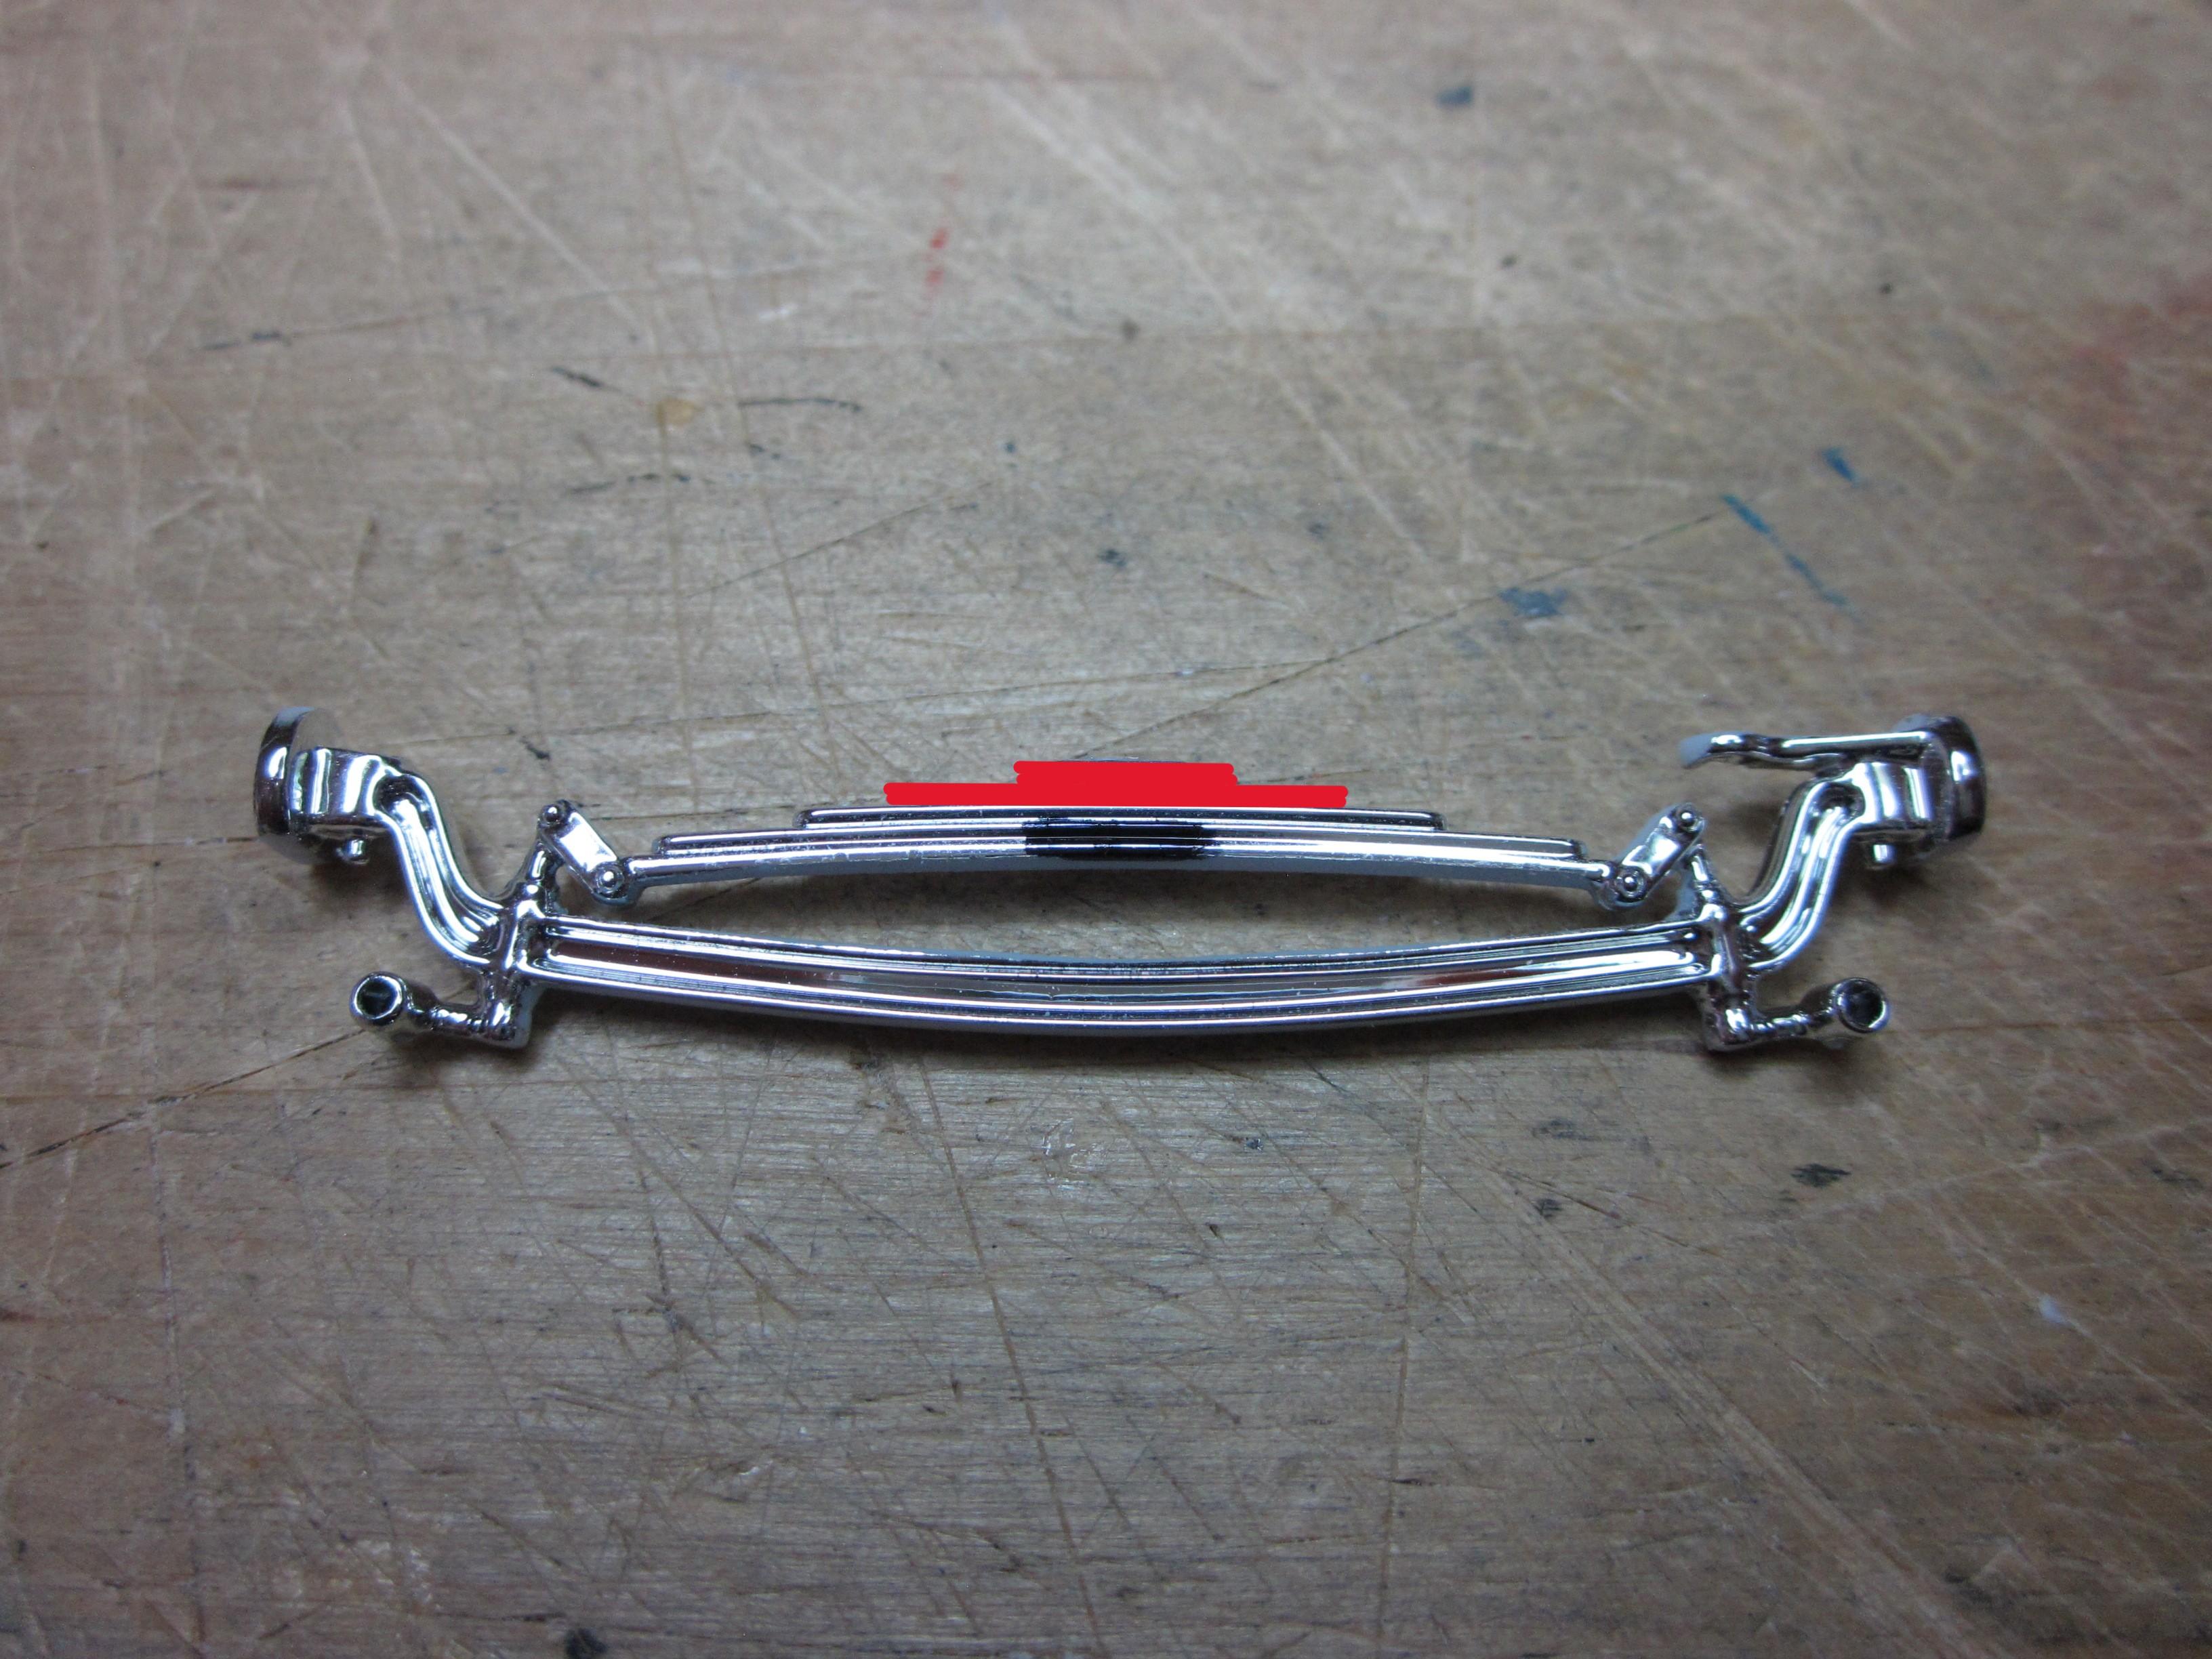
In this update, I did some more chopping on the '30. This time, it is in the suspension that needed to loose a couple inches. I figured that a 4-5 inch drop up front and lets say 3 inch in the rear would get it close to what my eye wants to see. The most important part that I want to keep its factory position is the radiator. There is no reason to mess with the way it mounts. Just need to shorten the grill shell. The rad and the shell were taped together and cut. The hight the radiator needed to be was determined, cut, sanded and everything glued back together. This will mount in the stock location with no other changes made. With the radiator out of the way, I can do the front end drop. Here is how I dropped the front on the '30. In the first pic I wanted to pinpoint the rad mounts with the red arrows. We want to leave those alone. A line was drawn across the cross member. This is the cut line. You can see that the line is right at the radiator mounting notches. Everything behind the line is removed to make room for the new cross member. The new cross member is going to be mounted level with top of the frame. It's location will be determined by the width of the leaf spring. Need a nice snug fit between the rad mount and the new cross member. Made up the cross member with some evergreen sheet and installed it using the front axle as a helper. One leaf was removed from the front axle. To get the leaf spring to touch the new cross member, notches had to be filed into the frame for a relief for the spring. A location pin was added back to the top of the spring. Might have got 5 inch drop out of this mod. The front axle is getting striped of it's chrome as are the rest of the front end parts. Down the road, I get to shorten the shocks also. Happy with how the front came out. Still get to do the rear. Its super simple back there. More to come. Thanks for looking and appreciate your comments.
-
Thanks Bob! Thank You Craig, Appreciate you checking out the build.
-
Thanks Brother! Without some of the very in depth conversations we have had, it would have never made it to this point. Thanks for the inspiration.