Speedpro
-
Posts
842 -
Joined
-
Last visited
Content Type
Profiles
Forums
Events
Gallery
Everything posted by Speedpro
-
The second paint job looks as though it came out pretty nice Scott! Looking forward to seeing it come together.
-
Thats some pretty serious chassis work you had to perform! But that's what it takes sometimes to get things to function together. Looks really good!
-
Nice to see this finished. And it turned out great! Such a unique kit!
-

"32 Ford Roadster - Tribute to Gray Baskerville's hot rod
Speedpro replied to Phildaupho's topic in Model Cars
I was a faithful follower of Gray Baskerville. Great Idea building his '32. And what a great job you did! Nicely done Phil! And thank you for adding the list of what you did, because a lot of builders would not know what it took to put this car together. -
Good looking cutlass! Like the stance a lot.
-
Nicholas, Cool gasser! You did good on the details especially under the hood. Nice work! That first picture is awesome, just screams GASSER!!
-
Bob, that looks very nice! I like how you get into these projects and just keep pushing to the finish line despite some hills and valleys that get in your way. And I have to say, every time I see one of your builds lately, they just seem to be getting better and better Imo! Great work man!
-
Way cool build, Dennis! The old falcons just make great gassers. Just like the early chevy II's. Really nice work on all the details. Very nice!
-
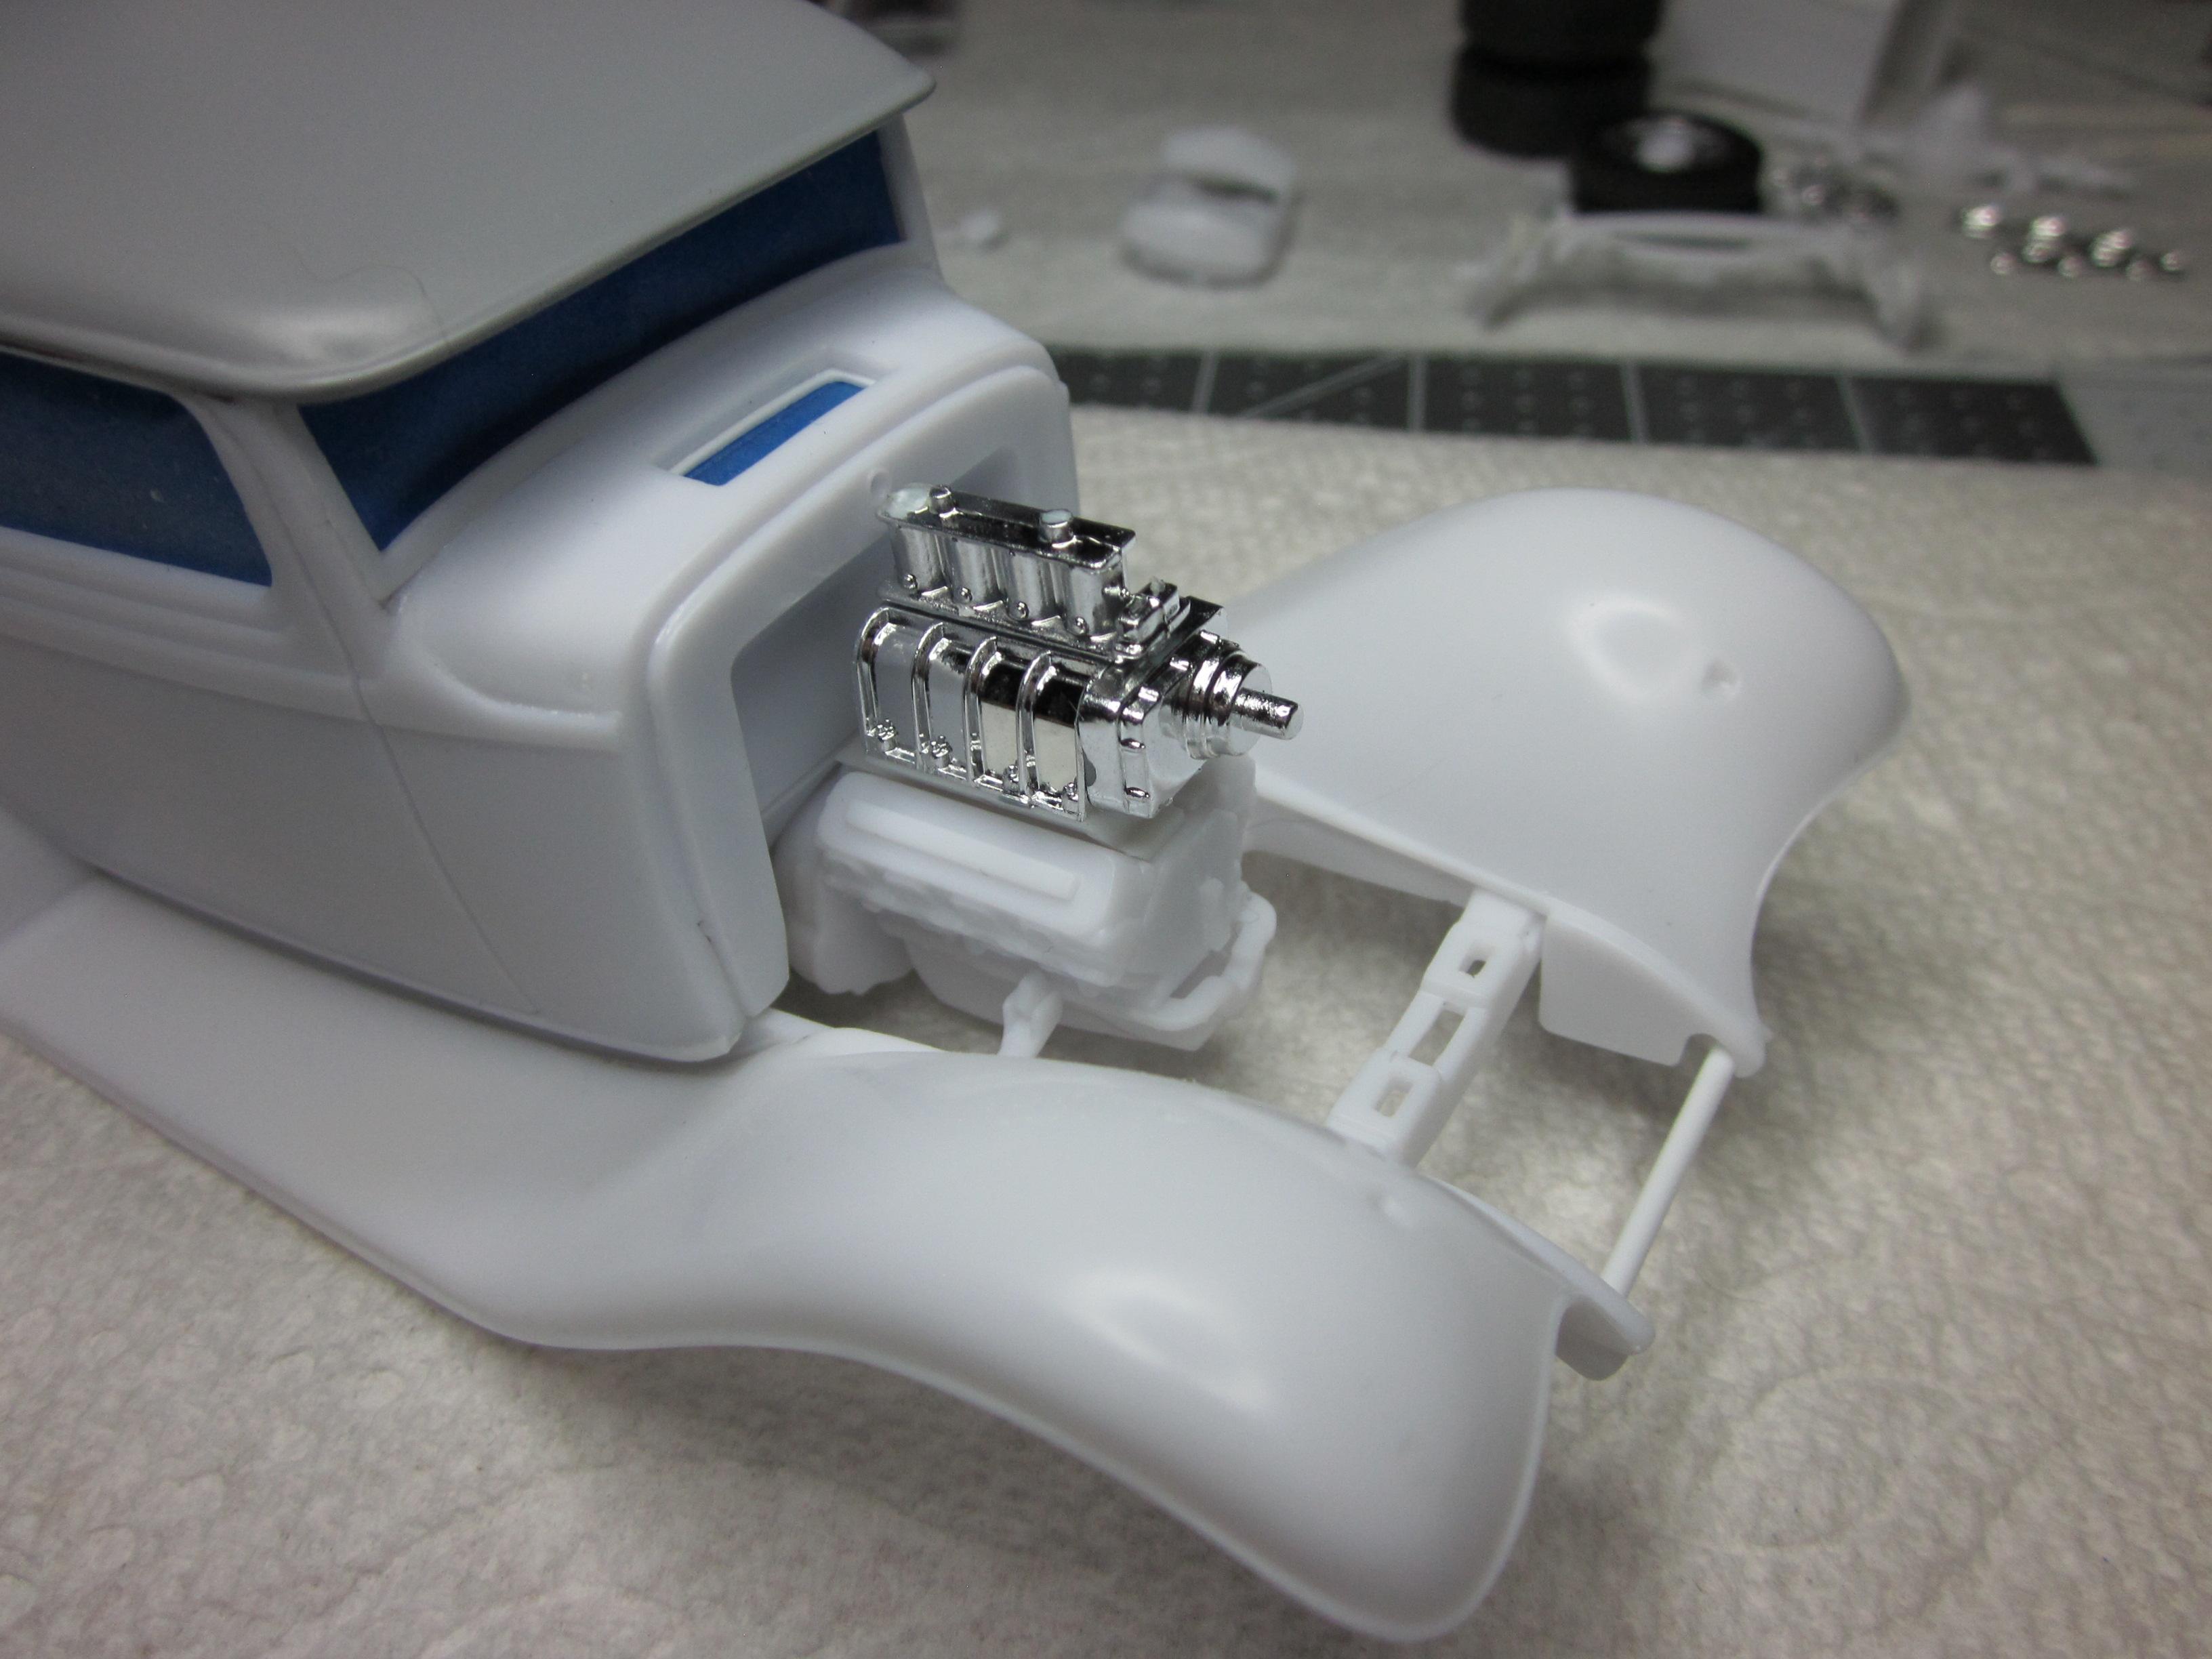
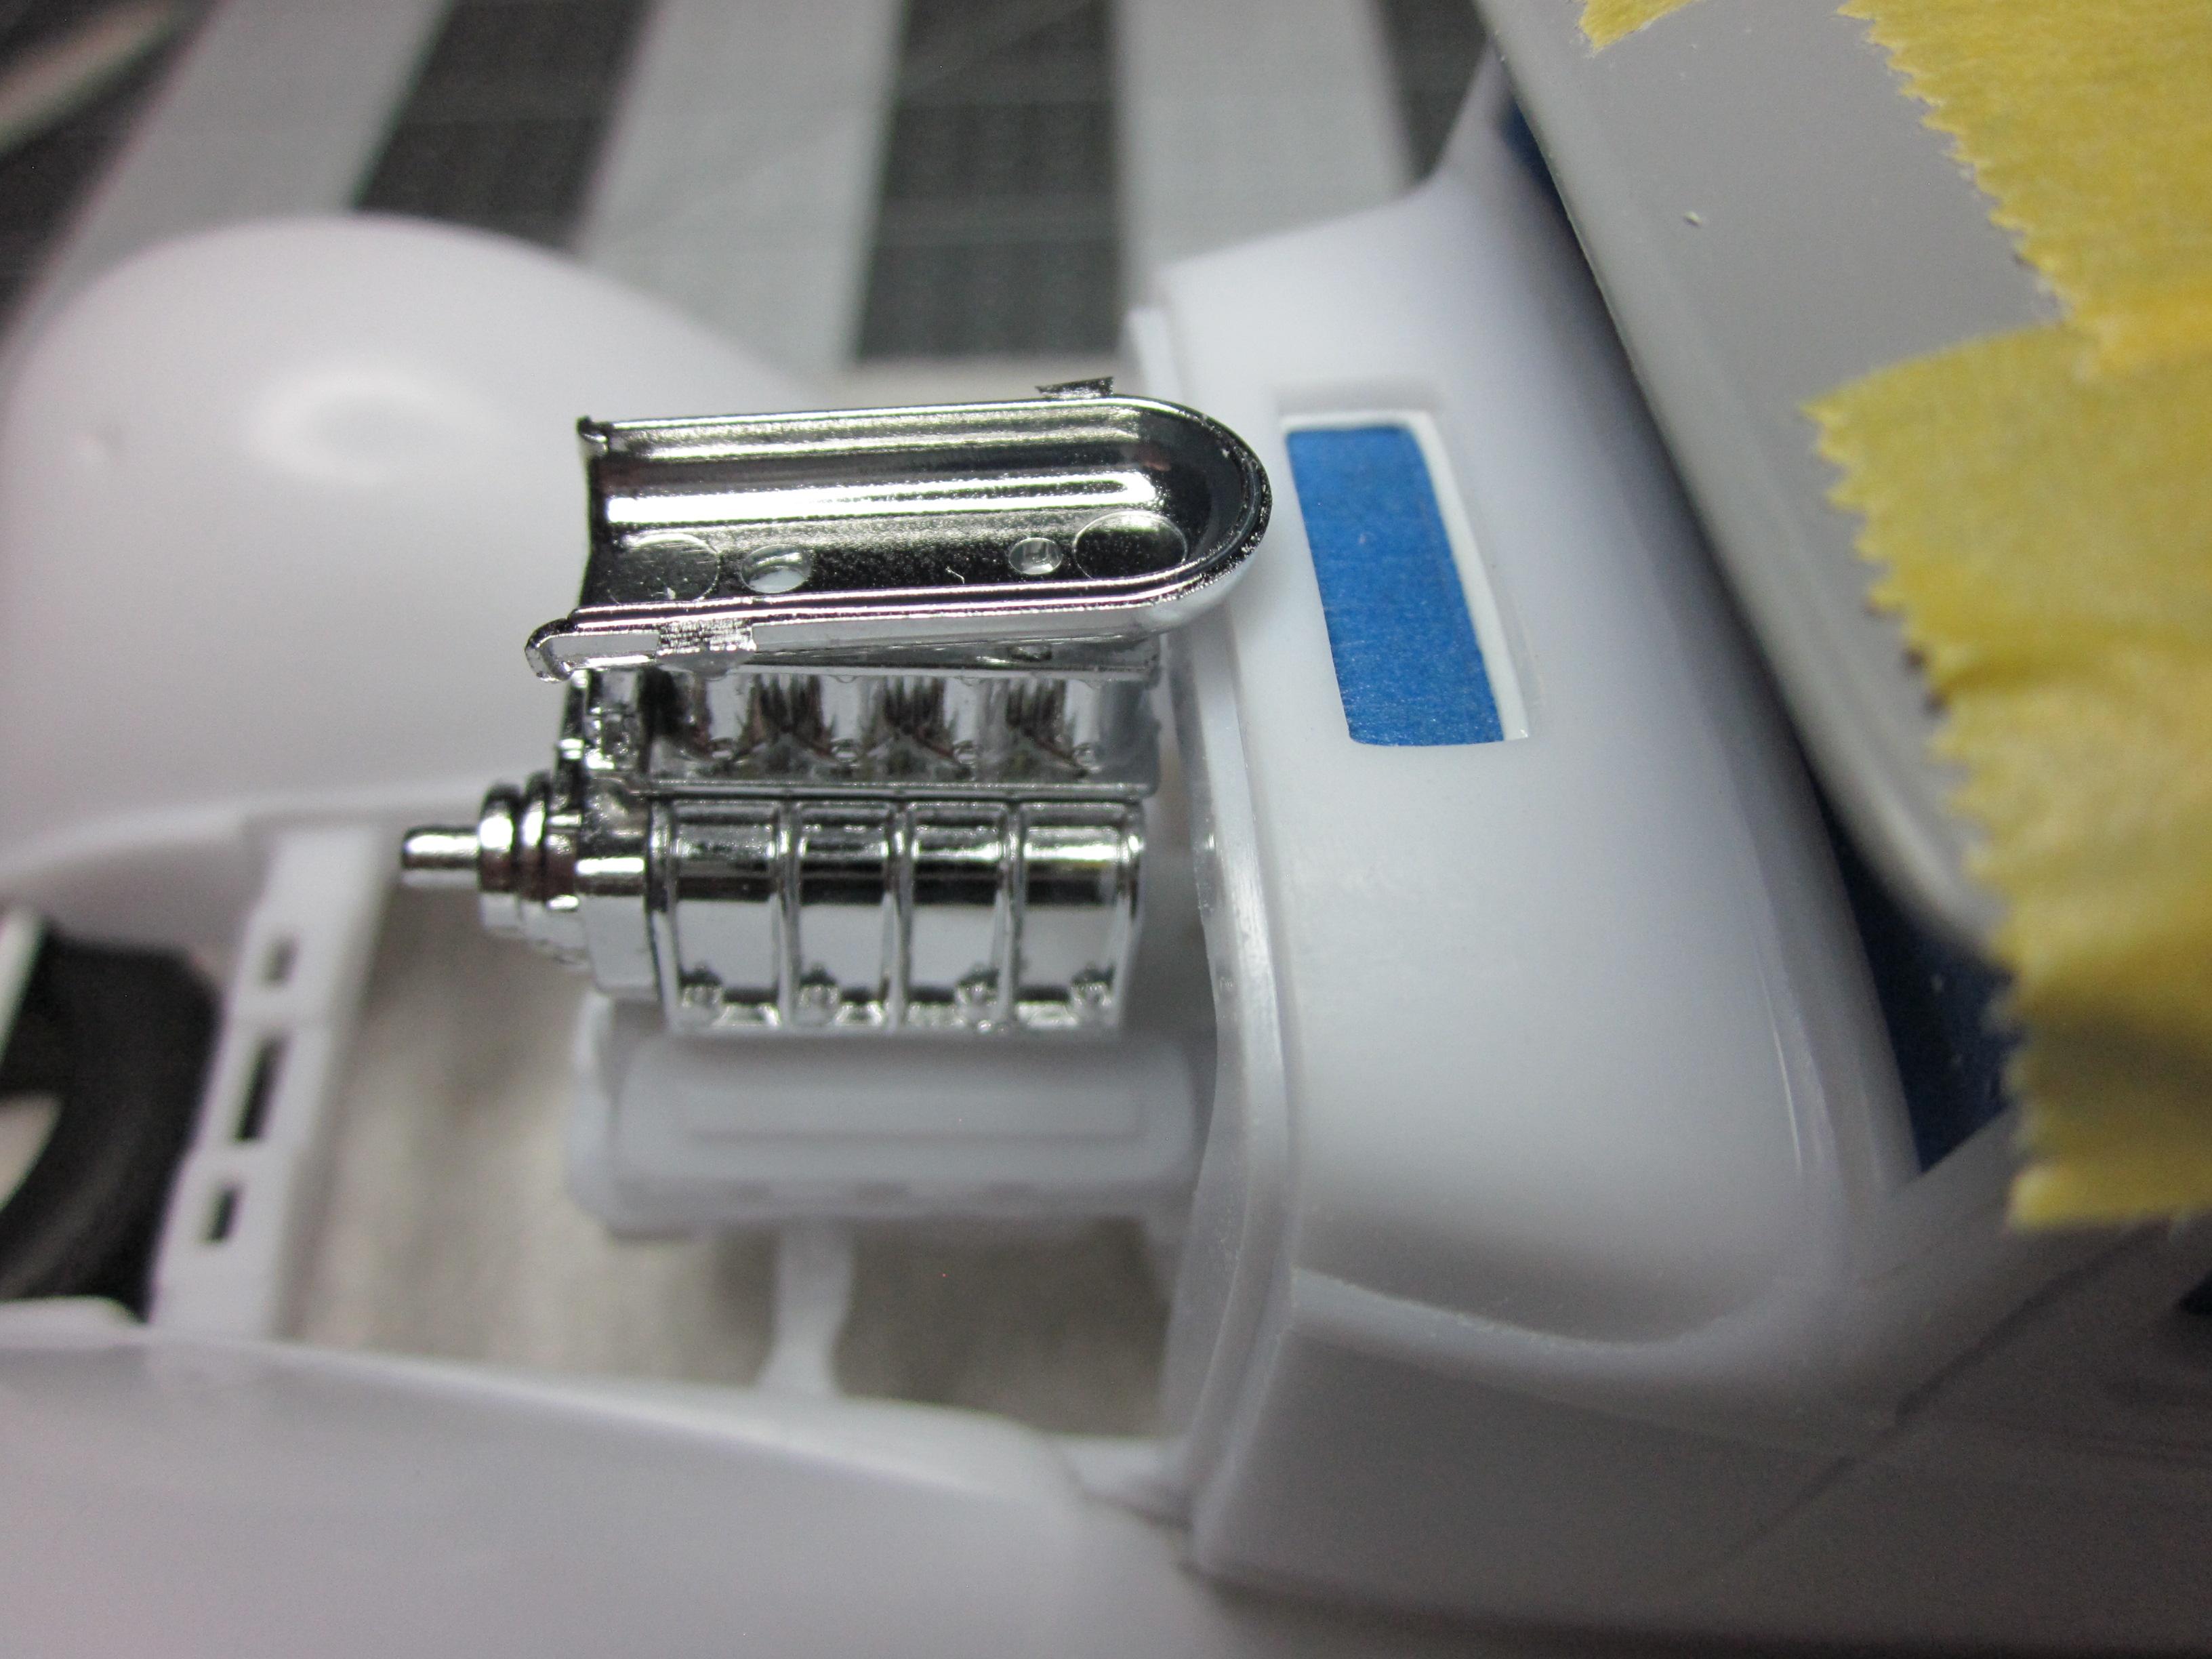
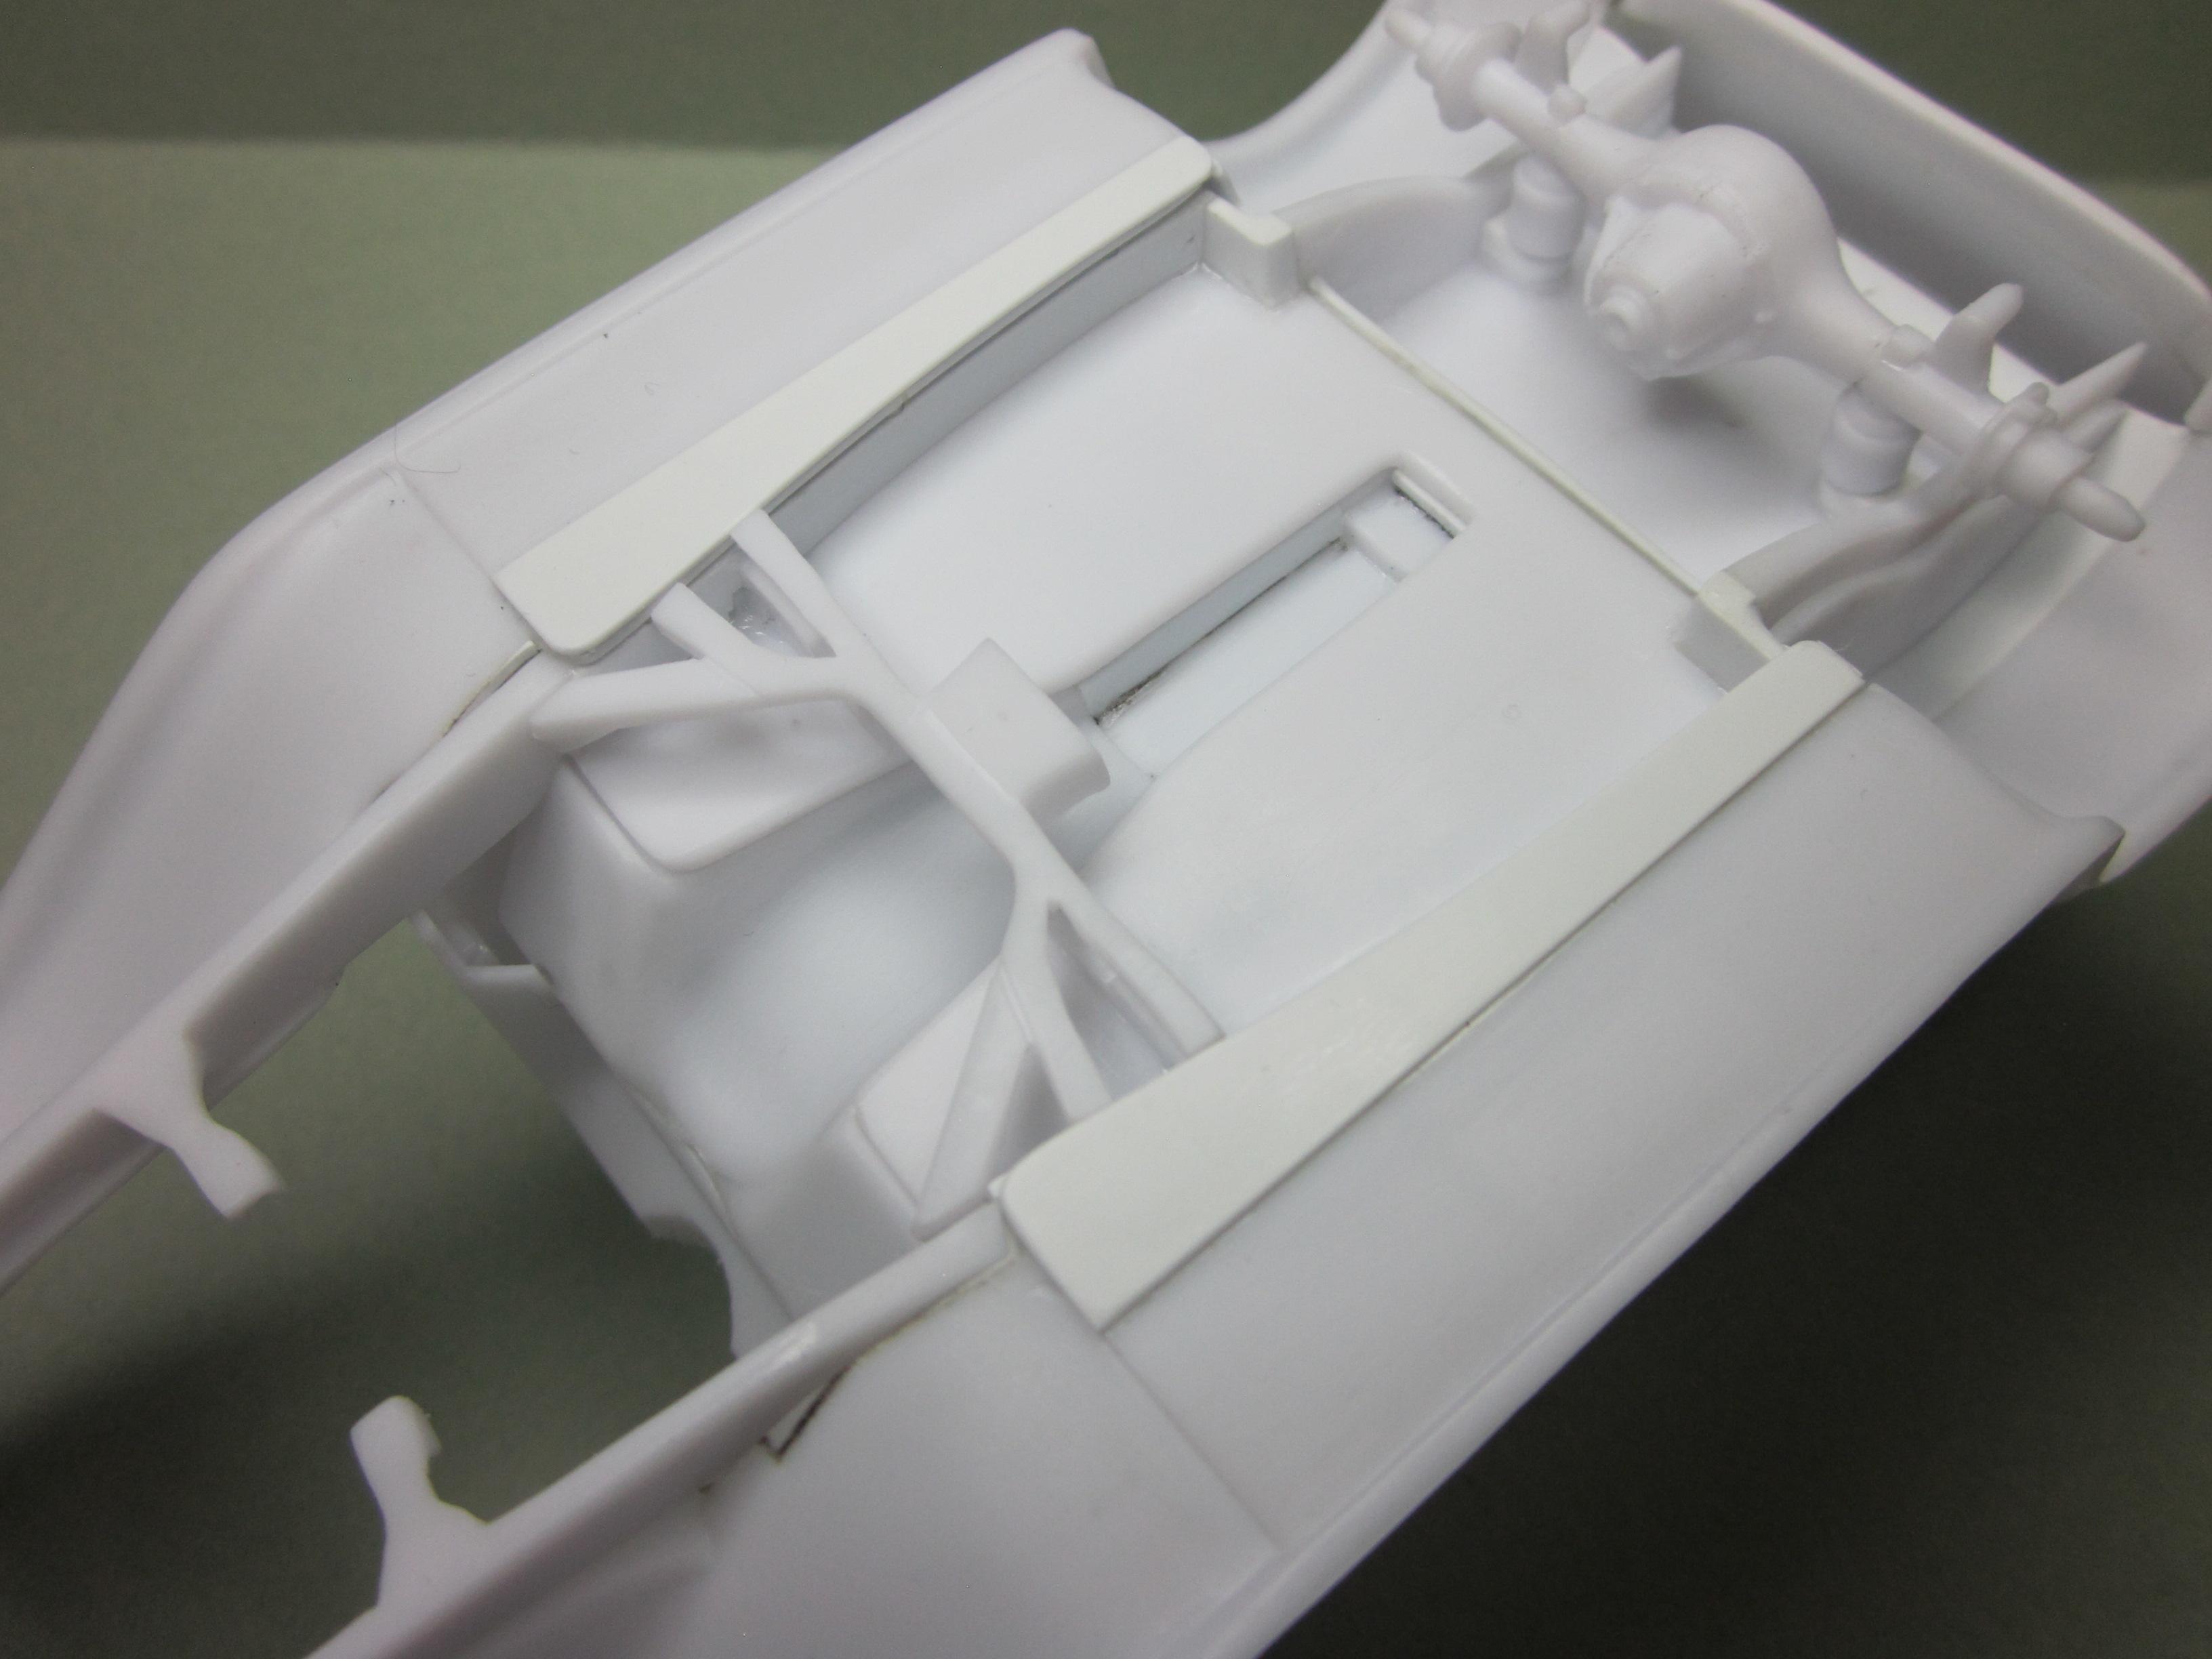
Just a small update of things I've been doing on the '32. Today it's getting a supercharger! The parts came from the '65 nova gasser. Had to make some room for the scoop to clear the cowl area and of course cut a hole in the hood. Looks like the Hight of the scoop sticking out of the hood needs some adjustment. Thats for next time. More to come............

-
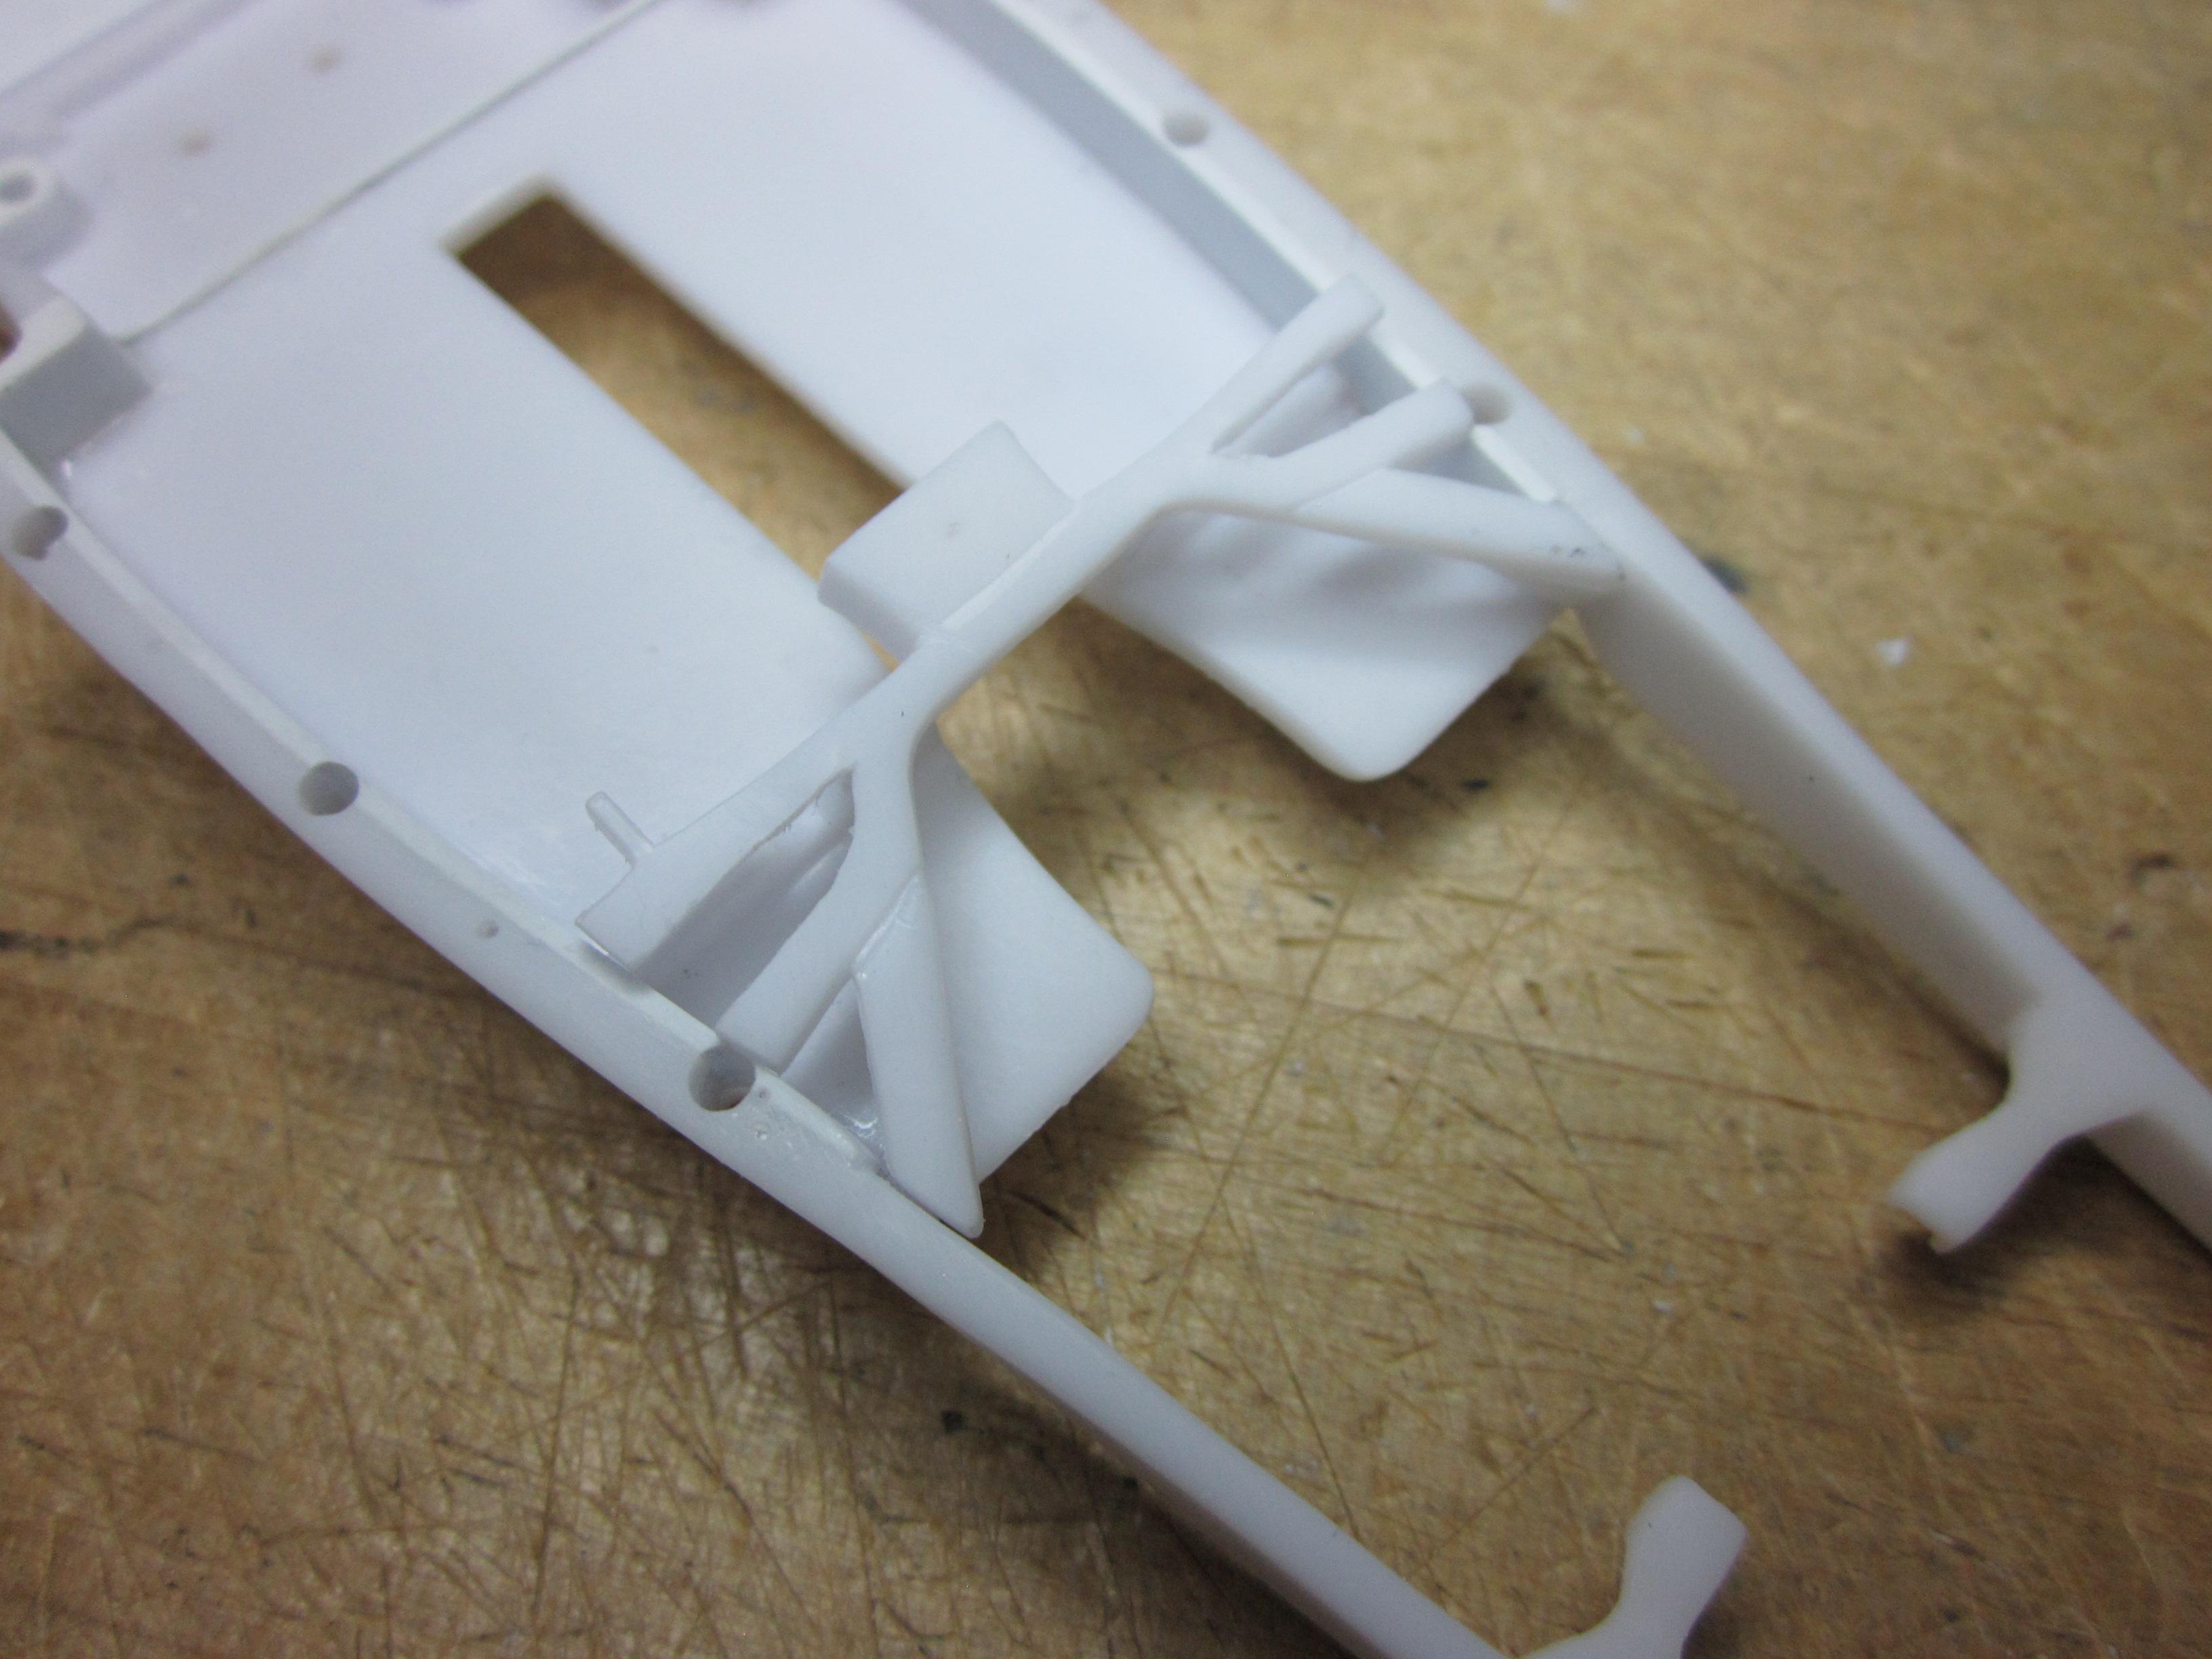
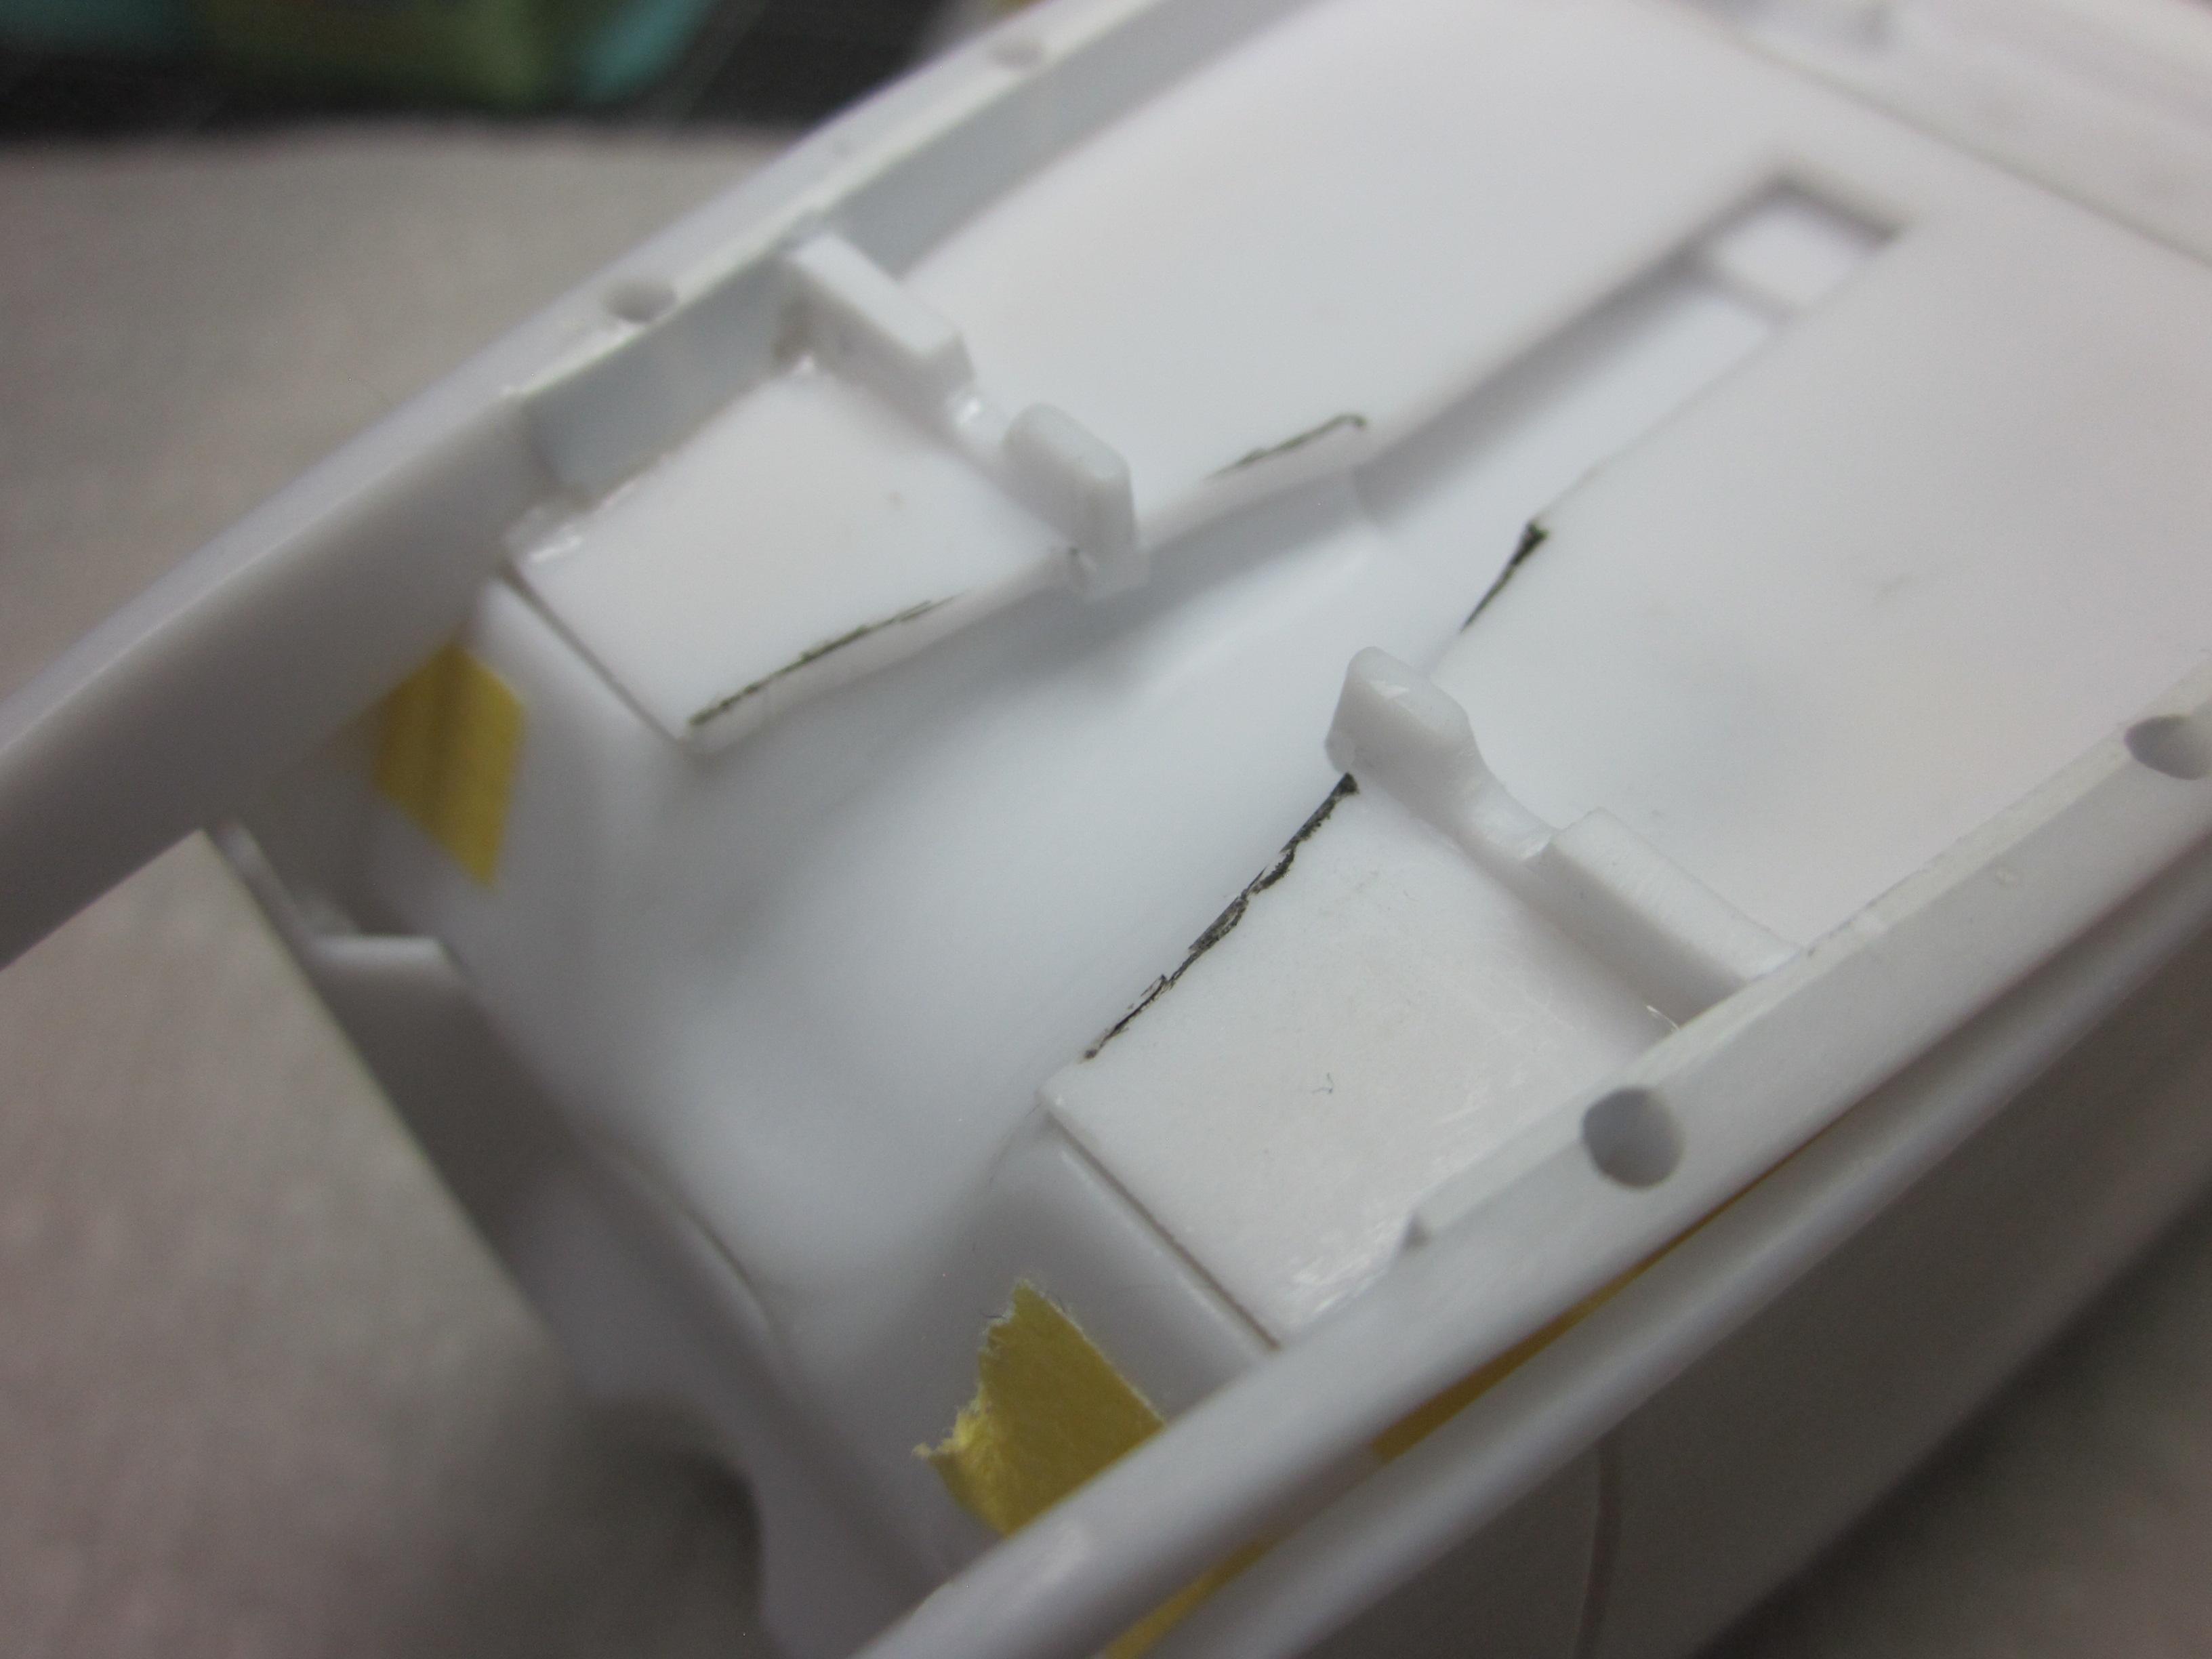
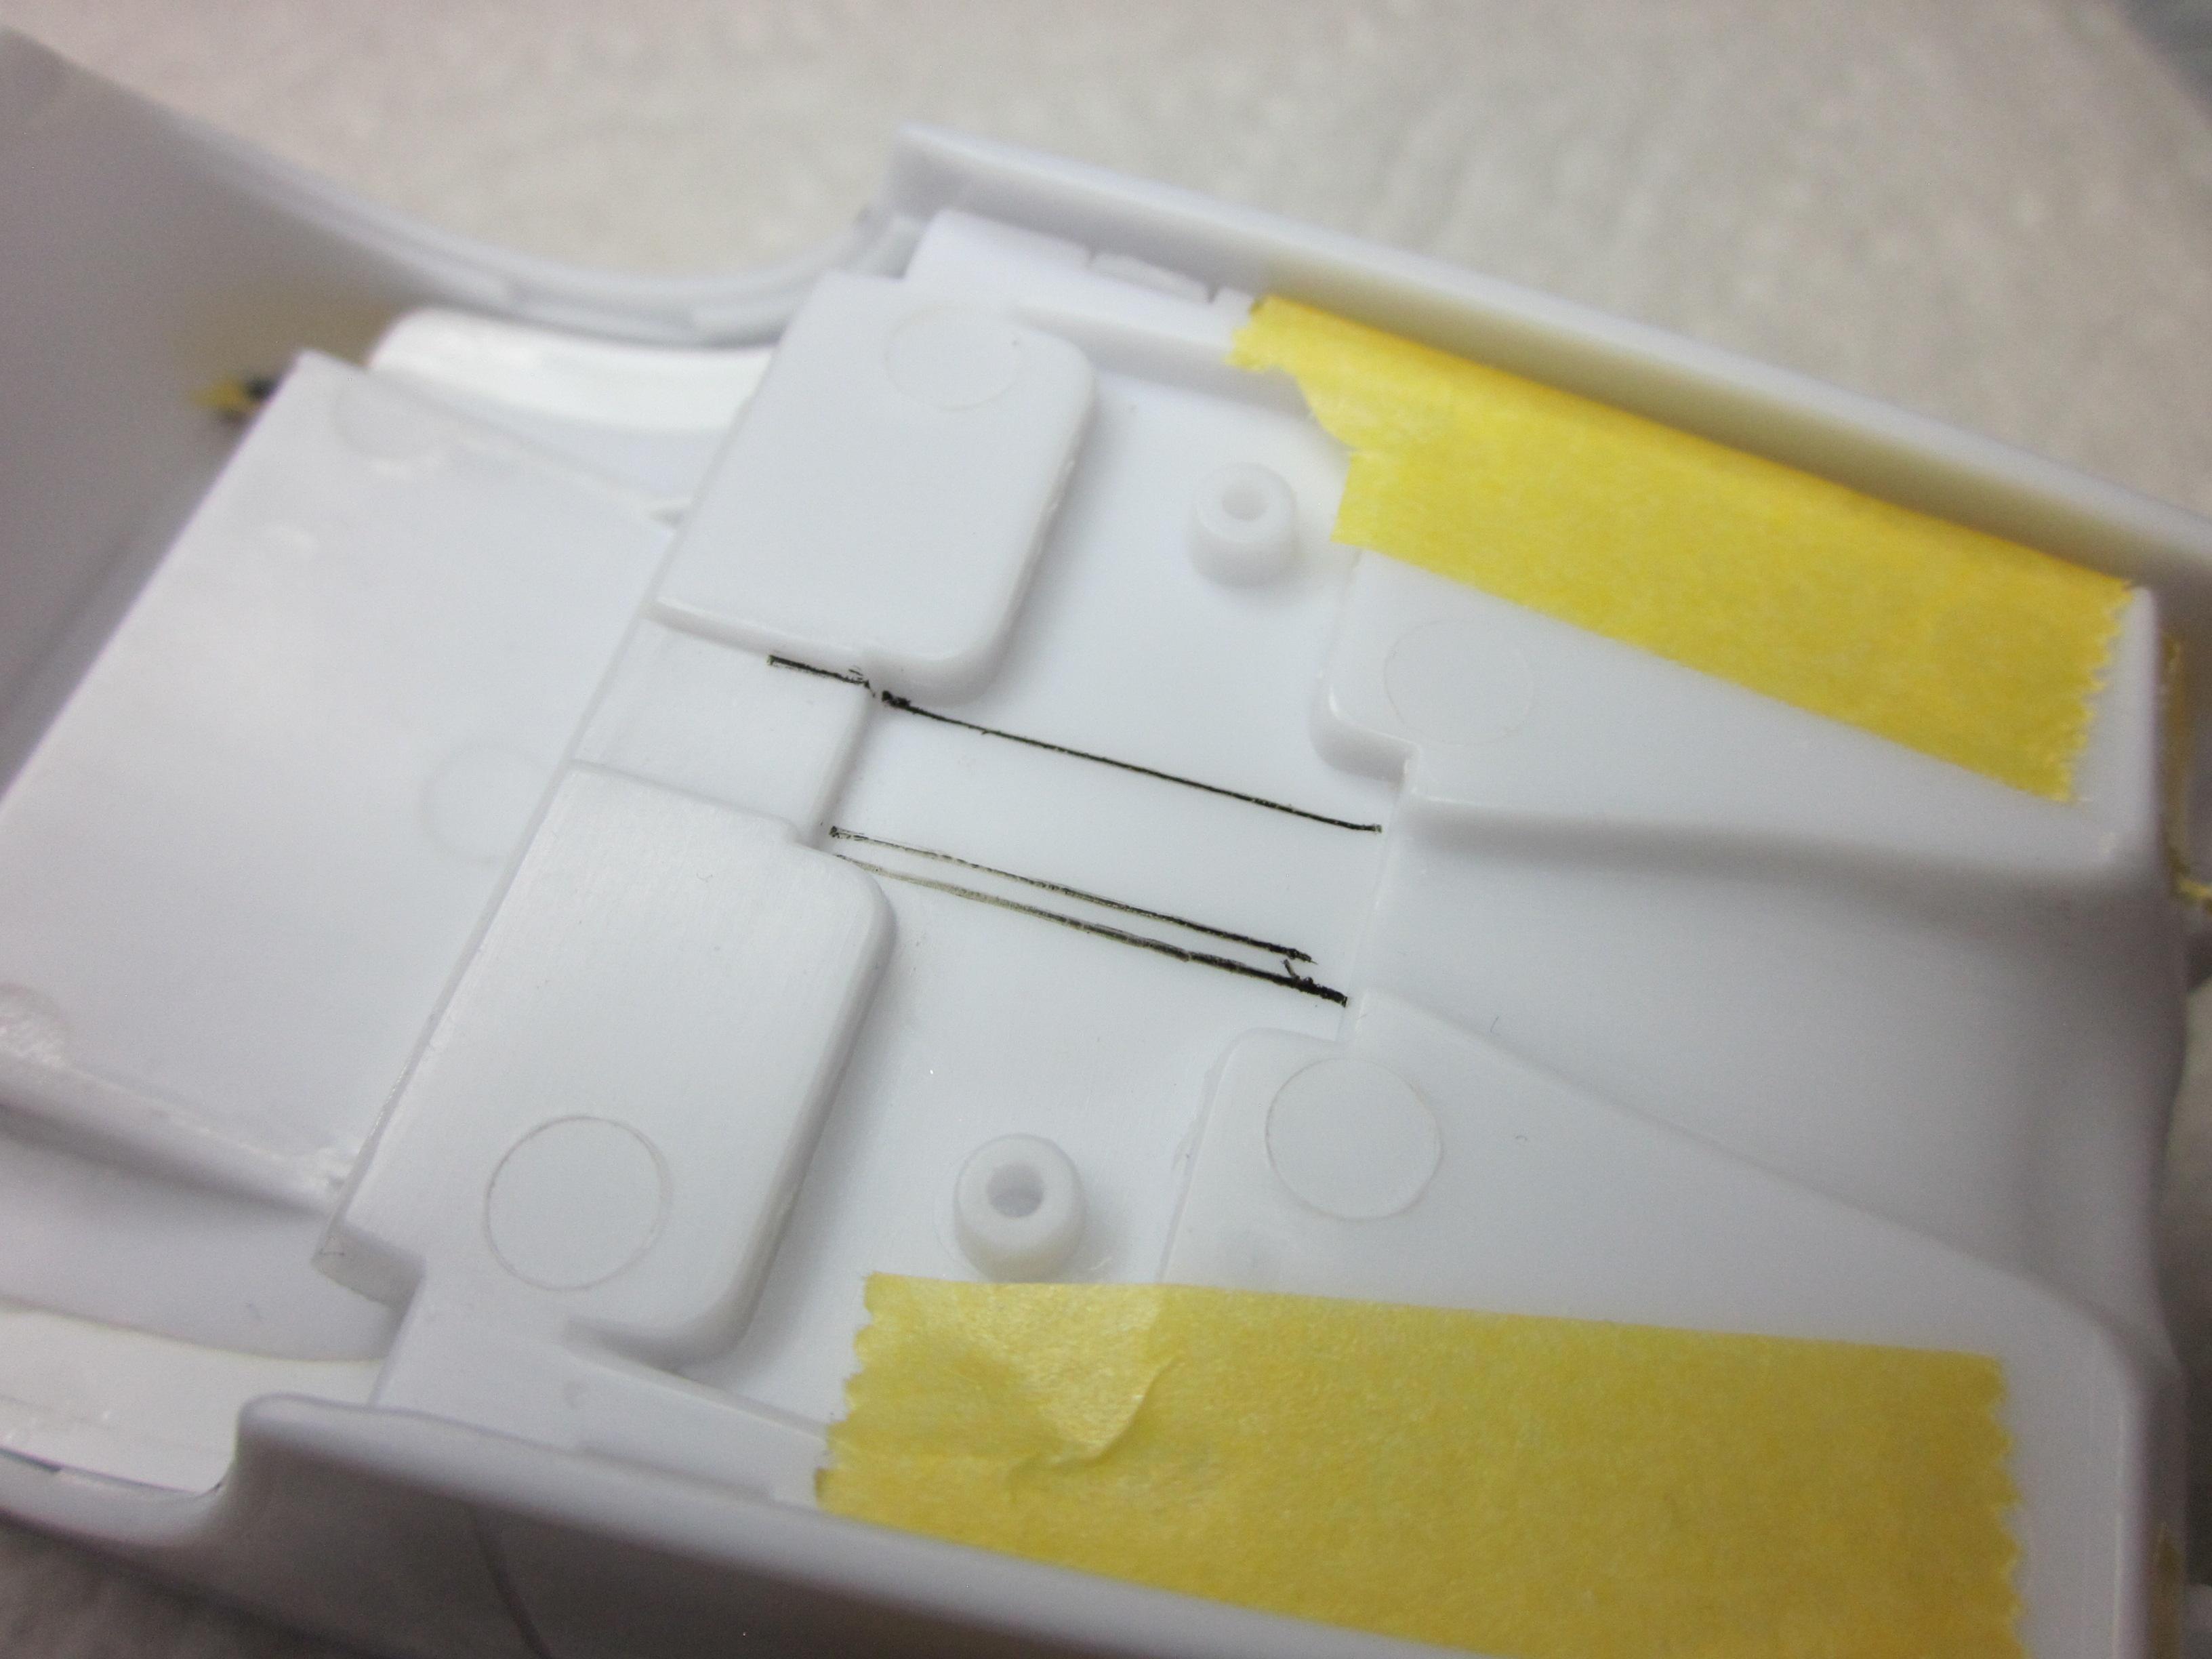
Well, the deadline has come and gone. Congrats to the builds that made it to the finish so far. Some really nice '32 came out of this Way to go Michael, starting you're second one! Looks good so far. I've been working on the chassis floor. Doing some blending of the trans tunnel and filling in the open areas at the rear of the tunnel. Opened the tunnel up quite a bit. Remember, the floor was lowered into the frame about 4 inches, so things were rather tight in this area. The stock crossmember was lightened a little bit also. Helps letting some sun light get through to the floor. Thats it for now. Thanks for looking
-
Very nice! Love the color choice.
-
Outstanding build! Love the details in the interior. Great build of a challenging kit!
-
Very nice! "Dare To Be Different" Jumps into my head as soon as I saw this. Your effort shows!
-
I've seen this done a few times and this is by far the best I've seen. You nailed it, especially the engine! Well done!
-
Now that's different! Very nice!
-
1941 Willy's Pickup
Speedpro replied to Zippi's topic in WIP: Model Trucks: Pickups, Vans, SUVs, Light Commercial
Bob, Looks like a fun project but will take some effort. On the color, Paint it the TS-57. The extreme lacquer's metal flake is too big IMO. -
Bob, the chassis came out nice. That ford engine is so cool with that dual carb manifold. Look forward to seeing more updates.
-
Really coming along nicely Greg. You've done some amazing things too this '31. That was a lot of work on the body, and it came out perfect! The roof mod is so cool. That intake on the engine looks so nice. One area that I think needs to be addressed is how the engine is sitting in the chassis. Right now, as it sits, the engine is nose down in the front or high in the rear, however one may see it. Maybe lowering the rear of the engine would help this. Just a thought. Paul
-
Really clean work! Great choice of color. Works well with the white walls.
-
Very nice!
-
Great save on the paint! I agree that this must be a super rare kit. I don't ever remember seeing one.
-
Appreciate the comment, Tom! I have always thought it was weird to never really see these built and on the table at a show. I was getting ready to part this out but decided to build it. I found it very challenging and still fun at the same time. I believe a lot of these cars never made it to the finish line.
-
Hey Mike, I've had this kit since '94 when it first came out. I got this one and the Warren Johnson AC Delco old's at the same time. The AC Delco car is being built as a Dale Earnhart Goodwrench Pro Stock car.
-
"My only other option would be to strip the wax and shoot another coat of 2K clear on". Coming along nicely Bob. The chassis and engine look great. And here you are with the paint thing going on. Nothings ruined yet. The next coat of clear is going to lay down even better. Maybe clear just the hood again and see how it looks. You've done a great job so far!
-
I love it when a builder literally stretches their limits. Superb work on the interior. The front end with that grill is so smooth. The paint color and finish........It just goes on. Excellent build.