Speedpro
-
Posts
842 -
Joined
-
Last visited
Content Type
Profiles
Forums
Events
Gallery
Everything posted by Speedpro
-
Interesting build and done very well!
-
Nice poncho! Looks good in red with the black/white strip!
-
Very nice!
-
Very nice! Great detail work and the paint looks oh so smooth!
-
Would never have thought to tail drag a jag! Pretty cool project Eddie.
-
I think that's a nice graphic for the side of the car and really complements the color of the body. Nice work RRR
-
Very nice!
-
First time I've seen that mash! Well done!
-
Real nice '34. Luv the color!
-
Ya, that is definitely blue! And looks great. Nicely done details too!
-
I have found that giving "ANY" advice on using "ANY paints here or anywhere for that matter is such a huge waste of time. What I do works for me and nobody else! But I do find it entertaining to read the thread.
-
What a beautiful build! The paint looks awesome! Really like this!
-
Turned out great! I really like the color. Works really well with the interior color.
-
Great looking build!
-
Nice!
-
 Excellent build! Outstanding workmanship and creativity!
 -
Very nice! Really clean work.
-
Great looking '55!
-
Very nice redo!
-
Cyberpunk Toyota MR2
Speedpro replied to StokeModels's topic in Other Racing: Road Racing, Salt Flat Racers
Very creative! Very well done! Excellent work on the details. -
Really looking good Dennis! I like the license plate/gas door!
-
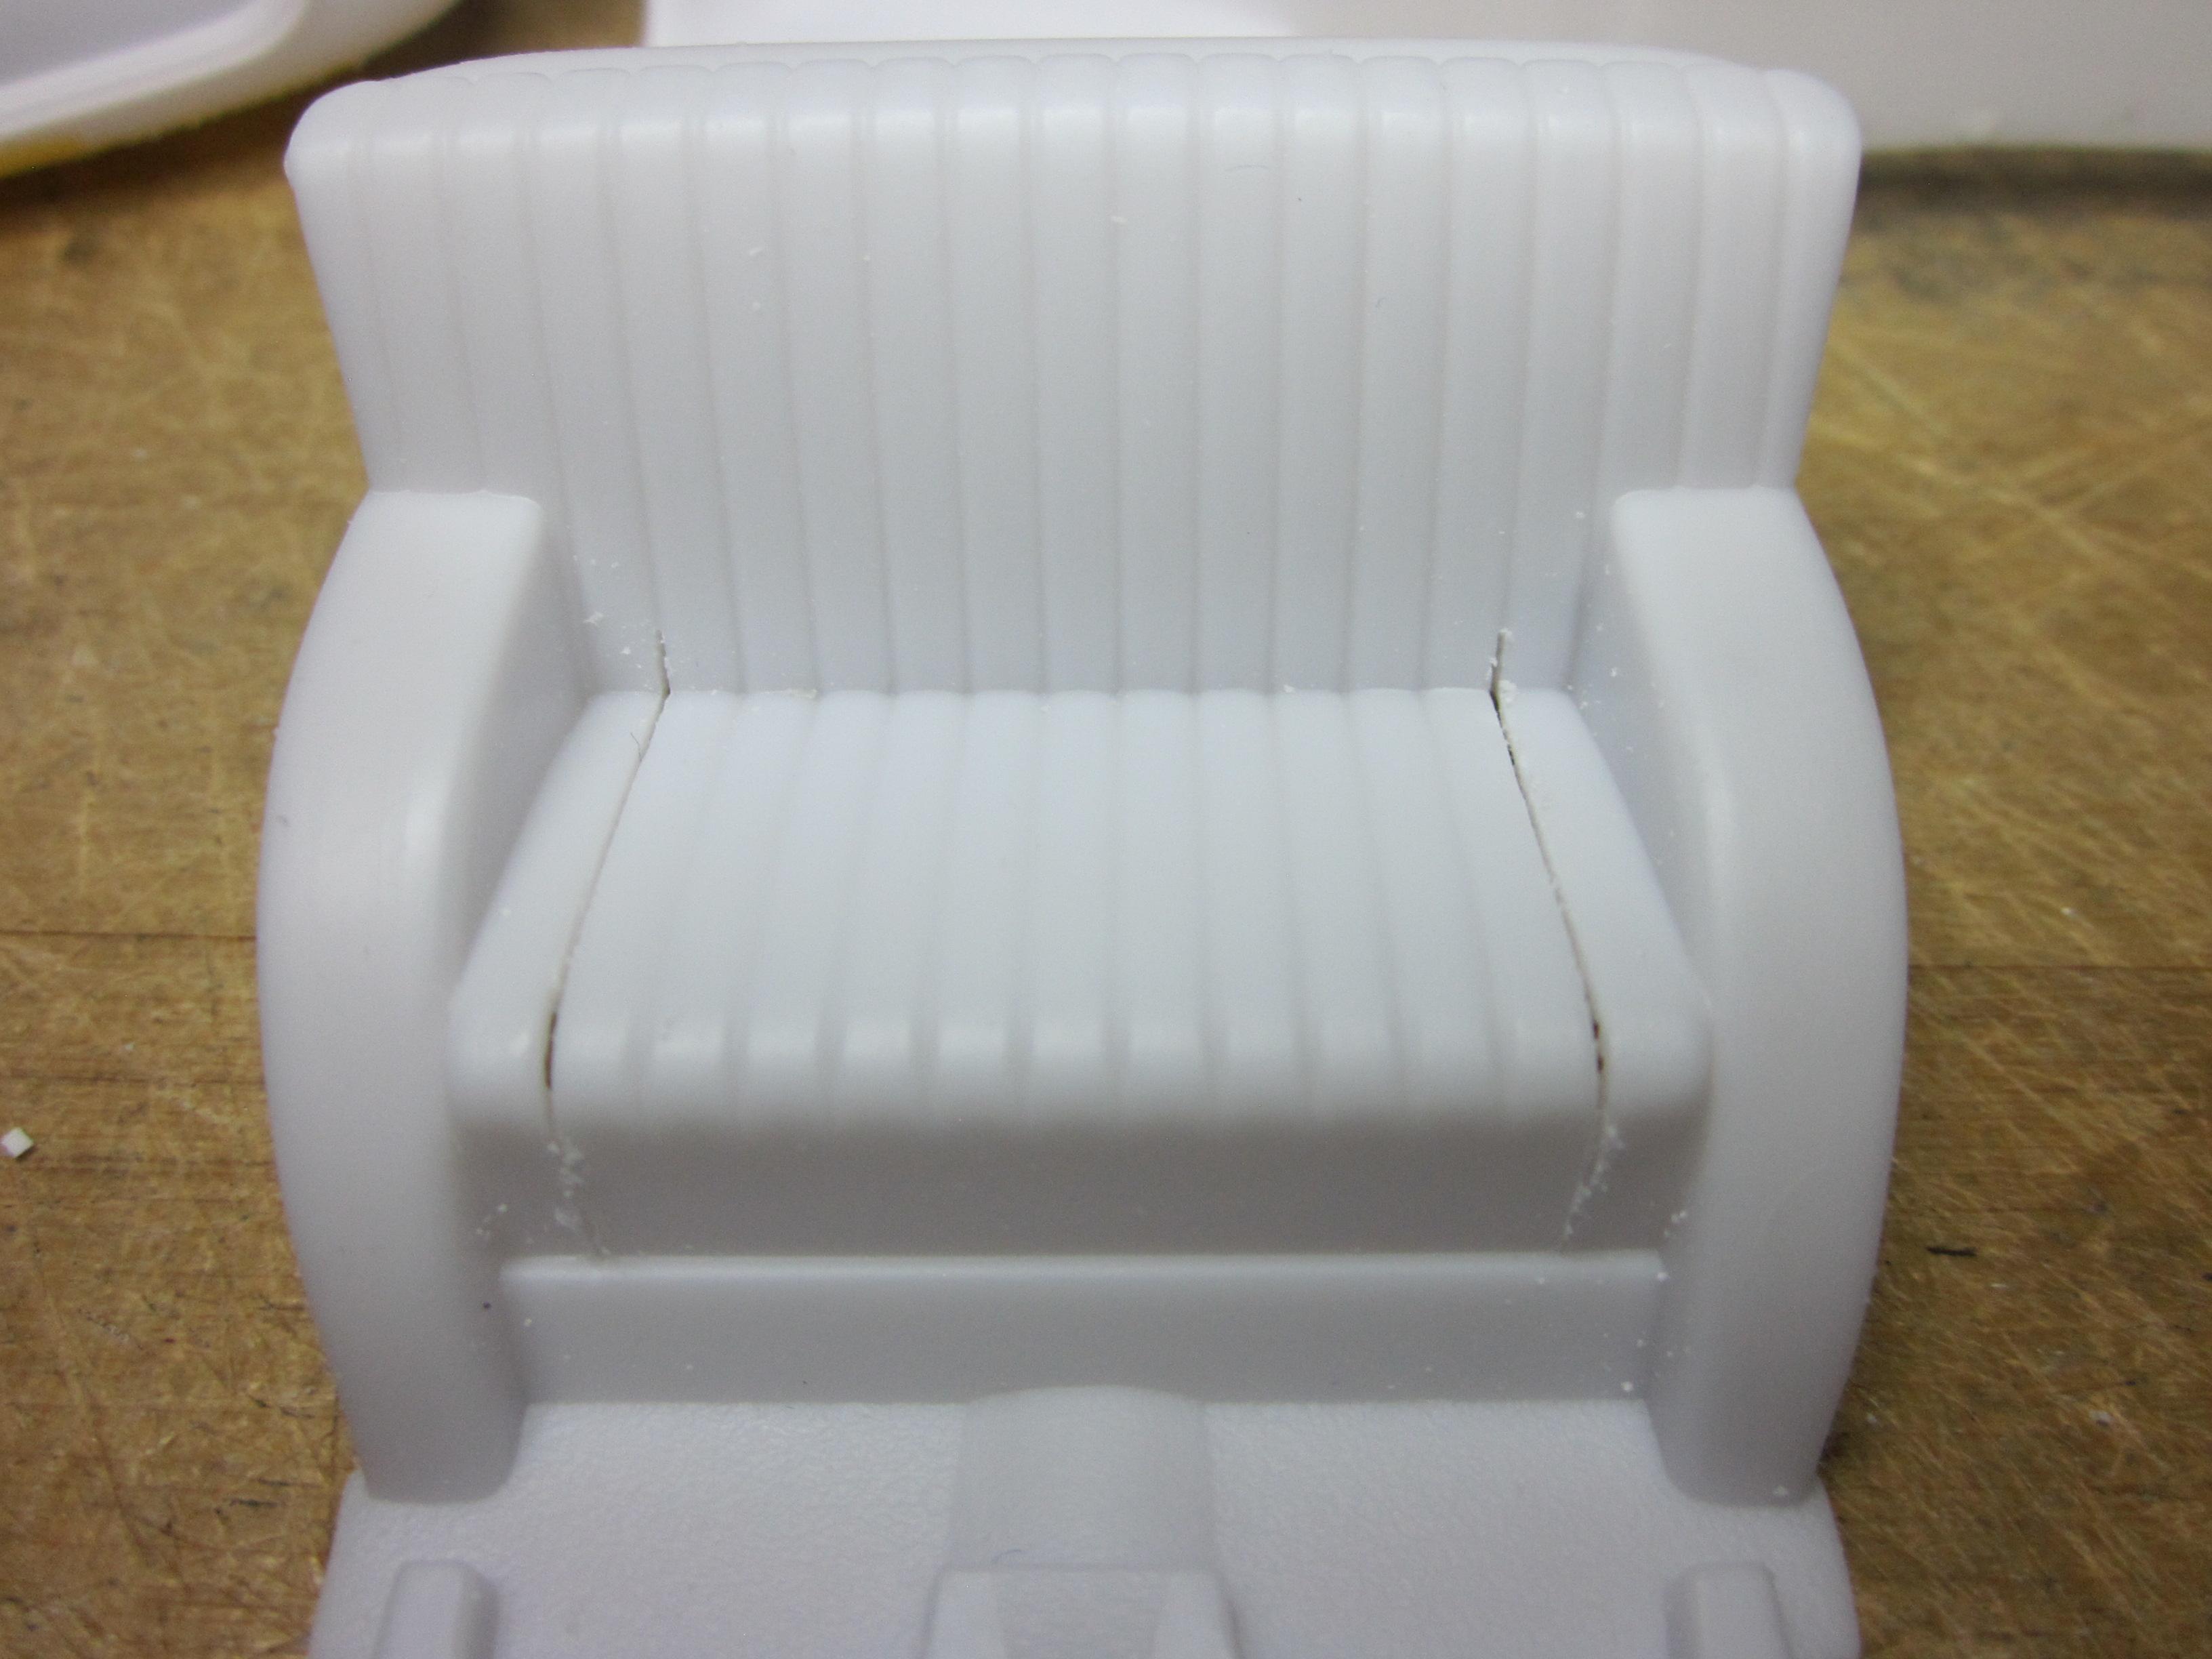
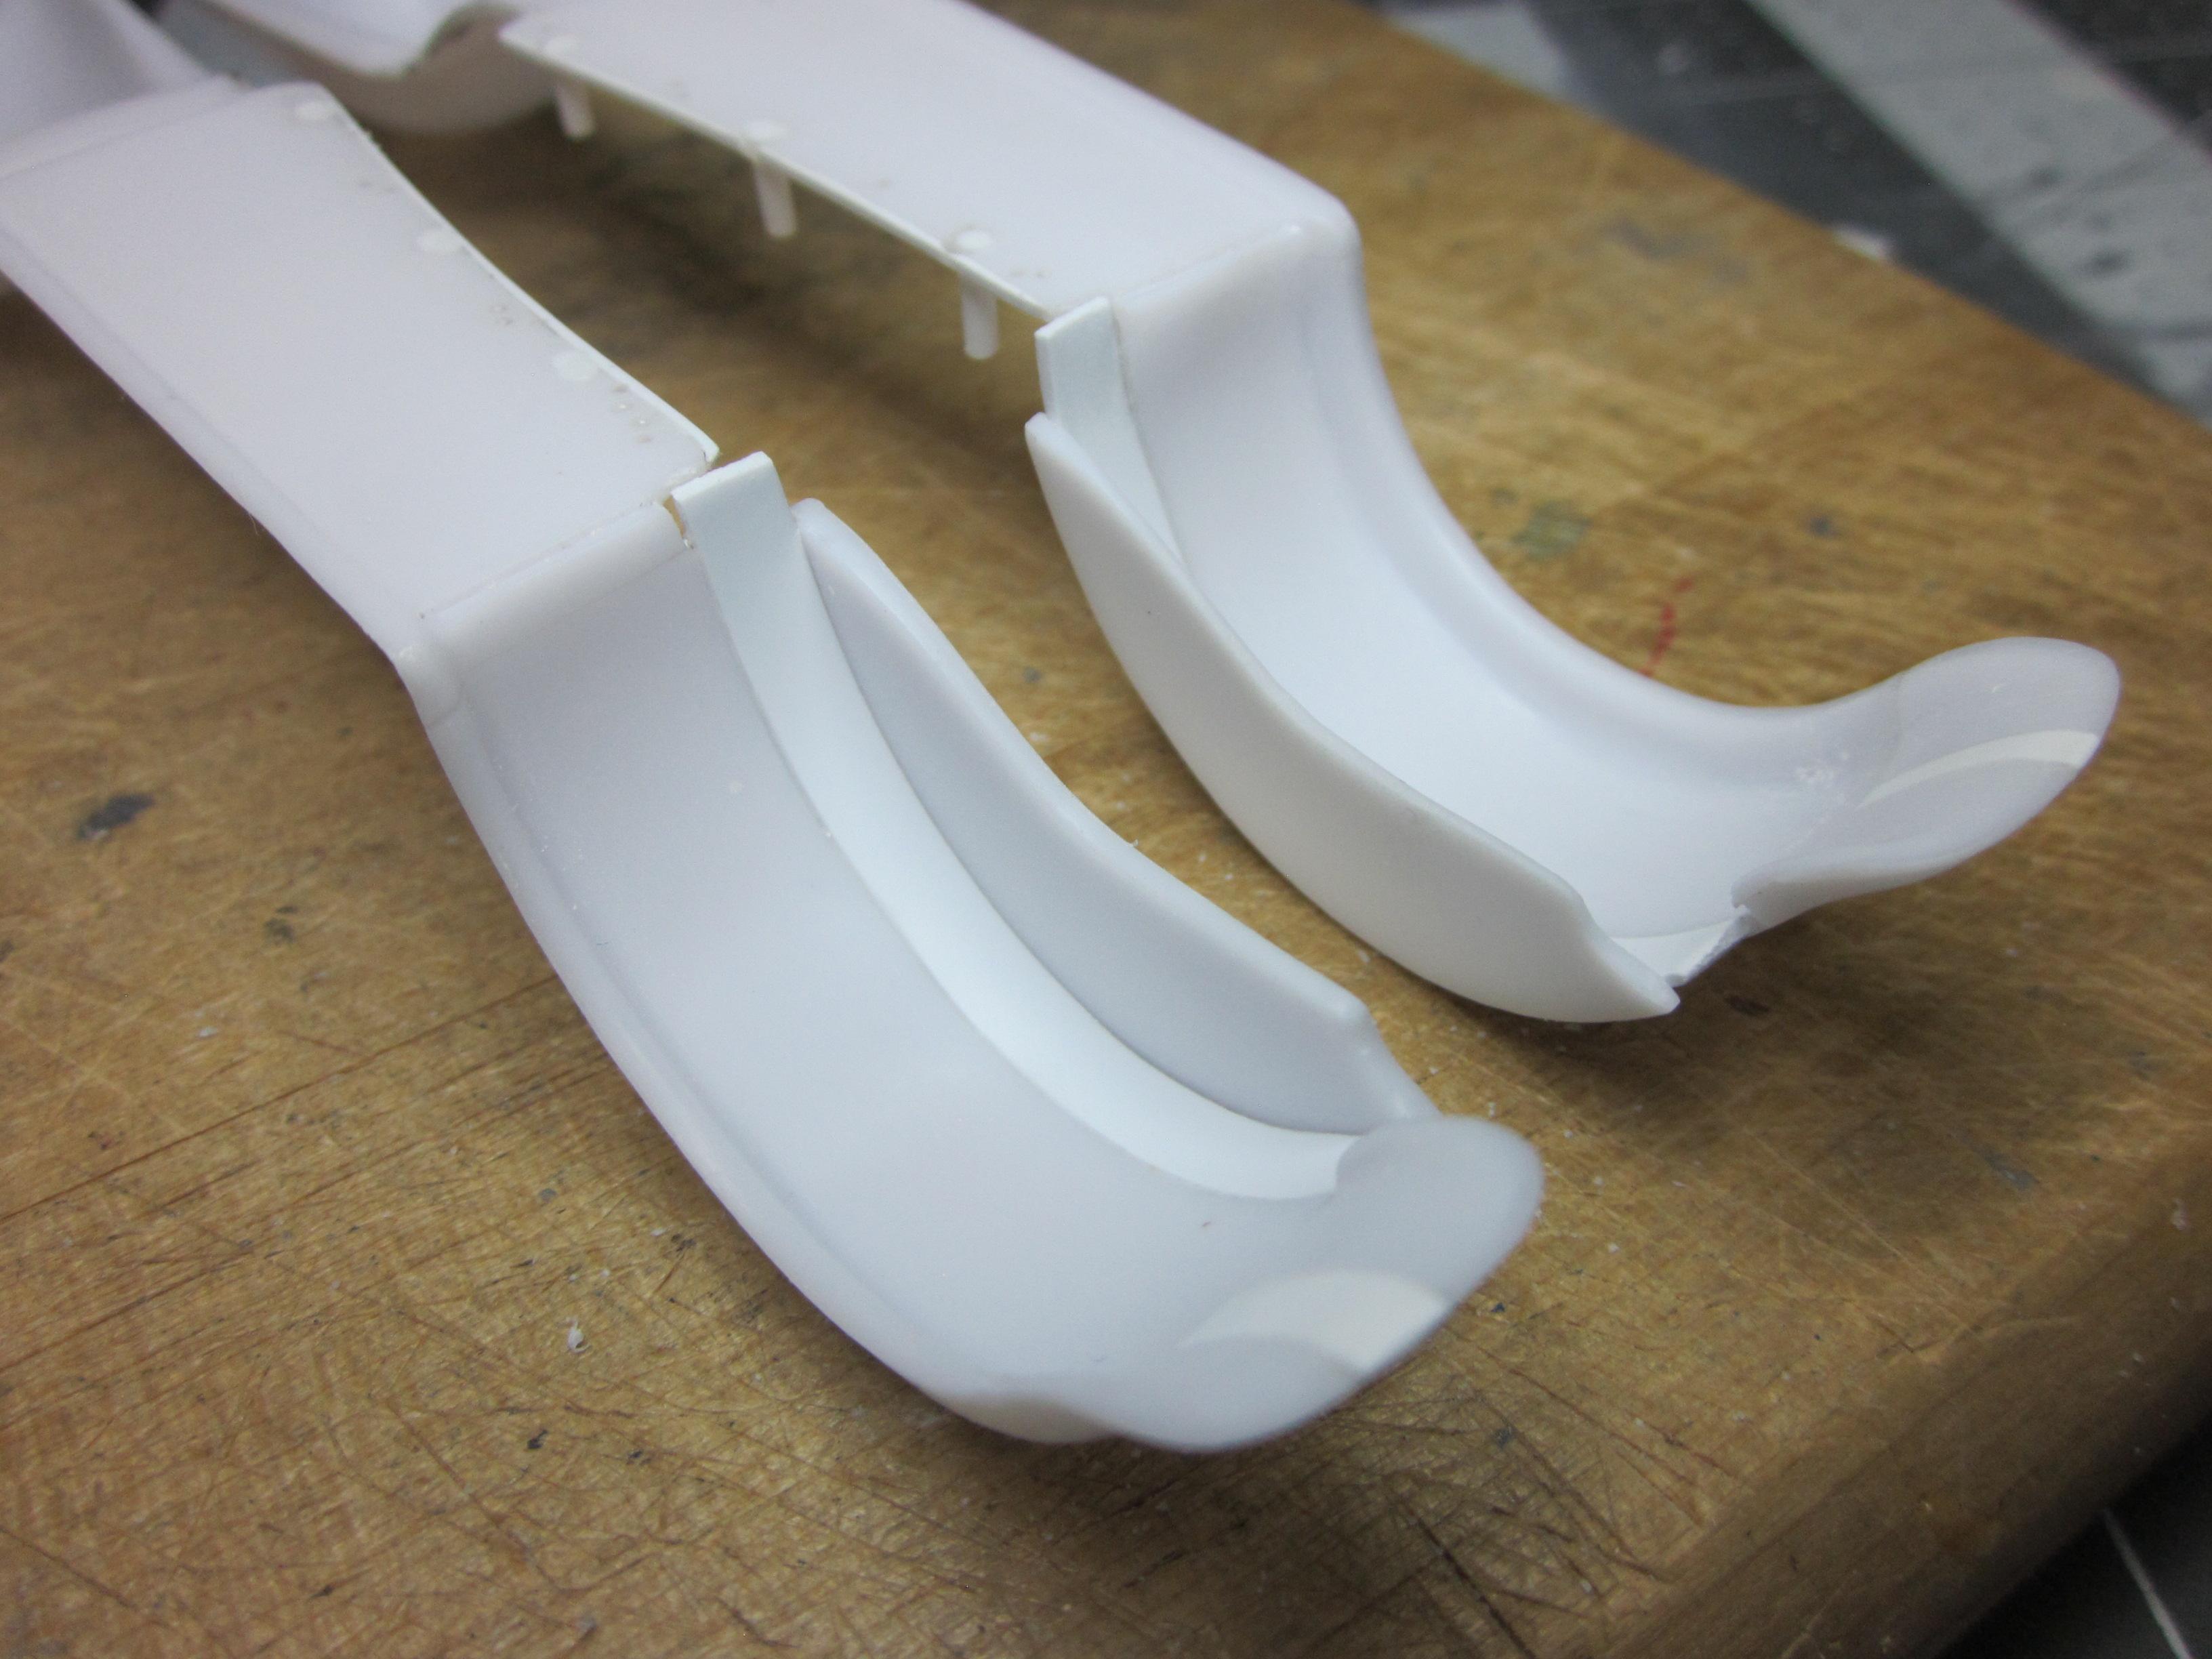
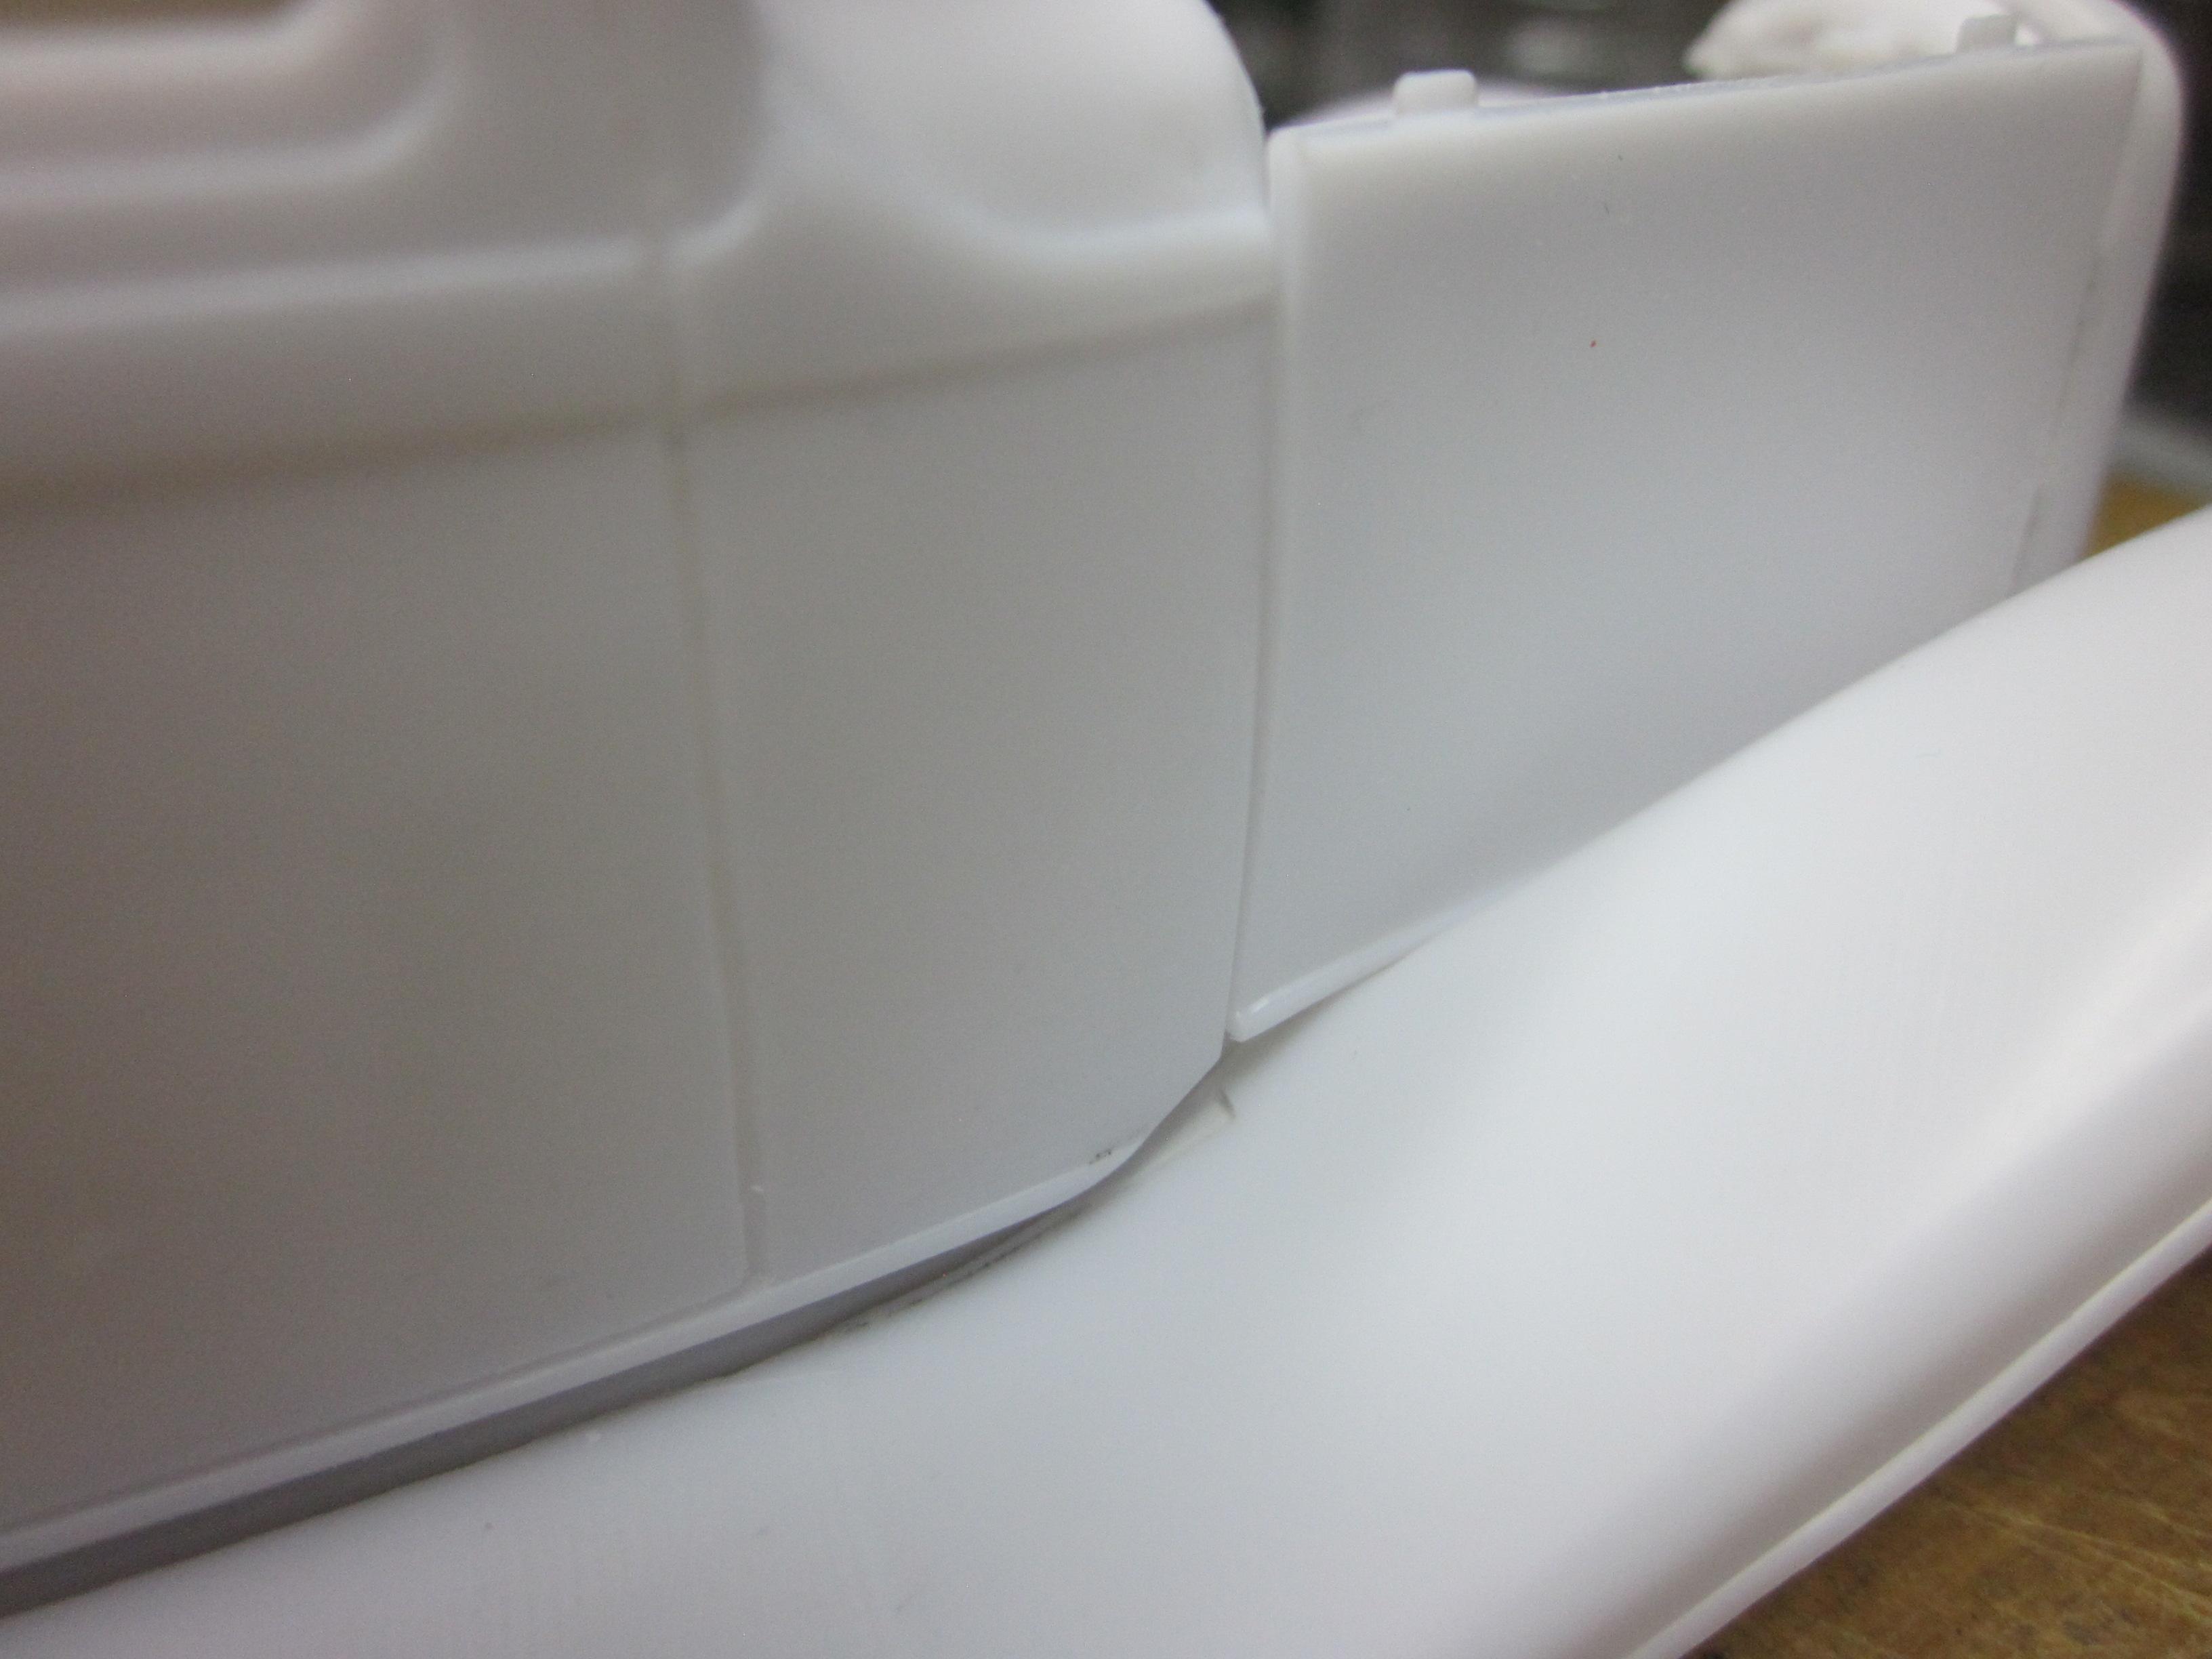
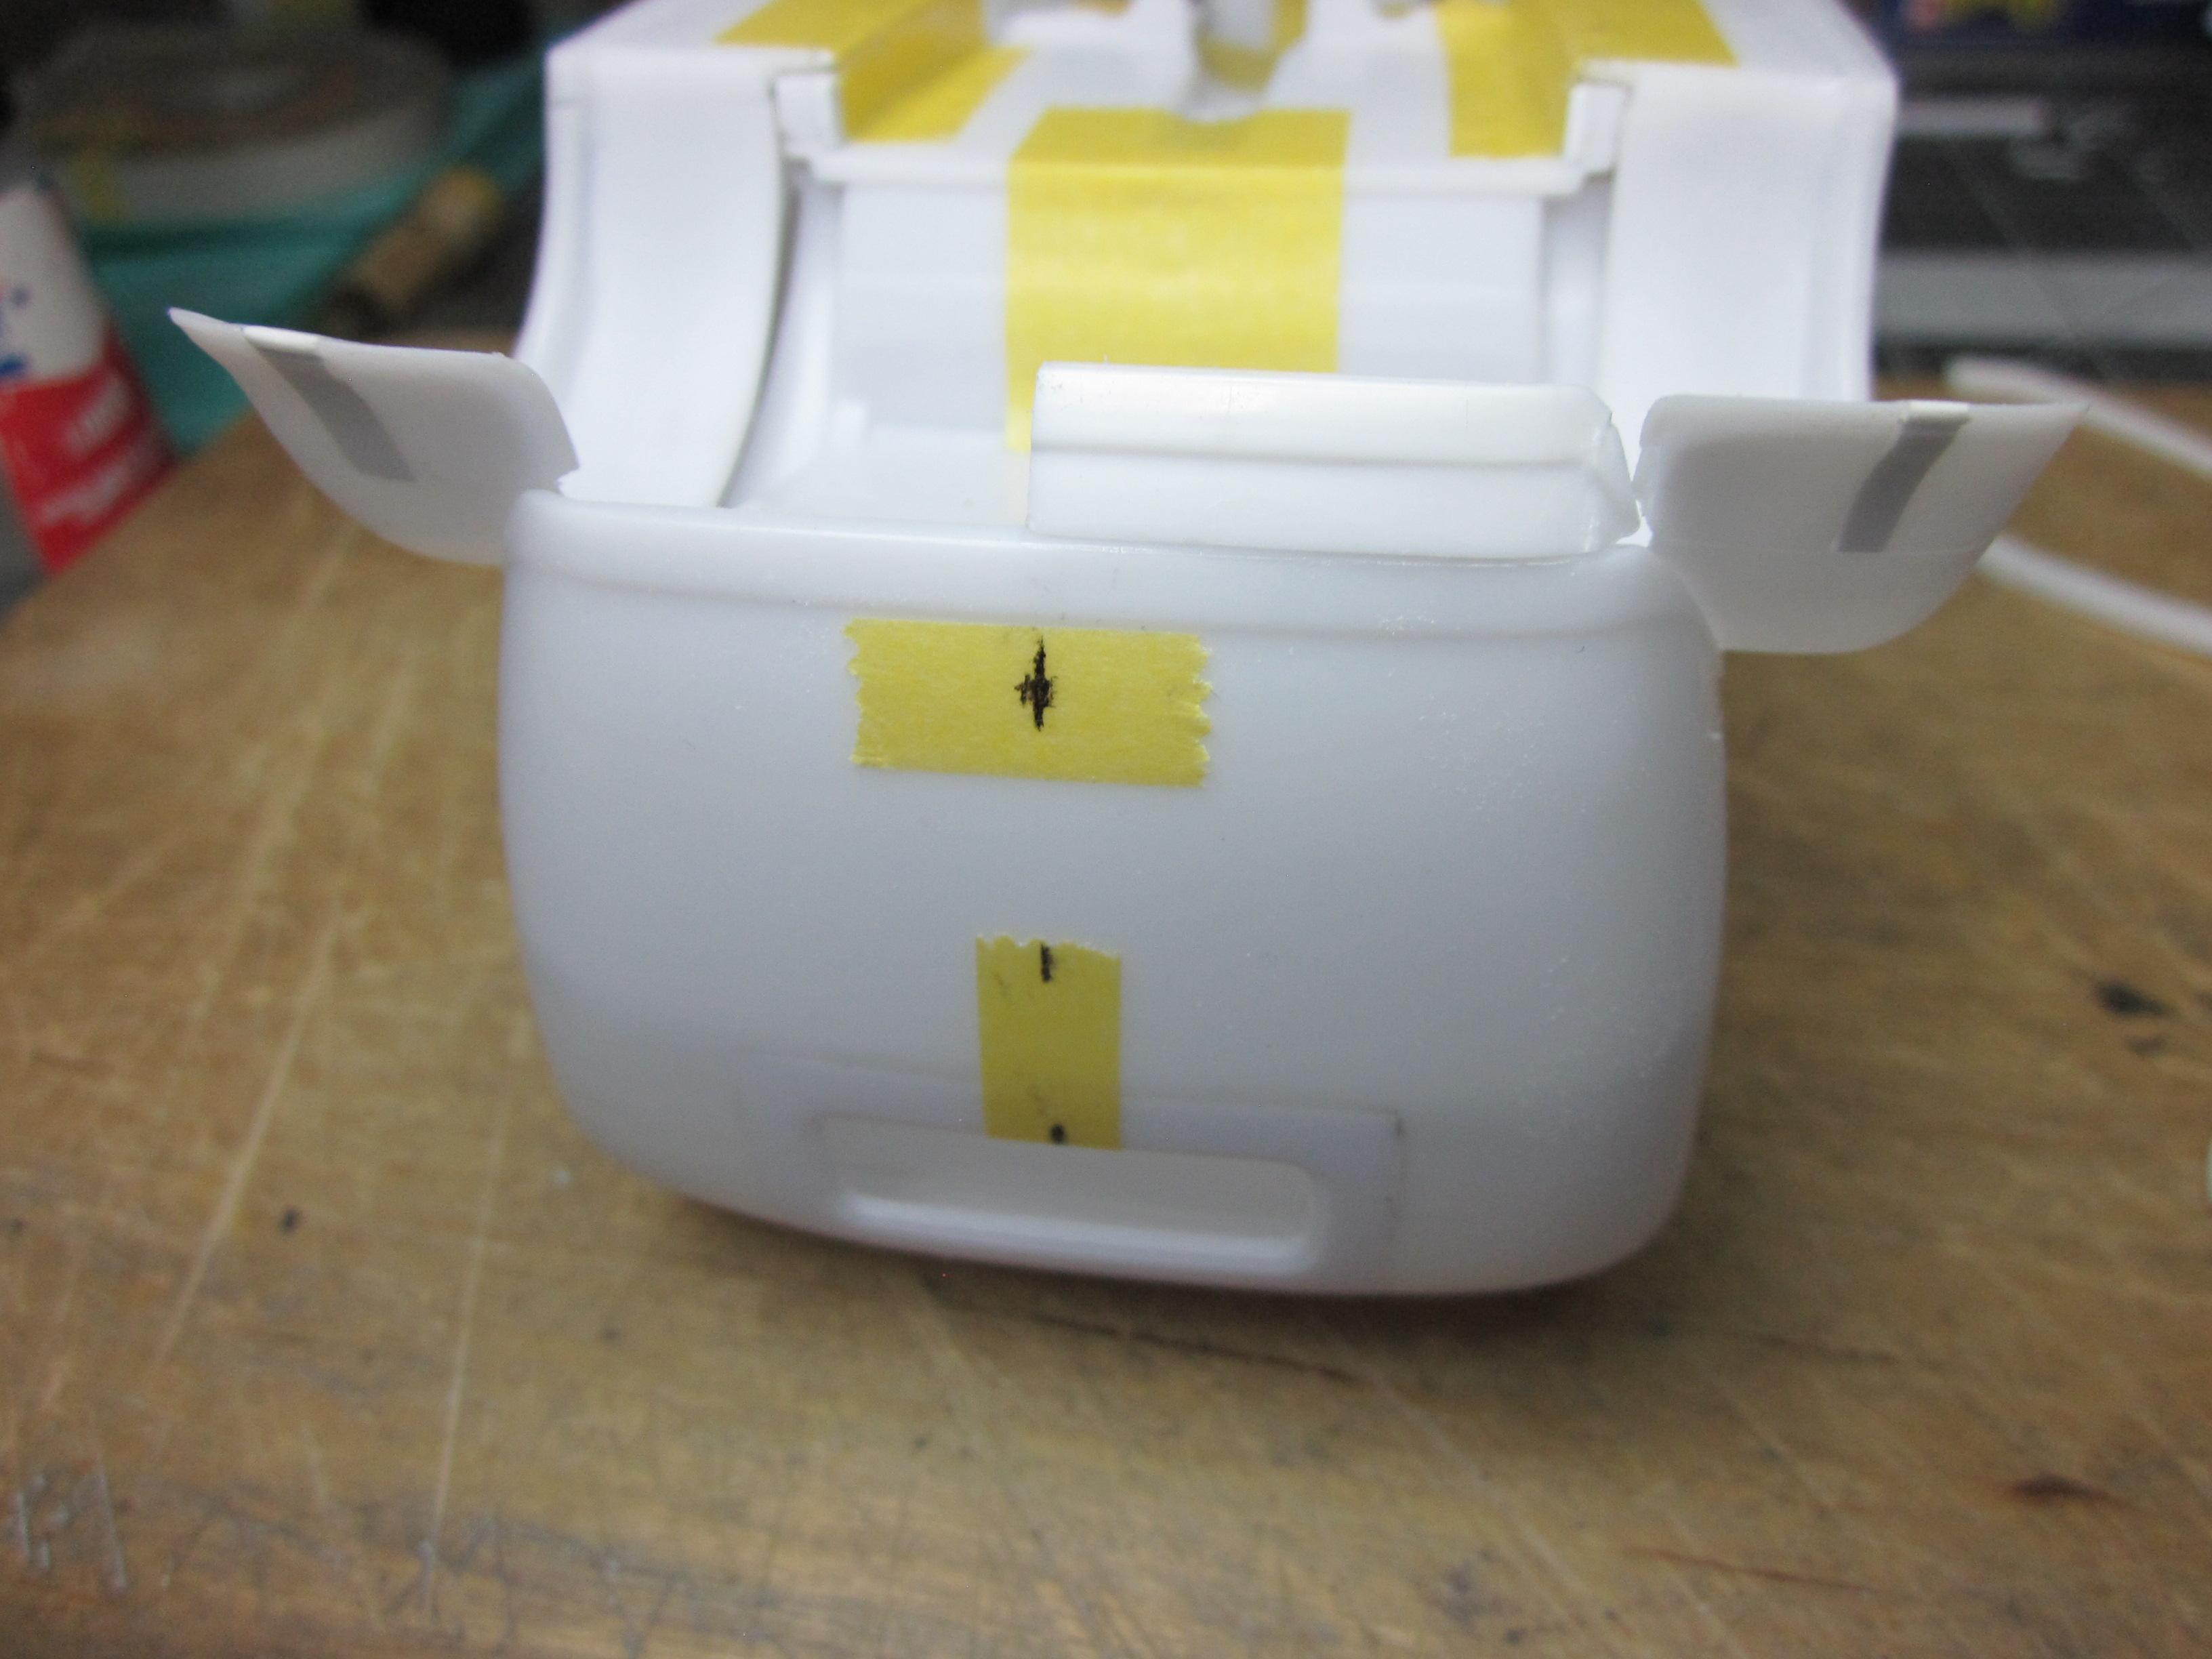
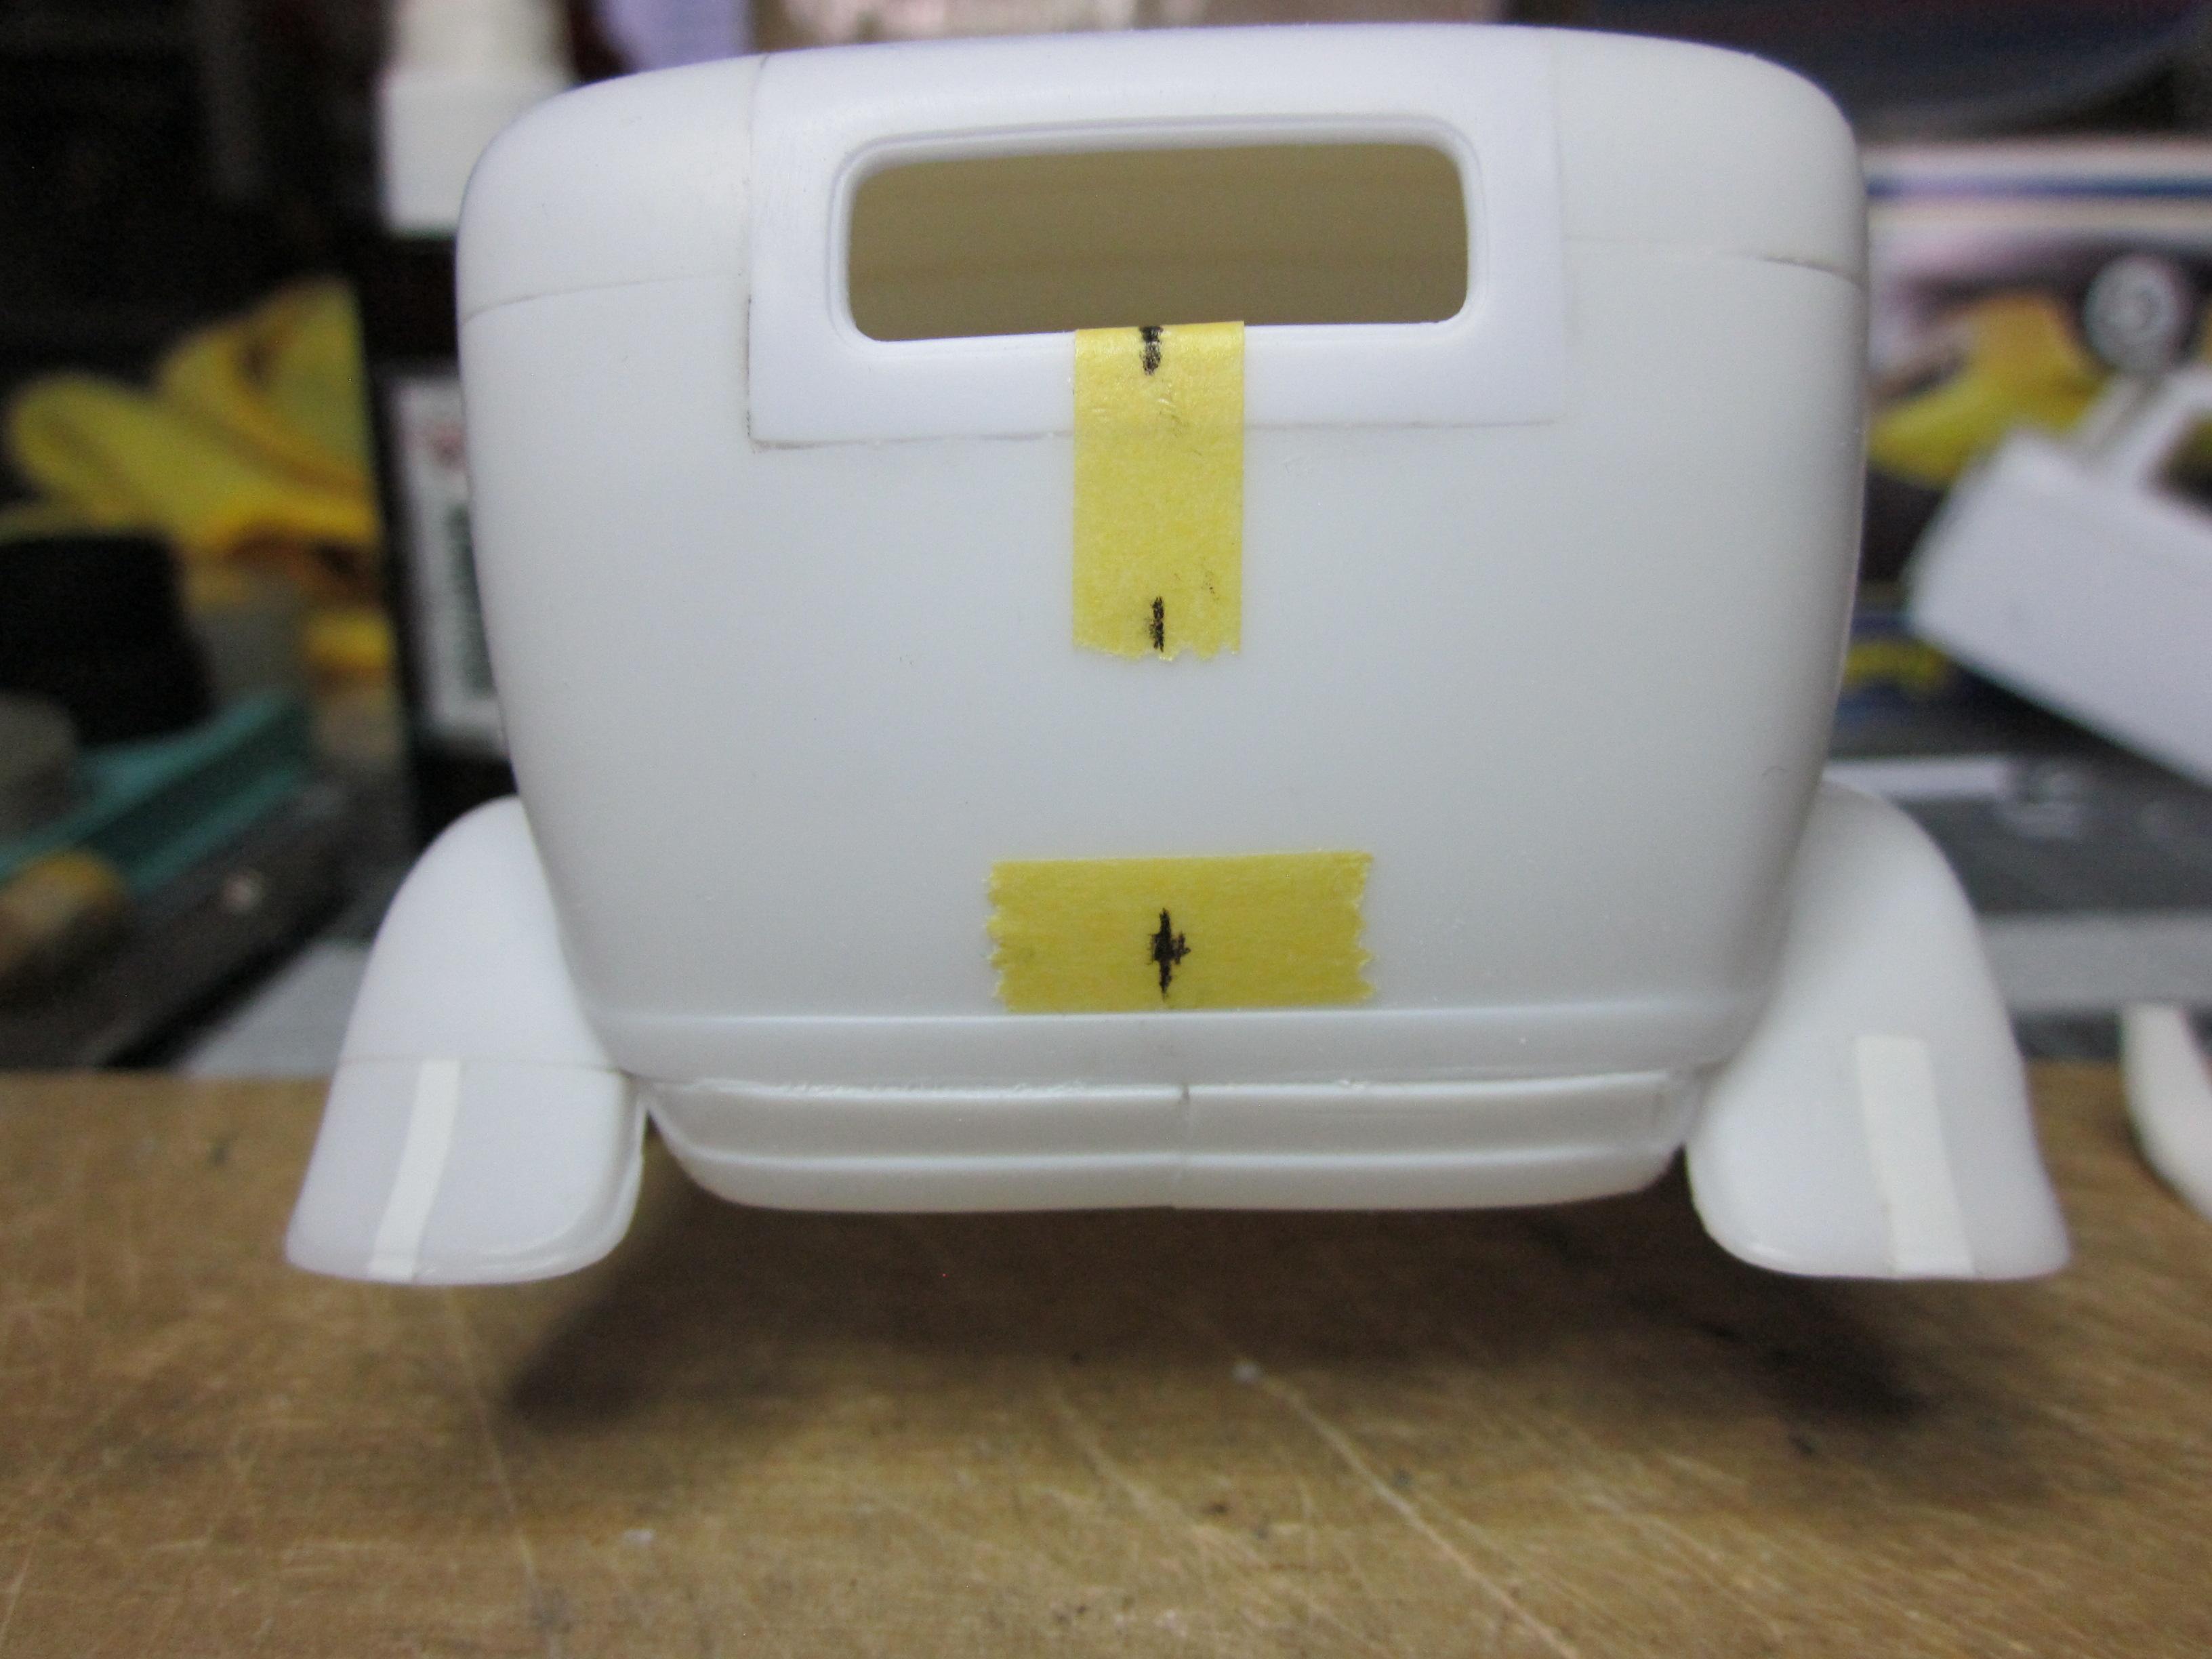
Wow! Busy thread! Nice to see so many builds going on. I'm happy to say that the work on the bottom of the hood sides and body got finished. Has a nice smooth flowing bead off the fender meeting the body now. Also, kind of redid the beltline on the hood to come to a point. I just think it looks better. These mods on the bottom bead were well worth the effort. I've also got a little more done on the rear of the car. It was time to build the wheel wells to fit the rear tires I plan on using. The wheel wells were made deeper using some 0.060 sheet styrene. The pieces were glued in place, filled and finished before the original inner panel was added. To get the new rear fenders to fit, the rear seat needed to lose one pleat on each side. This allowed just enough room for the fenders fit perfectly. Next up, the rear frame section will be cut up to fit the new wheel tubs.

-
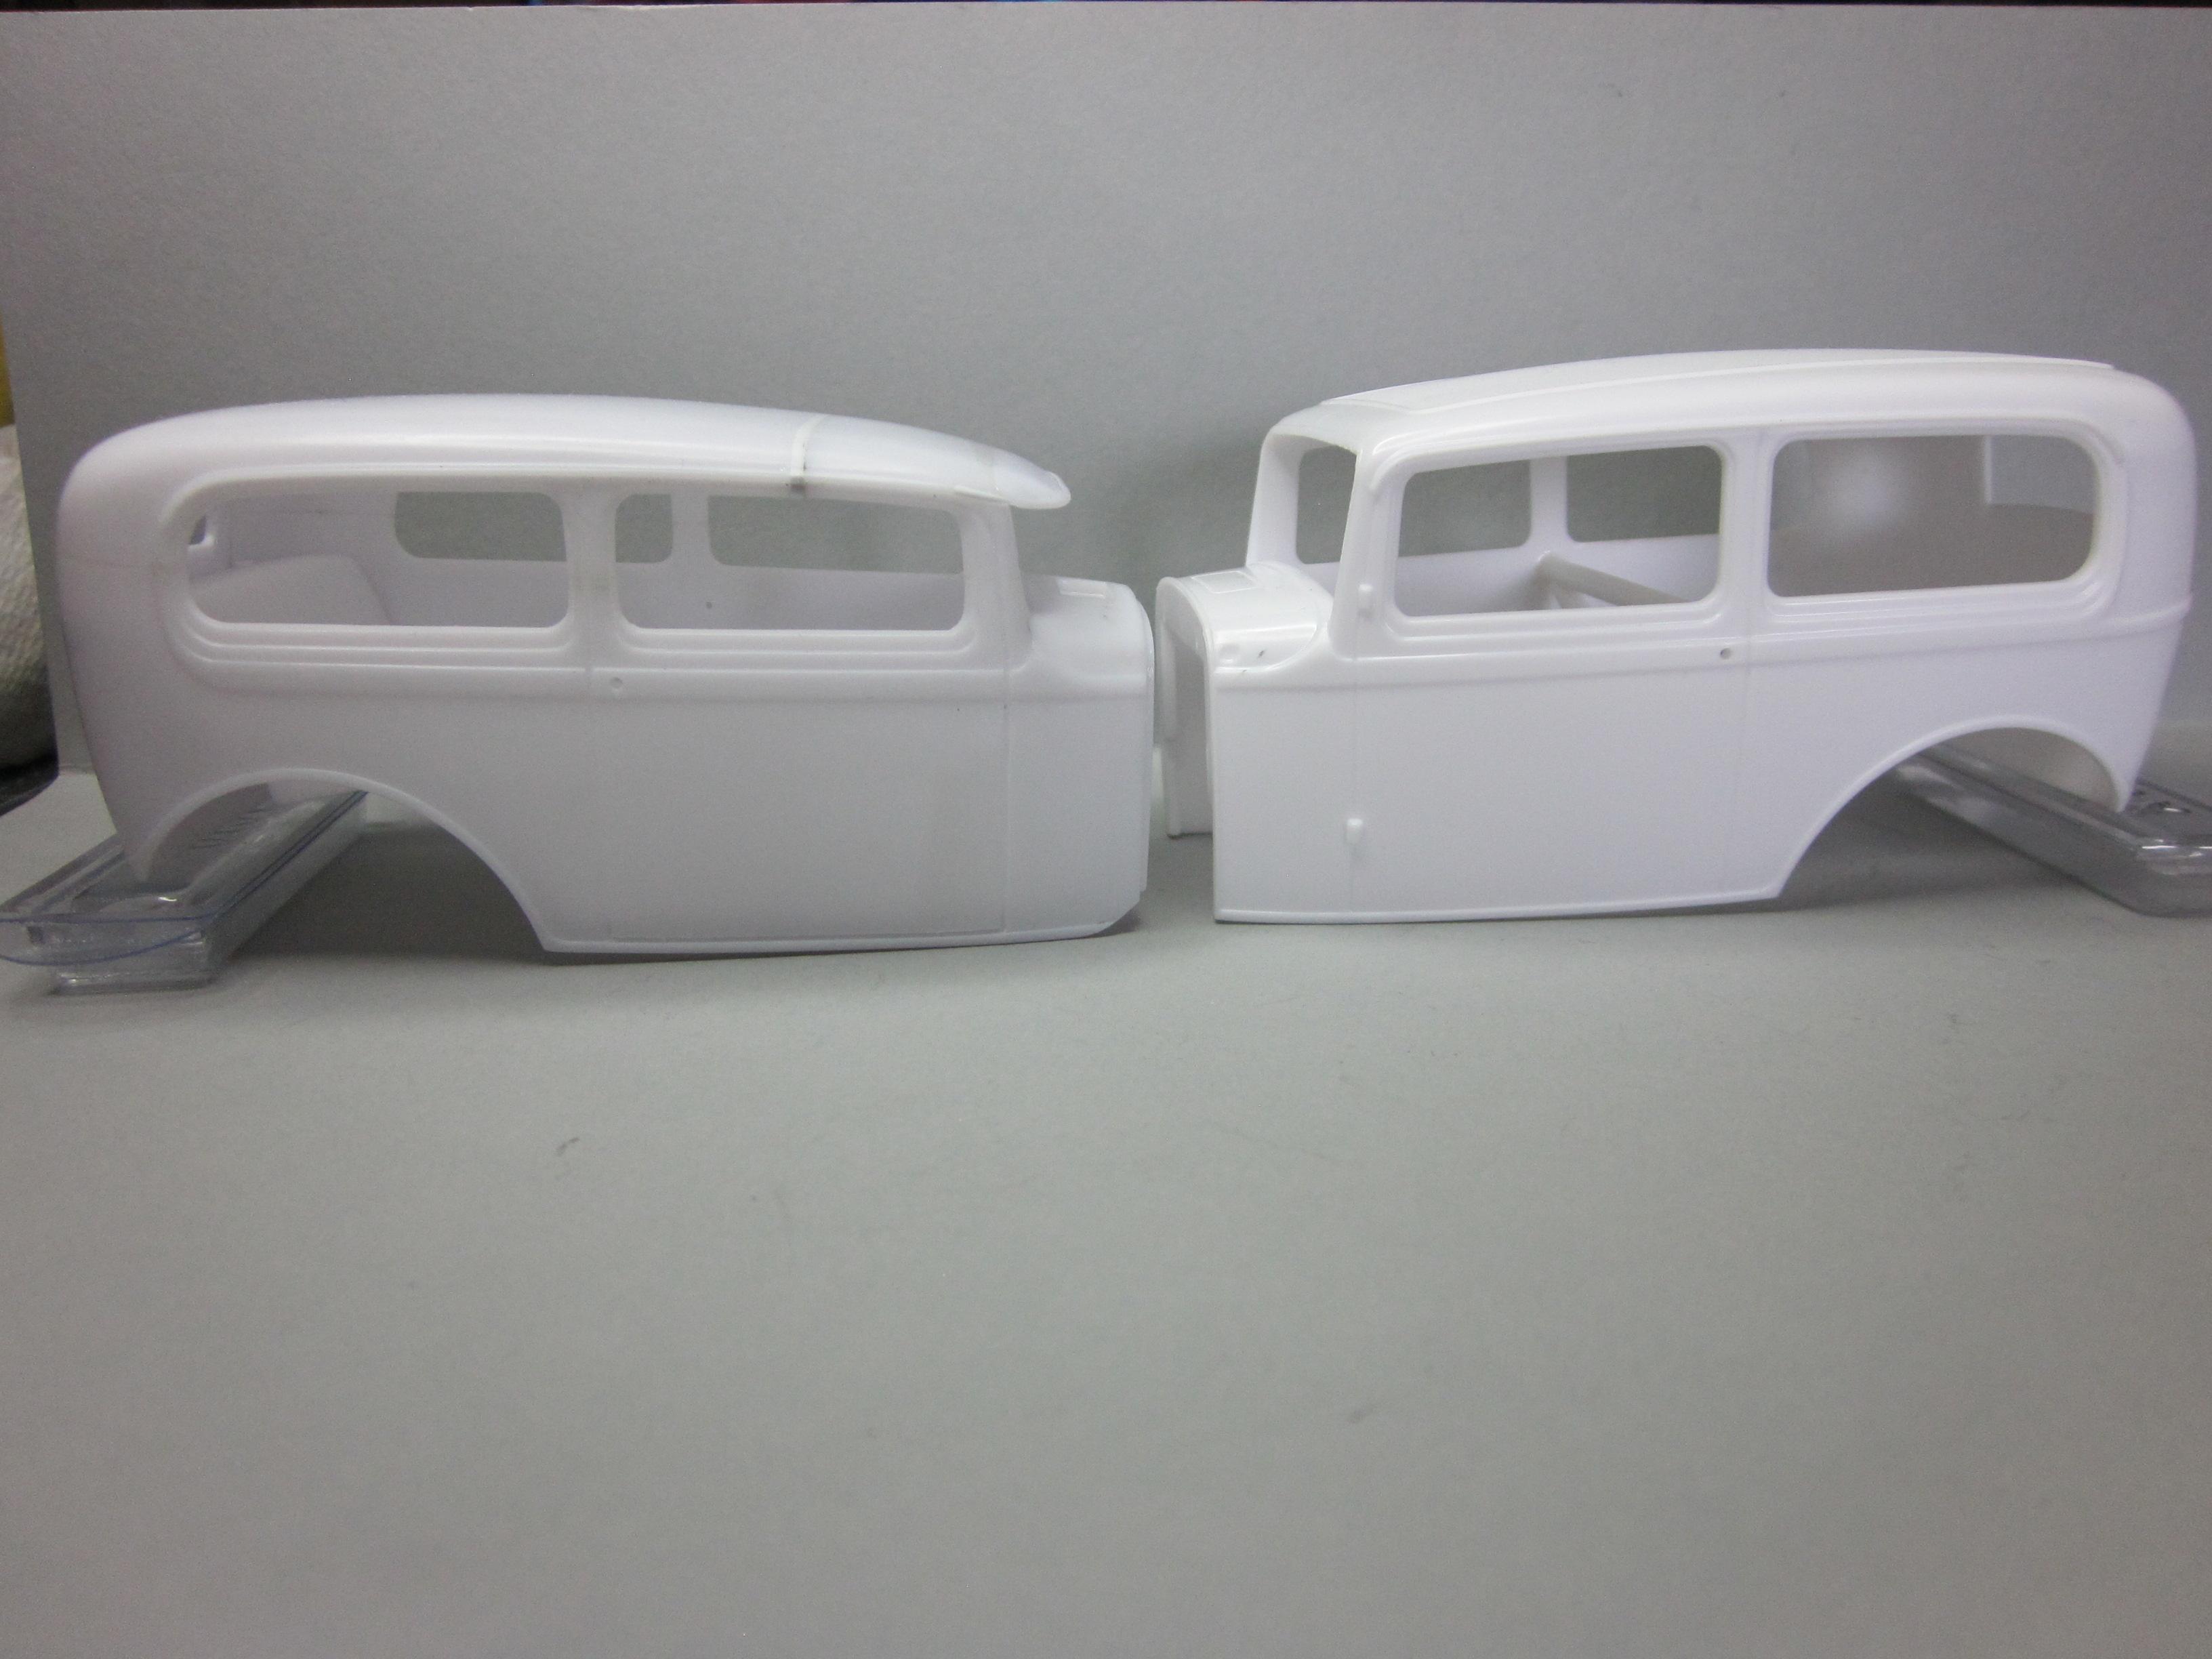
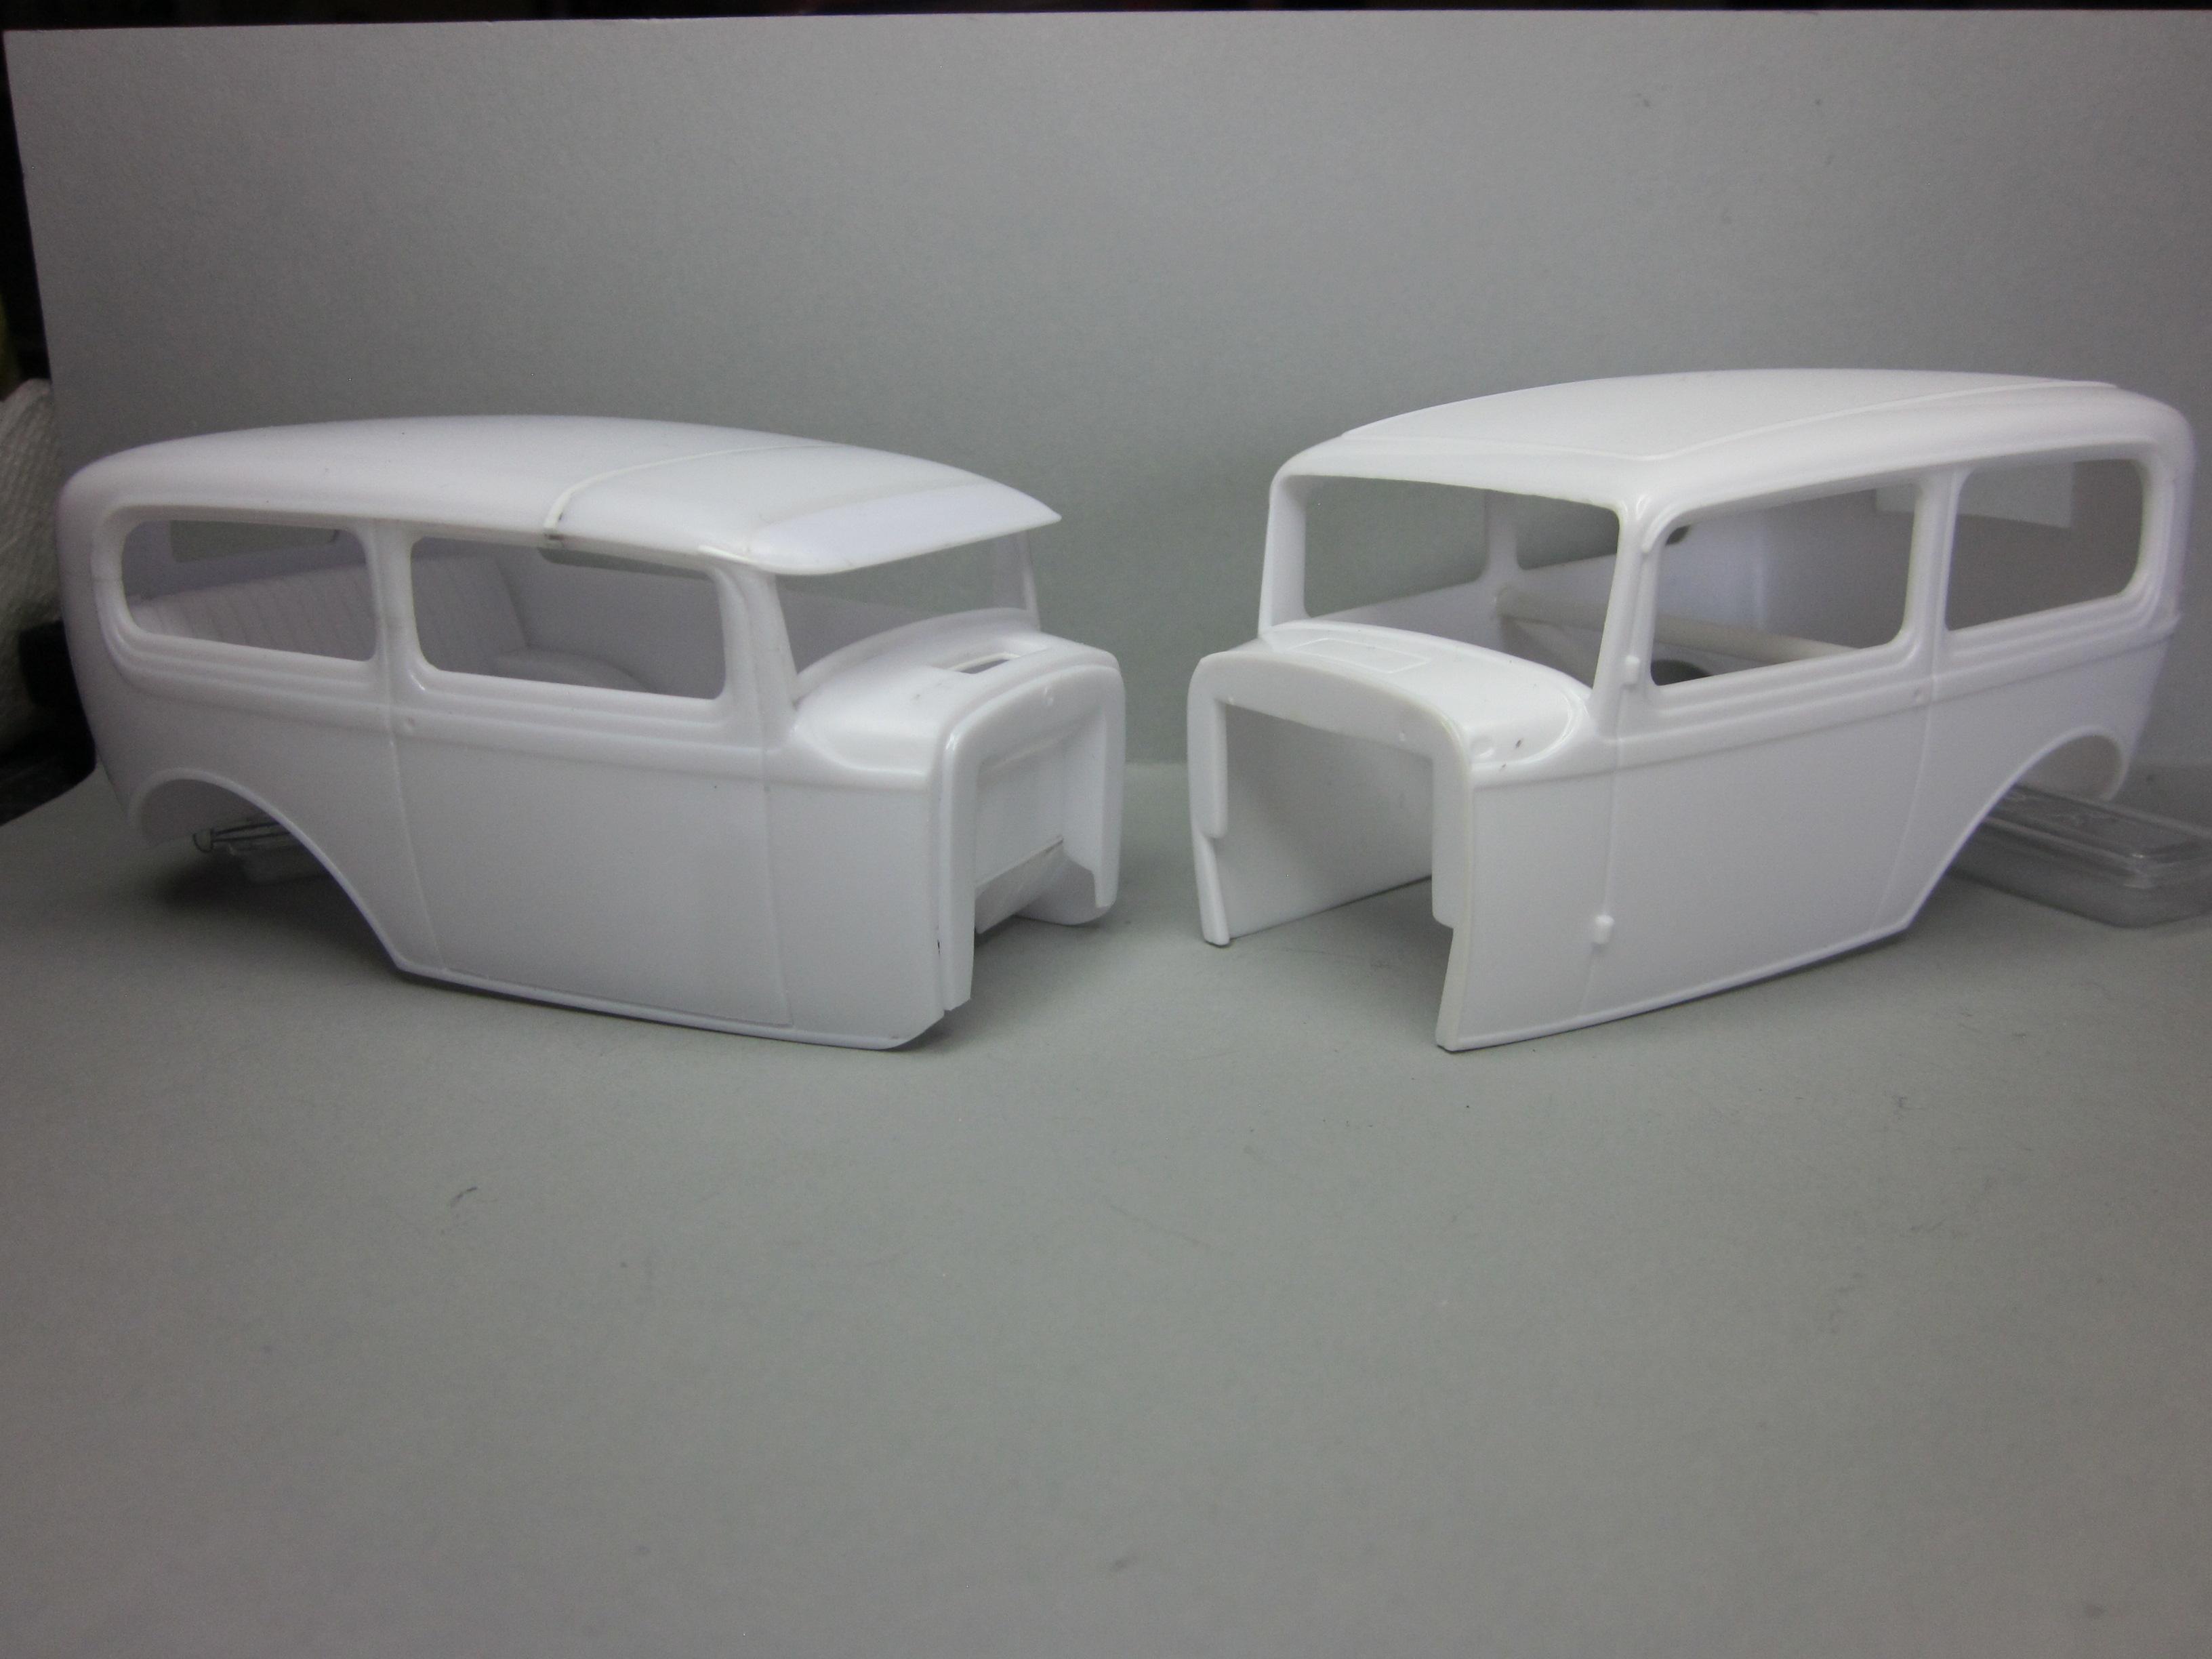
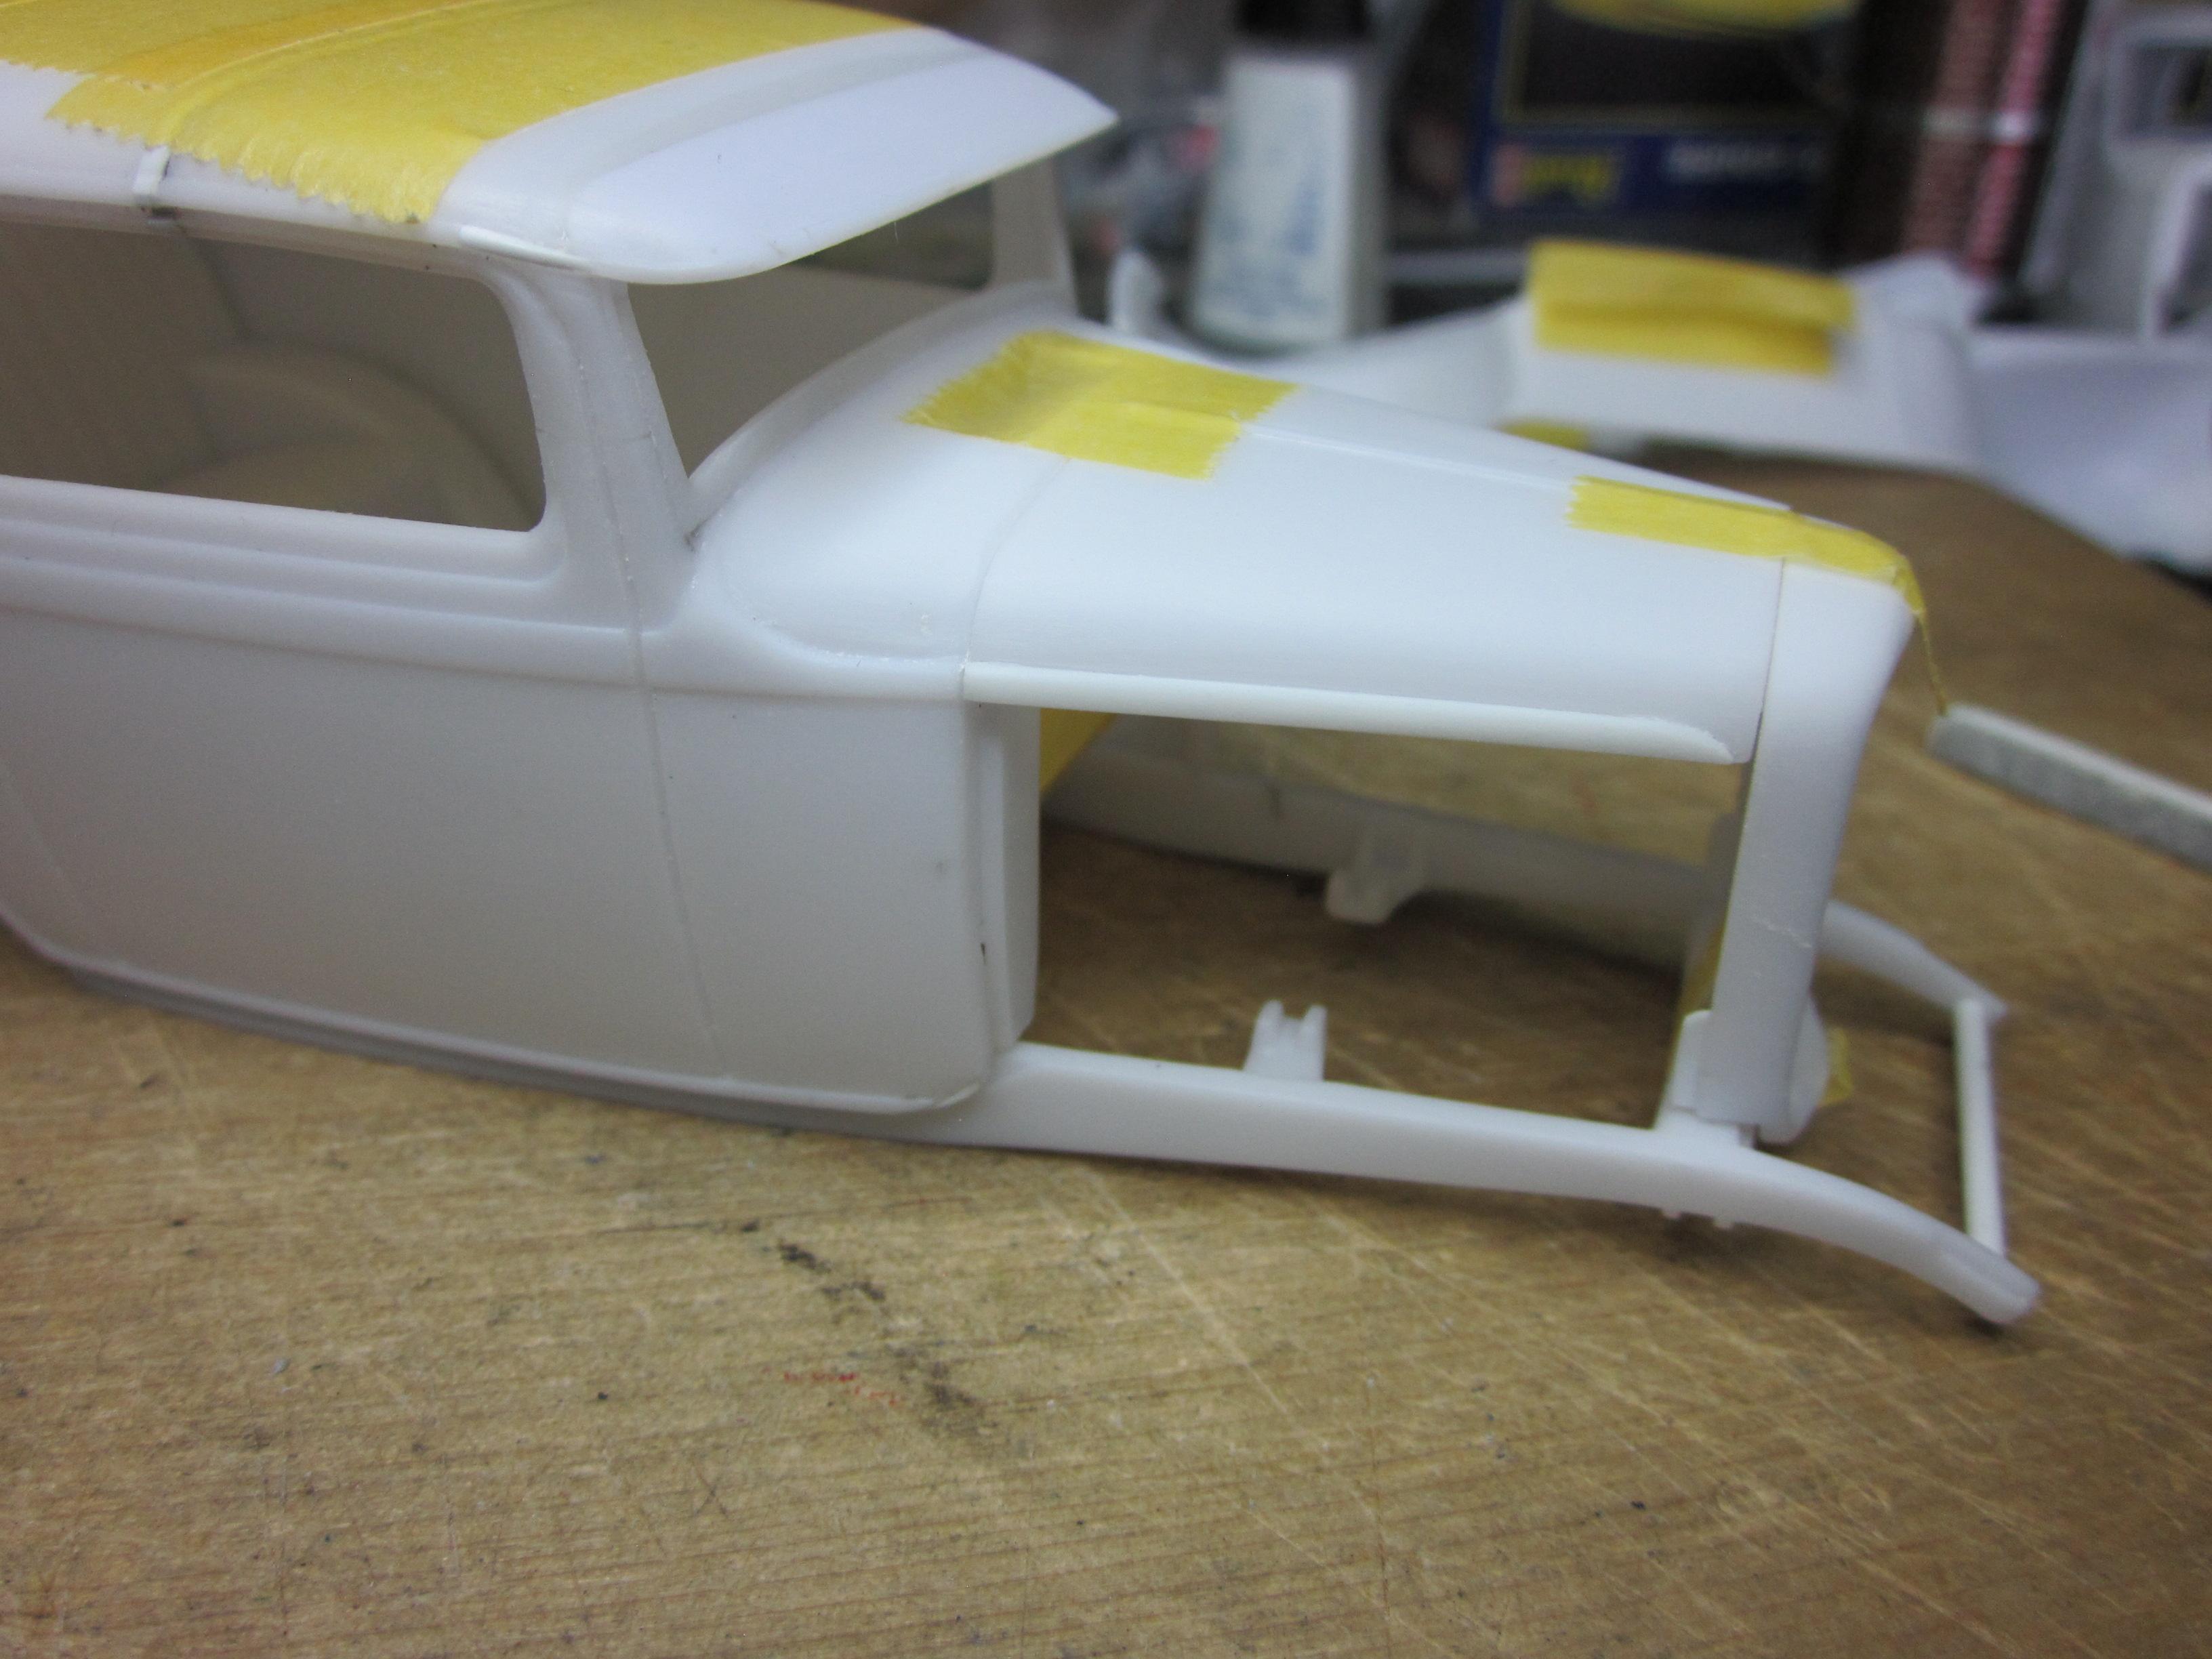
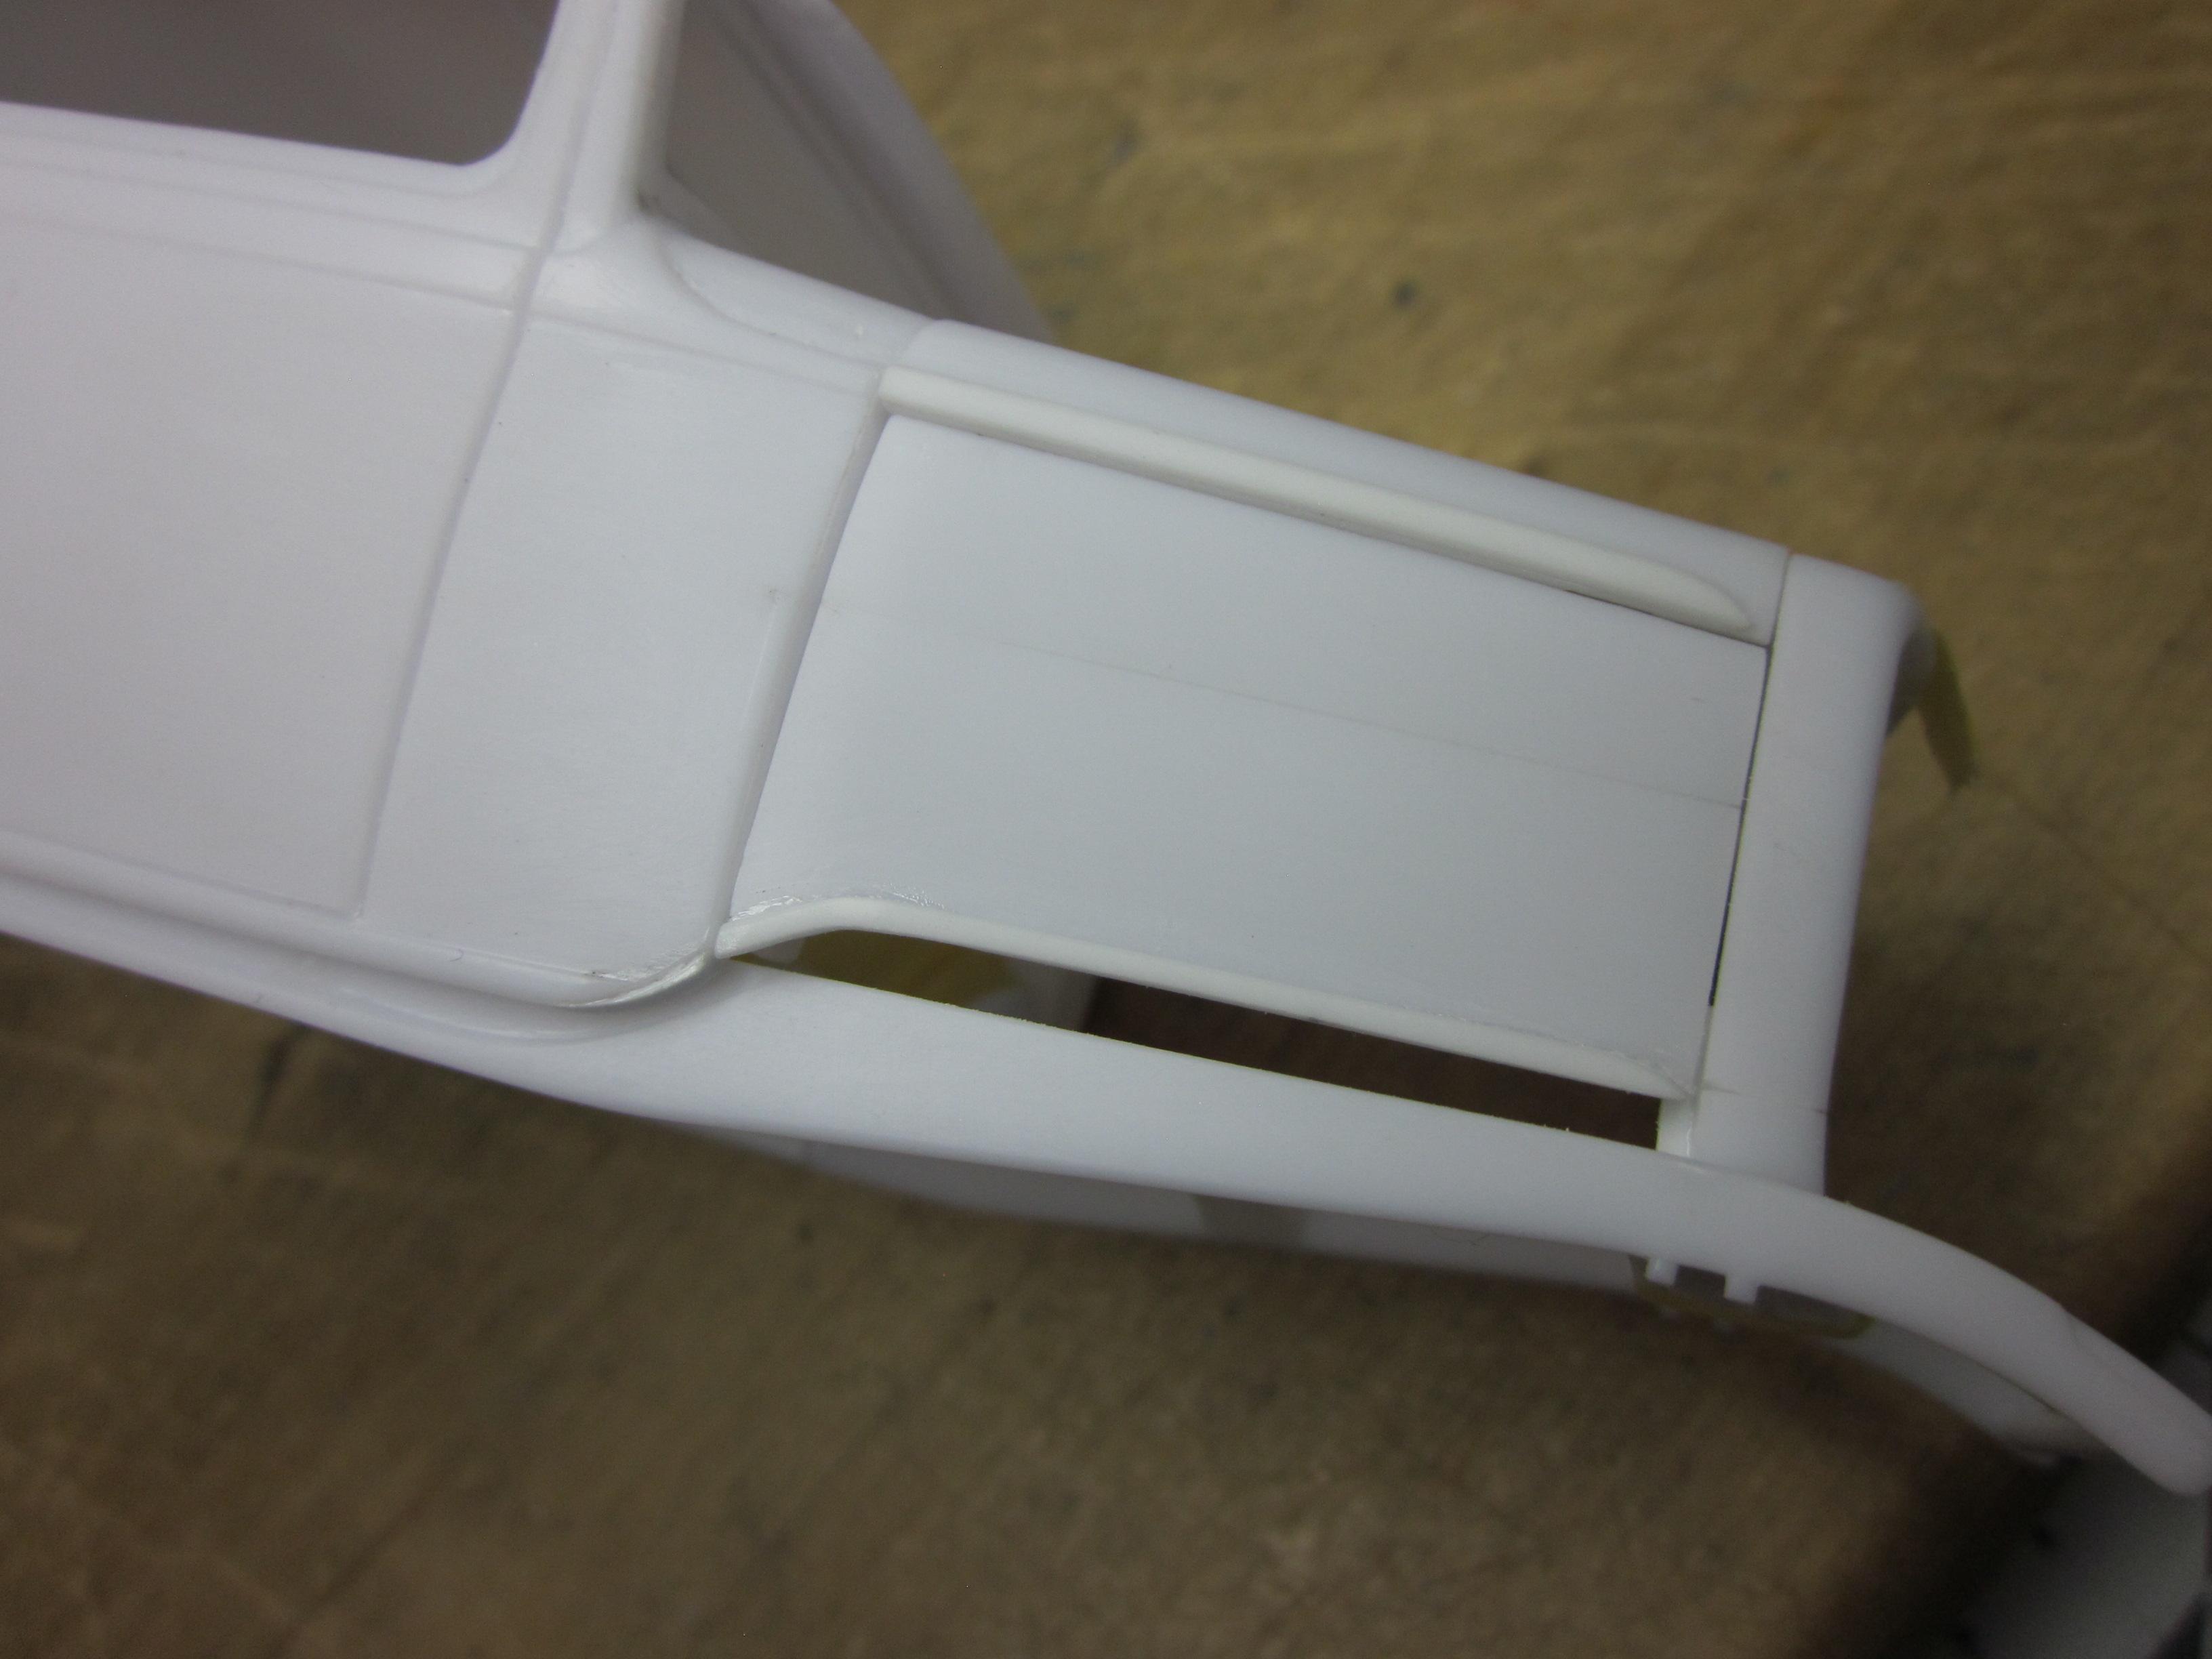
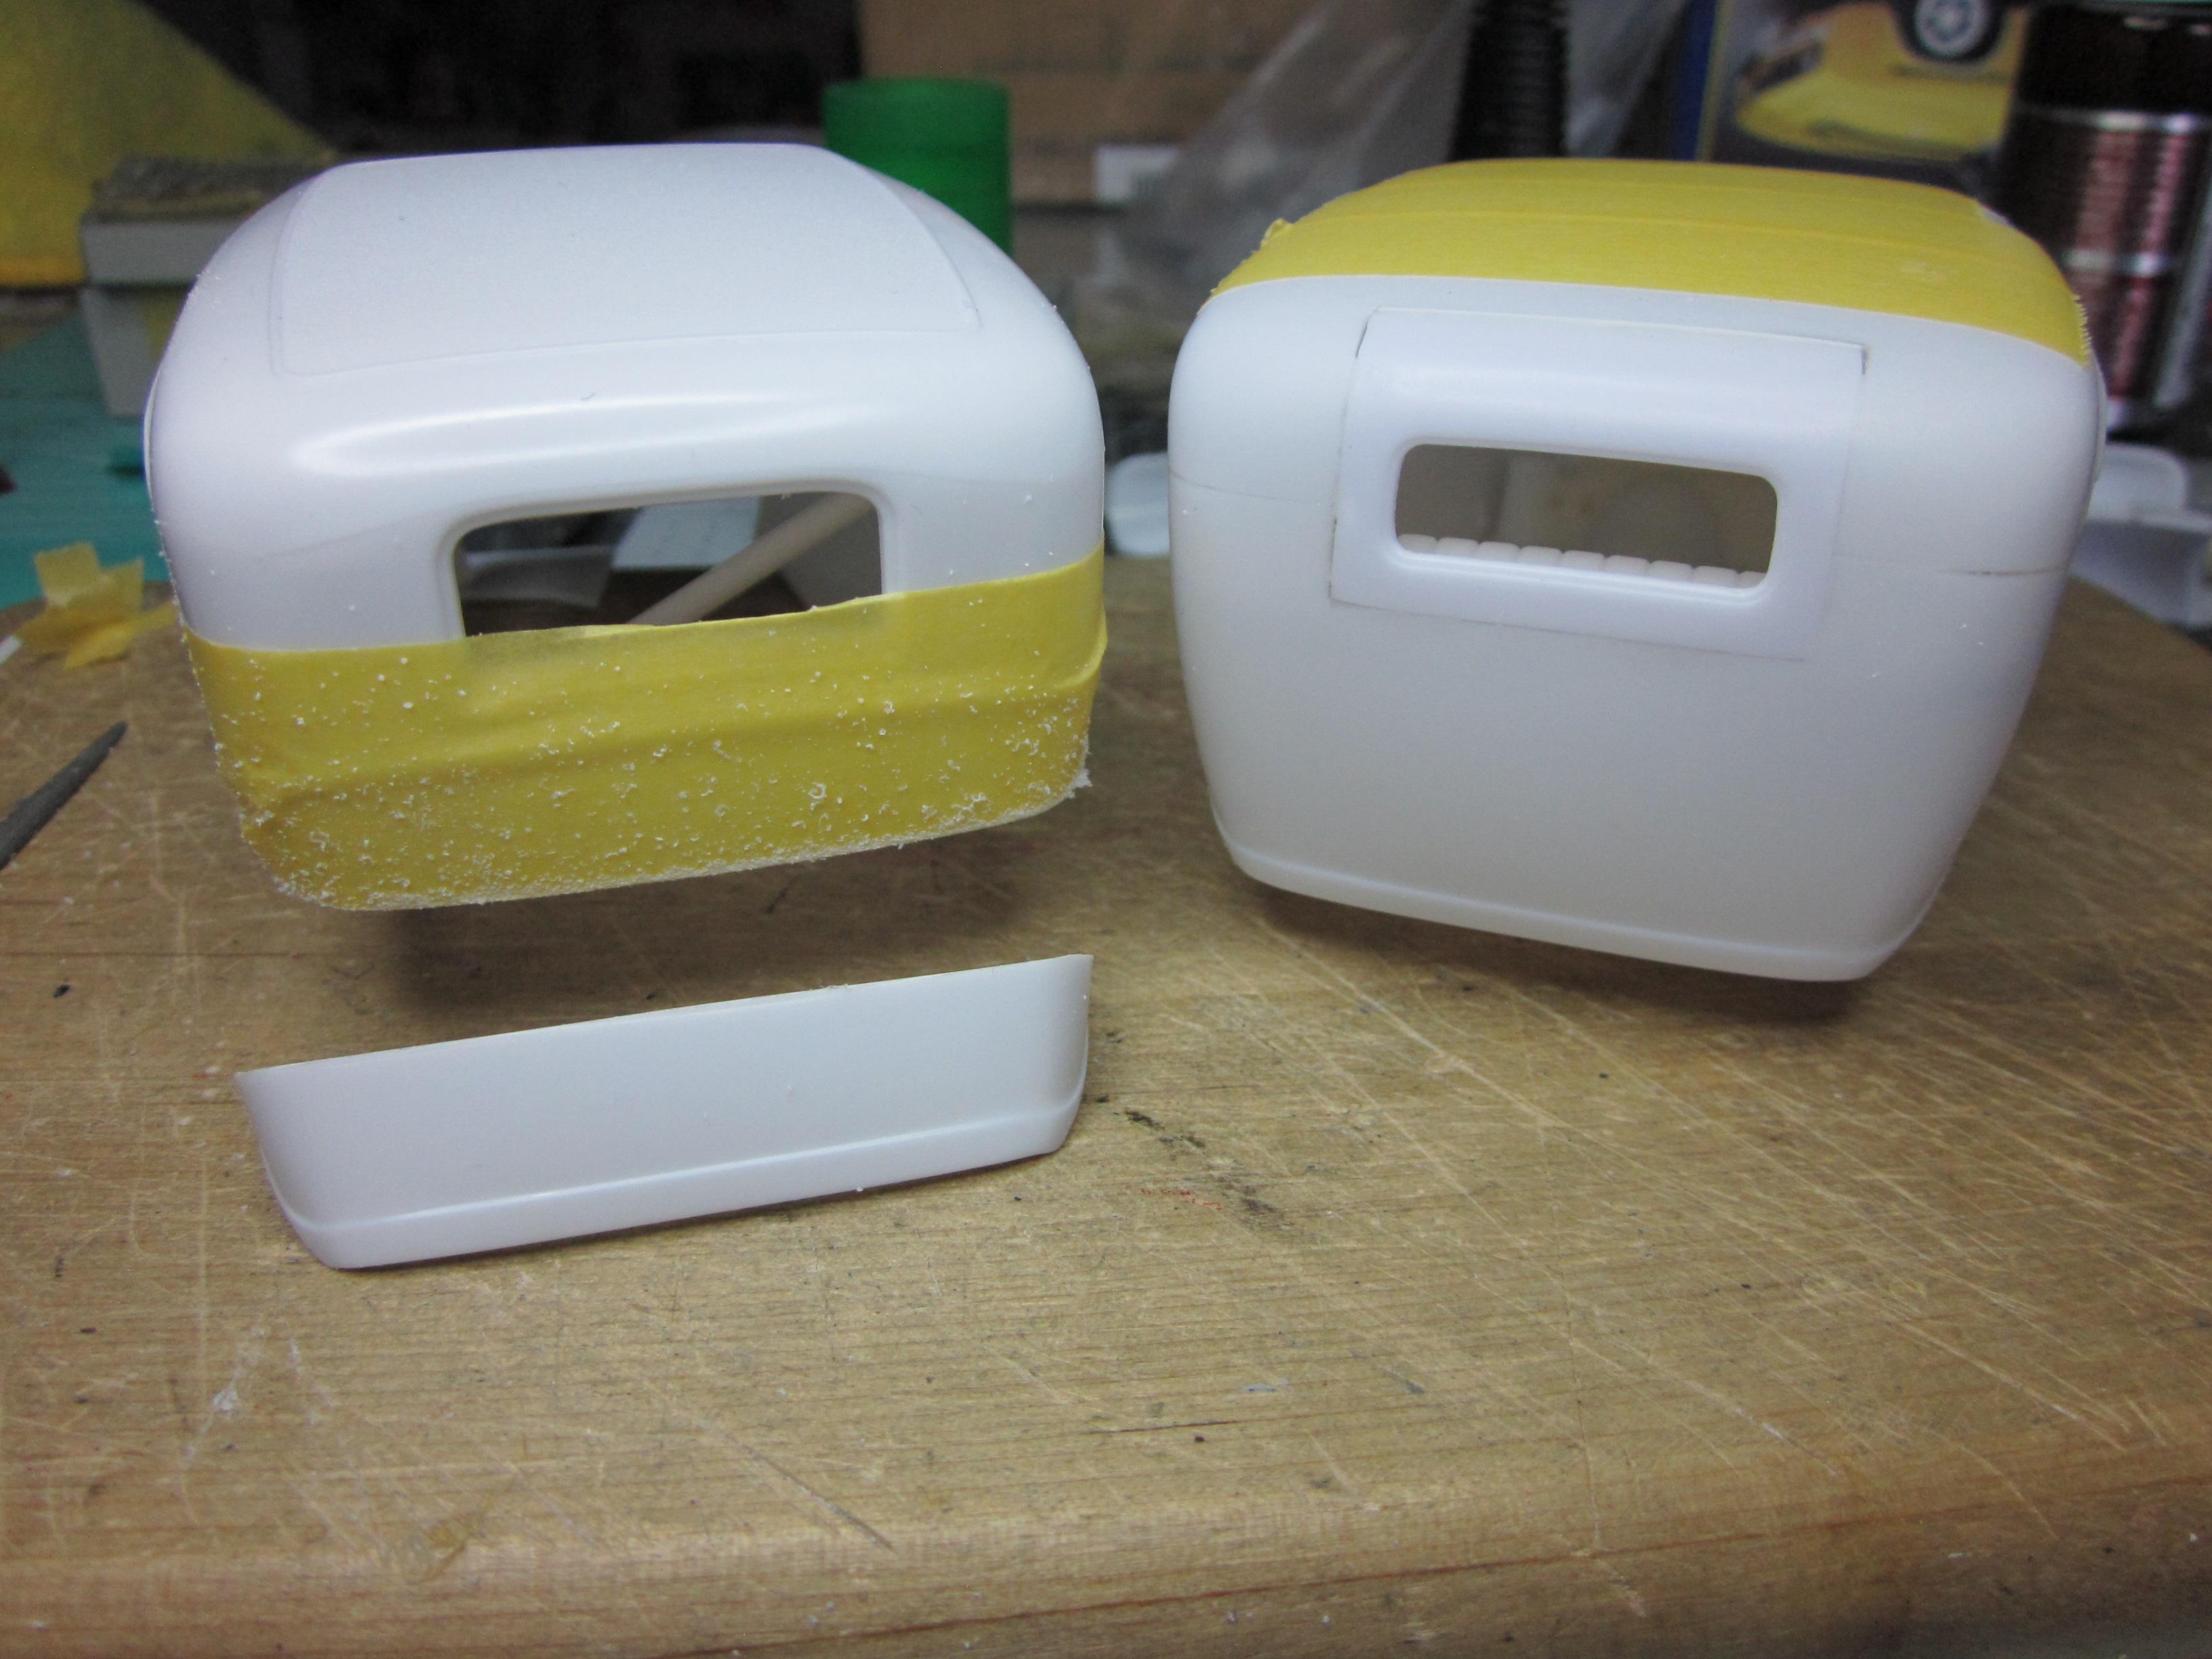
Took some pics of the modified body with a stock body to show the difference between the two. And there is still more to do but mainly up front with the hood and hood sides. The hood sides are going to take some work to make fit. Didn't take many pics of this while it was being done. Just in my zone, I guess. The hood sides were cut in half, the bottom body line removed and replaced with .060 half round. The hood also had the belt line removed and a piece of .060 half round replaced that. Still more to do too the lower body line to get it to flow together where the bottom of the body and hood side meet. Decided to add a little to the tail end of the body. @Kit Karson helped me out with this by sending me a spare body to hack up. Thank you, Brother! The back lower section was cut off the donor body. Figured out what was needed, modified the parts to fit and they were glued in place. It's going to take some sanding to get things to look right at this point along with some 1/2 round to join the lower body line. Still have no idea on anything else for this build like engine, suspension, interior. It will come in time.
-
To the table
-
EGGO deeply cleanses your face!